HOLIDAY DONATION DRIVE - SUPPORT MSW - DO YOUR PART TO KEEP THIS GREAT FORUM GOING!
×

Slowhand
-
Posts
296 -
Joined
-
Last visited
Content Type
Profiles
Forums
Gallery
Events
Everything posted by Slowhand
-
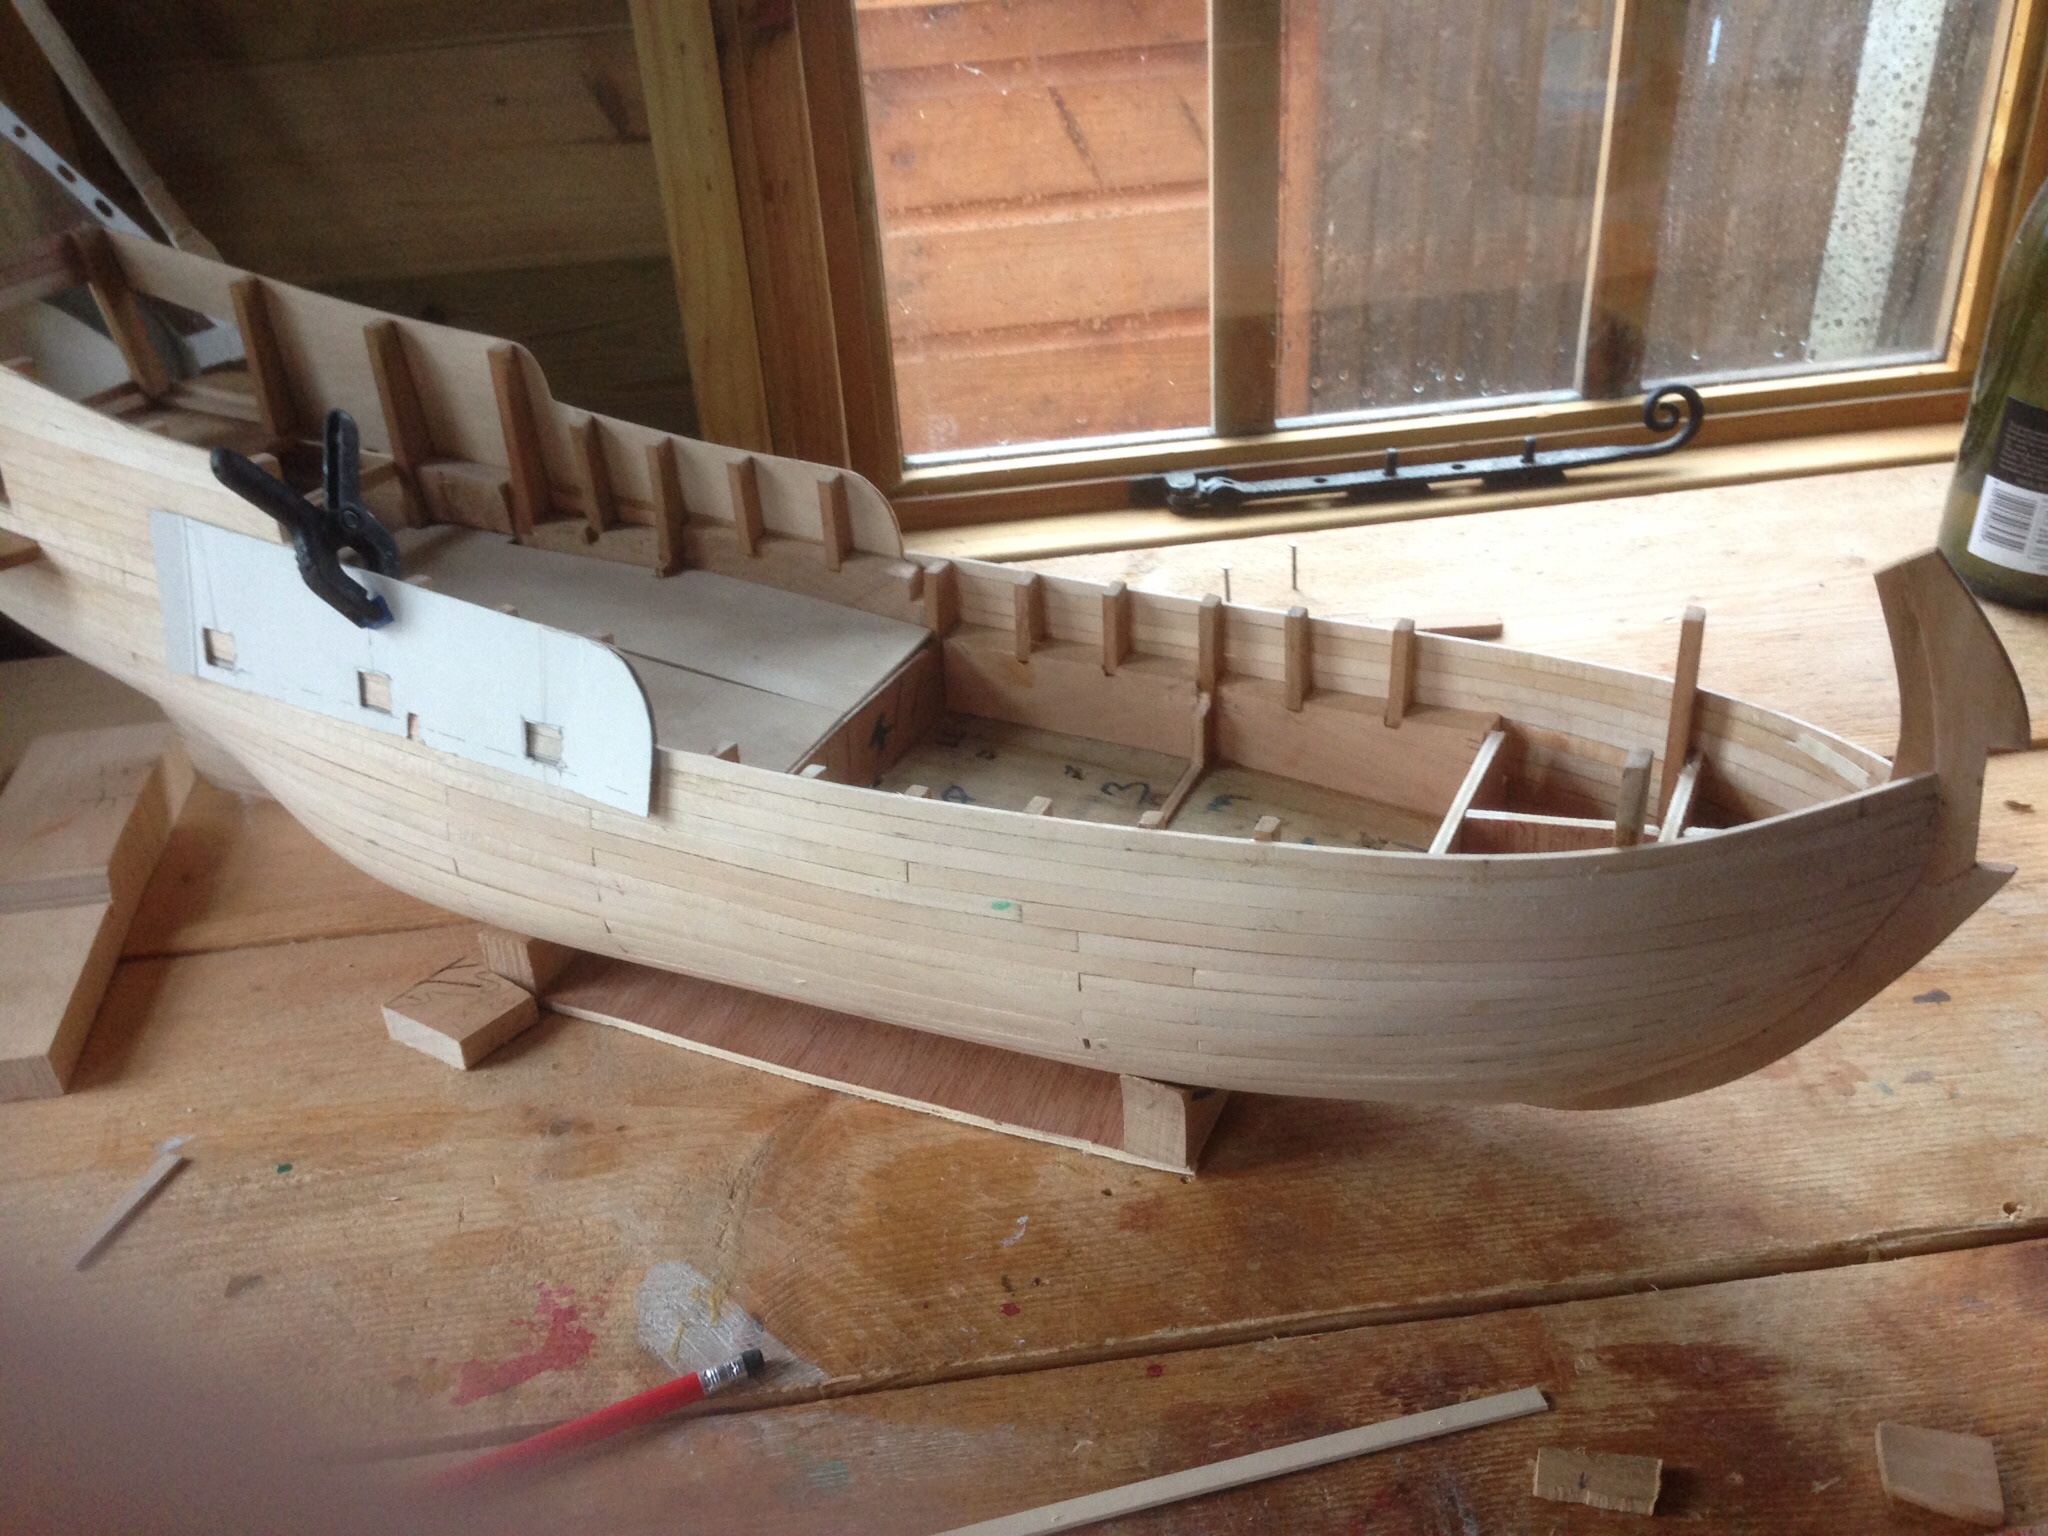
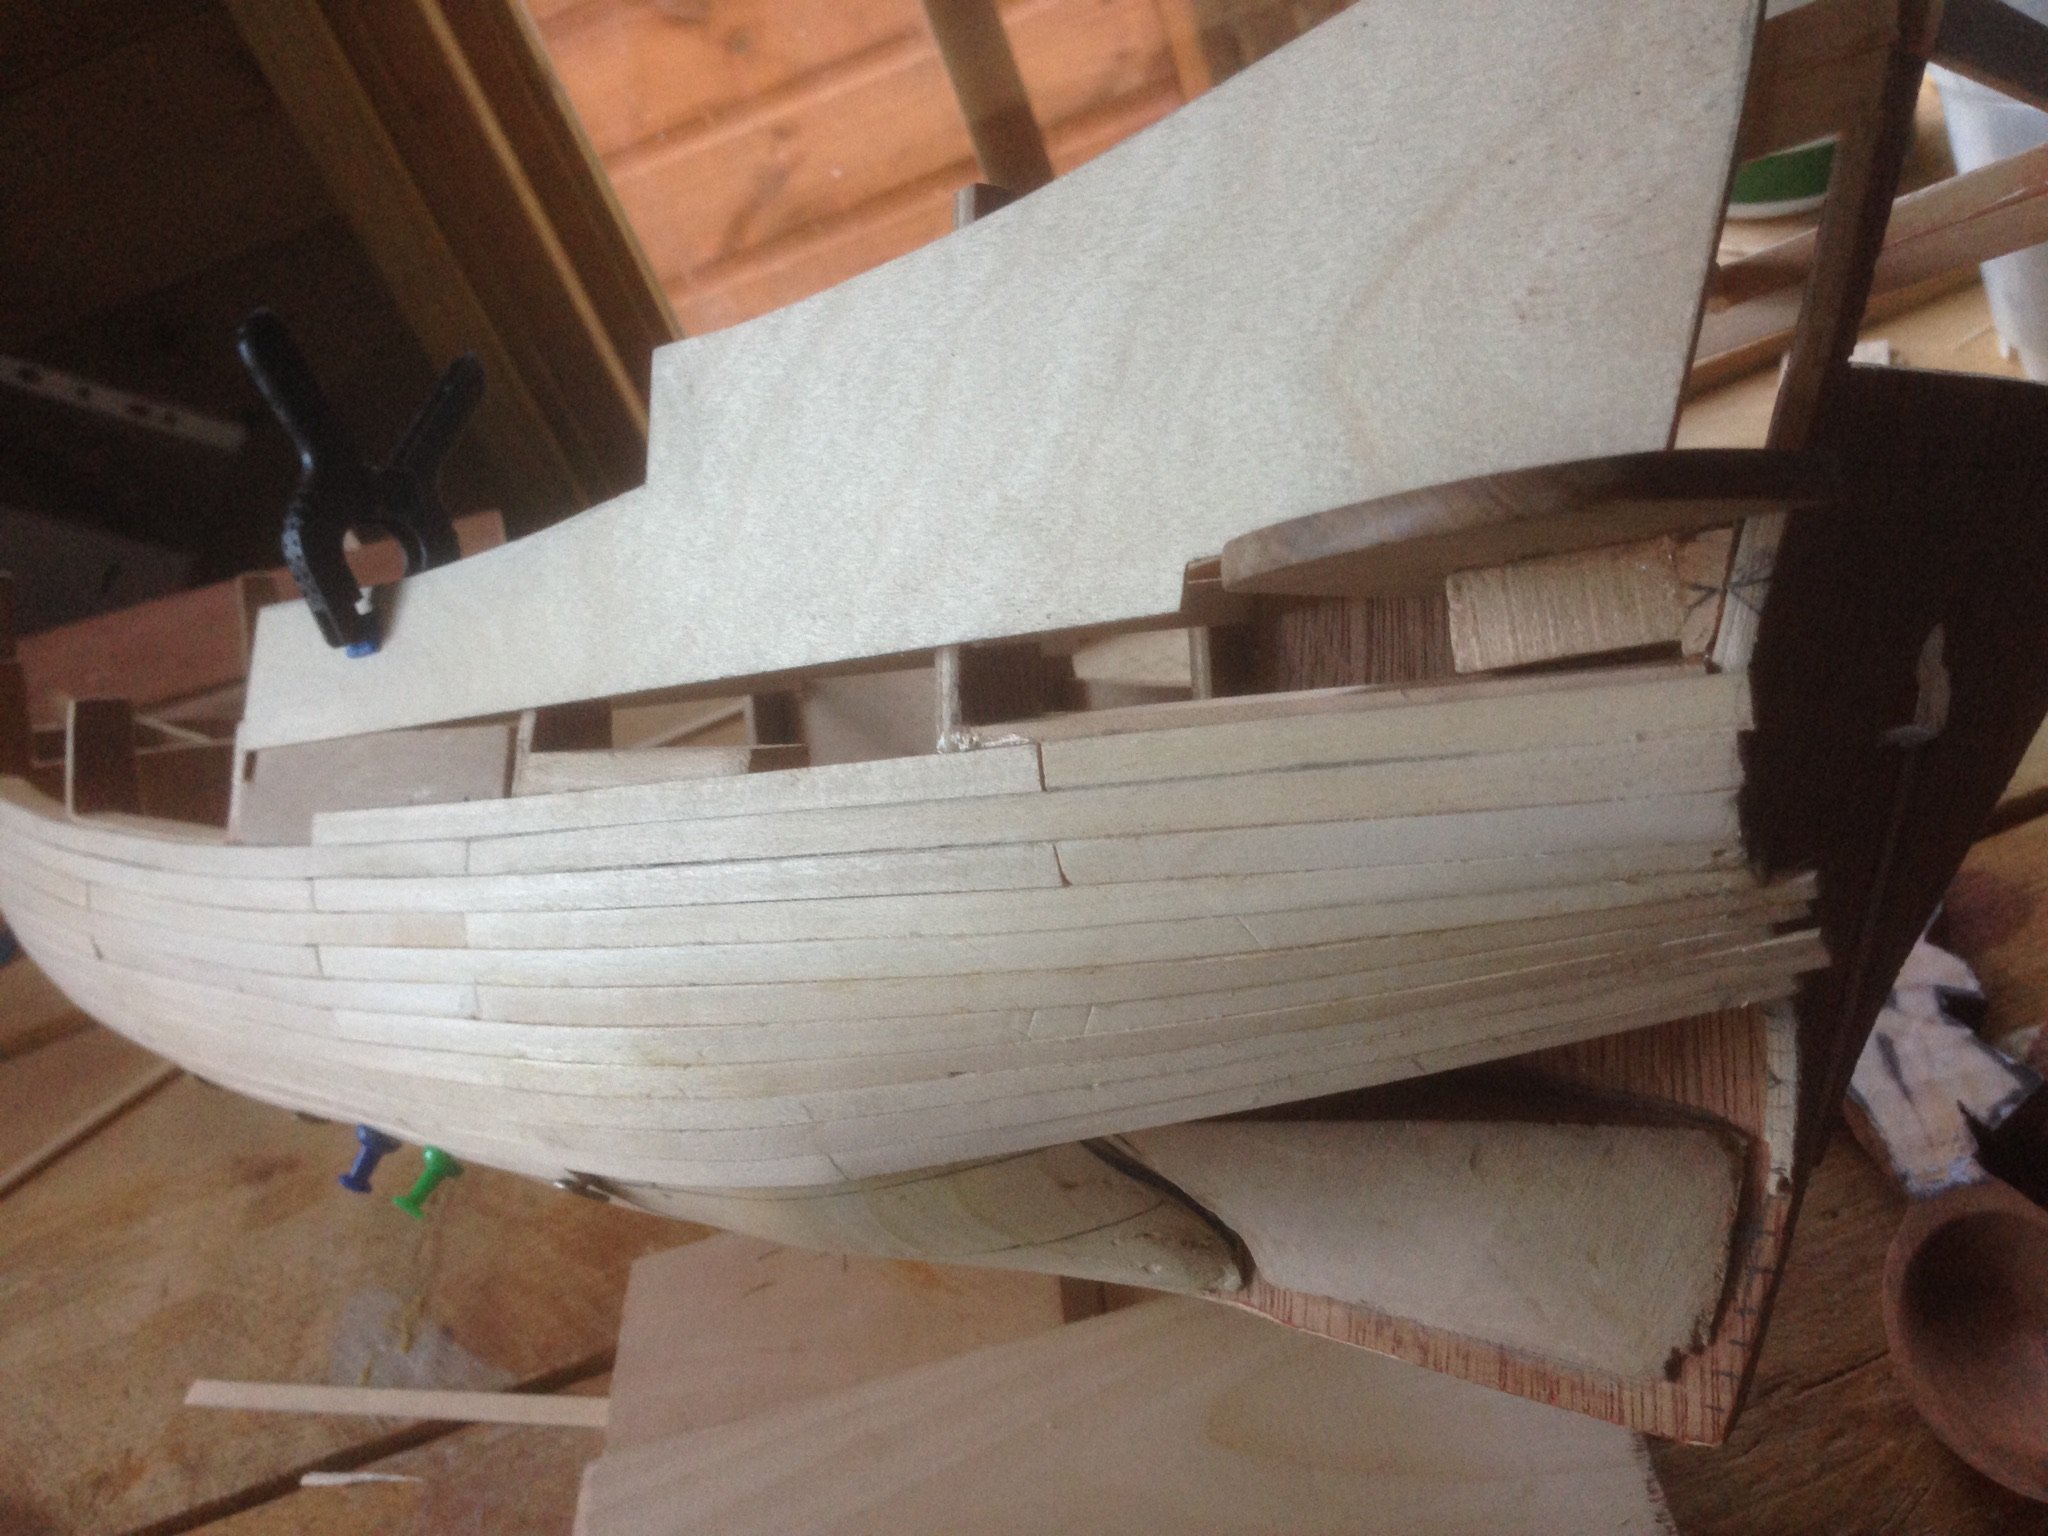
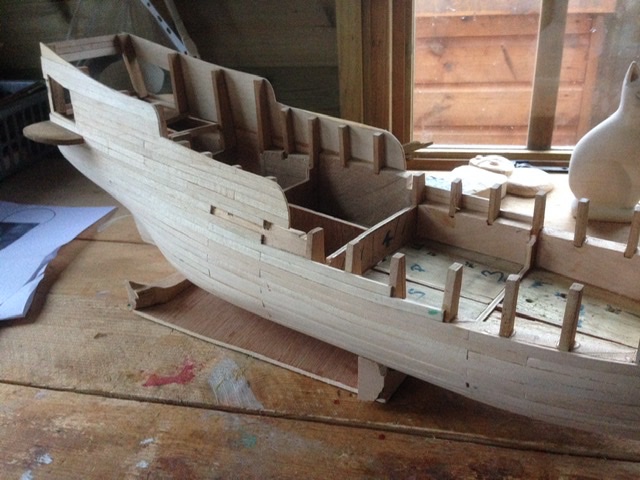
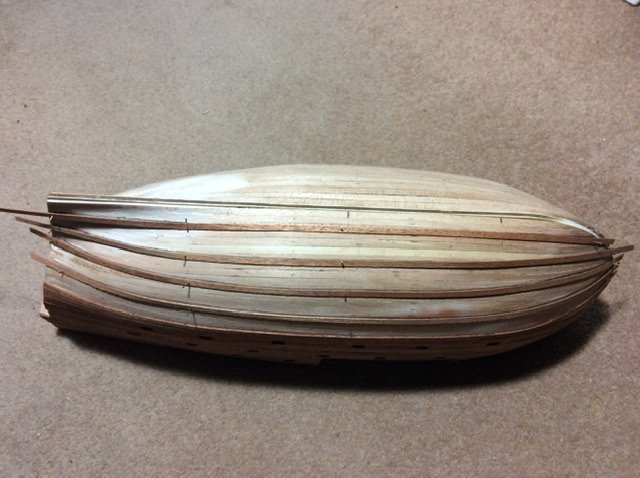
 Finished port side of hull, first planking layer. Bow planks have sharp corners, not sure if this is realistic, mind there is some sort of a precedent. The Hamble Star my first dinghy at an old club, sailed like a brick, second down. Portsmouth yardstick of about 15000.
-
Tim, I think you will start a whole new way of building Guillows airplanes. I’d best buy one before they sell out. When I last looked they had sold out of Spits, plenty of Hurri’s though.
-
Hi Tim, forgot to ask did you use a table saw to cut the balsa infills, a Byrne’s by any chance?
-
Well you’ll have a ready supply of Mercury if you need it. edited It was the T1000 of Gary Sinise not this one better terminate myself.
-
What a fantastic build, always thought the silverskin and dope covering of Guillows suited the WWI planes best as well that’s closer to the originals. Your idea of in filling with balsa and using wood sheets works perfectly for WWII planes. I think you’ll start a trend.
-
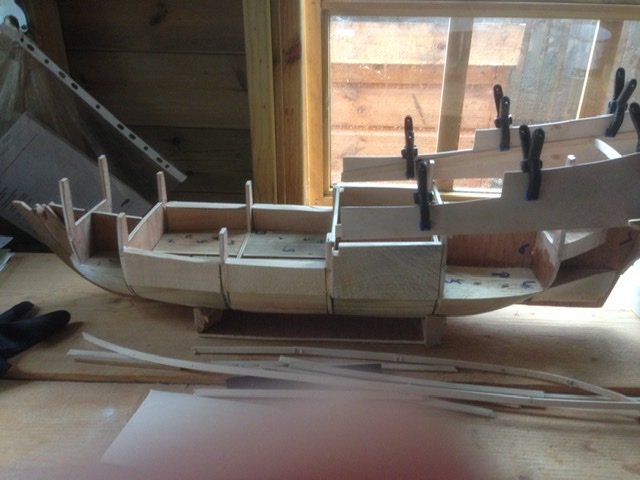
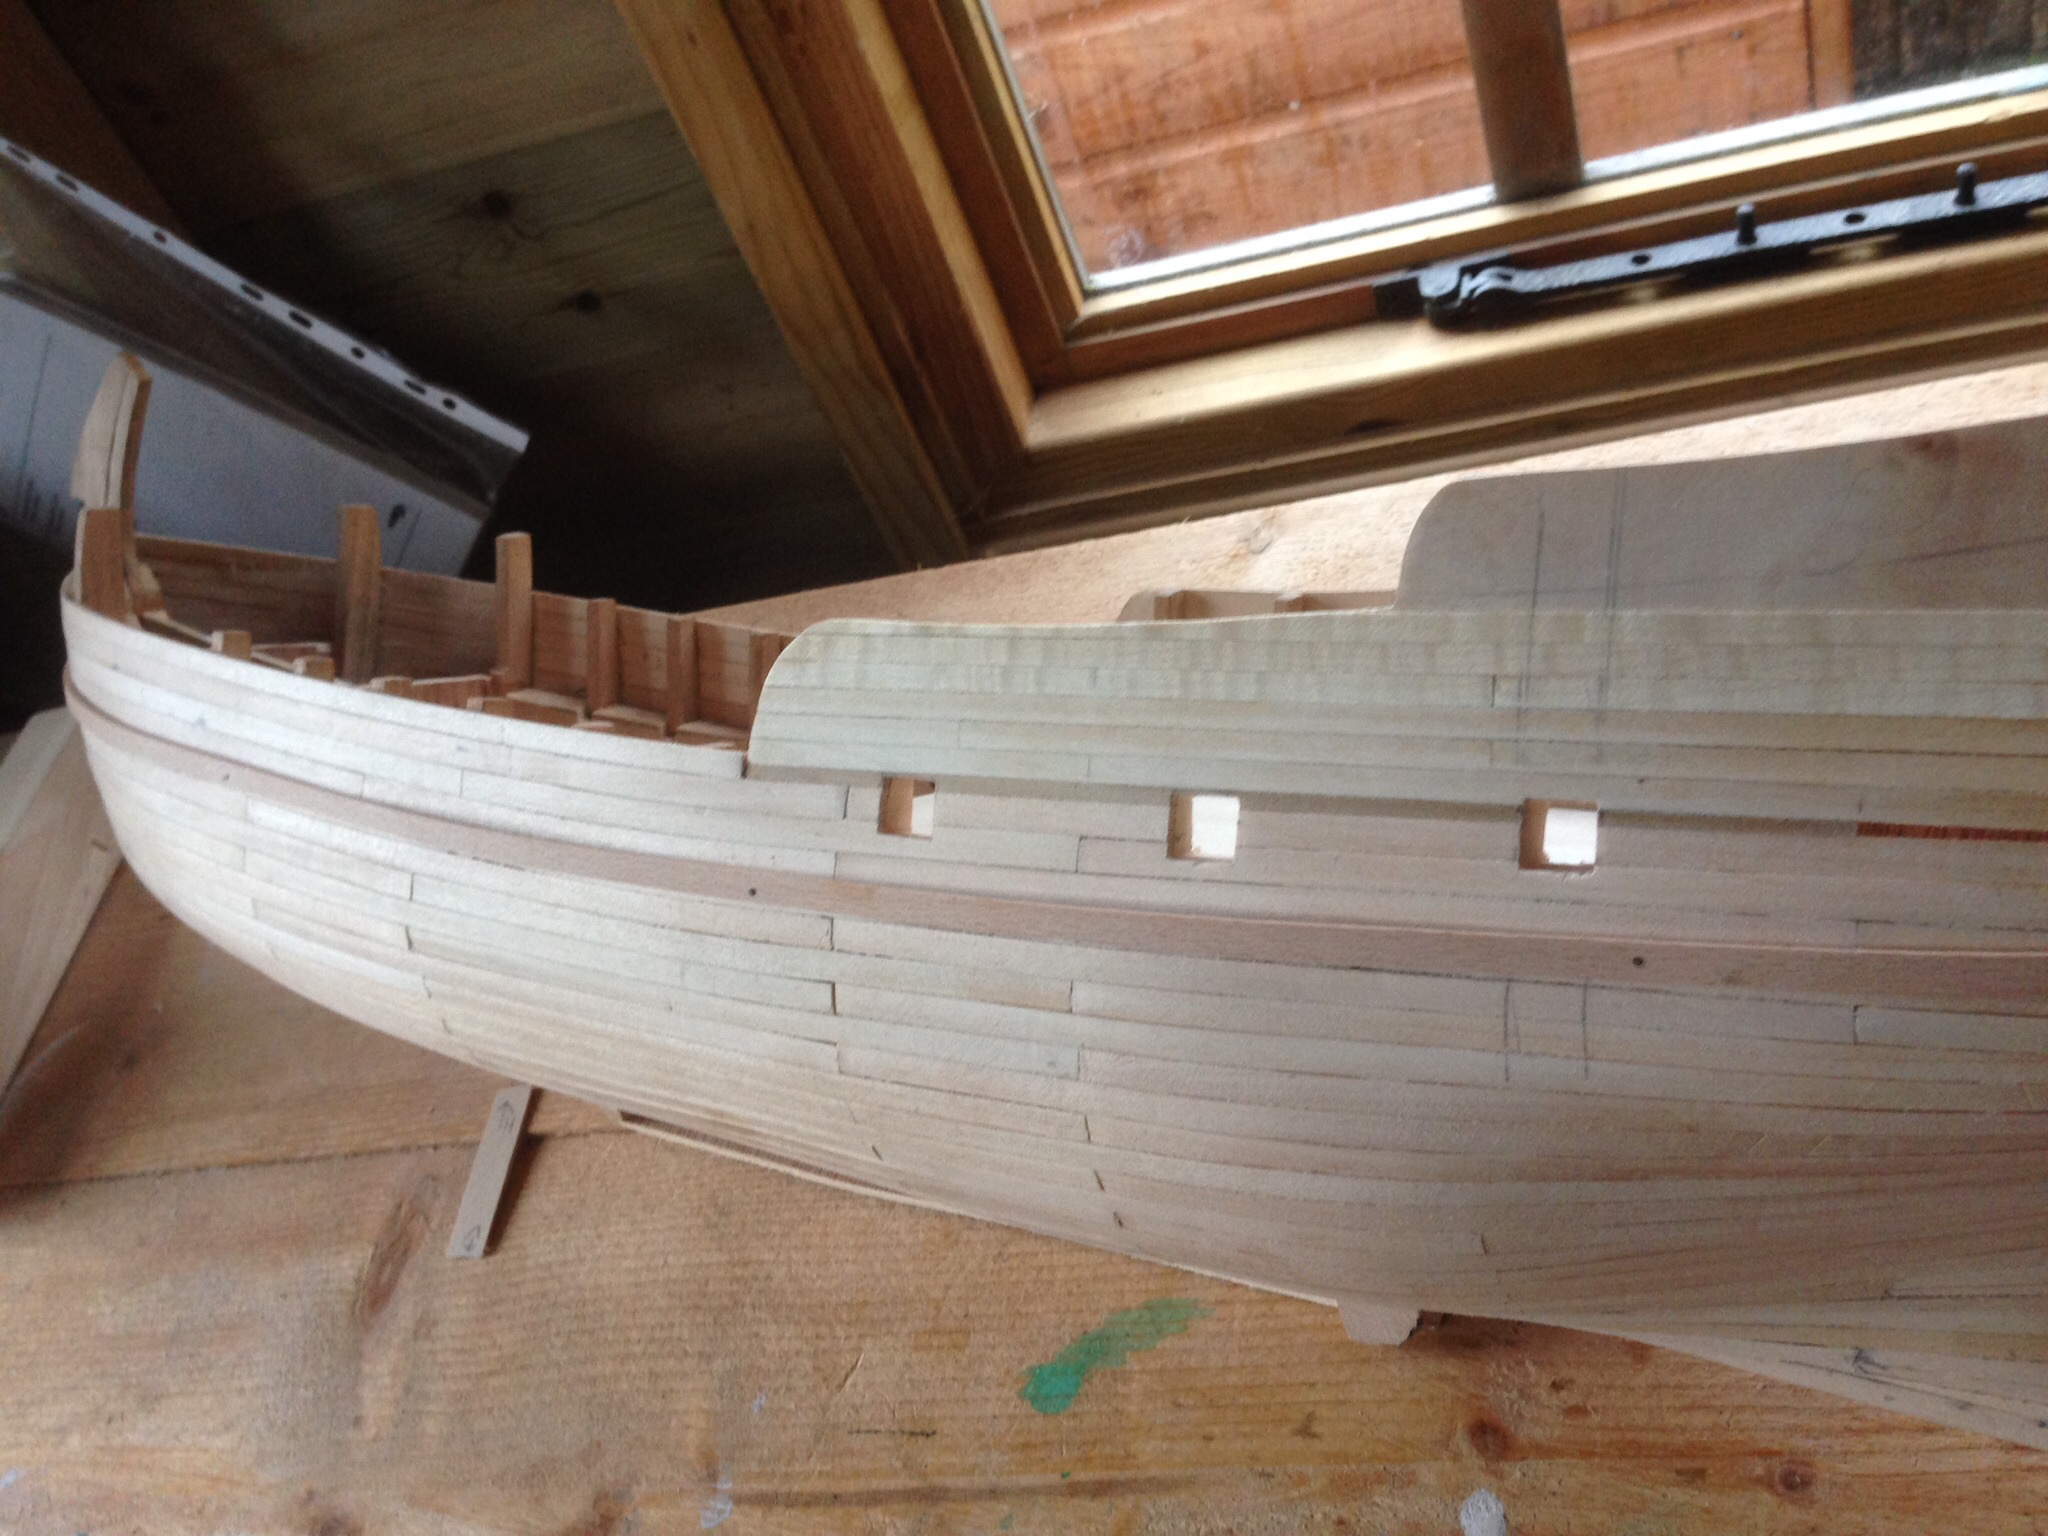
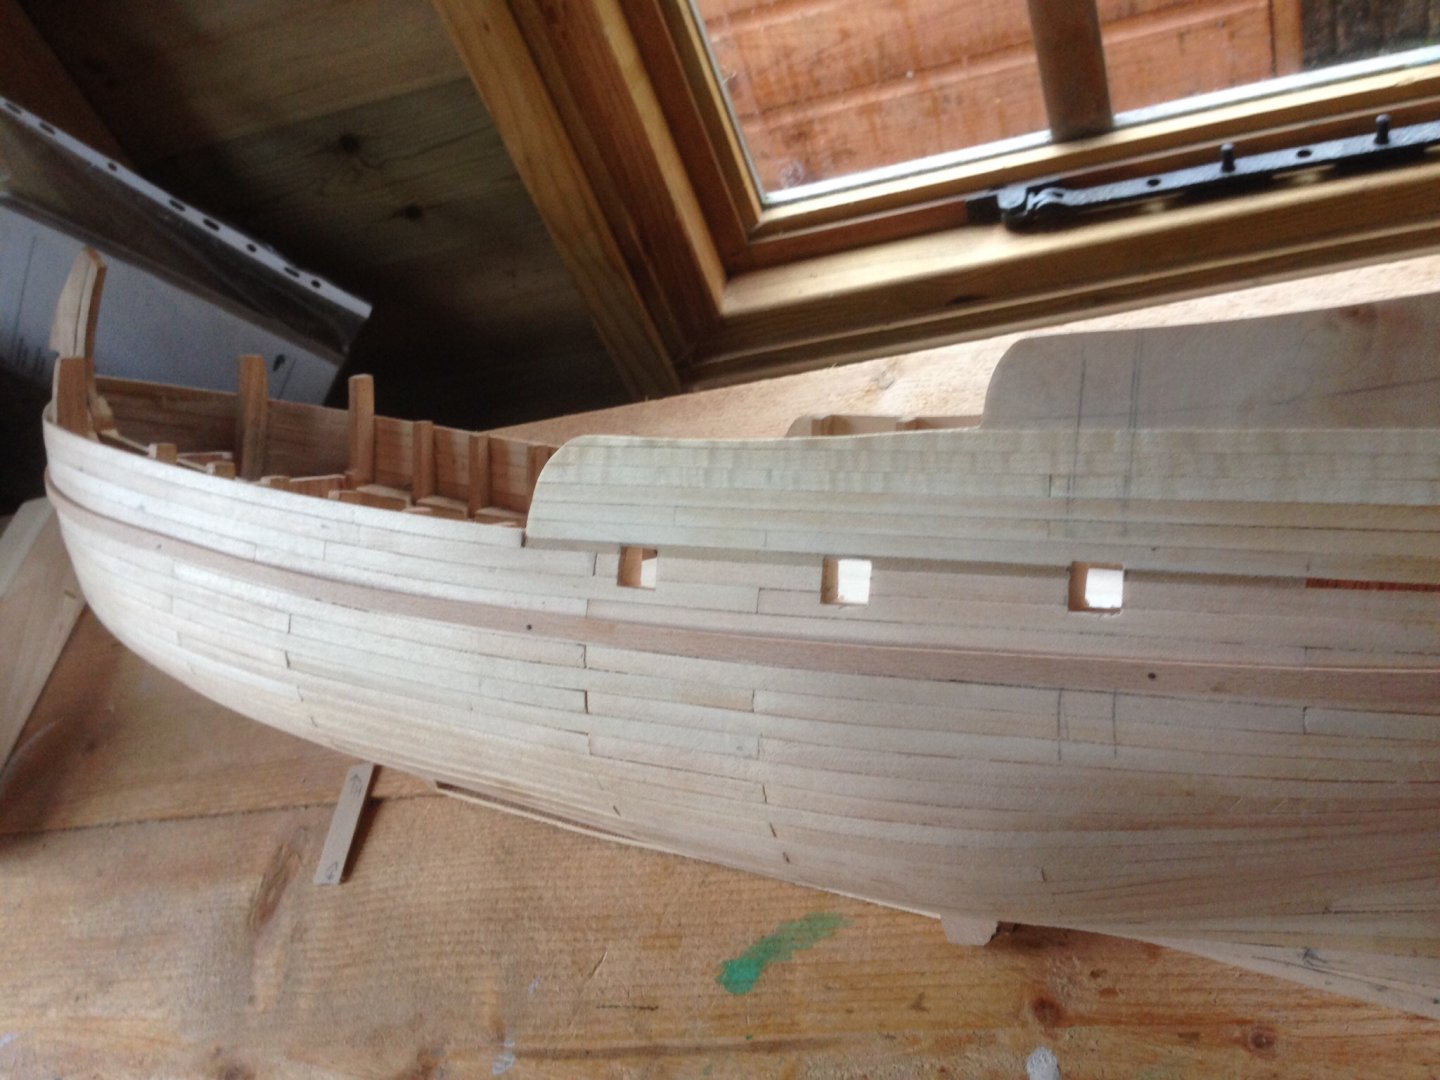
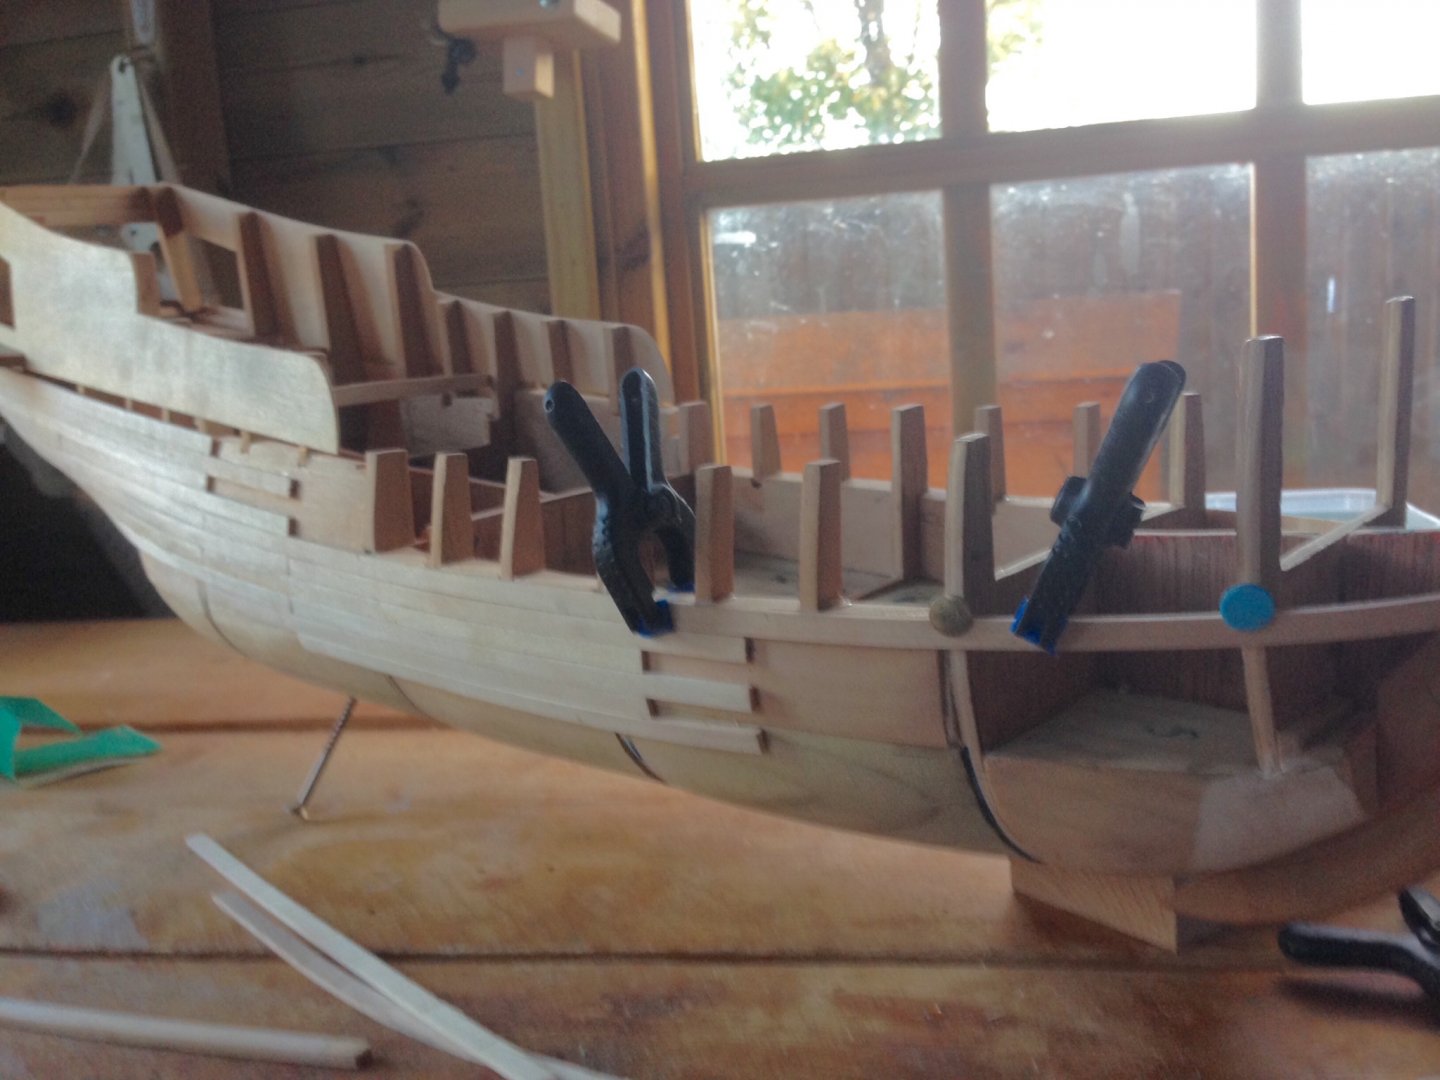
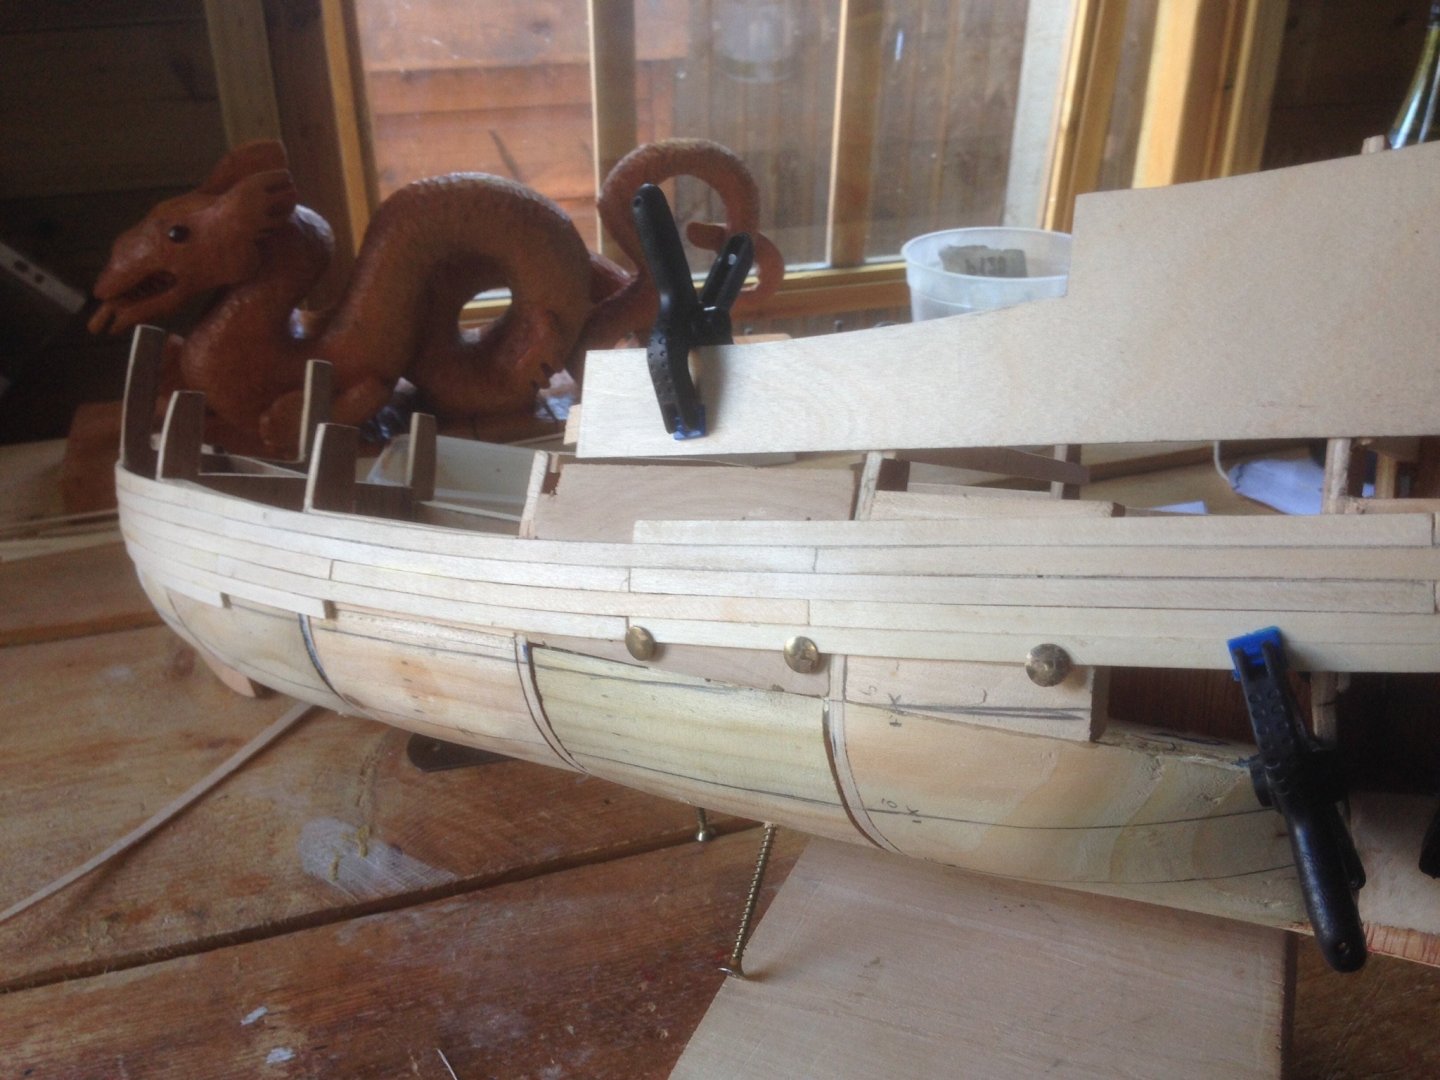
Cutting the gun ports was where it could all go wrong and have a lot of remedial work and relegated to that other model ship forum. Made some sanding sticks to shape them after drilling 4 holes into the hull , then belated remembered I had a square metal file which was far better at getting sharp corners. Better in the flesh than on film so happy, mind it was hard to get the ports as I wanted them. Pinned on some flexible beech as temporary wales to give reference points on what’s quite a large hull.
-
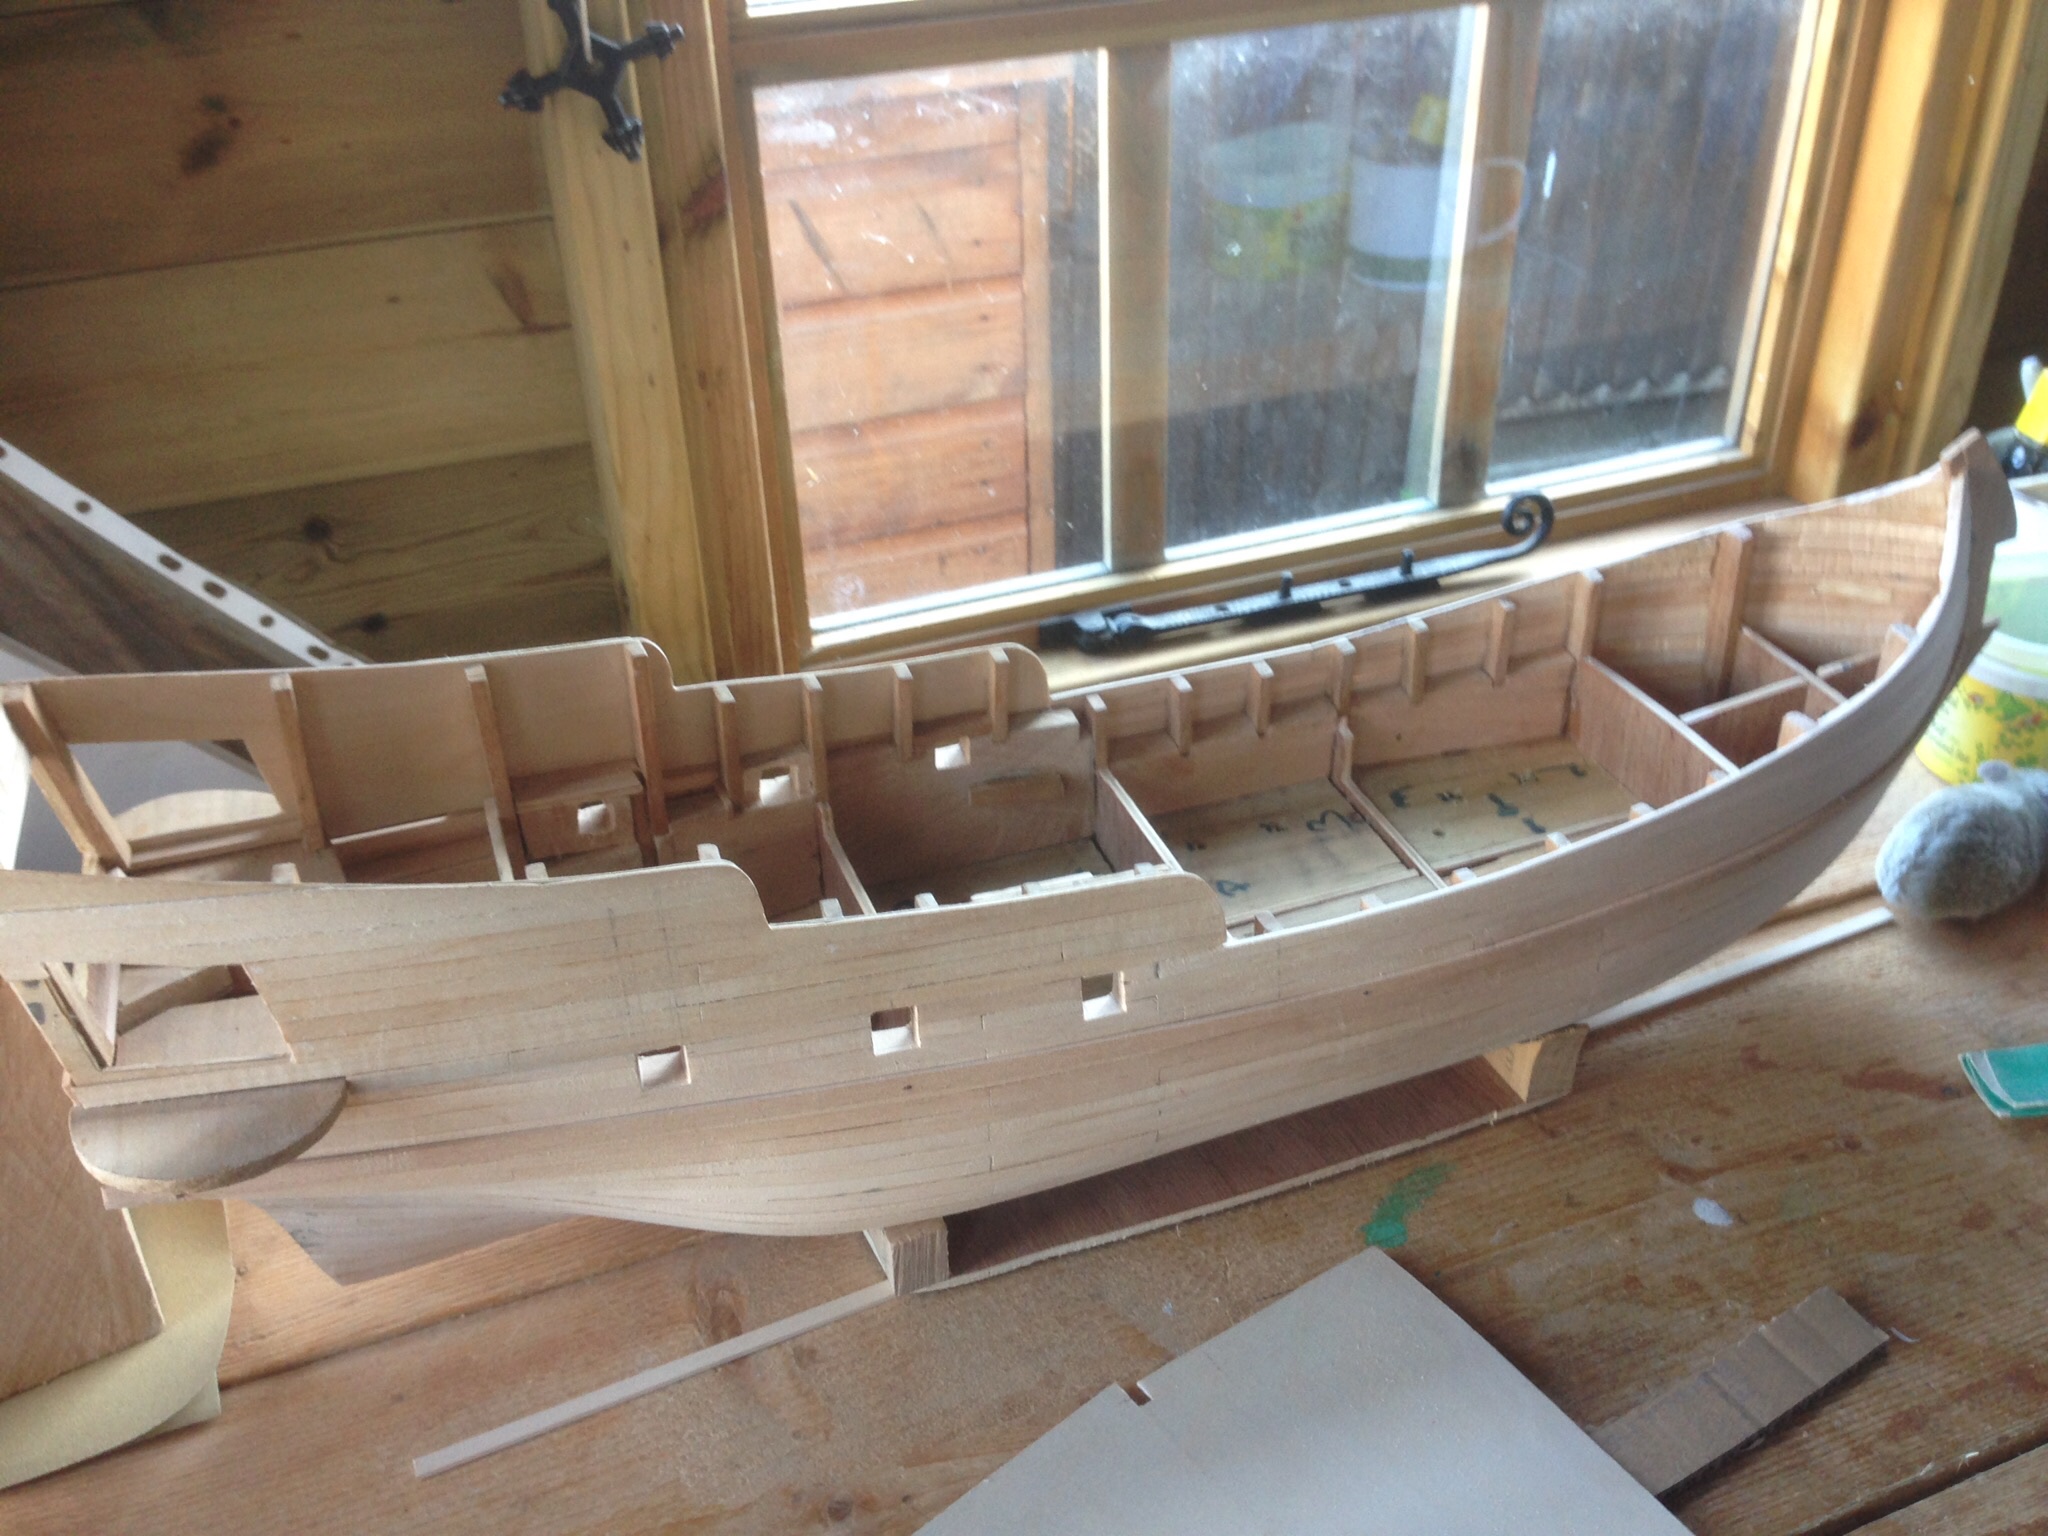
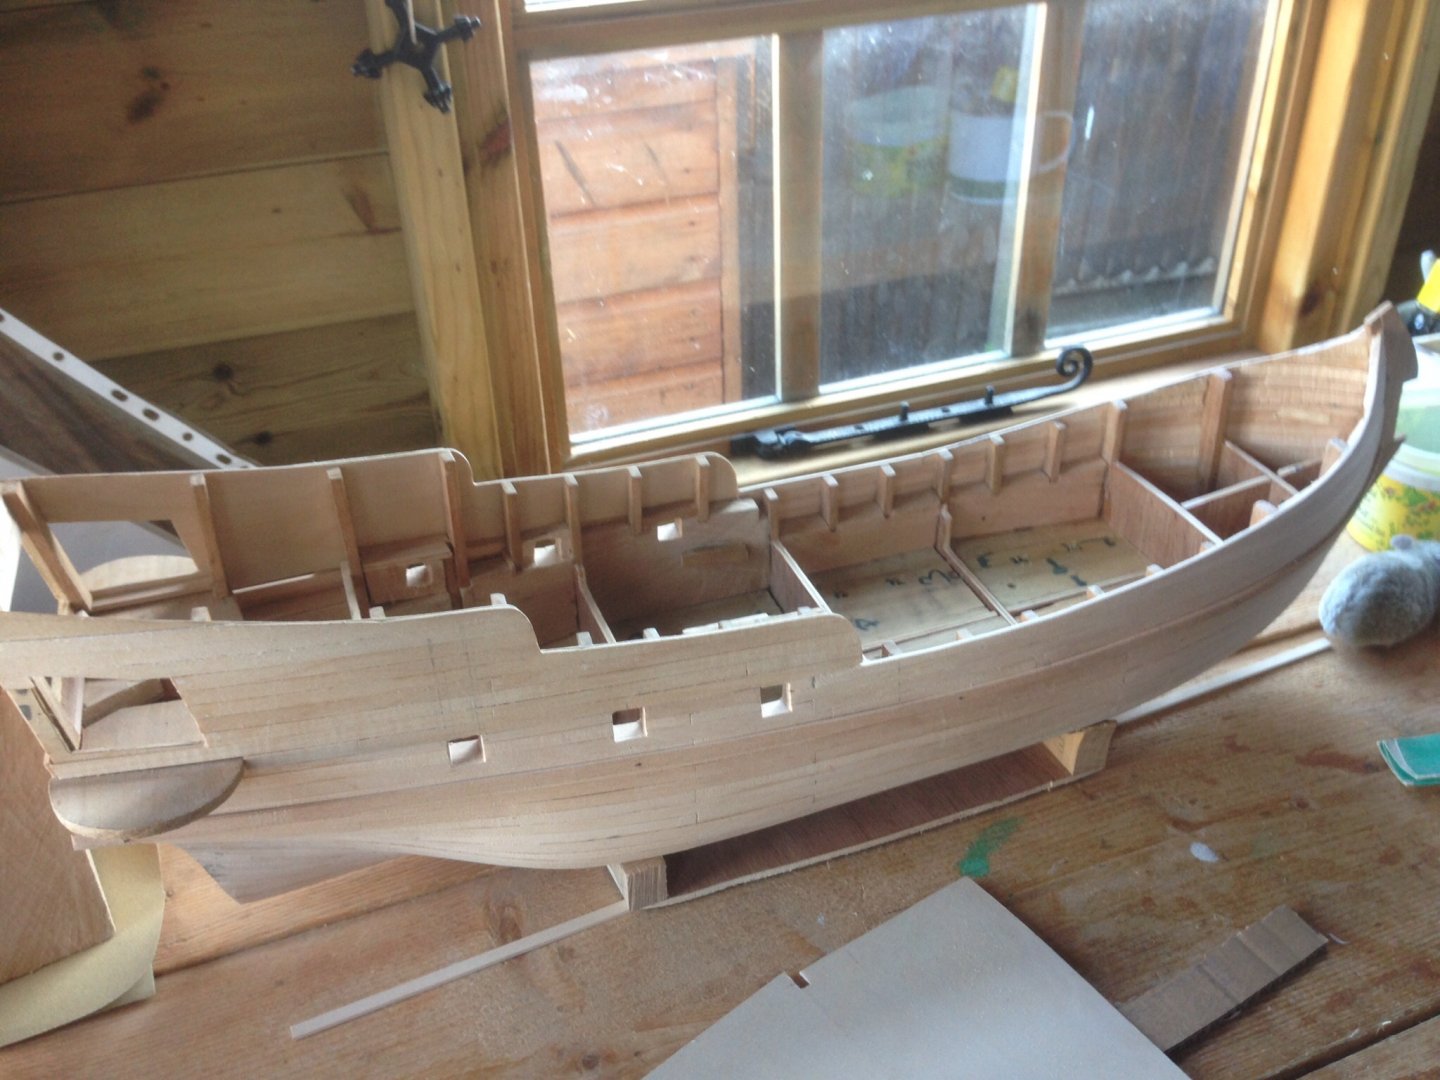
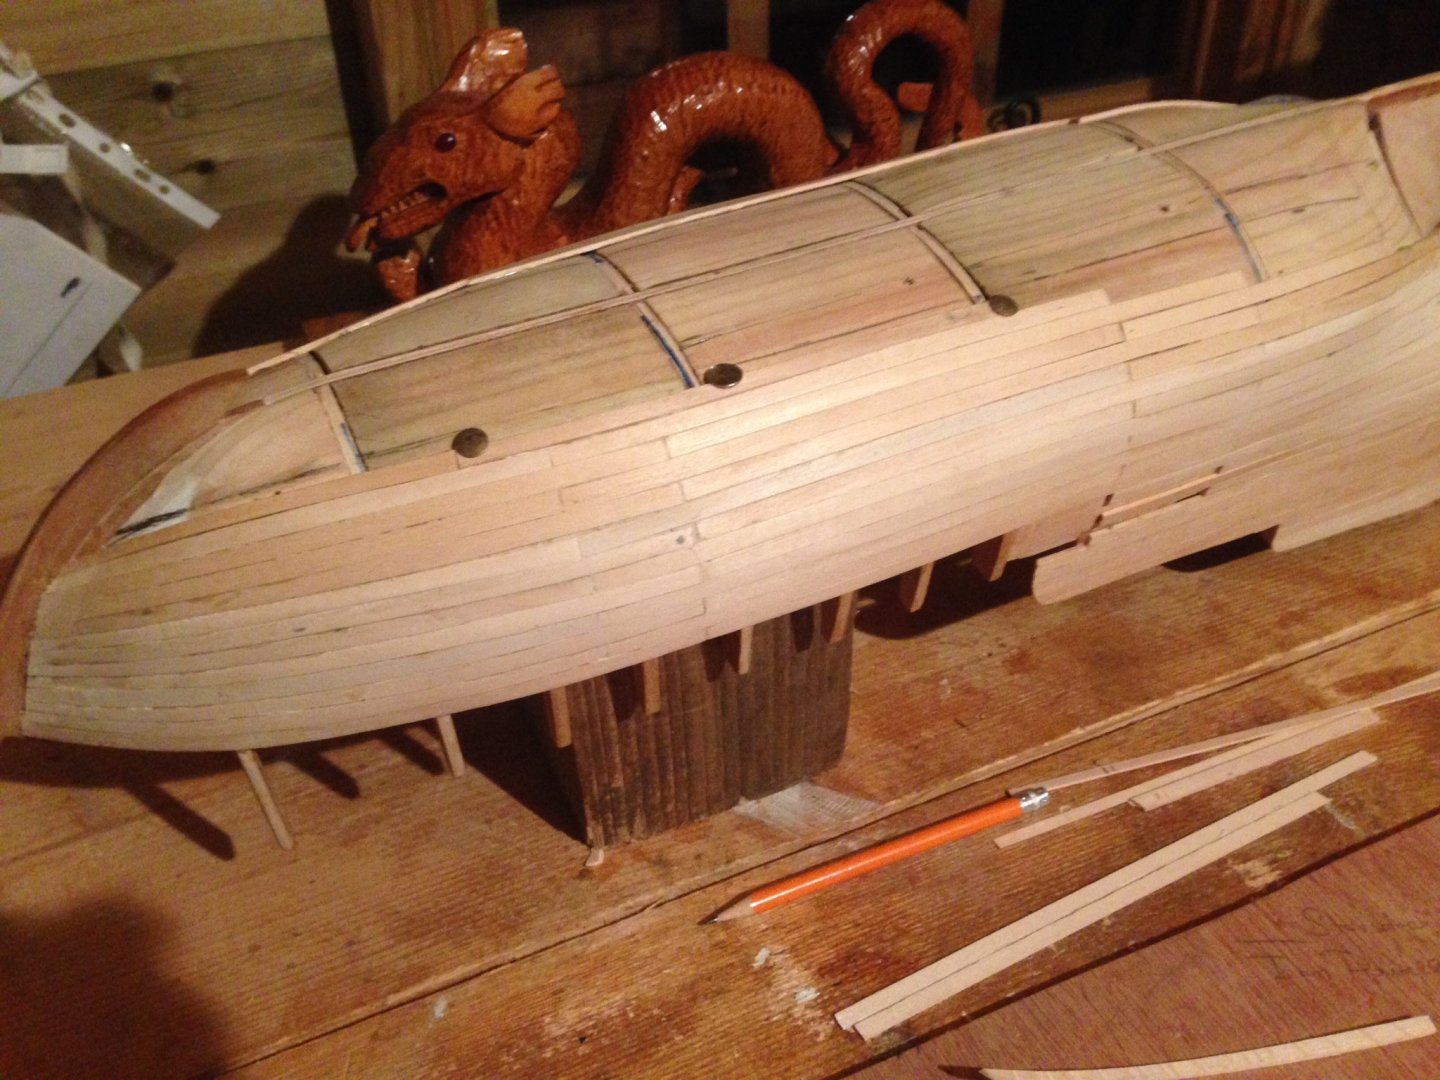
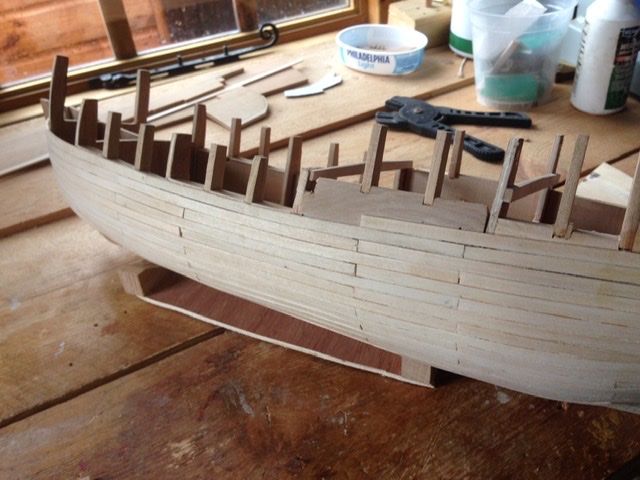
Finished 1st planking layer apart from upsweep at the bows. Got there somehow, replaced all tops of plywood bulkheads with cherry, and planked onto these. Next on the list cut out gun ports, then decks before planking. Read an interesting novel based on fact, the Floating Brothel, English ladies convicted of crimes, mainly petty, transported to Botany Bay in the 19th century. Interestingly mentioned the height between some decks, only 4.5 ft.

-
It’s a shame, just leaves Cornwall Model Boats for on line orders in the UK for timber, parts etc.
-
Thanks everyone, added my thoughts in my last post and will book mark the thread as a point of reference for the future.
-
Well my initial post has started quite a discussion. Thanks ‘ No Idea‘ for all your comments. I know exotic woods and have visited the store, a veritable Aladdins cave. Milling wood is out of the question as I don’t have the space and all that dust from thickness sanding, the thought of it makes me itch. Although there’s plenty of cherry wood available as people love to block print the front drive over & chop down any trees, especially cherry where I live. So if I was making a deck grating and gun carriages the milling machine could do the notches/ profile into a block and the table saw could divide it into pieces although I could do both with a table saw. Yes I am extra careful with tools now, I’ve used band saws safely for a couple years but jabbed a wood carving gouge into my palm a month ago, the scar show 10mm wide with a sweep of 7! Thanks Tony, think I’ll visit Axminster and have a look at their stuff, and see what I think of the Proxxon table saw. OPs edits of orig post Bob C thanks for your comments, so you’re very firmly the table saw advocate, especially Byrnes and it seems the consensus is that the mini table saw is the most useful acquisition. I guessed it's a key piece of kit for a POF model for doing the frames and keels. Surprised it could be such as versatile tool but then what do I know it's beyond my experience. Space issues mean a scroll saw and mini mill are off the agenda unless something changes although might treat myself to a disk sander. Definely look at some small jigs for hand tools. Jaager thanks for your input, you've pursuaded me against a mini mill. Anyway to everyone a big thanks for all your help and suggestions I'll keep this topic book marked read it again, several times.
-
Quick post - must read all the replies to my question about which machinery to buy and thank / reply to all the Members who took the time to give me advice. All planking below wales done.
-
Thanks for the replies, I’ve had a good look at discussions on the various merits of scroll swaps and table saws on this forum but there’s a lot less about mini milling machines which are something I know little about. If you take milling/planking your own timber out of the equation would a Byrnes table saw or a mini mill be of more use for the tasks I listed. One’s thing for sure won’t be buying without seeing one or close equivalent in the flesh.
-
Advice needed, looking ahead in my Polacca build which is relatively large scale (1/32) for doing the fine work after finishing the structural stuff, not there yet mind more planking to do. What would be really useful, table saw, scroll saw or mini milling machine. Never used any of these and very little knowledge of milling machines Budget no real problem, but space is, can only get one of the above in my shed and it’s unlikely to do everything obviously. Parts to be made: Gun carriages capstan, stern window frames deck gratings scarf joints for keel, deck planking deck gratings small parts- stern lanterns
-
Planking pins/nails
Slowhand replied to DaveBaxt's topic in Building, Framing, Planking and plating a ships hull and deck
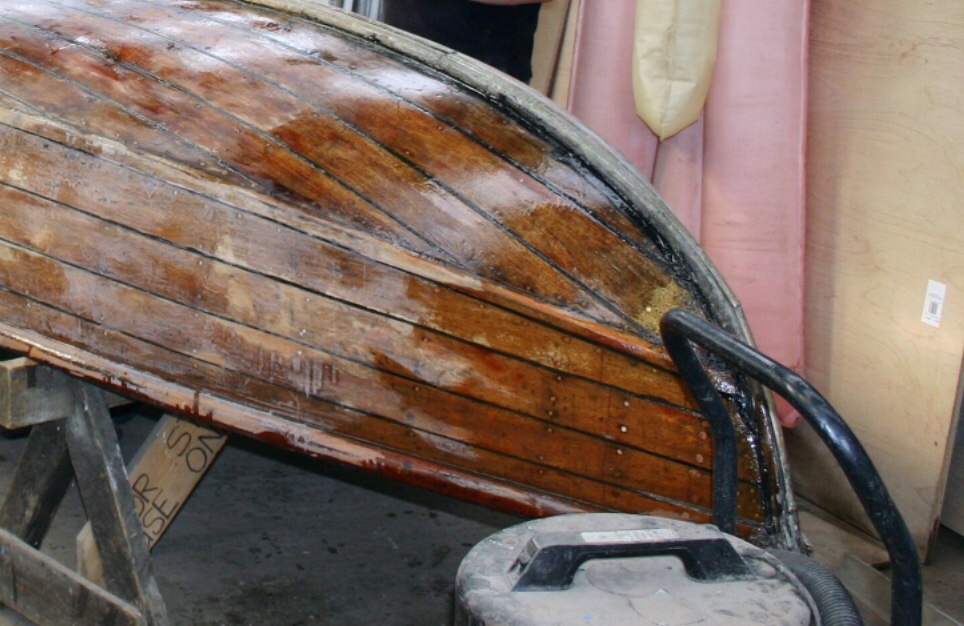
Hi Davebaxt, I always use the copper pins supplied with Corel, Occre to fix the planks, both first and second layers, once you’ve got the wales in place. No need to push them through the timber, use the edge of the pin head to hold the lower edge of the plank down and fix into the bulkhead. The upper edge rarely needs anything, when dry pull the pin out and reuse. Always thought treenails were for appearance rather than structural in models. Picture attached is a scratch build hence drawing pins but it shows the idea.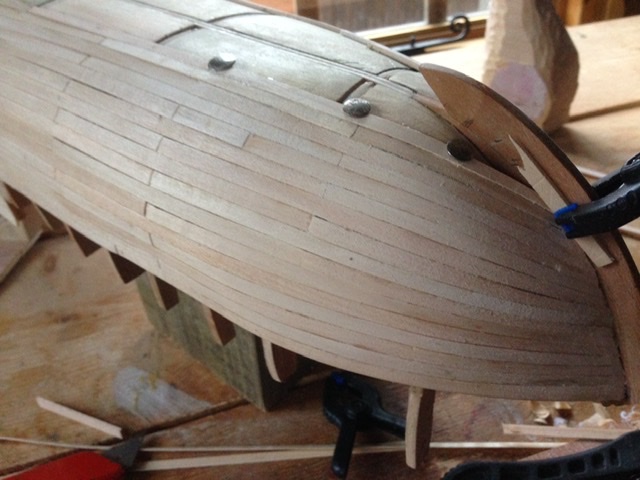
-
Hiya David, I think part of your confusion is that your Yacht Endeavour is certainly not bluff bowed. Capt Cooke’s Endeavour has a typical blunt bow which is amongst the hardest of hull types to plank well. Many build logs showing planking are on this site,
-
More photos of planking, 1st layer, and first bit of main deck.

-
Looking for plans or possible models of Magellan's ships.
Slowhand replied to J11's topic in Nautical/Naval History
Just spotted your Fantastic account of your adventures in Patagonia, brings back memories of my visit in 2007 and more recently in 2018. Saw the Nao Victoria from a distance but had to rush to catch a coach to Peurto Natales for a Torres del Paine trip. -
Girona by augustus
Slowhand replied to augustus's topic in - Build logs for subjects built 1501 - 1750
Who would have thought a simple bread and butter build would have lead to such a fantastic build. -
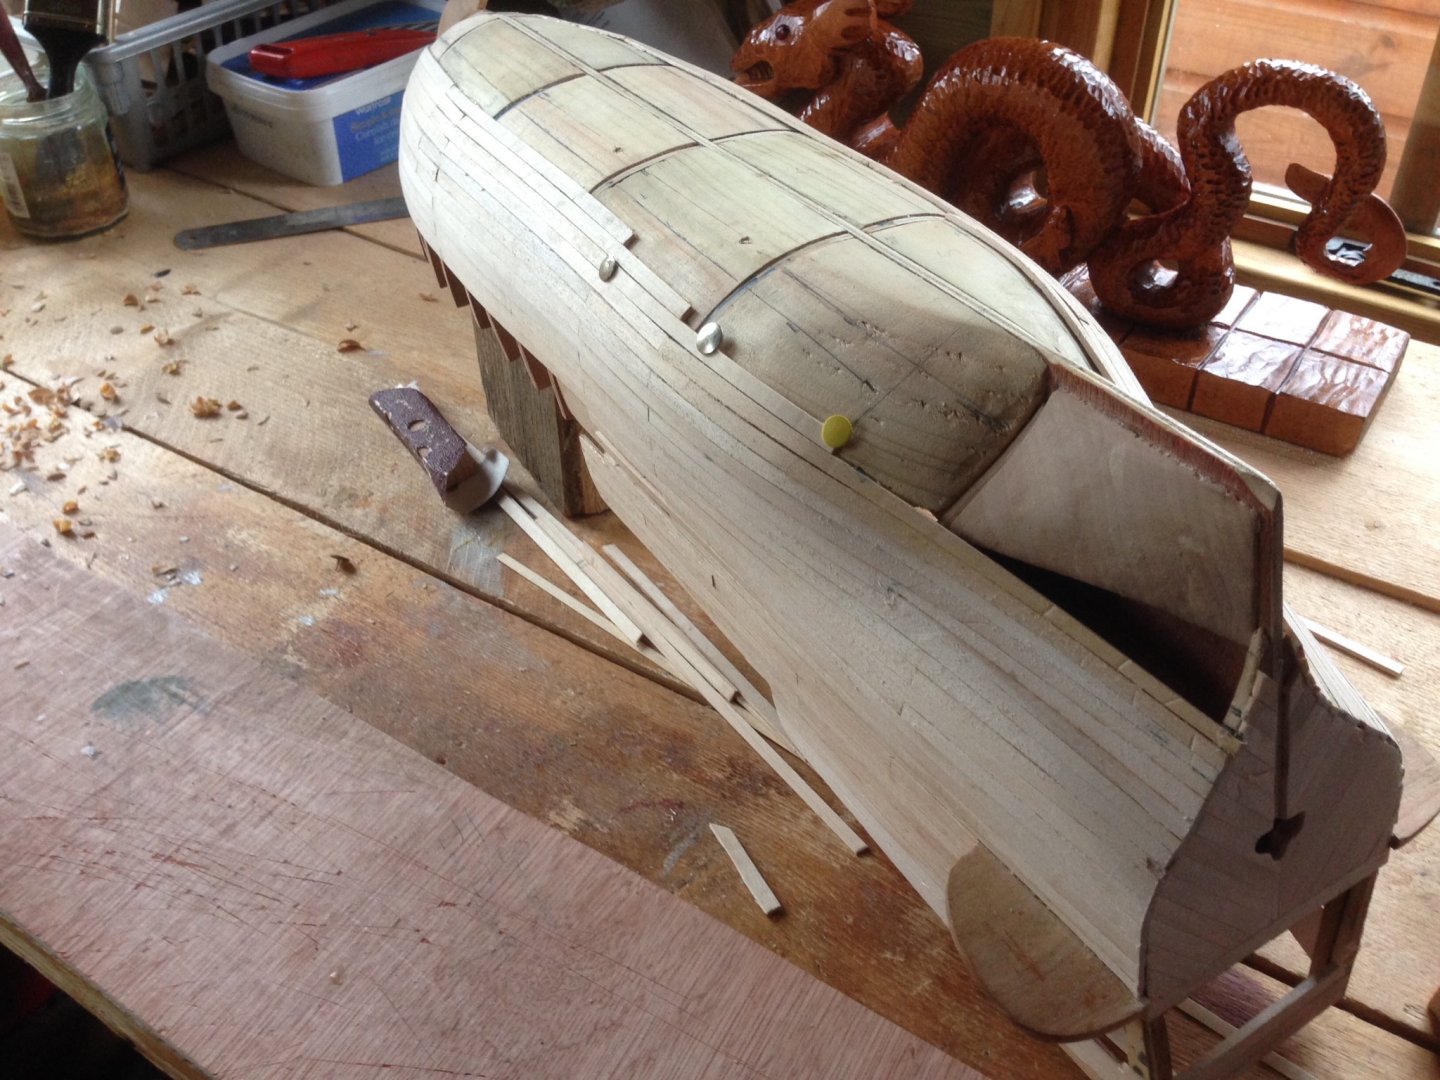
Probably my last posting for a month as back to planking the hull. Finish port side below wales all of starboard below wales then stern area both sides above wales. Just first planking layer as well! This will be a long build but pleased that everything seems do-able, will meet the challenge of the stern carvings much later.

-
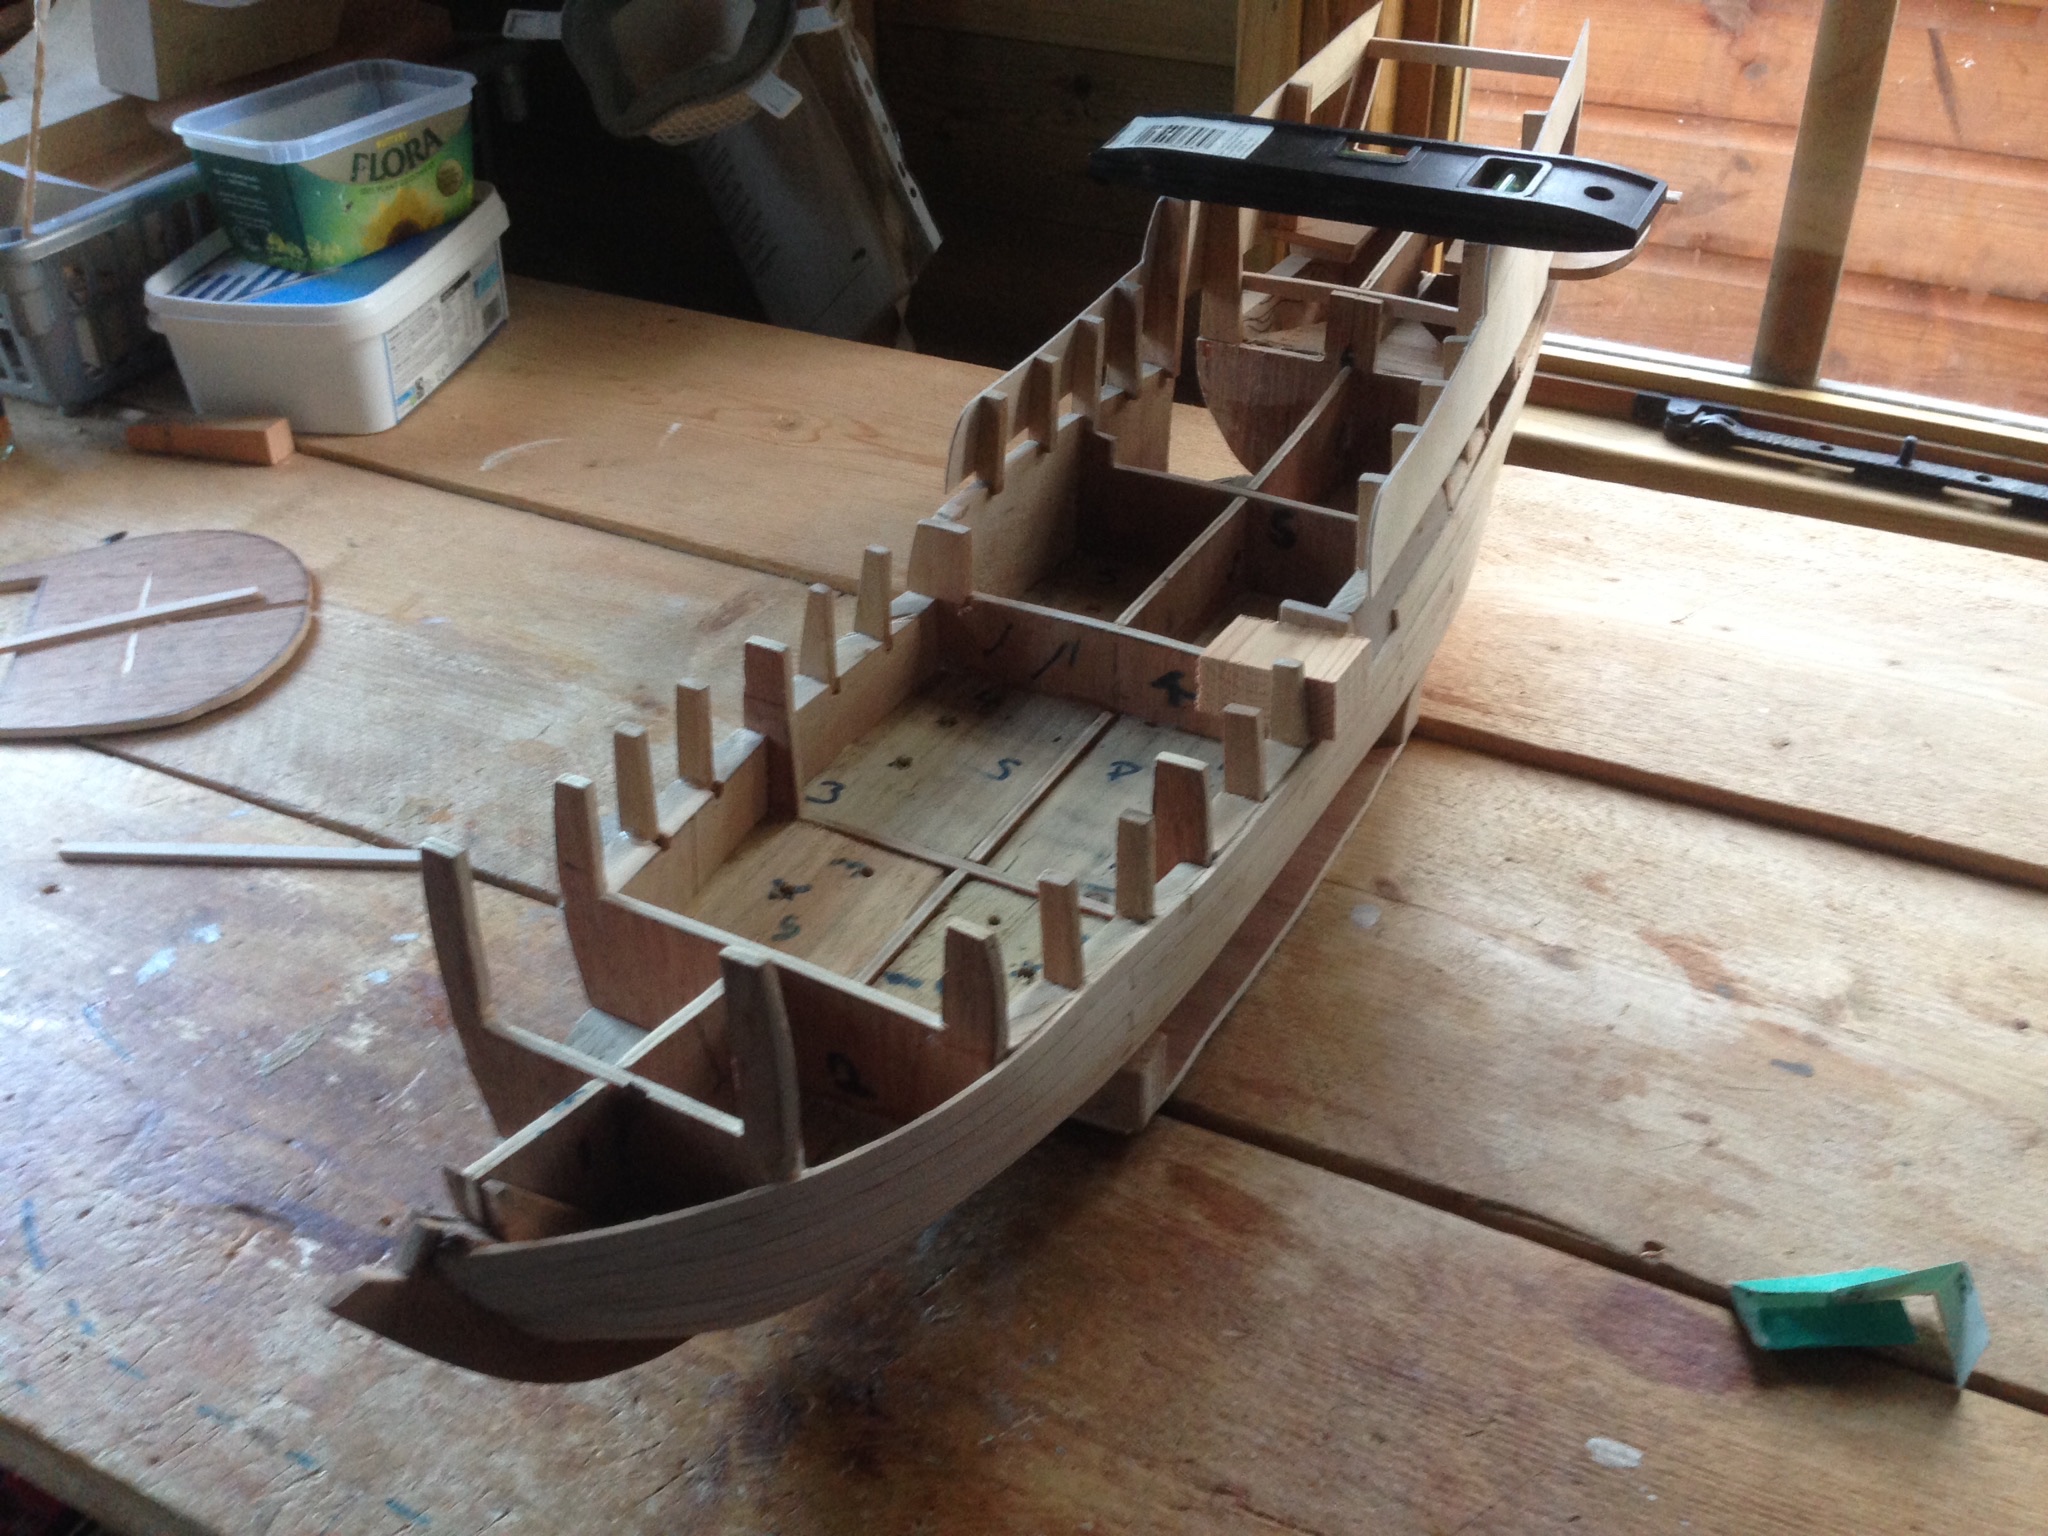
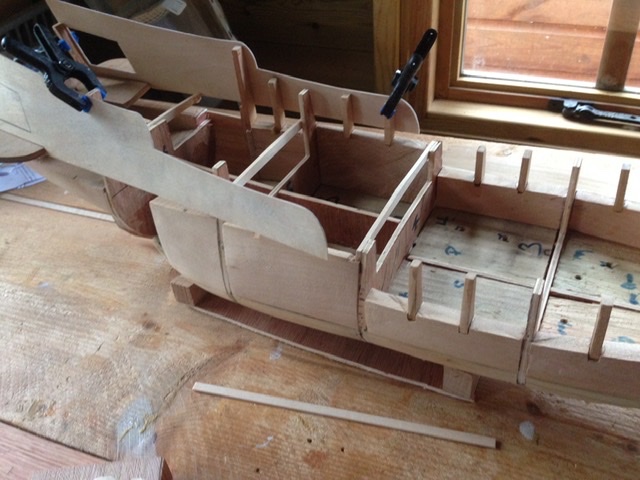
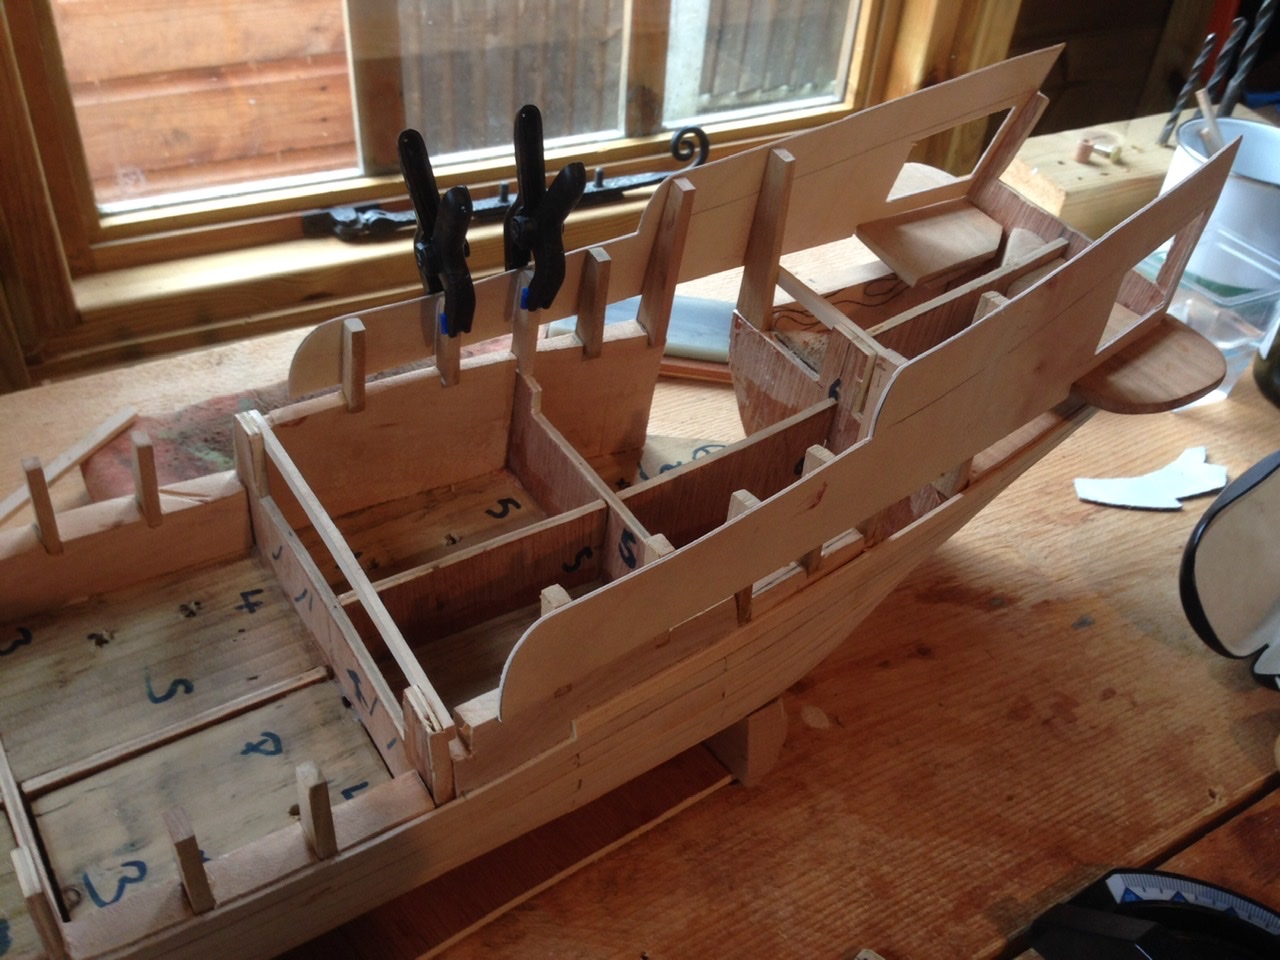
Latest update, decided to add some pear wood ribs to aid planking and to ultimately remove plywood bulkheads so it will look better I hope in the future! Really wanted to check this change of tack will work so put lower hull planking on hold. Using the plywood sides, if I plank them with 1mm thick strips will be flush with 2mm thick planks already in place. All plywood bulkheads on stern half of ship replaced with pear.
-
Thanks Louie/ skerryAmp for the likes, scratch building certainly has its challenges bit of an understatement from my point of view. Just plodding on with the first layer of planking allowing me to think ahead. Looking for advice, a ship of this size ~ 50 ft, would the bulwarks be left open showing the top of the futtocks or would they be planked on the inside. If the former, might have to add some frames and consider removing the ply bulkheads just as Backer did in his Pelican. If they were boxed in life would be easier.

-
Hiya Backer, I guess you use a scroll saw for the mast tops which one, great work by the way love the wood staining to give the weathered look.
- 756 replies
-
- 2
-

-
- galleon
- golden hind
- (and 2 more)
-
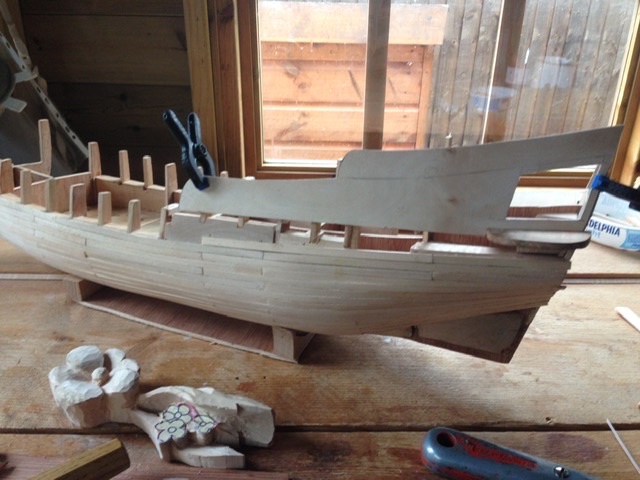
State of play , planking below the wales, planking one the most satisfying tasks for me. Split the lower hull into 4 zones and tapering bow end of planks. Just about finished 1st zone, quite a sharp bow so not too difficult.
-
Thanks Bruce, I used my bandsaw today with a new blade 1/4” and 4 tpi cut quite straight although it was a bit of a beast and not exactly a precision tool. First time the rubber tyre came off just about straight away so I superglued it back on. More sanding work on the in fills so nothing worth photographing today.
-
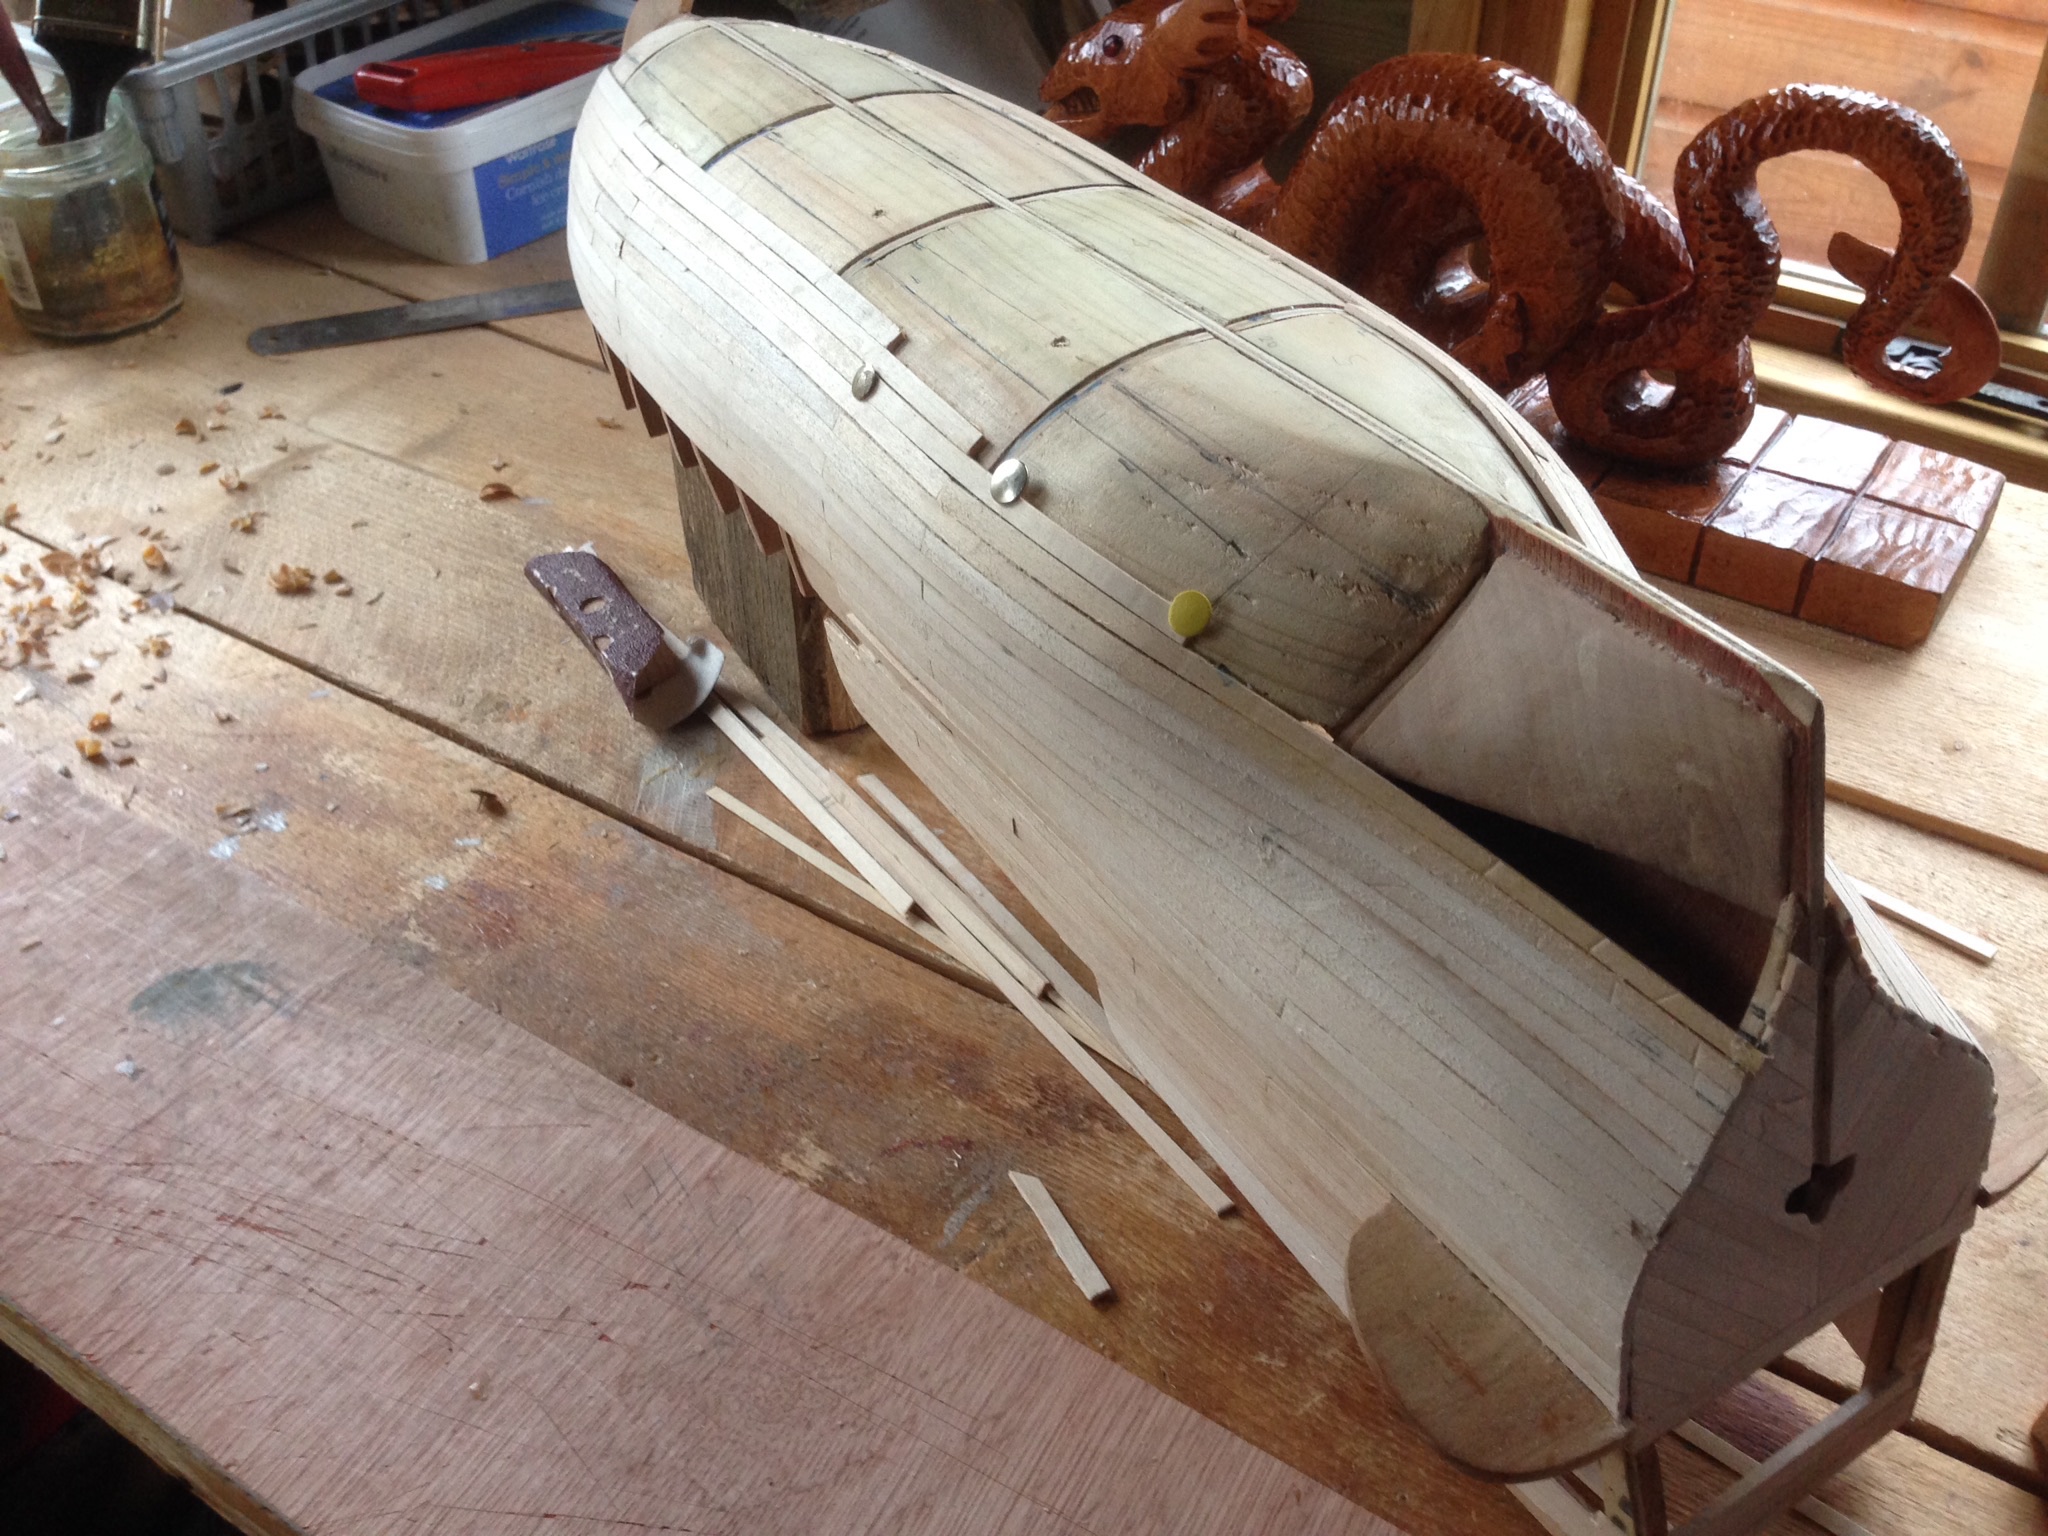
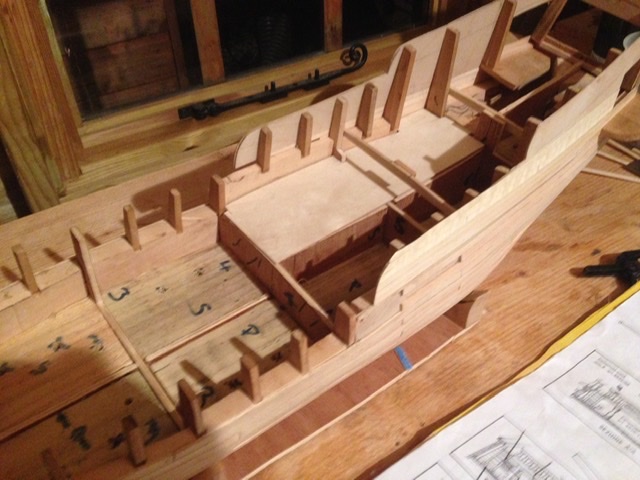
So far so good added 10mm thick lime in-fills with wood left over from a carving project. Will in fill to just below the deck line. Easy fills done, now for the harder in-fills. Not sure if a I’ll use the ply bulkheads clipped on but helps me visualise the overall ship.