HOLIDAY DONATION DRIVE - SUPPORT MSW - DO YOUR PART TO KEEP THIS GREAT FORUM GOING!
×


Slowhand
-
Posts
296 -
Joined
-
Last visited
Content Type
Profiles
Forums
Gallery
Events
Everything posted by Slowhand
-
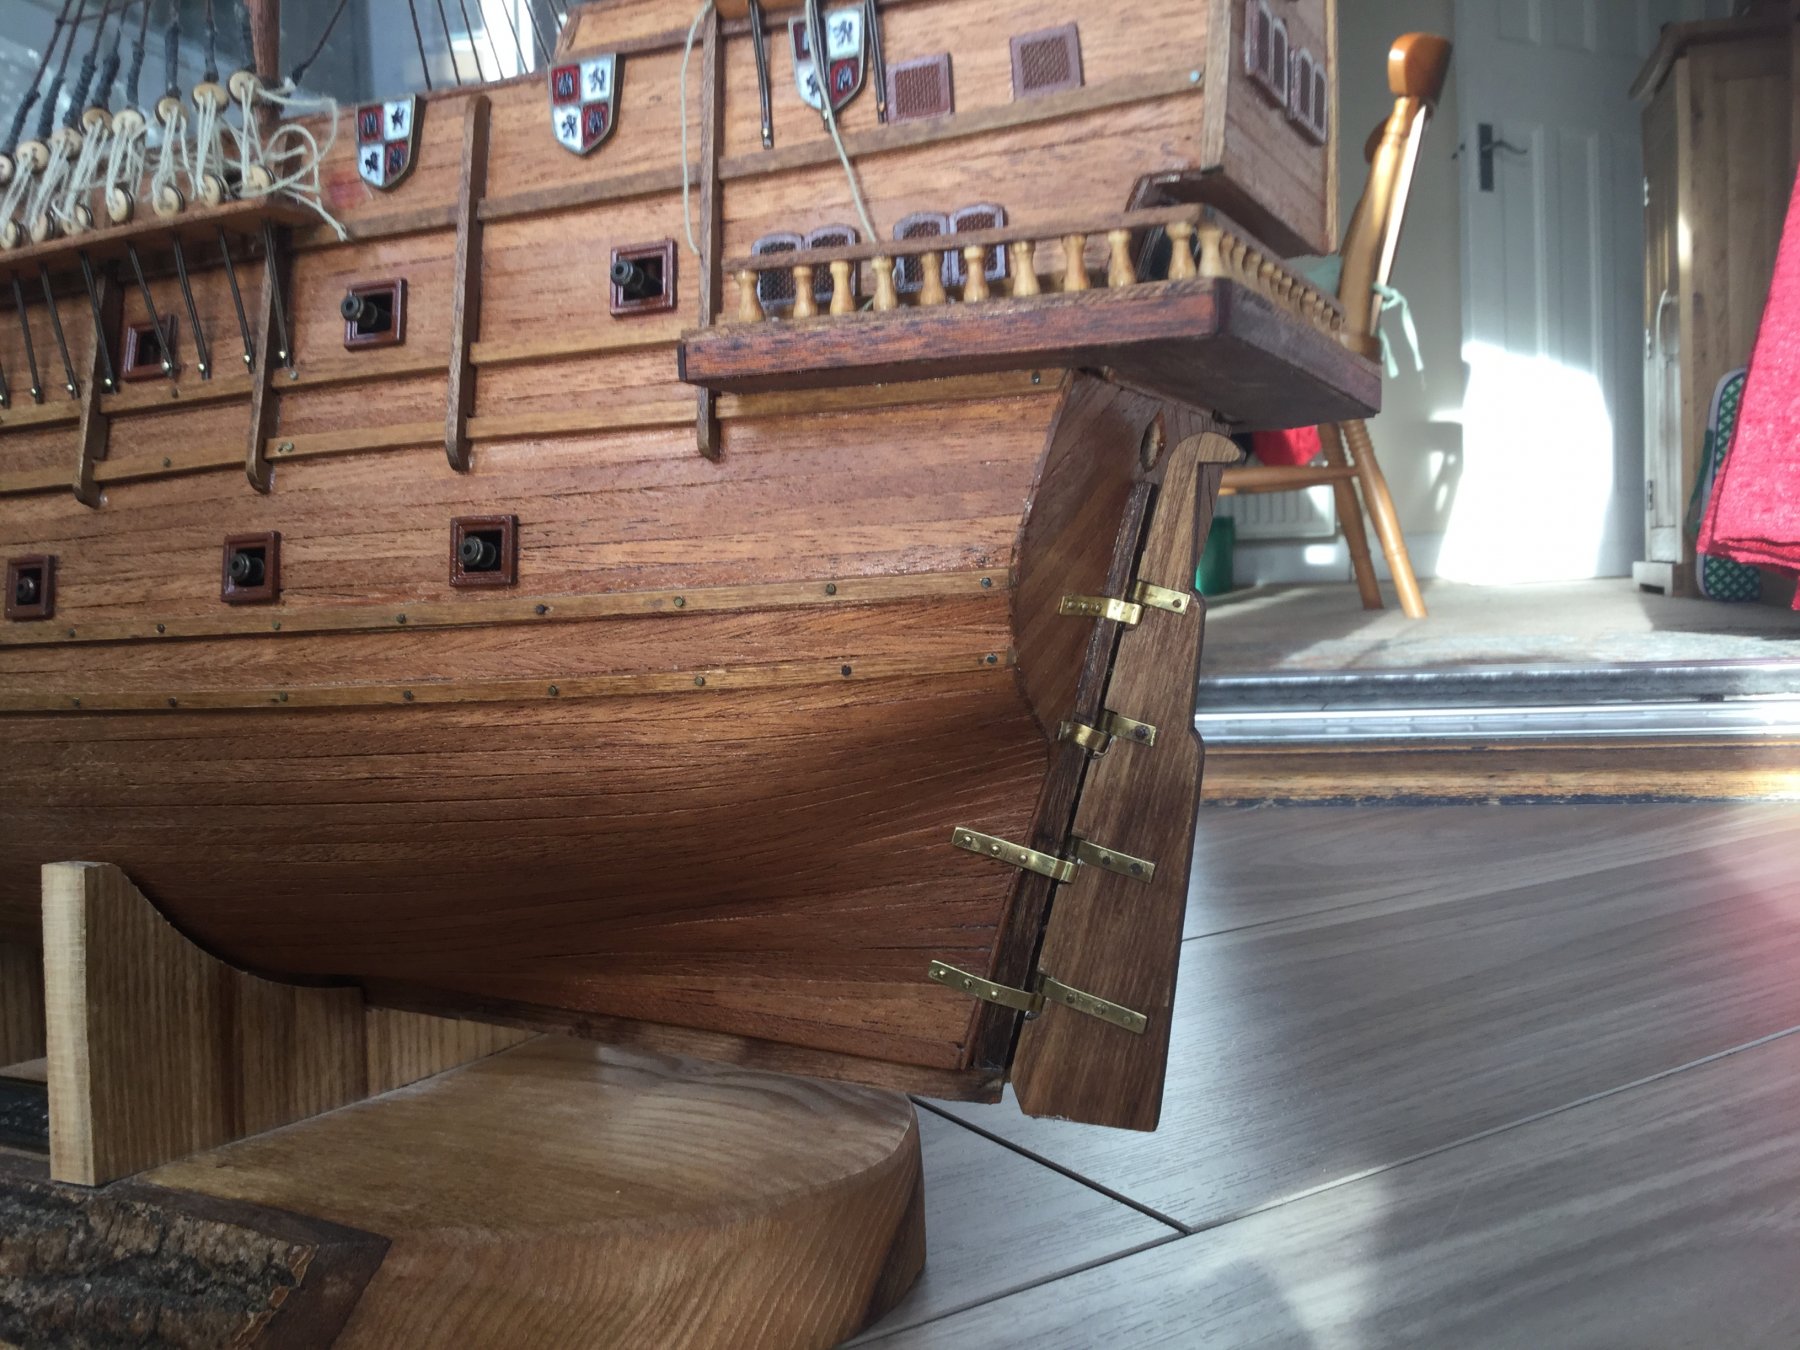
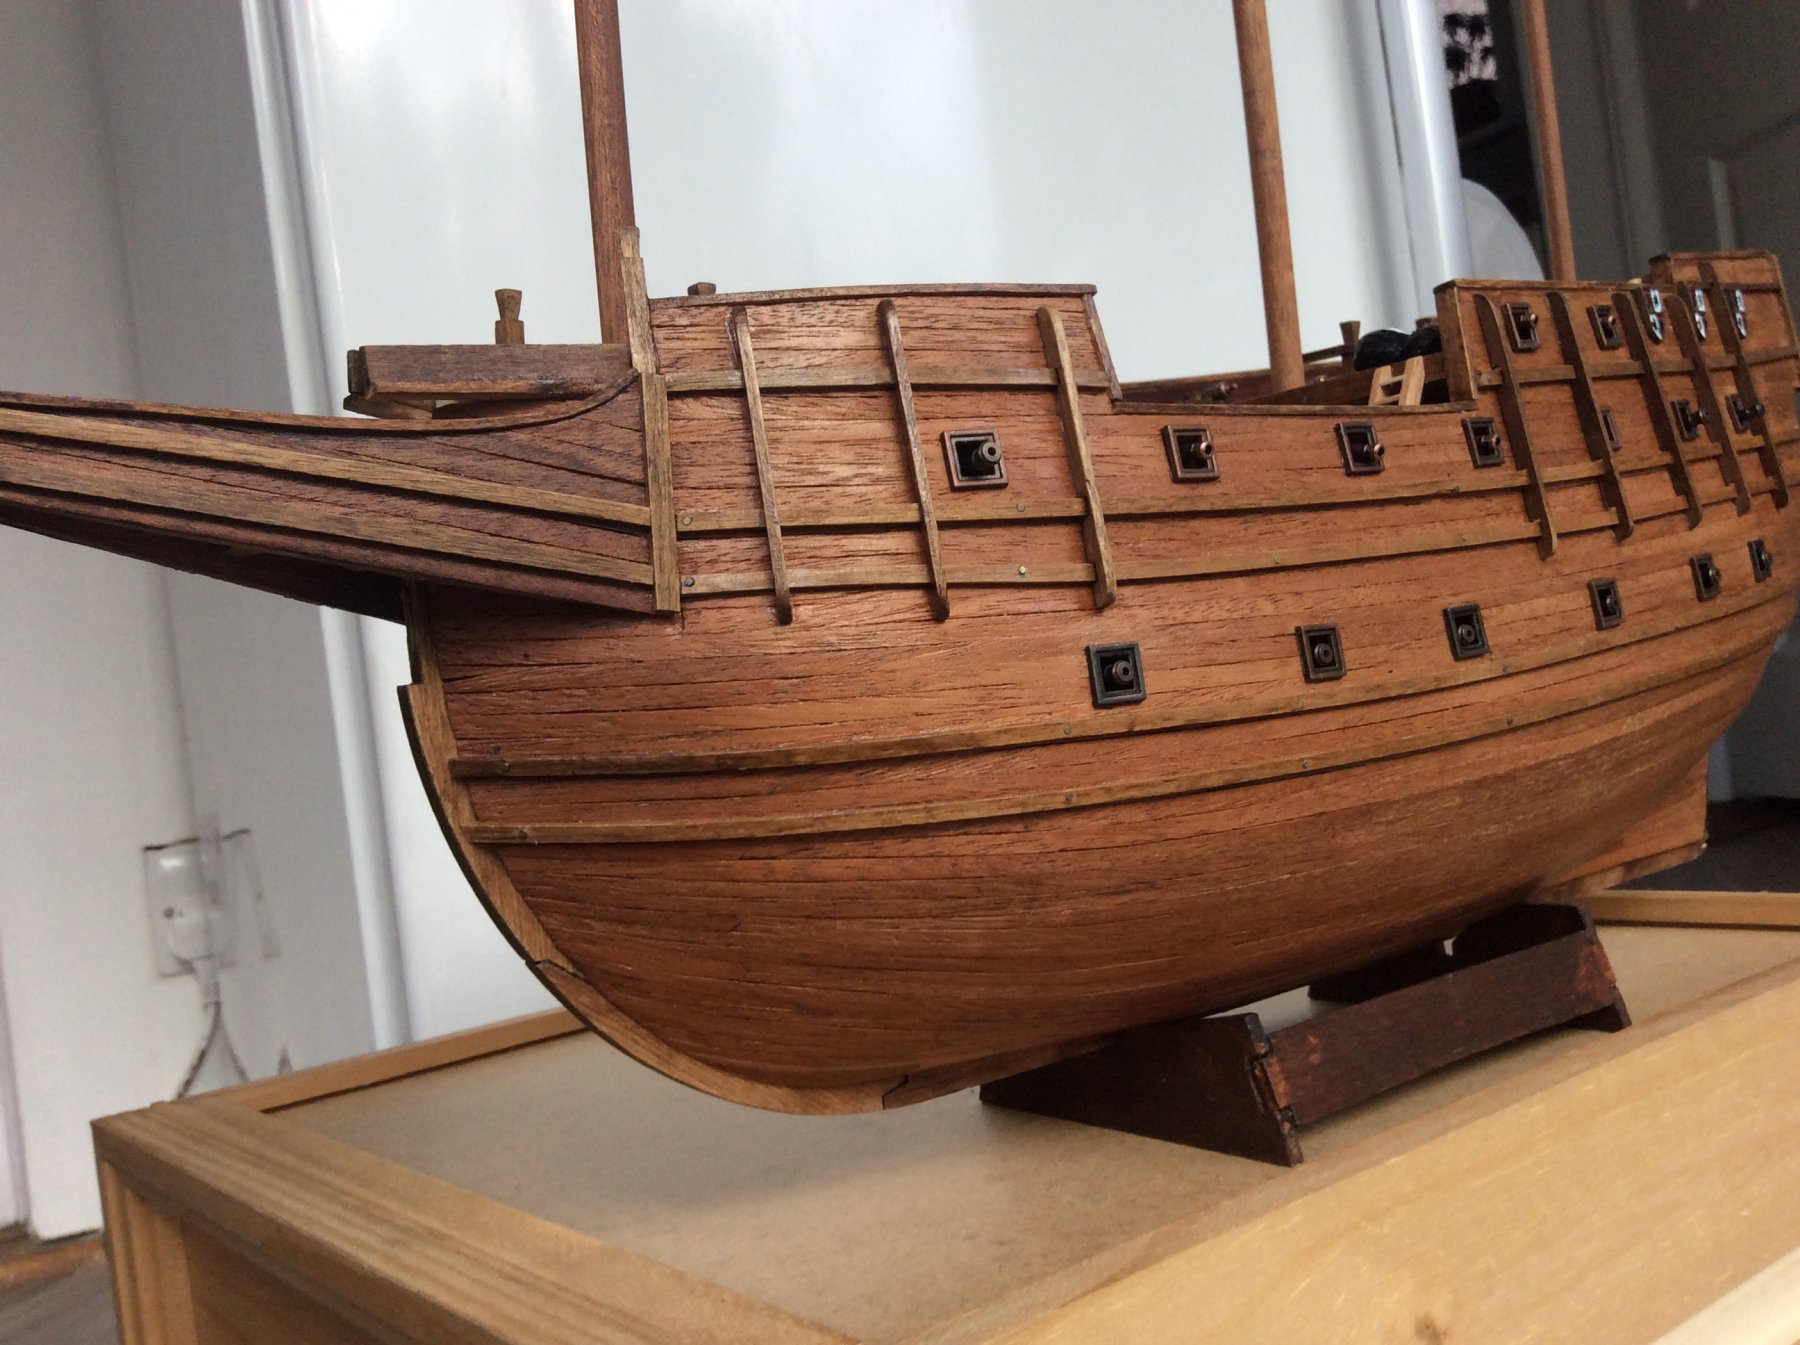
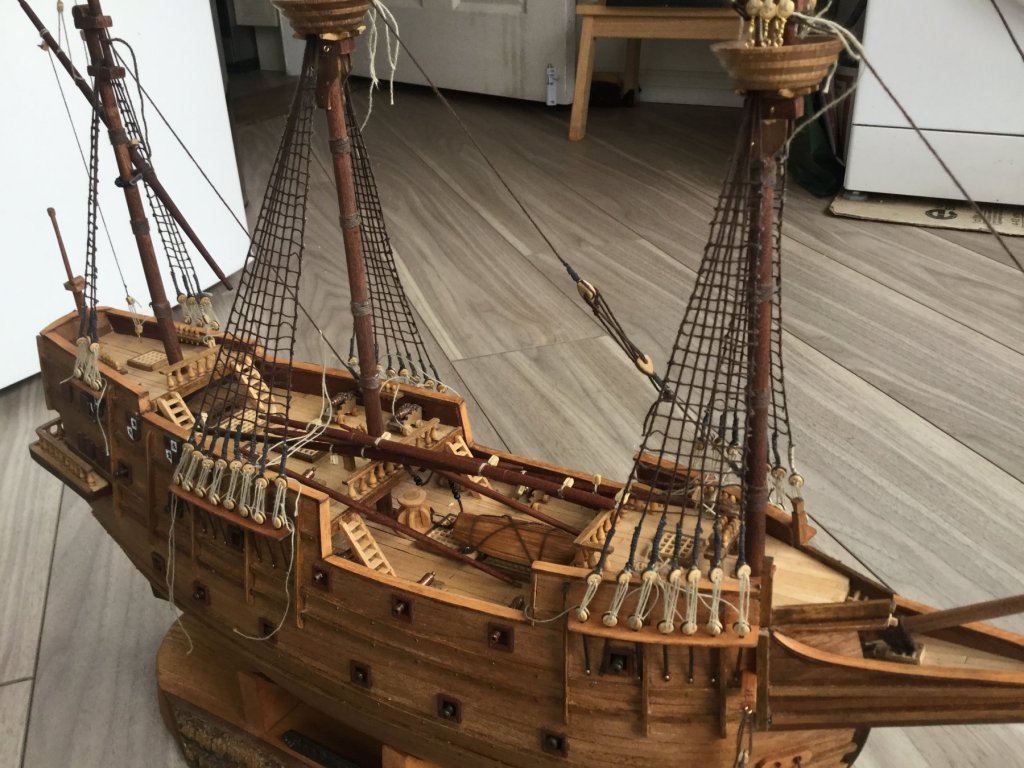
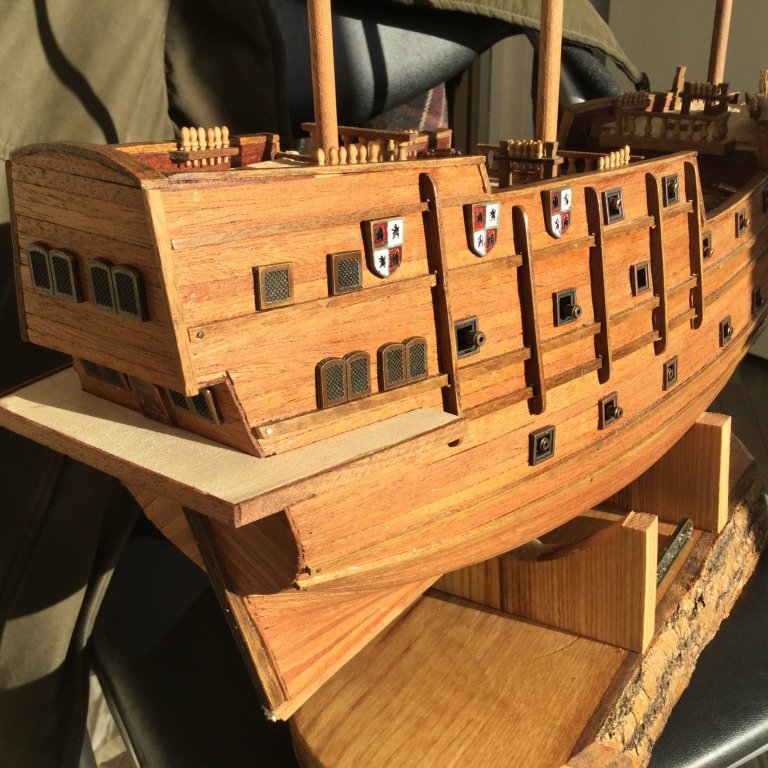
 Better view. When I originally added the rubbing strakes using the walnut supplied I coated them with dark oak Danish oil which conveniently has faded over time to match the hull
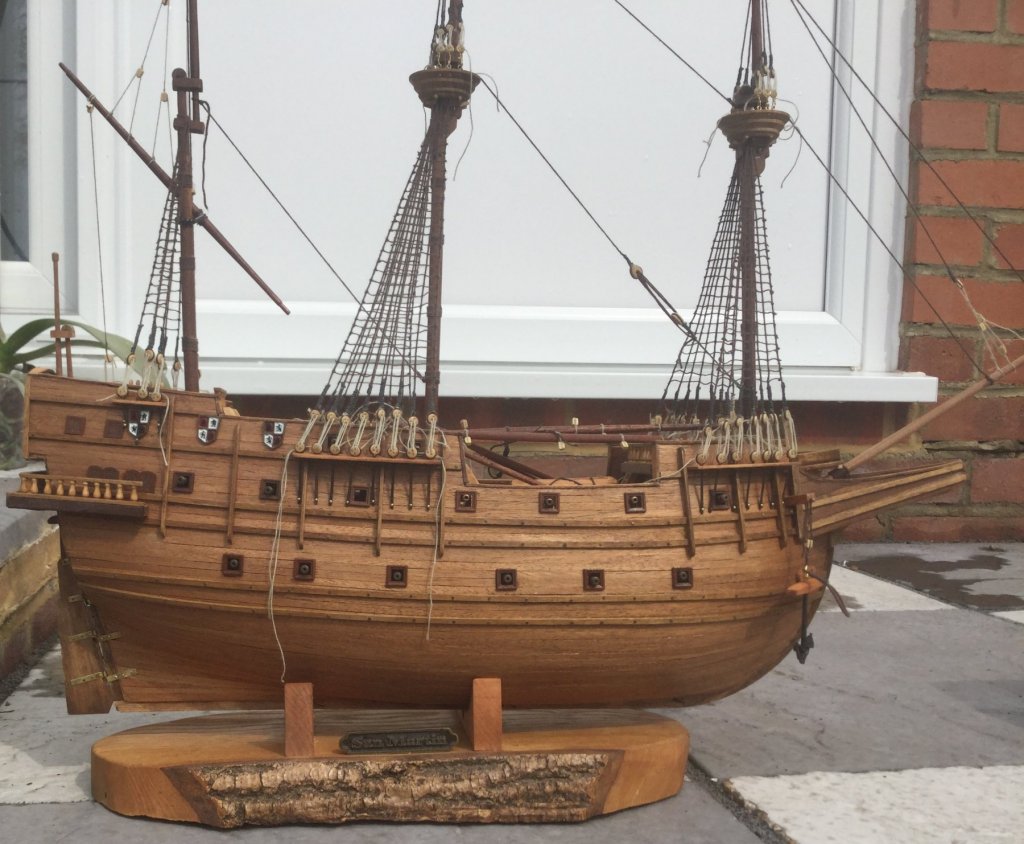
- 36 replies
-
- 2
-

-
- San Martin
- Spanish Armada Galleon
- (and 2 more)
-
Thanks for the complements, happy with the hull, less so with the rigging -
-
Oh I do hate doing ratlines, going to let the brass hinges etc naturally age. Ratlines as good as I can do as have already redone them once, just going to continue with spars and finish the build and make a decision on whether there good enough.

- 36 replies
-
- 3
-
-
- San Martin
- Spanish Armada Galleon
- (and 2 more)
-
This is definitely the best San Francisco I’ve seen to date.
- 59 replies
-
- 1
-
-
- artesania latina
- san francisco ii
- (and 1 more)
-
Hi, if you’re in the UK look at Timberline’s at Tonbridge website and look at the Decorative and Specialist hardwoods there are some geometric patterns on wood which might suit your needs, expensive but when you consider how long it takes to make a model Not too bad IMO
-
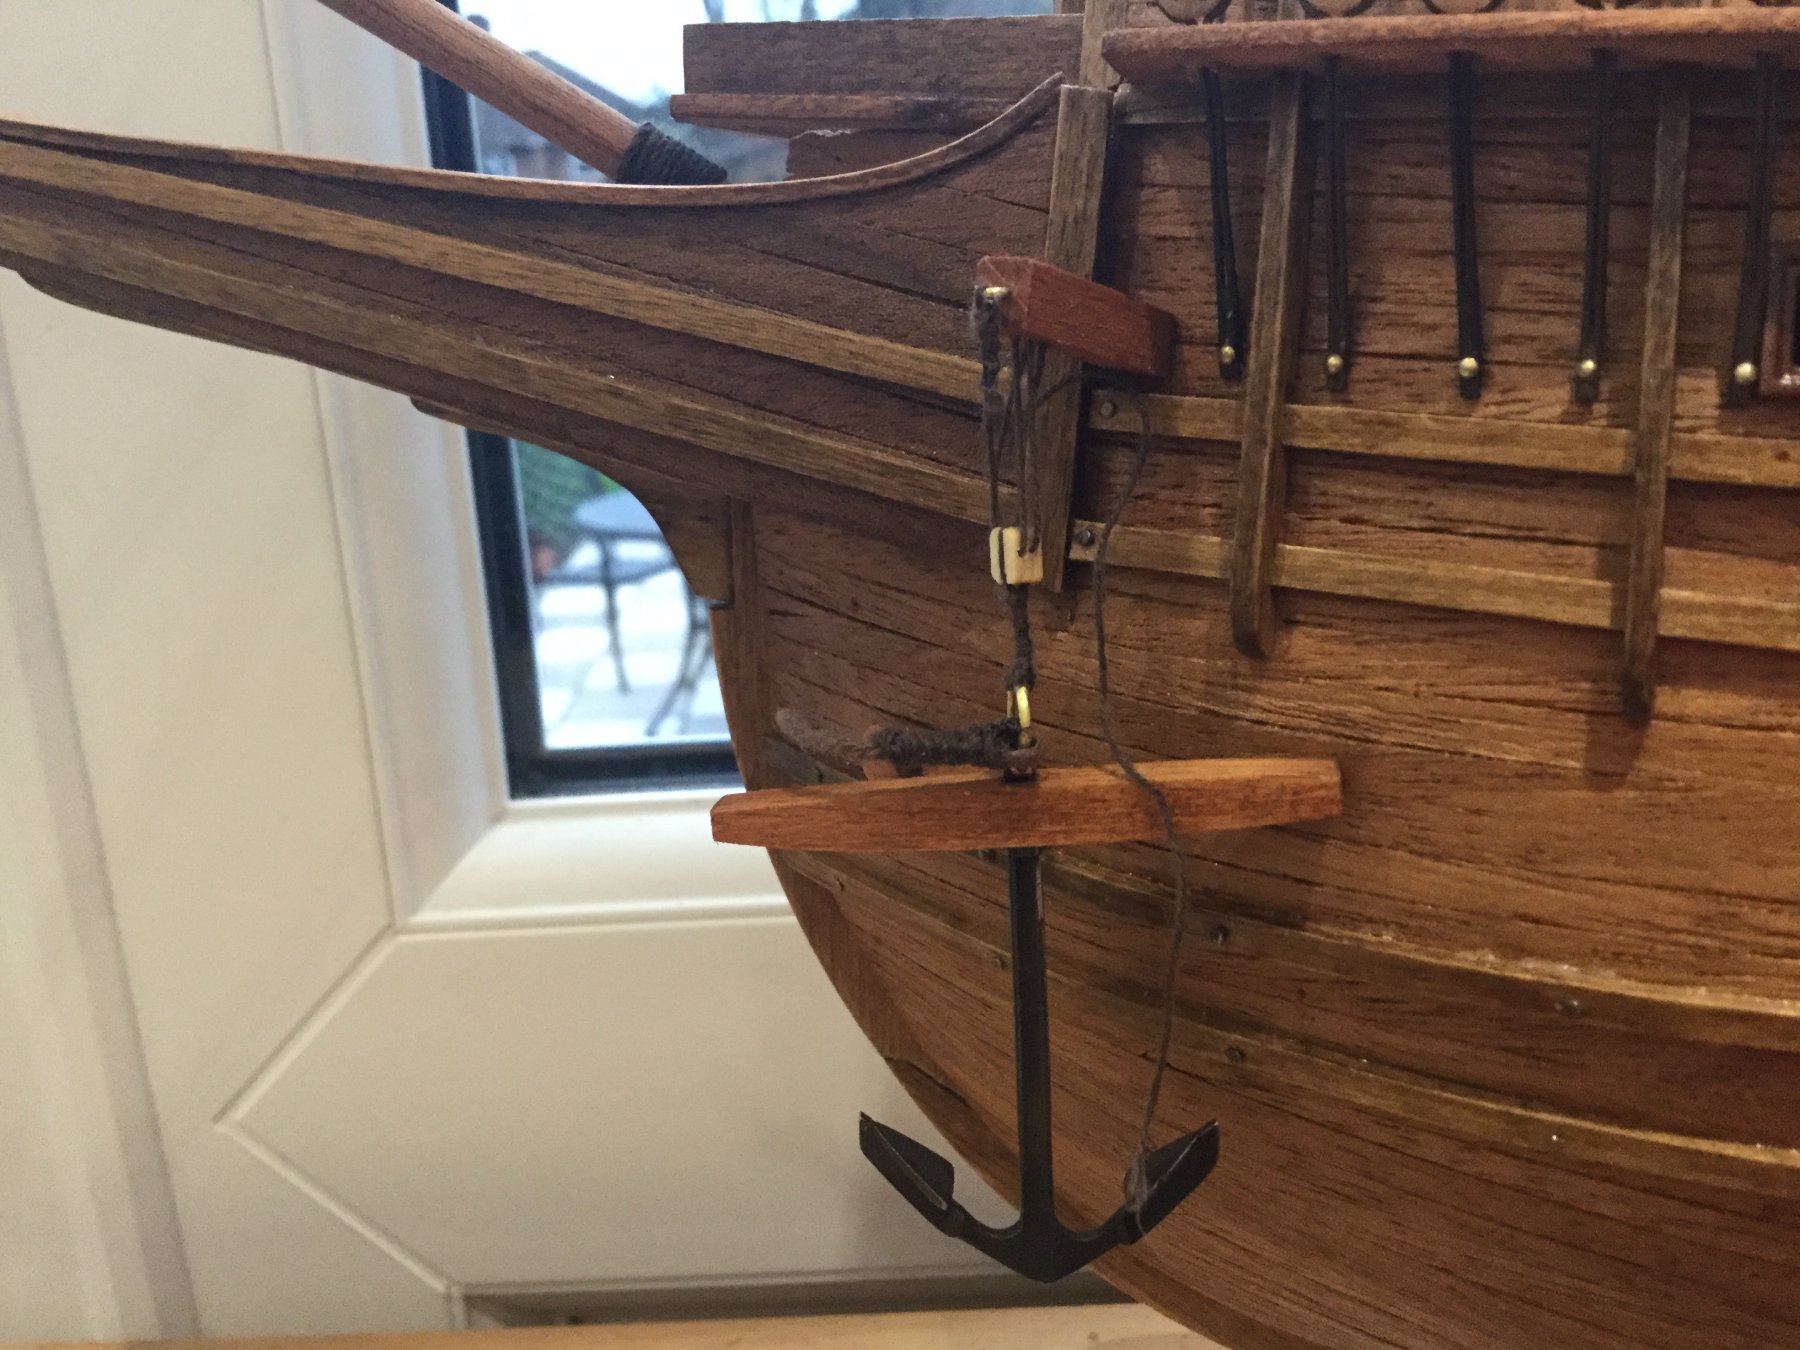
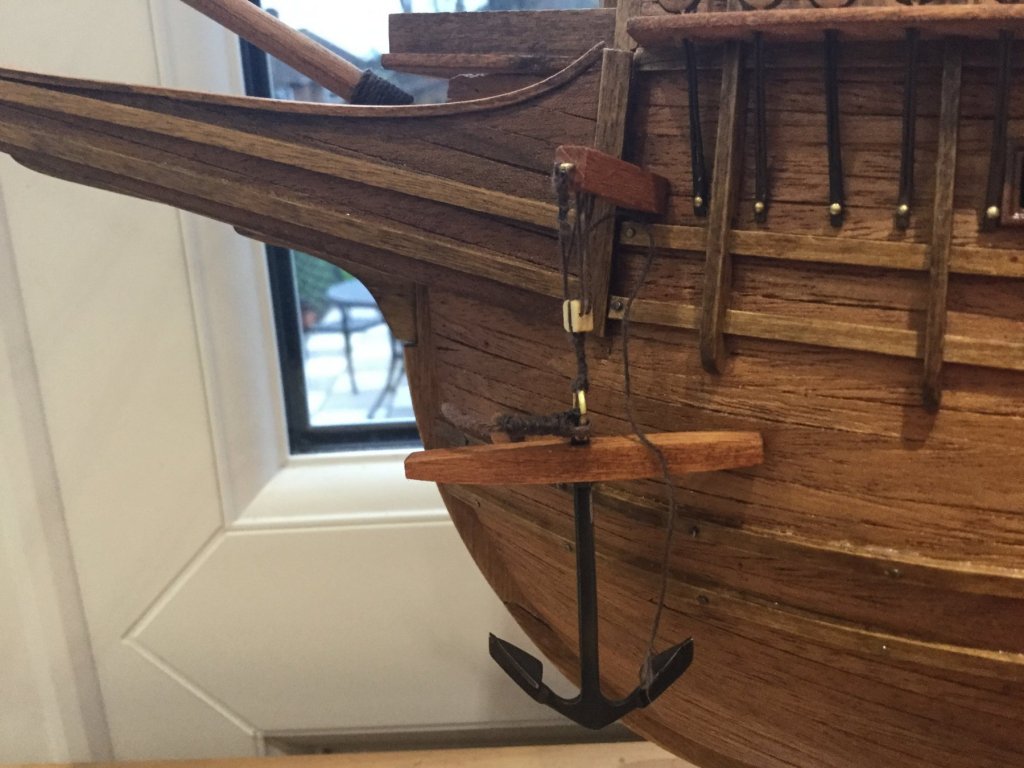
Think it passed Dockyard QC. Need to buy in some brown rope for the ratlines from Cornwall Models as the beige hemp supplied would look very odd IMO. Also some parrels needed as no where near enough in the kit. Best get them in before Brex**** could be a problem for the non scratch builders. PS why are those funny blocks used to hold the anchors called cat heads.
- 36 replies
-
- 1
-
-
- San Martin
- Spanish Armada Galleon
- (and 2 more)
-
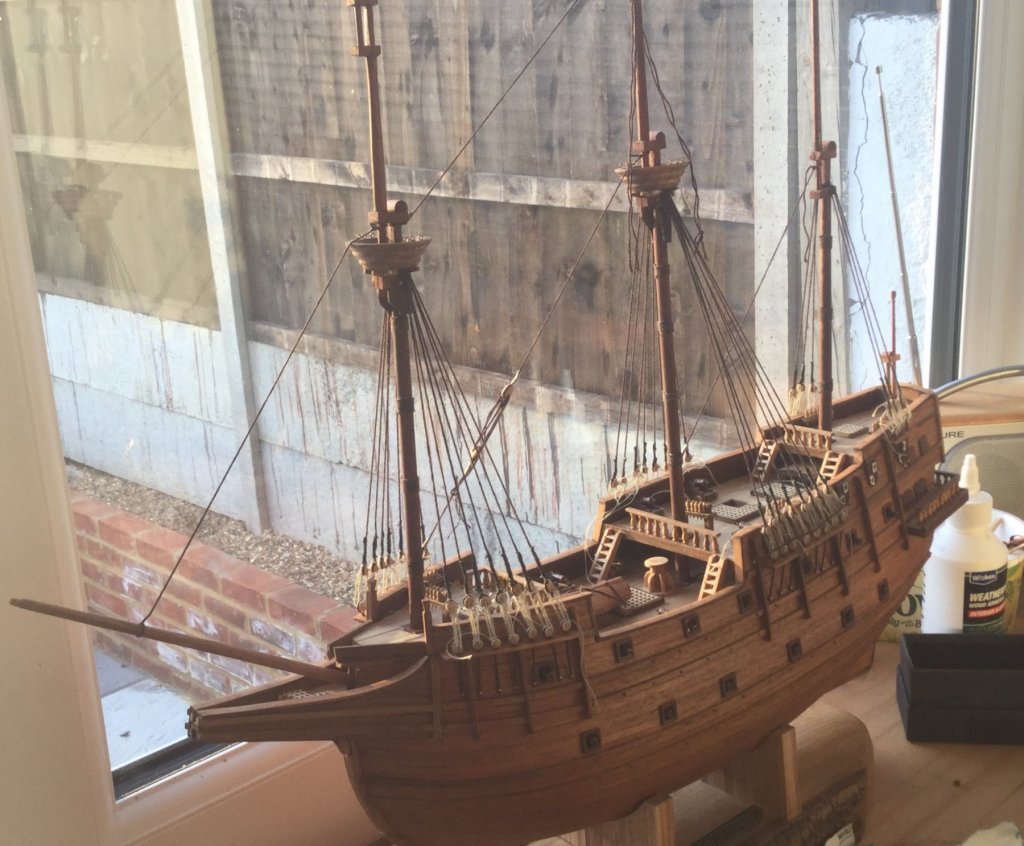
Working through the rigging, shrouds done and the stays, ratlines next
- 36 replies
-
- 3
-
-
- San Martin
- Spanish Armada Galleon
- (and 2 more)
-
Have been following your thread, no pun intended and used your advice to buy a pack of needle hole threaders from Hobby-craft to thread the deadeye things, thanks.
-
Zappto, Just spotted your excellent log. How did you do you ratlines, they look really net and tidy.
-
Thanks for the kind words guys, there are so many fantastic builds on this site it’s so easy to get lost in the weeds
-
Girona by augustus
Slowhand replied to augustus's topic in - Build logs for subjects built 1501 - 1750
Thanks for the info, I can get the former from one of our UK superstores Screwfix , but need a good dust extractor first for the mancave. Already got a stash of cherry drying. -
Girona by augustus
Slowhand replied to augustus's topic in - Build logs for subjects built 1501 - 1750
Ah, I am jealous, I can’t buy that quality of mahogany or its substitute, sapelli as pre-cut planking in the UK. Out of interest how big is your milling machine? -
Girona by augustus
Slowhand replied to augustus's topic in - Build logs for subjects built 1501 - 1750
Augustus, another fine model coming along to add to your Armada. Did you mill the planking strips yourself? -
Shame there’s no further updates, cardboard as a building material has a certain je ne sais pas.
- 19 replies
-
- 2
-
-
- south dakota
- battleship
- (and 1 more)
-
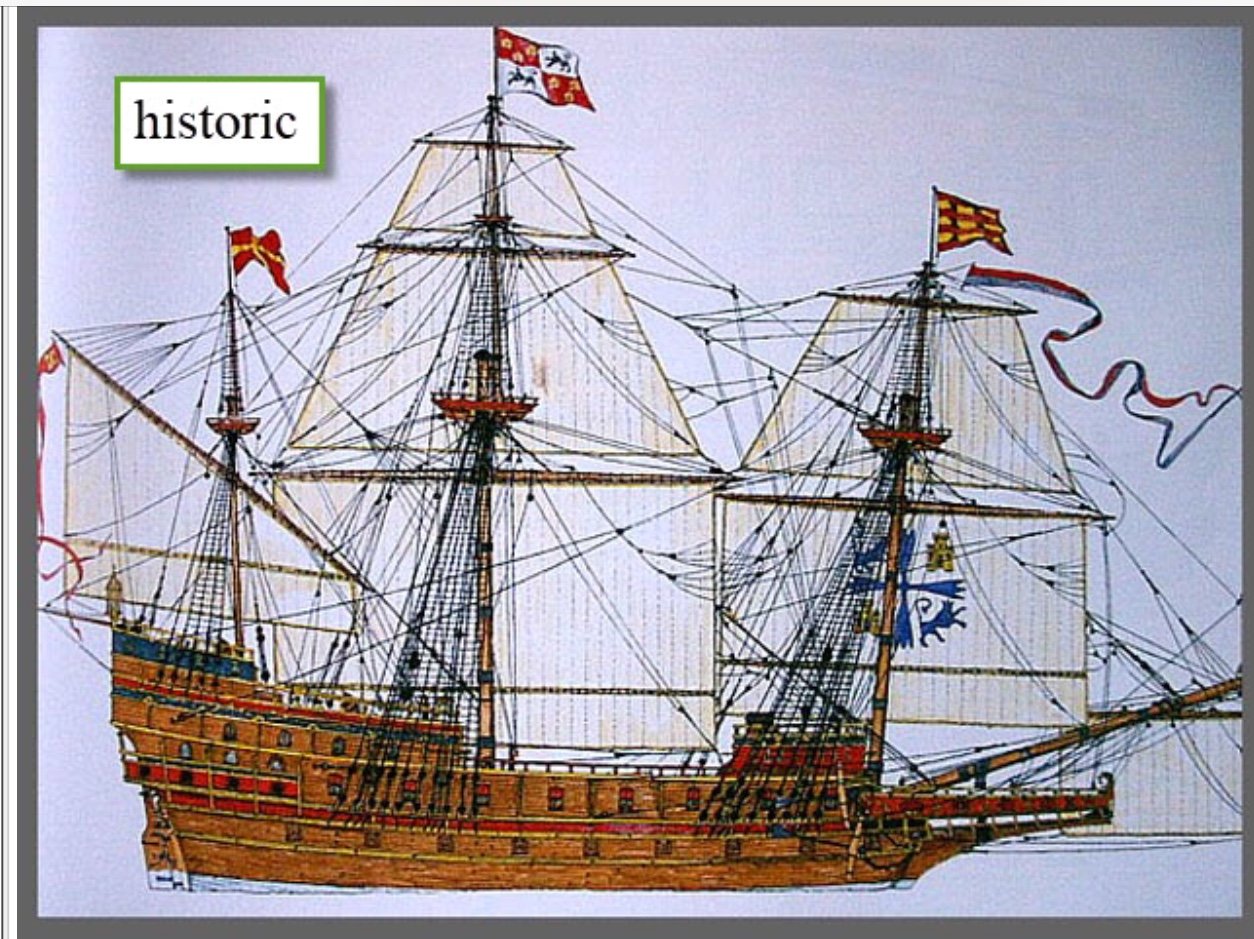
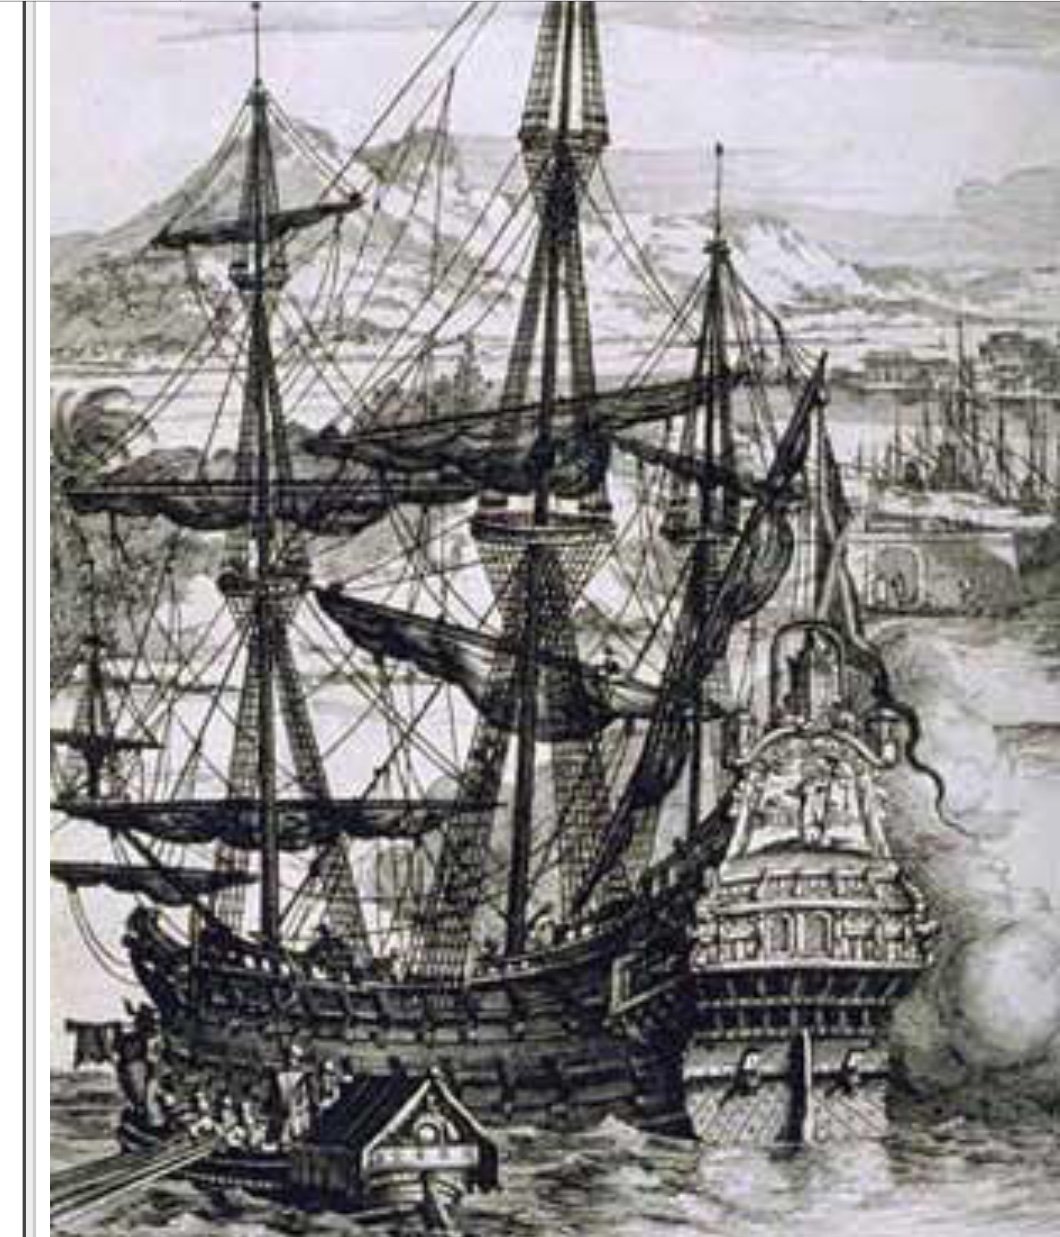
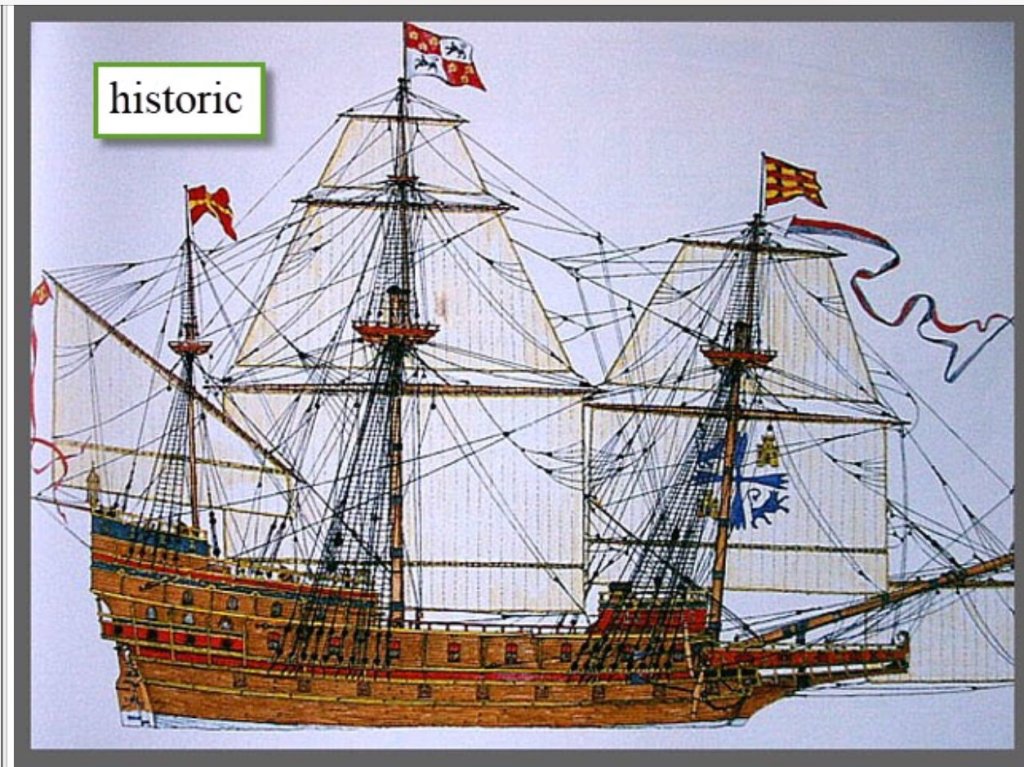
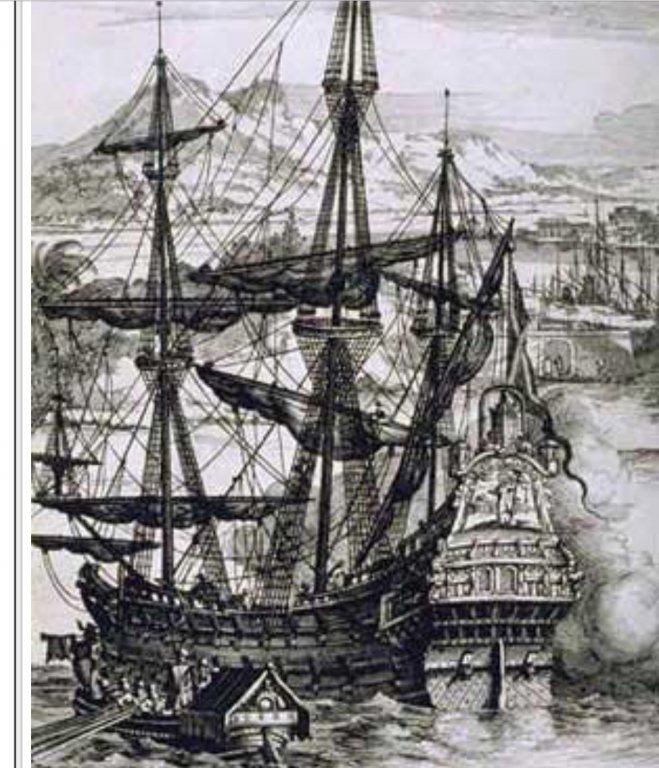
It’s been a long time since my last post, afraid became a bit apathetic about the model as it bears so little resemblance to what the original San Martin must have looked like. On another ship forum website found images of painted glass image of the SM and a lithograph of a major Spanish Galleon of similar period. Concentrated on my traditional wood carving with gouges. Anyway update of progress, shaped all the spars using 18v drill as a mini lathe. Used chuck to hold wood and a piece of sandpaper to taper the spars as powered up the drill. Attached chain plates to new boards and put in place ready for staining before gluing.
- 36 replies
-
- 2
-
-
- San Martin
- Spanish Armada Galleon
- (and 2 more)
-
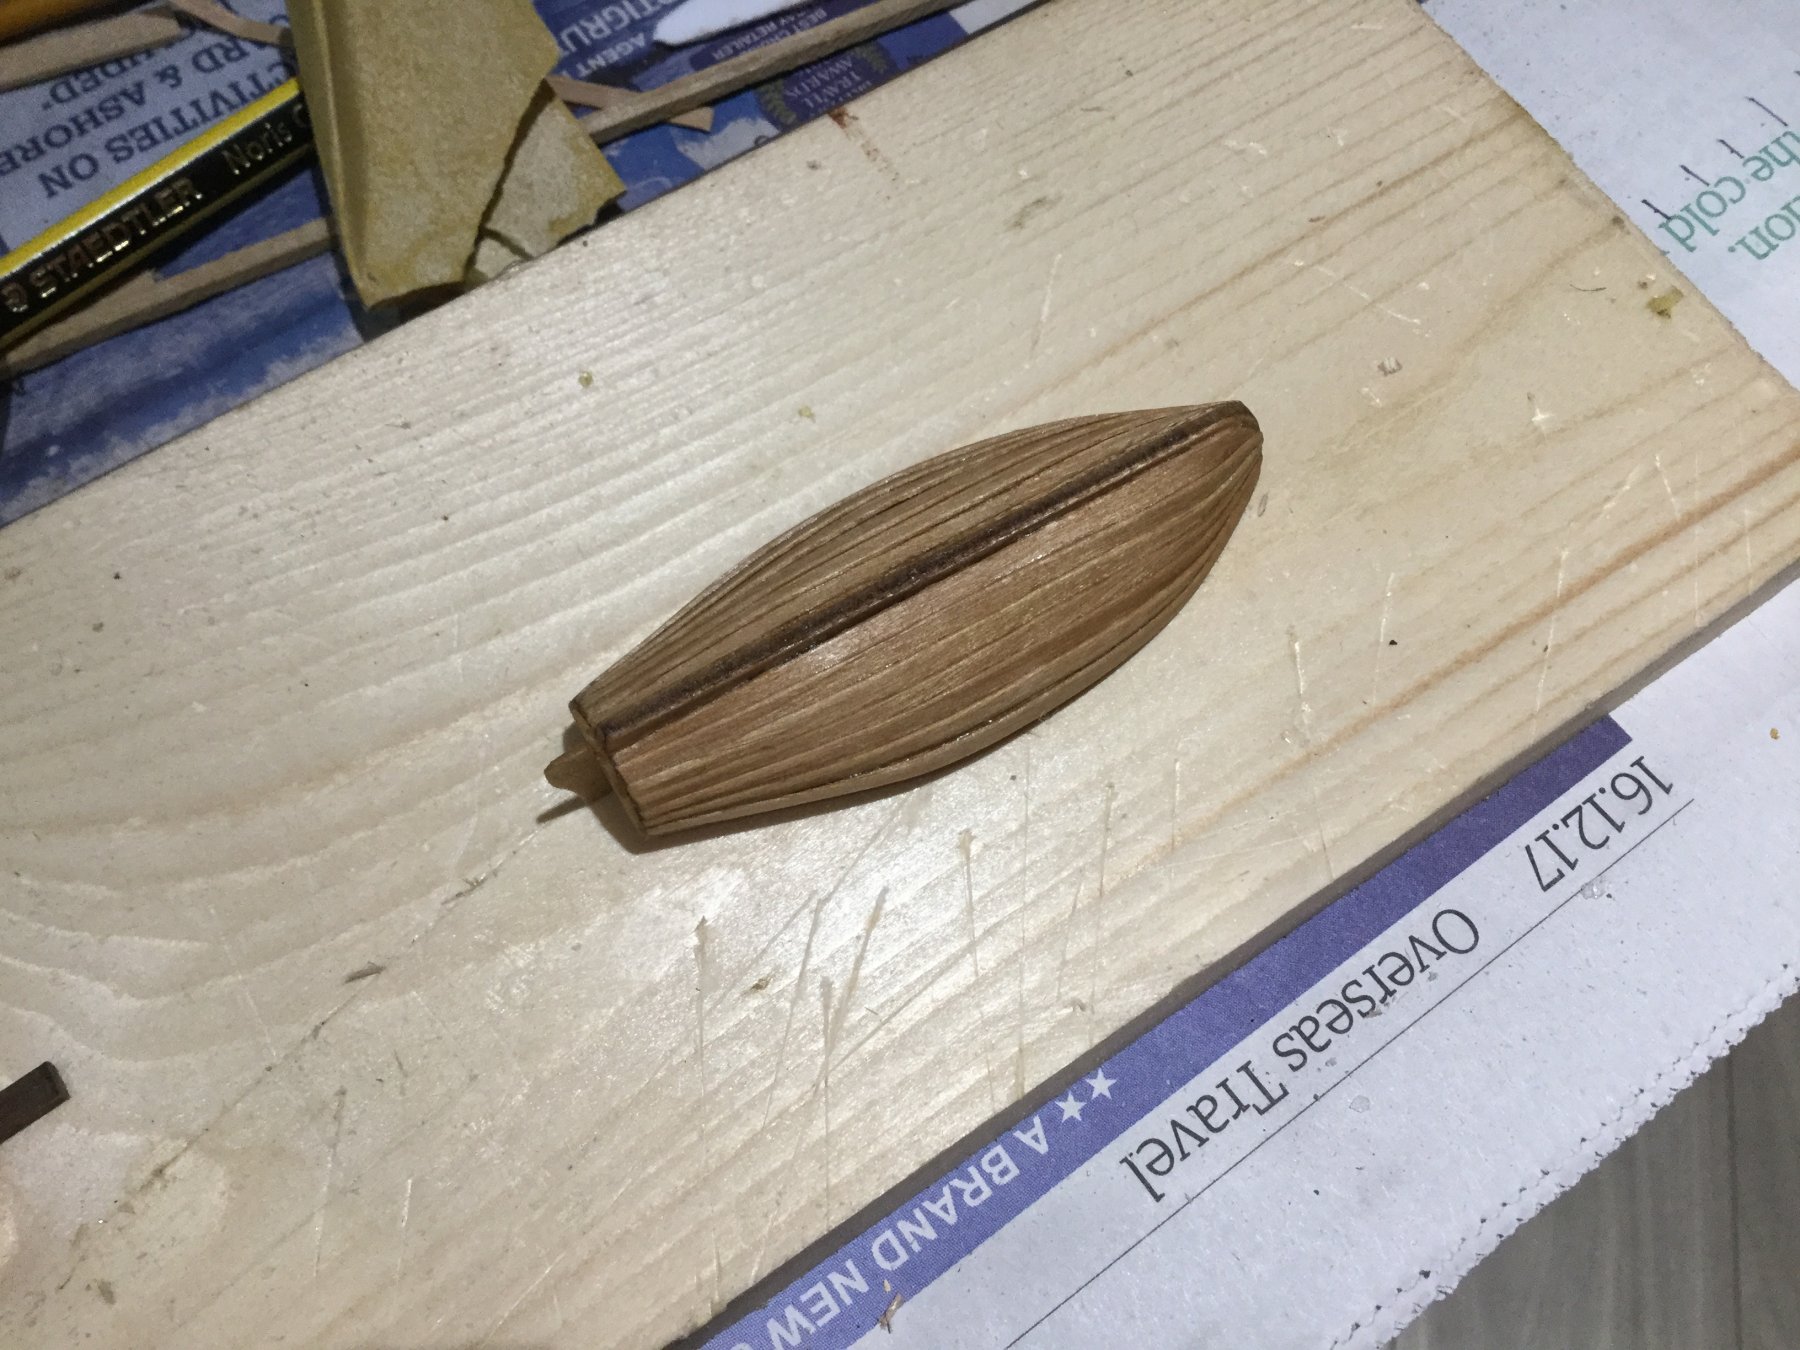
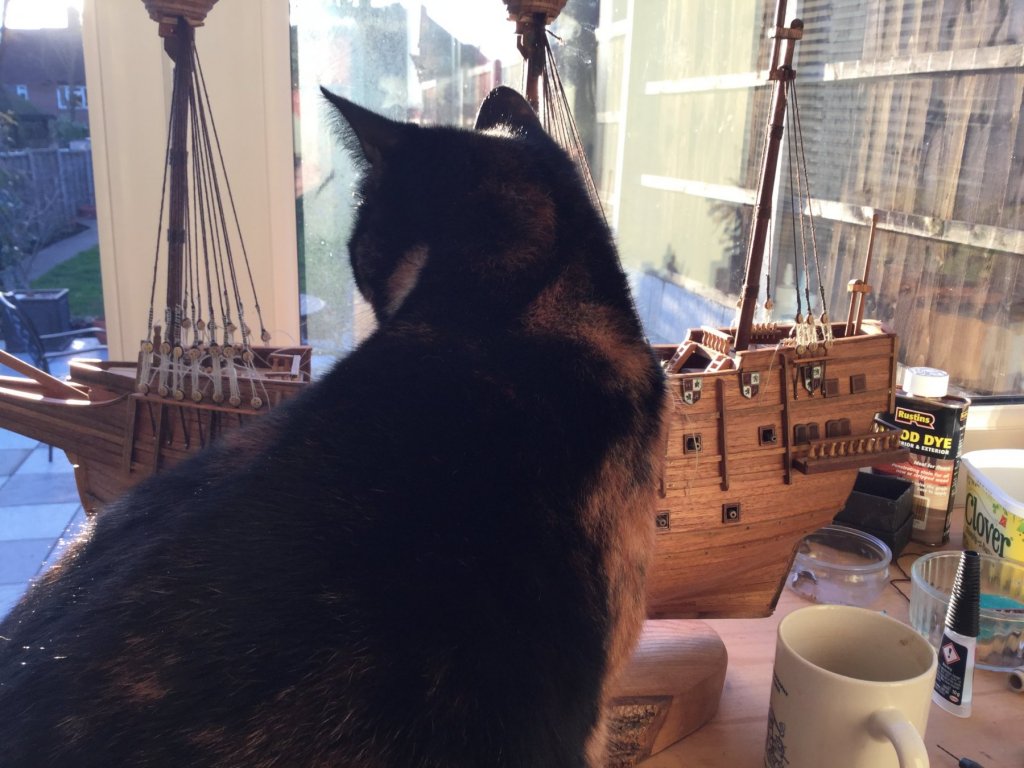
The mice completed the ship’s boat over Xmas and I added the railings to the stern balcony. That’s the stern of our cat on the prowl for more Turkey and giblets.
- 36 replies
-
- 2
-
-
- San Martin
- Spanish Armada Galleon
- (and 2 more)
-
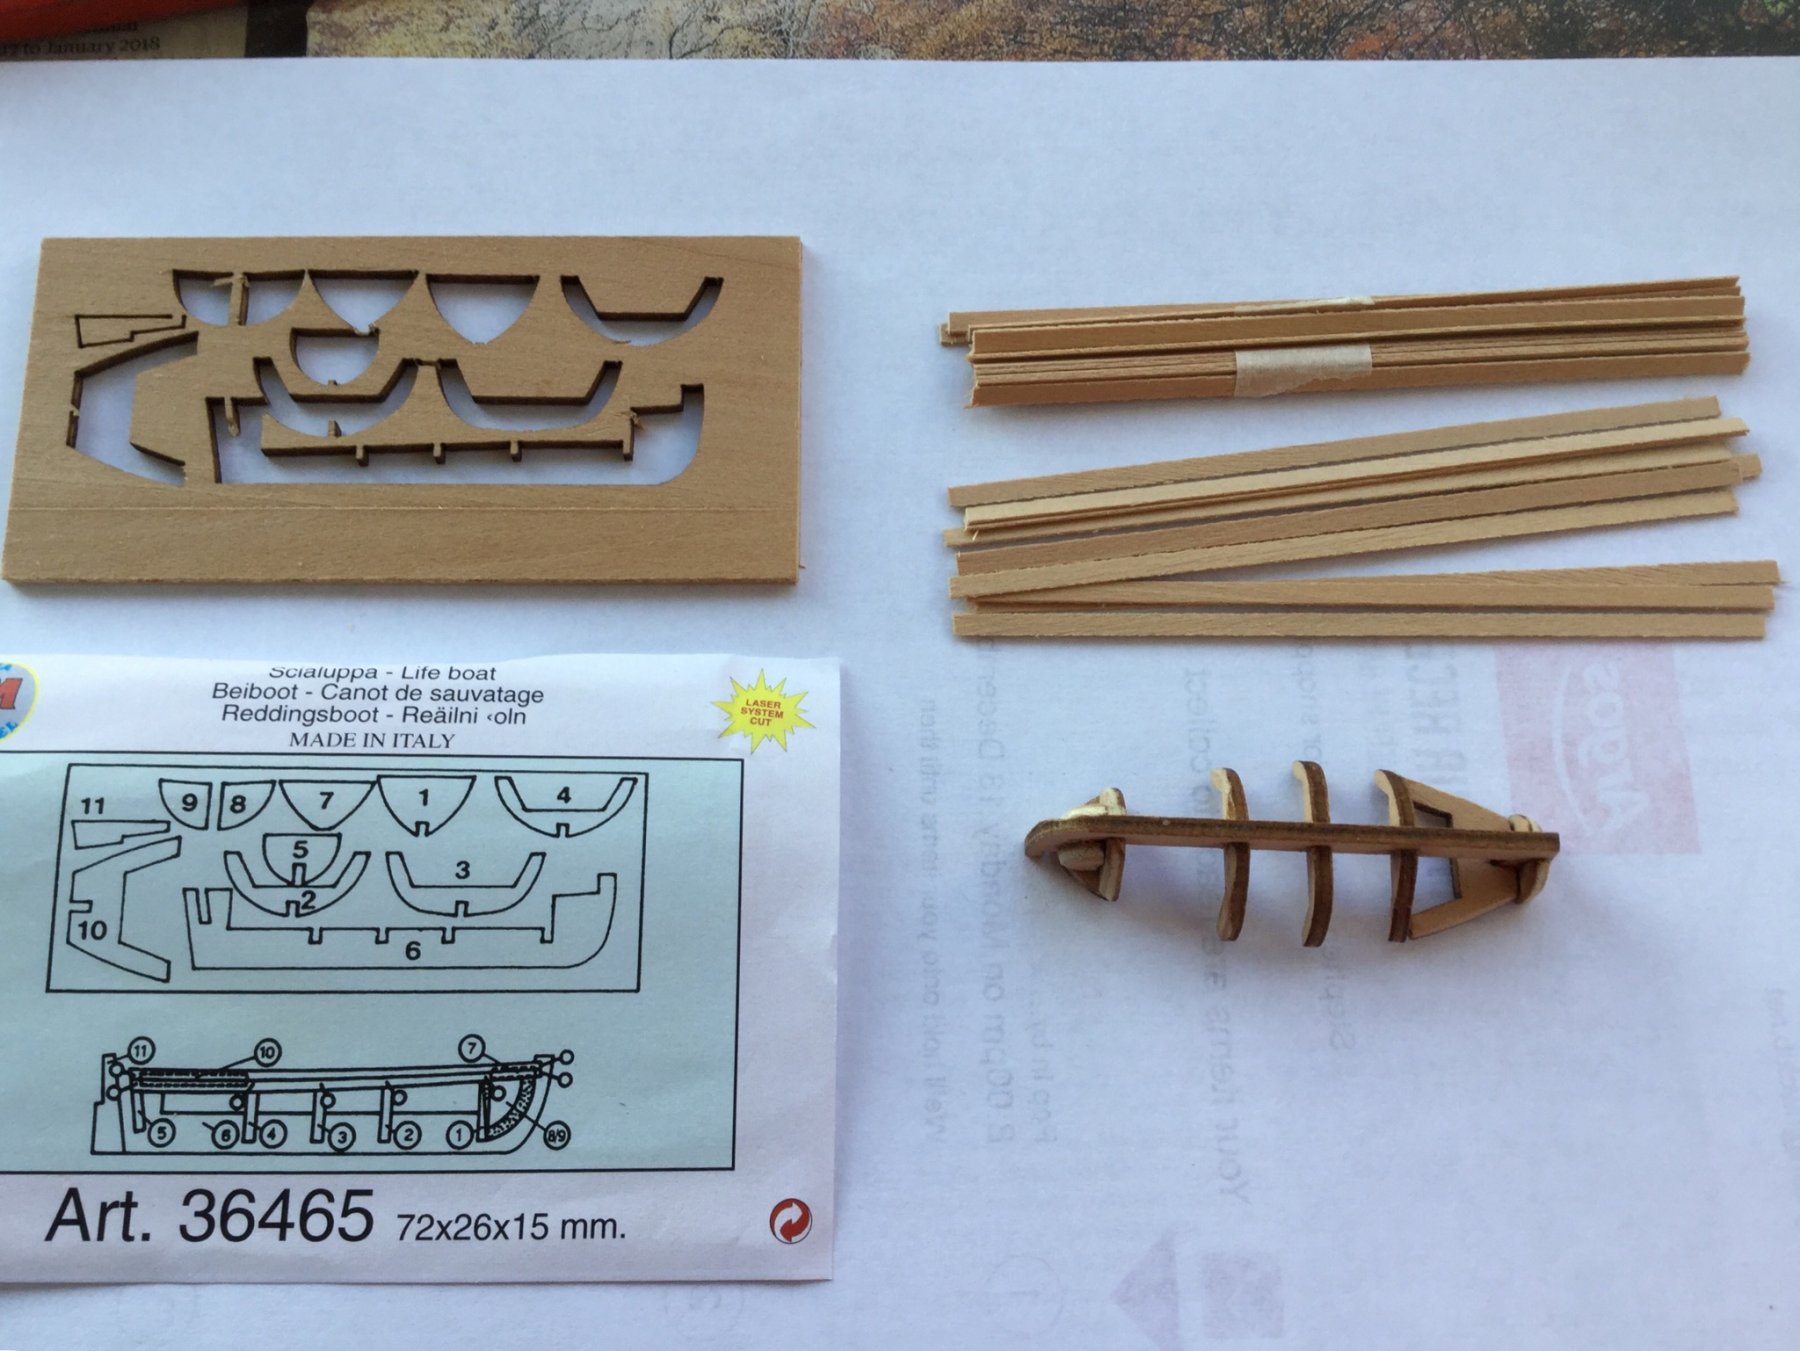
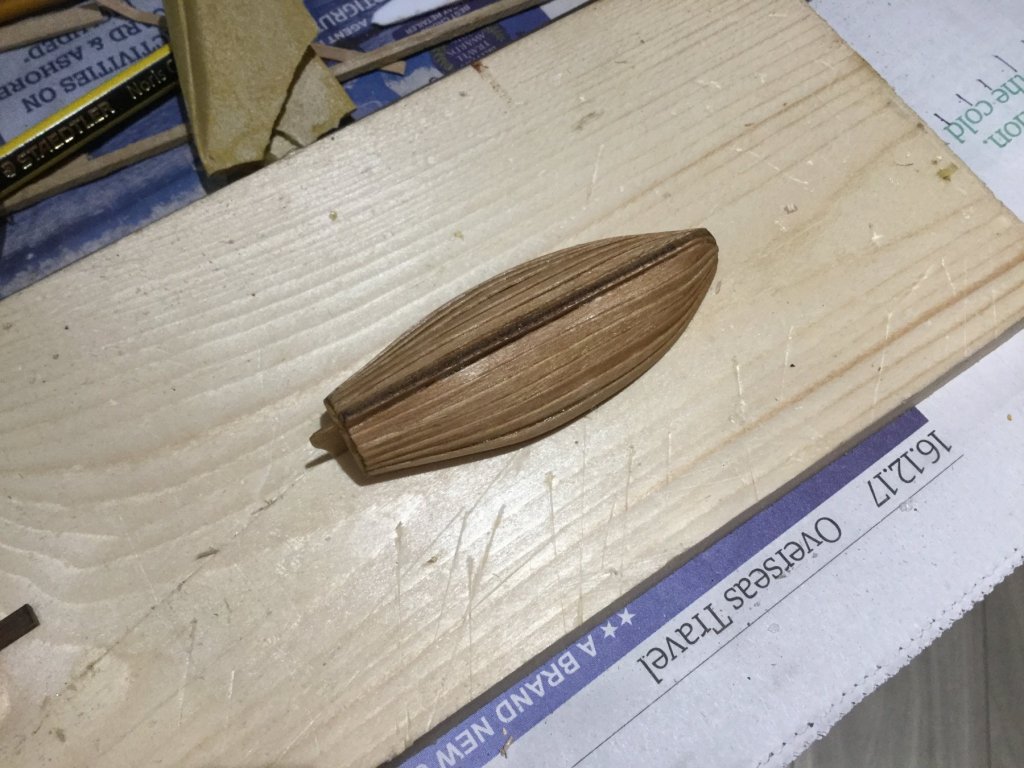
Waiting for timber to plank balcony so decided to work on ships boat. Replaced horrible lead one supplied with a kit. No instructions available, already had to repair two bulkheads with super glue. Will I have to taper the planks, wonder how many needed.A mouse sized hands would be great.

- 36 replies
-
- 1
-
-
- San Martin
- Spanish Armada Galleon
- (and 2 more)
-
Looks interesting the first time I’ve seen thru bolts displayed on the wales, were they common place on 17th century ships? cause they might solve a problem I have on my build of the San Martin.
-
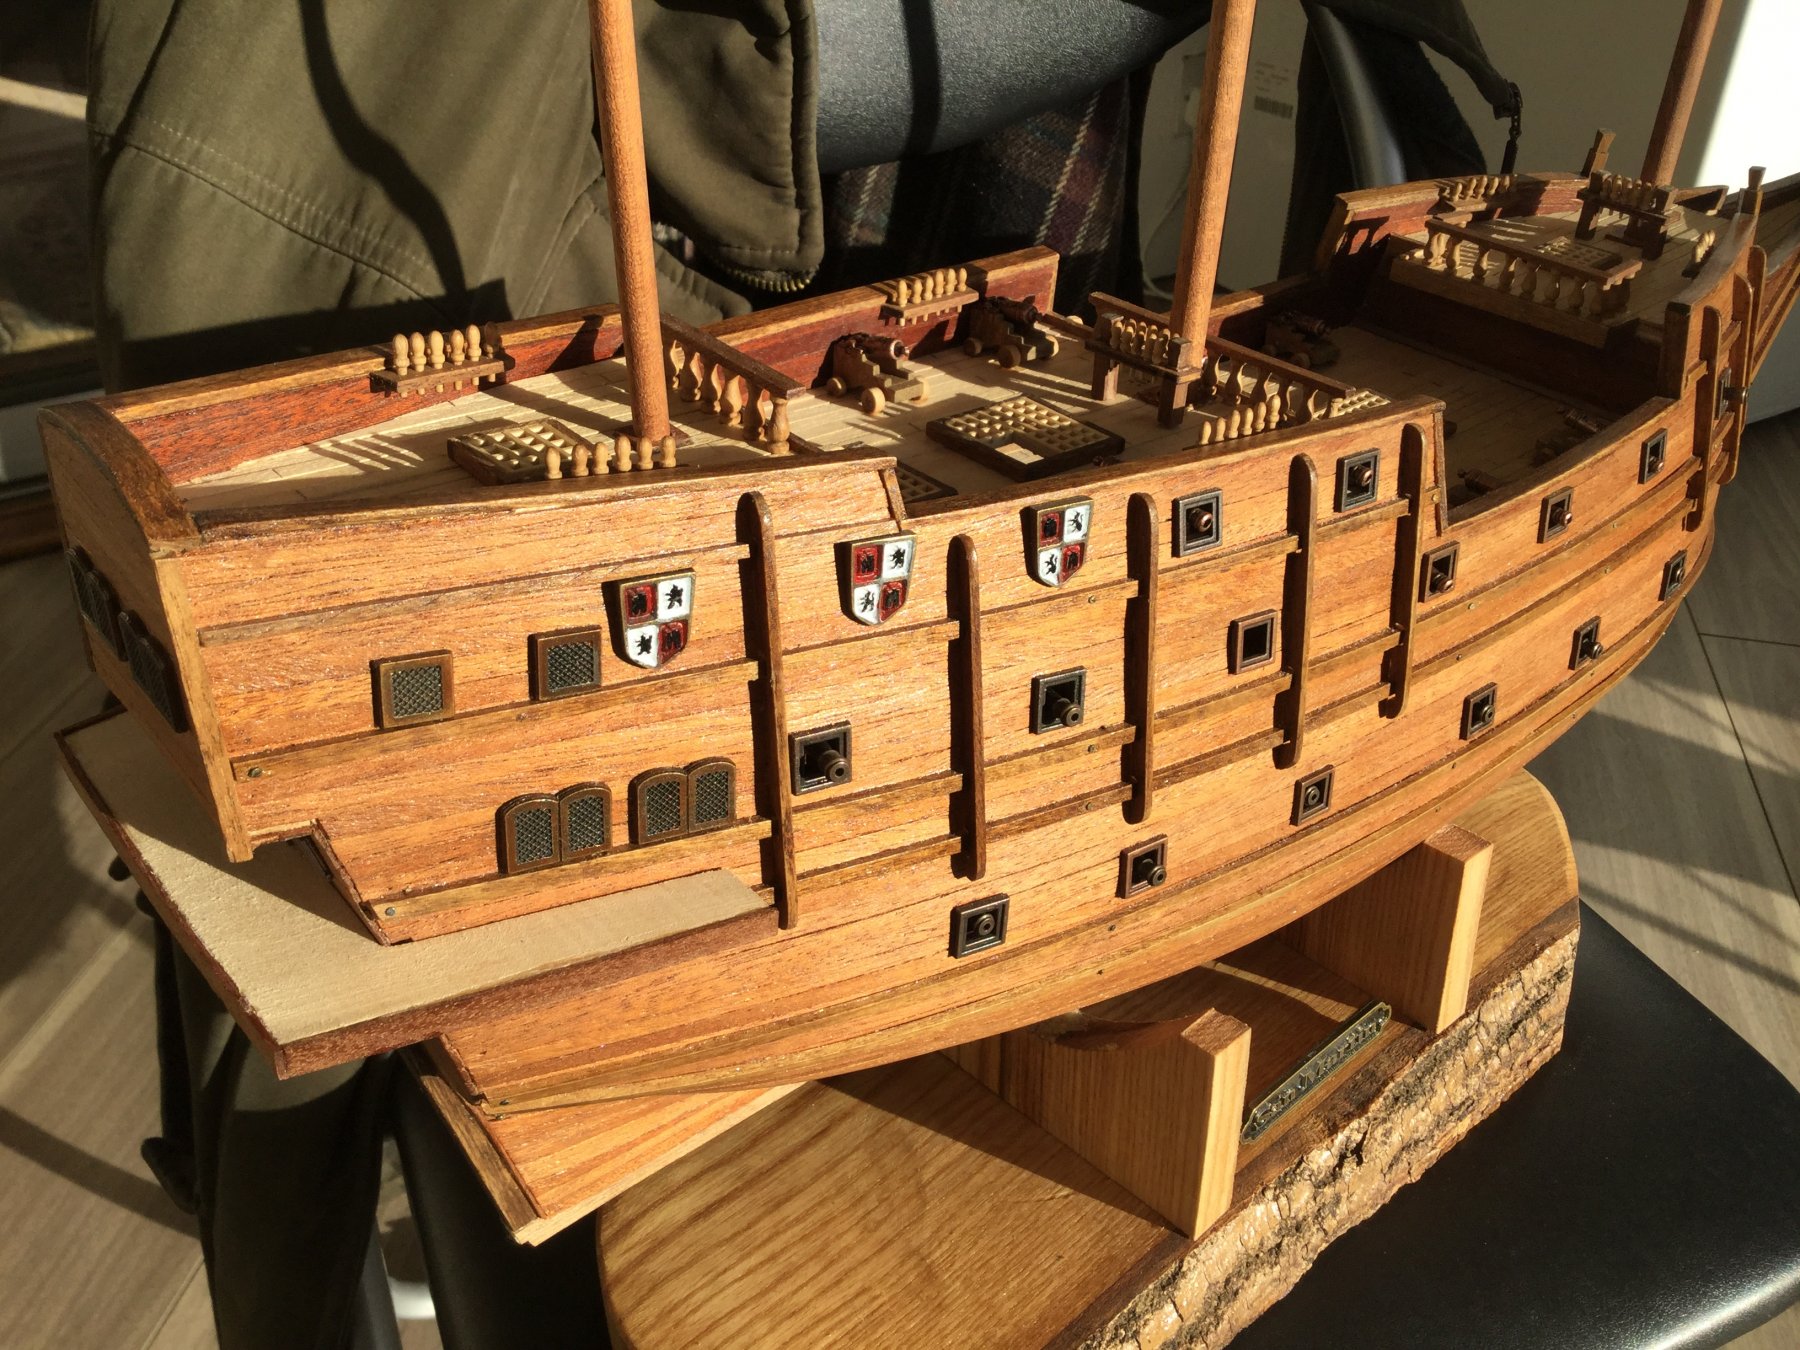
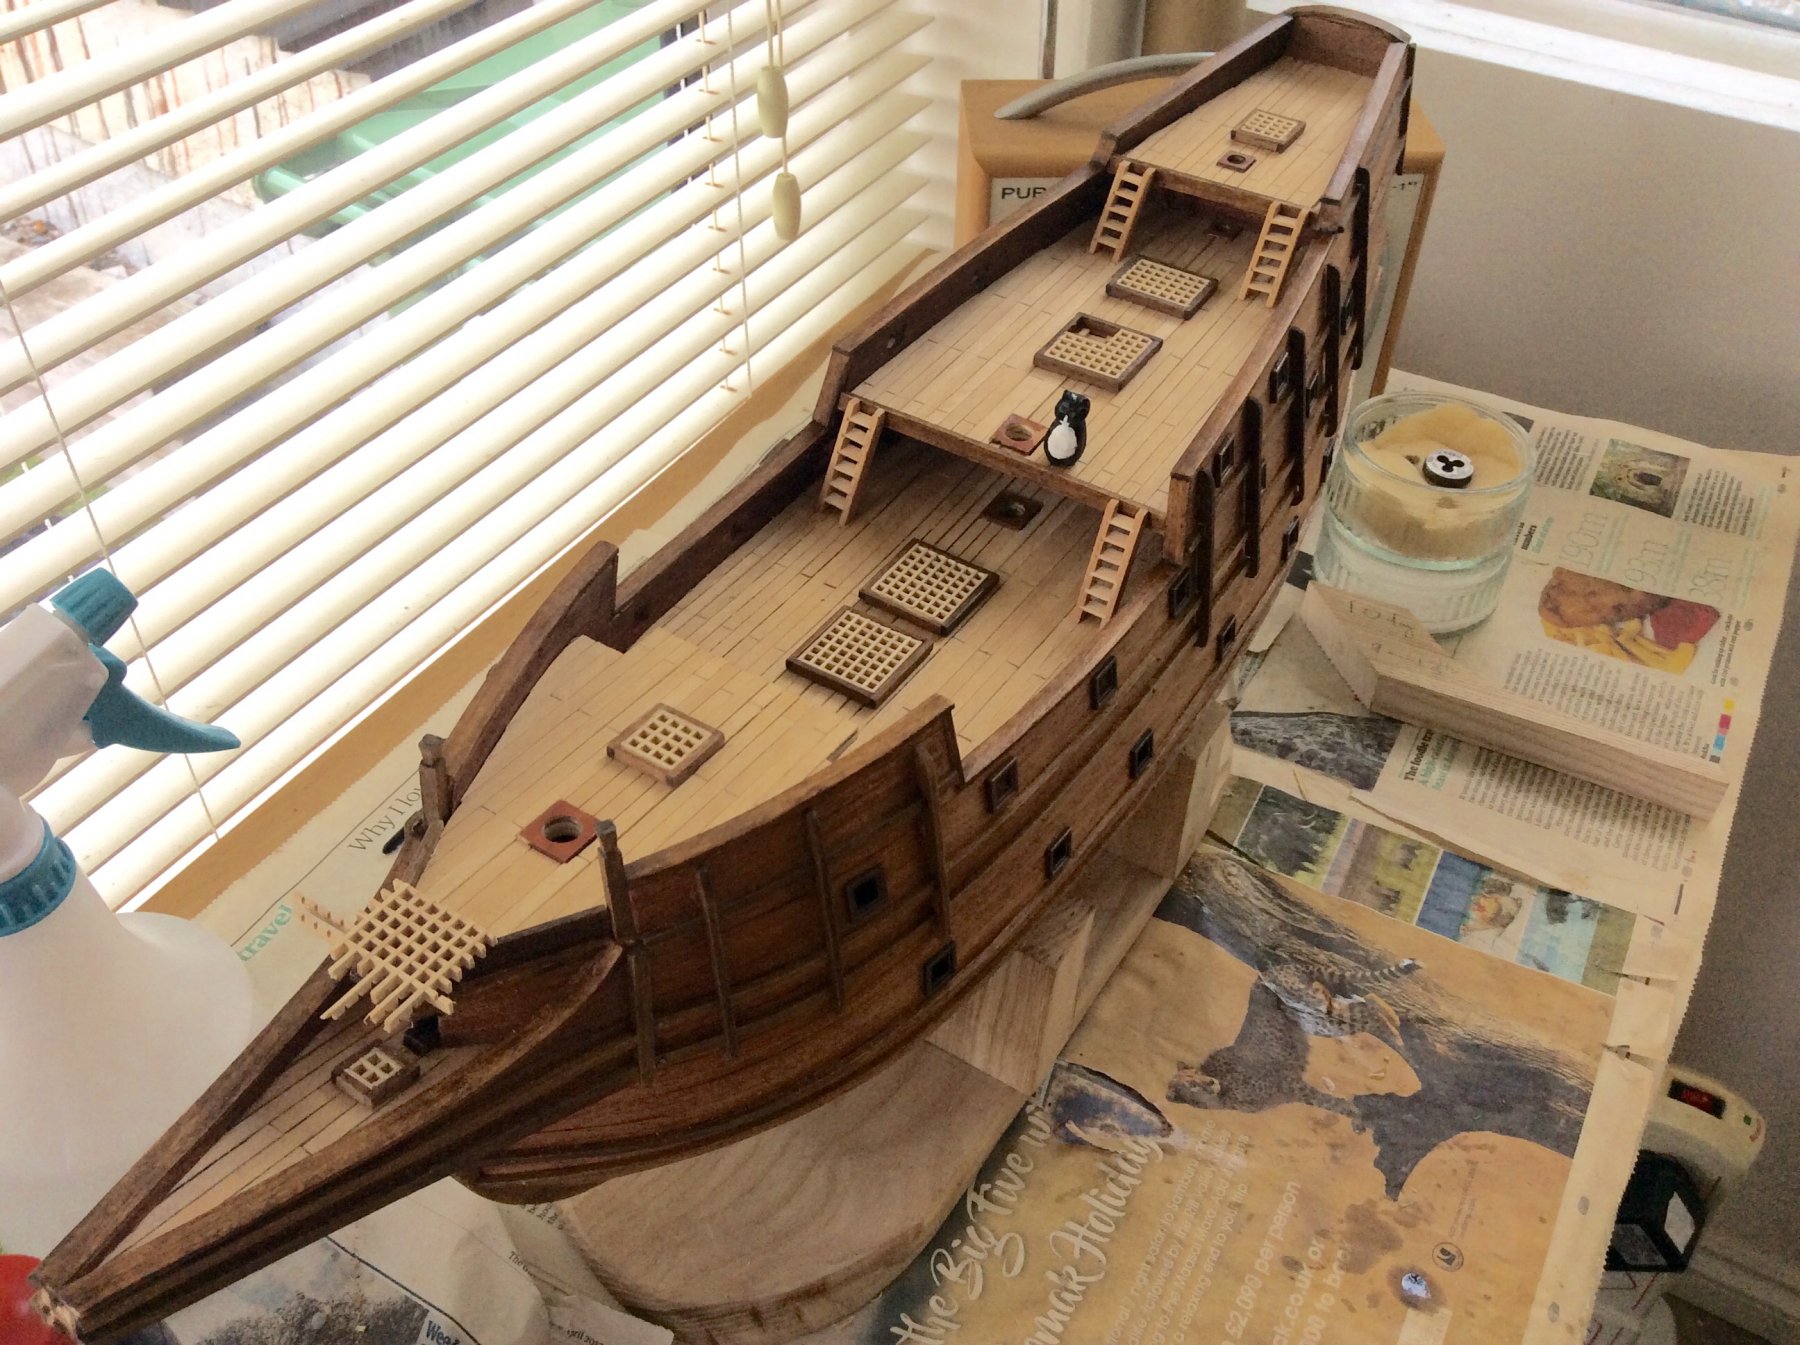
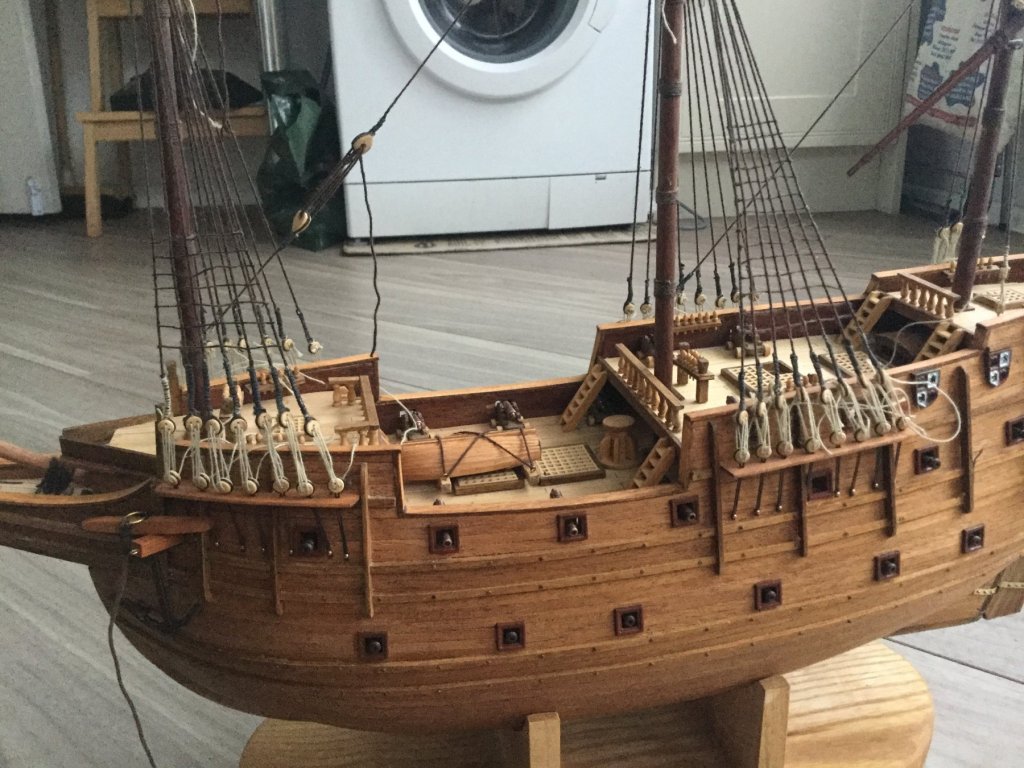
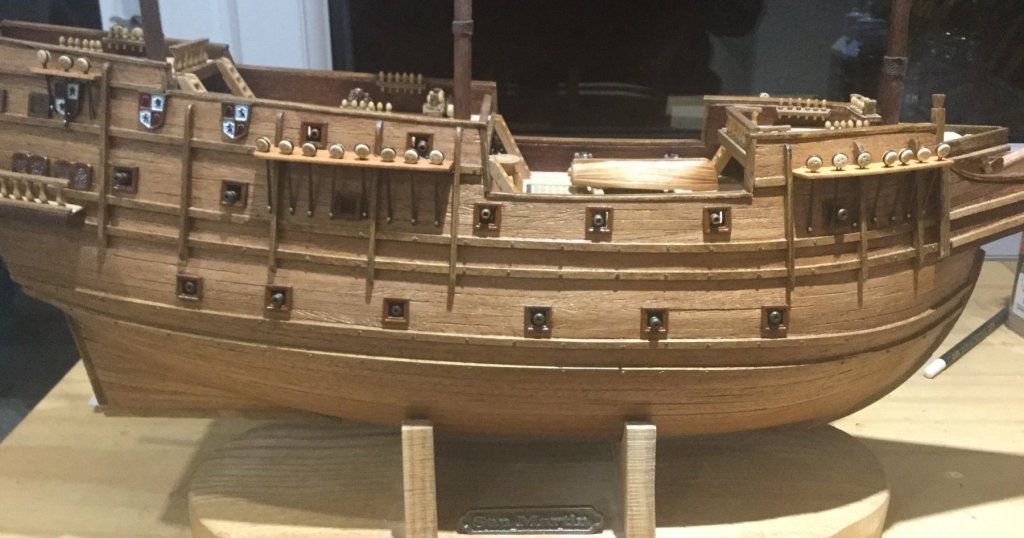
Update on the deck fittings I have done and the windows added. Decided not to use Romanov upgrades as windows had not been cut out. Camera highlightened some of the bittens need more sanding to fit into the racks properly. Waiting from timber from Cornwall Models to plank the rear balcony.

- 36 replies
-
- 3
-
-
- San Martin
- Spanish Armada Galleon
- (and 2 more)
-
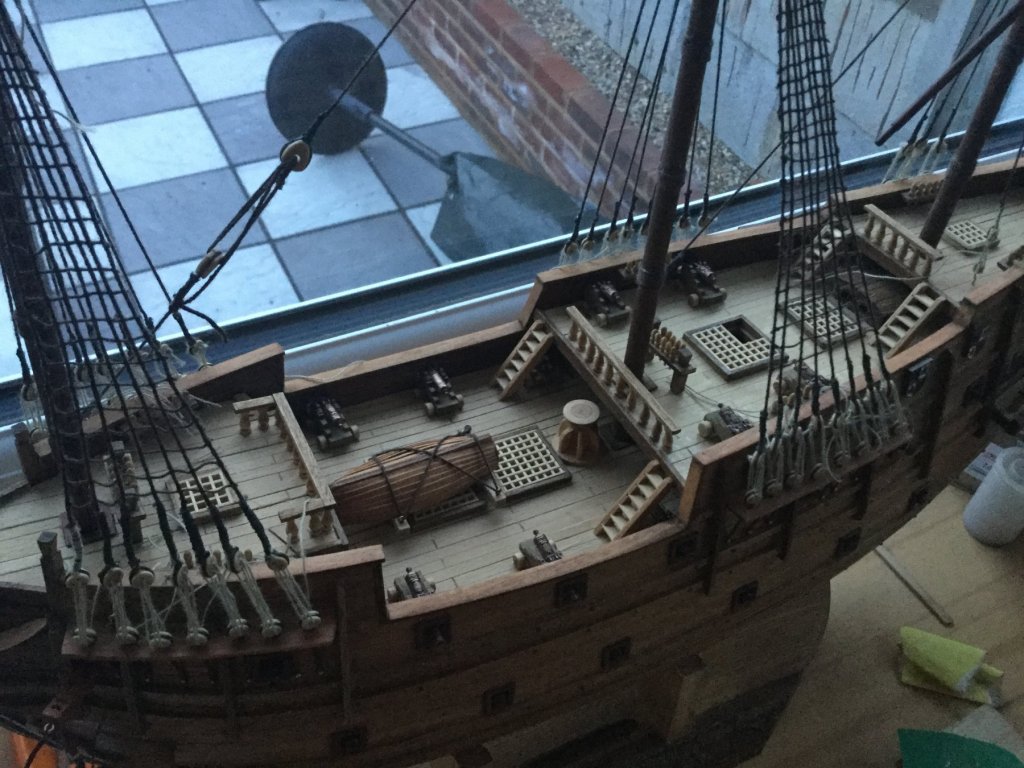
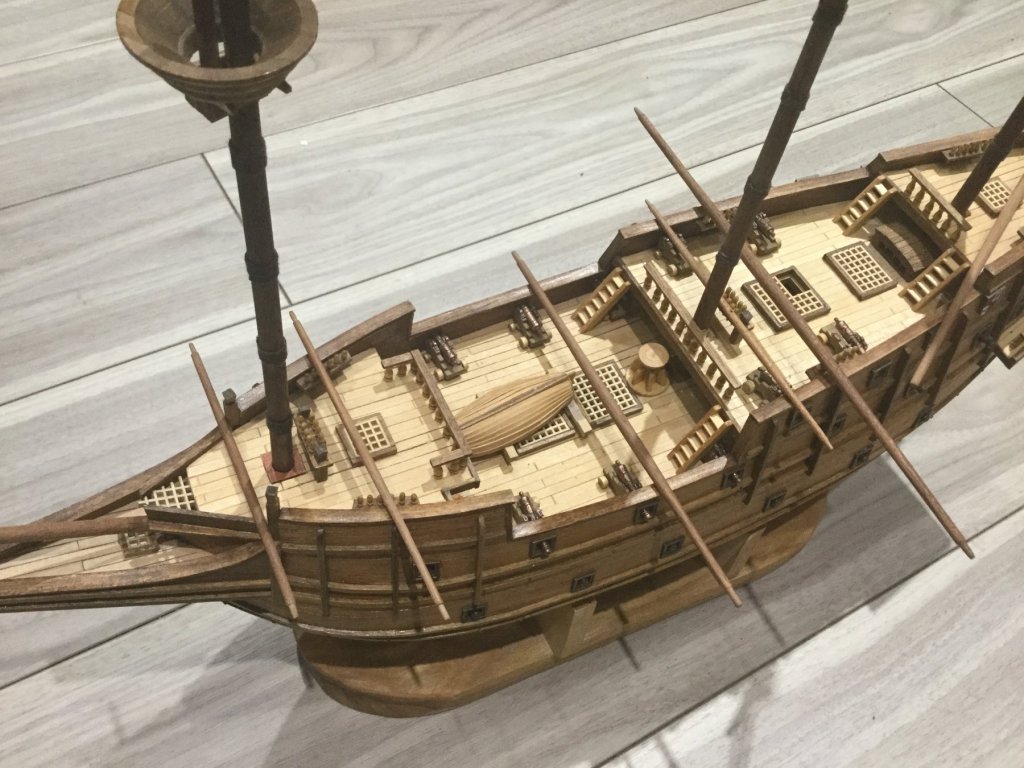
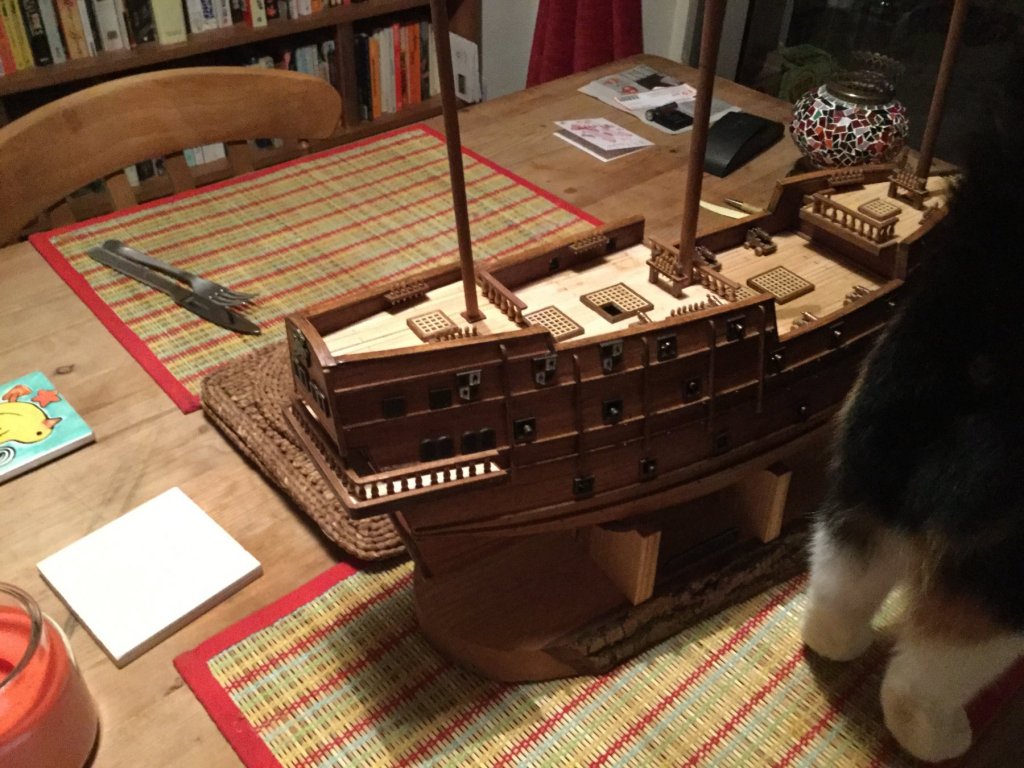
After a large glass of wine tried some tree nailing lightly drilling holes into planks and marking with a pencil an absolute disaster. Ripped existing planking on part of the quarter deck using flexicut detail knife and relaying planks, including a couple of others on port side. Phew, got away with it. Ship's cat now hides the only remaining evidence of trenailing attempts. A rather large cat about the height of a polar bear according to the scaling of this kit. Assembled ladders, but not glued in position. I mean they're identical to those on the Corel Half Moon which is 1/50 scale. This build is 1/90 scale so they can't both be correct. Getting a bit fed up with Occre so many parts are not right including the massive cannons for the main deck and all the metal parts. Bought some canons from my usual supplier, 30mm long wooden carriages.


- 36 replies
-
- 4
-
-
- San Martin
- Spanish Armada Galleon
- (and 2 more)
-
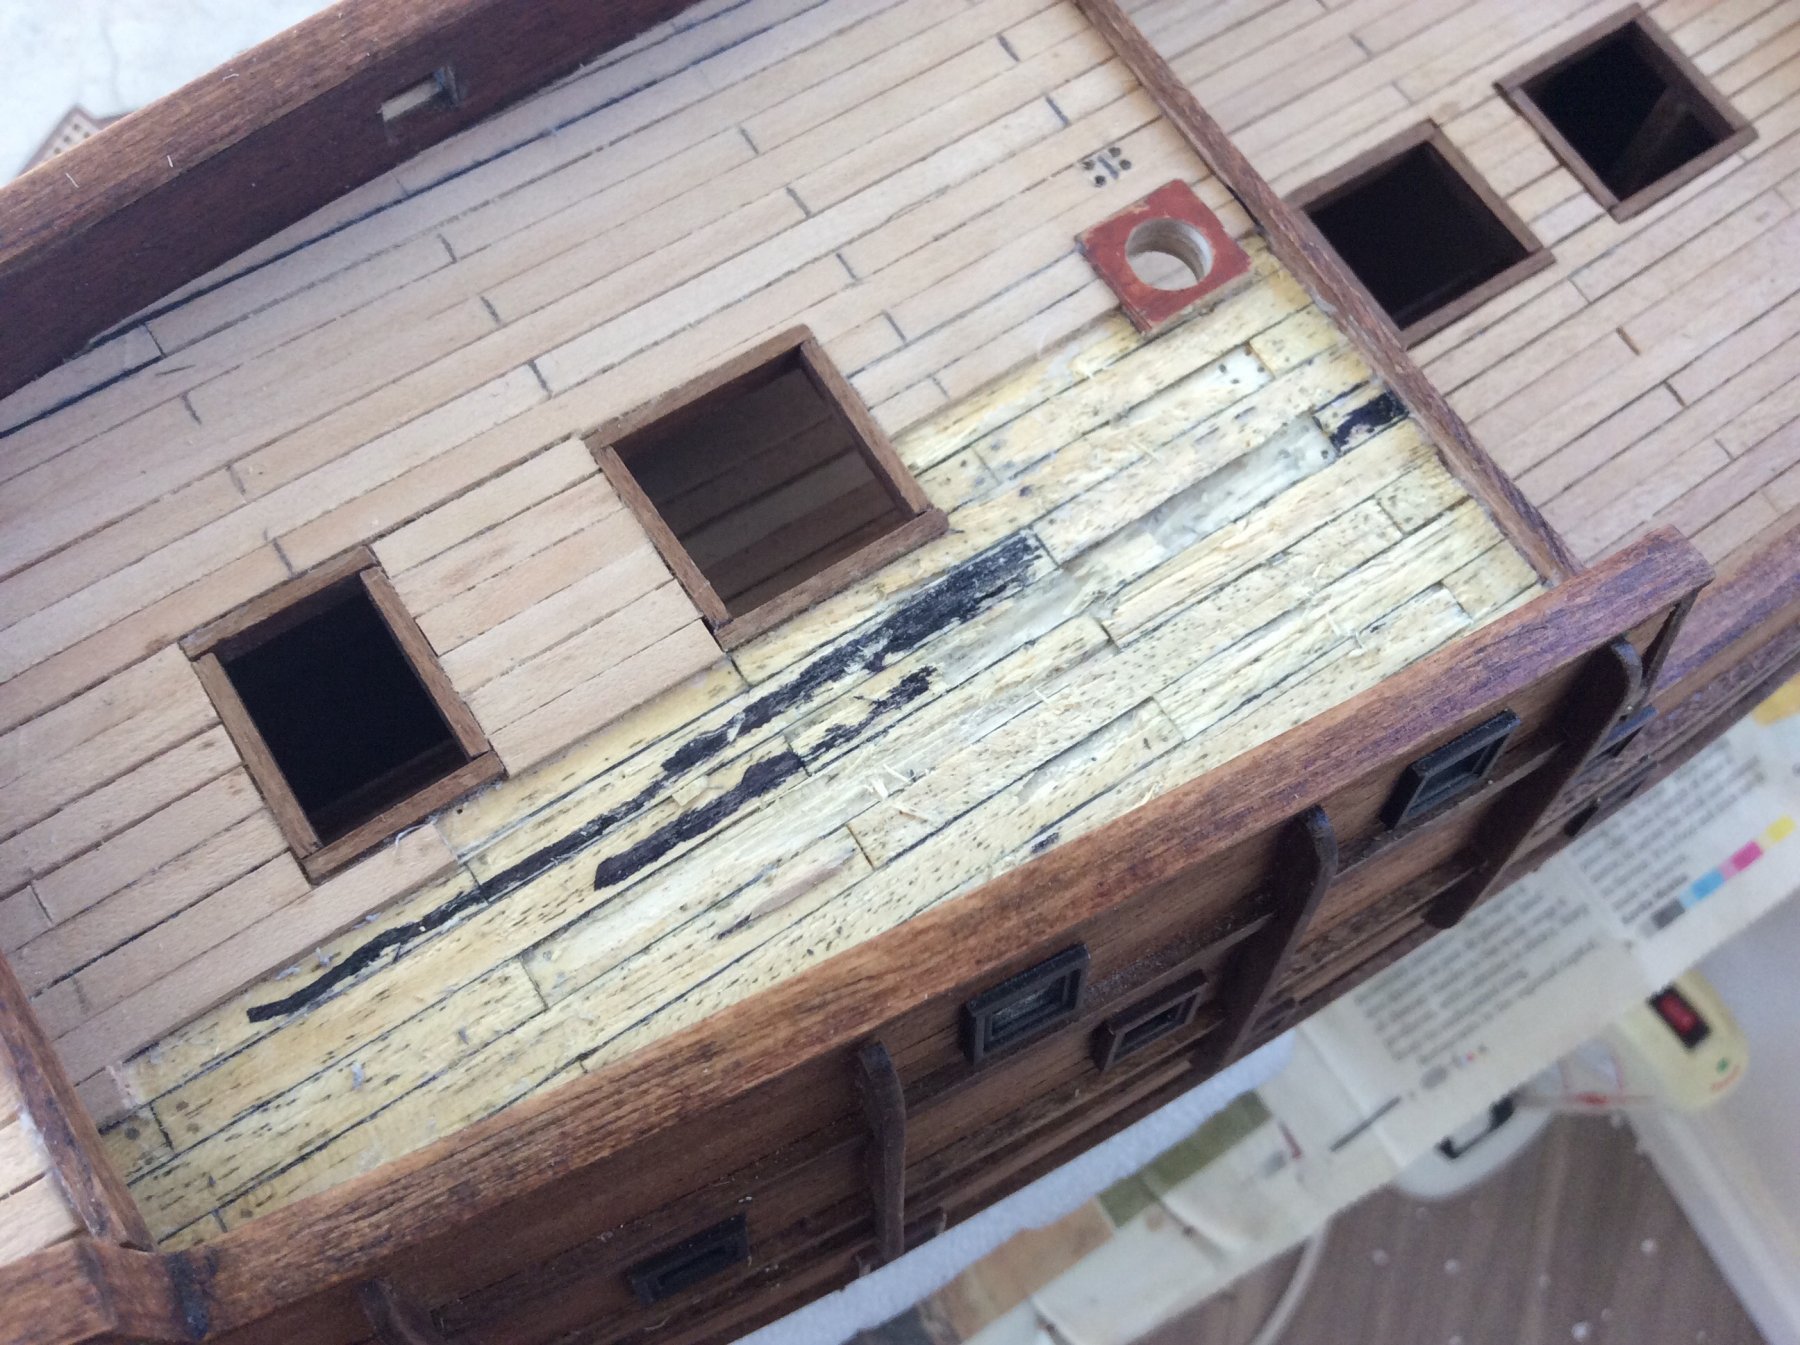
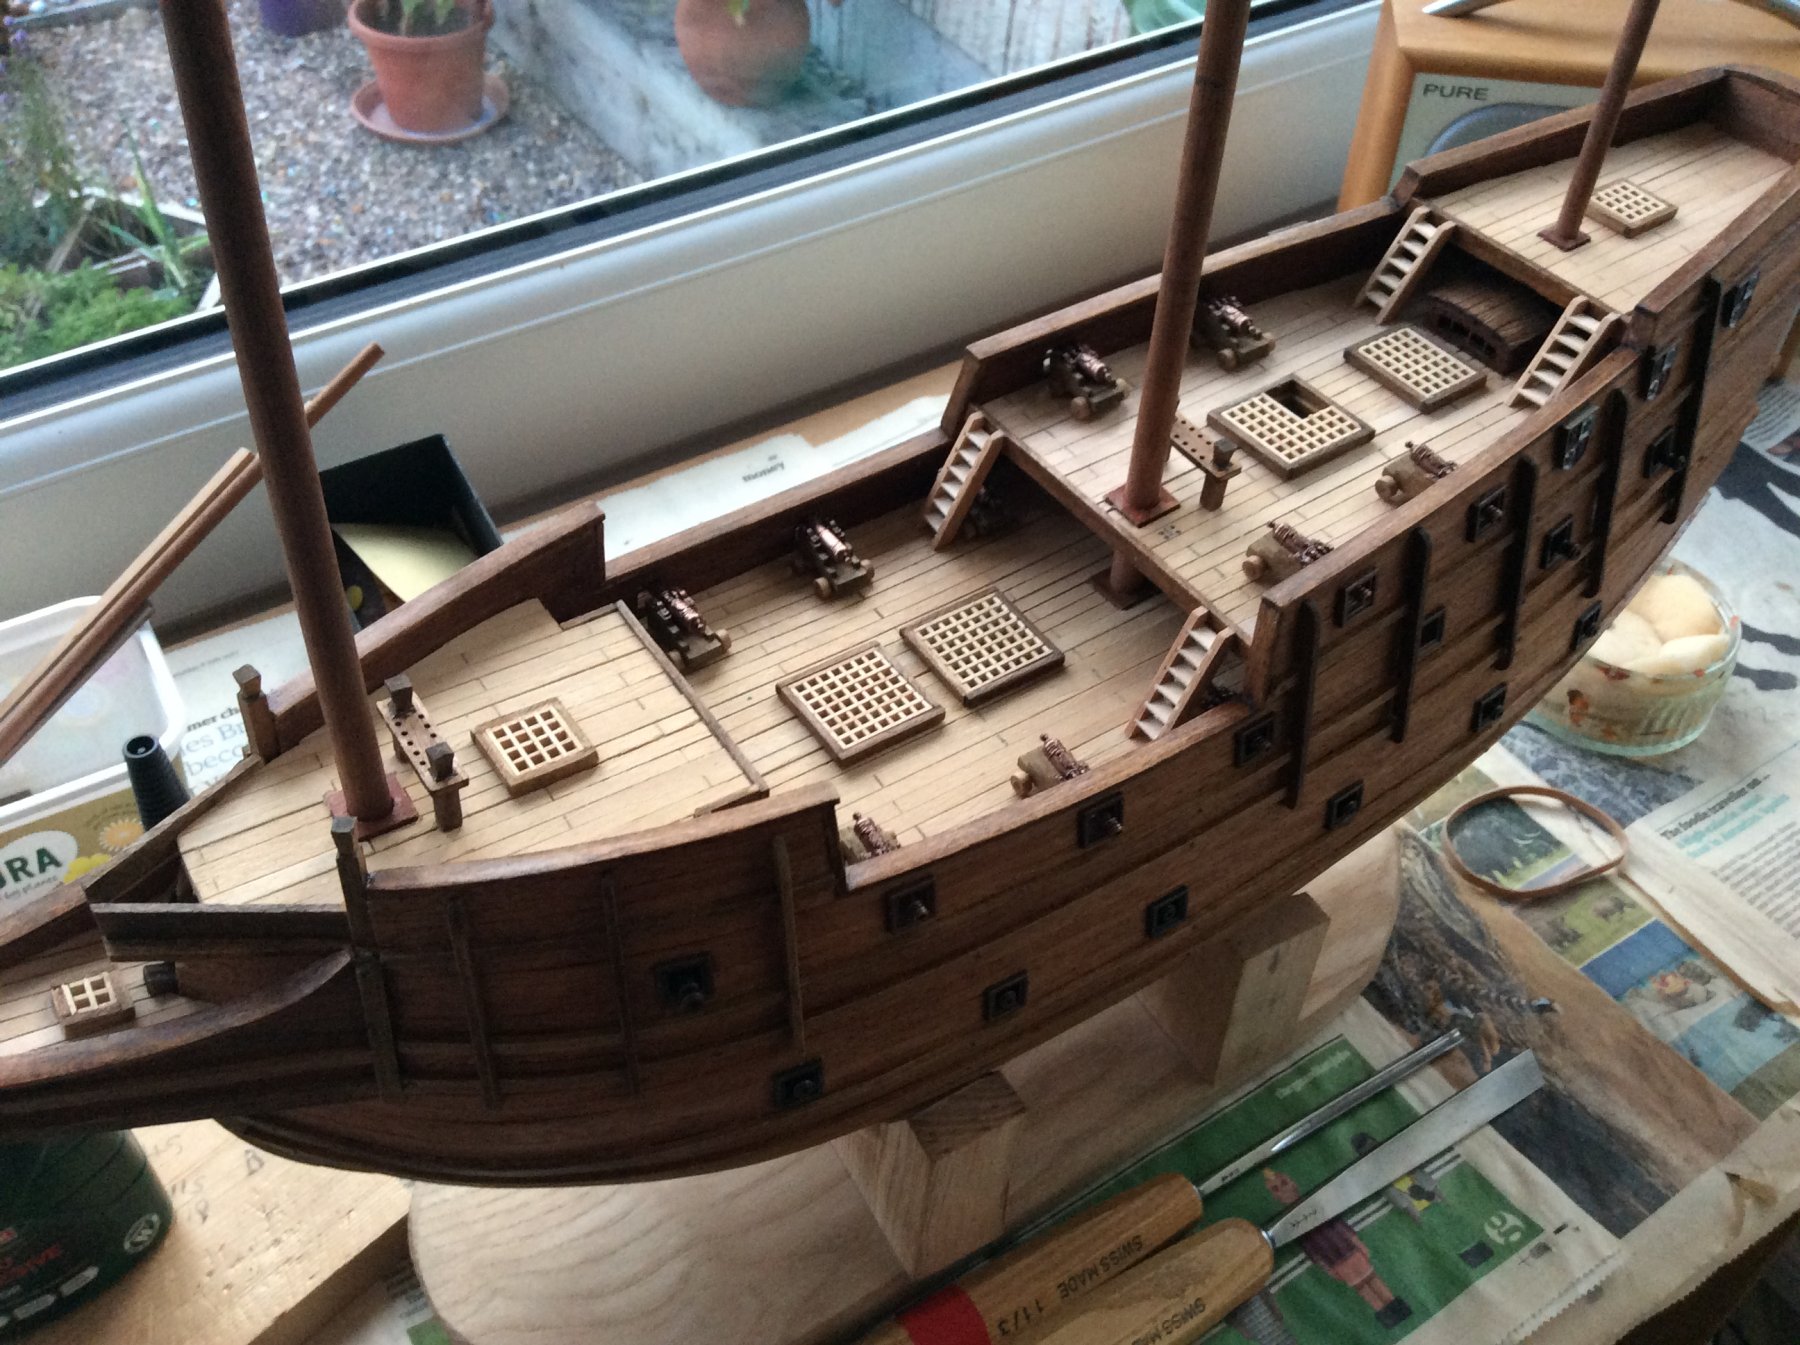
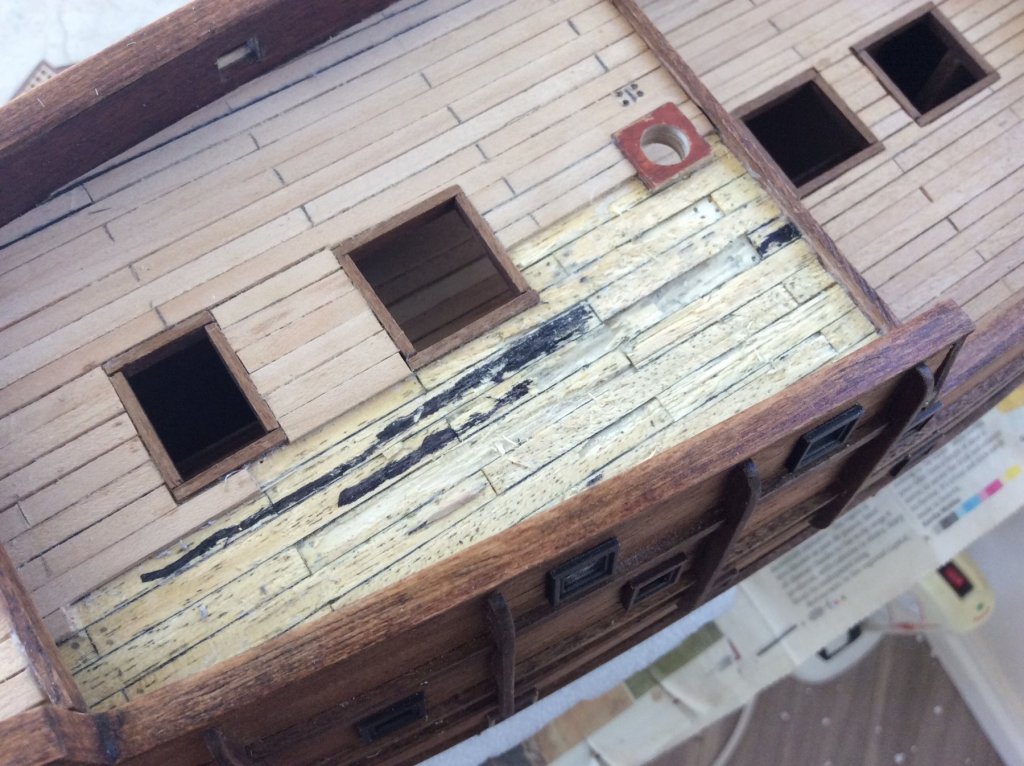
First coat of thinned down polyurethane satin varnish on the hull. Not sure about second coat in case it becomes gloss. Any advice welcome. Took the easy option and used the bronze Occre fittings for the gun ports instead of the making wooden ones.

- 36 replies
-
- 3
-
-
- San Martin
- Spanish Armada Galleon
- (and 2 more)
-
Simulated wipe on poly
Slowhand replied to Slowhand's topic in Painting, finishing and weathering products and techniques
Thanks Spyglass, will try some home made wipe on poly as you suggest. -
Simulated wipe on poly
Slowhand replied to Slowhand's topic in Painting, finishing and weathering products and techniques
Ian, This is all I could find but it's not a wipe on. Because I've already stained the strakes with coloured Danish need to be sure that any further coats don't make them gloss whilst hull is matte or even satin. http://www.homedepot.com/p/Varathane-1-qt-Matte-Soft-Touch-Polyurethane-266233/203331997 Sent from my iPad