HOLIDAY DONATION DRIVE - SUPPORT MSW - DO YOUR PART TO KEEP THIS GREAT FORUM GOING!
×

Slowhand
-
Posts
296 -
Joined
-
Last visited
Content Type
Profiles
Forums
Gallery
Events
Everything posted by Slowhand
-
 The decking looks good a nice variation in shades of wood used for the planking
 -
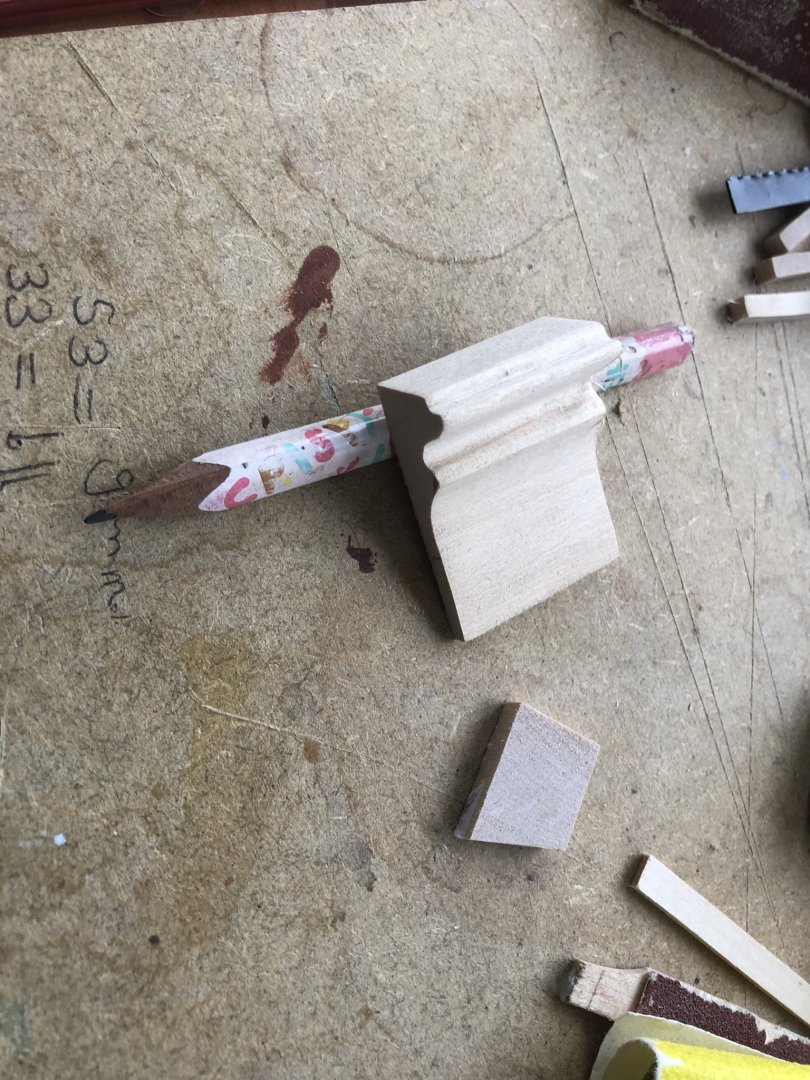
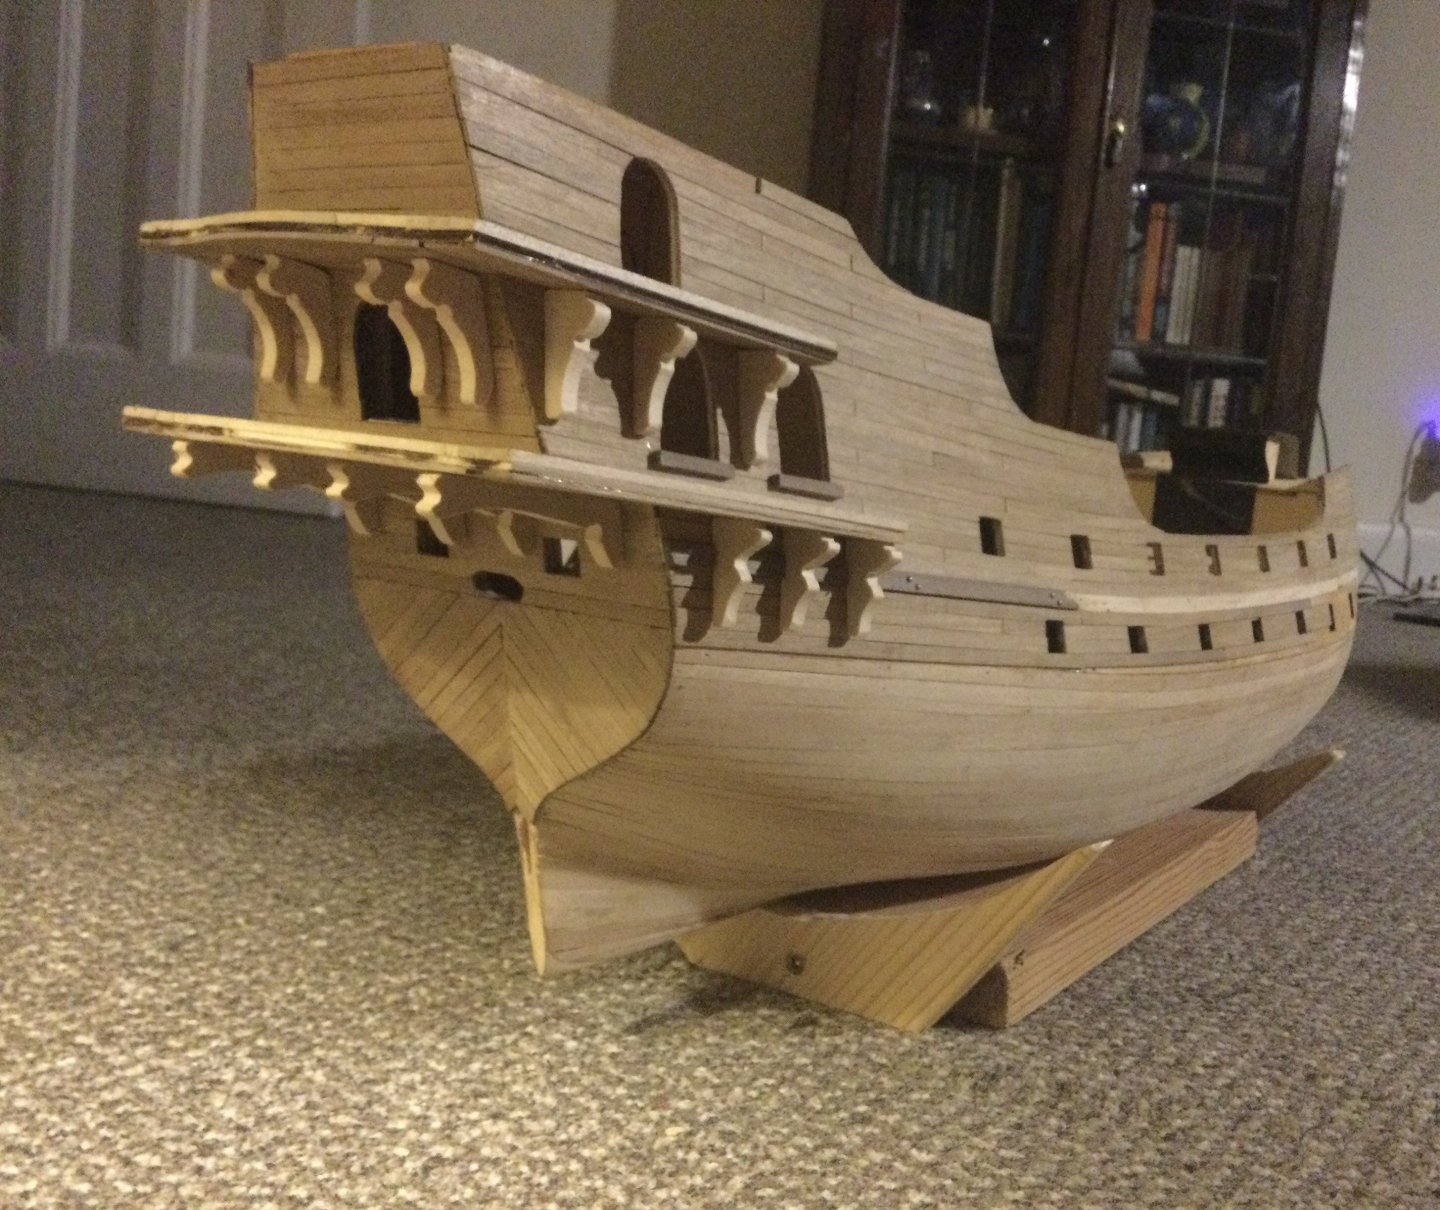
Steven, I carved the profile in the lime by hand with a bit of sanding and in couple of hours ready to slice up with the saw repeated for a two more profiles. Kiln dried lime so the very best quality. Surprised how clean the cuts were as to me the blade looks looks quite big with a kerf of 1.5mm. Got a bit carried away making brackets but galleons of that era looked quite ornate, expect Spanish to be similar to Dutch and Venetian. Painting curtesy of Rijk Museum, Netherlands.

-
Byrnes Table Saw on Ebay UK
Slowhand replied to Some Idea's topic in Modeling tools and Workshop Equipment
Hmm a bit expensive £1250 -
Been awaiting arrival of my new toy a table saw, intended to use some walnut wood turning pen blanks for brackets for stern balconies. Too hard and carving by hand with gouges set my tennis elbow off. Some dried cherry proved too difficult to carve as splinters kept breaking off so back to my old friend lime. Carved effectively a small architrave and sliced it with the Proxxon.
-
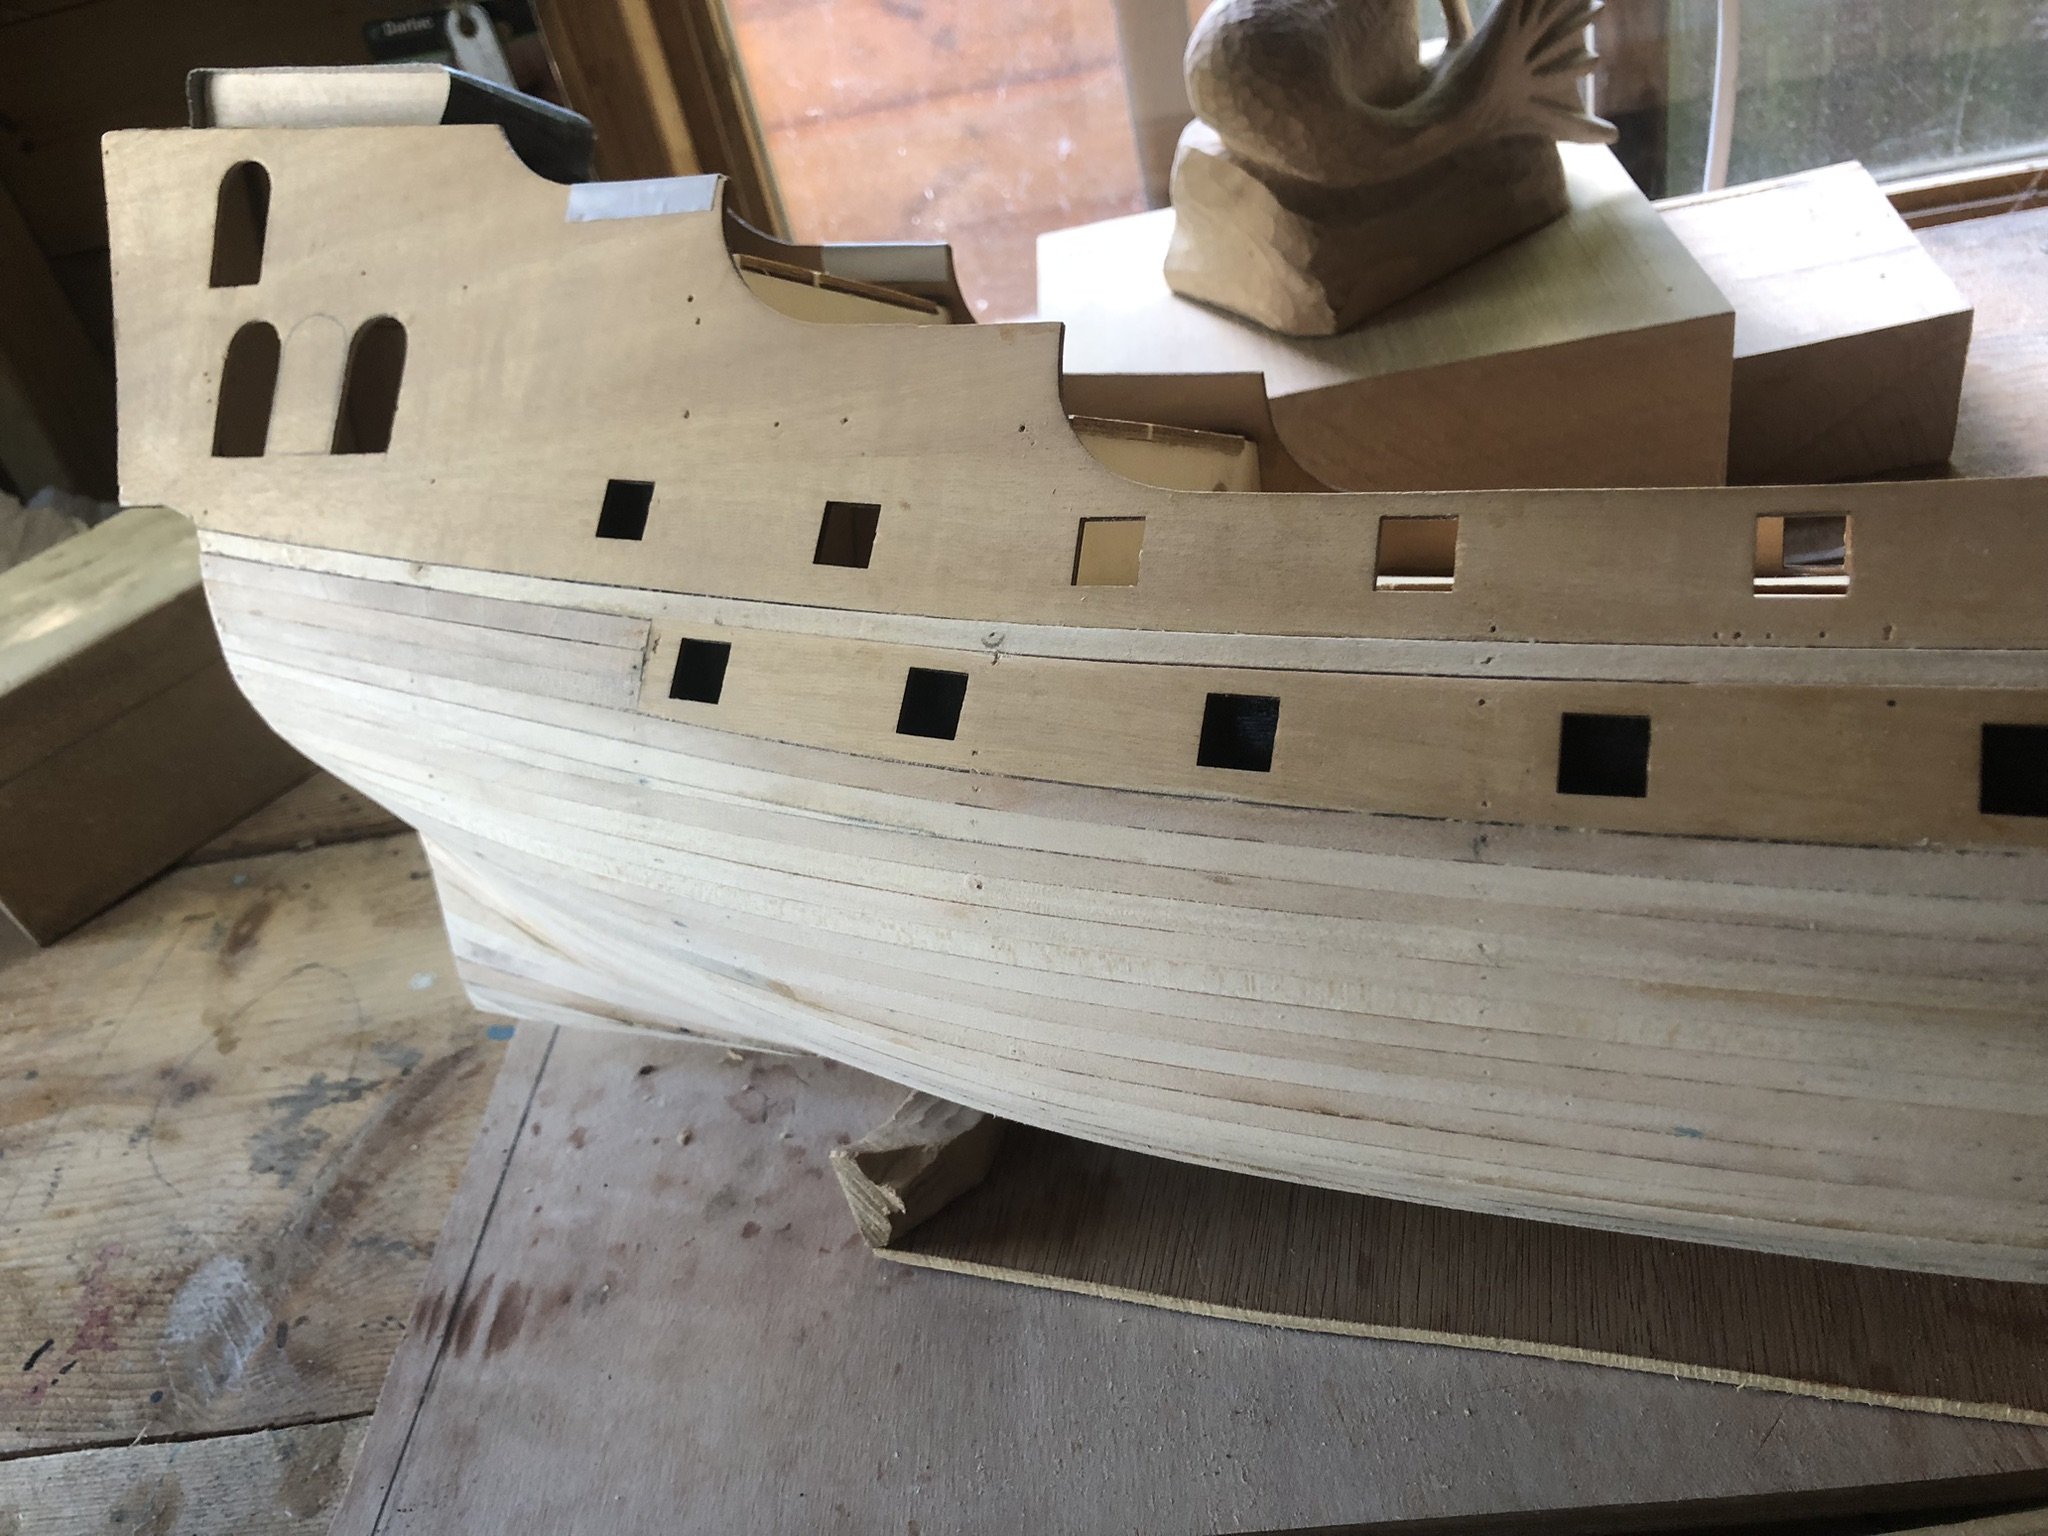
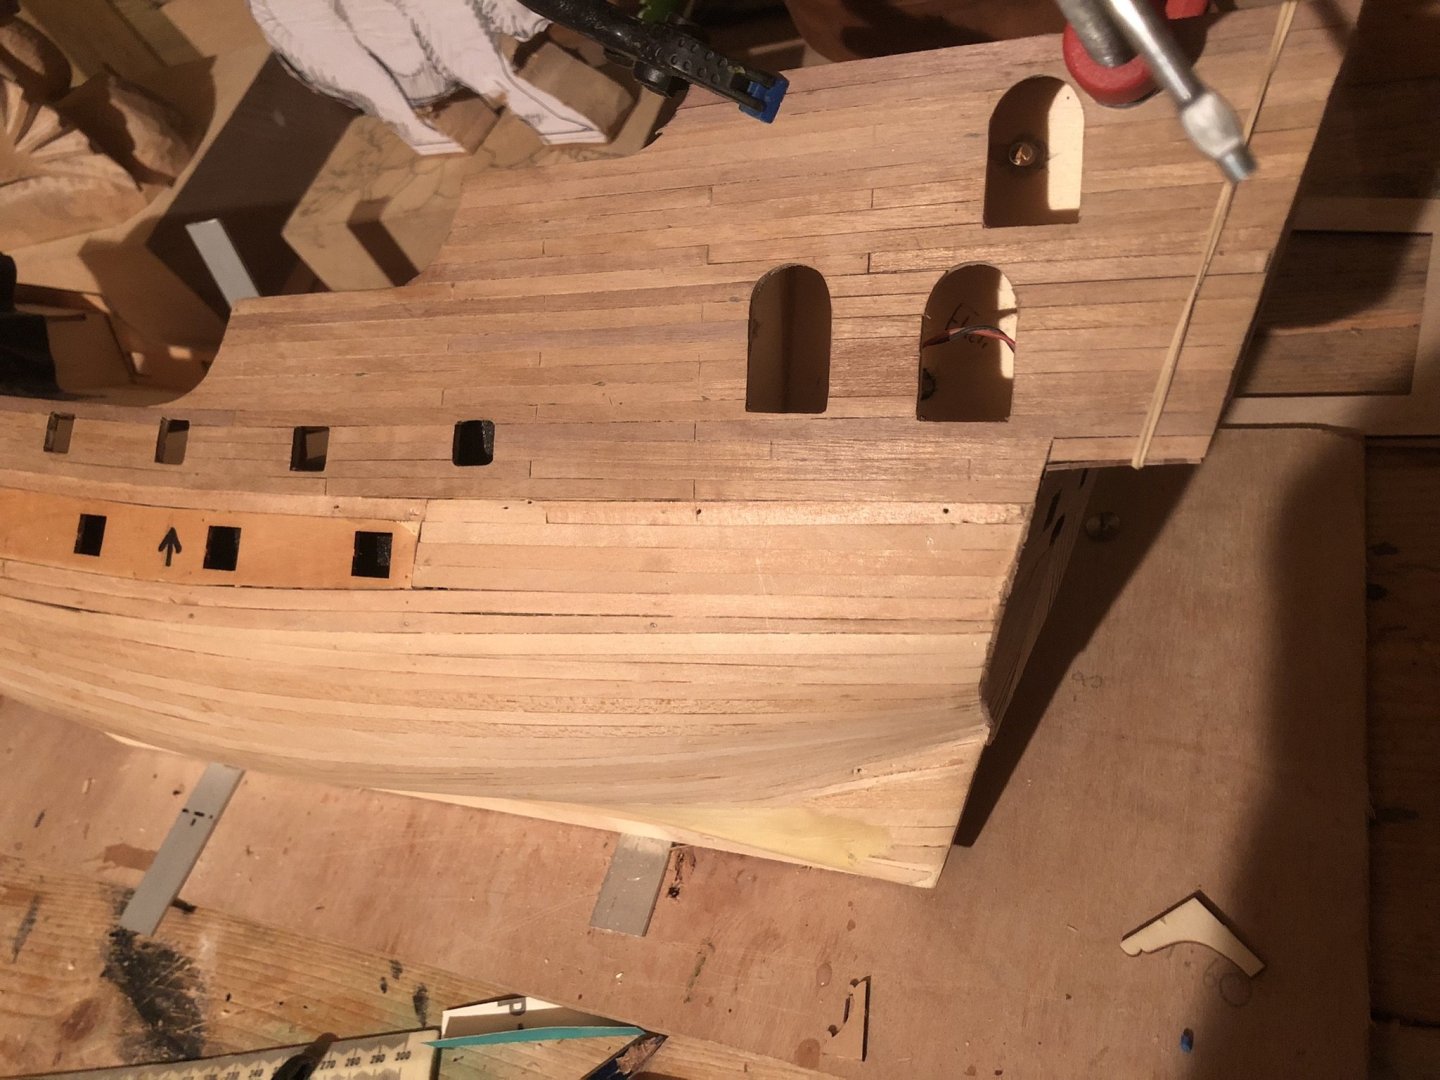
Whilst concentrating on getting windows the correct shape I lost sight of the fact the lower balcony should in line with step above transom and the windows would need to be lower. What to do? Without too much bother I cut out and raised the step and replanked. So now it’s on to carving the wooden brackets similar to Costeo’s version last image that’ll be interesting. As I said when I began no exposed metal or ply in this build.

-
I’ll certainly keep an eye on this build, very interesting subject in the thick of the action at Jutland.
- 78 replies
-
- 3
-

-
- Derfflinger
- Flyhawk
- (and 2 more)
-
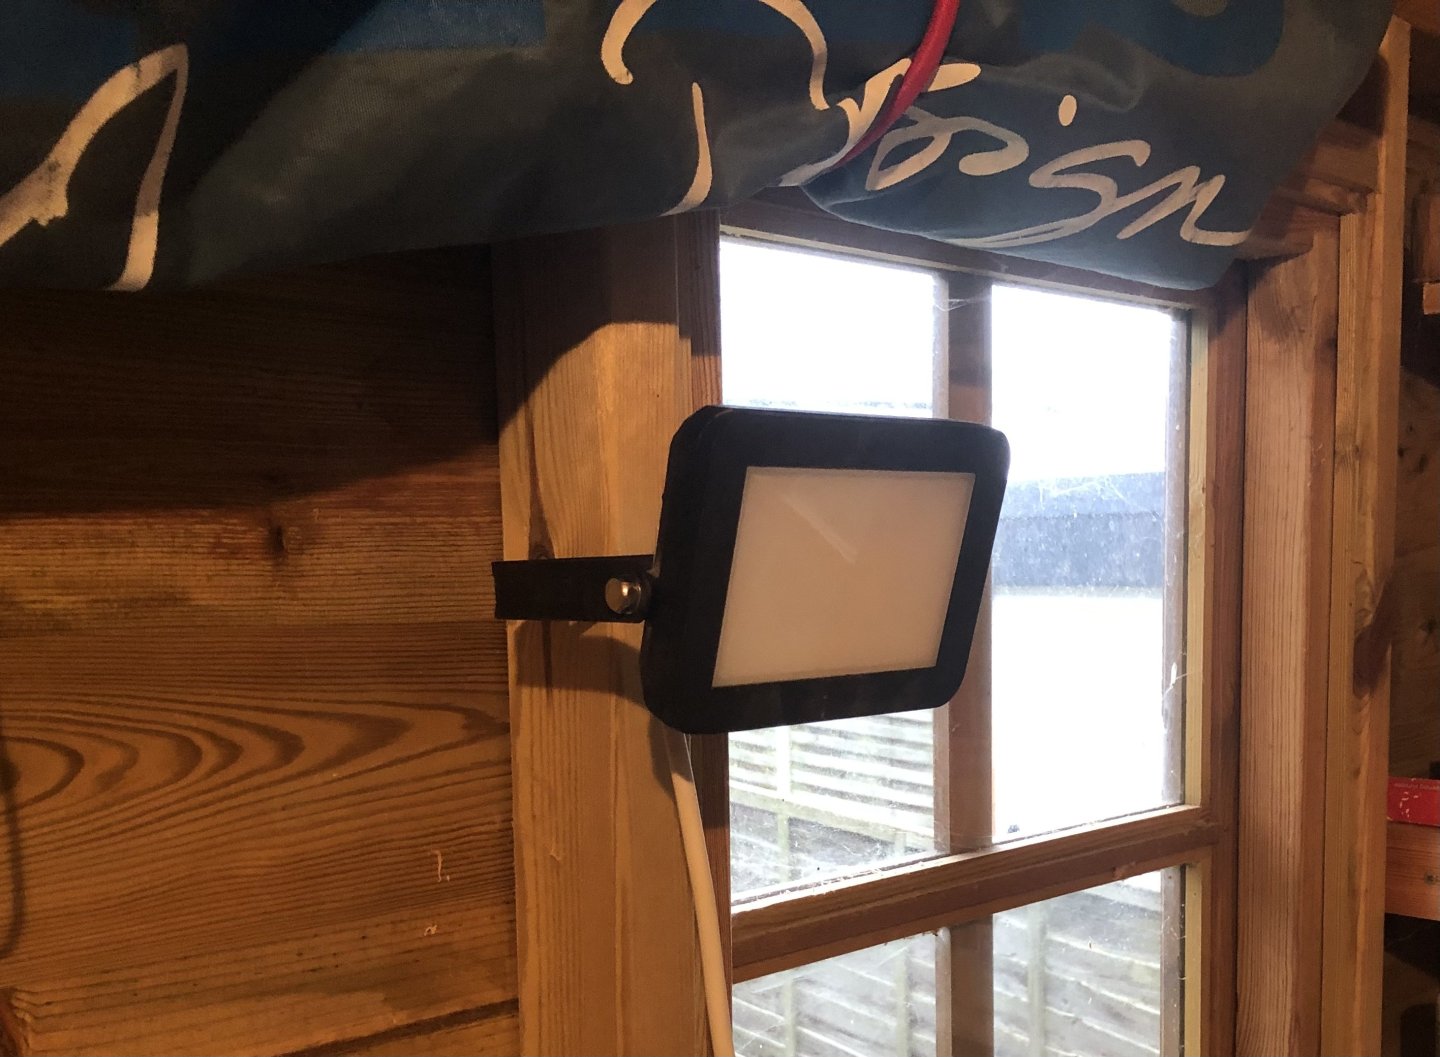
Lind, This is all I use a LED panel using 240v power. I find placed at the side creates less shadow on the side of ship I’am working on. Not particularly powerful 11.5W. I bought it in B & Q a UK superstore. I prefer natural daylight whenever possible. SORRY misread your post you meant internal lighting in the ship.


-
Hello Lind,
I’ve attached two photos of the LED panel I use when natural light is low. I bought it from B&Q a UK store. It’s wired up to 240v. Hope this helps.
Steve

-
The strip walnut you buy in the UK is African Walnut and is not related to true Walnut. If you haven’t the facility to mill your own wood I think it is a good option. I am using it on my current build Apostle San Felipe and is a light brown.
-
I think you’re doing a great job on the Hood the wooden deck is well worth the cost. The amount of detail in these kits is amazing and building one is a job for the insane. I tried the Invincible and had major problems with the casemate guns and the bridge. Then she took a hit from the Derfflinger 😂😂. Tempted to try again.
-
I was just supping a glass of wine and I wondered what happened to this build absolutely fantastic. I wouldn’t dream of attempting a card build. Hope it was finished or nearly finished.
- 244 replies
-
- 1
-
-
- borodino
- dom bumagi
- (and 1 more)
-
That’s what I always do, plenty of scope to sand out errors. Your second layers are coming along very nicely.
-
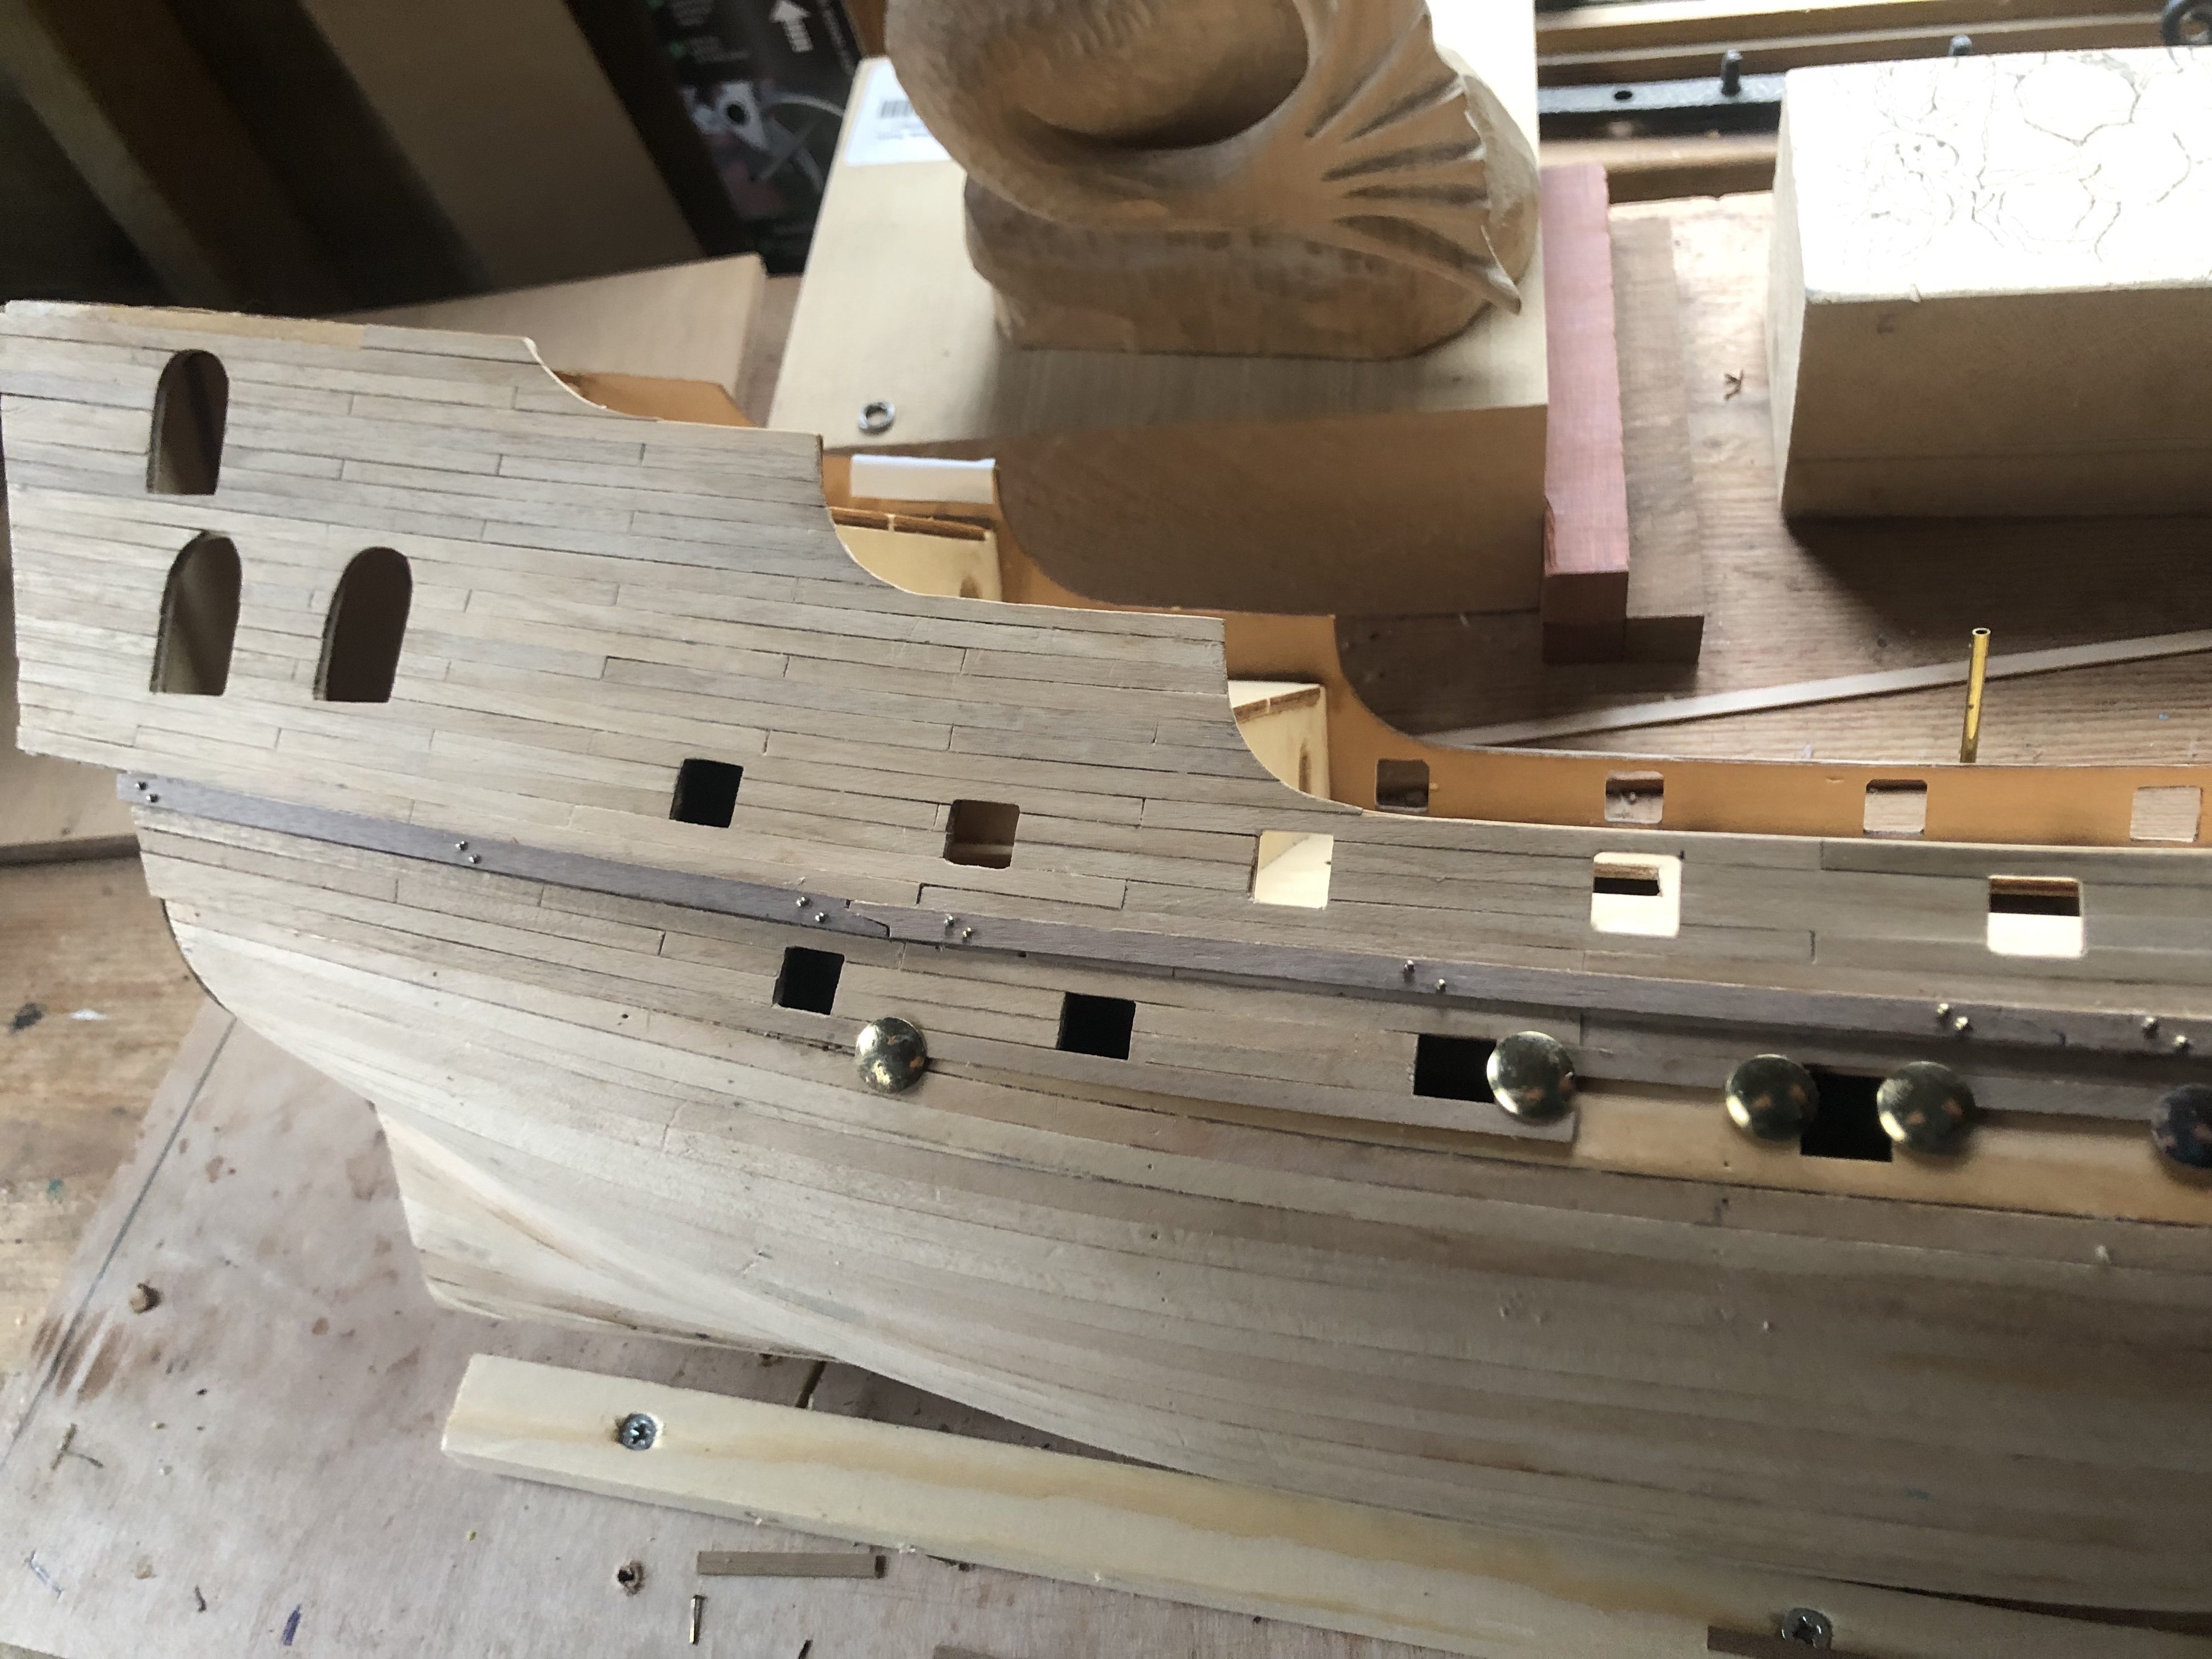
Thanks Mikki, the wales on mine are 2 x 5 mm walnut too, just been to check. I thought they might be 3 x 5 mm. Previously I have soaked and bent with heat but quite a few people on the site say heat is the only thing to have an effect which why have only used heat tongs so far on this build. Thanks for the advice will see how I get on. With winter here the white glue is taking an age to set. All the chemistry I studied is of some use for every 10 degree C temp drop, rate of reaction at least halves (Arrenhuis equation).
-
Finished one side above the wales. Will have to ask on this site about bending the wales as I don’t think my current method with the Admiral’s hair tongs will do the business but that’s later. Afterwards changed image to one showing better scarf joint only left hand length of wales is fixed. Most likely remove brass pins later.

-
Perhaps the planks nearby could be “butted” together. Nice build by the way enjoy seeing how you build sections up.
-
Thanks Dave really helpful I will do that. I had a look on Axminster site and reviews were mixed but you can’t beat a personal recommendation. Want to take my building skills a step upwards but I don’t think that will happen with just hand tools.
-
I find it sad all the retailers of Proxxon machines in UK don’t have any in store as demo models, I was looking at their FET table saw but it looks I will have to buy on spec.
-
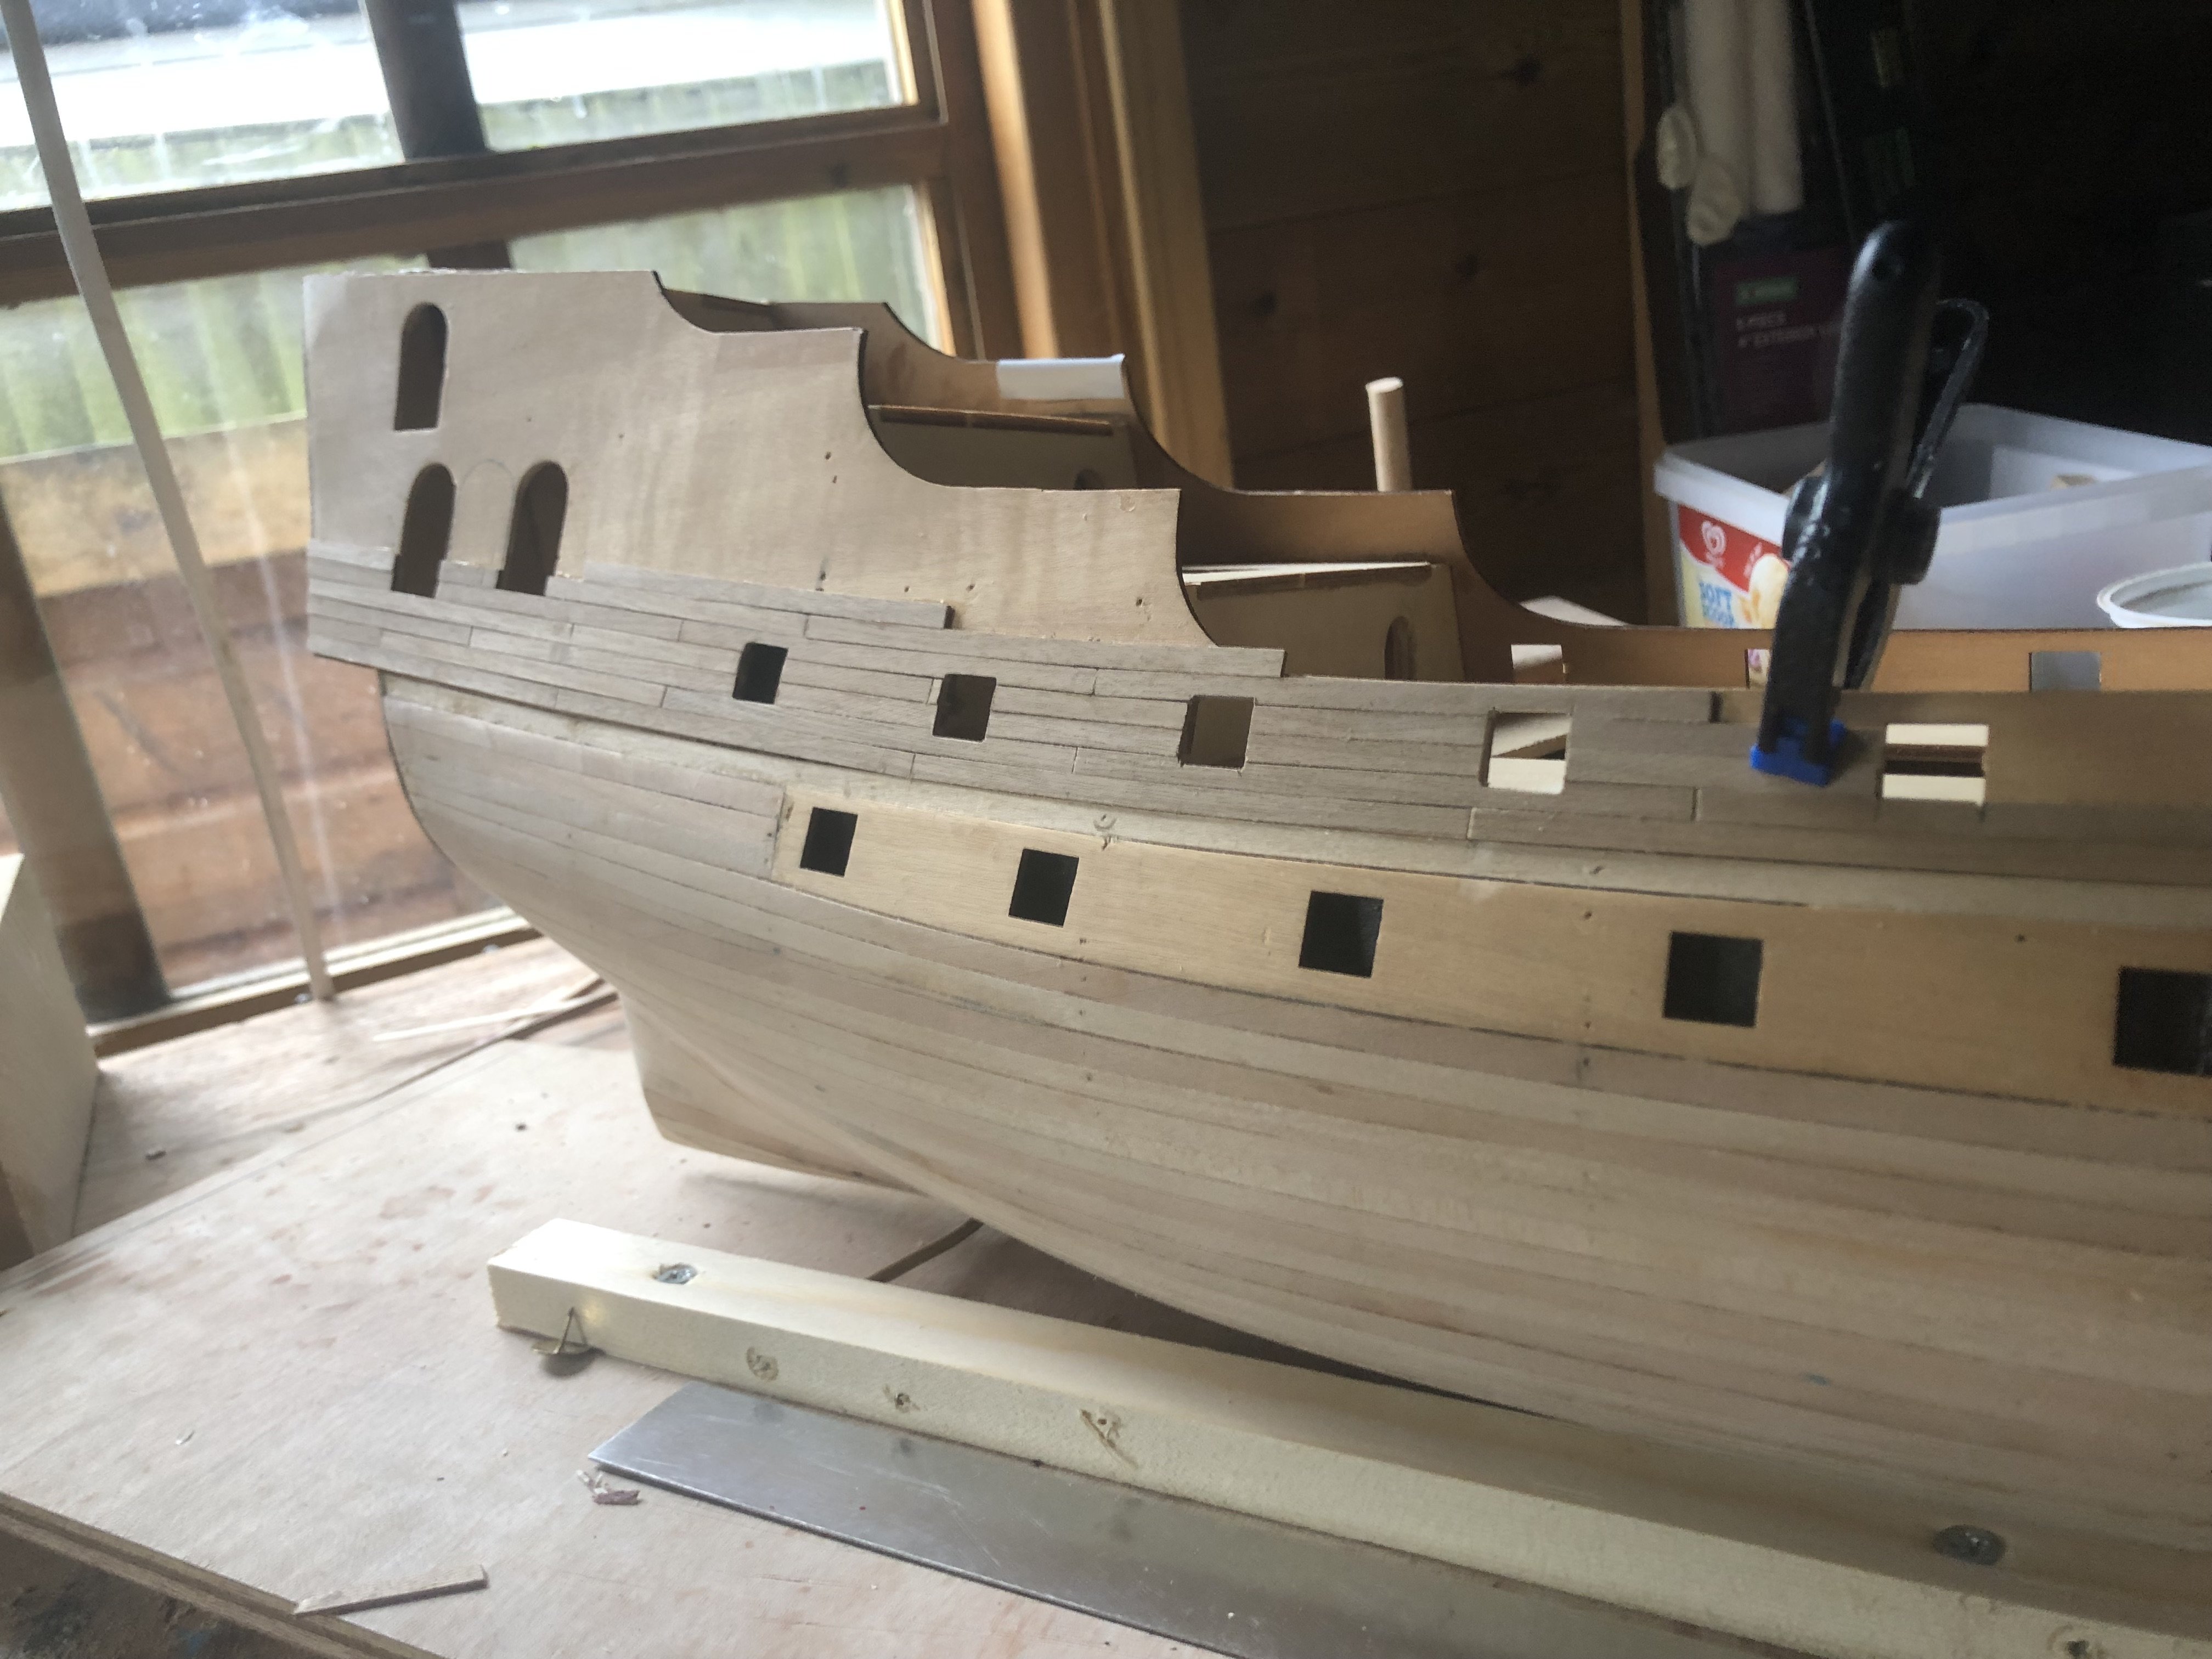
Well more second planking, back from holiday so slow progress.
-
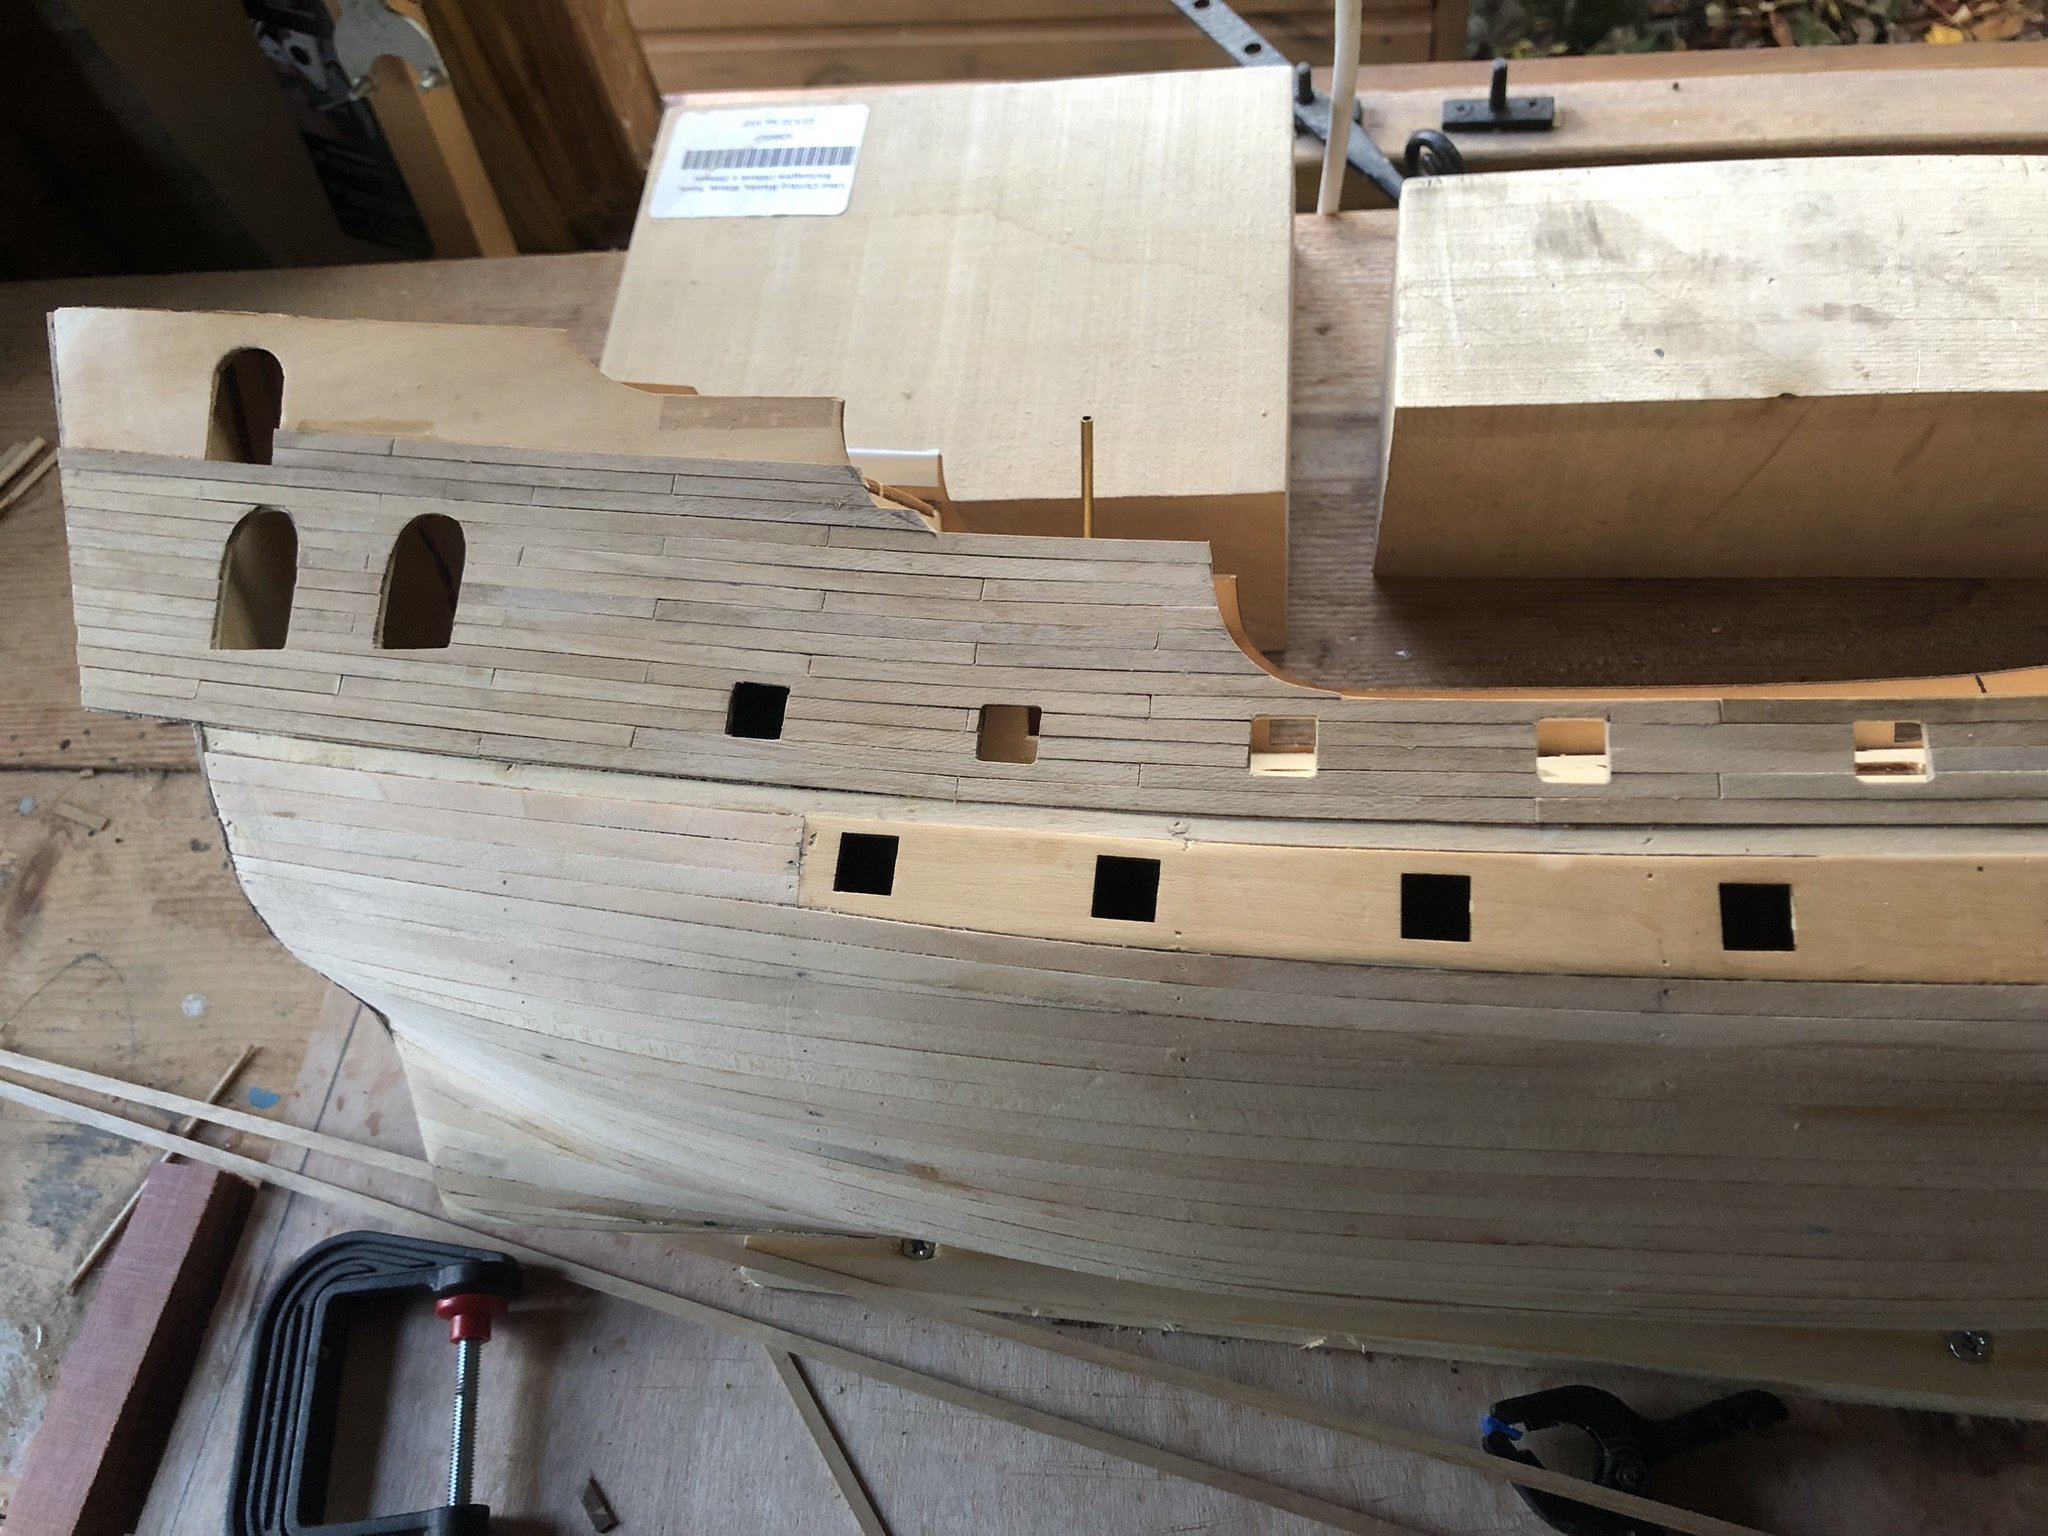
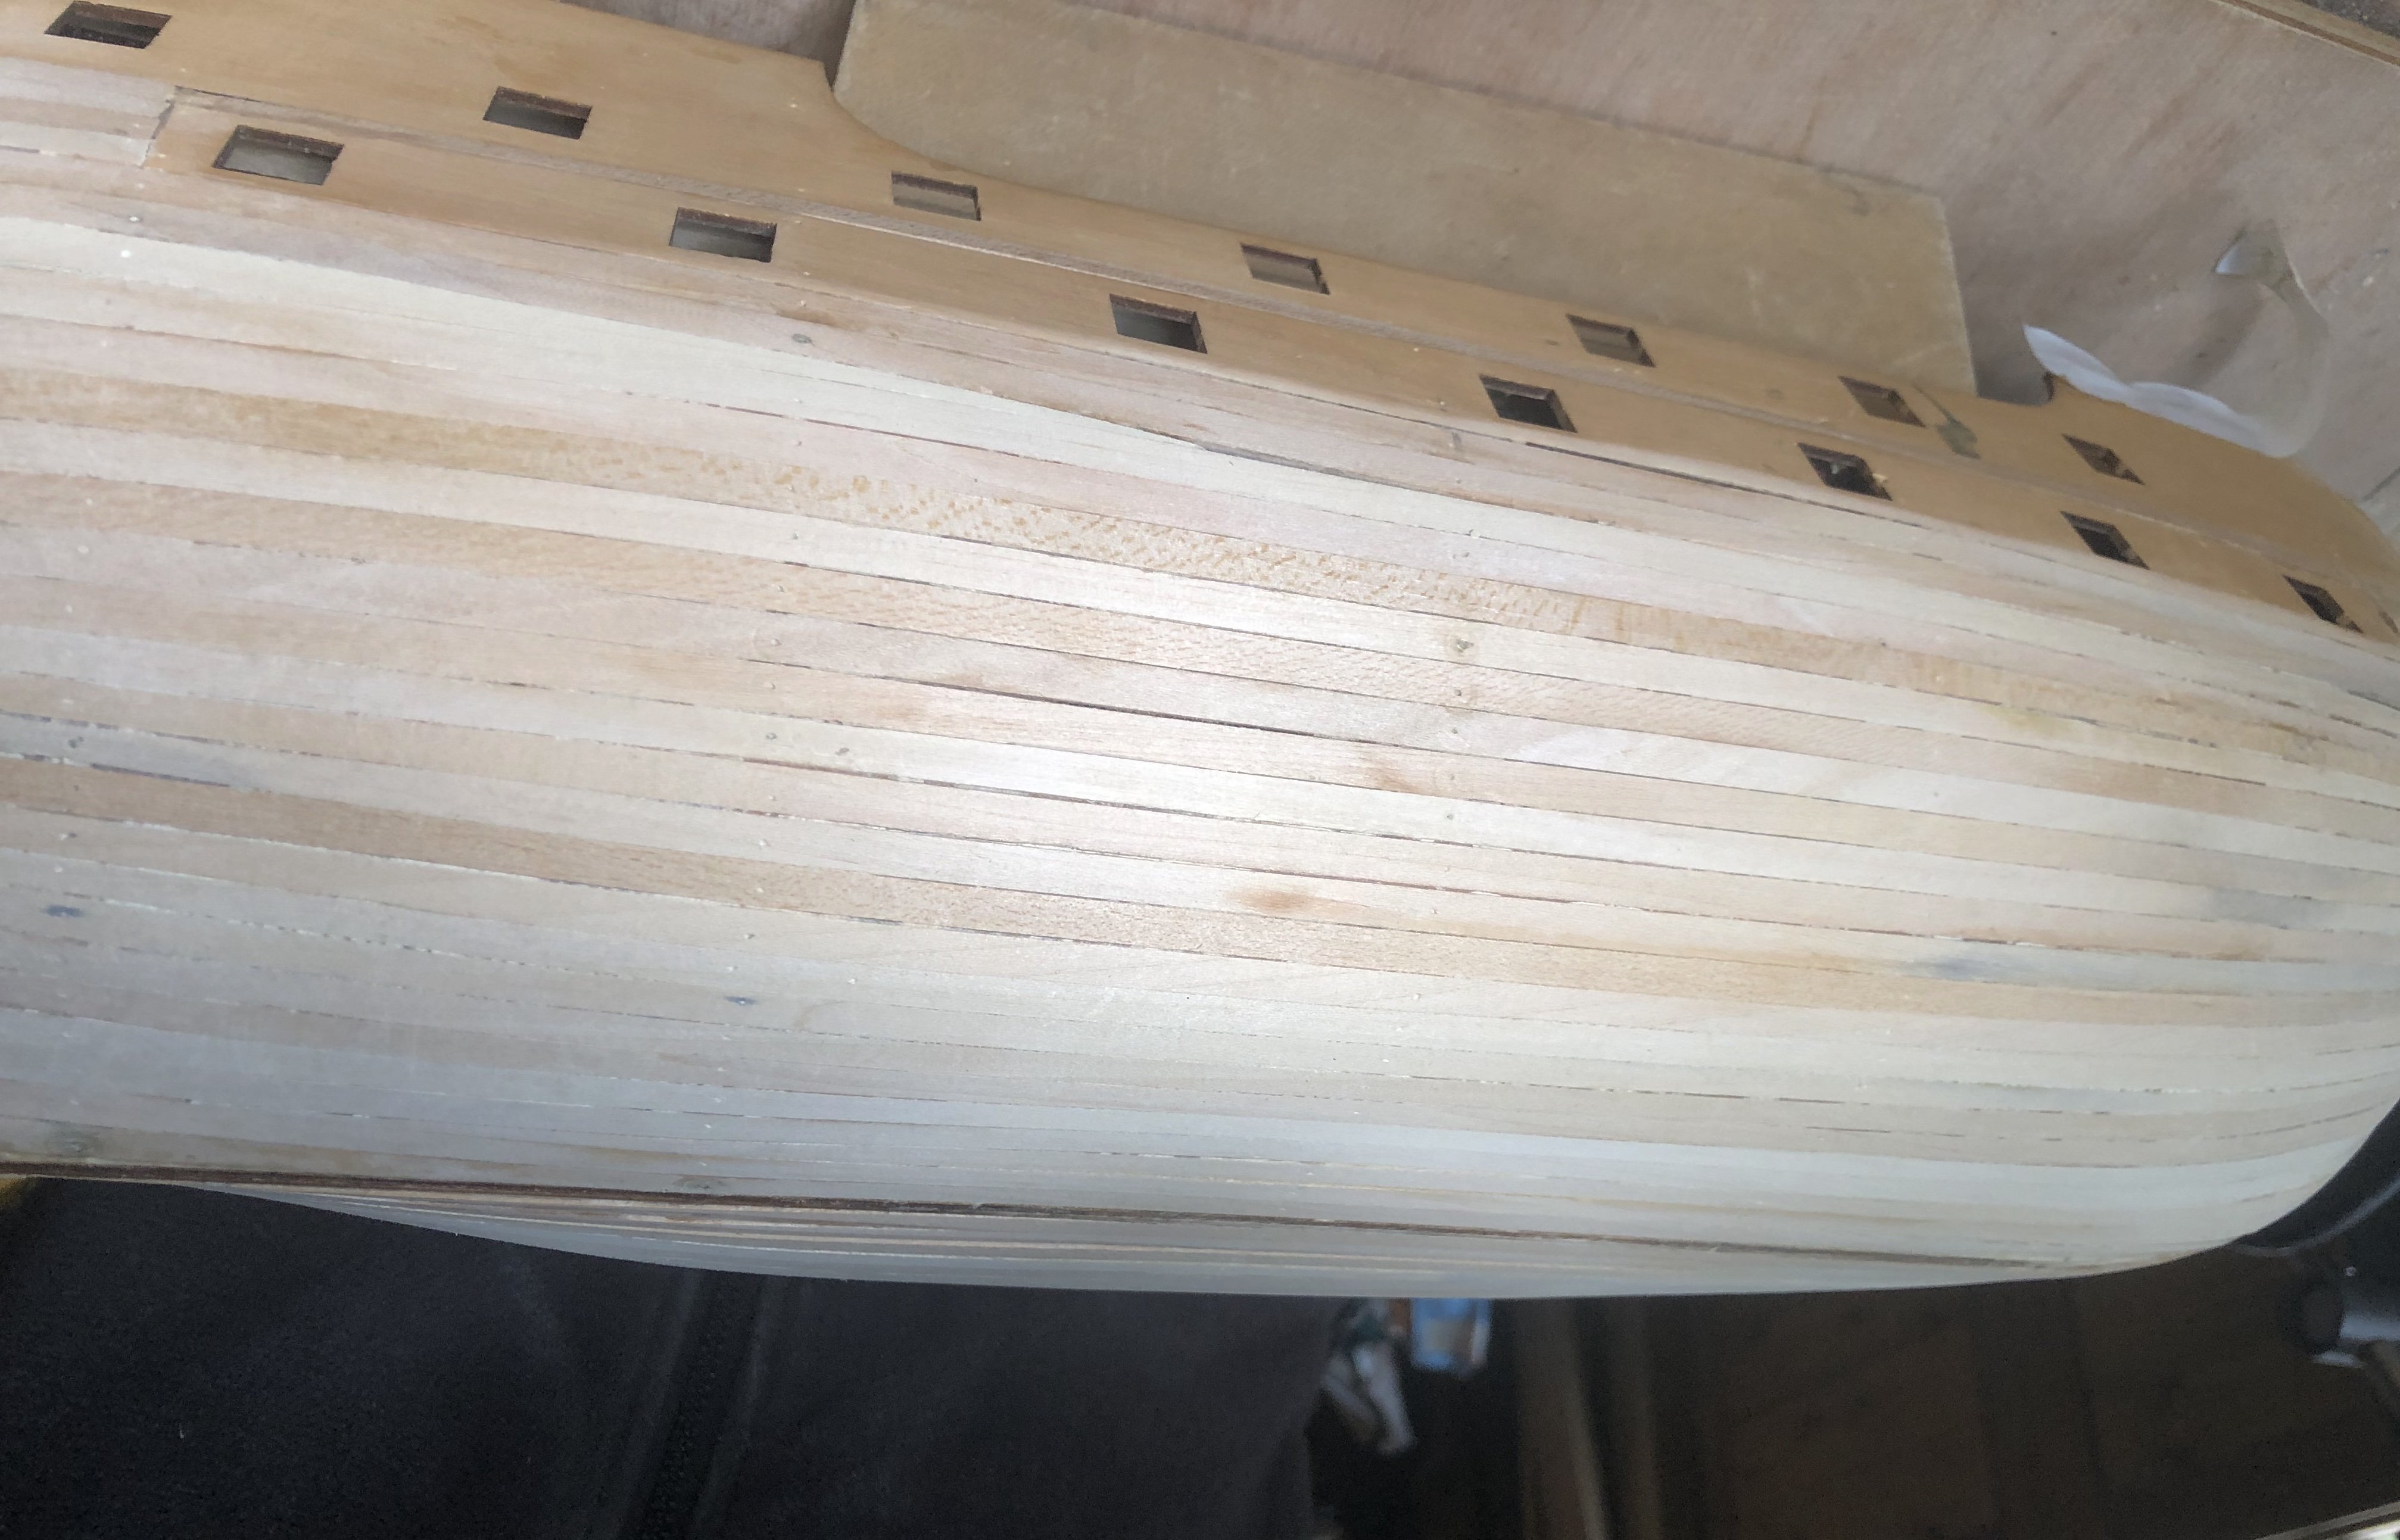
Started second planking layer with African Walnut, didn’t realise it wasn’t actually proper black walnut but more akin to a mahogany. Anyway, it has quite fine grain and well, I think that’s what Costeo must have used in his build. Better Pictures added now. The camera can be unforgiving
-
Welcome to MSW
-
Fantastic build, it’s going to be of historical interest in the future. I must ask, do you have a special jig to get pairs of tree nails so even.
-
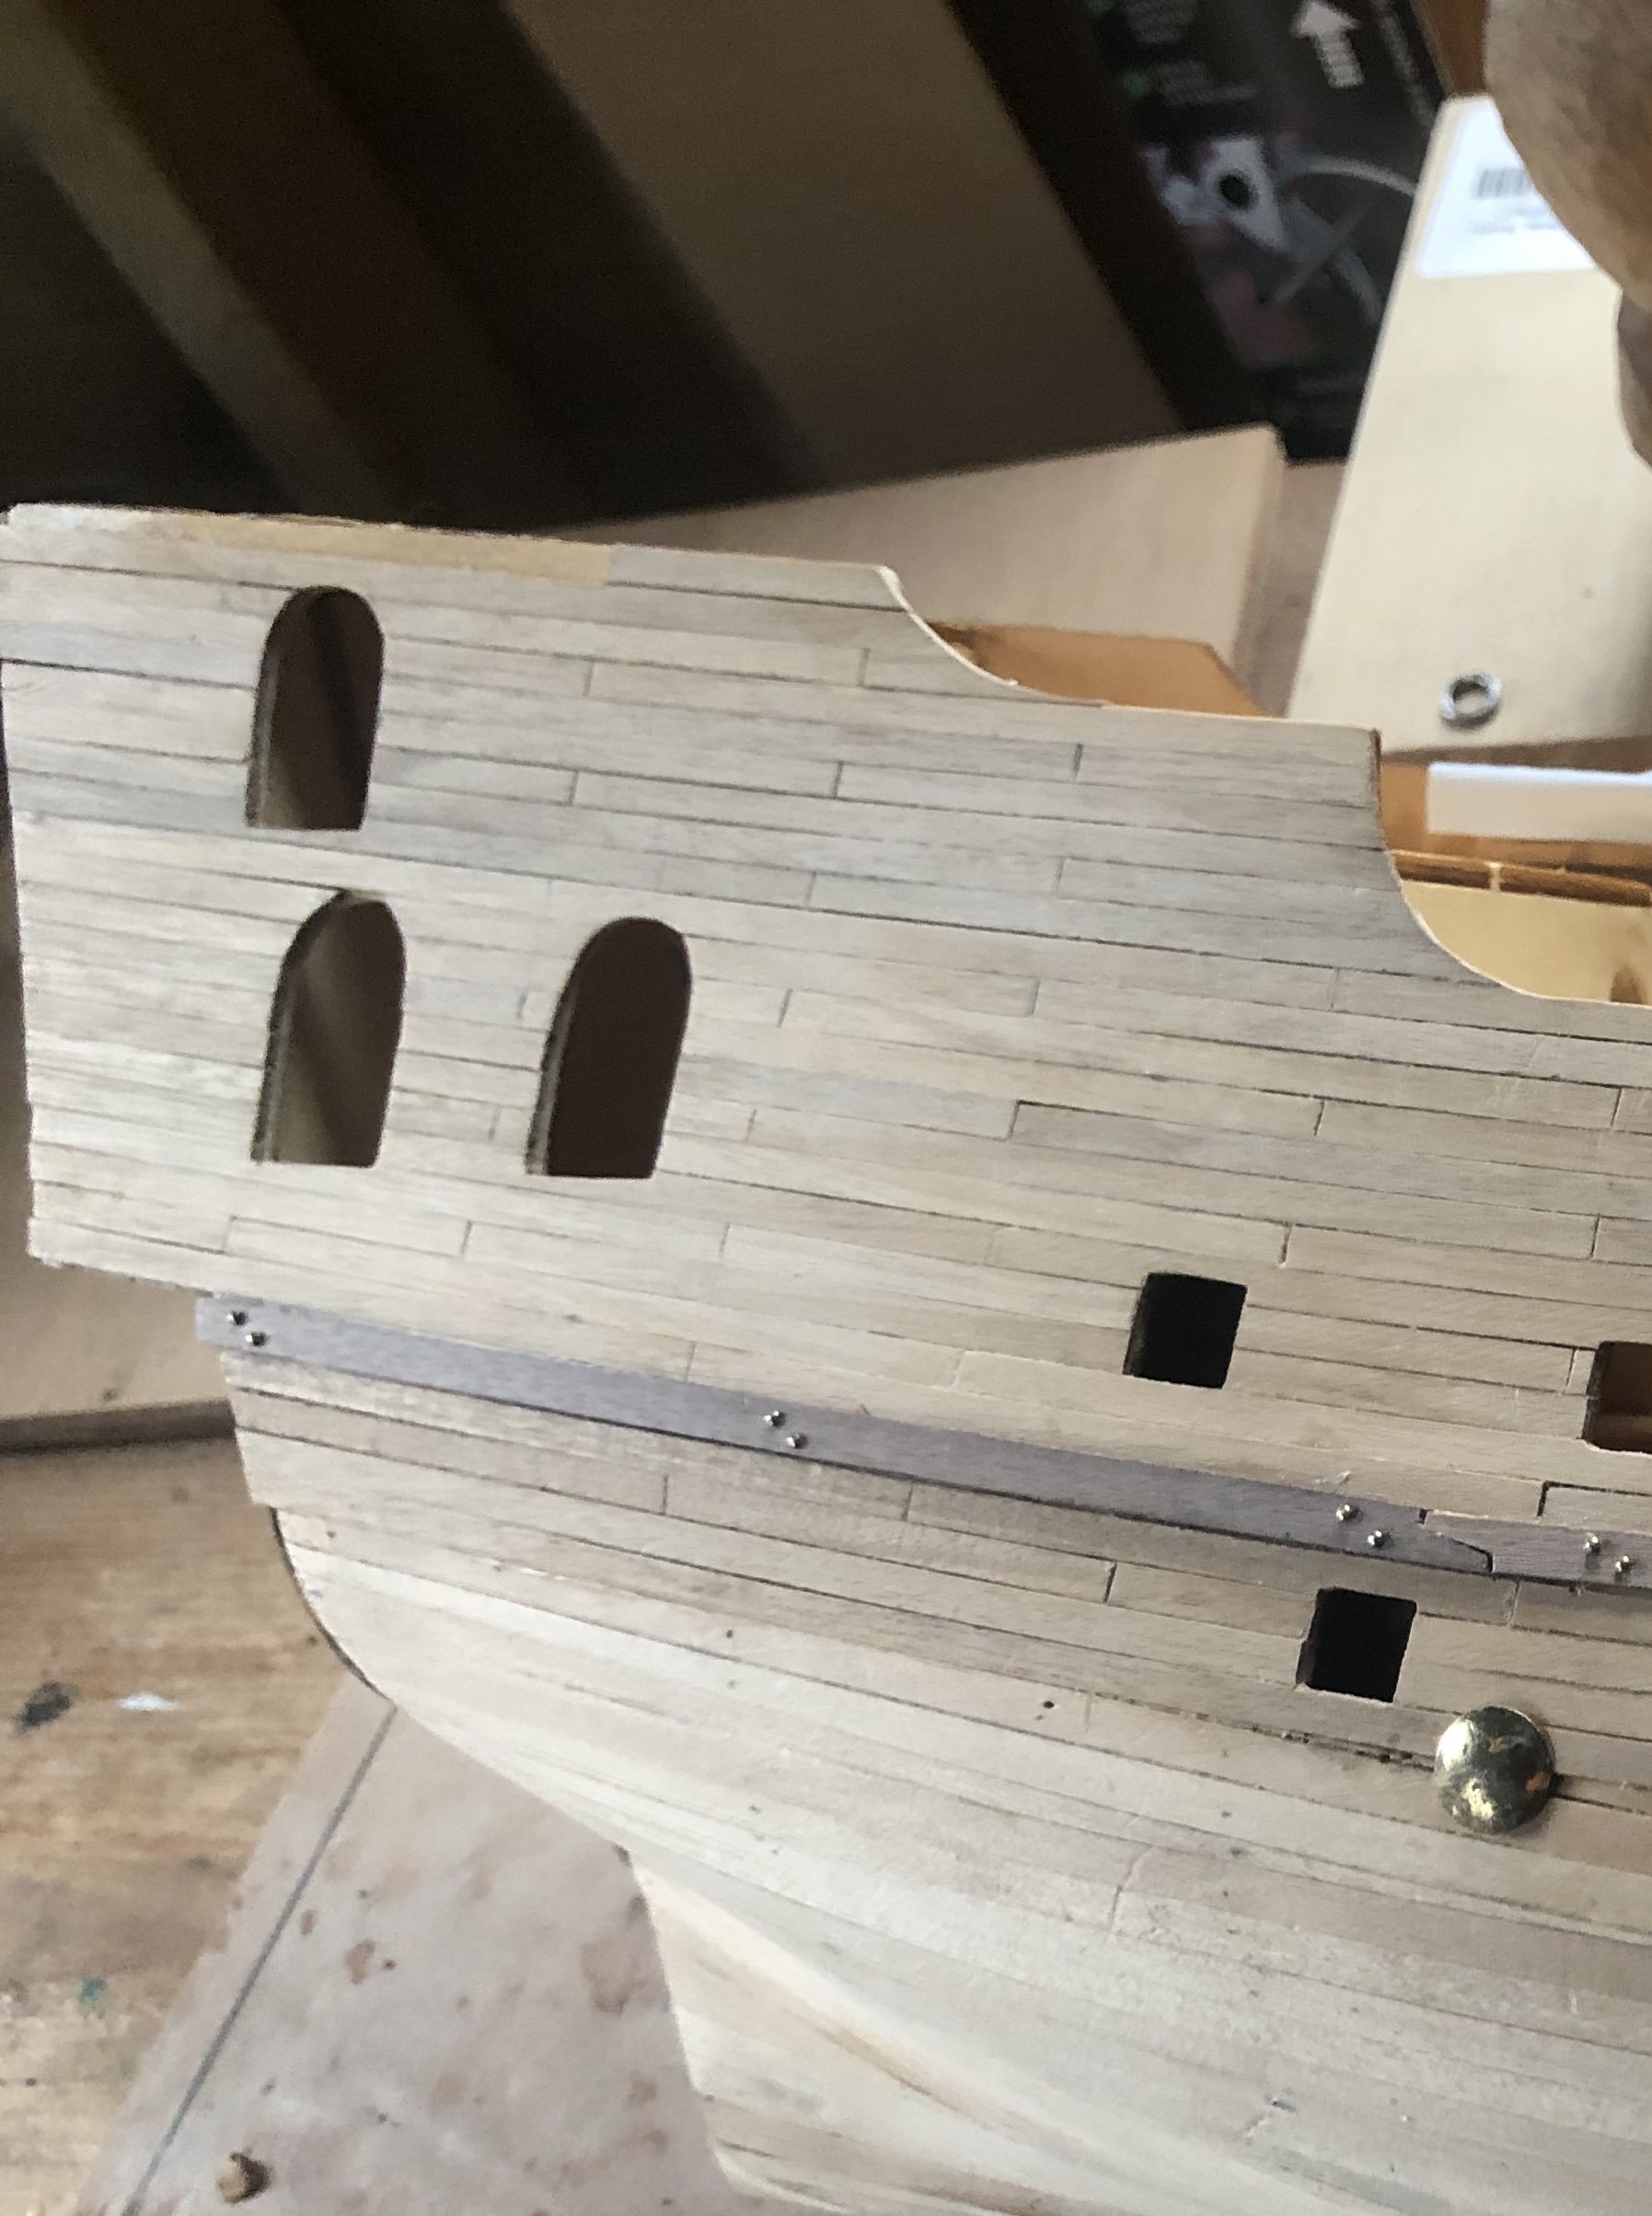
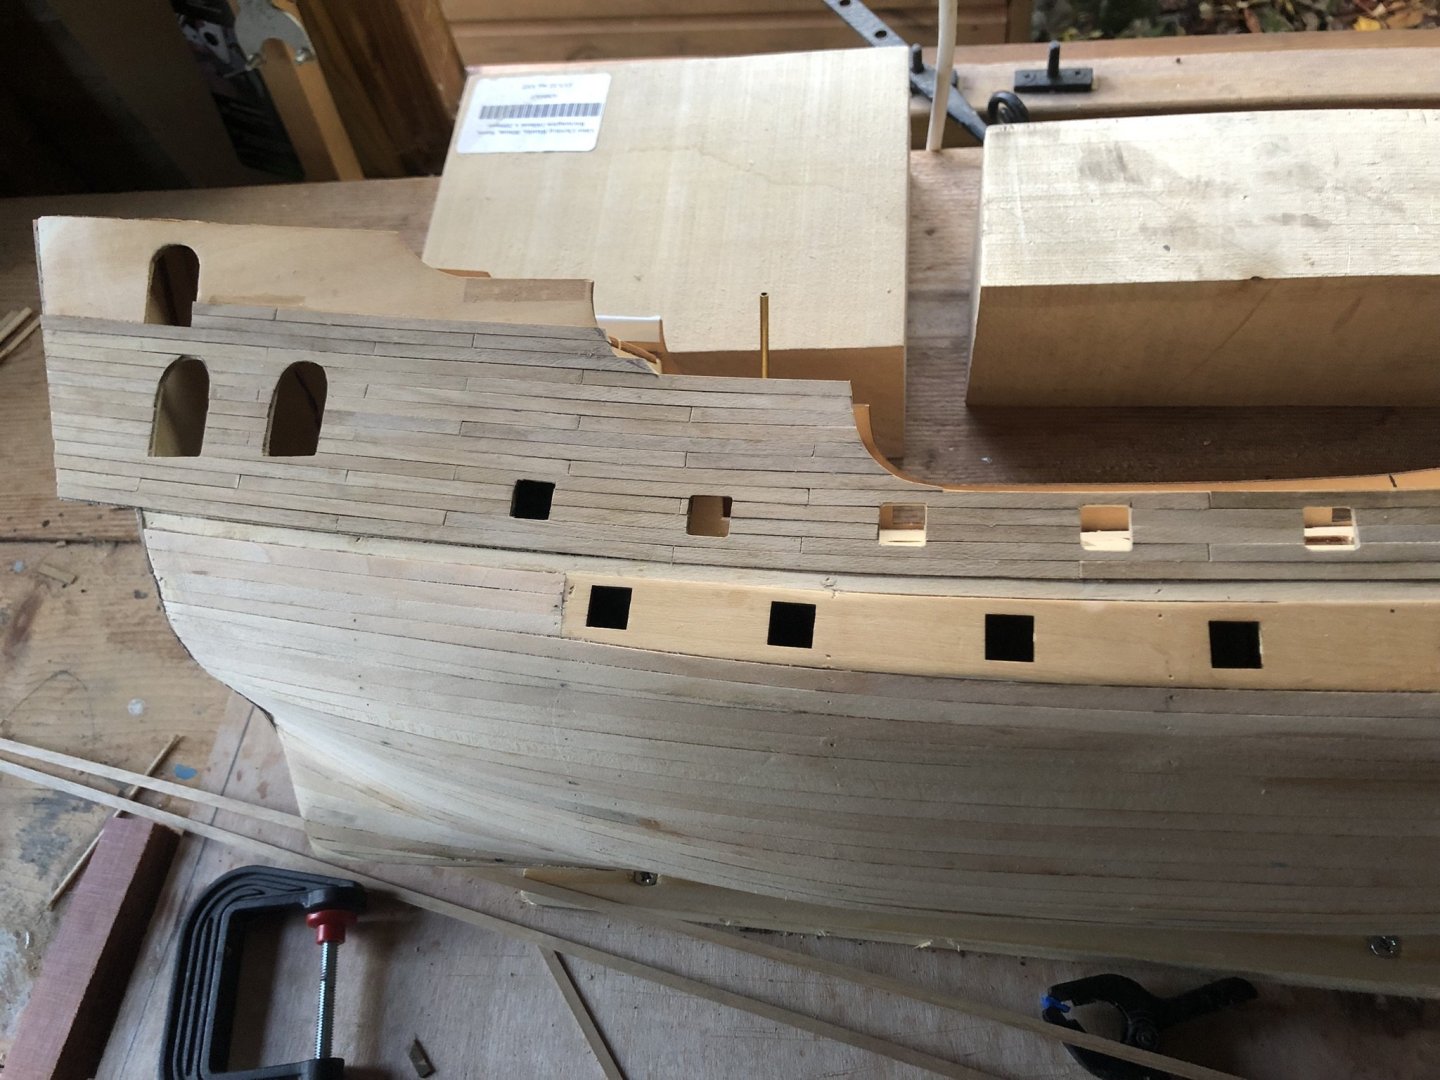
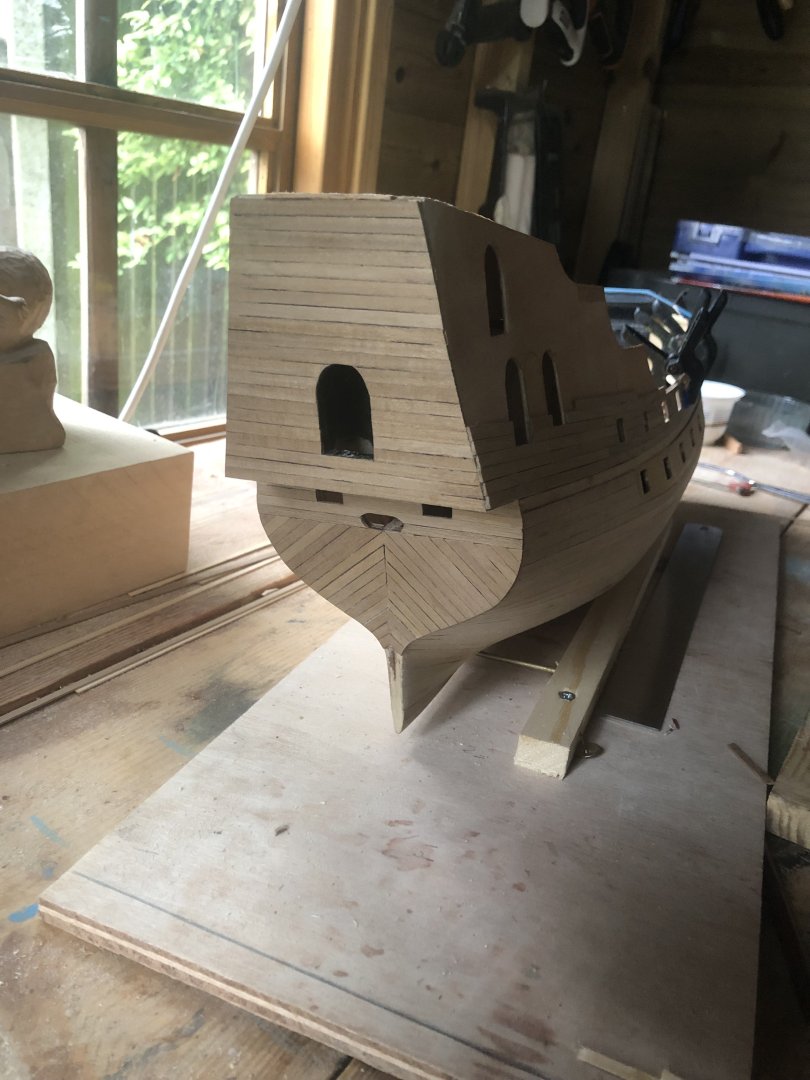
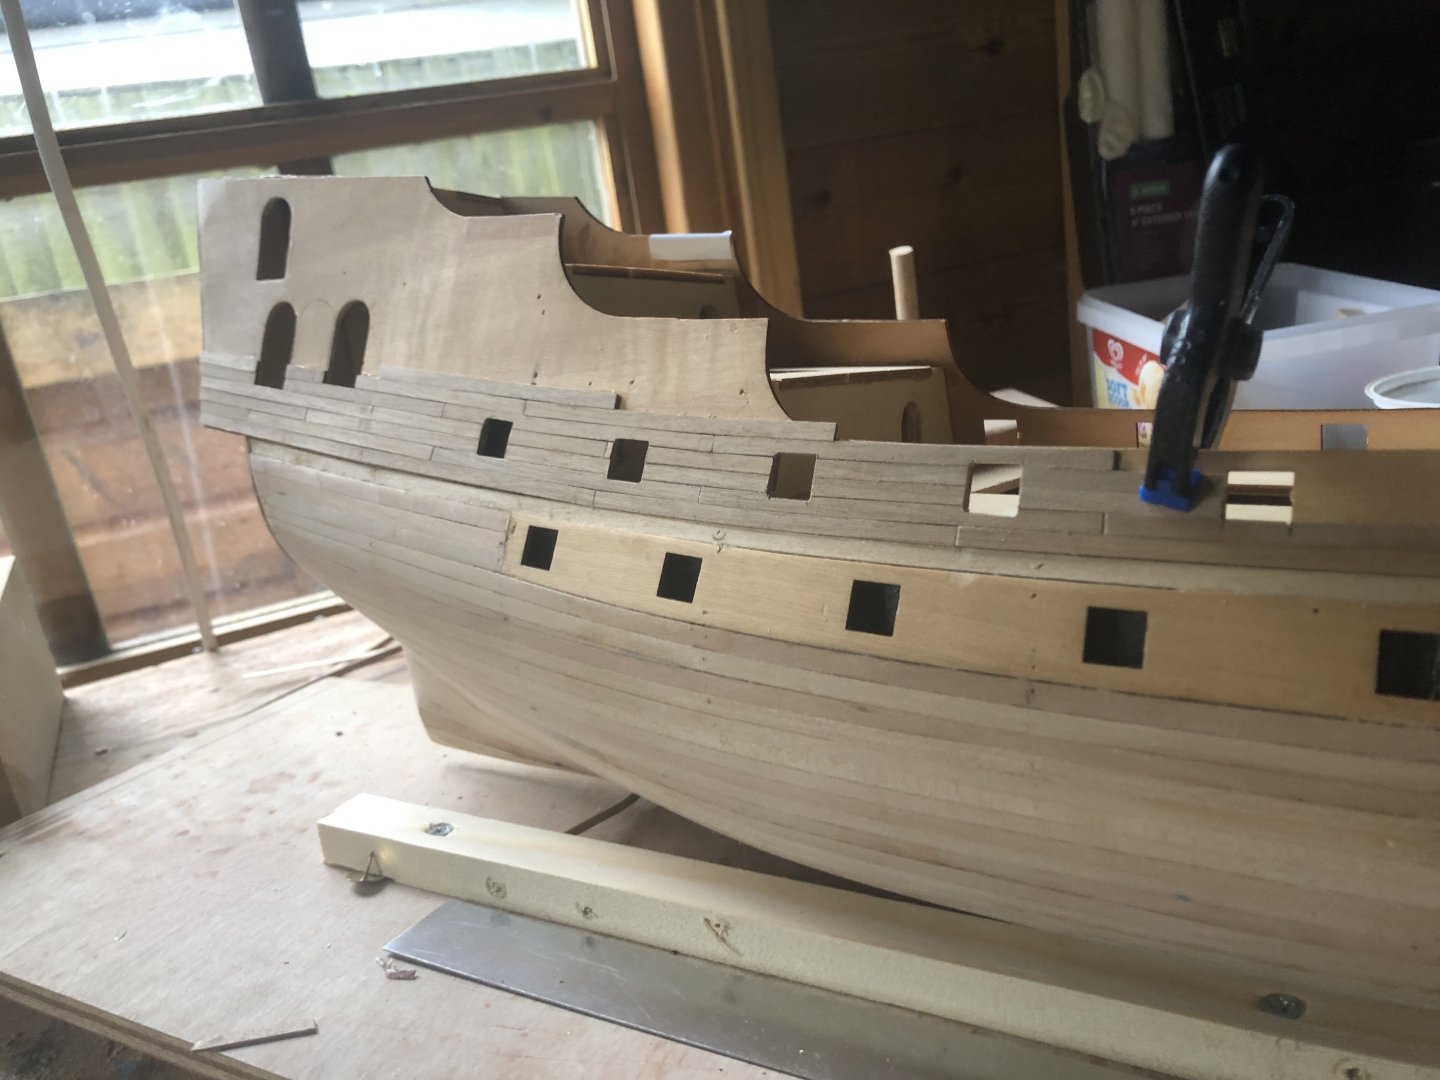
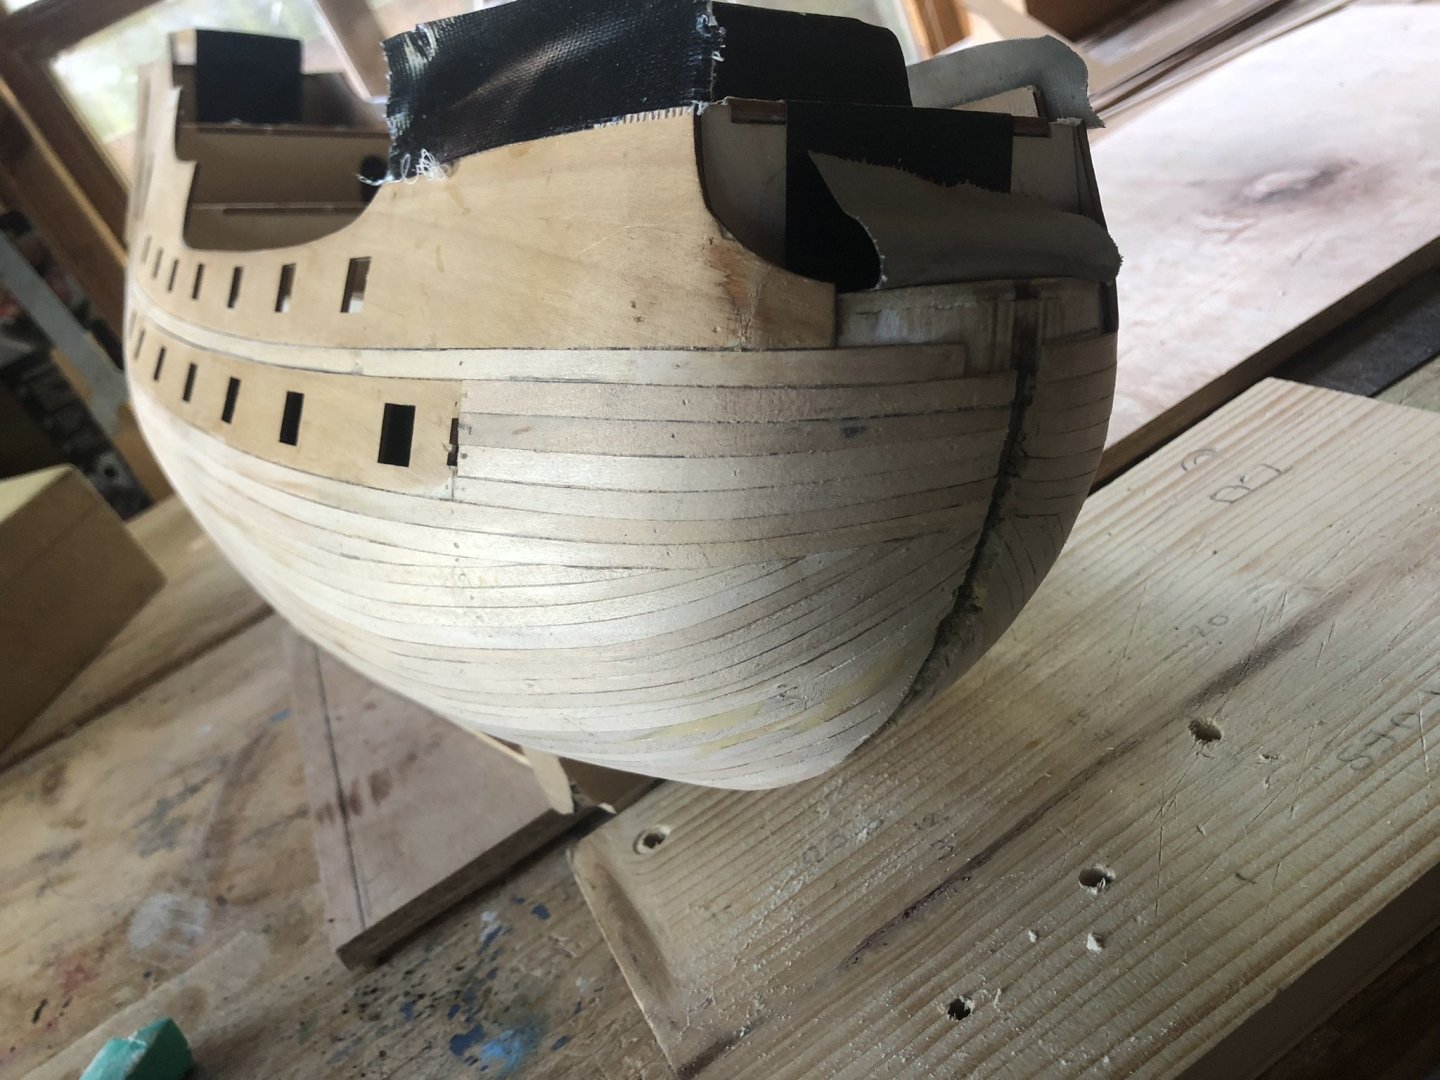
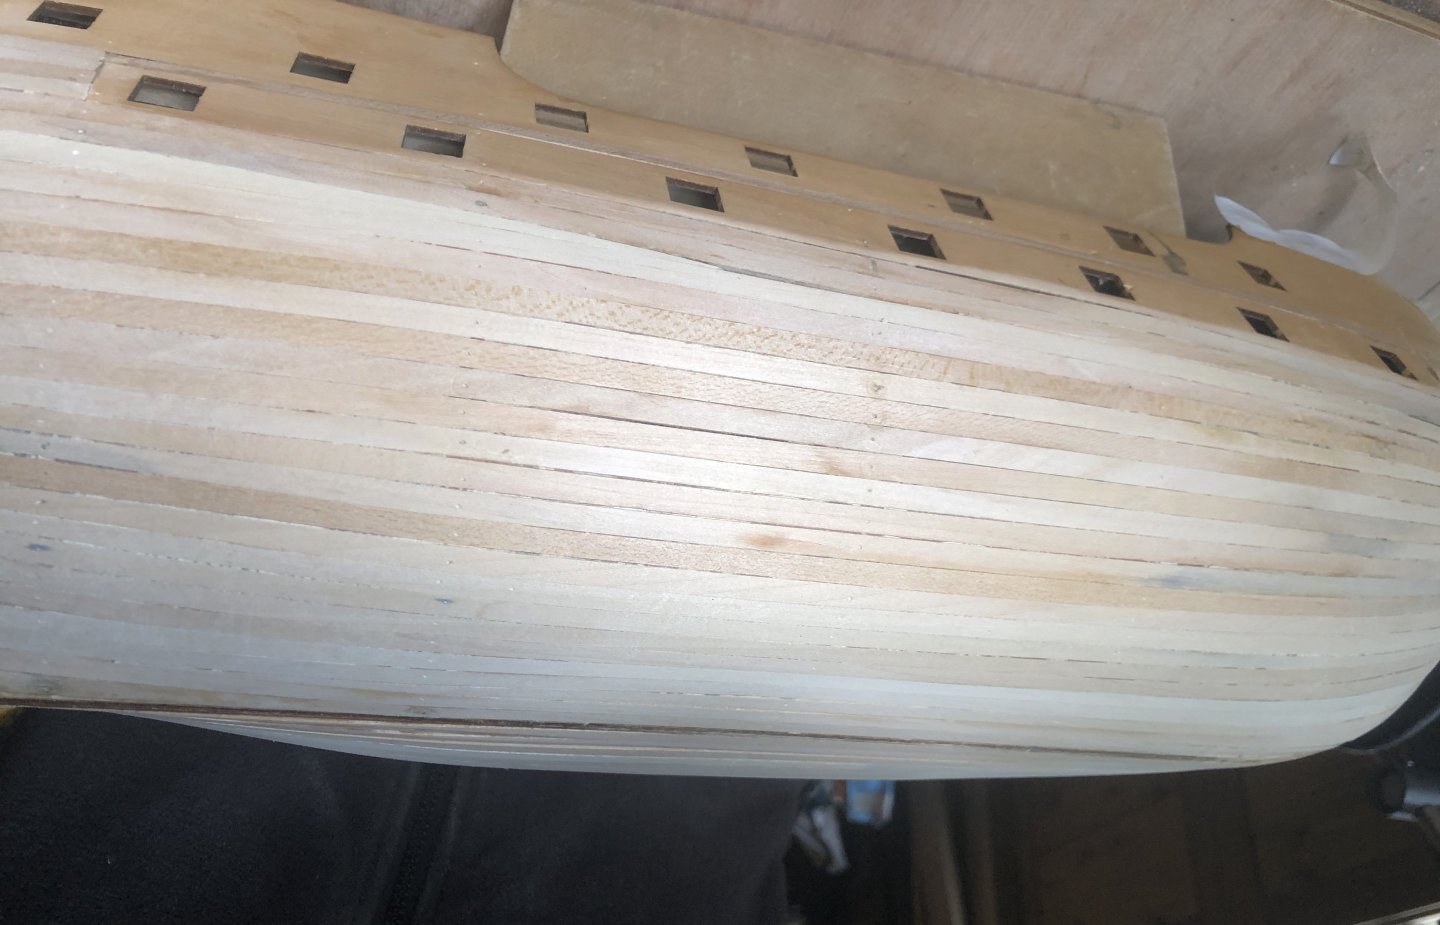
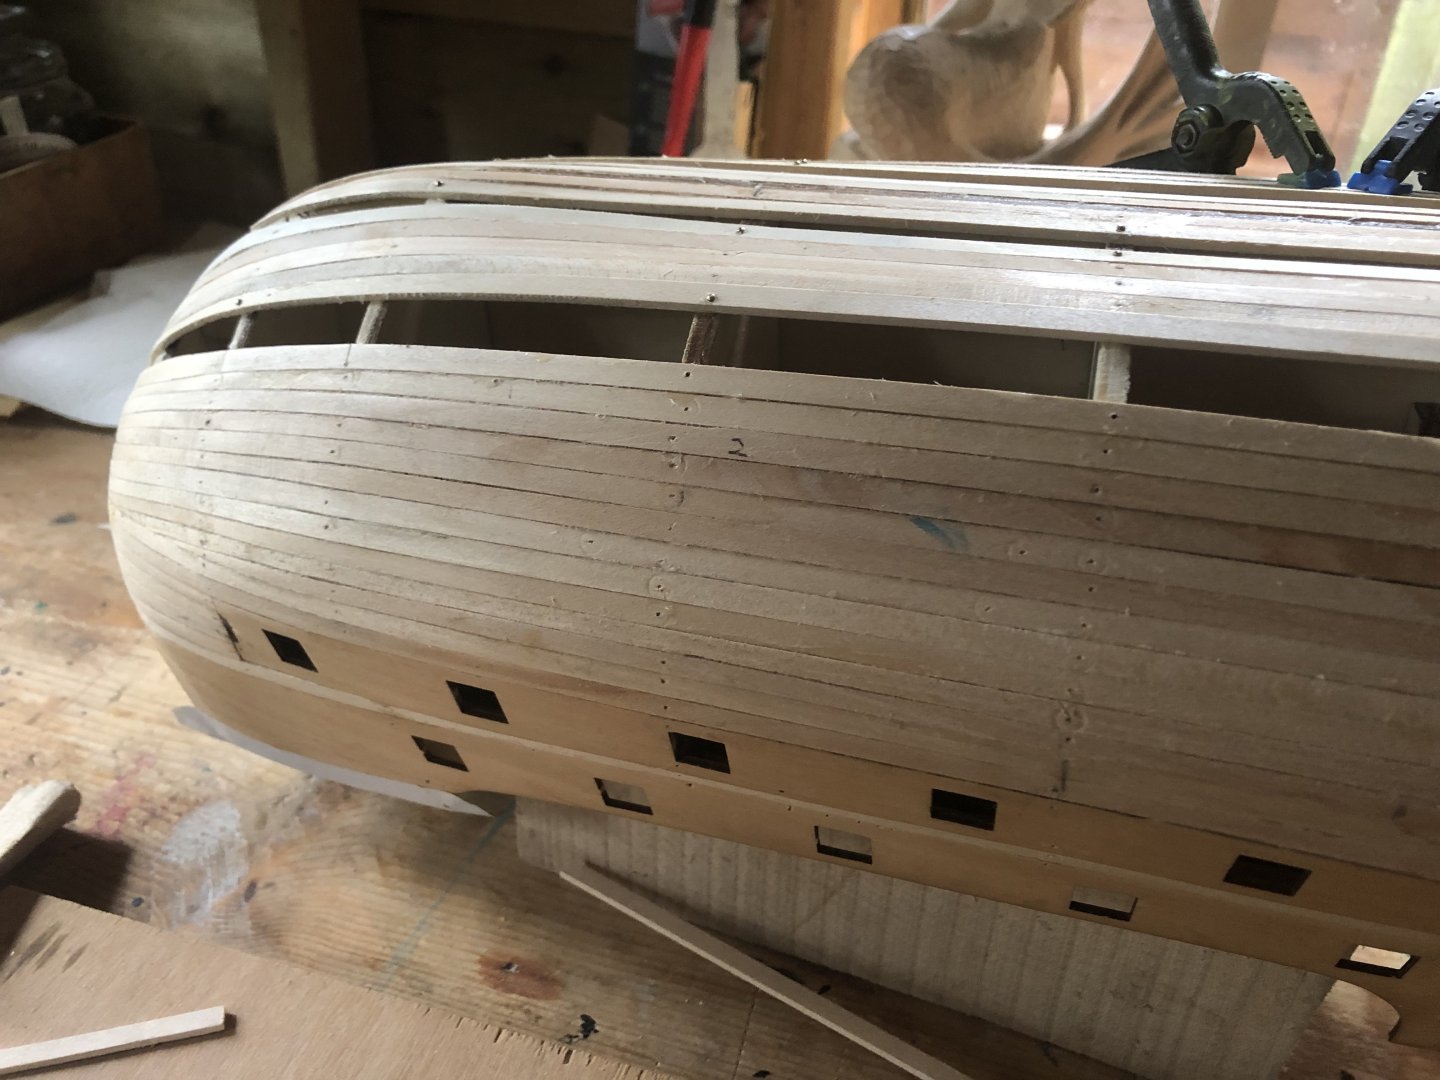
Finished the first planking layer today, not too much filler needed. Looking at Costeo’s build I think it must be walnut for the second layer so probably what I’ll go with. Turned out to be quite straightforward.

-
Nearly finished first planking layer typically manage 2- 3 a planks day, slow, but waiting for glue to set slows down the process, not much sanding of bulkheads needed on this build
-
That’s much better, you can edge bend 5 x 2 mm lime by heating with hair tongs as well as bending normally using an Amati bender
-
I find all OcCre’s plans and descriptions very similar and building the hull follows the same steps and I ignore them as I’ve build enough models now. When I built the San Martin I found instructions to be very deficient for the rigging and I expect this one will be the same. That where this site comes into its own. But rigging is a long time ahead and I am not called Slowhand for nothing!