


mikeaidanh
-
Posts
344 -
Joined
-
Last visited
Content Type
Profiles
Forums
Gallery
Events
Posts posted by mikeaidanh
-
-
Back to the build log.
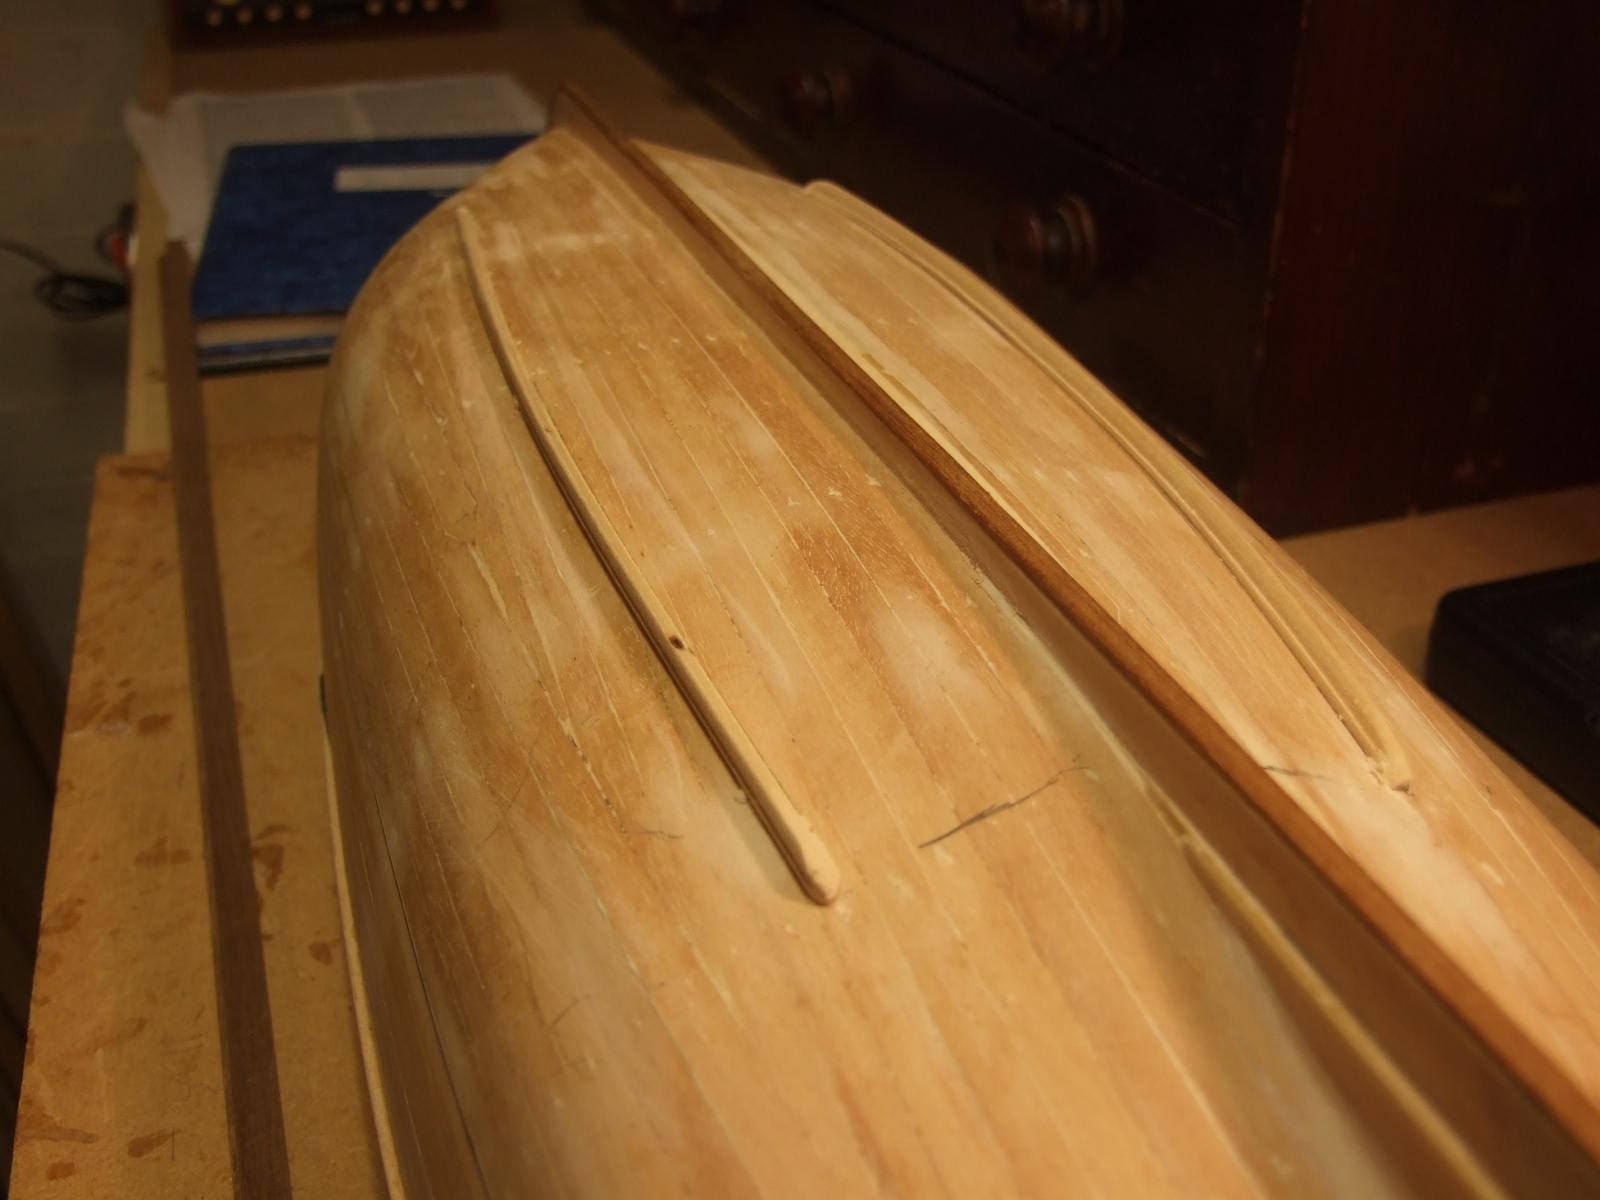
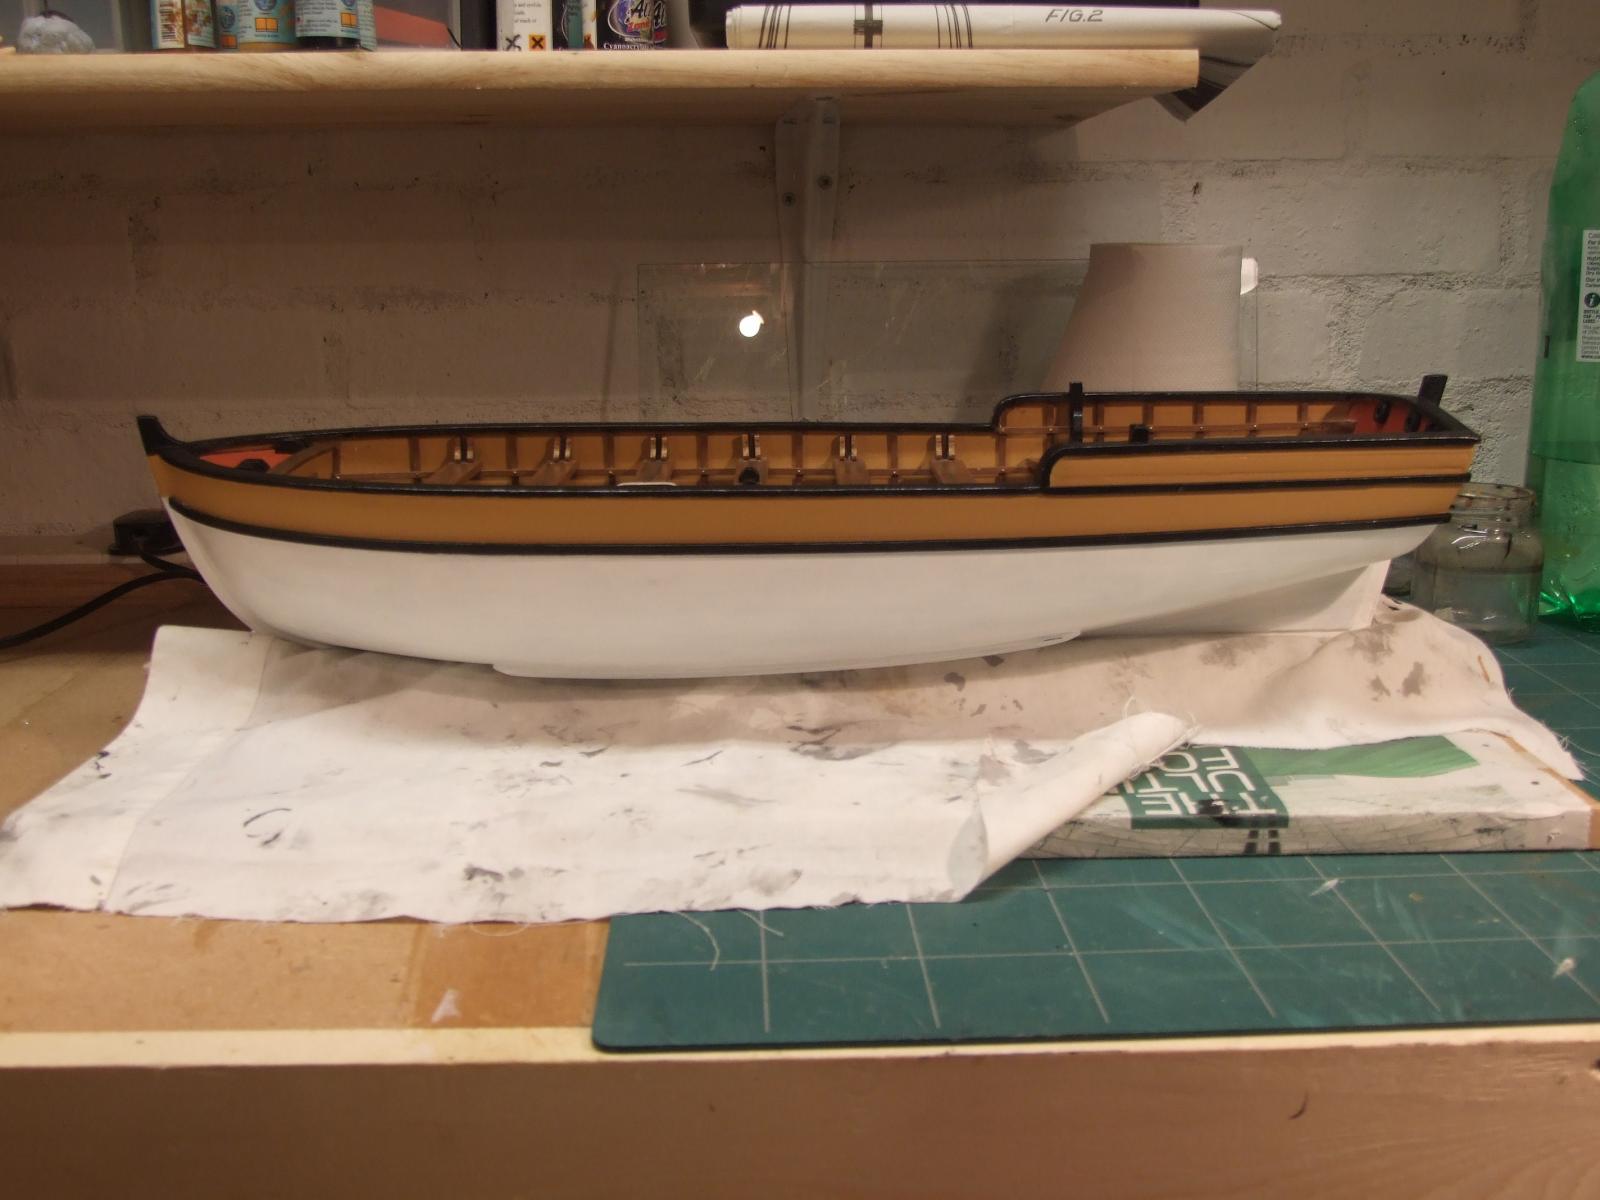
The skids are fitted to the lower hull and, somewhere out of site, the wales a some trim strips are being painted.

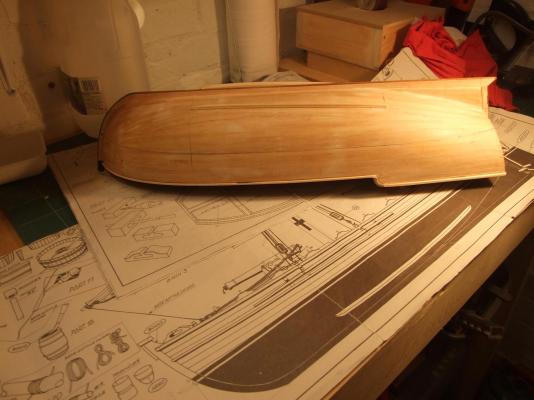
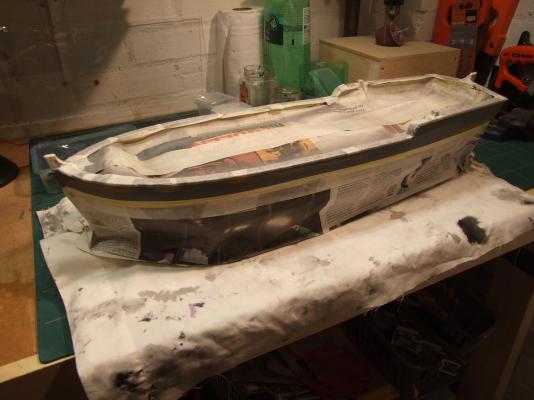
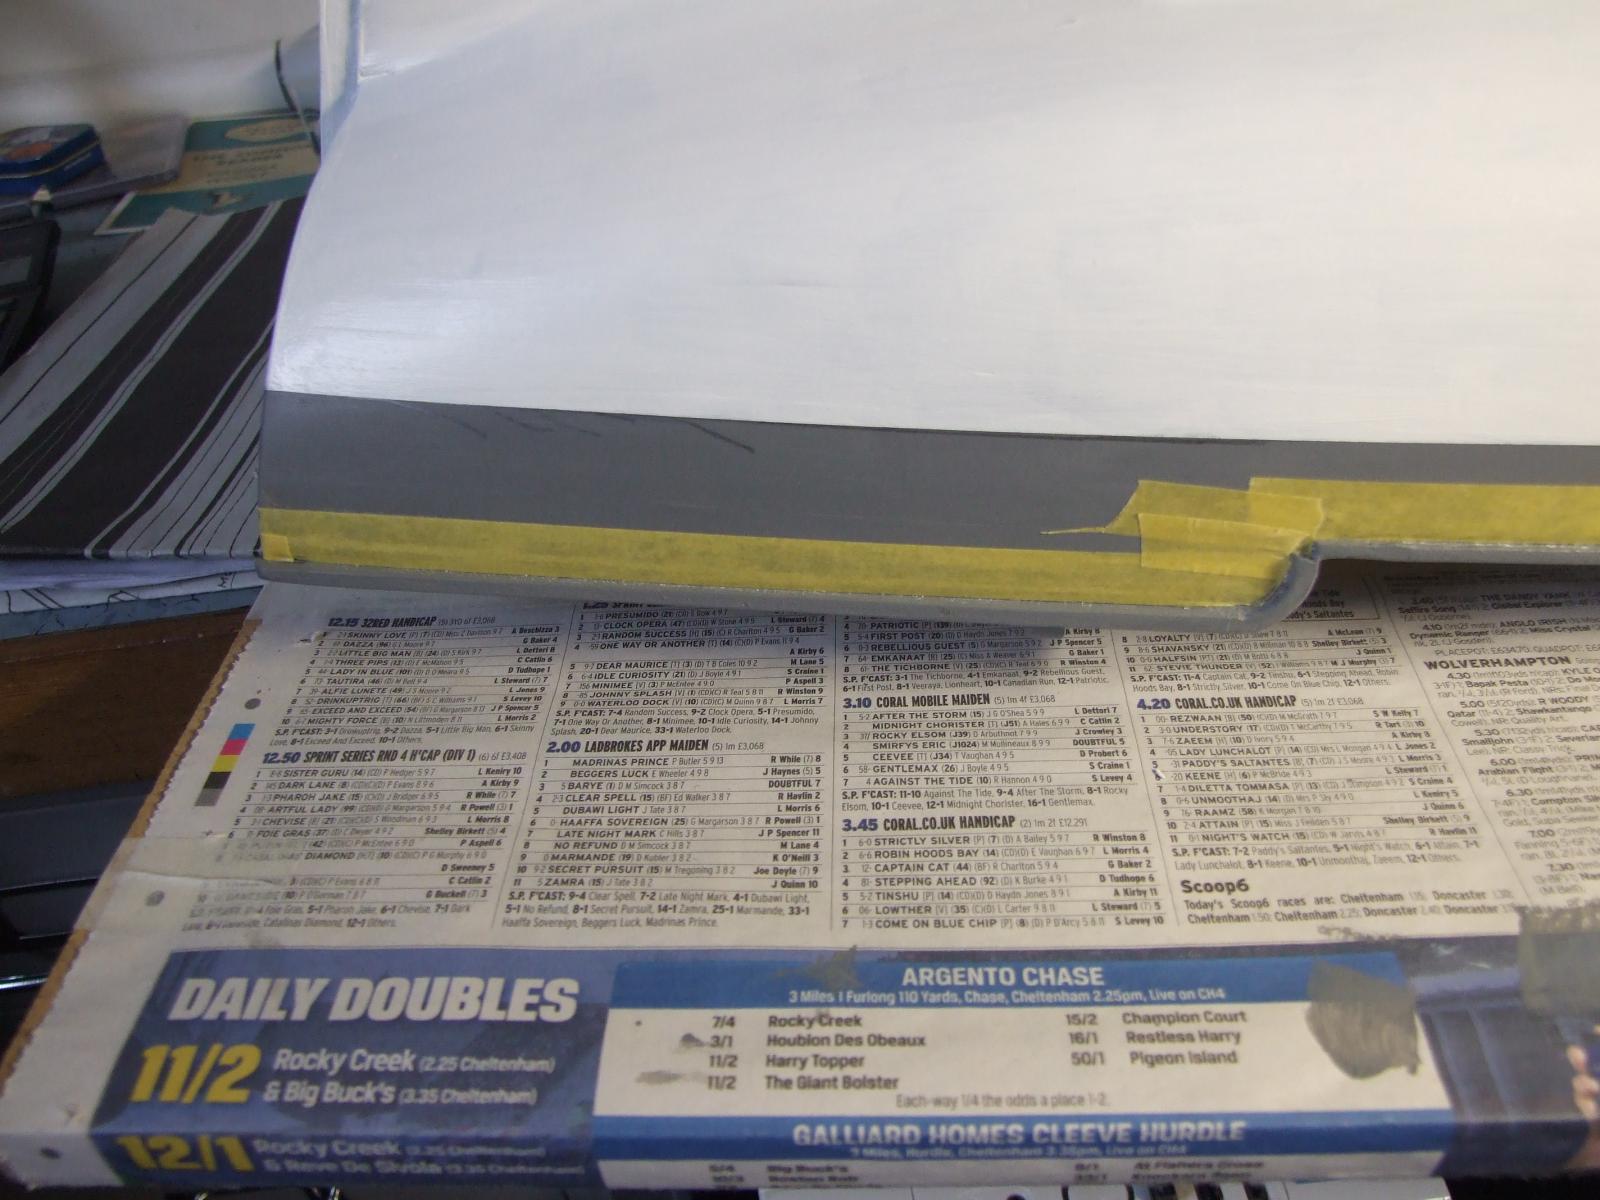
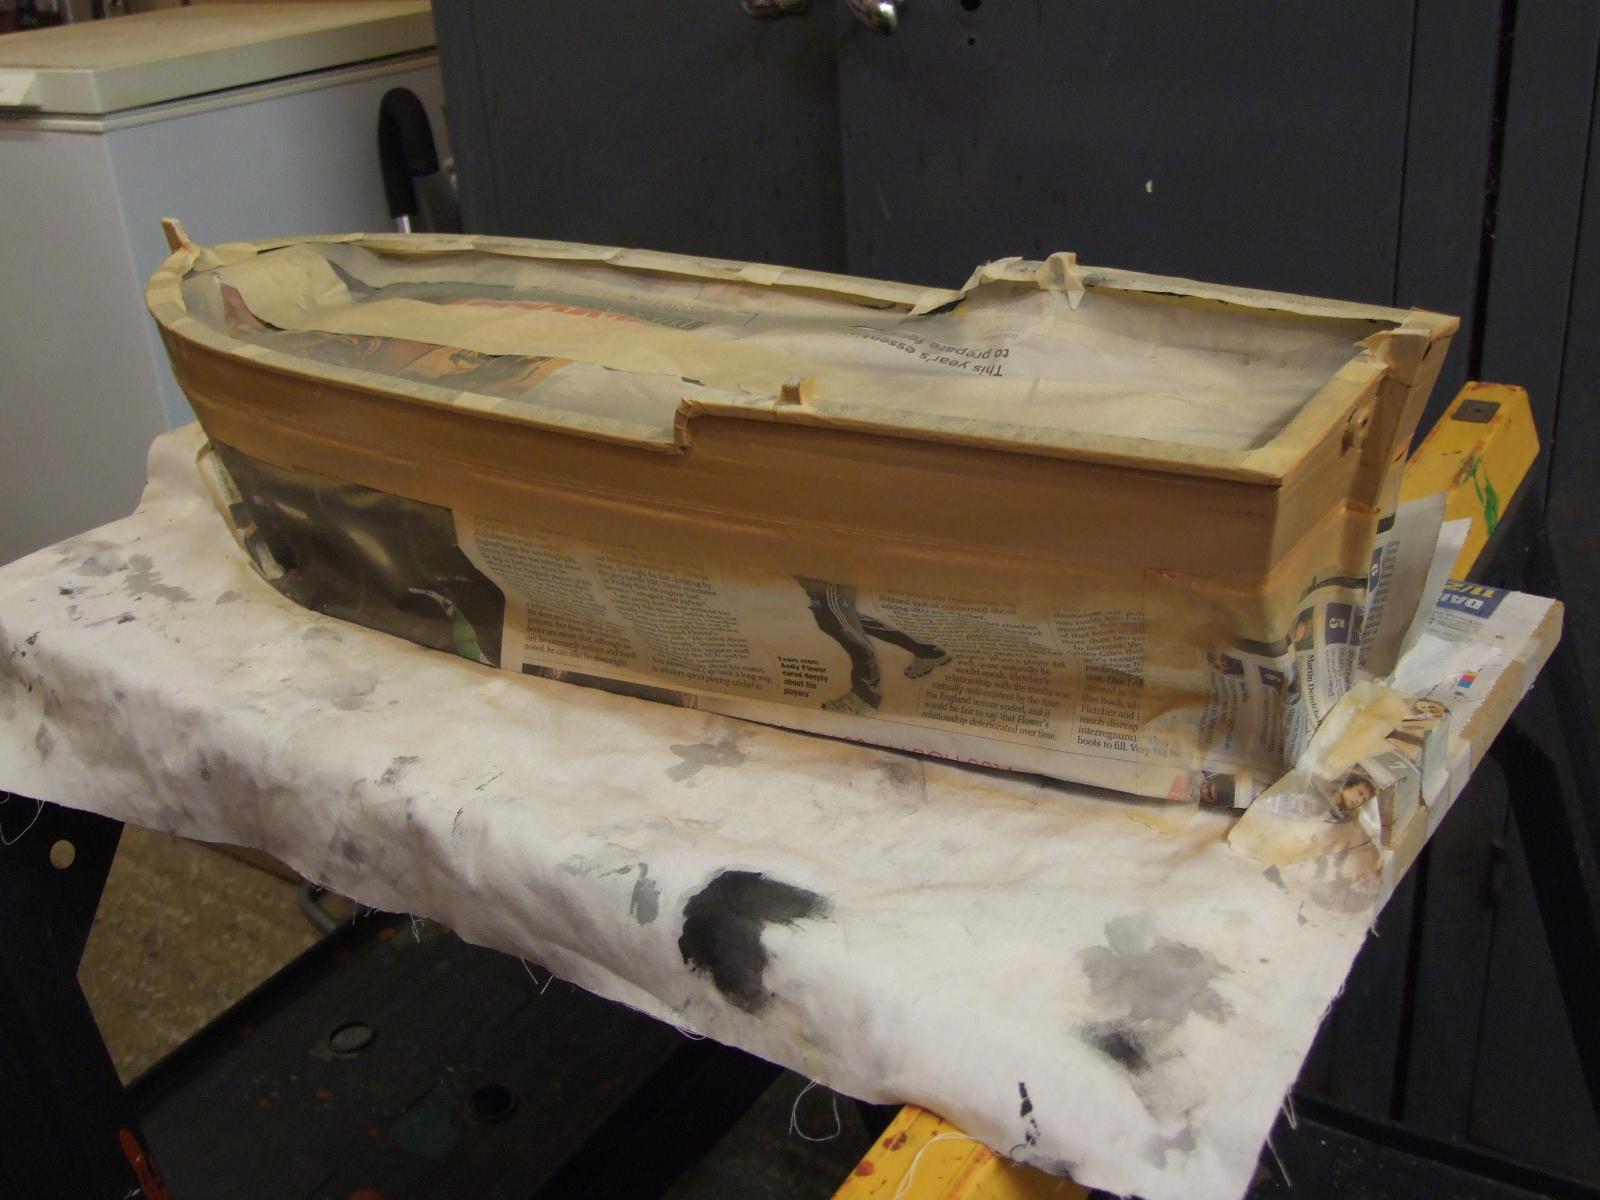
It is now time to paint the outer hull. Firstly masking off......
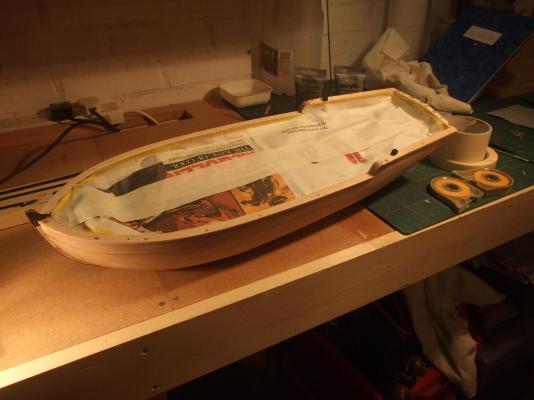
.......in preparation to using this.
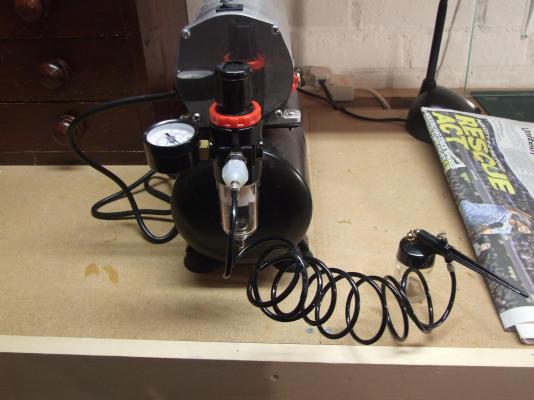
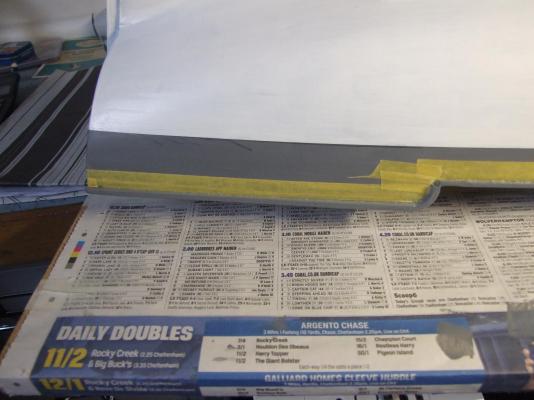
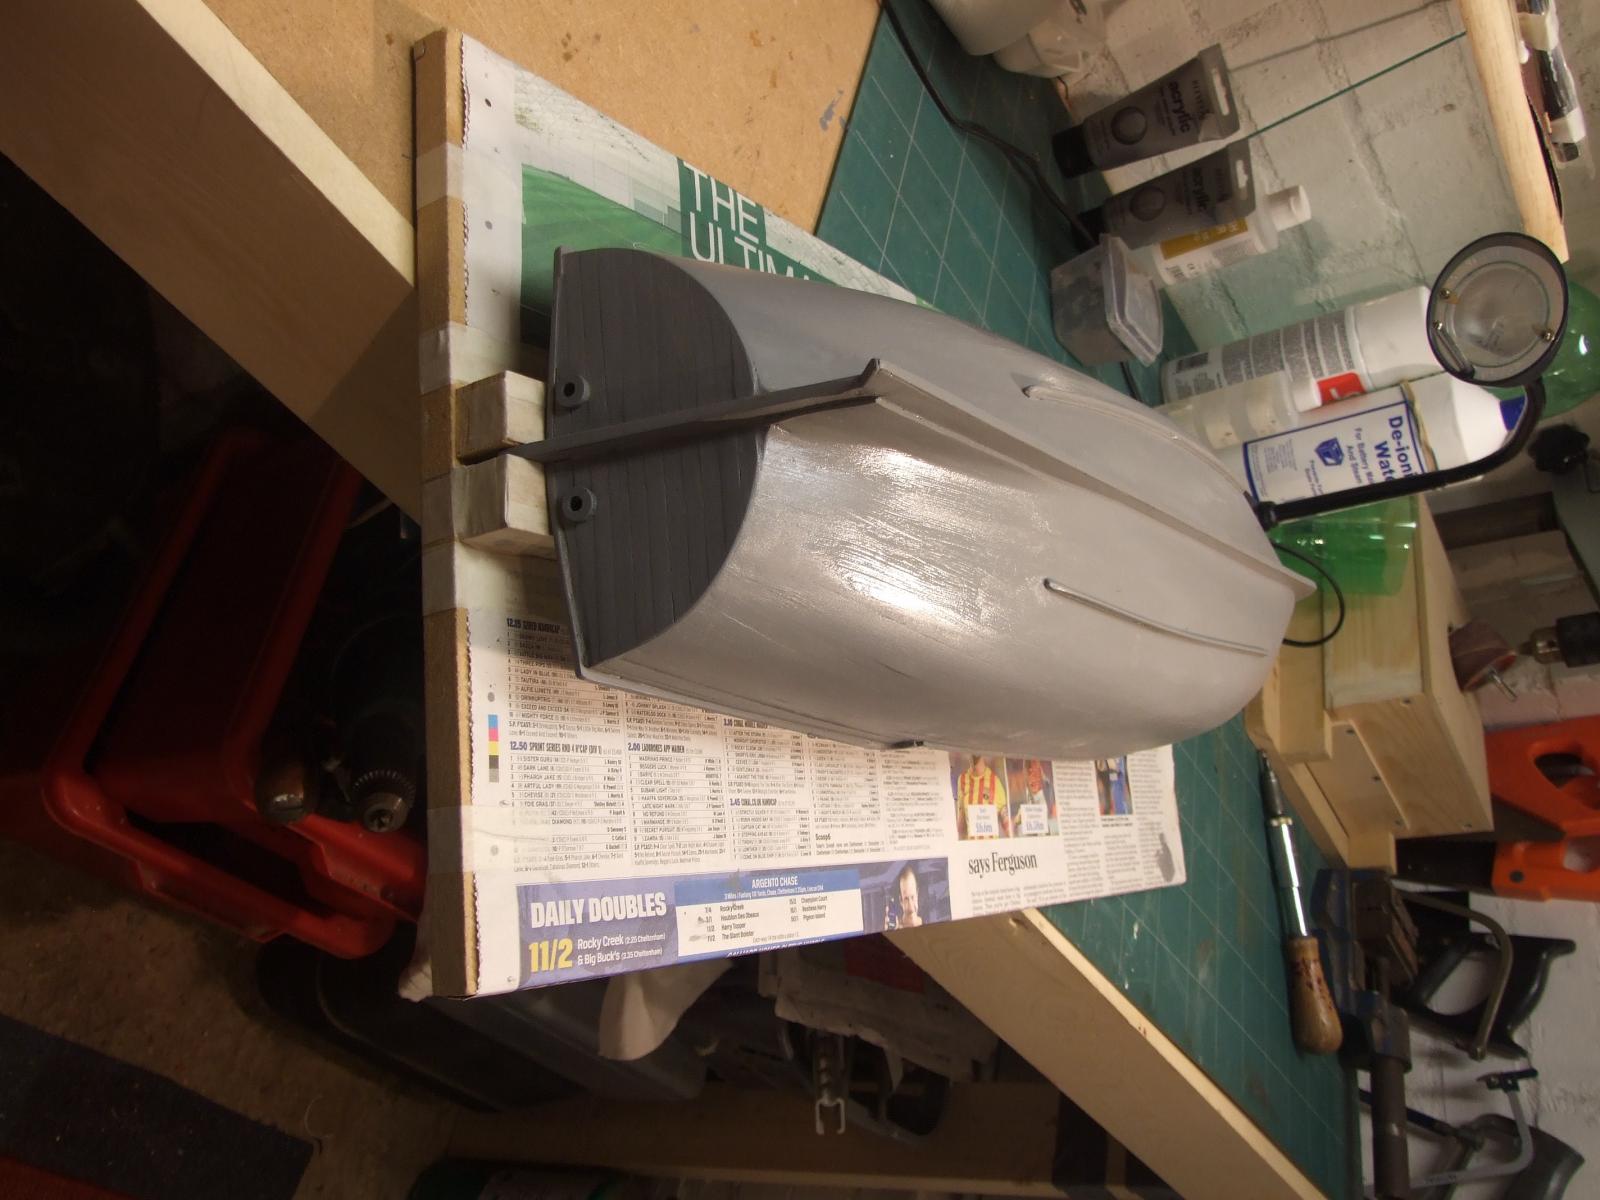
Various stages of painting.......

...first the primer then the top coats.

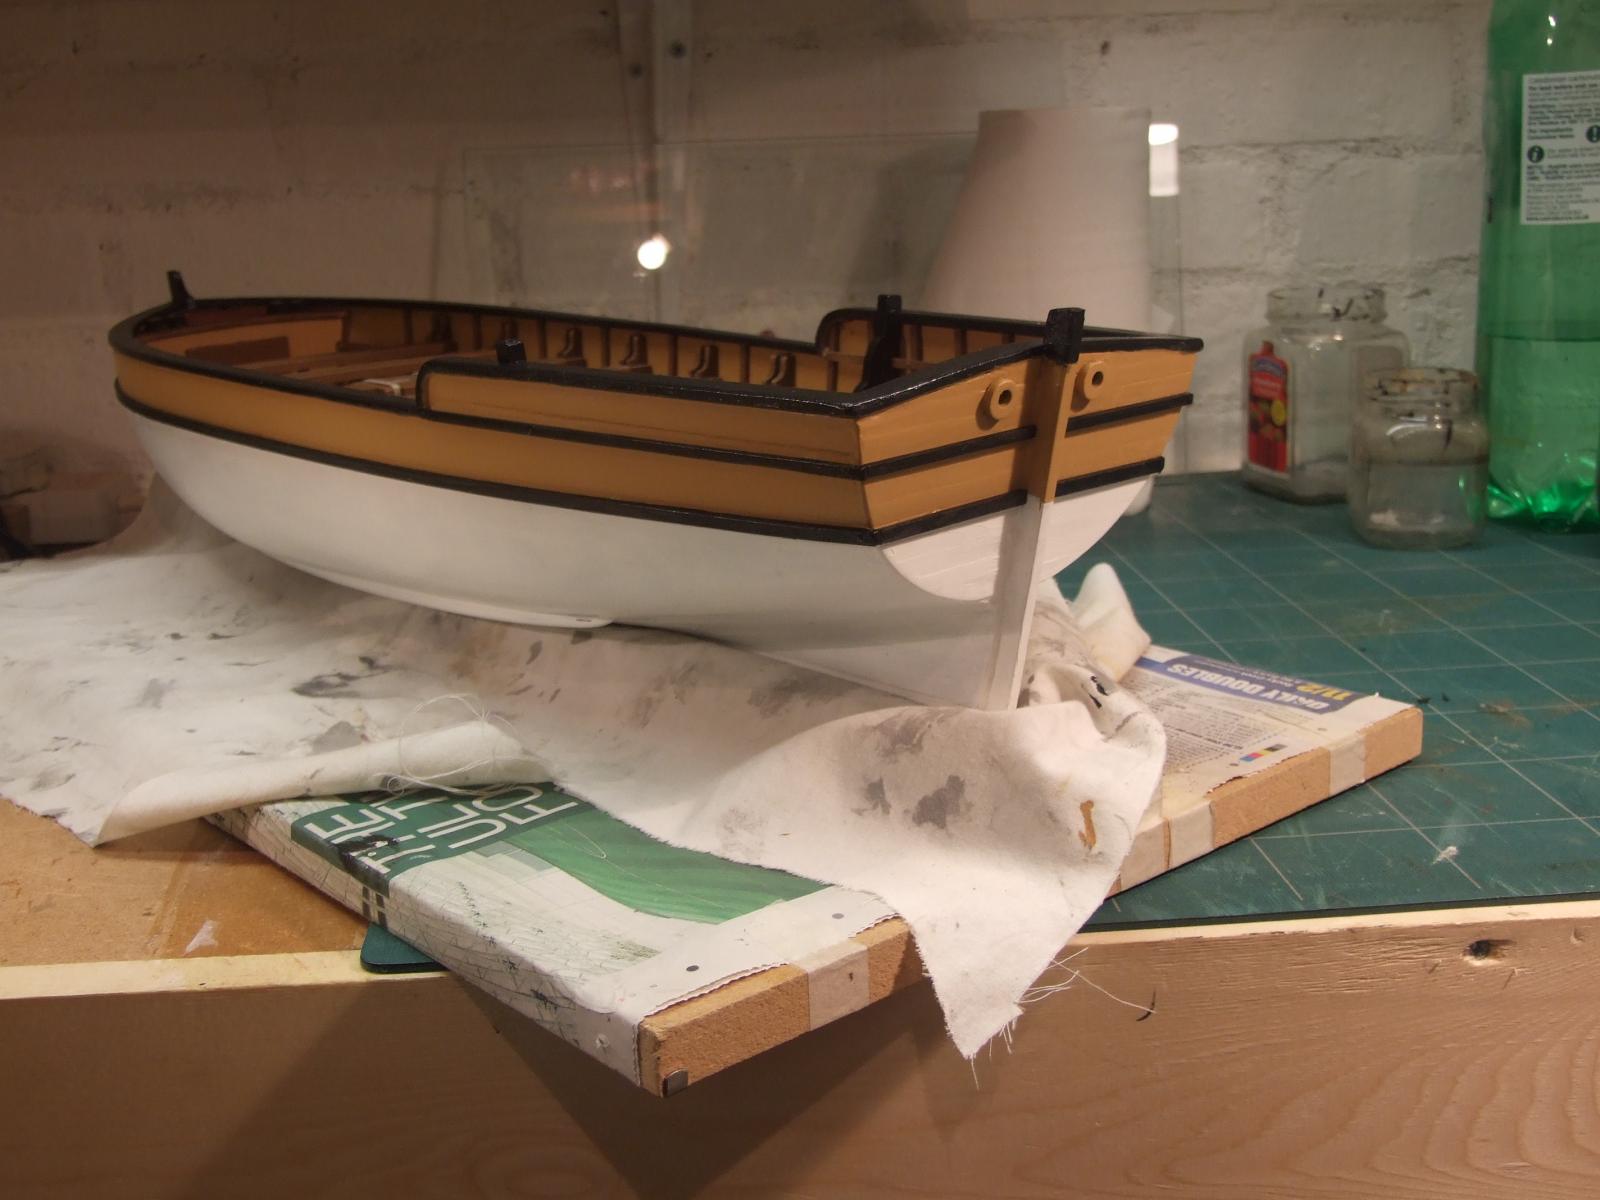
Initial hull paint job completed.


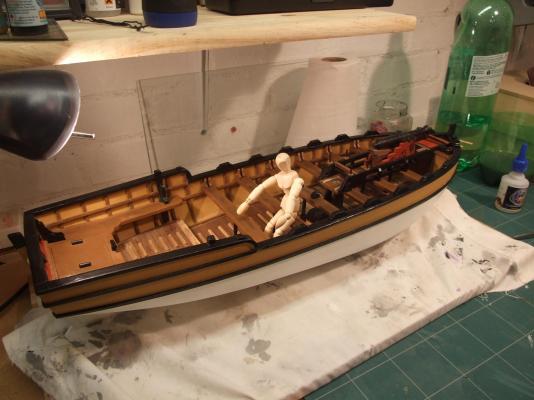
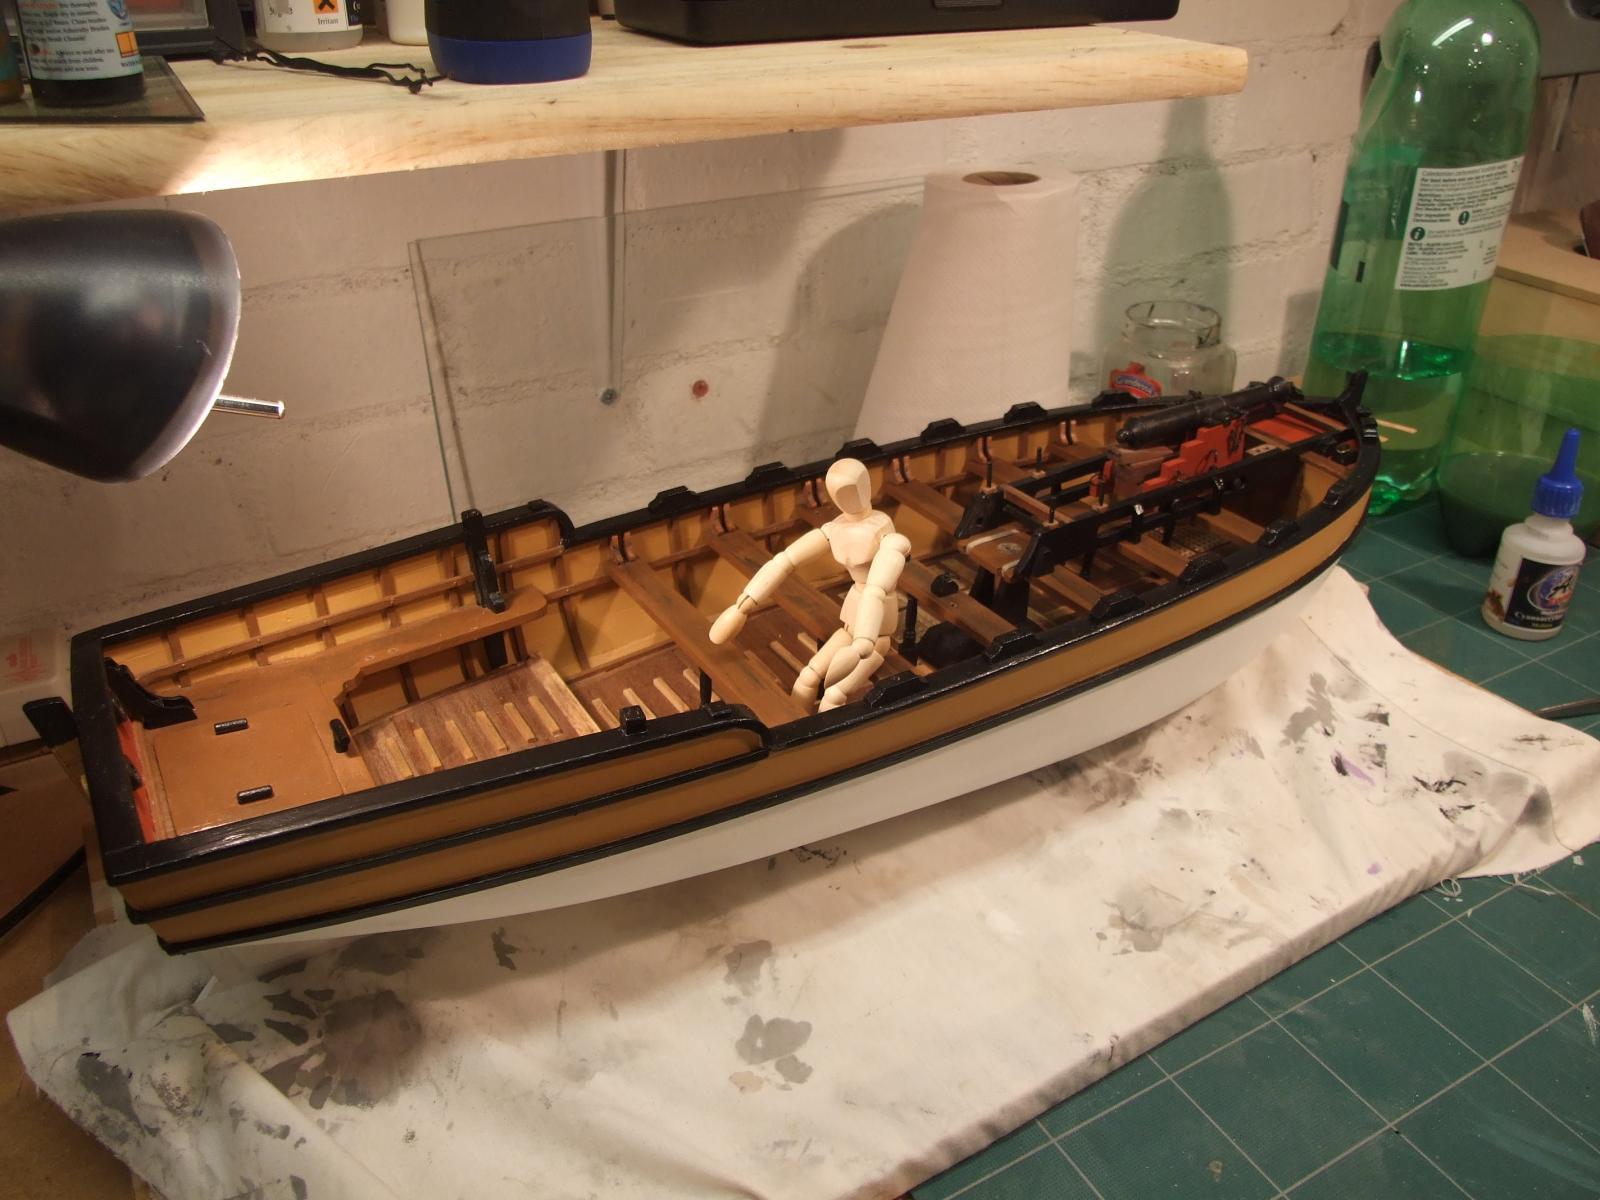
The figure in the last image is a bit tall for the period at c6ft 4ins but he is useful for assessing the position of items that would have been handled by the crew.
After spray painting I found the finish to be too even and smooth so a further coat was applied all over by brush. The hull will be further "weathered" later on.
The next round of jobs should see all the remaining exterior hull fittings in place before hanging the rudder and moving on to masting and internal rigging.
More anon.
-
...and mine is on my iPhone.
-
Thank Joe. I look forward to seeing your pictures in due course.
Mike.
-
JPZ66,
Can you post any images of your weathering work please?
Mike.
-
-
Jack,
I am delighted to see your version of the armed pinnace and I do not mind you posting it at all.
Your set sail looks better to me than the furled version and it will look even better with it's jib flying.
Thank you for your input.
Mike
-
mij
Todays price for your DS460 from TBS is € 309.00 or £ 253.00 !
Postage and packing would be € 12.90 or £ 10.57. Delivery is good, see my earlier post.
Thus the saving for buying from TBS is a staggering £ 84.50 ! Vat is included, there are no hidden charges.
Mike.
-
Back again after Christmas and other interventions ! Time to progress this build a little.
I left off before the holiday when starting to fit the thwarts so finishing that job comes first.
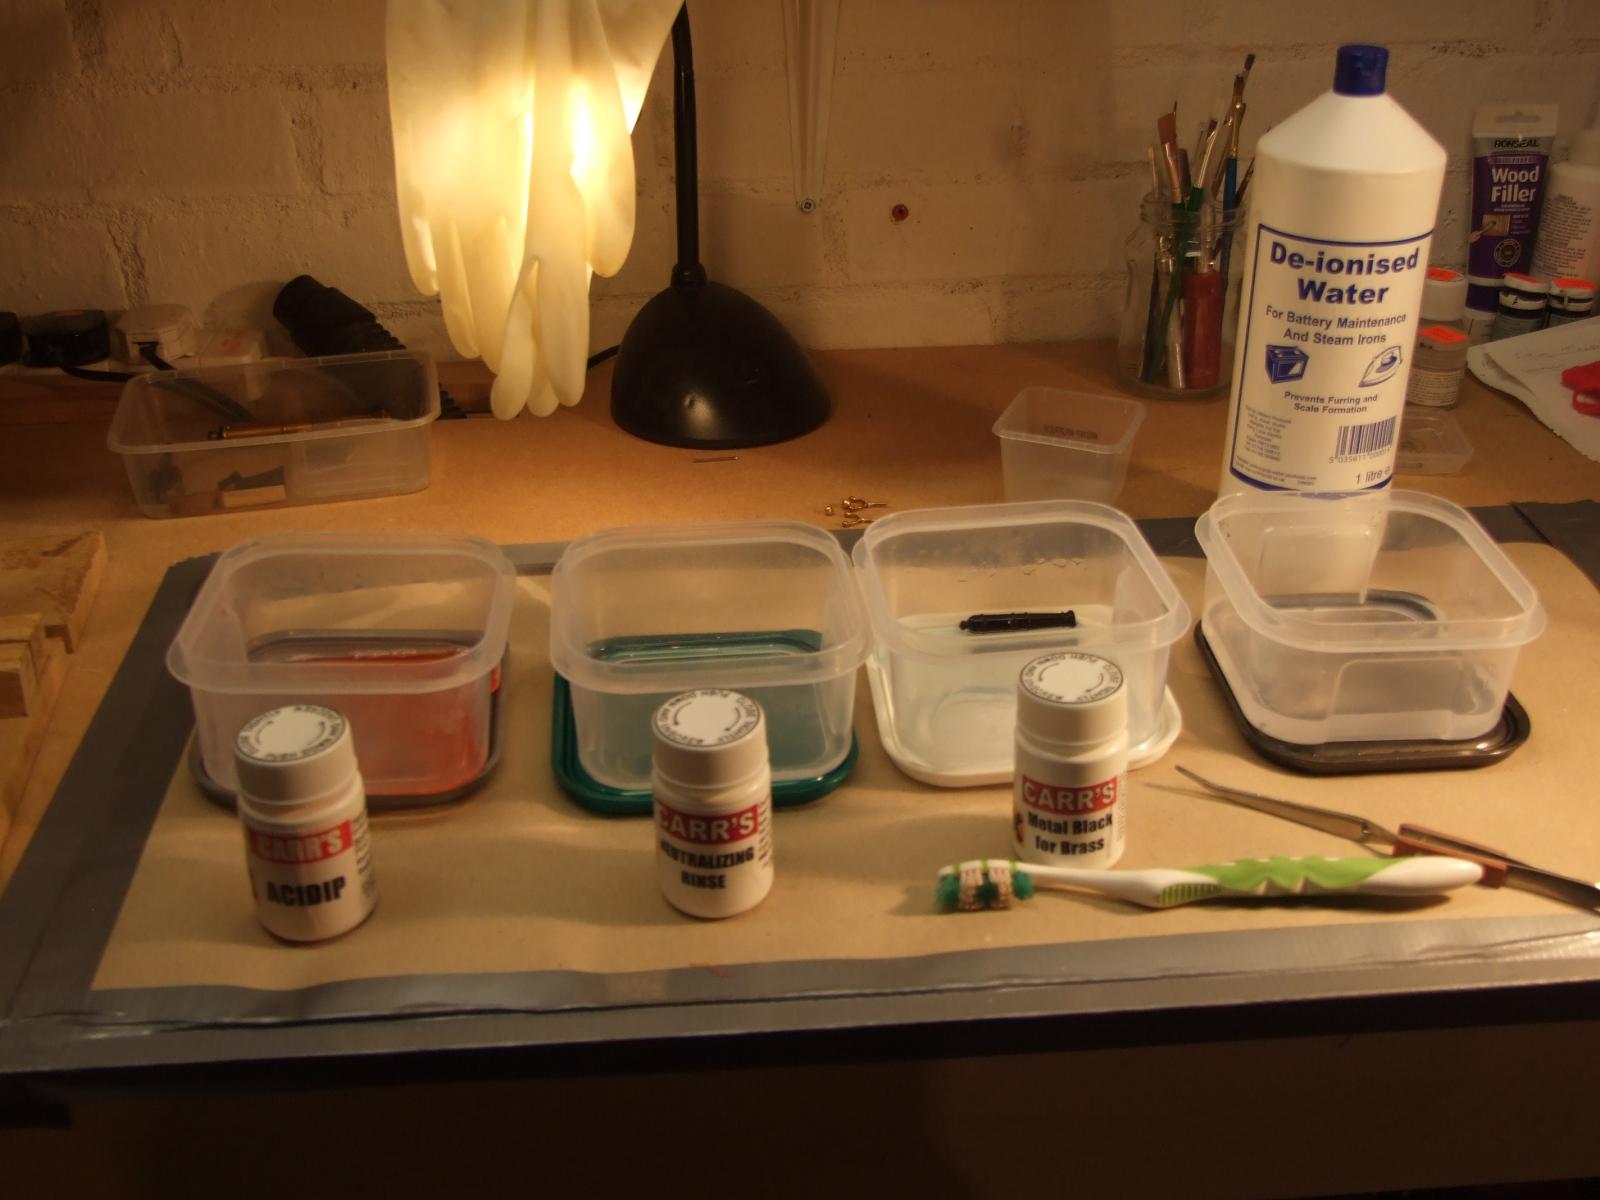
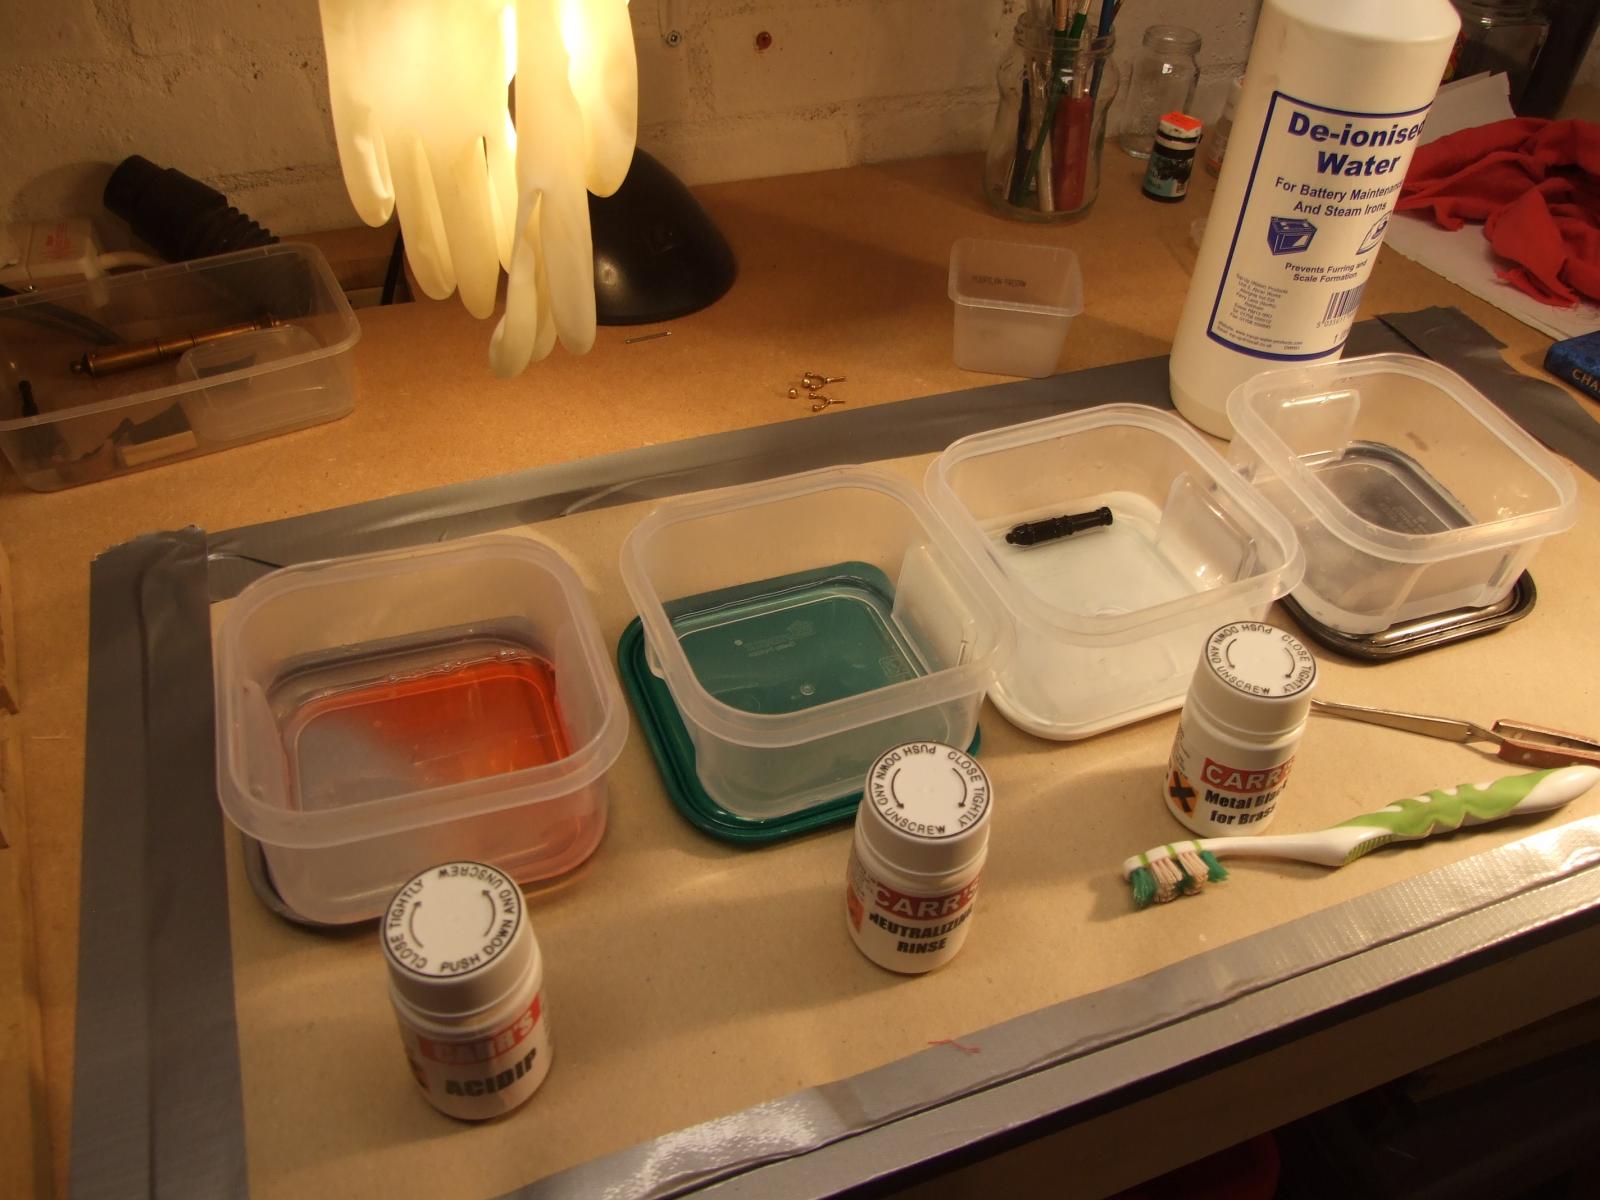
I then got sidetracked by the arrival of a Carrs kit so needed to try that out.


Back to the thwarts and fitting all into hull...
....including the mast support structures.
 ]
]All done.
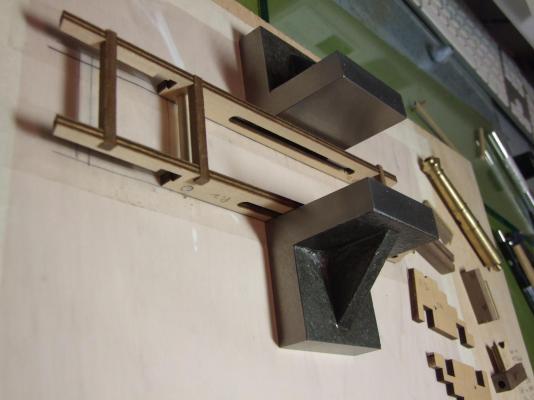
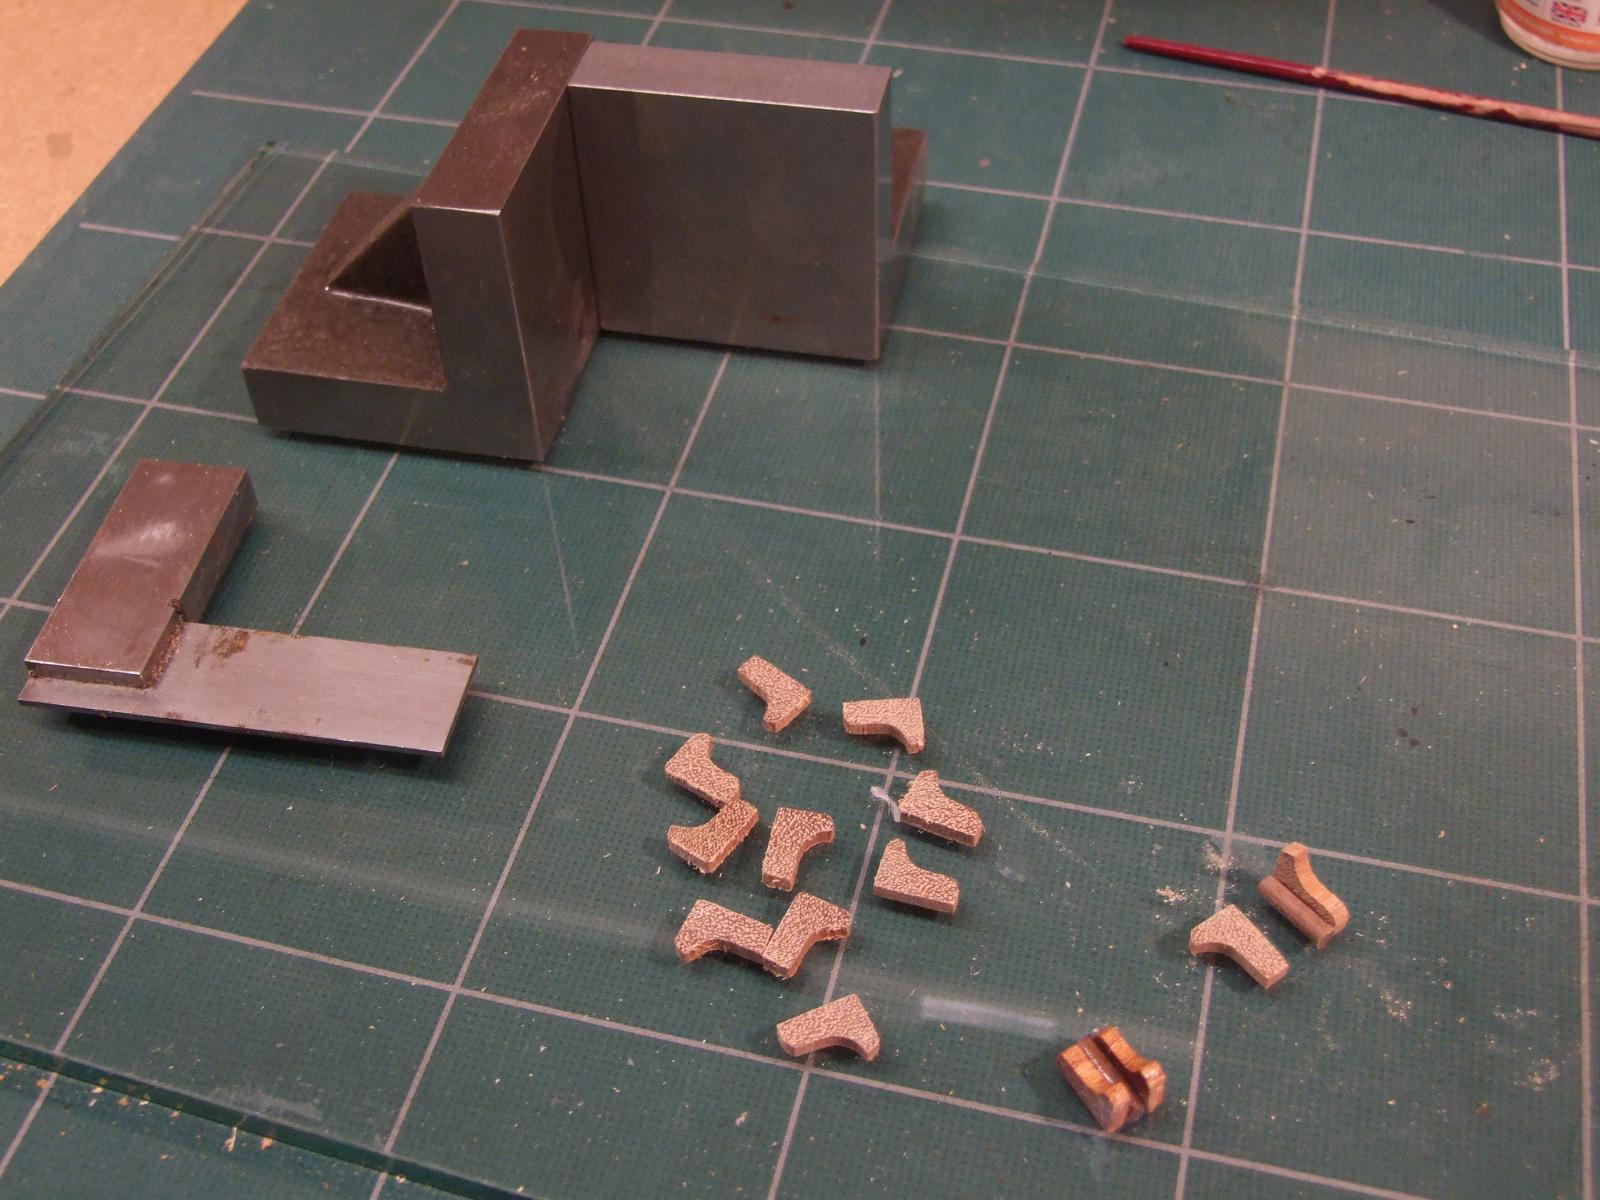
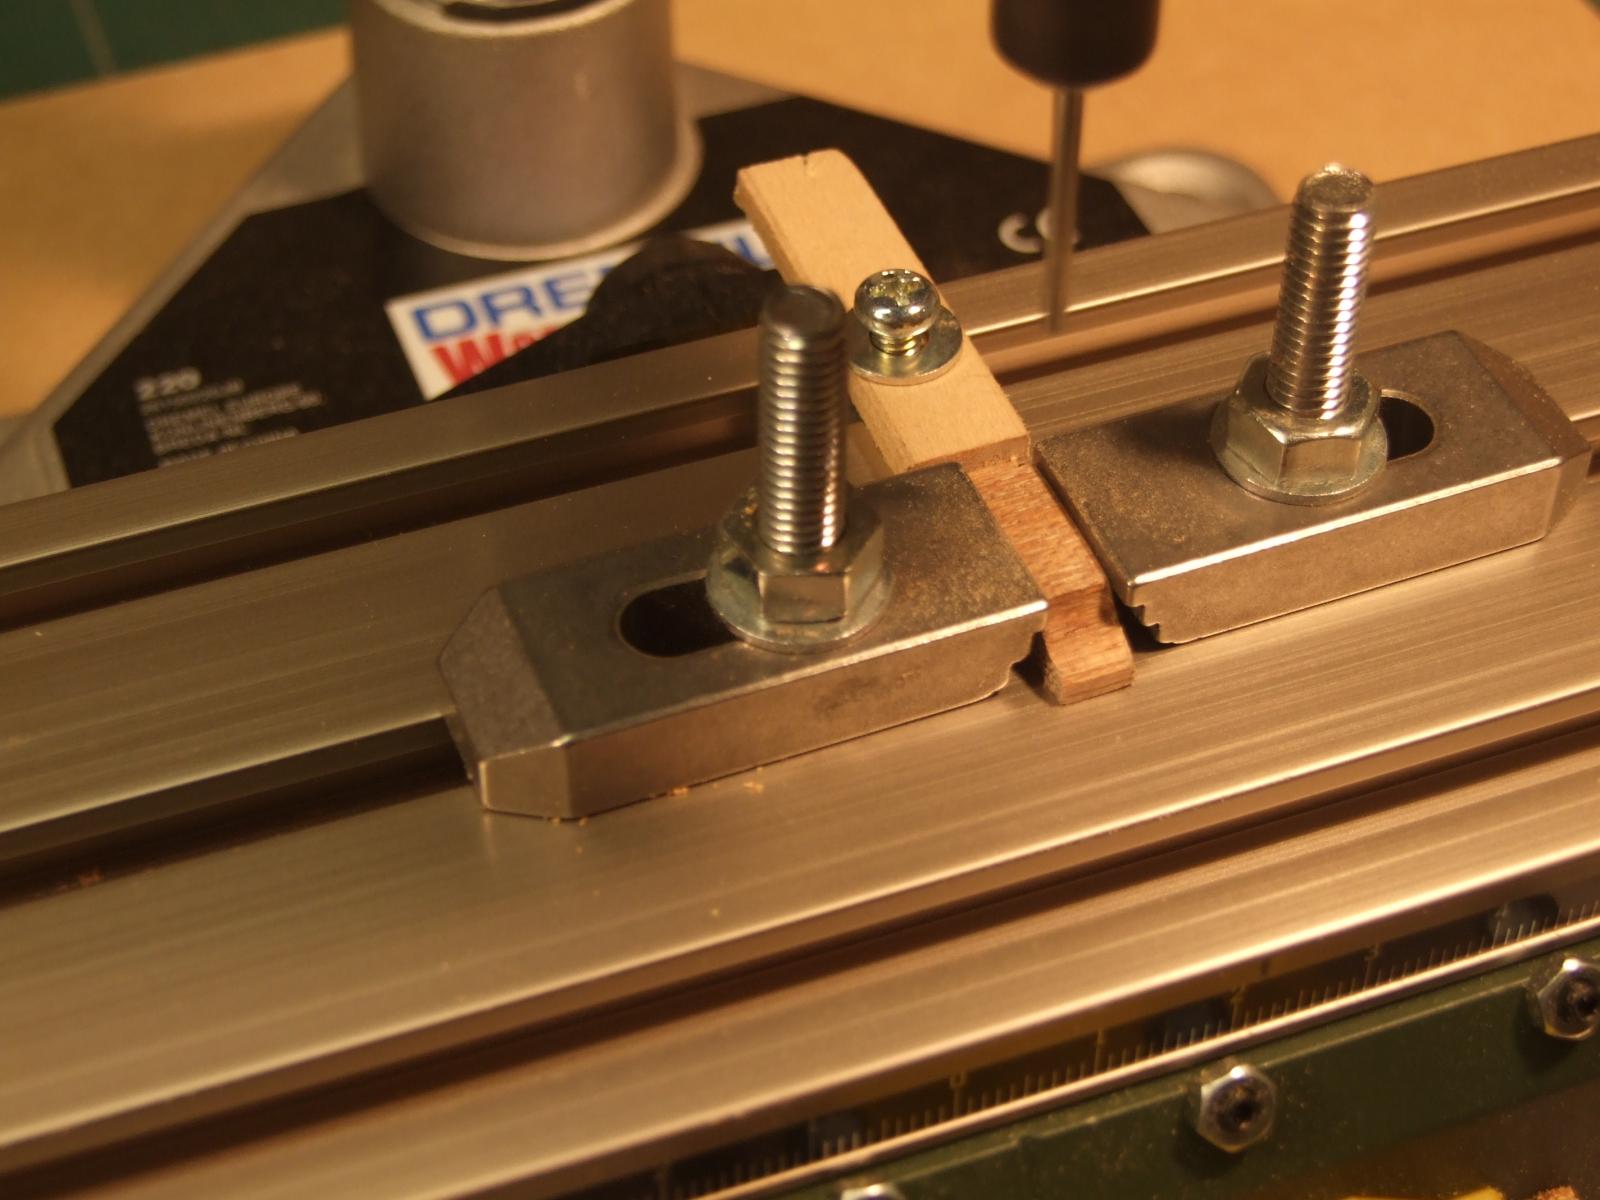
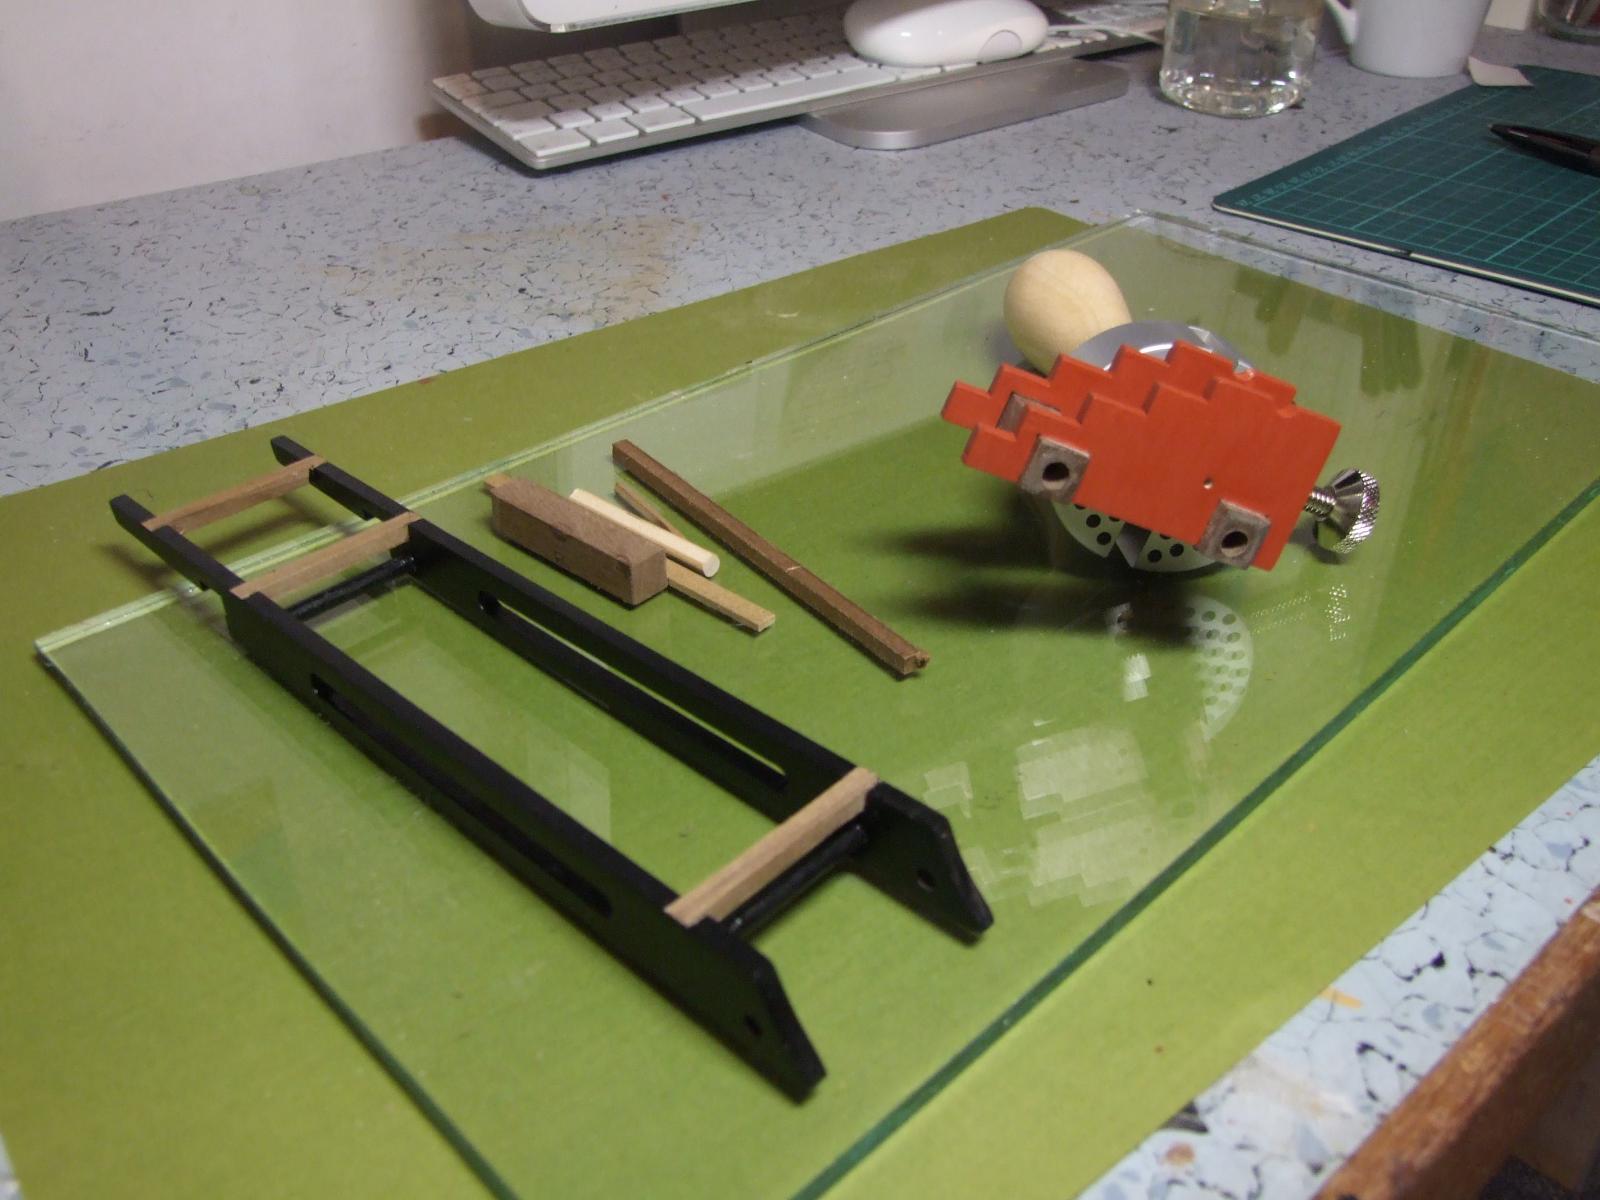
Having recently acquired a micro shaper the next task was to use it to produce knees, thole pin blocks and the two bow fairleads.
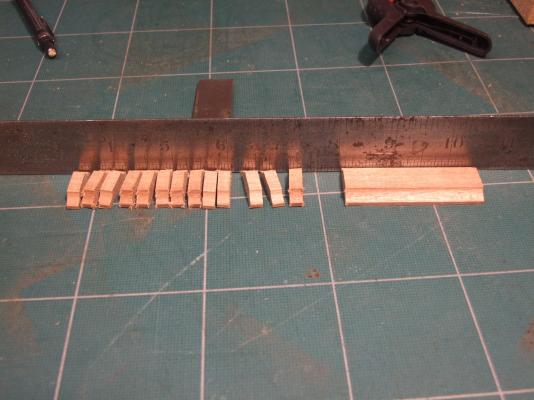
First the knees.
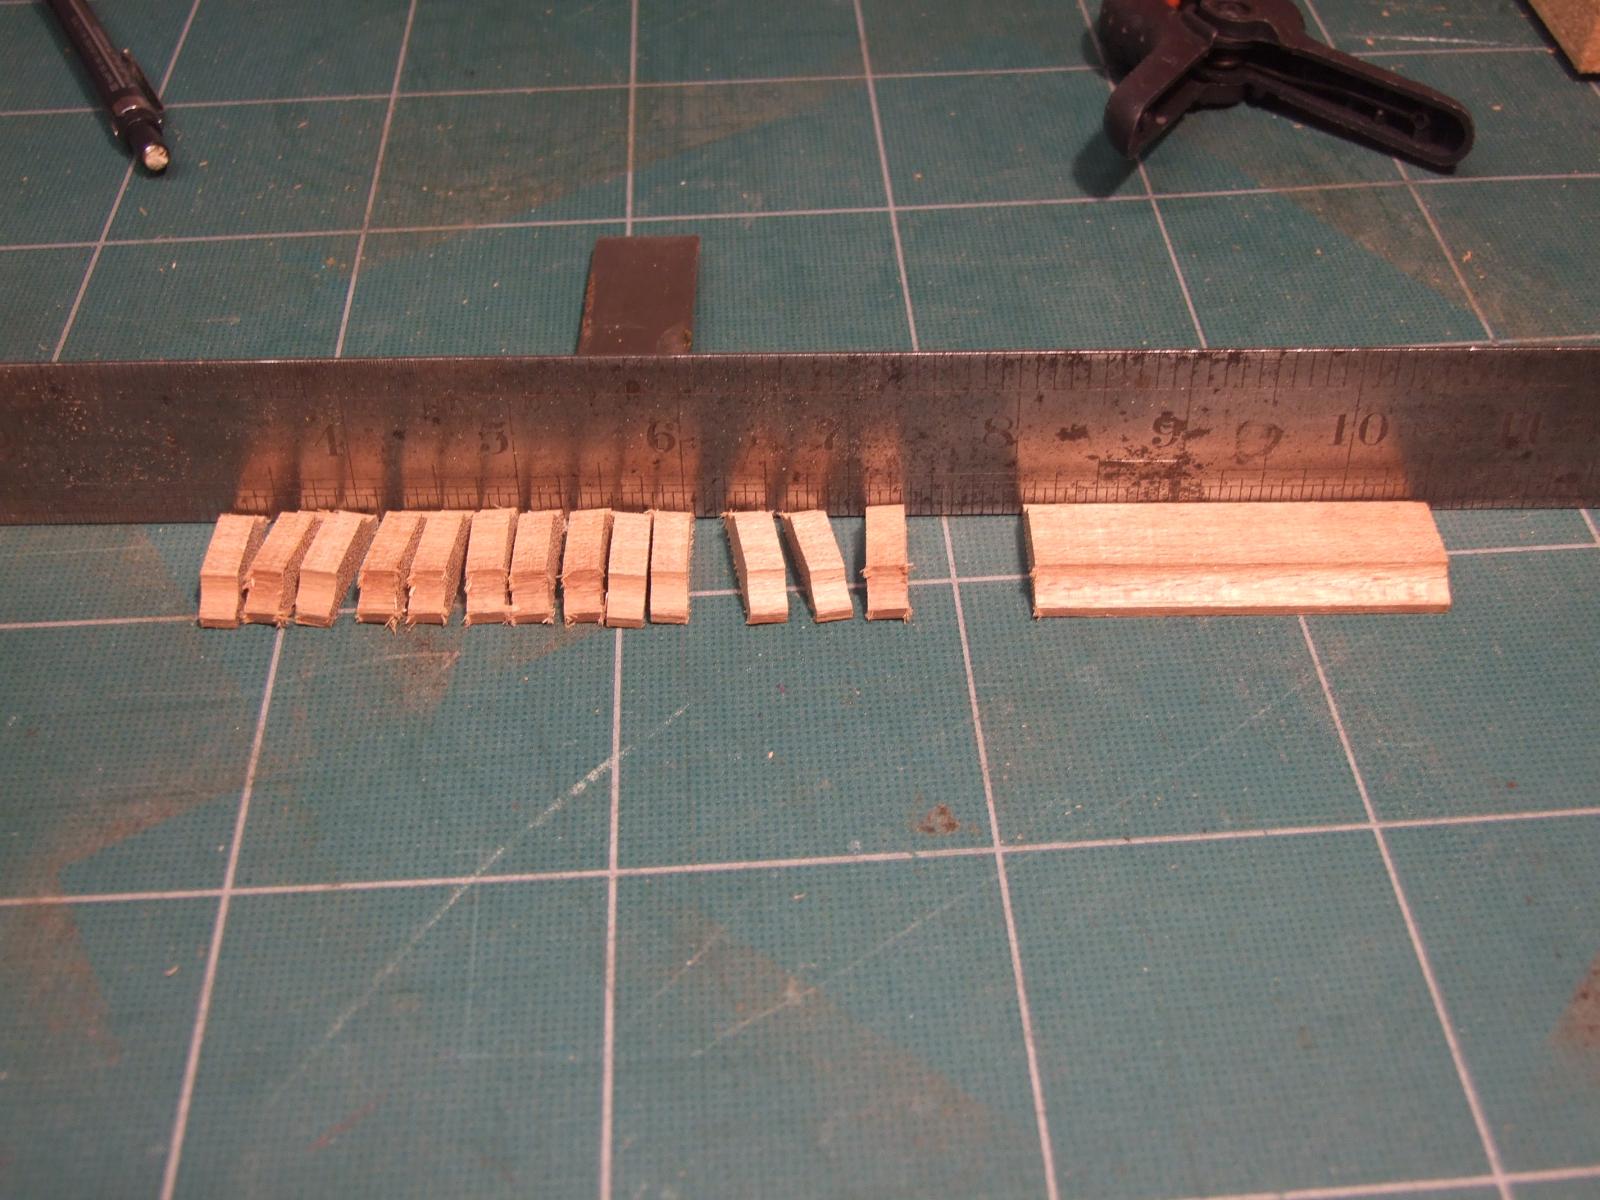
The shaped timber has been sliced into twenty four pieces and....
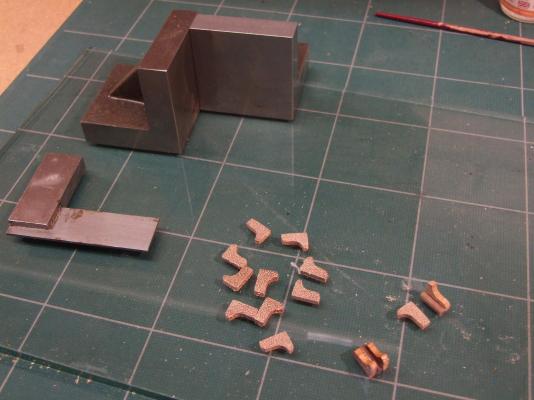
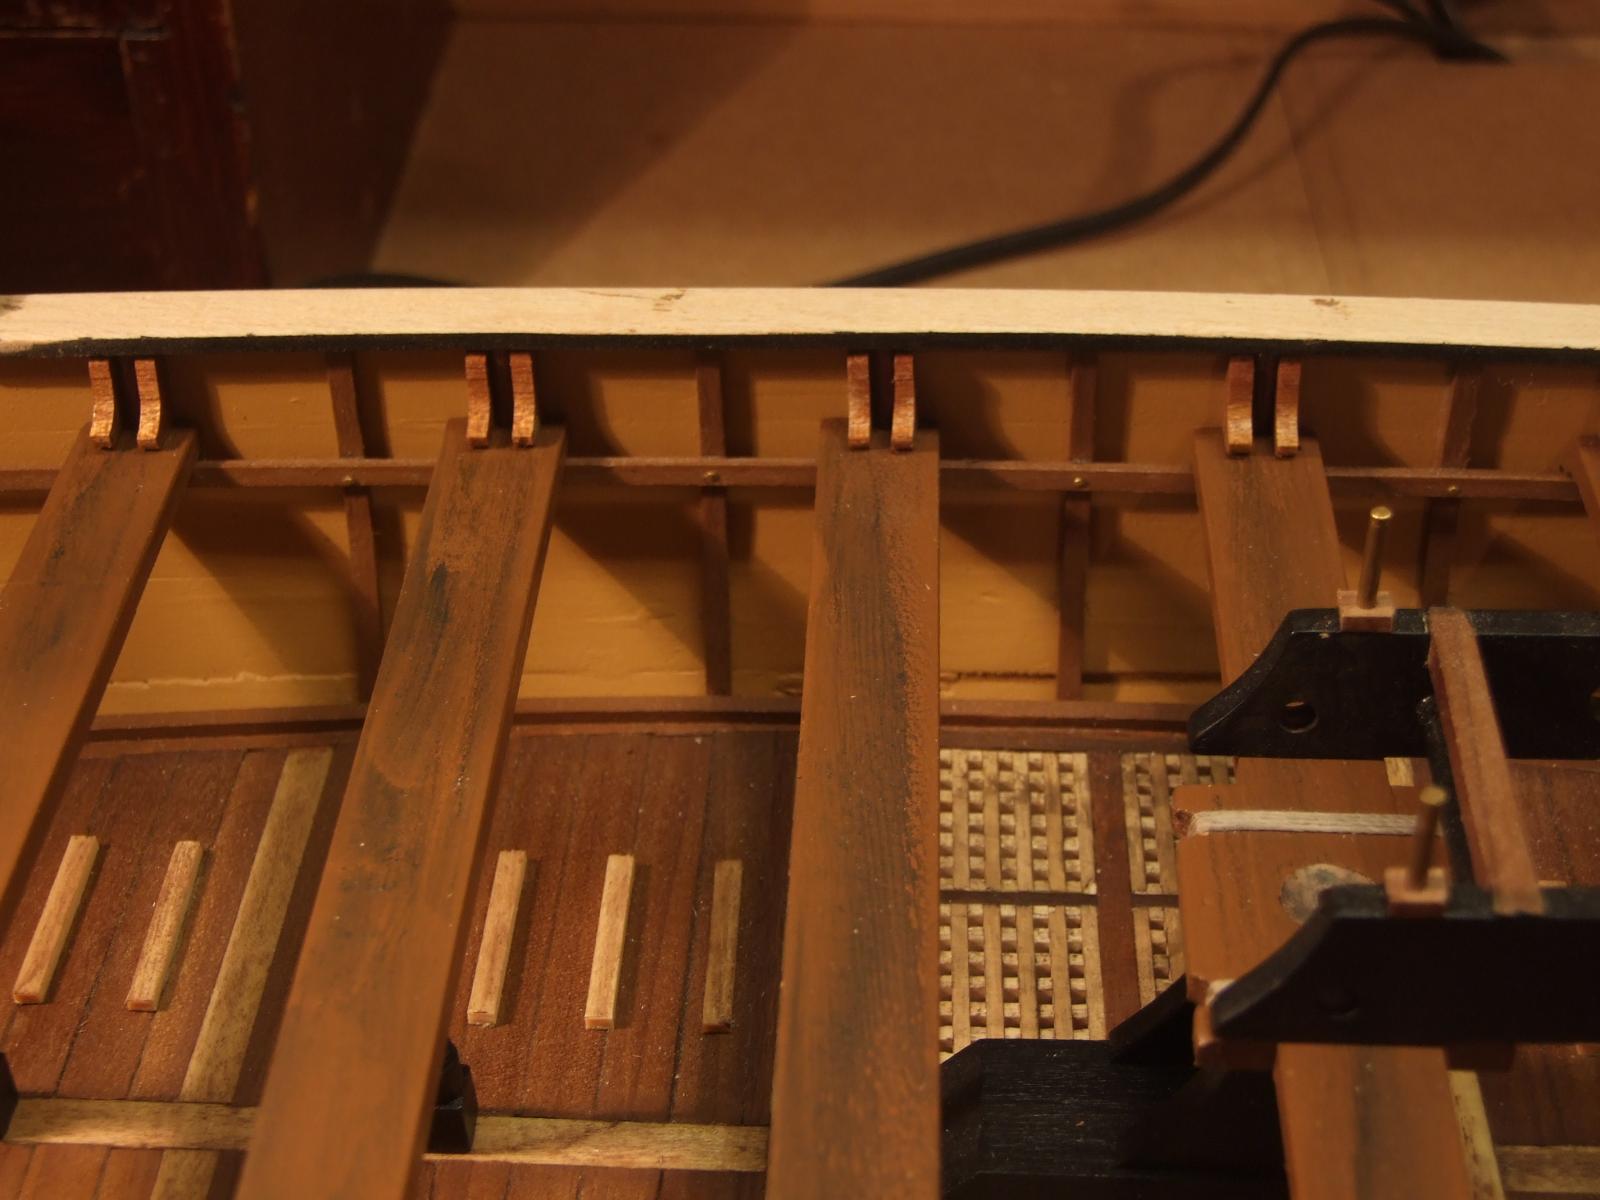
...they are glued together in pairs to a piece of dowel....
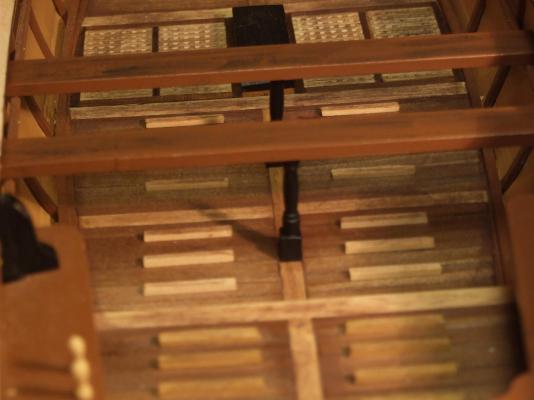
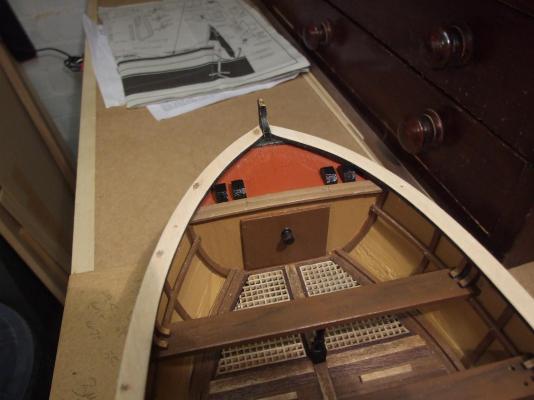
..and then glued to the thwarts as seen here.

This image also shows my ongoing attempt to "age" this build a little as I want it to represent a working boat rather than a pristine model. I am using water colour crayons and spit at present but fully expect to add other techniques as time goes on. In passing, if any reader has experience of "ageing" a model I would love to have your comments.
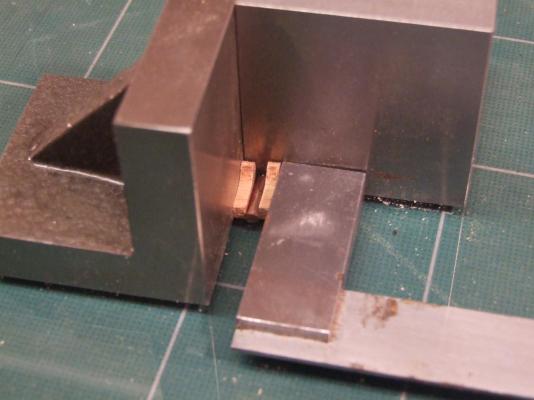
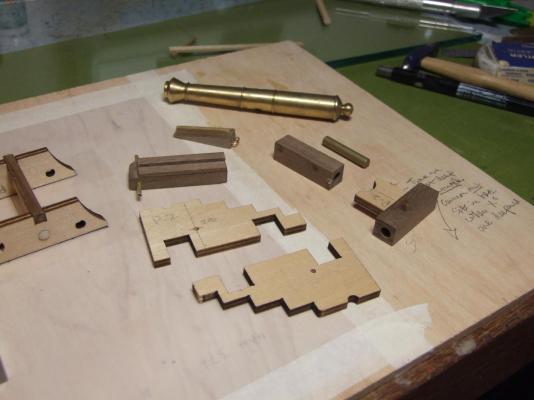
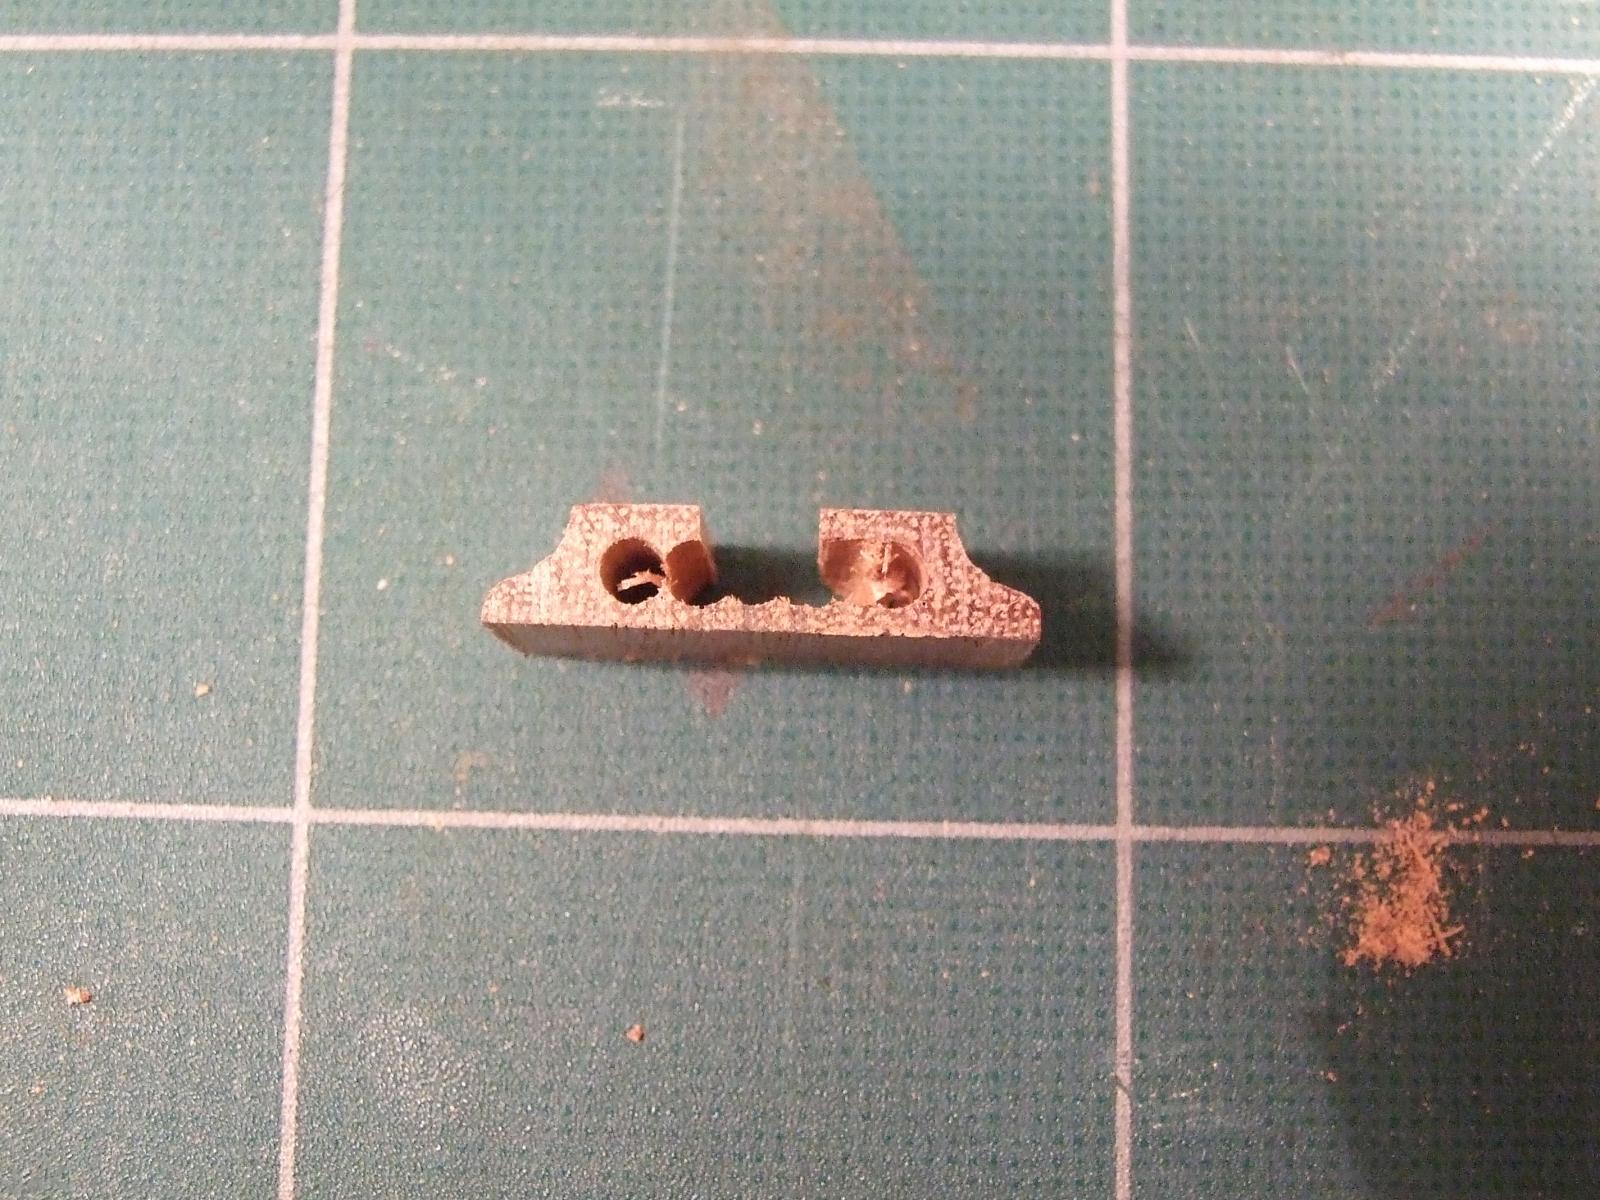
Next the thole pin blocks. The piece of timber on the right was machined to profile then sliced into twelve pieces and finally drilled for the pins.
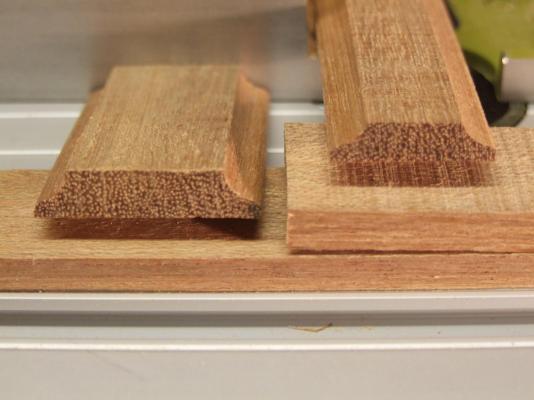

And finally the two fairleads. The piece of machined timber on the left in the image above was sliced into two pieces, drilled, slotted and cut to shape.


Various other small parts have been made and fitted…….

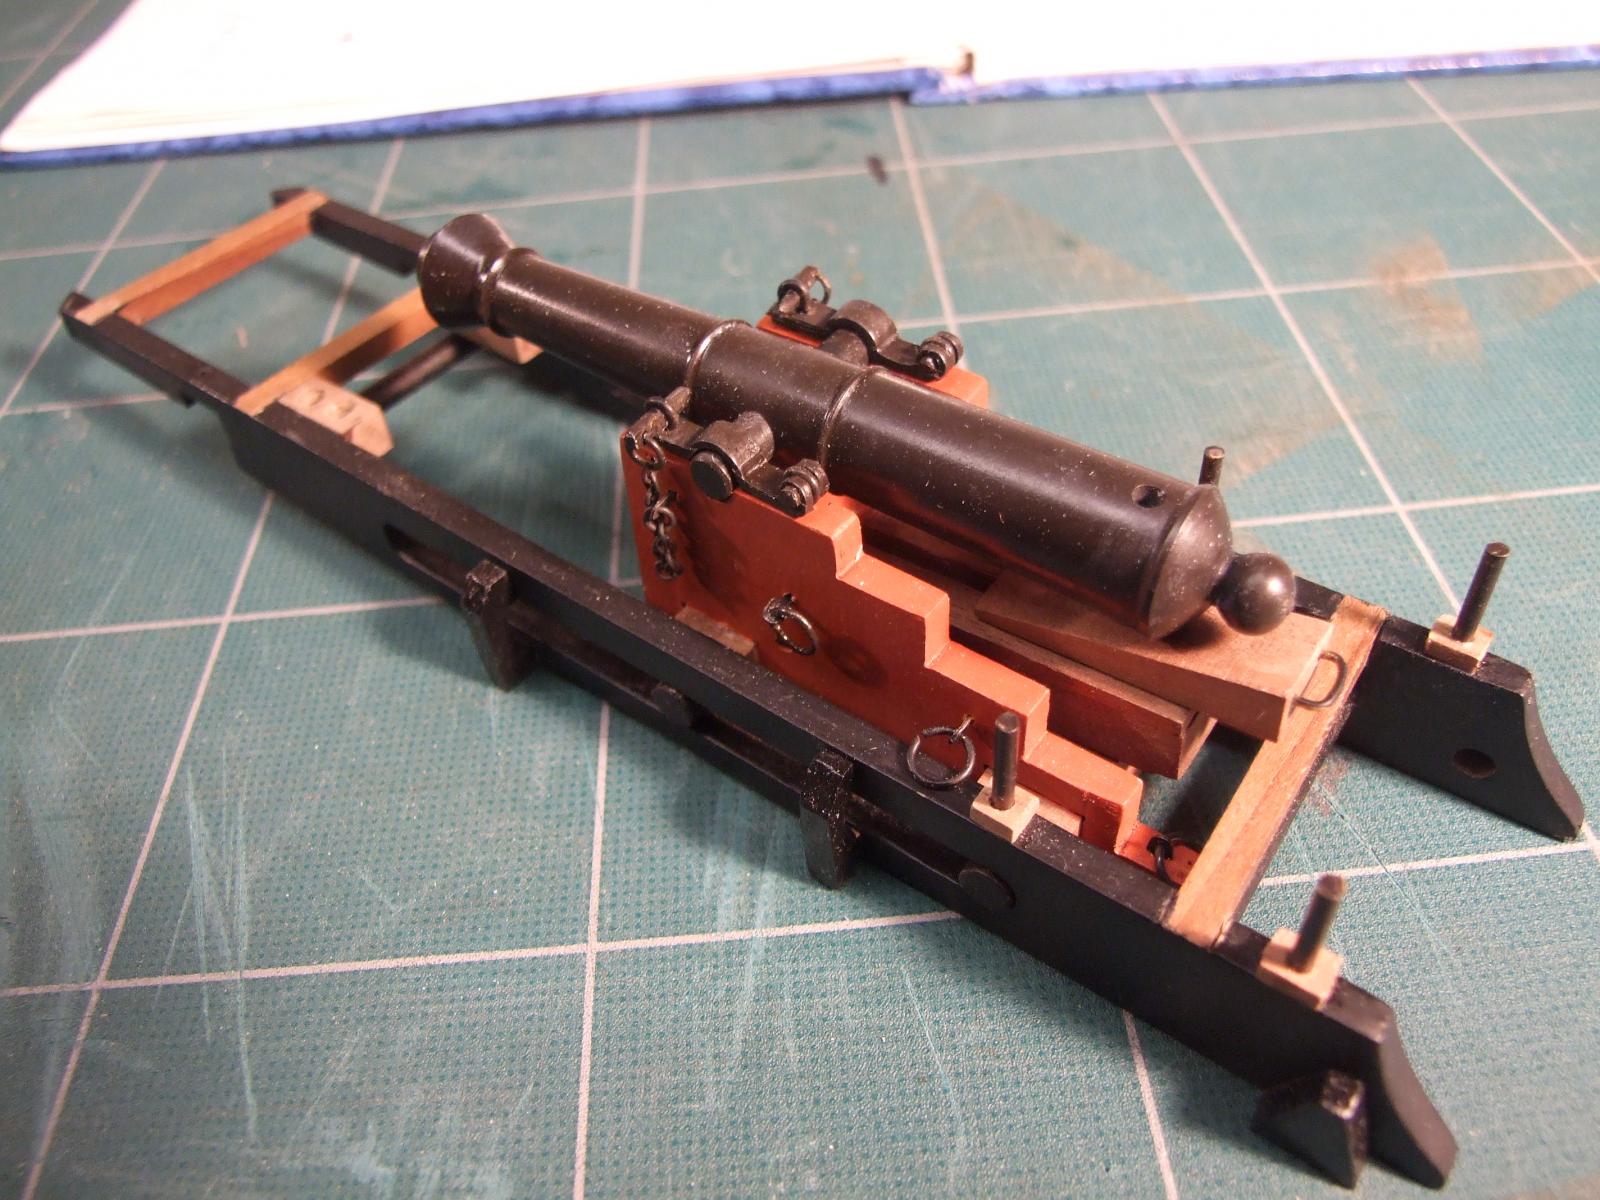
....and the large gun and it's carriage is almost complete.


The big gun will not be finally fitted until later in the build. The next task is to complete the outer hull fittings and then start on the paint job. Once that is complete then the fun of rigging and fitting out can begin.
More anon.
Mike.
-
There has been a trickle of thread traffic regarding this company and I, along with others, have been very pleased with their prices and service. Having just received my latest delivery from them I would like to use this experience to further spotlight this excellent company.
Order placed on the afternoon of Sunday 19th January.
Order received 1115 Wednesday 22nd January.
Postage and packing € 12.95/ £ 10.60
Using Amazon UK as a comparison I saved £ 30.11 buy buying at Euro rates on the order total of £142.18 ex Amazon. I have disregarded postage costs in this comparison.
TBS- Aachen stock many other brands but my experience has been solely with Proxxon products.
I would be interested to hear the views of other users of this company and particularly how they are viewed by German users.
Mike.
-
-
I agree with all that has been said here but may I add a further thought?
Good machinery usually has good guards but they sometimes get in the way. Bad guards can be as hazardous as no guard at all. With this in mind designing and building jigs for specific tasks on saw tables, band saws and router/shaper tables can be employed to very good and safe effect. The one golden rule is this.....part of your jig should always be between the blade and your fingers.
Mike.
-
Thanks for all the input. I am still thinking. Decision to follow later in 2014.
Mike.
-
-
Back again. After a longish break some further progress has been made. But first the colour scheme and roughing it up a bit!
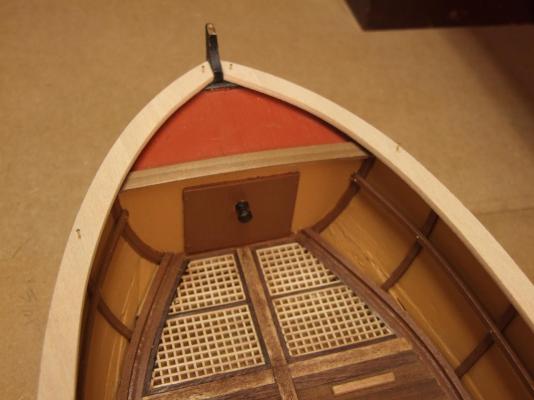
It is my belief that these hard working boats would have been maintained in top working order but not as "tiddly" ( R.N term but probably universally understood. ) as the ships boats that ferried captains, admirals and other upper echelon types to and fro. To this end I have "dirtied" the interior of the model somewhat, excluded glossy finishes and adopted the muted ochres and black paints of the period. I do not intend to apply bright coloured hull highlights or stern embellishments.
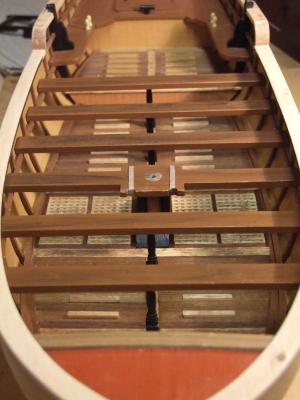
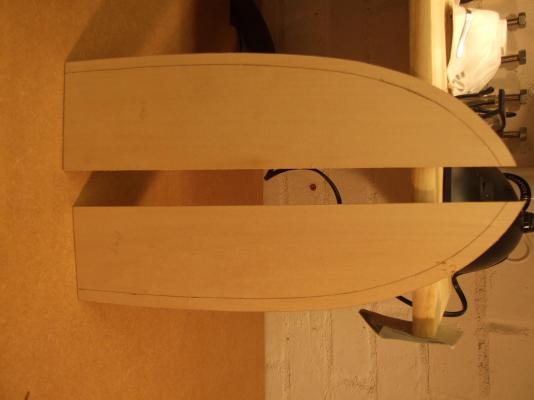
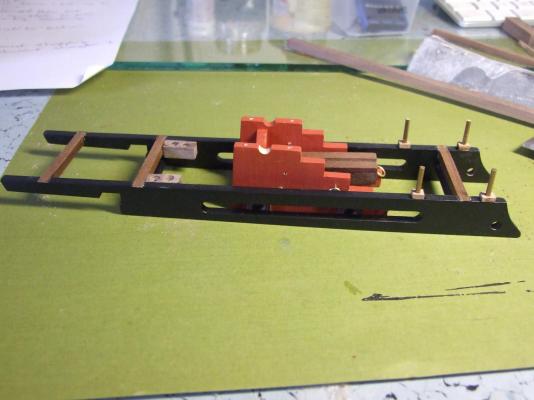
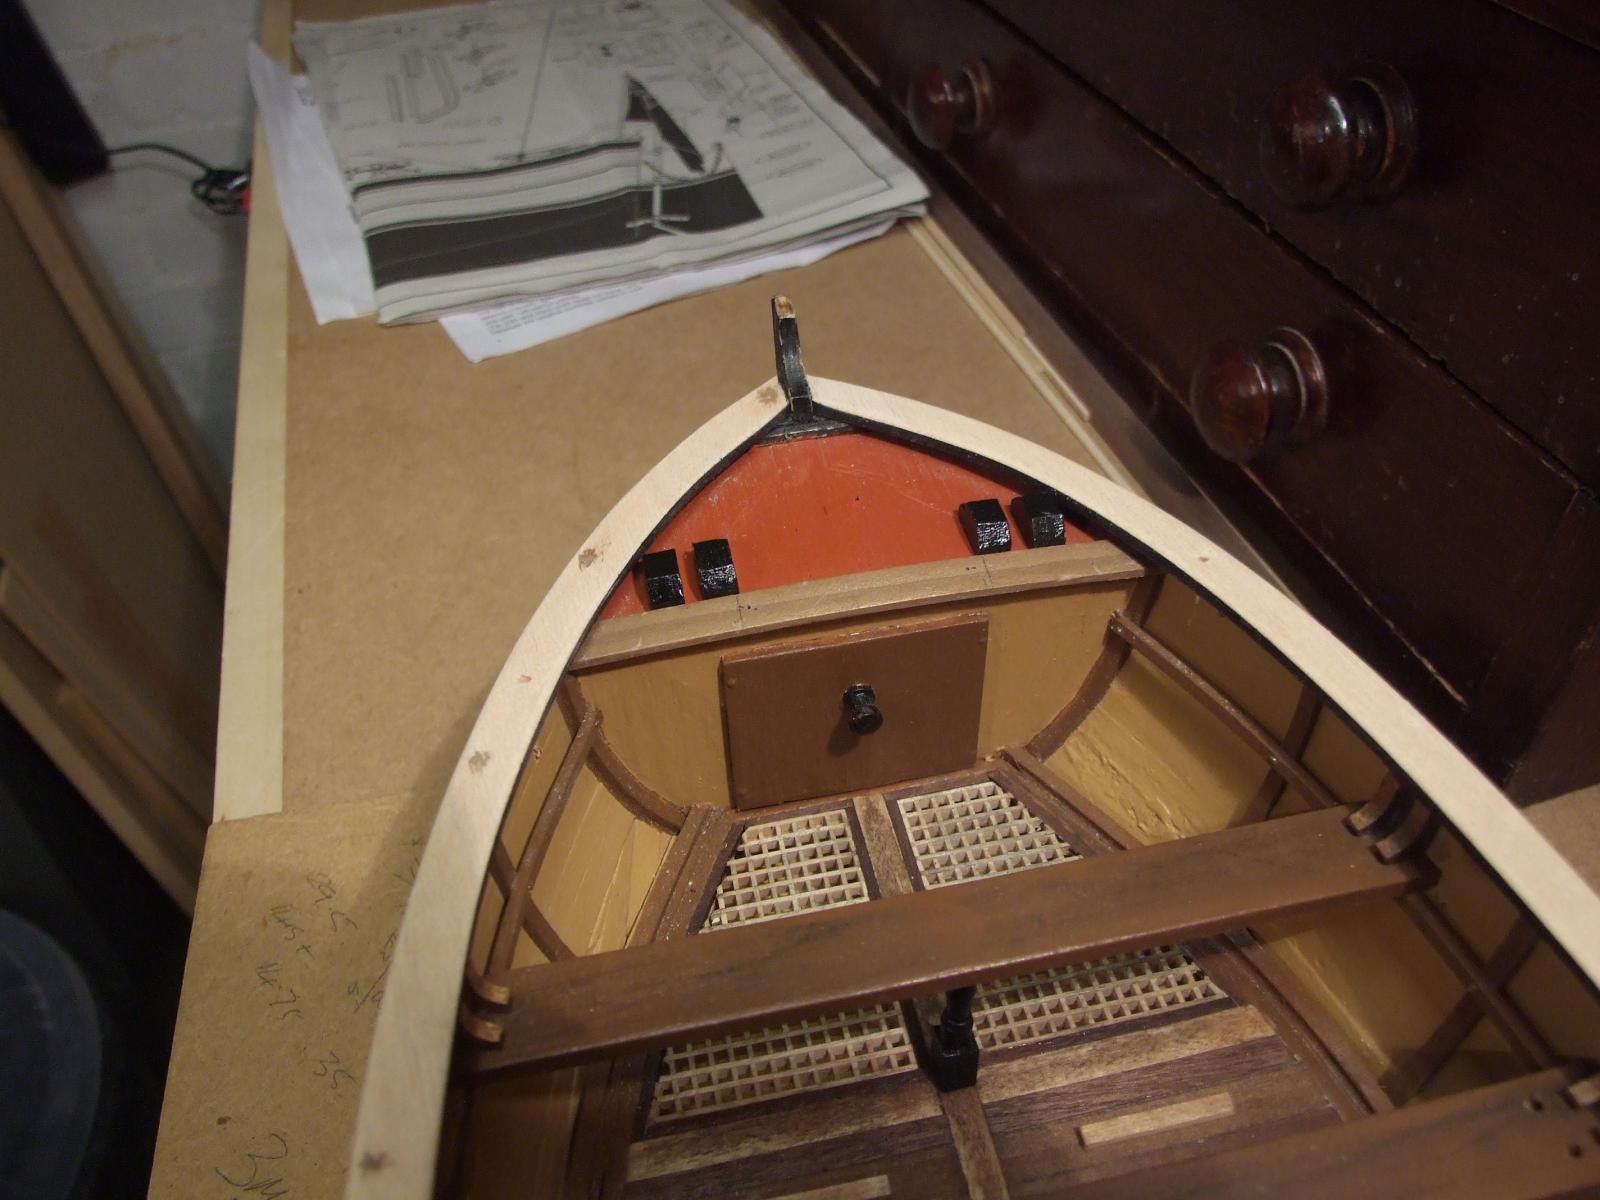
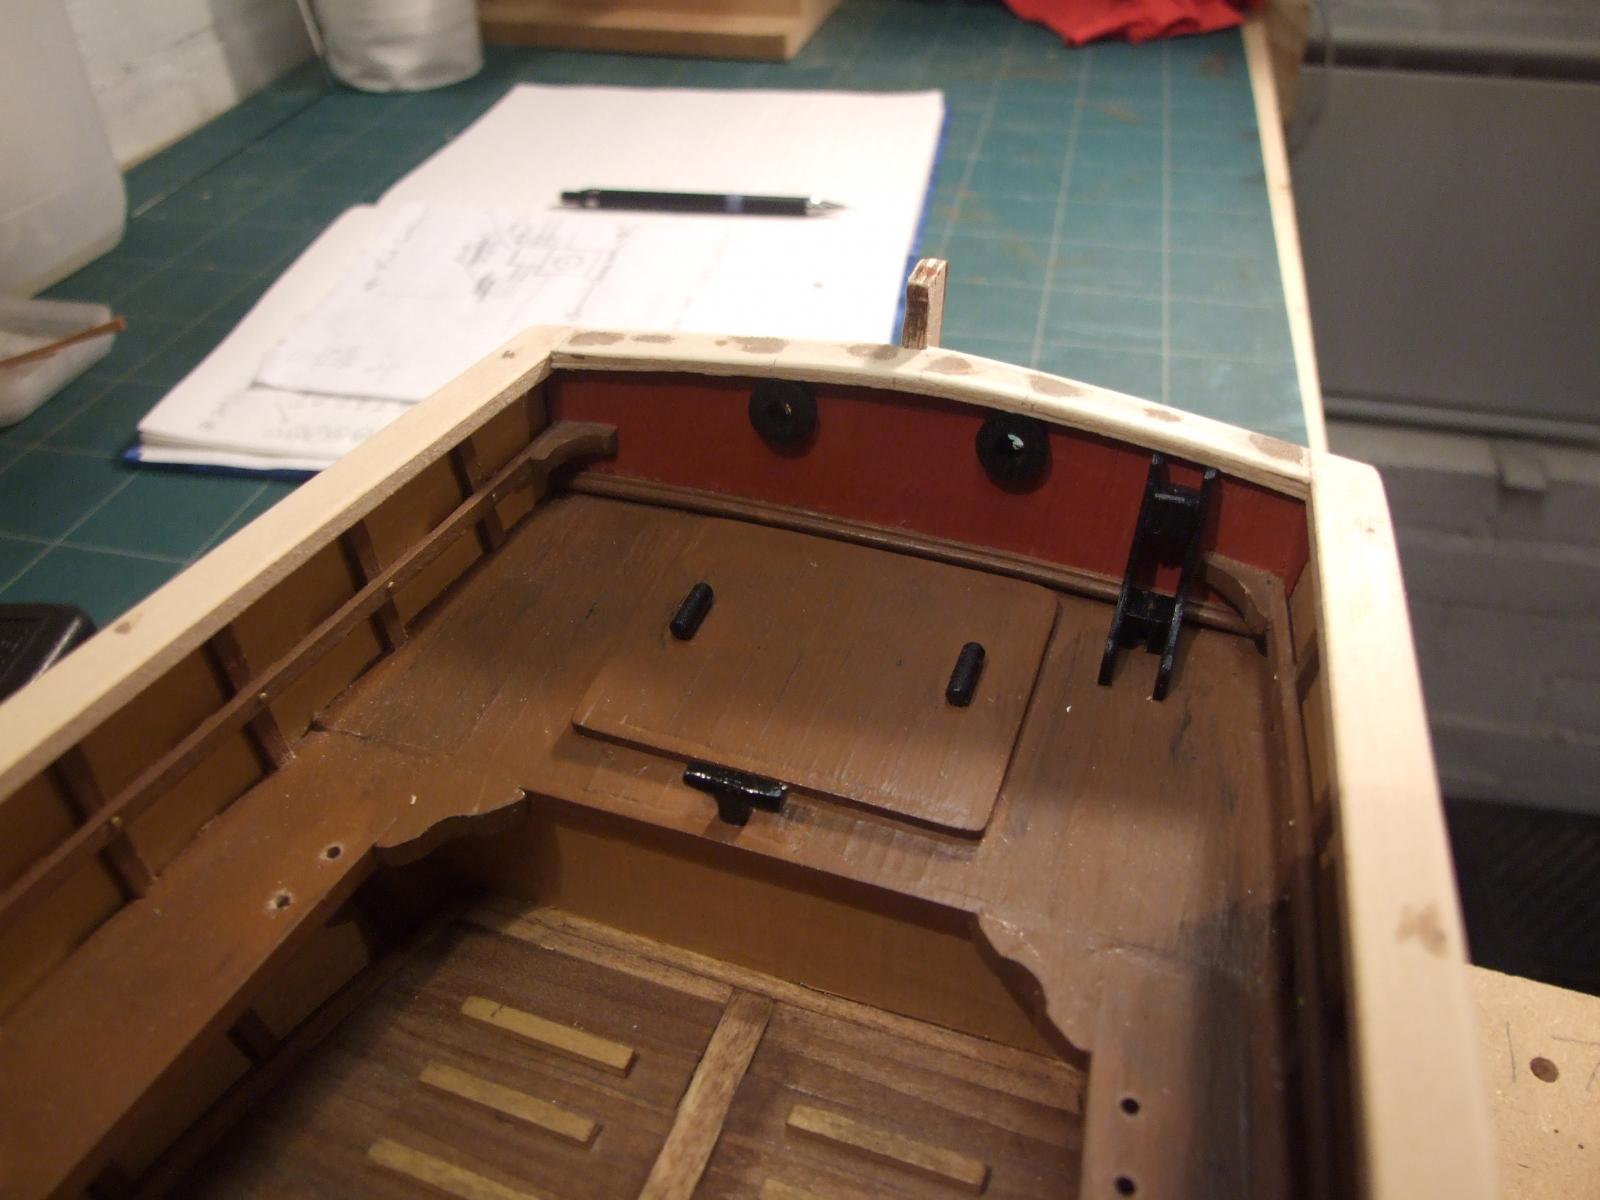
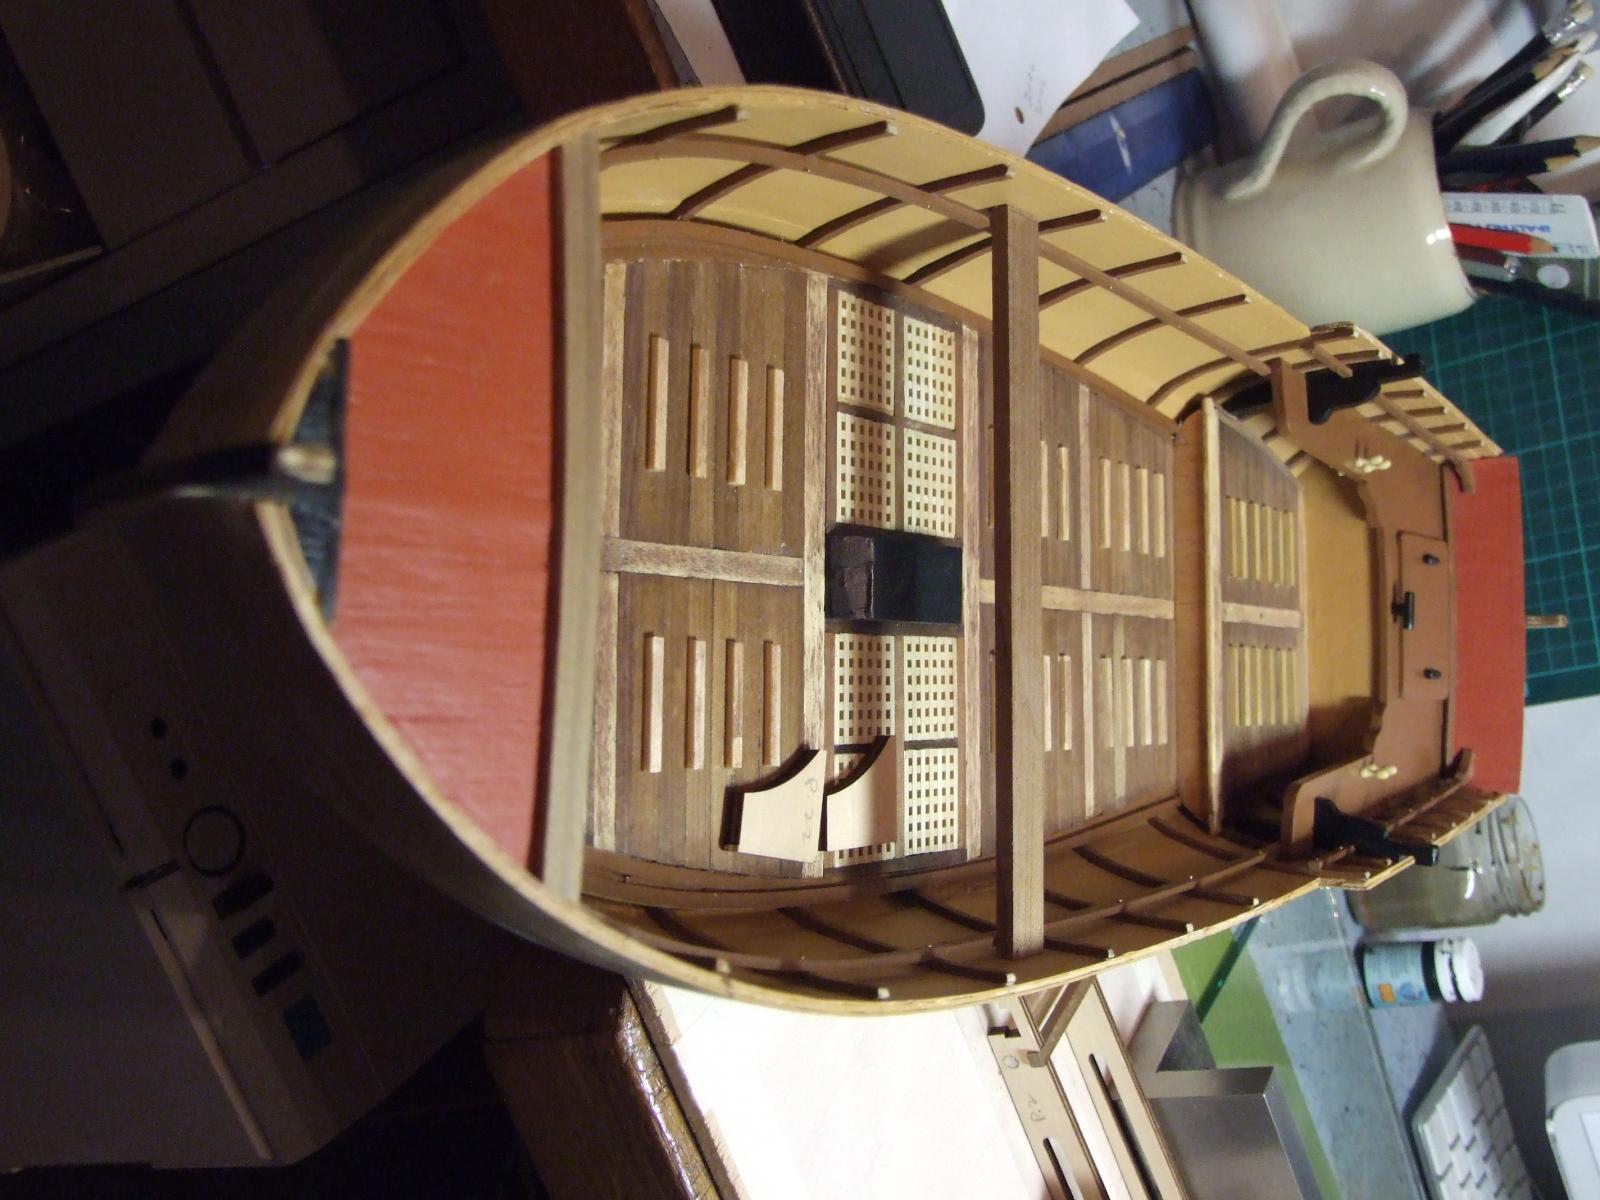
This image shows the boat interior after fitting all the ribs and stringers and the stern benches,

The mounts for the small cannon and other small additions.....

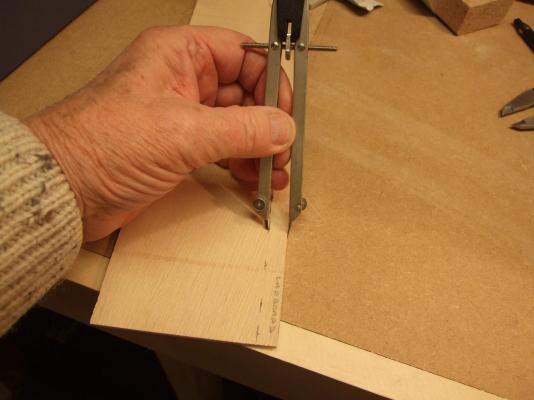
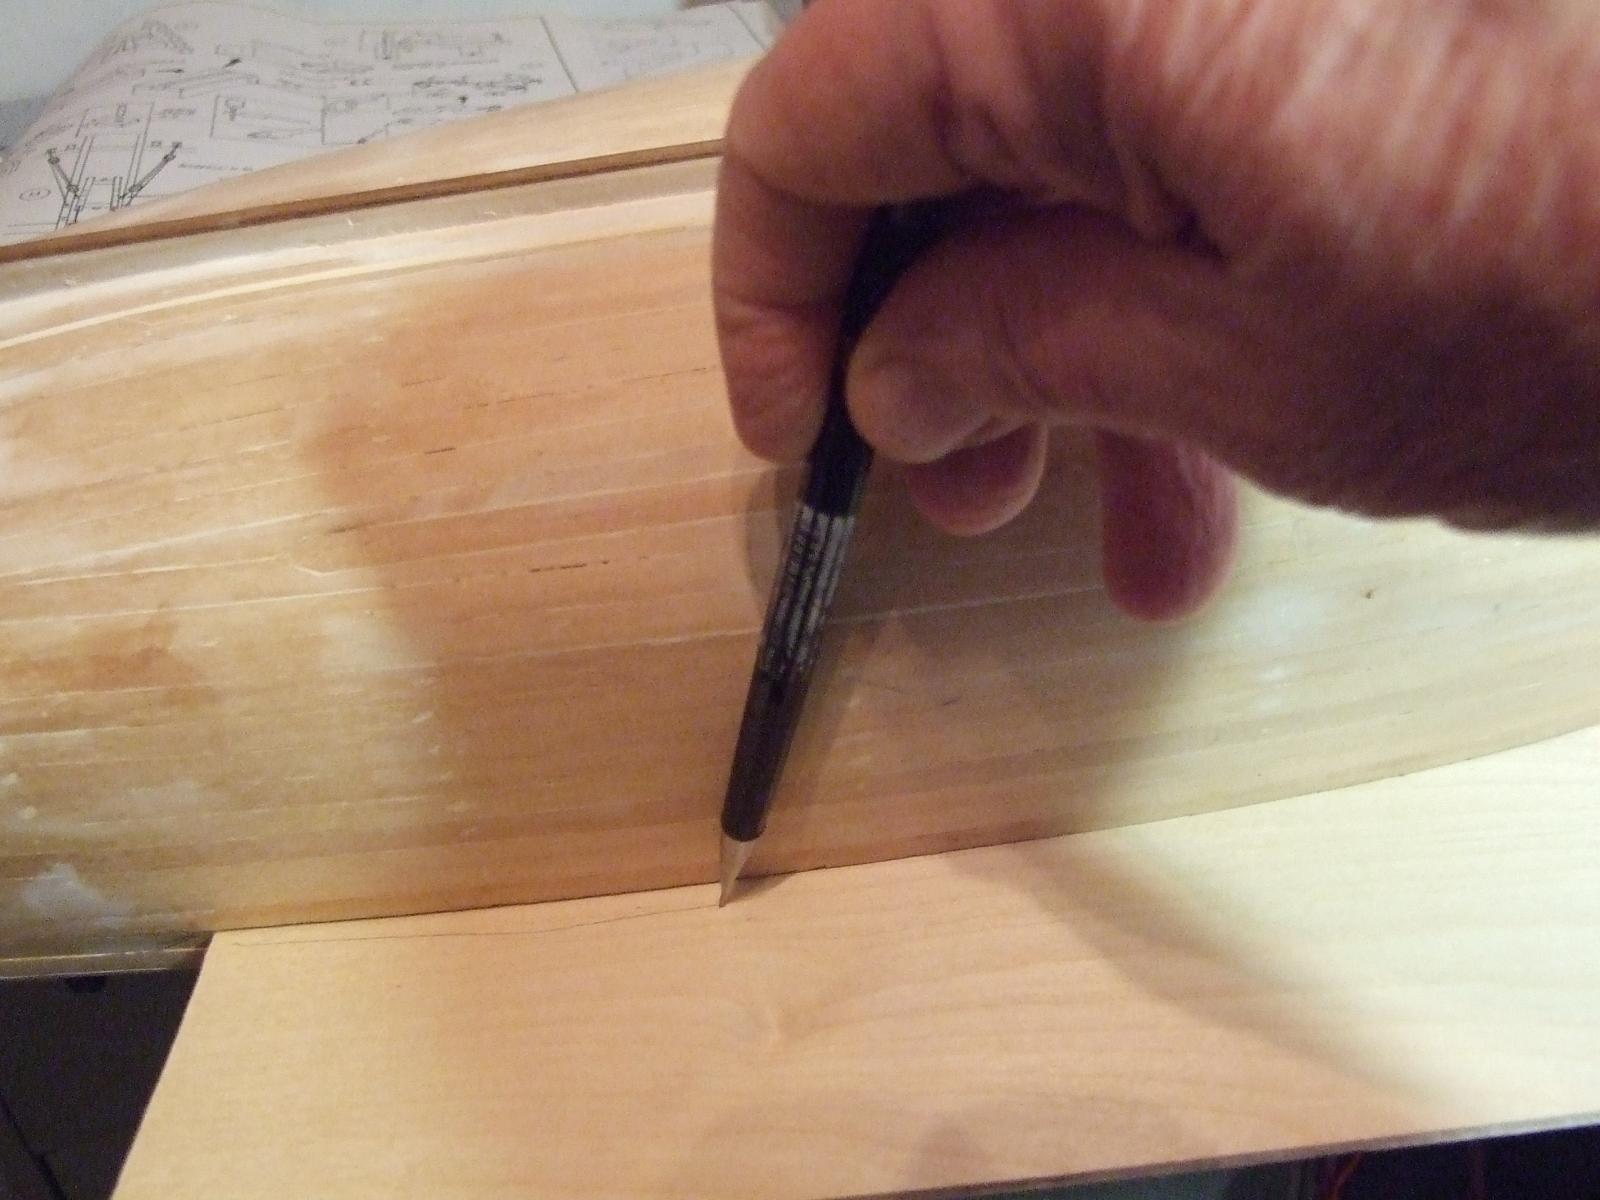
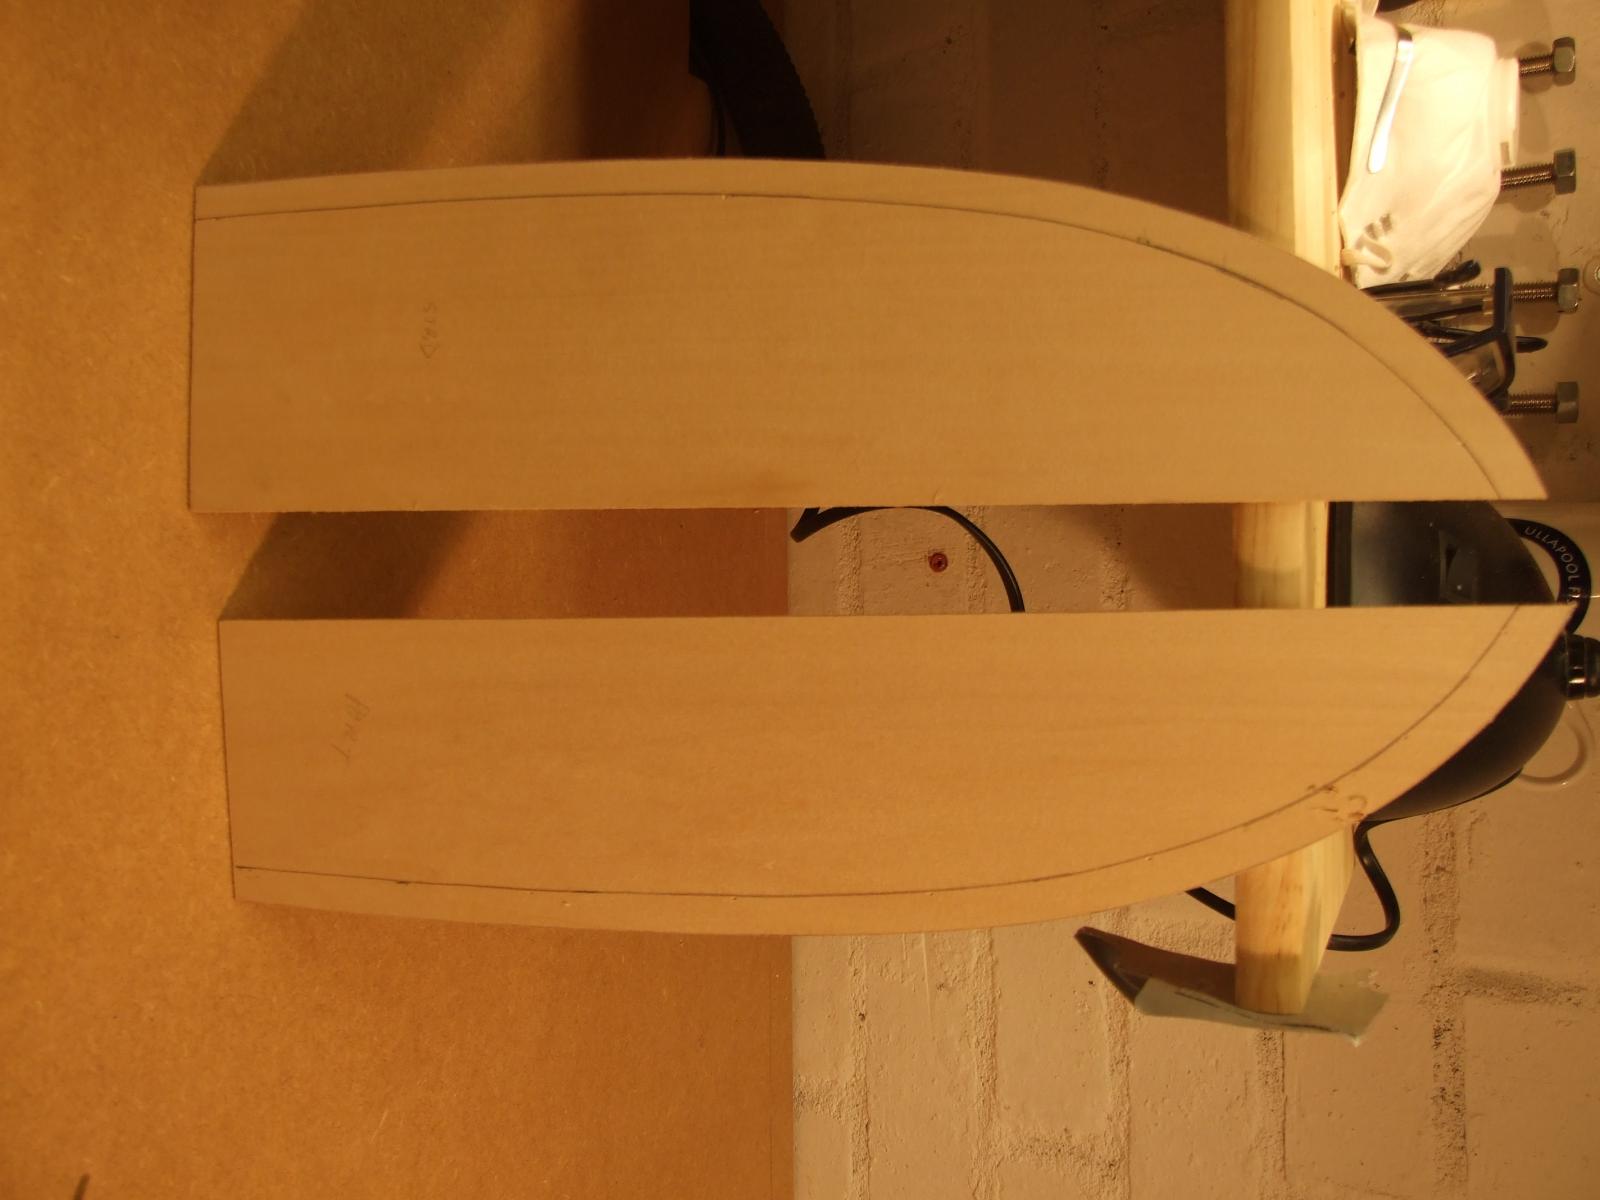
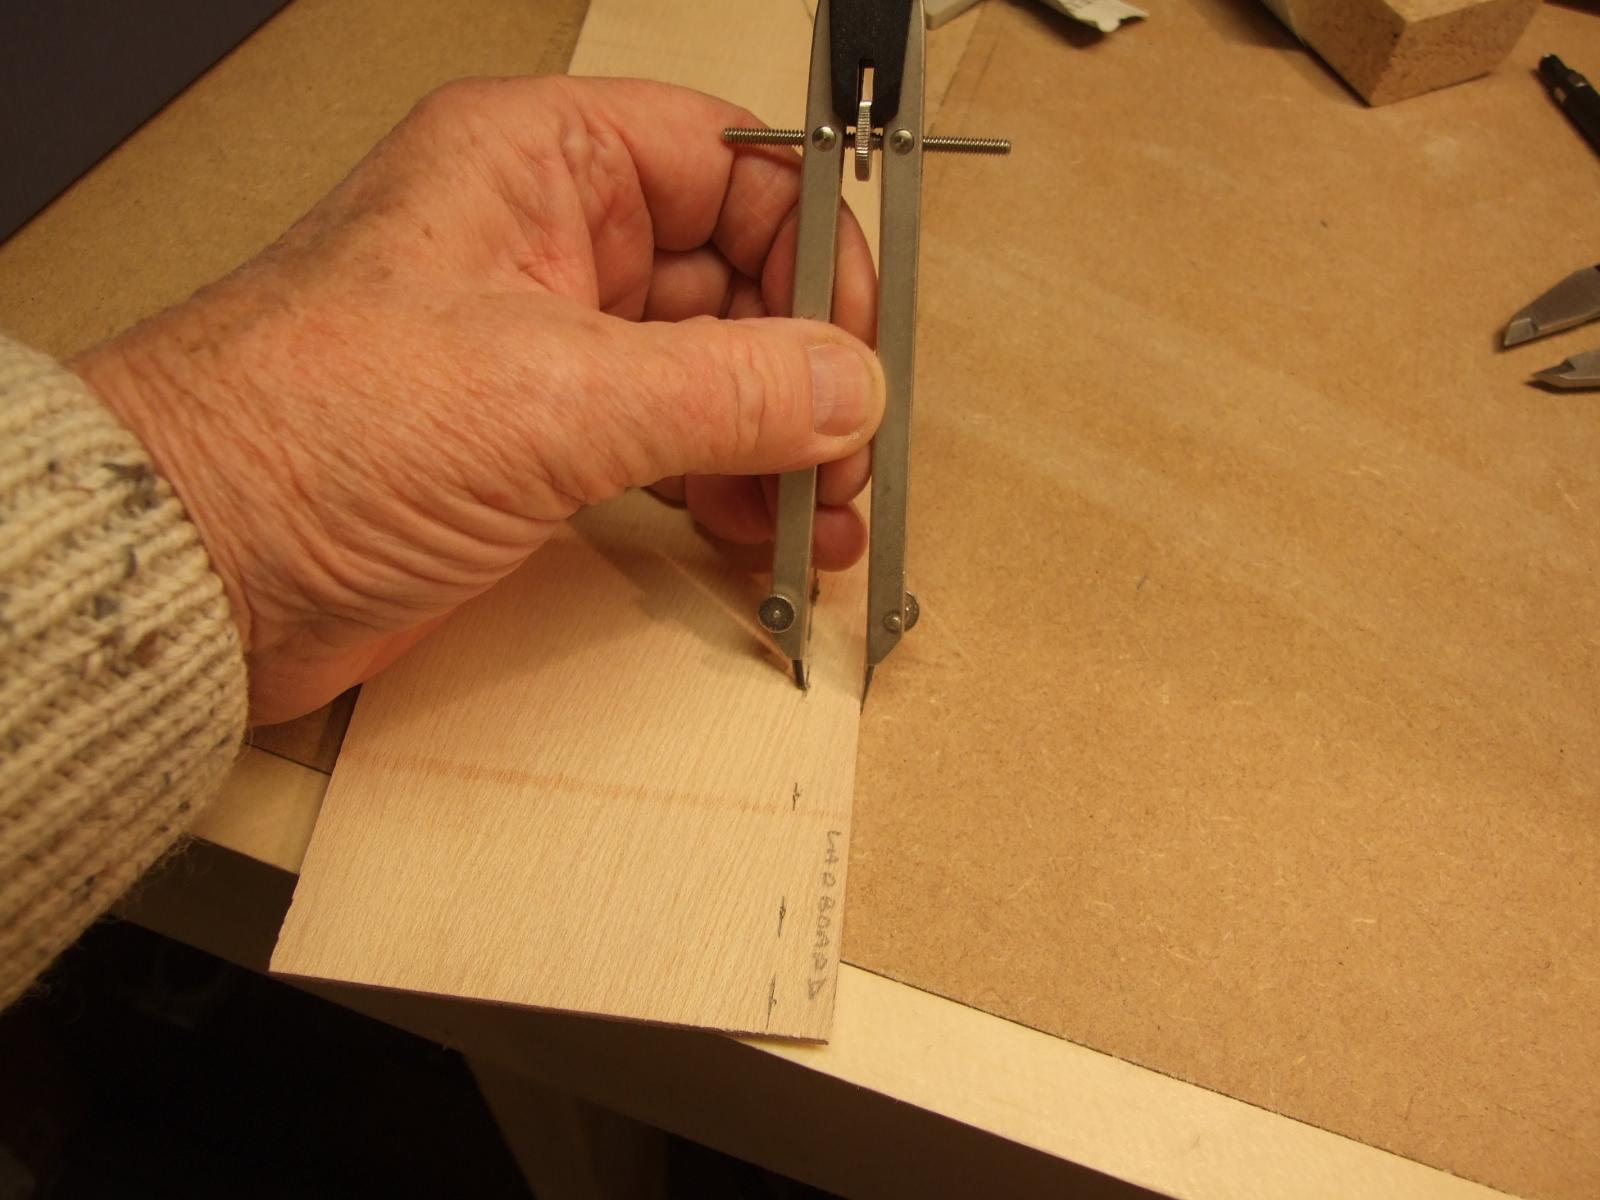
Next job was the gunnel capping. The instructions in the kit call for this to be applied in sections but I decided to trace of the actual shape from the model onto sheet timber. The outer curve was then cut on the band saw and the inner curve scribed from it before cutting and final sanding to shape on a belt sander. The two curved section, two quadrant sections and two straight sections were then glued to the hull.

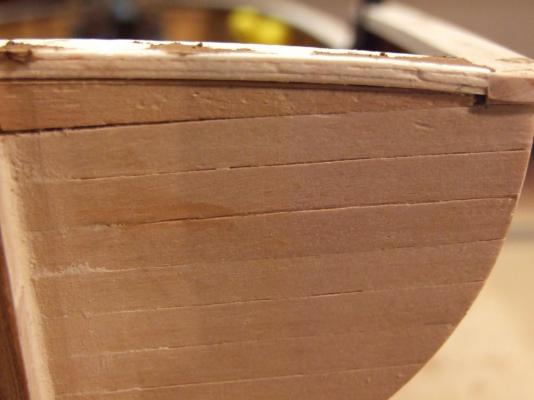
The final piece of gunnel capping required a curve over a short length in 3.5mm timber. I snapped my first attempt so laminated three sections of 10mm x 1mm which worked well and when sanded and sealed will not be detectable under a coat or two of paint.
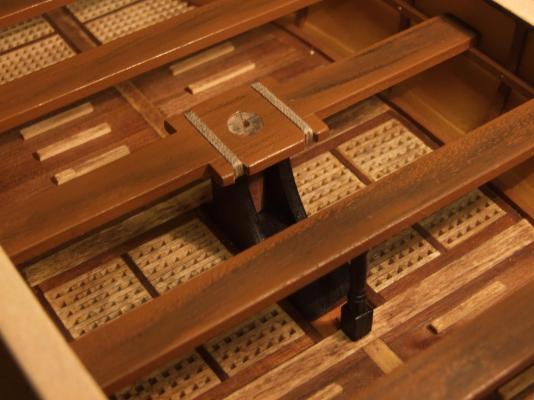
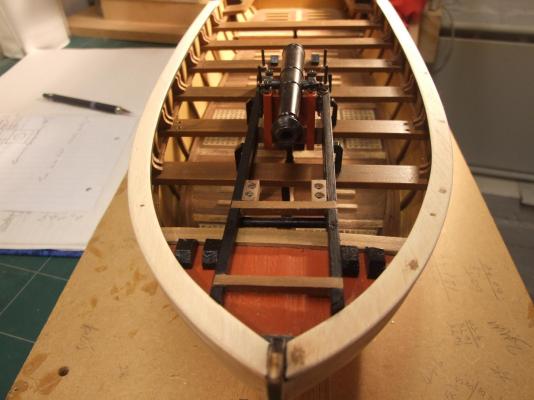
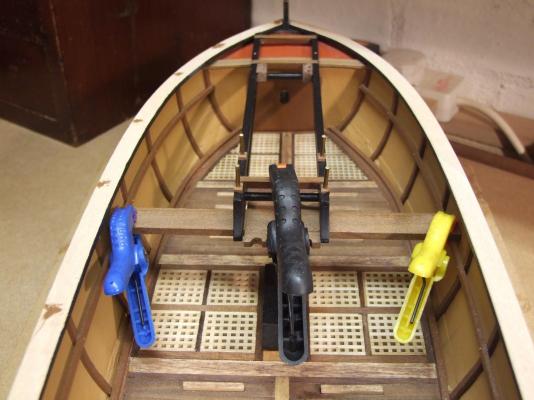
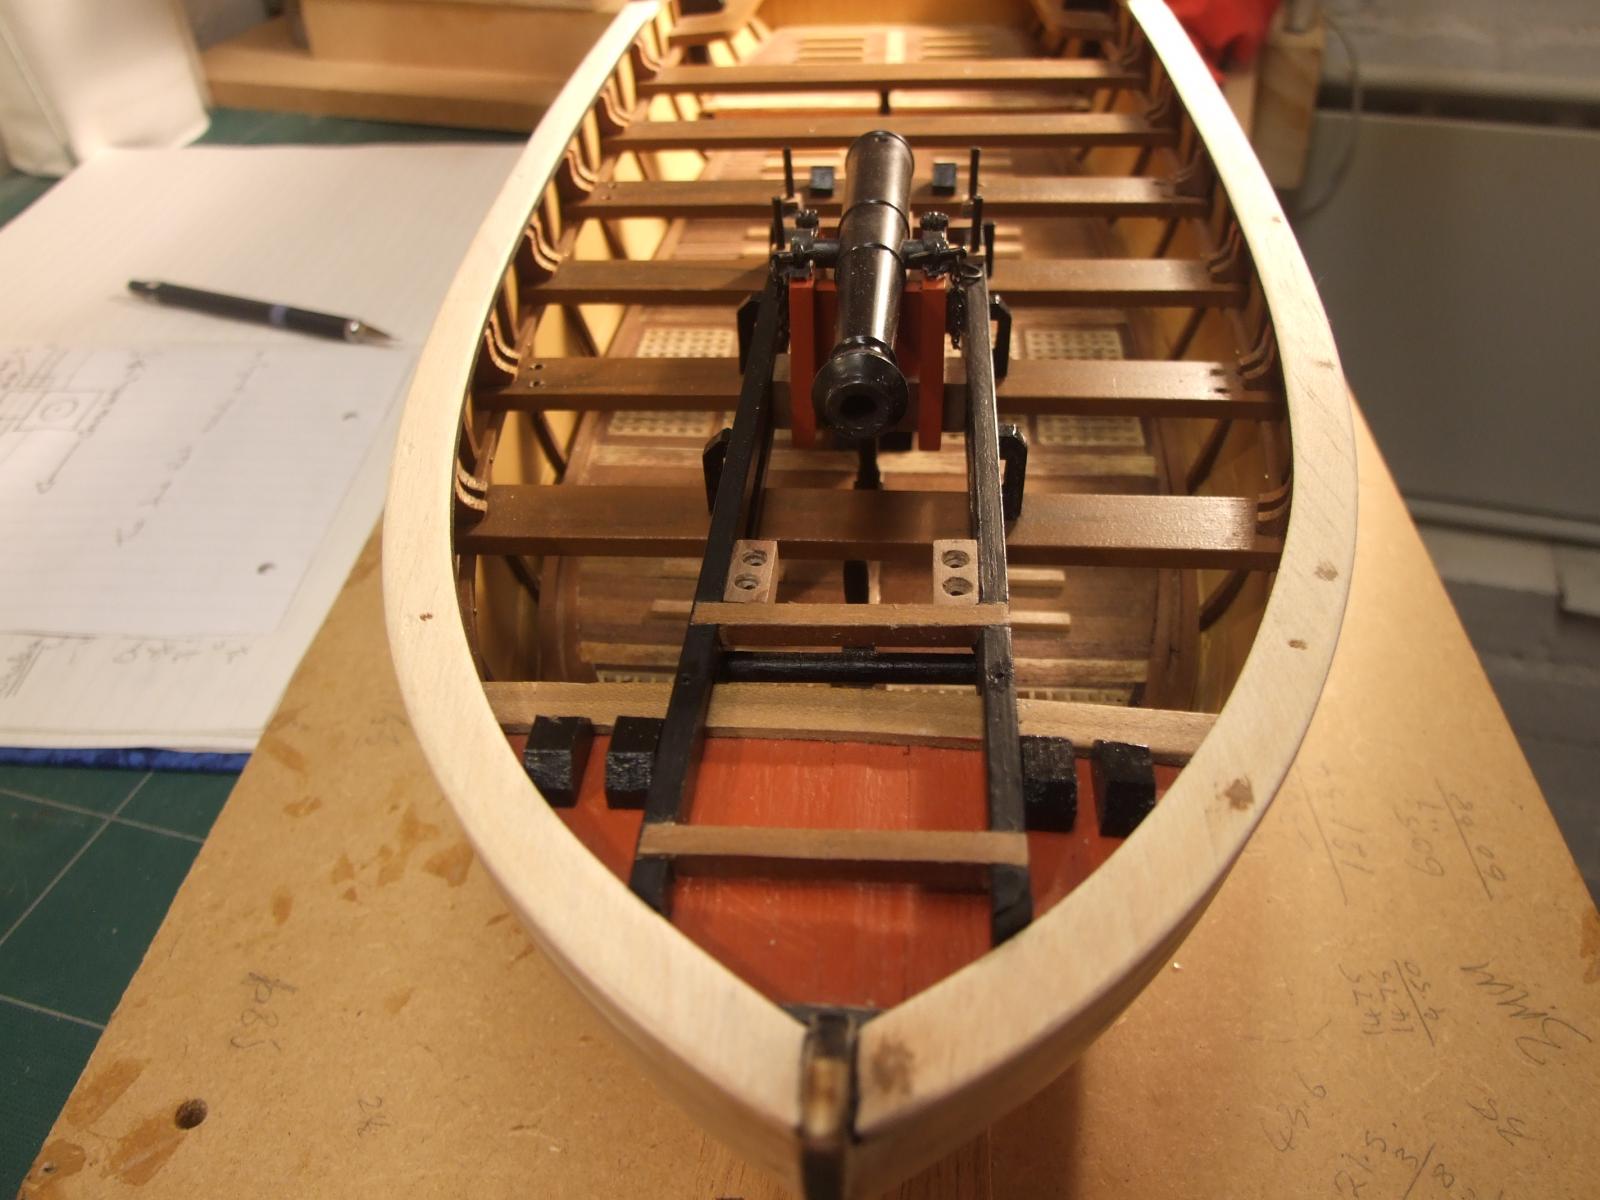
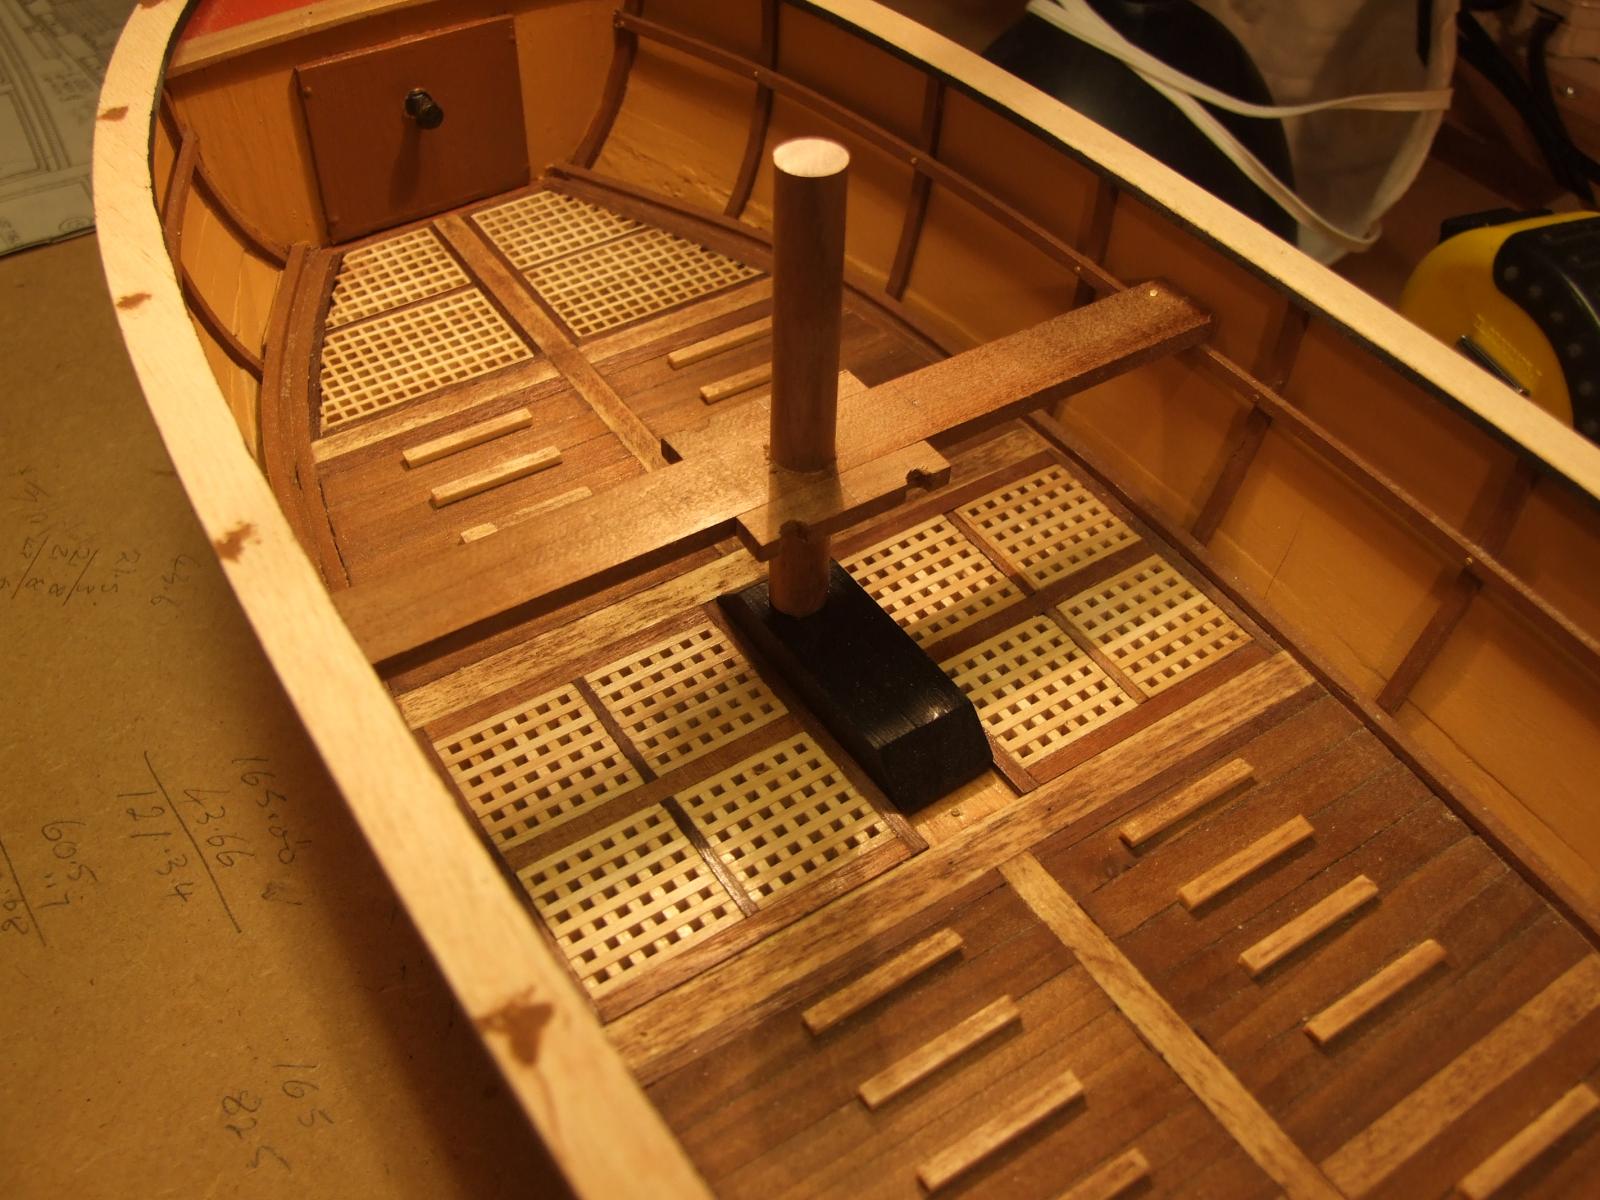
The next task was to build the framework that supports the main cannon and to fit this in place. Care must be taken here as this framework, thwart No.3 from the bows,and the mast step are all closely interdependent for position. The frame and the cannon itself are fun to put together.

Number three thwart and a section of mast are placed but not fixed.

Then the cannon framework is offered up, shaped where it meets the forward gunnel capping and then the No. three thwart can be adjusted in position.
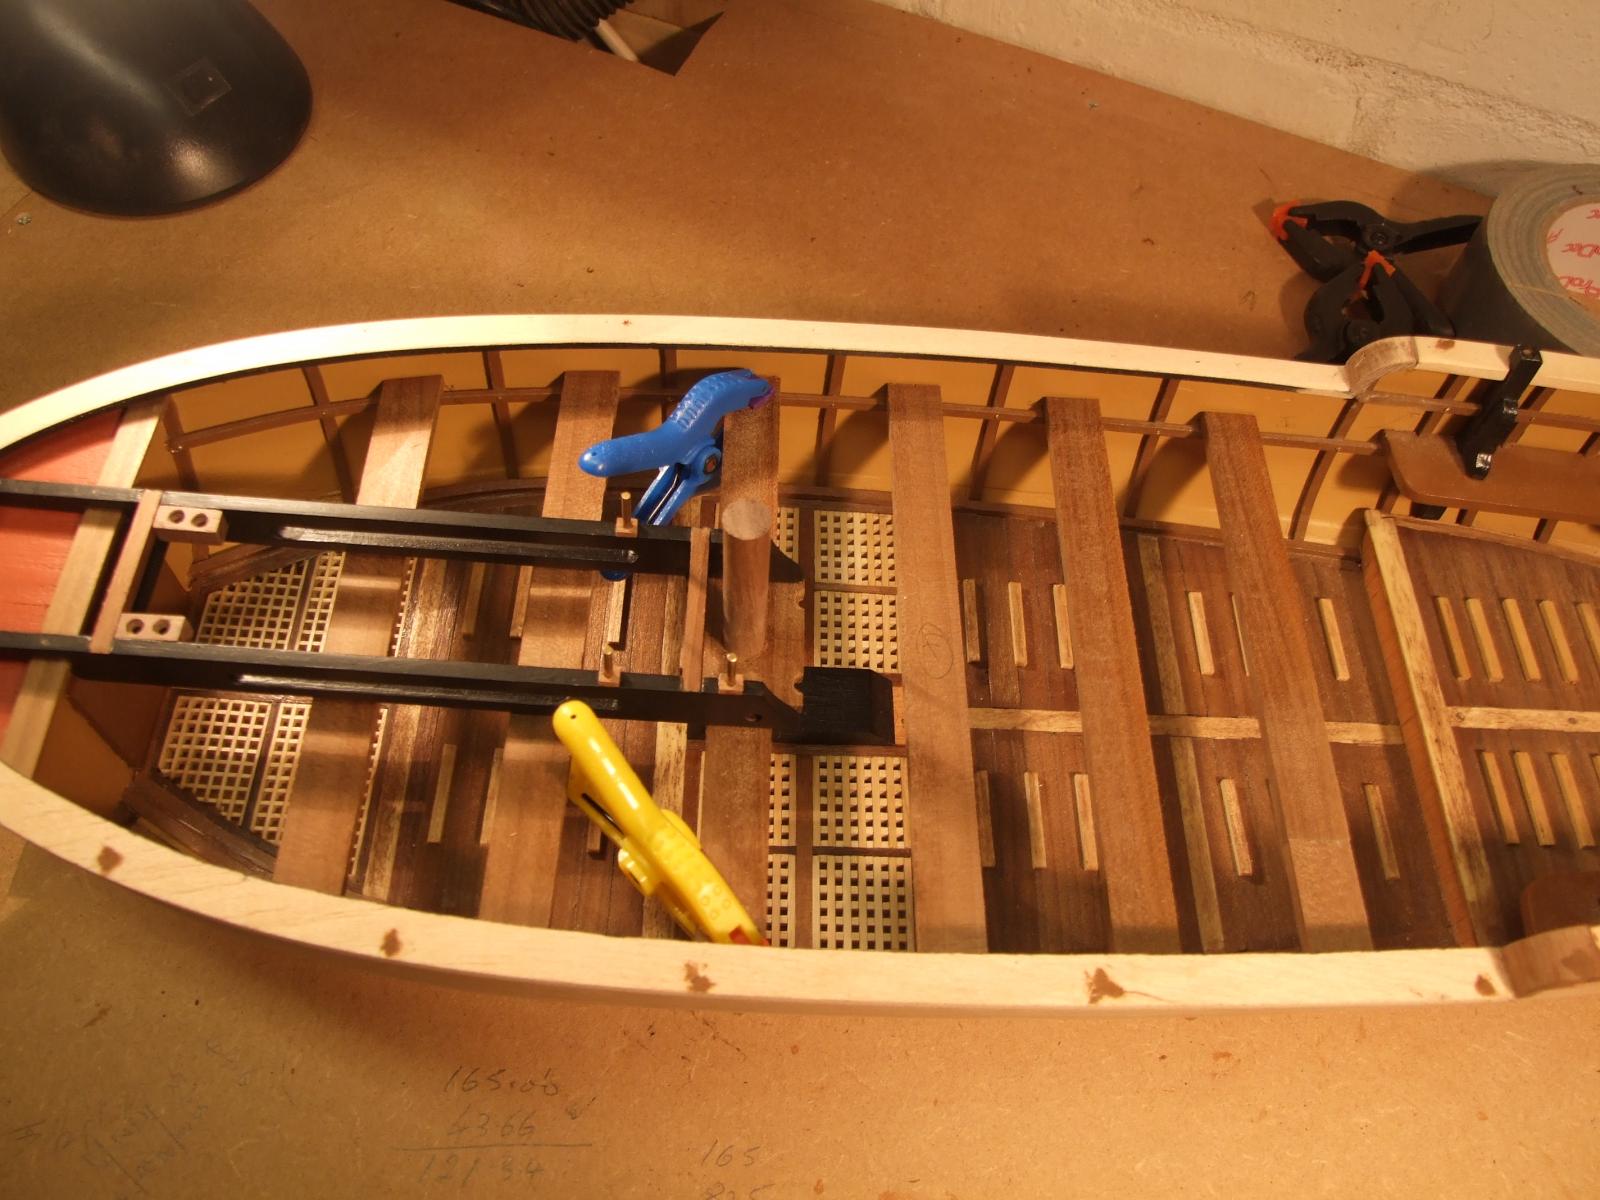
Now the other thwarts can be cut and shaped and their positions established.

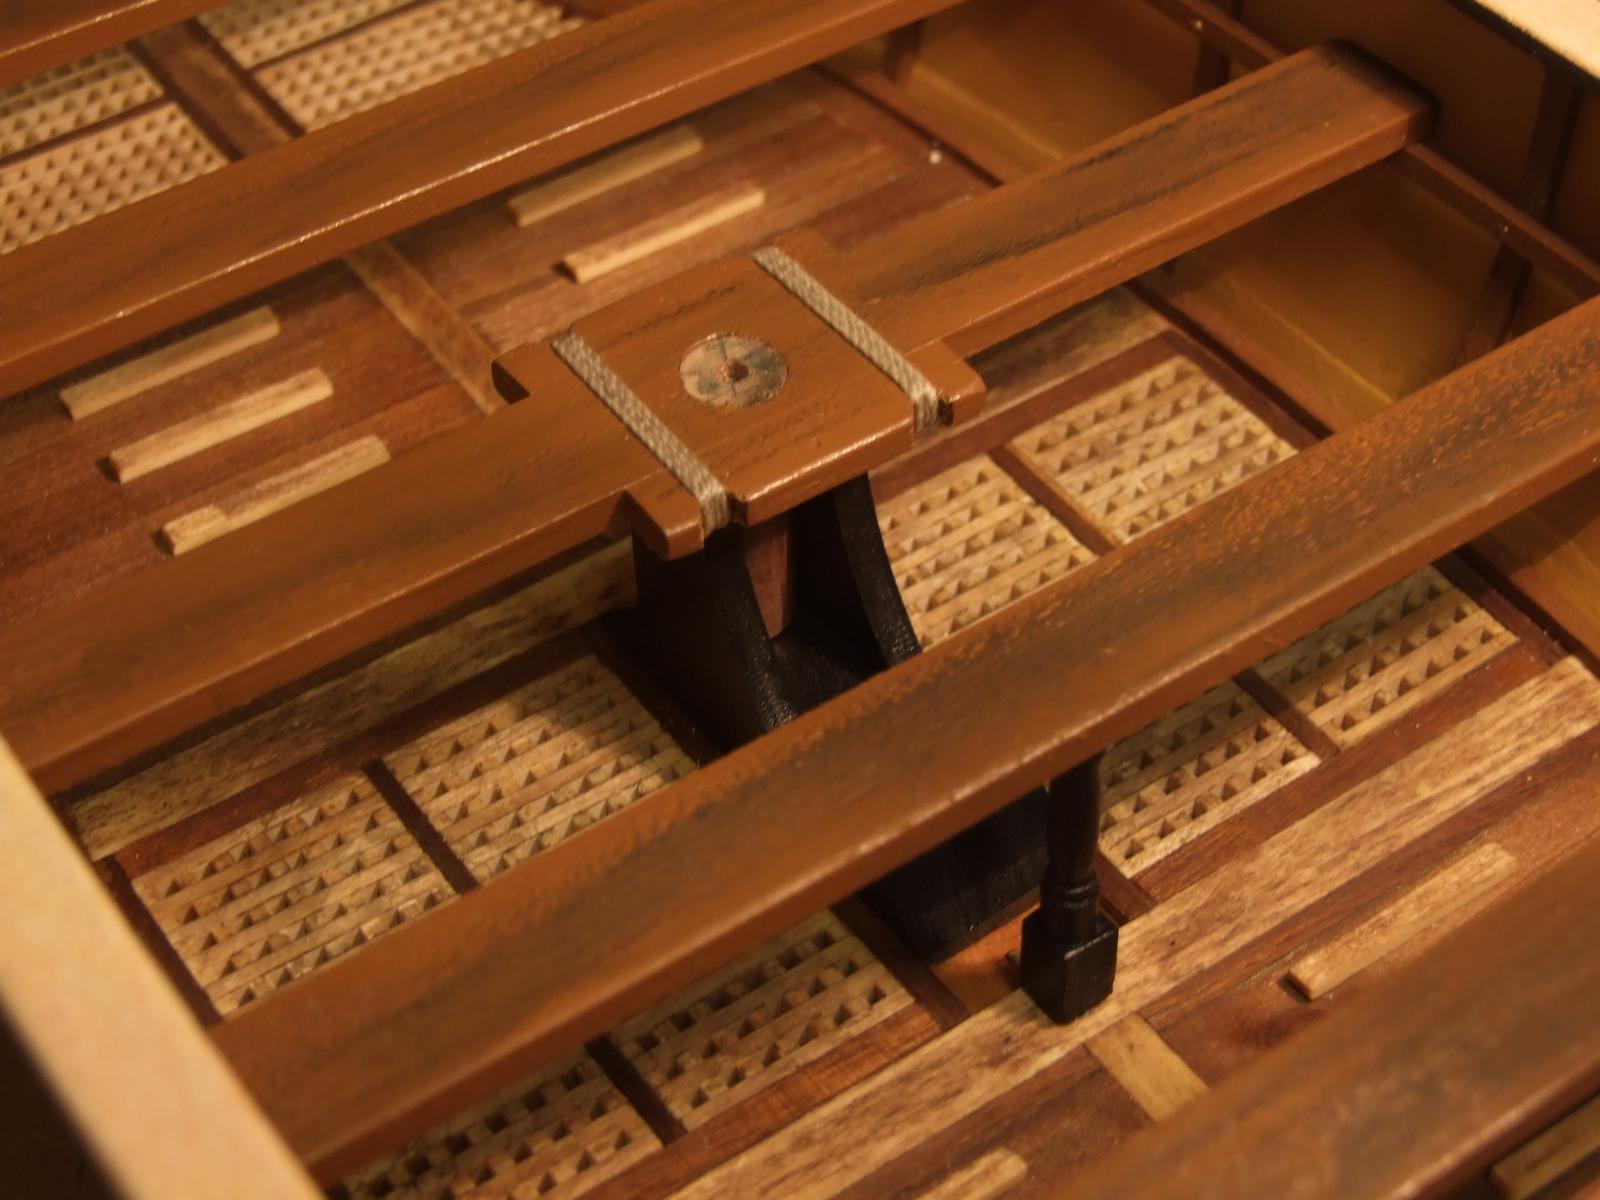
Central supports for the thwarts must be fitted before they can be secured and the mast step needs to be completed.
Thats it for now. More soon......I hope!
Mike.


- coalman, Blue Ensign, hexnut and 3 others
-
 6
6
-
Thank you all,
I have looked at all your suggestions and I still feel I have seen something else….or maybe I was dreaming!
Food for thought a 'plenty.
Cheers,
Mike.
-
A couple of weeks past I spotted a kit, or maybe plans, for a cross section of ship that was plank on frame. I should have saved the information for future perusal but failed to and now I can't find it. I think it was a USA kit rather than European but I am not sure.
Can anyone point me in the right direction please?
Helping fellow members with creeping senility will gain you points in the next life......or so i have heard.
Mike.
-
Kurt,
I am watching this thread with interest.
Mike.
-
Thanks for the heads up Nick and Tony. I have now ordered a copy.
Mike.
-
Andy,
Model Railway! I am out of my comfort zone! Sorry for commenting on something I know nothing about.
Raspberry Pi could be used though but maybe a bit over the top in view of your "off the shelf" solution.
Mike.
-
Andy,
Sounds like a nice little task for a Raspberry Pi.
Mike.
-
-
Thank you Mark,
My "couch" sessions are all booked.
Mike.
-
-
Thank you cees,
My mind is made up .....nearly! I will probably end up with three more Proxon tools to go with my scroll saw.....or maybe four more. Happily retired as I am and with no major financial worries I still feel guilty about spending money on such things. Does anyone know a cure for this condition?
Mike.
- Landlubber Mike and Ponto
-
2


Lancia Armata 1803by mikeaidanh - FINISHED - Panart - Scale 1:16 - Small - Armed Pinnace
in - Kit build logs for subjects built from 1801 - 1850
Posted
Torchy,
Thanks for that. I have sent you a PM.
Mike.