HOLIDAY DONATION DRIVE - SUPPORT MSW - DO YOUR PART TO KEEP THIS GREAT FORUM GOING! (Only 13 donations so far - C'mon guys!)
×


mikeaidanh
-
Posts
344 -
Joined
-
Last visited
Content Type
Profiles
Forums
Gallery
Events
Everything posted by mikeaidanh
-

Proxon micro Shaper
mikeaidanh replied to mikeaidanh's topic in Modeling tools and Workshop Equipment
Janos, Many thanks for the positive response! I think I will add this to my tool inventory in the near future. Mike. -
Proxon micro Shaper
mikeaidanh replied to mikeaidanh's topic in Modeling tools and Workshop Equipment
Thanks QA but these are both too big for what I have in mind. It is micro/minature shaping that I am looking at. I have used and owned my fair share of normal router tables, even made my own on a couple of occasions, and I still possess a pair of ELU tools. What I have in mind is the batch production of such items as knees and corner braces that can be produced to shape in a length of say 10 x 10mm material and then simply sliced up by saw. Thank you for your interest and I hope I do not sound ungrateful. Mike. -
Proxon micro Shaper
mikeaidanh replied to mikeaidanh's topic in Modeling tools and Workshop Equipment
Thank you Michael and Brian. Anyone else have any thoughts? Mike. -
Greetings one and all, Has anyone had experience of, or have owned, the Proxon MT 300 Micro Shaper? I am considering buying one but thought it best to consult my peers first. I look forward to receiving words of wisdom. Thanks in advance, Mike.
-
Sanding Block
mikeaidanh replied to Hexomega's topic in Building, Framing, Planking and plating a ships hull and deck
Various grades and sizes of emery boards are useful I find and the ones that are made for false nails are coarser than the normal ones. These would not necessarily take the place of a sanding block but they have the advantage of allowing the user to " feel" the pressure of the sanding under the fingers. Not an original idea I know but a useful one . Mike. -
Aerosol paints
mikeaidanh replied to Q A's Revenge's topic in Painting, finishing and weathering products and techniques
QA, you would get bored with spraying before you emptied the 7 litre tank. Mike. -
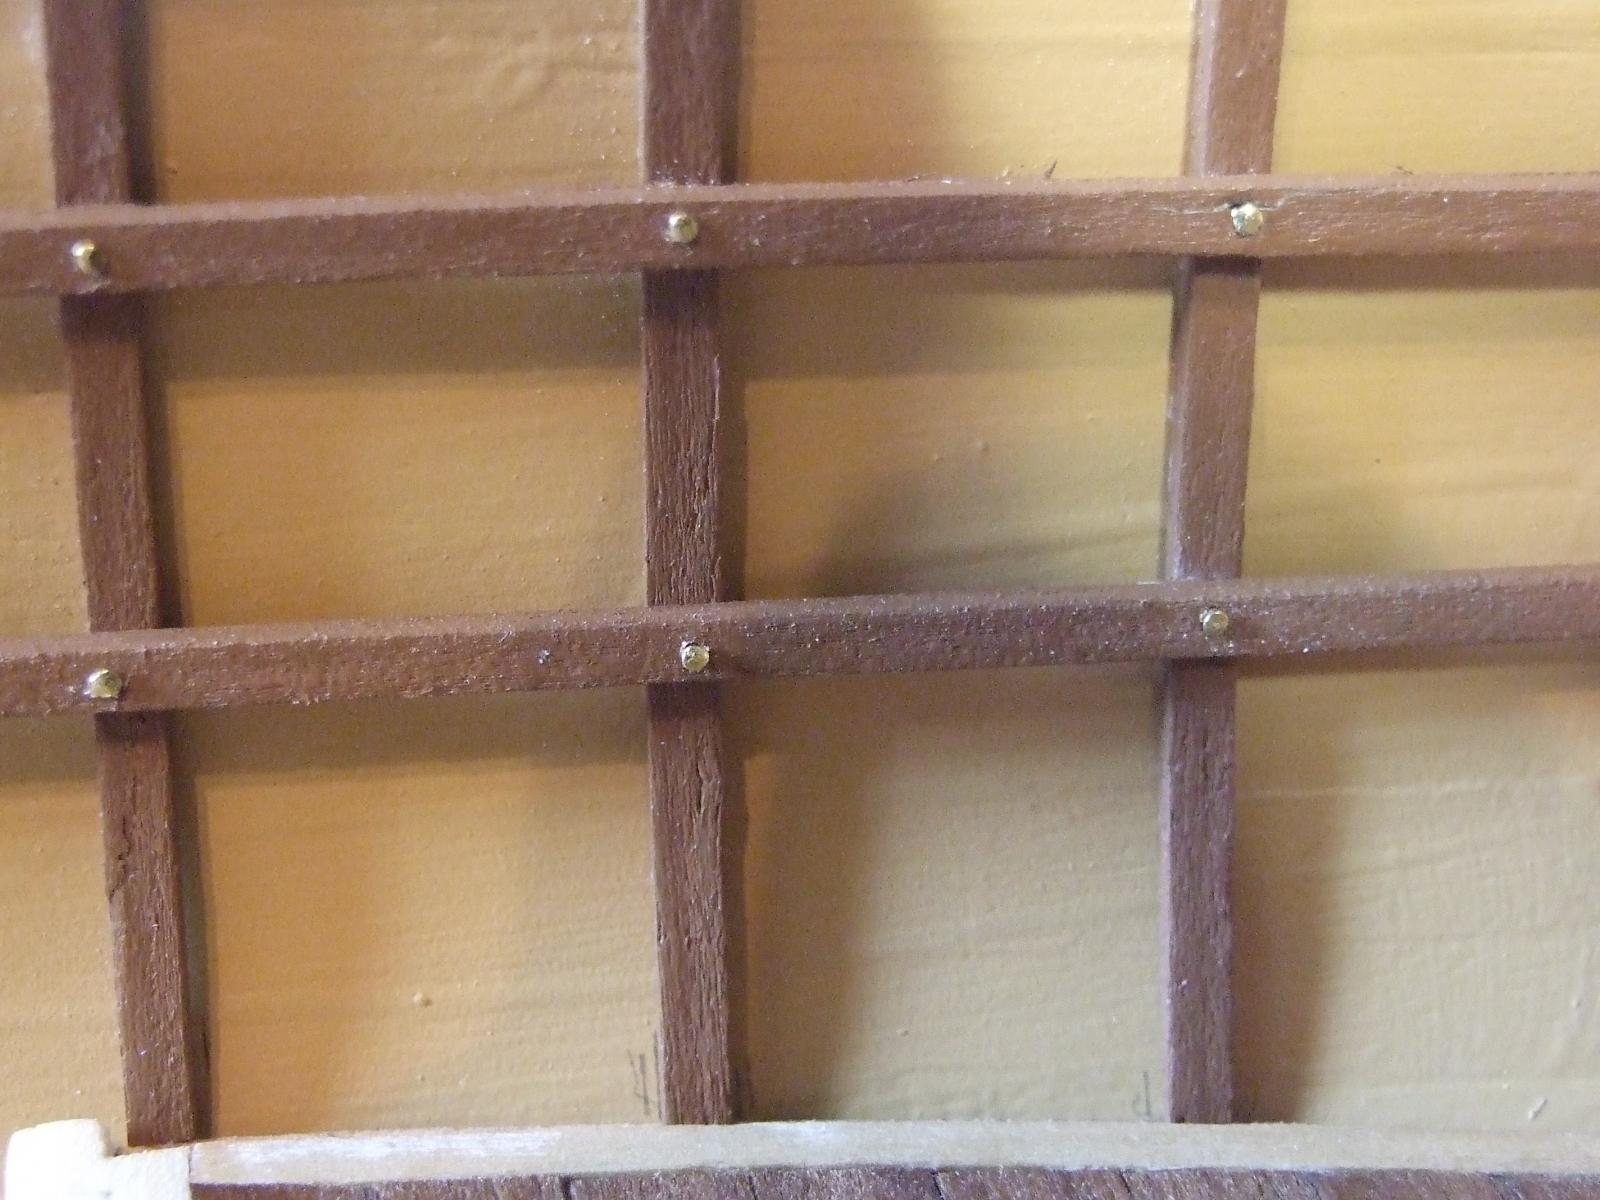
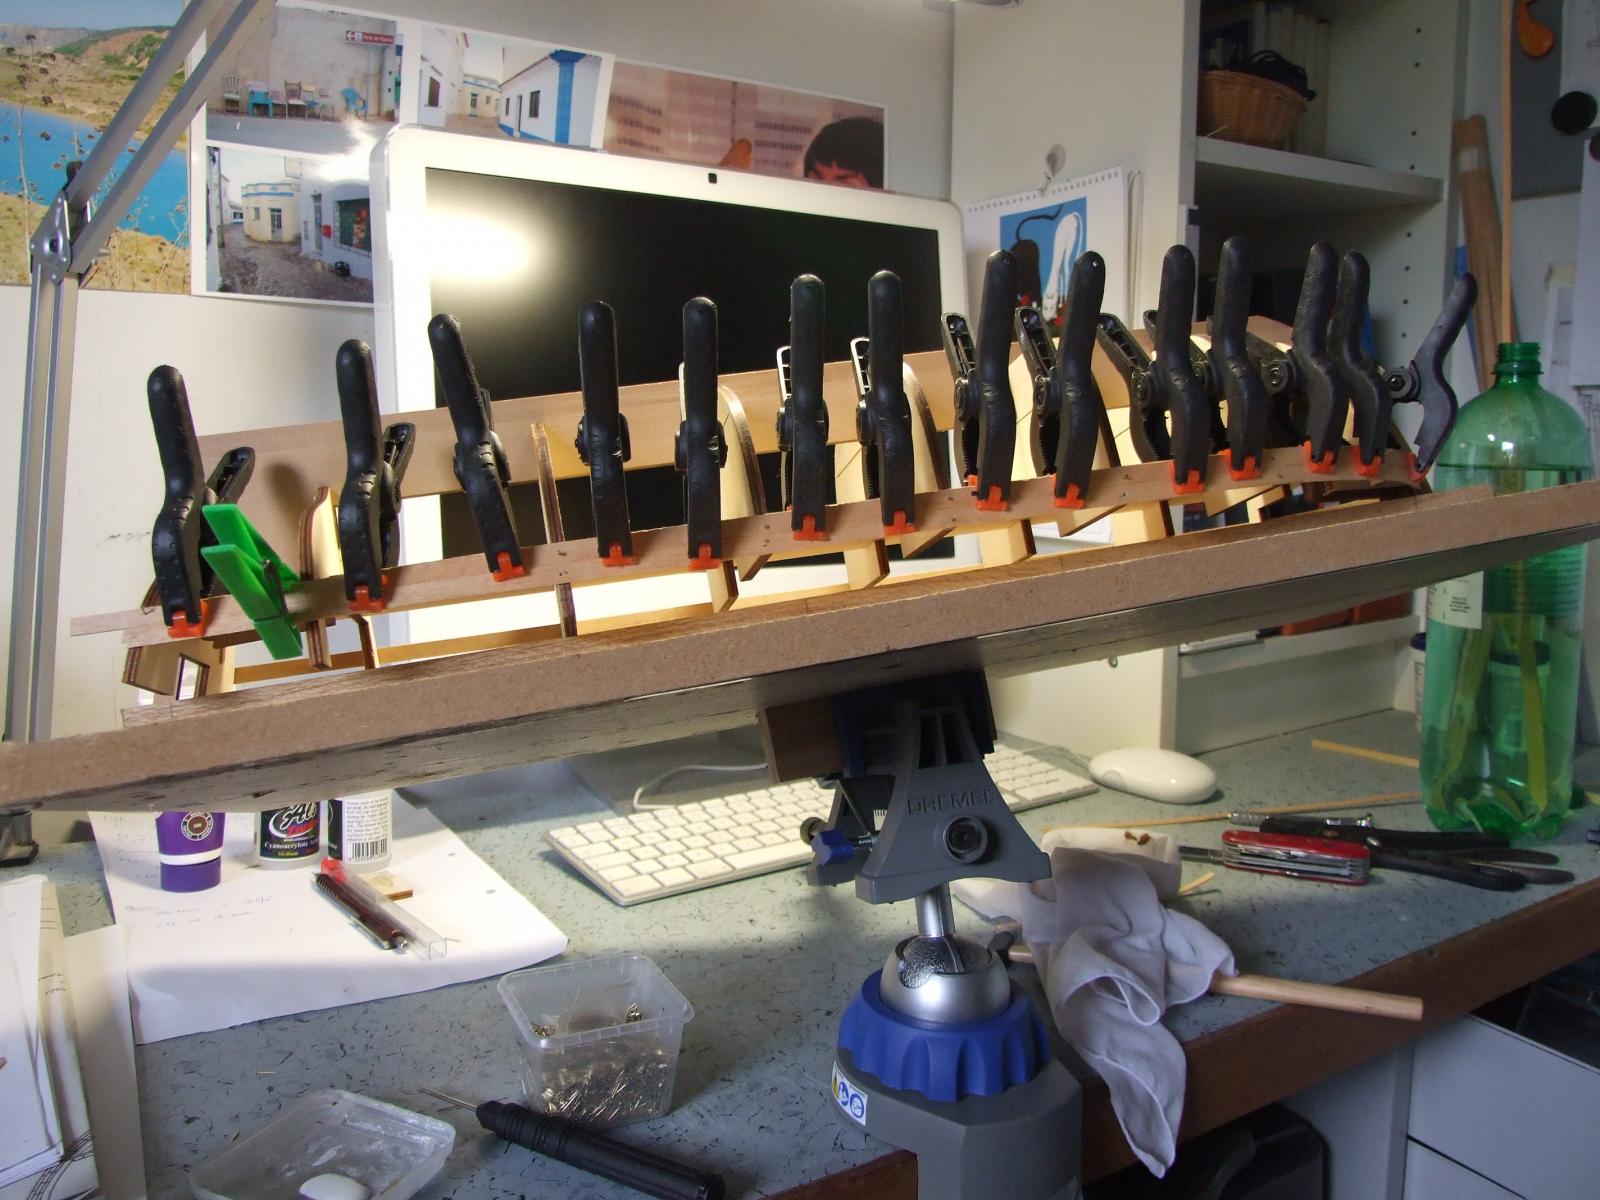
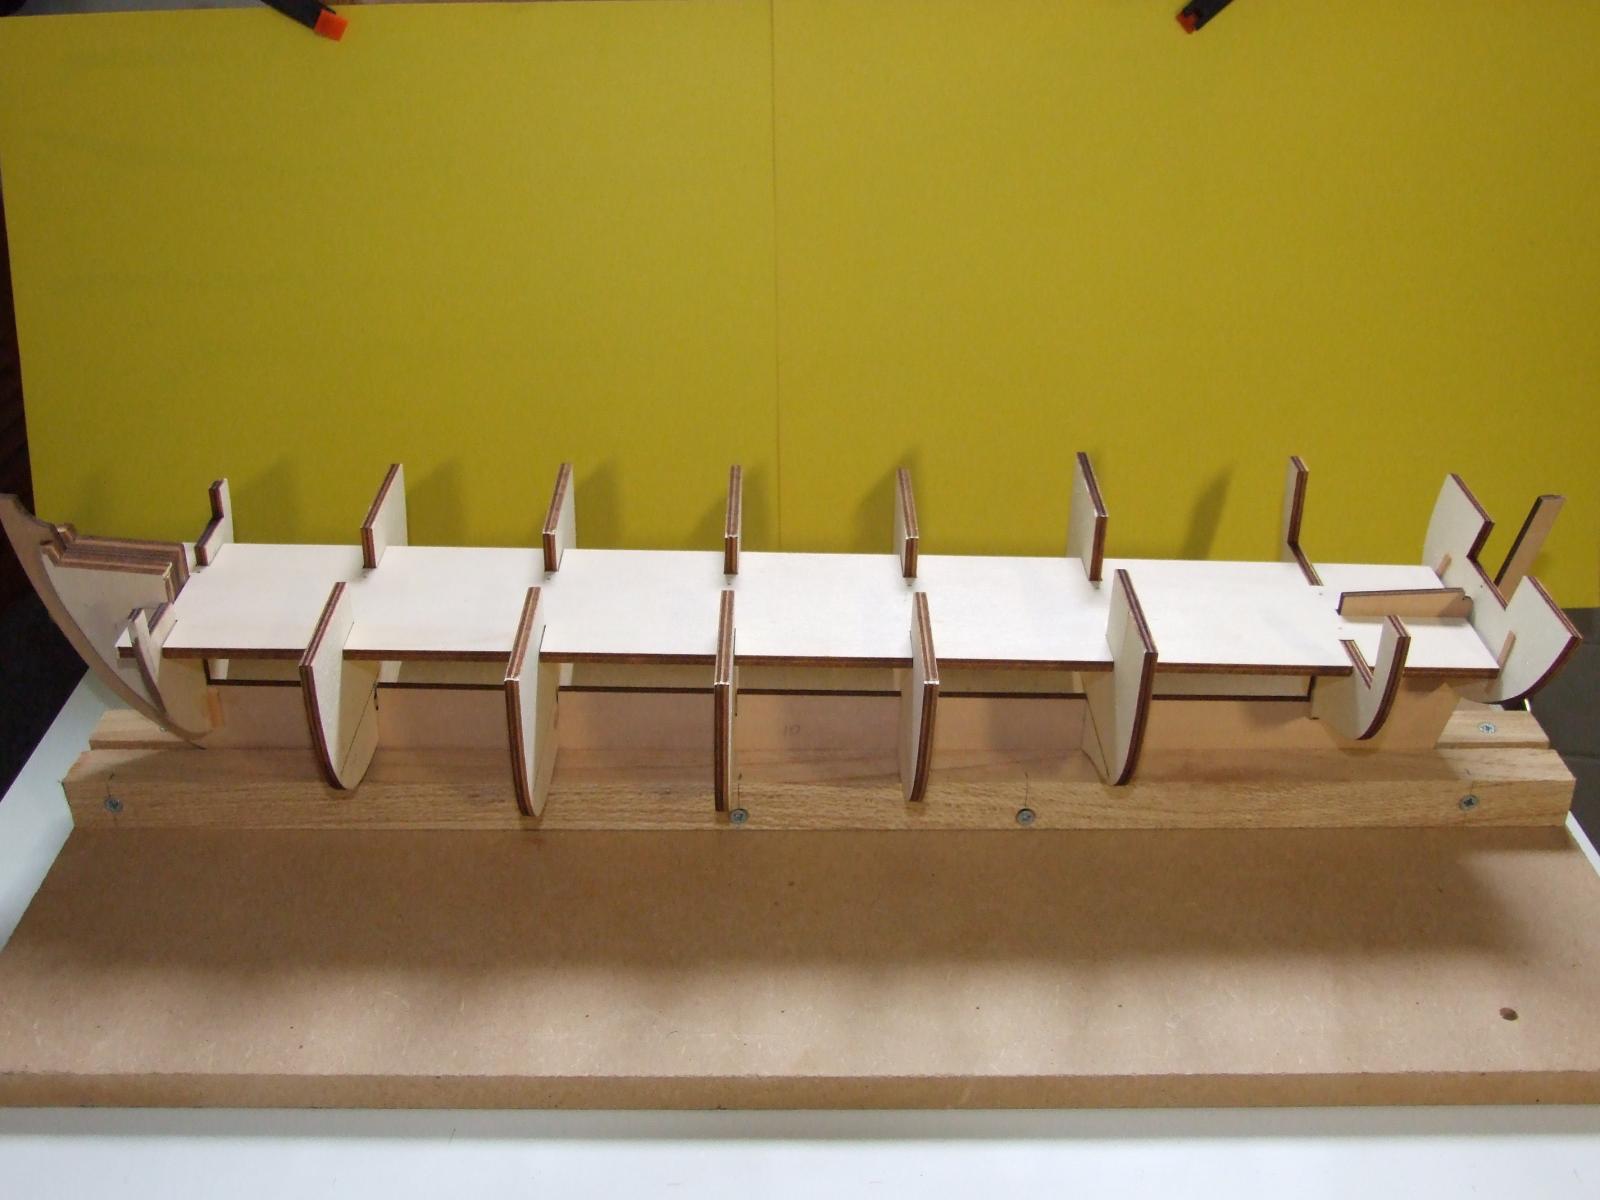
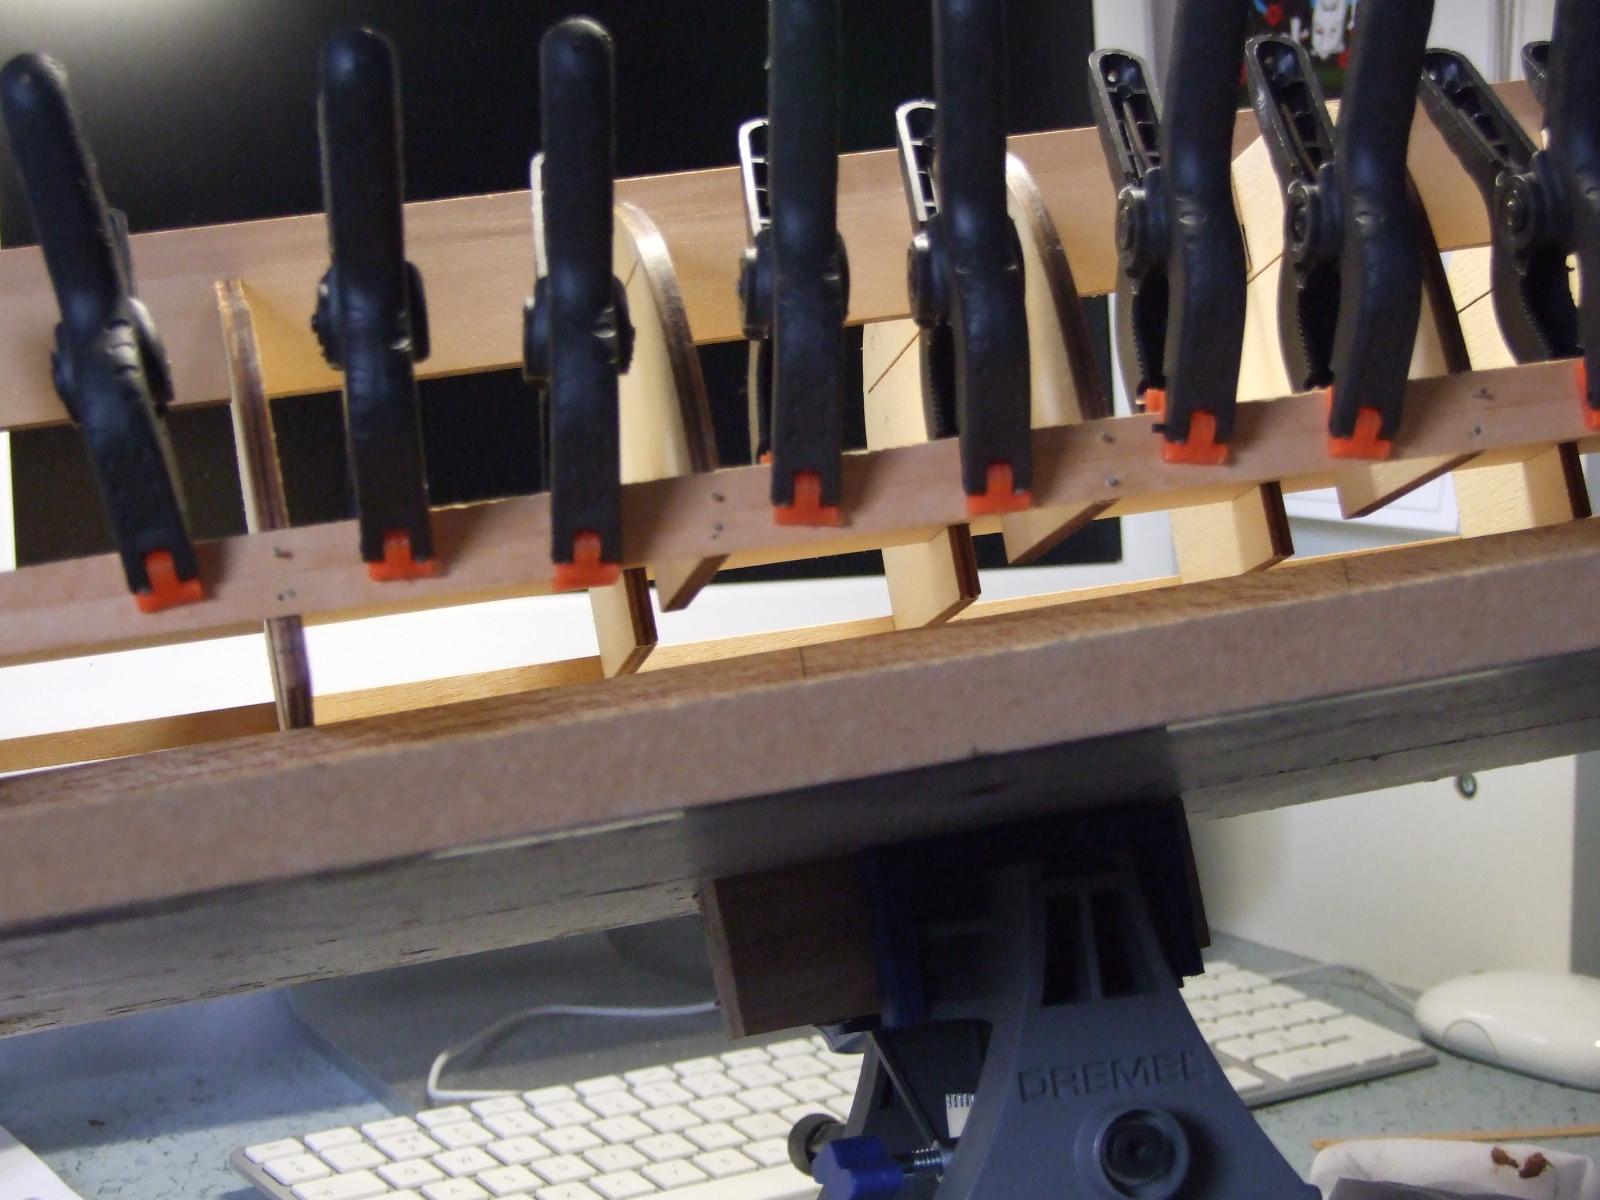
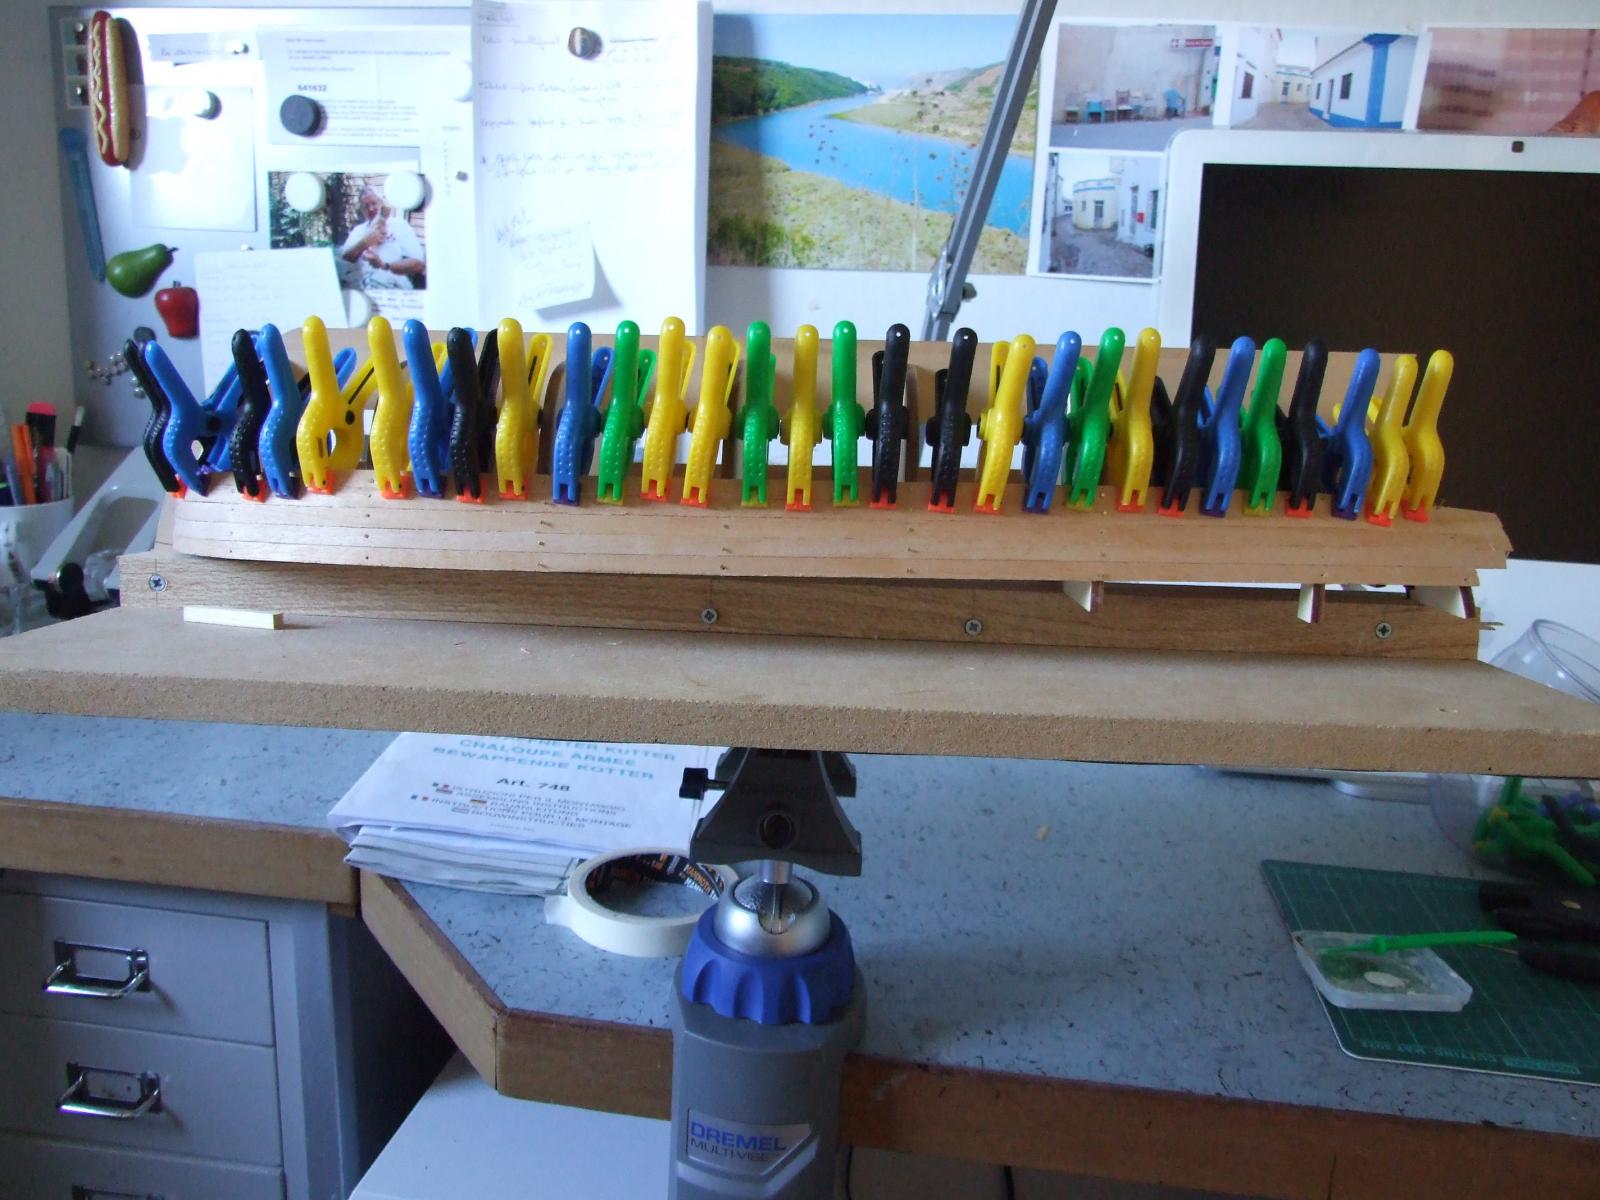
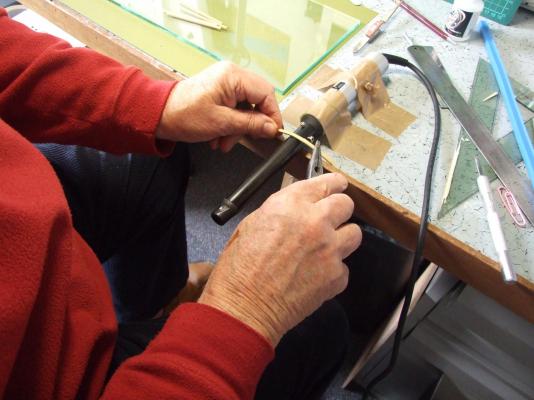
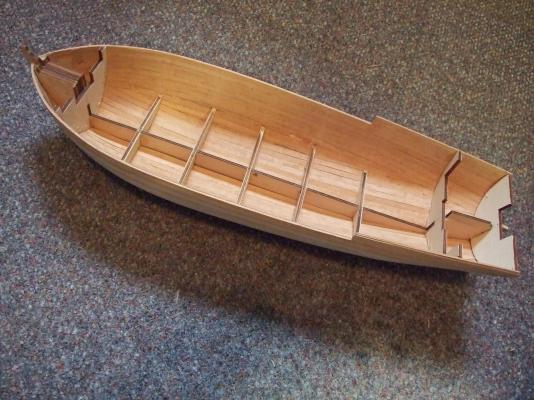
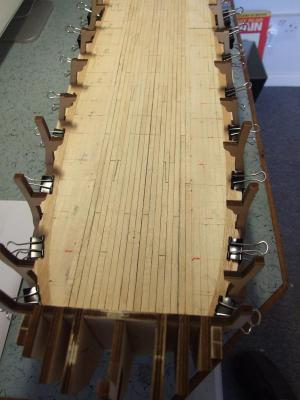
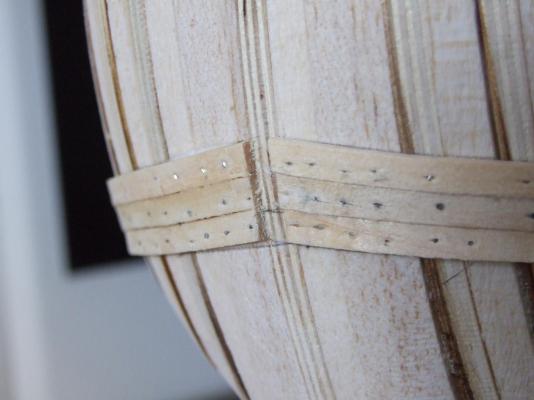
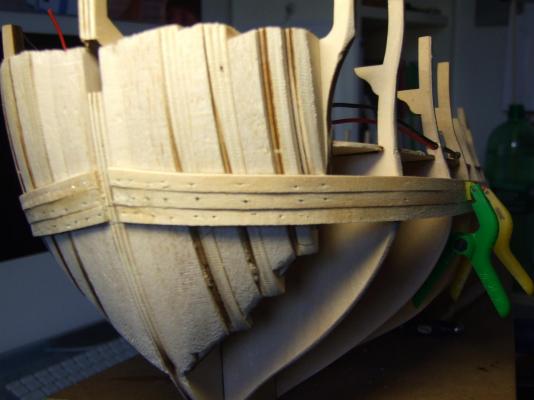
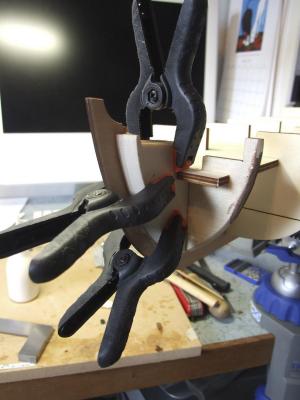
Further progress on the inner hull.The floors are now finally fixed in place and the ribs are being shaped. Note the high tec plank bender; new employment for old curling tongs and a "clamp" made from parcel tape. The ribs are pre painted before fitting. Fixing the ribs to the hull. I used CA for this job as devising curved surface clamps to use with PVA seemed likely to cause headaches. Kiss principle. The .7mm x 7mm dome head pins at each rib junction are purely decorative but they do enhance the look of the hull interior. All in place. Just some cleaning up to do. More anon. Note. Other buiiders of this model will have noticed that I am not following Panart's colour scheme. More about this later on. Mike.


- 49 replies
-
- 4
-

-
- lancia armata
- panart
- (and 2 more)
-
Aerosol paints
mikeaidanh replied to Q A's Revenge's topic in Painting, finishing and weathering products and techniques
I have recently bought a very basic, very cheap aerosol driven air brush. Wow!! Mike. -
Good job Richard, That is a very nice HMS Pickle. It has been a pleasure reading your build log. Mike.
-
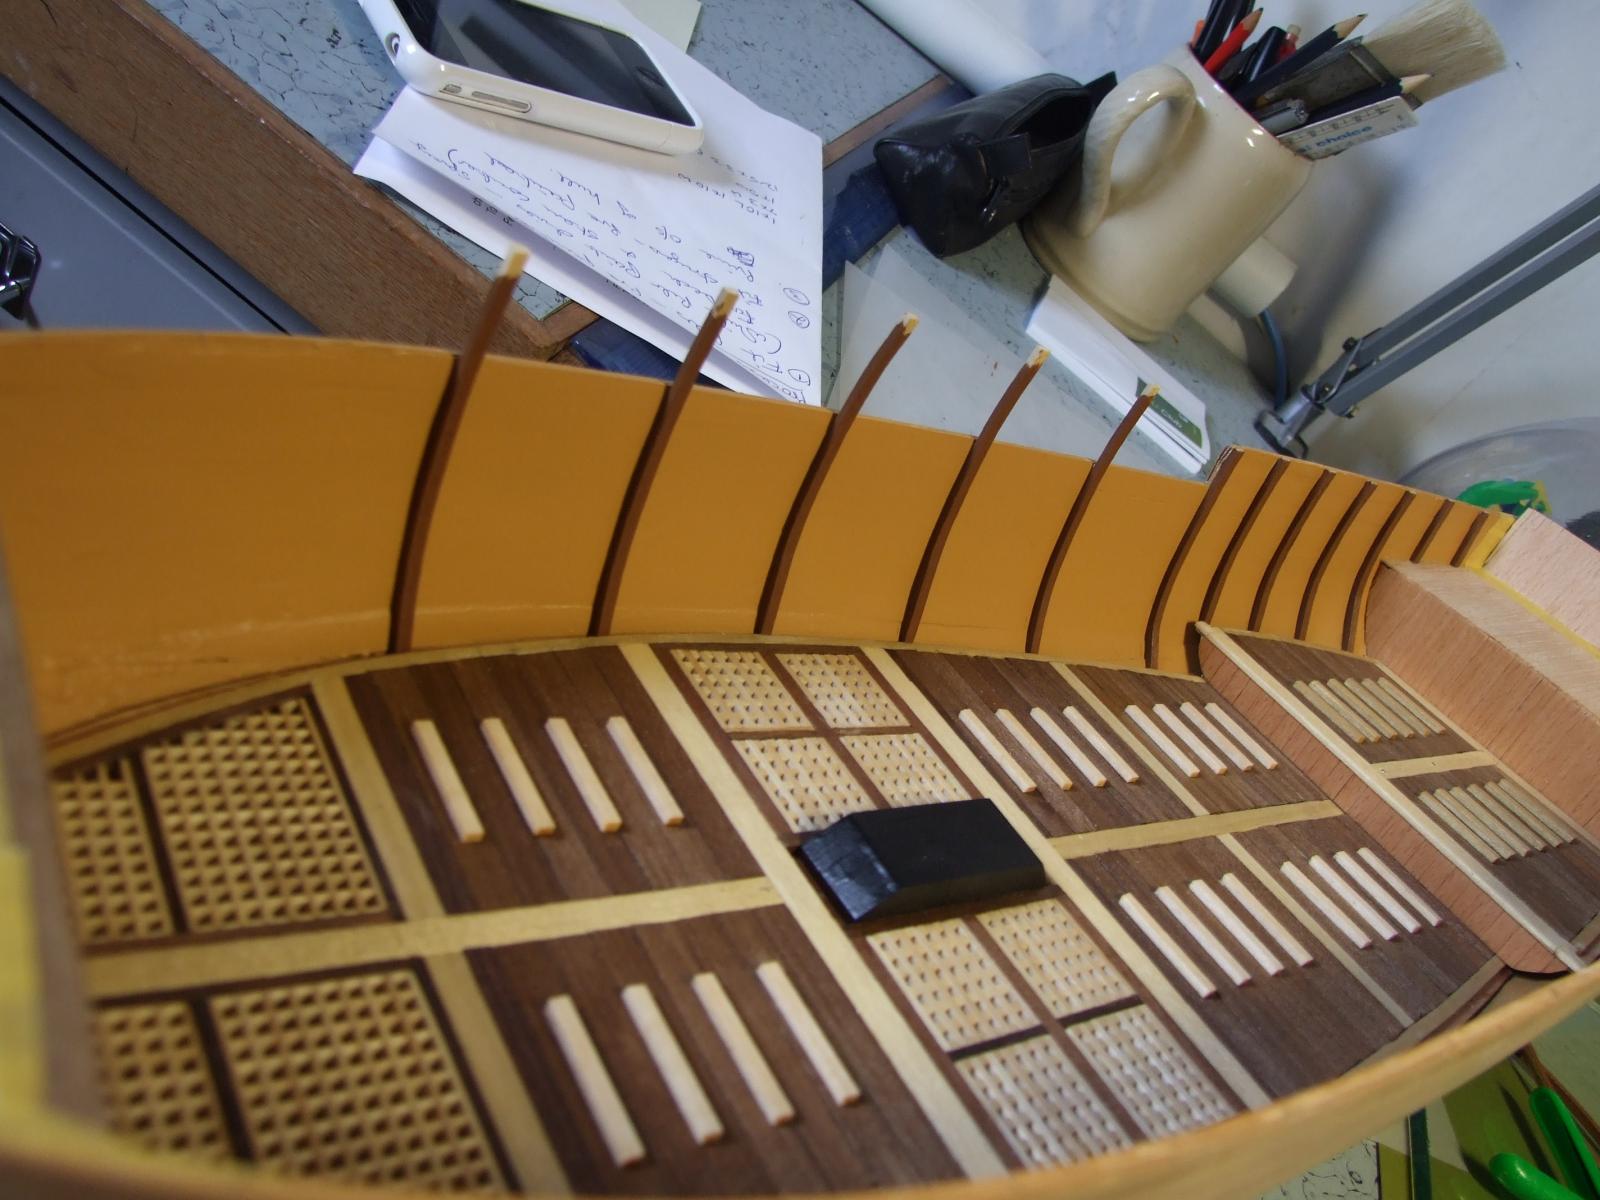
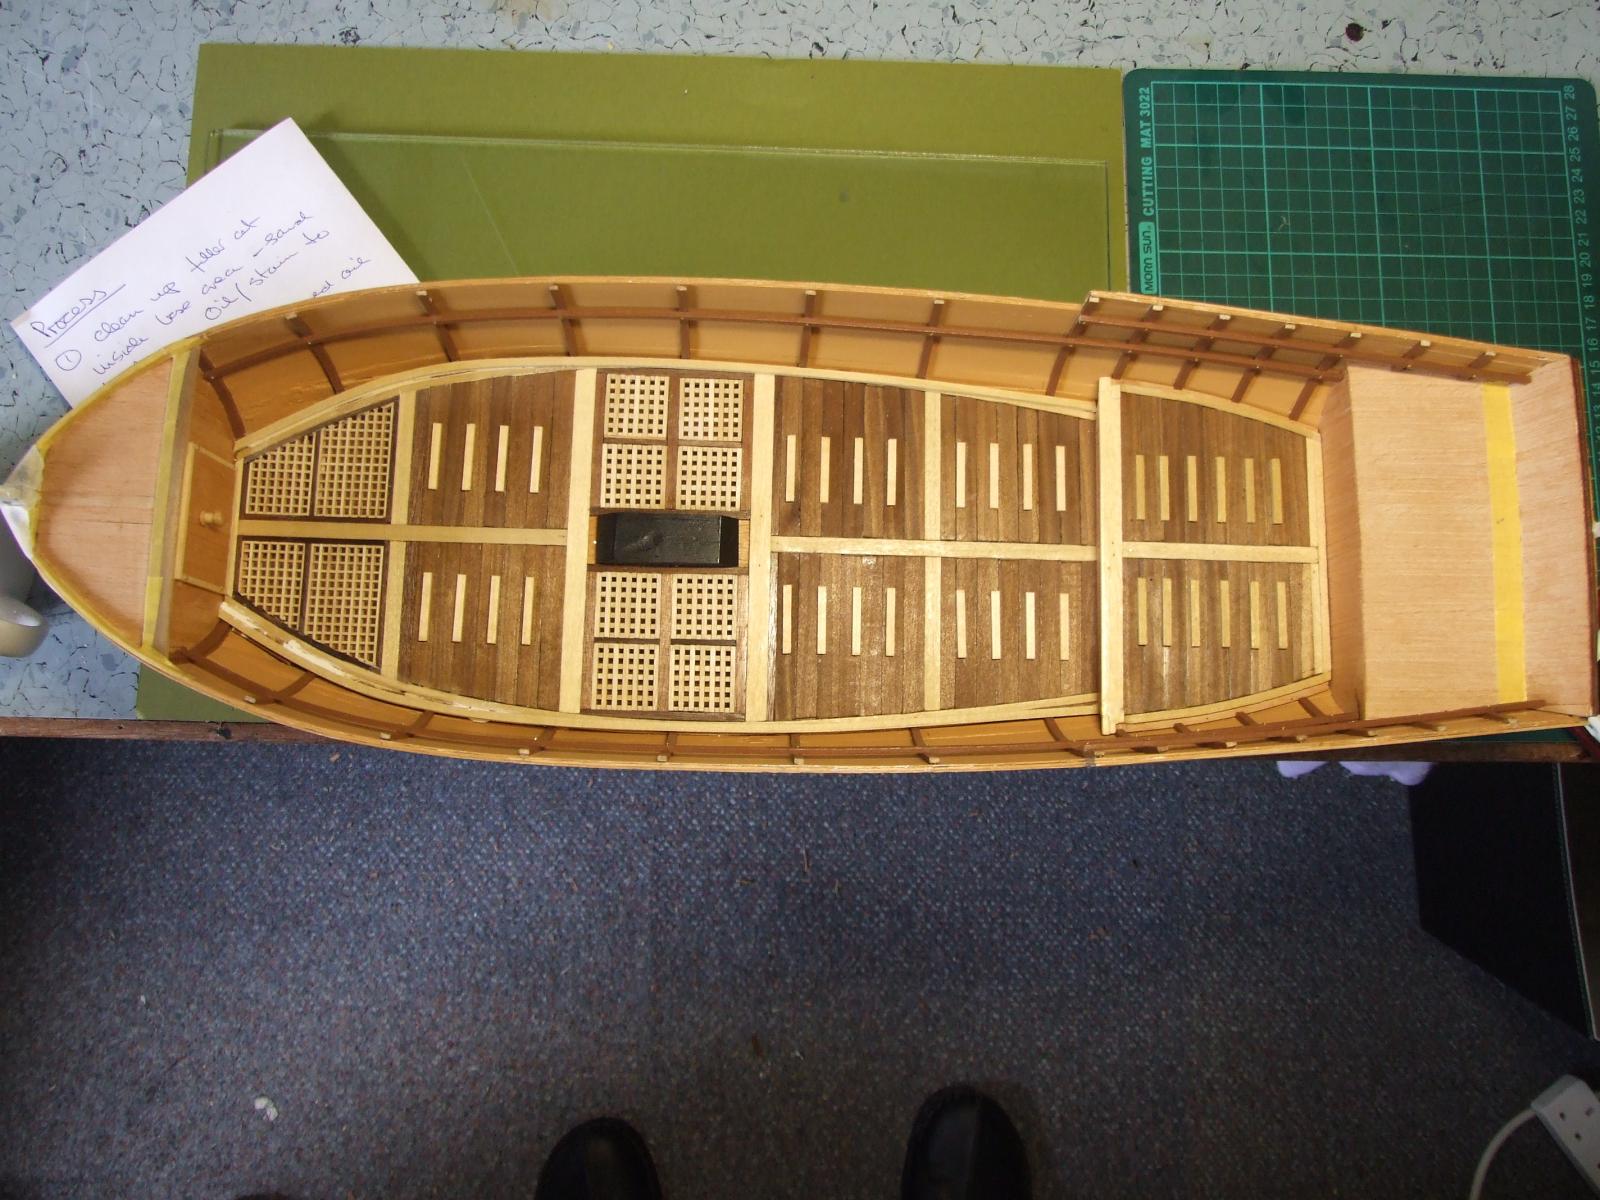
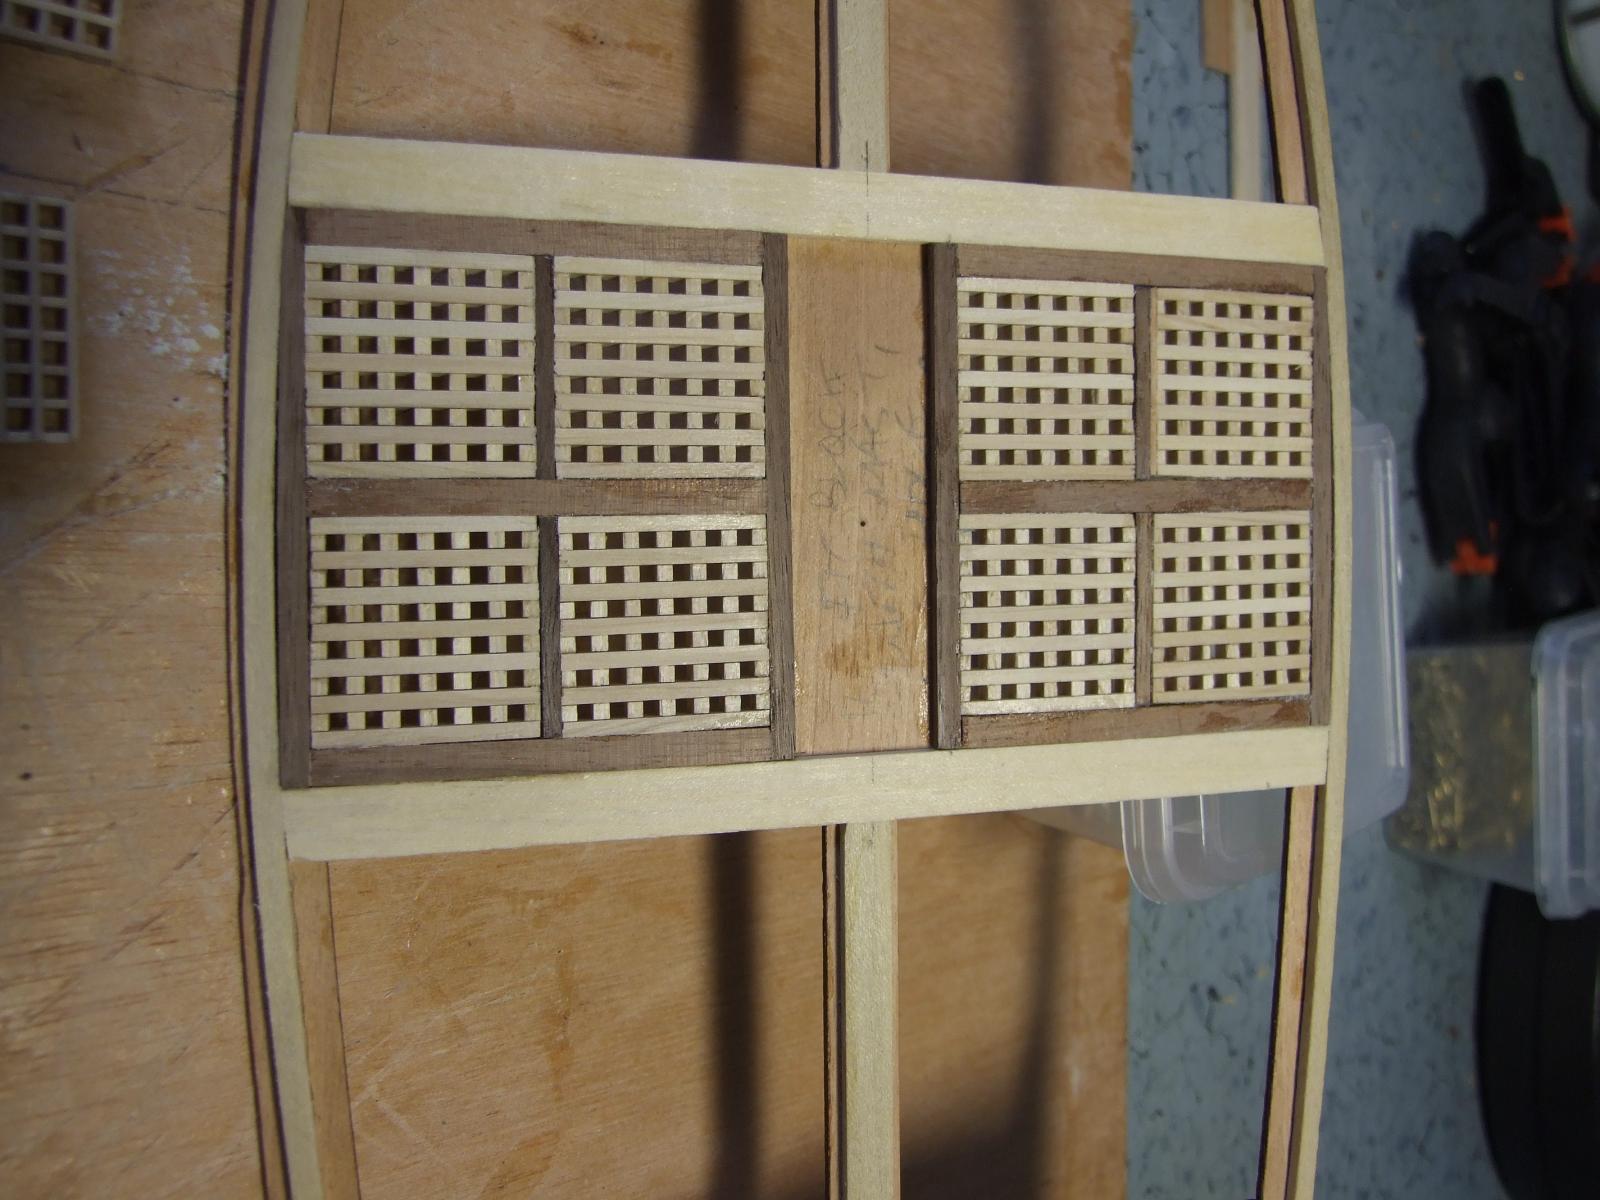
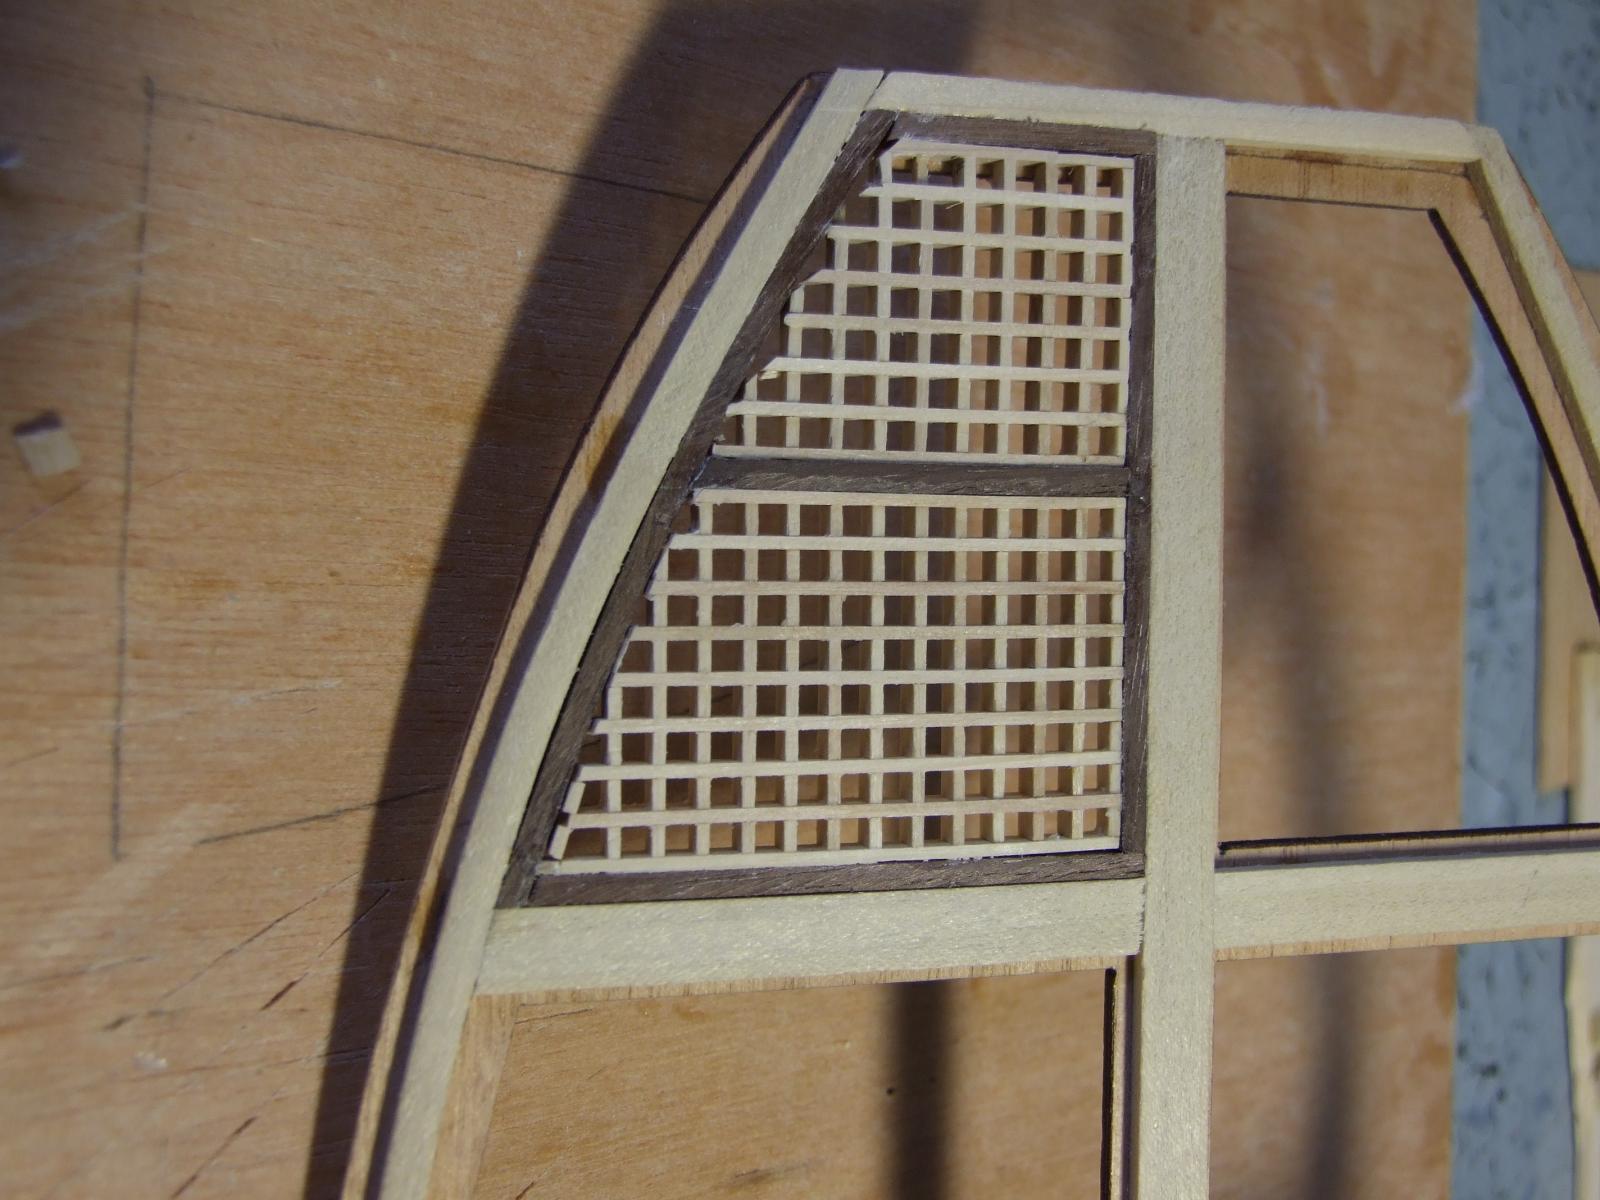
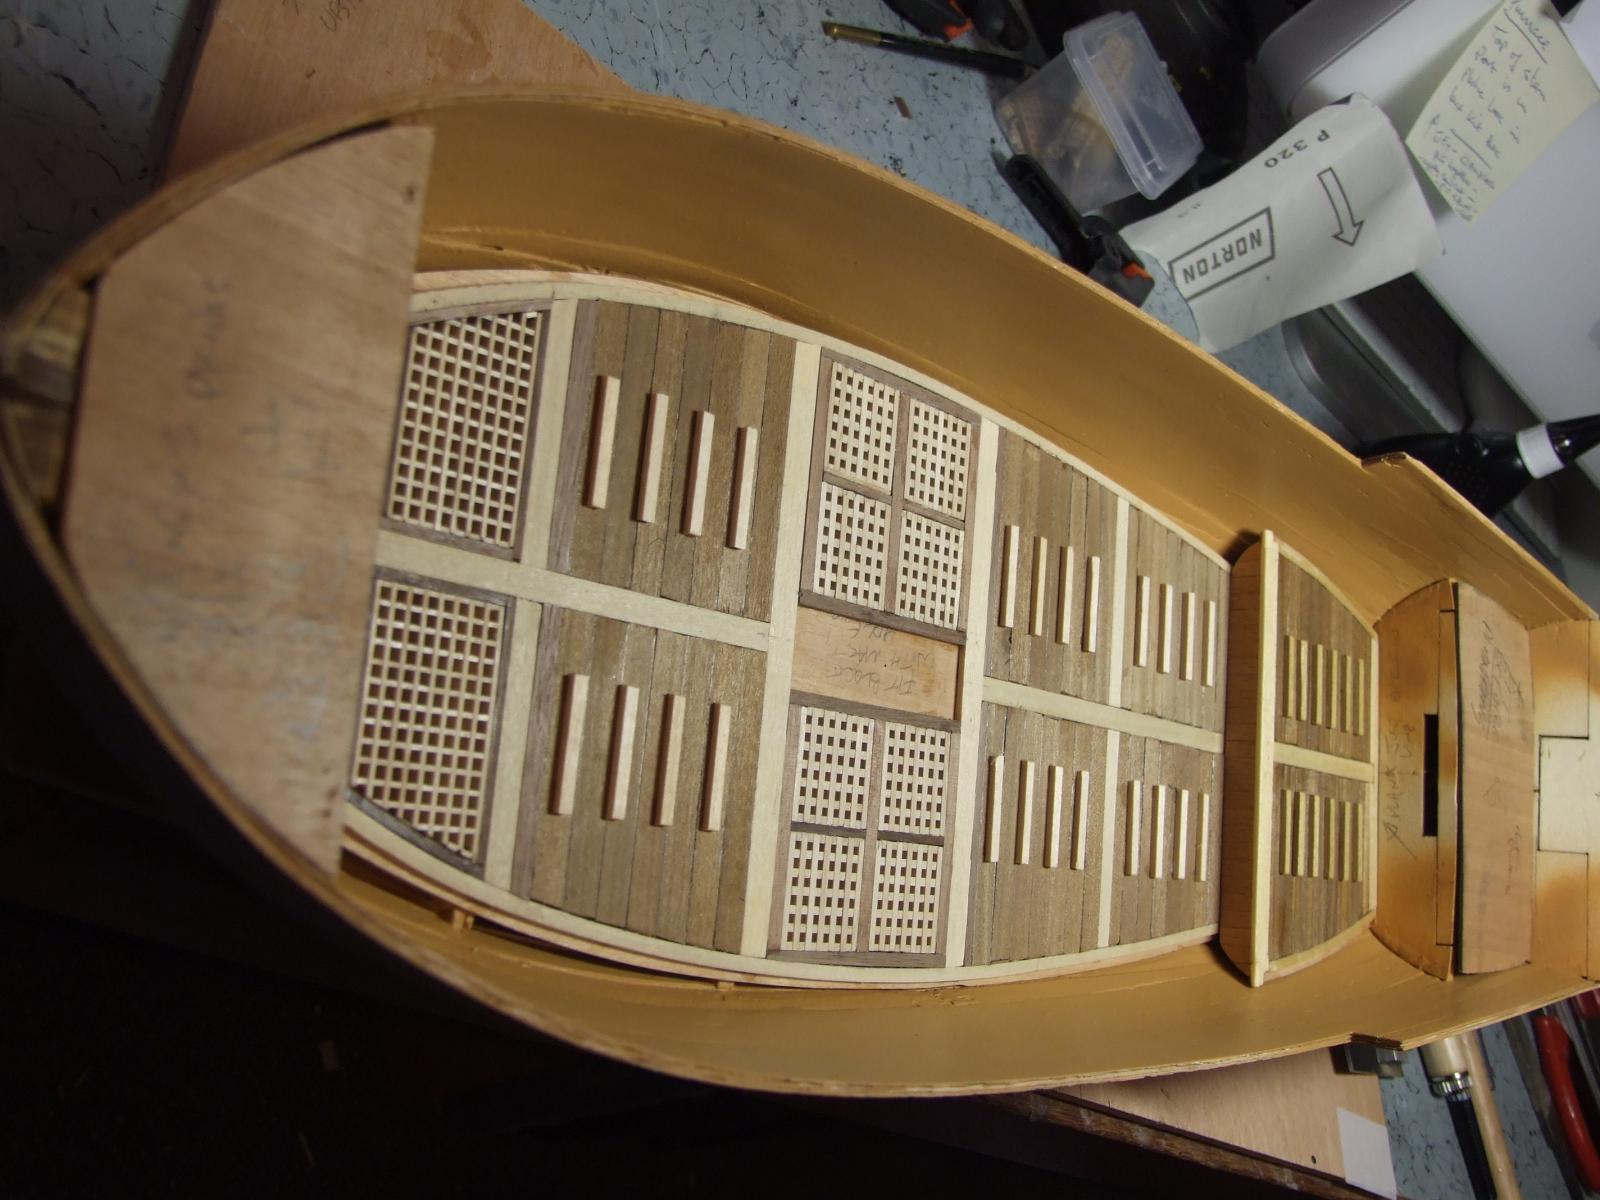
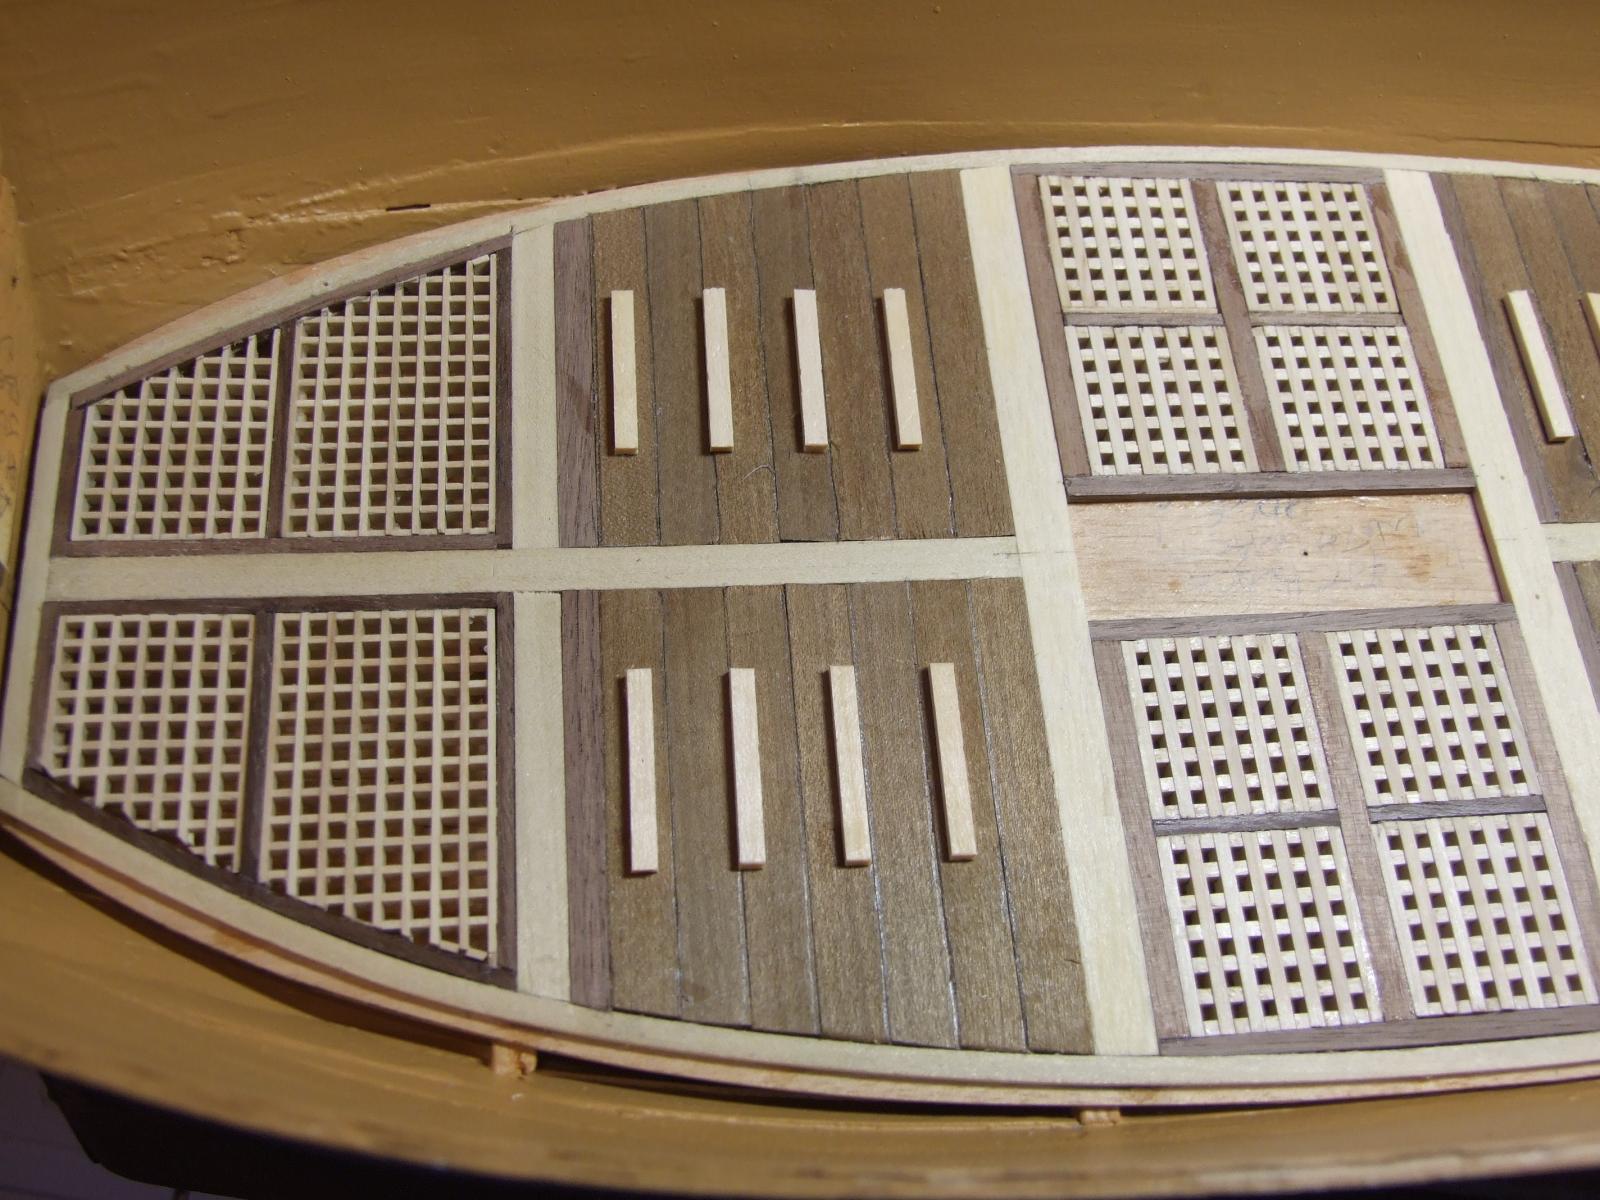
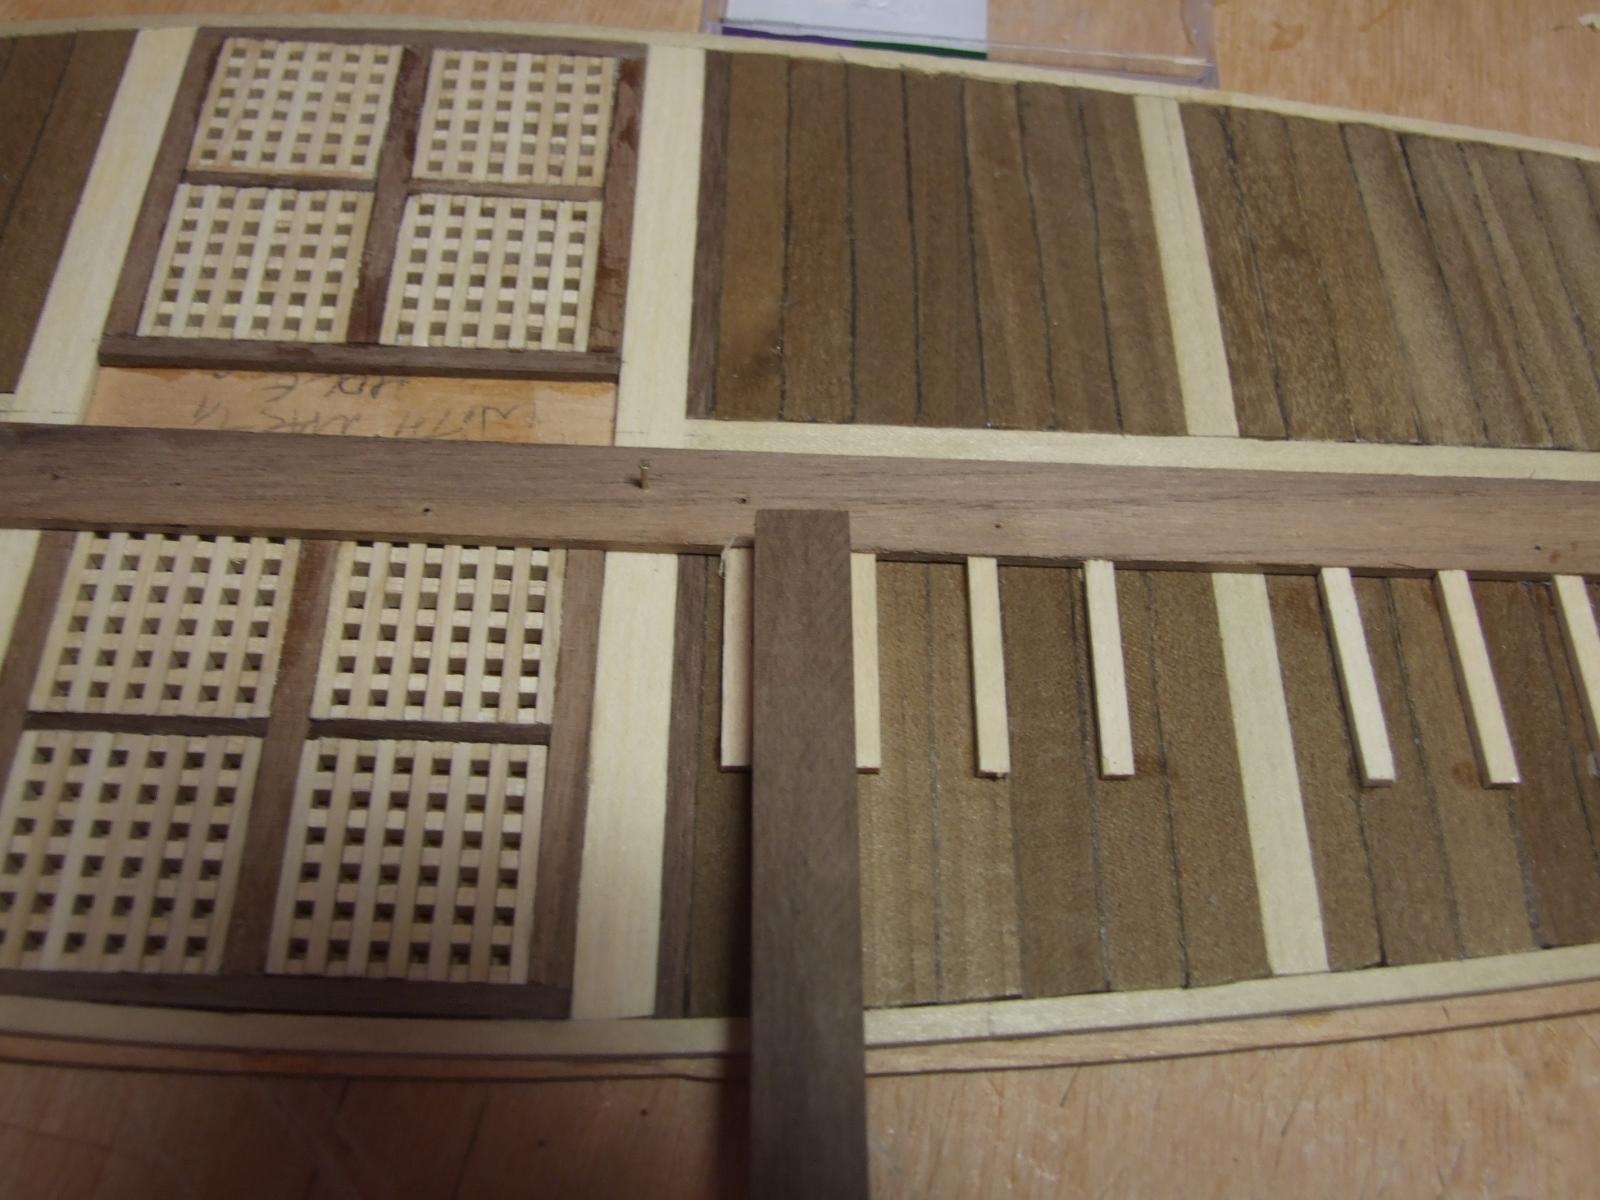
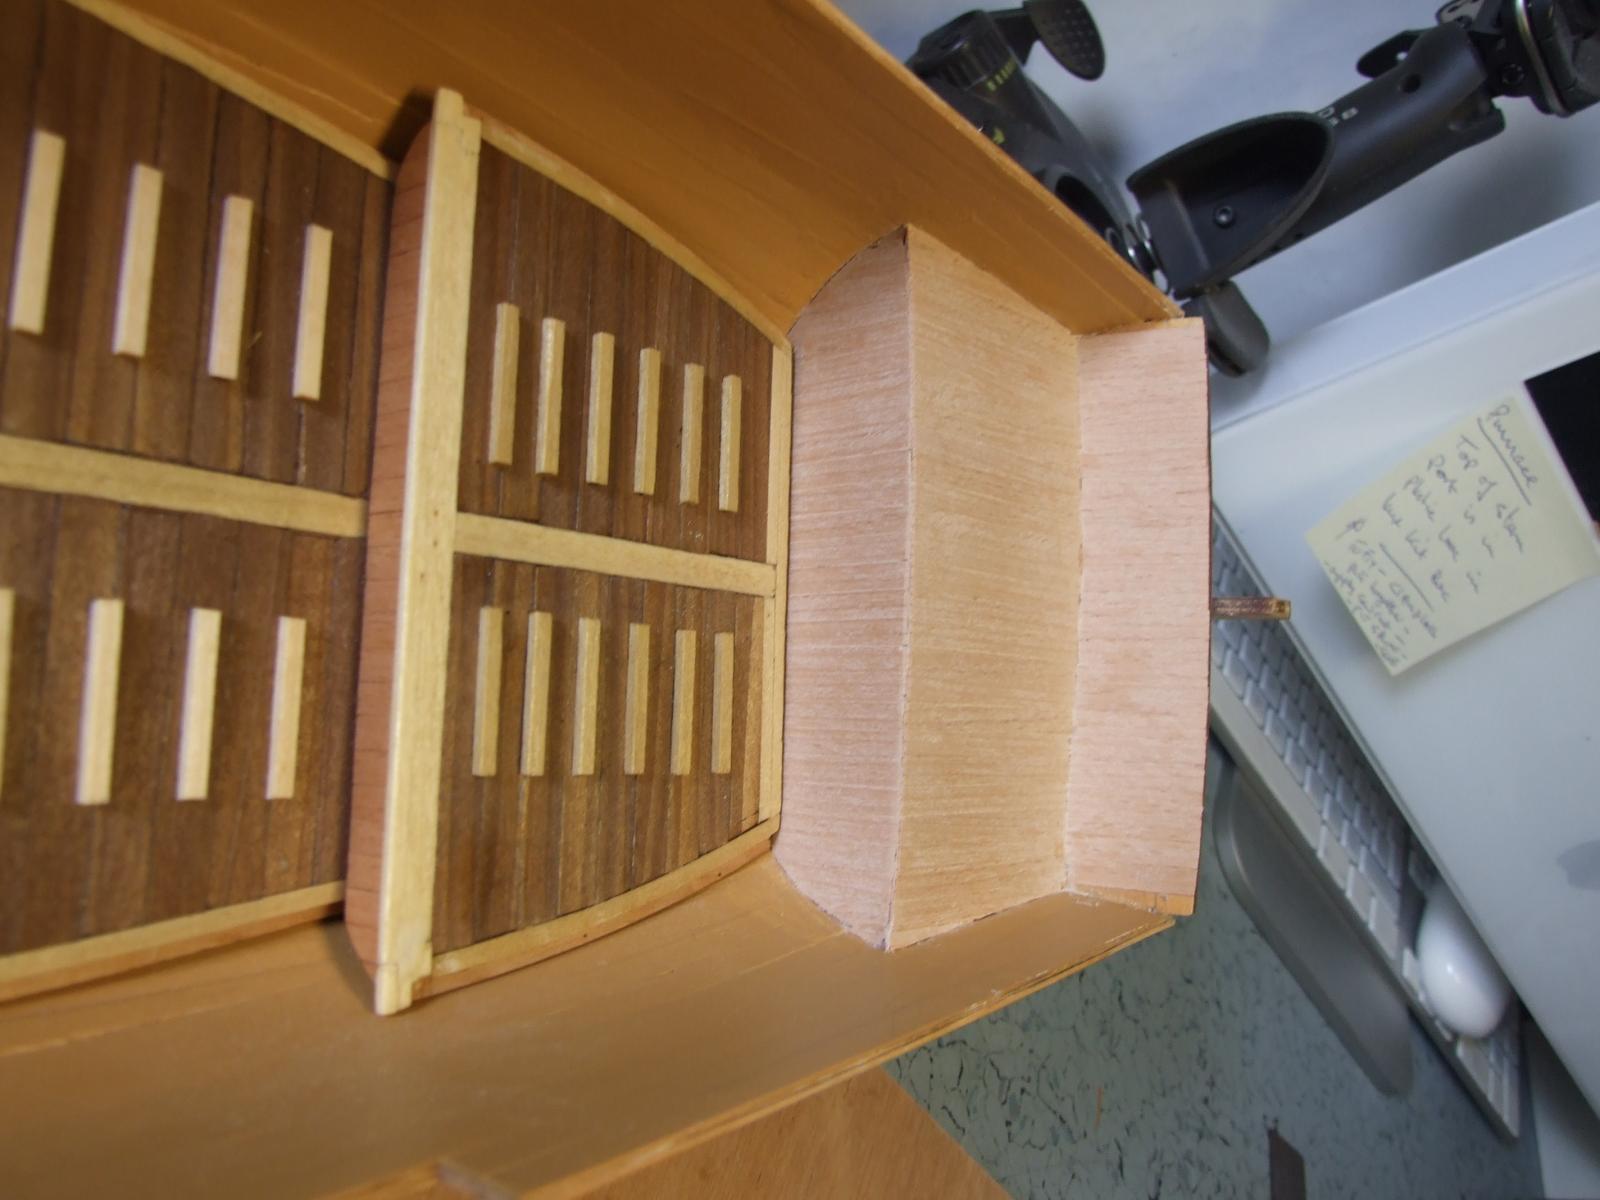
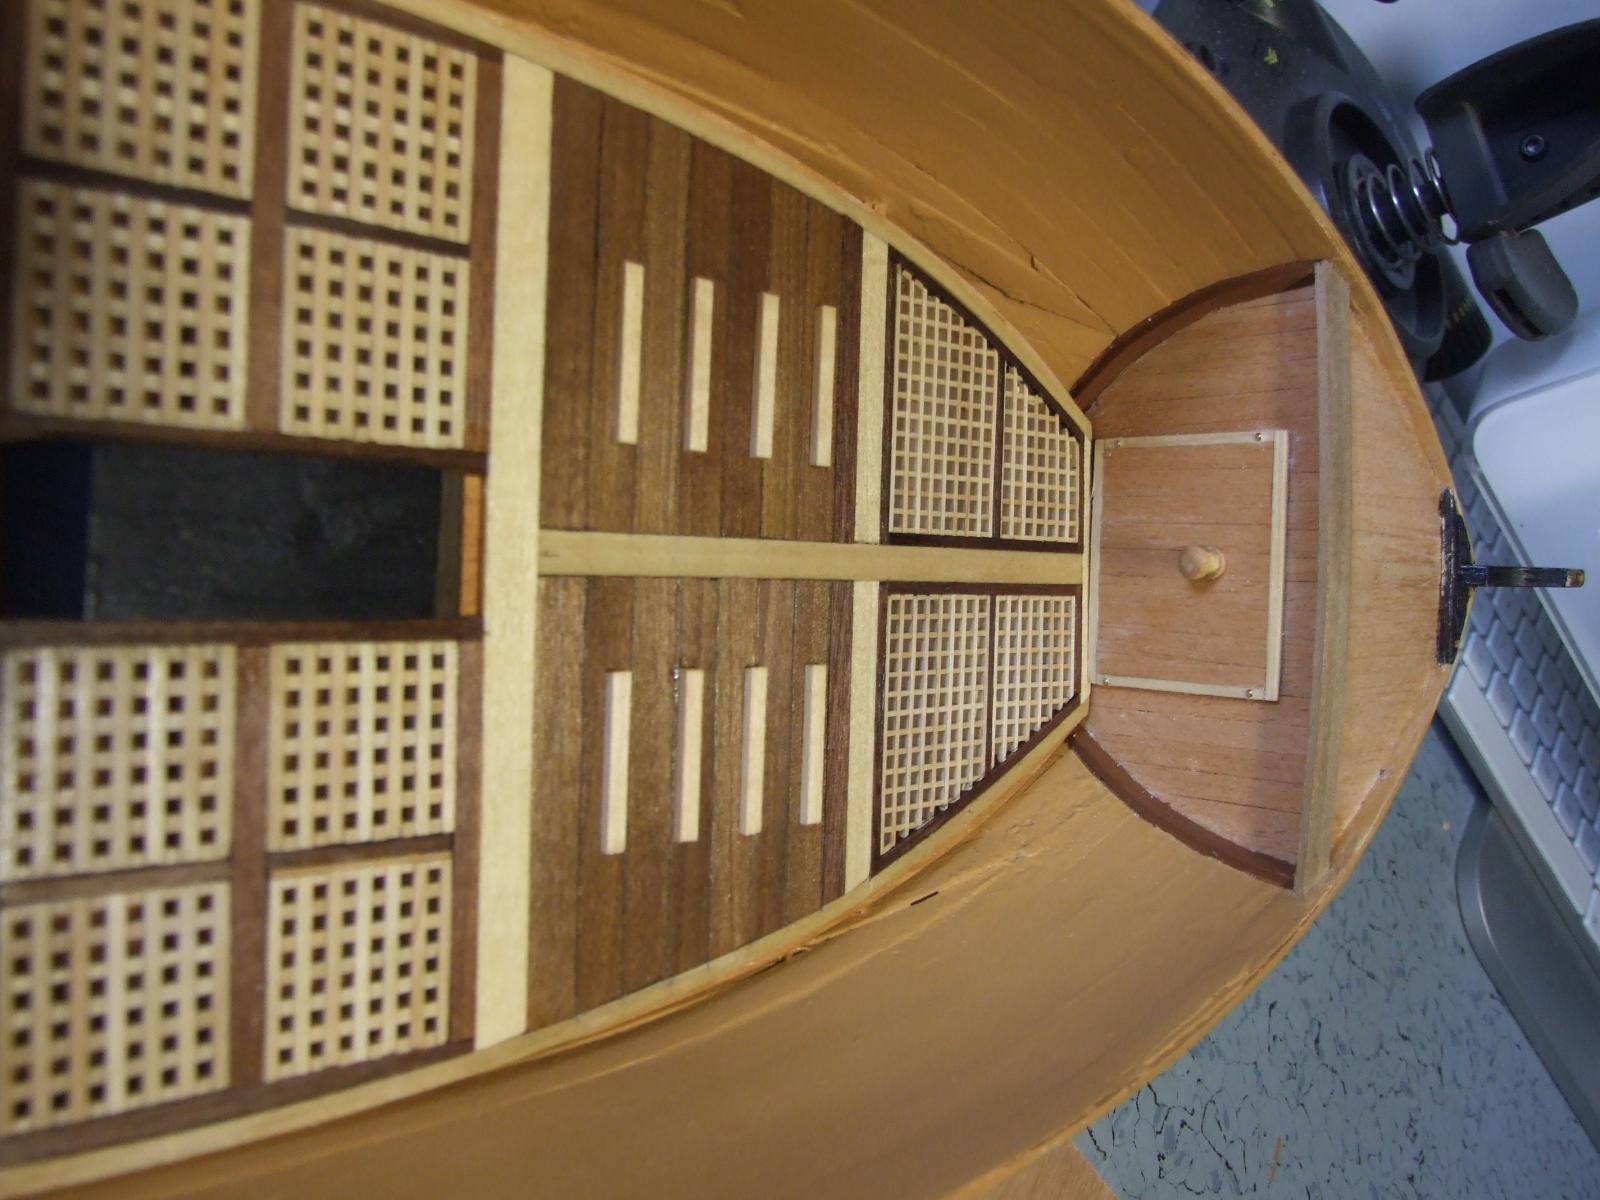
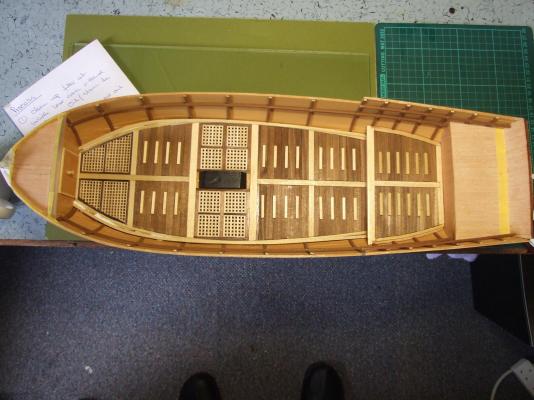
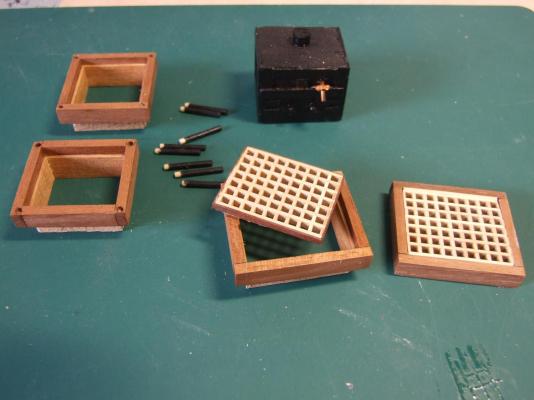
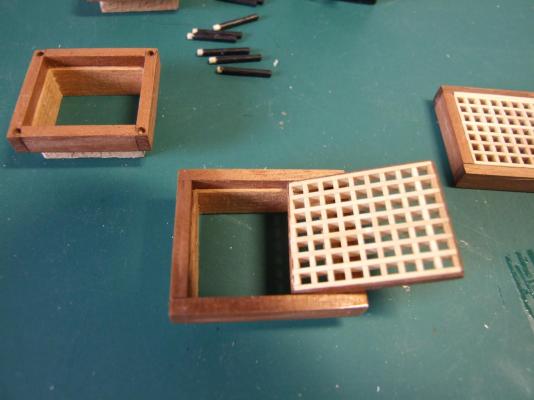
Getting on with the internal decks. This is enjoyable work. Filling the floor voids with planking and the gratings. I found cutting and fitting the gratings to be tricky. Using useful sizes of the kit supplied timber to jig up the fitting of the foot treads. The internal decks finished and lightly oiled with Danish. Moving on. Planking in the bow and stern areas. This is as far as I have come to date. The next tasks will be to finally fit the internal decks into the hull before starting on the ribs and stringers. More anon. Mike.


- 49 replies
-
- 5
-
-
- lancia armata
- panart
- (and 2 more)
-
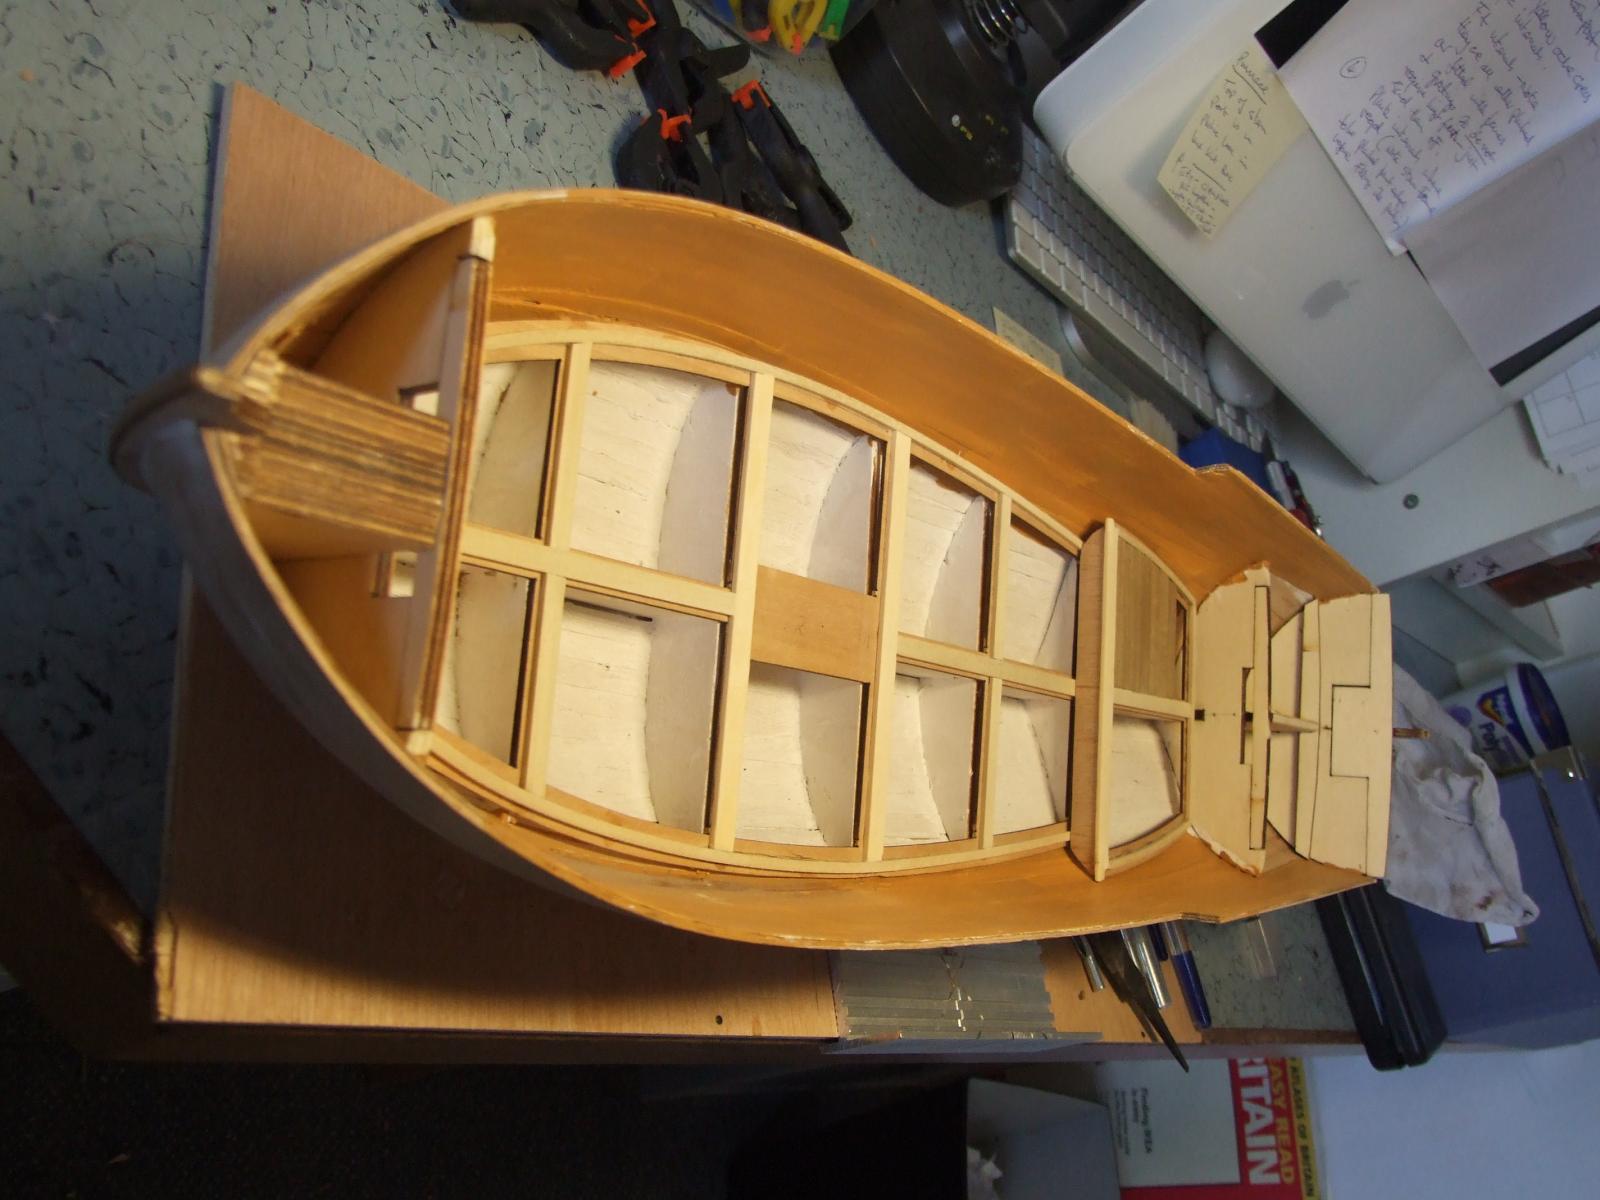
......And more progress. Both internal decks framed and shown in situ for a trial fit. Partly planked deck void. Slapped some yellow ochre on before applying a decent top coat. Bought myself a cheap and simple air brush. How quickly the paint goes on! This sounds like I do not have a painters patience. Correct!


- 49 replies
-
- 6
-
-
- lancia armata
- panart
- (and 2 more)
-
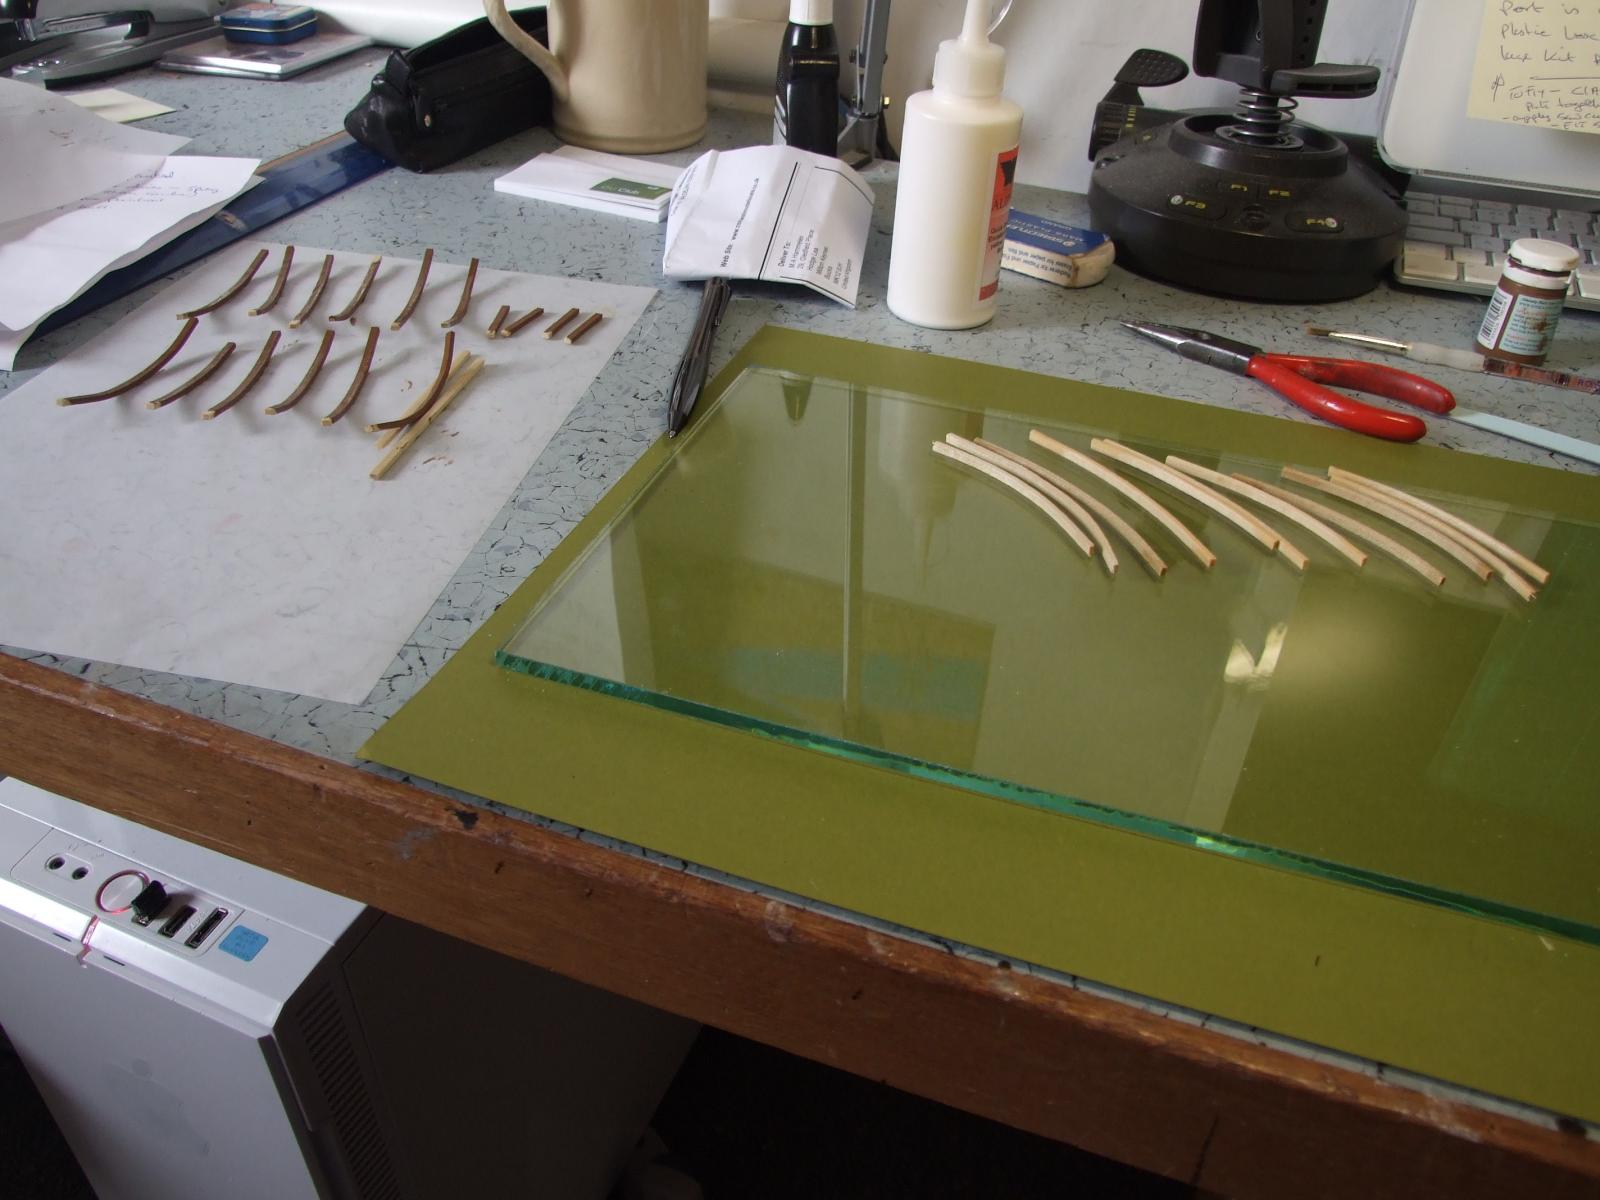
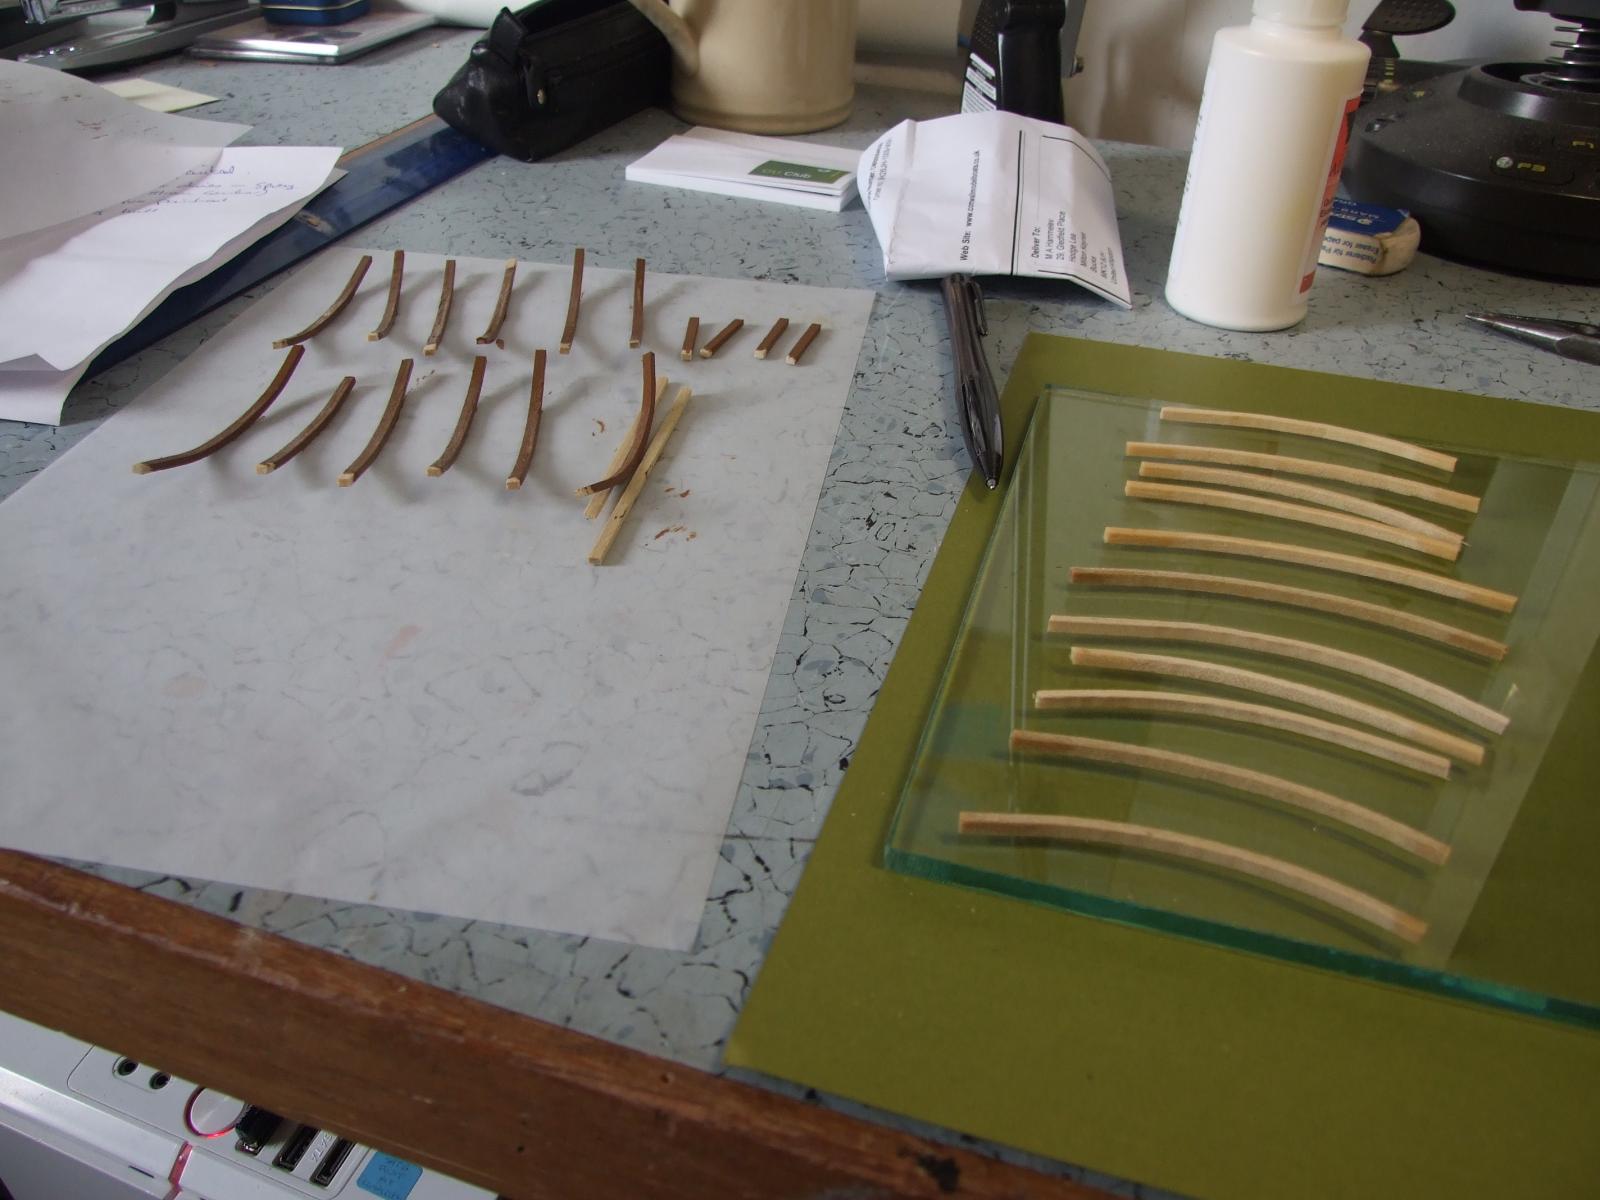
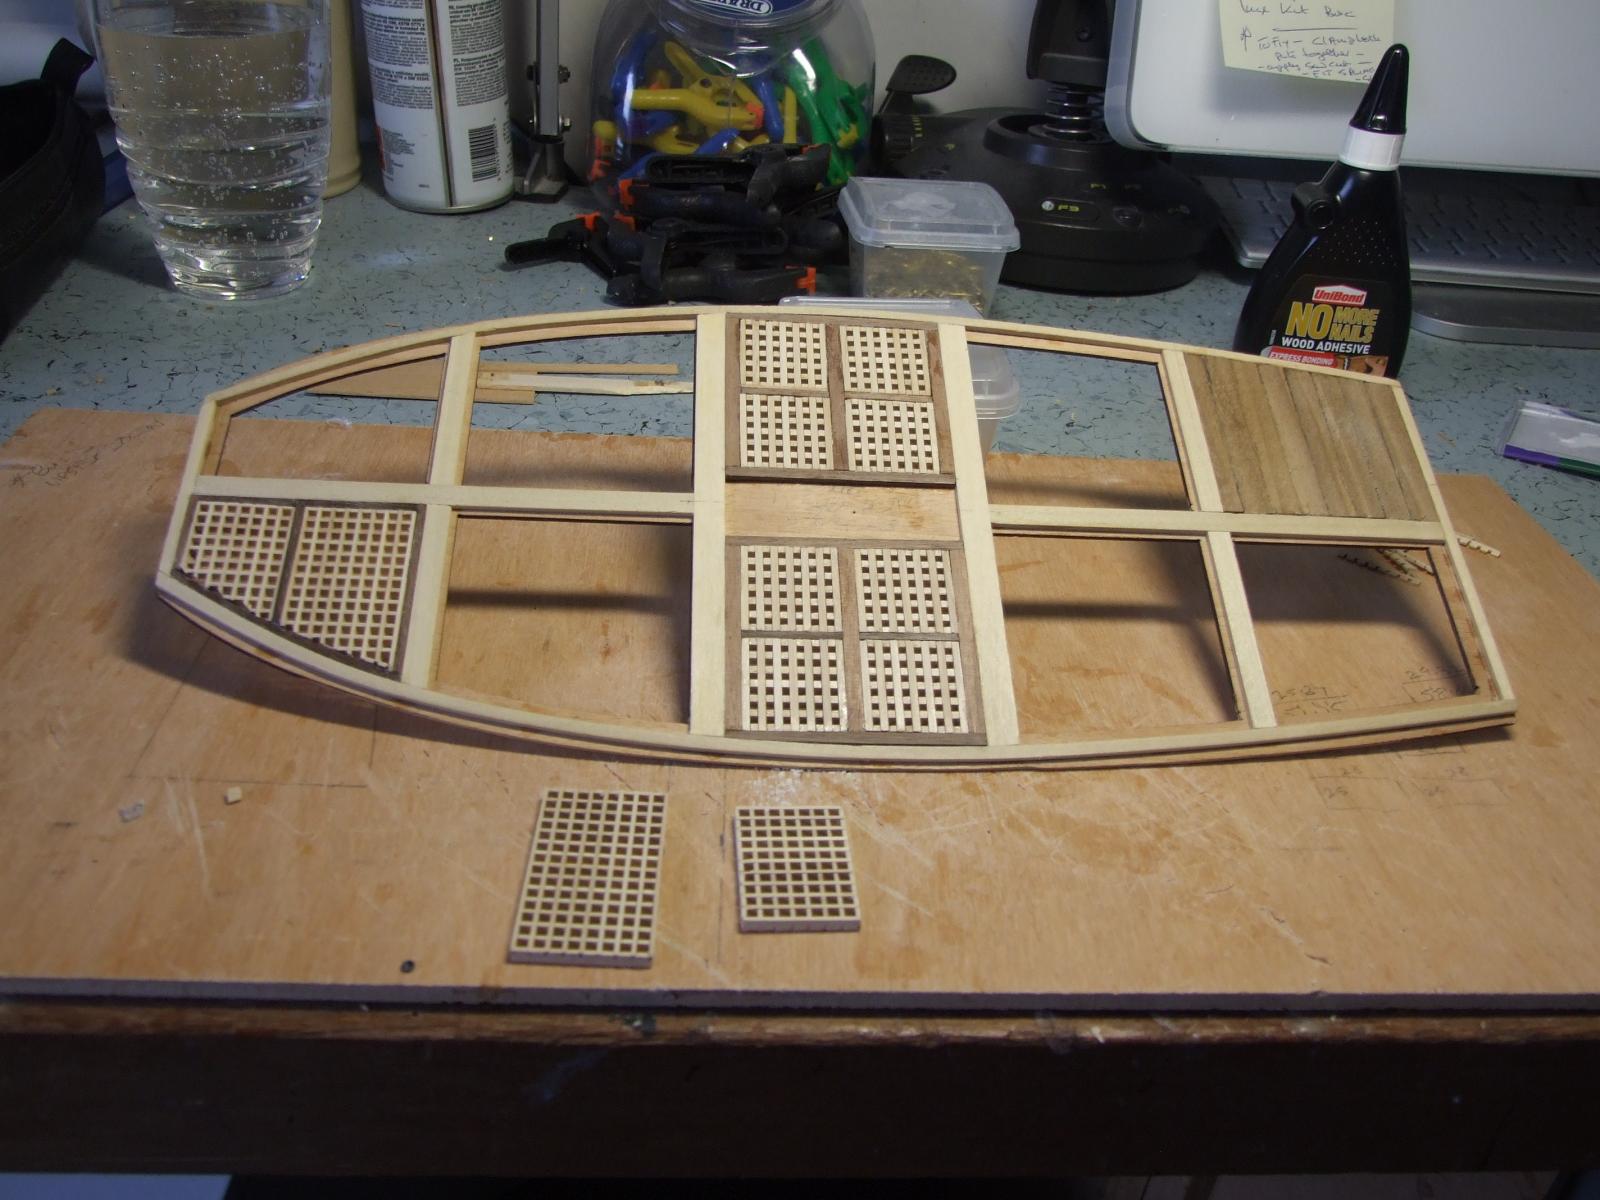
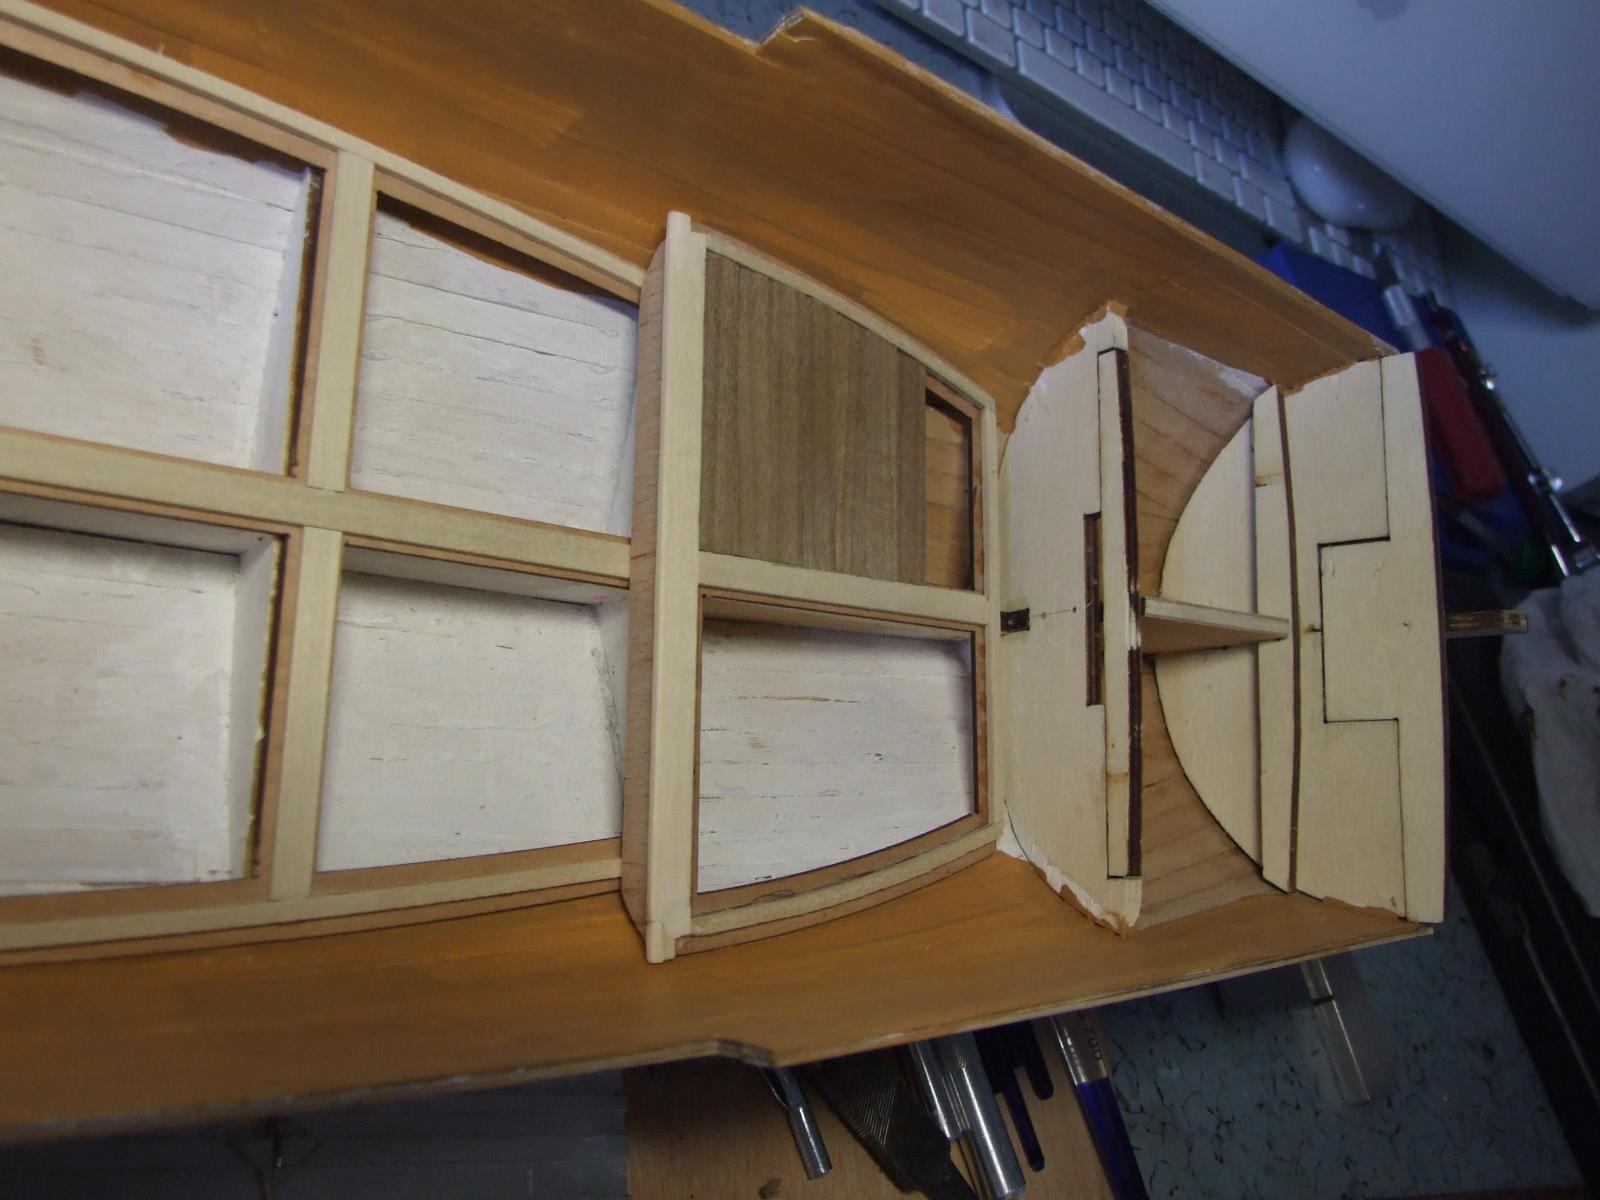
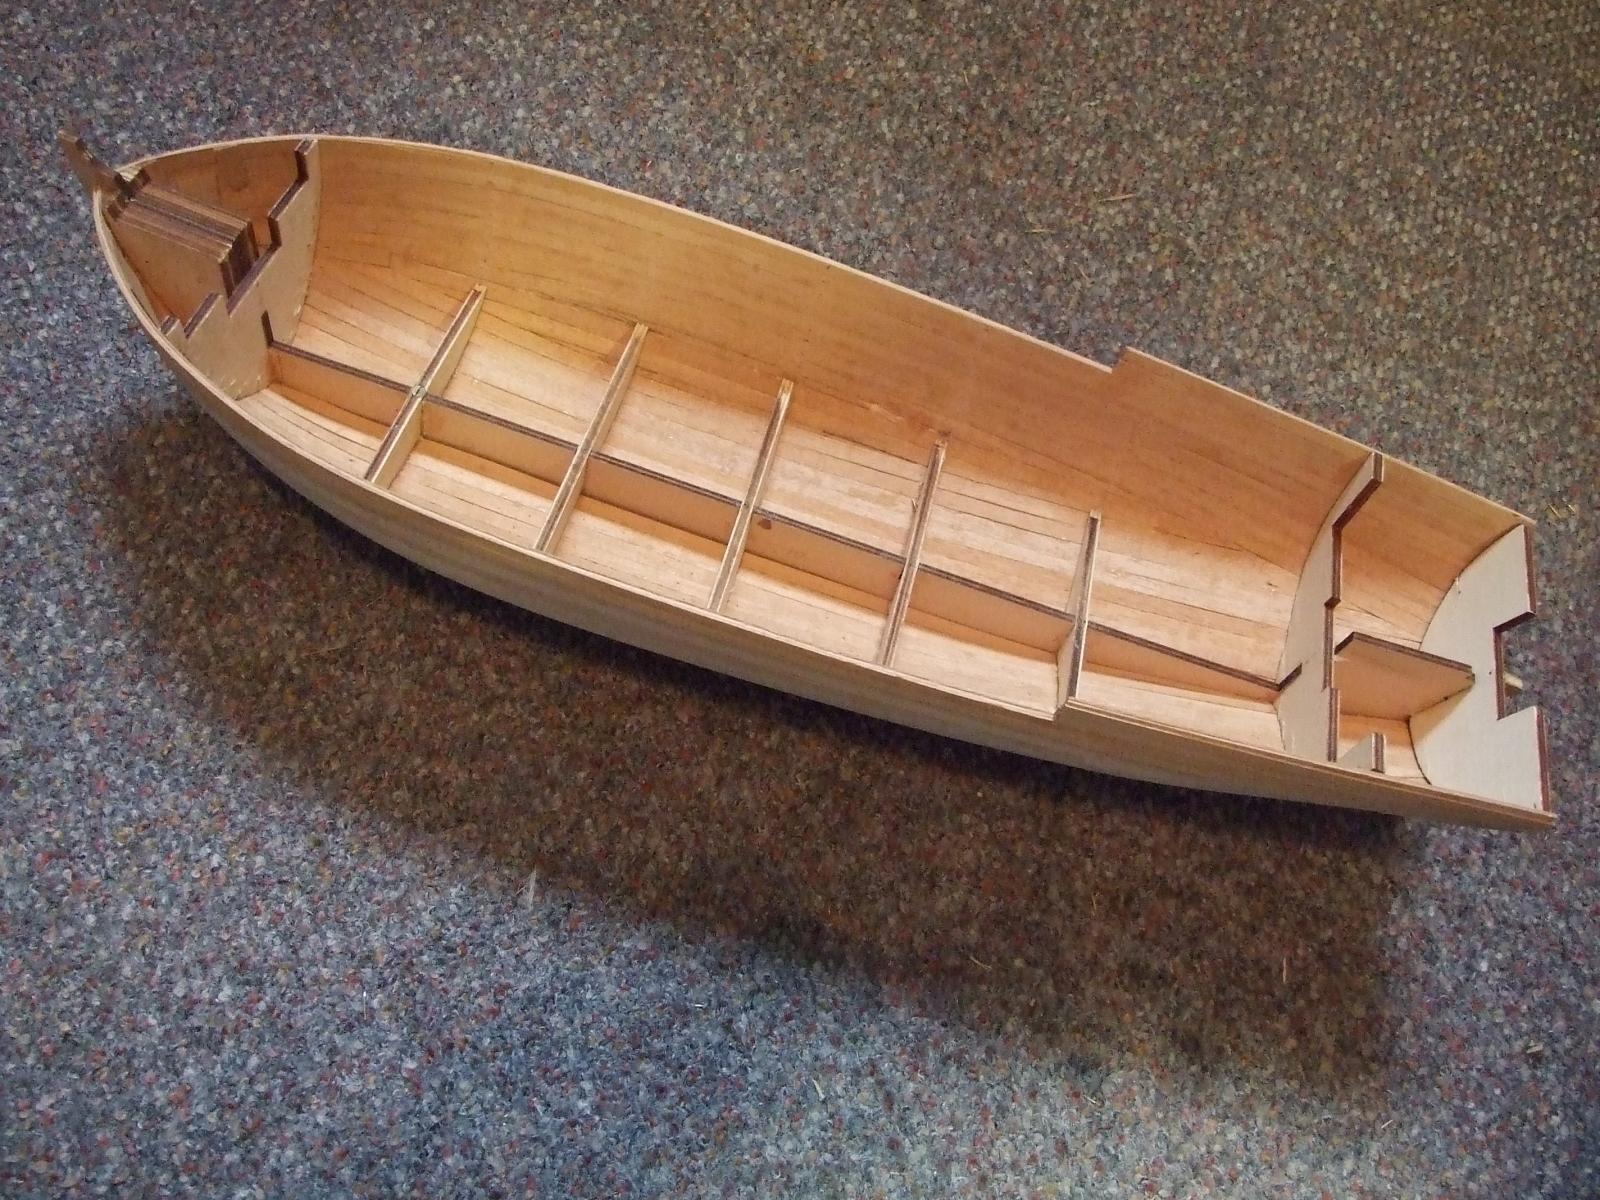
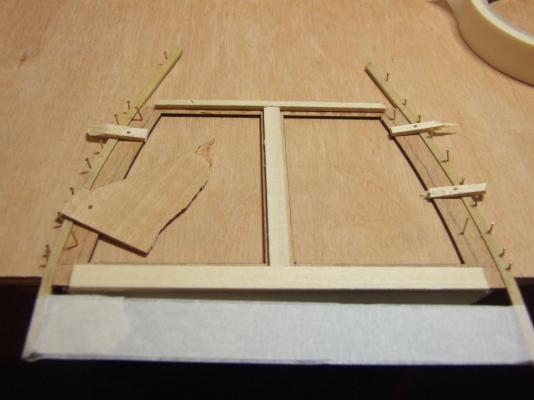
Further progress. Starting on the internal decking.Bending frames for the edges of this section. I am using the deck itself as the former for the frame bending. The larger of the two internal decks framed up and ready for planking and some gratings. Detour. Planked the stern but not to the top as some shaping needs to be applied to this later on.


- 49 replies
-
- 4
-
-
- lancia armata
- panart
- (and 2 more)
-
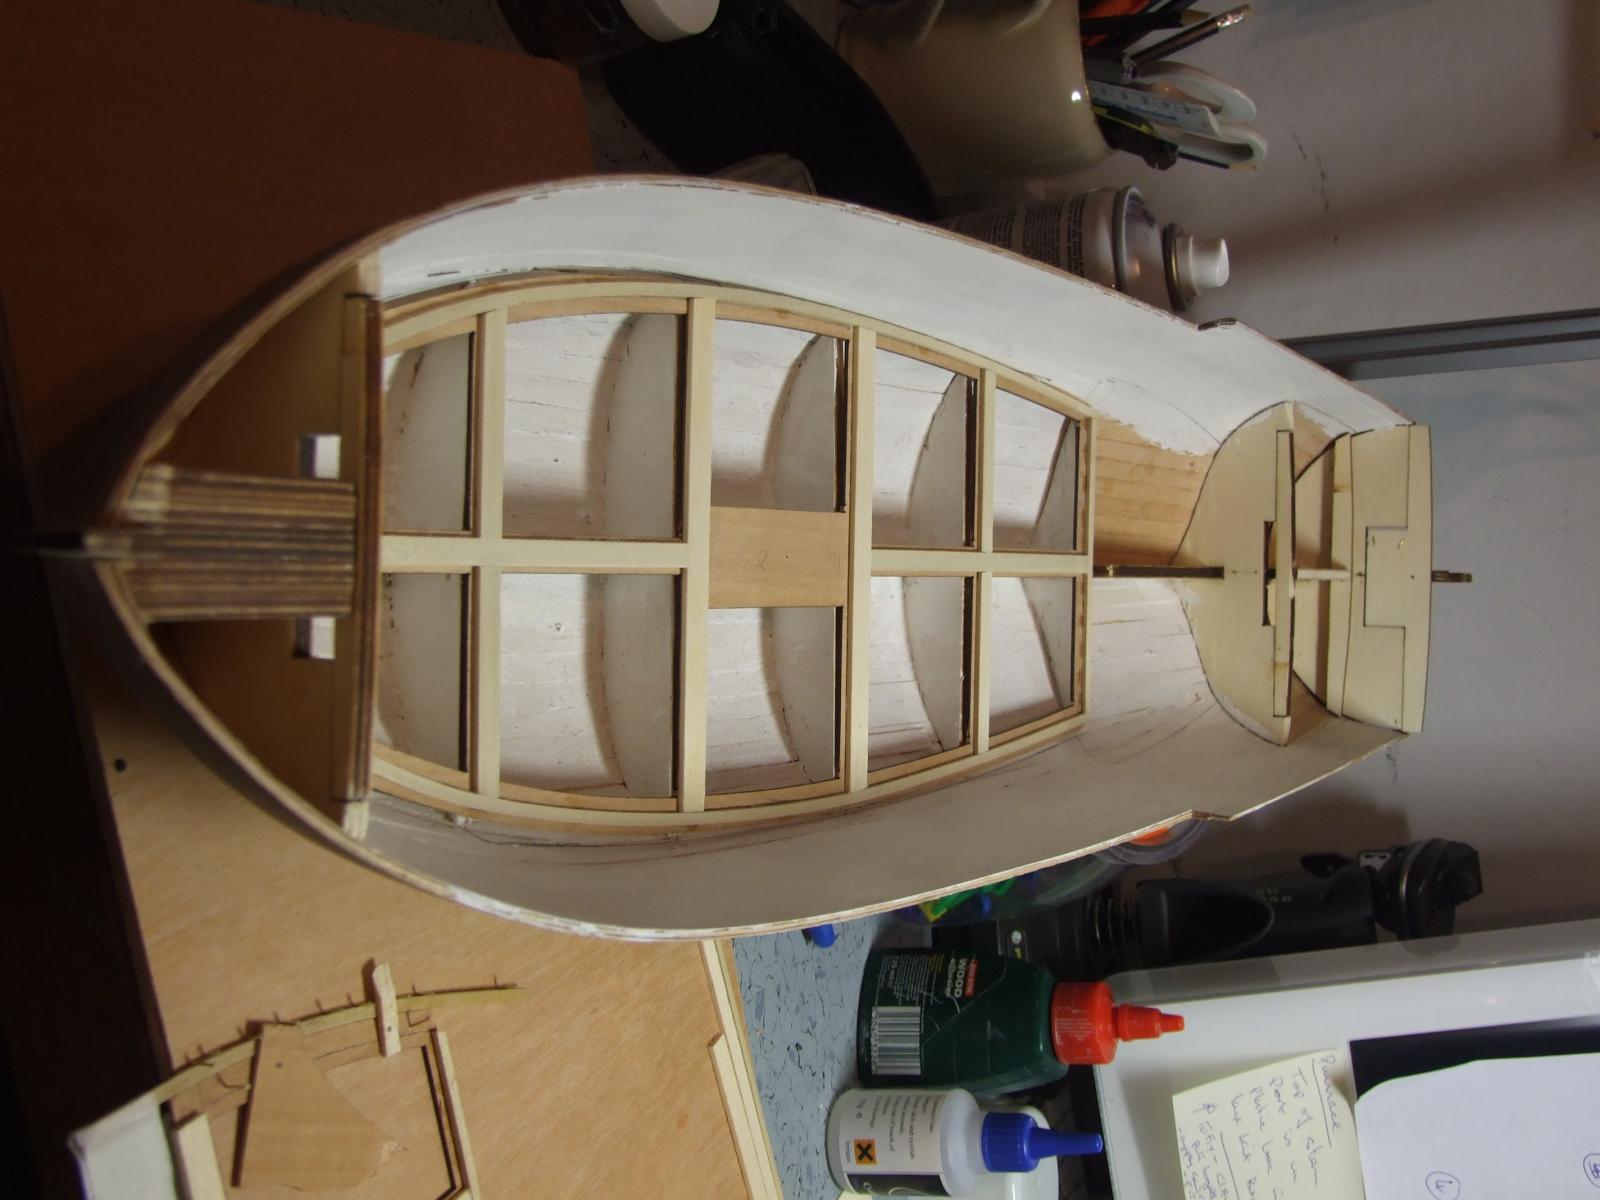
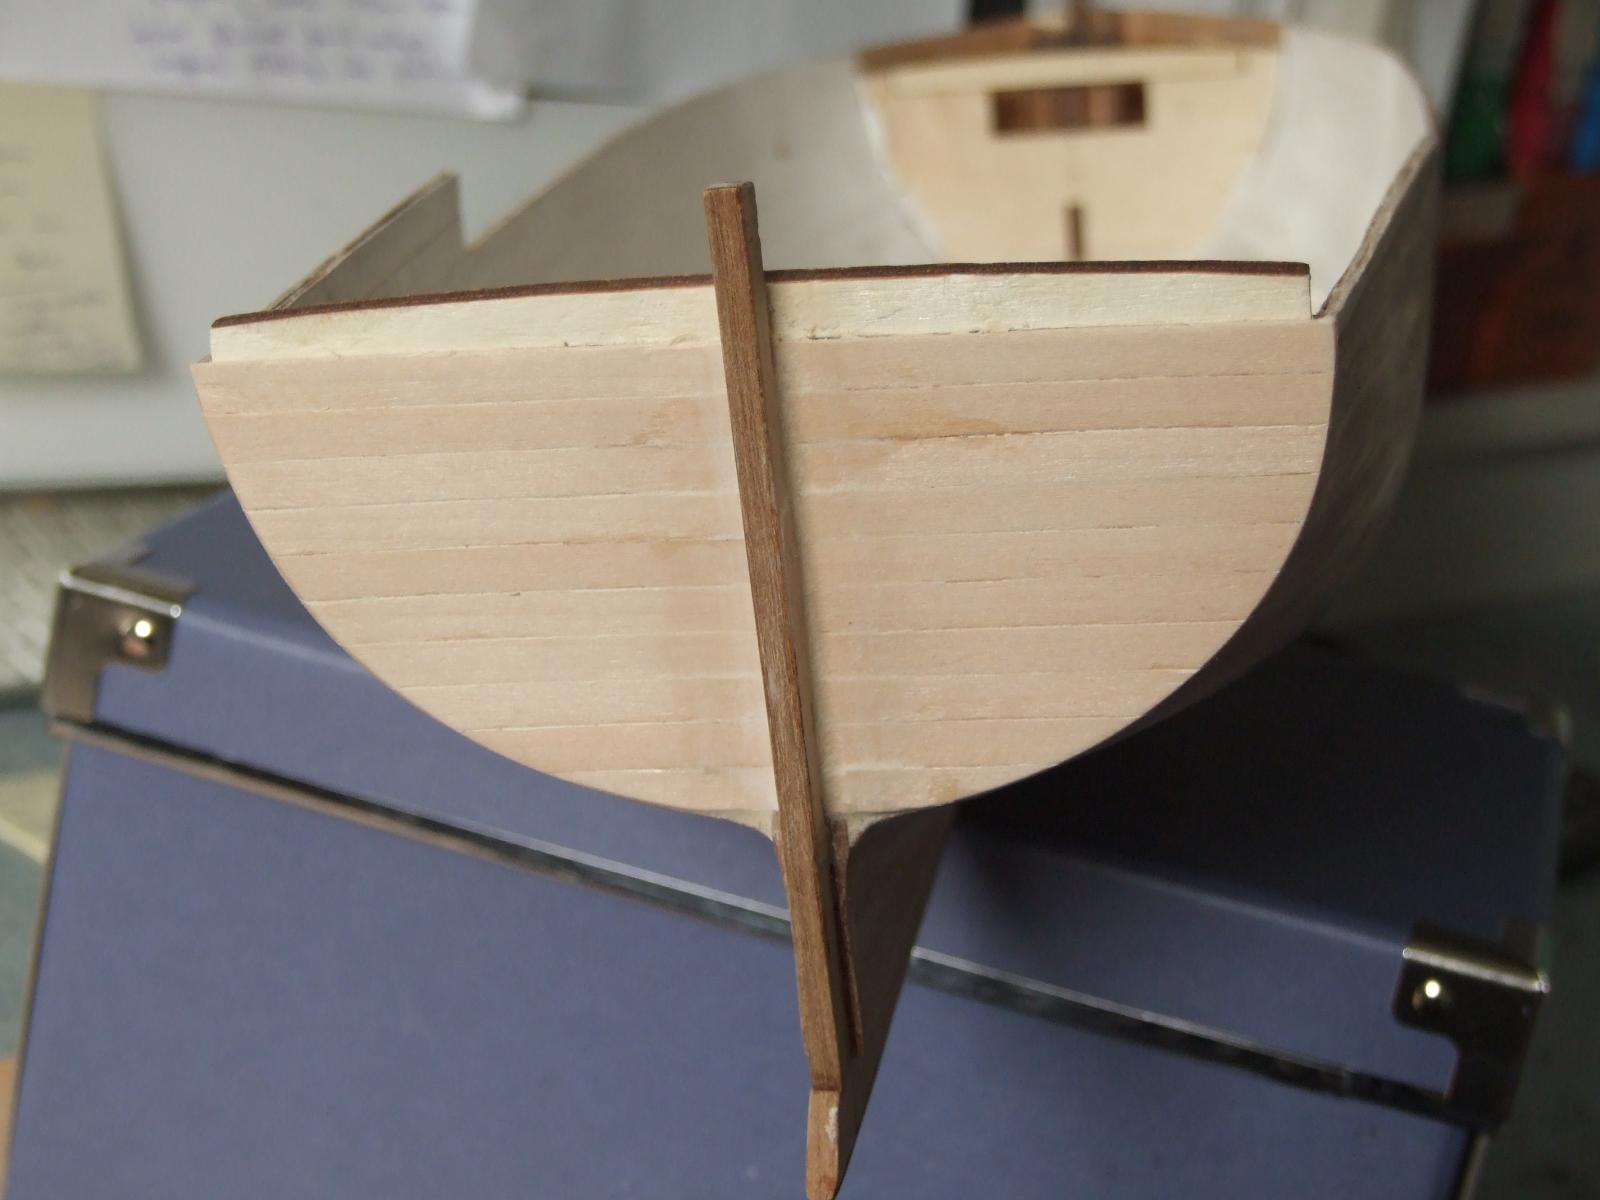
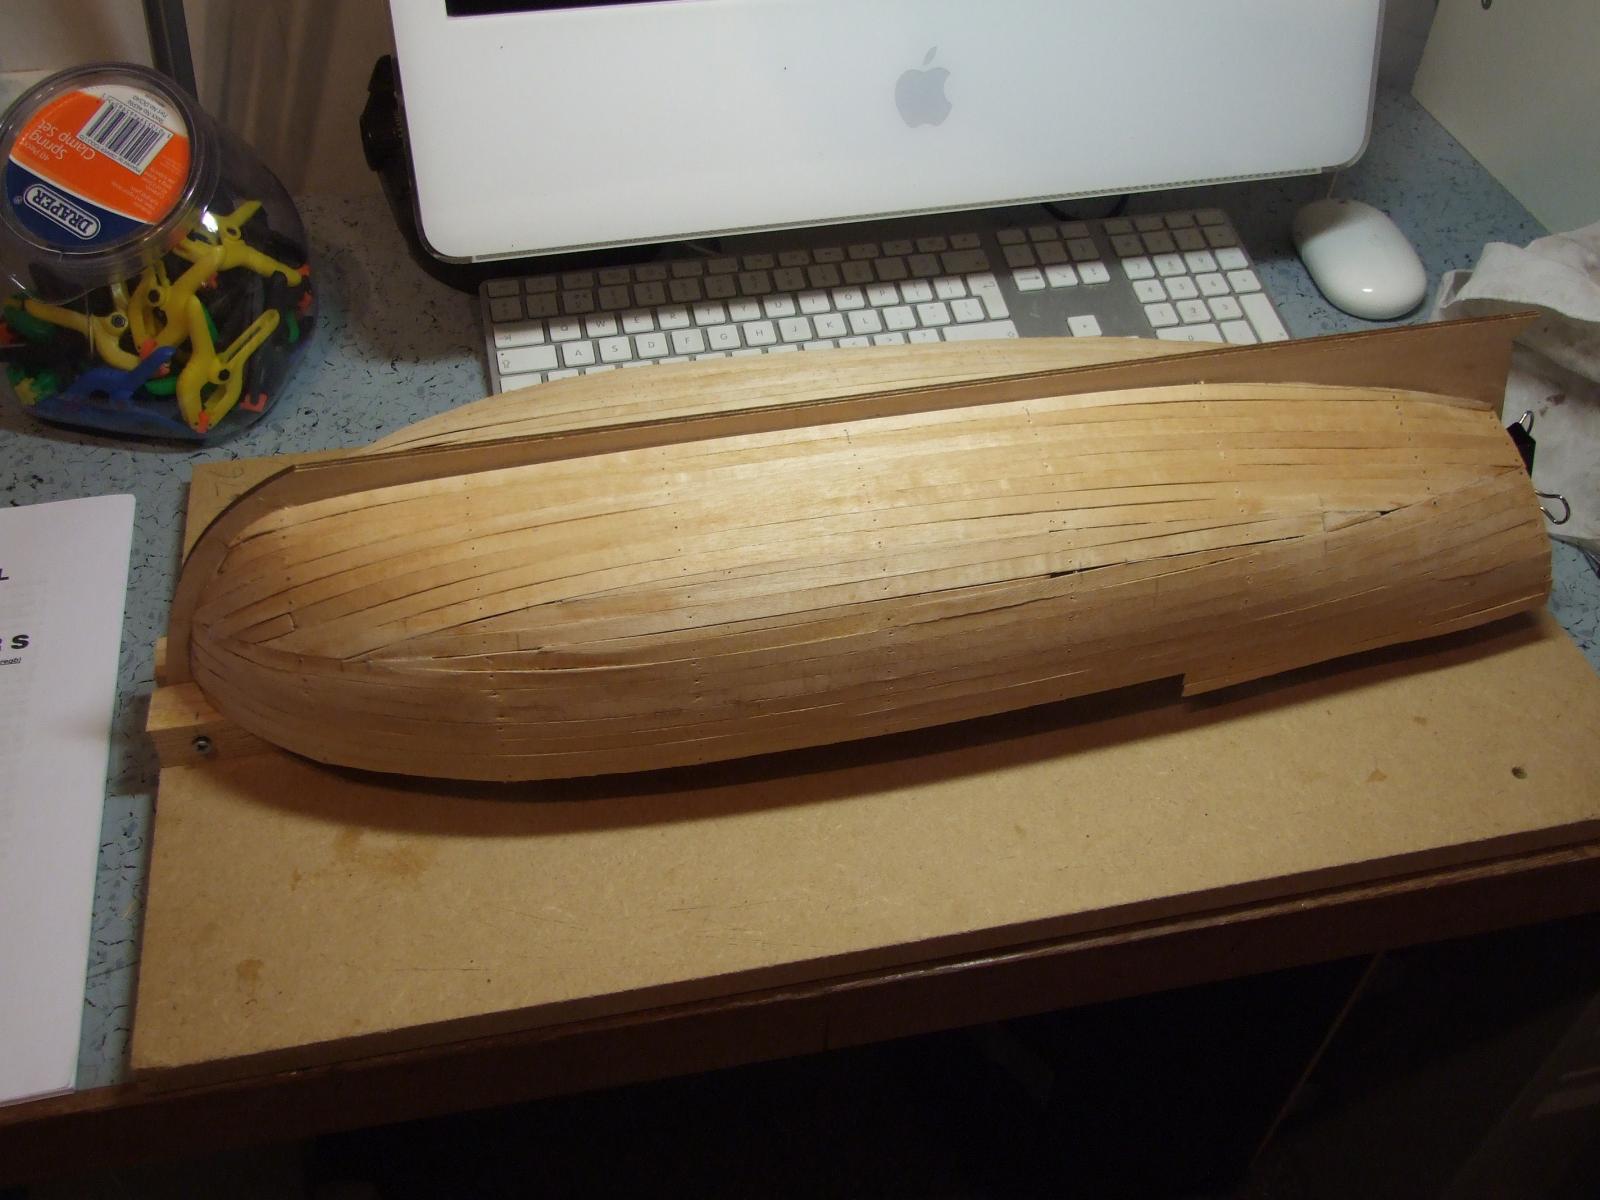
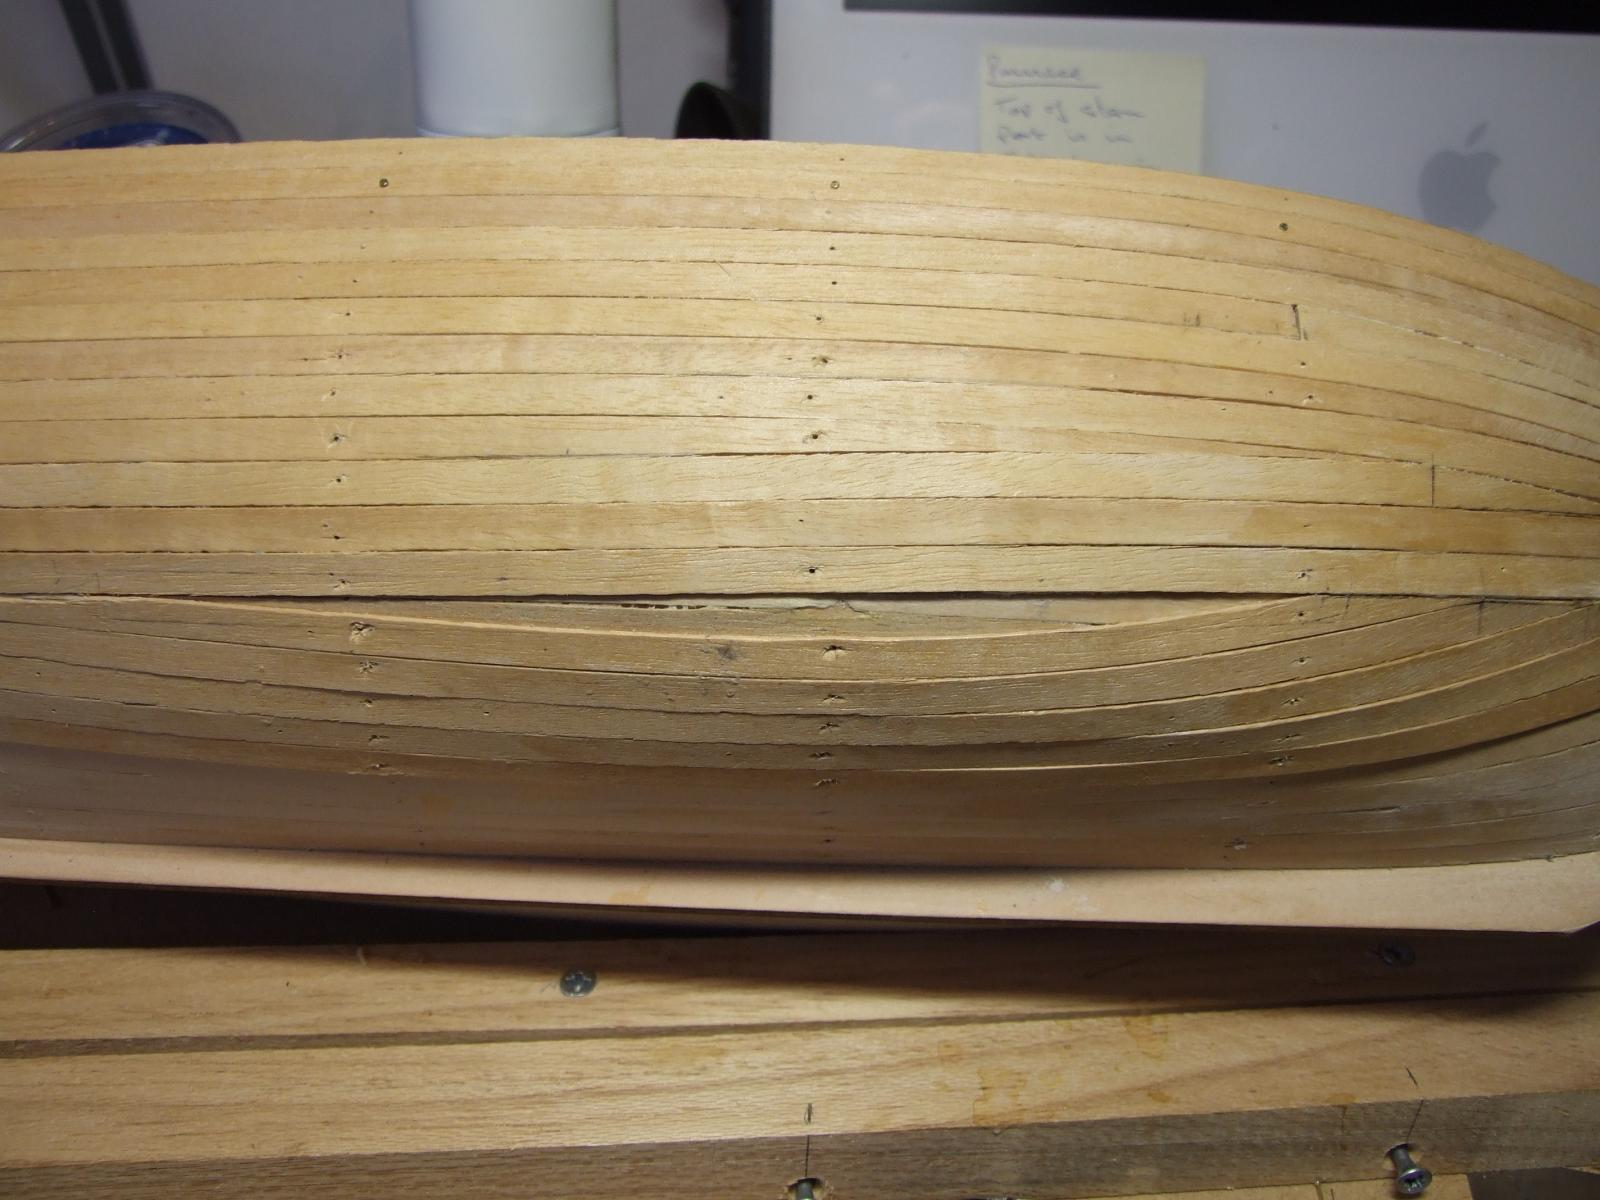
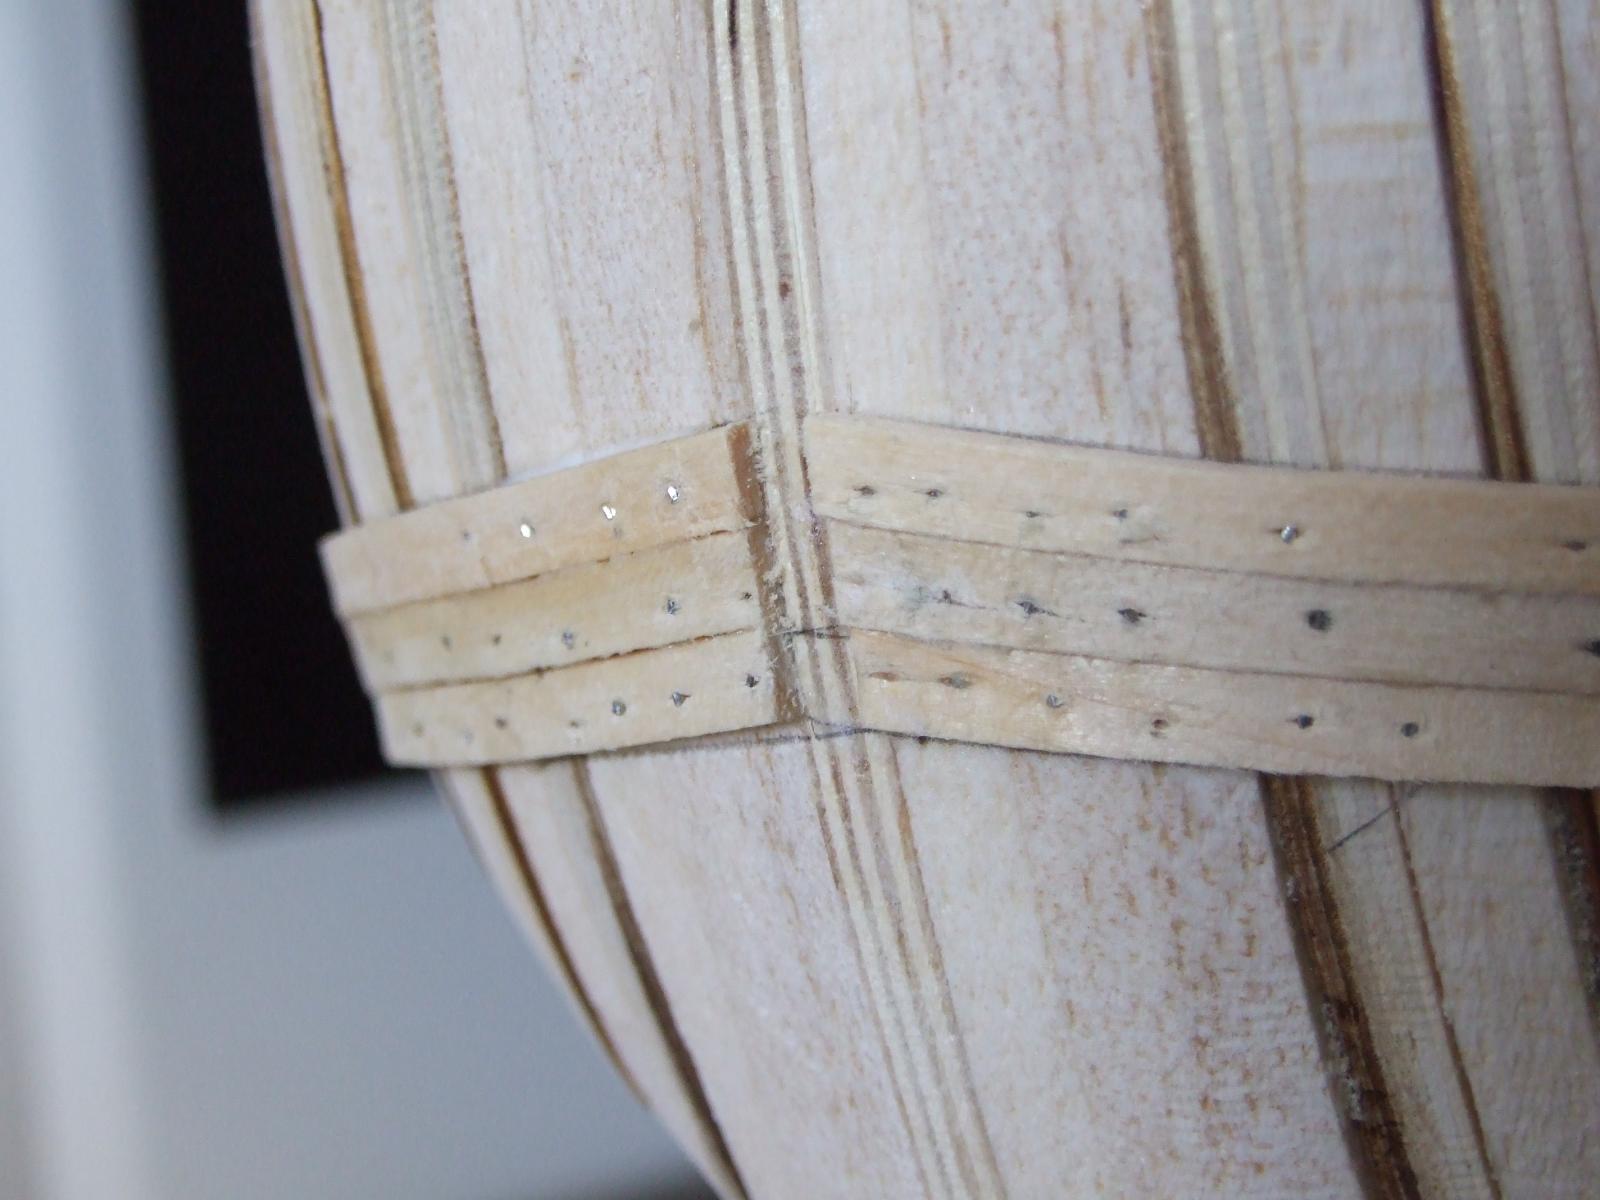
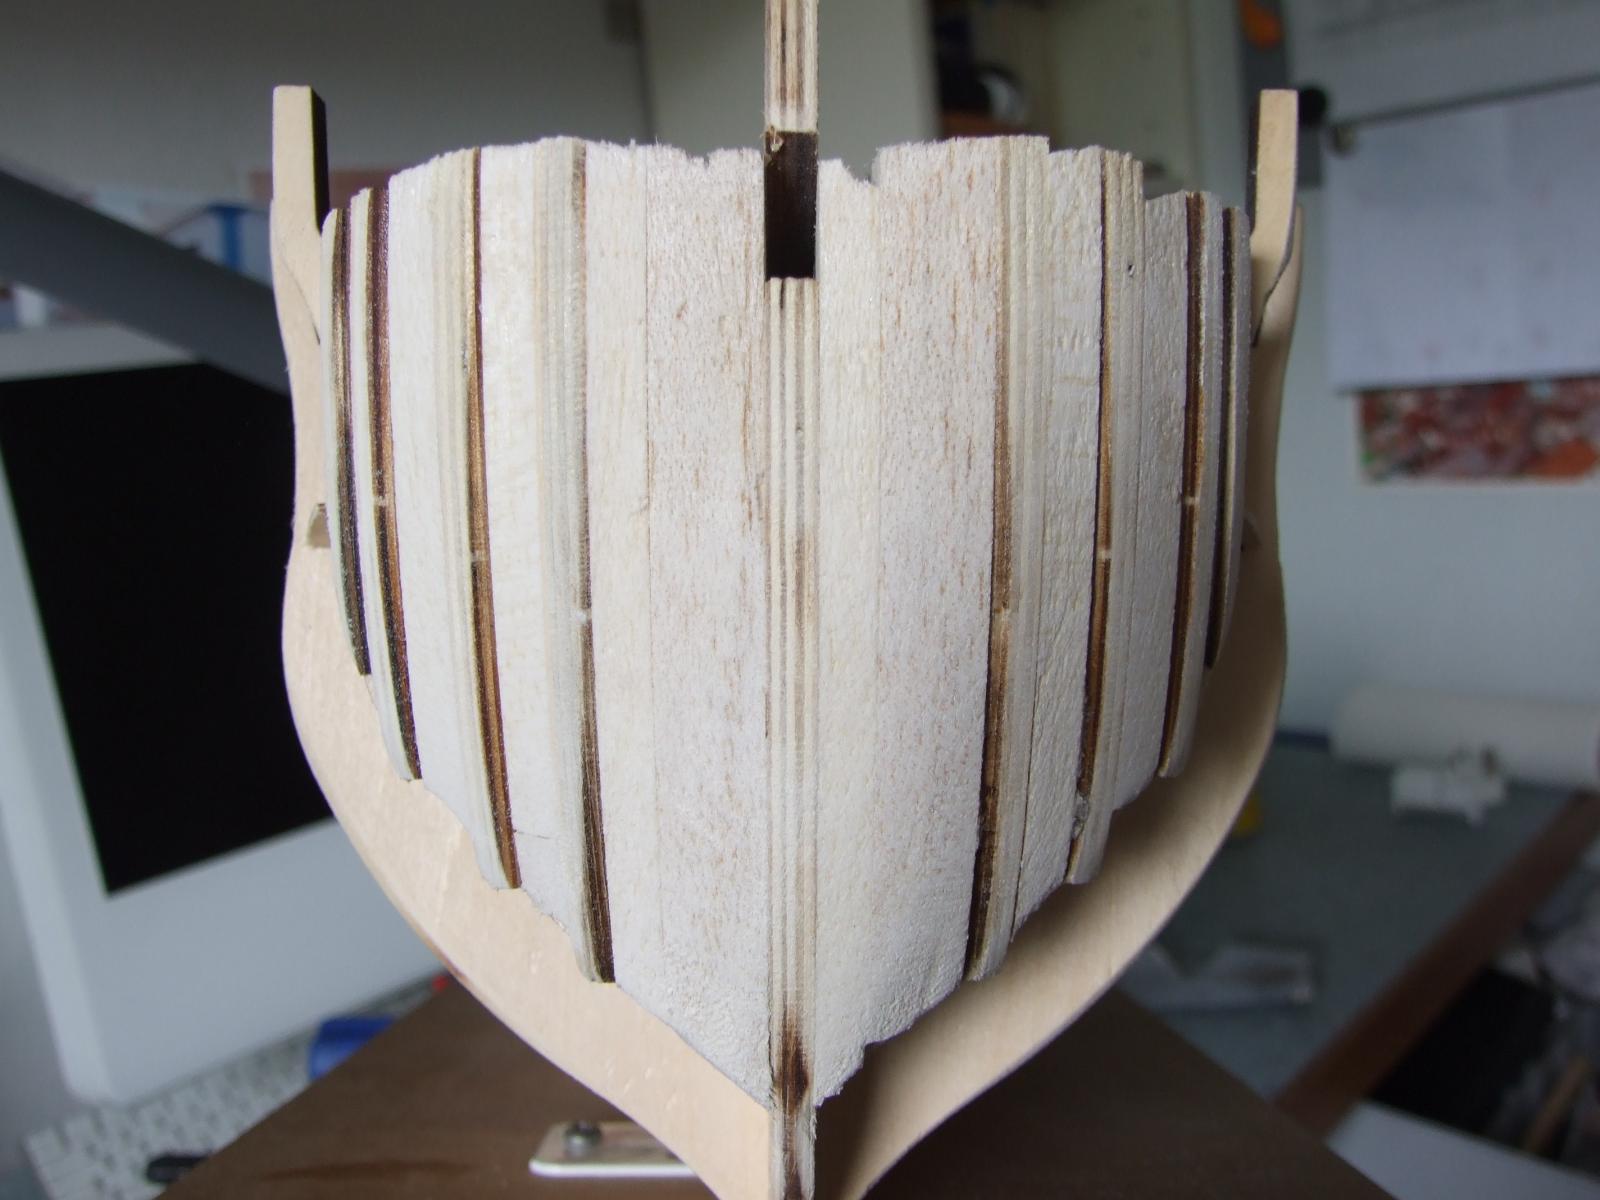
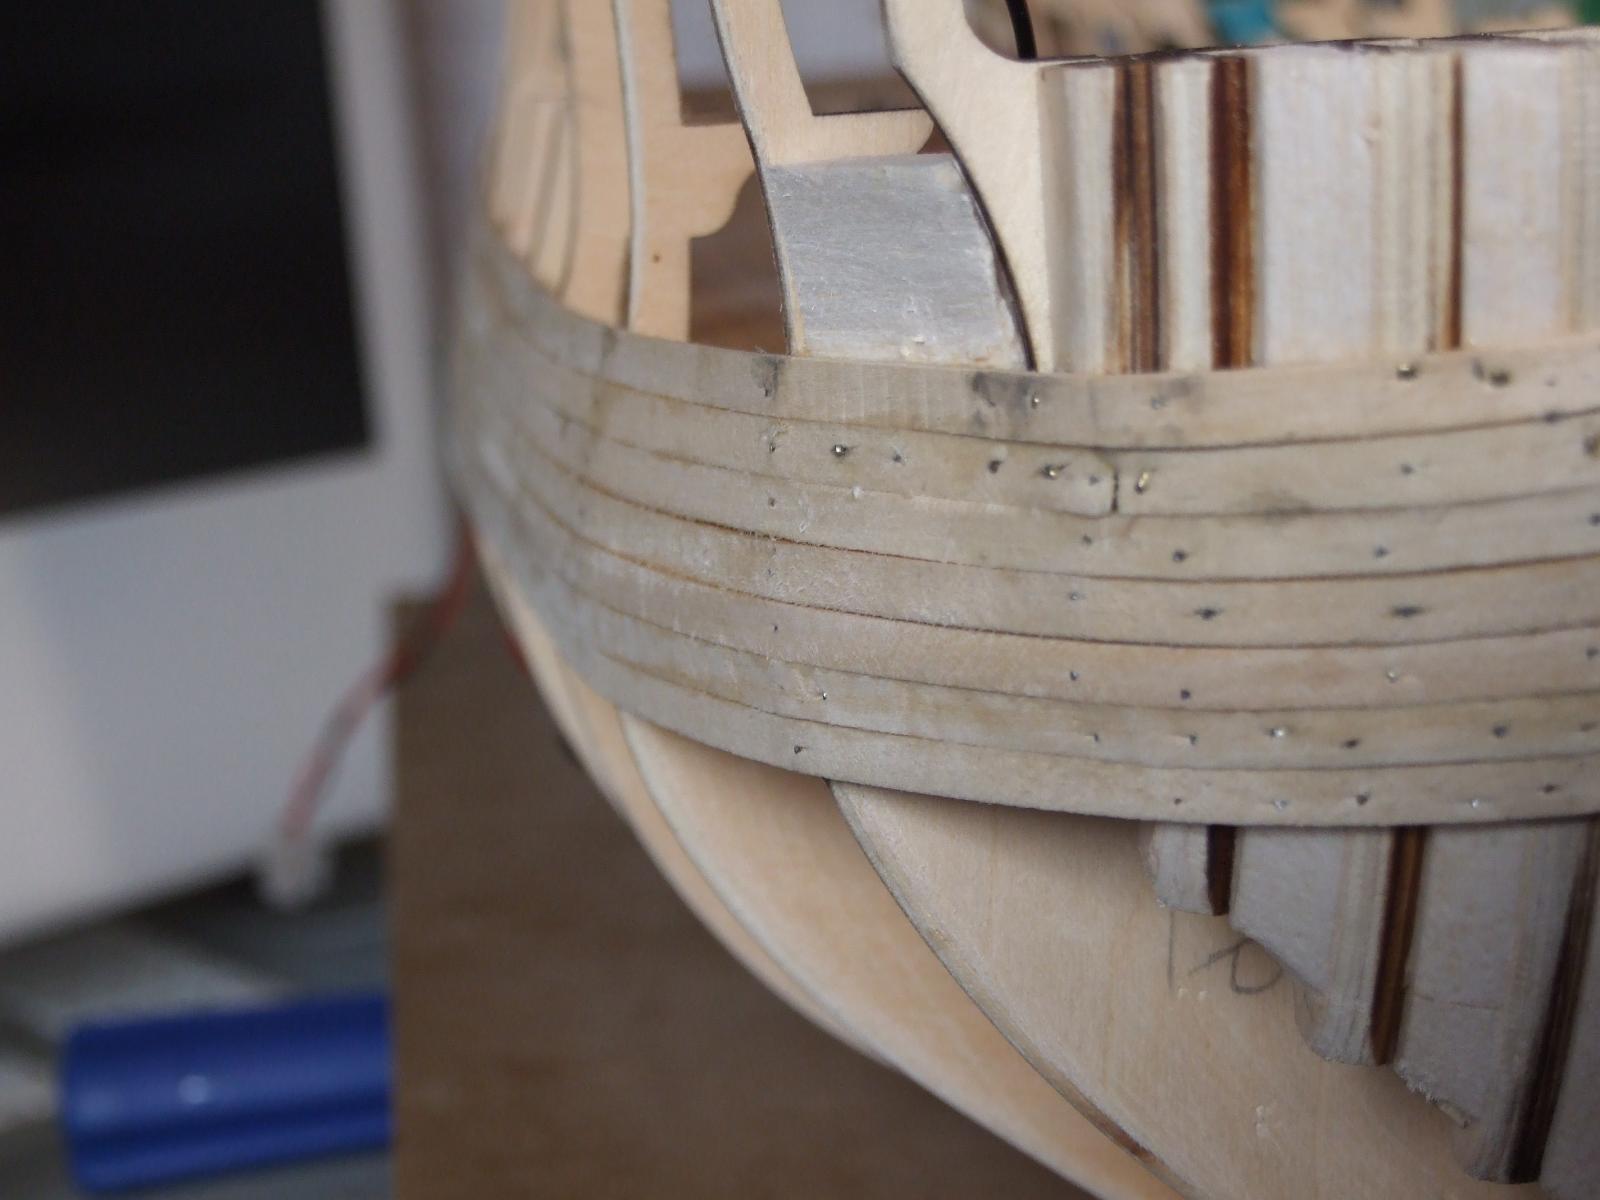
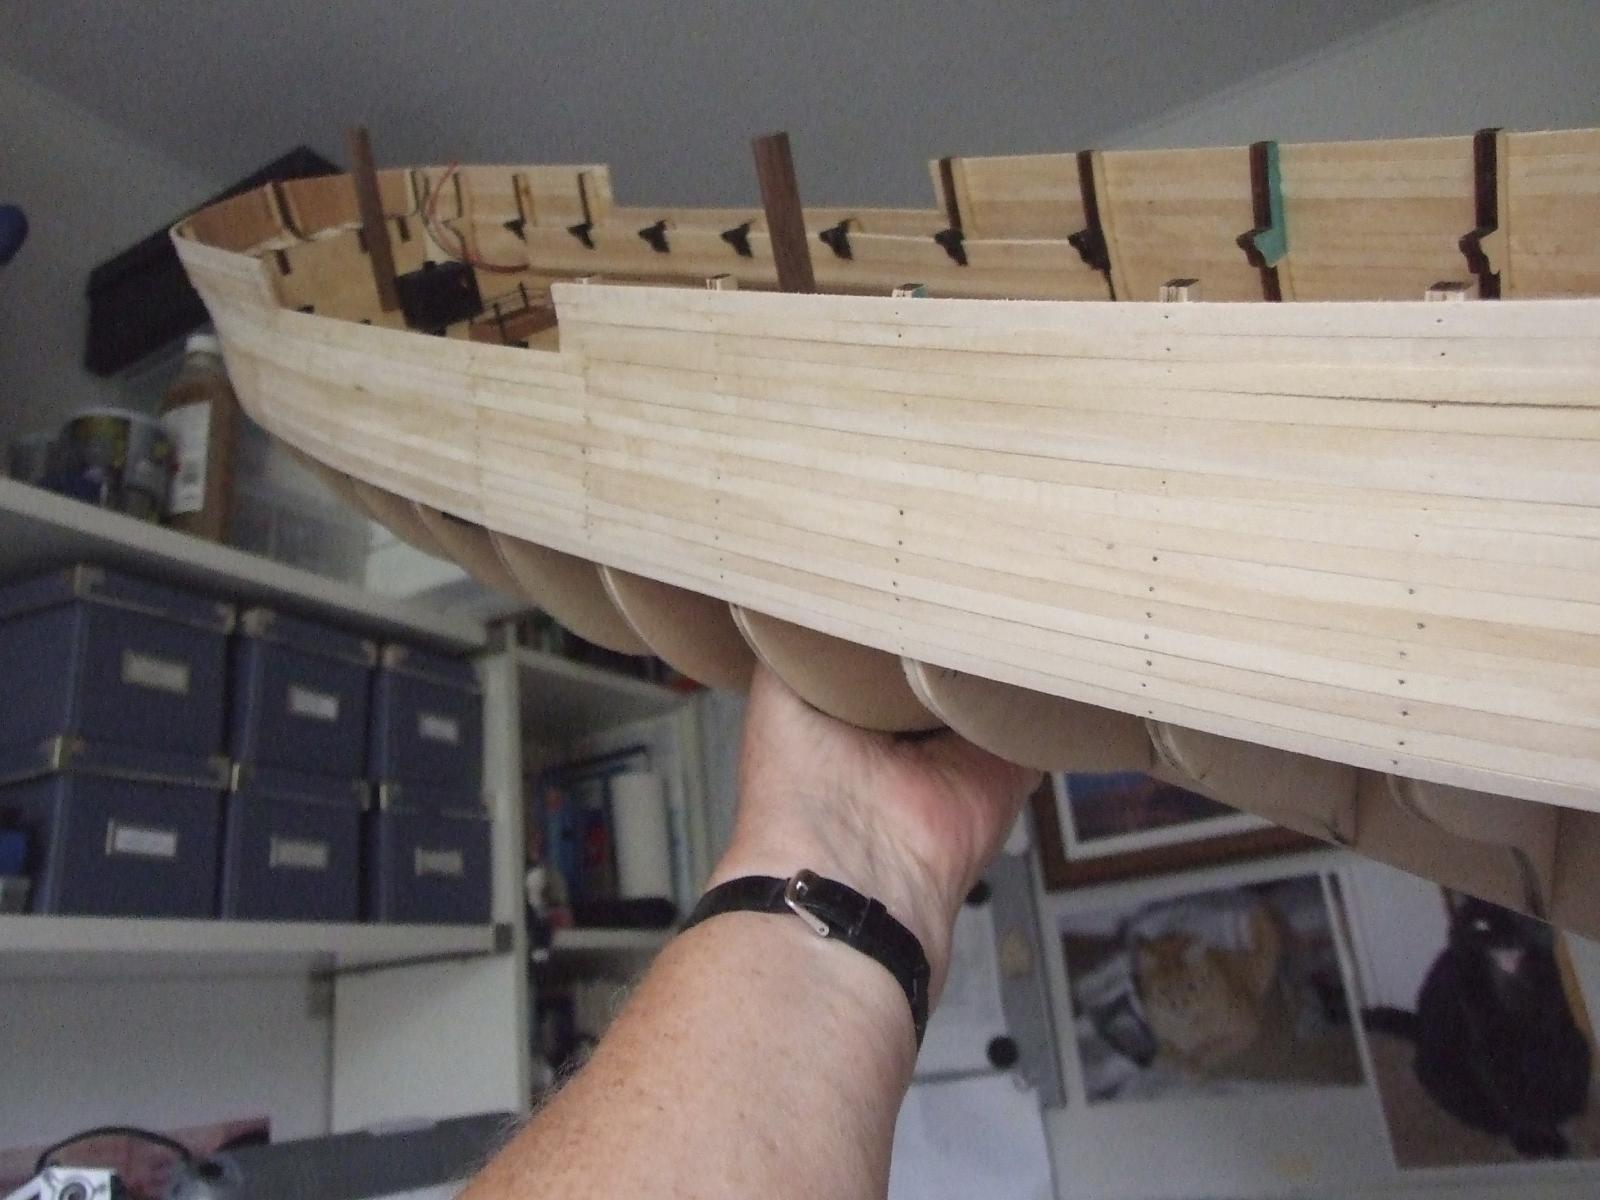
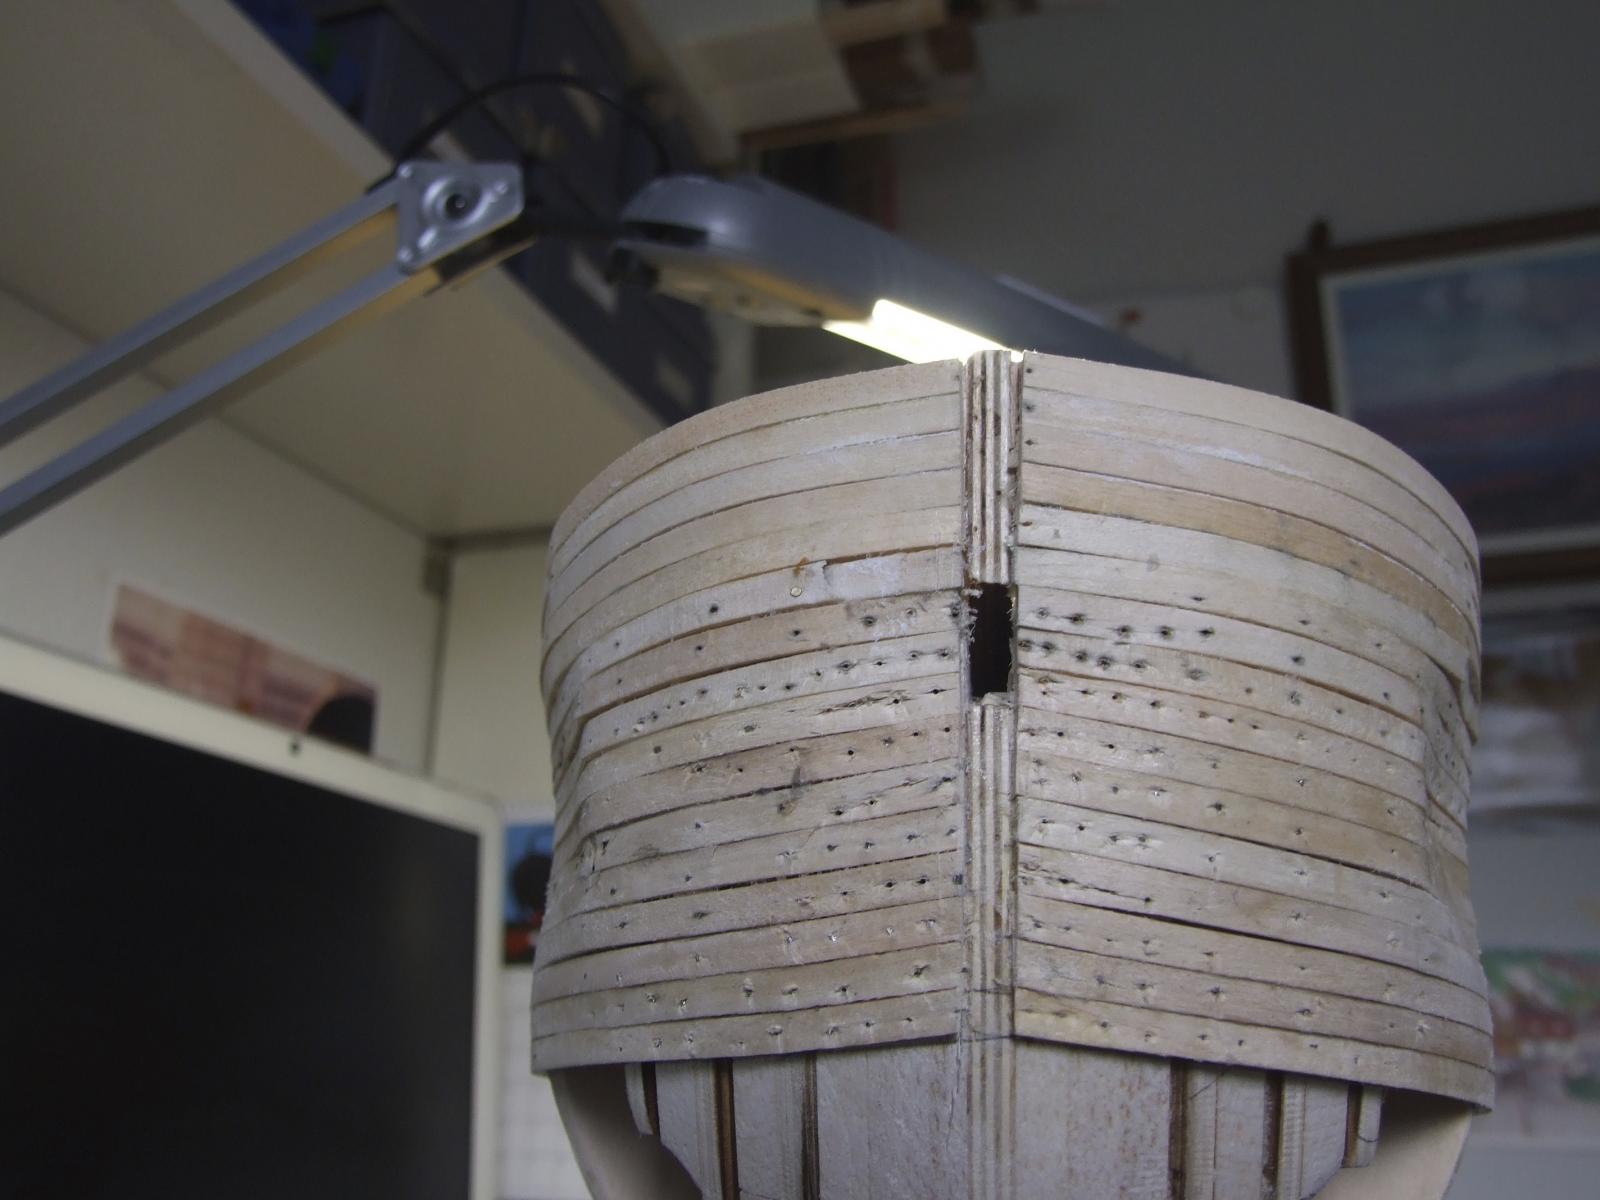
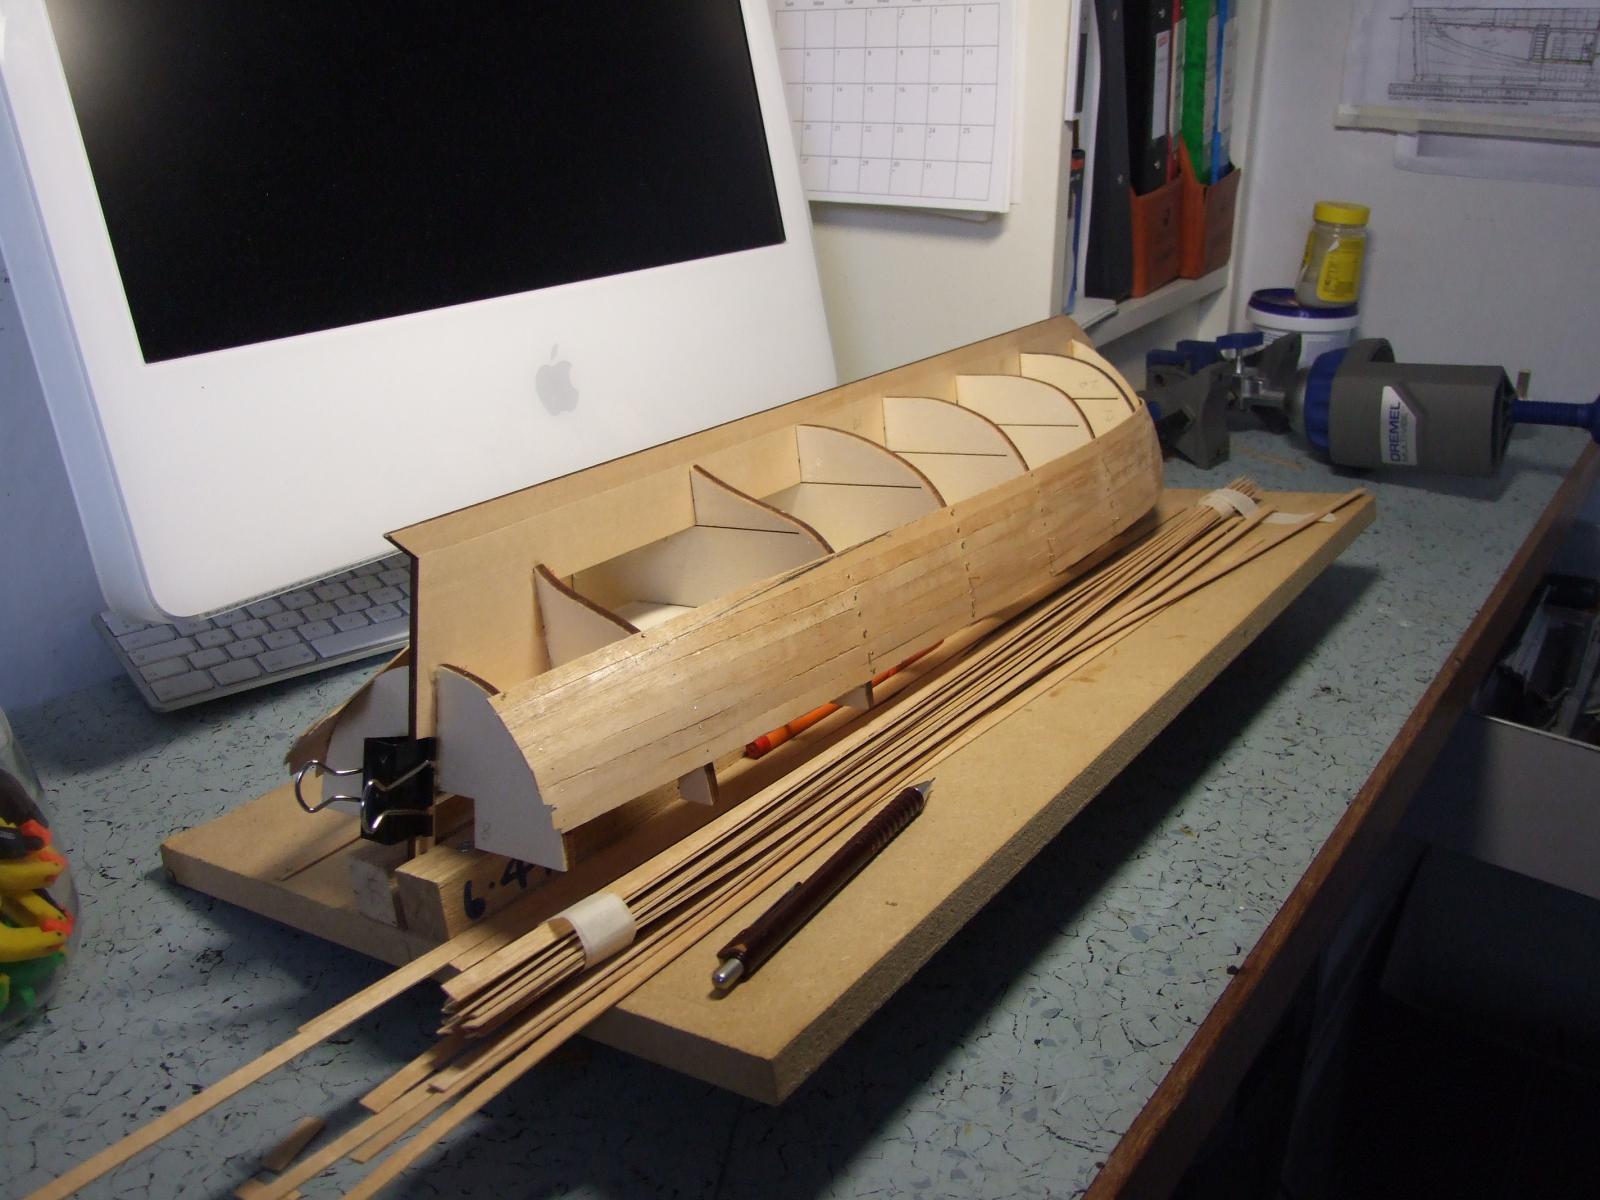
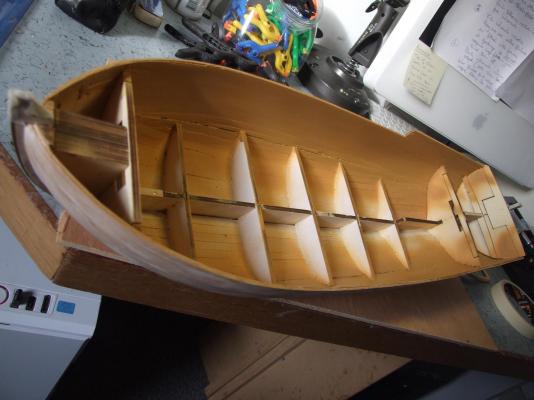
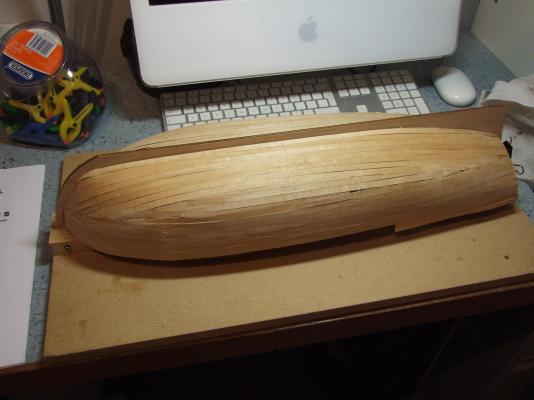
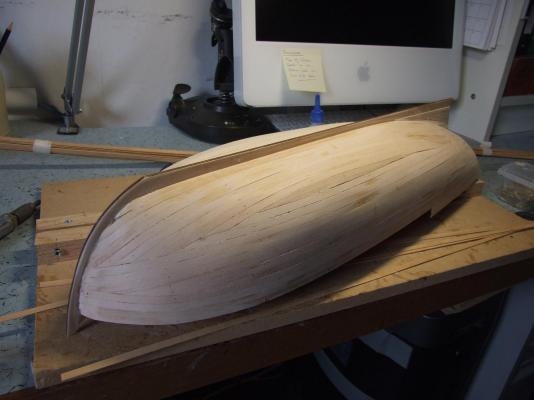
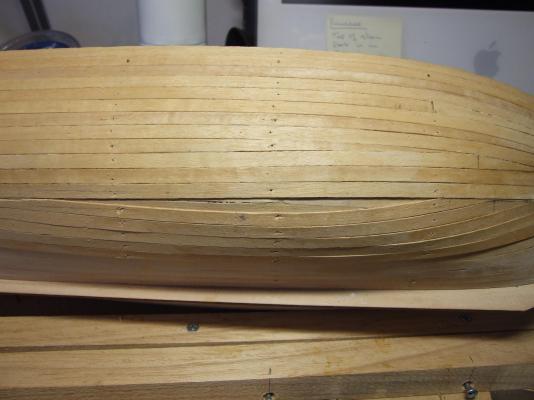
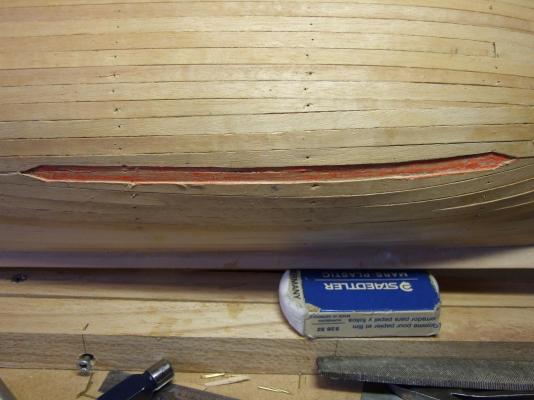
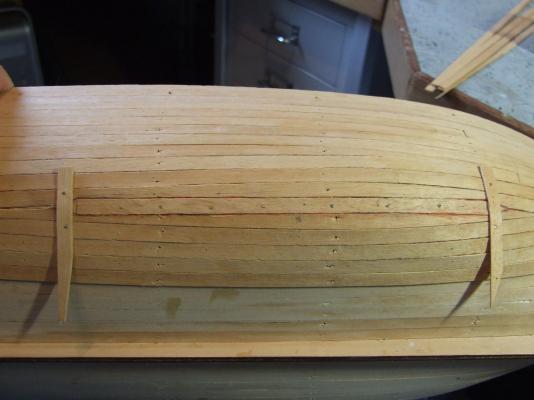
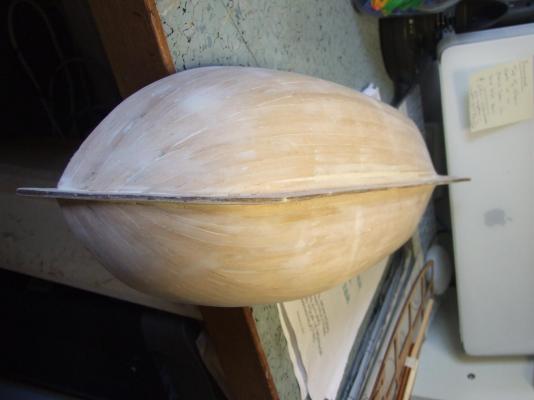
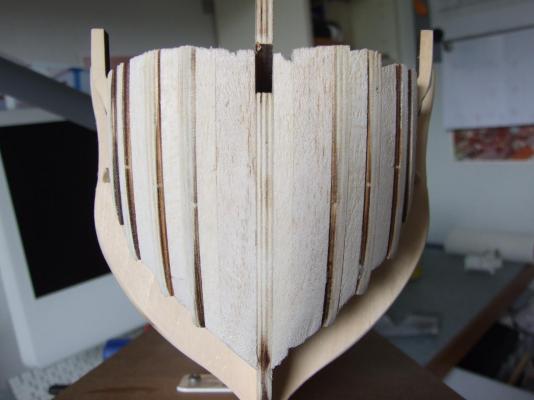
Progress report. First planking completed - pretty rough but I have two more layers to go to improve my technique. Second planking complete. A little better but still full of errors some of which have been sanded out. Thank goodness for sanding products! The hull structure is now strong enough to let me remove the 2/3 of some of the bulkheads which are no longer needed. I am pleased to get shot of them as this allows me to do some remedial work on the visible interior planking. Third and final planking. Fitting a drop plank to put right one of my technical errors. Third planking complete and in the sanding phase.Overall I am reasonably happy with this my second attempt to plank a model ship but, one of these days, I must learn to do it properly. I would love to watch a "master" at work.....are there any videos ?

- 49 replies
-
- 6
-
-
- lancia armata
- panart
- (and 2 more)
-
Hello QA, Thanks for that. I have no idea why triple planking was used. It is a bit of a pain to do but now that I have the end result is a very sturdy hull. Ah, so that is why it is trippled! There are no frames or bulkheads so the strength and rigidity must be within the hull itself. Until you asked the question I had not considered the obvious! Thank you for opening my eyes. The upside of this build is working in 1:16 scale. It is a delight. I shall post some updates to the build log in the near future. Mike.
- 49 replies
-
- 2
-
-
- lancia armata
- panart
- (and 2 more)
-
Excellent information. May I also point people to the book "What wood is that?" by Herbert Edlin. The book deals in depth with 40 different woods and comes with a sample piece of each one. Whilst this volume does not specify which woods a modeller should use it provides a heap of information and would make a useful companion to Aitch's document. The book is available from numerous sources on line and in the UK retails for c £16.00. I am in no way related to the author ! Mike.
-
Some time back I asked a question regarding obtaining these paints in larger quantities. Yesterday I was told by the people at JoTika that they are trying to source suitable containers for that very reason. Watch this space. Mike.
-
Great tool! Good for transferring dimensions from scale plan to model. Take care of the nice sharp points as they are great for "pricking off" measurements direct to your timber. Mike.
-
John, Thank you for directing me to that excellent web page. All my questions, even some I had not asked, are now answered . By the by once, as a very young Royal Navy sailor, I was part of a guard of honour paraded at the quarterdeck rail on Victory for the 1958 Trafalgar Day ceremony. Once again, many thanks. Mike.
-
Thank you Druxey......for the paint info and the promotion! Mike.
-
I am building the Panart Armed Pinnace. The instructions suggest a mainly varnished finish but I would prefer to paint the model in British Naval colours for that period. An ideas would be appreciated. My thanks in anticipation, Mike.
-
Hello Hamletmike, I am also building "Surprise" from AL. The instructions and plans that I received were very basic but by the sound of Ulises Victoria things have improved. Some of my timber was poor and dowels were warped but I can work round that. The historical accuracy is another matter. AL have produced a generic frigate that needs research input from the builder to make it HMS Surprise. On the other hand simply follow their instructions and you will achieve a nice clean model.....just not Aubry's ship. I am sorry that my build log is so sparse but I mean to update it soon. Best of luck! Mike.
-
Has anyone seen Admiralty Paints available in containers larger than 15mL in the UK? Alternatively does anyone have a source of equivalent colours in larger quantities? My thanks in anticipation, Mike.
-
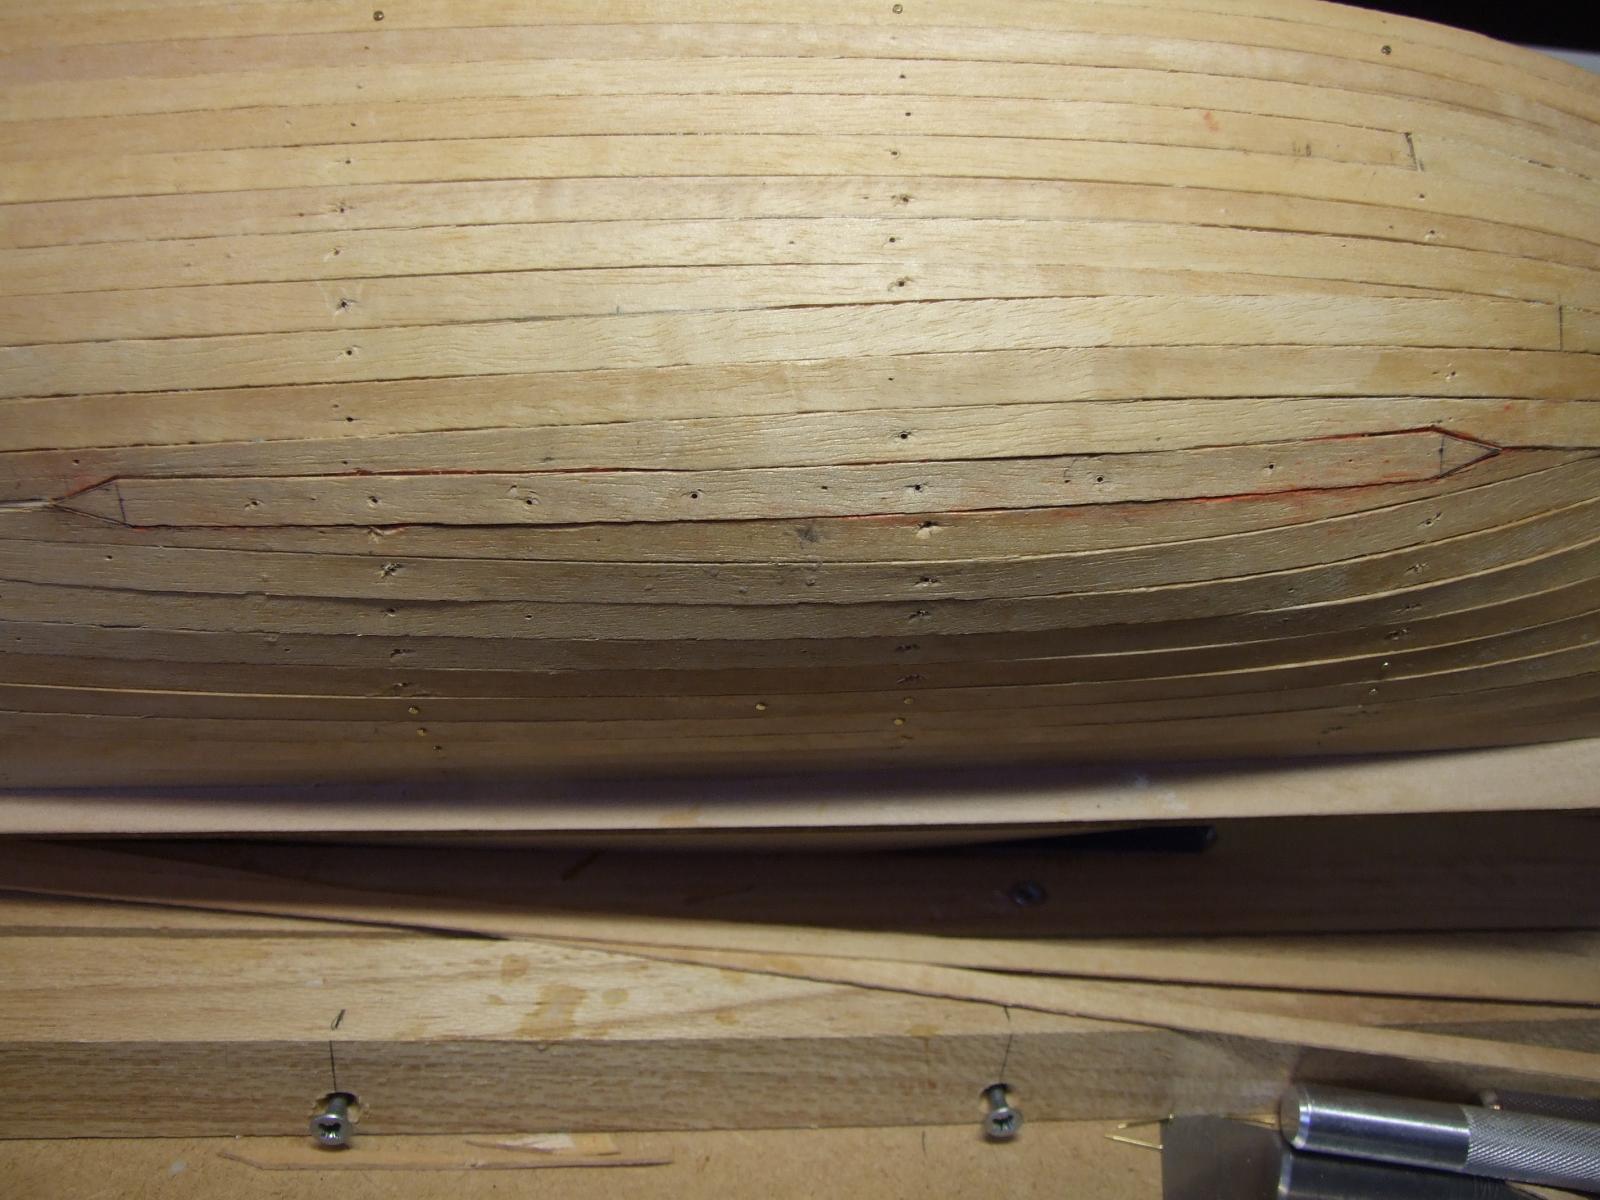
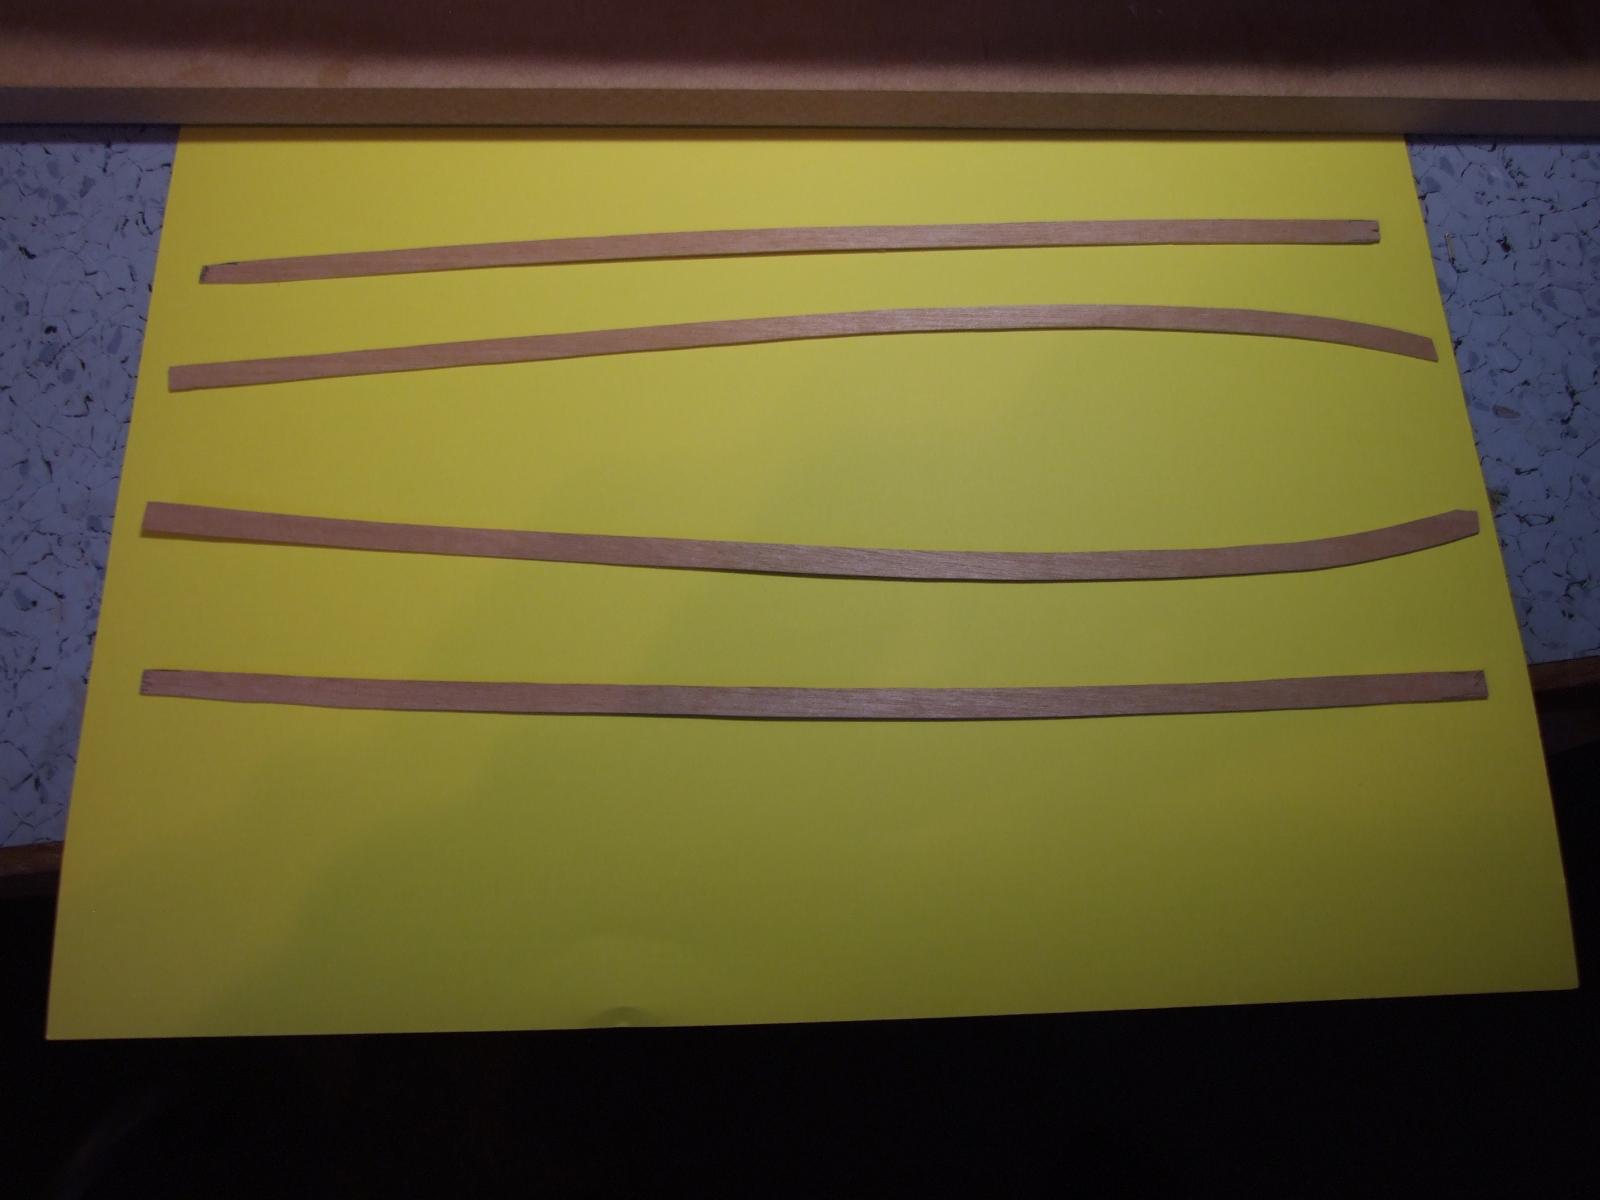
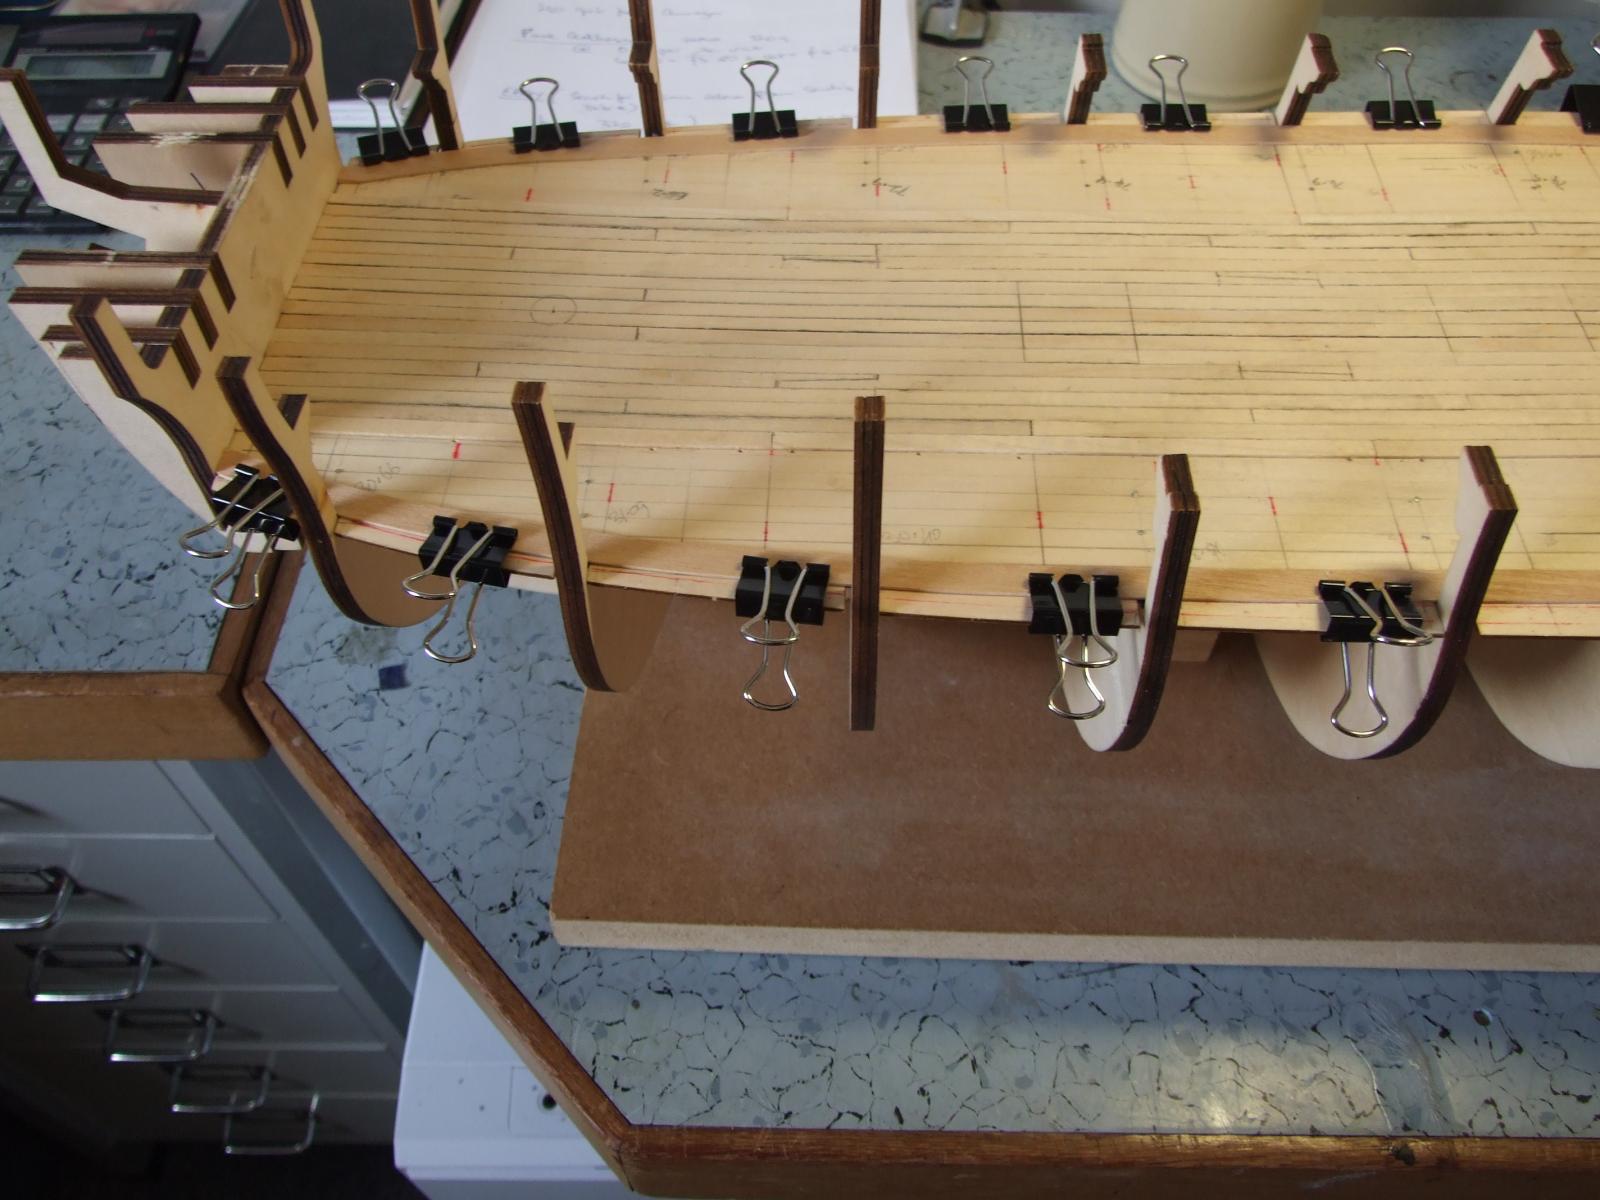
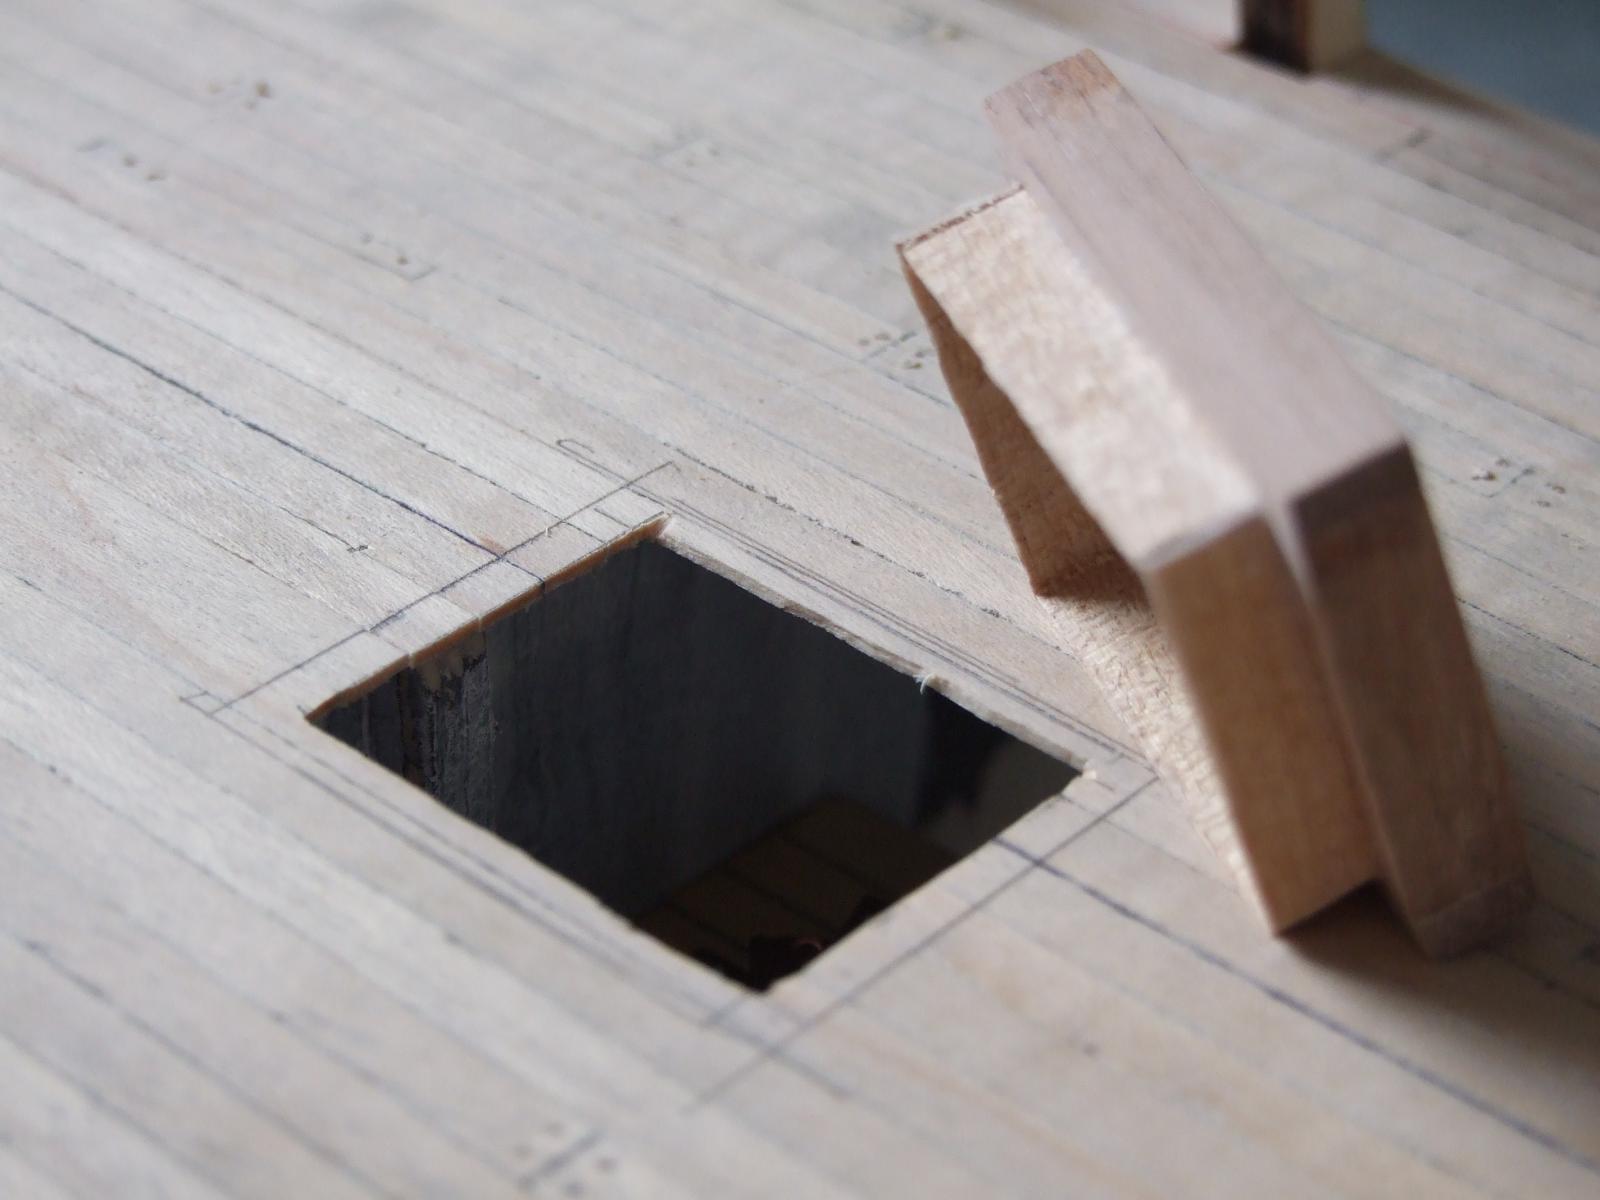
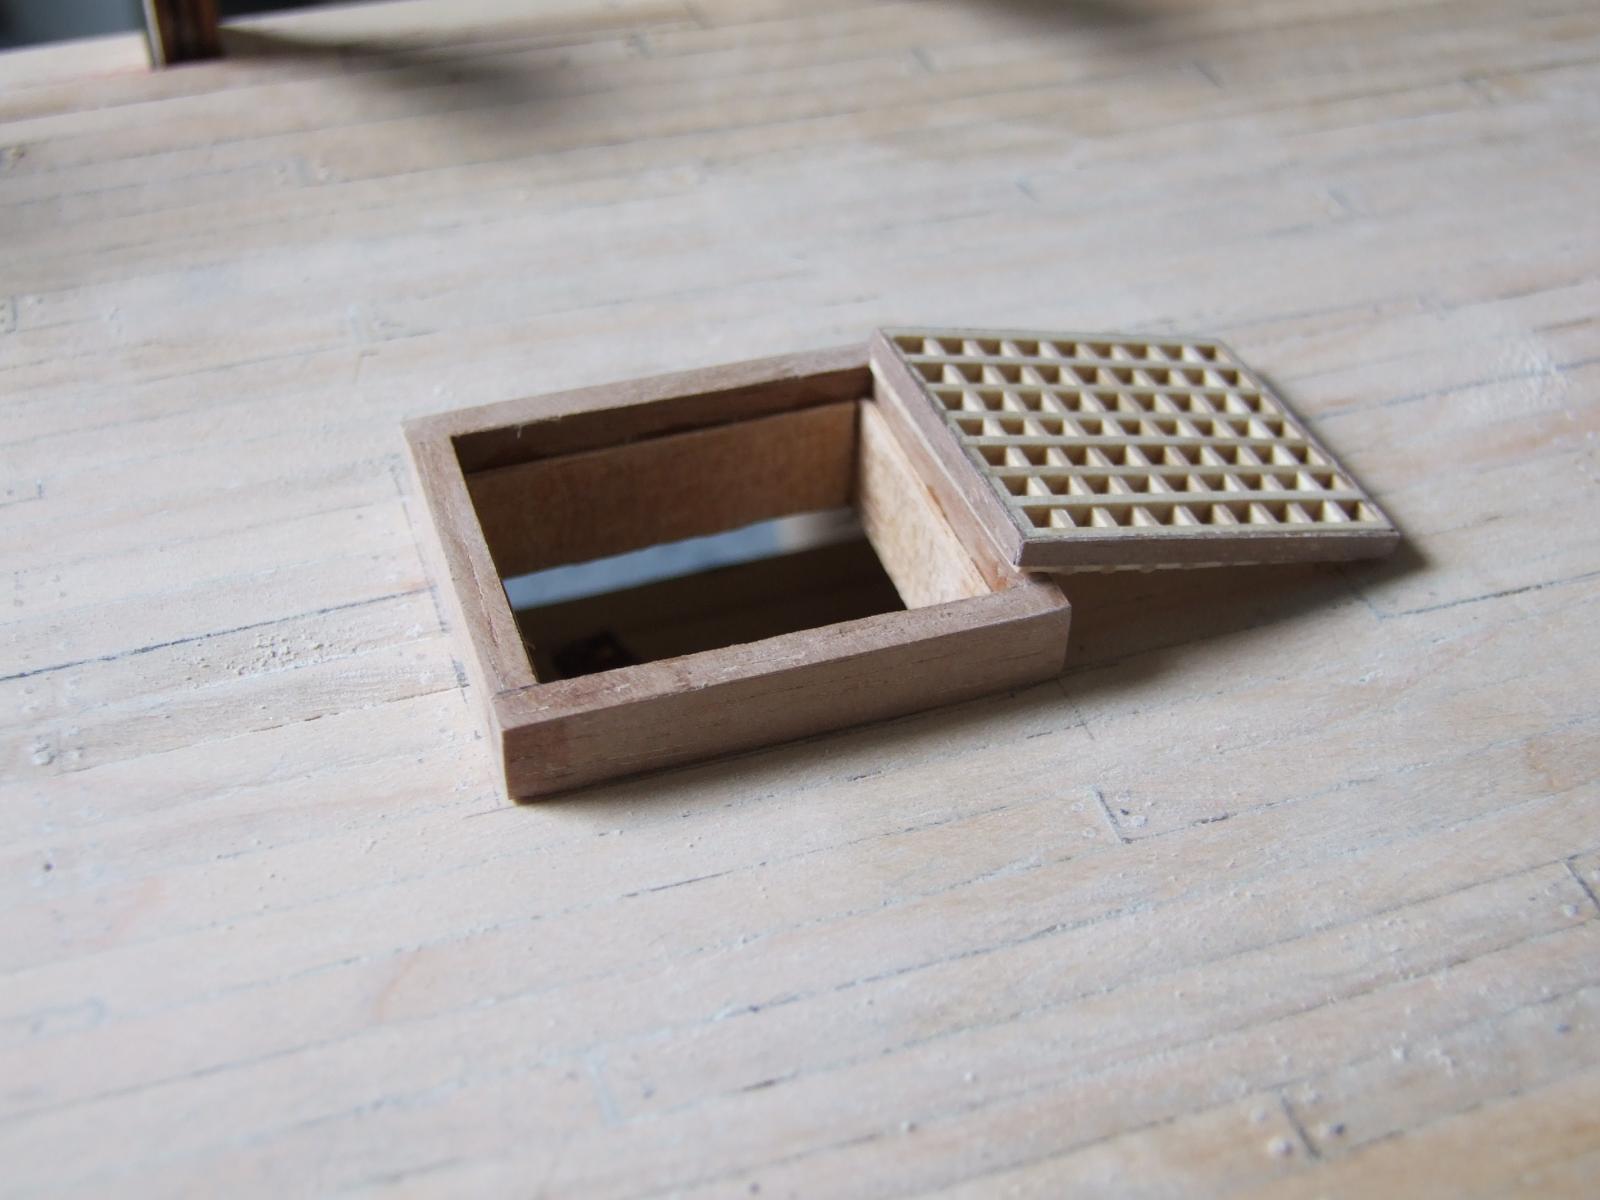
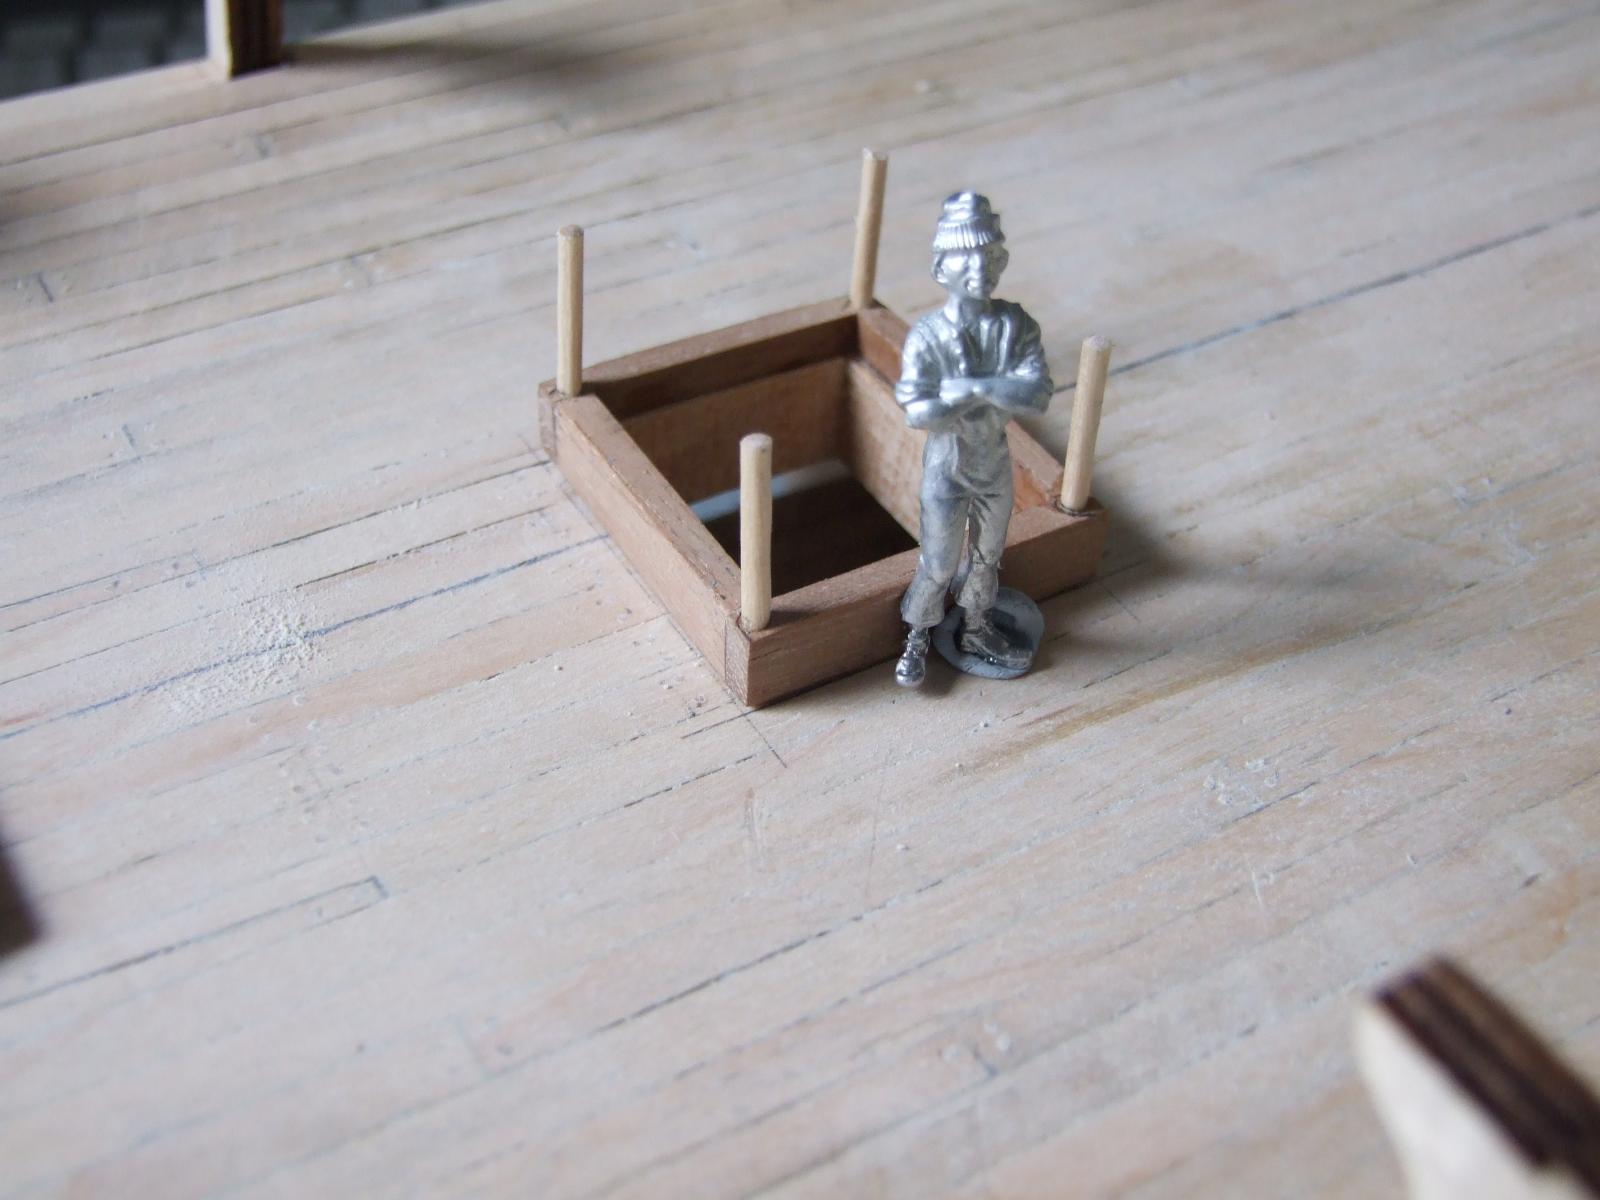
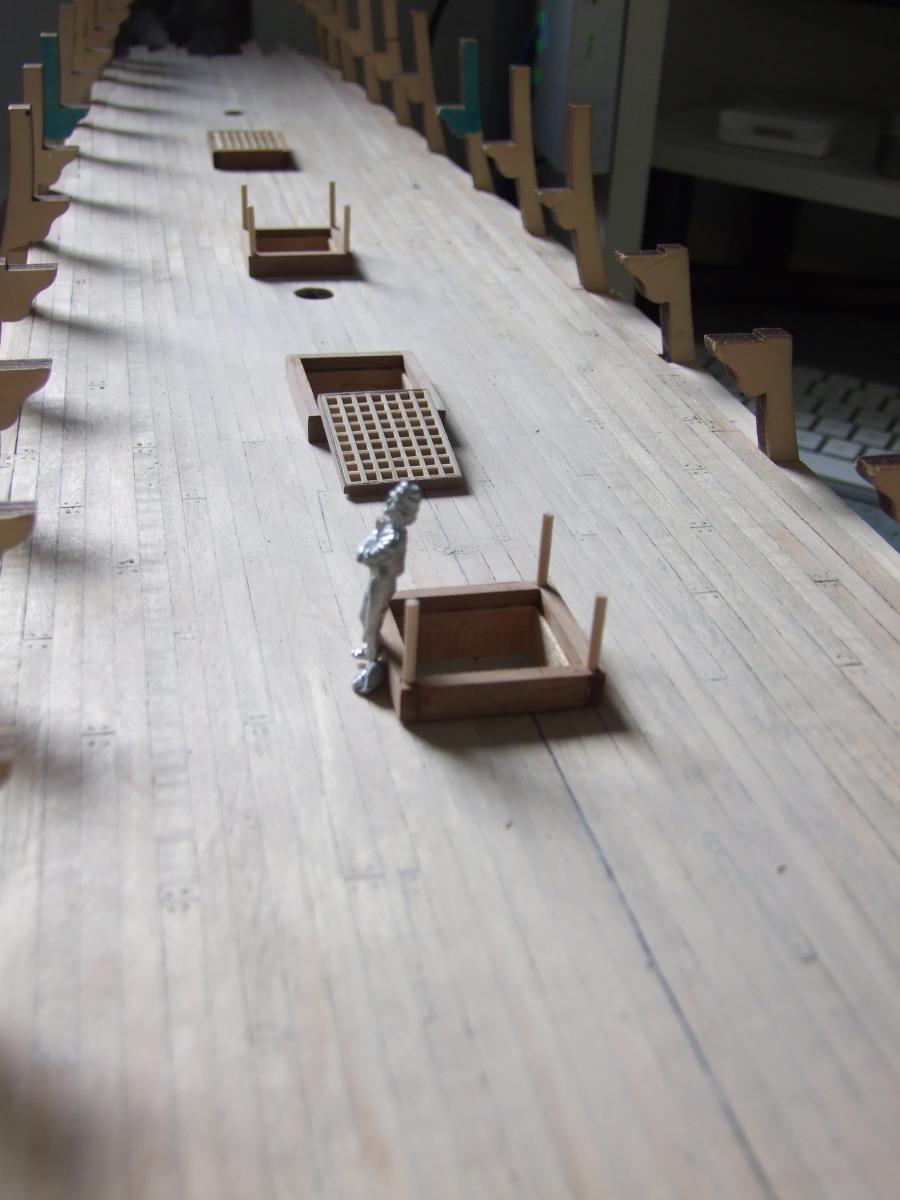
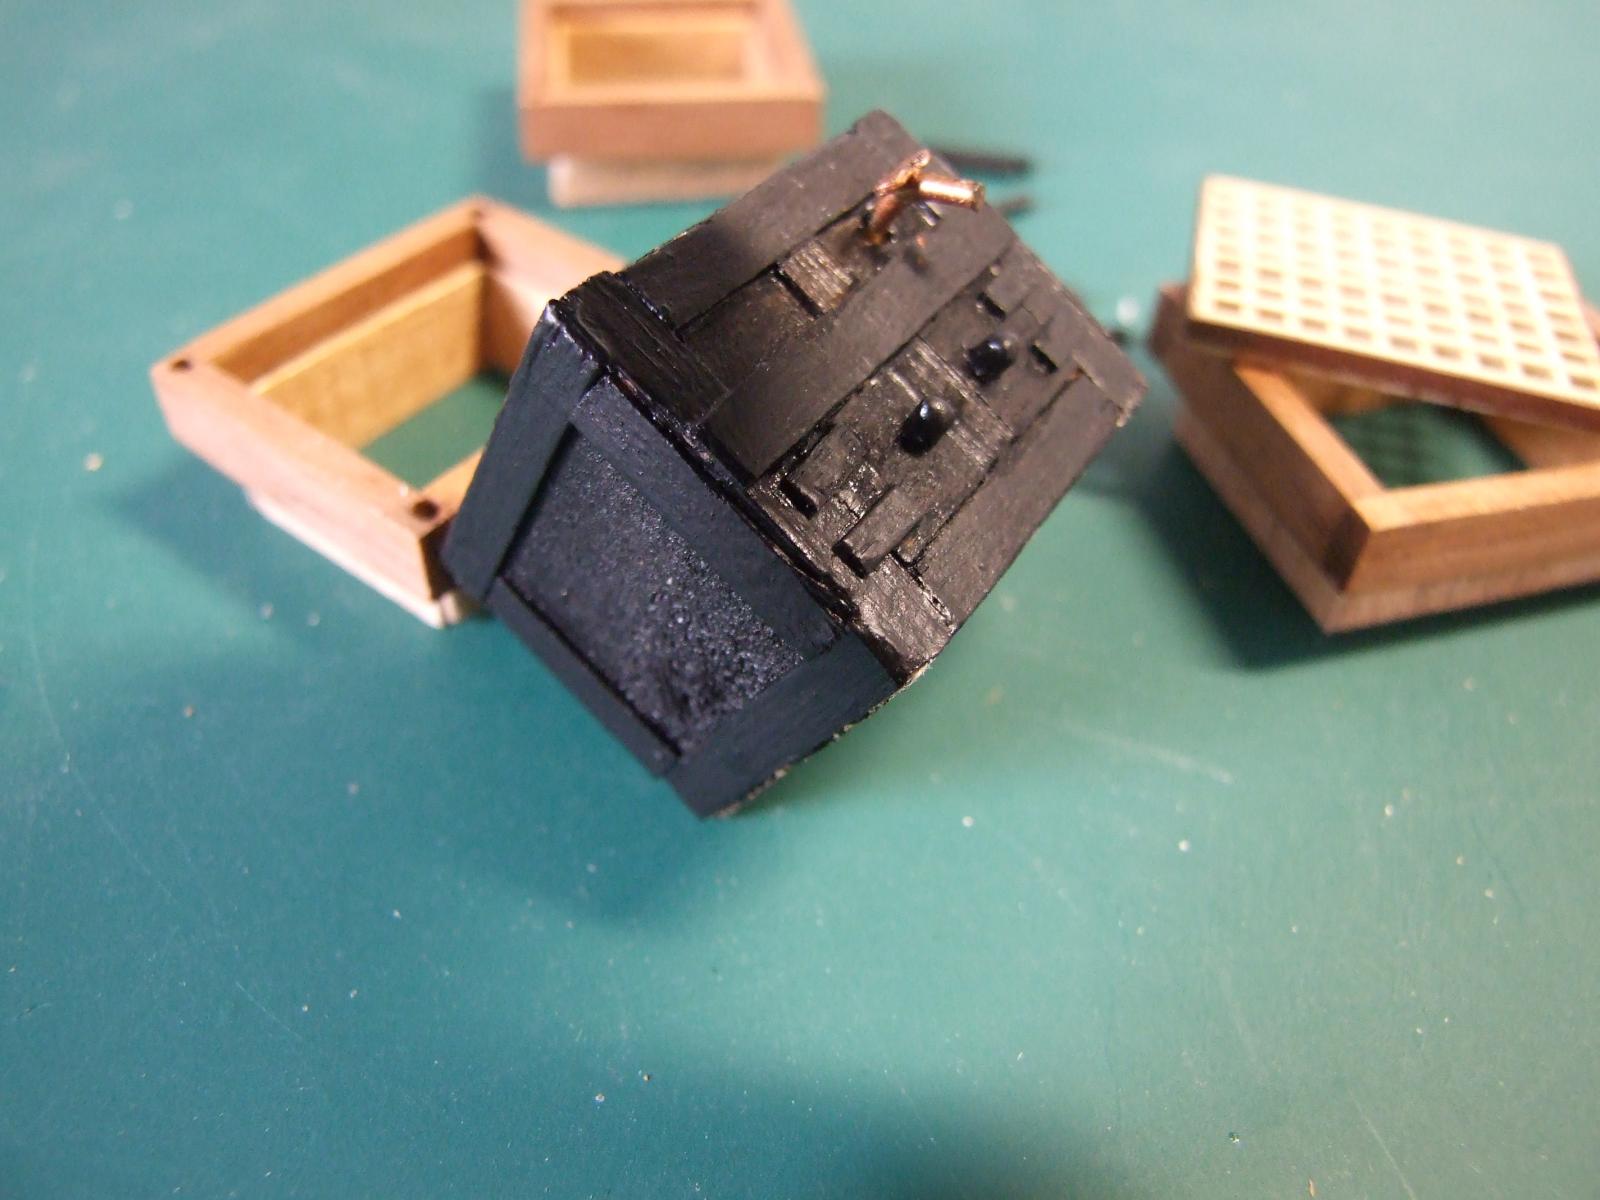
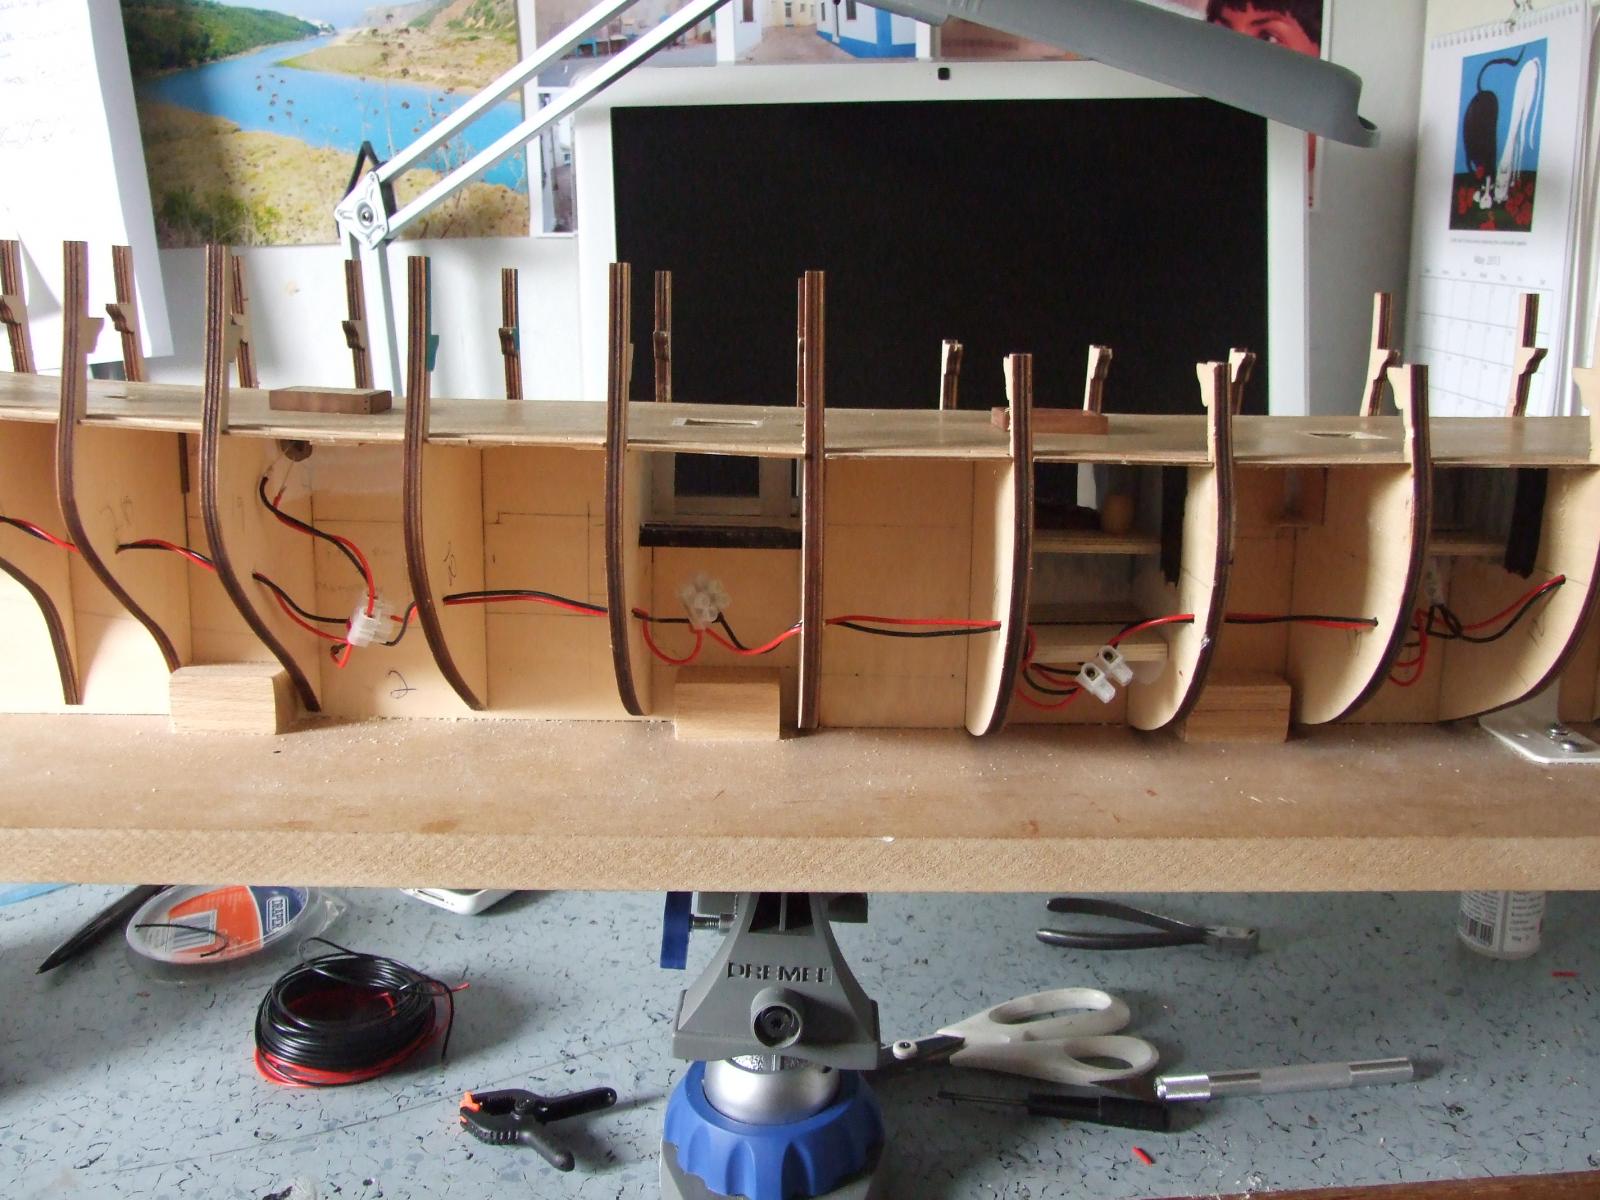
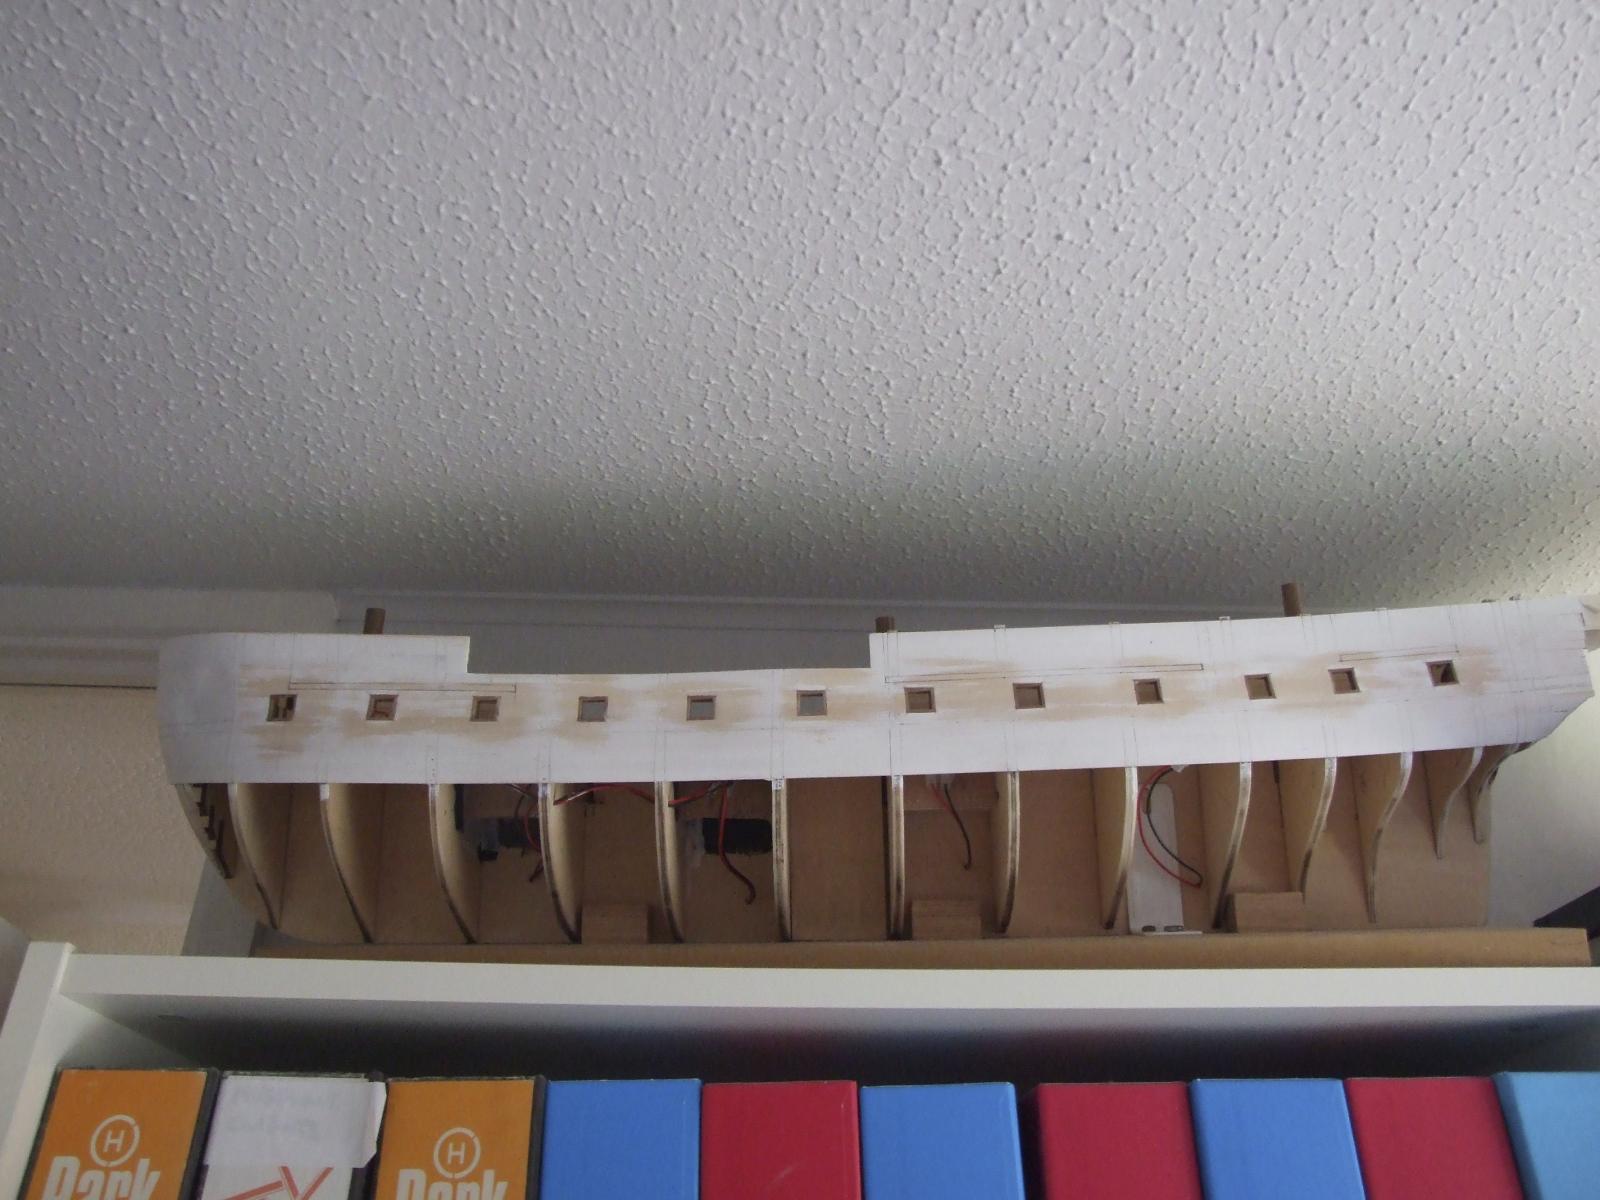
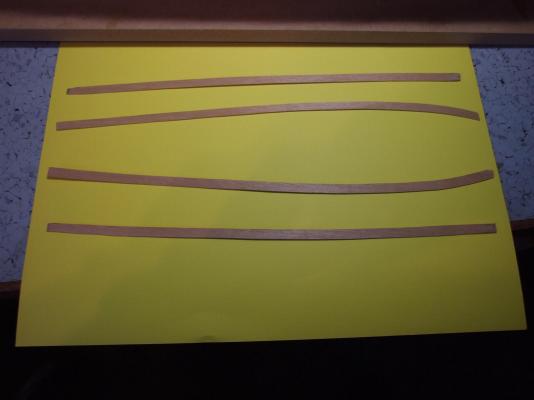
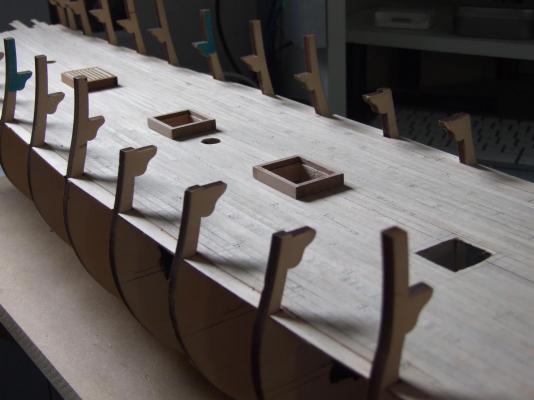
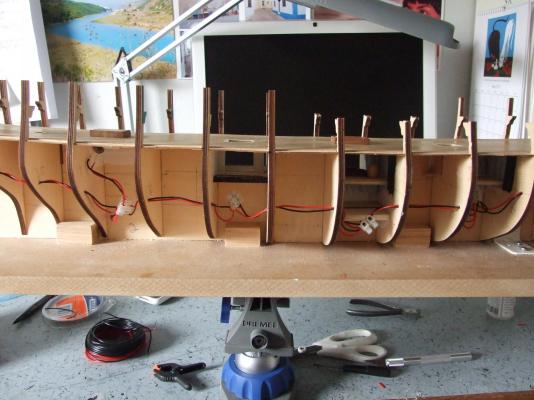
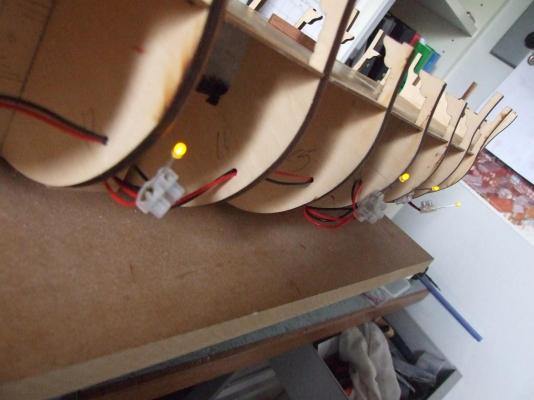
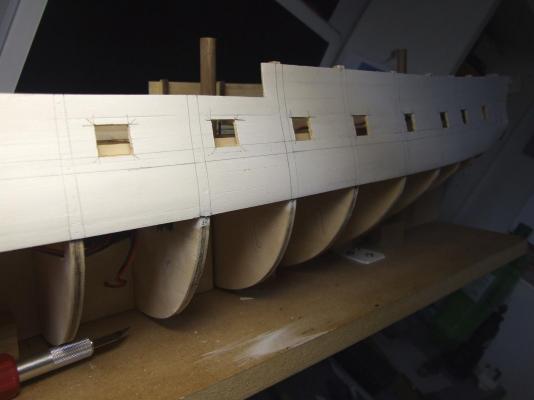
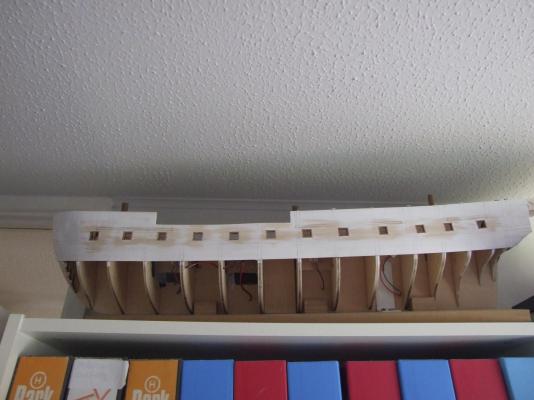
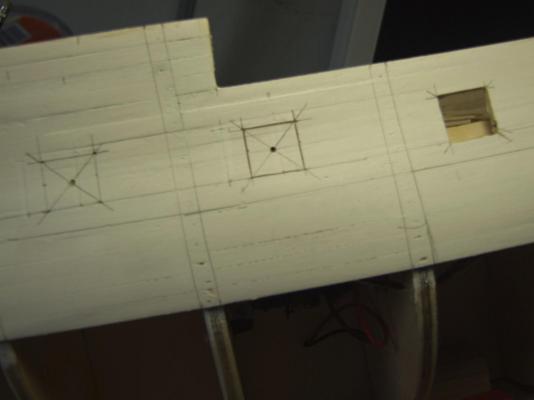
Back after a break to make progress on my Armed Pinnace build (see). The following three images show work towards the completion of the margin planks which were fitted in four pieces an then further "joints" were added with scalpel. The hatchways and ladders do not follow the kit but are, I hope, true to the Surprise of this build. The rudimentary stove is made from balsa with scant details applied. I made the hatches and ladder ways as modules and the linings clean up the deck piercings quite well. Wiring for LED lighting installed. The small LED seen here is, in fact, too small for large areas but will be used as general gun deck lighting. Larger, 5mm, LEDs will be used elsewhere. All LEDs are "12v" with internal limiting resistors. The exact arrangement of the lighting is not yet determined but pre wiring to all possible areas will sufice for now. No LED will be "seen" only the glow. Blocking the bows and starting first planking. Once all the upper planking is completed I intend to sand back, fill, re send then seal and sand again and then apply a base coat ready for final painting. More anon. At 04/04/2014. I have paused this build to concentrate on other projects and also to think about how I am going to solve a rather major misalignment problem. I may have to fudge the issue and simply make it look good where seen. In the mean time a little further progress was made as can be seen from the following 5 images. That's all for now folks. HMS surprise is signing off for now.


-
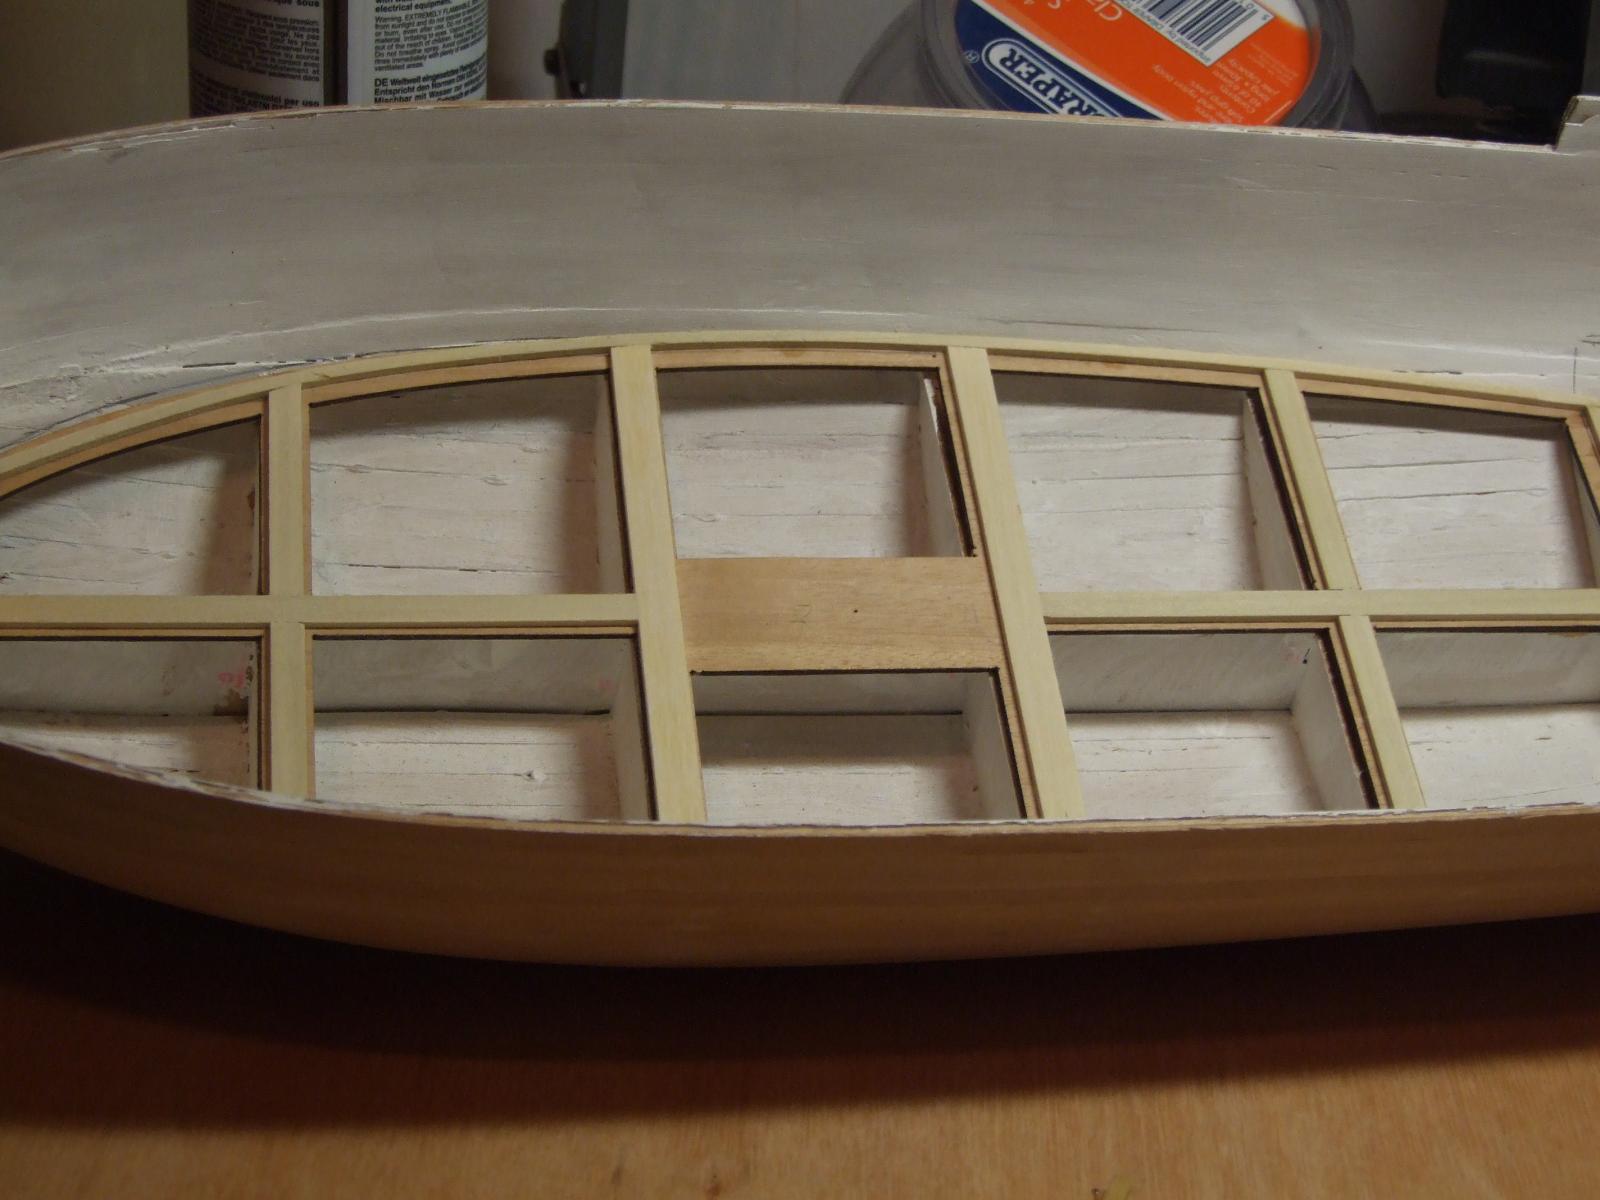
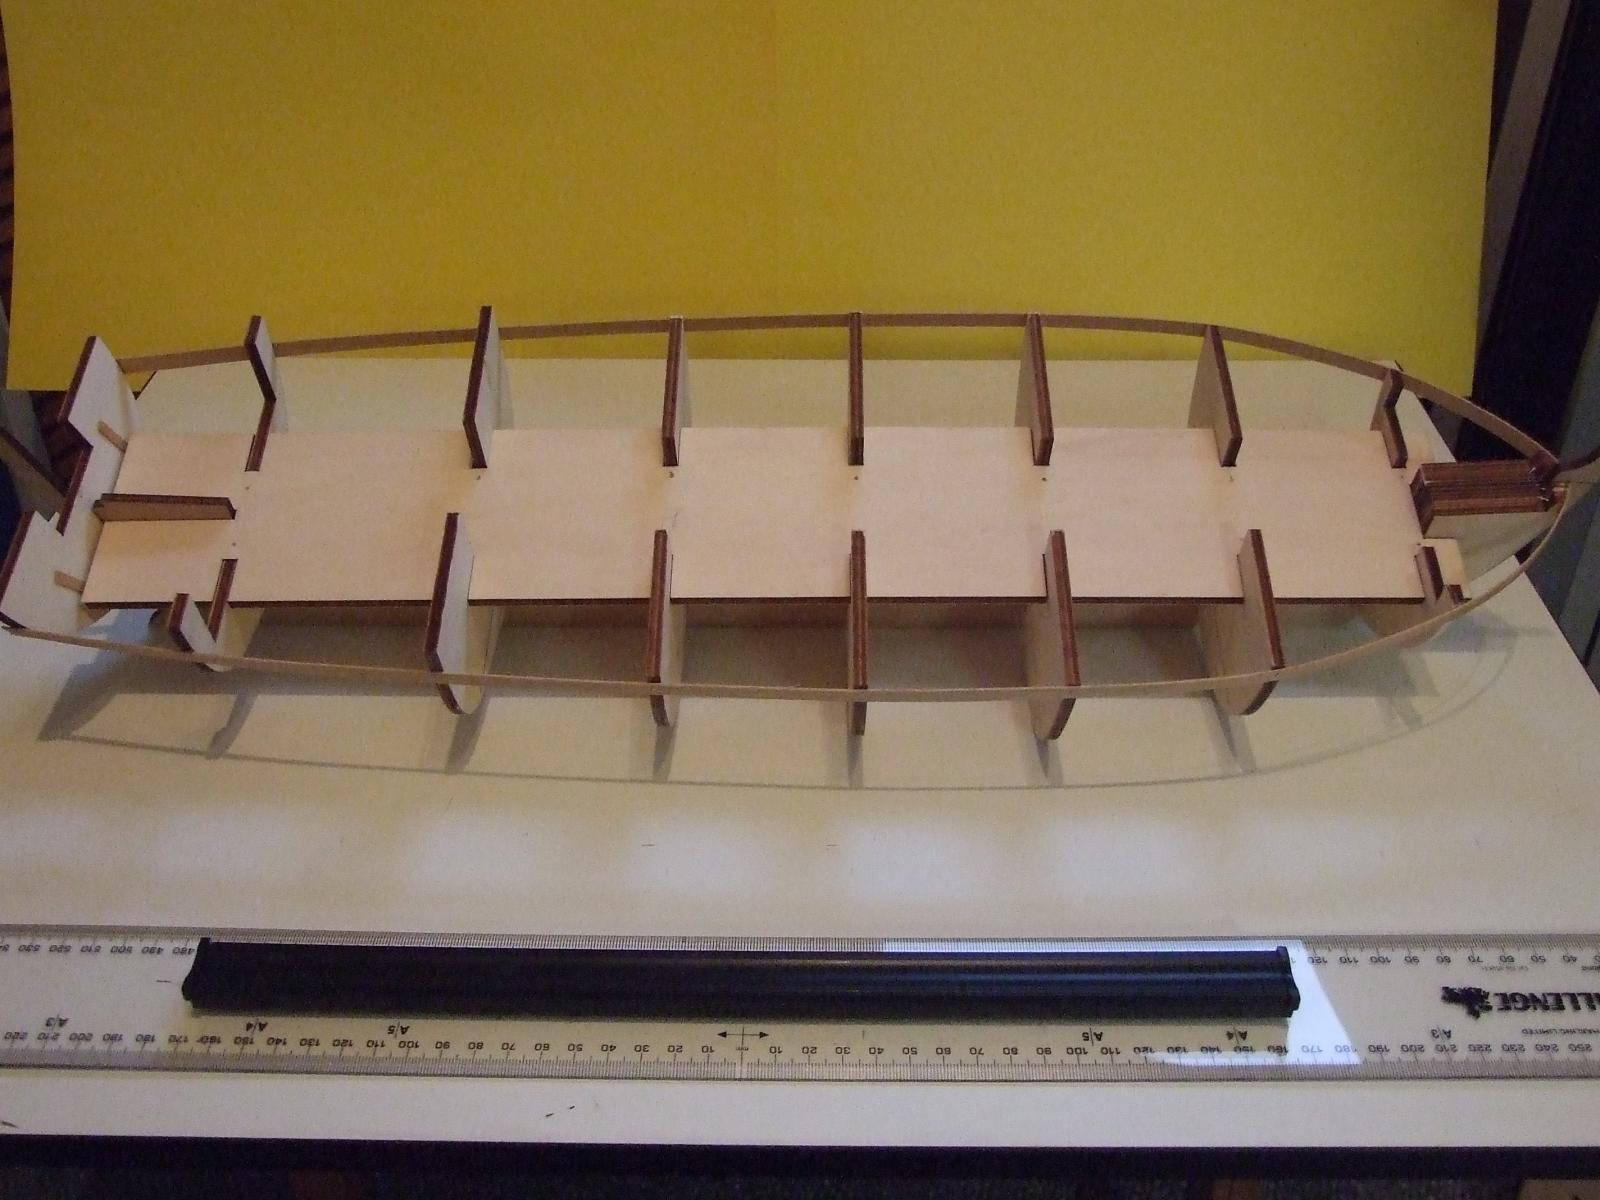
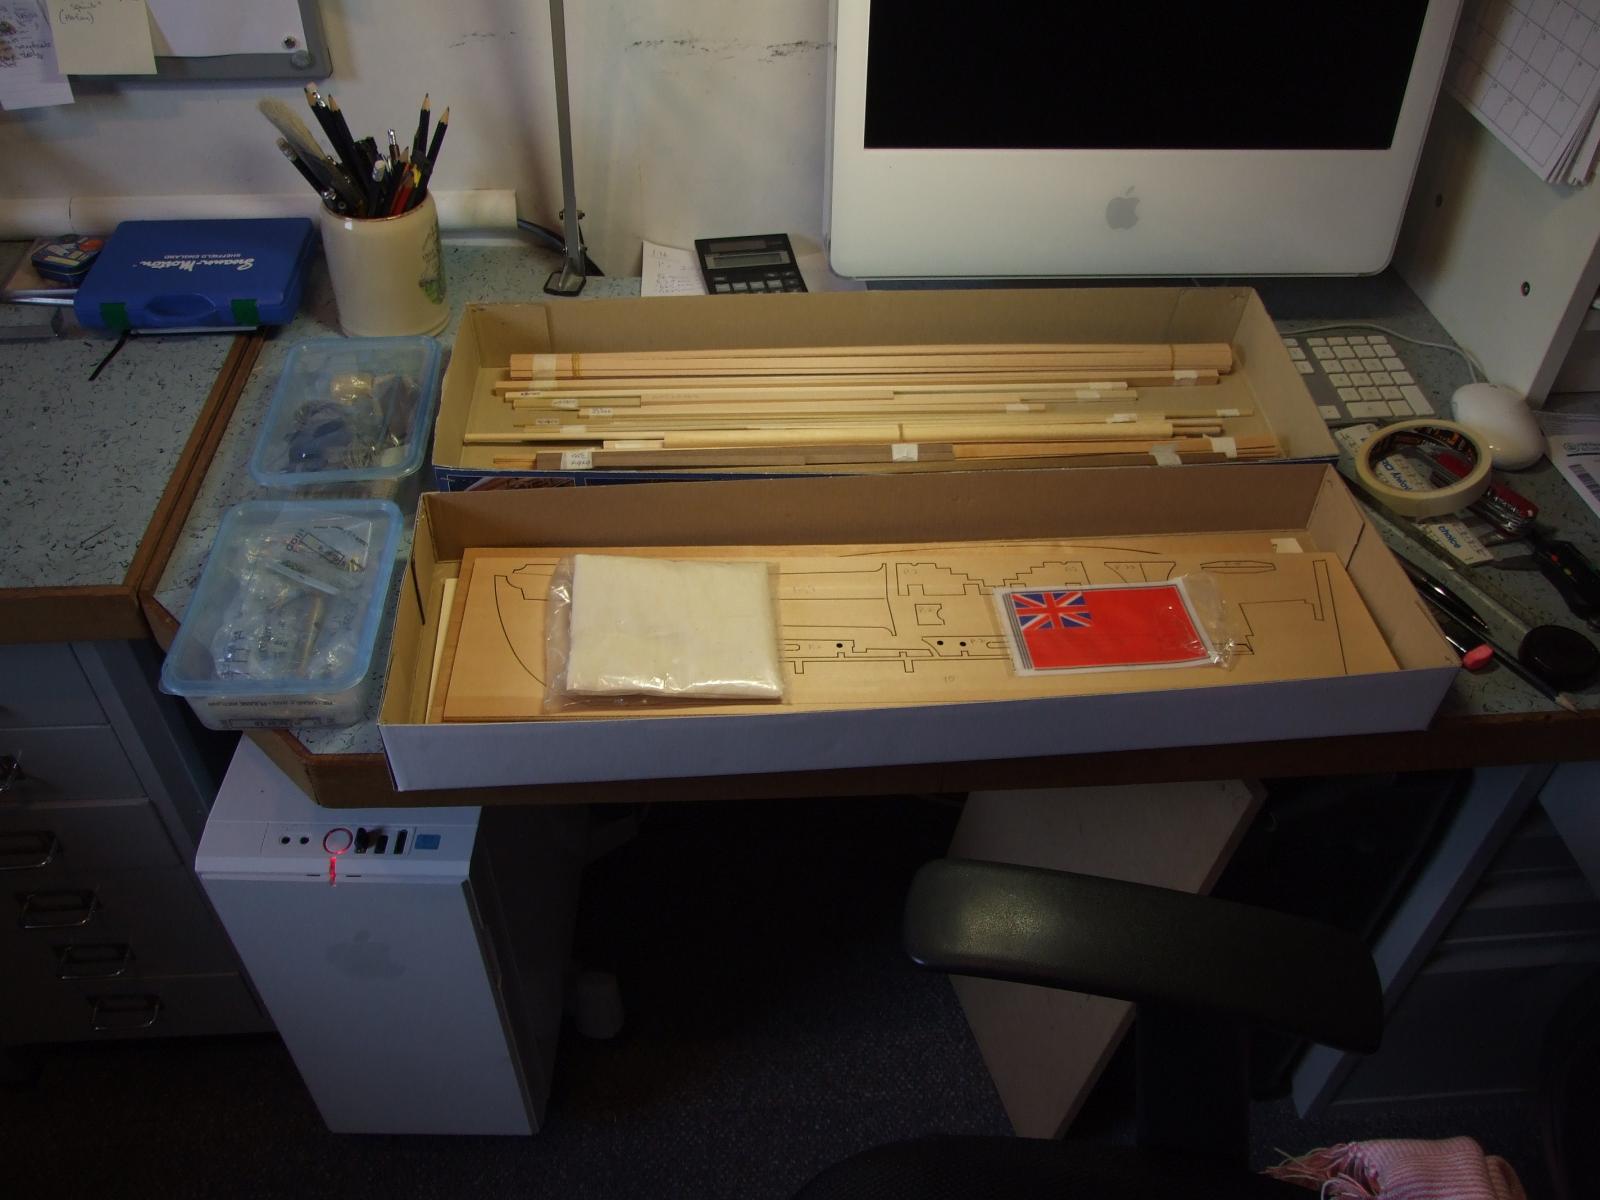
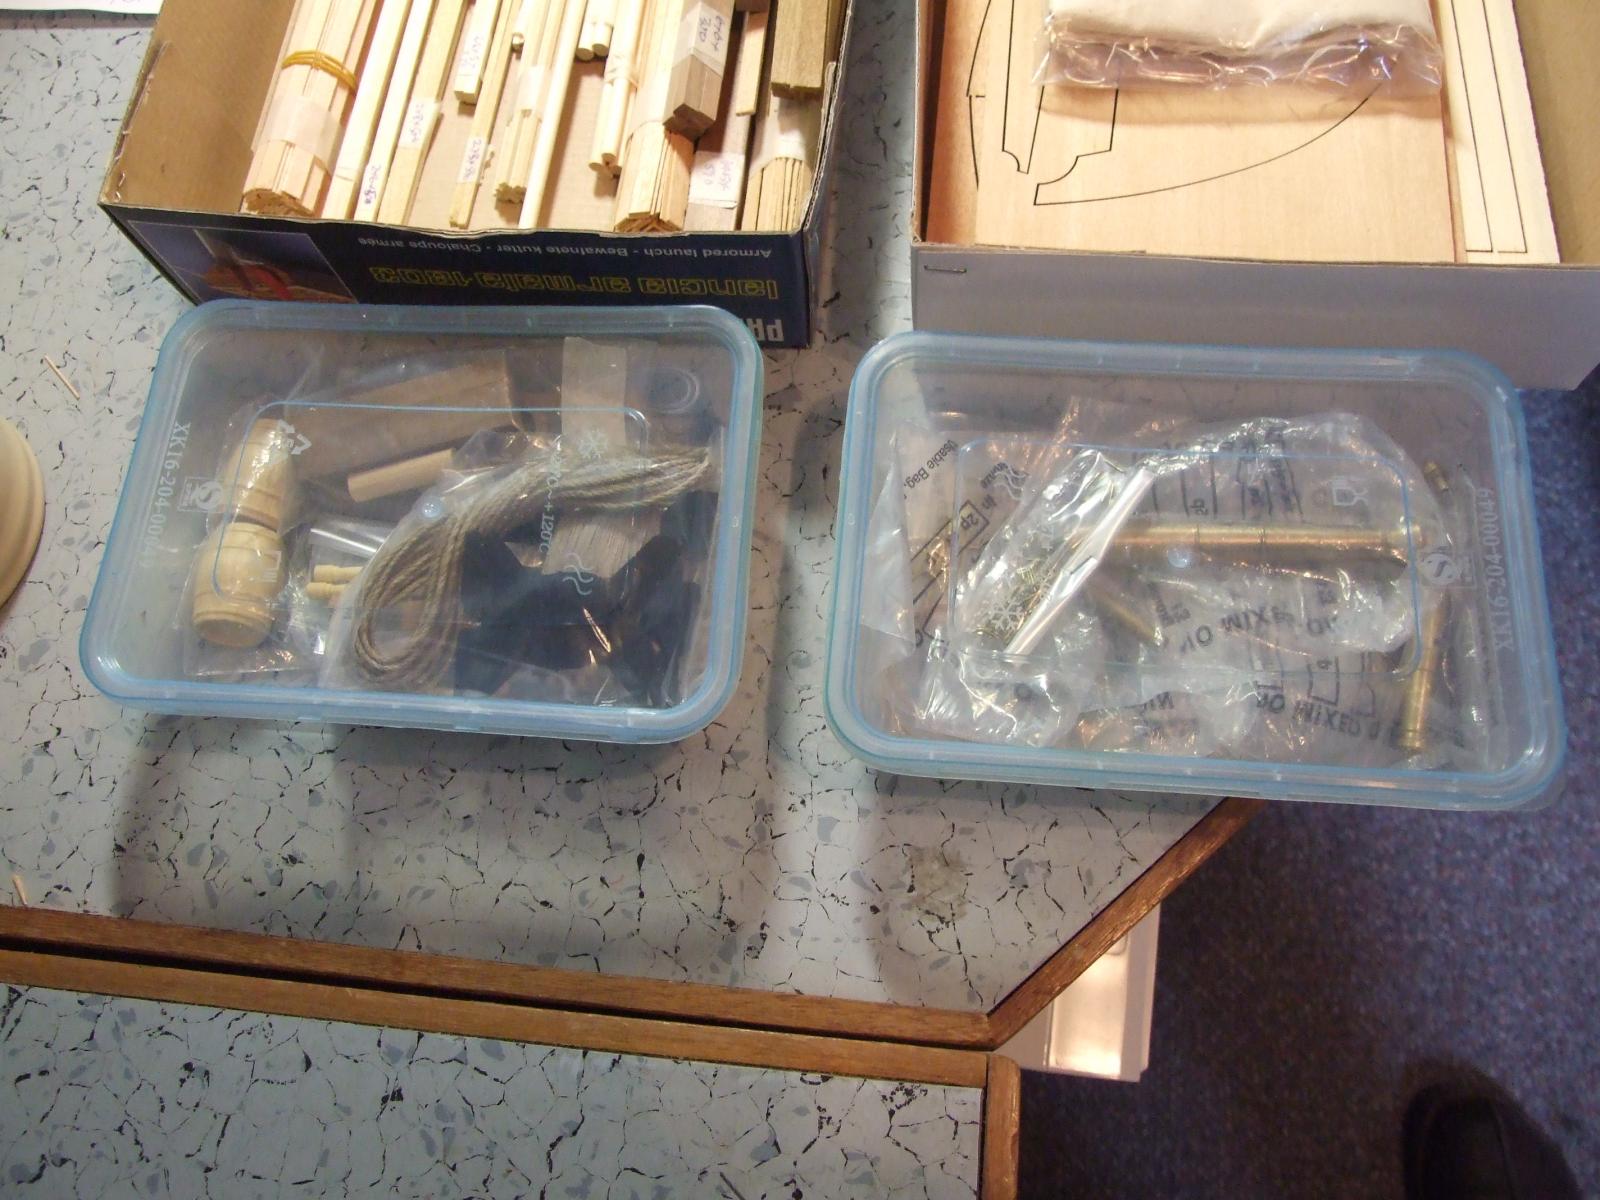
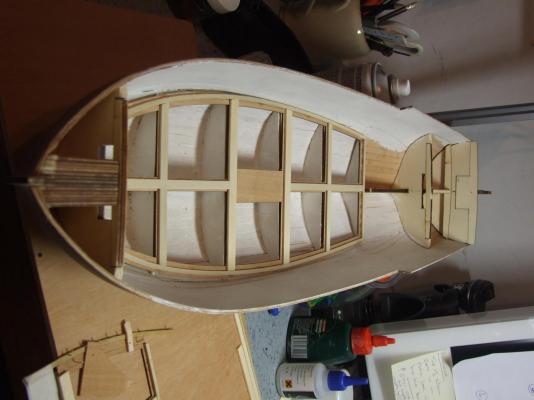
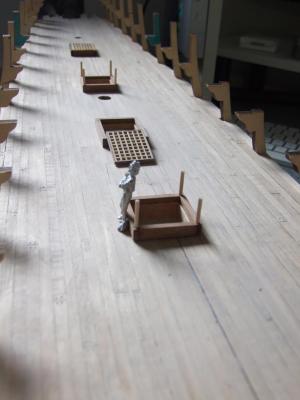
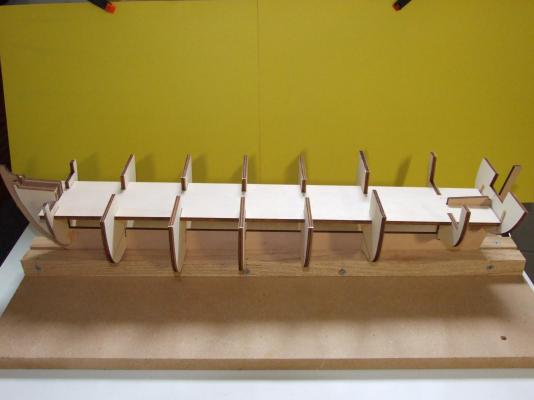
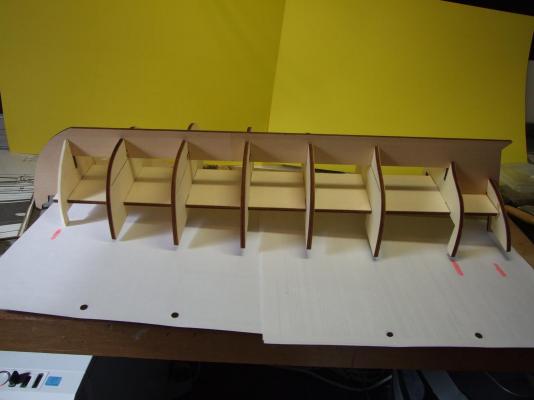
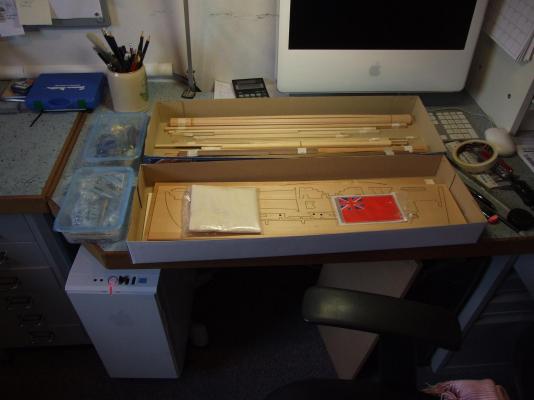
At last I have made some progress on this model. As I said earlier my intention was to use this build as a break from my HMS Surprise build and to try my hand at a larger scale model. What has in fact happened is the realisation that I do not have enough time to devote to one model let alone two! Never the less progress has been made on both models. The following is a simple photo diary of 1803 Armed Pinnace to date. This is as far as I have gone and the model is back on the shelf as I return to my HMS Surprise (see).


- 49 replies
-
- 4
-
-
- lancia armata
- panart
- (and 2 more)