HOLIDAY DONATION DRIVE - SUPPORT MSW - DO YOUR PART TO KEEP THIS GREAT FORUM GOING! (Only 13 donations so far - C'mon guys!)
×


mikeaidanh
-
Posts
344 -
Joined
-
Last visited
Content Type
Profiles
Forums
Gallery
Events
Everything posted by mikeaidanh
-

drill press/mill decision
mikeaidanh replied to peewee's topic in Modeling tools and Workshop Equipment
Though not a complete solution increasing the diameter of the finger spindles on the wheels seems to improve sensitivity. I just wrapped some tape onto the spindles to double their diameter for testing purposes. Mike. -
drill press/mill decision
mikeaidanh replied to peewee's topic in Modeling tools and Workshop Equipment
Brian, I hope you will post details of your solution when you find it. I would be very interested. Mike. -
I believe this traffic may bear fruit. I do hope so because I agree with the folk that have enjoyed good service....they can be good people to deal with. It was never my intention to bad mouth CMB merely to spotlight a silly failure to deal with problems proactively. Put that right and all will be well. No need for apologies Jan, no offence taken. It can only be good in the long run to air our grievances and get things sorted. Mike.
-
Sorry Jim but I do mean Cornwall Model Boats. The fact that you and others "have always had good service" is what makes the whole thing so infuriating. Here we have a basically good outfit who do not respond well when things go wrong. That is what needs putting right. Mike.
-
Hi Antony, Not exactly sure how long. I started about three months back but I have only worked on it for maybe four or five weeks. I have to admit that I get so involved that time becomes irrelevant but my Admiral just doesn't get it. Yet another reason to buy her a really good Christmas present! I am very interested in your cutter and particularly as you are clinker building her. I shall watch your progress very closely. Best wishes, Mike.
-
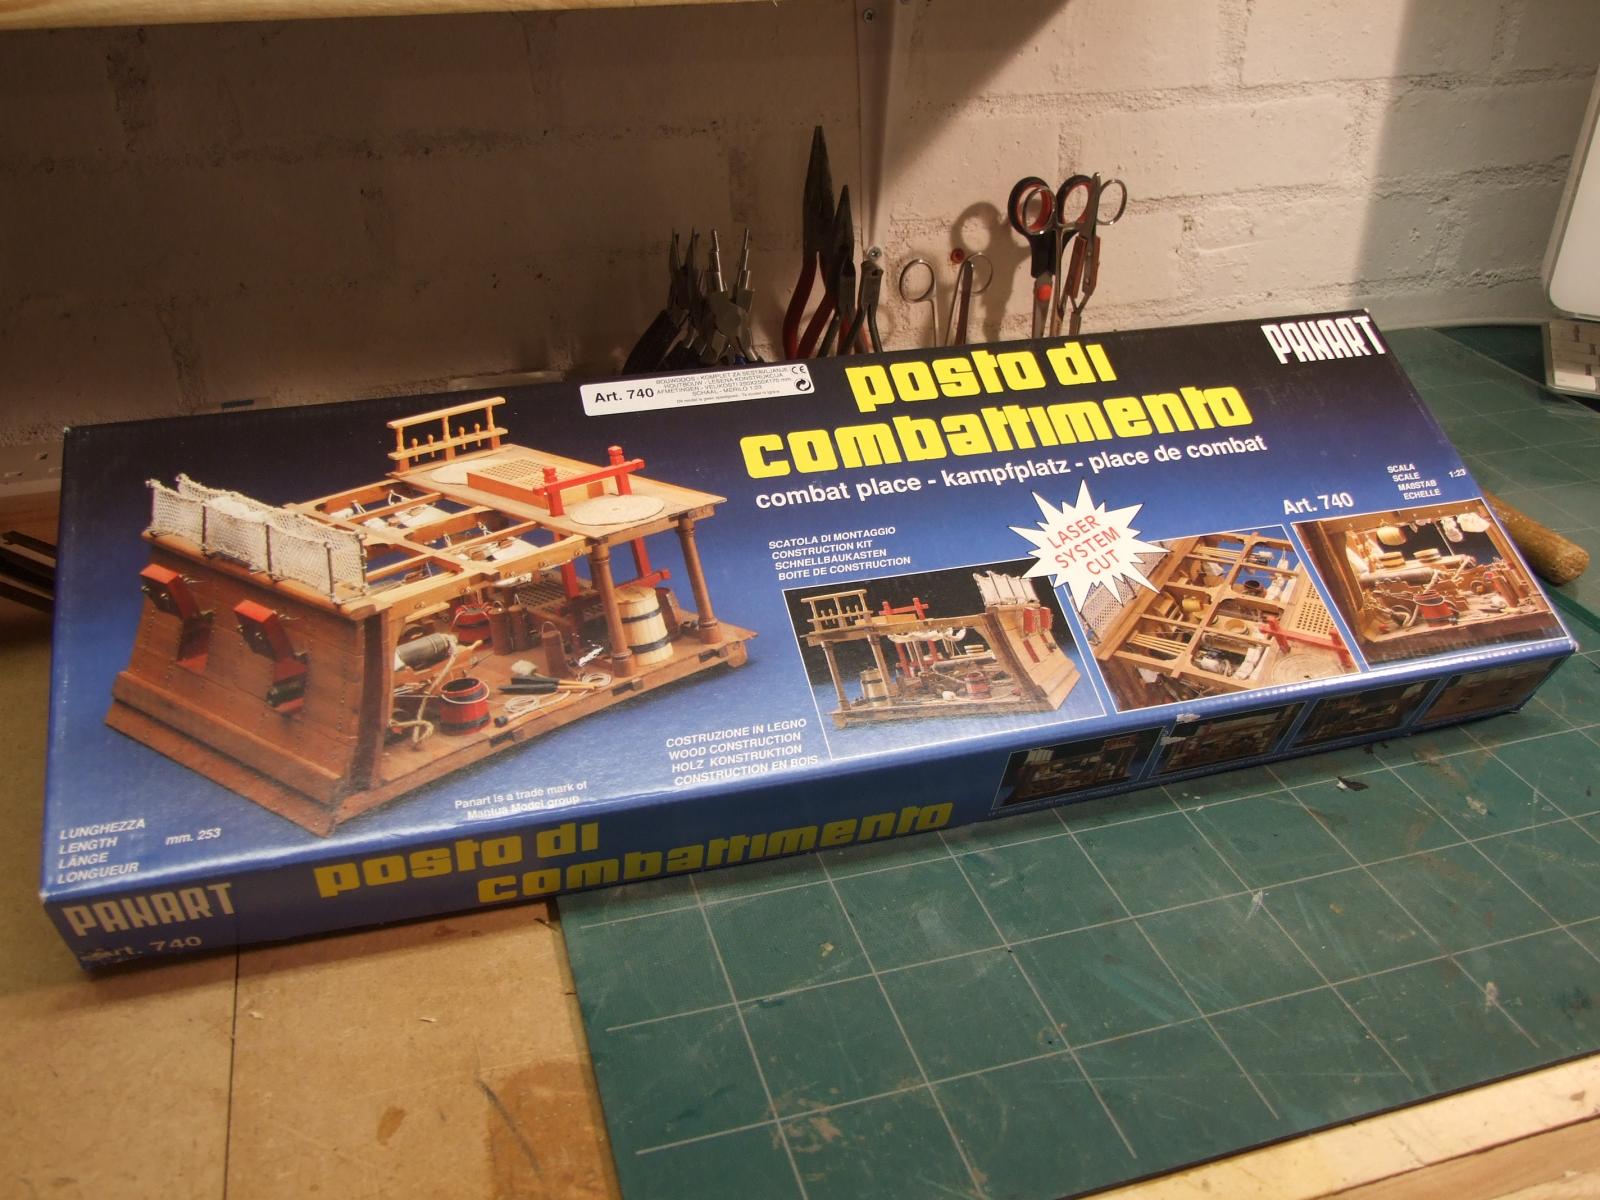
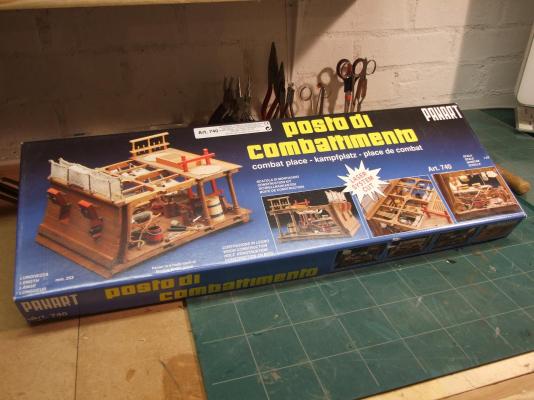
Thanks for the interest Shihawk and Bart. Bart, the kit is usually available in the UK and is currently on Cornwall Model Boats books for £130.00 I also put a quick search in and found at least one USA outlet offering it for $ 190. Hope this might help. Mike. Ps. In the USA it is called Panart Battle Station.
-
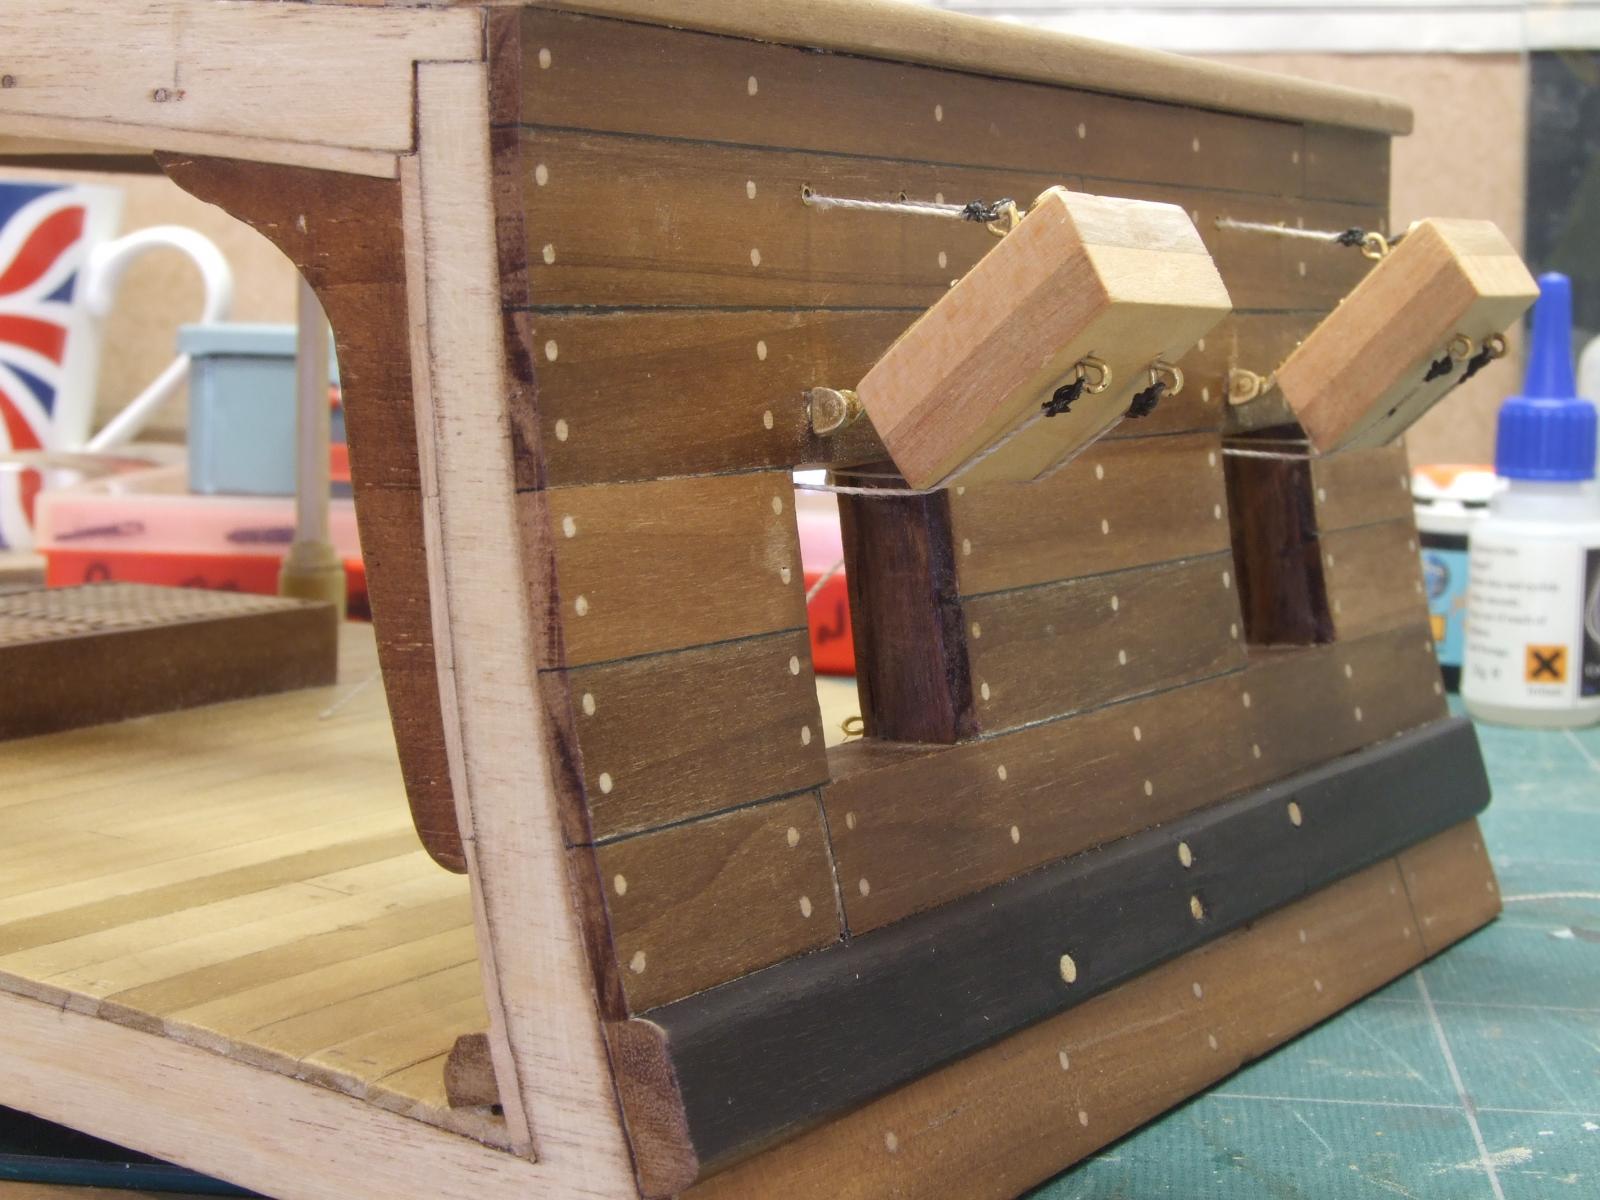
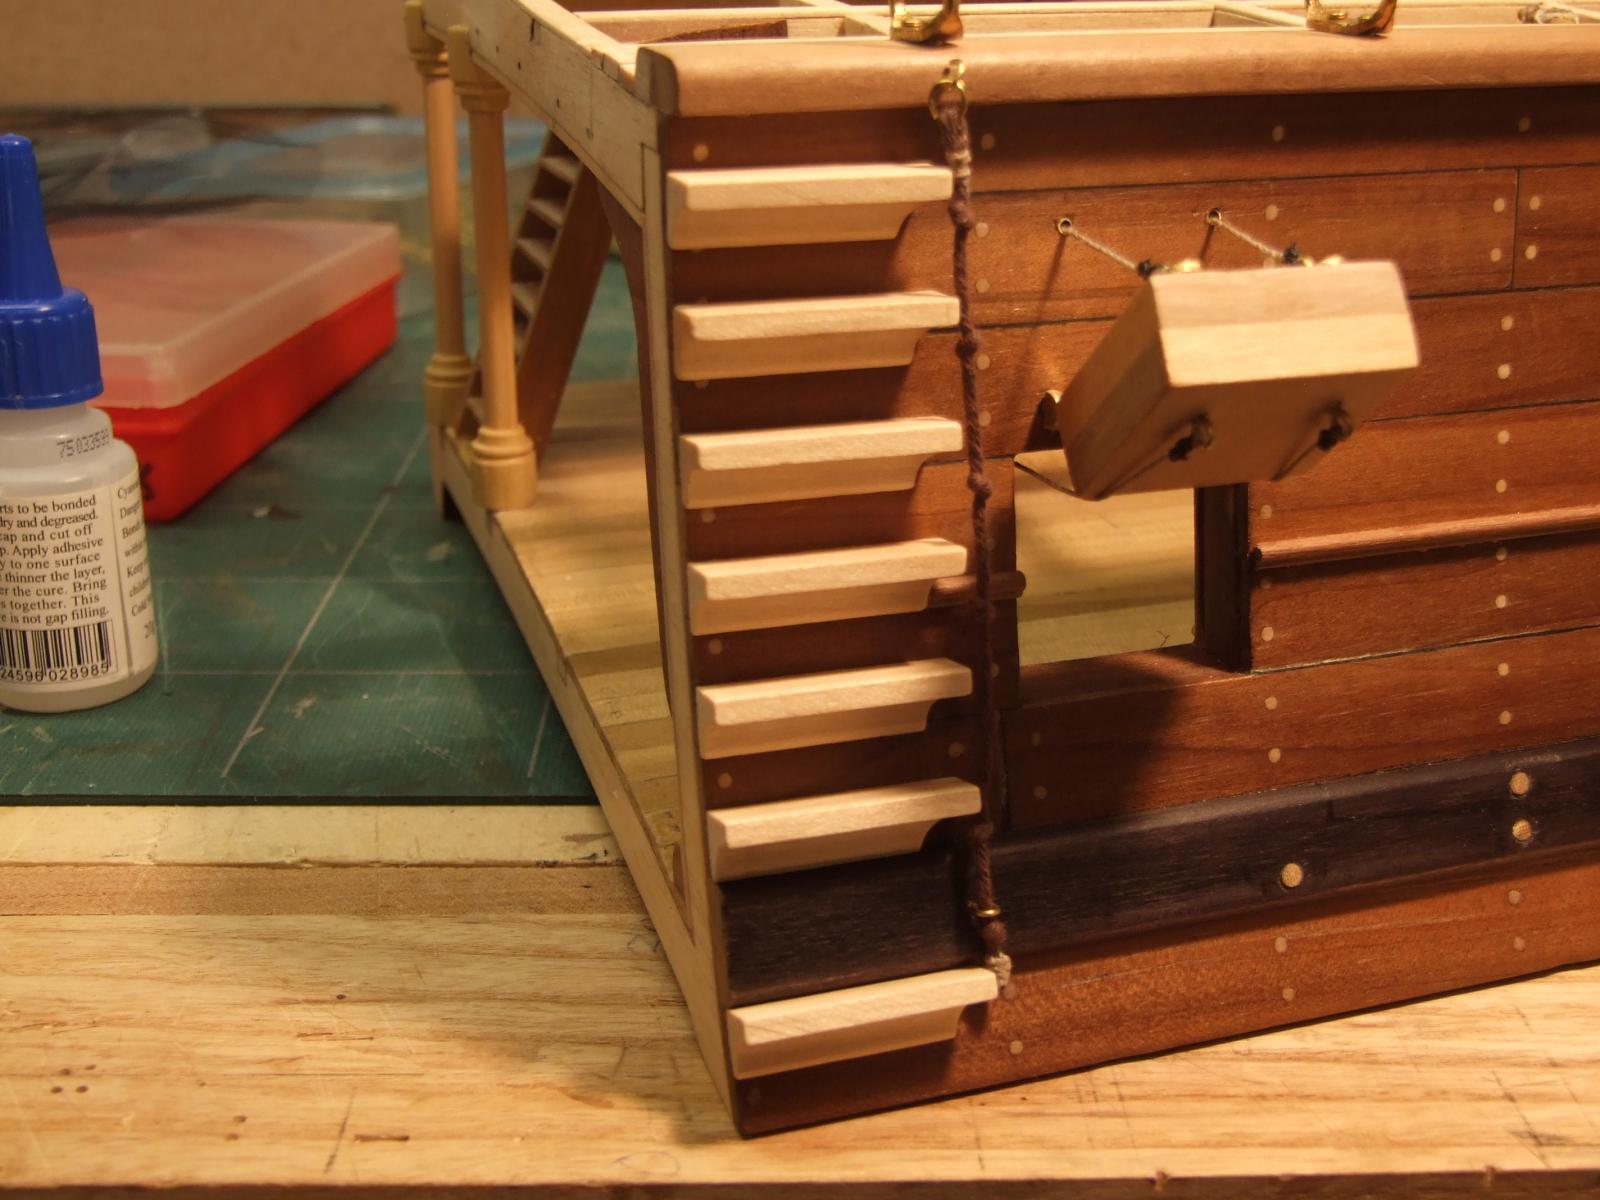
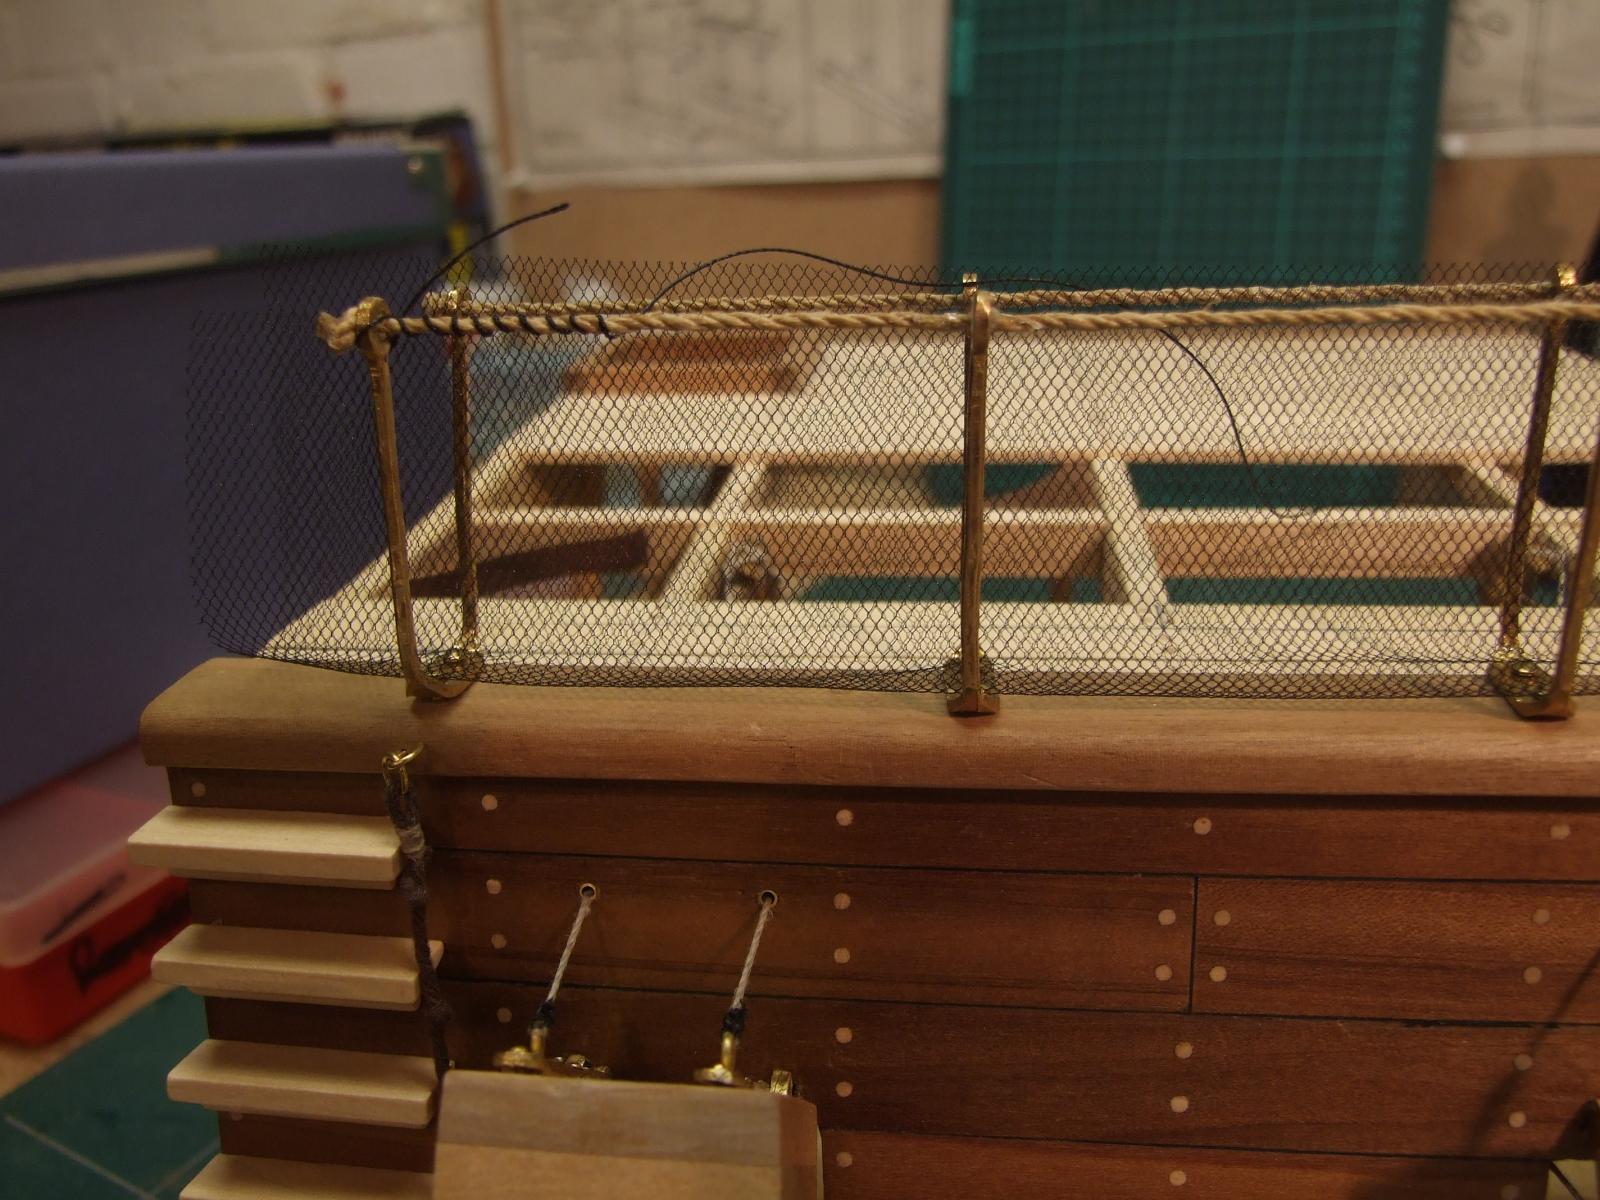
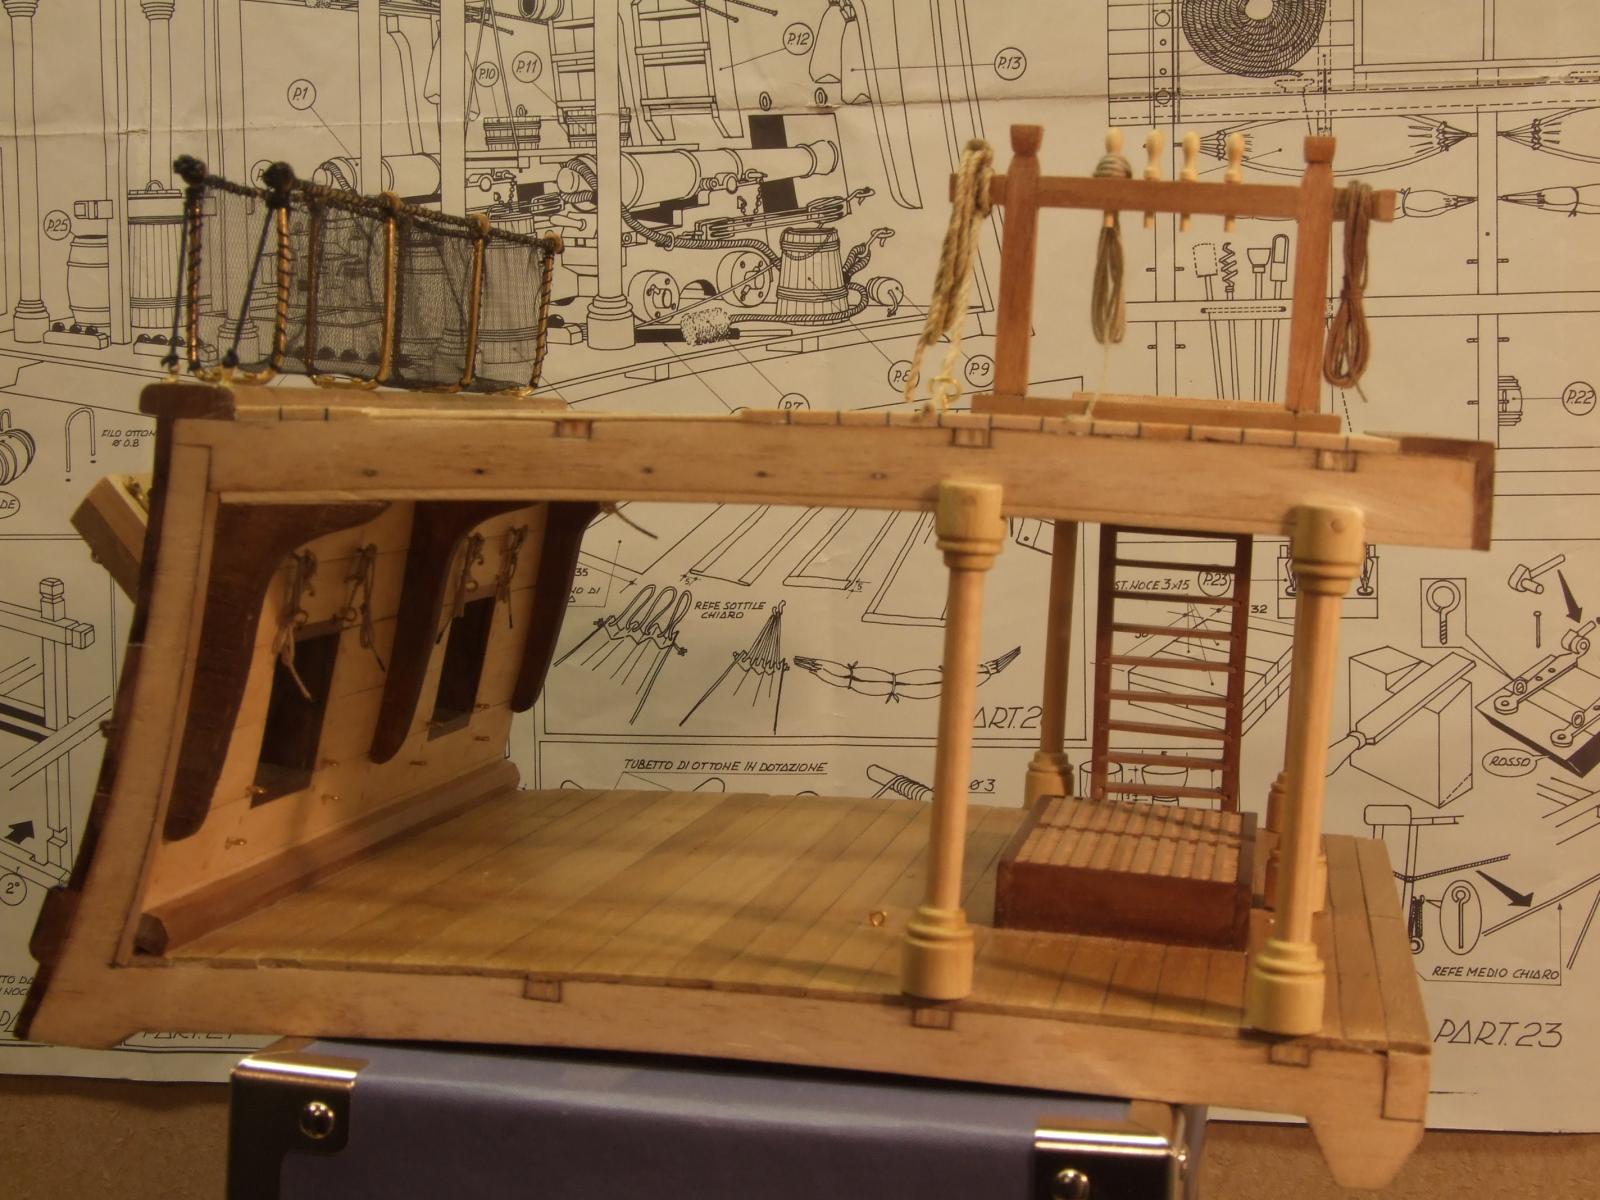
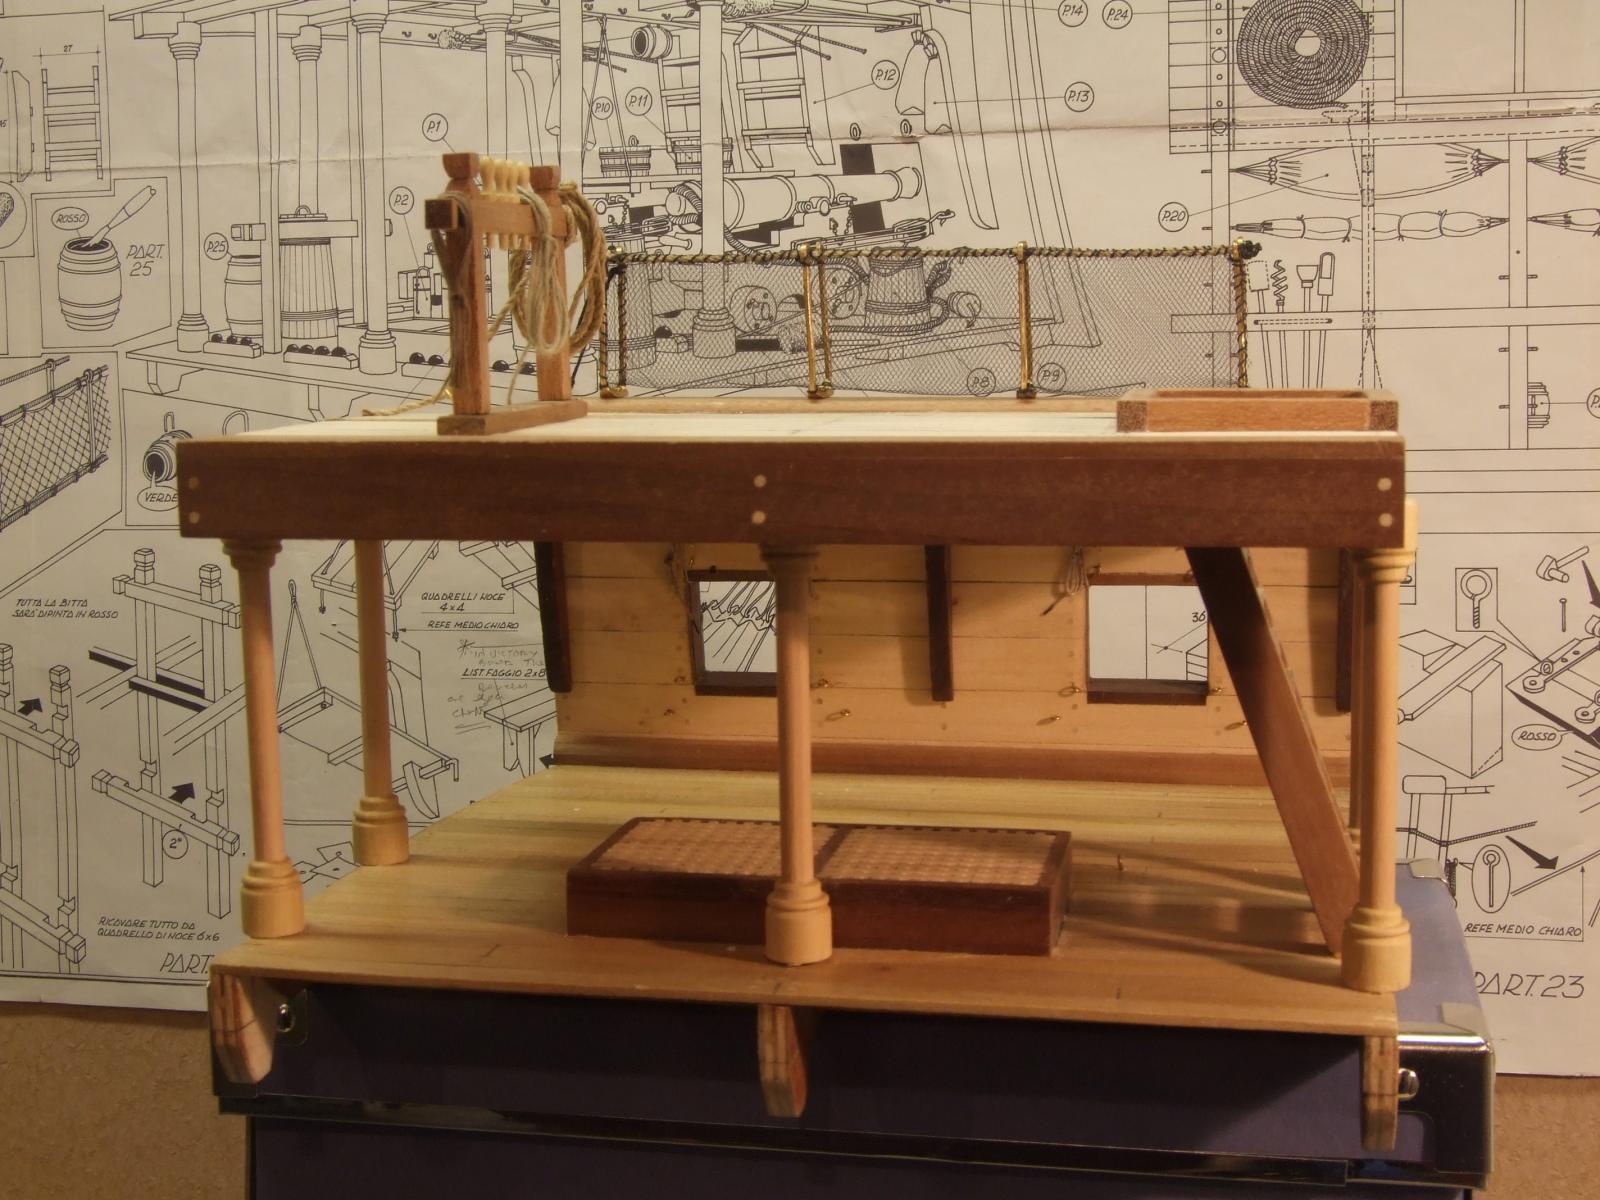
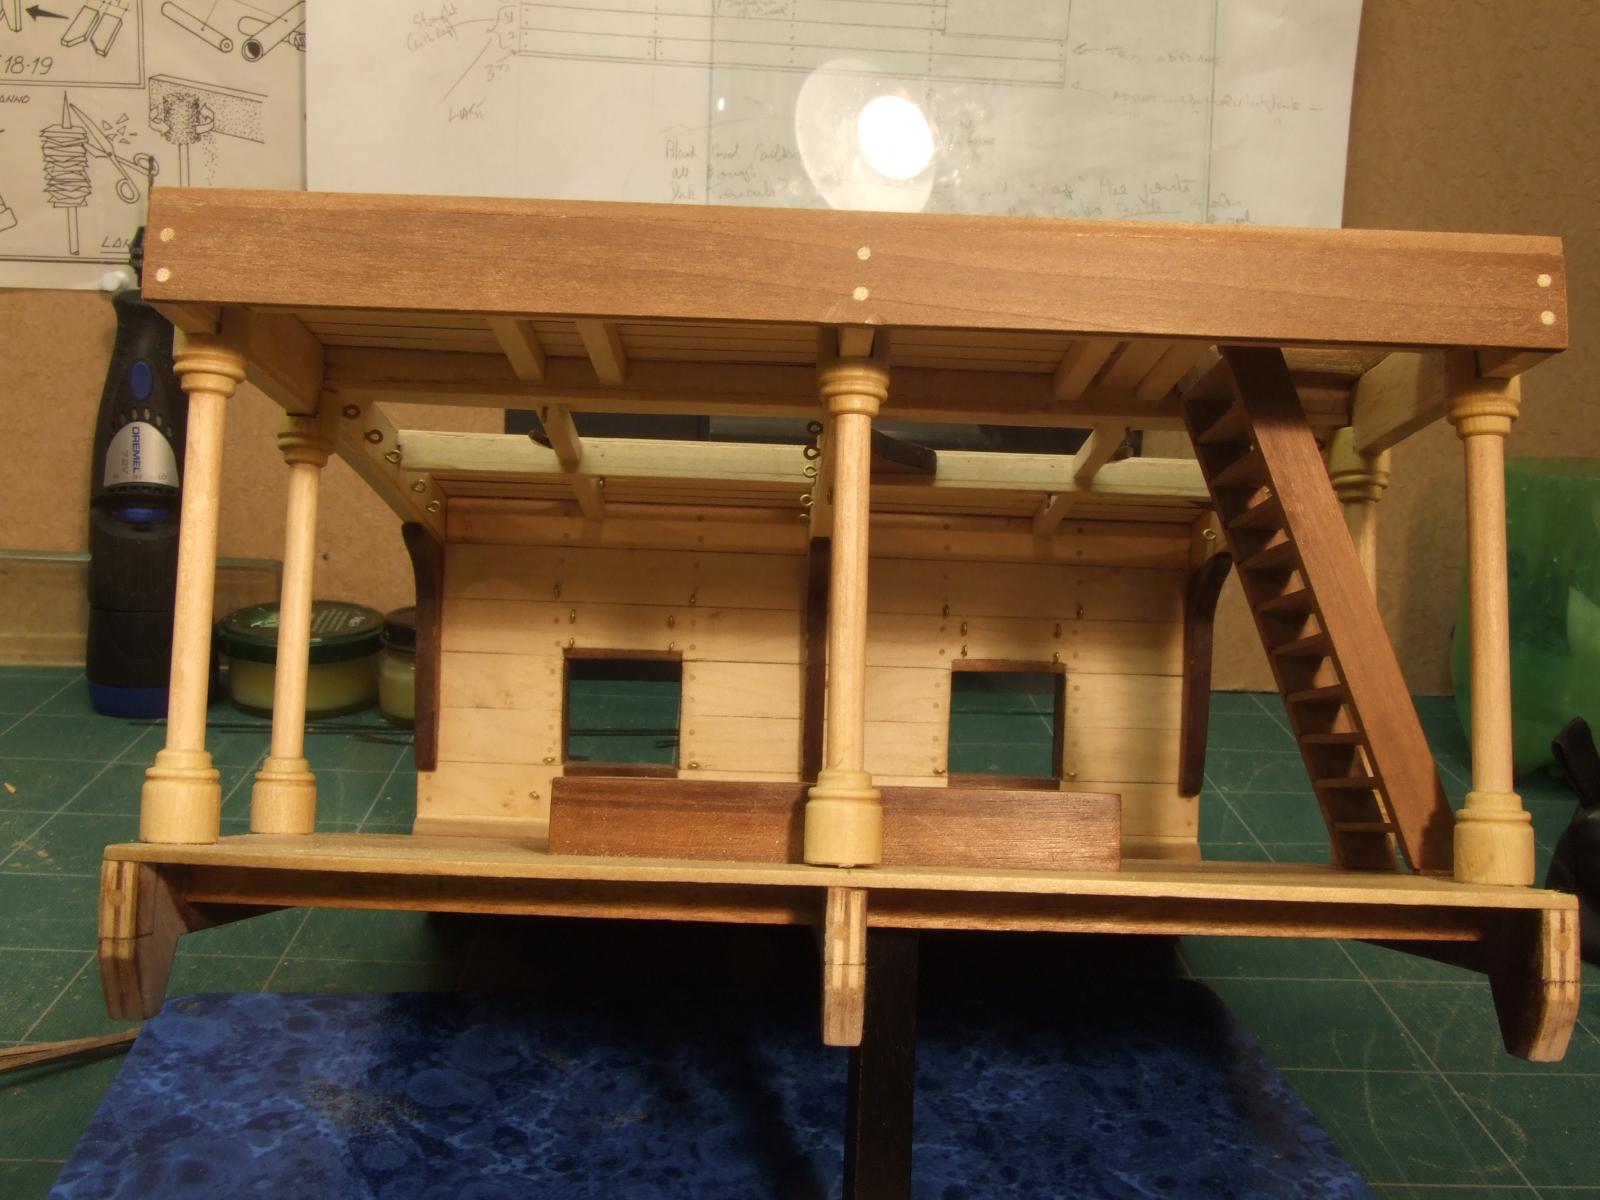
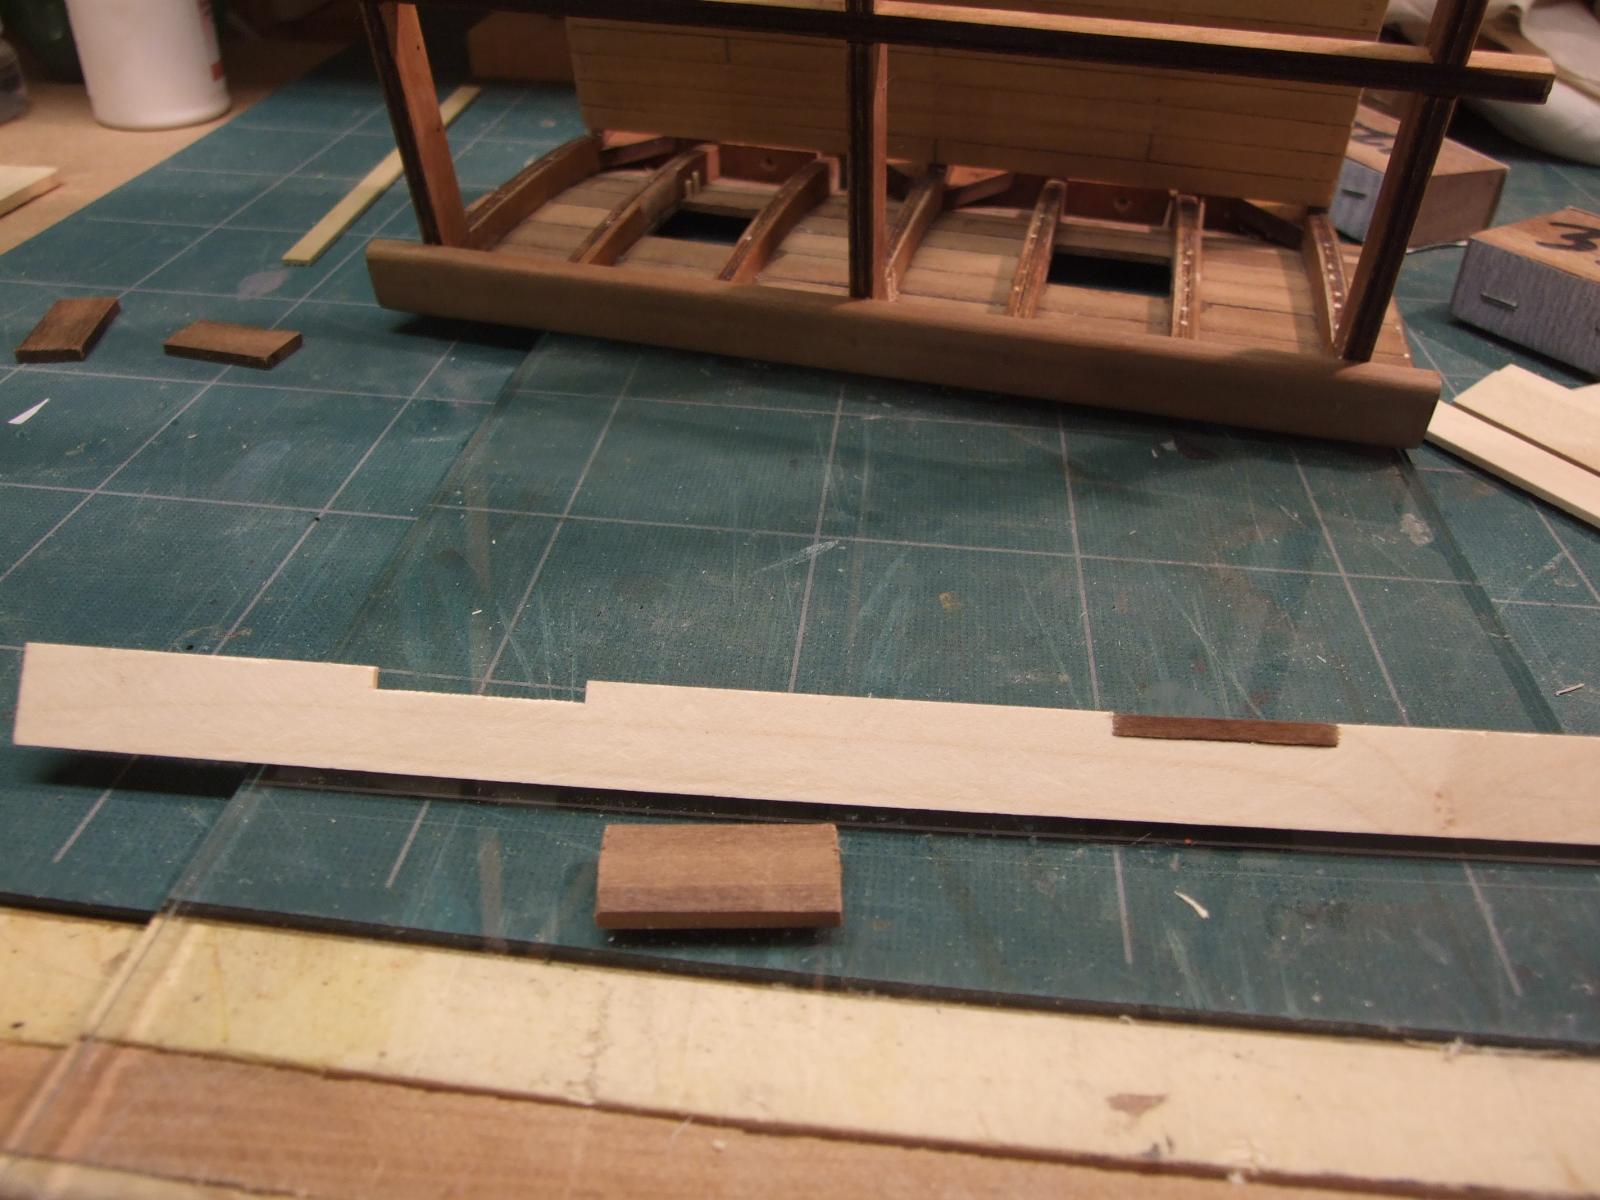
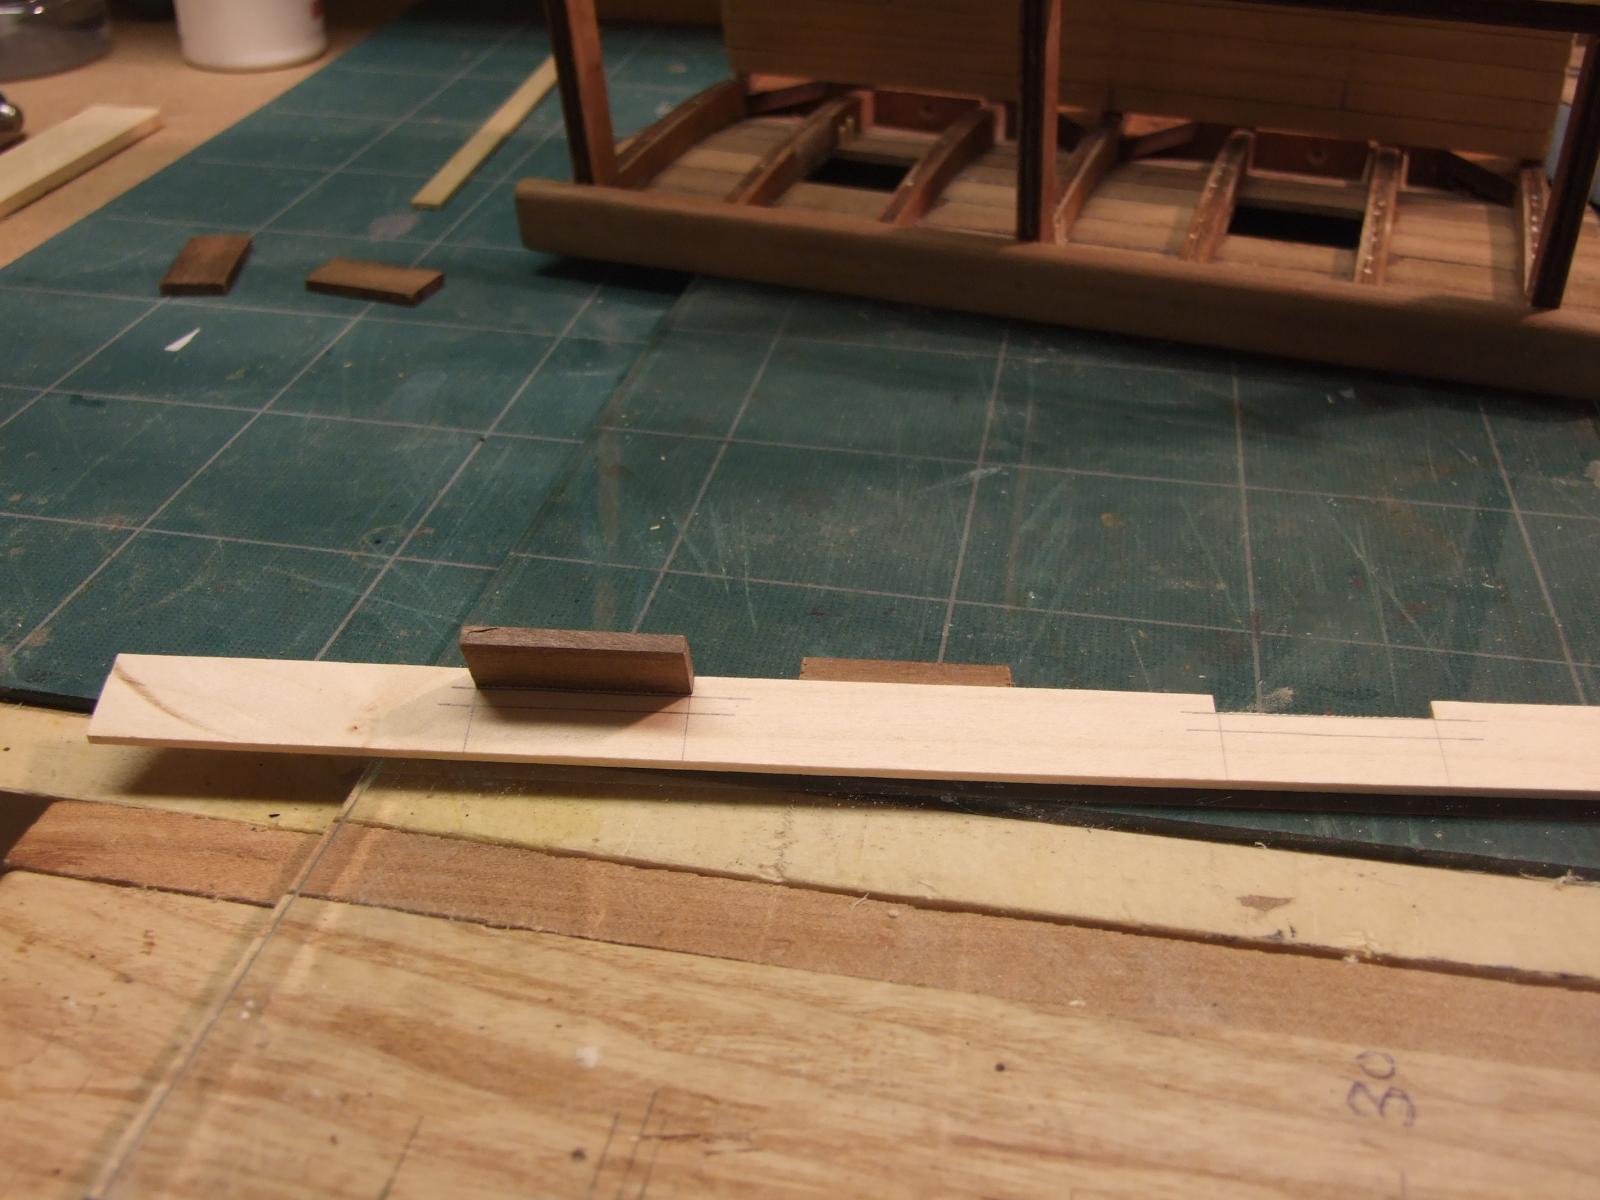
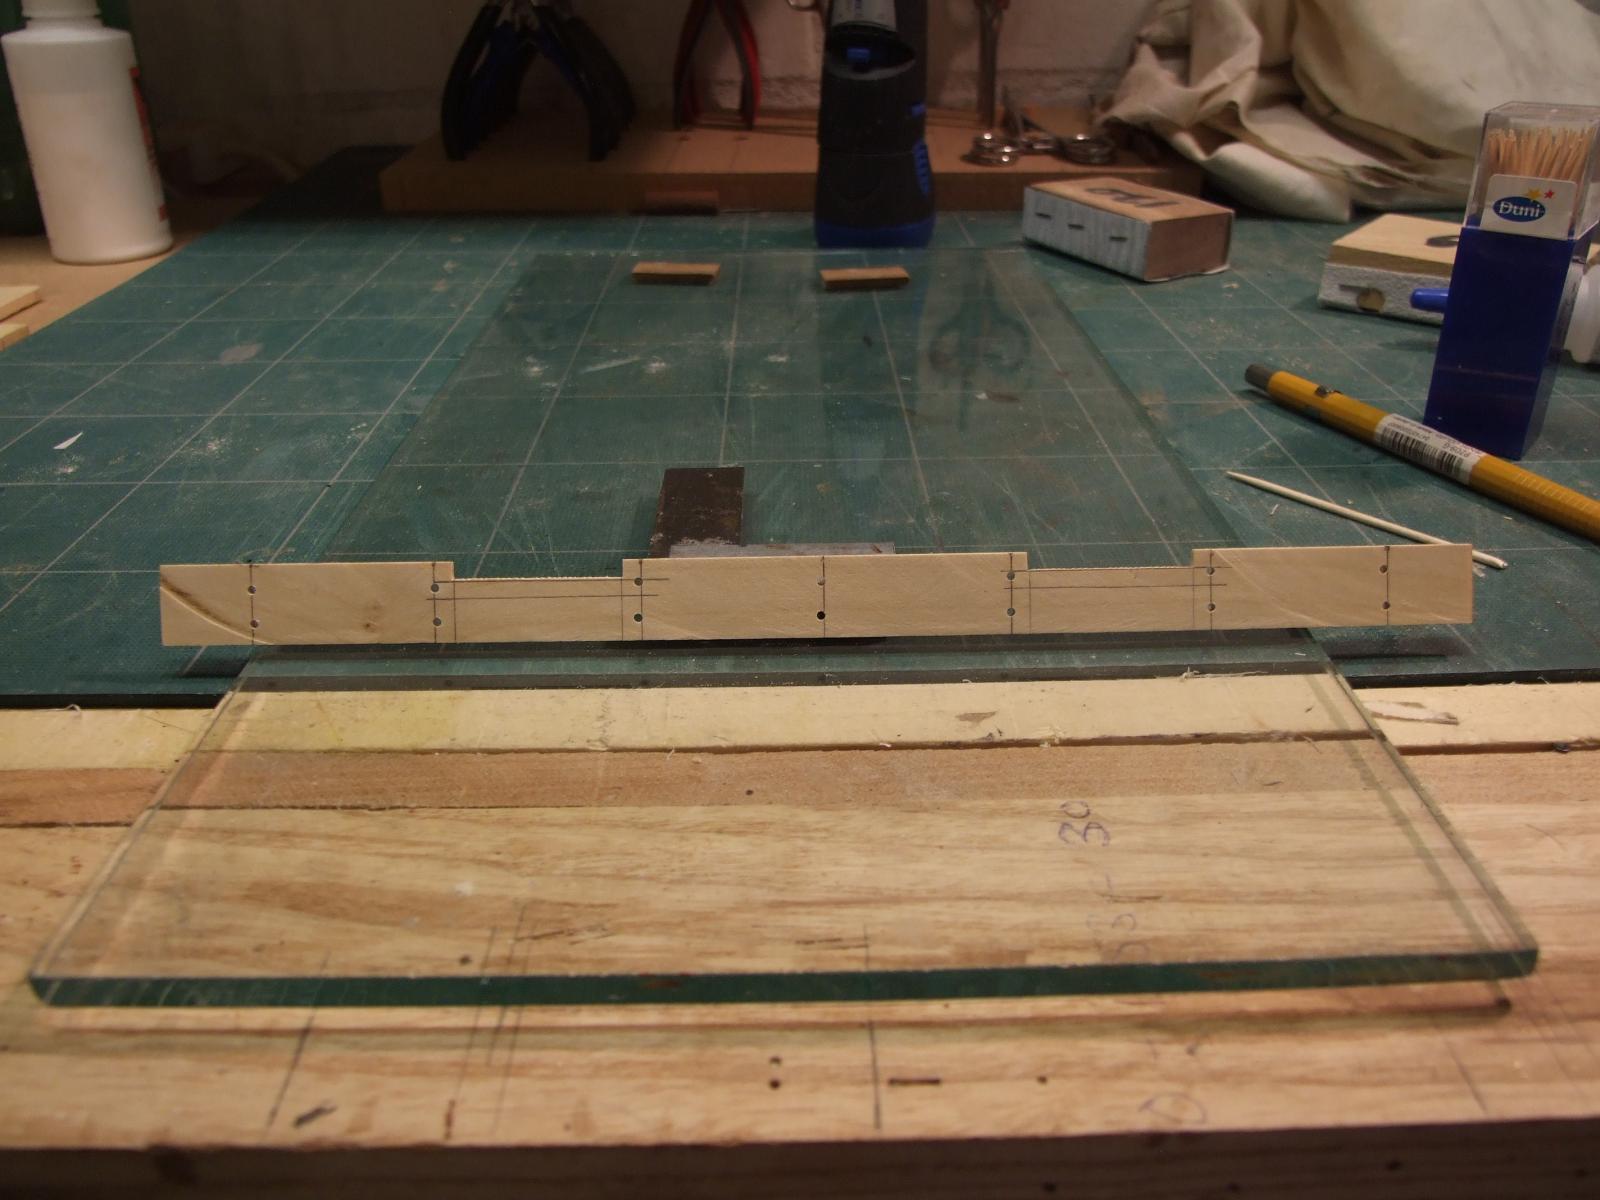
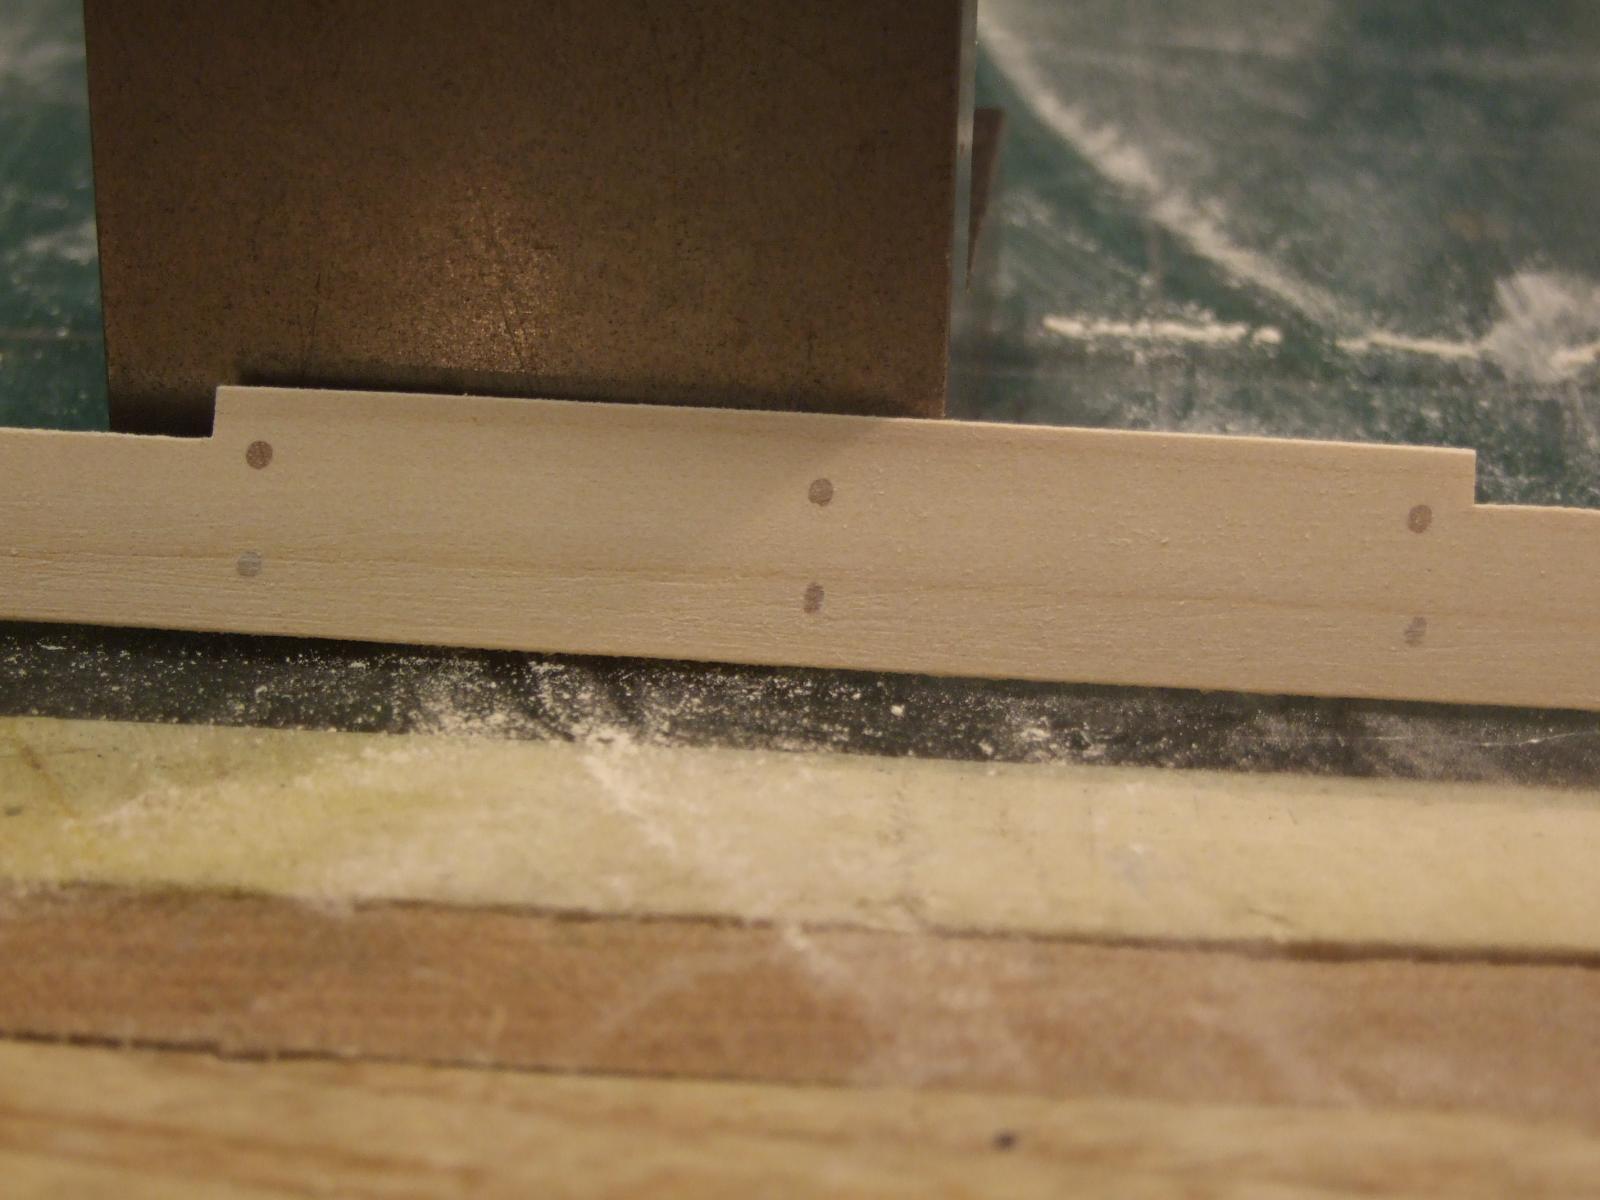
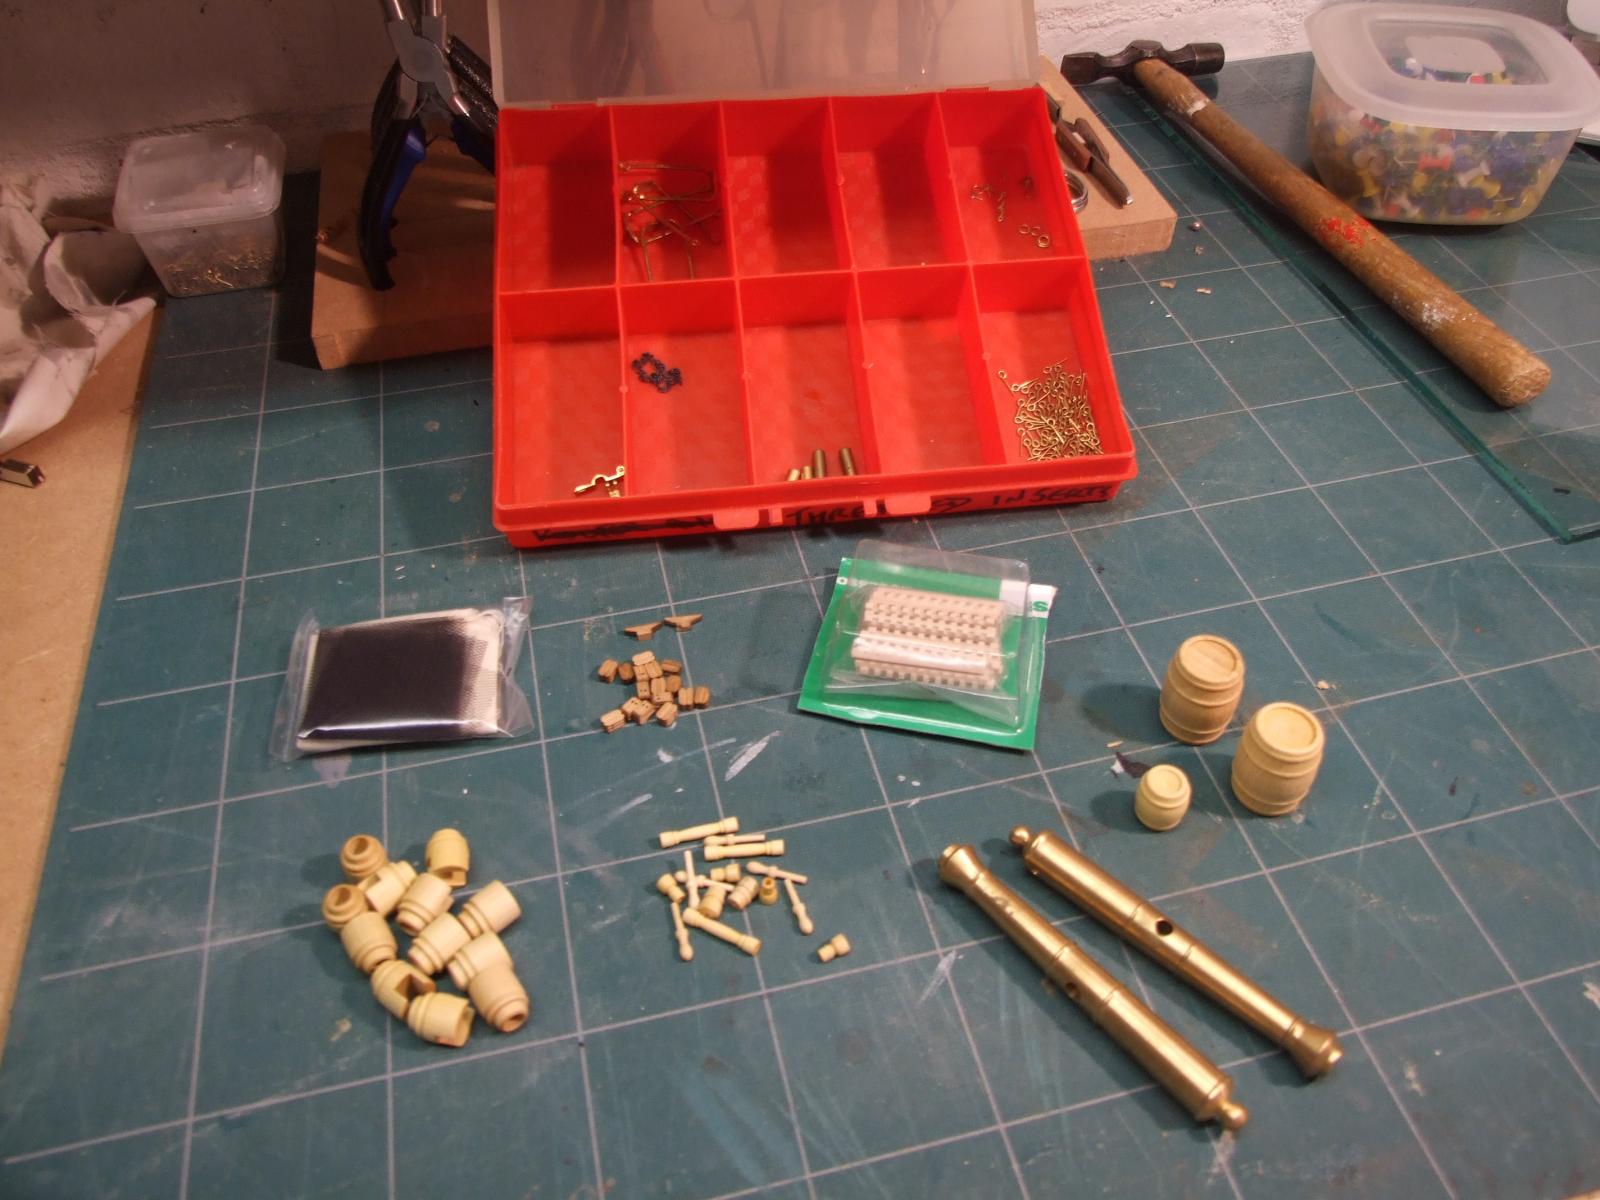
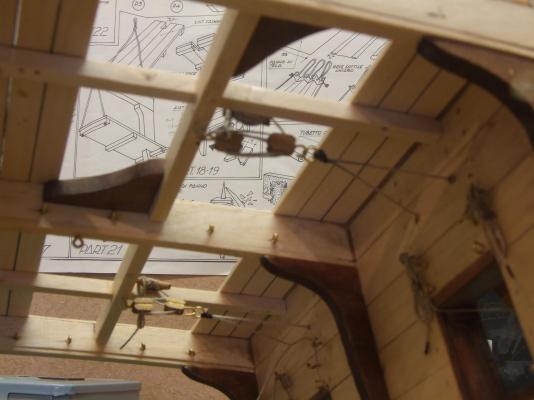
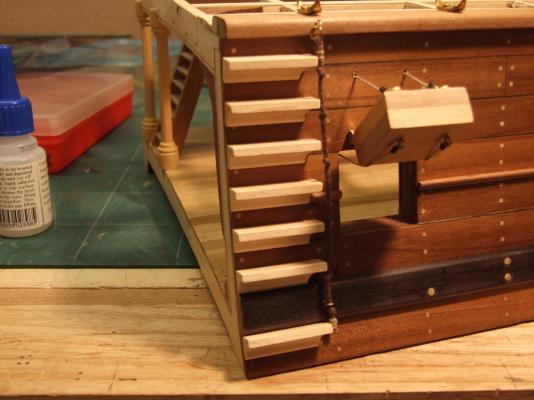
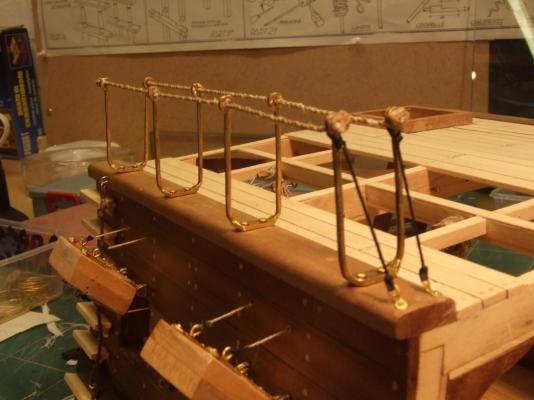
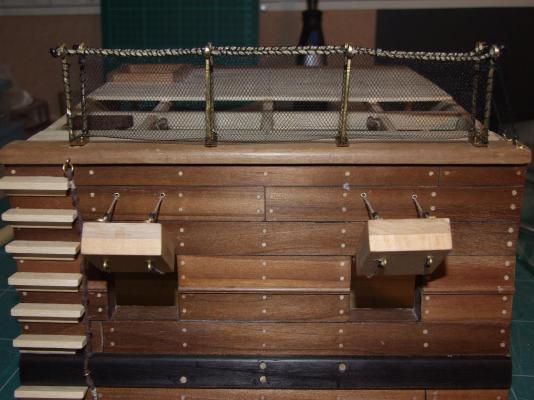
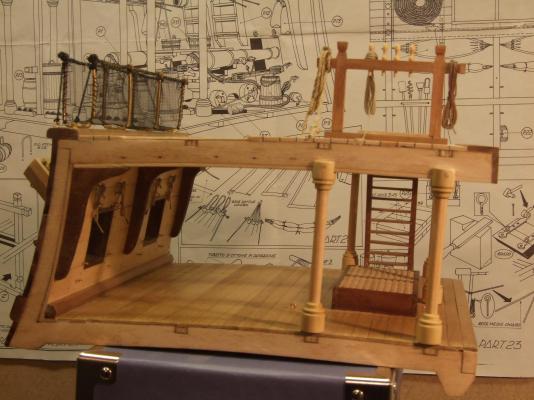
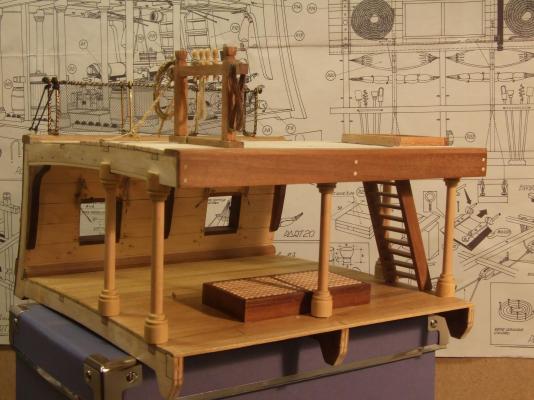
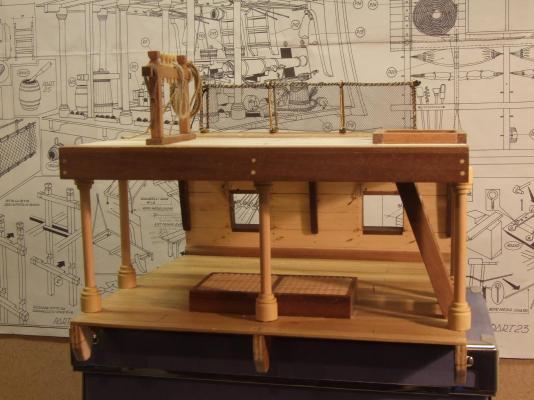
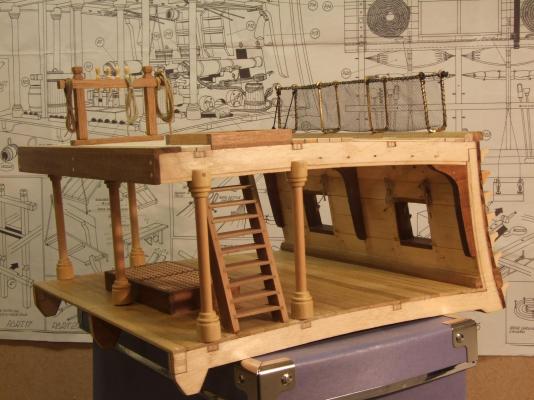
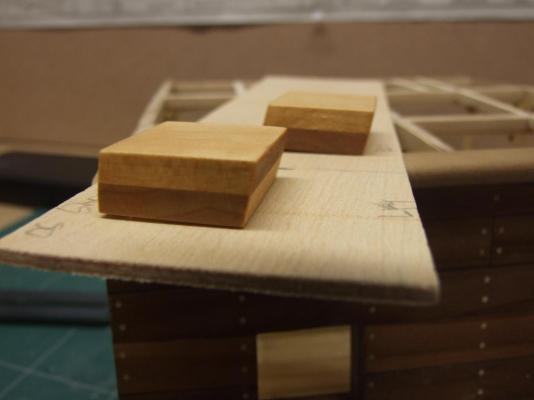
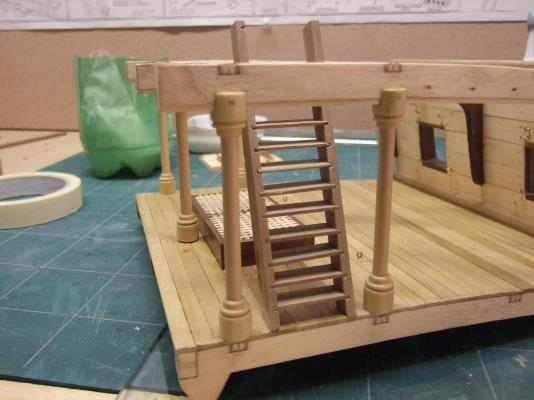
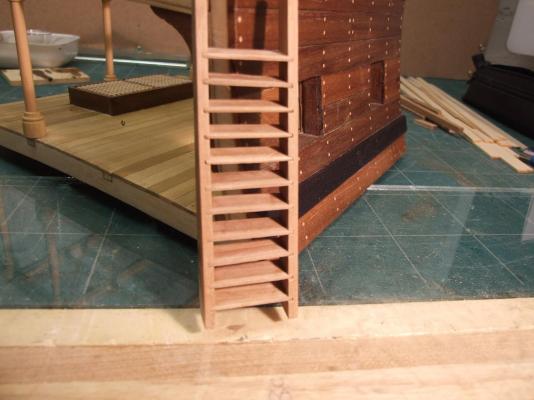
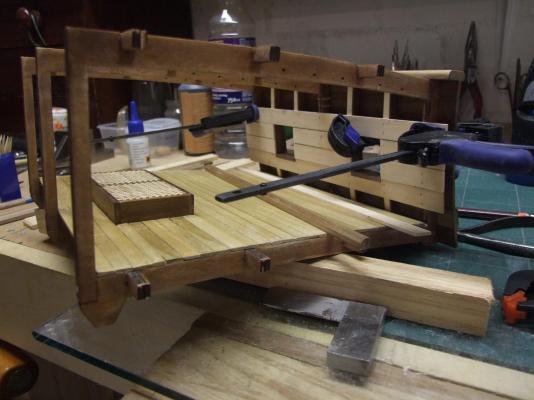
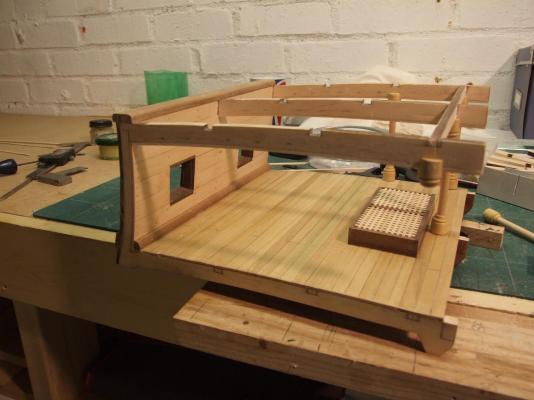
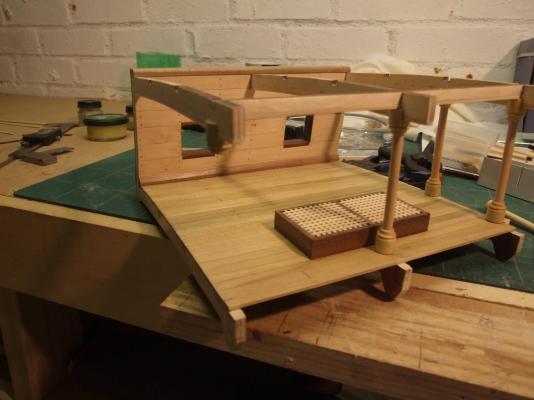
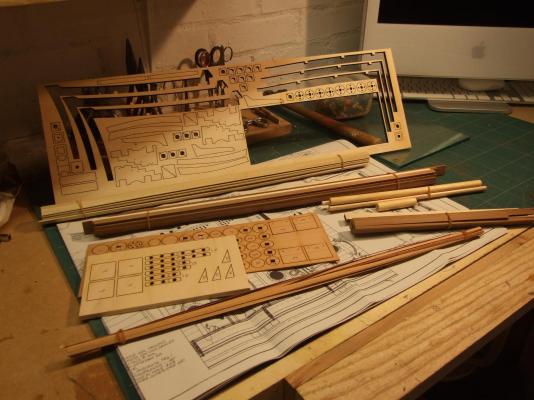
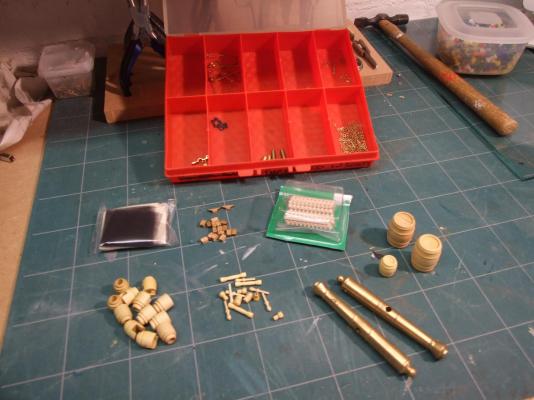
Back again for the final post of this part of the build. These are the parts for my upper deck bitts. They will be assembled and fitted later. The gunport lids have been fitted with their hinges and fixed to the ships side and have had the tackles for opening and closing added.... ....and the tackles have been rigged. Prompted by the other build that I mentioned in my intro I have added a boarding ladder and manrope. A piece of timber was shaped, cut to length and shaped some more then fixed to the ships side. Next the hammock netting frame and netting are attached... ...the hammocks will be made and added later. Finally with the bitts in place and populated with some simulated rope and lines the main structure is complete. This build neatly divides into three areas. The first, just completed, is the main structure. The second is the the modification and construction of the two great guns and making and fitting their tackles. The third is the making of all the below decks paraphernalia and the final fitting out. This last area is full of scope for imaginative thinking but it is also likely to be the most fiddly and time consuming. There will now be a short intermission.....or it could be a long one for I am off the to the Ordnance yard. Mike.


- 28 replies
-
- 10
-

-
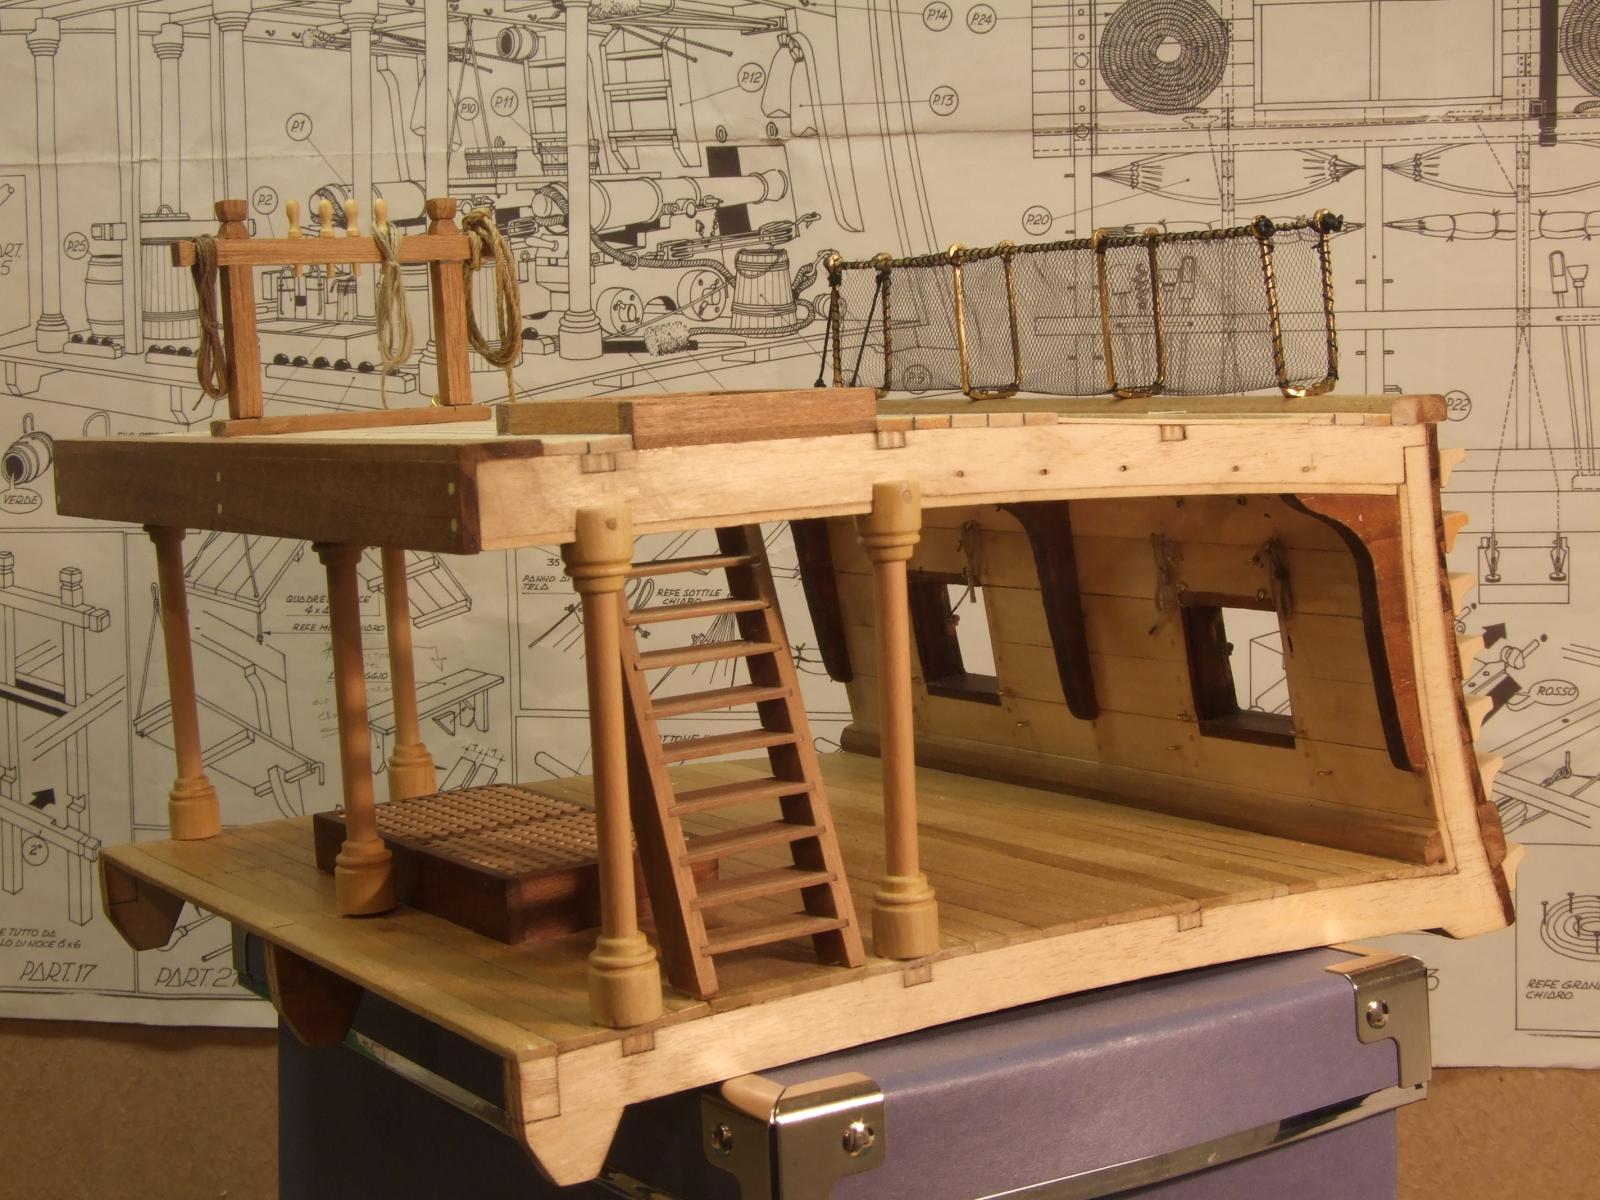
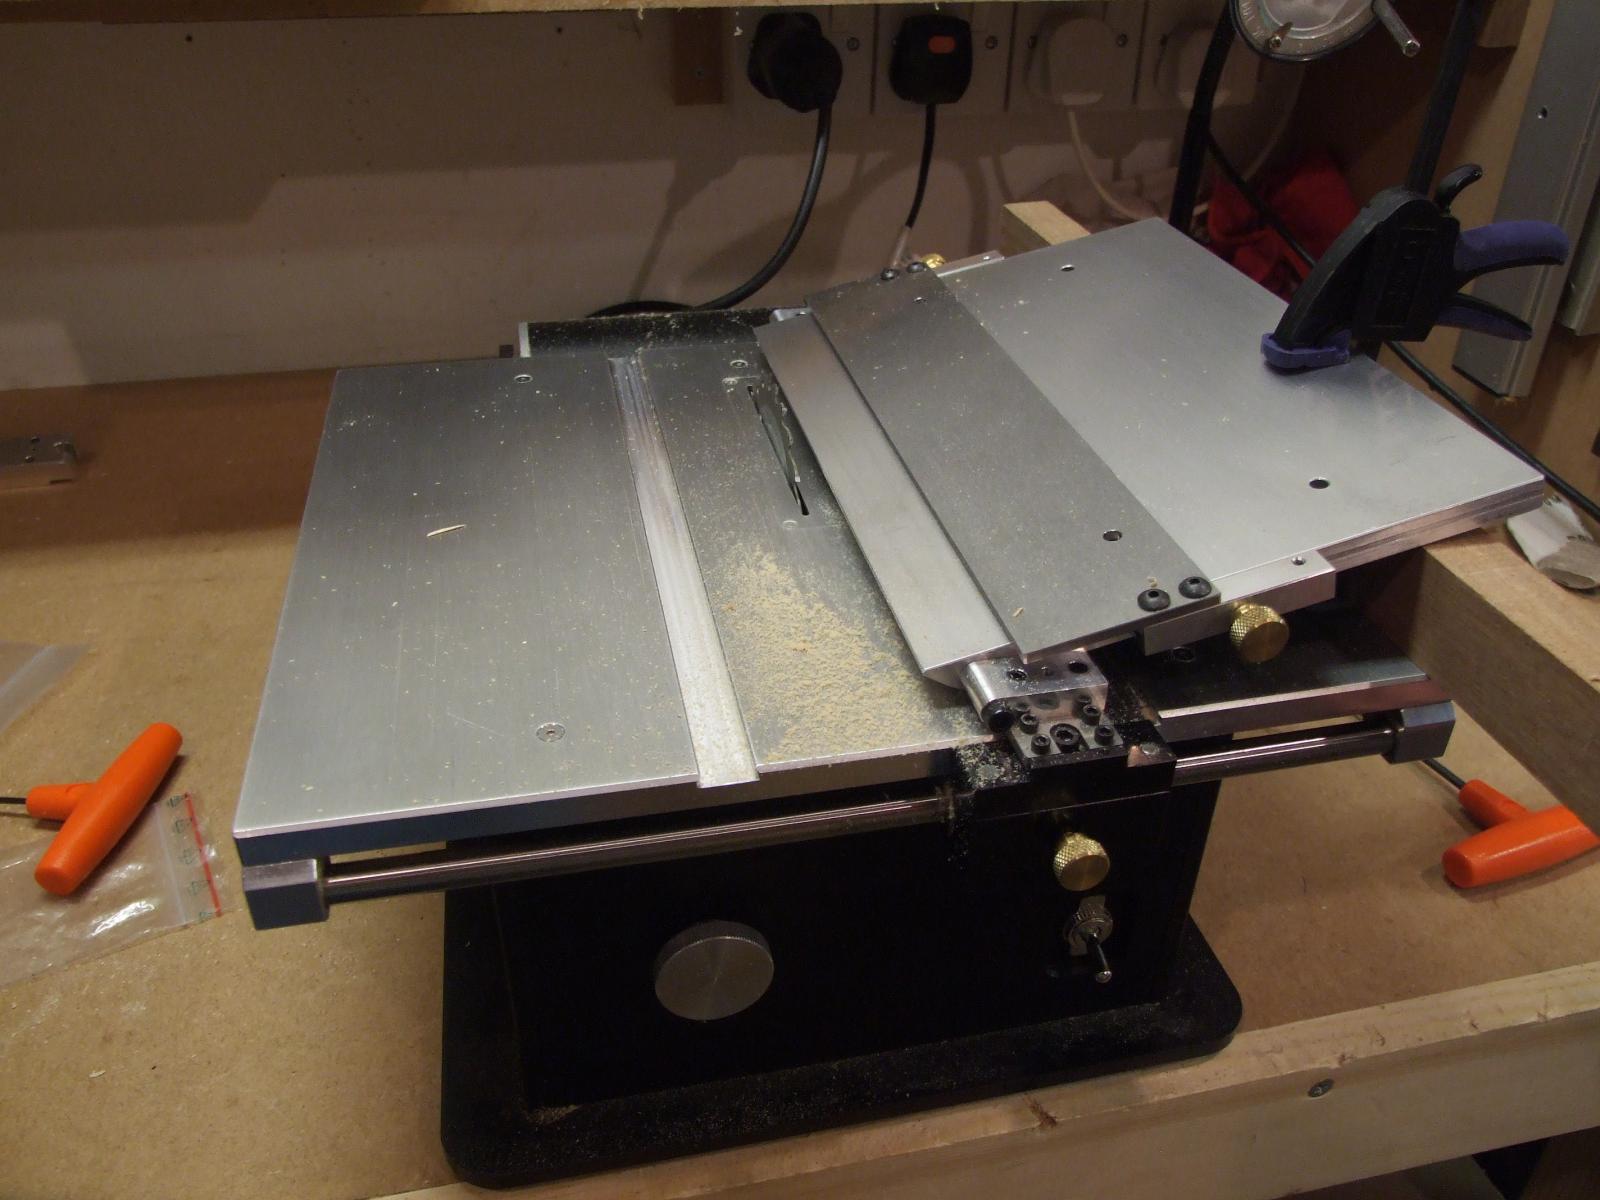
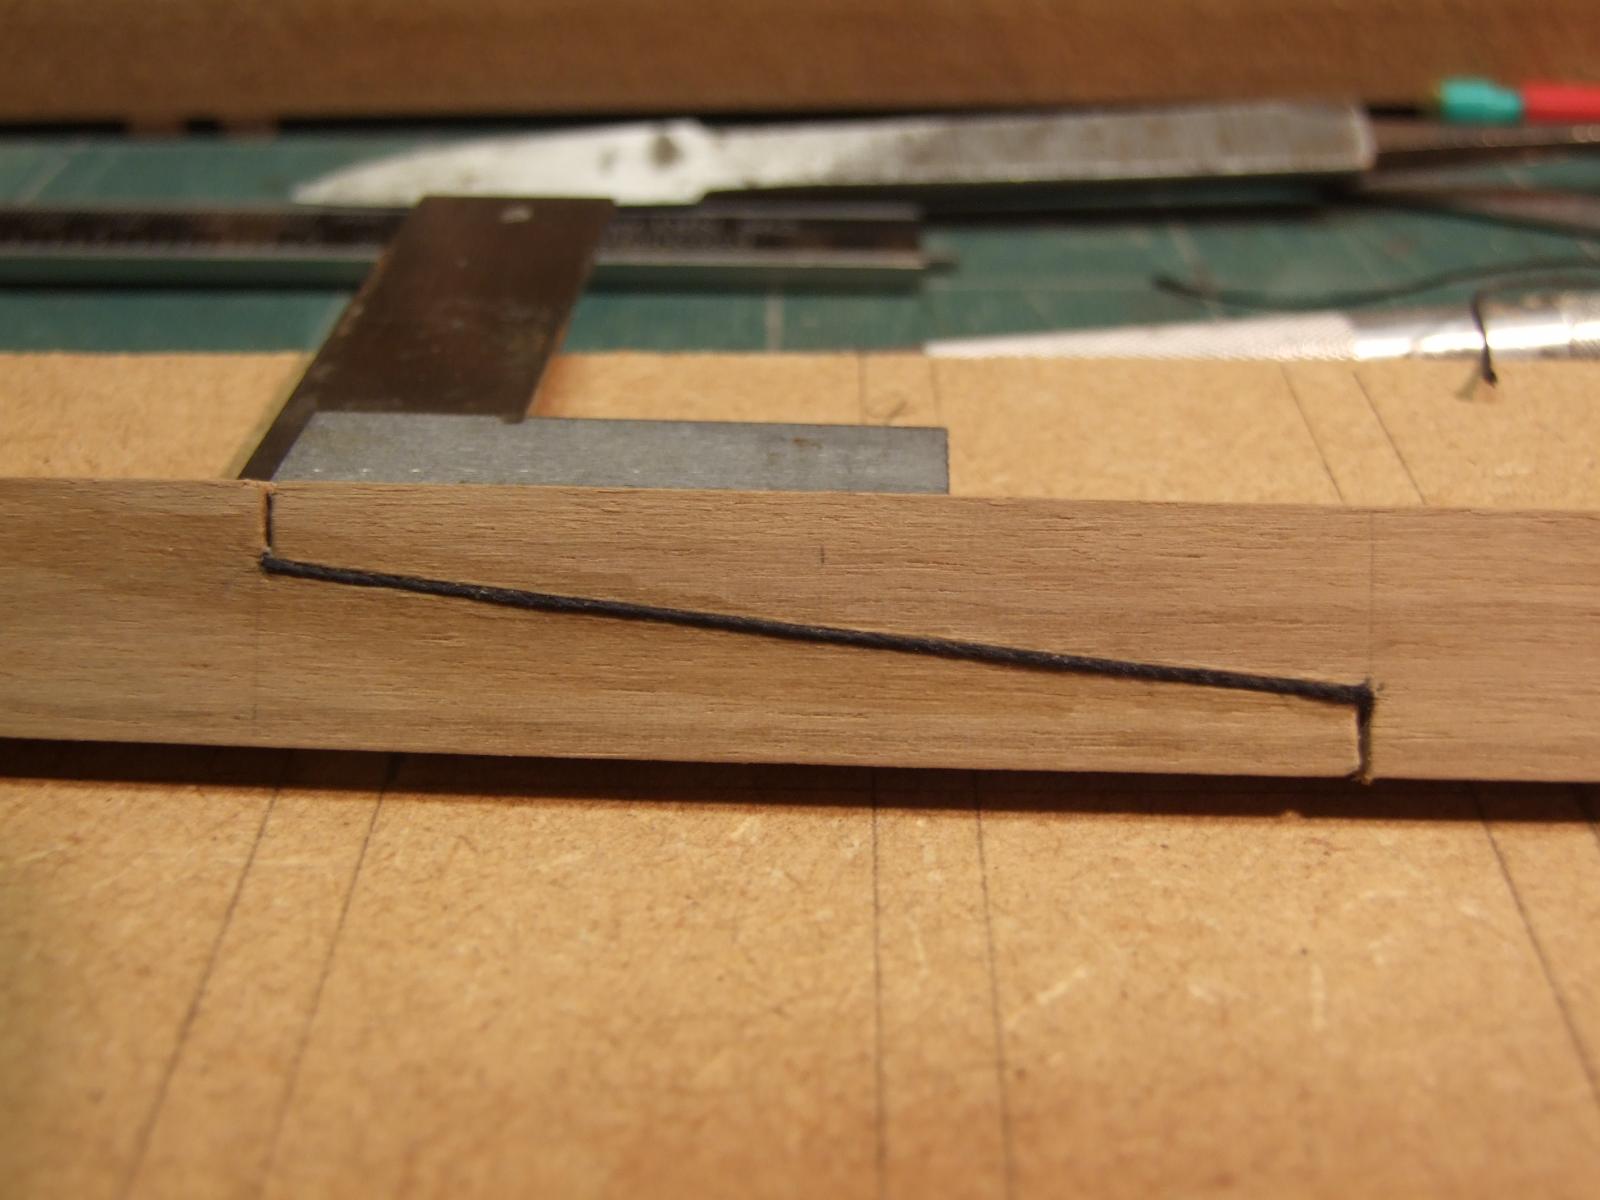
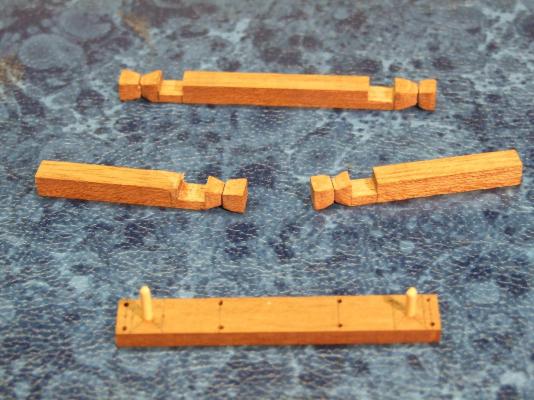
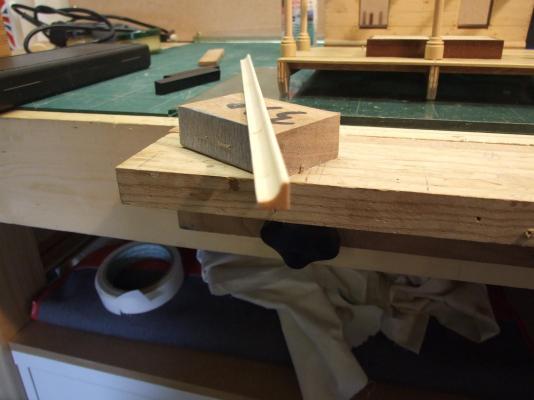
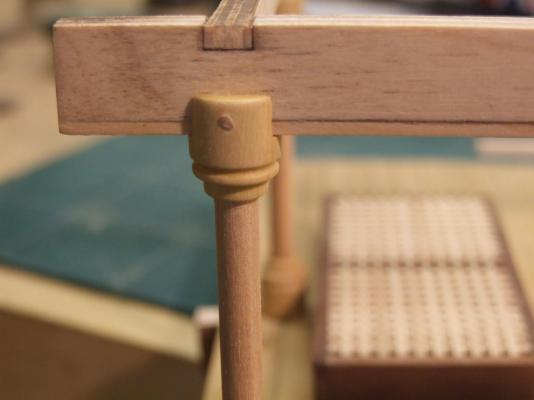
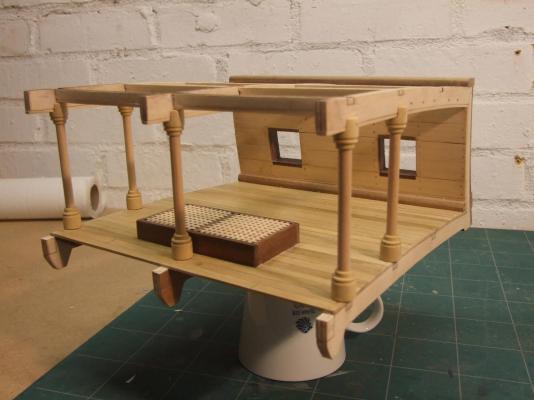
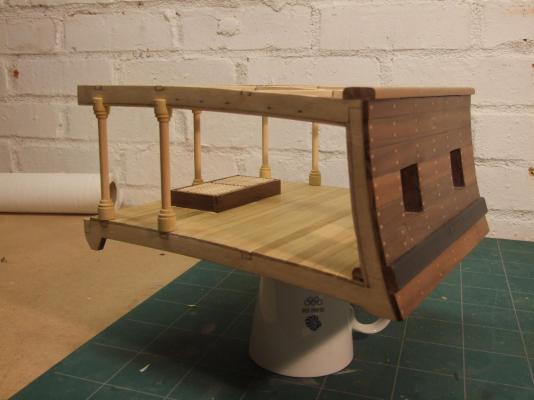
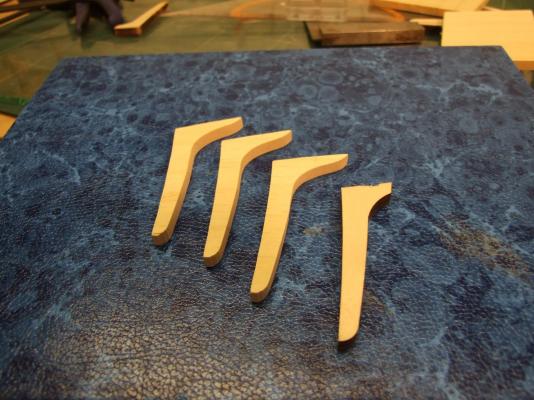
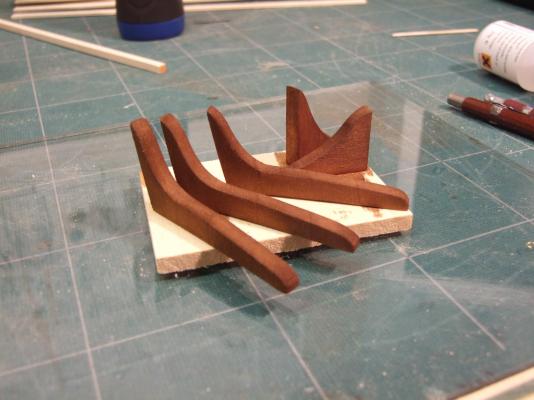
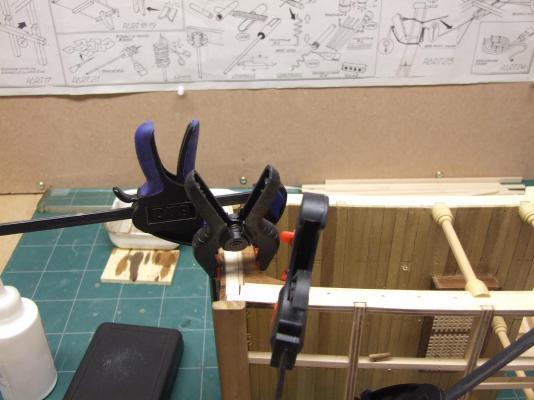
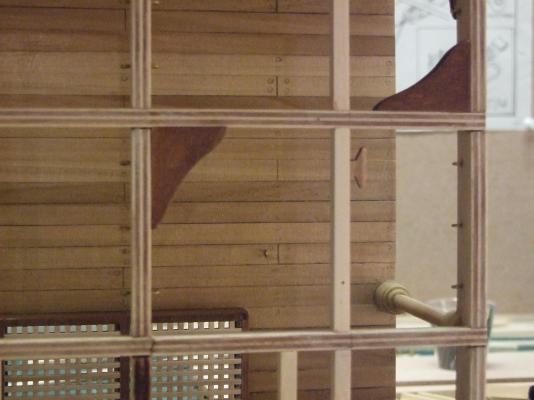
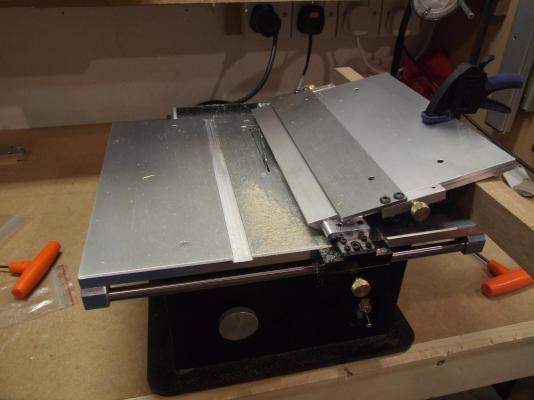
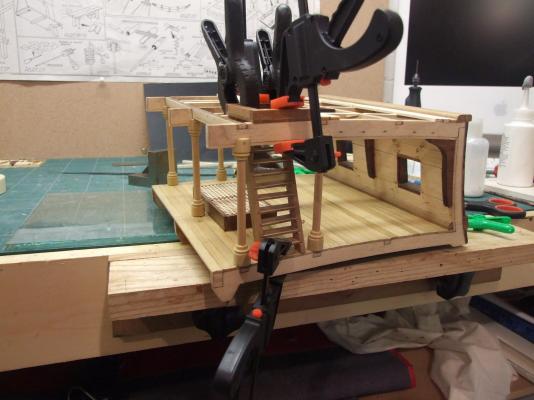
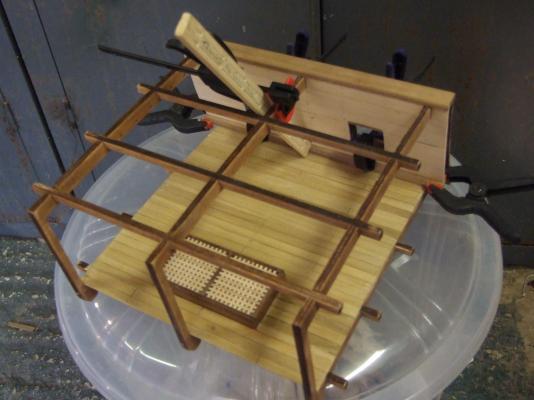
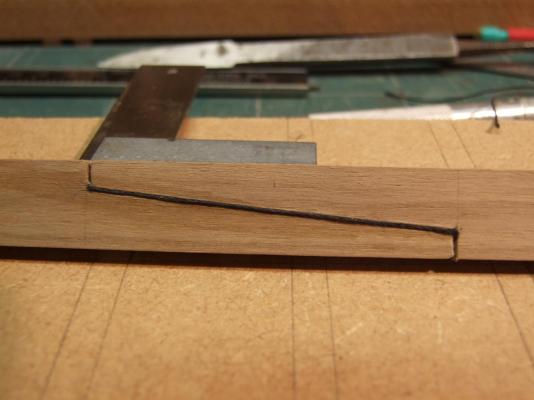
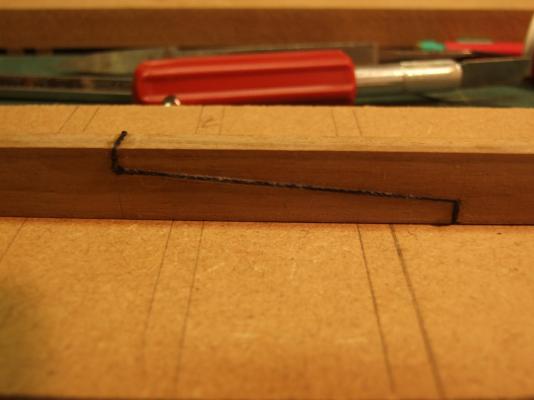
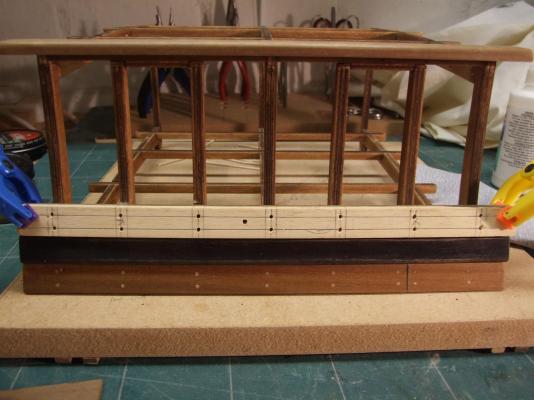
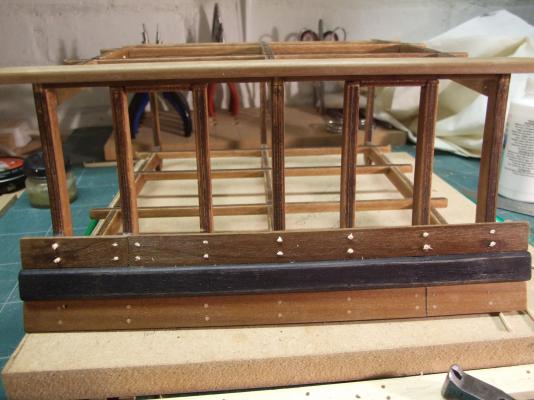
Sorry about the break in transmission. Some clot at my front door trying to sell me building enhancements despite the notice telling him that I neither buy nor sell from the doorstep. He has gone now and will, no doubt, be digesting the advice that I gave him. Where were we? The last image in my previous post showed the rear frame uprights removed and the start of stanchion fitting. The stanchions are pinned top and bottom though the bottom ones are not seen. Stanchions completed. Note that I have omitted the centre outboard stanchion in order to make room for some extra internal fittings that I have in mind for later. Knees. I did not like the kit knees very much so I cut some new ones. As I did not have any suitable dark wood available these have been stained ( despite my earlier reply to Jan! ) I will gloss varnish these later to distinguish them! Knees fitted. Gunport lids. These were cut to shape on the Byrnes saw using the tilting table. Oh, how easy! The lids will be fitted later. At this point I decided to stray from the plans again and add a ladder between the decks as this seemed to link the two levels of the model in a natural way. The ladder fitted with its hatch combing. Later on I will decide how to finish this off .....grating in situ, set aside or none at all. Next the top deck planking. This caulked with black card and properly trenailed. The completed top decking with a "finishing strip" added. This image shows the butt shift and caulking before trenailing and sanding..... ....and this is a general top view after trenailing. And finally the "finishing strip" at the rear of the deck.


-
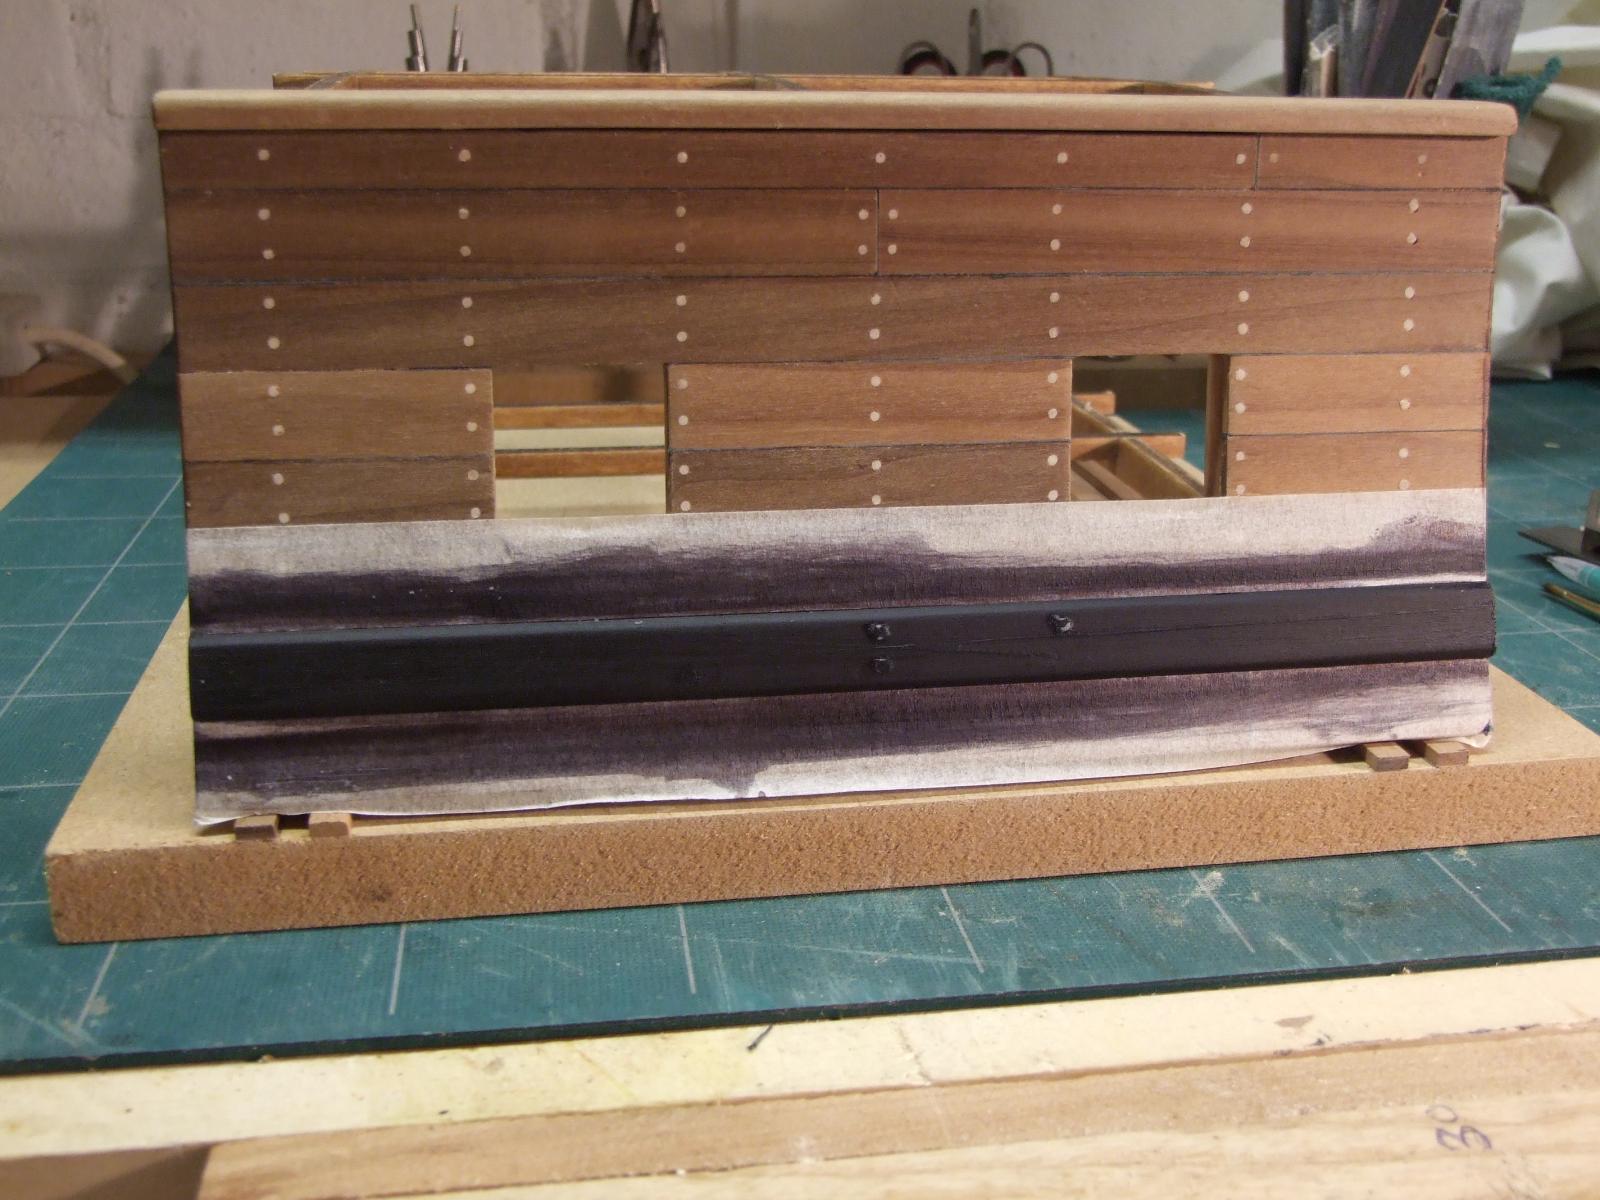
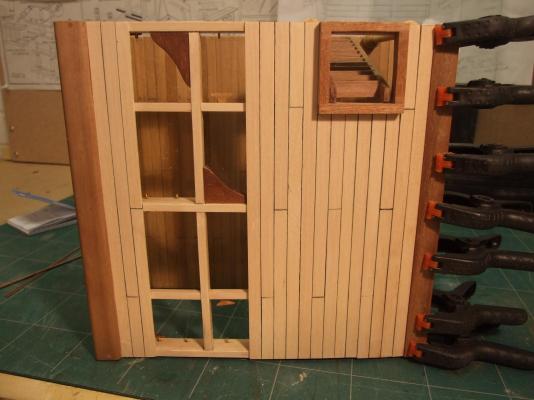
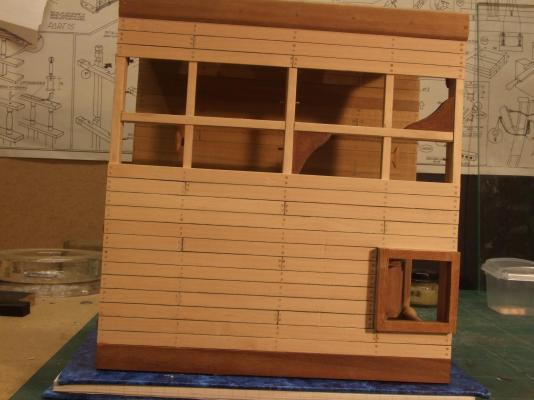
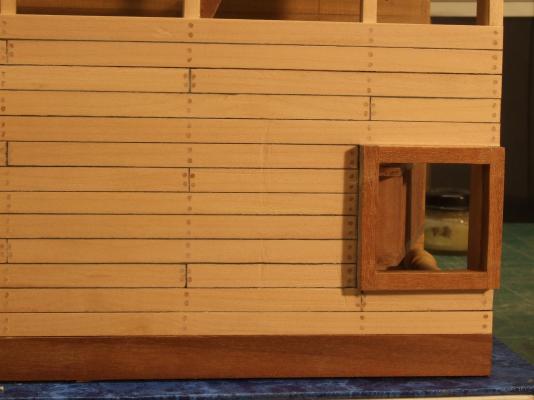
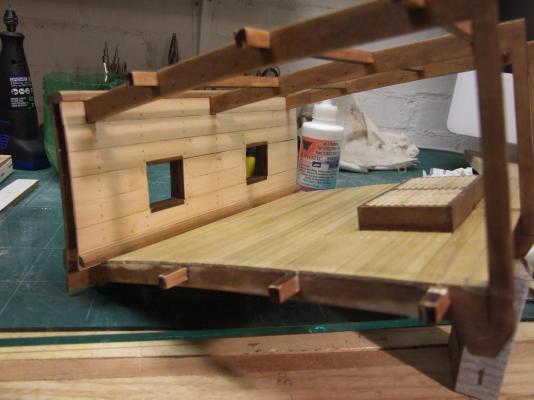
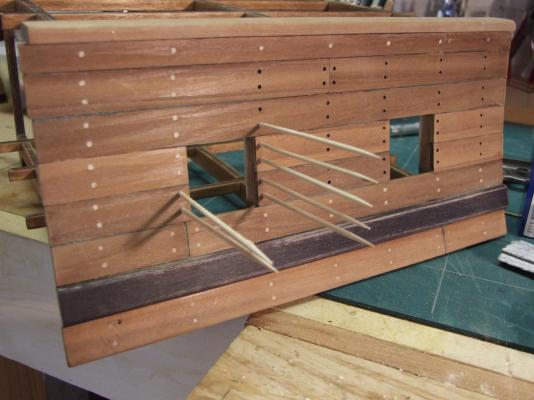
Back again. Internal planking round the gun ports and adding a waterway. I decided to set the cills of the gun ports into the planking as..... ....and make a template for the trenailing. The trenails in these planks are simple plugs with no structural component. Planking progress.... ....and adding a waterway not in the kit plans. Inside planking completed. Back shortly, Mike.

-
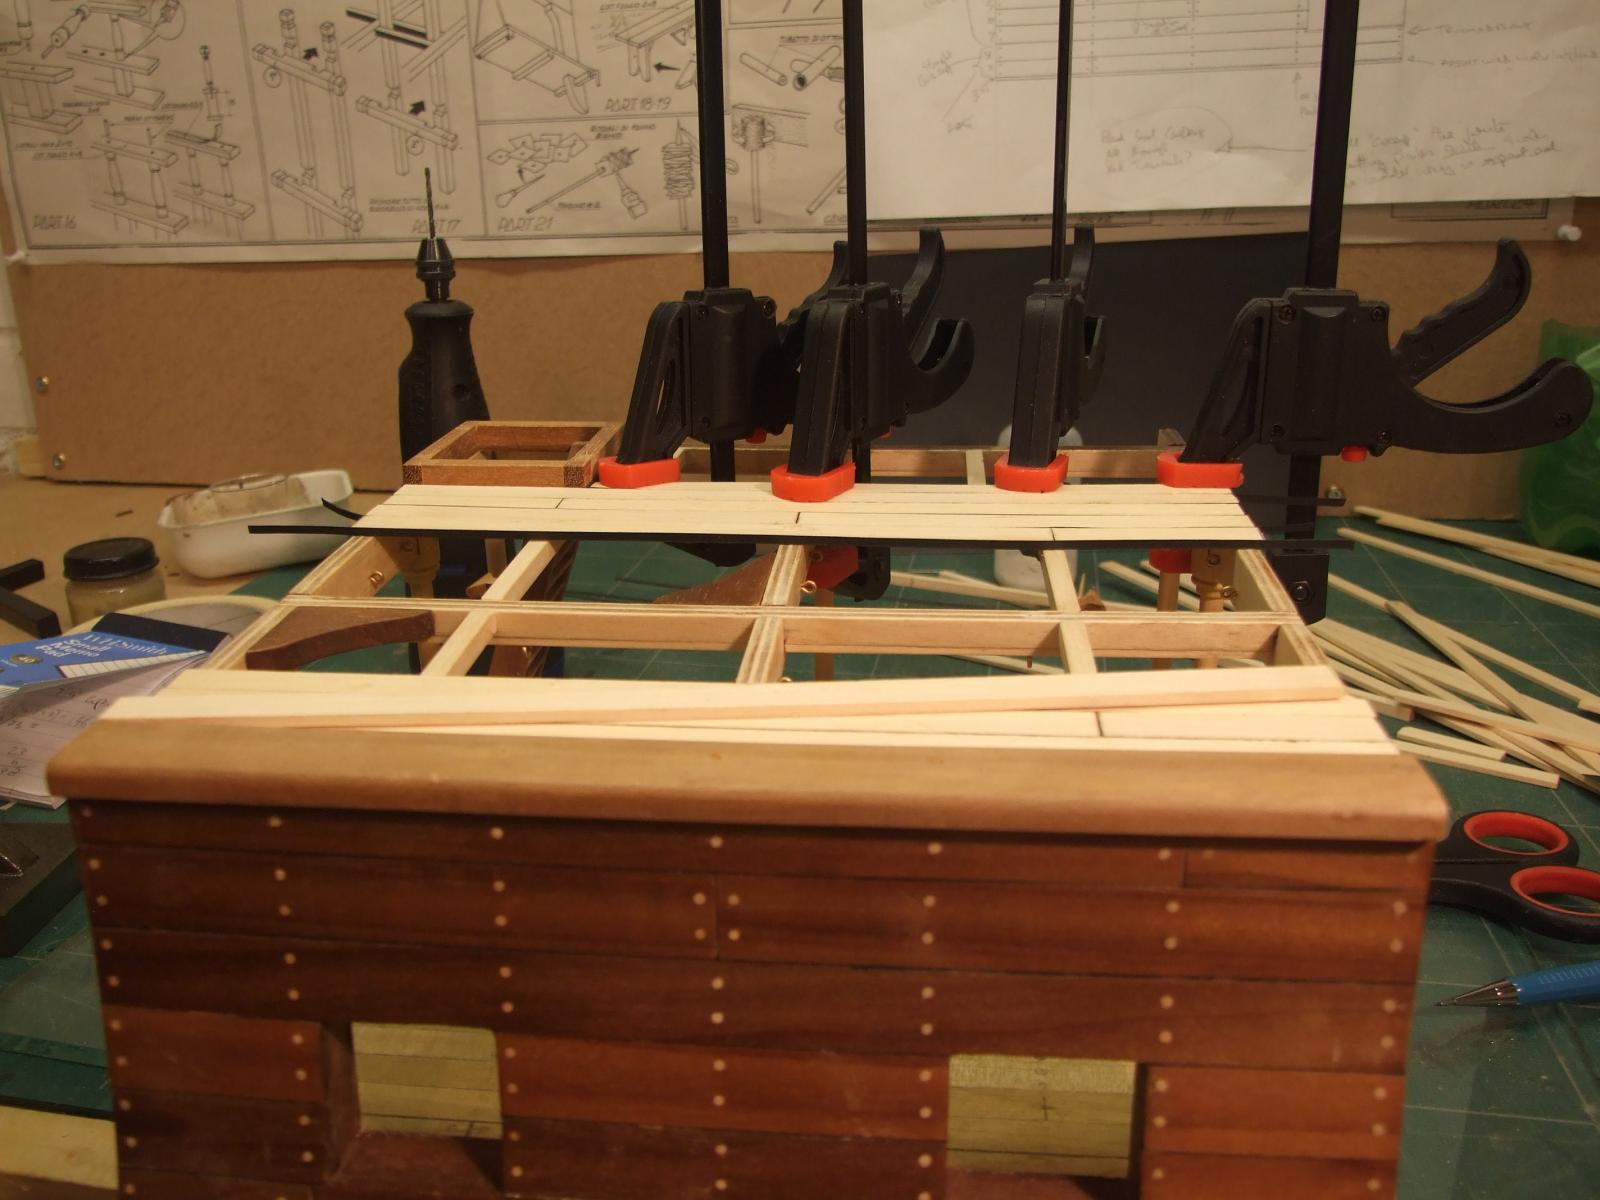
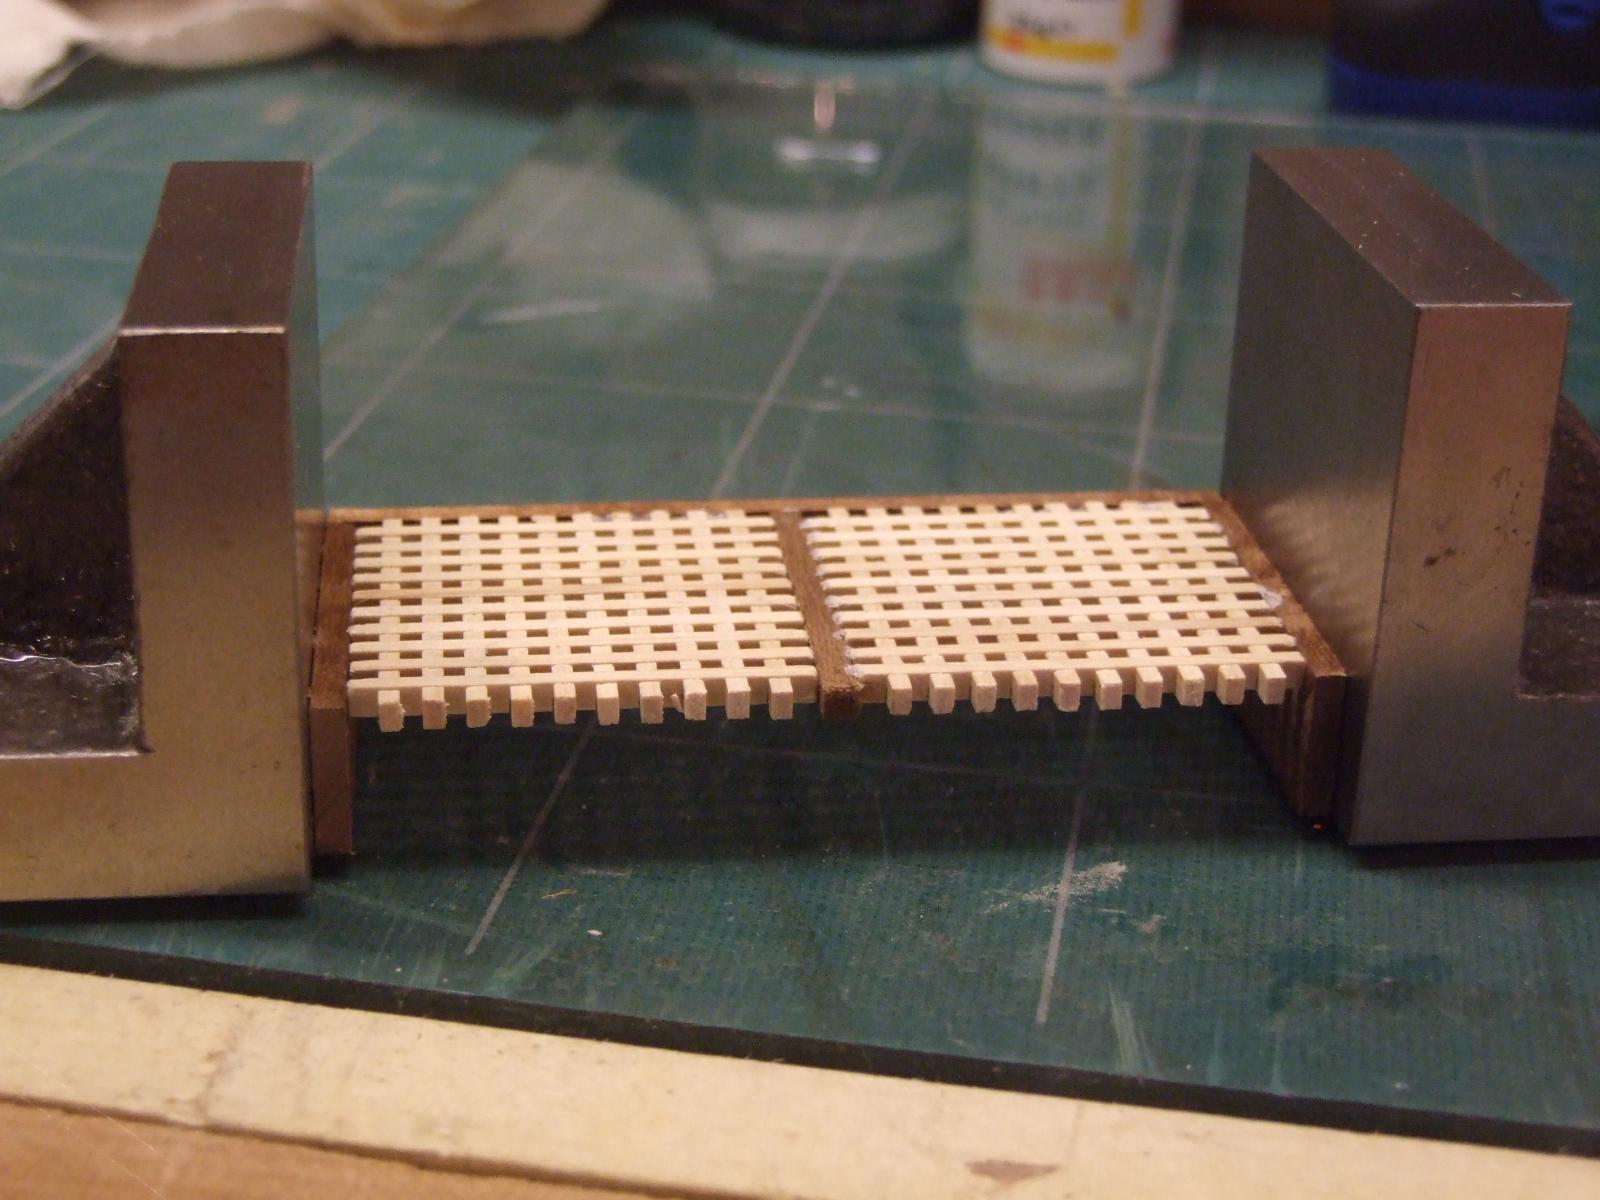
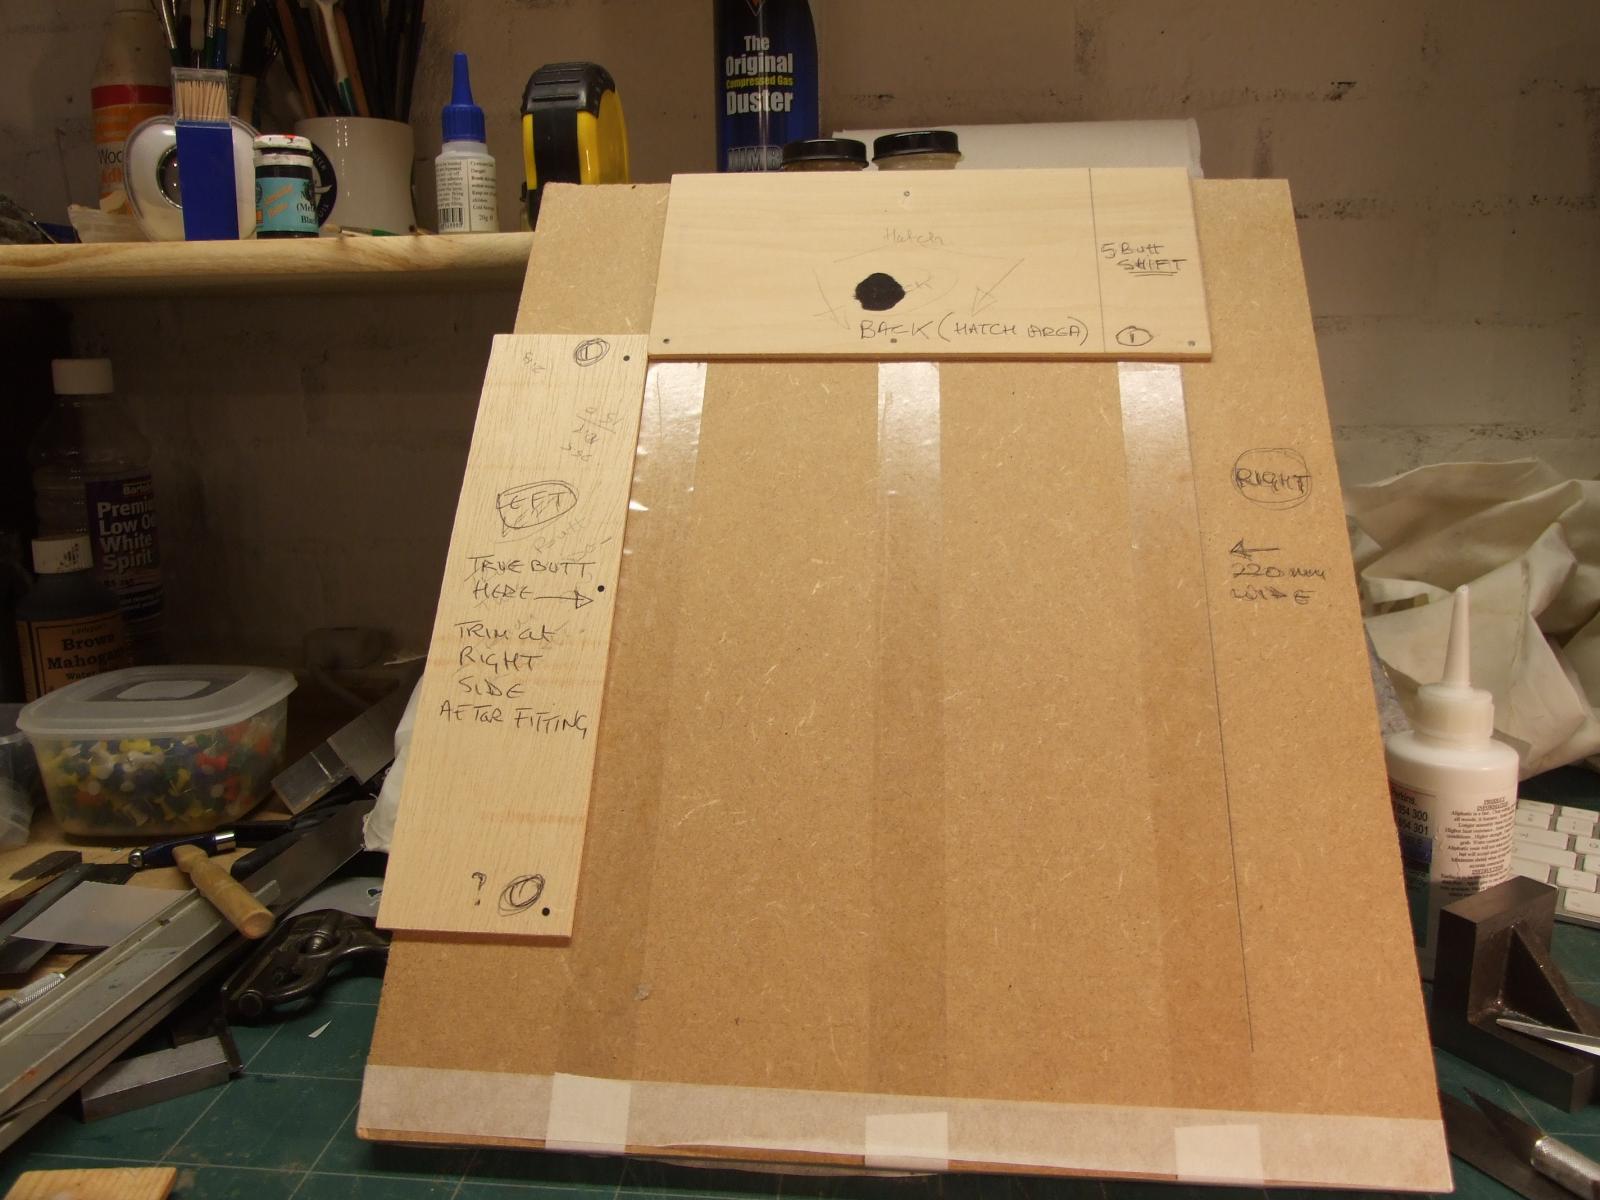
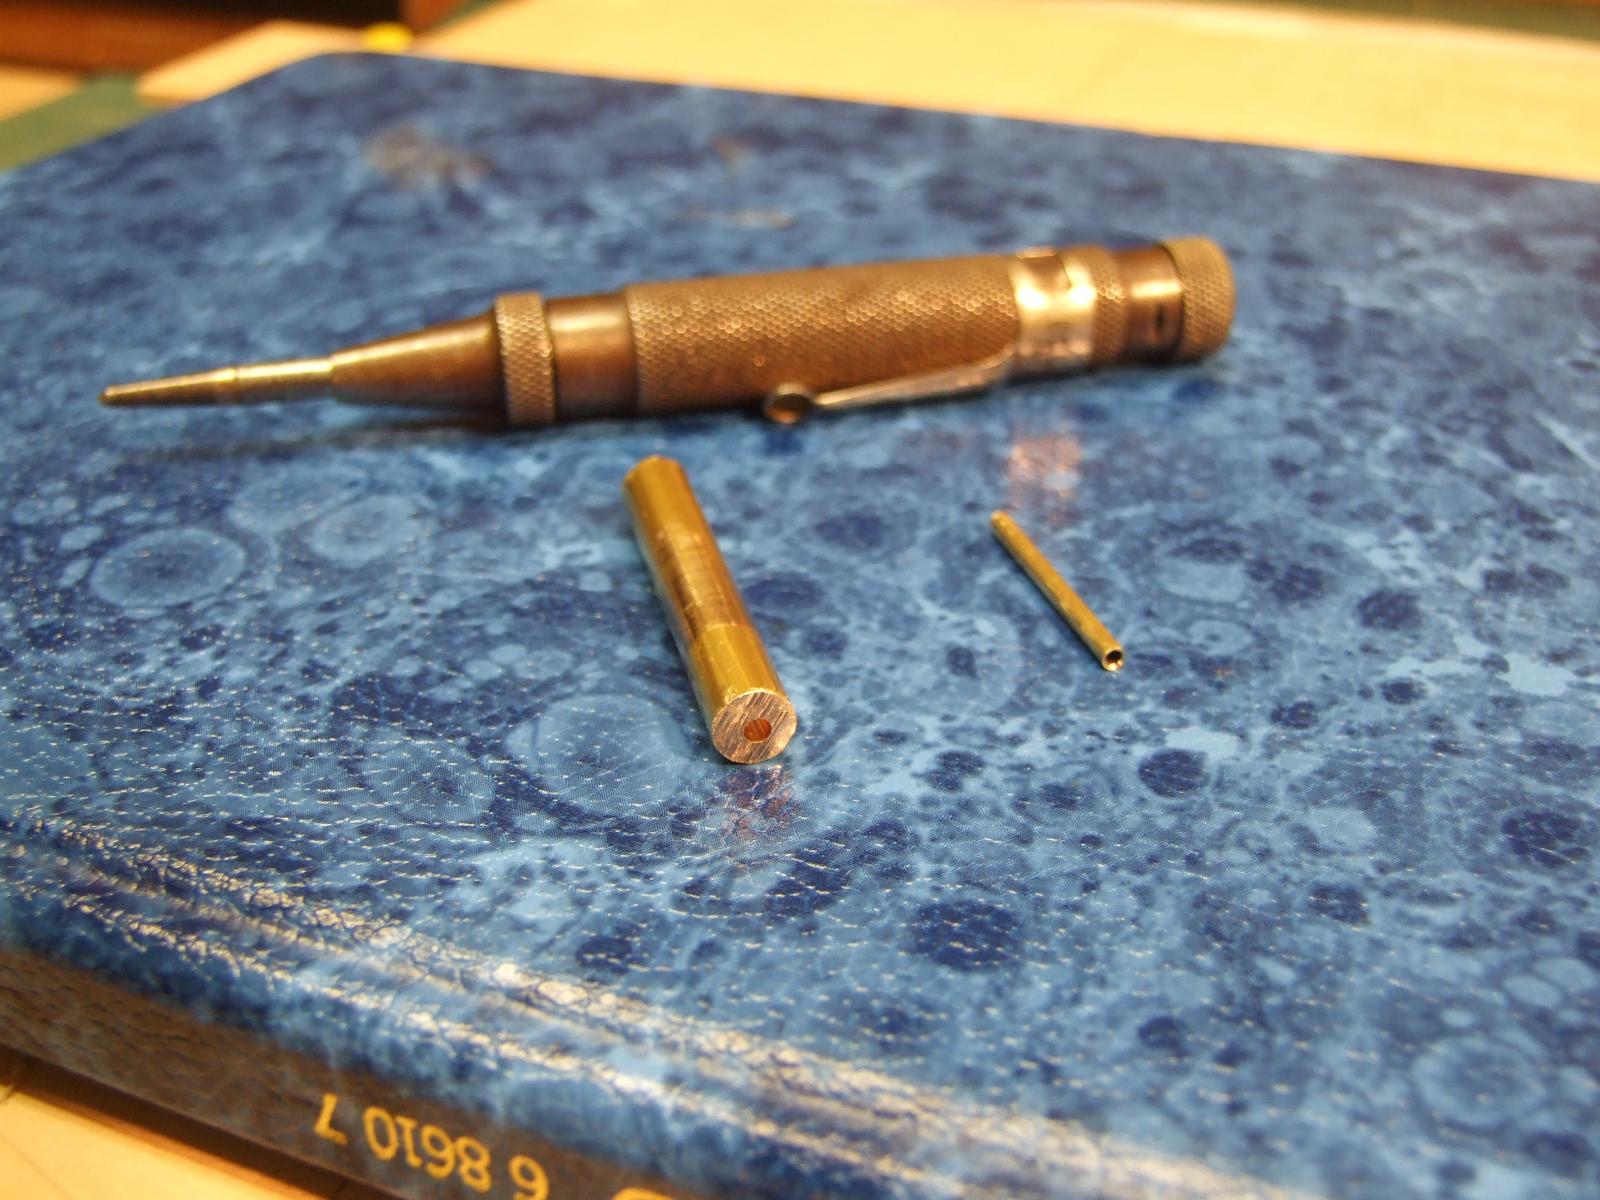
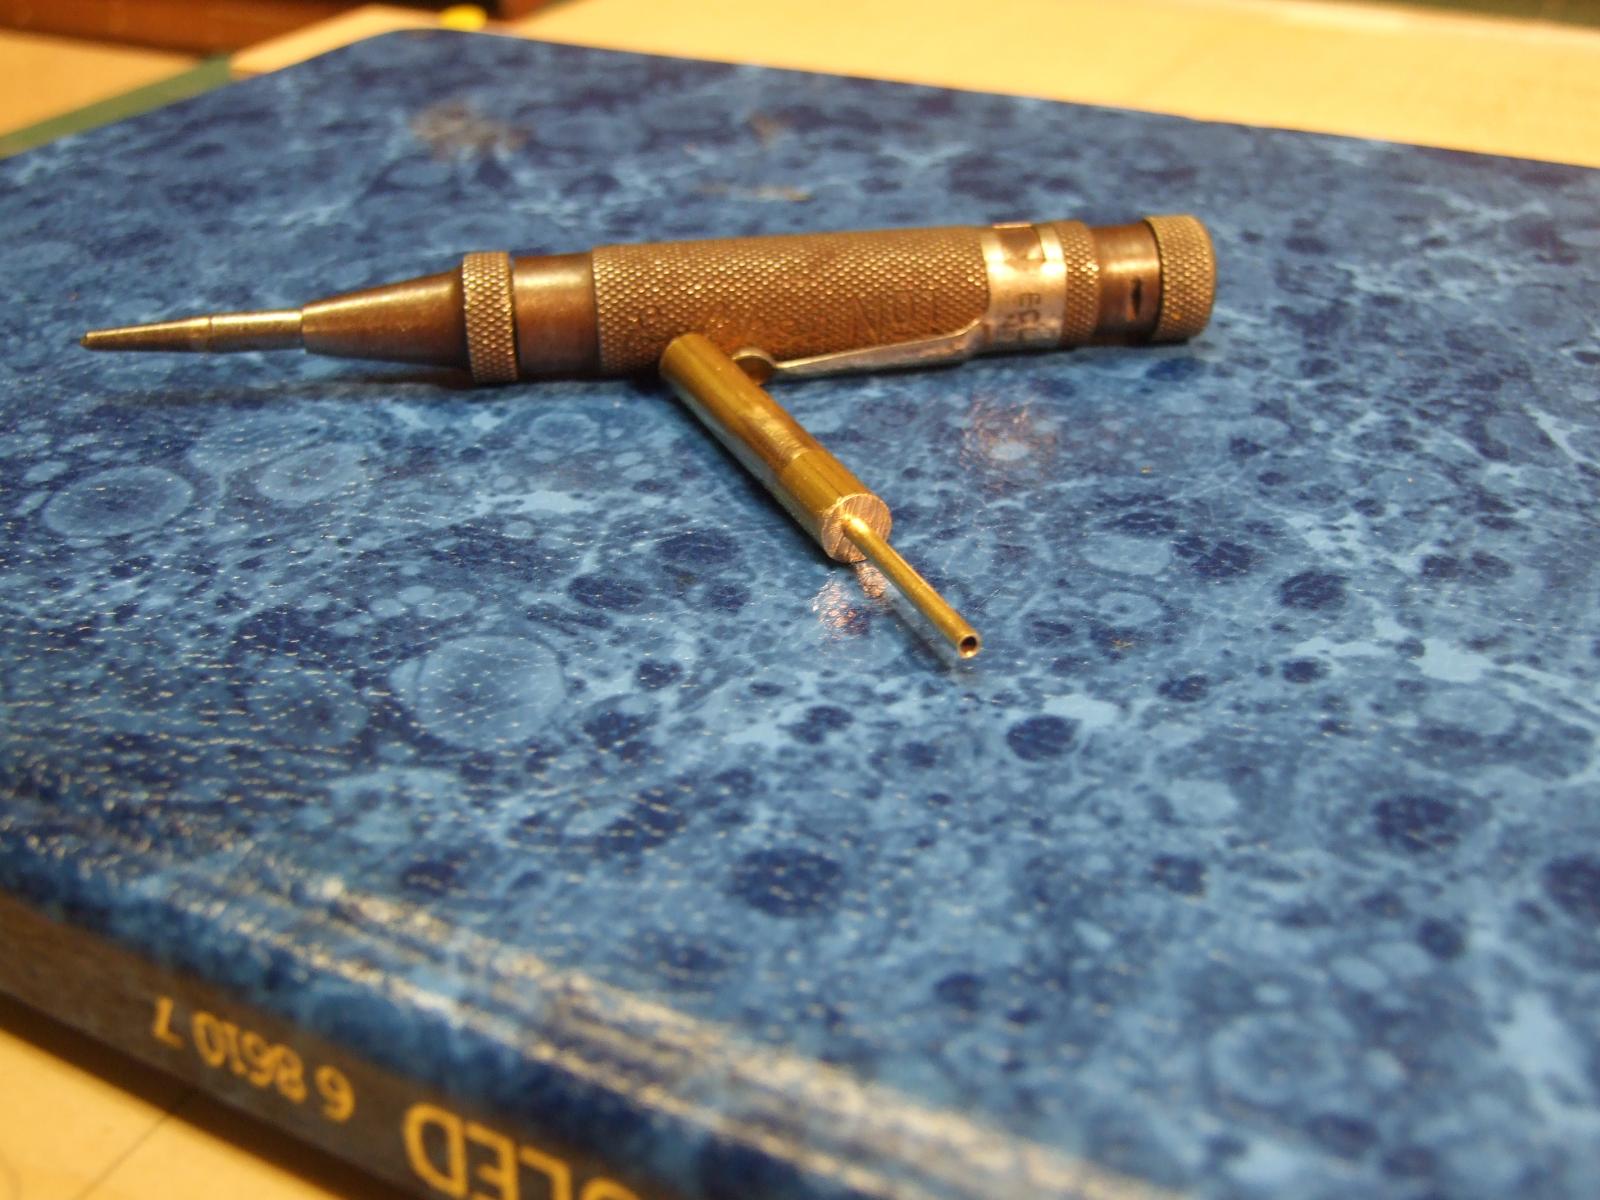
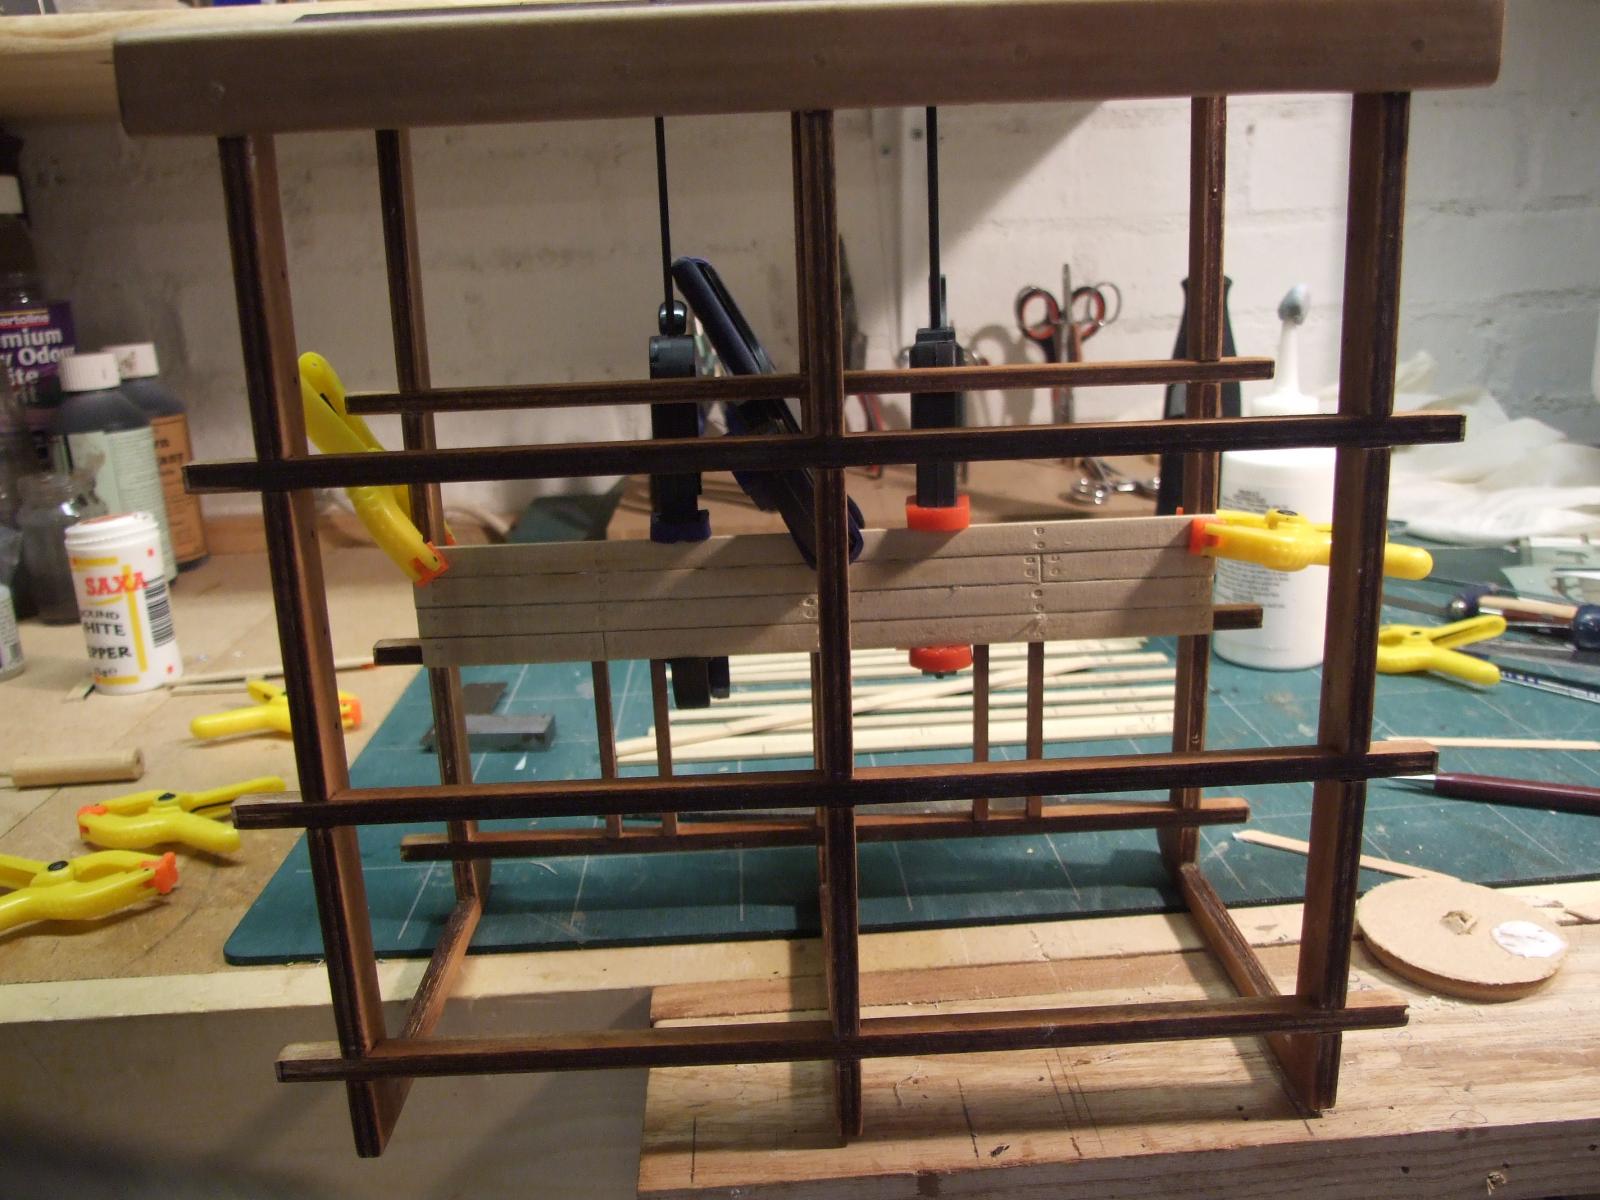
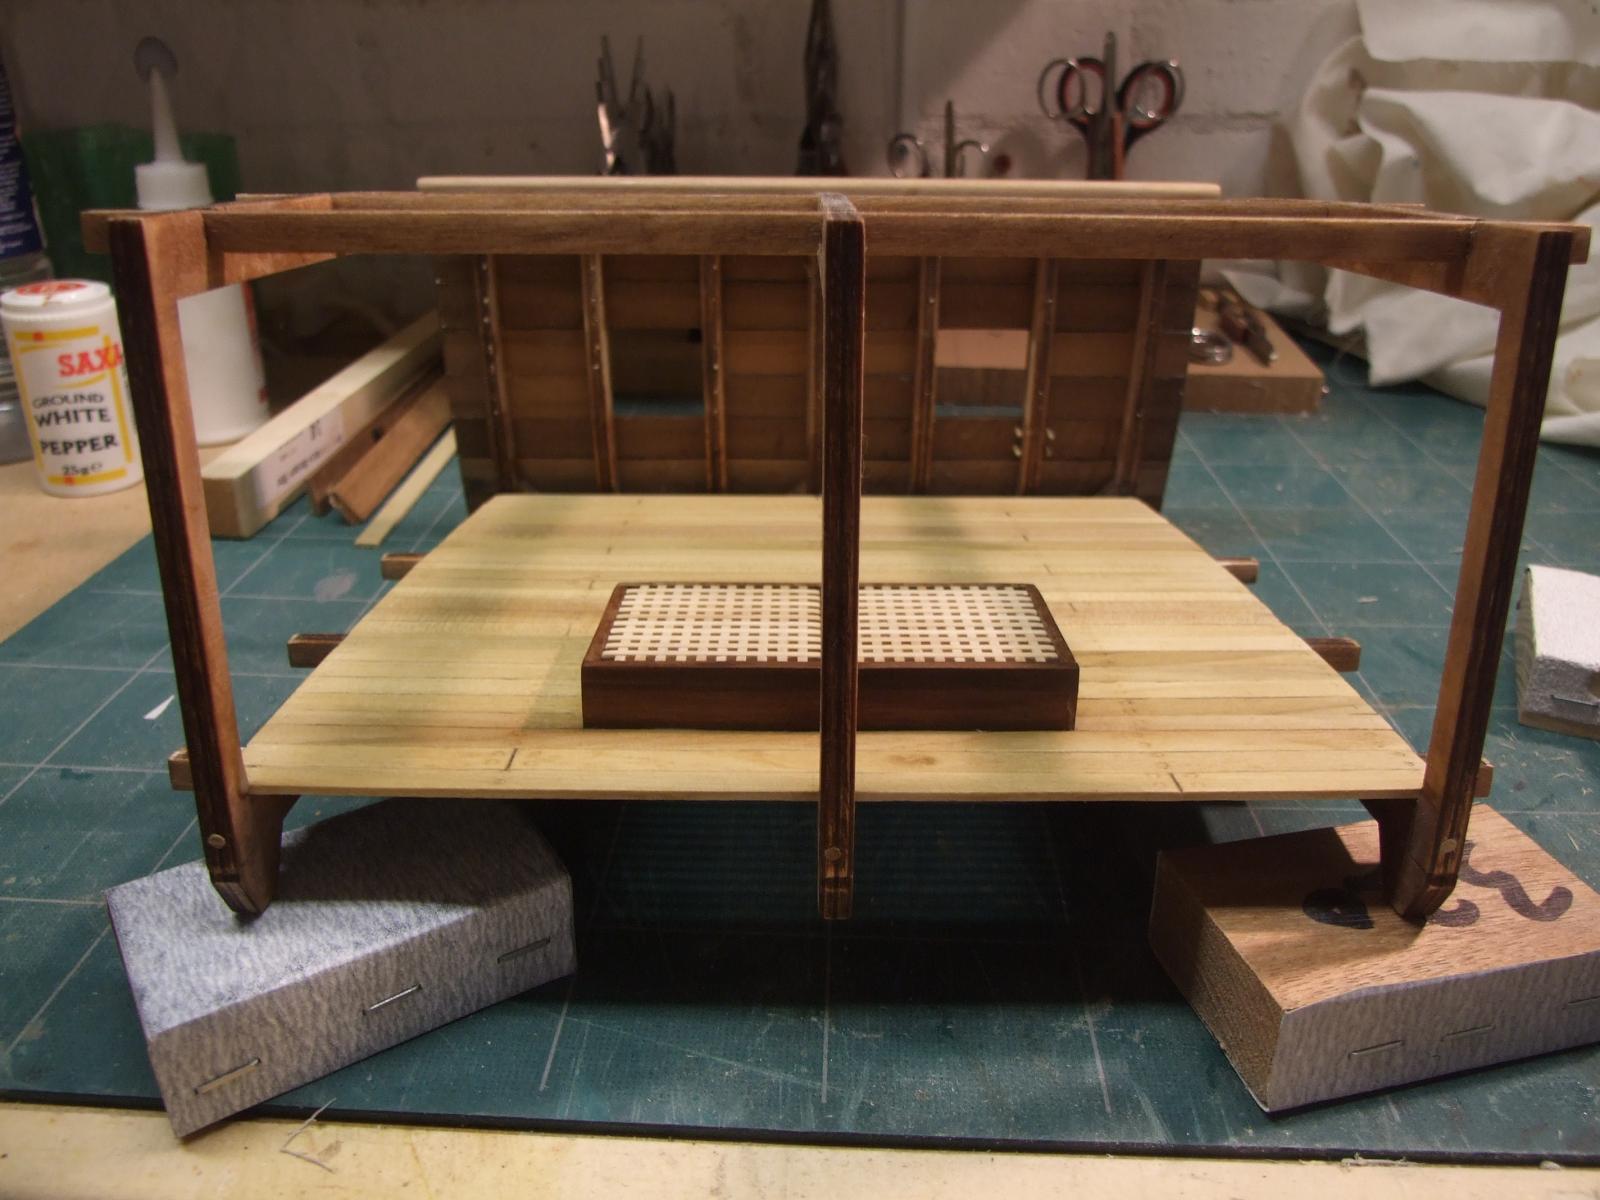
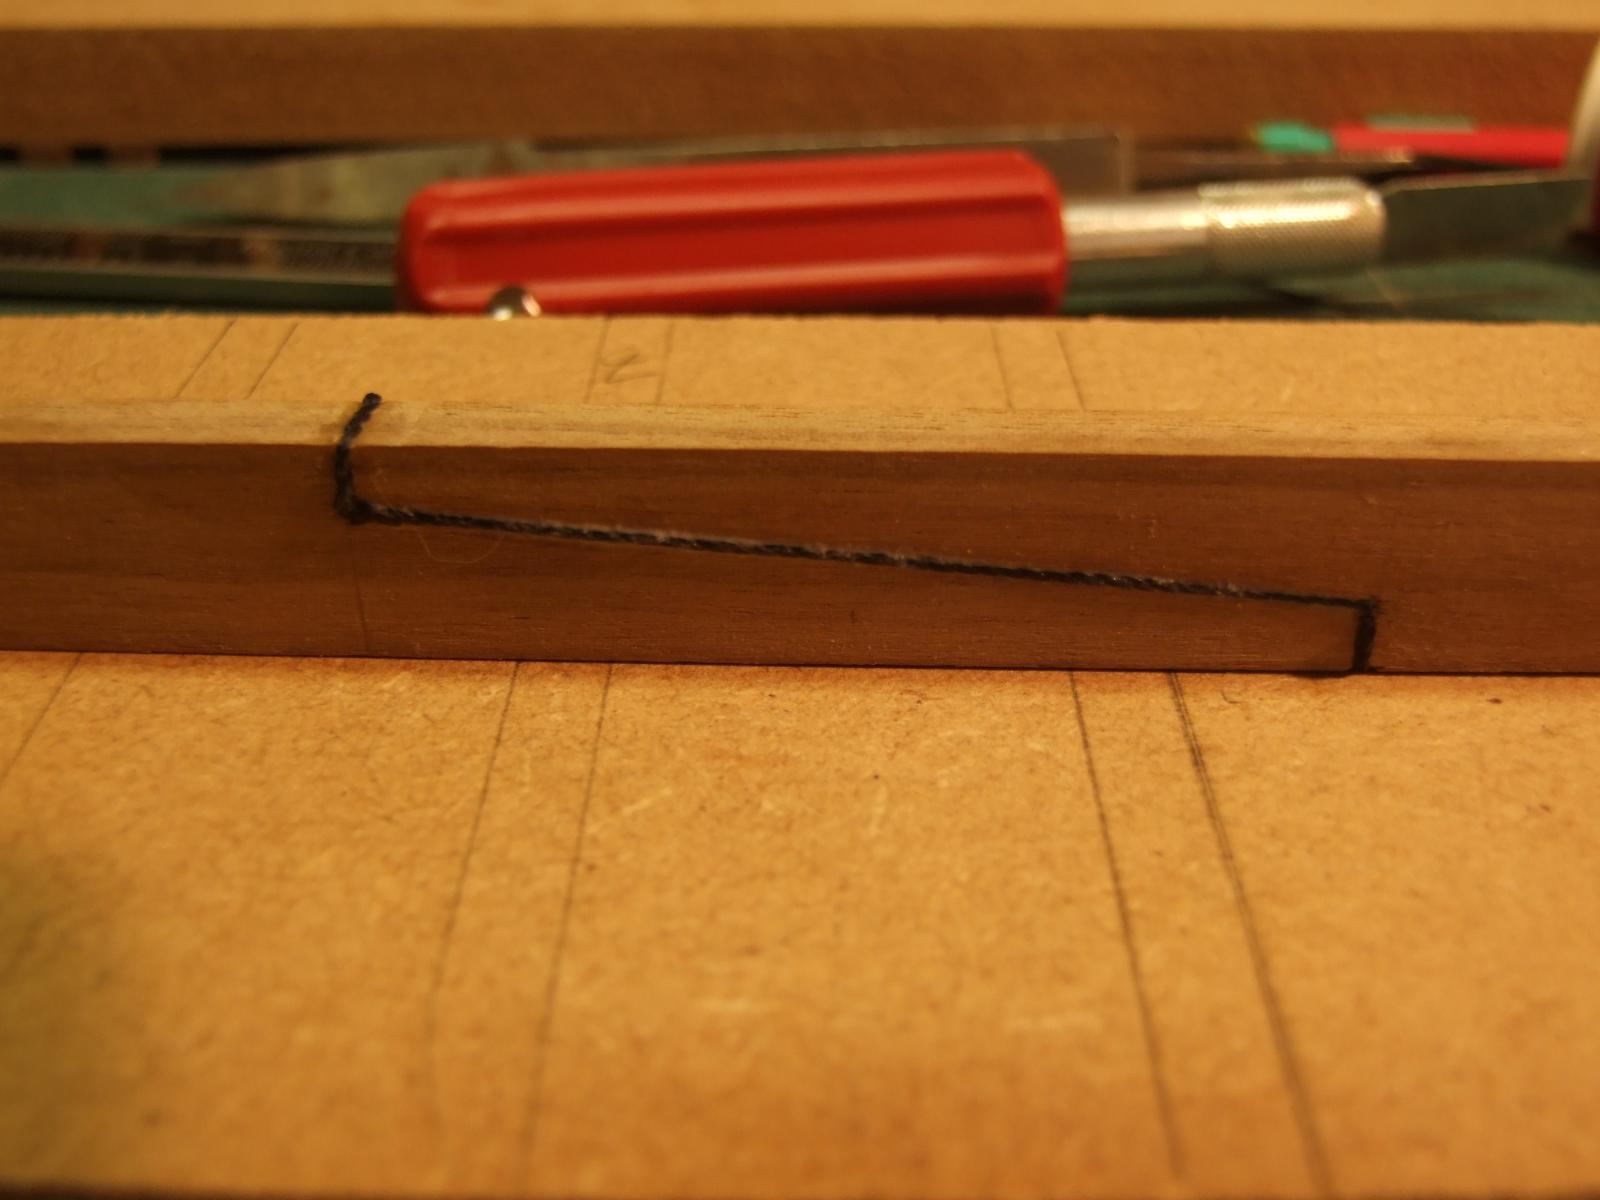
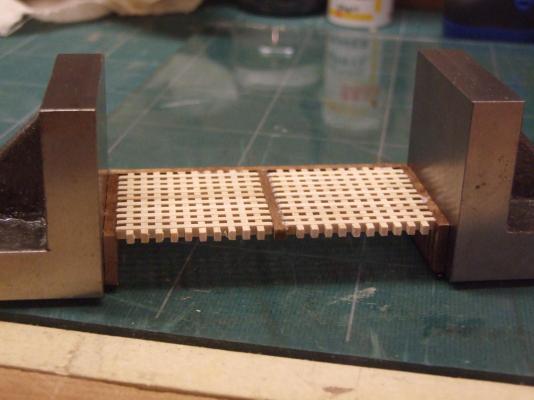
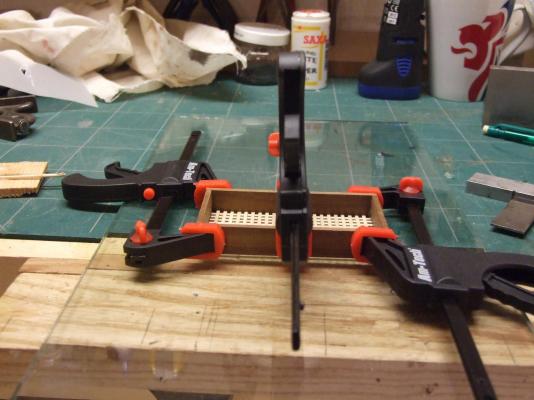
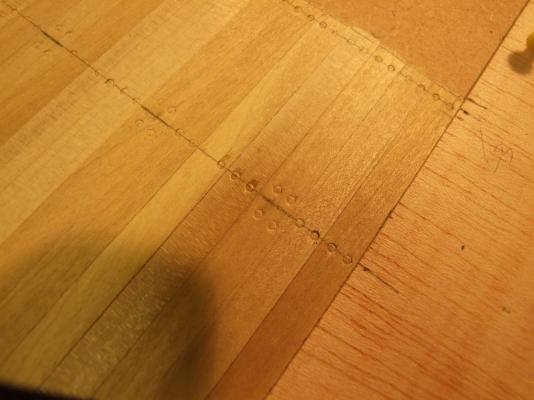
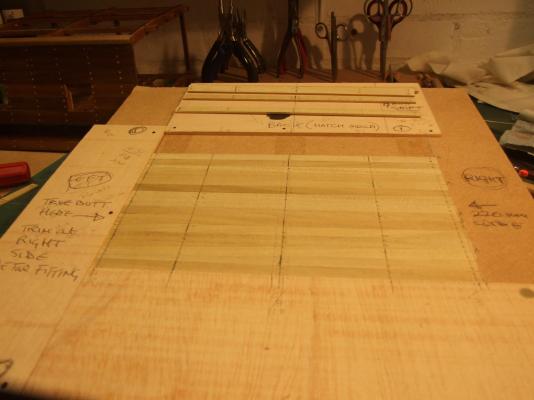
Back for more. This time it is the gun deck planking. Before the planking can be fitted a hatchway and grating must be made. The next image shows my jig for laying out the planking, working out the butt shift and trenailing. As this deck will eventually be almost completely covered by cannon and various other fixtures and fittings I am not going to caulk and trenail properly but simply fake these features. The caulking will be black pencil edging and the trenails indentations in the planking made with the Patent Trenail Marker as per the other build that I mentioned in the intro to this one. I have, I think, improved on the original concept of the PTM by the addition of my impact centre punch! Now the planking is laid out on the jig, the butt shift joints are all marked up and the trenails have been punched in. Laying planking commences.... ....and completes with the fitting of the hatch. Back later. Mike


-
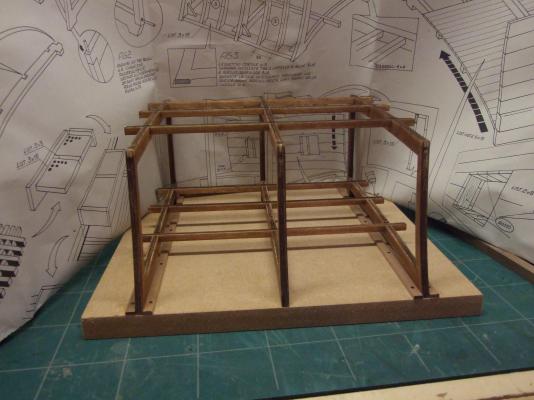
Hello Jan, I had always intended to leave all the wood to speak for itself so the staining was wrong. As you will see later on the side grain of any visible ply will look ok. Any visible laminations will be capped and polished. Mike.
-
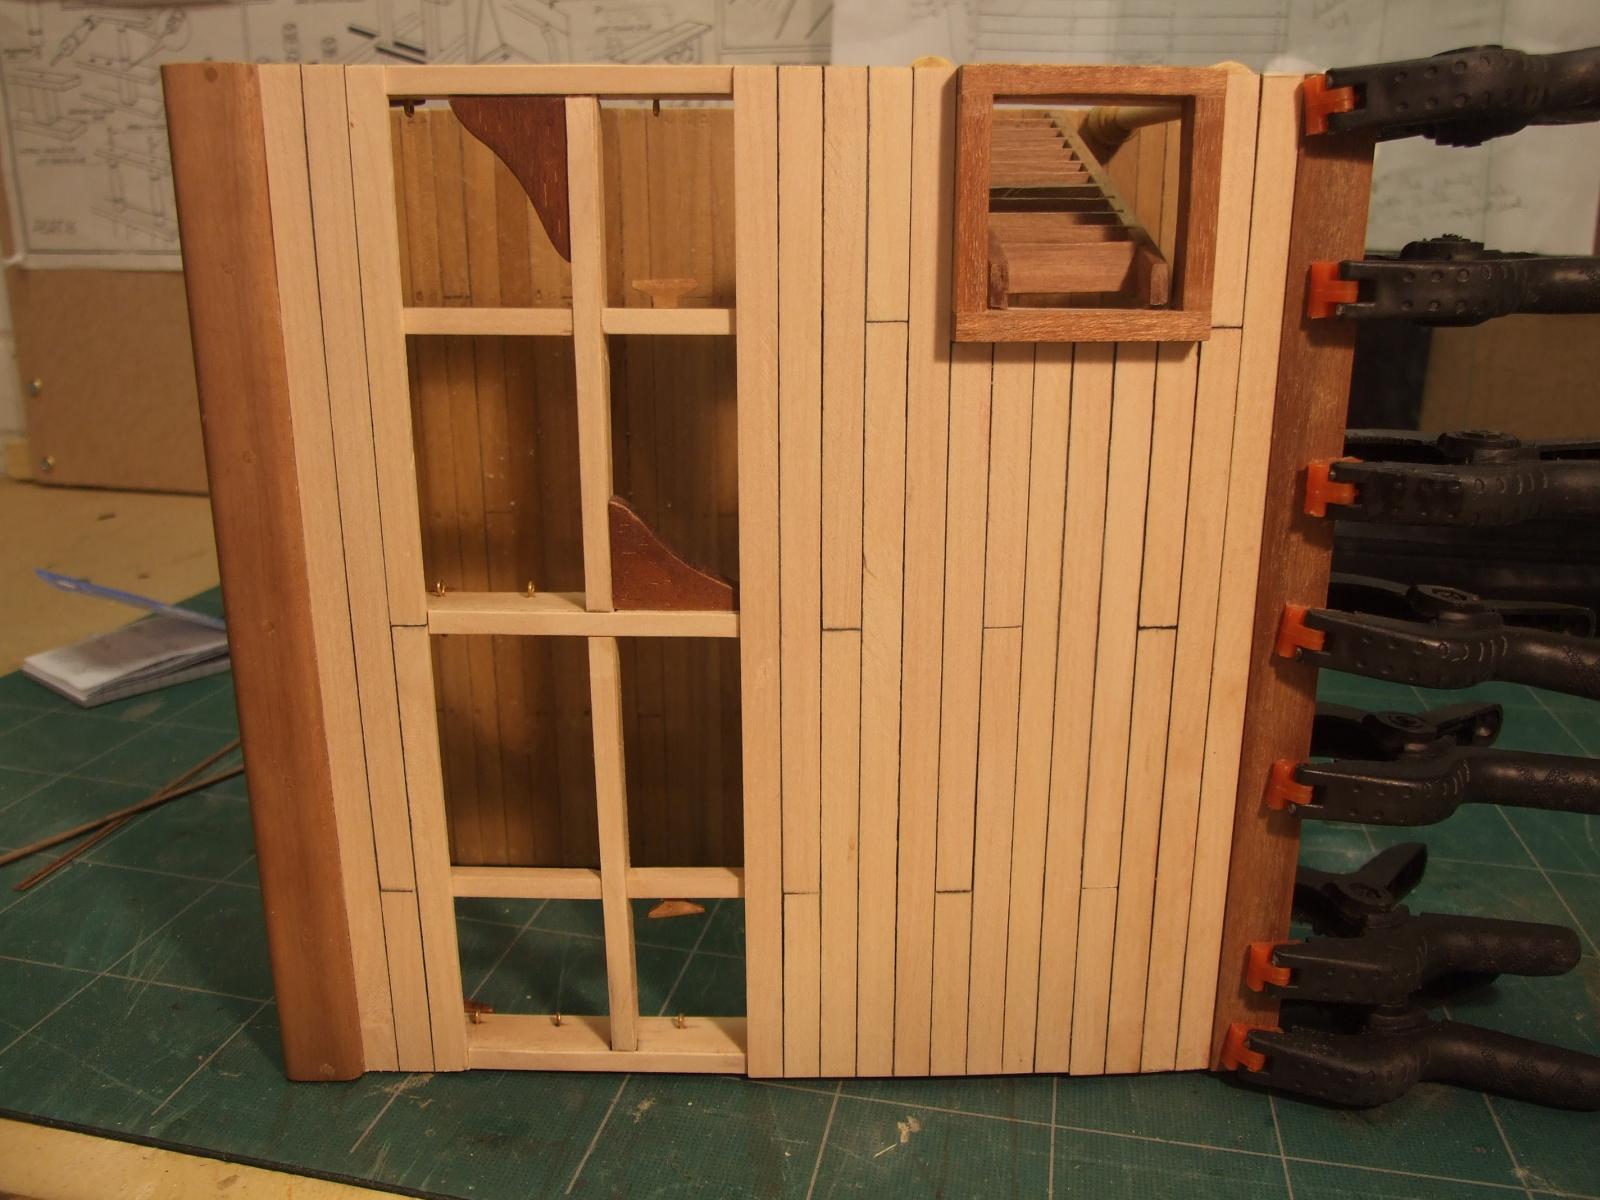
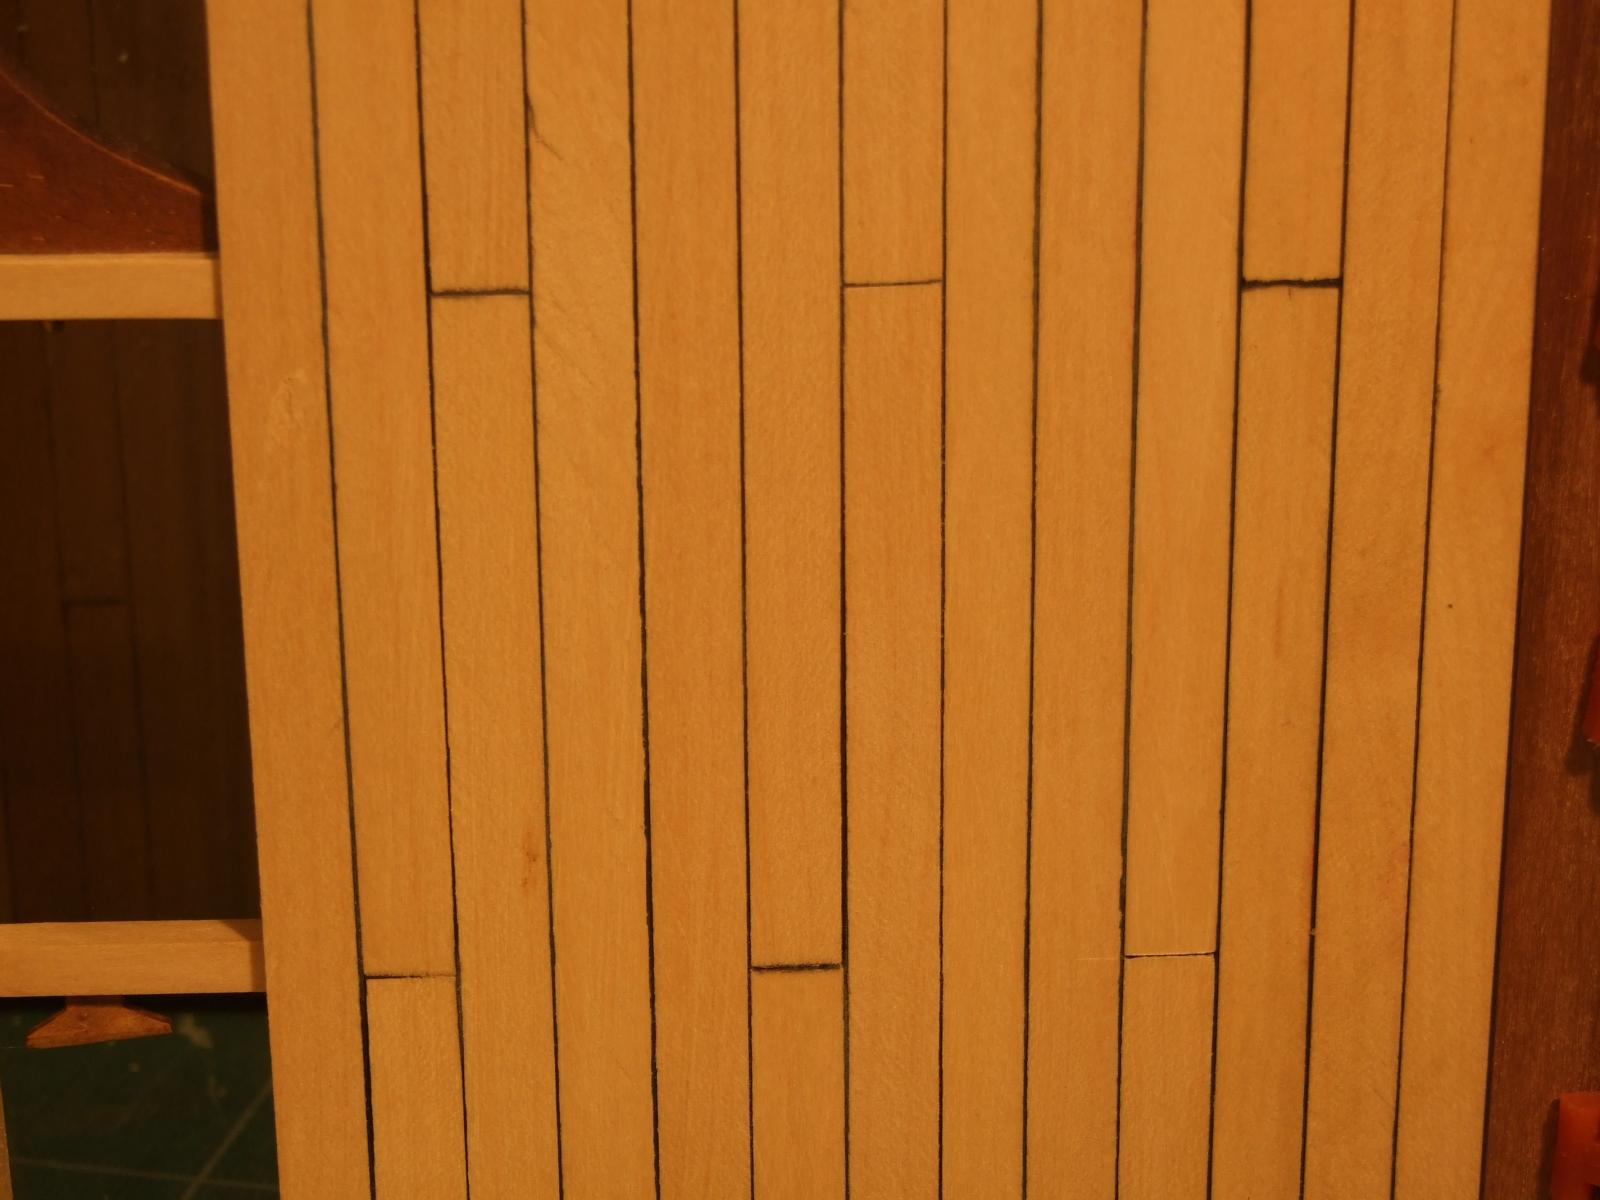
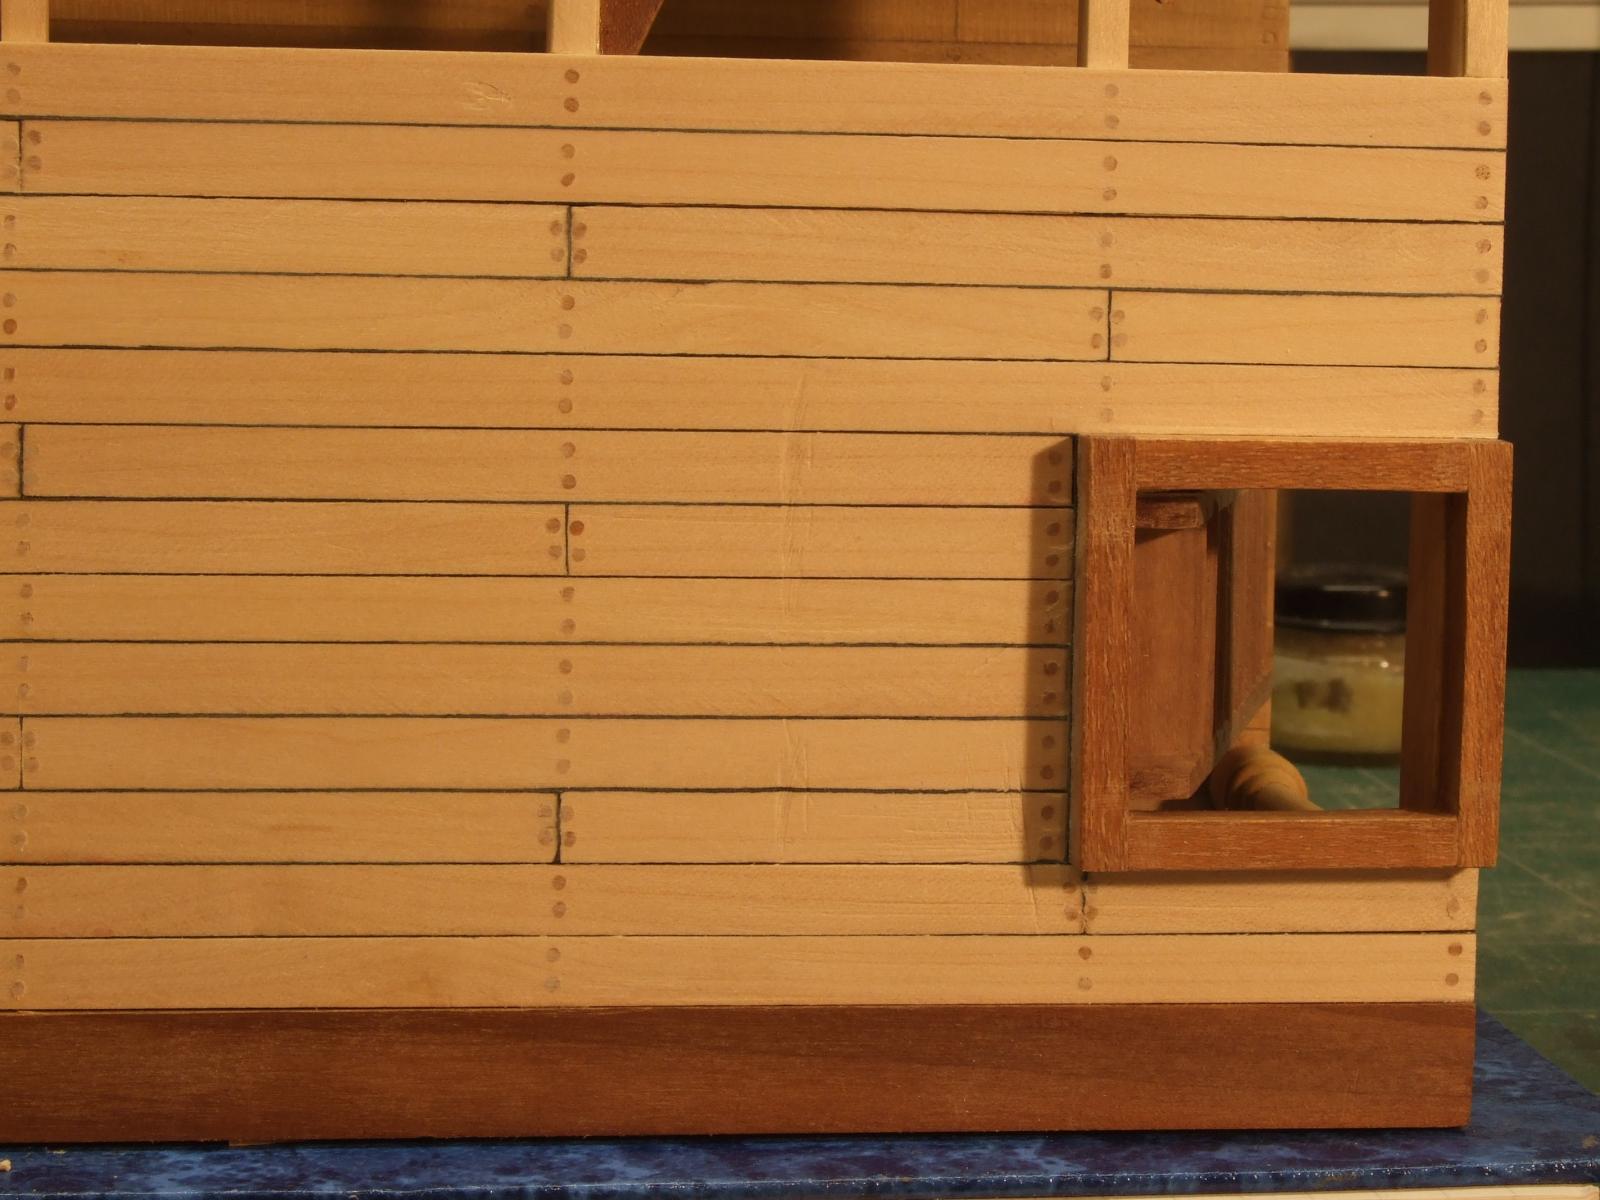
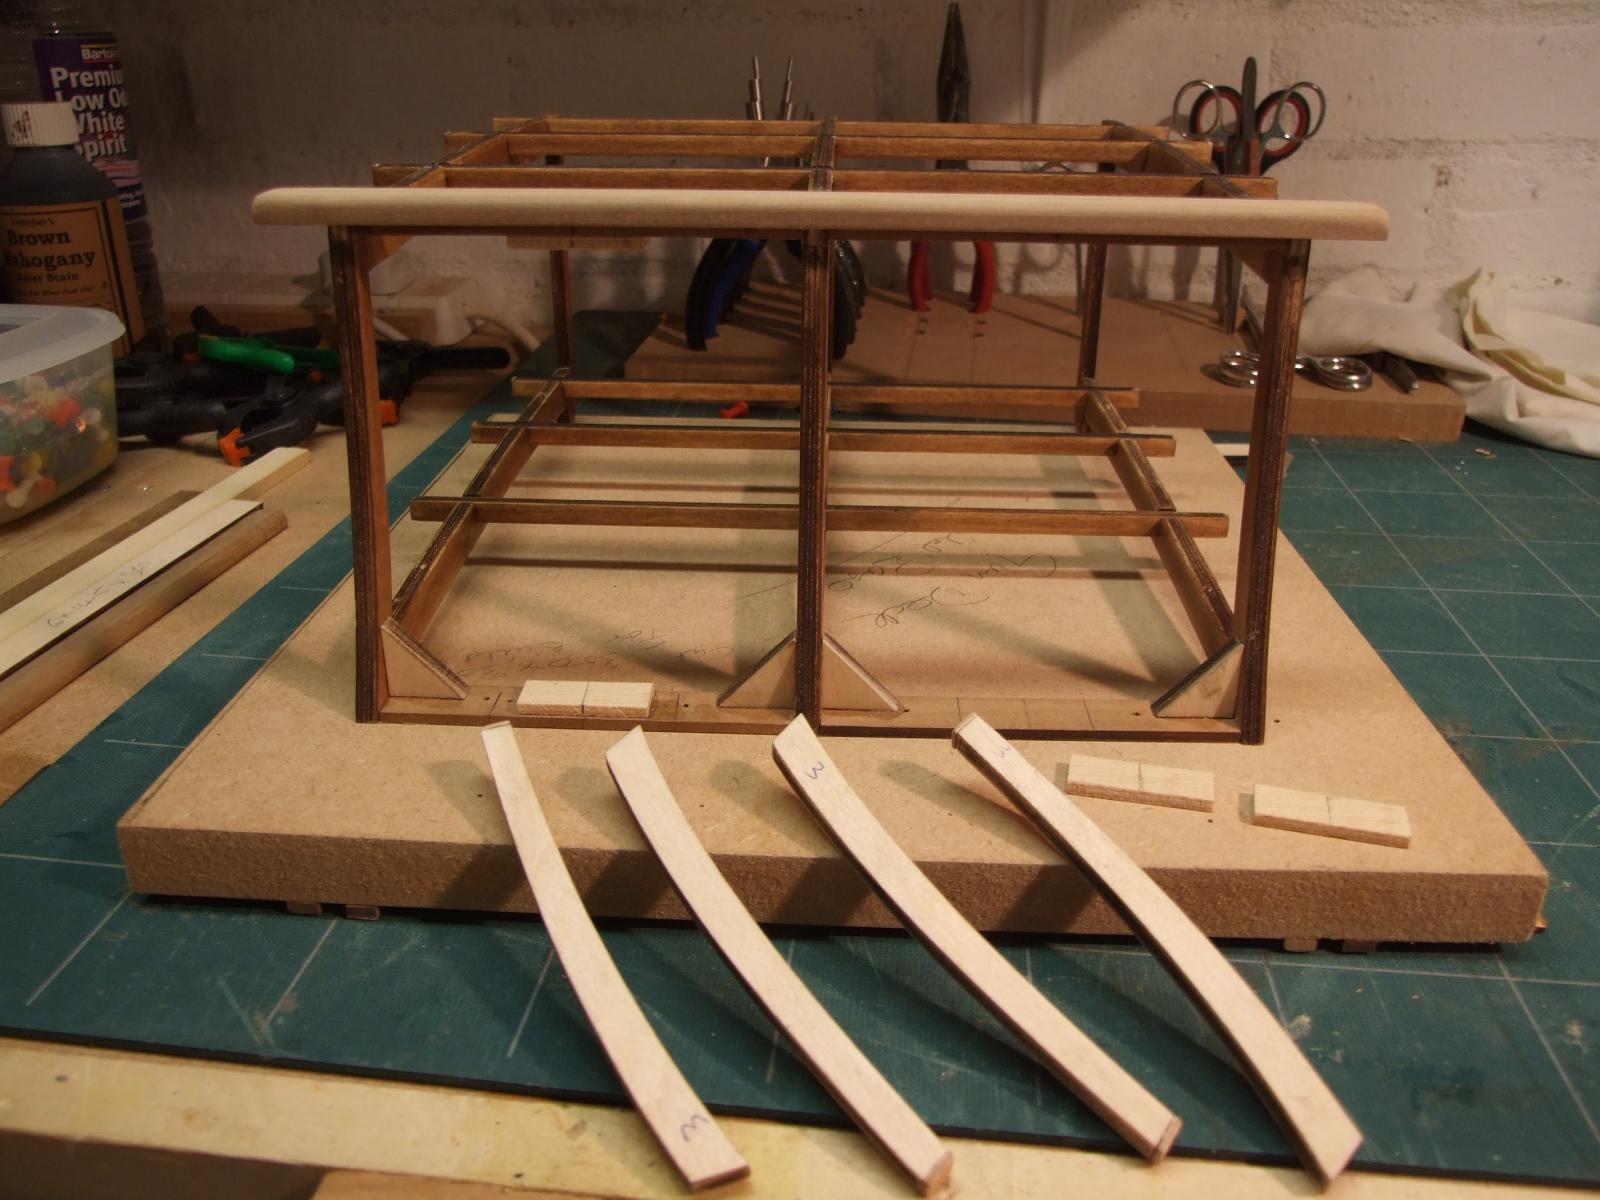
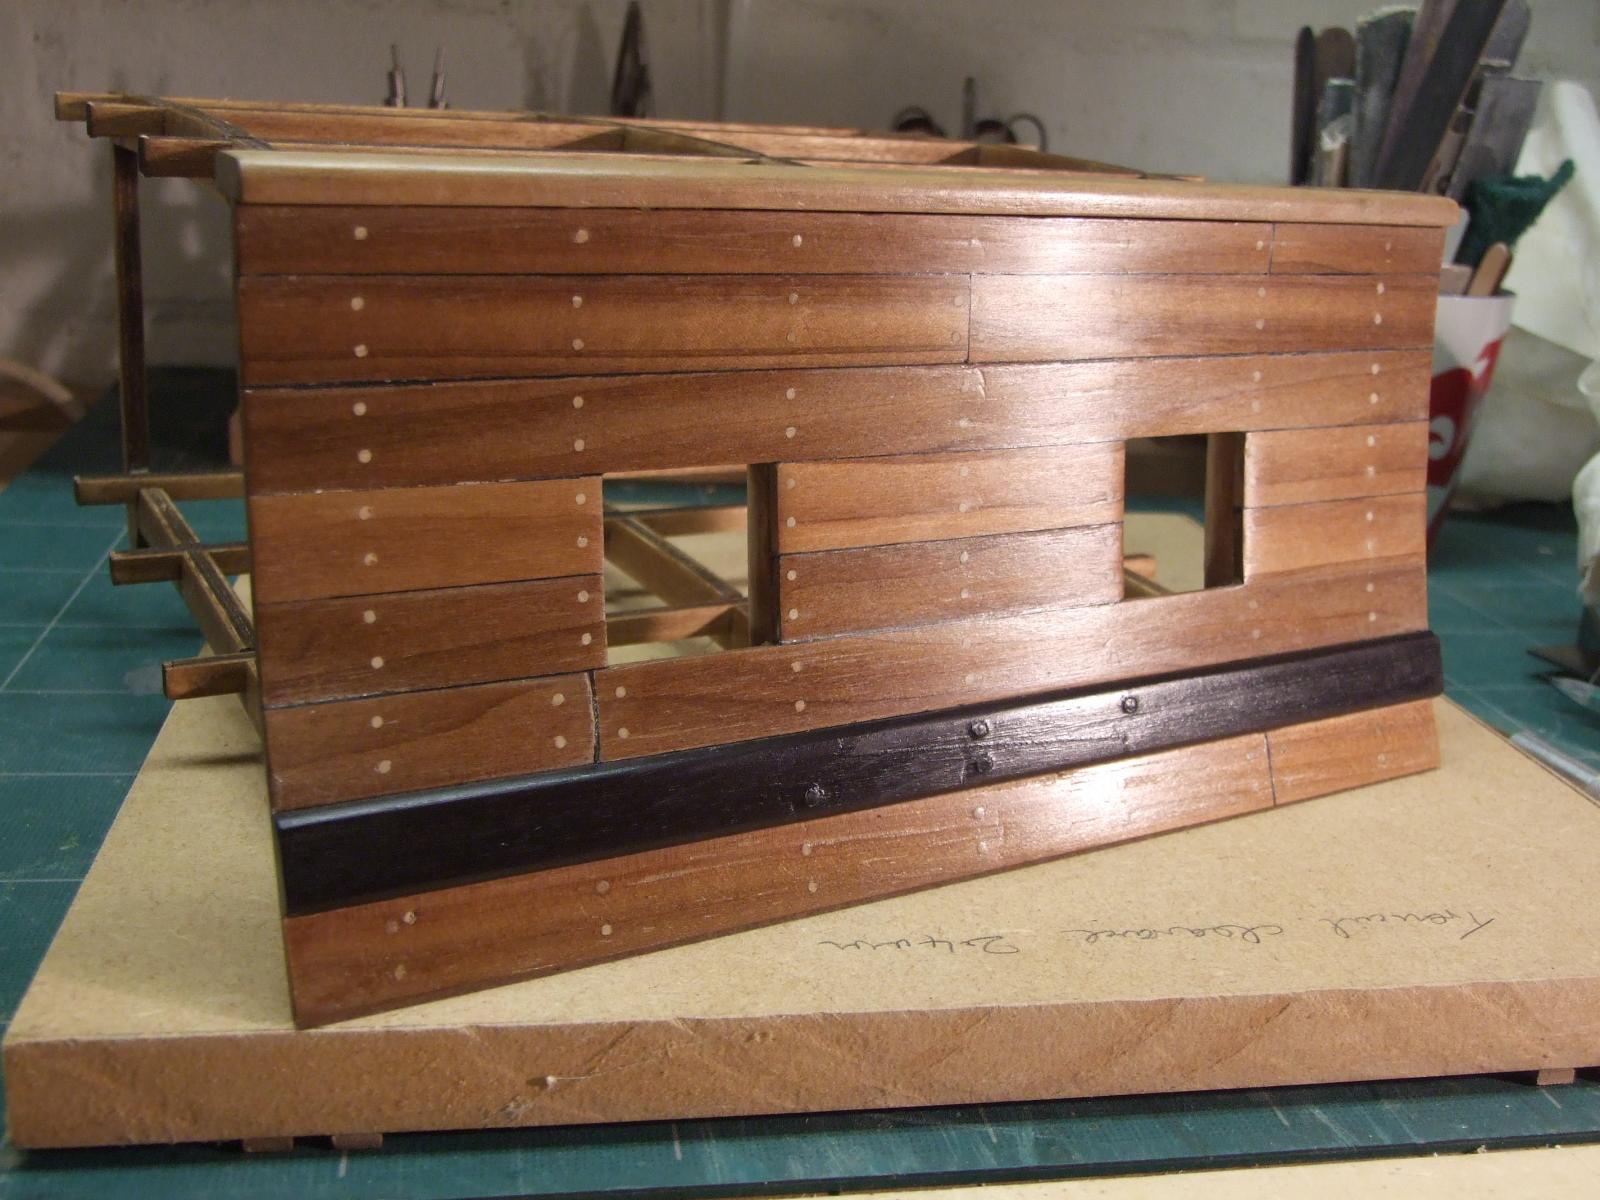
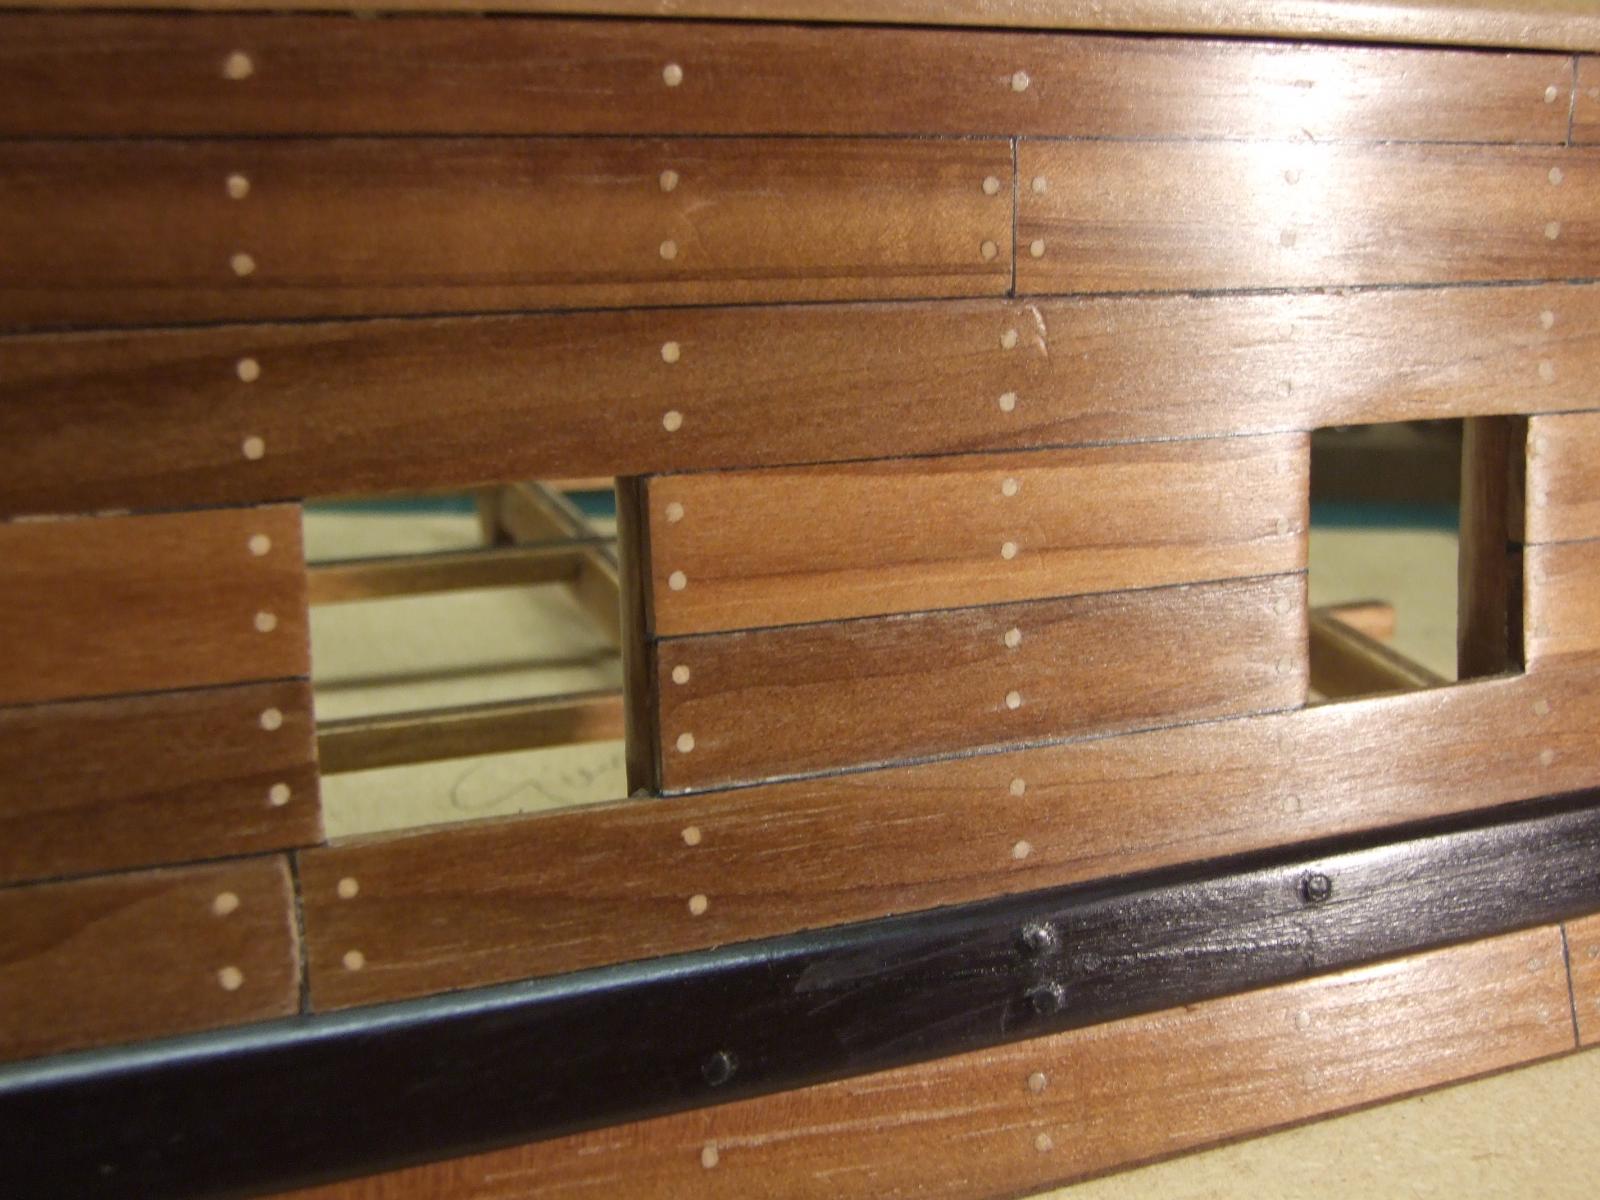
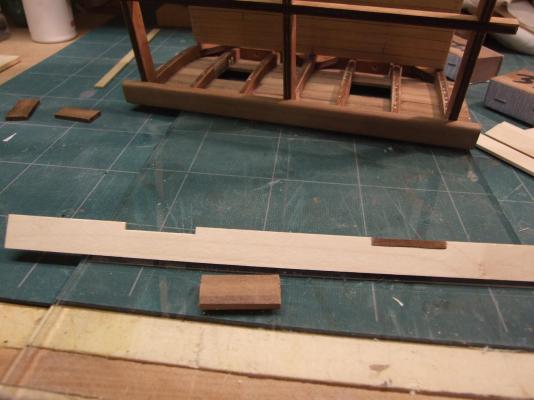
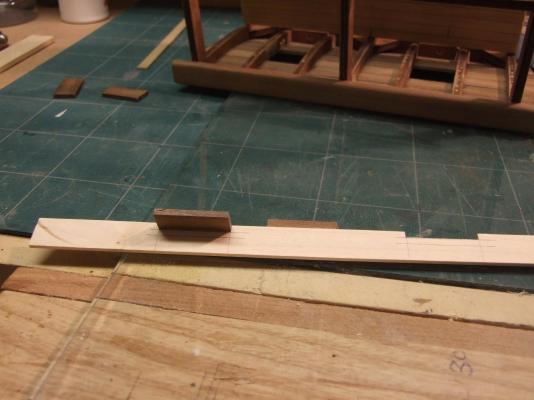
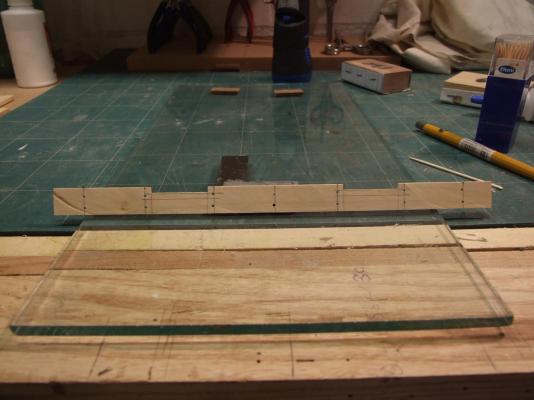
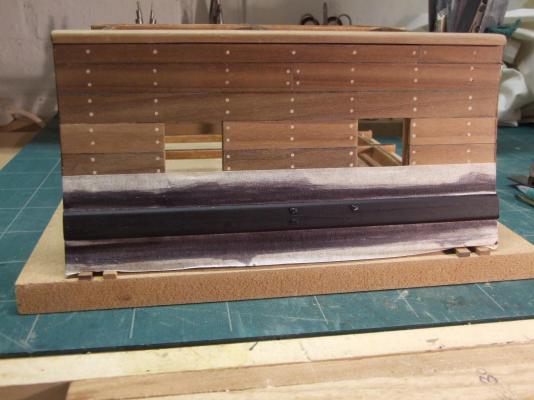
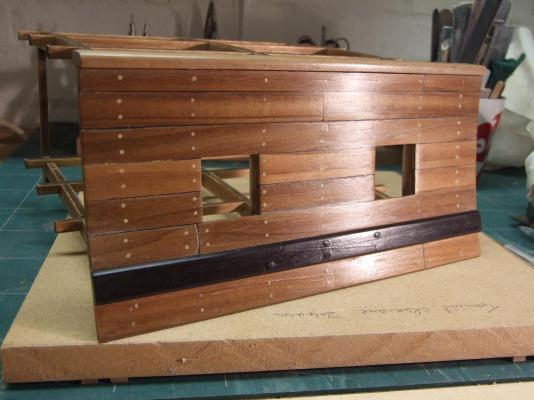
Back again. The following photos show the curved rib sections and my spacers used to position them. as the spacers cannot be seen after planking they were glued in place. The ribs were found to be a tad short and have been corrected. The gunnel cap can also be seen here. Making the Whale. Showing scarffe joint and black card caulking . Fitting the first plank and adding the whale. The whale has been treated with ebonising stain but I find it unconvincing. I will see what it looks like later and think again. A drilling template for the trenails..... ....makes the job straightforward..... ....and soon completed. The whale having another coat of stain but I am still not happy. Maybe polishing will improve it. The large trenails in the whale are a mess and will be replaced. Polish applied to see how it looks. Ok, but the whale is still not right. Back soon. Mike.


-
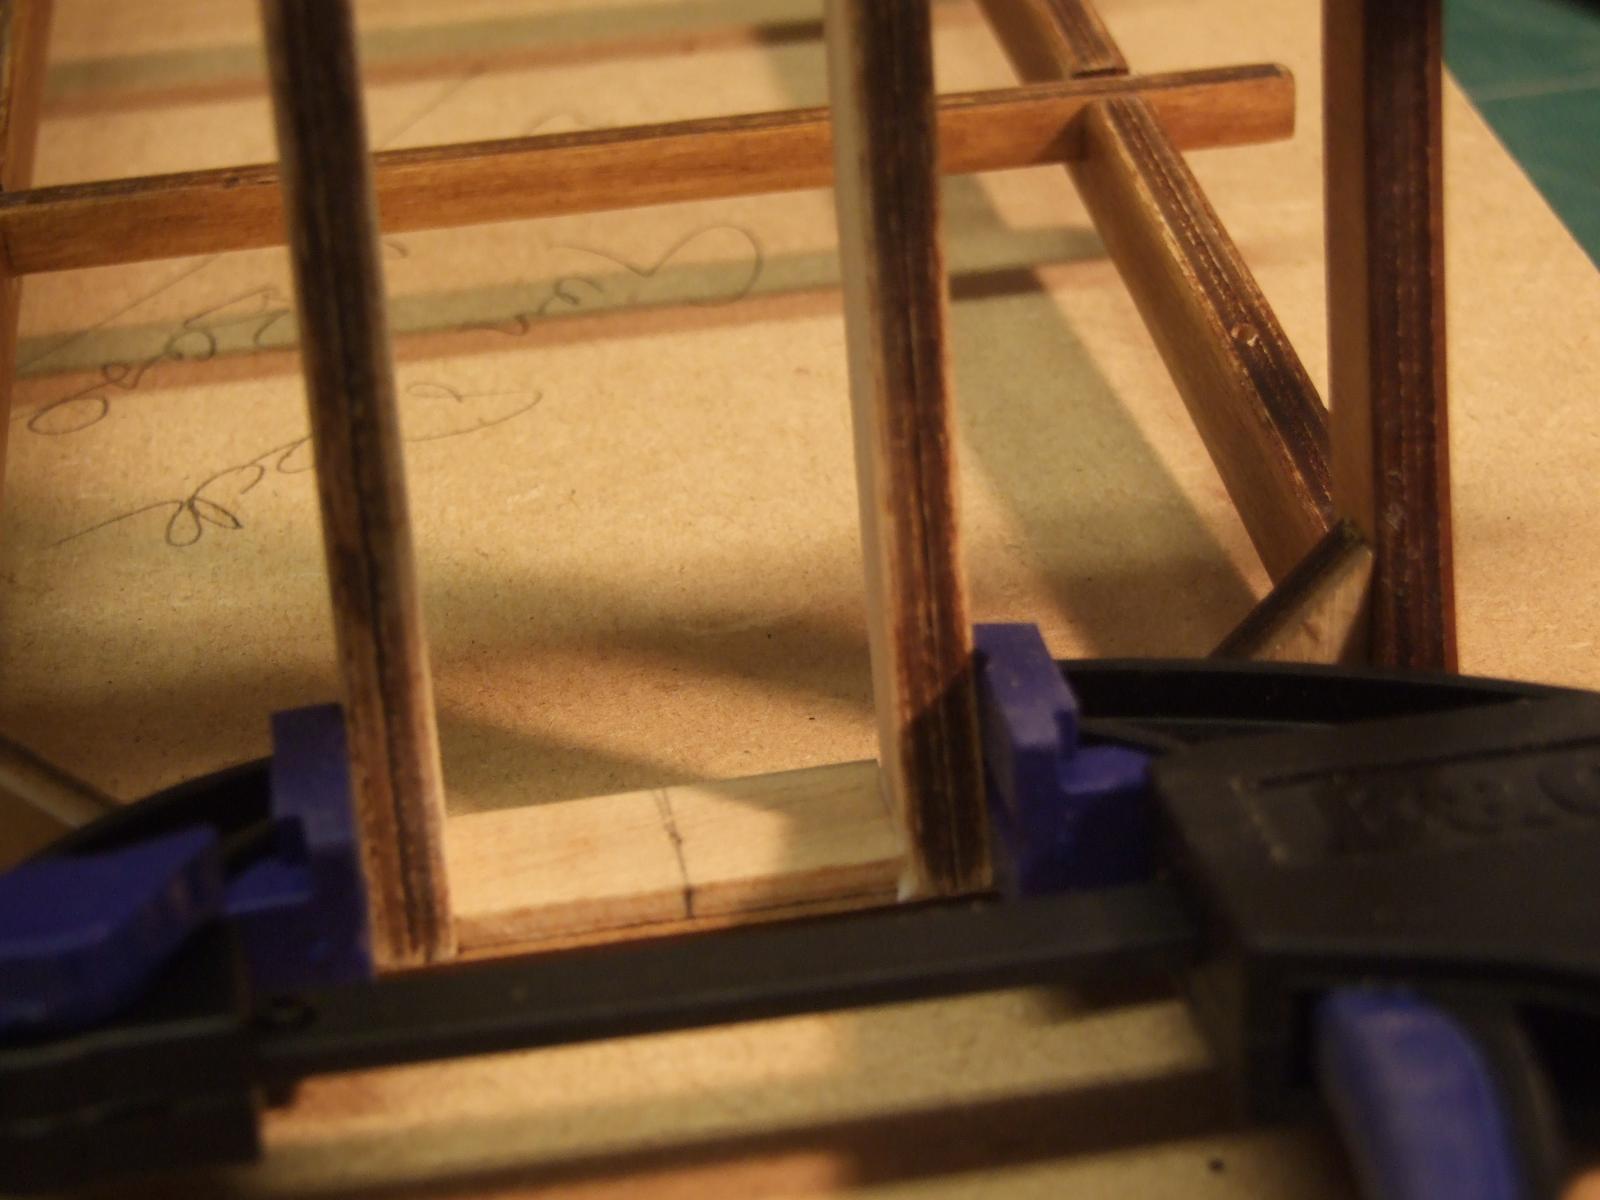
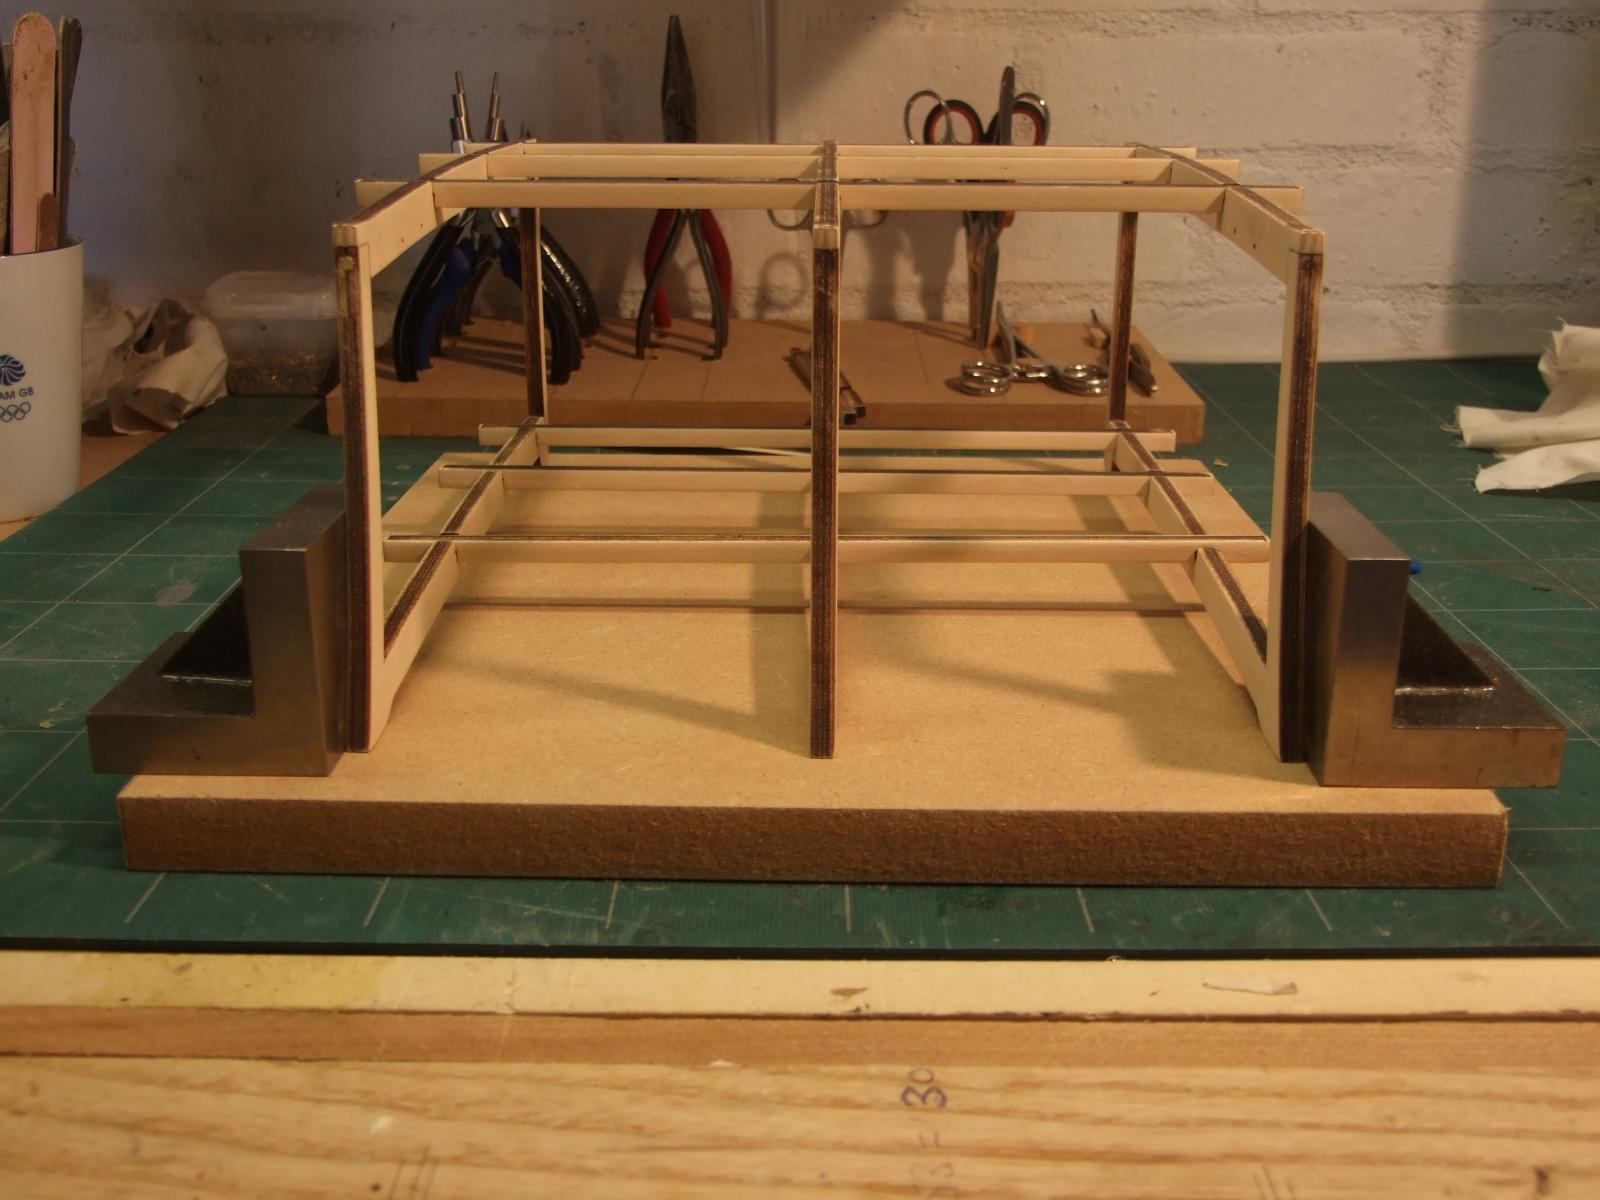
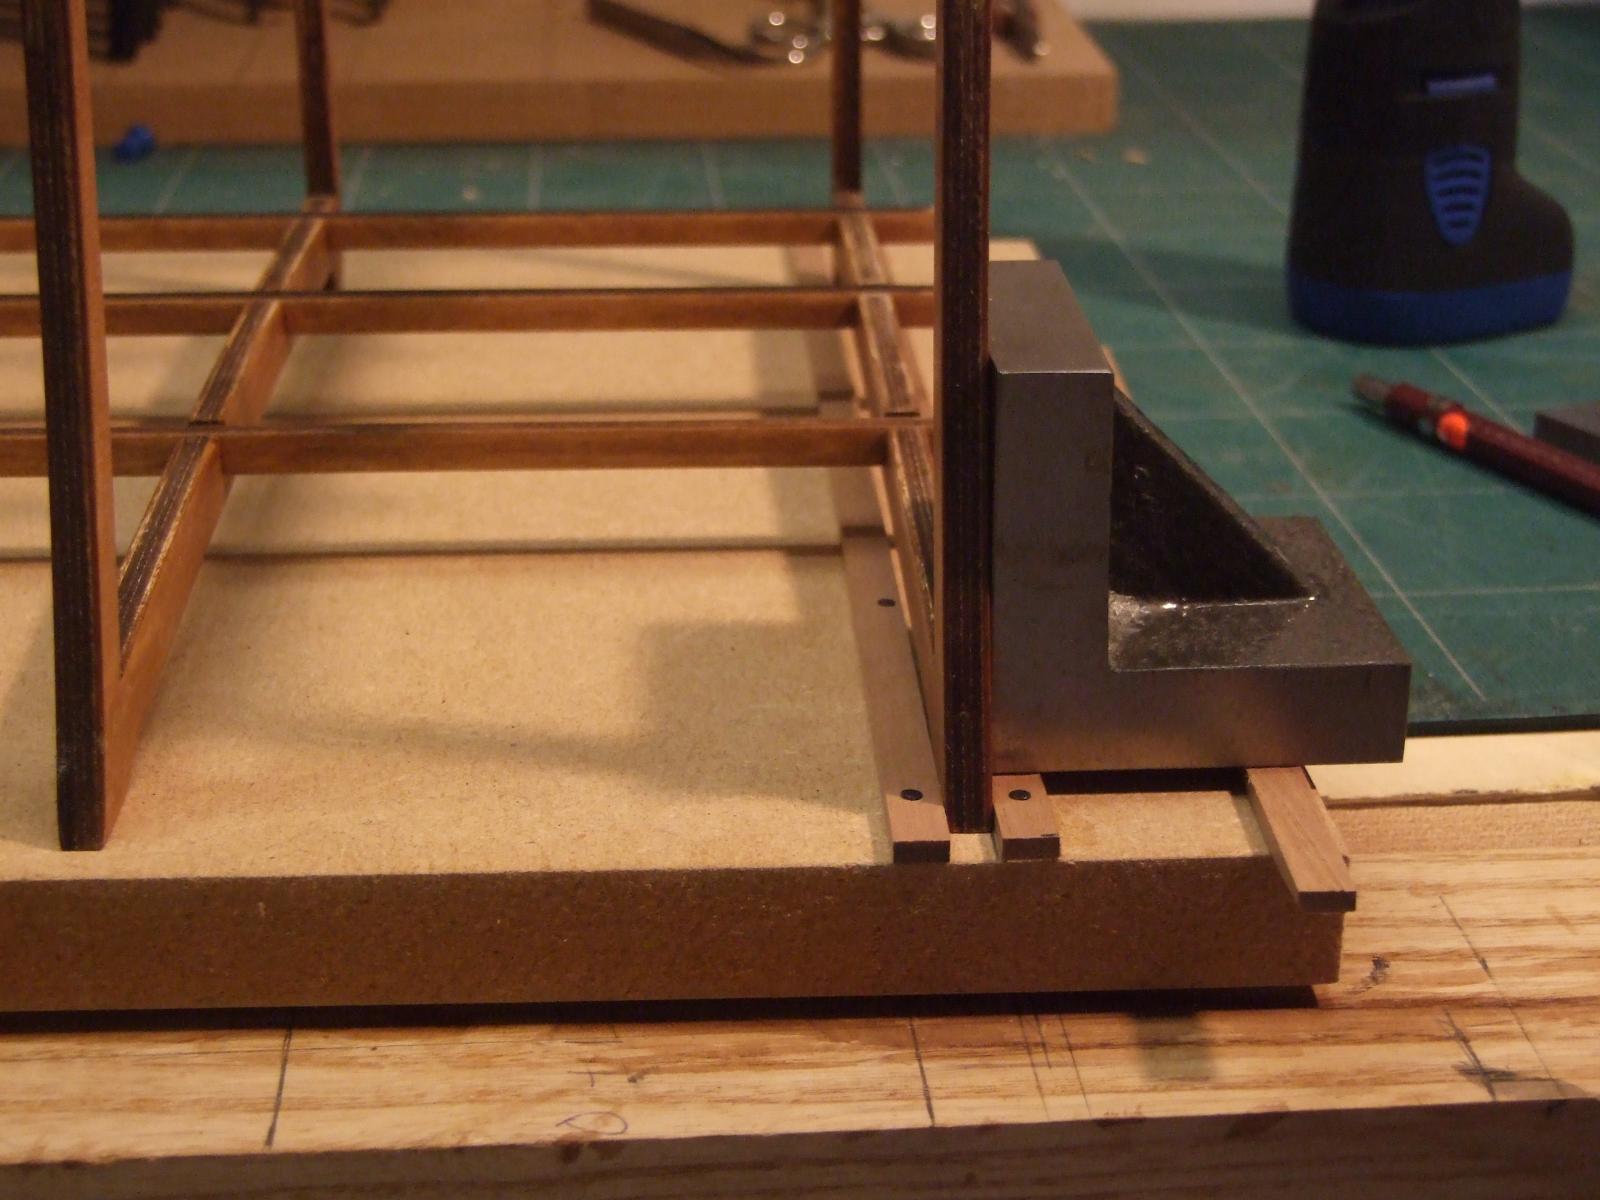
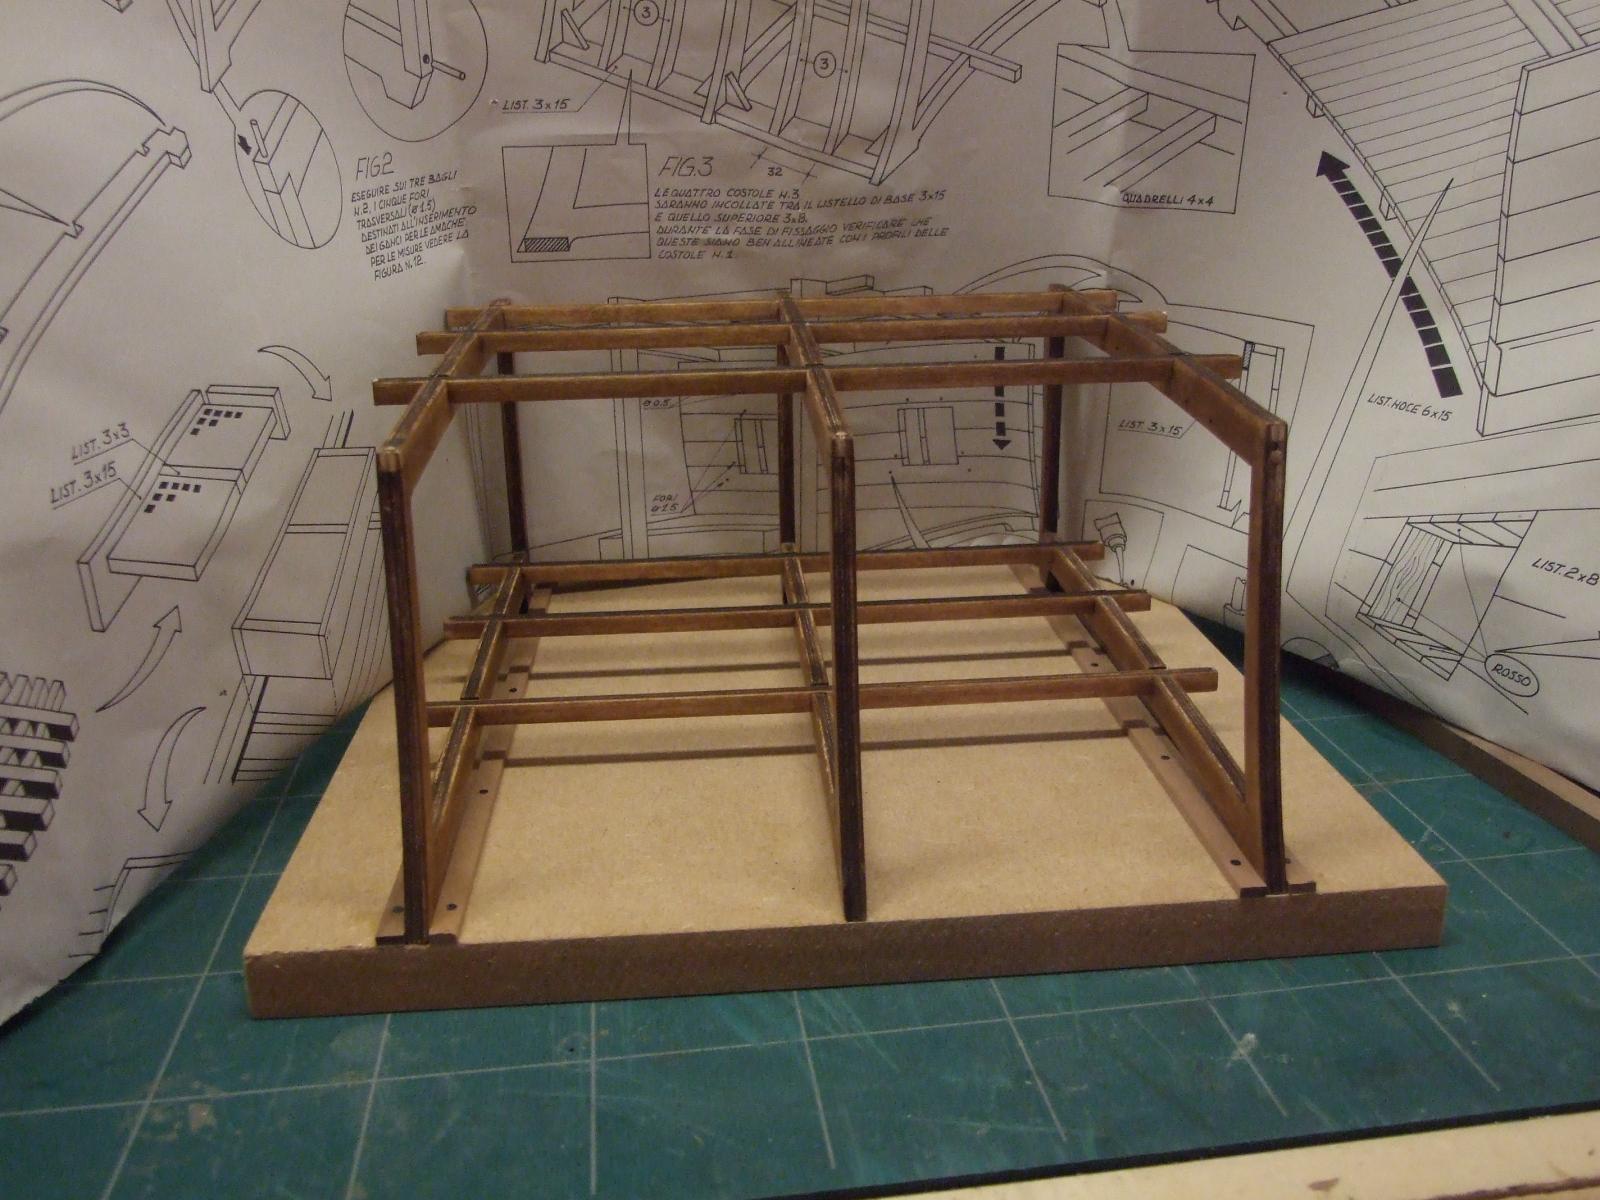
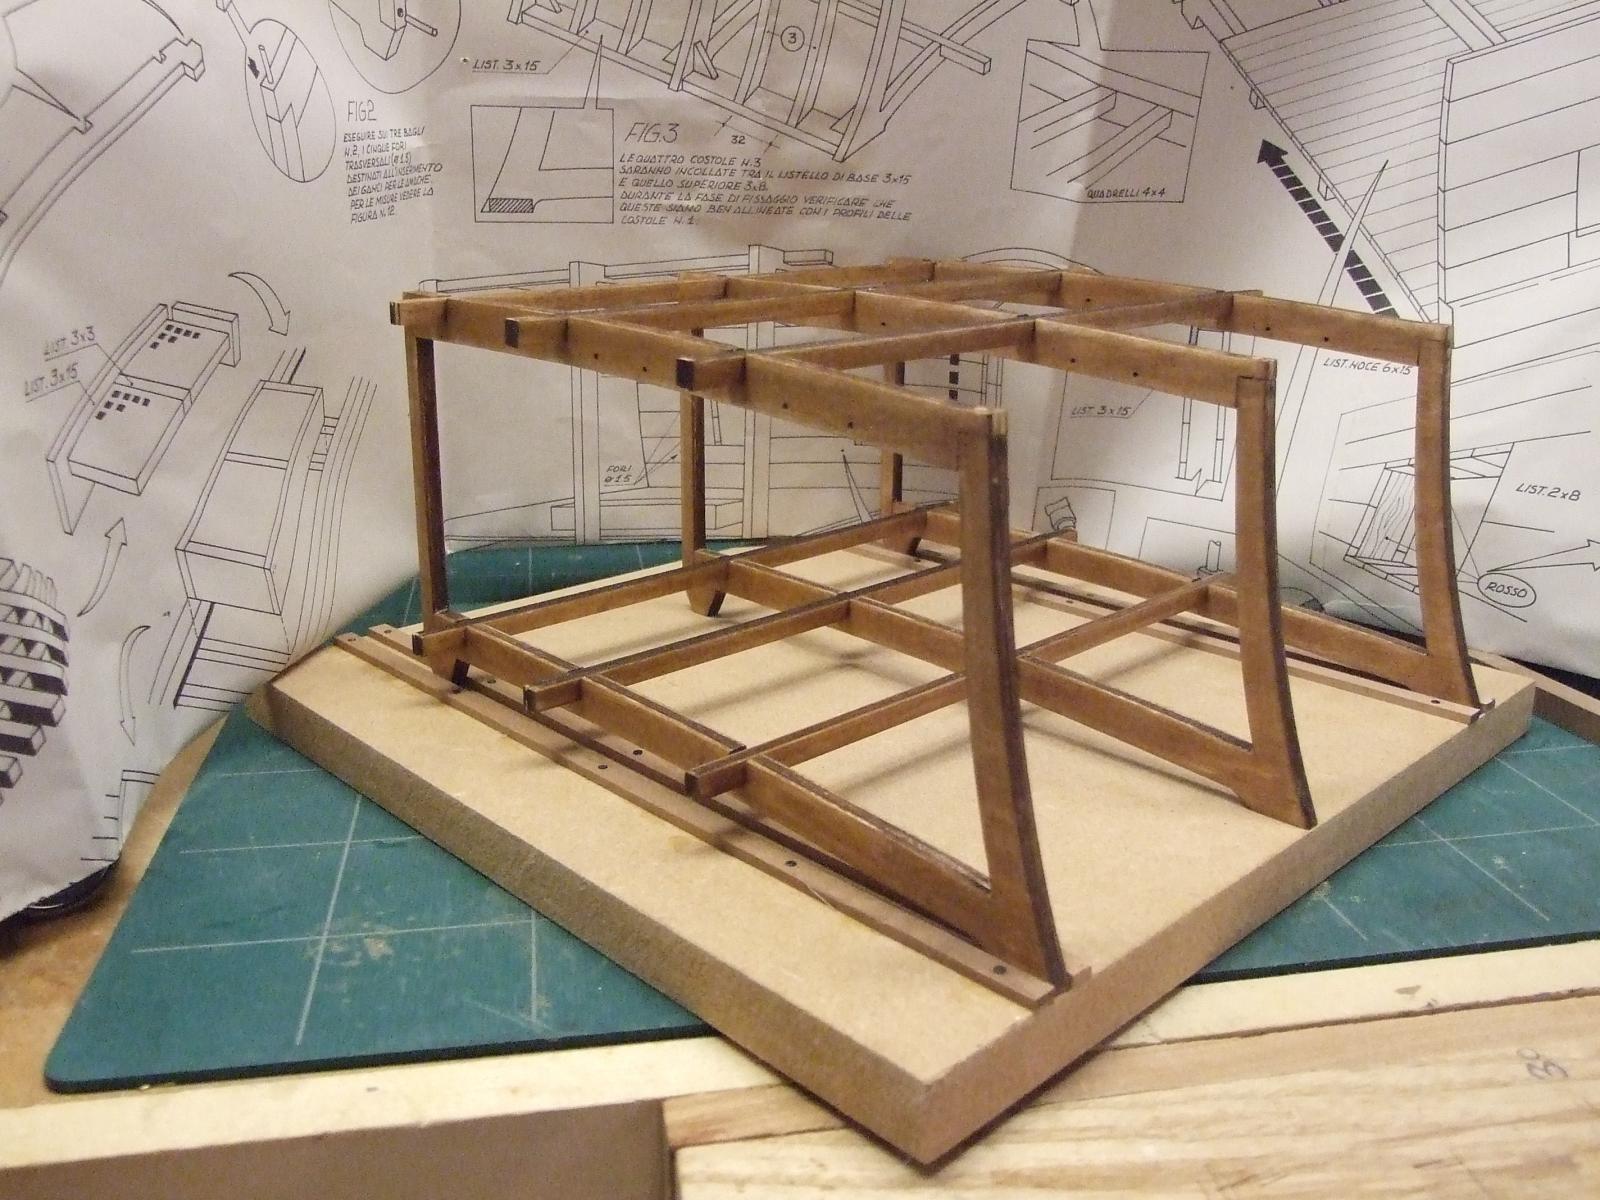
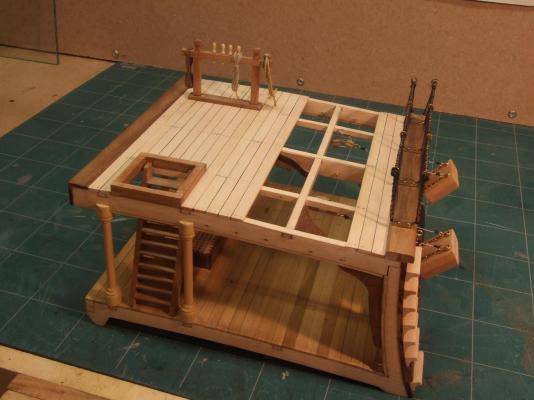
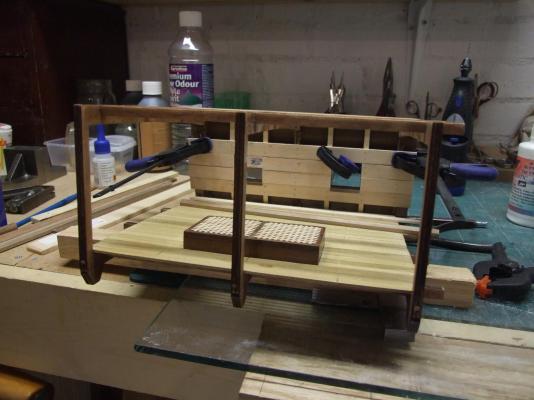
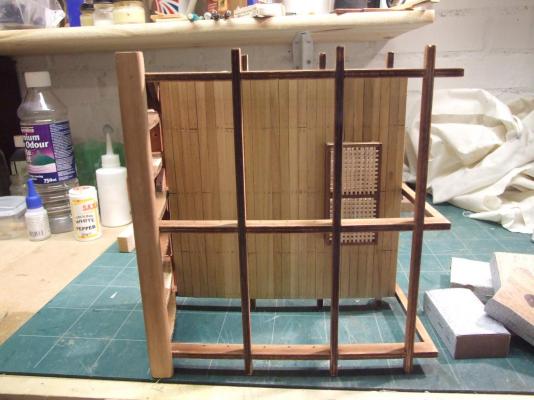
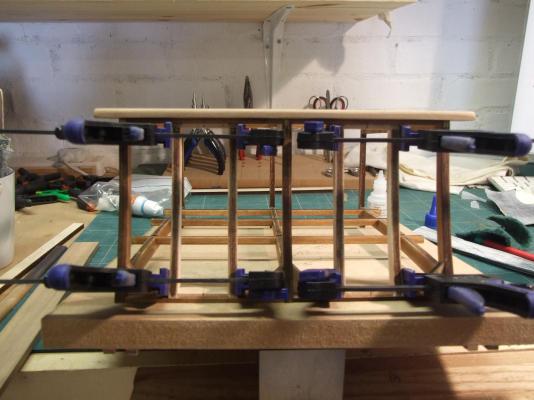
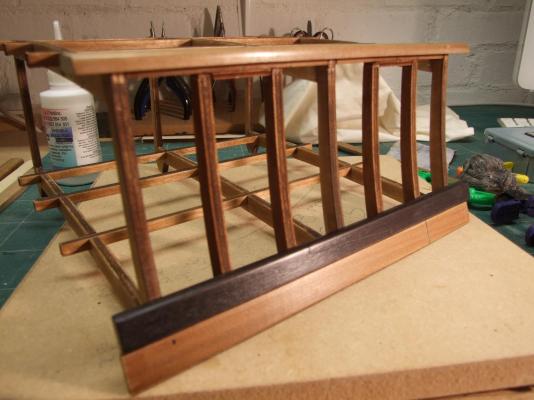
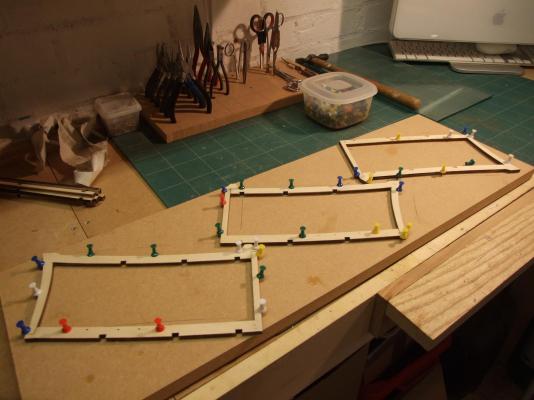
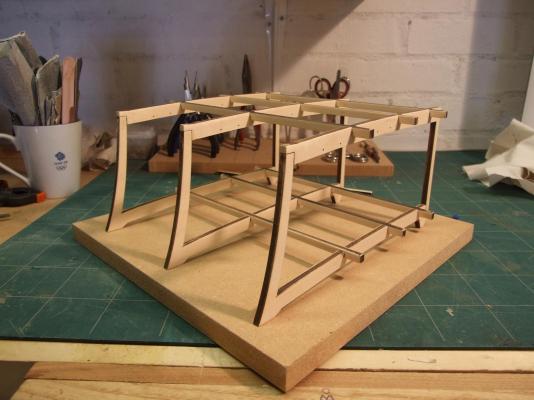
I am building this model for a friend who reads O'Brian almost continuously. With the model on his reading desk aiding his imagination i hope he will be transported into the world that he finds so fascinating. I will not be strictly following all aspects of the kit instructions but using some licence to delete, modify or add as I see fit. Historical and physical accuracy will suffer for this and I imagine there will be not a few wry smiles at some of my decisions but I crave indulgence as this is not meant to be an exact depiction but more an instrument of imagination. At some point in the past I came across a build of this model, not in MSW, that contained some interesting additional aspects. I cannot remember where I saw it but I have remembered and incorporated some of the ideas from that build. I doff my cap in acknowledgement to the builder. Here we go. The preceding images show the main framework construction. Keeping this element square was very simple using a build board and the engineering blocks. The frames have been stained. A decision I later regretted and had to undo. Back soon. Mike.


-
I hope Cornwall are reading these posts. It is a great shame that they are not acknowledging that they have a customer care problem. Come on Cornwall man up and accept the challenge to put this right! It should not take too much effort to make a good supplier into a great one. Mike.
-
Chuck, I am really enjoying your build and would love to make this vessel at a later date. As a rule of thumb the tidier the work space the less work in progress! Mike.
- 1,051 replies
-
- 1
-
-
- cheerful
- Syren Ship Model Company
- (and 1 more)
-
Thanks Fred. I am relieved that I am not the lone clot around here. Mike.
-
Thank you Kevin. Mike.
-
Doh!
-
Please excuse my ignorance but how do I change my login password? I expect I will feel a real fool when the obvious and simple solution is presented to me. Go on, I can take it. Mike.
-
Heads up for UK members. Halfords have 1800 x 1200 interlocking rubber floor kits for £10.00!
-
I have just received my copy of this excellent book. I am not intending to build Victory at this time but the wealth of detail in the book will be transferable to other projects. I have already seen better examples of implements and fittings below deck than those depicted in my current Panart Gun Deck cross section. It is easy to recommend this book to other readers. Mike.
-
Strip storage
mikeaidanh replied to capt-j's topic in Building, Framing, Planking and plating a ships hull and deck
I use large postal tubes. Bought in dozens the box that they came in, strengthened with gaffer tape, makes for a modular storage unit. The box, or boxes eventually, is/are stored in my workshop roof space. I have also used square section plastic gutter down pipes cut to length and then glued together to form a grid arrangement. My bet is that individual imagination will provide many more solutions. Mike. -
Panart's Armed Pinnace is triple planked! If that was not enough the first planking is effectively the inner face of the model which means care must be taken from the start. The second planking brings some relief as it will not be seen and simply adds strength. Finally the third layer and much more care needed. In the end you will have a very strong hull with a large proportion of the "bulkheads" removed to form the open boat that you are building. The planking was a pain in the fundament but the end result well worth it. Mike.
-
Proper light for a modelling table
mikeaidanh replied to Mike Y's topic in Modeling tools and Workshop Equipment
Brian, I want one! Mike. -
Ian, I have the Proxxon and find it more than adequate for small work. If you want to buy it do so in euros from TBS-Aachen. Even with carriage you will save oodles compared to UK prices. Mike.