-
Posts
1,263 -
Joined
-
Last visited
Content Type
Profiles
Forums
Gallery
Events
Everything posted by Overworked724
-
Sounds much like the issue I had with my Syren in the early part of my build. I ended up in a similar situation where the planking (not being comfortably shaped to the curvature of the hull) exerted outward pressure on the stem causing some separation. It was recoverable. Wood is forgiving!!! Great job so far!
-
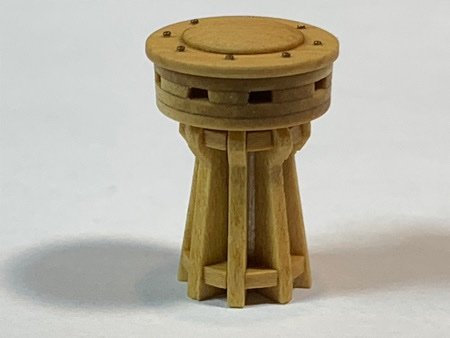
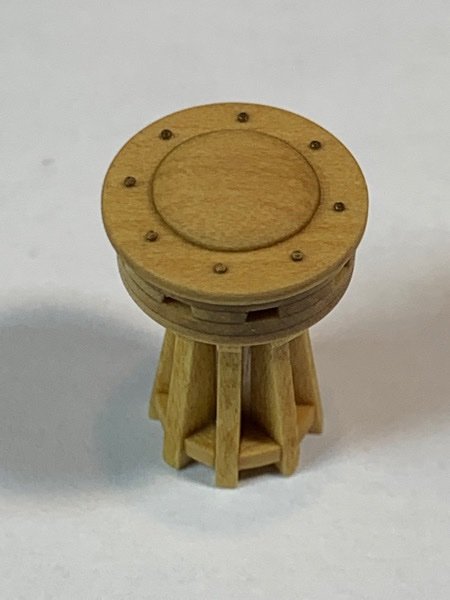
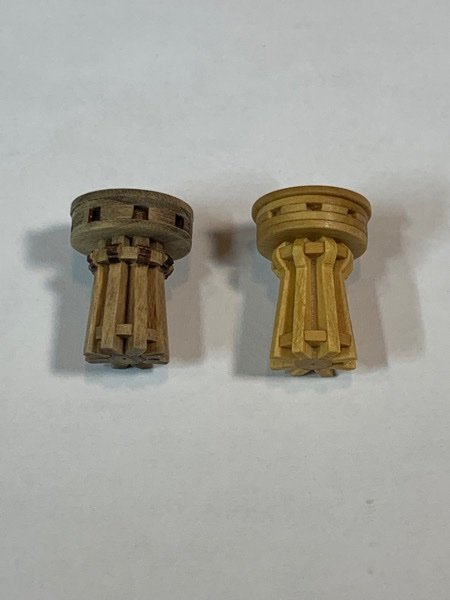
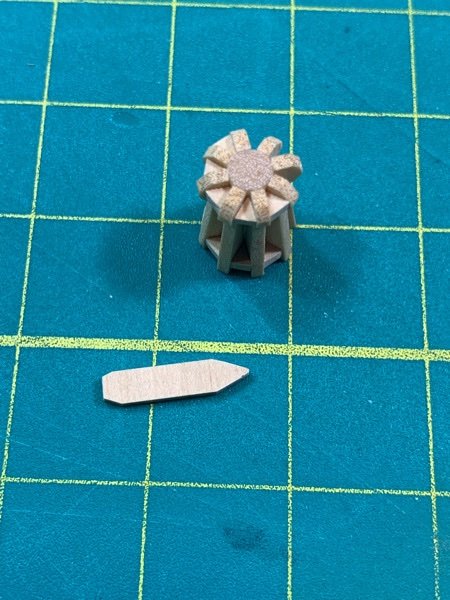
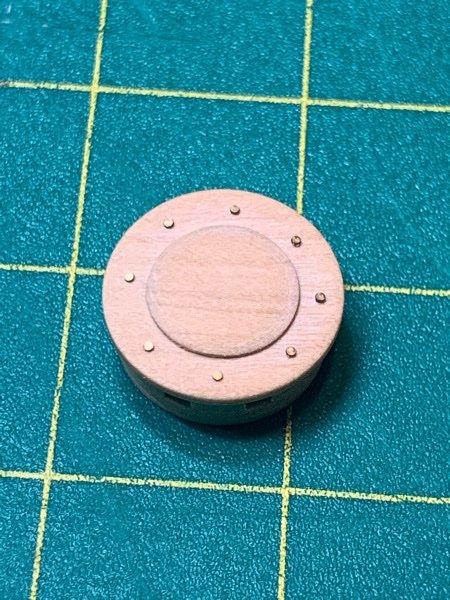
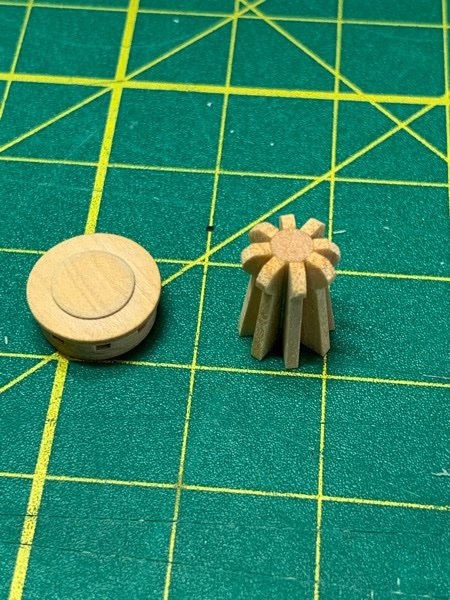
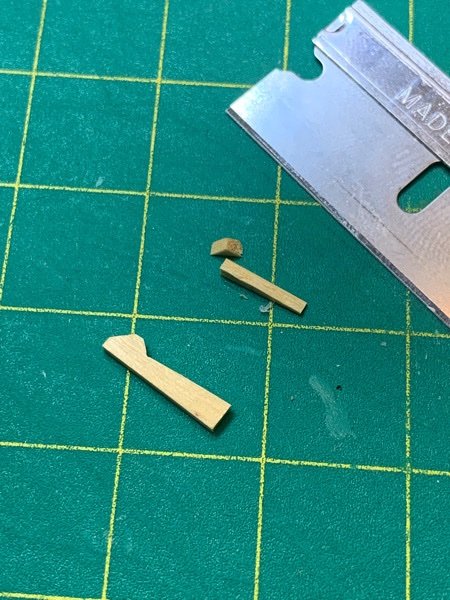
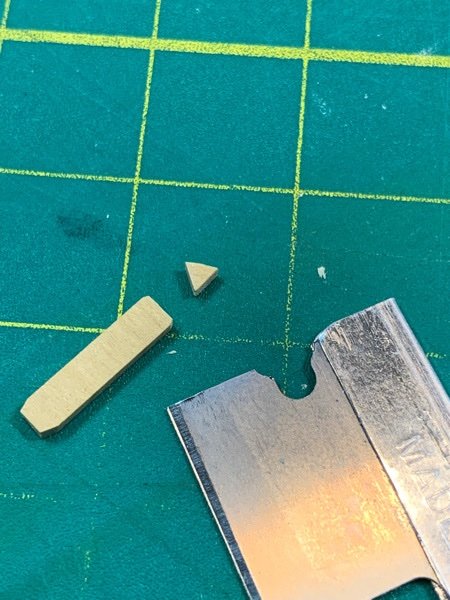
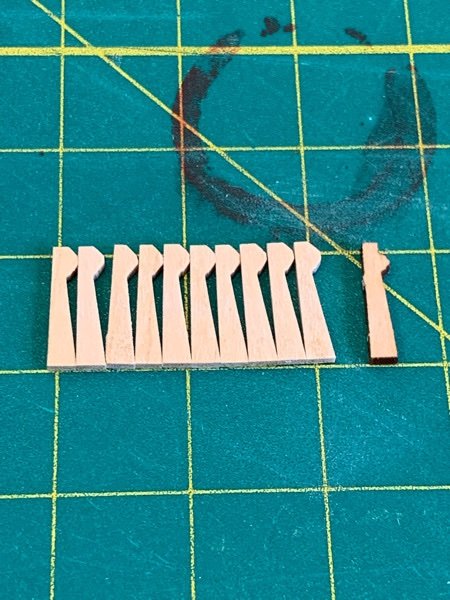
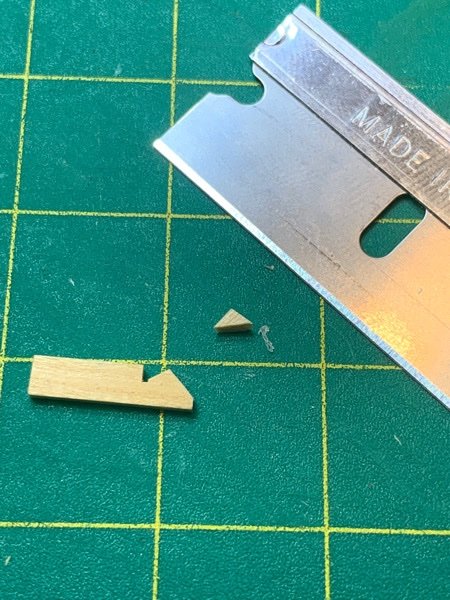
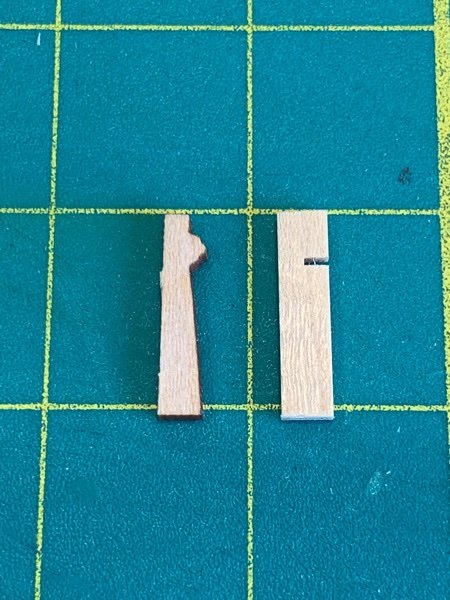
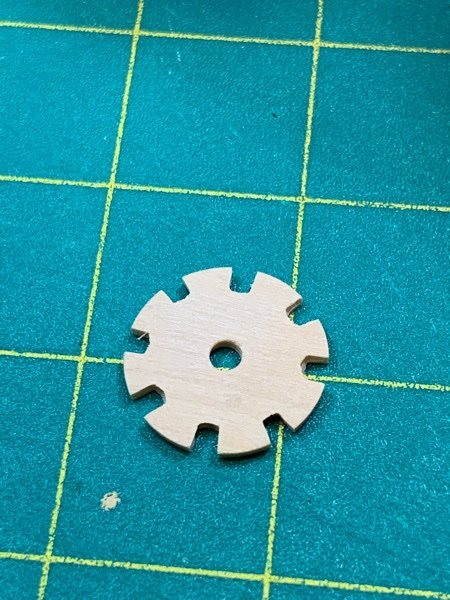
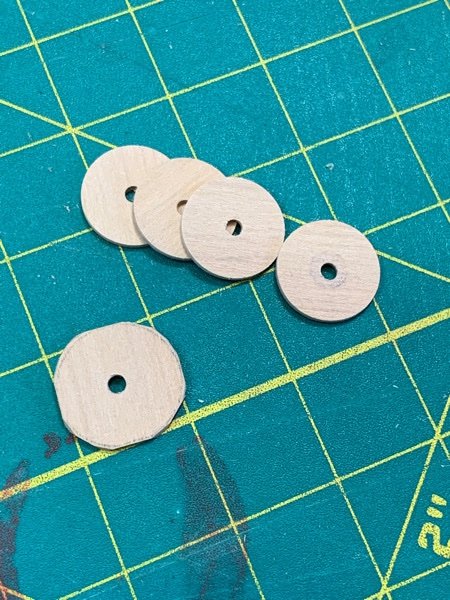
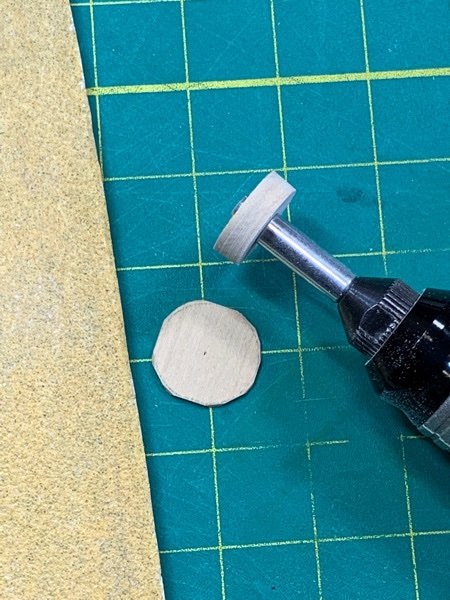
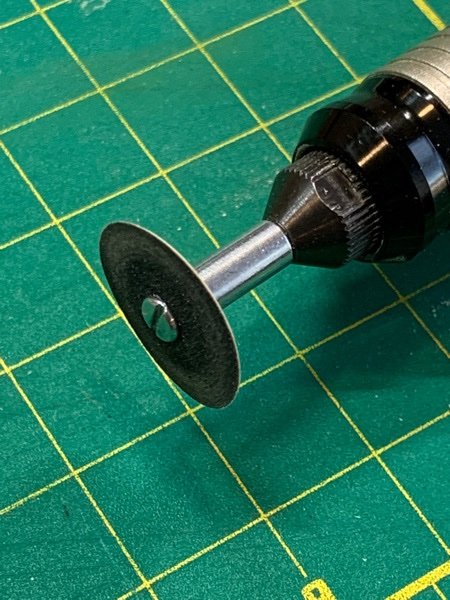
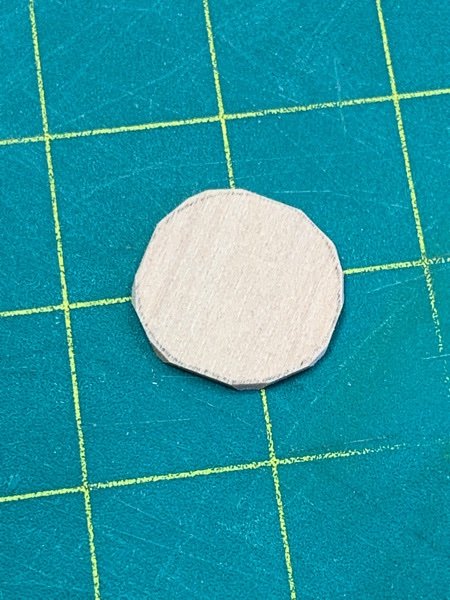
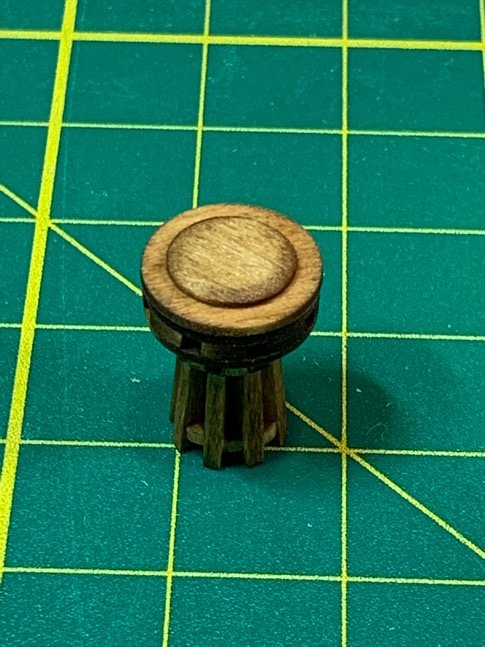
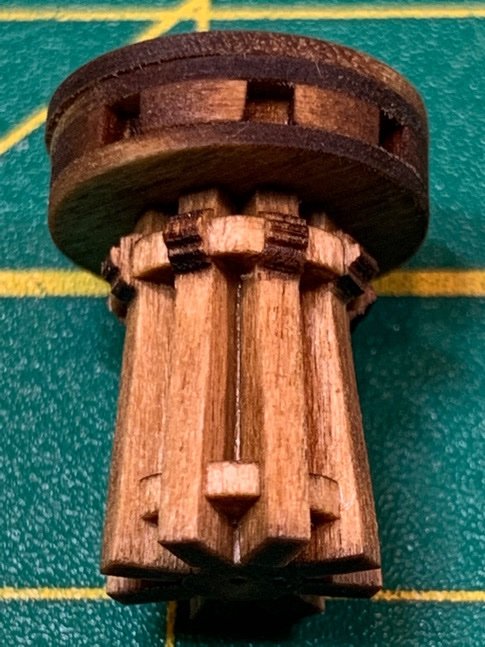
So...spent the last couple days on the 'Capstan Redux' project. It was my own damned fault for using Golden Oak stain. I wasn't thinking and I knew the effect, especially after the stain dried, would be ghastly....and it was. But, it gave me another fun problem to solve. So, here was my brief journey using boxwood to scratch build the capstan. I don't have a lathe...so the little circular sandwich pieces were a problem. So I thought of using my Dremel sanding attachment, and create a sandwich of roughly hewn boxwood sections, then run it across sandpaper. So I cut a bunch, drilled a hole in them, loaded them up, and TaaDaa! 😆 Worked like a charm. I made the top circular section sans hole (photos not shown) by glueing the roughly rounded section to the top of a wooden dowel, sticking it in my drill, and doing the same thing as above....then I just soaked the assembly in water to separate. The cog section was easy to make using my drill press, sandwiching the section between other wood...to get consistent depth and width. The whelps (leg-like sections of the base) were a bit difficult for me. I decided to manually shape them by cutting a groove in the individual sections of boxwood with my table saw and using a straight razor to trim the meat. The gap acts as a terminator to prevent the wood from splitting. I combined together and bulk sanded the little guys using an emery board. This was about as close as I could get to the laser cut pieces. Then I put them all together... And decided I would put in some bolts (nails) on the drum as a nice detail. The two rows of boxwood chocks (yeah...these suckers are small) I created using boxwood strips cut 'cross grain' and sanding them to a point. Then I touch up sanded to ensure the tip 'fit' in the the appropriate section I was filling, then I simply used a straight razor to slice off the end section. This was easy and the grain runs across the width of the wood strip. Then I touch sanded a bit for a good fit before gluing in. This was easier than using a dowel. The end result wasn't perfect....since the holes aren't square. But - again, it's a minor thing and I'm sure I could remake with a perfect square hole if I'd been a bit more careful of my measurements. Final result was a pretty decent redux of the original capstan. And I'll consider this a win over my original attempt using the kit sections. But this was not the kits fault....it was mine. The laser cut parts were easy to separate, prep and assemble, I just screwed up (badly) the staining. So - word to the wise, don't go messing with stain unless you know what it's going to look like!! Here is the final comparison. Kit (left) and my scratch built (right). I'm leaving it completely natural. Moving on....
-
Well…took a side trip and made my capstan from the kit materials. I did a decent job of putting it together. The small triangular sections between each support were easy to make using a cross section of a wooden dowel, divided up like a pie. Made a mistake by staining with Golden Oak. The end result is that it looks like a turd. 😖 I might redo it…we shall see. Baby poop pics below. Definitely not happy with this result.
-
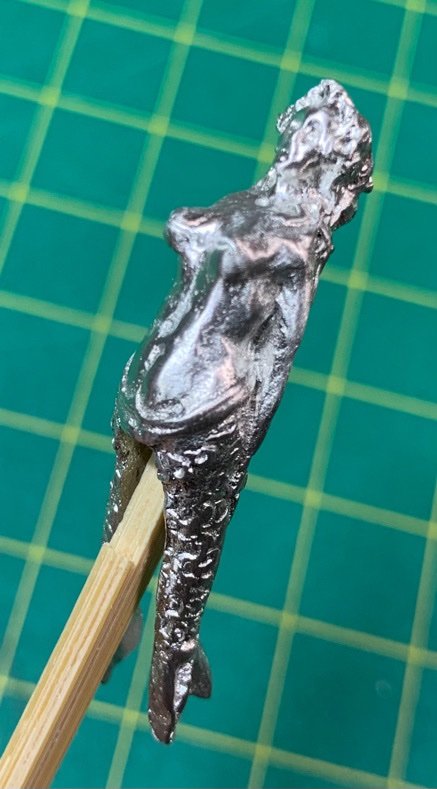
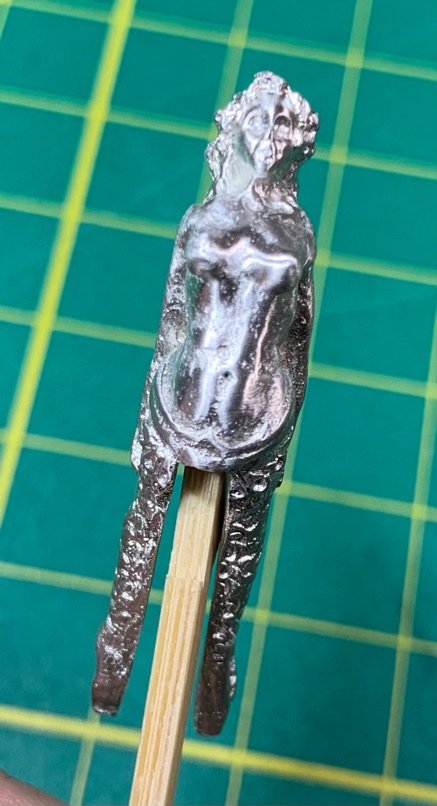
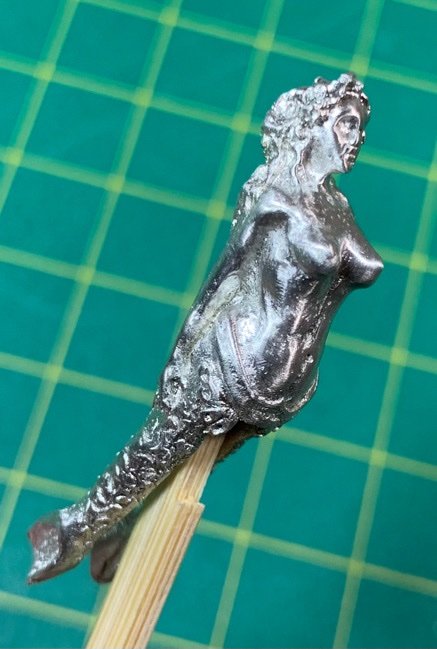
Just putzed a bit with the figurehead. Spent some time polishing it and getting rid of the burrs and roughness. It’s actually a pretty nicely shaped piece after all that…and I’ve double checked the fit and she slides onto the stem like a glove. I had briefly entertained the idea of trying to carve one, but I’m humble enough to admit I’d never come close to this clean of an image. So I’ll plan on painting her…just not sure the effect I’m shooting for…Wood? Copper? Multicolor? Decisions…
-
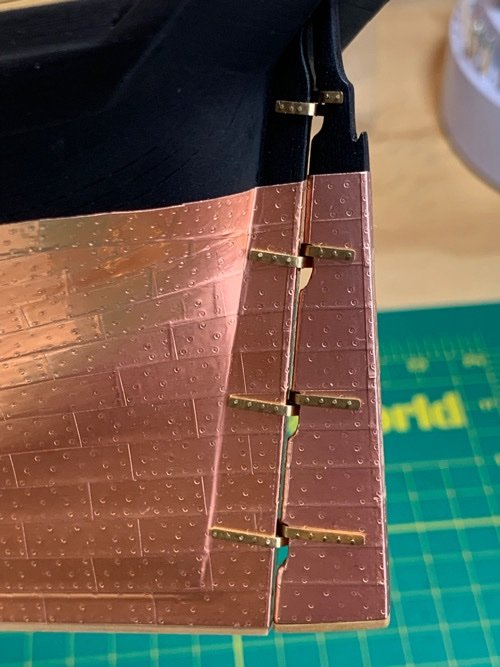
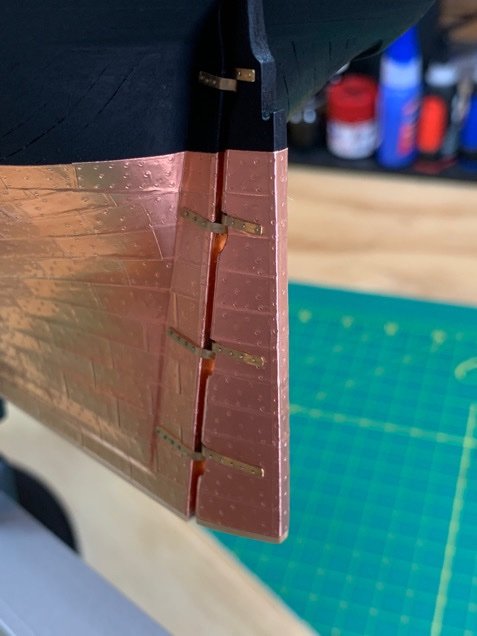
Nope. Call it a purposeful deviation. I think the P&G’s, polished and with an obvious brass metallic sheen contrasted nicely with the copper. I’m a chemist, and I’m not entirely certain that copper (a soft metal) was used in the P&G’s. Anodic/cathodic reactions would occur due to impurities in the metals available in that age regardless of whether they were the same metals or not. So I’m more inclined to believe they may have been bronze. The copper plating and brass P&G’s will oxidize and take on a different patina. Either way, they look good and the idea of blackening never touched my awareness! 😁
-
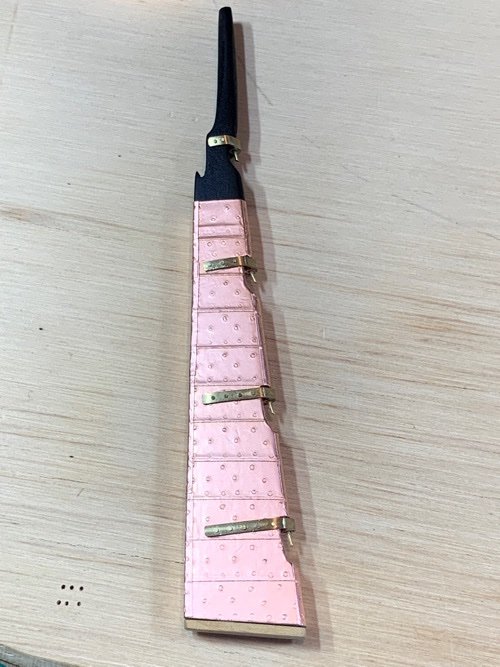
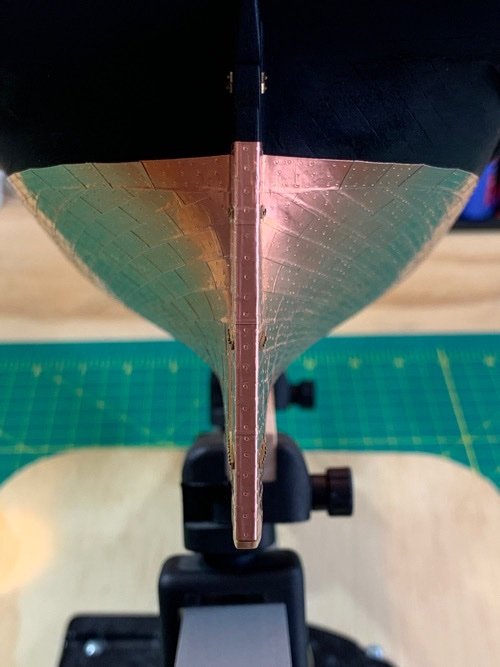
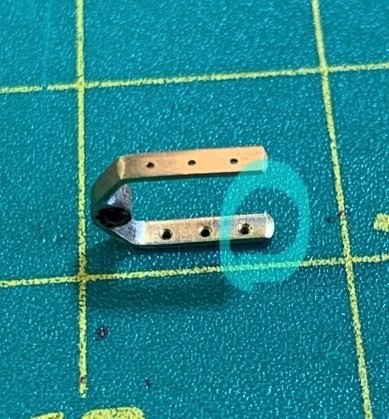
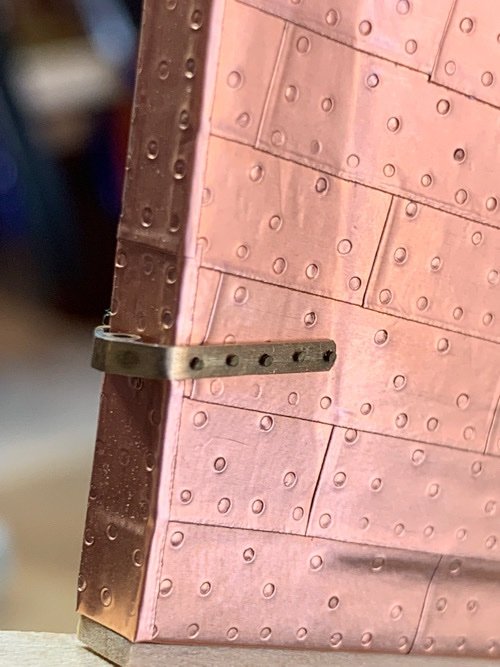
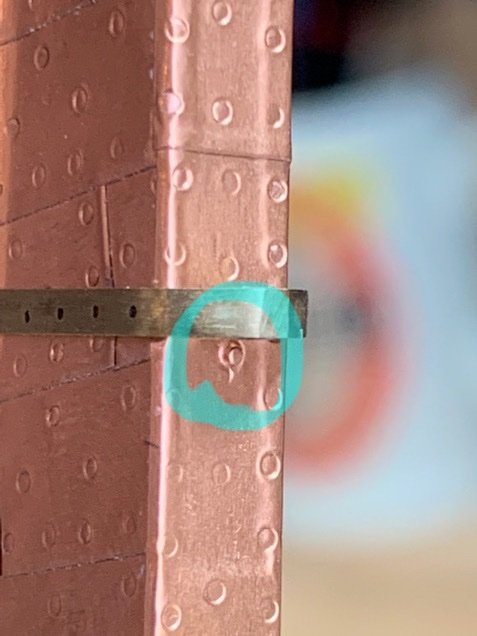
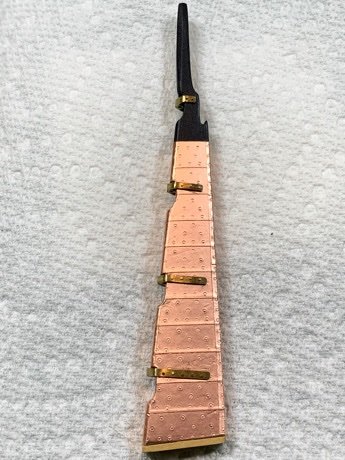
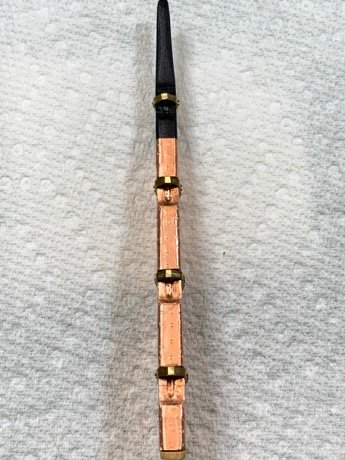
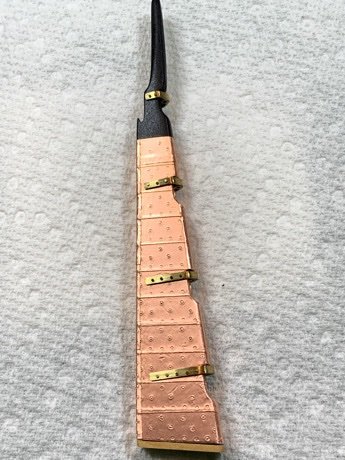
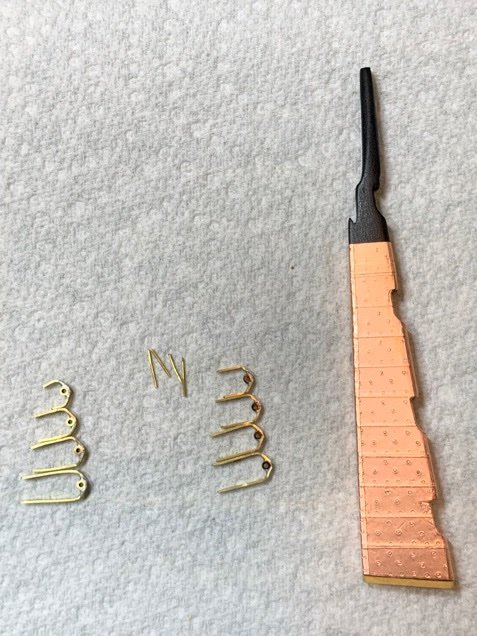
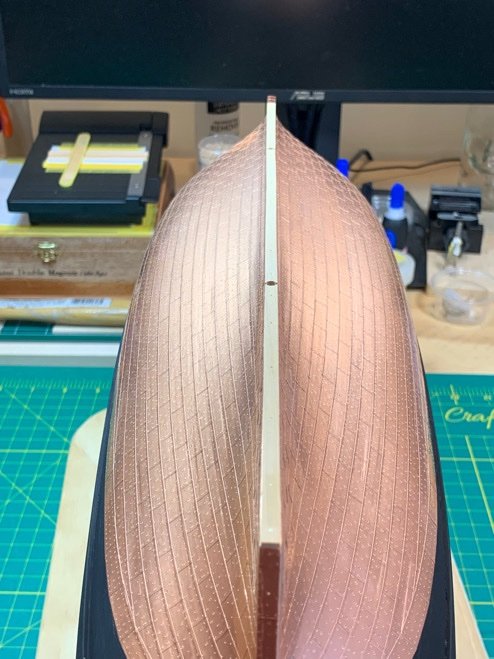
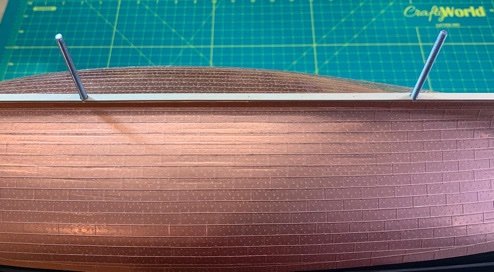
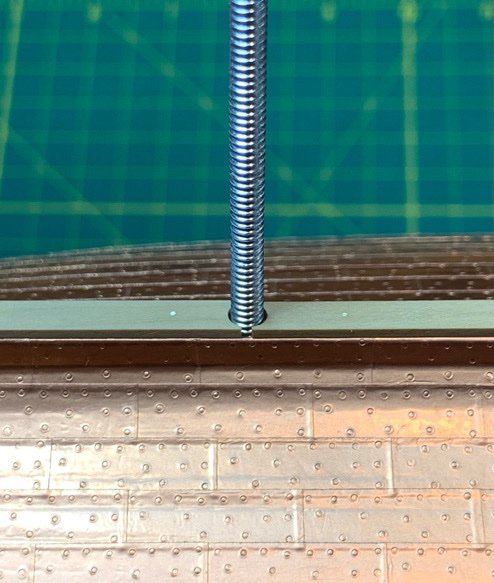
Ok. Got my gudgeons in…I’m not certain how others make/line up/install there P&G’s, but this part of the build is really intimidating to me. So I put a lot of preparation into how I would avoid bruising the copper. That was my biggest concern! So… here was my ridiculous approach to mounting these suckers. First, I put in the ‘pins’ into the pintles on the rudder: Next, I sanded in a slight bevel into the inner edge of each side of the gudgeons. Imagine snow skis. I wanted the gudgeons to slide across the sternpost without grabbing/scratching the copper foil. Then, I slid the gudgeon onto the stem post, using the tiny nail head I had placed into the post as an abutment to keep them from sliding. If you recall, when I test fit the P&G’s, I put in tiny nails (used in installing the P&G’s) as markers. They can’t really be seen and the copper easily wrapped around them. Then I lined up the gudgeons with the pintles and inserted the nails. The end result is pretty nice. 👍🏽 The copper plating was unscathed, and the rudder was cleanly aligned. The only minor discrepancy which my eye sees immediately is the fact that the bottom of the rudder ended up about 0.5mm higher then the false keel. However, I’m totally willing to accept that little ‘wart’ considering how nicely they turned out. Miller Time!!!!
-
Pintles in…they look OK. I think I could still go down a bit in thickness on them but they work. The small brass nails were actually quite easy to install…was lucky enough to invest in a ‘nail’ pliers which made inserting the bolts much easier. I test fit the pins into the pintles and will install them later after the gudgeons (🤞) have been installed. Baby pics: Moving on…
-
@Gregory Your P&G’s look marvelous! I did consider paper and had actually used them in the past on another build. This time, my goal was to actually make them as real functional P&G’s…bolts and all. Mounting the rudder using pins certainly makes the process more bullet proof. I’ll probably use this method in future builds. If anything, it will lower my blood pressure! 😁
-
How’s your sinus infection? I hear champagne toasts during the New Year cure most infections! 🍾
- 389 replies
-
- bluenose
- model shipways
-
(and 1 more)
Tagged with:
-
Beautiful work, Dave. I love the detail! Those strops are awesome. 👍🏽
- 389 replies
-
- bluenose
- model shipways
-
(and 1 more)
Tagged with:
-
Hey Cisco. Much appreciated! But I am still very much a newbie with only the completed Sultana in my model resume. I can say that most of my ideas are adopted (or modified) from other modeler’s posts. But posting the process helps me as well…to keep me motivated and to look back on what I did for future reference! Good and bad alike…it’s all beneficial to others. @niwotwill Will, 🙌 yes! I can honestly say I’ve got 3 miles of fingerprints on my hull. I tried using gloves but that’s simply a no go. I plan to do a gentle once over with isopropyl alcohol to try and remove the majority of the finger oil. Just tried on a swatch of plates I laid down a couple weeks ago and it doesn’t seem to impact the plate adherence. @Justin P. Hey Justin! I would say the Amati plates have some advantages…and you save some time in not having to make them. I honestly wasn’t too confident I could glue them on cleanly since they aren’t self adhering. You did a beautiful job with them. 👍🏽 Pluses and minuses to both options.
About us
Modelshipworld - Advancing Ship Modeling through Research
SSL Secured
Your security is important for us so this Website is SSL-Secured
NRG Mailing Address
Nautical Research Guild
237 South Lincoln Street
Westmont IL, 60559-1917
Model Ship World ® and the MSW logo are Registered Trademarks, and belong to the Nautical Research Guild (United States Patent and Trademark Office: No. 6,929,264 & No. 6,929,274, registered Dec. 20, 2022)
Helpful Links
About the NRG
If you enjoy building ship models that are historically accurate as well as beautiful, then The Nautical Research Guild (NRG) is just right for you.
The Guild is a non-profit educational organization whose mission is to “Advance Ship Modeling Through Research”. We provide support to our members in their efforts to raise the quality of their model ships.
The Nautical Research Guild has published our world-renowned quarterly magazine, The Nautical Research Journal, since 1955. The pages of the Journal are full of articles by accomplished ship modelers who show you how they create those exquisite details on their models, and by maritime historians who show you the correct details to build. The Journal is available in both print and digital editions. Go to the NRG web site (www.thenrg.org) to download a complimentary digital copy of the Journal. The NRG also publishes plan sets, books and compilations of back issues of the Journal and the former Ships in Scale and Model Ship Builder magazines.


