Overworked724
-
Posts
1,263 -
Joined
-
Last visited
Content Type
Profiles
Forums
Gallery
Events
Everything posted by Overworked724
-
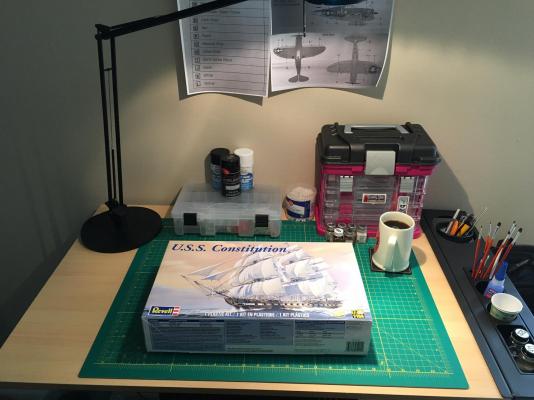
 Thanks all!! Just getting the ship yard desk together. Now just adding bulkheads (sweet Jesus, I hope they are square) and will look back towards the advice as I get into (GASP) planking. <shiver> Pat
- 69 replies
-
- 2
-

-
- lady nelson
- victory models
- (and 1 more)
-
OK folks....I have officially retired this build. For a number of reasons - life being the main obstacle. We have recently moved from our tiny condo to a much larger town home, and I now have an official 'designated' shipyard for my relaxing (ahem) hobby. As part of the packing, moving, unpacking, re-organizing, etc...the baby Connie suffered a unfortunate accident. During the transit to our new home, I ran over it with my car...! I know what you are thinking...how could I possibly have done that? Well, I simply wanted to ensure that when I broke it that it would stay broke. =-) In truth, I learned a lot about the hobby, and some of the pluses and minuses from building in plastic. I still love ships, and have decided to make the transition to wood kits for the very simple reason which is that was where I planned to go all along. So...my next build log will be on a nice little starter kit, The Lady Nelson. See you in the next thread! I will be posting that adventure in (hopefully) steady pace as we have now officially landed in more solid living circumstances! (Yay!) Best Pat
- 32 replies
-
- 3
-
-
- constitution
- revell
- (and 1 more)
-
Beautiful!
-
Hi Charlie.....following along with great interest! Although I am not as ambitious as yourself, your unique approach made me to decide finally upon my first sojourn into wood. Bought the Sultana kit...and will enjoy making and learning from my mistakes. One thing this thread has taught me is how easily you can adjust with wood....and that it truly is forgiving. Many thanks and keep up with your awesome build! Pat
-
Following...learning. Post pics! Really interesting and useful to see this progress. Teach me, oh SENSEI!
- 608 replies
-
- 3
-
-
- la couronne
- corel
- (and 1 more)
-
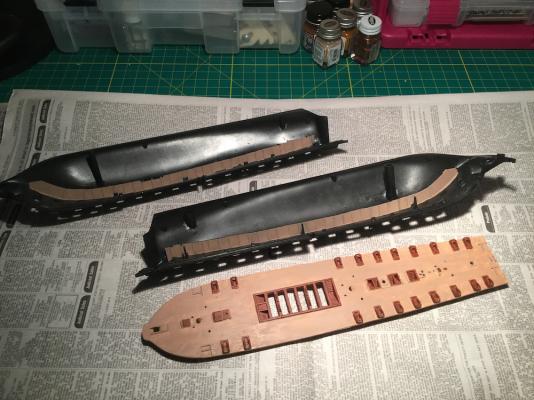
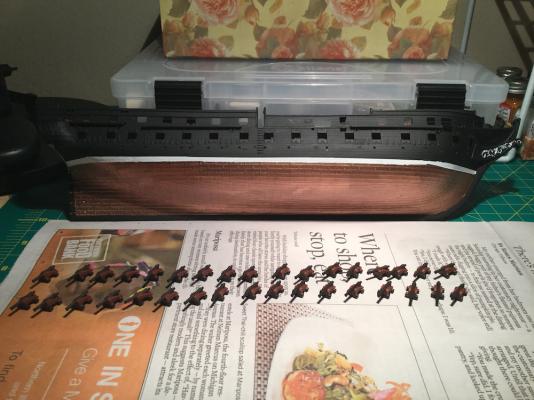
OK....too much work, so little time to play with the Baby Conny. However, I did get my fake gun deck made, as also got the cannon installed....including the fake one. (Can you find it? I will give you a hint...it is a black toothpick tip! ) Onward!....

- 32 replies
-
- 5
-
-
- constitution
- revell
- (and 1 more)
-
My wife vacuumed and looked in vain for the errant tiddly-wink cannon which took like a shot (pardon the pun) from the sprue the other day. Never fear...I will sally forth. Made a fake deck and will go for putting the hull together today...if I can still see after trying to get the tiny cannon on the main deck!
- 32 replies
-
- 3
-
-
- constitution
- revell
- (and 1 more)
-
Hey guys....excellent advice on the vacuum detective solution. Will get it the old college try!
- 32 replies
-
- 3
-
-
- constitution
- revell
- (and 1 more)
-
Tragedy! Was snipping the cannon of the Sprue and one them shot across the room like a 1950's tiddlywink! Alas, 'twas lost in the carpet forest. Neither my wife nor I could find the missing munition. Crap... Lesson learned for today....this thing is small! Wondering if the 1:96 might be less difficult! Onward! (Minus one cannon....will jury rig one using a toothpick....but don't think it will fool the enemy!) Cheers Pat
- 32 replies
-
- 3
-
-
- constitution
- revell
- (and 1 more)
-
I think you are from outer space. You have some insane skills. Very proud to know where to find these pics so I can show others. Simply beautiful, man...holy crap.
-
Trying to post again (3rd time). I confirm the file size is less than 2MB....so not sure why my pics aren't taking on this site.
- 32 replies
-
- 3
-
-
- constitution
- revell
- (and 1 more)
-
Hi Scott. I have posted a couple of time the pics I have thus far....but for some reason they keep being deleted! Will try to post again, after this text only post....to see if they can catch. If not...will gladly enjoy some tips. A couple of questions: 1. Acrylic wash....recipe? As I said, I am new...and I know the term wash only from my own web research. Any additional info on the wash - recipe - technique would be greatly appreciated. 2. Ratlines...are you saying rig the ratlines and the shroud? If so...one or both are waaaaay out of my league at the moment. I can tie a granny knot and follow the 'picture only' graphics which Revell uses as an excuse for instructions....but setting up my own shroud/ratlines is a bit of a stretch my friend, unless you have some good information I can use to dumb it down to the 1st grade level. 3. Totally enjoying building, painting, dreaming...my wife is wondering what drugs I am on...but frankly, just enjoying the creative experience...but the rigging part of this is going to be a challenge...hence the reason I am starting at this scale. Keep in mind, this is my first ship. (But I am adventurous and bought the 1:96 scale for incentive - hopefully this little guy won't sink me before I have left port!) See below for next couple of pics...and if they do not post...someone has to tell me what the heck I am doing wrong! Best Pat
- 32 replies
-
- 2
-
-
- constitution
- revell
- (and 1 more)
-
Congrats on your new gift! I will follow as well as I imagine my dread and fear of doing my frist wooden model kit. Enjoy the journey!!
- 608 replies
-
- 3
-
-
- la couronne
- corel
- (and 1 more)
-
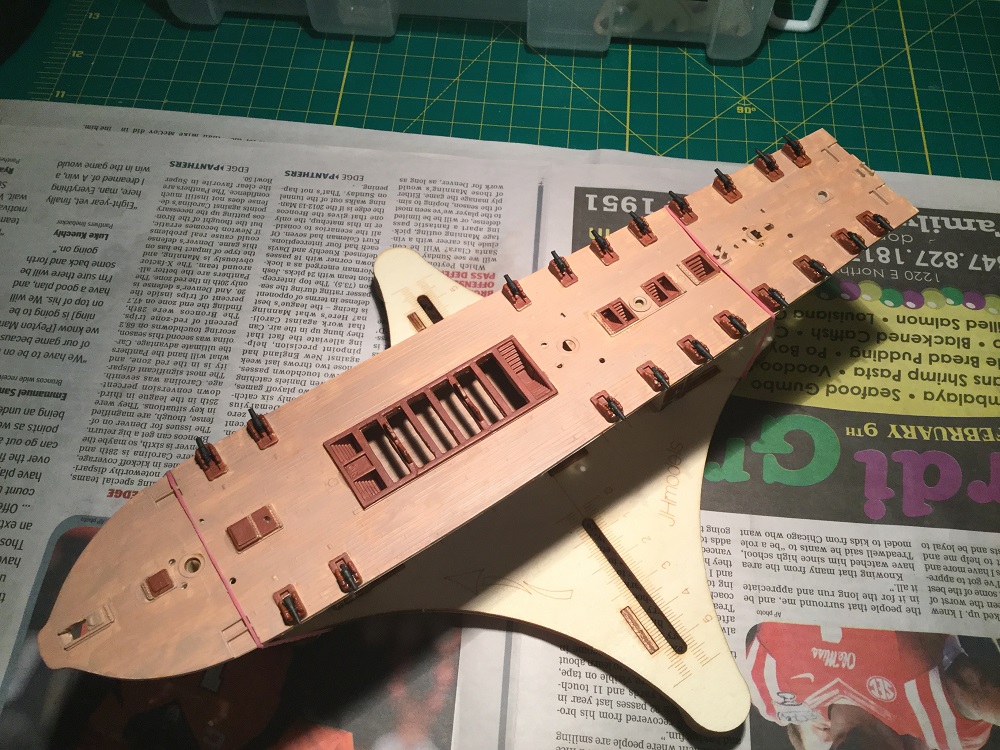
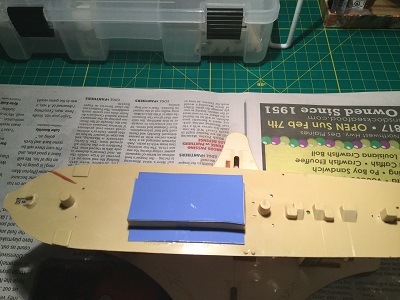
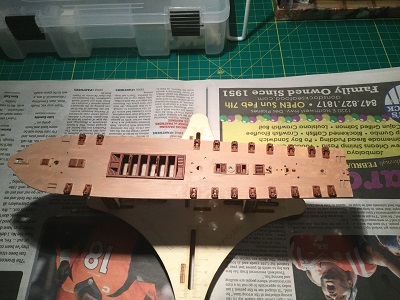
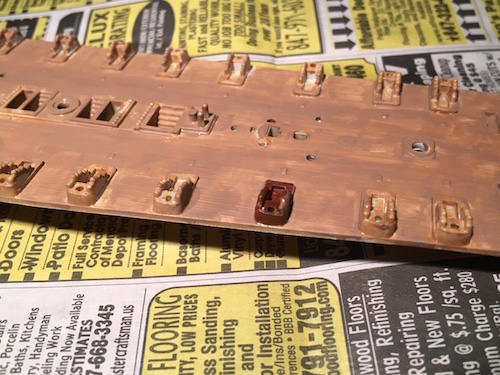
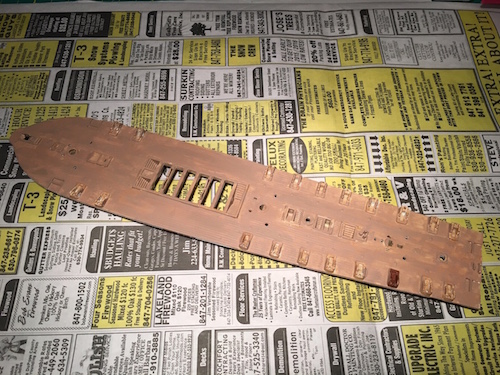
Progress is slow this week as I am being pulled in too many directions at work. However, I dug up a blog from someone who built the 1:196 Baby Conny and he made some nice changes to the main deck....including drilling out the grate to give options in perspective. I may leave it open, or try to create a 'faux' gun deck. Not going to kill myself over it, but I like the way the main deck looks now. Step by step... So: 1. Painted with an enamel 'wood' followed by a second single coat of acrylic 'tan'. (Tan? Really) Anyhow, may try a wash to bring out the boards a bit more, but the overall effect is a nice non-homogenous view of the main deck. 2. Tried a 'rust' for contrast for the cannon carriages...looks fairly nice, and not as stark as a red in the case of a smaller model. To be continued....
- 32 replies
-
- 3
-
-
- constitution
- revell
- (and 1 more)
-
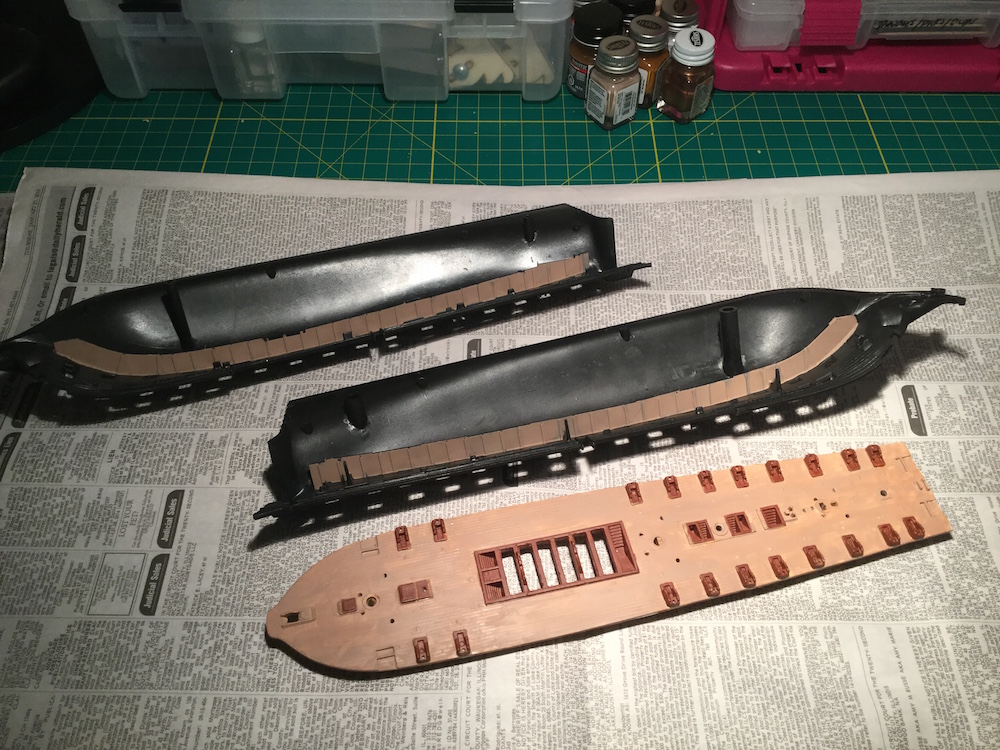
Hi Steve, Appreciate it. And yes, that it my goal....have fun, learn, and dream a bit during the creative past time (while I listen to old 80's music). I had noticed the mold was made in 1957 I believe...before my time, but brilliant that Revell still makes it....good learning tool, and very reasonably priced. If you built her before, I may have some good questions for you and the forum as I am still very new to modeling. Today I learned: 1. Painting can be dangerous and irritating - spilled and some thinner ran afoul of my left hull...now I have repairs to do and I haven't even put the hull together!! 2. Port = Left, Starboard = right, Grog = watered down rum 3. I am horribly bad at detailing! Must be patient... Cheers Patrick
- 32 replies
-
- 3
-
-
- constitution
- revell
- (and 1 more)
-
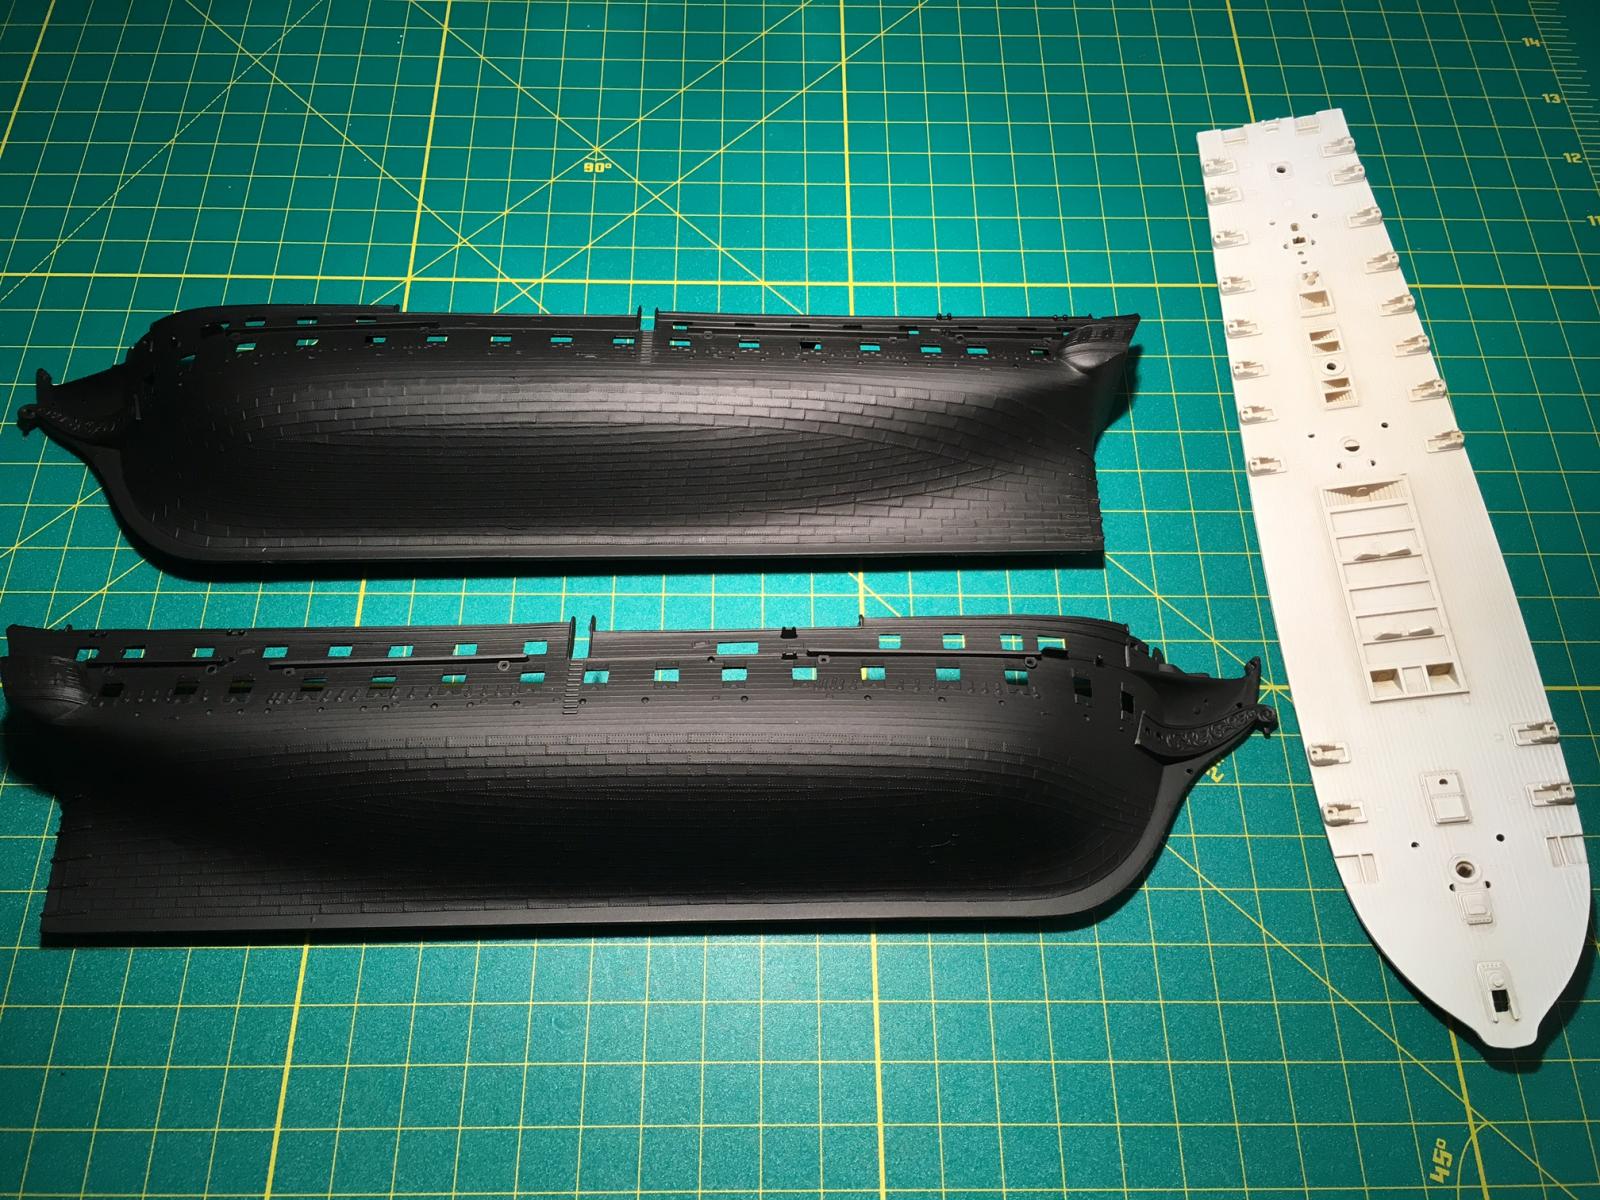
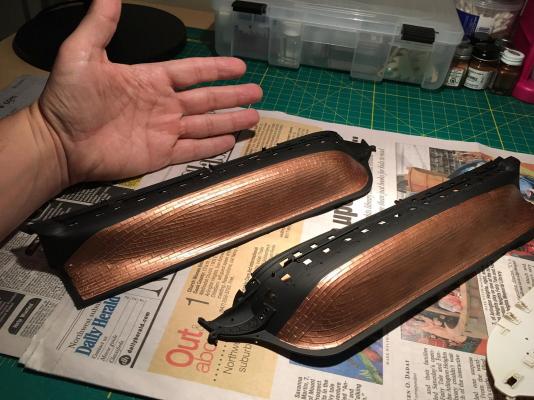
Good question. Artisitic license...I may leave it uncoppered for the contrast it gives to the overall look. I am not exactly going for historic accuracy, but to challenge my intestinal fortitude to see if I am up to a greater challenge (aka - to see if my interest in building masted ship models is legitimate, or if it is passing fancy). So, I am starting small and learning a bit as I go... Today - I learned the following terms: 1. Mizzen mast 2. Yard arm 3. Foot ropes 4. Keel I also learned that nautical lingo is a totally separate language. And here I was trying to learn Japanese to keep up with my wife! Back to your question - if the overall look doesn't support an uncoppered keel, I'll paint it before I mount it. Another good reason to leave it uncovered it because I haven't joined the hull pieces, and filing down any residual glue globs after the cement has set can be a bit messier when metal based paints are involved. Just being lazy...but the look is unique. Best Pat
- 32 replies
-
- 3
-
-
- constitution
- revell
- (and 1 more)
-
Not much done yesterday. The model is spru burr heaven, so have spent some time filing and sanding. Just realized I don't have a base support for my baby Conny. No problem. Will plan to use a table vise. Hope I don't break it, otherwise it's 20 bucks down the drain!! Will start in main deck detailing before I put the hull together. Directions are pretty basic, leaving a lot for artistic license! Which I will take advantage of as much as possible. Had not idea this thing would be so small!
- 32 replies
-
- 4
-
-
- constitution
- revell
- (and 1 more)
-
Looking good!!!! You are following some sound advice. Slow and steady. Enjoy the trip...!!! Watching your progress with great respect.
- 701 replies
-
- 2
-
-
- phantom
- model shipways
- (and 1 more)
-
Oh yeah...by the way....I'm Irish....my wife is Japanese.....so Whiskey and Sake are going to be a common theme... =-)
- 32 replies
-
- 3
-
-
- constitution
- revell
- (and 1 more)
-
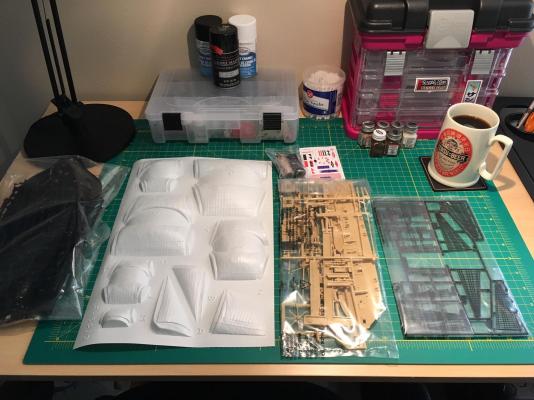
Oh Joy... Completely forgot how much fun snipping sprue burrs off tiny fixtures could be. Truth be told...I can take great pride in filing/trimming/pruning plastic bits off the unpainted details of my project. I can actually do this....only takes some good vision (helped by good visions - ie. magnifying glasses/bifocals), and a micro-file (of which I have a few). But I am not a skilled modeler...so, I will take the successes where I can! =-) Aren;t I awesome! Yay...step one complete......and step two in progress...for definition, see below: Step one: Unpack plastic moldy bits and file down until you recognize them against the enclosed directions Step two: Drink Chivas Regal while trying to apply base coat, avoid wife scrutiny,all while getting a history lesson on what a "Rat Line" is....ok....got it....hiccup.... More to come. Cheers Pat
- 32 replies
-
- 3
-
-
- constitution
- revell
- (and 1 more)
-
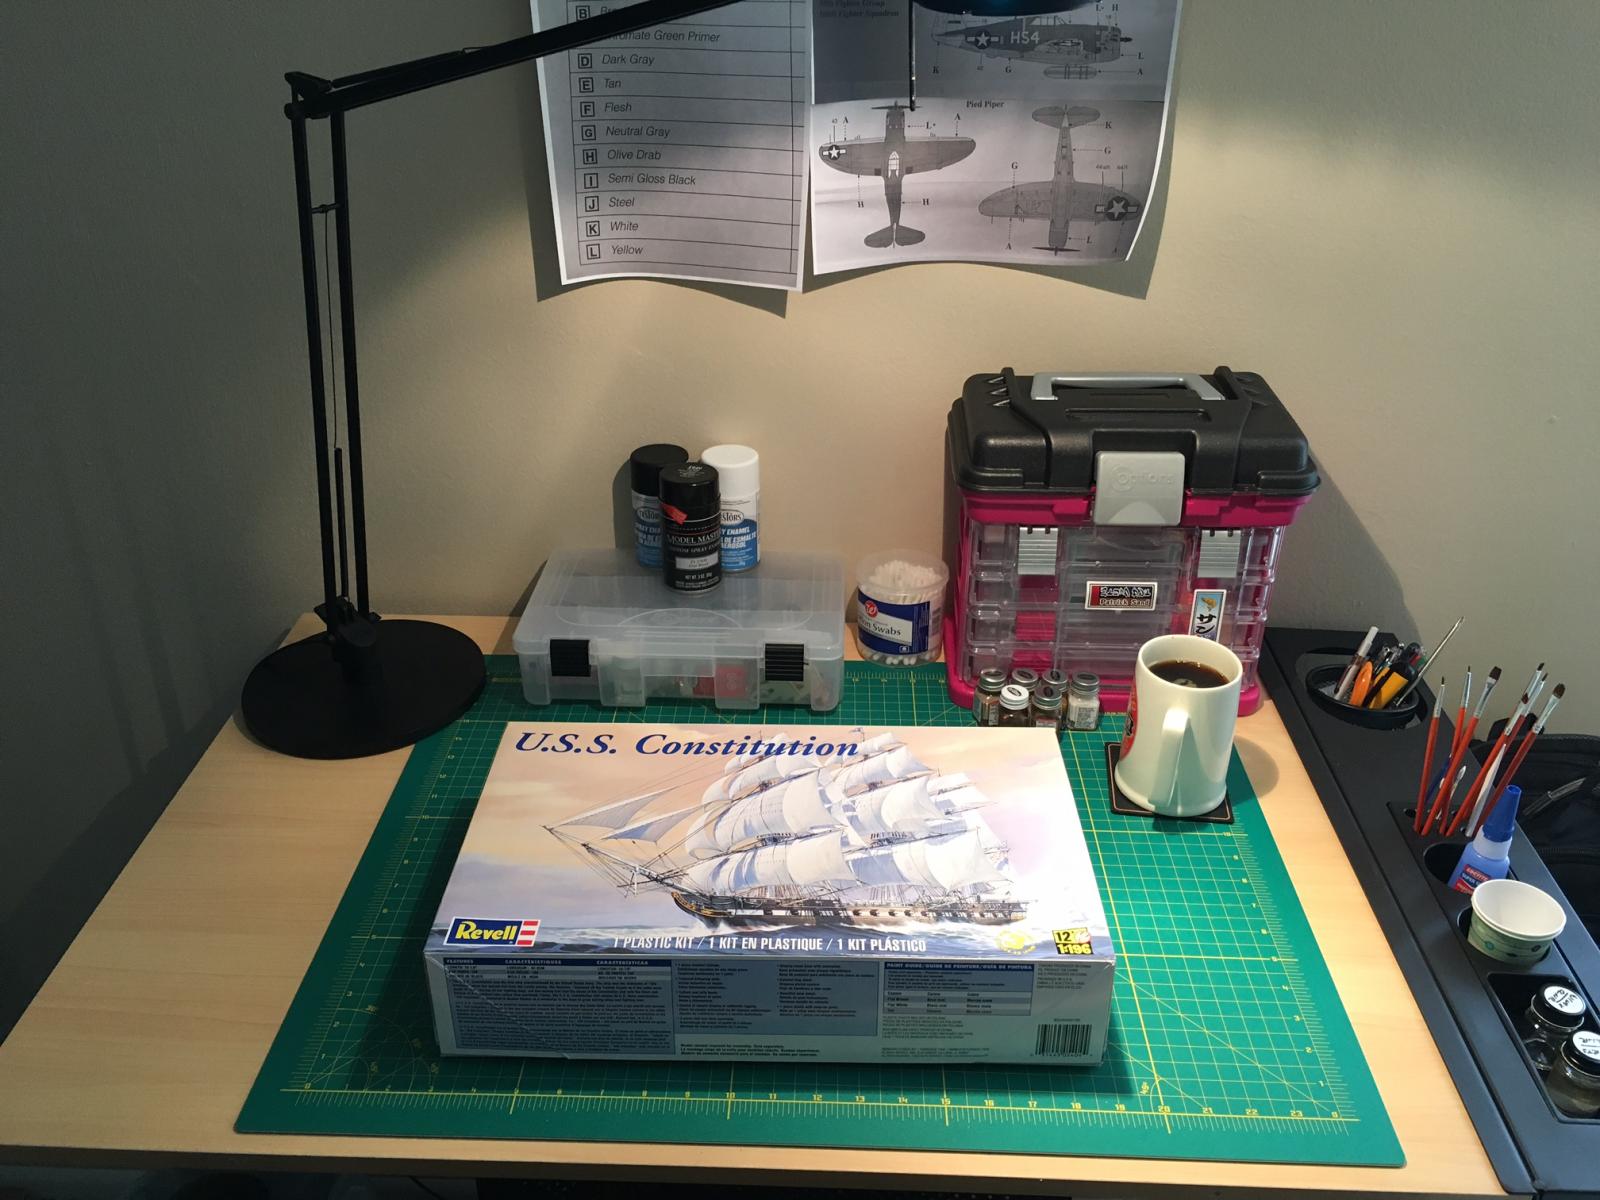
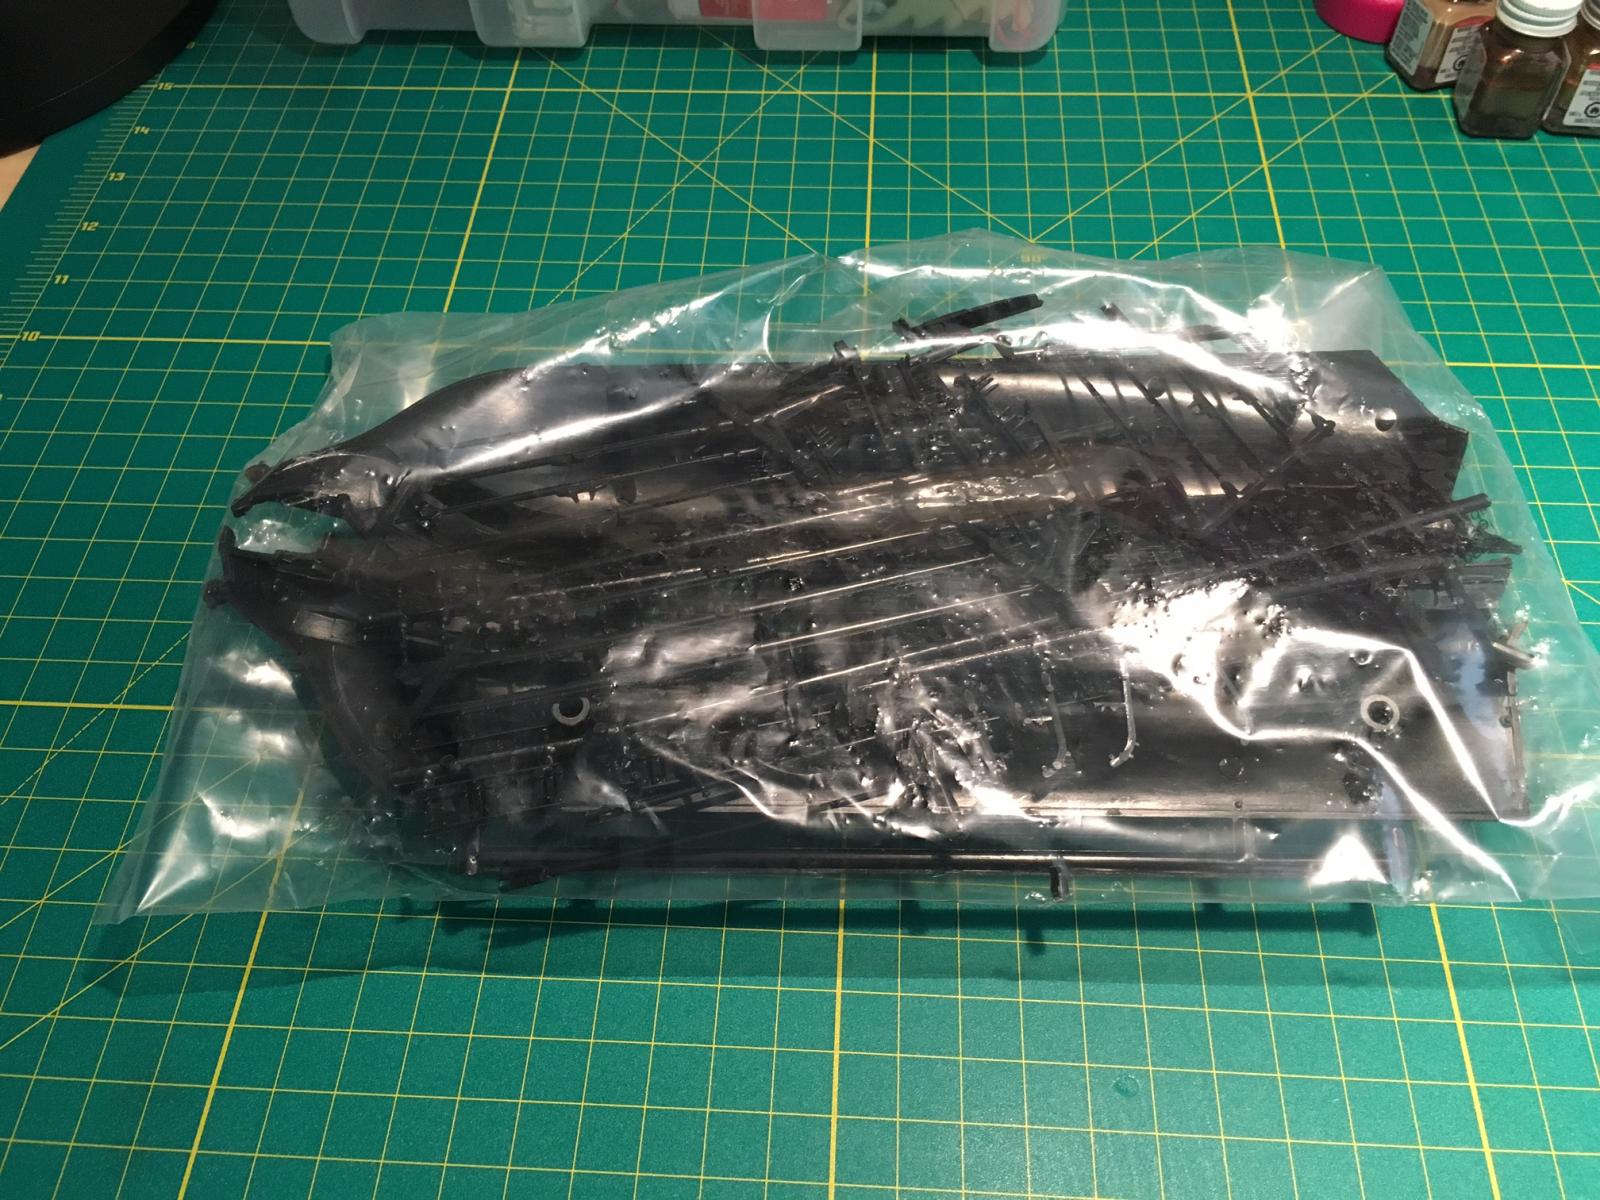
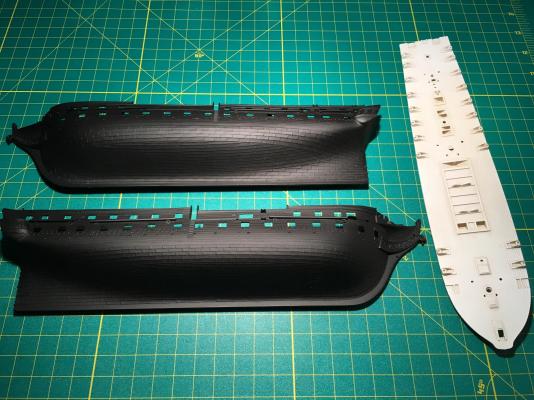
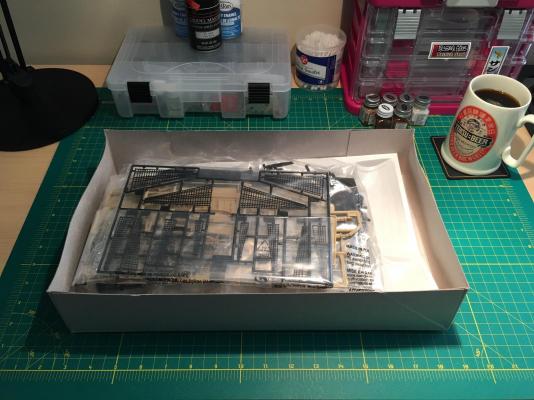
Well...I am humbled by the level of skill and detail that this boards members exhibit in their work. It makes me want to not post my work on my first plastic boat model! I mean, seriously - some of you are true artisans...but I figure we all start somewhere! Besides, I really enjoy doing something creative...and the more mistakes I make, the more I will learn. So, with my learning helmet on (I am very new to model building - very very new) I am going to jump slowly into my 1:196 scale USS Constitution project. I have just enough space for this, plus, it will help me learn about old boats as I progress. With that - here is my Day 1 learnings on the 1:196 scale USS Constitution ('my baby Conny') - The ship hull seemed much smaller than I had assumed once I have it out of the box - Some of the cannon had snapped off the sprue and were floating around - It is obviously a pretty old mold, but after I filed down some of the more obvious sprue burrs, I dry fit the hull halves and main deck without too much difficulty - No broken or cracked pieces (yet) - all seems in tact. - As this is a plastic model, and I am still new to painting/detailing (I have a mix of both enamels/Acrylics), I want to maximize my ability to get the best detailing I can without killing myself - Plan to put on primer today (Hull - flat black; Deck - flat gray)

- 32 replies
-
- 5
-
-
- constitution
- revell
- (and 1 more)