


Overworked724
-
Posts
1,263 -
Joined
-
Last visited
Content Type
Profiles
Forums
Gallery
Events
Everything posted by Overworked724
-
 Thanks @WalrusGuy! Actually, it’s funny you mention making the frame edges thinner to match the plans. I was thinking the same thing as I reviewed the pics. 🤔
 -
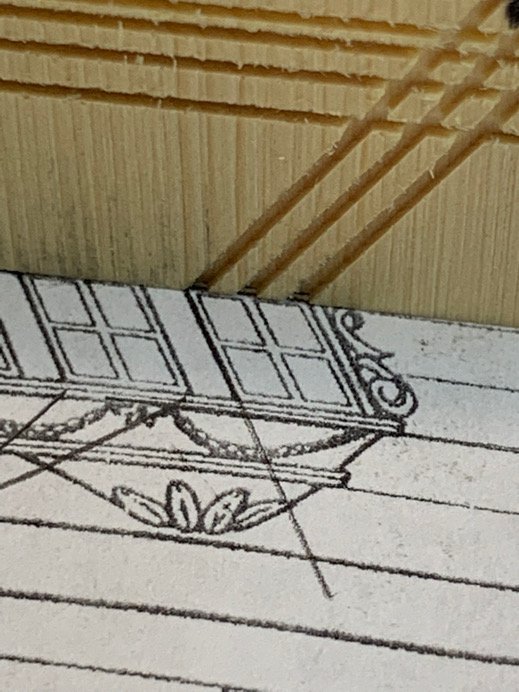
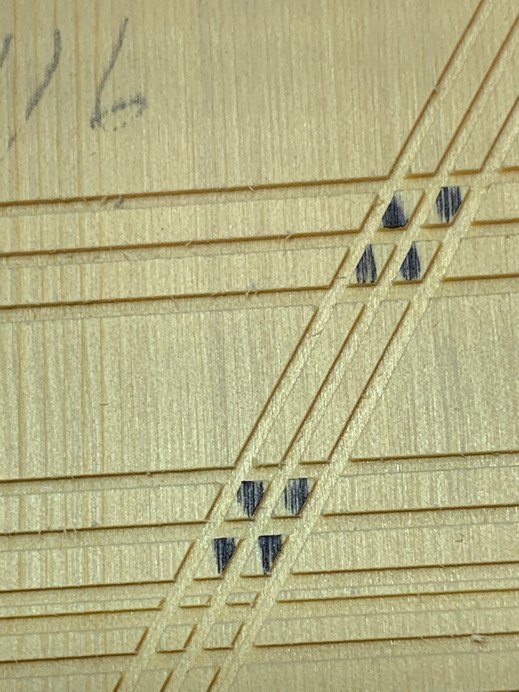
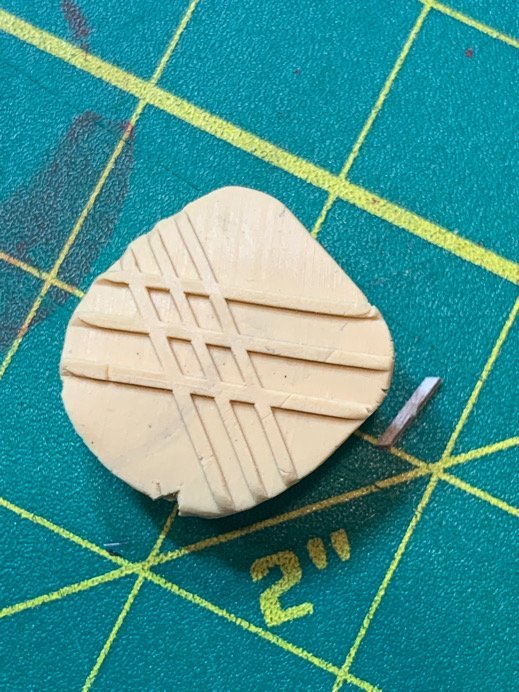
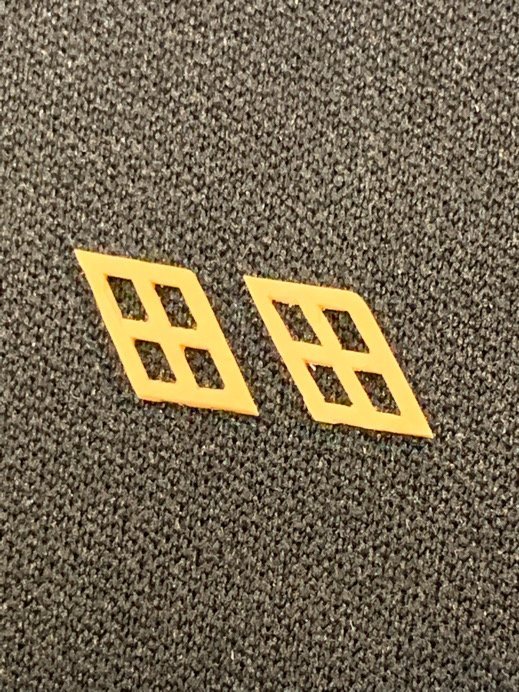
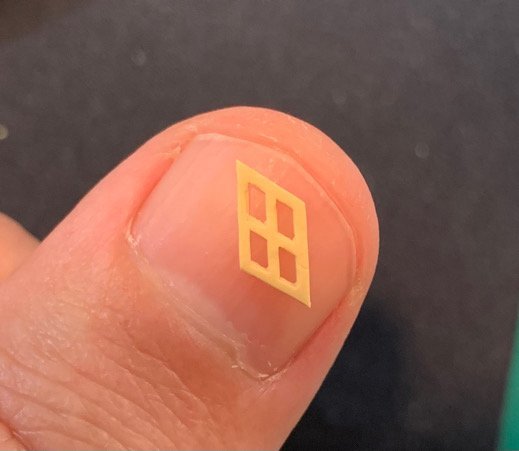
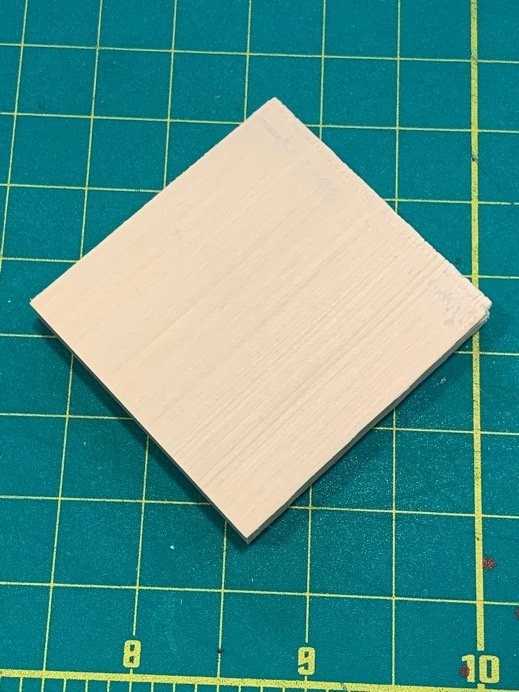
Many thanks @niwotwill! Yeah...the knife is coming down next week....so I'm going to enjoy myself this week! I've seen @Gahm's build and frankly, his skill is a bit beyond me! LOL. But...again, I'm enjoying the problem solving and out of the box approach using only my table saw. Truth be told, I'm really equipment and skill limited...so I'm just enjoying the heck out of trying to find a reproducible way to 'creating' itty-bitty parts to replace the kits parts. It's fun! I have a pretty general game plan on how to create the quarter badges from scratch, piggy backing on a lot of what others have done before me. The problem I was trying to tackle initially was the bloody window frames. So...I did not want to use detail tape as used before on my Sultana. I tried using wood, but these things are TINY - and a few efforts left me frustrated and exhausted! Trying to get clean angles without a clear and defined 'macro' approach to achieve precision and consistency is a real challenge. So...I went a bit off the reservation. I decided to go back to my old friend, sculpy (again) for a ridiculous approach to making the teensy-weensy-itty-bitty frames. So here is my approach...still trying to refine this, but initial results seem promising. 1. Measured up the frames from the plans and prepared a 'template' by using a slitting blade on my Byrne's saw (just barely above table level - couldn't have been more than 1/64"). Used a block of spare wood to make the window frame template. 2. Used some flesh colored sculpy and smashed it into the 'template'. Gently pulled it away and baked. I’ll paint later once I get enough 'good pieces'. I know the sculpy might shift or bend - but frankly, after trying to make the frame by wood, I can't see minor shape shifting (the sculpy is firm but not fully rigid…and can bend or disfigure with too much manipulation) being too much of an issue. Besides, the quarter badge frame still needs to be made yet - and the windows will be adjusted to fit. 3. After baking and cooling, I used a flat razor and simply 'scraped' (sliced) very gently the proud image of the window frame from the sculpy backing. I mean...these things are tiny. But once separated from the sculpy backing (or block), they are pretty resilient and can be cut/sanded to meet the dimensions required. Keep in mind, in this method, you only need one template. The 3 windows on one badge are mirror reflections of the windows of the twin badge on the opposite side. Proof is always in the pudding....we shall see. So...that's one approach. But I'll be darned if I'm going to consider that cheating!!! Moving on....
-
Ok…not sure if my reference to metal pieces and Brittania pieces are causing confusion…so I’ll just refer to them as metal pieces. To be clear, the quarter badge metal pieces are not very good. They are the opposite of good. They are bad. They are inconsistent and do not match. But as I said, it forces me to approach them as a new project, so I’ll forgo requesting a replacement from the manufacturer. I’ve seen some builds that did get a better replacement…but I’ll just attack them as a scratch build opportunity. 😊
-
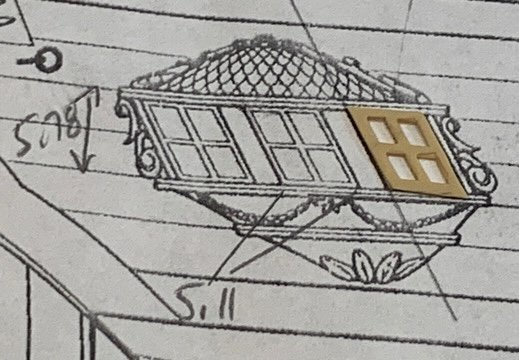
We’ll…putzing putzing putzing. Got shoulder surgery next week. Until then I’ve been slowing messing around with the remake of the quarter badges. Words can’t quite express my amazement at how bad the metal kit pieces are…as others have noted, the two sides don’t match and the overall quality is also pretty awful. Leaving me with a fun running attempt at remaking them! The bit that I’m messing around with is…window frames. On my Sultana, I tried using strips of detail tape with passing (not great) results. So…I have been trying (without success) to make nicely shaped and consistent window frames. Would love to hear how others approached this part of the Syren kit bash.
-
Awesome work, Dave!
-
By the way, forgot to say thank you for the kind kudos, Walrus. I constantly refer back to your build. 👍🏽
-
Take a look at my build. I think that’s a problem for most folks. The way I did it (lifted from another Syren log) was use a self adhesive rotary (disc 5”) sanding pad 120grit. if you peel off the adhesive from the back and double it on itself, it’s thick/stiff and a little malleable. You can also trim it with scissors so when you sand the inside bulkheads the sanding pad will ‘skip/slide’ over the frames as you sand from stem to stern near the deck. Just one idea you might want to try. Looking good!!!!
-
By the way, if you look back on how I made my carronade sled wheels, I used that same technique to make perfectly round wheels of the same diameter...only problem was the metal plate was too thick for the cathead sheaves. Something to think about...all I really needed was a slightly thinner piece of metal with a round hole and you're set. Then you could make a ton of sheave wheels of the same thickness, diameter without sweat. I'll remember that for future...just didn't occur to me until now!
-
There probably is some washer or fitting which comes close. But the axle size and diameter is extremely small...watch fitting may come close. You’d still have some modifications to do...I was going for the best effect with least resistance. But there is always more than one way to skin a cat. 👍🏽
-
Bingo!!!! And since I don’t have a mill or a lathe, modeling with the sculpy gave me an opportunity for realistic illusion. Might not be wood or metal, but I think it looks pretty bloody good for a first attempts at catheads with sheaves (sans lathe). By the way…I’ll give all the credit to my knowledge and fearless attempts at ridiculous but fun uses of this stuff to Chuck since he used this stuff in his Sultana Practicum (my first and only build). 👍🏽
-
I might try that!!! Play Do for ship modelers!!!!
-
Honestly….I preshaped my garboard and first three after the garboard for 24 hours each. The placed them on the shop….pinned/clamped them in…and watched a movie. Be patient. If you get them preshaped…glueing is easy.
-
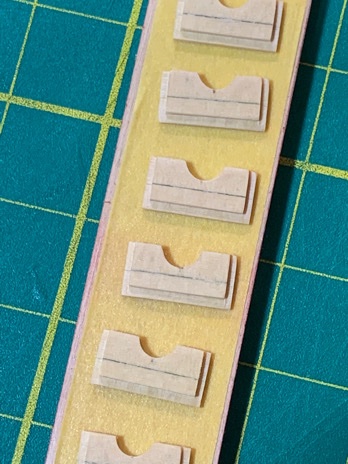
Interesting note. When I trimmed off the sculpy sheaves from the sculpy rod I baked, it’s hard to make them “clean” (i.e. perfectly cylindrical). This became more of an issue with the outside sheave. So….I ended up again using some double sided tape on a popsicle stick and stuck them on. Then used a fine emery board to fair them up and take off the uneven edge to give them uniform thickness. Worked perfectly. 👍🏽 Live and learn…sculpy is fun stuff.
-
Putzing with the catheads. Finished up the sheaves. My little sculpy sheaves turned out pretty decent! Moving on…
-
There are also CA glues of differing viscosity from water like to gel. They can be bought at Lowe’s. I like the medium CA from Lock Tite. Then I use a long toothpick to touch on the spot I need to glue. For the water like CA, which I used often for rigging or siezing knots, I use a large needle 🪡 with the end clipped to make a U. The CA will wick into the U and then you have conttol on where to apply. I used a dowel as a handle…and just jammed the needle into the end.
- 436 replies
-
- 1
-

-
- Syren
- Model Shipways
- (and 1 more)
-
Finished off remaking the gun port doors. Shown below stuck to some Tamiya tape. This time I left out the rabbet on the side with the gun indent. I think it looks better and also didn’t think that edge needed a rabbet. 😁 Also made the ring handles (not shown). Will paint the doors tomorrow and size out a drill bit for installing the faux hinges. In the background…working out the plan for the P&G’s. It’s coming along.
-
So…I could start on my coppering any time. The only thing holding me back…are the pintles and gudgeons. Because here is the thing…I struggled with the Sultana for the same reason. How to mount the things without creating a mess? Even more critical with coppering which can get marred/bruised just by looking crossways at it! But…I have an idea! Finally… So my next side project while I whittle through my plan of attack on my P&G’s will be… STERN cannon of course! 🤣 Moving on…with a plan.
-
Remade the gunport doors. No pics yet, but glad I did it. The reason being was the gun port doors were about 0.5 to 1mm too narrow…when mounted they would have looked off. When I was dry fitting them to set up the hinges and start the mounting process I noticed the visual disparity and it was pretty obvious. I think it happened because I didn’t consider the loss of wood during the cuts. So…my bad. Live and learn. On a positive note…I’ve got a crap ton of scrap doors to play with to get the technique down for the hinges and rings. Moving on…
-
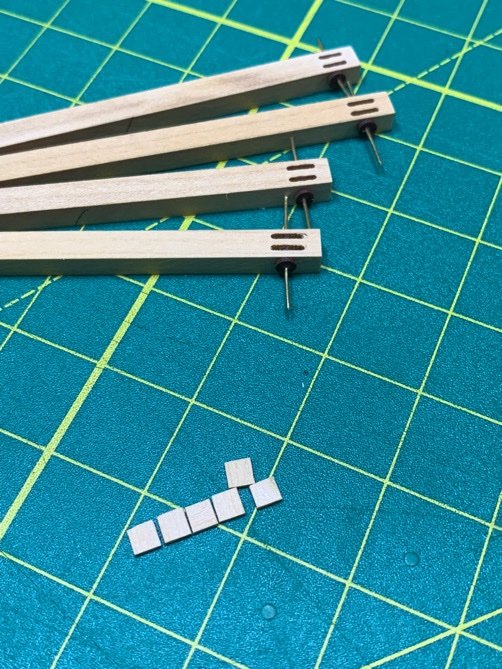
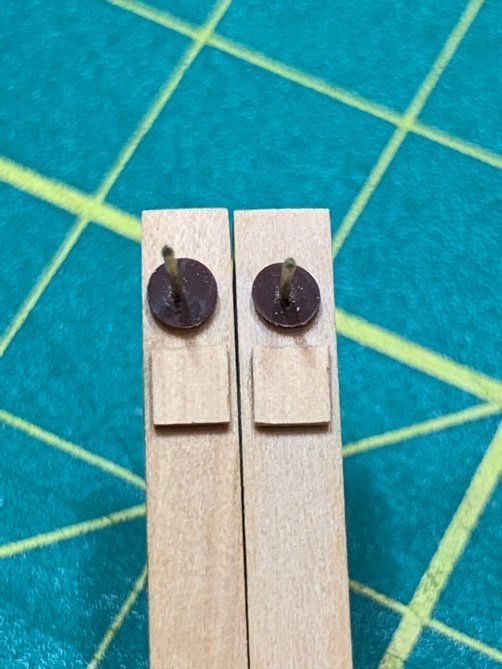
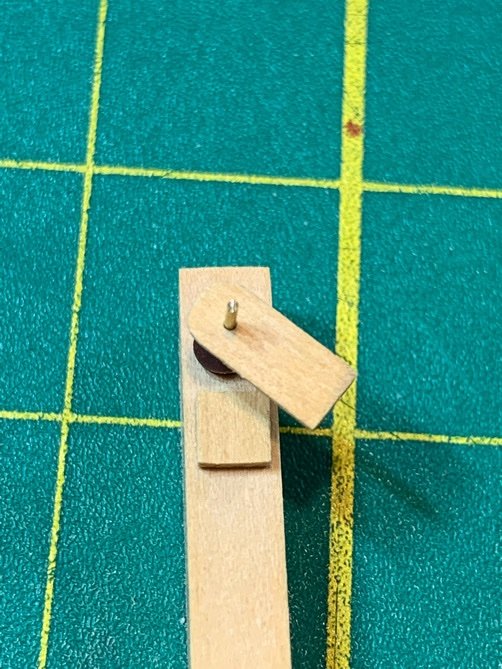
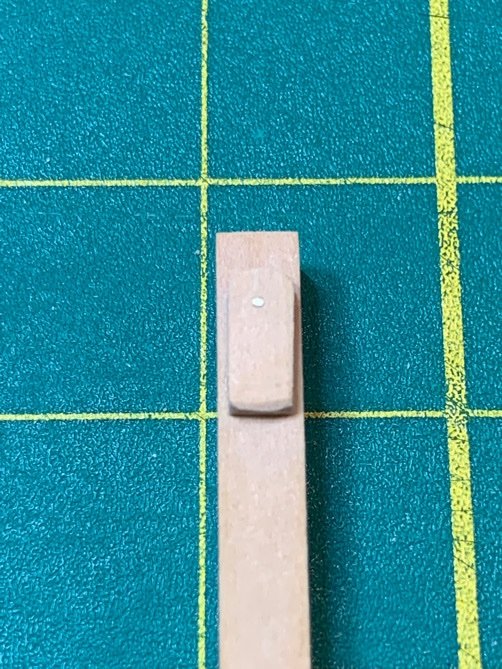
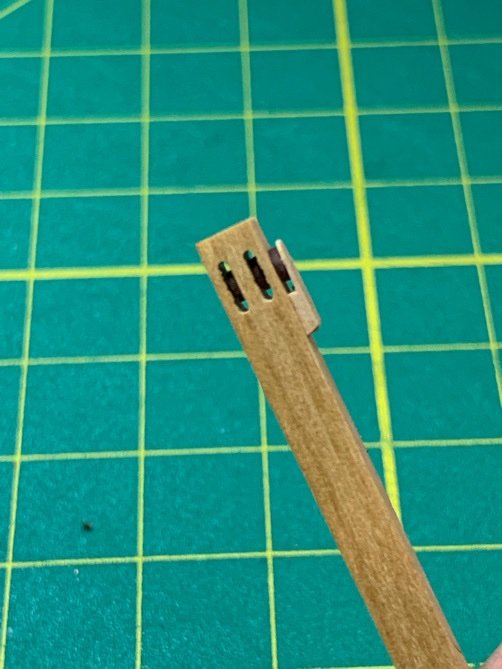
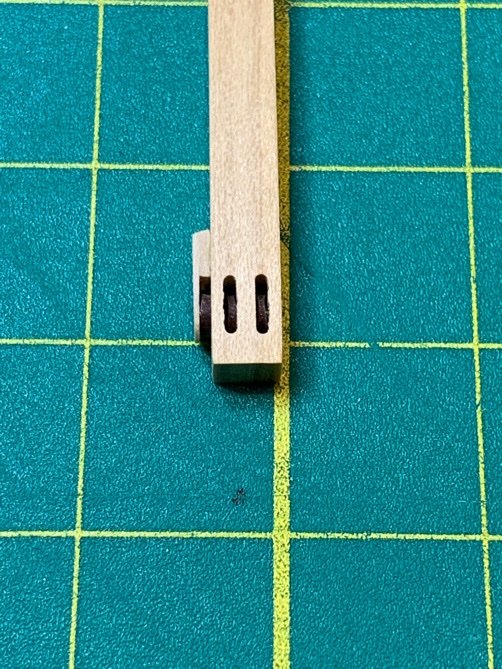
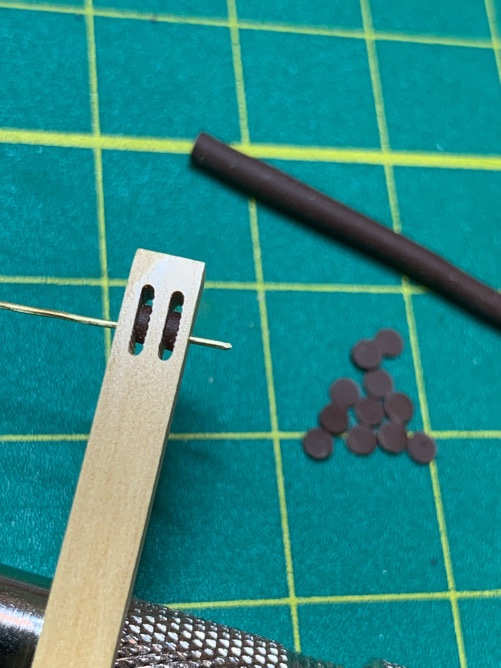
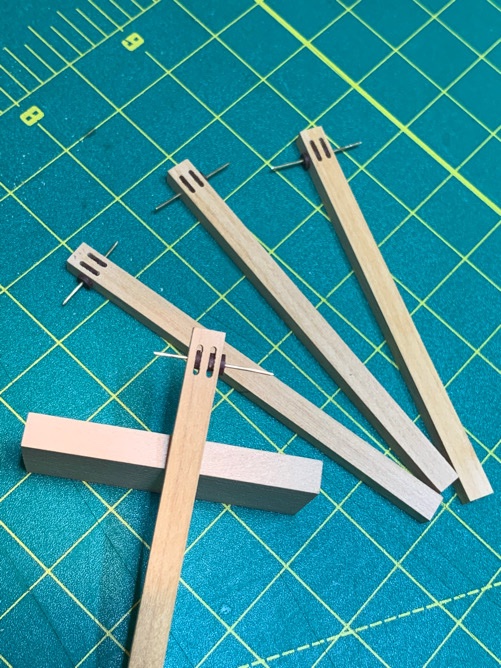
Just messing around with the uncut cathead lumber. Figured since I drilled out the holes for the sheaves, might as well drill the axle hole and fit in the Sculpy sheaves. This was identical to how I made the bulkhead sheave blocks. So it was pretty quick work. I also slid in the external sheaves which will be covered by wood framing later. Like I mentioned, I made 2 sets of cathead lumber but can always mak more if I screw up. 😁 Gratuitous pics… Moving on to other distractions. 👍🏽
-
Dude. You da man! Always looking back at your build. Great and consistent progress. Gives me hope I might actually finish this thing. 🤣
-
Thanks, Gahm. Your build is one of my inspirations! Appreciate the kudo. 😁
-
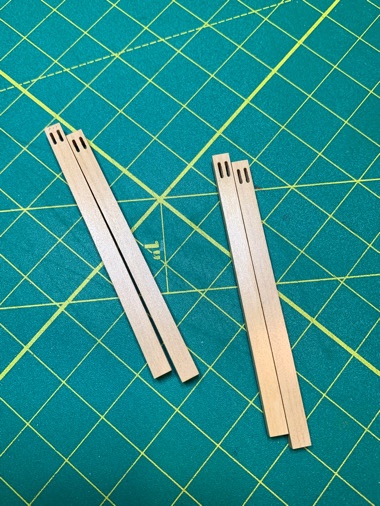
Some good news and bad news. Bad news first…I think I need to redo my gun port doors. Sh*t… Good news…my frustration at the doors made look into something I CAN do…so I prepped the lumber for the catheads. Made 2 sets because I don’t trust myself. Will add the sheaves/axles a bit later. x-y tables in a mini-Drill press for the win. 🥸
-
Woohoo! Another Syren build! I'll follow along with interest!!!
-
Beautiful build!! Congrats 🍾🎉🎈 on a job well done! Your build has been an inspiration for me and I’m doubly motivated to complete her now. 👍🏽 what’s your next build?
- 950 replies
-
- 1
-
-
- syren
- model shipways
- (and 1 more)


