


Overworked724
-
Posts
1,263 -
Joined
-
Last visited
Content Type
Profiles
Forums
Gallery
Events
Everything posted by Overworked724
-
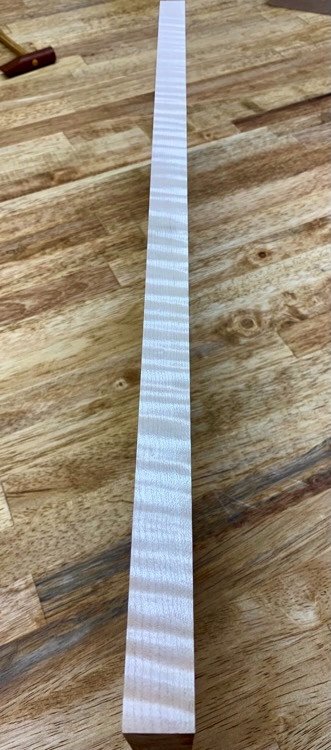
 The long, cold winter of post surgery recovery has begun to thaw!!!! I am out of the sling and past the post operative pain. I’m sleeping again!!! Thank God! Slowly figuring out where I left off with my build…🤔. In the meantime…while I get my collective ‘ship’ together (pun intended), I decided on extra curly maple for my mounting board. I was able to get some on line (my buddy who is a luthier pointed me to a good piece when he saw one up for bid on eBay)! Just a couple of baby pics…got the piece cut and planed…the grain is stunning, and runs cleanly perpendicular to the direction the Syren will be mounted. So, my hope is it gives a nice illusion of waves as one views the completed model once mounted). Moving on!!!
-
Yeah. That paint bleed can be frustrating. The yellow is a great as well as historic workaround. 👍🏽 Adapt! Overcome!!! looking great.
-
I’m still here…icing my frickin’ shoulder…staring at my ship…wishing for the Love of God I was left handed…
-
Enjoying your build! Very nice progress! I think you have a very good eye for dimensions and perspective. I’m sure whatever modifications you implement will be fine. Remember, it’s your model! I think you’ve done brilliantly so far!
-
Awesome! I’d have done the same…I think you’ll be so much happier in the end. 👍🏽 Nice fix and looking forward to your next steps.
-
I think it's really looking well so far. One thing you could try with regards to the gun port being installed a bit off-center would be to make another gun port midway between the two and maybe make it symmetrical across both sides. I'm really not certain what the other side looks like, but another thing to consider will be that once you have all the deck furniture and rigging up, that your display direction will probably be the best fix unless you want to rip off the bulkheads and start over with the correct alignment of the gun ports. Frankly taking off the bulkheads at this stage above the whales shouldn't give you too much difficulty. In truth it might give you an opportunity to do an even better job since you've already had some practice putting in the bulkheads and carving out the gun ports. It's a lot of work though, and I think so far your build is looking marvelous!
-
Outstanding!!! Really nice detail! You set the bar!!!
-
3 weeks post surgery and I have one thing to say about rotator cuff surgery…This Sucks.
-
That’s coming along nicely!!!
-
We all have to occasionally request our Admiral’s permission(s) to maintain quality of life! 👍🏽 Nice job negotiating…what did you have to give up in return??? 🤔
-
Nice clean result, Will!
-
OK ... I've been thinking about how to make the quarter gallery roof tiles, and have thought up a couple of different ways. But I think I want to stay with making individual tiles out of some material to make the roof look as real as possible. This is one thing I really liked about @WalrusGuy's handmade galleries for his build. So, I think I'm going to stay with using wood (rather than paper...my original approach) and staining the wood a darker color before cutting and placing on the roof tiles... The main challenge was how to make the tiles consistently same thickness. I think I have a good approach . Now... I only have to wait 6 to 8 more weeks until I can use my right arm. Sigh...
-
Hi Will. Not quite clear on the steps you took to make your cleats. Could you repost with a few more pics? The pic of the linear holes you made in your pear sheet isn't enough for me to grasp your process and I'm very curious!
-
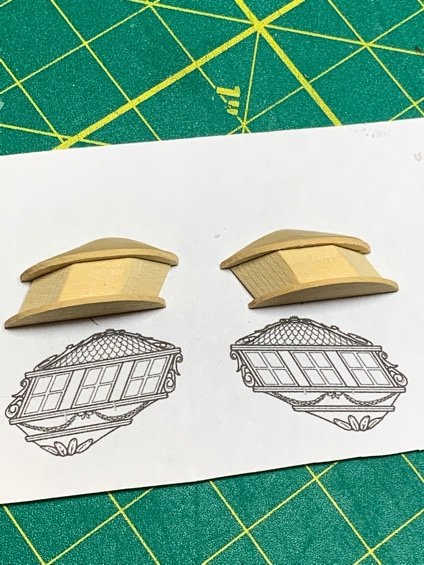
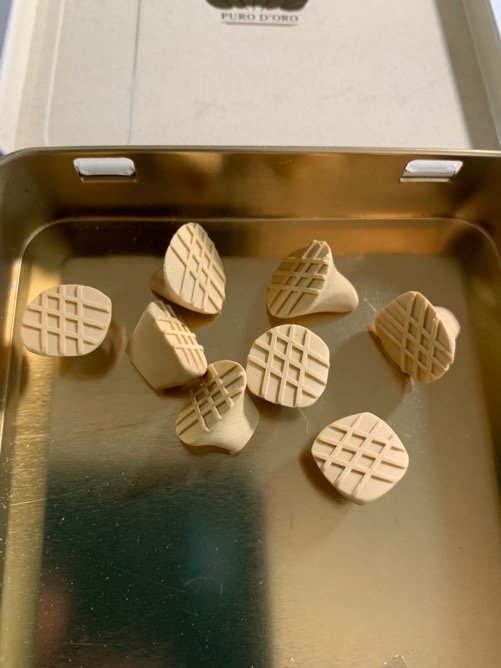
Well…time to button up the shipyard for 4-6 weeks. Shoulder surgery tomorrow (☹️) and I’ve got no more time left to spare to plunk on the quarter badges. However…with the main parts made, and my ideas for the garlands, scroll work, roof details, etc. tested…I think I can take a pretty good run at finishing these up after I recover. Next steps are drilling pin holes (yes…pins for the win when mounting these things…I’m not bloody guessing), painting the windows, staining, putting on the shingles and detail work…yada yada. Gratuitous photo of the unglued bits (mounted on some Tamiya tape) before I put the shipyard to sleep for a while. I’m still not done…but I’m feeling pretty good about my progress so far on this little side trip. Moving on…

-
Someone slap me. That actually worked. 😳
-
Especially after a tin of ship’s grog!
-
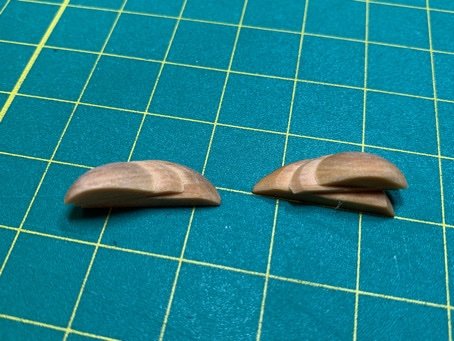
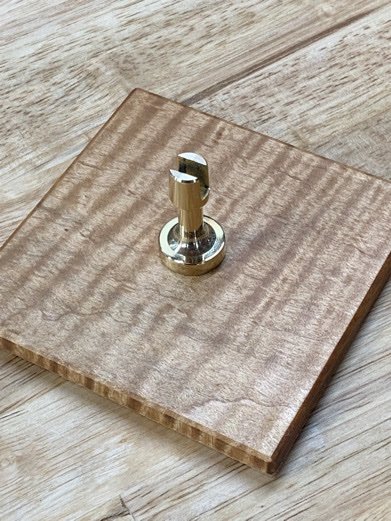
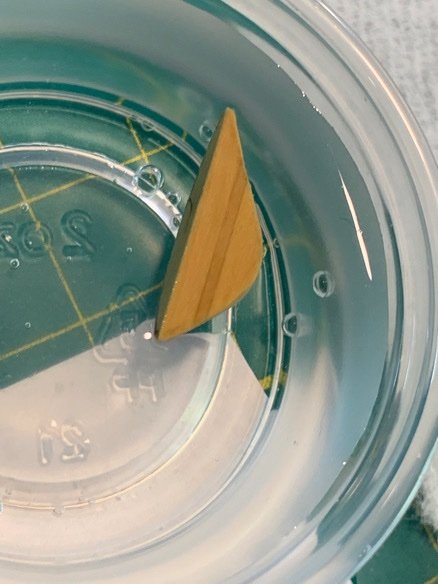
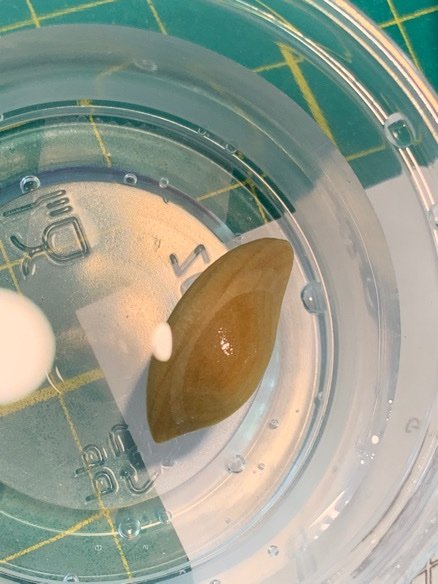
Ok….a couple things….the little lower portion pieces of the quarter badge build (see above post) floating in water look like oysters. Second…I’ve decided on my mounting method and mounting wood. Going with flamed maple using brass pedestals. Already have my mounting holes and embedded screws…now I can measure out my case height/width/length and place the order. The wood figuring should give a nice illusion of waves while the traditional pedestals should show off the copper plating. That’s my current idea…but I might change my mind later. We’ll see. 😎 Moving on…
-
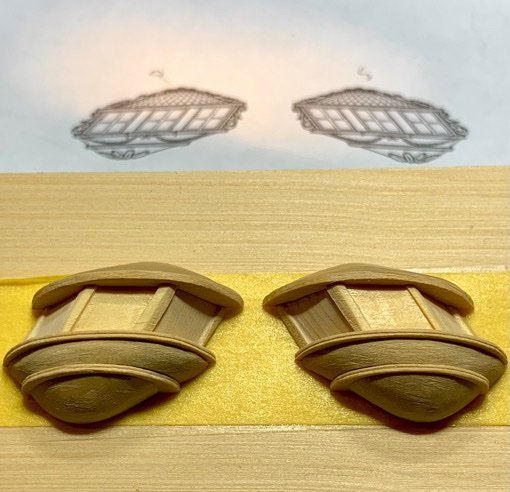
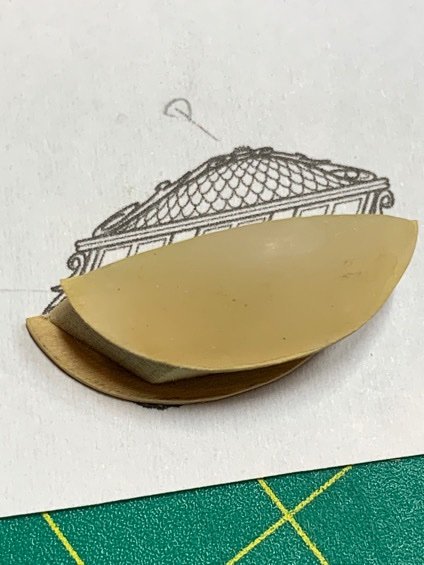
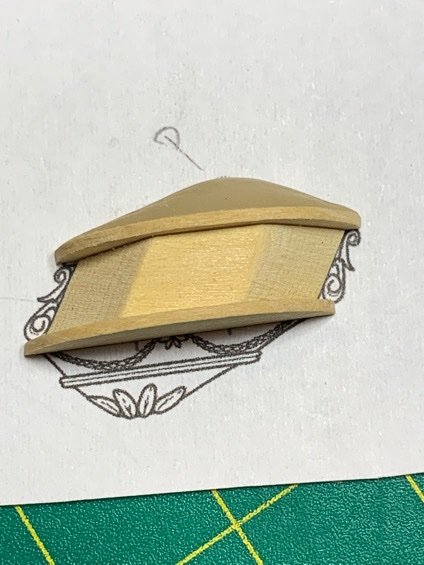
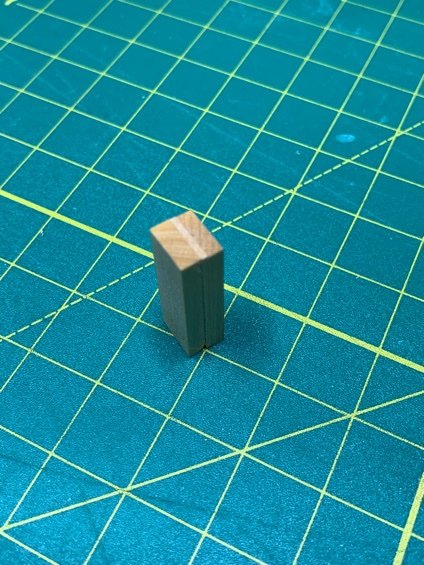
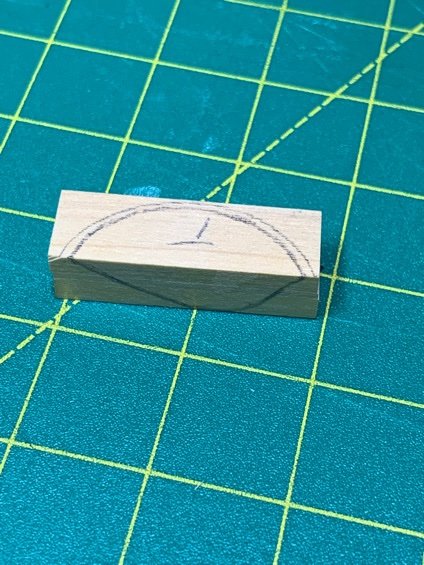
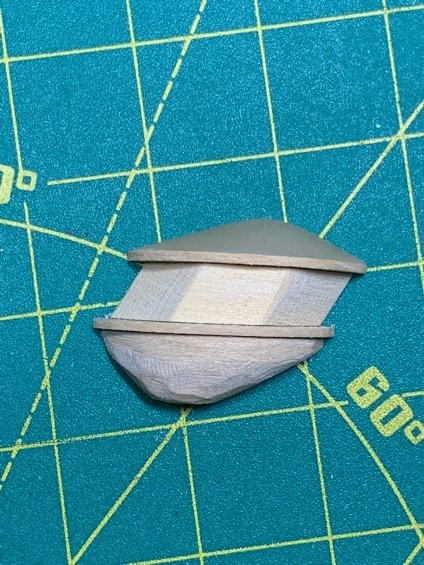
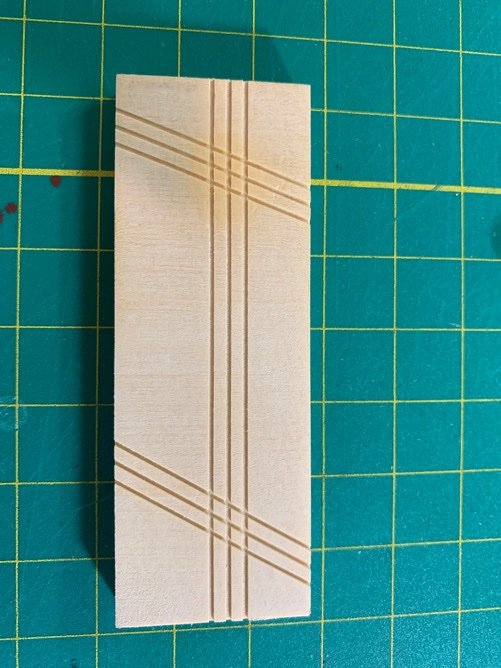
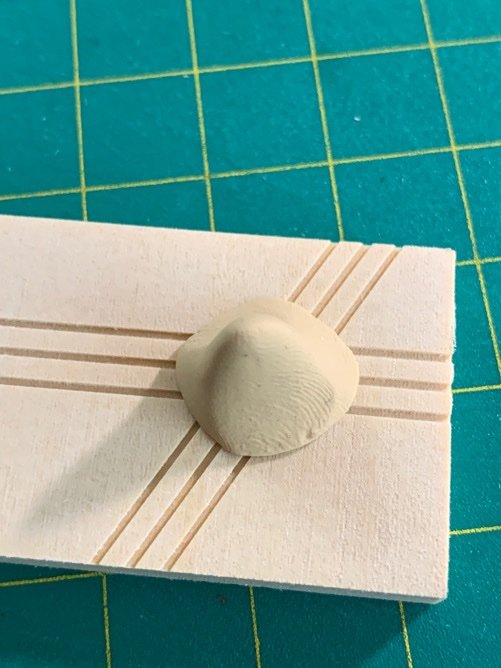
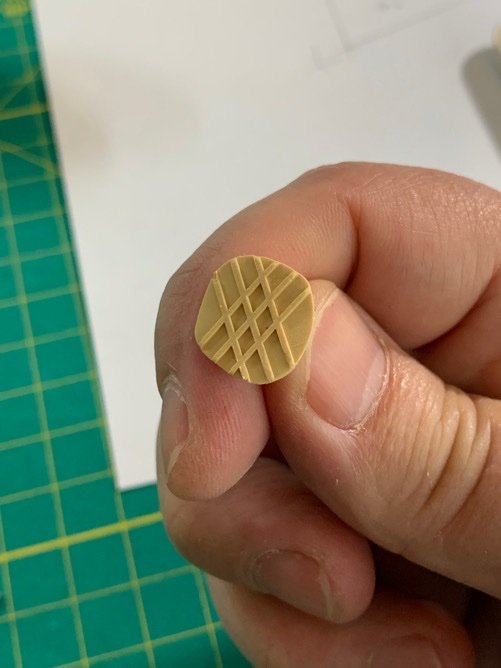
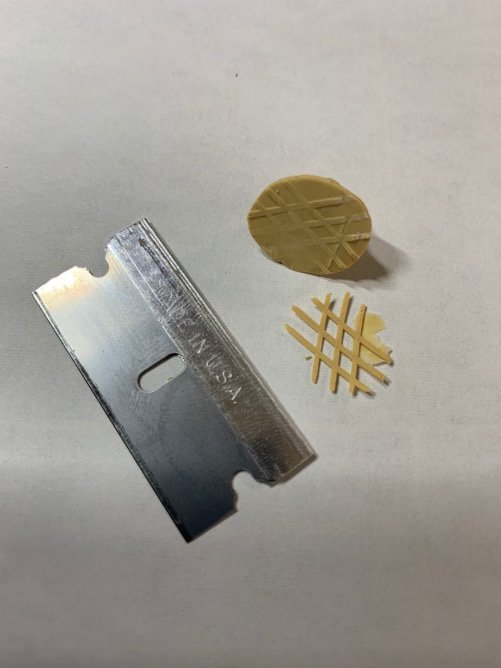
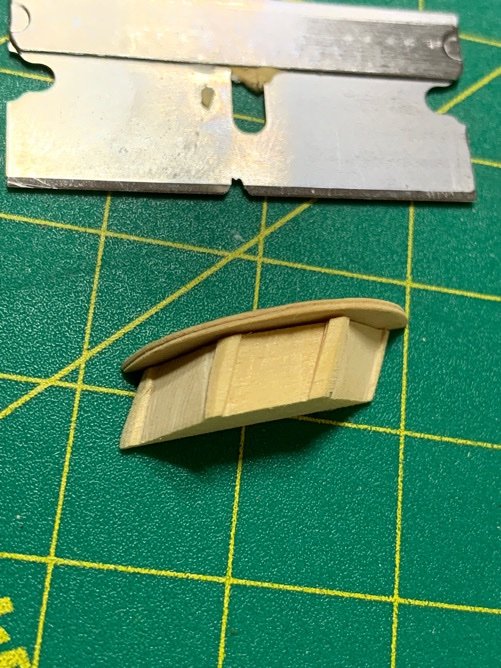
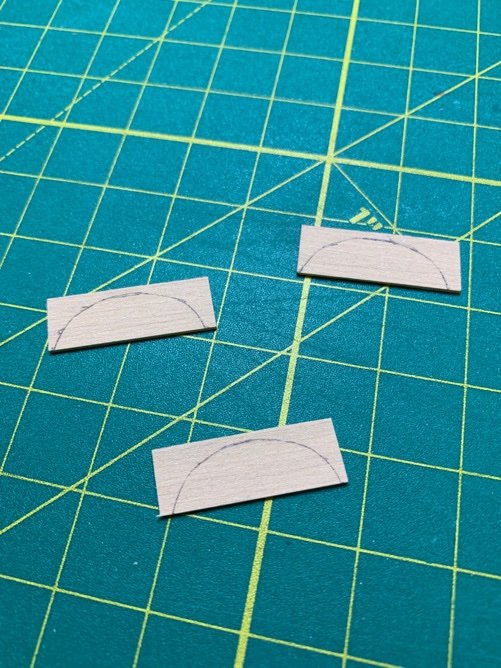
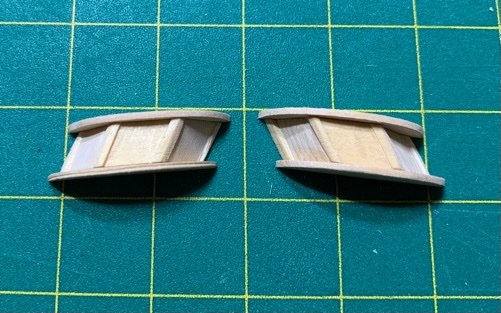
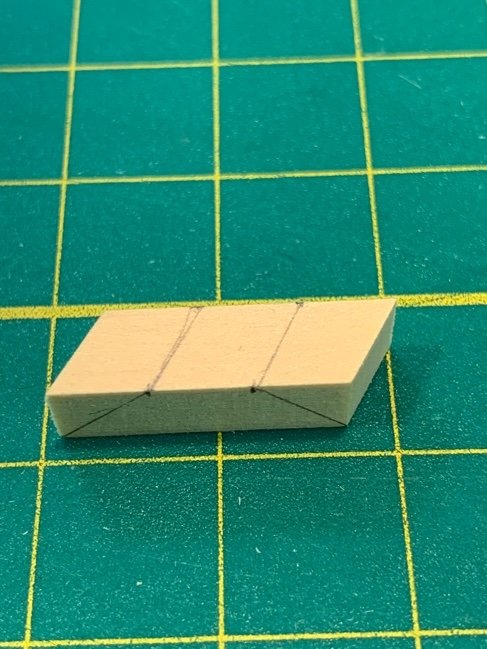
Quarter badge bashing continued. 1. Decided to use some translucent sculpy for the roof base. Had plenty of templates handy so just shaped and formed with my fingers and the edge of a flat razor. Looks weird but after baking is nice and solid. Holds super glue well…tried gluing my wood shingles on it and held them like iron. That part will come later. 2. Bases/undersides were a problem. Making them individually is beyond me. So measured out the thickness, and made a wood sandwich block. Then drew out the general shape. 3. Used my rotary tool with barrel sander to knock out the basic shape. Then fine tuned with sanding pads. You can almost see the layers…but the roof and base sections are all curves. 4. Now I’m soaking the little pieces in water to separate them. I will remake the middle section a bit wider to etch in the detail and provide the visual separation seen in the plans. Still a long way to go. I’m not doing replicates of these as they are too much work. But working in sections and experimenting before putting in practice helps. Long way to go, but happy with the progress so far…moving on.
-
Decided on the overall plan of attack on the quarter badges. 👍🏽 We’ll see…proof is in the pudding.
-
Ok. Got the windows made. Also made spares. See below for my quick and dirty process. 1. Smash some sculpy into your window template. 2. Lift plug of sculpy gently and bake at 275F for 30 min. 3. Shave off the windows after they cool. Trim off the excess. Also decided I would recess the windows. So got those set up along with some spares. Carved out the ceiling and floor sections (trim pieces) using 1/32” boxwood. Made a quickie scraper to cut in the trim piece edge detail… Checked the overall fit… Think I’ve left enough room there to mess up if something happens. Trying to noodle my way through the shingles…🤔 Moving on…
-
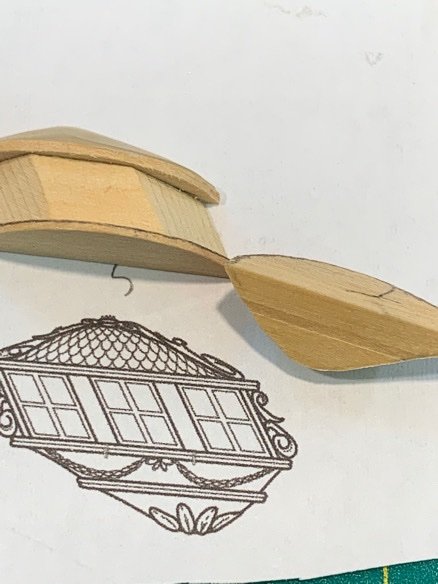
Lesson learned….2D window frame dimensions do not fit a 3D structure. The window I made are too narrow. There’s too much of a gap between the windows when I lay them in the window “base” (or whatever you call the part of the quarter badge where the windows are installed. ) I’ll make some a bit wider.
-
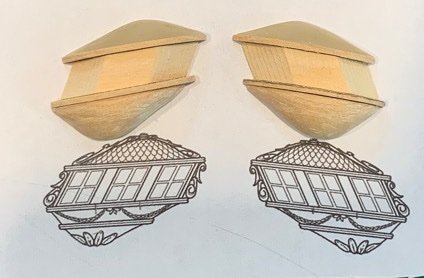
Two things….the upper and lower portions of the gallery focus the apex along the axial line. No machining here…just eyeballing and artistic skill. So this is less precision and more ‘expression’. So, I’ll give myself a lot of forgiveness. @WalrusGuy did a phenomenal job in his build setting up these sections. Since I’m working off the ship, I’ll go for broke and have fun using his build as a reference. My approach to these upper and lower sections is still TBD. But I’m of the opinion that if you can nail down the center sections, you have a good chance of expanding the sandwiched frames on the upper and lower section with less difficulty. So…center section(s) first. Here we go…

-
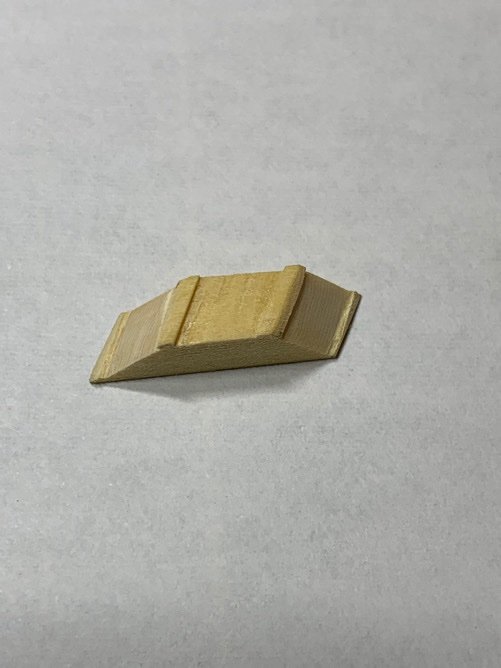
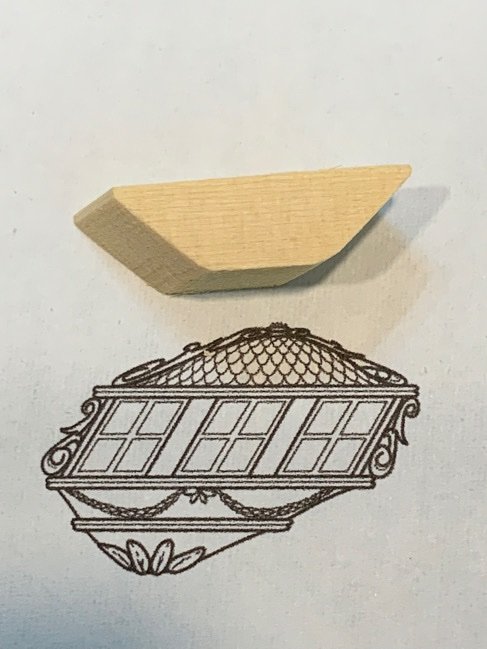
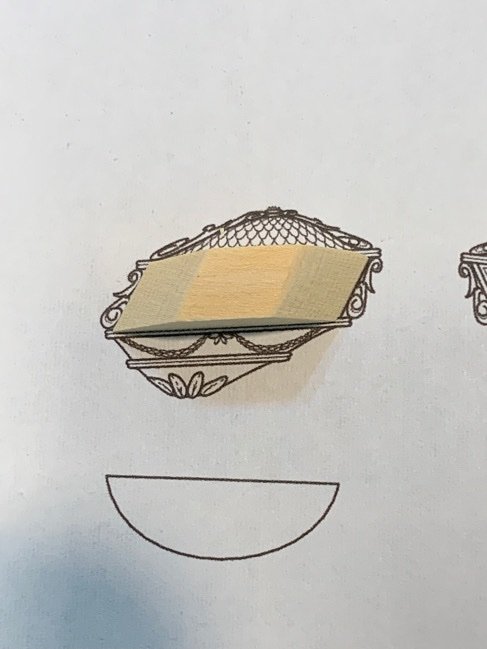
Tried using a new window frame template to make sculpy windows with thinner frames…and the same method works. No pics on that, but I think I prefer the wider frames I made earlier. Don’t know why…maybe they have a better chance of hiding mistakes. 🤣 But truly, the wider frames give me some ‘adjustment room’ if needed. Decided to take a whack at making the window mounts…like @WalrusGuy, I’ll try making these as a sandwich. The first part I’m attacking is the frame mount (main body) made from 1/4” cedar section. The trapezoidal nature of the thing is mind bending…I ended up with a good result. Eyeballed mostly. I’ll make a bunch of these just to have some spares to mess with…. Moving on…
-
I think the best rope available comes from Syren Ship Model Company. I think Chuck is making new rope and now has help. I wouldn’t use thread. You might want to check there….most modeler’s swear by his rope. (Me included…I’m biased though. His rope made all the difference on my Sultana)

