


kentyler
-
Posts
86 -
Joined
-
Last visited
Content Type
Profiles
Forums
Gallery
Events
Posts posted by kentyler
-
-
-
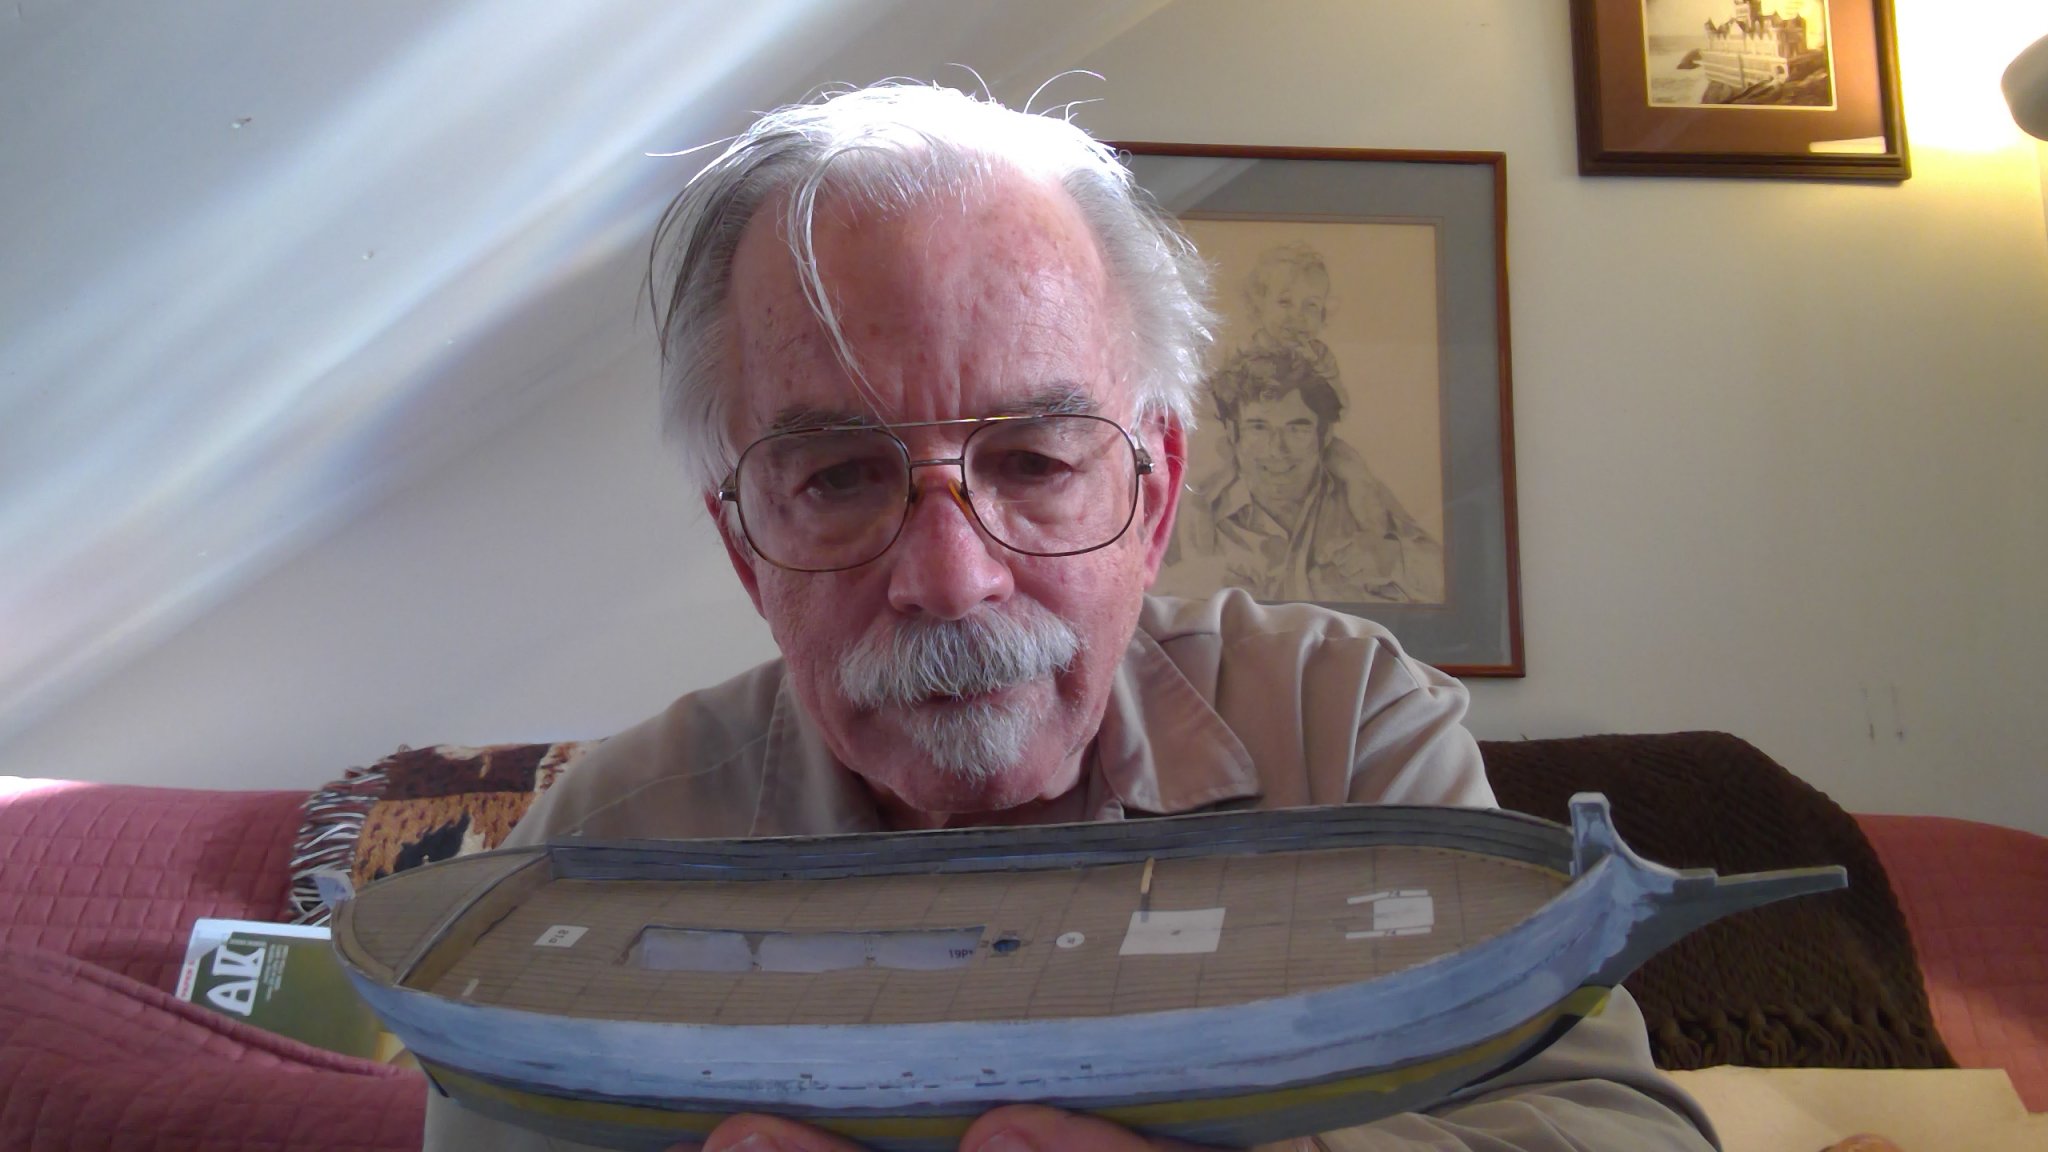
Going to start on this. Wish me luck.
- Archi, Chuck Seiler, Tony Hunt and 4 others
-
 7
7
-
-
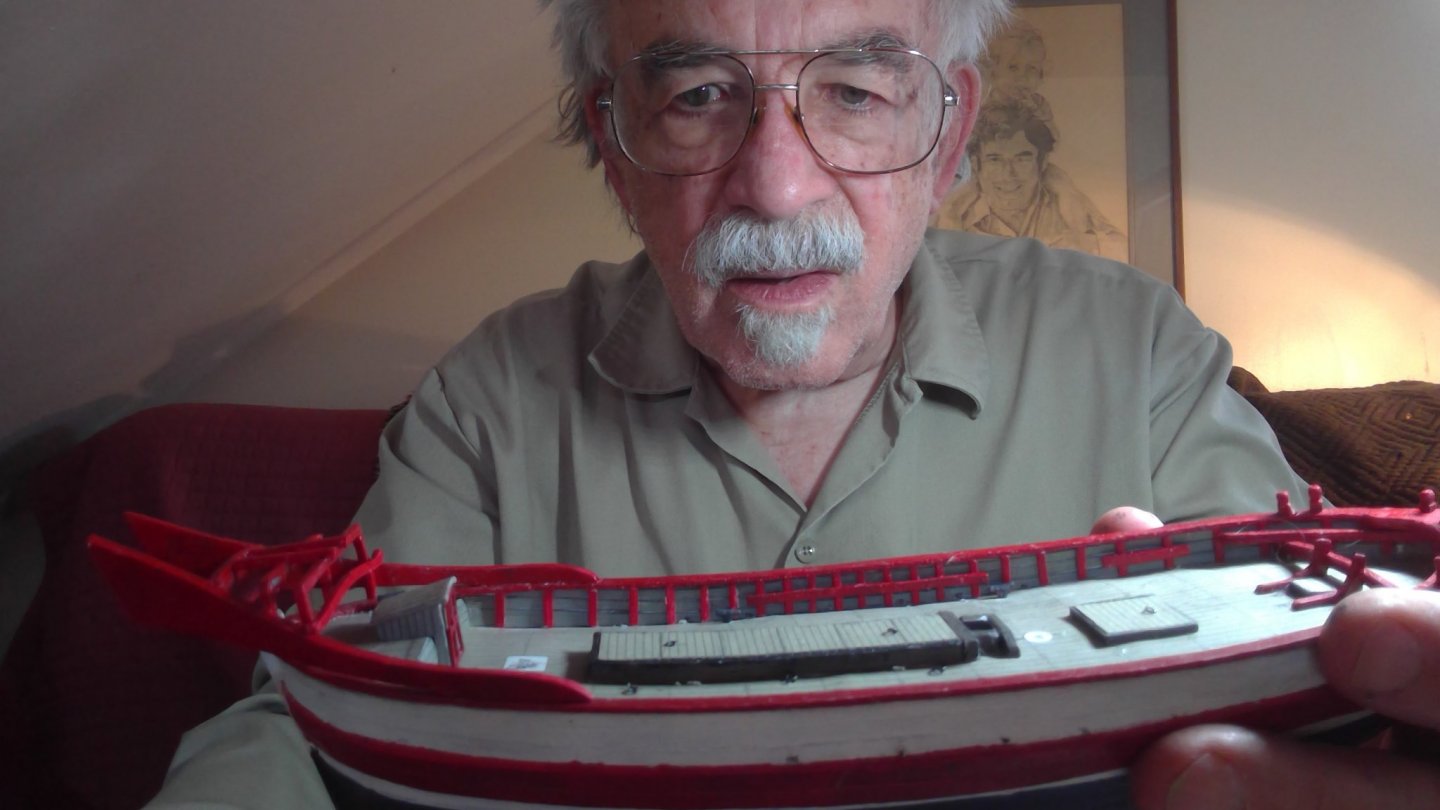
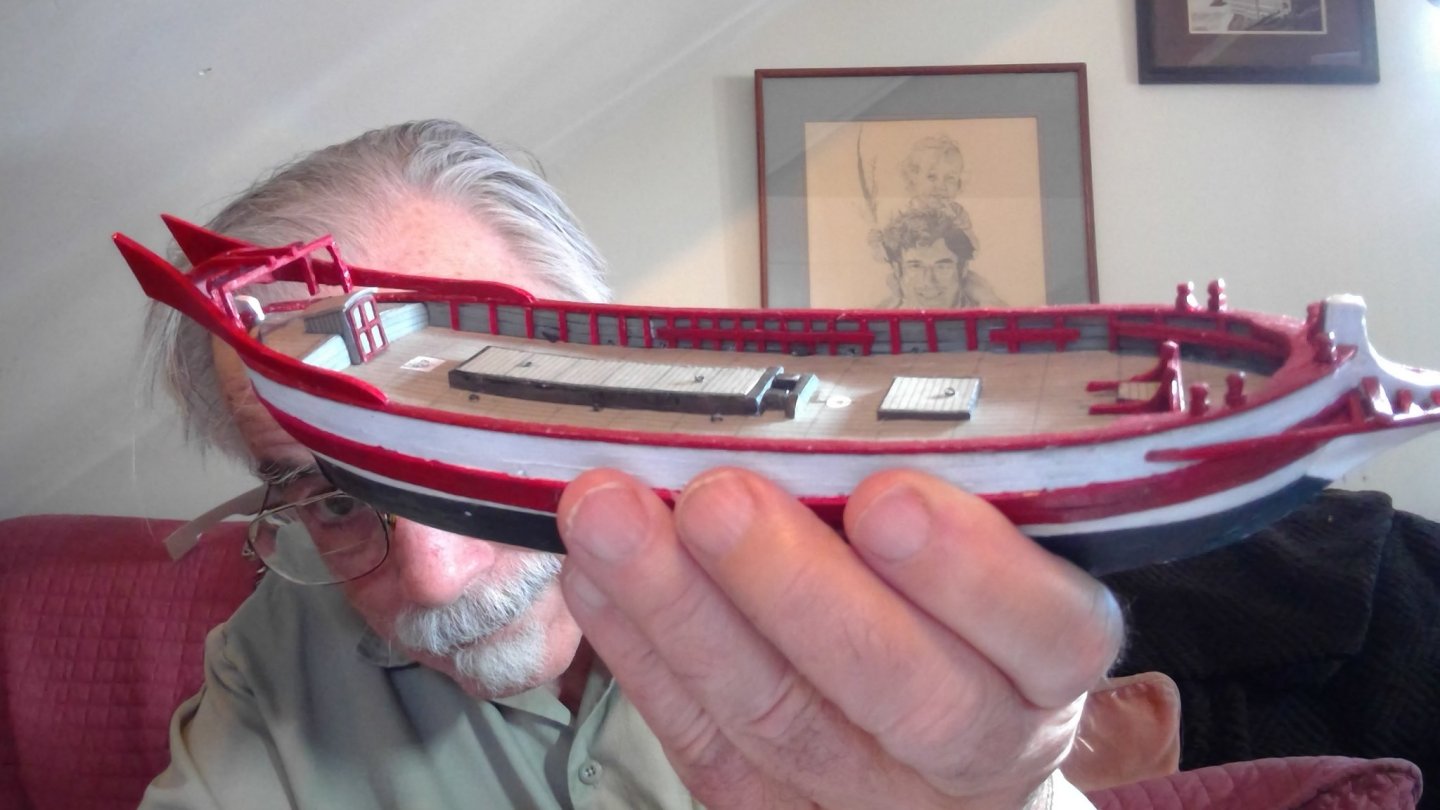
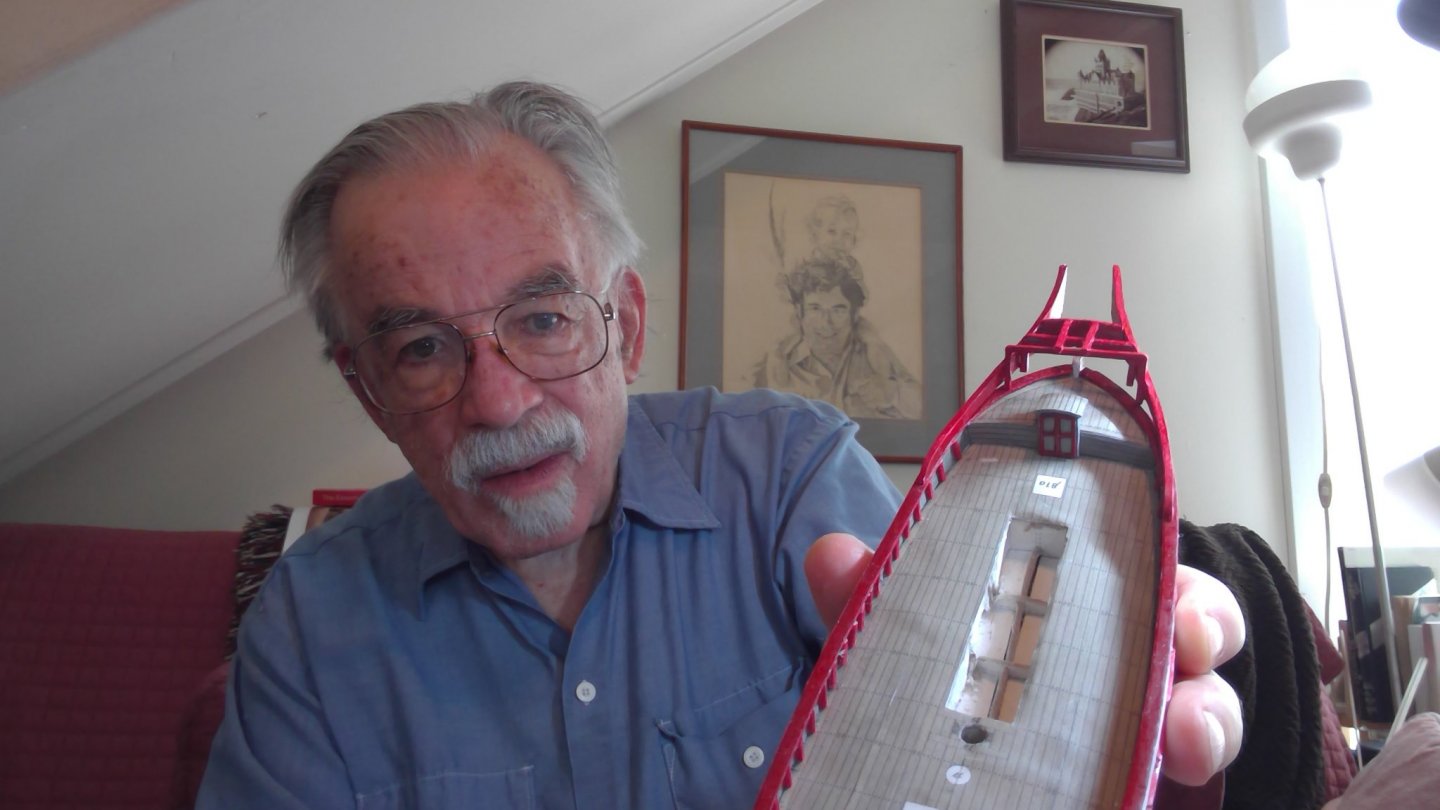
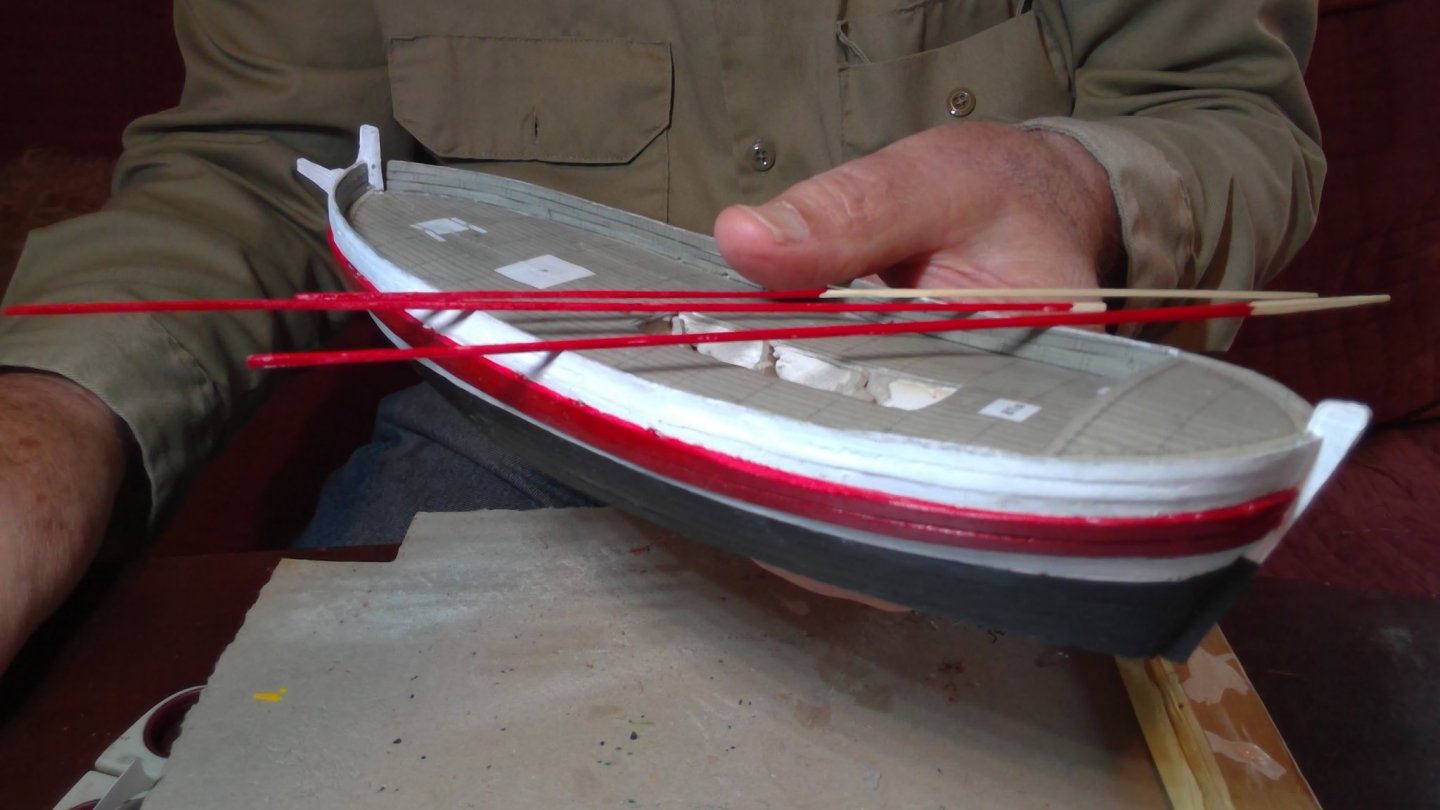
Second time around the cleats for the deck came out much better. I drilled holes in the mast to fasten the three that go there. I have the ring bolts in the deck, now we need to finish the mast and sails, as i try to build as much of the rigging as possible before i fasten the masts into the deck...
- tkay11 and GrandpaPhil
-
2
-
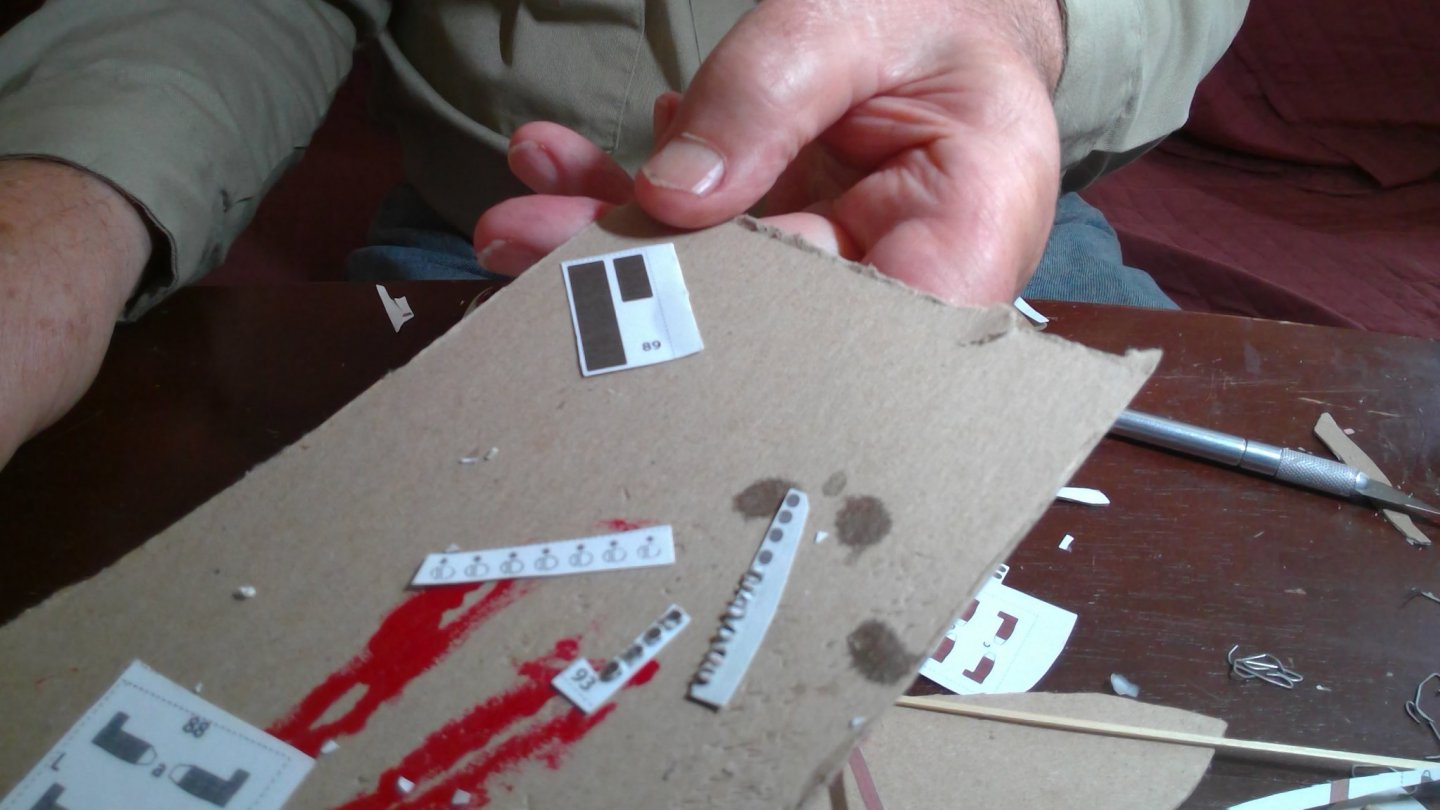
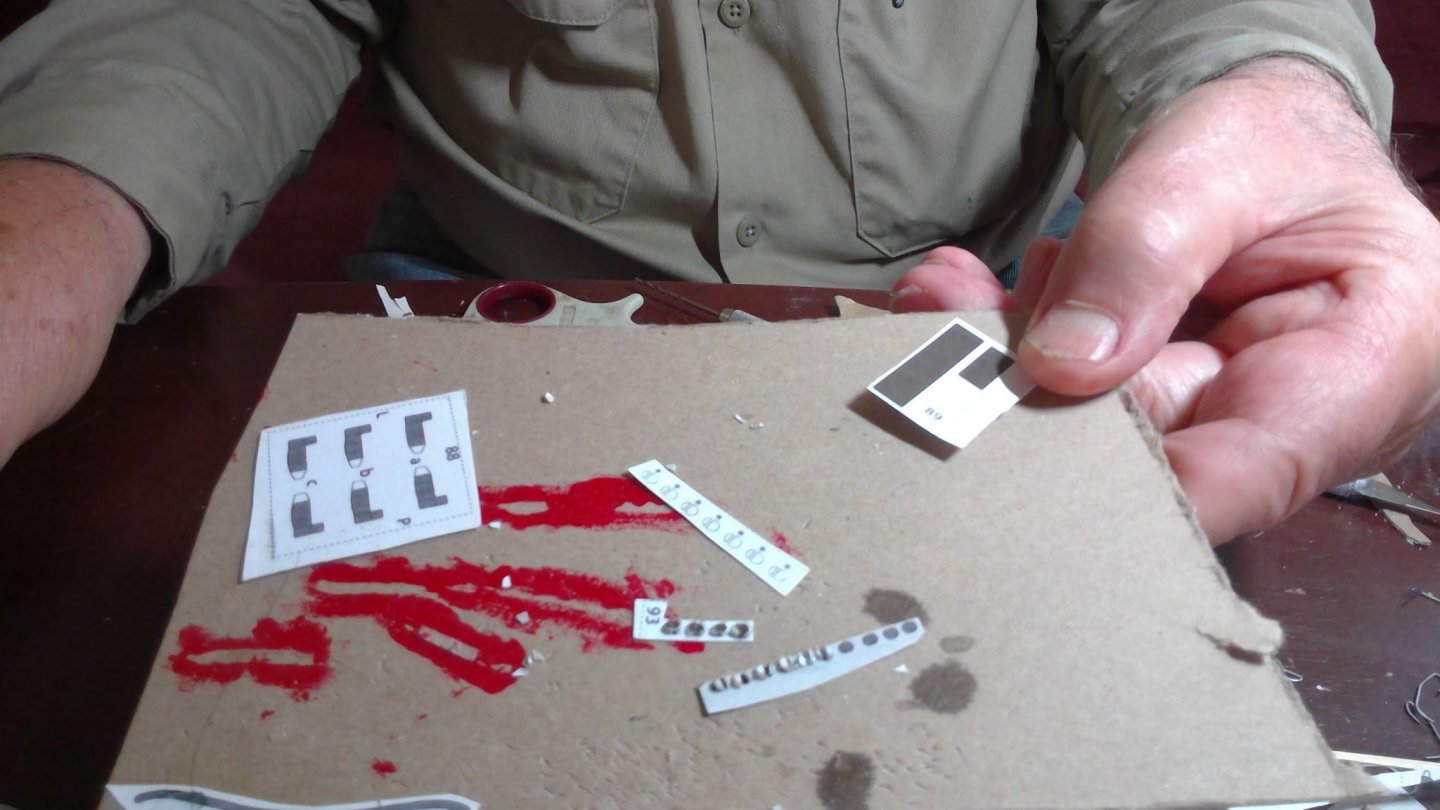
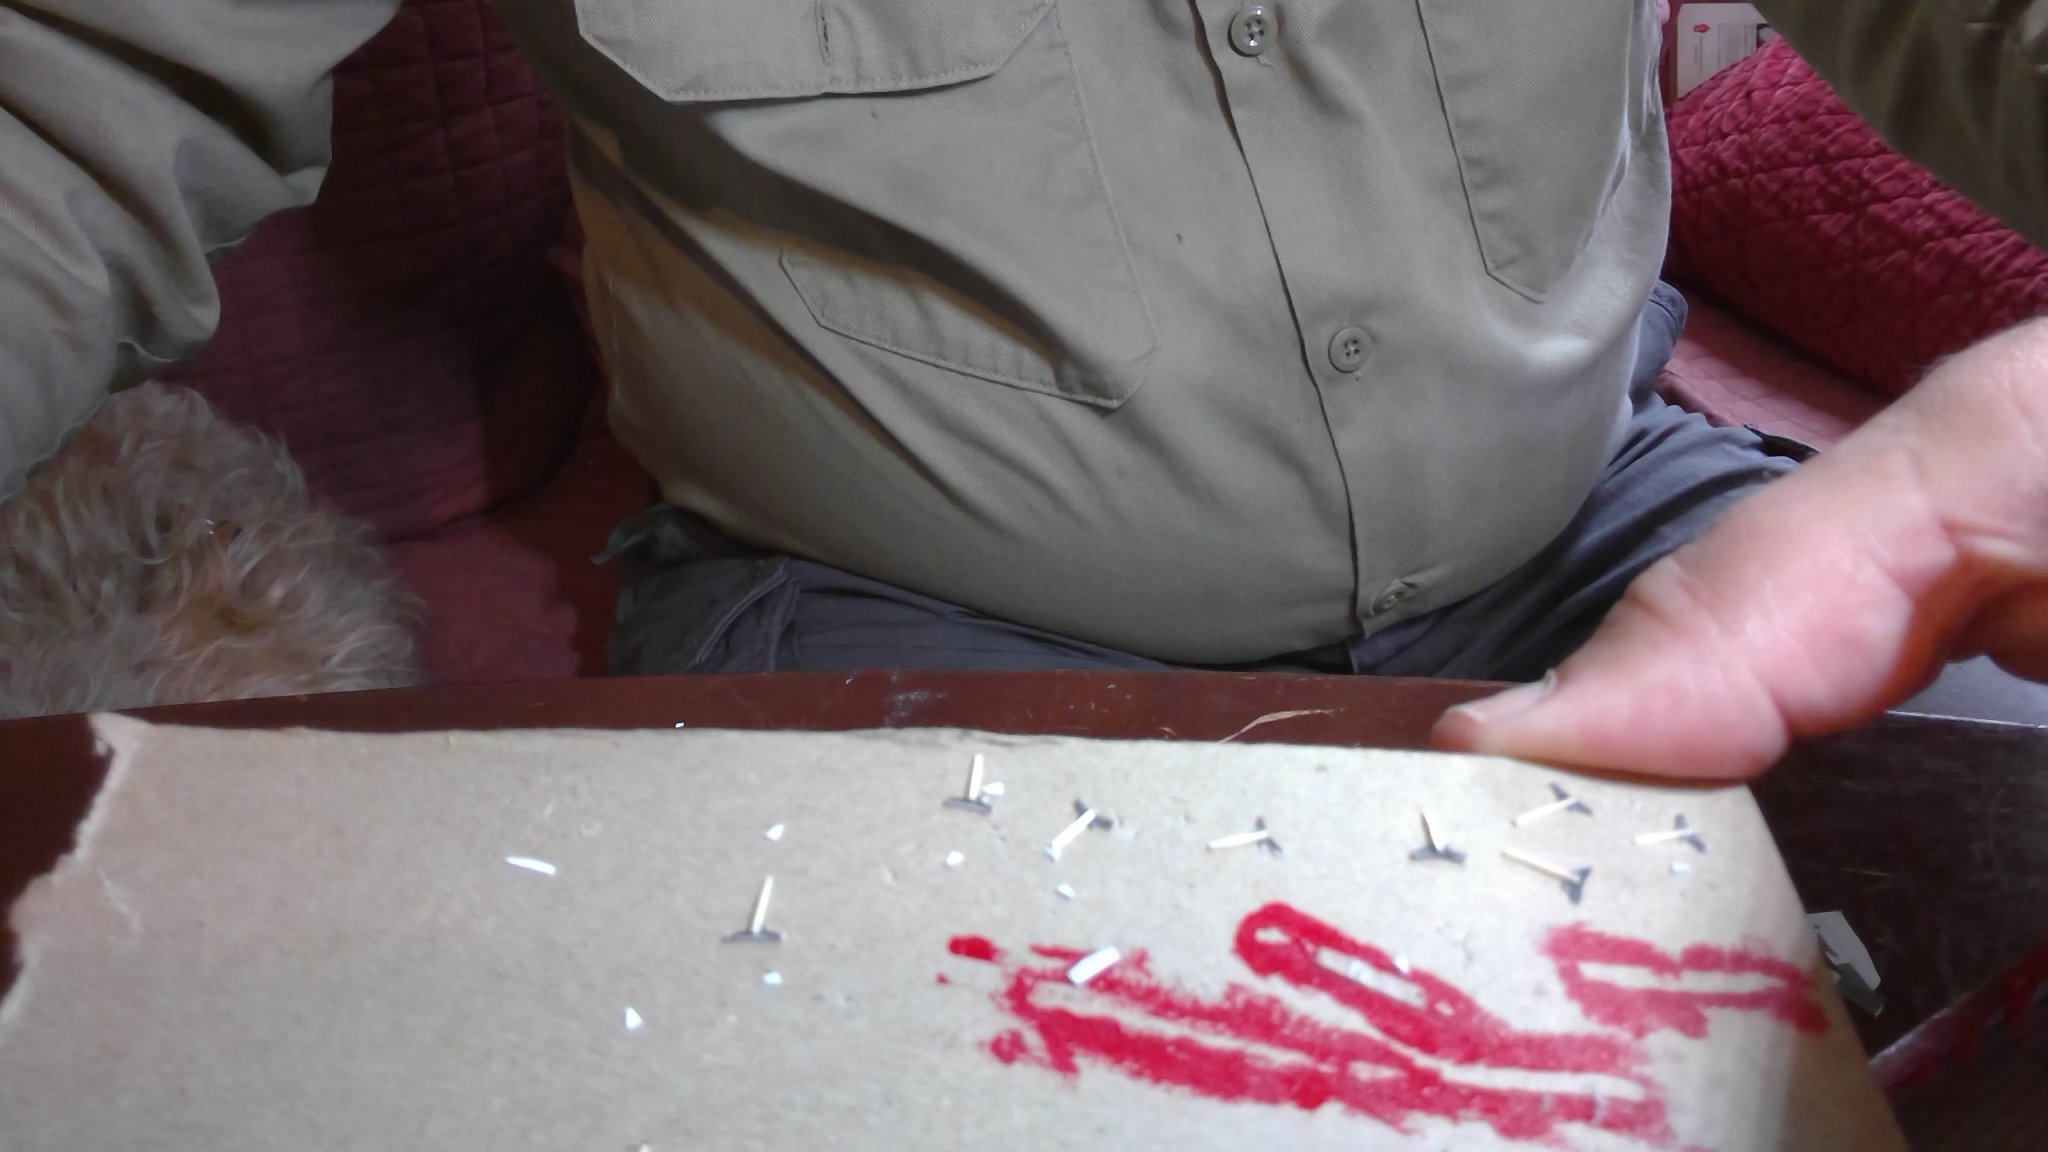
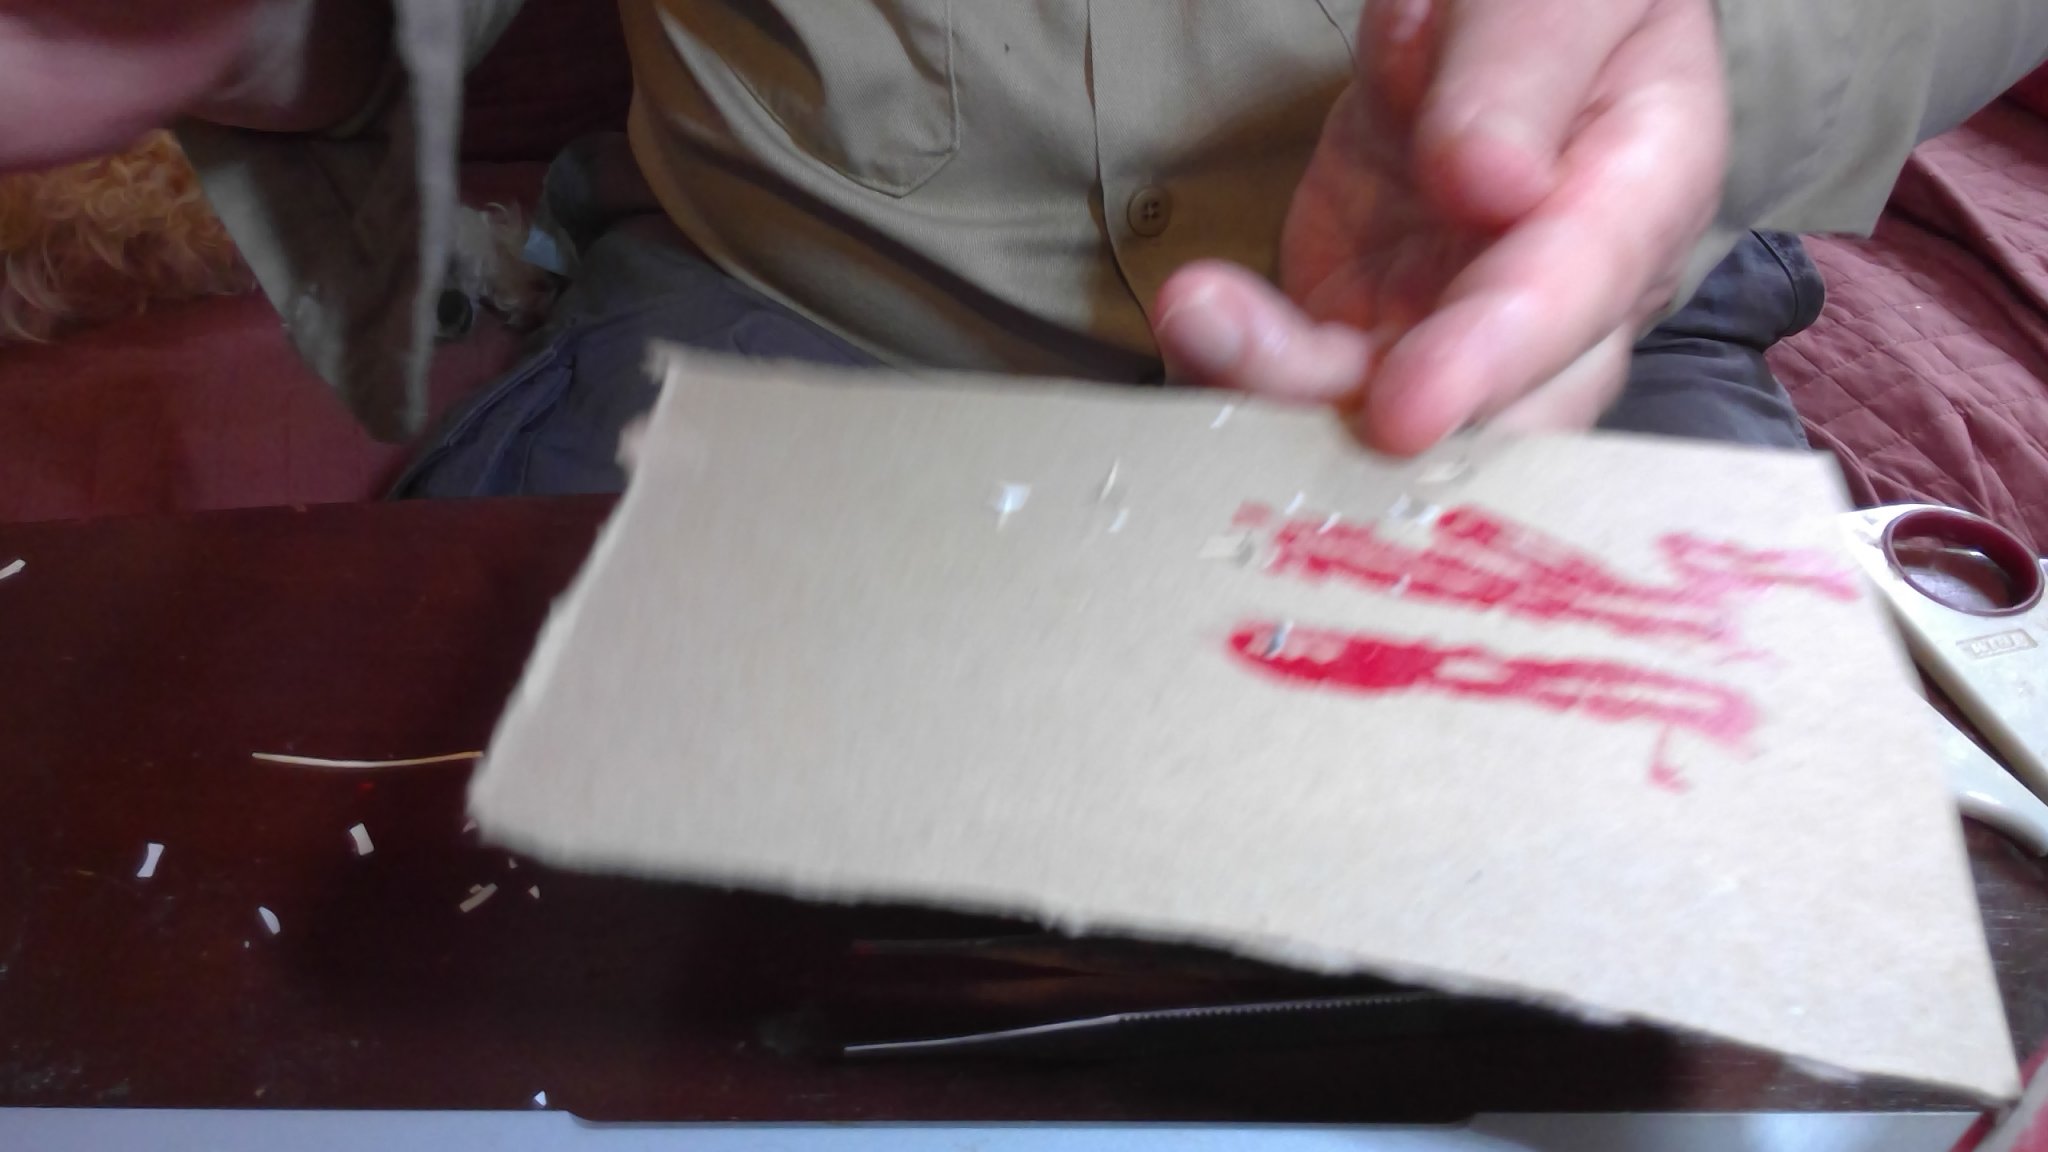
so i am making up the blocks out of paper... the cleats for the decks i tried several things, and eventually ended up carving them from the wood of an old ruler...so to get 9 cleats i suspect i made at least double that many..lost on the floor, the ends breaking off... i carved them and doused them with superglue to try and strengthen them a little...and then just pushed them into holes drill in the deck...no need for glue...the rigging will be black and "yellow" jewelry wire... i'm trying the harold hann trick of having the rigging be pre colored and not having to paint it. the gold wire i'm using could be thought to be "manila" if you're charitable.


-
-
making cleats... 2 sides of card, with a center pin of bamboo...i need to be able to put a little tension on them to set up the rigging and just elmers glue flat on the deck doesn't cut it


- Halfdan and GrandpaPhil
-
2
-
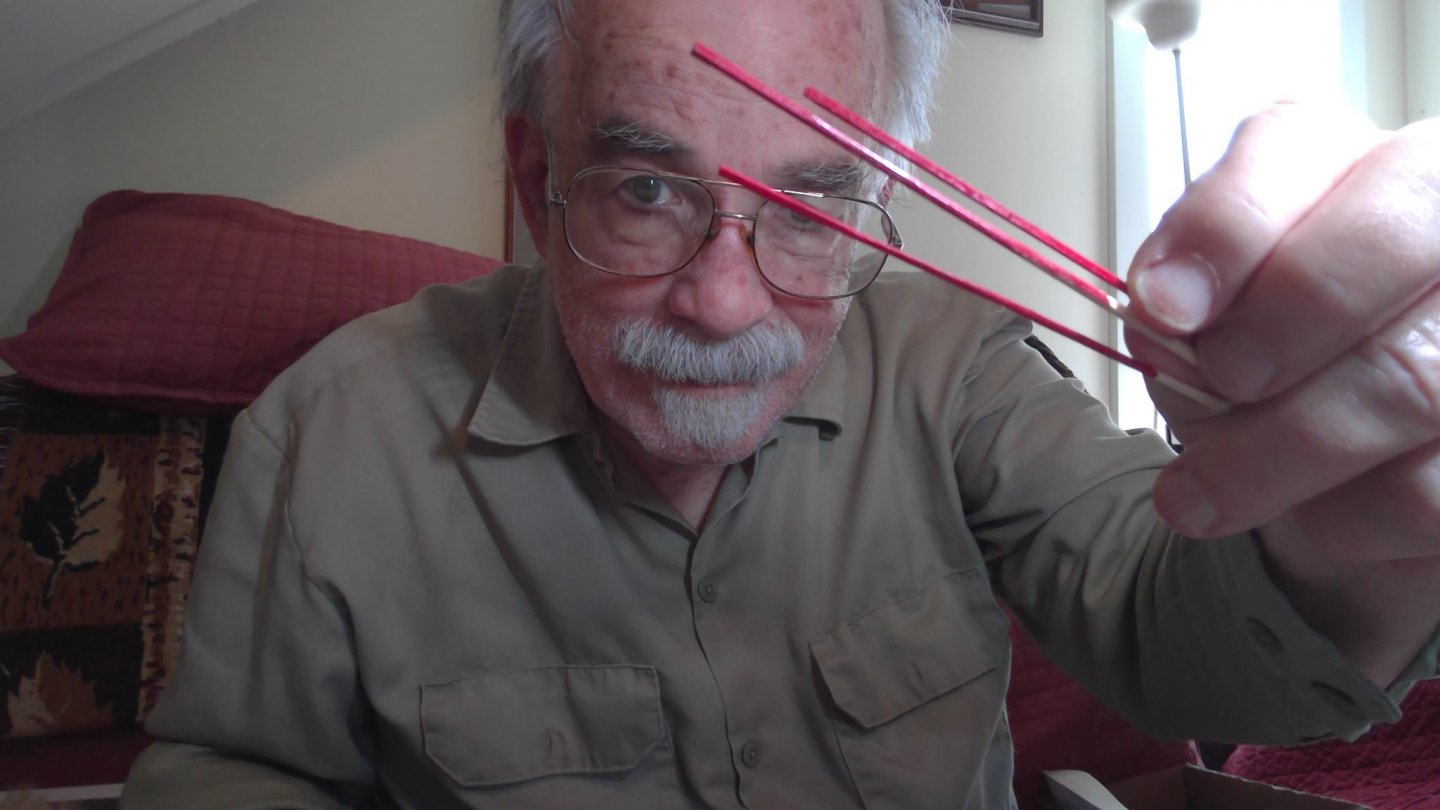
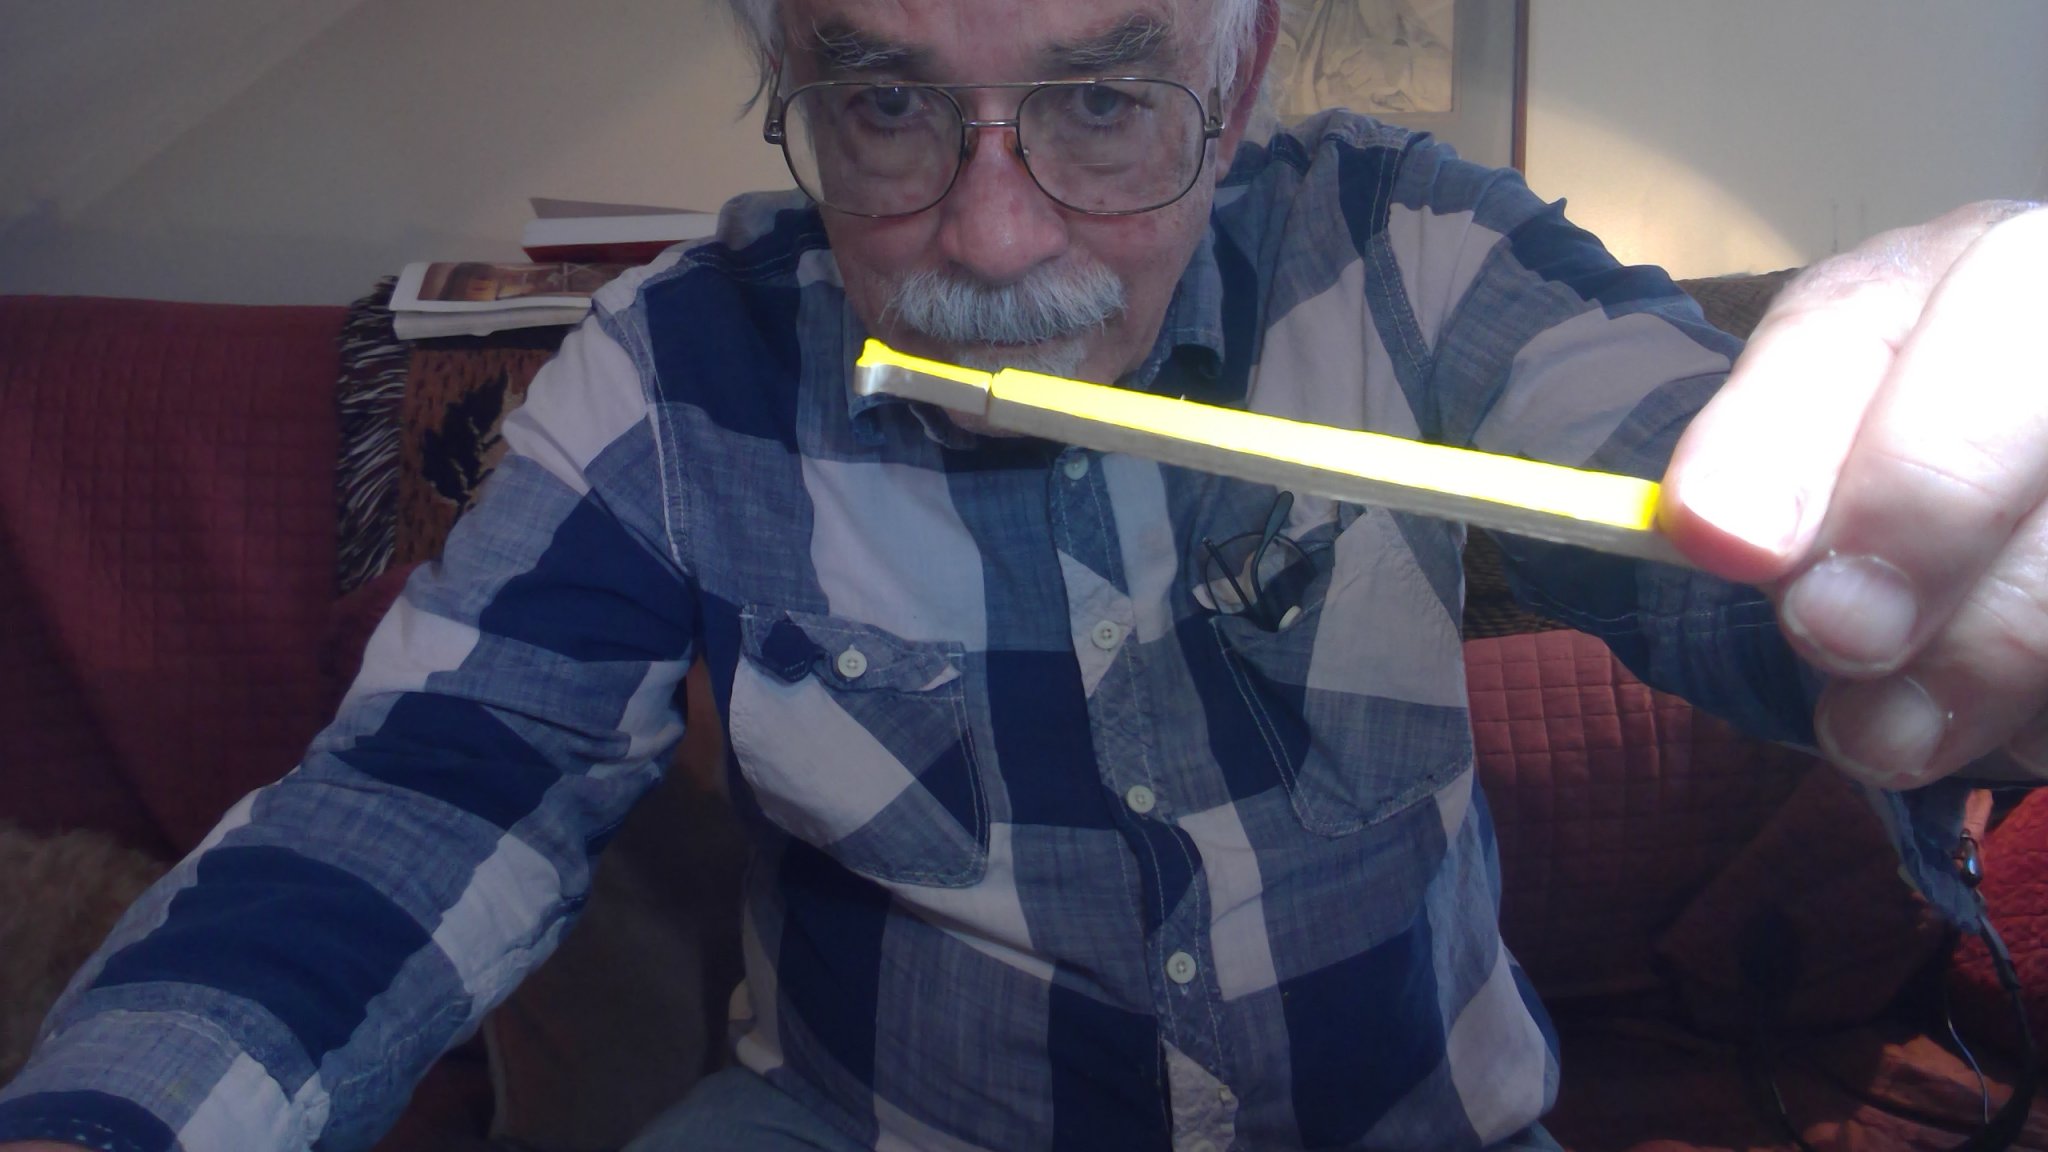
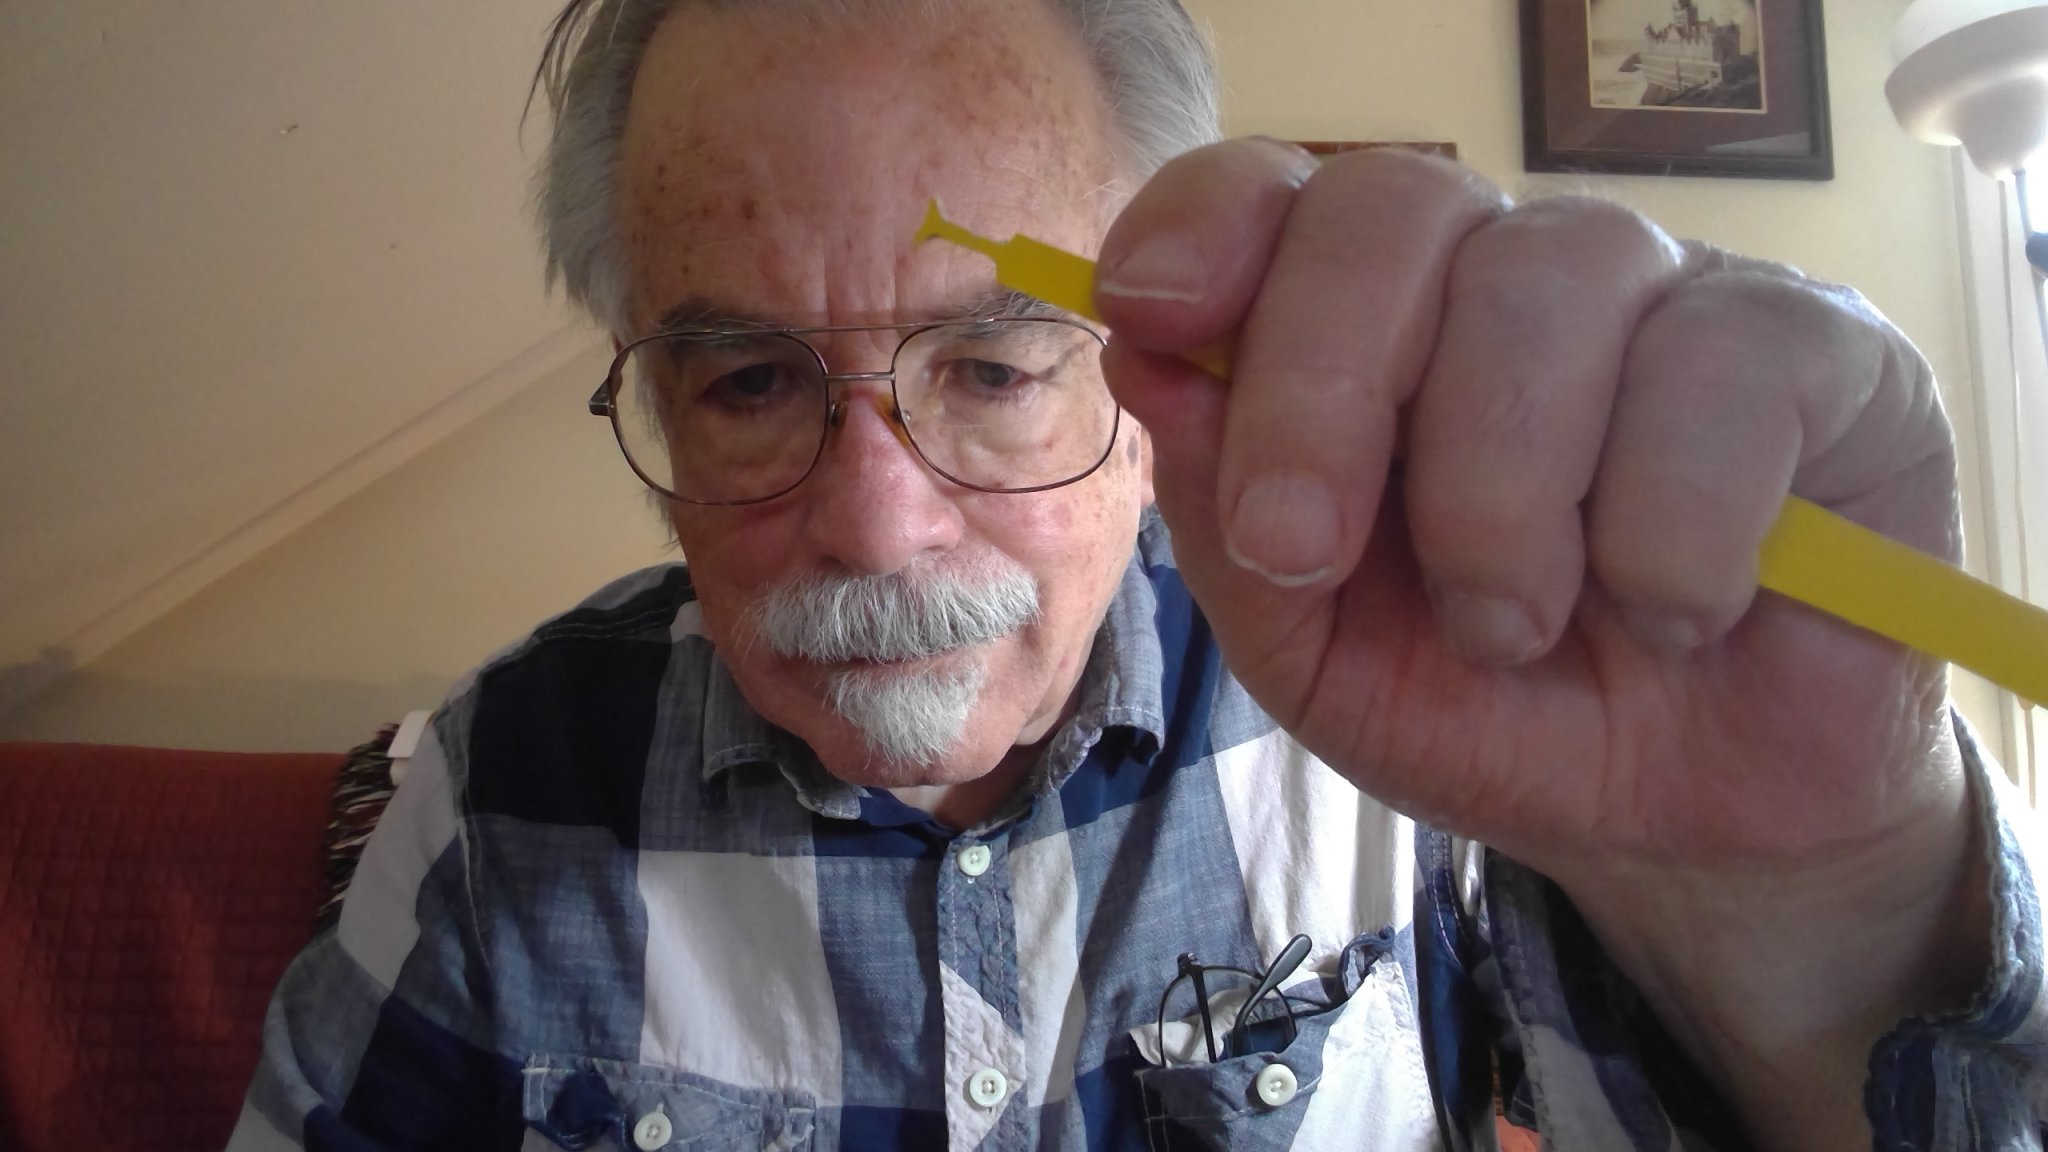
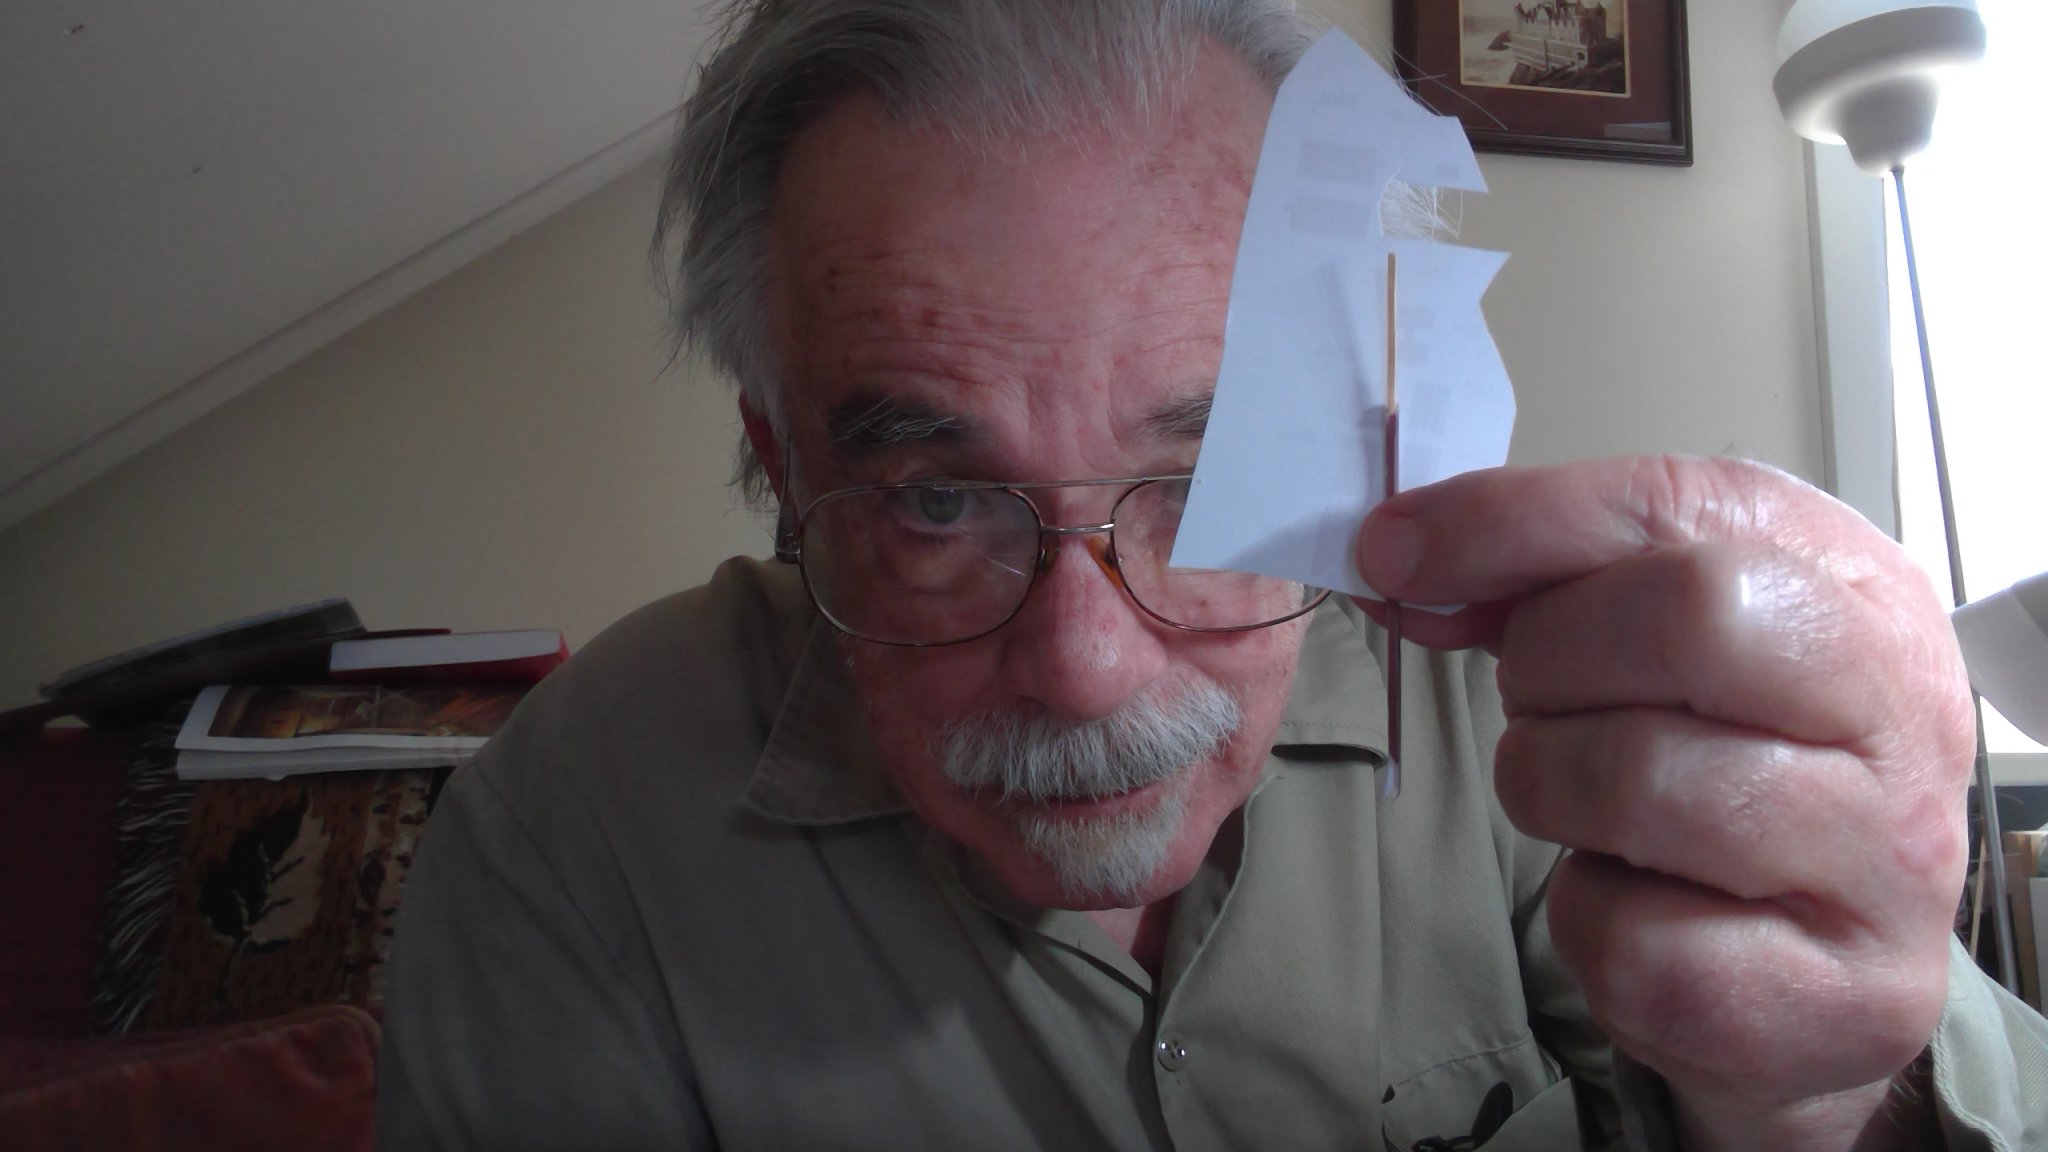
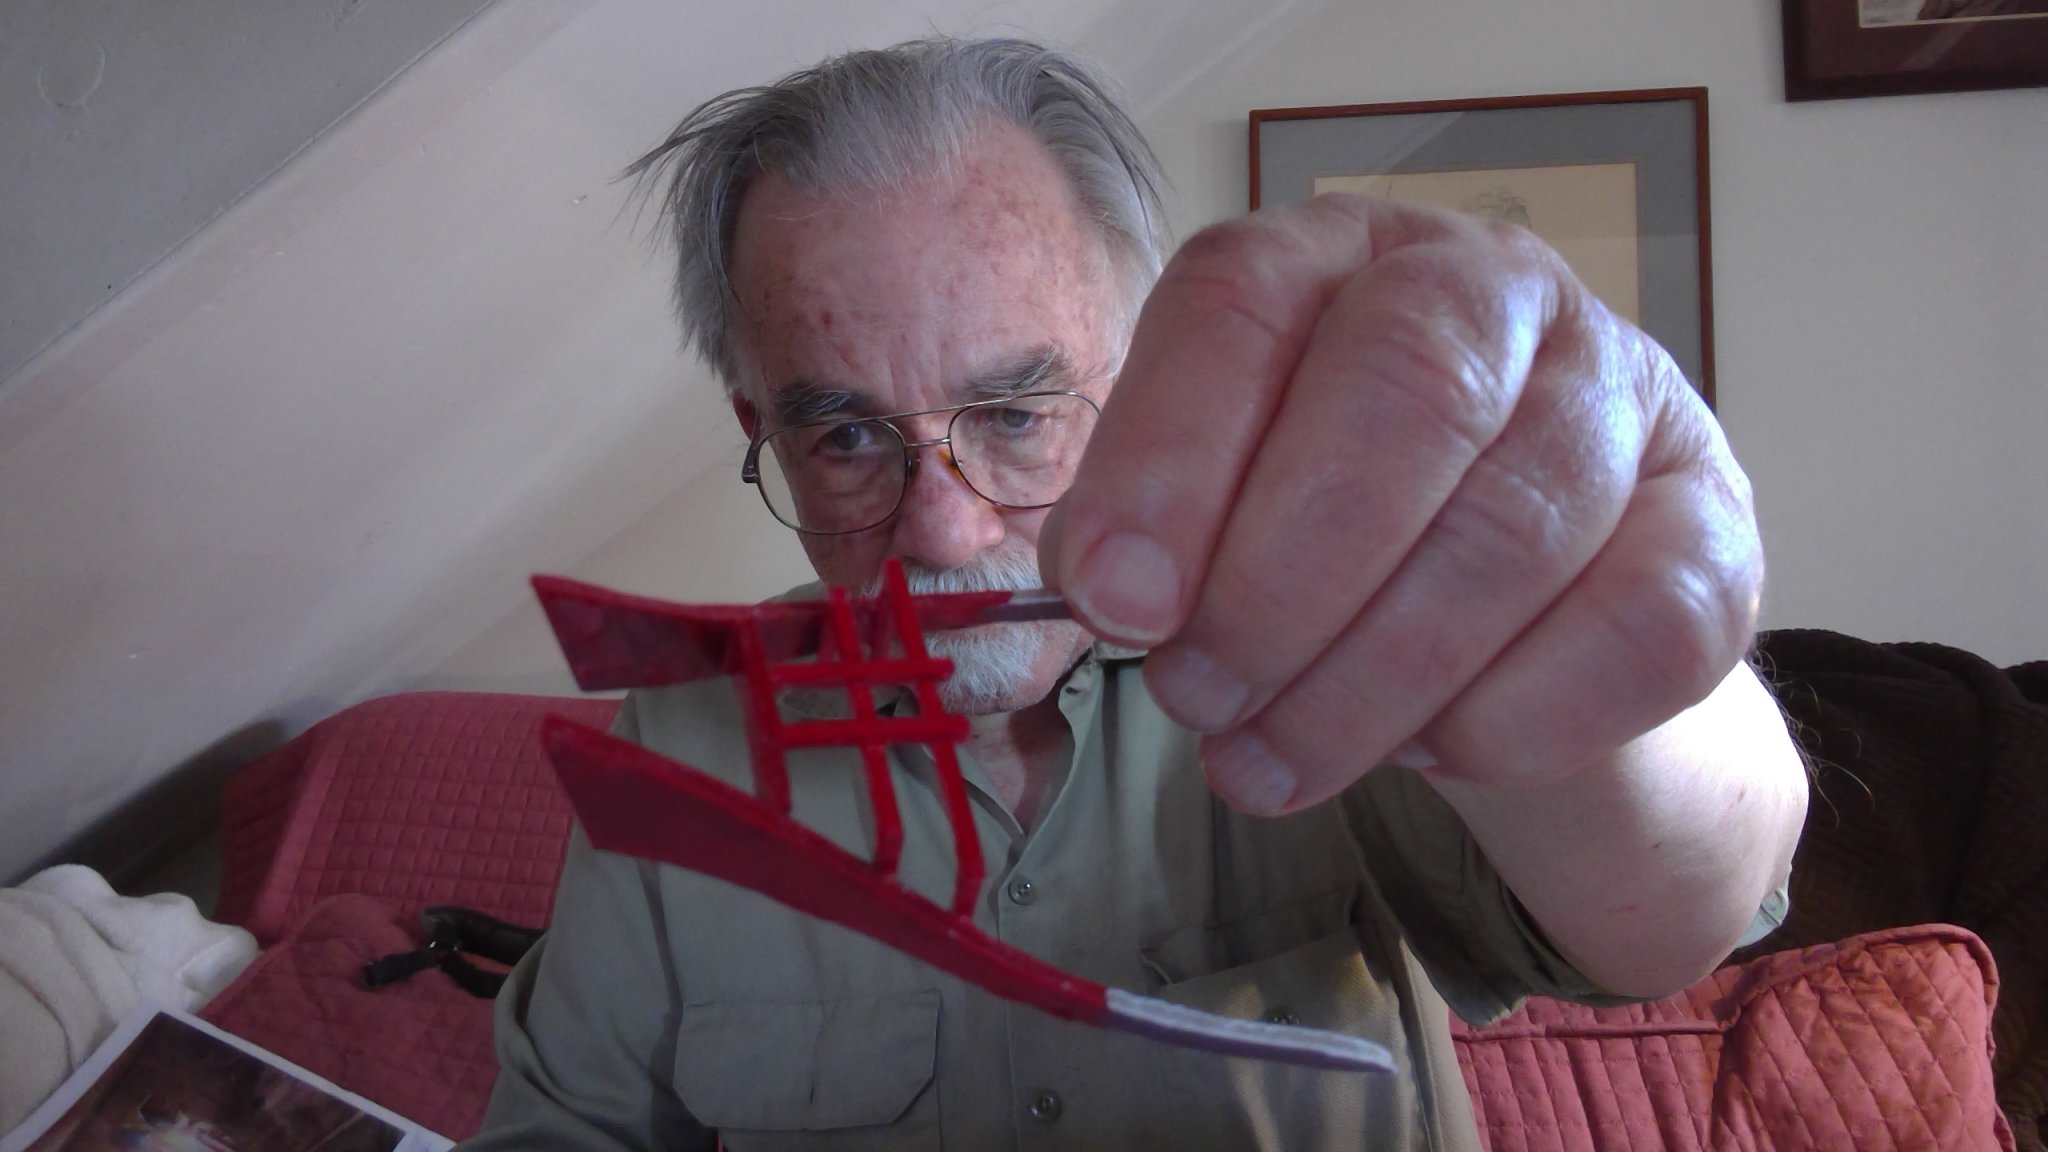
I've decided to use wire for the rigging... which i normally do. But this time i found colored wire (black for standing rigging, gold for running) as painting it (as i have done in the past) would be to clumsy at this scale. 32 ga and 28 guage will still be overscale...but fine enough to look alright i think
the problem will be how to fasten it to the sails
-
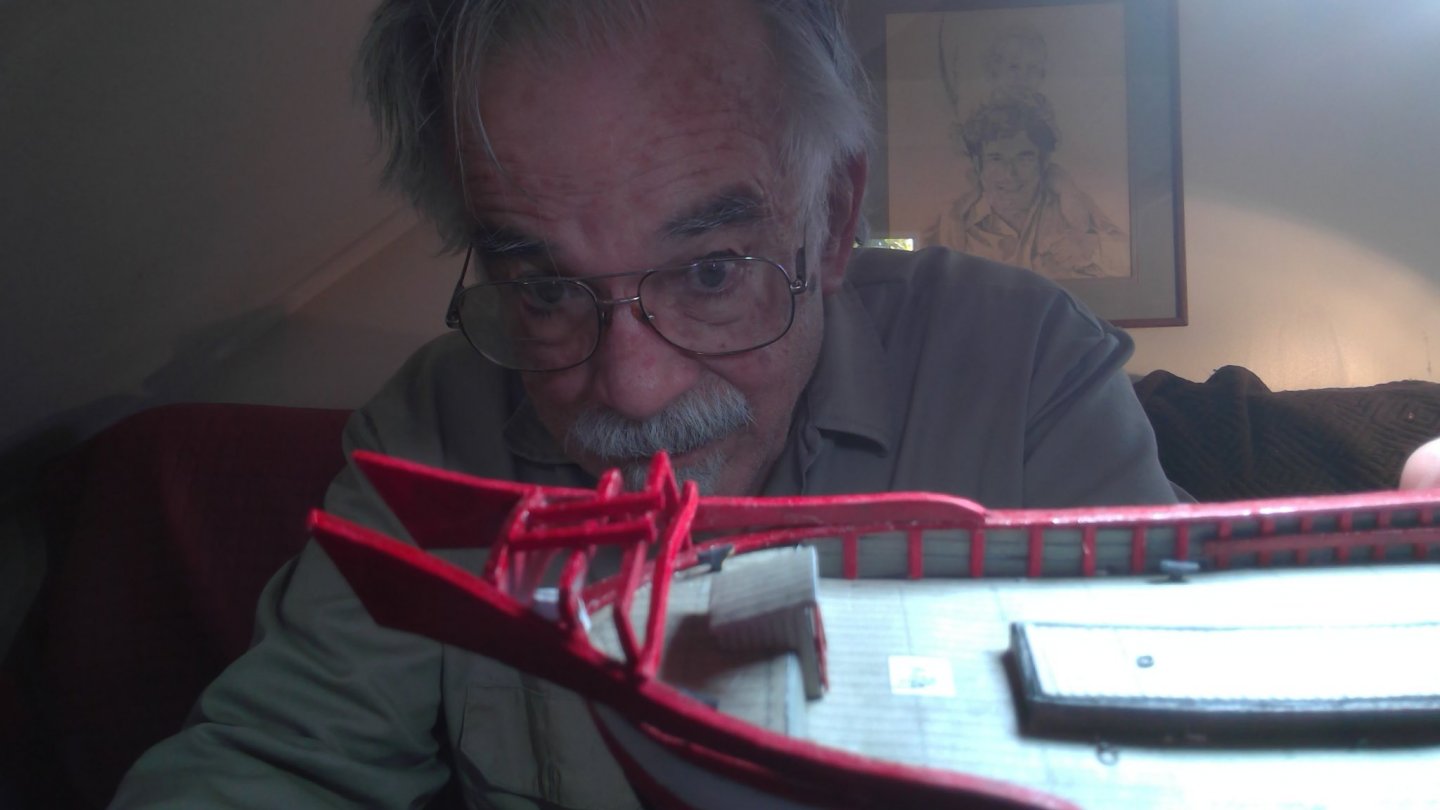
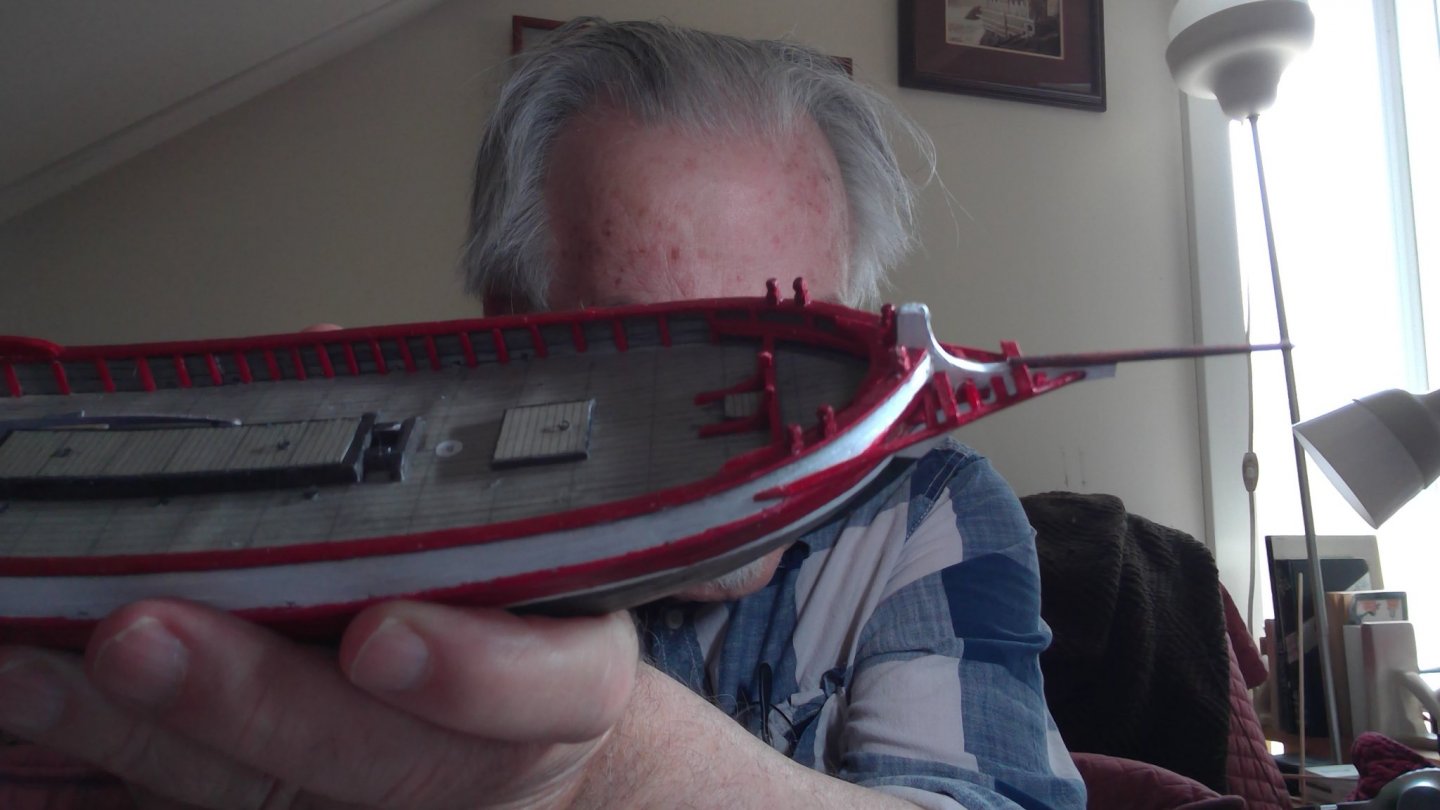
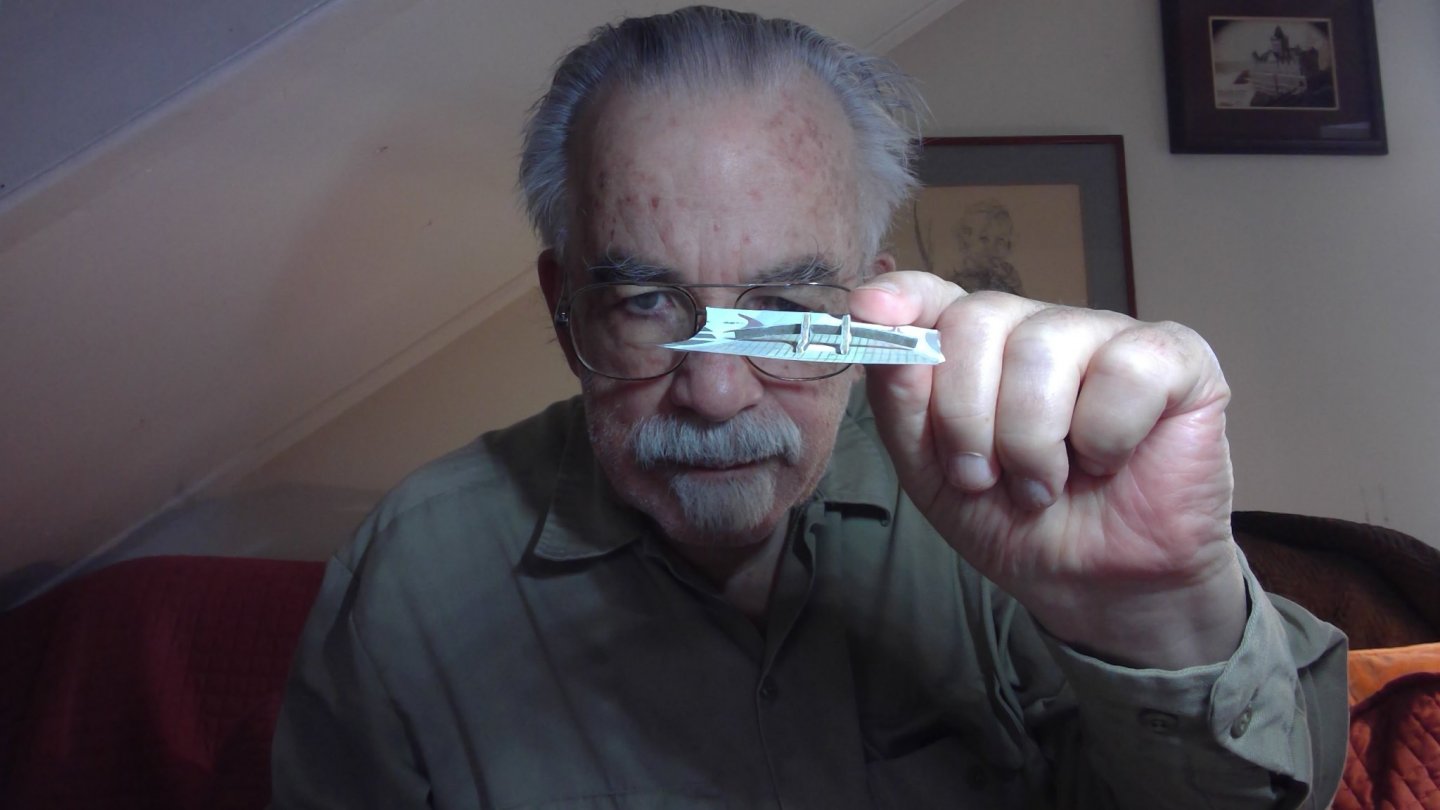
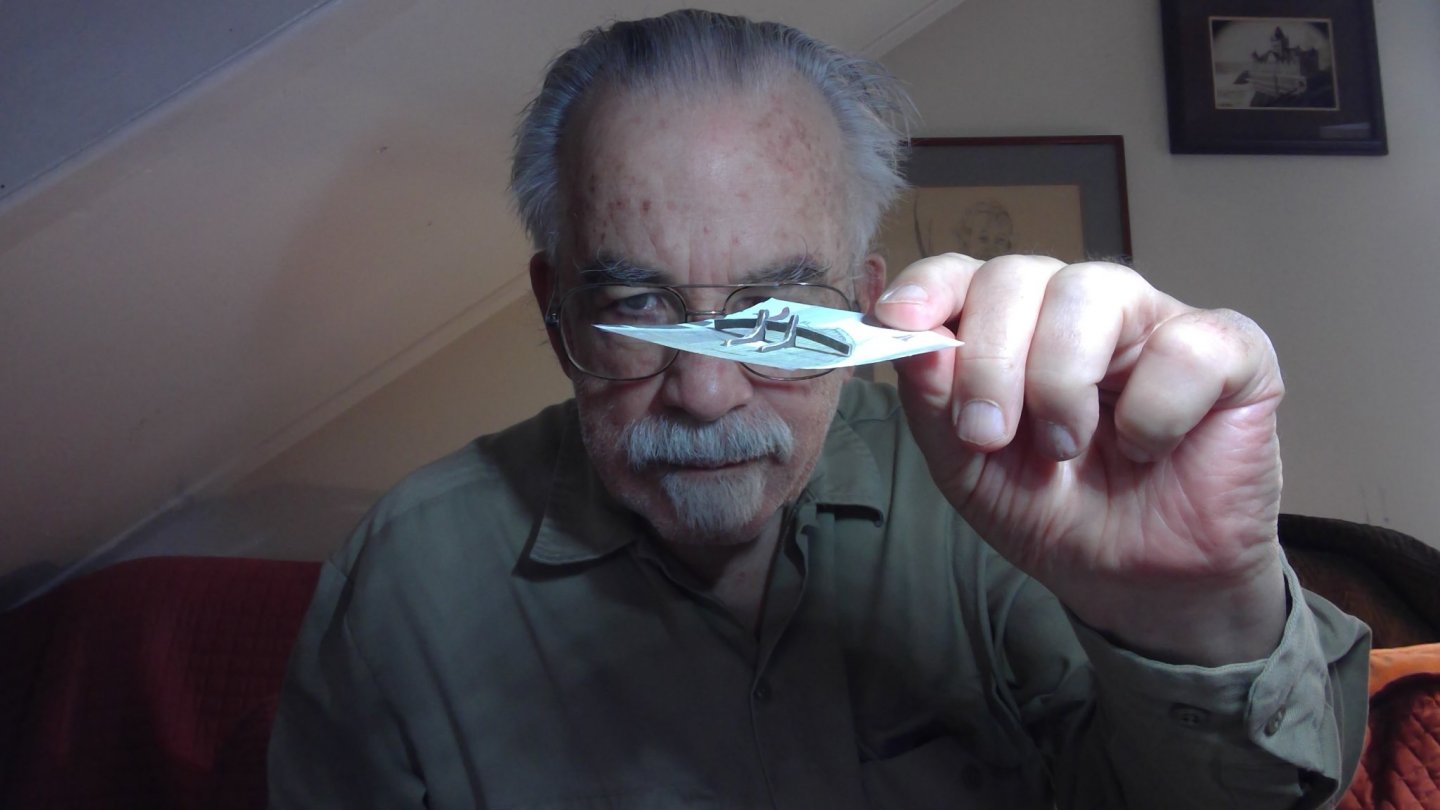
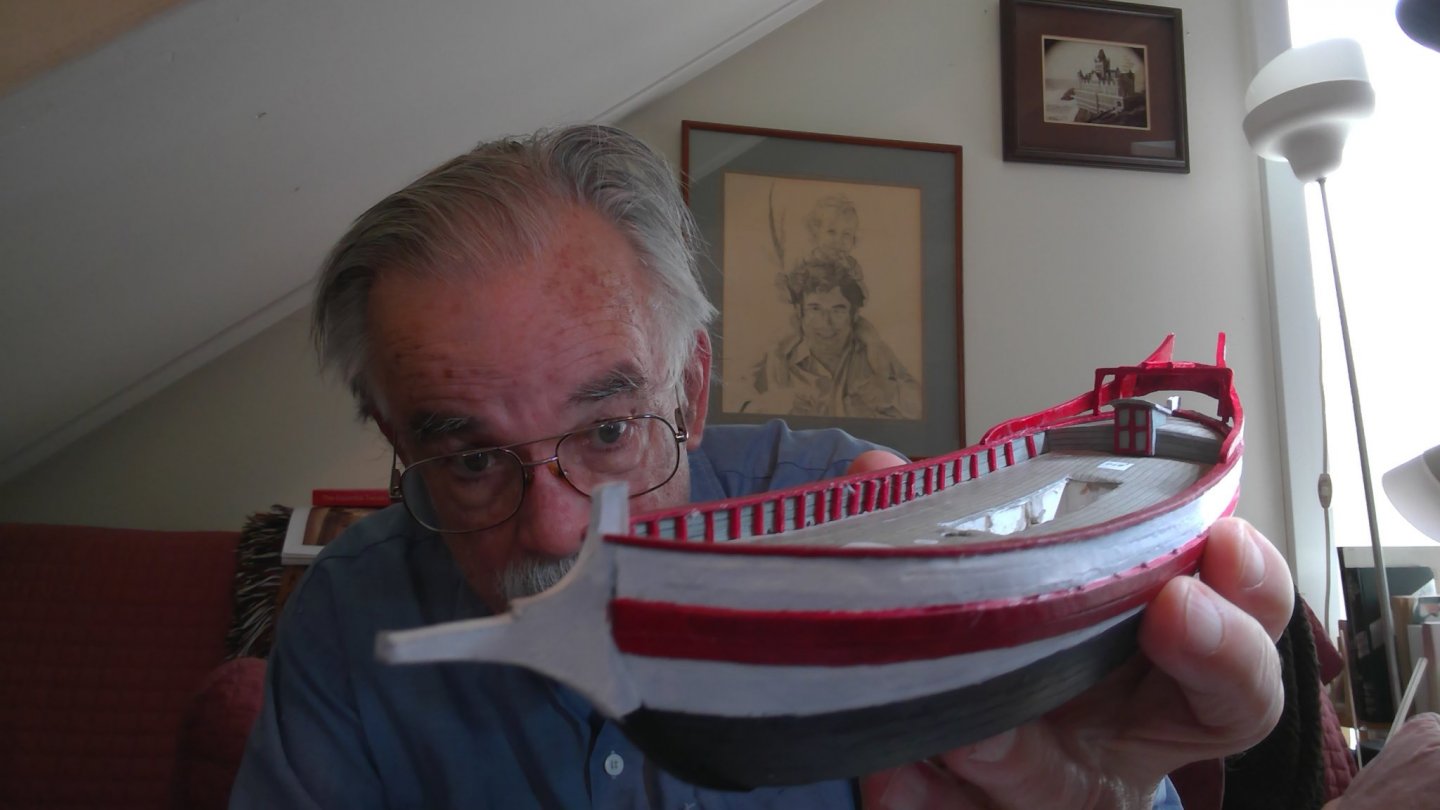
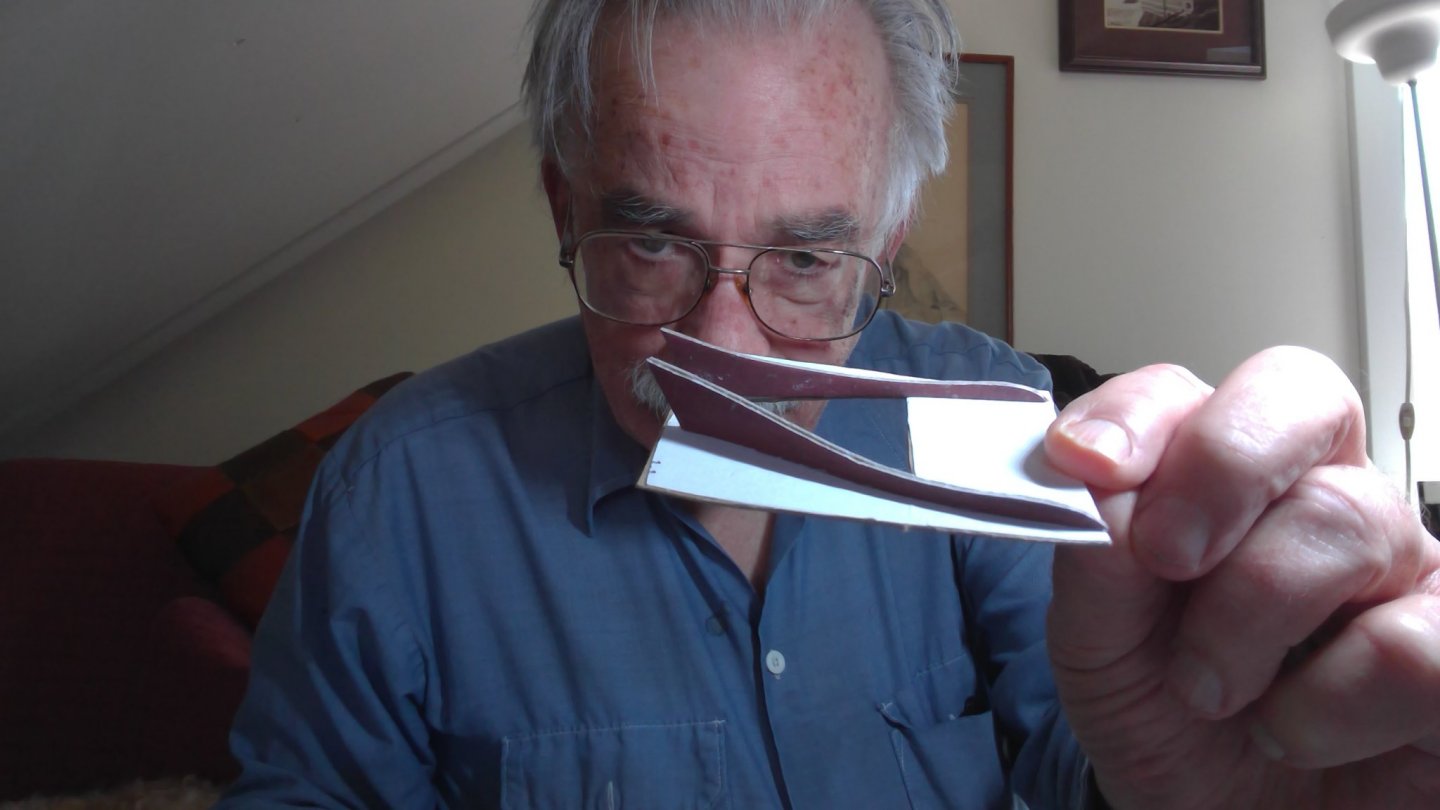
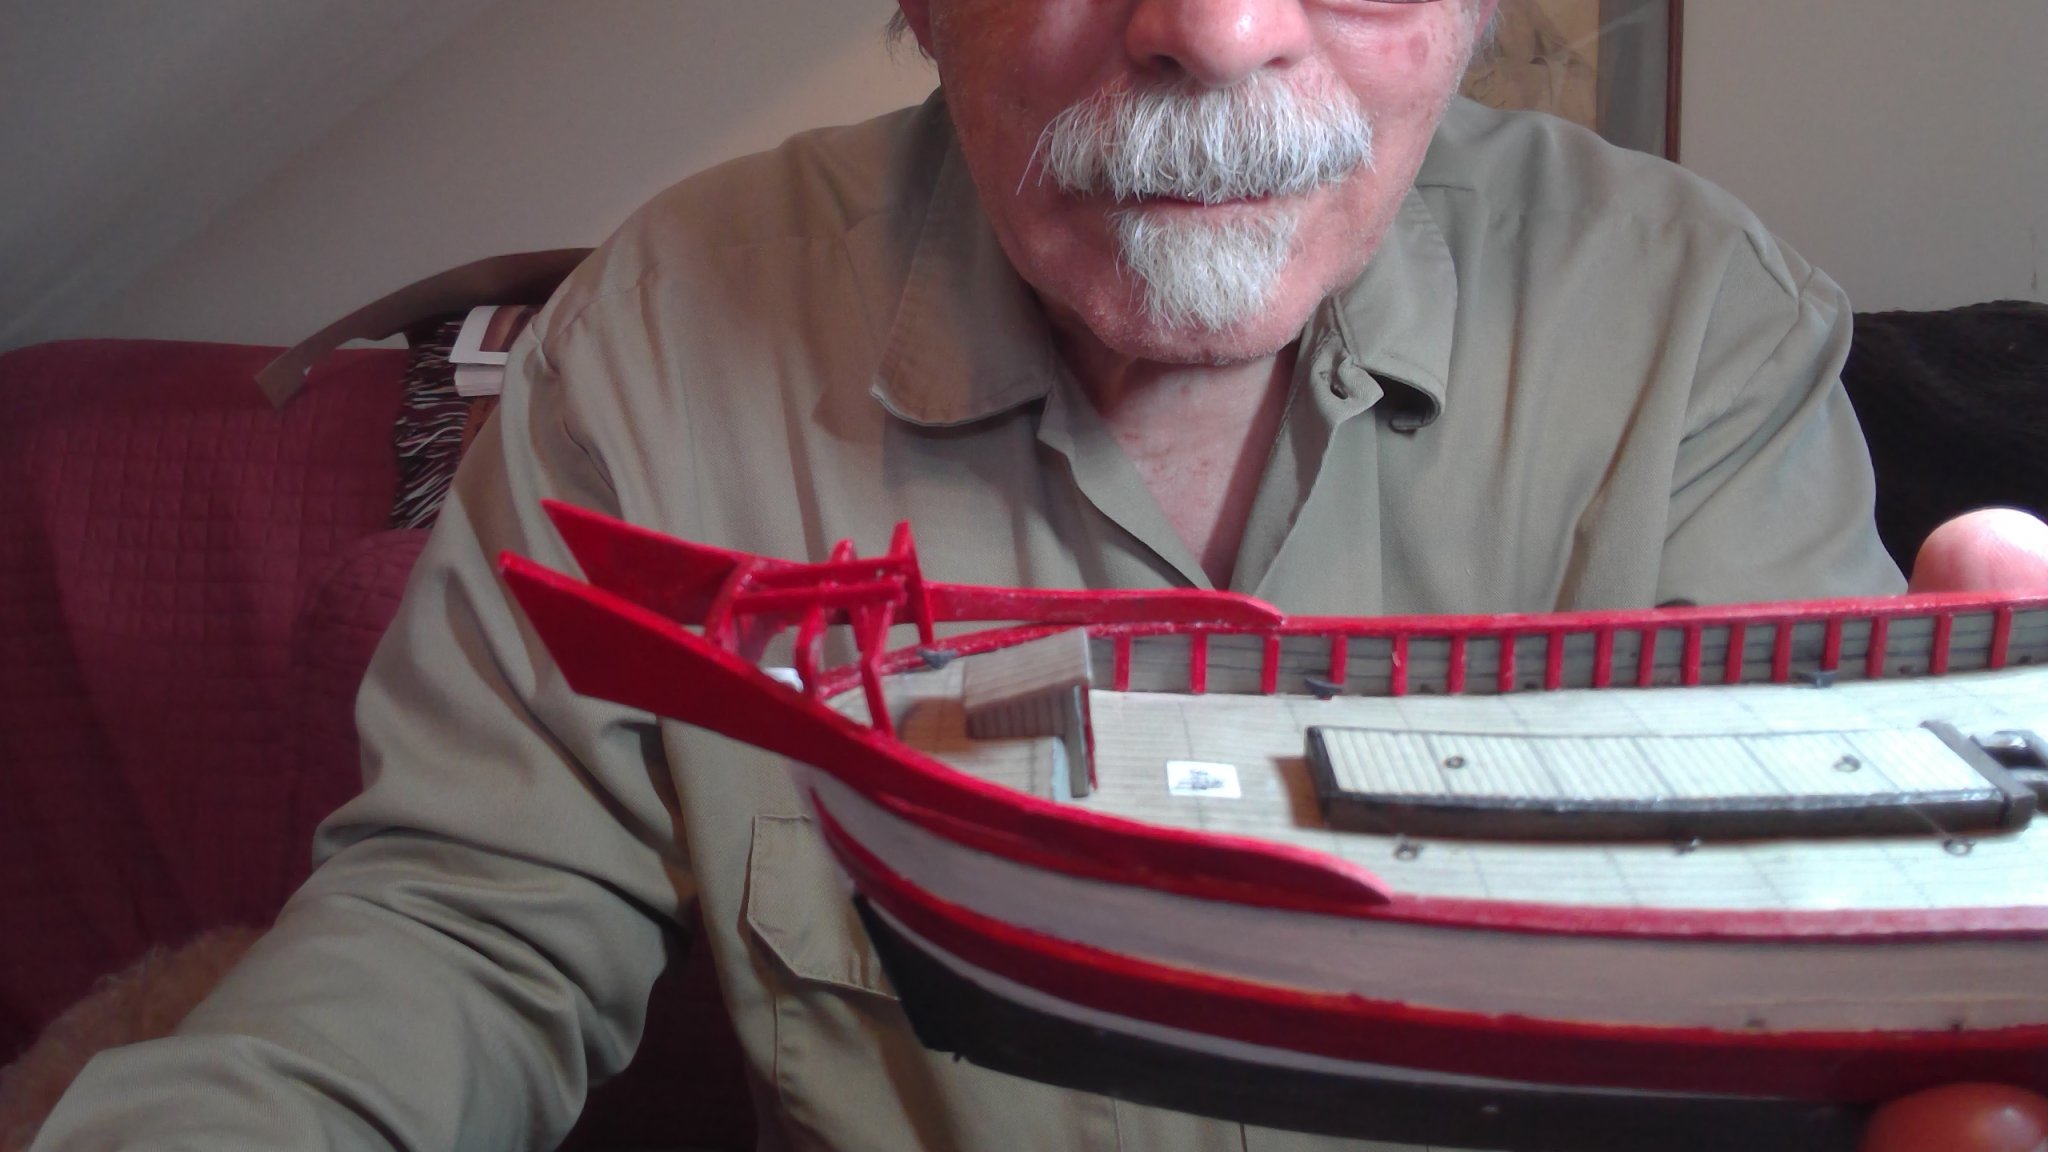
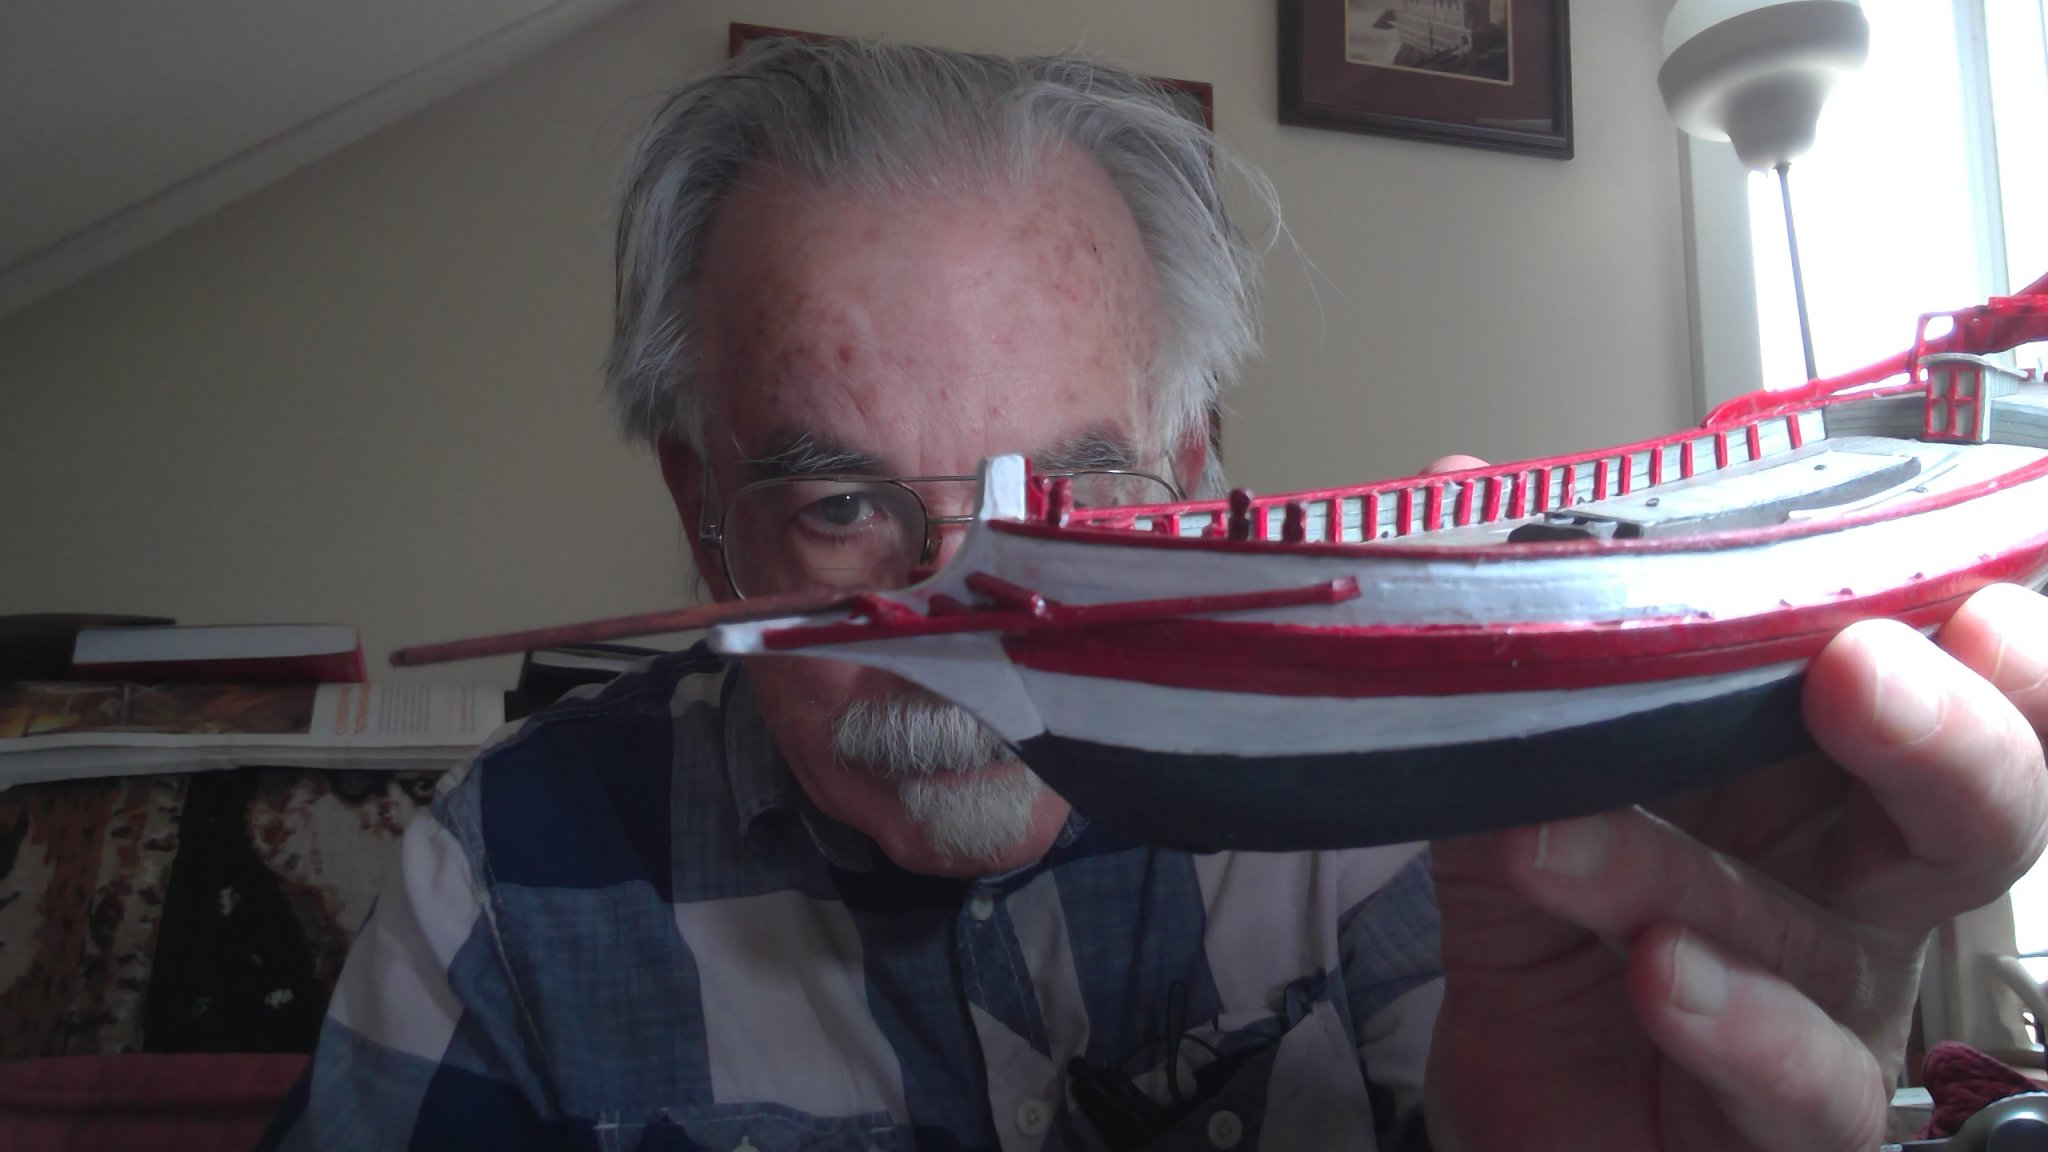
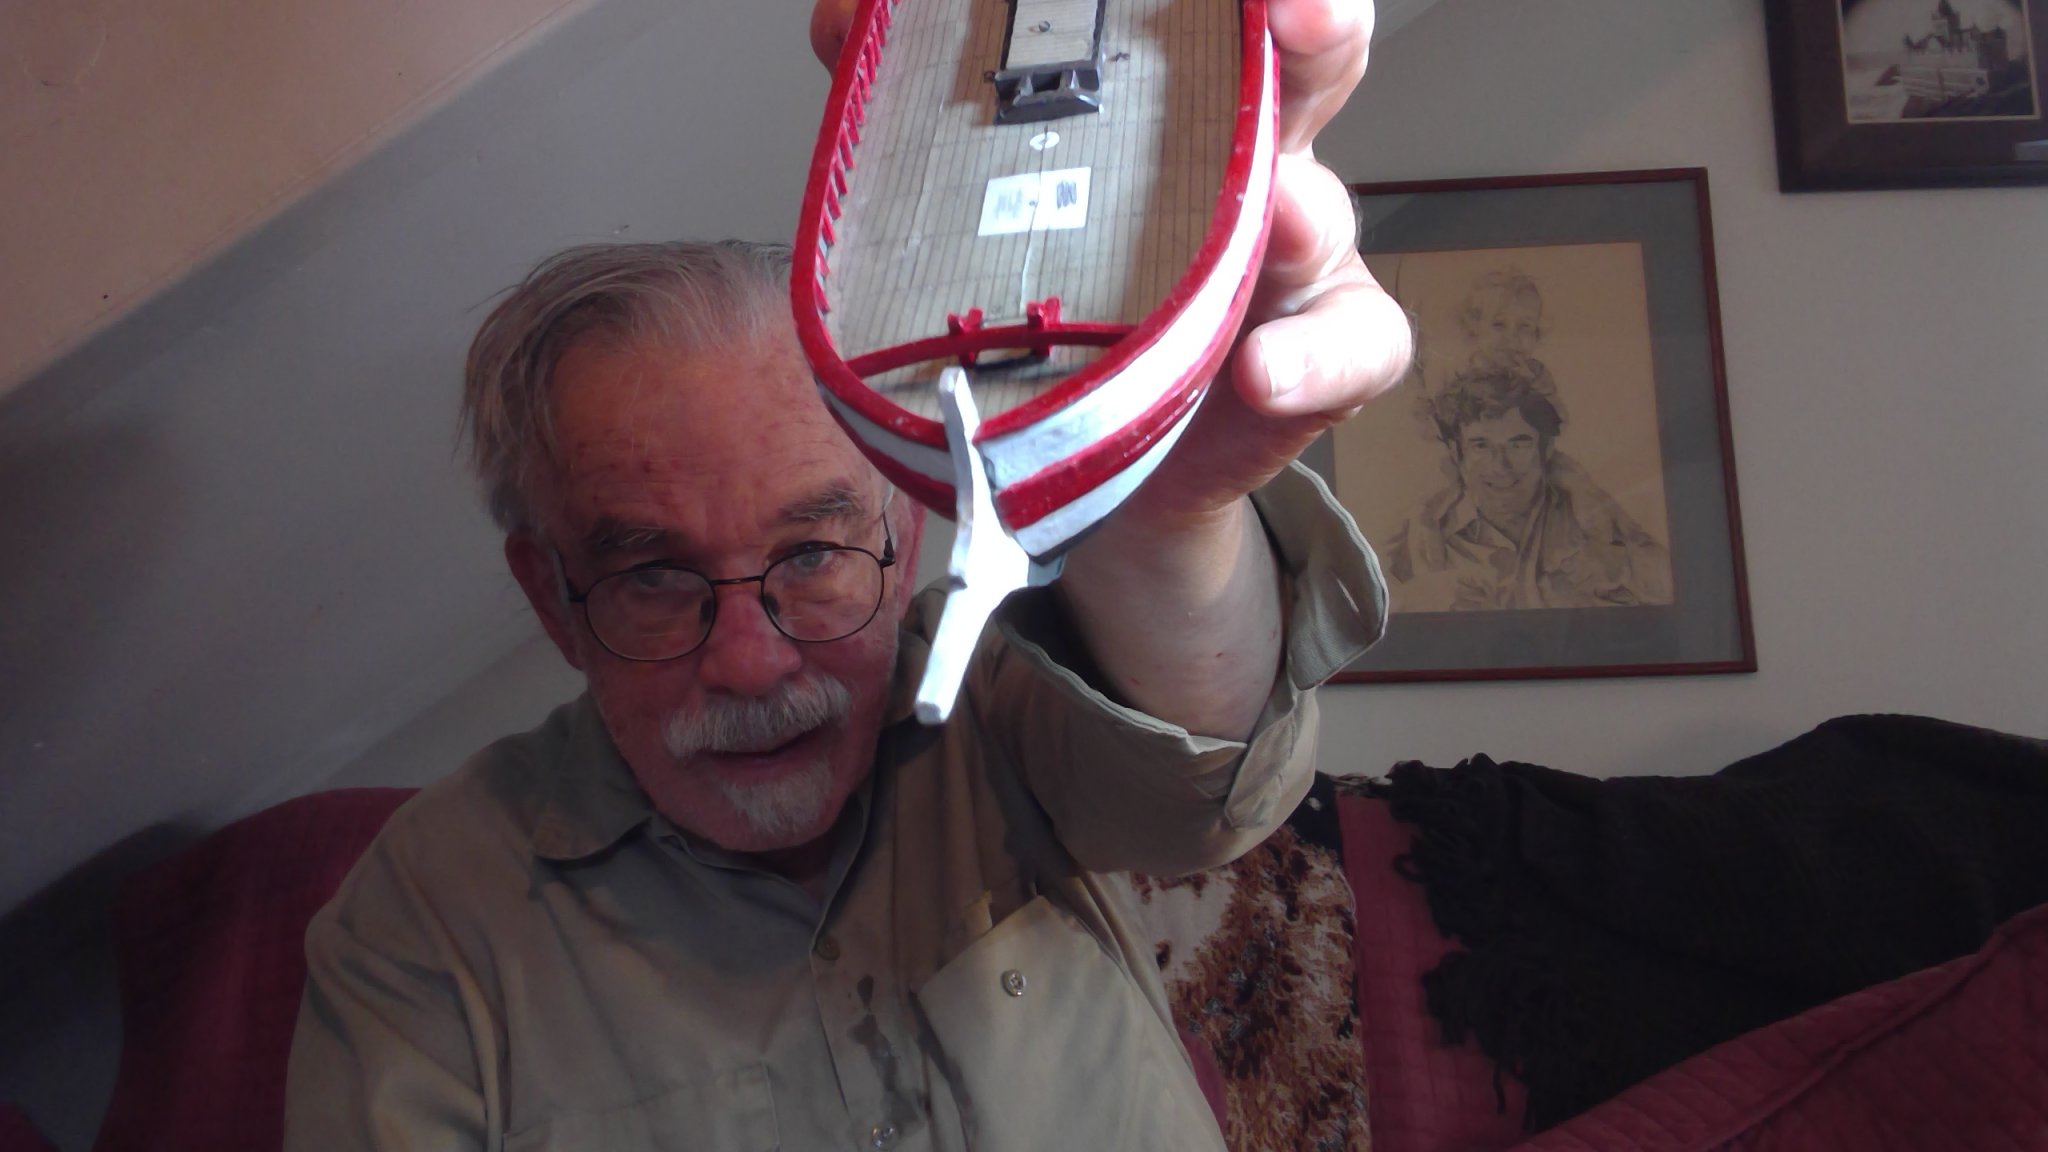
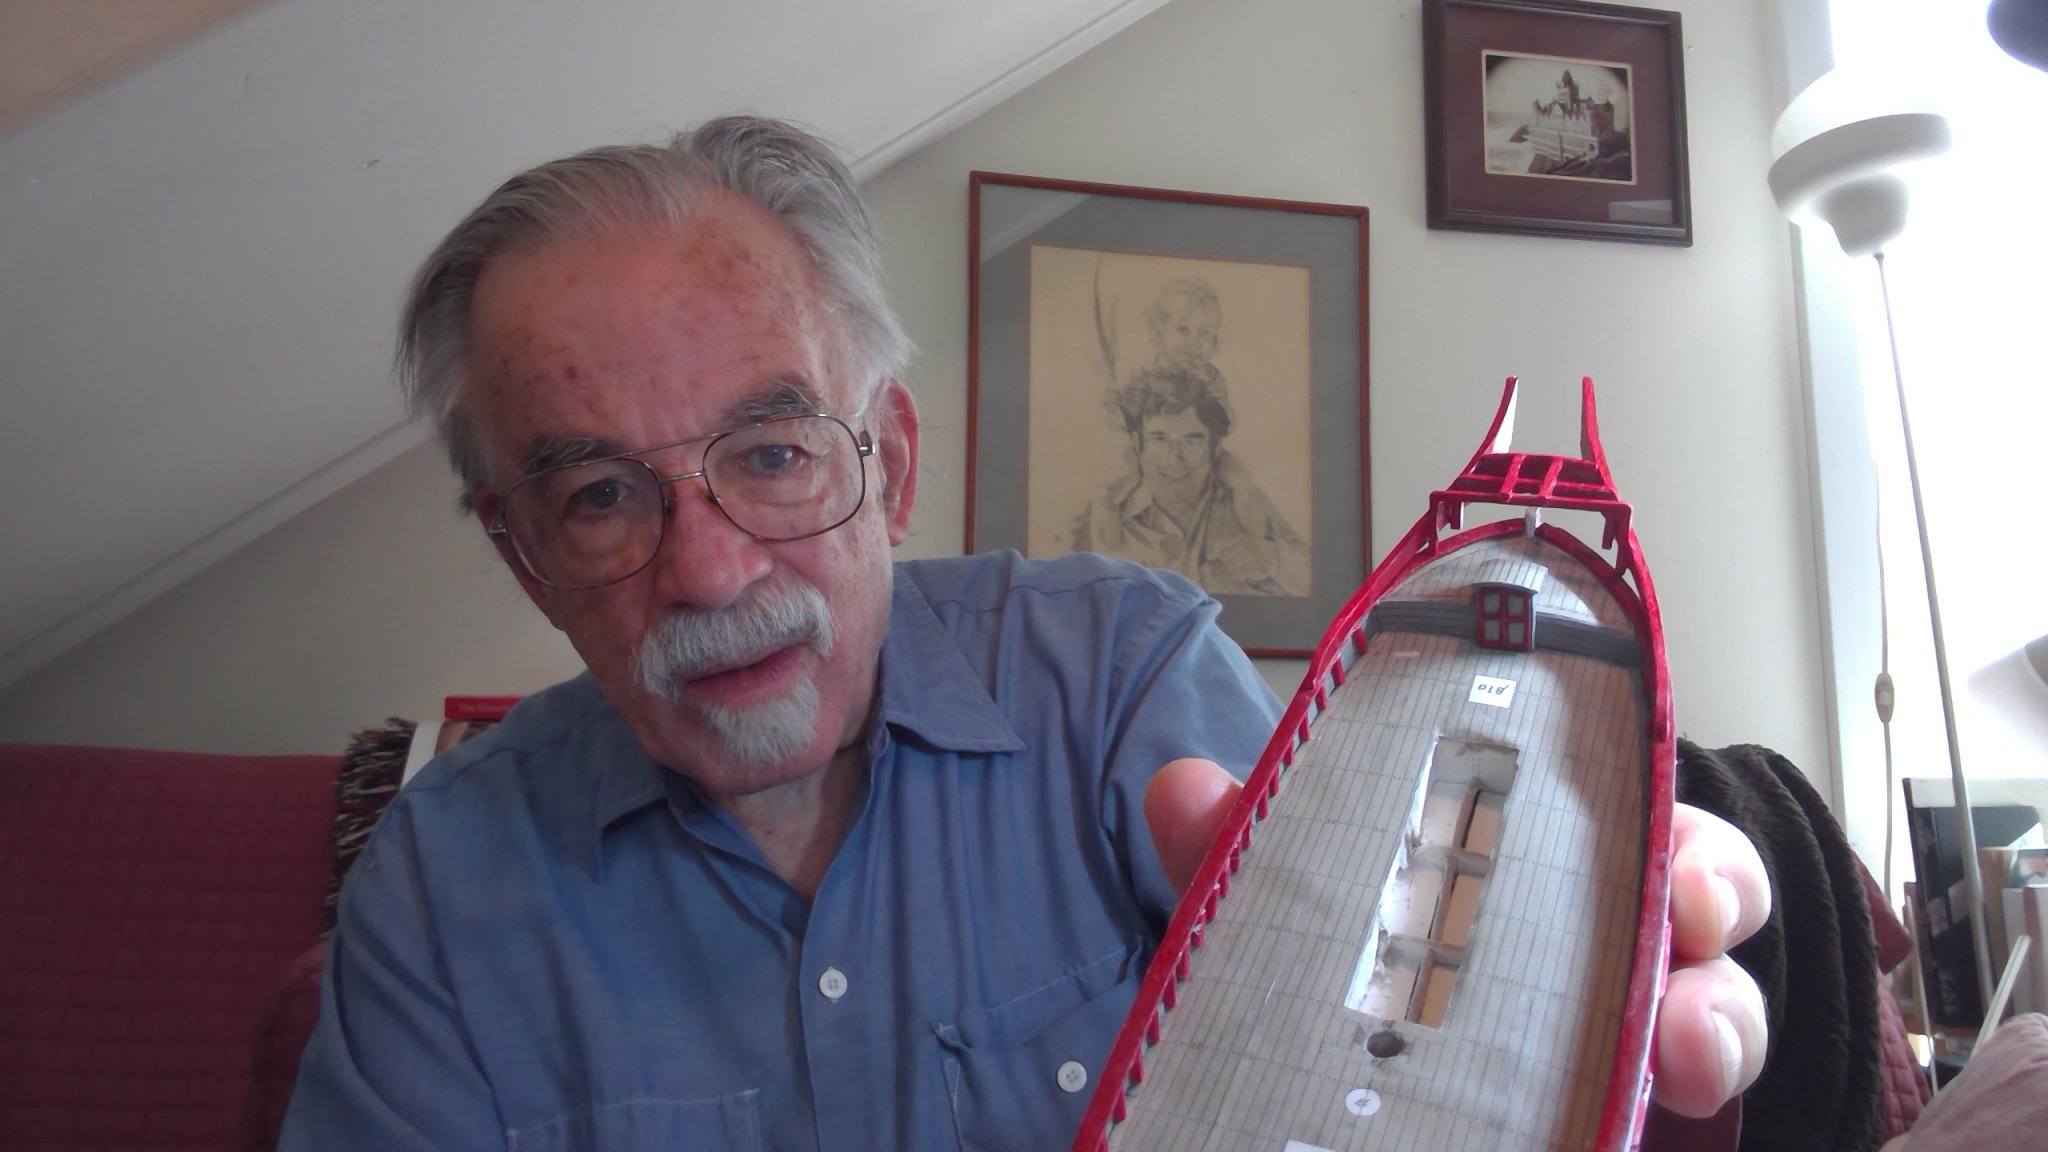
the bracing on both sides of the bow was interesting... some pieces were made of bamboo instead of card, so i folded up the card pieces and painted
my biggest problem what the there was no way to register the exact location pieces should be glued on at. I ended up gluing the piece that goes crosswise on the bow first, and then gluing on the 2 long rails that go from the sides out to the bow, and then gluing the smaller crossbars relative to those
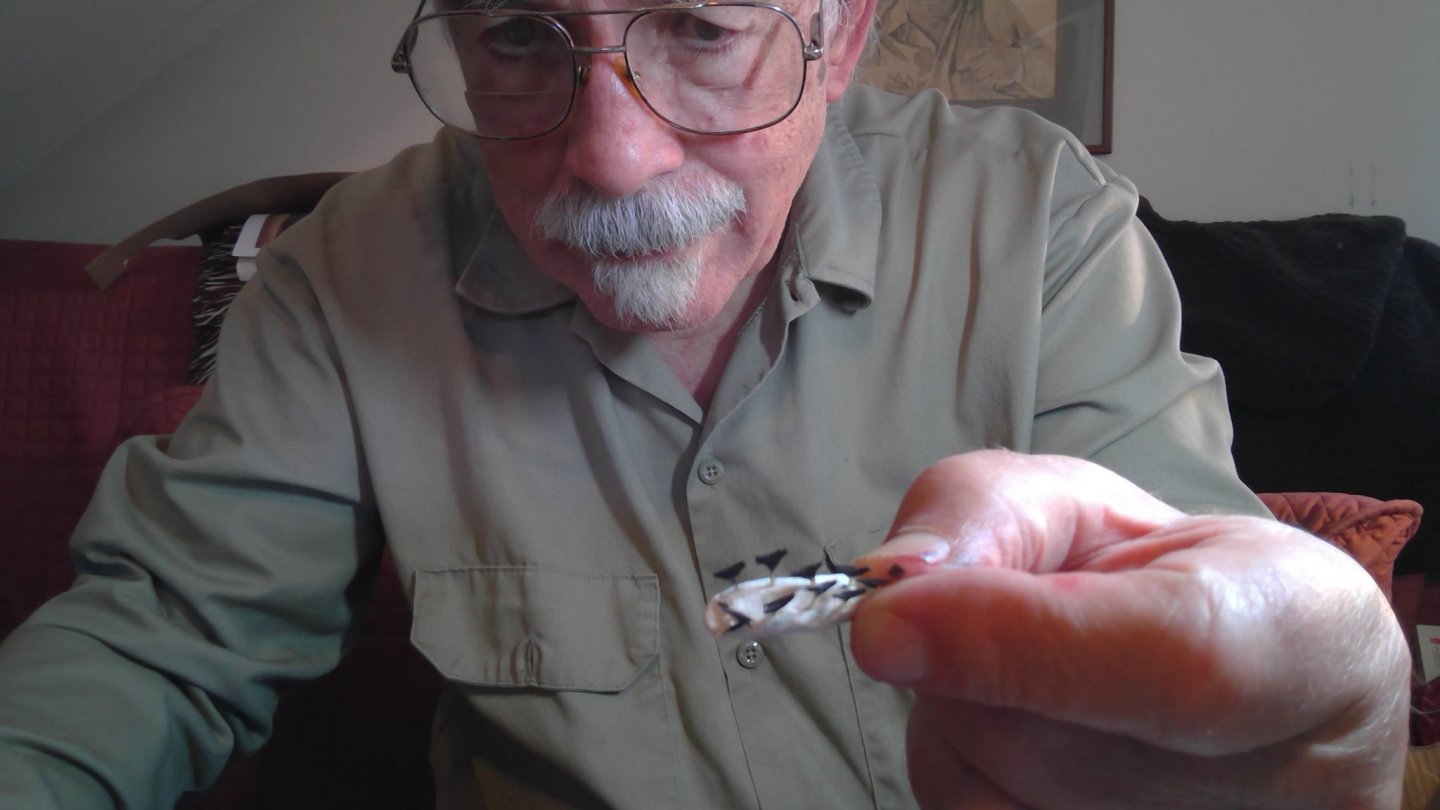
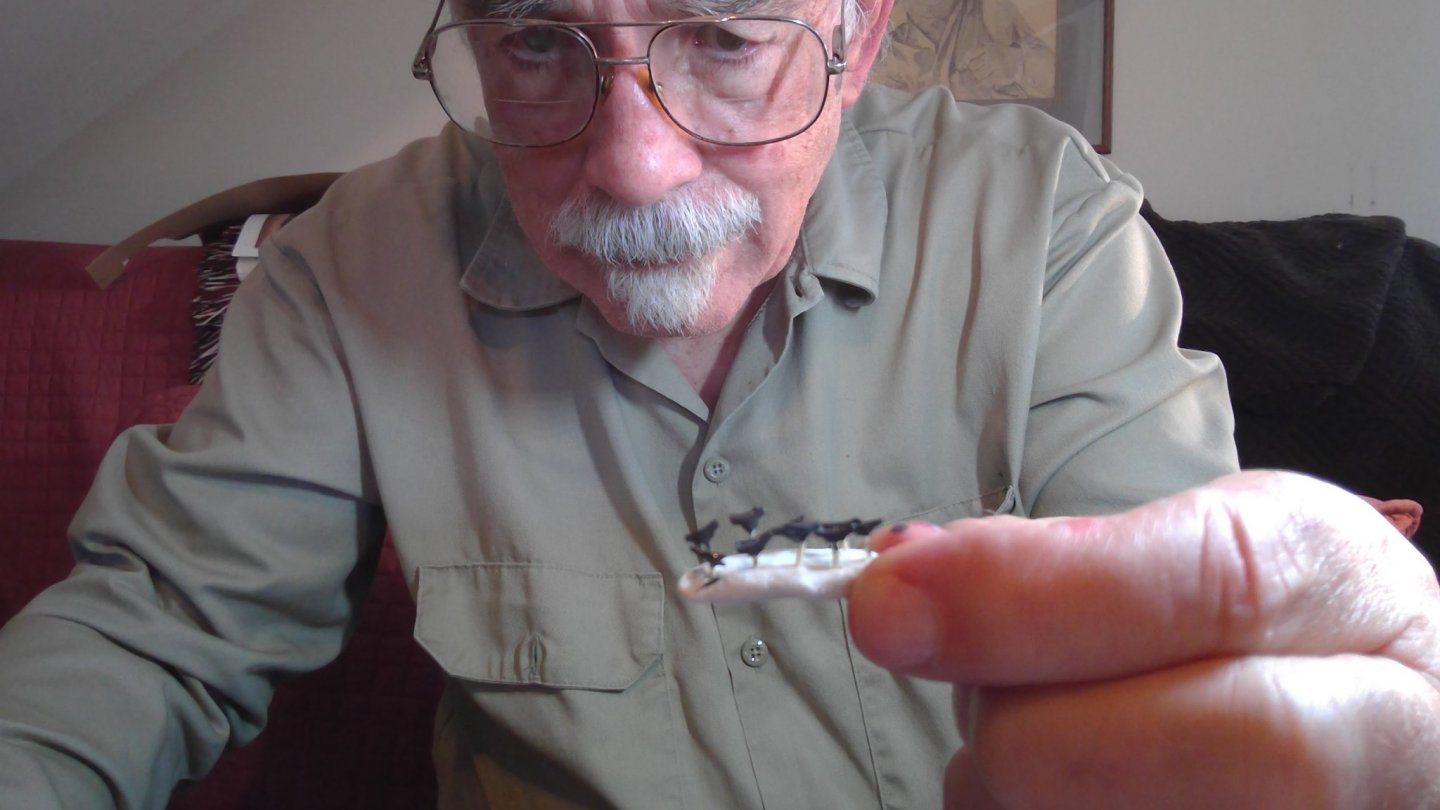
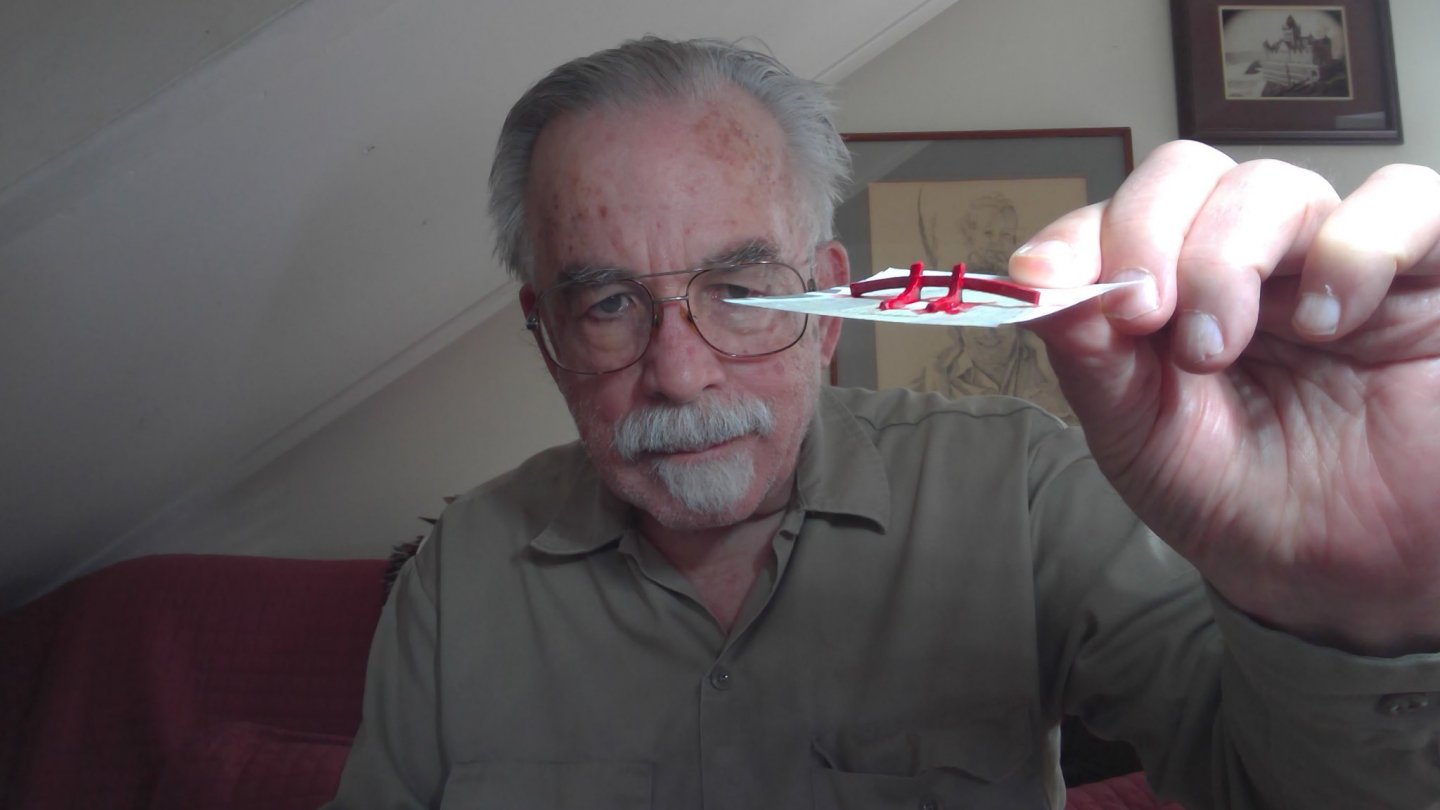
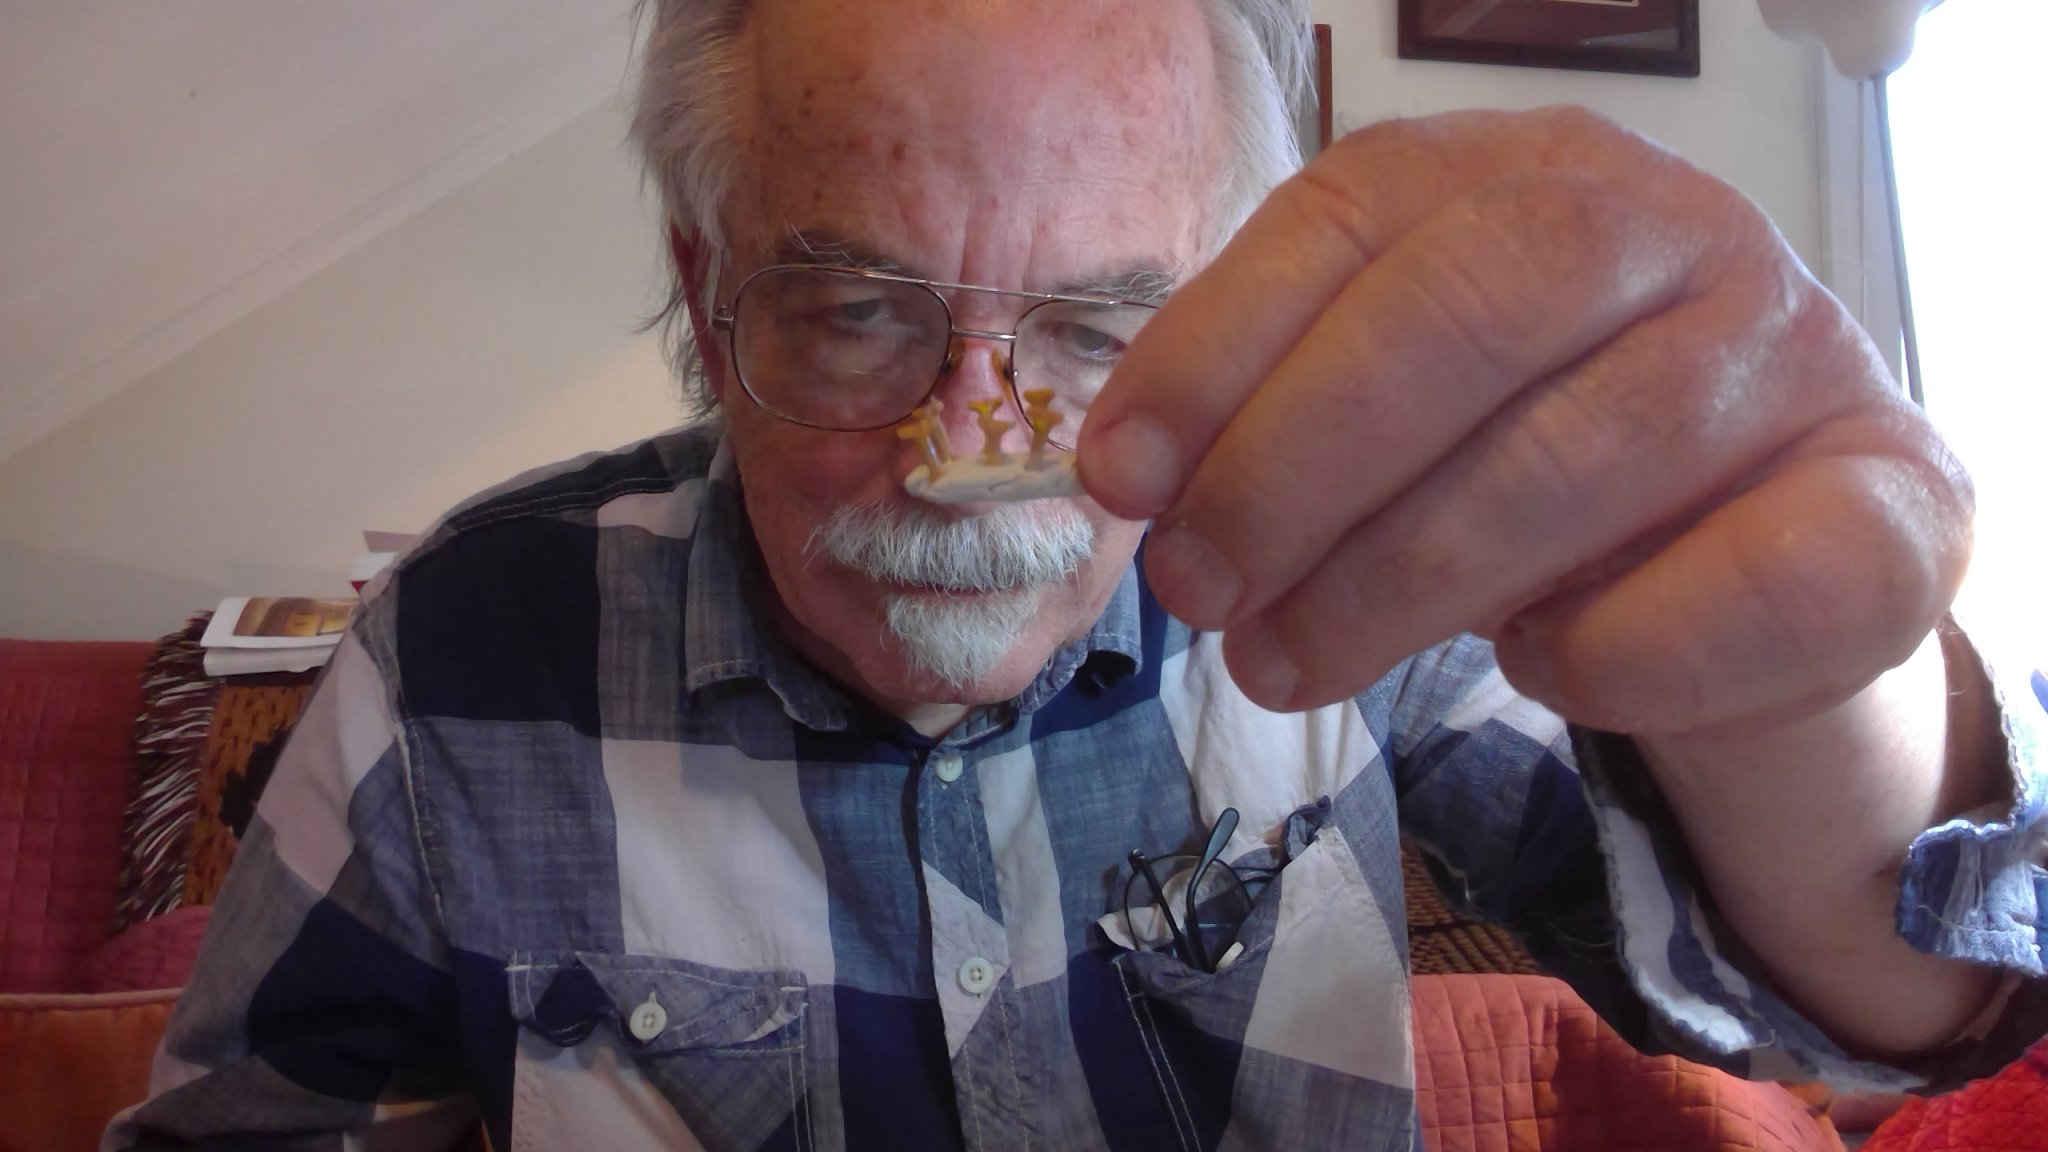
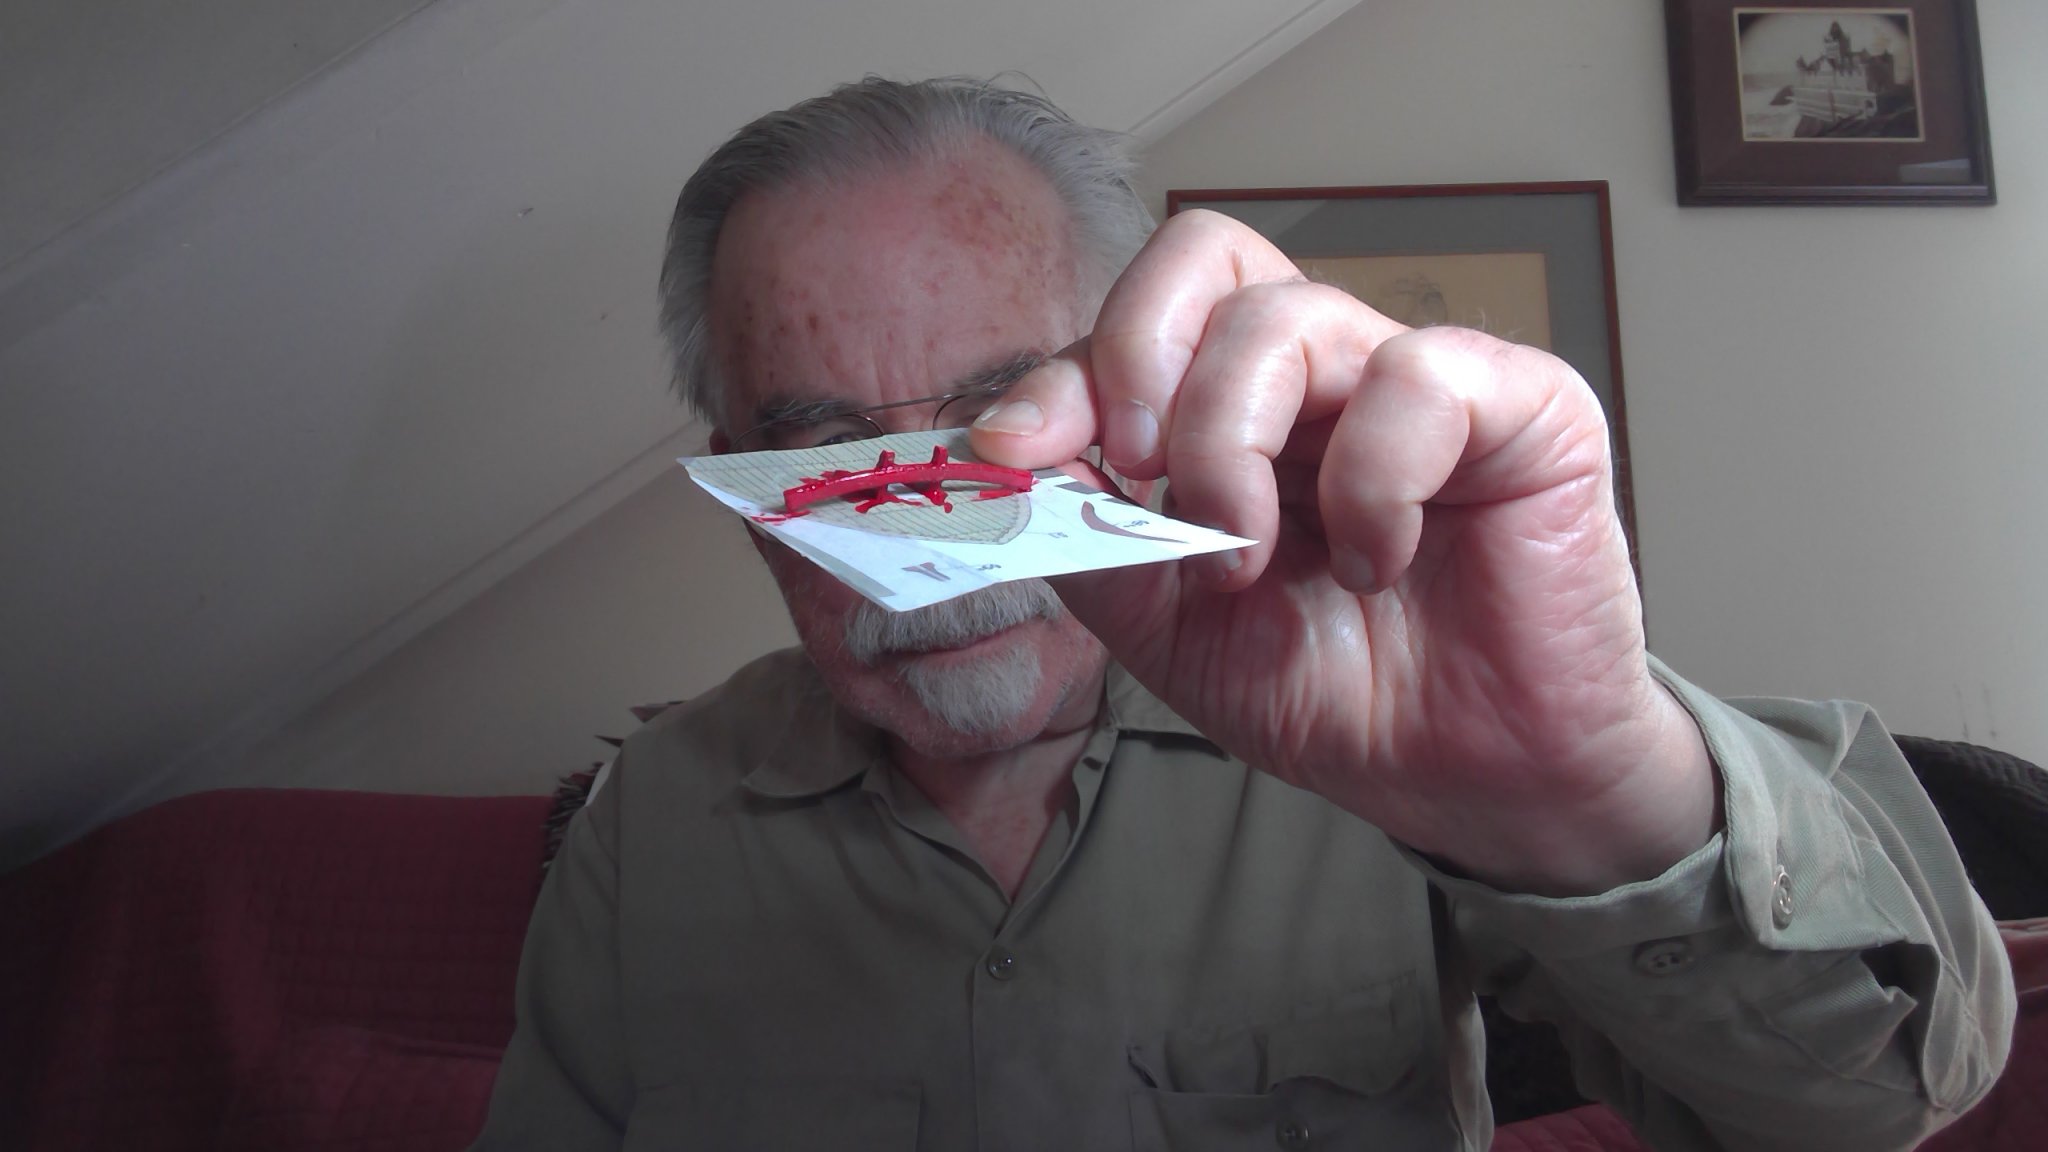
I added the 6 knights heads... rather than the square posts the paper parts supplied i carved them from wood with (sort of) spheres on top (i had to use walnut, as they were to small for bamboo to support the carving) they had a distressing tendency to go shooting off the desk at the slightest touch...never to be seen again")


- tkay11, GrandpaPhil, kondzik and 2 others
-
5
-
been a while... have to catch up
I built the complex deck structures at the bow on a spare piece of card, and once they were glued cut them off and glued them in place on the deck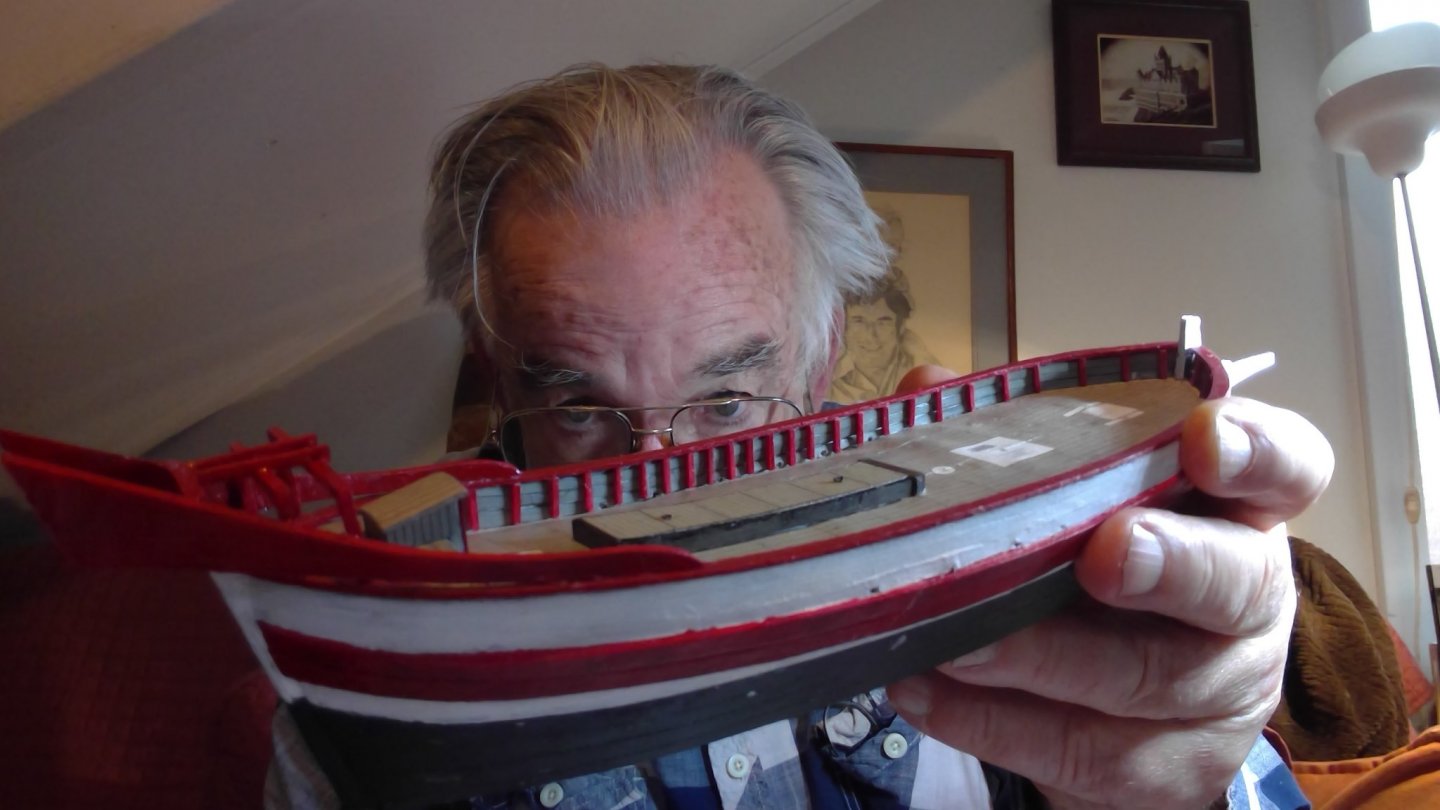


- GrandpaPhil and Halfdan
-
2
-
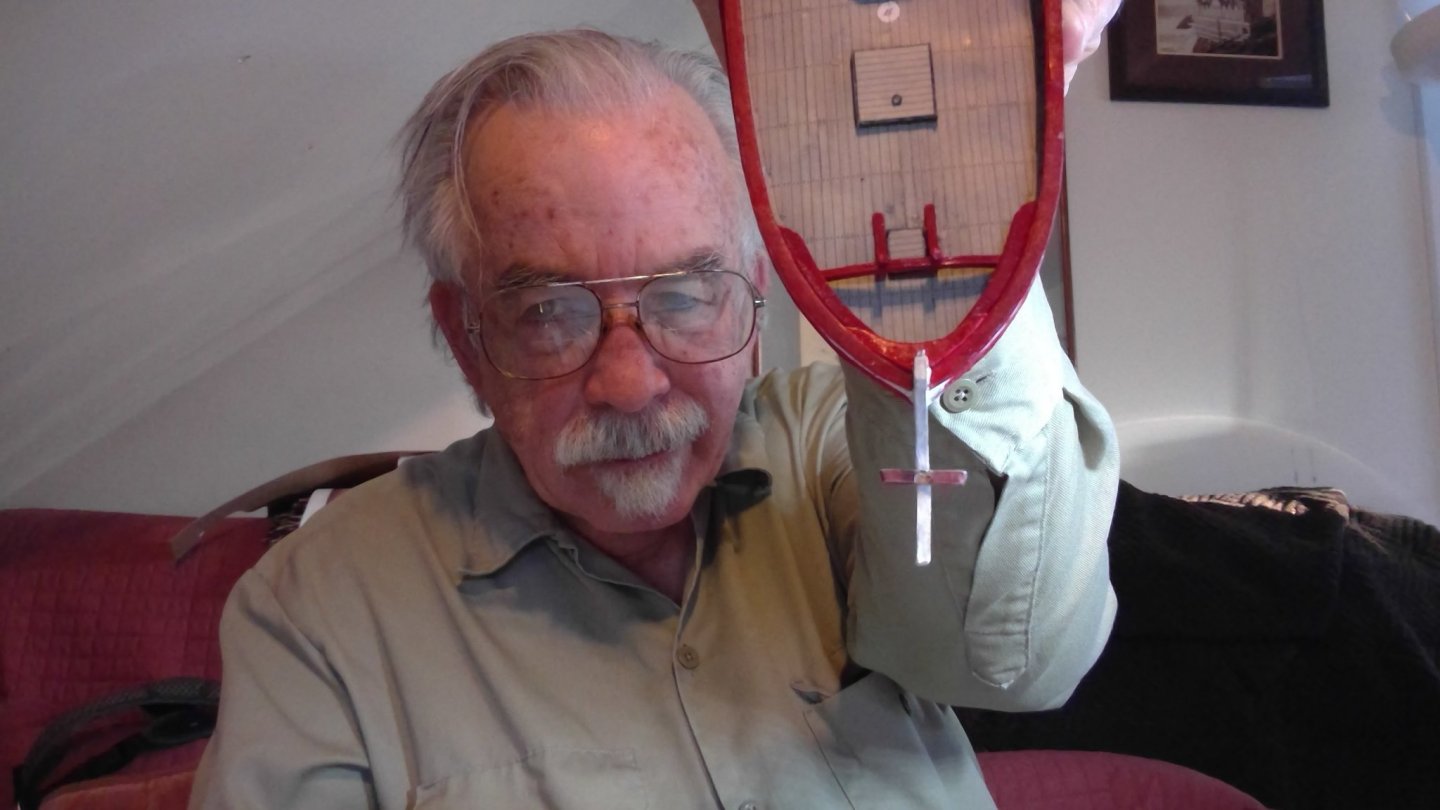
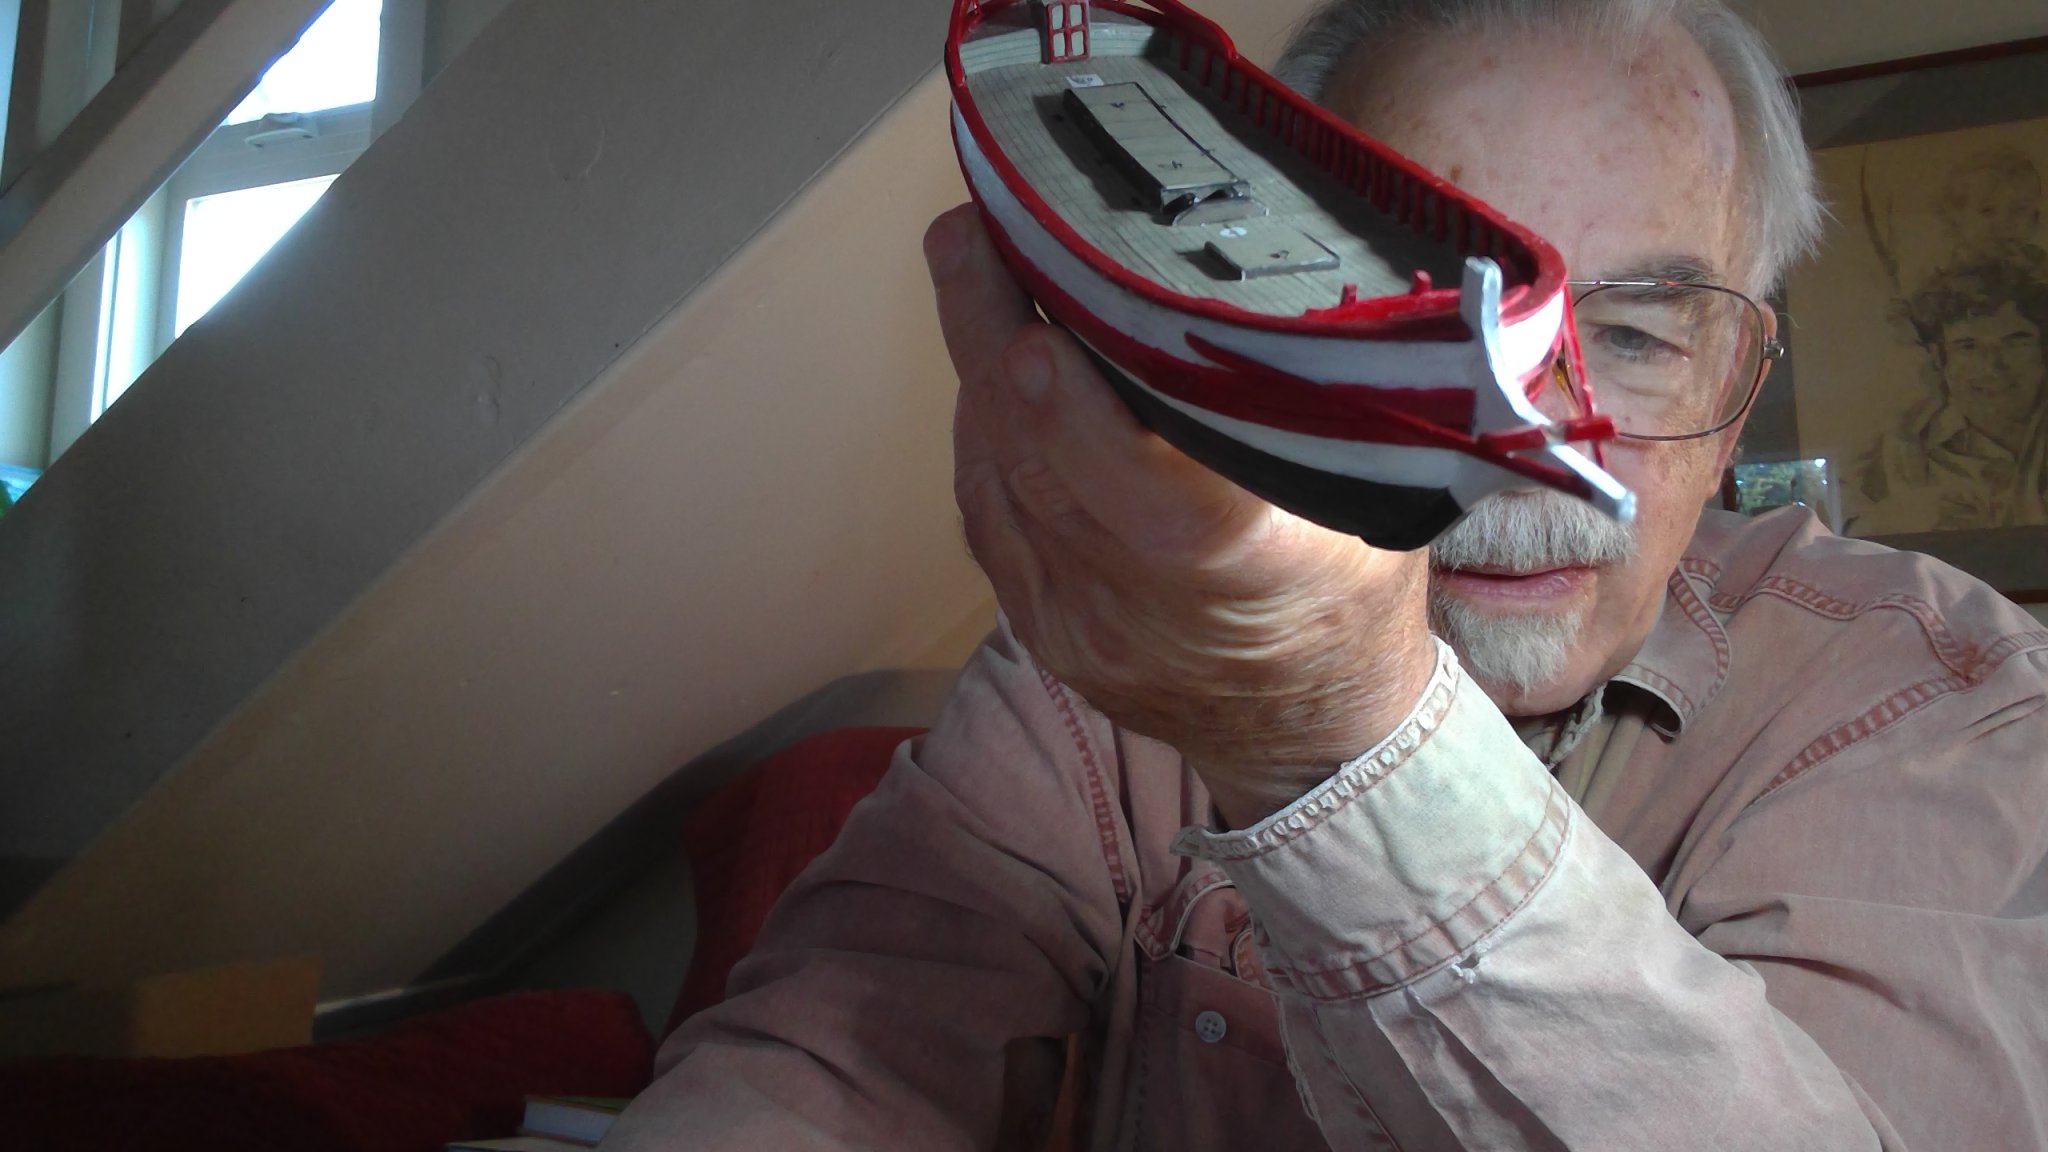
more braces in the bows, next i think is the elaborate frame on both sides of the bowsprit


- GrandpaPhil, Halfdan, tkay11 and 3 others
-
6
-
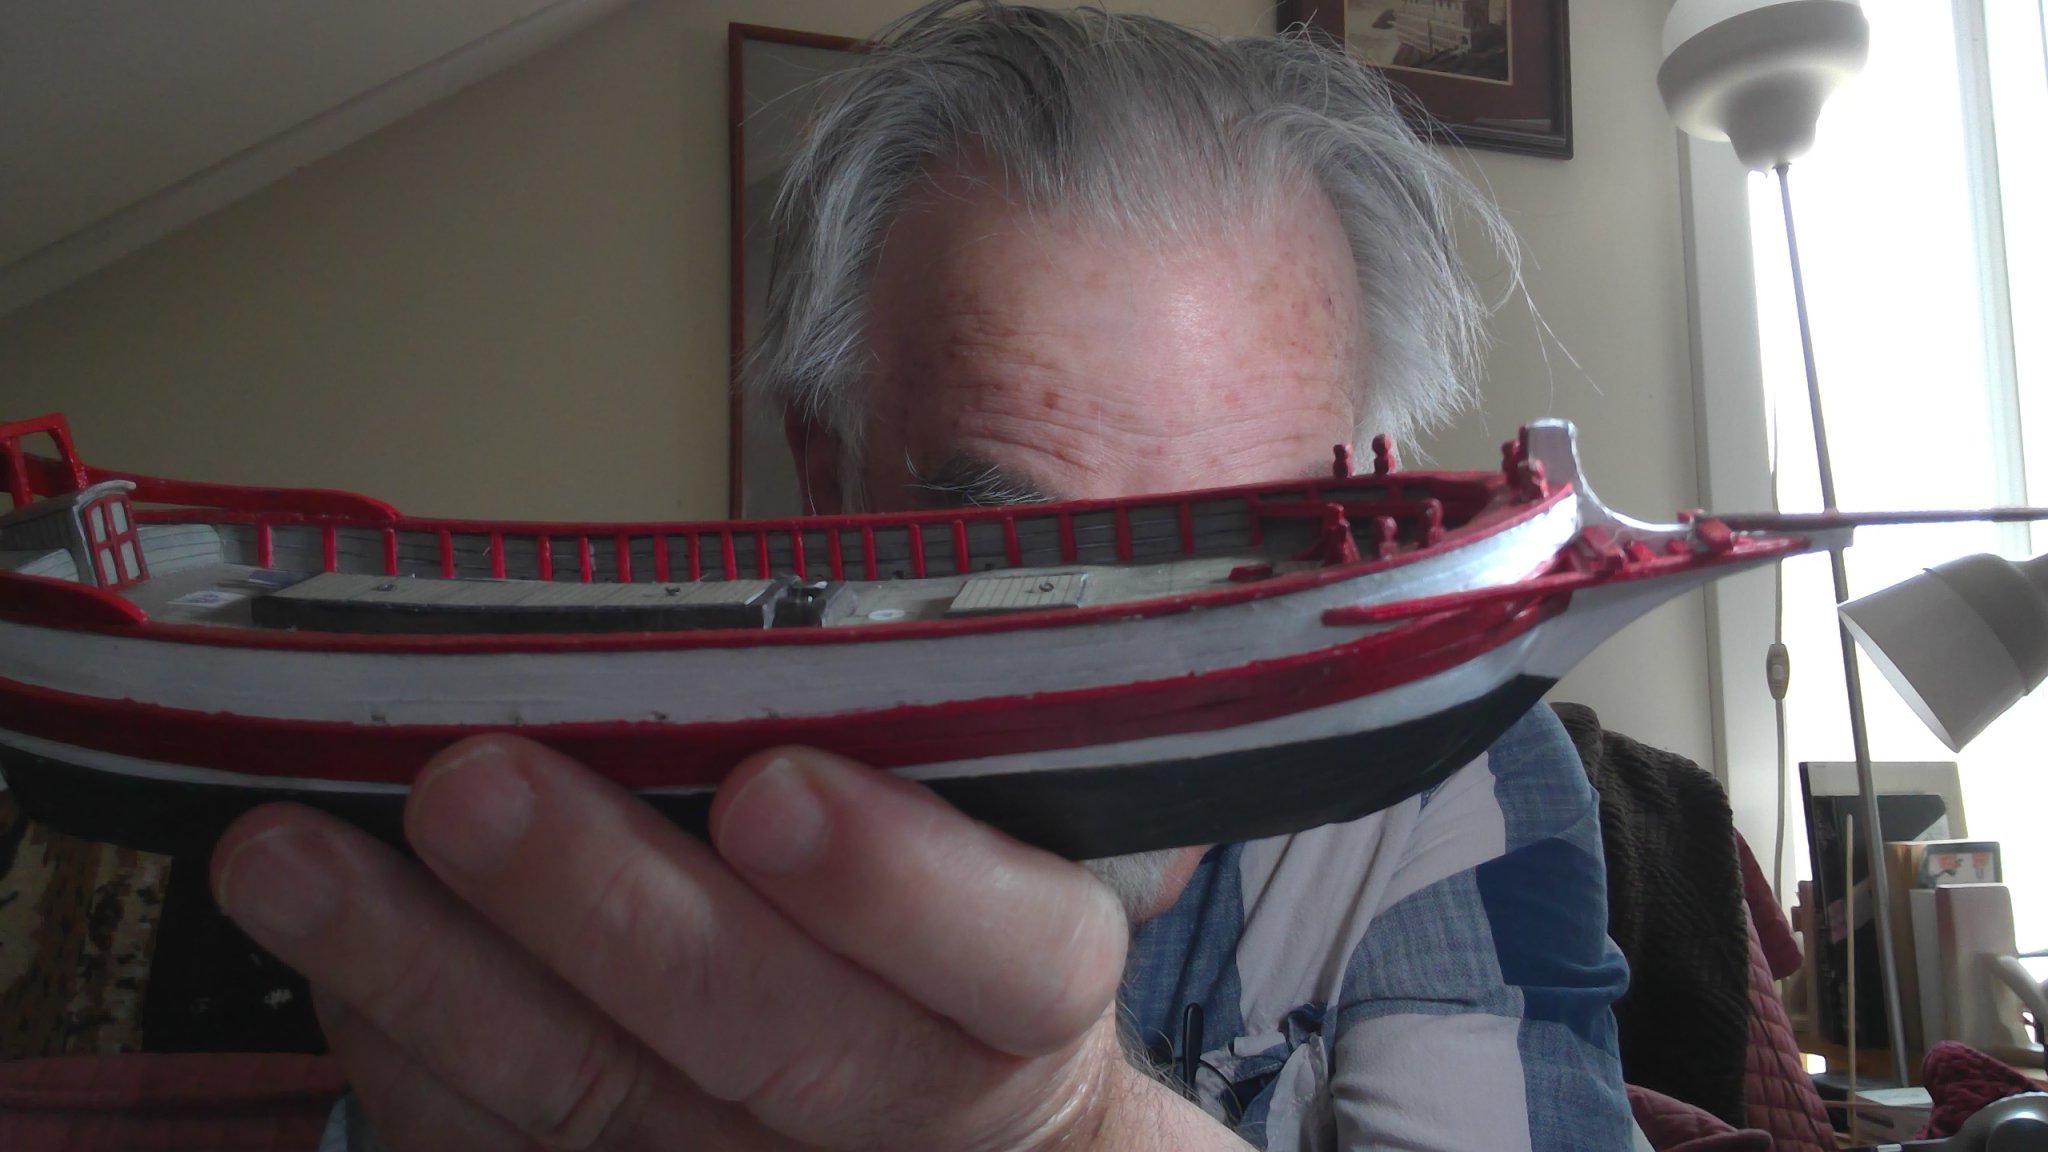
so on to the braces in the bow
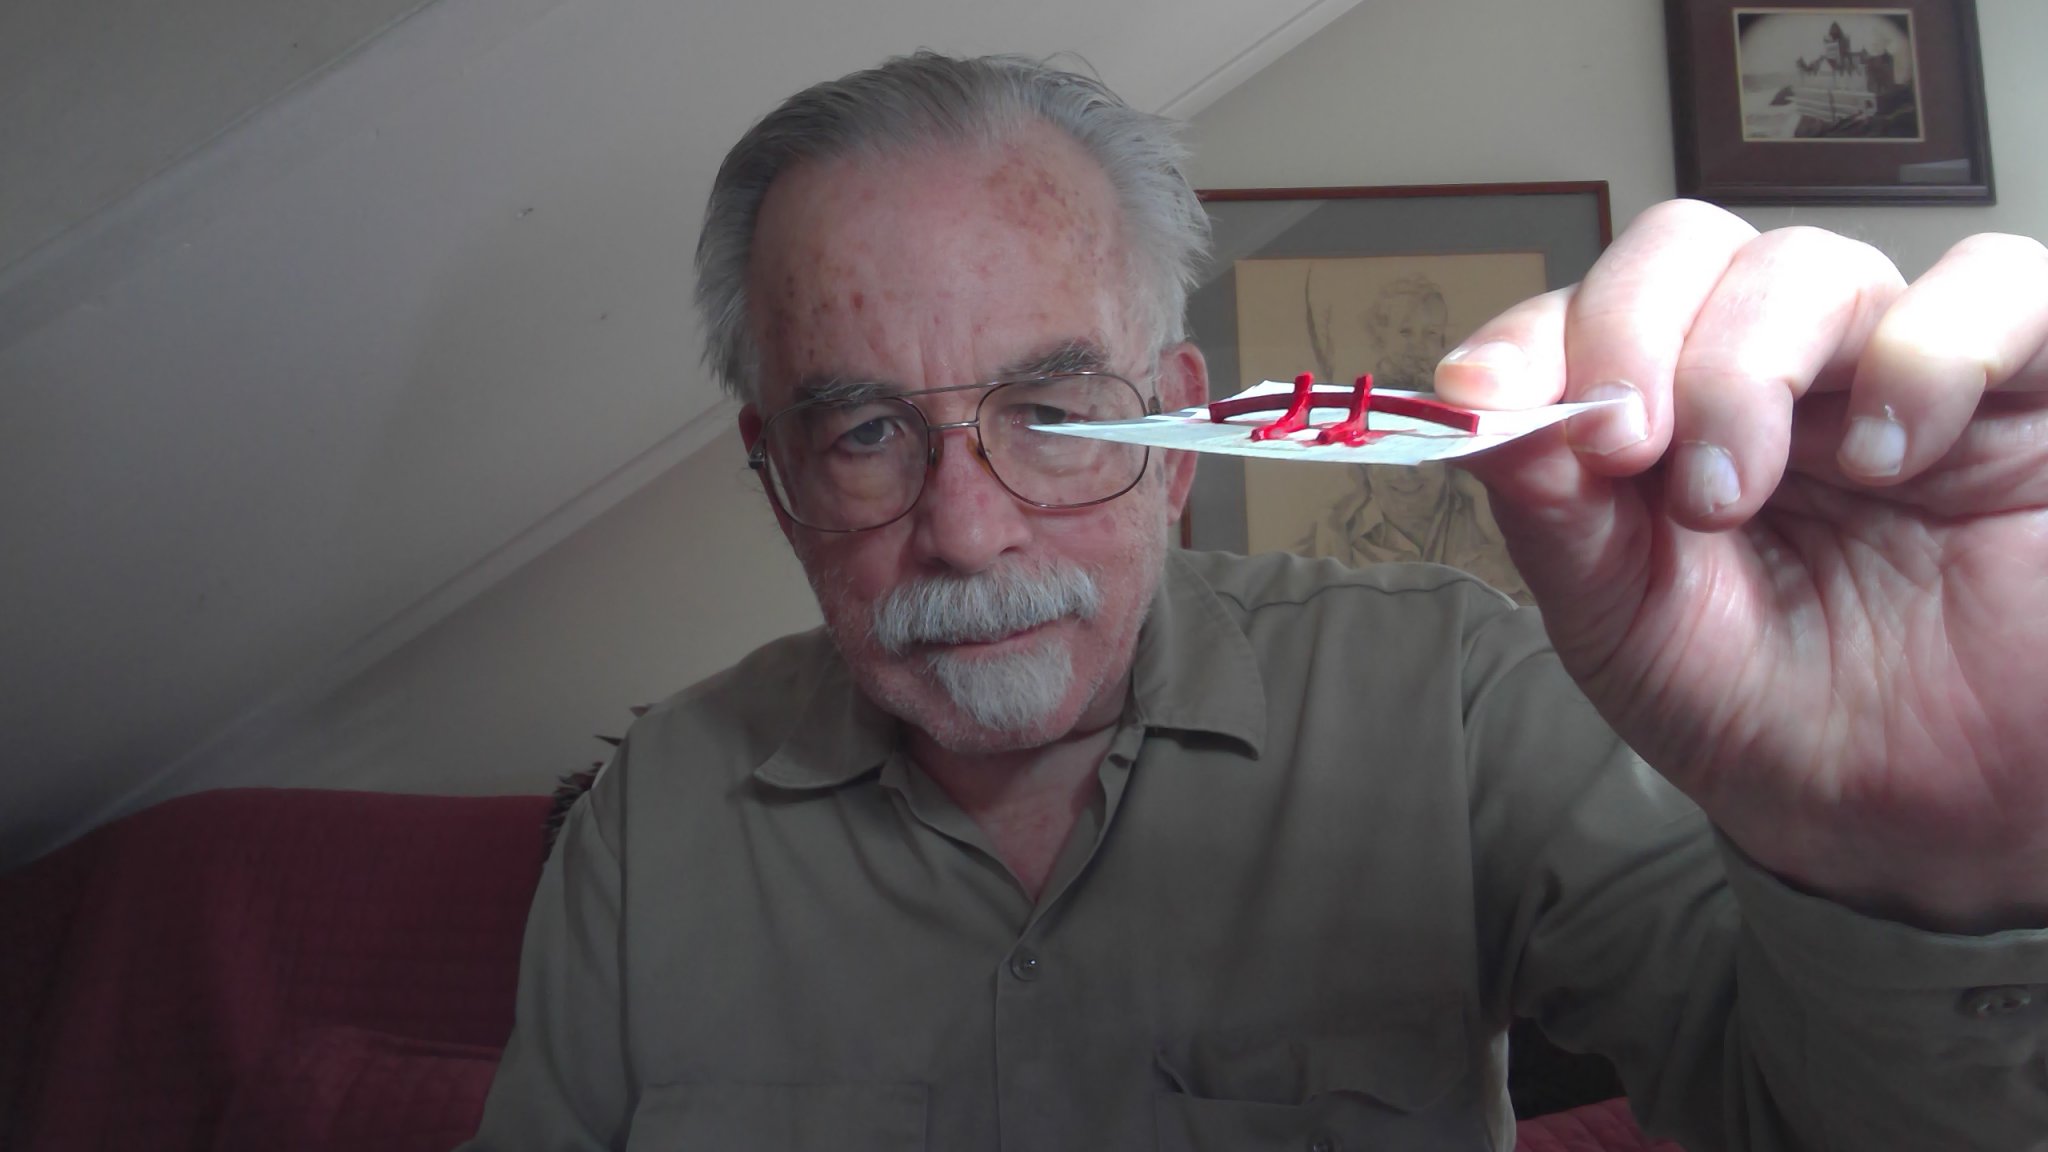
the critical pieces where the 2 knees that are each side of the front hatch
so i put them on
had to make them 3 times... i have much better luck on thick pieces these days laminating them of a couple of thinner pieces
built them on a copy of the front deck and when they were glued and painted cut them of to mount on the ship


- GrandpaPhil, Halfdan, etubino and 2 others
-
5
-
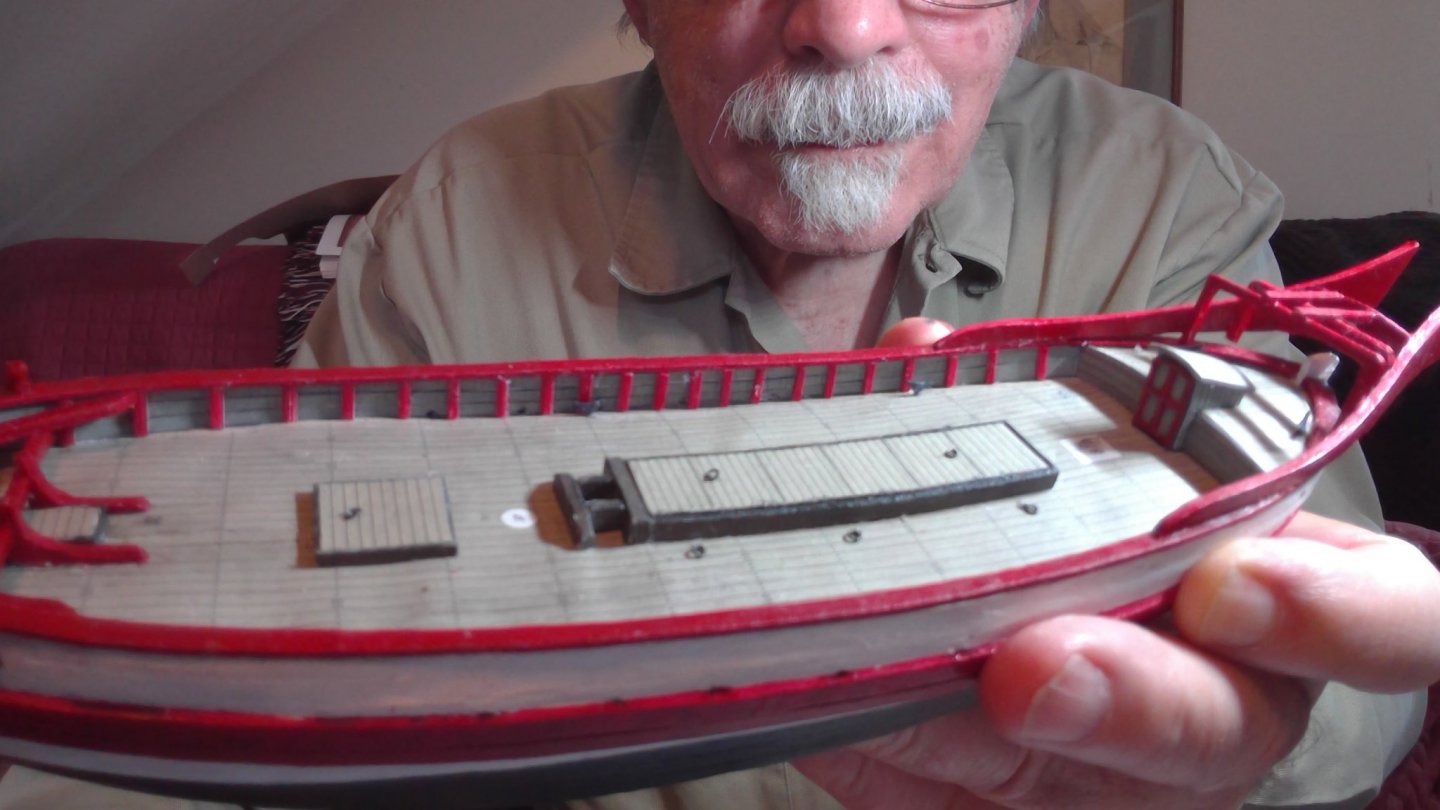
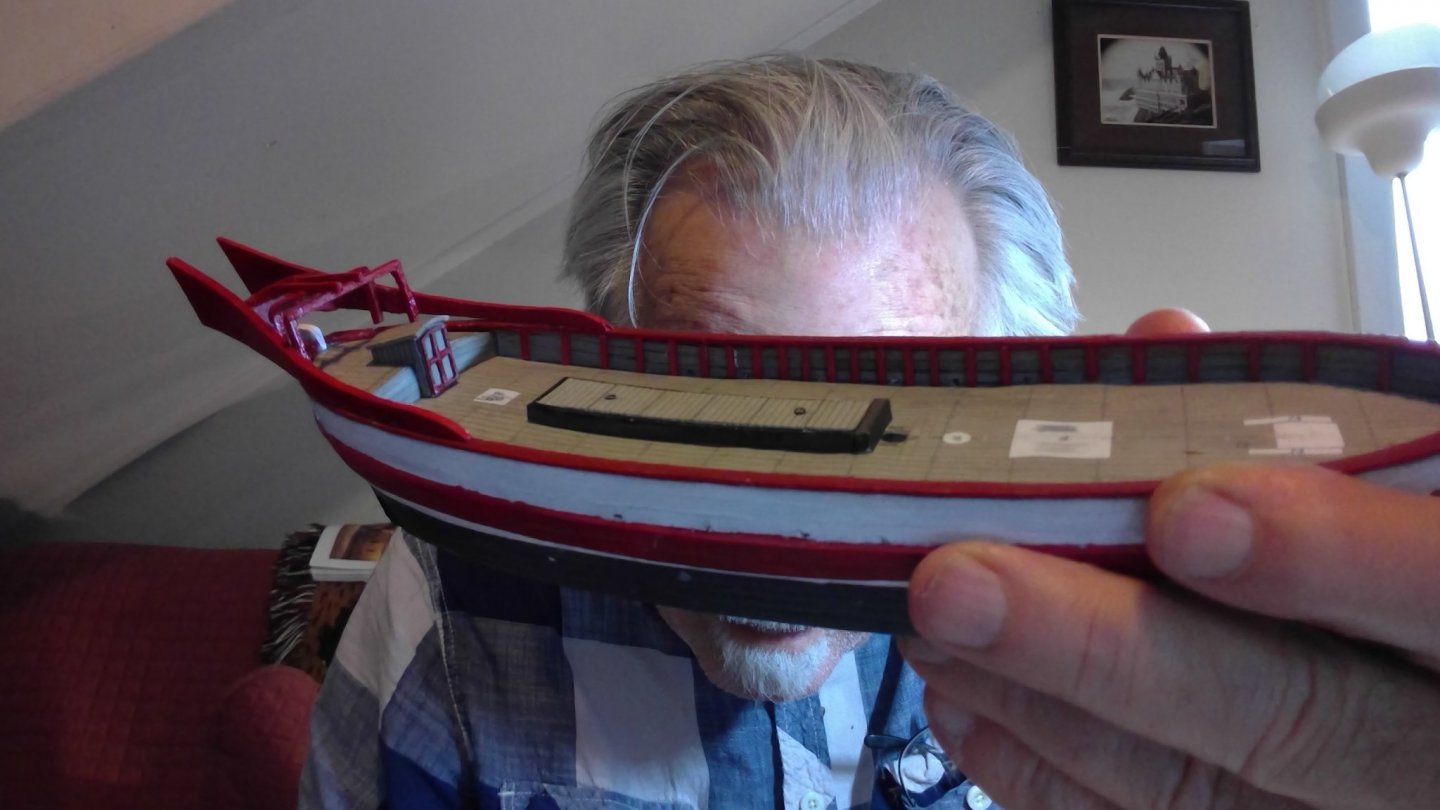
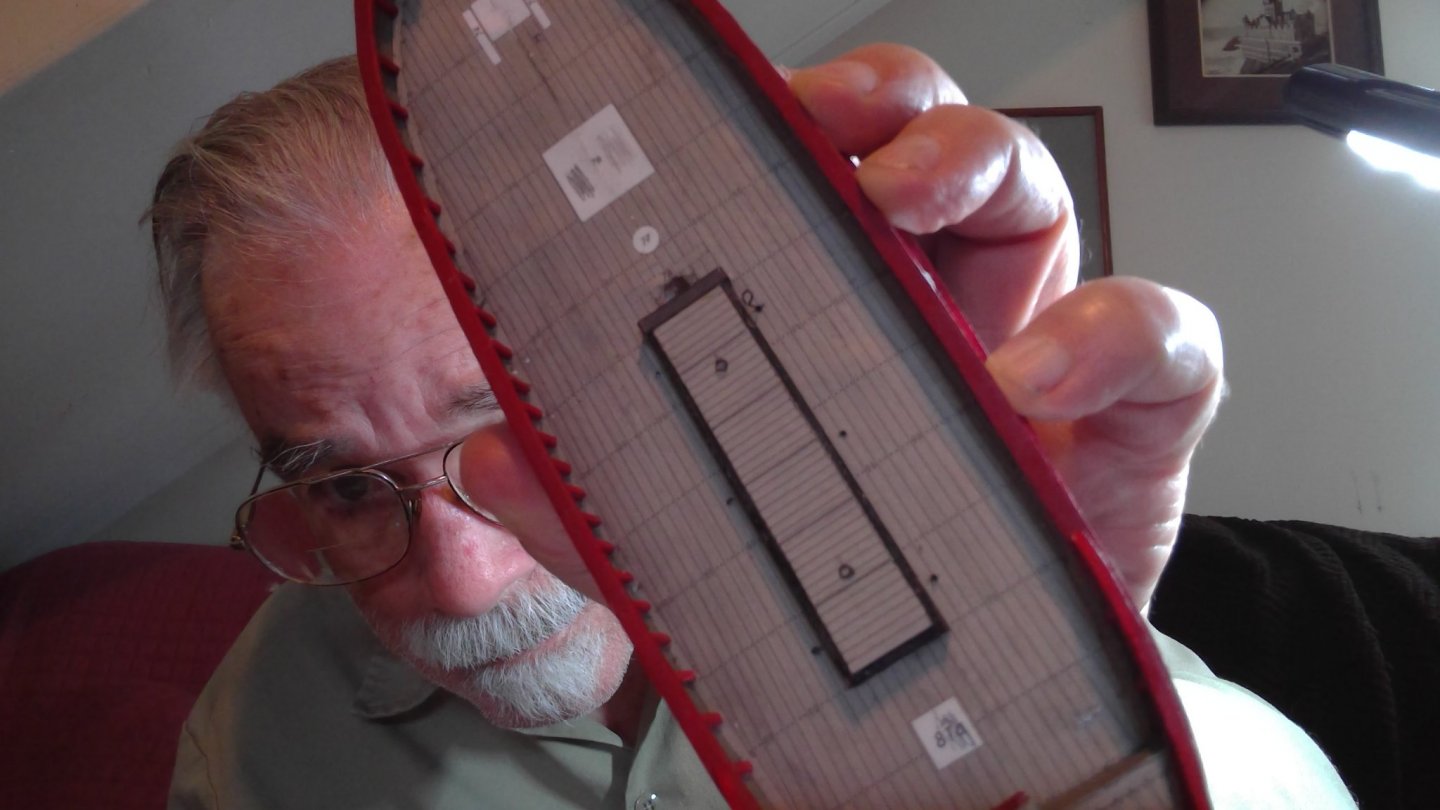
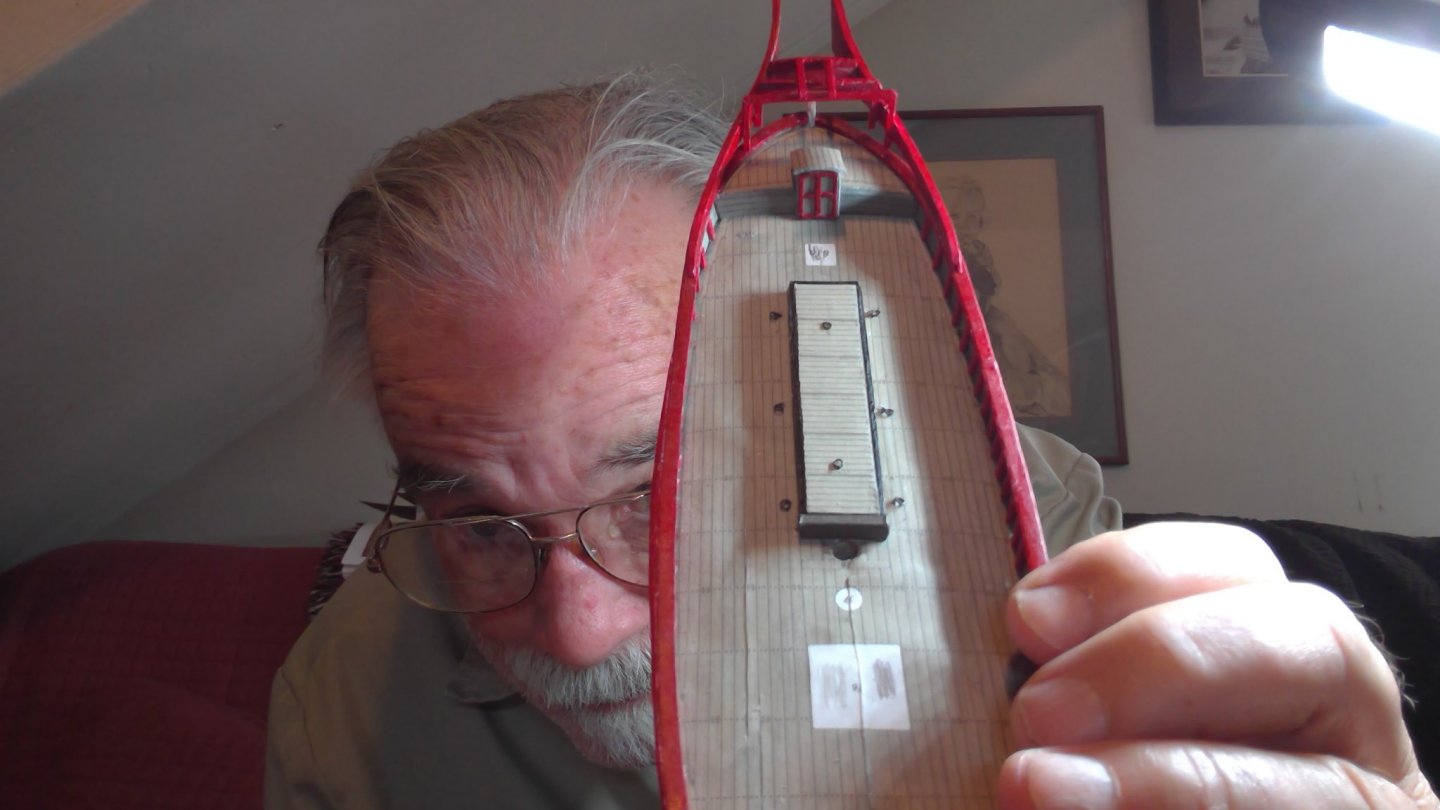
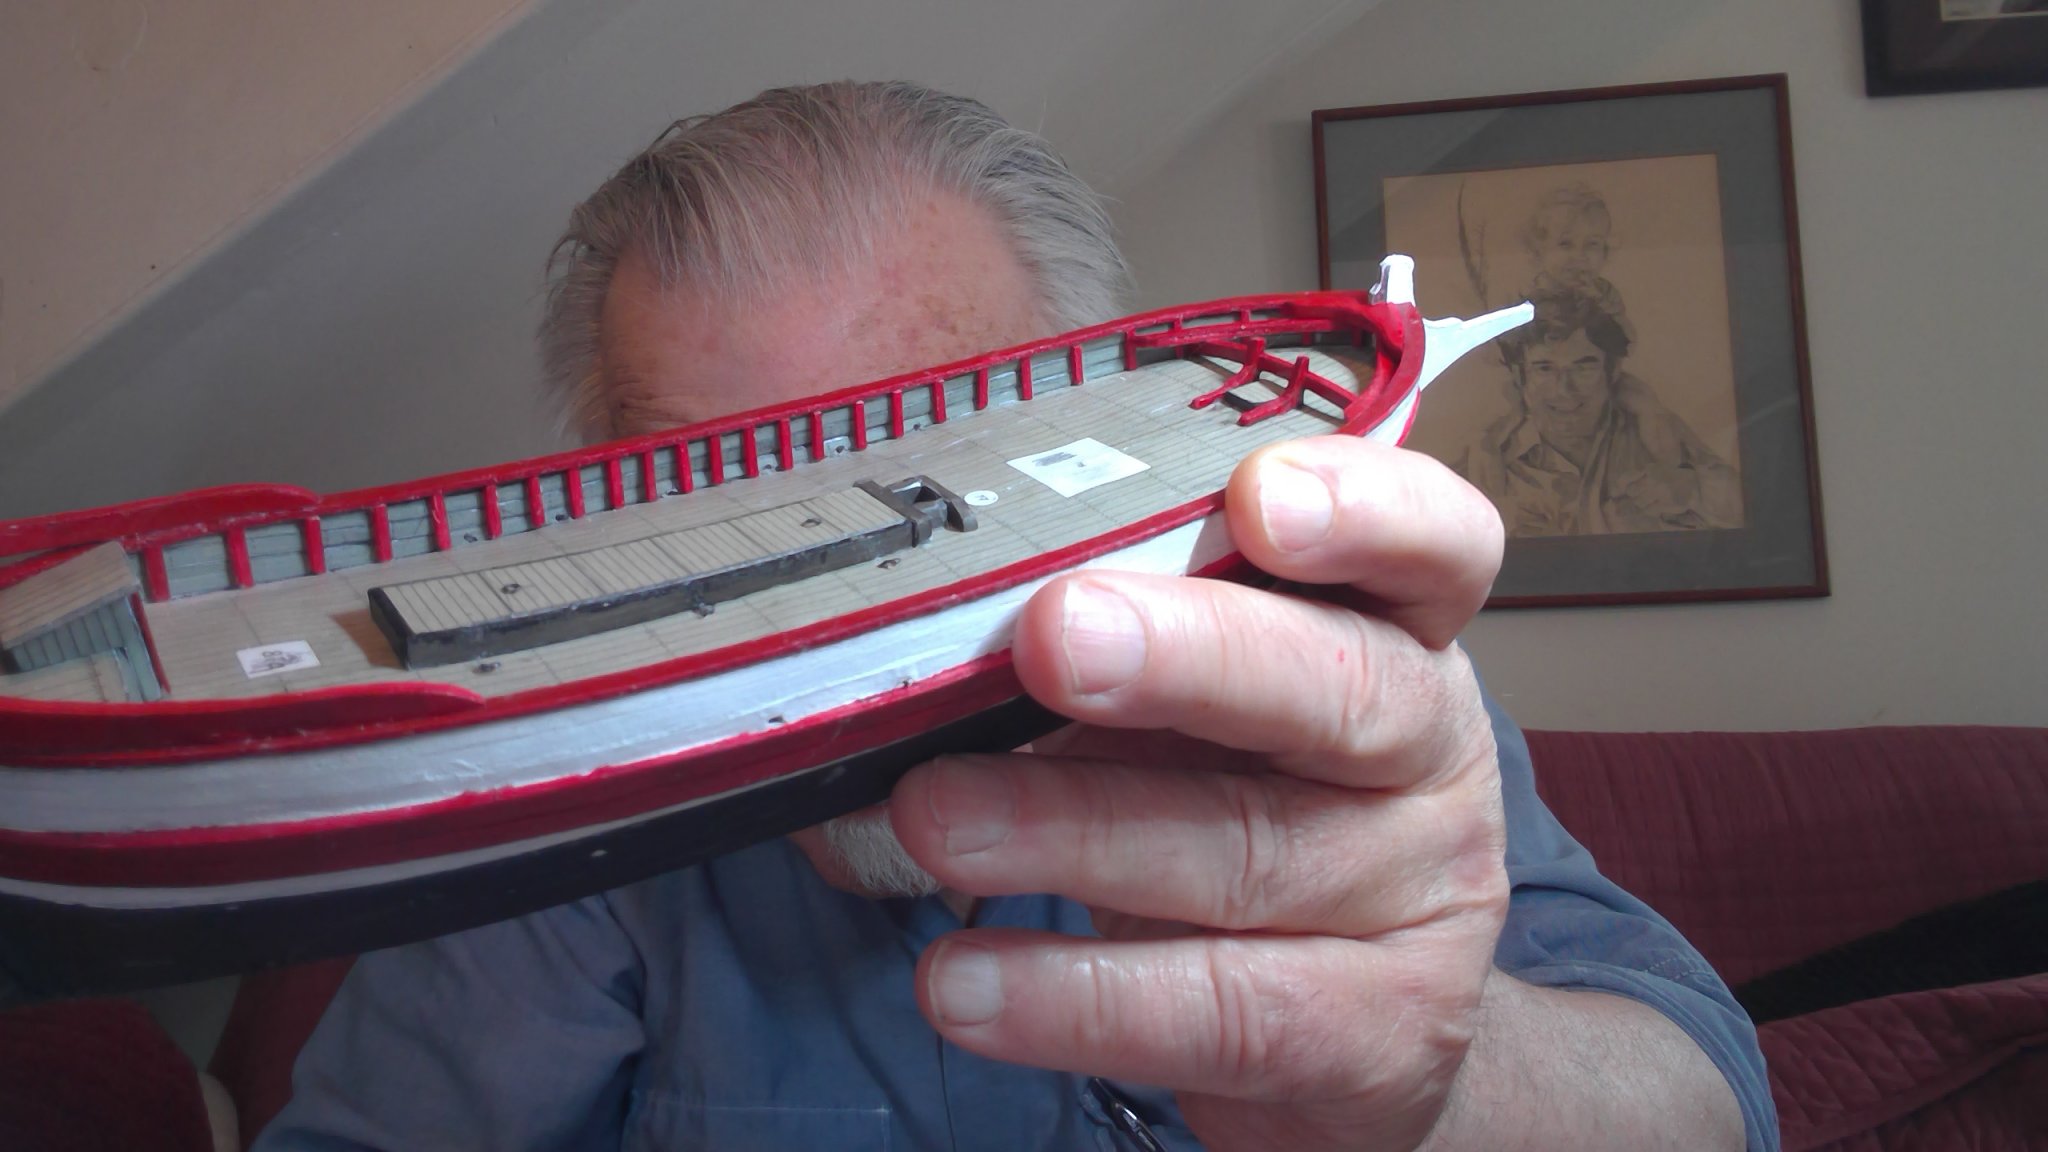
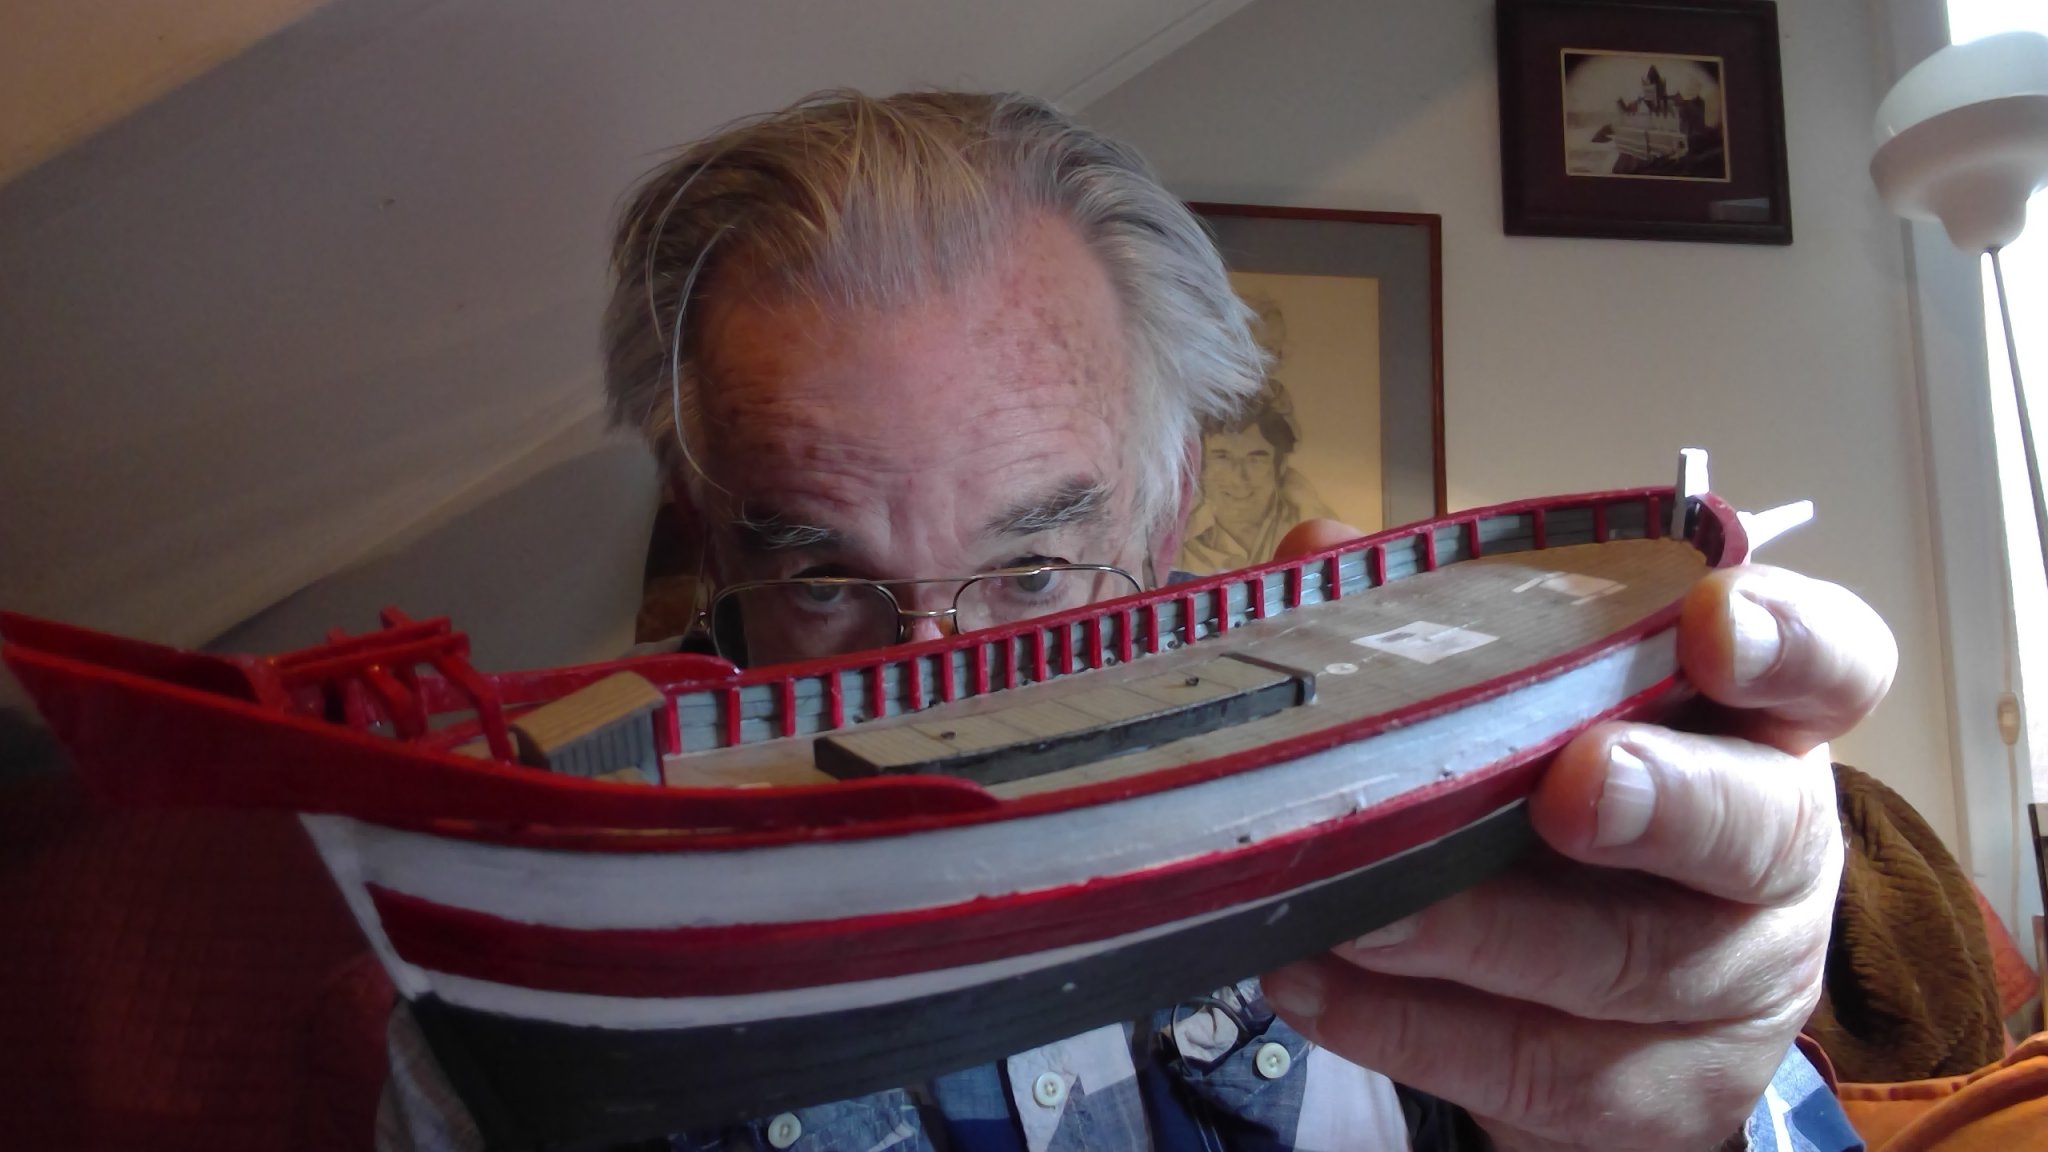
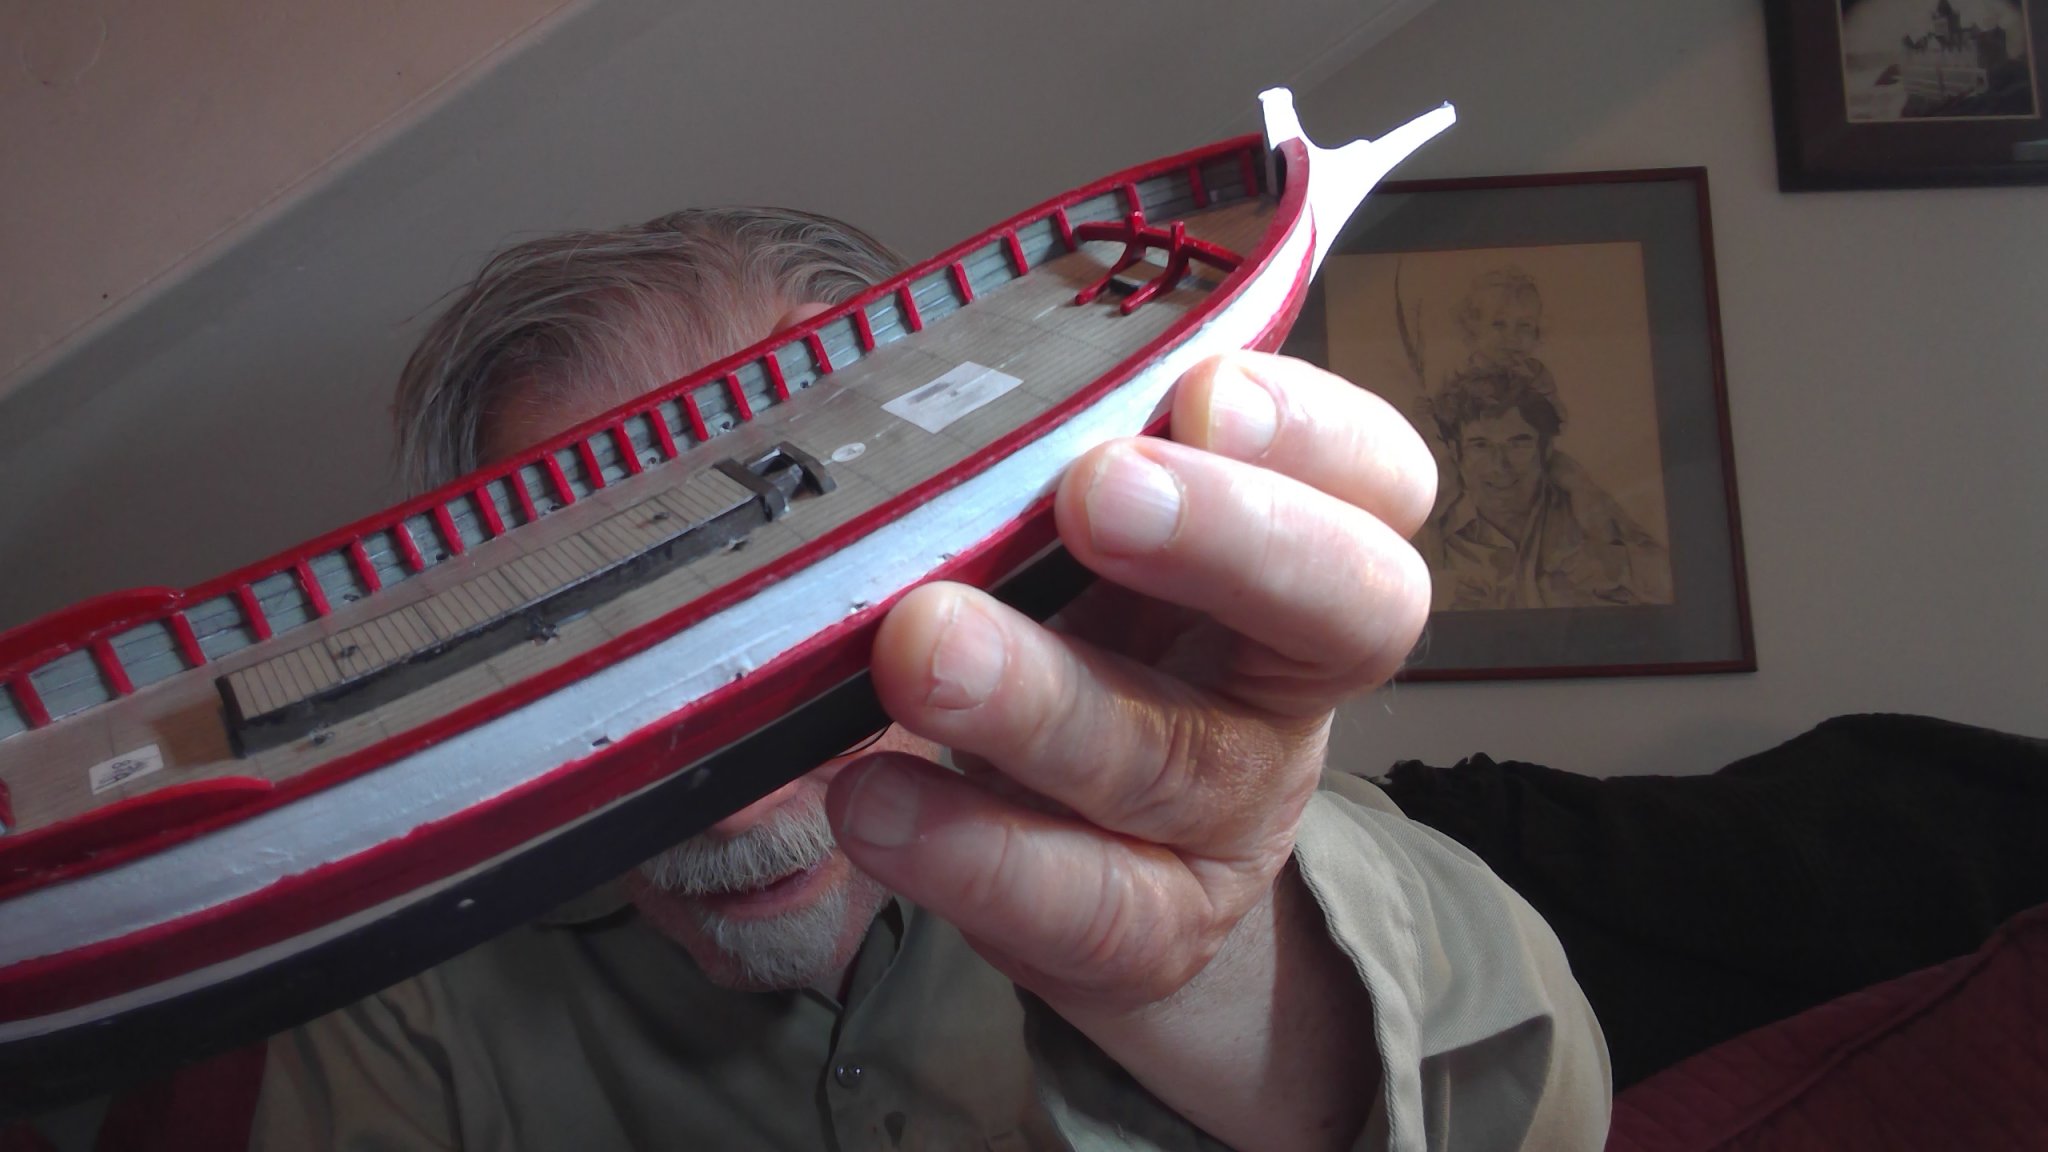
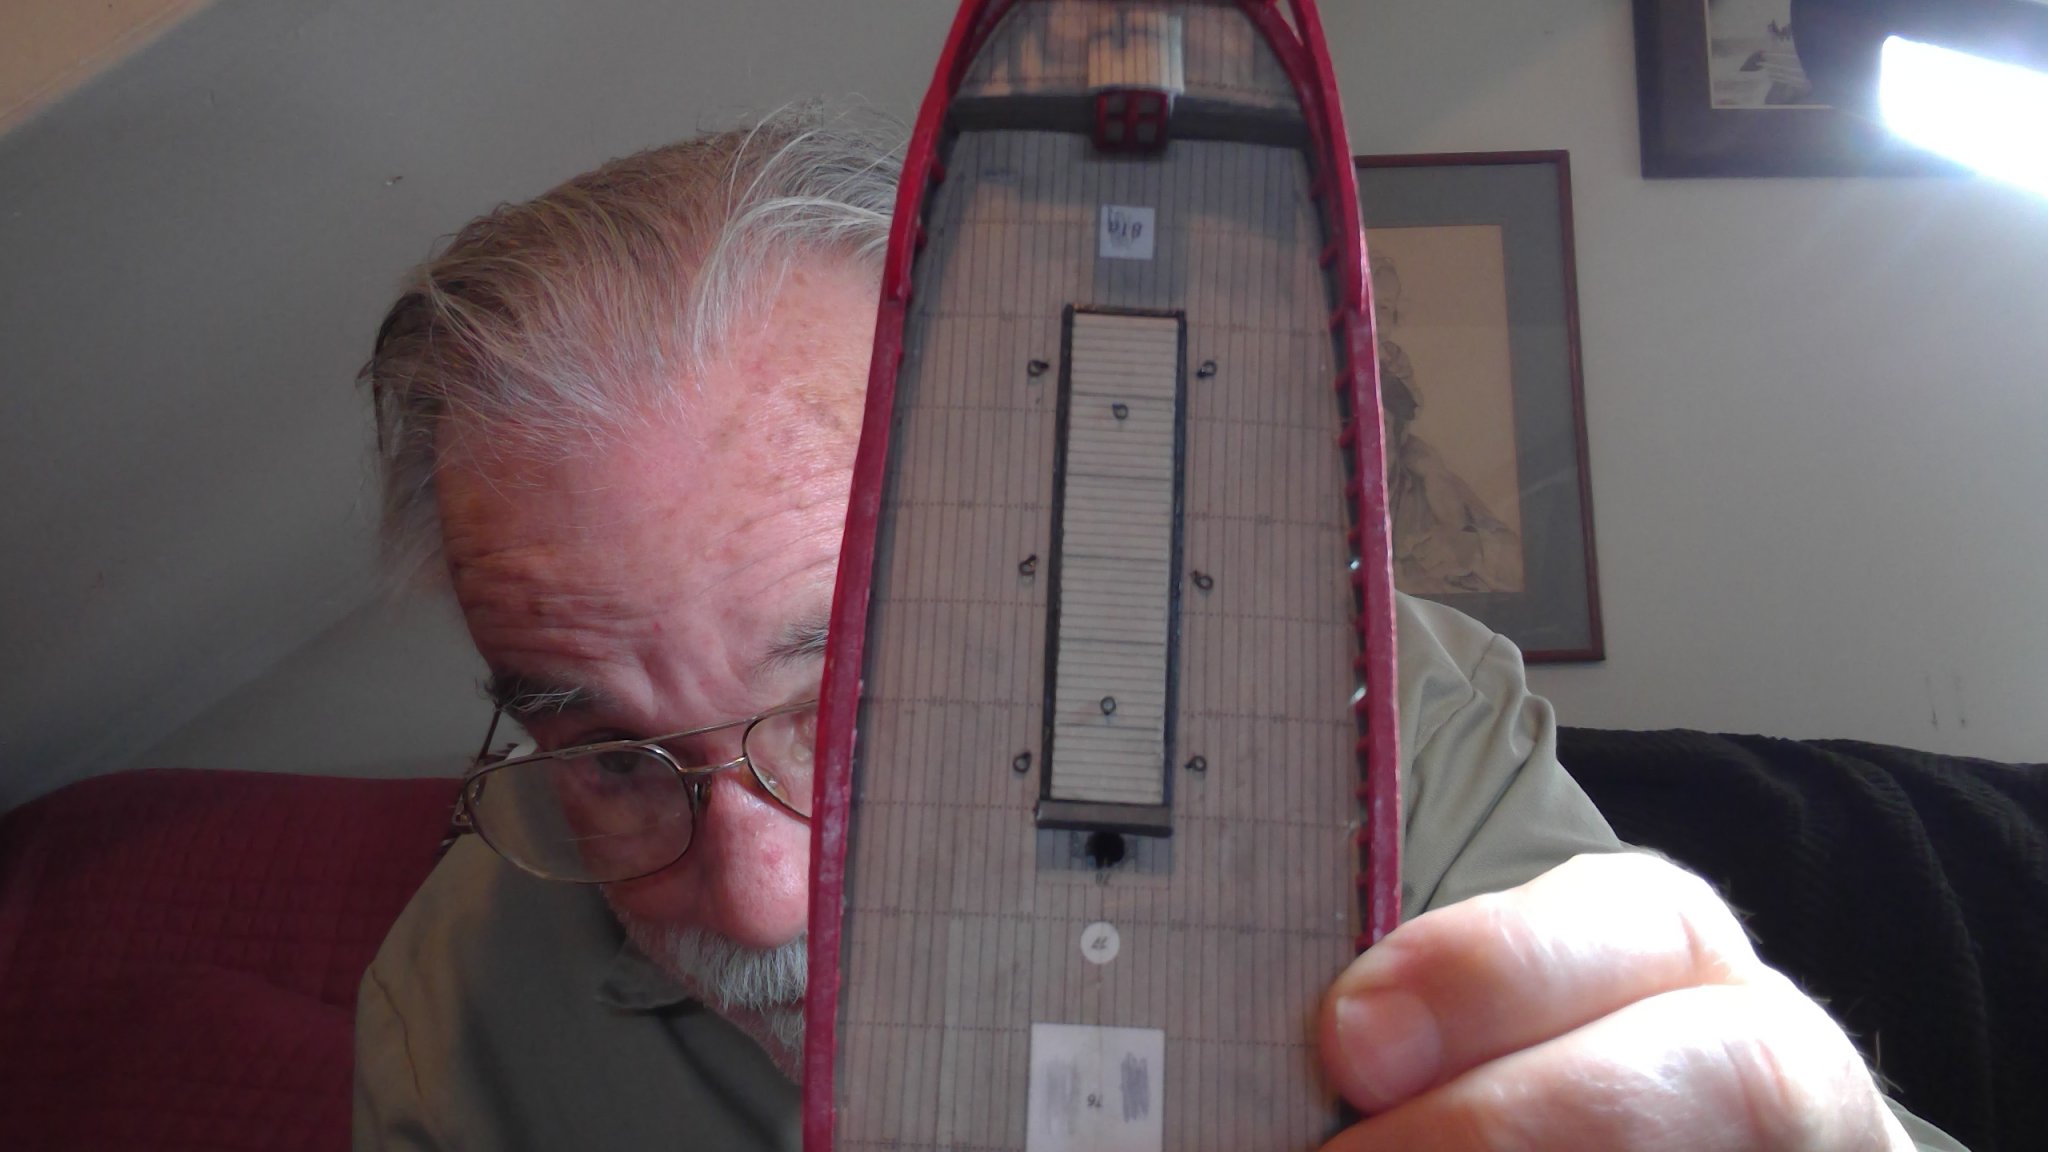
glued down the hatches... used watercolor to paint the upper edges of the frame around them... from the pdf of the Ancre ship I added 6 tie downs, 3 on either side
used a colored pencil to blacken the edges of the piece across the front that forms the back of the 4 pieces that contain the mast
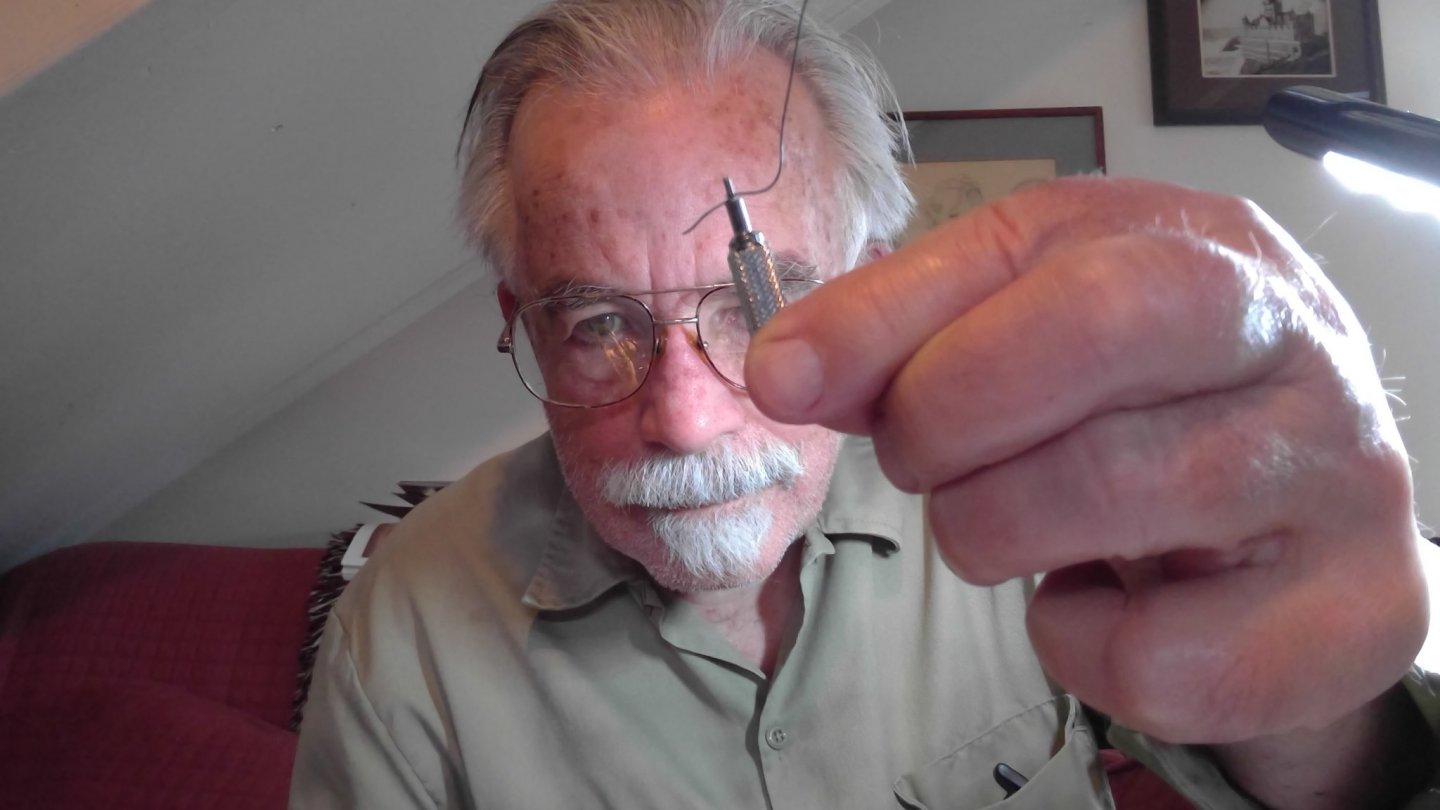
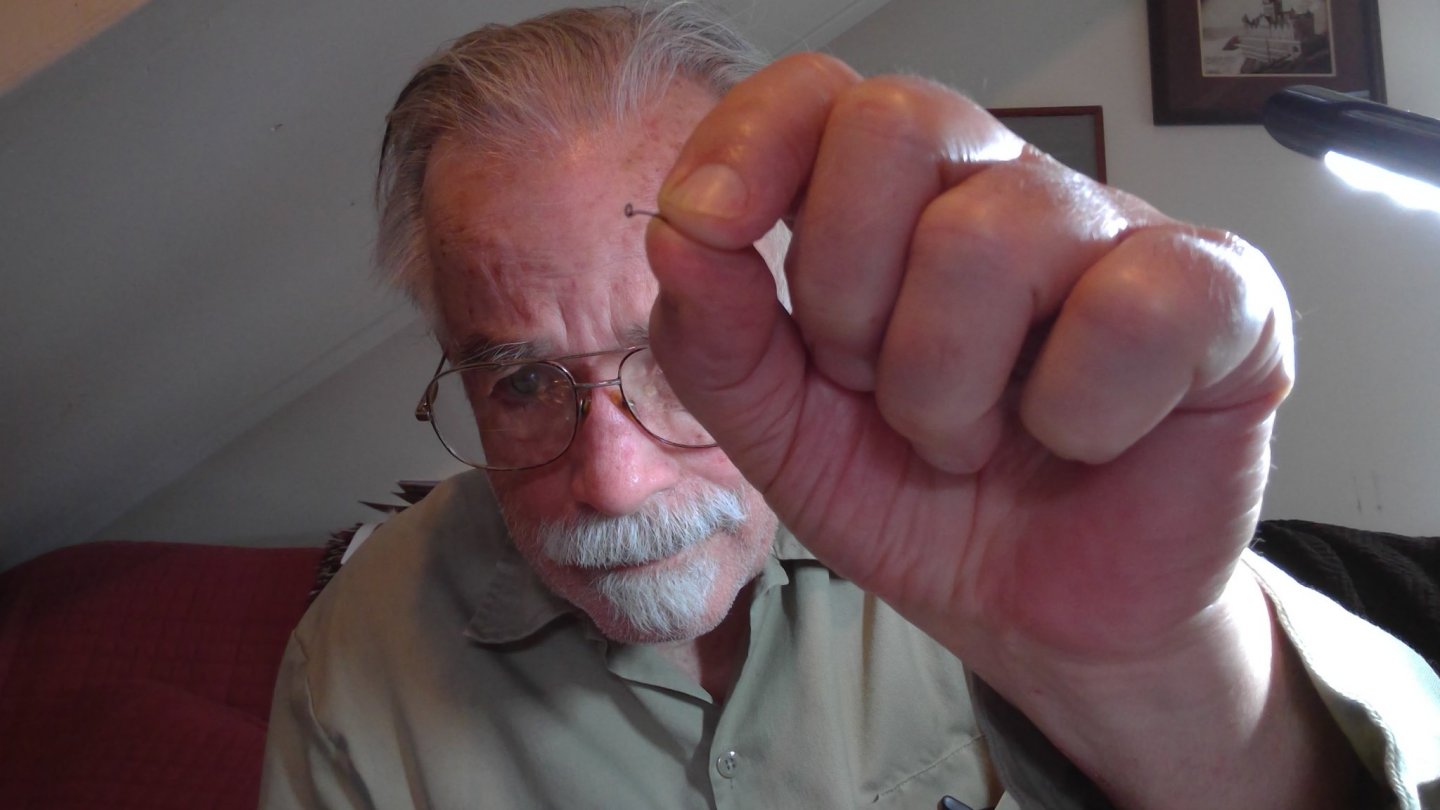
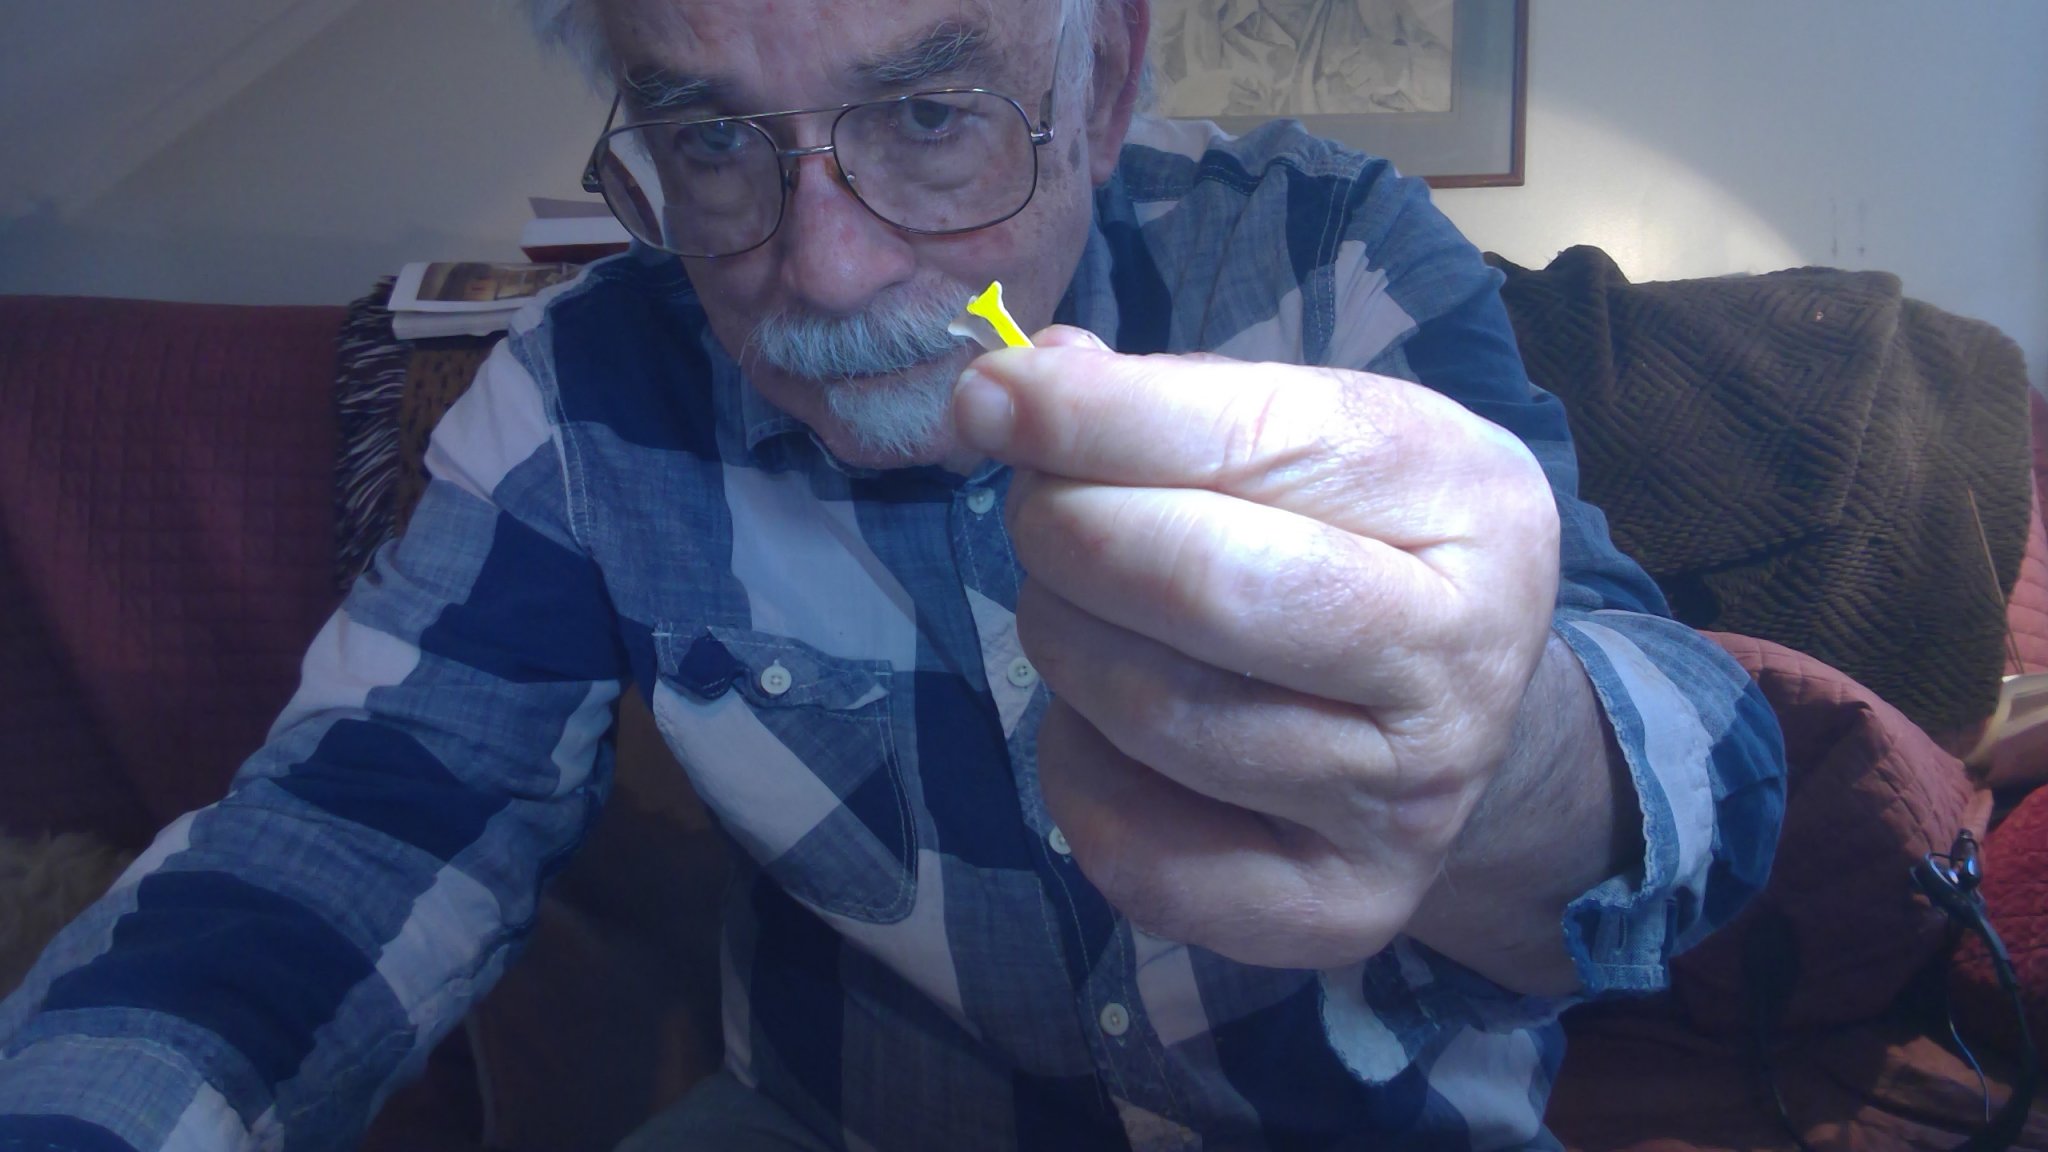
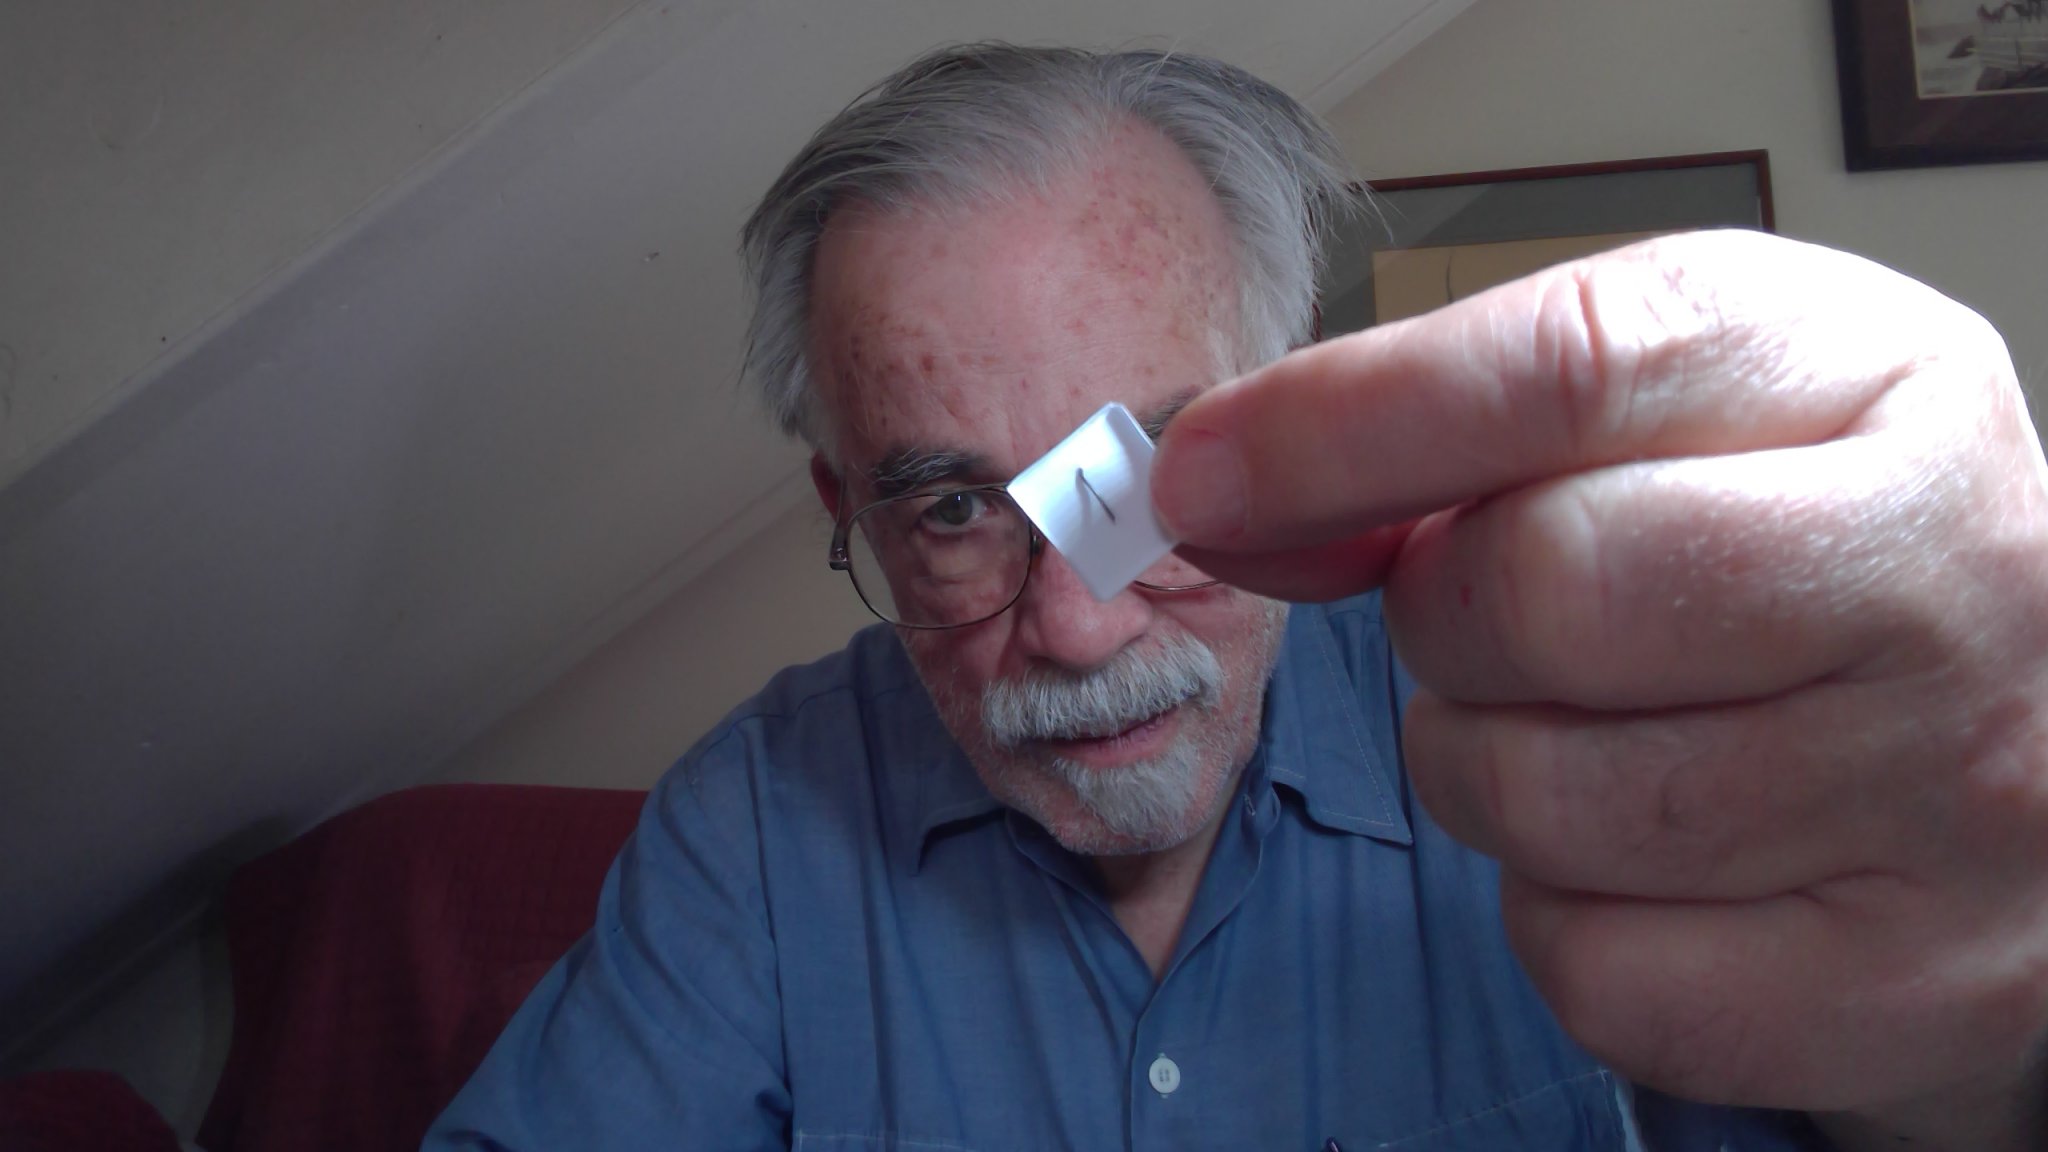
ring bolts formed around the end of a mechanical pencil and then cut off and bent over.. there is enough resistence when you push them in the holes that have been drilled for them that there is no need of glue


- kondzik, GrandpaPhil and Halfdan
-
3
-
got those out of order
-
From looking at the Ancre model pages I decided the hatches over the below deck access had ring bolts on the 2nd hatch from each end. Once you lift that one up you can easily lift the others
The ring bolts are from black-clad wire. they cheat, because they only have the ring, there should be another ring on the bolt itself.,, but I cannot do it at this scale..I could add the 2nd ring , but it would look to big.


-
same, same i had to cut away a half circle on the bottom of the piece that goes between the 2 sides

- GrandpaPhil and kondzik
-
2
-
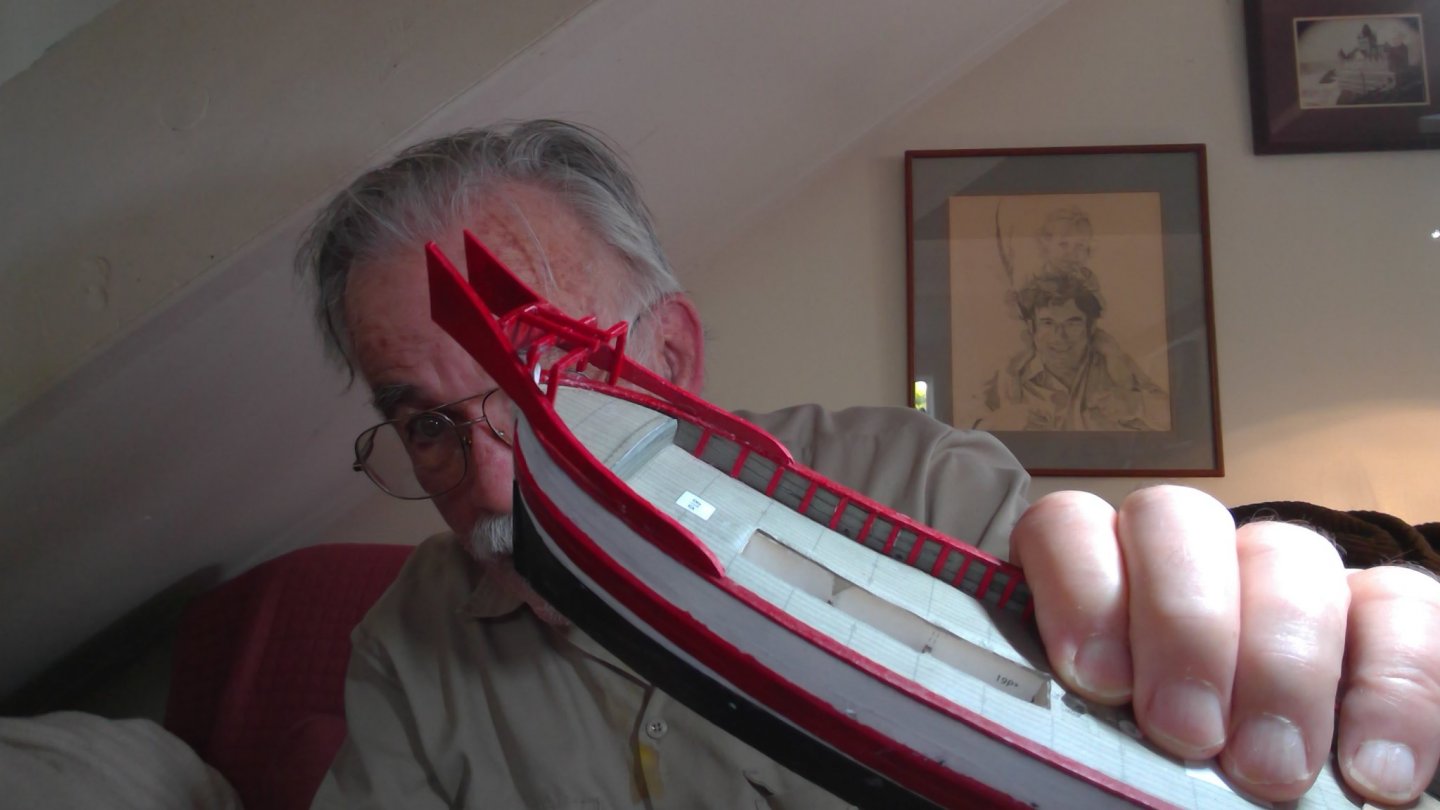
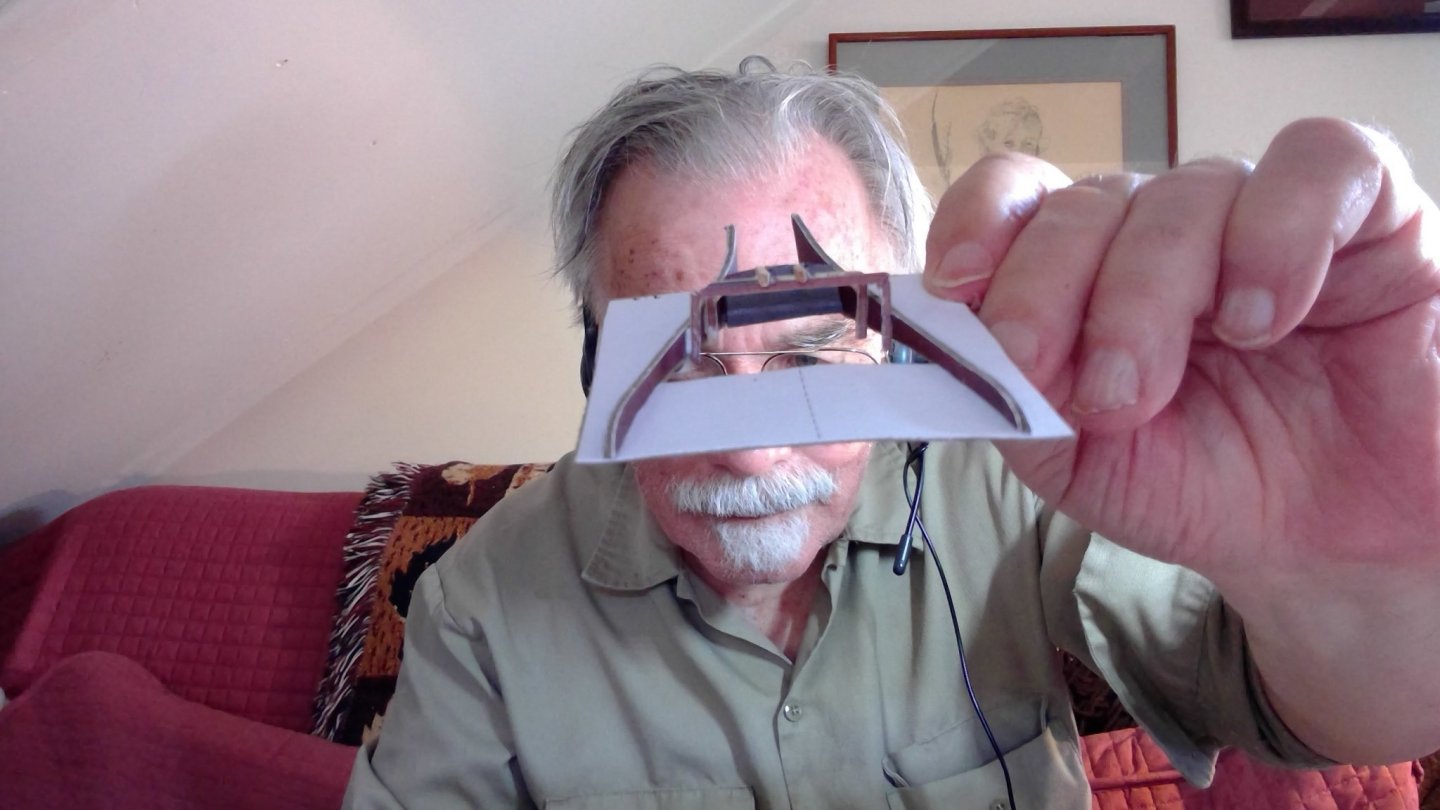
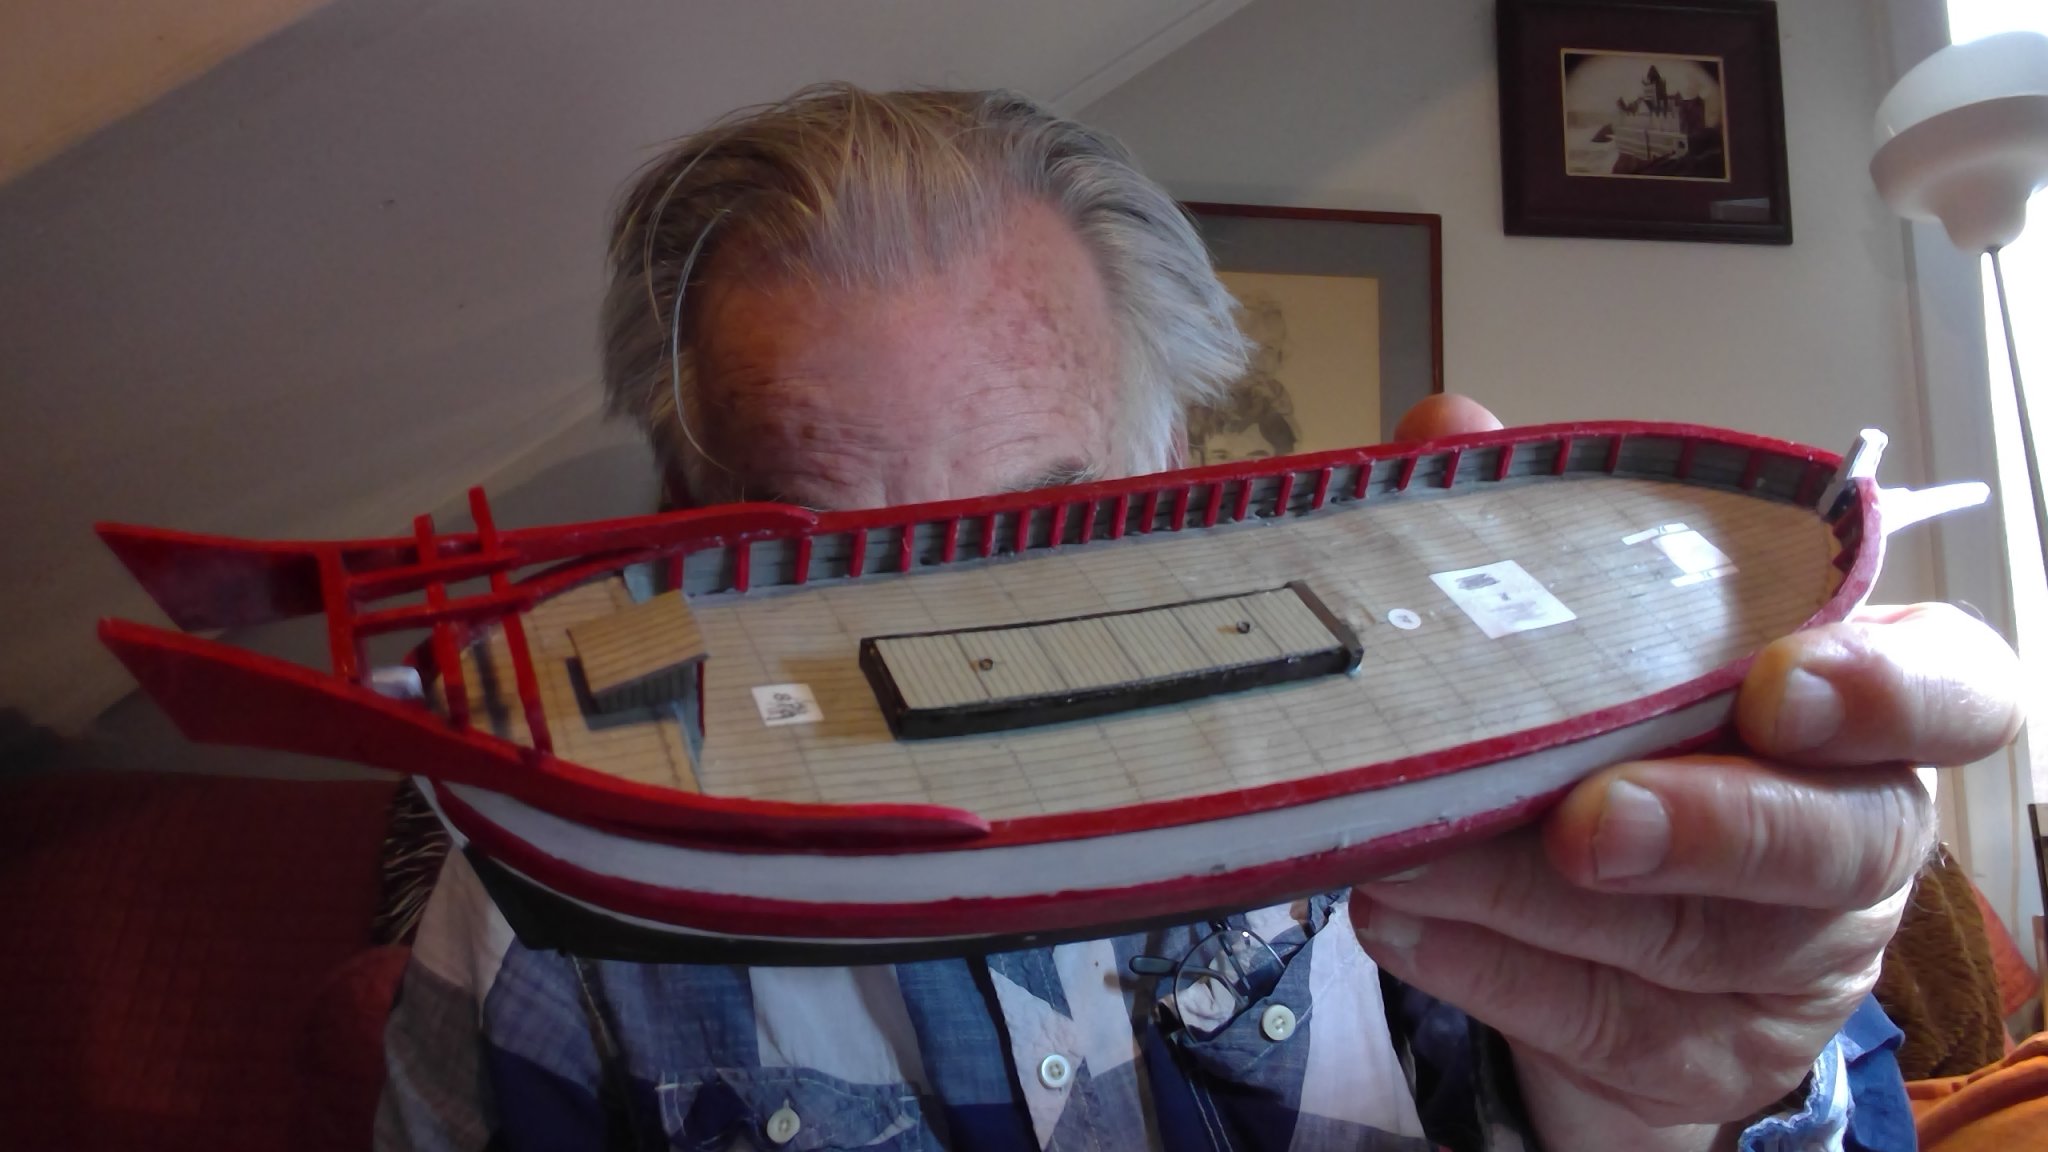
these parts all do NOT have any built in self aligning features.... so it was like trying to juggle all of them in the air and glue them as they came down


- Halfdan, GrandpaPhil and kondzik
-
3
-
an intricate juggling act to glue the back framework together'
i had to put in a fake piece to give myself some "notches" to match the bars up to the cross piece
i removed to dummy piece of card i had glued things to as i went
instead of attempting to fold the bars out of paper i glued the pieces on to some coffee stirers (about the right thickness) and carefully carved them out, then glued them together


- kondzik, GrandpaPhil and Halfdan
-
3
-
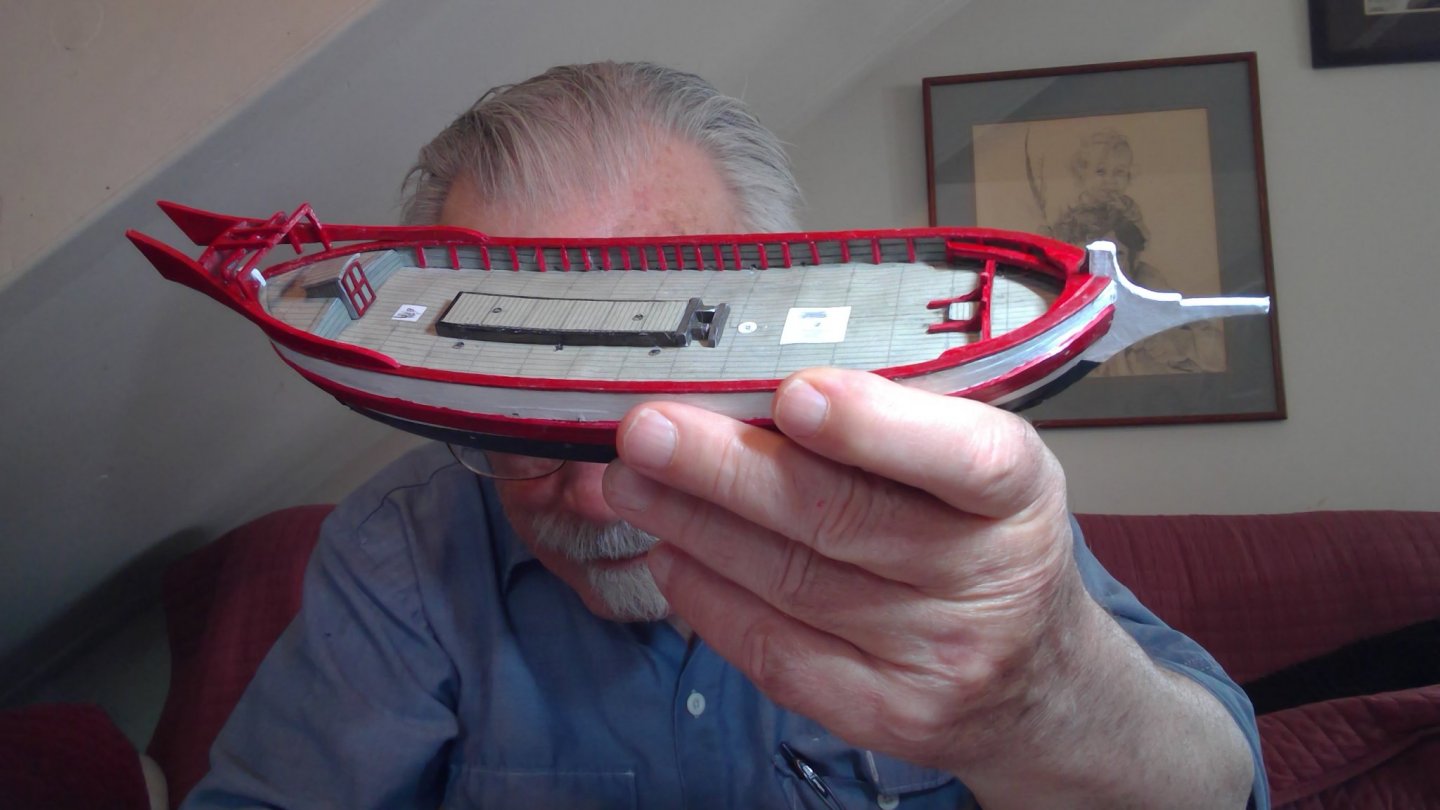
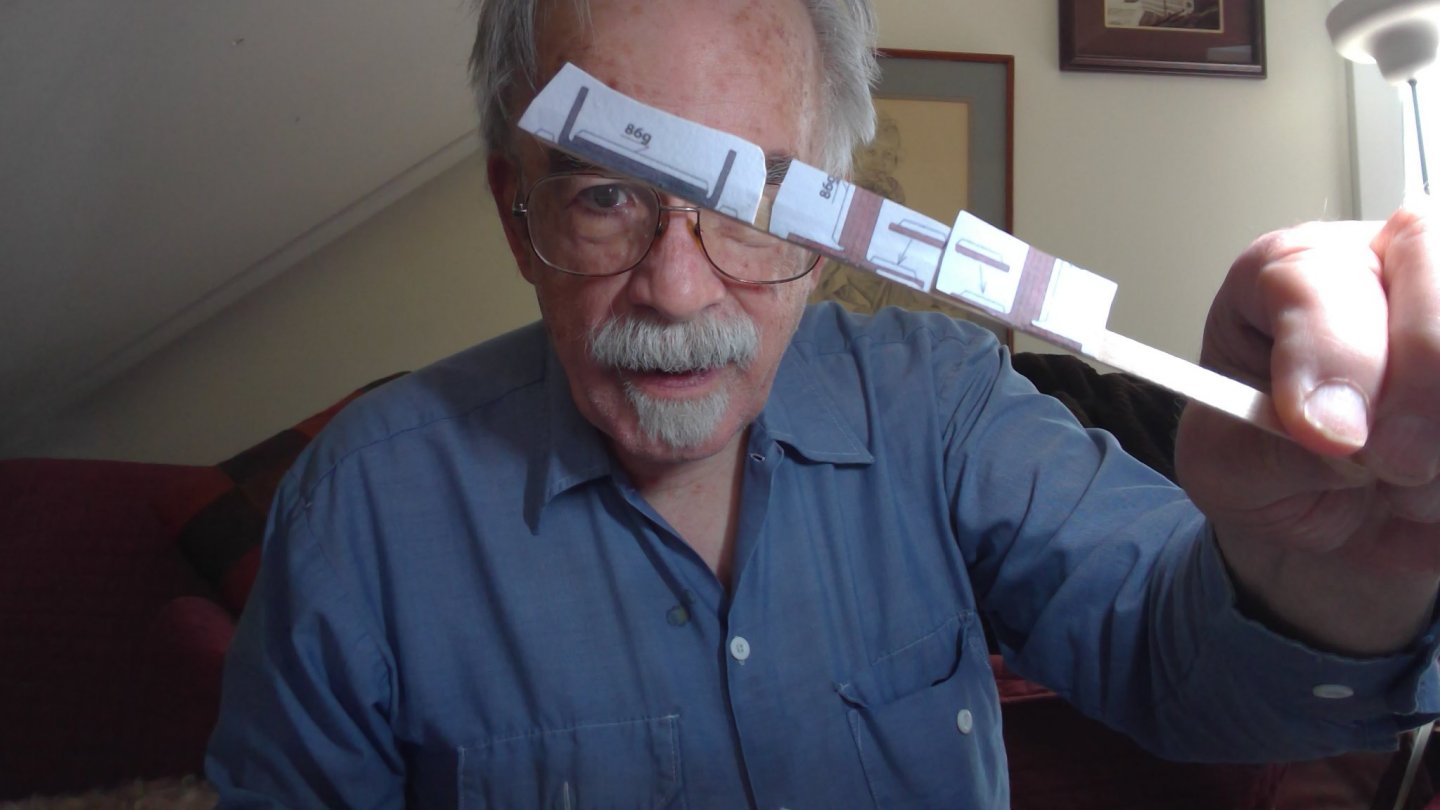
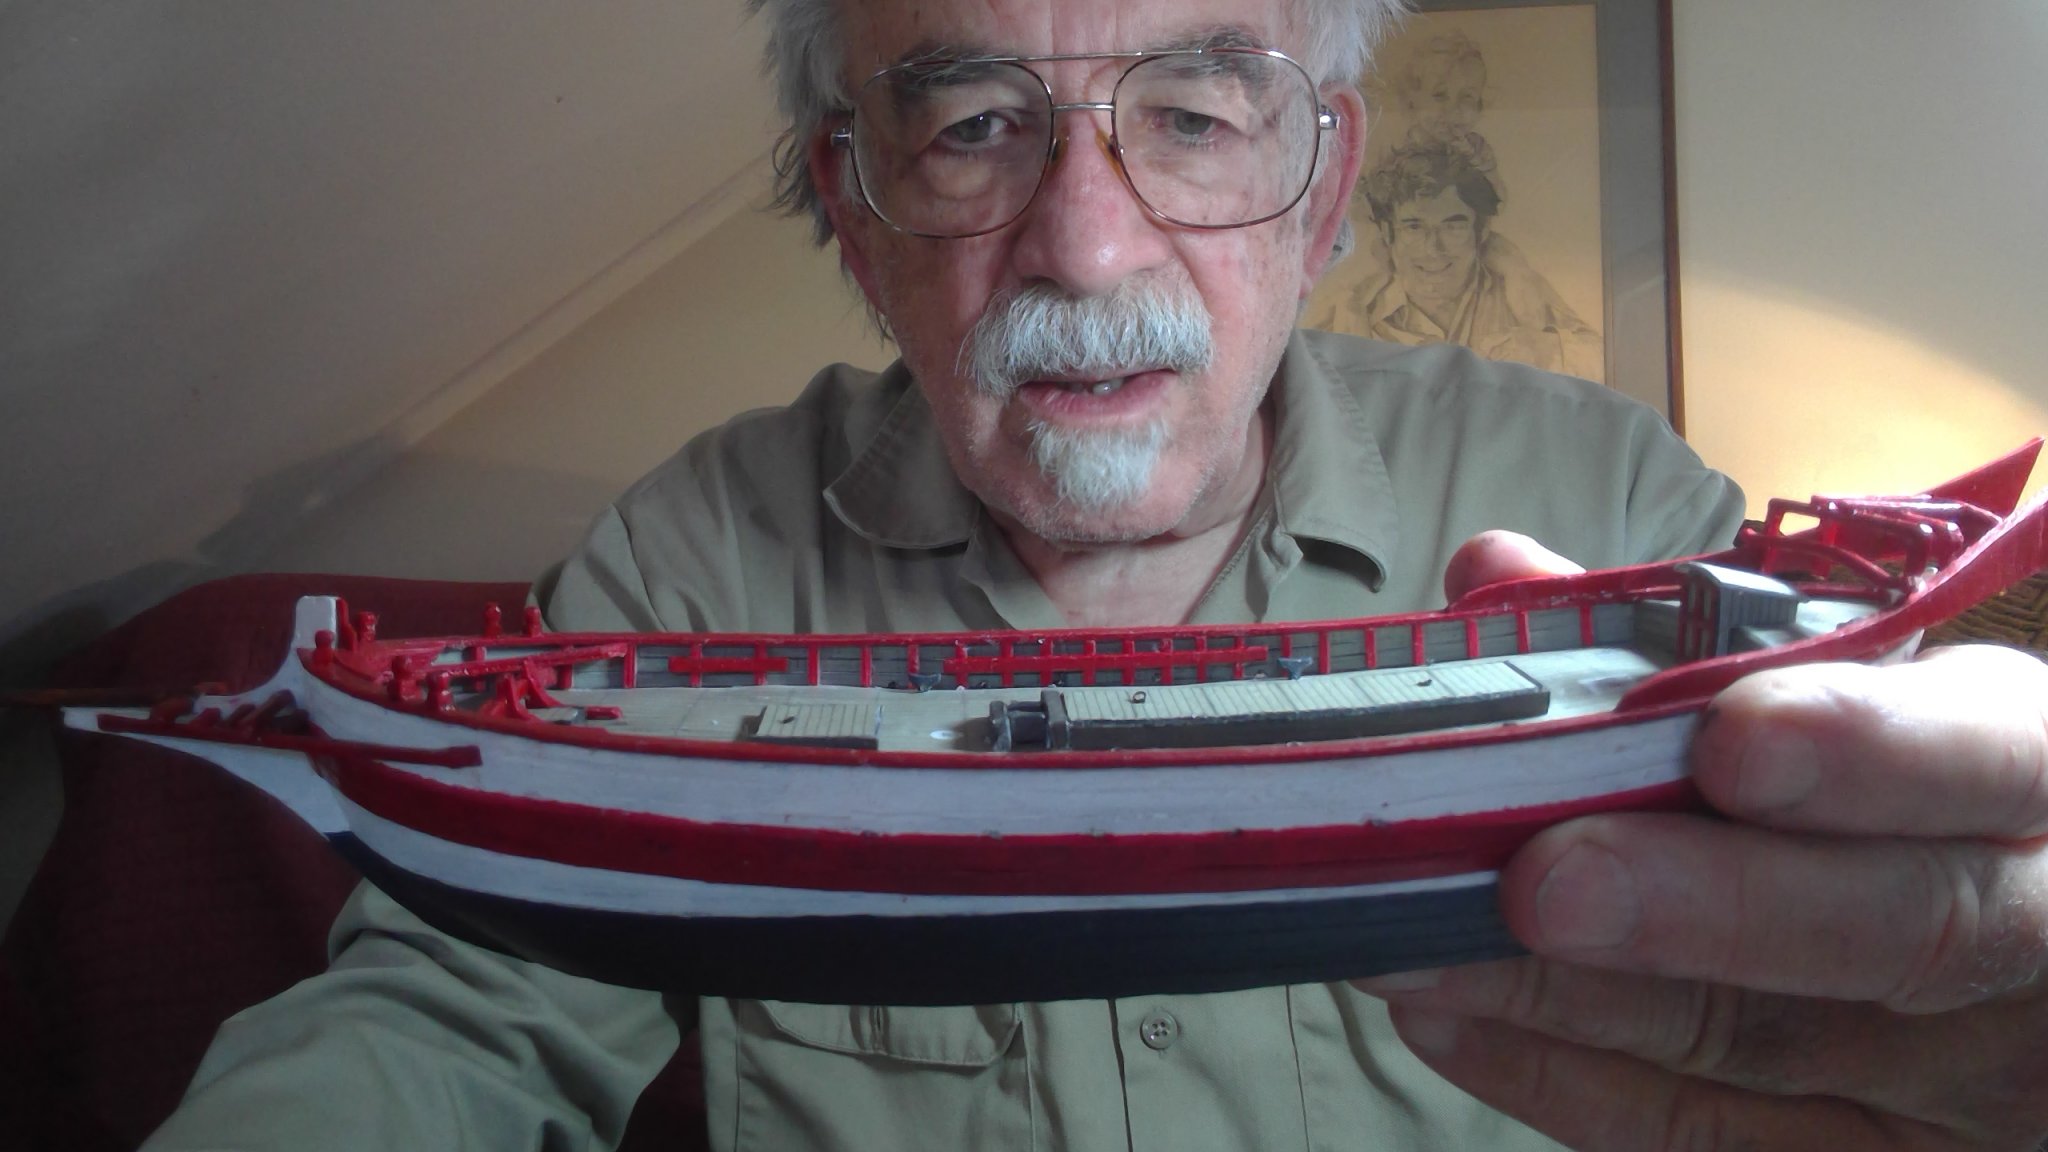
got all the frame ends cut and glued in place. bamboo is a wonderful materia
and then the side rails, glued on heavy card and painted
to some degree they cover up the fact that the sides bend in a little to much in the middle of the deck
now there is a sort of after structure to build, and the rails out along the bow
trying to avoid putting the deck houses and stuff in til last so i can use the deck to handle the boat


- GrandpaPhil, kondzik, tkay11 and 1 other
-
4
-
Haven't used my modeling tape for a long time, but I thought it might help in this case. The edges did not come out completely clean.. but they're easy enough to touch up.
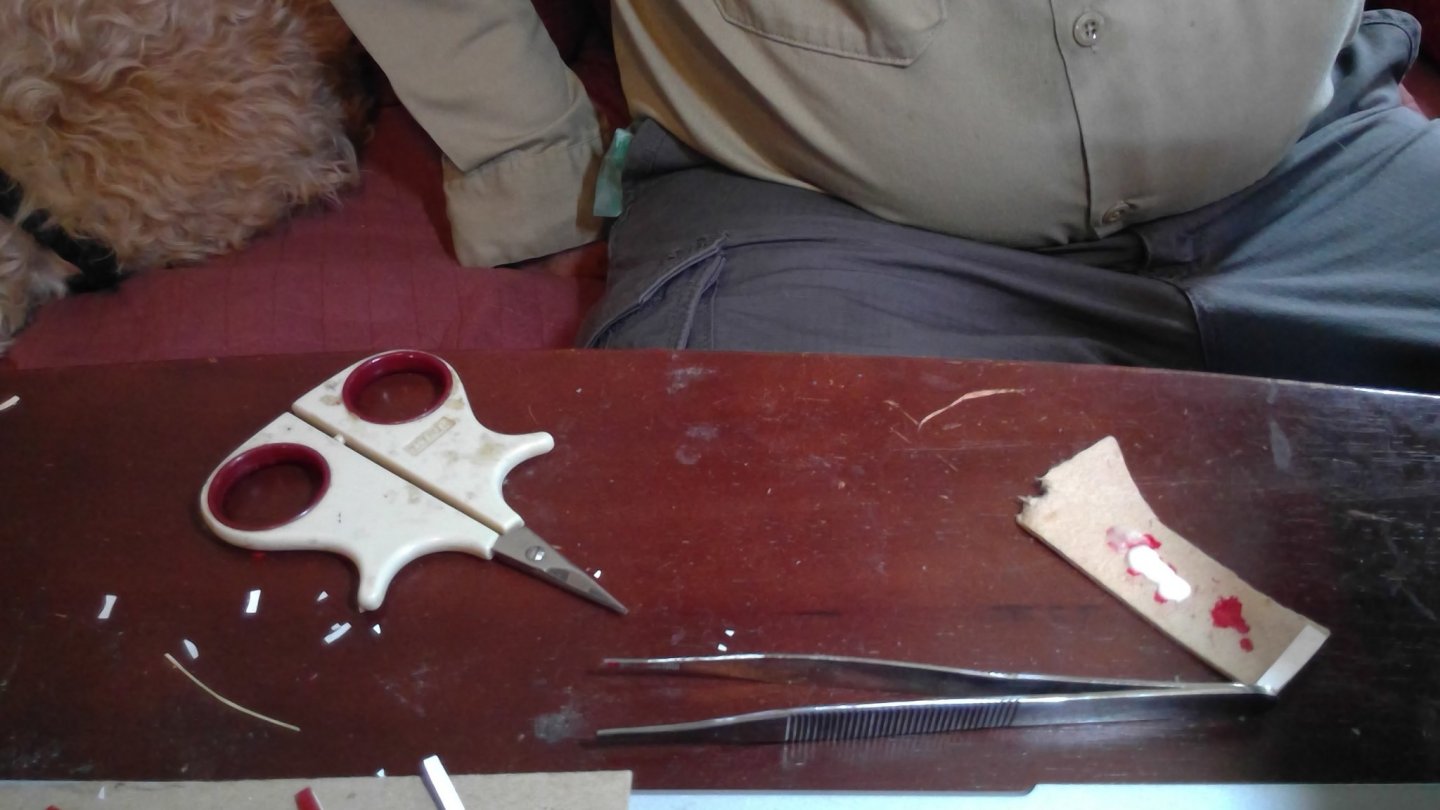
cutting little tiny square bars from bamboo turns out to be a real trick. I discovered if you hold the bamboo down against your jeans and draw it under the knife it does a fair imitation of a plane.
the square bars will became the frame inside the deck bulwarks when cut into small pieces.


- ccoyle, GrandpaPhil, Halfdan and 1 other
-
4
-
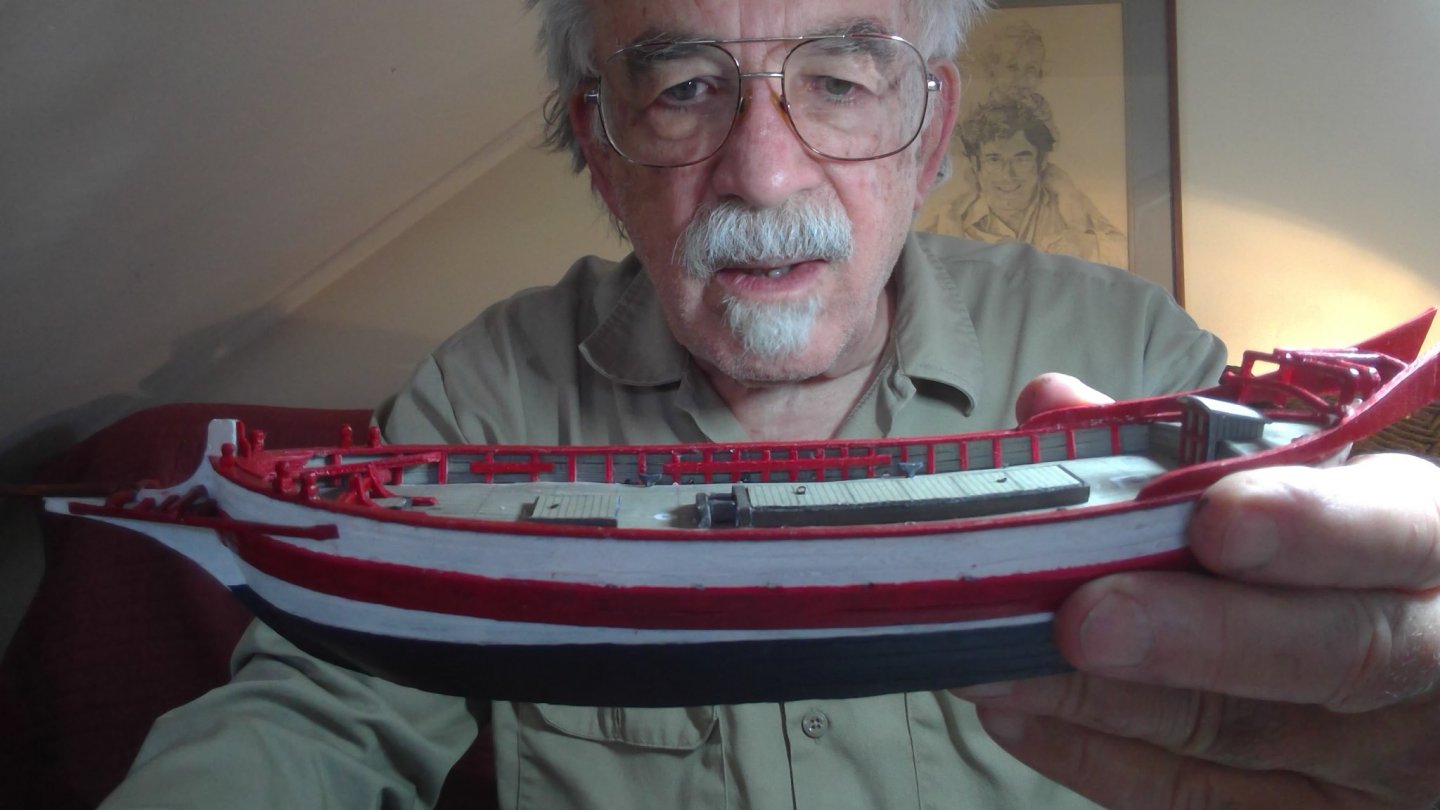
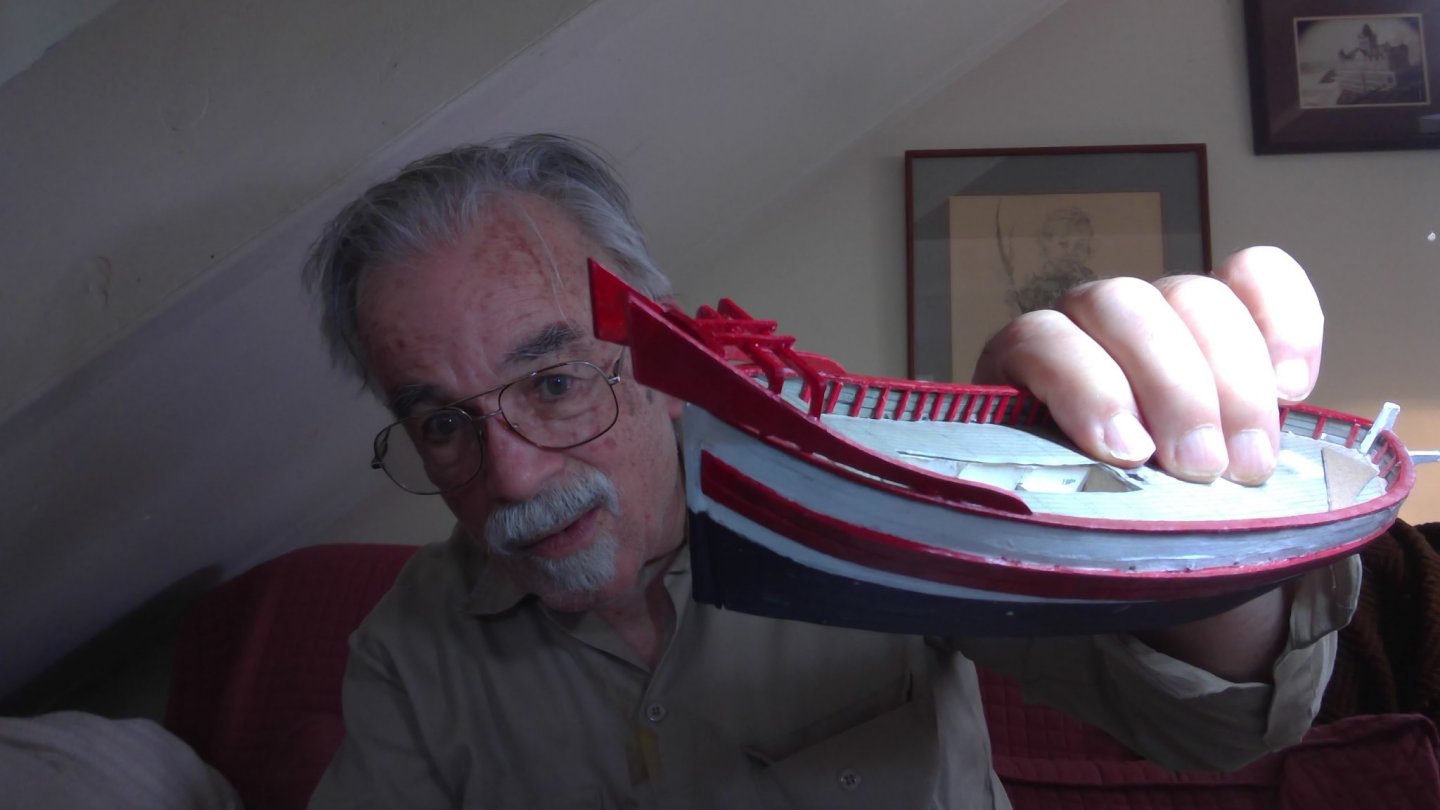
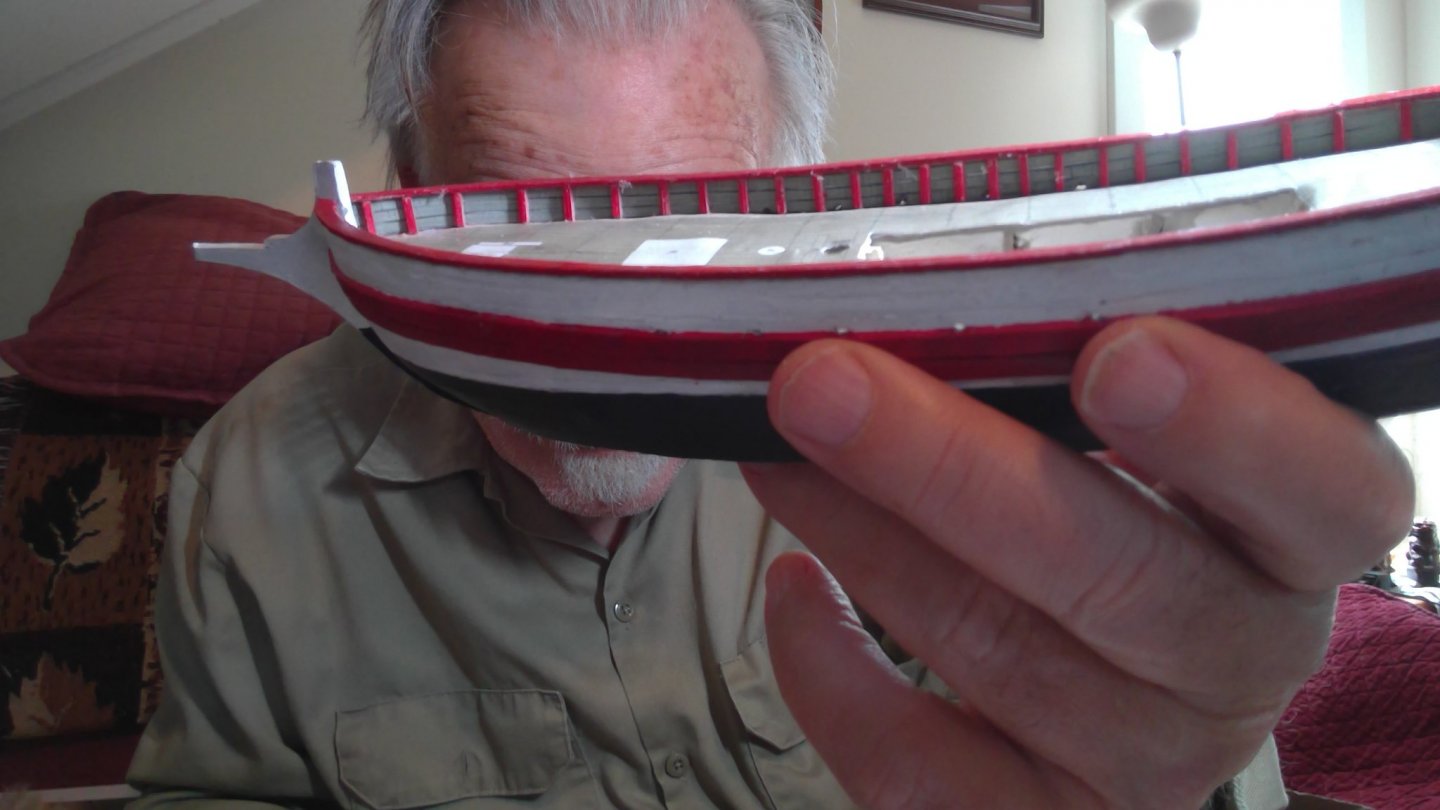
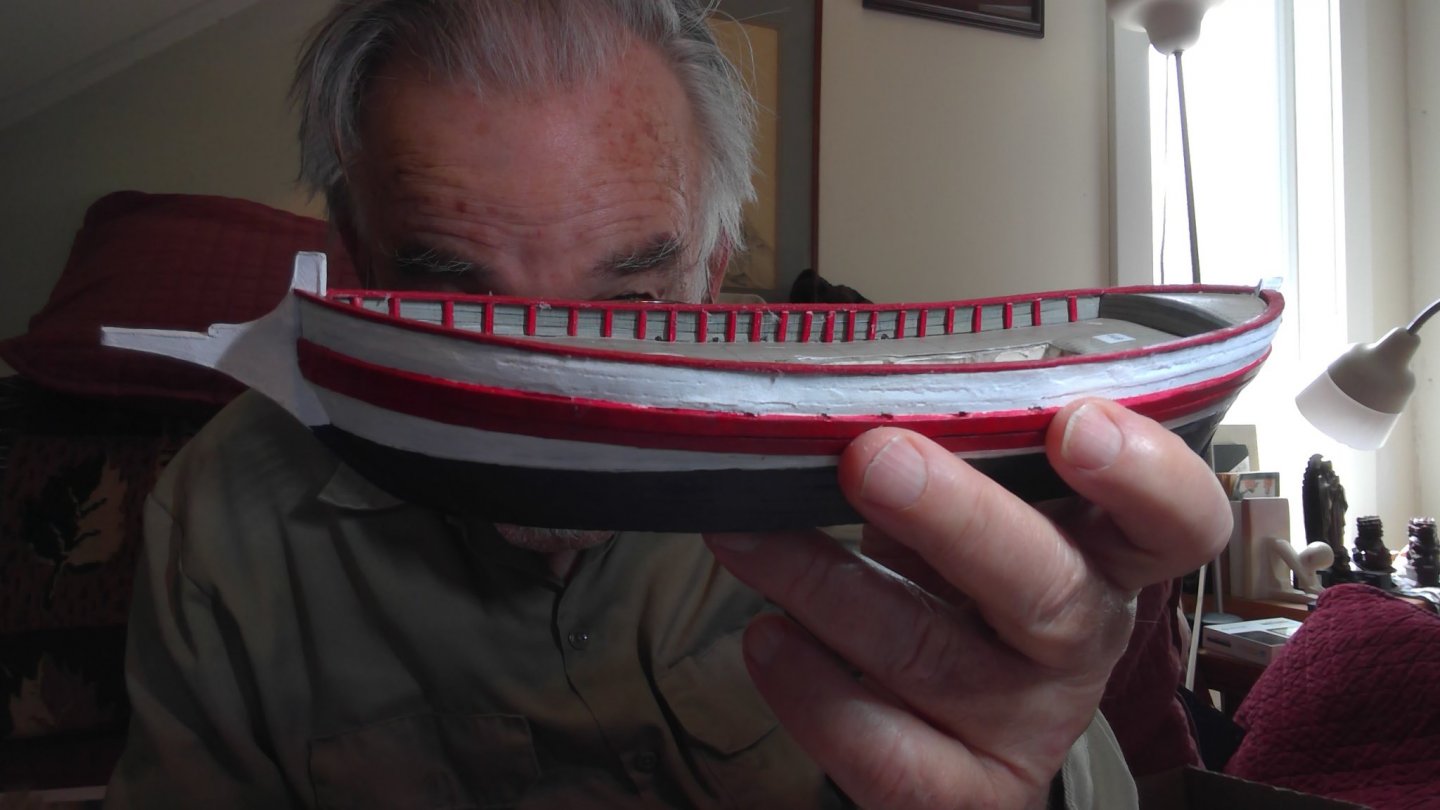
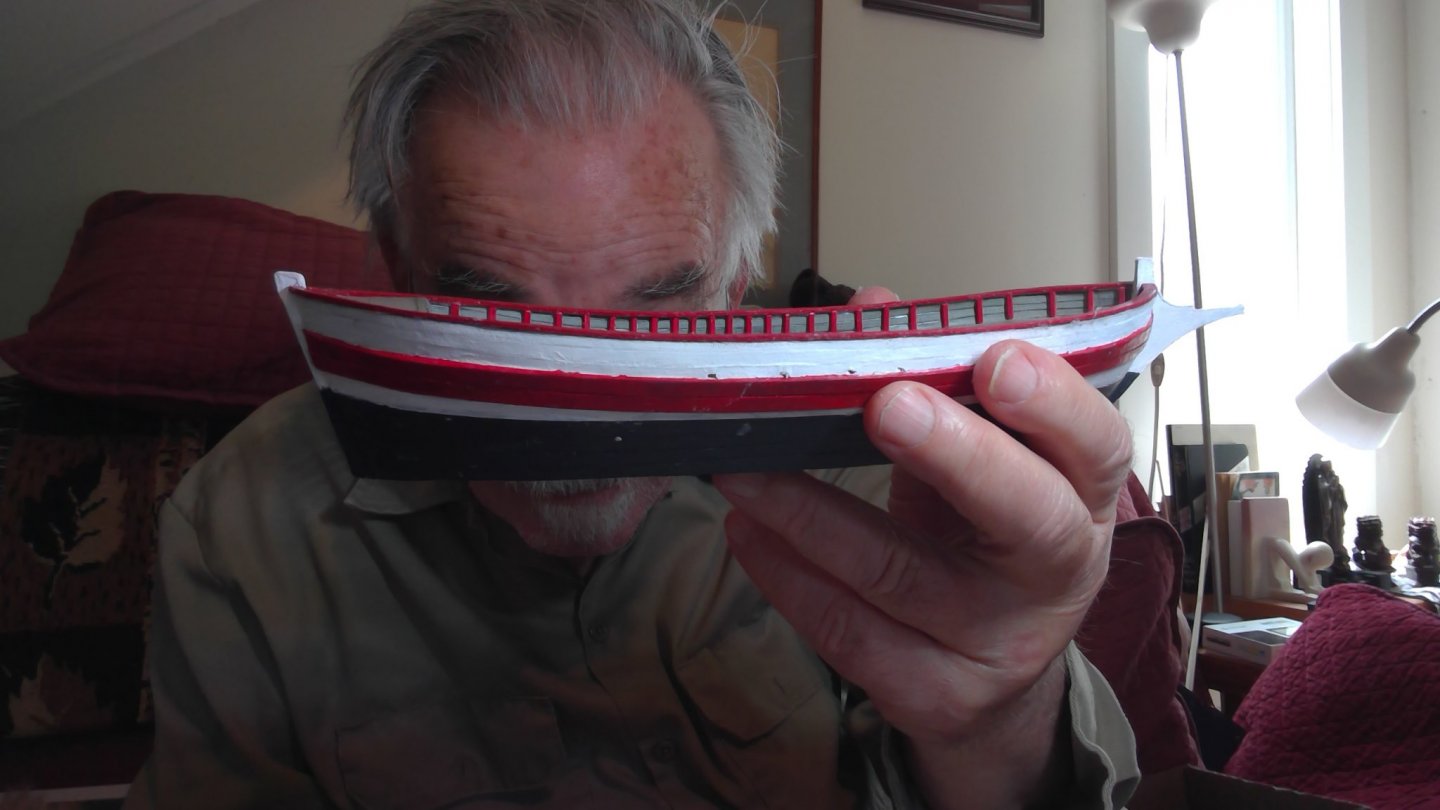
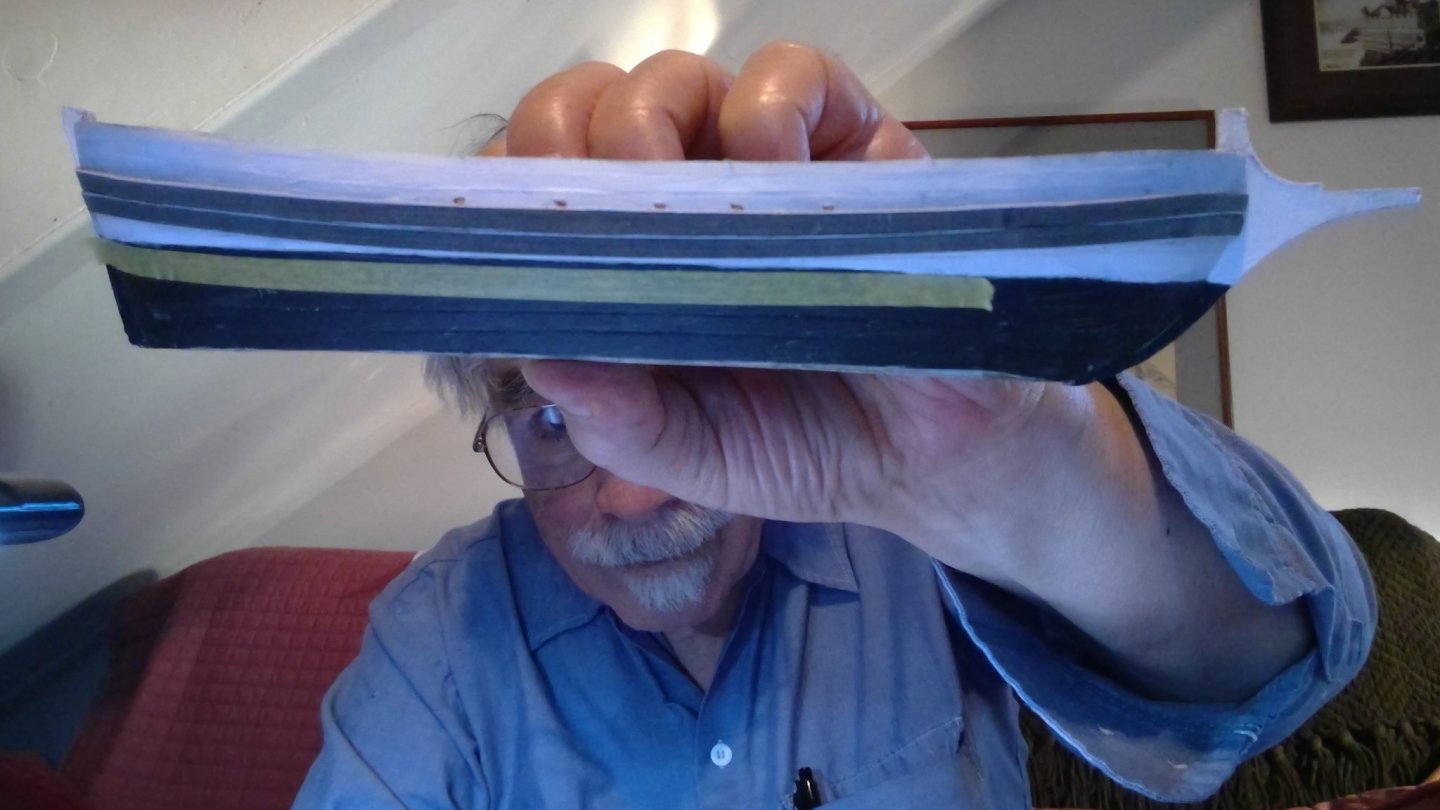
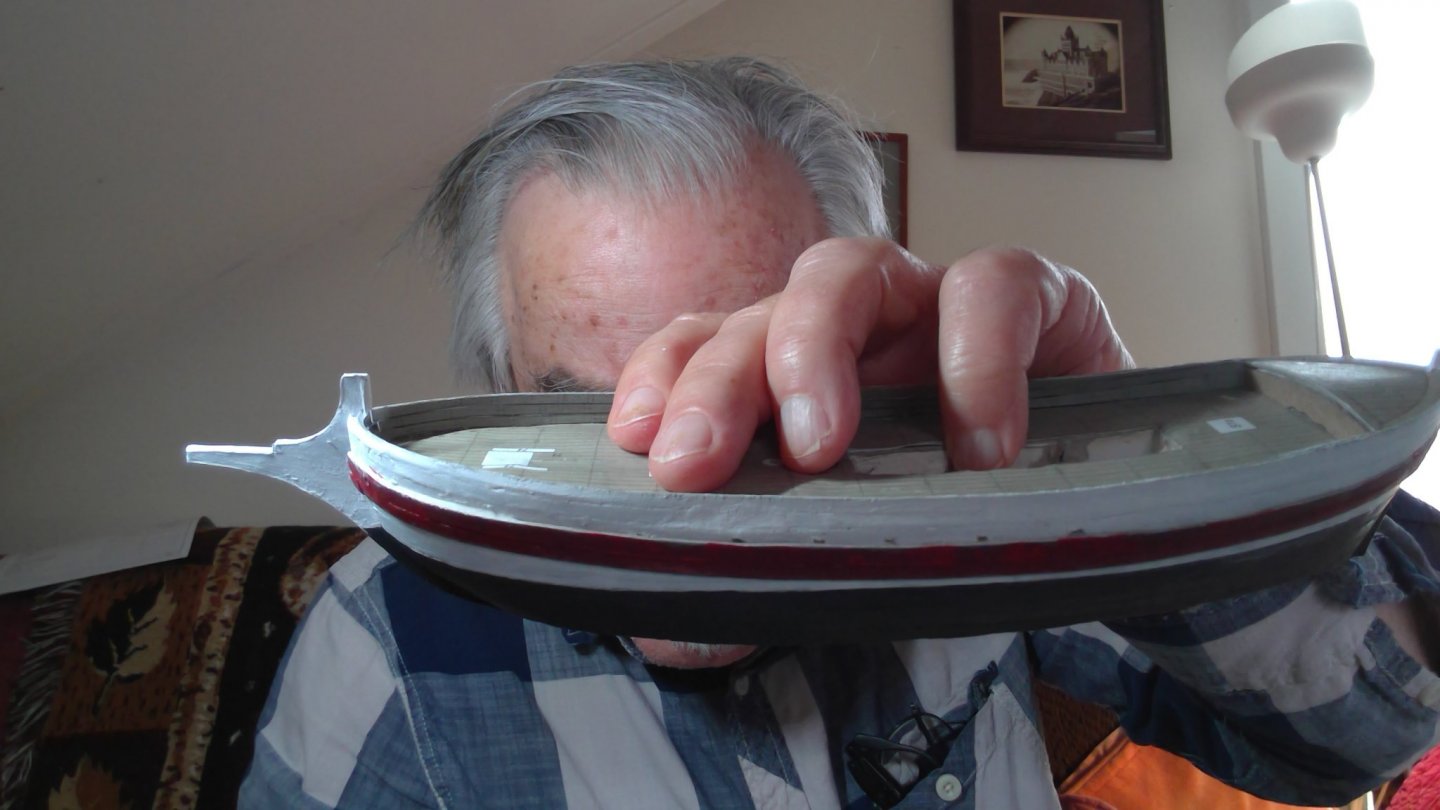
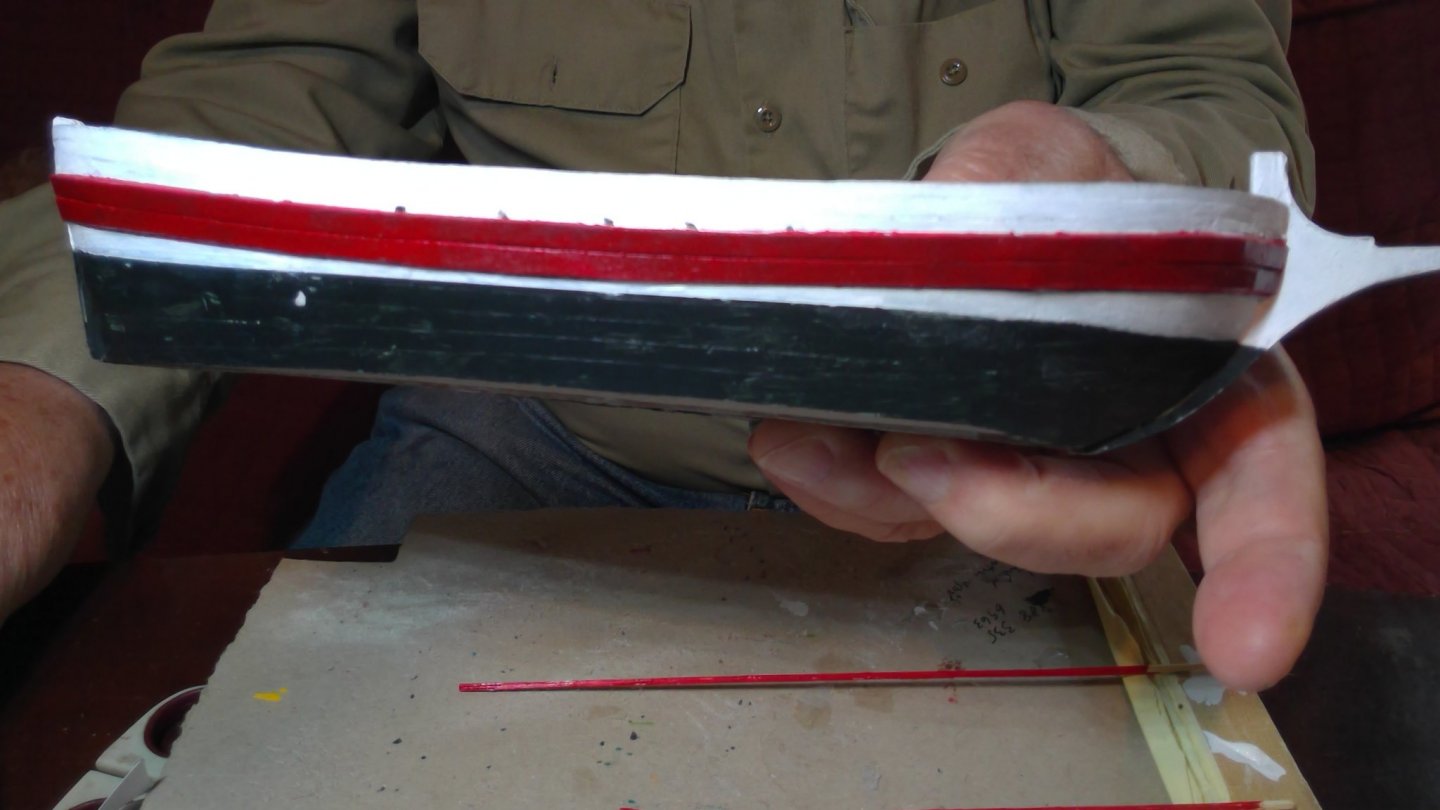
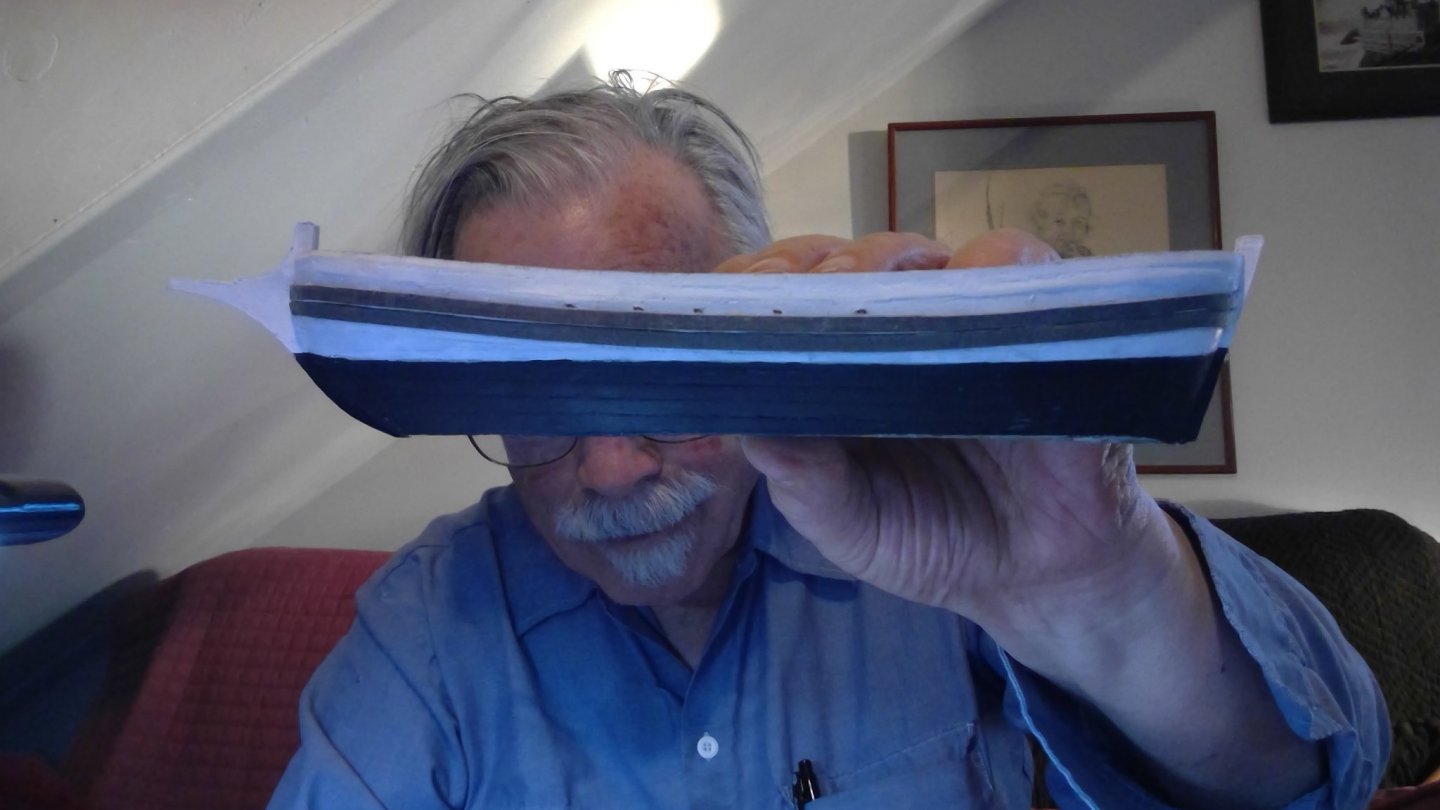
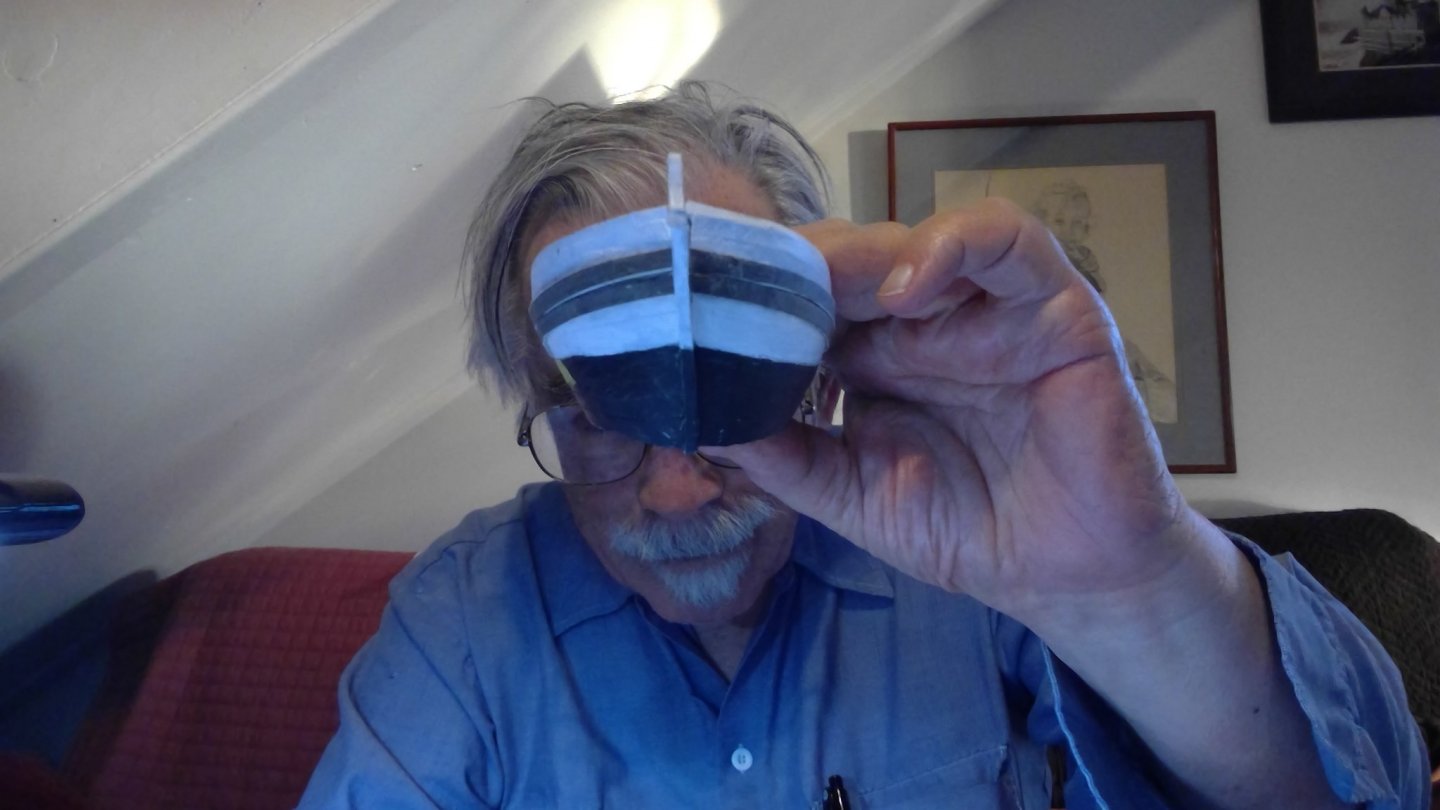
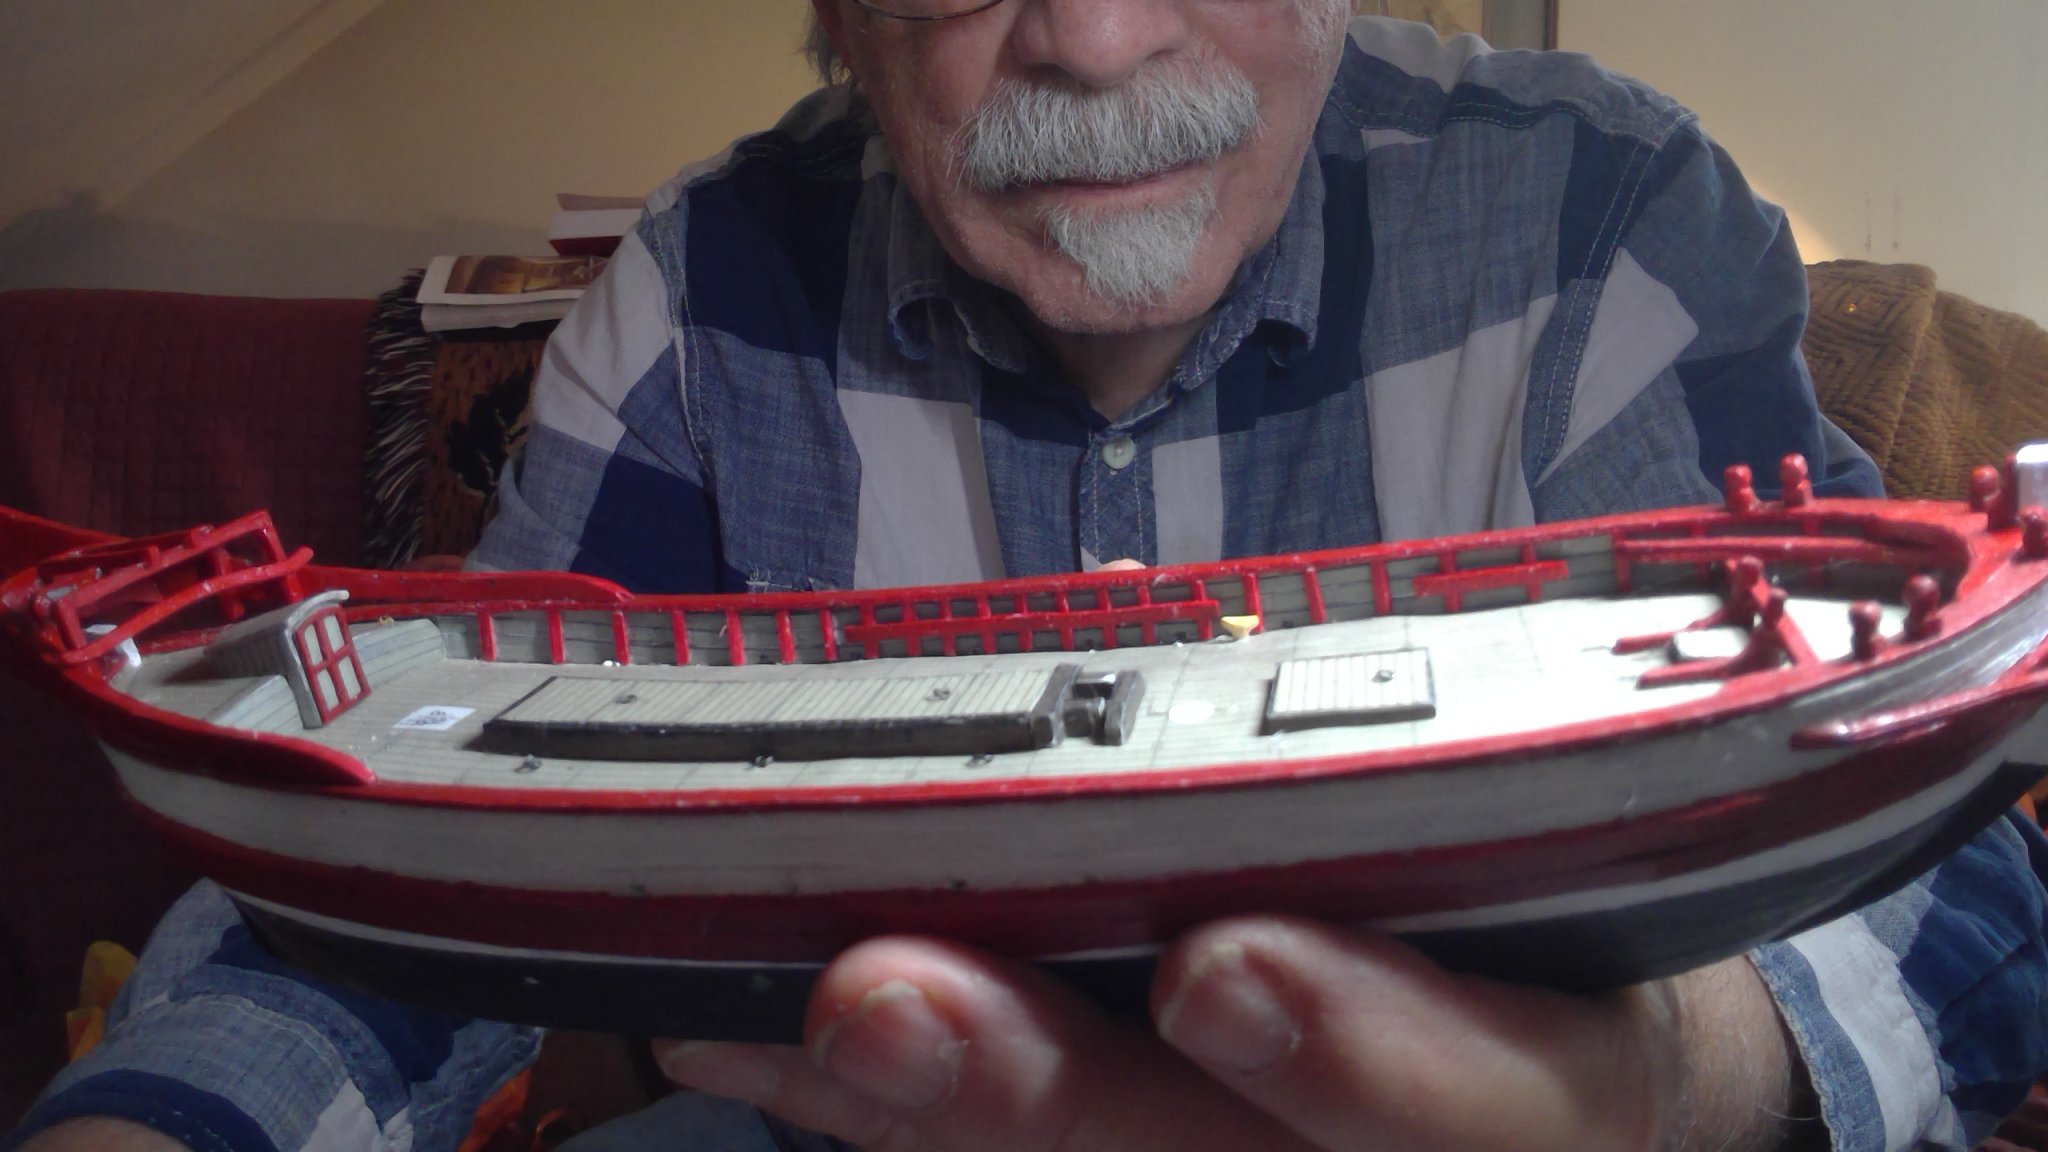
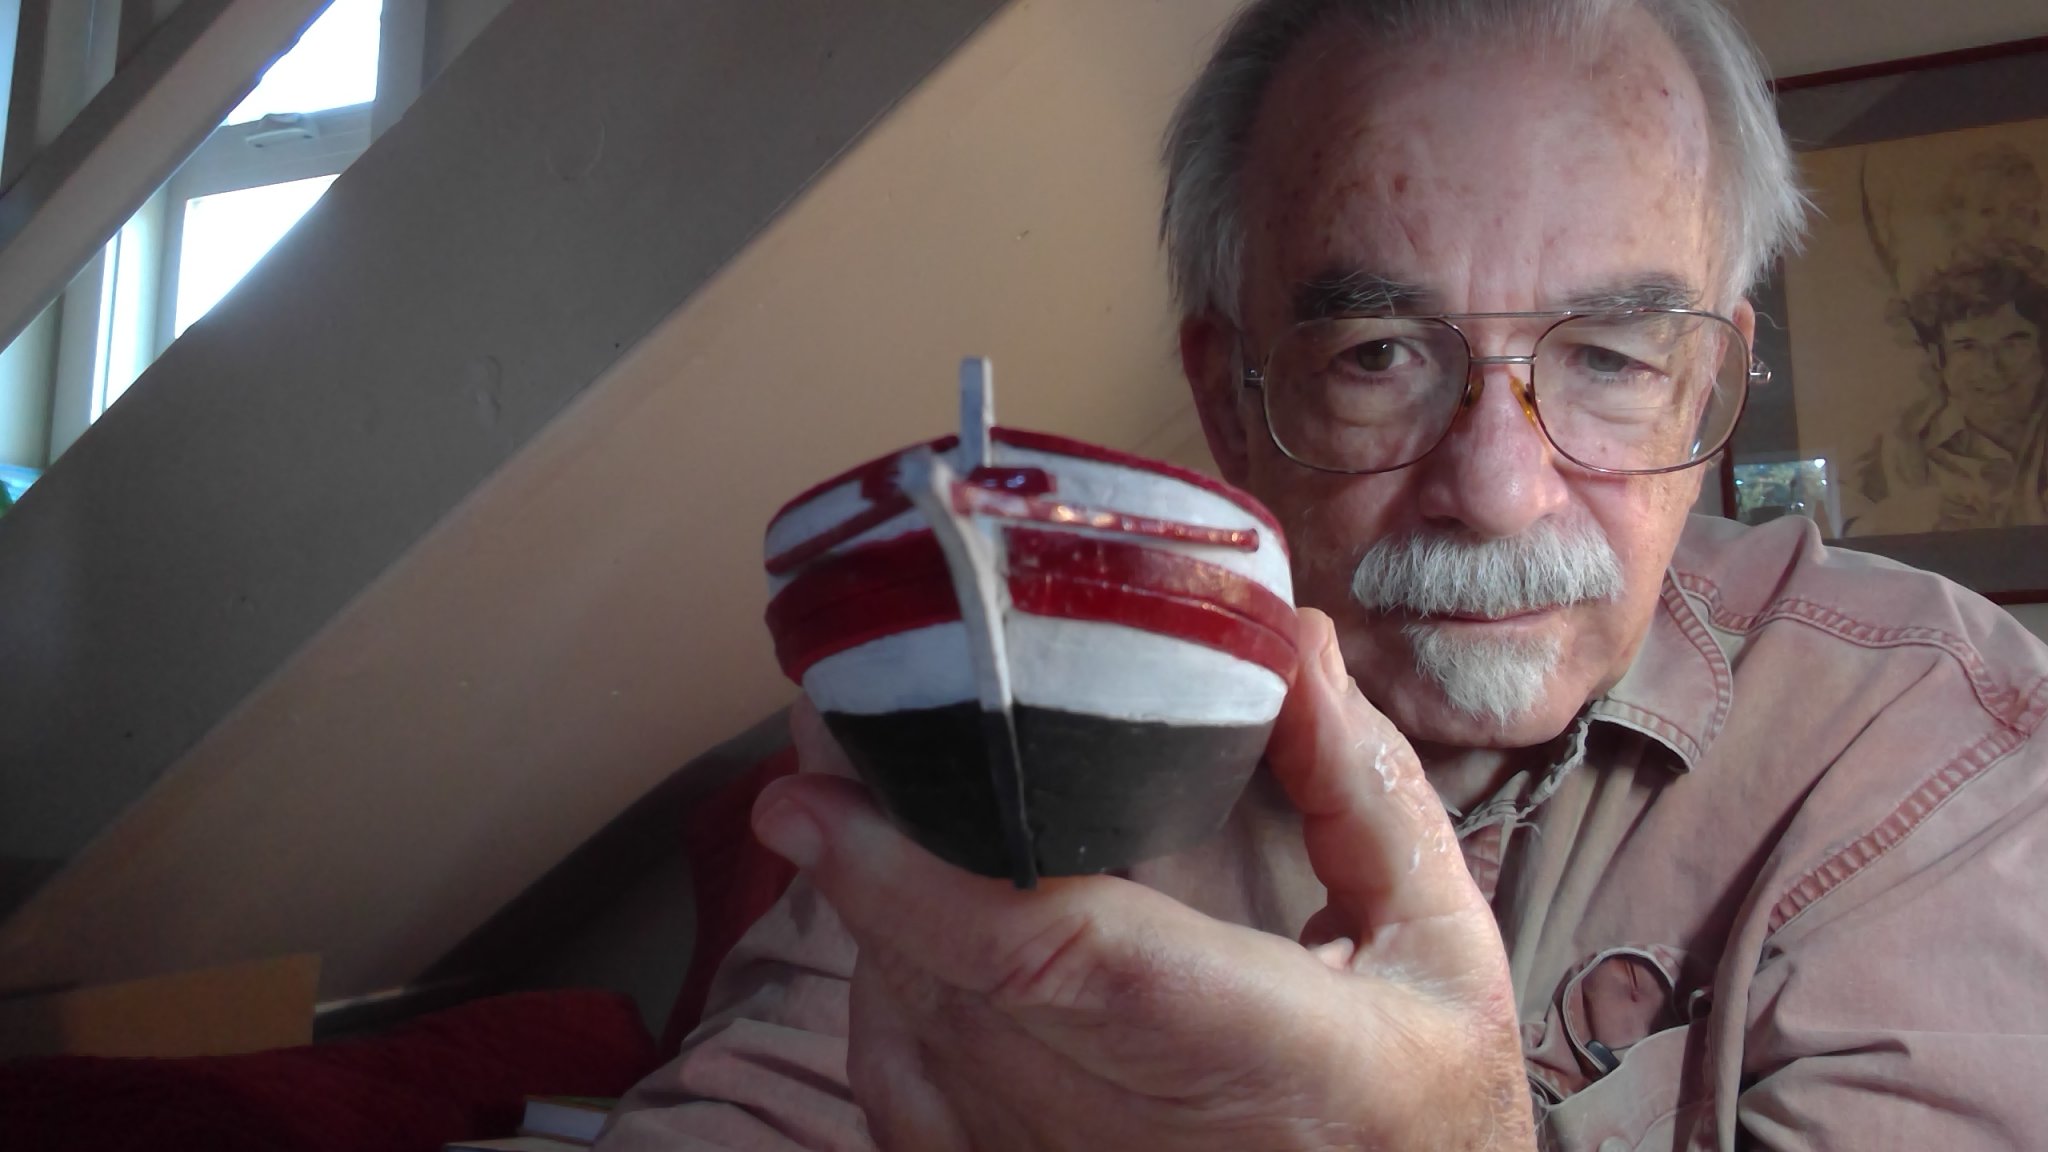
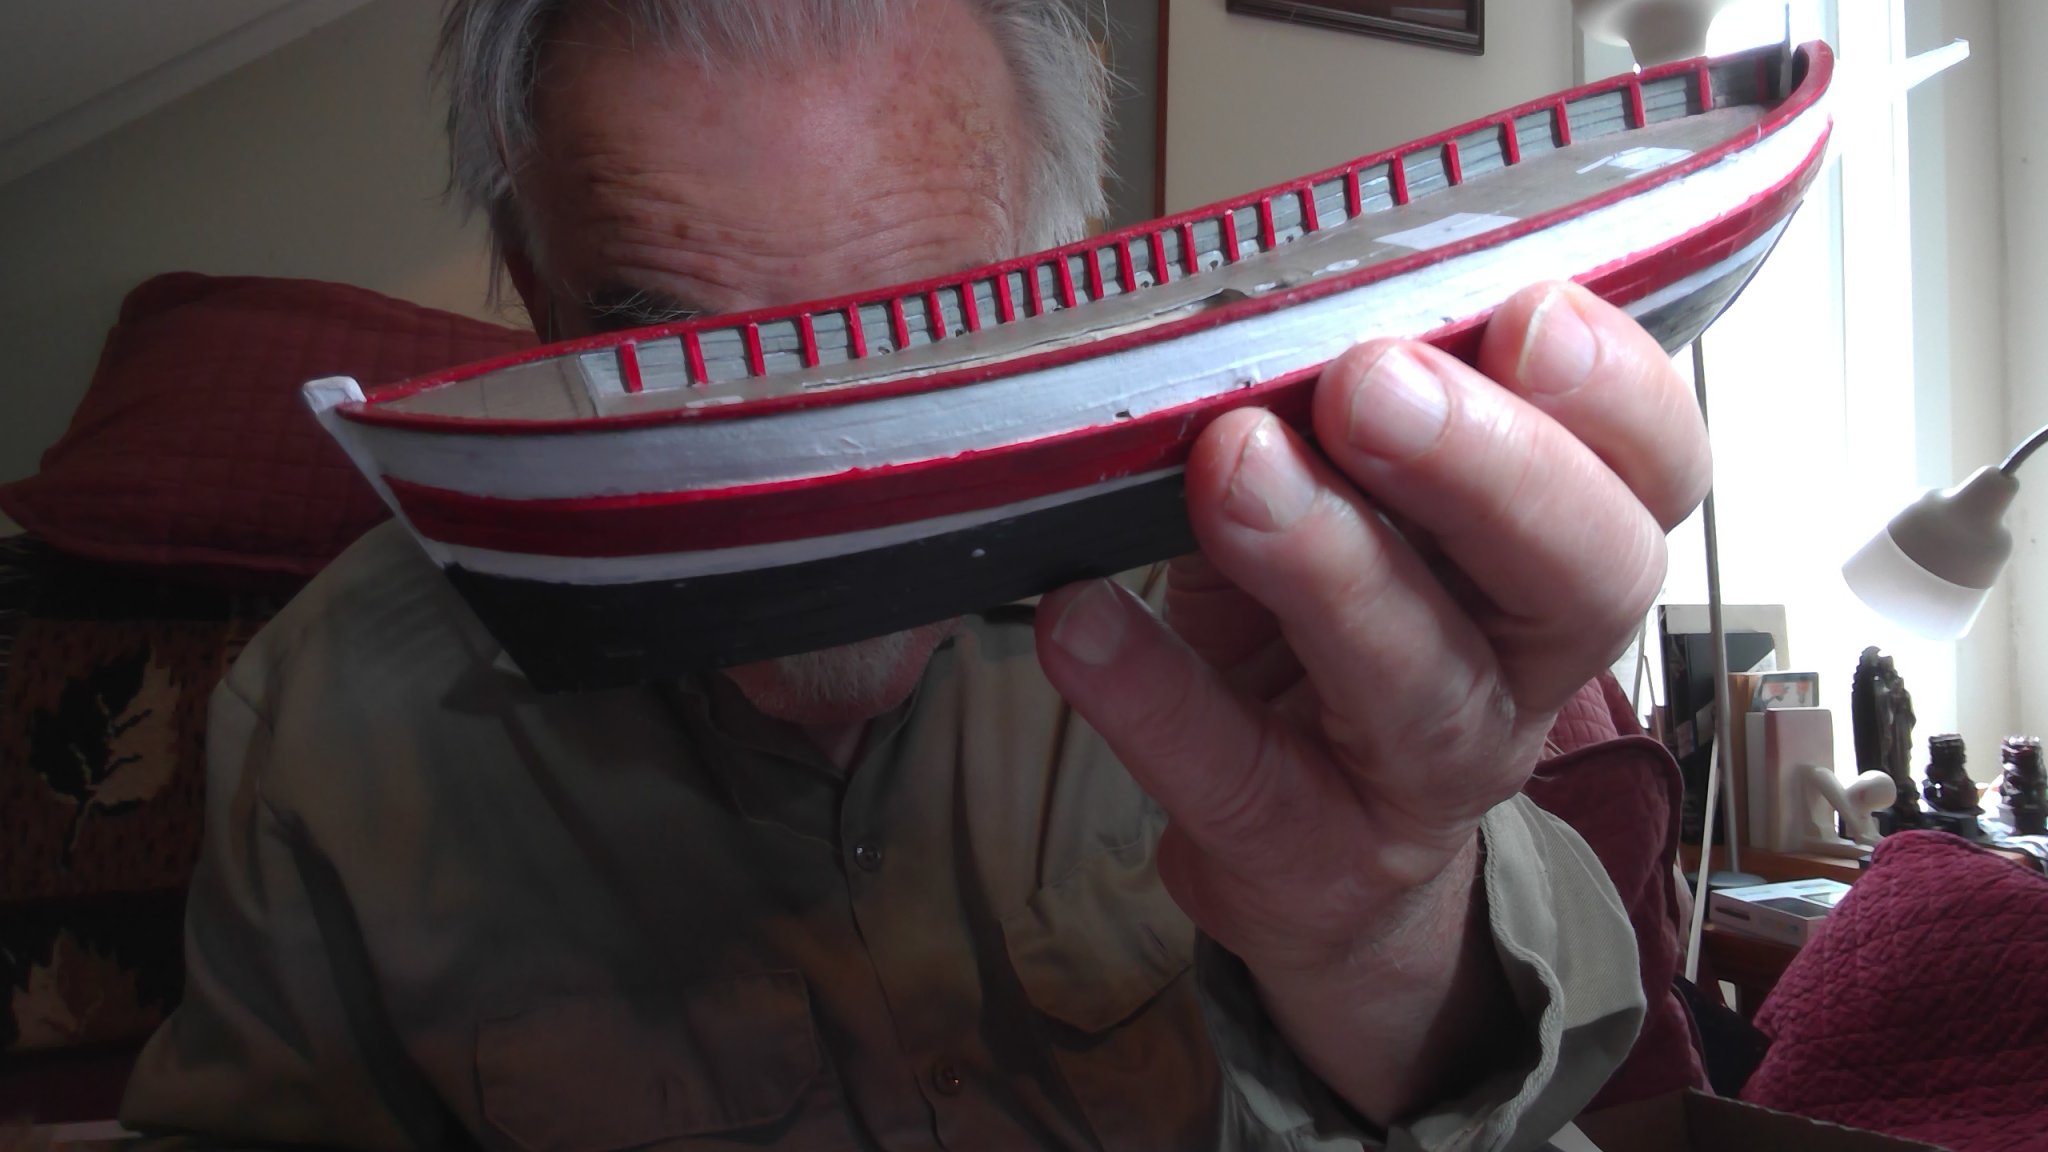
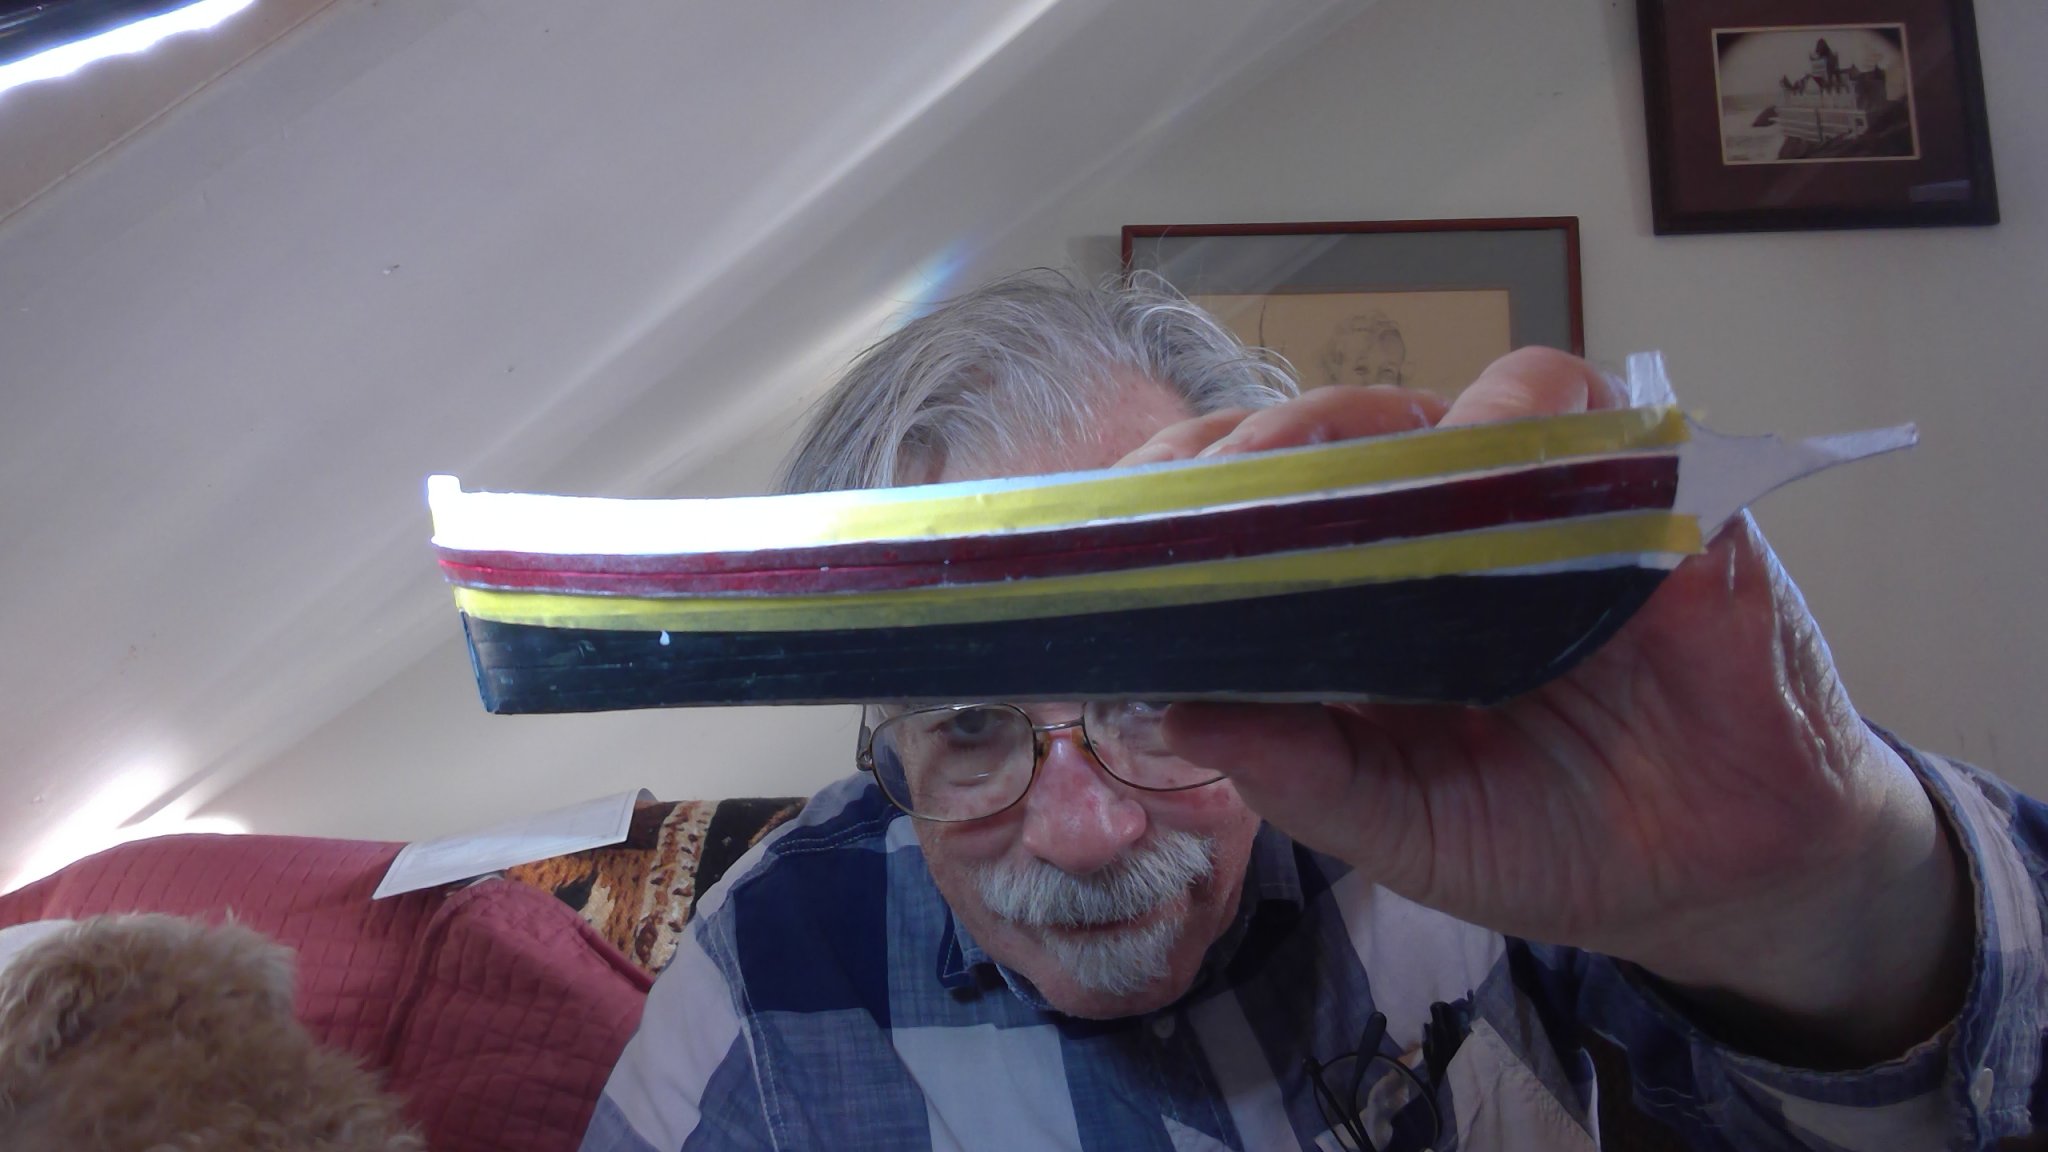
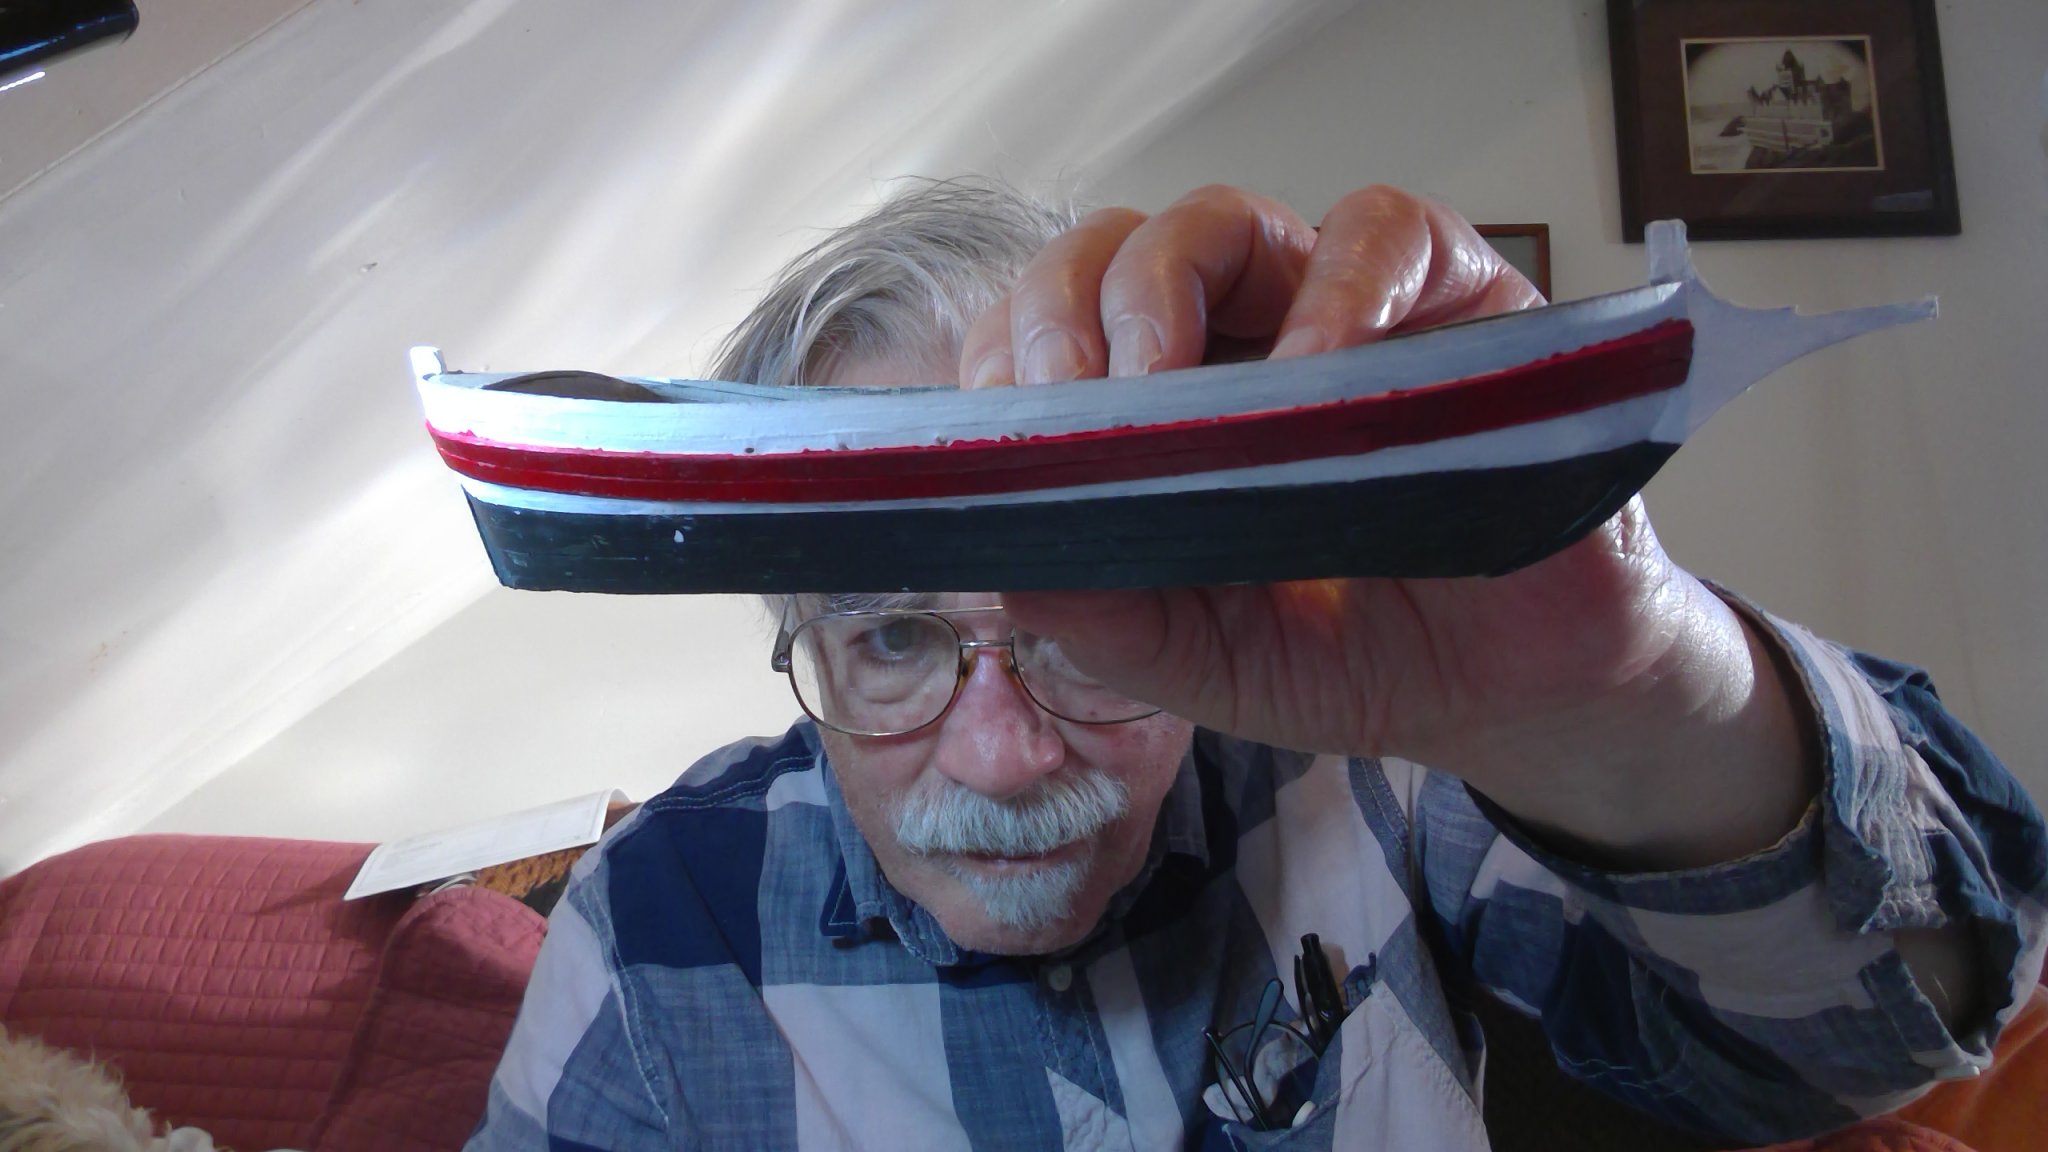
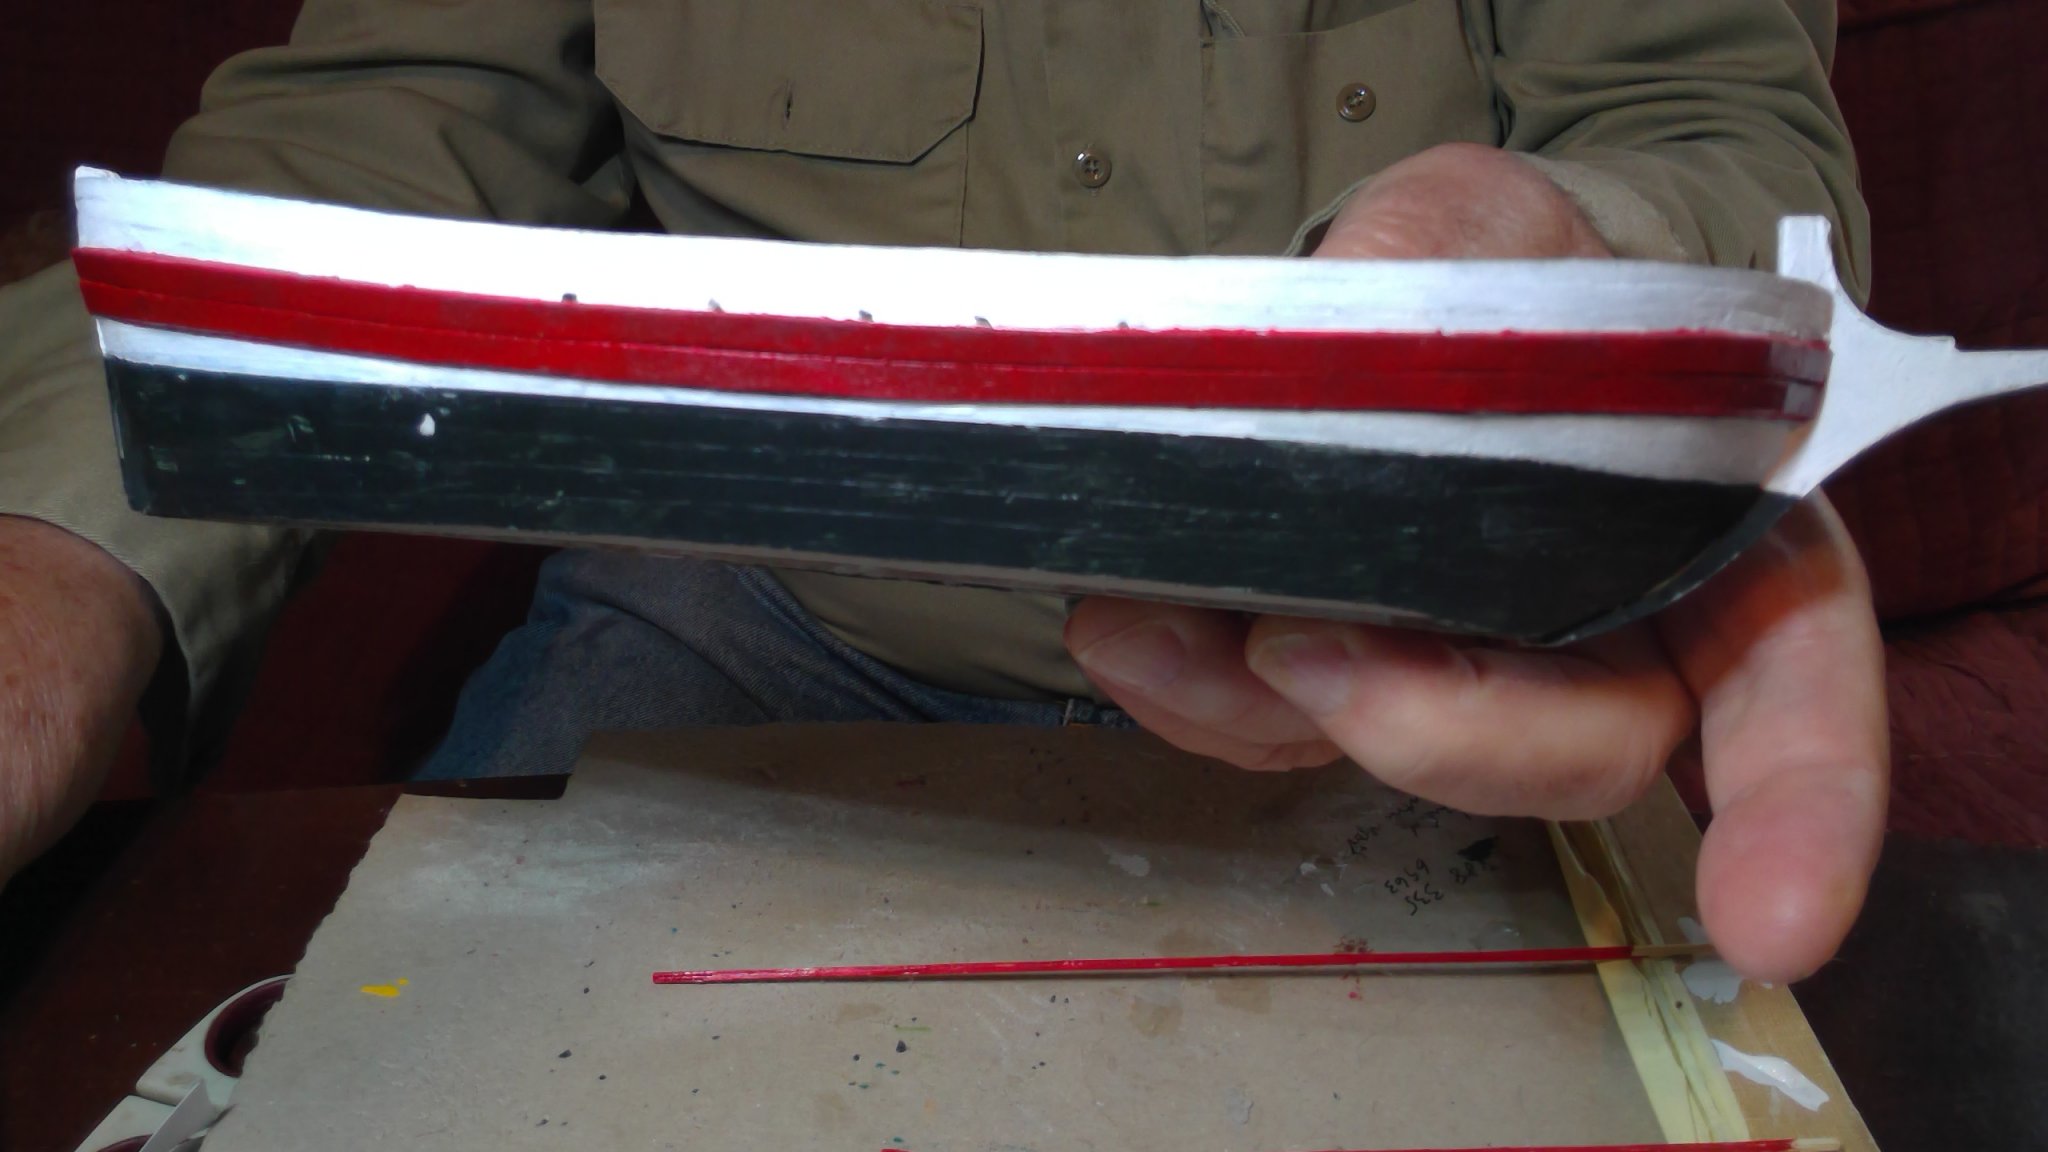
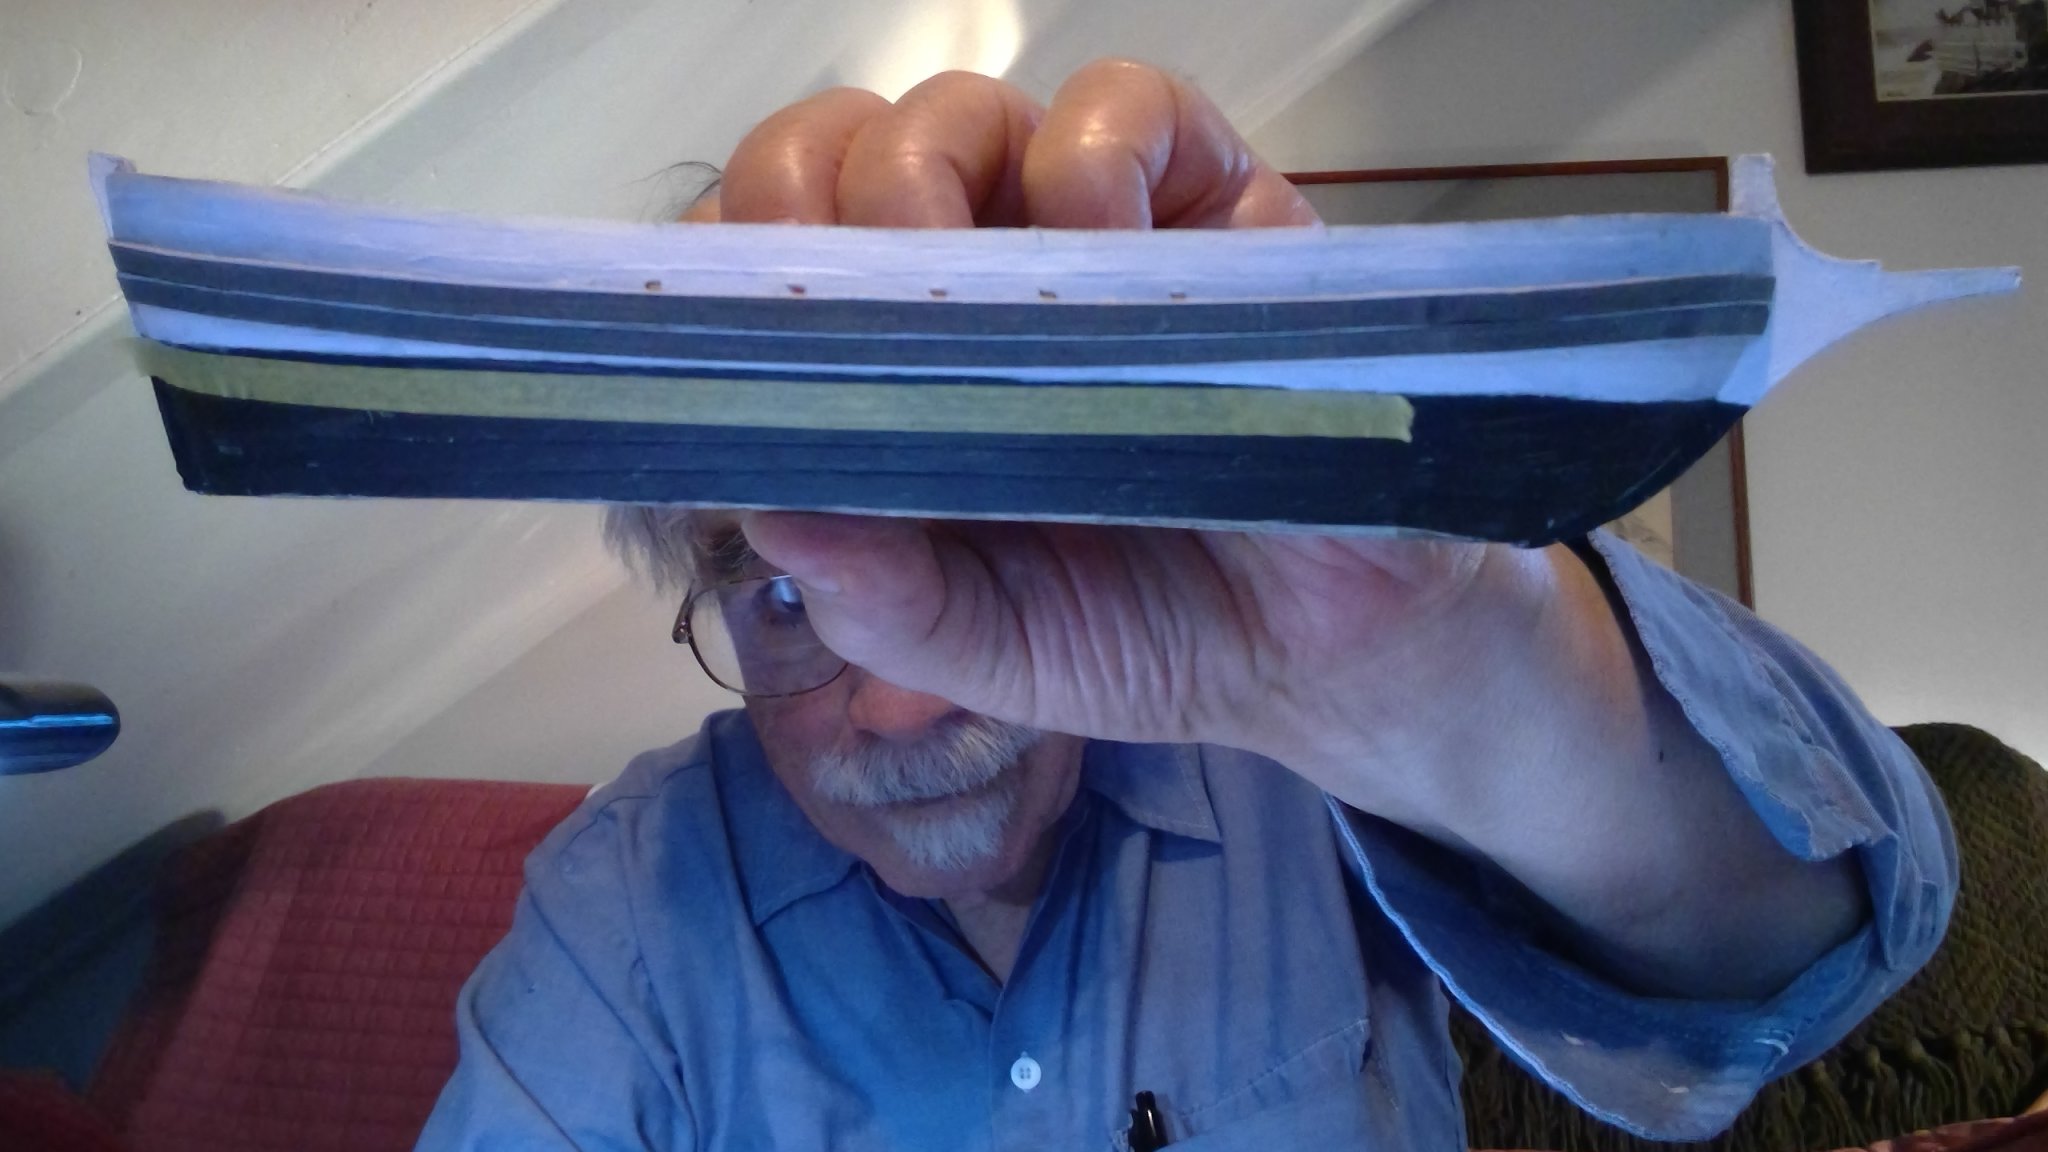
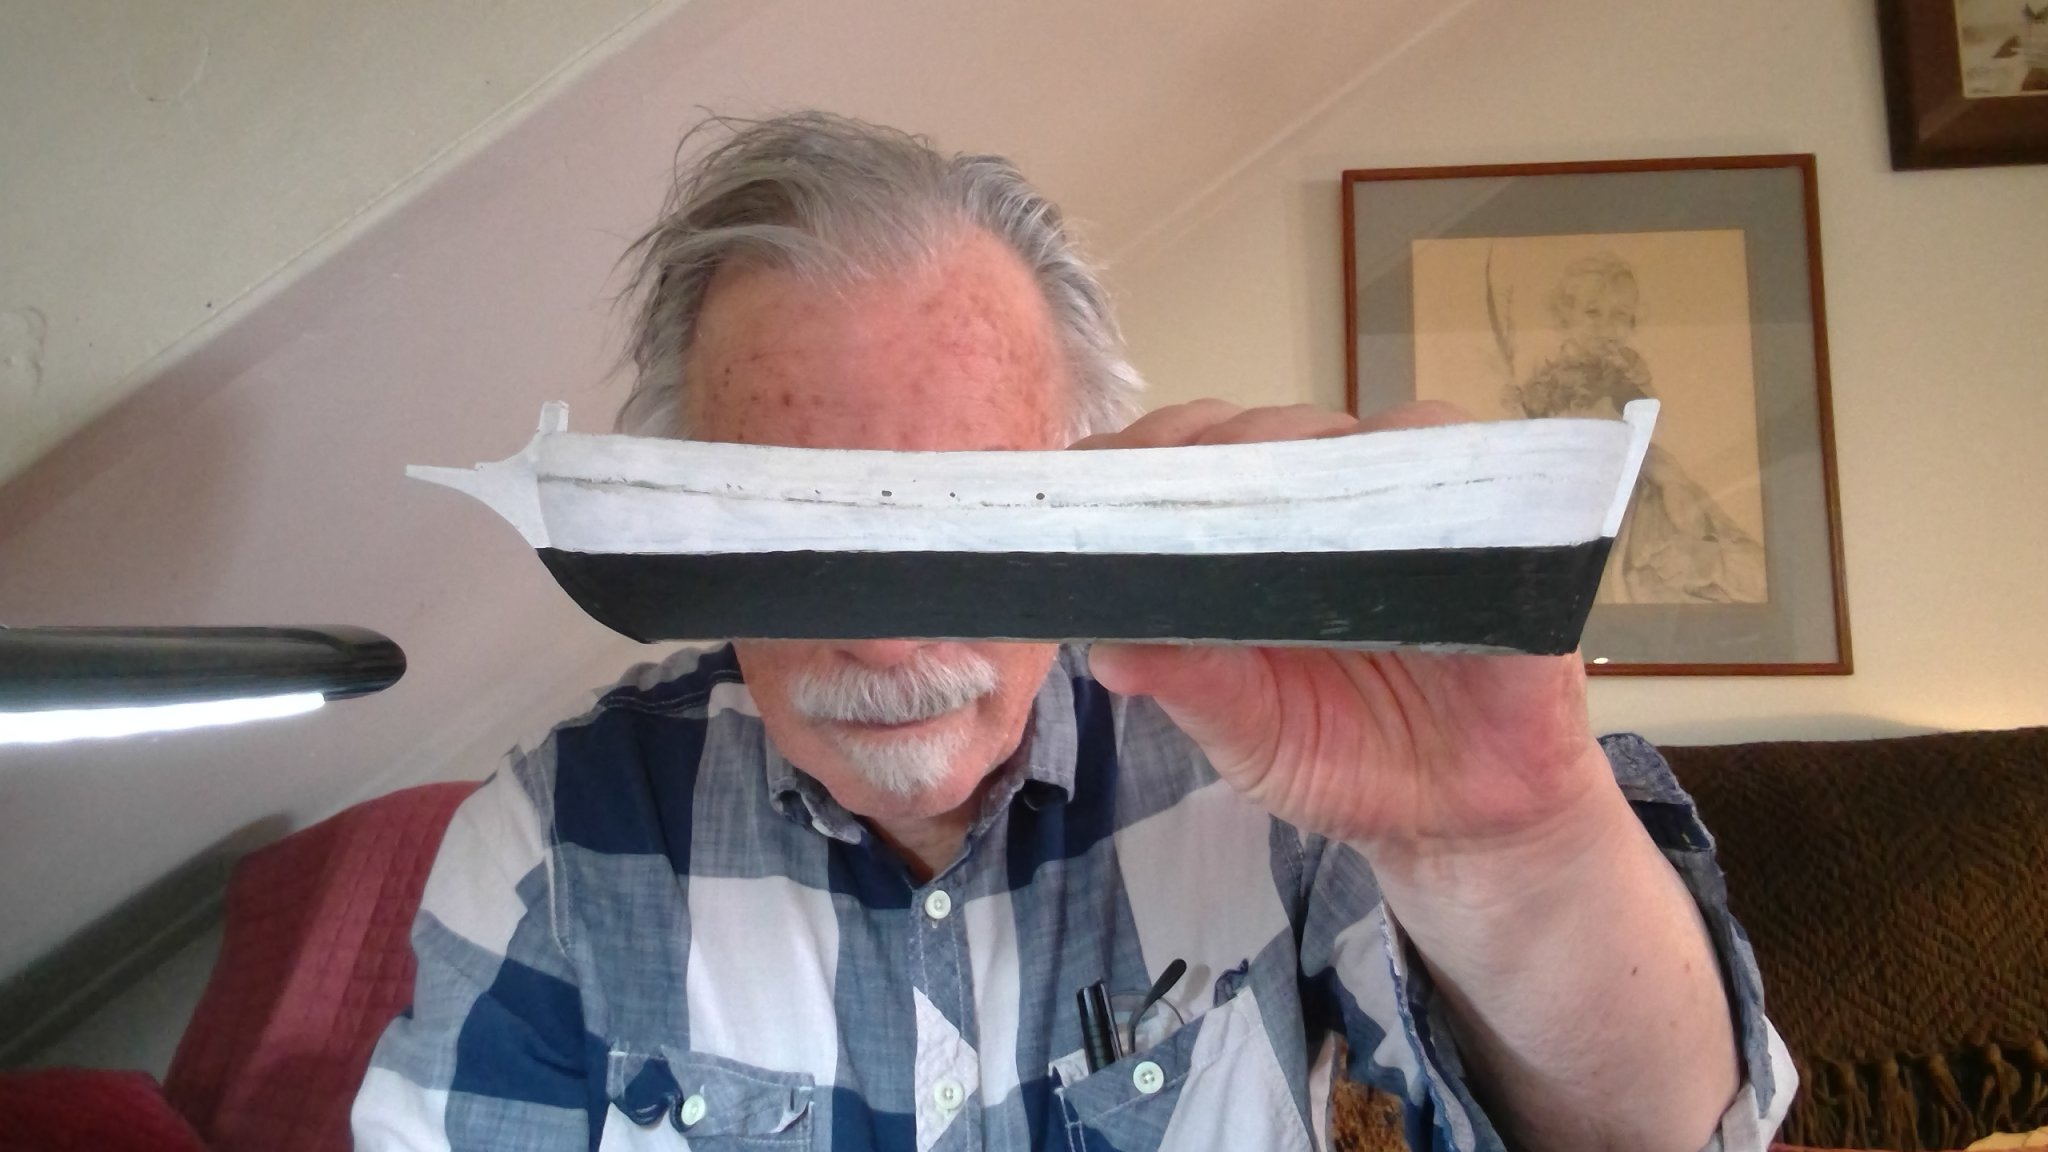
put on the wales... always love that..gives me a special feeling
have to adjust the "waterline" on one side to make the space between it and the wale match the other

- ccoyle, GrandpaPhil, kondzik and 2 others
-
5
-
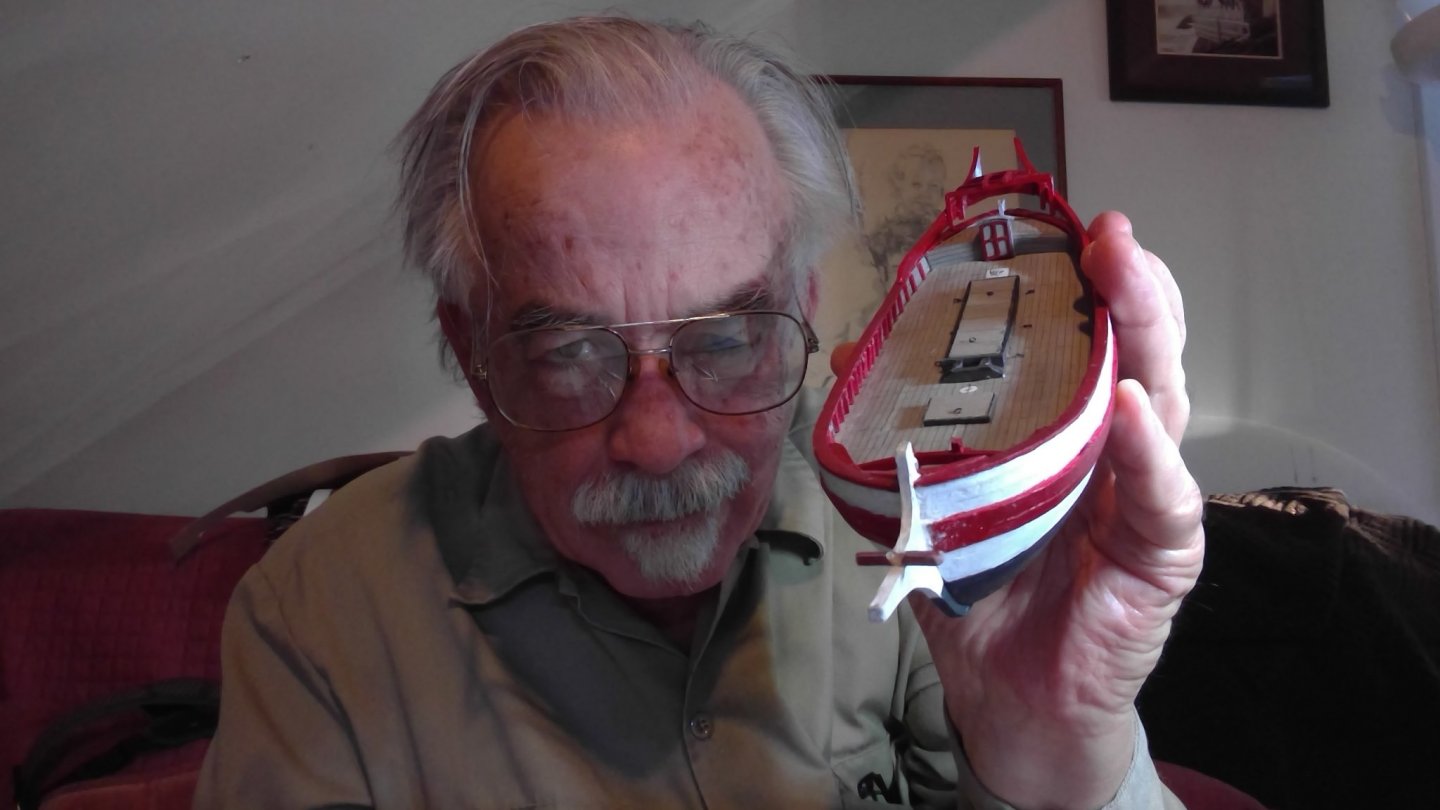
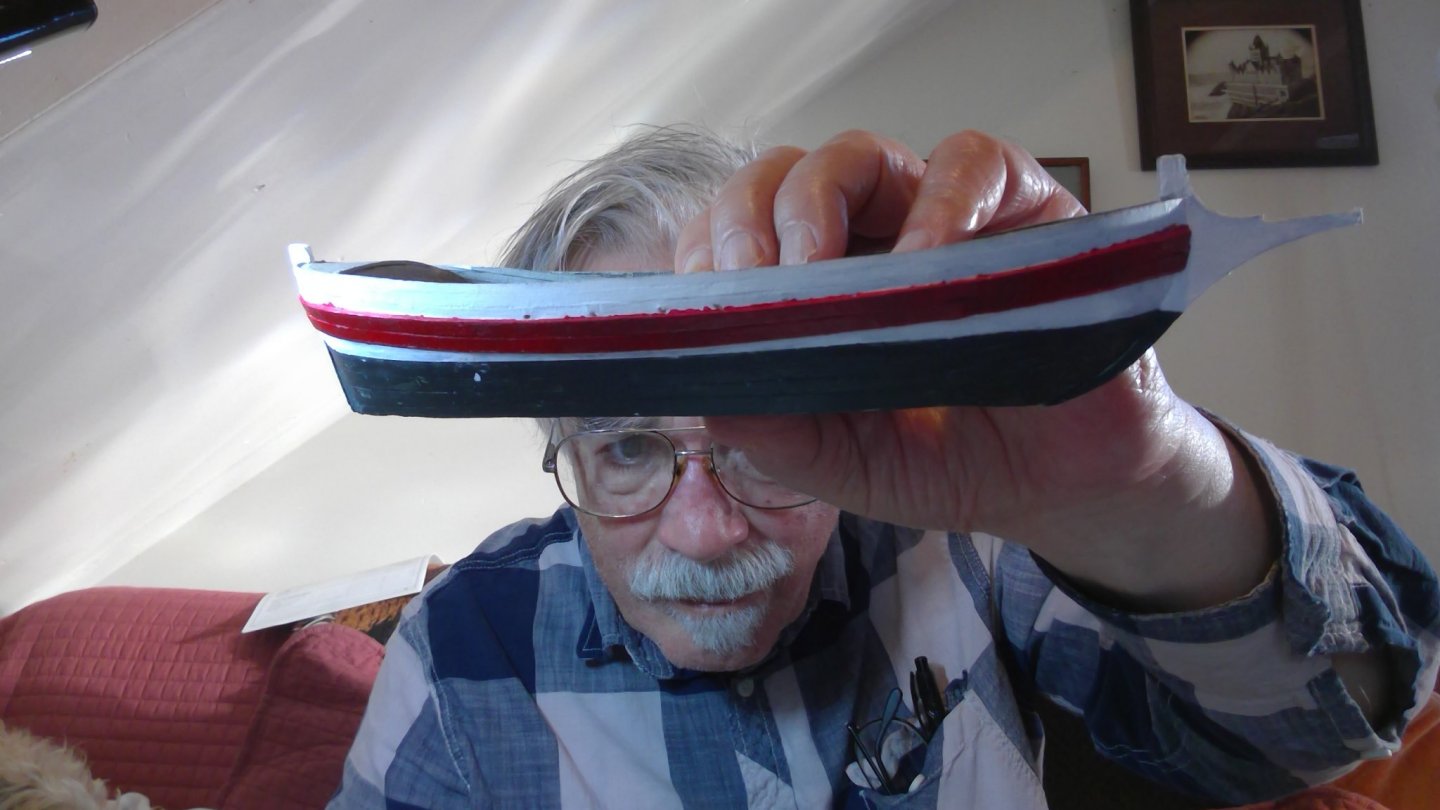
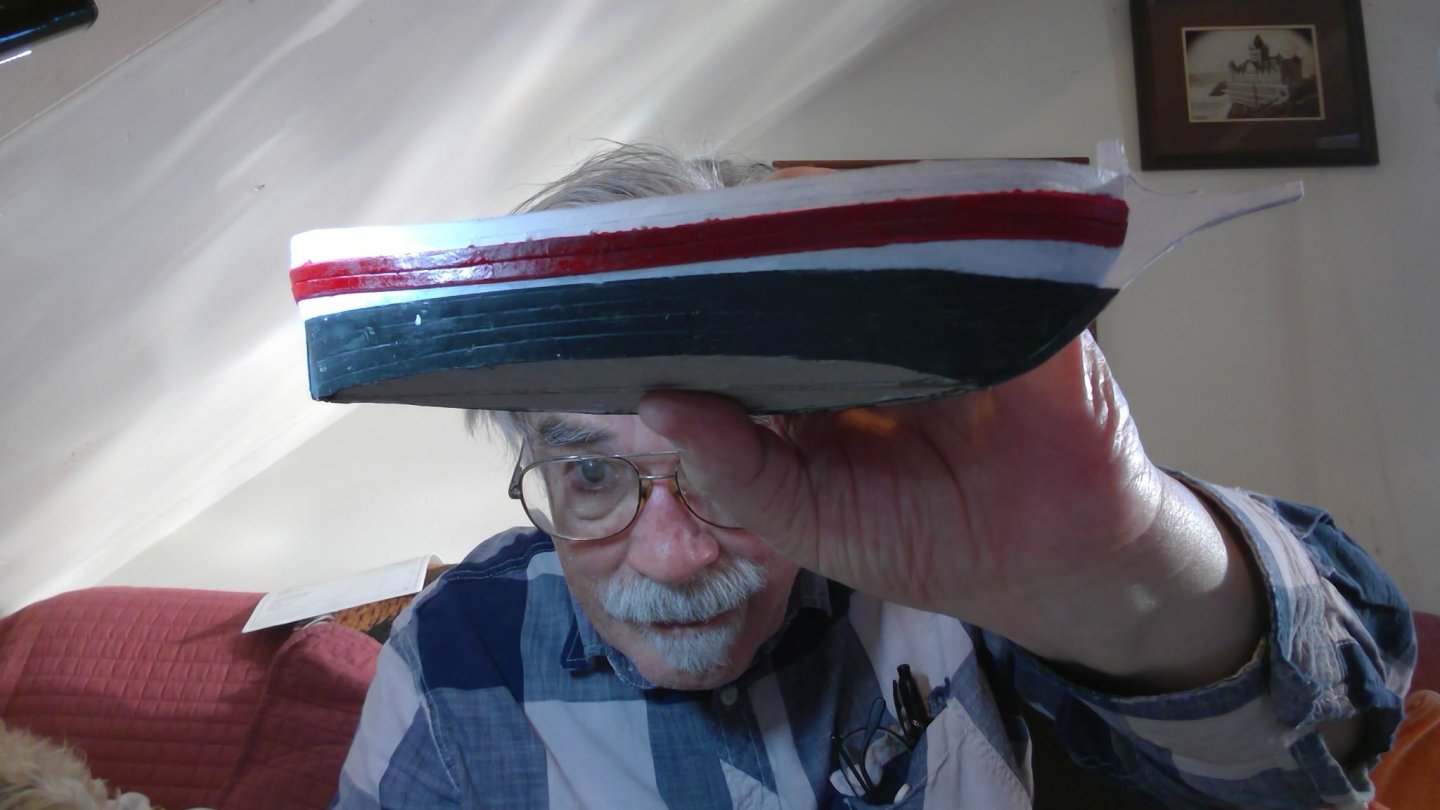
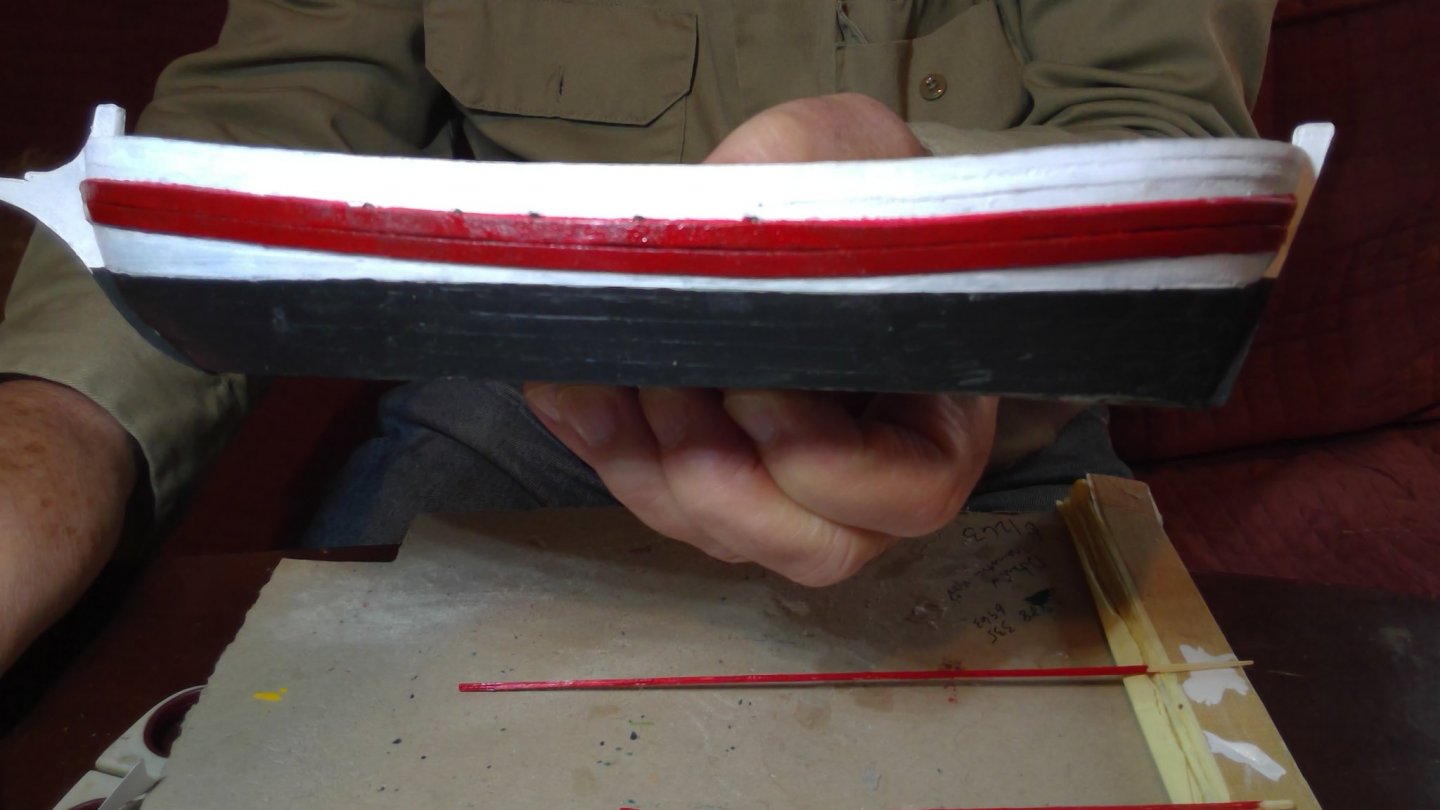
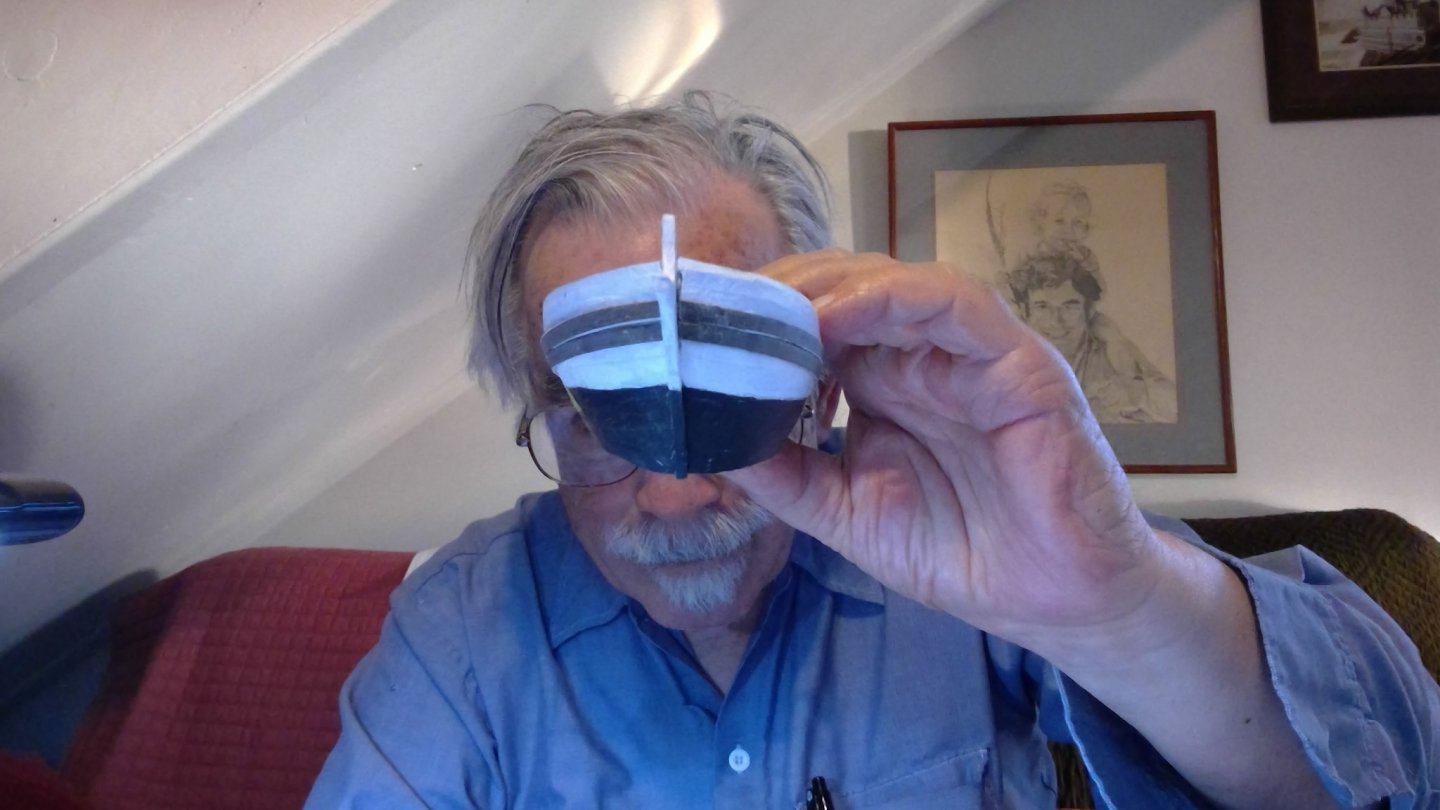
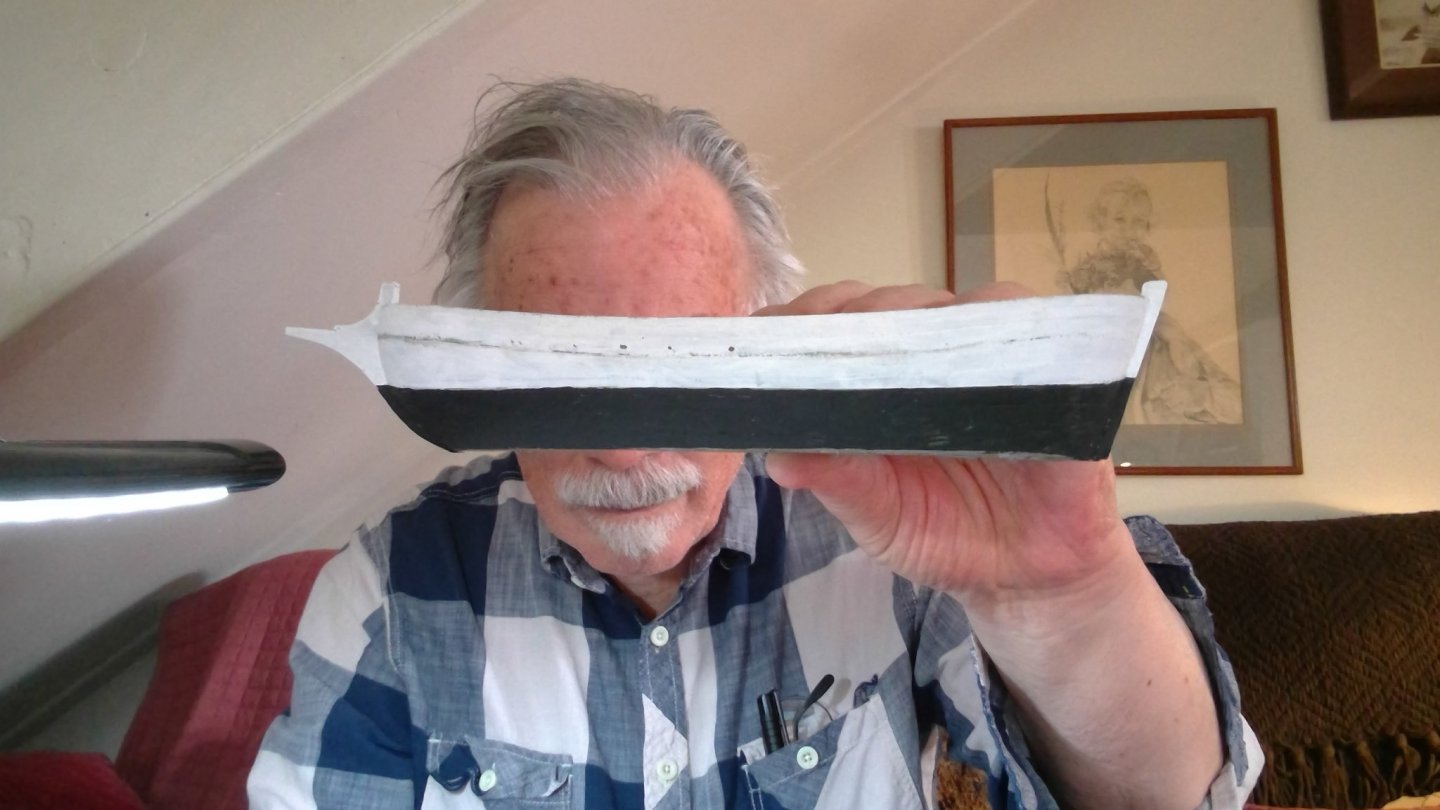
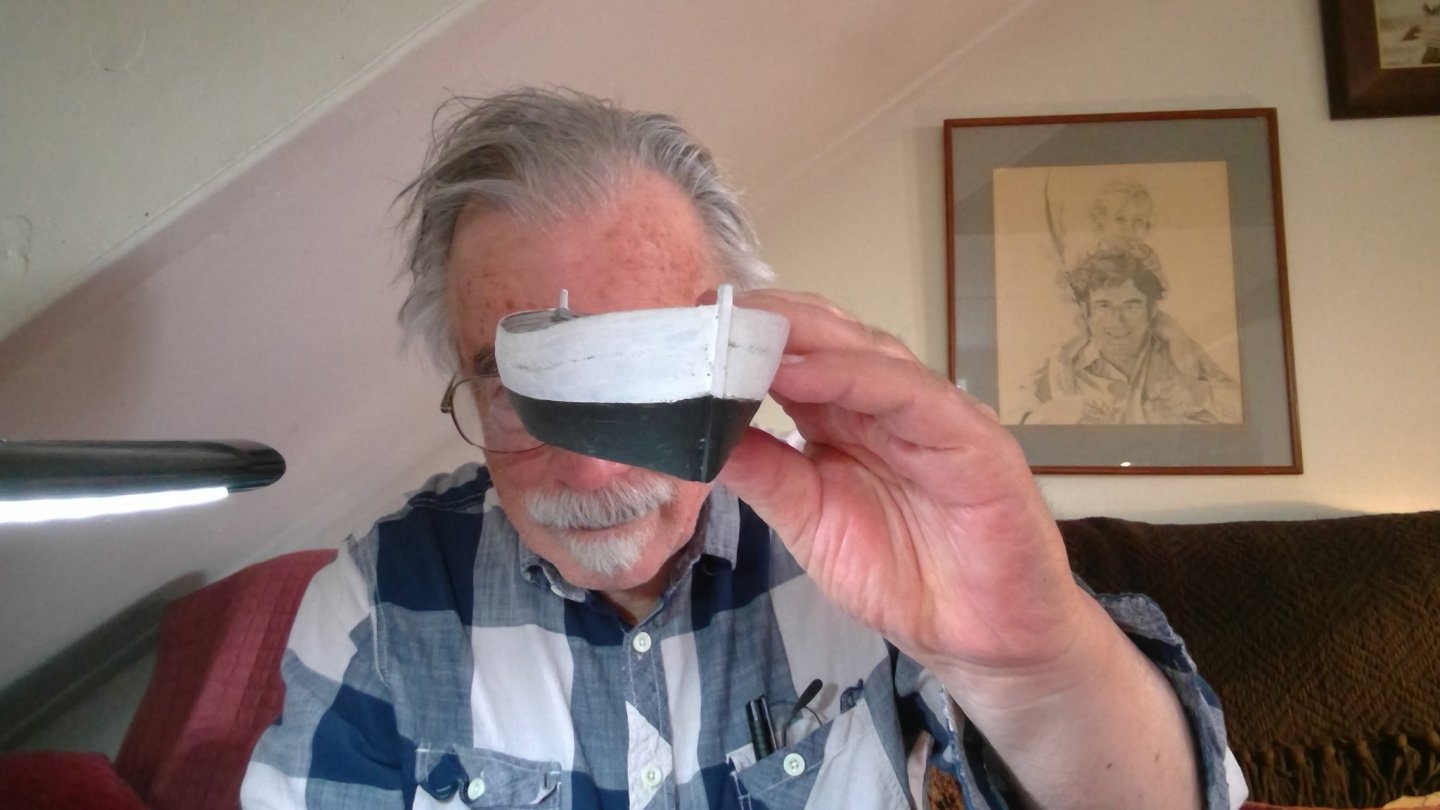
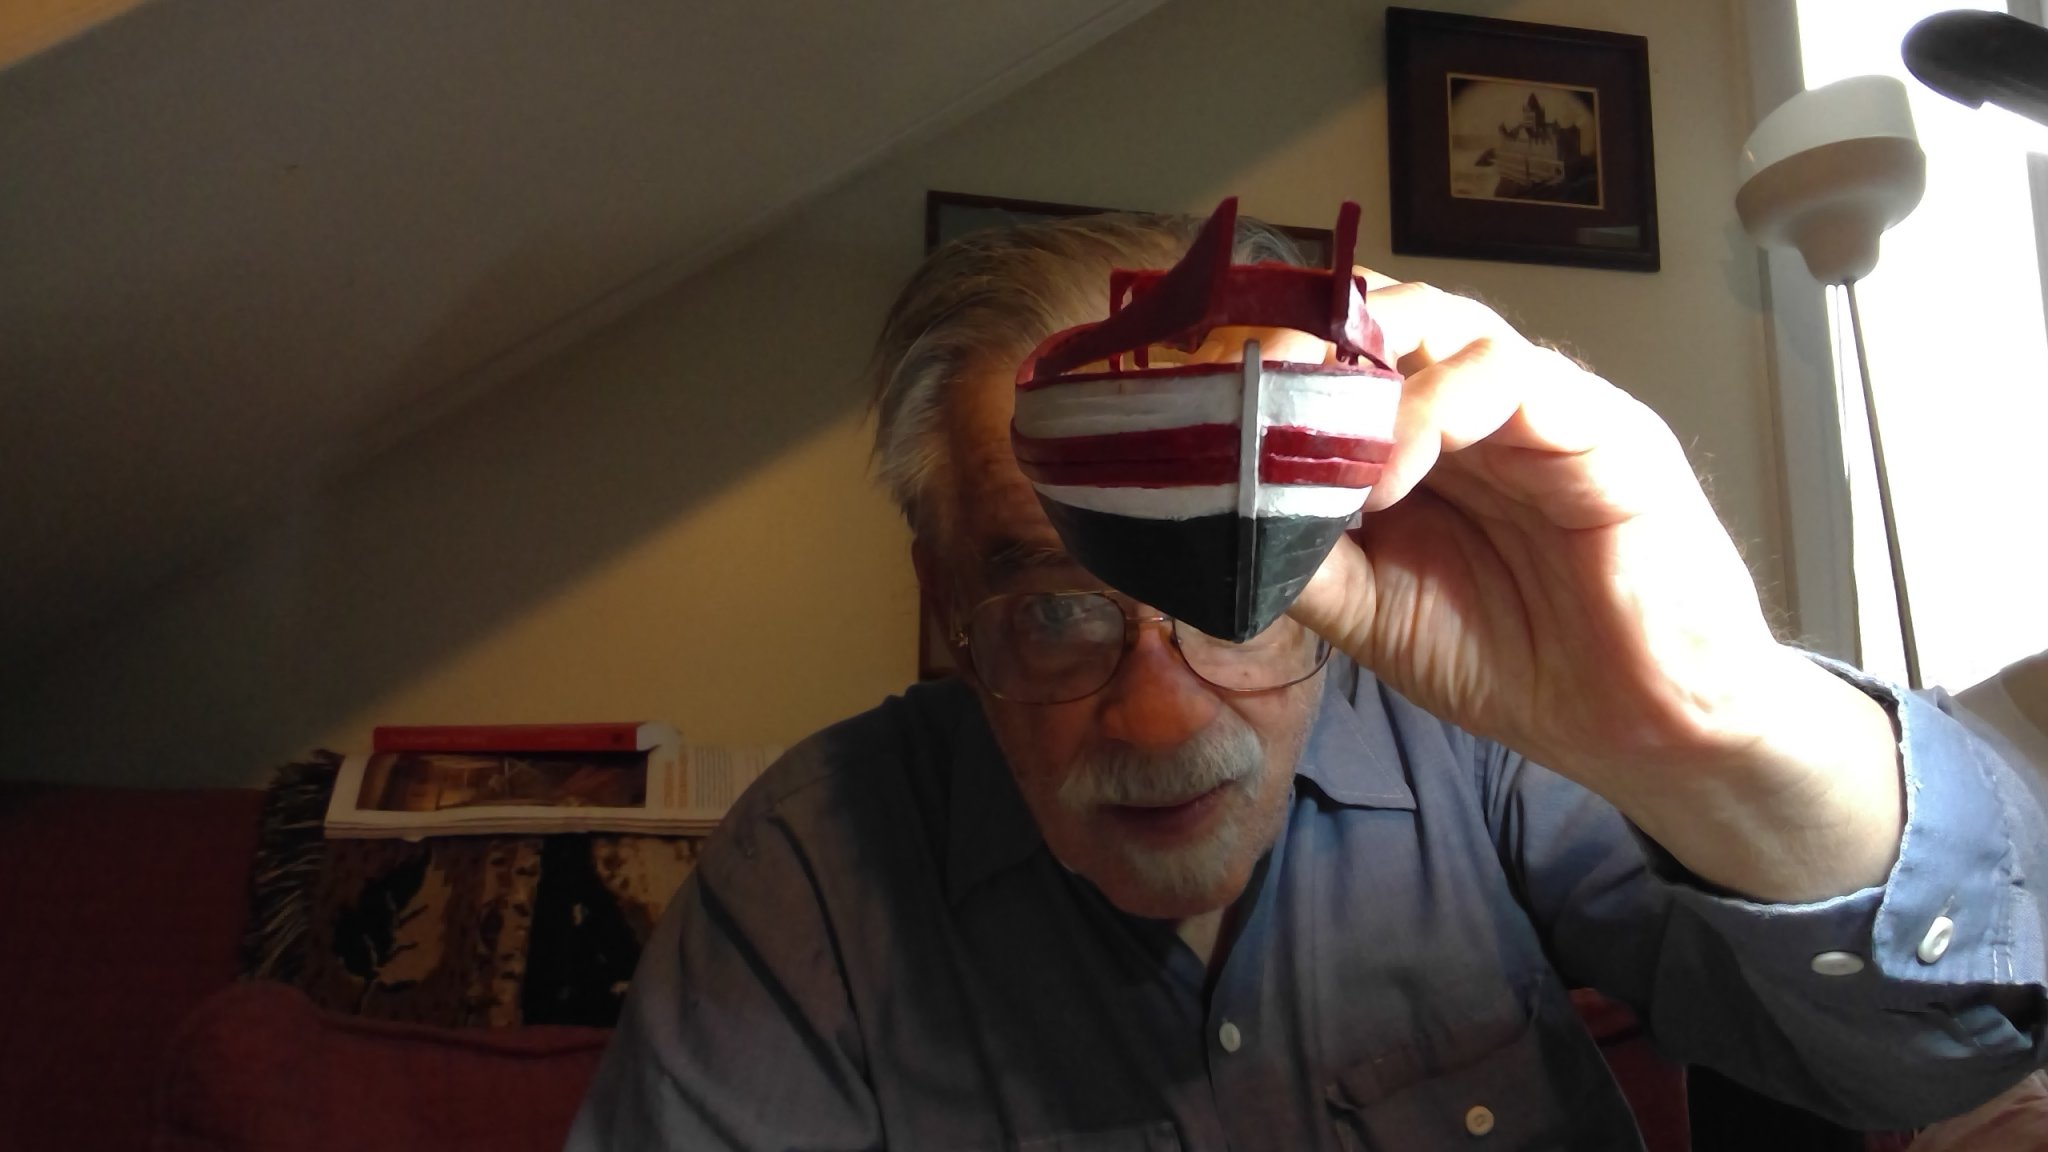
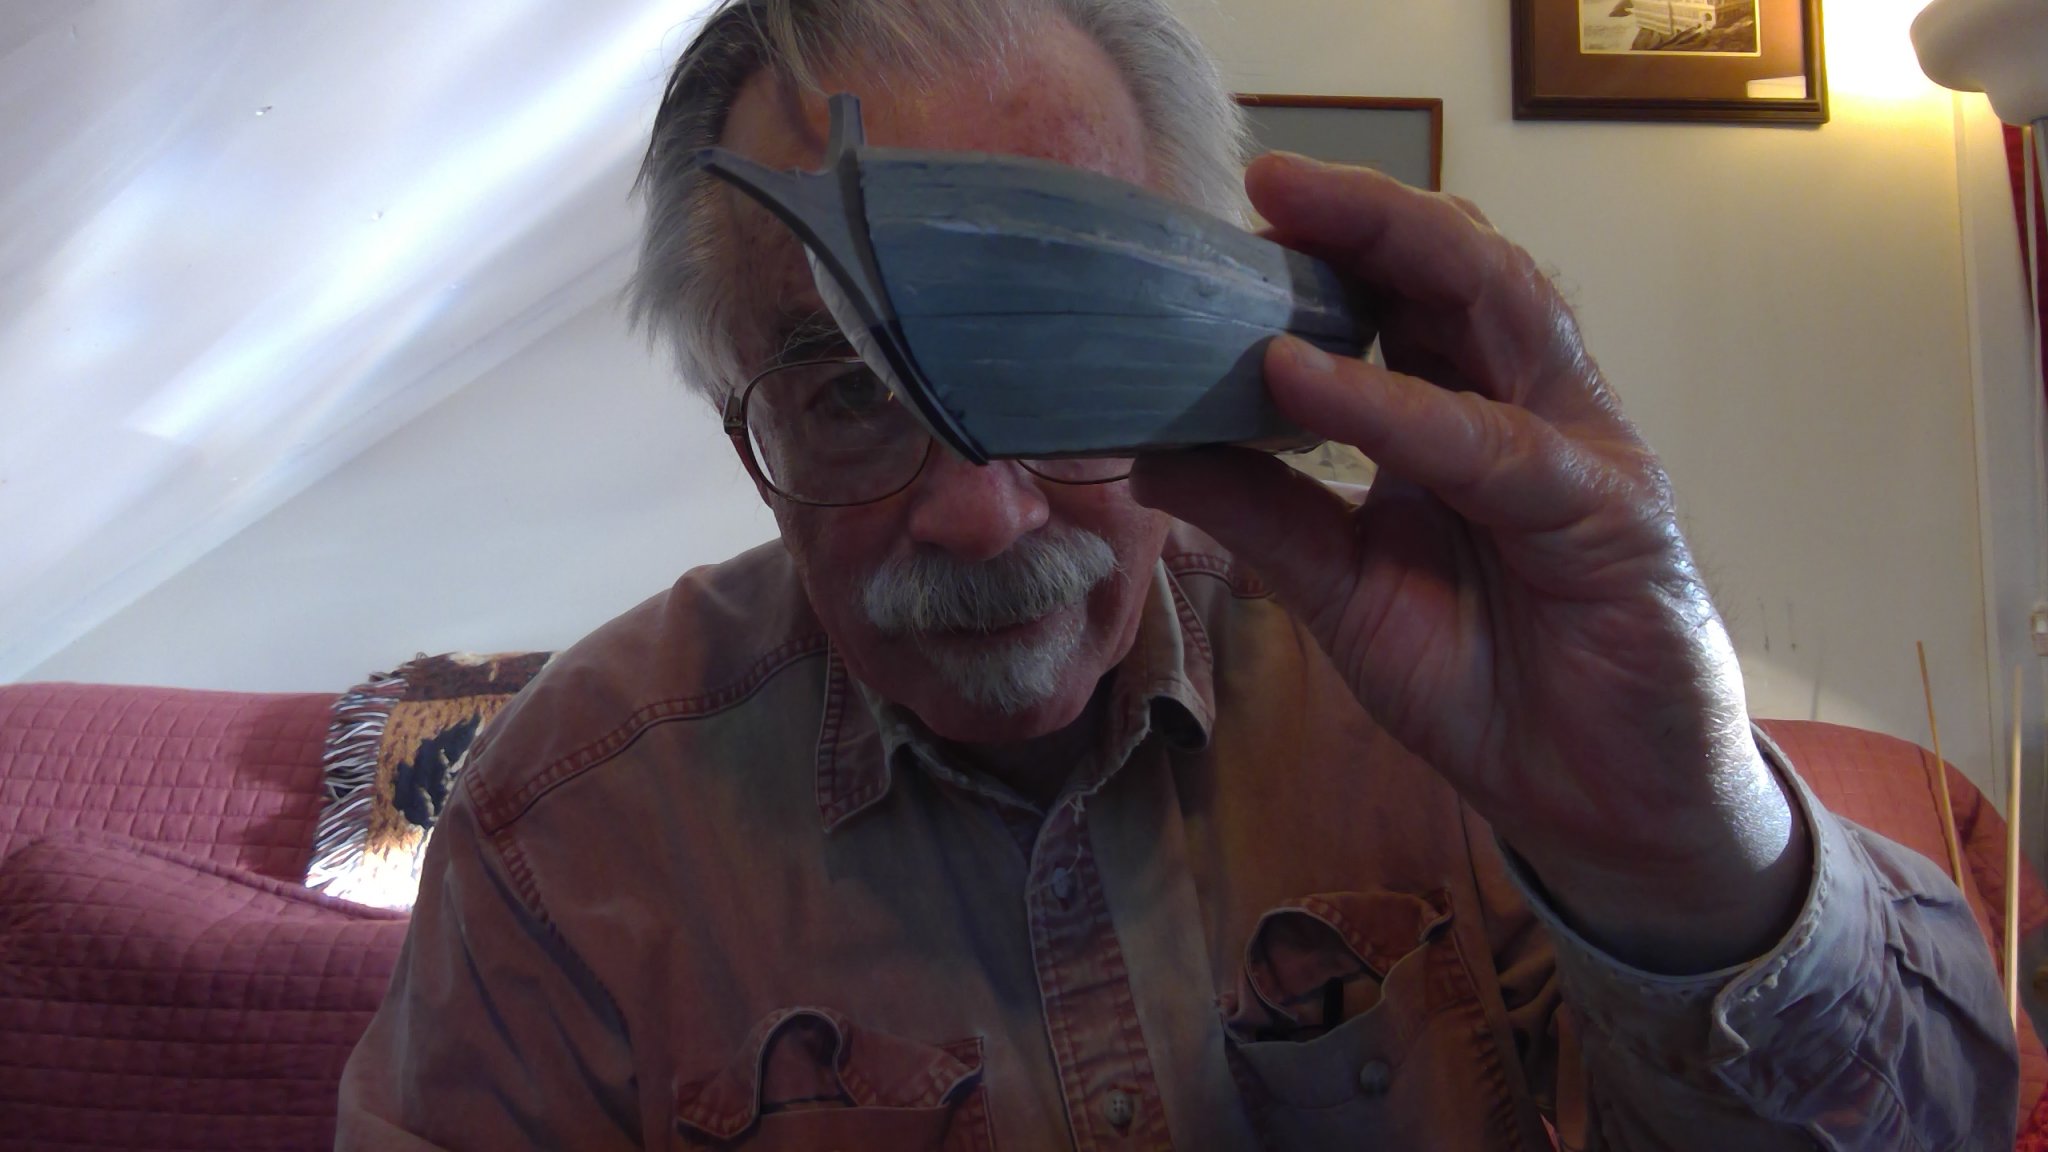
I have planked the inside of the wales and painted the basic hull color. I decided to use the color scheme on the cover instead of the one that comes printed on the parts.
You can see in the first image that i used a small piece of bamboo to line up the holes for the scuppers in inner pieces with the holes in the hull sides. The inner "planks" did not fit exactly fore or aft, so I aligned them on the scupper holes
My idea of "caulking" the planks to subdue the effect of the edges seems to have worked out.
It was a little tricky getting the "dip" in the water line to counter act the optical illusion of the water line bending upward in the middle
Next are the wales... again i will probably change the kit to look more like the cover


-
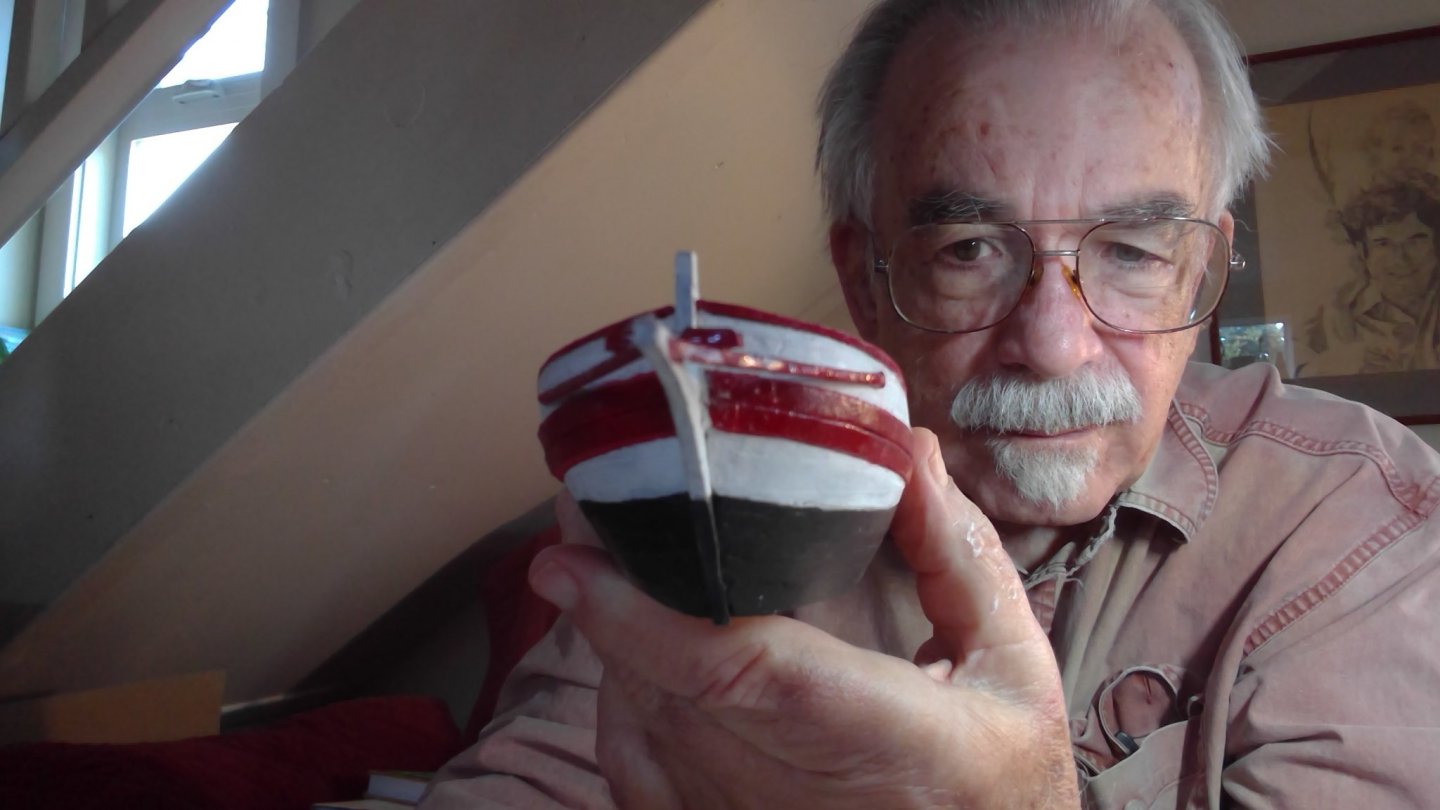
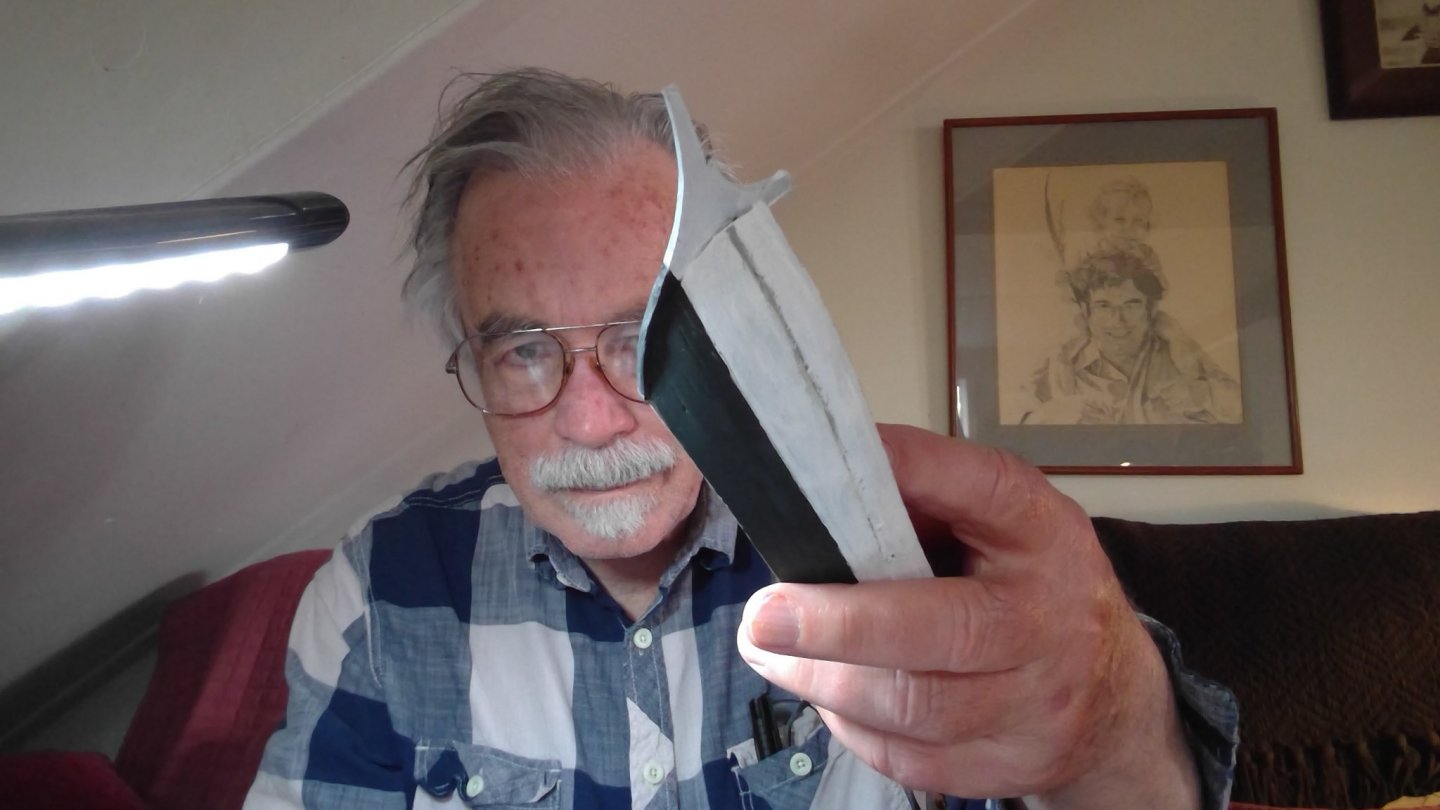
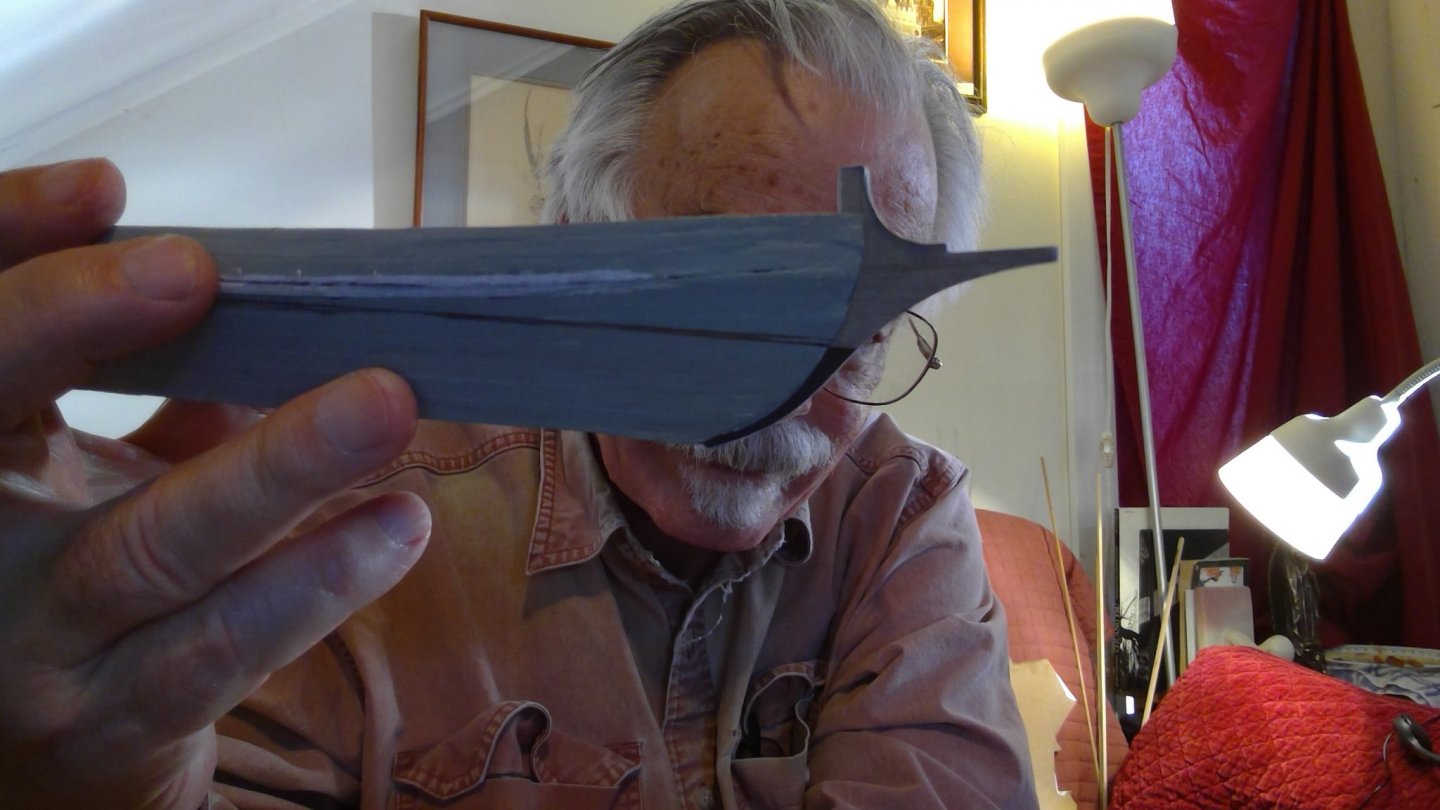
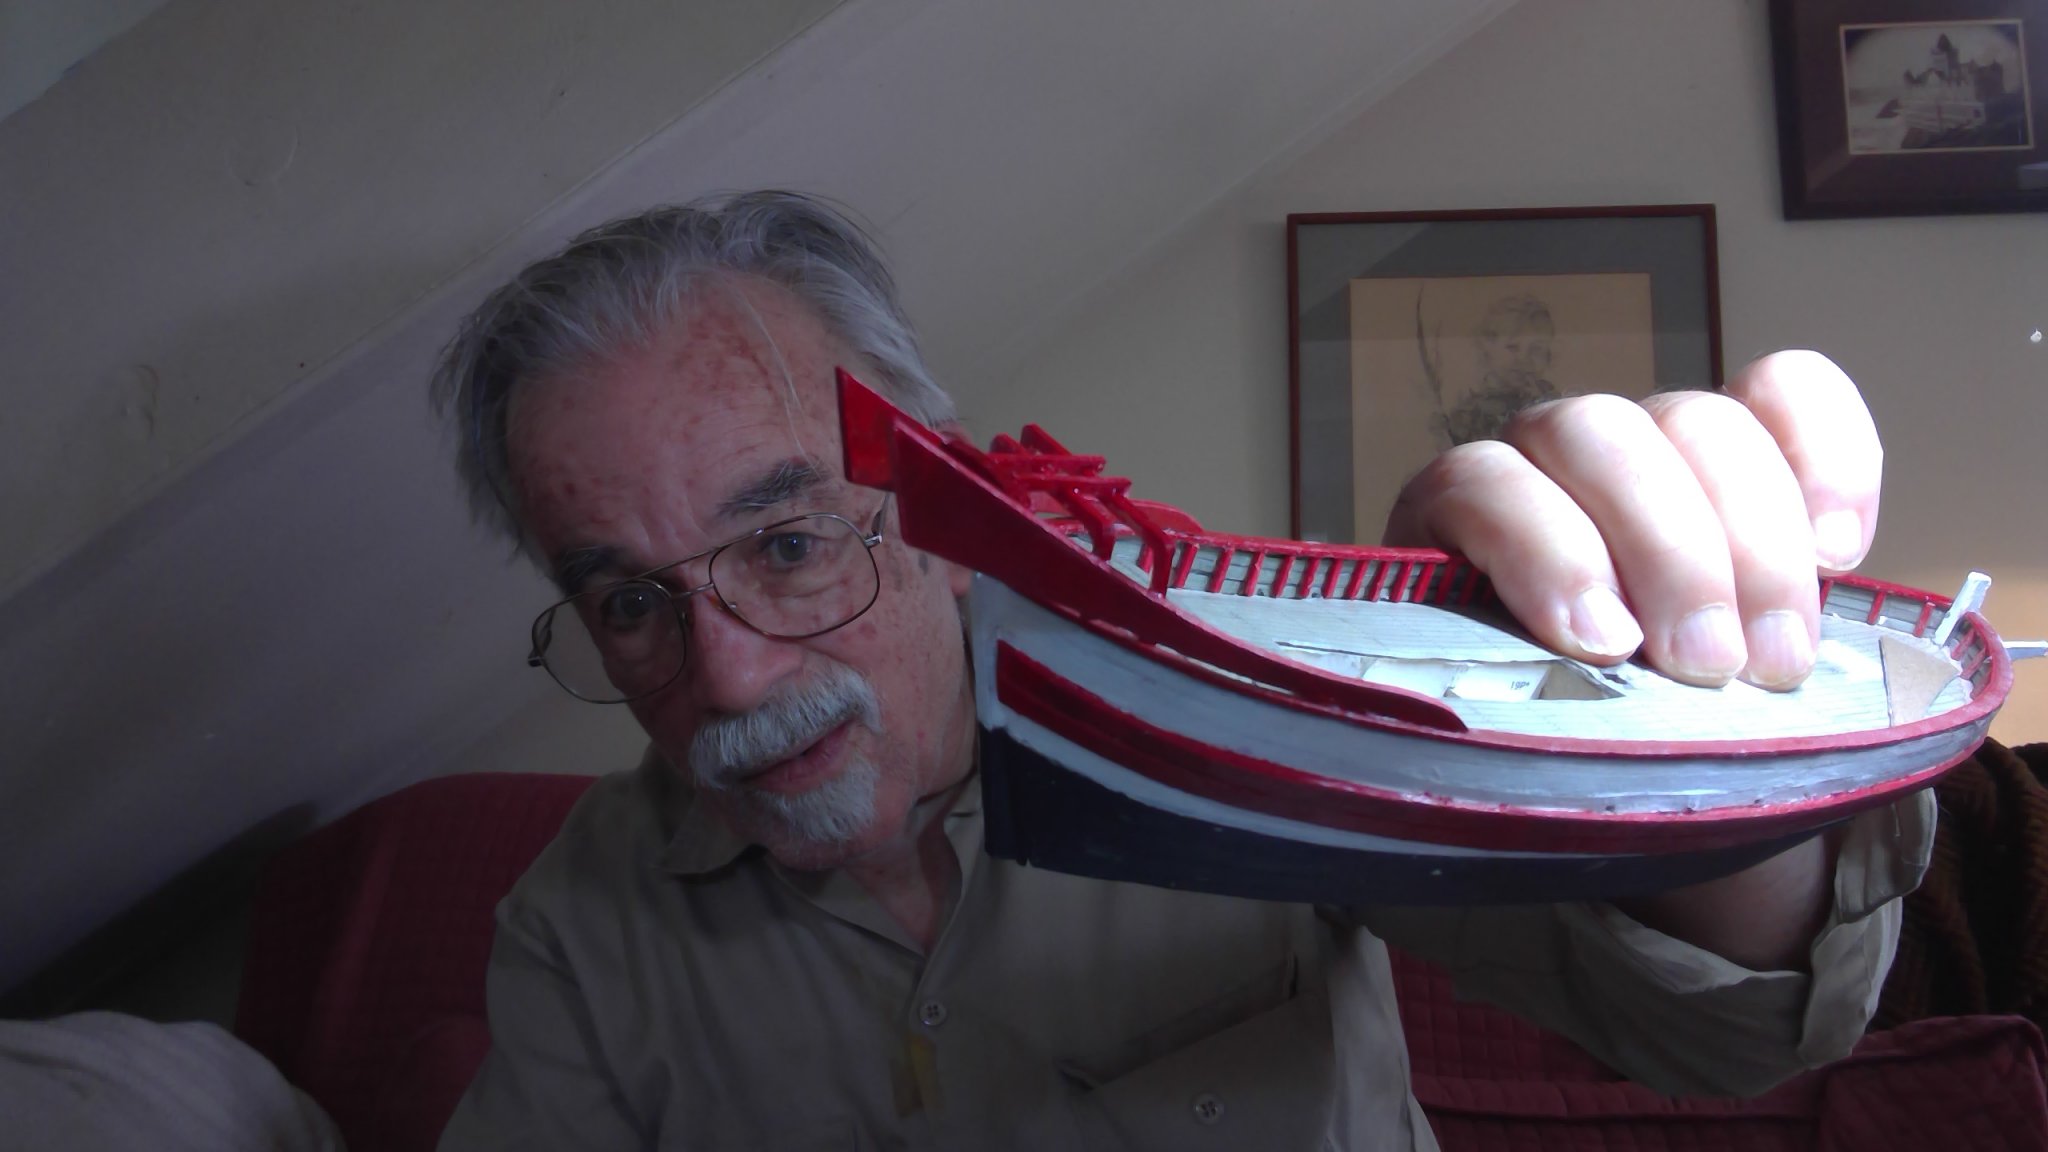
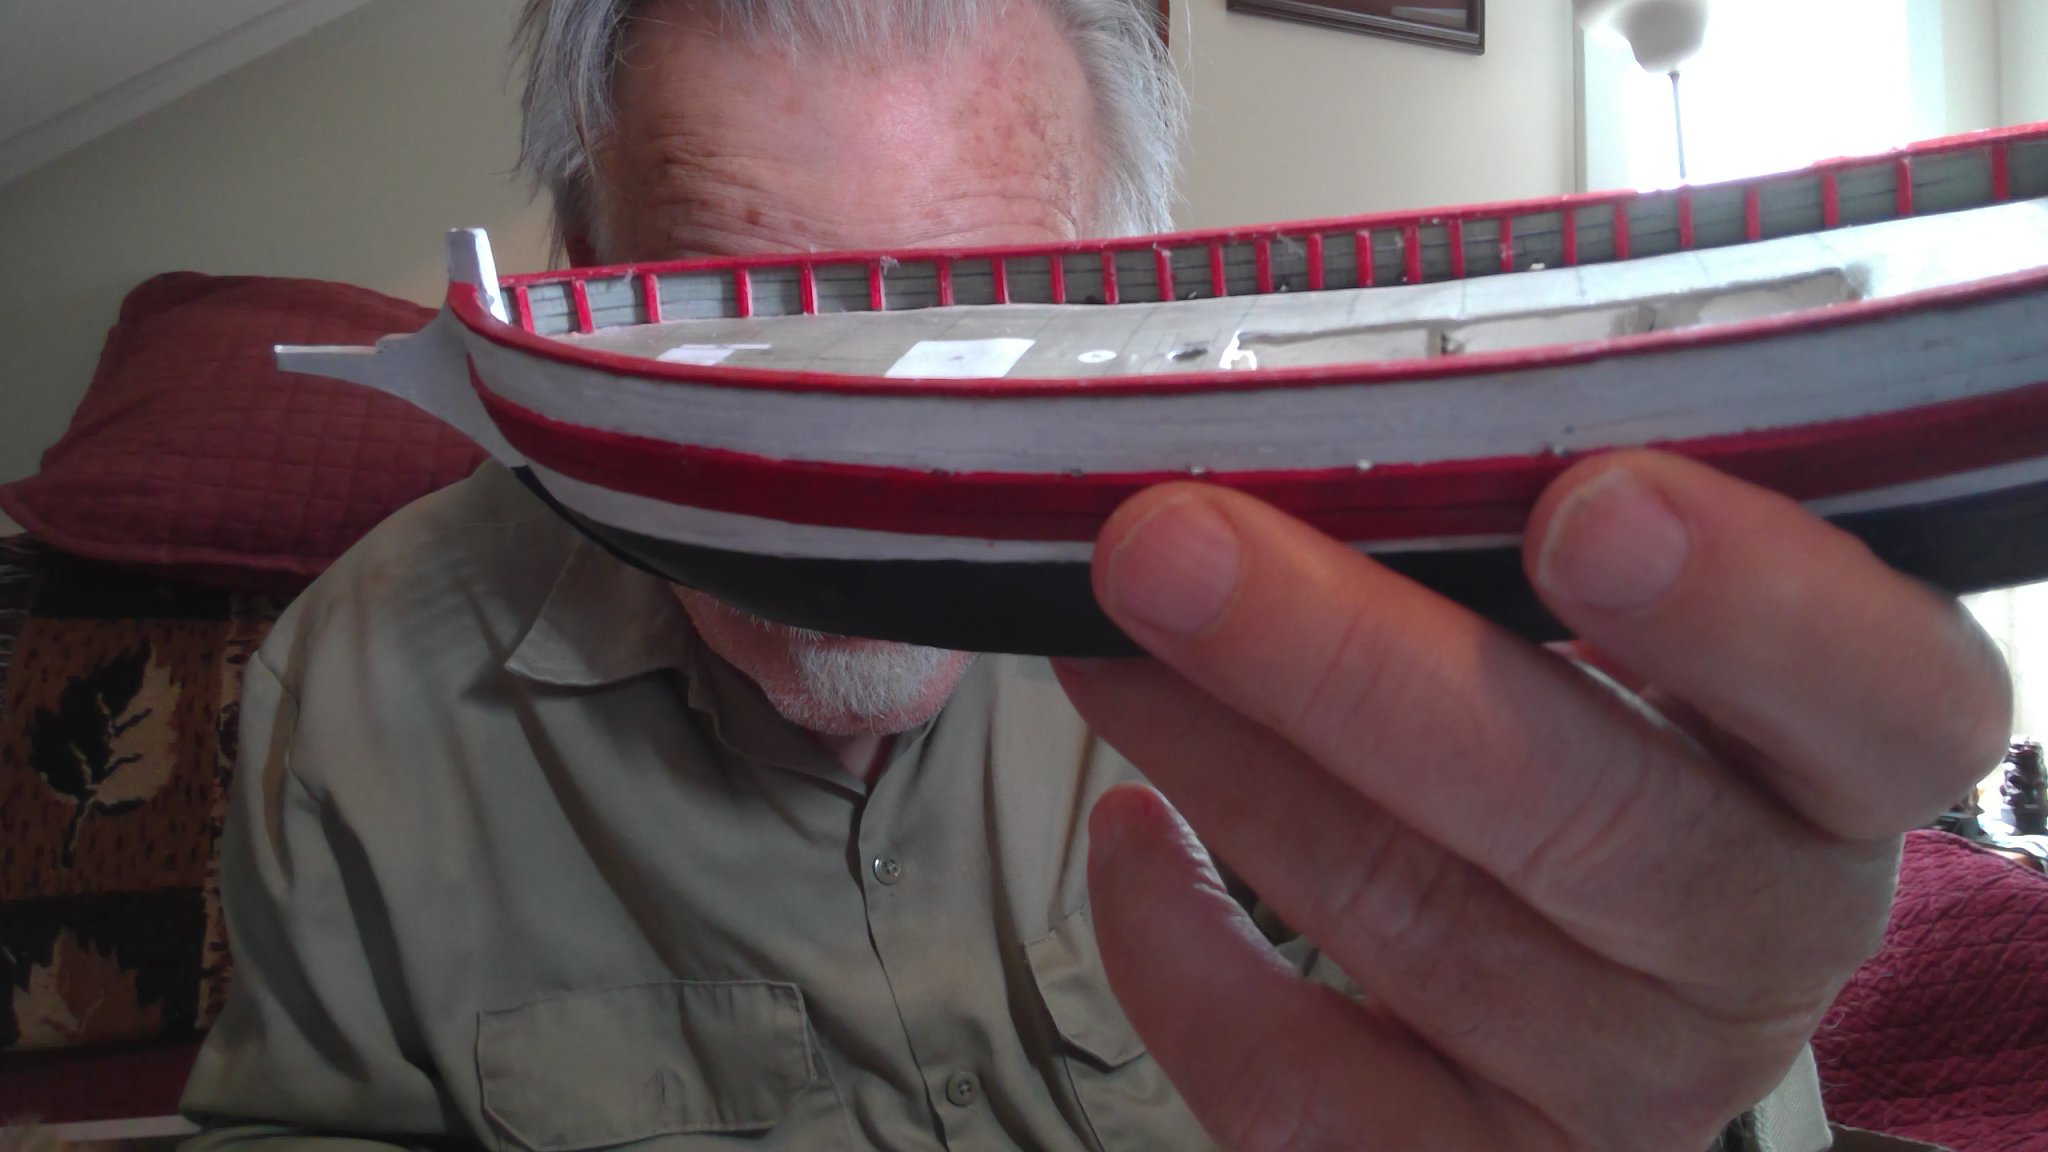
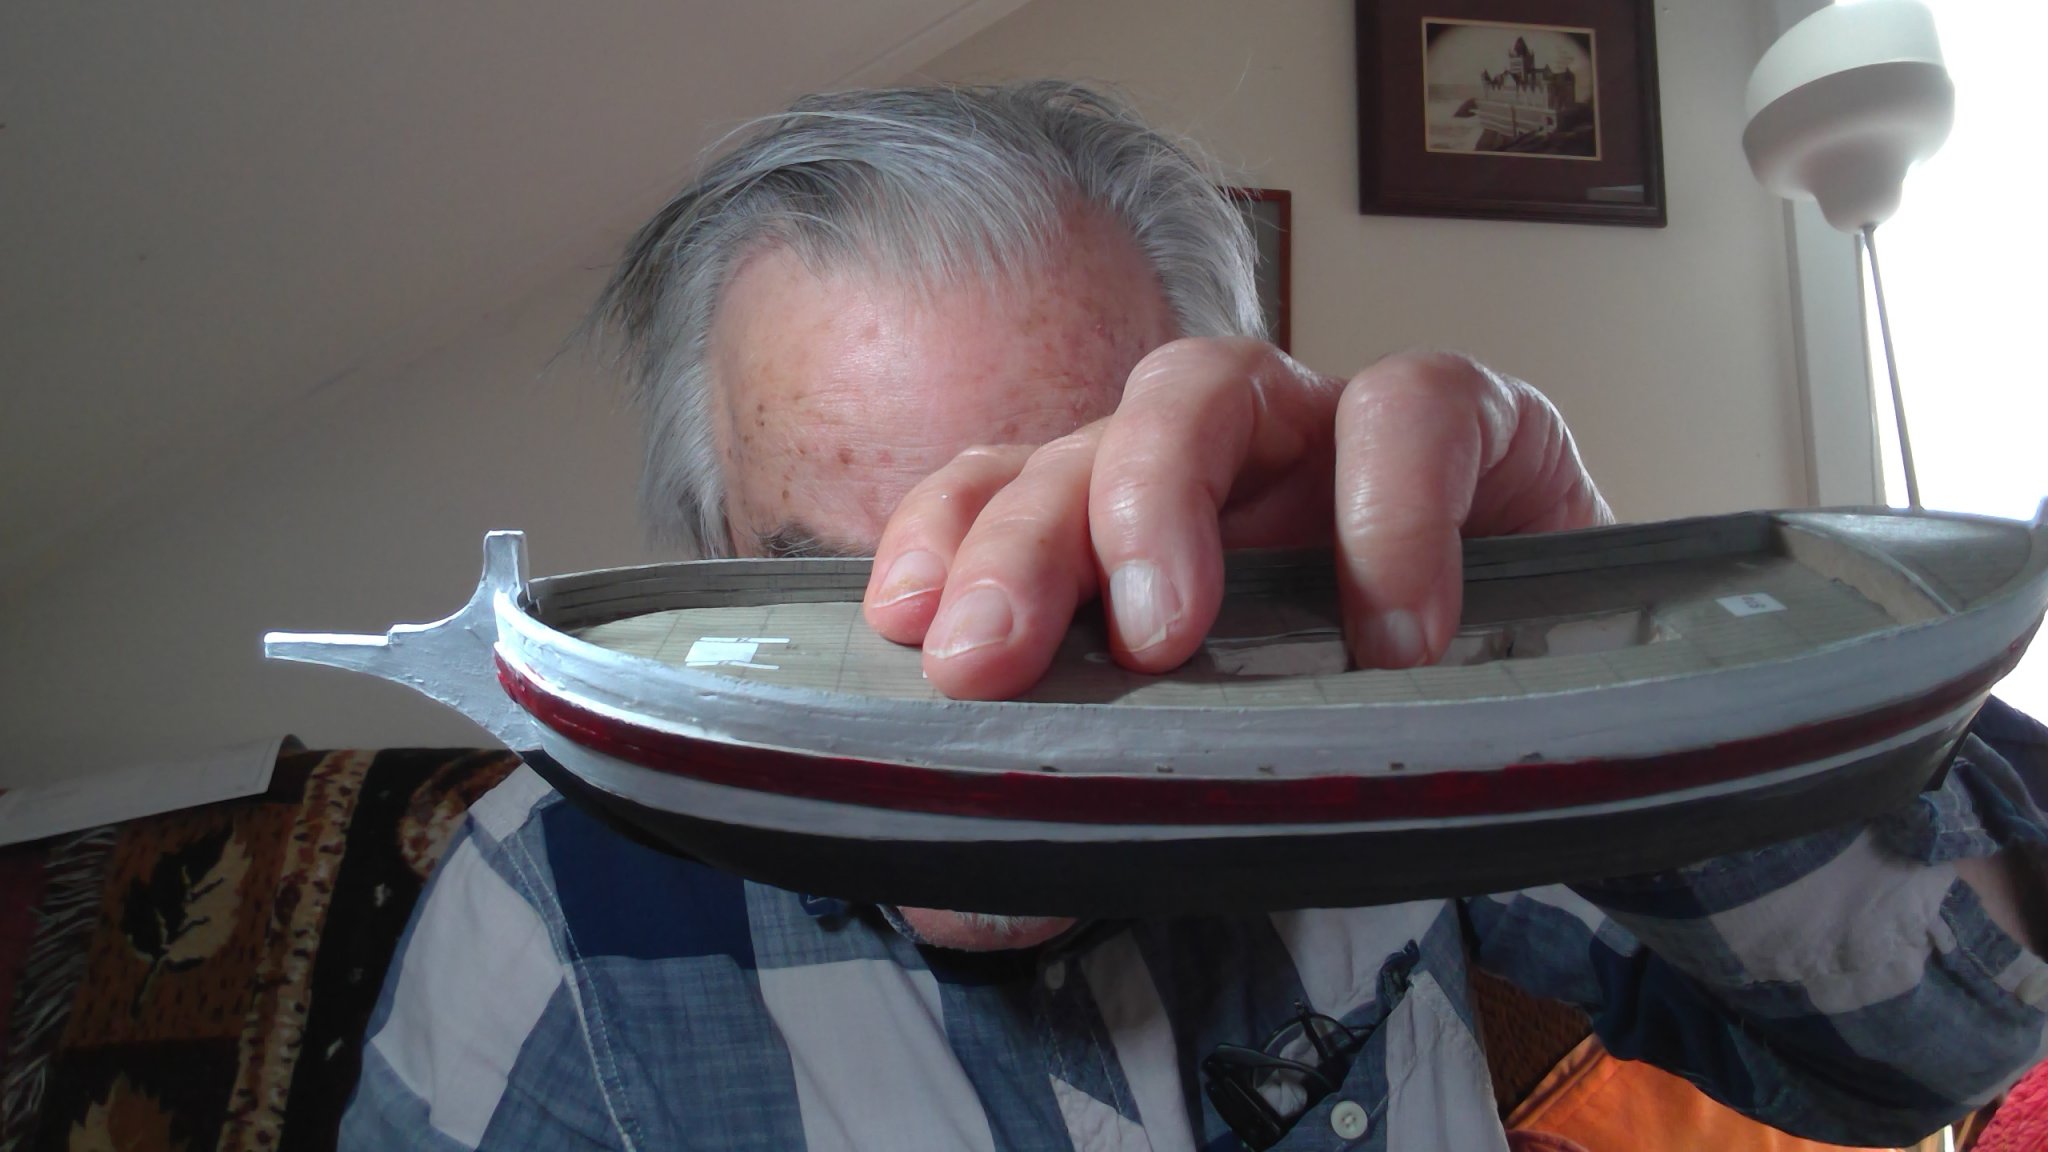
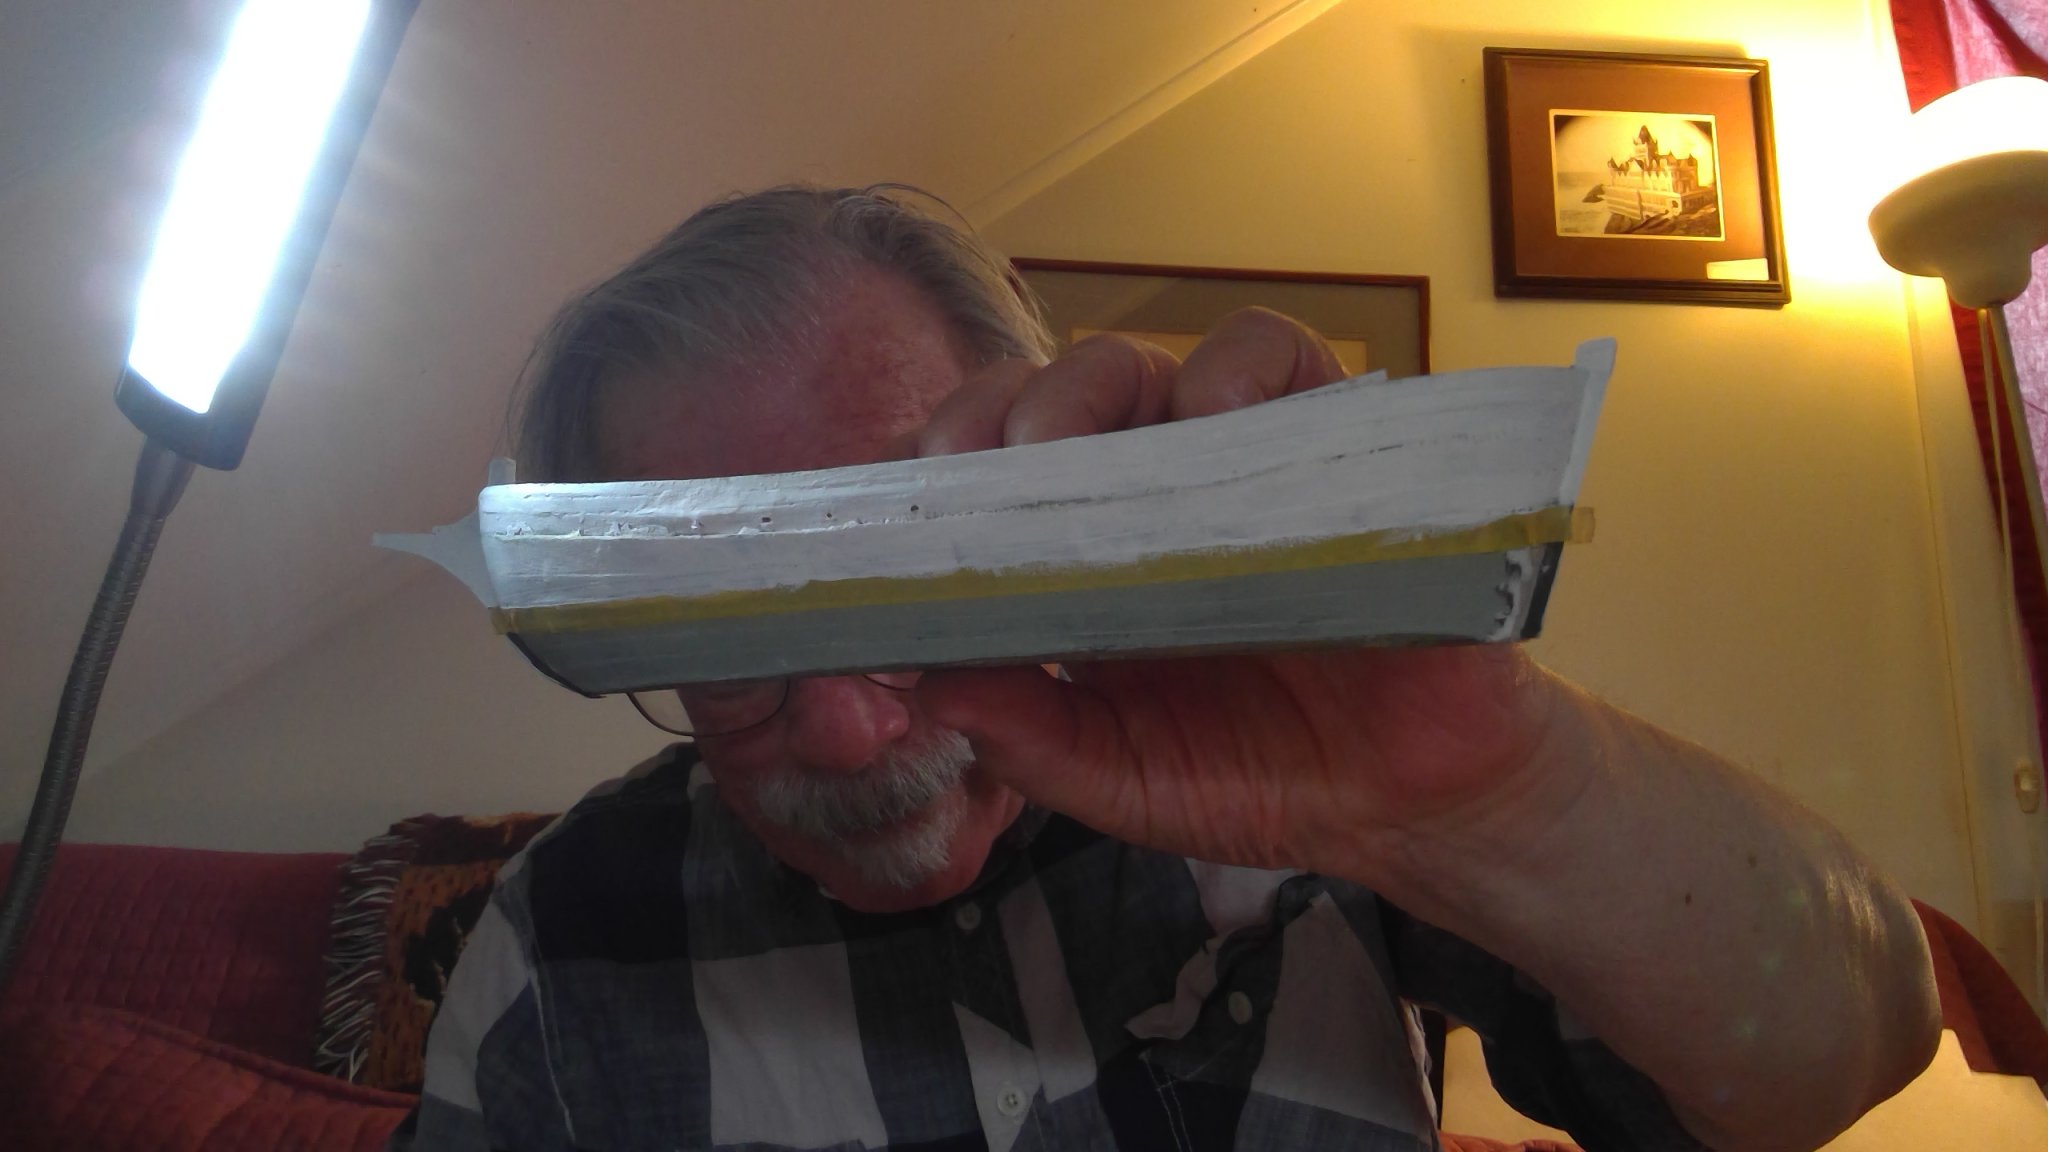
so now we plug in the stern post and the stem at the bow.... i sure prefer making these from a solid piece rather than the two sides and a piece to cover the edges approach taken here.
you can see that some pretty drastic surgery was needed at the stern, as it did not tuck in enough


- Halfdan, ccoyle and GrandpaPhil
-
3
-
good to know, thanks
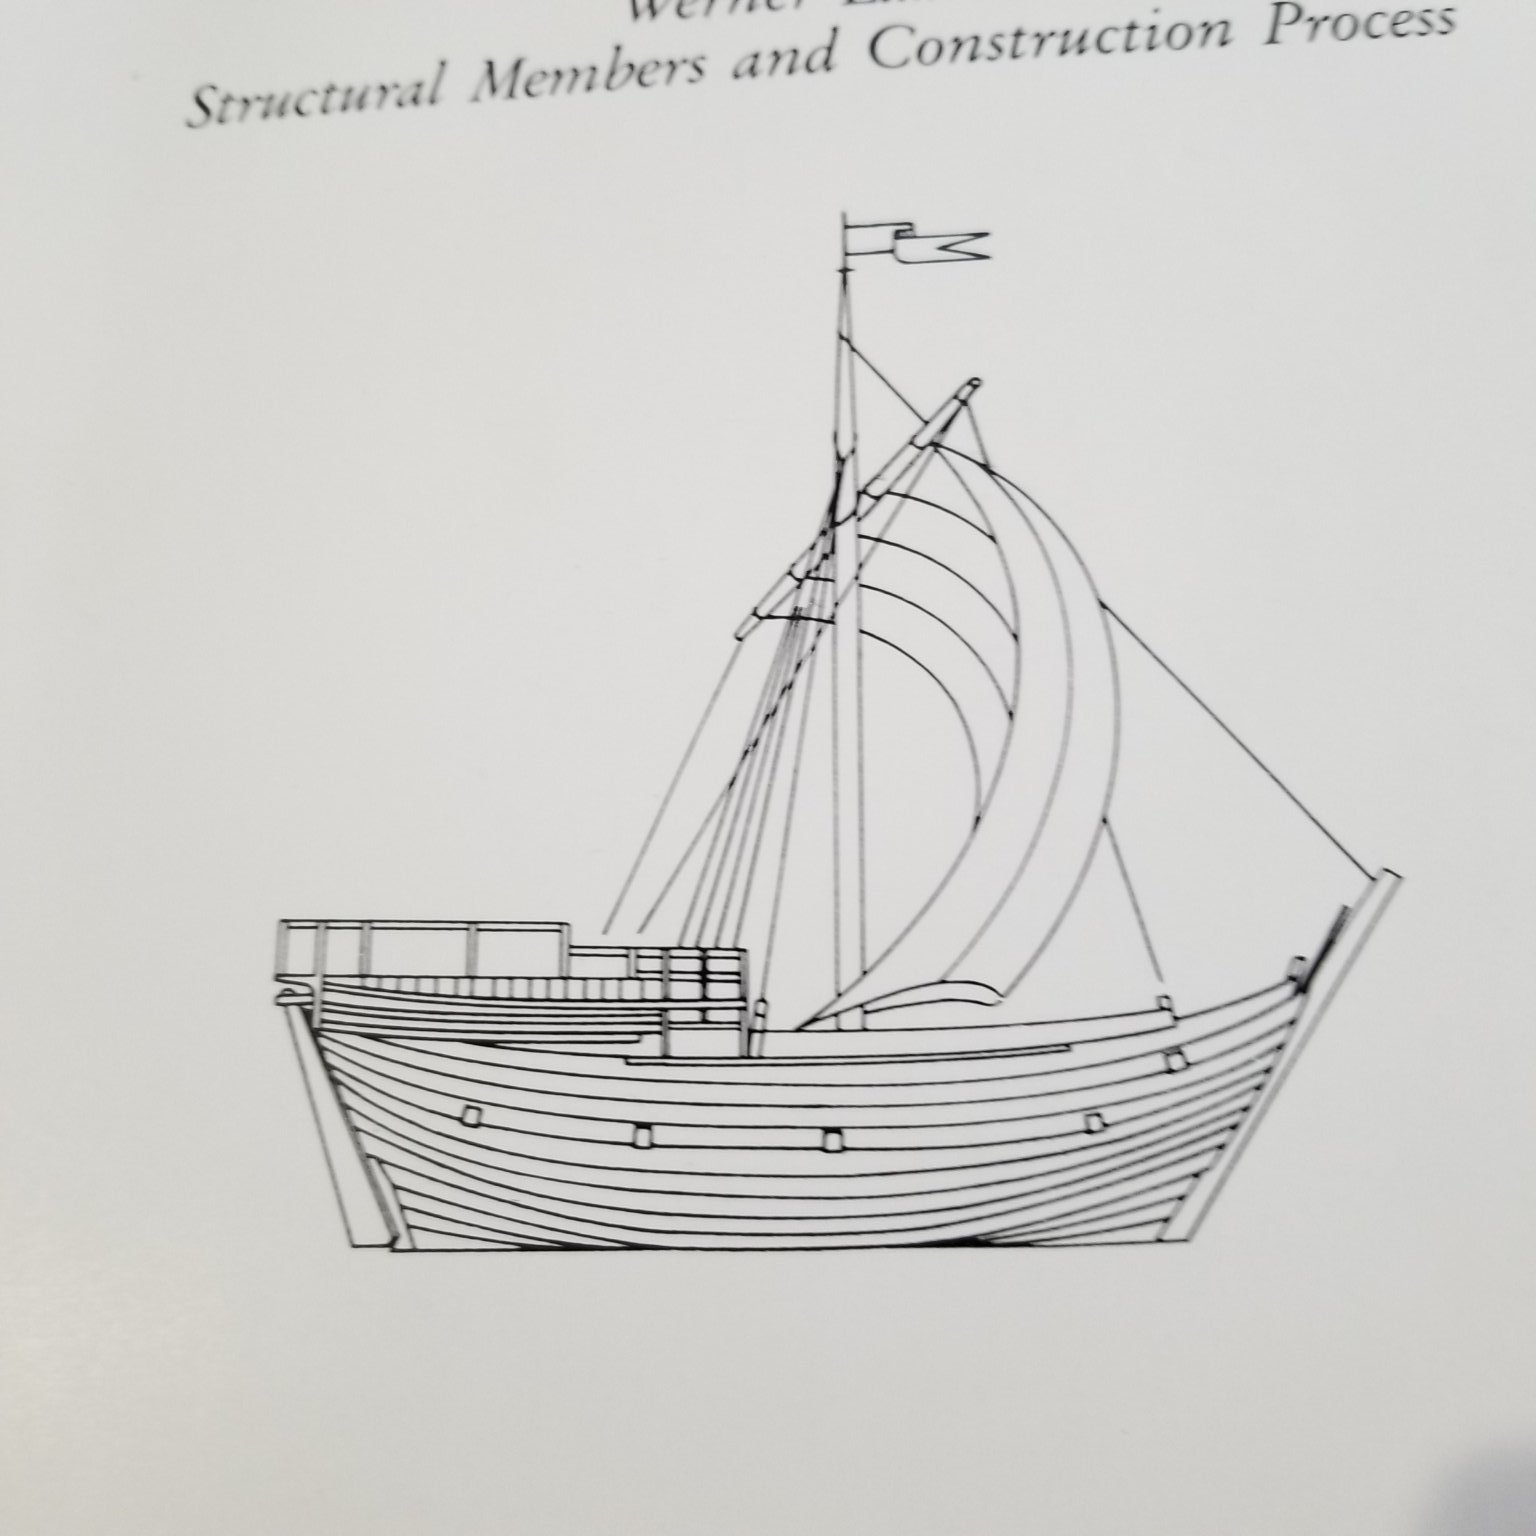


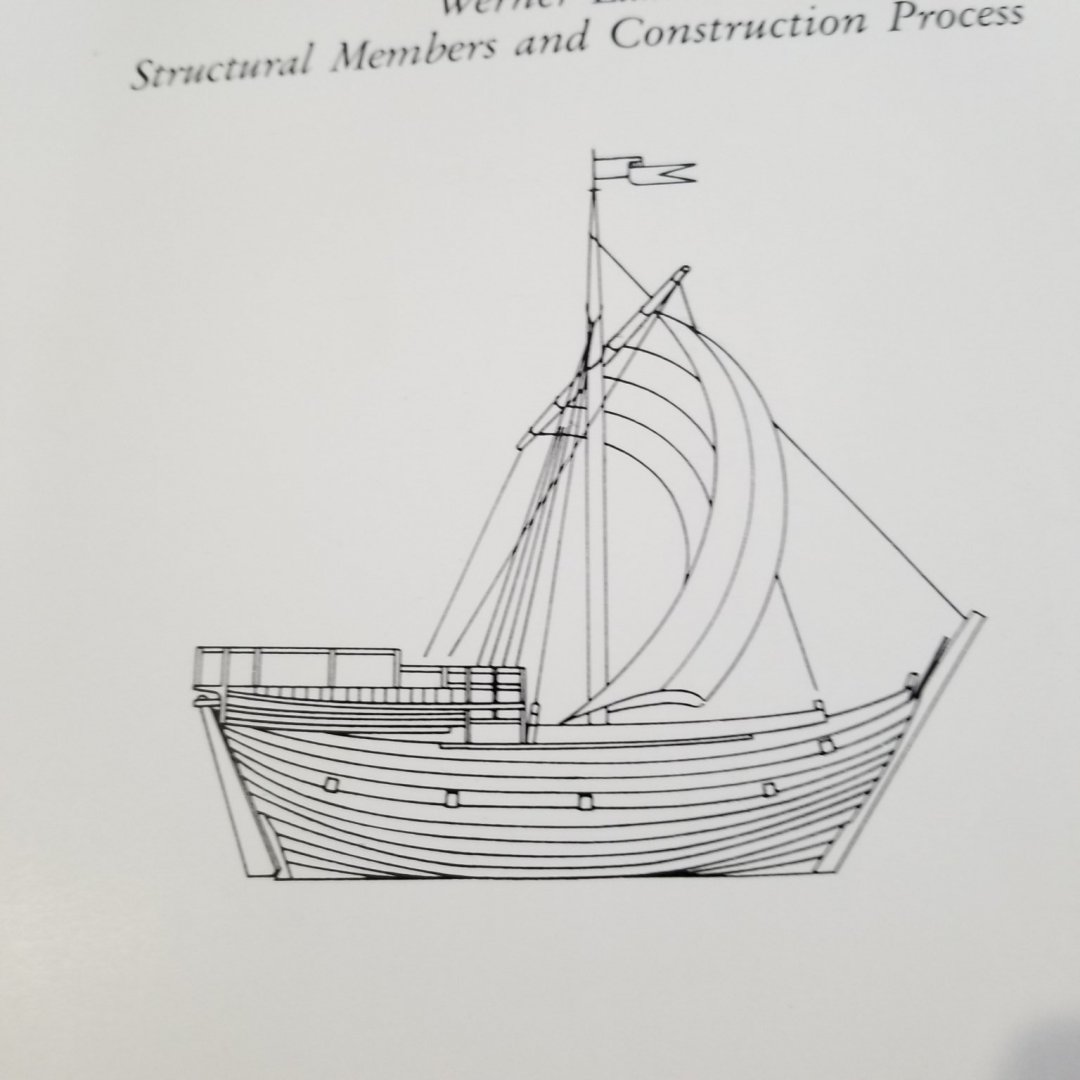
Die Kogge Von Bremen by kentyler
in - Subjects built Up to and including 1500 AD
Posted
Looks like I will be reducing the plans, which are 1/20 to 1/50 so that the resulting model will still fit in the backseat of my car")