


kentyler
-
Posts
86 -
Joined
-
Last visited
Content Type
Profiles
Forums
Gallery
Events
Posts posted by kentyler
-
-
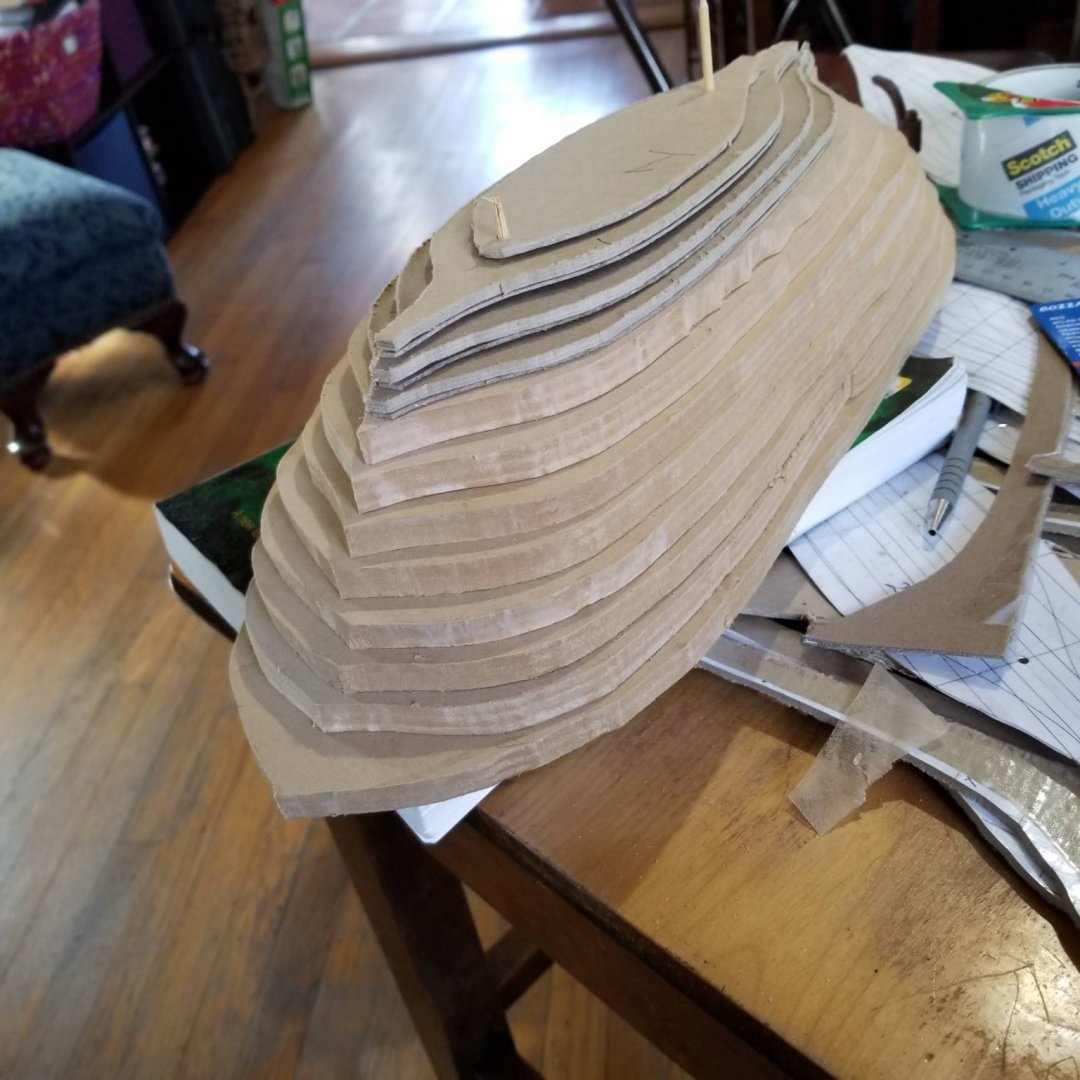
all layers cut now... i will have to use three of the attempts that did not work to raise the ship high enough above the building board to have space for the bow
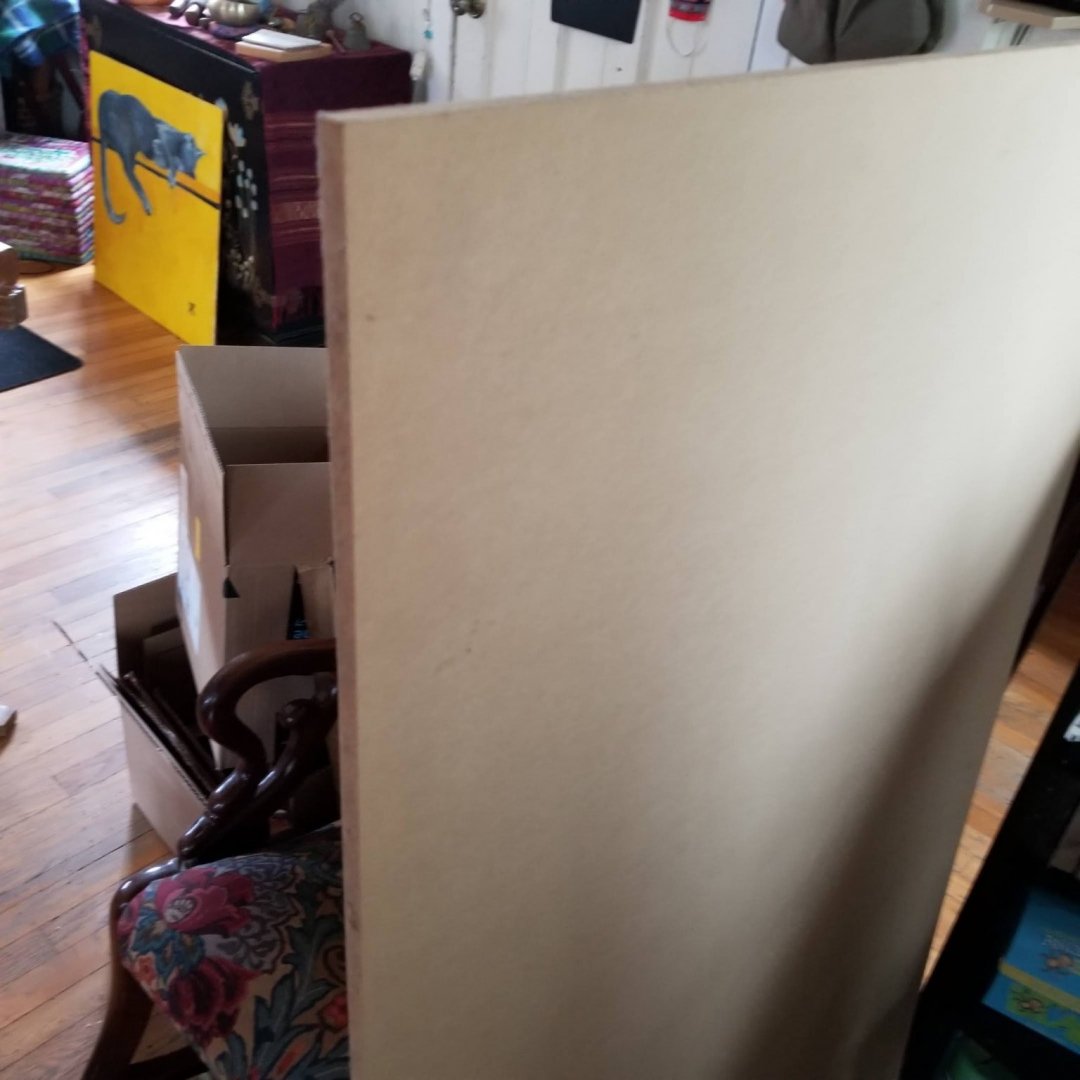
next I need to make the building board...with enough space to use it to position the section templates as I shape the hull

- bolin, GrandpaPhil, mtaylor and 2 others
-
 5
5
-
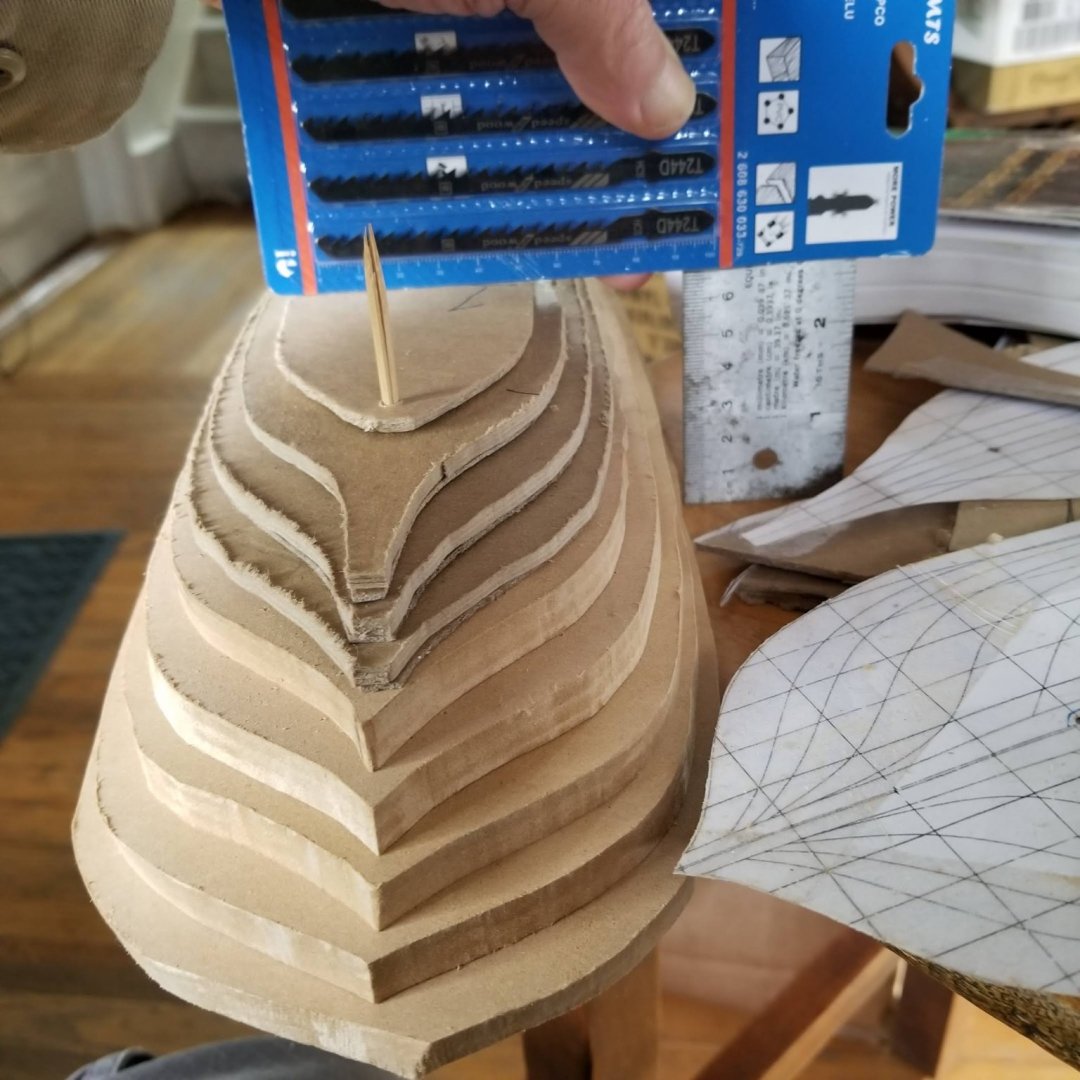
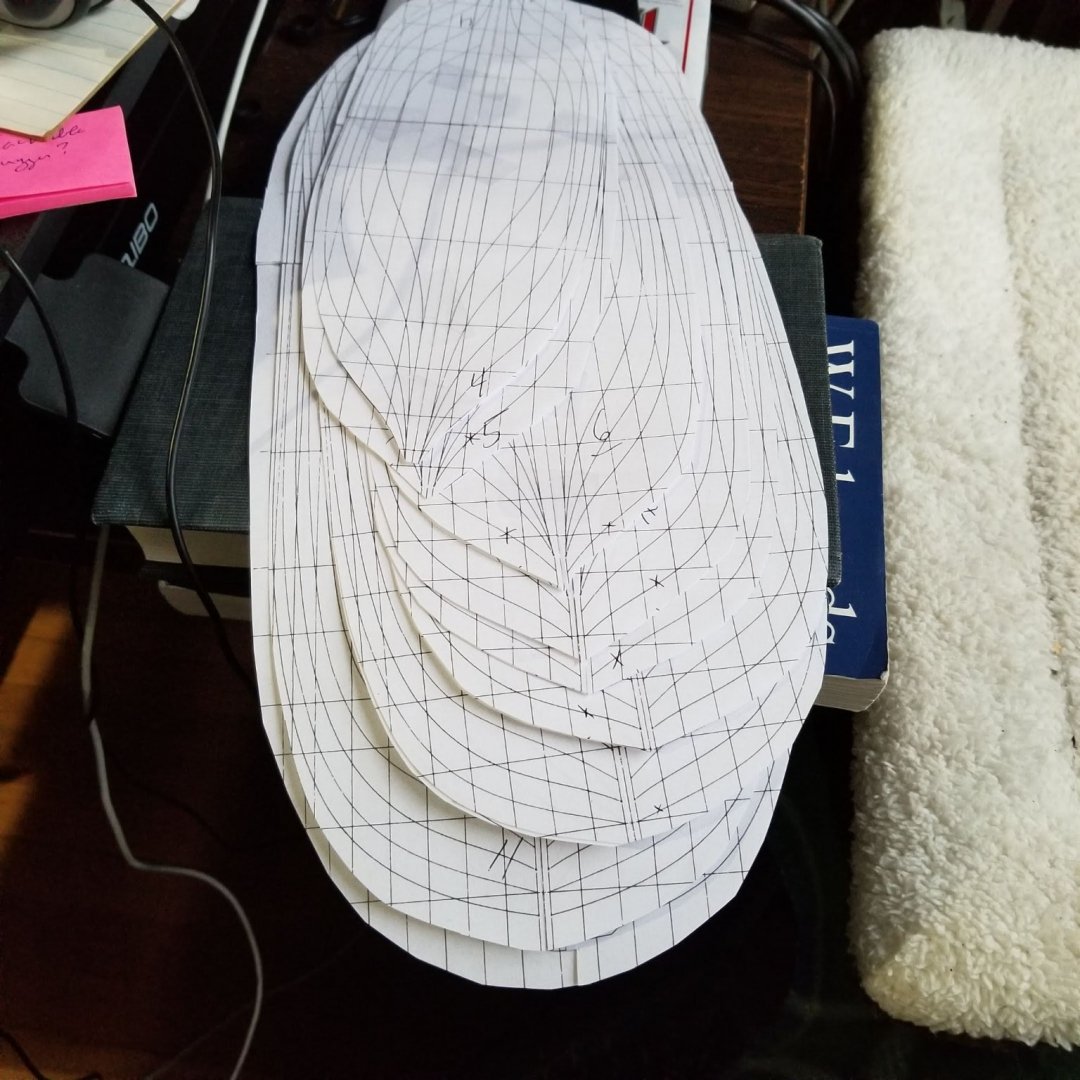
Three more layers. I had an anxious moment so I measured to get a height to compare to the drawings.
I'm 3/32 short....easily made up with some paper shims...so that's a relief
-
-
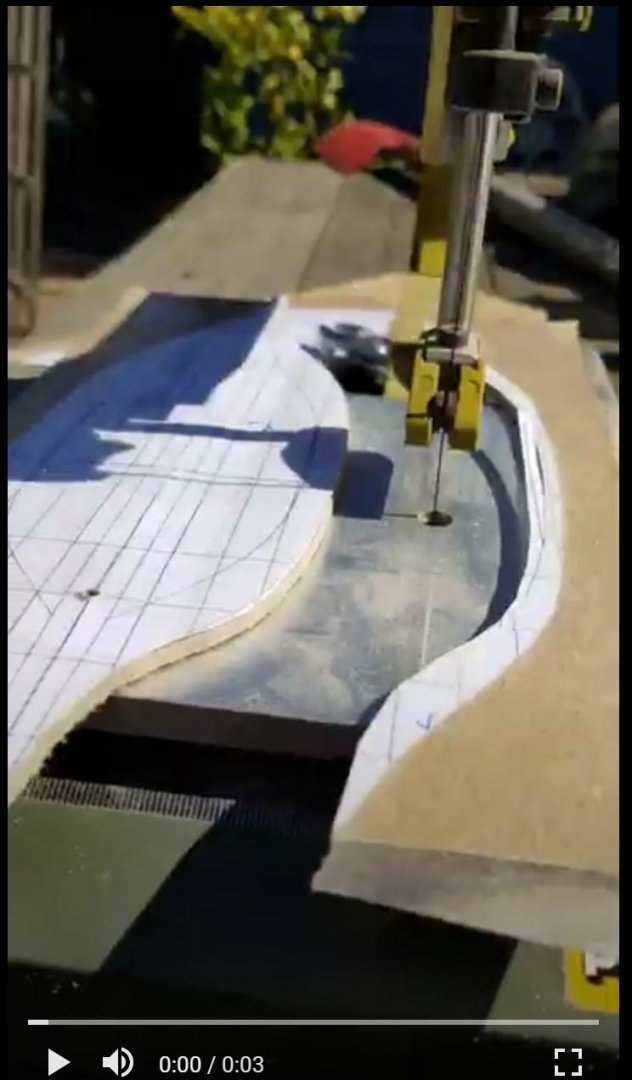
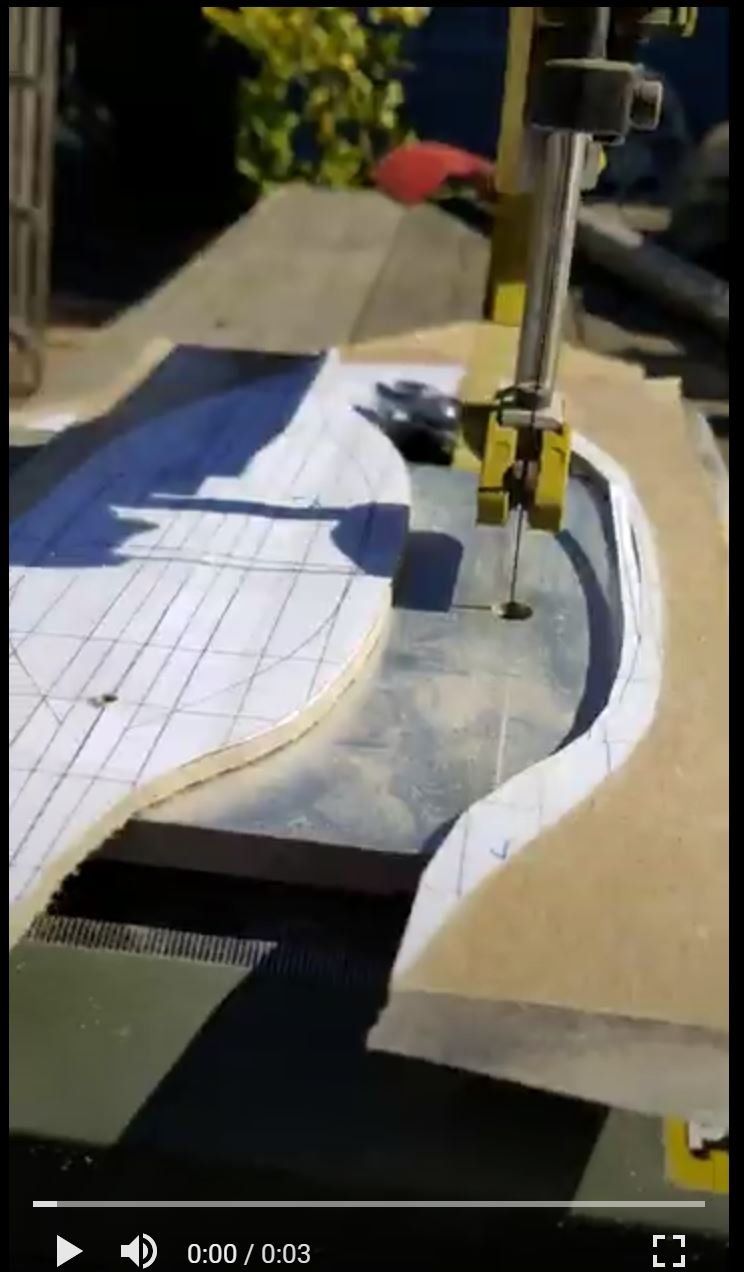
I gave up on the jig saw...there may be something fundamental i don't understand about using it...and switched to a sabre saw. As you can see we are into the thicker cross section. This is #6, so there are 6 more to go
- mtaylor and GrandpaPhil
-
2
-
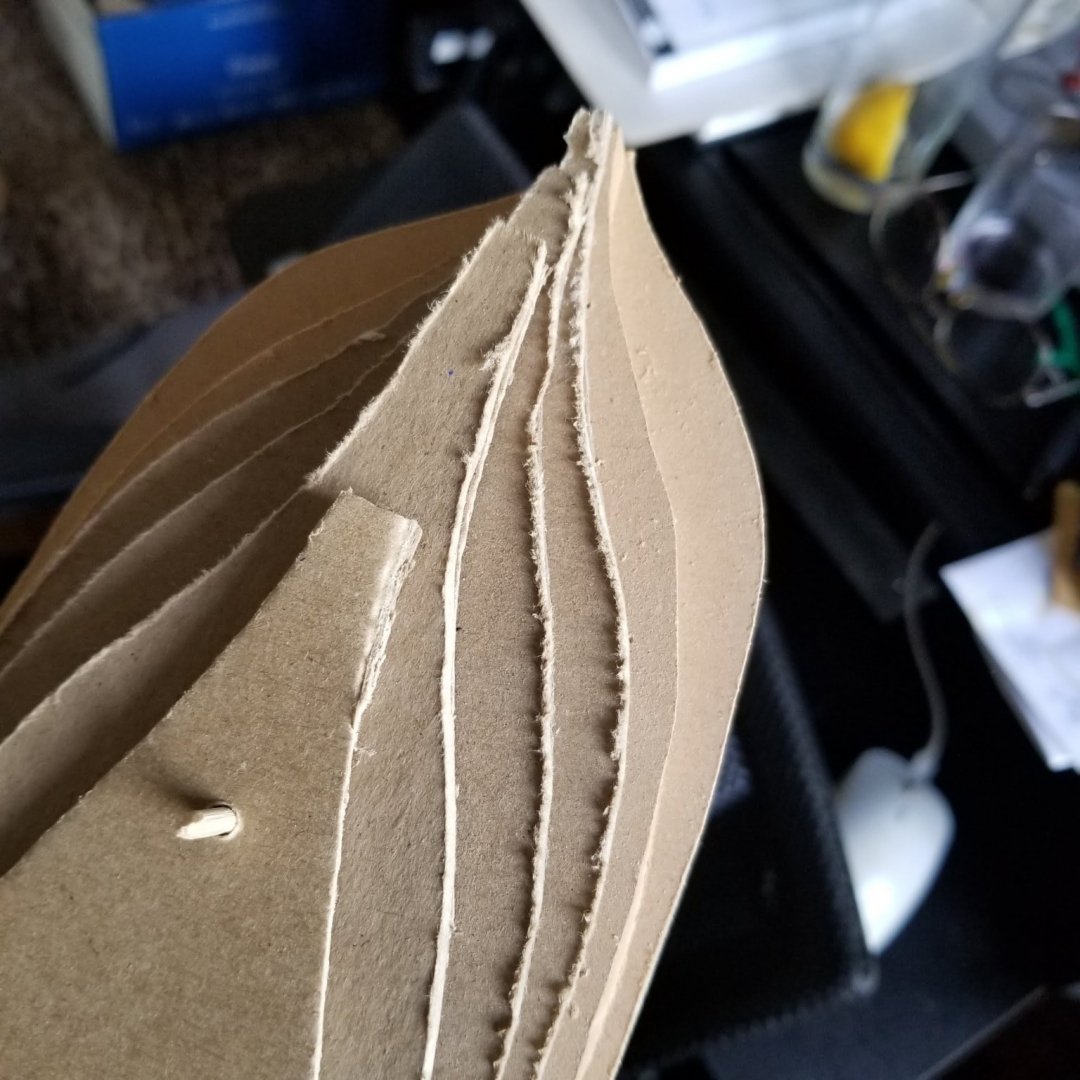
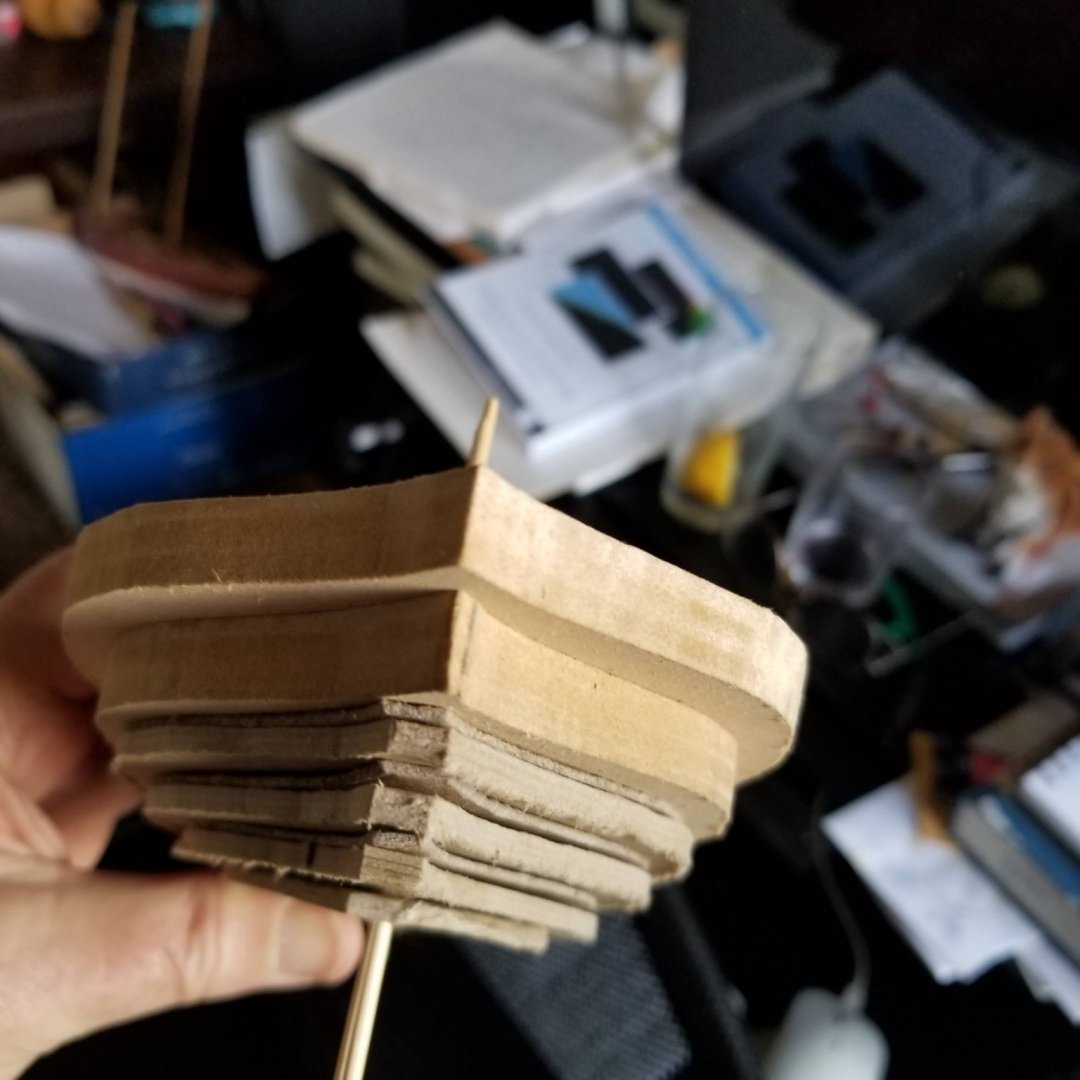
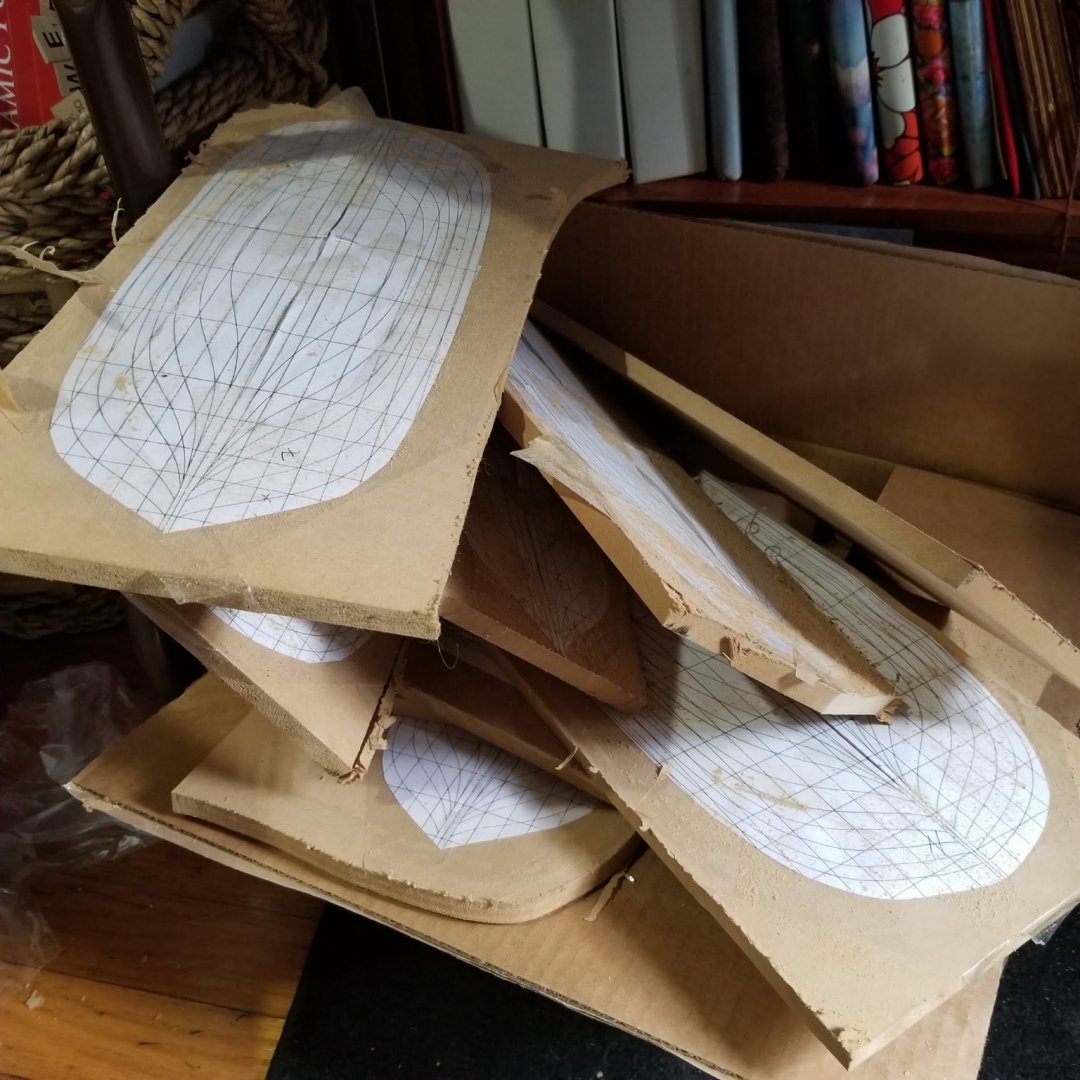
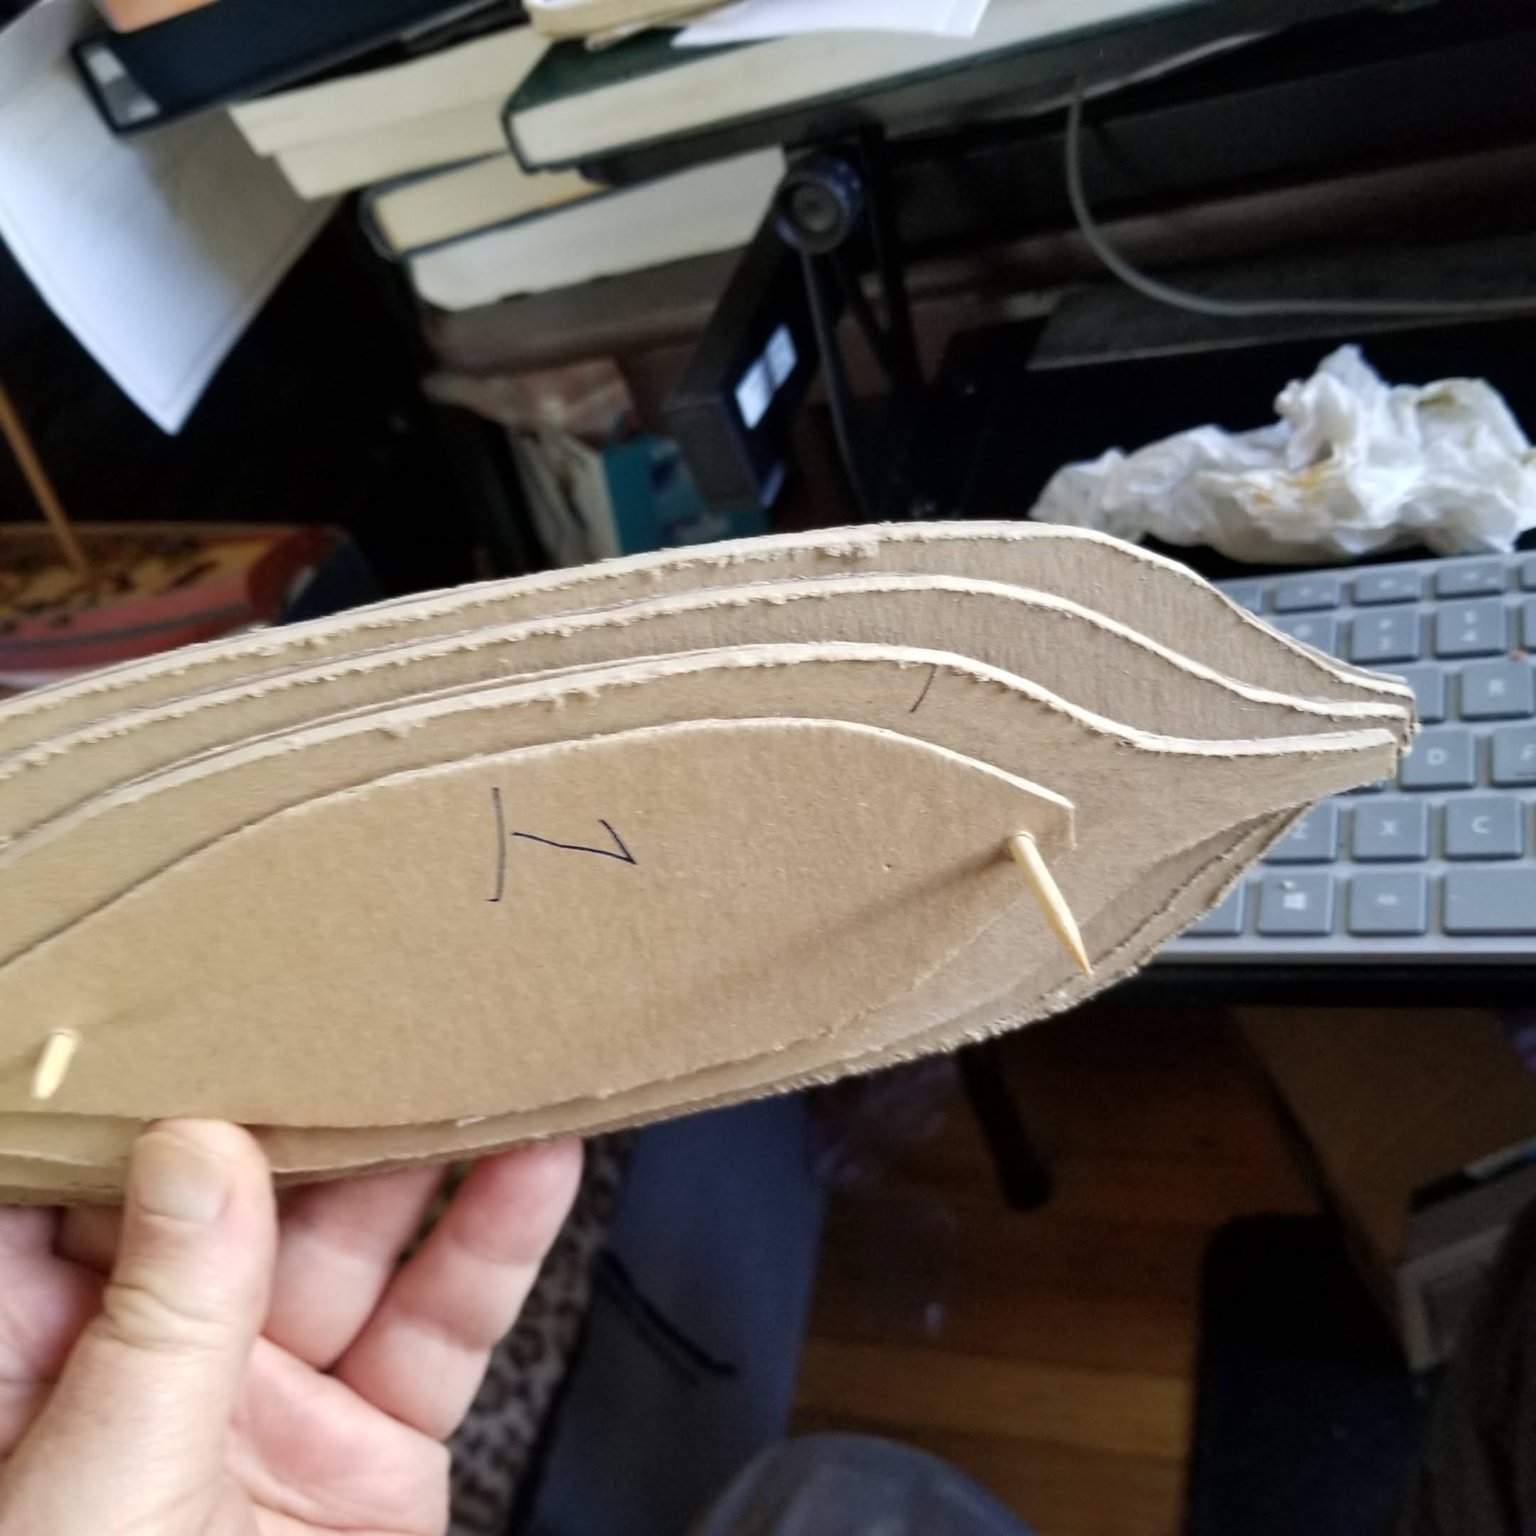
Got some new blades for the jigsaw and cut a few more pieces
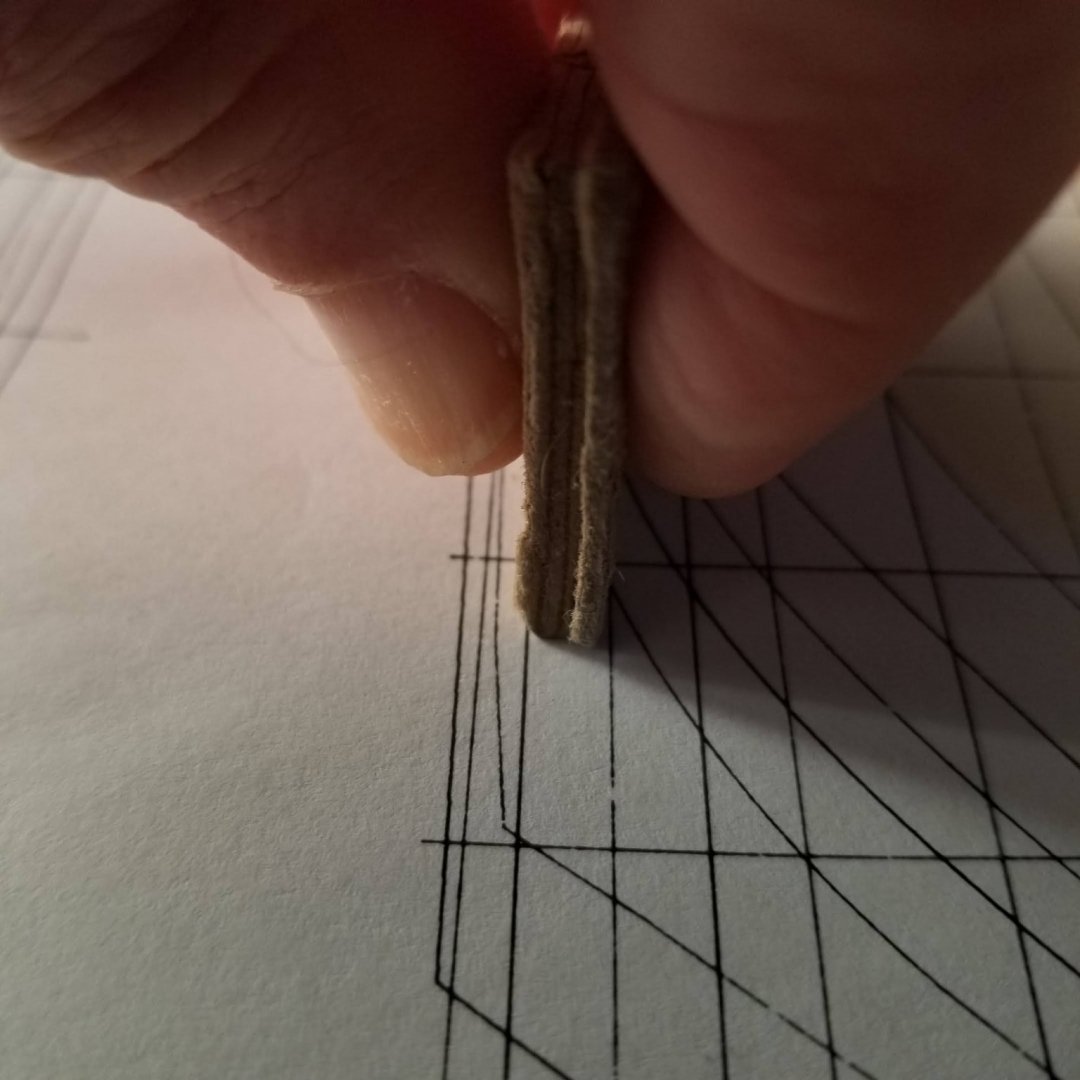
layer 1 is a single thickness
layers 2, 3 and 4 had to be laminated to get them to the right thickness
of course, a little smoothing of rough edges will have to happen before gluing
")

- GrandpaPhil, bolin, mtaylor and 1 other
-
4
-
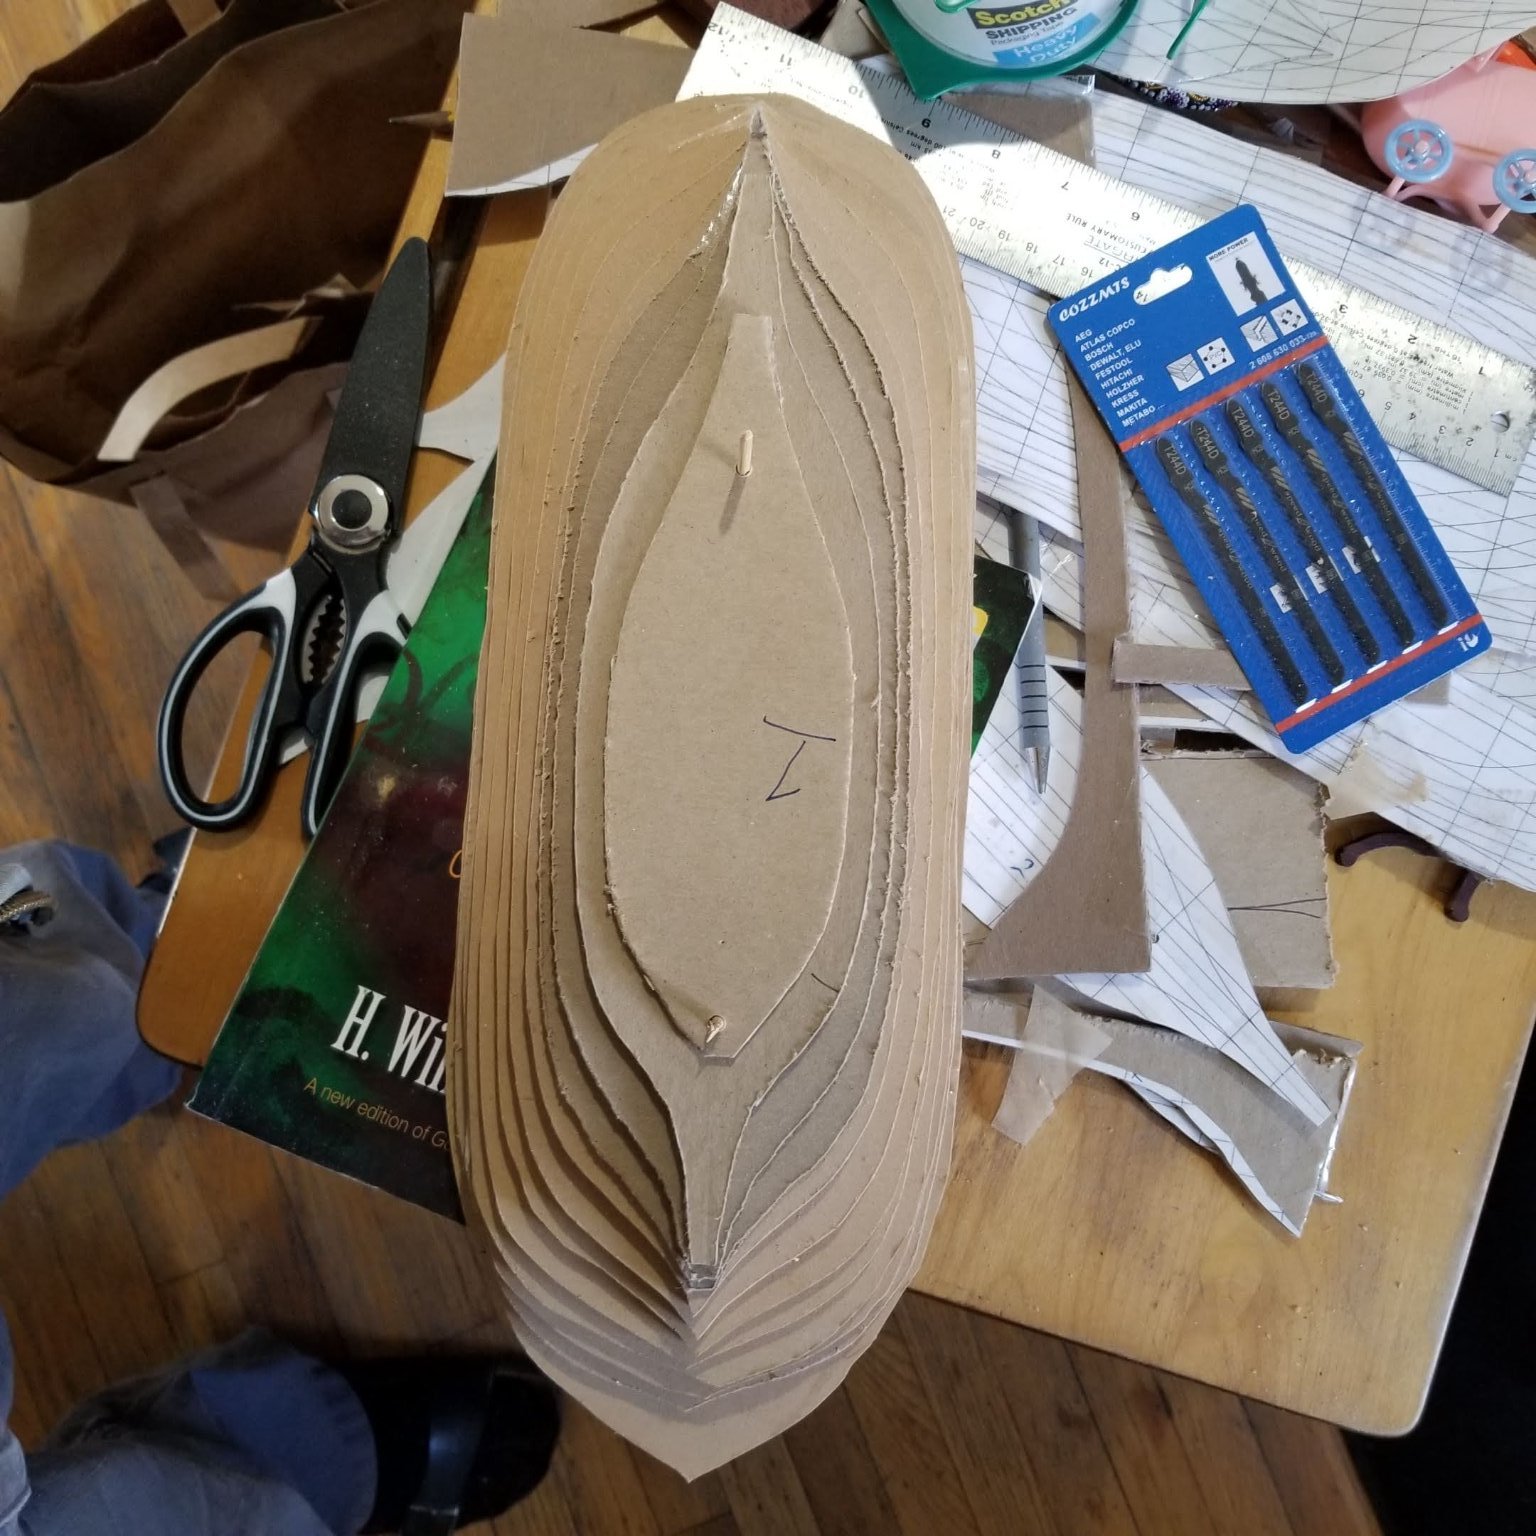
Thanks everyone for all the helpful hints.
Making a little progress
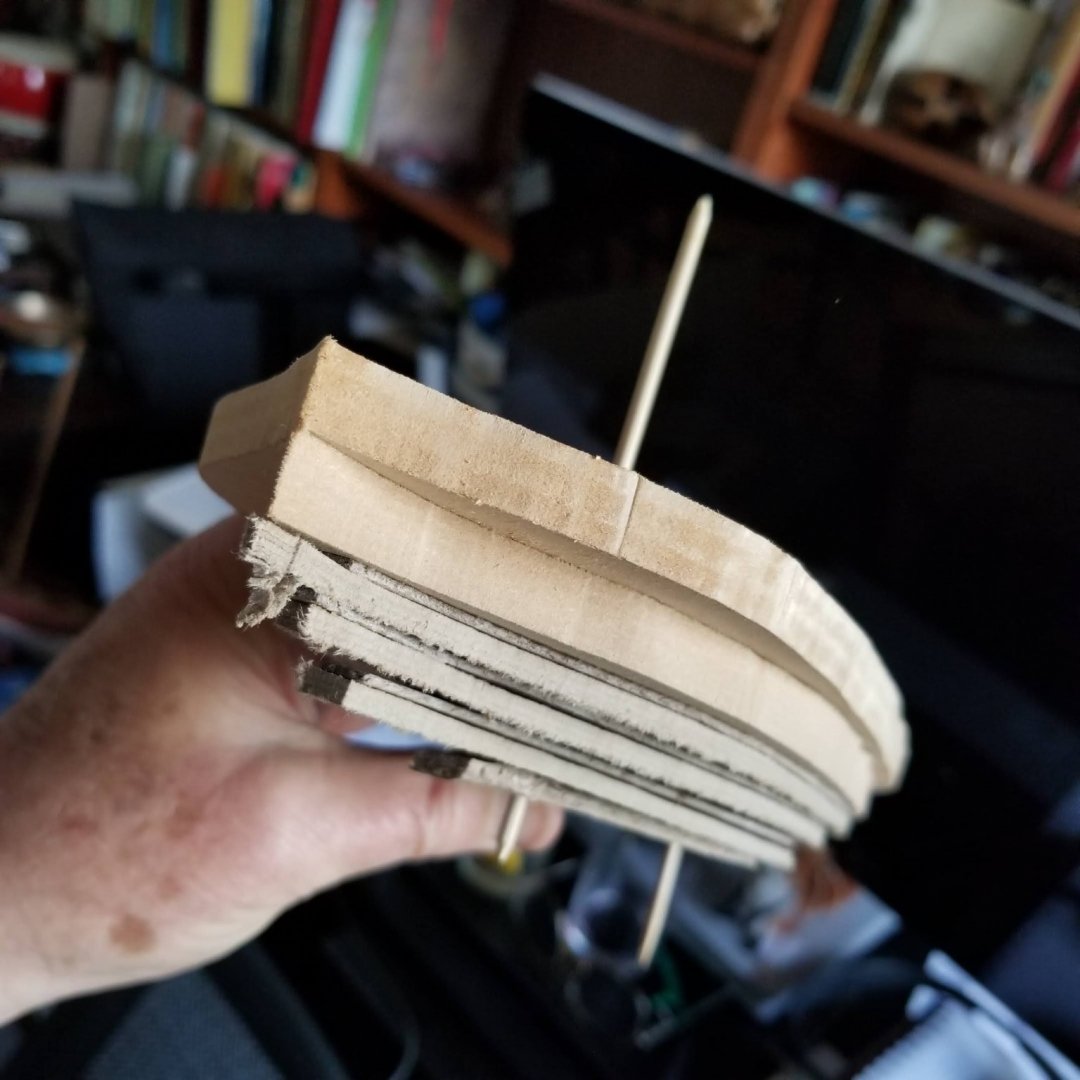
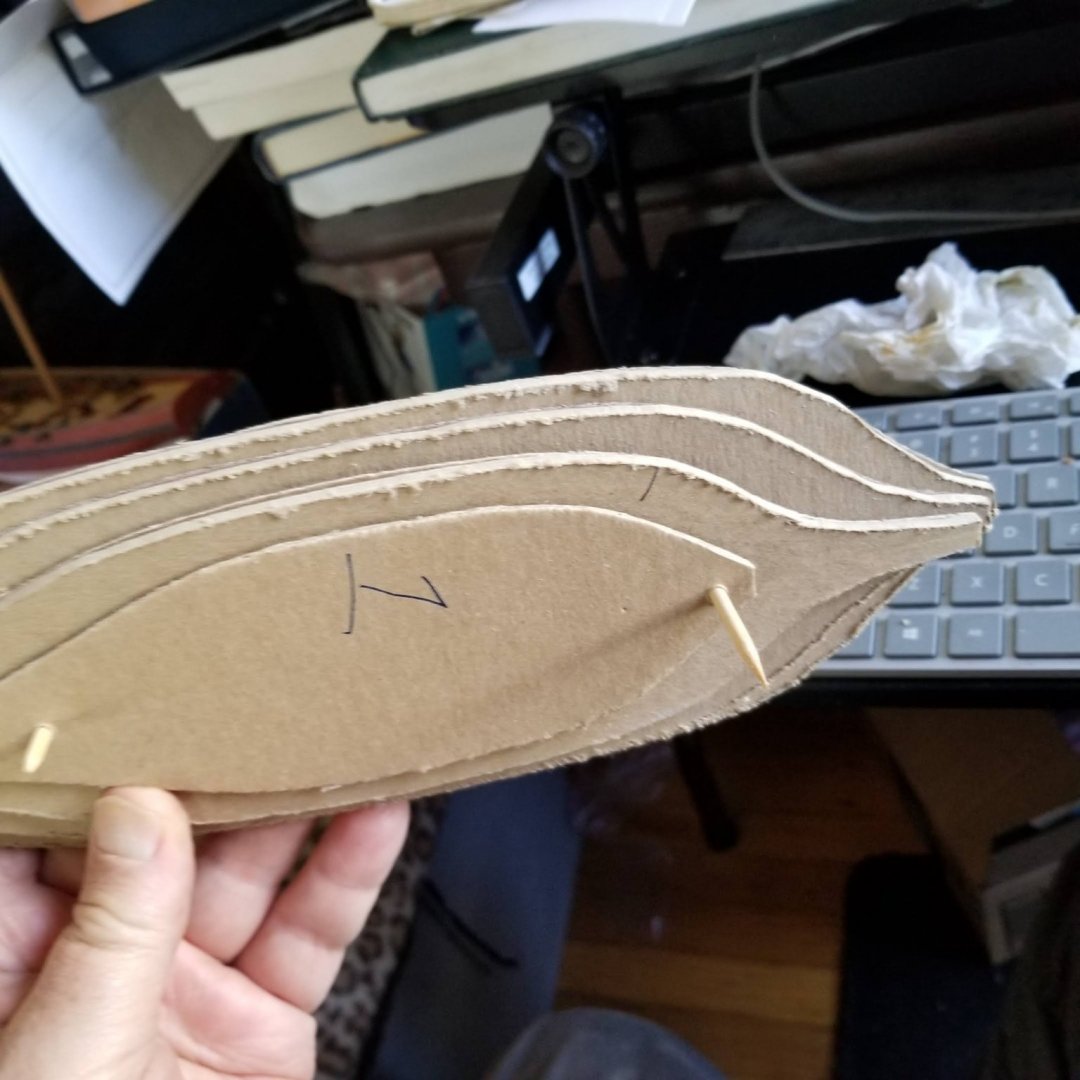
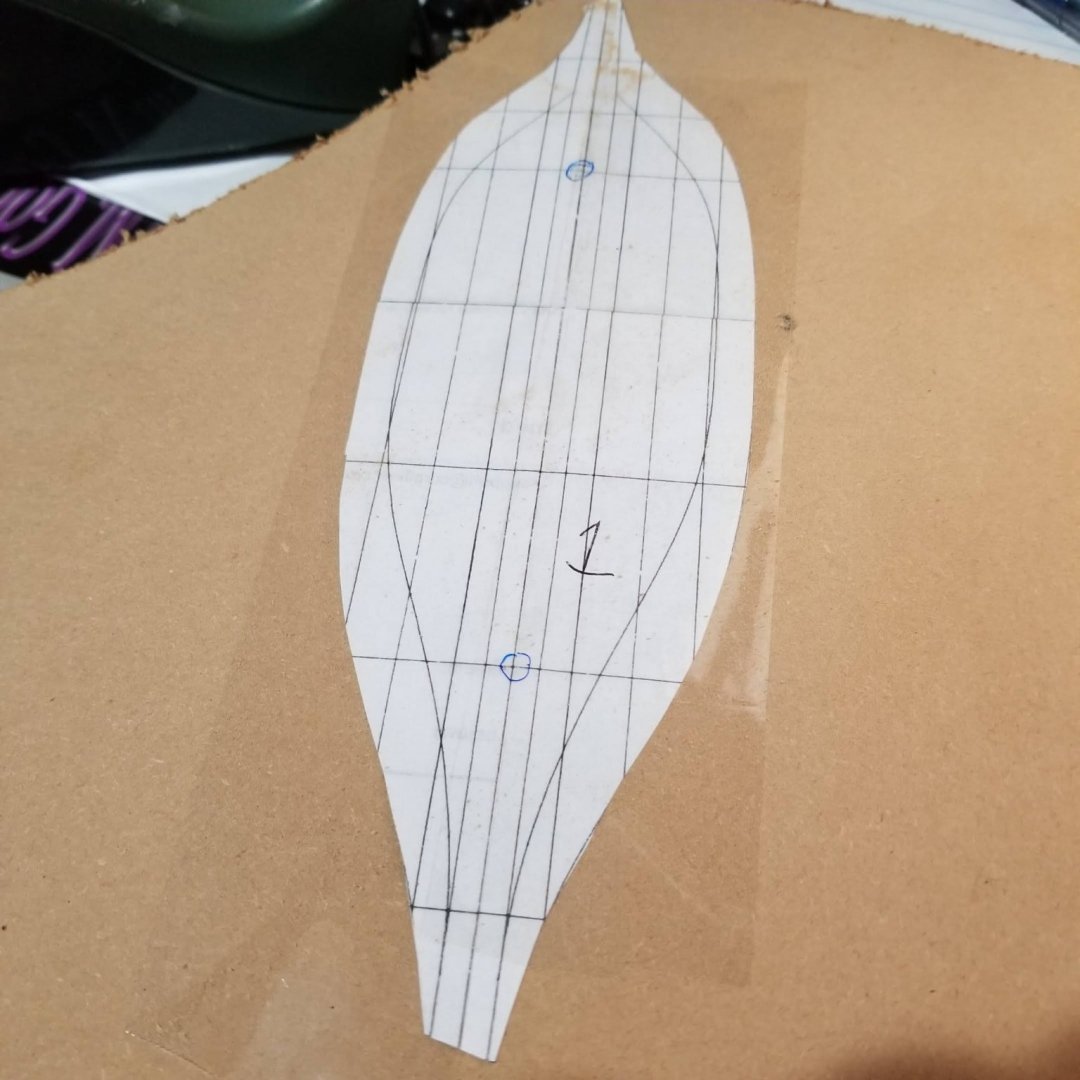
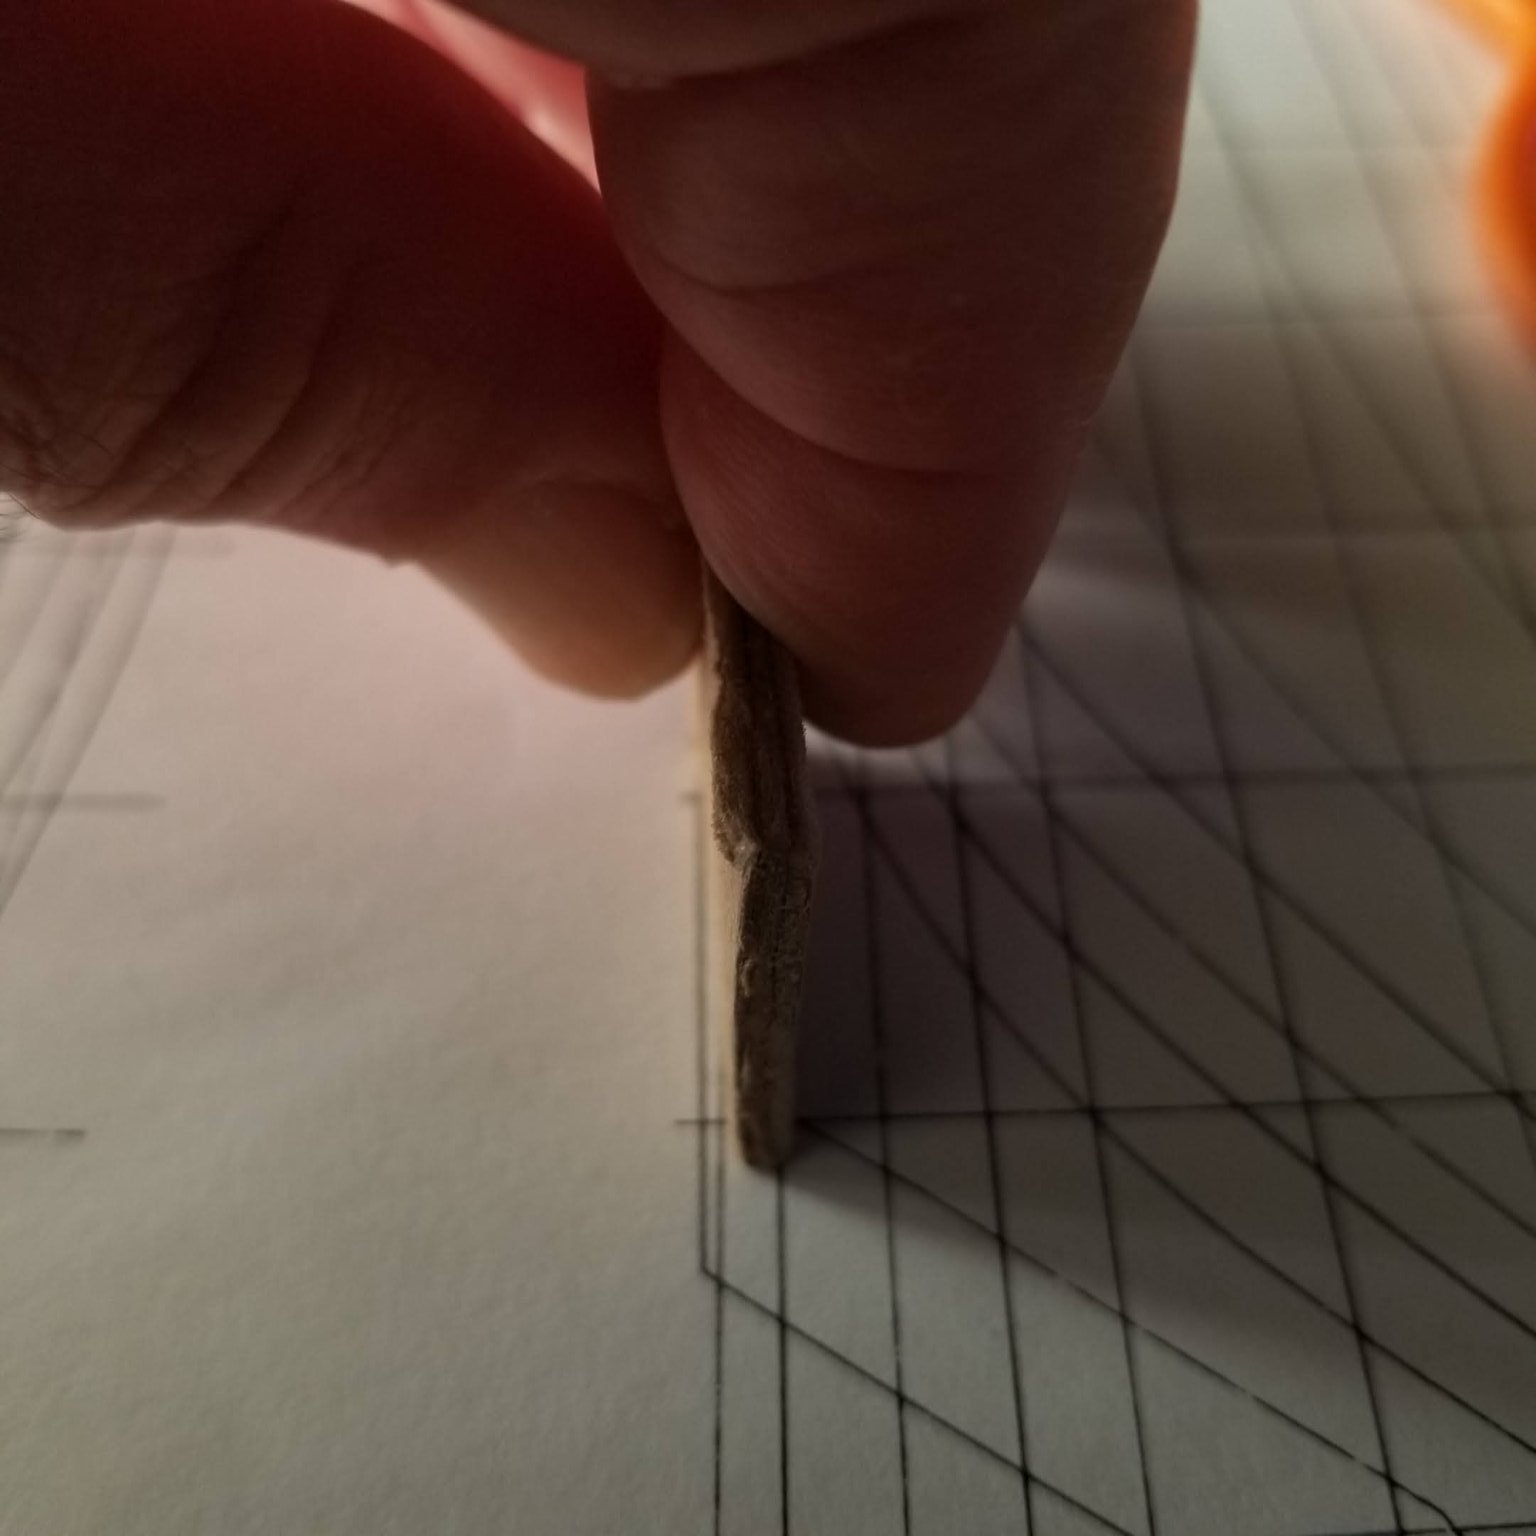
I realized that the bottom 4 sections were NOT 3/8" thick
so I printed up some new plans
and sized the bottom sections.
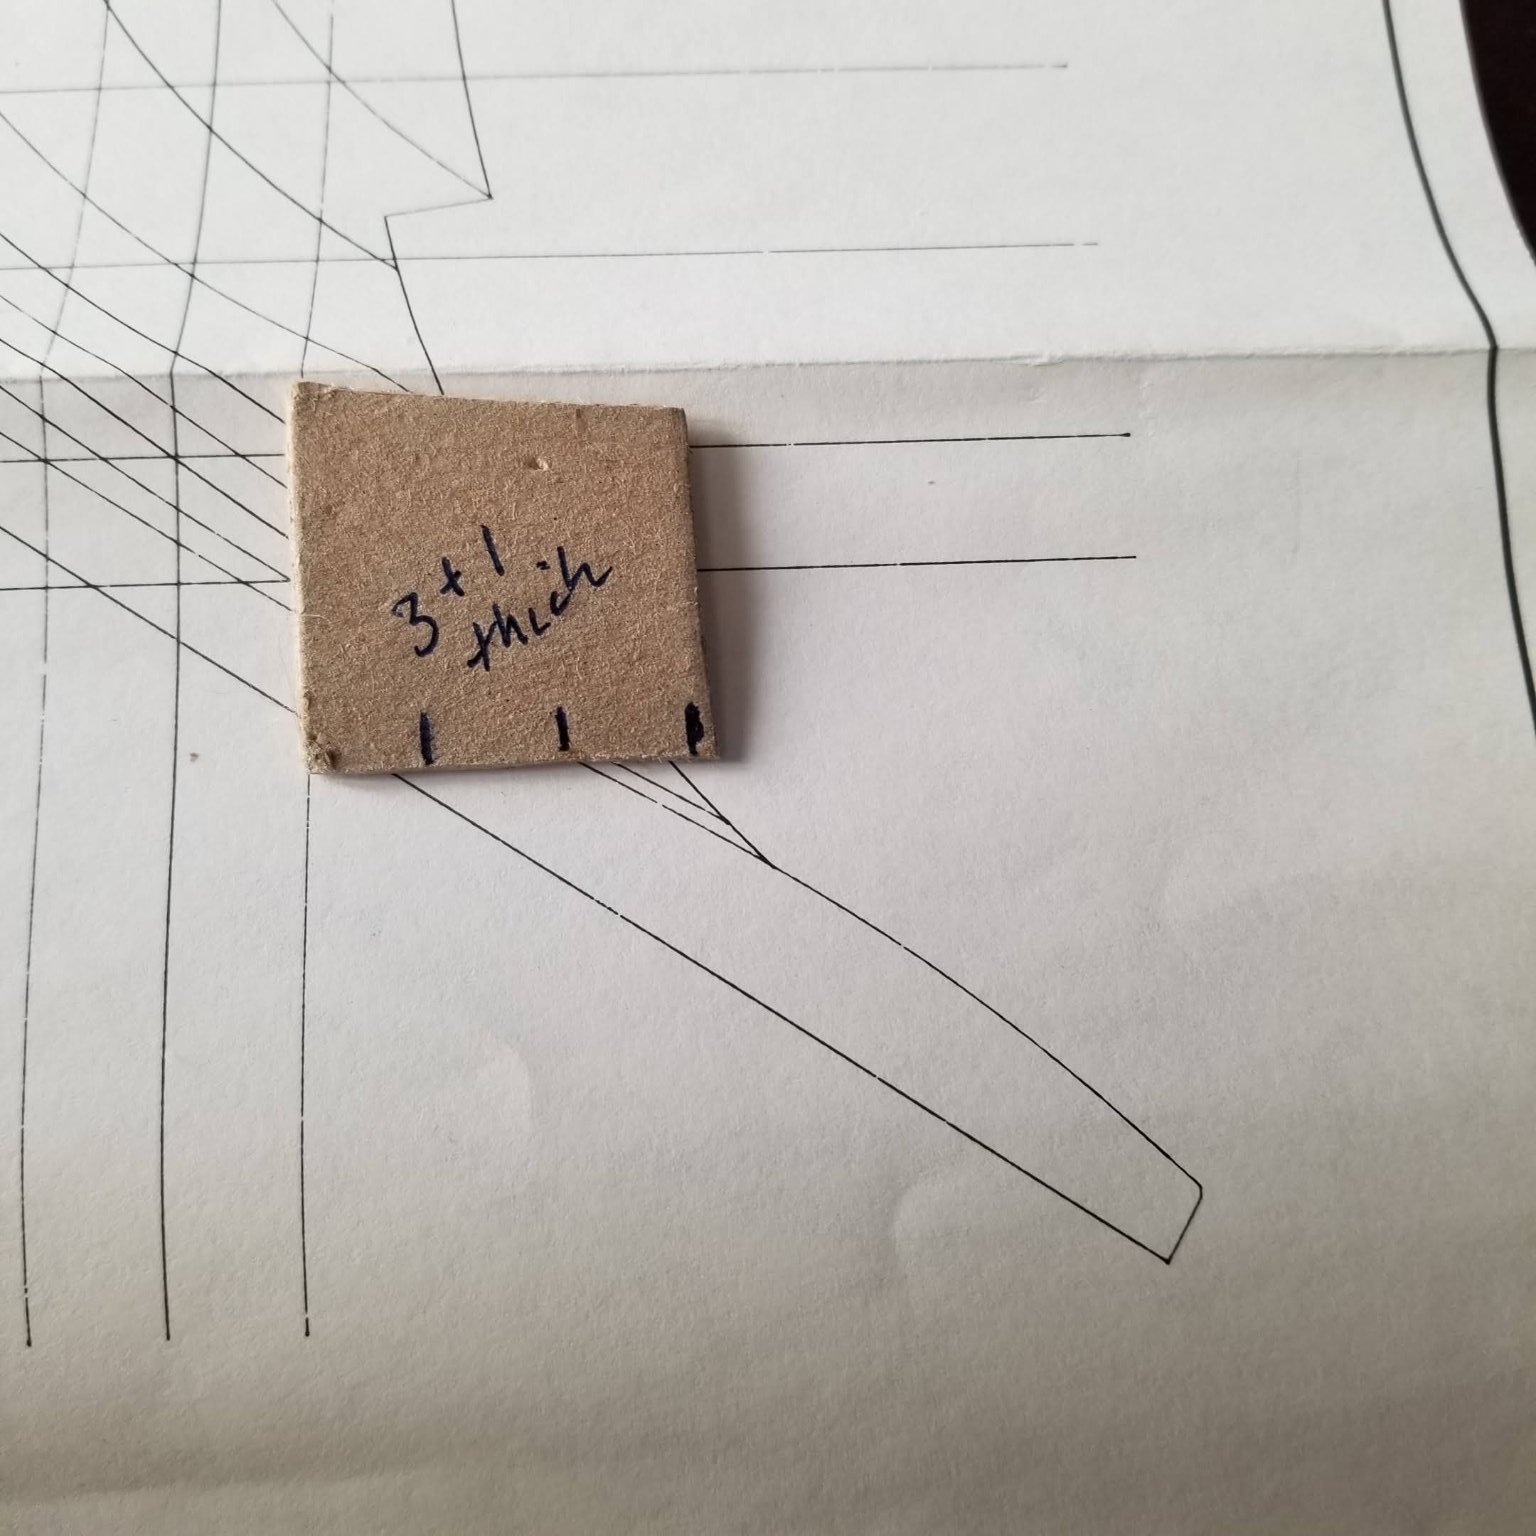
I keep a stock of heavy card...and i can use one layer for the bottom section
and a combination of 2 thicknesses for each of the 3 layers on top of that
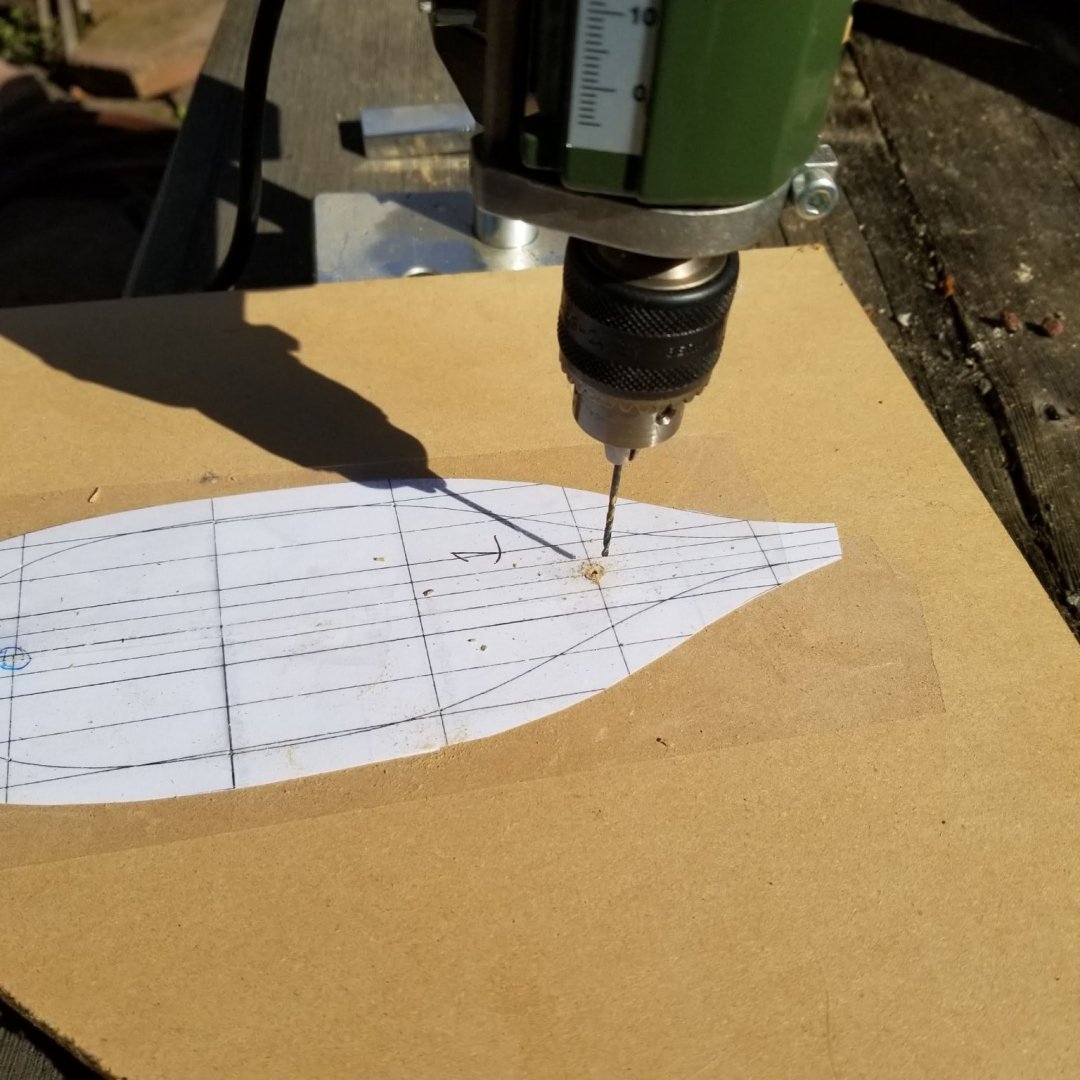
The card drills like wood
after I cut out a section it separates from the plan
I'll have to be sure and write its number on it, so as not to lose track
ps
in the 2nd to last picture you can see that i'll need 3 additional 3/8's sections in order to accomodate the full rise of the bow


- mtaylor, GrandpaPhil, Baker and 1 other
-
4
-
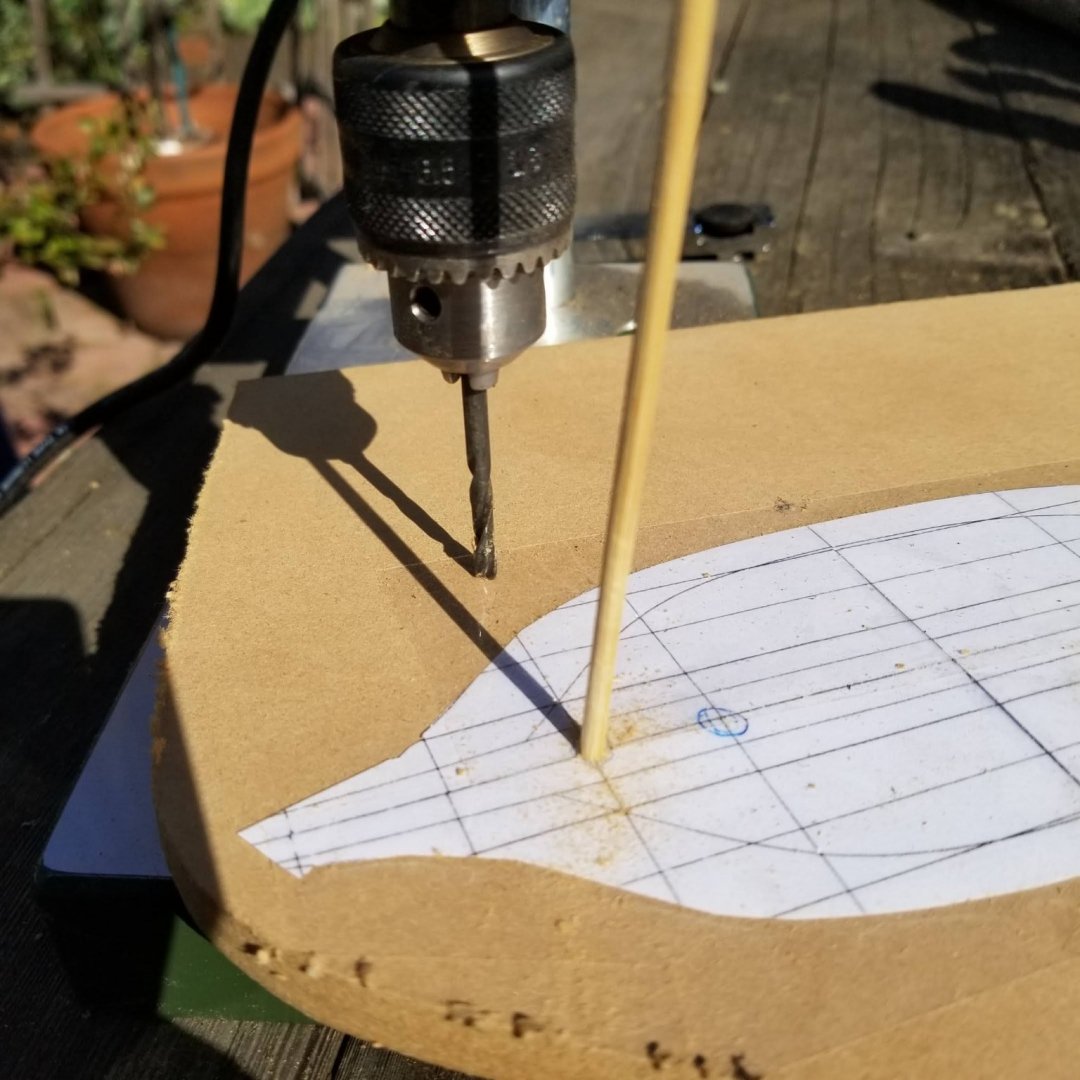
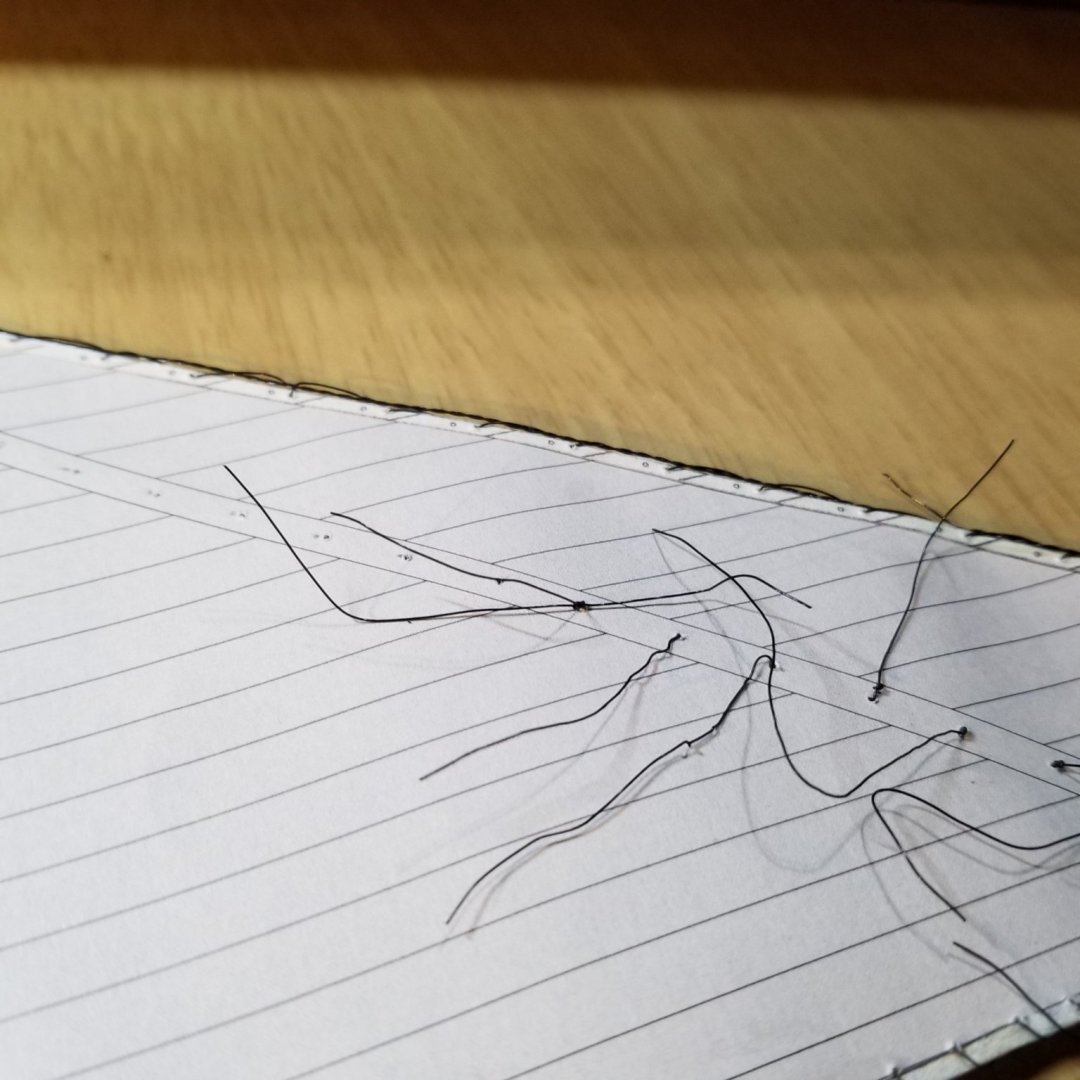
I actually was able to find a drill the right size for the bamboo skewers in my tool box
I drilled really small holes first, because on pressboard you don't get much "centering" effect from an initial punch hole
And then with a drill the size of the bamboo
I'm punching the outline of the next layer down through the paper before I do the cutting (because the paper is not glued on, when it is cut to the outline it will come off the board.
So I'll have the 2 pegs and the punch marks to guide me as I glue the layers together

- GrandpaPhil, mtaylor and Louie da fly
-
3
-
Saw arrived. Now have nice pile of boards. Time to get out the drill press and drill the holes for the bamboo centering pieces.
- GrandpaPhil and mtaylor
-
2
-
Still waiting for some help for my jigsaw. I think the battery has completely died. Planning in the mean time. Two holes through each piece for bamboo skewers..holes always "wander" a little. I'll center punch them and drill with a small drill first, then follow up with one that is just a little bigger than the skewers.
- GrandpaPhil, Baker and mtaylor
-
3
-
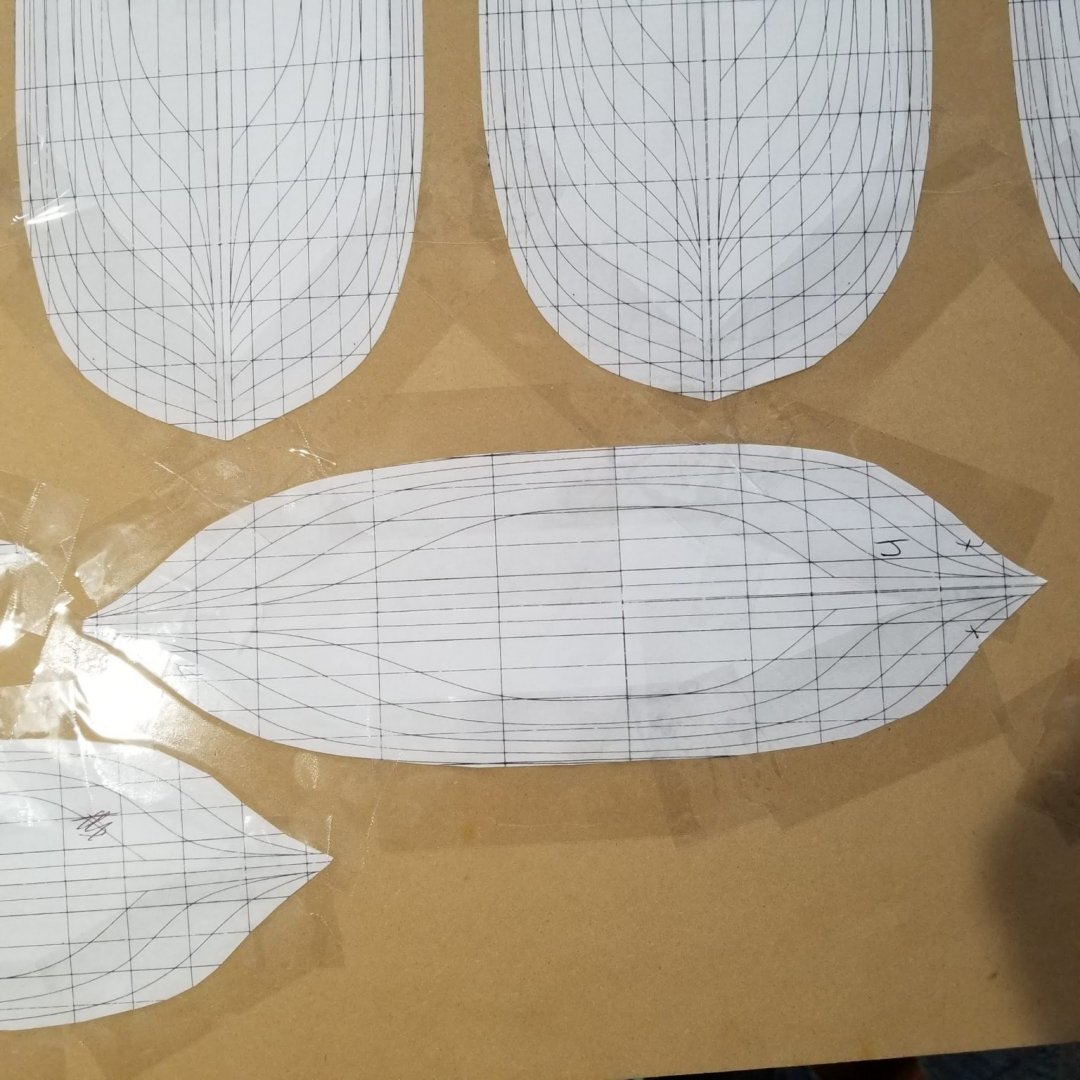
-
may end up slightly larger than a breadbox
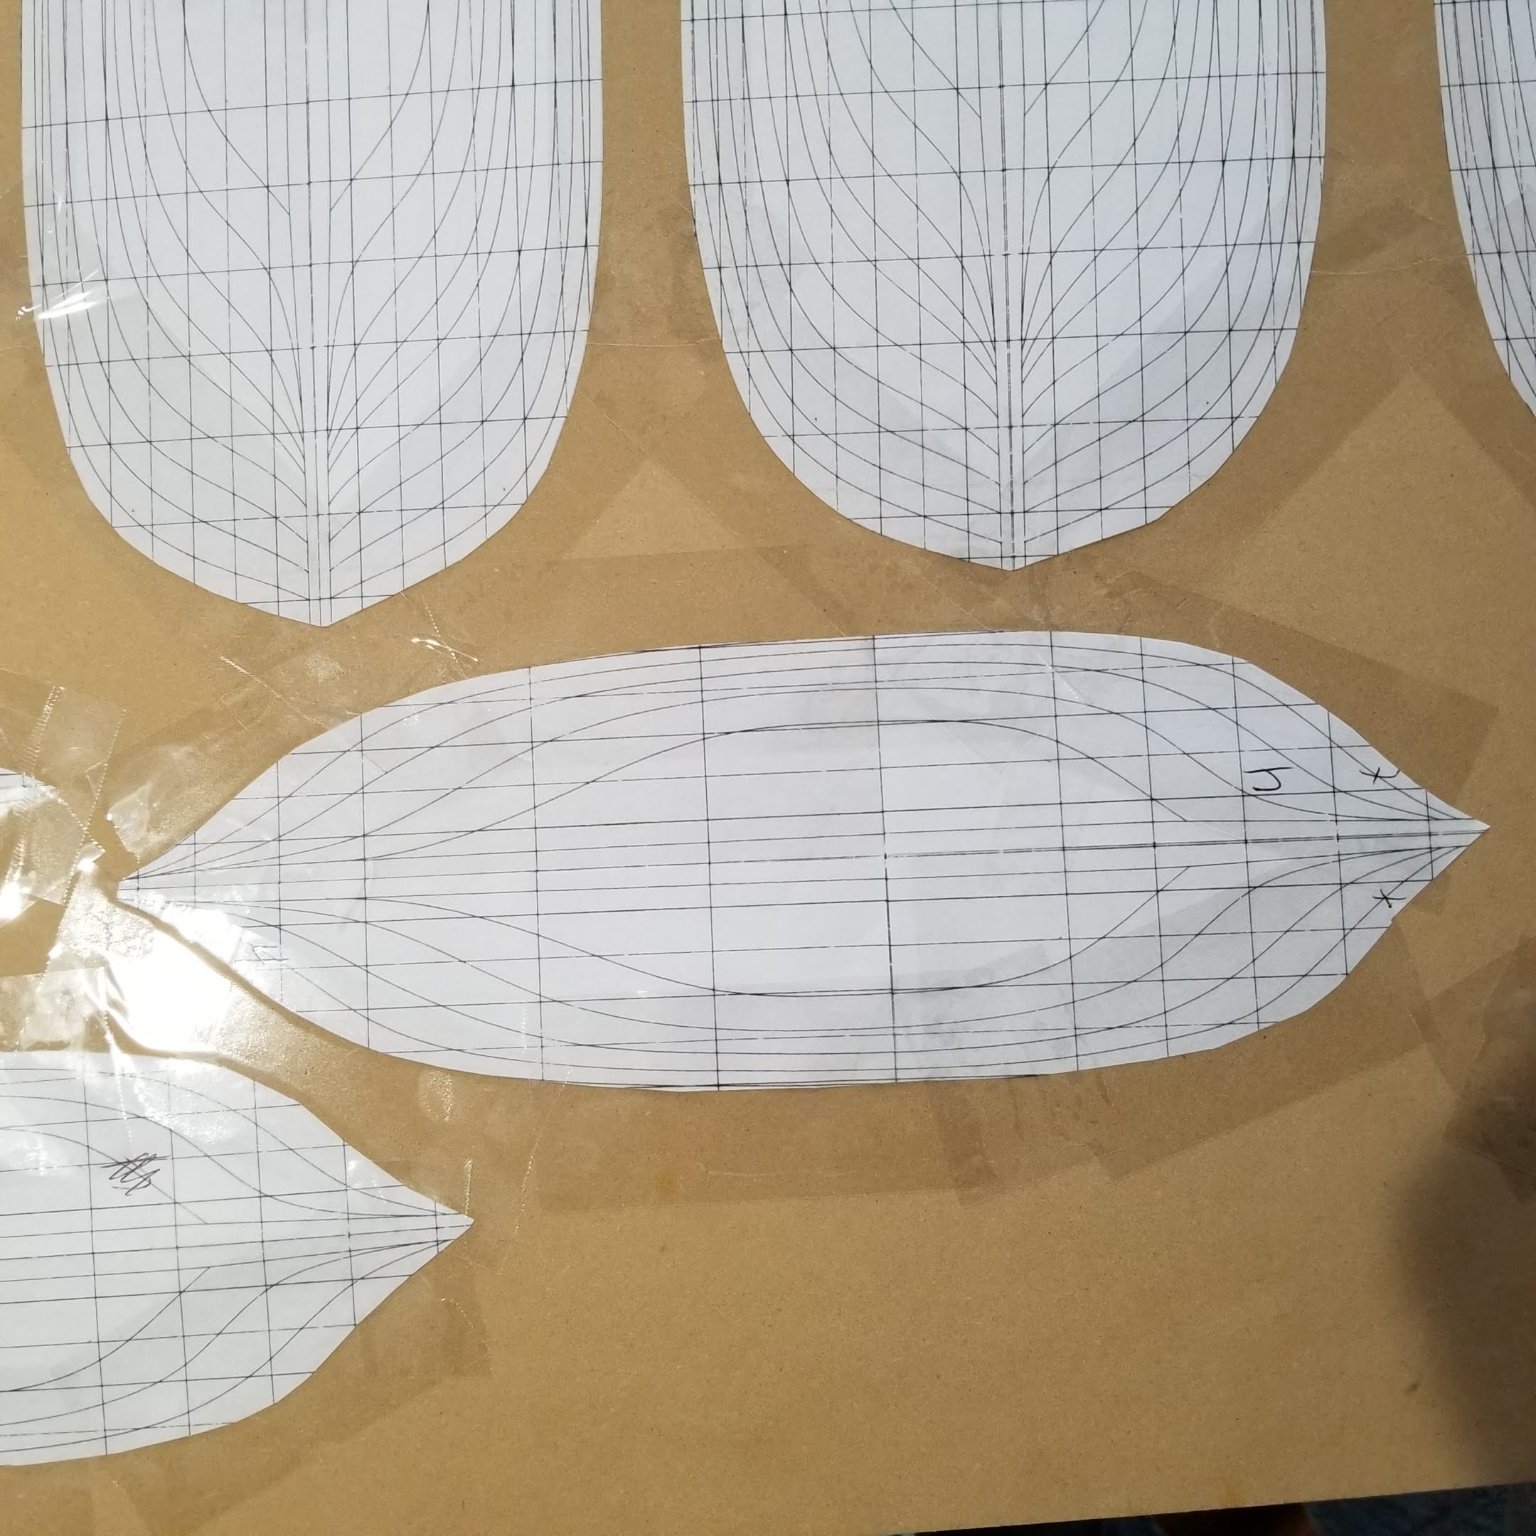
the plans are taped down to be cut out with a jigsaw
i think the paper will have to be removed before gluing
thus the tape, instead of gluing the paper down

- GrandpaPhil and mtaylor
-
2
-
Thanks for the clarification Roger
that's the plan.
I hope to construct a shell around the plug of the hull planking
then lift the plug out and put in the internal frames.
With luck, I want to make the model so the internal framing can be lifted out to inspect the framing
rather than leaving parts of the hull exposed.
-
Instant Kogge. Just add water
- GrandpaPhil, mtaylor, amateur and 1 other
-
4
-
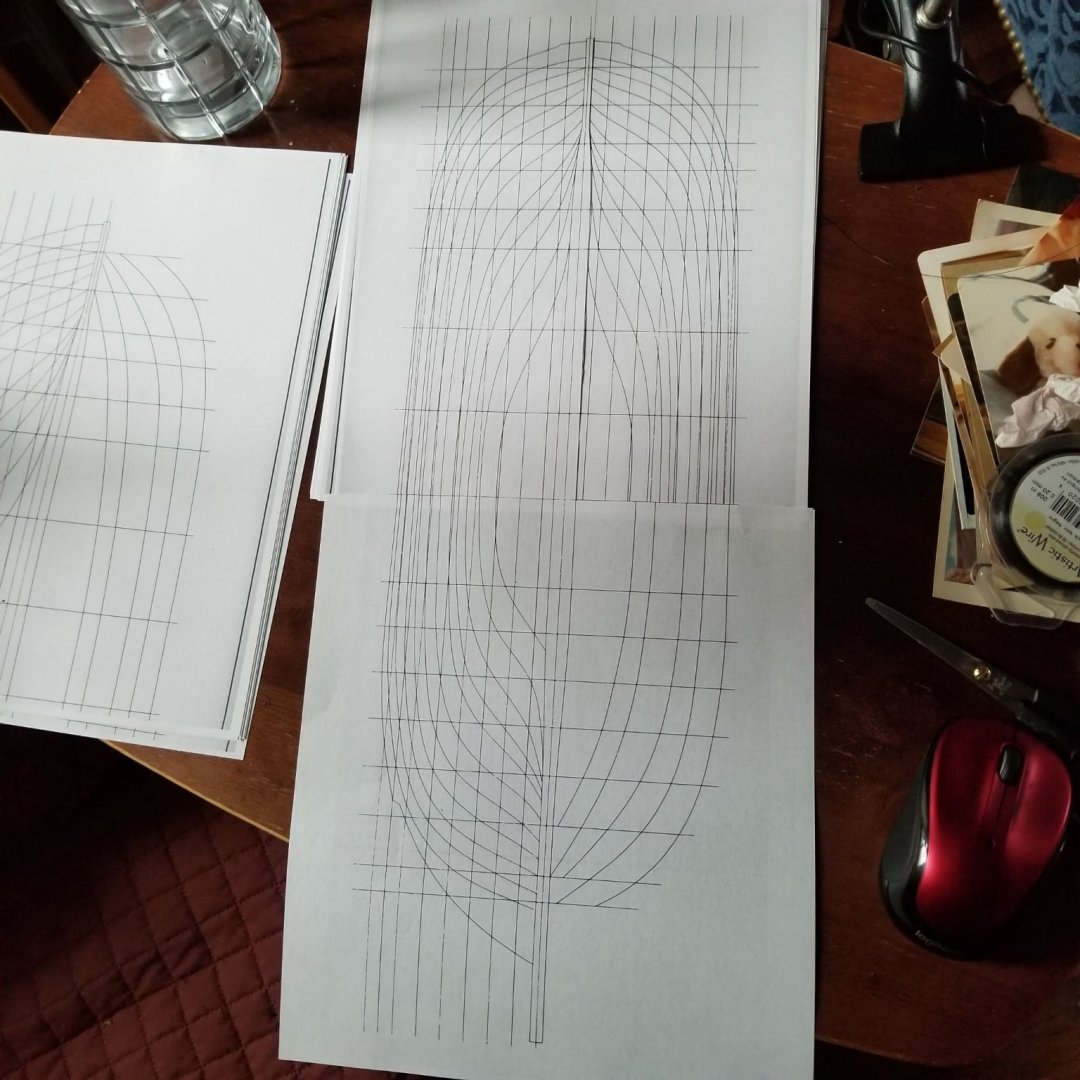
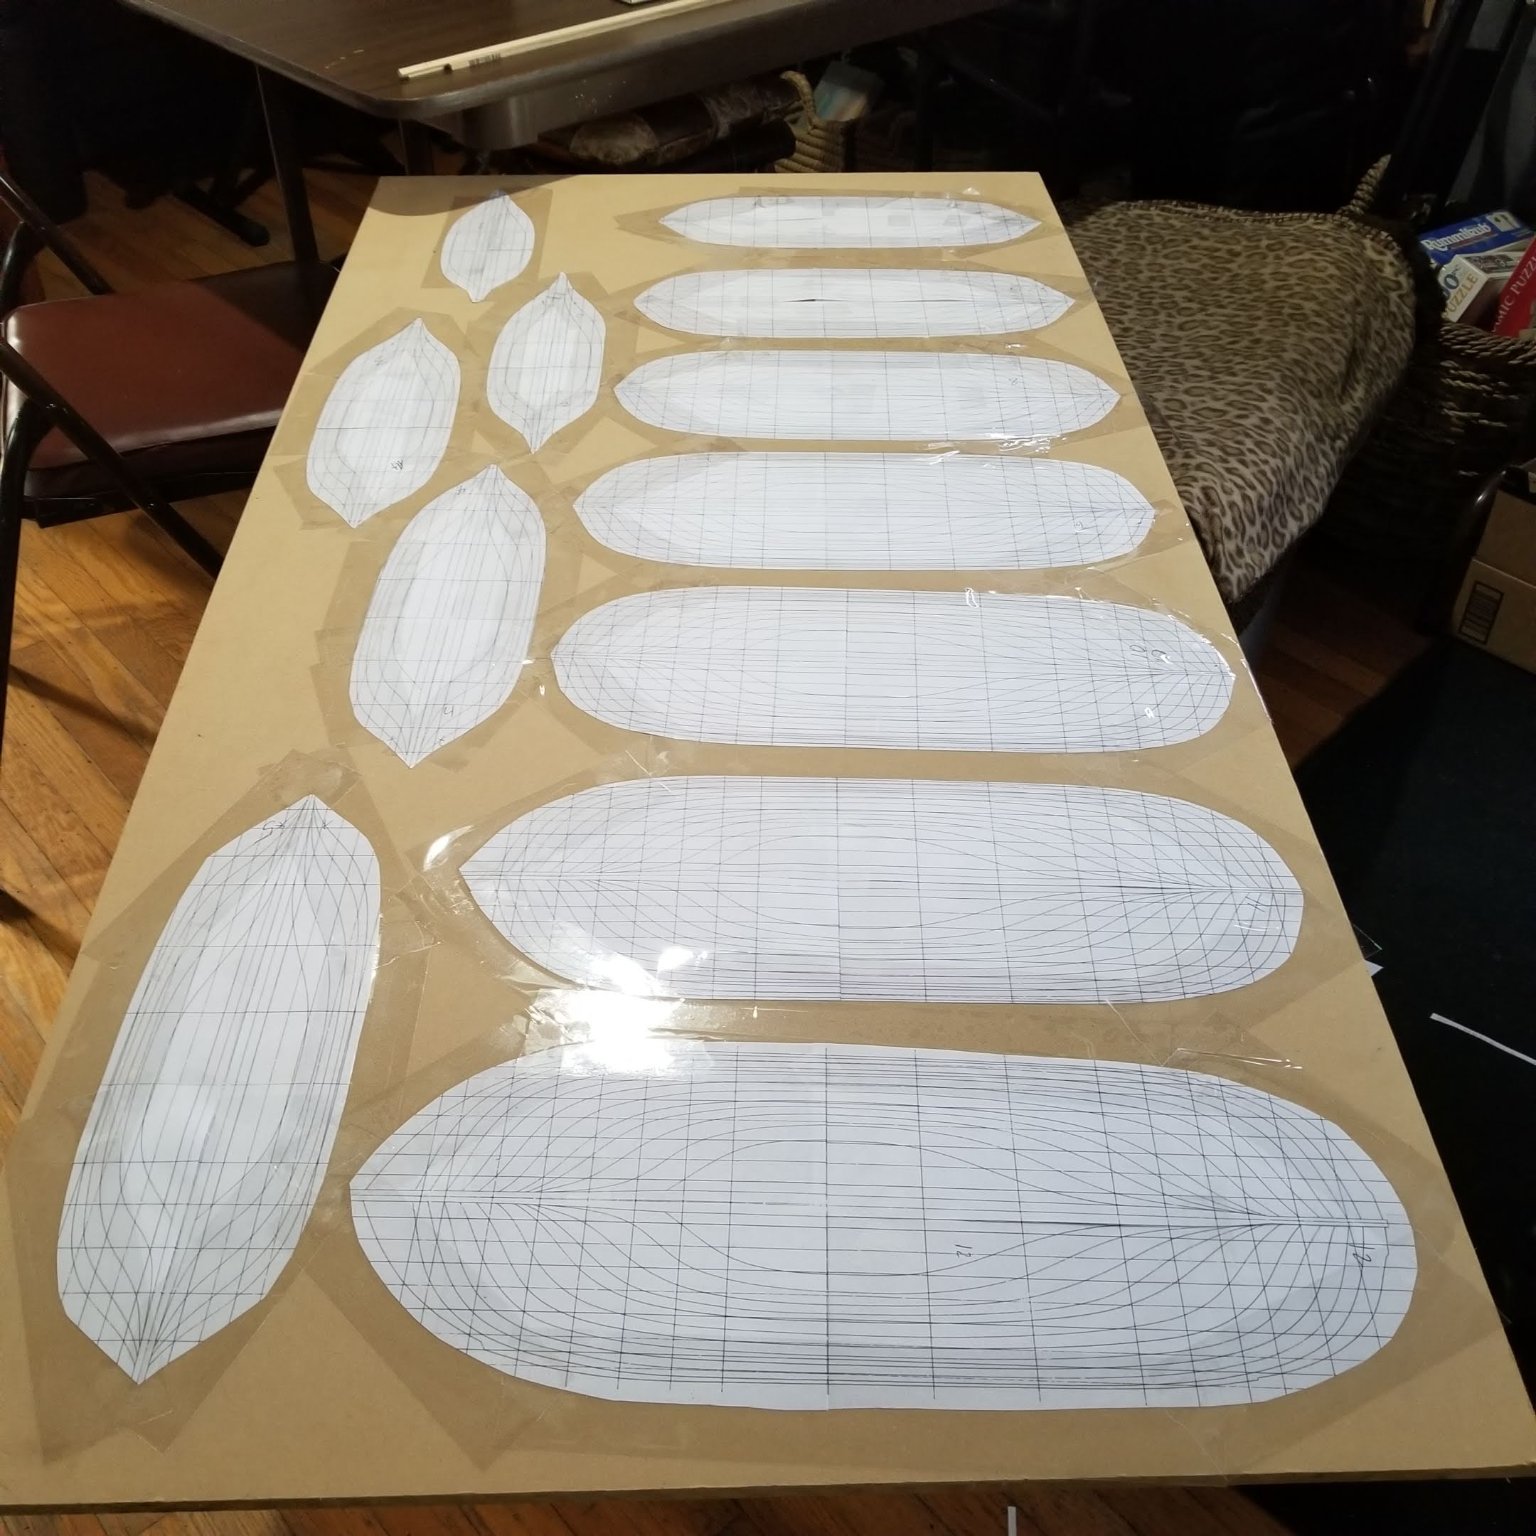
stitching the plans back together digitally always gives me fits. since I can only print them 1 scan at a time anyway, I decided to print the 4 scans that cover the hull and assemble them back together "on paper"
by good luck the horizontal height of the layers is 3/8", just the size of some press board I have left over from building another "block" hull. So I'll be assembling 12 plans (1 for each layer) gluing them onto the pressboard and cutting them out with my jigsaw.
then a lot of sanding and filling to fair the lines
- mtaylor, bolin and GrandpaPhil
-
3
-
Thanks Roger,
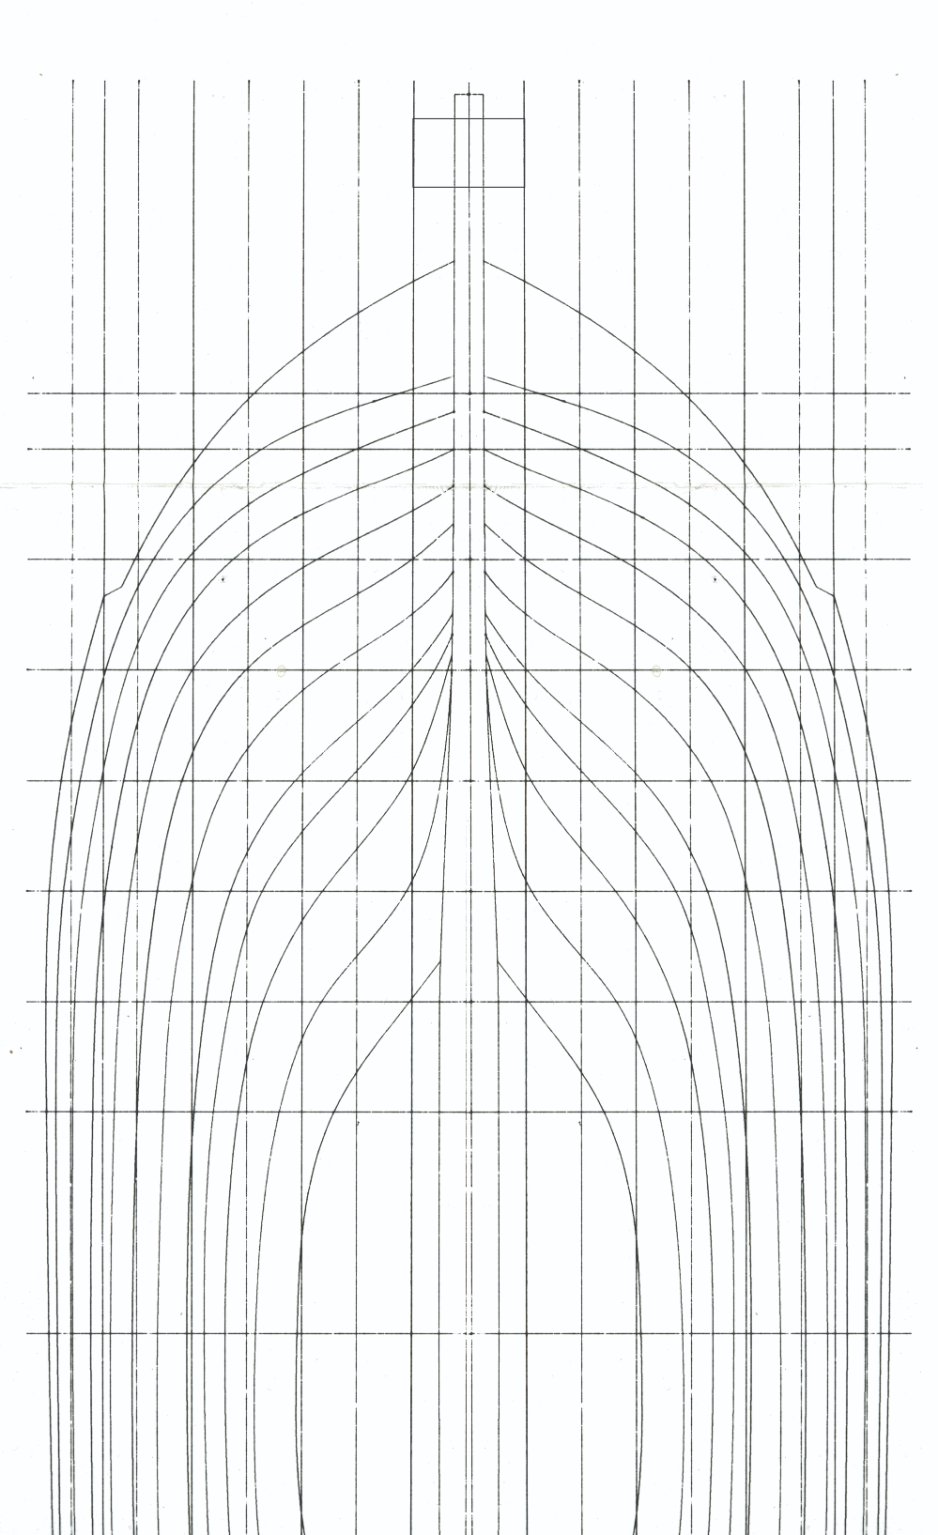
How should they be interpreted ?
-
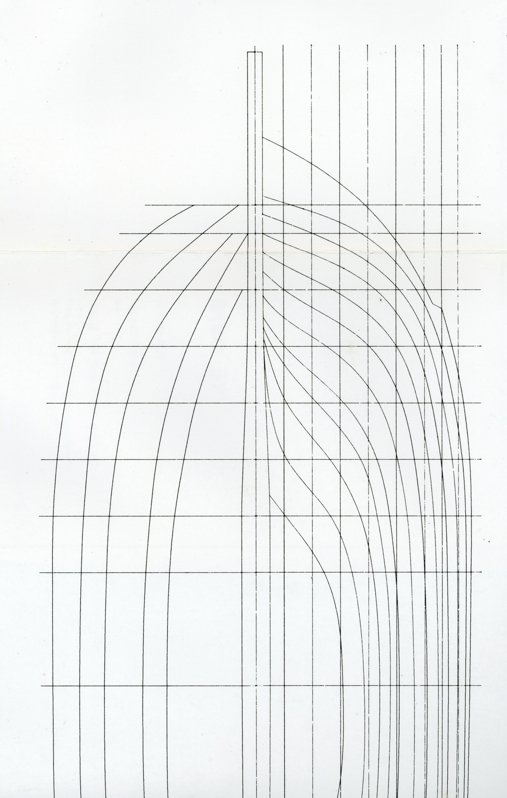
Corel Draw to the rescue
The 2 superimposed square boxes are temporary. They are my hack to control the alignment of the 2 images that make up the full picture
- mtaylor, Chuck Seiler and Louie da fly
-
3
-
-
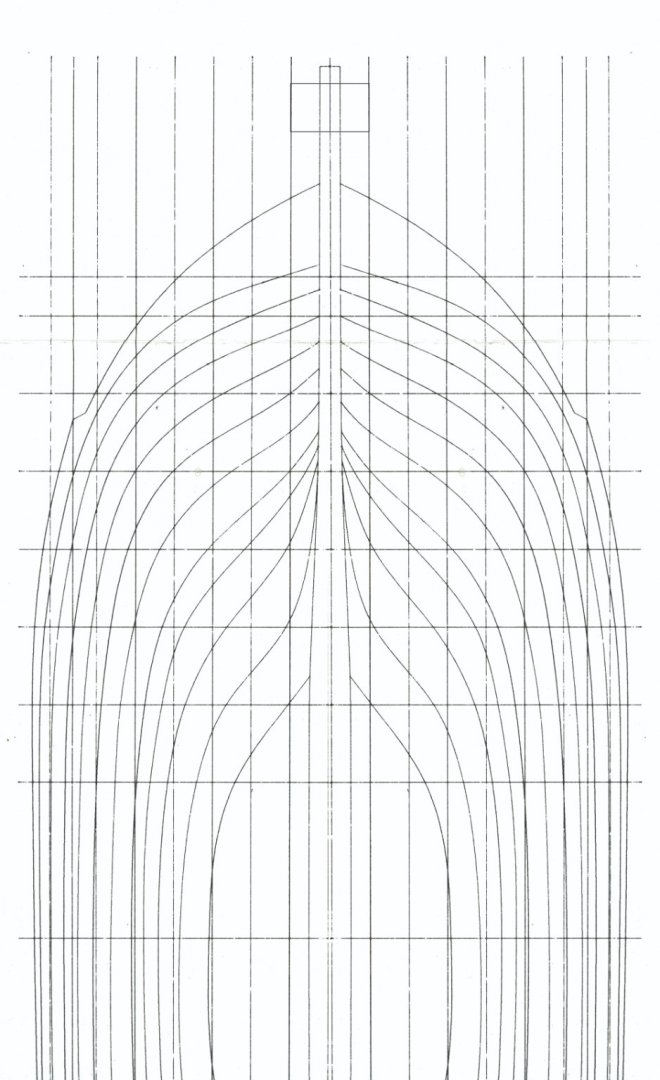
I should know this. But how to I interpret the lines on the left hand side ? Are they cross sections that go between the lines on the right hand side?
-
Well, I measured this morning and I'm in luck.
I have some 3/8's inch thick untempered masonite from a previous project where i was building a "block" model, and the layers in the 1/50 view are just 3/8's of an inch thick.
So I will rework the lines to get full outlines for each layer, cut them out and glue them together, and the file/sand the hull smooth, and i will have my plug.
I have decided to go ahead with the idea of dividing the stem and the stern posts so that the shell of the hull built around the plug will be separateable from the framing, deck and mast.
At this scale, and using wire "ropes" i should be able to make the mast/sail actually riggable, so they can be taken down for storage.
-
Yes. The plans are detailed enough to build a full size ship, if one wished.
- Chuck Seiler and mtaylor
-
2
-
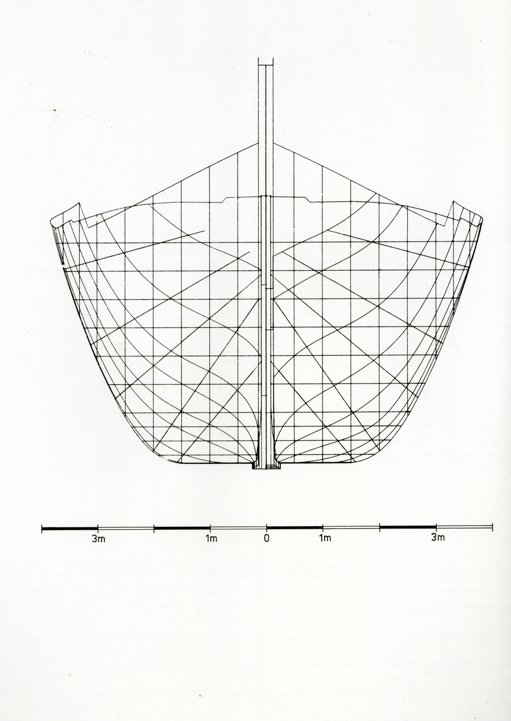
I'm going to assume that the lines provided are to the outside of the hull planking.
-
So
Looking at the plans the model at 1/50th looks ok. Smaller than a suitcase
Because of the way the ship is constructed, I'm going to try first carving a plug
Then building the planking over the plug
Then removing the plug and "filling in" the framing.
"Dutch Style" so to speak.
If I get really adventurous I will trying building the model so all the interal planking (and the masts and sail) can be "lifted out" of the shell for inspection. Instead of leaving off part of the hull or deck to make the internal construction visible.
- GrandpaPhil, Roger Pellett, mtaylor and 2 others
-
5
-
-
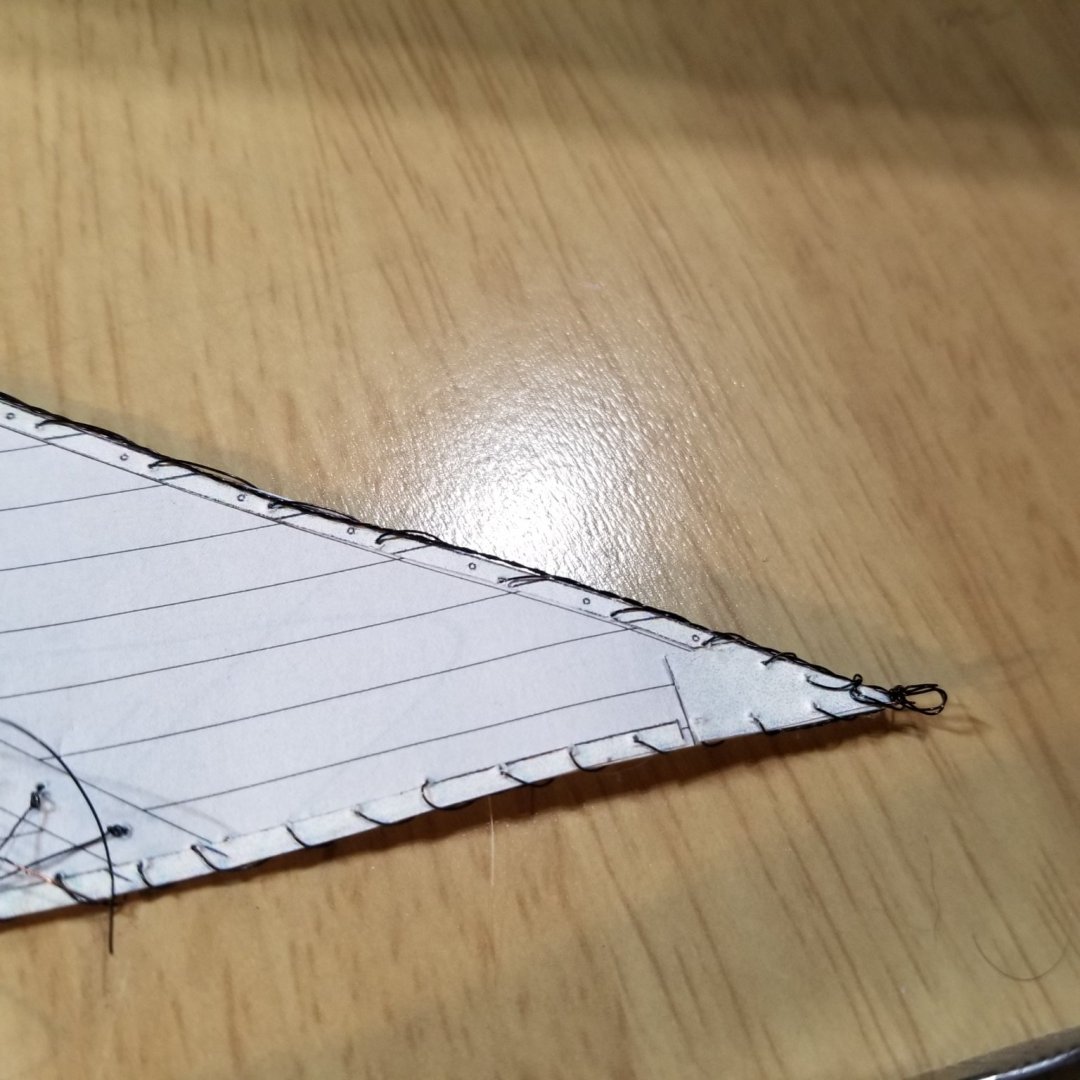
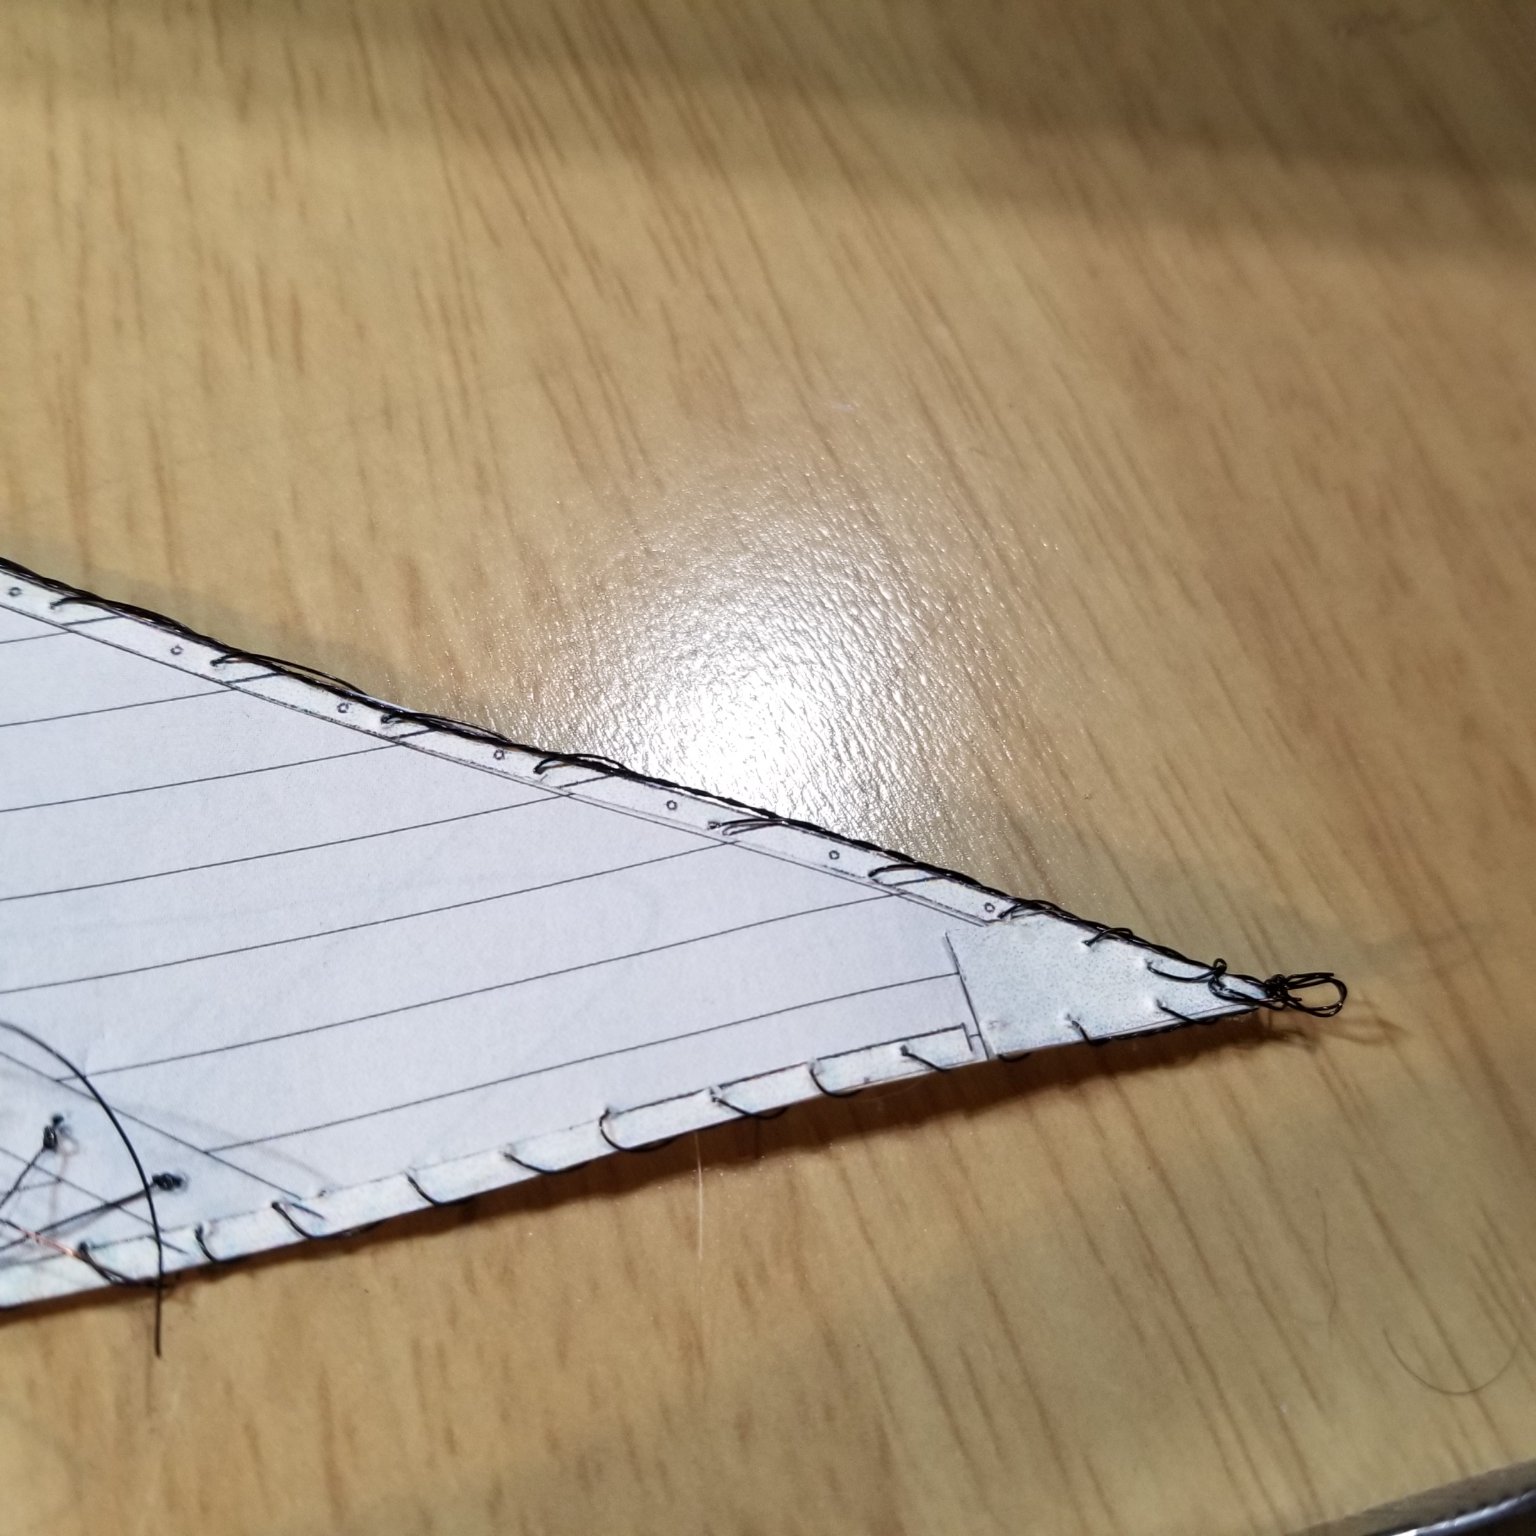
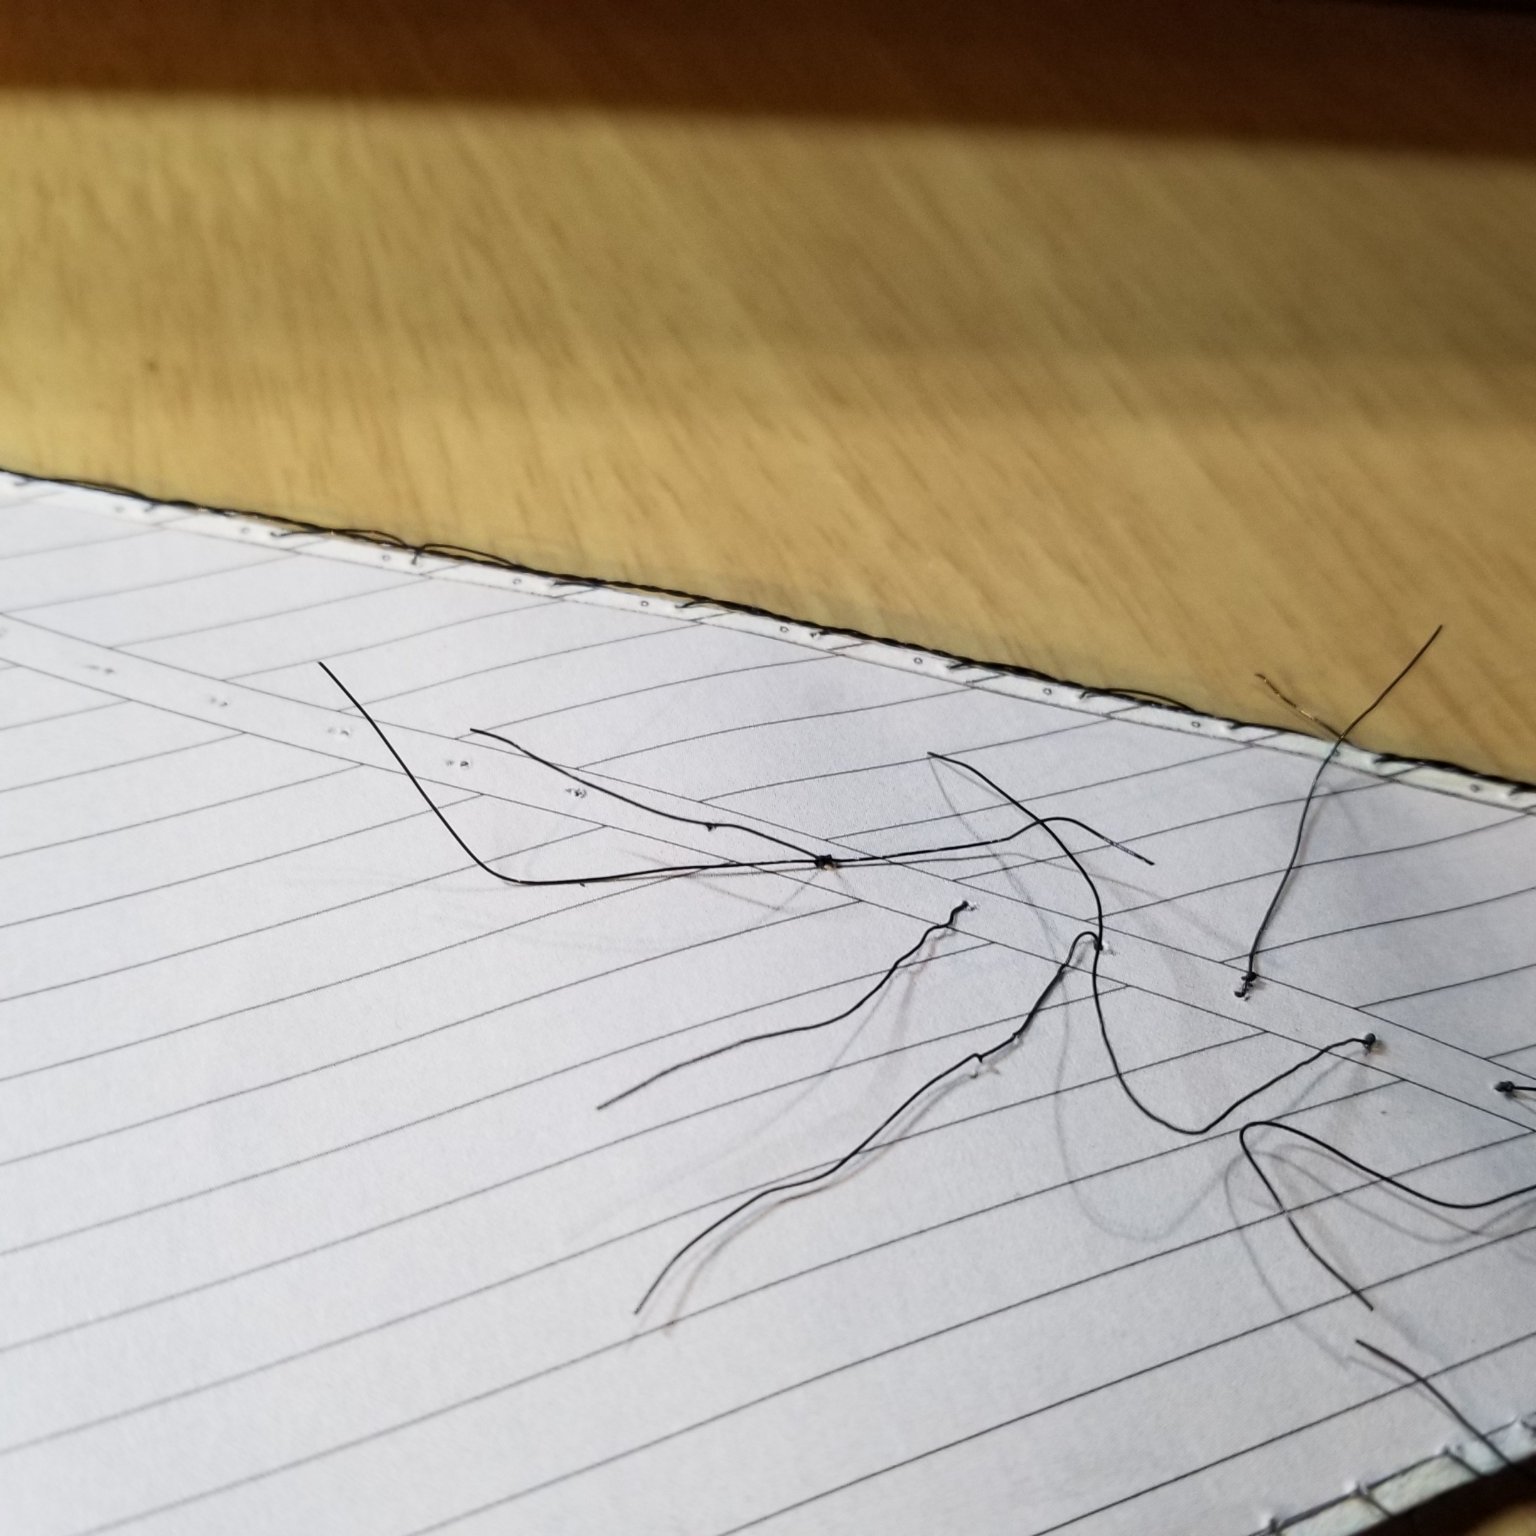
going to keep working on this while I build the Kogge Van Bremen
Putting the reef points in the sail
i use wire for rope
you can tie a knot in the wire for one side...but for the life of me i cannot tie the knot on the other and have it be tight against the sail.
so i am tieing the knot in another piece of wire.. i will have to superglue this false knot against the sail and then trim the ends
- tkay11, ccoyle and GrandpaPhil
-
3


Die Kogge Von Bremen by kentyler
in - Subjects built Up to and including 1500 AD
Posted
here we are, ready to go