kondzik
-
Posts
121 -
Joined
-
Last visited
-
 mtaylor reacted to a post in a topic:
Saettia by Kondzik - WAK 7-8/2015 - 1:100 - CARD
mtaylor reacted to a post in a topic:
Saettia by Kondzik - WAK 7-8/2015 - 1:100 - CARD
-
GrandpaPhil reacted to a post in a topic:
Saettia by Kondzik - WAK 7-8/2015 - 1:100 - CARD
-
ccoyle reacted to a post in a topic:
Saettia by Kondzik - WAK 7-8/2015 - 1:100 - CARD
-
JacquesCousteau reacted to a post in a topic:
Saettia by Kondzik - WAK 7-8/2015 - 1:100 - CARD
-
JacquesCousteau reacted to a post in a topic:
Saettia by Kondzik - WAK 7-8/2015 - 1:100 - CARD
-
mtaylor reacted to a post in a topic:
Saettia by Kondzik - WAK 7-8/2015 - 1:100 - CARD
-
KevinR reacted to a post in a topic:
Saettia by Kondzik - WAK 7-8/2015 - 1:100 - CARD
-
ccoyle reacted to a post in a topic:
Saettia by Kondzik - WAK 7-8/2015 - 1:100 - CARD
-
GrandpaPhil reacted to a post in a topic:
Saettia by Kondzik - WAK 7-8/2015 - 1:100 - CARD
-
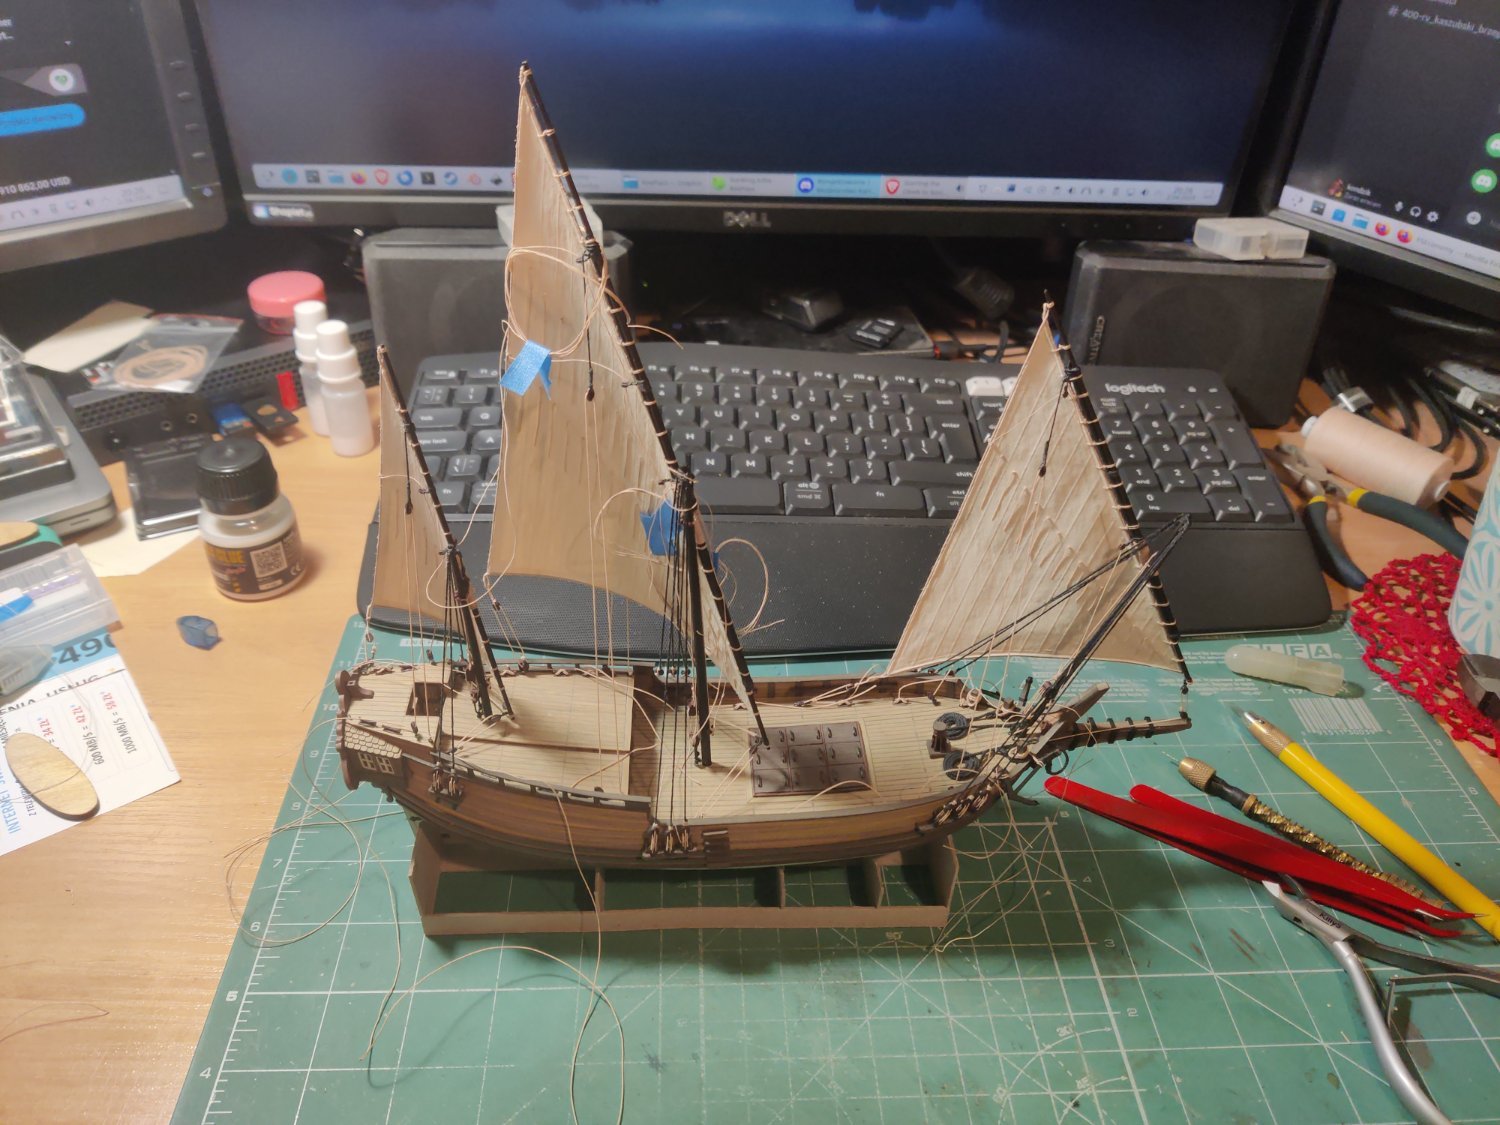
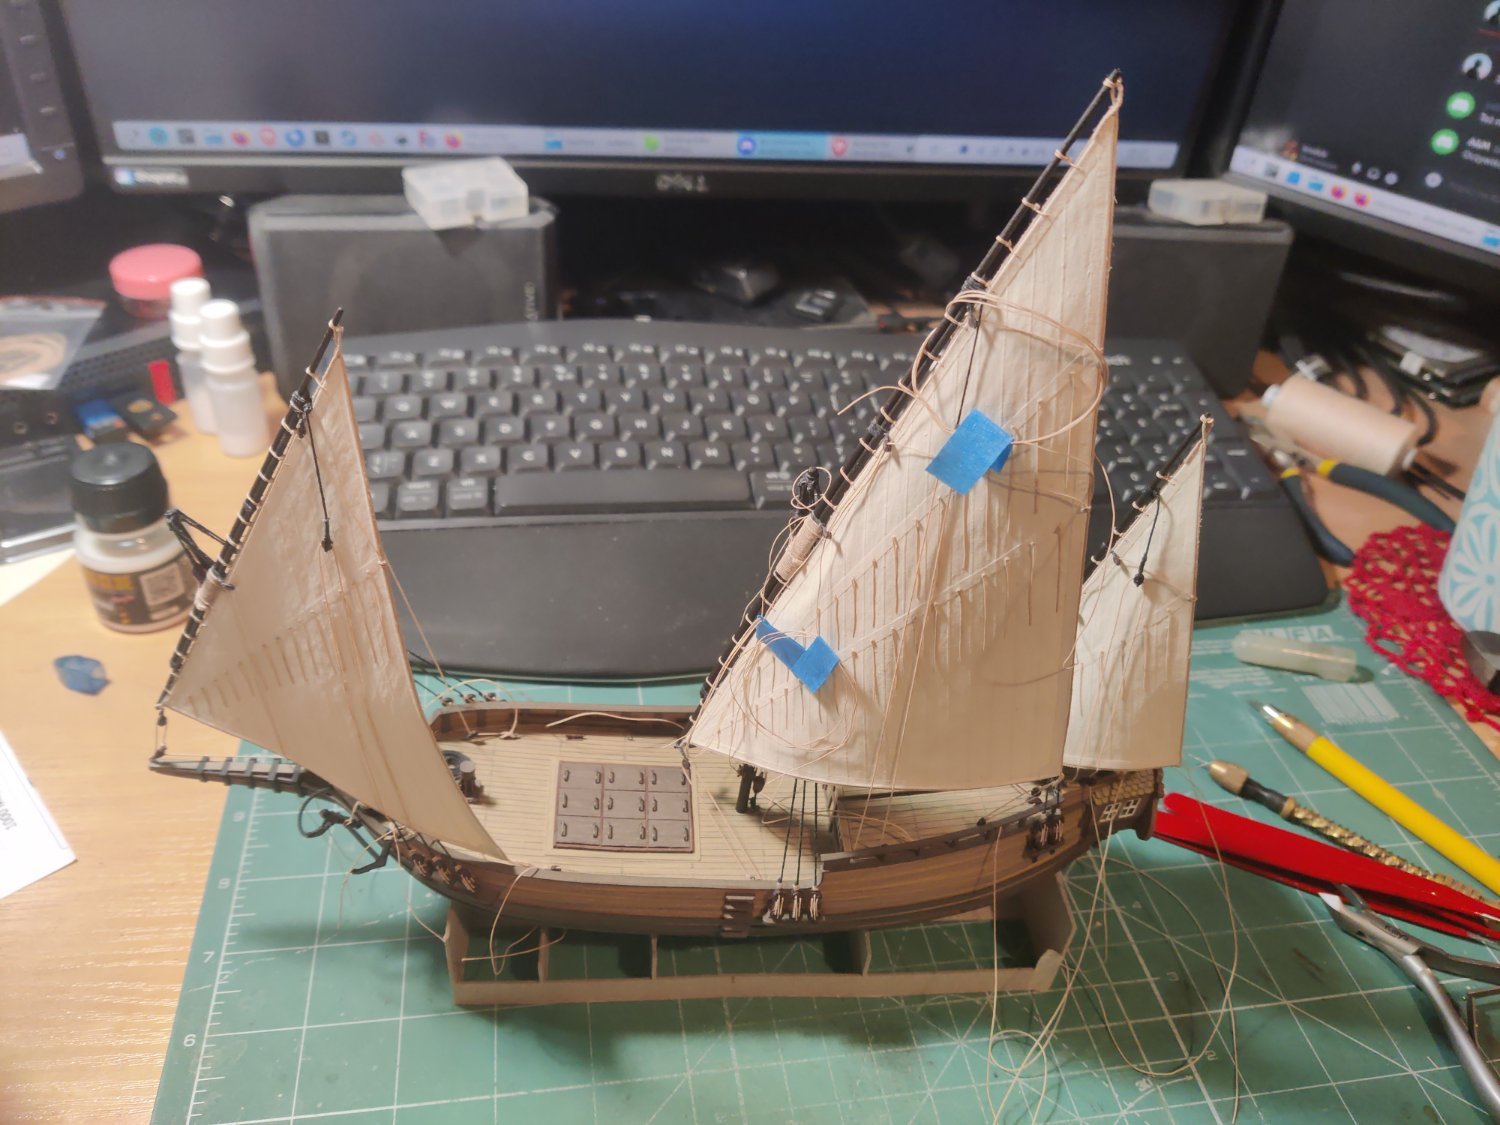
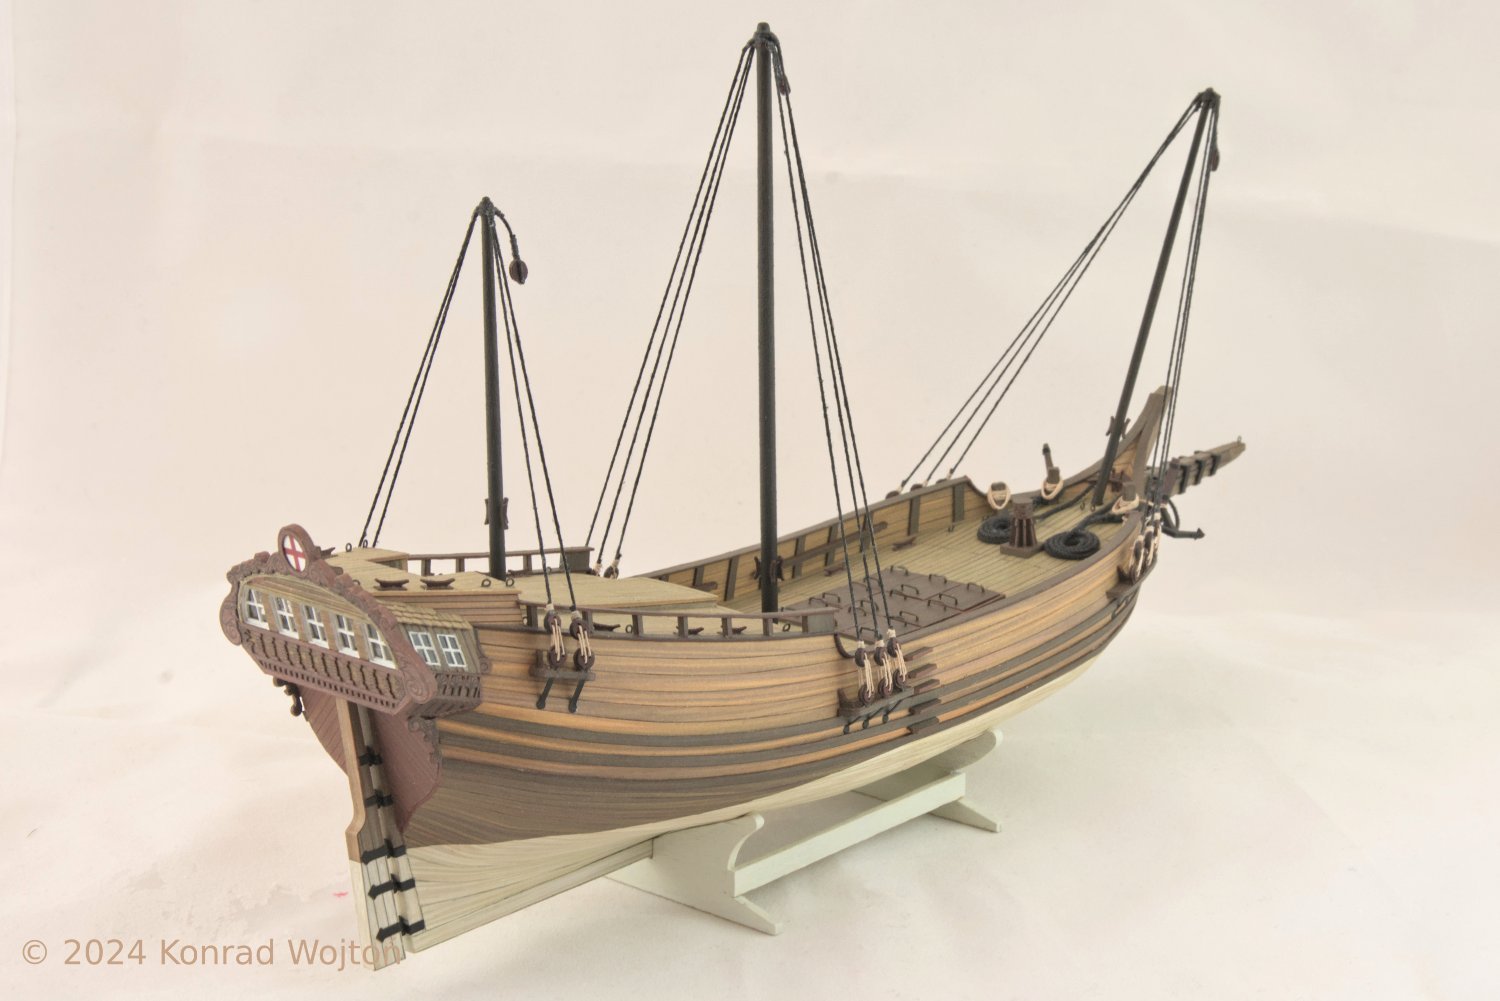
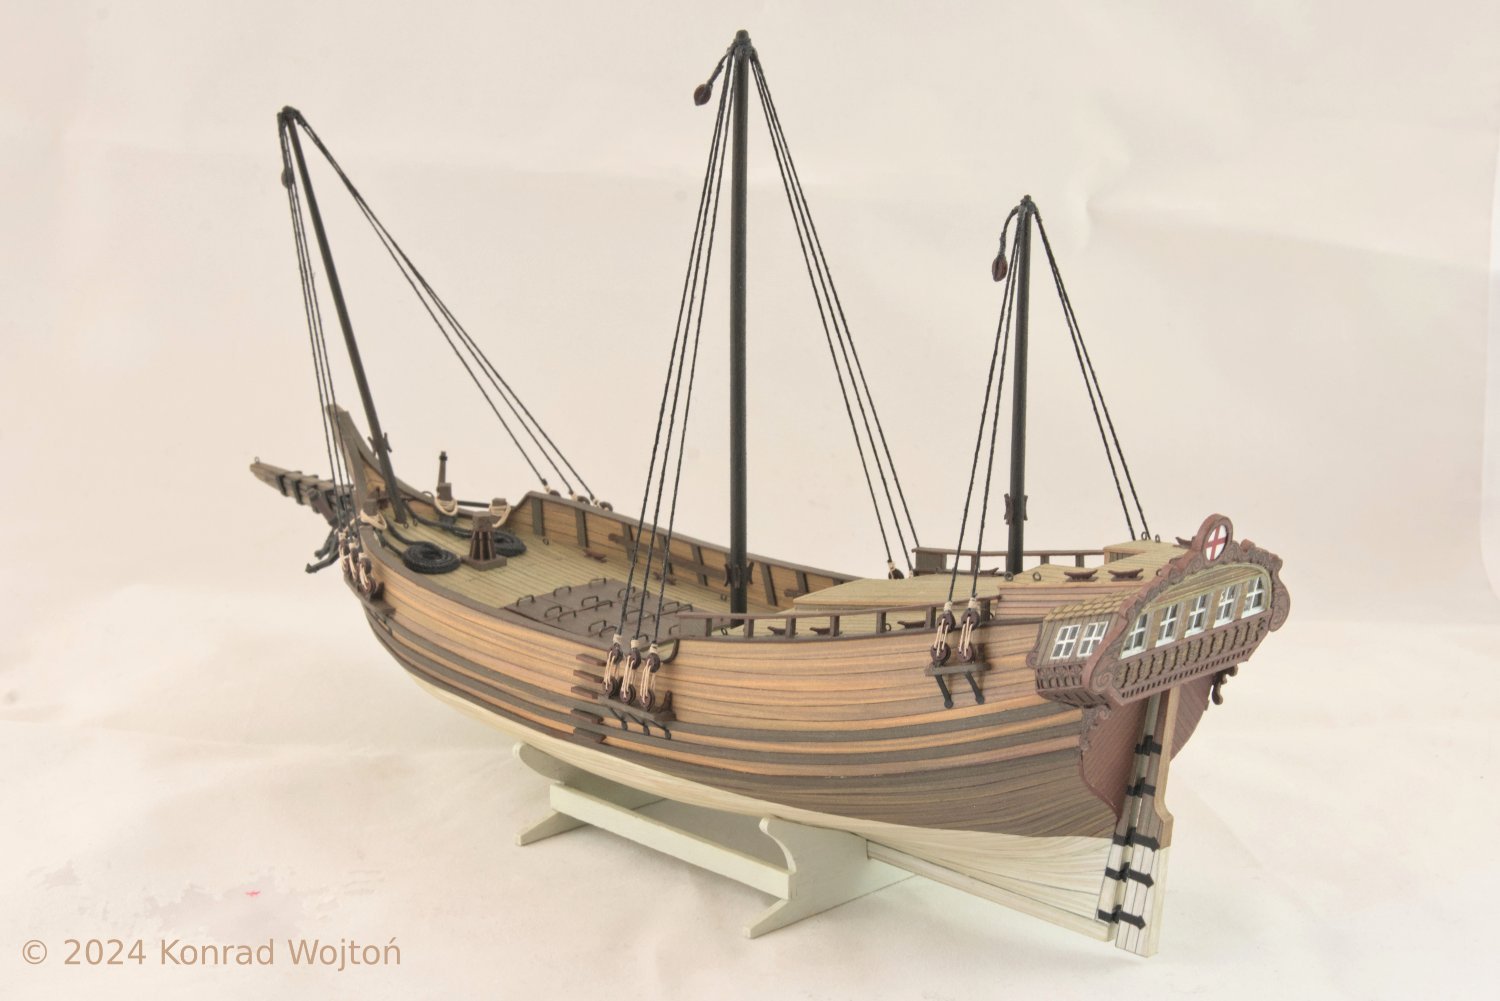
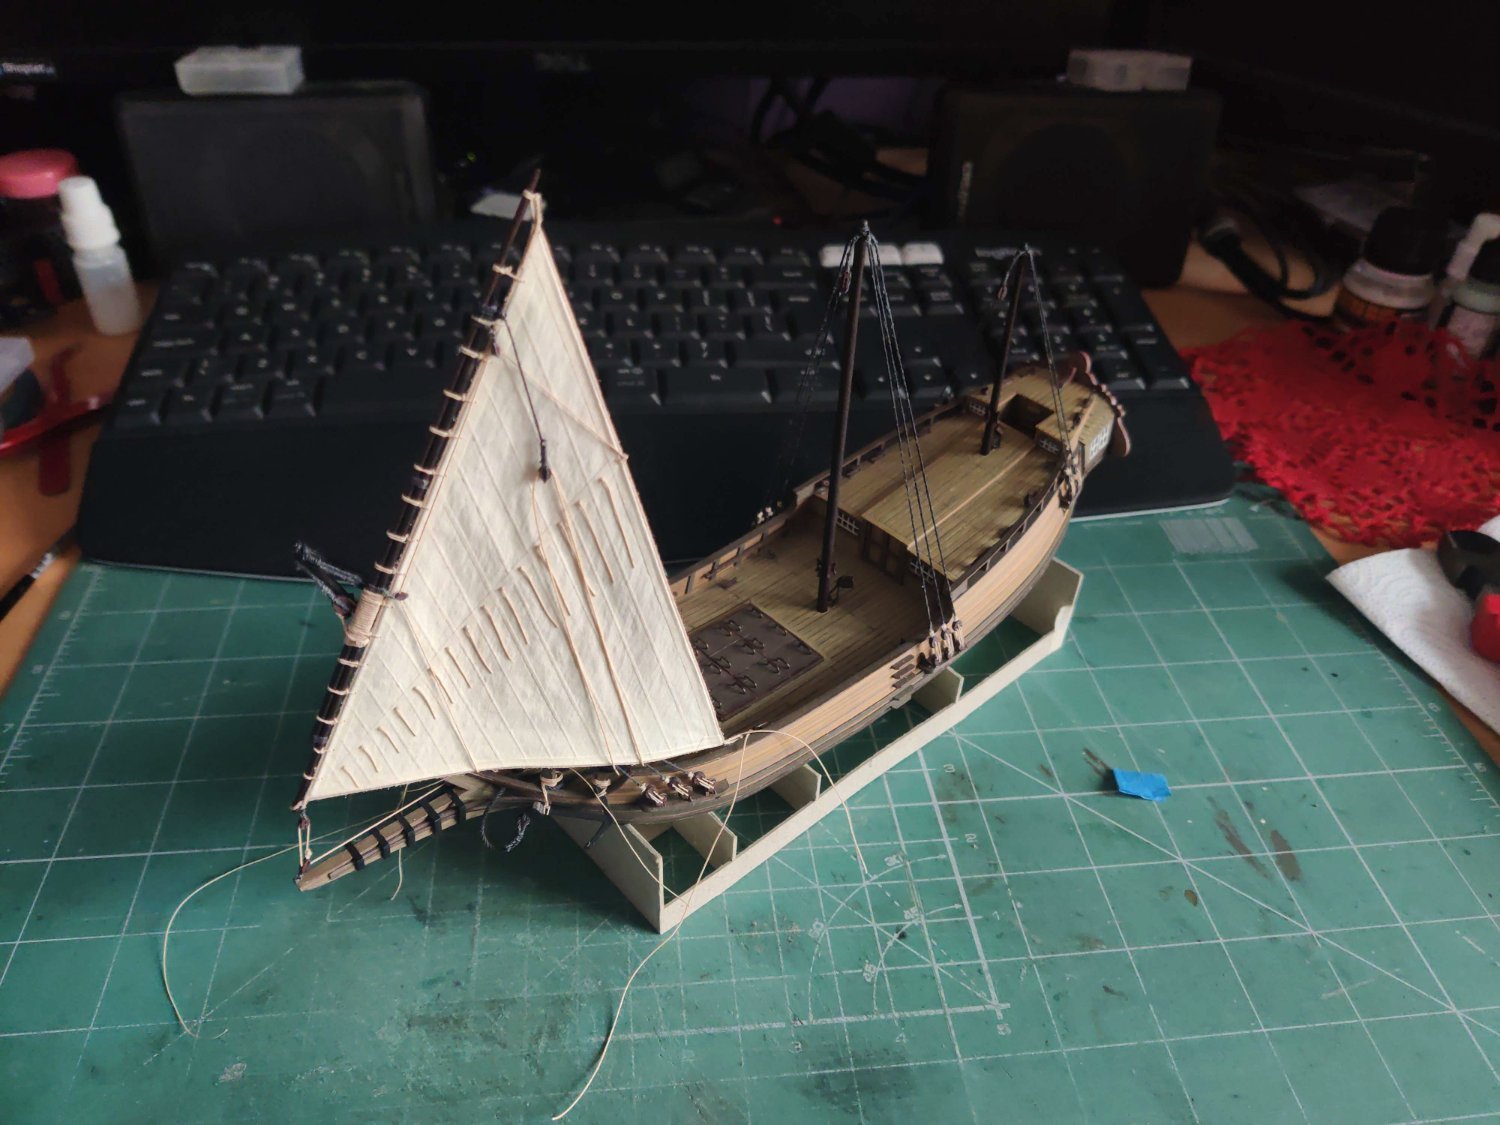
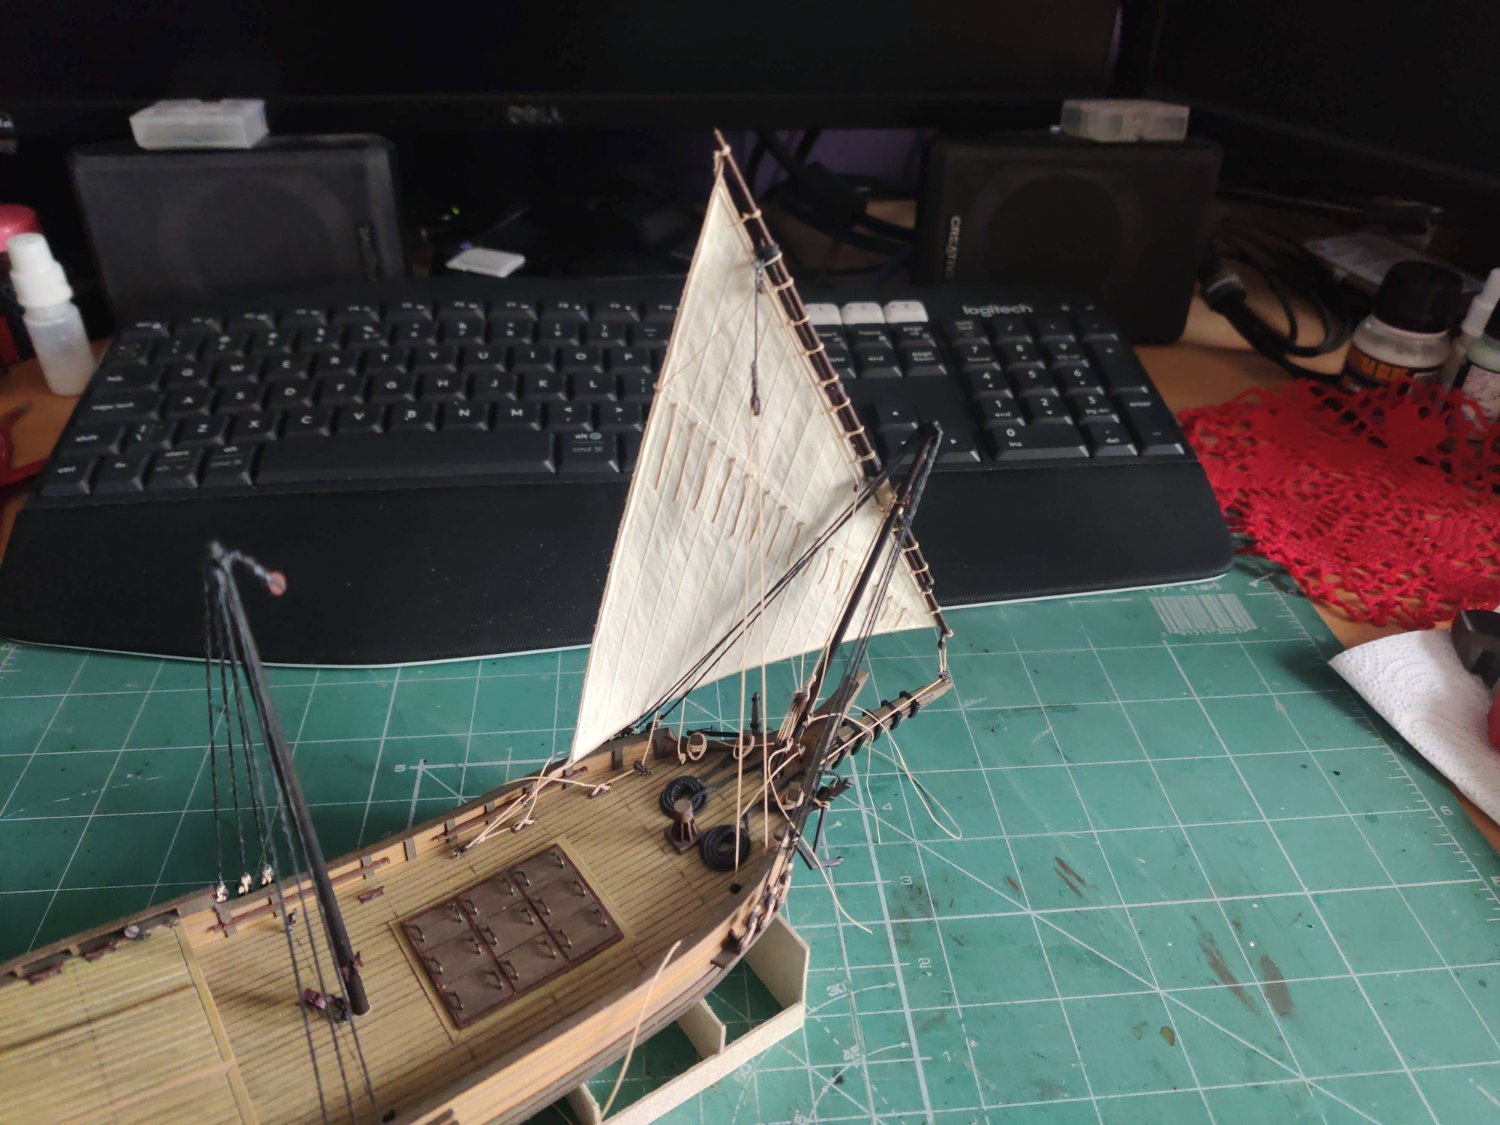
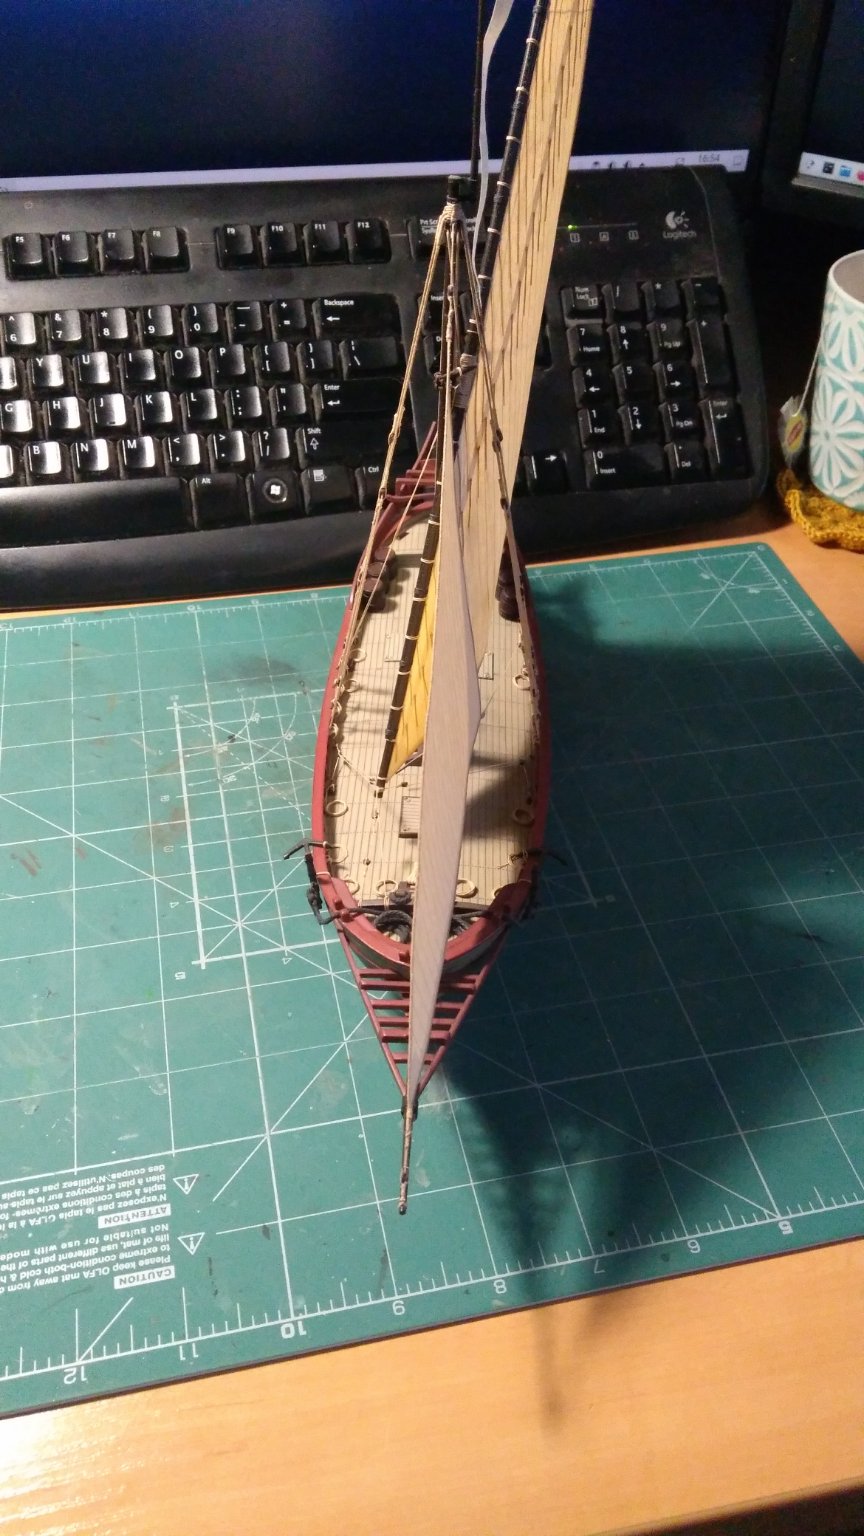
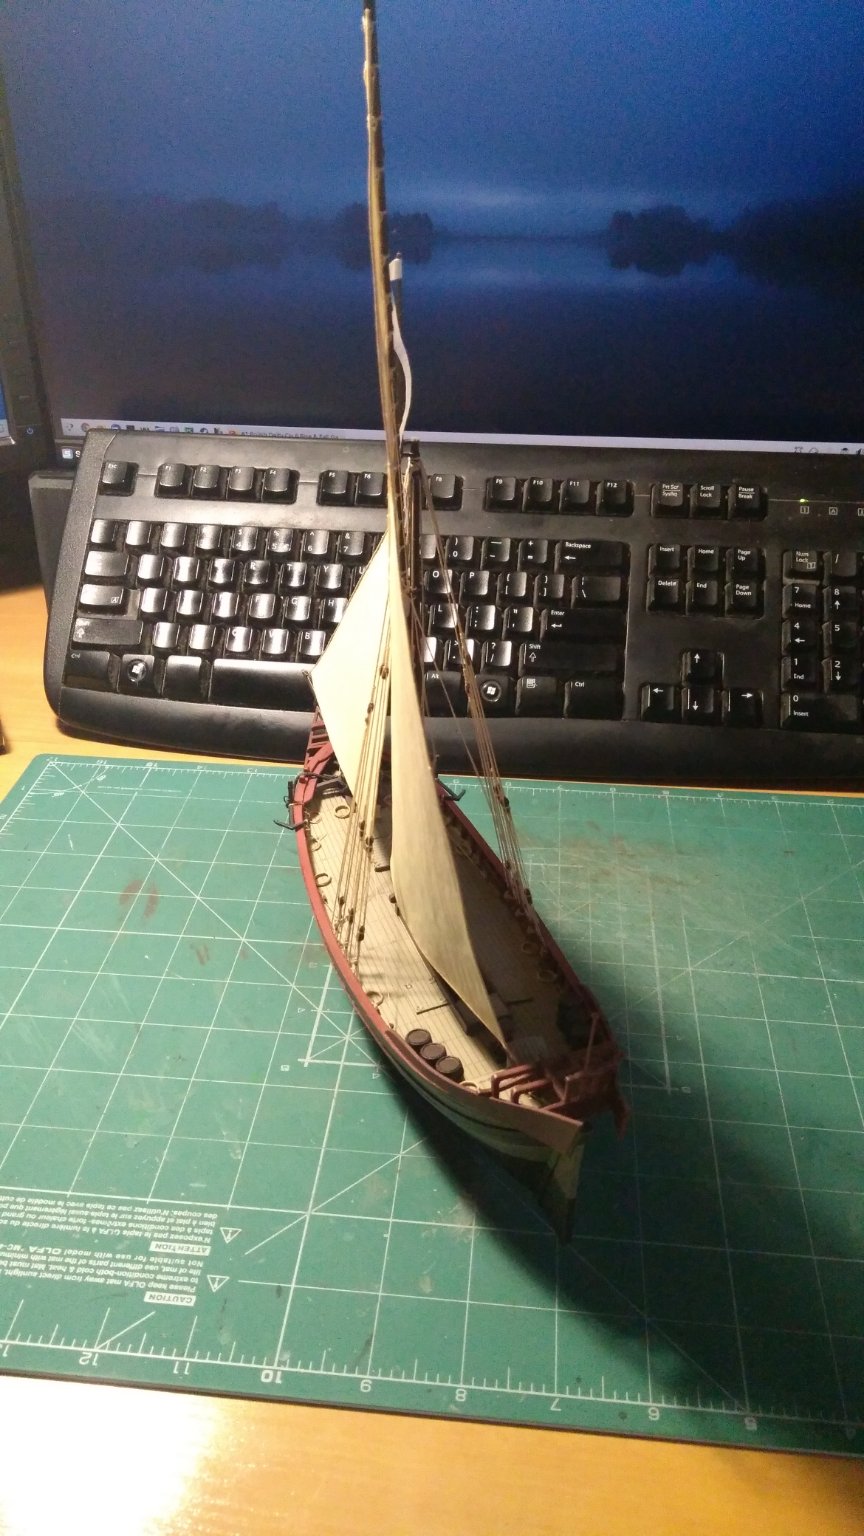
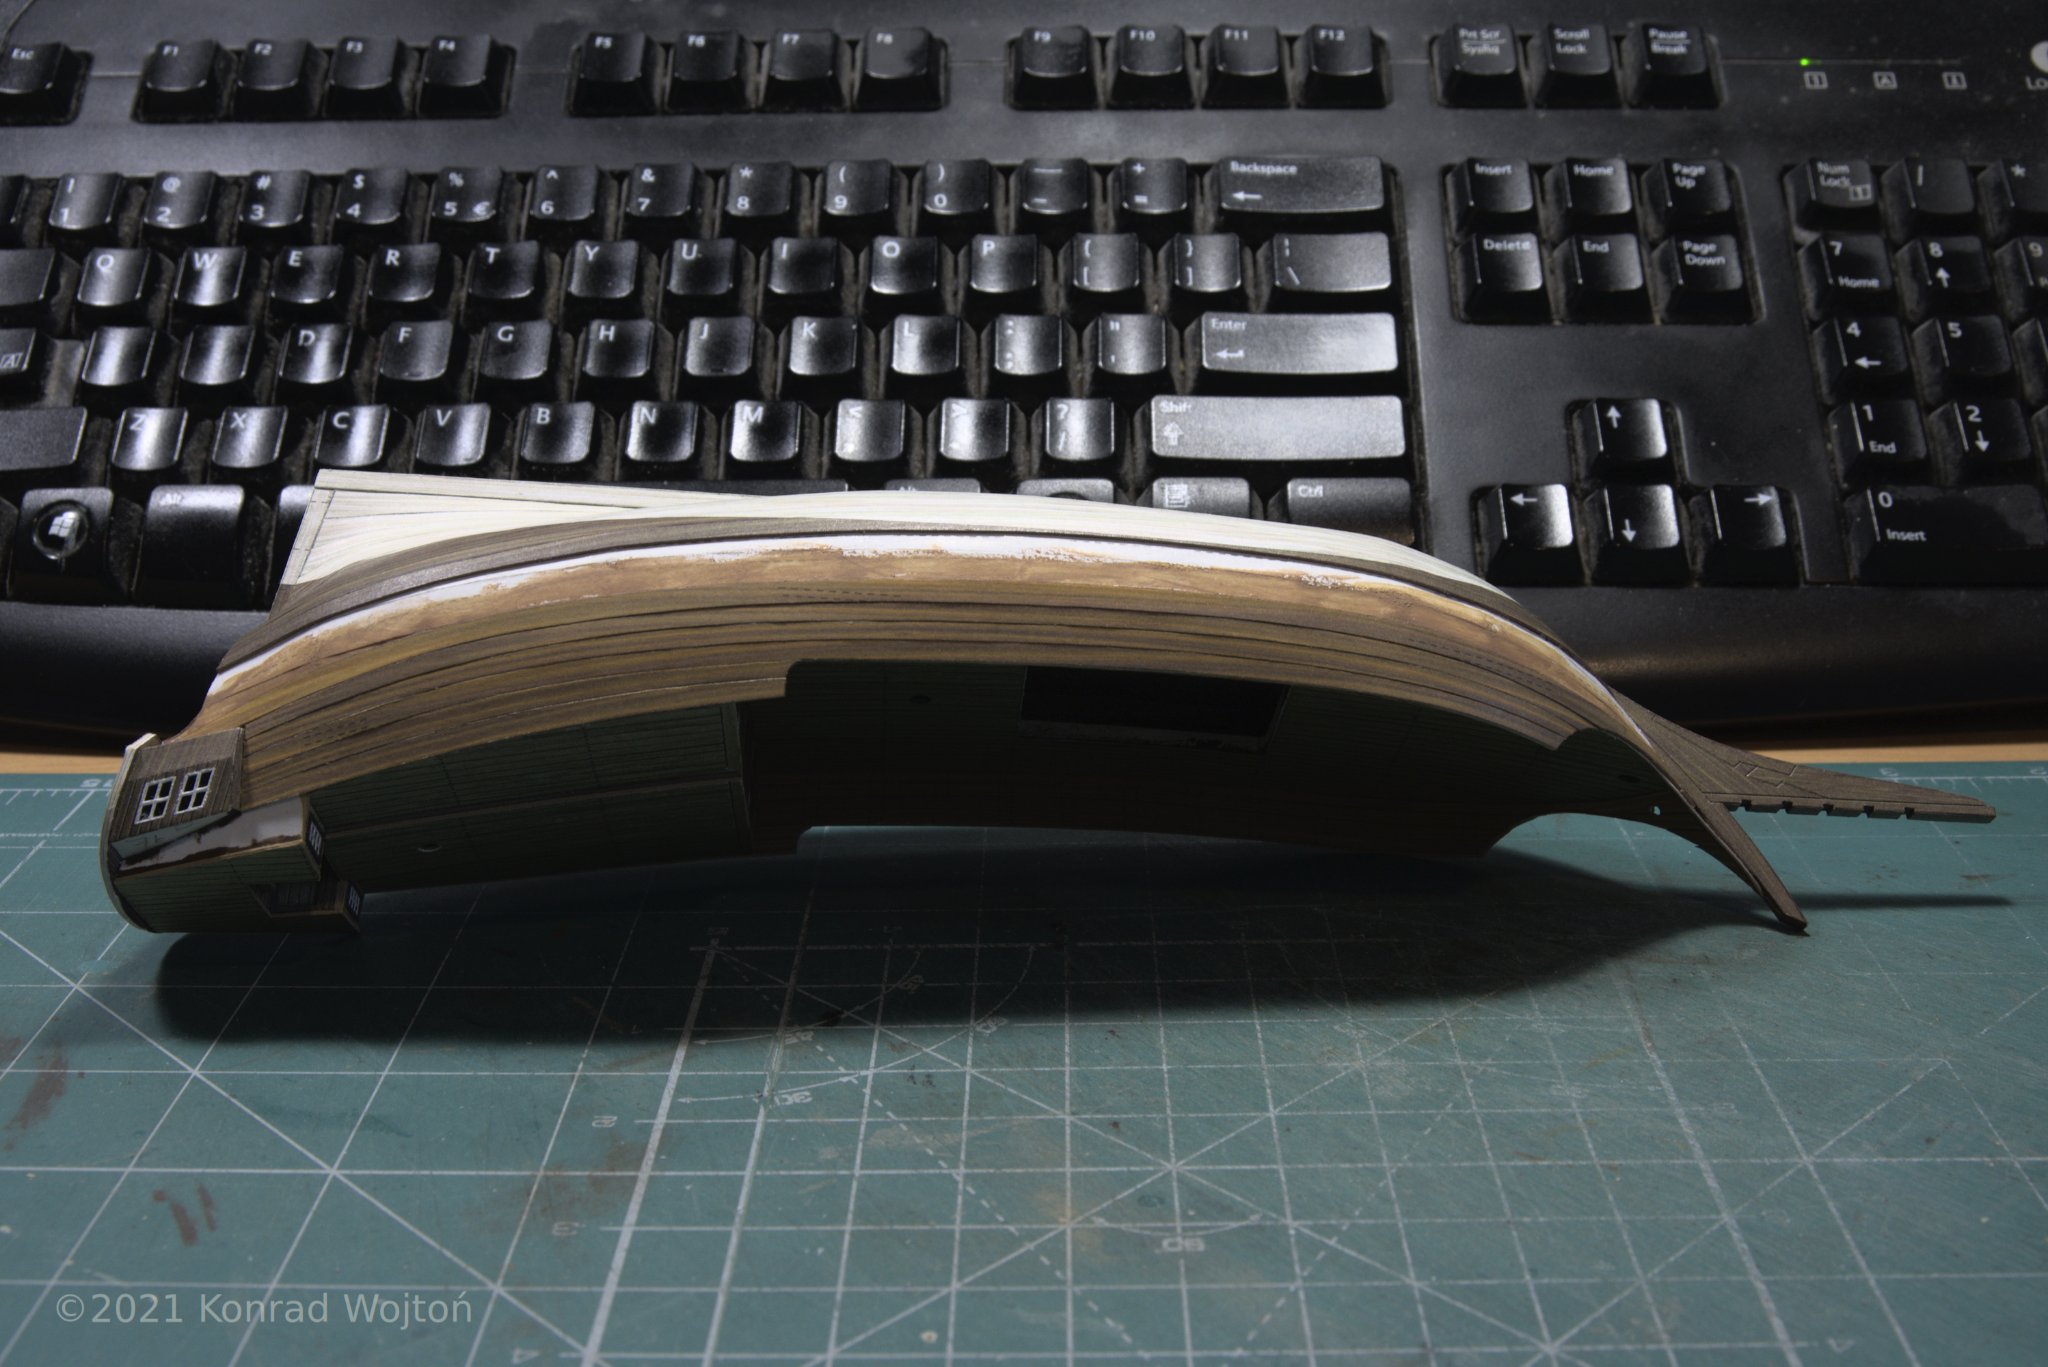
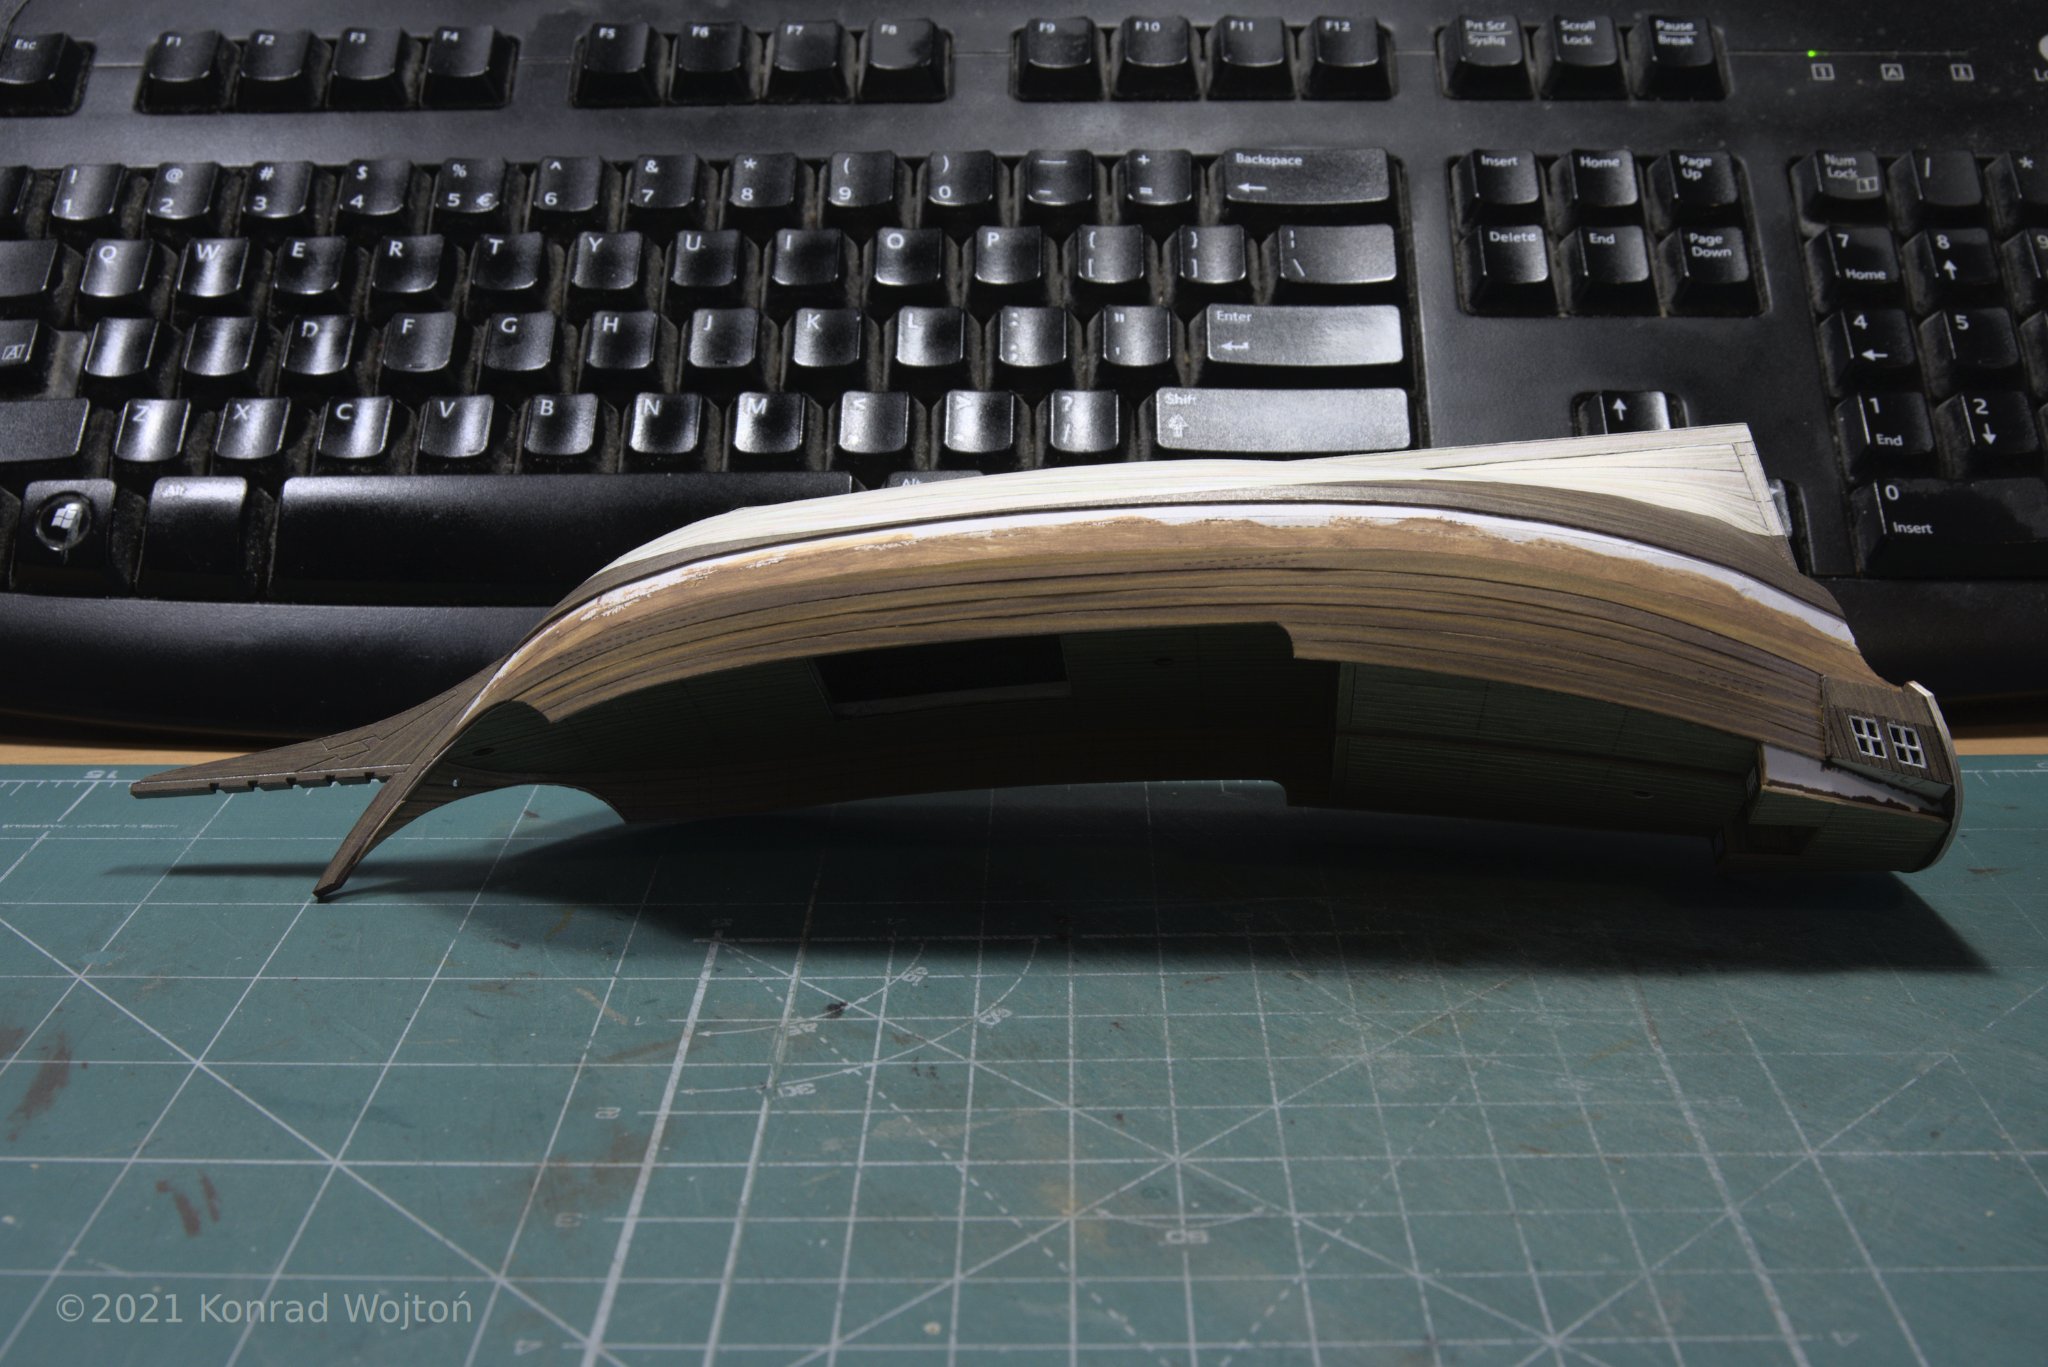
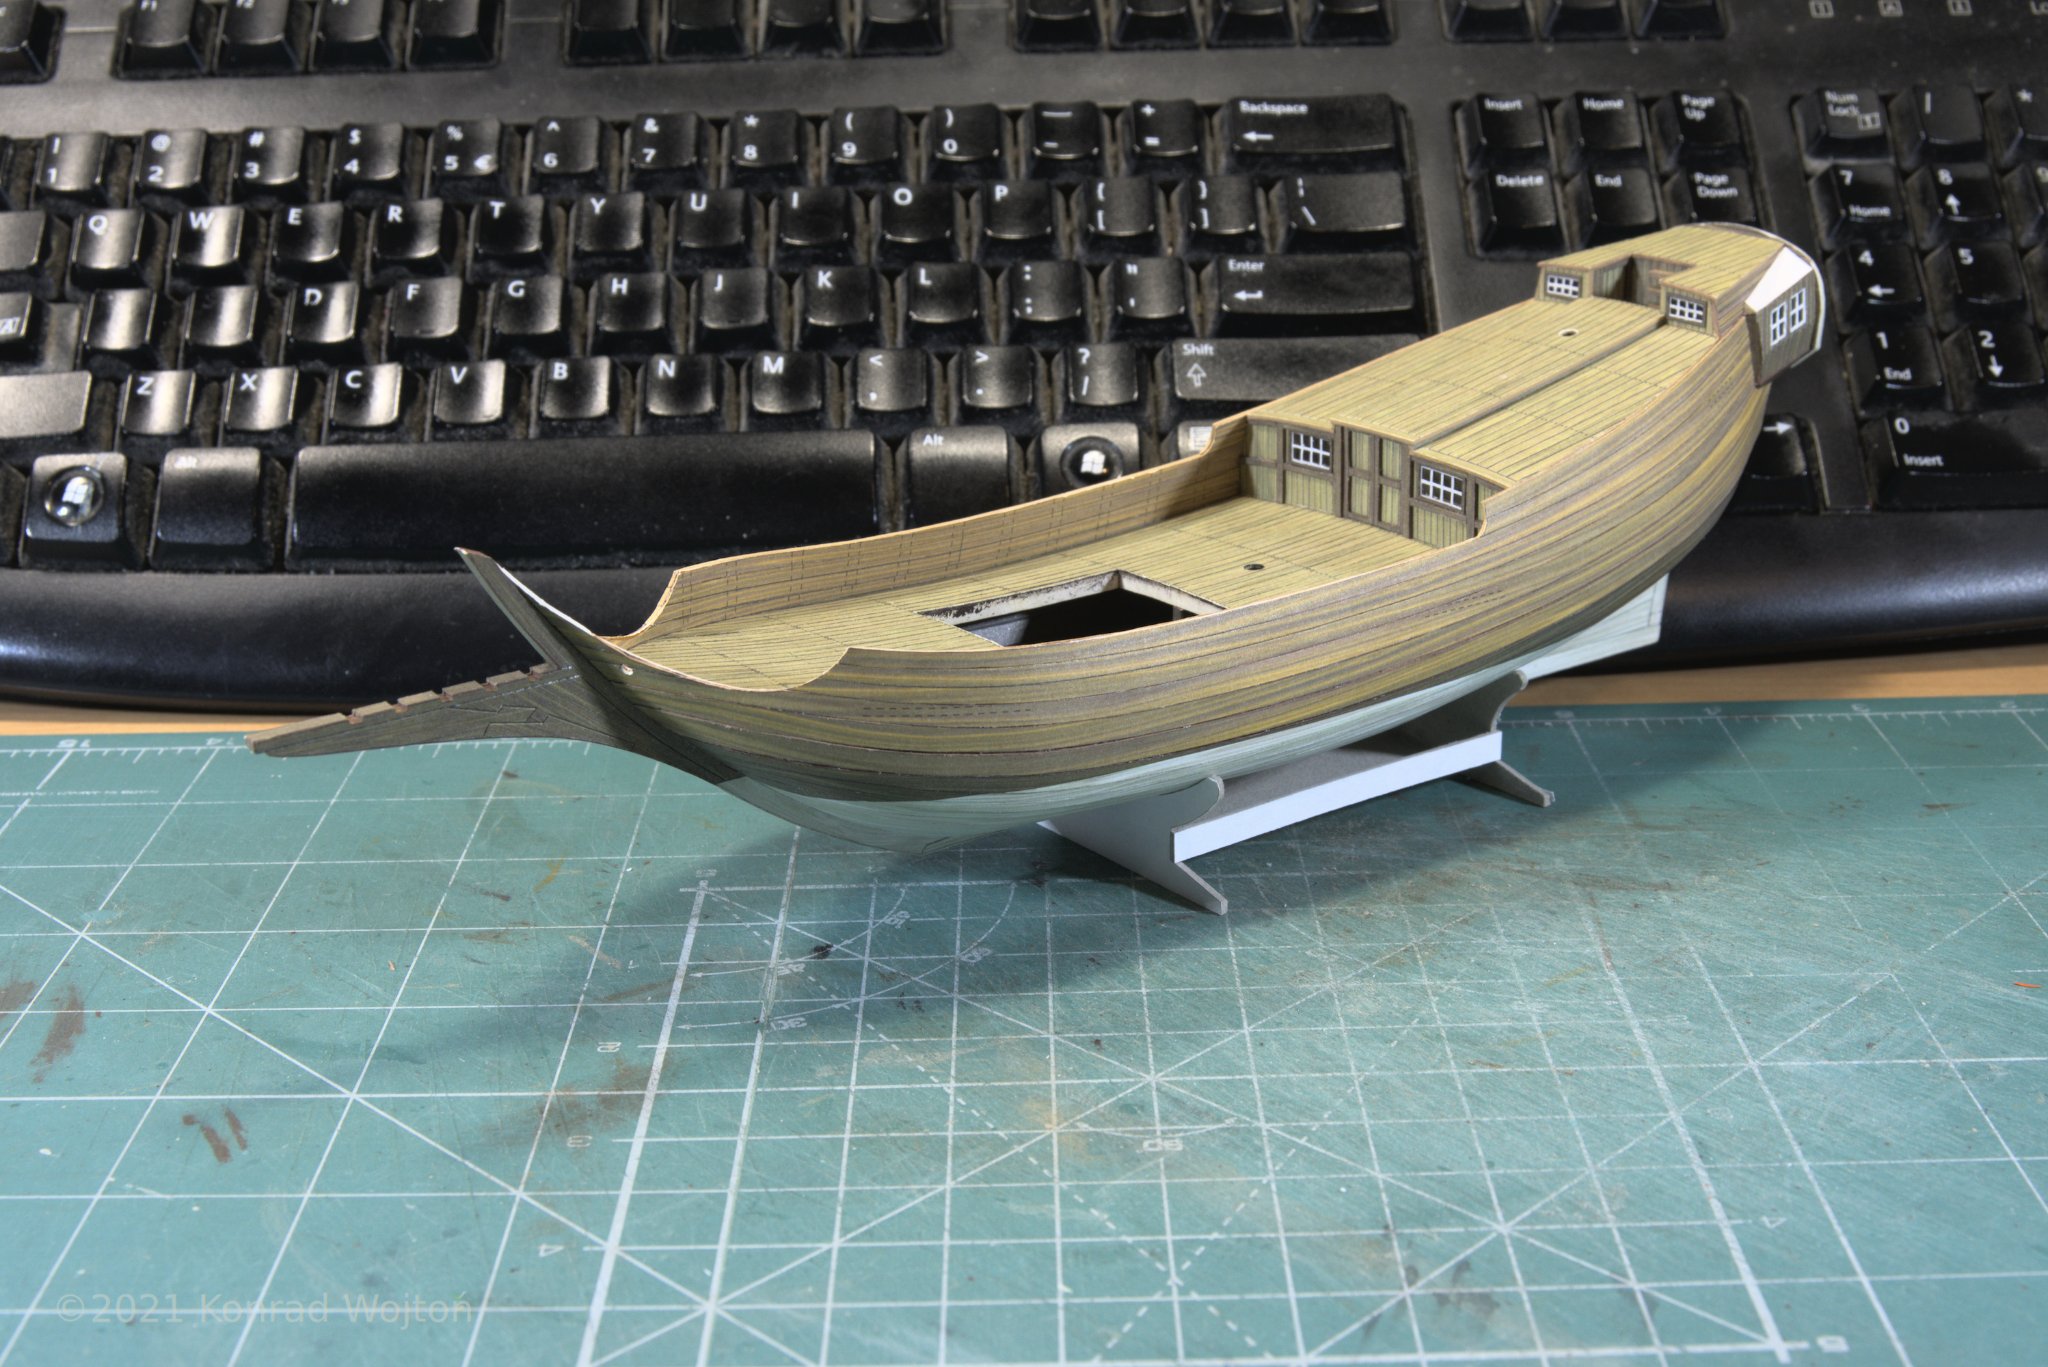
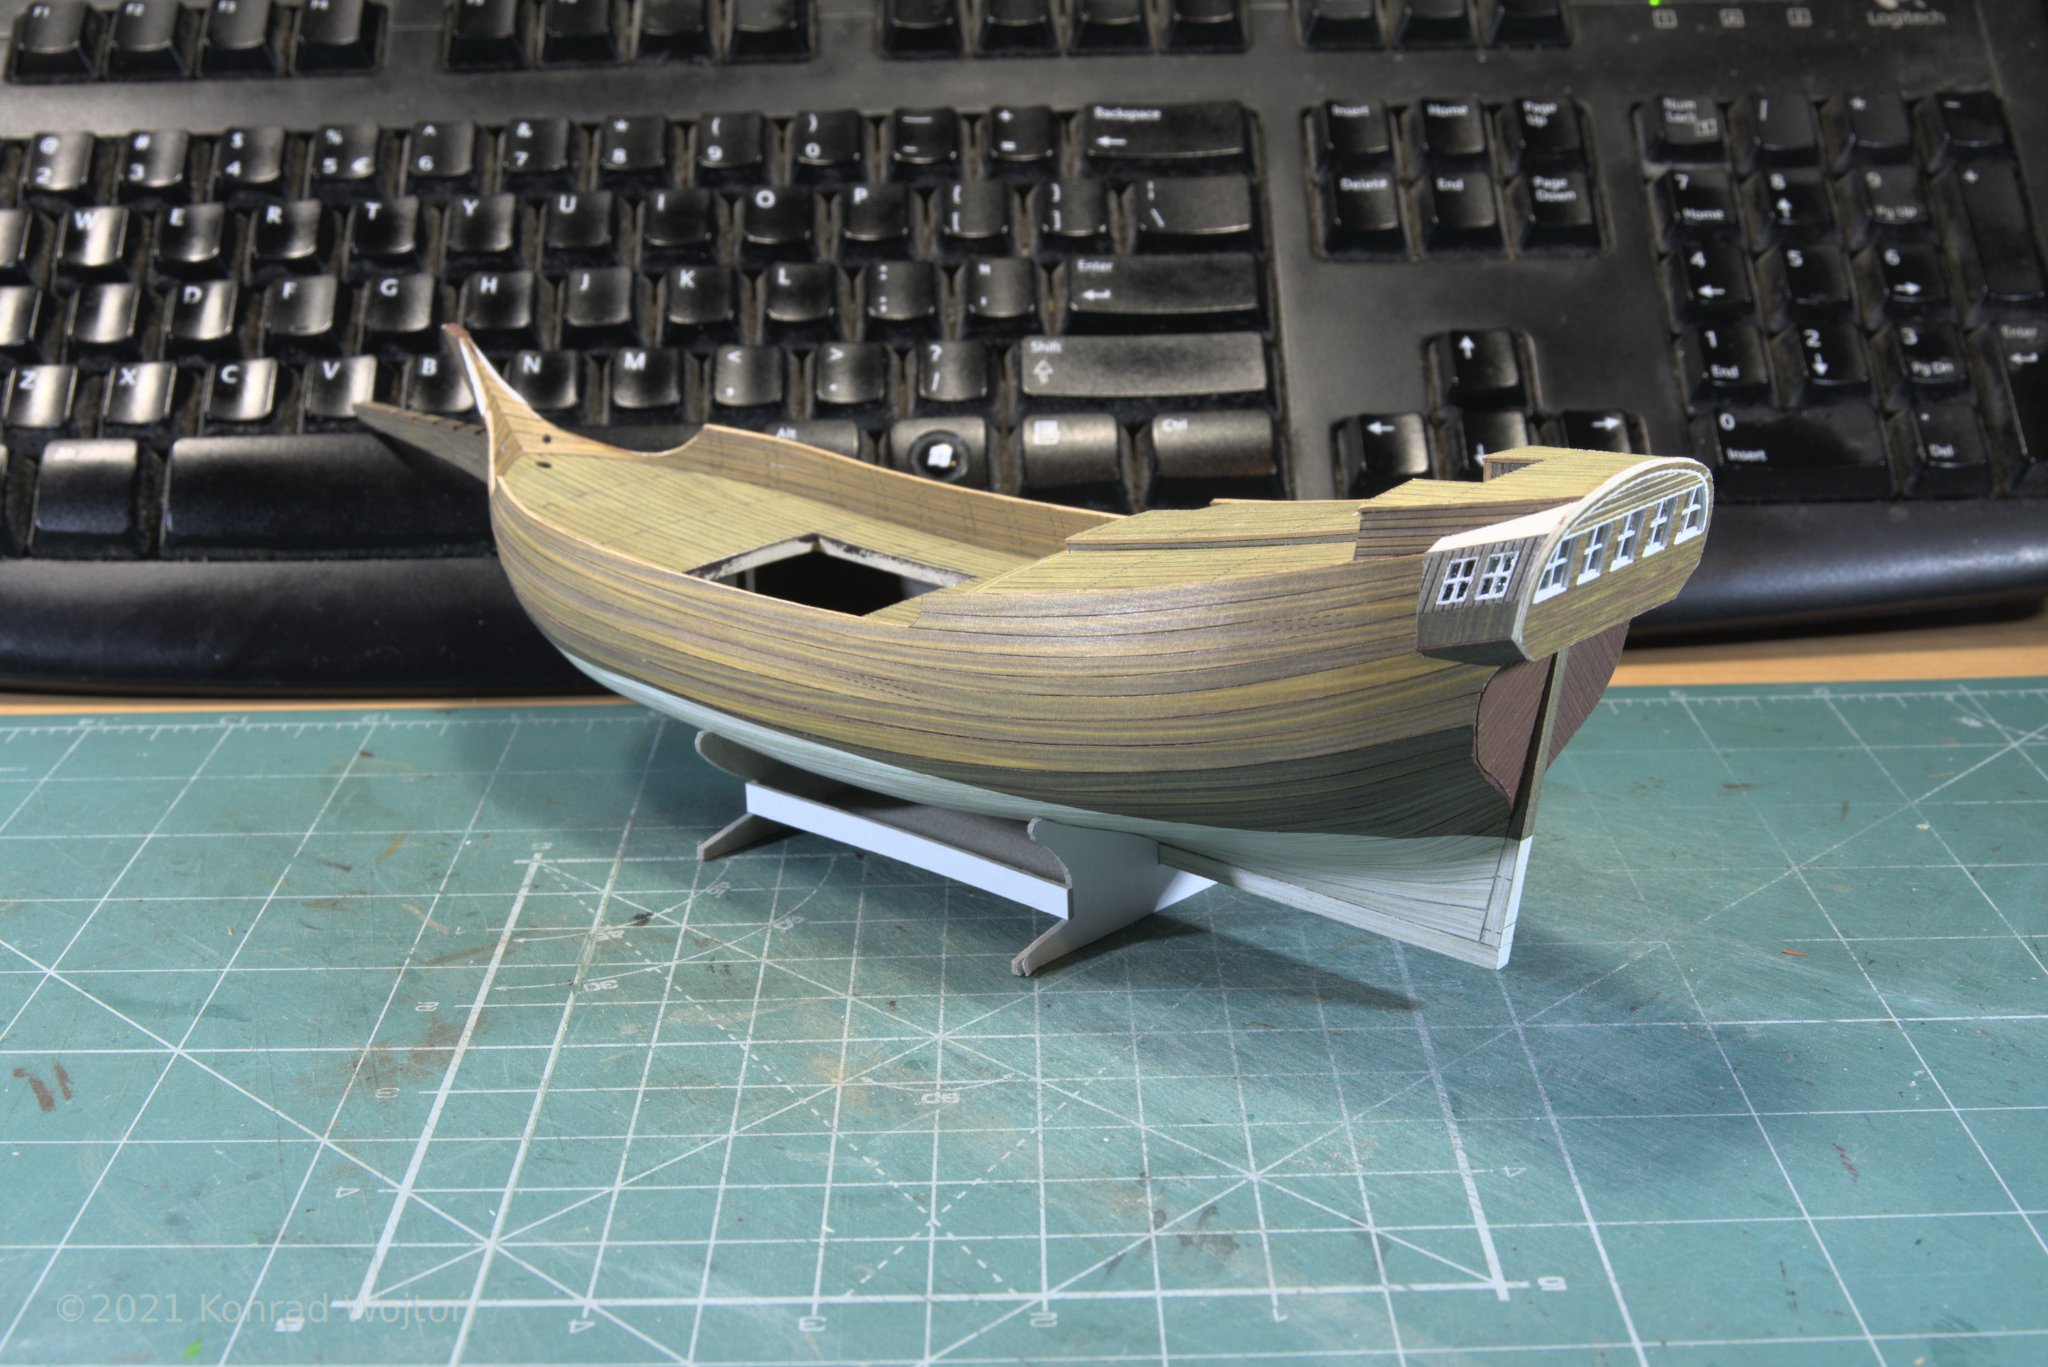
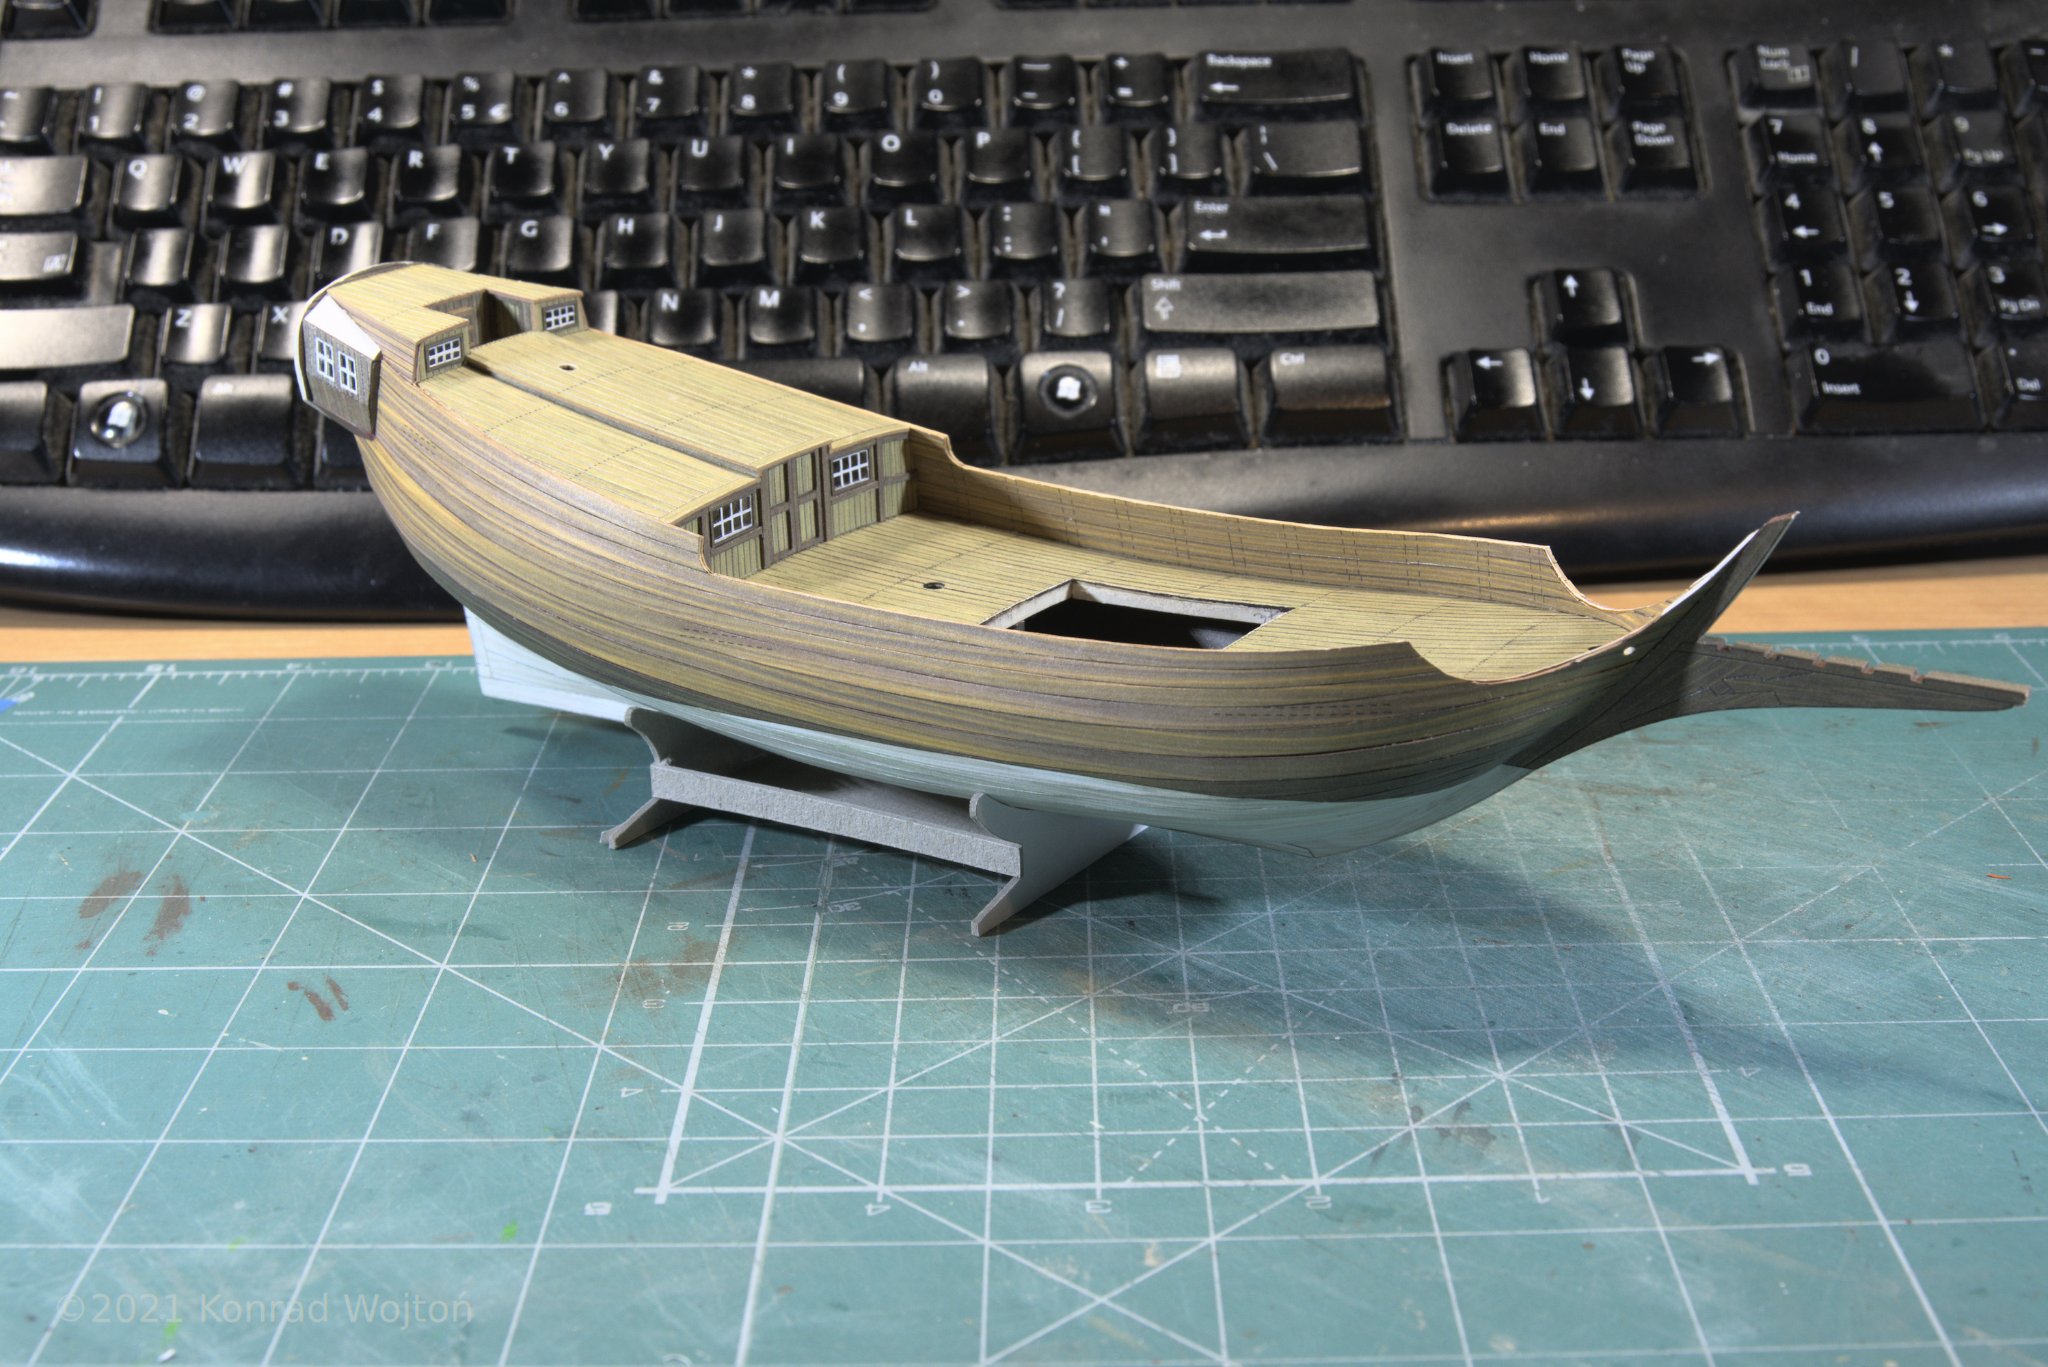
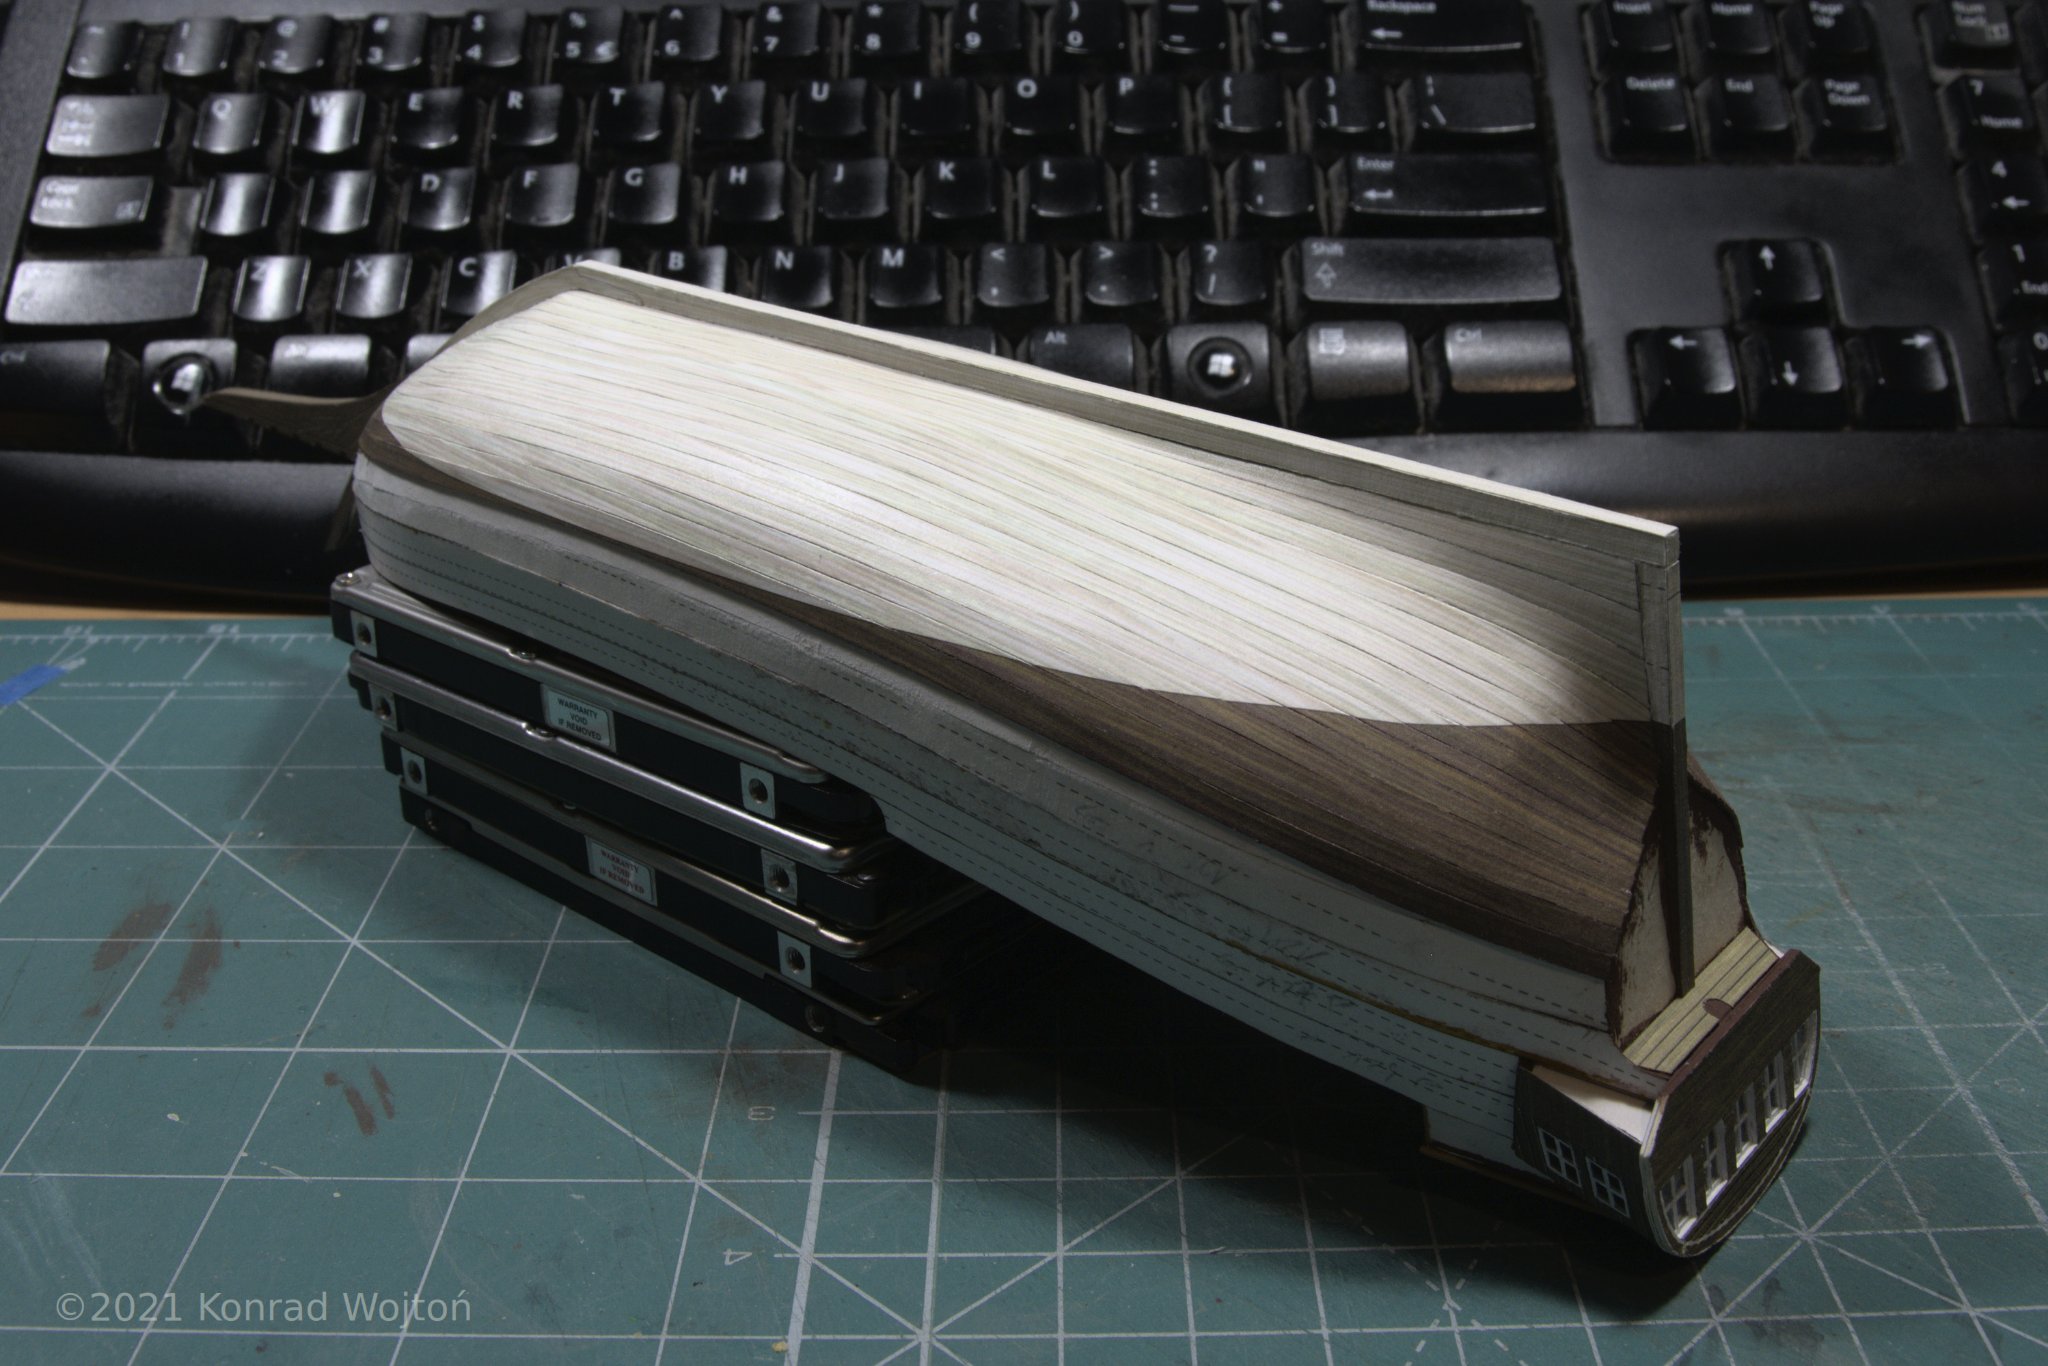
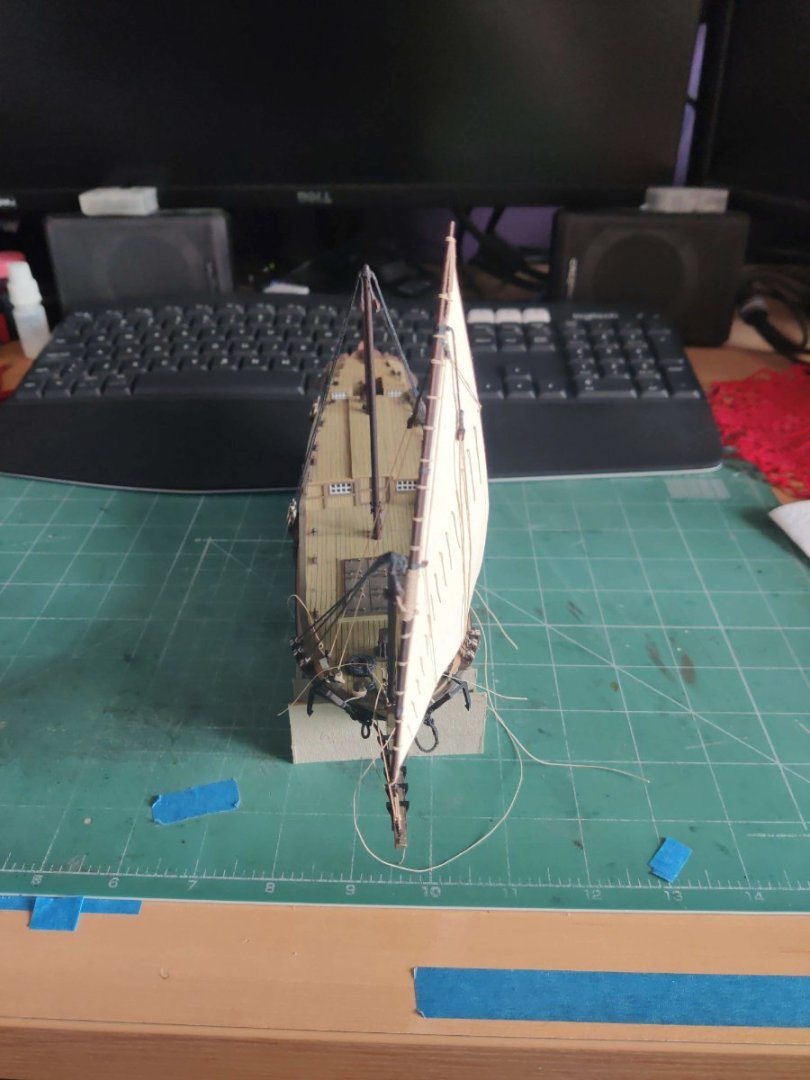
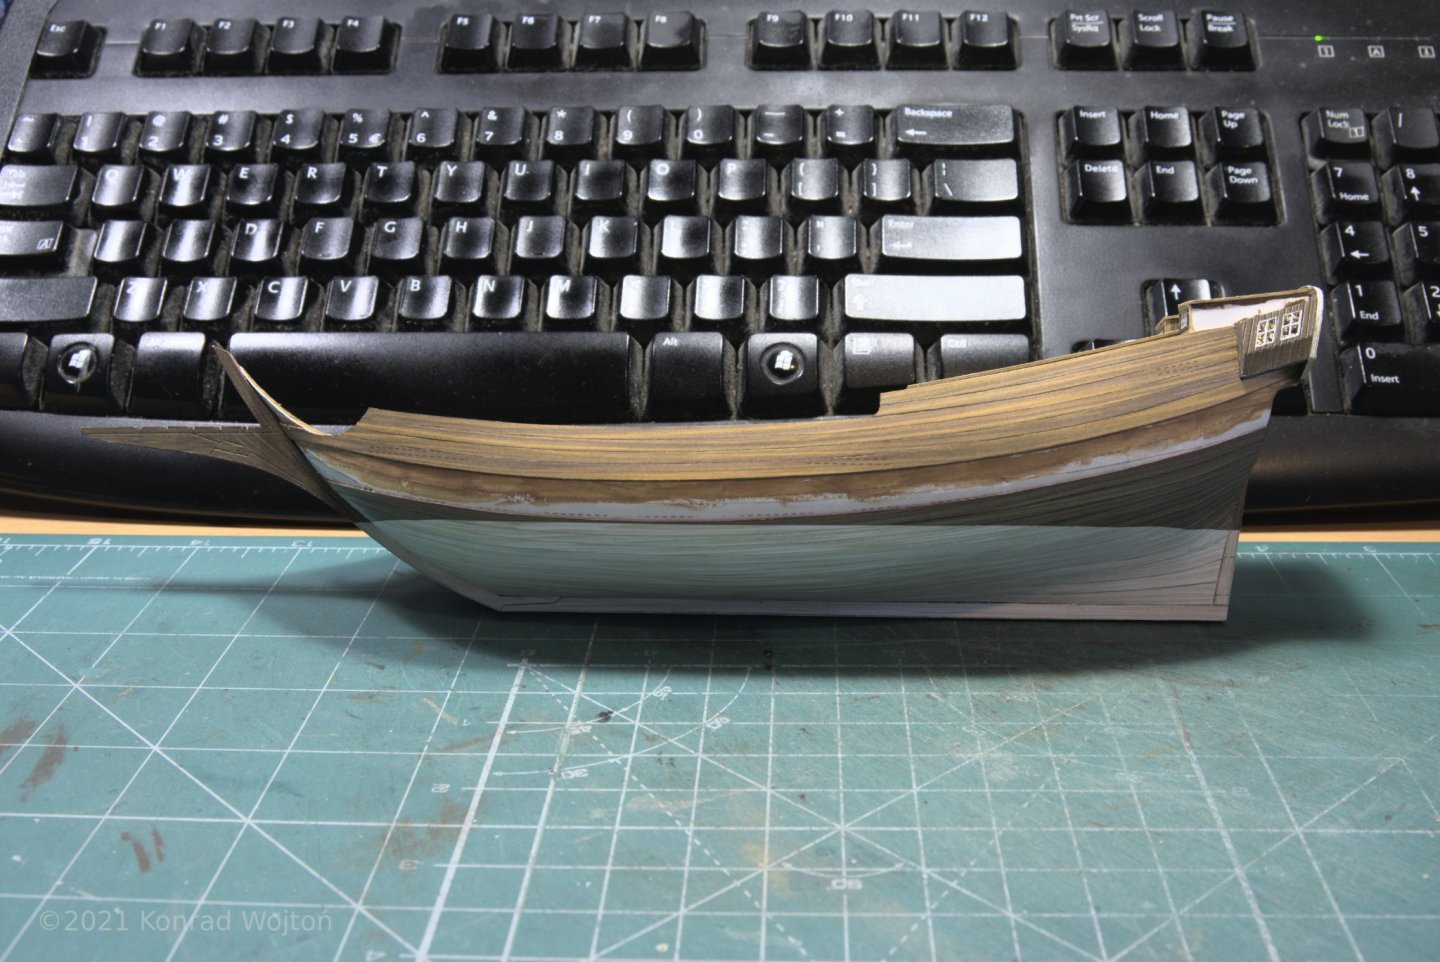
 Three years from last update, the model is properly "seasoned" by now :D. Last week it looked like this: And this is how it look currently: Cheers


-
ccoyle reacted to a post in a topic:
Allege d'Arles by kondzik - FINISHED - WAK 4/2016 - 1:100 - CARD
-
 kondzik reacted to a post in a topic:
Cutty Sark by Bruma - Revell - 1:96 - PLASTIC
kondzik reacted to a post in a topic:
Cutty Sark by Bruma - Revell - 1:96 - PLASTIC
-
kondzik reacted to a post in a topic:
HMS Mercury 1779 by GrandpaPhil - Shipyard - 1/96 - CARD
-
kondzik reacted to a post in a topic:
HMS Mercury 1779 by GrandpaPhil - Shipyard - 1/96 - CARD
-
kondzik reacted to a post in a topic:
HMS Mercury 1779 by GrandpaPhil - Shipyard - 1/96 - CARD
-
You might find photos from this build log useful - http://www.konradus.com/forum/read.php?f=1&i=380584&t=380584&filtr=0&page=1 If you need something translated ask, I can translate it for you.
-
Check this great post about making sails.
-
kondzik reacted to a post in a topic:
"De Zeven Provincien" 1665 by 0Seahorse - FINISHED - 1:100 - CARD
-
kondzik reacted to a post in a topic:
Allege d'Arles by kentyler - WAK - CARD
-
kondzik reacted to a post in a topic:
Allege d'Arles by kentyler - WAK - CARD
-
kondzik reacted to a post in a topic:
Allege d'Arles by kentyler - WAK - CARD
-
kondzik reacted to a post in a topic:
Allege d'Arles by kentyler - WAK - CARD
-
Funny how similar it is to polish "Papier Japoński" (eng. japanese paper) which I use for sails making .
-
Thanks guys. When it comes to soaking and reinforcing card parts I've recently found out about substance called Paraloid B72 (https://en.wikipedia.org/wiki/Paraloid_B-72). In pure form it is sold as transparent, hard crystals (should be available in stores for artists). It dissolves in acetone, ethanol, toluene and xylenes and solutions up to 15% are used in conservation of old prints or rotten wood. I'm definitely not going to use toluene and xylenes but when I get my hands on it I'm going to try and test solutions in acetone and ethanol. I've also read that dissolved in IPA it can be used as glue for photoetch. I've learned about if from other modellers who are also allergic to CA glue.
-
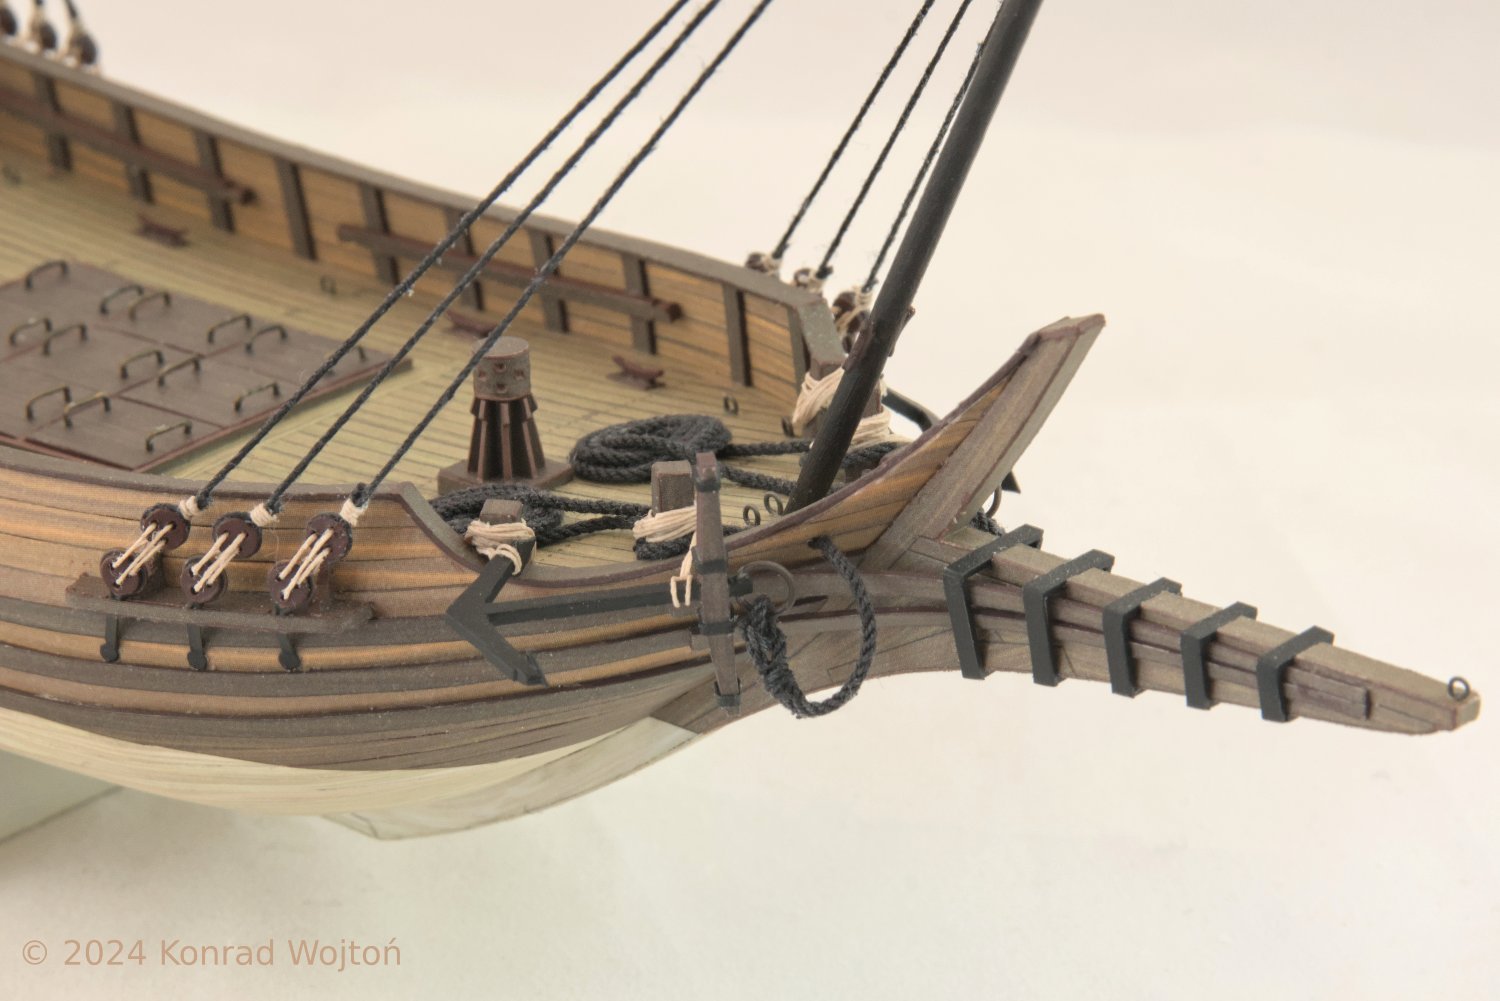
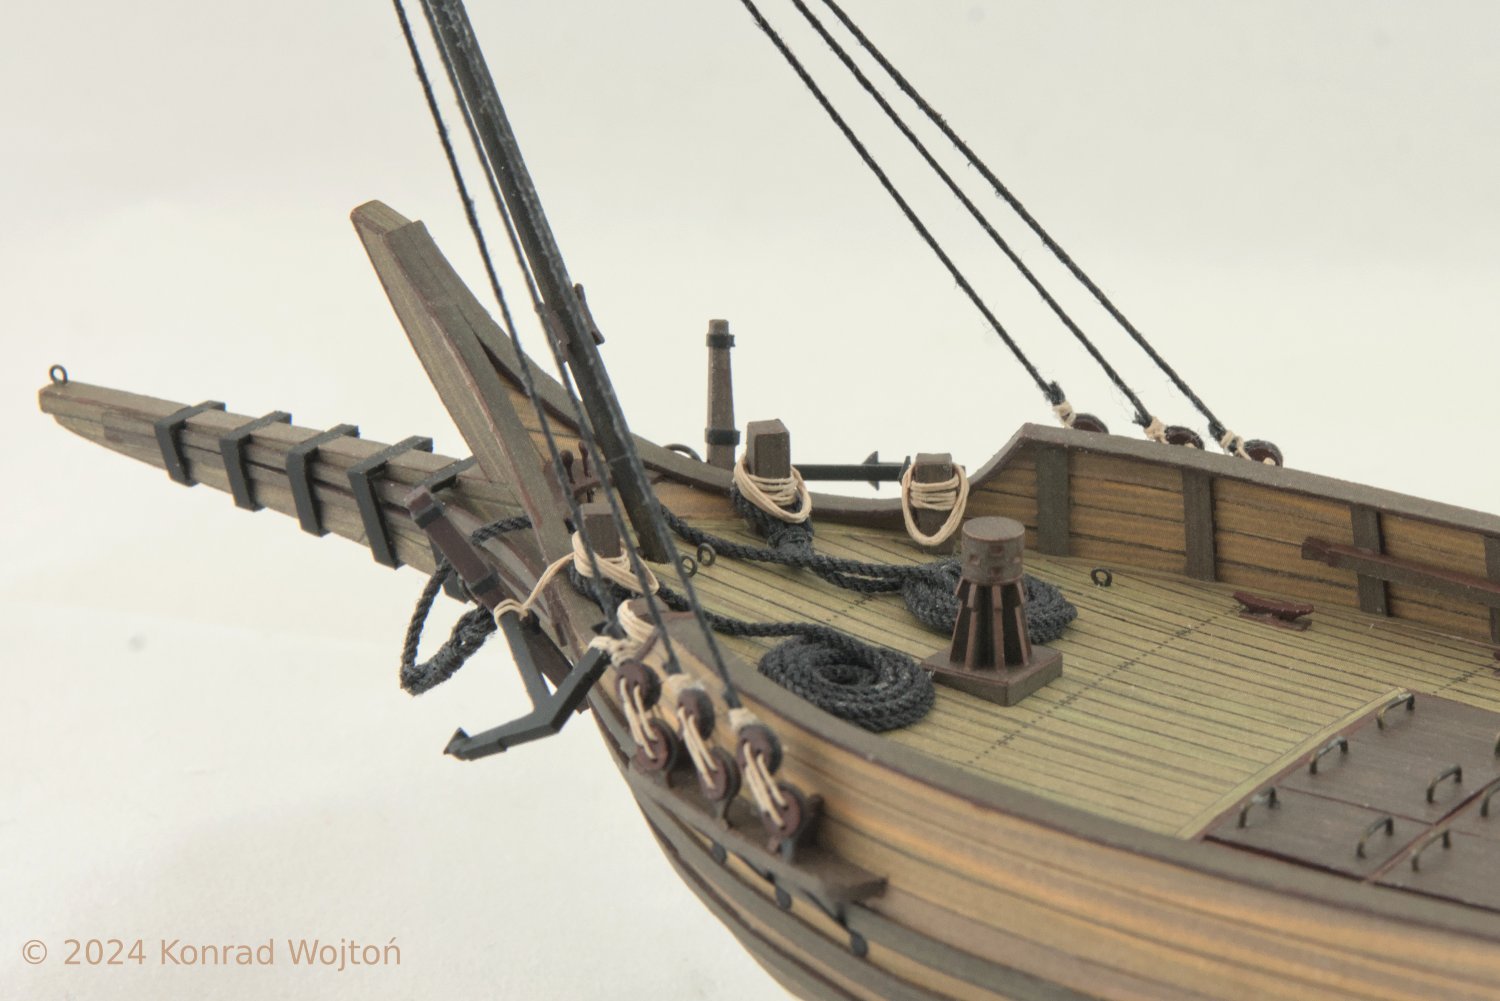
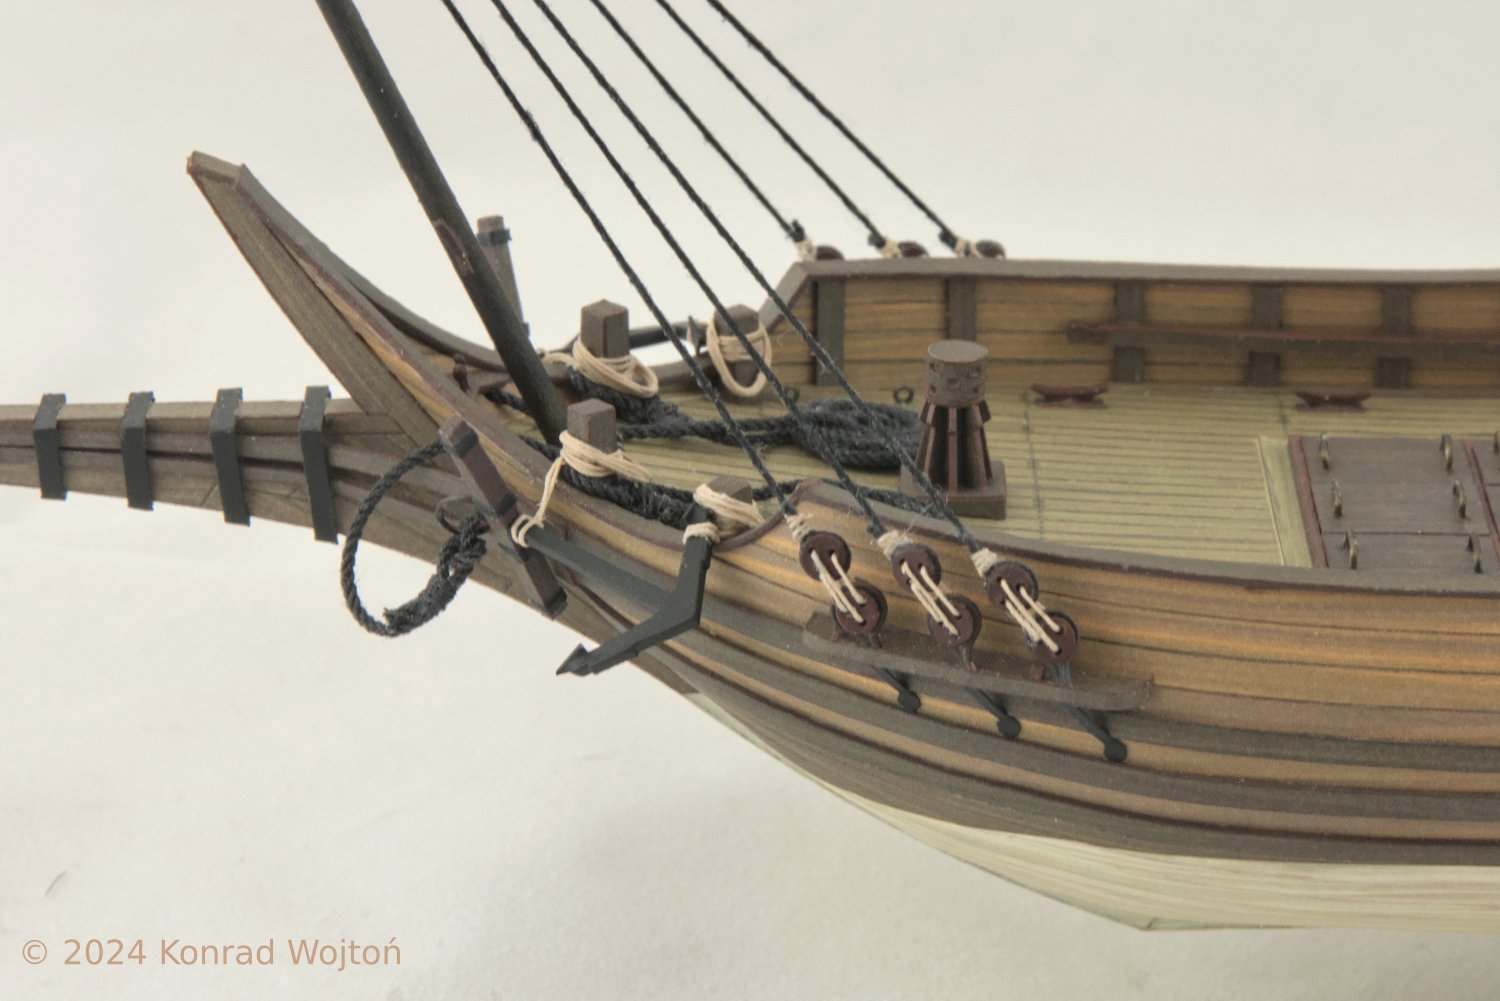
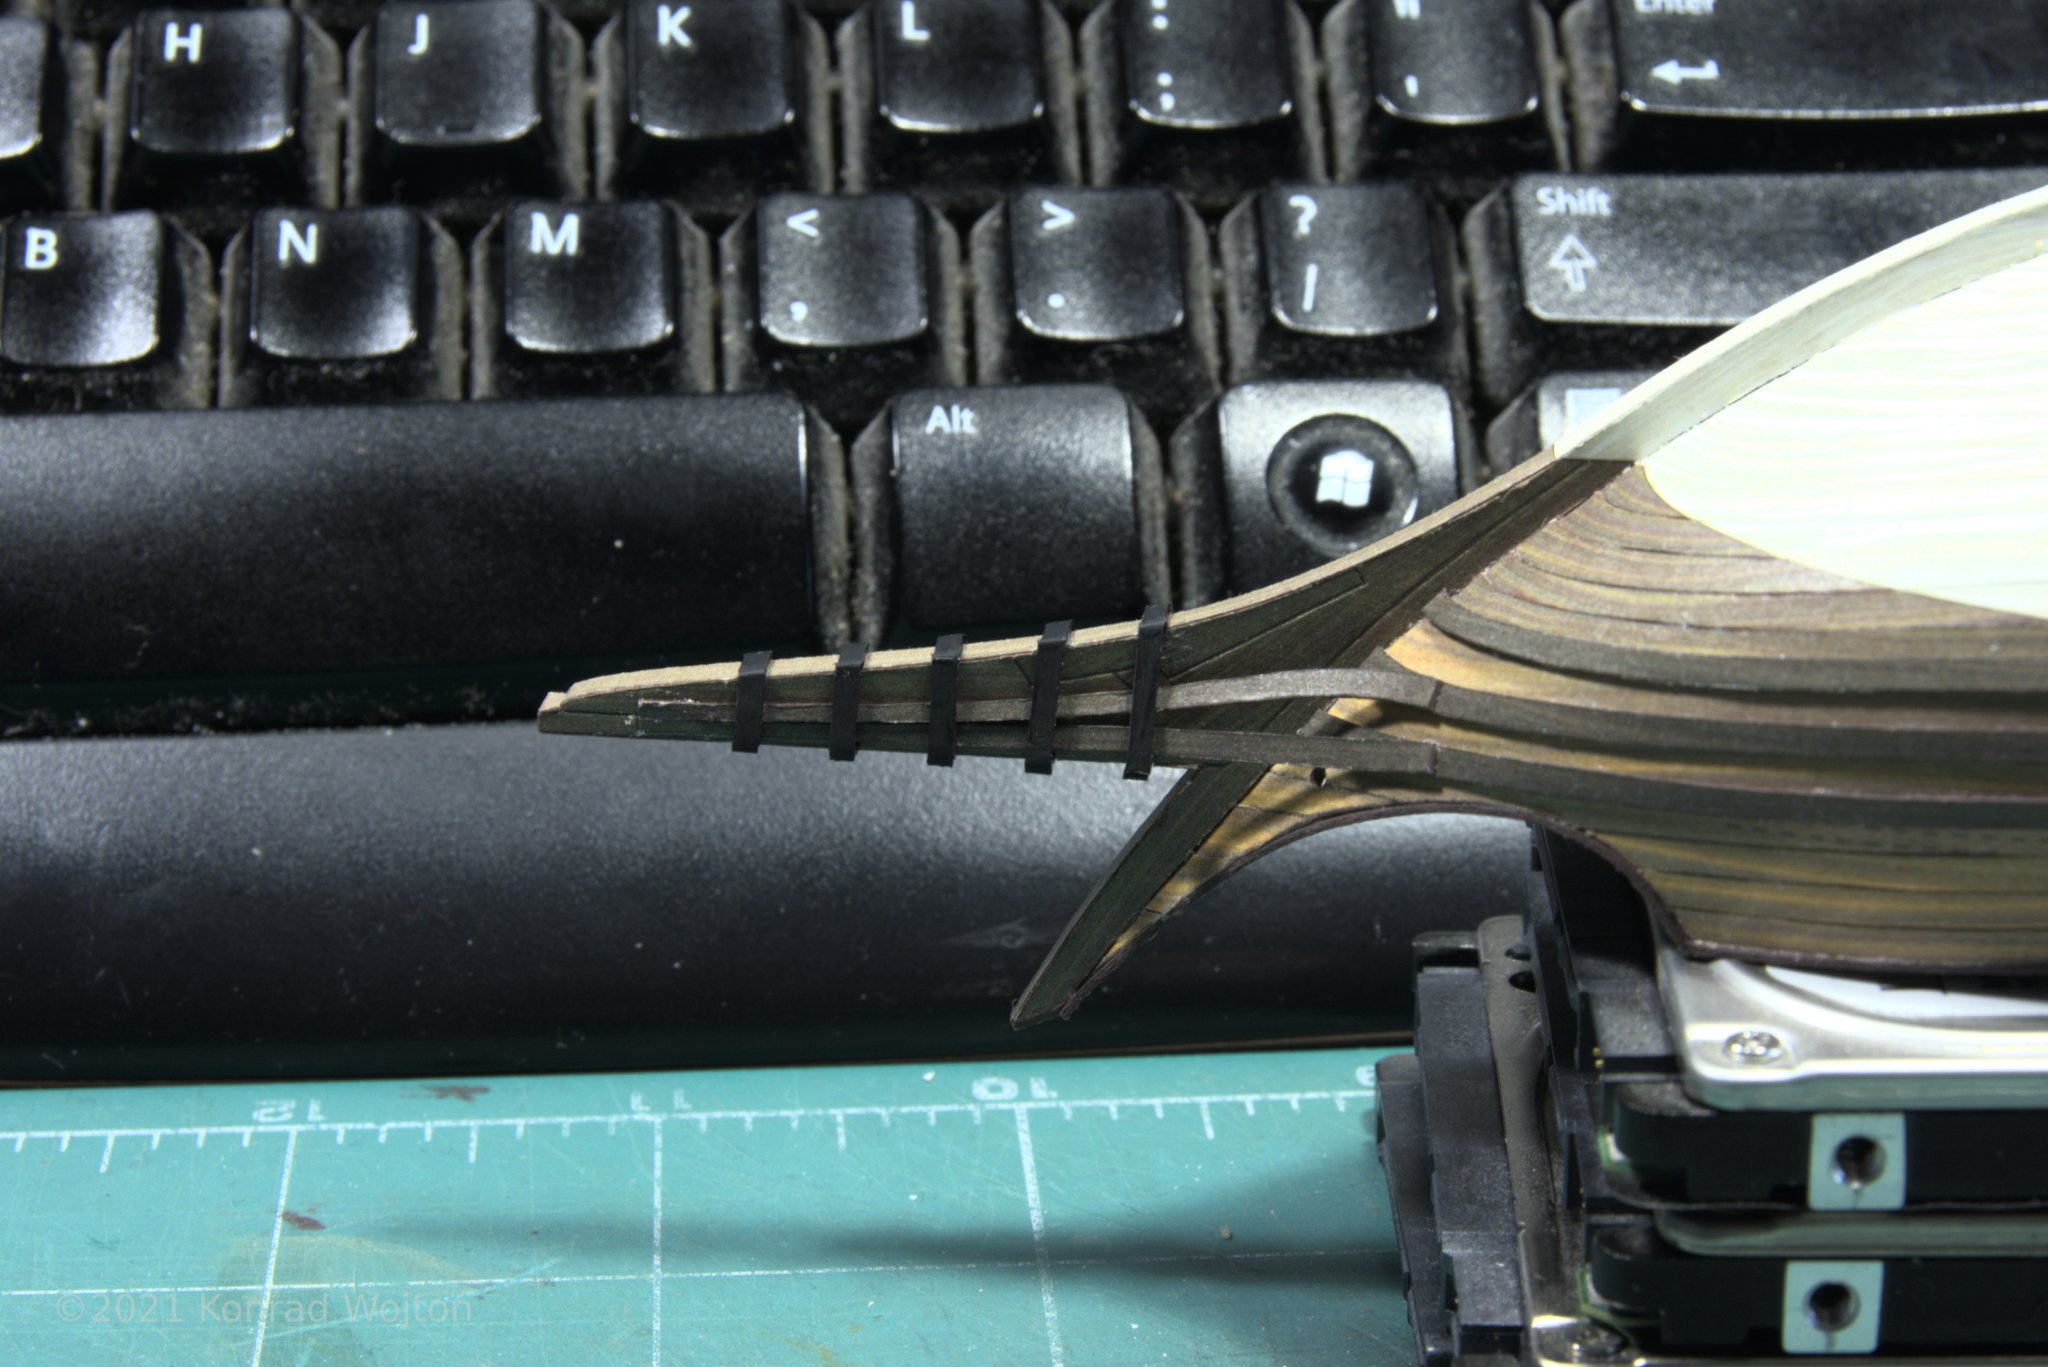
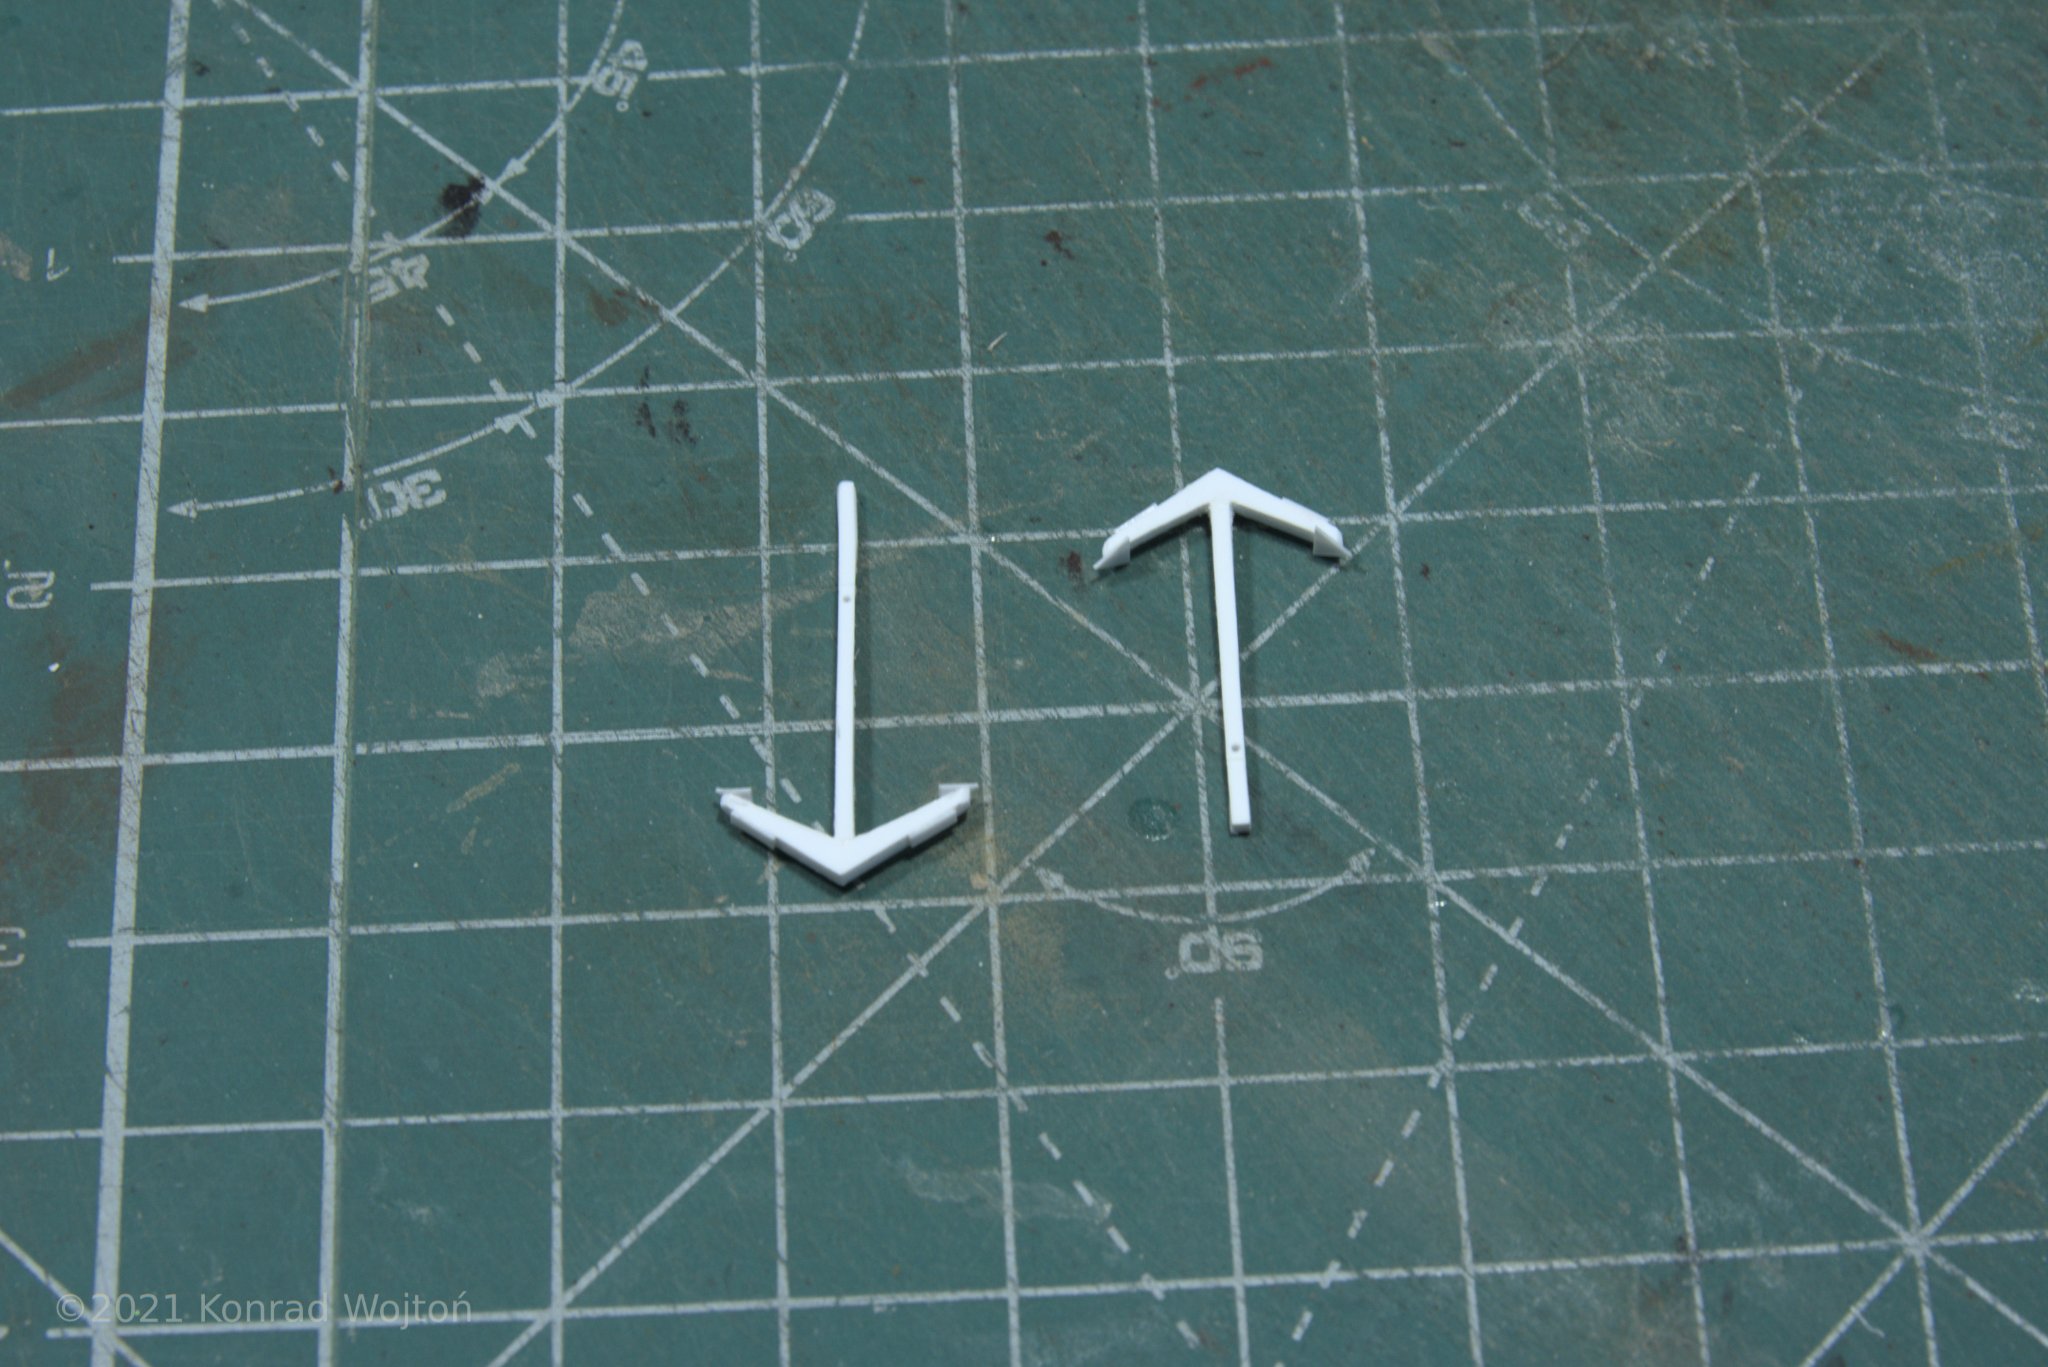
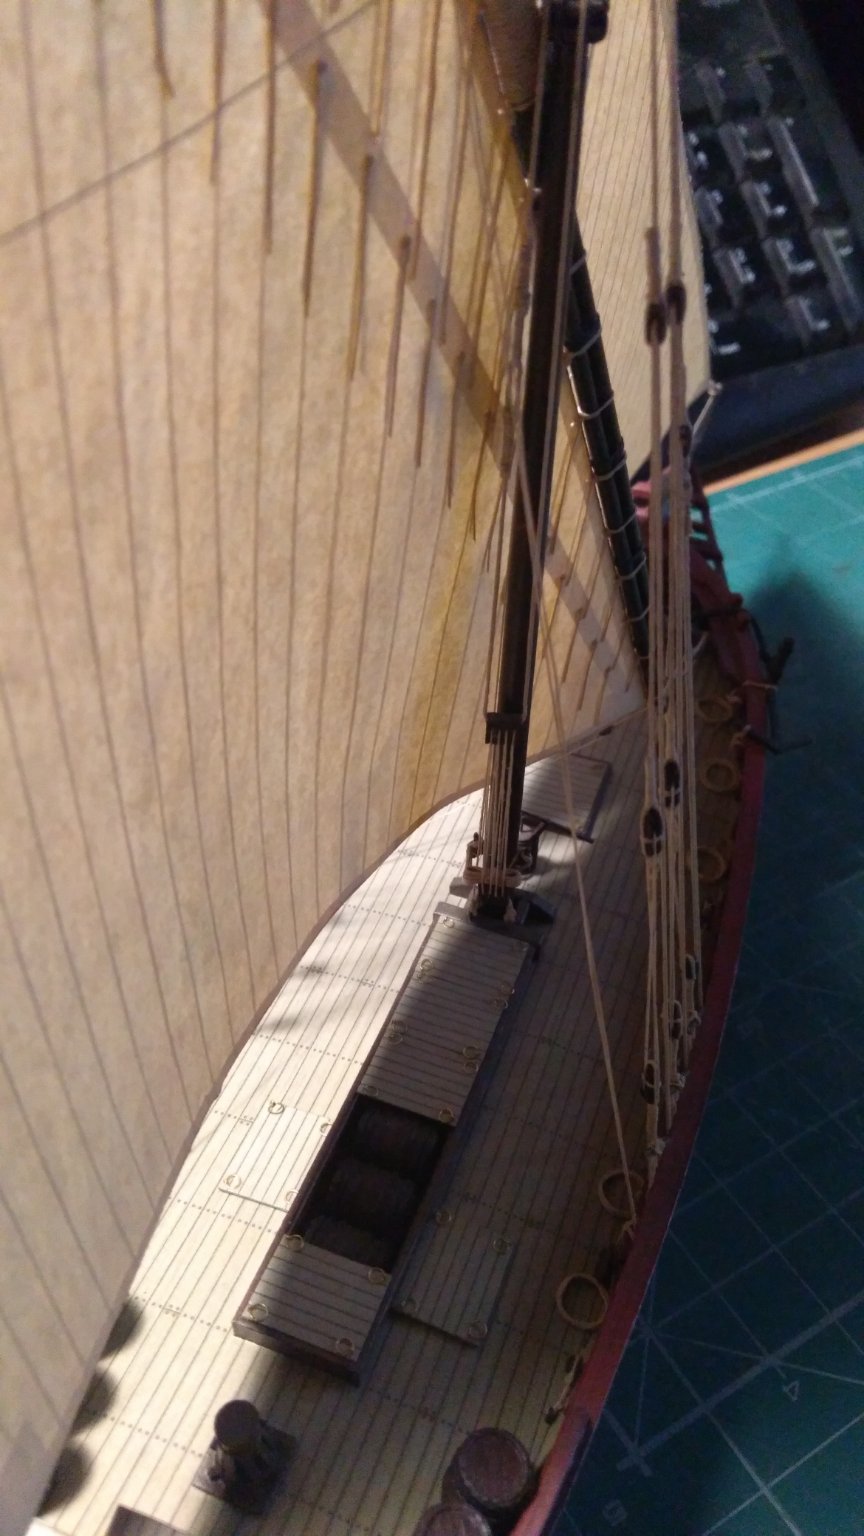
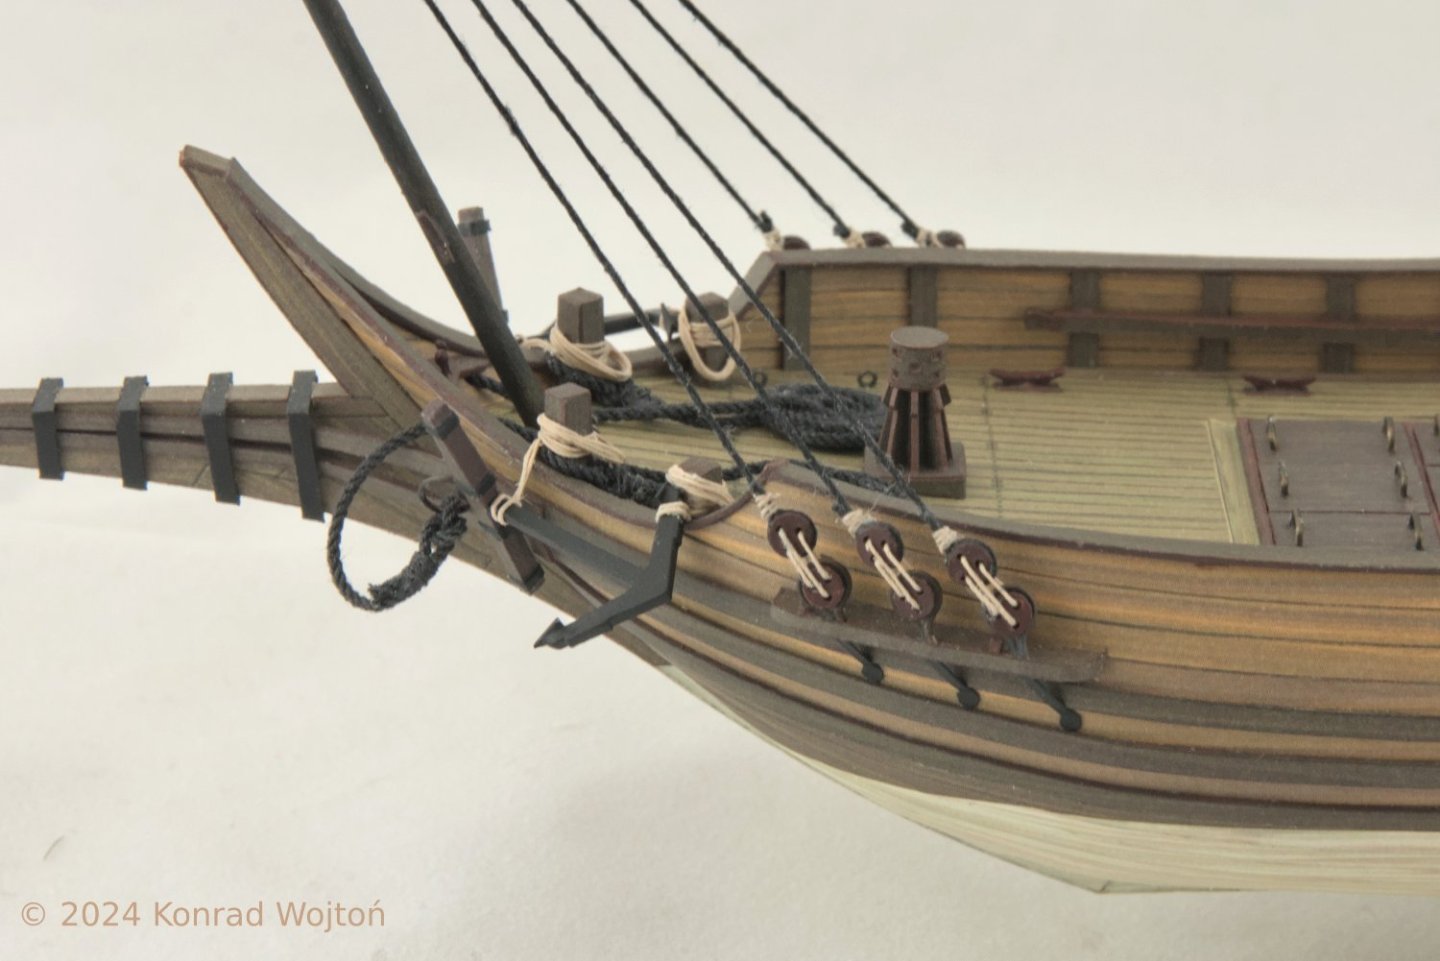
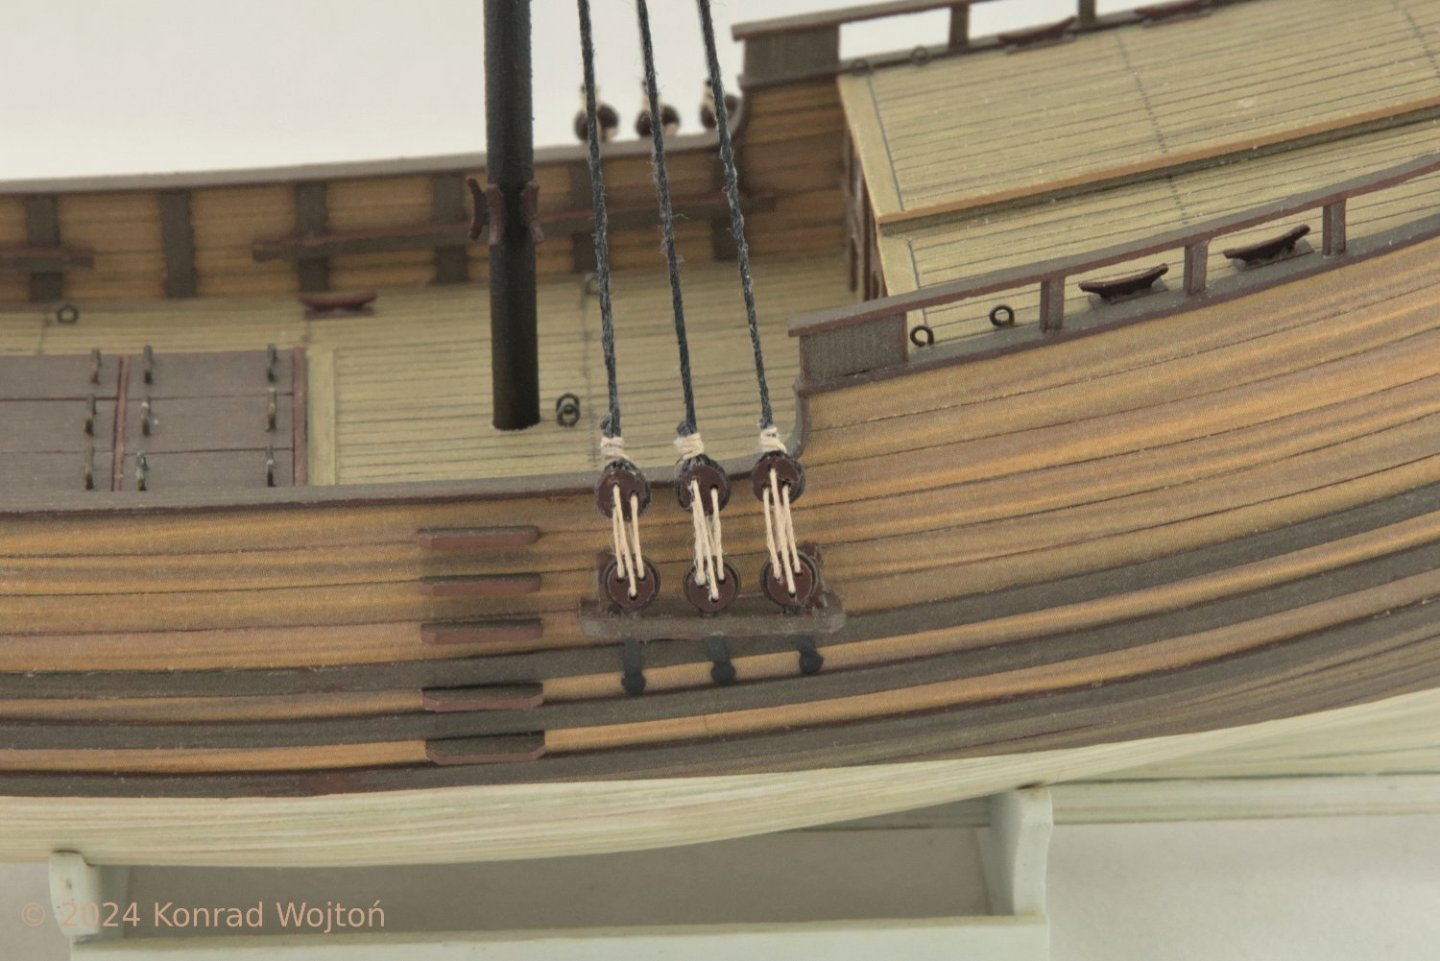
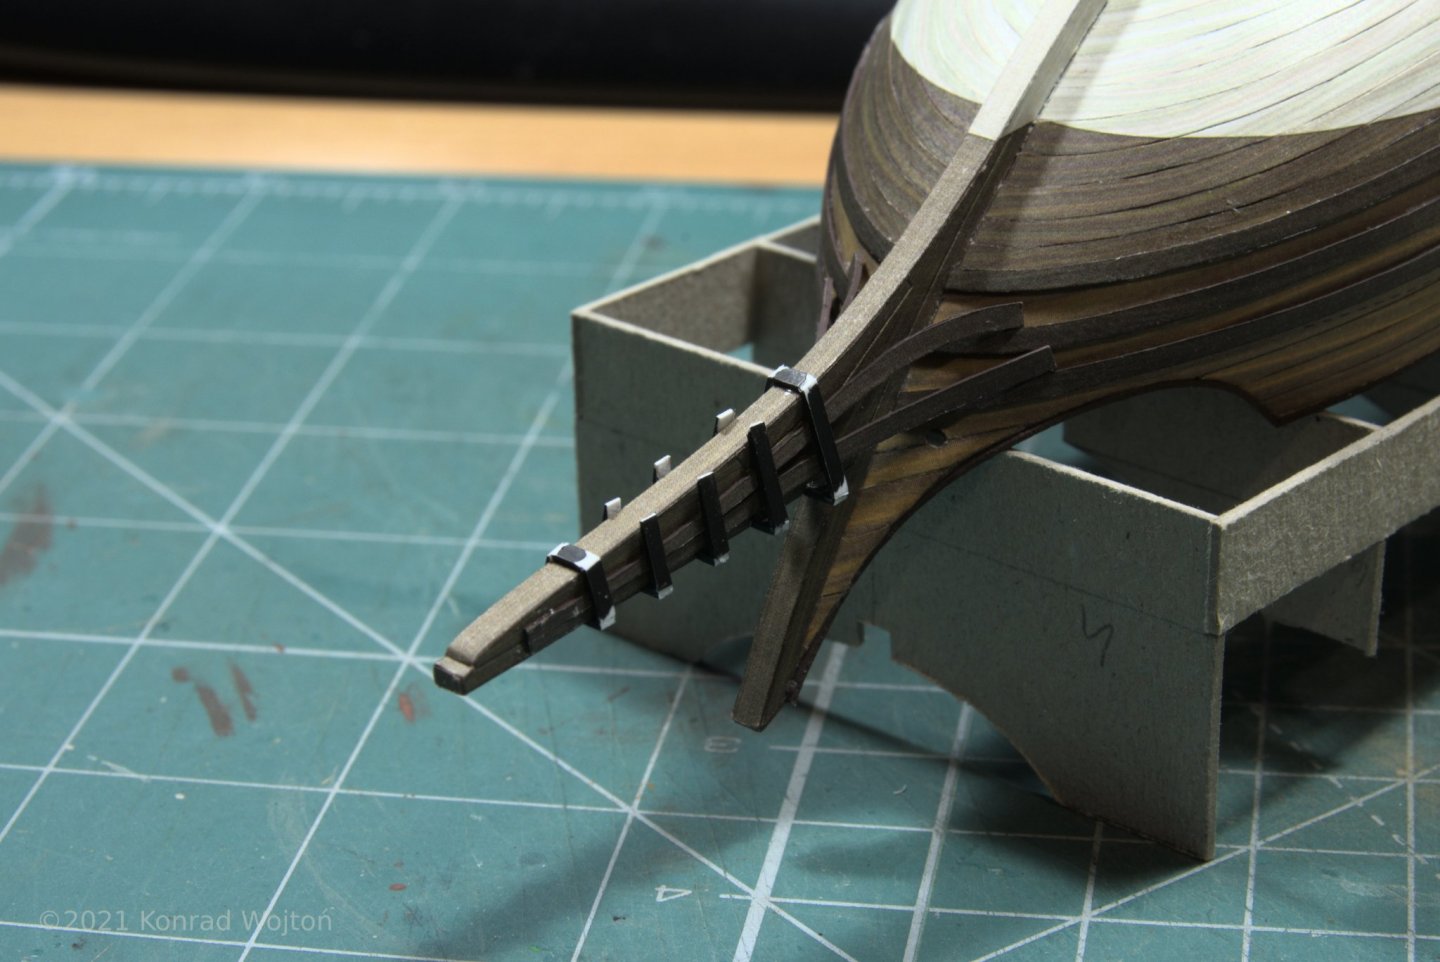
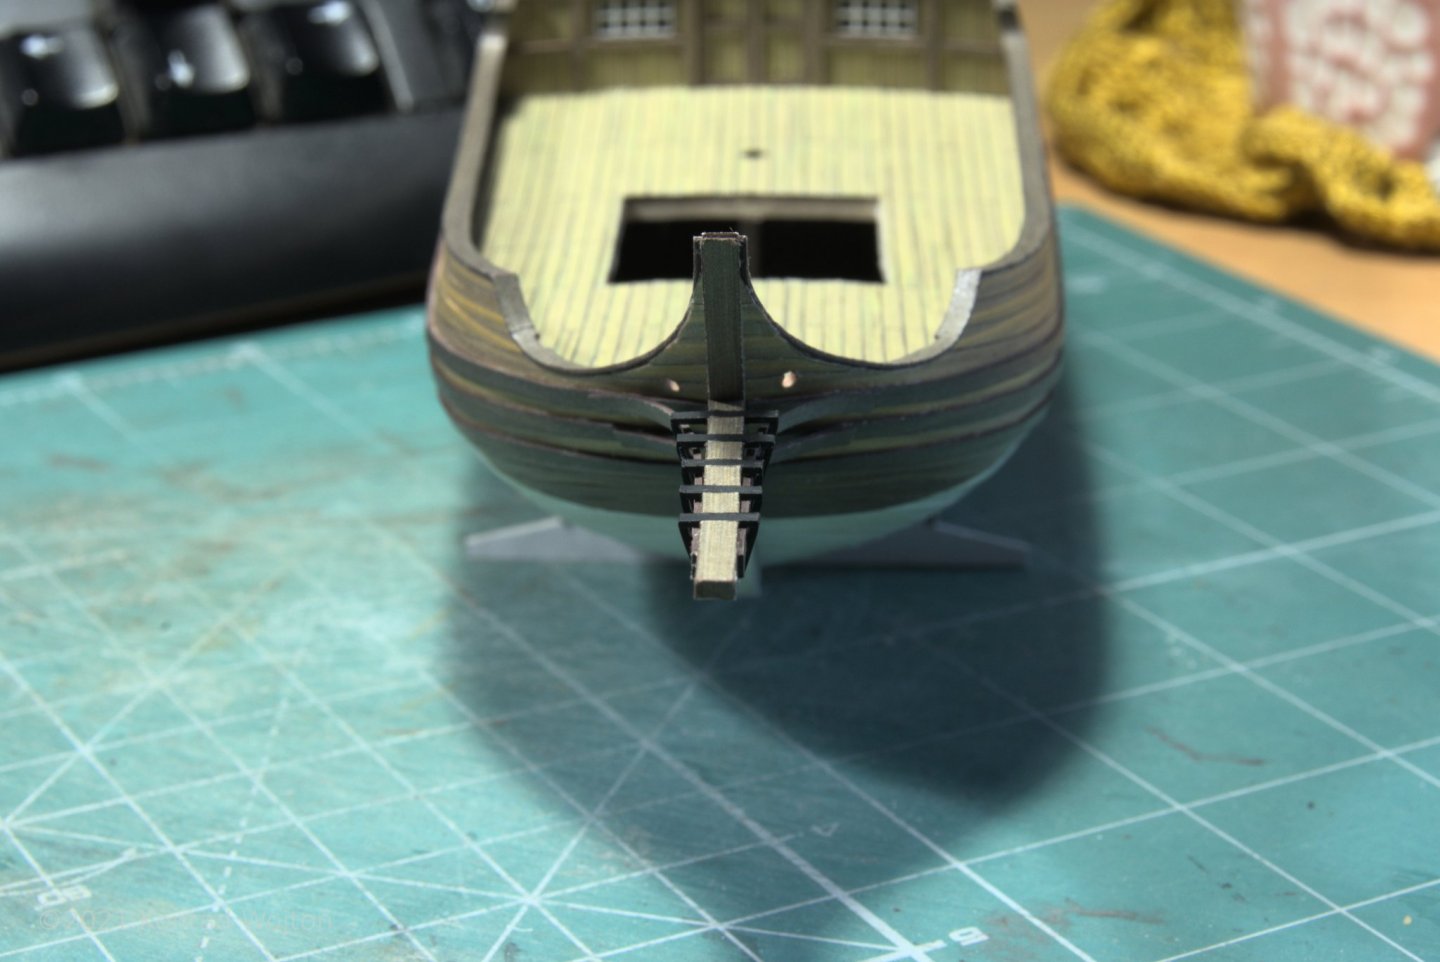
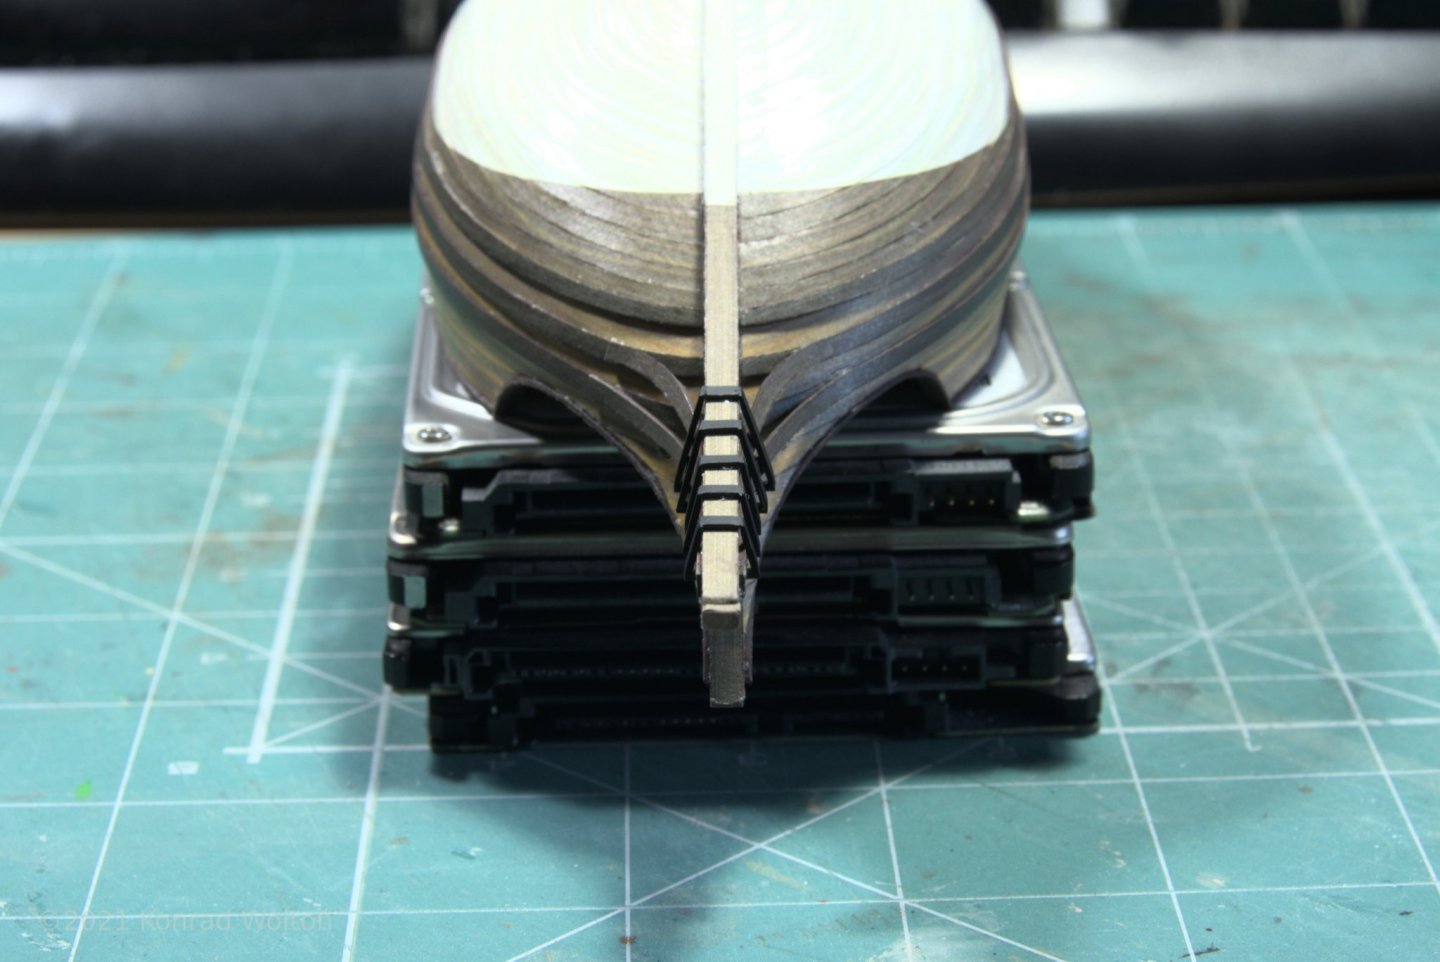
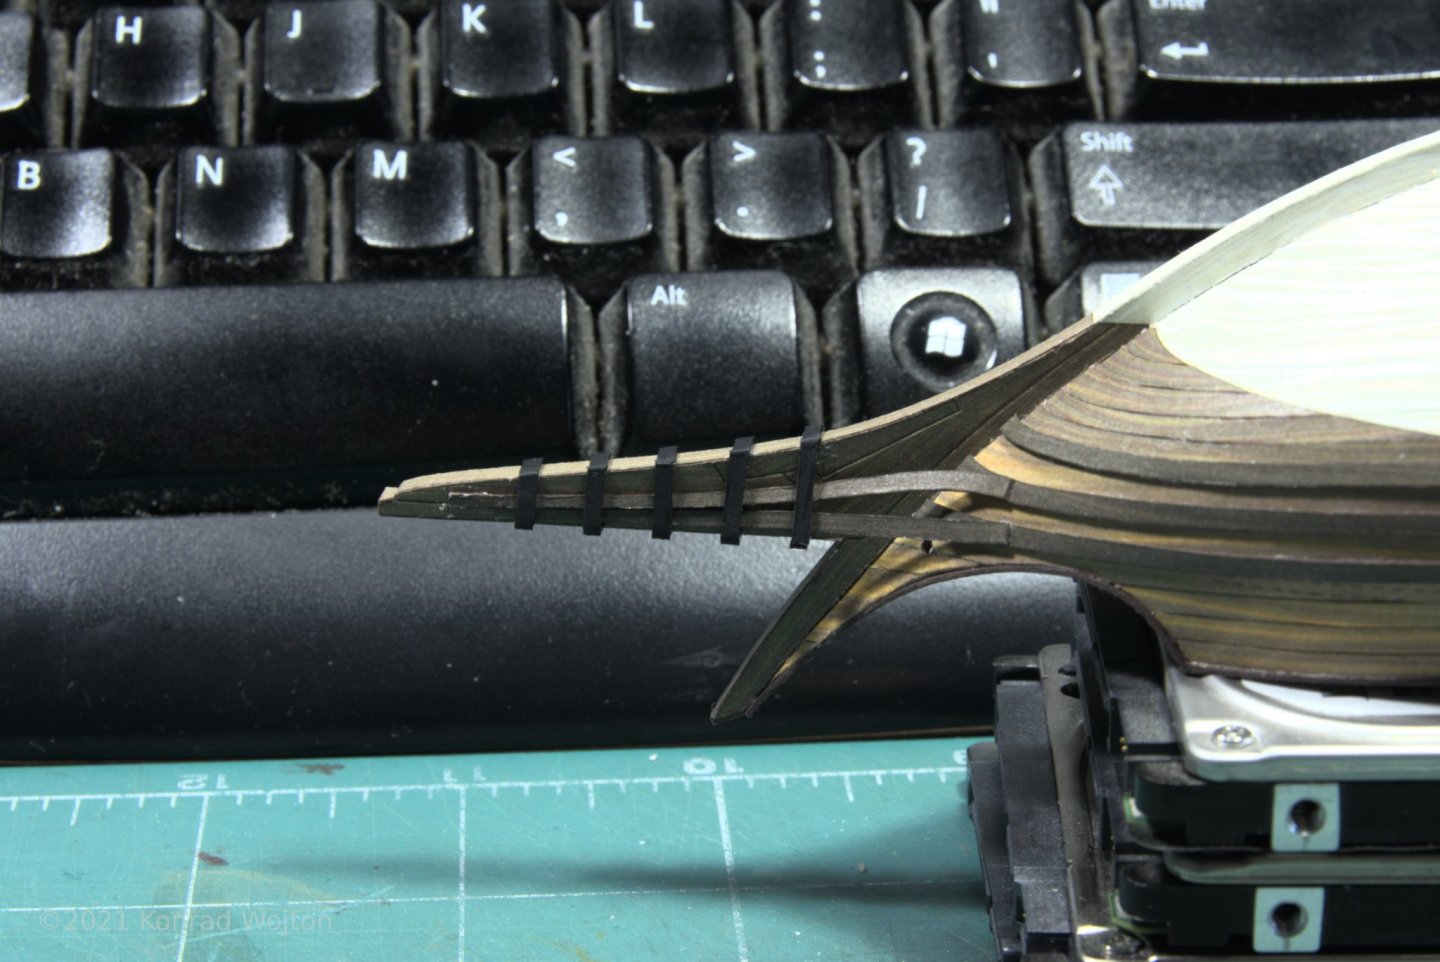
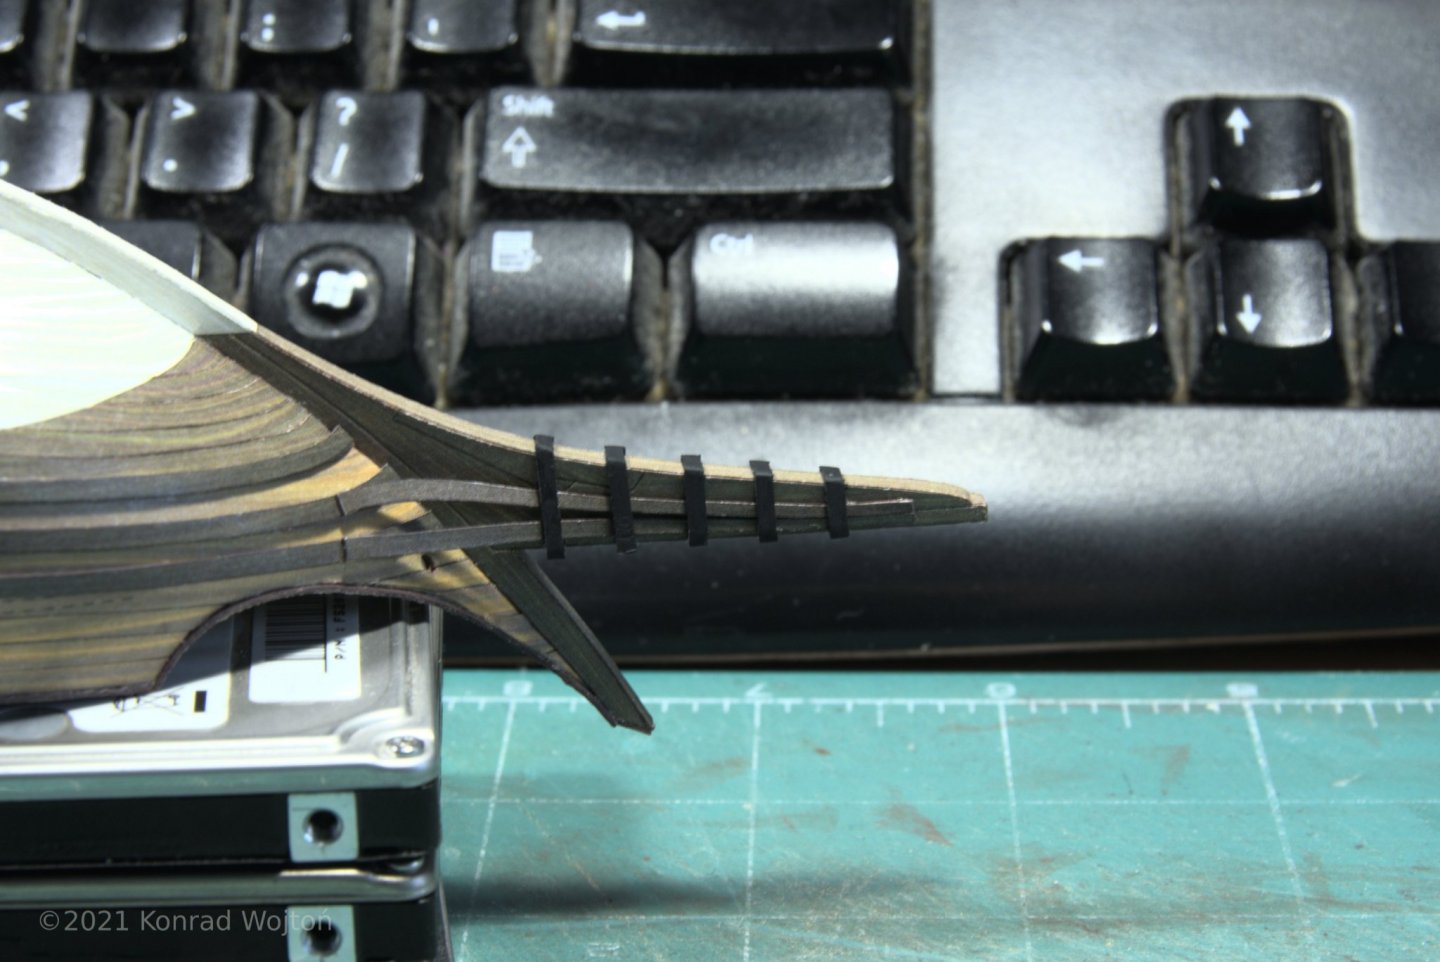
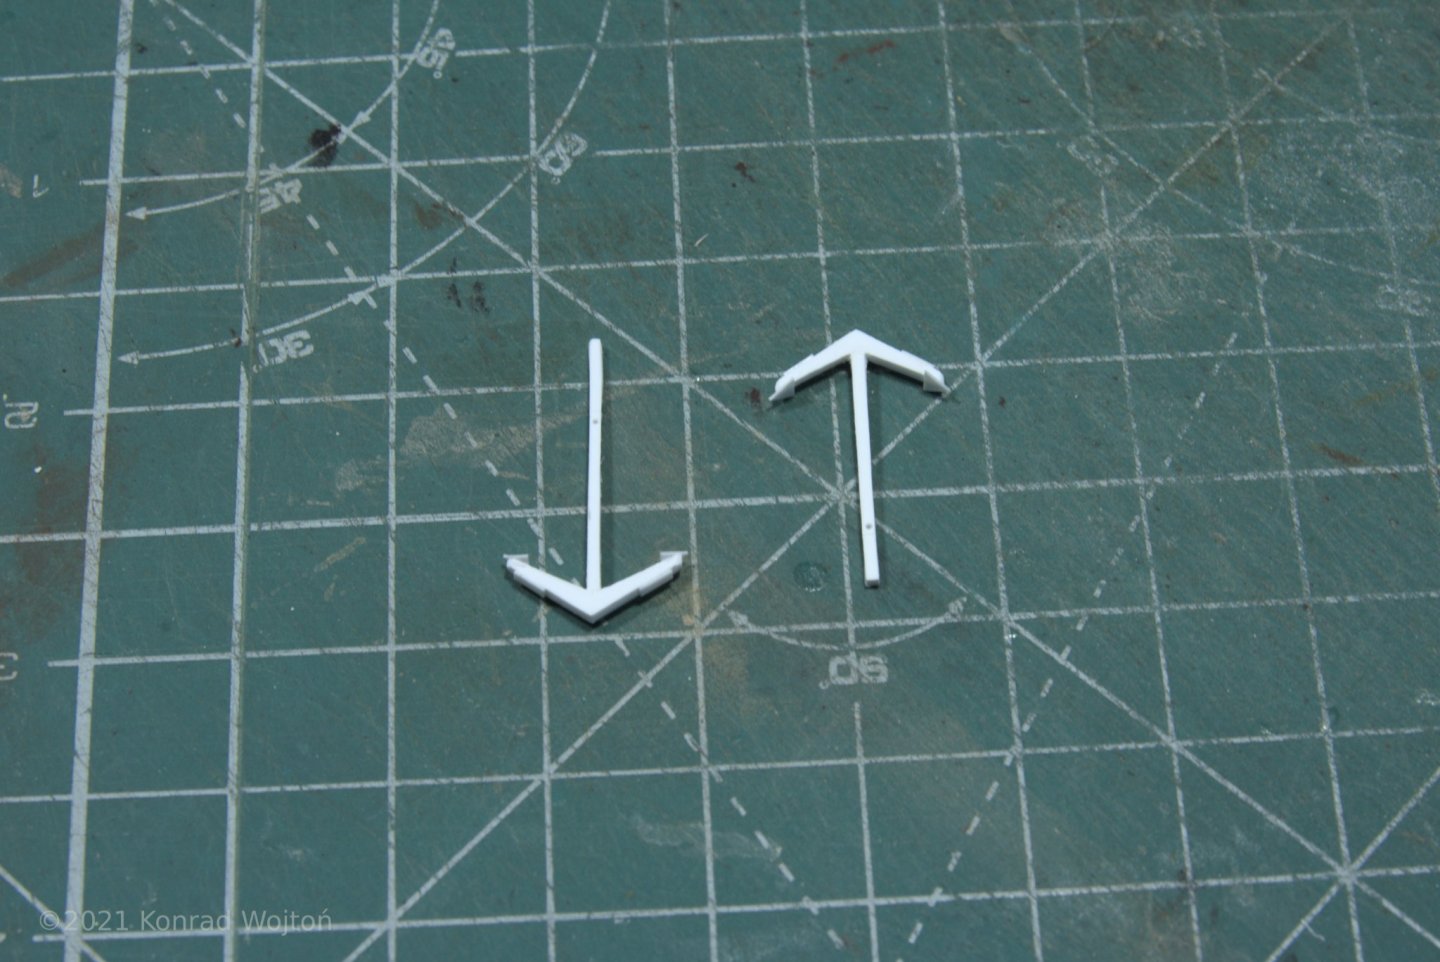
Not really much progress with build, I've only managed to finish bowsprit details. Black parts are made from styrene strips. I've also started work on anchors - styrene again. Not much card in this update.

-
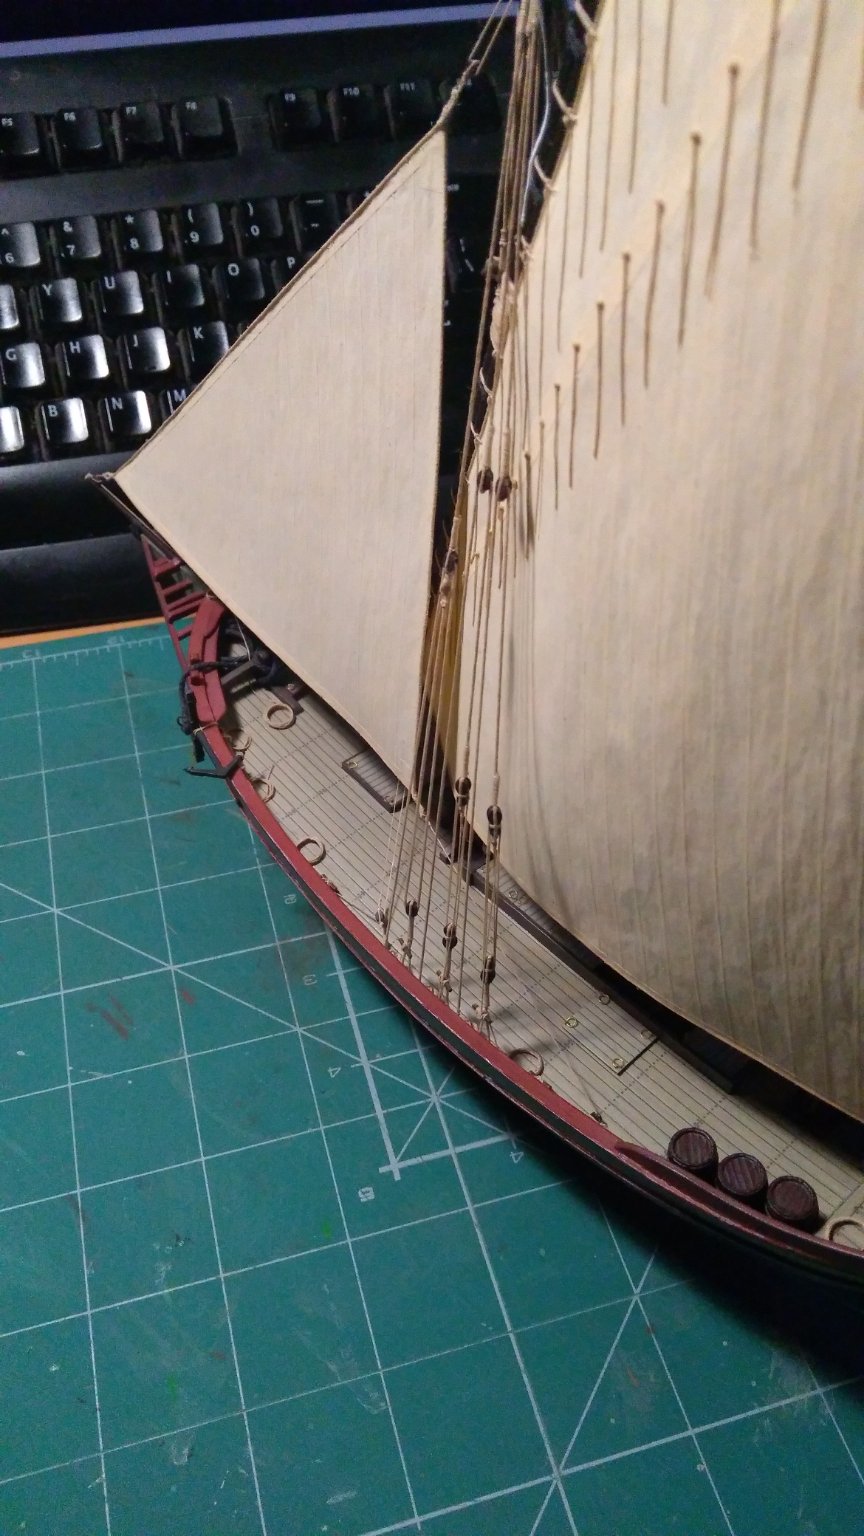
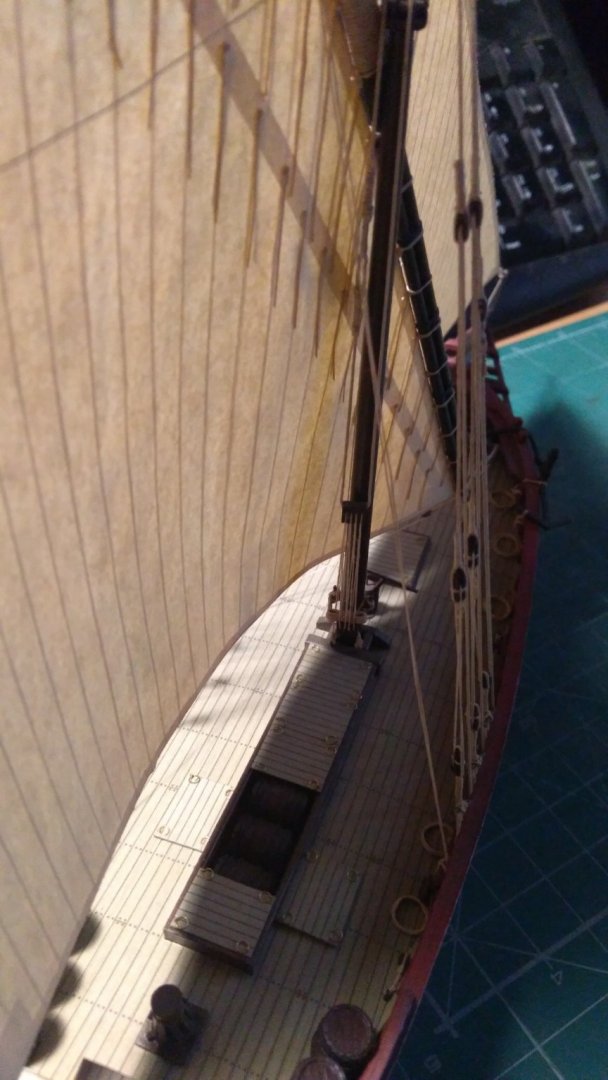
No, I did not reinforce bolt rope with wire and in hindsight I should have. Right now, after a year since completion sails and bolt ropes soaked a bit of moisture from air and deformed a bit. I've used cotton thread, around 0,5mm in diameter, straight from the spool and did not wax it with bees wax to let pva glue grab easier to it, but it made it more prone to moisture unfortunately. I'm definitely going to try to use some wire in my current Saettia build but I haven't figured out yet if should embed it into sail or make my own bolt rope with wire core. Check out how Bruma made his sails in this log https://modelshipworld.com/topic/25323-cutty-sark-by-bruma-revell-196/page/7/#comments , you might find it inspiring to experiment a bit. Sails on my Allege currently look like this:


- 35 replies
-
- 3
-
-
- allege darles
- wak
- (and 2 more)
-
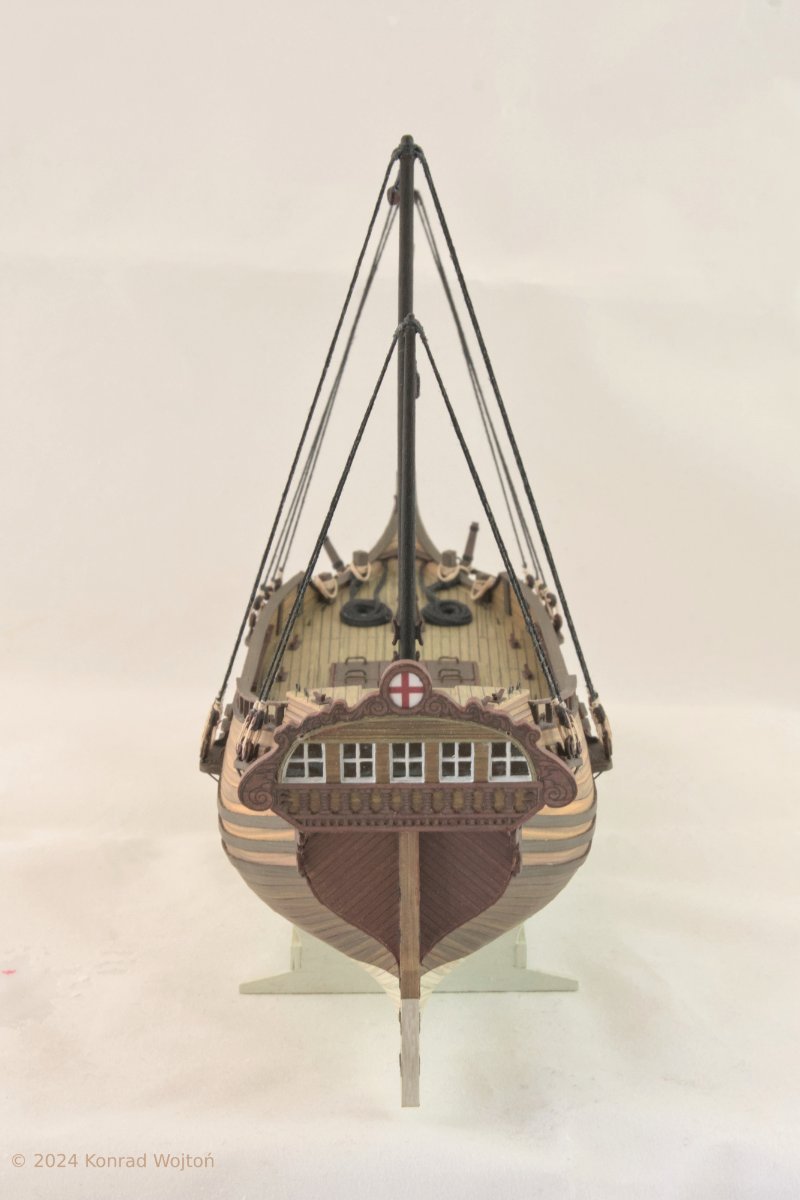
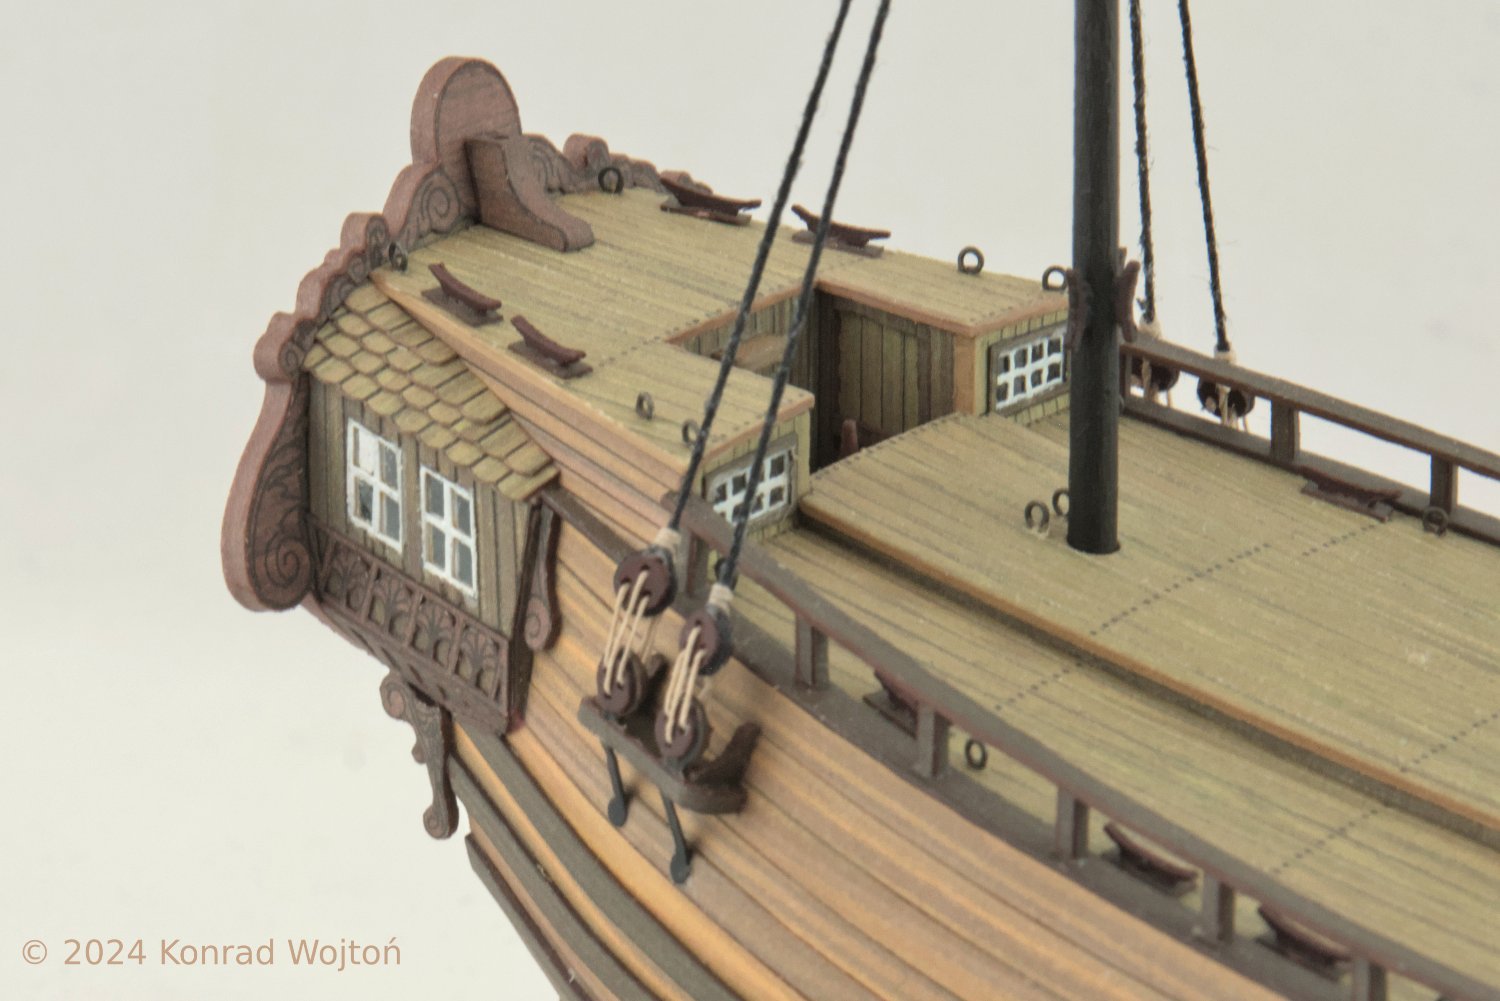
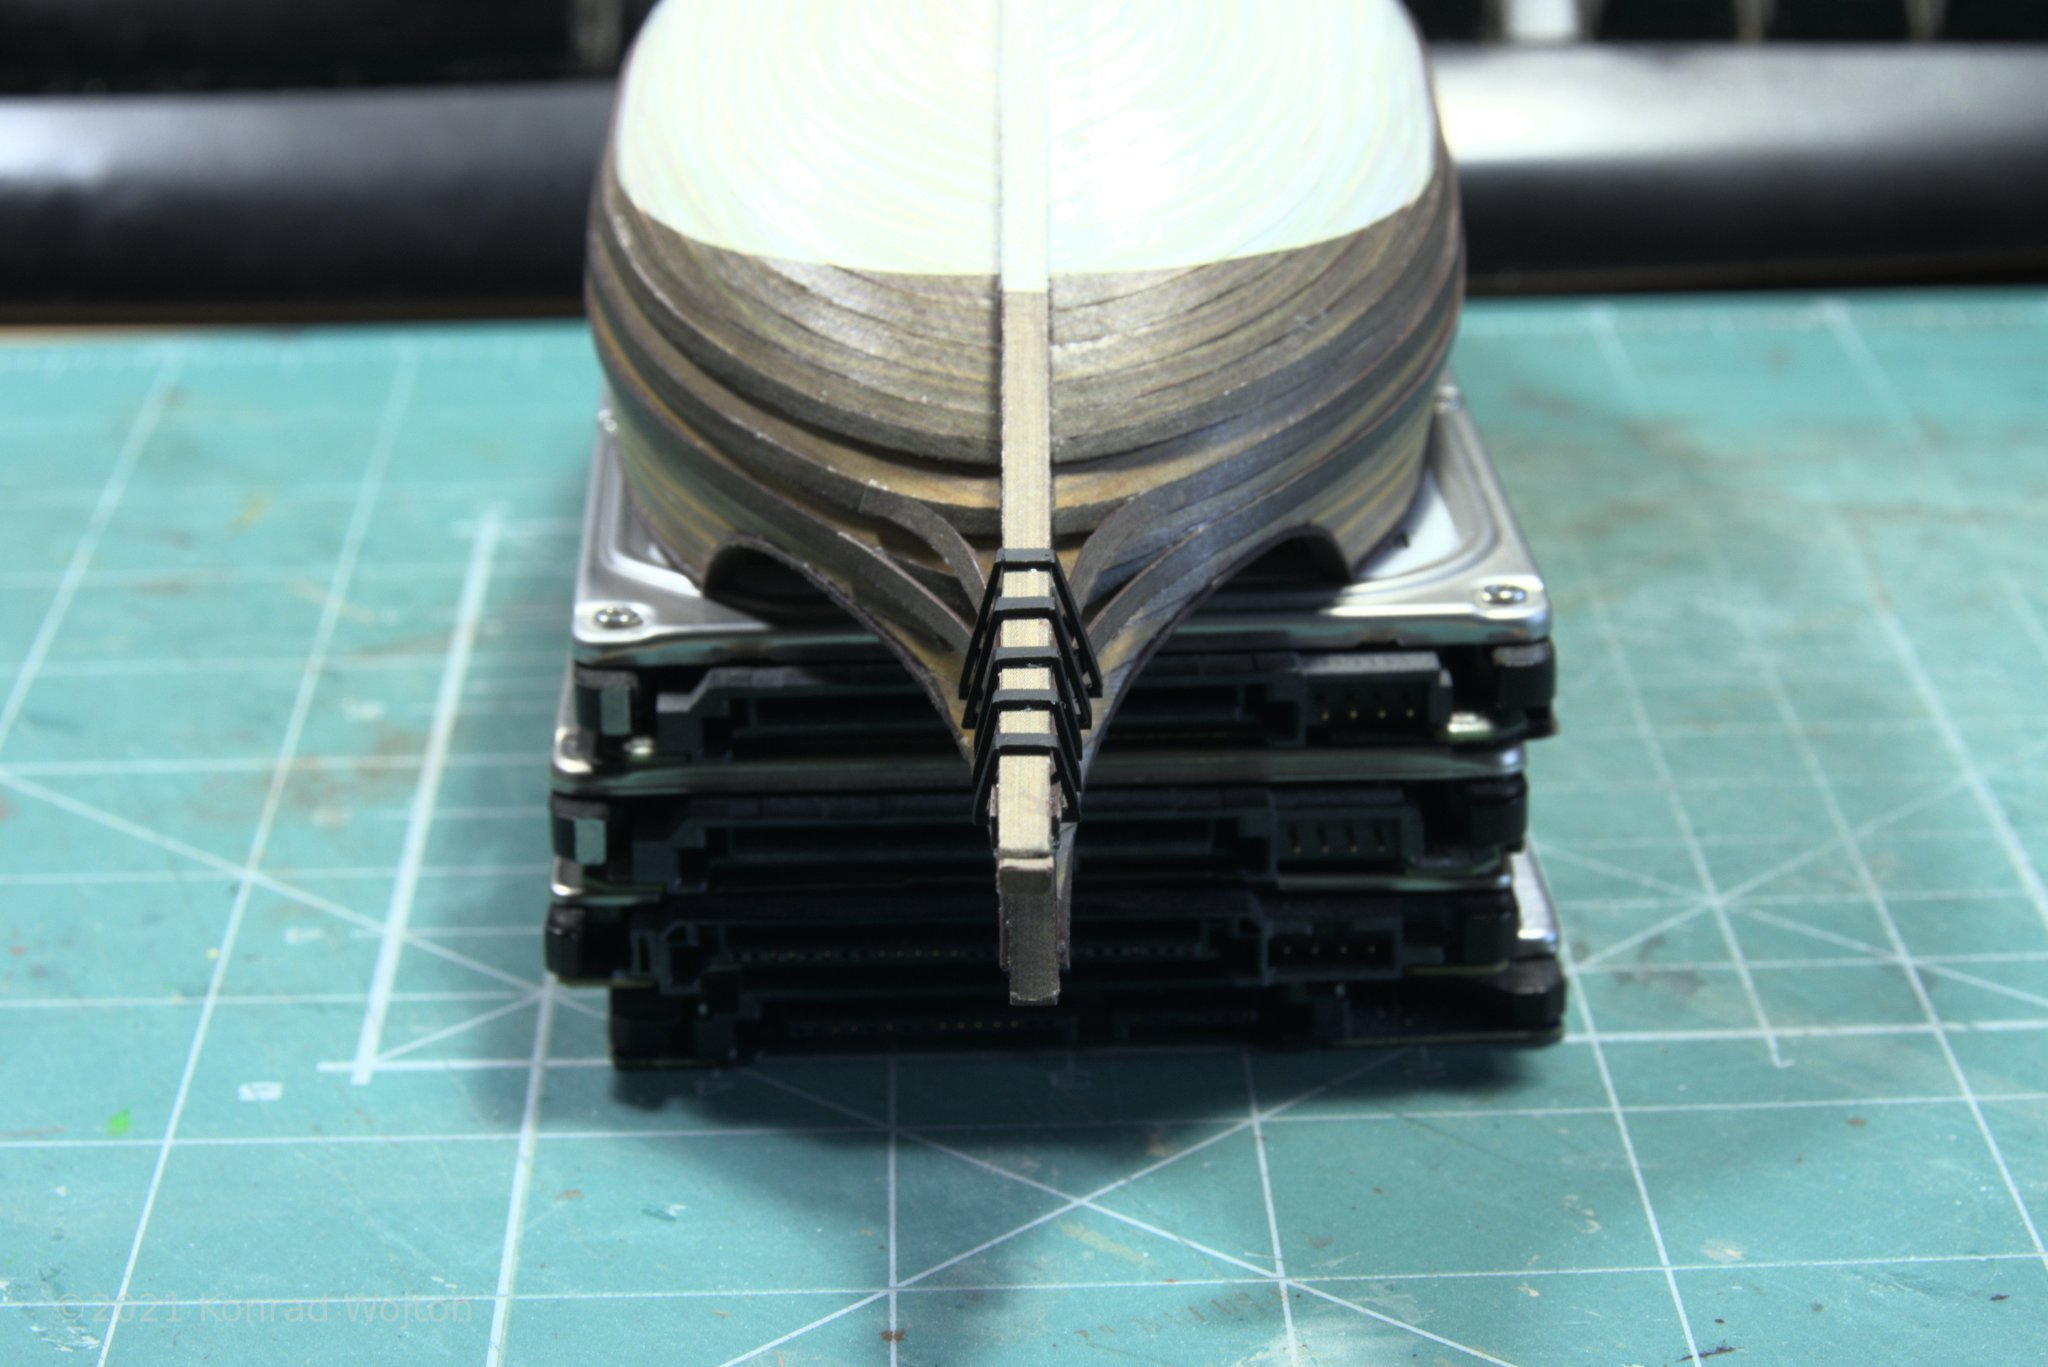
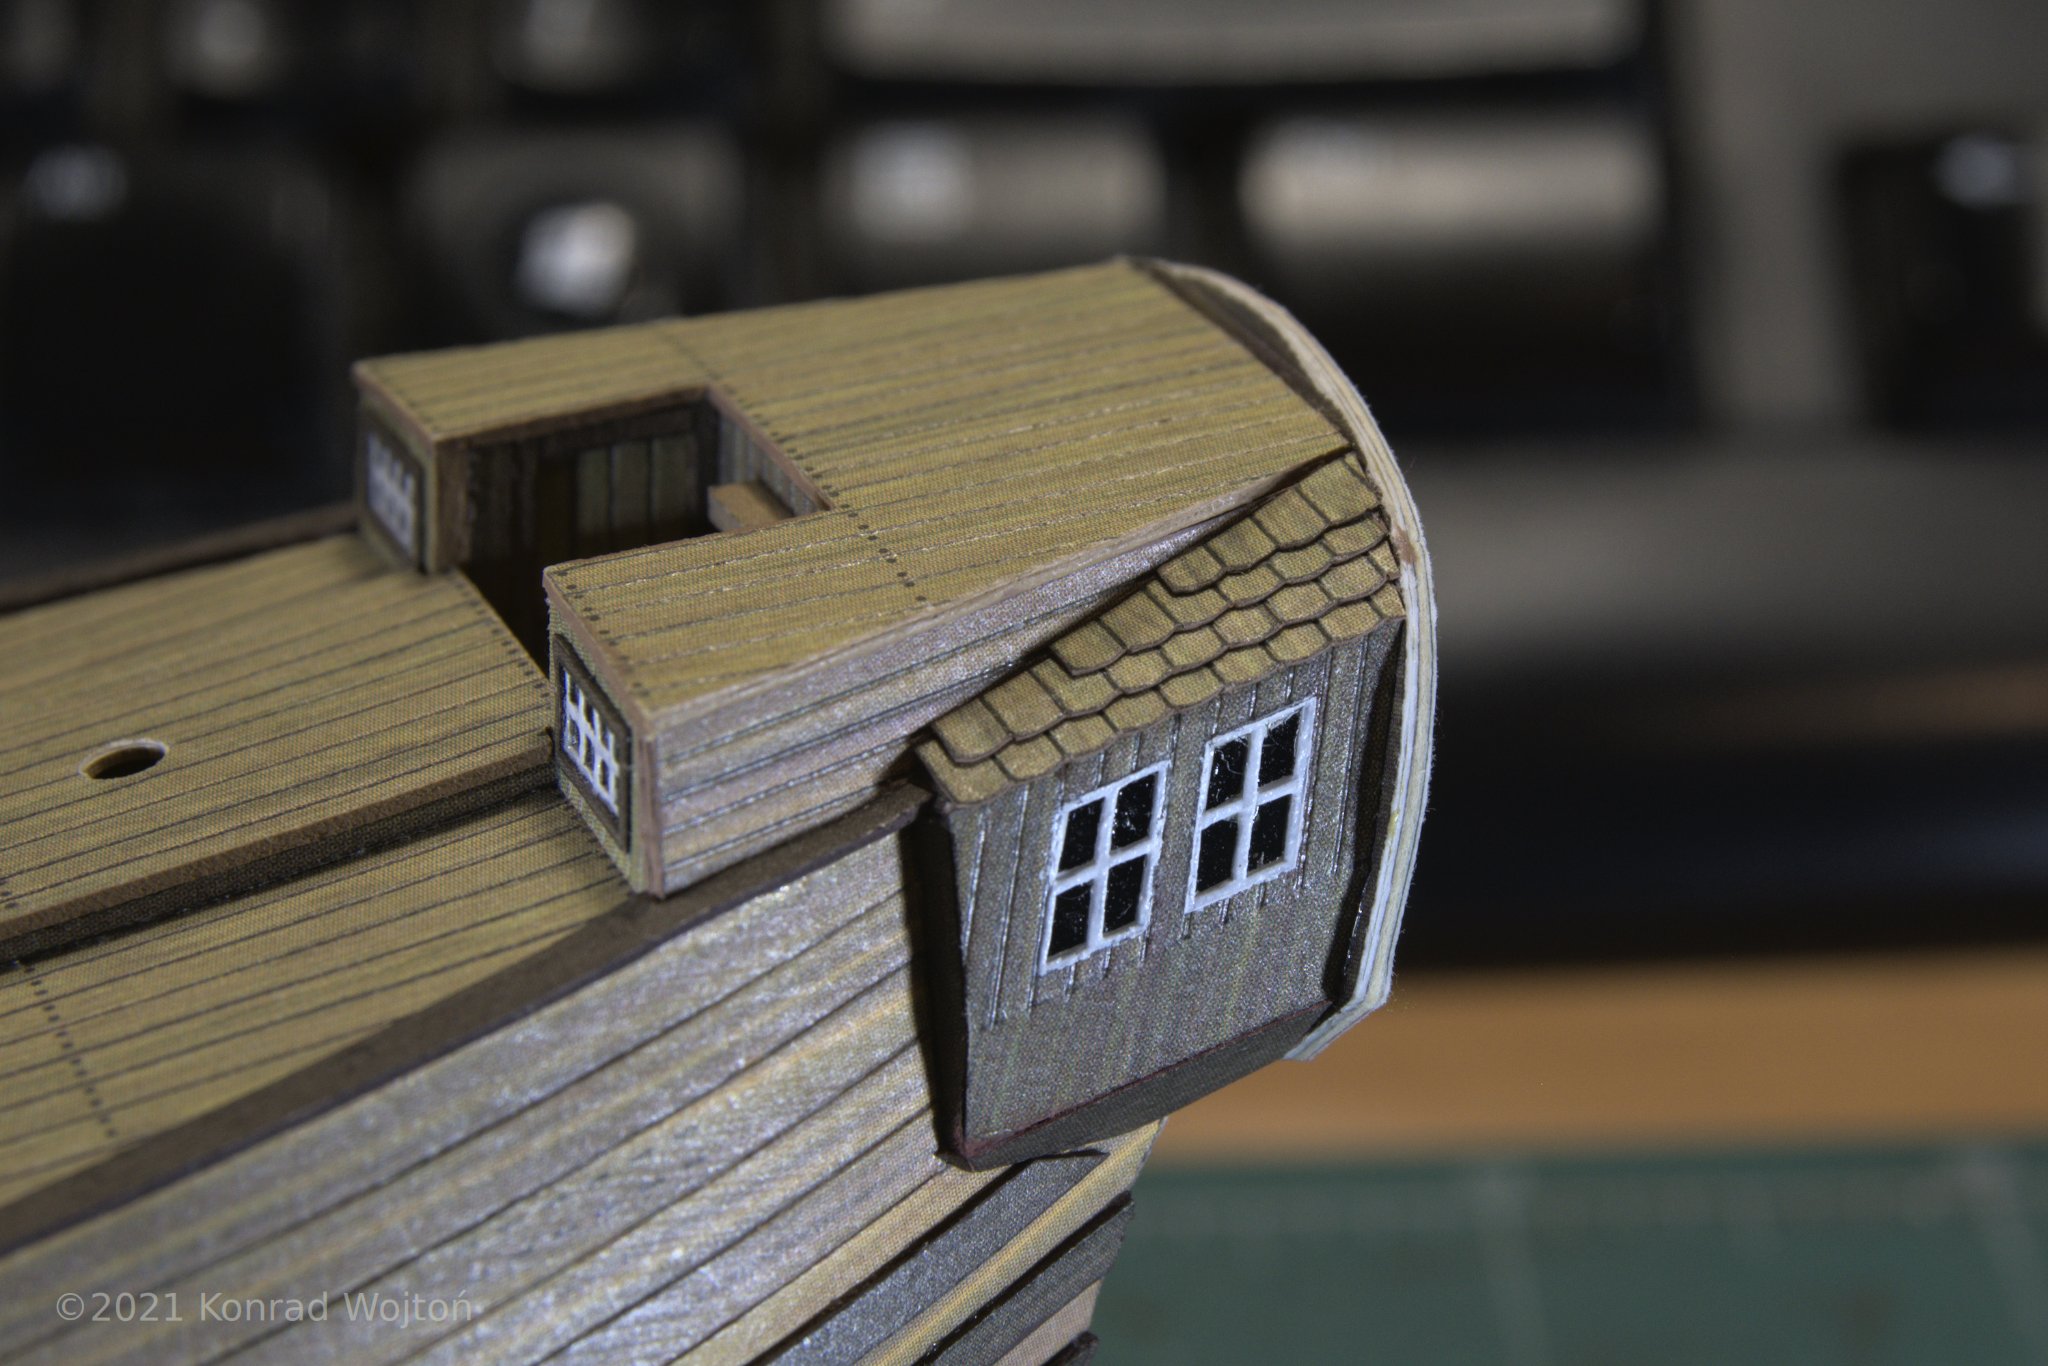
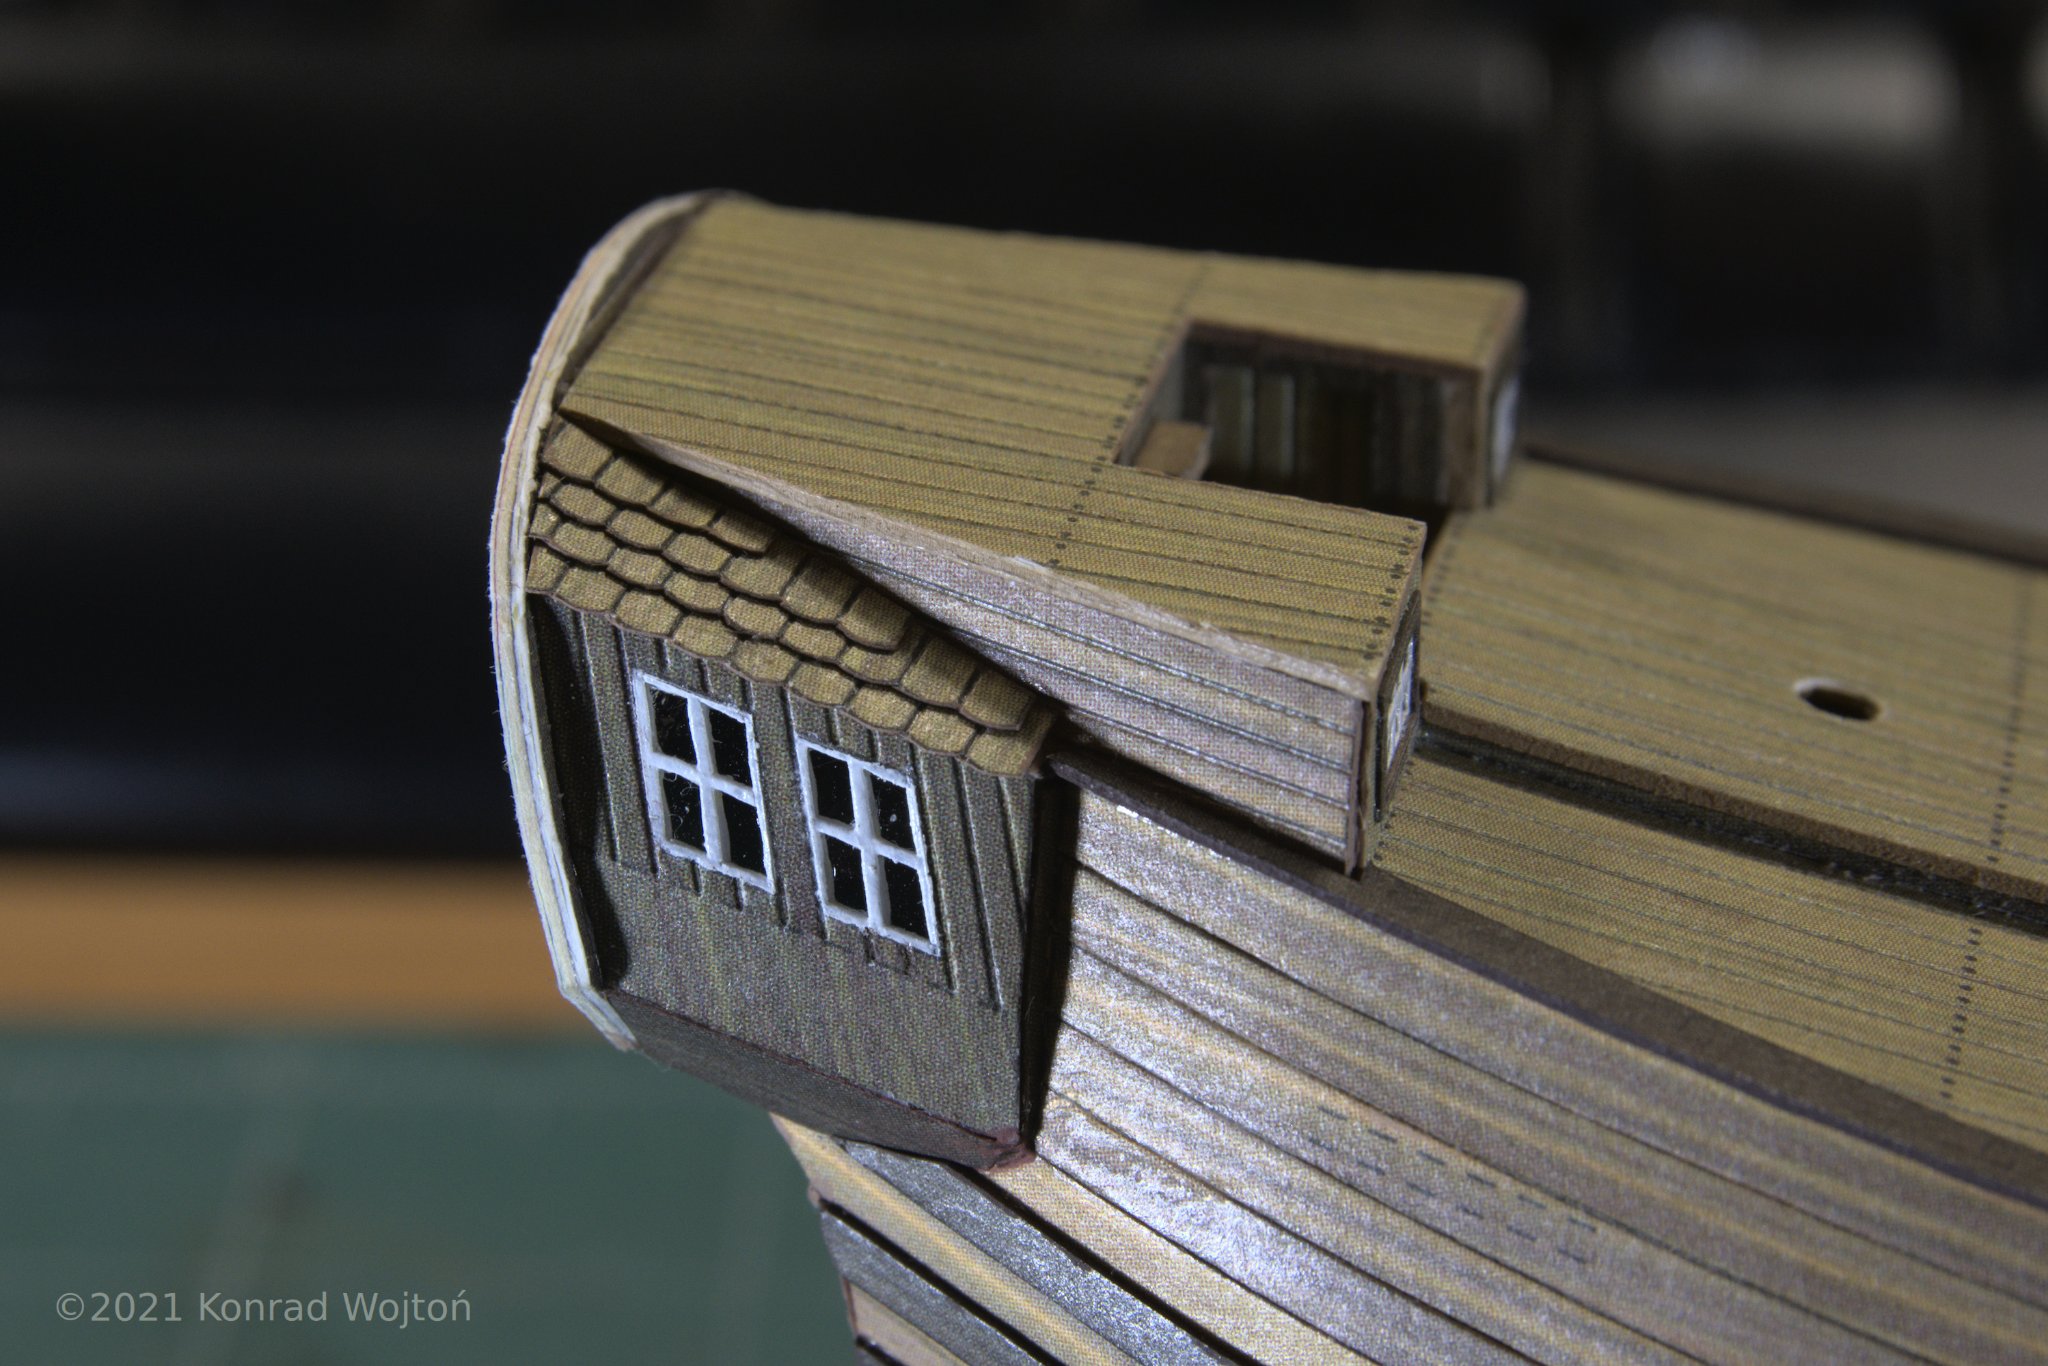
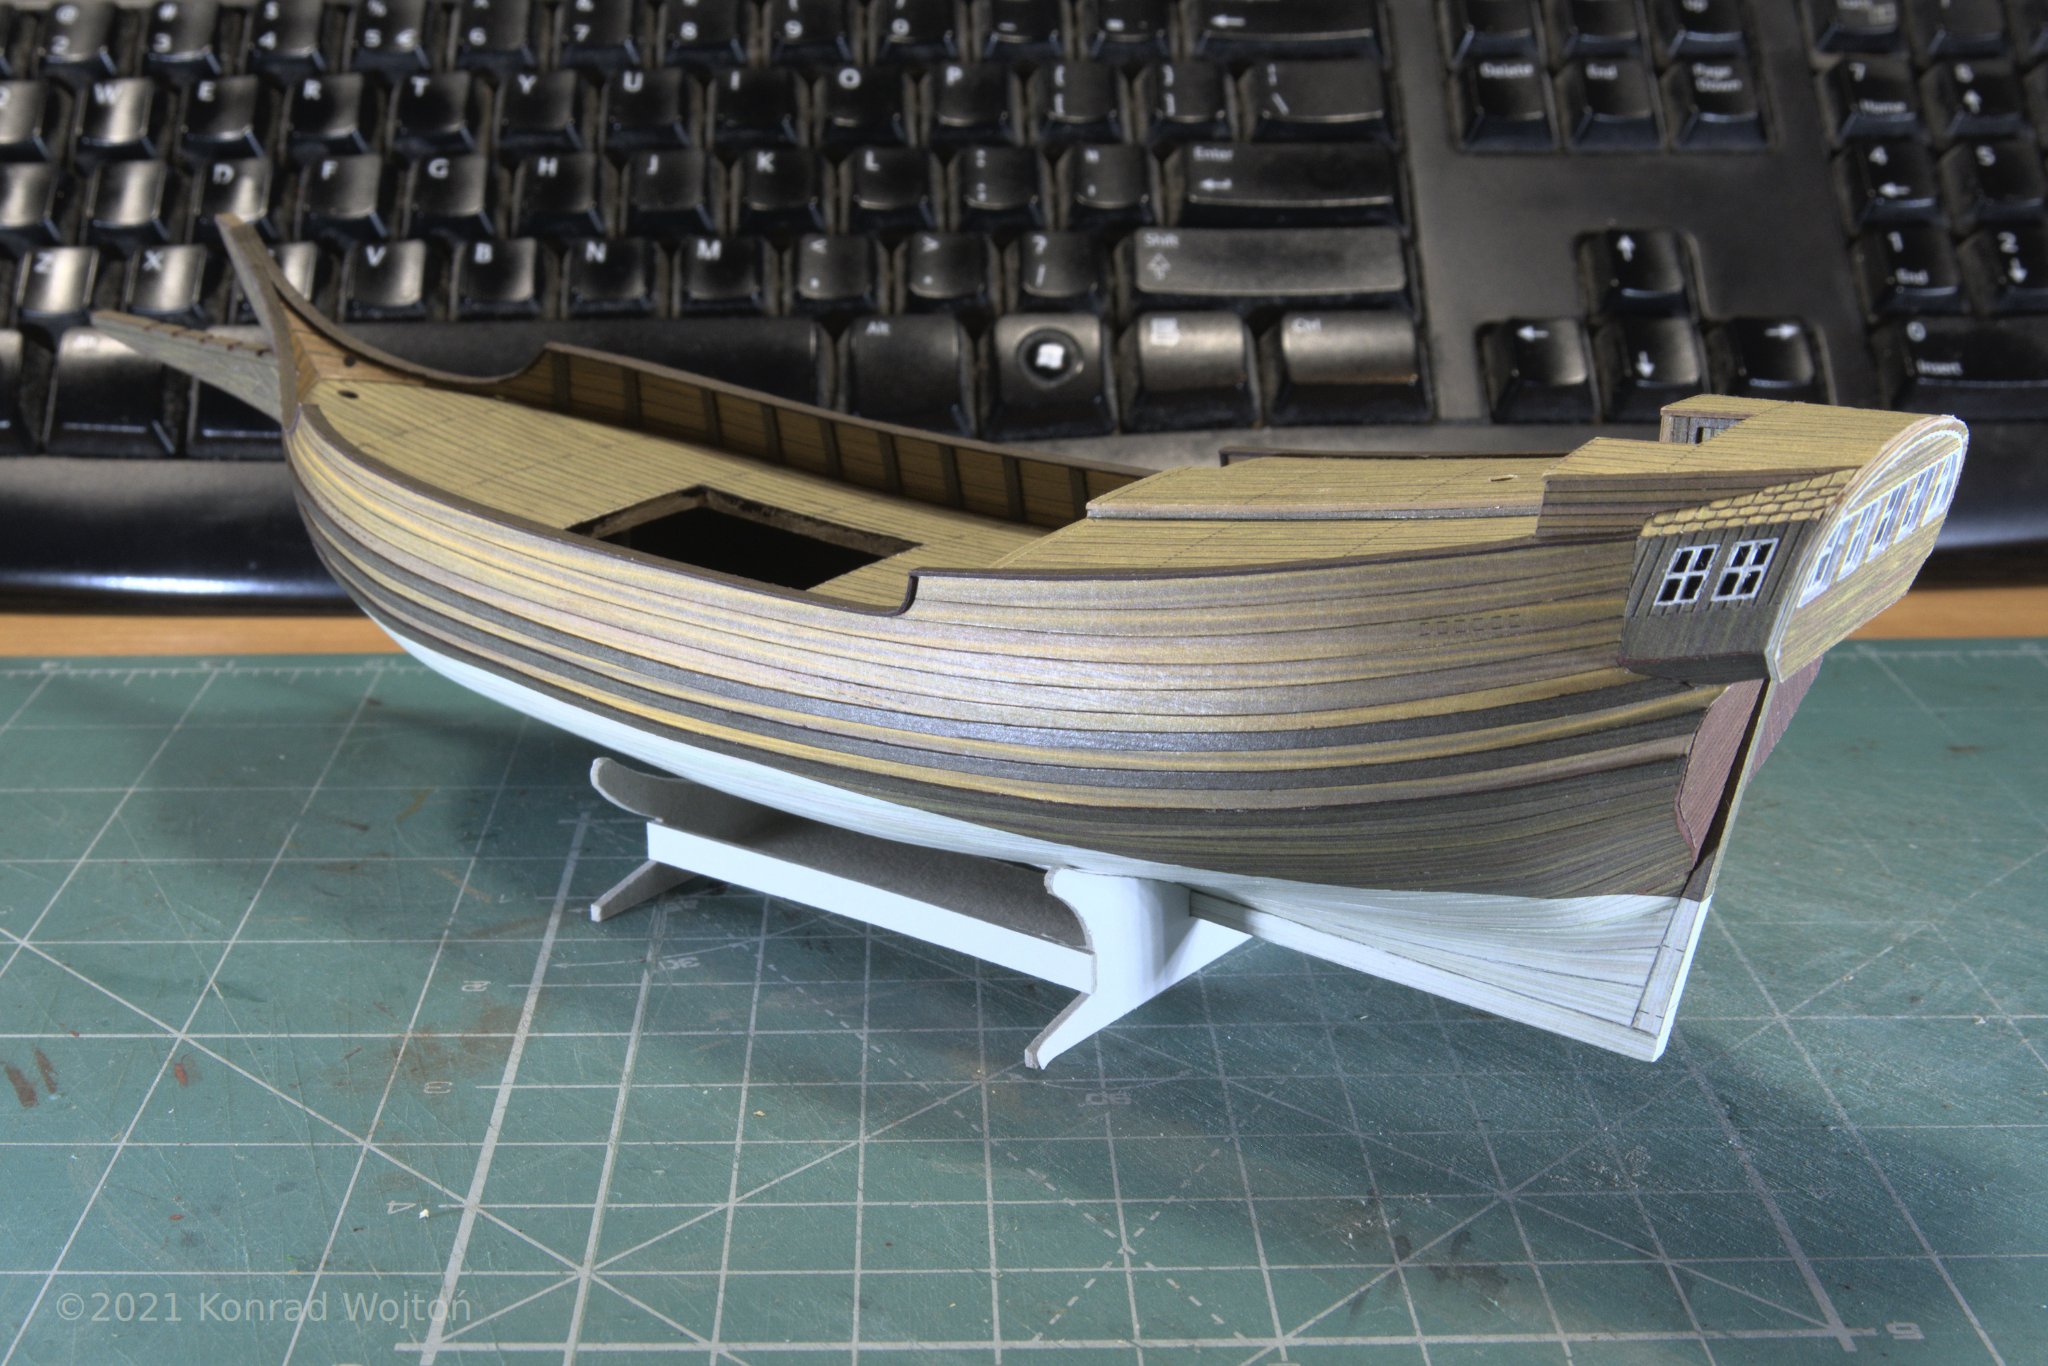
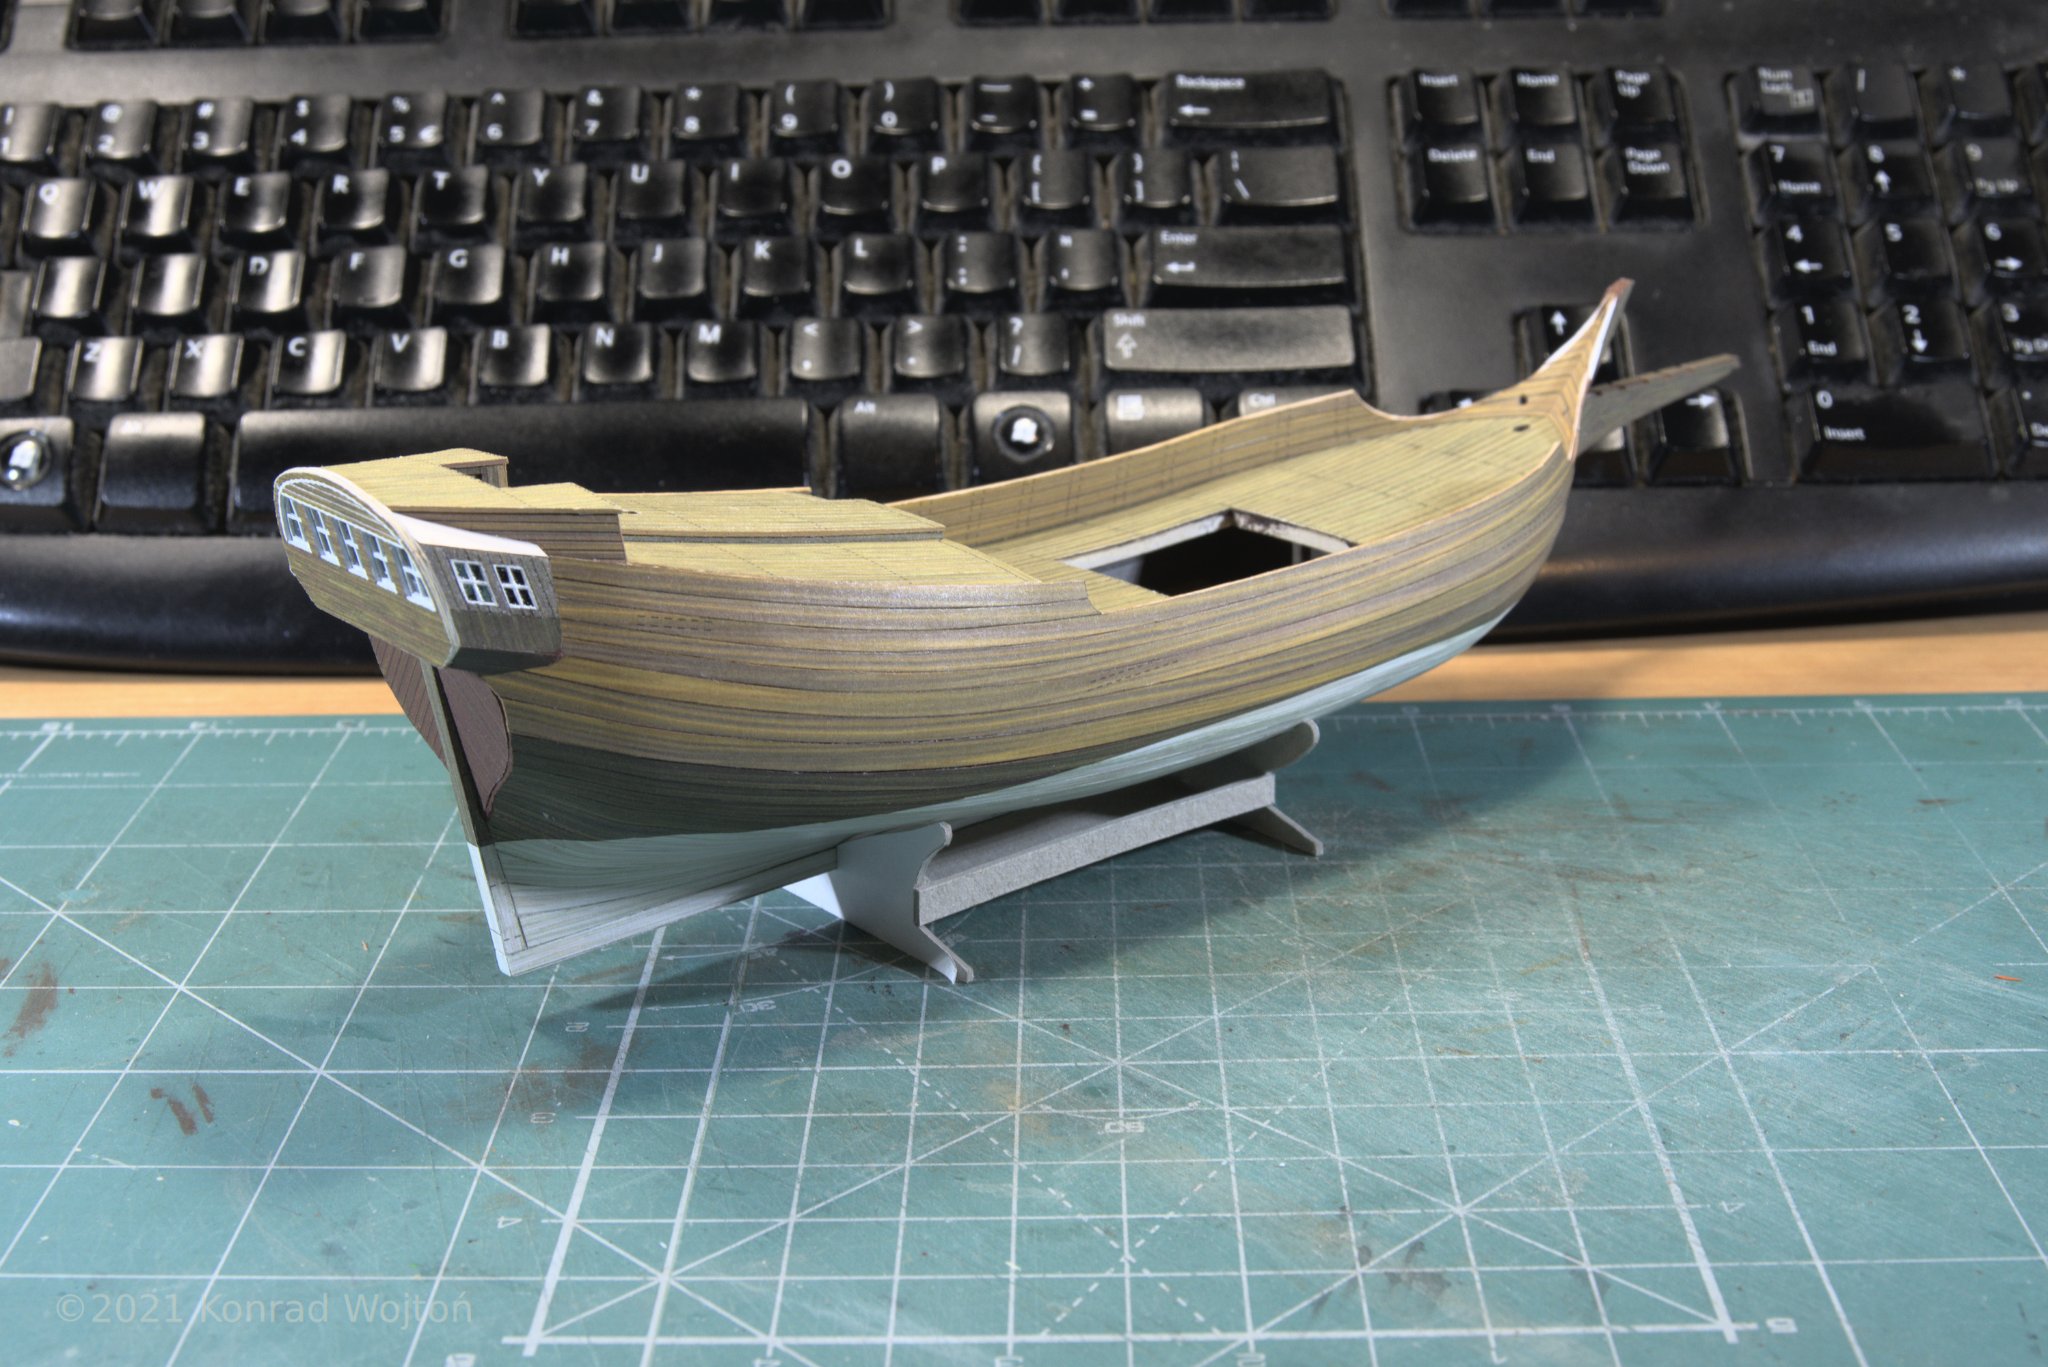
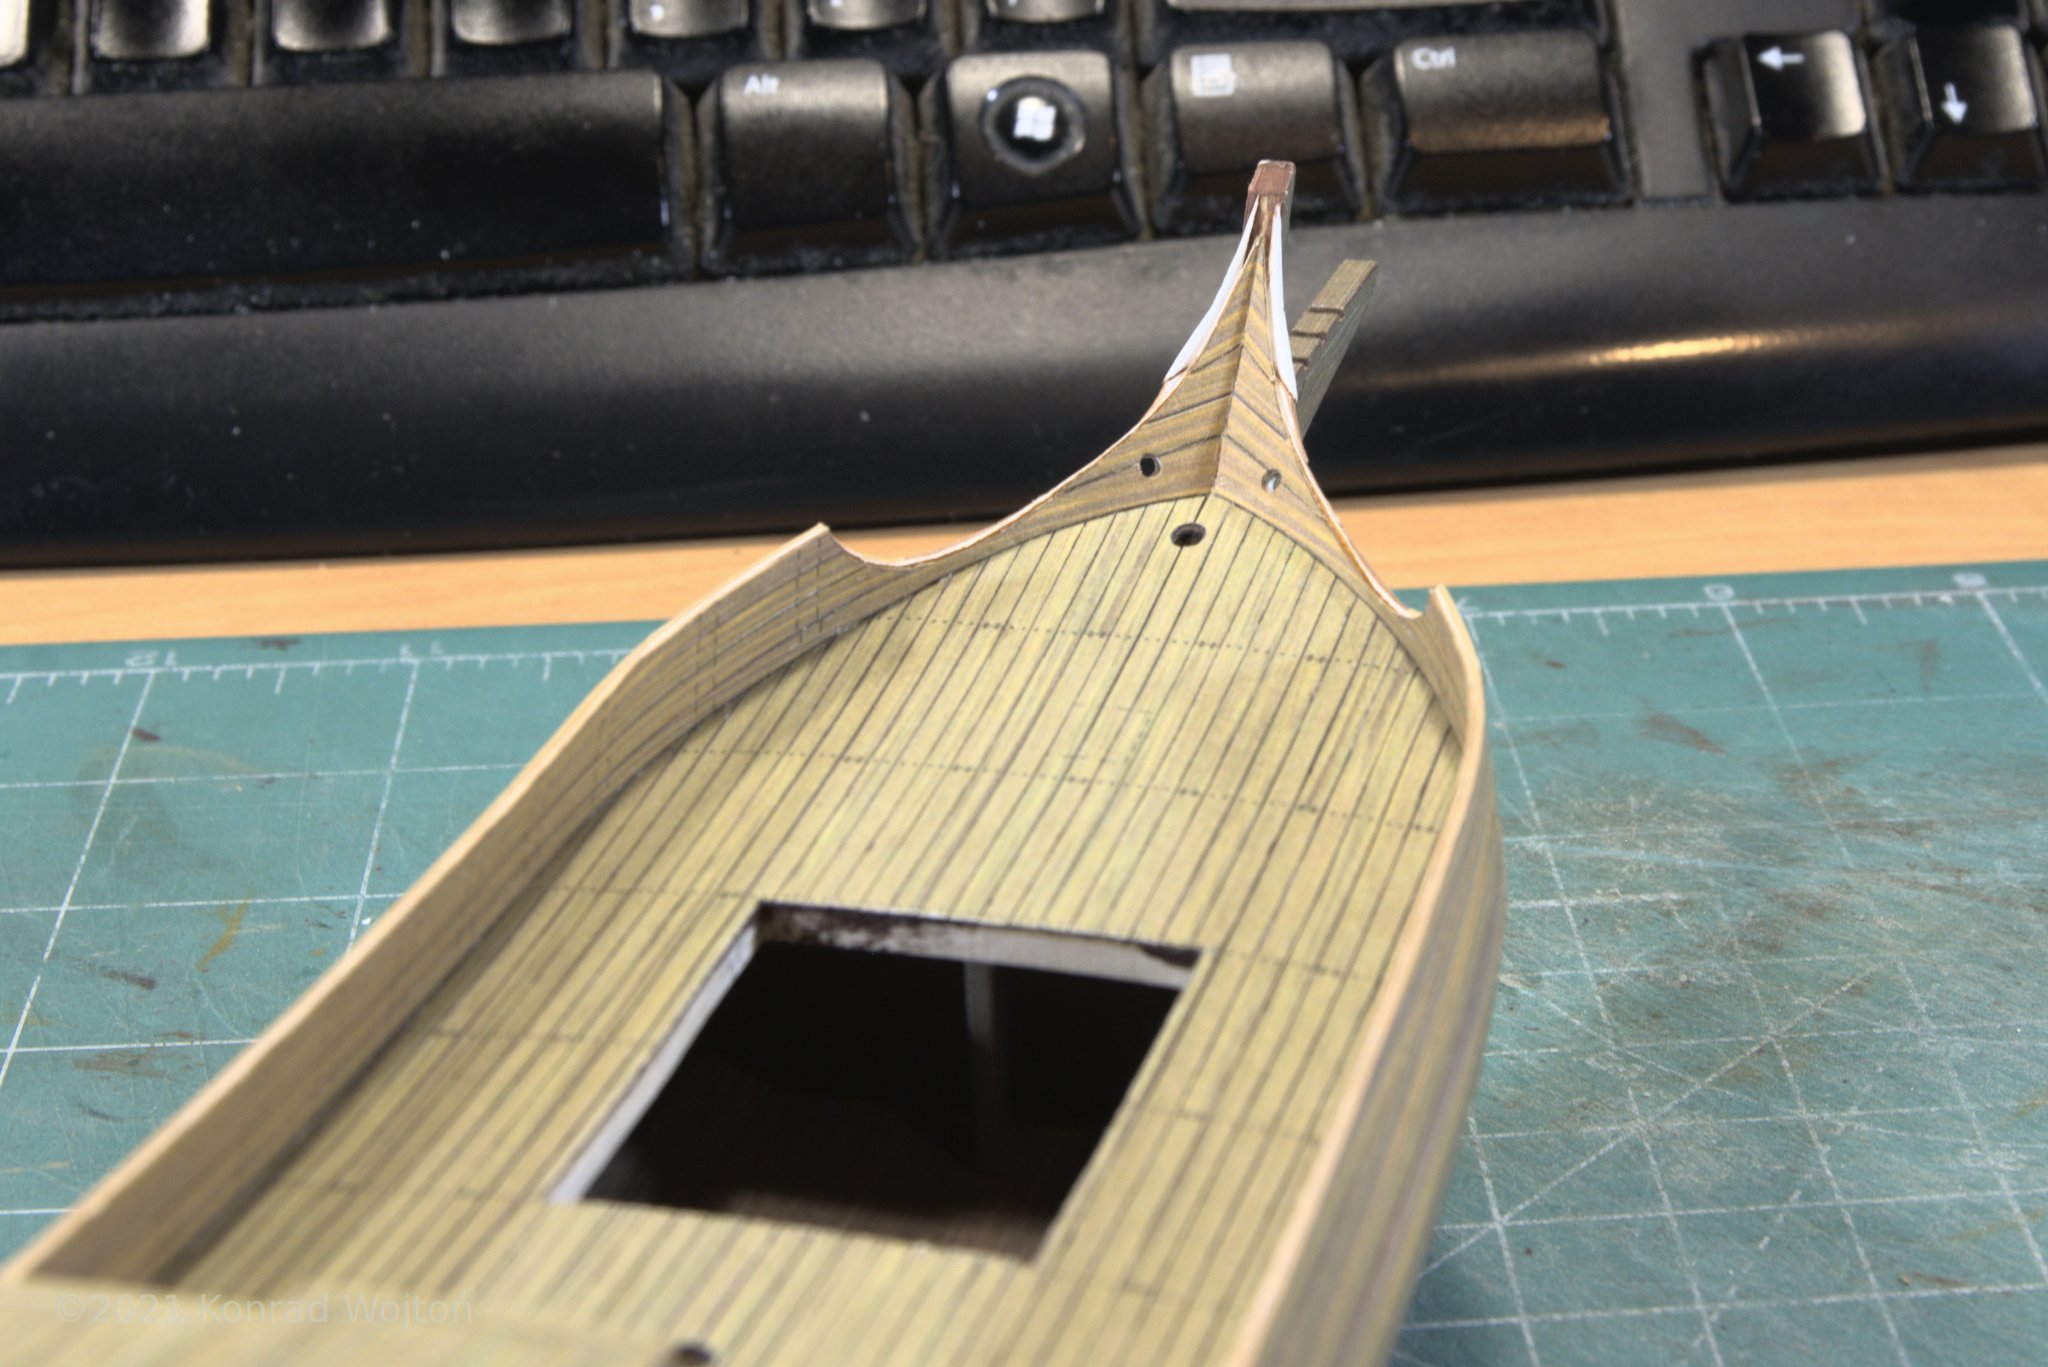
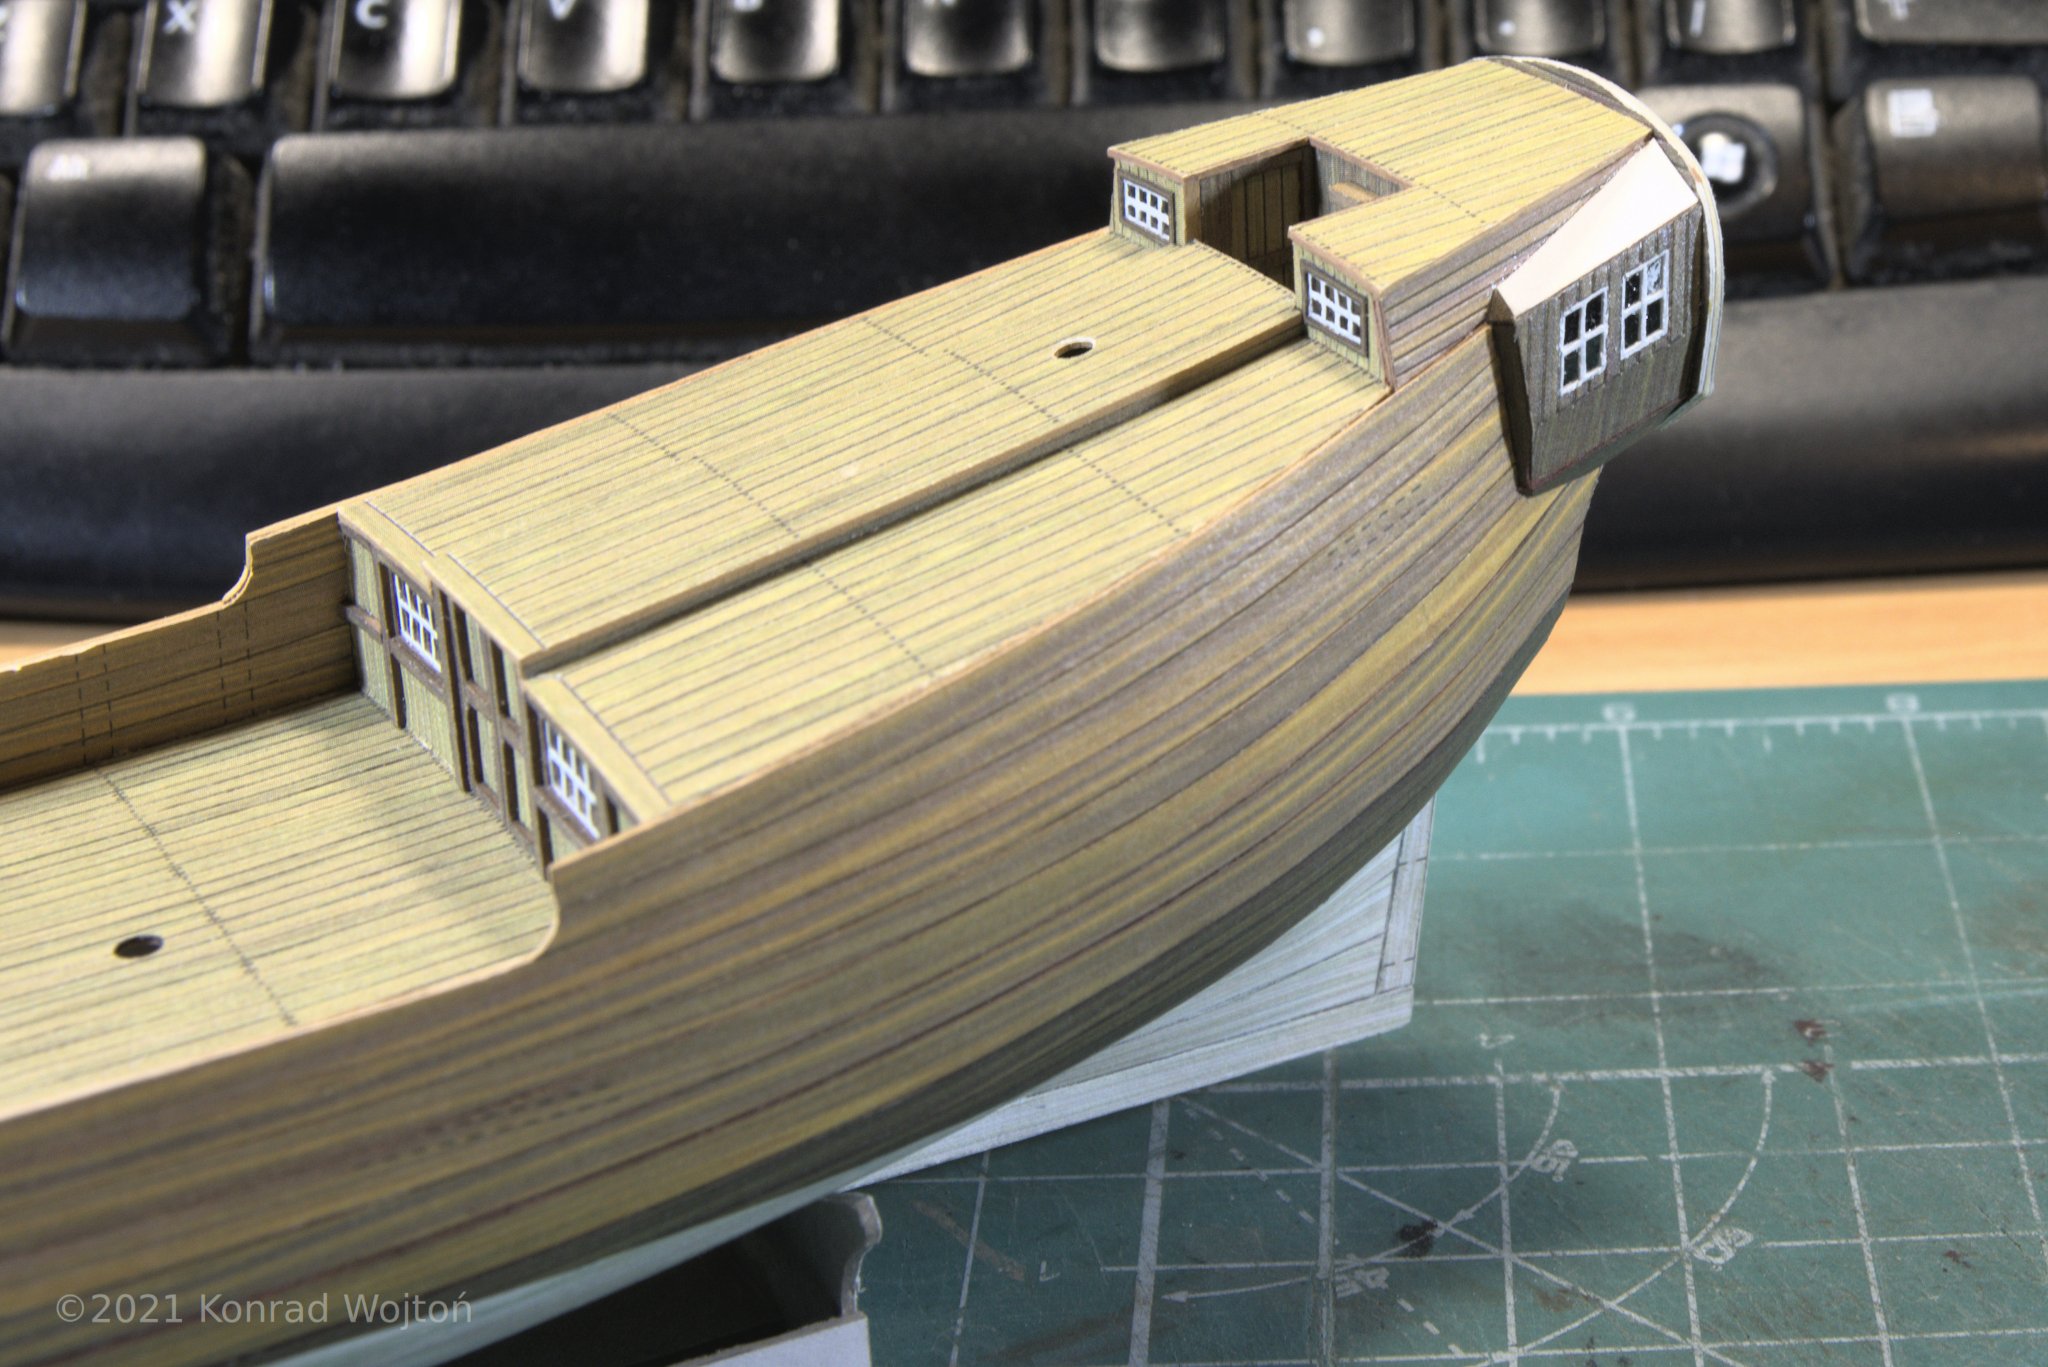
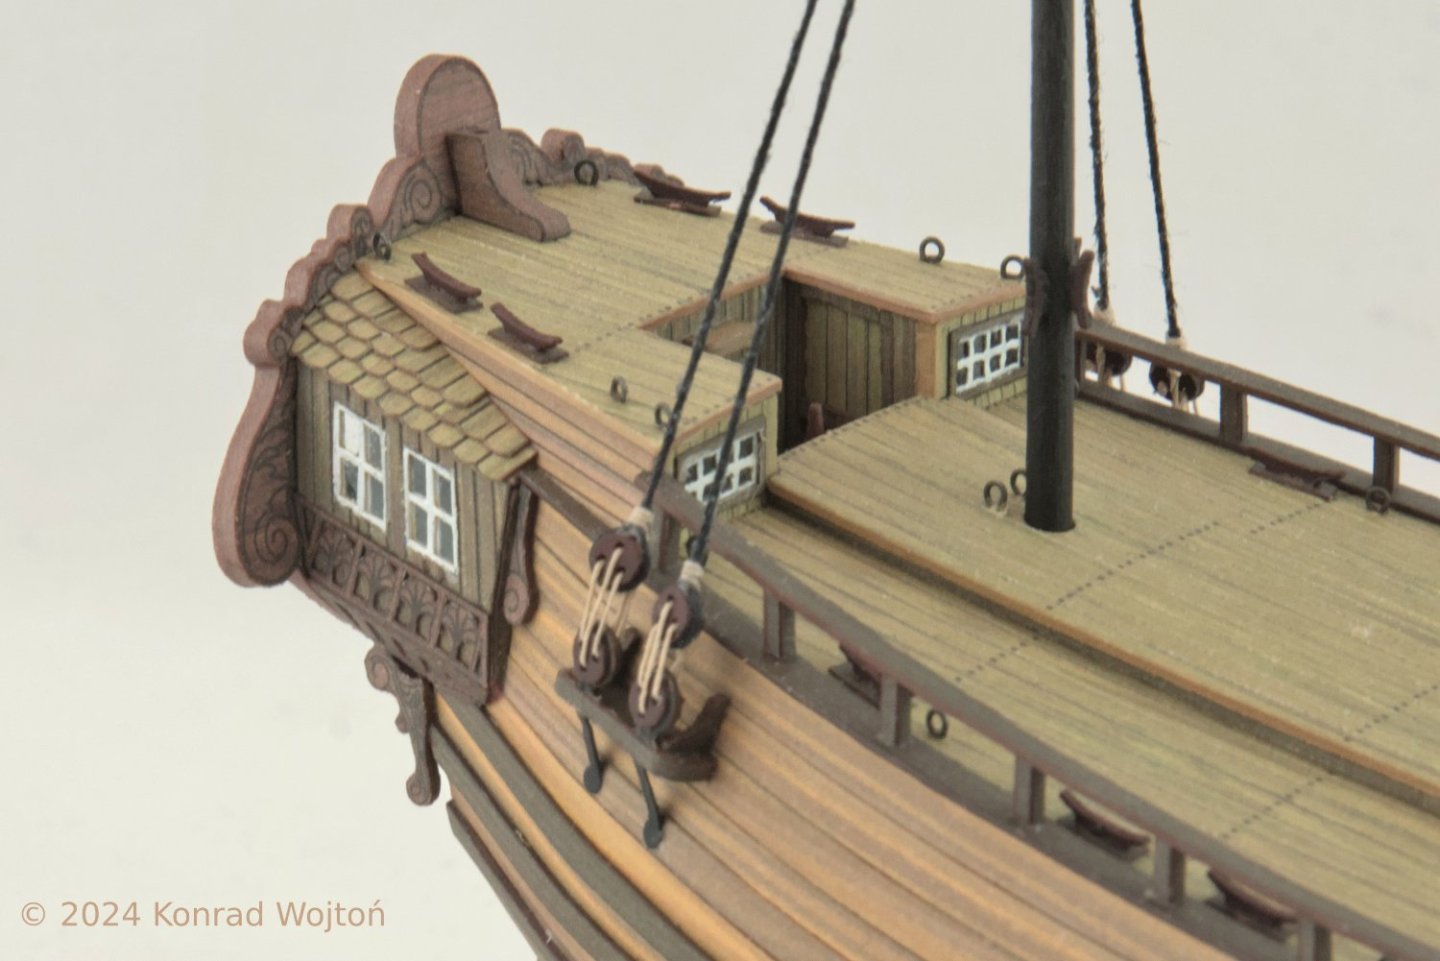
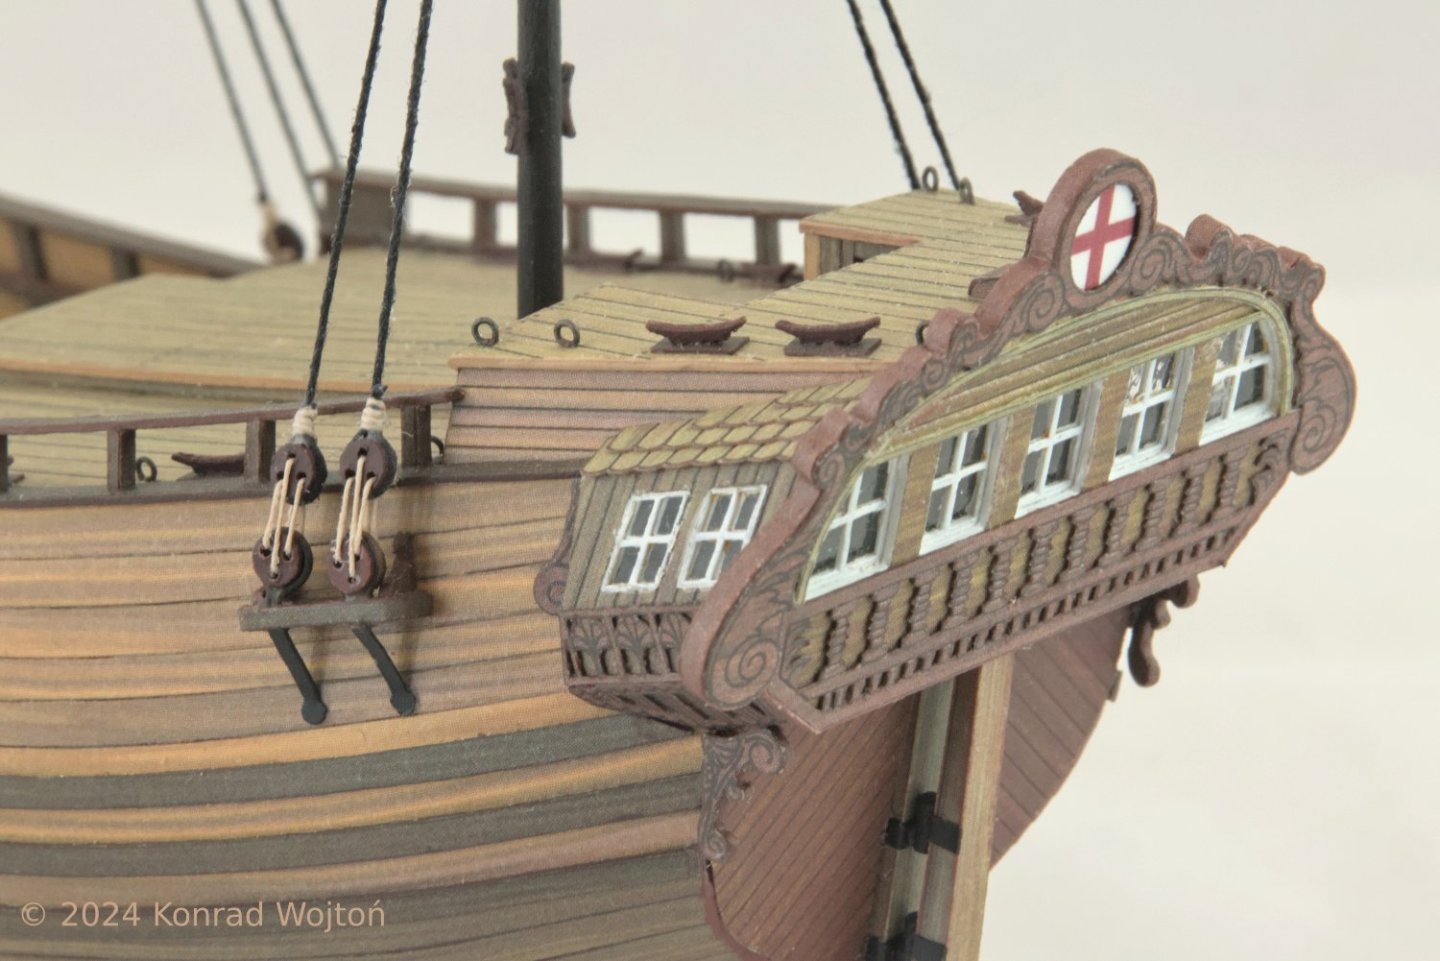
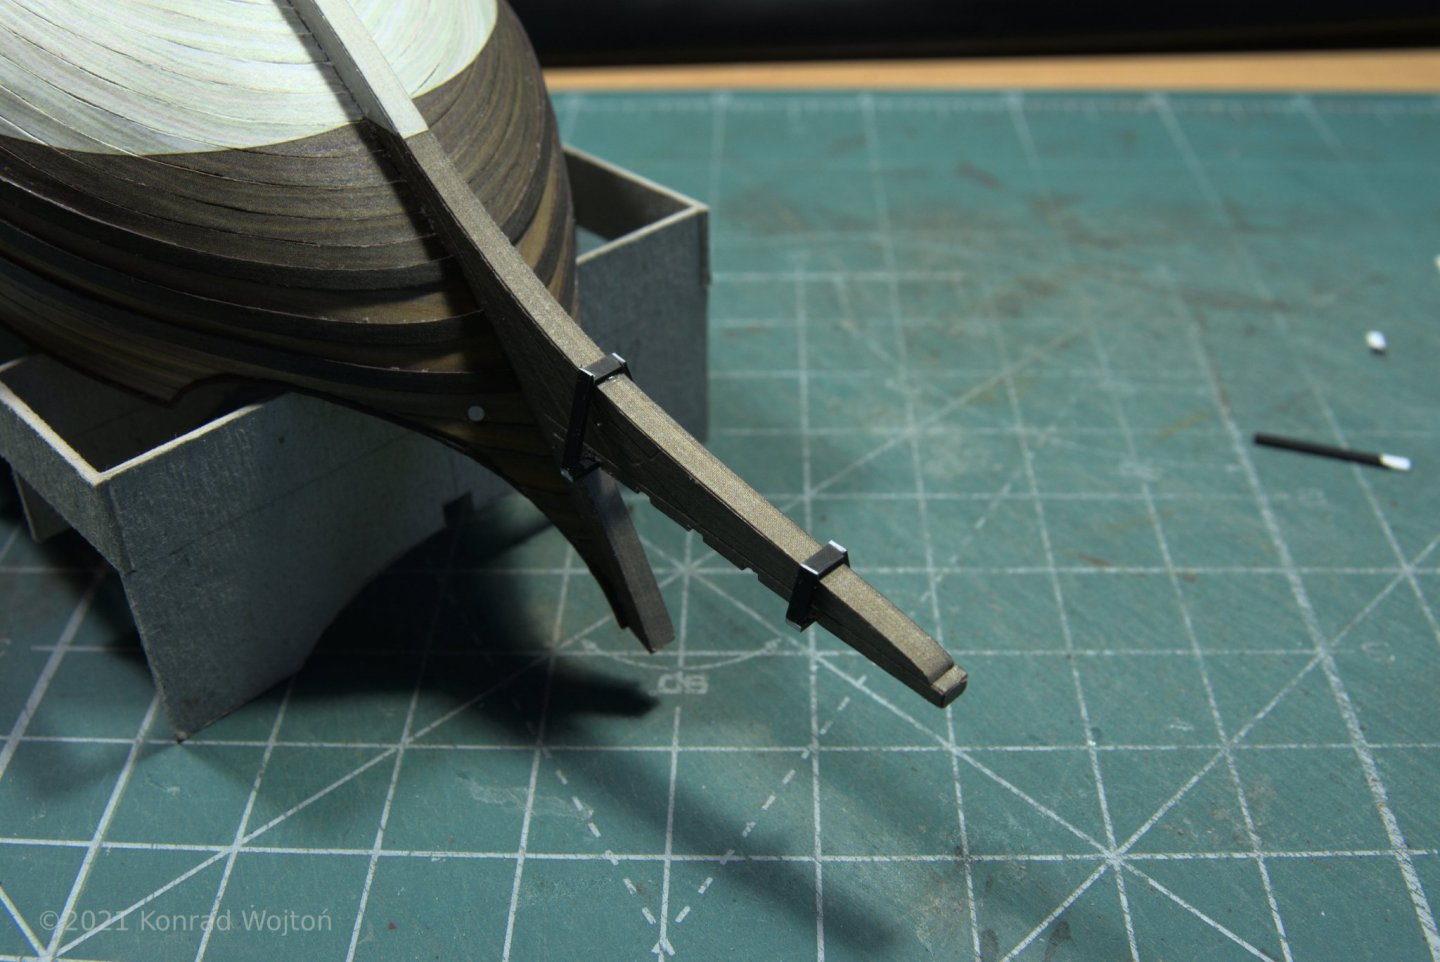
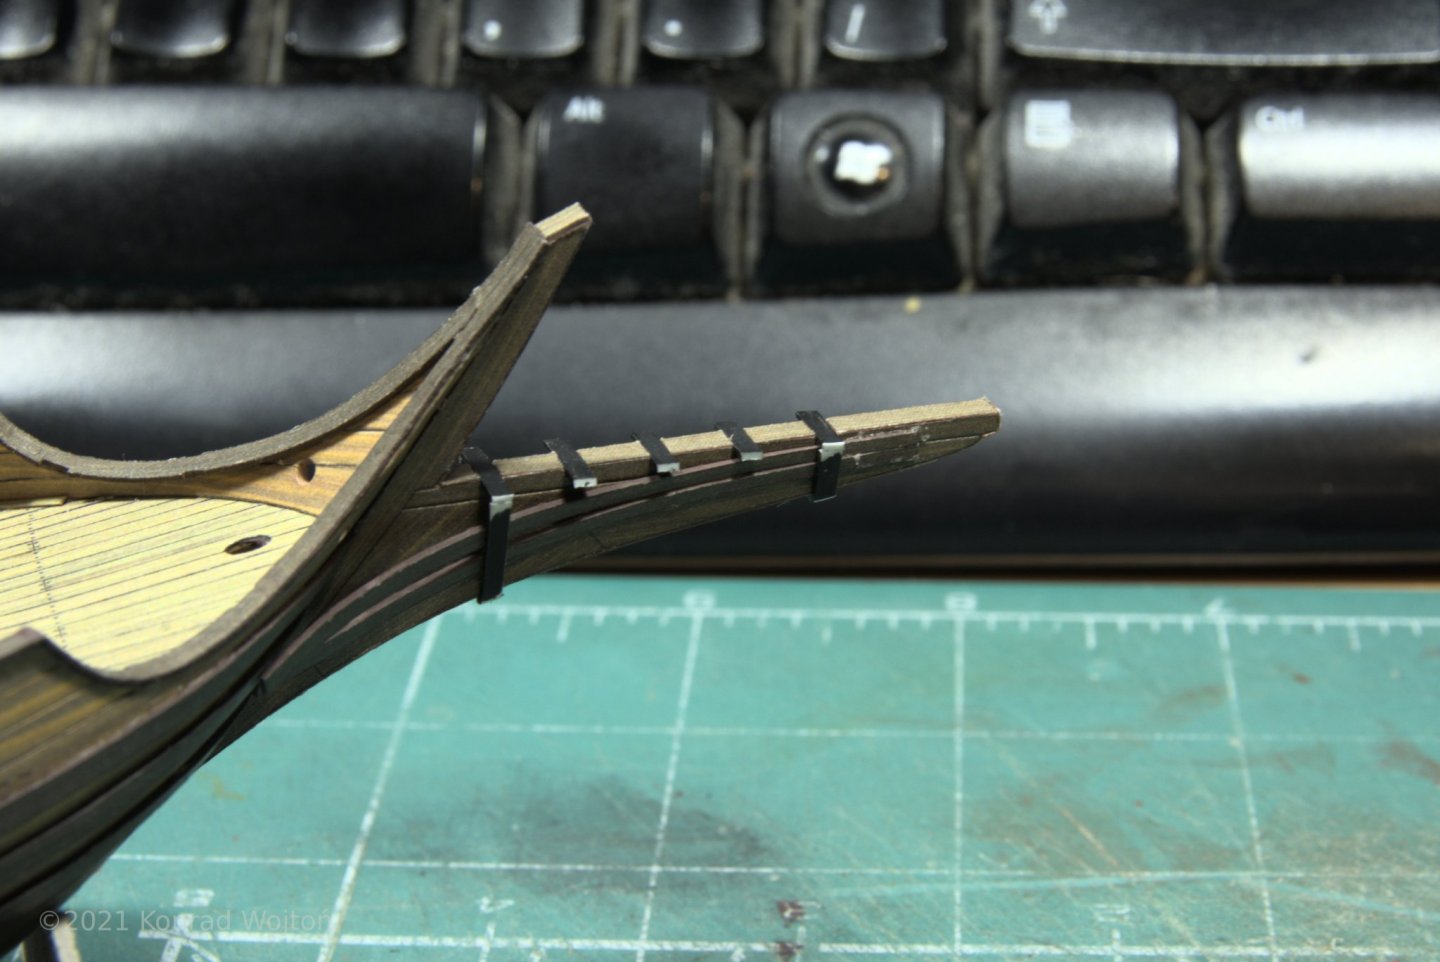
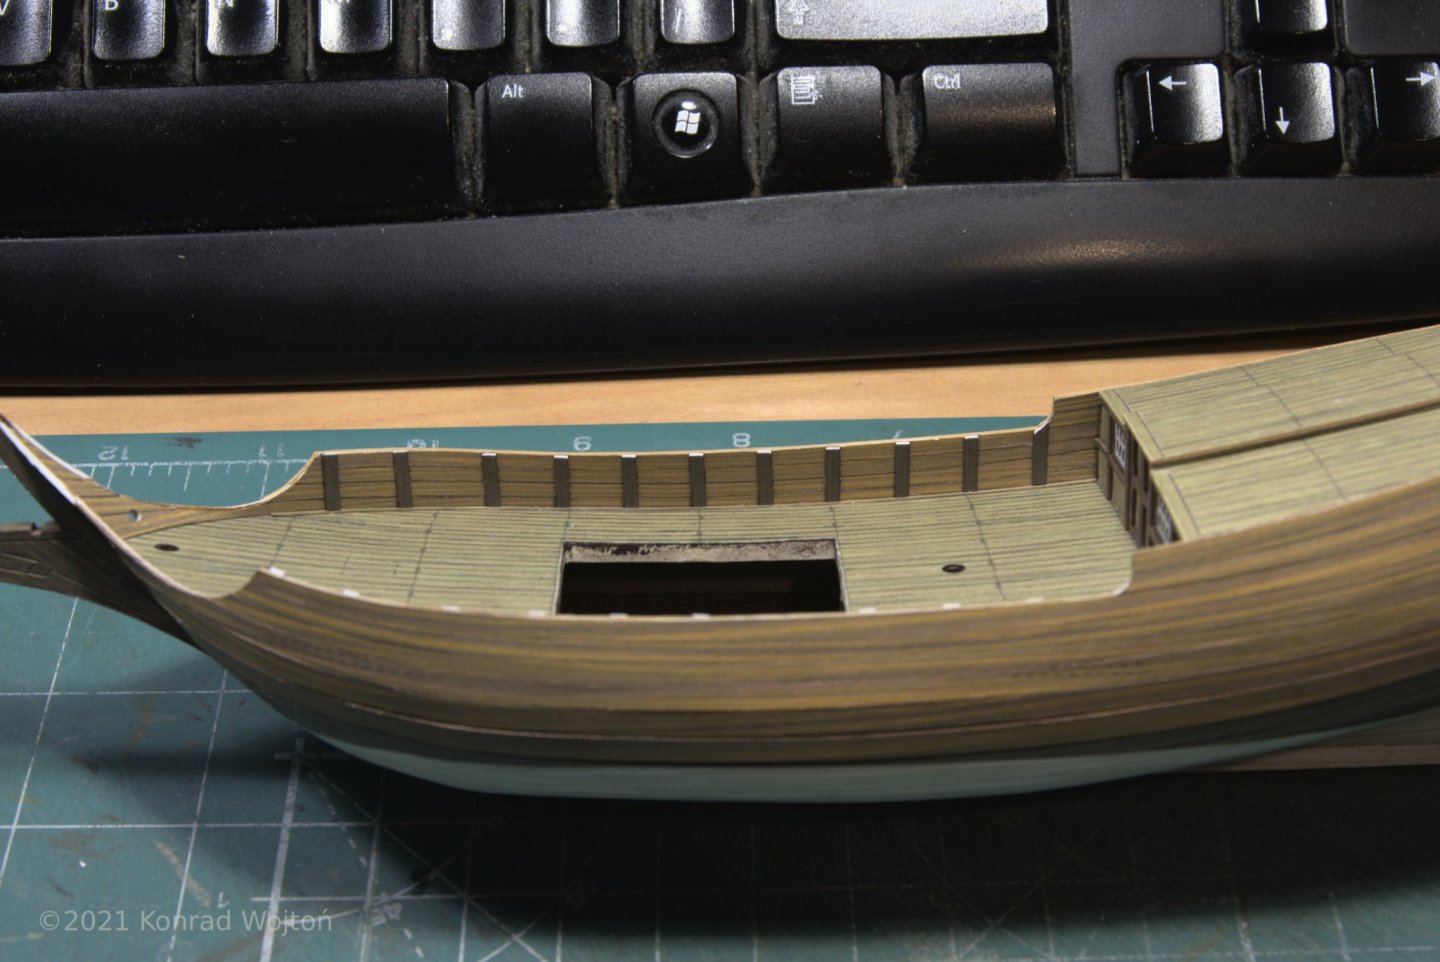
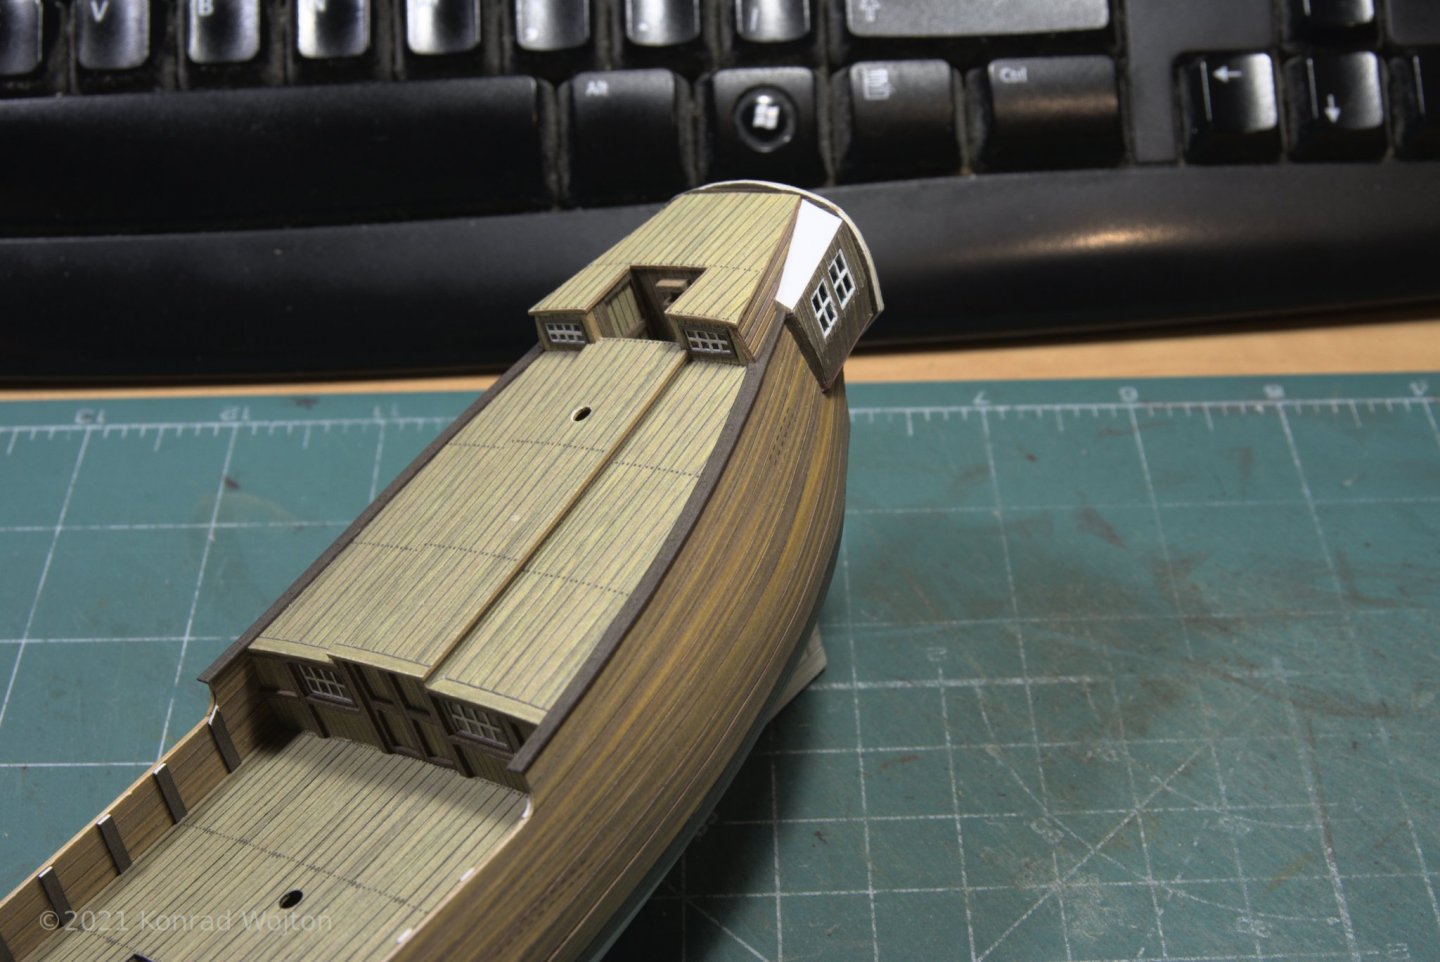
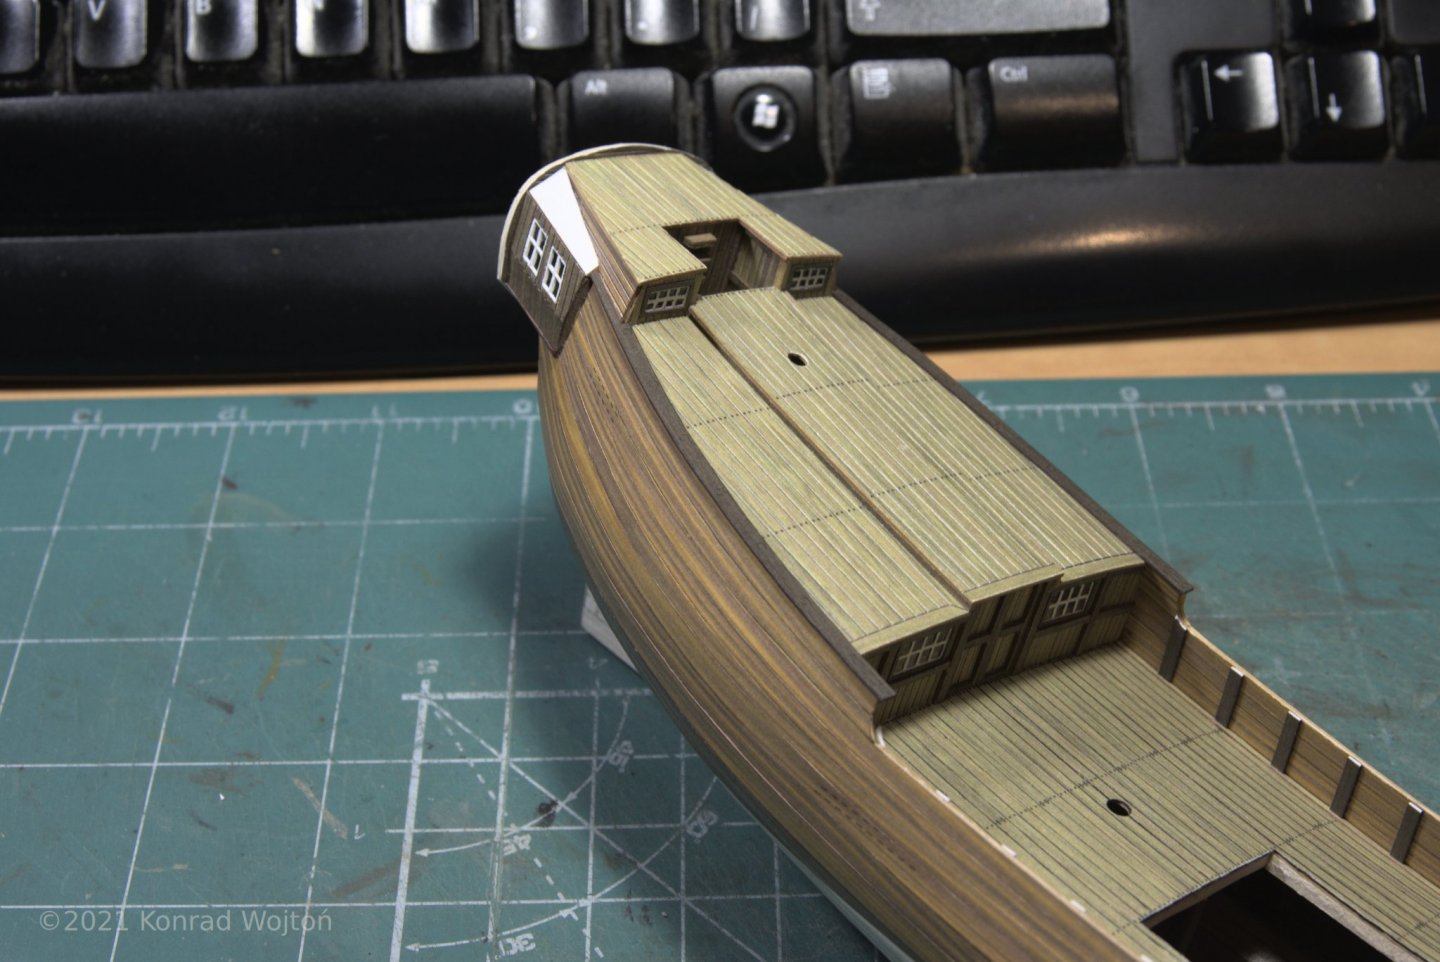
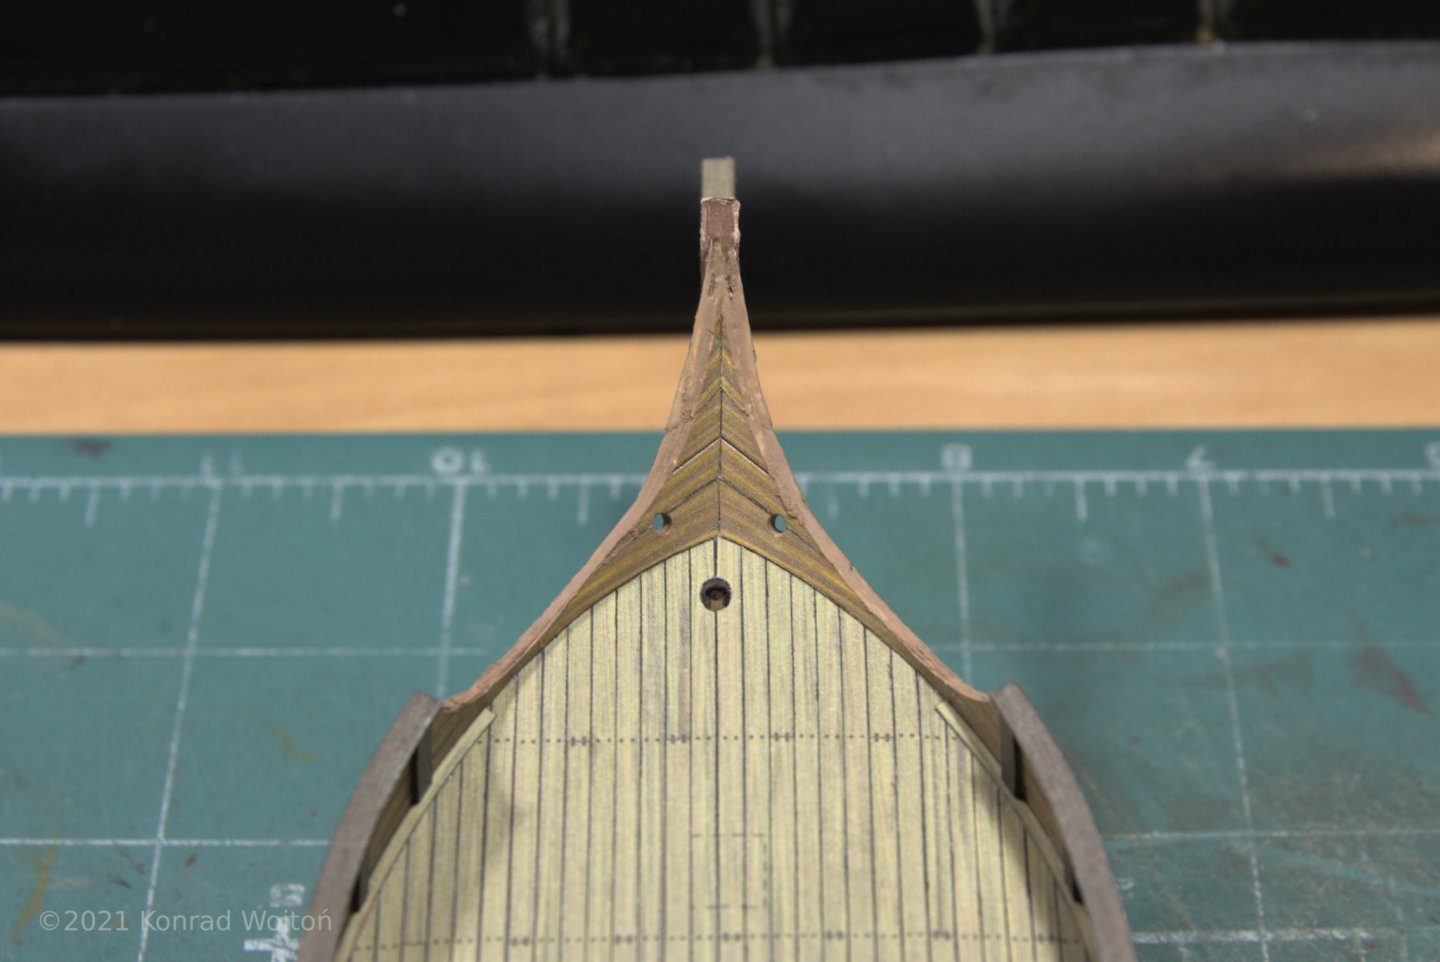
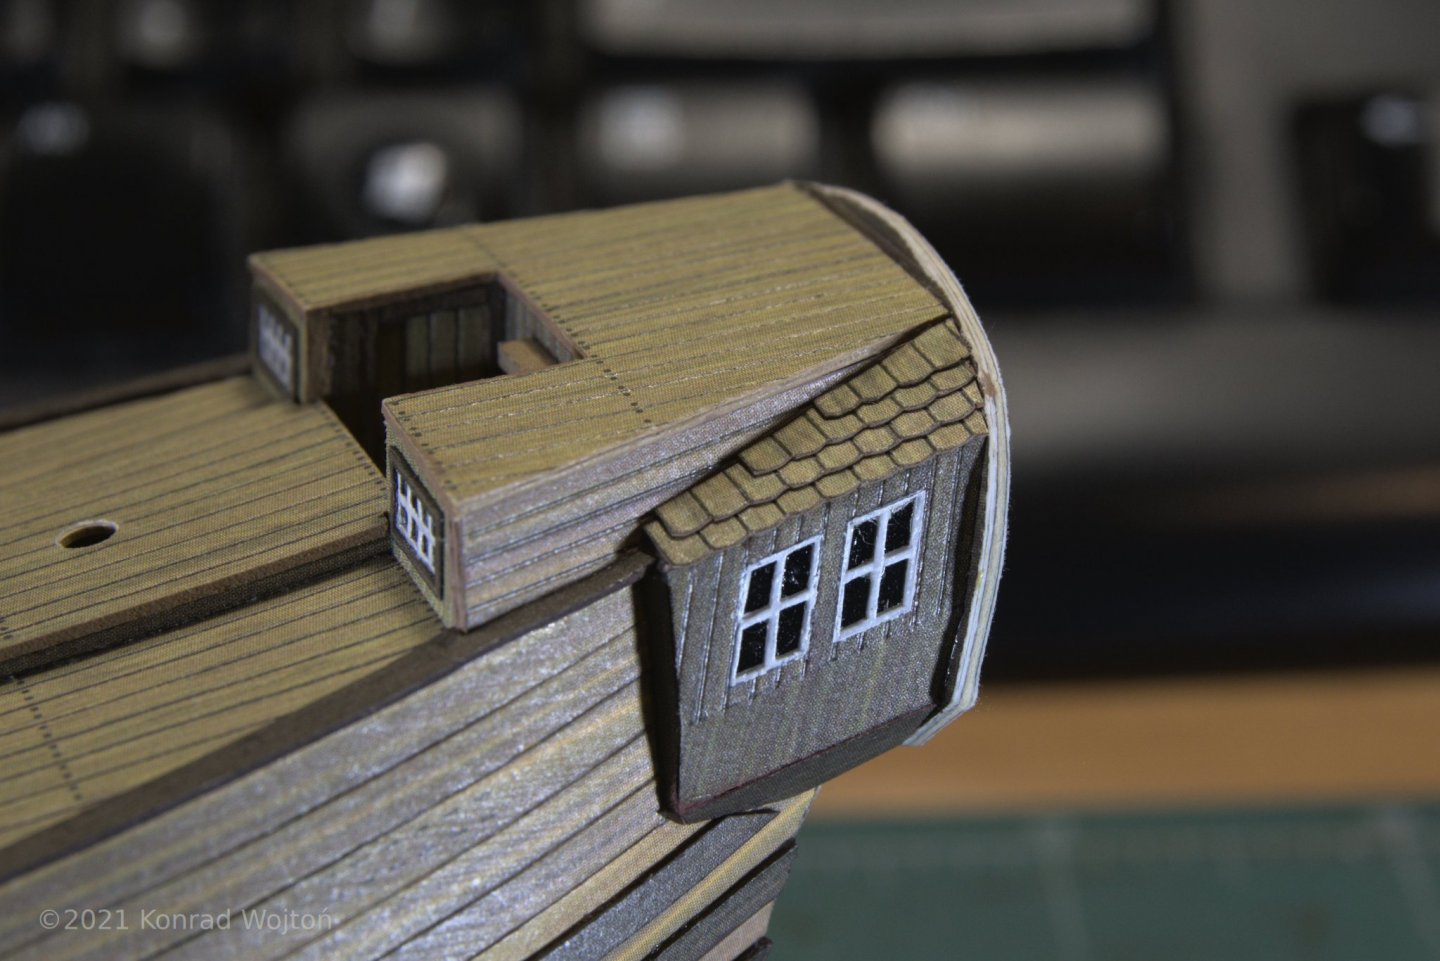
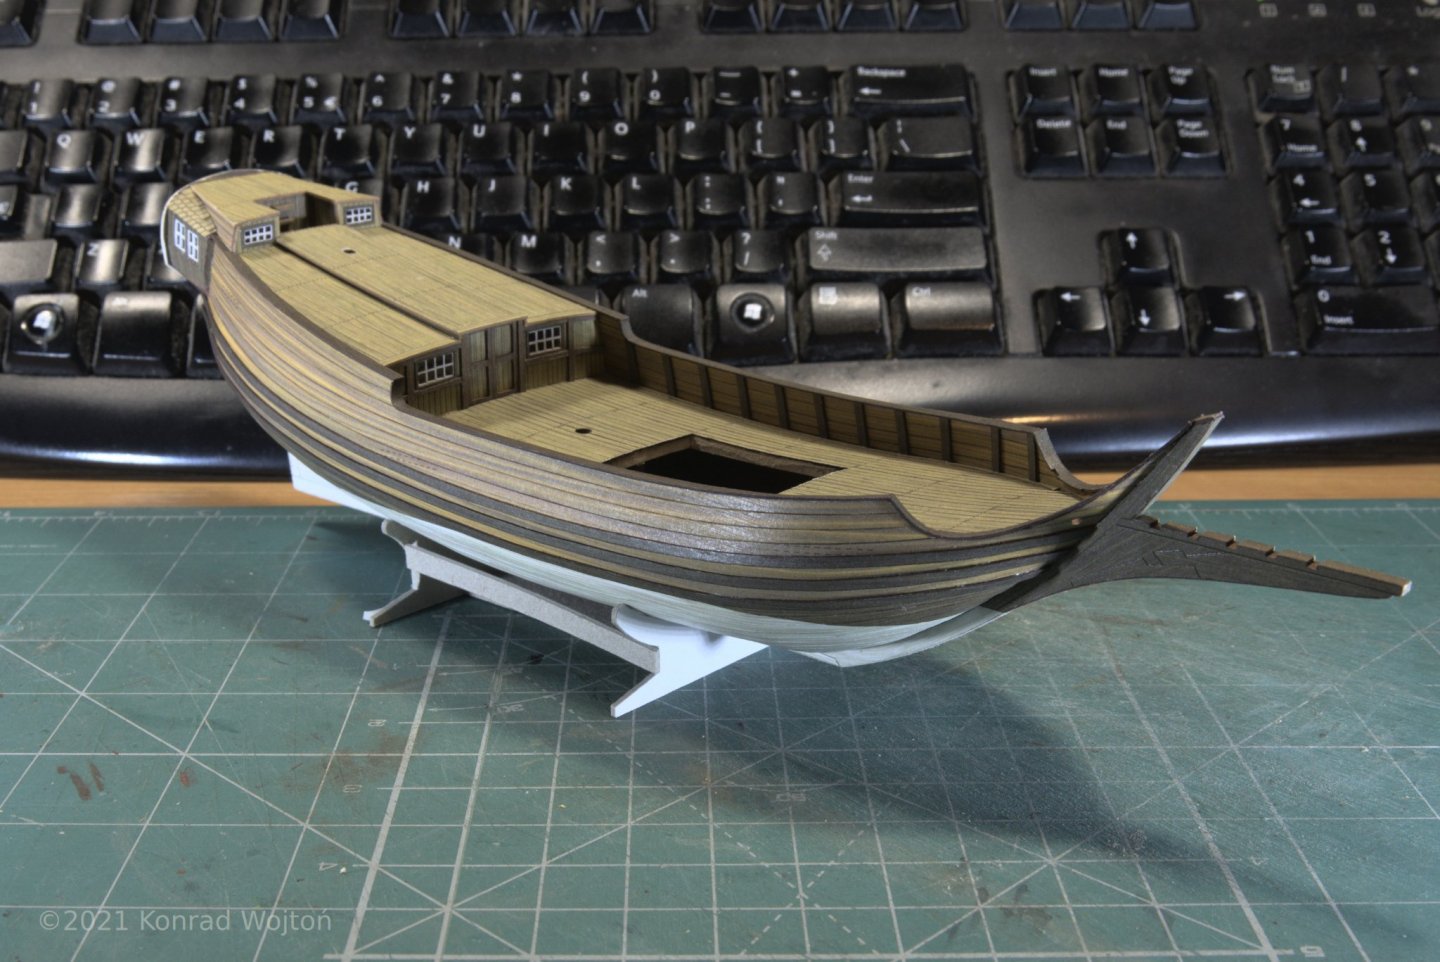
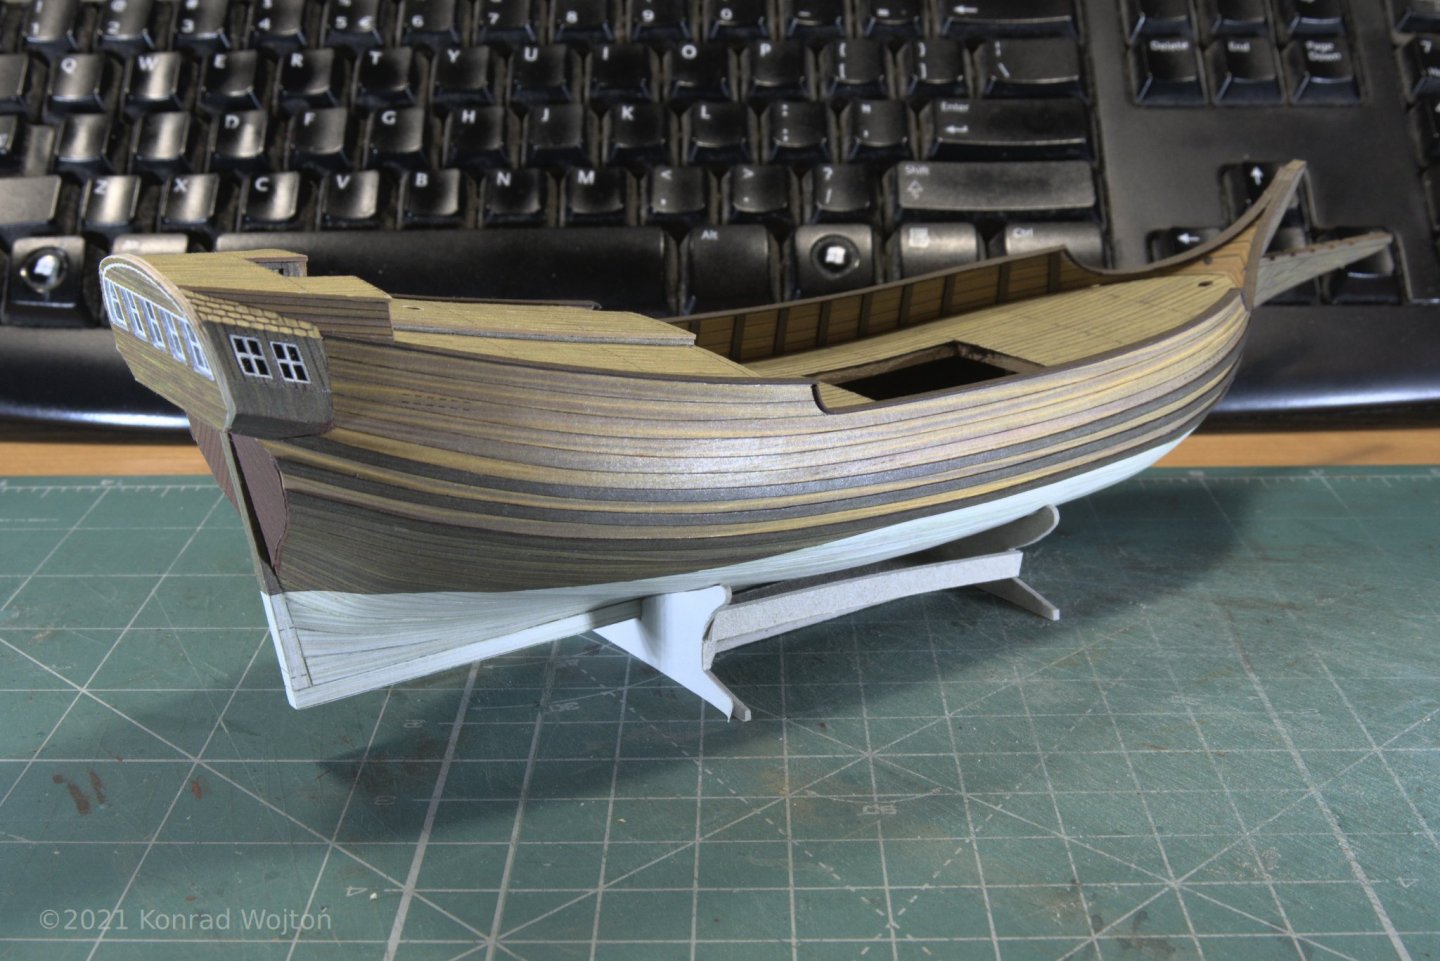
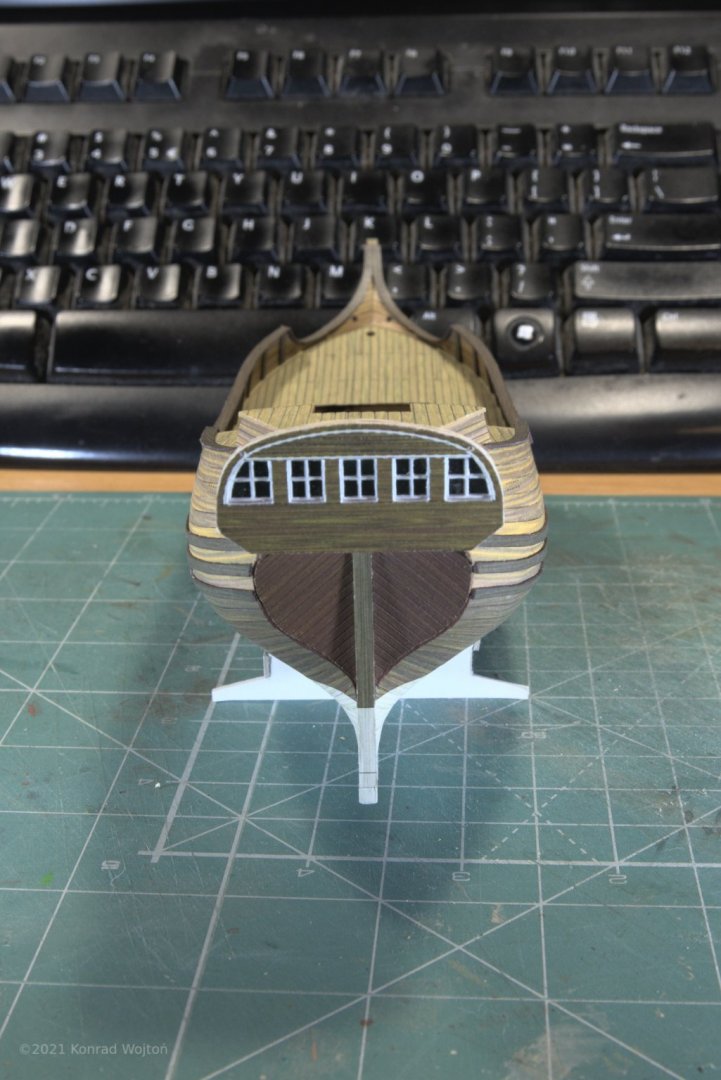
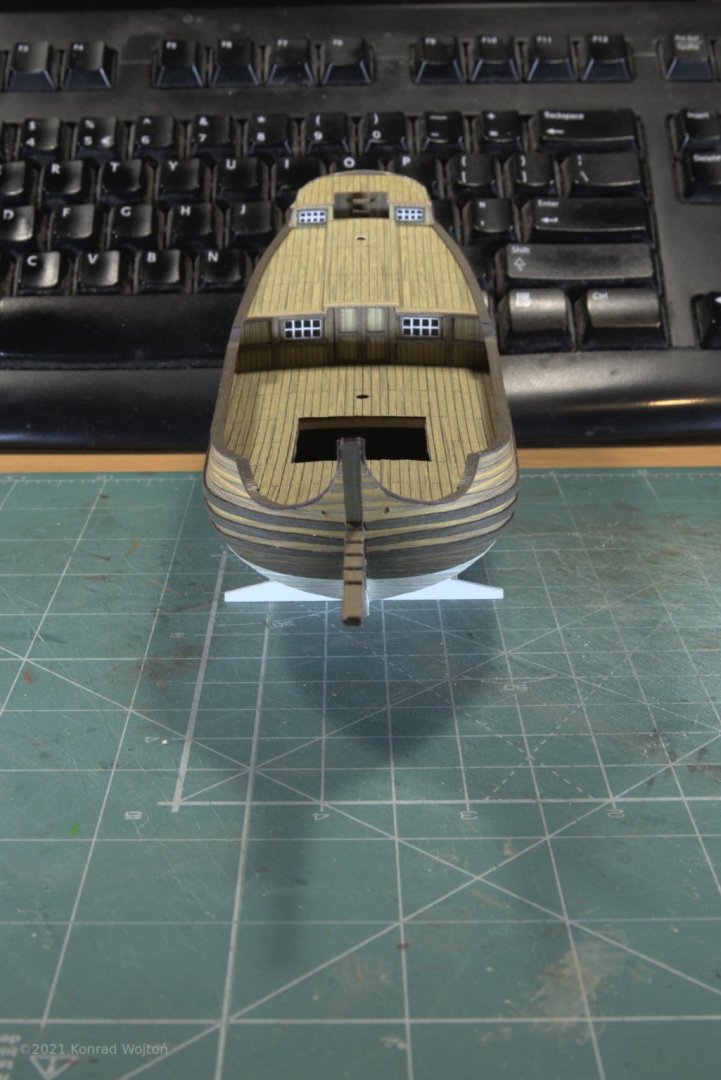
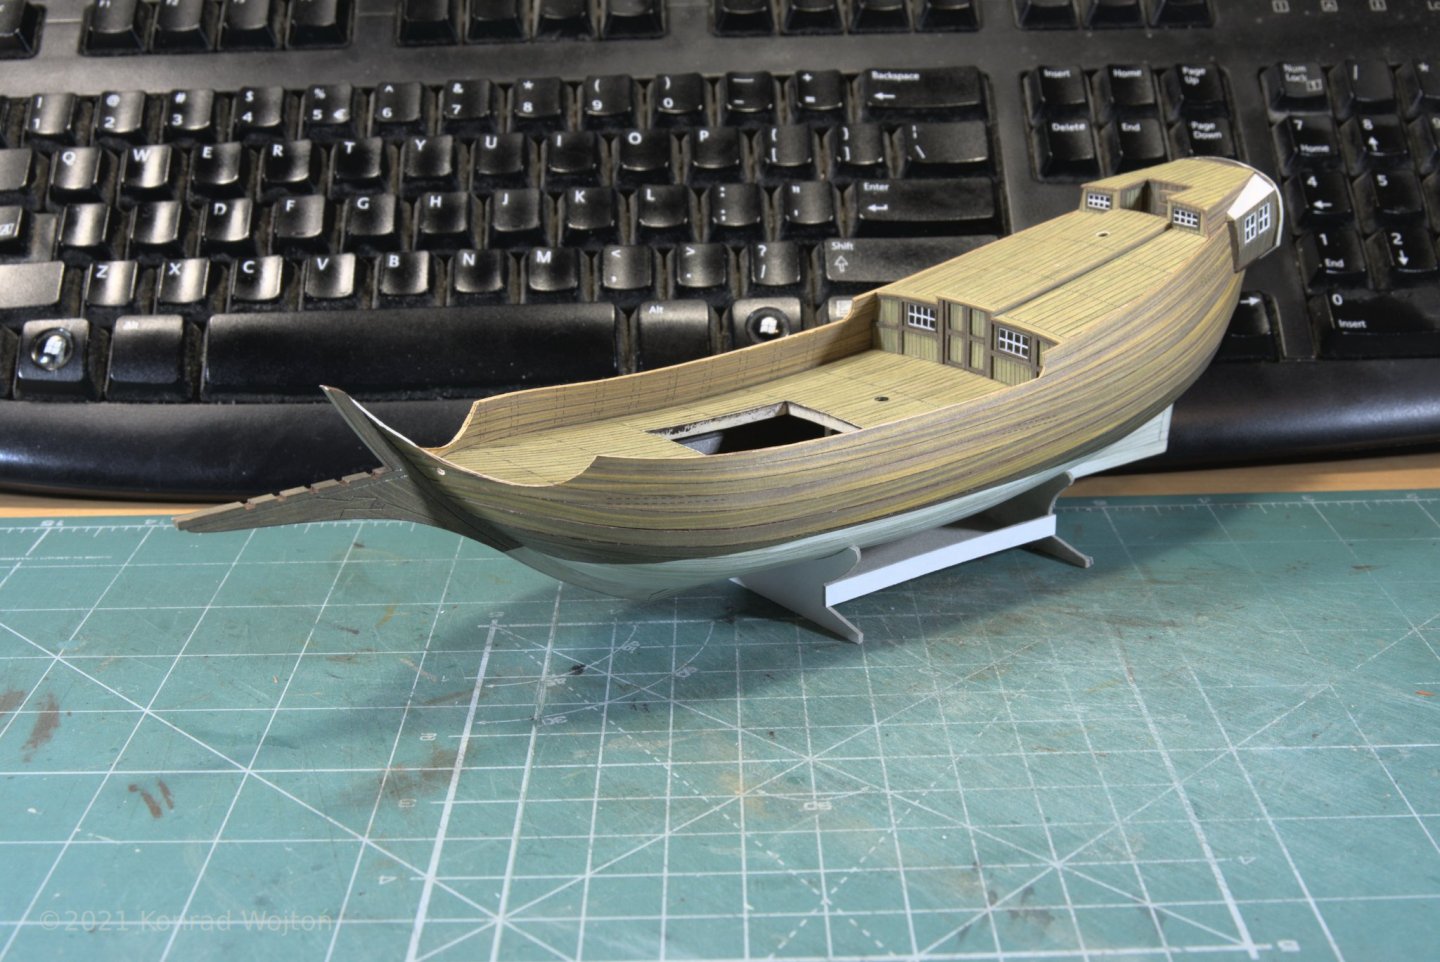
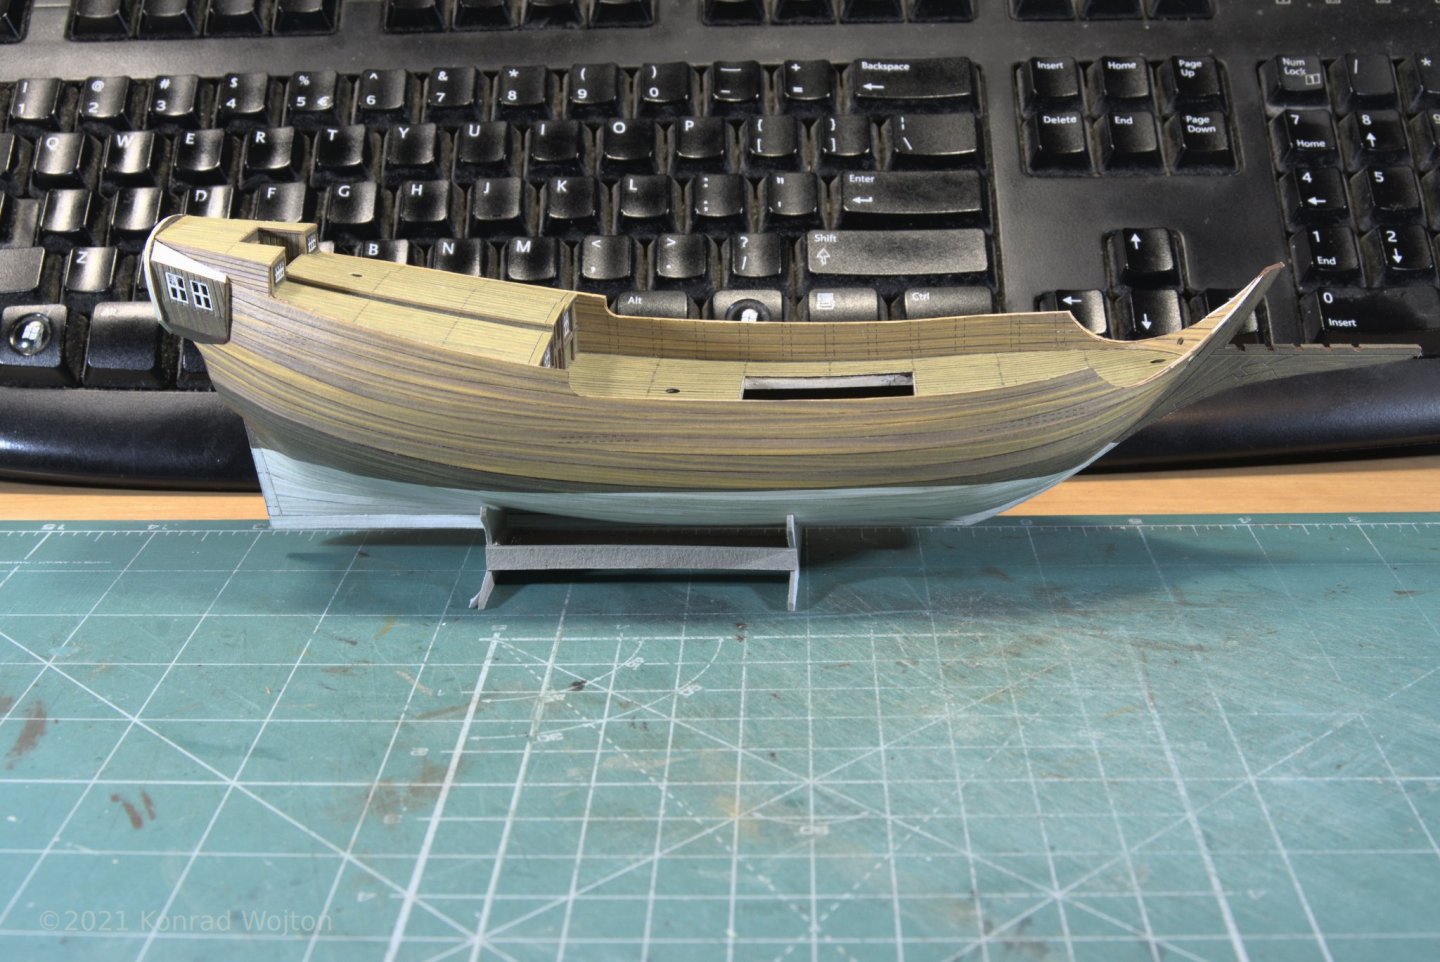
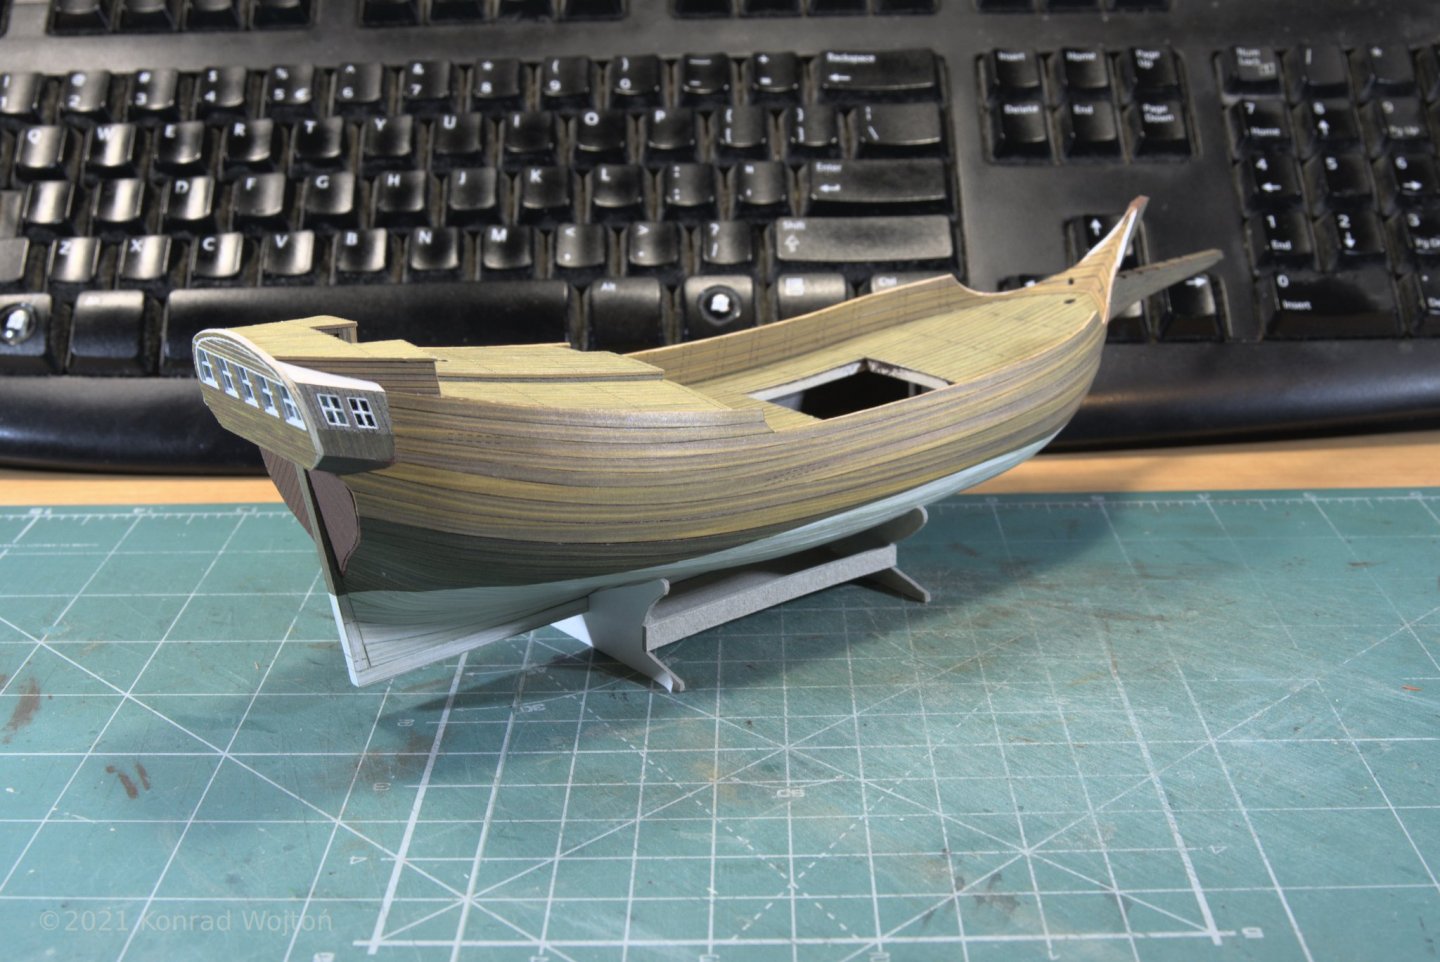
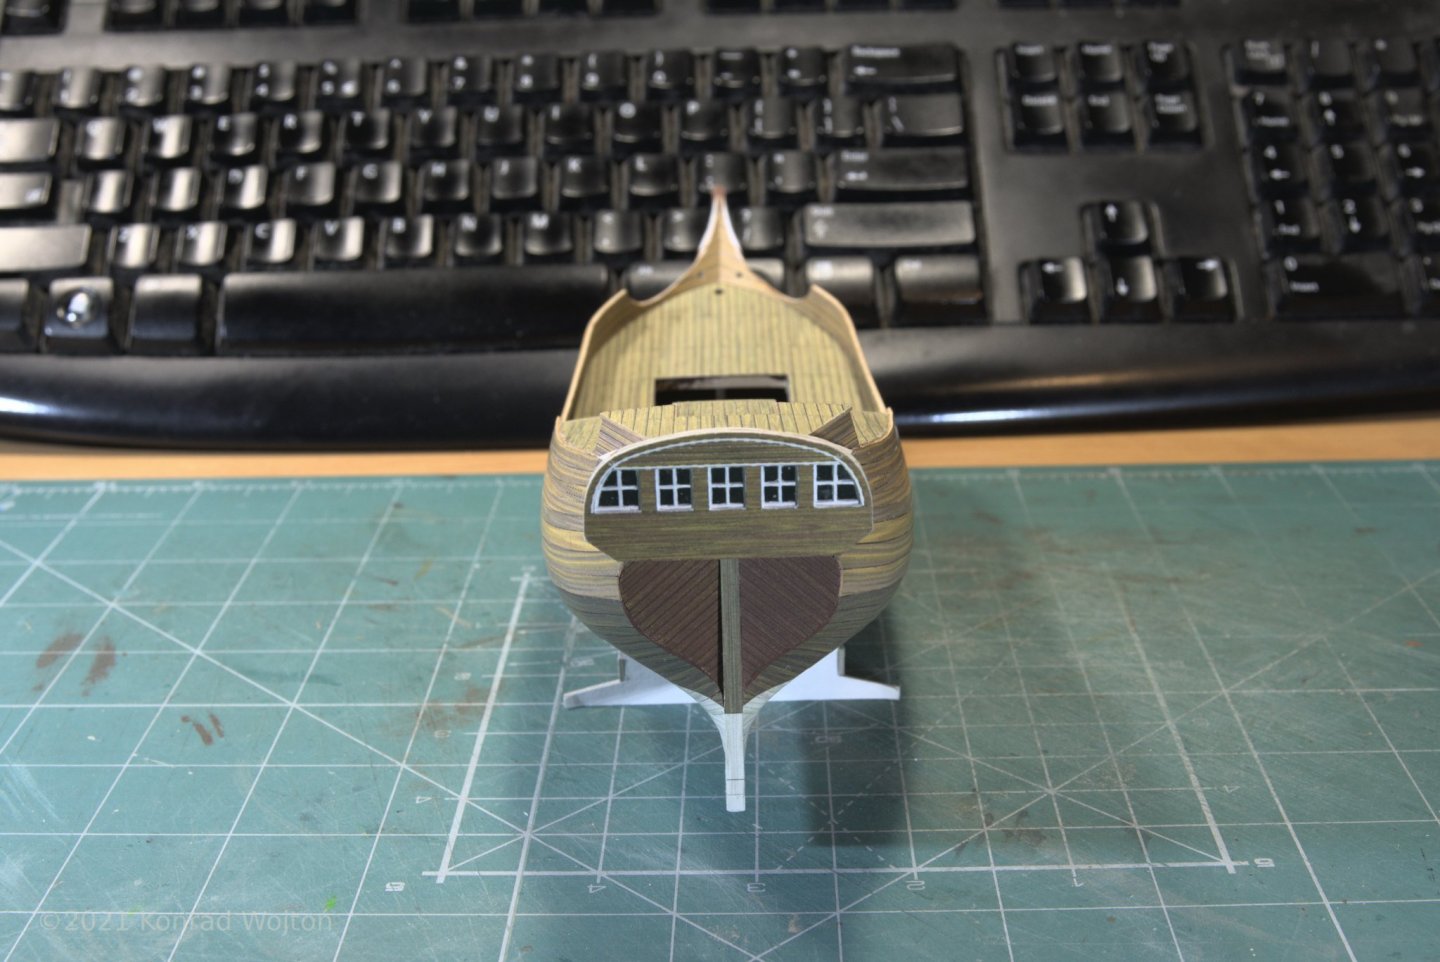
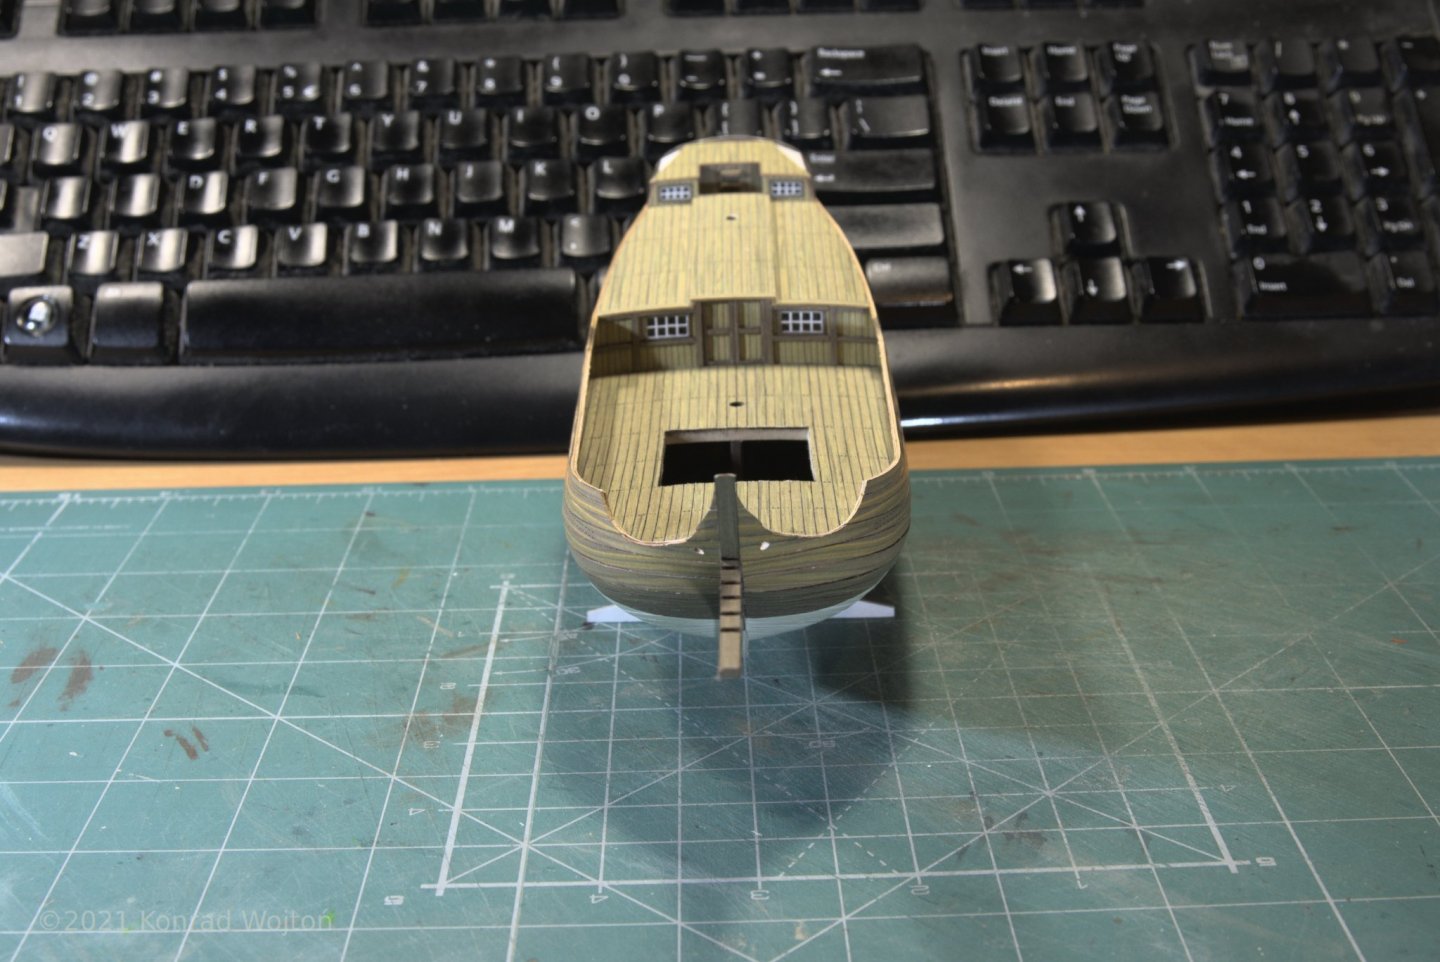
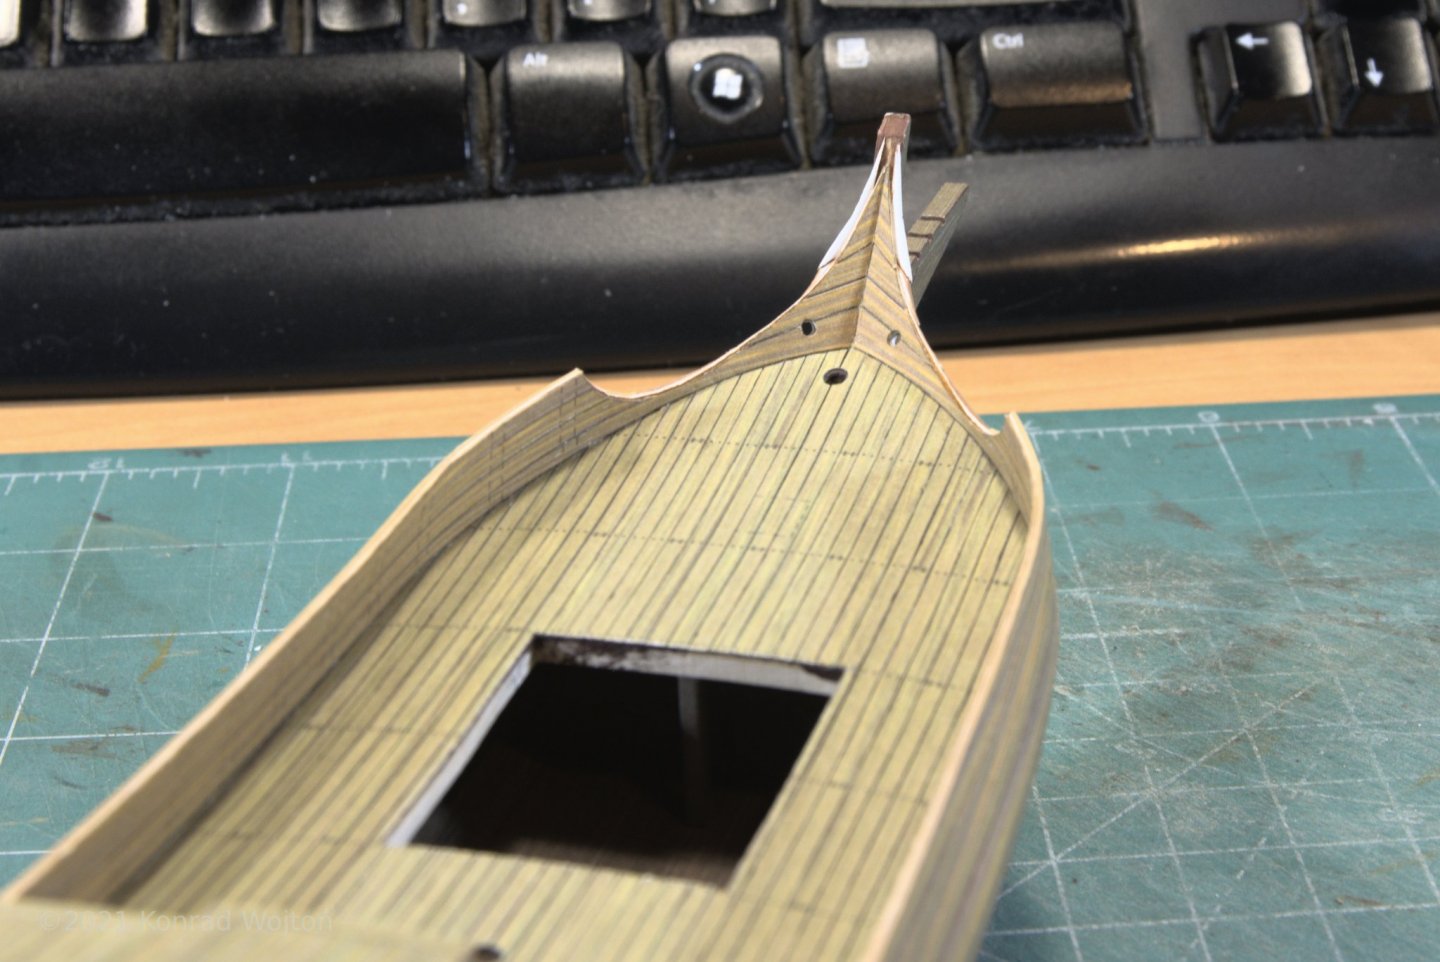
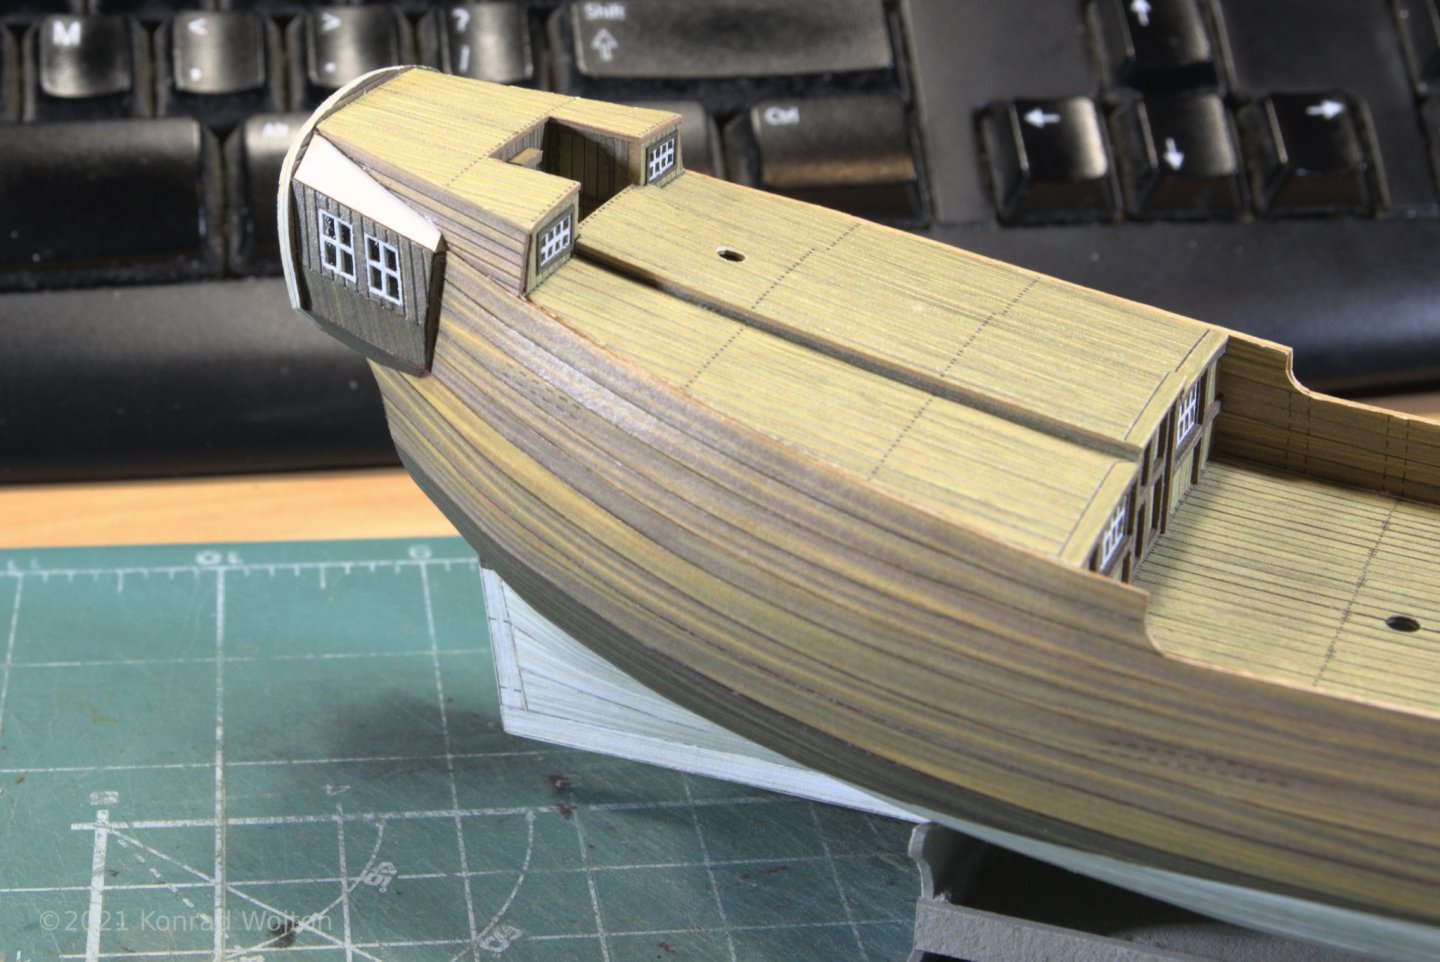
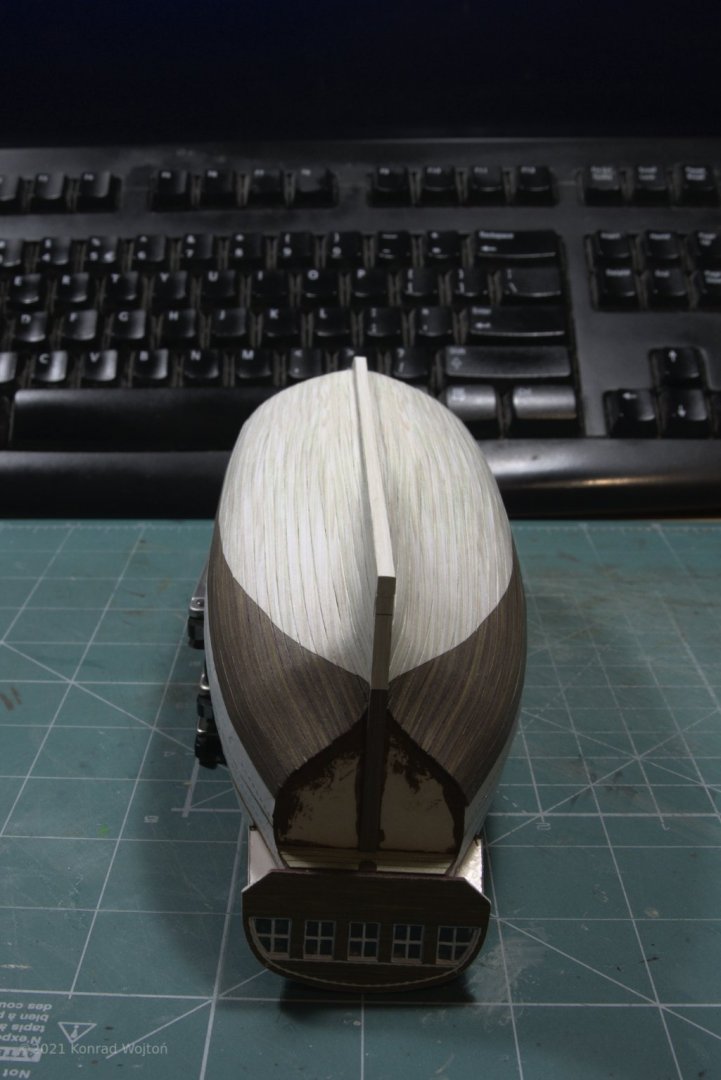
Small progress update. I've made false frames and cap rails. Fitting on bow proved to be tricky and I've damaged the part. I've fitted some roof tiles on stern. And finally bumper strips.


-
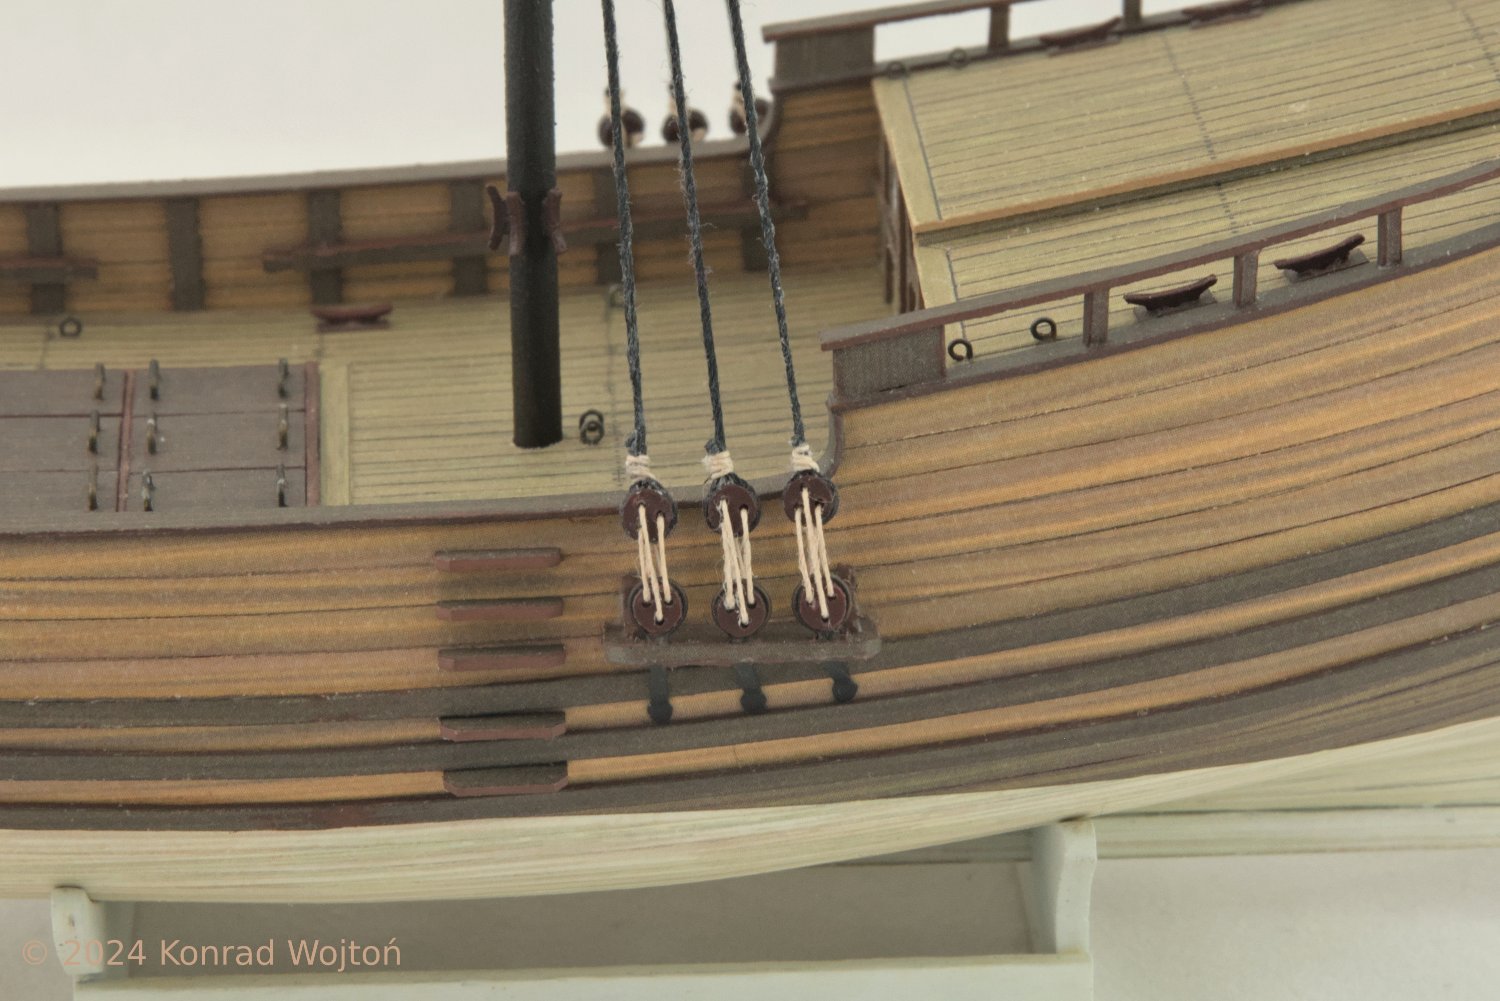
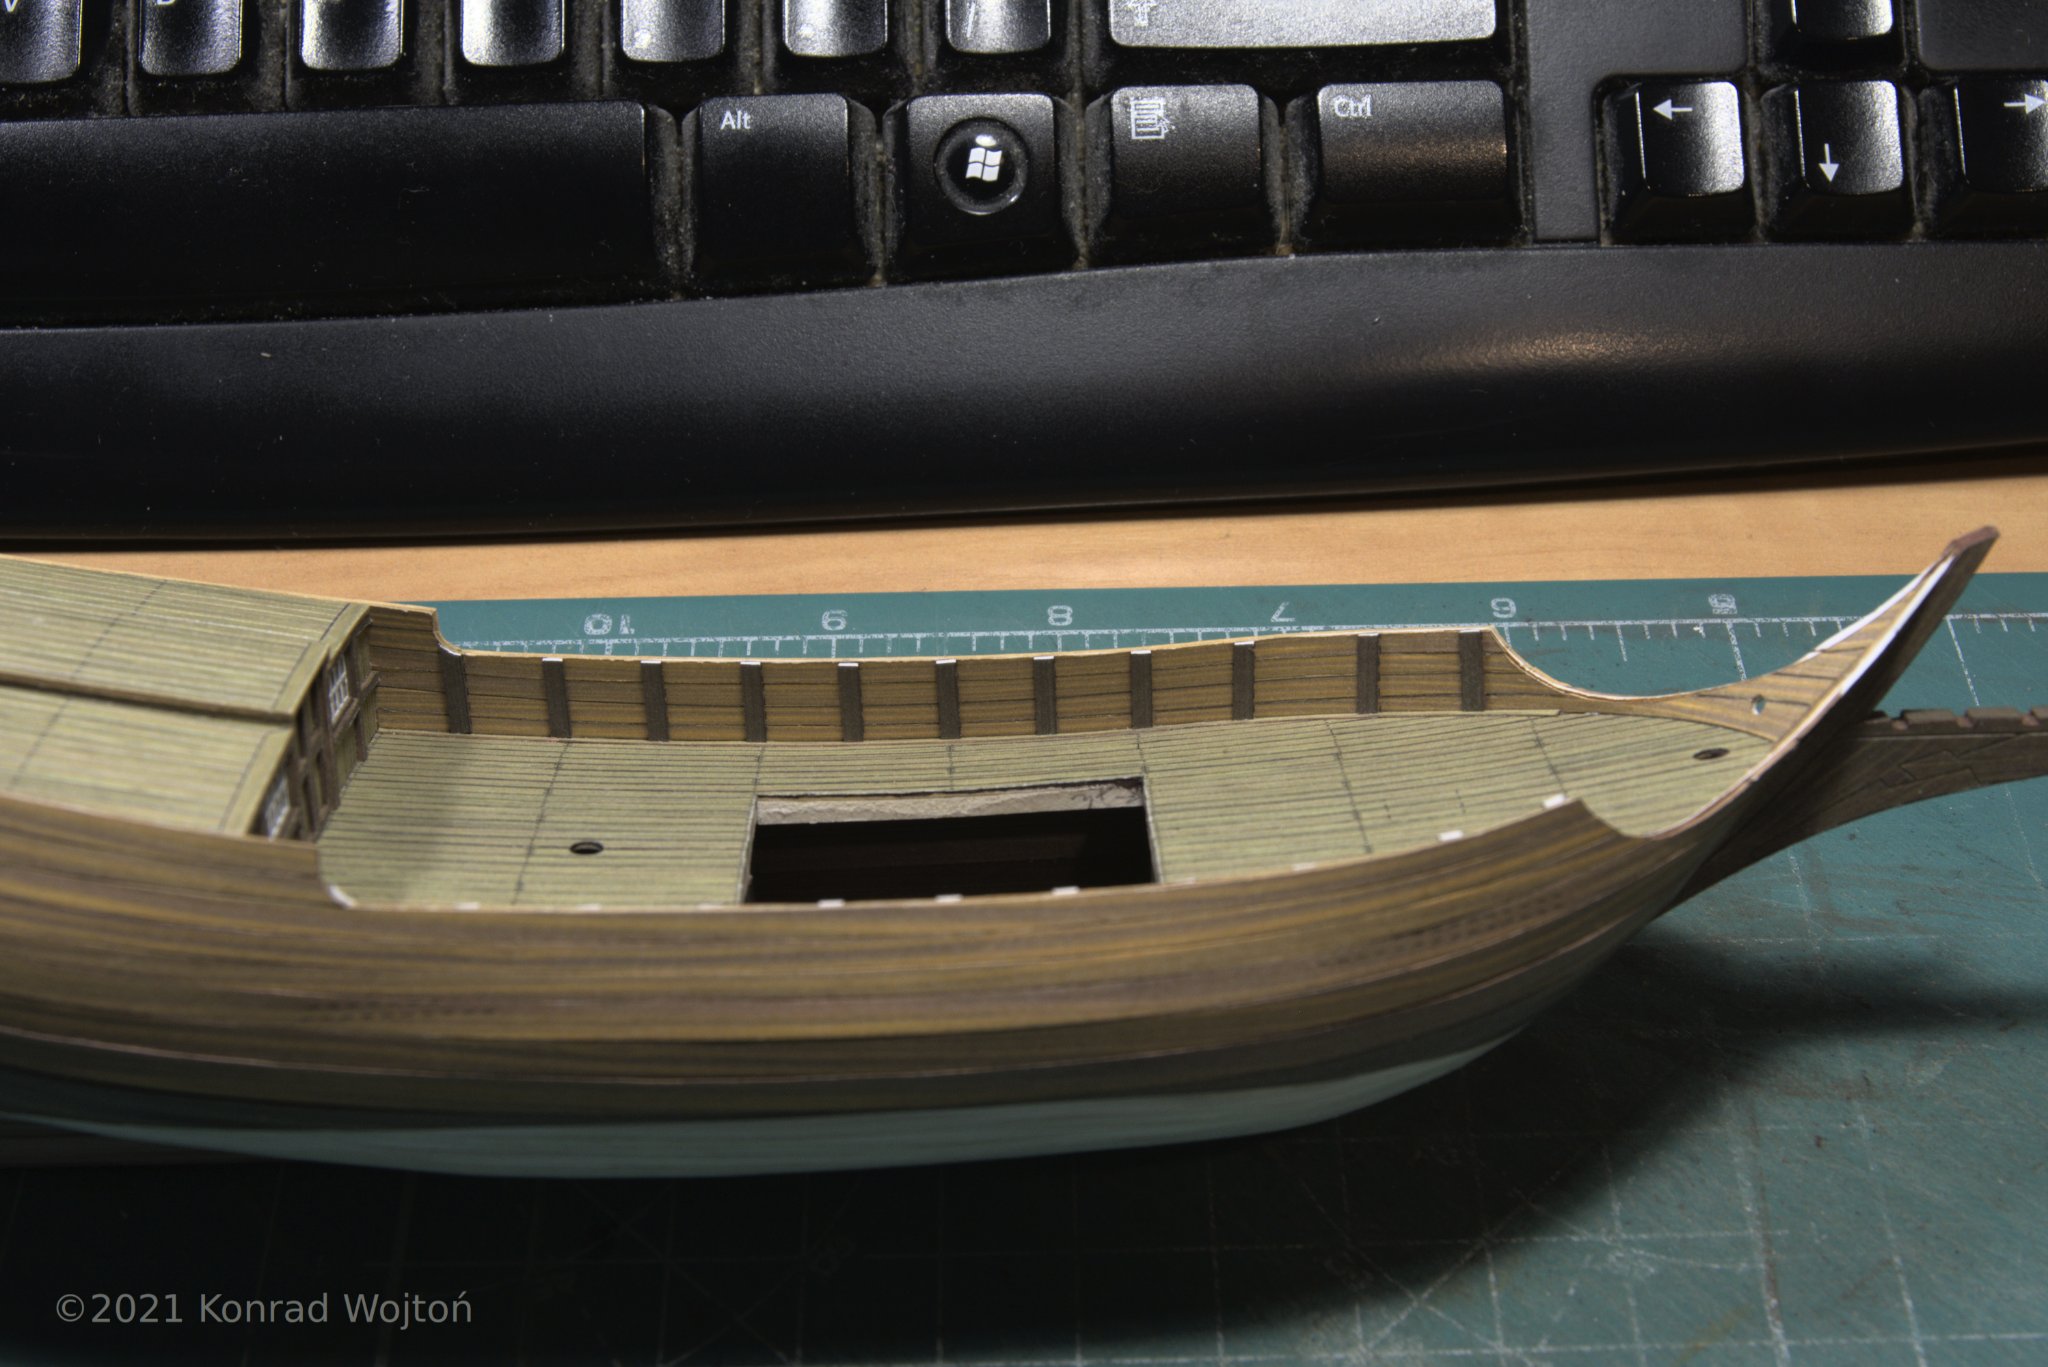
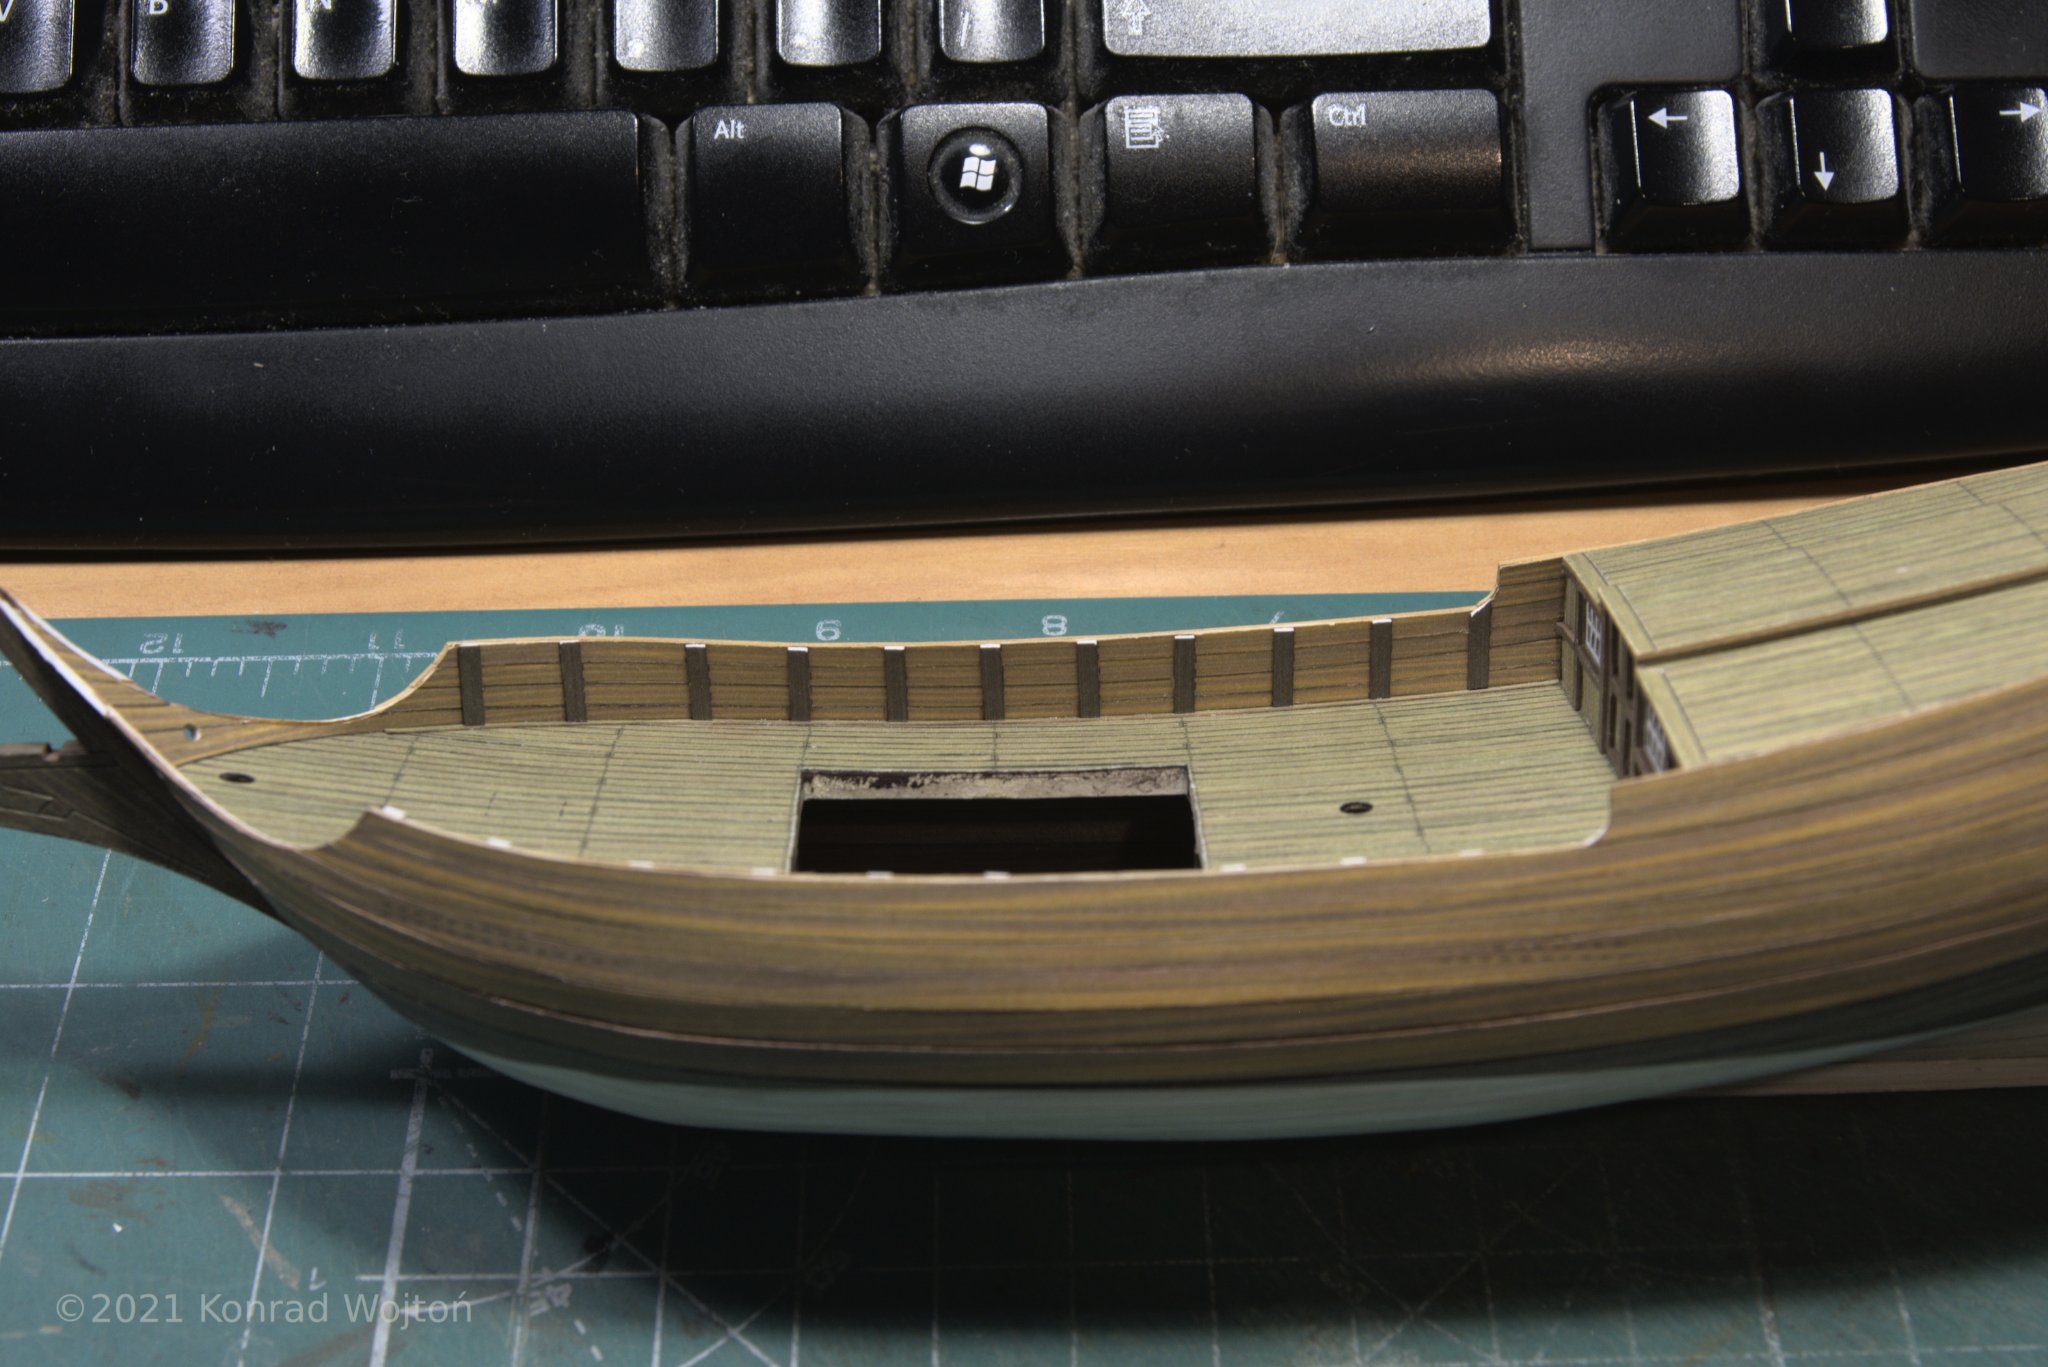
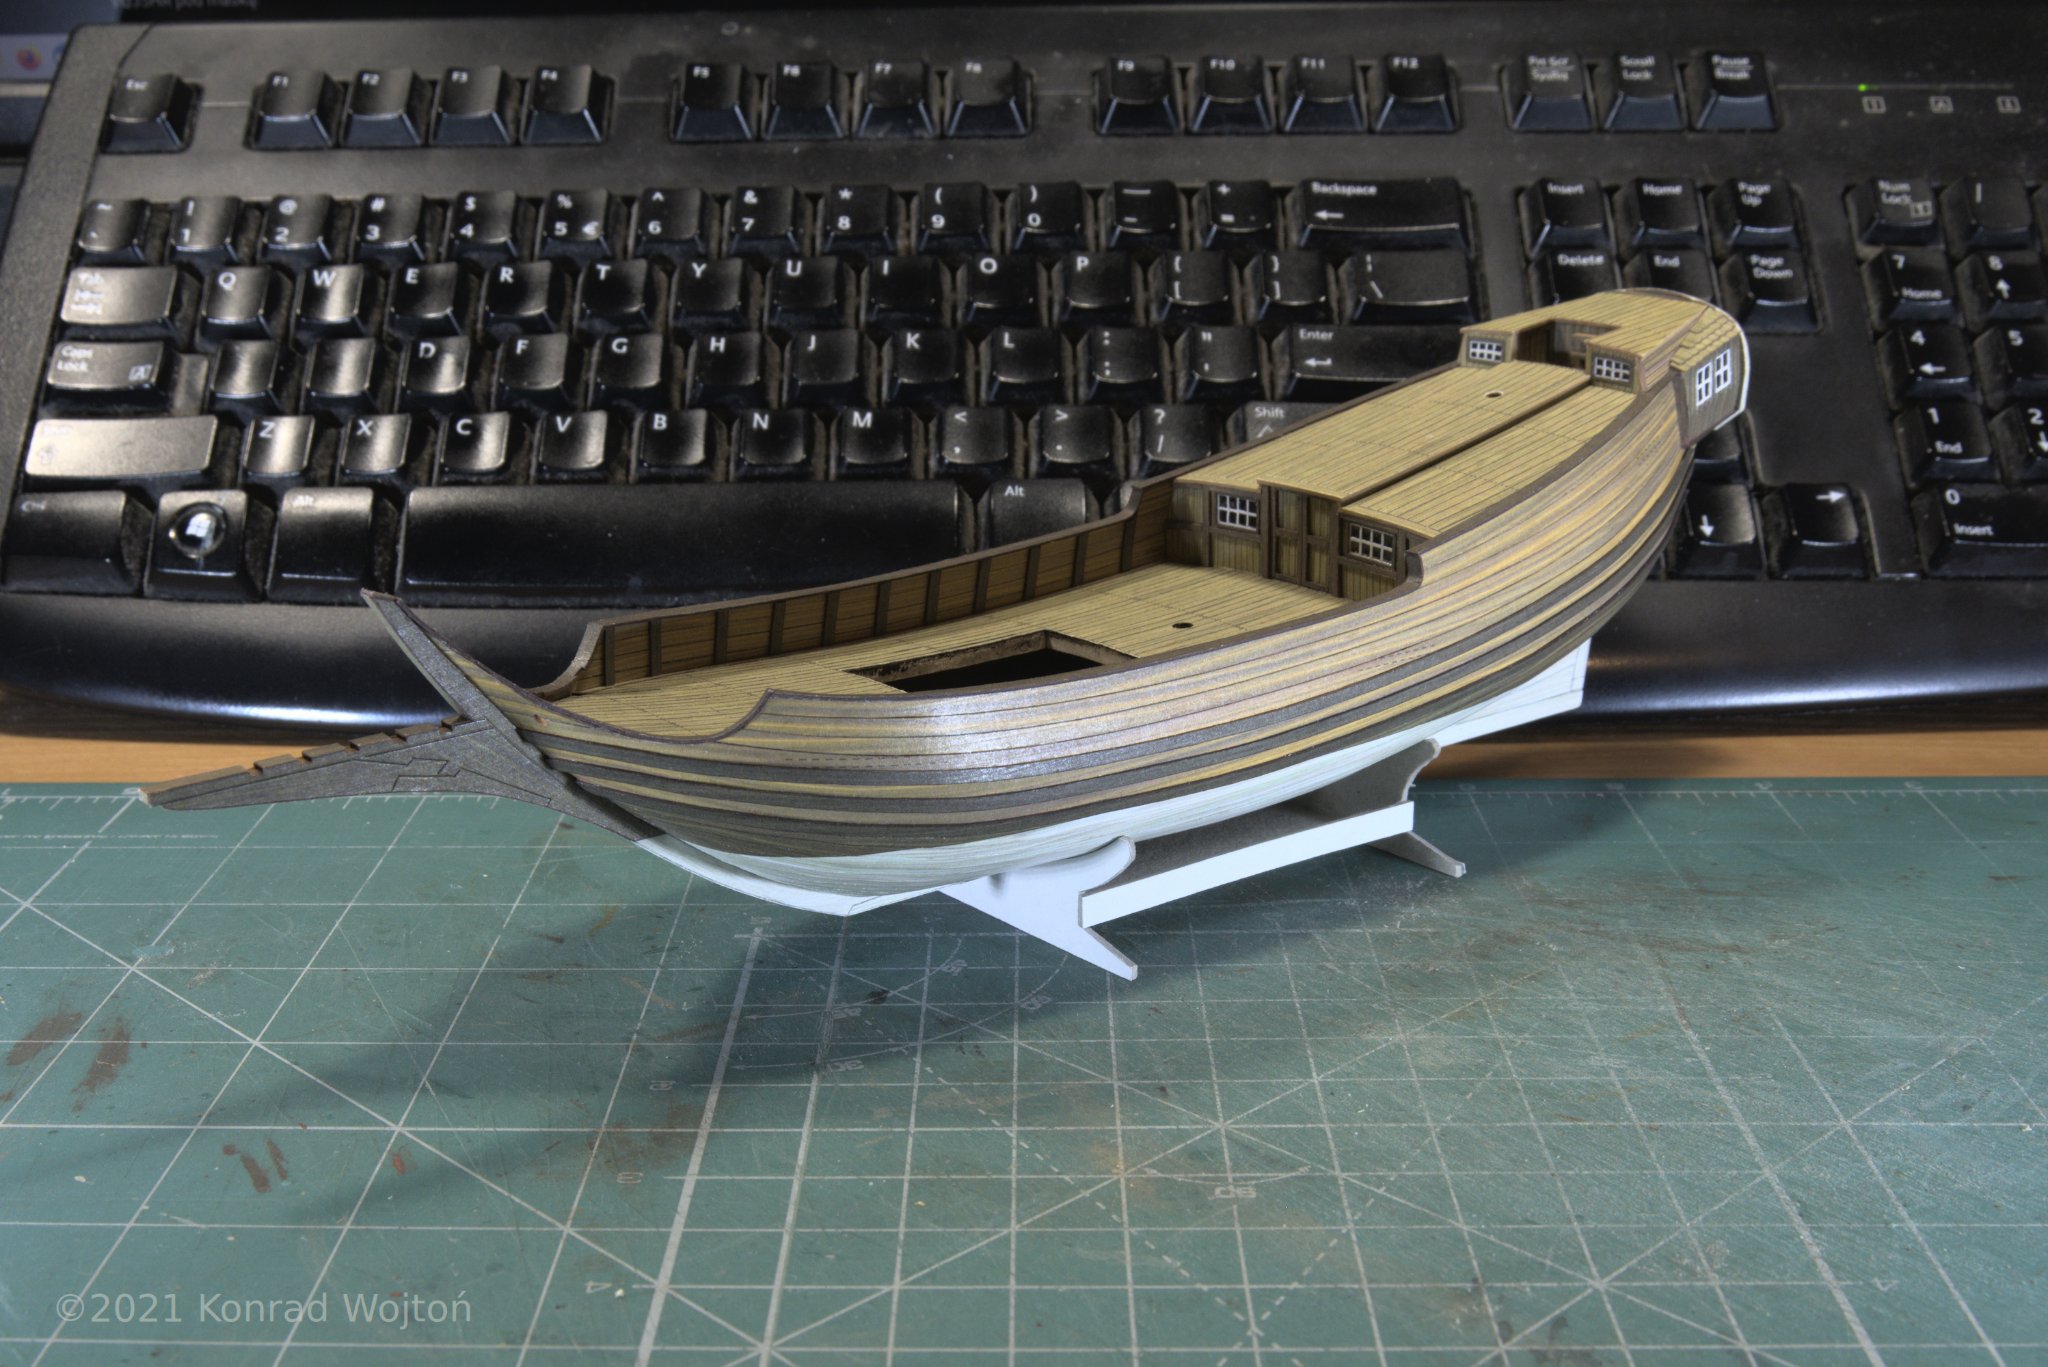
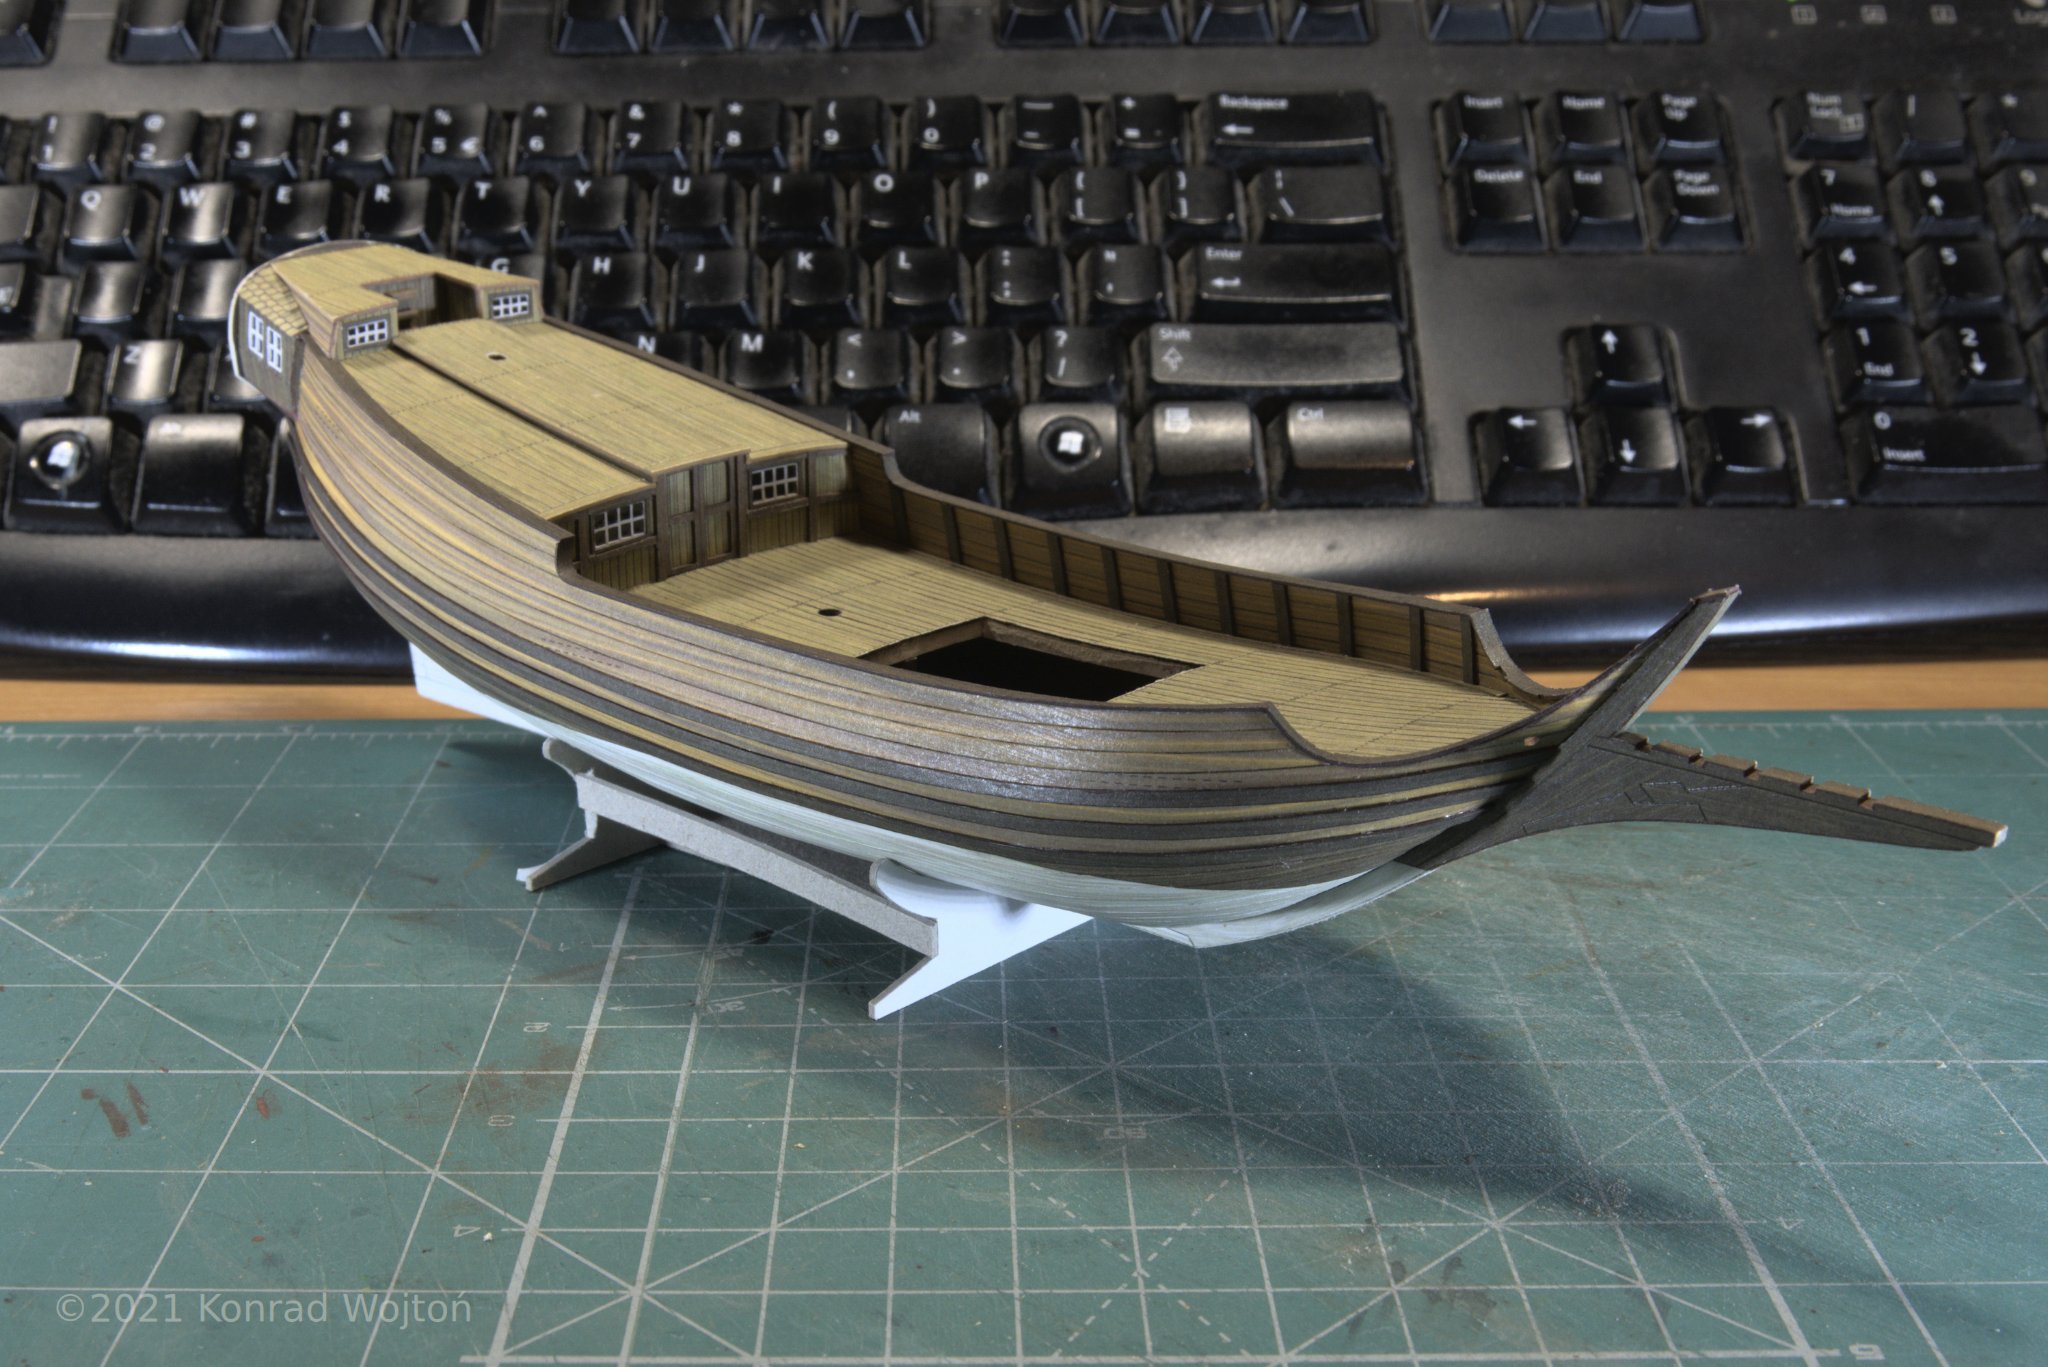
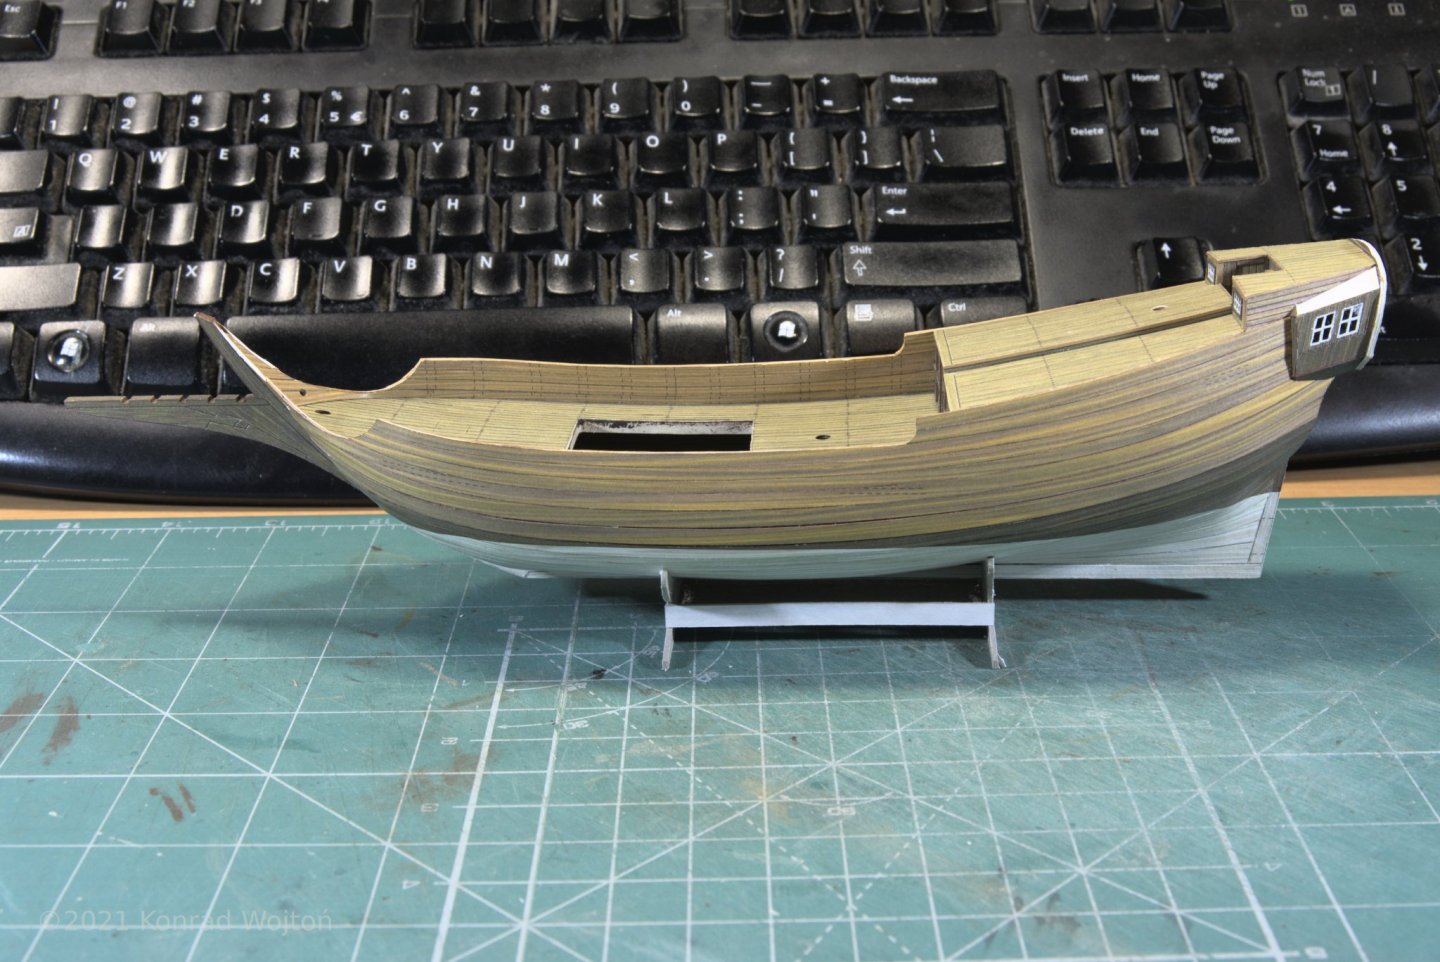
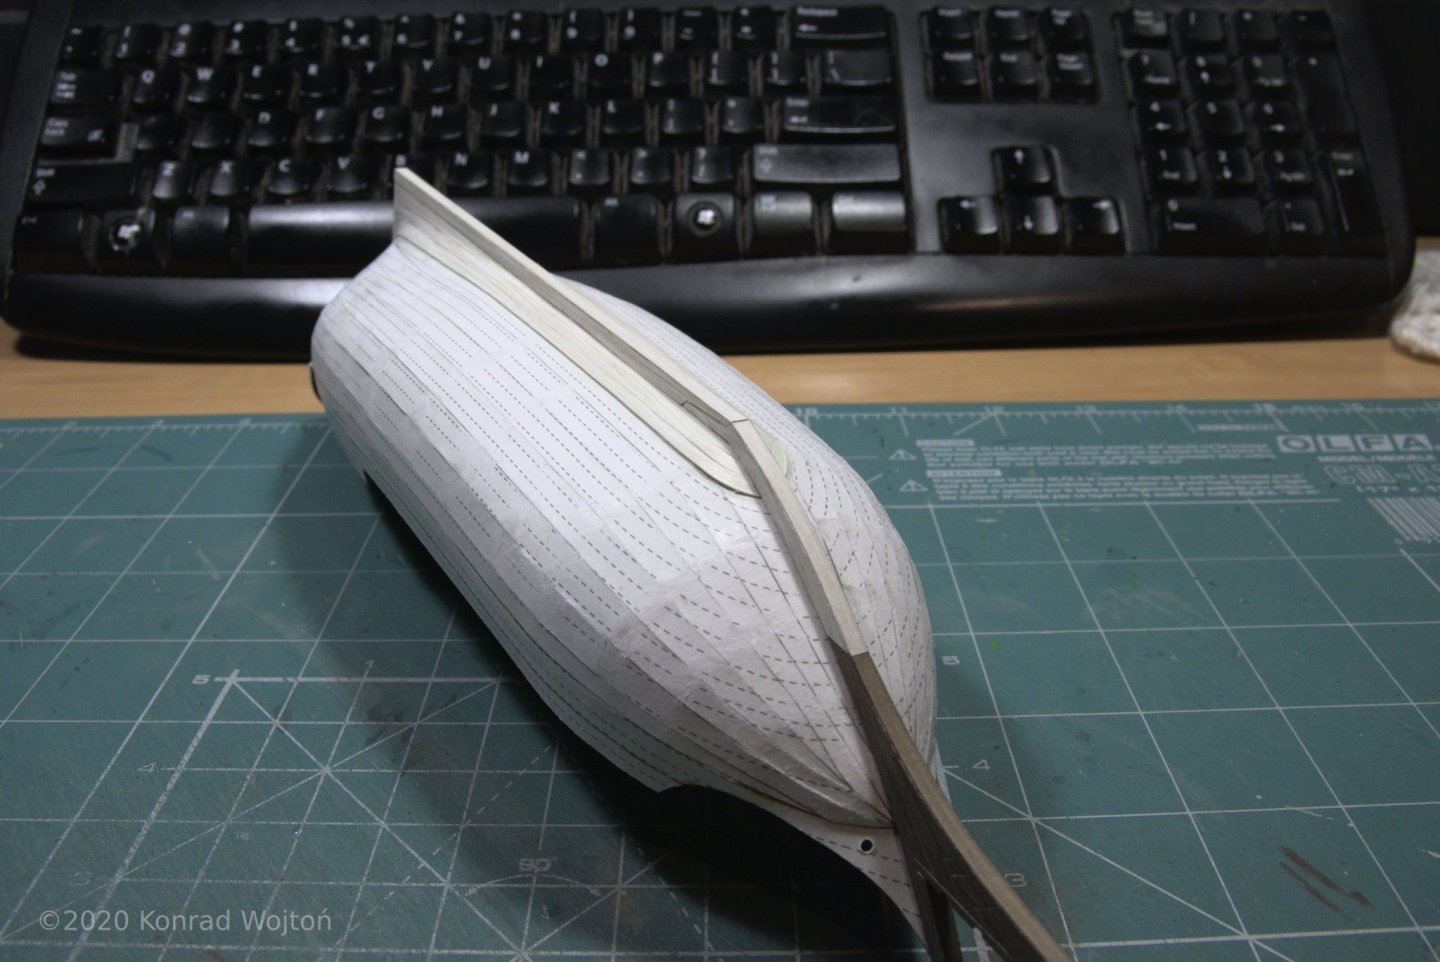
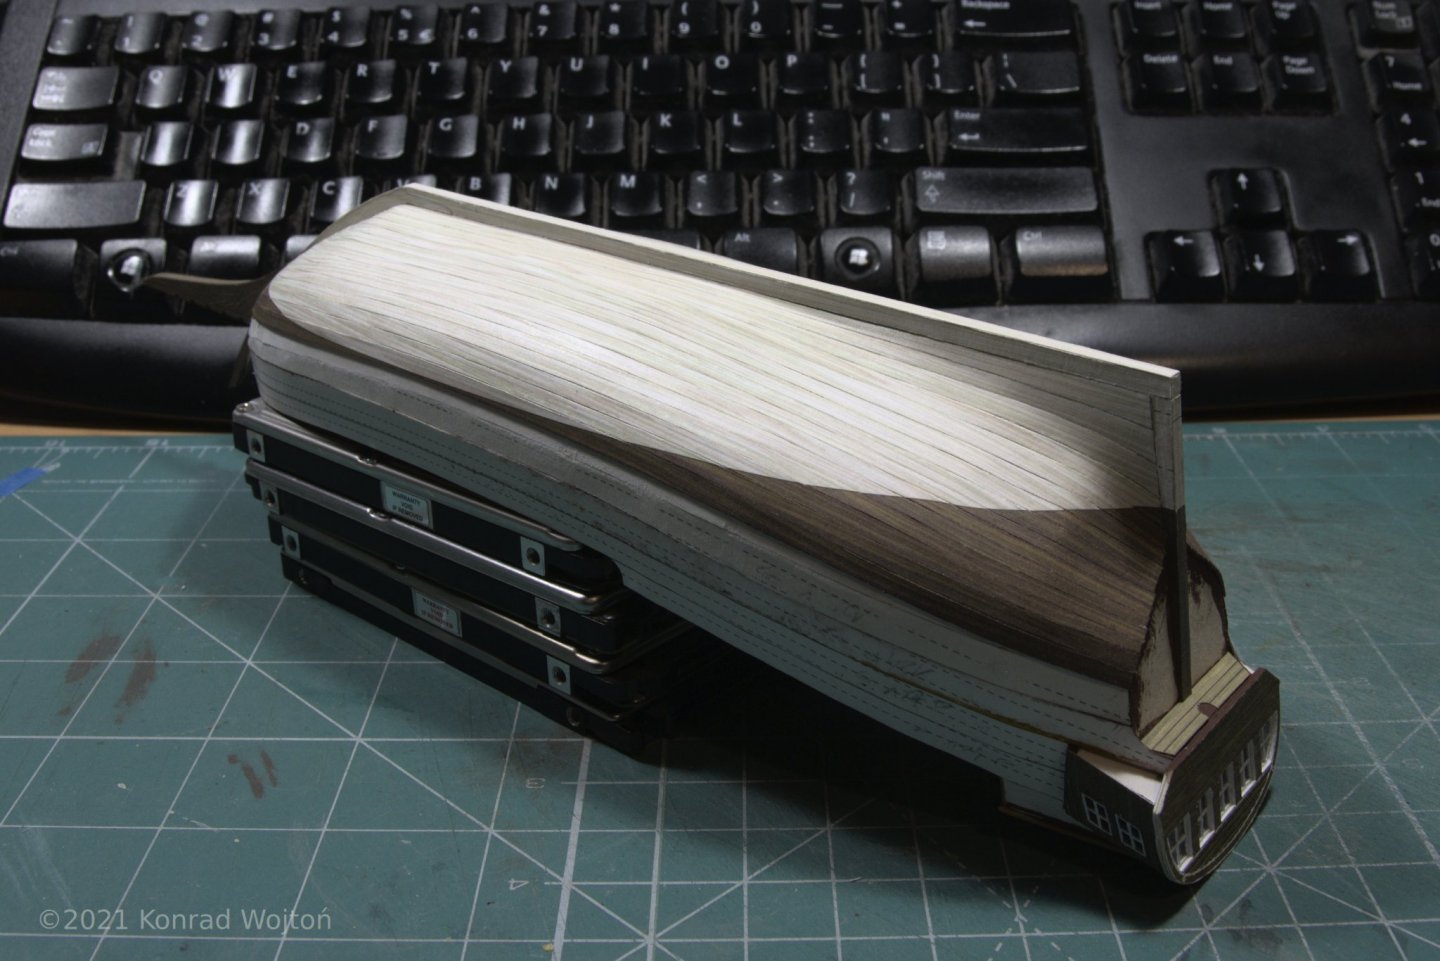
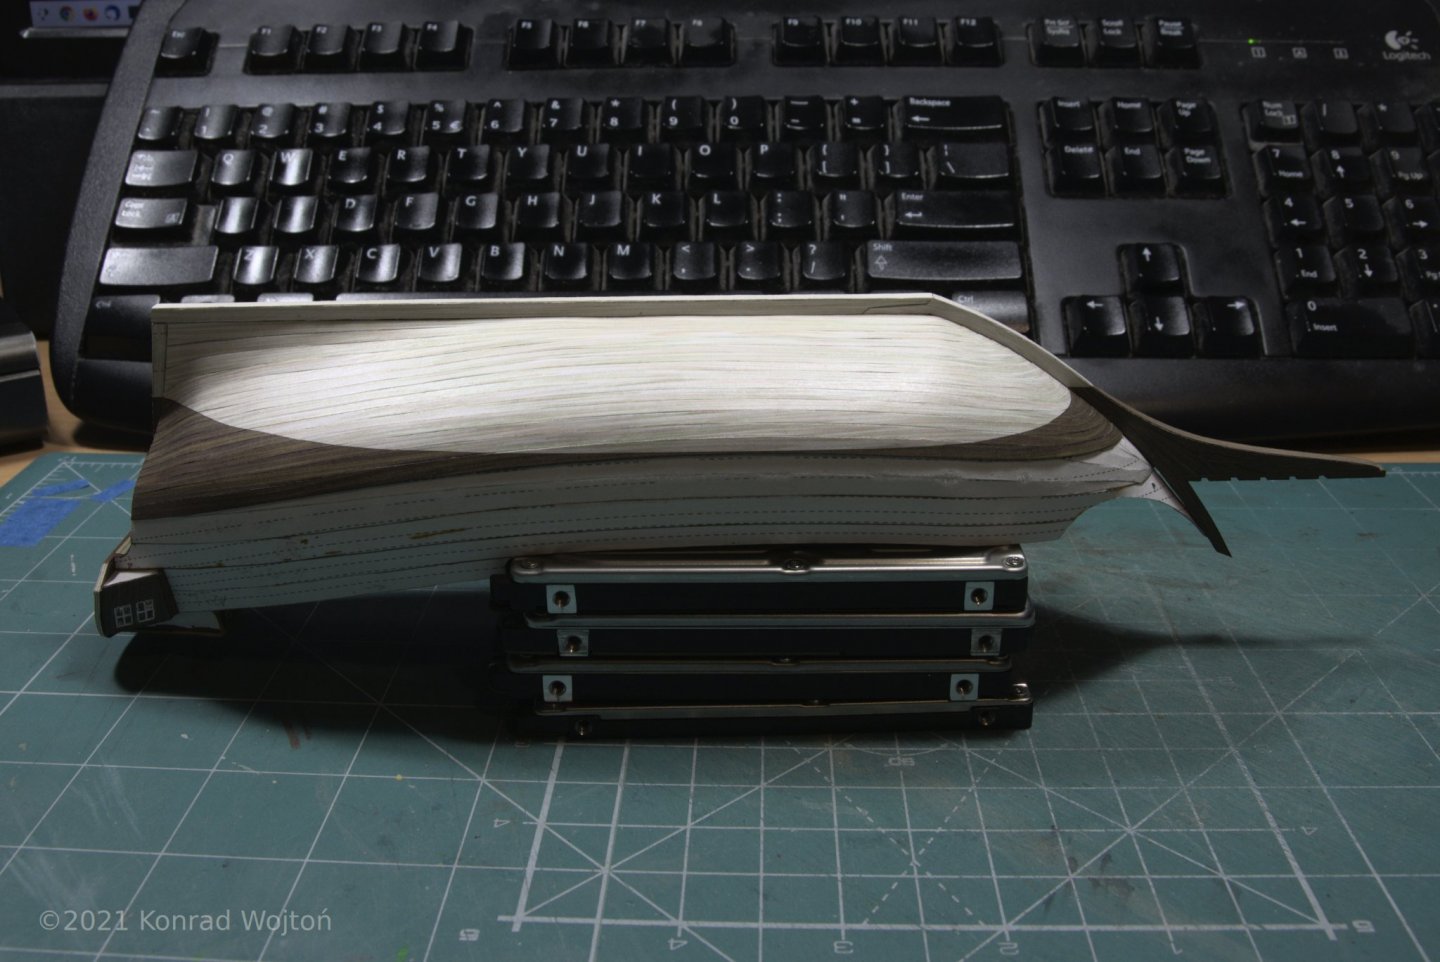
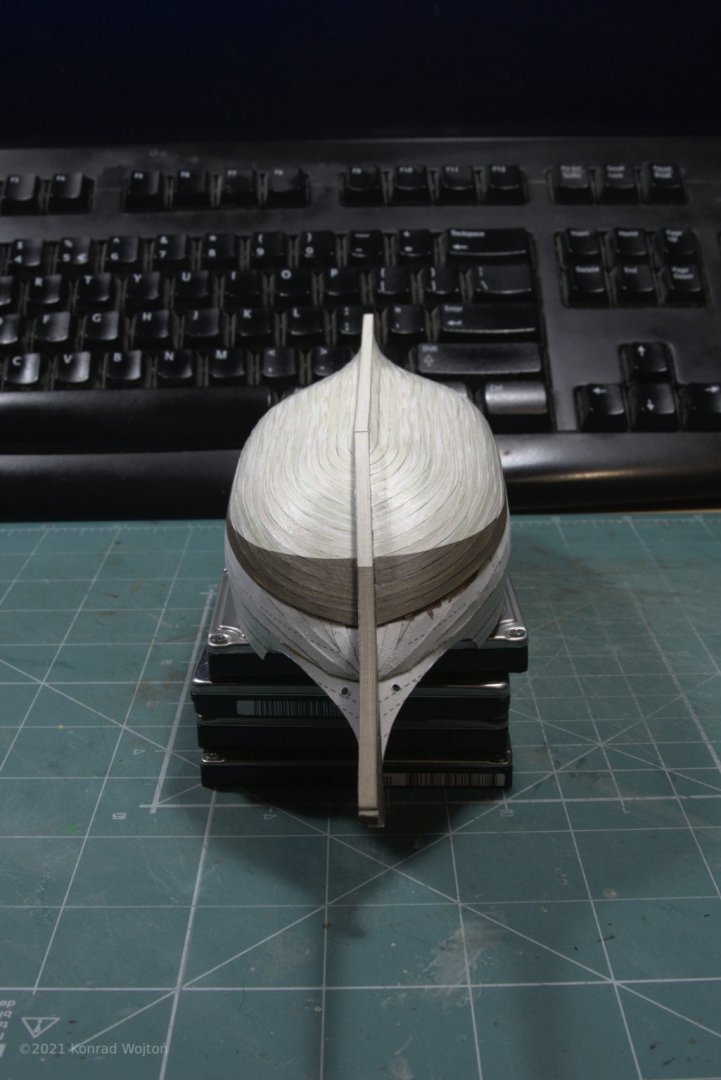
I've managed to finish the planking. I've used last two planks on each side to correct any accumulated errors. It worked out quite well on bow and stern but in the middle there are small gaps left. Fortunately they will be covered with bumper strips (or maybe I should call it wales). Almost all planks where a bit longer than needed (around 0,5 - 1mm) which is nice and allows for some leeway. Only one on left side initially was shorter by about 0,5mm (first light brown counting from bottom and it was last one glued) but after some more sanding of previous layers I've managed to get it right. I might have made some errors in previous stages, not enough sanding maybe. On bow there is there is some trimming required but I am going to do it during cap rail fitting.


-
Your sails are wonderful. I've also used modelspan before but never tried to embed thin wire into them so they lost a bit of shape after some time. I'm definitely going to try it in my current build.
- 397 replies
-
- 3
-
-

-
- cutty sark
- revell
- (and 2 more)
-
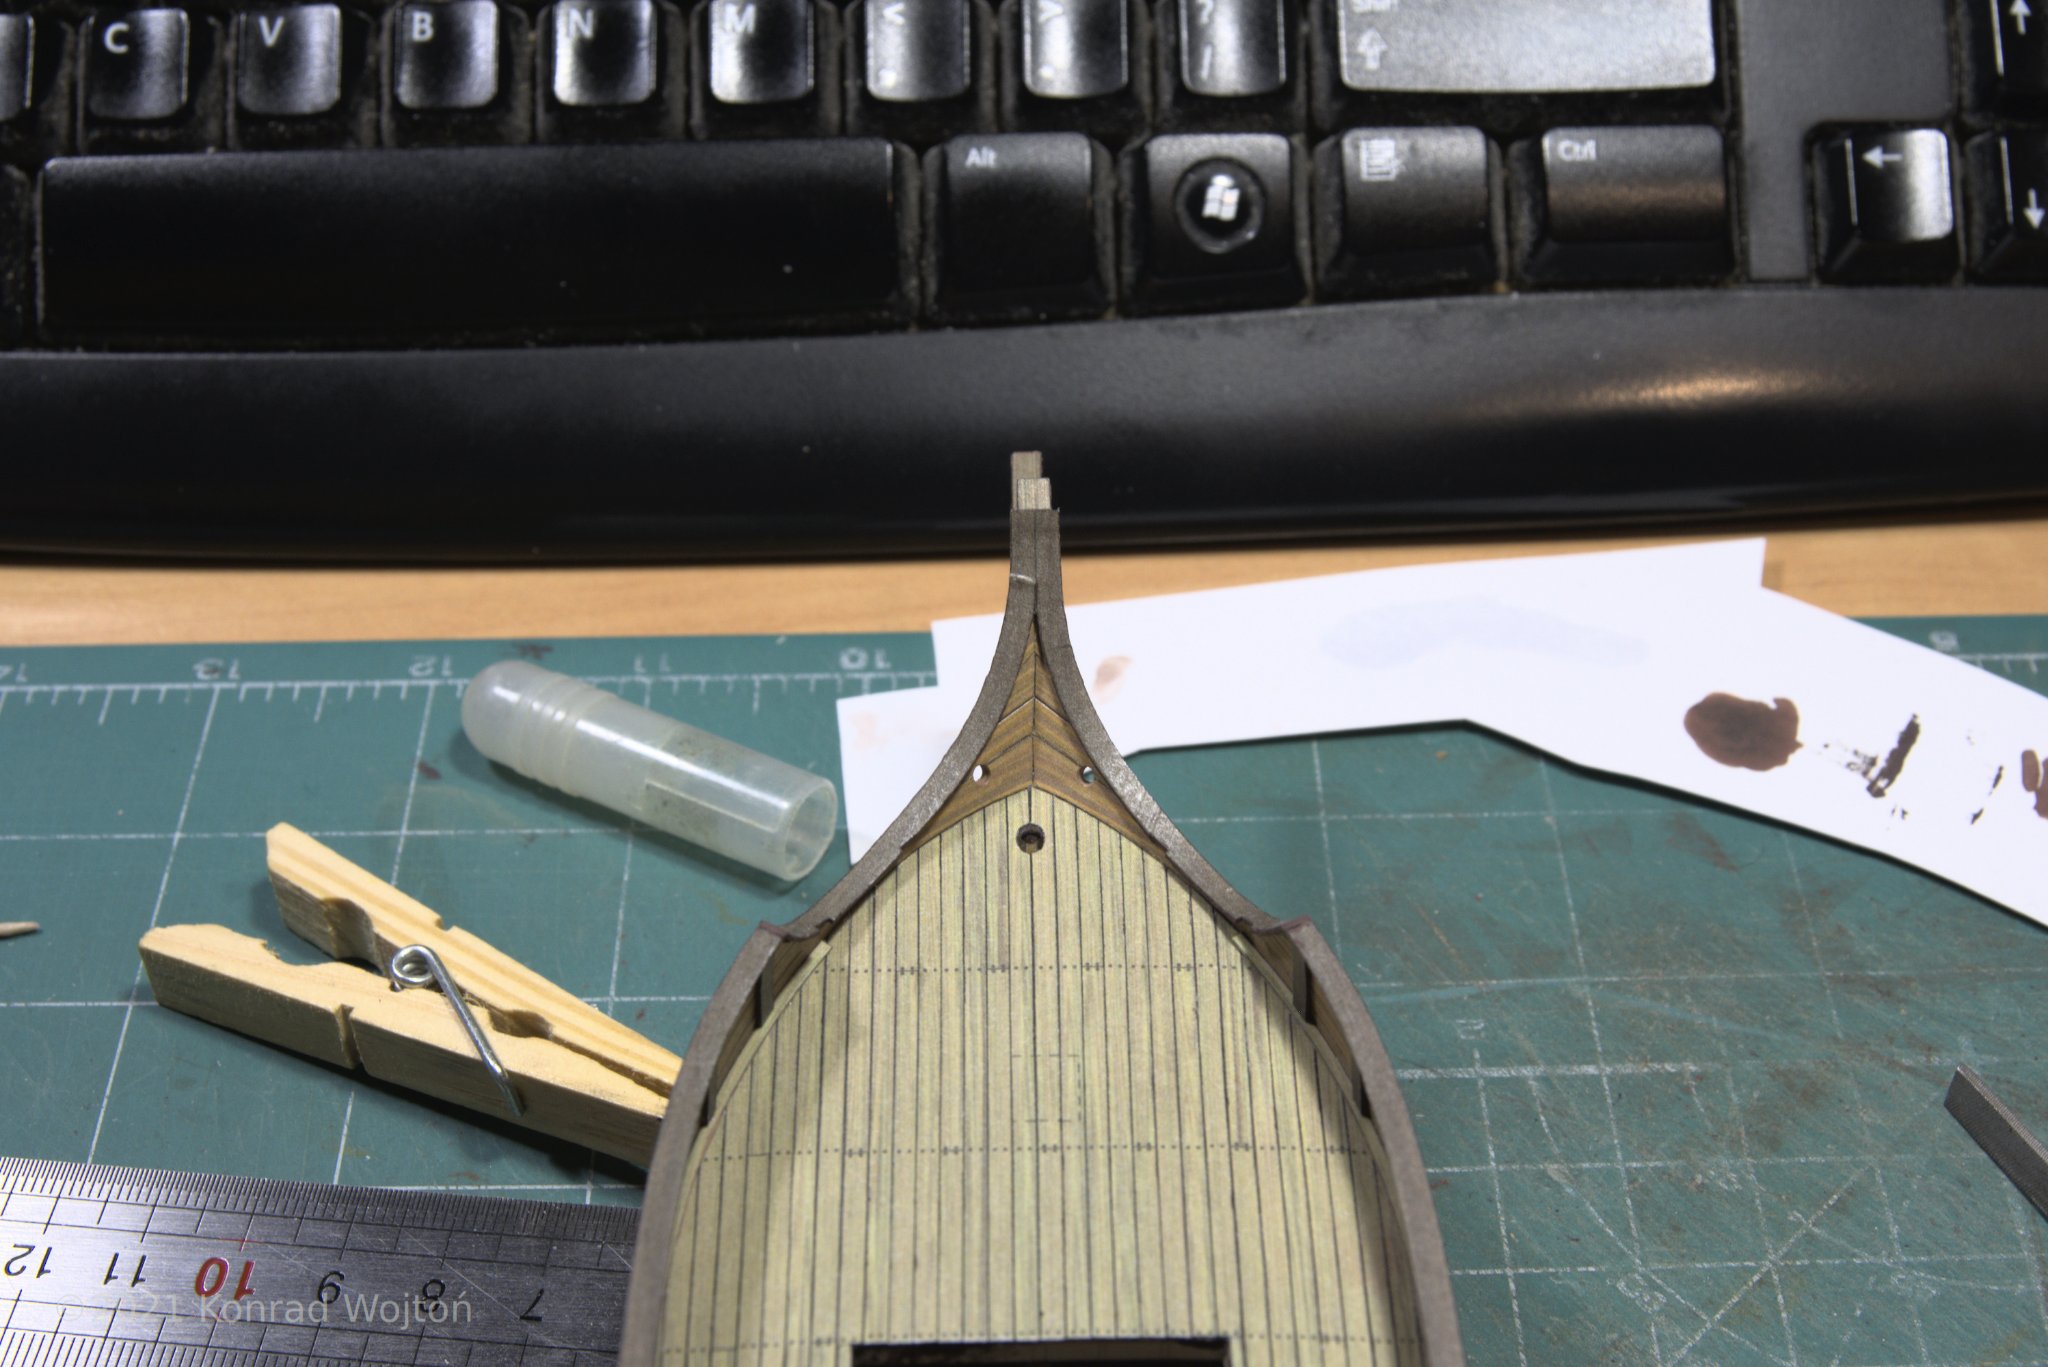
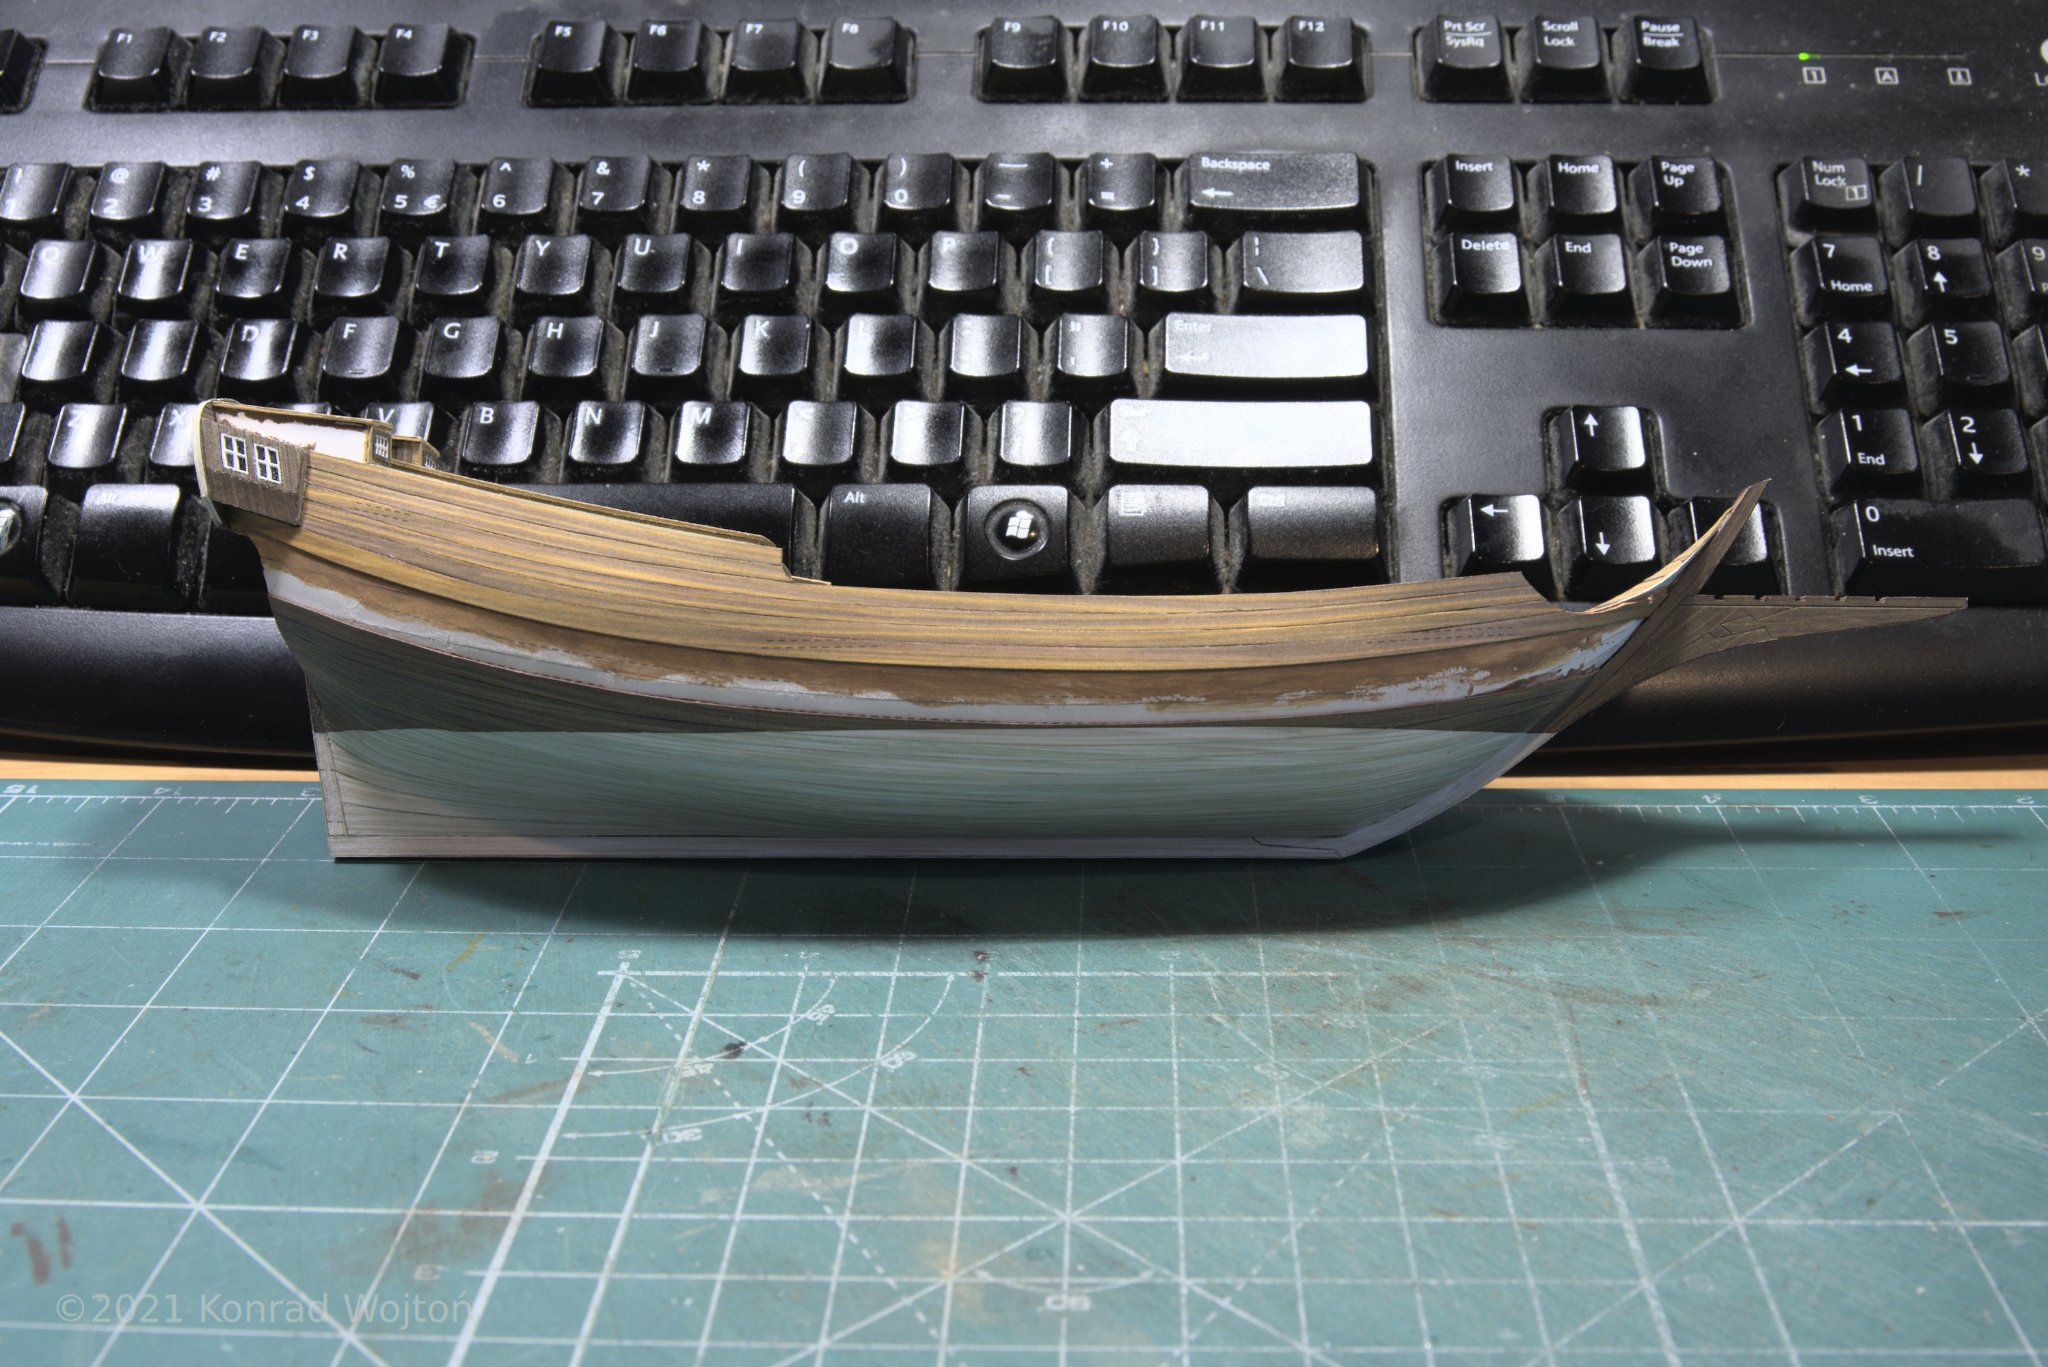
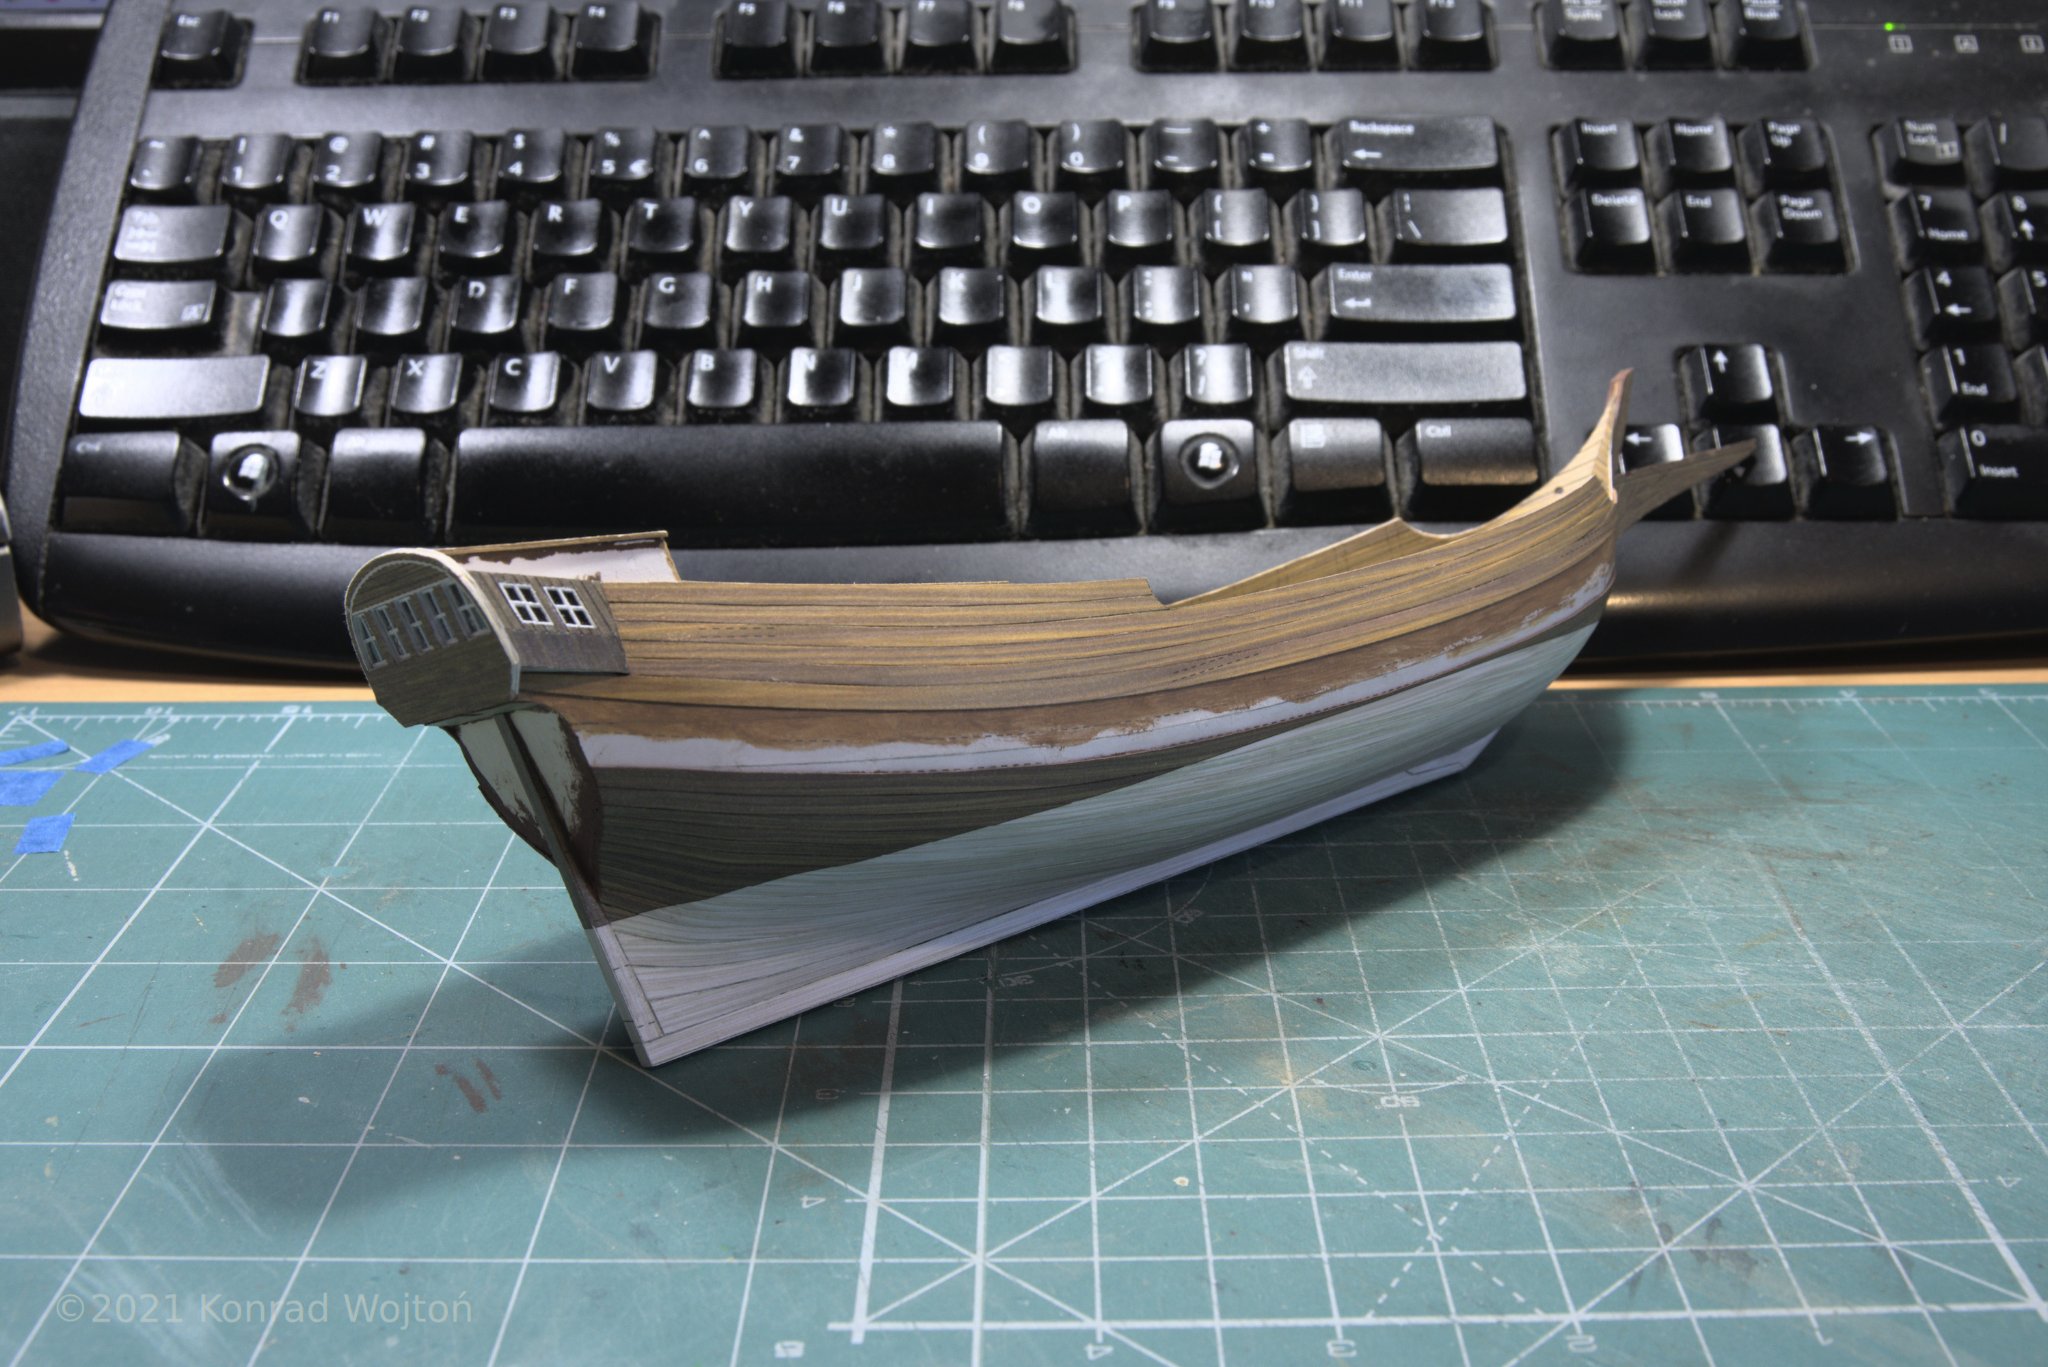
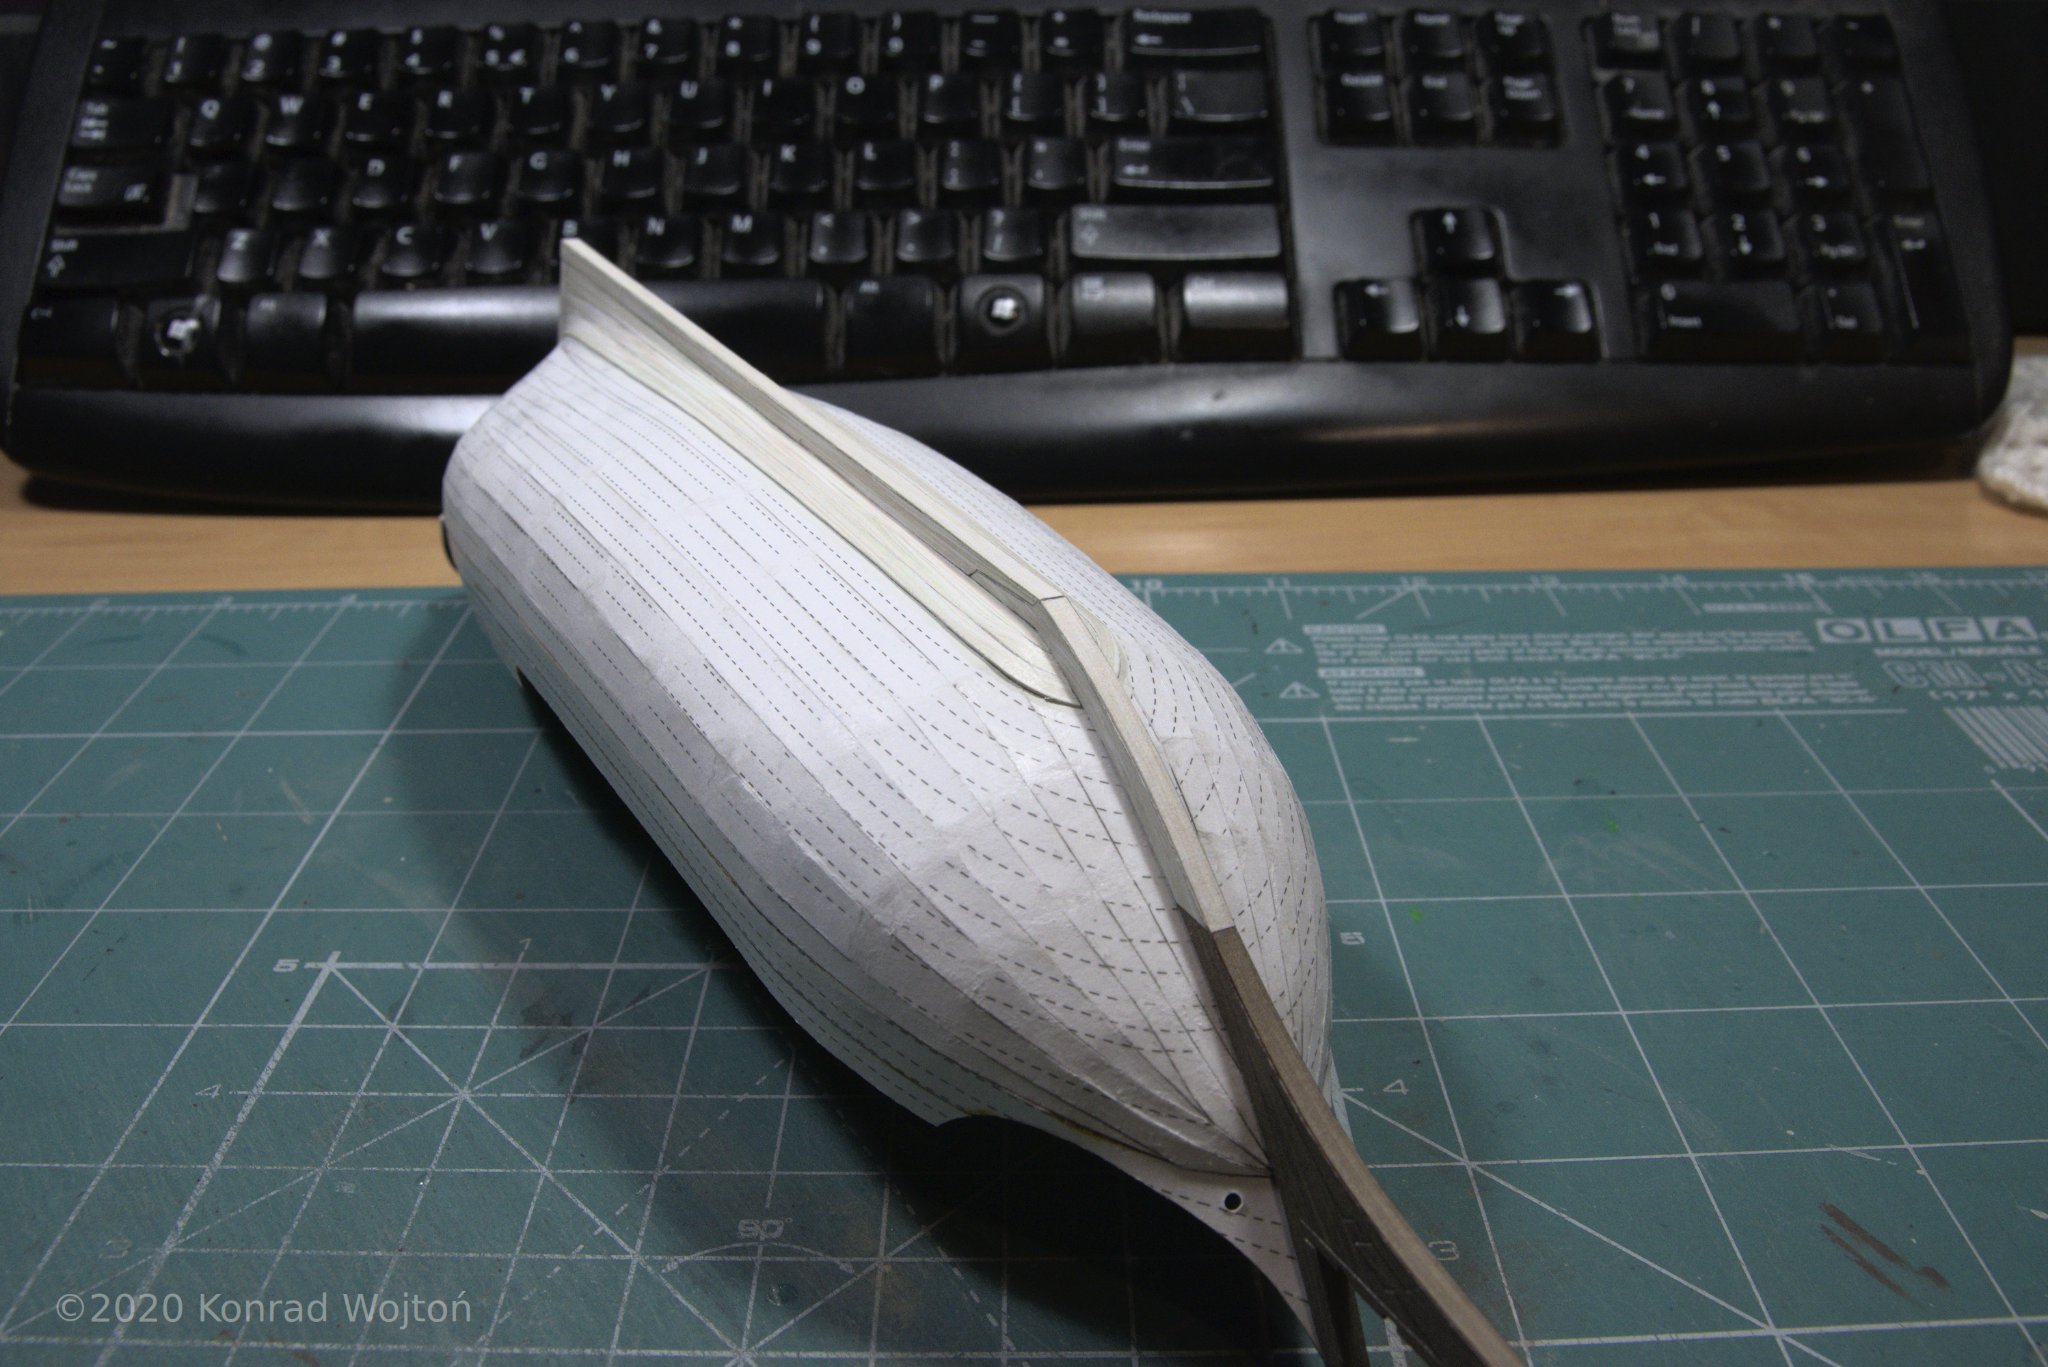
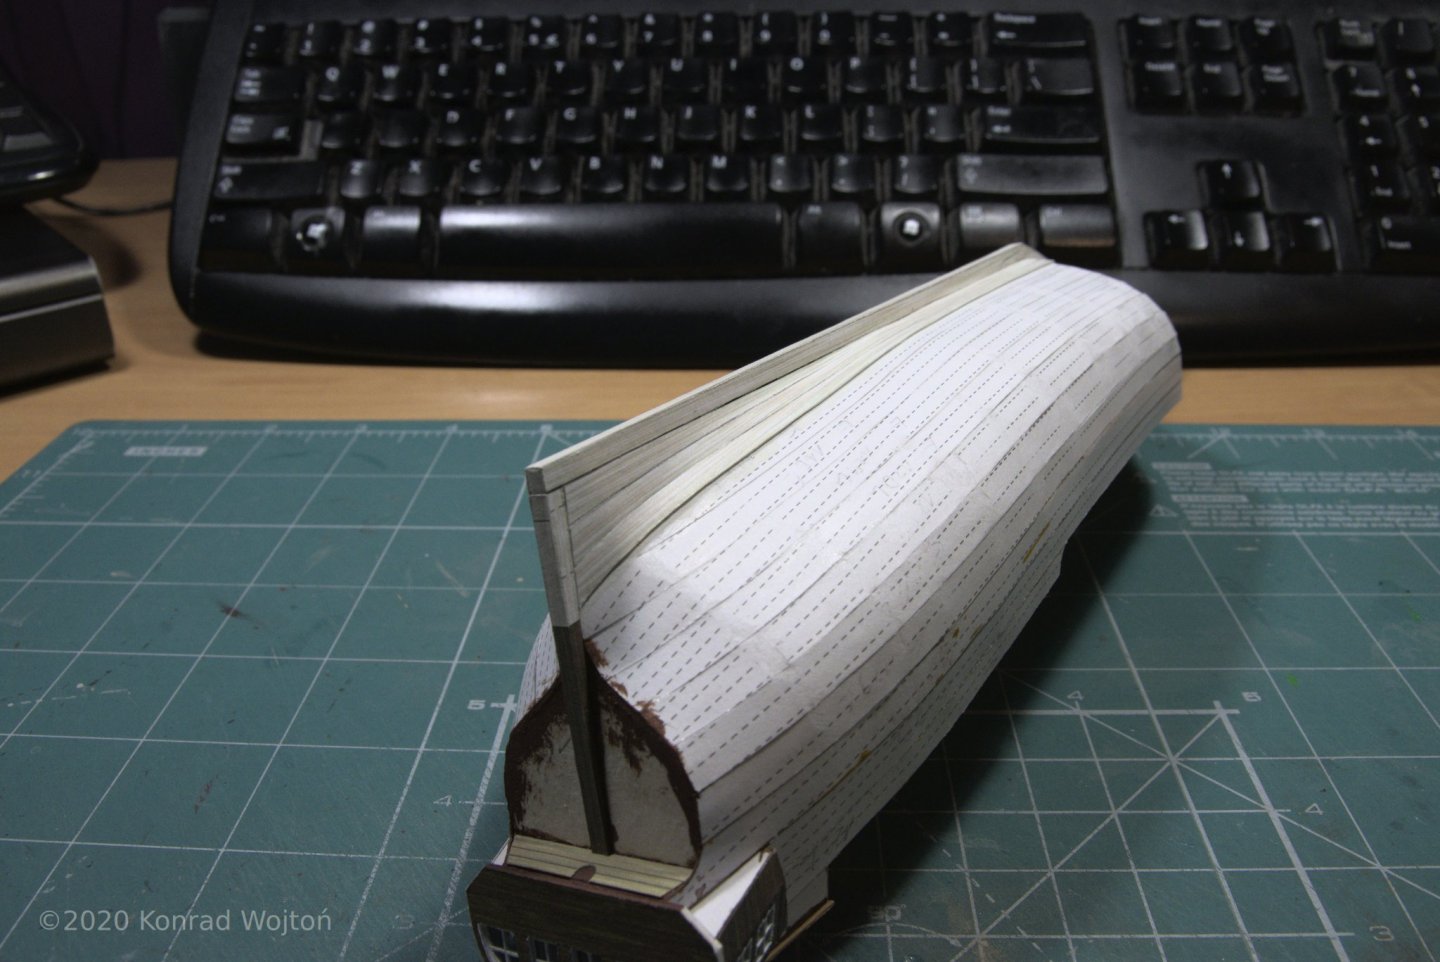
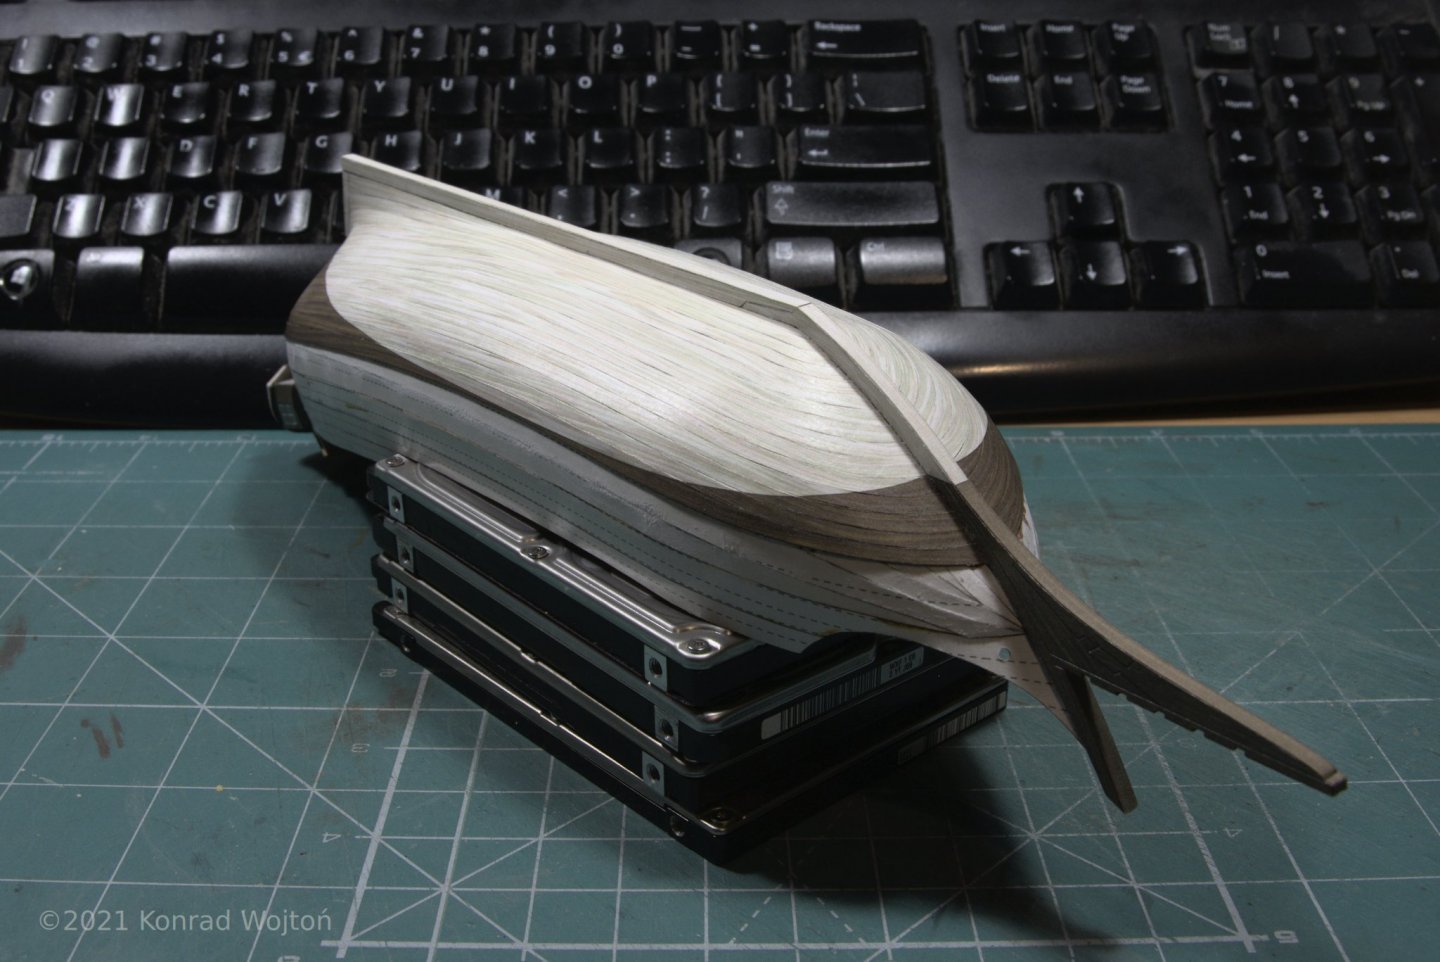
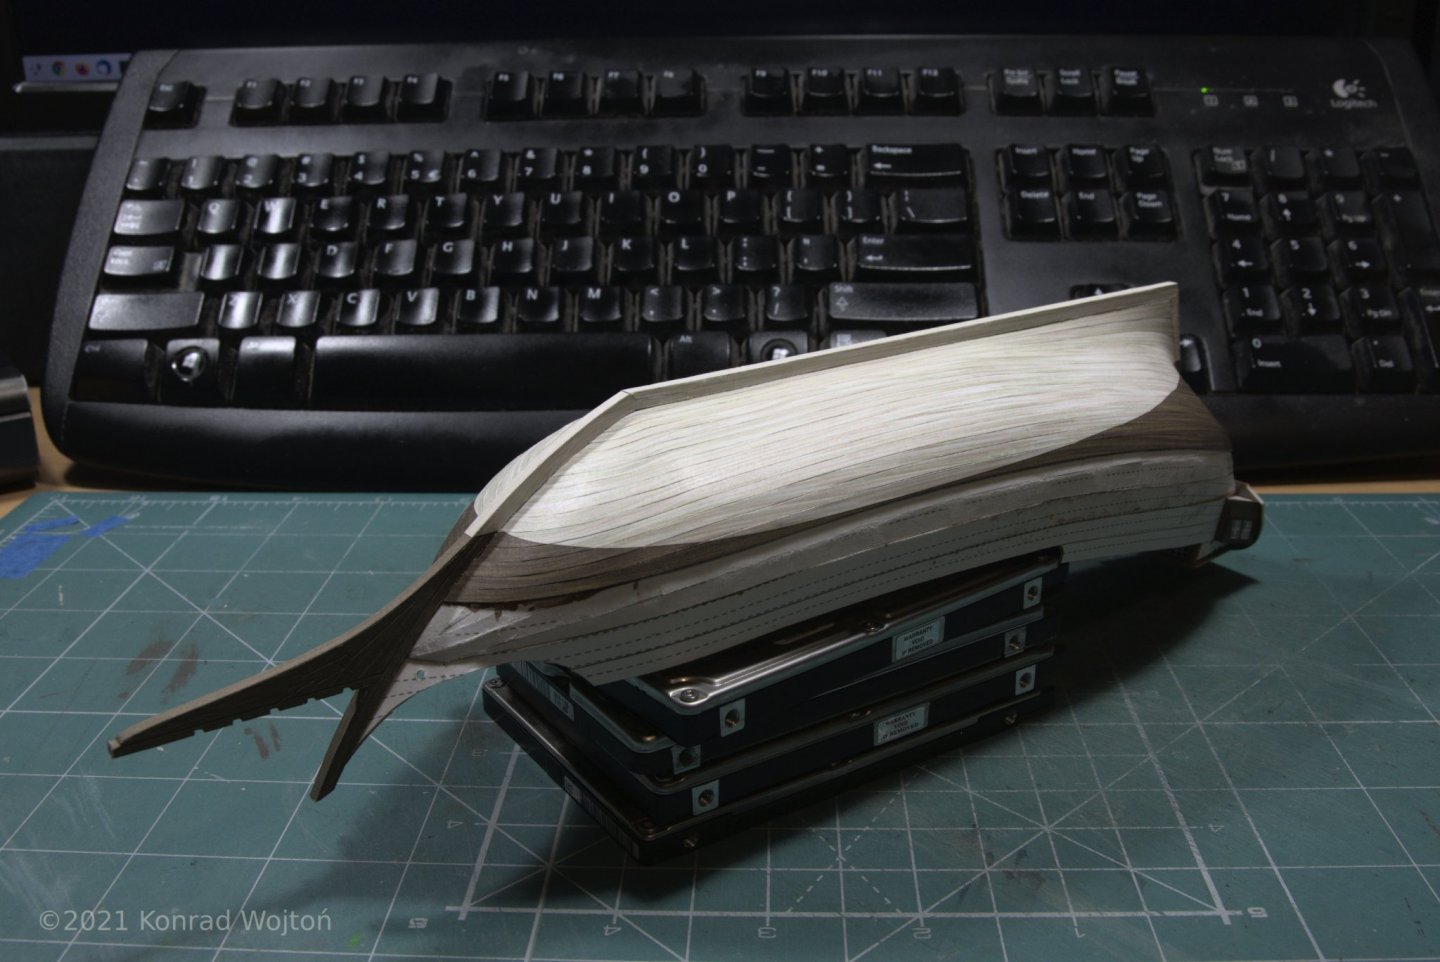
Quite some time has passed since last update, time to dust off this build log, end period of winter laziness and show some progress. Final layer of planking is progressing nicely, I'm around 2/3rd into it.
-
On my Cog from second point I used some putty used in carpentery and it was water based, but I've never put layer more than 1mm thick so it can dry fast. I've heard that some people use fillers used in car bodywork but I've never tried one. When you have very small gaps and use thin layers water in fillers should not be a problem, at least it never was in my builds. On HMS Rodney example he used some acrylic filler so I presume water based.
- 41 replies
-
- 2
-
-
- Finished
- Allège d’Arles
- (and 5 more)
-
Here you can see first technique with construction foam, frame was reinforced with aluminum rods as this modeller had problems with bending in his previous builds: https://www.koga.net.pl/forum/524/46474.html?p=74982#p74982 He then used filler, sanded it and painted the bottom. But you don't have to paint and you can plank it in more traditional way like here: https://www.koga.net.pl/forum/524/47280.html?p=85676#p85676
- 41 replies
-
- 3
-
-
- Finished
- Allège d’Arles
- (and 5 more)