RGL
-
Posts
5,079 -
Joined
-
Last visited
Content Type
Profiles
Forums
Gallery
Events
Everything posted by RGL
-
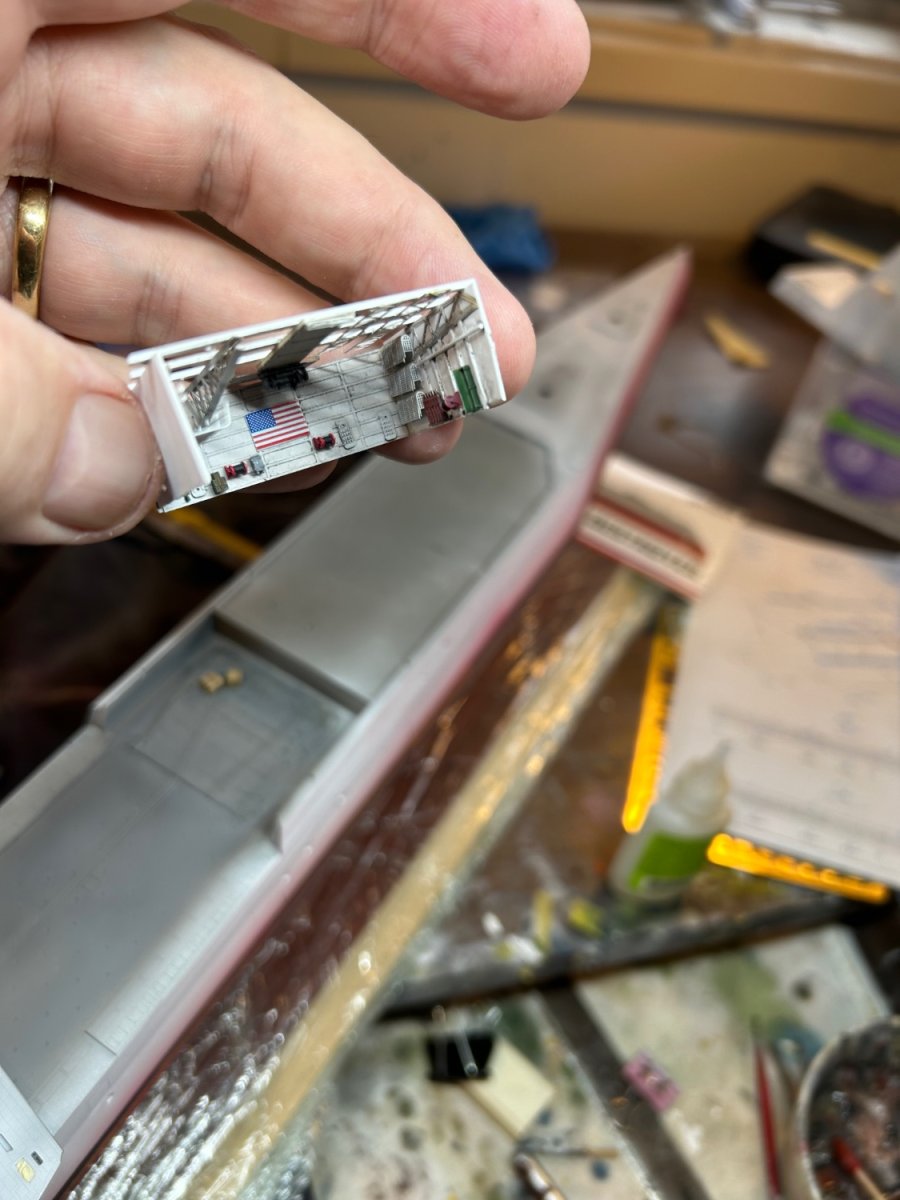
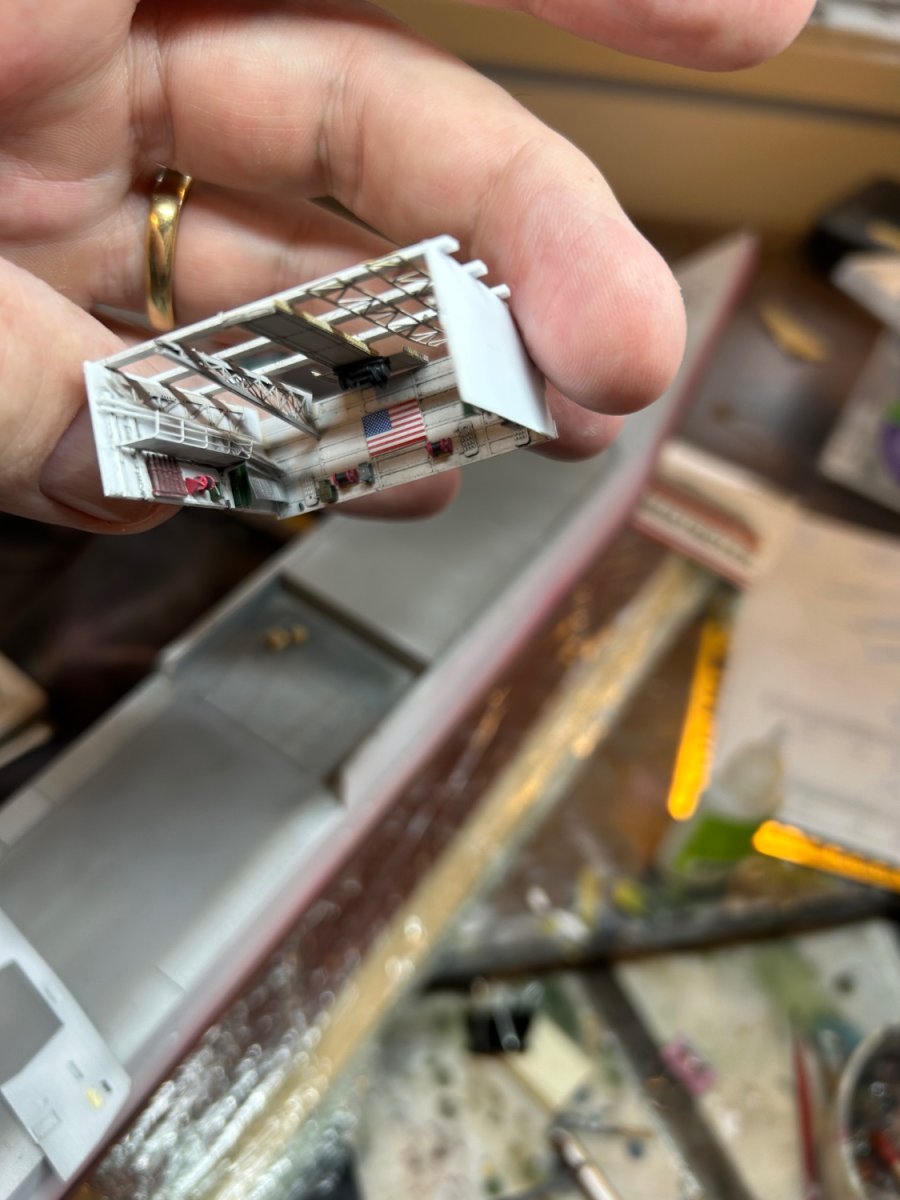
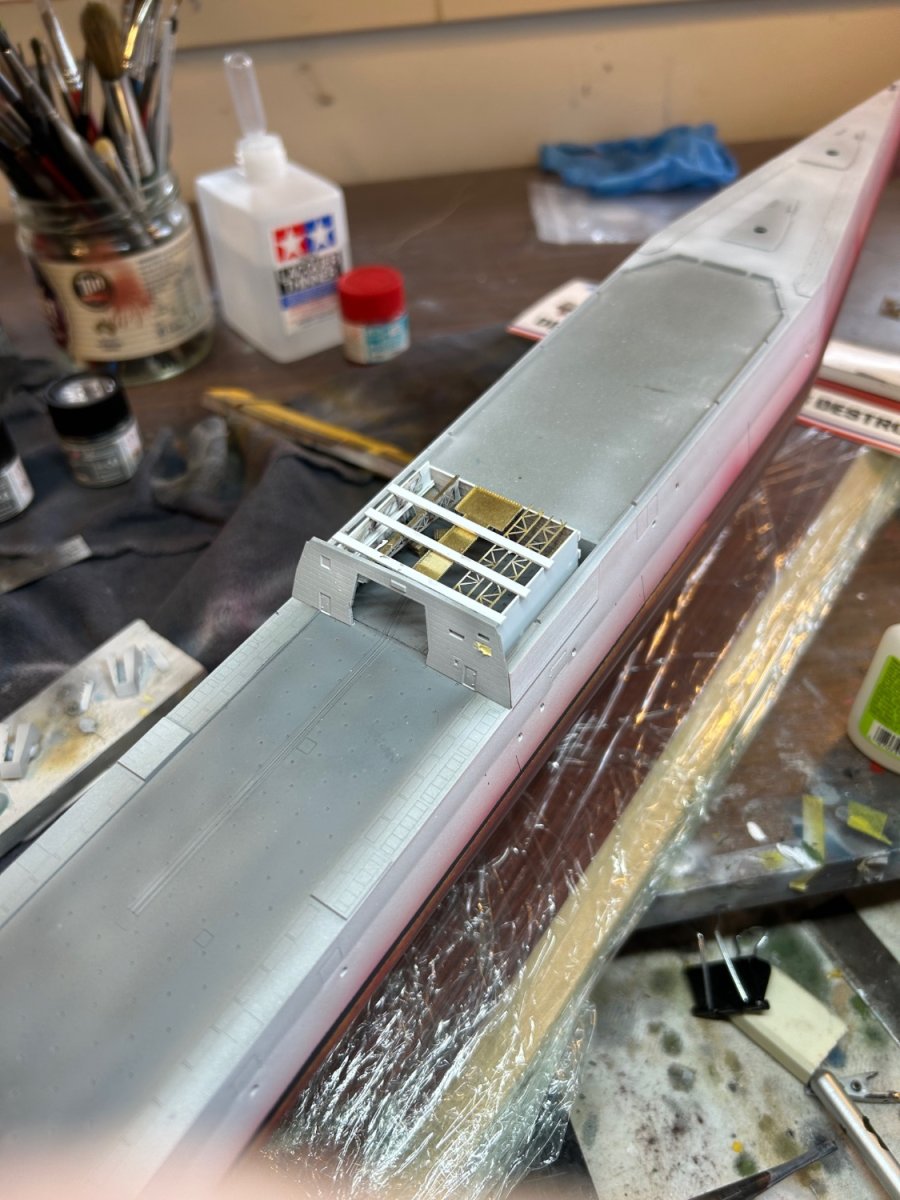
 The PE set basically blanks out all the potholes. The PE you see on the rear deck are for both the safety barriers (which I will model deployed as opposed to the kit flush ) and VLS silos near the actual hangar
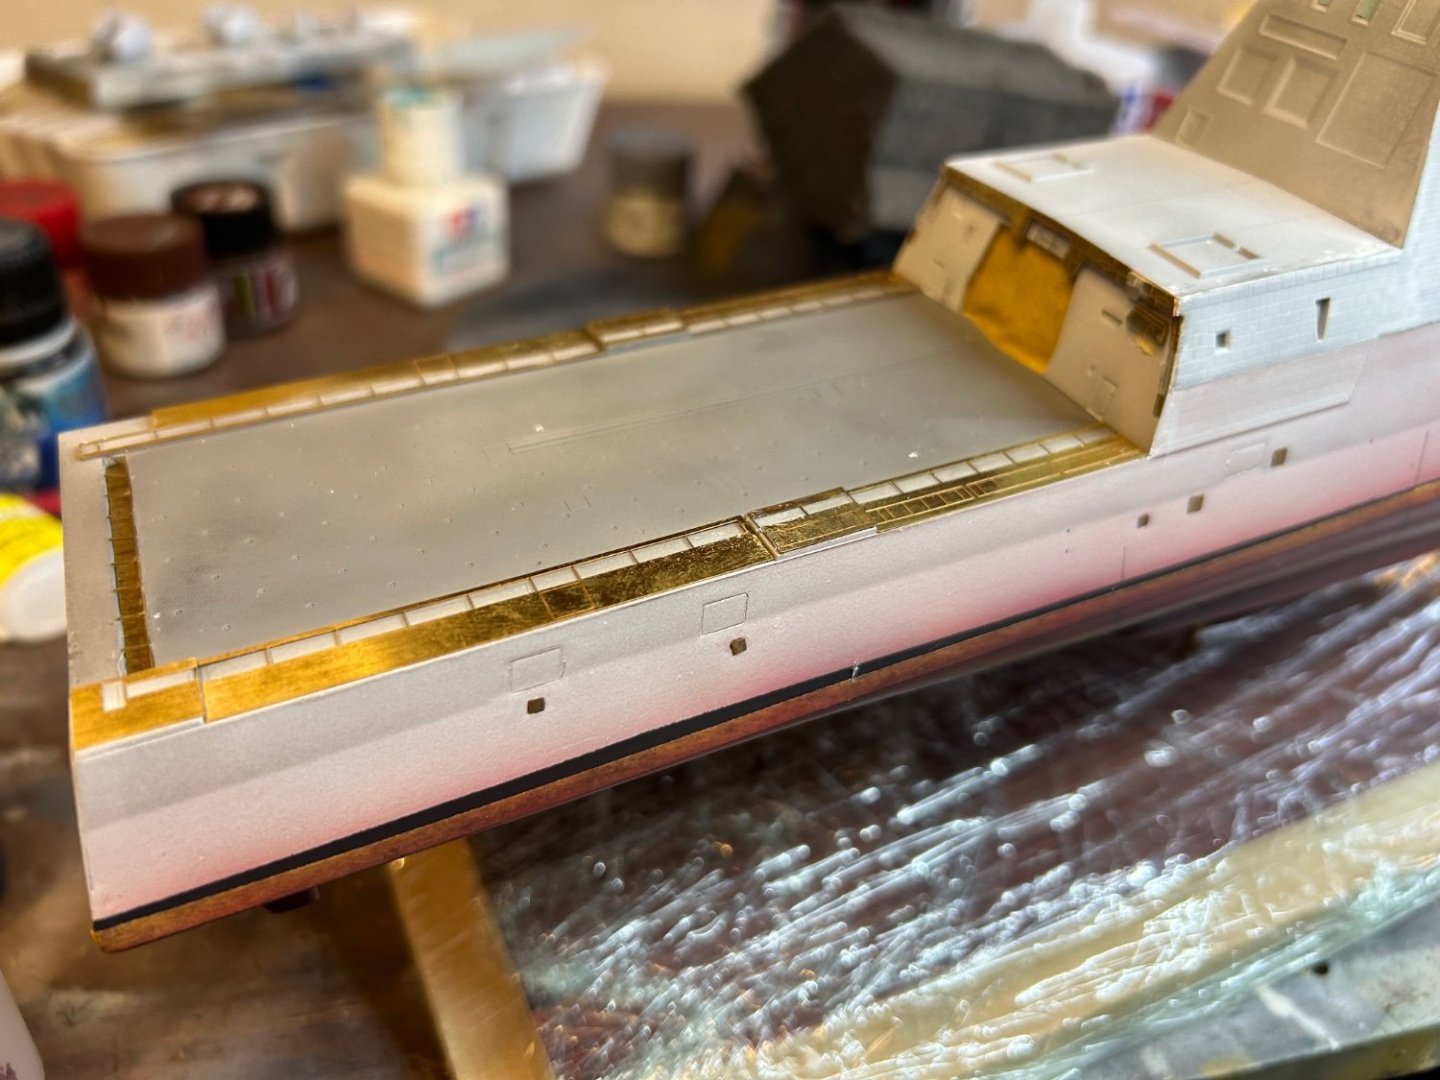
- 47 replies
-
- 10
-

-
- Zumwalt
- Snowman Model
- (and 2 more)
-
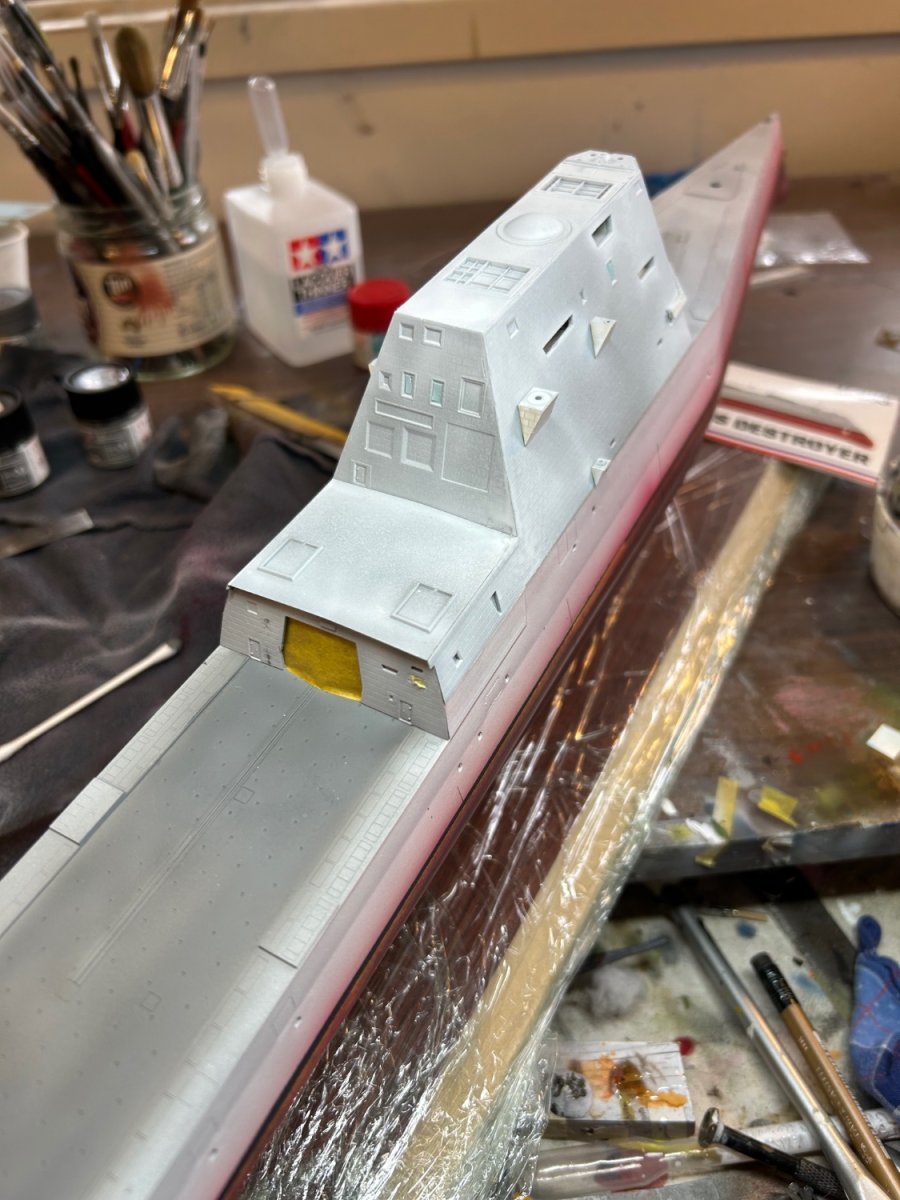
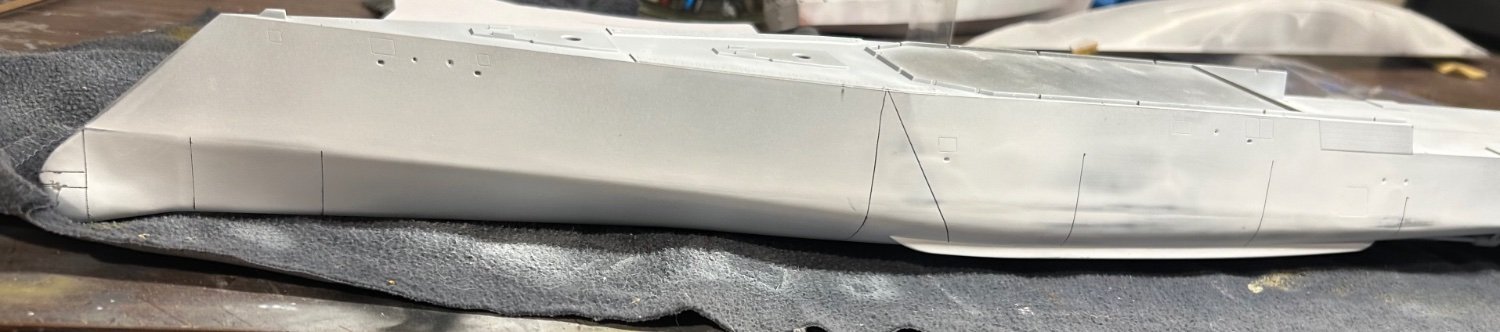
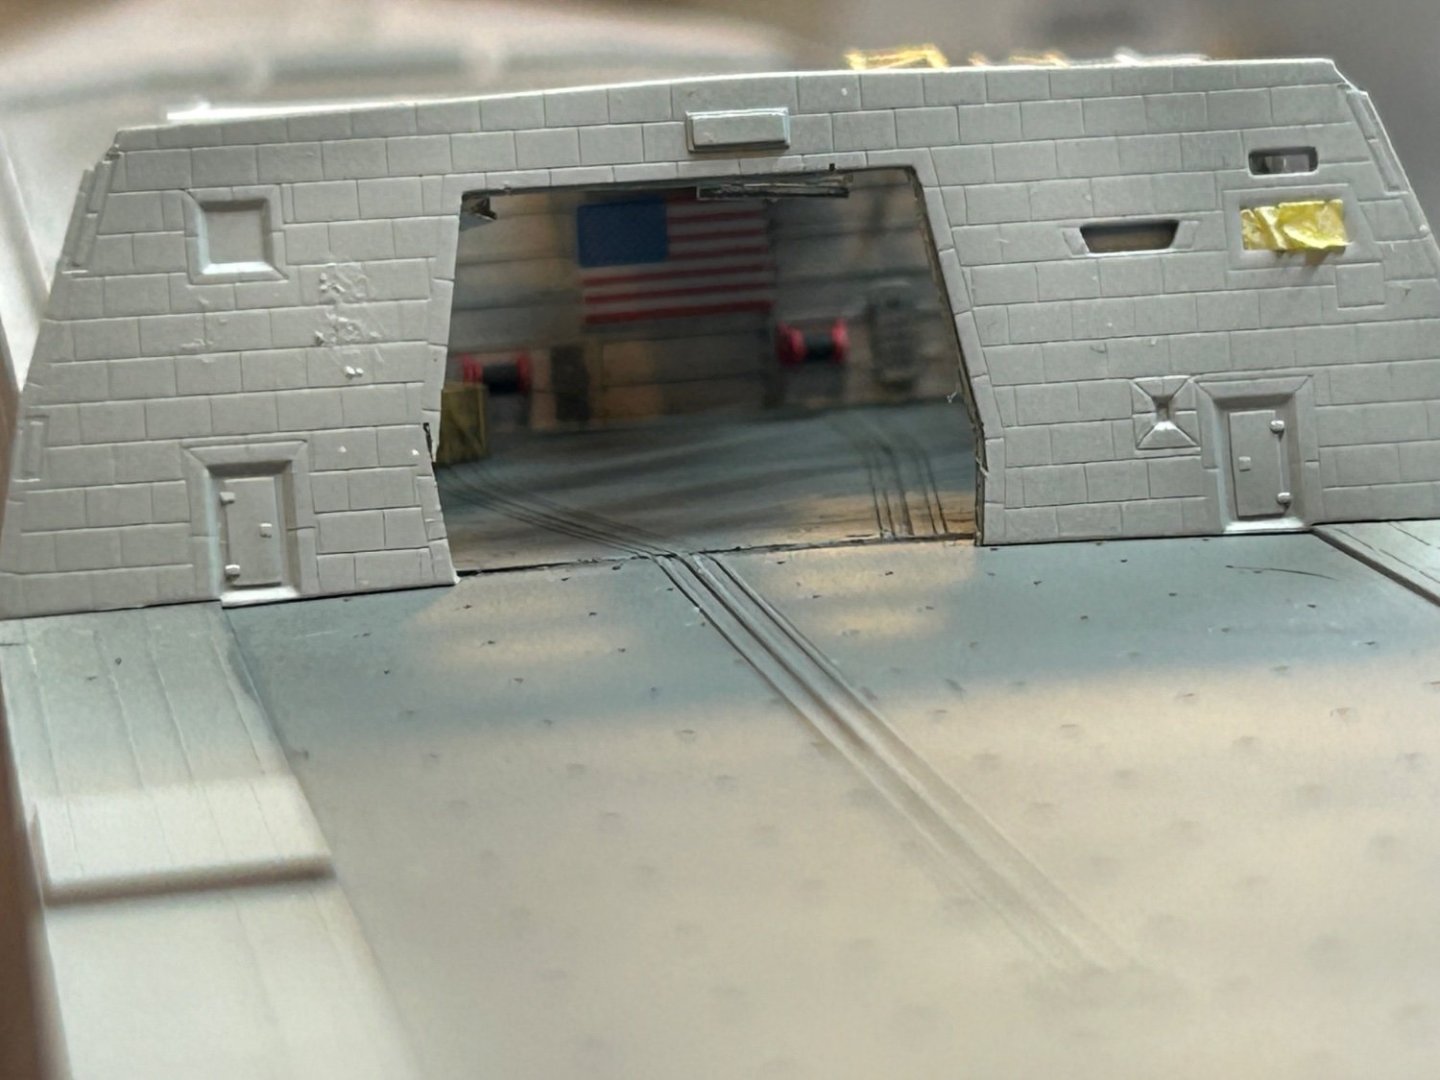
So the upper hull. I’ve scratch built the hangar, painted and plugged it in. You can’t see much without a torch. A few little gaps I’ll need to fix but it goes on fairly flush.


- 47 replies
-
- 10
-
-
- Zumwalt
- Snowman Model
- (and 2 more)
-
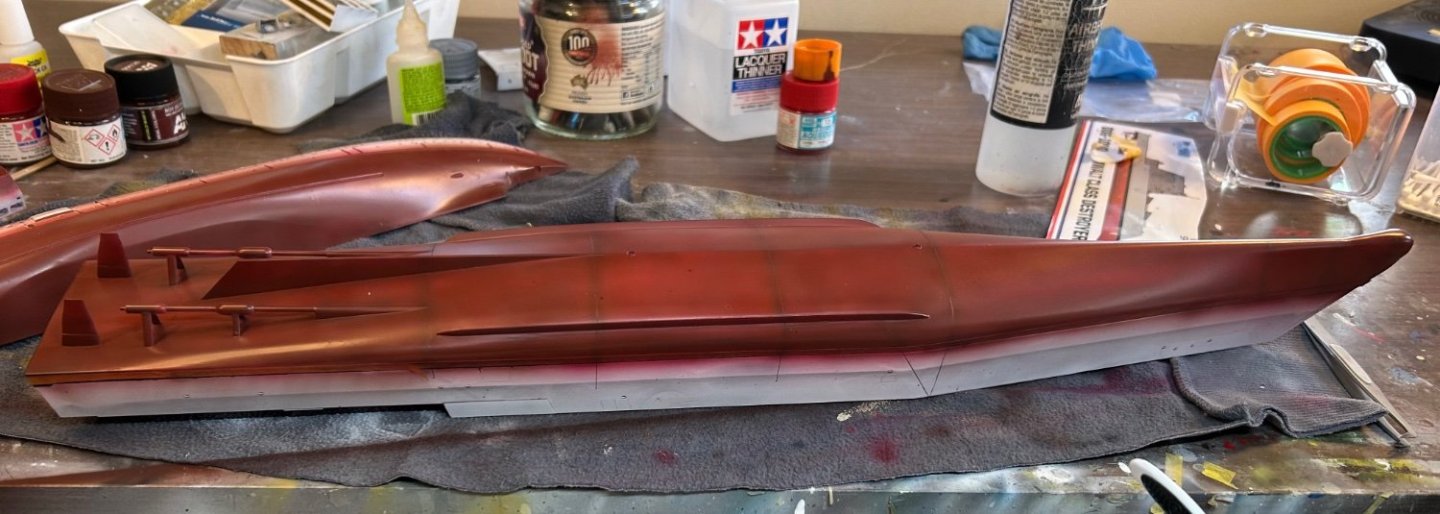
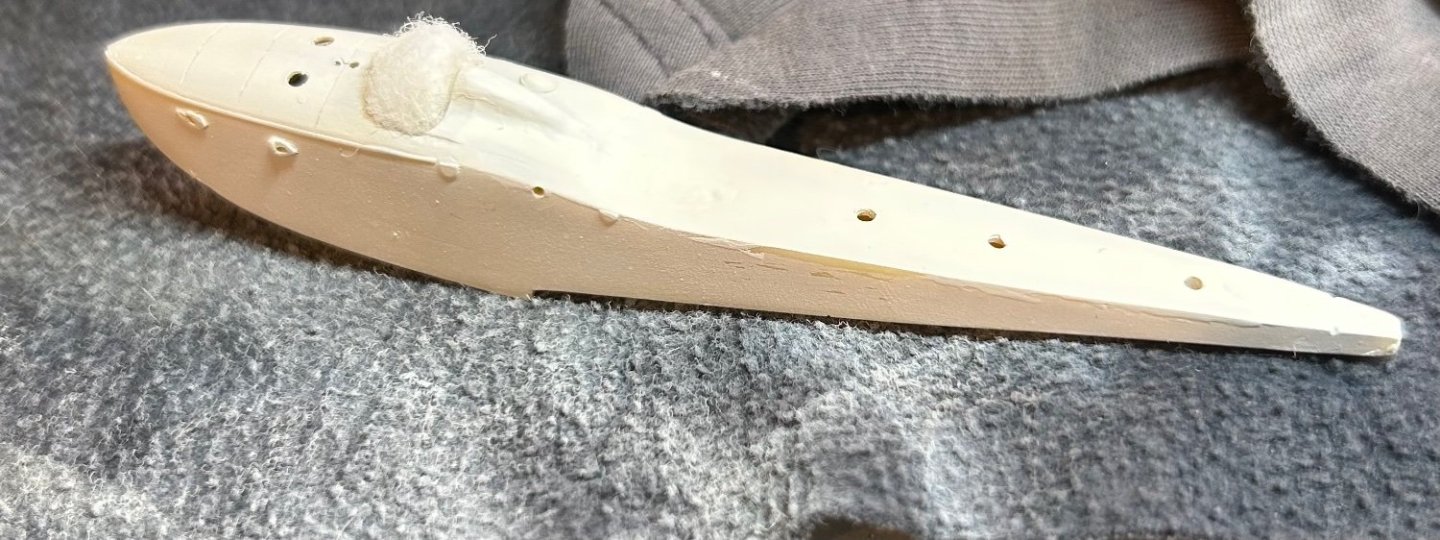
Lower hull done. I need to start grunging it up a little but I think I’ll leave that till the upper hull is done. I’m also in the process of doing up a half hull weathering demo for November as I’ve been asked to do a presentation of ship building/ Weathering and rigging.
- 47 replies
-
- 8
-
-
- Zumwalt
- Snowman Model
- (and 2 more)
-
How big will this be?
-
The best in show went to a MIG, people’s choice is the voted one by visitors
- 47 replies
-
- 5
-
-

-
- Zumwalt
- Snowman Model
- (and 2 more)
-
So I went away interstate with some club friends for a hobby comp, got best ship for Thetis Bay, Best Sub for U-9 and Peoples Choice for Seydlitz. Got golds for all and for HMS Zulu and a silver for the Porco Rosso. Nice review on U-Tube, last few minutes https://youtu.be/Aq1T8z5jz9g So anyways back to the Zumwalt. I have really stuggles to date getting the hull smooth to my satisfaction as the hul join is not flush. I’ve now drawn in the hull welds below the waterline which I’ll scribe in lightly.

- 47 replies
-
- 8
-
-
- Zumwalt
- Snowman Model
- (and 2 more)
-
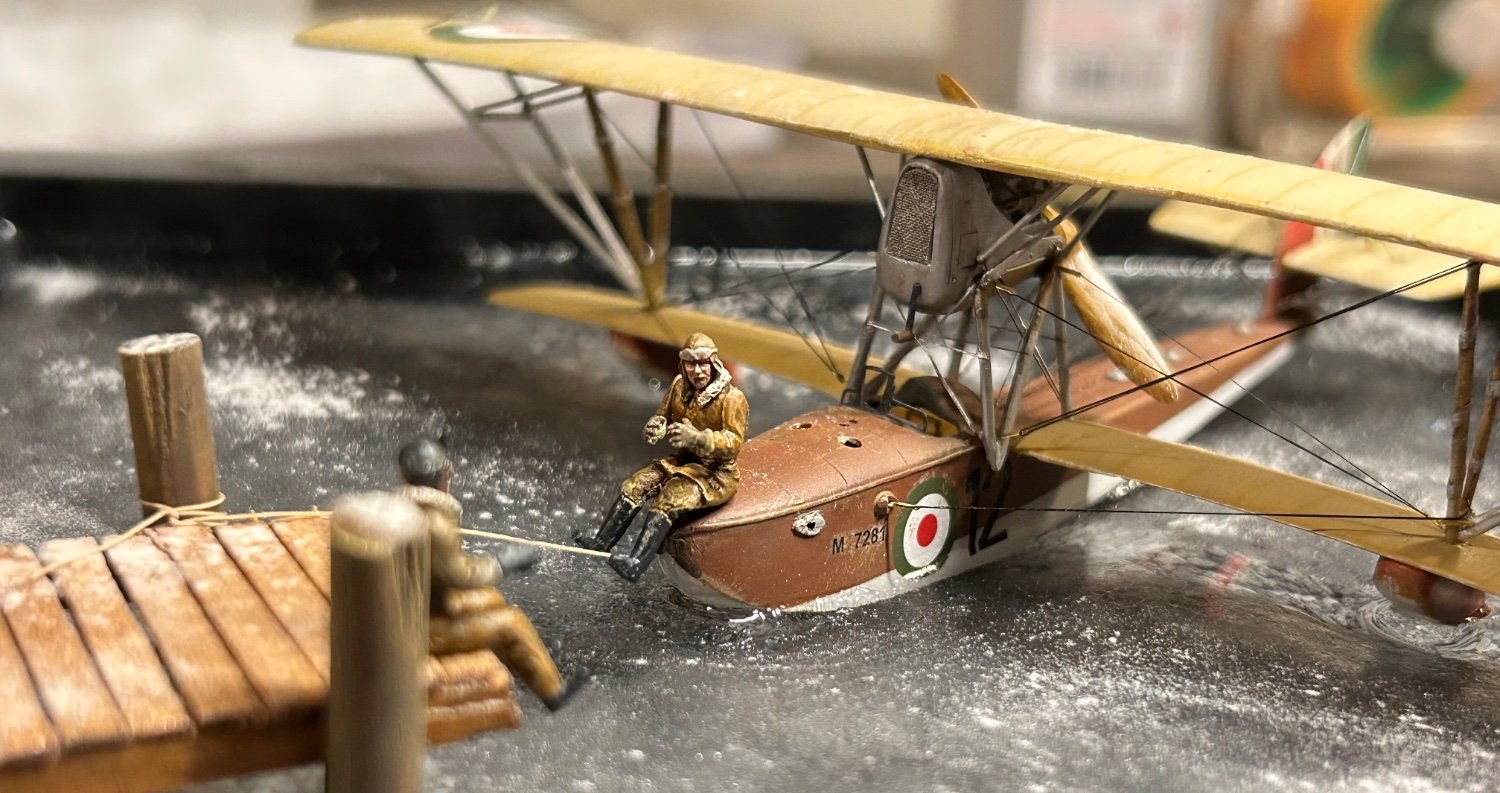
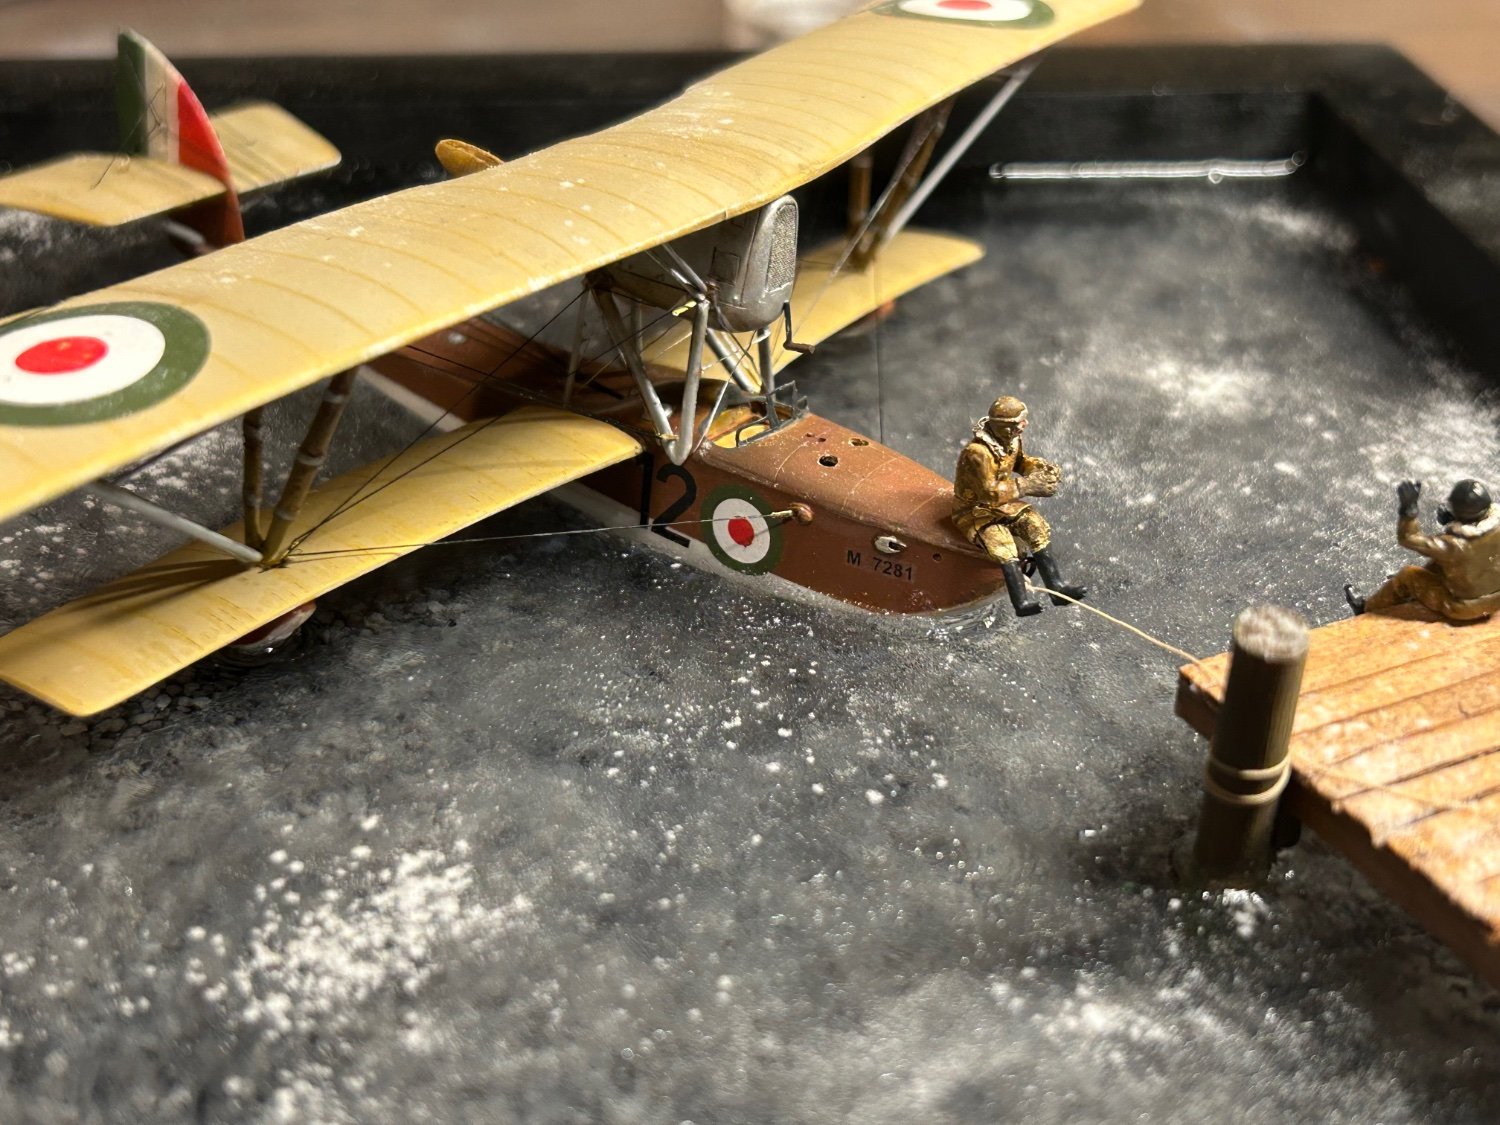
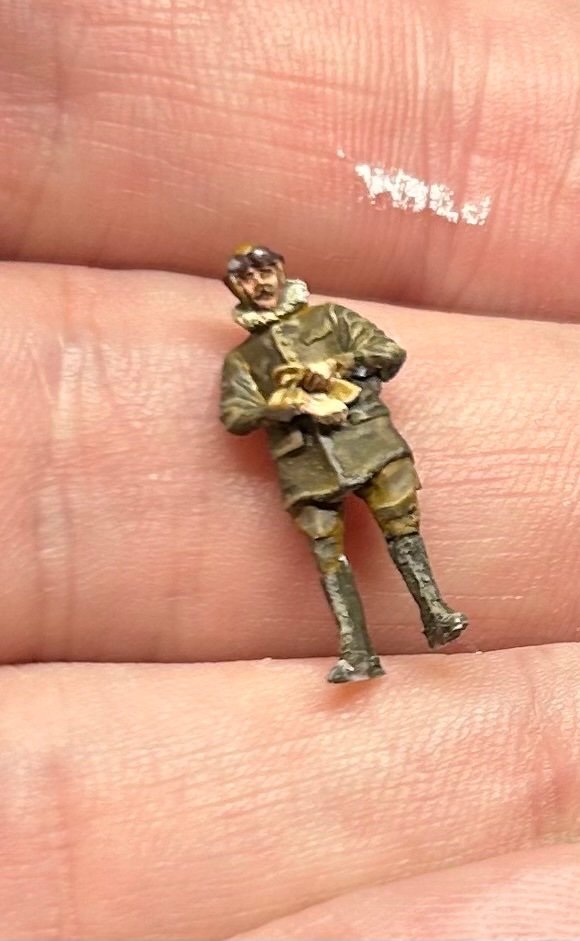
Last figure arrived today
-
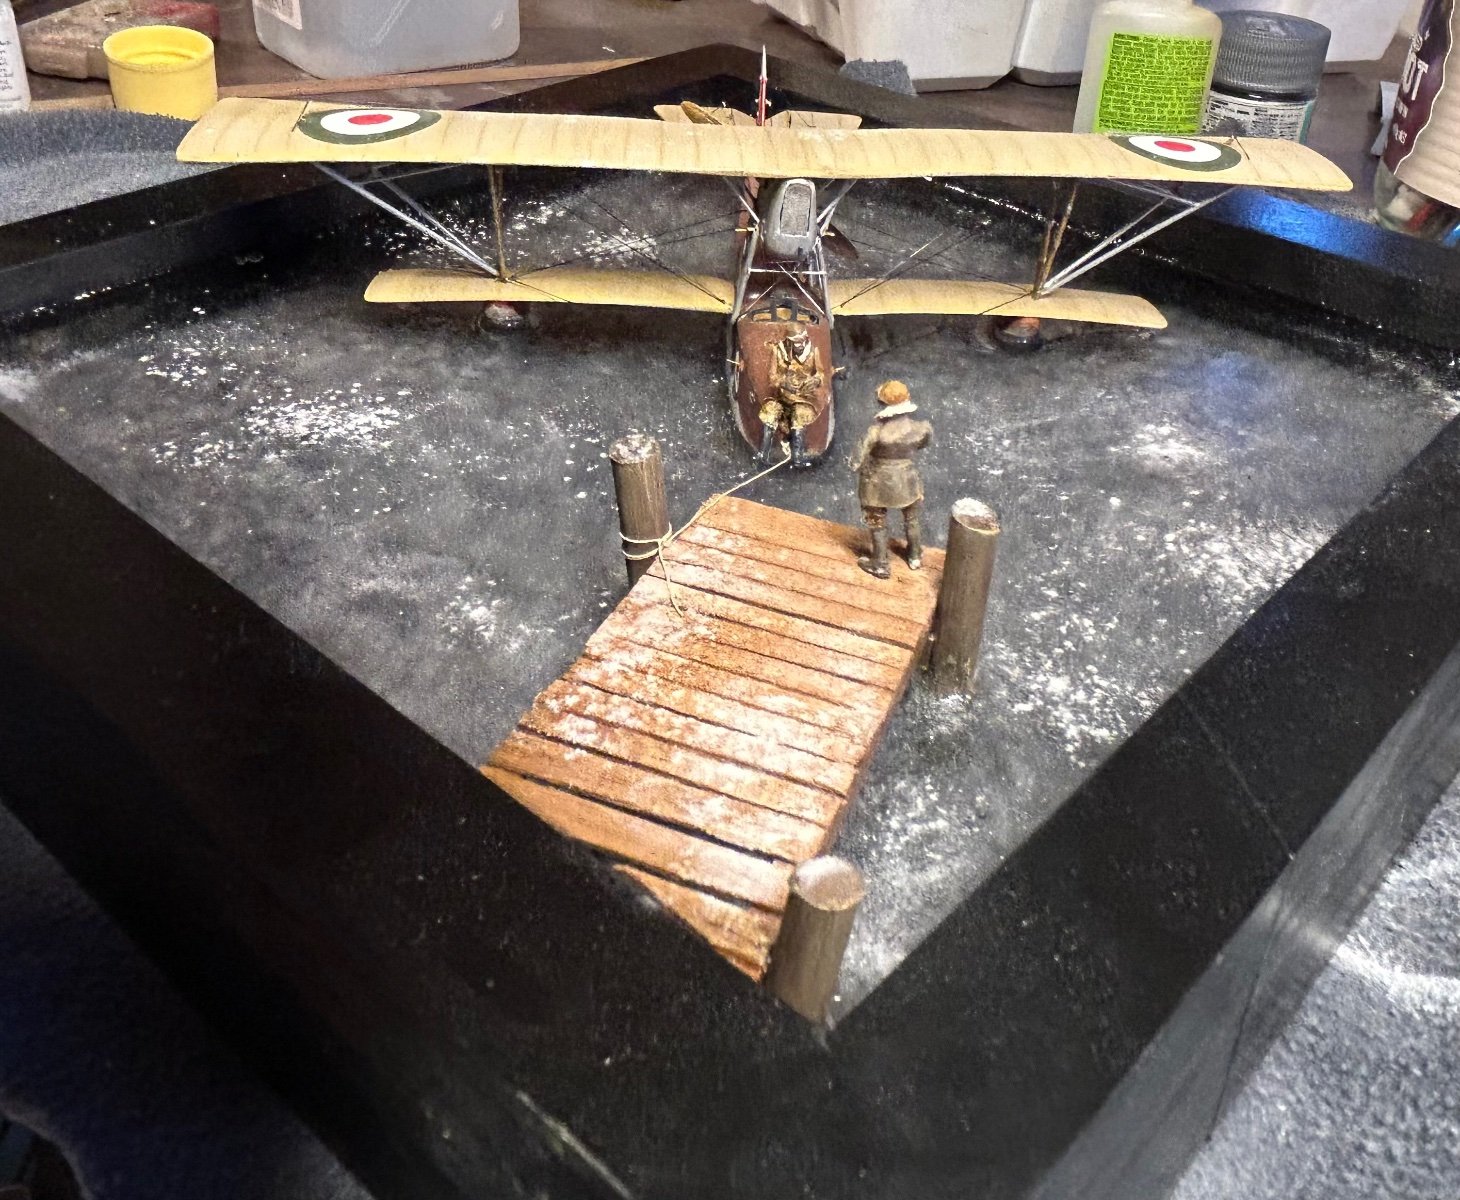
It’s the dead of winter here. 6 degrees C
-
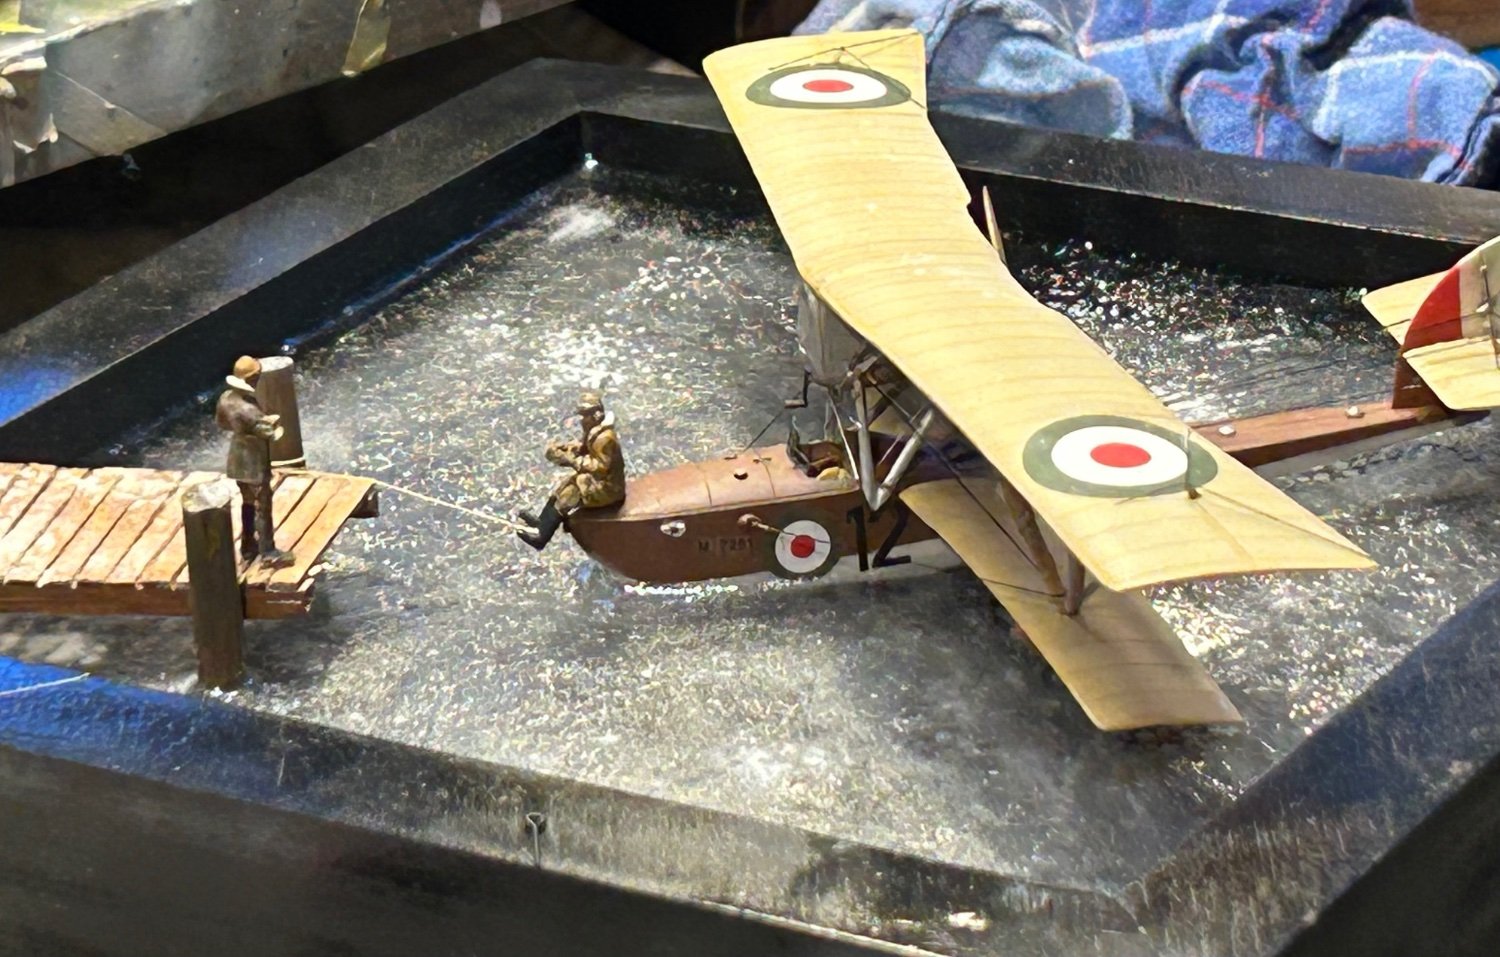
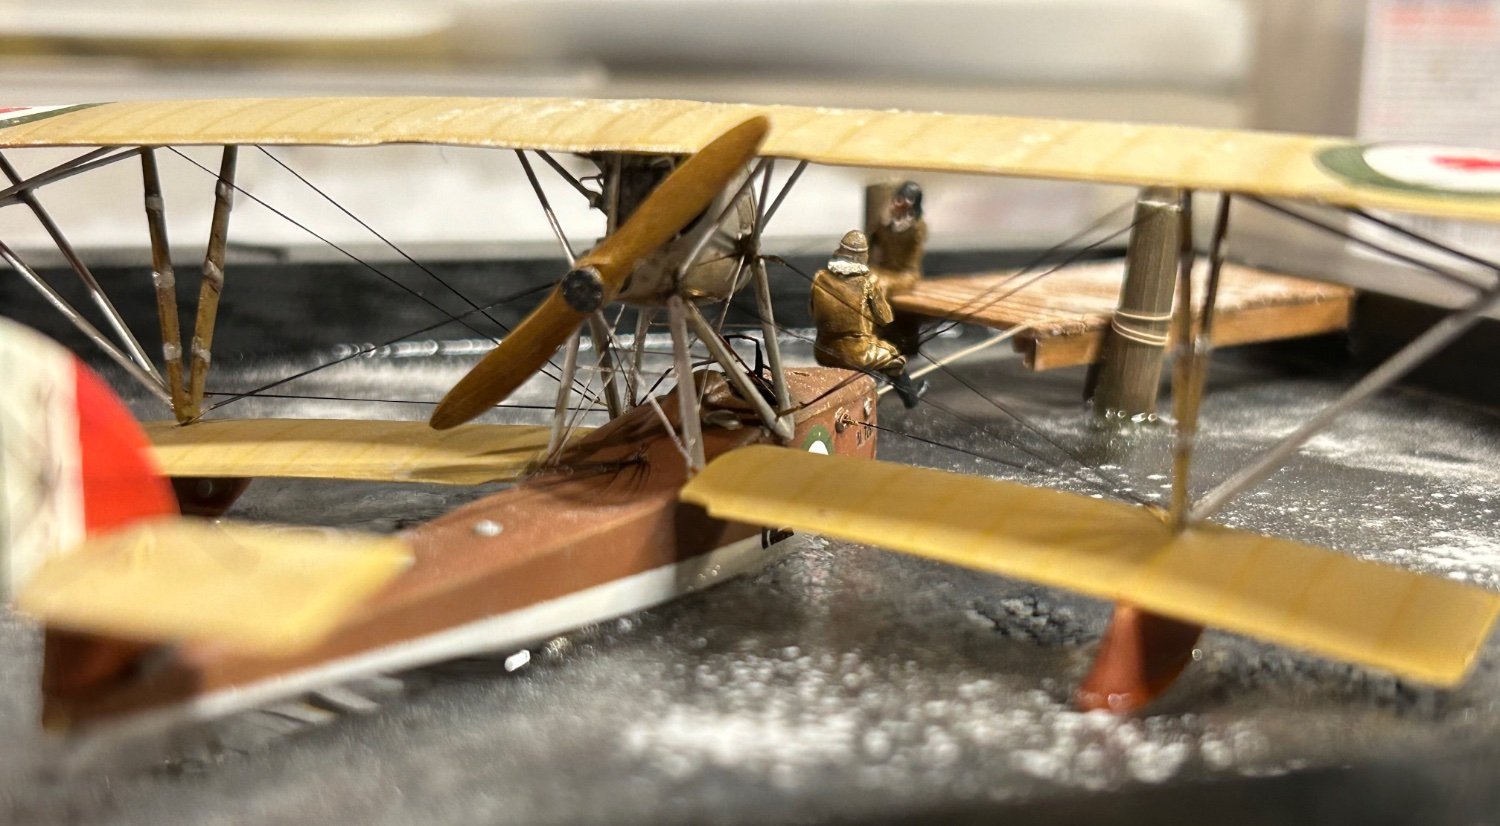
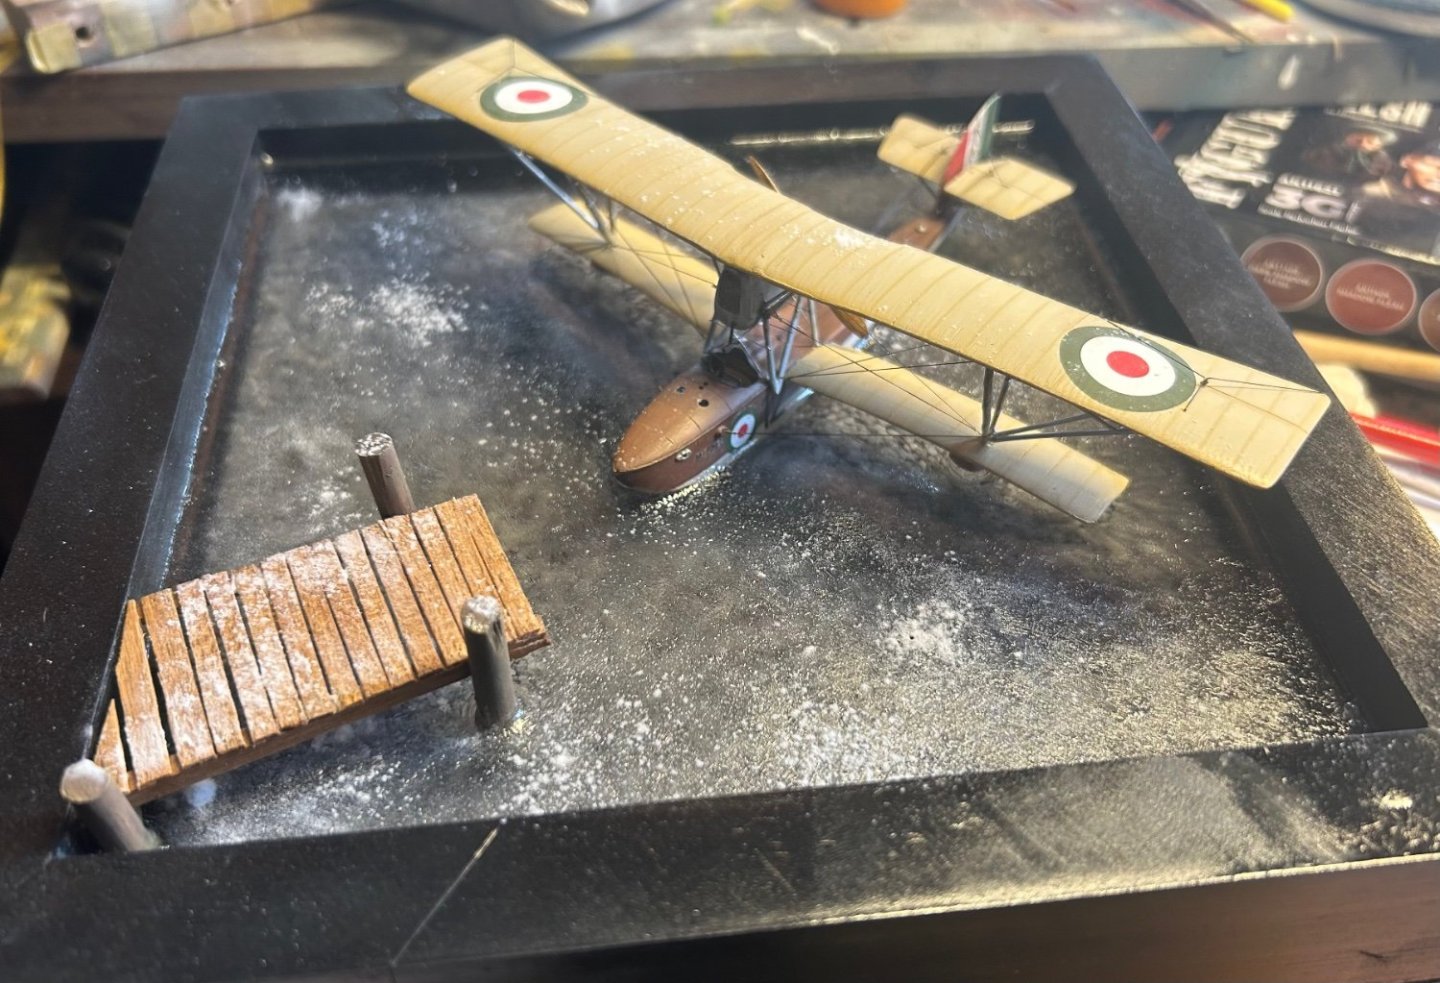
Almost frozen water with a light dusting of snow
-
Now a bit of frozen water and snow . I do like the crystal clear but it’s just not real.
- 44 replies
-
- 10
-
-
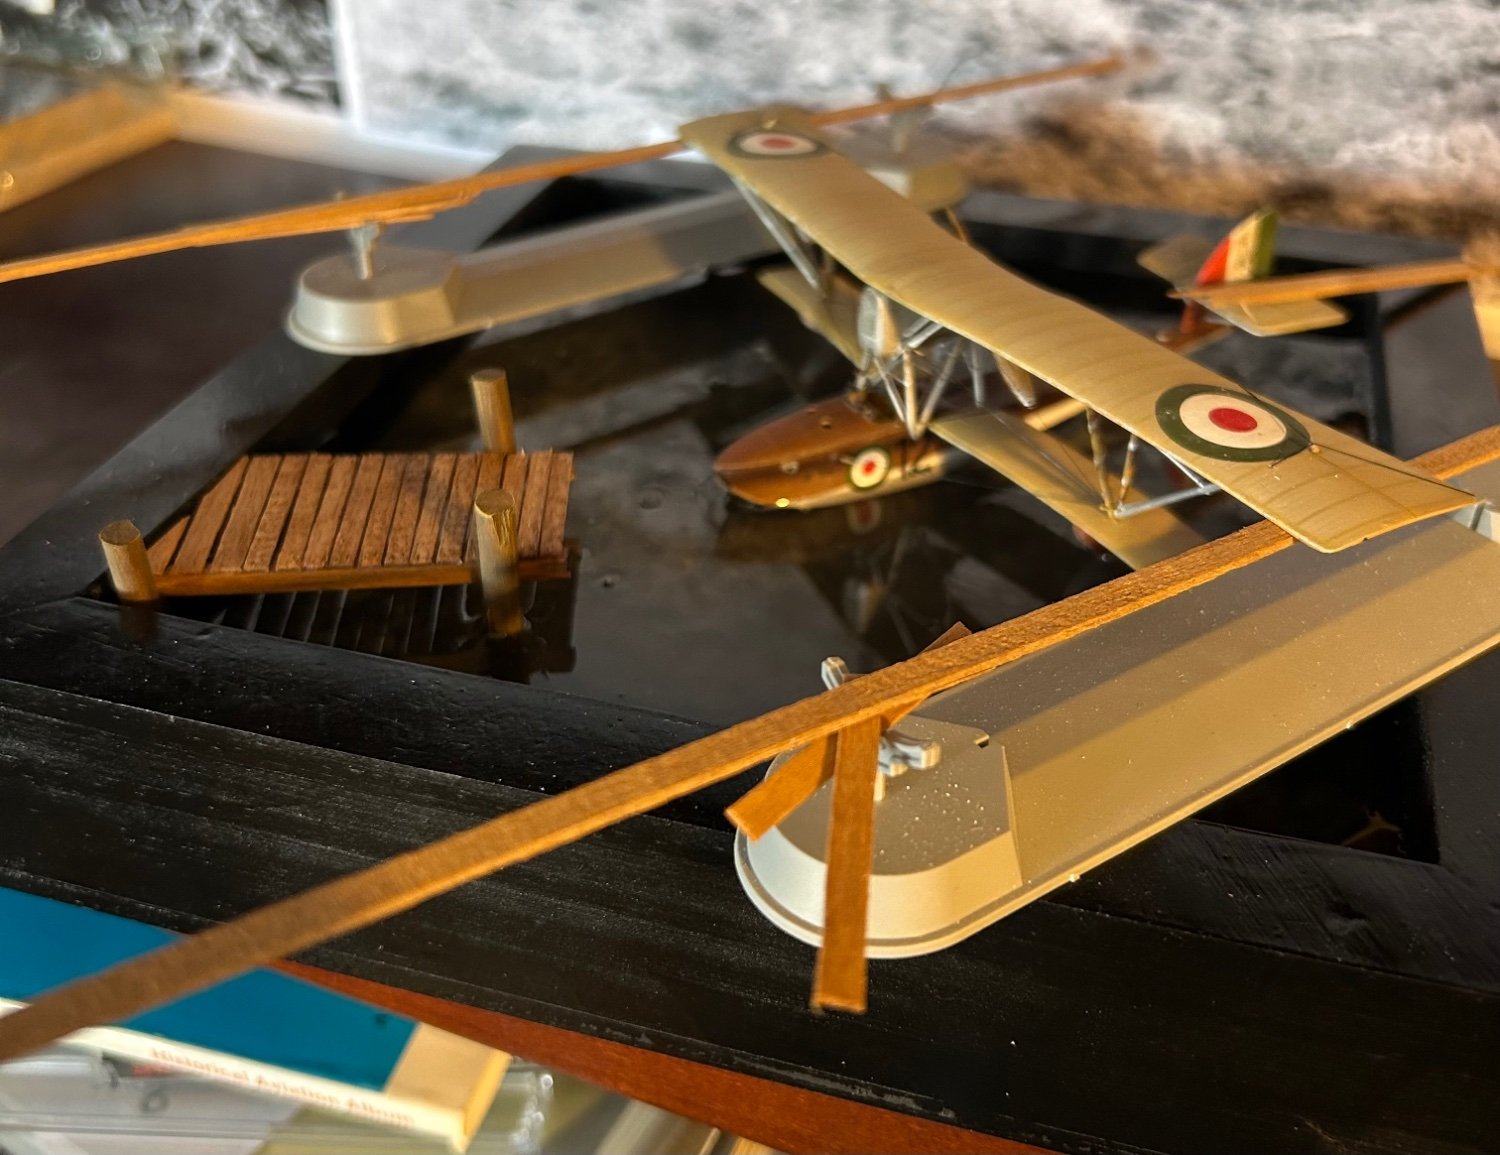
Clear water
-
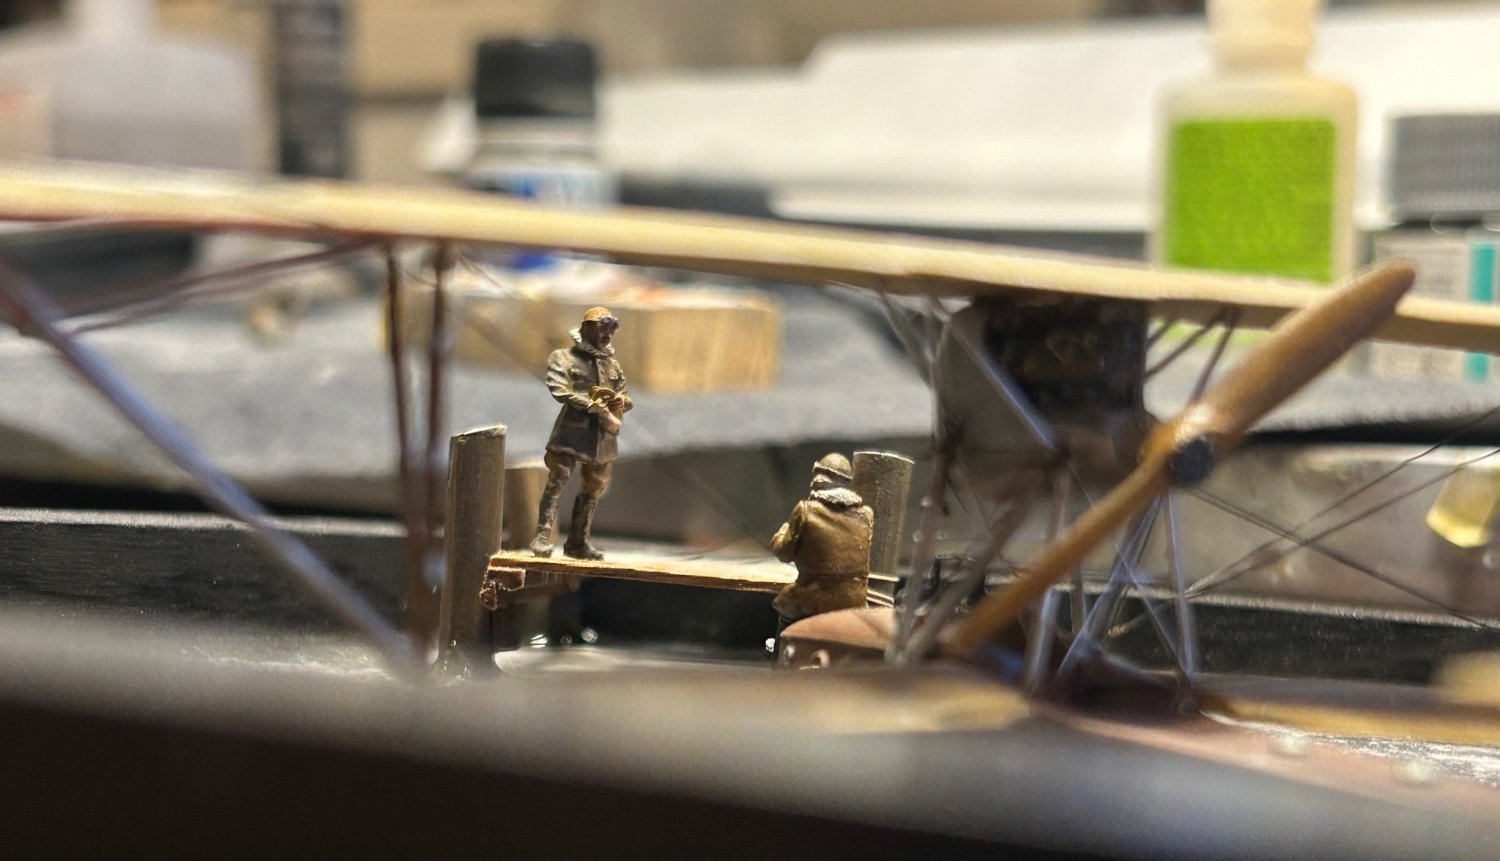
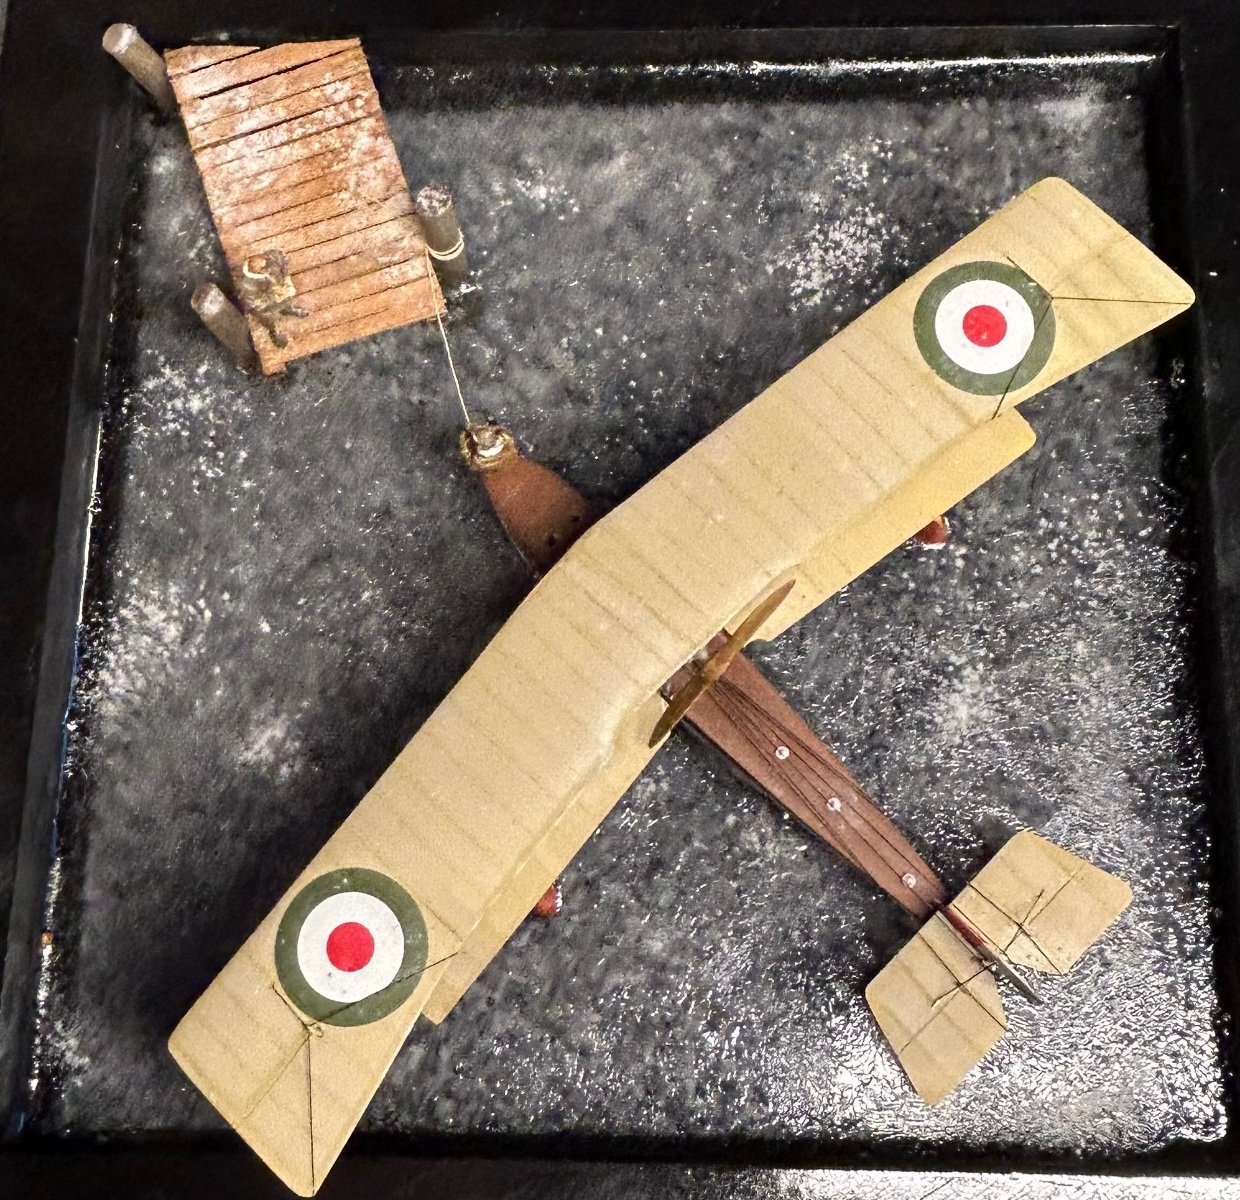
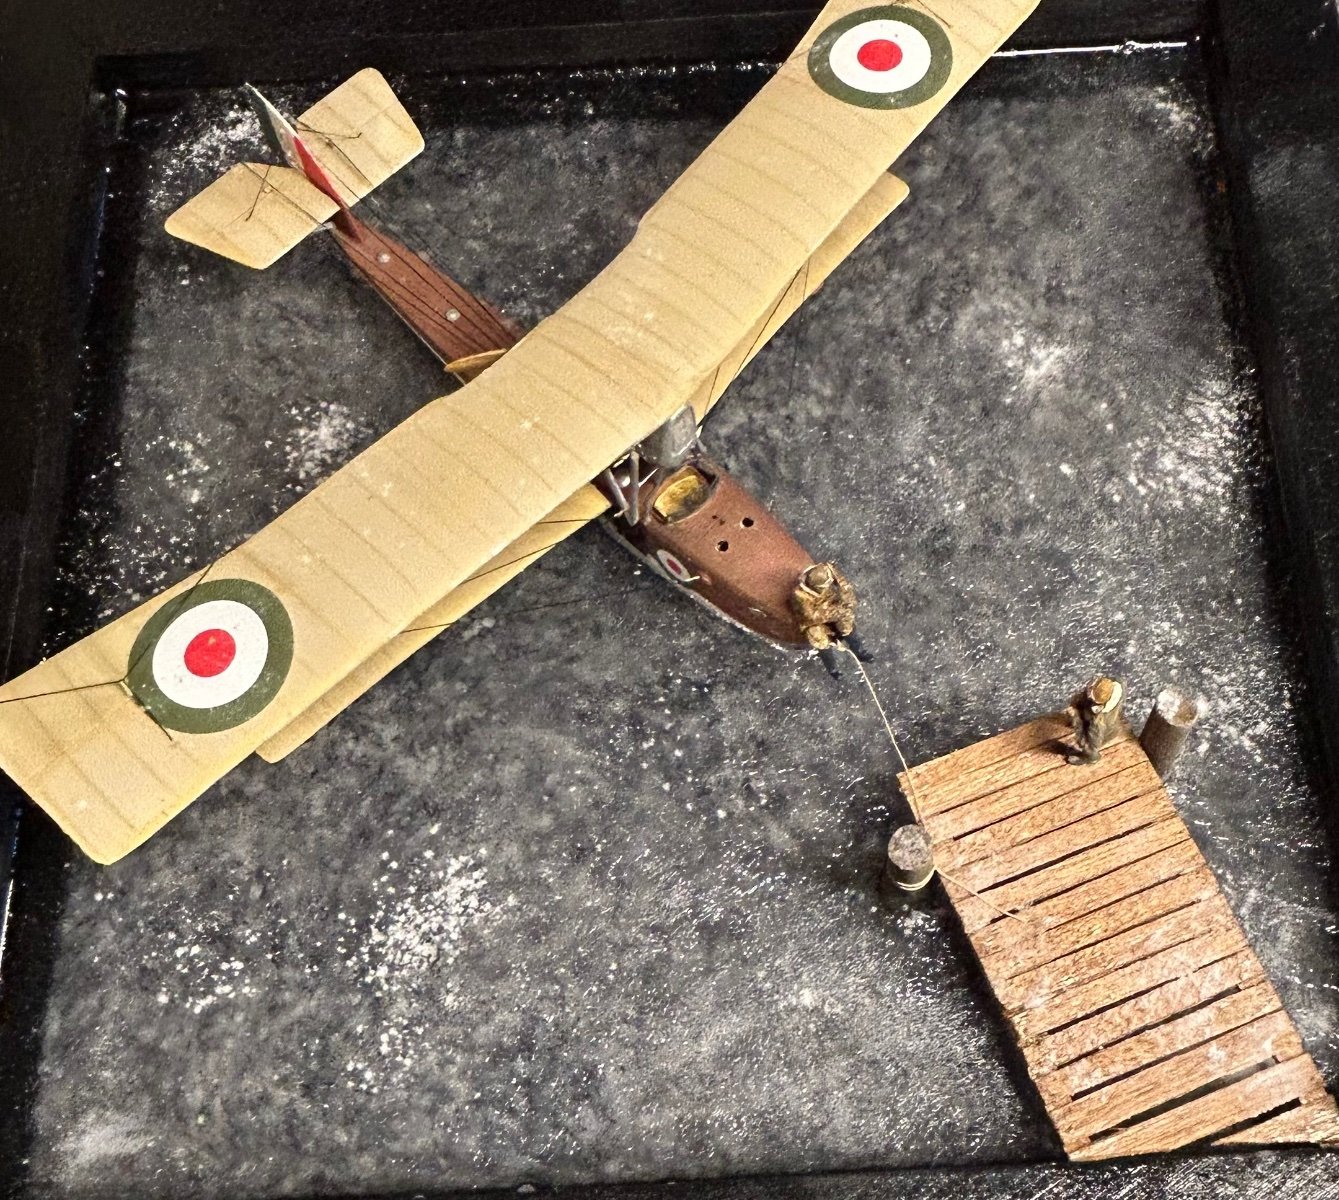
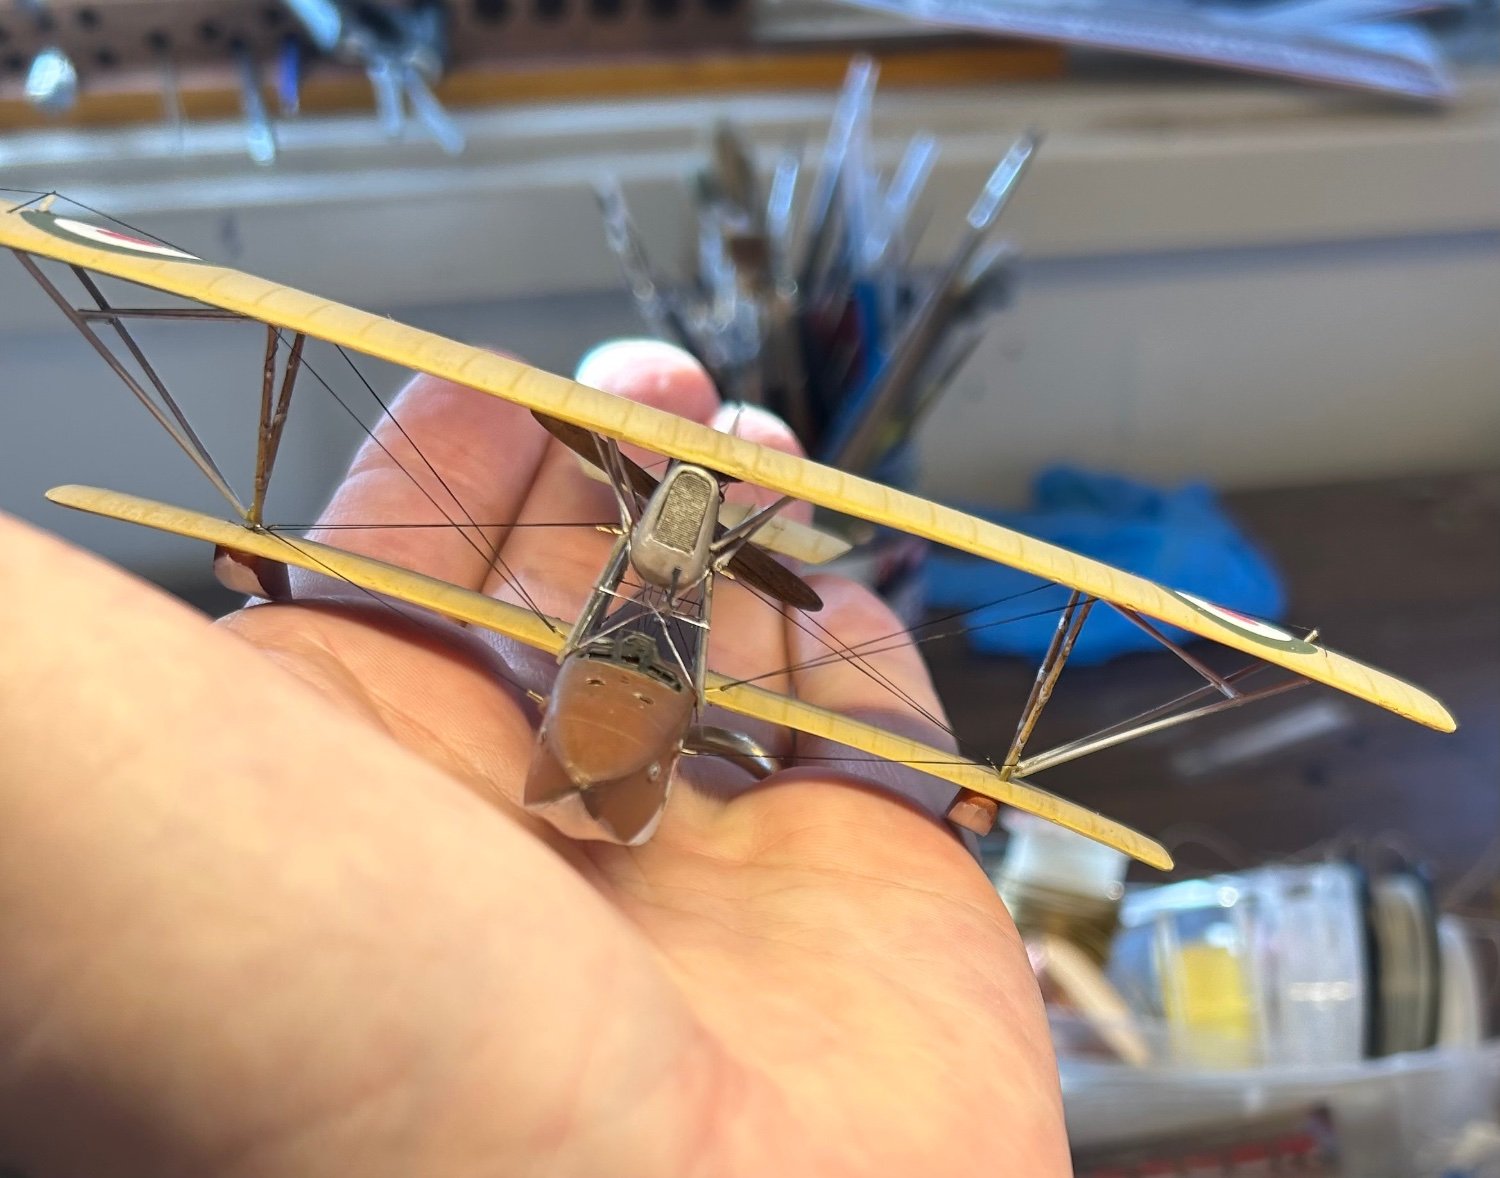
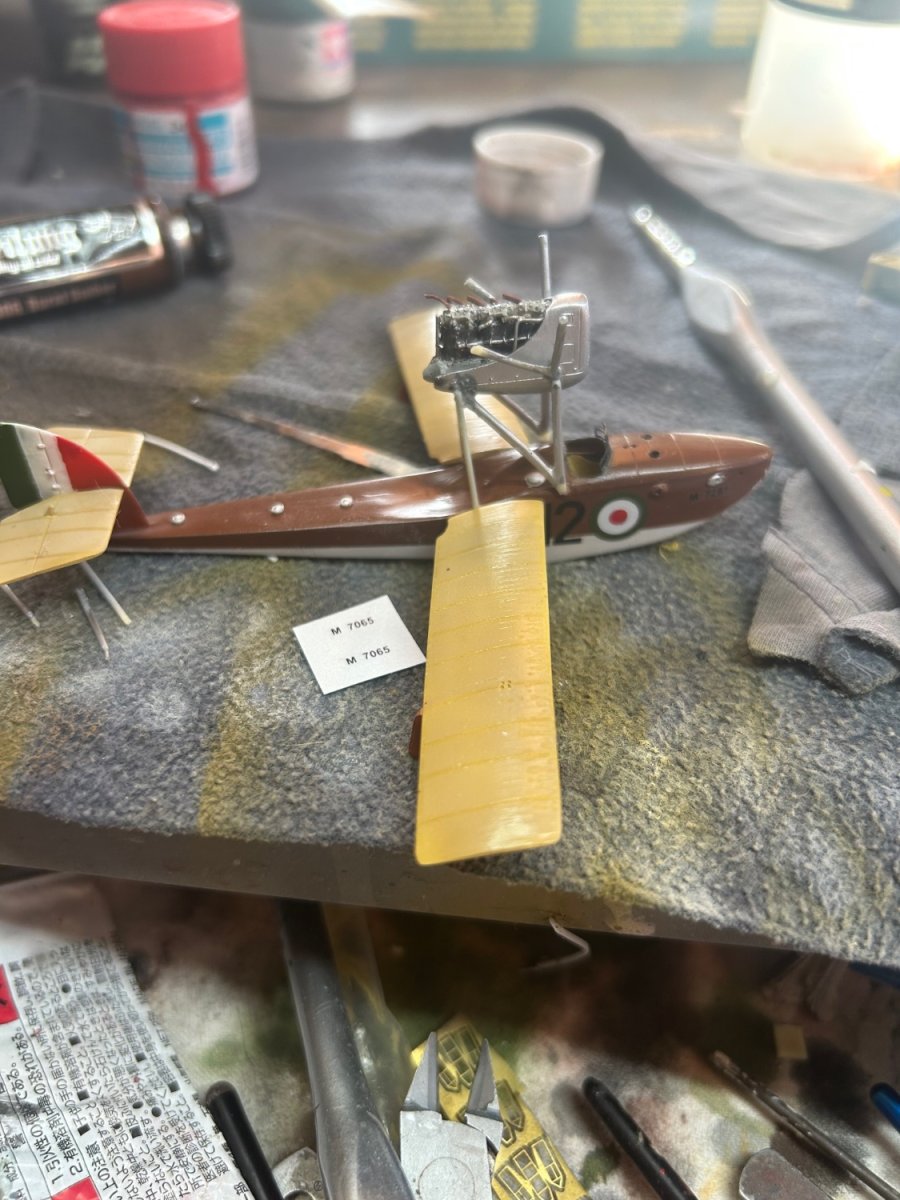
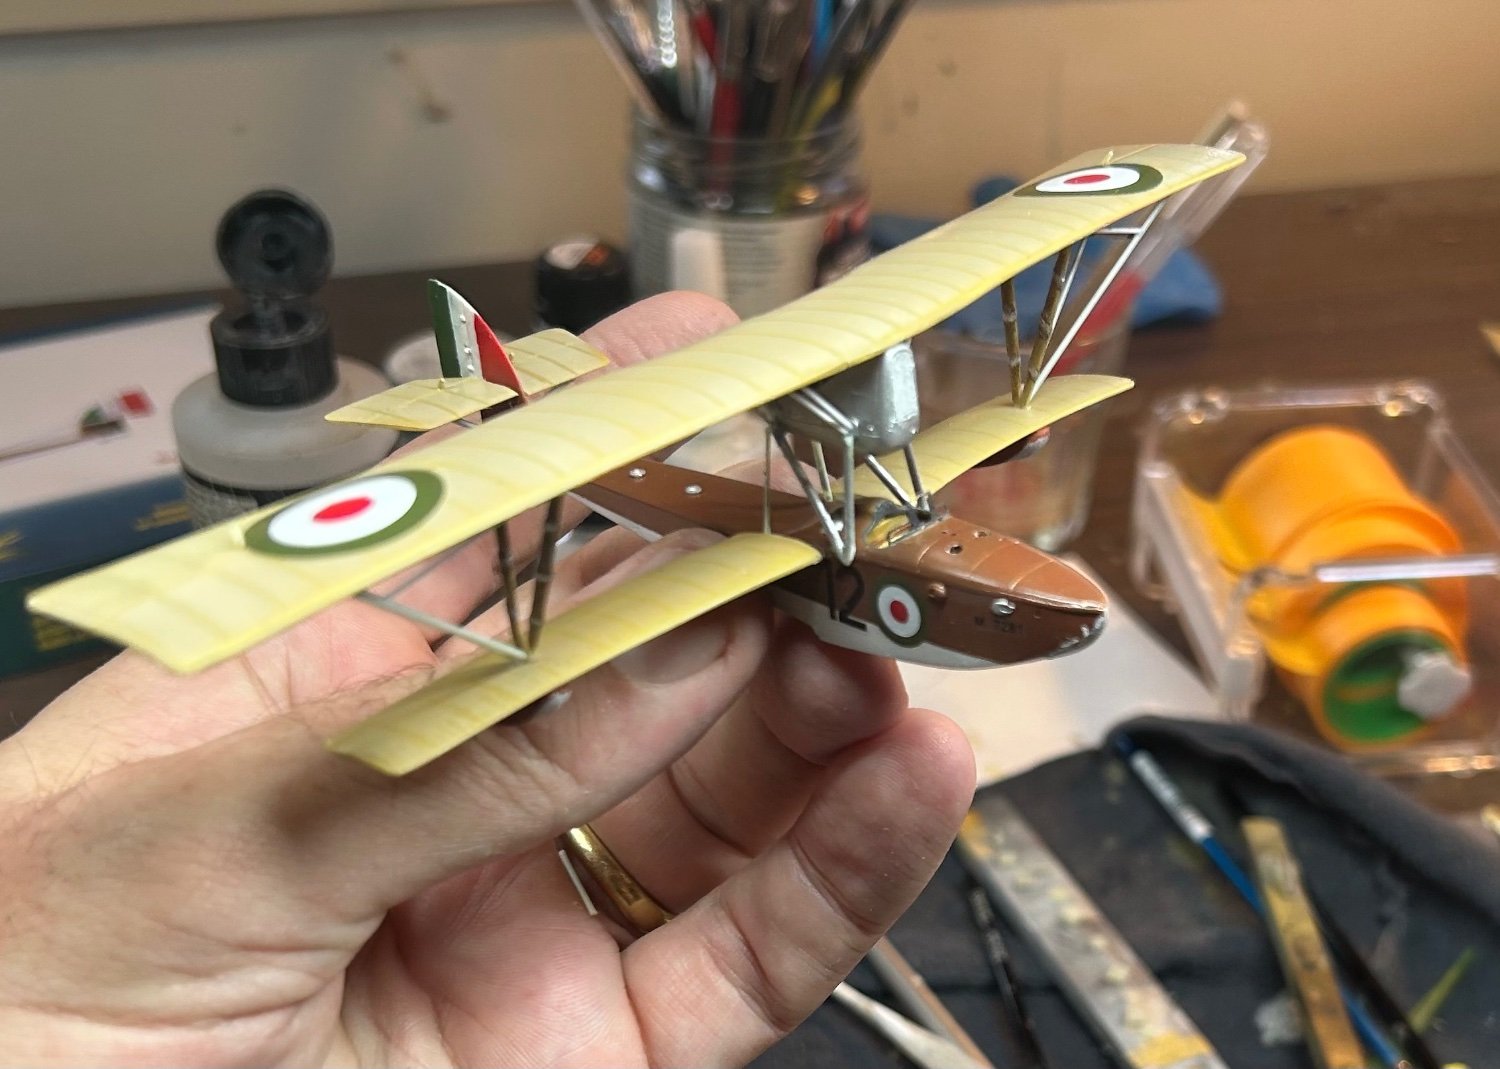
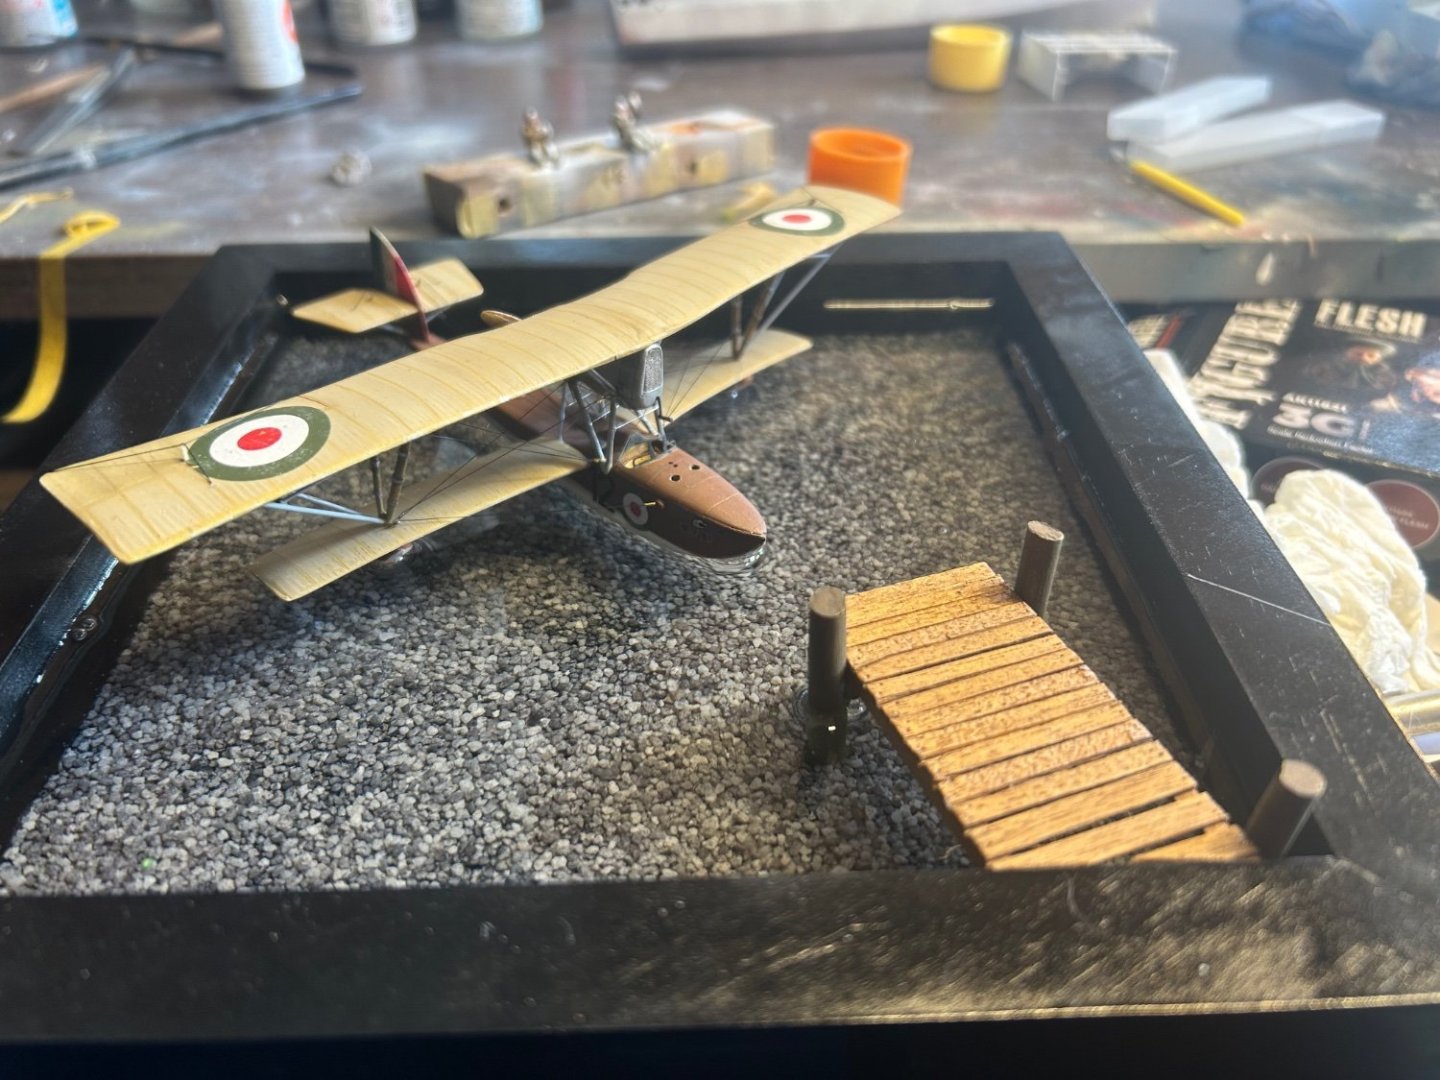
So next it paint all the struts. Fix mistakes, gloss coat, matte coat, rigging, weathering, add a aftermarket pilot. Dunk in water
-
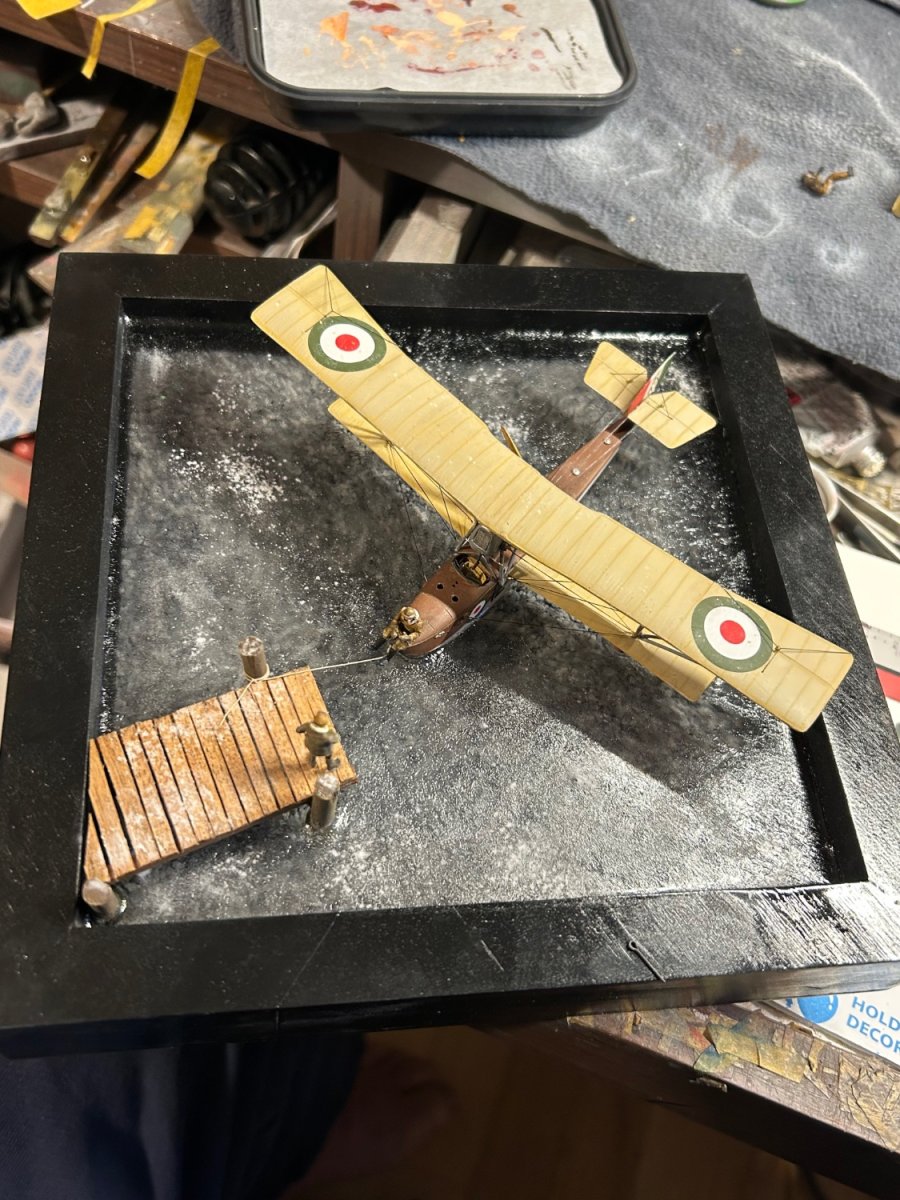
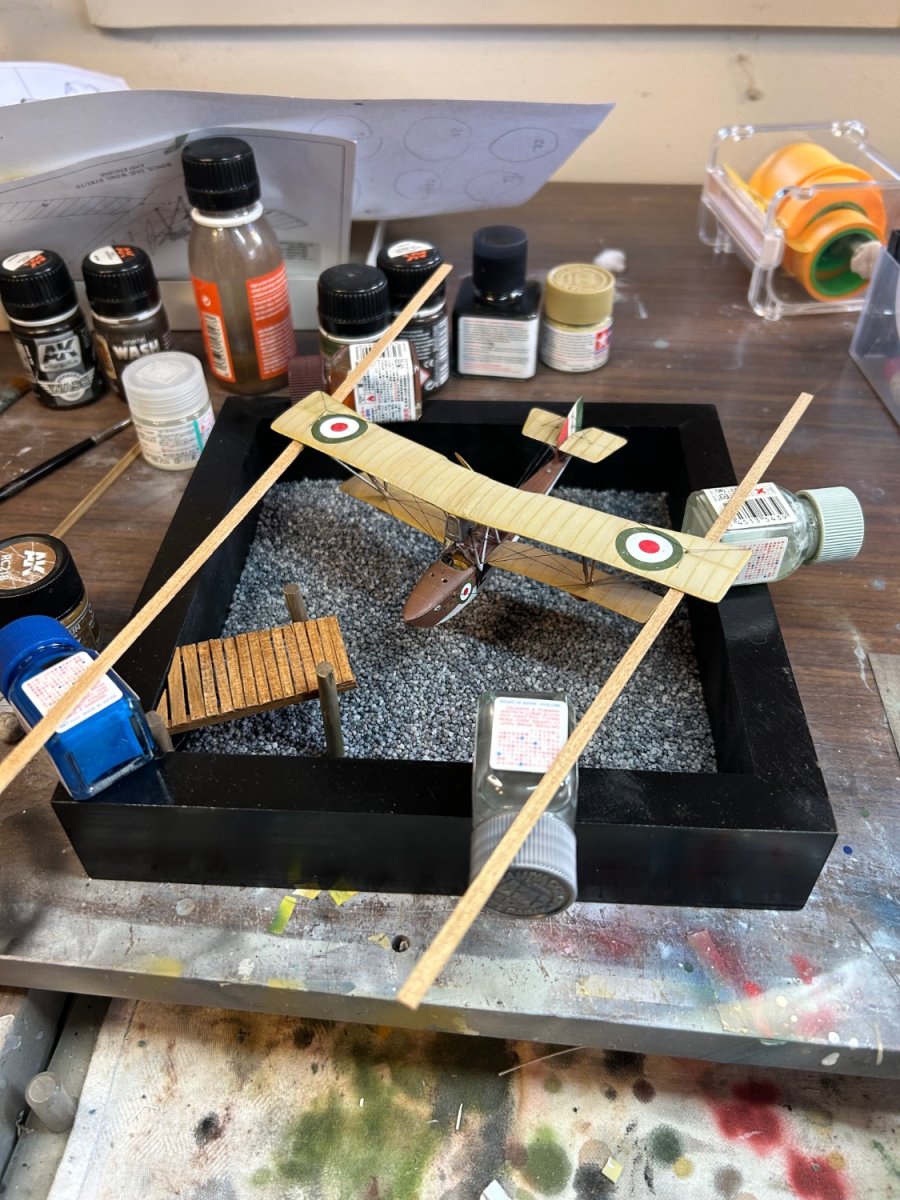
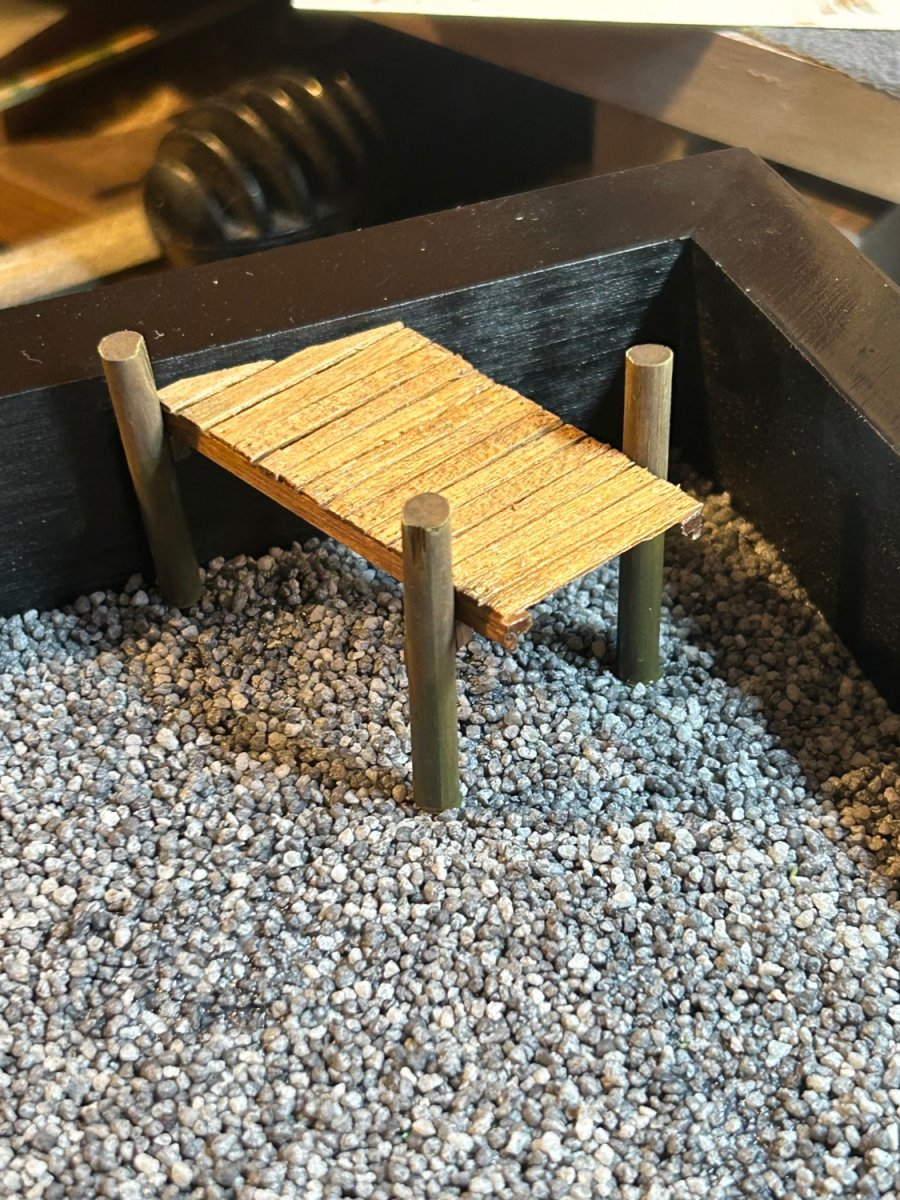
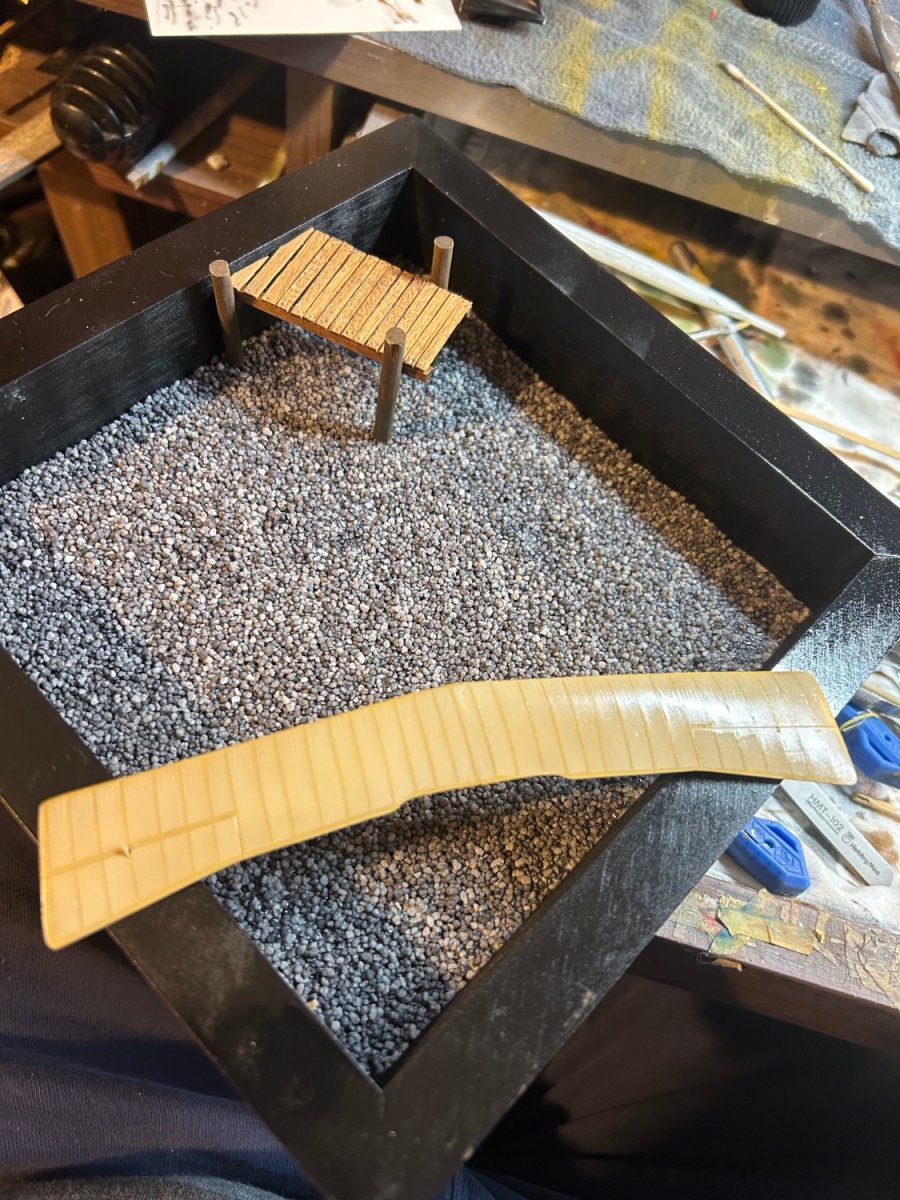
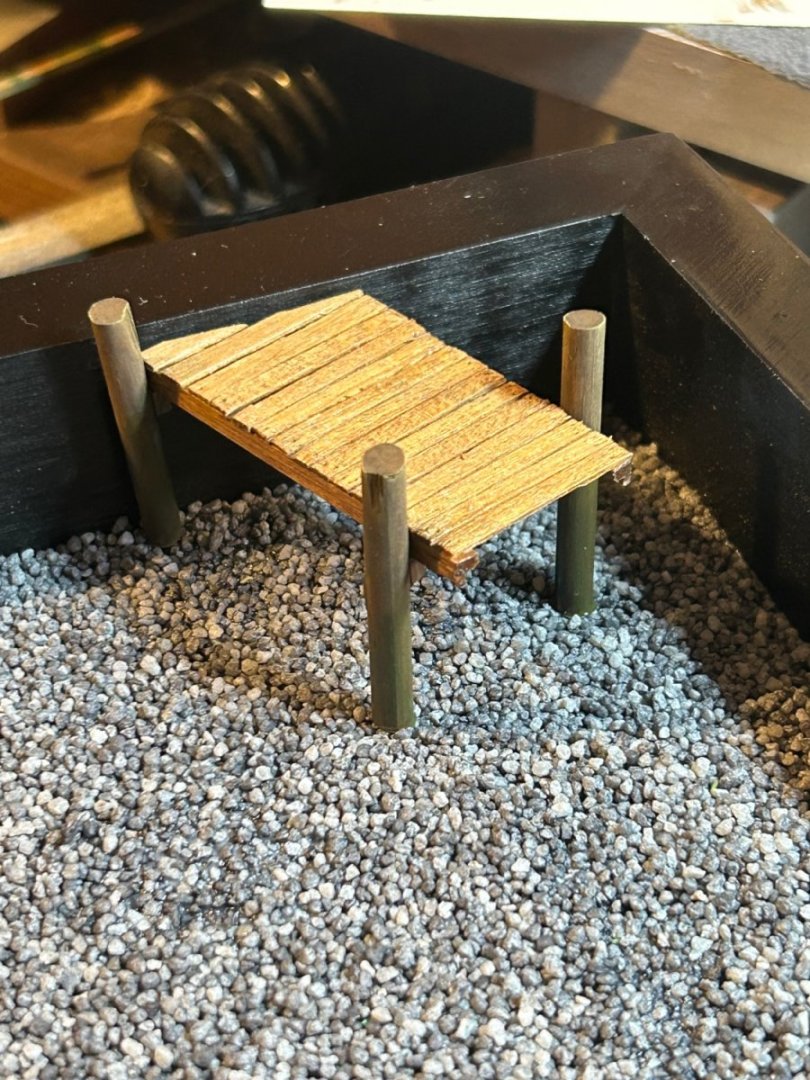
So I won’t back to an art shop, bought a new base, rattle canned it black. Saturated the base with white glue and added pebbles, then scratch built a jetty out of wood from my wooden ship days. My plan is to pour clear resin in then park the Macchi in it. As you. And see I’ve done up the topside of the top wing, which is gloss so I can add the decals.

- 44 replies
-
- 10
-
-
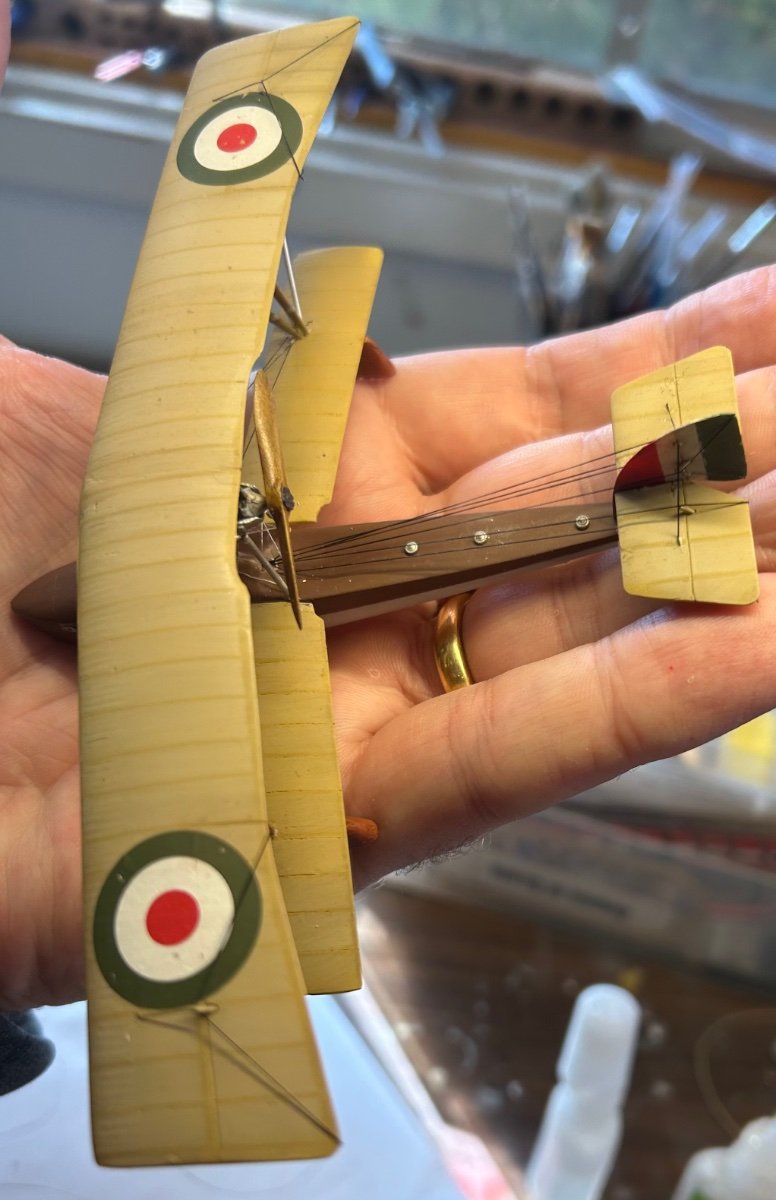
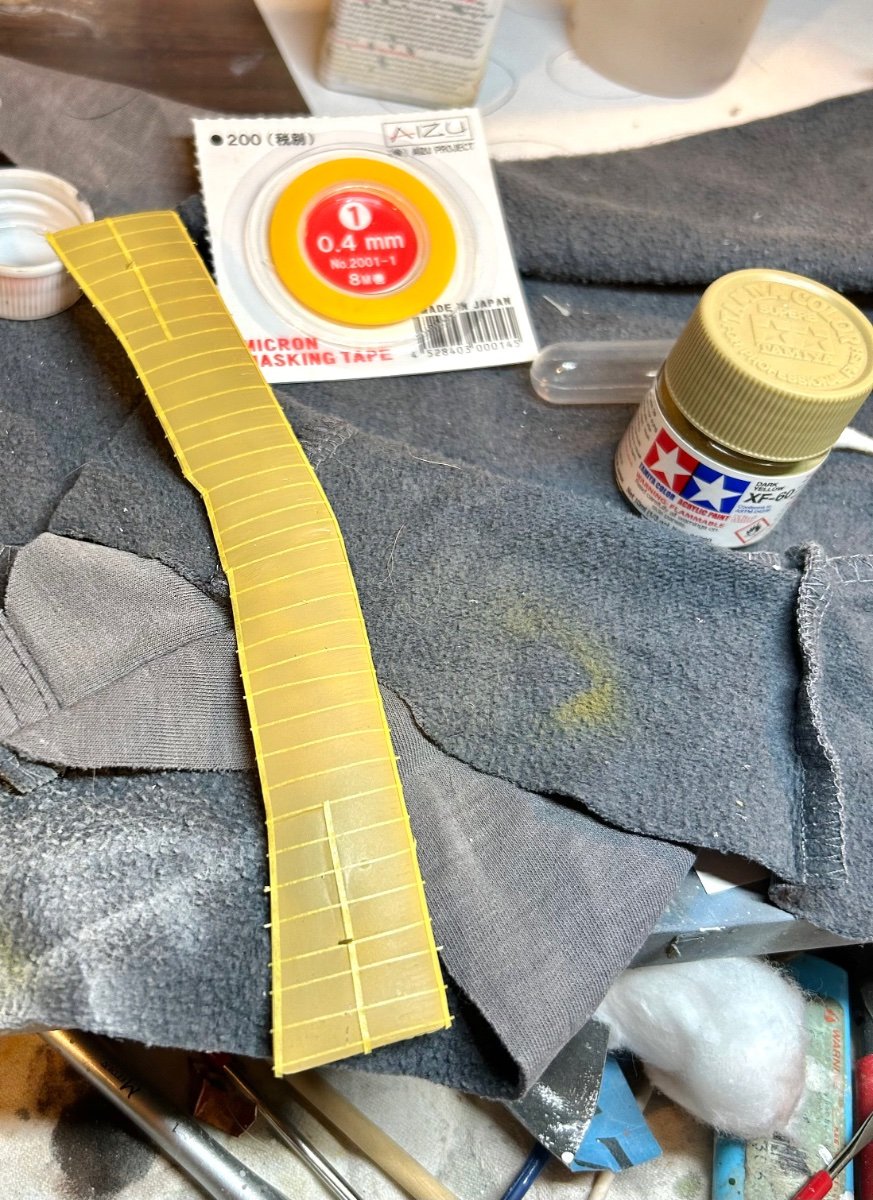
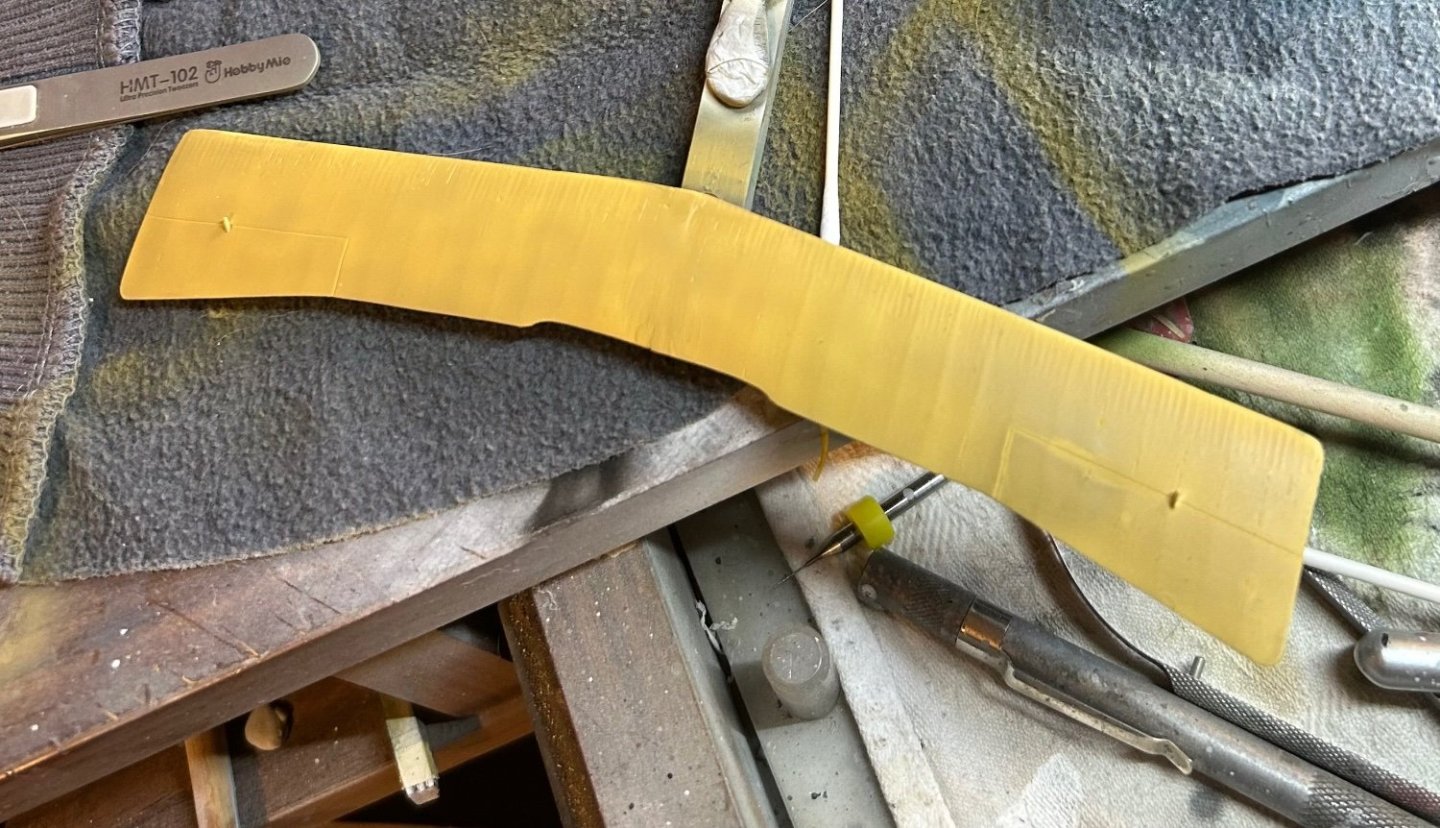
Masking in the ribs. I’ll only do the topside as I intend on planting her in a resin base again

- 44 replies
-
- 10
-
-
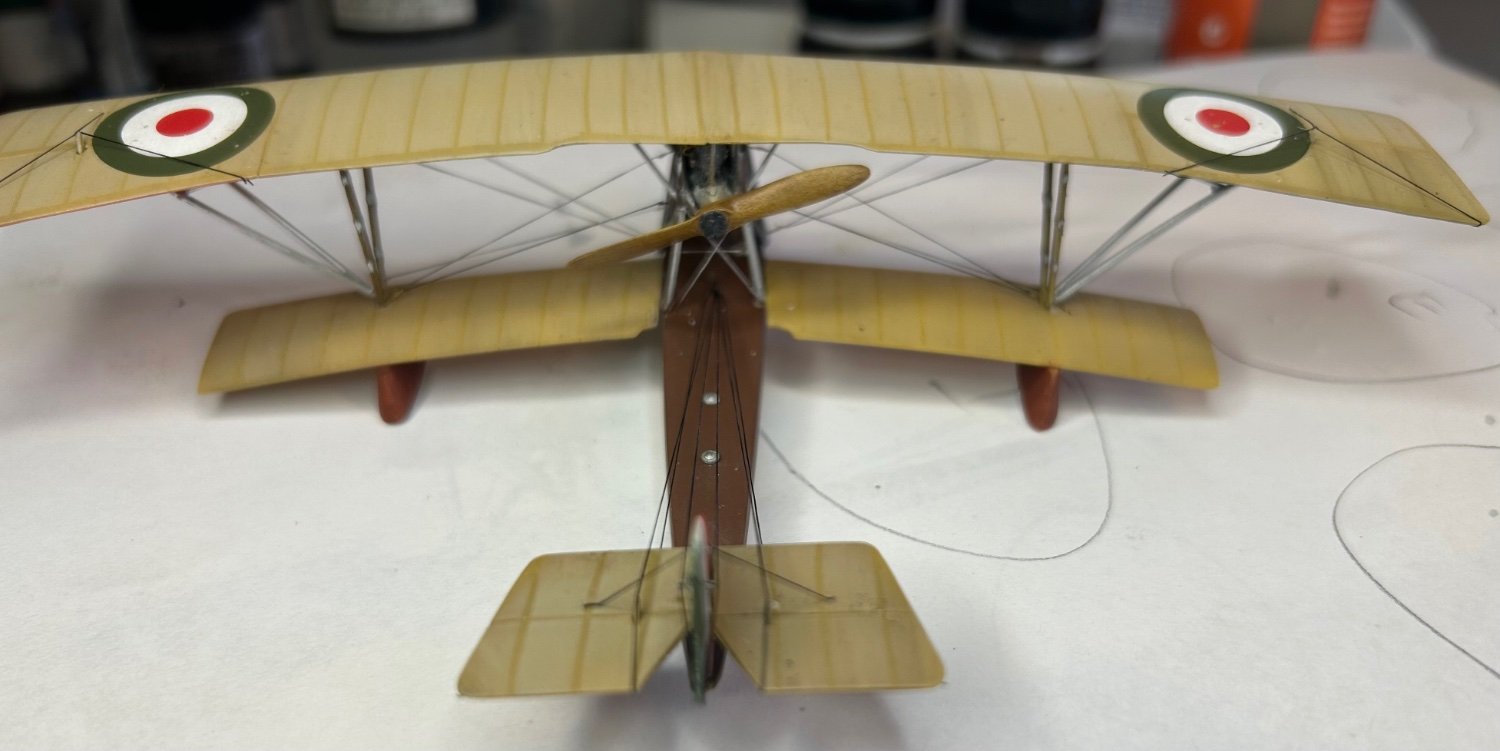
The fuselage, then the wings. I think the wings will need a few coats yet then mask in the ribs. I’ll pretty much have to paint it then throw it together which means a nice solid gloss coat when I do that.
- 44 replies
-
- 10
-
-
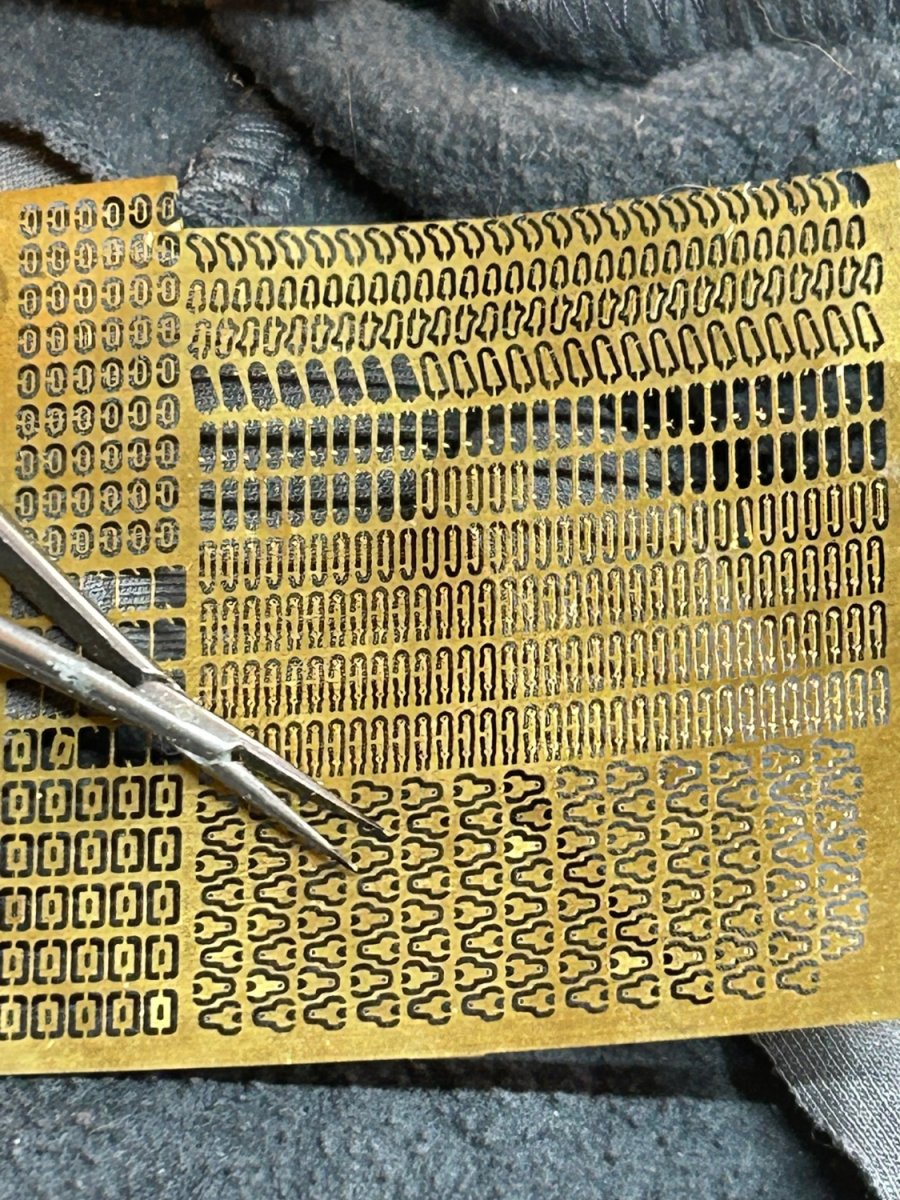
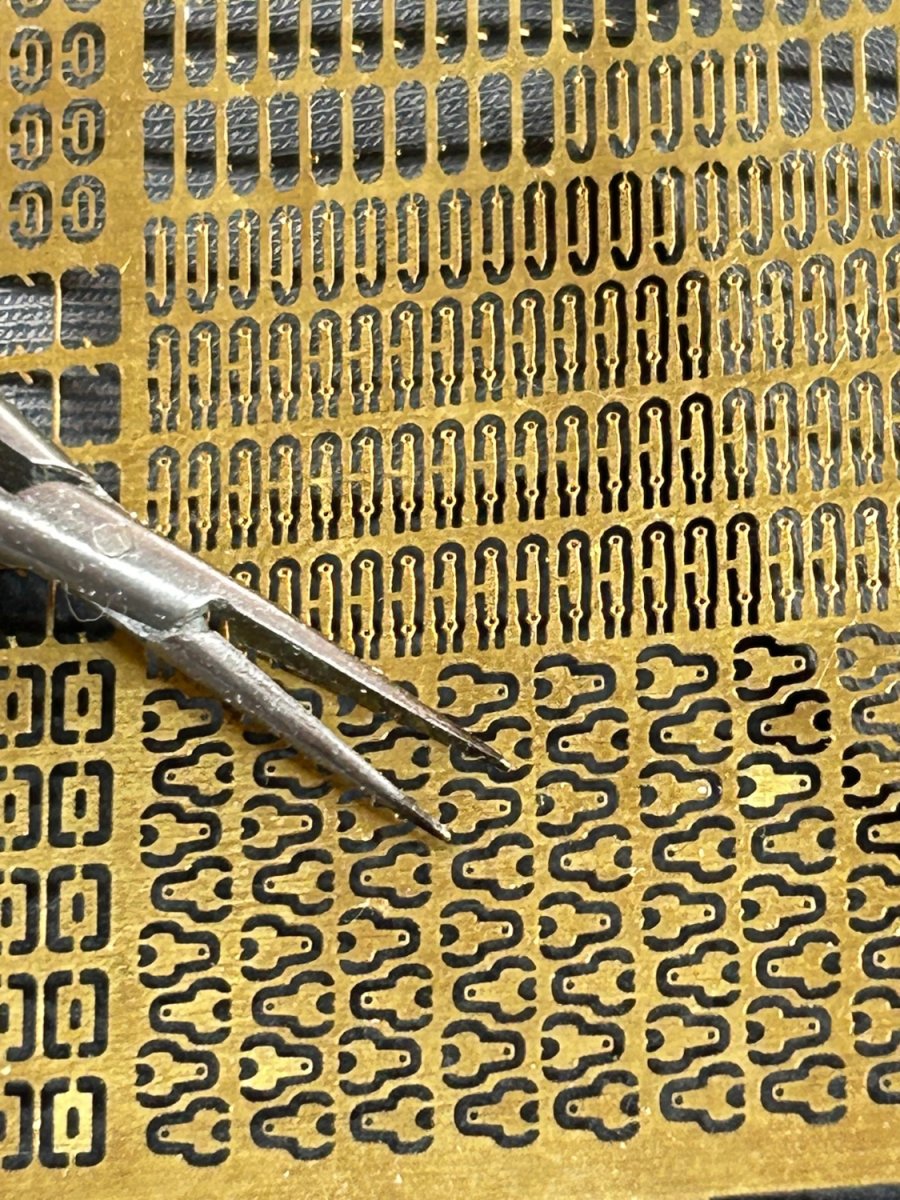
I have these from an old build, when they get paint they’ll be perfect


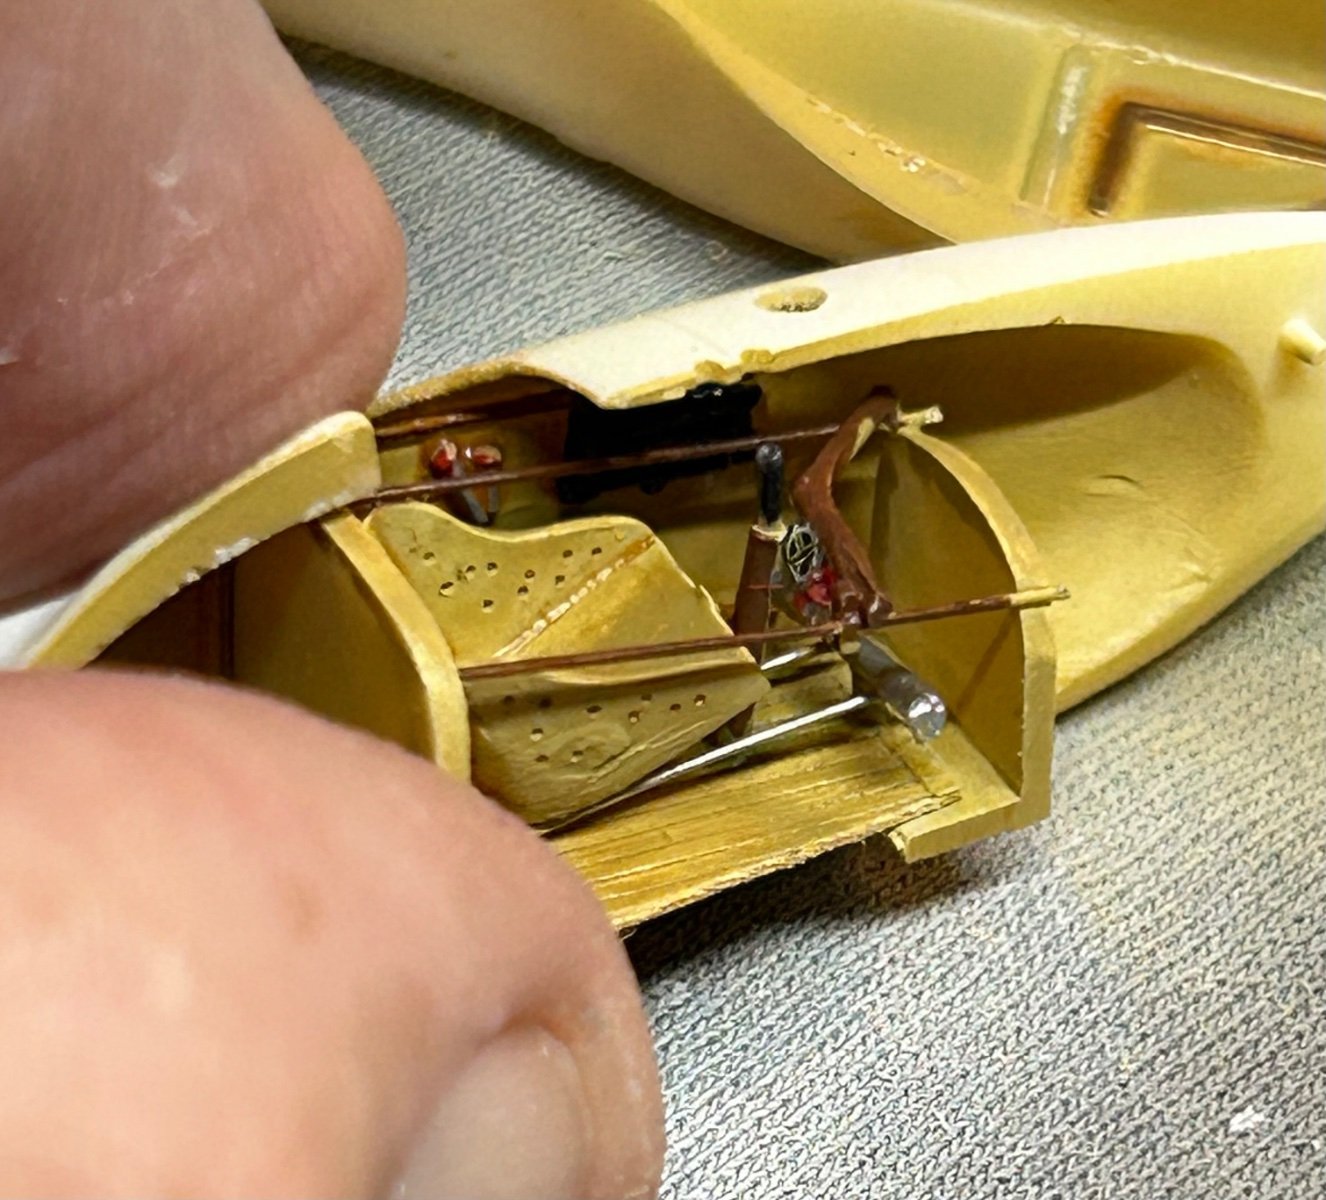
-
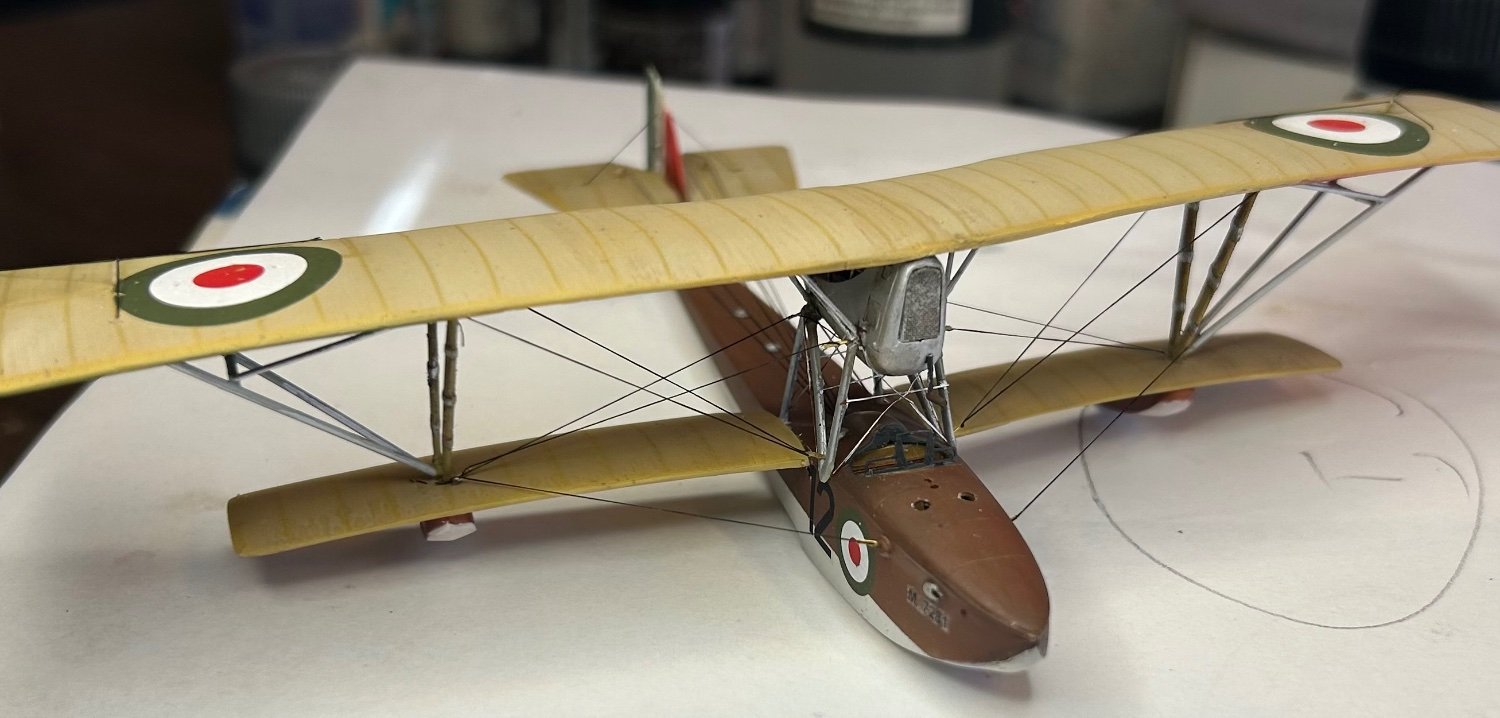
There is not much aftermarket for this genre. The engine is actually really nice just needing a few additions. Getting it to fit in its cowling is a challenge mind you. I’ve joined up the hull and it and putty and sand time