HOLIDAY DONATION DRIVE - SUPPORT MSW - DO YOUR PART TO KEEP THIS GREAT FORUM GOING!
×


RGL
-
Posts
5,520 -
Joined
-
Last visited
Content Type
Profiles
Forums
Gallery
Events
Everything posted by RGL
-
 Sorry, inner linings
 -
Before
-
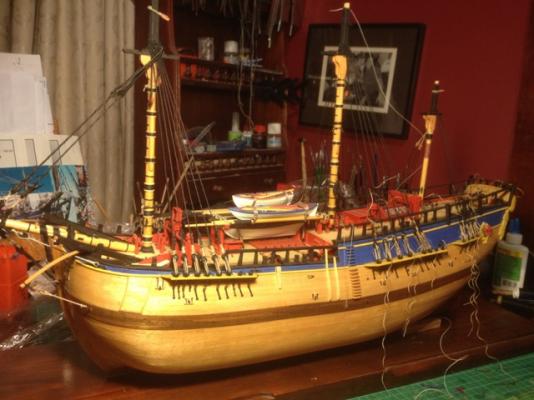
Considering there has been a flurry of Endeavours, I thought I'd do an update! Standing rigging (shrouds) in progress. I intend to stain all the shroud rigging black like the replica. I intend to utalise all the mast tackles by having a longboat run out from the yards (Thus the gap).
-
Very nice work
-
Cornwall ship models, excellent price, choice and really quick to Oz. they have a fret just for the endeavour. I also replaced the cannon and swivel guns from there as well. I replaced all the planking from Modellers shipyard. I'm in the process of swapping out the rigging blocks from JB models (Jerzy is apparently away on assignment and his site is in limbo) and I just ordered some more blocks from Chuck Pressario.
-
Welcome to the club
-
Just beautiful work, an absolute pleasure to watch
-
Nice work mate, looks very sharp
-
Nice work mate, looks very sharp
-
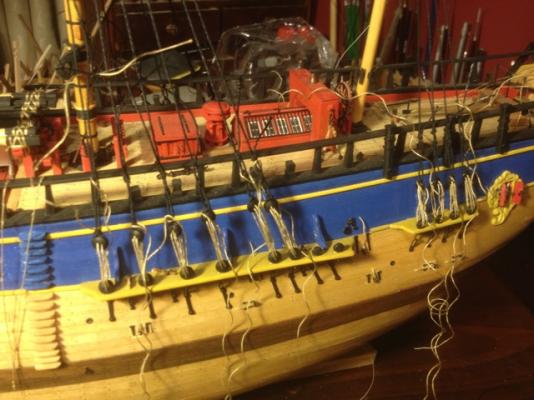
OK, foremast stays complete. I have to re rig the first shroud as it lost tension with the stays. I think by the time i put the 3 masts in, do their shrouds, stays, Catharpins, shroud cleats, tackle, tops, I'll be ready for Santa before i have to do the ratlines.


-
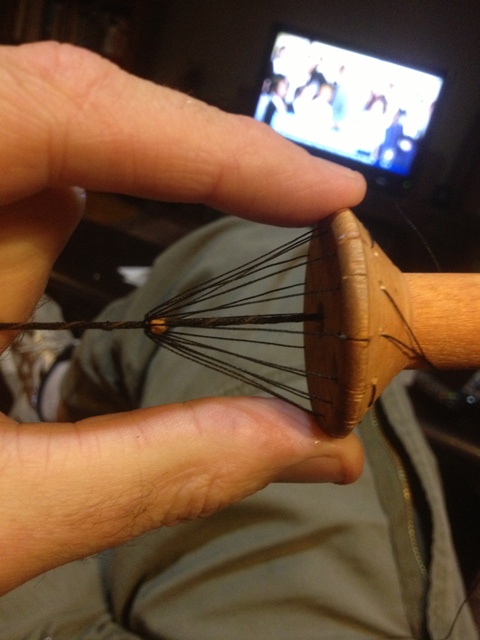
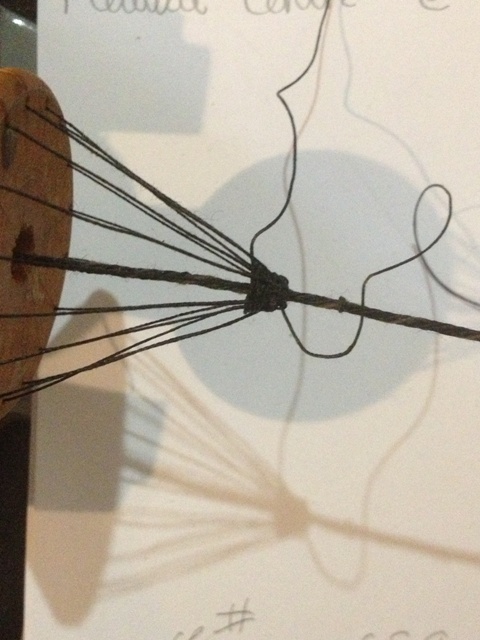
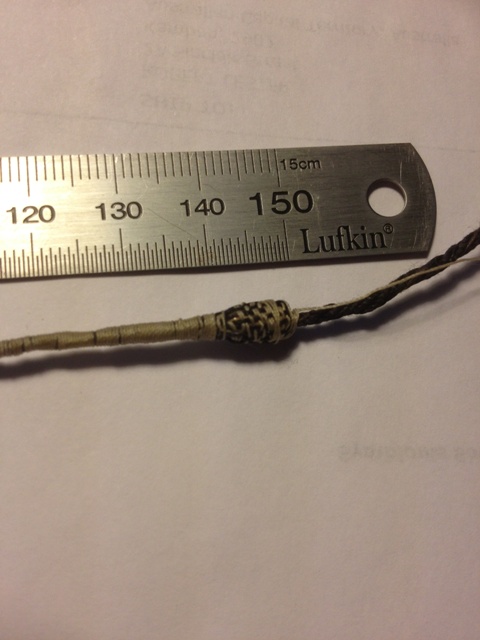
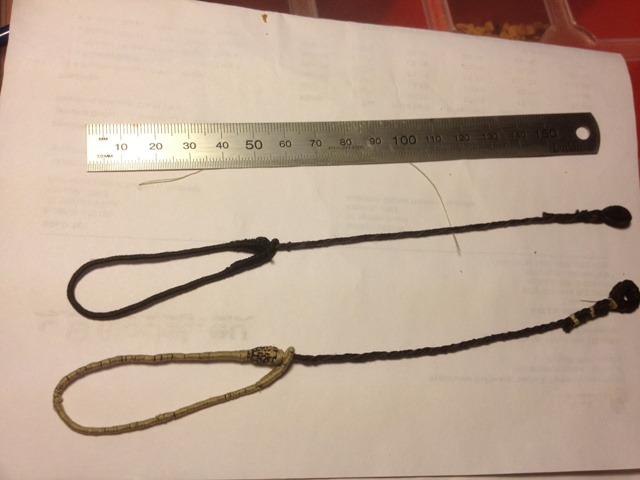
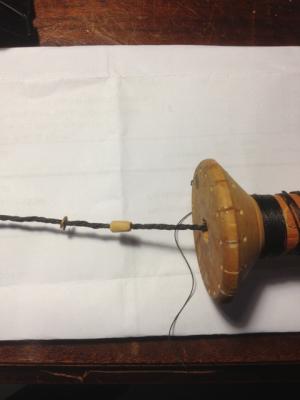
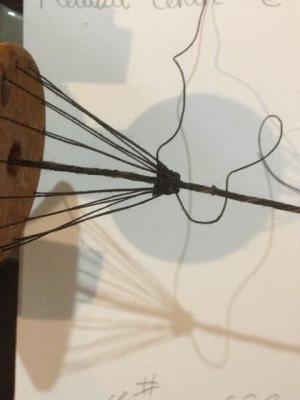
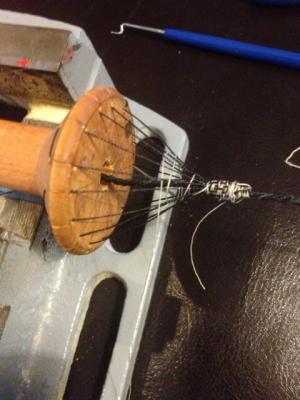
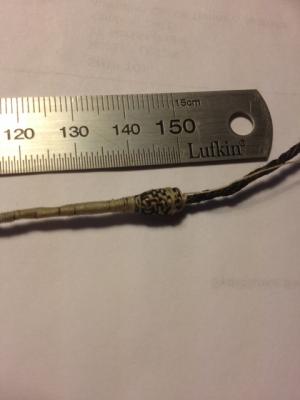
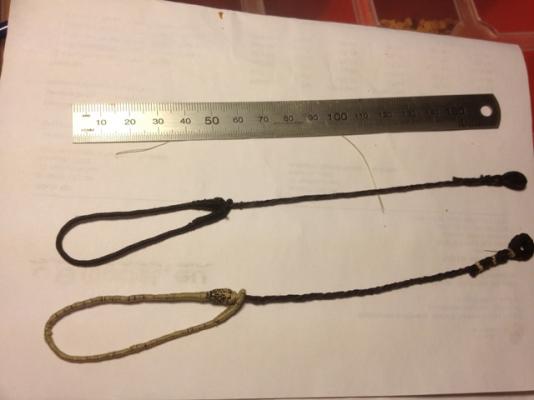
Stays and Mouses (or mice i suppose). I made the stays and wormed them to give them a better thickness. I then got an old wooden spindle and drilled holes in the end to run lines through (al la frolich). I made a small wooden mouse from stock and then attempted to cross stitch to produce the mouse. Seriously, black thread is too hard as you just get lost, thus the tan line used for the second one. A LOT of buggering around but the result came out OK.
-
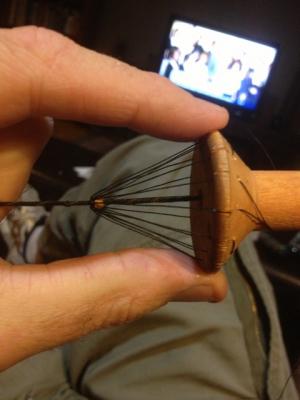
I purchased the Model Ship ways rope walk, which, whilst rather flimsy, works really well. I've even figured out how to make a jig for making a mouse for the stays. I'll attach photos once I've done the foremast. I have attached a couple of open source PDF files about the Replica Endeavour's standing rigging for those in the Endeavour club.The PDF file attached shows how they make the rope. If you follow the attached link, it is a manual for people going on the Endeavour replica and includes rigging plans. http://www.goolumgoolum.org.au/YEINFO.pdf Signals94_pp02-11_Endeavourstandingrigging.pdf
-
Well done mate, looking good
-
Bow stays complete for the moment. Now to make rope! Could take a while.

-
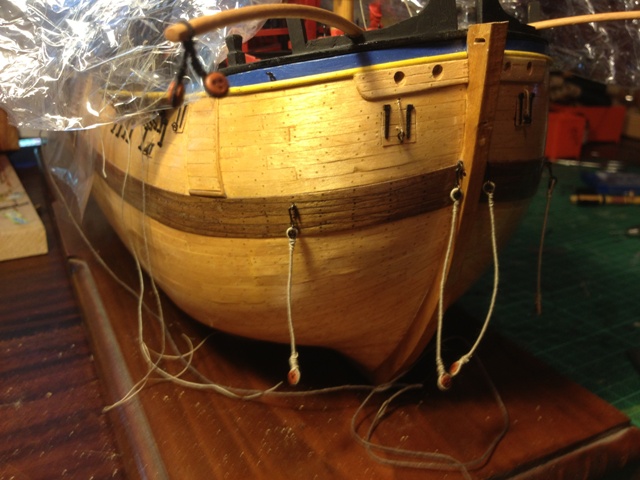
I've been procrastinating with this next bit, with shift work and kids, I finally disciplined myself and put off doing the ironing to work on the bowsprit collars and stepping the bowsprit. Each of the collars had to be stropped first which is remarkably easy, as was the lashing eventually. Once I finish off a few more stays I shall try my hand at a ropewalk for the preventers.

-
I think my biggest regret with mine was using the kit supplied wood for the deck, I've replaced all of the other wood. I think you'll get a better result with a harder and less waxy wood. It will make the scarph joints a lot easier
-
Great start and welcome to the Endeavour club
-
You sir, are a truly gifted artist, can't wait to see the sails! Catgut?
-
I suppose you just have to pick a side. It's always going to vary, everyone is doing a great job on their own version of every ship here, it's about the process. If you're happy with what you decide to follow, I'm happy!
-
I got lucky and found the 2 volume set in a second hand book store for $40
-
Kiro, I'm pretty much doing it off the Anatomy of the ship series book as i gave up on the Al instructions years ago. . There is also Parkin's Endeavour as well. Happy to help out if you're at a loss. 1/24 is huge! Greg
-
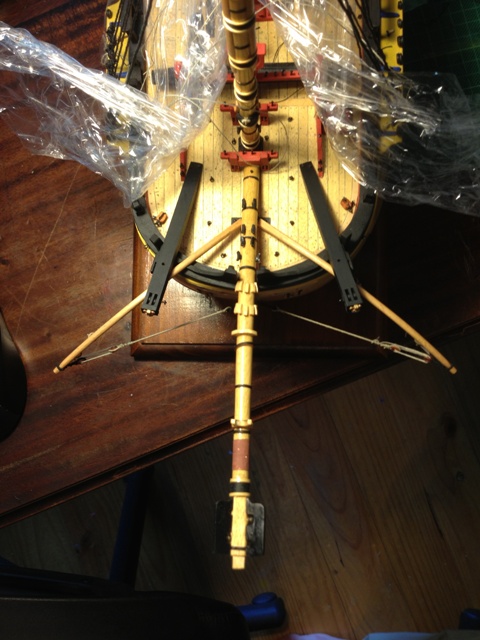
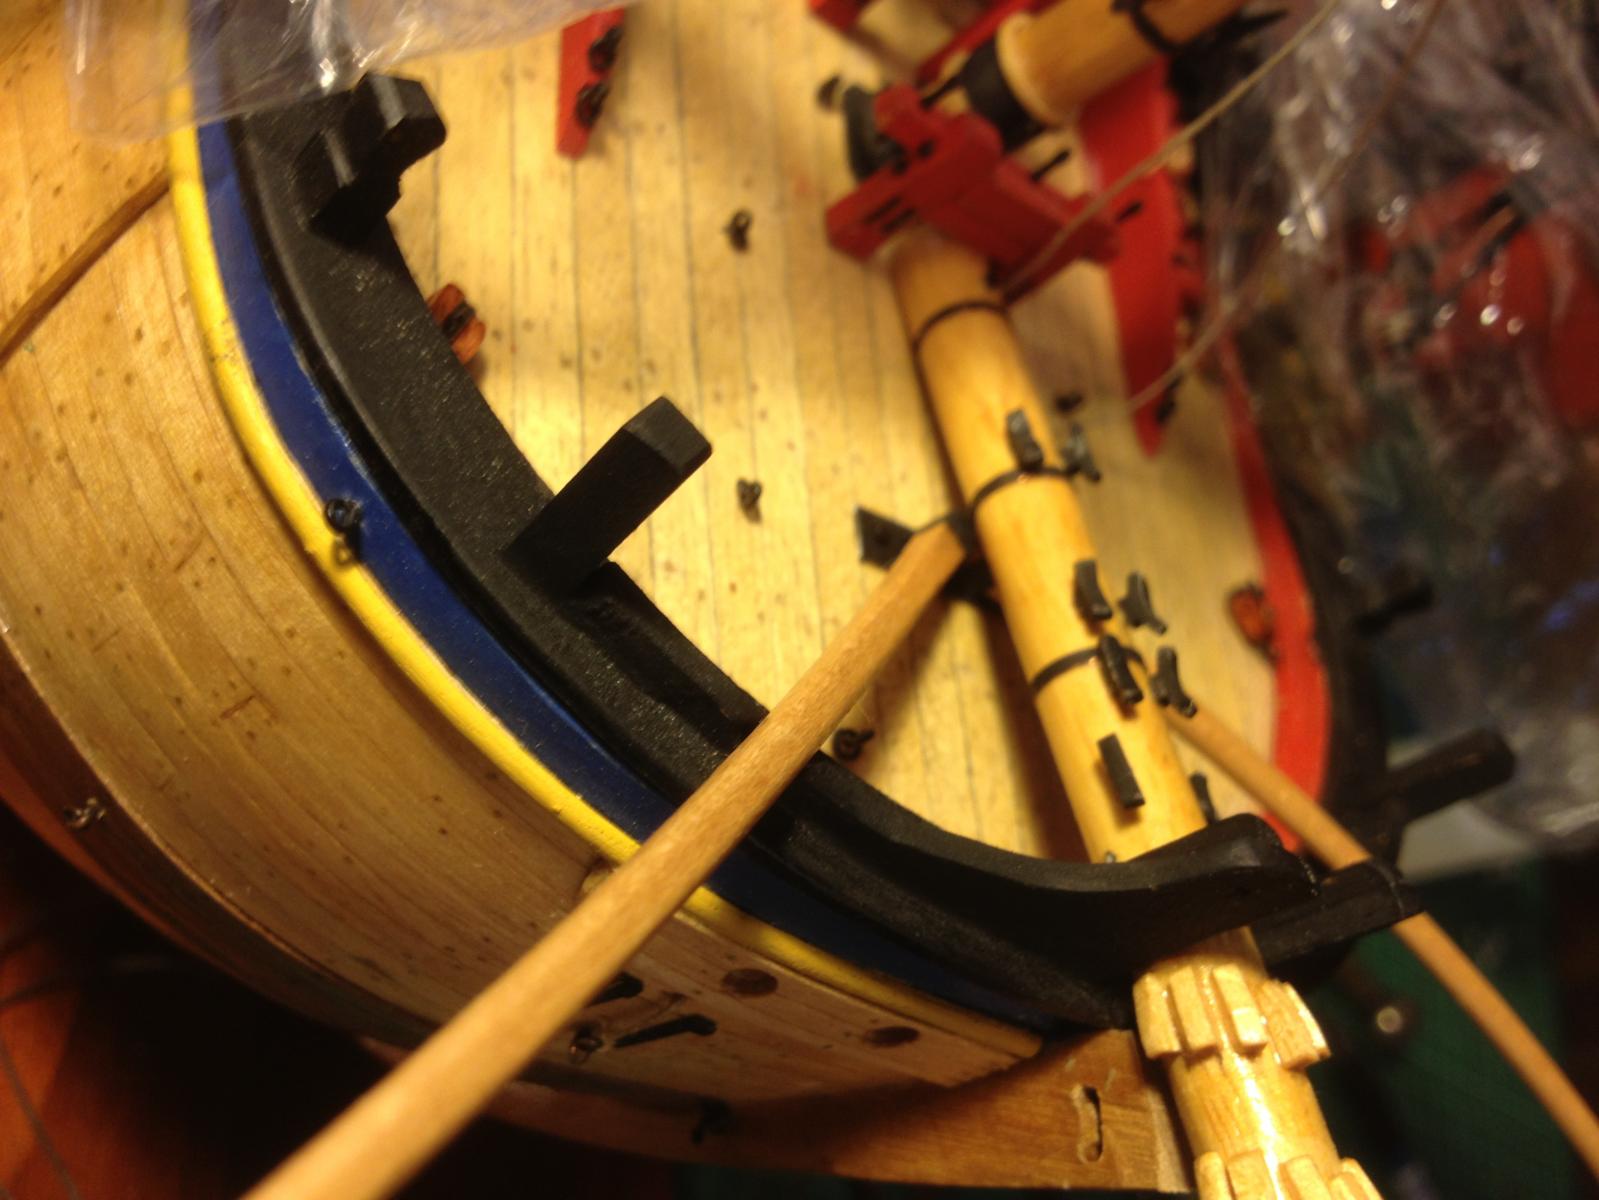
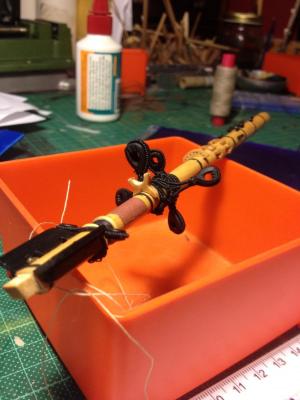
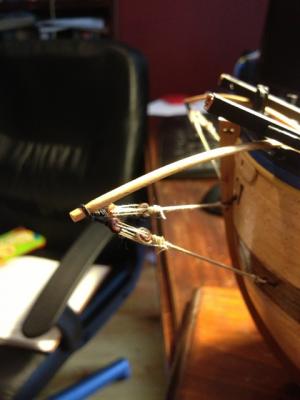
The bumpkin discussion revitalised on MSW v2! I'm really stuck with them now but happy with them until I have to do the anchors some time on the distant future. Looking forward to seeing my fellow Endevour builders renditions of their bows, but shift work really does slow down construction, as I've still got 16 years till retirement at 60. I may get to the yards by then.
-
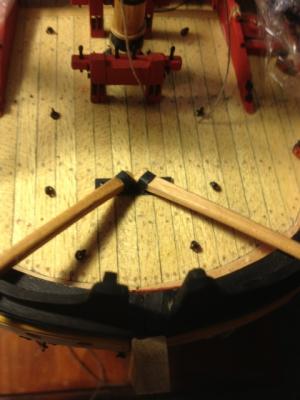
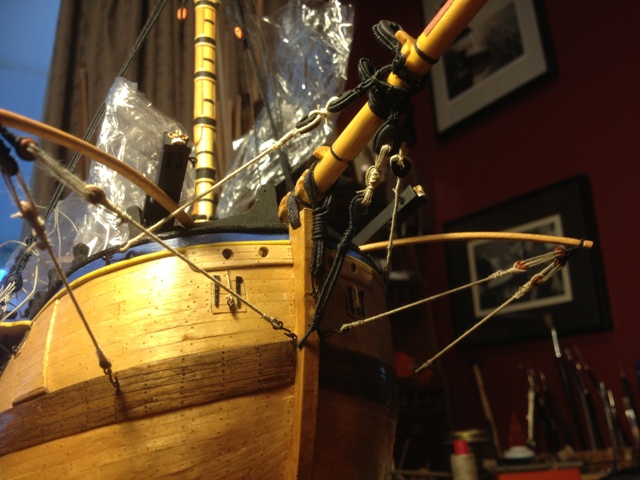
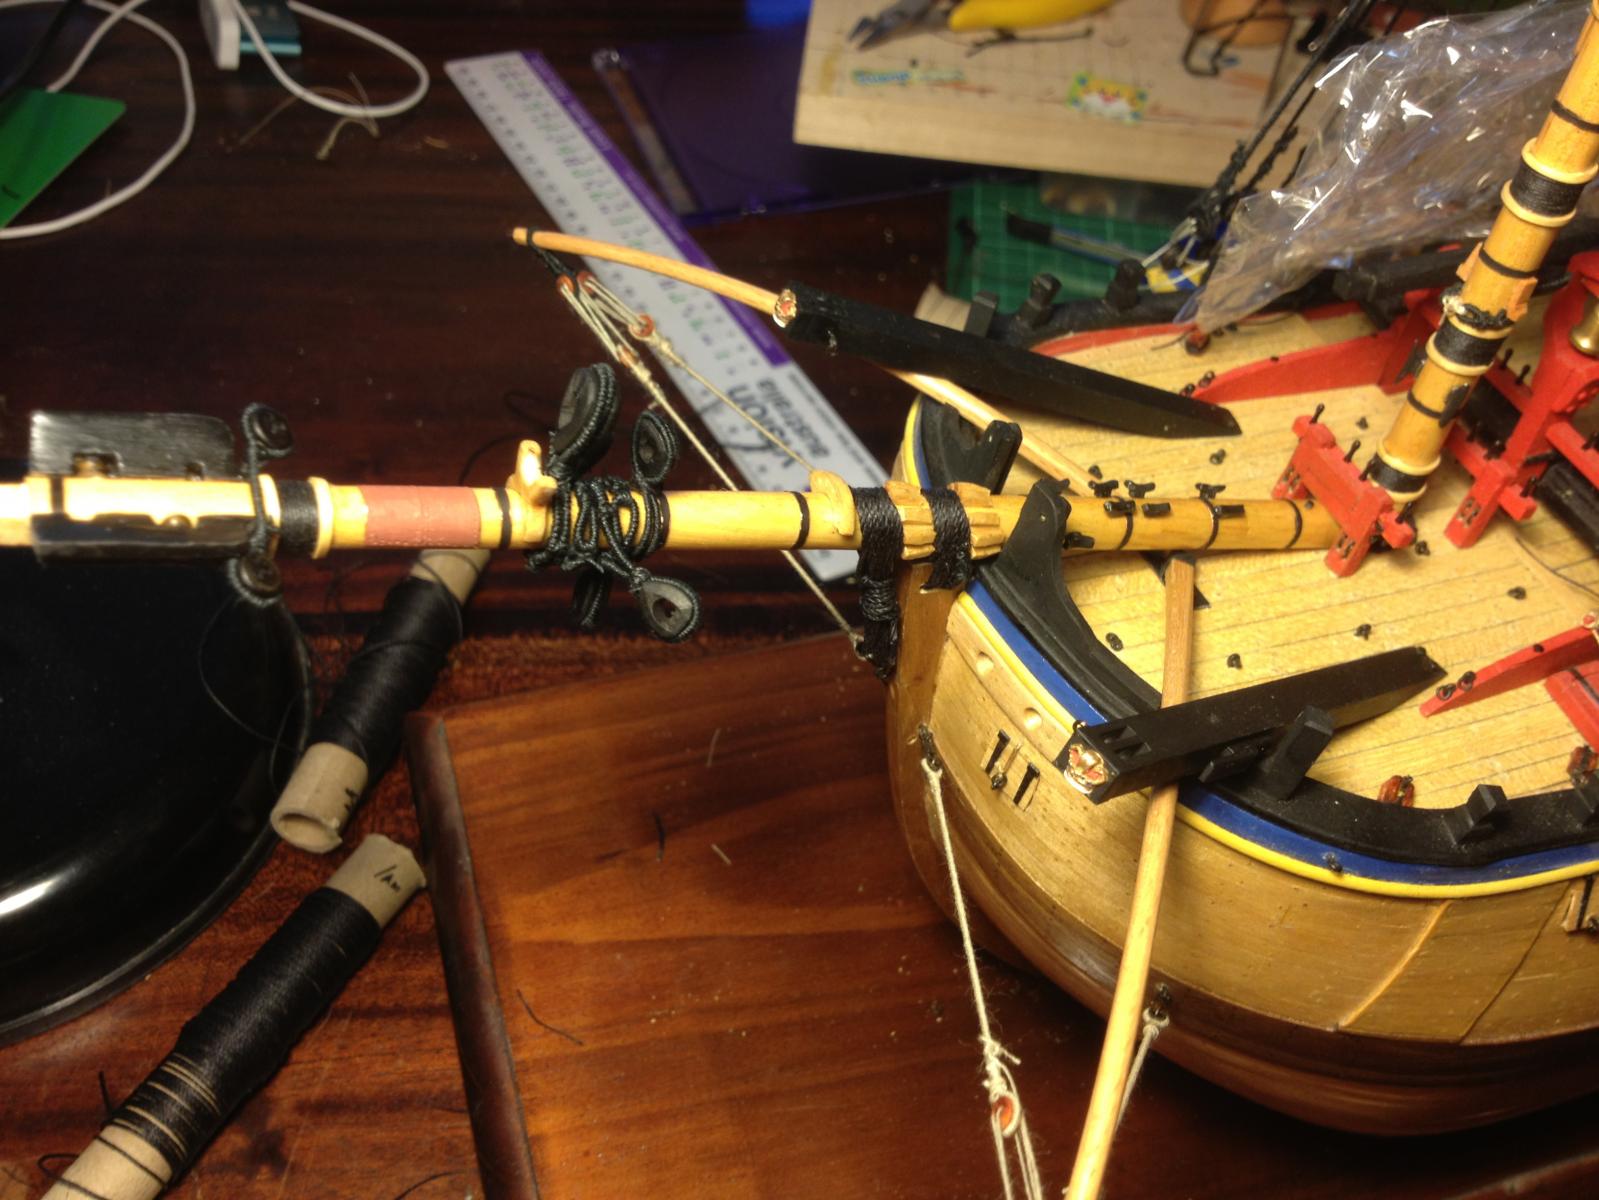
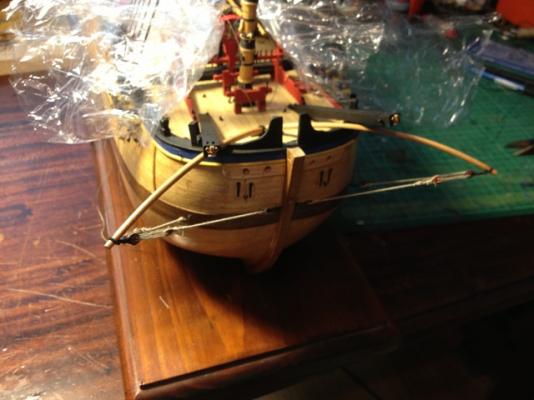
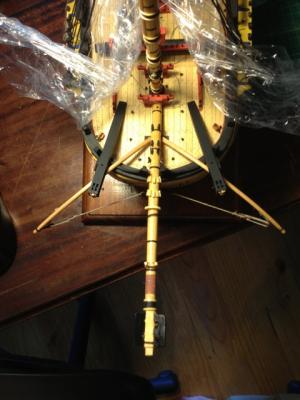
The AOTS rigging plan is vague on this whole component, so the front of the ship is going to get very busy. The glad wrap is just my dust cover.
-
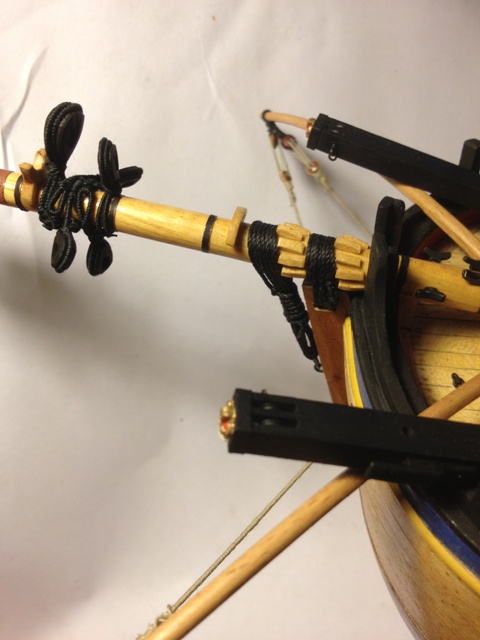
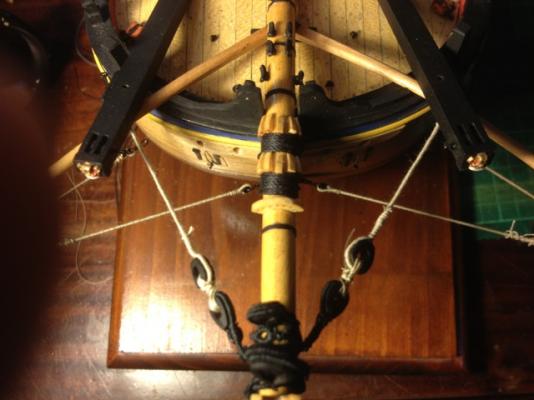
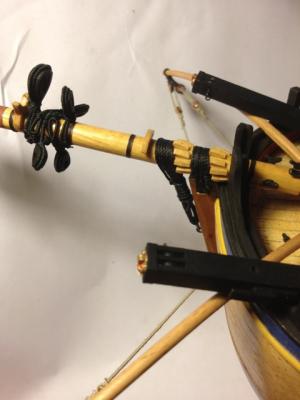
Next, the Bumpkins shrouds, served and with an hook on one side and dead eyes on the other. A twin set of dead eyes are served to the end of the bumpkin itself. After a small failure (I didn't serve it strong enough) they are fitted under a fair bit of stress. Whilst the ropes still look fuzzy I will set them some some in the future with diluted PVA but want the freedom of removing them in case of emergency.

-
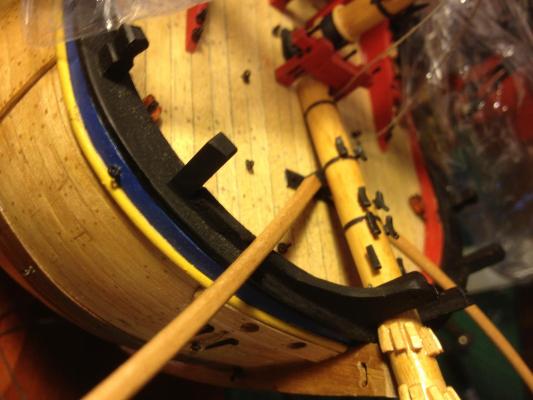
The bumpkin fittings have them stuck to a support timber on the deck in a metal bracket at an angle of 36 degrees. They run under the catheads and I had to ensure that the catheads straddled them so the anchor fittings and ropes will fall properly.