RGL
-
Posts
5,554 -
Joined
-
Last visited
Content Type
Profiles
Forums
Gallery
Events
Everything posted by RGL
-

Krupp 420mm Big Bertha by Haliburton - Takom - 1/35
RGL replied to Haliburton's topic in Non-ship/categorised builds
The Eagle-Man is an absolute treasure with this research. Love it. -
Krupp 420mm Big Bertha by Haliburton - Takom - 1/35
RGL replied to Haliburton's topic in Non-ship/categorised builds
I must admit I’m tempted to build one -
Yes, that’s him, from Romania, he does great stuff but it’s damn expensive with our exchange rate
-
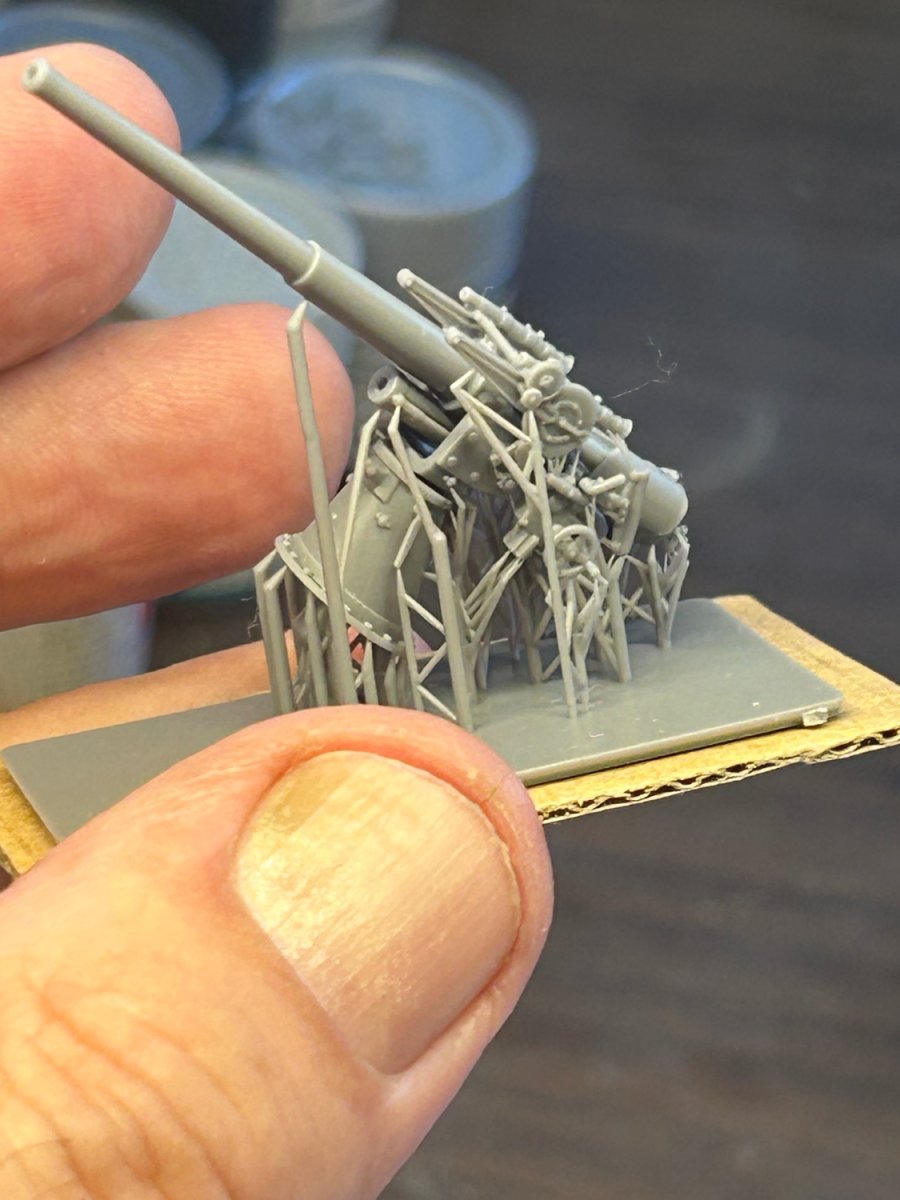
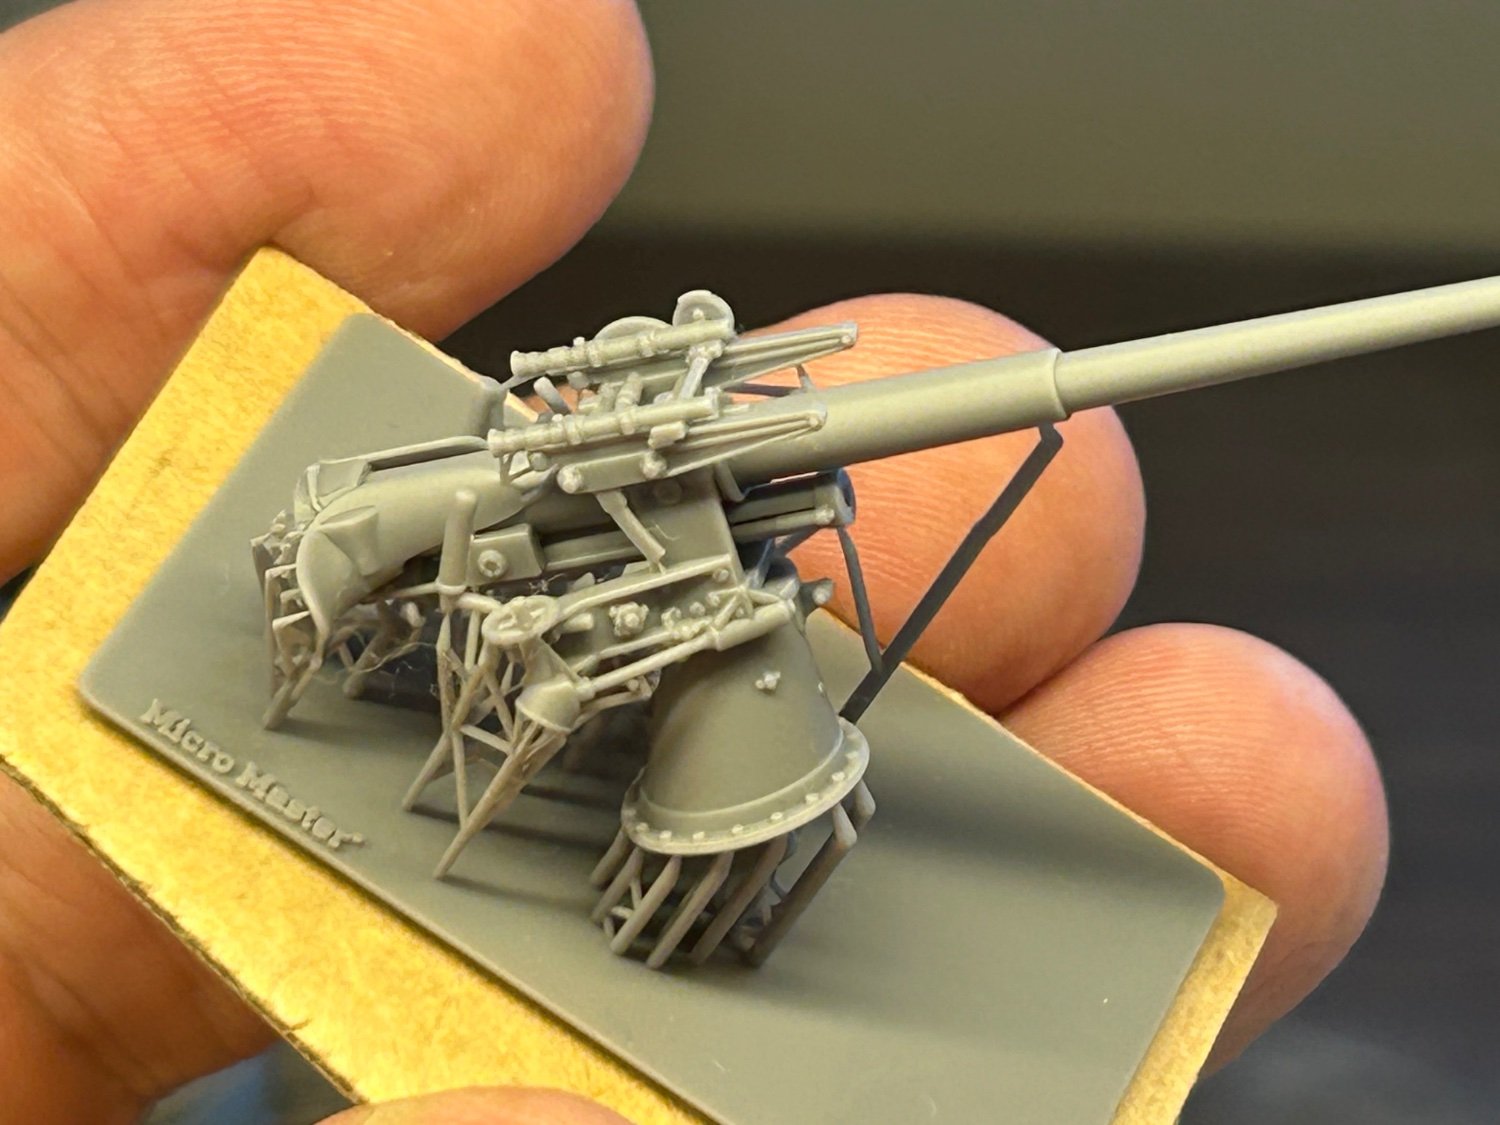
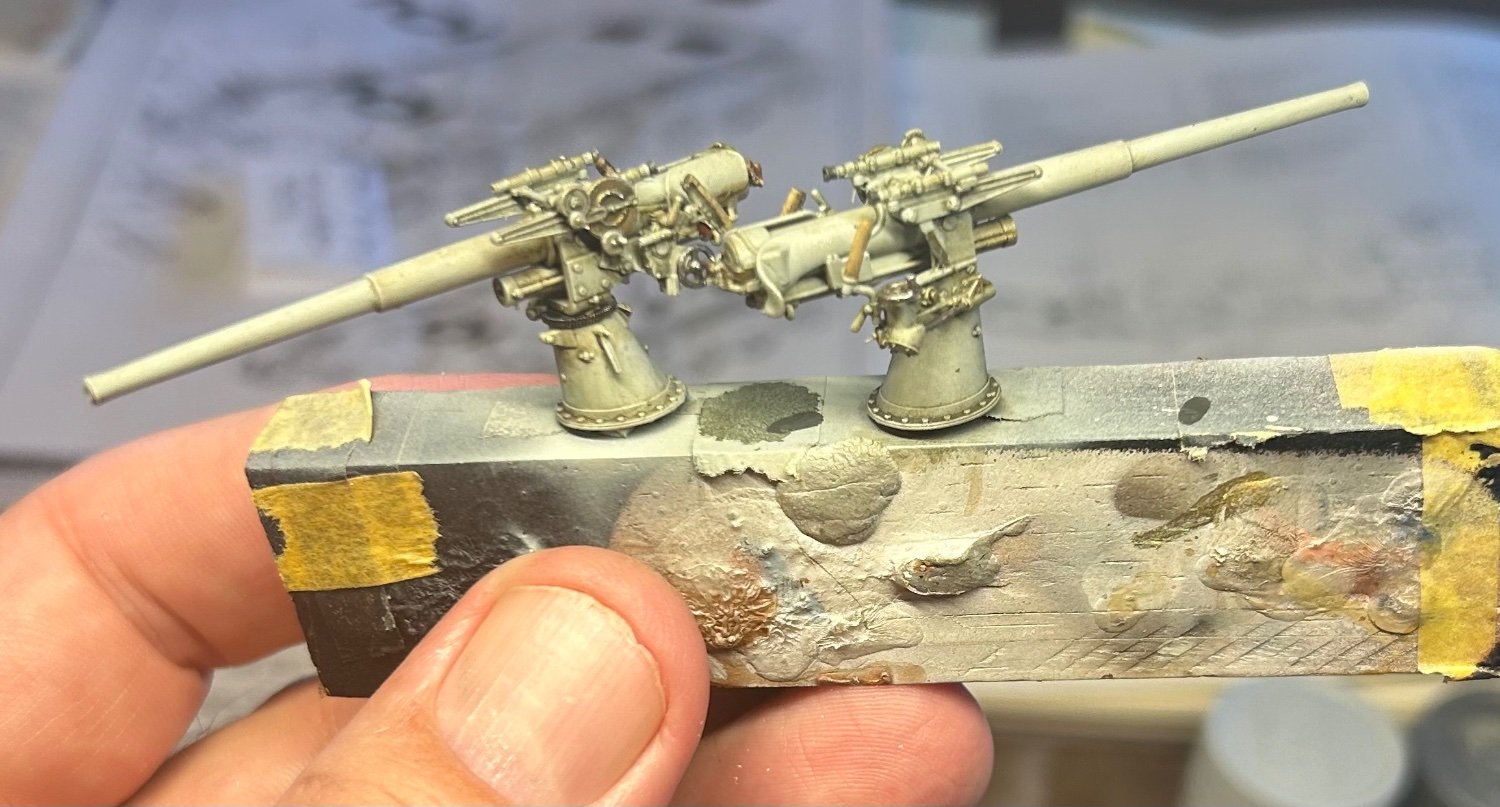
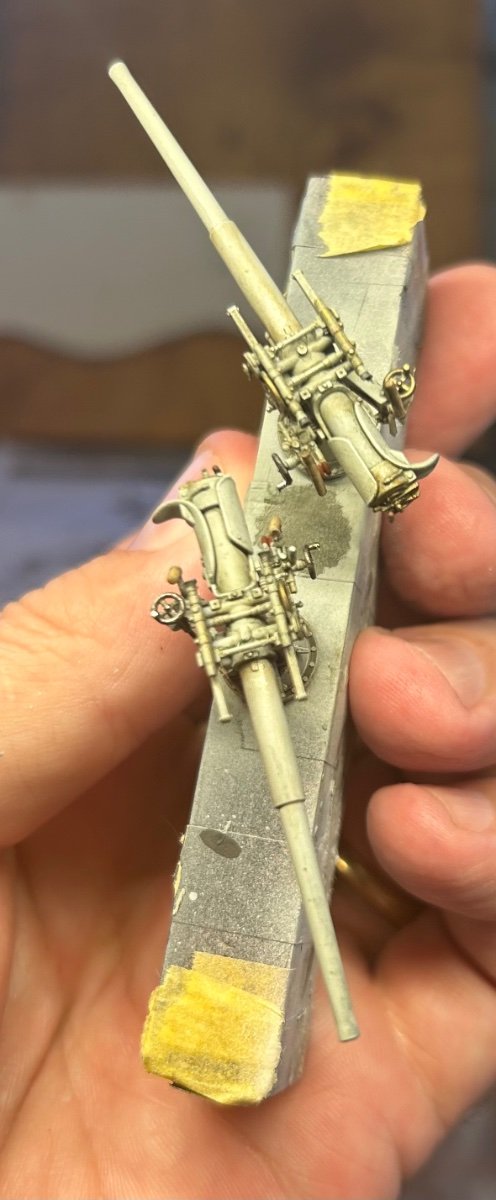
It’ll probably be about 20cm long when finished. It’s very nice, I ordered mine from the maker via facebook. I’ll paint a lot of it before I put it together due to its complexity. If that’s yours above it’s one of the few builds on the Internet!
-
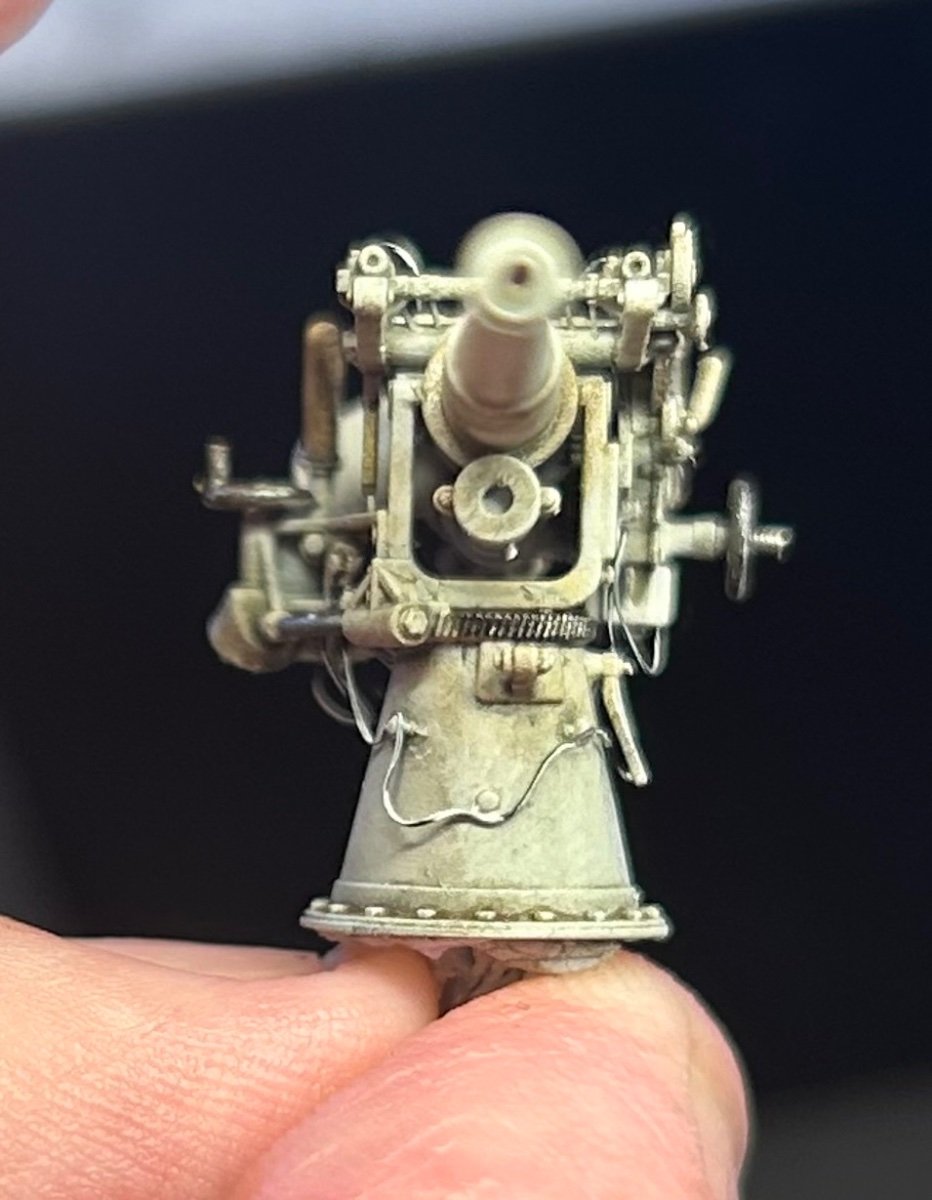
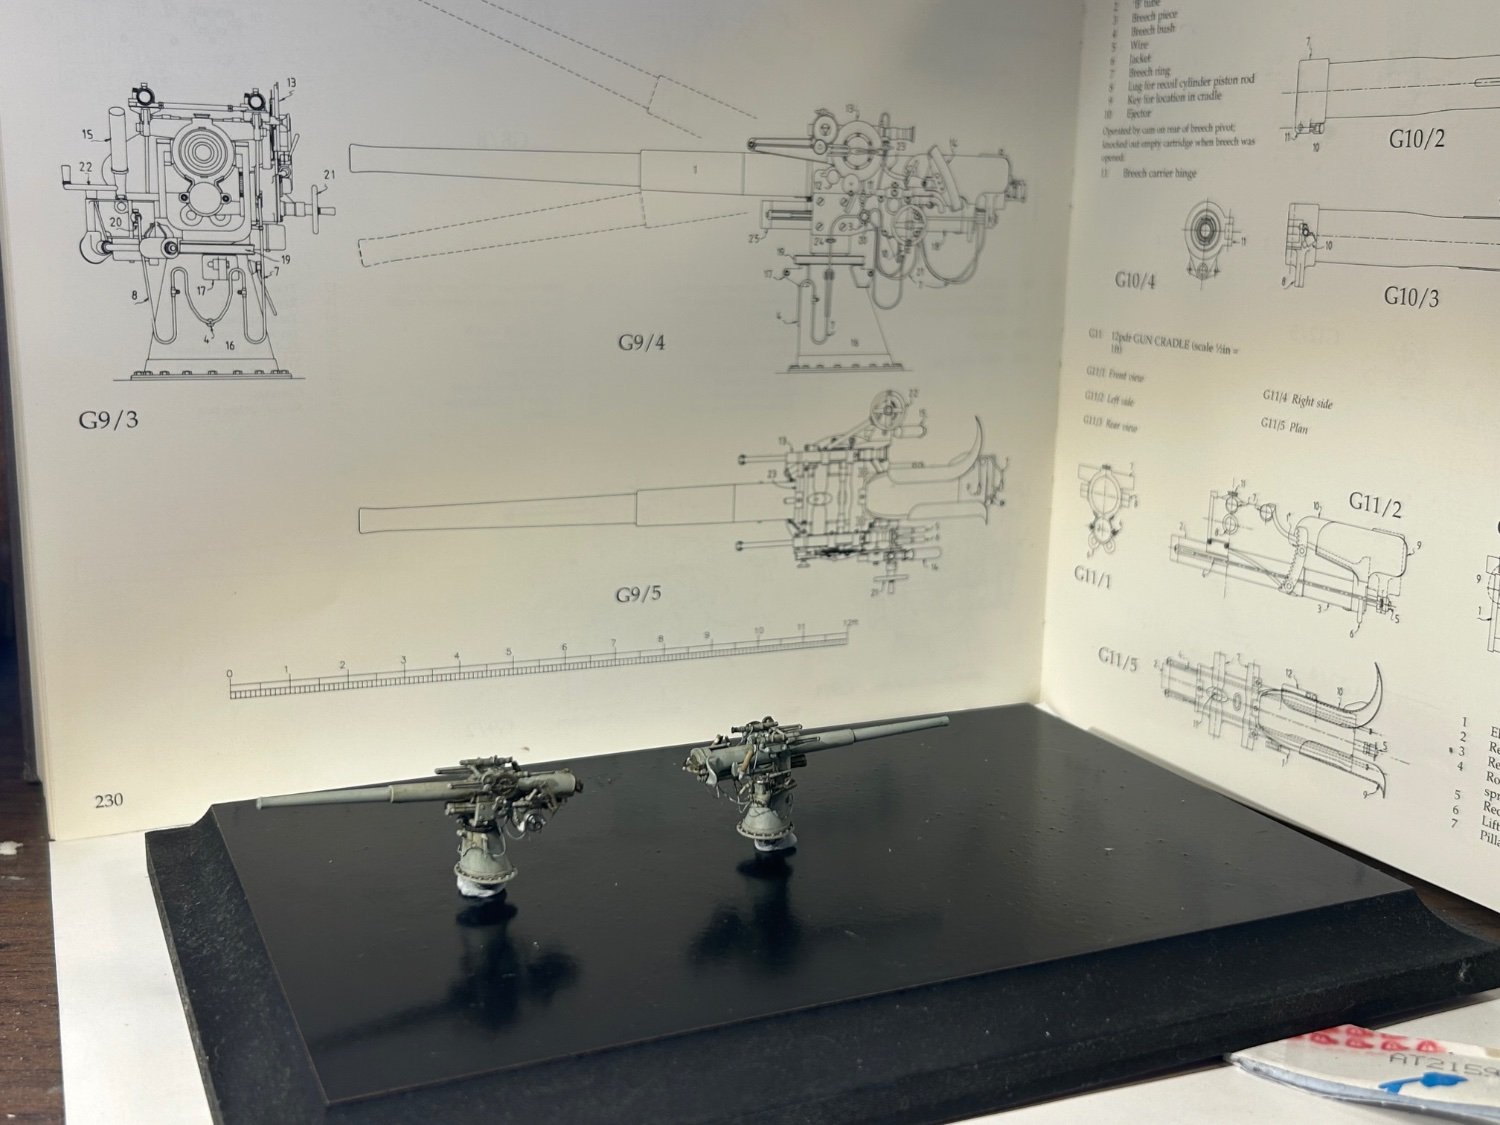
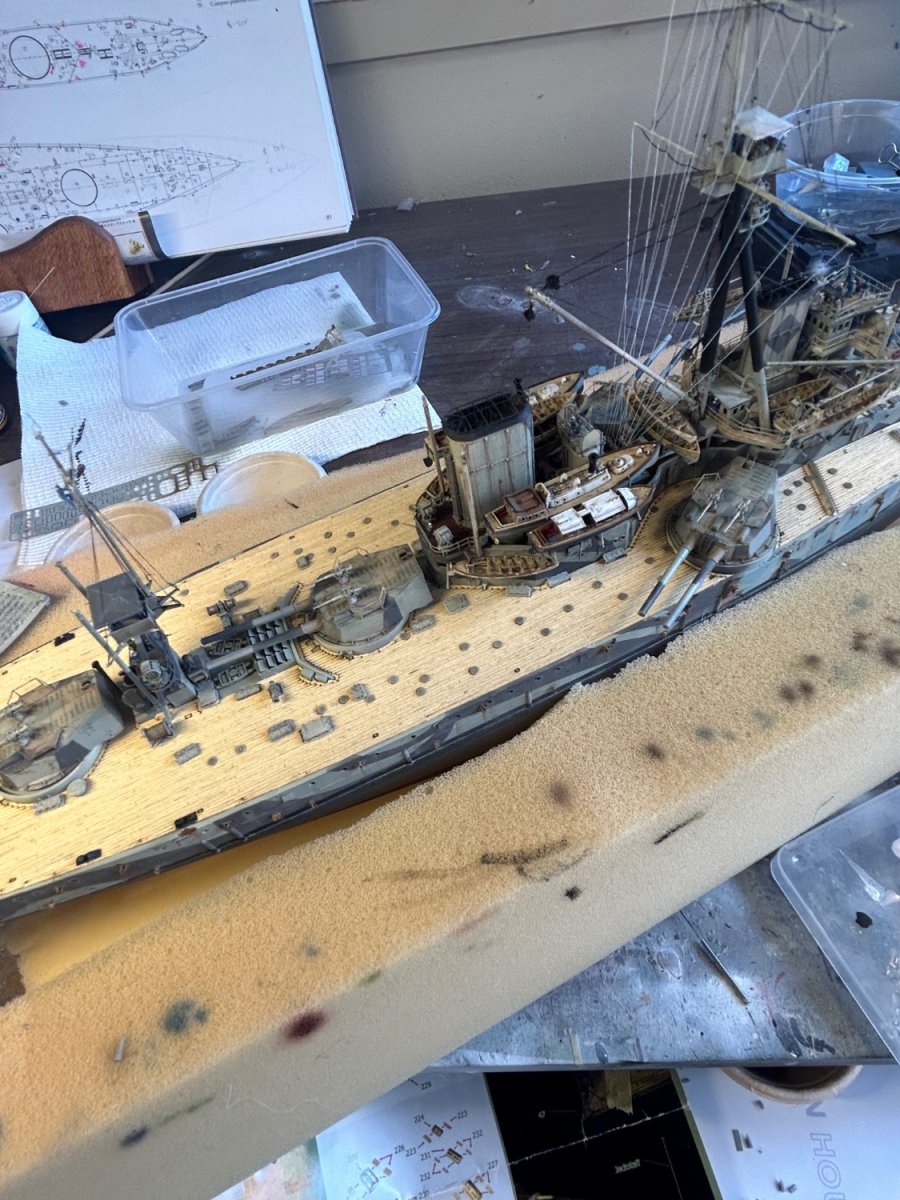
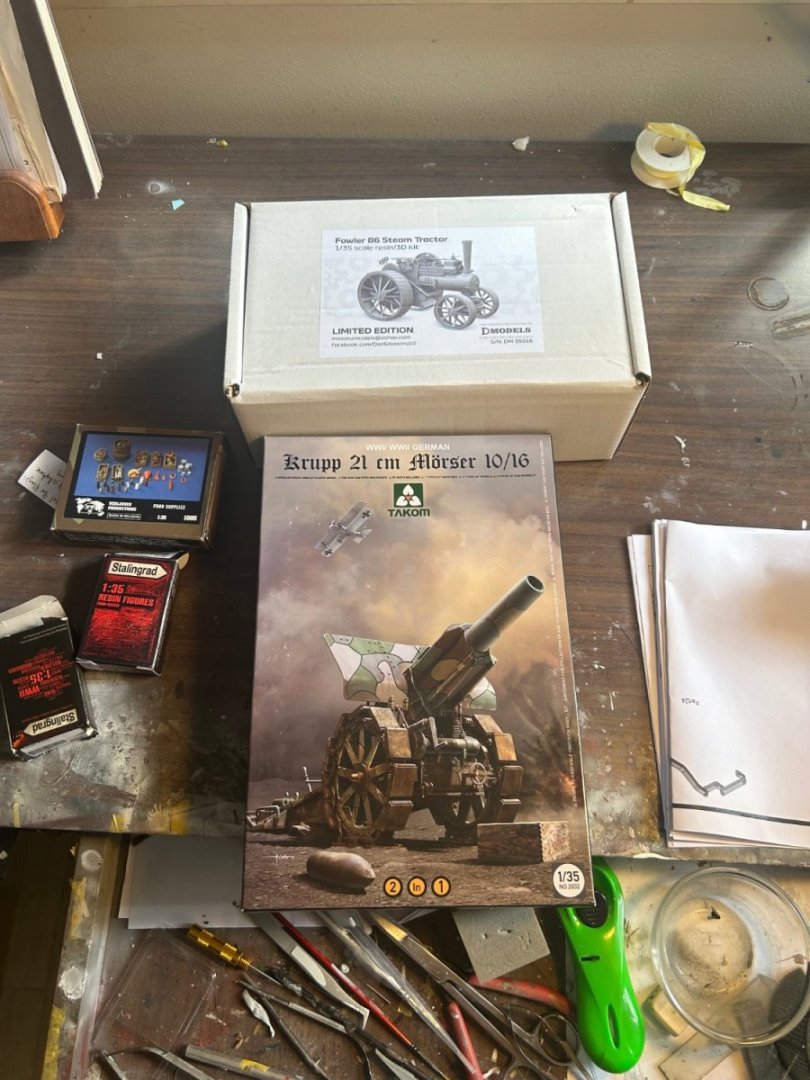
Whilst I wait for some stuff to finish some other projects, thought I’d do a diorama! set at the end of WW1 where the Germans had to give up 5000 artillery pieces
- 106 replies
-
- 10
-

-
Looking good. Aftermarket is your friend ! I’m off the the Malaysia model show this year and hope to see this in person. You know you’ll have to build another one now !


- 97 replies
-
- 7
-
-

-
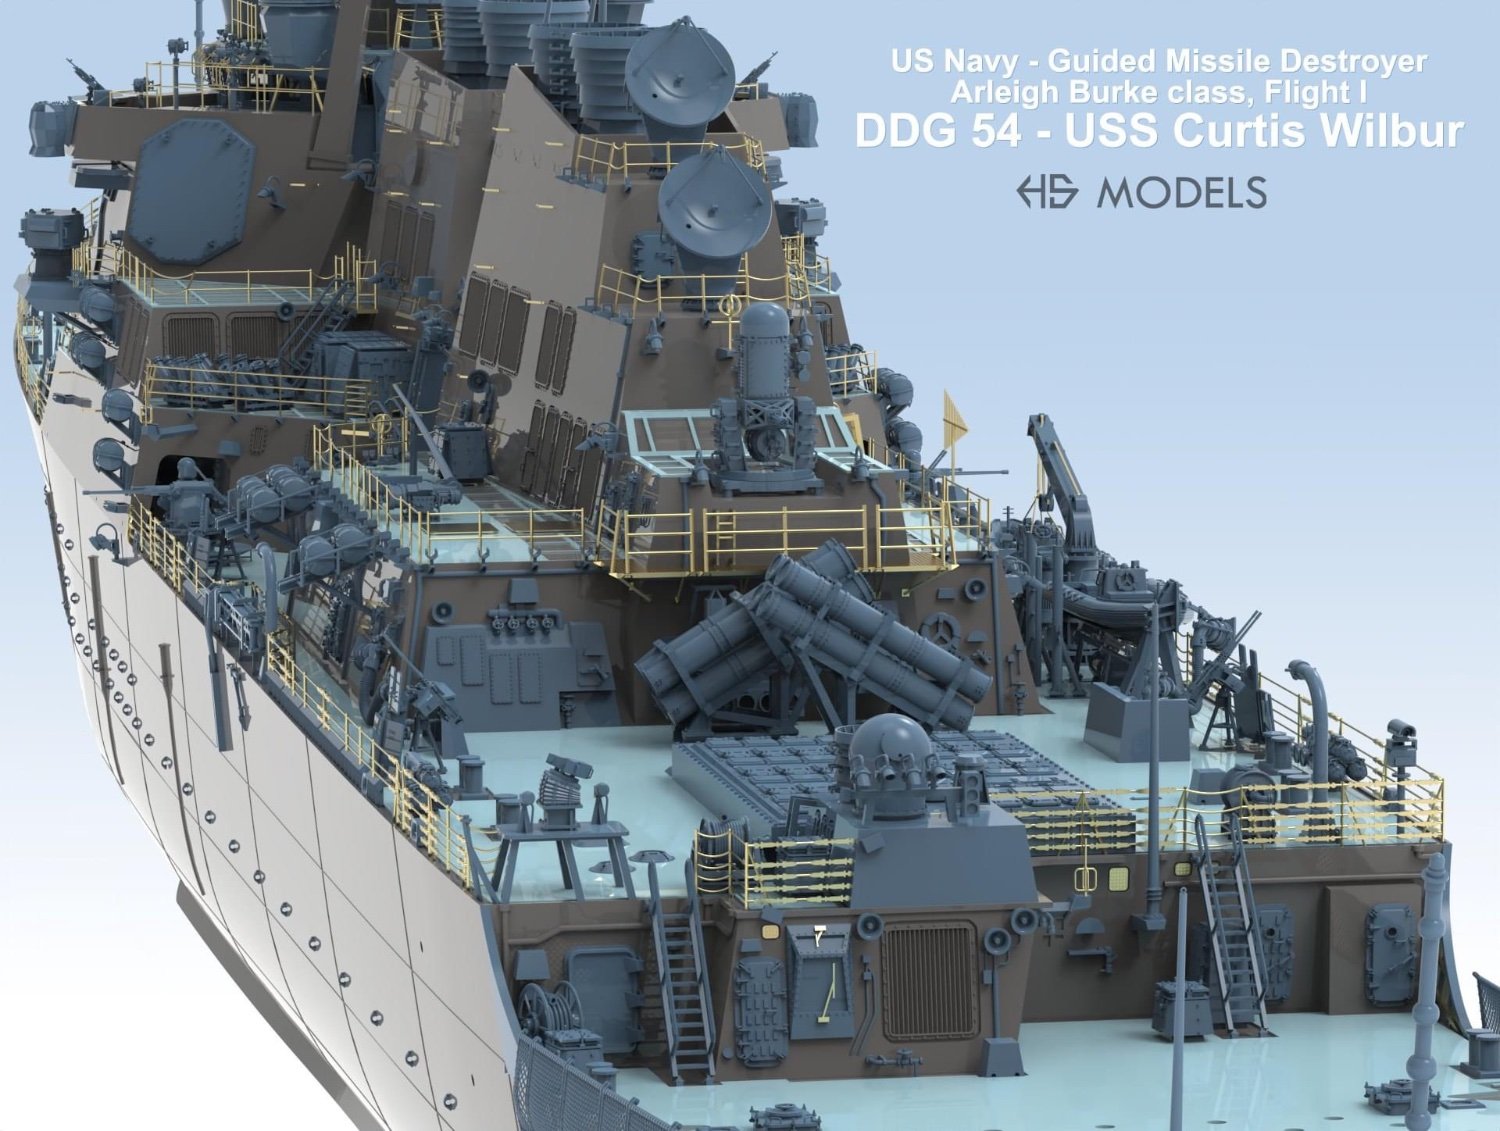
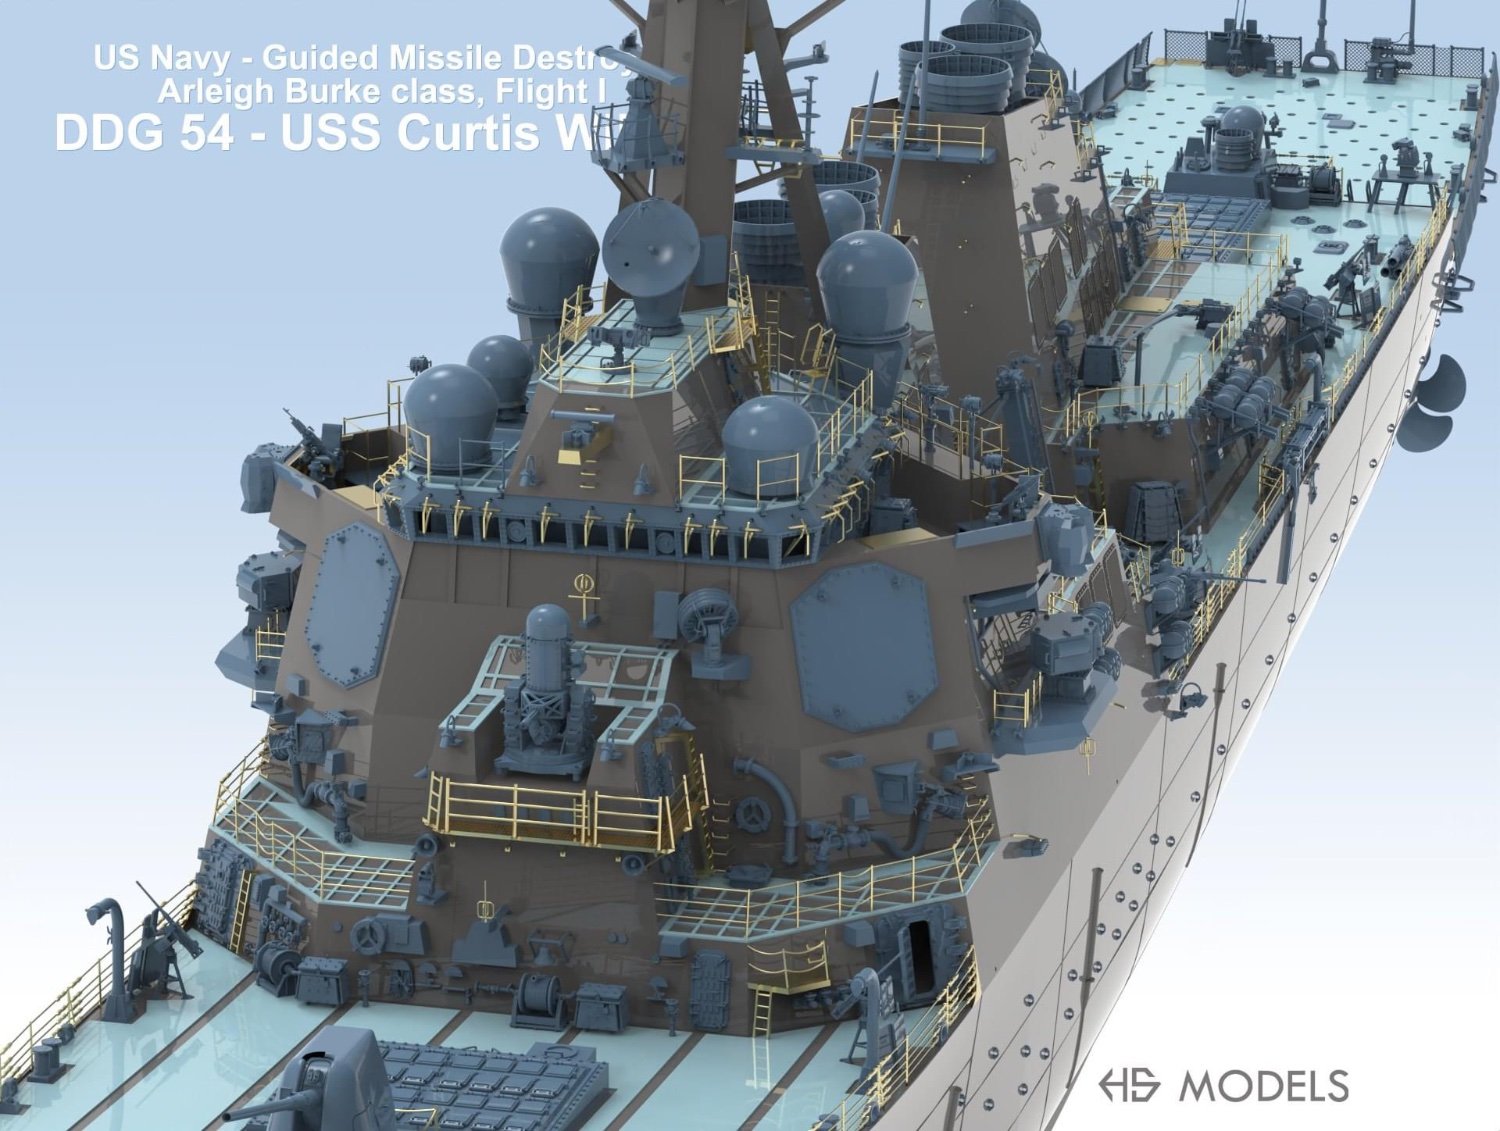
- Curtis Wilbur
- I Love Kit
- (and 2 more)
-
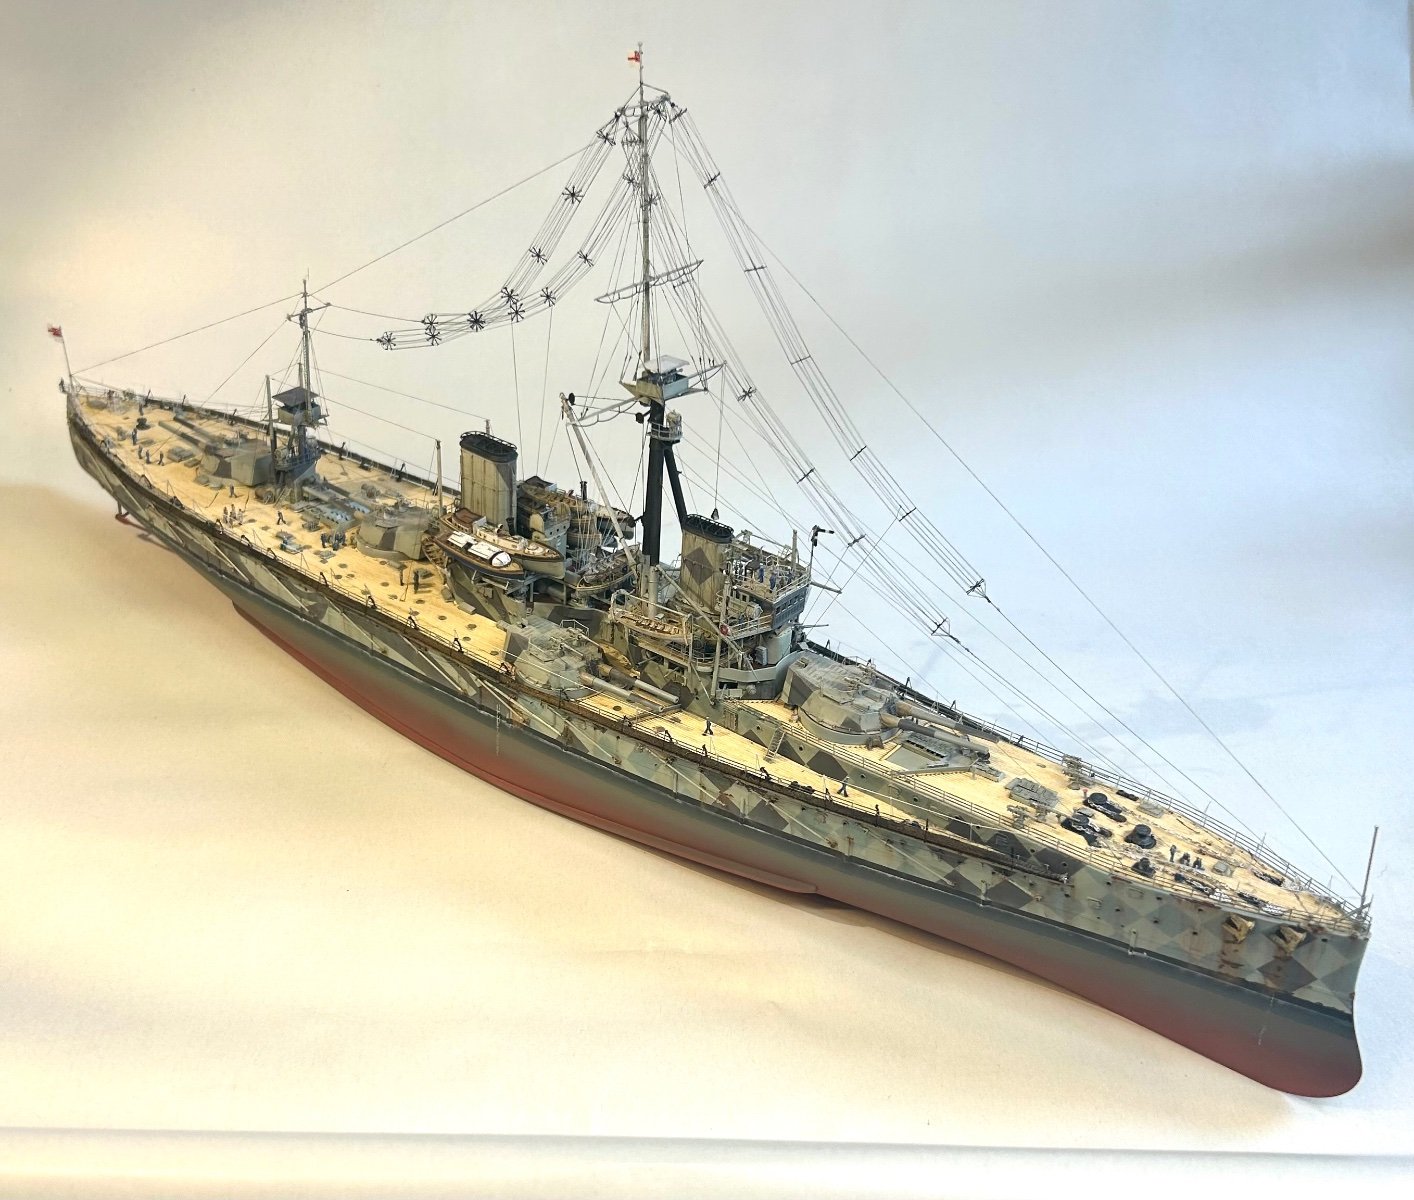
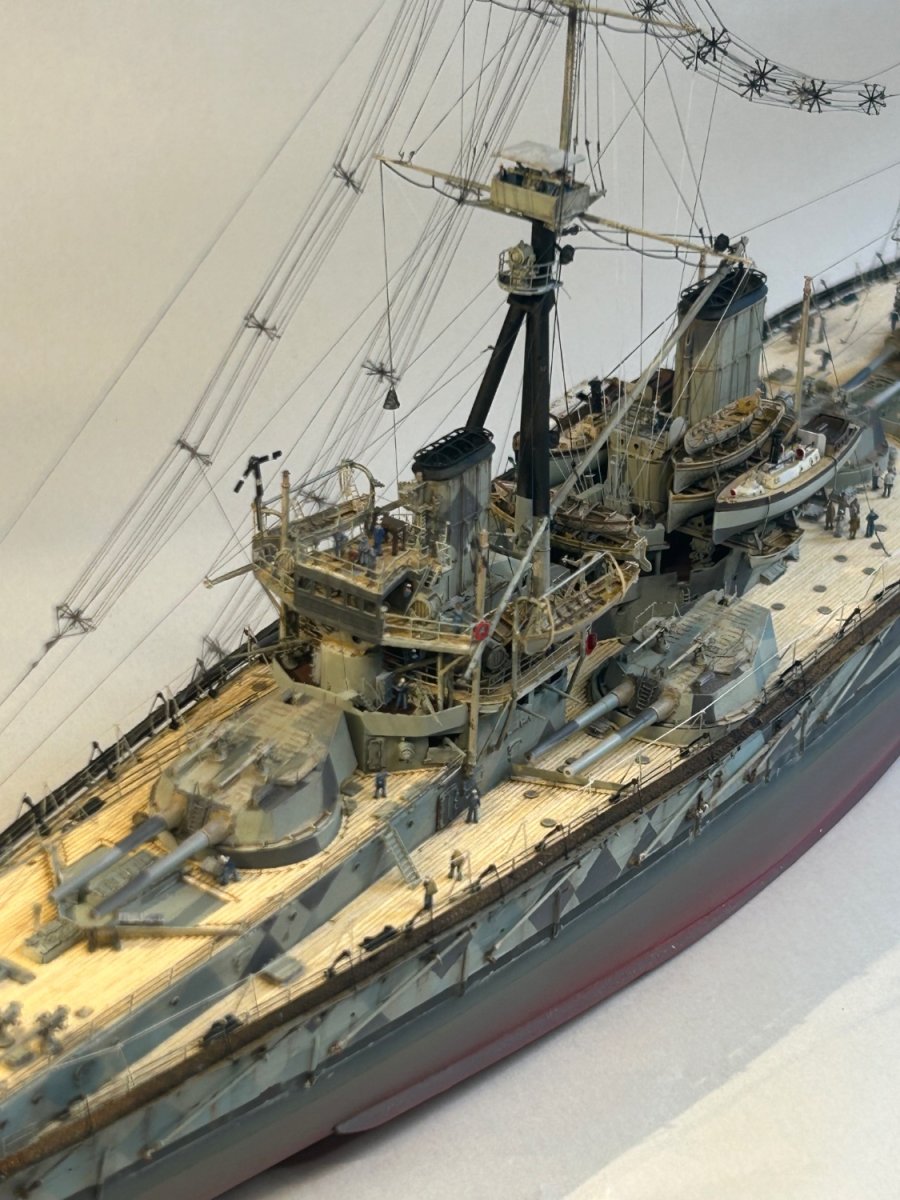
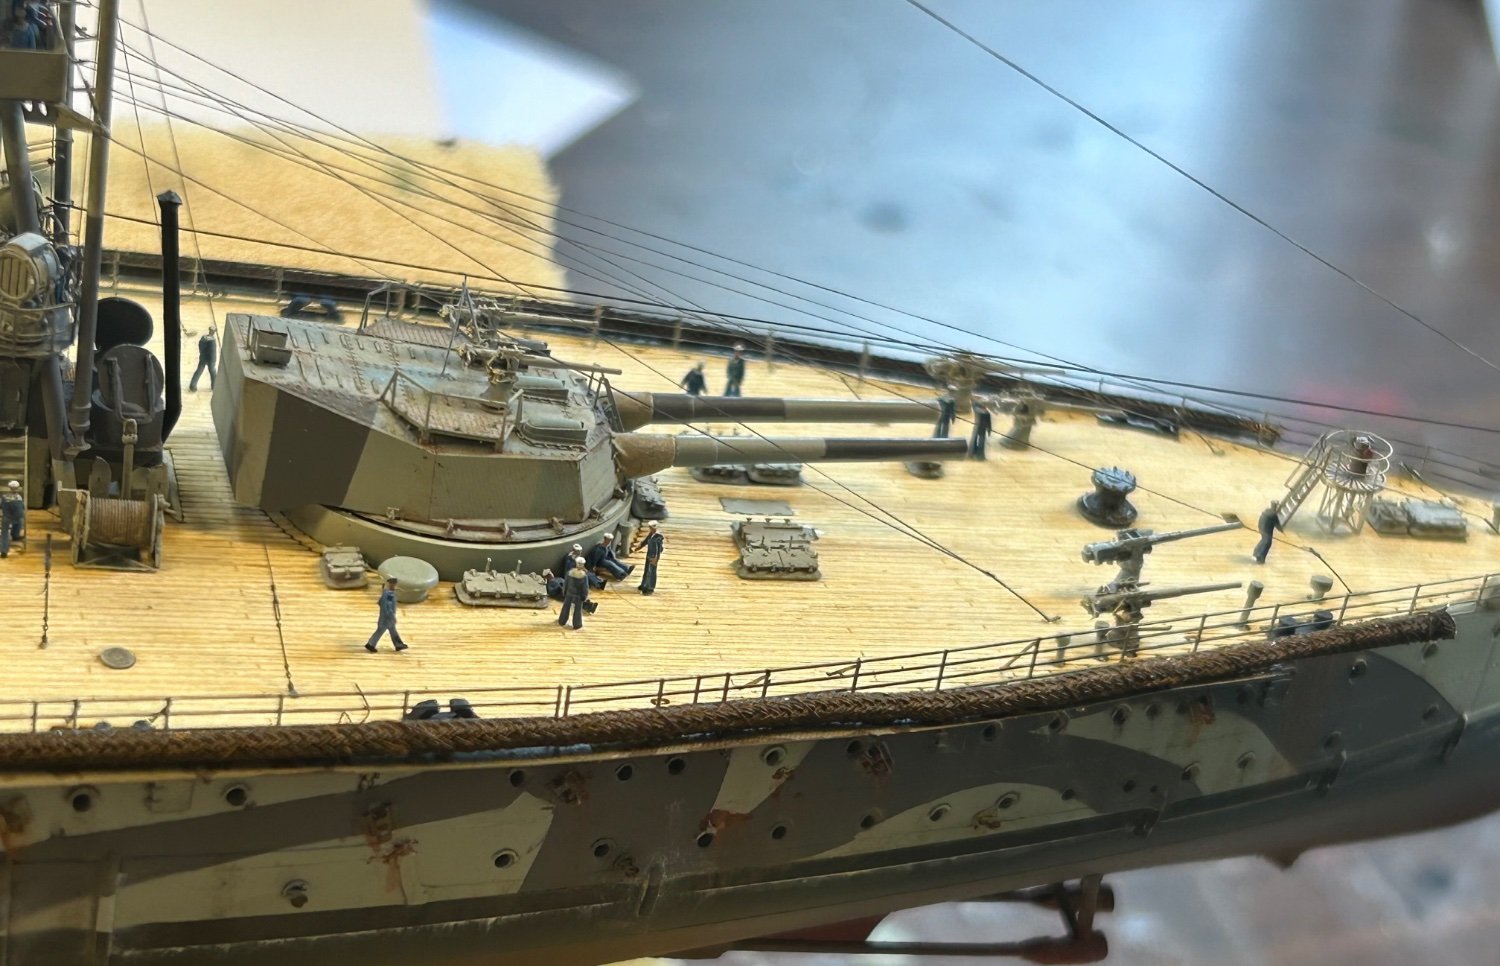
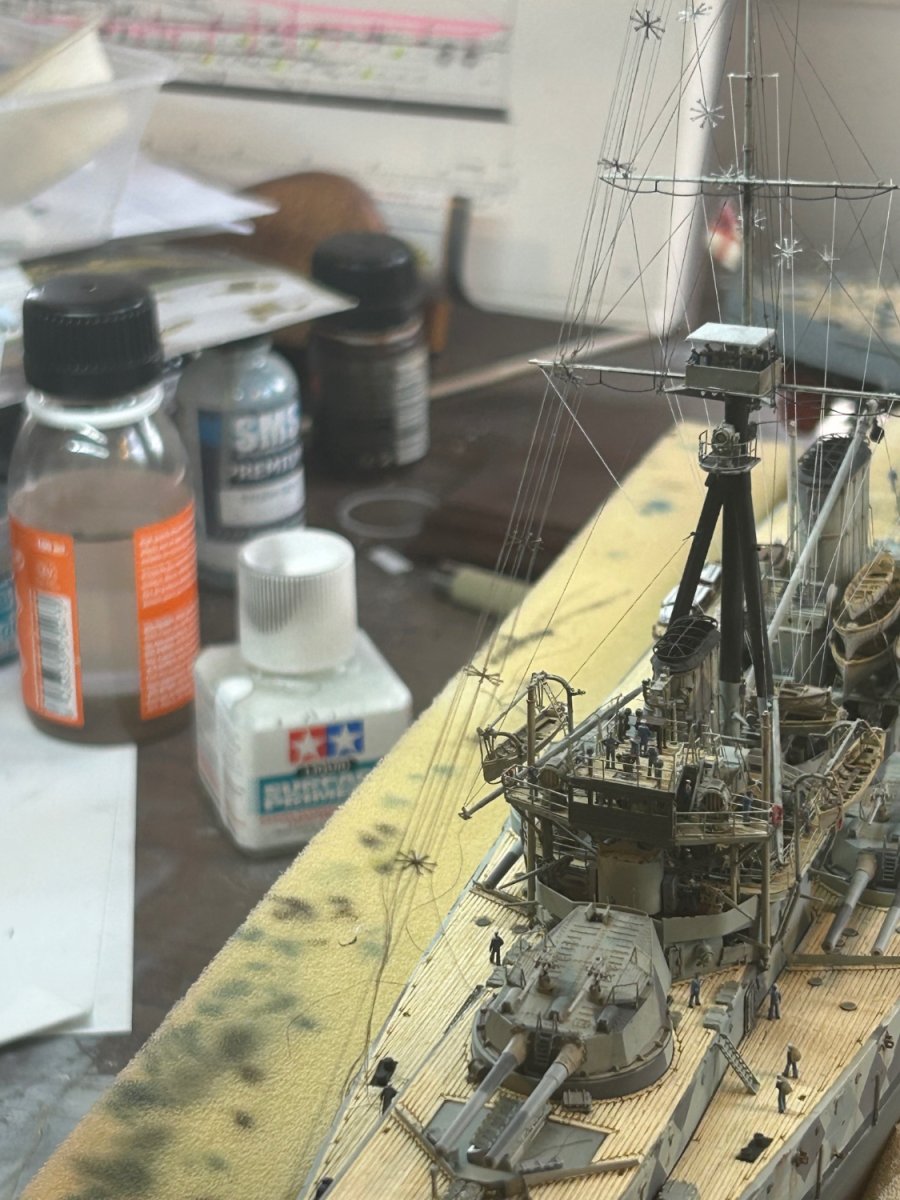
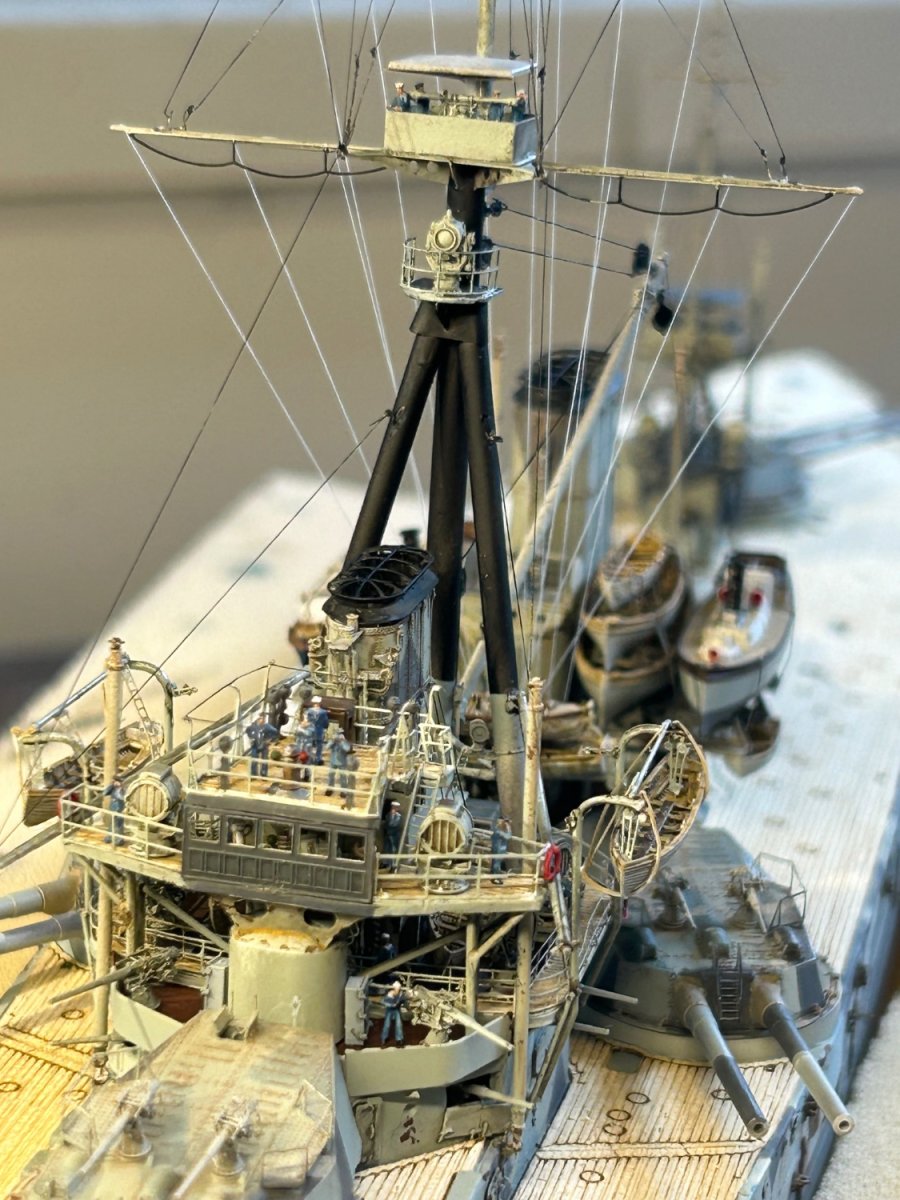
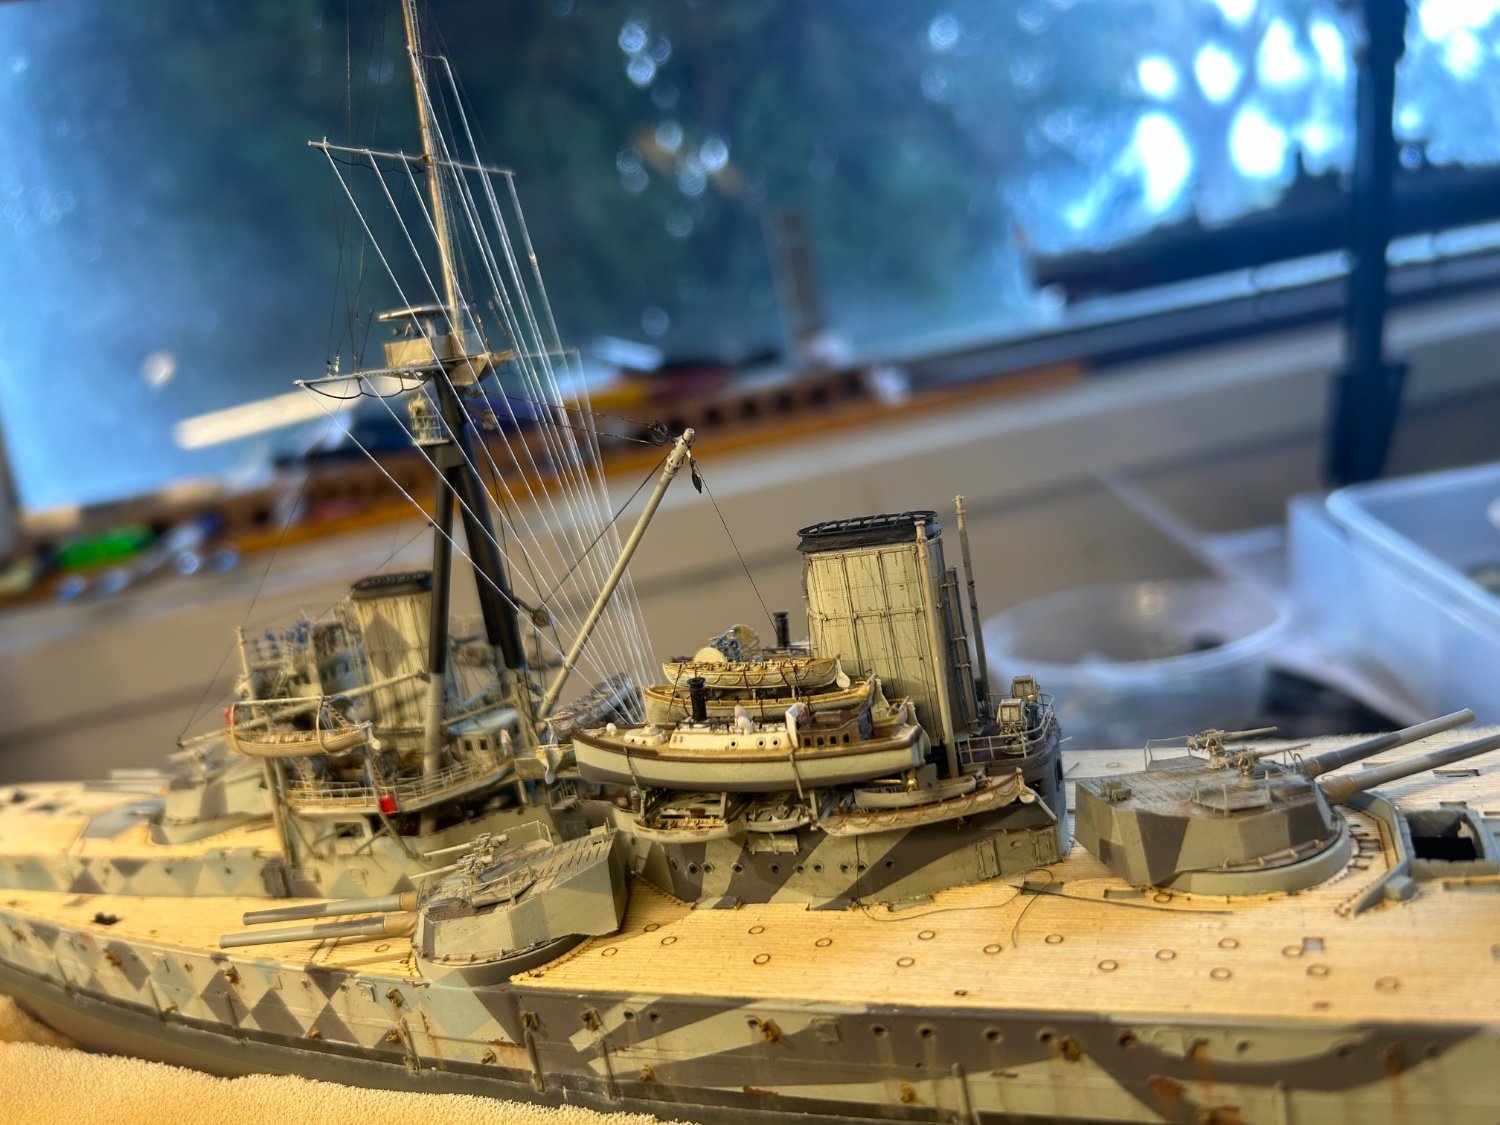
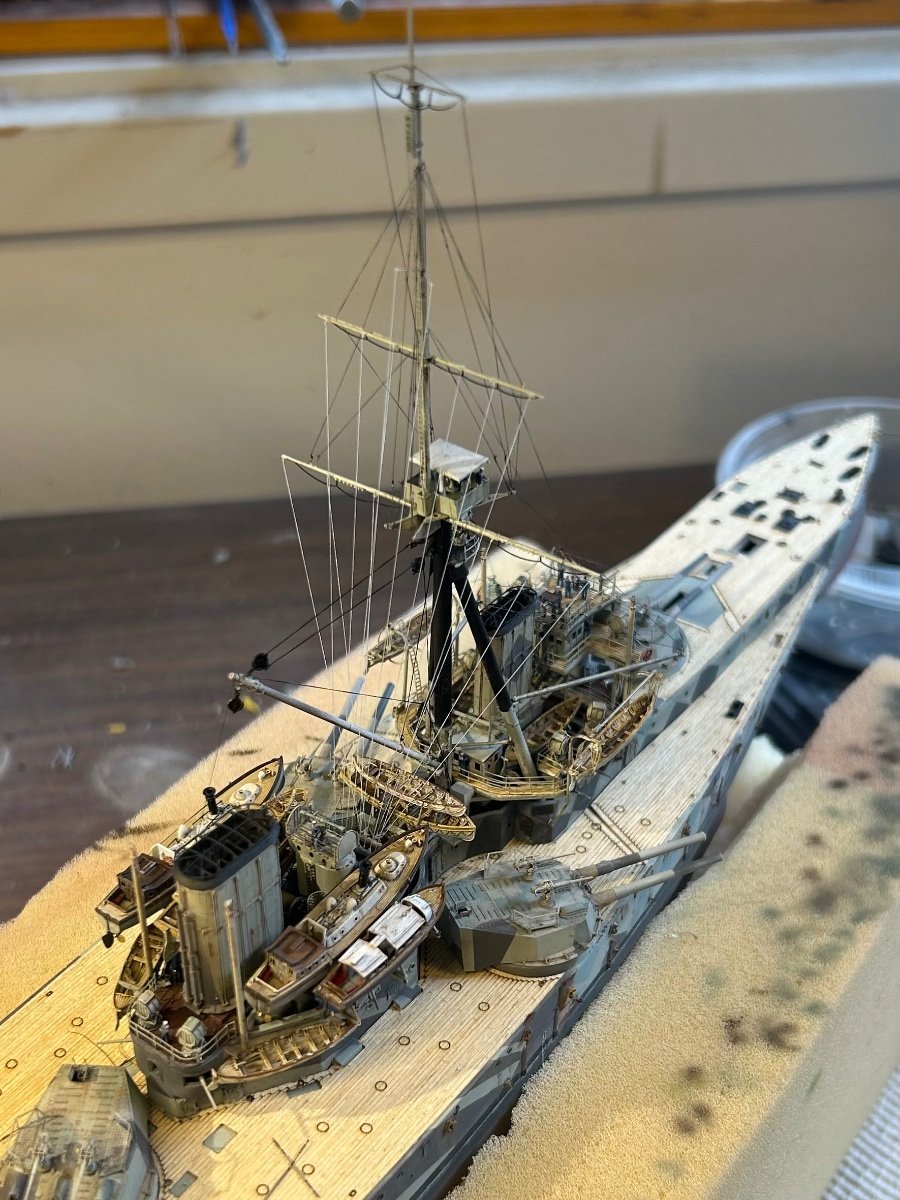
Hard to pick but this is the radio antennae. Attempt 5 today. When I did it years ago it worked well but I’ve always wanted them slack. So very thin wire in the centre and denier lines on the outer. This is pretty much the hardest part of the build

- 233 replies
-
- 14
-
-
-
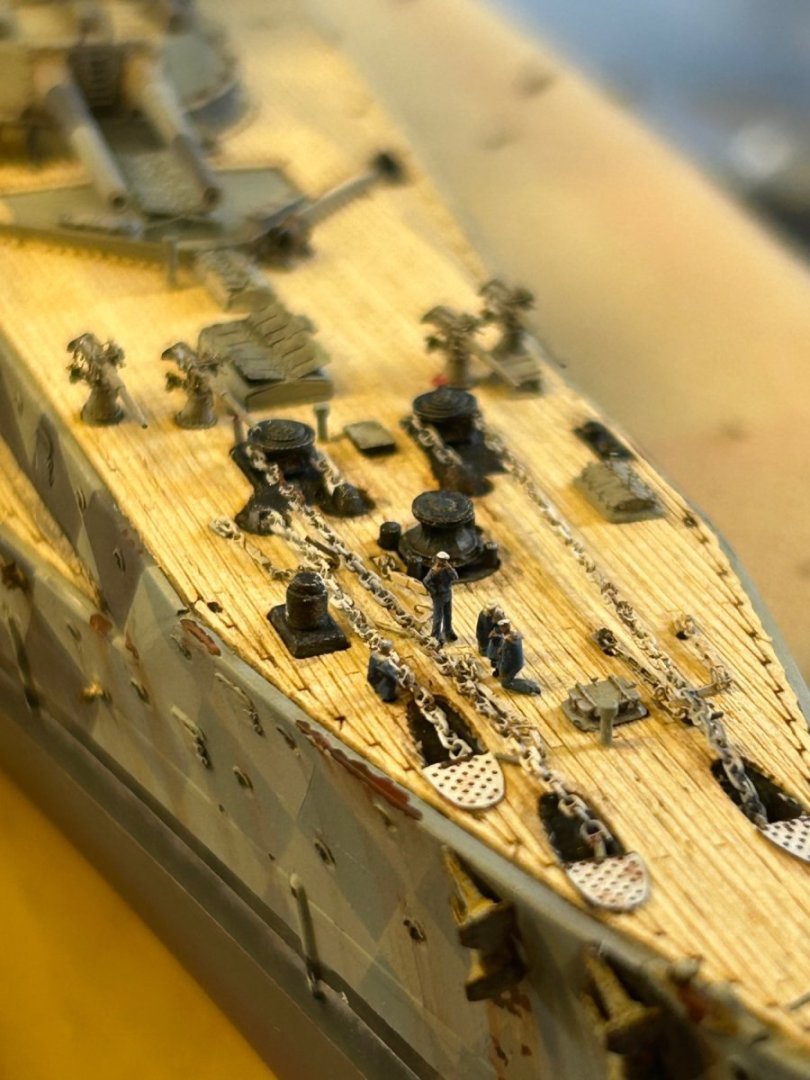
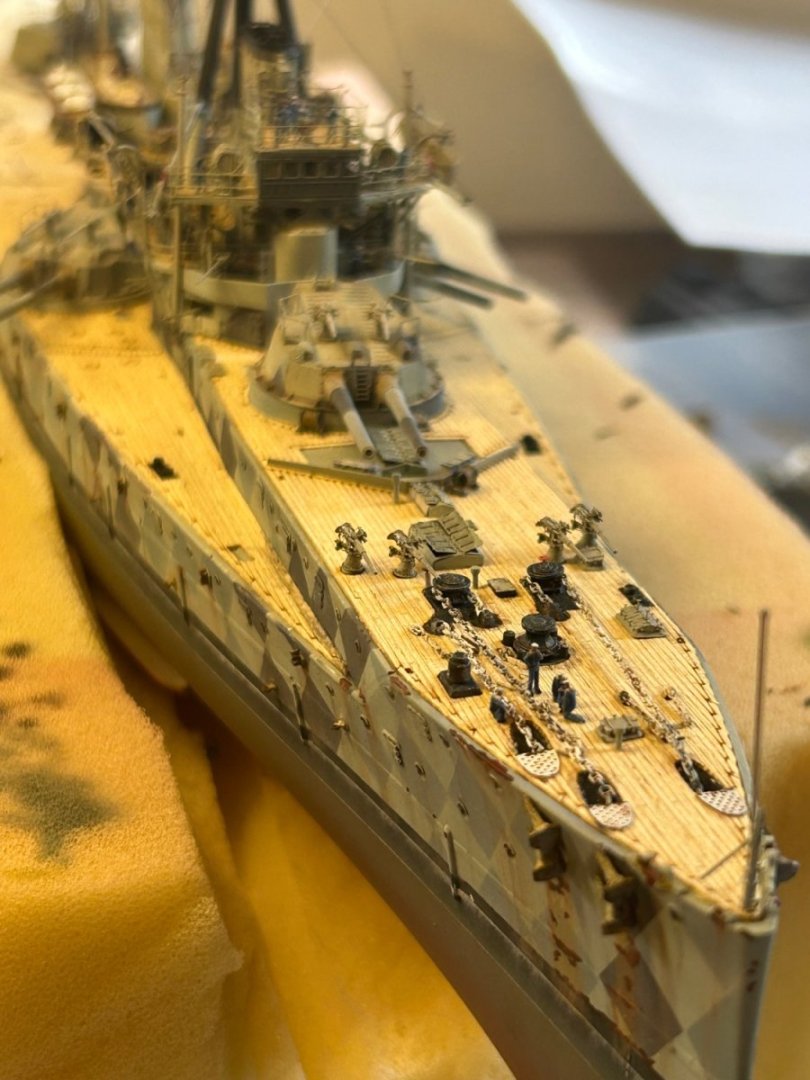
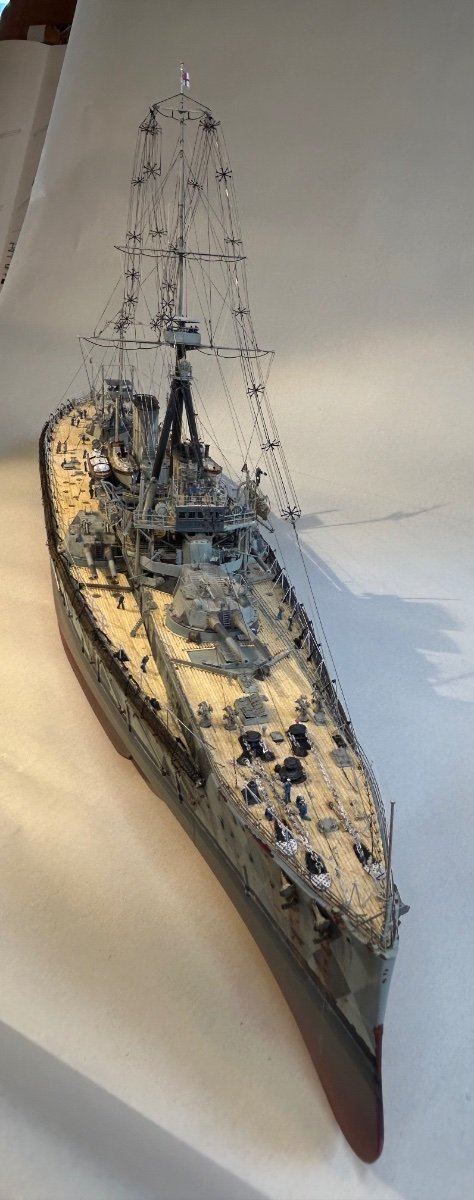
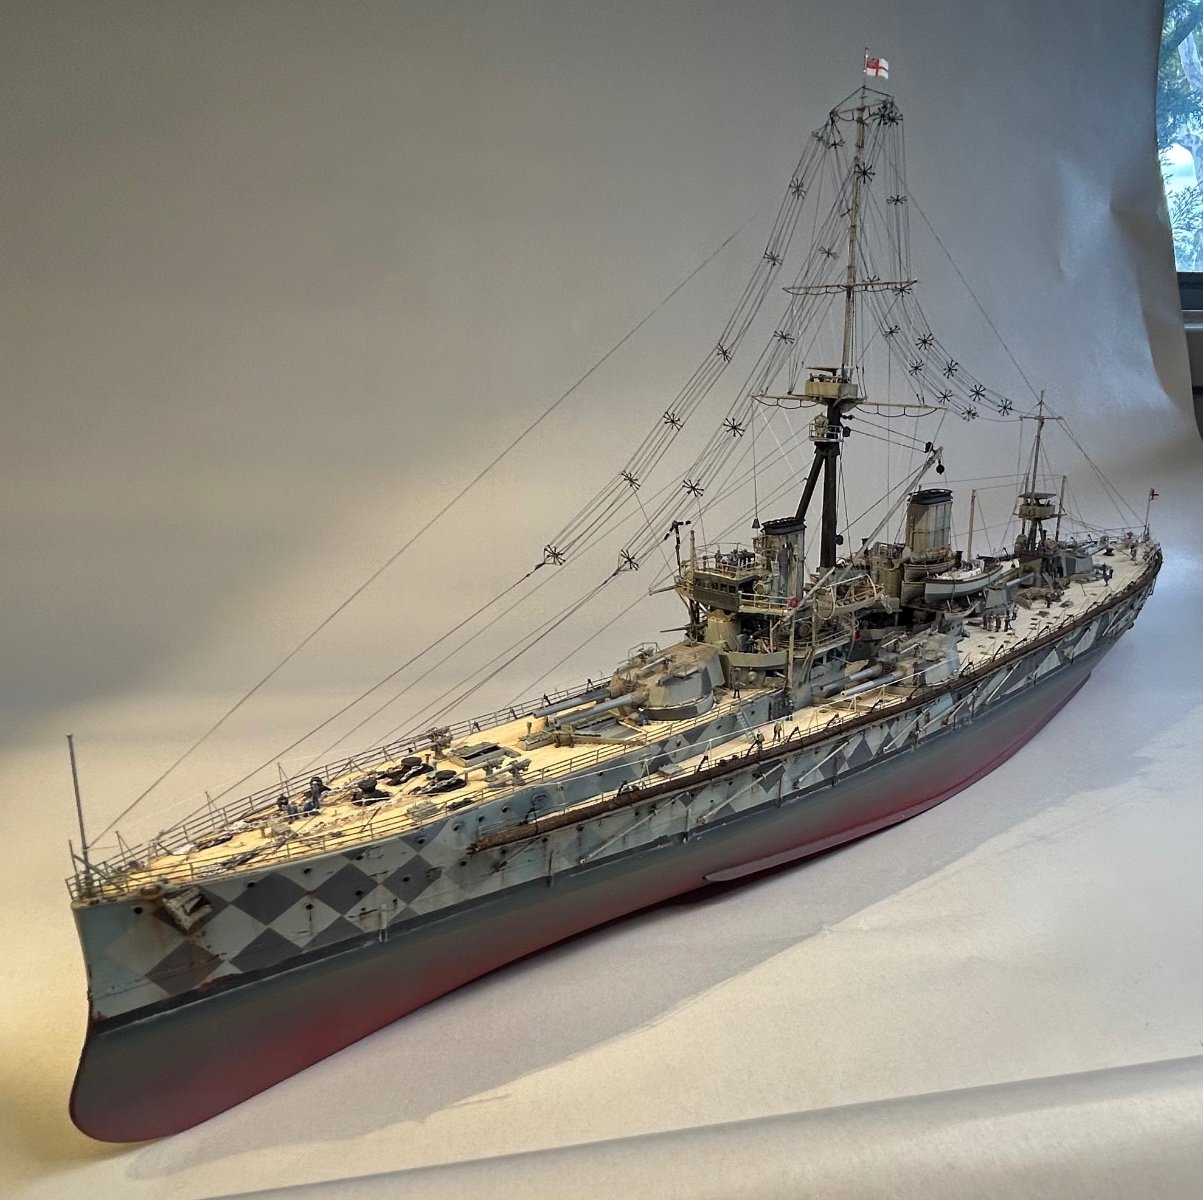
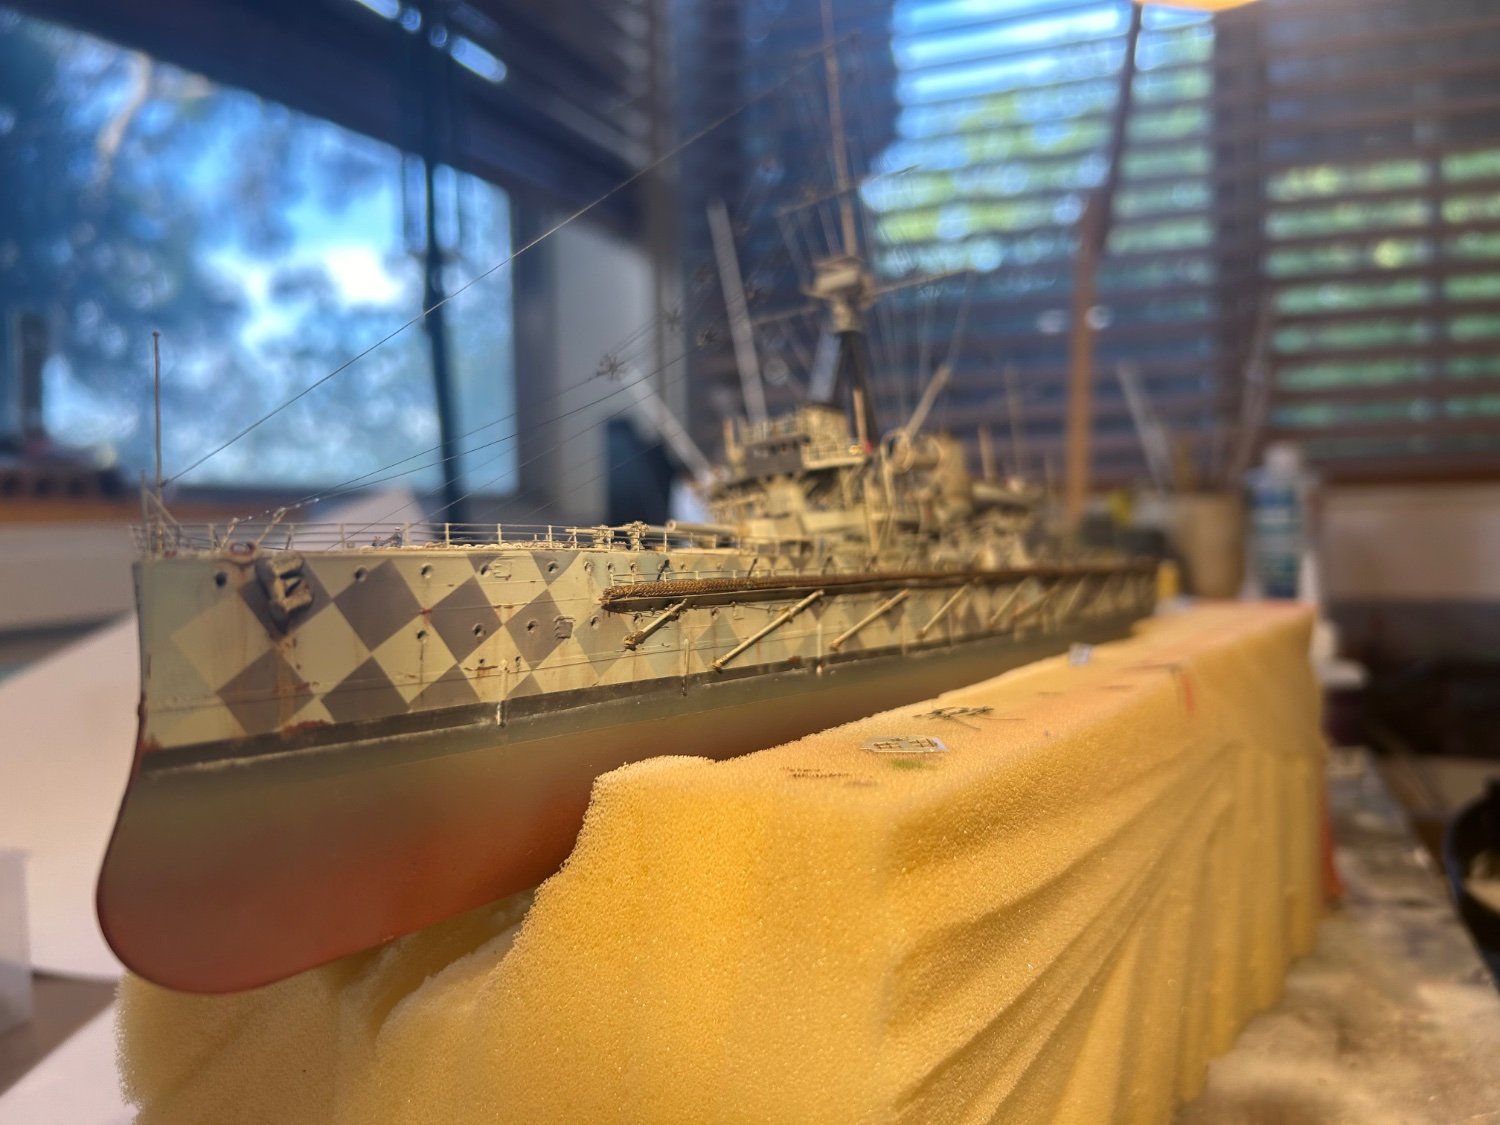
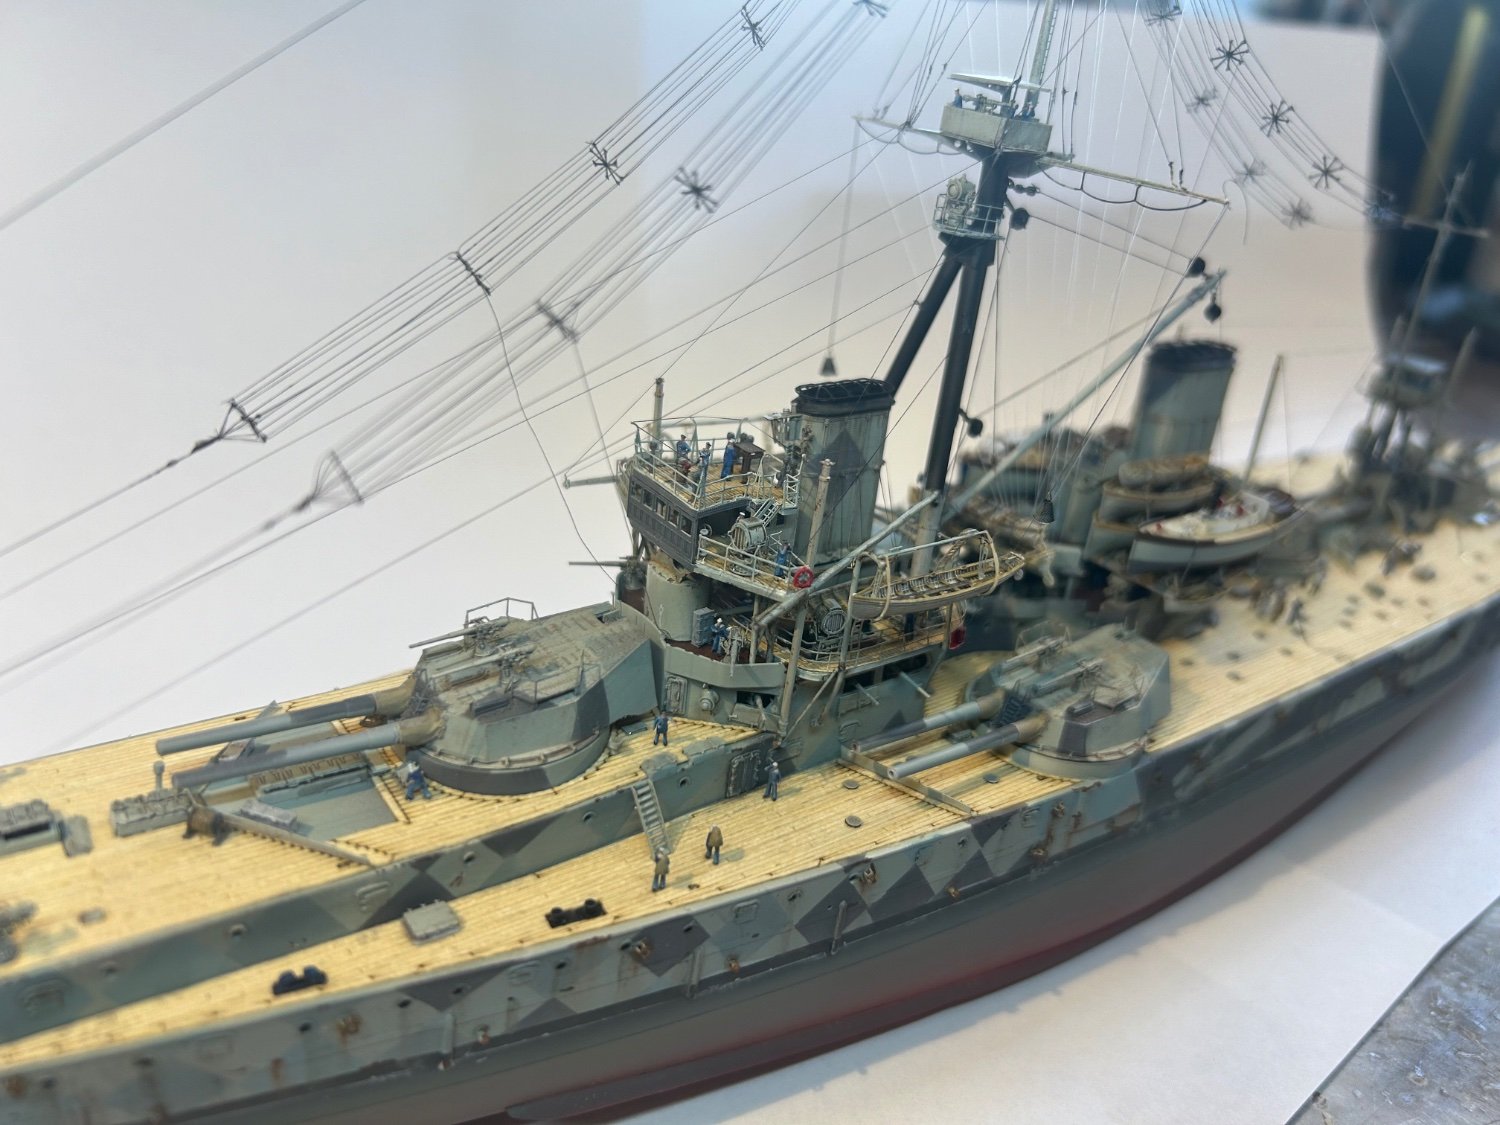
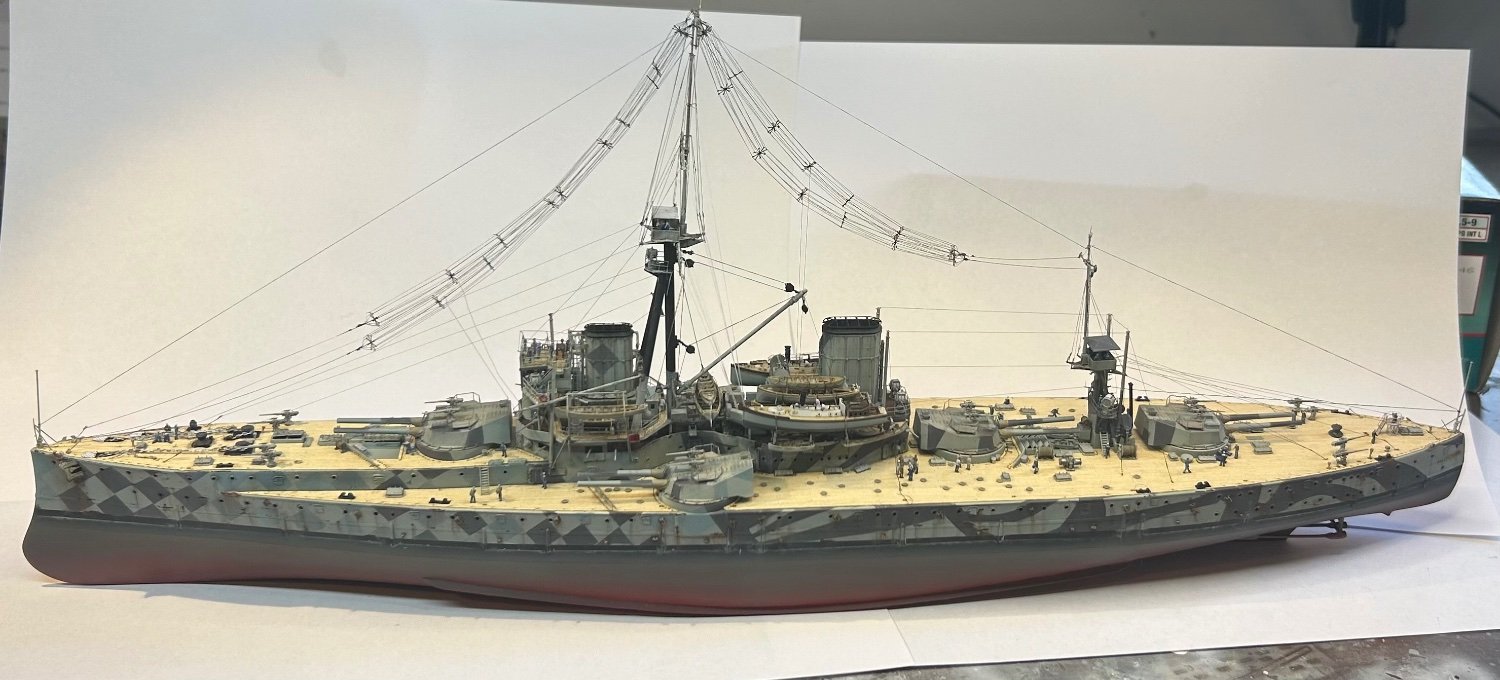
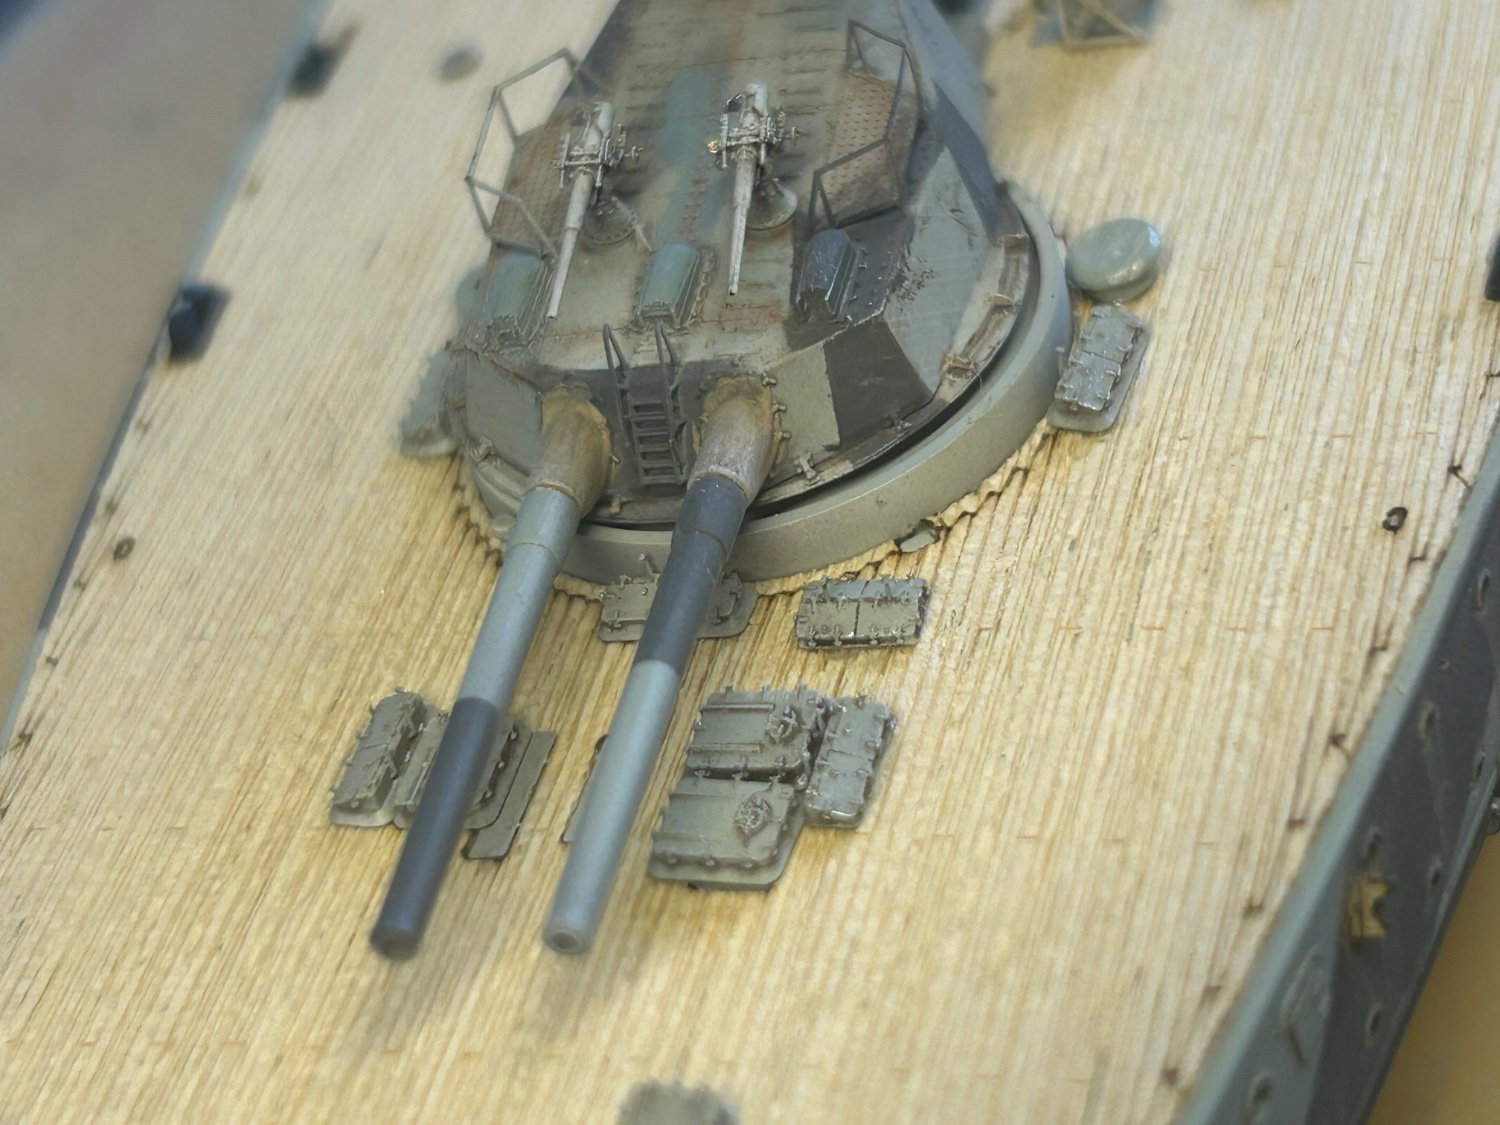
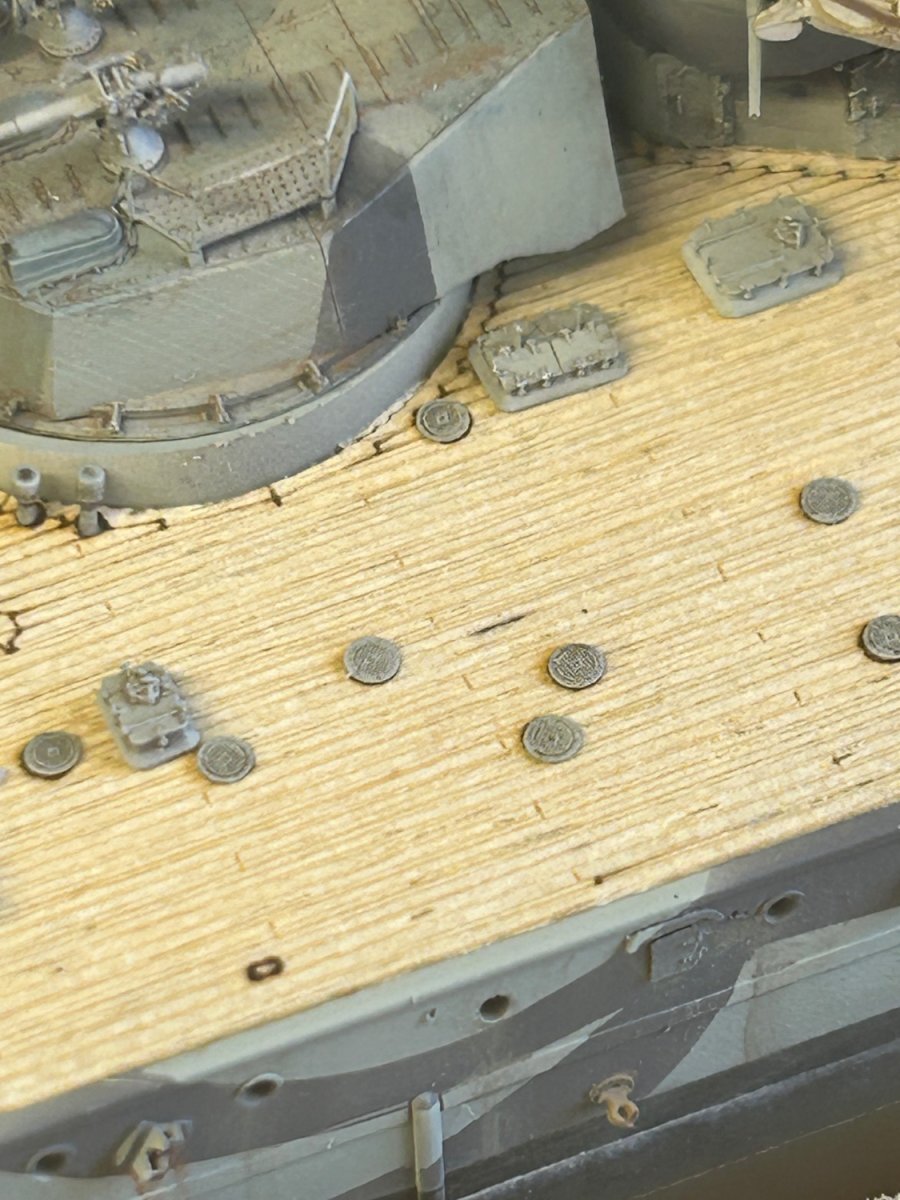
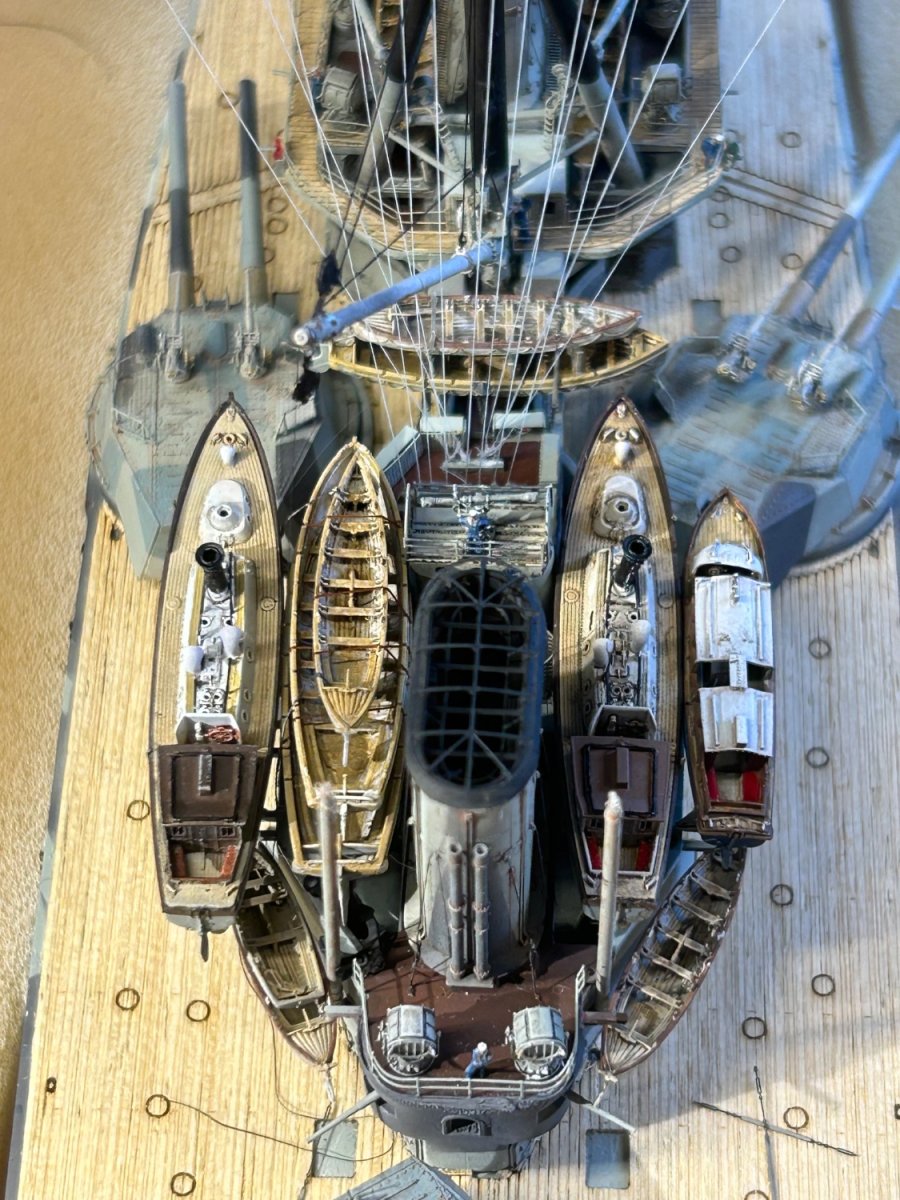
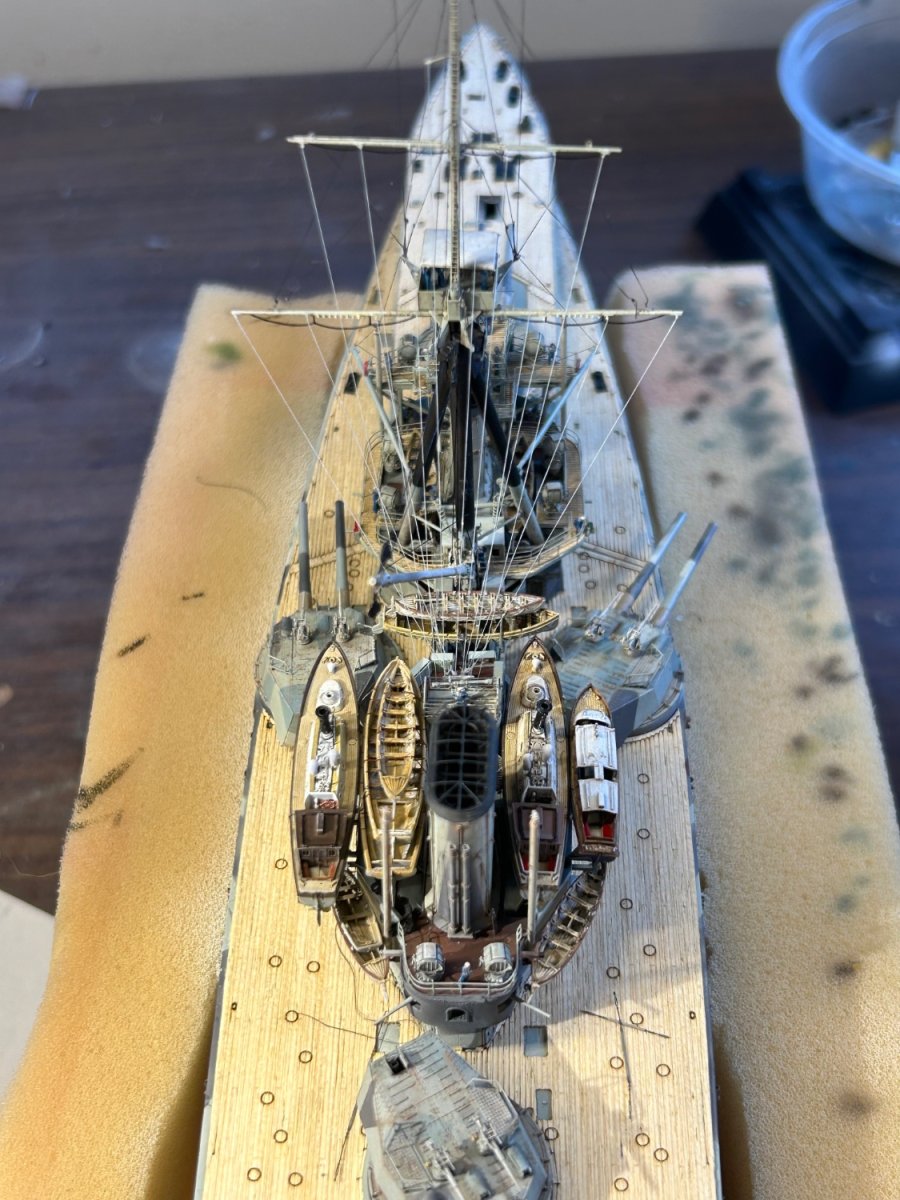
So the deck and fittings are pretty much finished, the cage arials and other rigging to go them the railings and the torpedo net booms and their rigging. IMG_7234.mov IMG_7233.mov
-
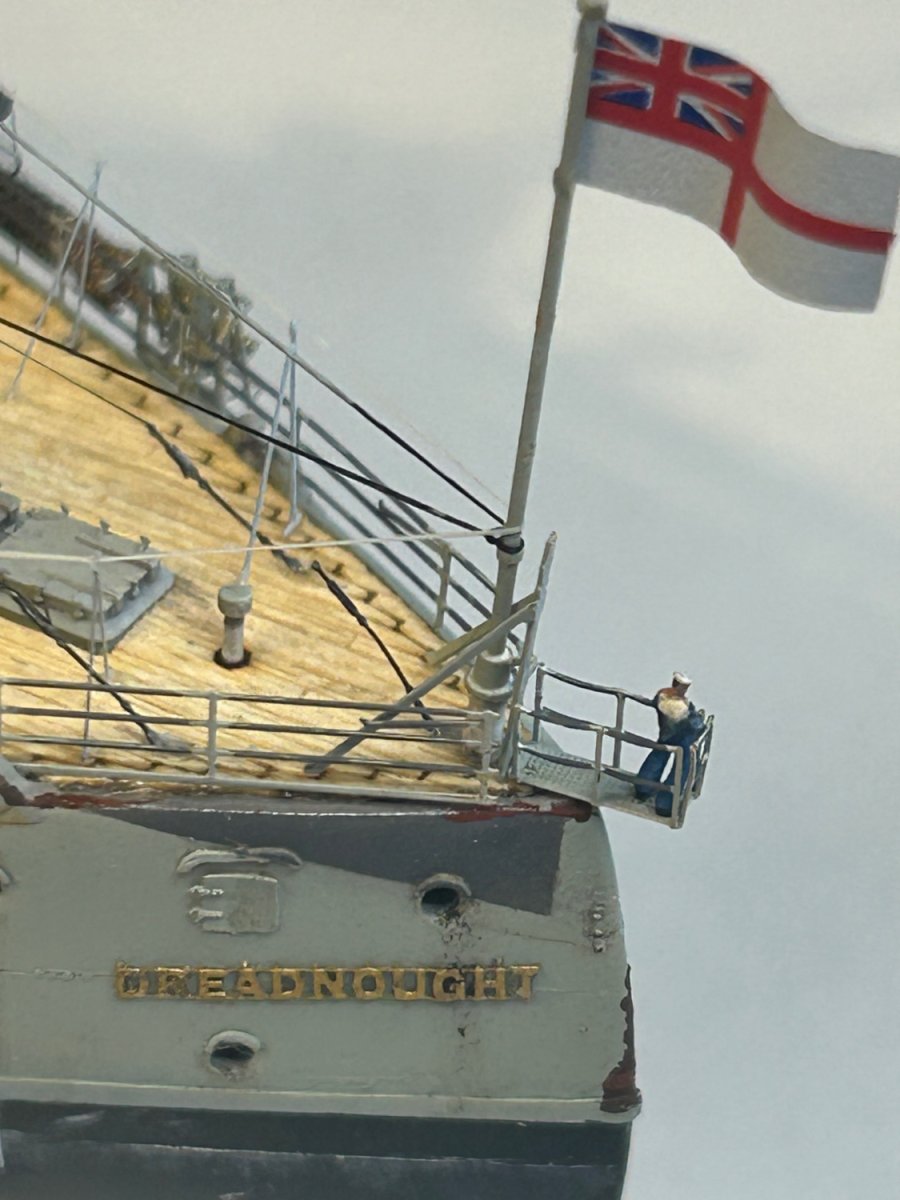
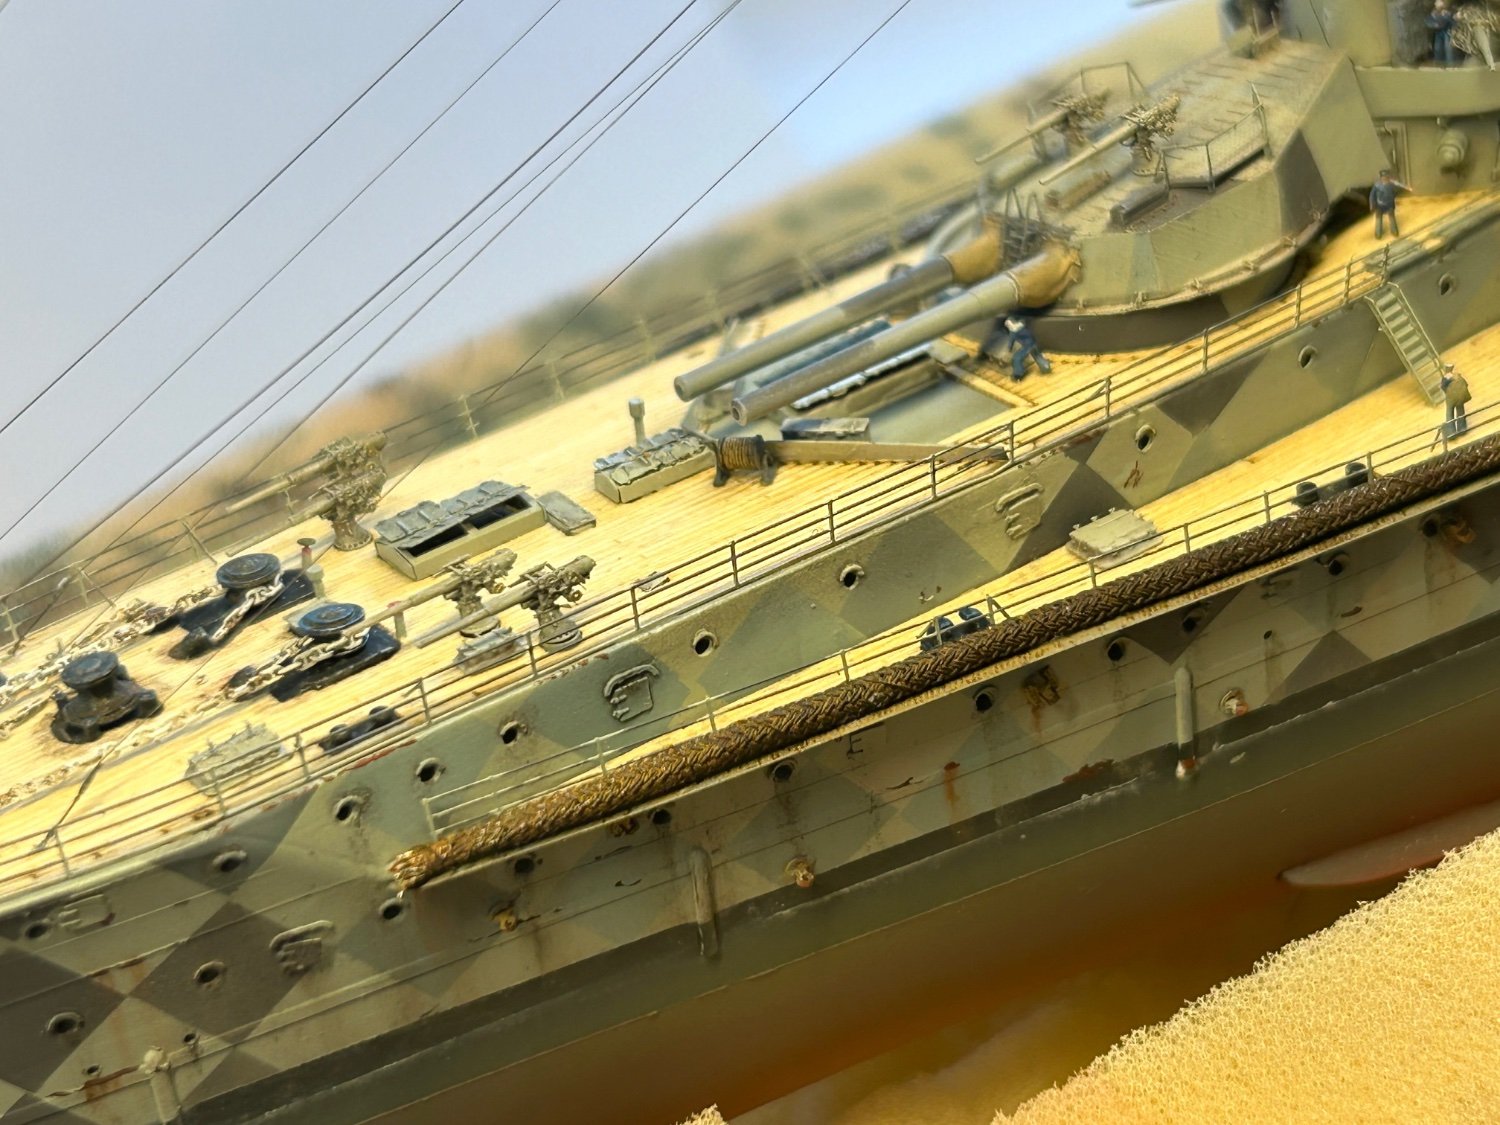
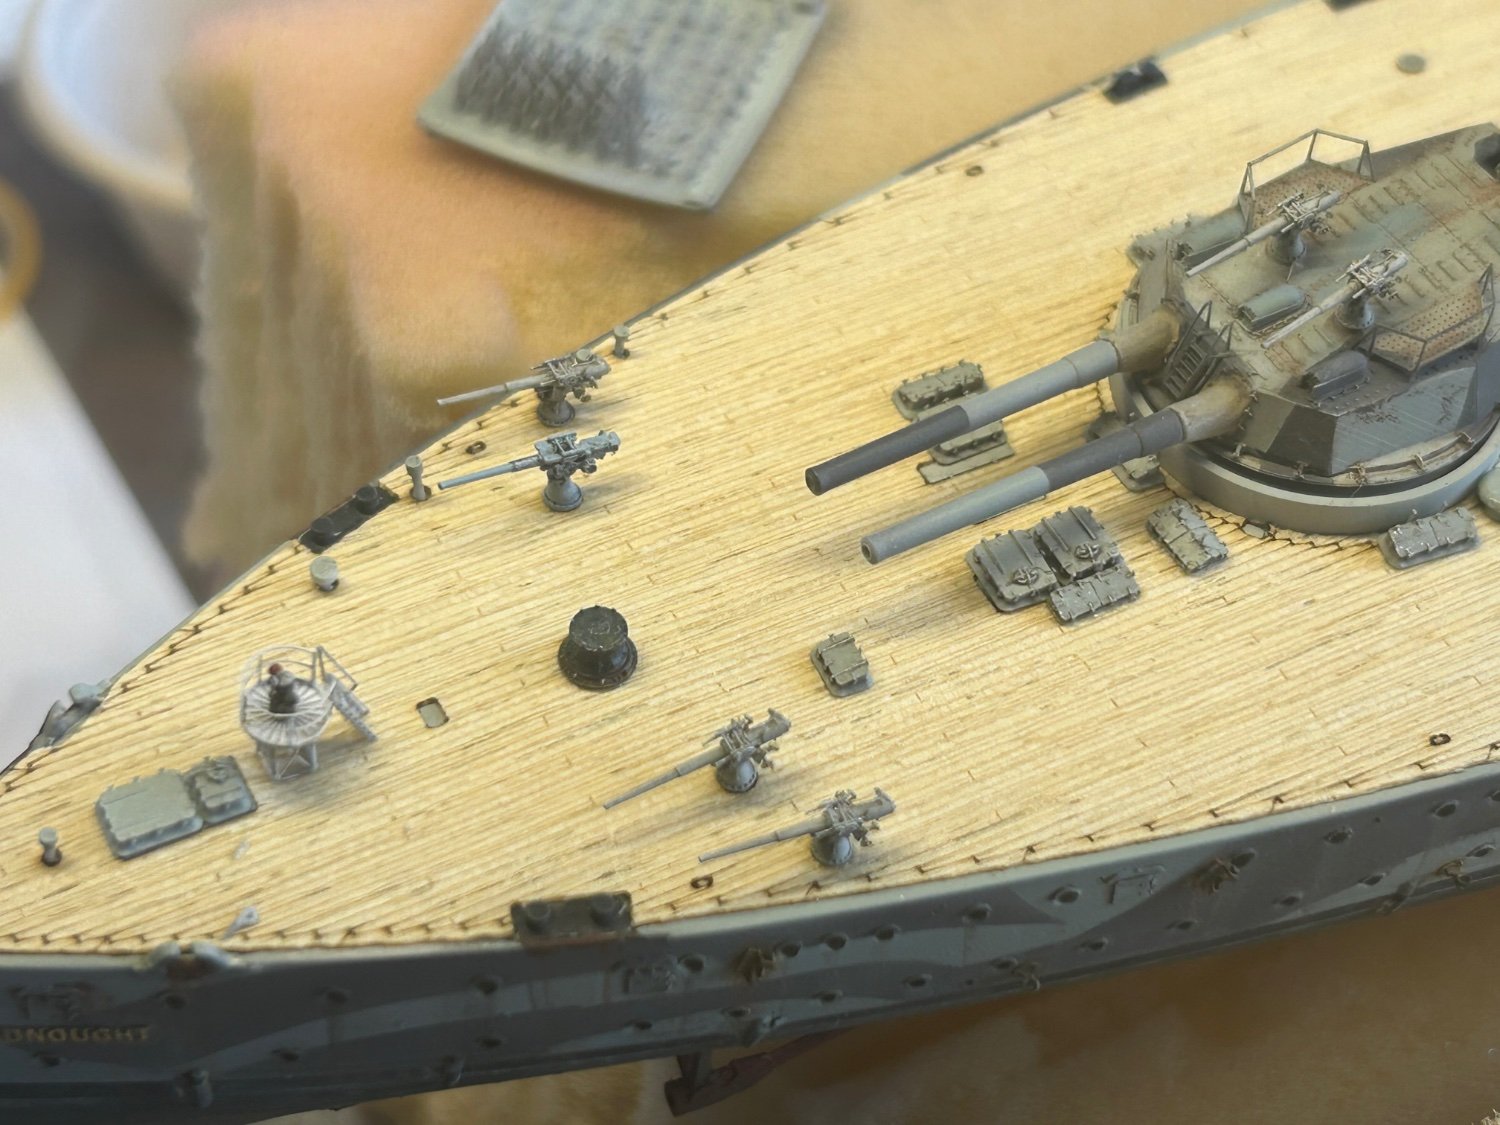
Focsle done up. The chains are 3D printed with some amazing working 3d printed chain stoppers