HOLIDAY DONATION DRIVE - SUPPORT MSW - DO YOUR PART TO KEEP THIS GREAT FORUM GOING! (Only 13 donations so far - C'mon guys!)
×


RGL
-
Posts
5,529 -
Joined
-
Last visited
Content Type
Profiles
Forums
Gallery
Events
Everything posted by RGL
-
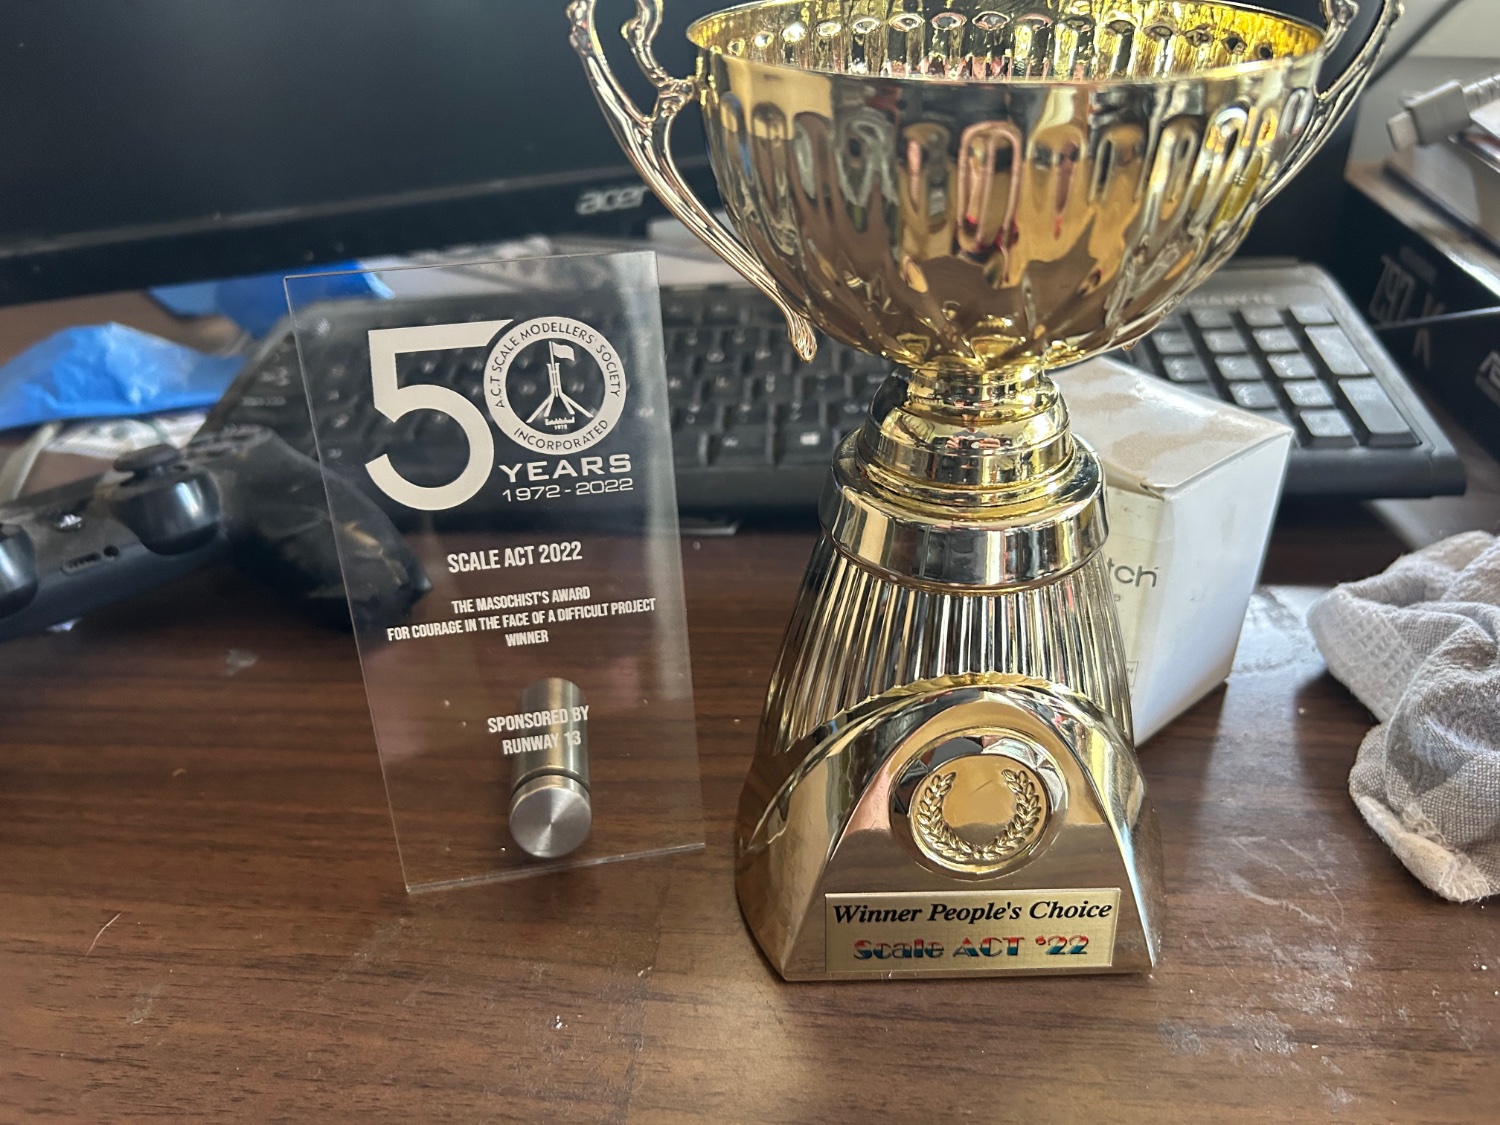
 It will teach me to check my work! Proves the judges are honest too. We’ve come a long way from our telephone calls all those years ago
 -
There is a KGV build on Britmodeller that’s is just excellent and does a better job than mine on the crane
-
It has sponsorship, part of the prize is an airbrush for the masochist award. I was n best in show last one for the Seydlitz. The bloke who won it yesterday is recognised as world standard so I’m pretty happy to make the big end of the comp. I missed out on 1st for best ship as I forgot to paint the steering wheels on the jeep on the deck of Thetis bay. Meh. The U-9 won best sub
-
It’s pretty good, 500 models, if you’re in the Facebooks it’s on ACTSMS , closes this afternoon
-
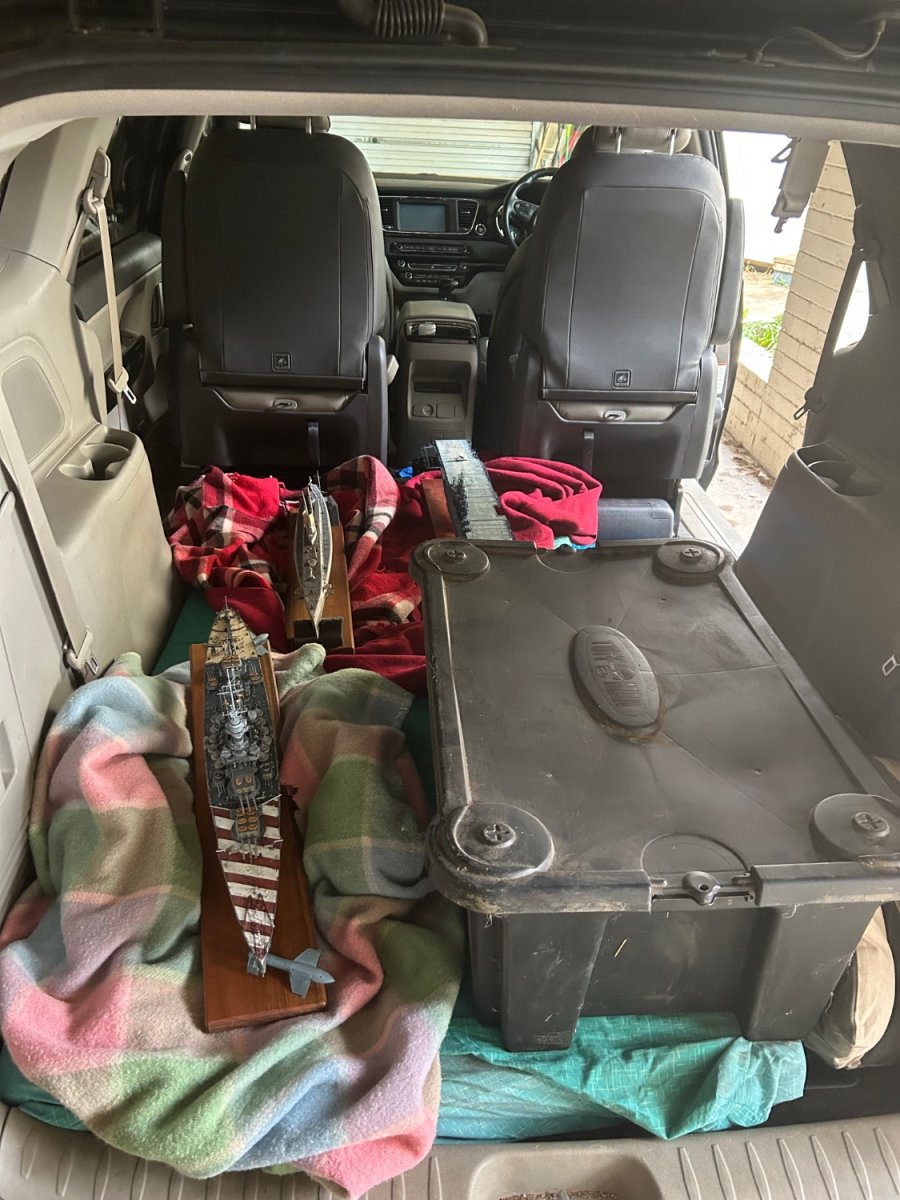
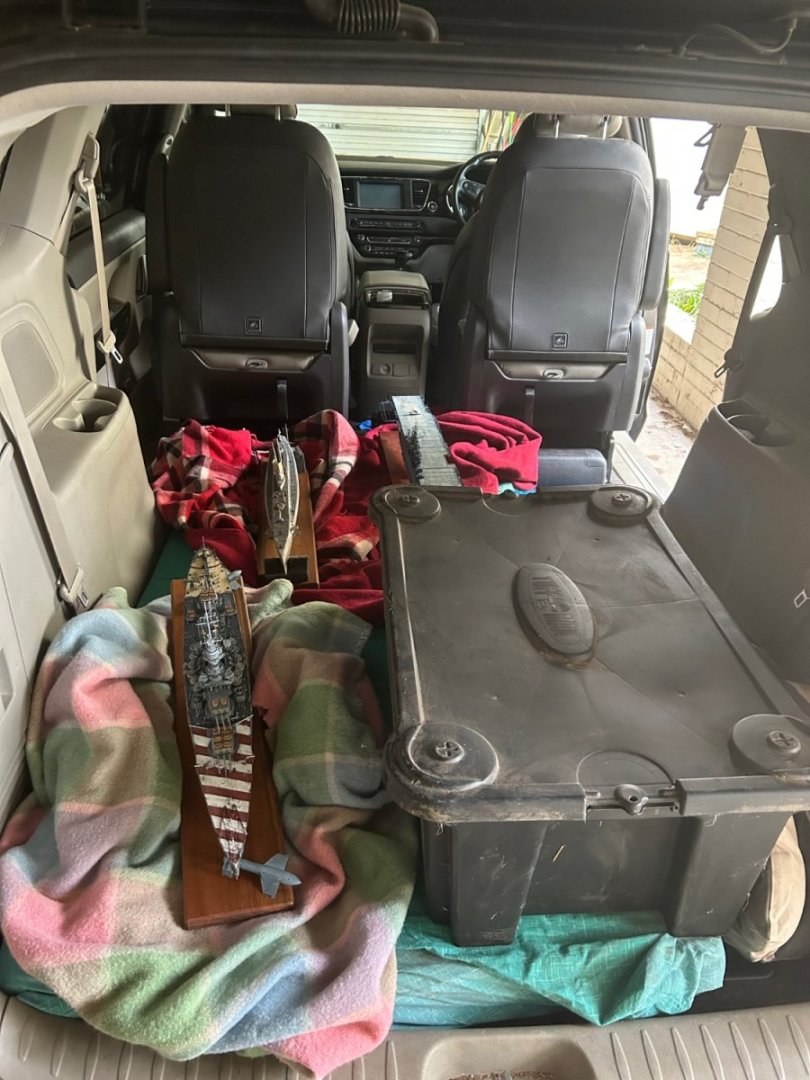
This weekends effort is our annual model show, 5 ships and a sub make a 28 k trip to the show
- 48 replies
-
- 10
-

-
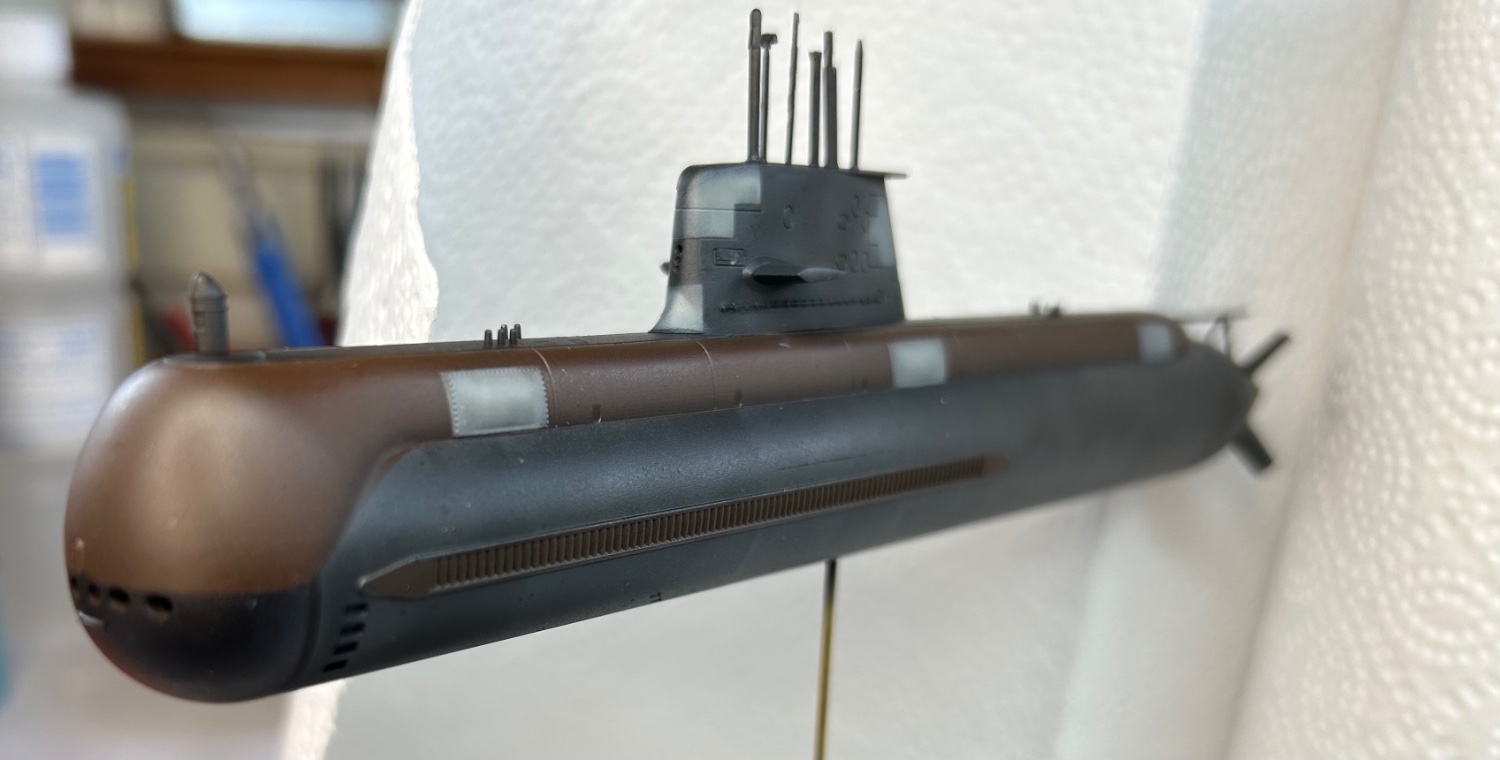
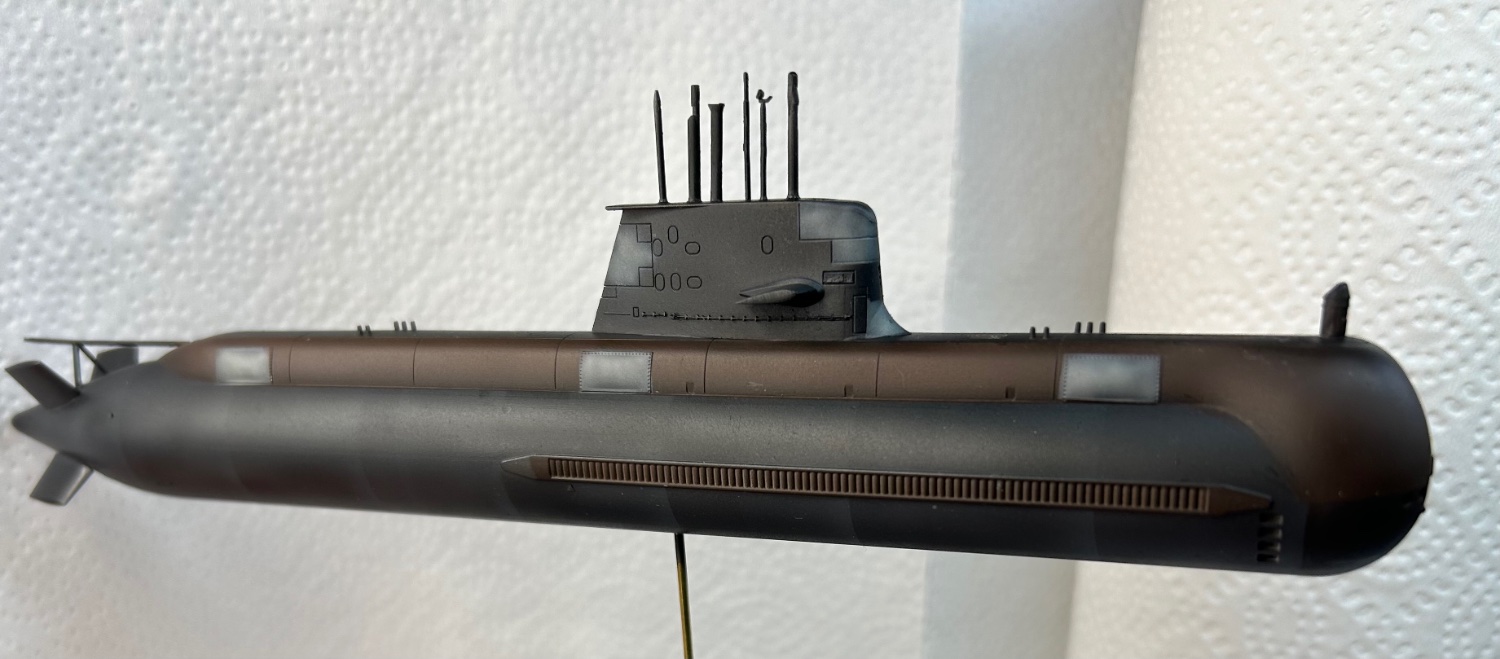
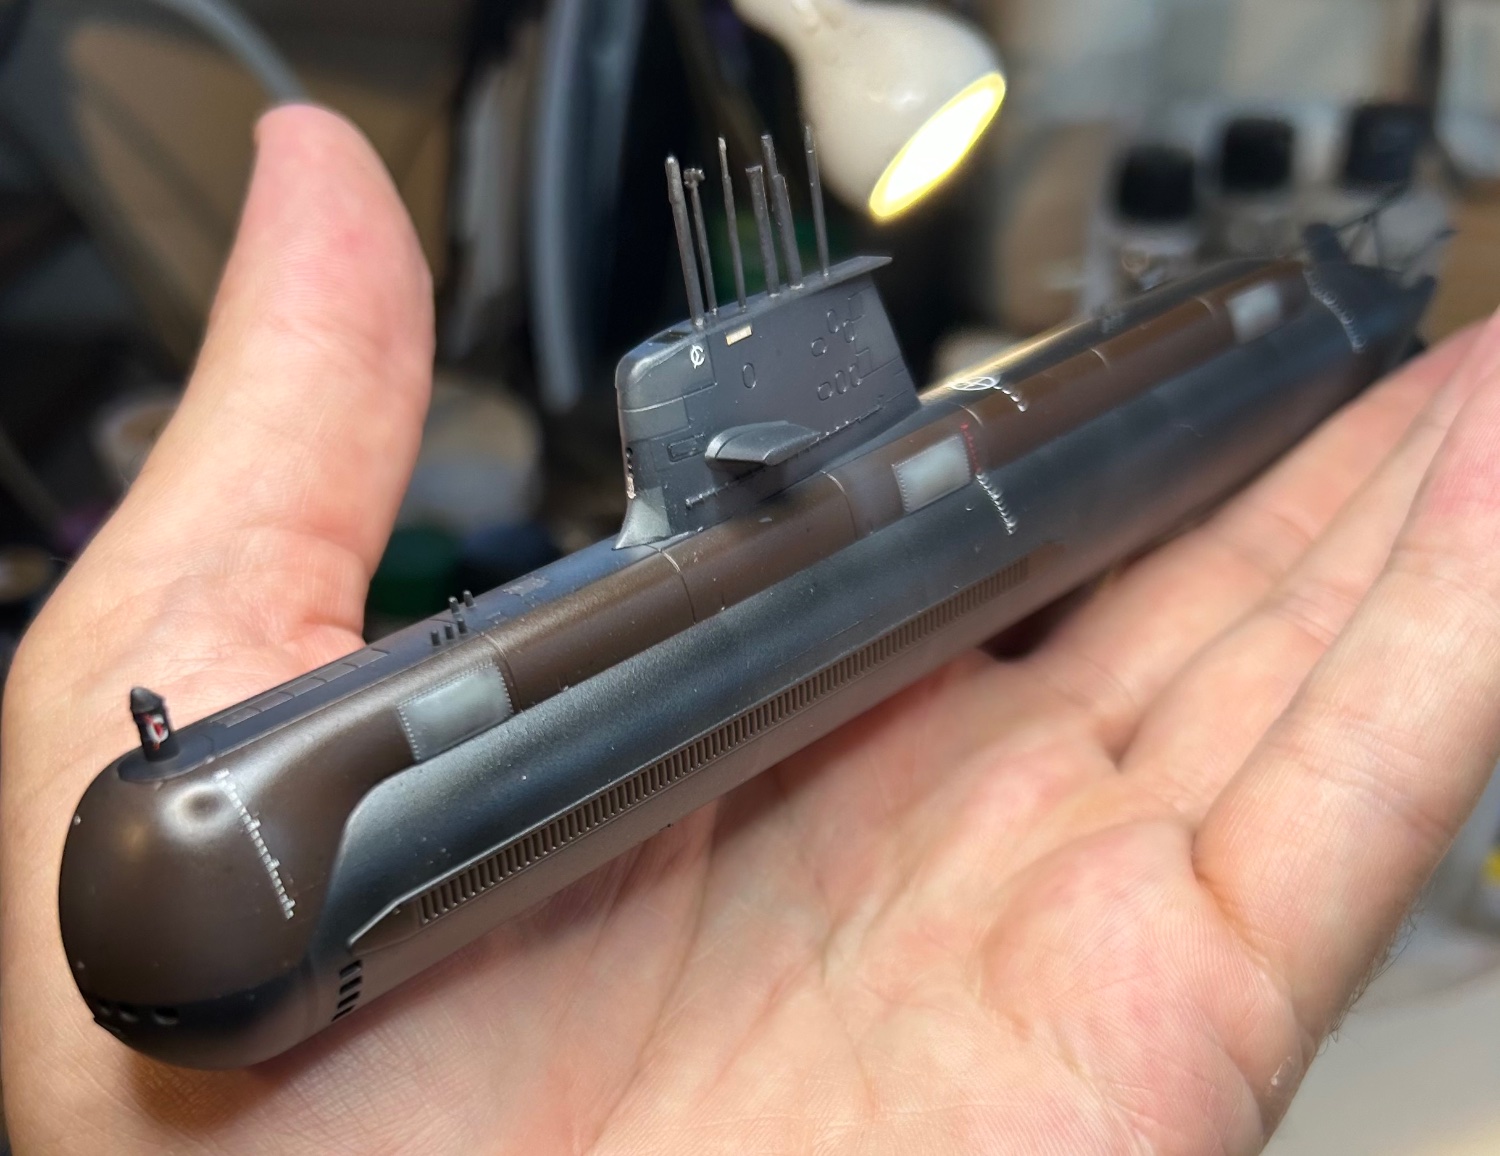
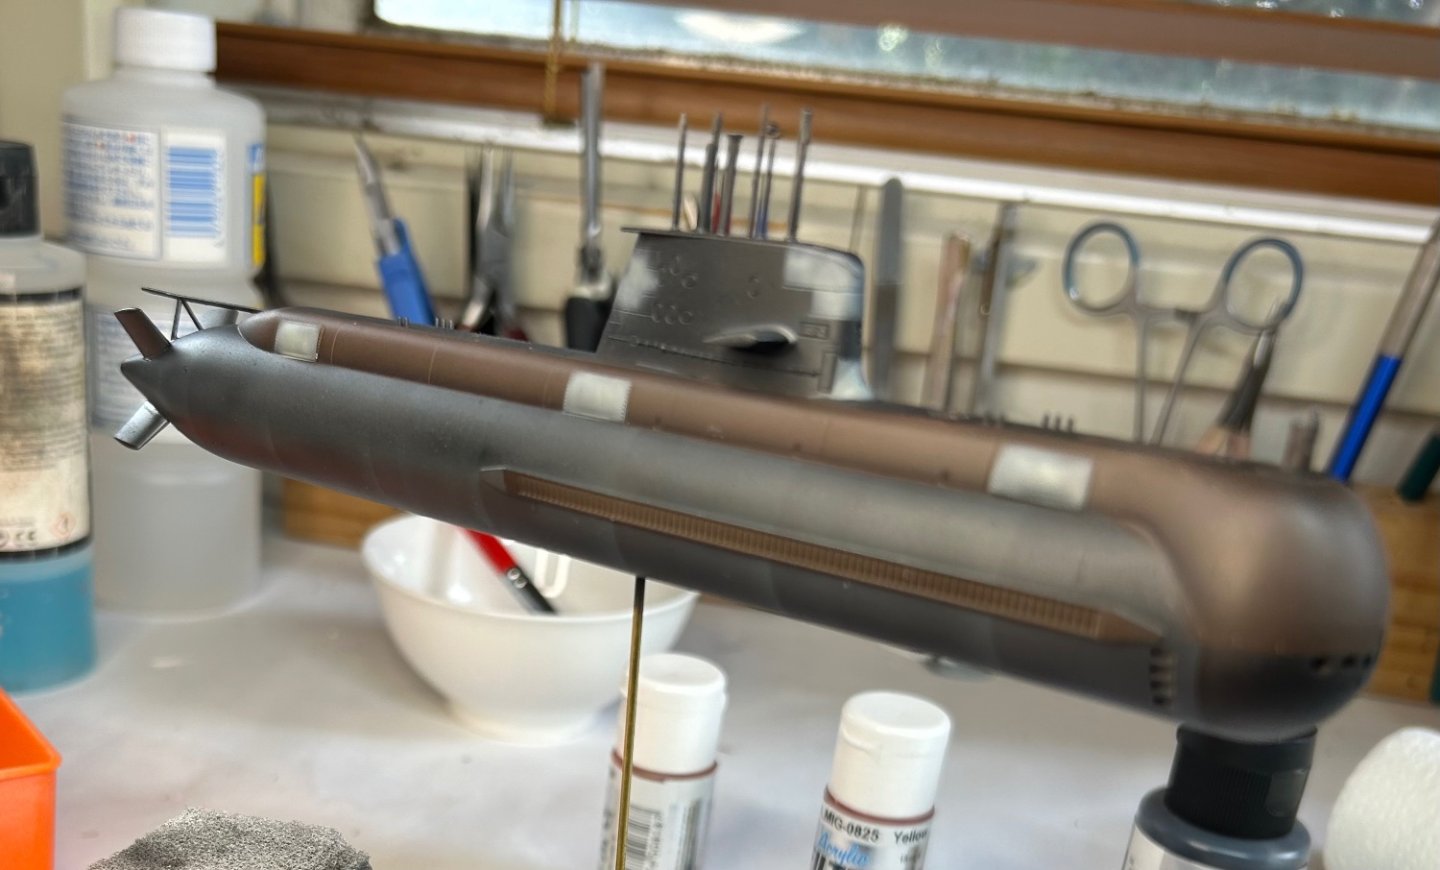
Thought I’d try and finsh one whilst I was waiting for some paint in the mail. HMAS Collins, a day in the paint shop, just need to weather it now


- 48 replies
-
- 11
-
-
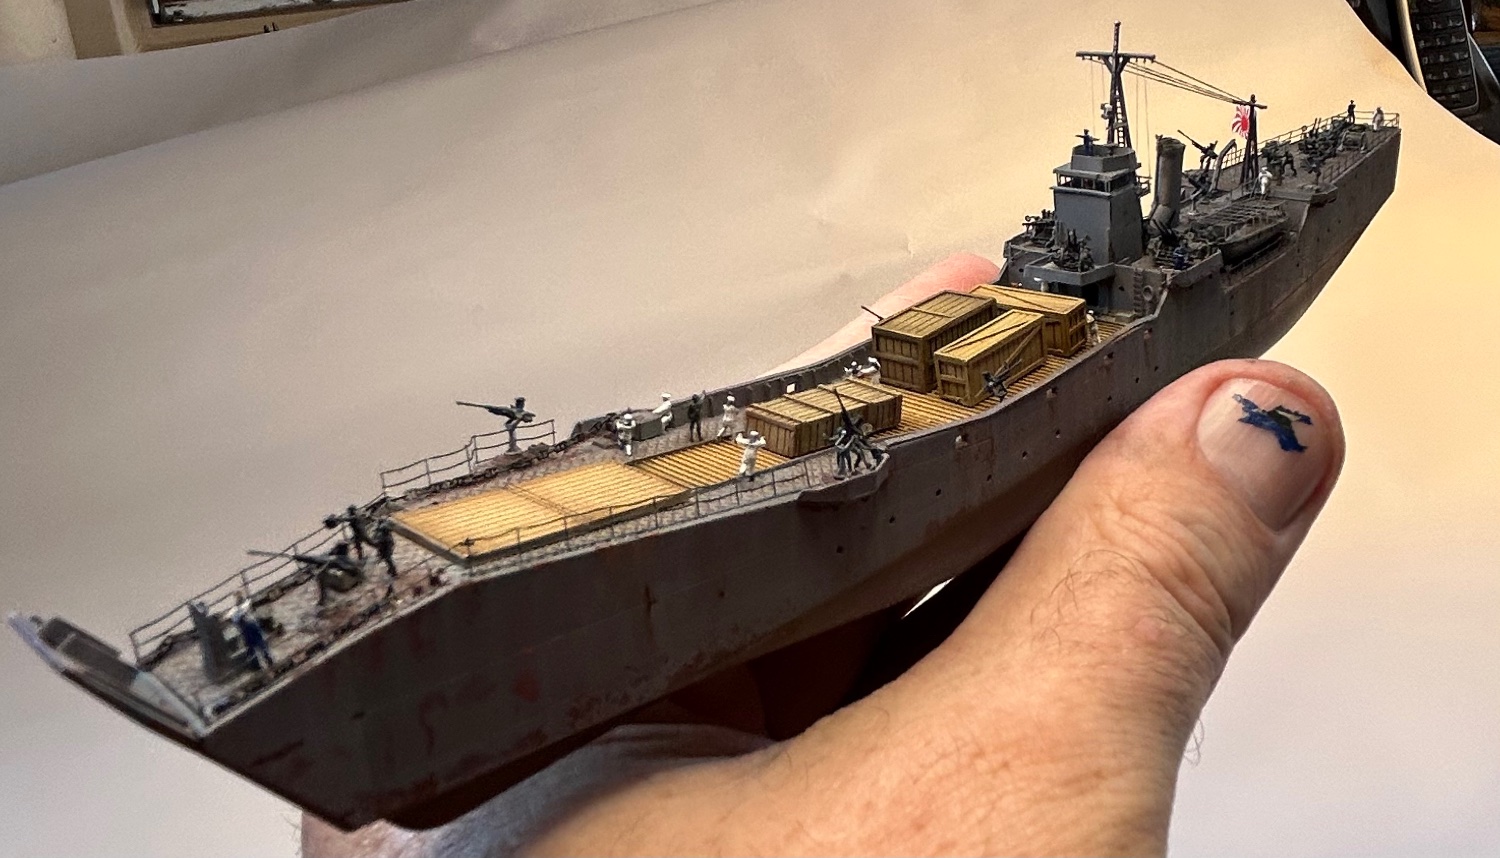
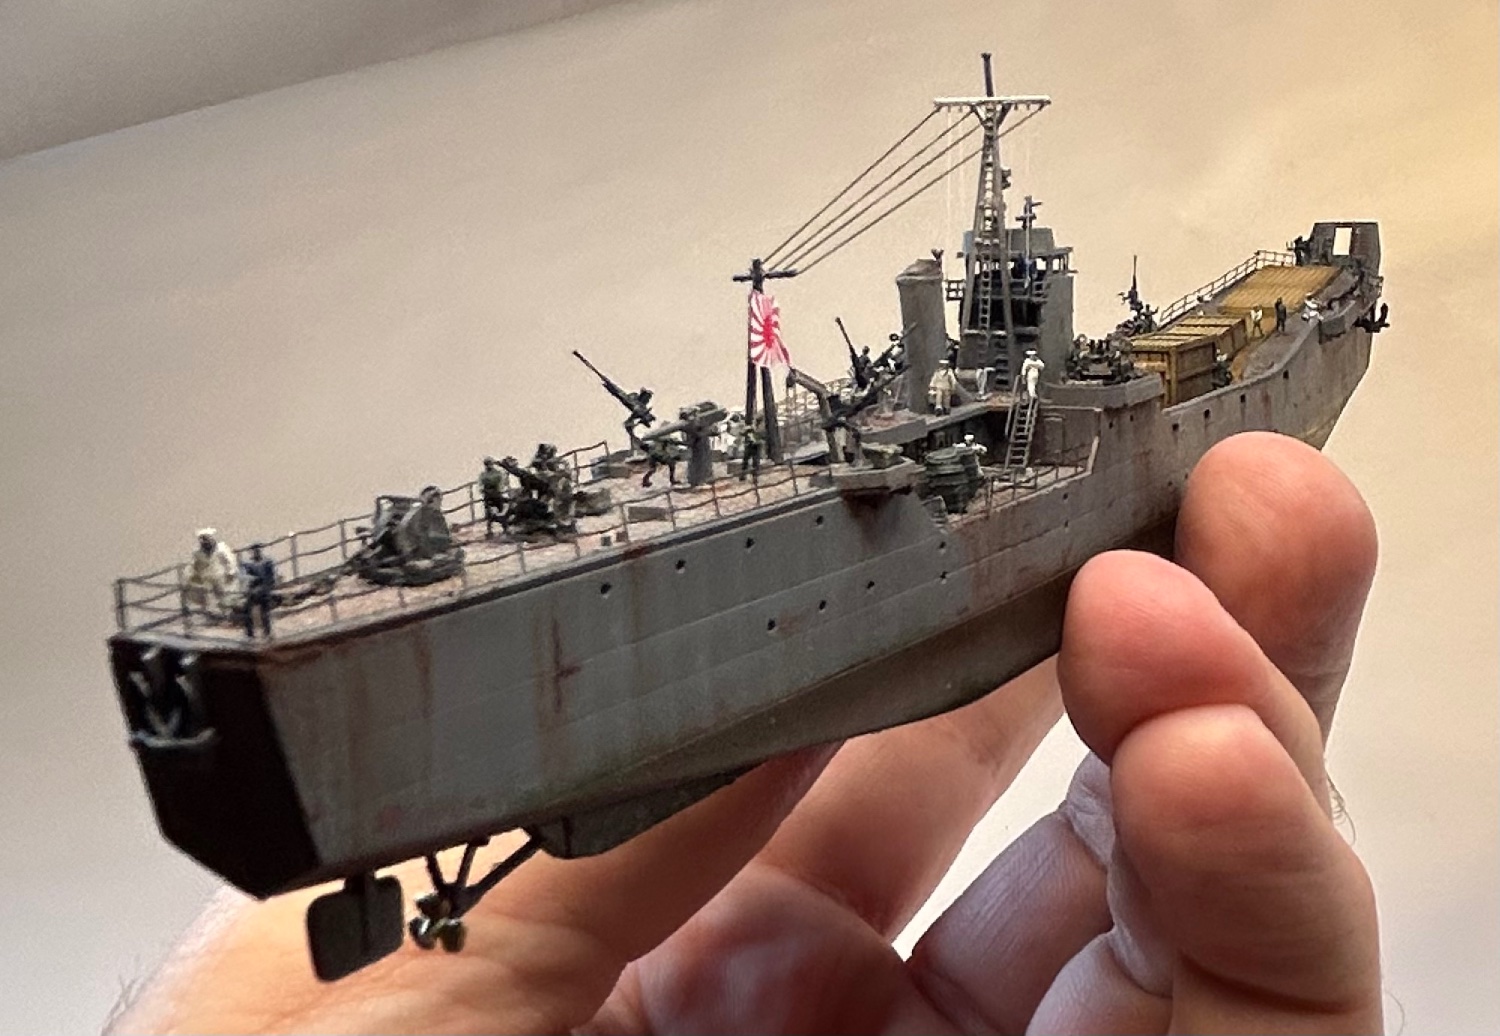
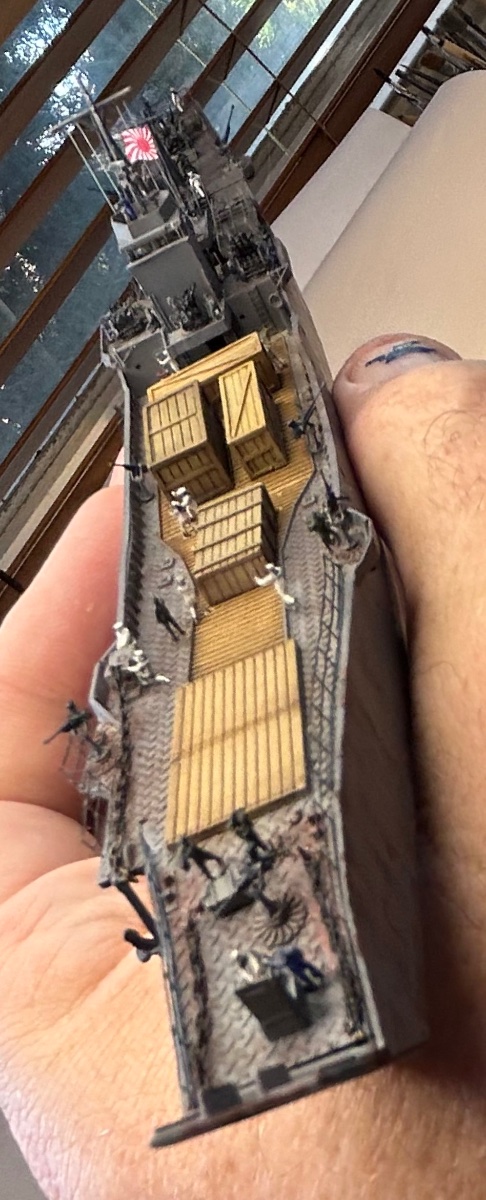
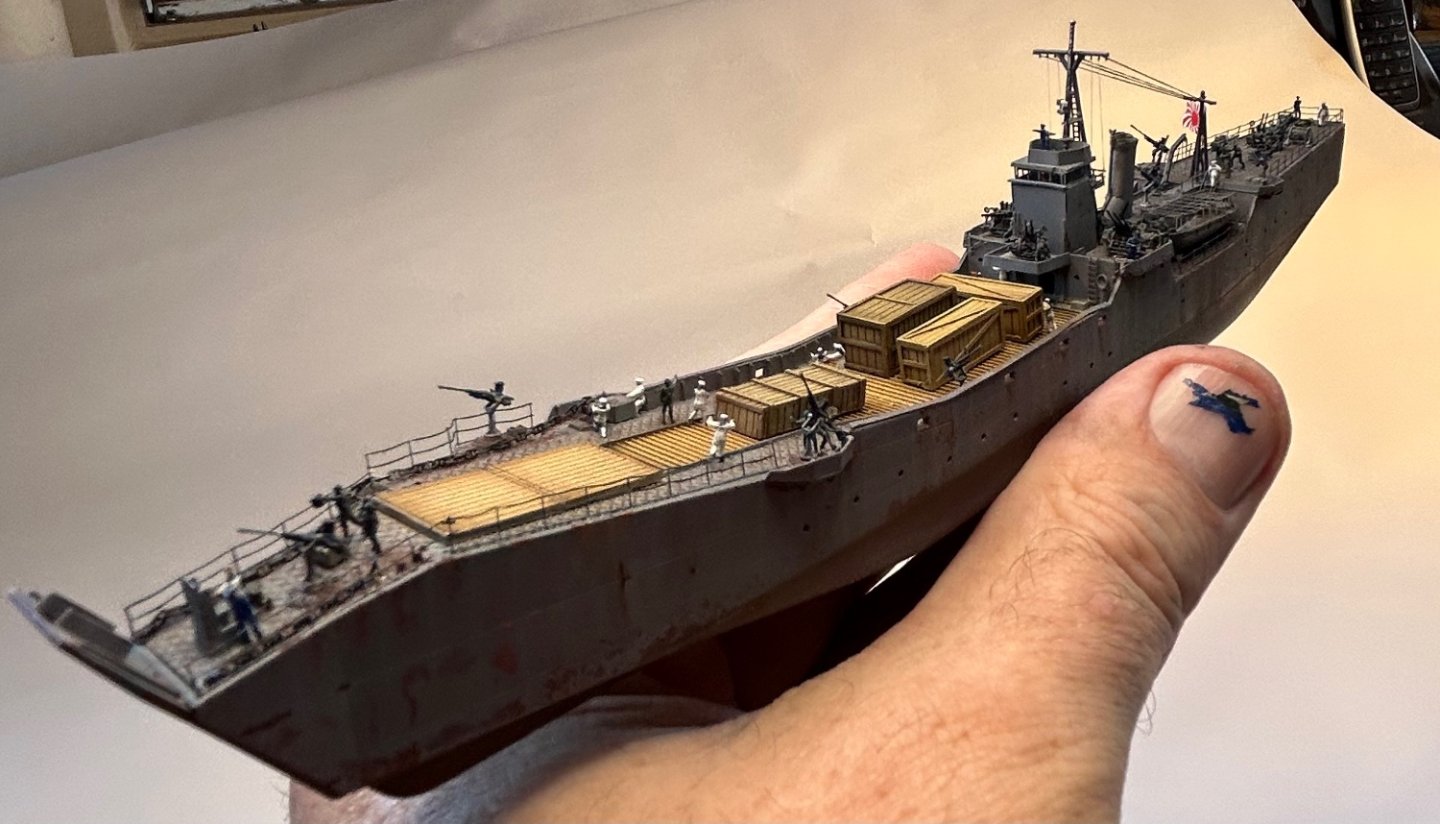
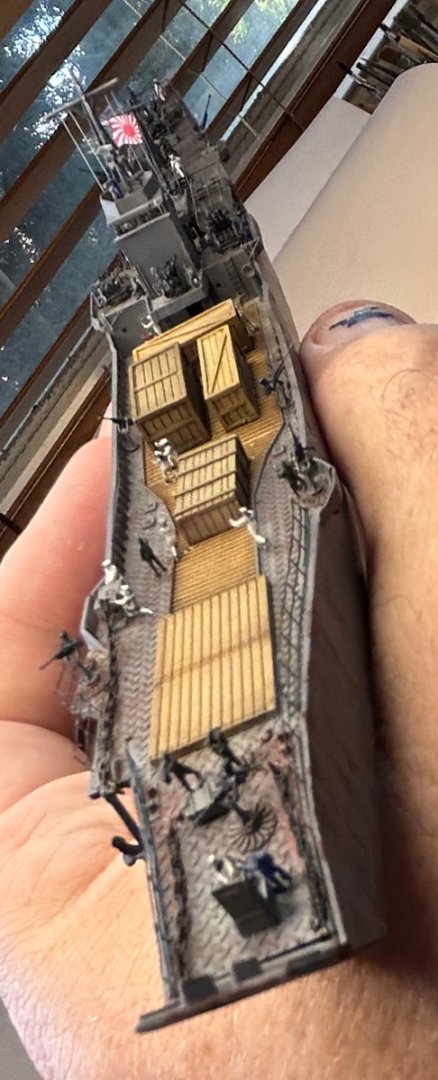
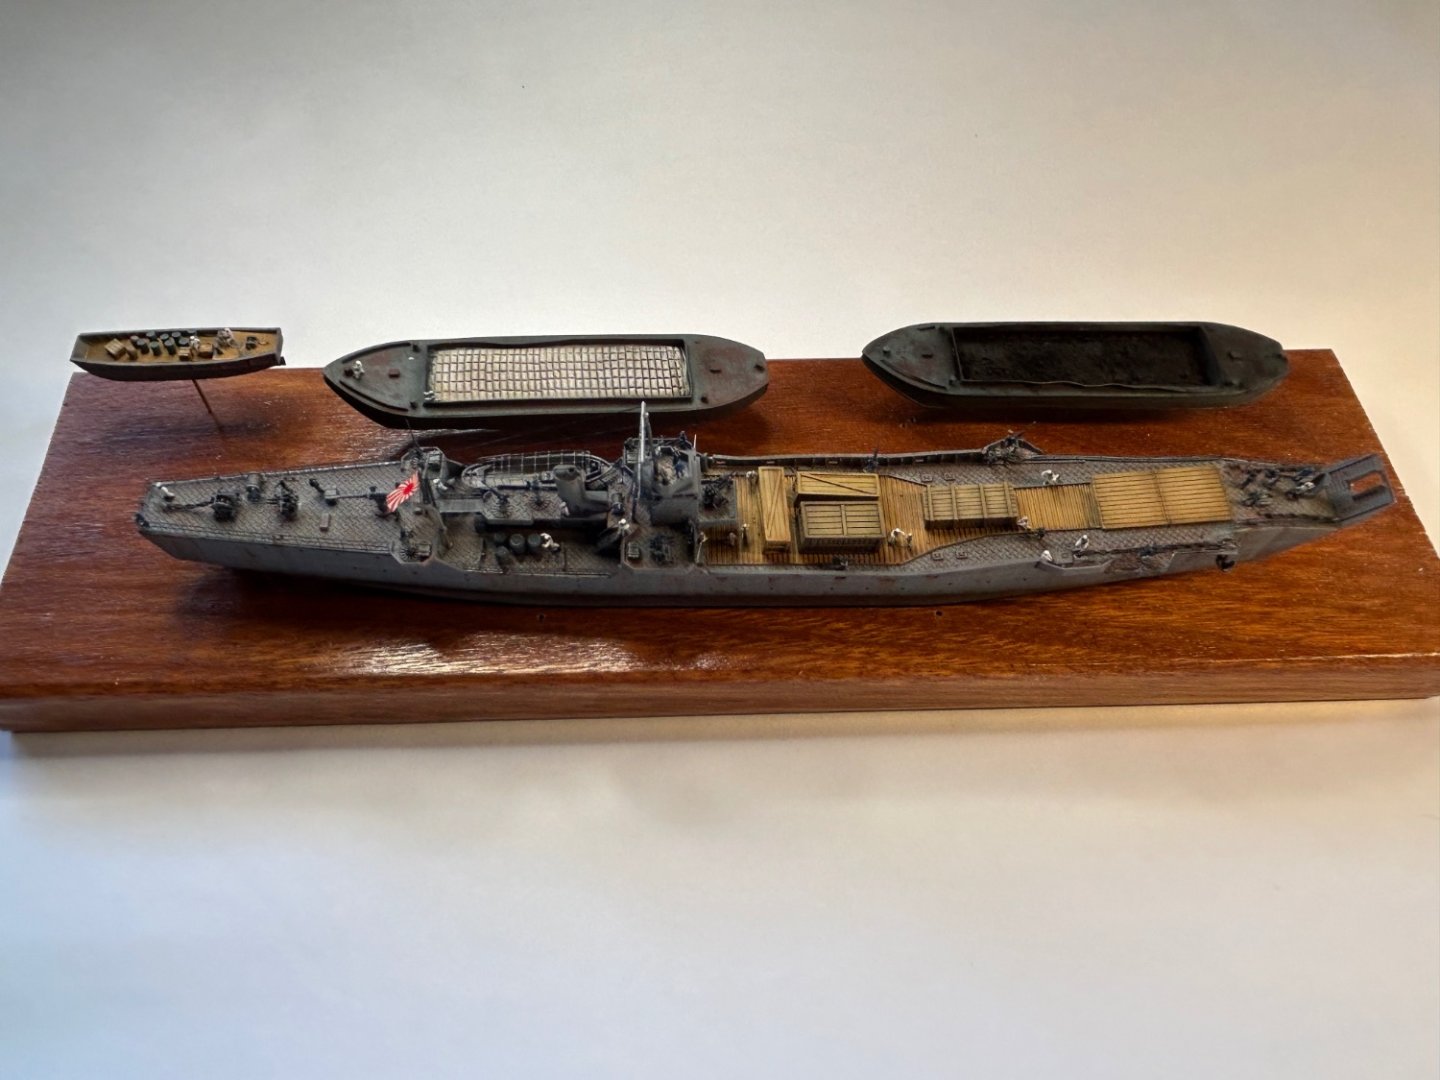
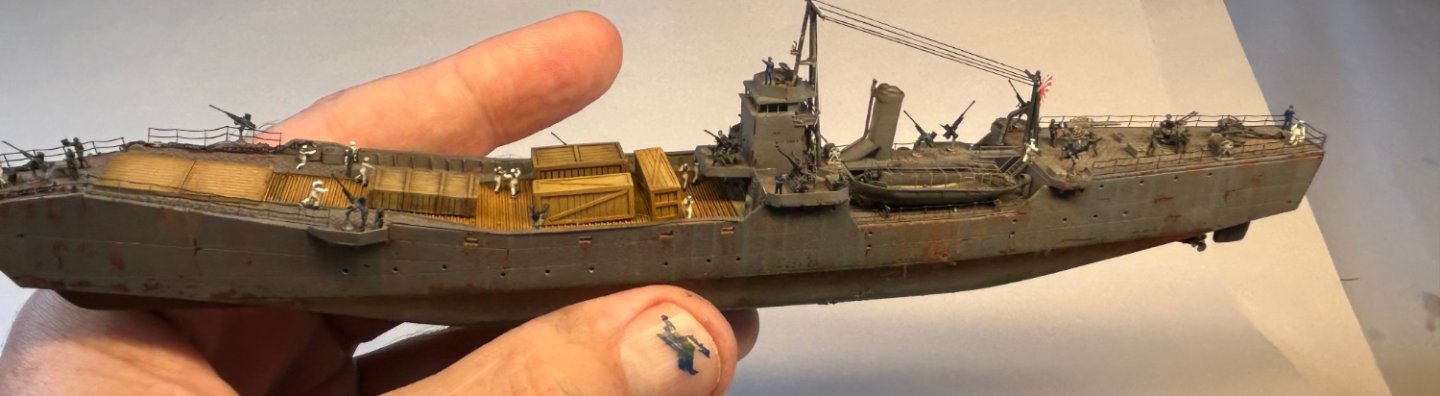
So, small problem, I400 was not operational until 10 months after the Heinan Maru was sunk. Lucky I have 2 others but this one goes back in its box for later.
- 200 replies
-
- 4
-
-

-
- Transport No. 103
- Hasegawa
- (and 4 more)
-
Camel by RGL - FINISHED - Machinen Krieger - 1/20
RGL replied to RGL's topic in Non-ship/categorised builds
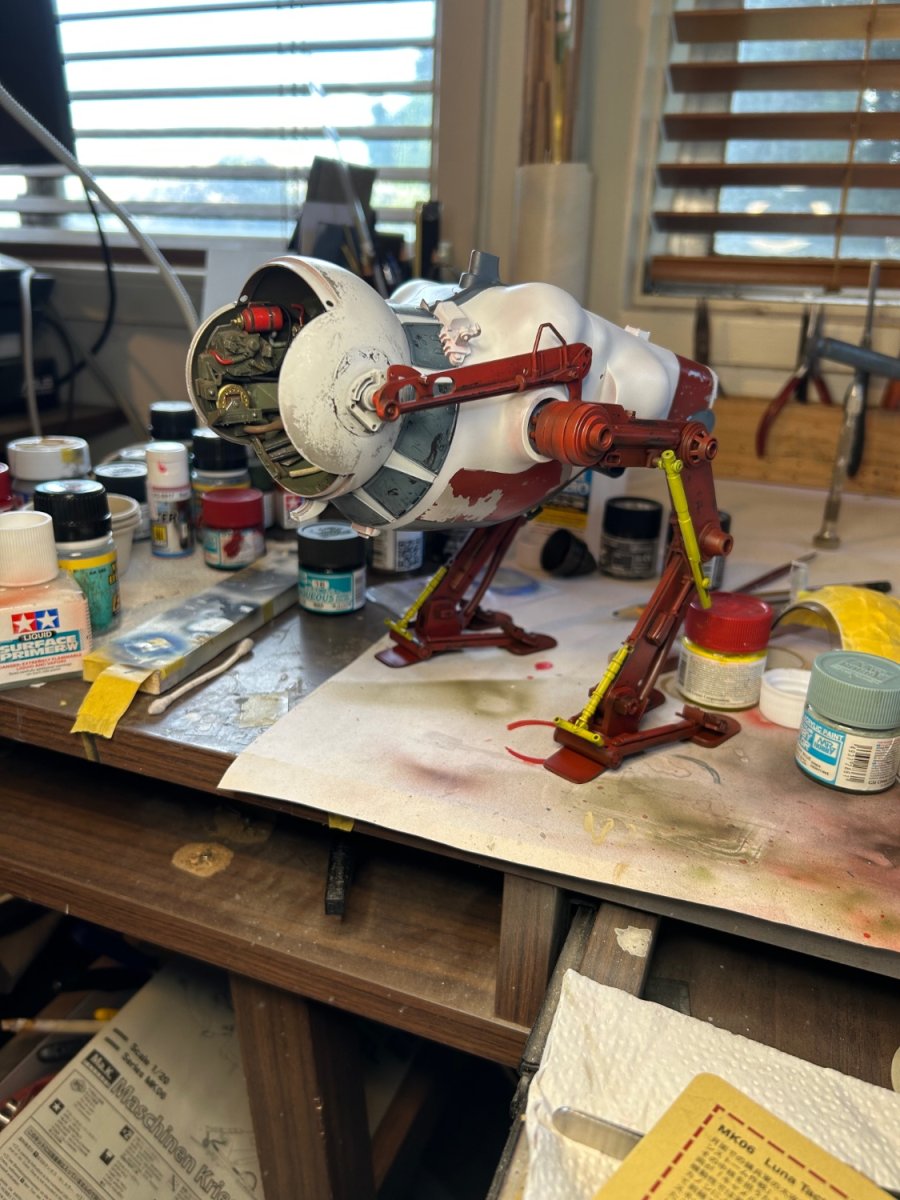
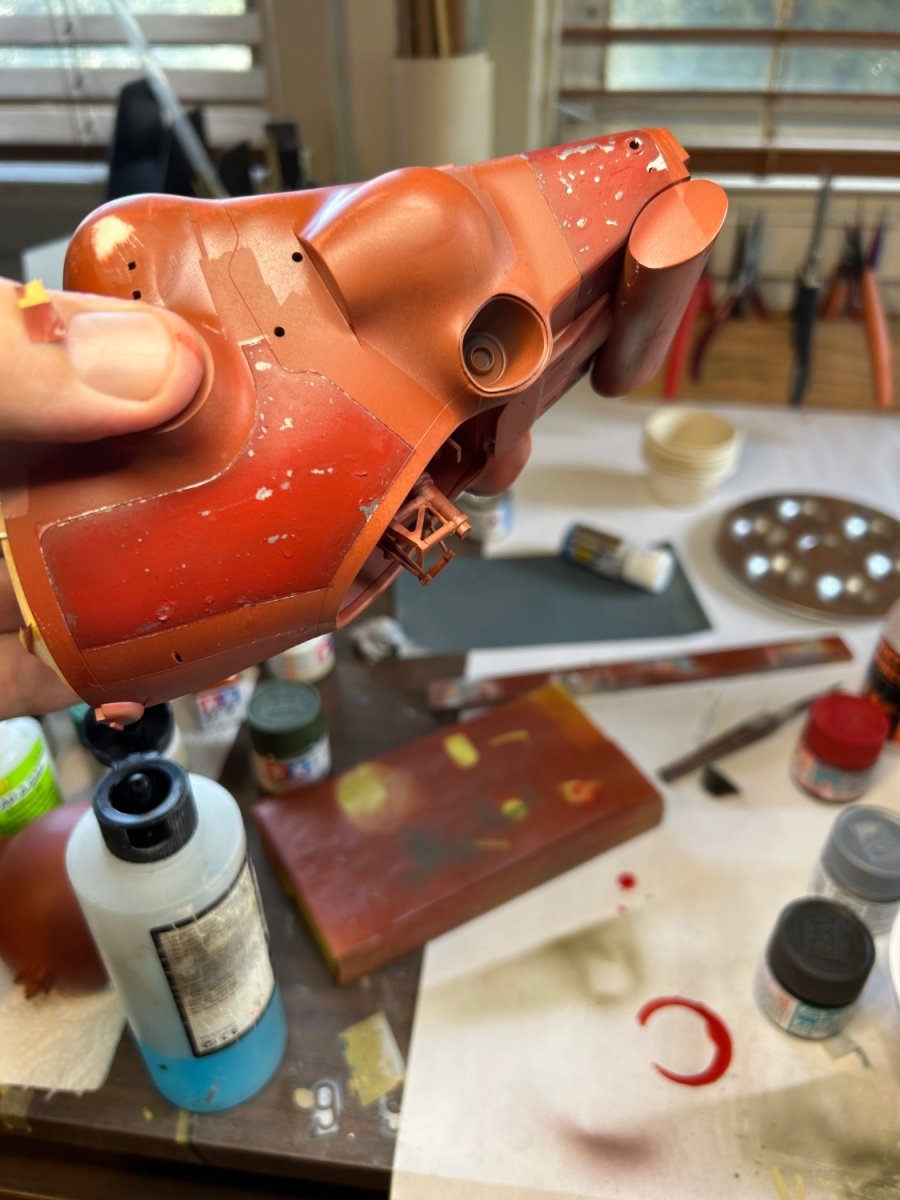
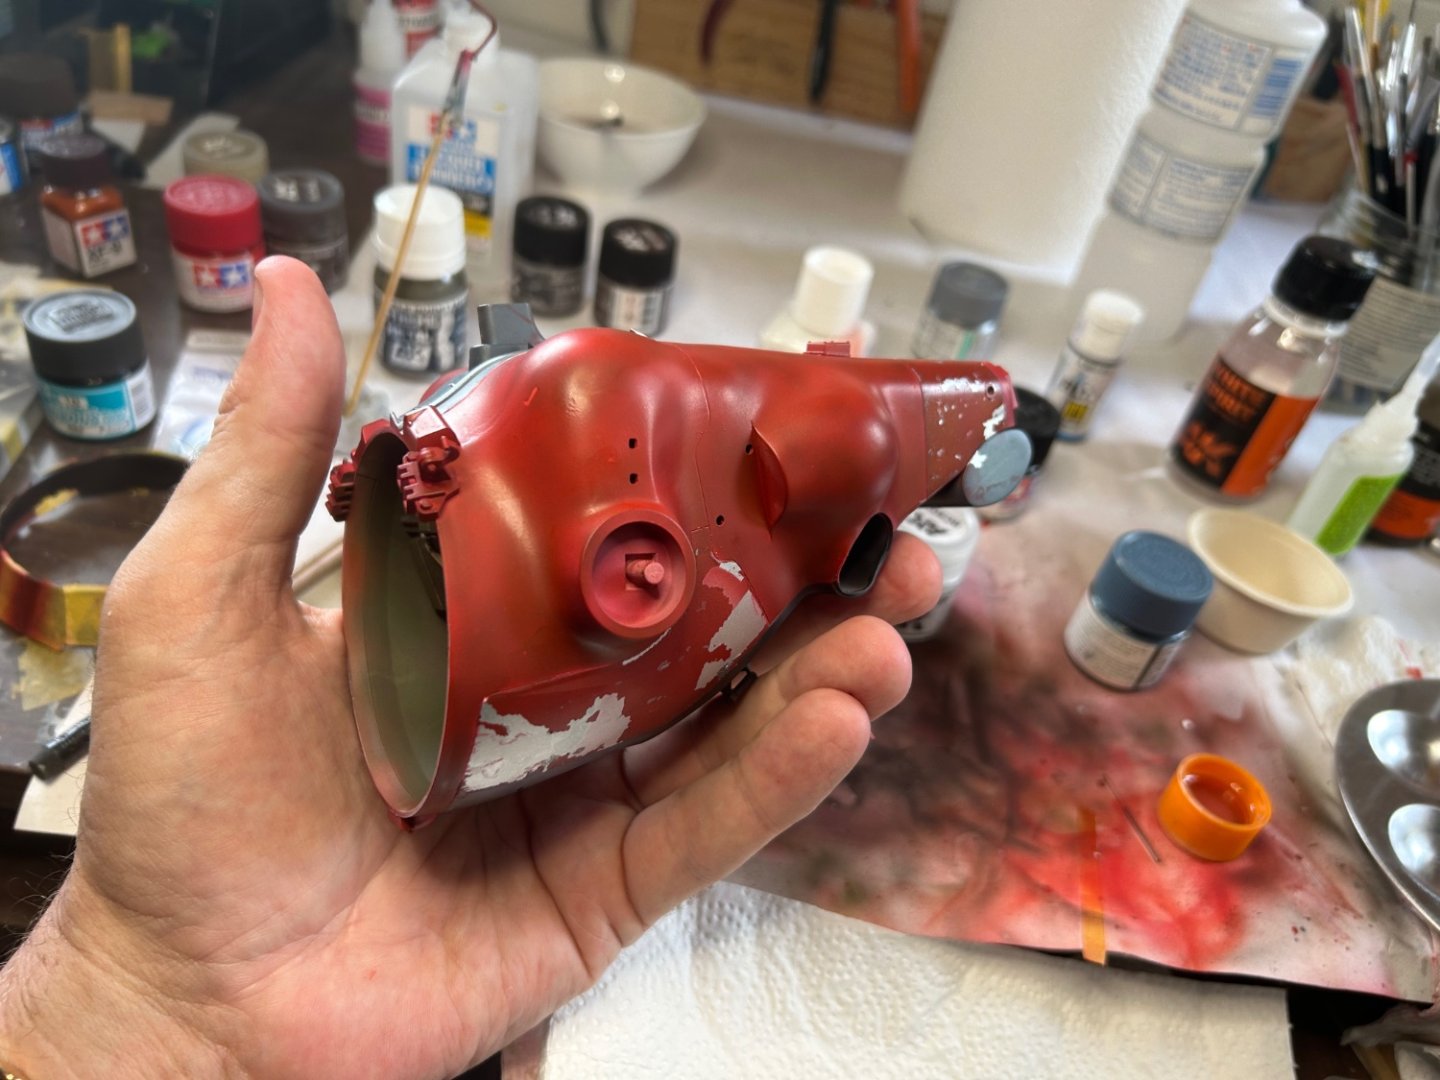
Attempt 2. Too much red also came off the silver base so more to paint there too.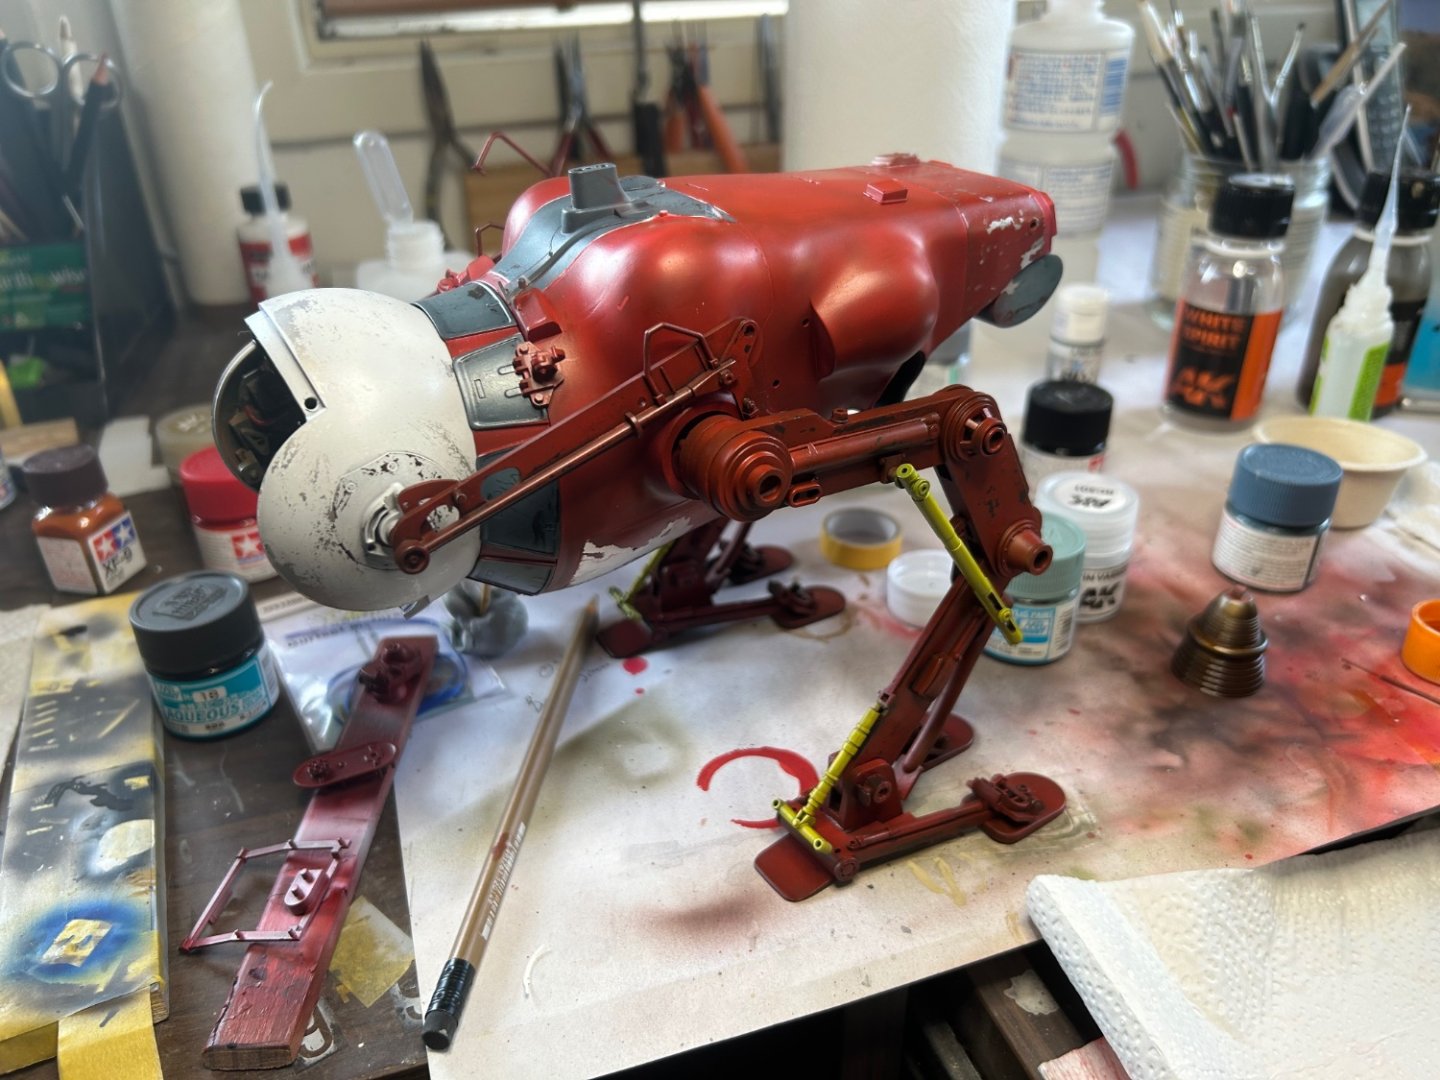

- 47 replies
-
- 12
-
-
Camel by RGL - FINISHED - Machinen Krieger - 1/20
RGL replied to RGL's topic in Non-ship/categorised builds
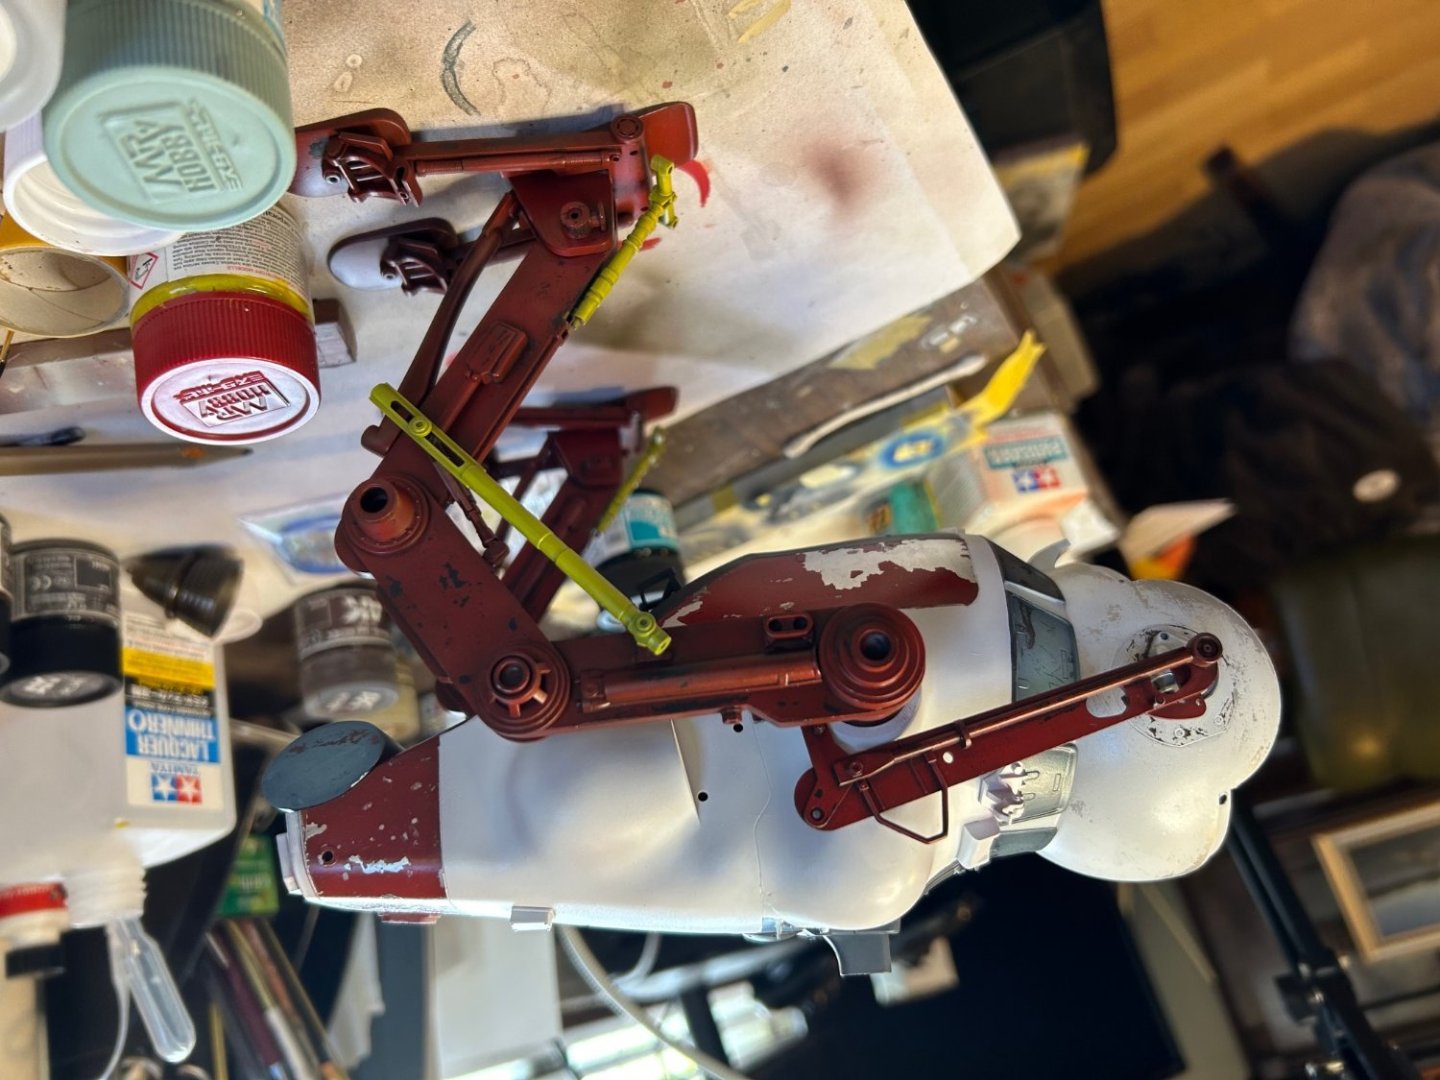
Never too late, I’m happy with the red and the blue bits, nothing is glued on yet -
Camel by RGL - FINISHED - Machinen Krieger - 1/20
RGL replied to RGL's topic in Non-ship/categorised builds
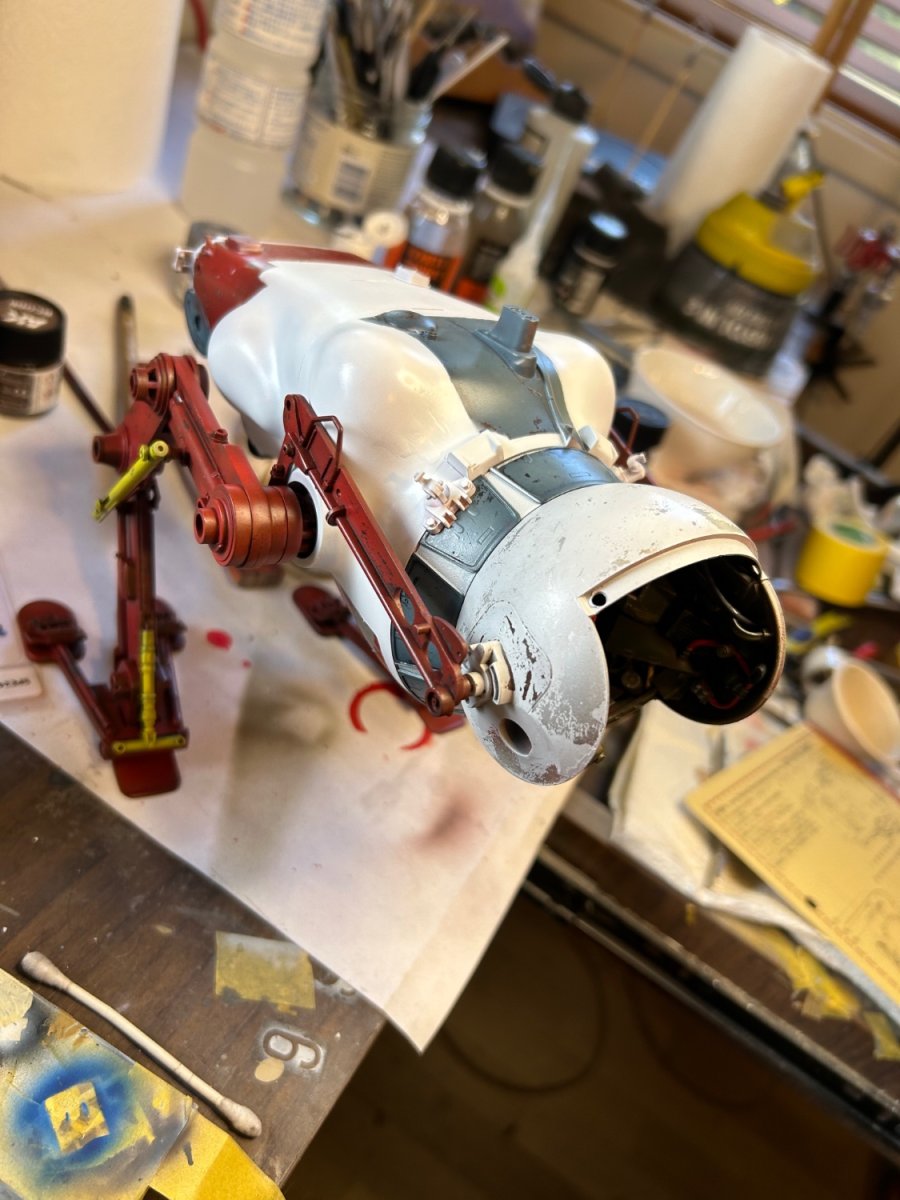
So this is where I’m at. The base coat is pretty much done sans decals and weathering. The white is not doing it for me.

- 47 replies
-
- 13
-
-
Camel by RGL - FINISHED - Machinen Krieger - 1/20
RGL replied to RGL's topic in Non-ship/categorised builds
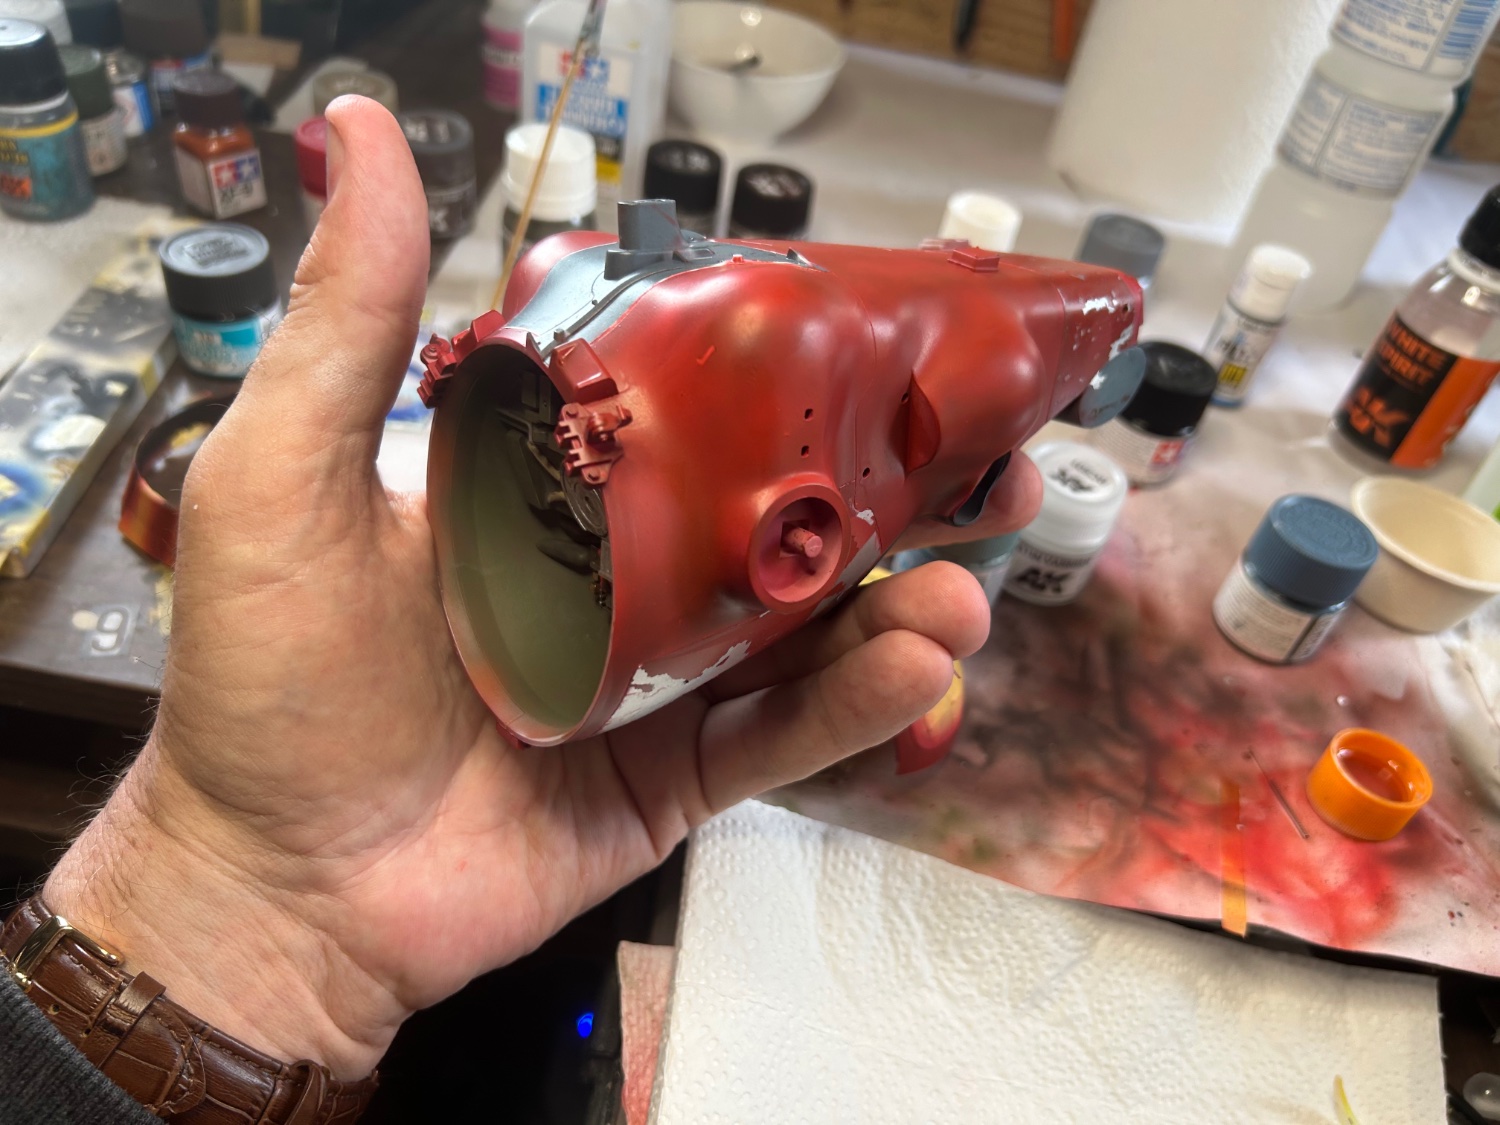
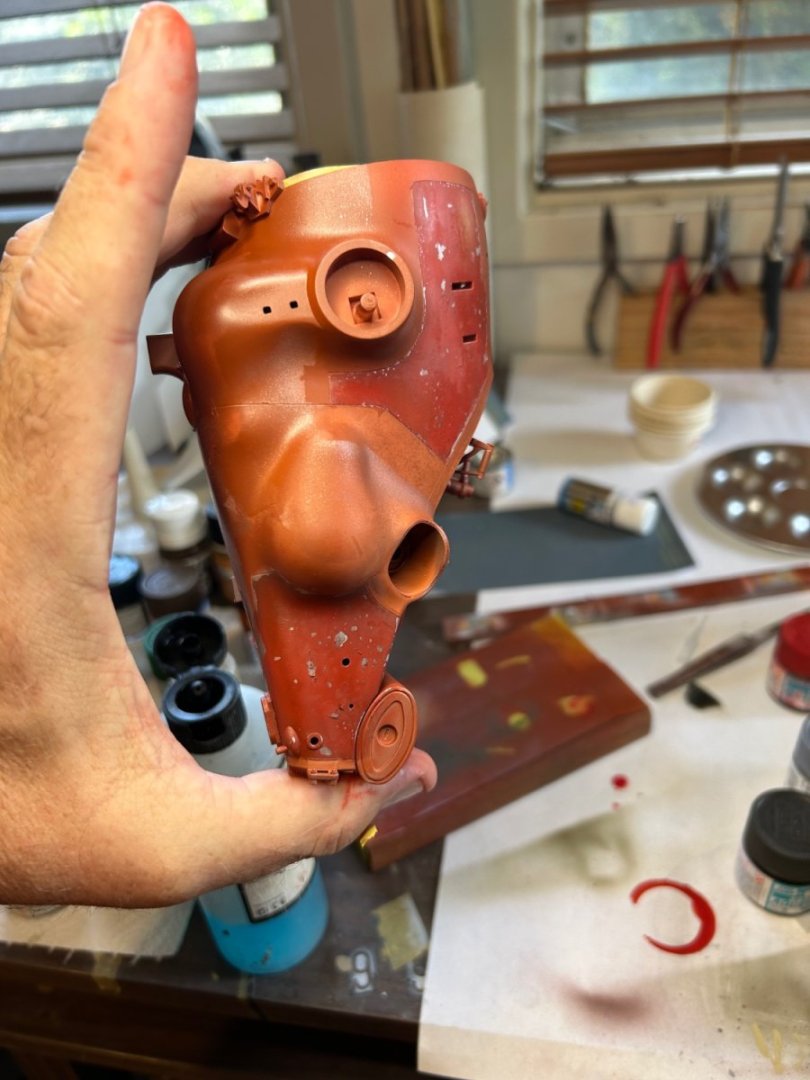
Painting in some metal panels. I did an aluminium base, then several shades of red worn back with chipping fluid. I then have it a red filter. It looks filthy which I’m pretty happy with. I’ll give it a satin coat next before masking for the next lot of panels in another colour.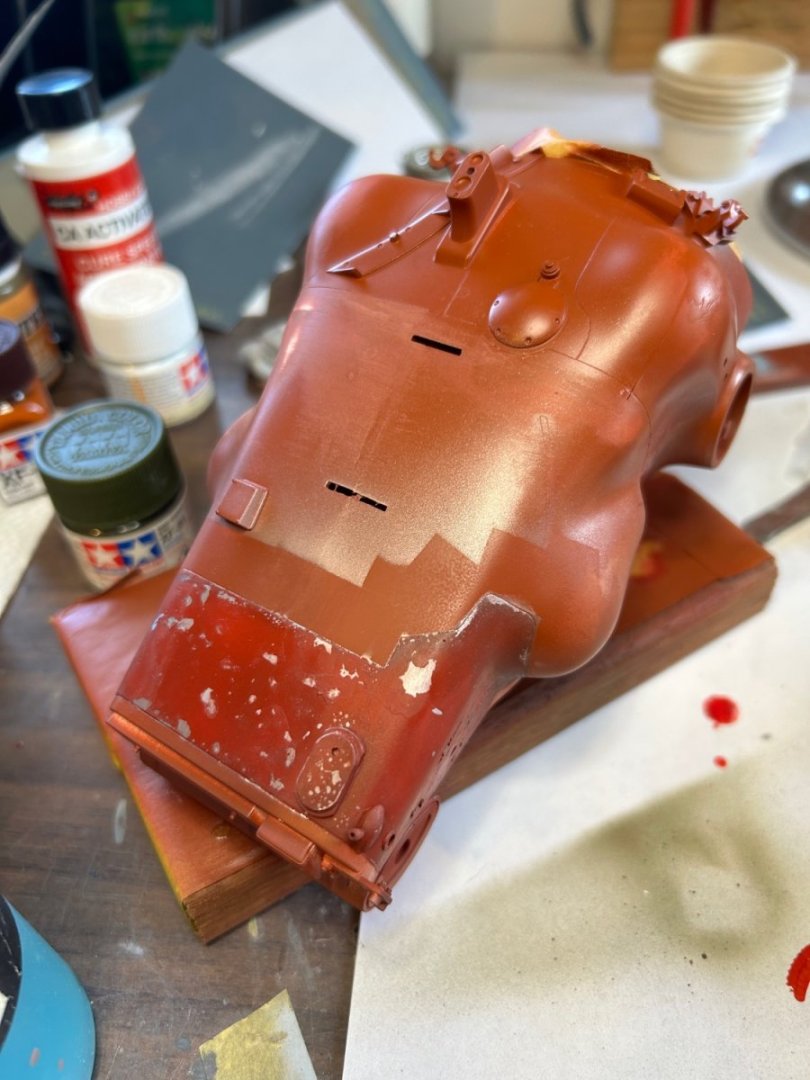

- 47 replies
-
- 16
-
-
Ron Morrow at HMAS in scale on FB would be a good reference too, he’s pretty much the expert for Oz ships
-
Camel by RGL - FINISHED - Machinen Krieger - 1/20
RGL replied to RGL's topic in Non-ship/categorised builds
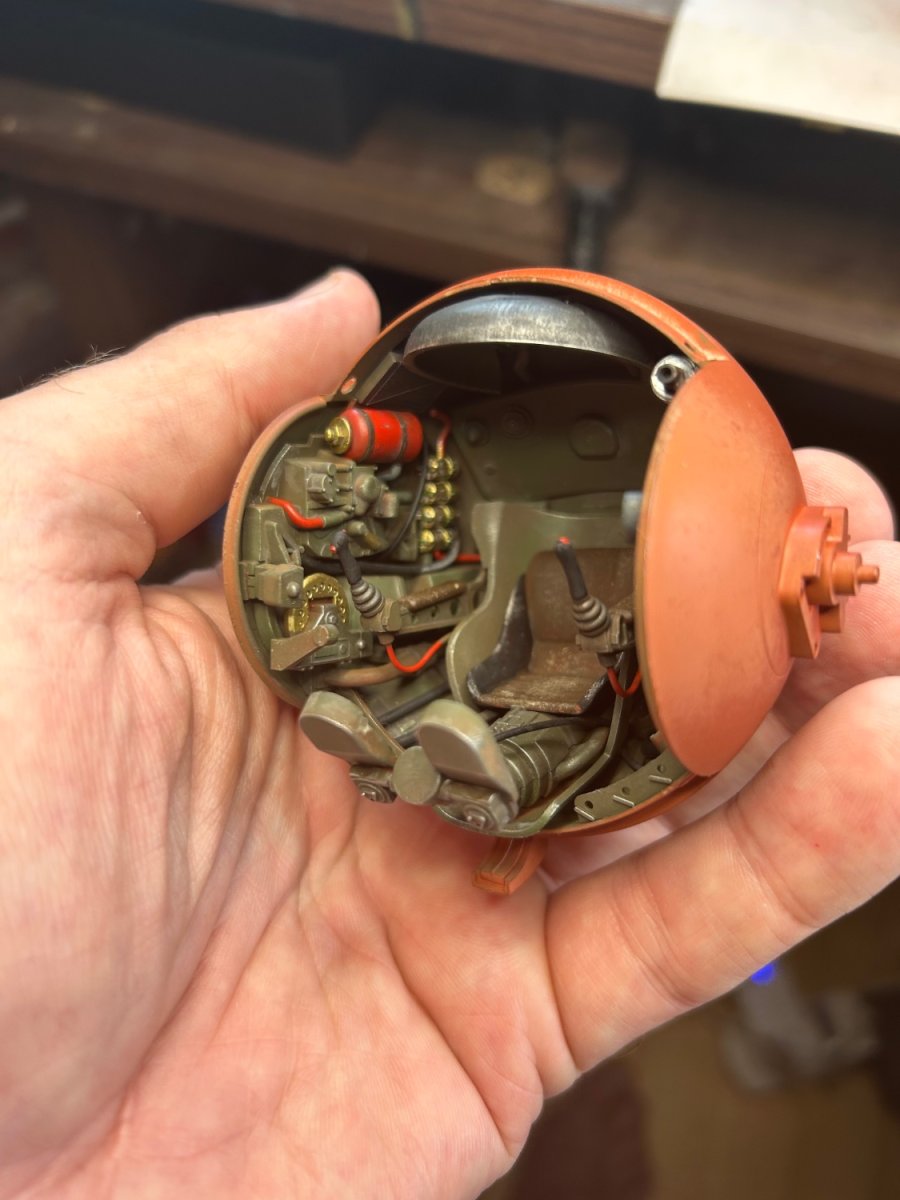
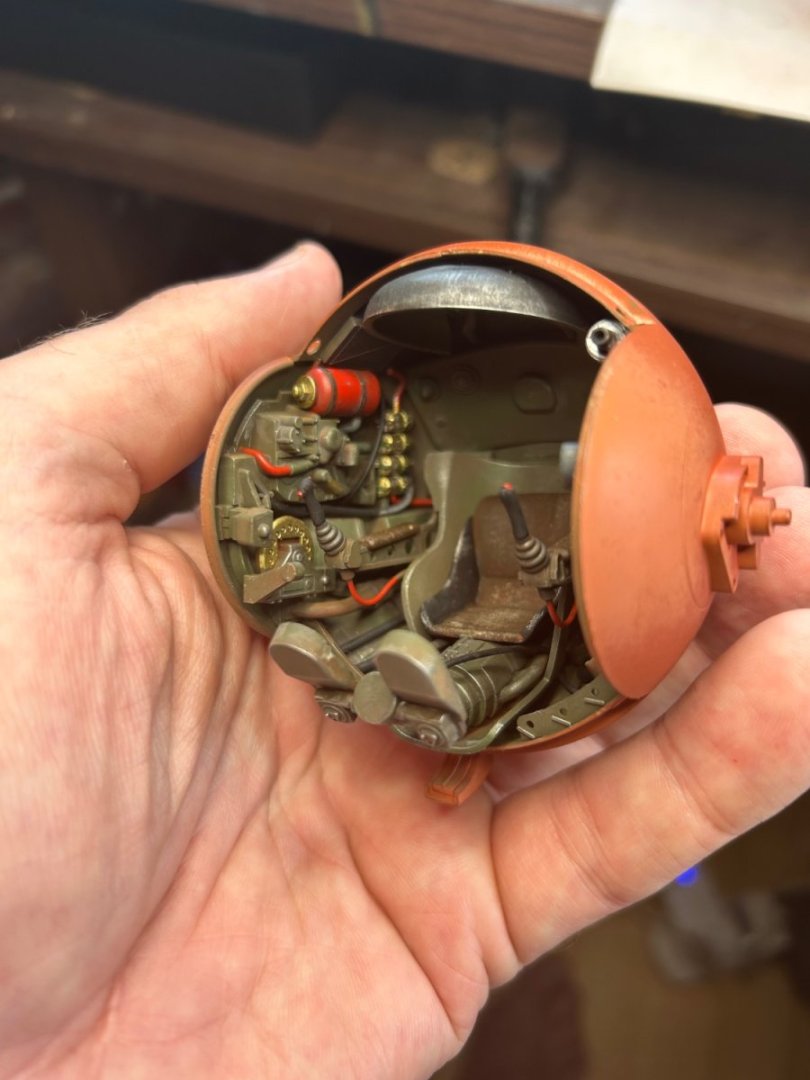
The fighting cabin, just need to add seatbelts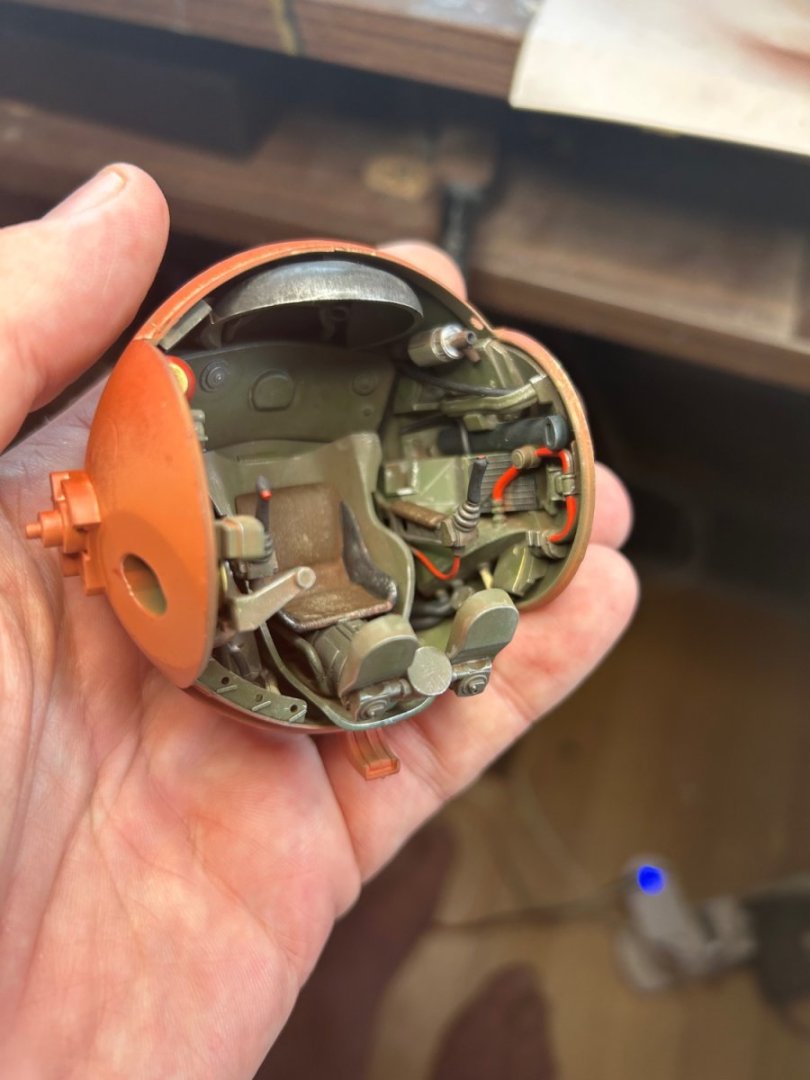
- 47 replies
-
- 16
-
-
Have you looked at Profile Morskie for plans? paints, don’t worry about them, just use acrylics and mix to get a close enough. the 3D parts are all amazing g but unless you use an airbrush don’t bother as you will lose the detail using a hairy stick.
-
Camel by RGL - FINISHED - Machinen Krieger - 1/20
RGL replied to RGL's topic in Non-ship/categorised builds
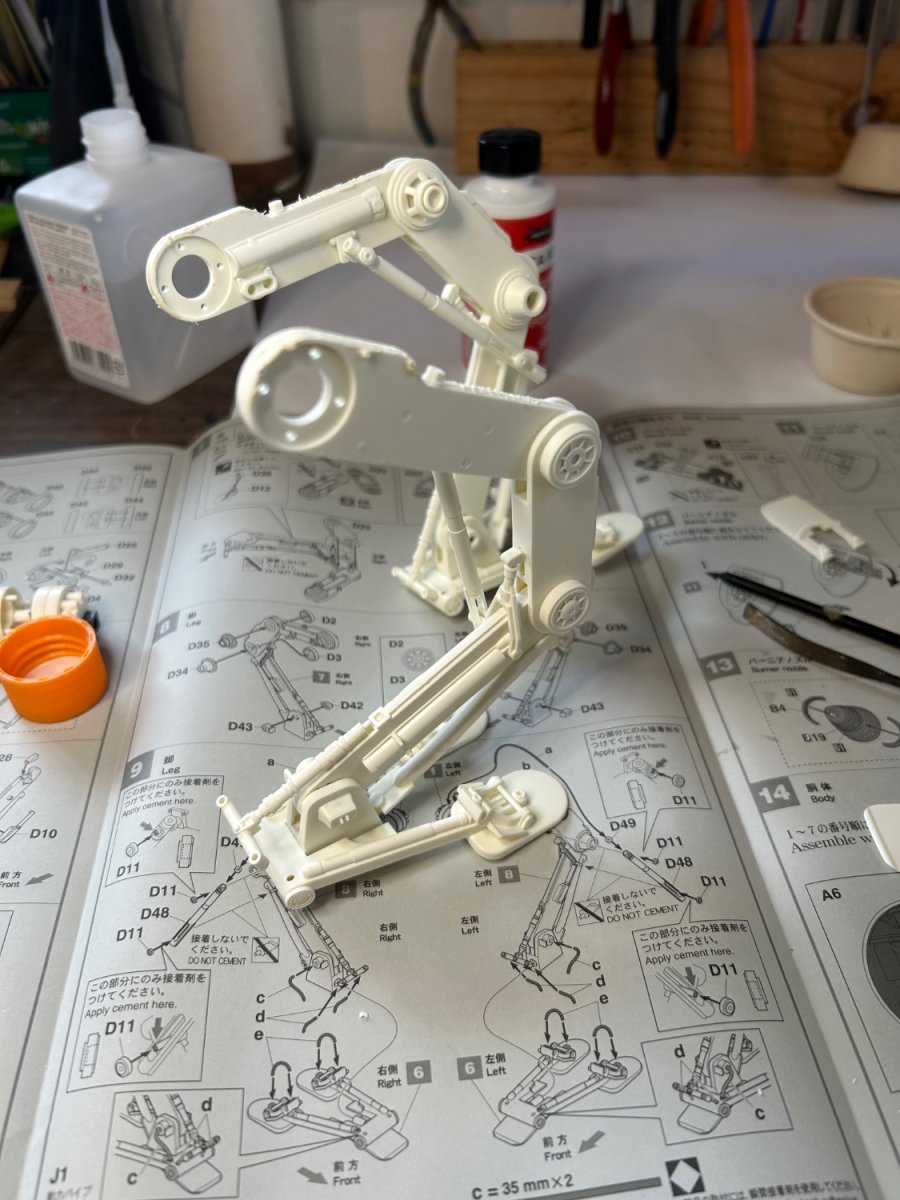
Big!!!
- 47 replies
-
- 11
-
-

-
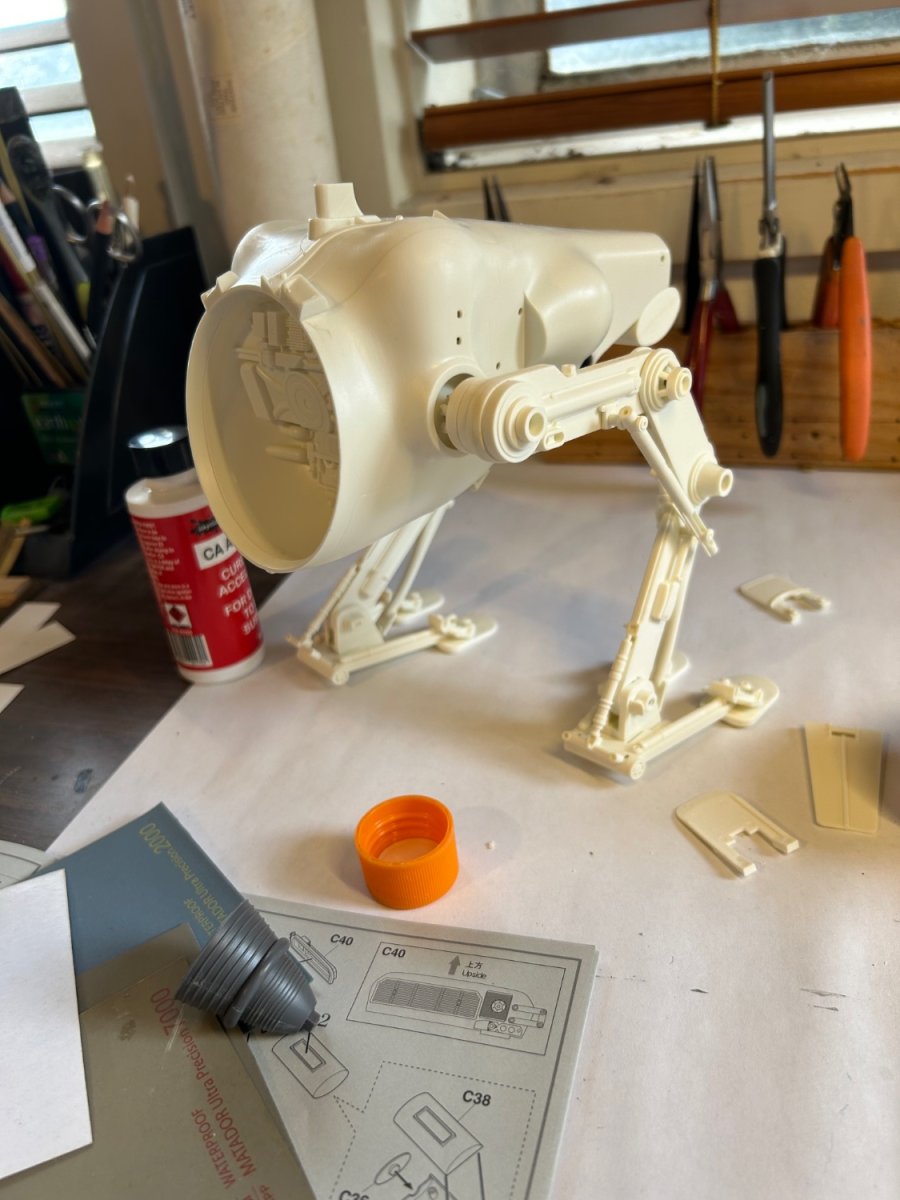
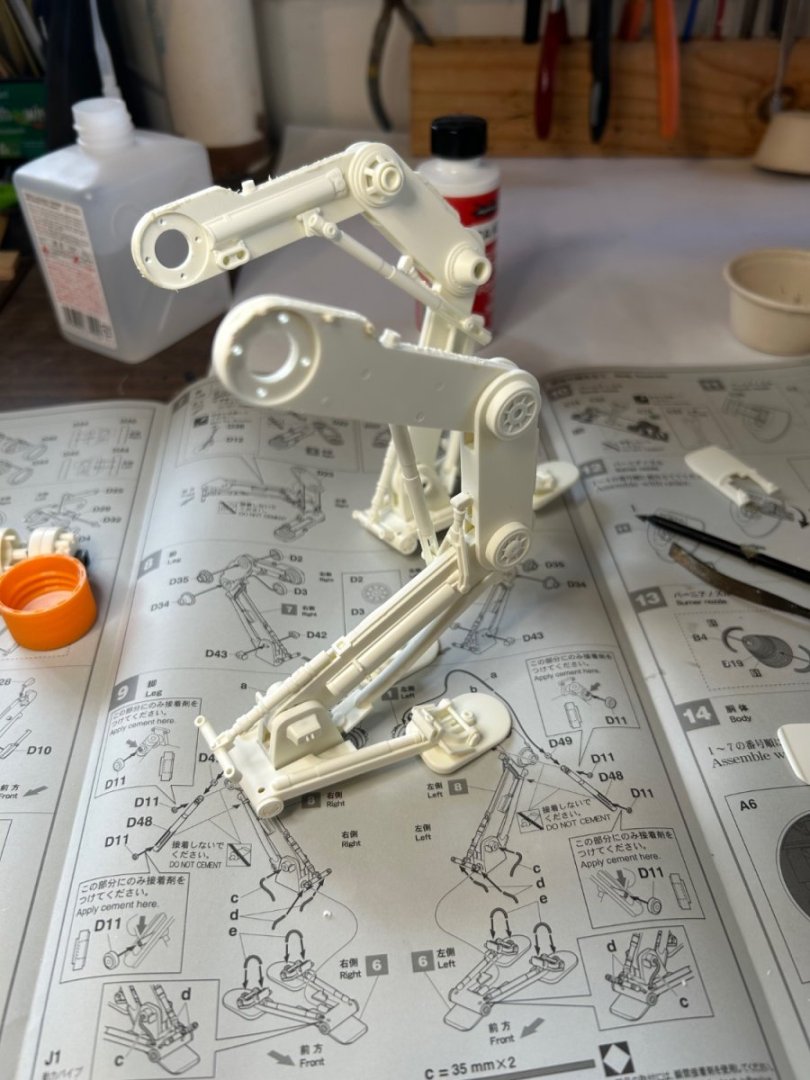
Something completely different, a massive alternative kit from the 1980’s. Don’t need much glue but does need some putty so far.

- 47 replies
-
- 13
-
-
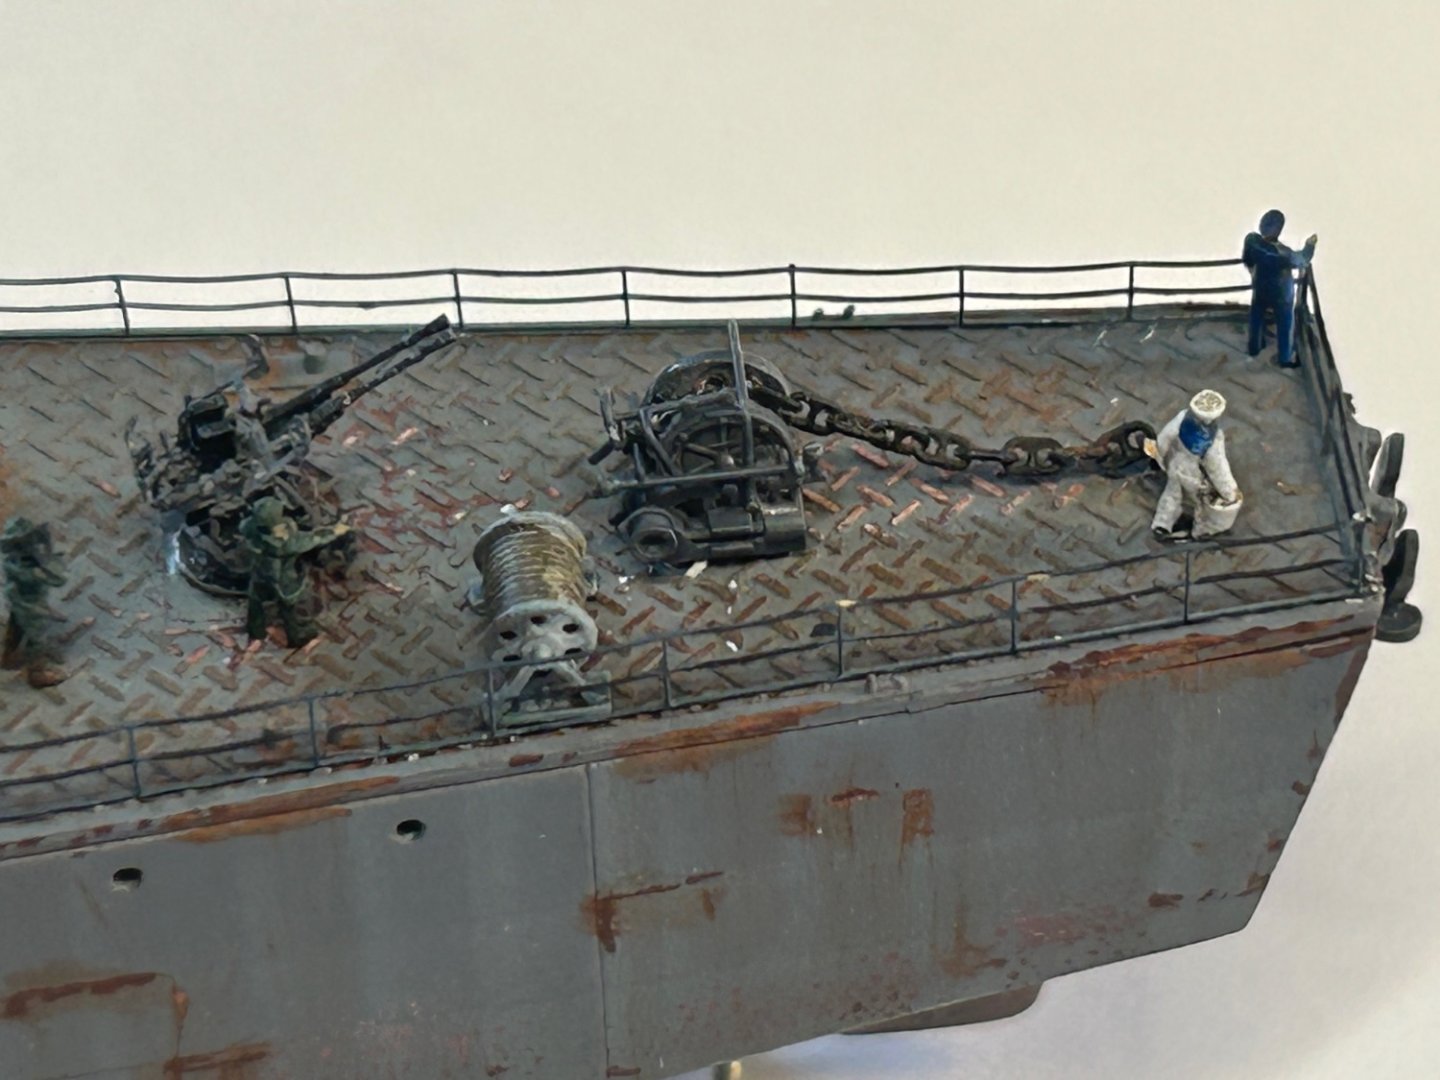
Now, I’m happy this is done, now for some submarines

- 200 replies
-
- 17
-
-
-
- Transport No. 103
- Hasegawa
- (and 4 more)