RGL
-
Posts
5,546 -
Joined
-
Last visited
Content Type
Profiles
Forums
Gallery
Events
Everything posted by RGL
-
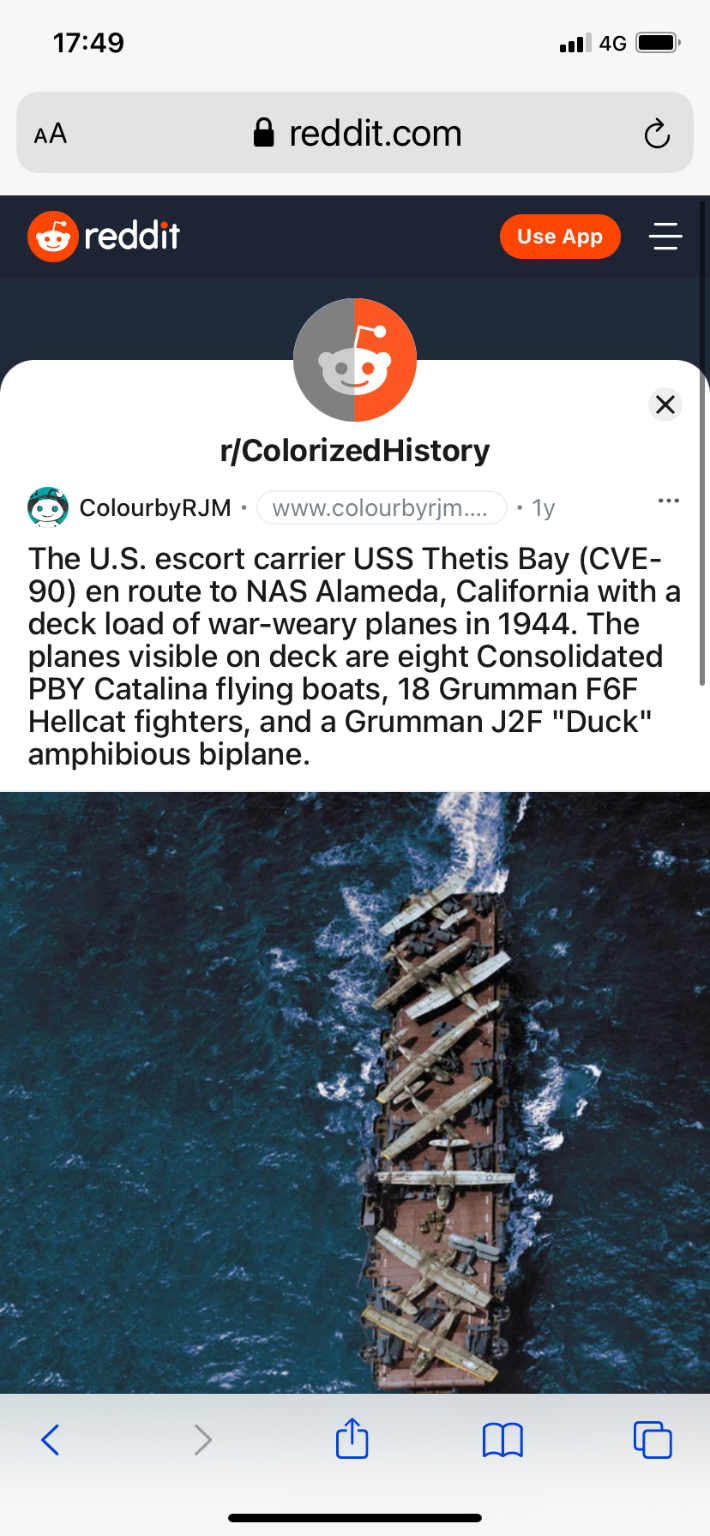
 I truely don’t know yet! There are 18 hellcats and I don’t think Infini makes upgrades for them. I now have three sets of radars for her so I’ll use the most detailed. As they were all cookie cutters I just have to change the name!
- 126 replies
-
- 7
-

-
- Thetis Bay
- Finished
- (and 4 more)
-
Open source Reference from here: https://www.hnsa.org/manuals-documents/booklets-of-general-plans-online/ cve90.pdf
- 126 replies
-
- 7
-
-
- Thetis Bay
- Finished
- (and 4 more)
-
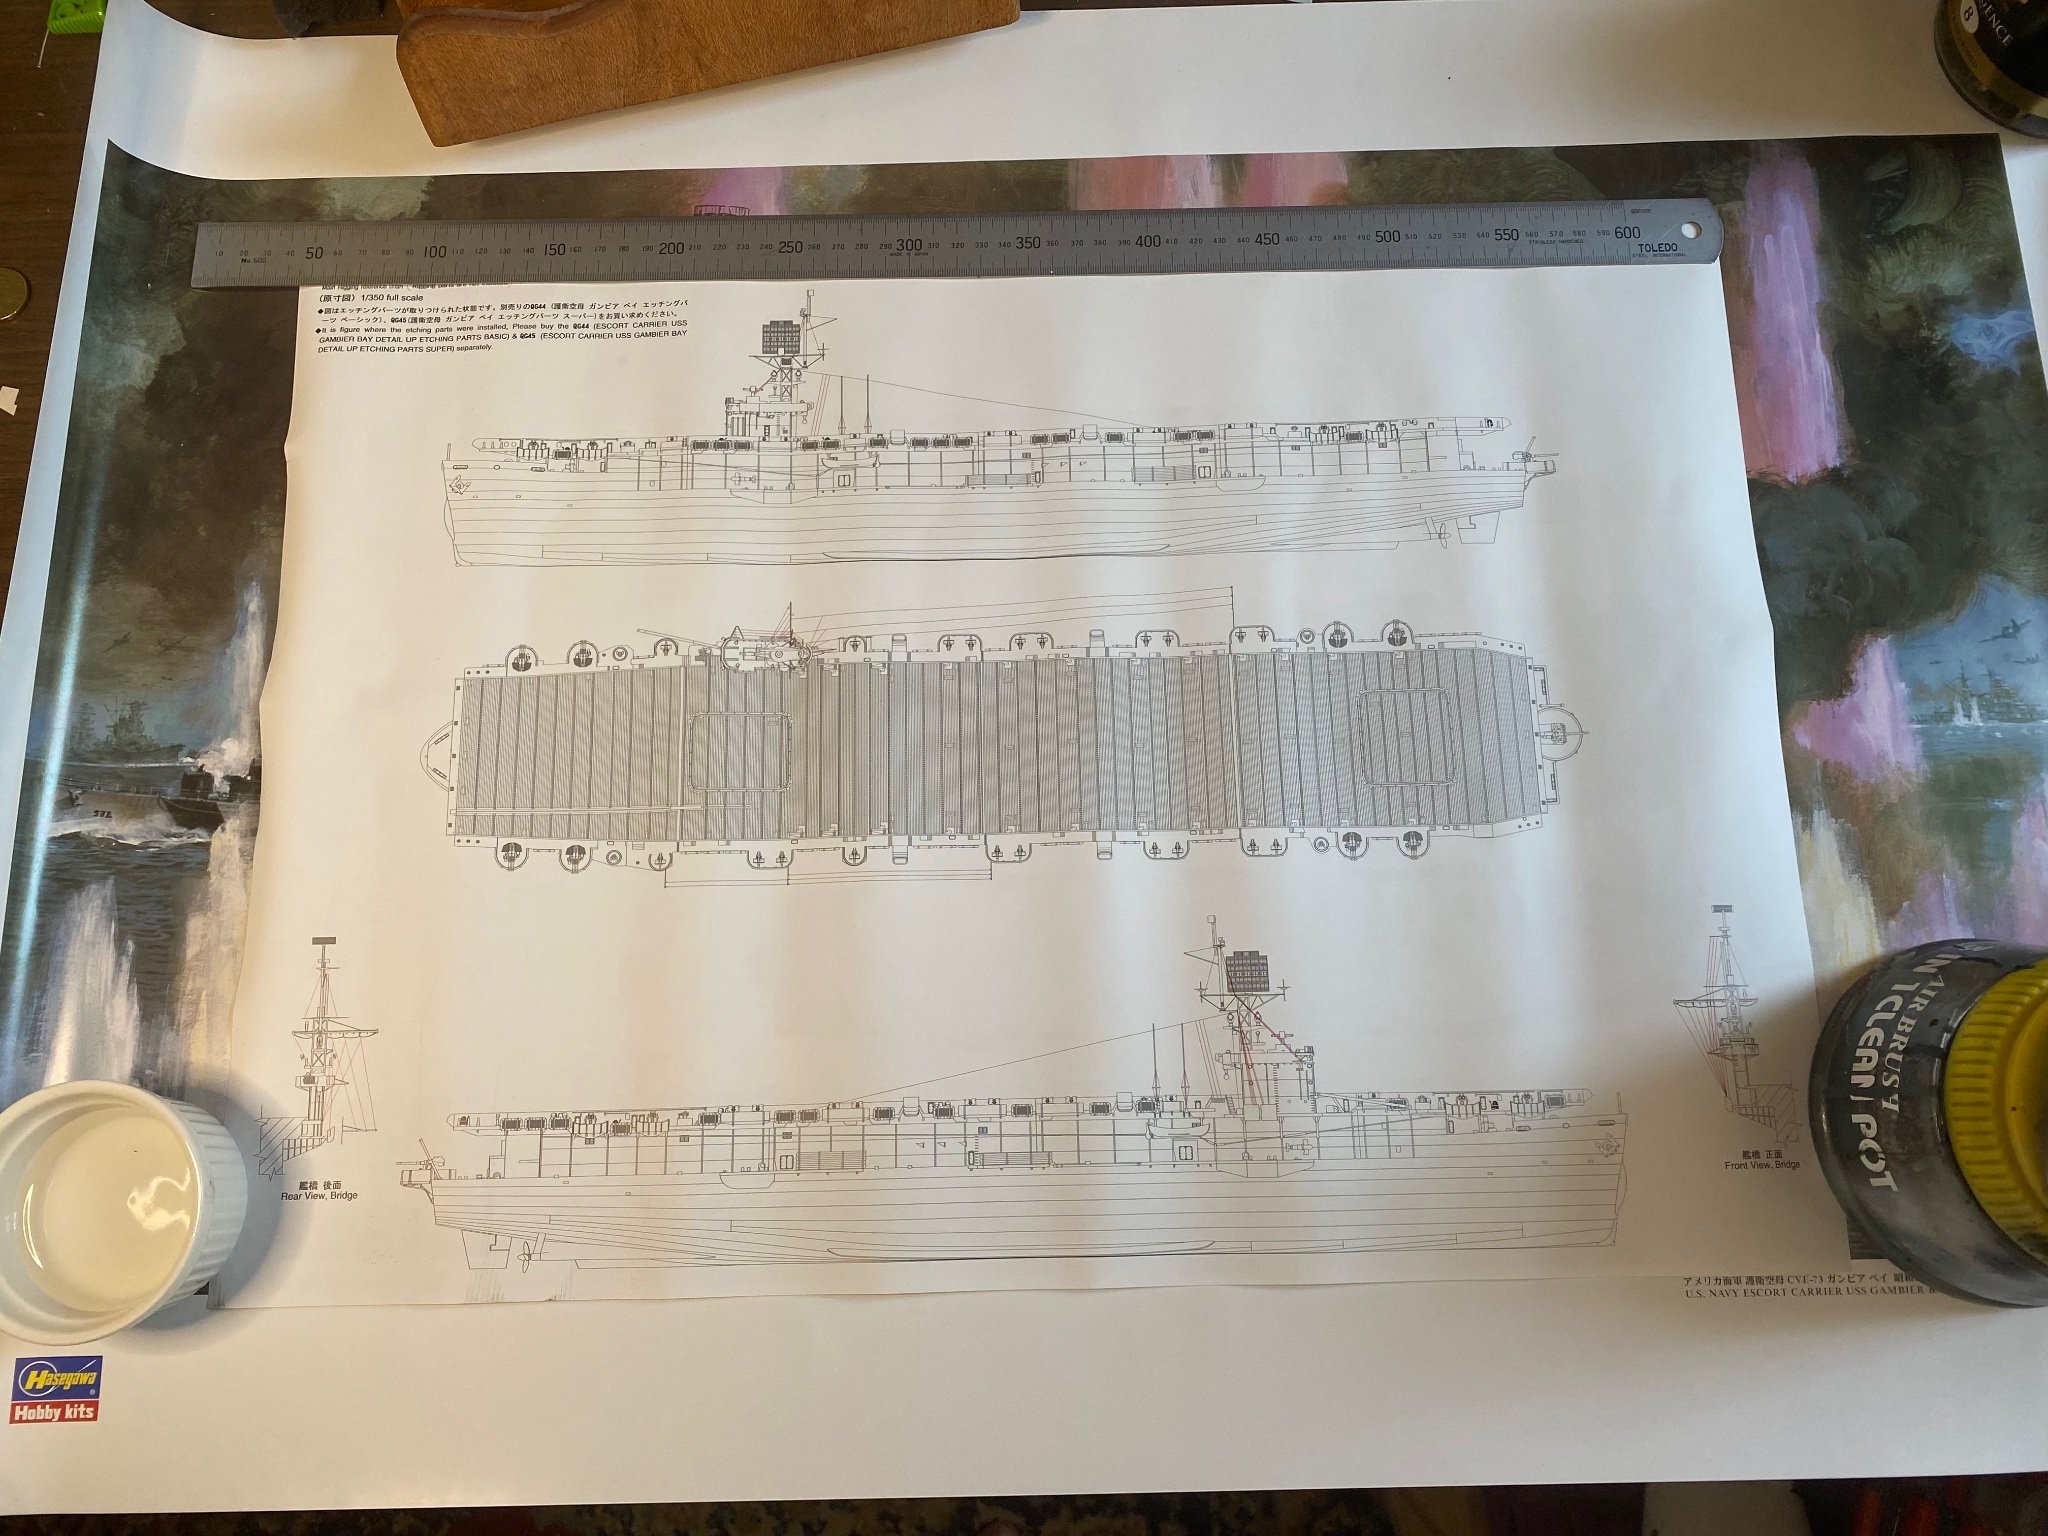
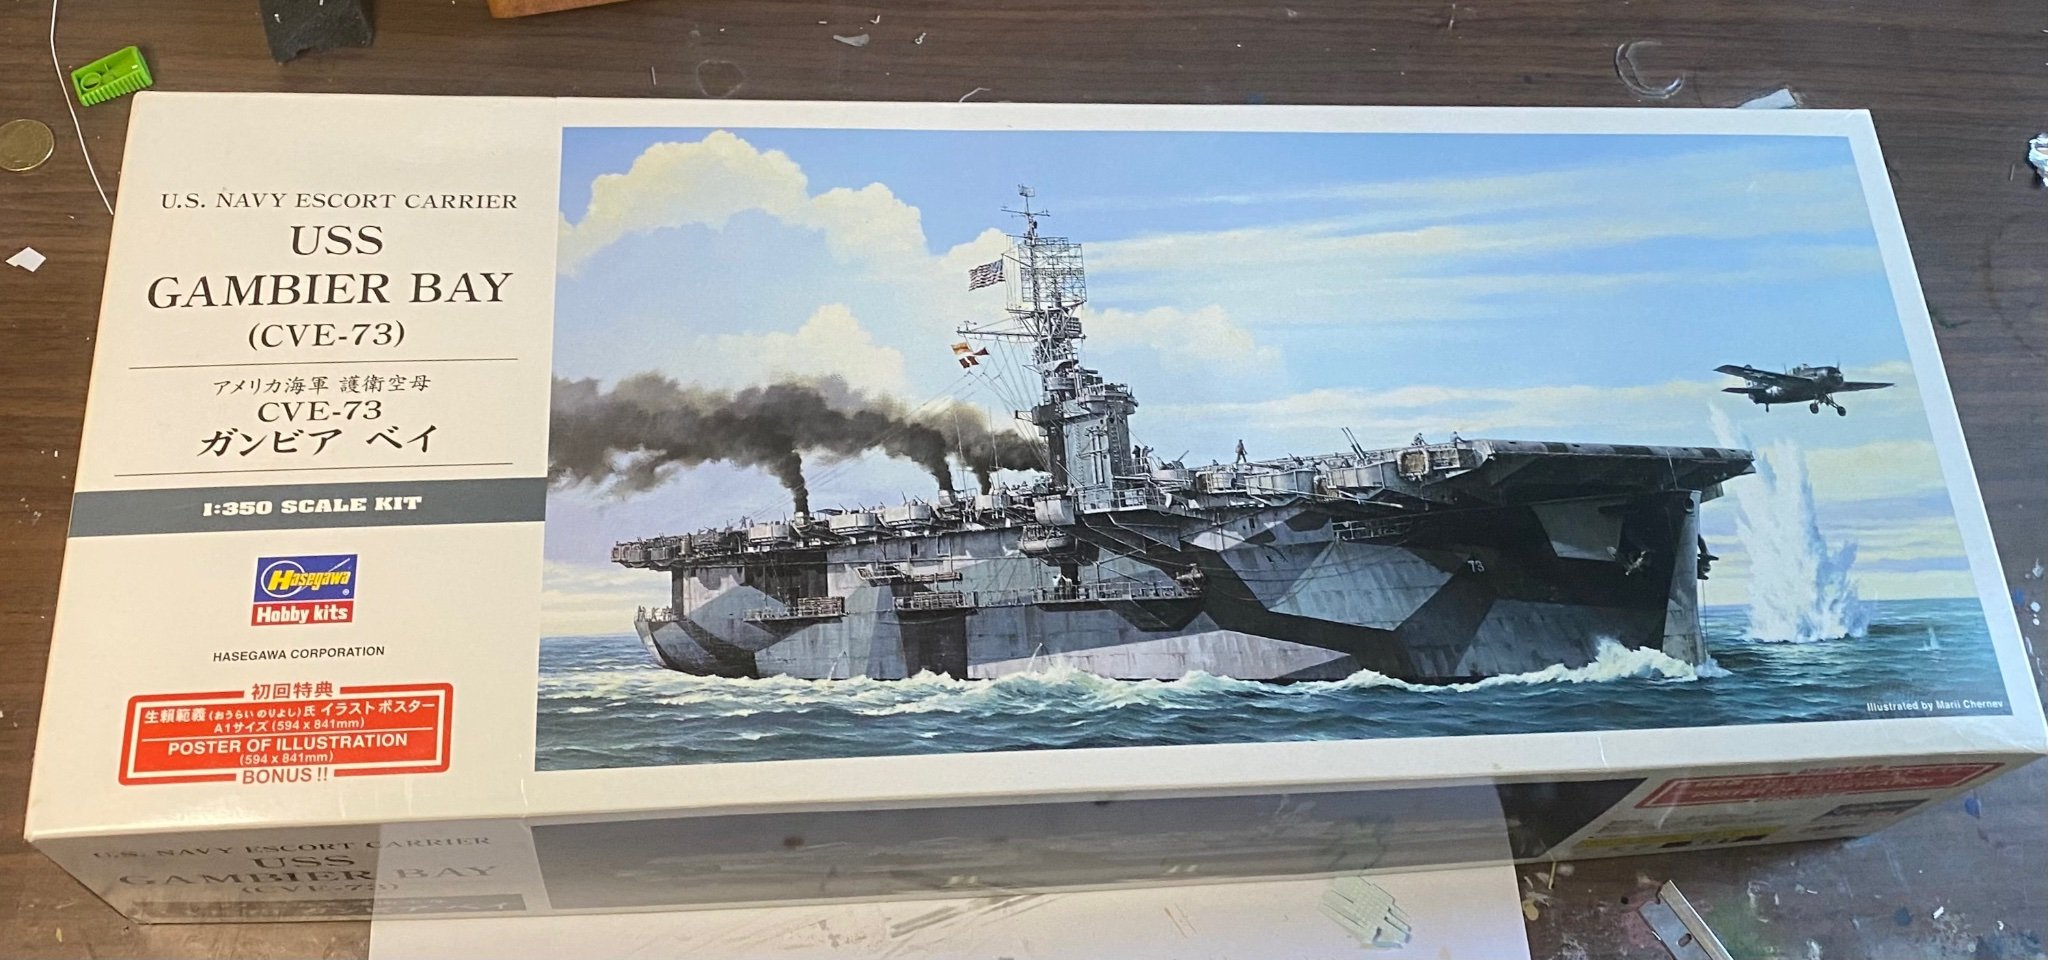
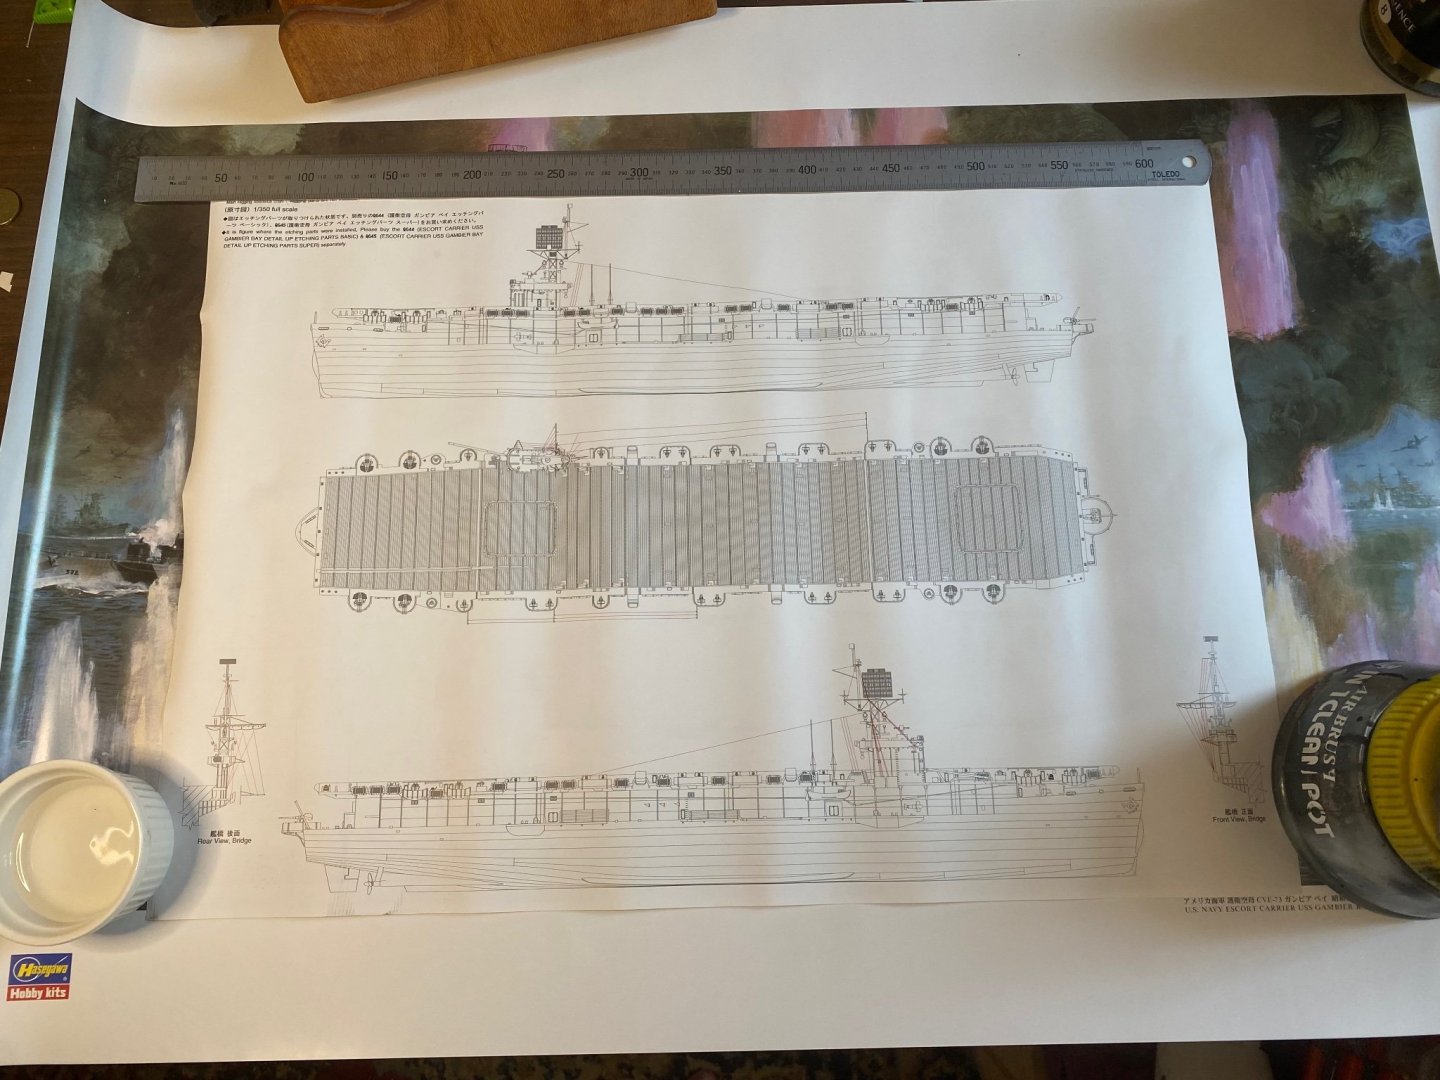
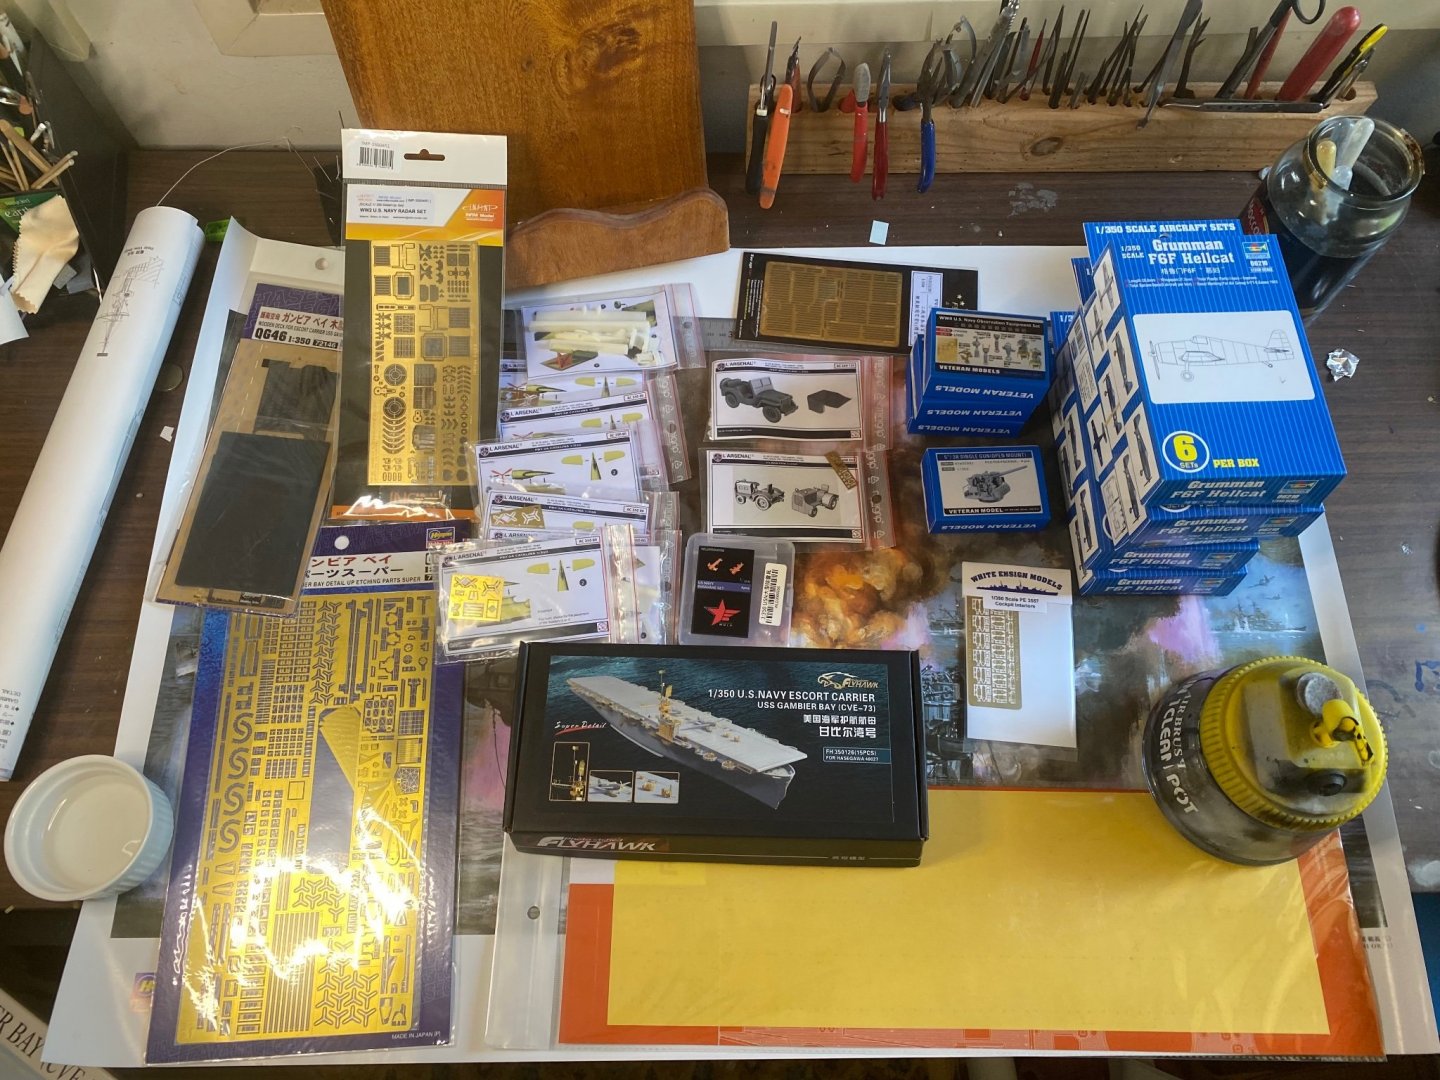
The kit is quality as far as I can see, as usual there is a very expensive Hasegawa upgrade PE and Deck set, a nice Flyhawk upgrade set, and a full poster of the Gambier Bay (good story behind her, I also have the AOTS of her) and a painting and rigging guide. No one that I have found has built this renditions and it’s interesting. There is only one item on the deck I can’t identify but I have bought tractors, jeeps, Hellcats and Catalinas and had a Grumman Duck 3D printed for her. I intend on spending the rest out the year planning the build before flying anything.


- 126 replies
-
- 13
-
-

-
- Thetis Bay
- Finished
- (and 4 more)
-
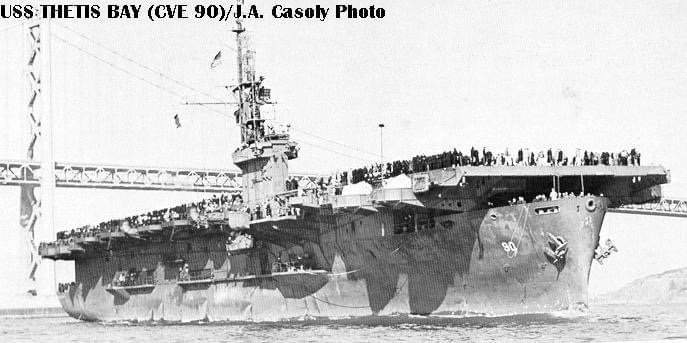
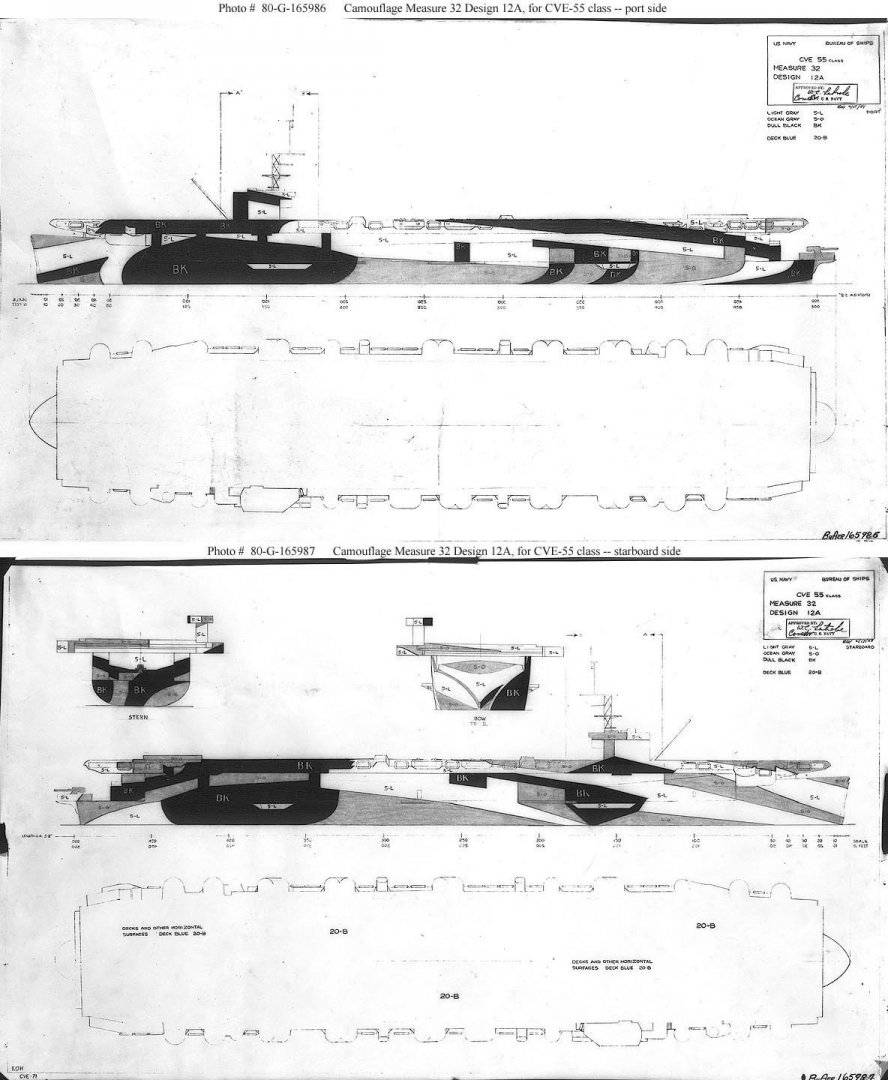
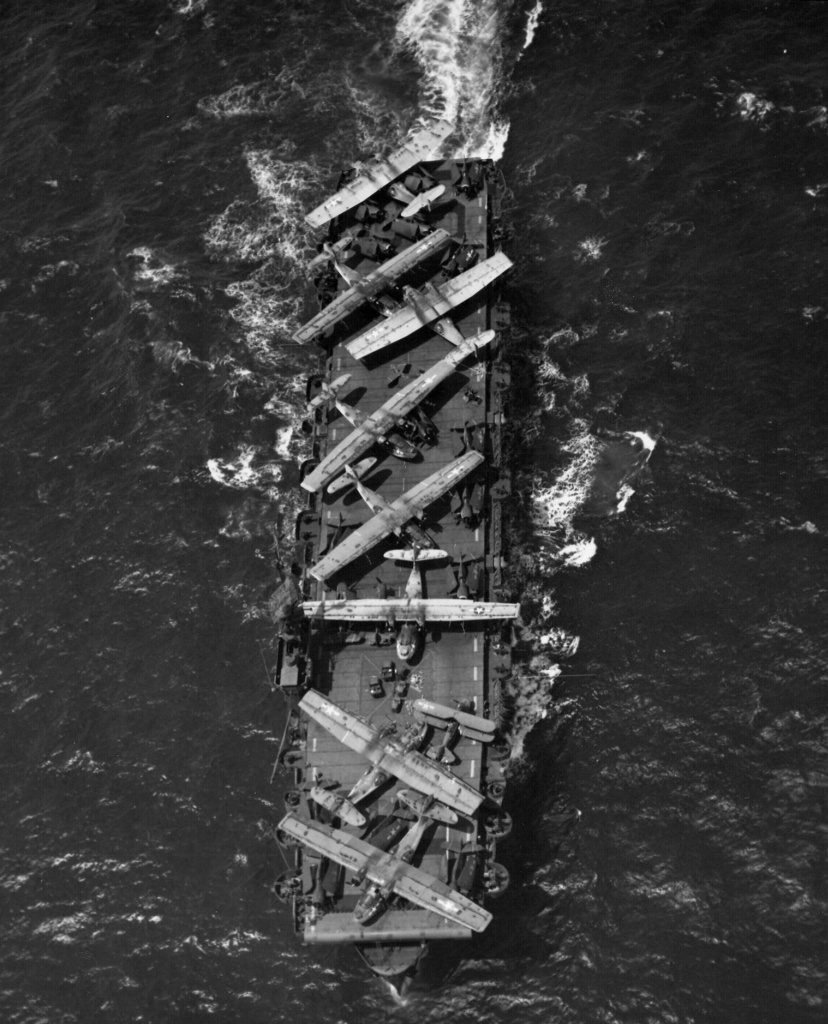
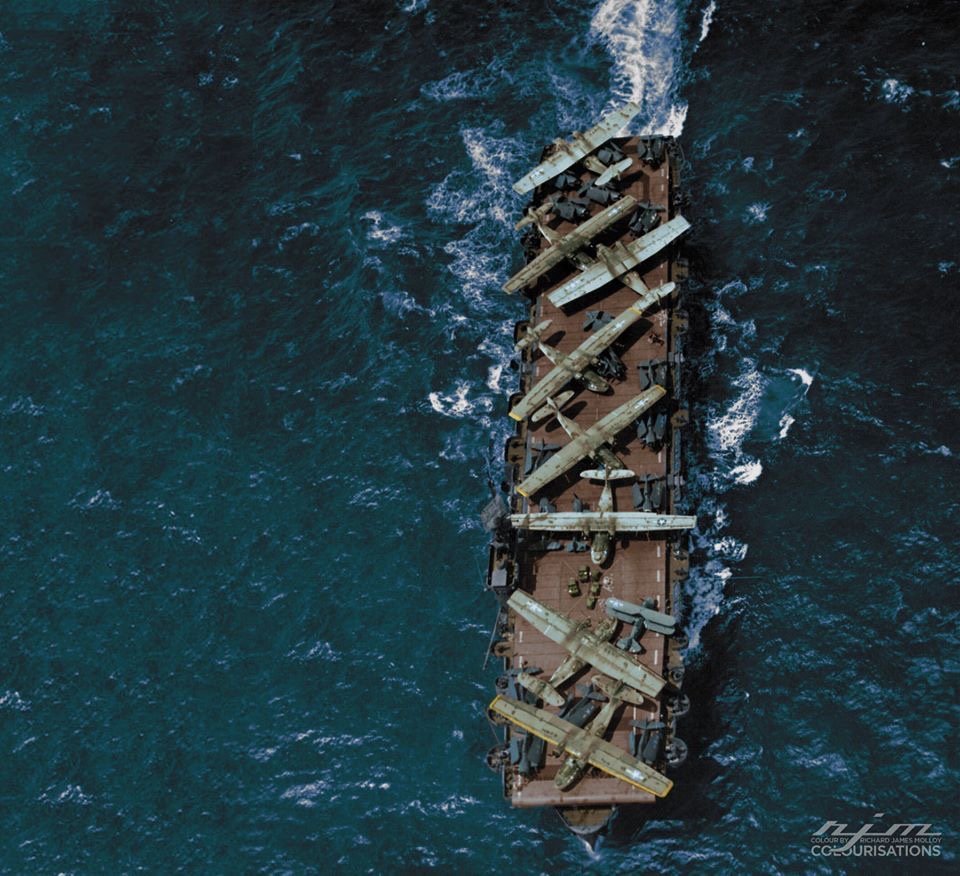
So my next big build for 2022 will be the USS Thetis Bay with a full work up. I found this image on the internets and wondered if I could replicate this point in time, a bunch of worn out aircraft being retuned to the US for overhauls. Thetis bay was Casablanca class carrier and full plans and colour schemes are all available online free of charge. I will of course add them to this log with references.
- 126 replies
-
- 12
-
-
- Thetis Bay
- Finished
- (and 4 more)
-
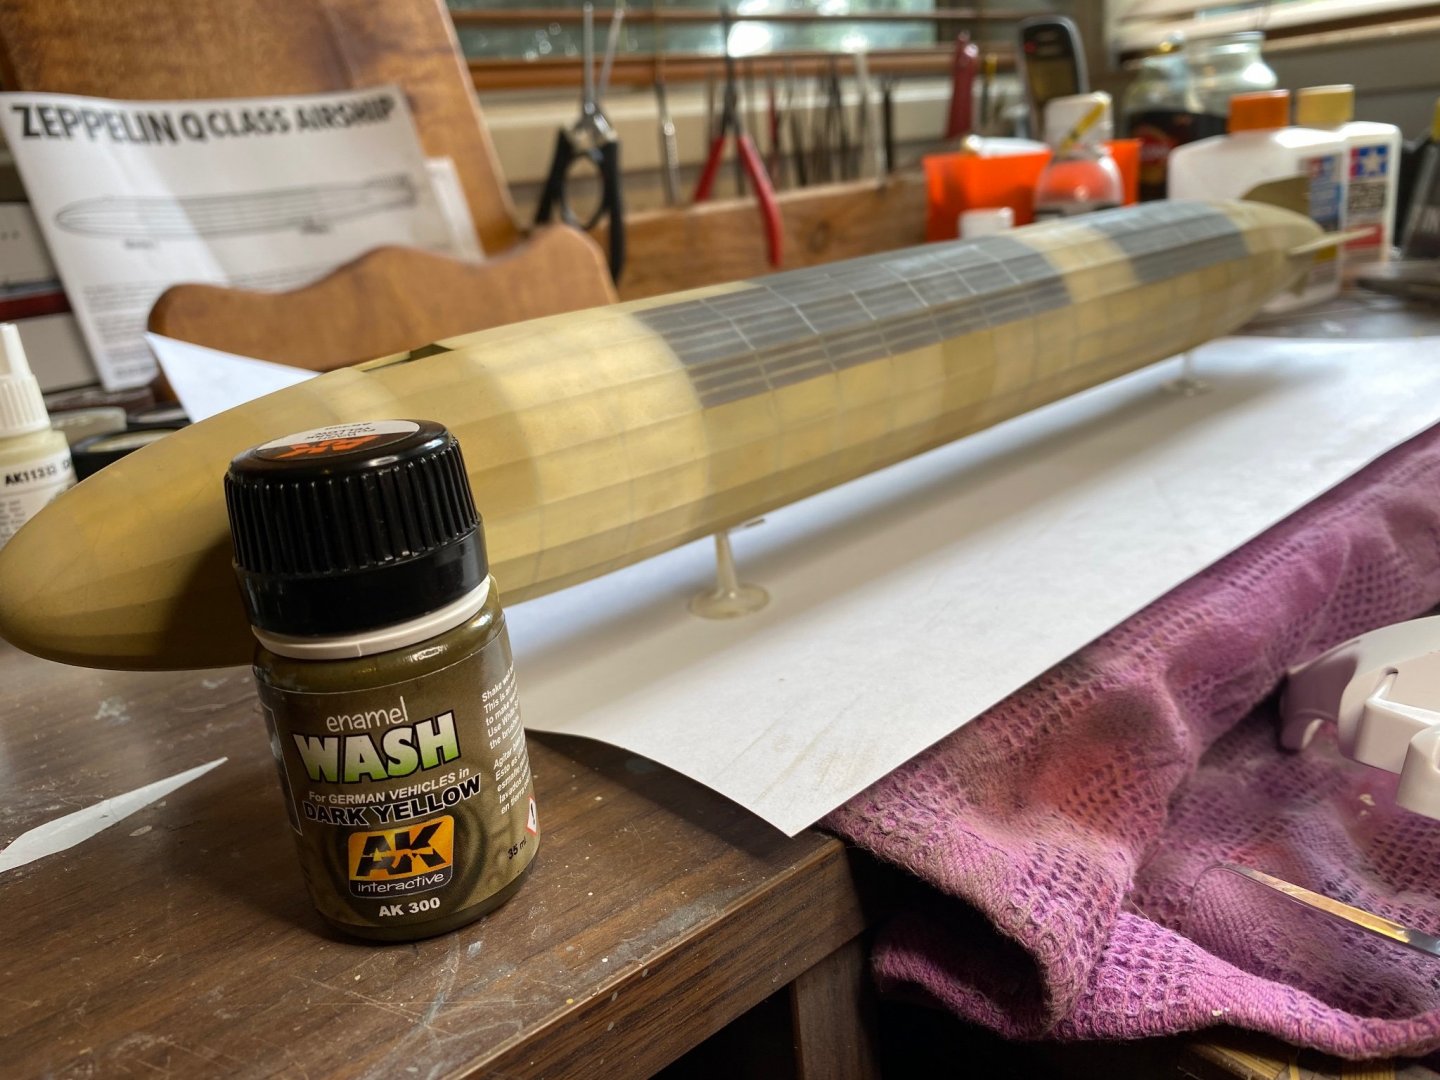
I giver her a dark yellow wash and it works! Blends it very nicely and makes it look like dirty canvas. What a fluke!
- 540 replies
-
- 15
-
-
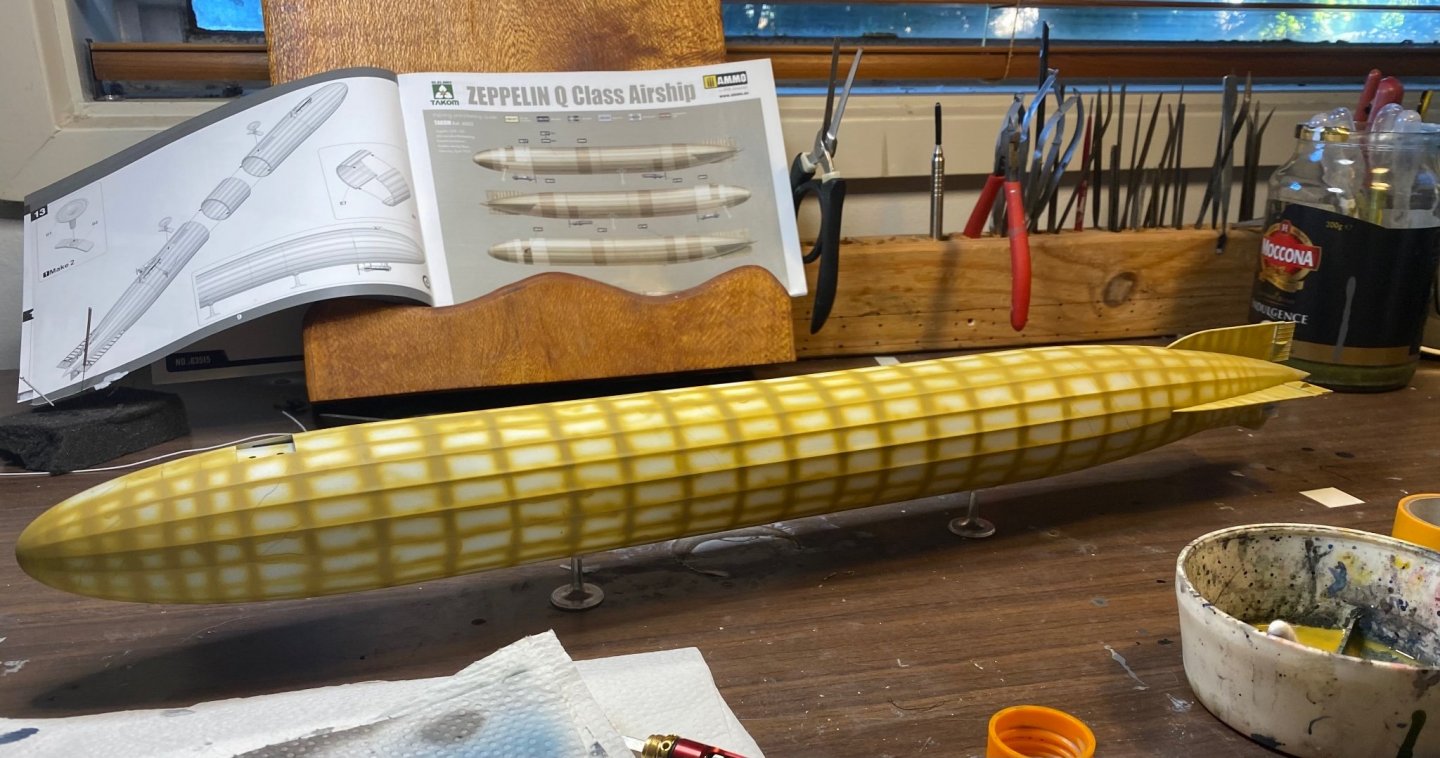
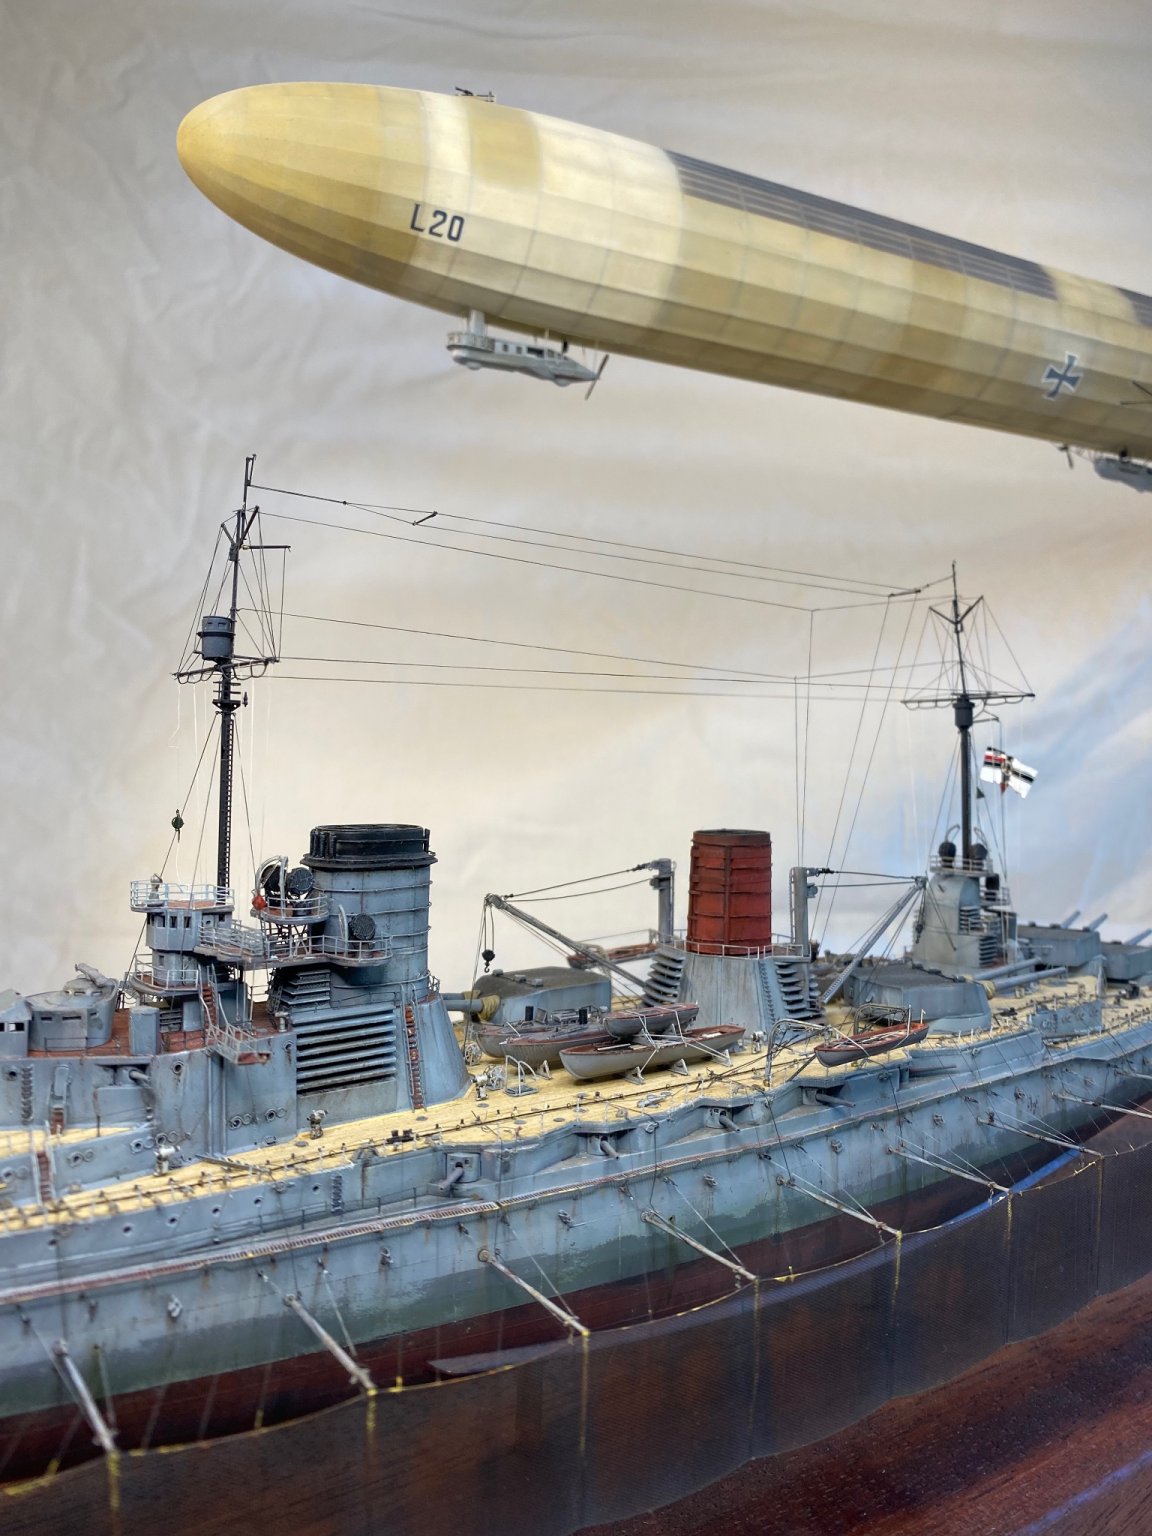
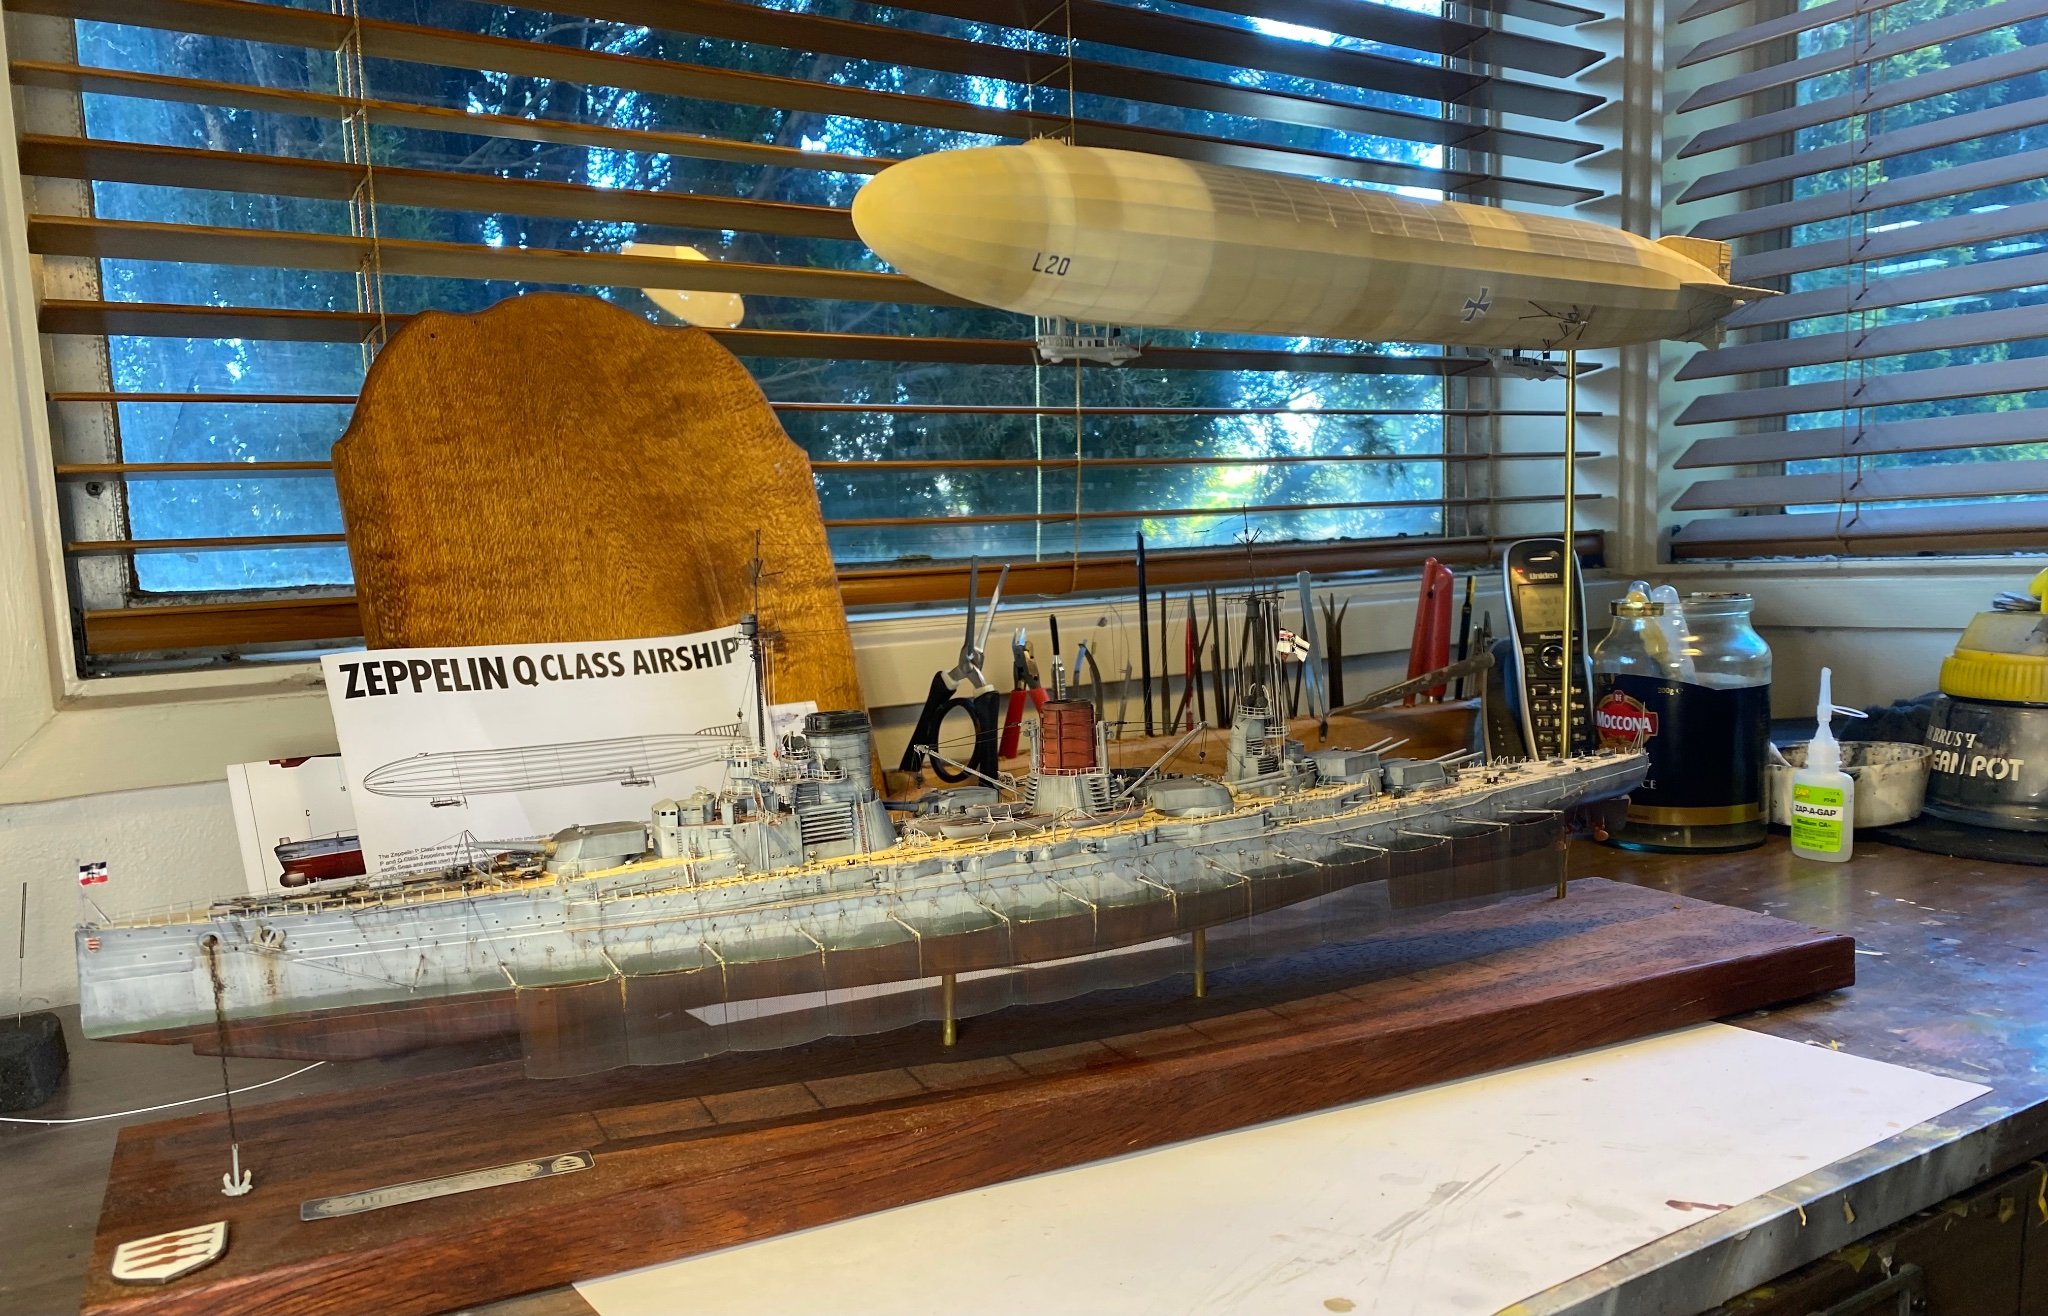
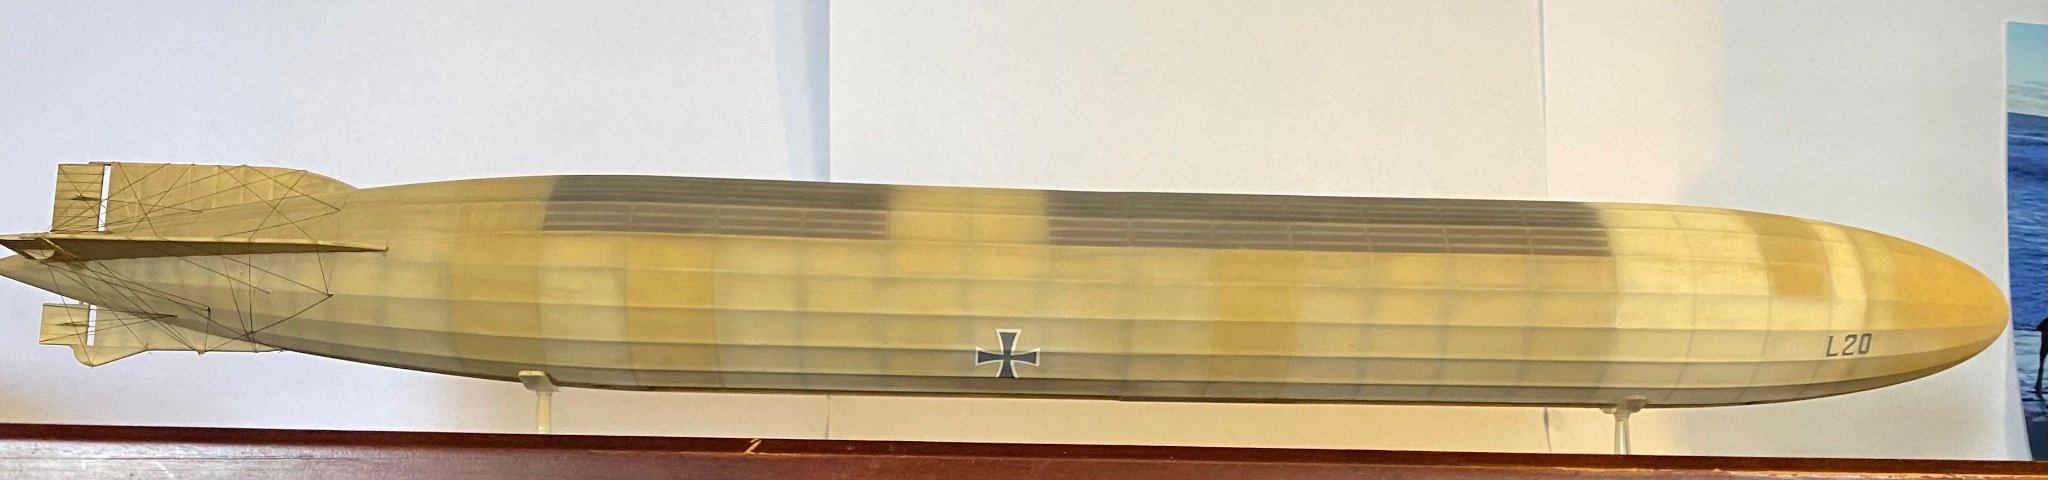
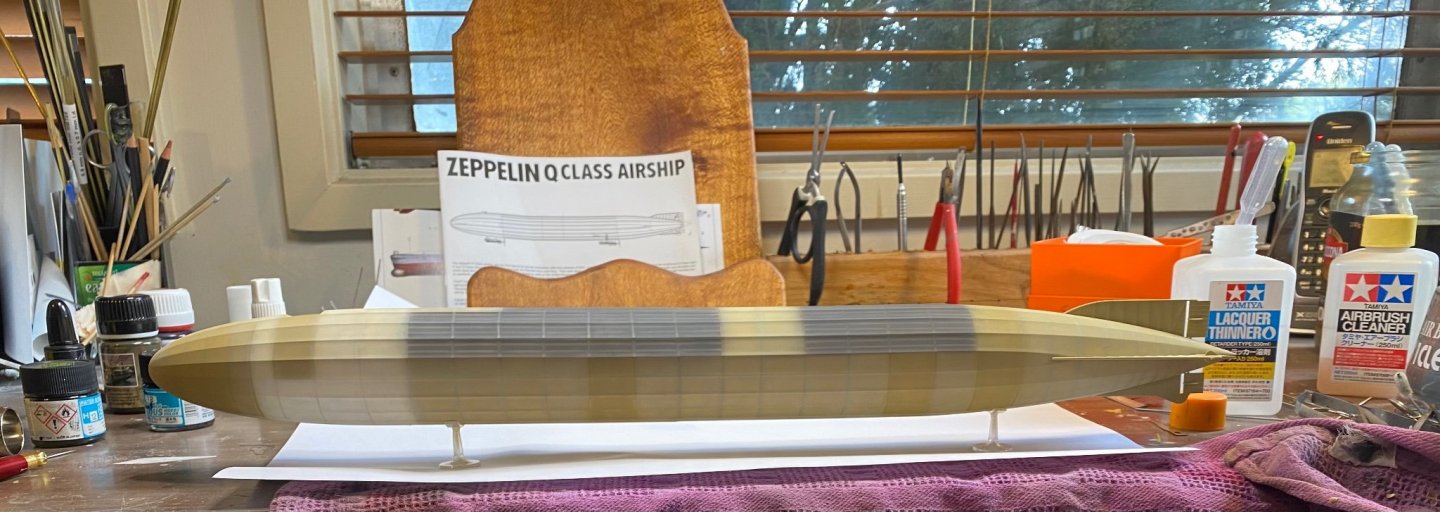
Painting pretty much done, weathering next. Again, I’m making this up as I go along, how the hell does one weather a blimp!
-
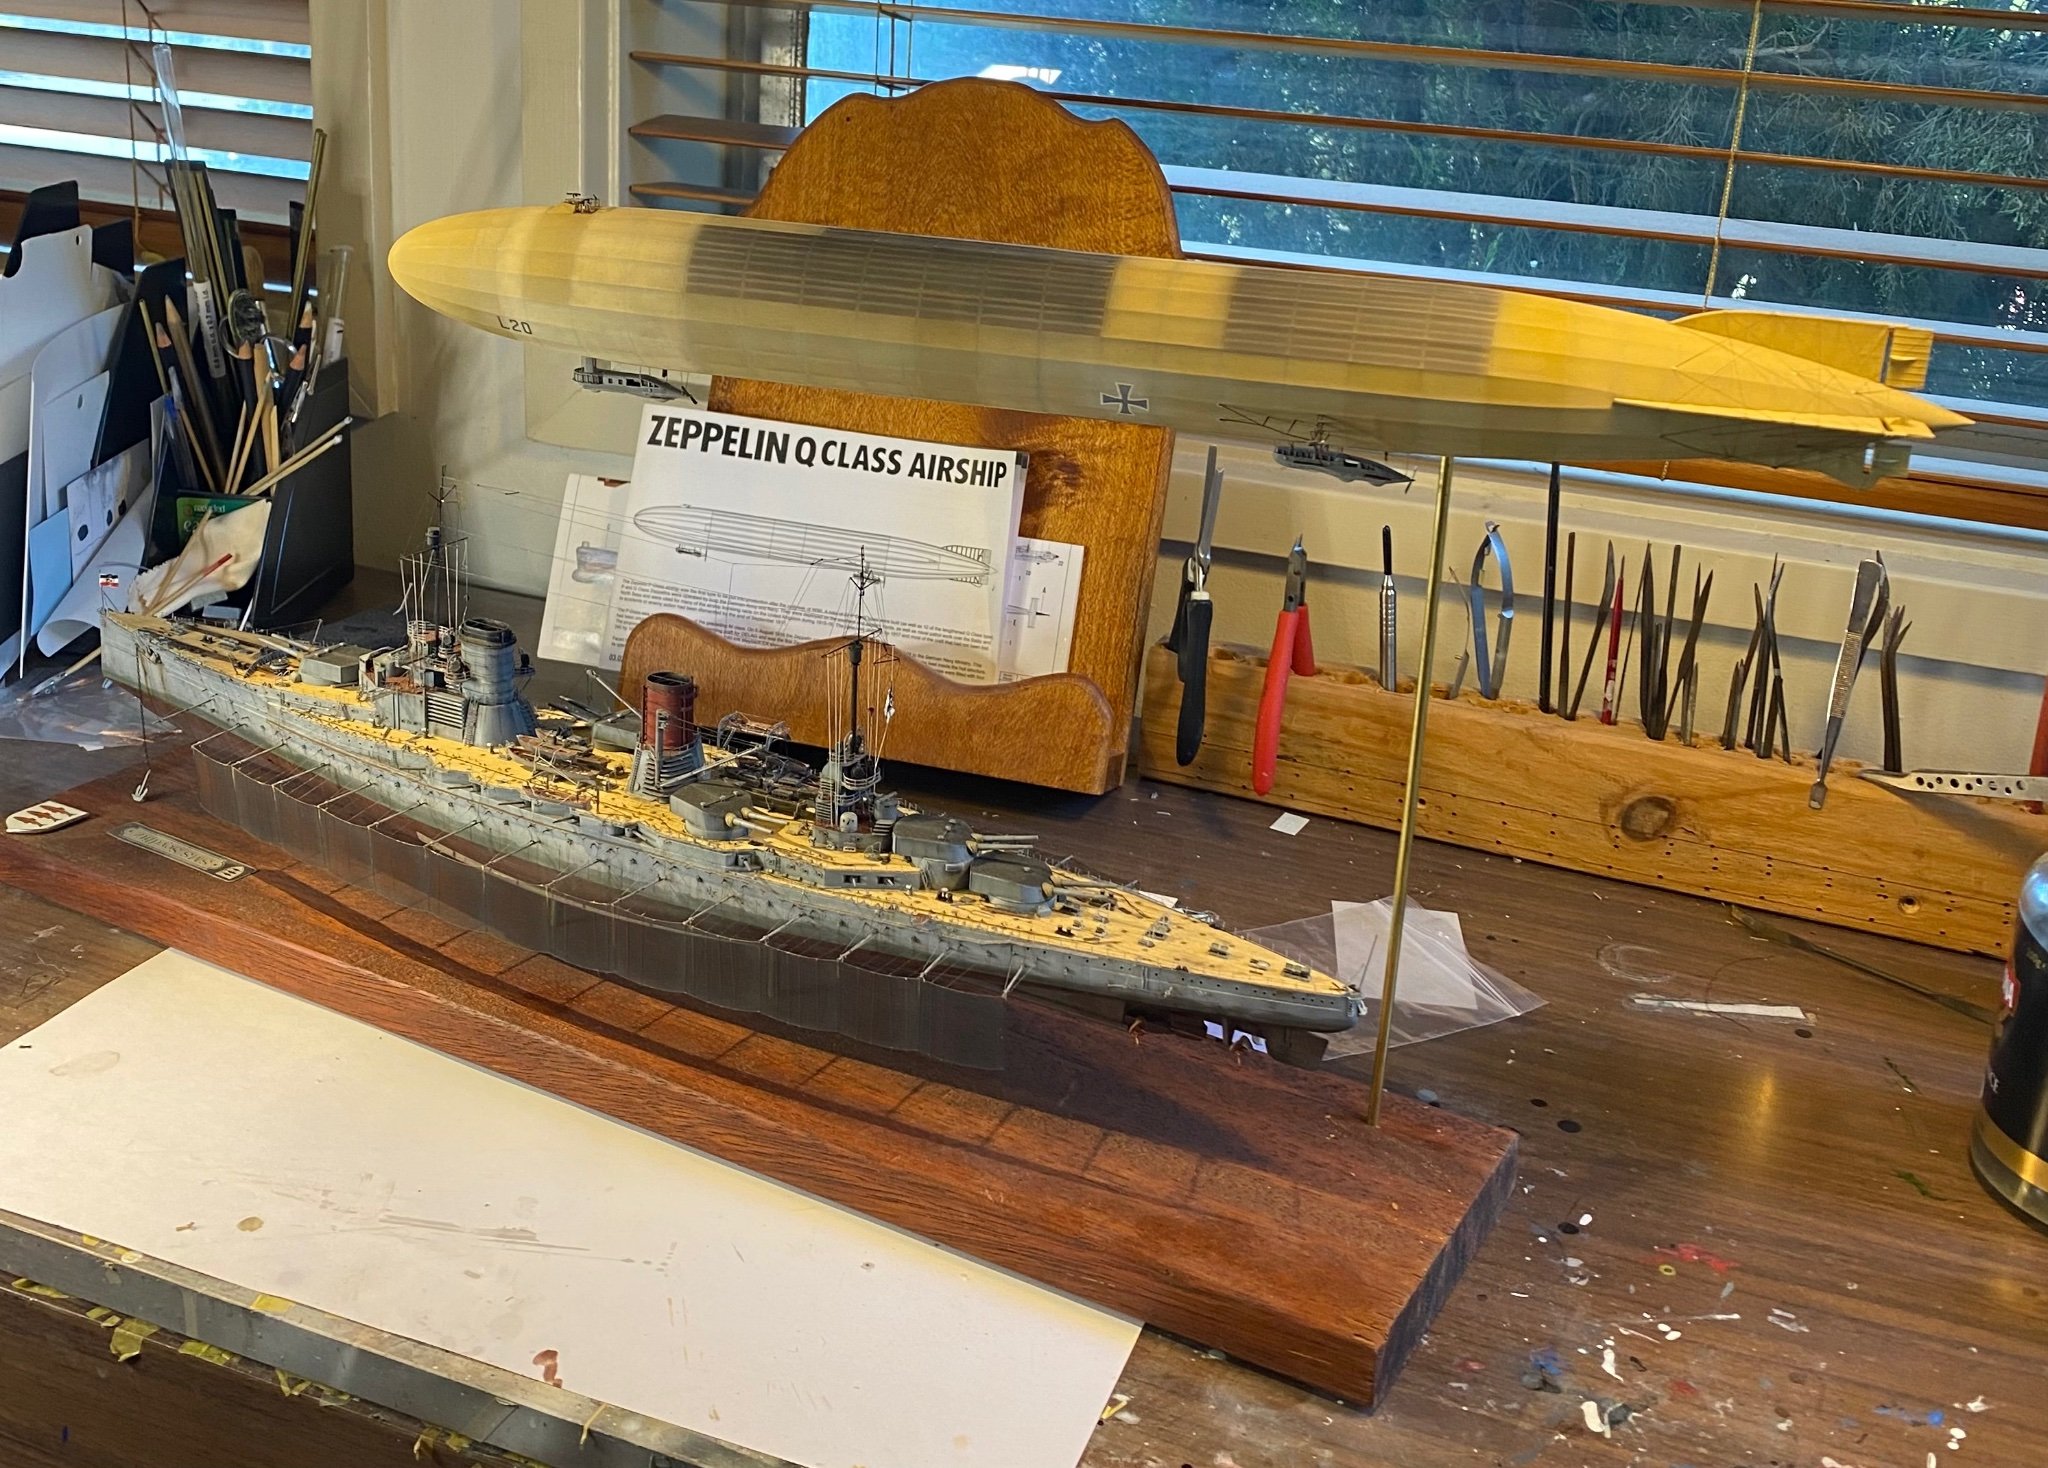
My limited reading and the photos in b&w really do show very far panels on top, so a black overspray seems to work OK
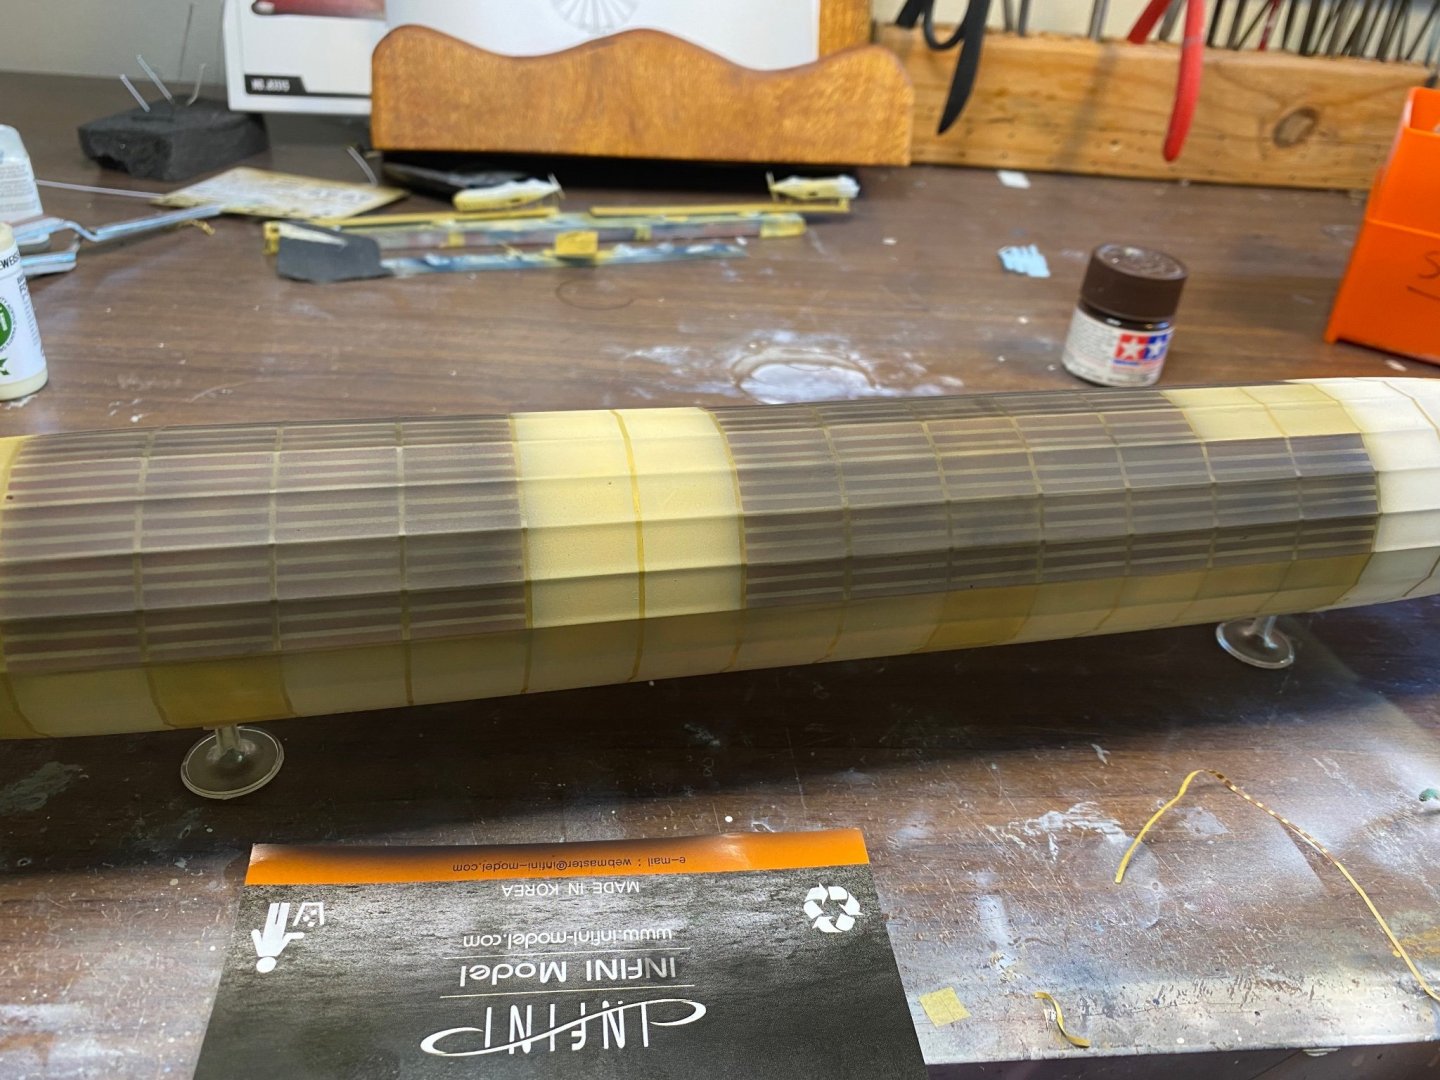
-
So this is the look I’m going for, apparently the tops of them were not painted (or less paint) to allow Leaked helium to escape
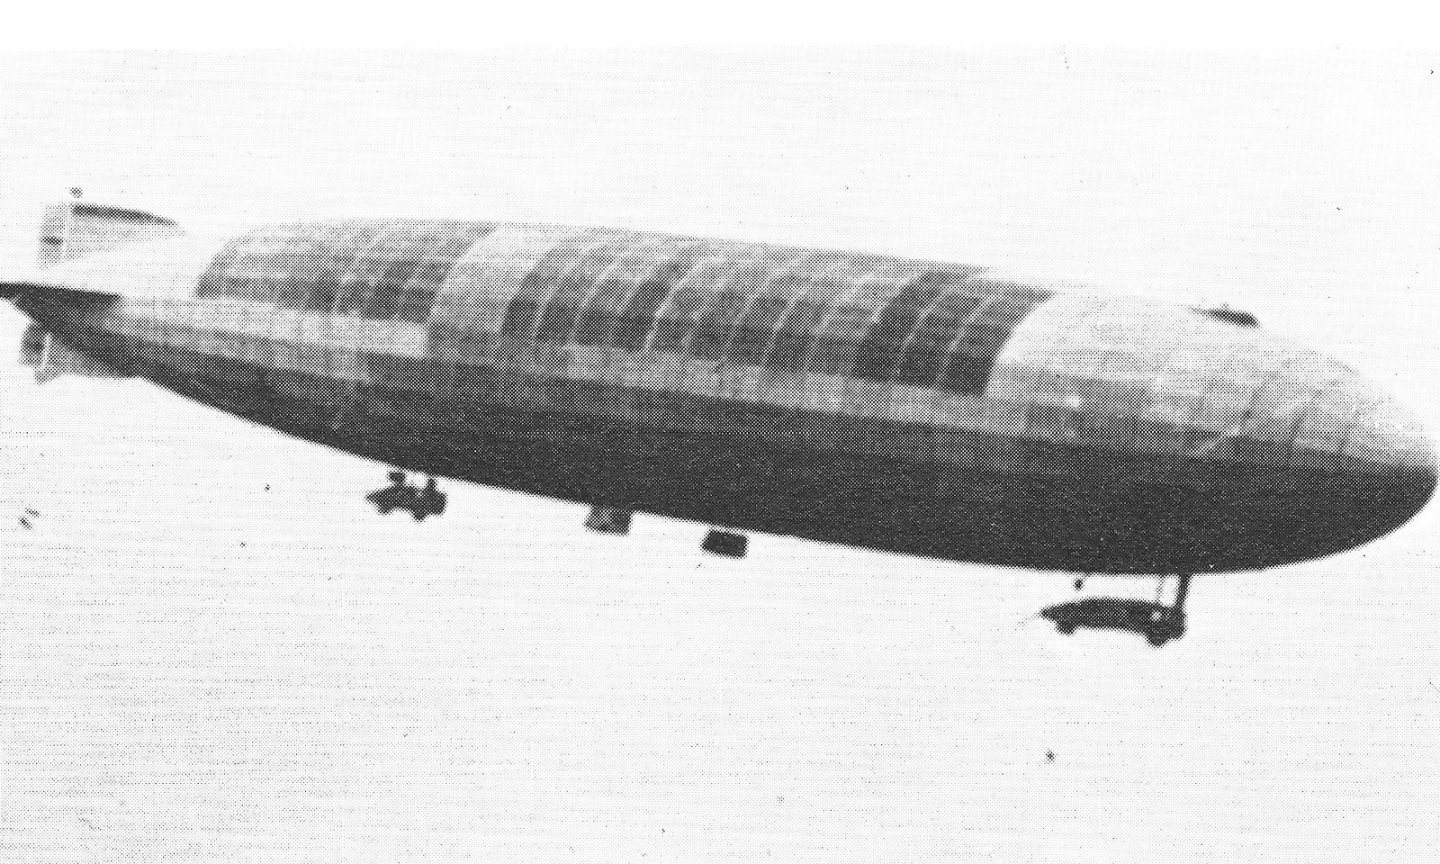
-
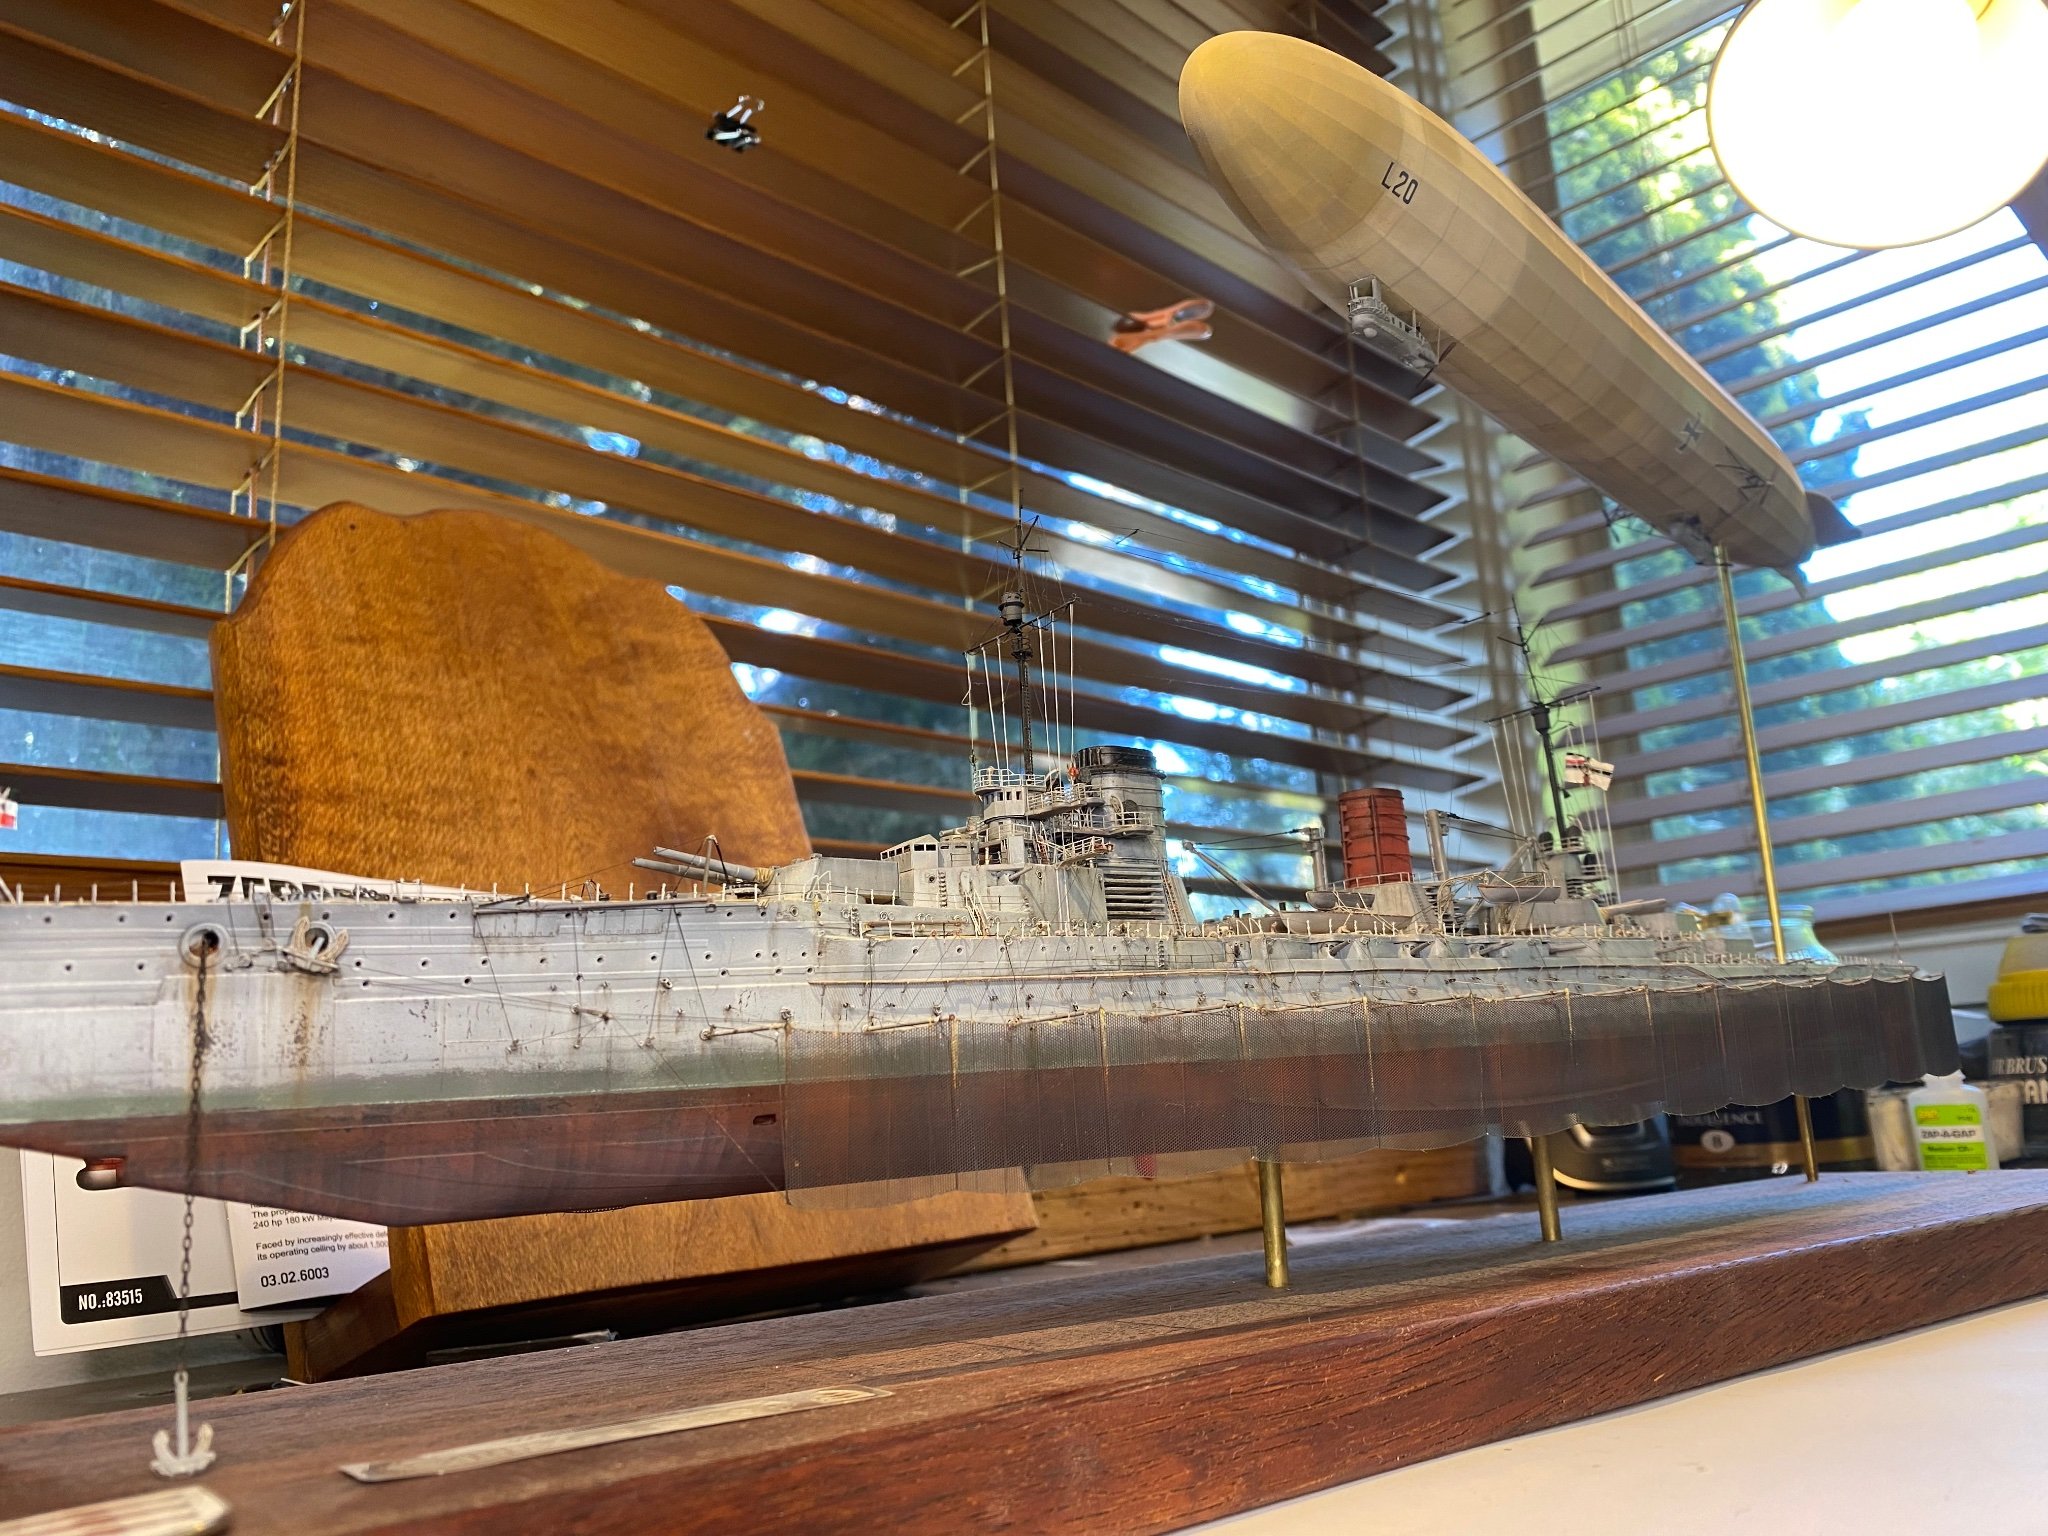
The chipping looks good, make sure it’s on the facing bits like the bow and bilge keels
-
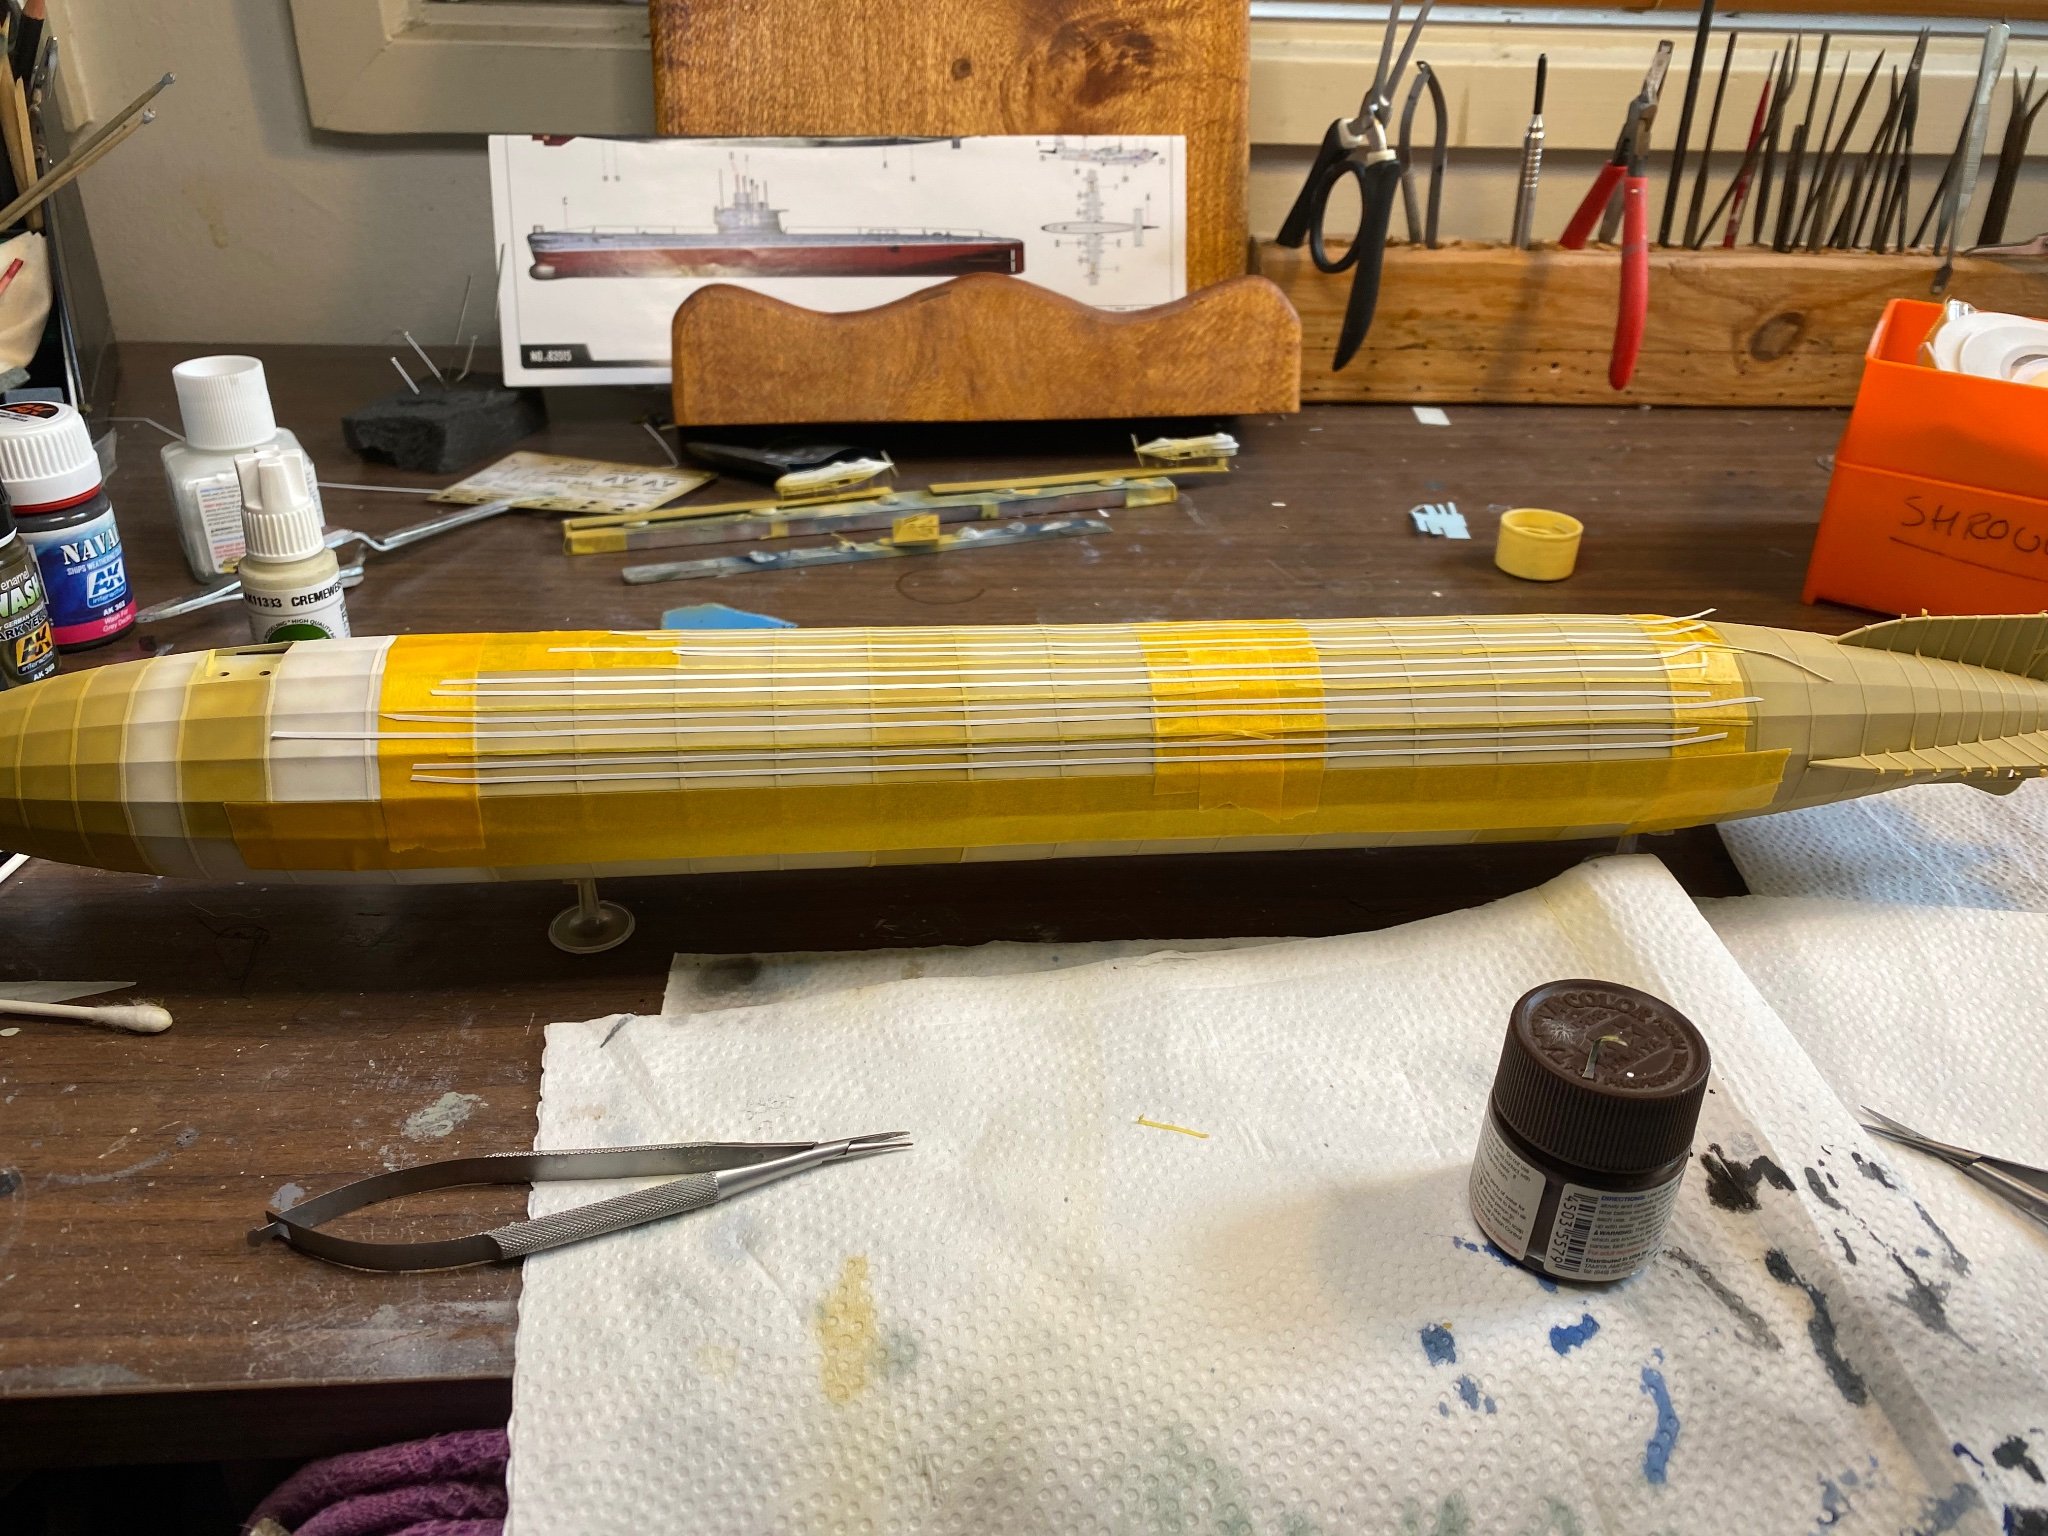
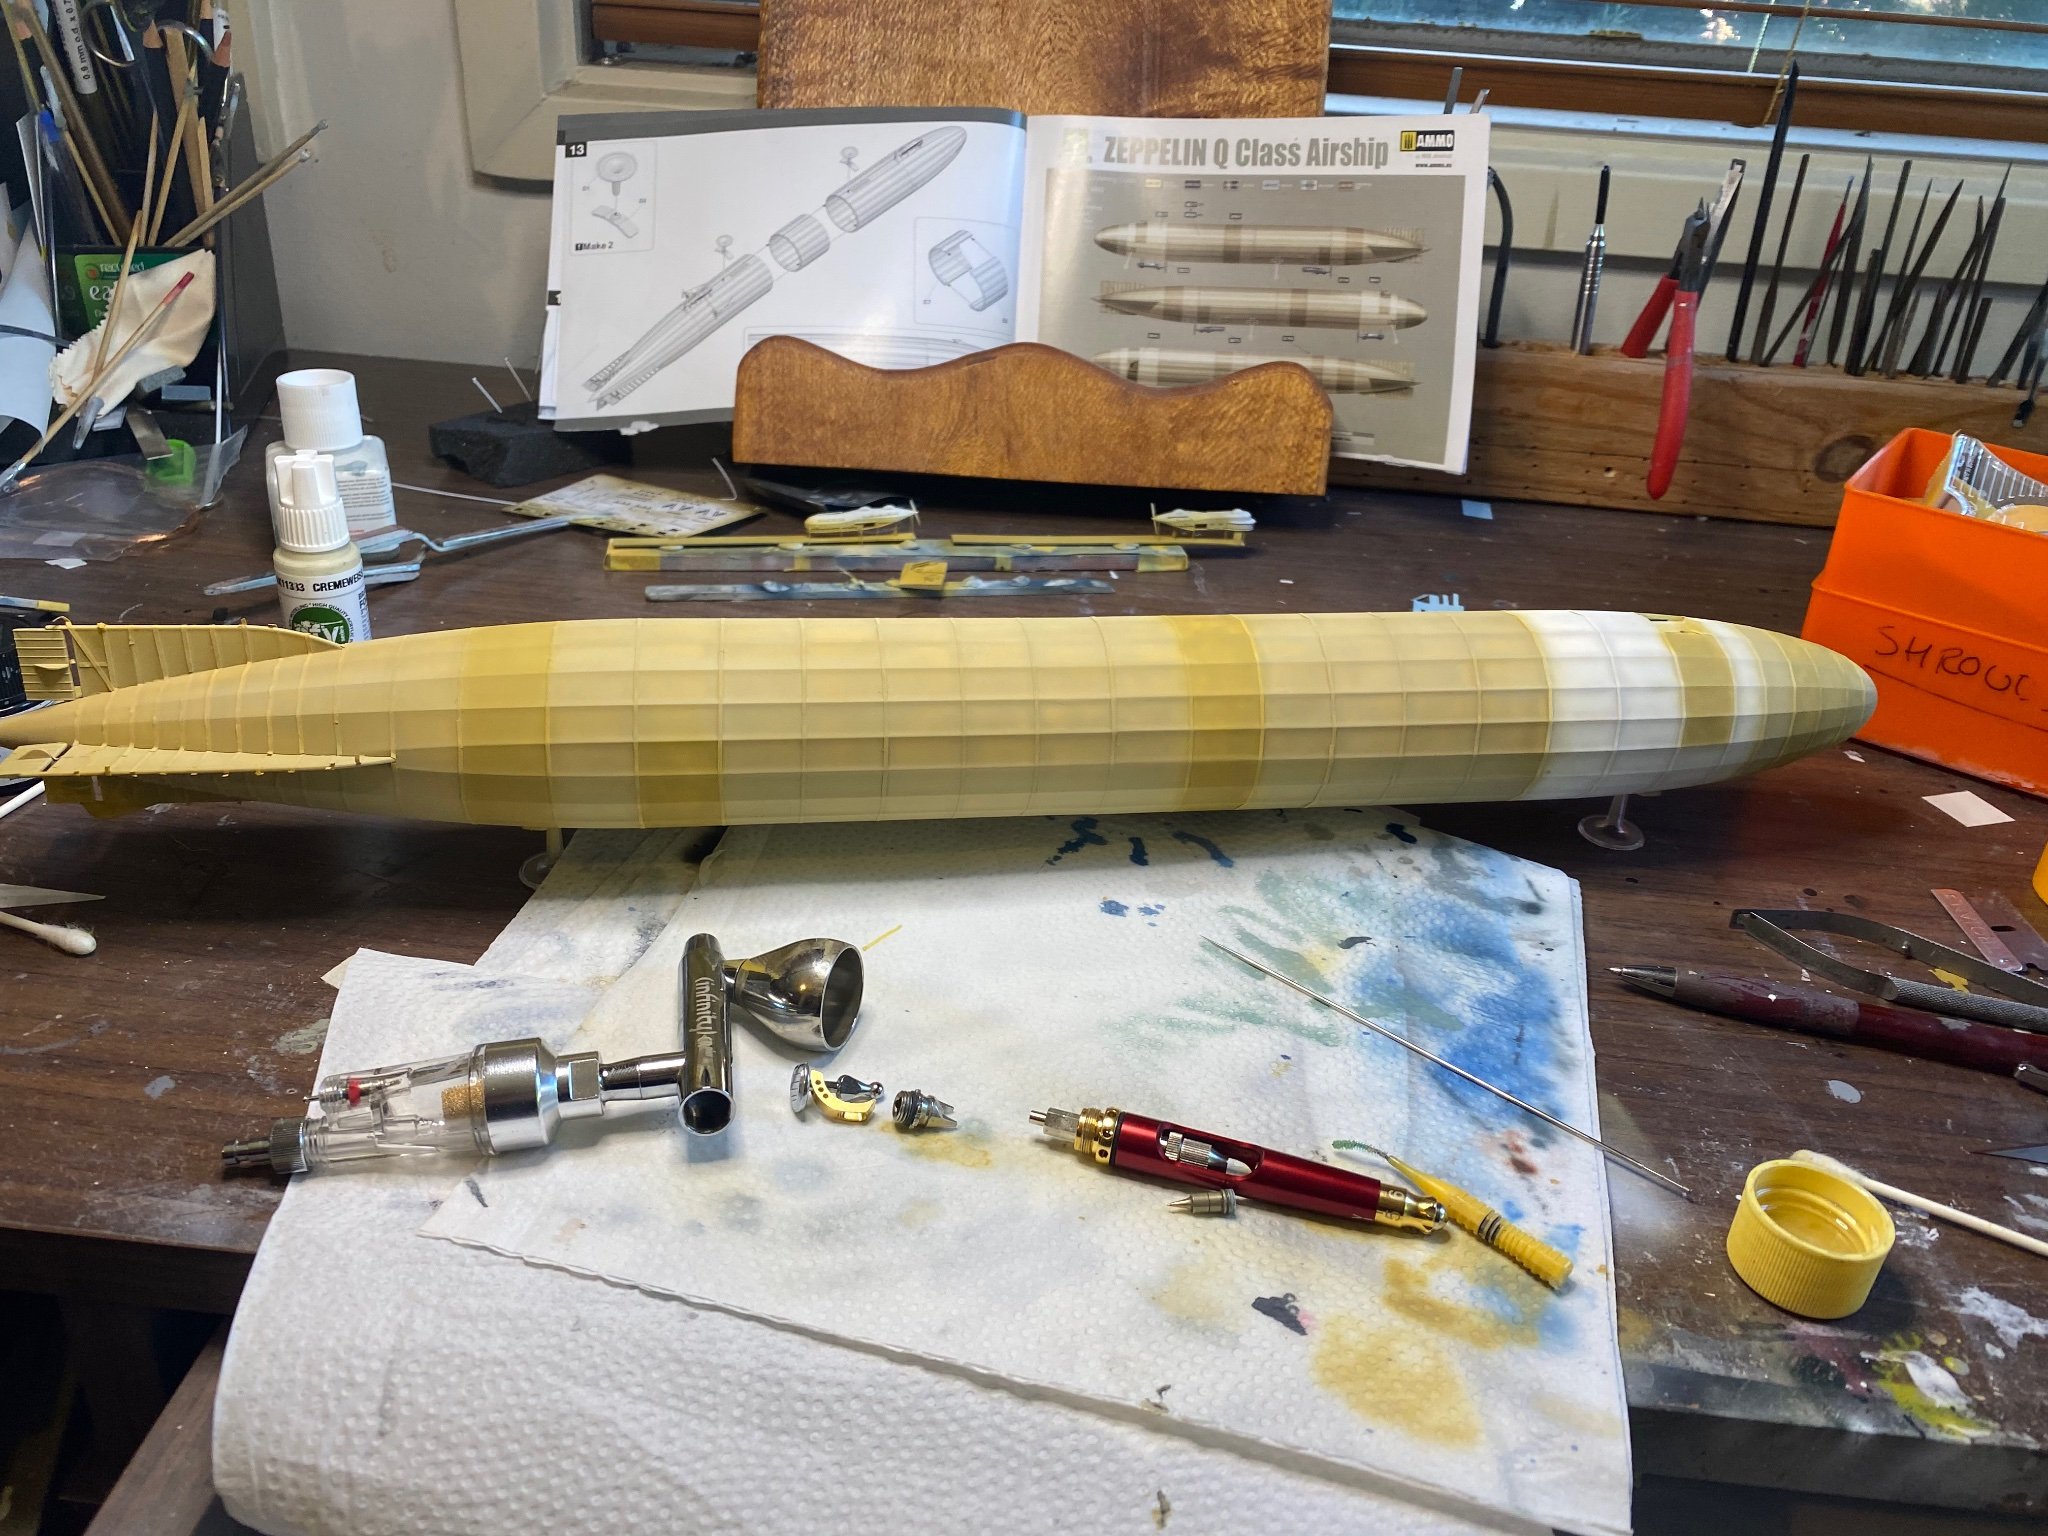
I’m constantly stripping and cleaning my airbrush, and I do like their paints, which I think with Tamiya lacquer thinner. Acrylics dry the top very quickly so I also have a cotton bud dipped in clean thinner to while the tip regularly.
-
So started to paint the blimp, so many panels, and so much more sanding needed, big seams and a lot sine shown up