RGL
-
Posts
5,561 -
Joined
-
Last visited
Content Type
Profiles
Forums
Gallery
Events
Everything posted by RGL
-
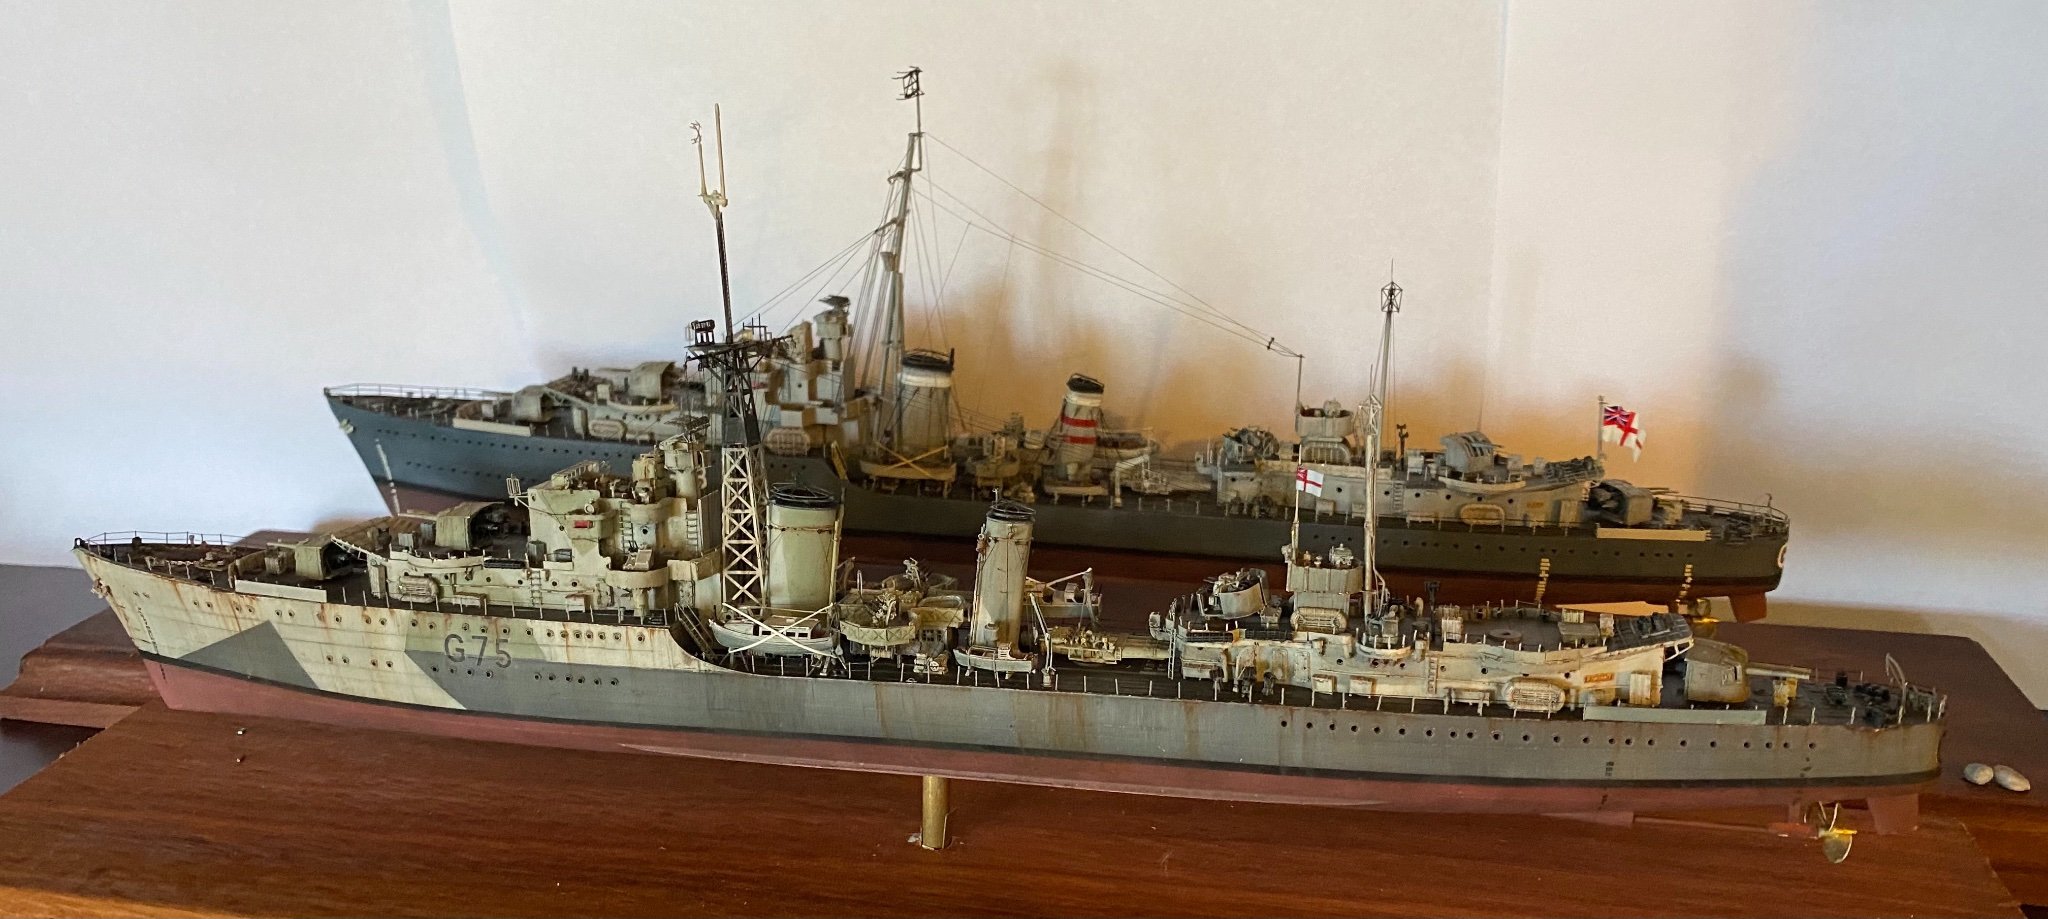
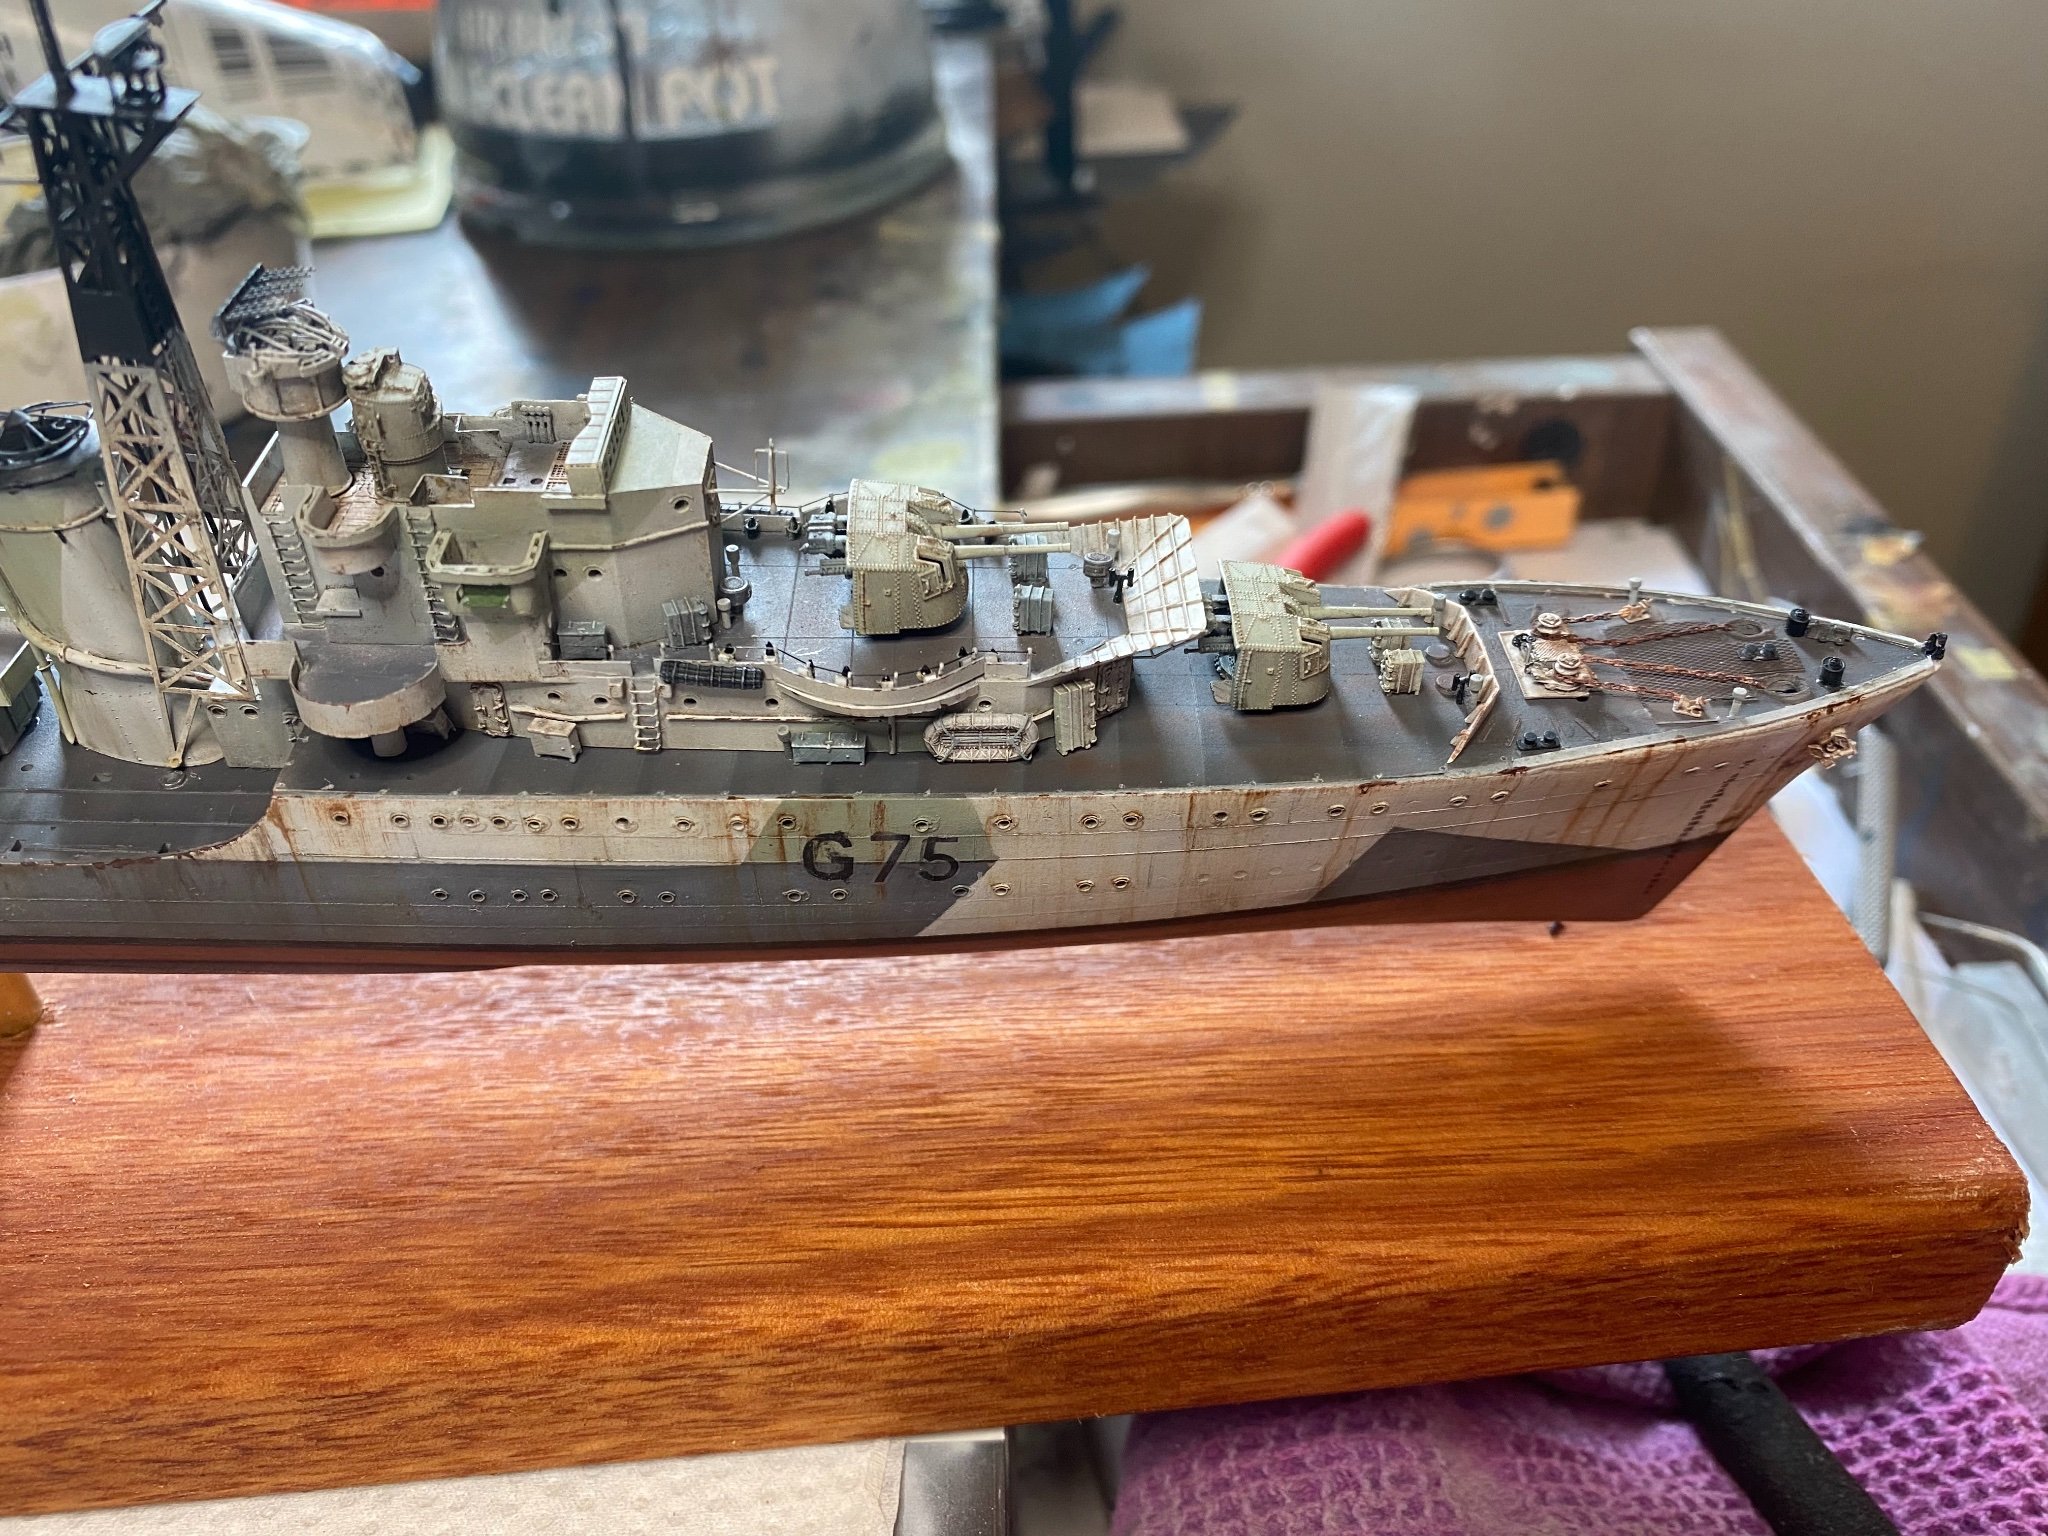
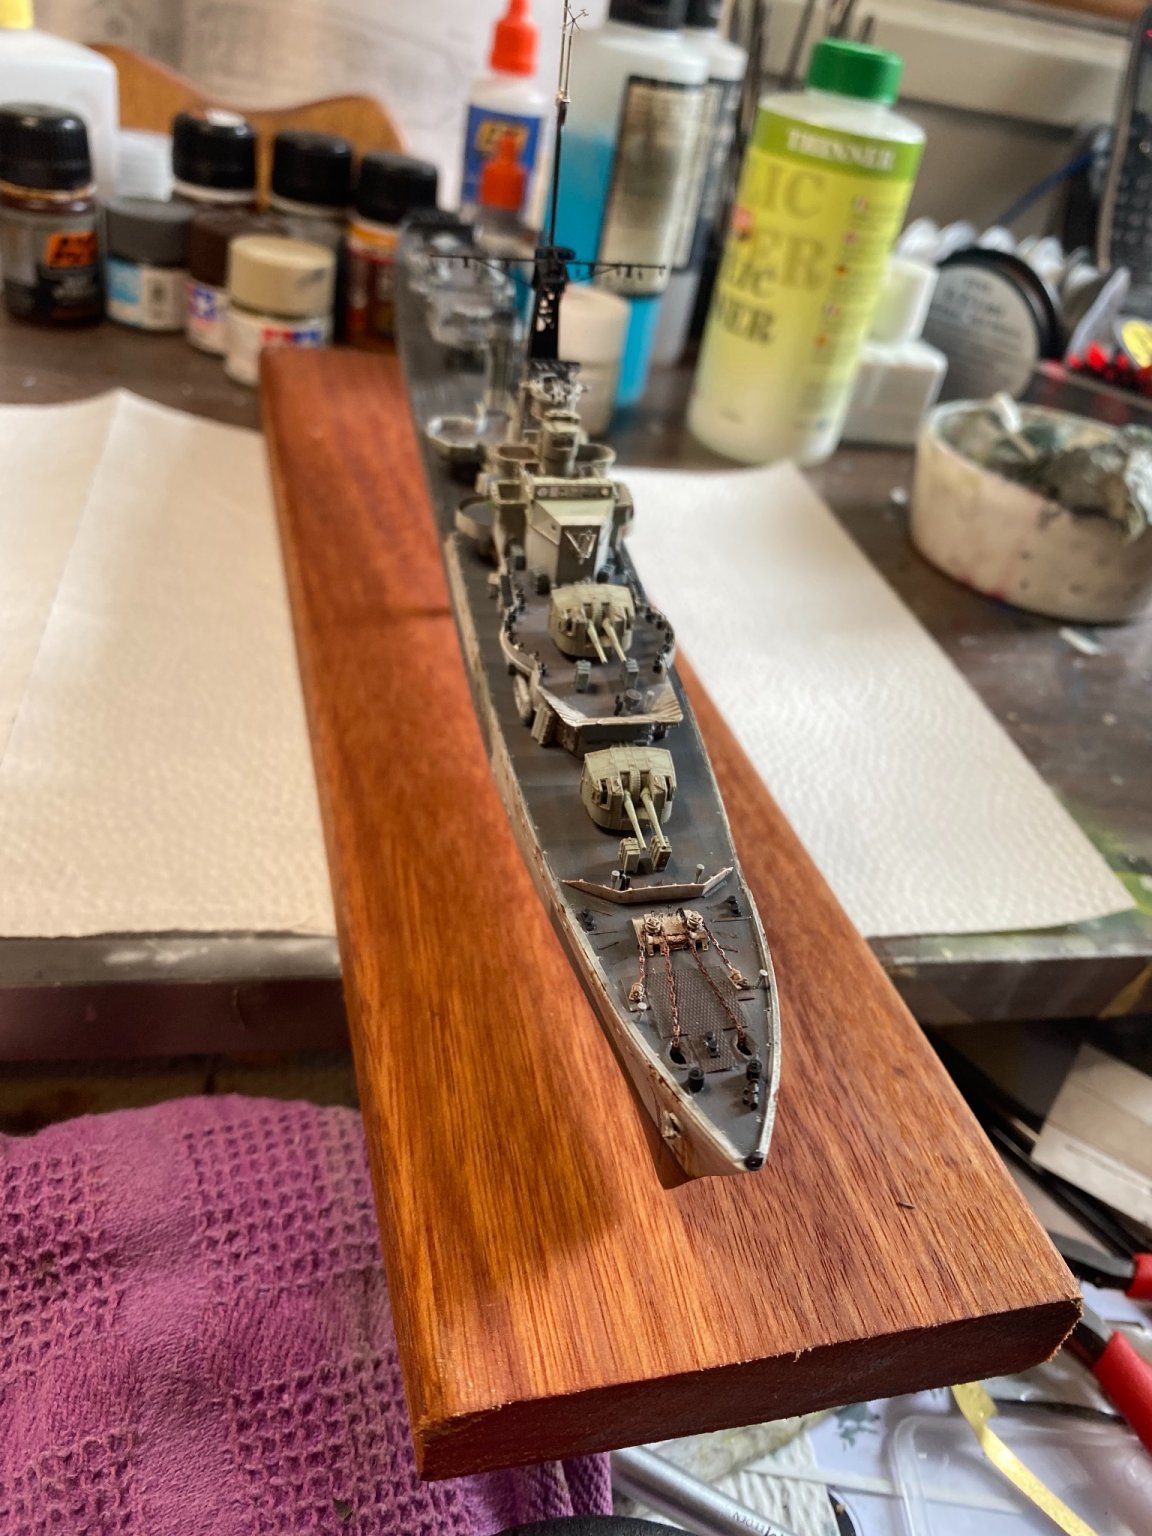
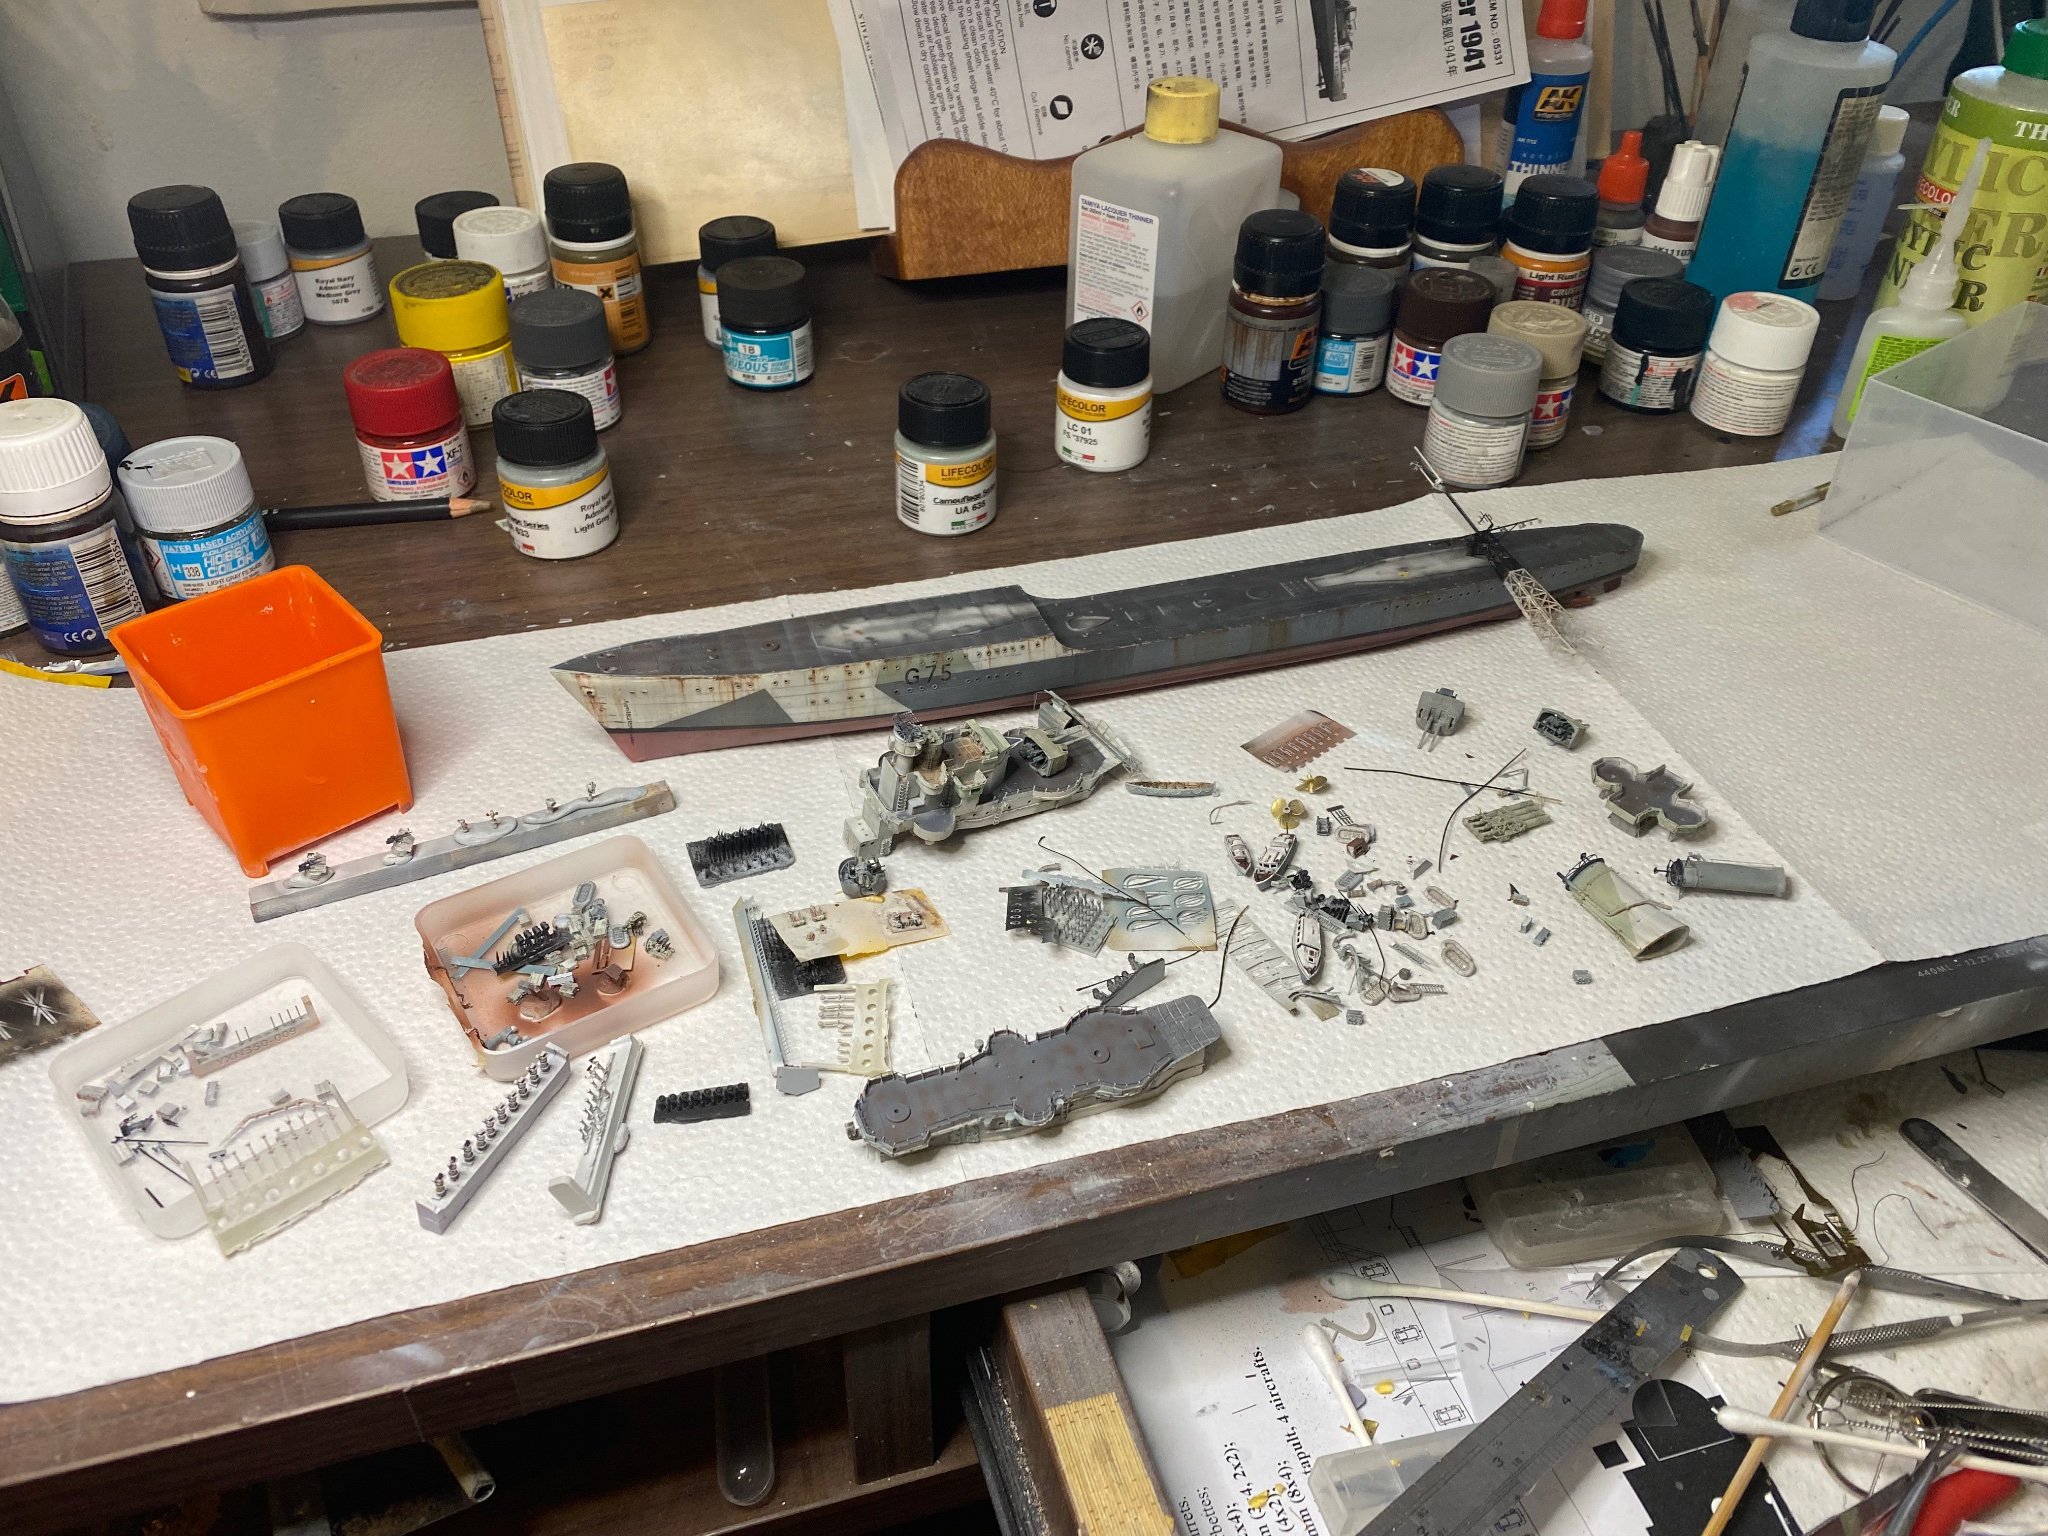
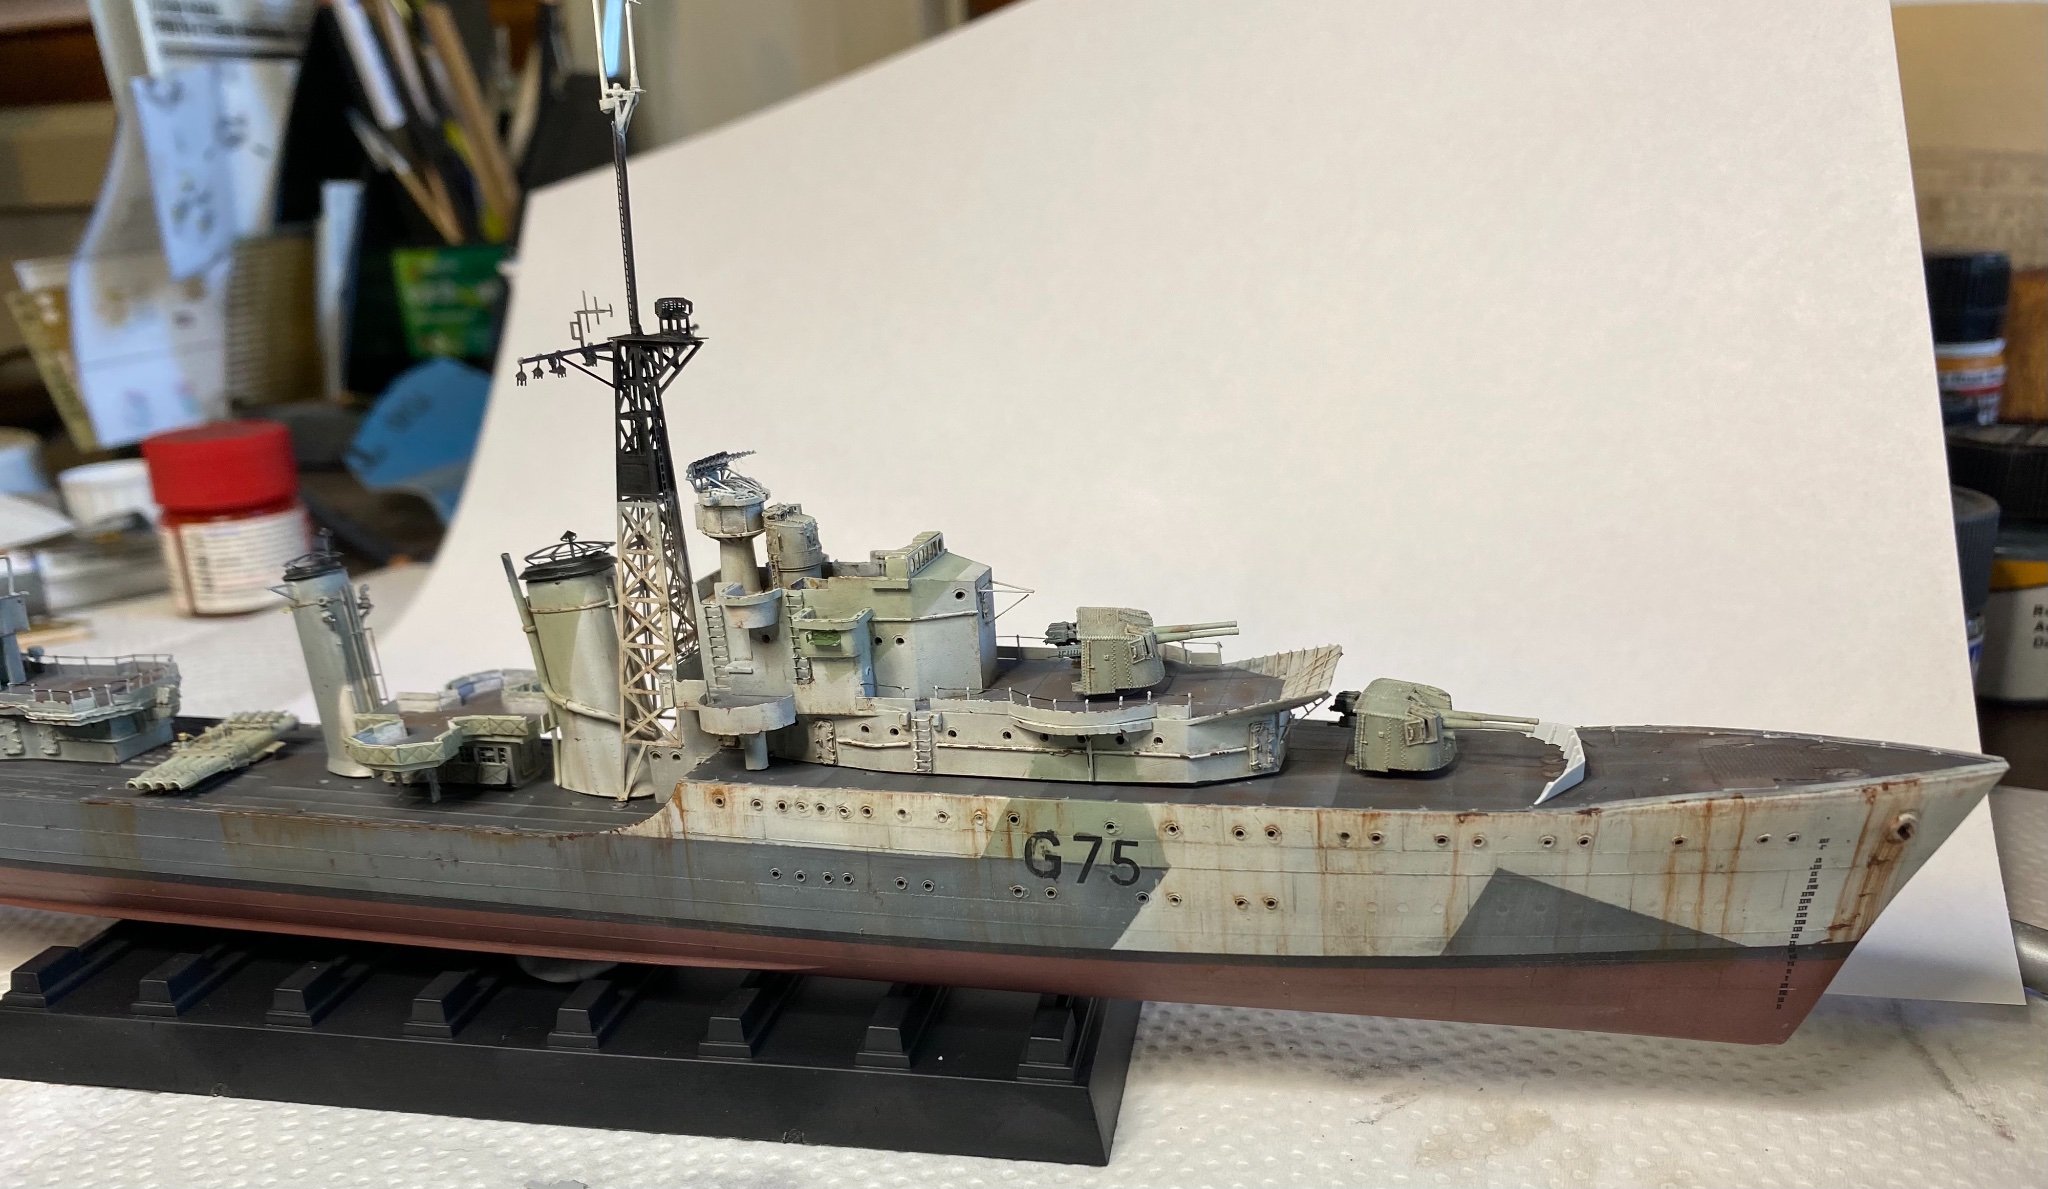
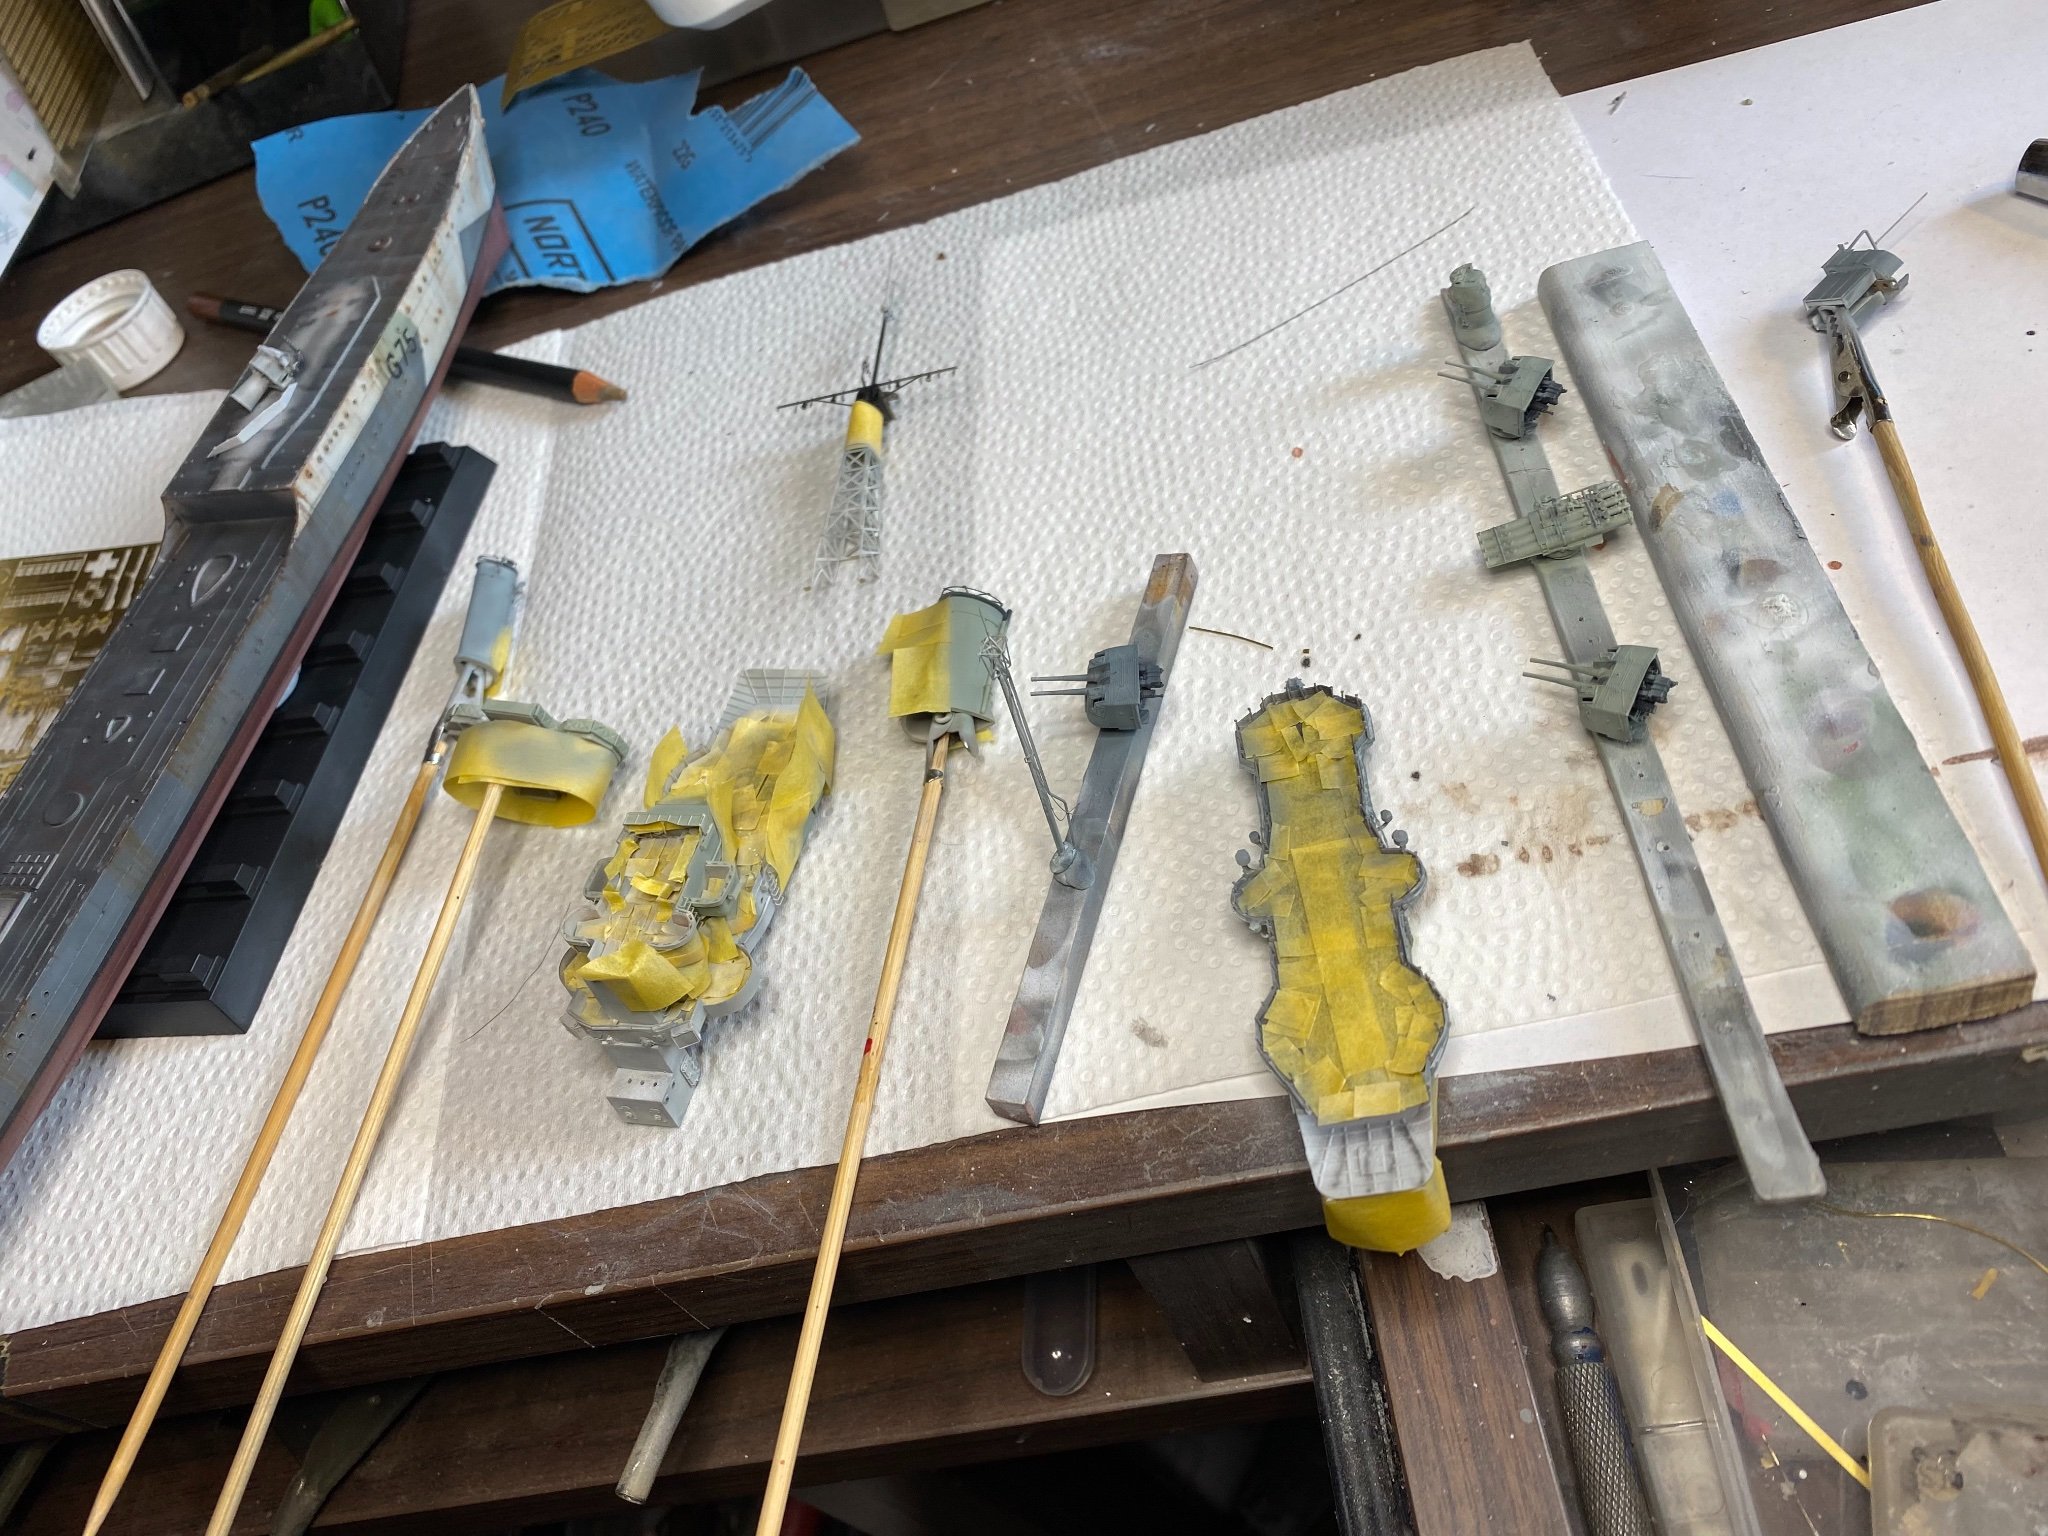
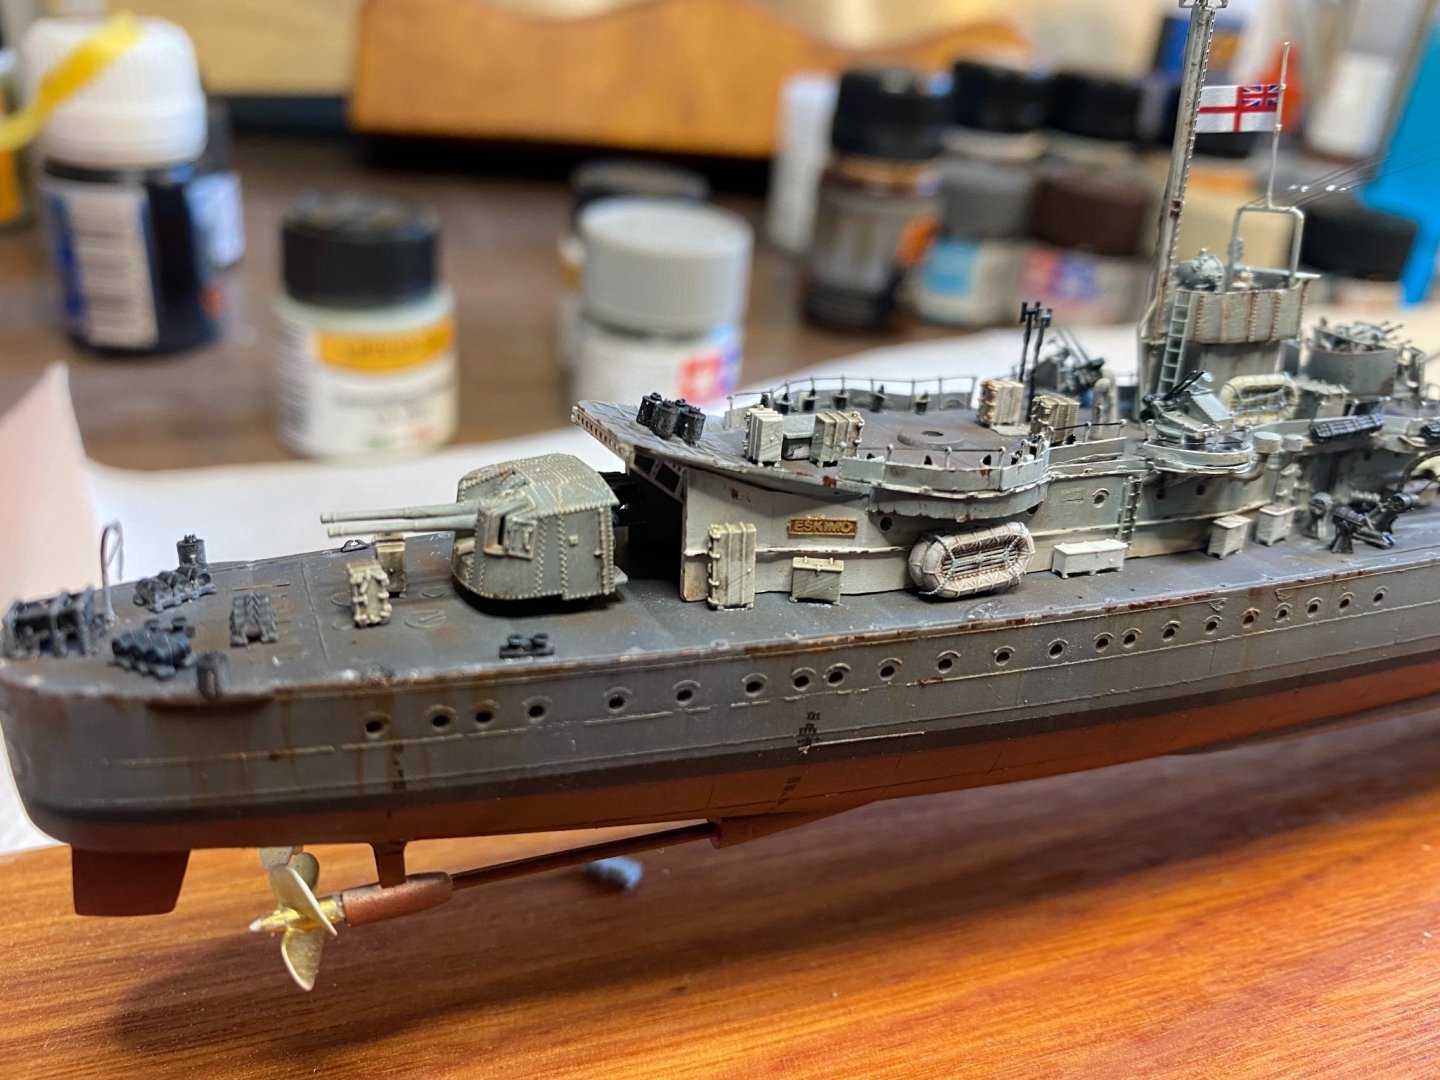
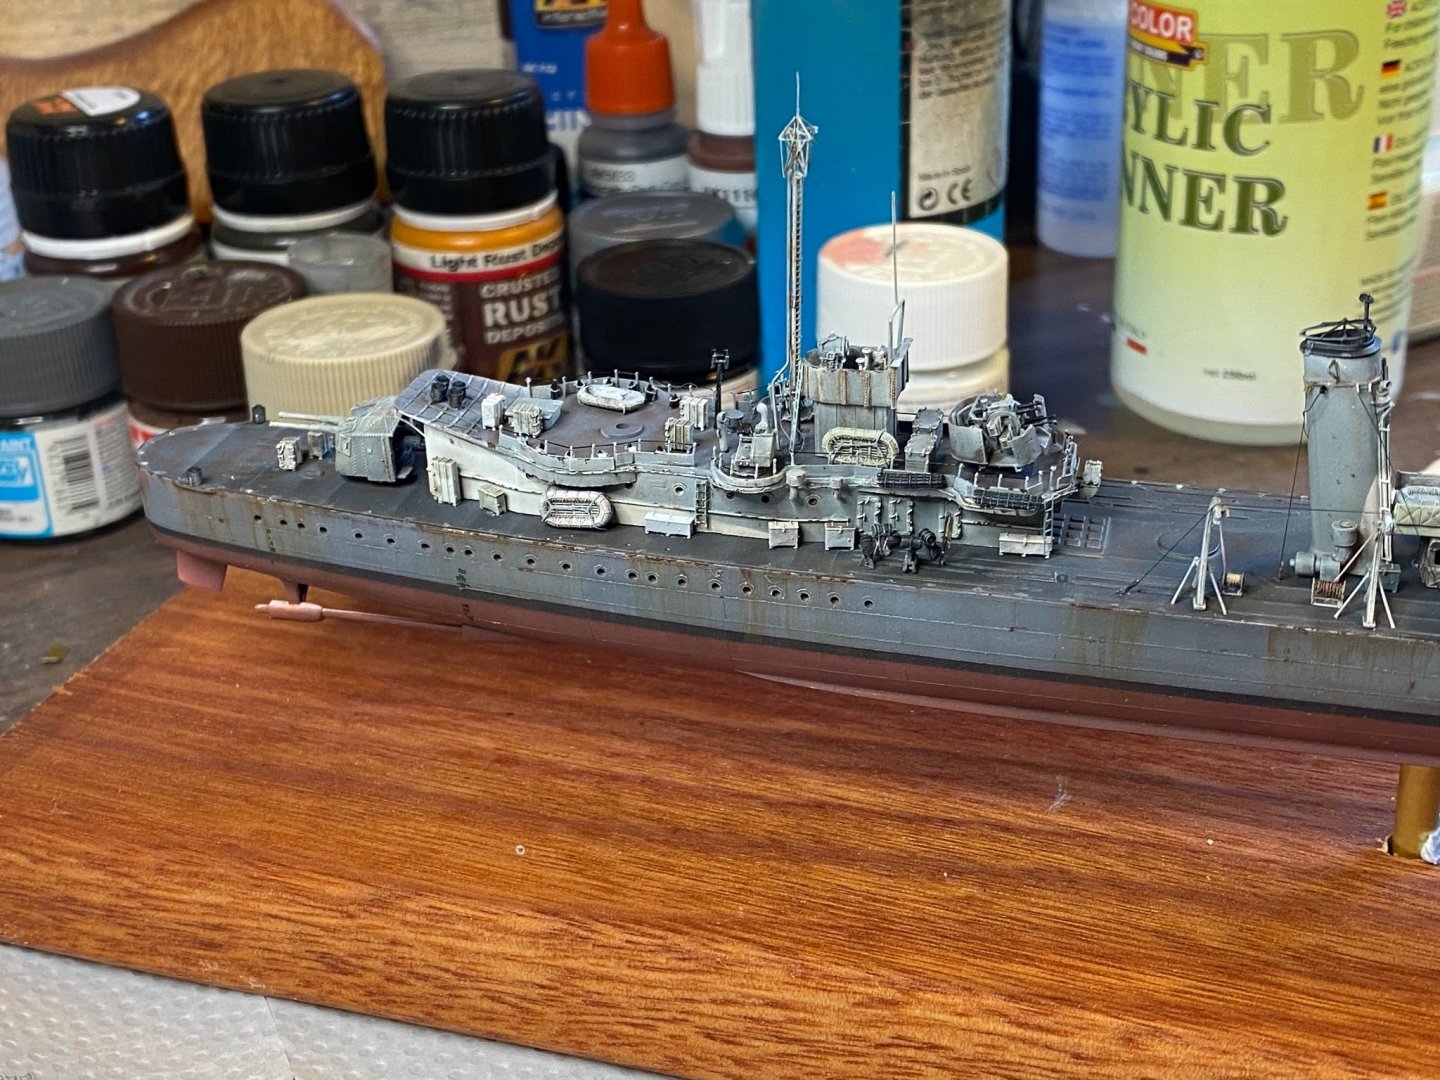
 So nearly done, just awaiting a 4” gun in the mail and a few Other guns (still in development).
-
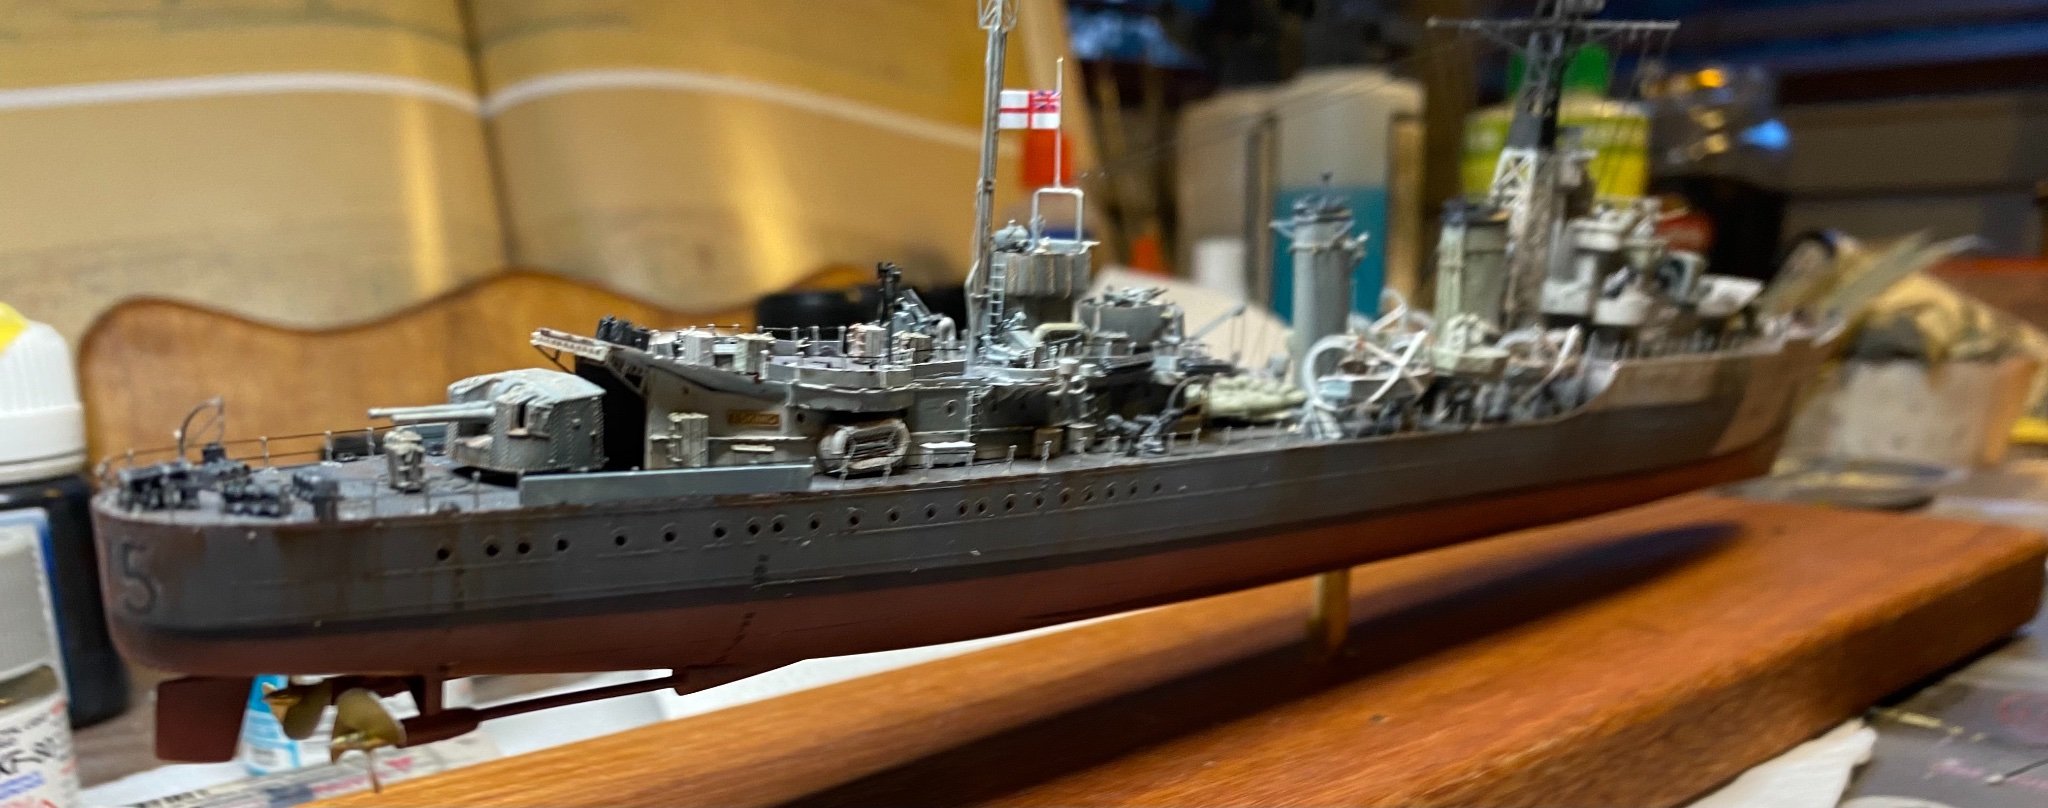
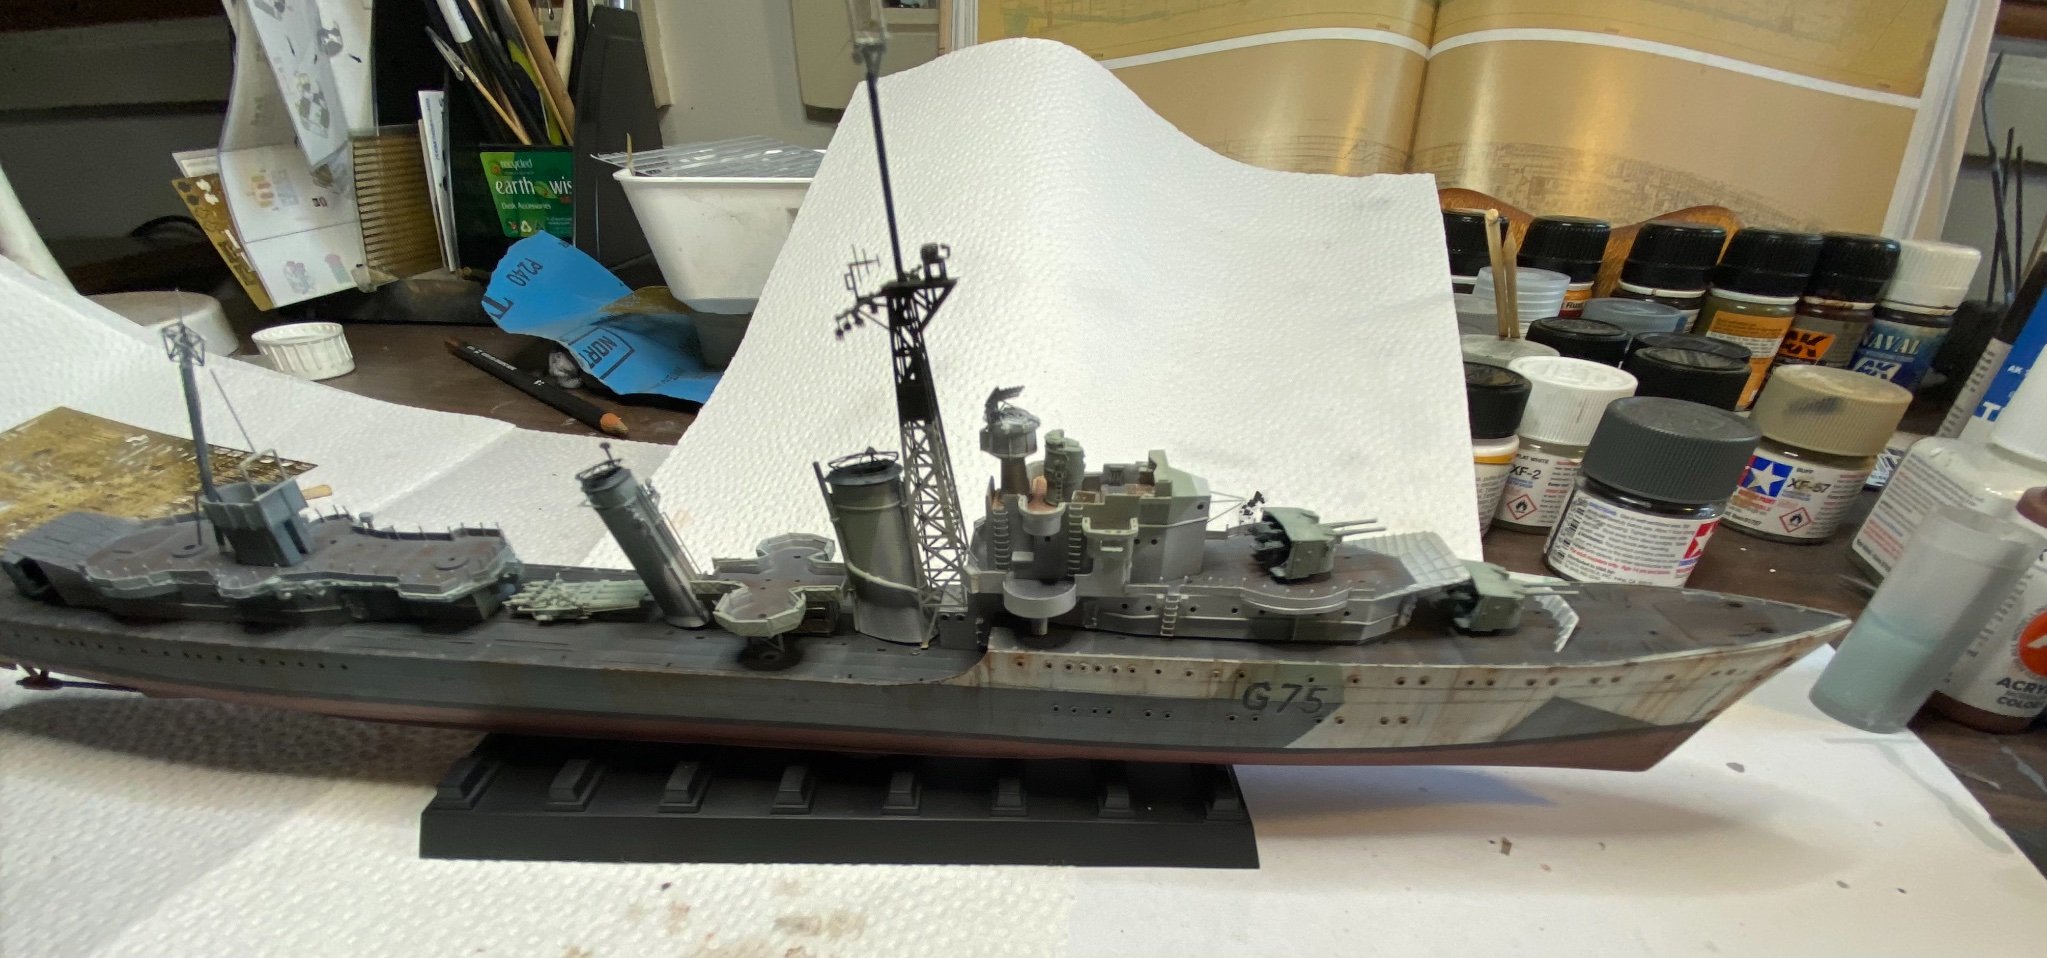
Not that I’ve seen or on the plans, it may have been a snob slip type paint. one gun and the railings to go!
-
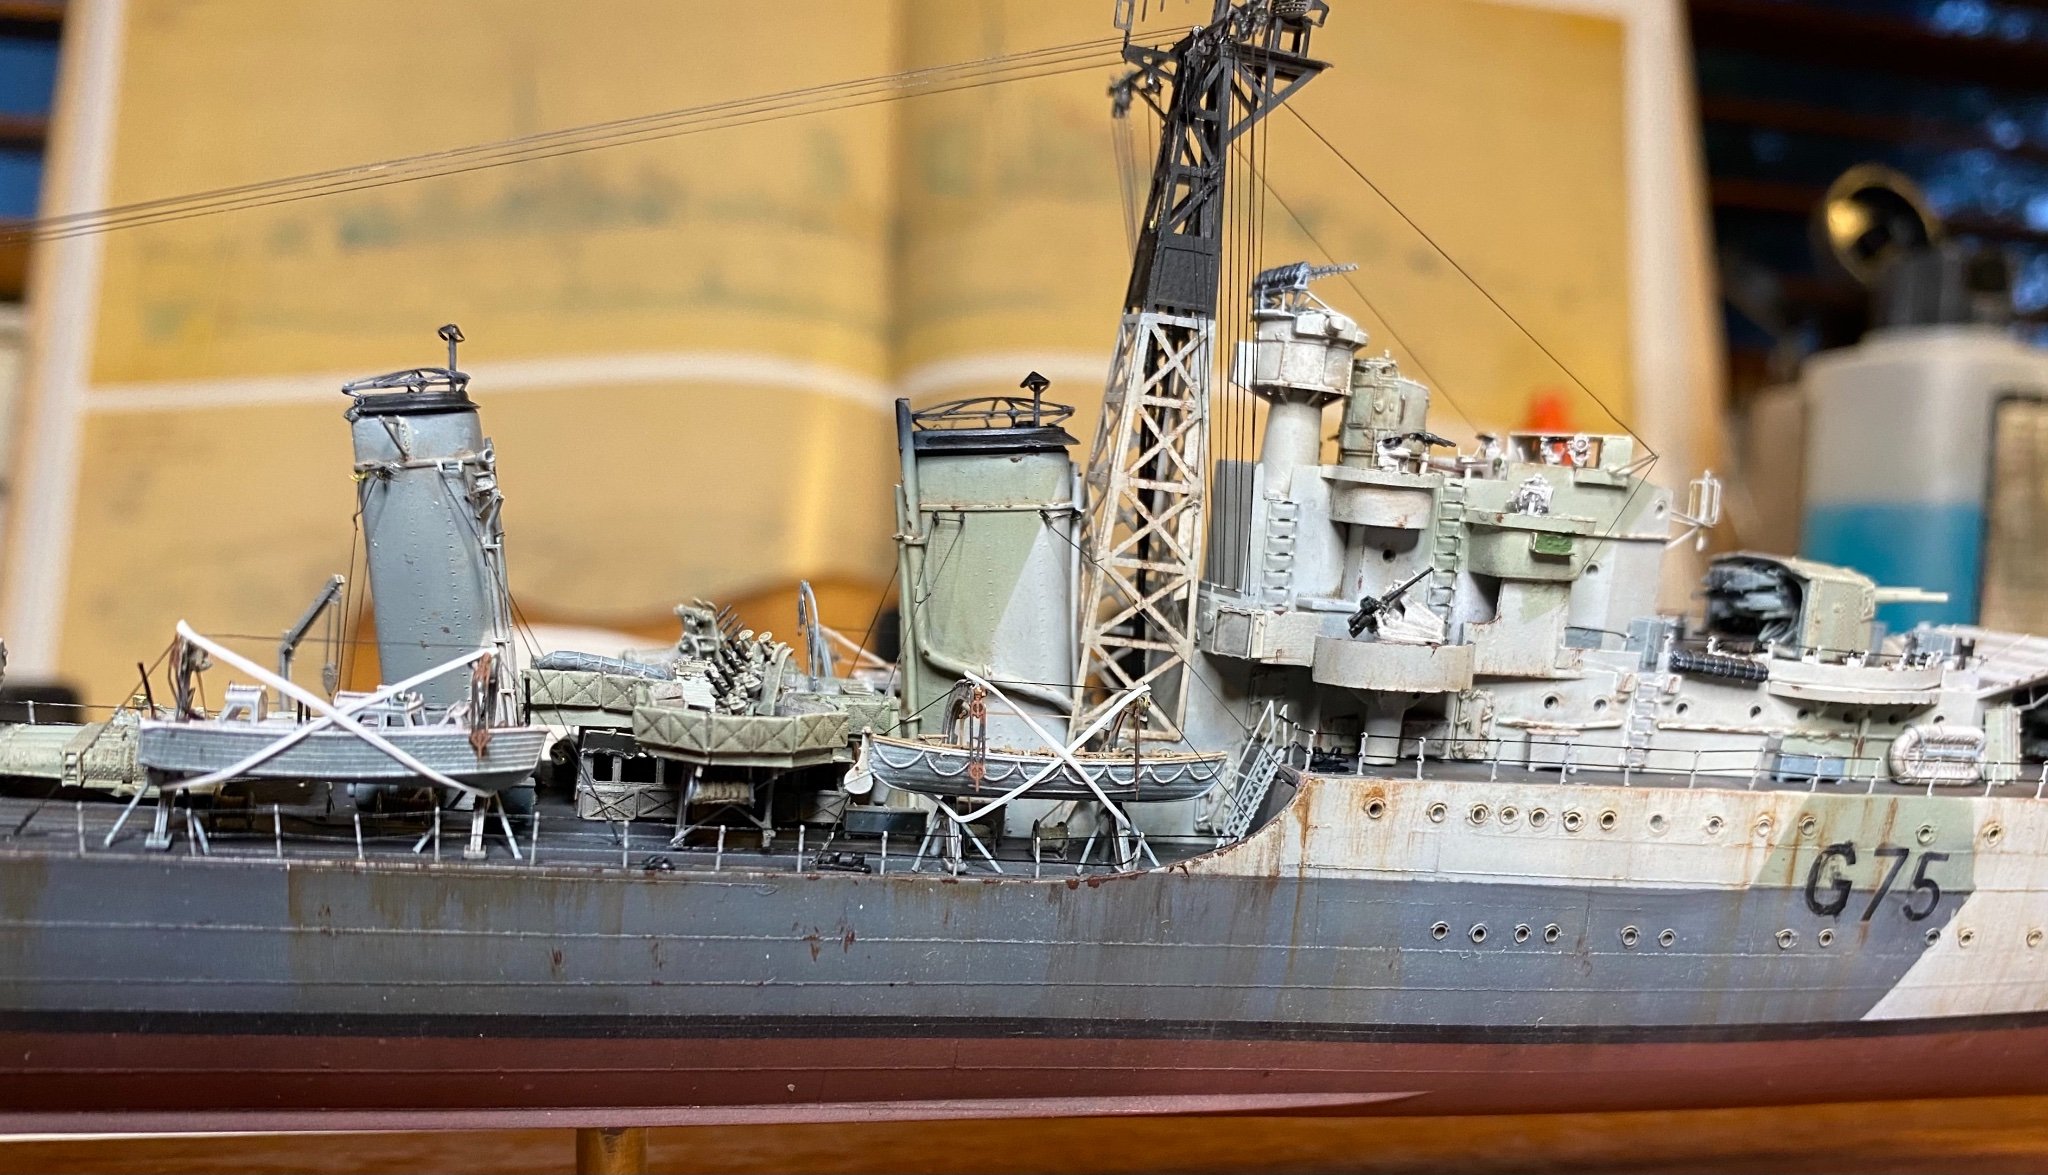
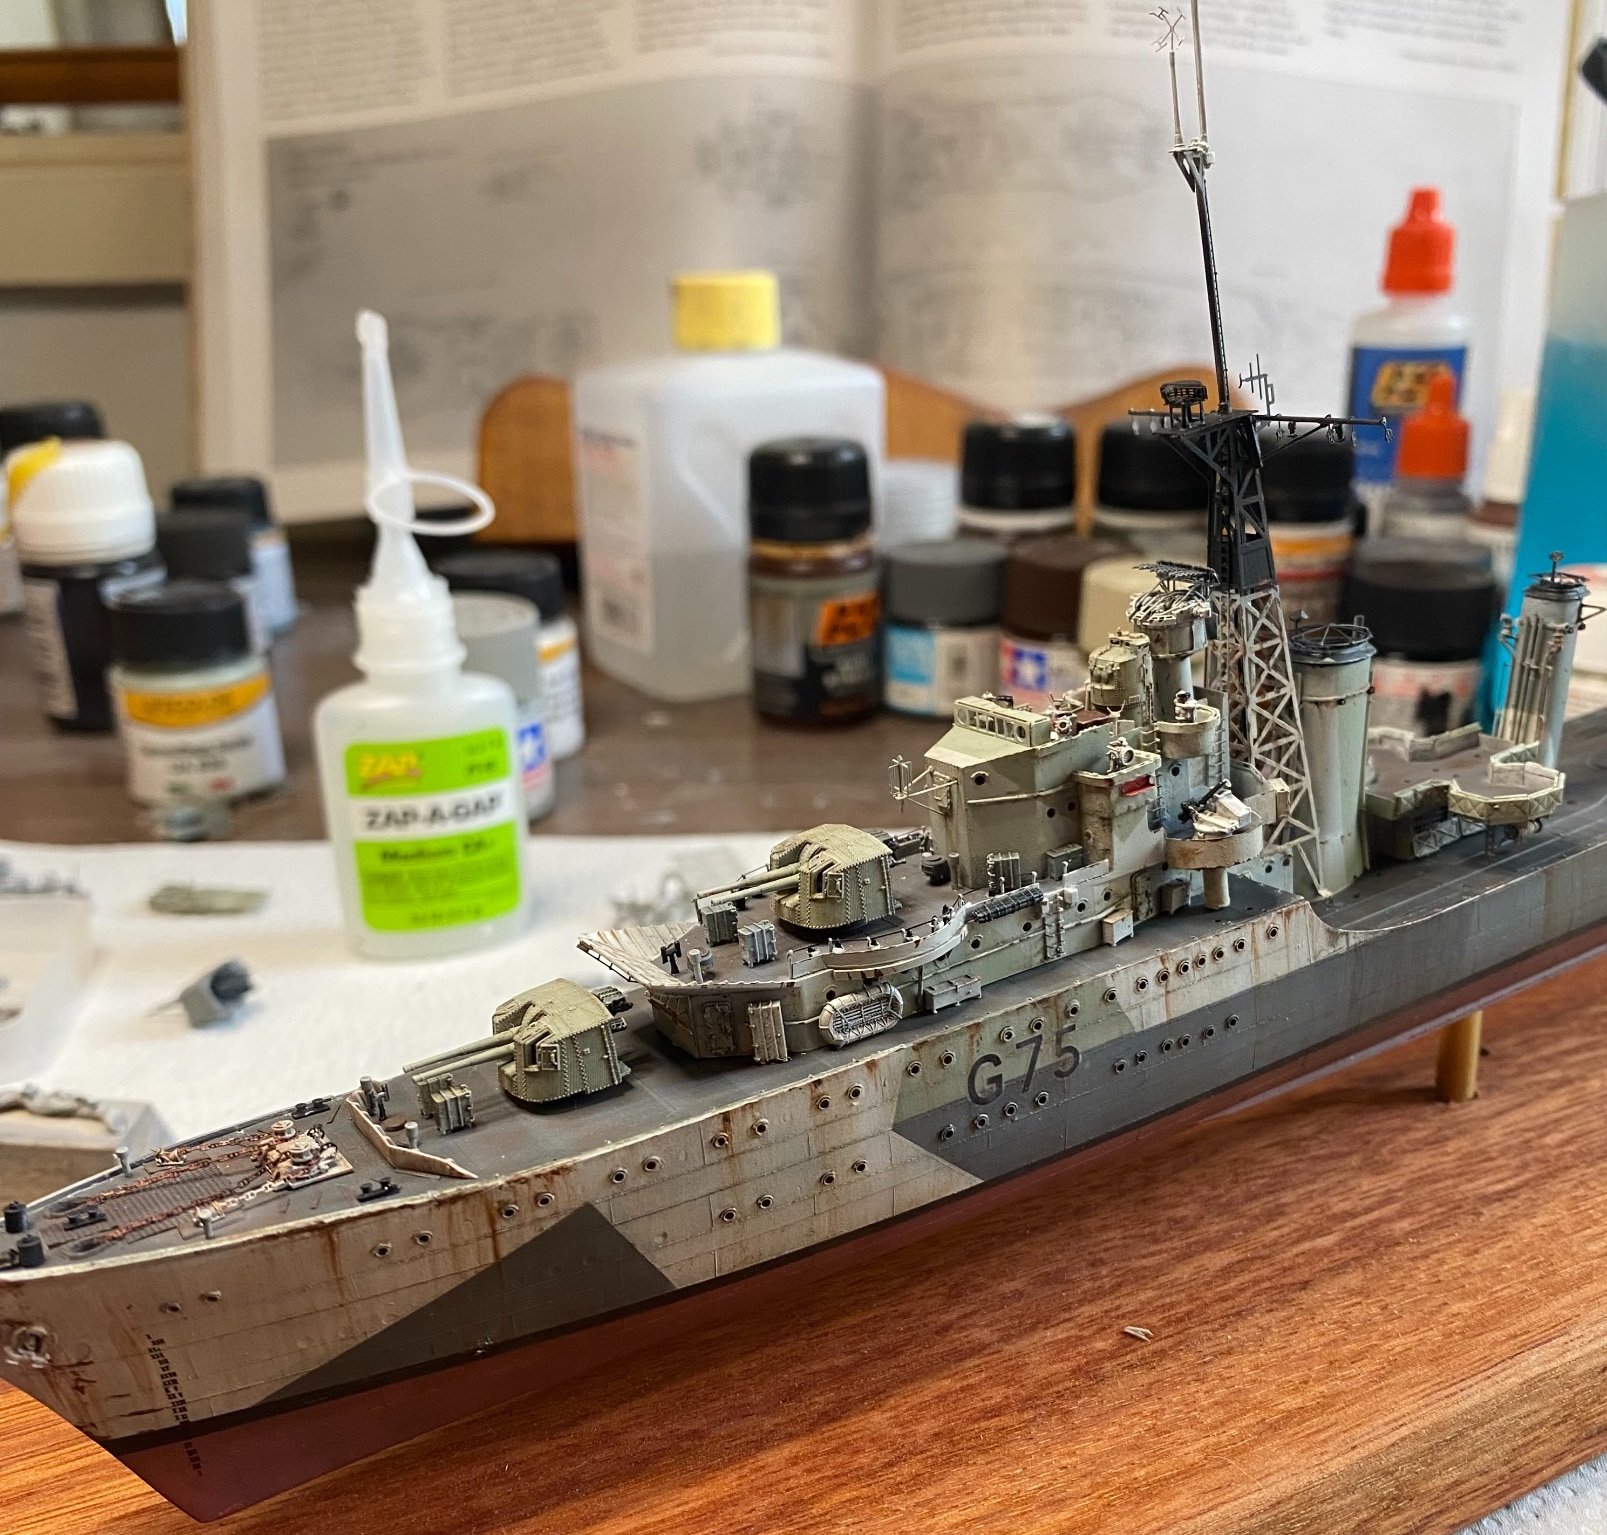
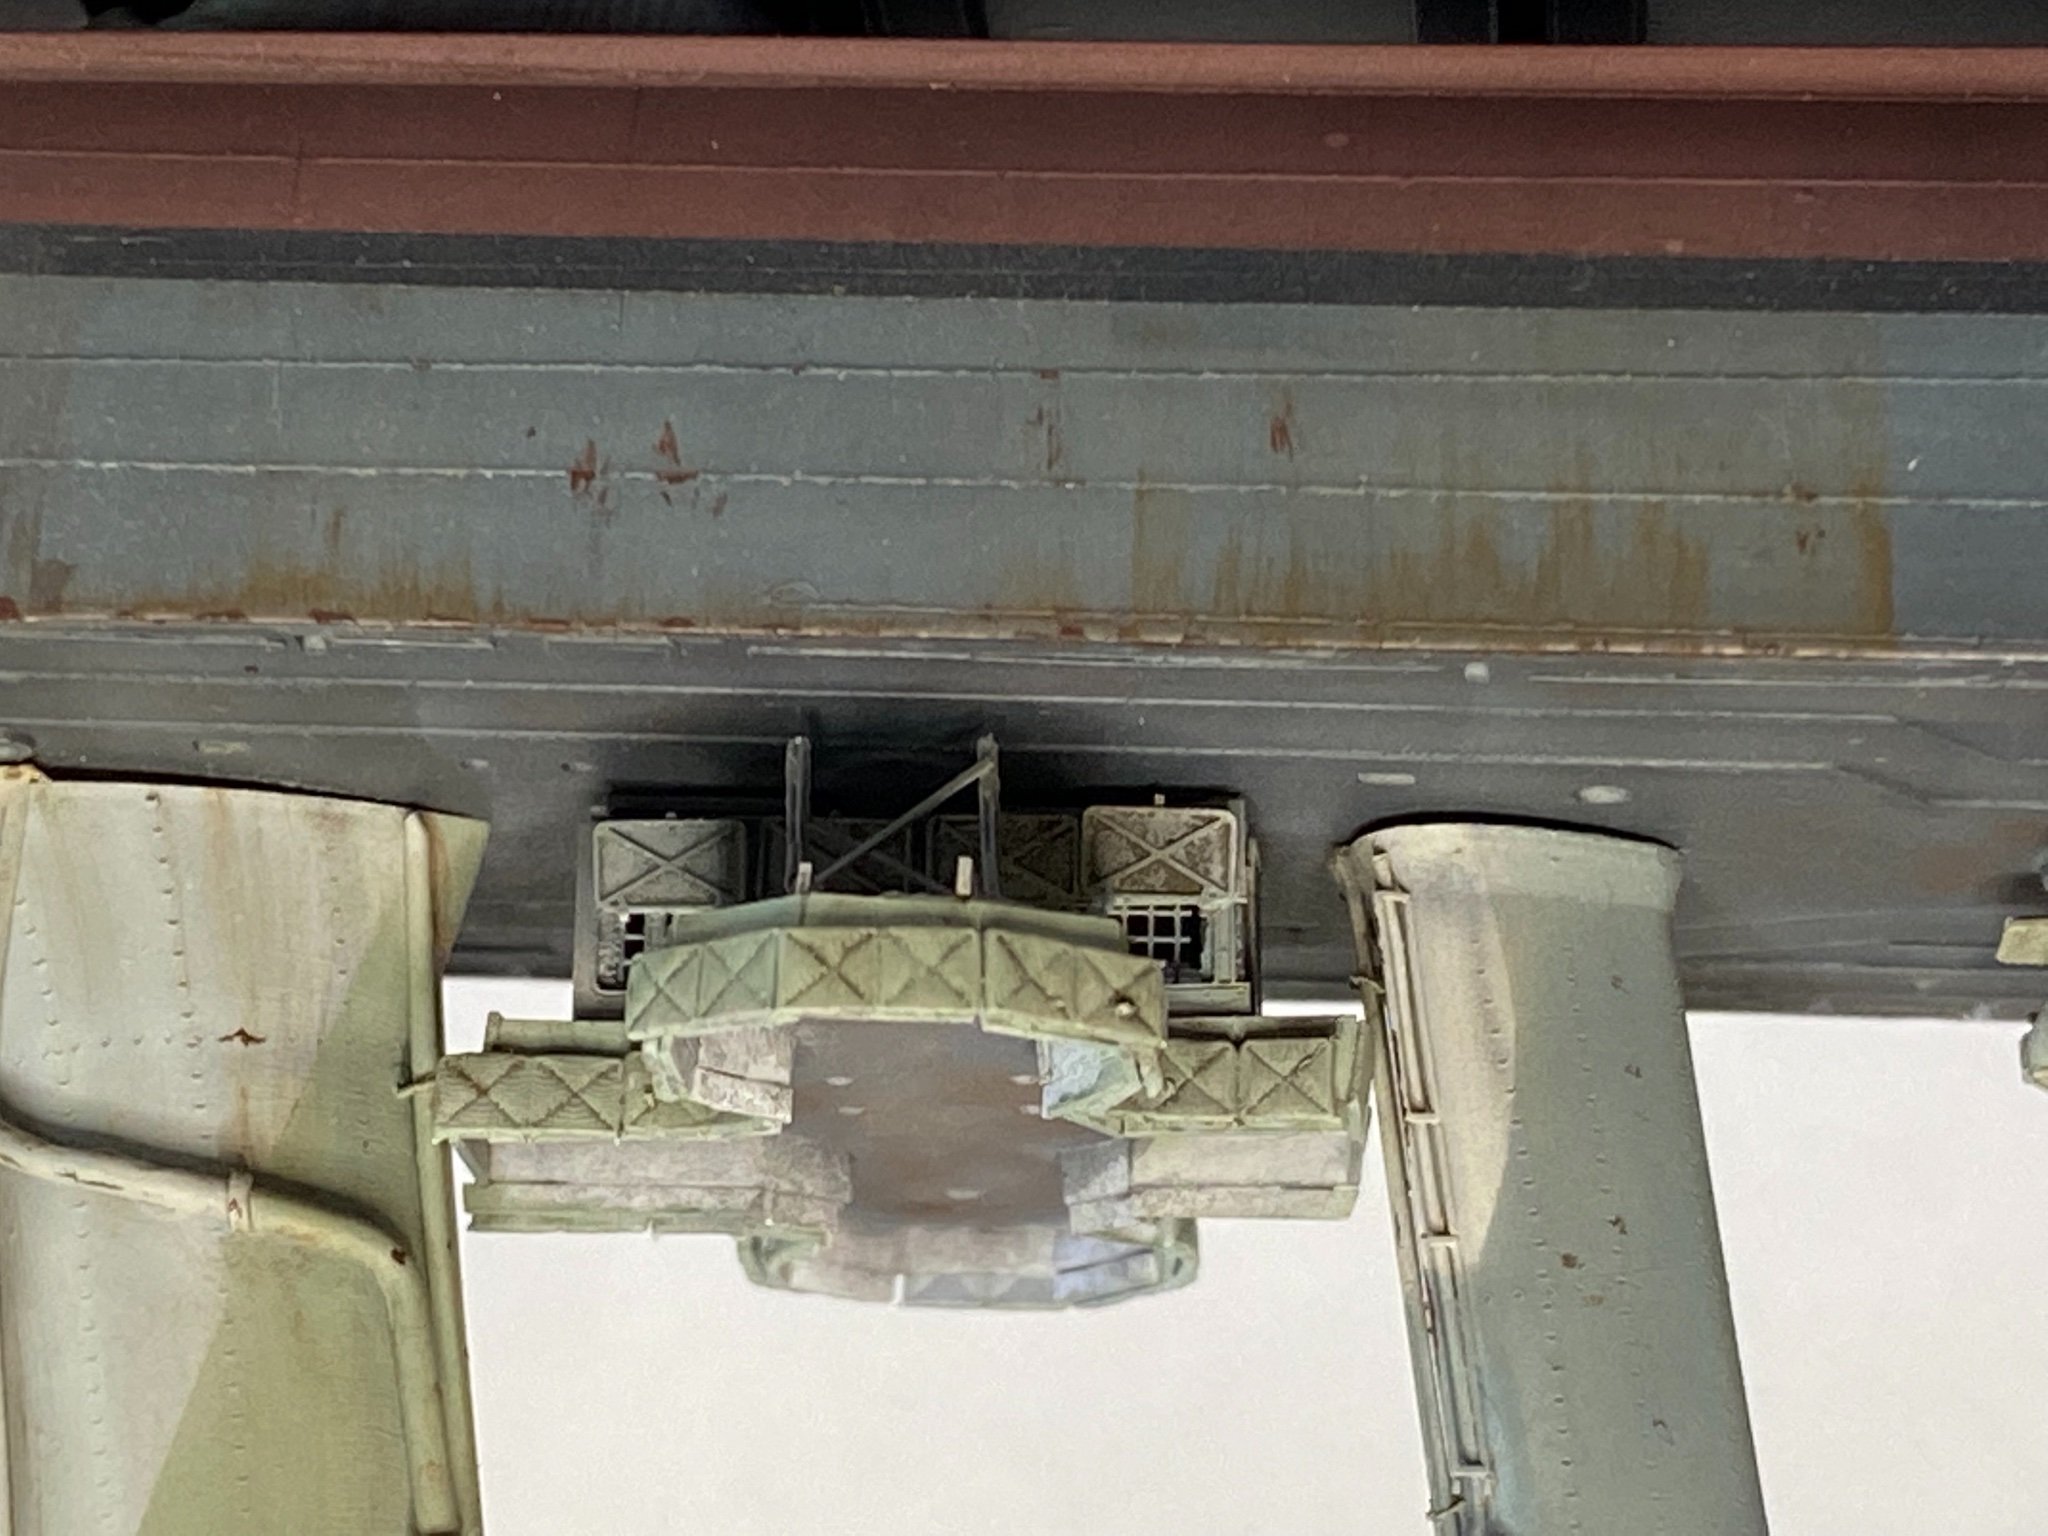
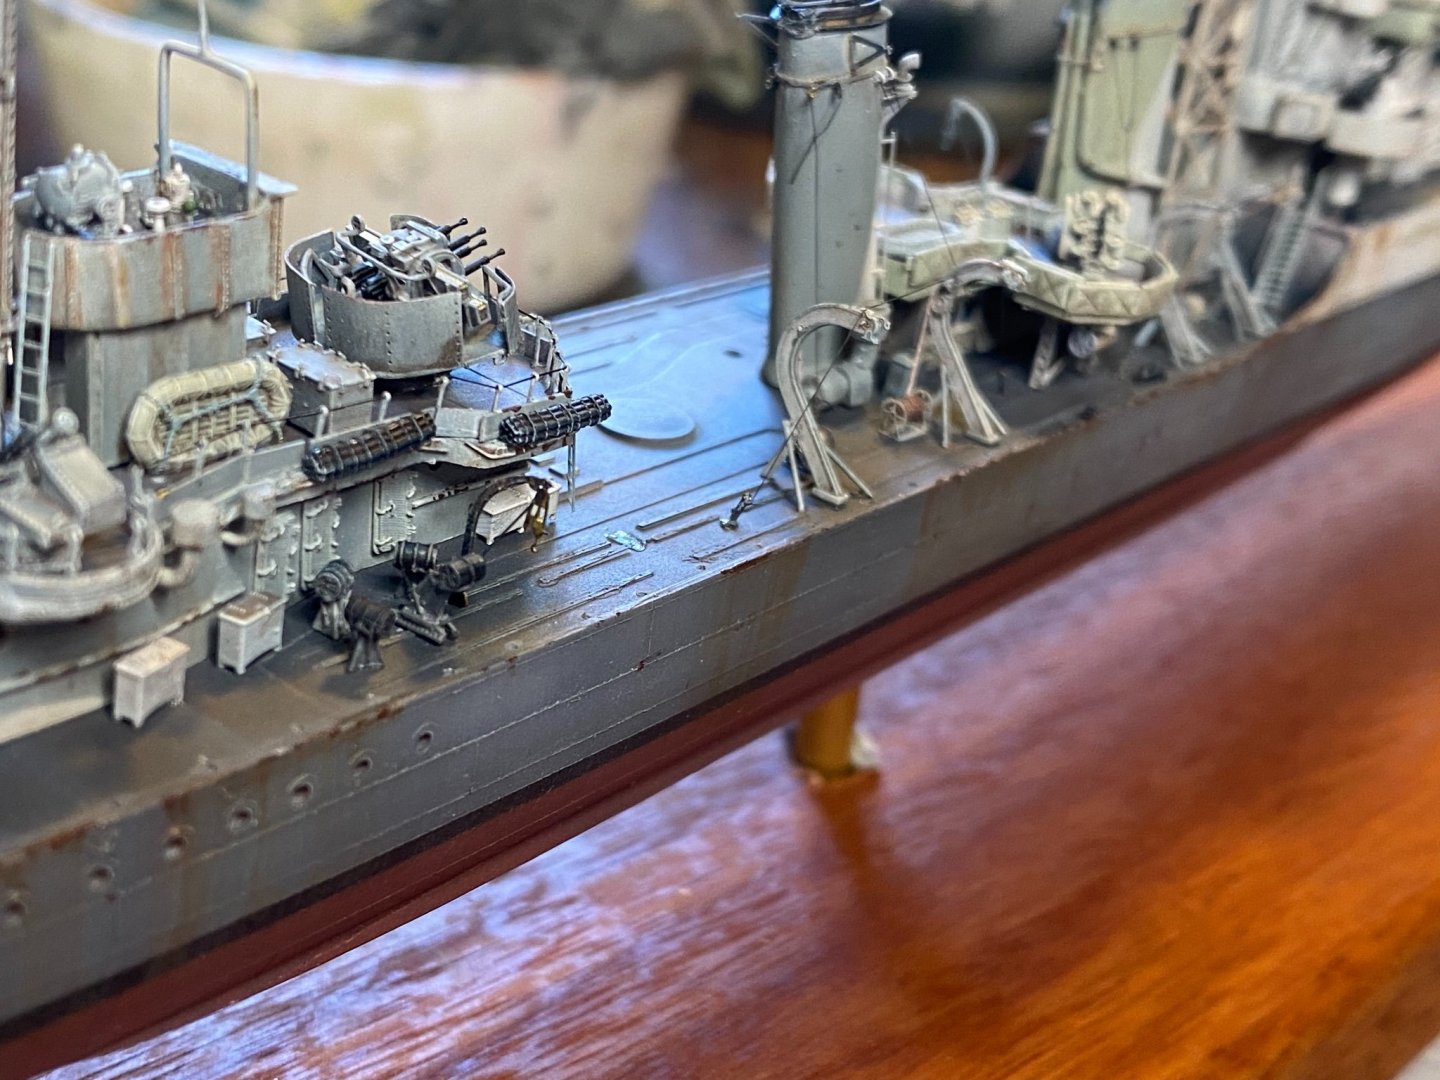
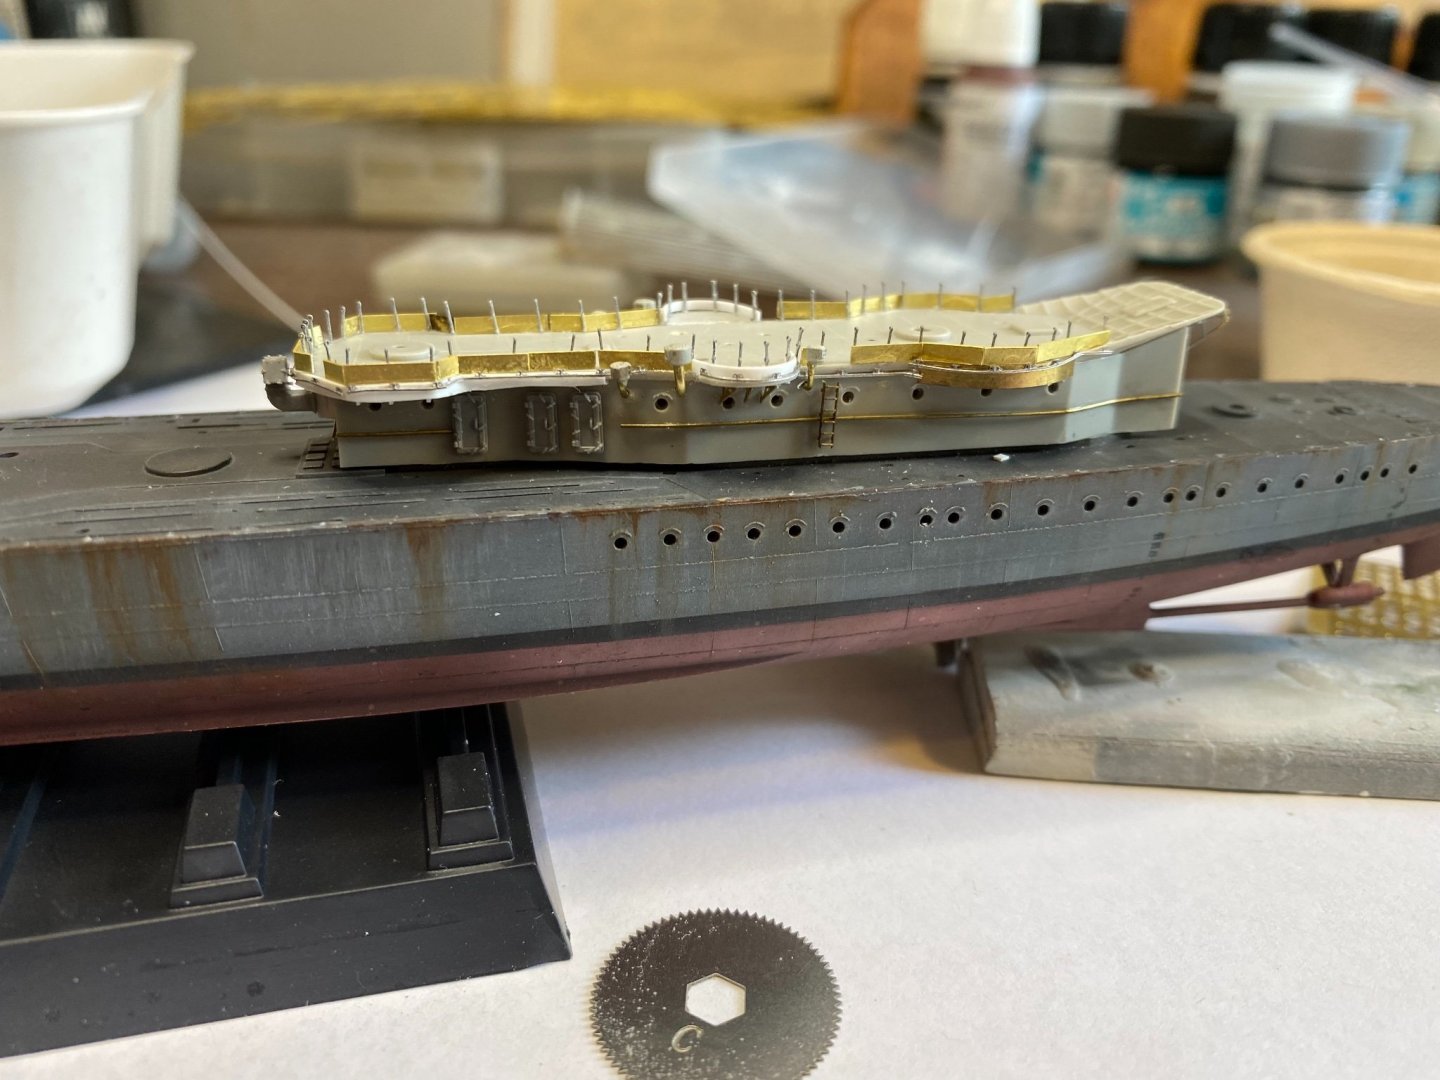
Yep, be pretty crap in a heavy sea too! I value added to the davits and starting the place all the items that take forever to paint.
- 255 replies
-
- 10
-

-
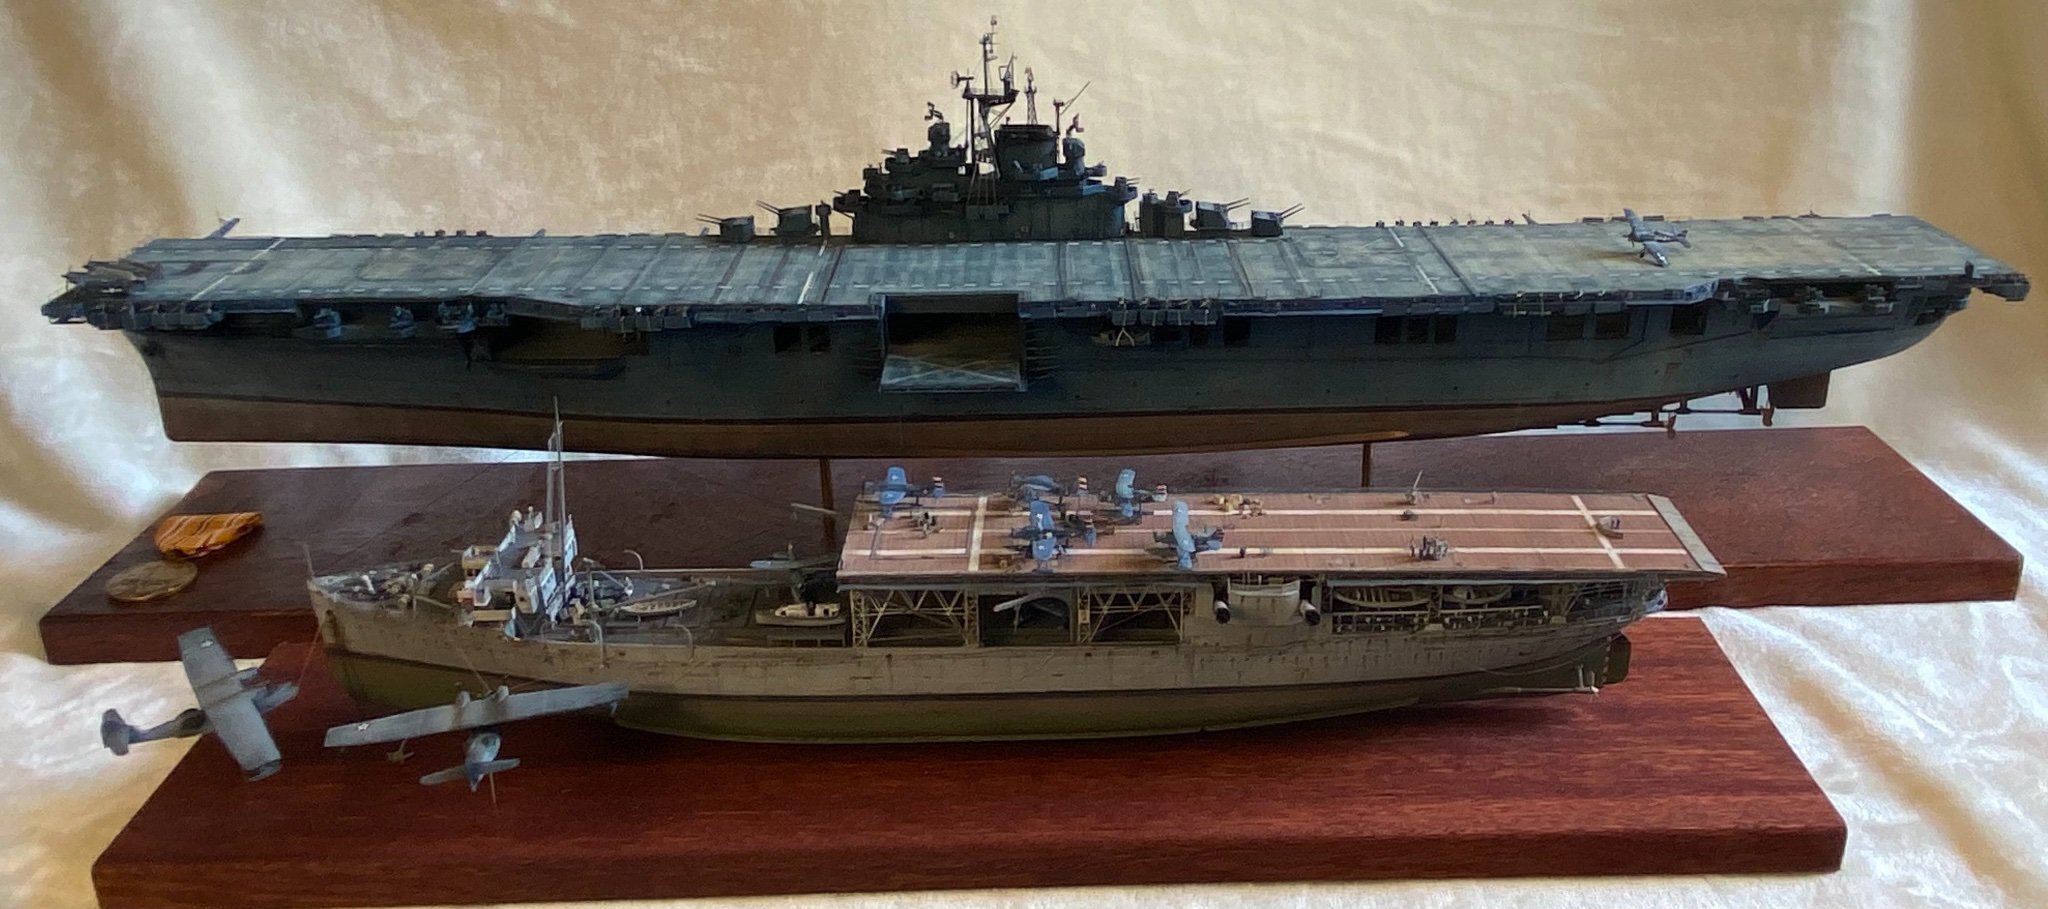
And how they look in 1/350


- 8 replies
-
- 10
-
-

-
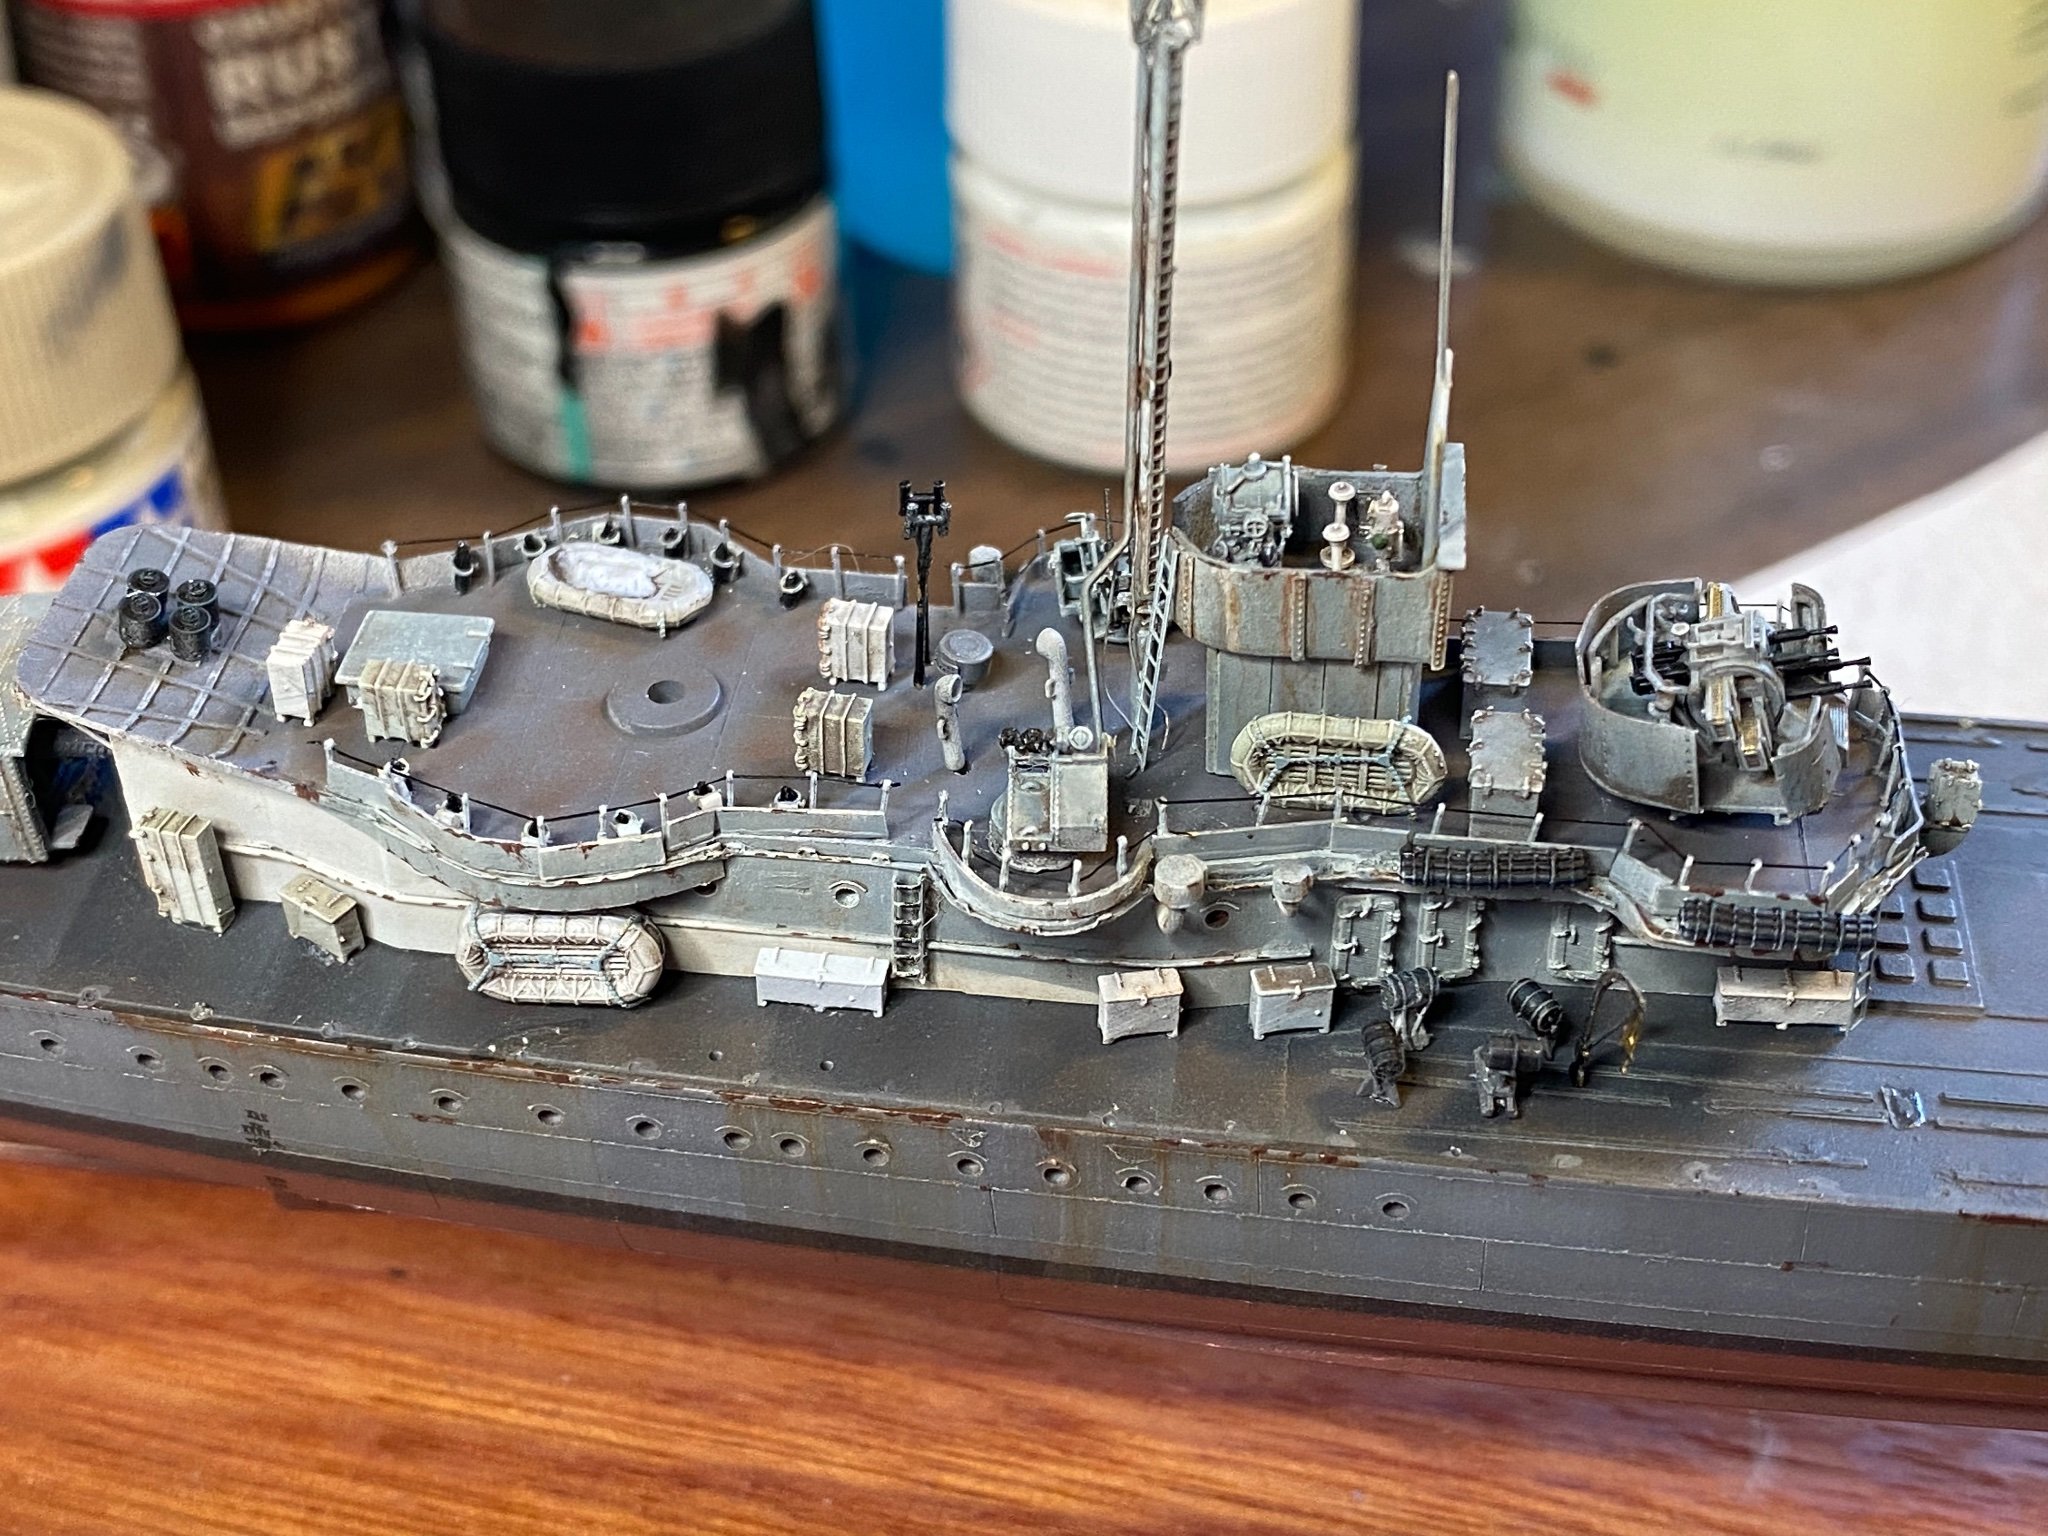
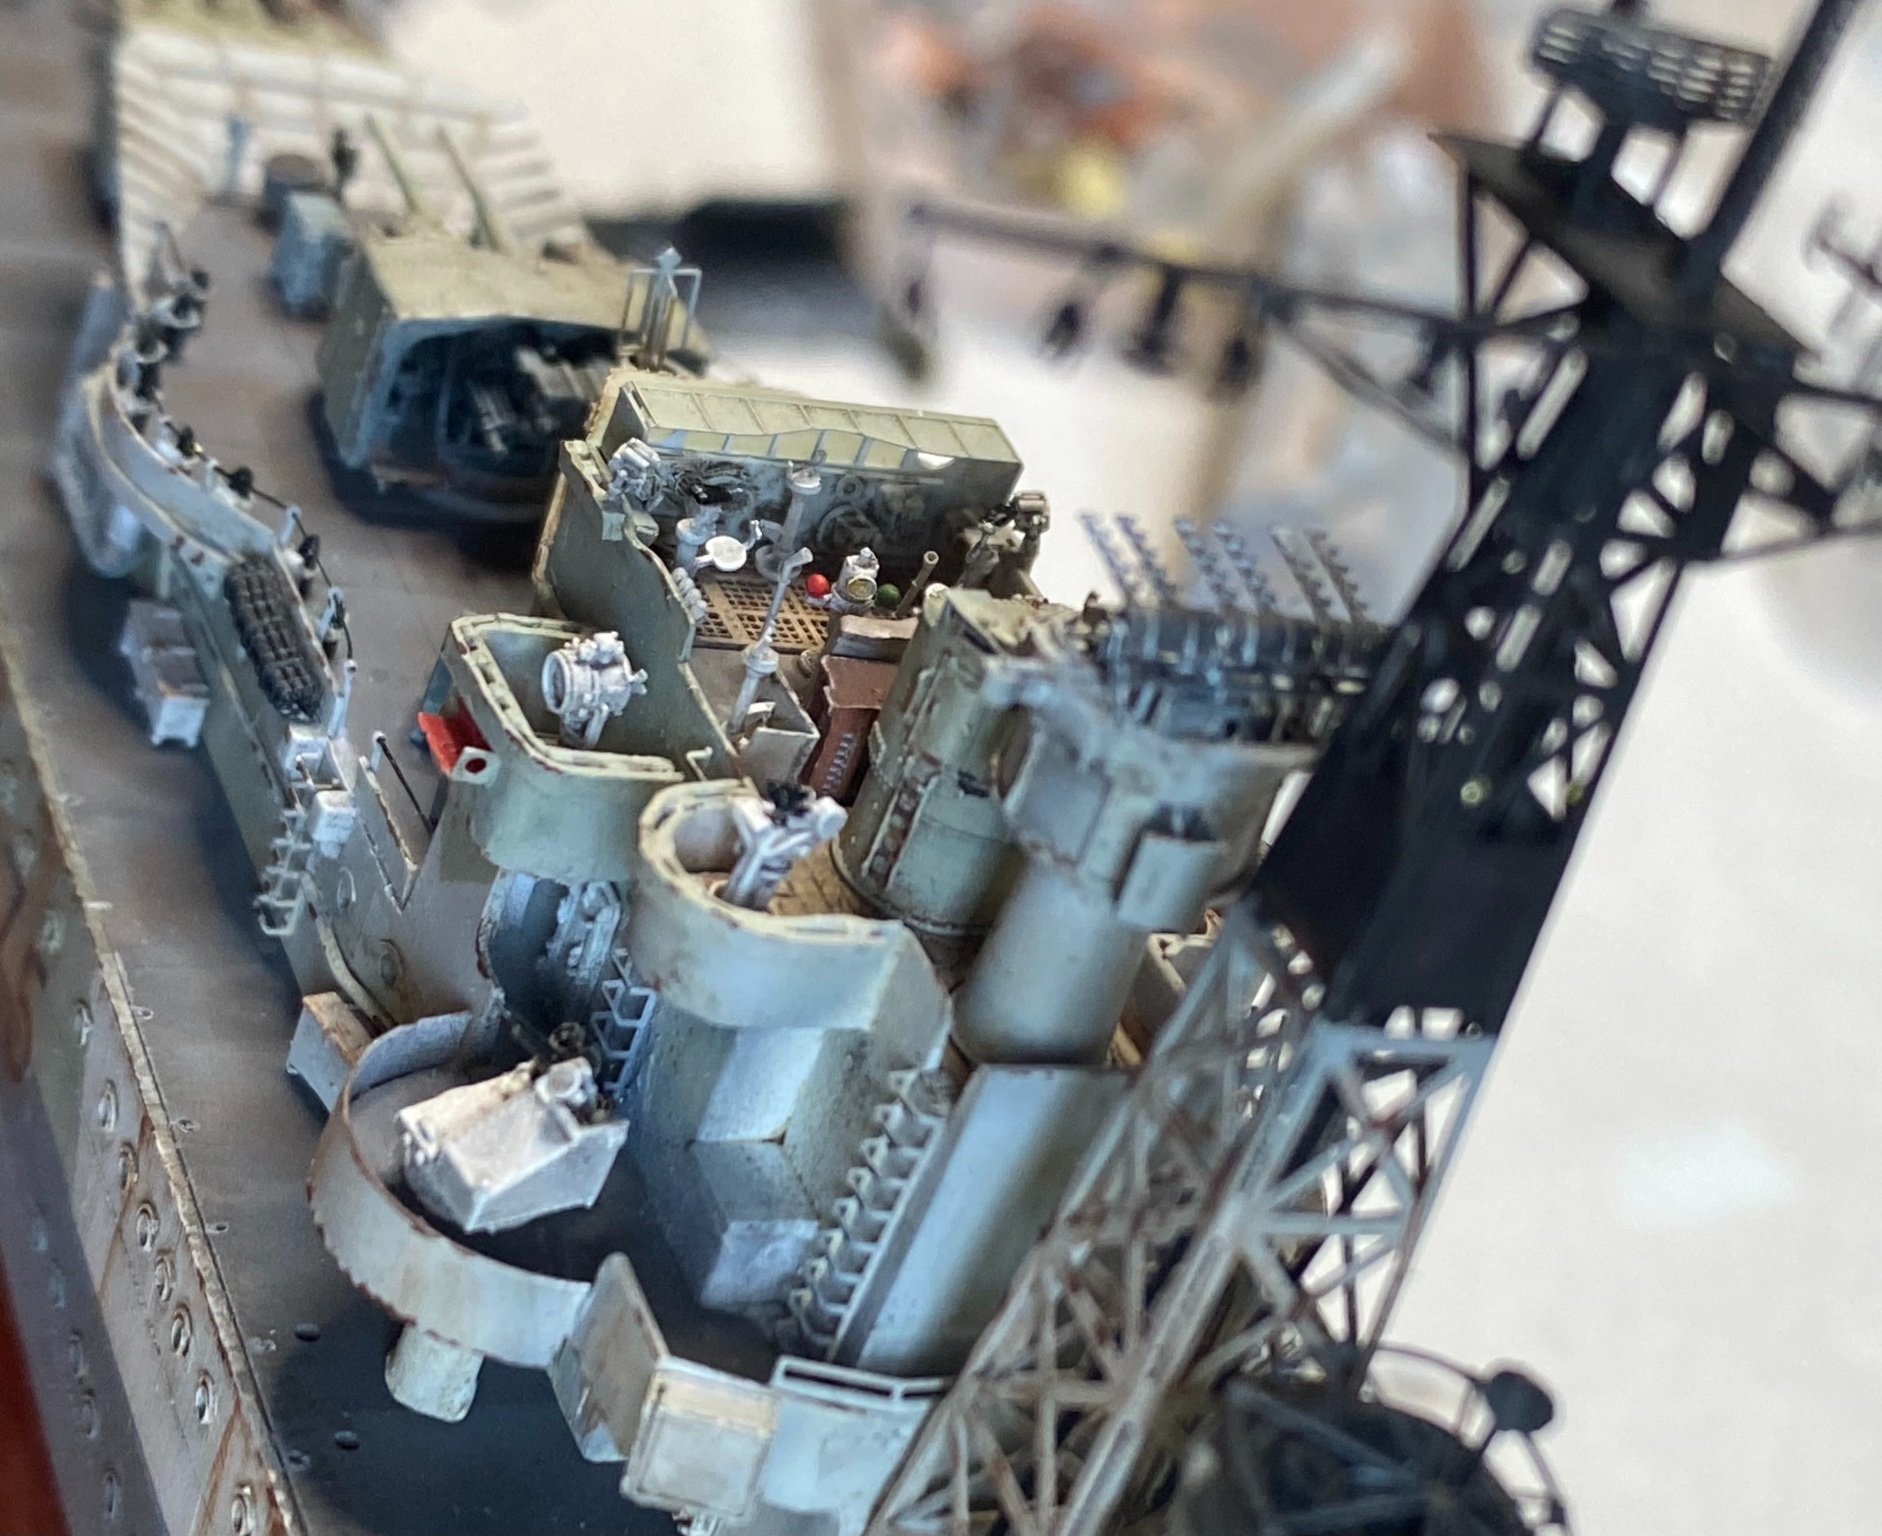
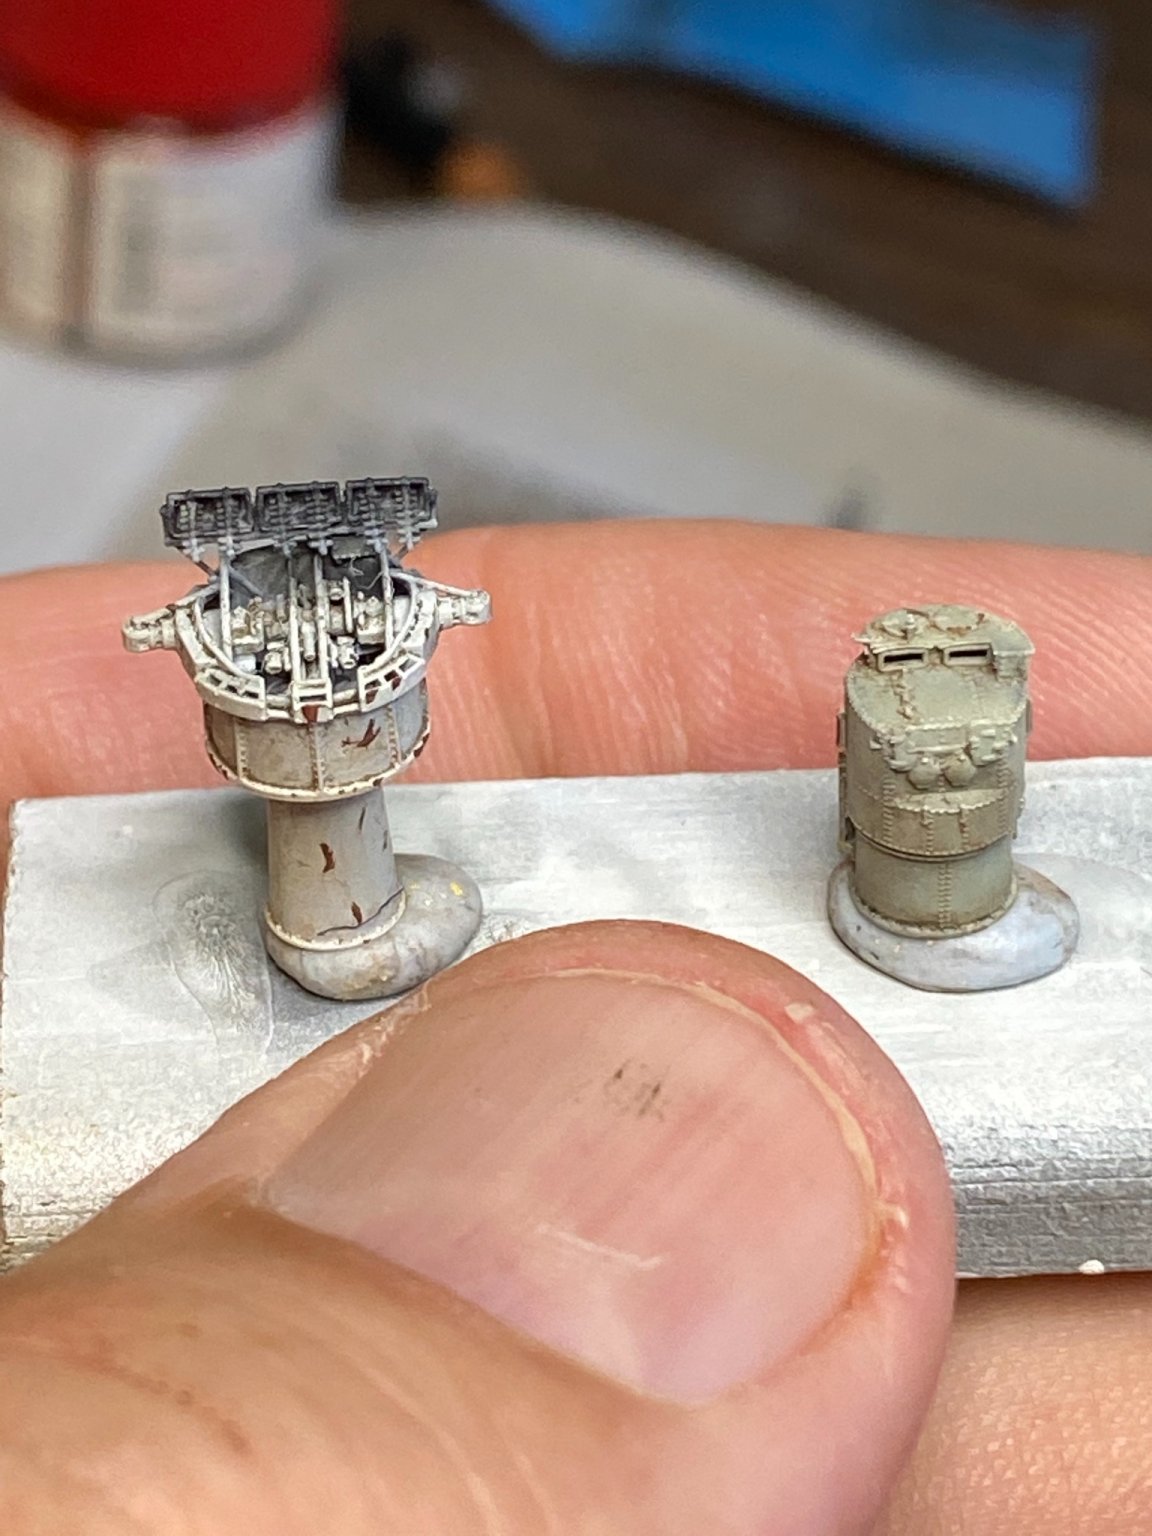
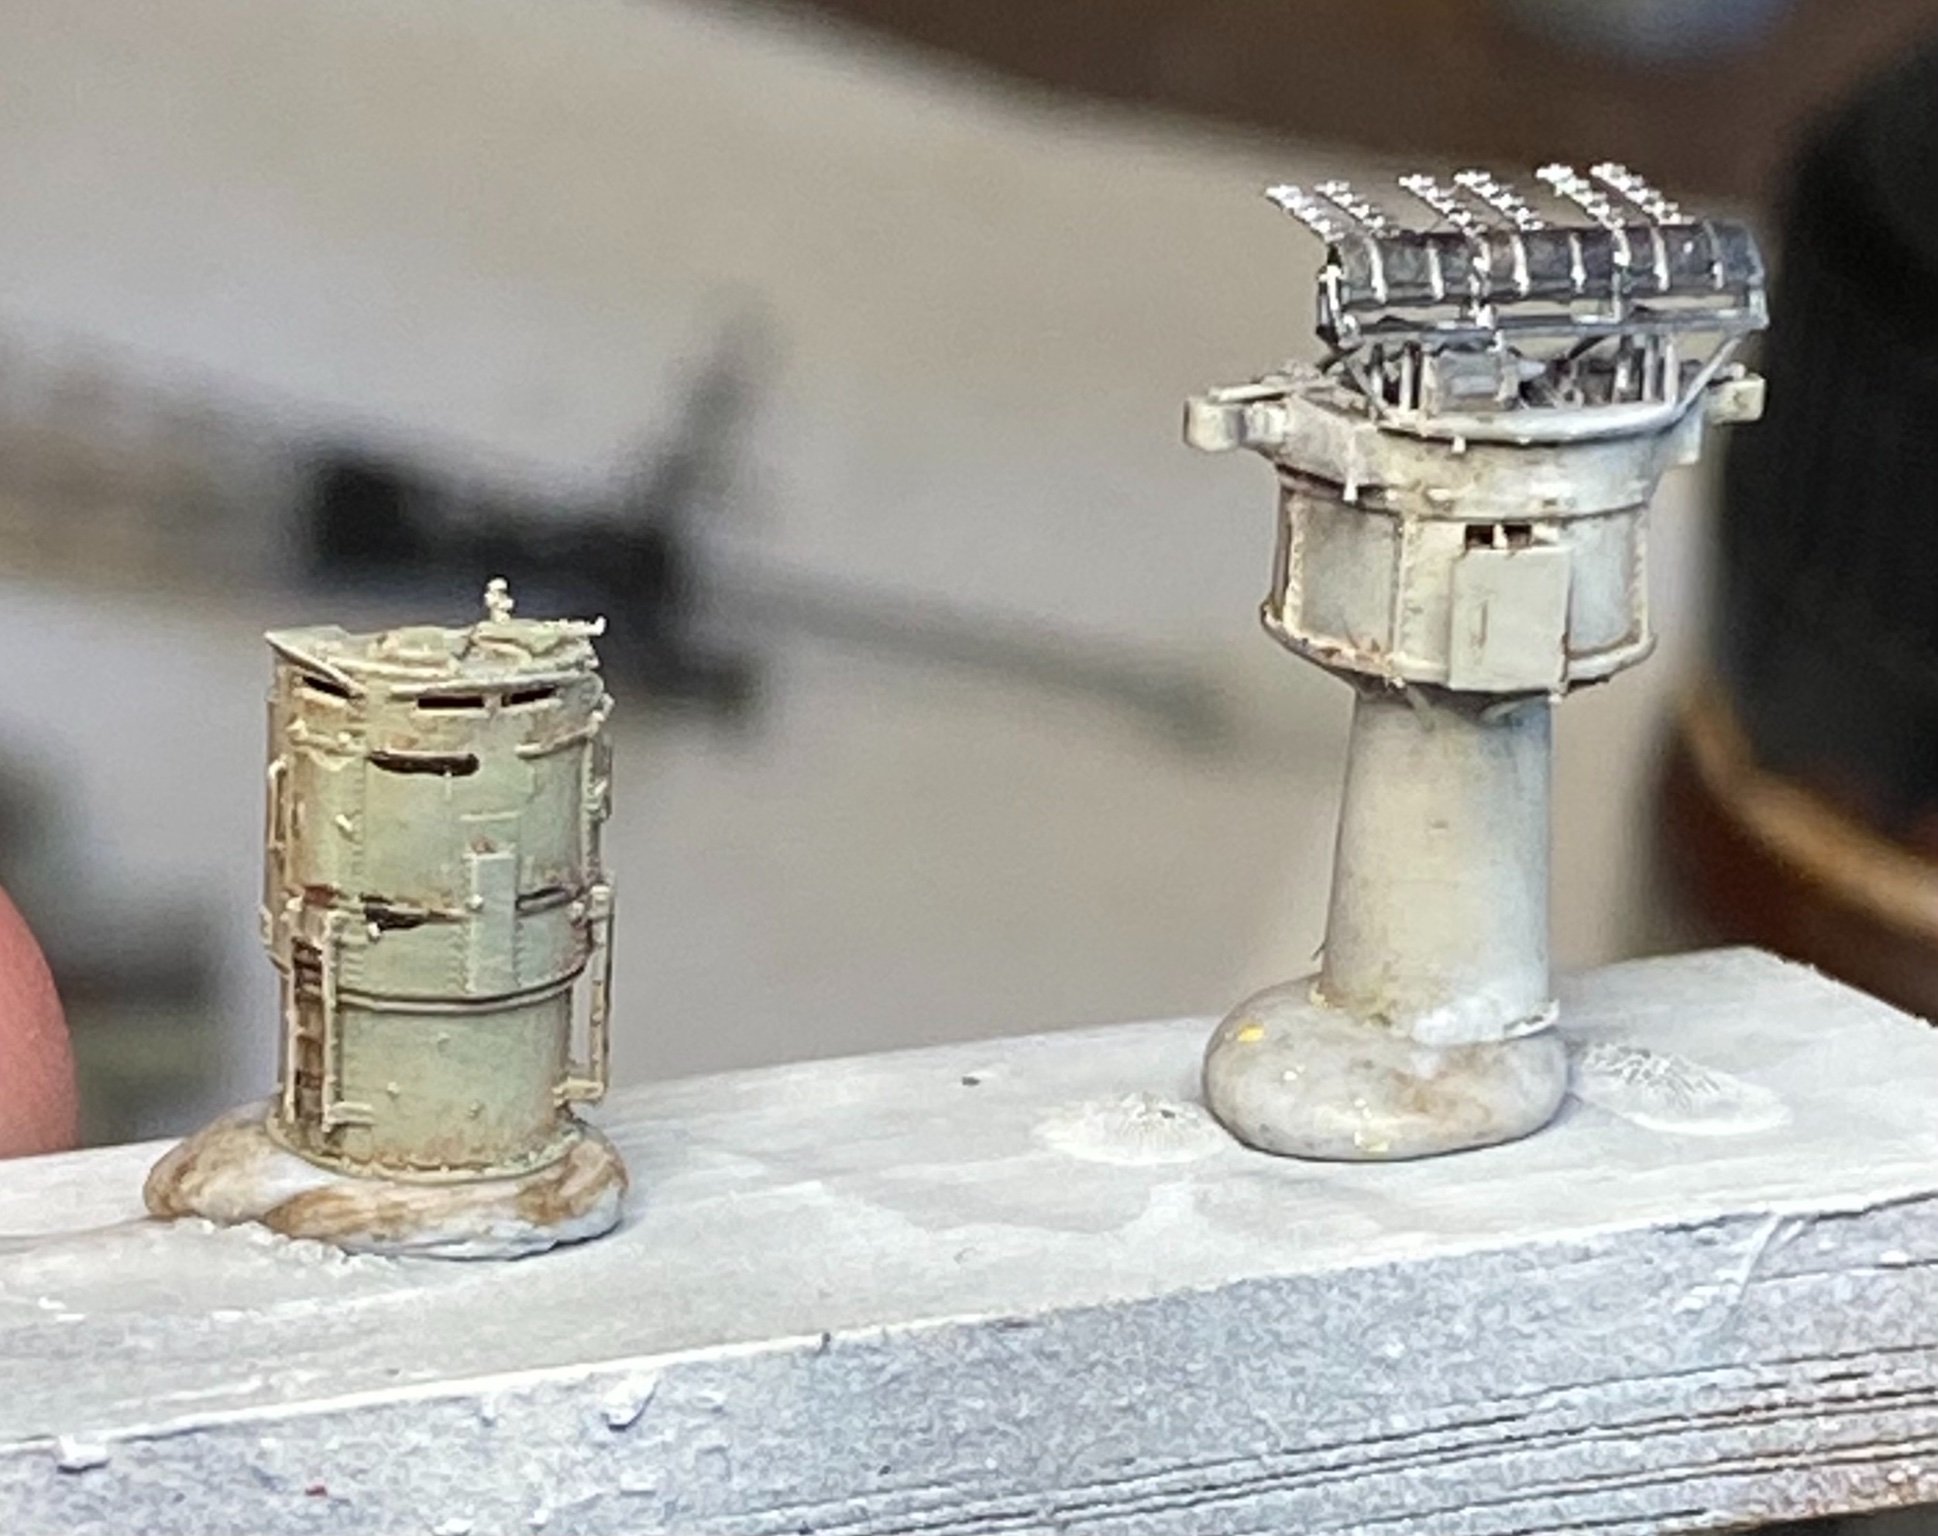
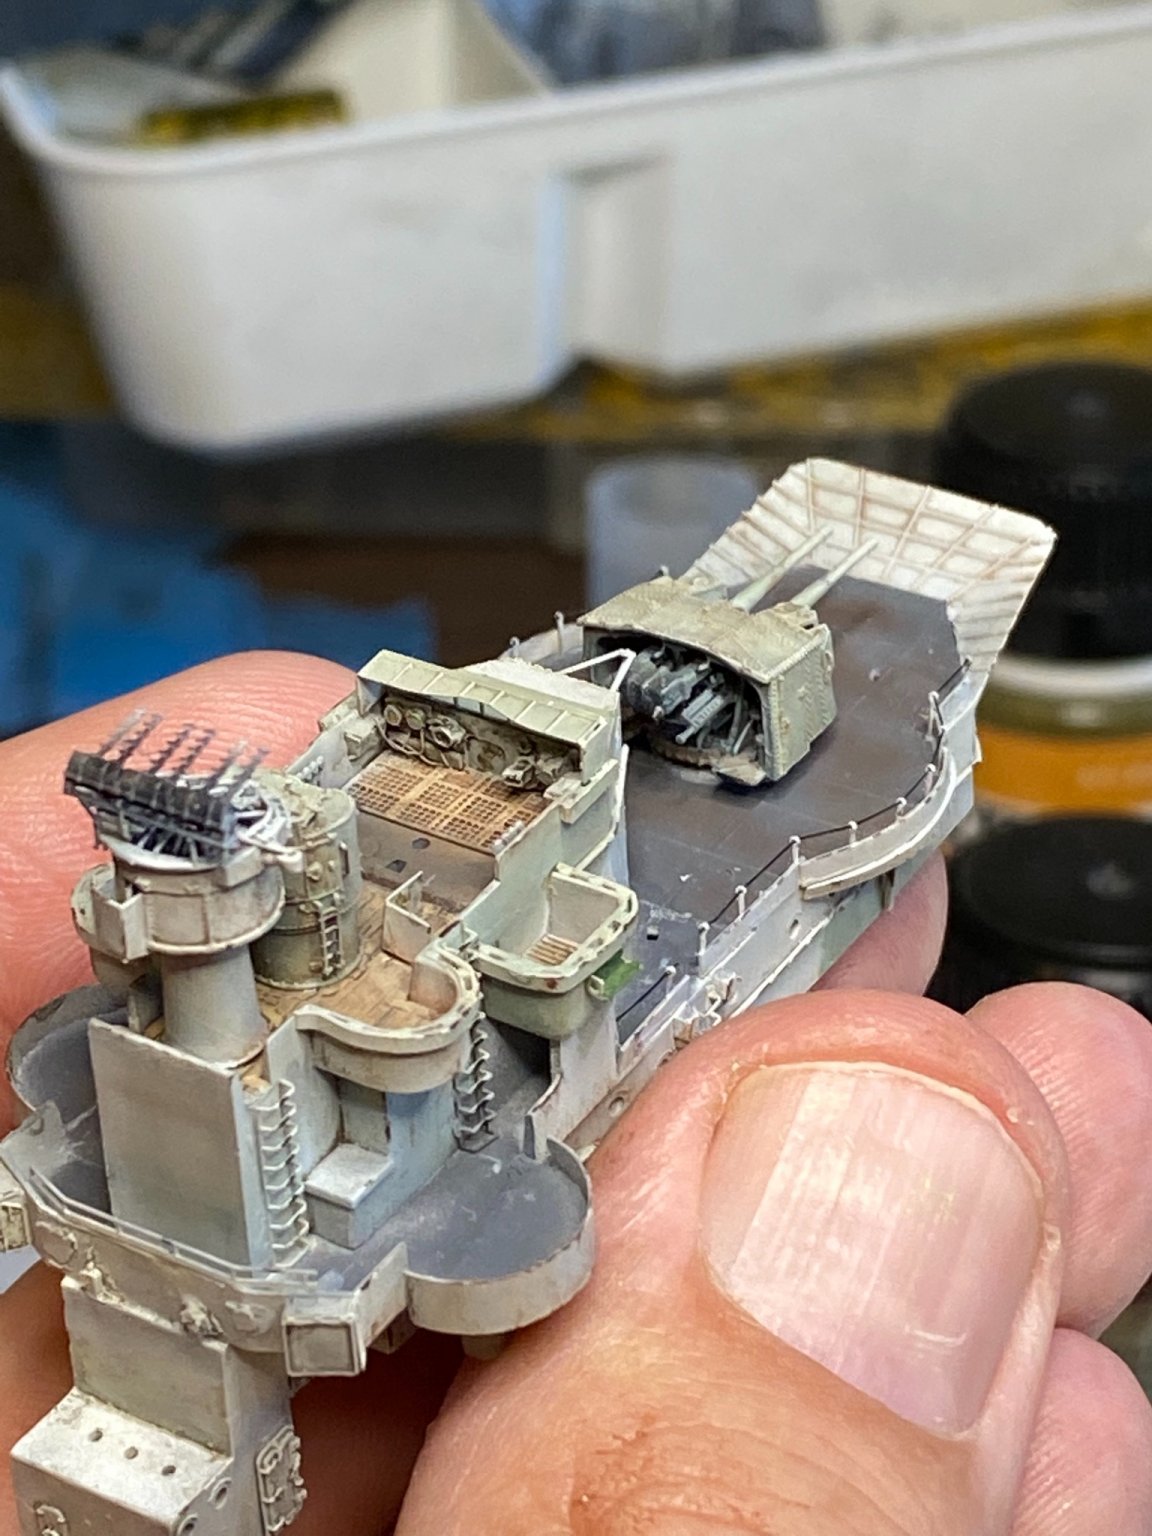
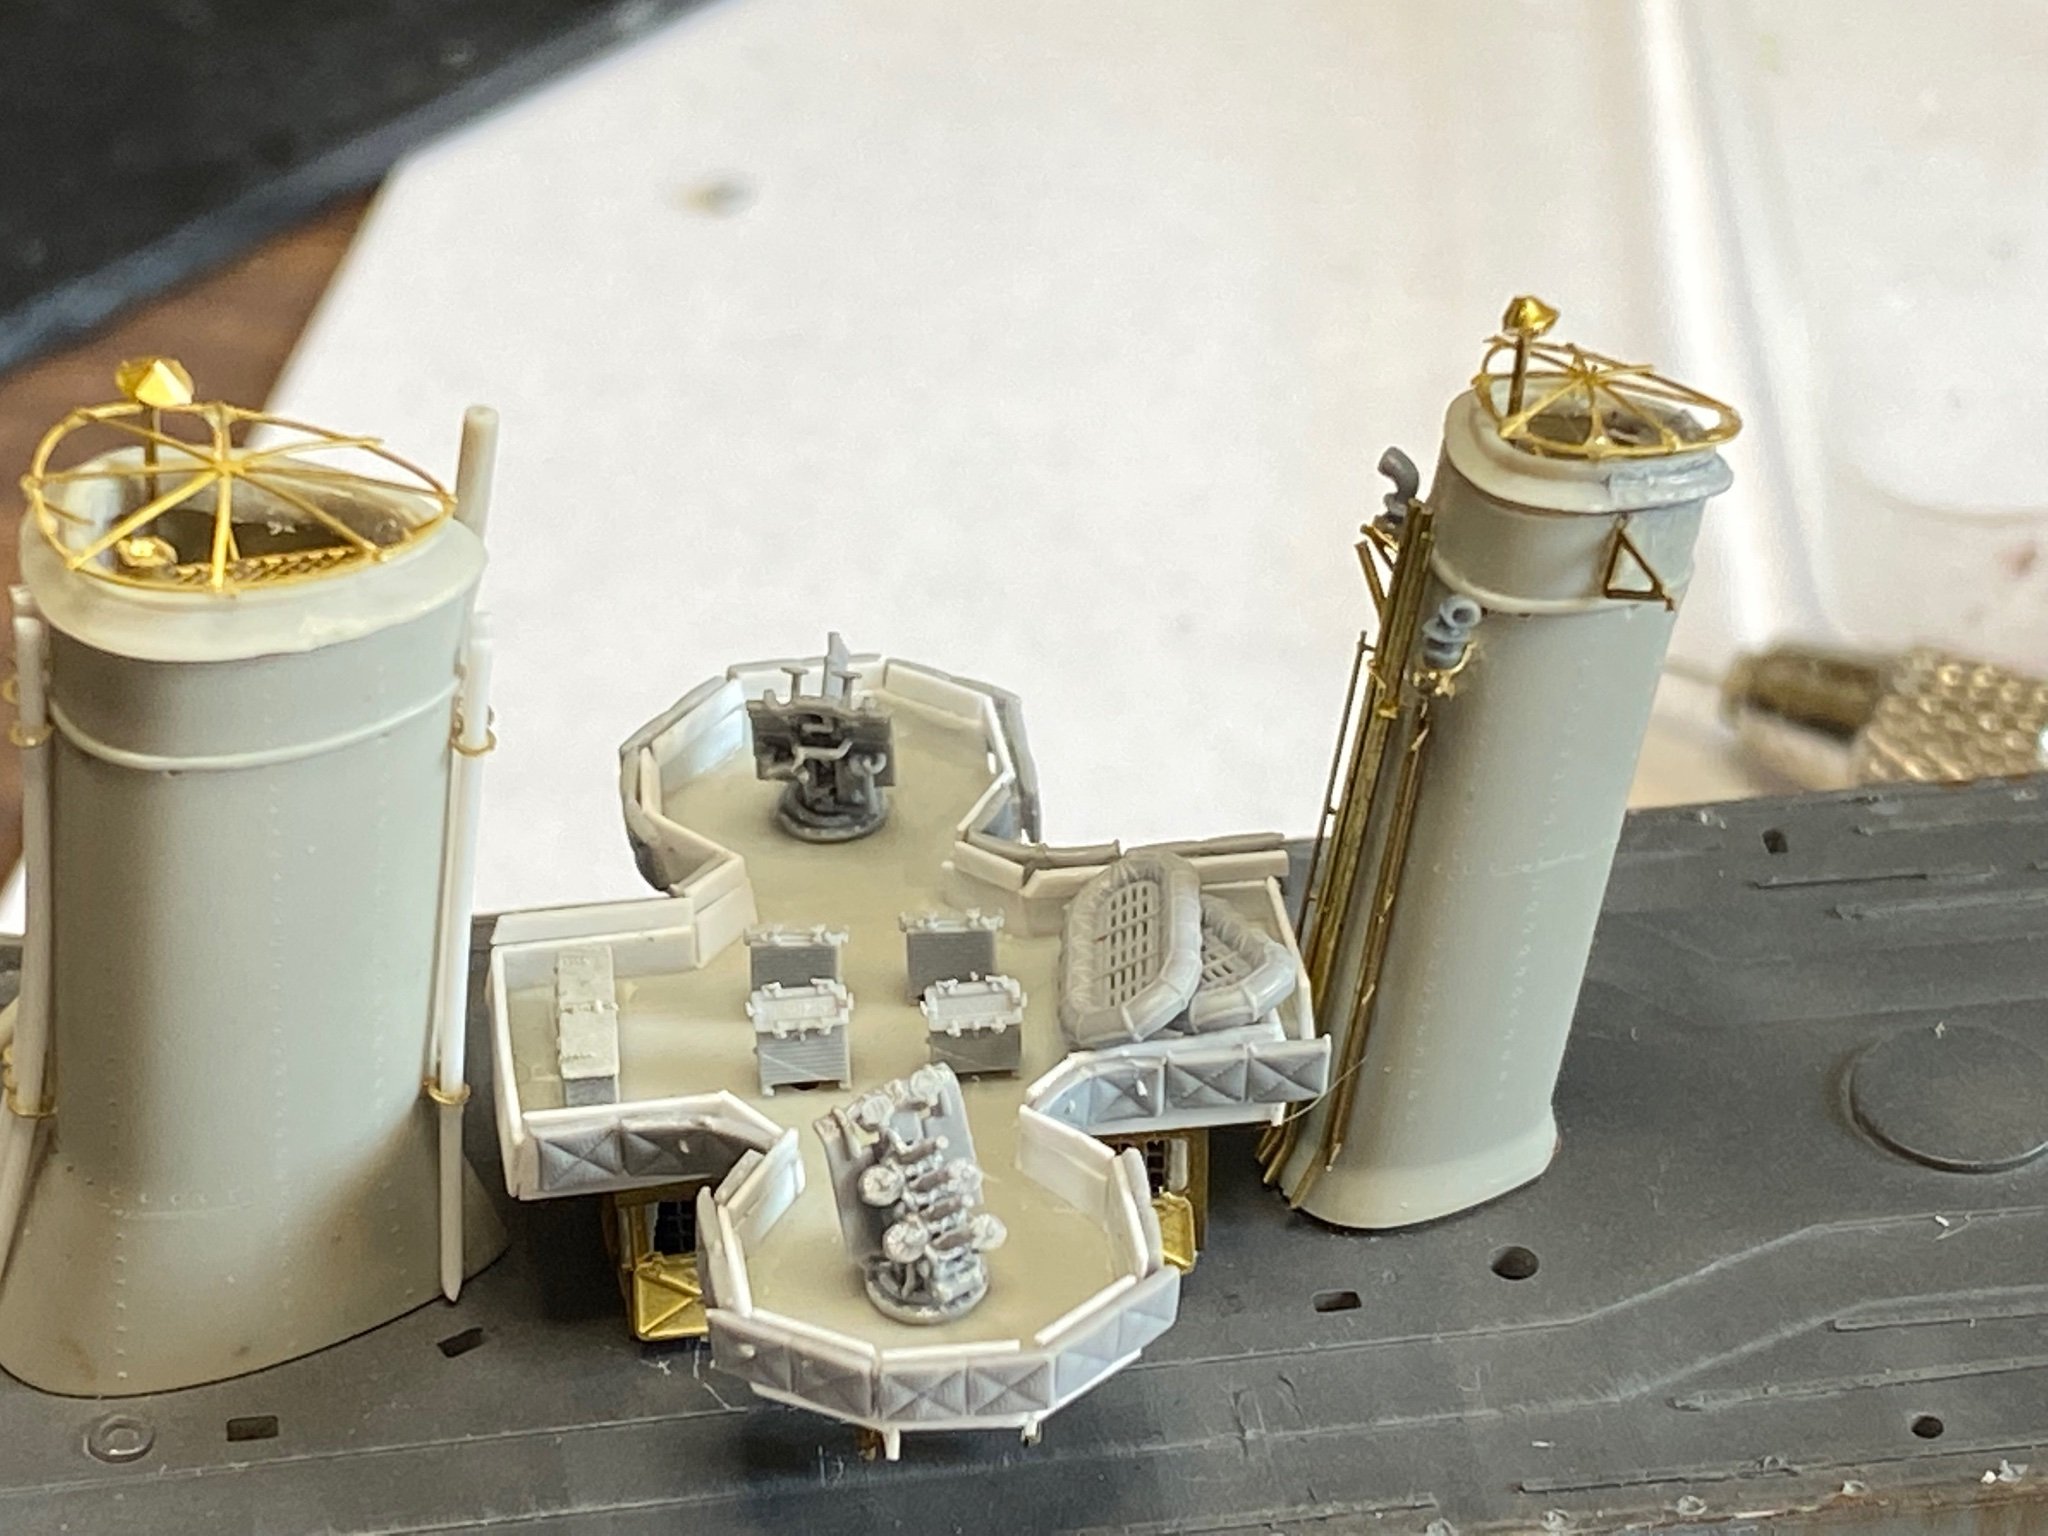
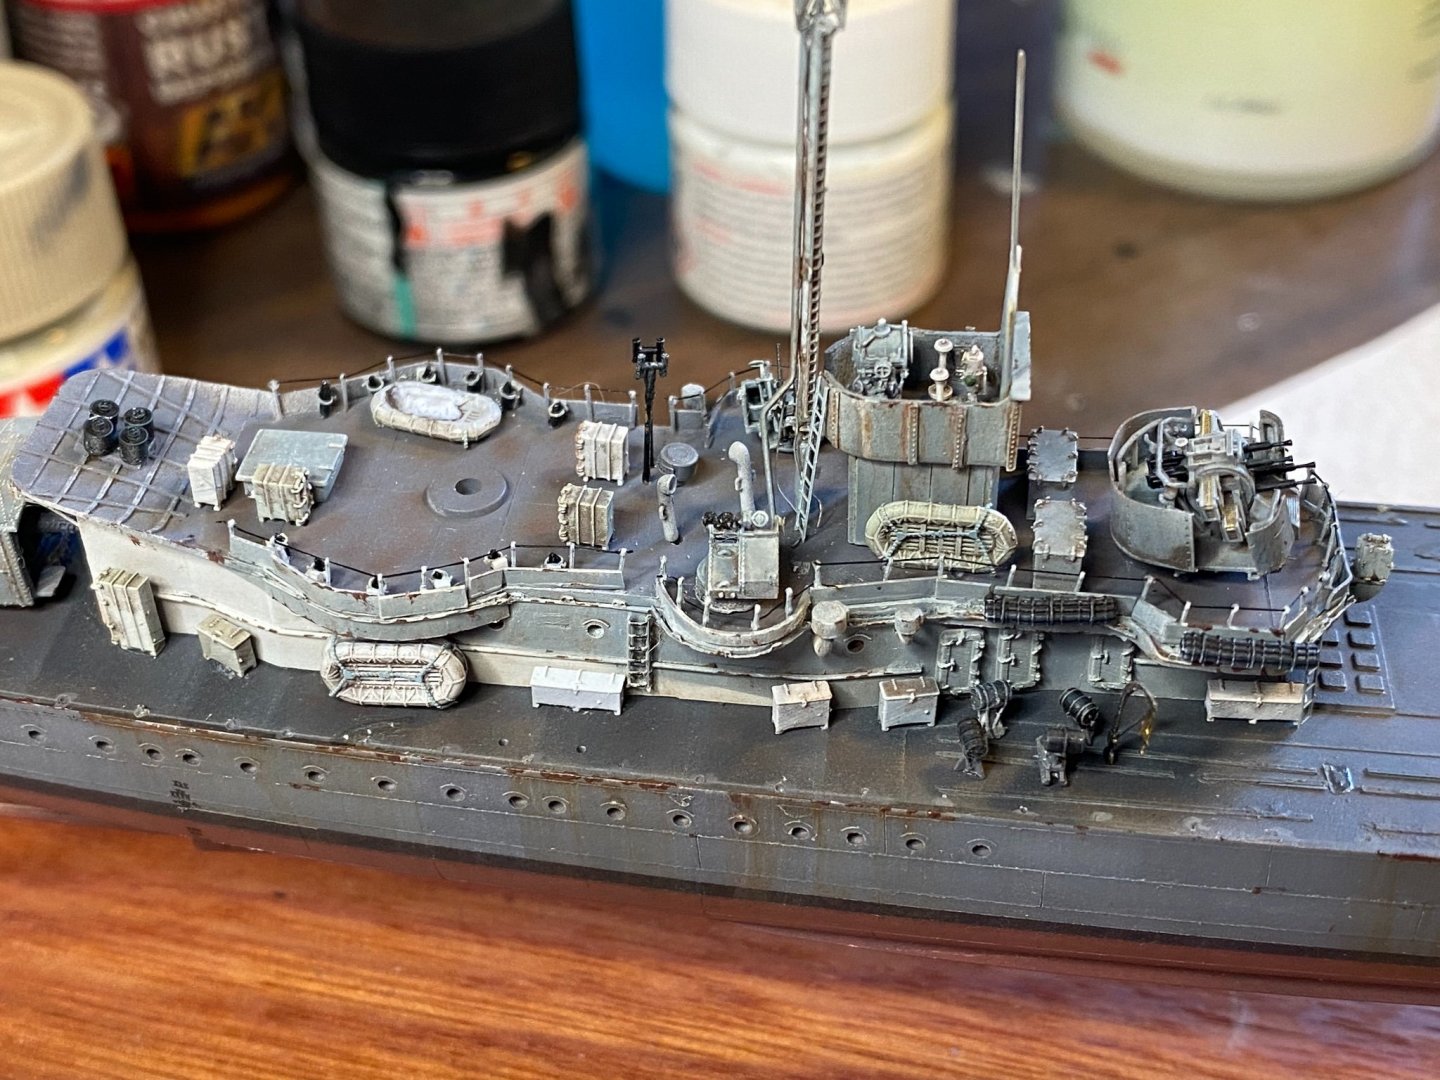
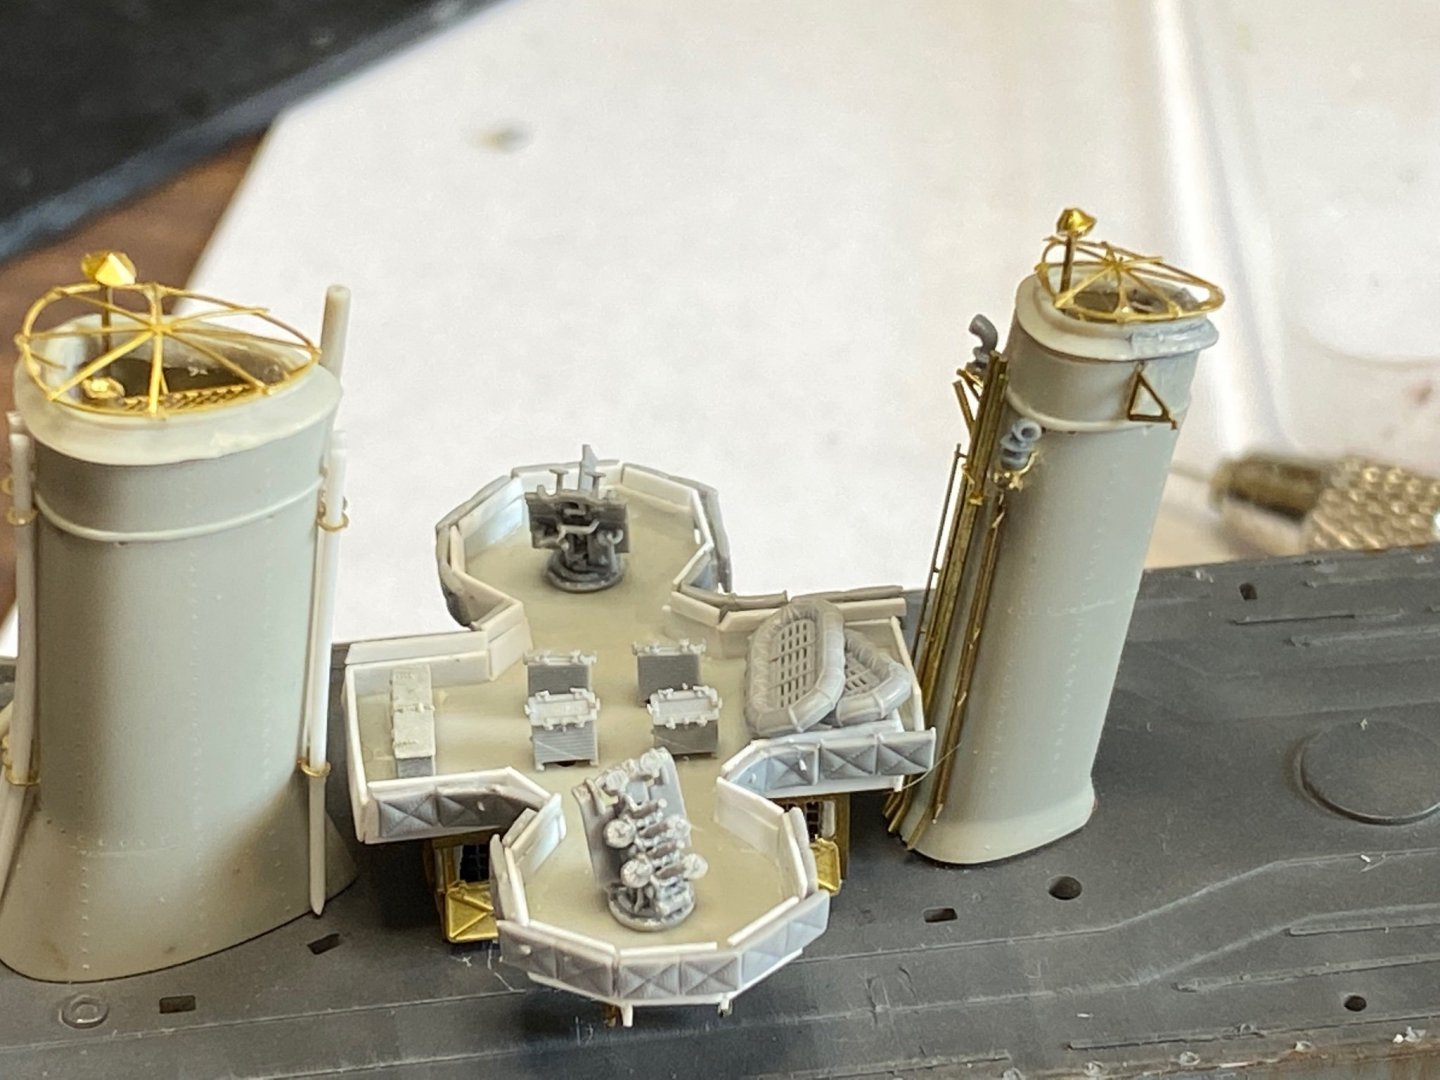
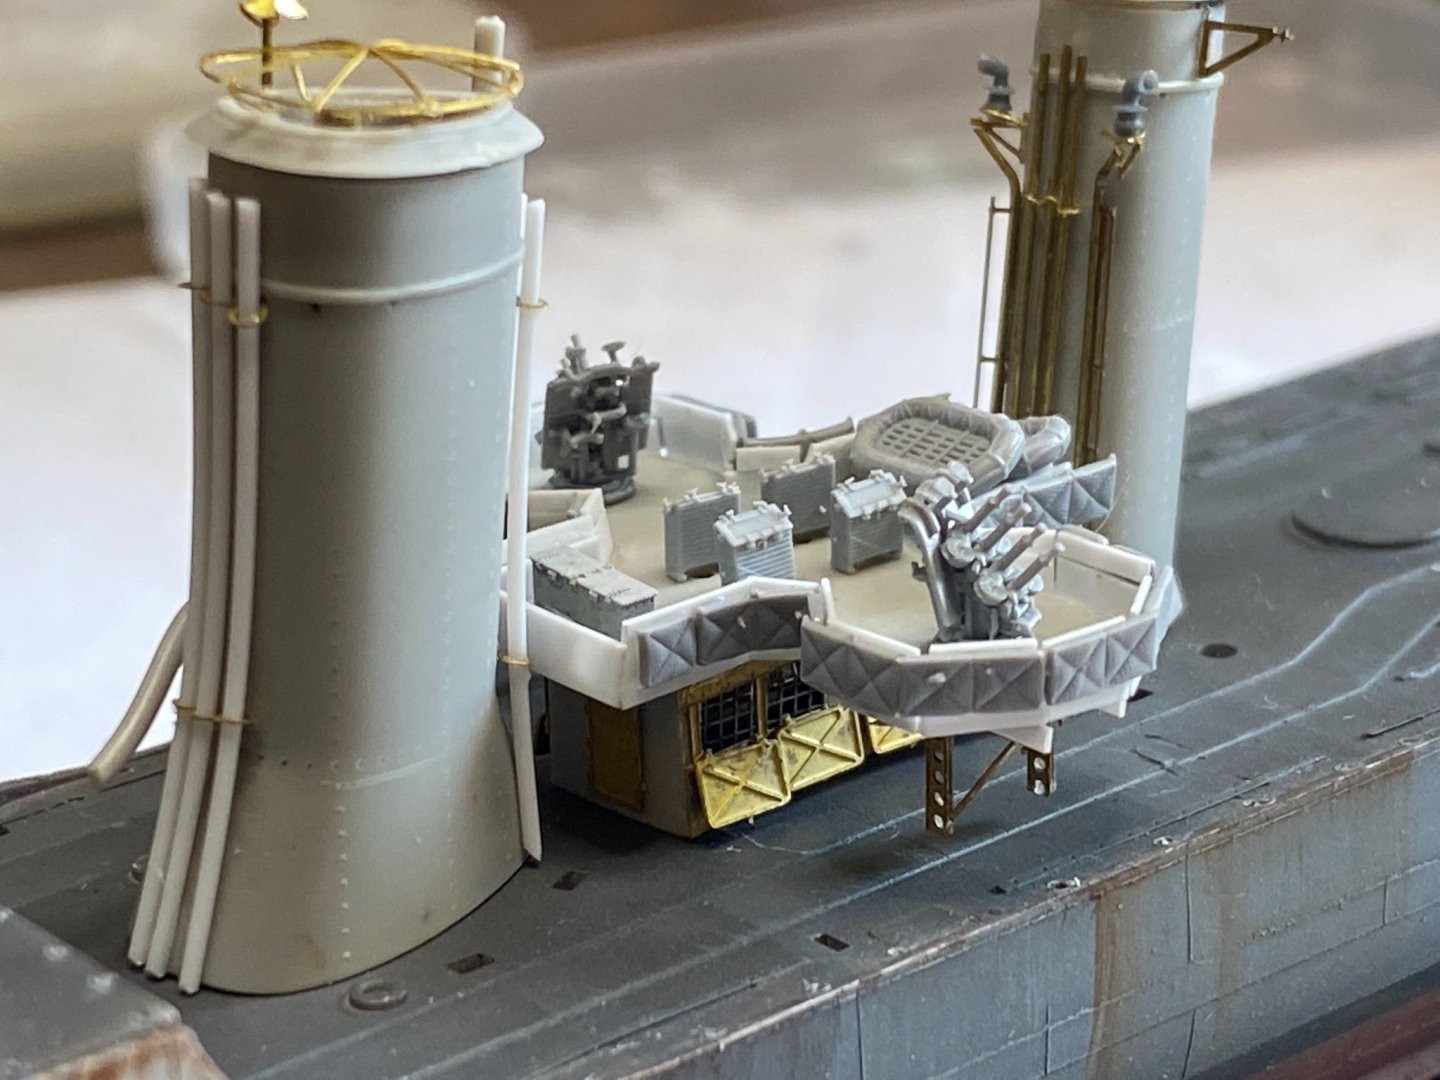
Centre ventilation shaft and 50 cal stand, as well as metal shielding around the rear superstructure top deck
- 255 replies
-
- 13
-
-
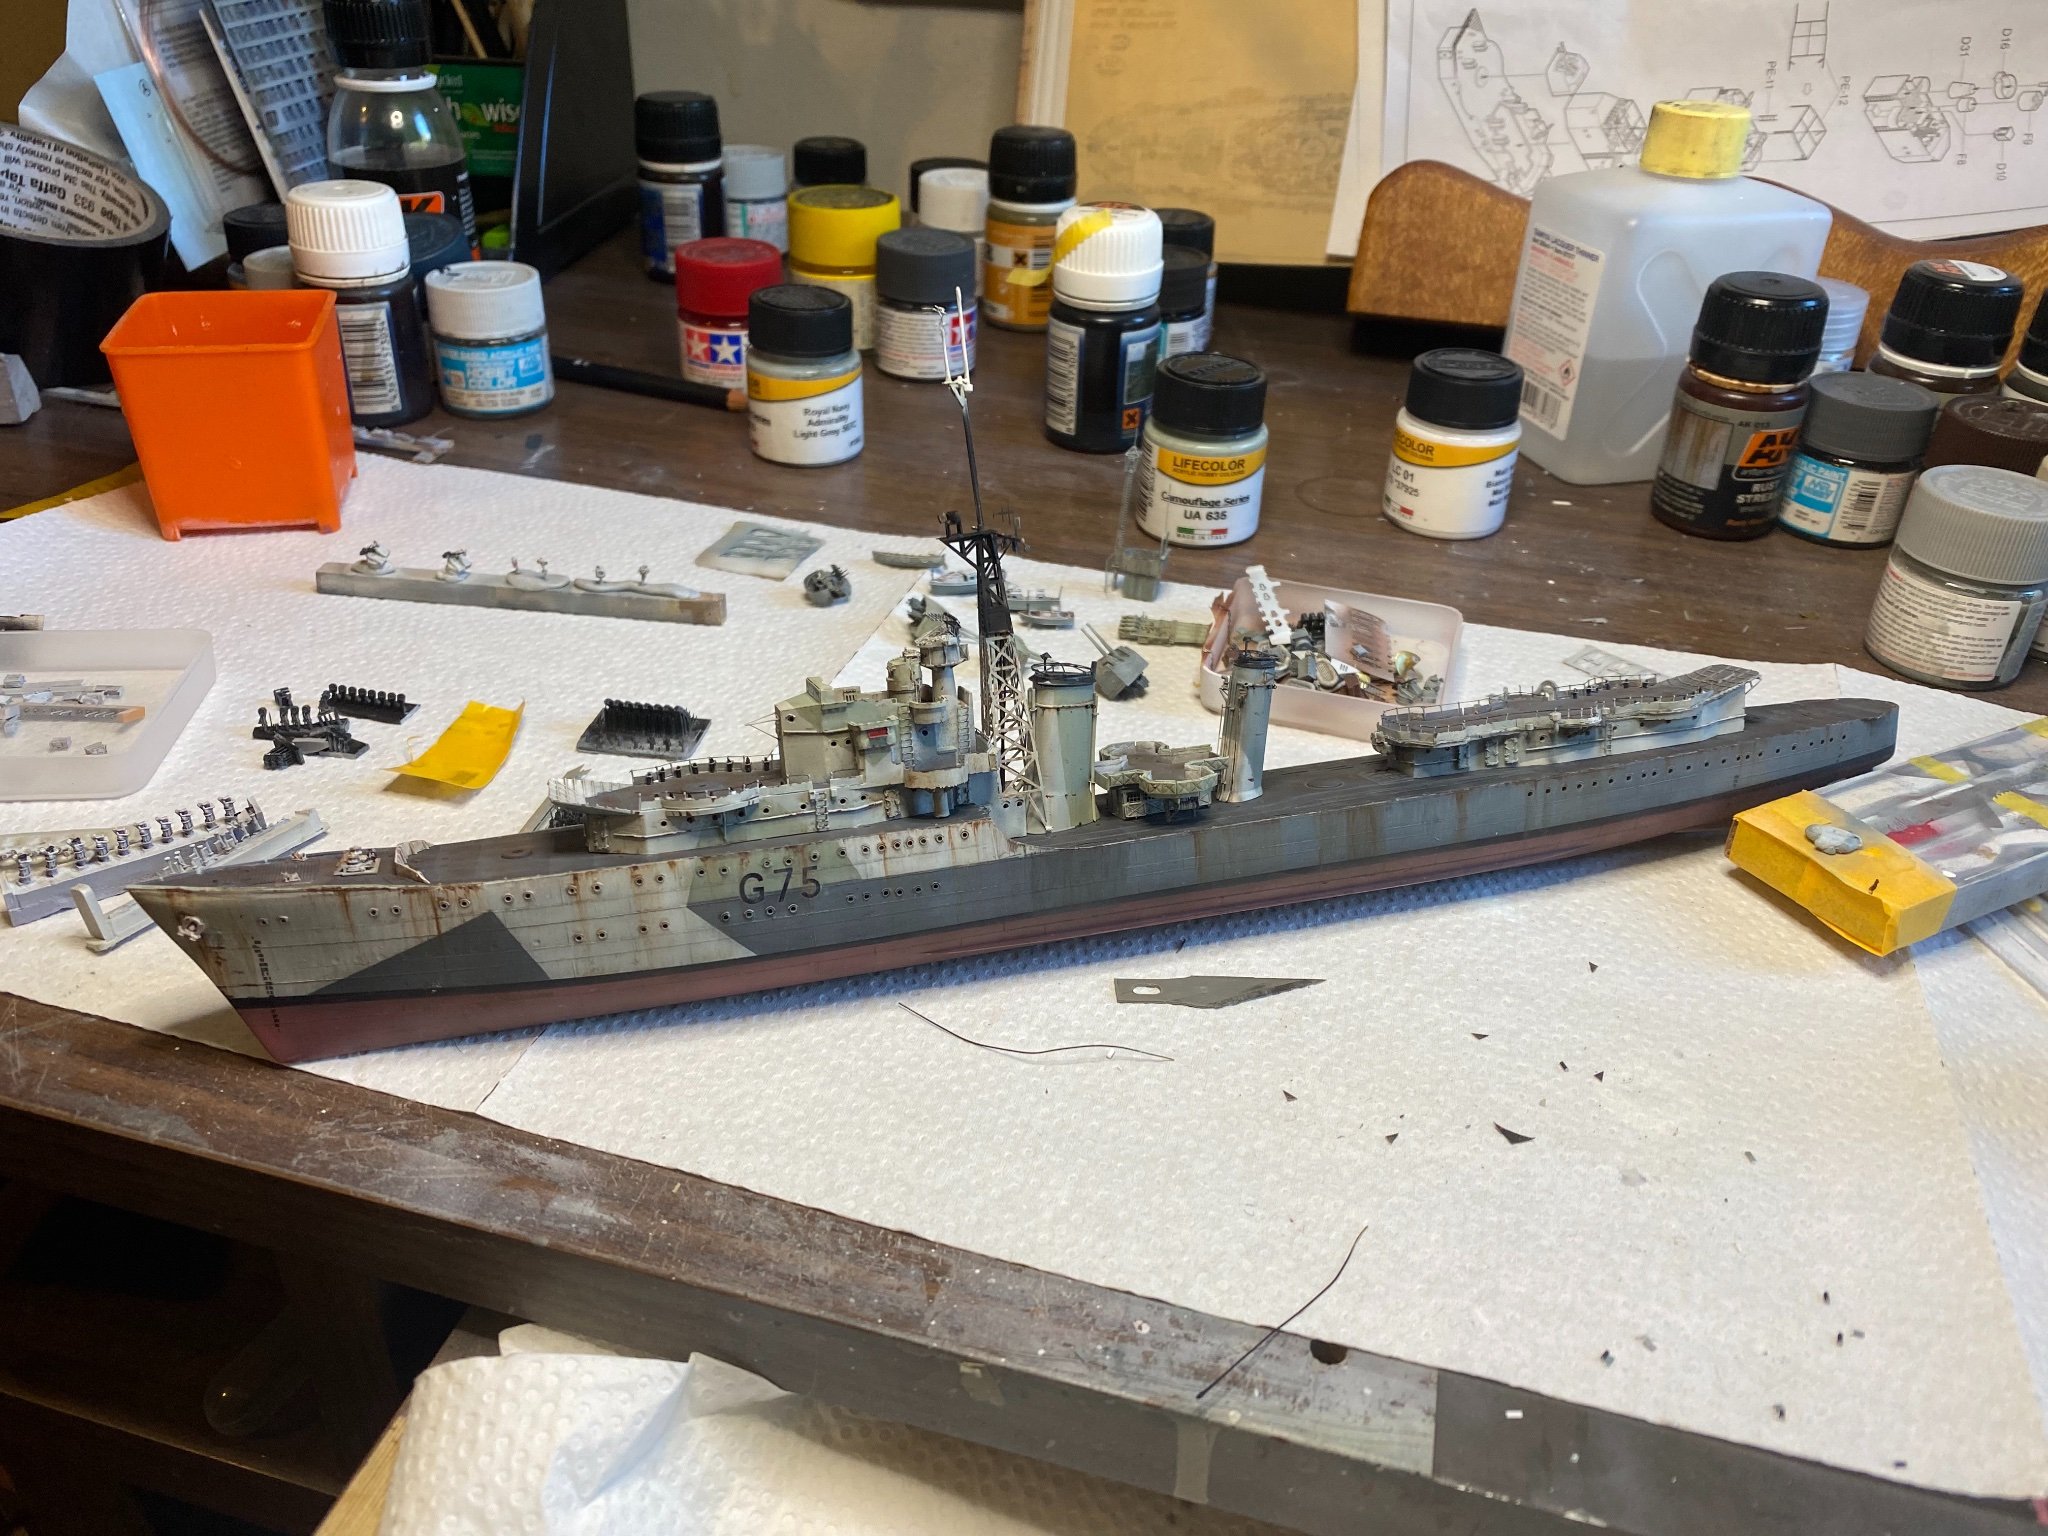
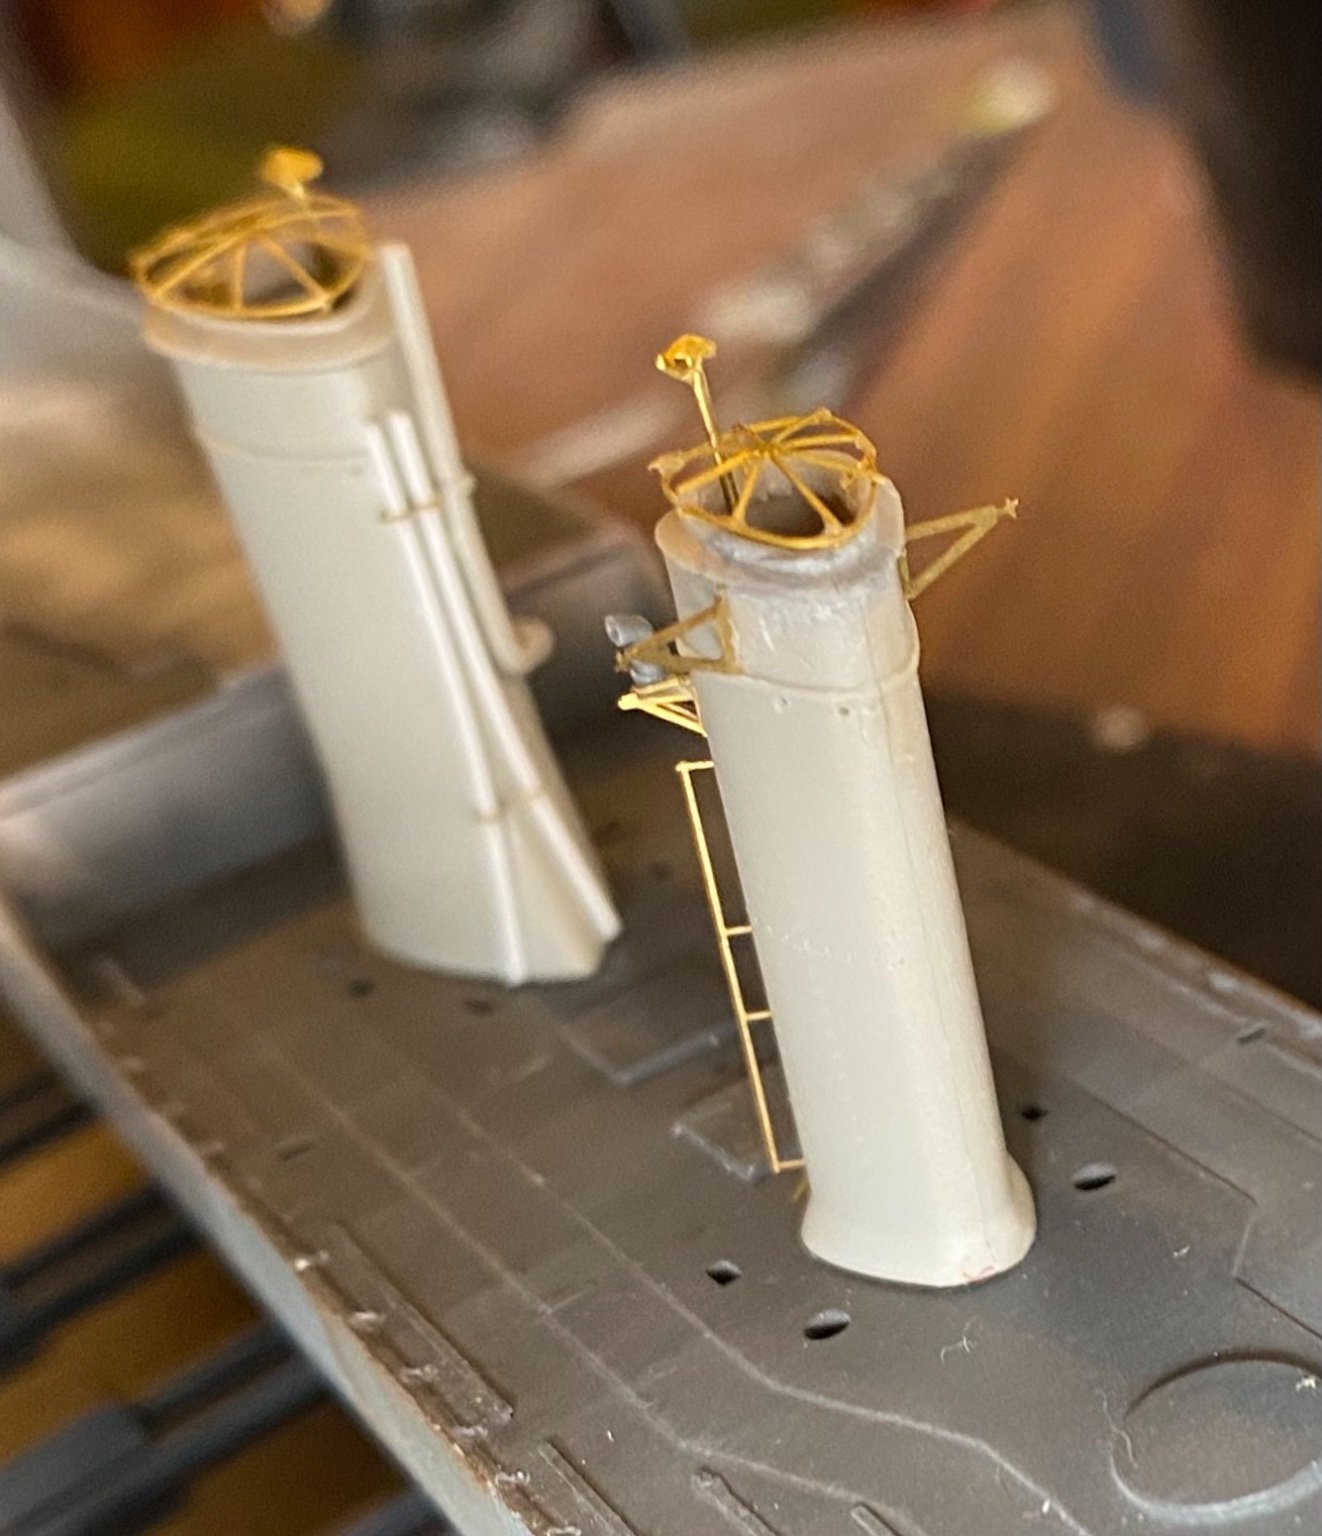
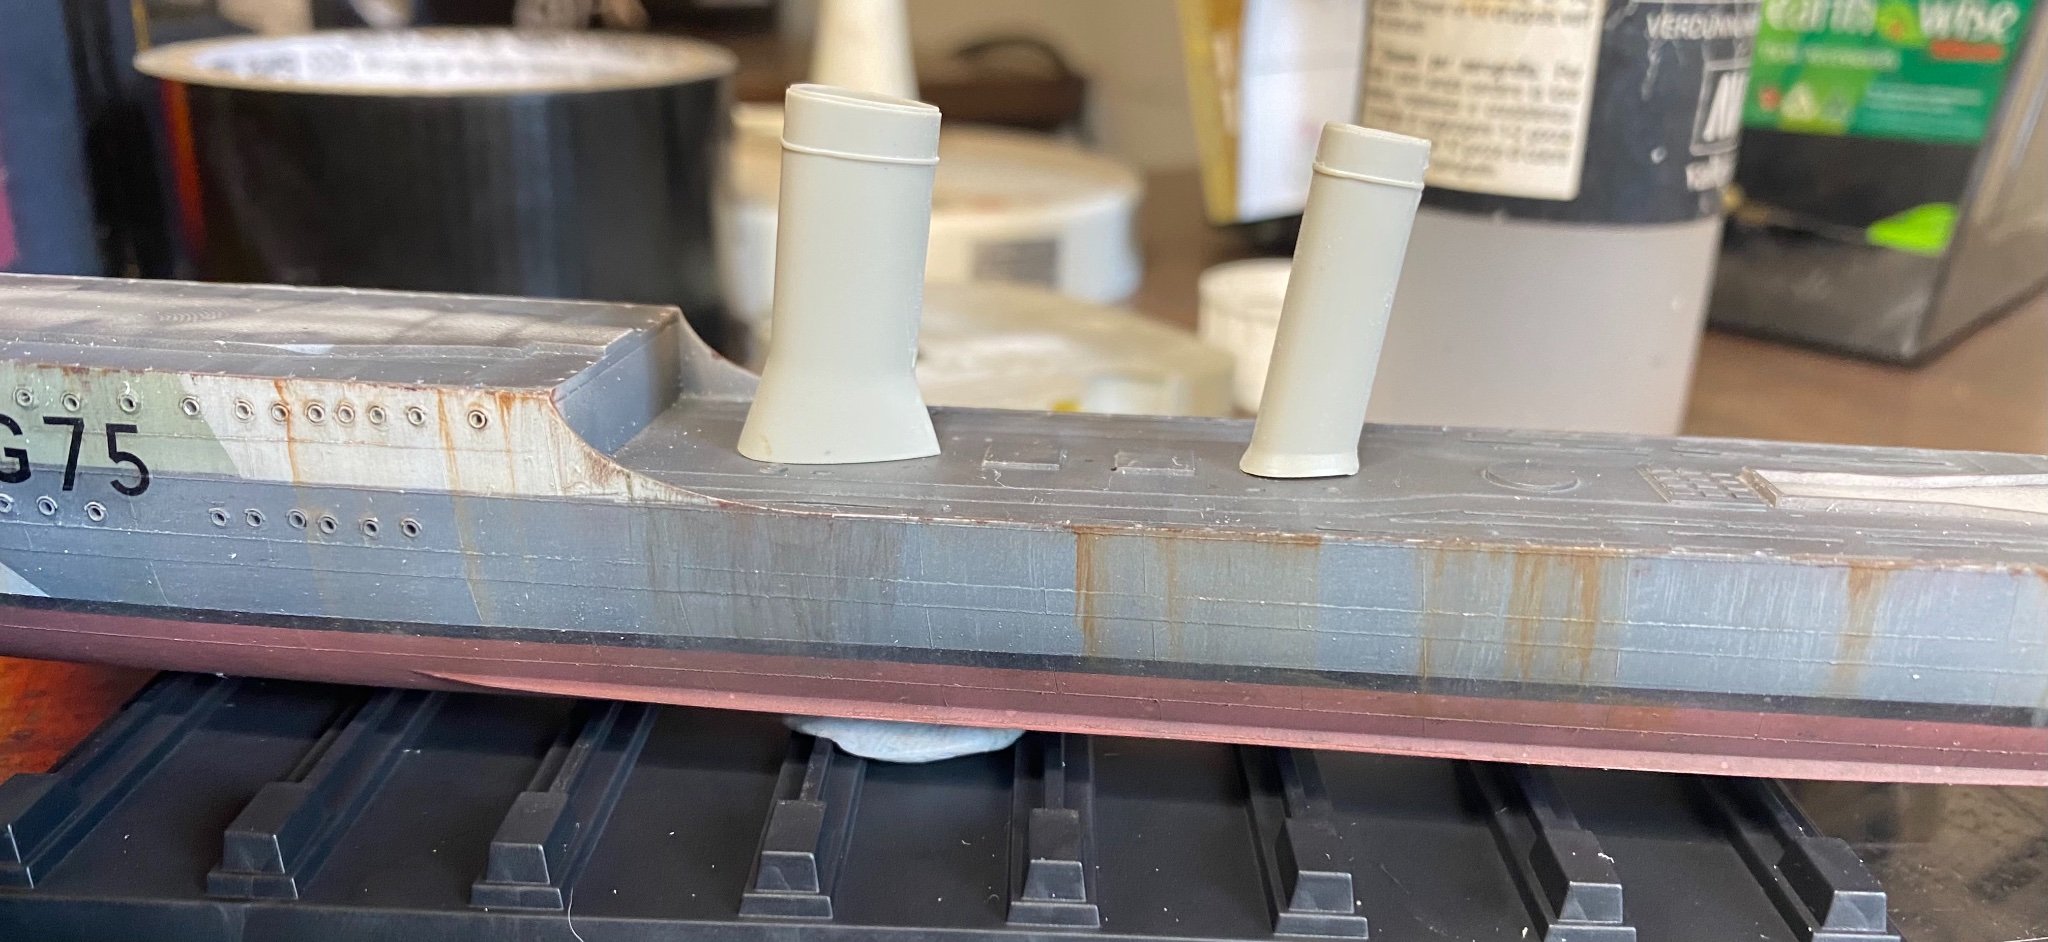
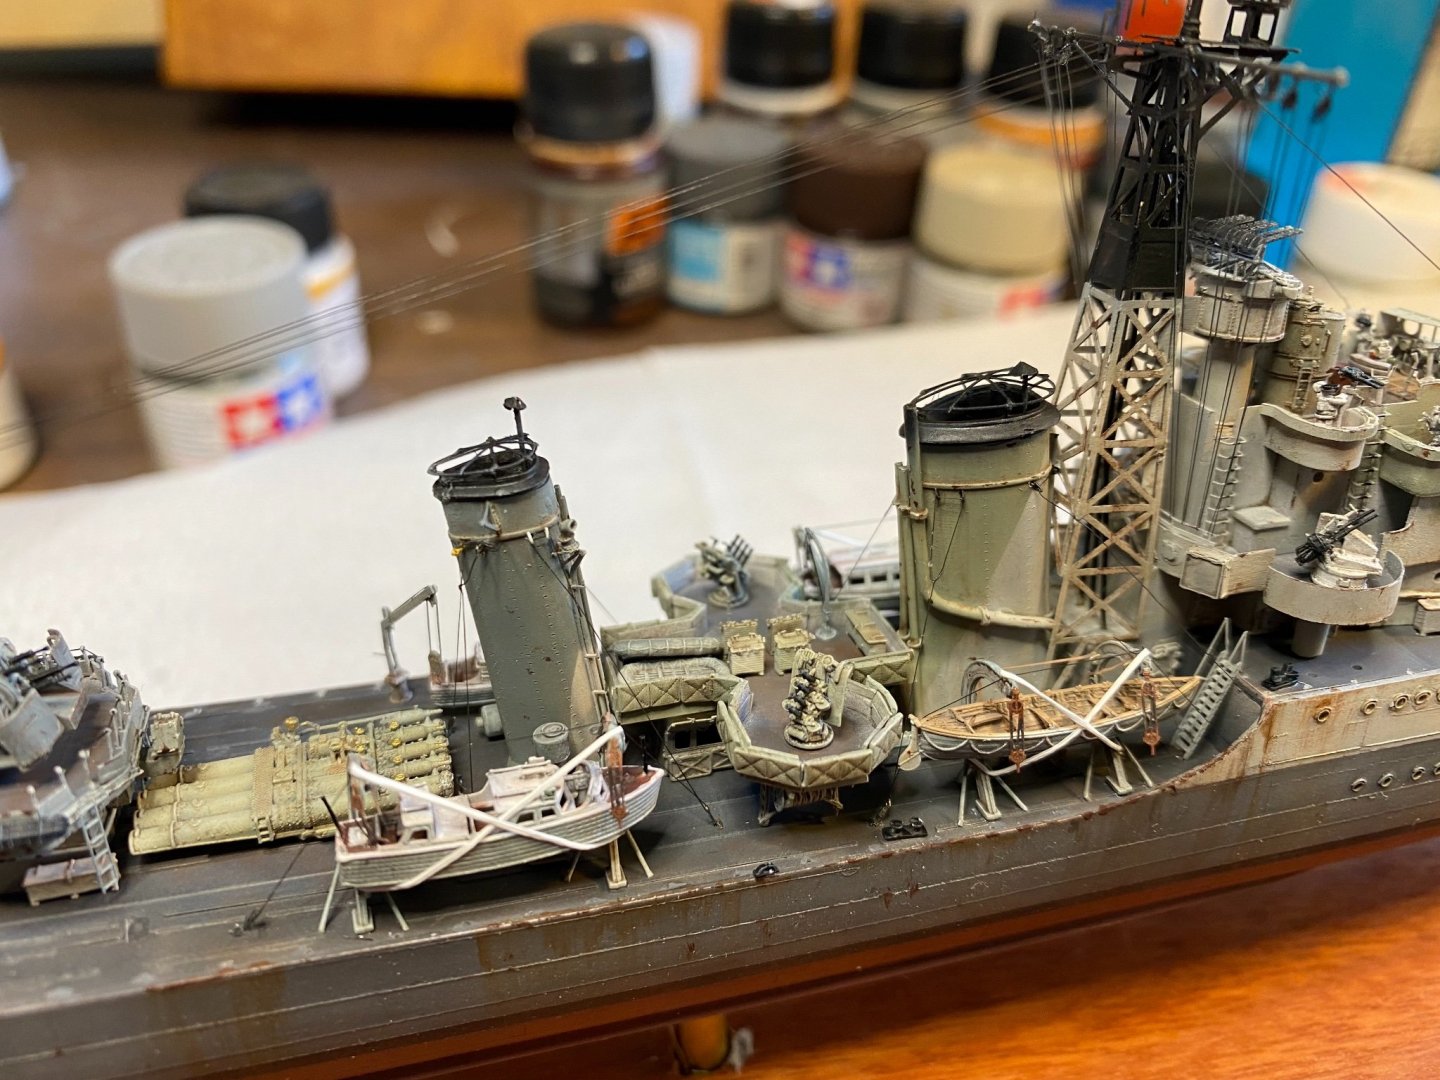
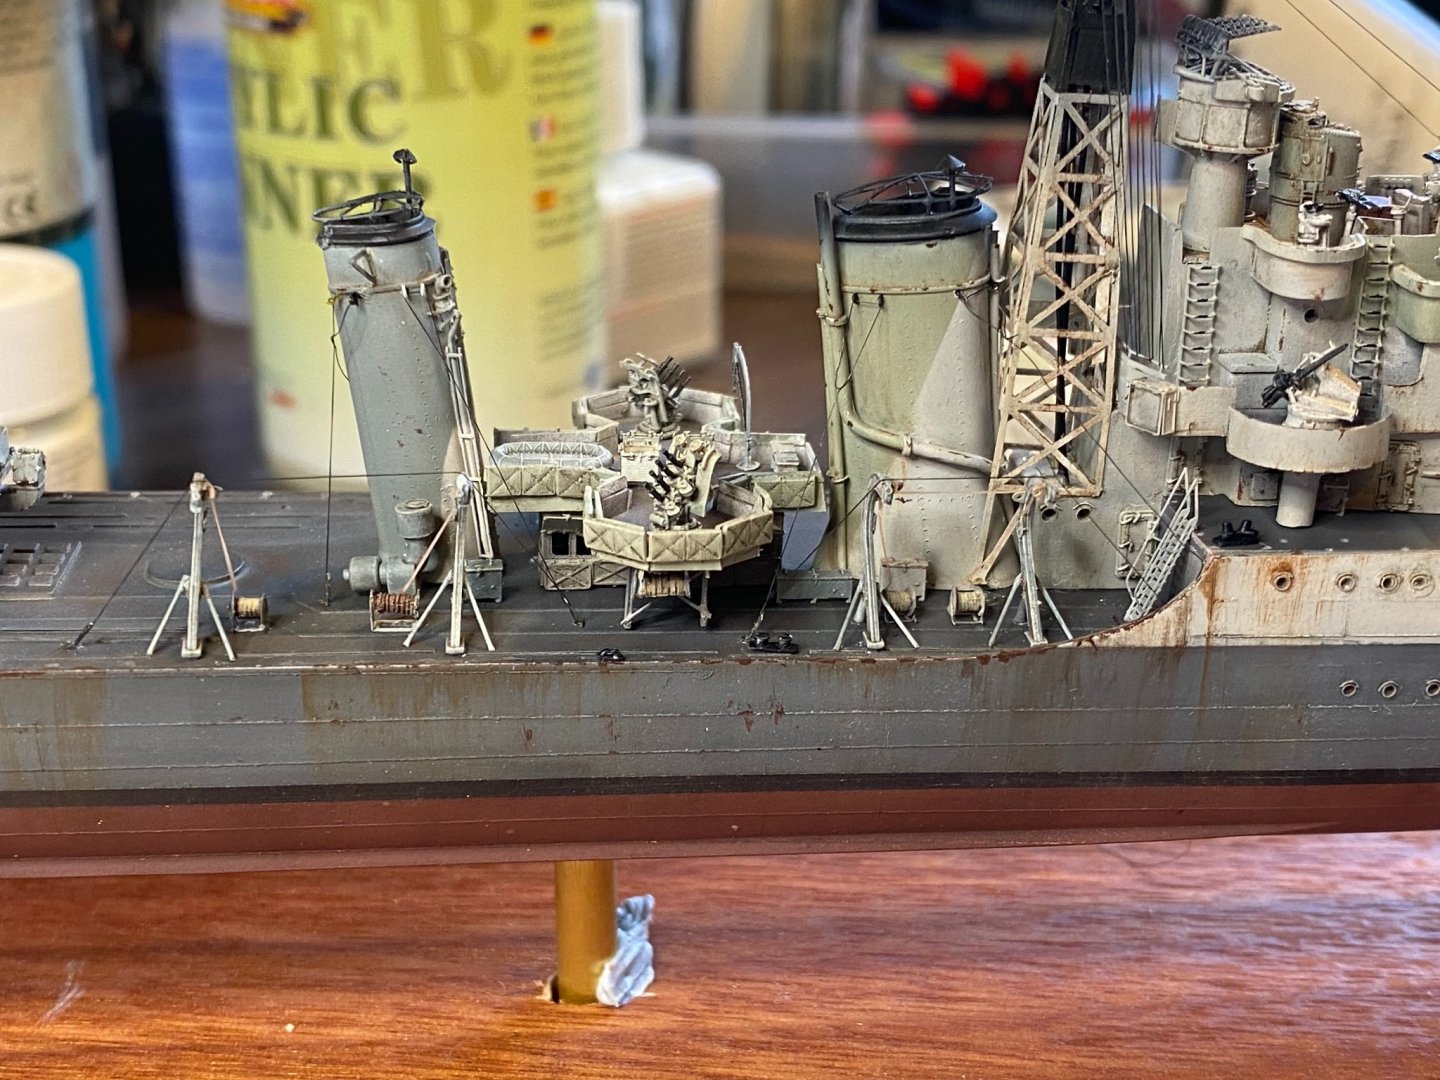
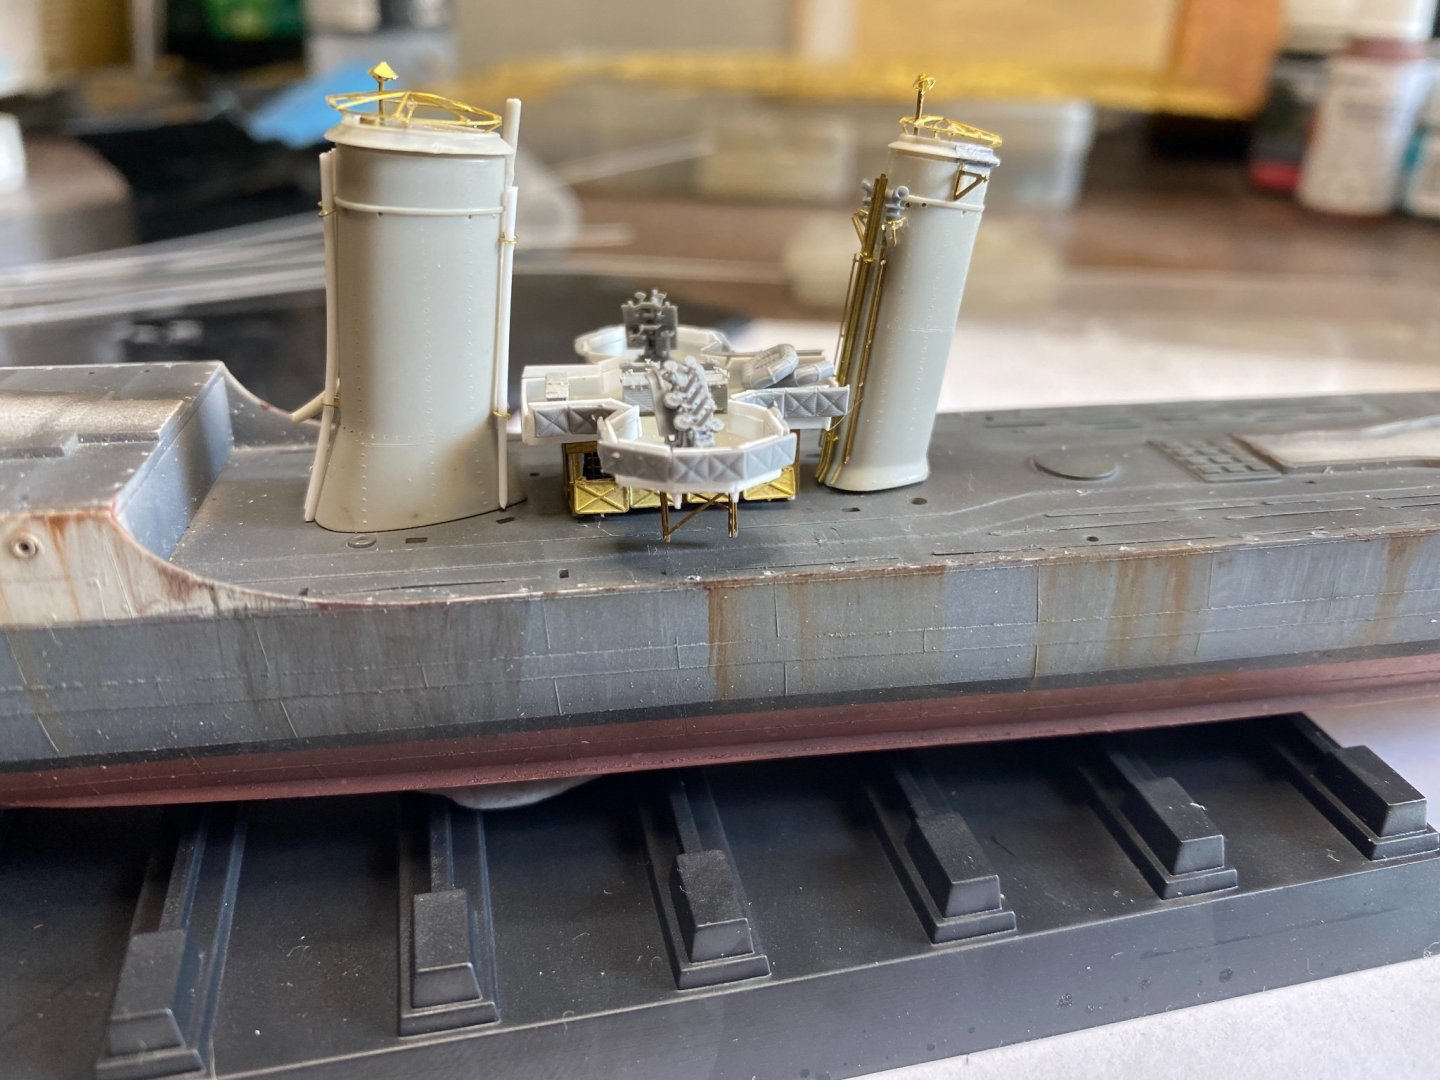
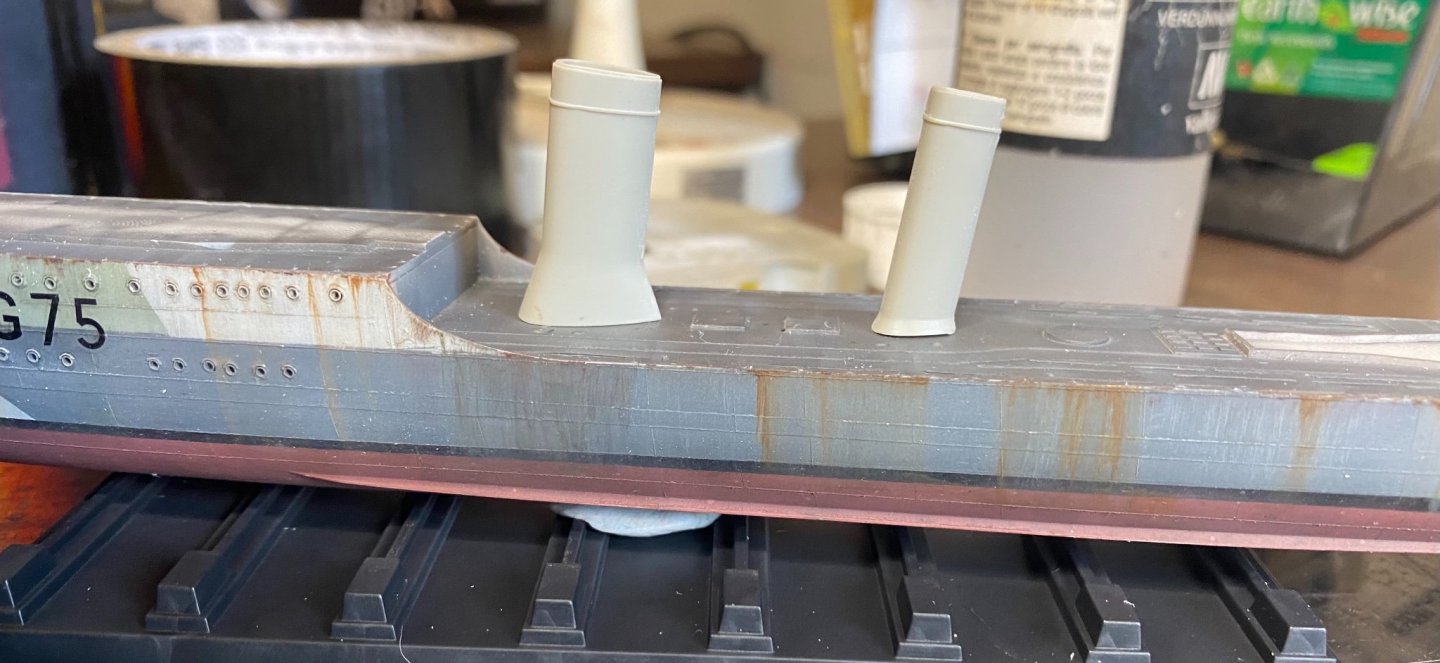
Funnels done, lots of extra details needed, but it appears by later in the war the little platform on the smaller stack had been removed


-
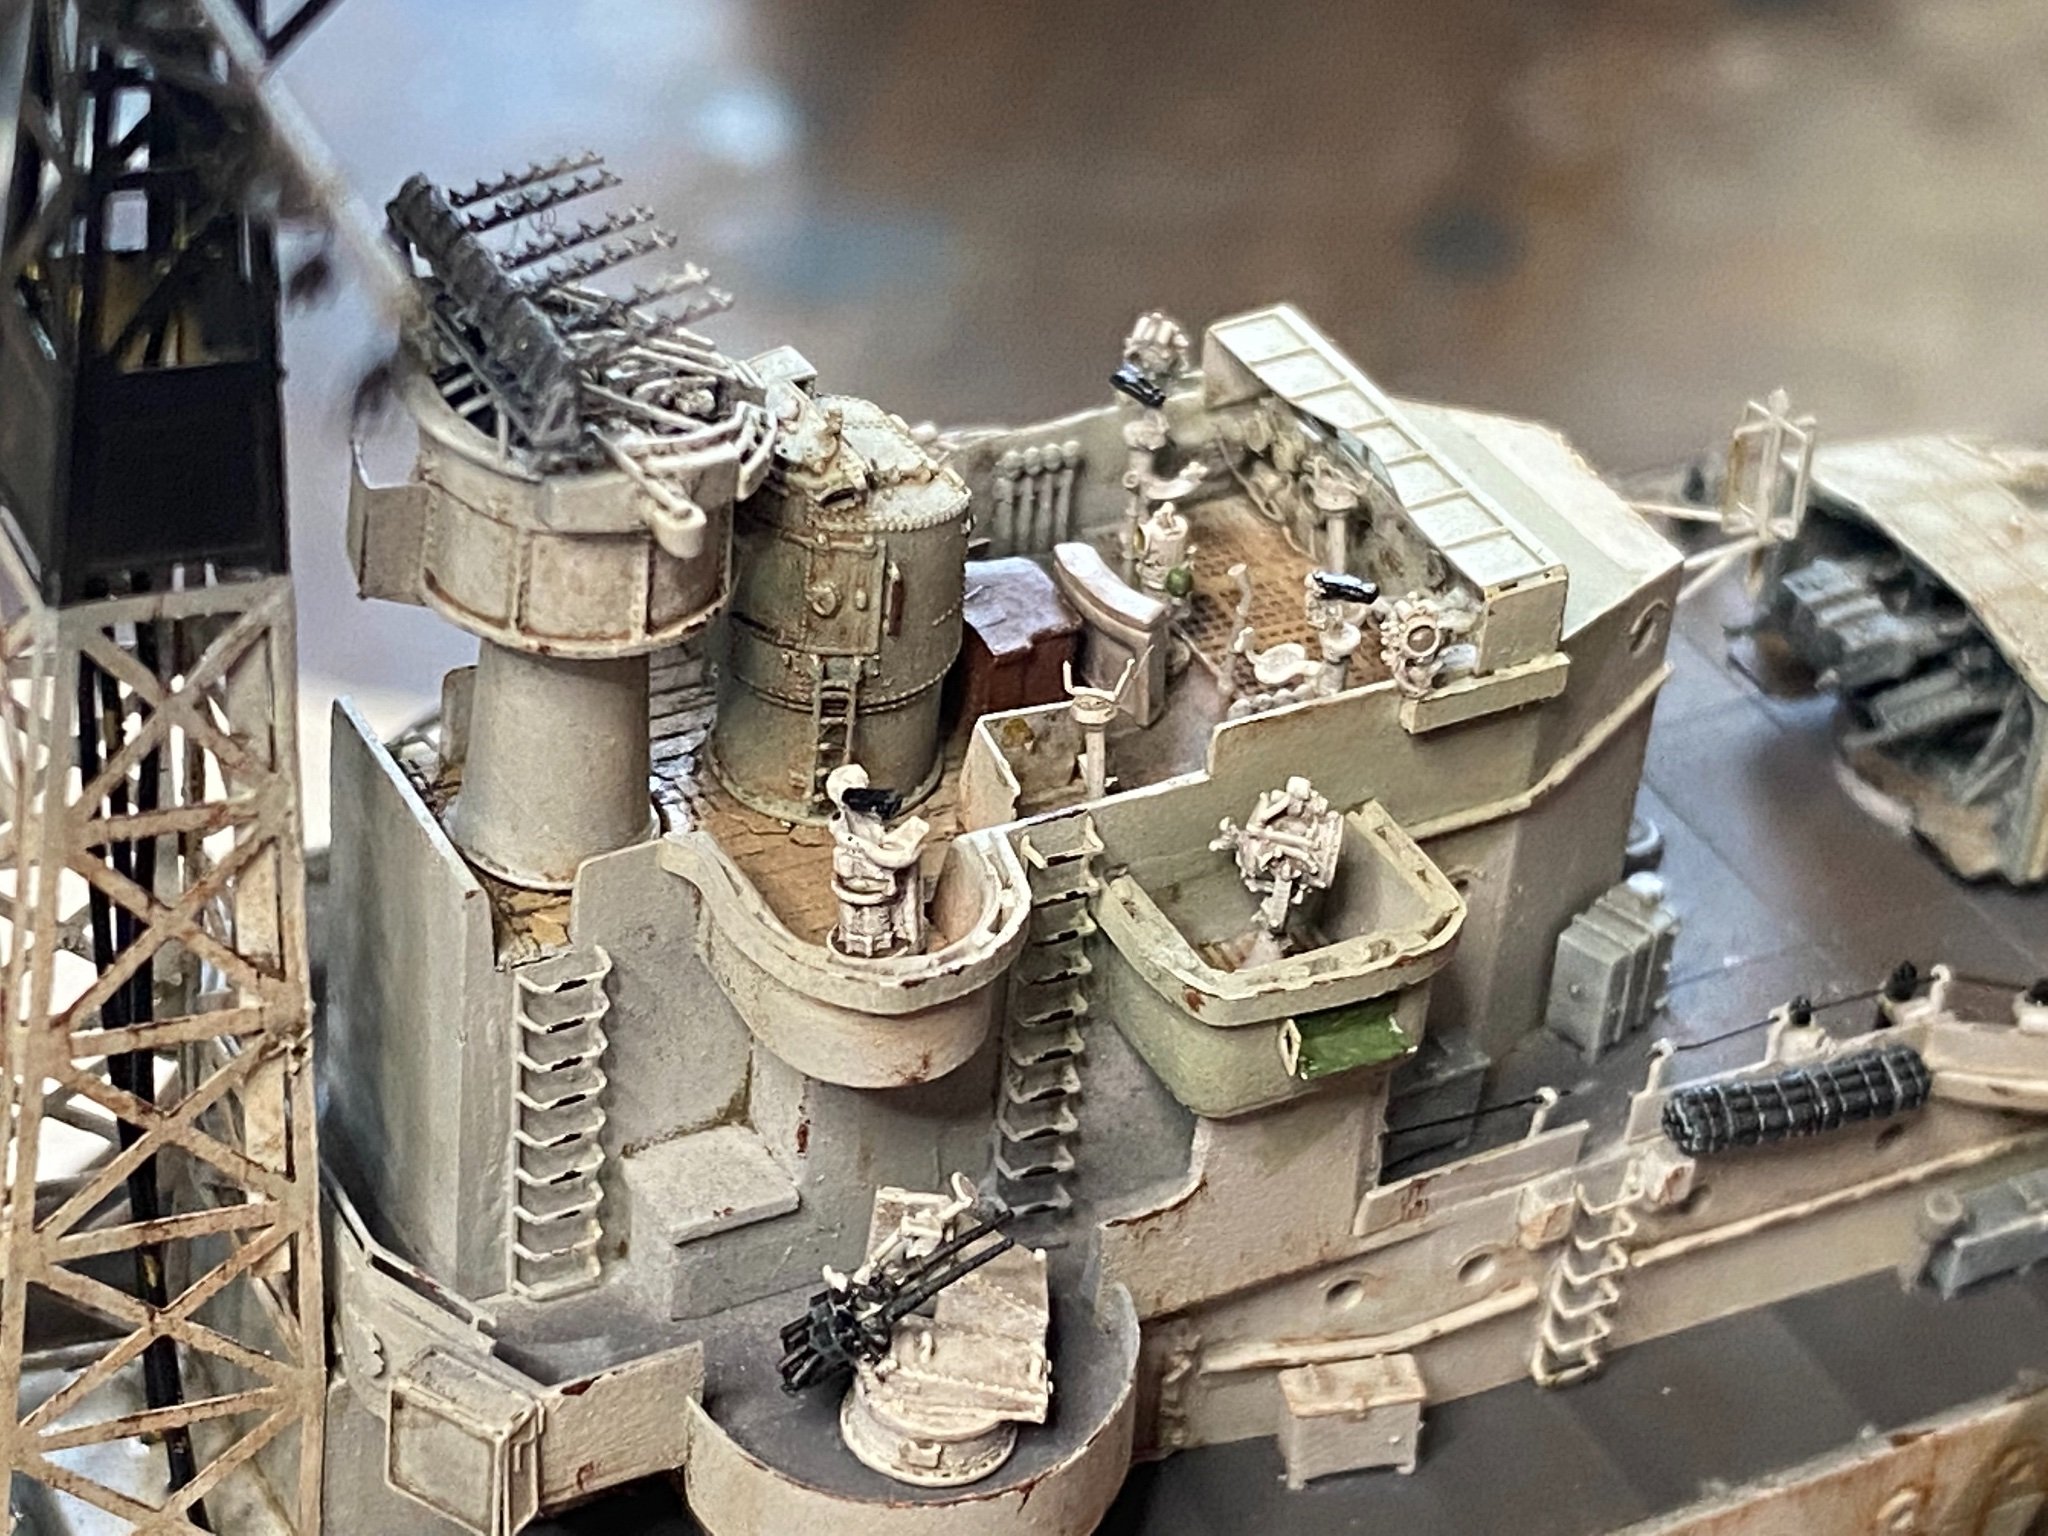
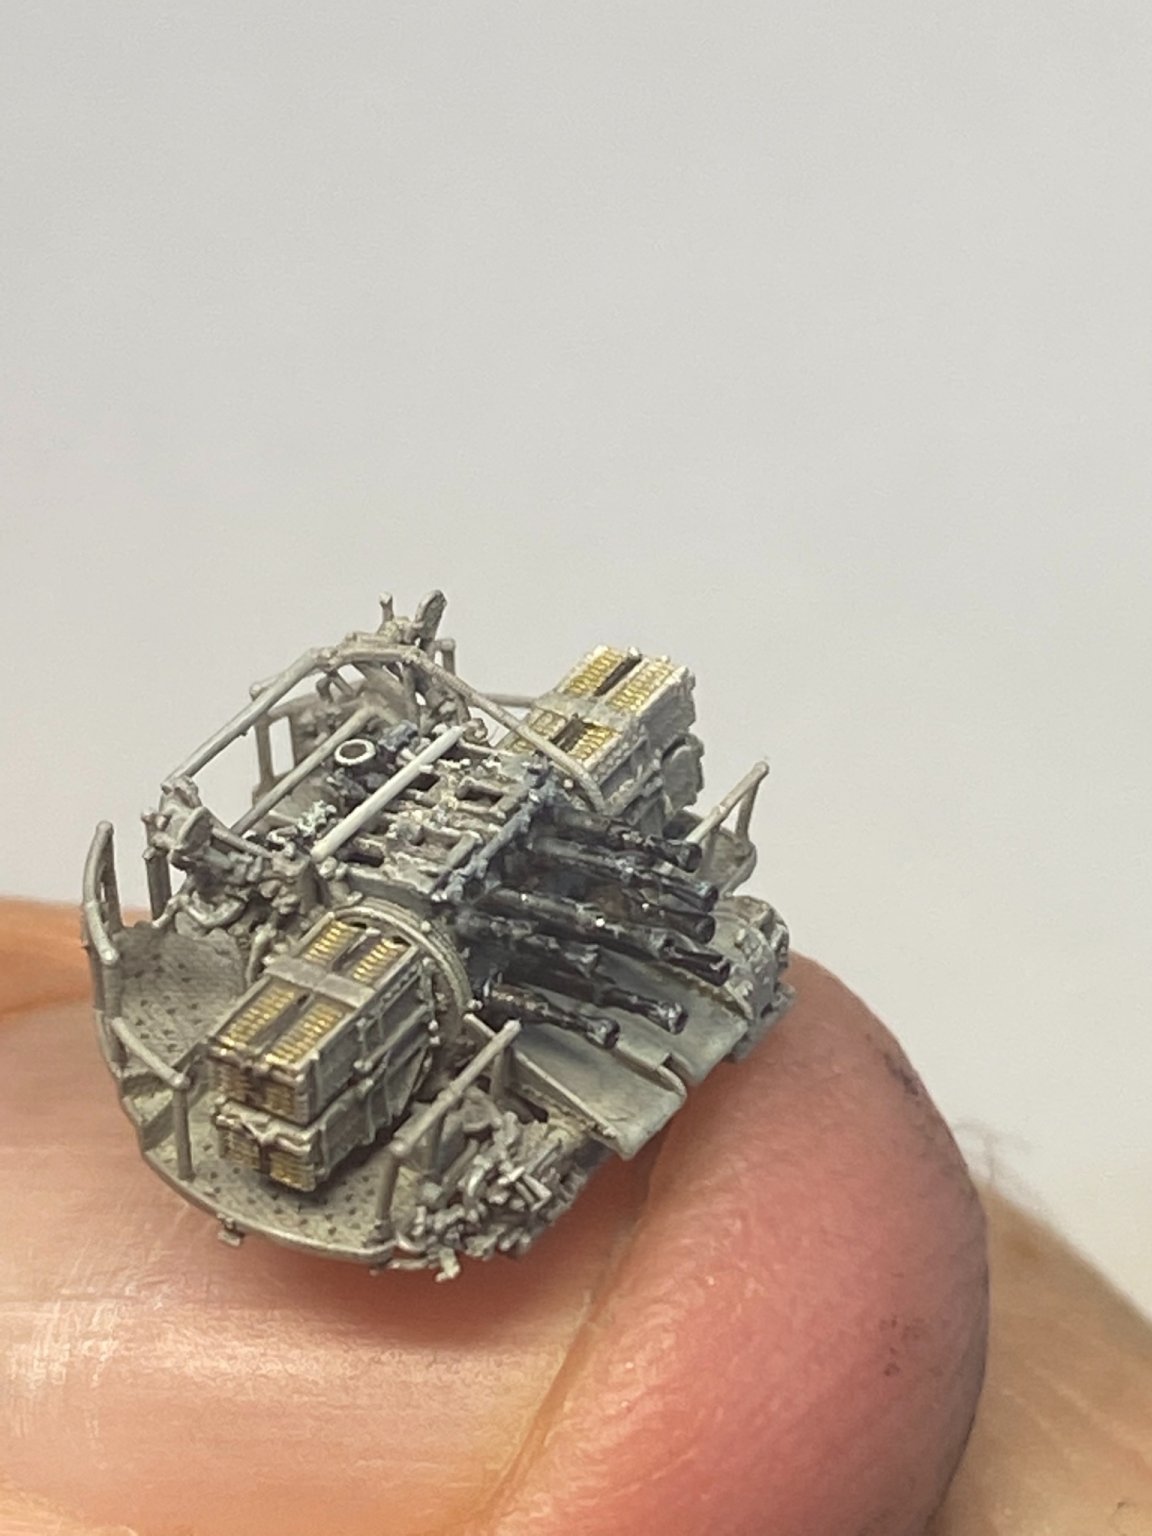
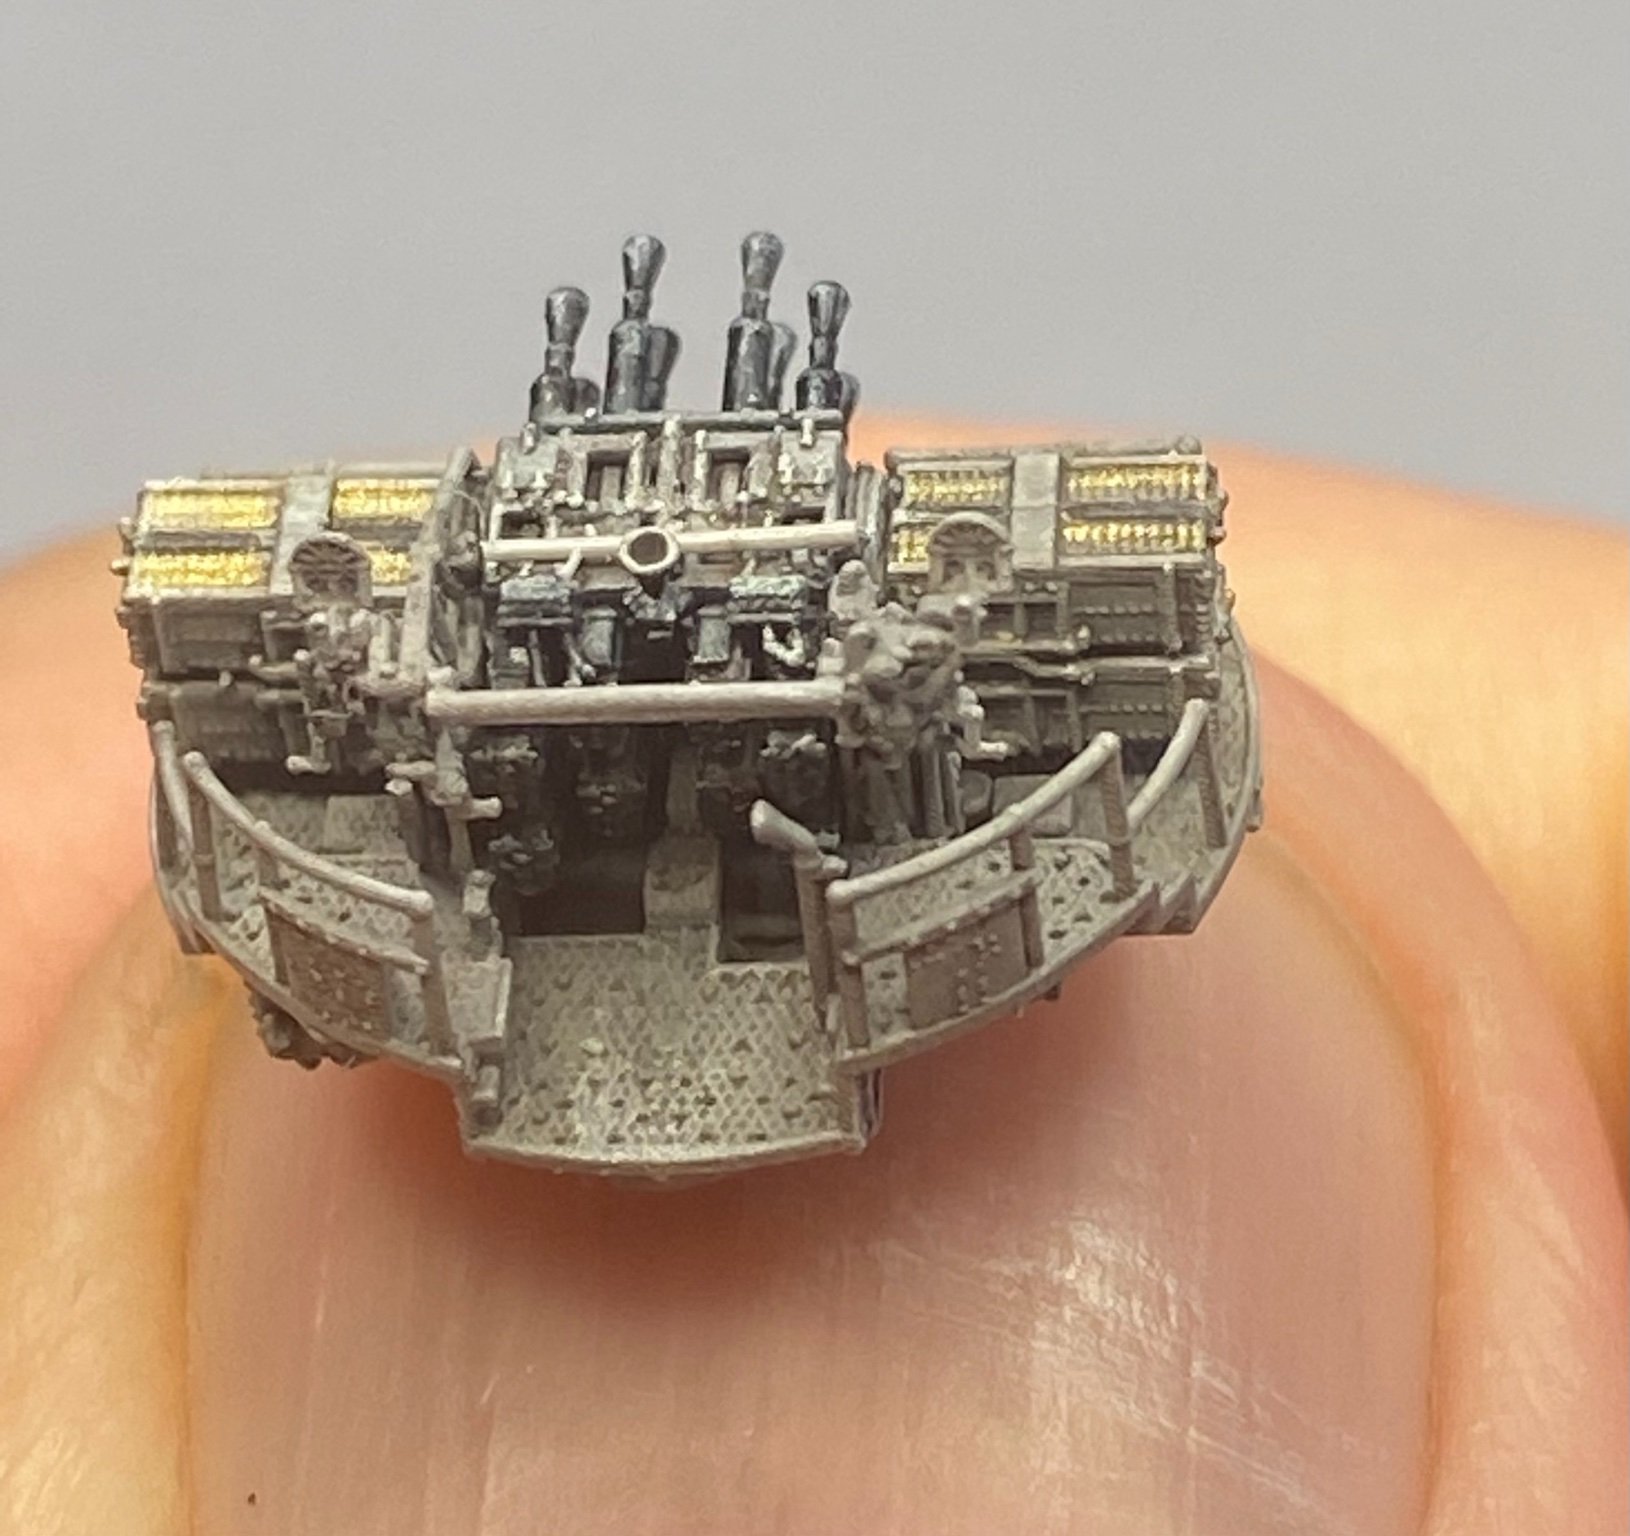
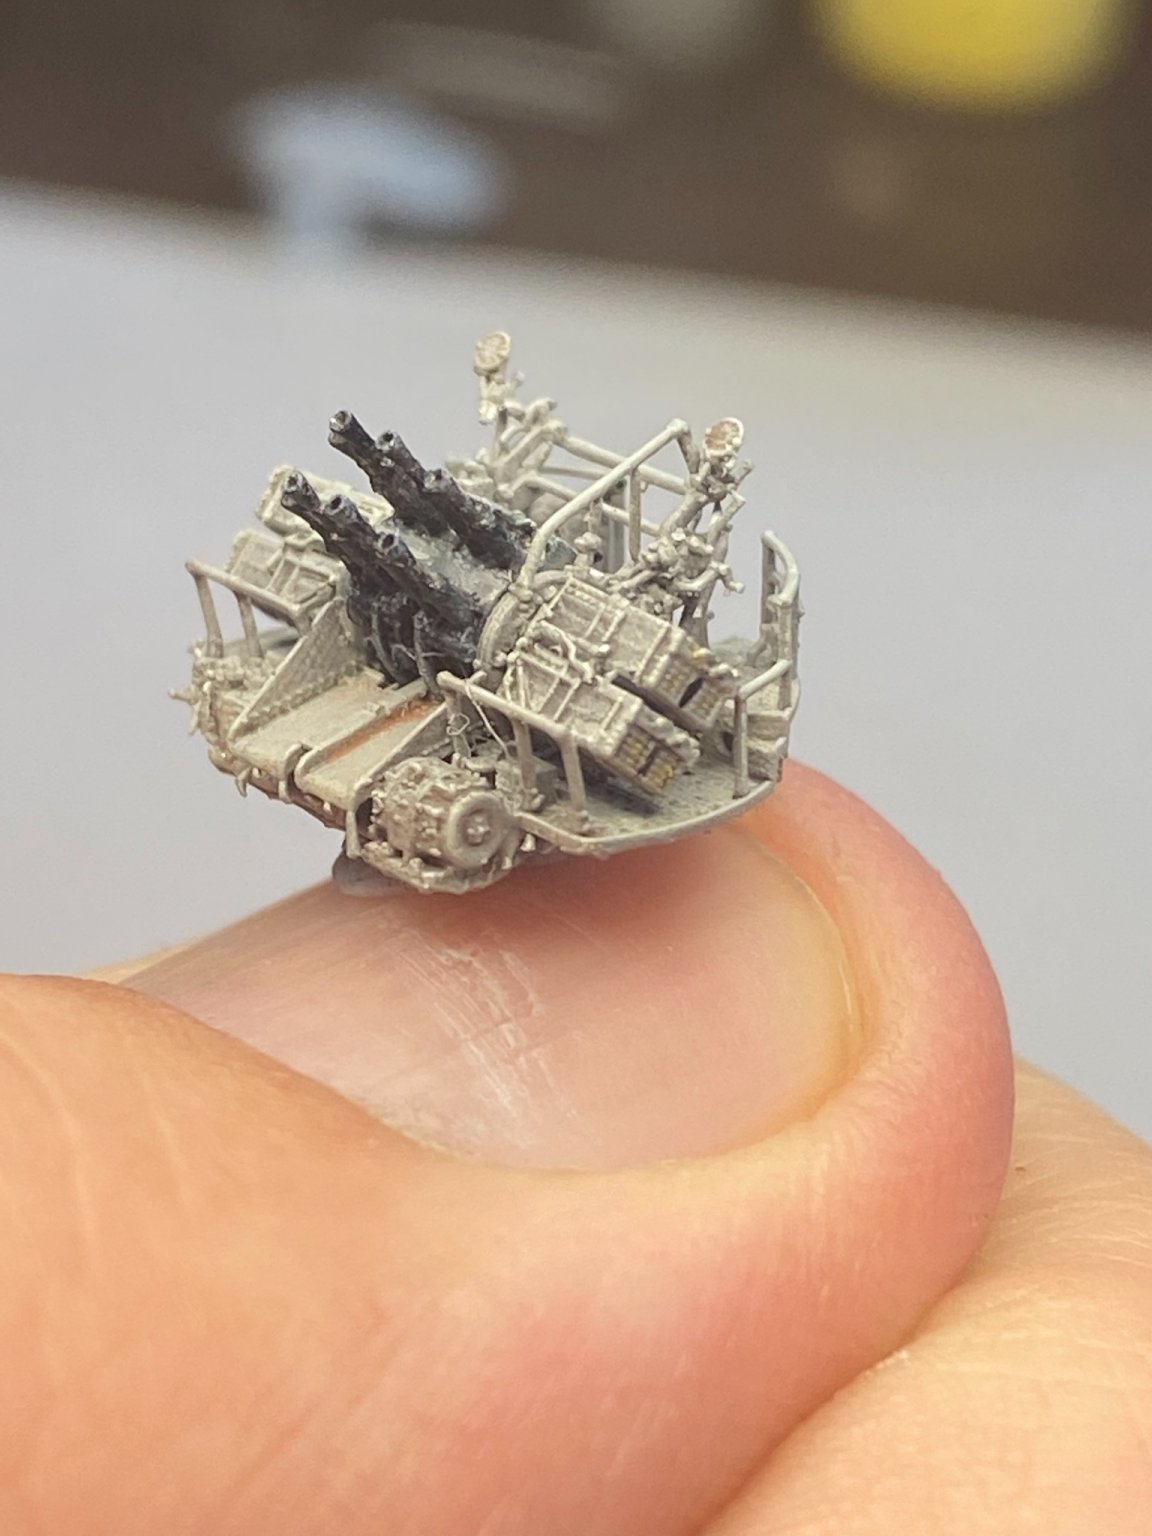
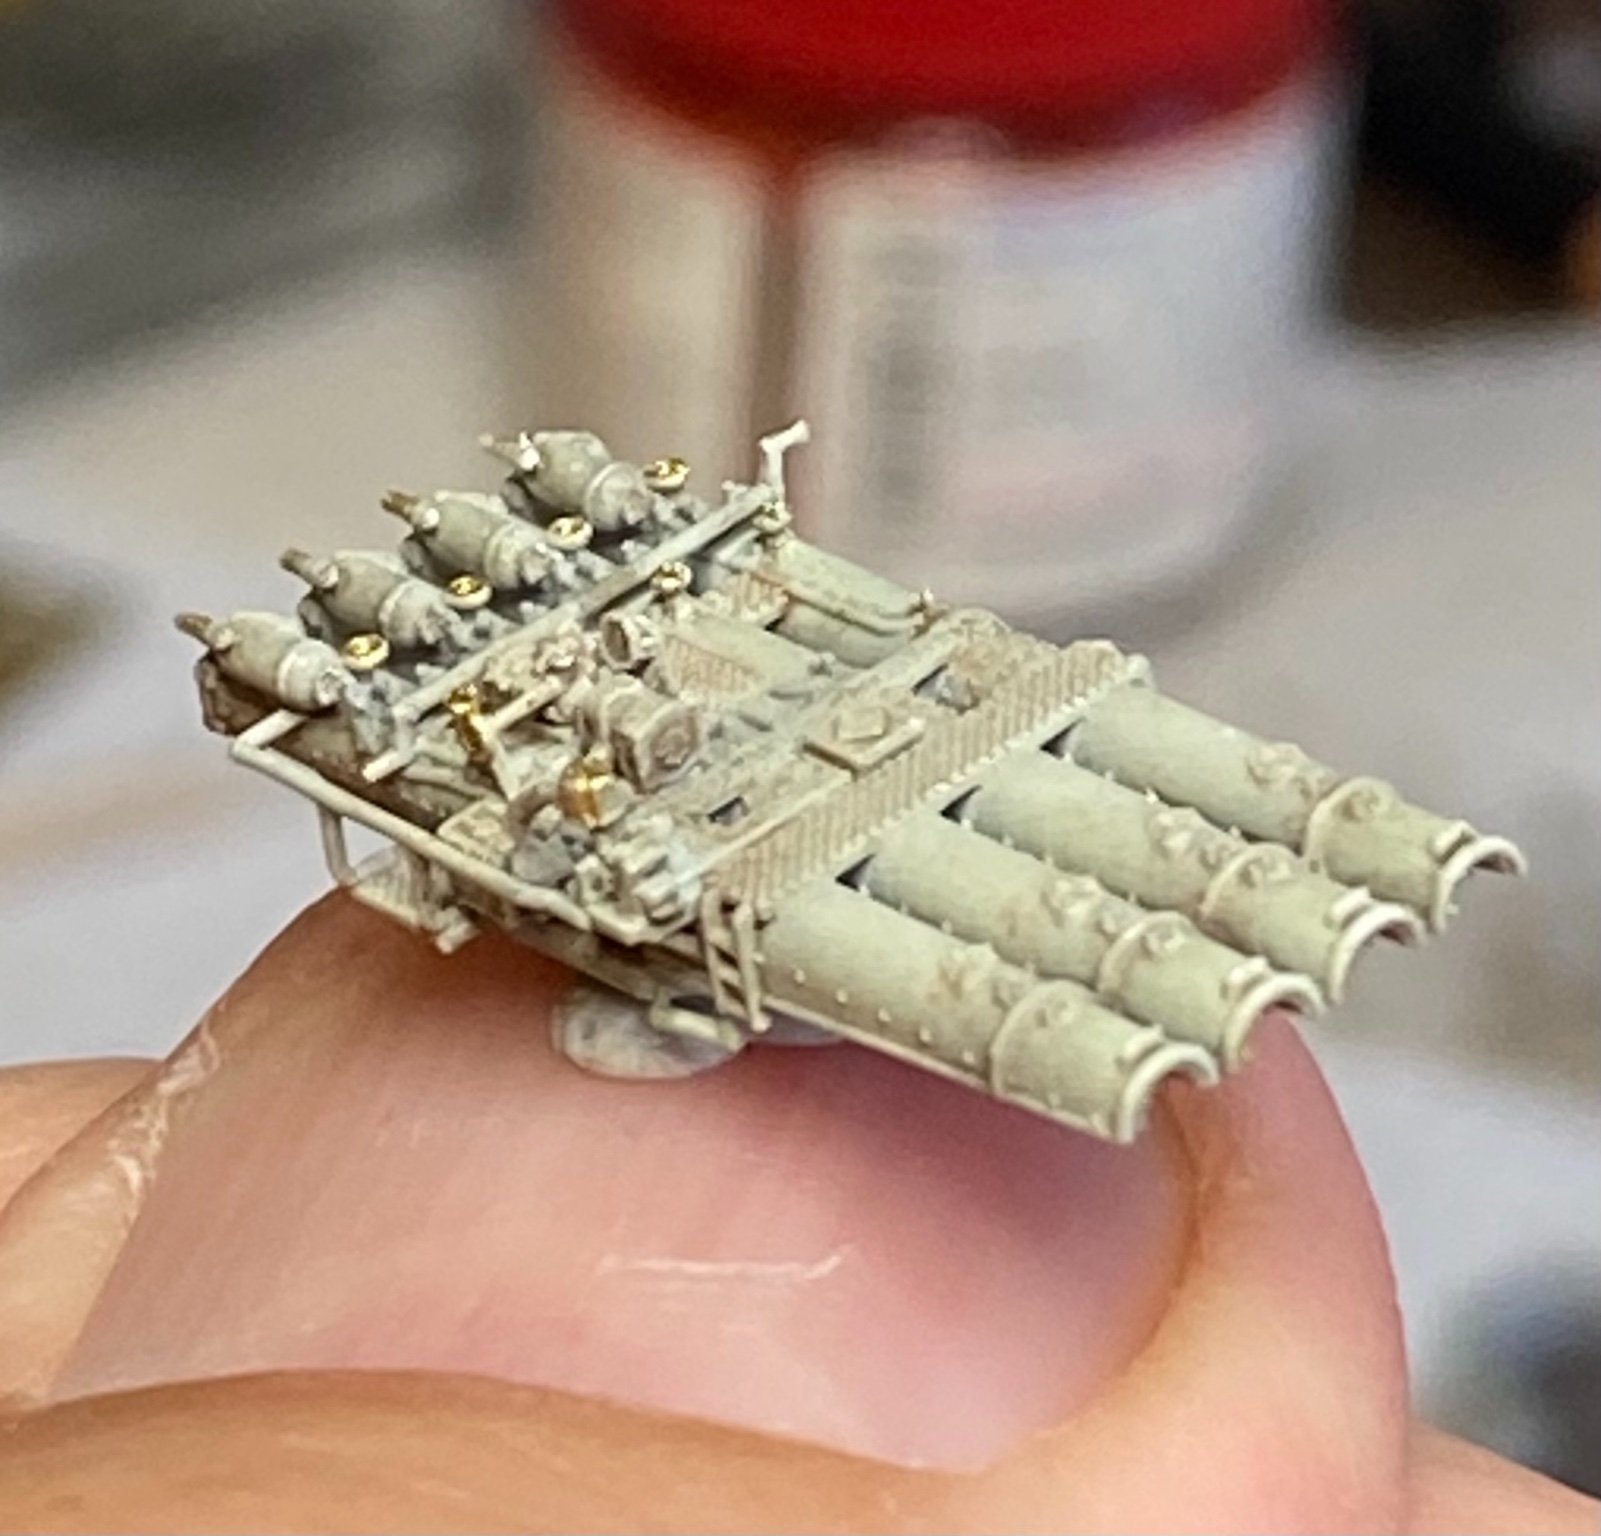
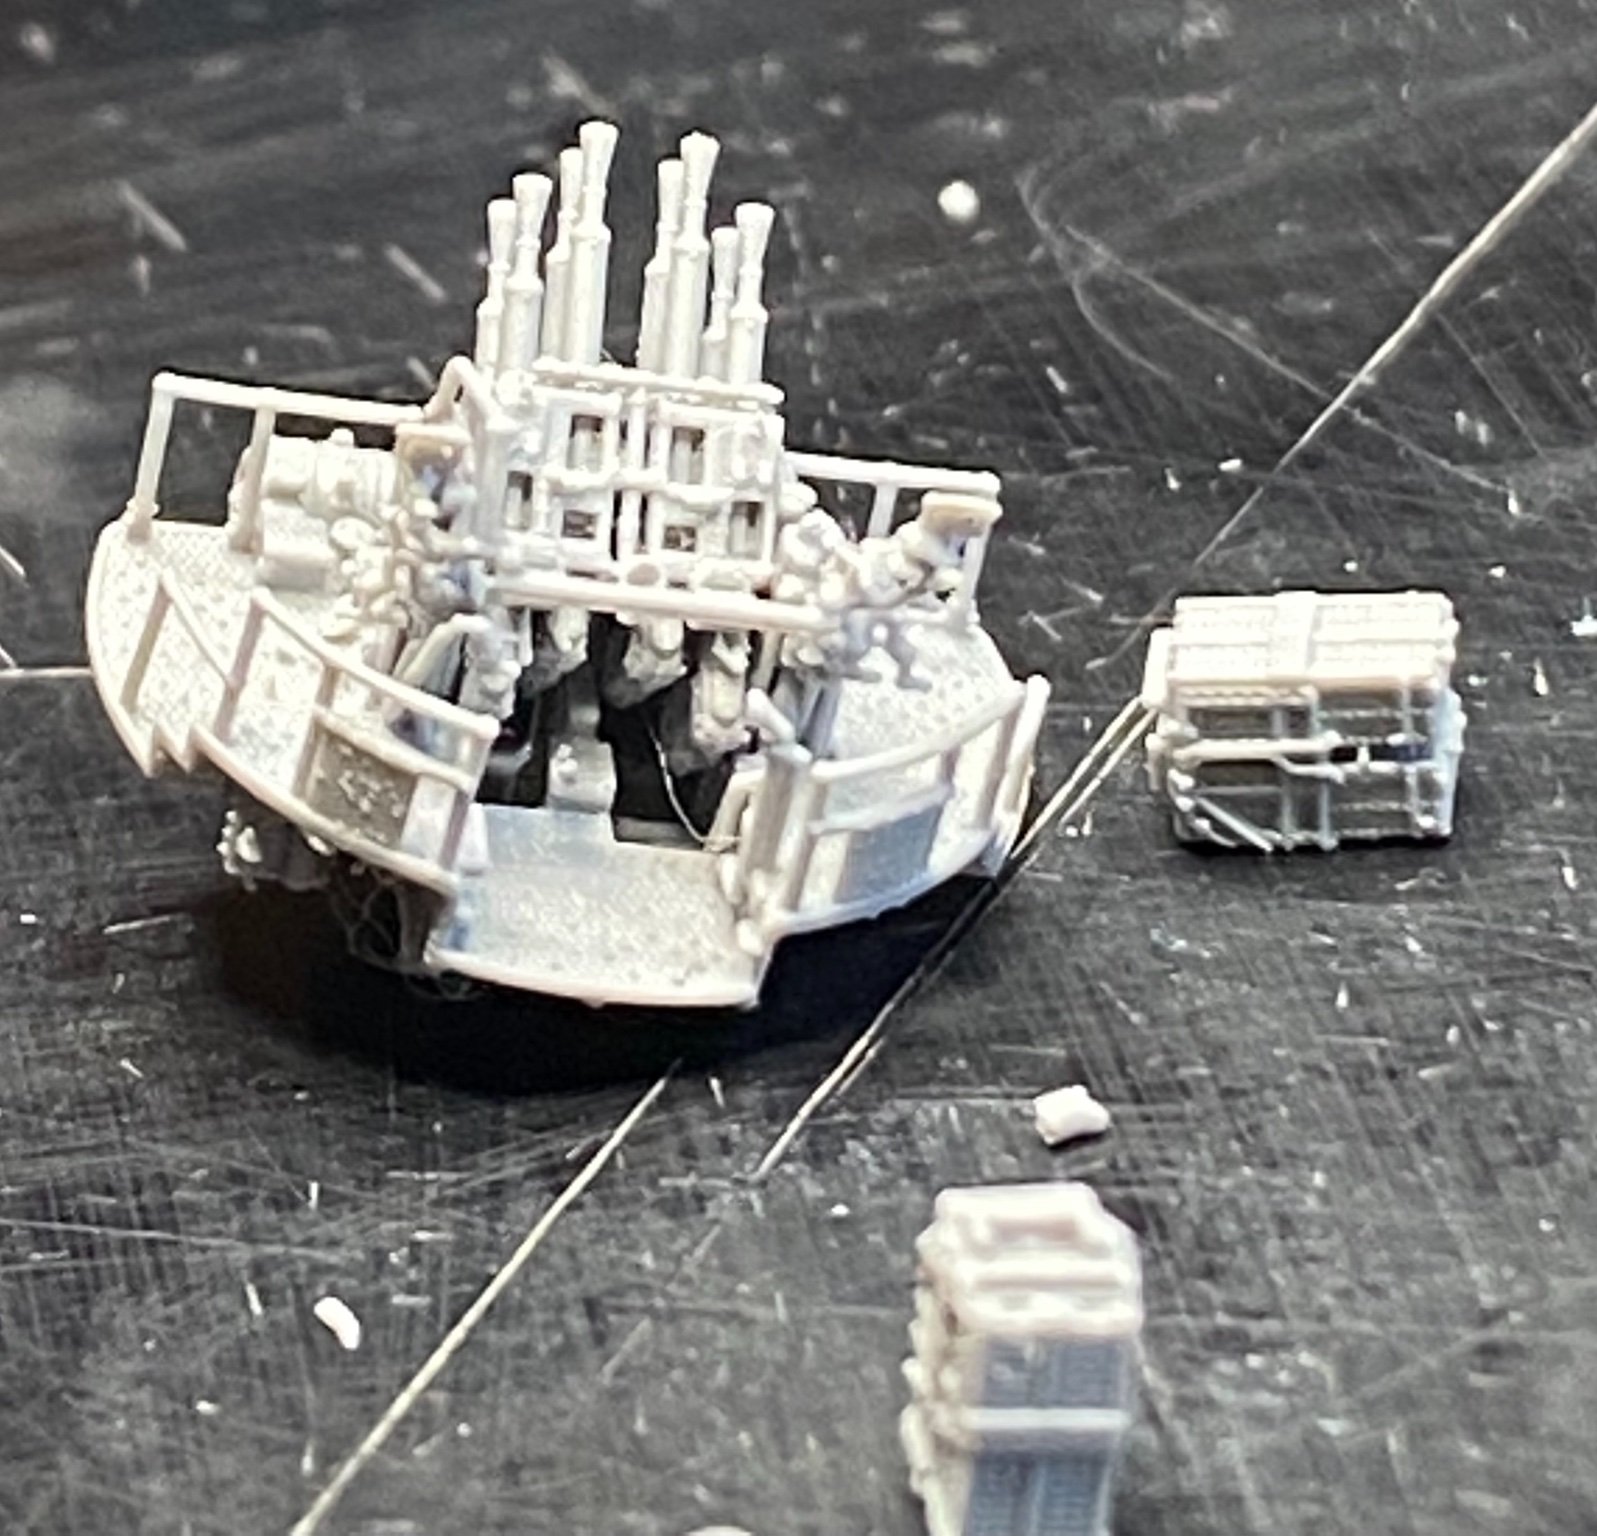
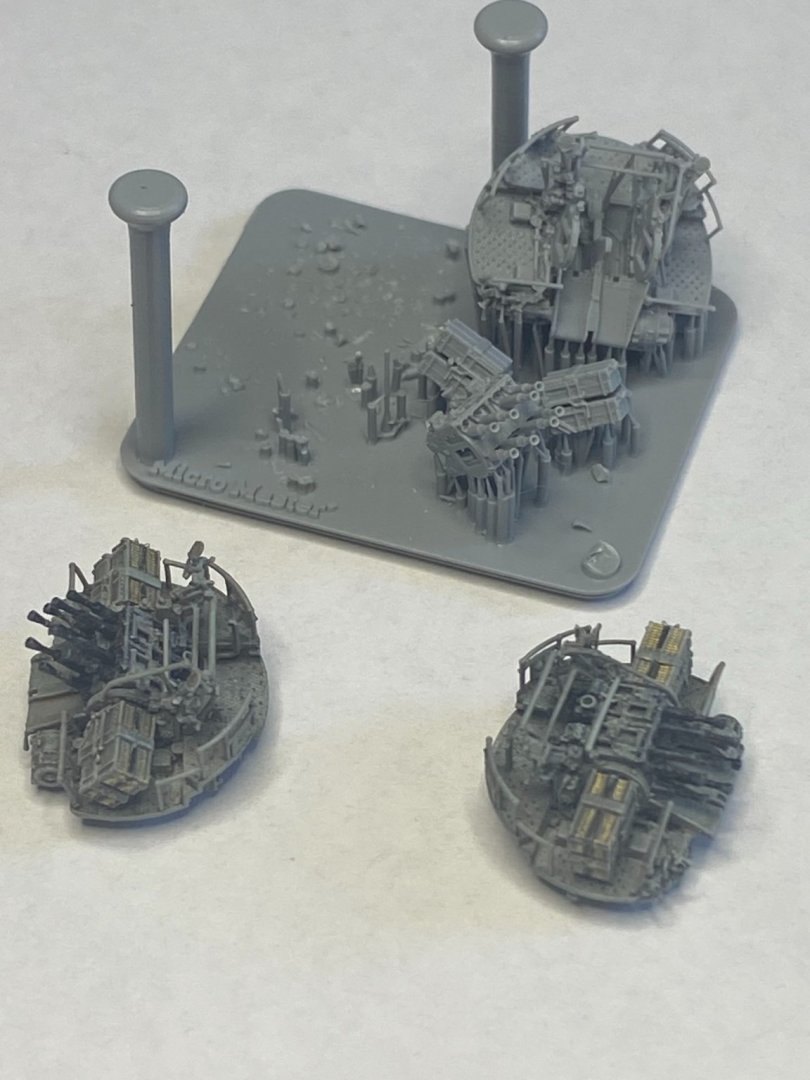
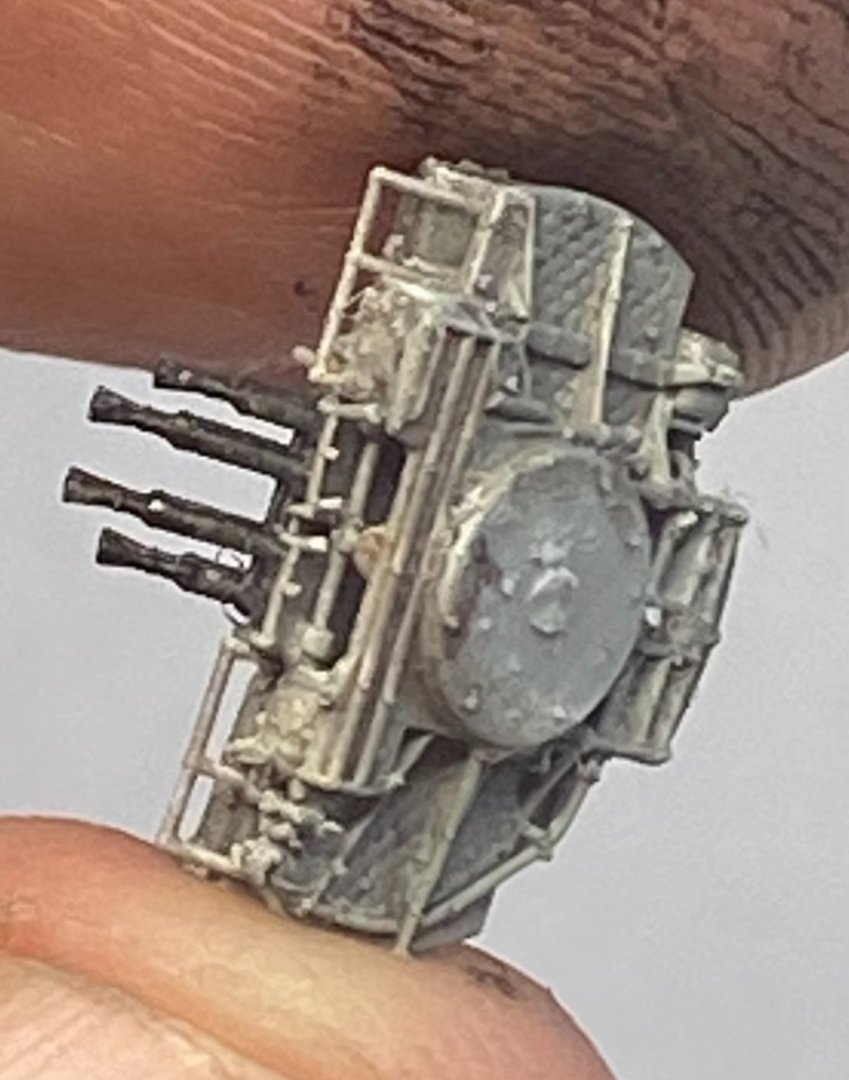
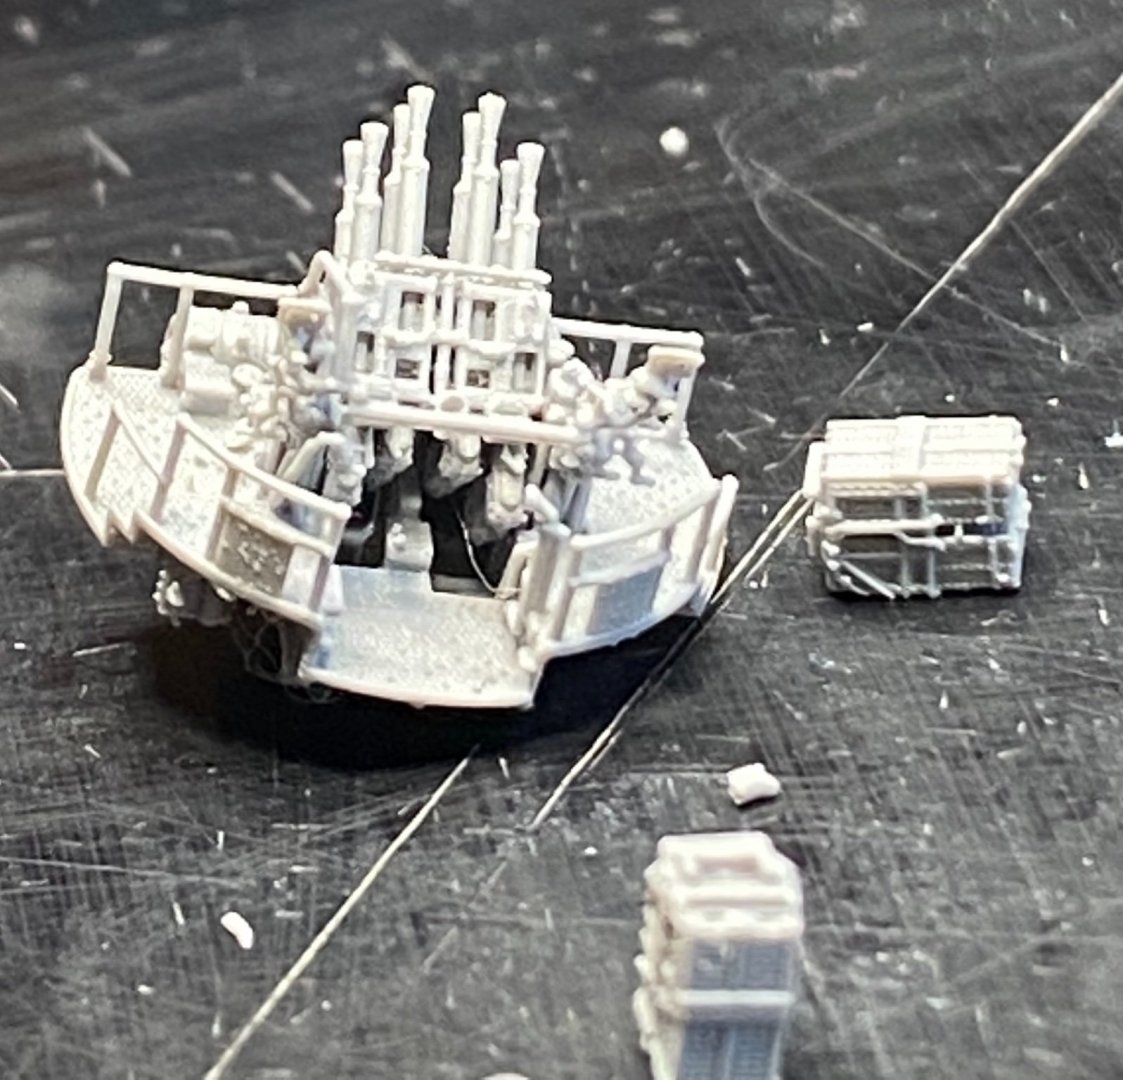
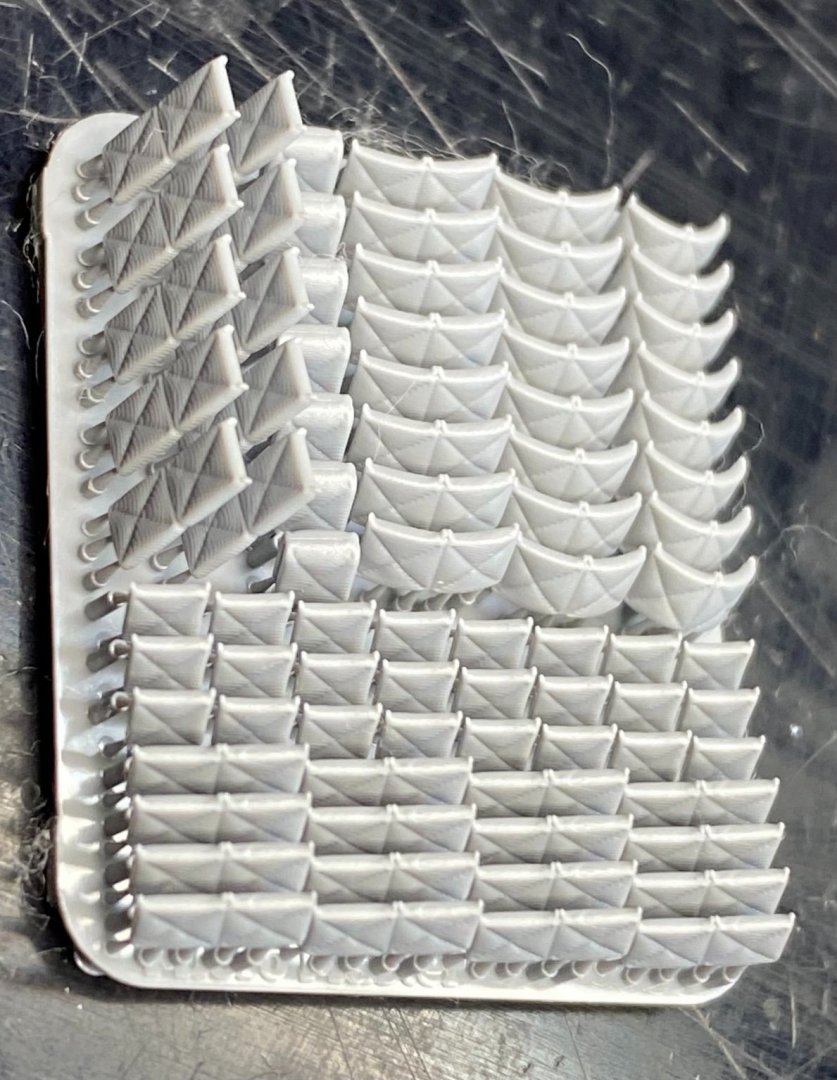
I’m painting up some 1/350 Pom Poms at the moment, the level of detail is offensive! I’m sure he’ll scale them down .
- 174 replies
-
- 6
-
-
-
- prinz eugen
- trumpeter
- (and 2 more)
-
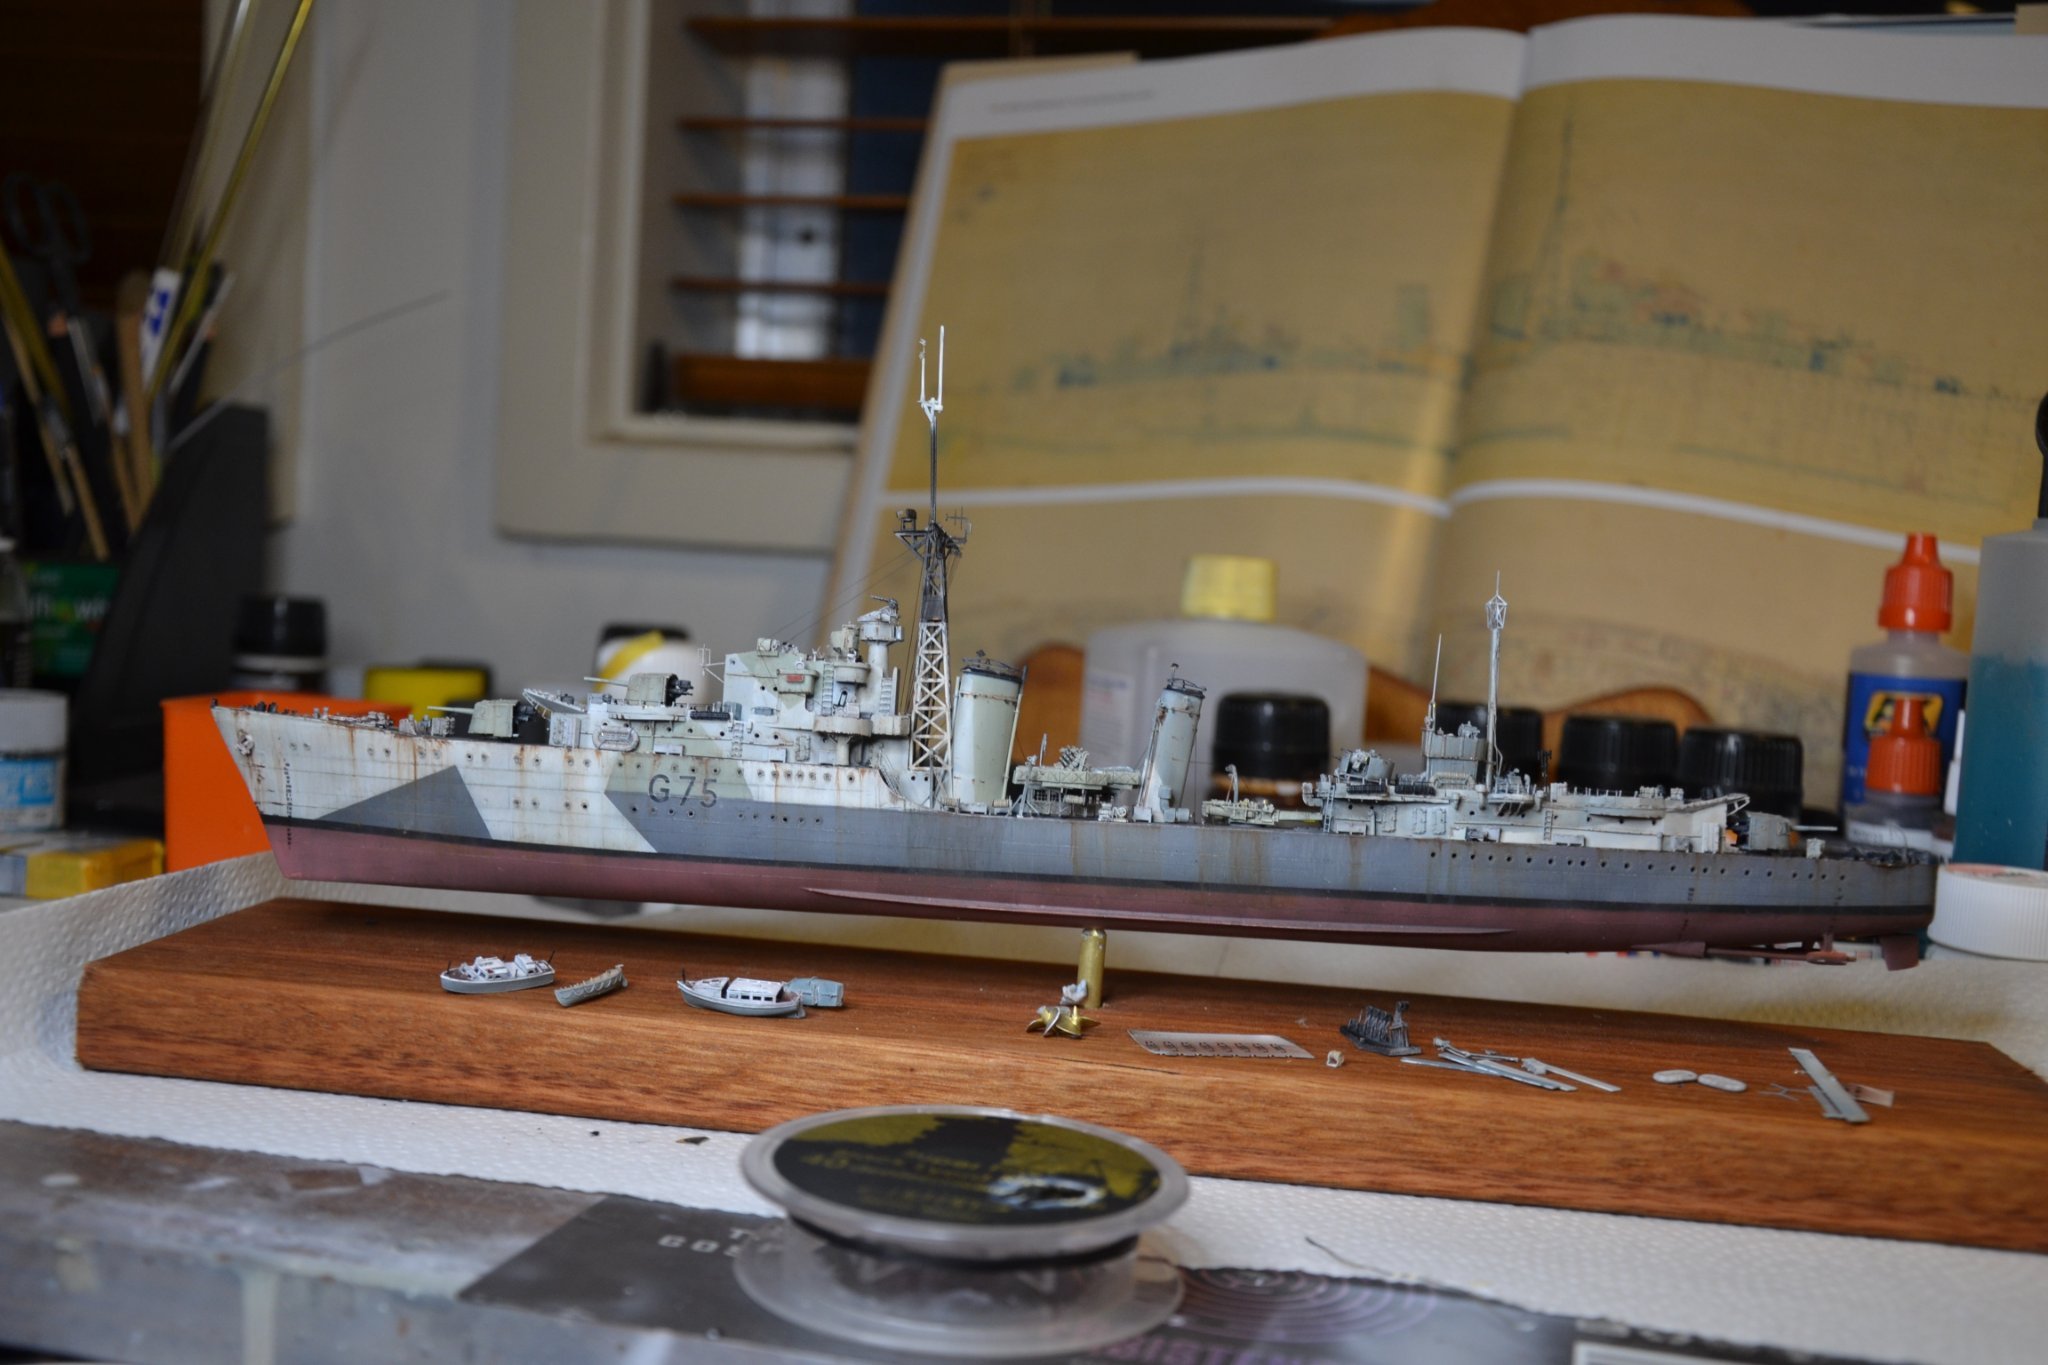
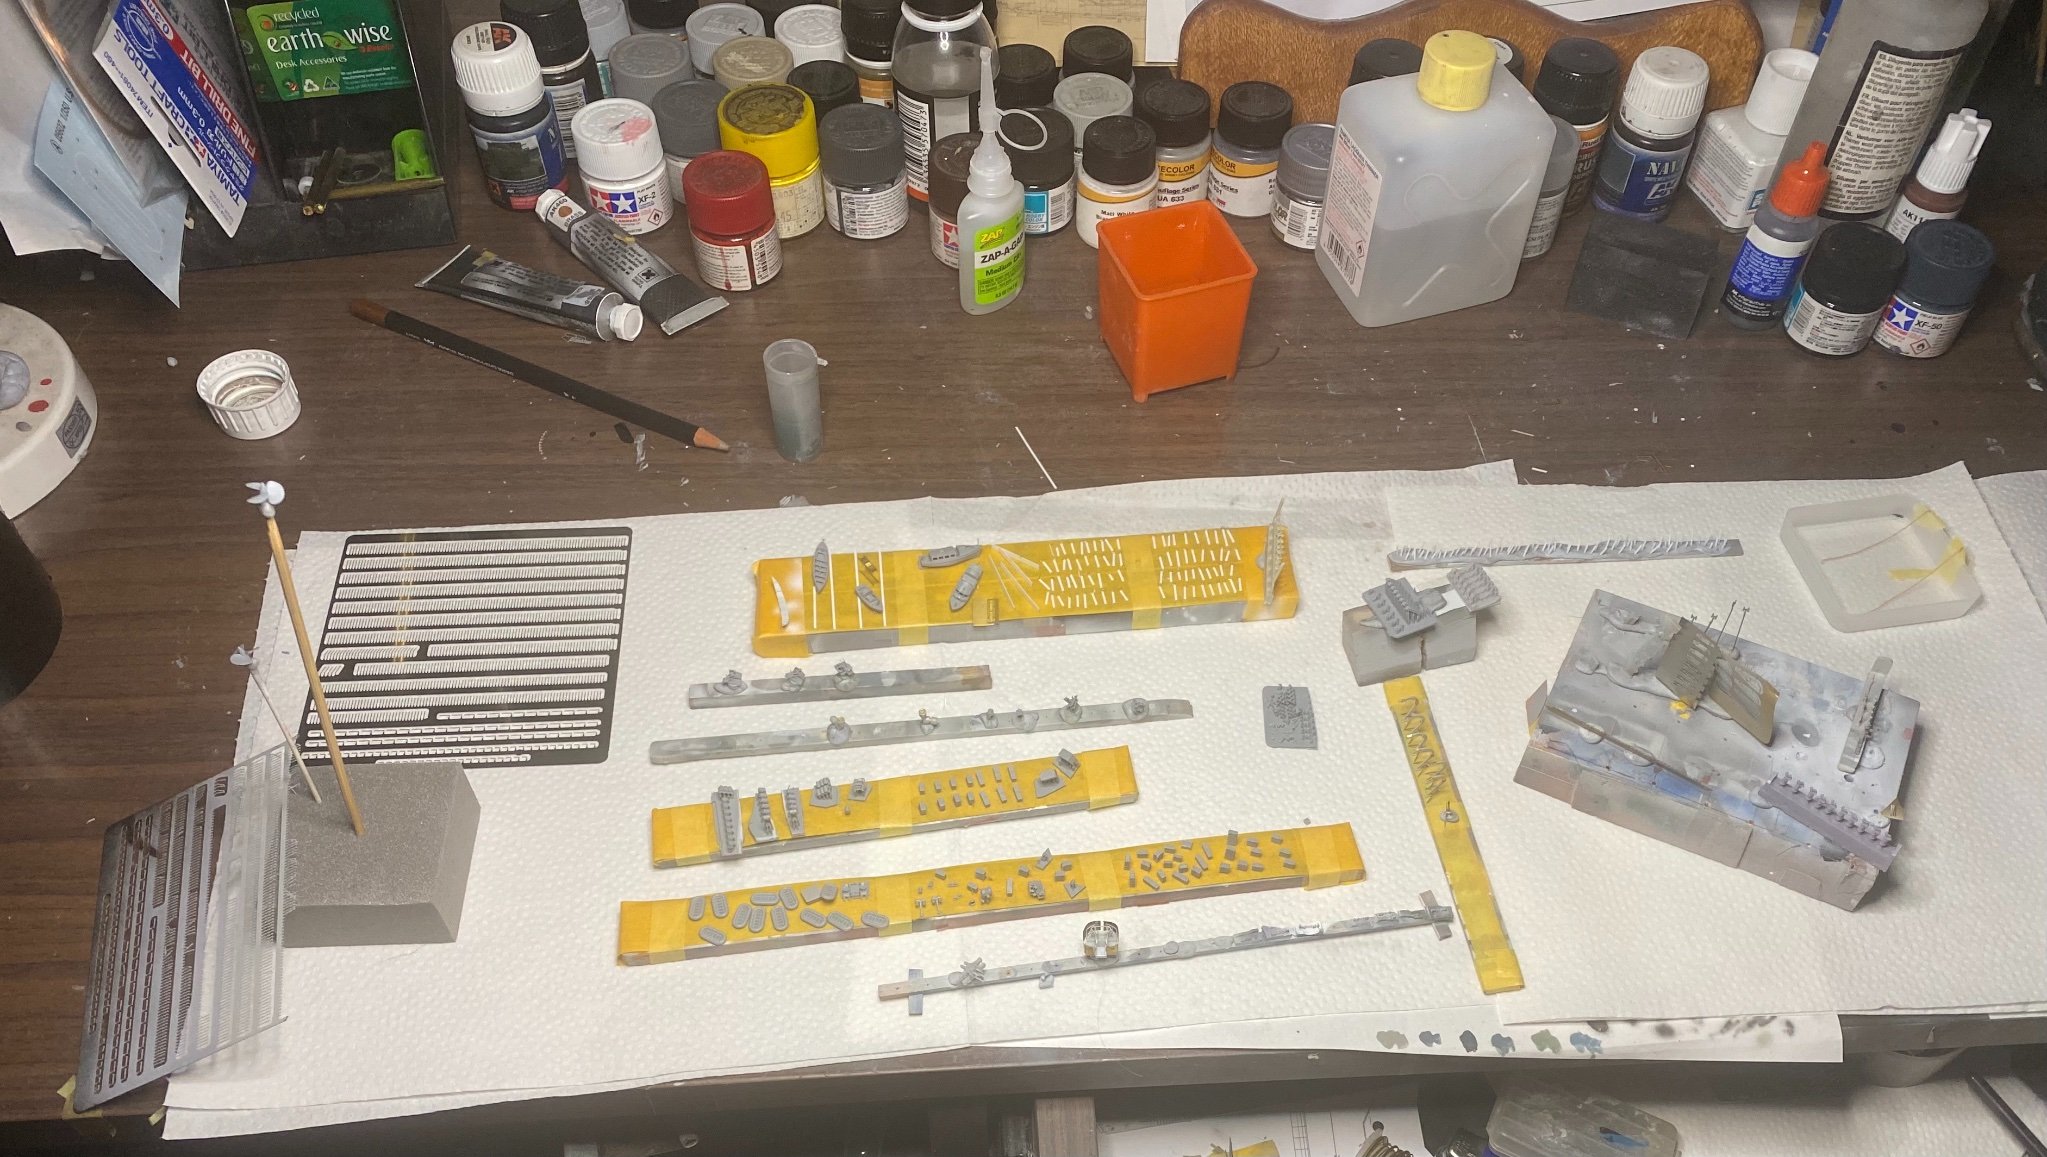
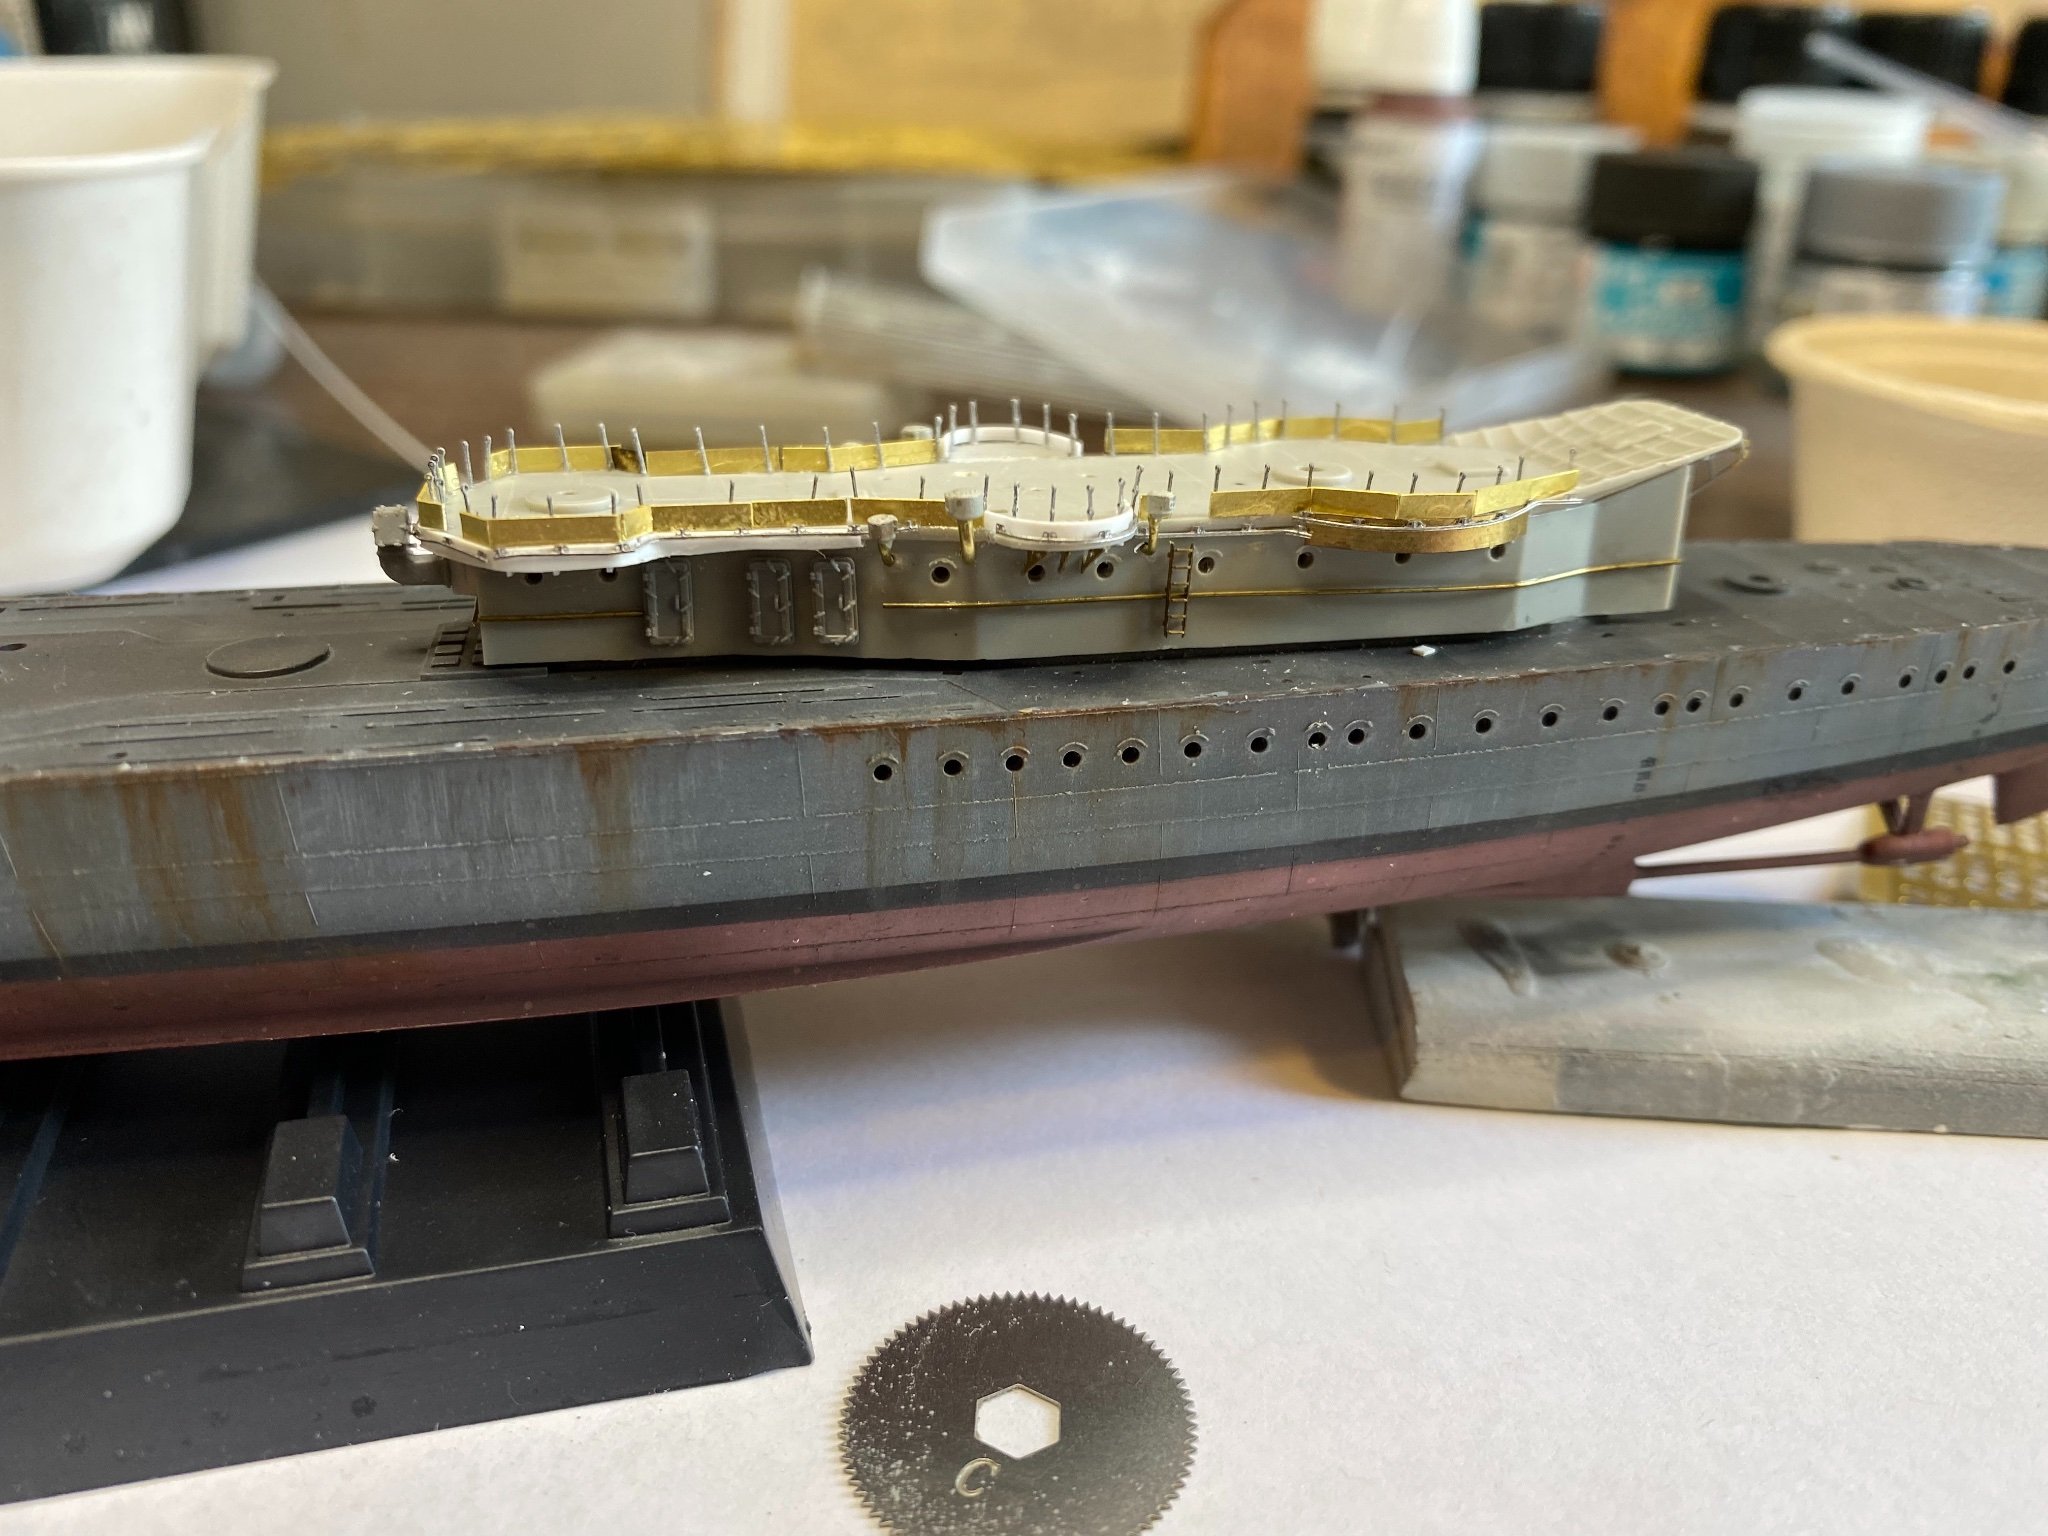
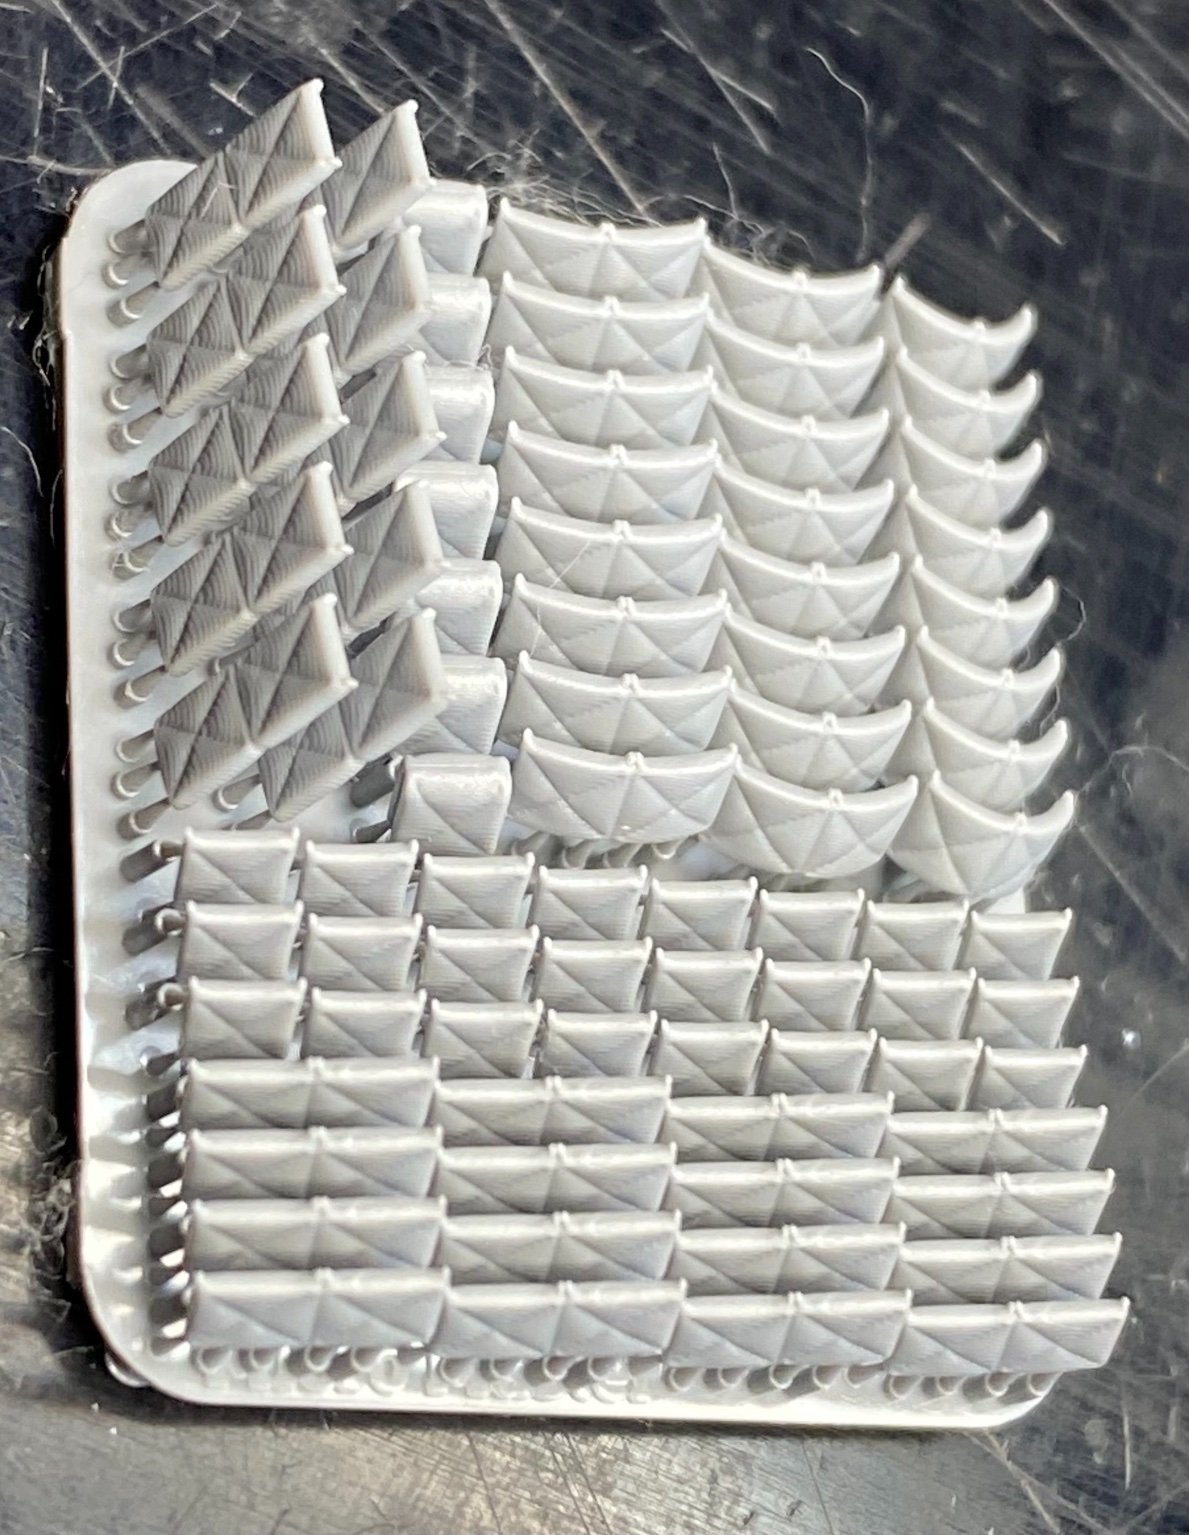
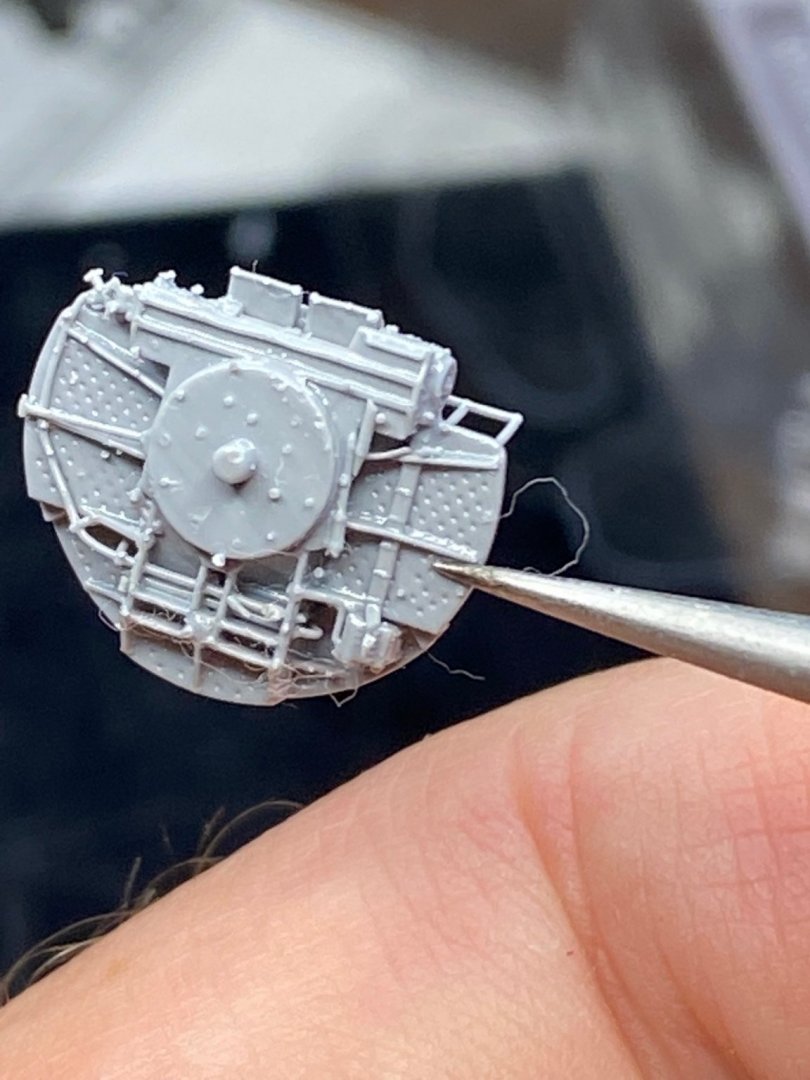
I’m now back on this build, having received some splinter mattresses from Micromaster

- 255 replies
-
- 13
-
-
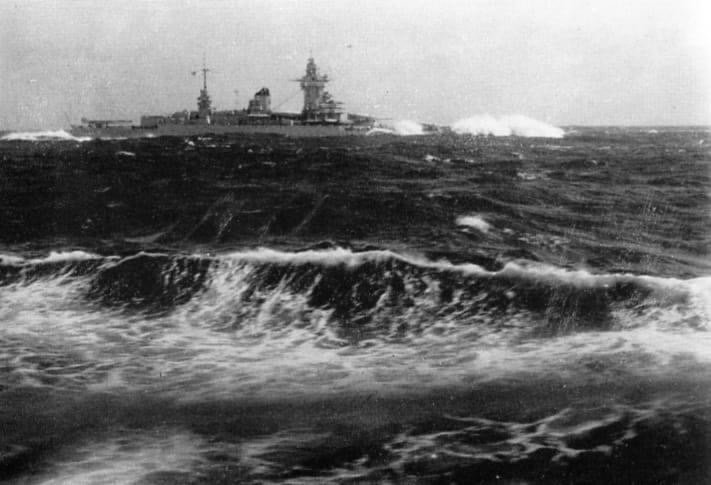
A bit over a year later, finally an action shot of Strasbourg
- 136 replies
-
- 5
-
-
- strasbourg
- finished
- (and 2 more)
-
Yes, I have 2 tribals to finish then a couple of Vendetta’s in 1944 and 1945 and a big project for the end of the year
-
Unfortunately it was pointed out to me it had t even made its maiden flight before Langley was sunk ! Somewhat of an accuracy issue!