mtbediz
-
Posts
1,291 -
Joined
-
Last visited
Content Type
Profiles
Forums
Gallery
Events
Everything posted by mtbediz
-

USS Constitution by mtbediz - 1:76
mtbediz replied to mtbediz's topic in - Build logs for subjects built 1751 - 1800
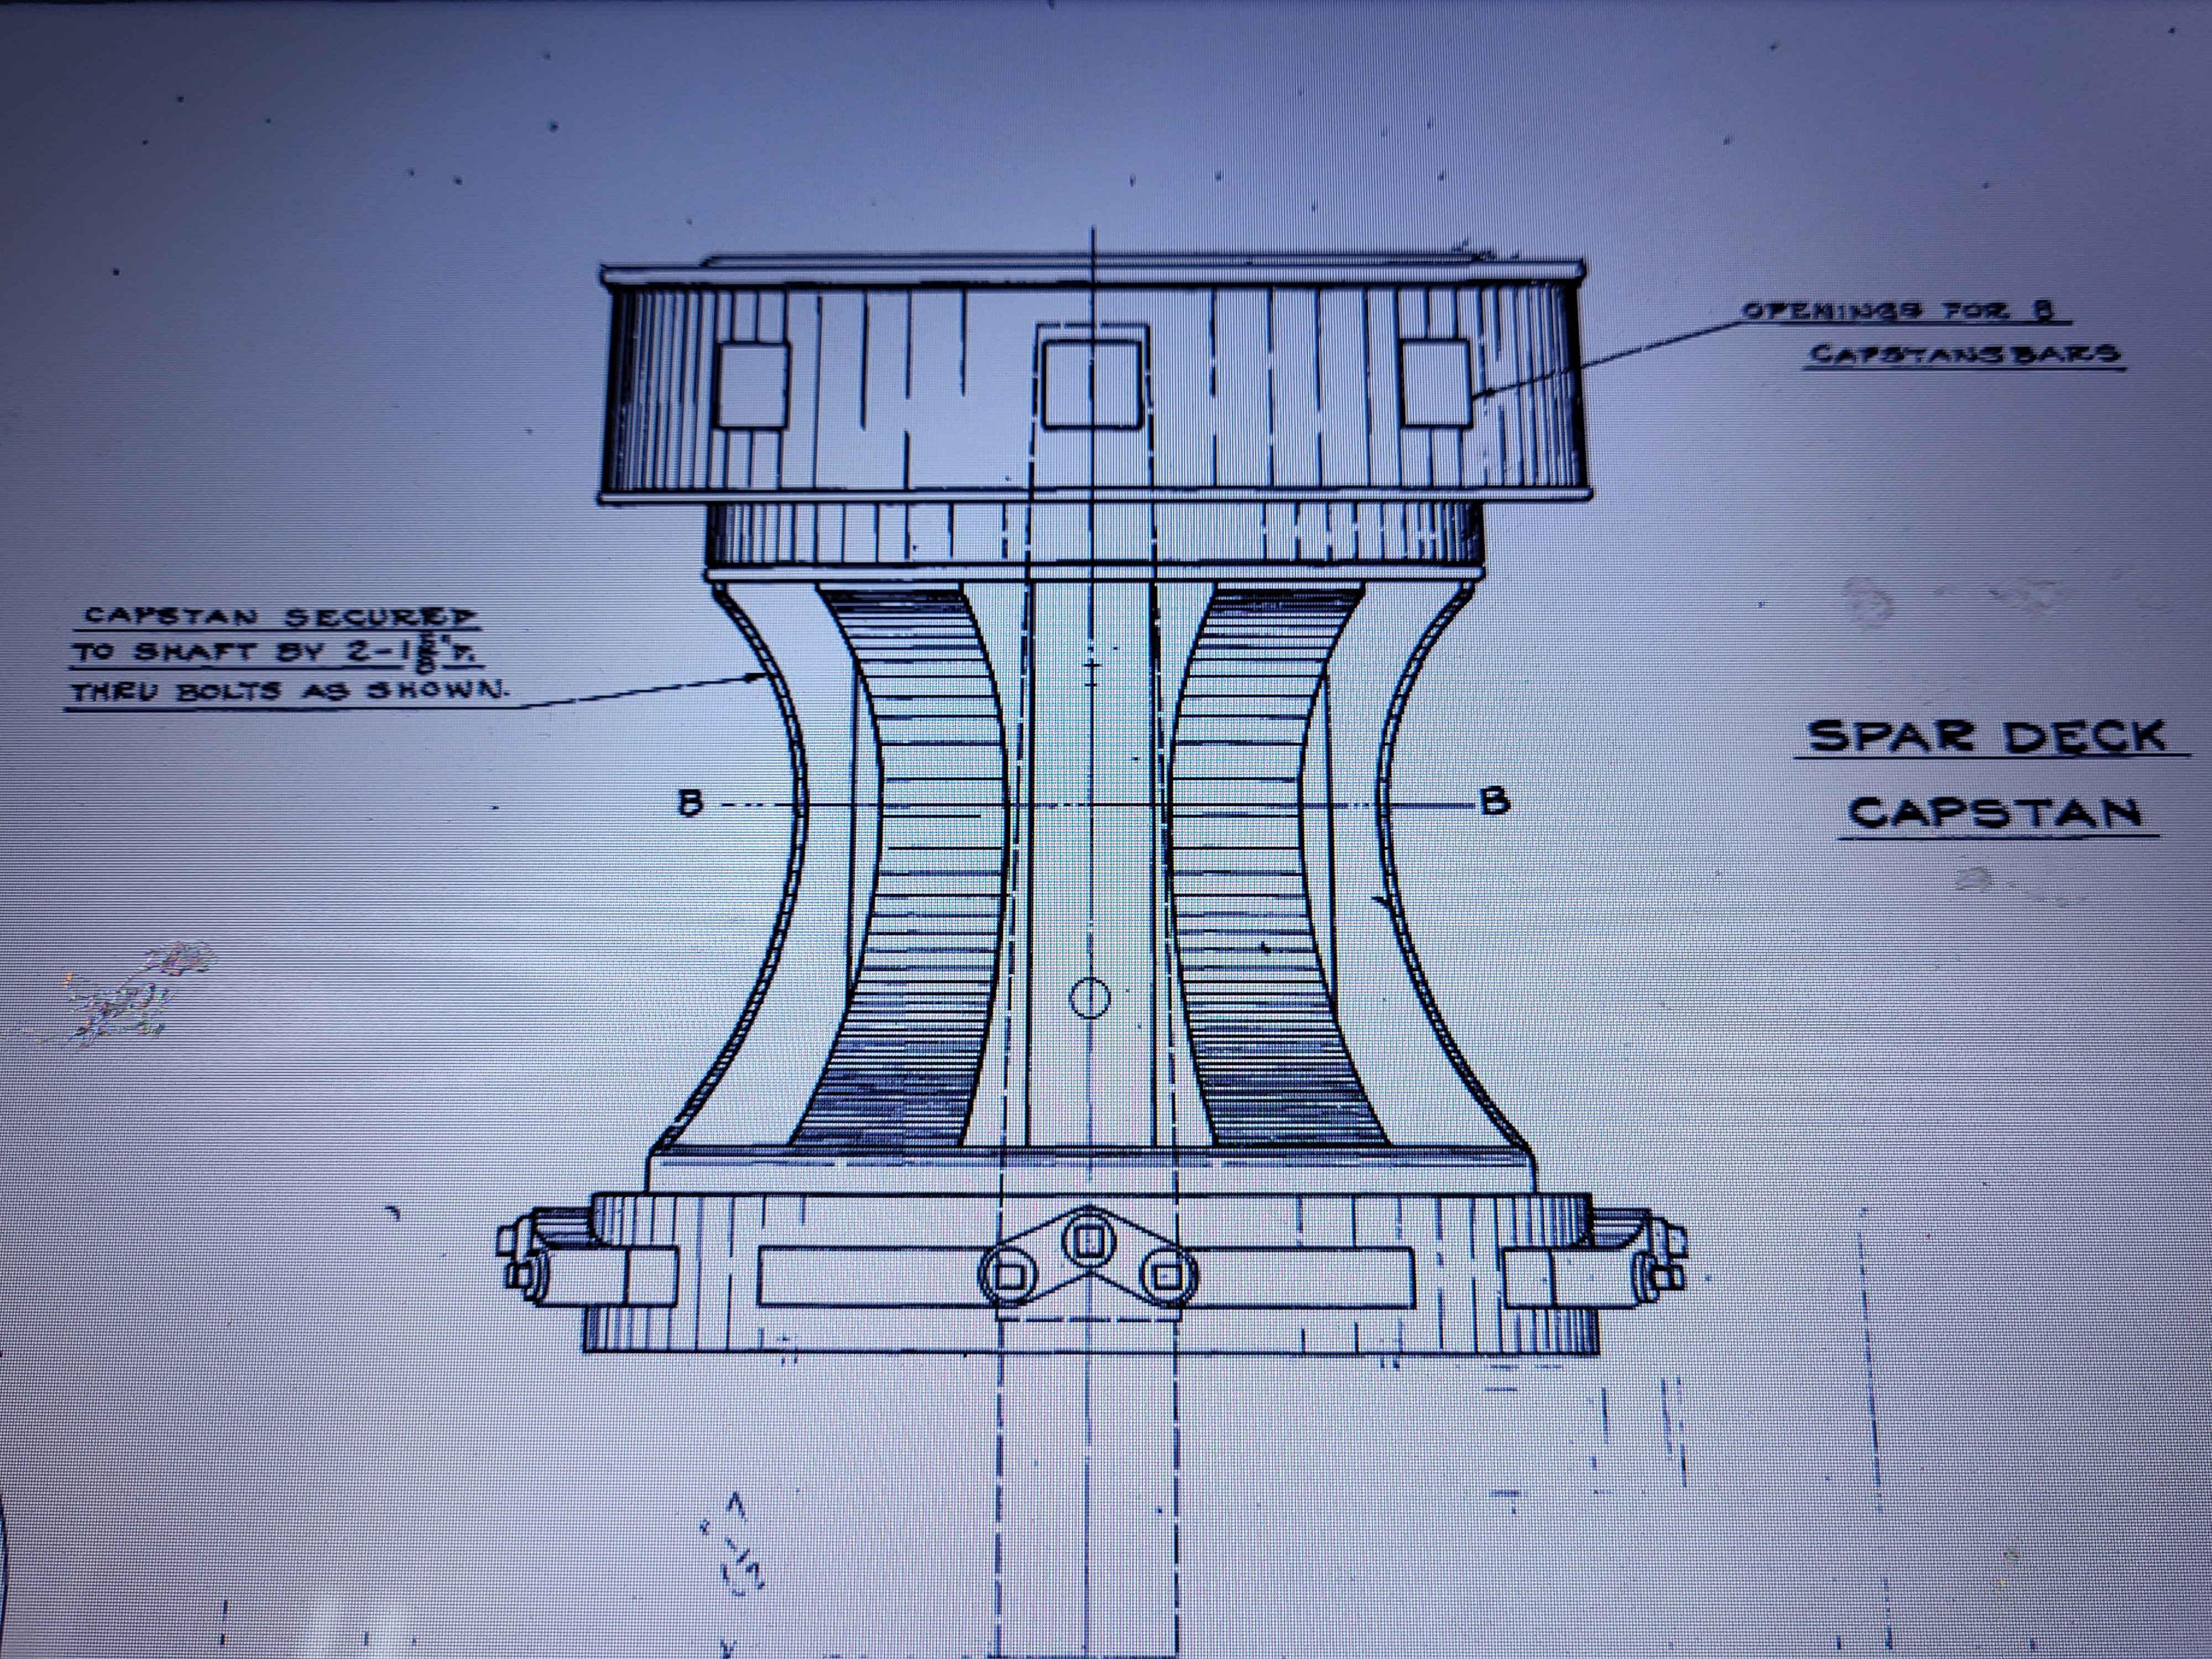
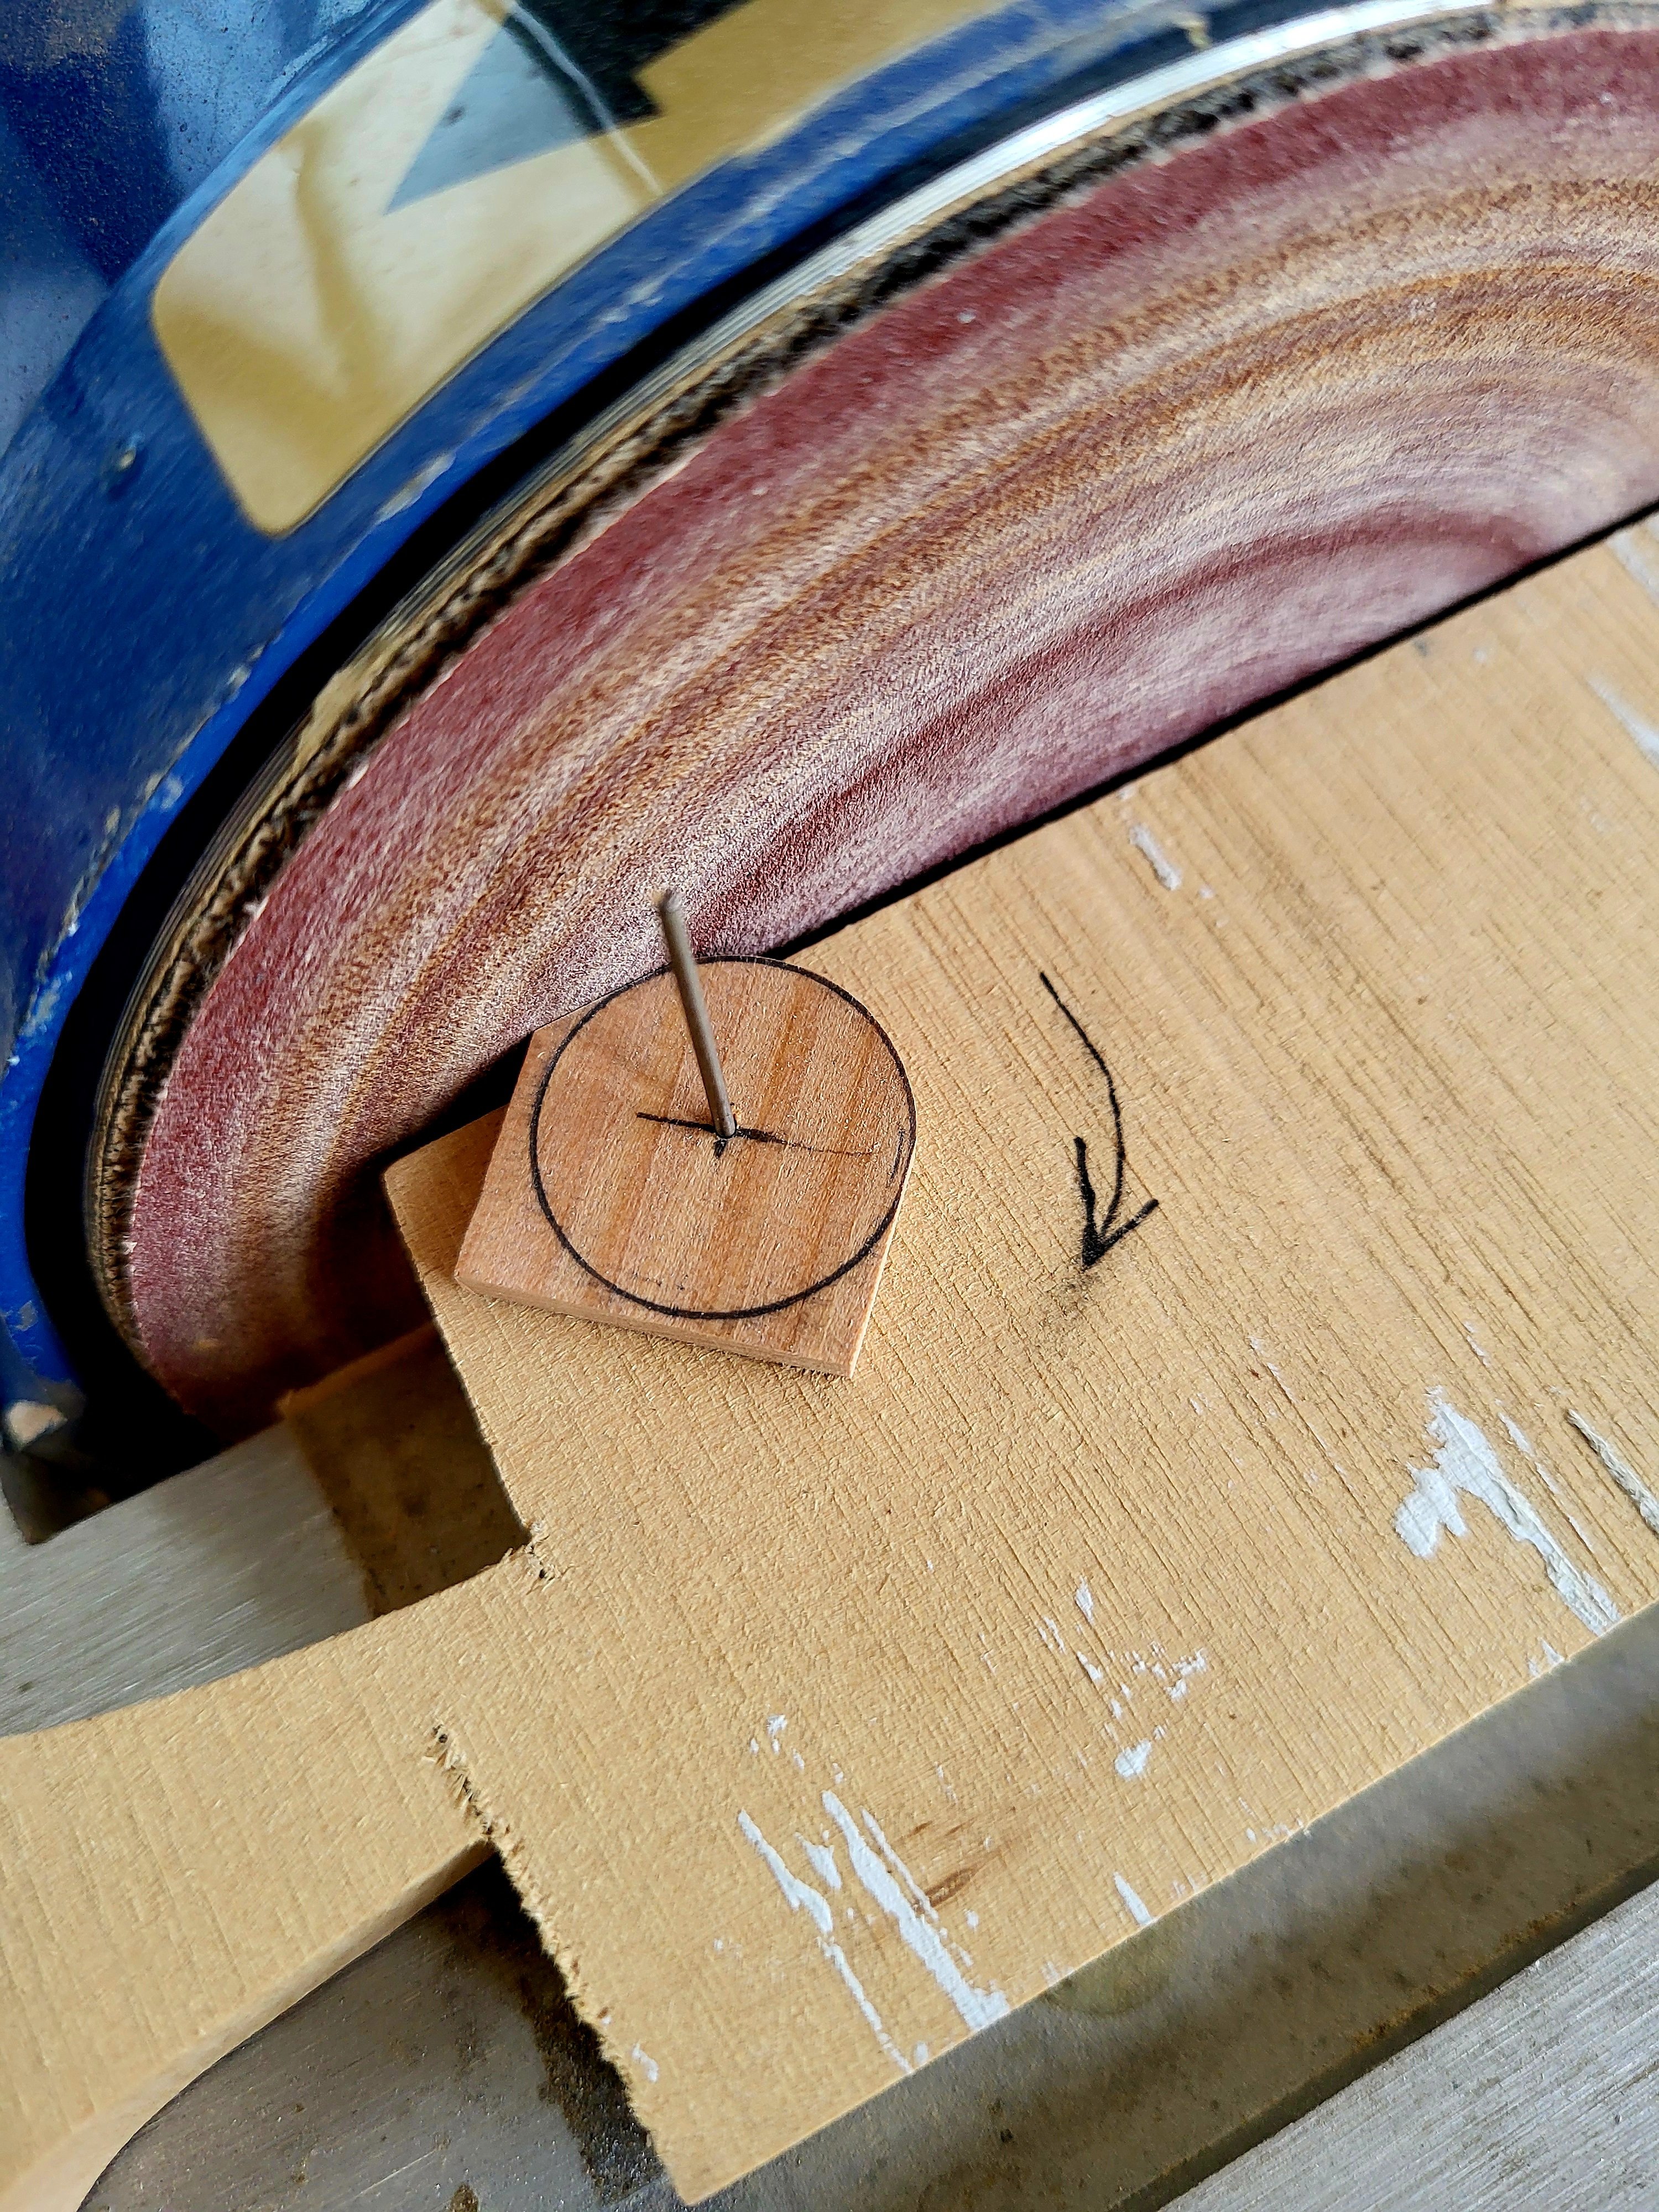
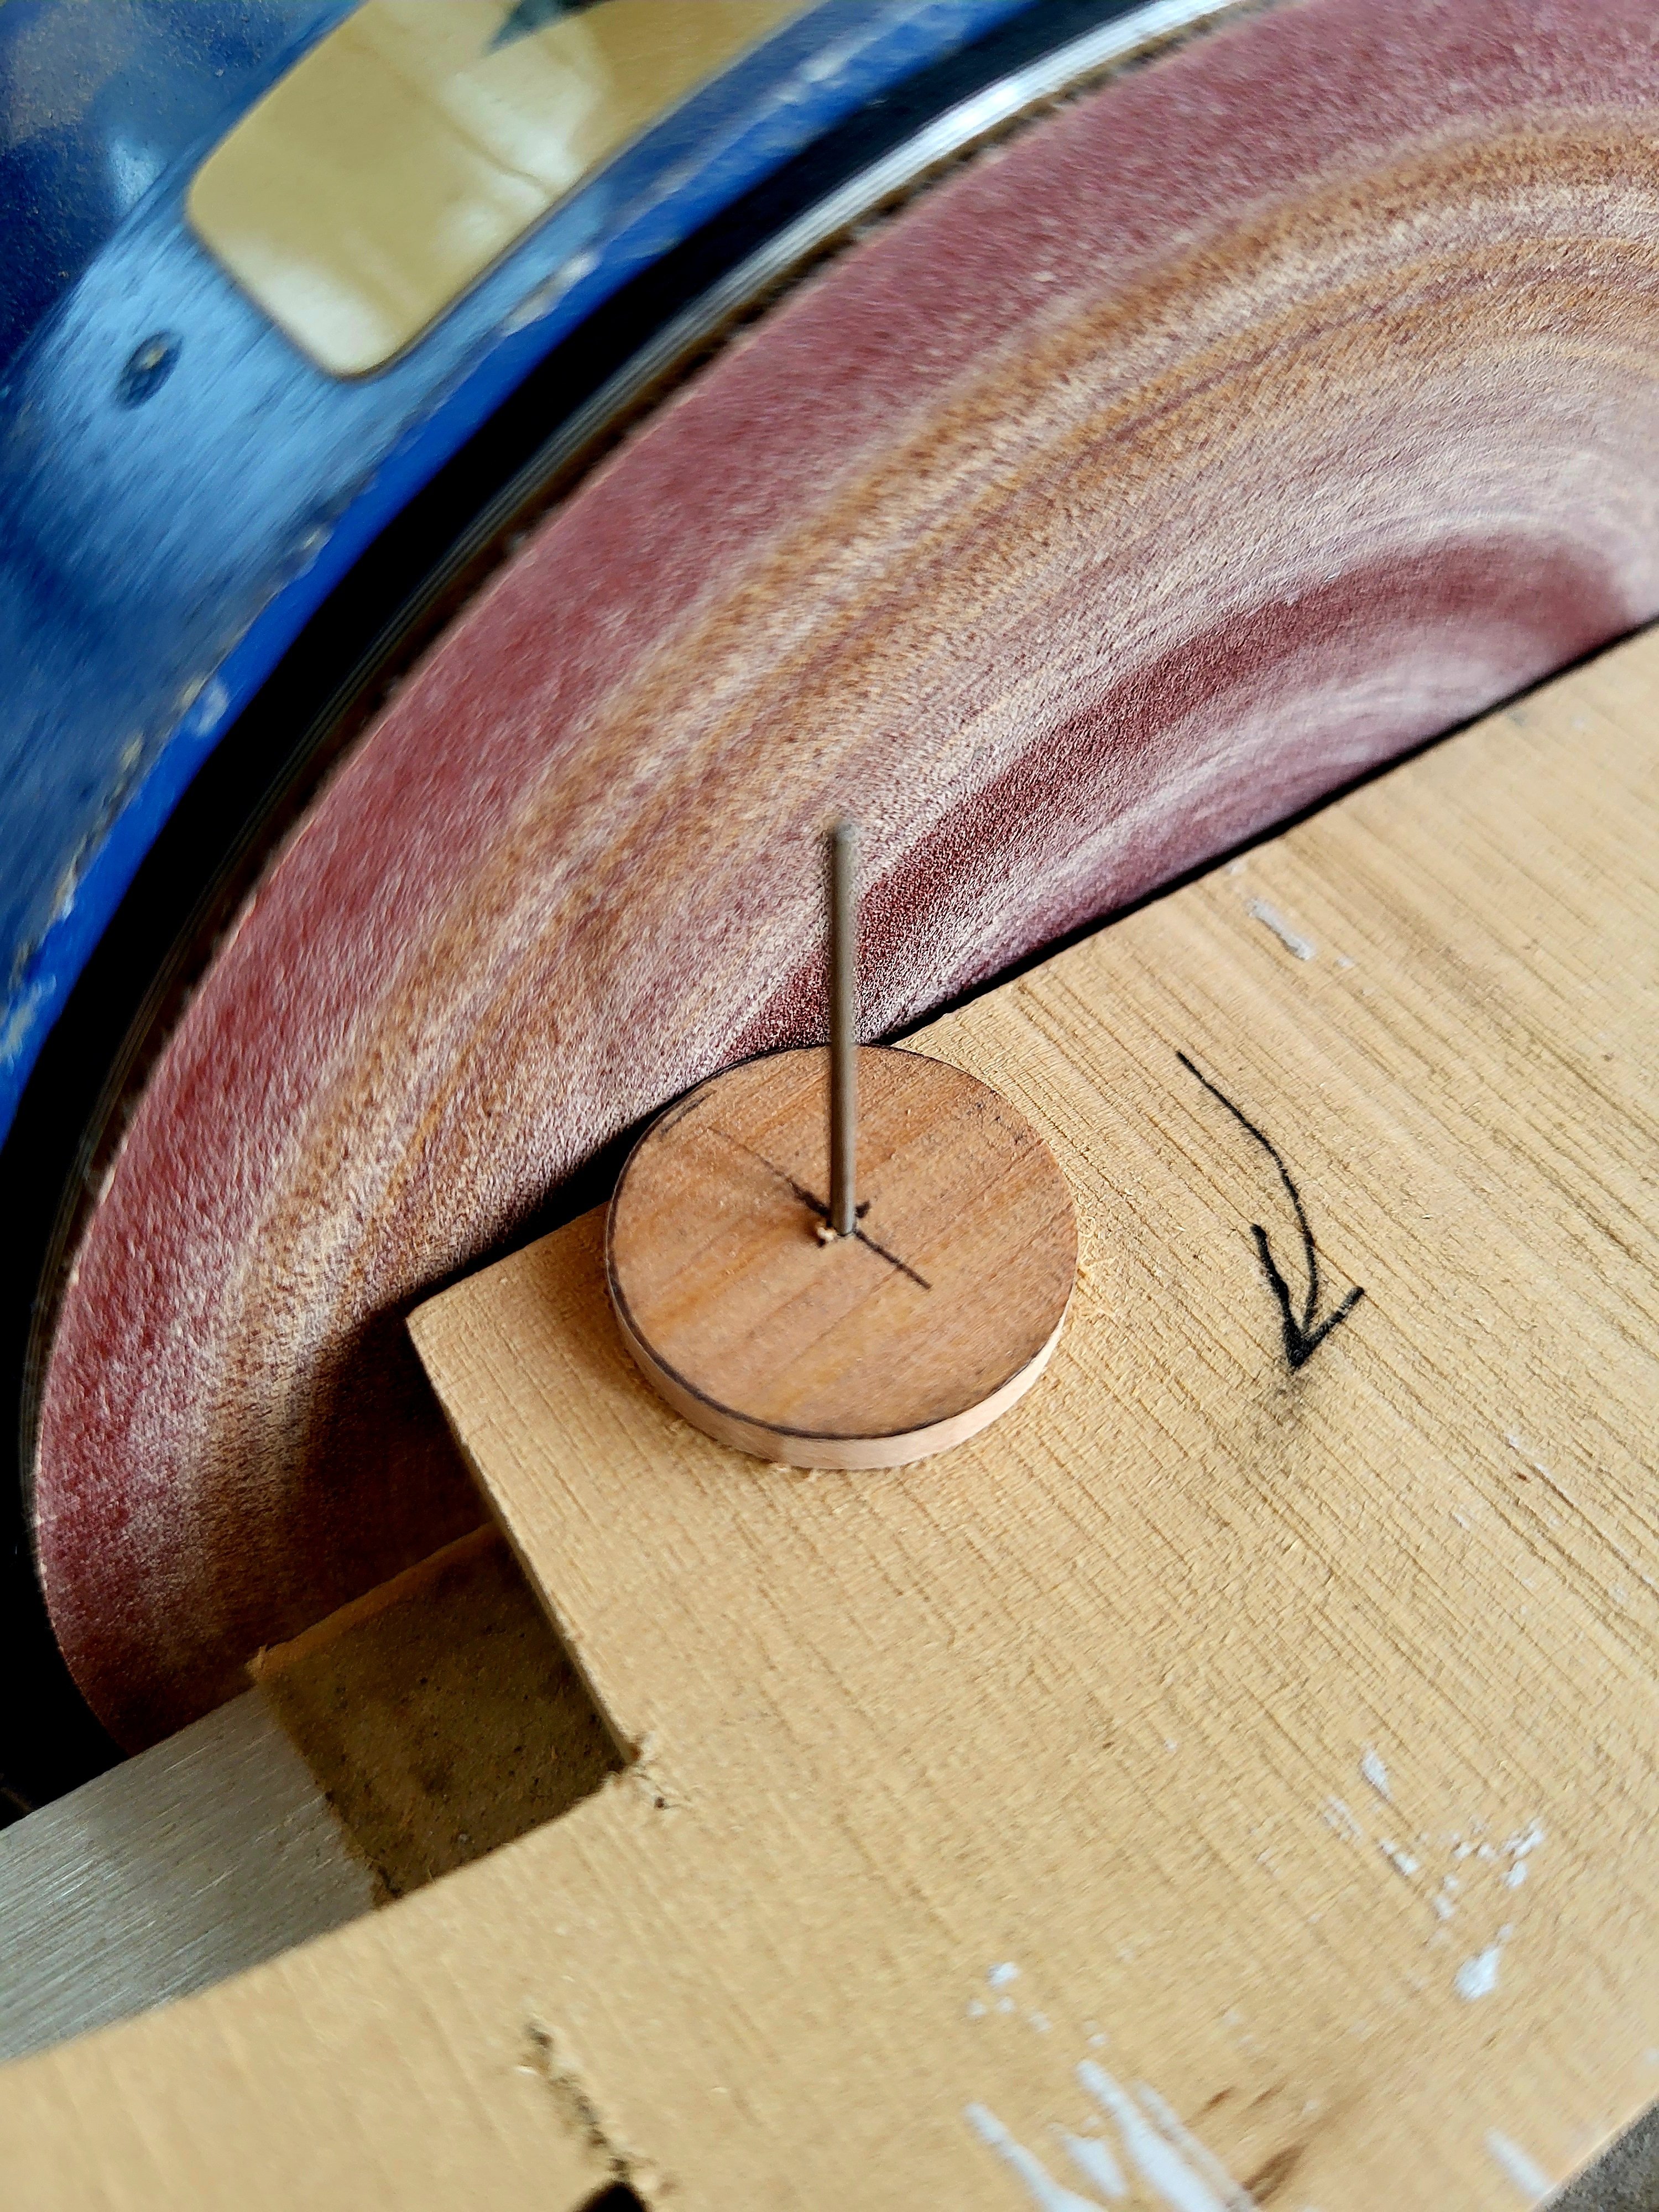
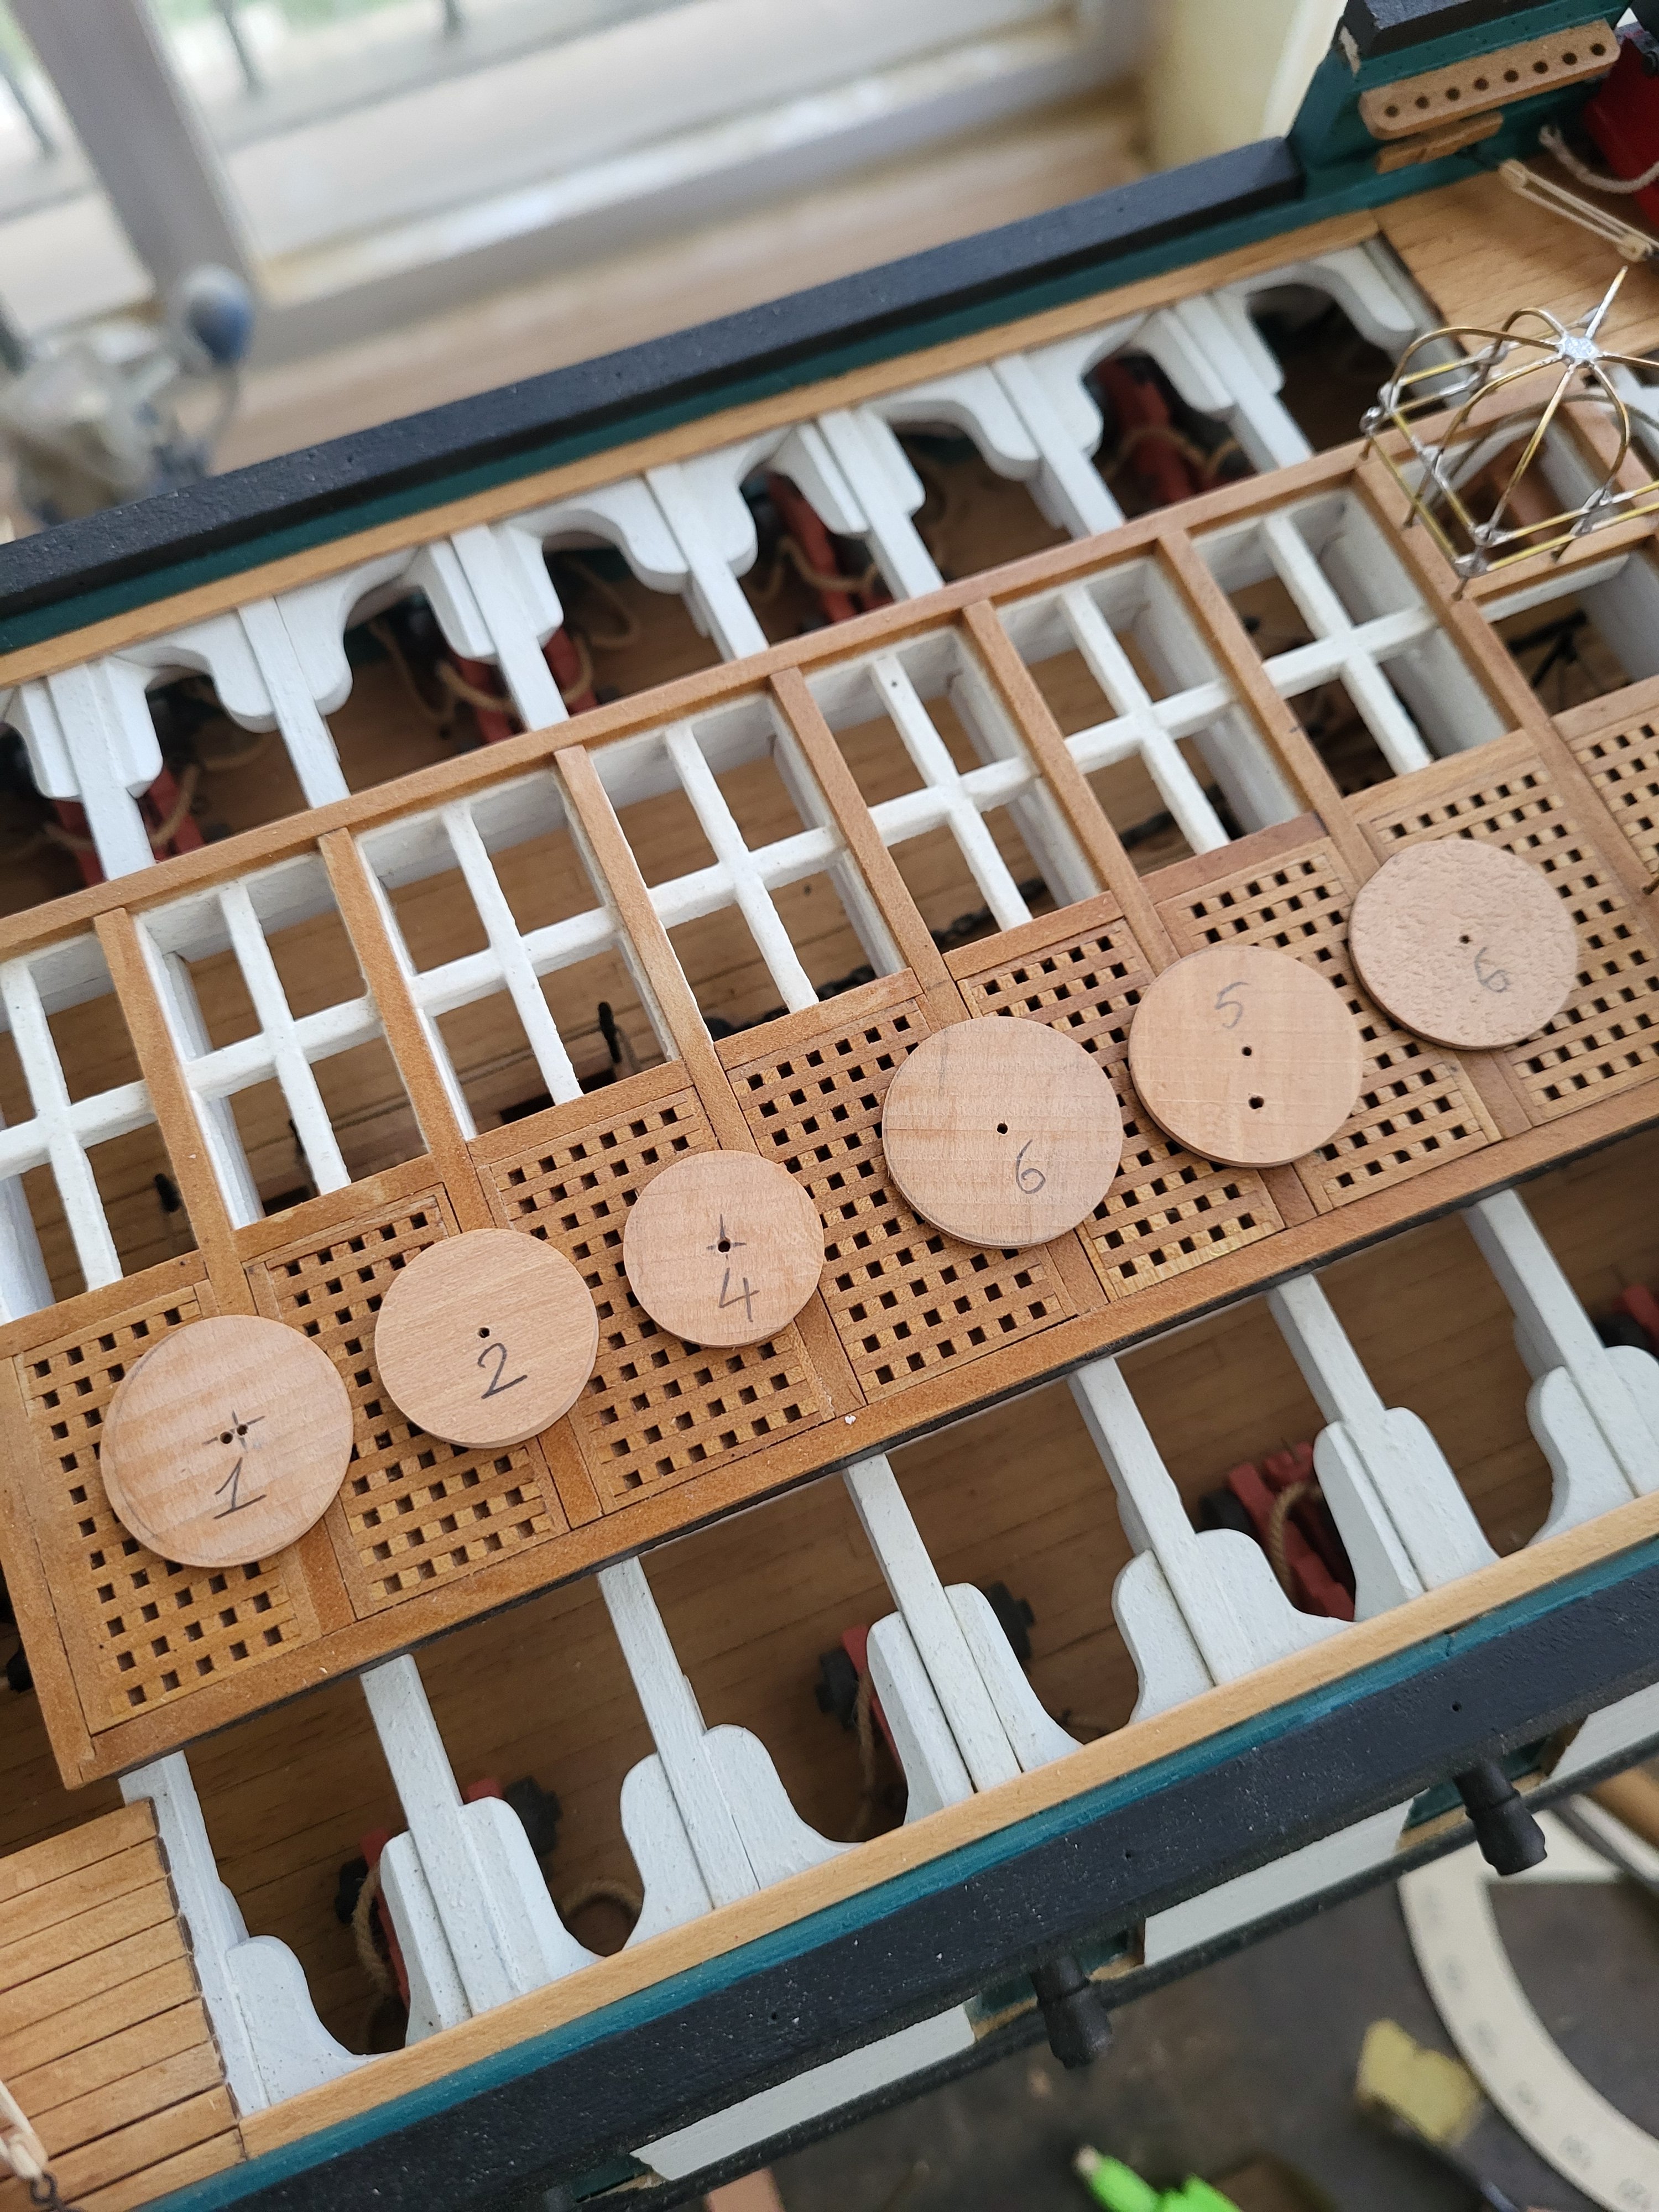
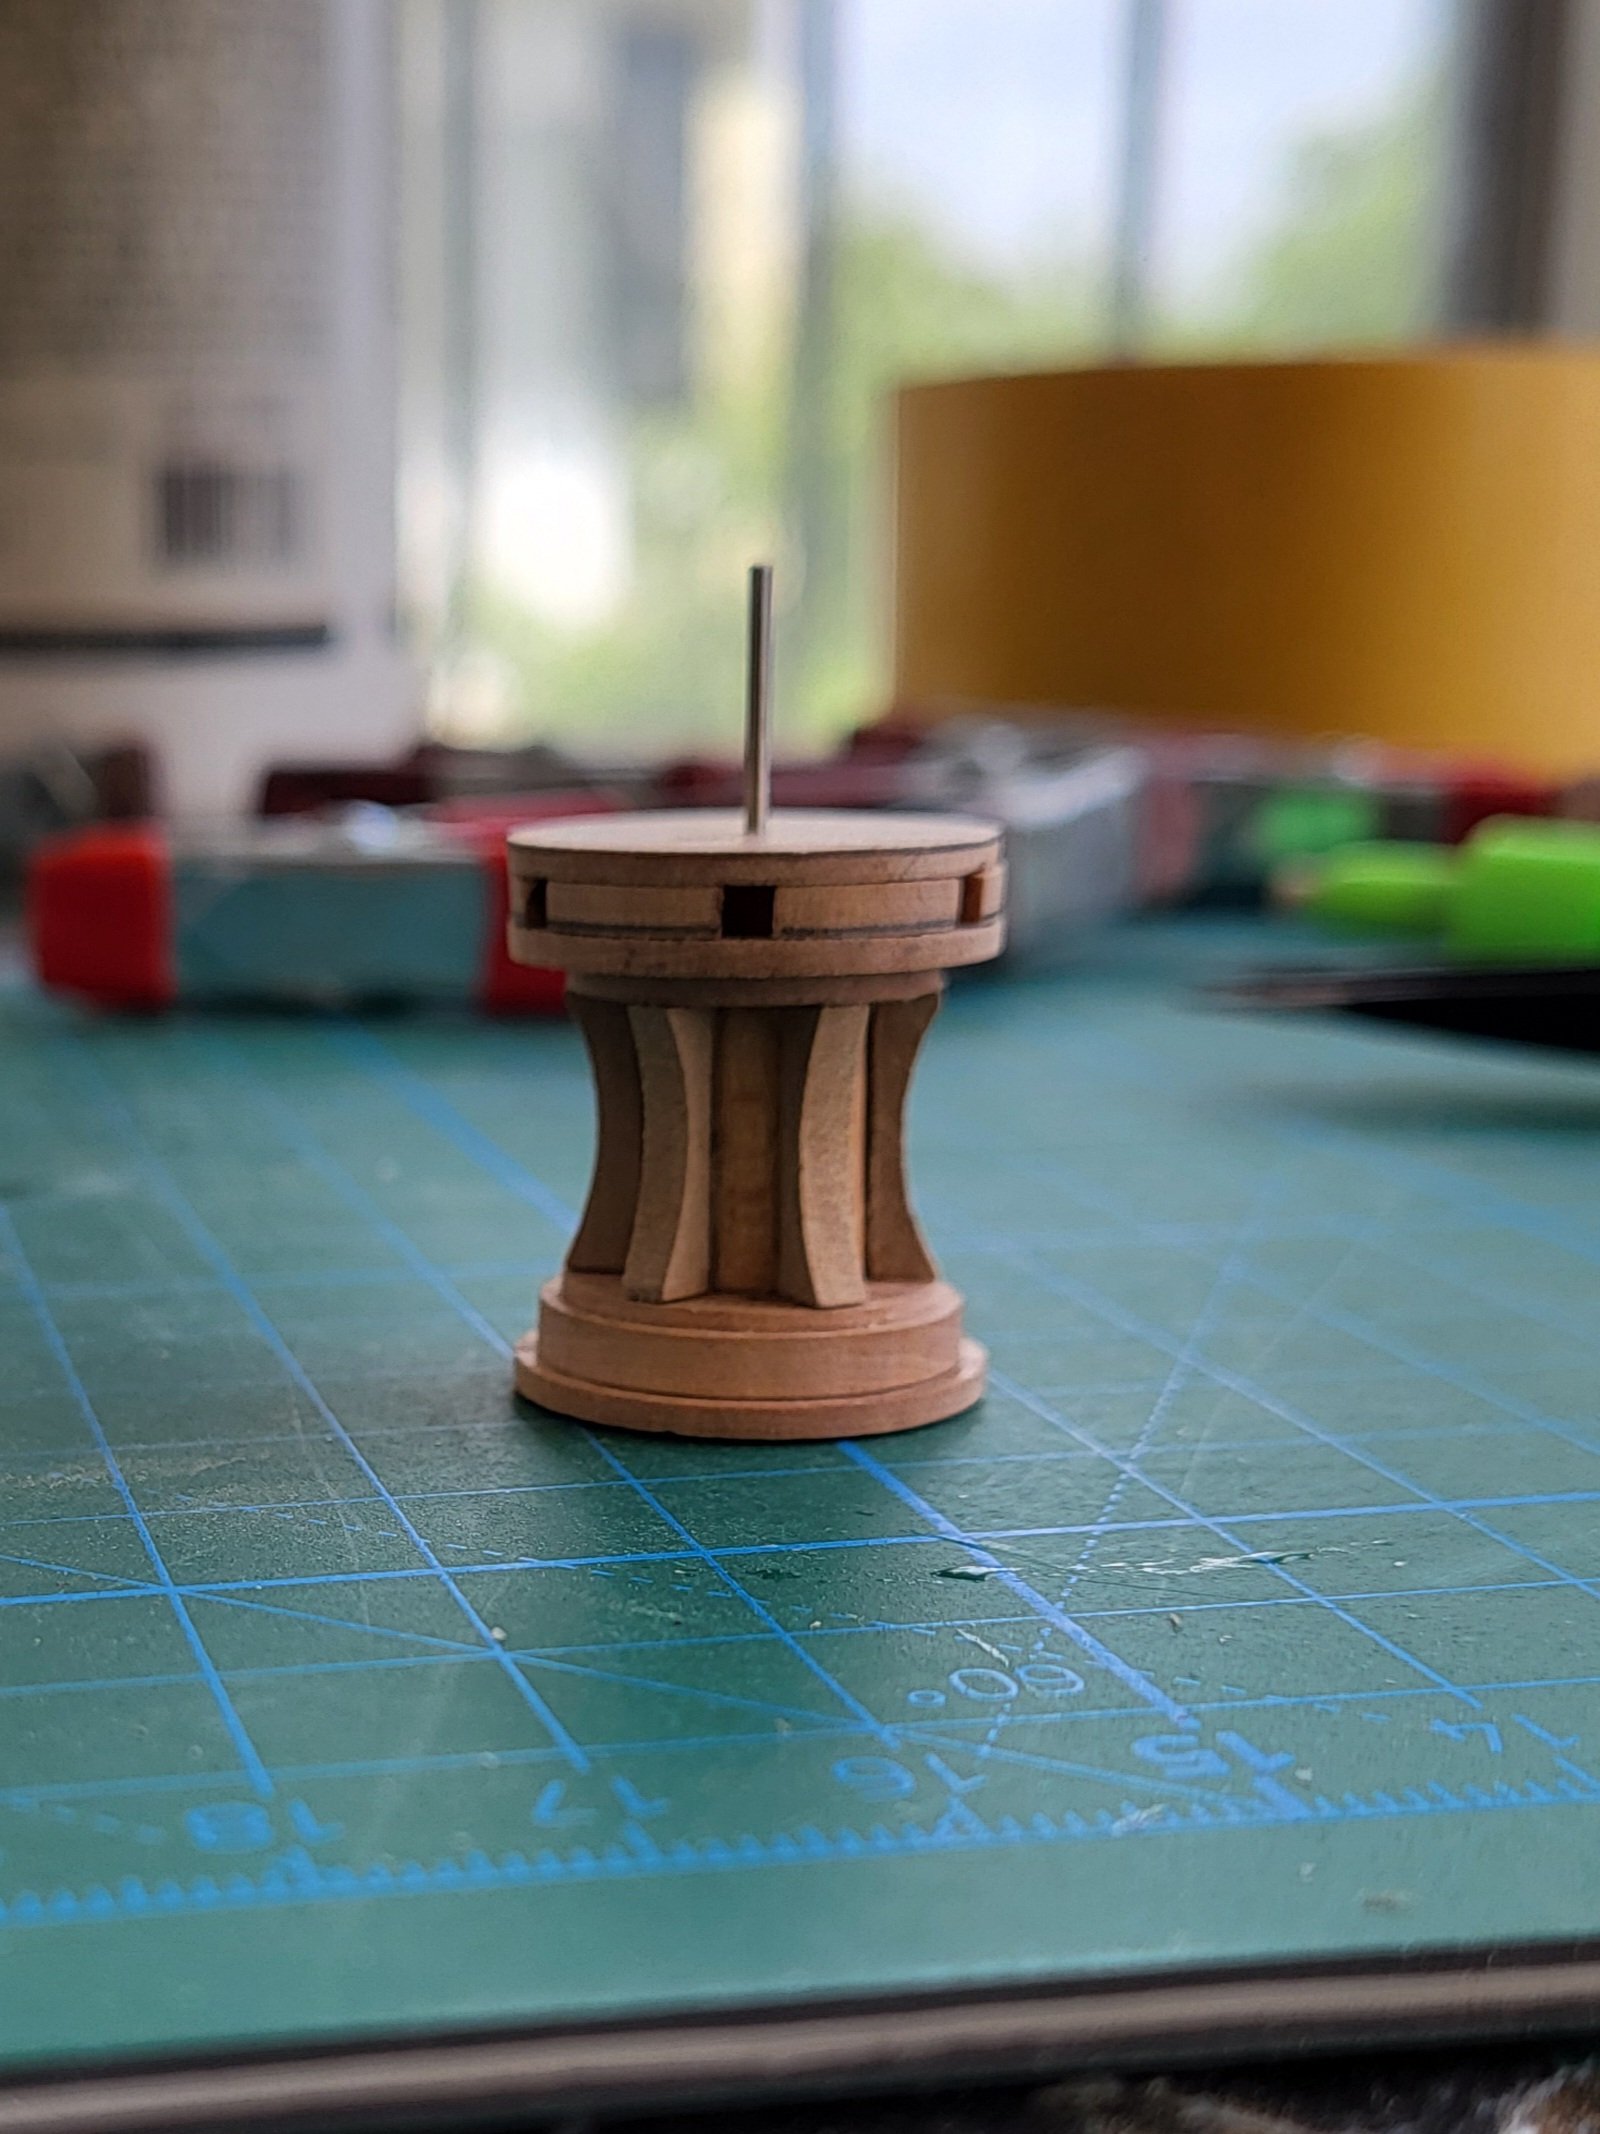
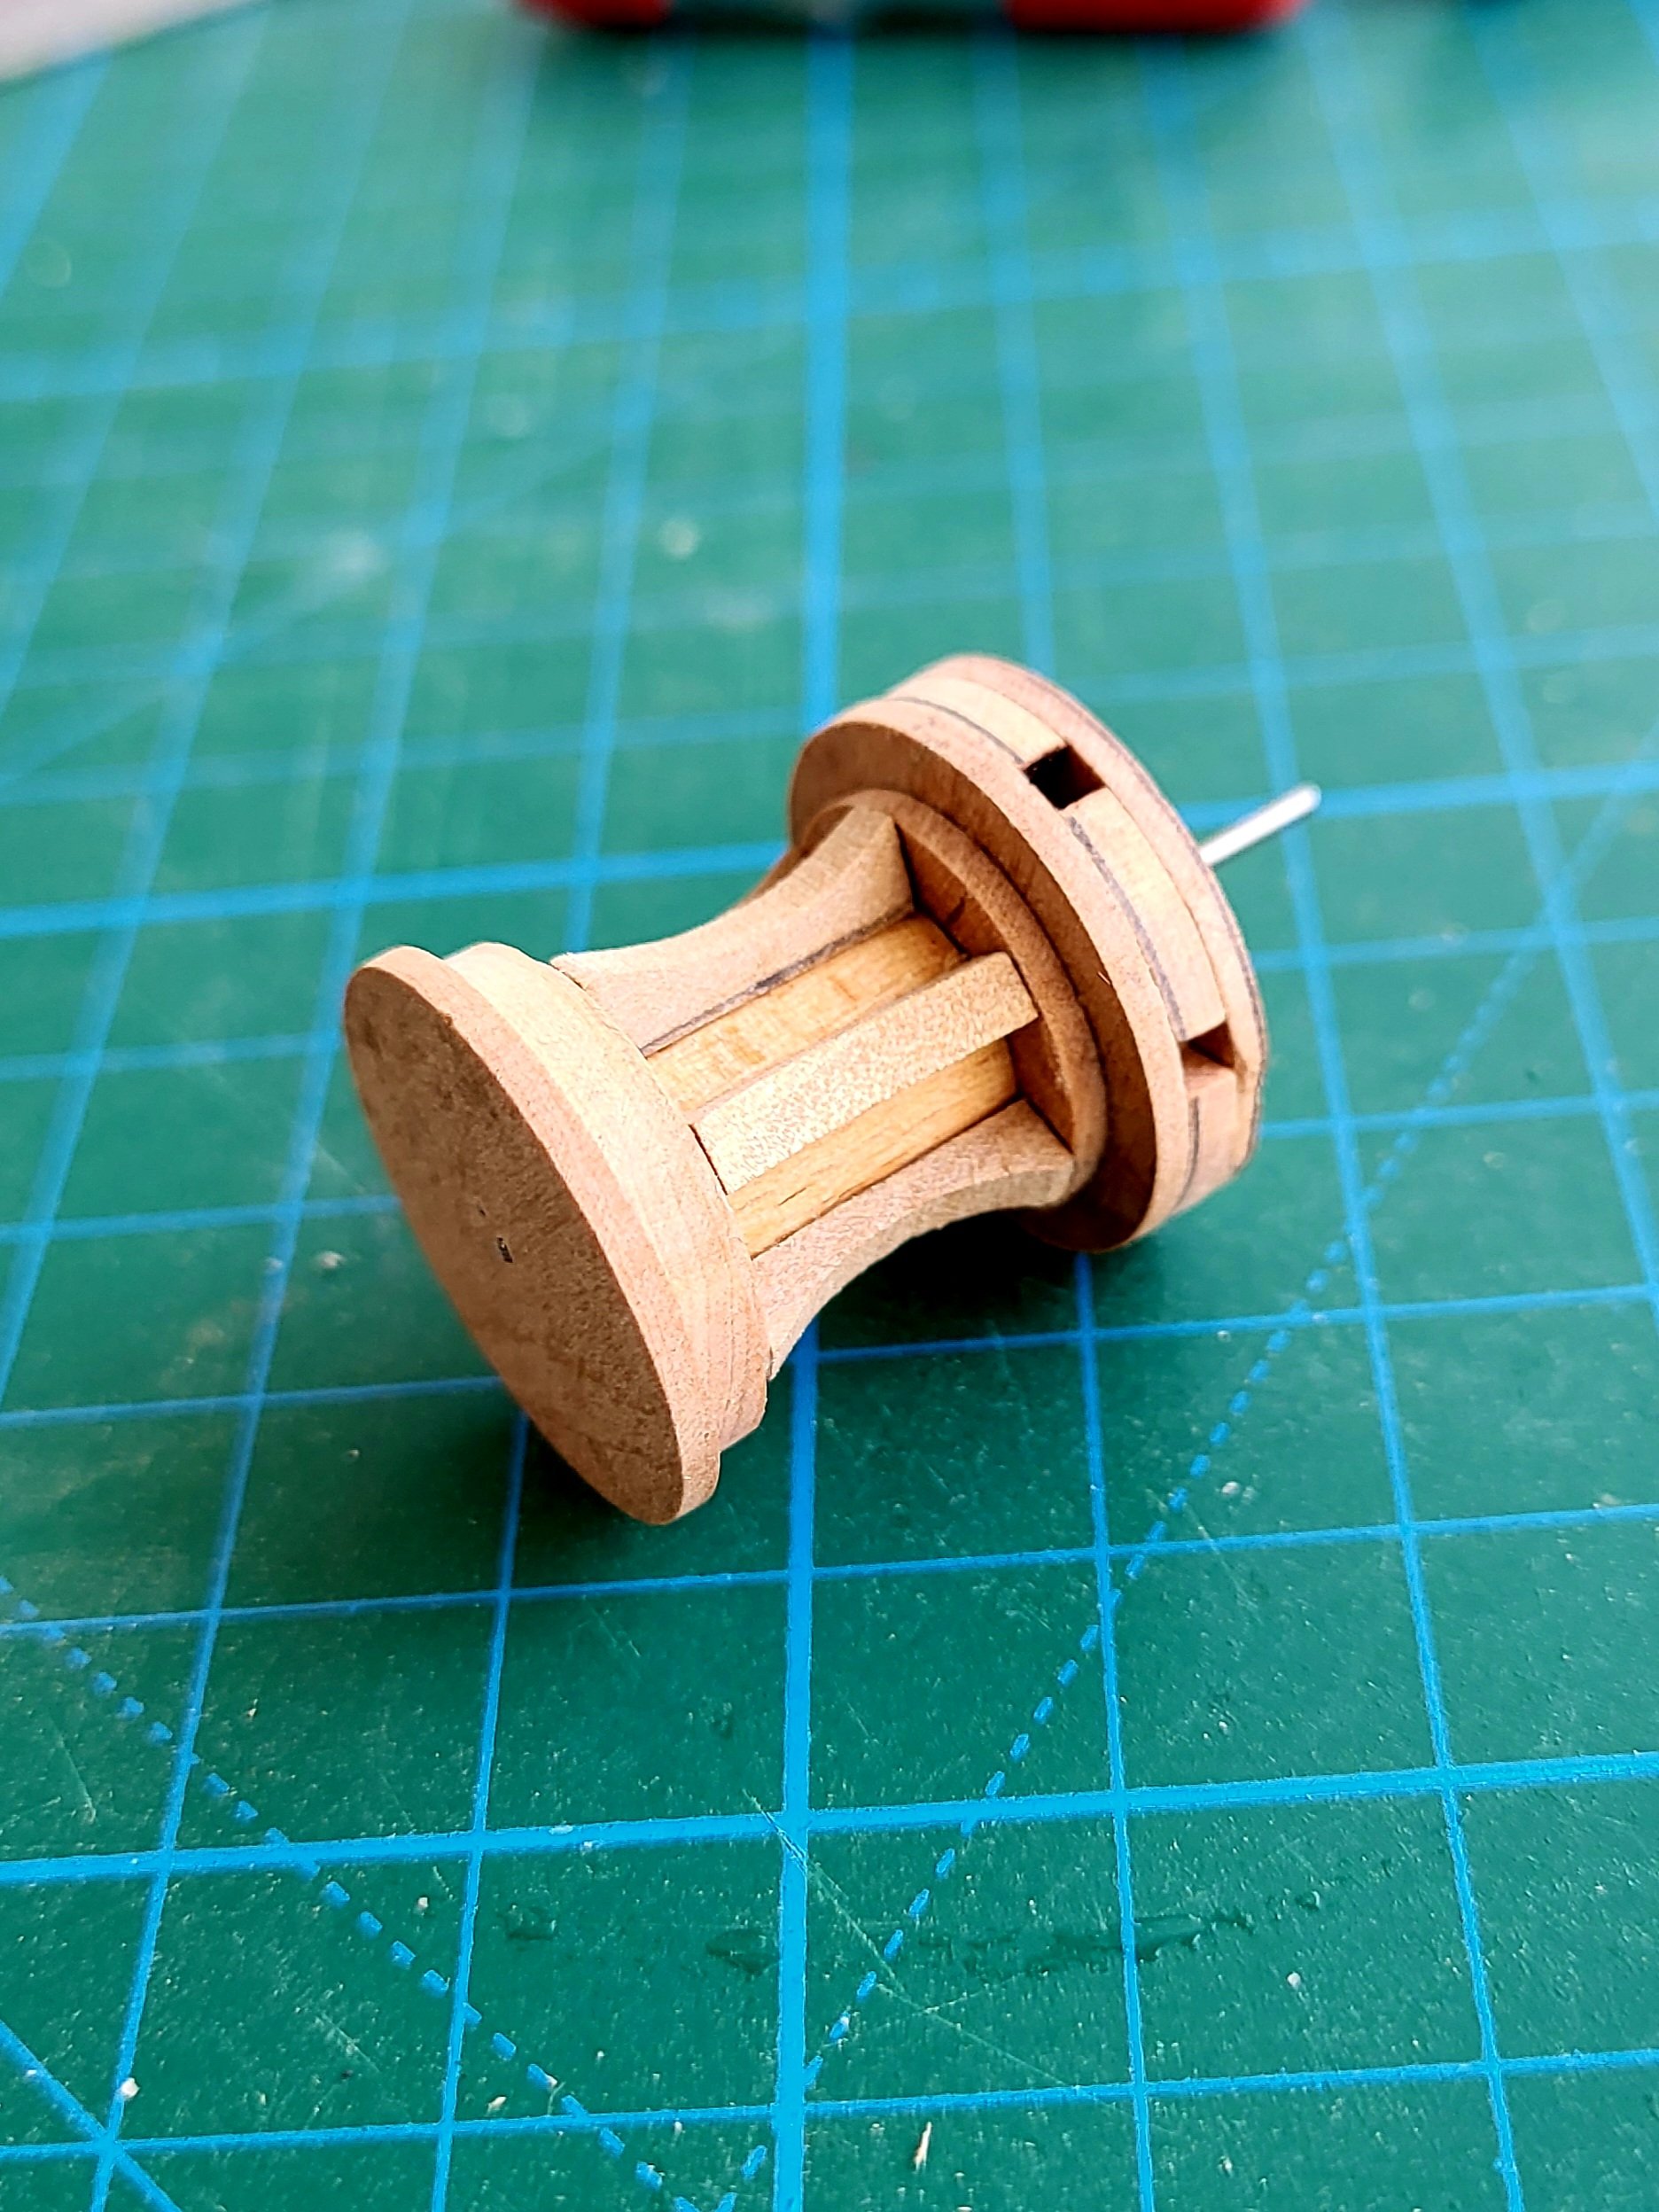
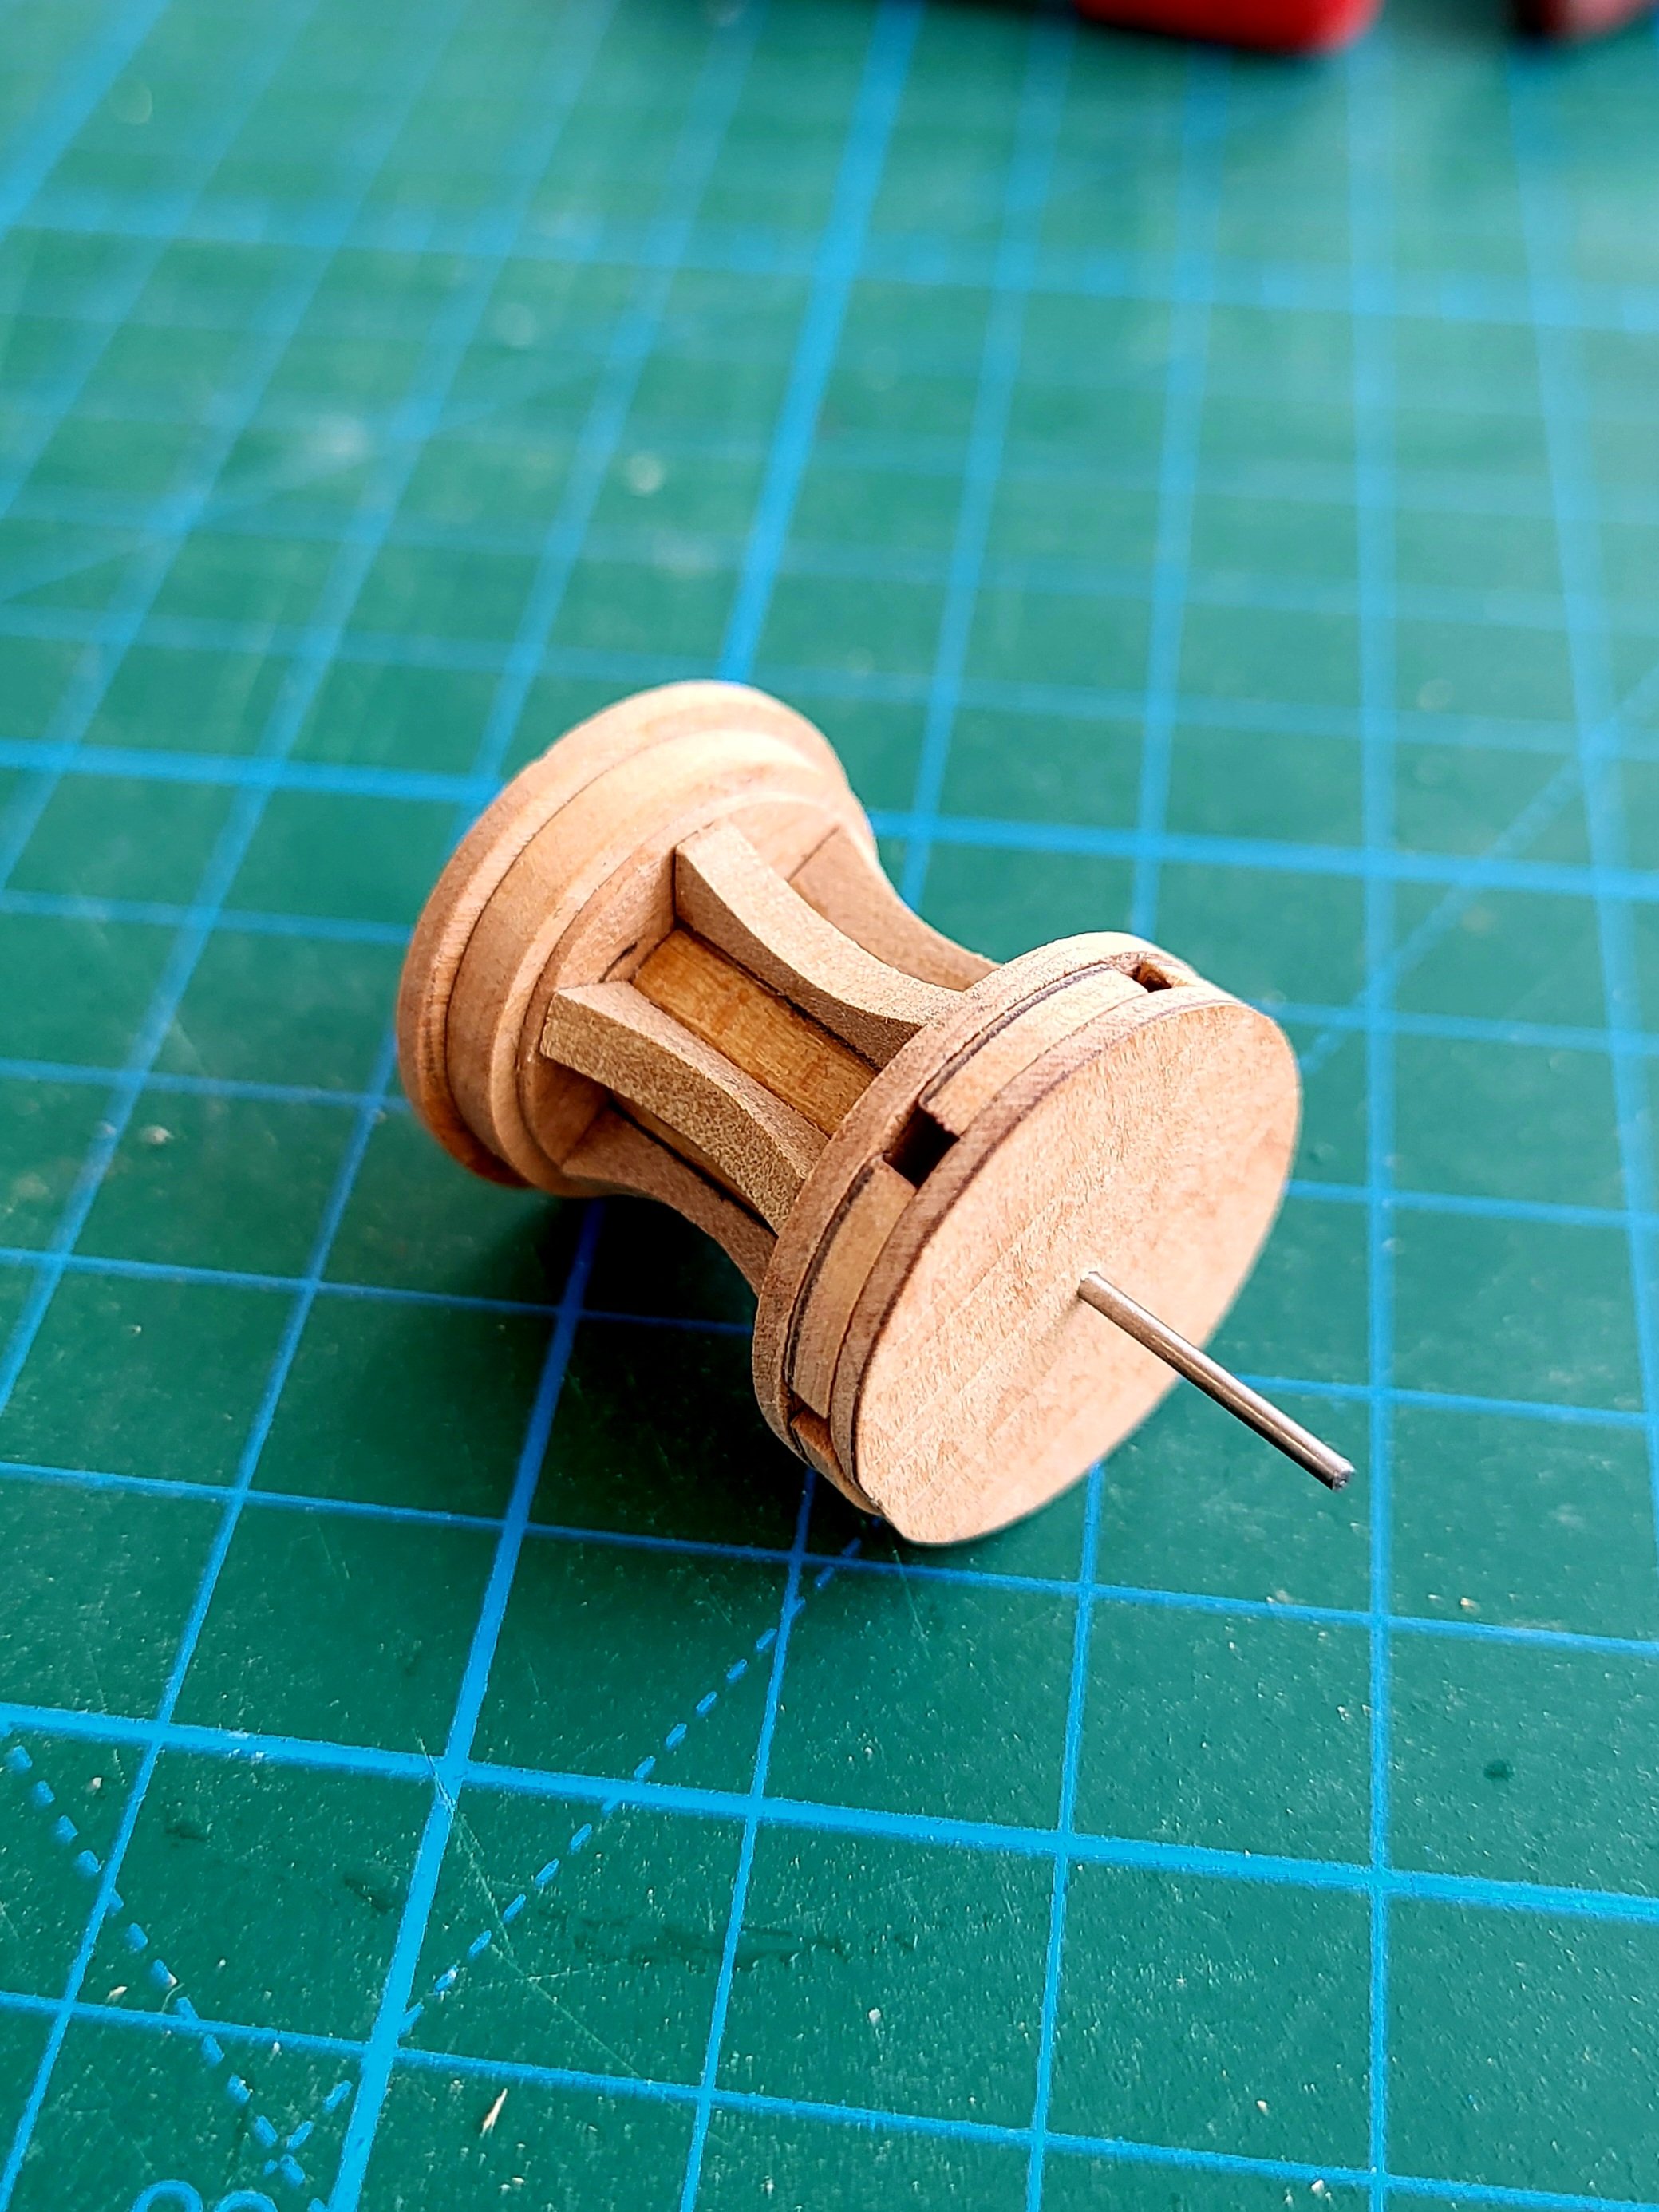
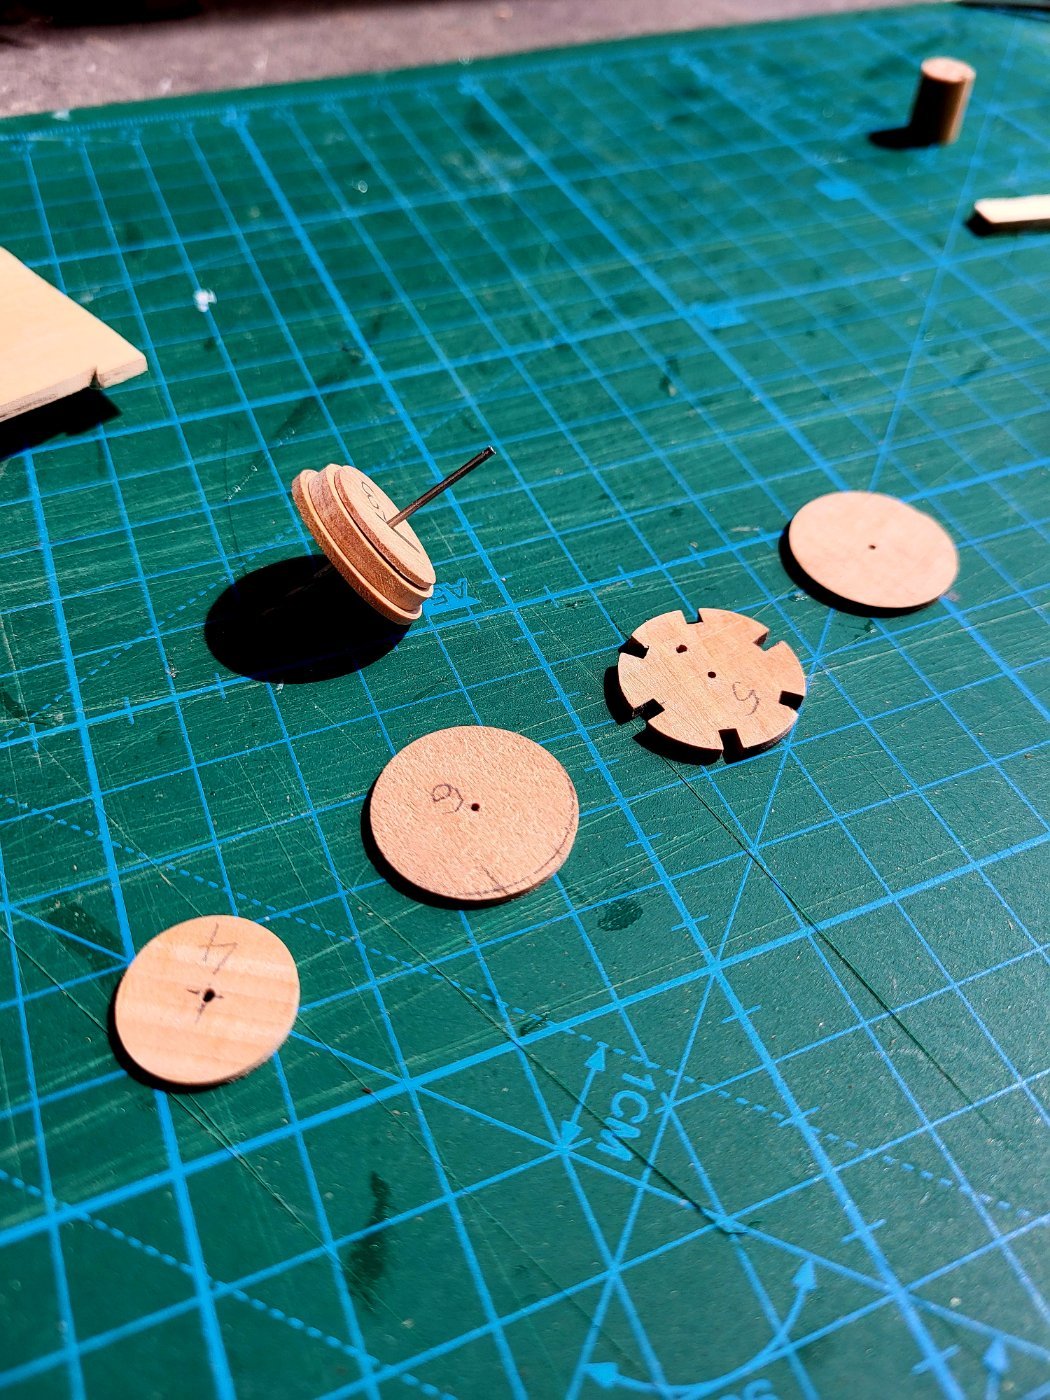
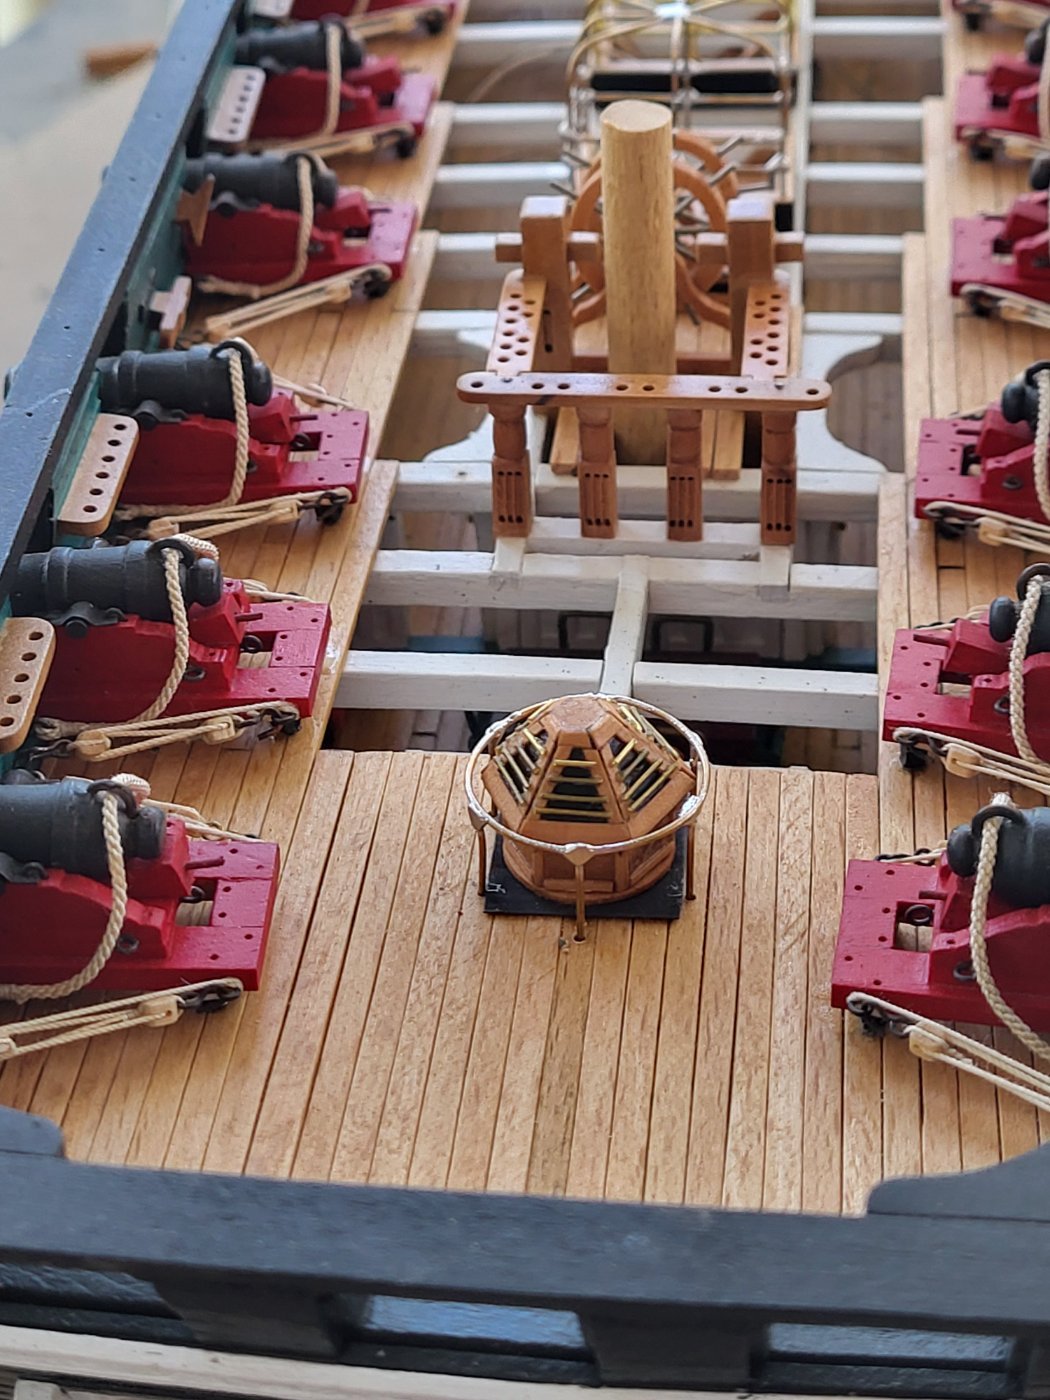
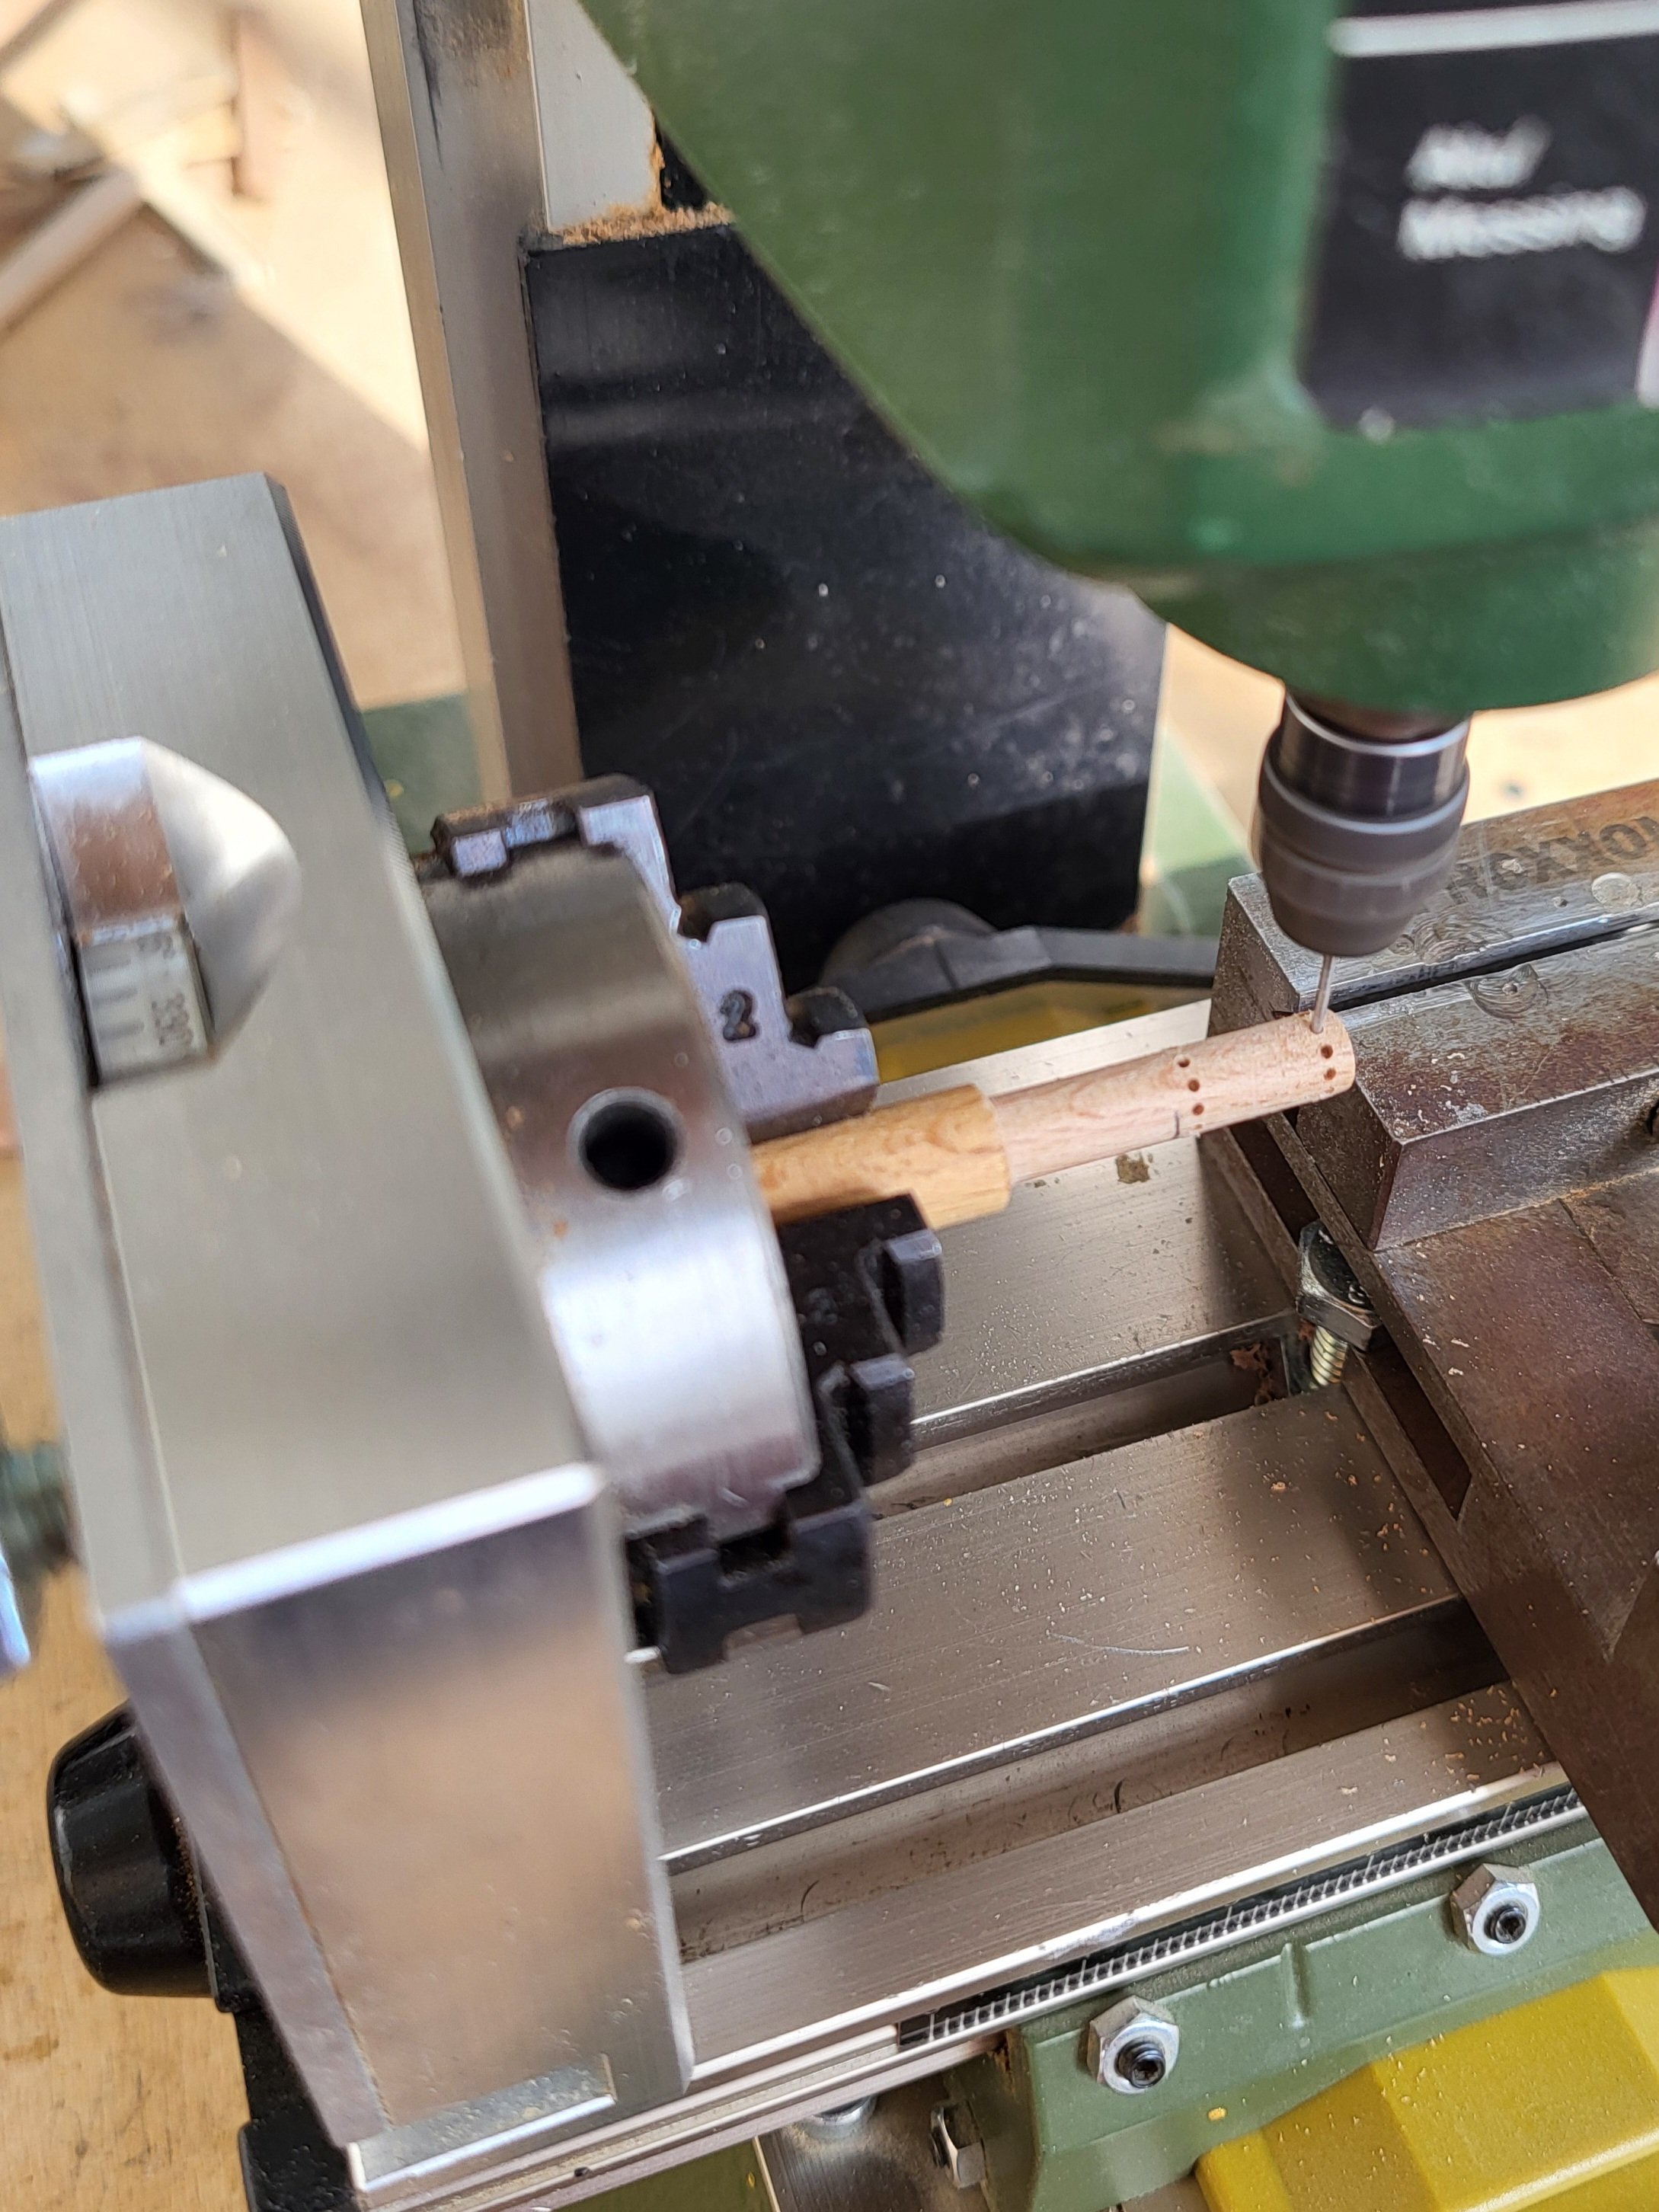
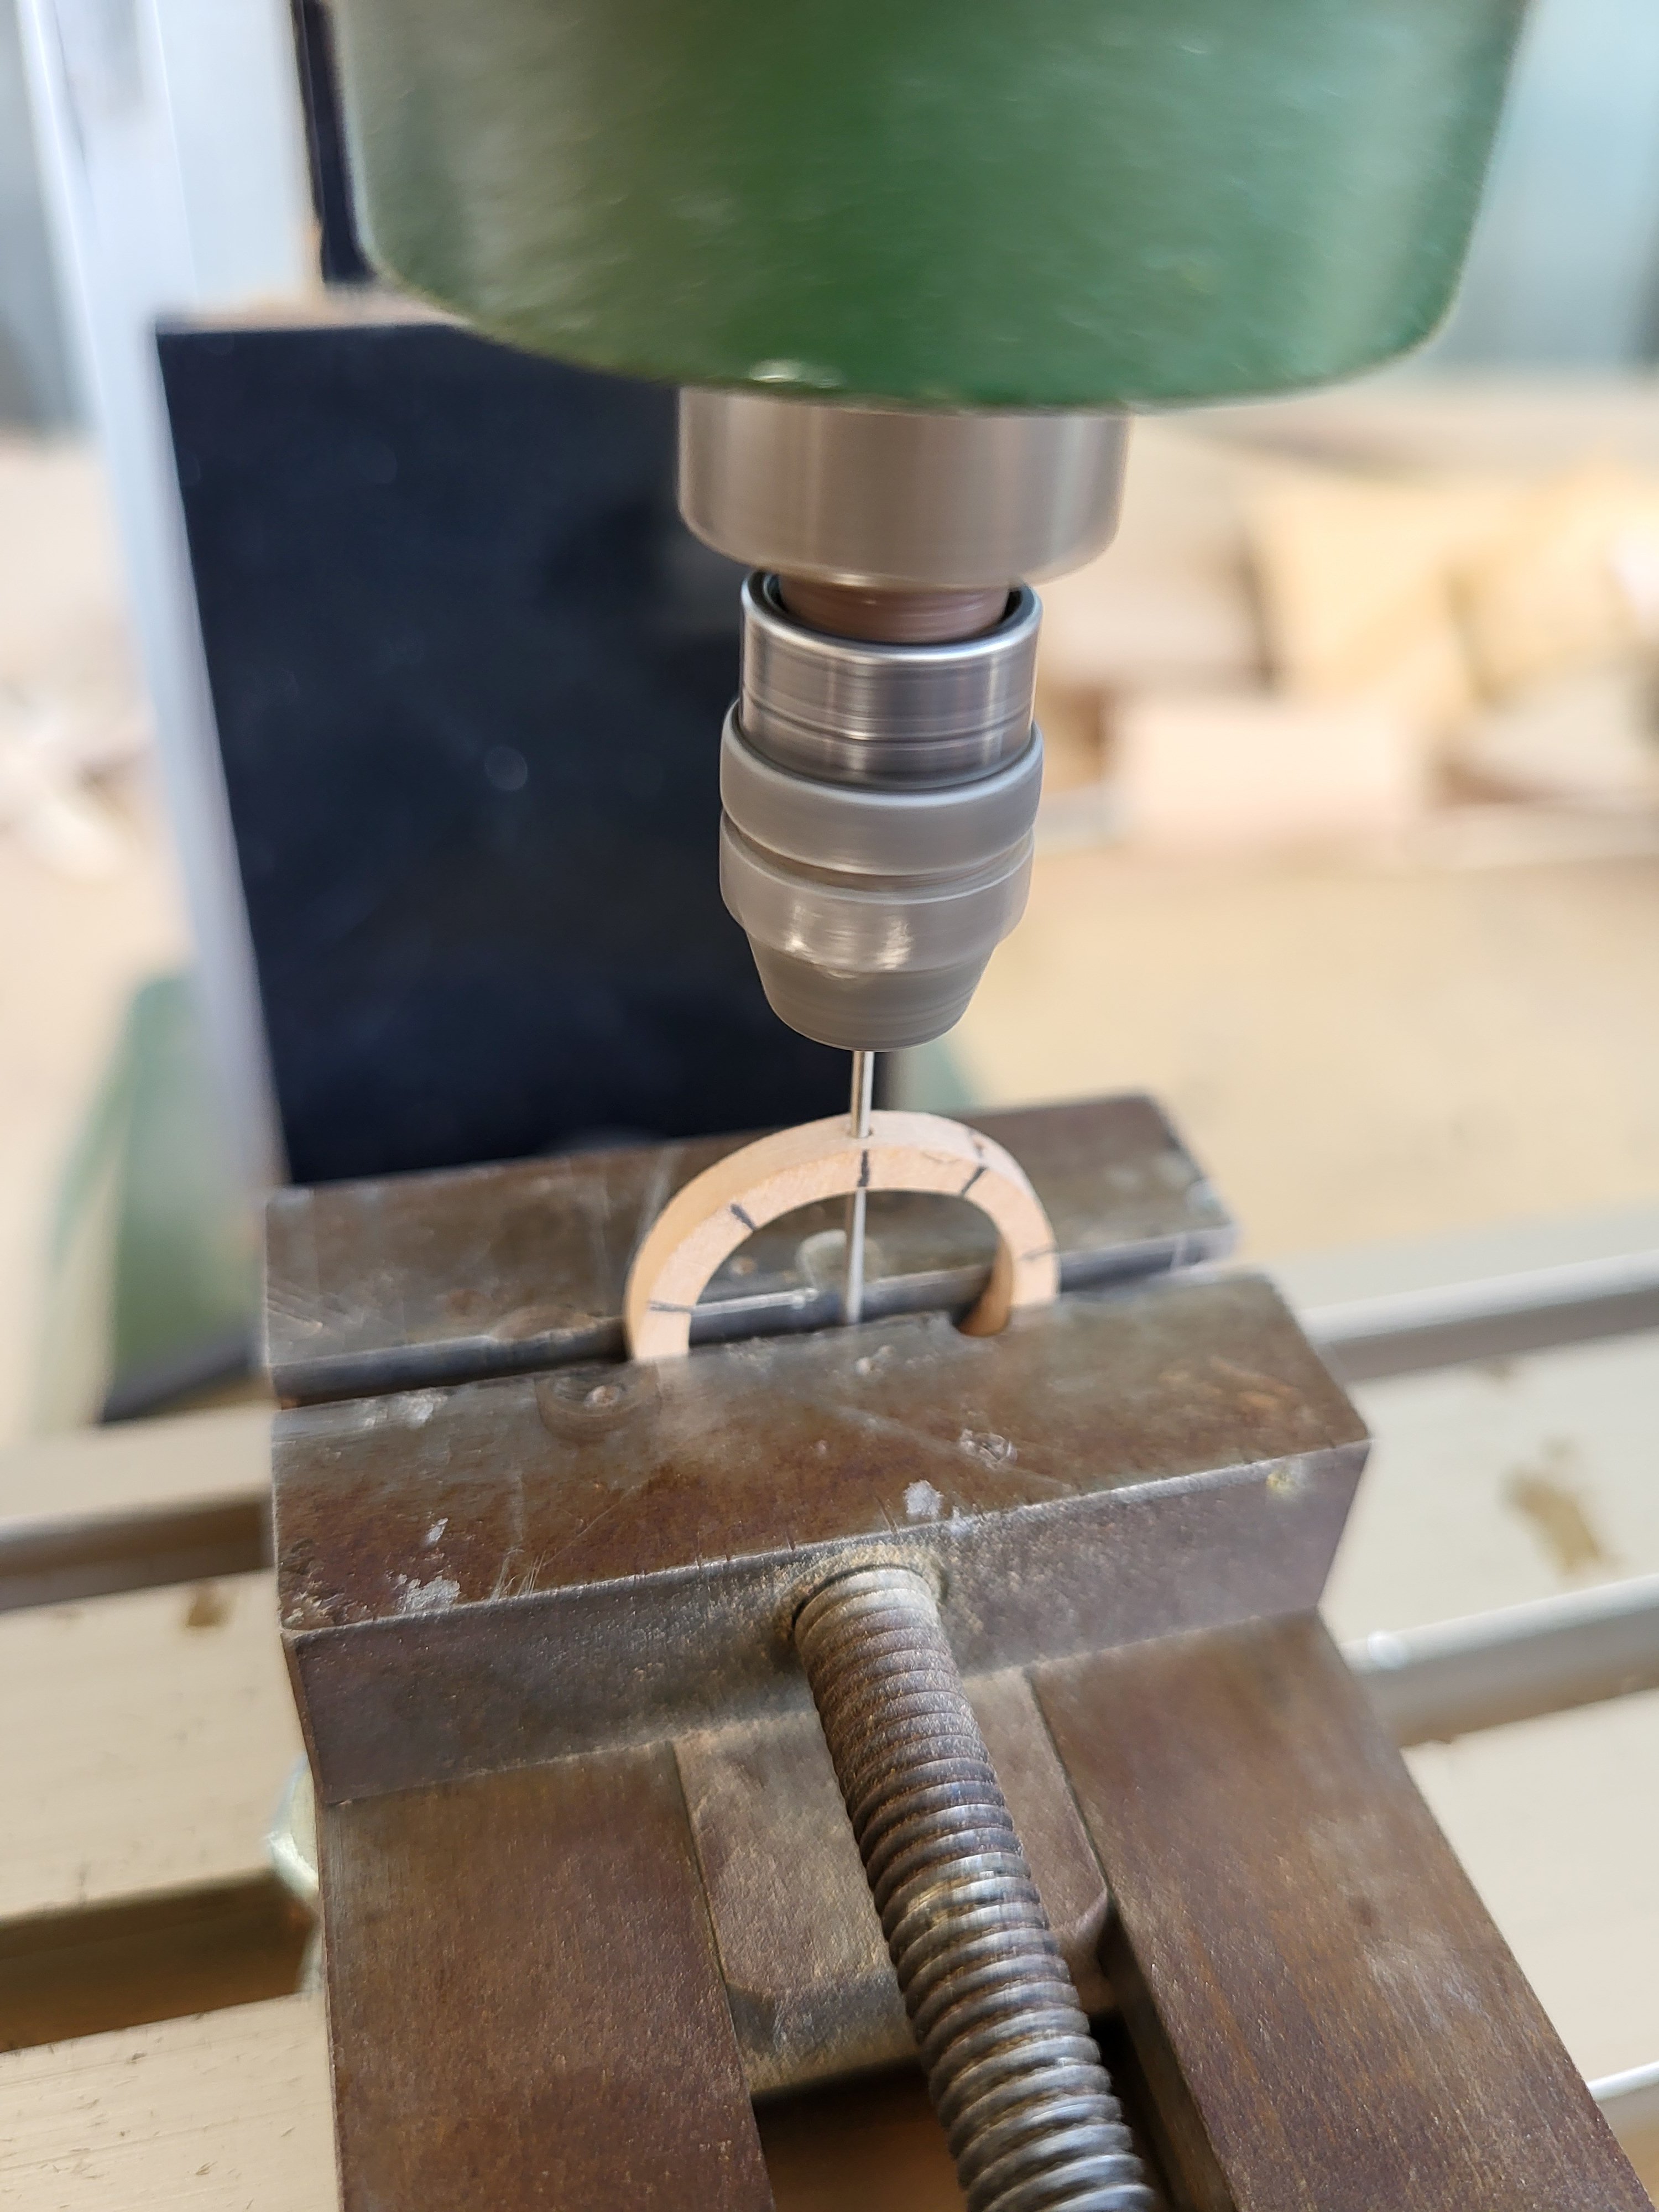
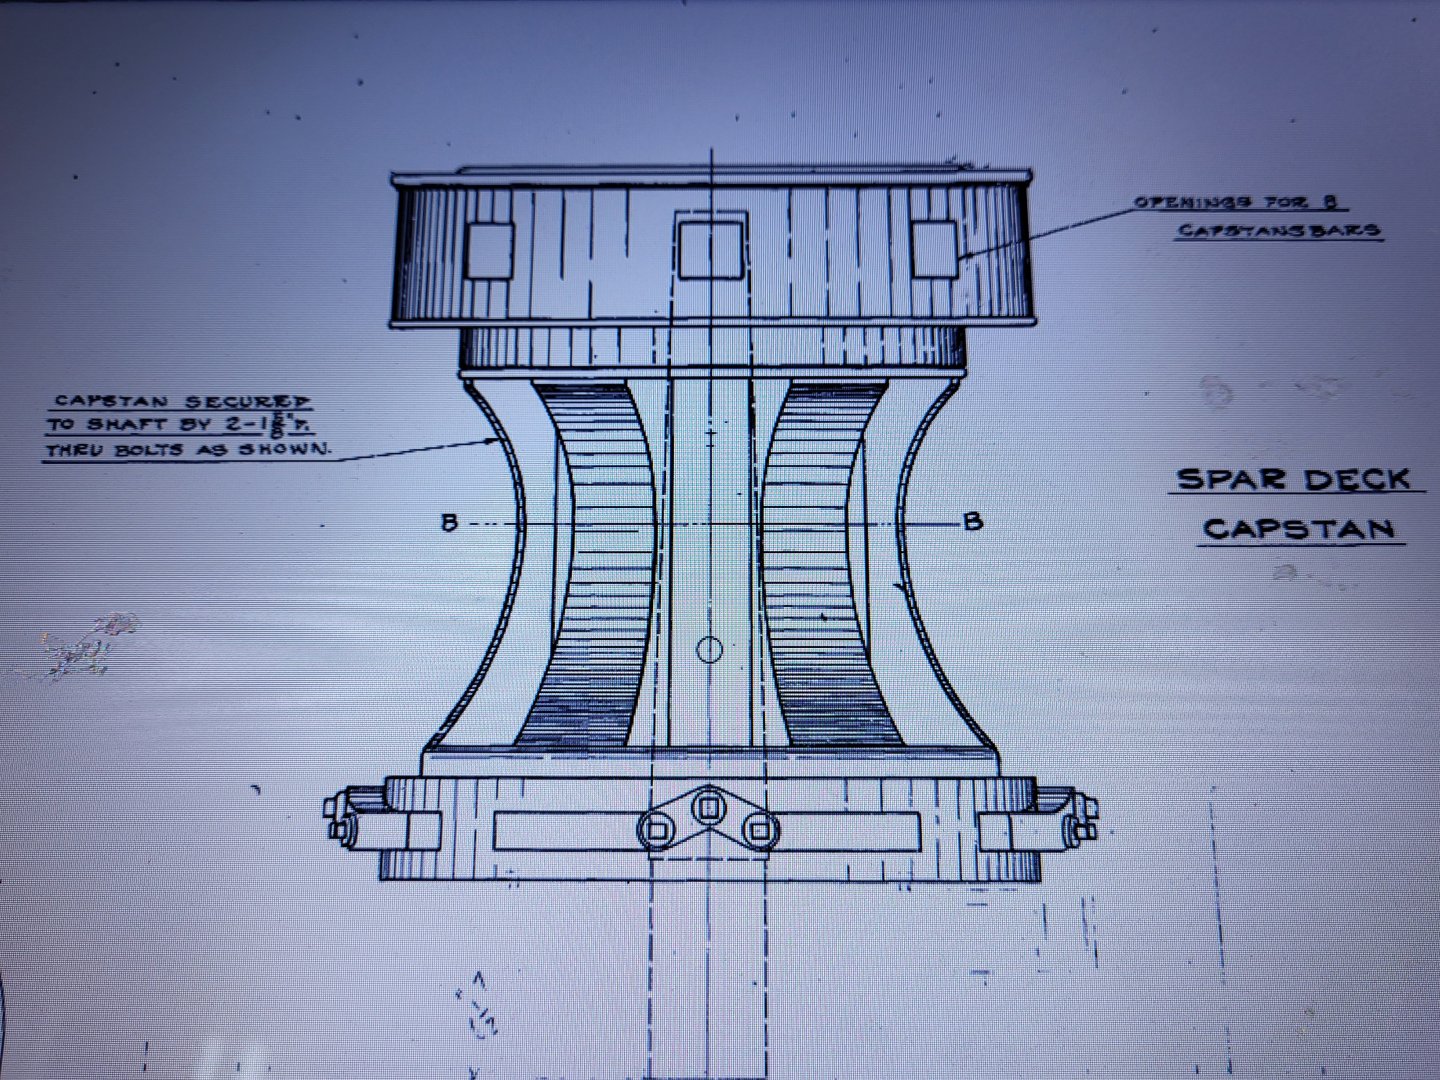
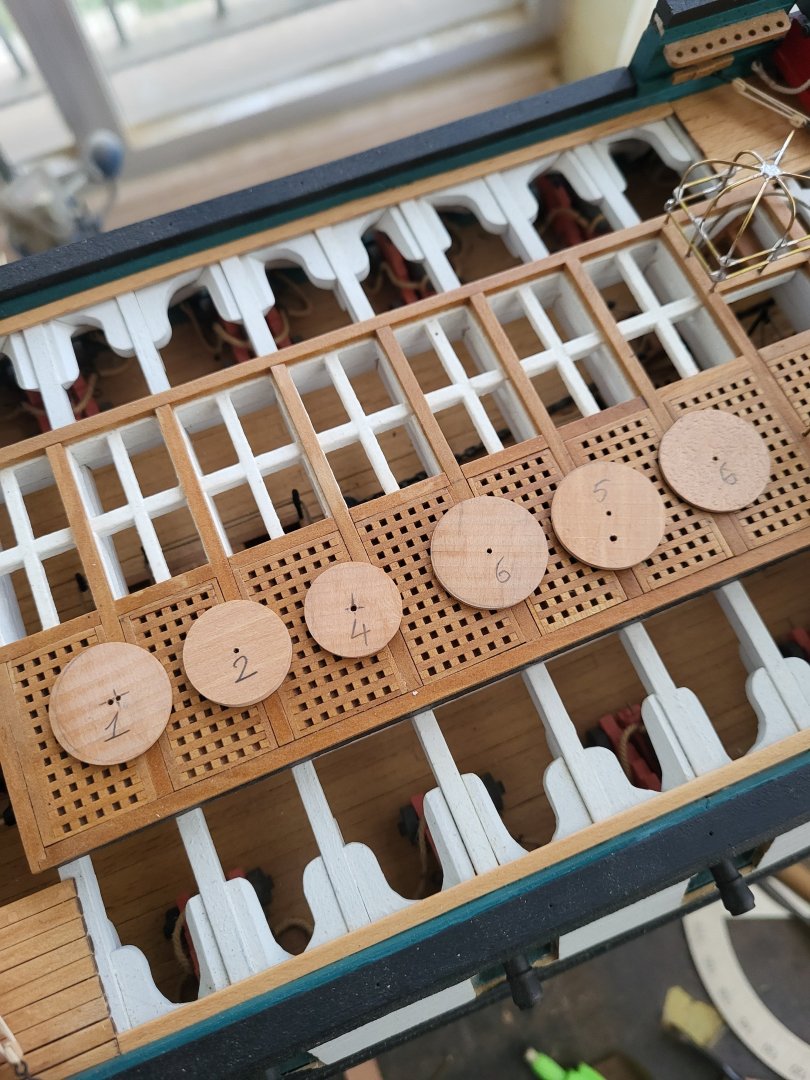
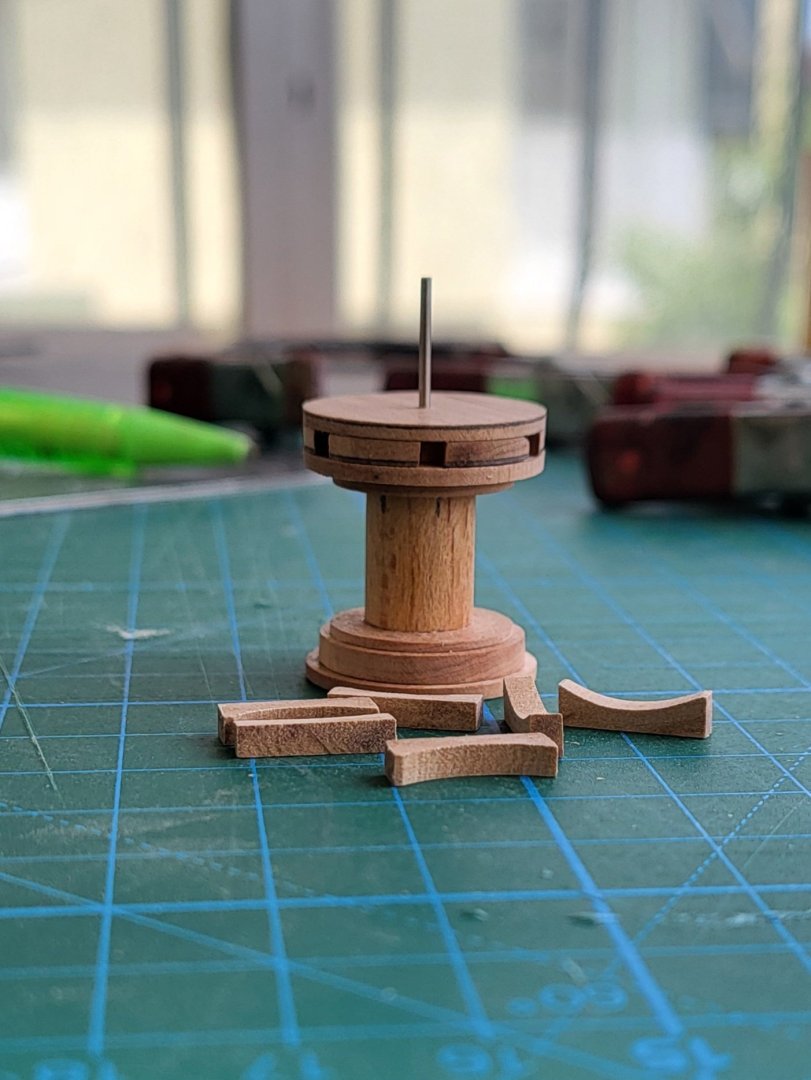
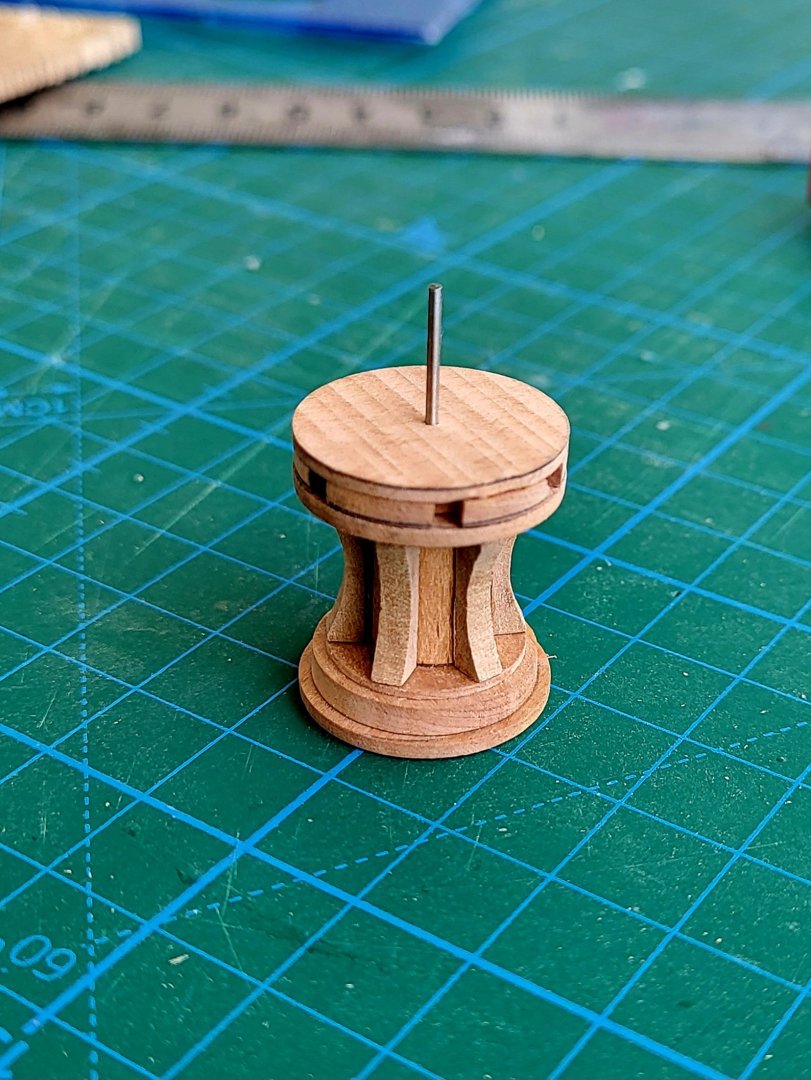
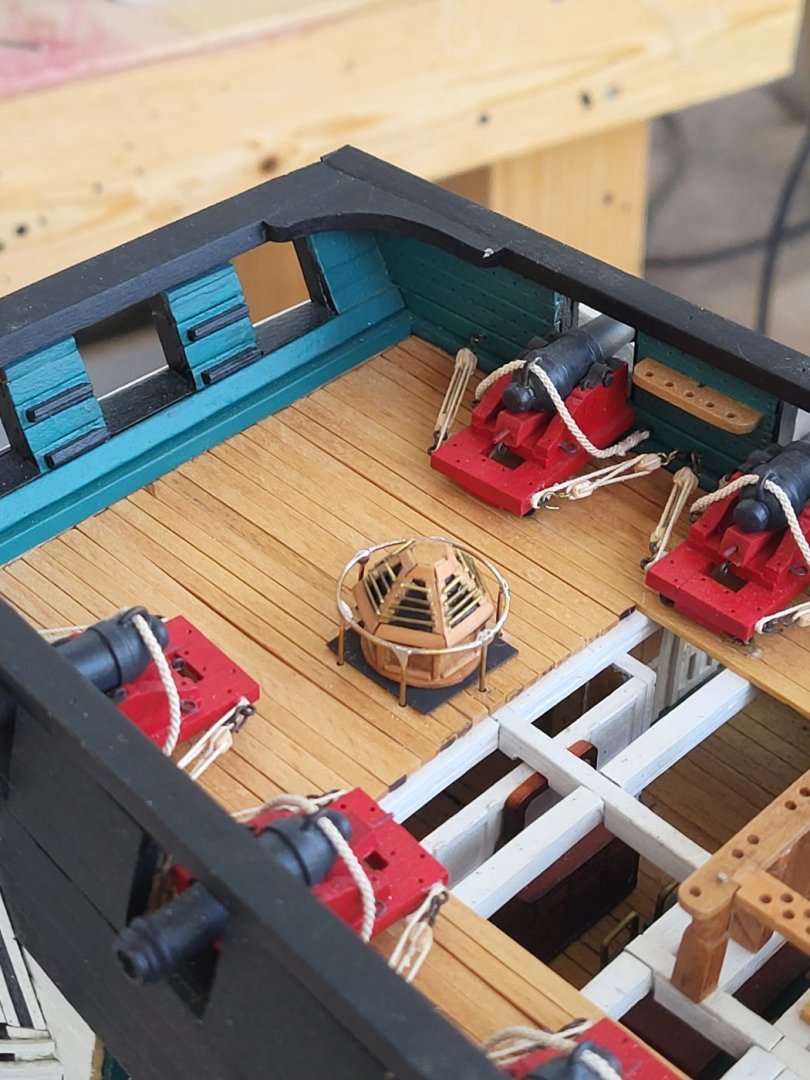
I am working on the spar deck capstan. I am using the jig in the photo to make the round pieces. The capstan will be installed in place after painting.


-
If I understand correctly you are planning on not adding breeching ropes. I think it would look better if you added breeching ropes instead of the second tackles.
-
That canopy frame looks nice Jon. Well done. It's a good idea to leave one of the companionways closed. I might steal that idea from you
-
USS Constitution by mtbediz - 1:76
mtbediz replied to mtbediz's topic in - Build logs for subjects built 1751 - 1800
Believe it or not, I bought this dividing attachment two years ago and used it for the first time when I was building this wheel. I don't know when I'll use it again. You'll probably need this tool once or twice during a model ship build, but if you have it, it's a lifesaver and you'll get great results. I agree with Jon, he's in no rush to finish his model, and there's no point in investing in an expensive tool that he might need every 10-15 years! As for milling, a real milling machine is a must, especially if you're building a model from scratch or tackling a kit bashing. Its signature can be found on every square inch of my Constitution. -
USS Constitution by mtbediz - 1:76
mtbediz replied to mtbediz's topic in - Build logs for subjects built 1751 - 1800
Thanks Greg. Life is pretty easy with that mill. -
USS Constitution by mtbediz - 1:76
mtbediz replied to mtbediz's topic in - Build logs for subjects built 1751 - 1800
So I made the right decision not to try to make the canopies your way. -
USS Constitution by mtbediz - 1:76
mtbediz replied to mtbediz's topic in - Build logs for subjects built 1751 - 1800
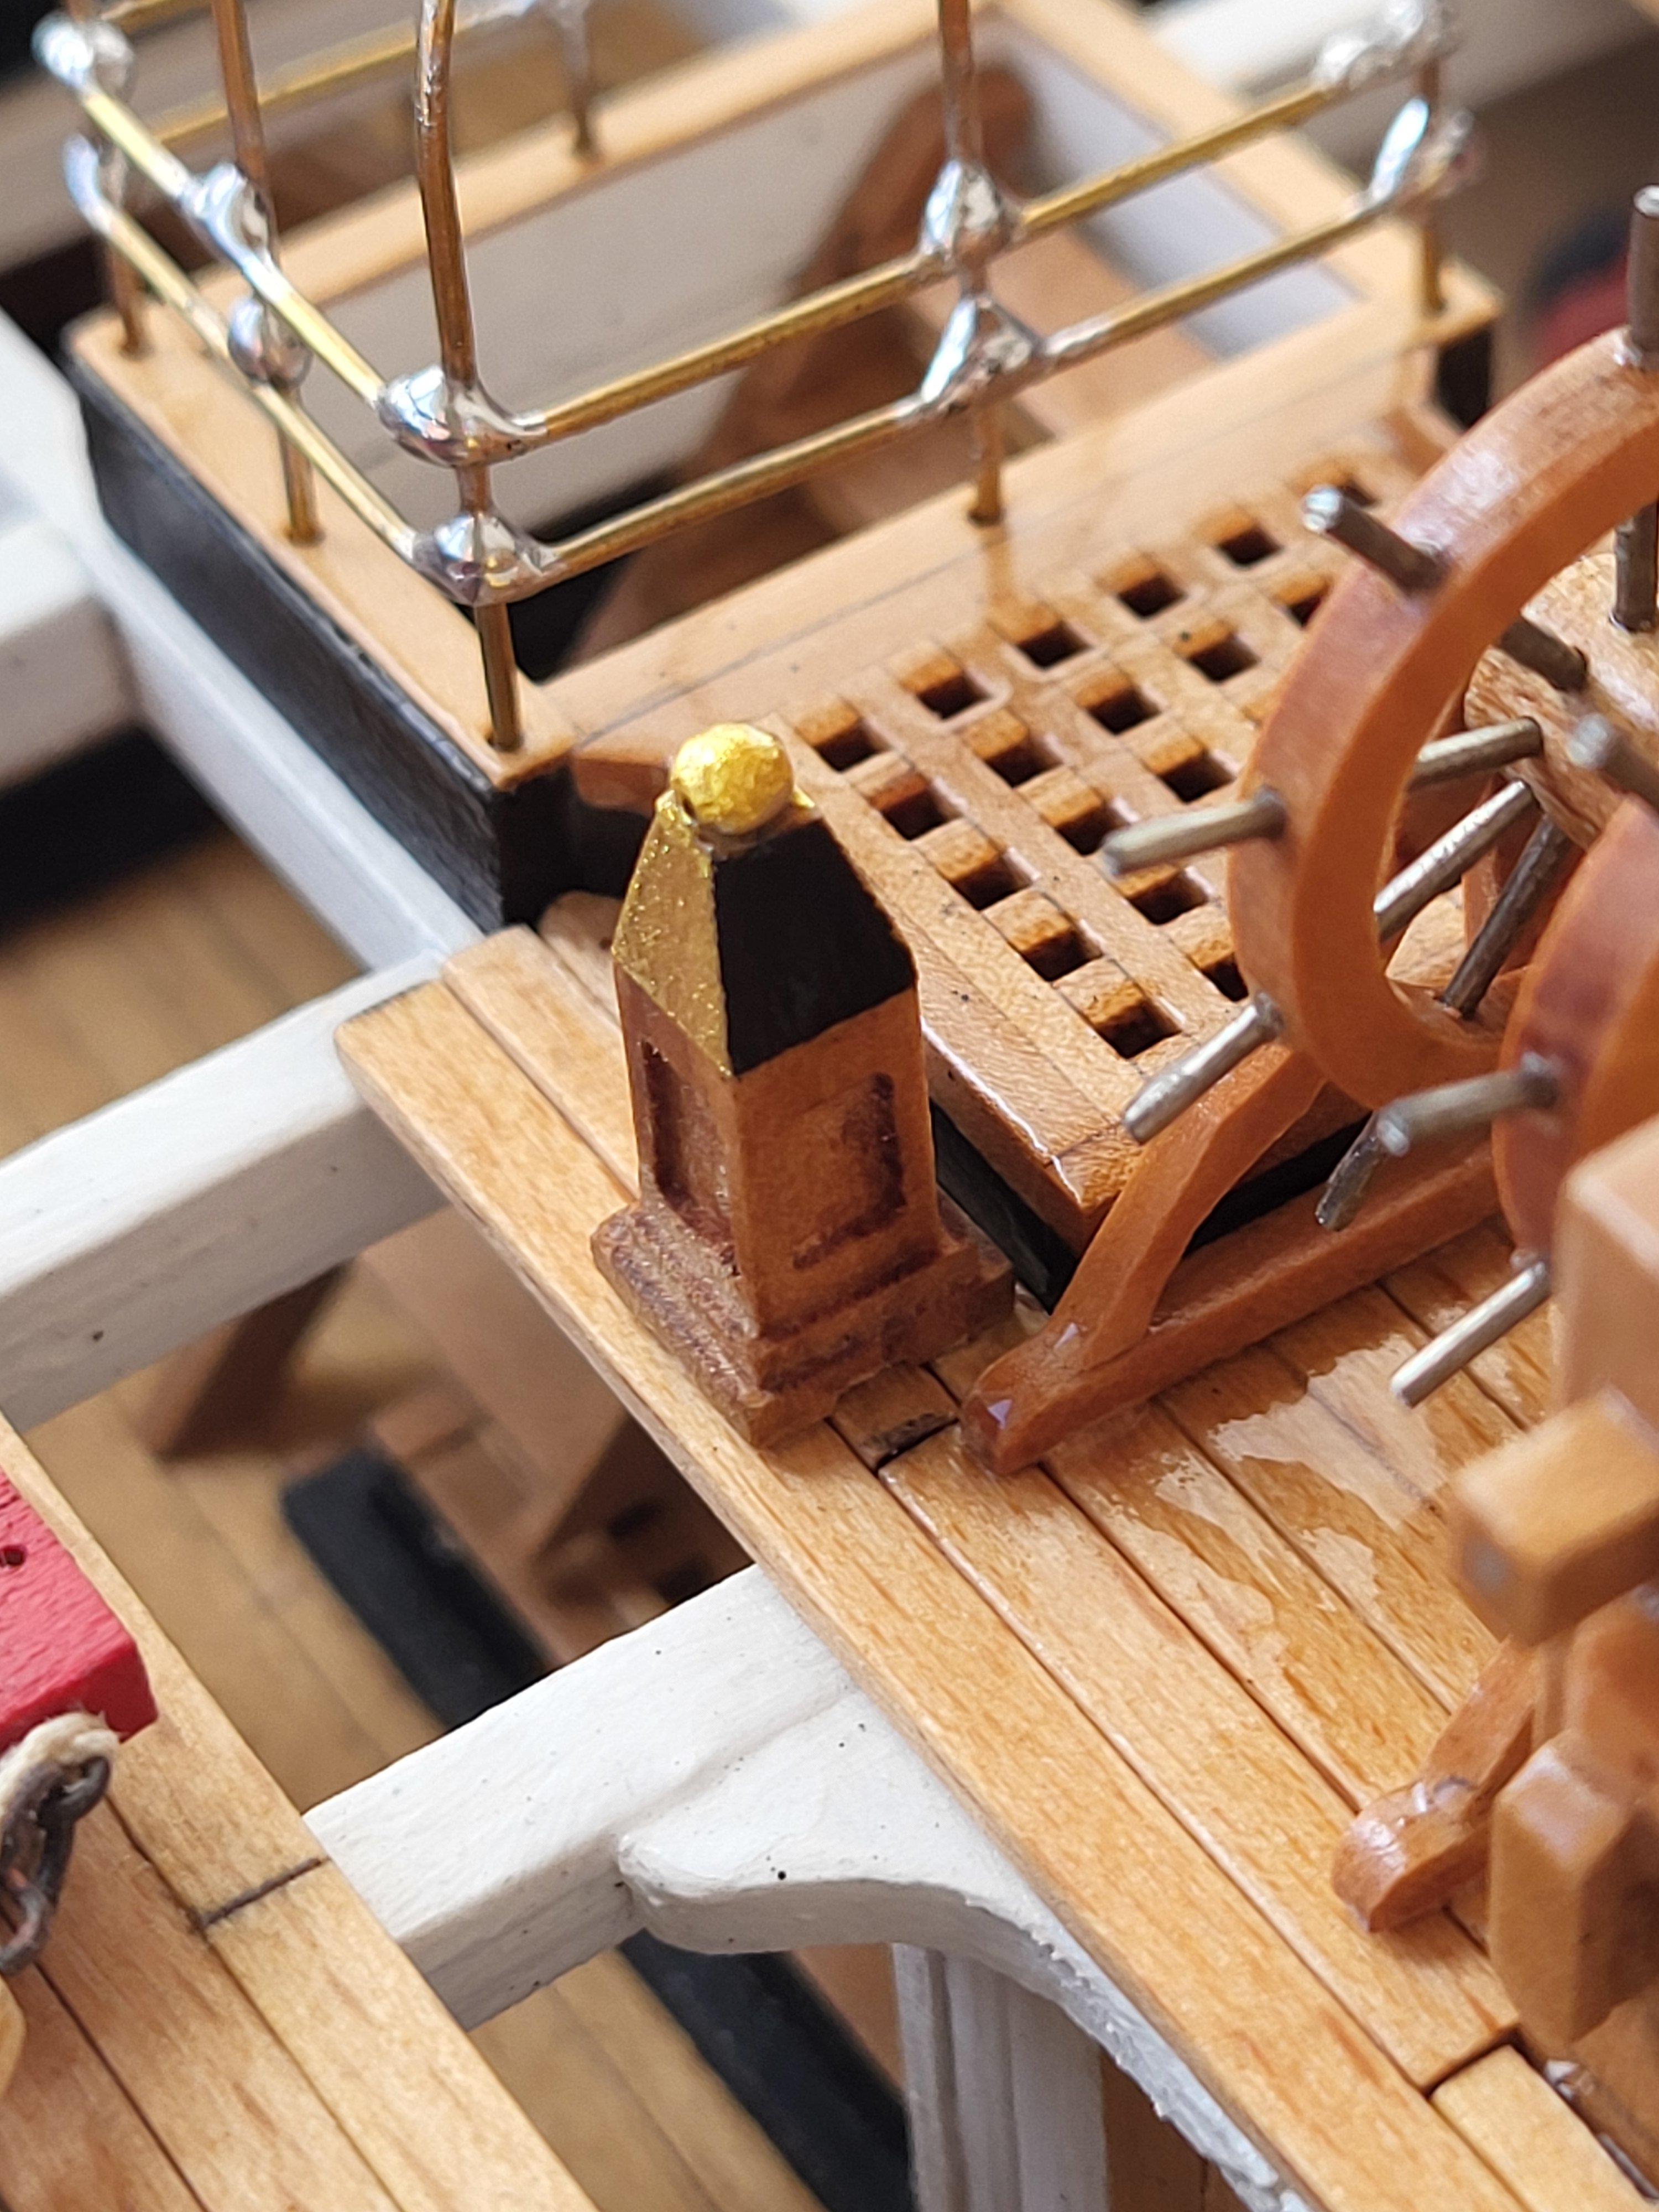
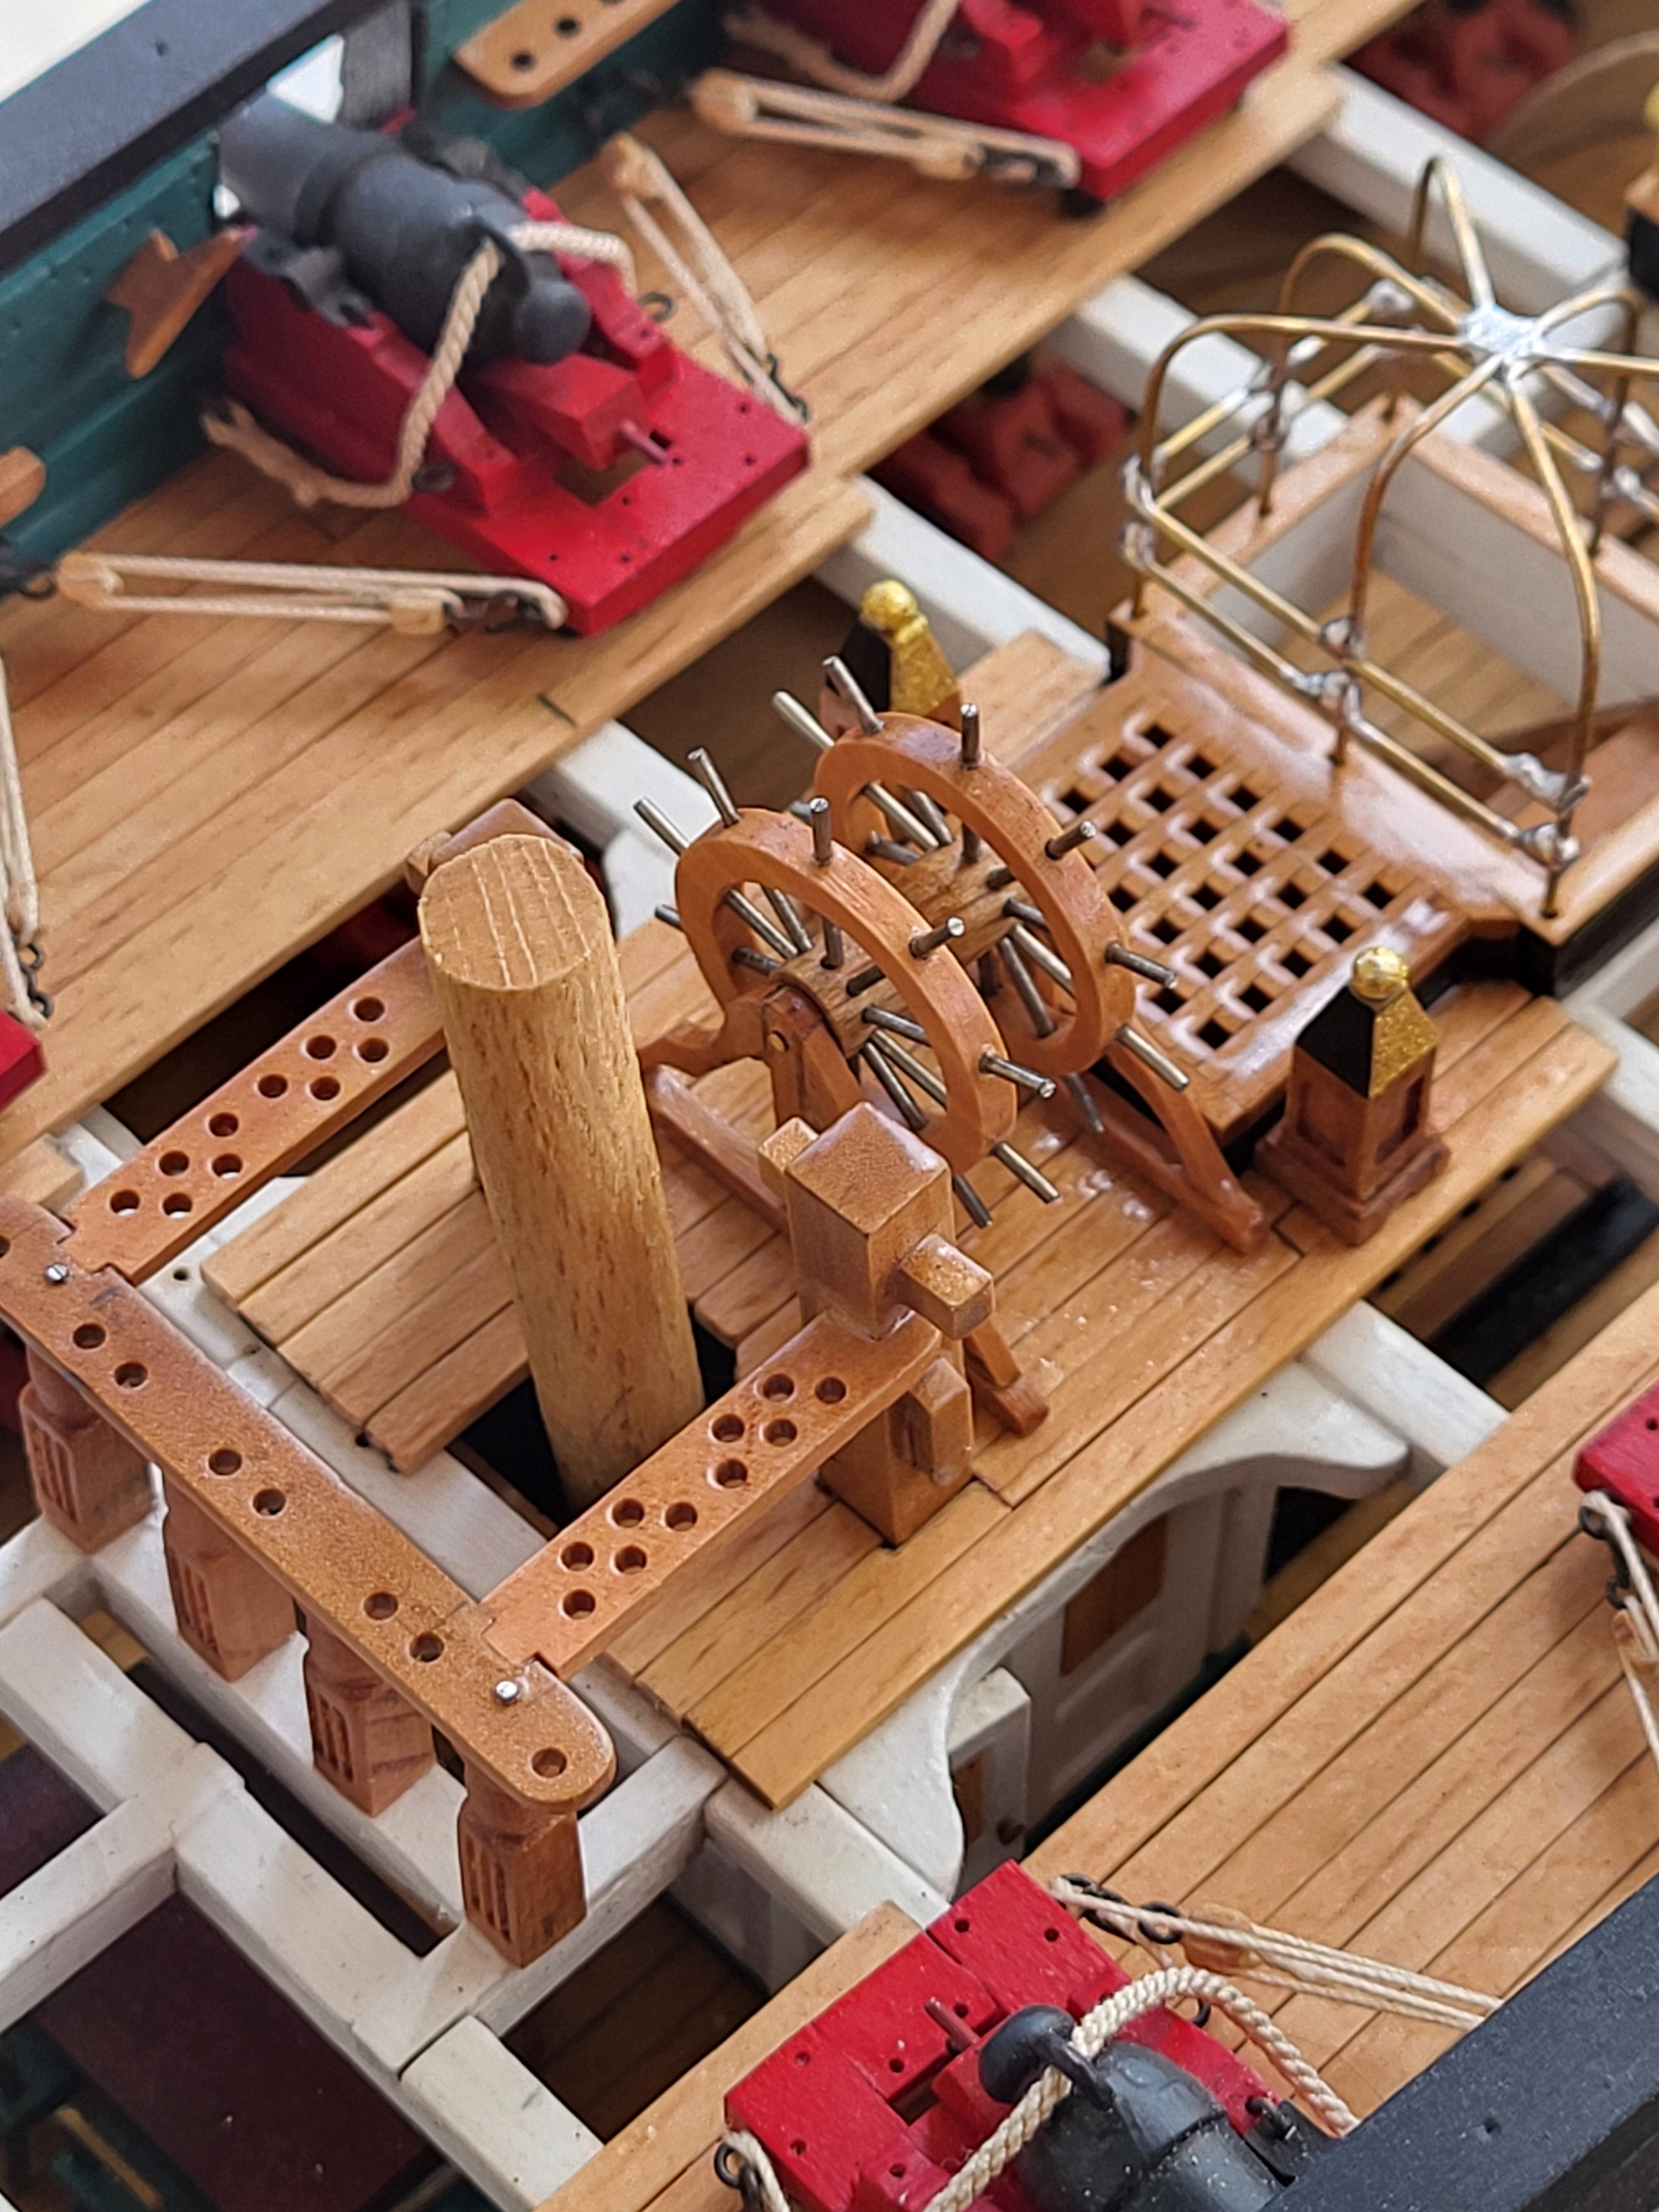
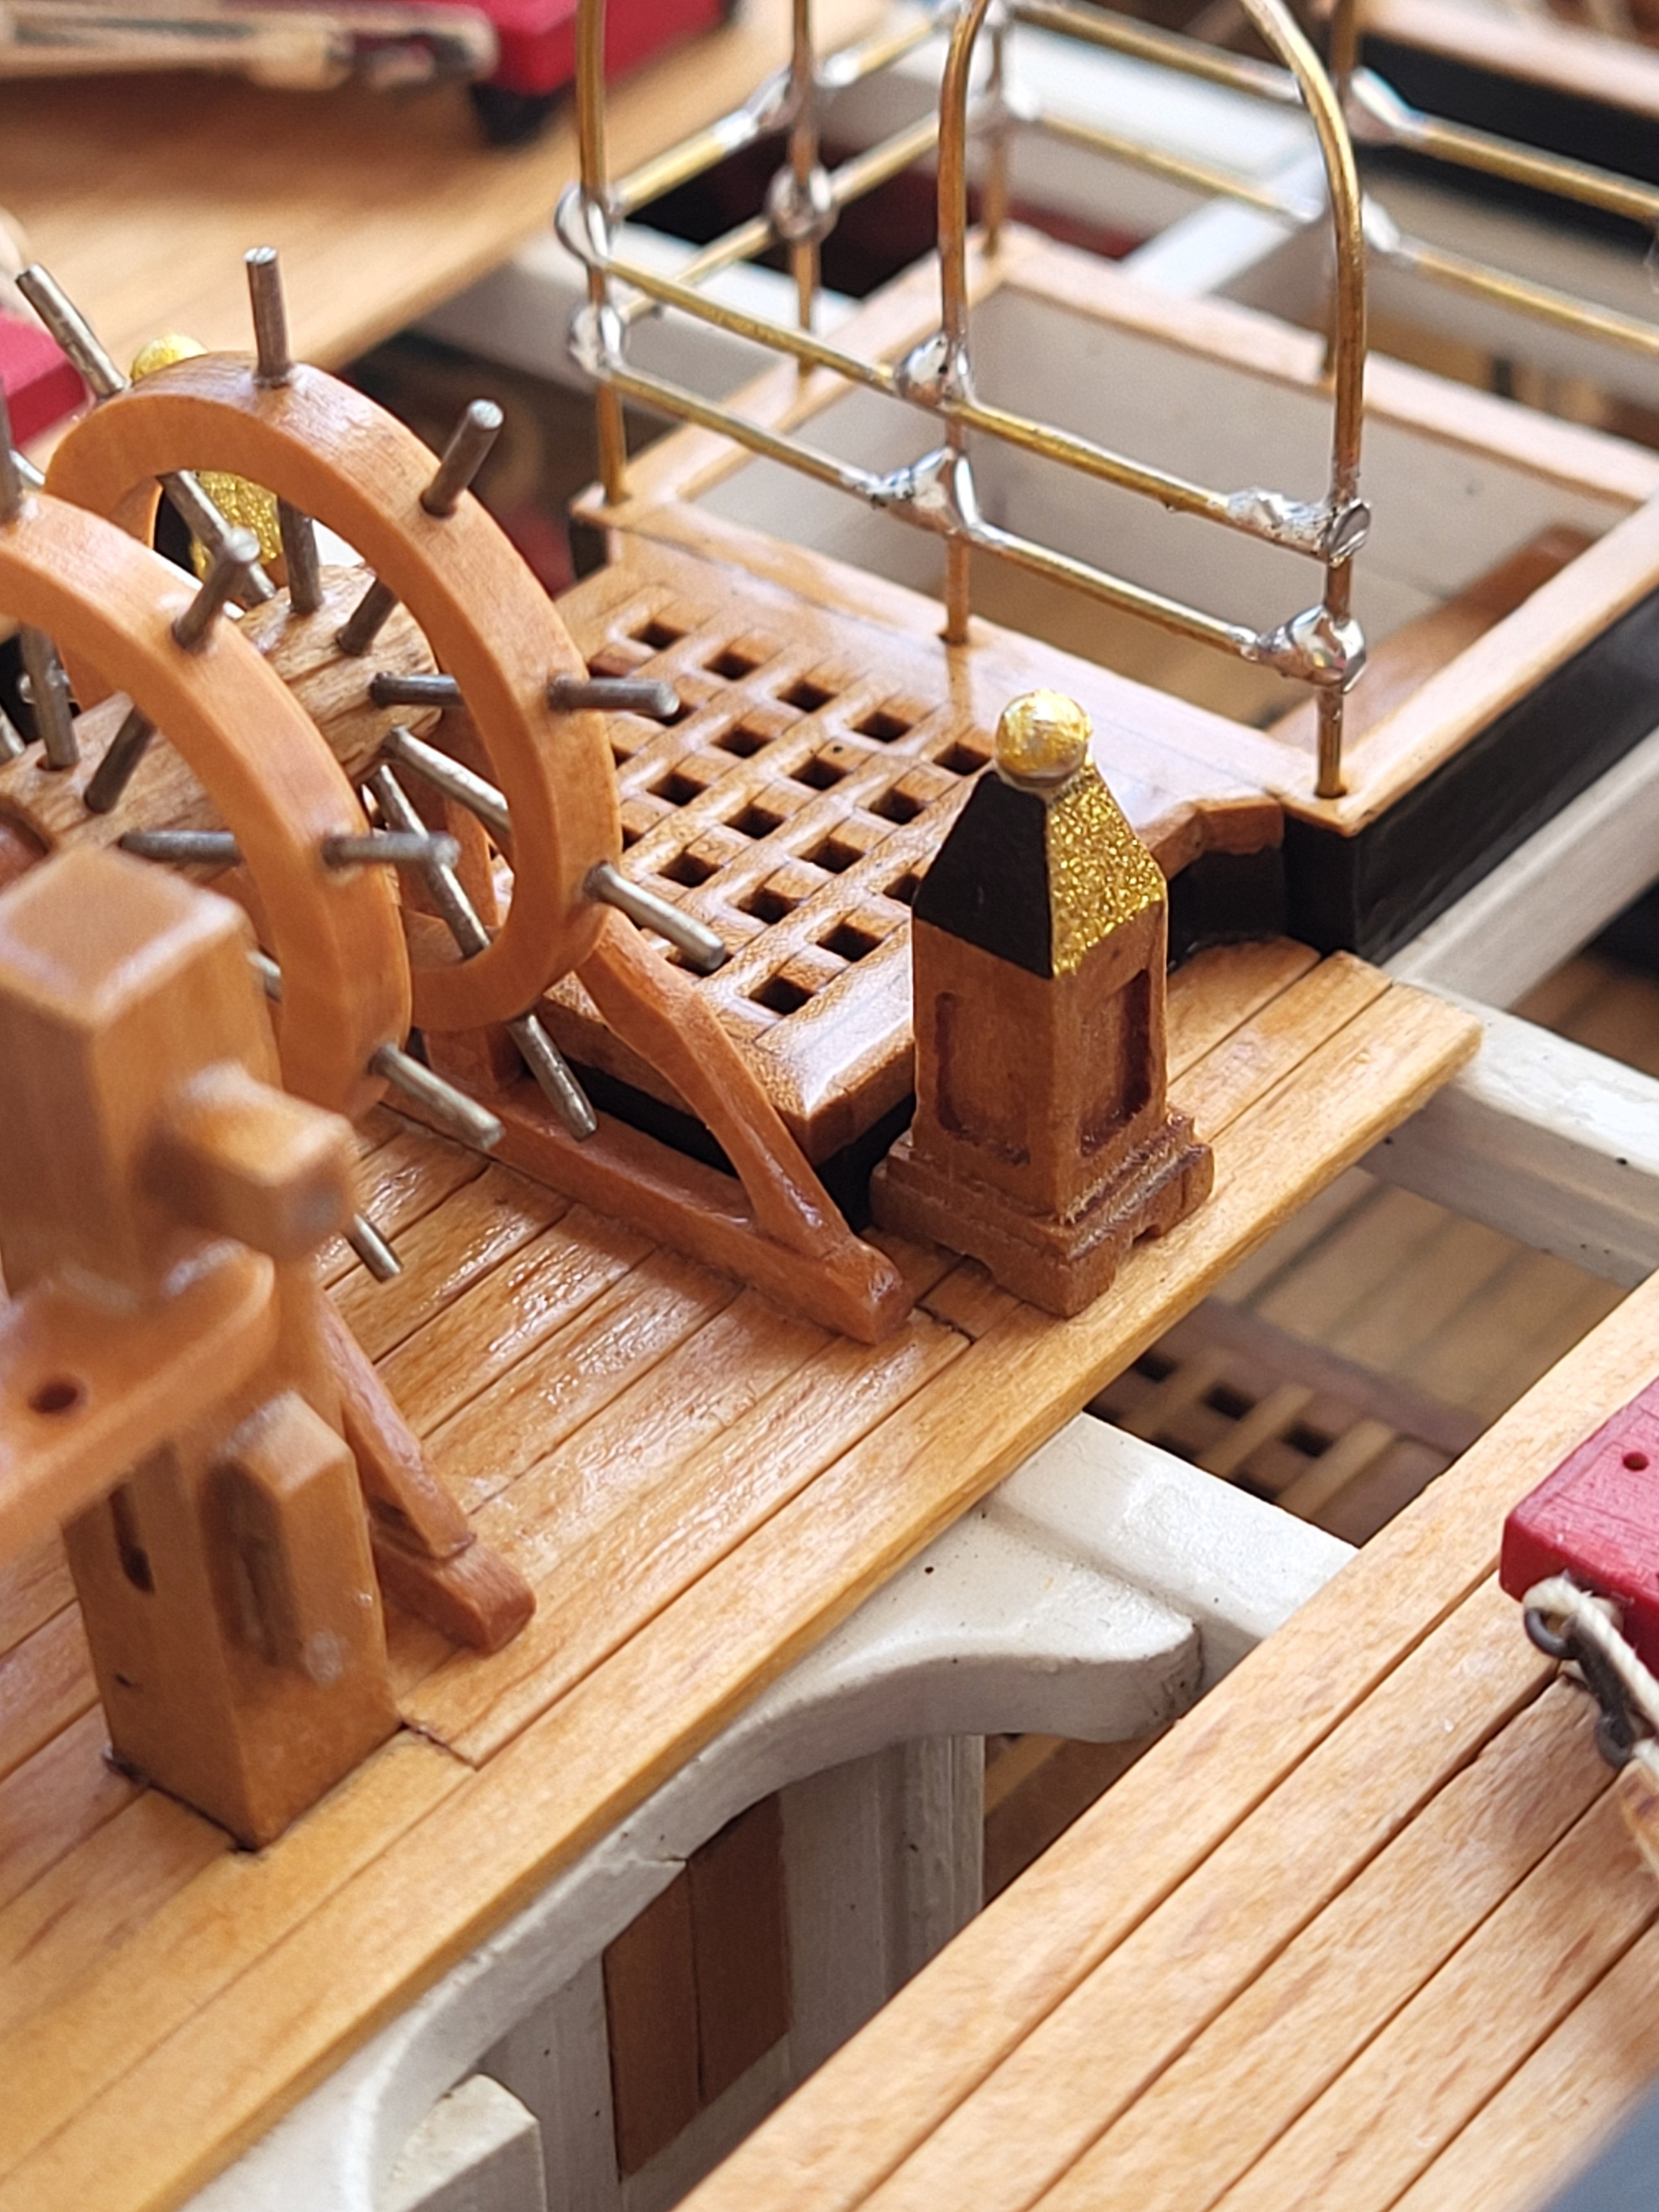
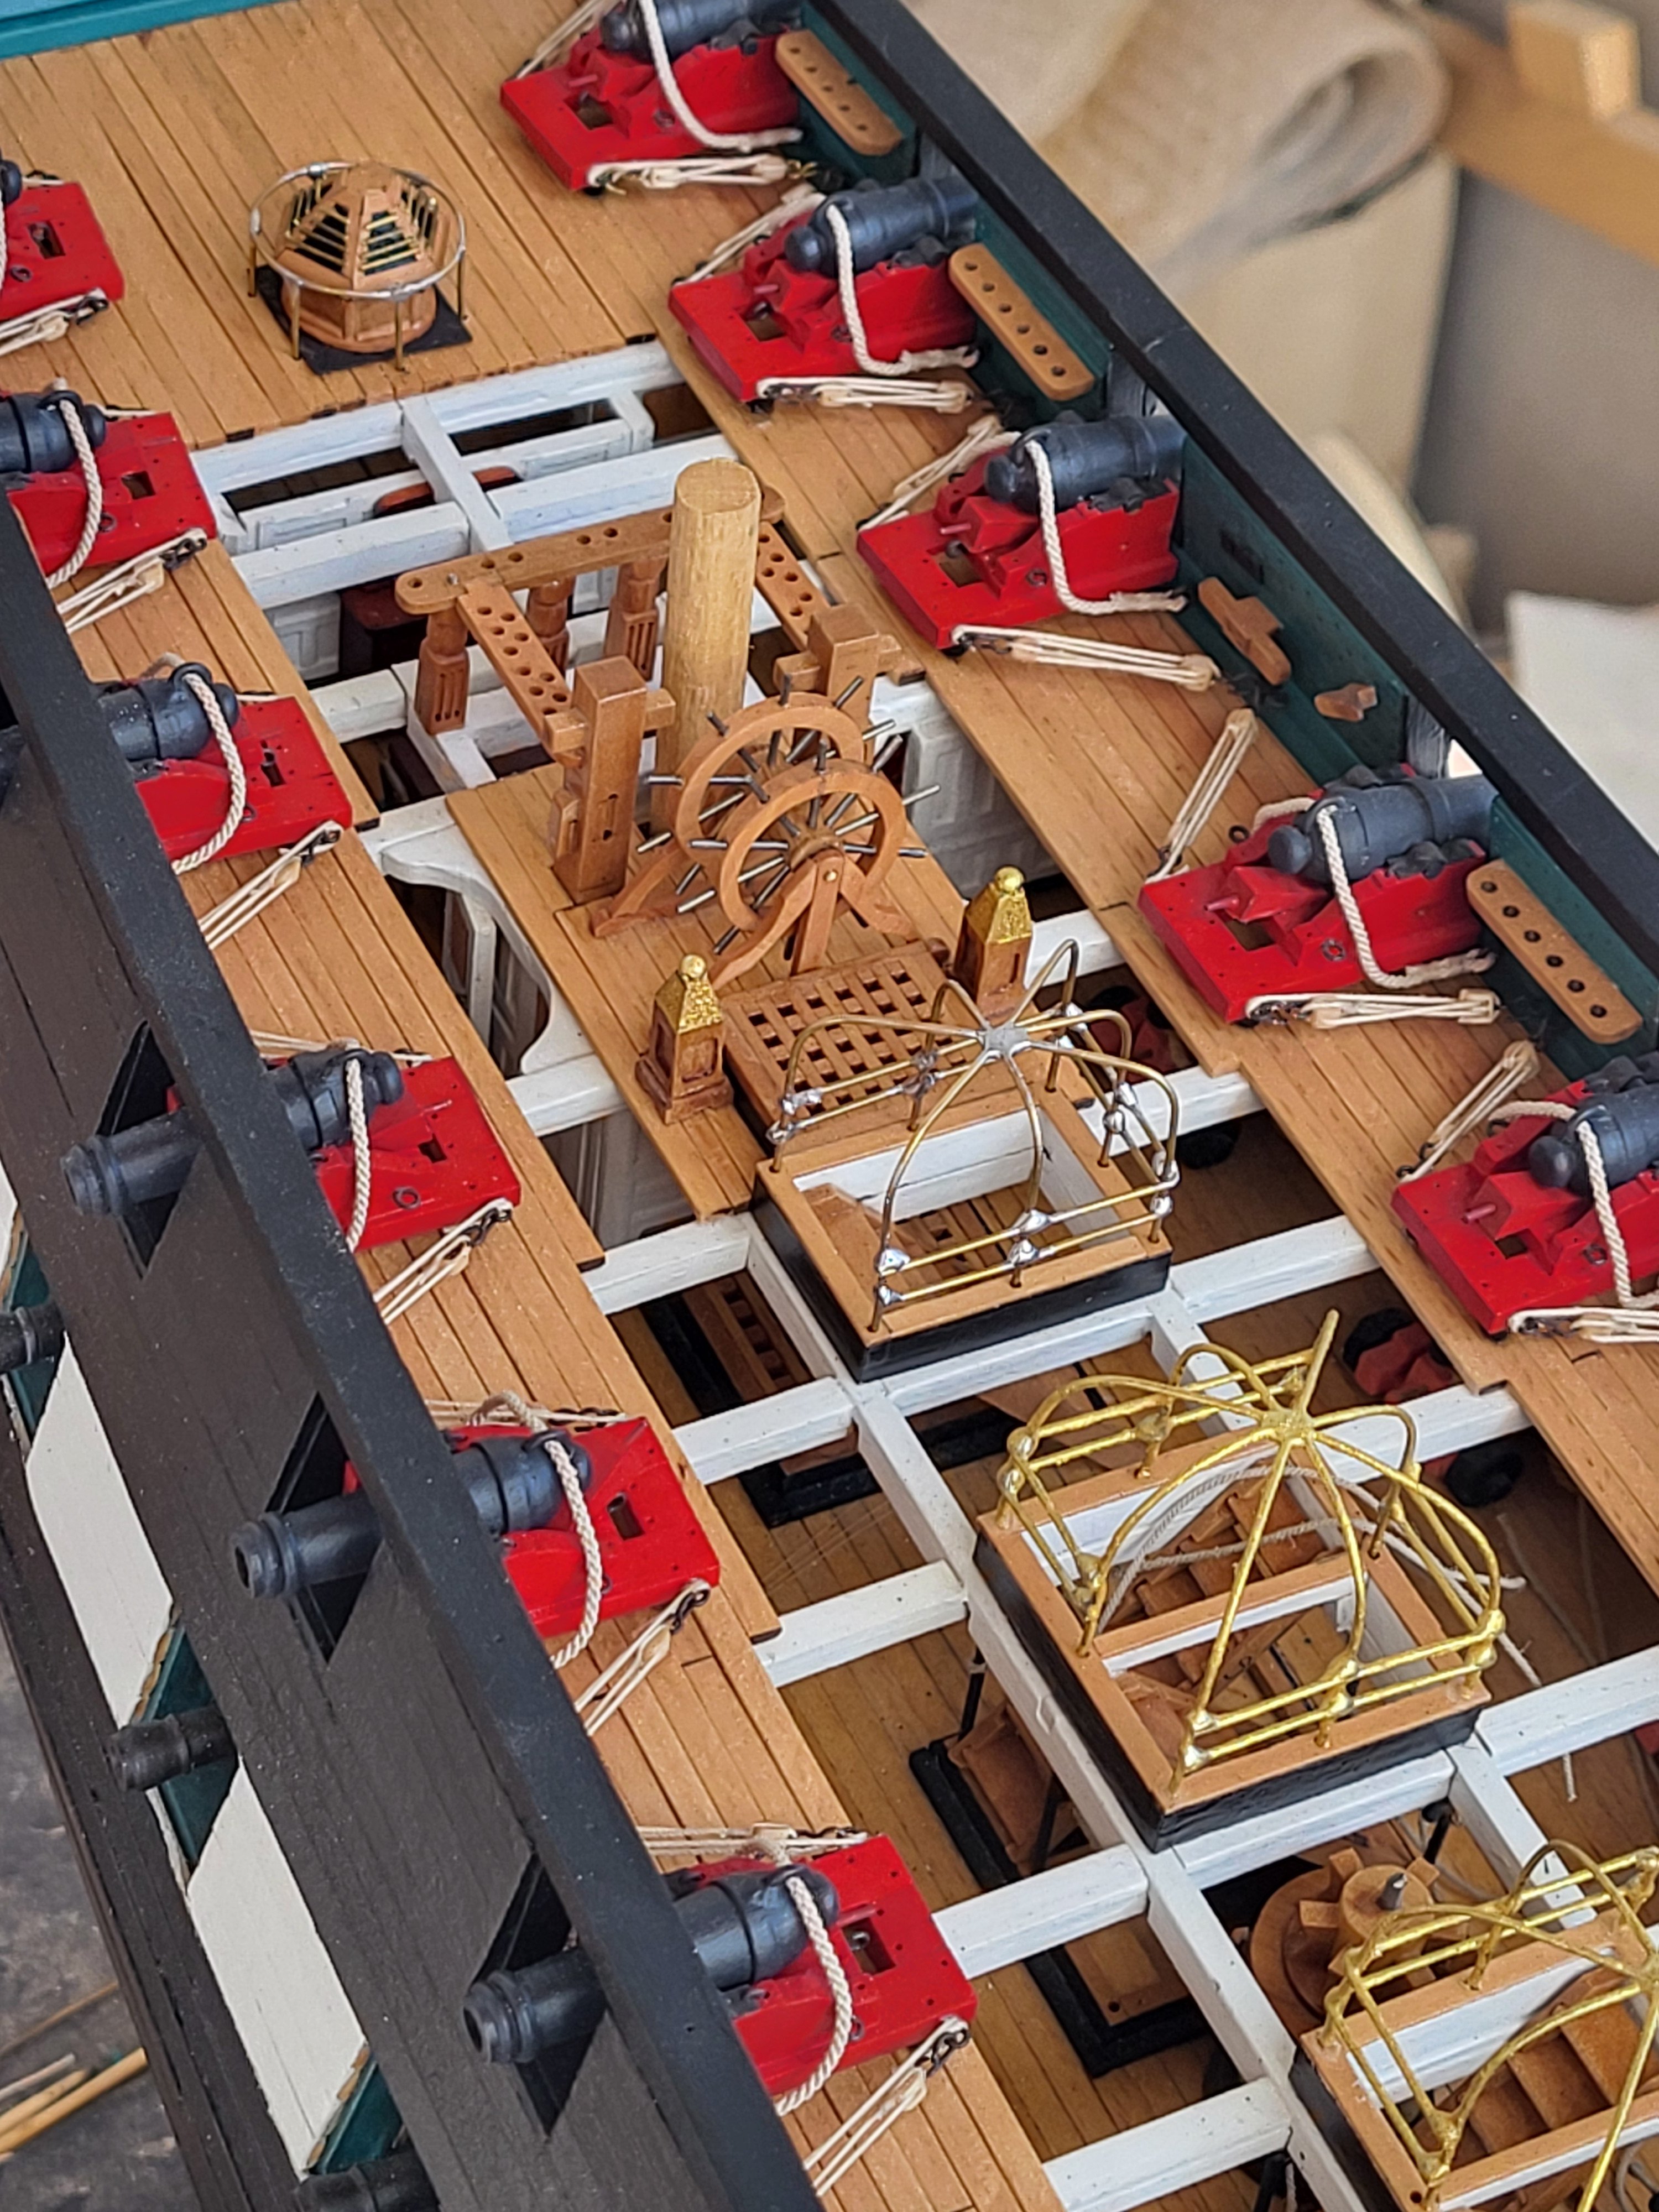
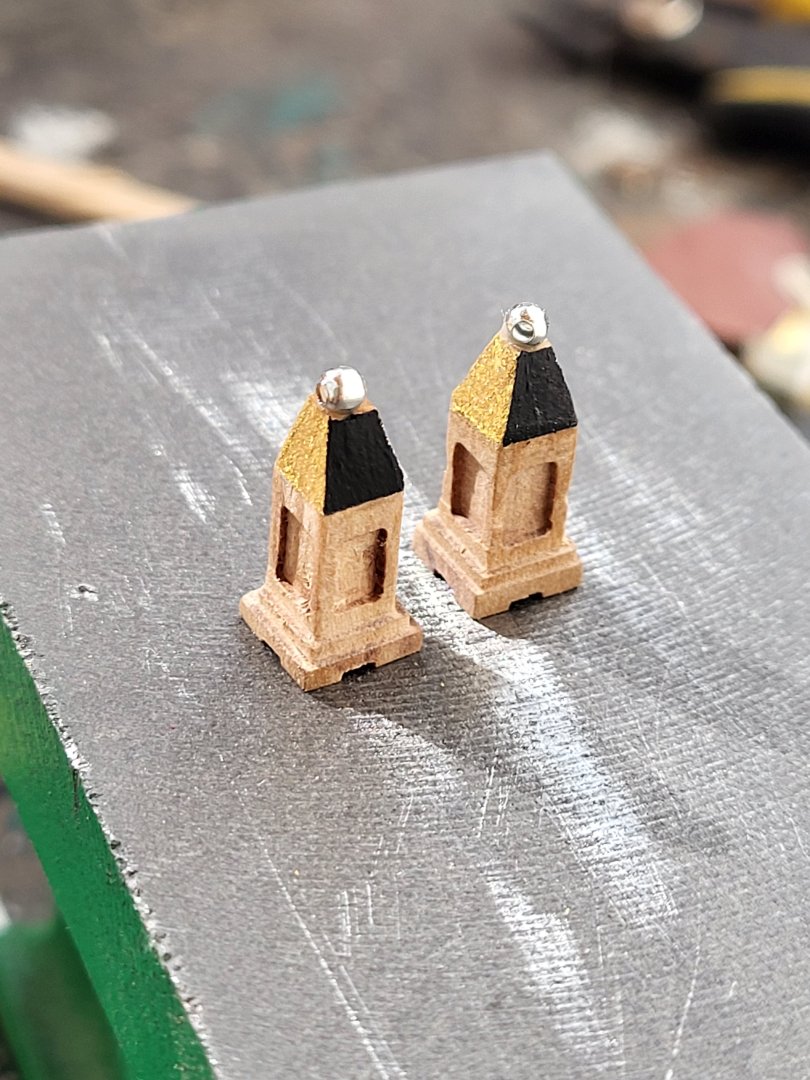
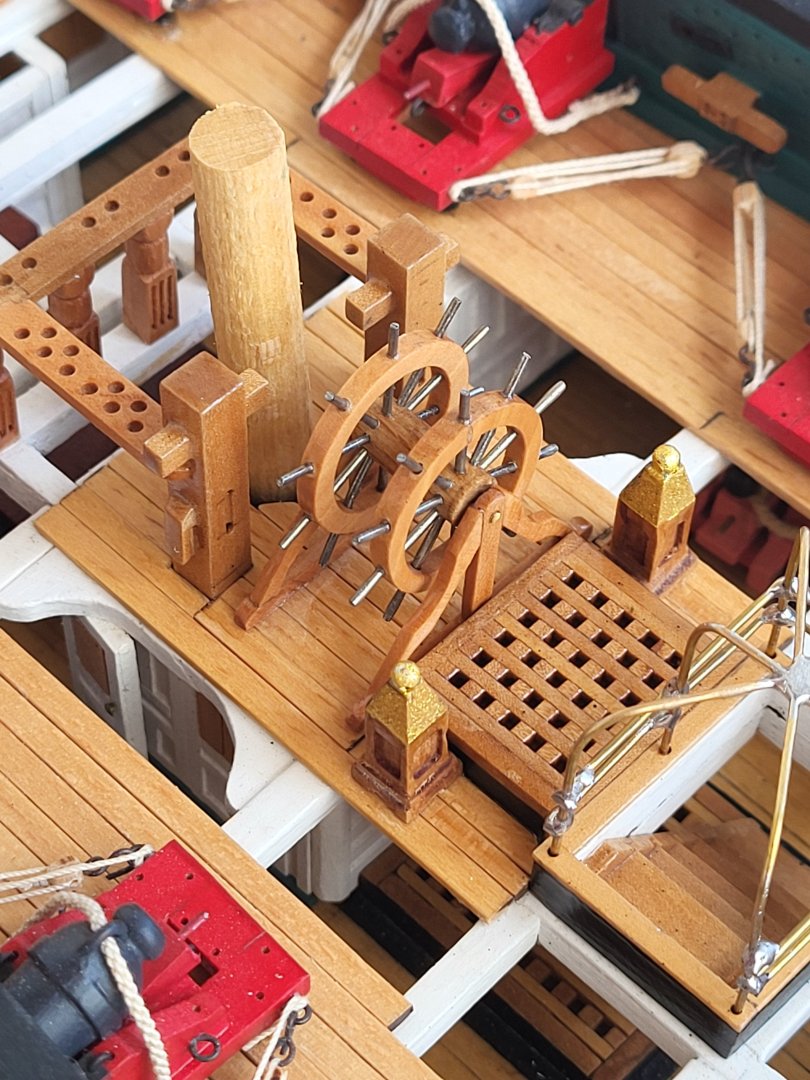
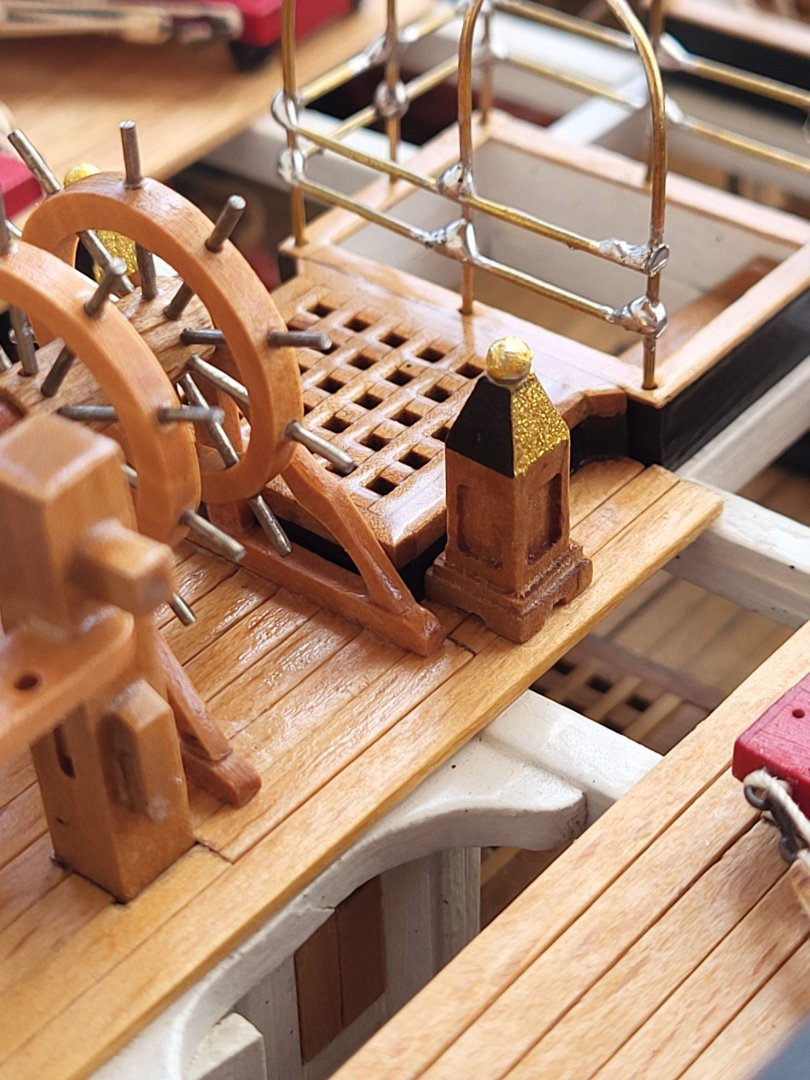
I completed the binnacles and installed them in their places.


-
USS Constitution by mtbediz - 1:76
mtbediz replied to mtbediz's topic in - Build logs for subjects built 1751 - 1800
I just edited my answer, if you read it again it might make sense. -
USS Constitution by mtbediz - 1:76
mtbediz replied to mtbediz's topic in - Build logs for subjects built 1751 - 1800
I didn't use a special jig for this. I just fixed the rail onto a flat surface with tape and soldered the stancions to it while holding them with my hand. By the way, I use soldering paste for soldering, so my hand is free and I can hold the stanchion with my hand. -
USS Constitution by mtbediz - 1:76
mtbediz replied to mtbediz's topic in - Build logs for subjects built 1751 - 1800
Thank you Jon. For the aft skylight, I cut the base plate from 0.3 mm brass sheet and blackened it. I made the railing of the skylight from 0.7 mm brass wire, but I couldn't clean up the excess solder using my old files. So, I ordered a new set of files. I'll work on that later. Nothing is glued in place yet.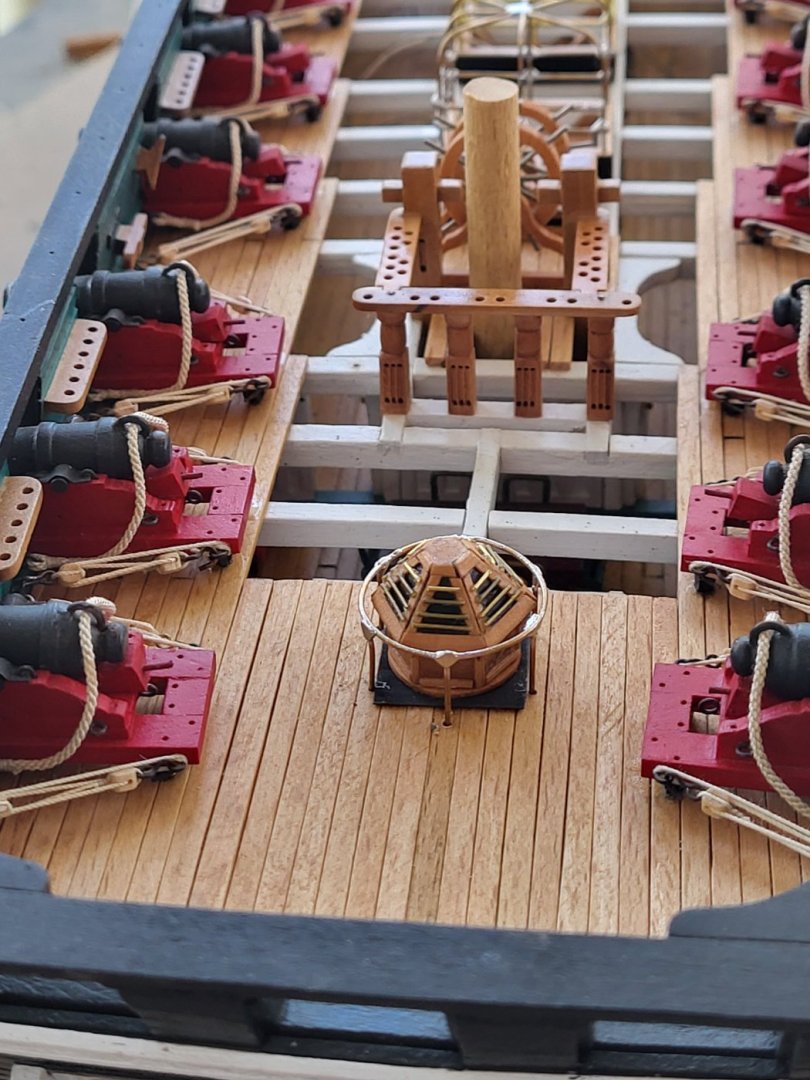

-
USS Constitution by mtbediz - 1:76
mtbediz replied to mtbediz's topic in - Build logs for subjects built 1751 - 1800
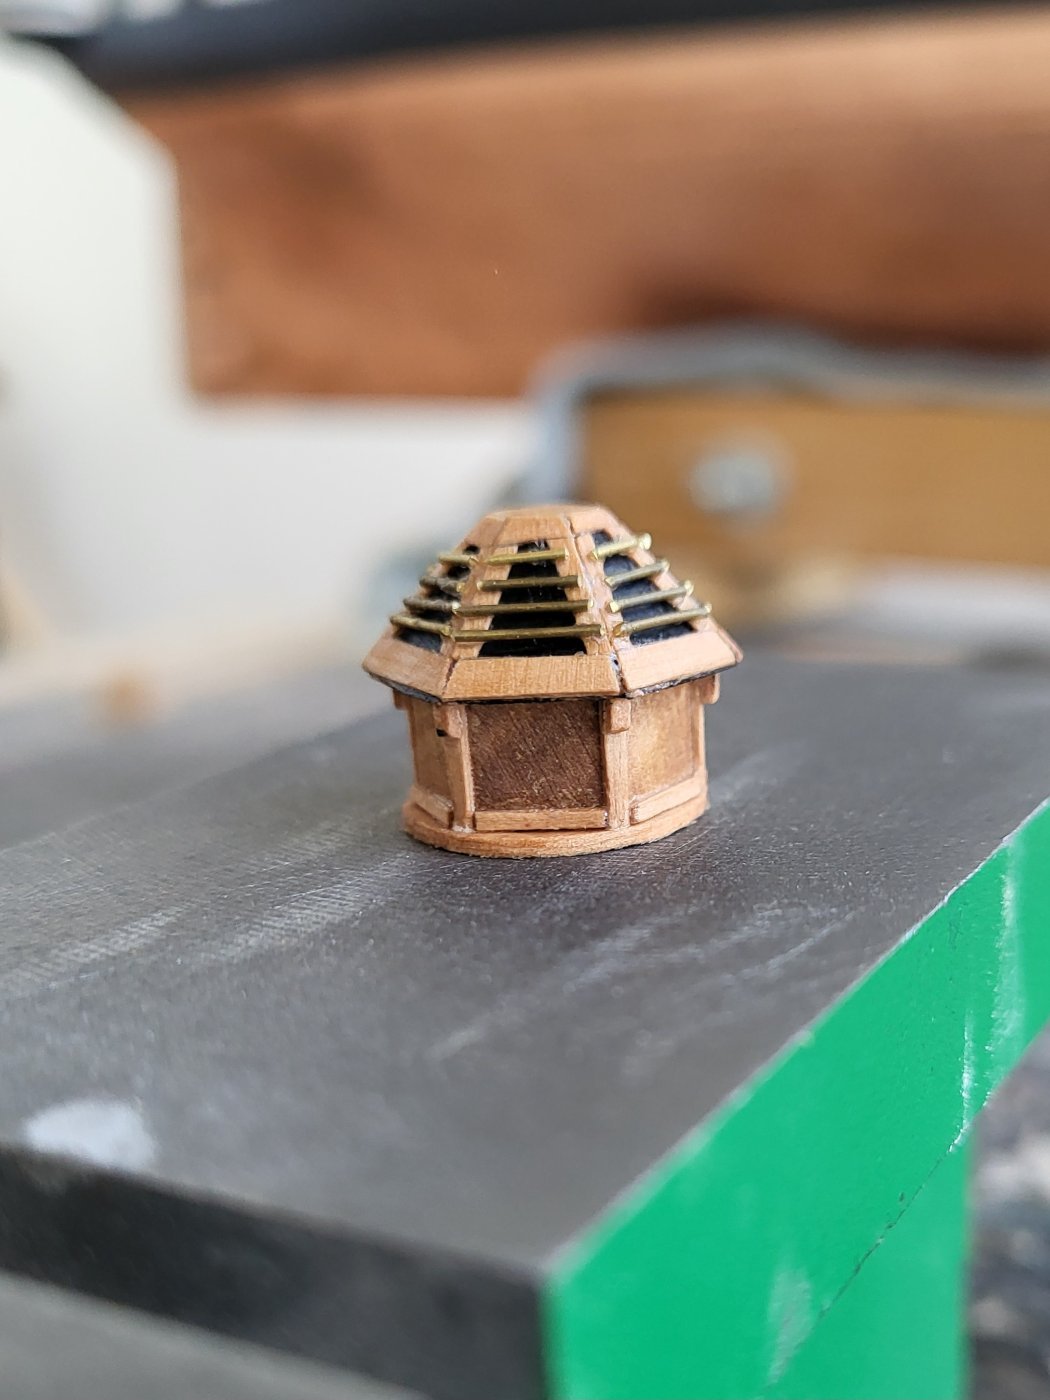
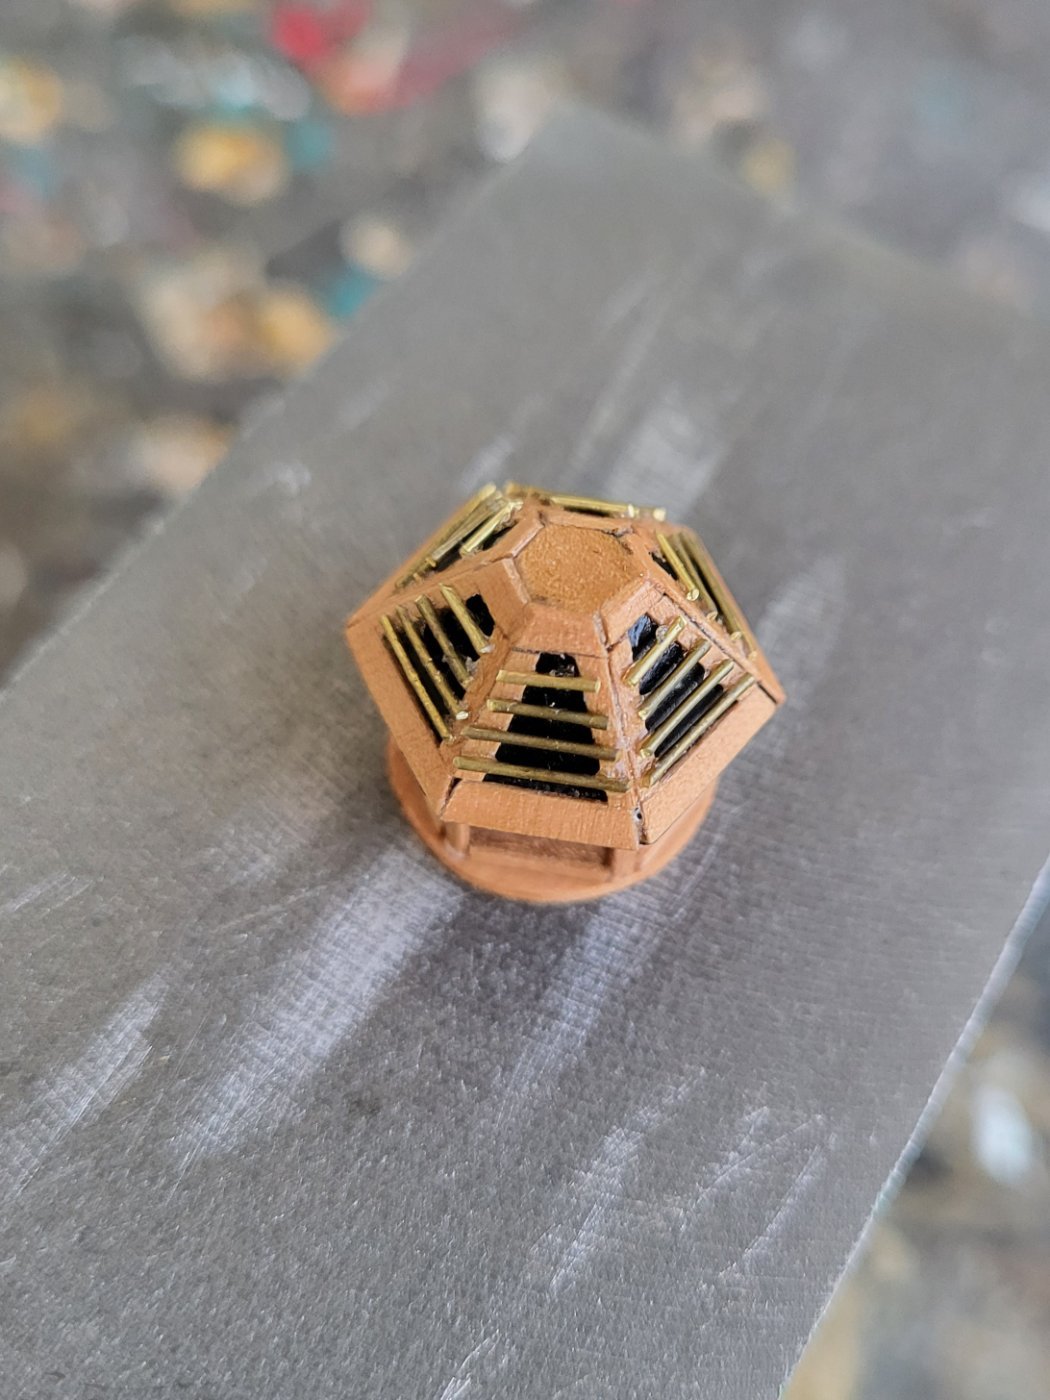
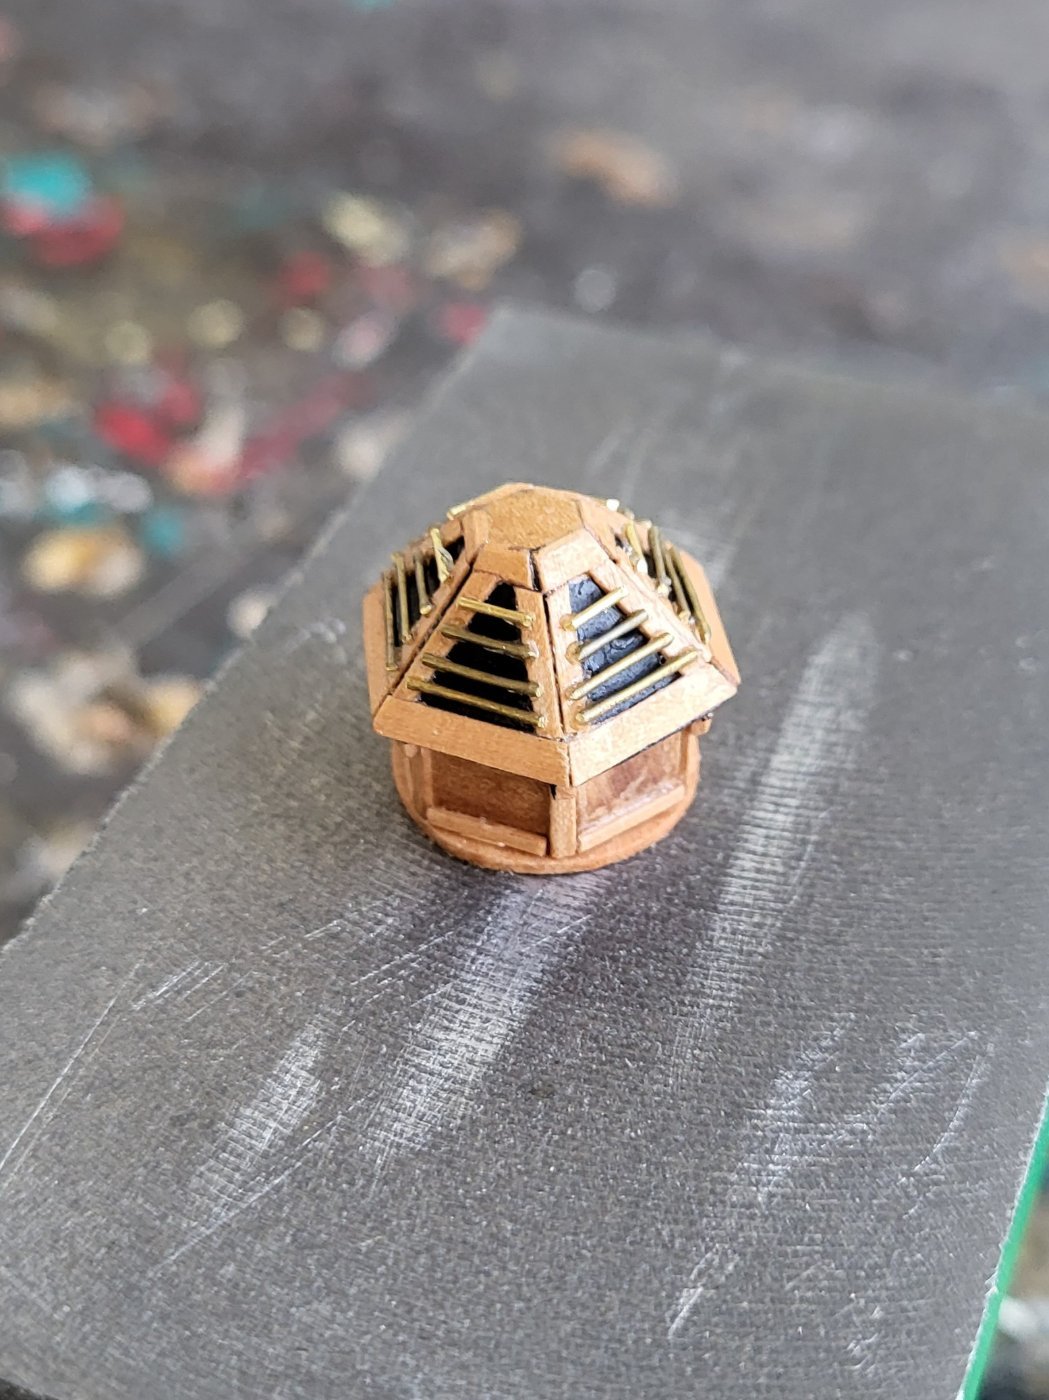
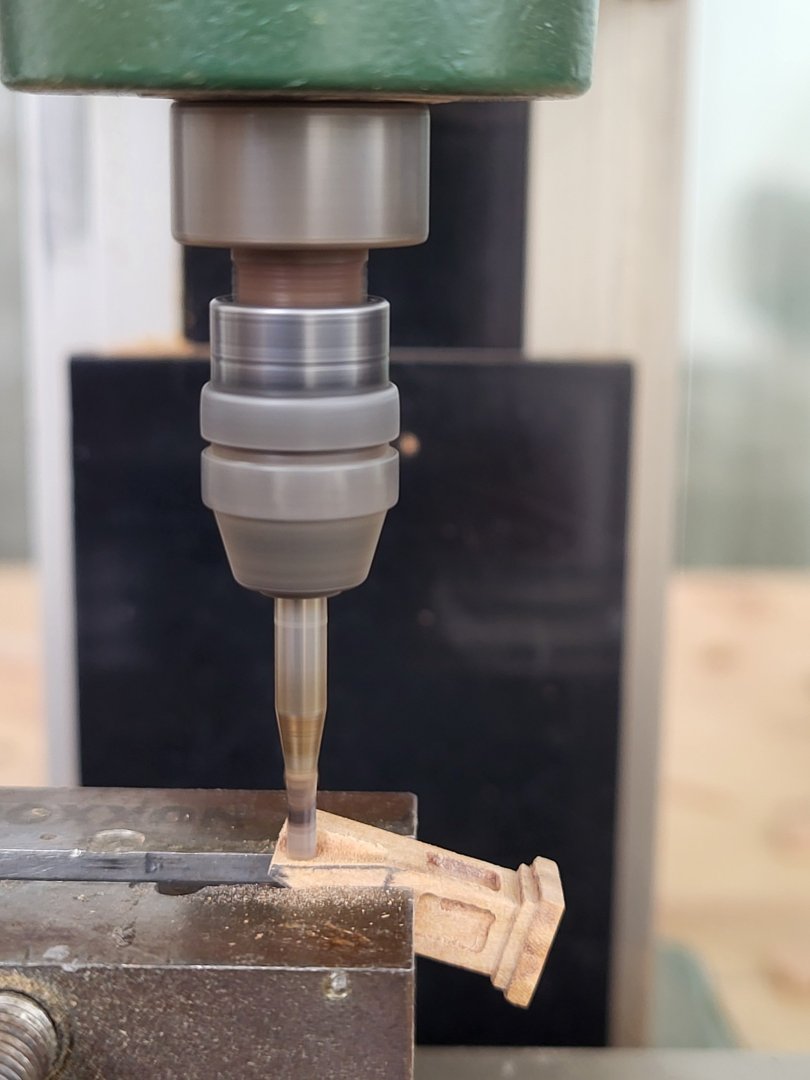
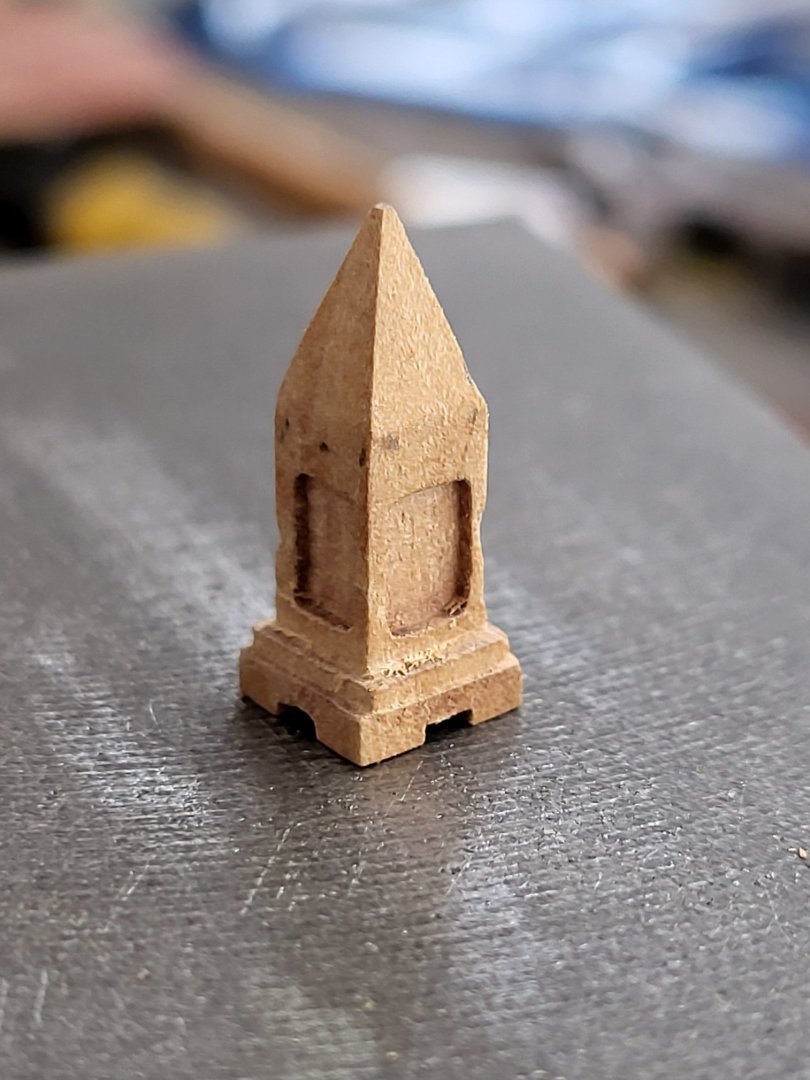
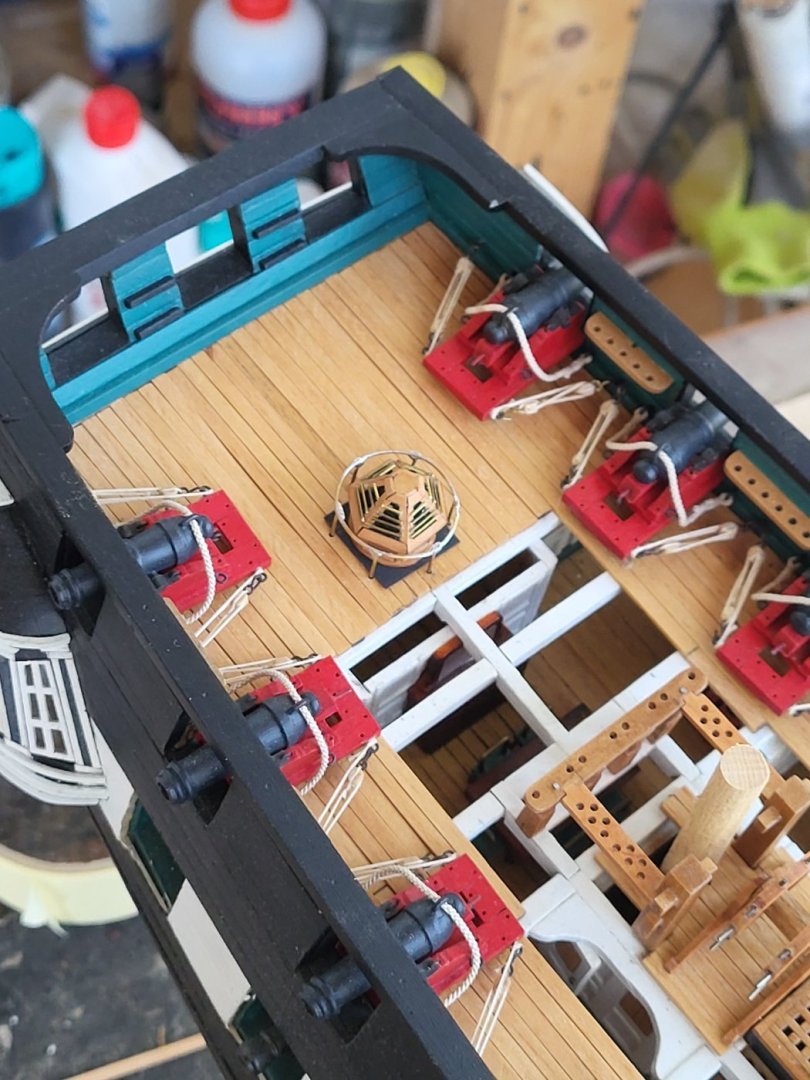
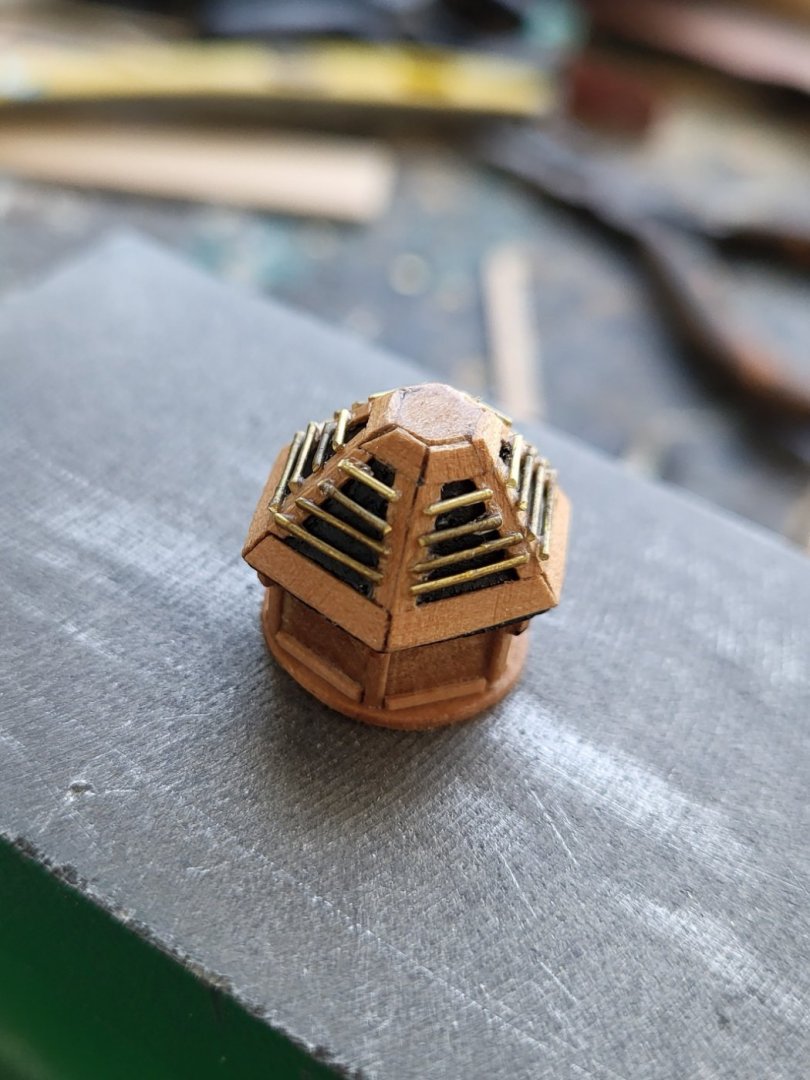
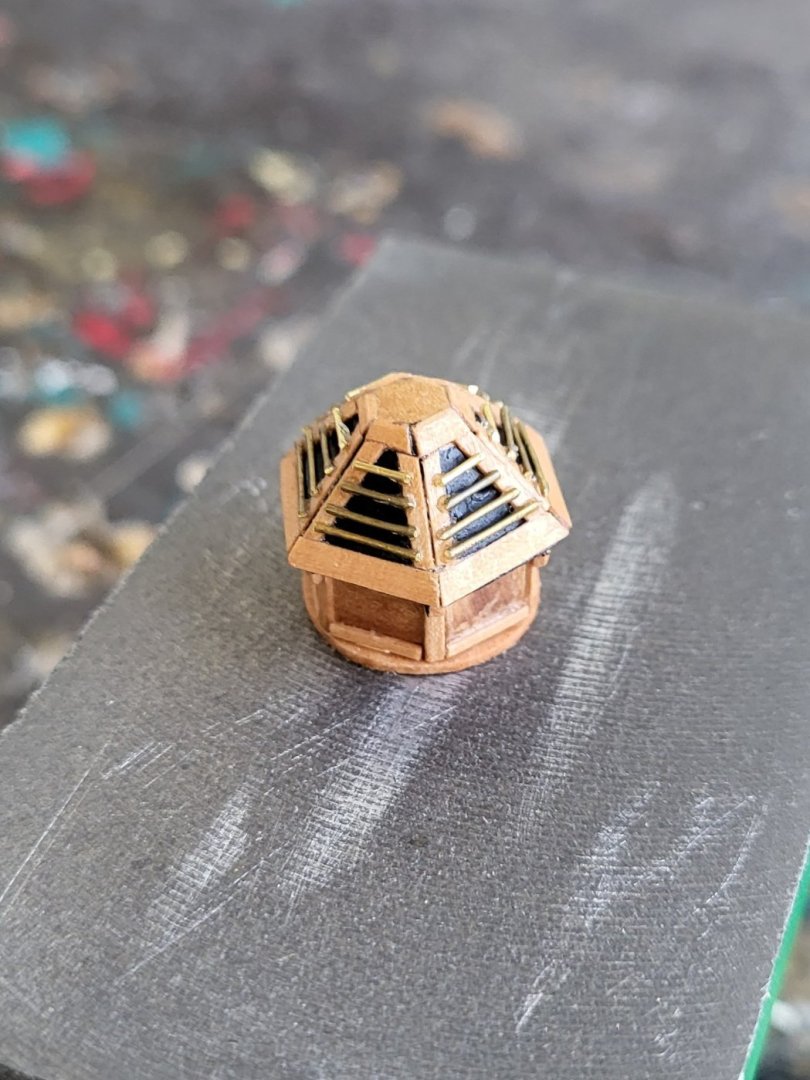
I am working on captain's skylight. I prepared a hexagonal prism and a hexagonal-based conical prism from pear wood, adding details cut from 0.5 mm pear strips. I used black paint to represent the windows and made the window bars out of 0.5 mm brass wire. Finally, I finished it with a matte varnish."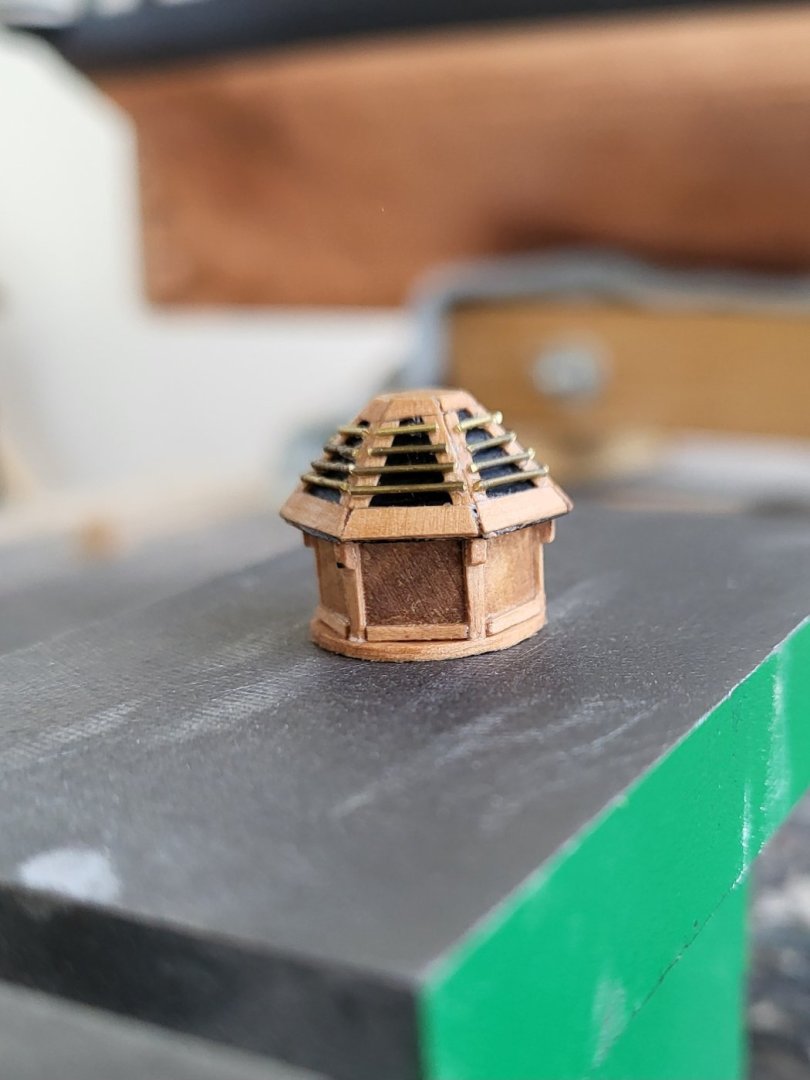

-
USS Constitution by mtbediz - 1:76
mtbediz replied to mtbediz's topic in - Build logs for subjects built 1751 - 1800
Never hesitate to ask anything Greg. I'm here to answer questions. Yes, I did exactly as you said and added a beam there. There are a lot of auxiliary beams on the original ship that I didn't add to my model anyway. And yes, I'll plank the aft side of the mizzen mast later. -
USS Constitution by mtbediz - 1:76
mtbediz replied to mtbediz's topic in - Build logs for subjects built 1751 - 1800
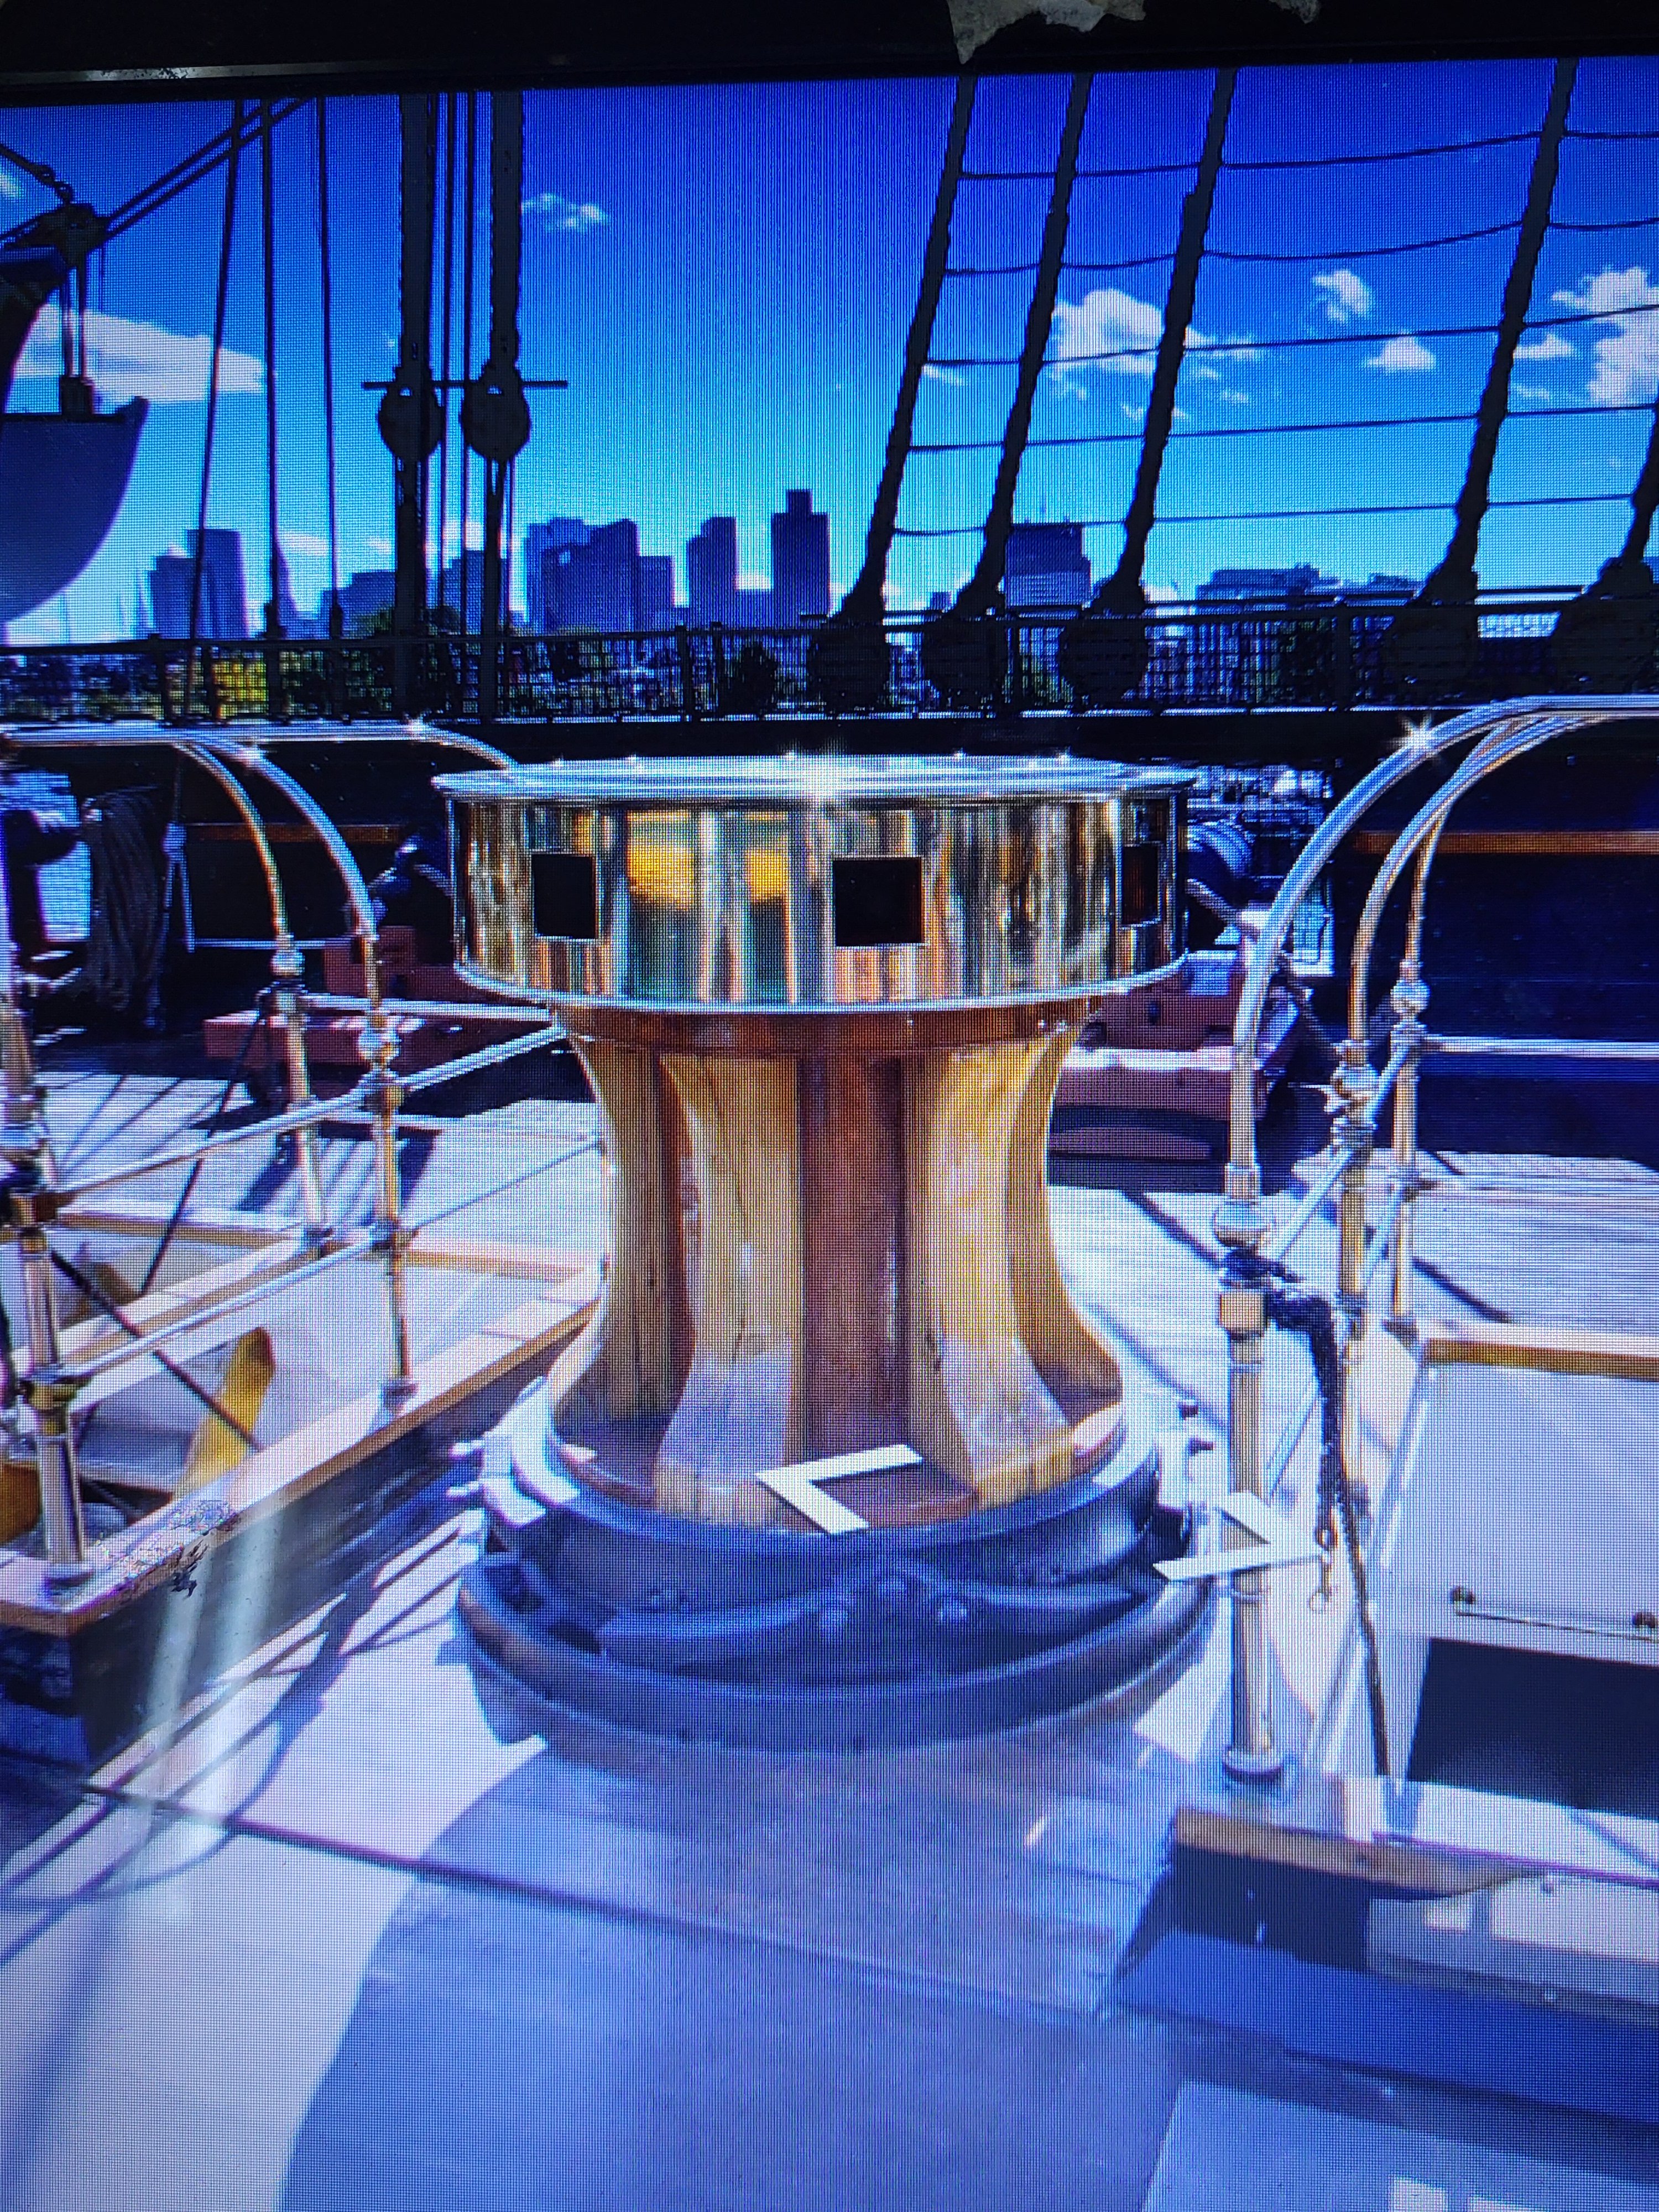
Thanks Greg. I was wondering where these ropes go and wanted to do a virtual tour to see them, but as you said, they go through the pantry. -
USS Constitution by mtbediz - 1:76
mtbediz replied to mtbediz's topic in - Build logs for subjects built 1751 - 1800
Thank you so much for the pictures Jon. -
USS Constitution by mtbediz - 1:76
mtbediz replied to mtbediz's topic in - Build logs for subjects built 1751 - 1800
Thank you so much. -
USS Constitution by mtbediz - 1:76
mtbediz replied to mtbediz's topic in - Build logs for subjects built 1751 - 1800
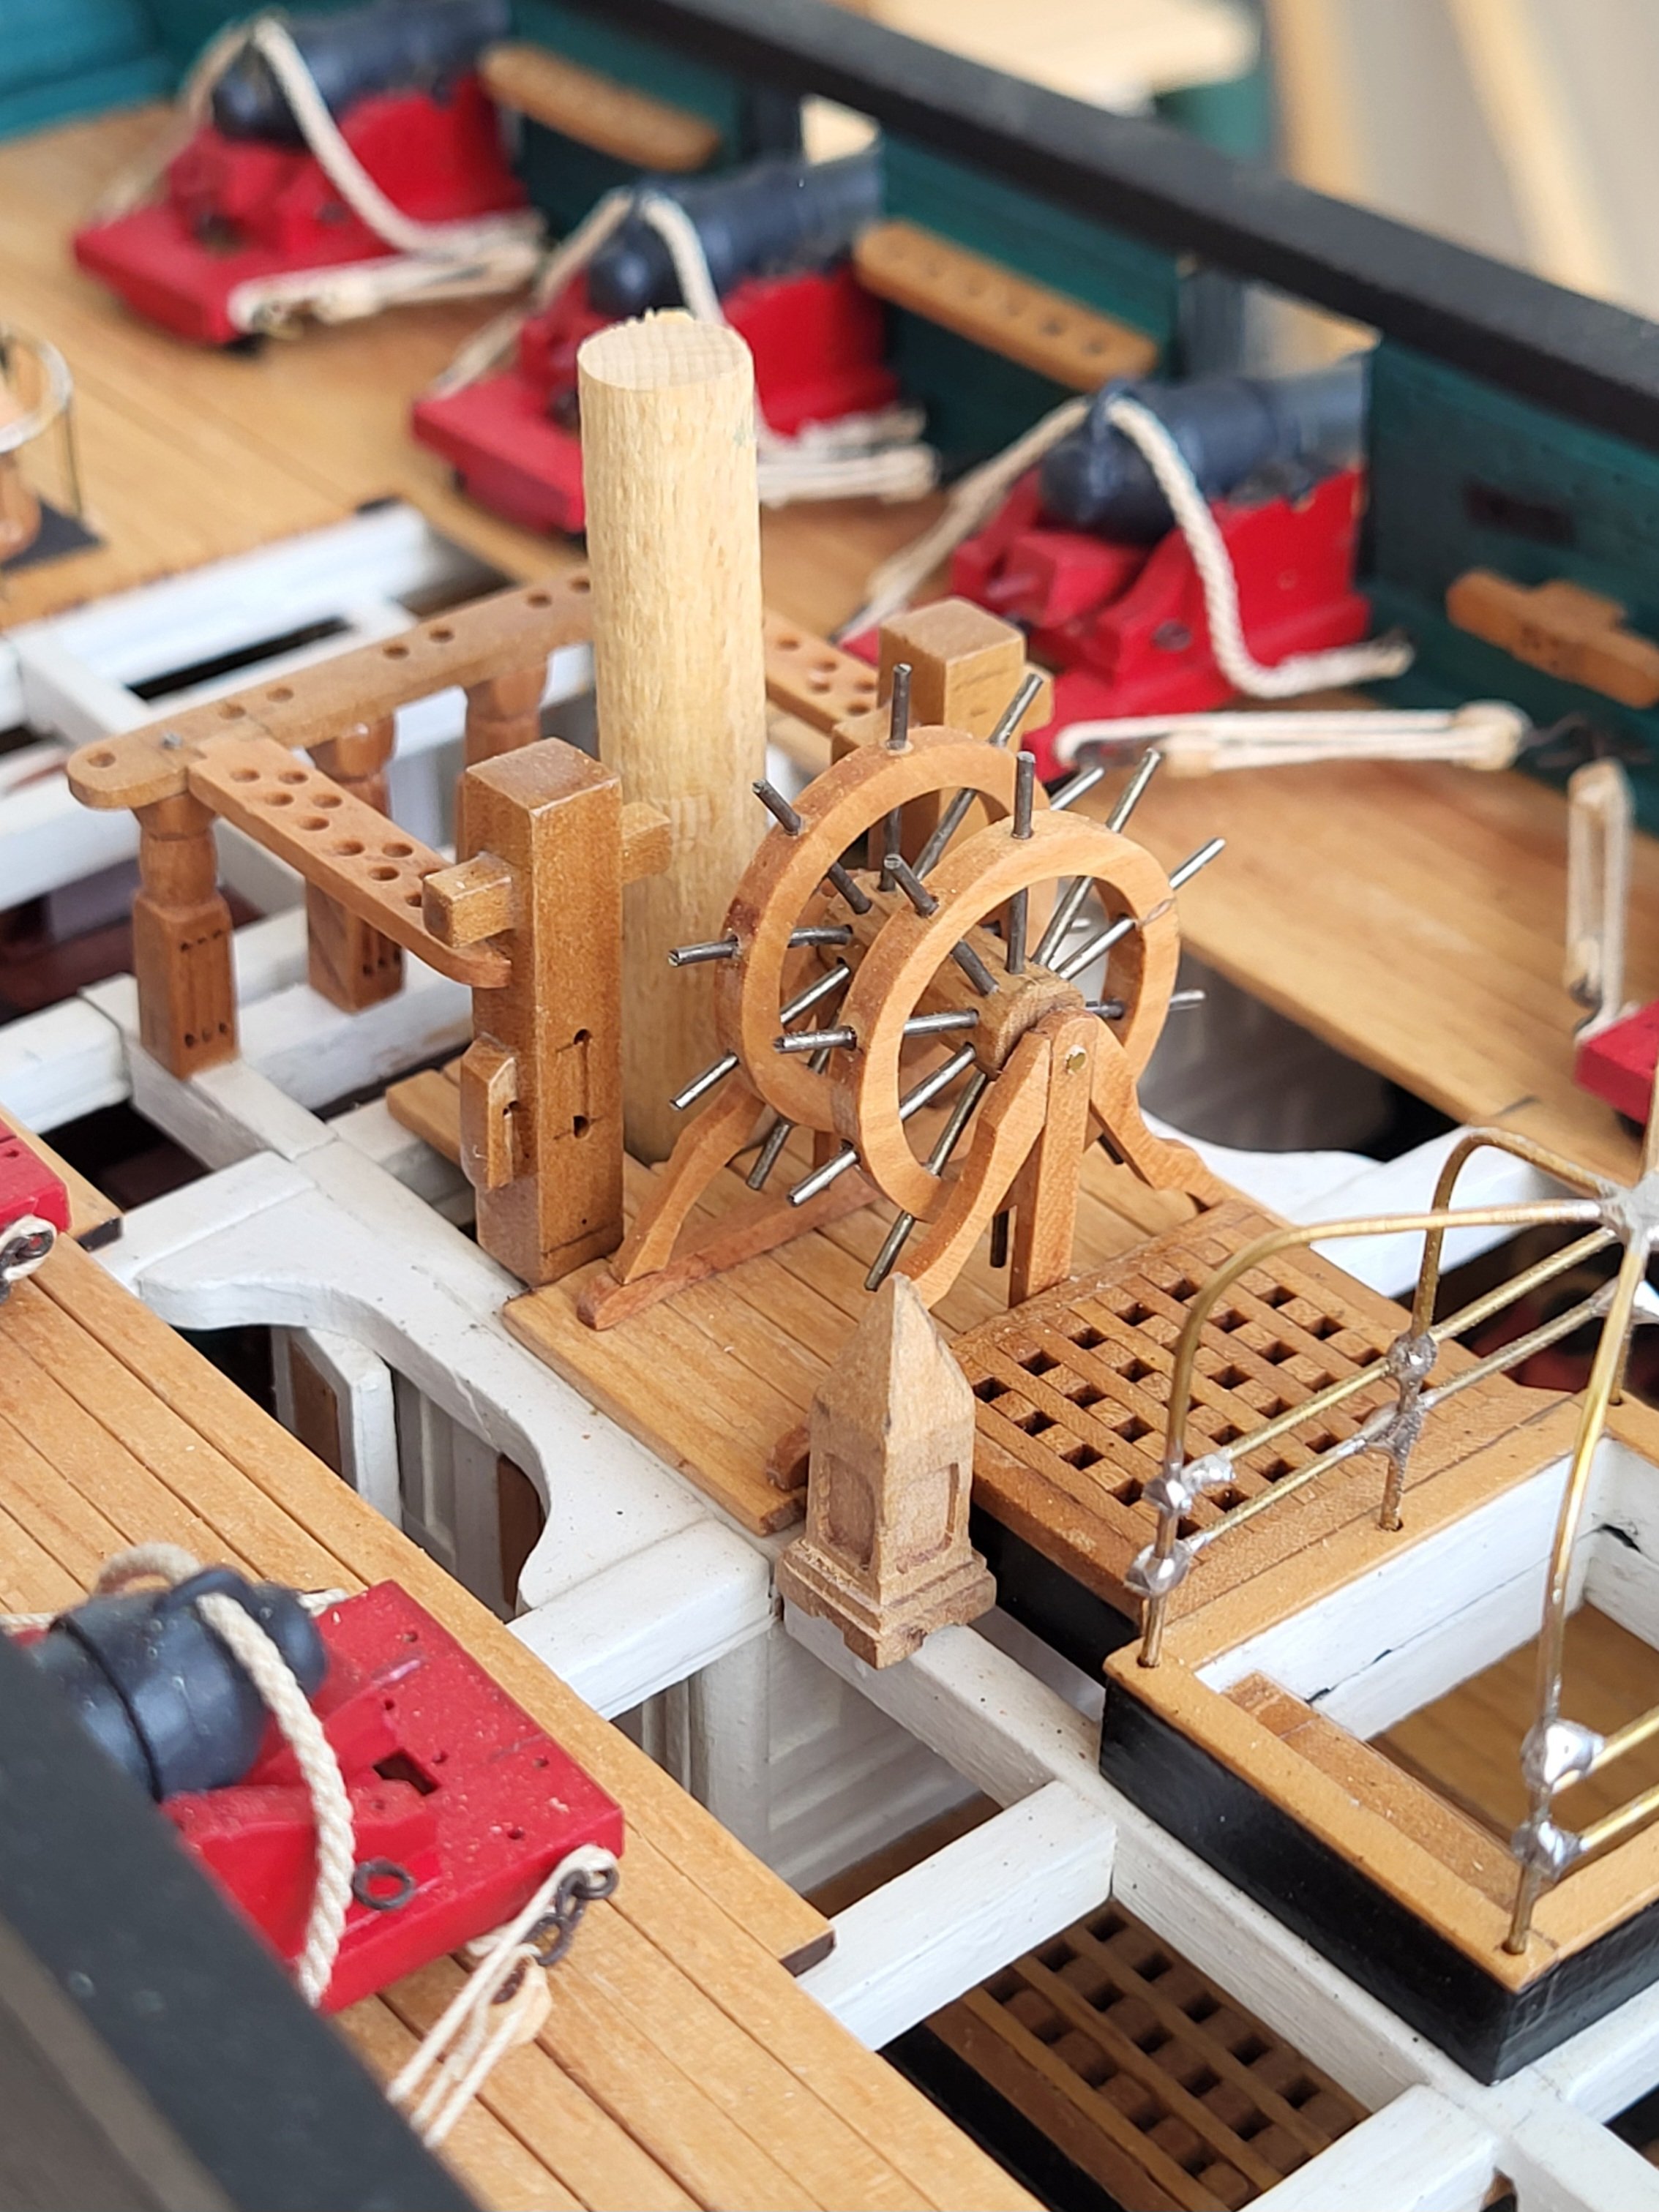
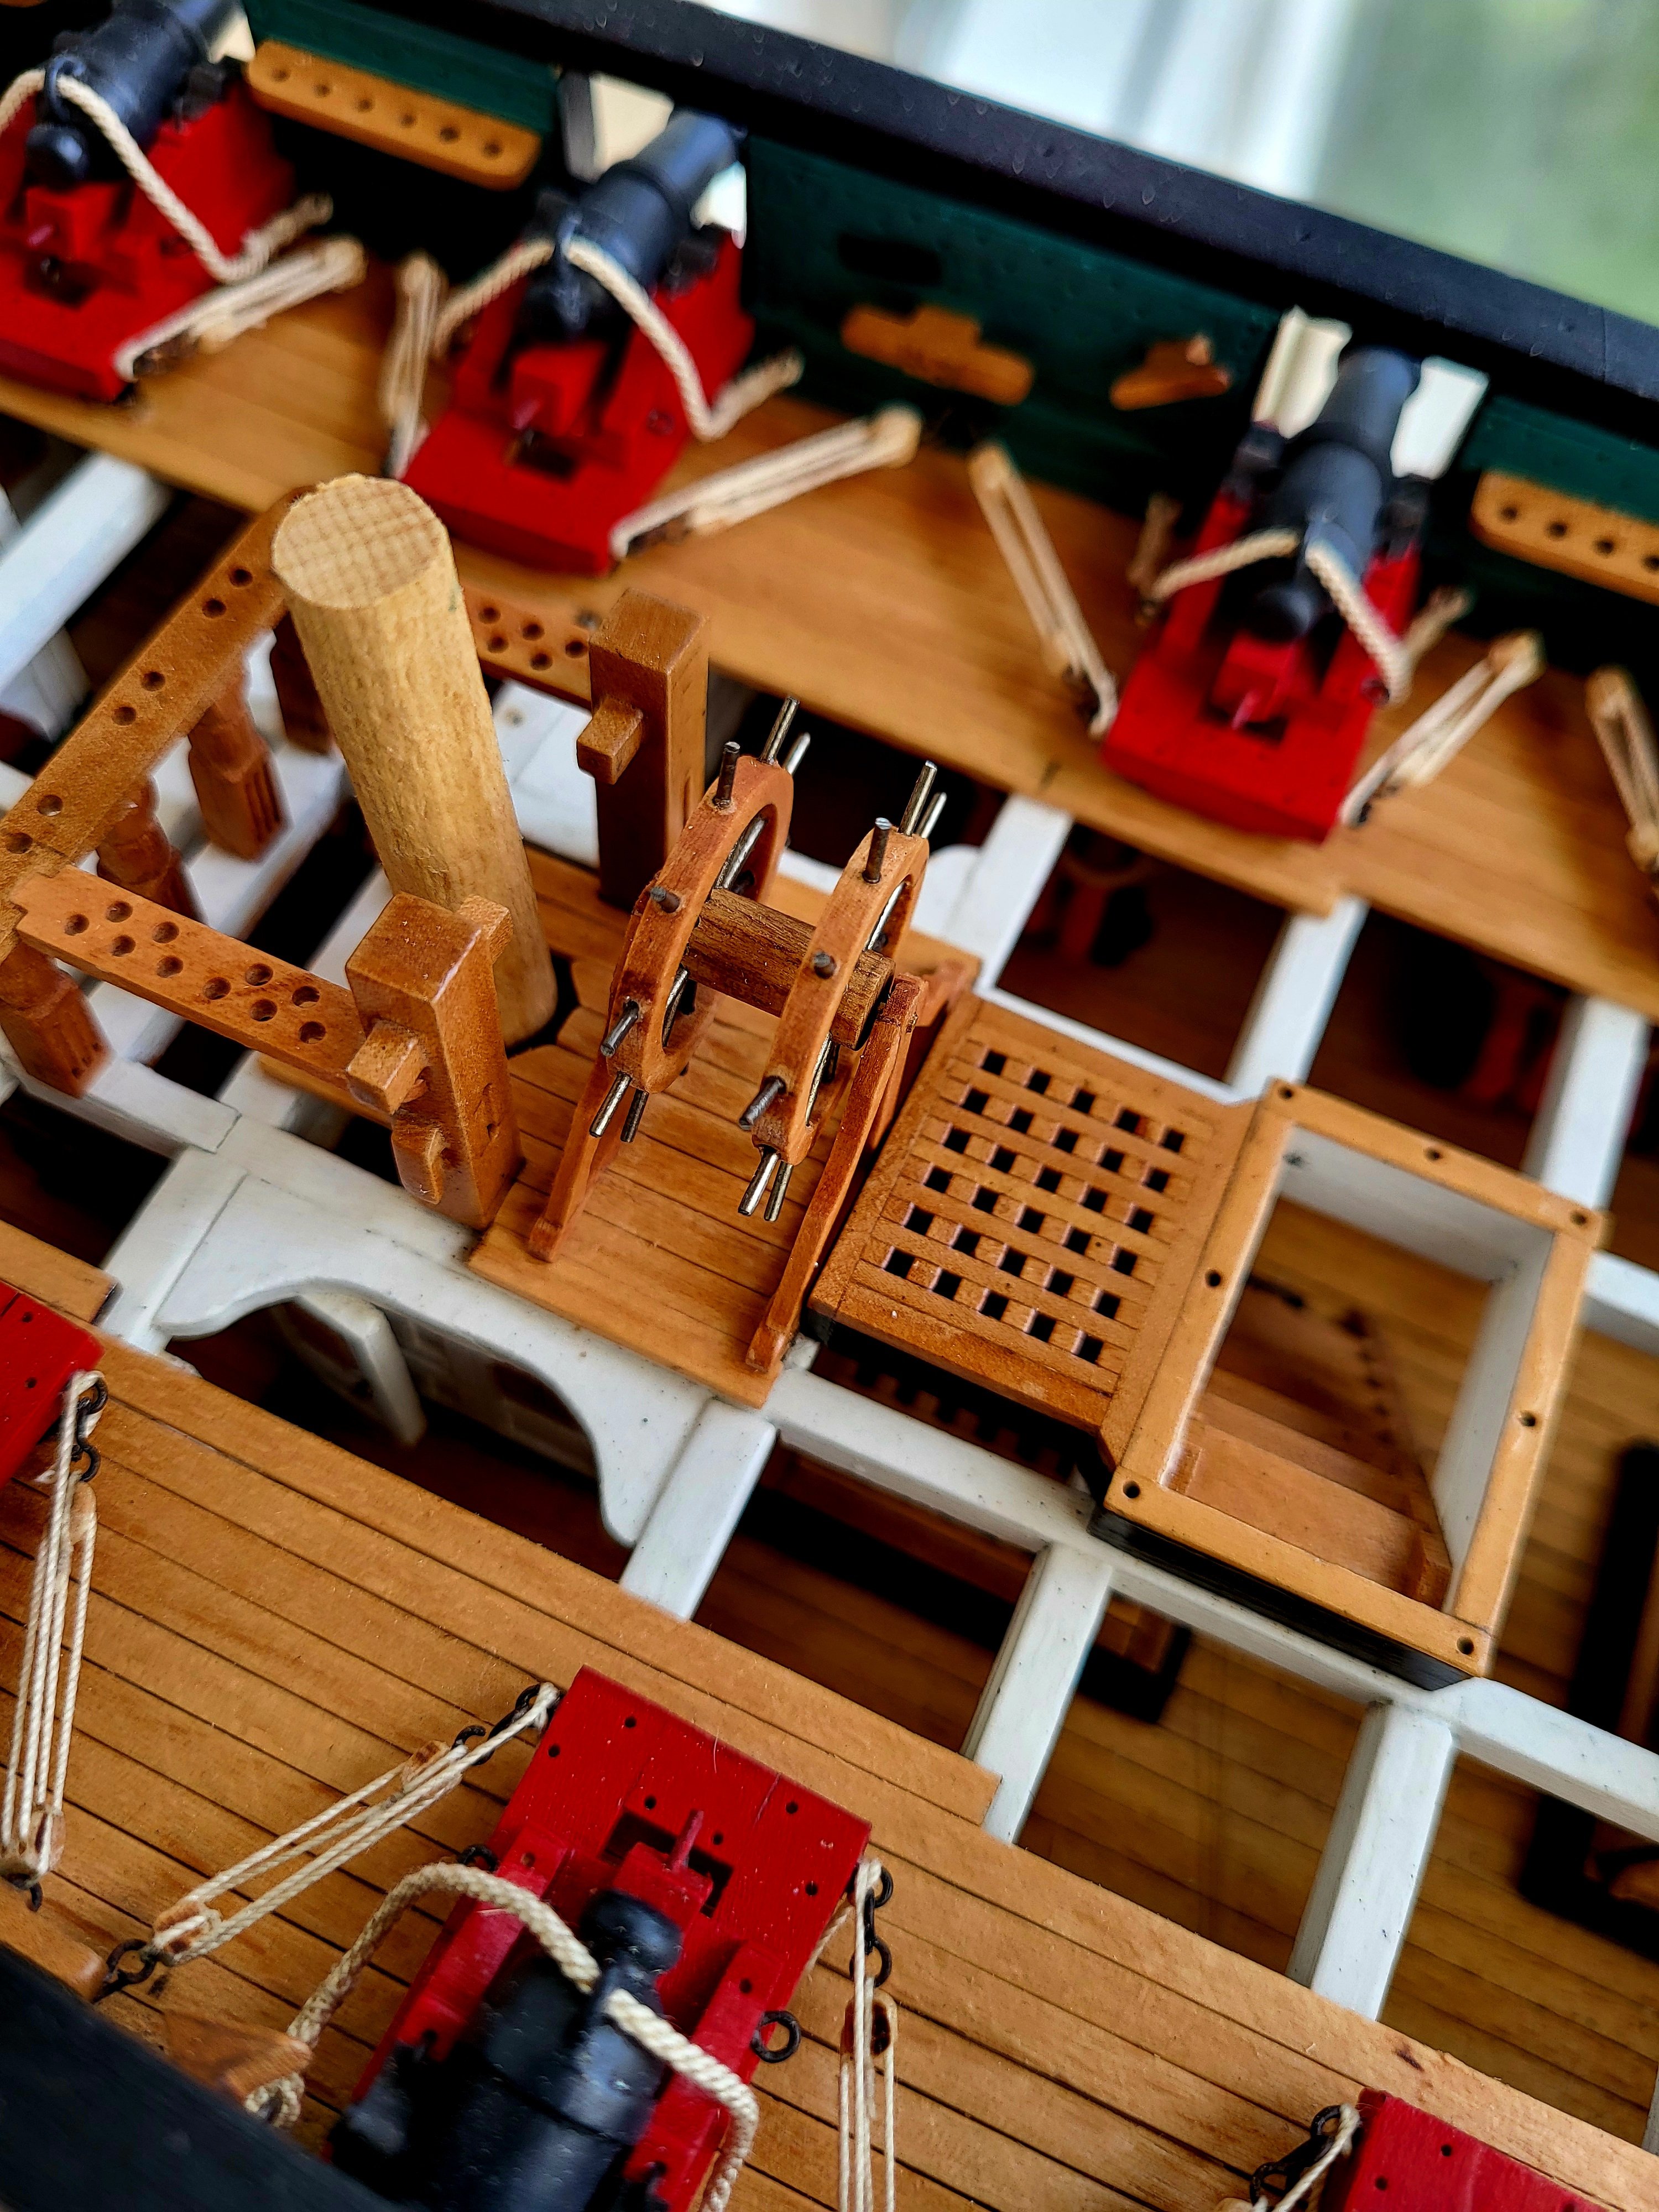
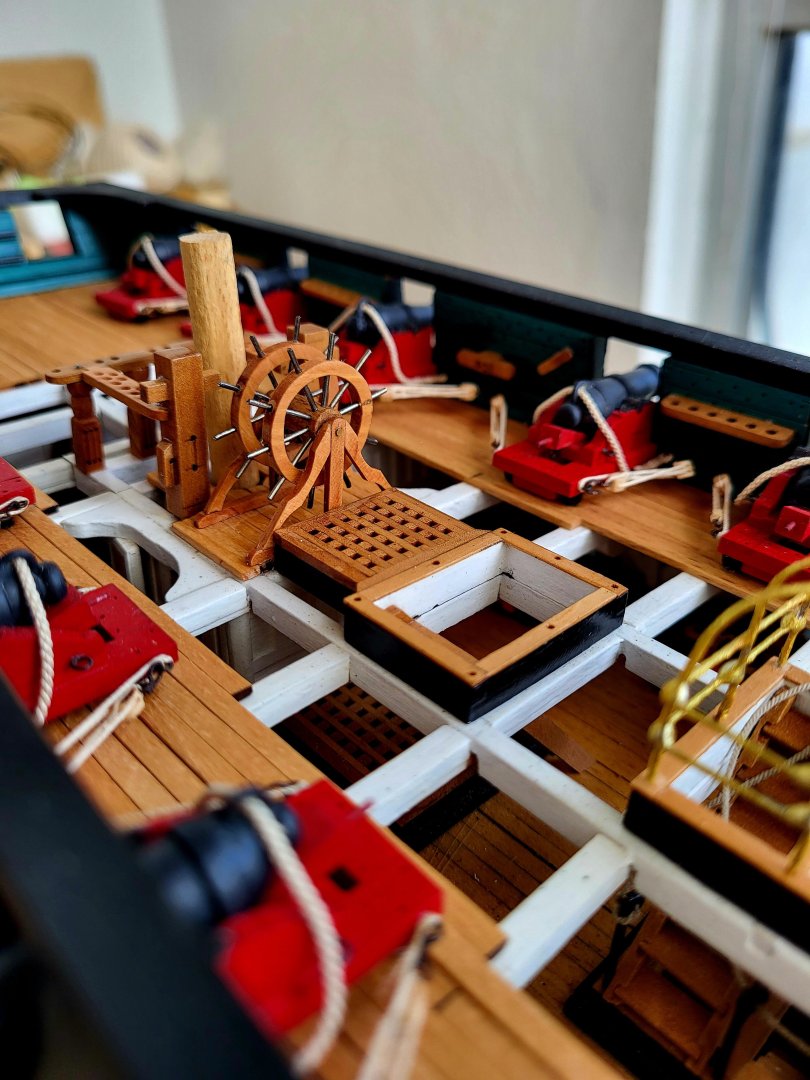
I made the deck planking for where the ship's wheel would sit and mounted it in place.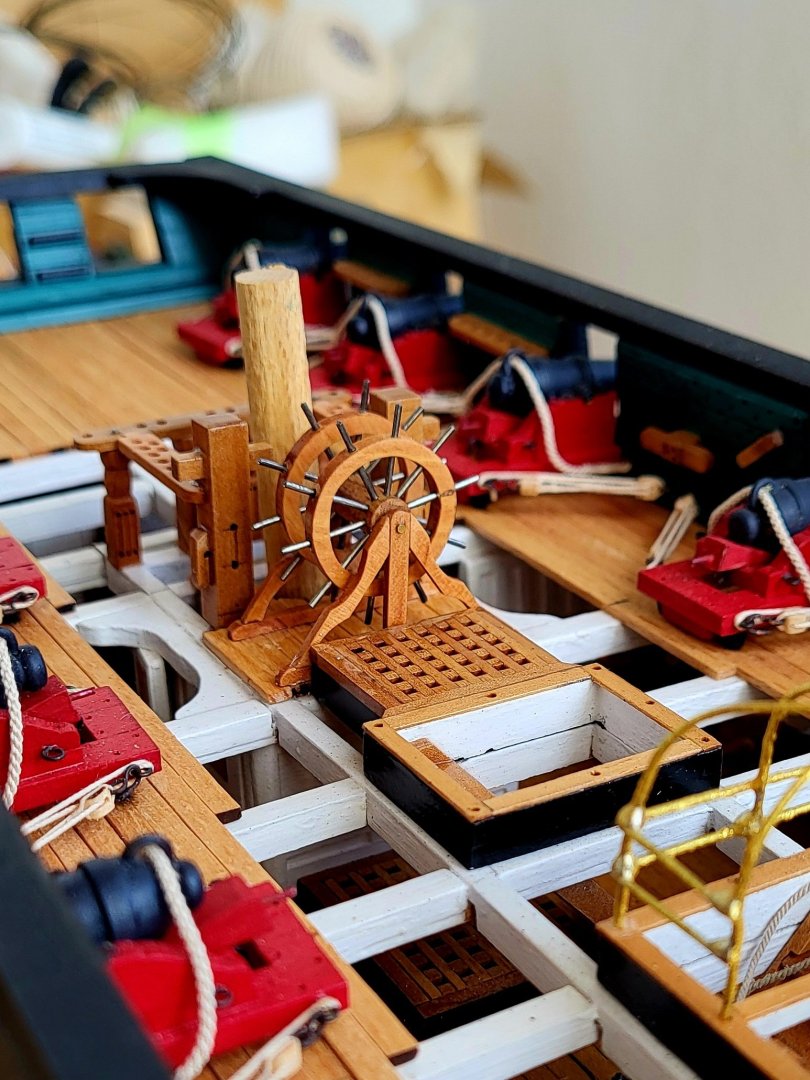


-
USS Constitution by mtbediz - 1:76
mtbediz replied to mtbediz's topic in - Build logs for subjects built 1751 - 1800
Thank you Jon. -
USS Constitution by mtbediz - 1:76
mtbediz replied to mtbediz's topic in - Build logs for subjects built 1751 - 1800
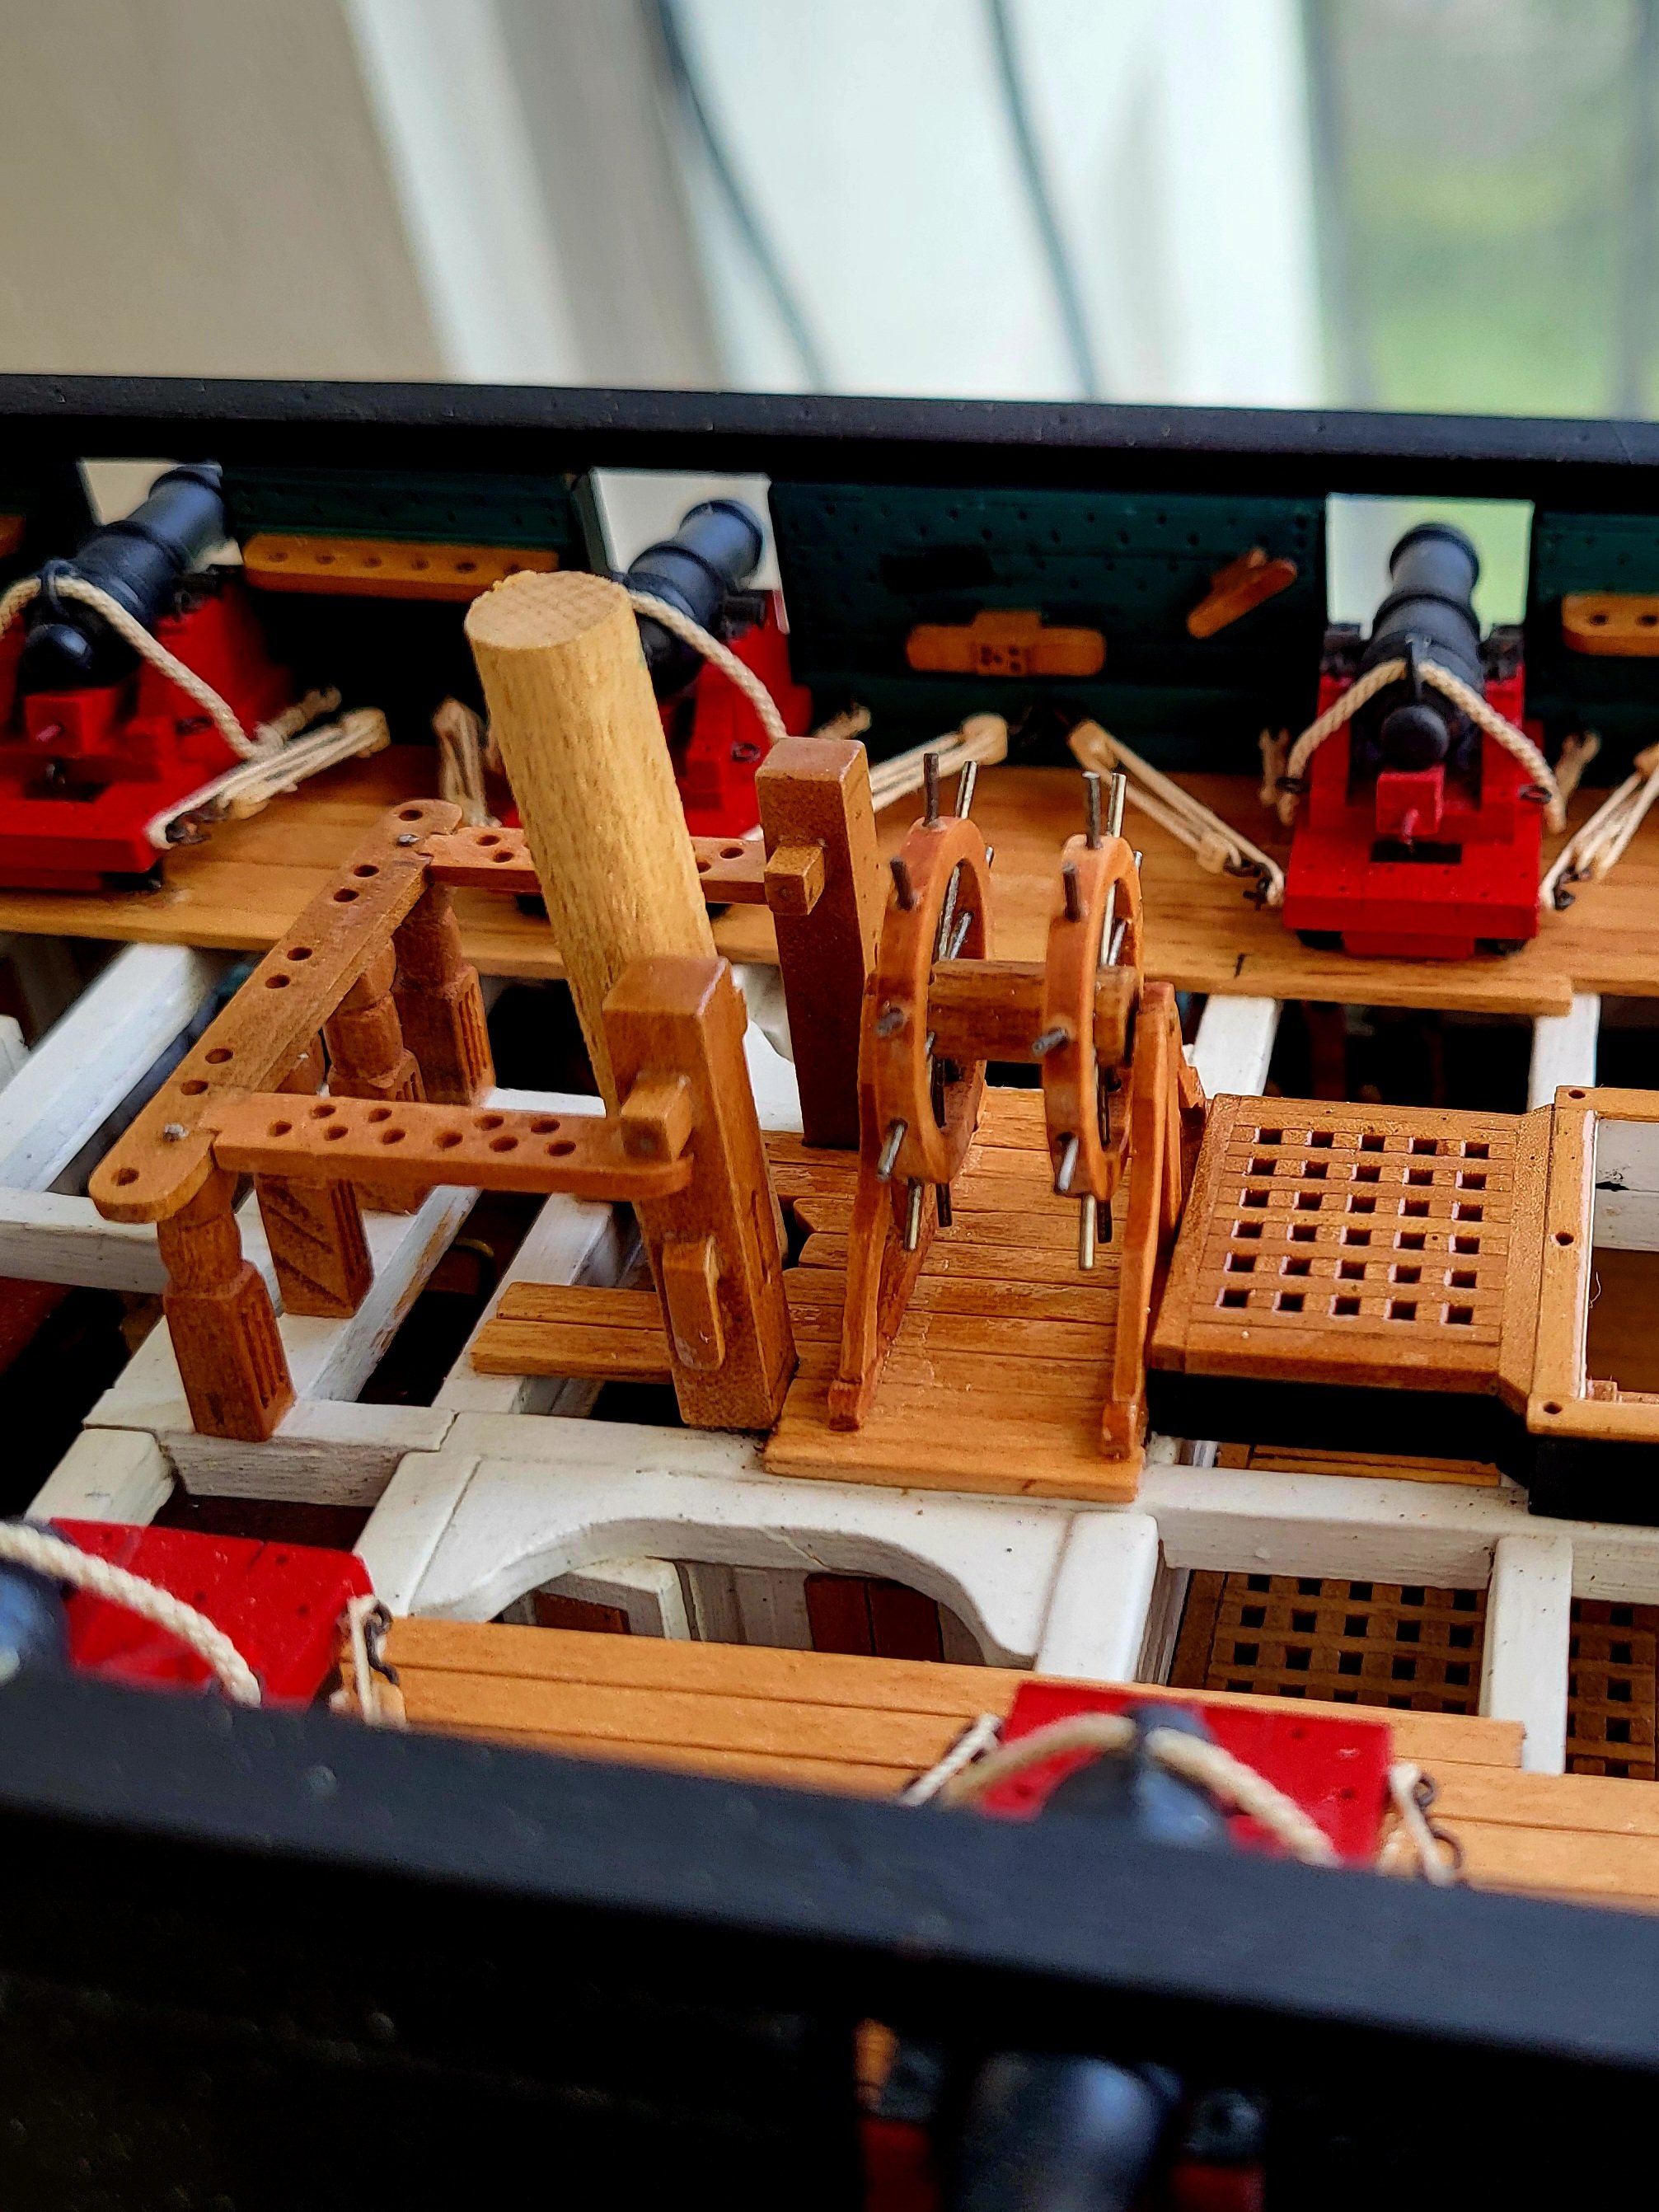
Helm pedestals were made.


-
USS Constitution by mtbediz - 1:76
mtbediz replied to mtbediz's topic in - Build logs for subjects built 1751 - 1800
Thanks Greg. We have a saying; "The tool works but the hand boasts". Proper tools really make my life a lot easier. -
USS Constitution by mtbediz - 1:76
mtbediz replied to mtbediz's topic in - Build logs for subjects built 1751 - 1800
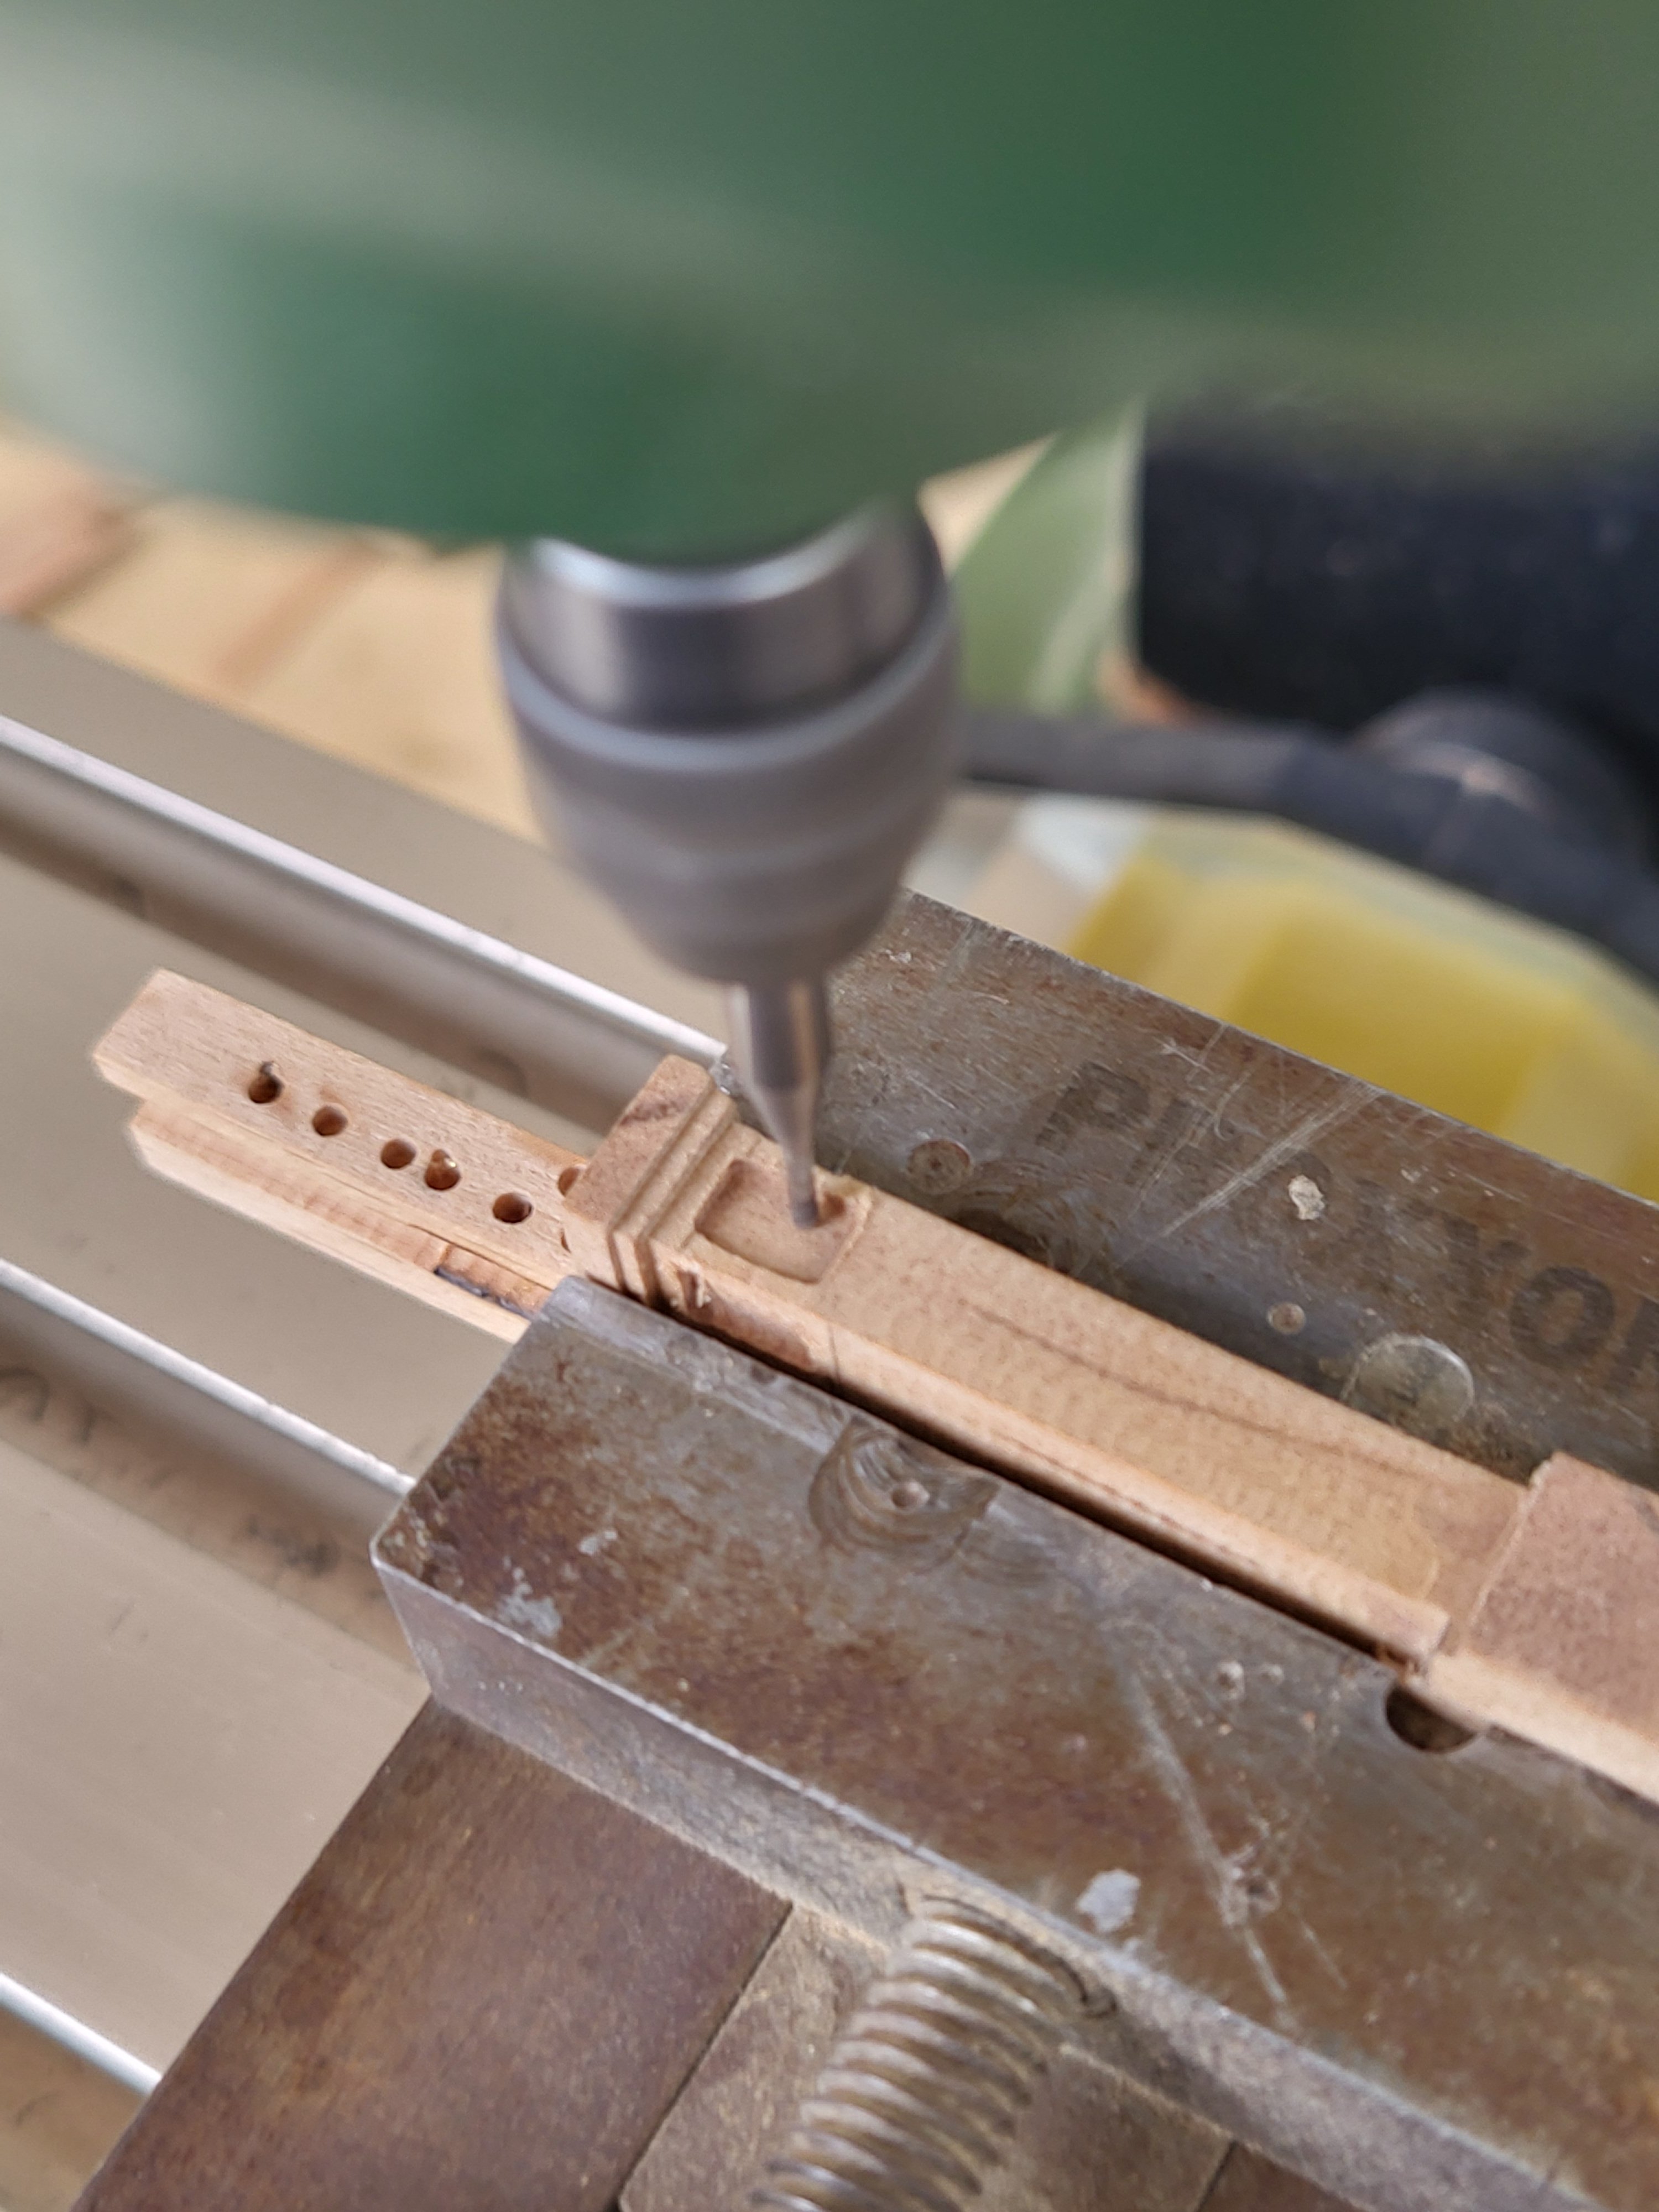
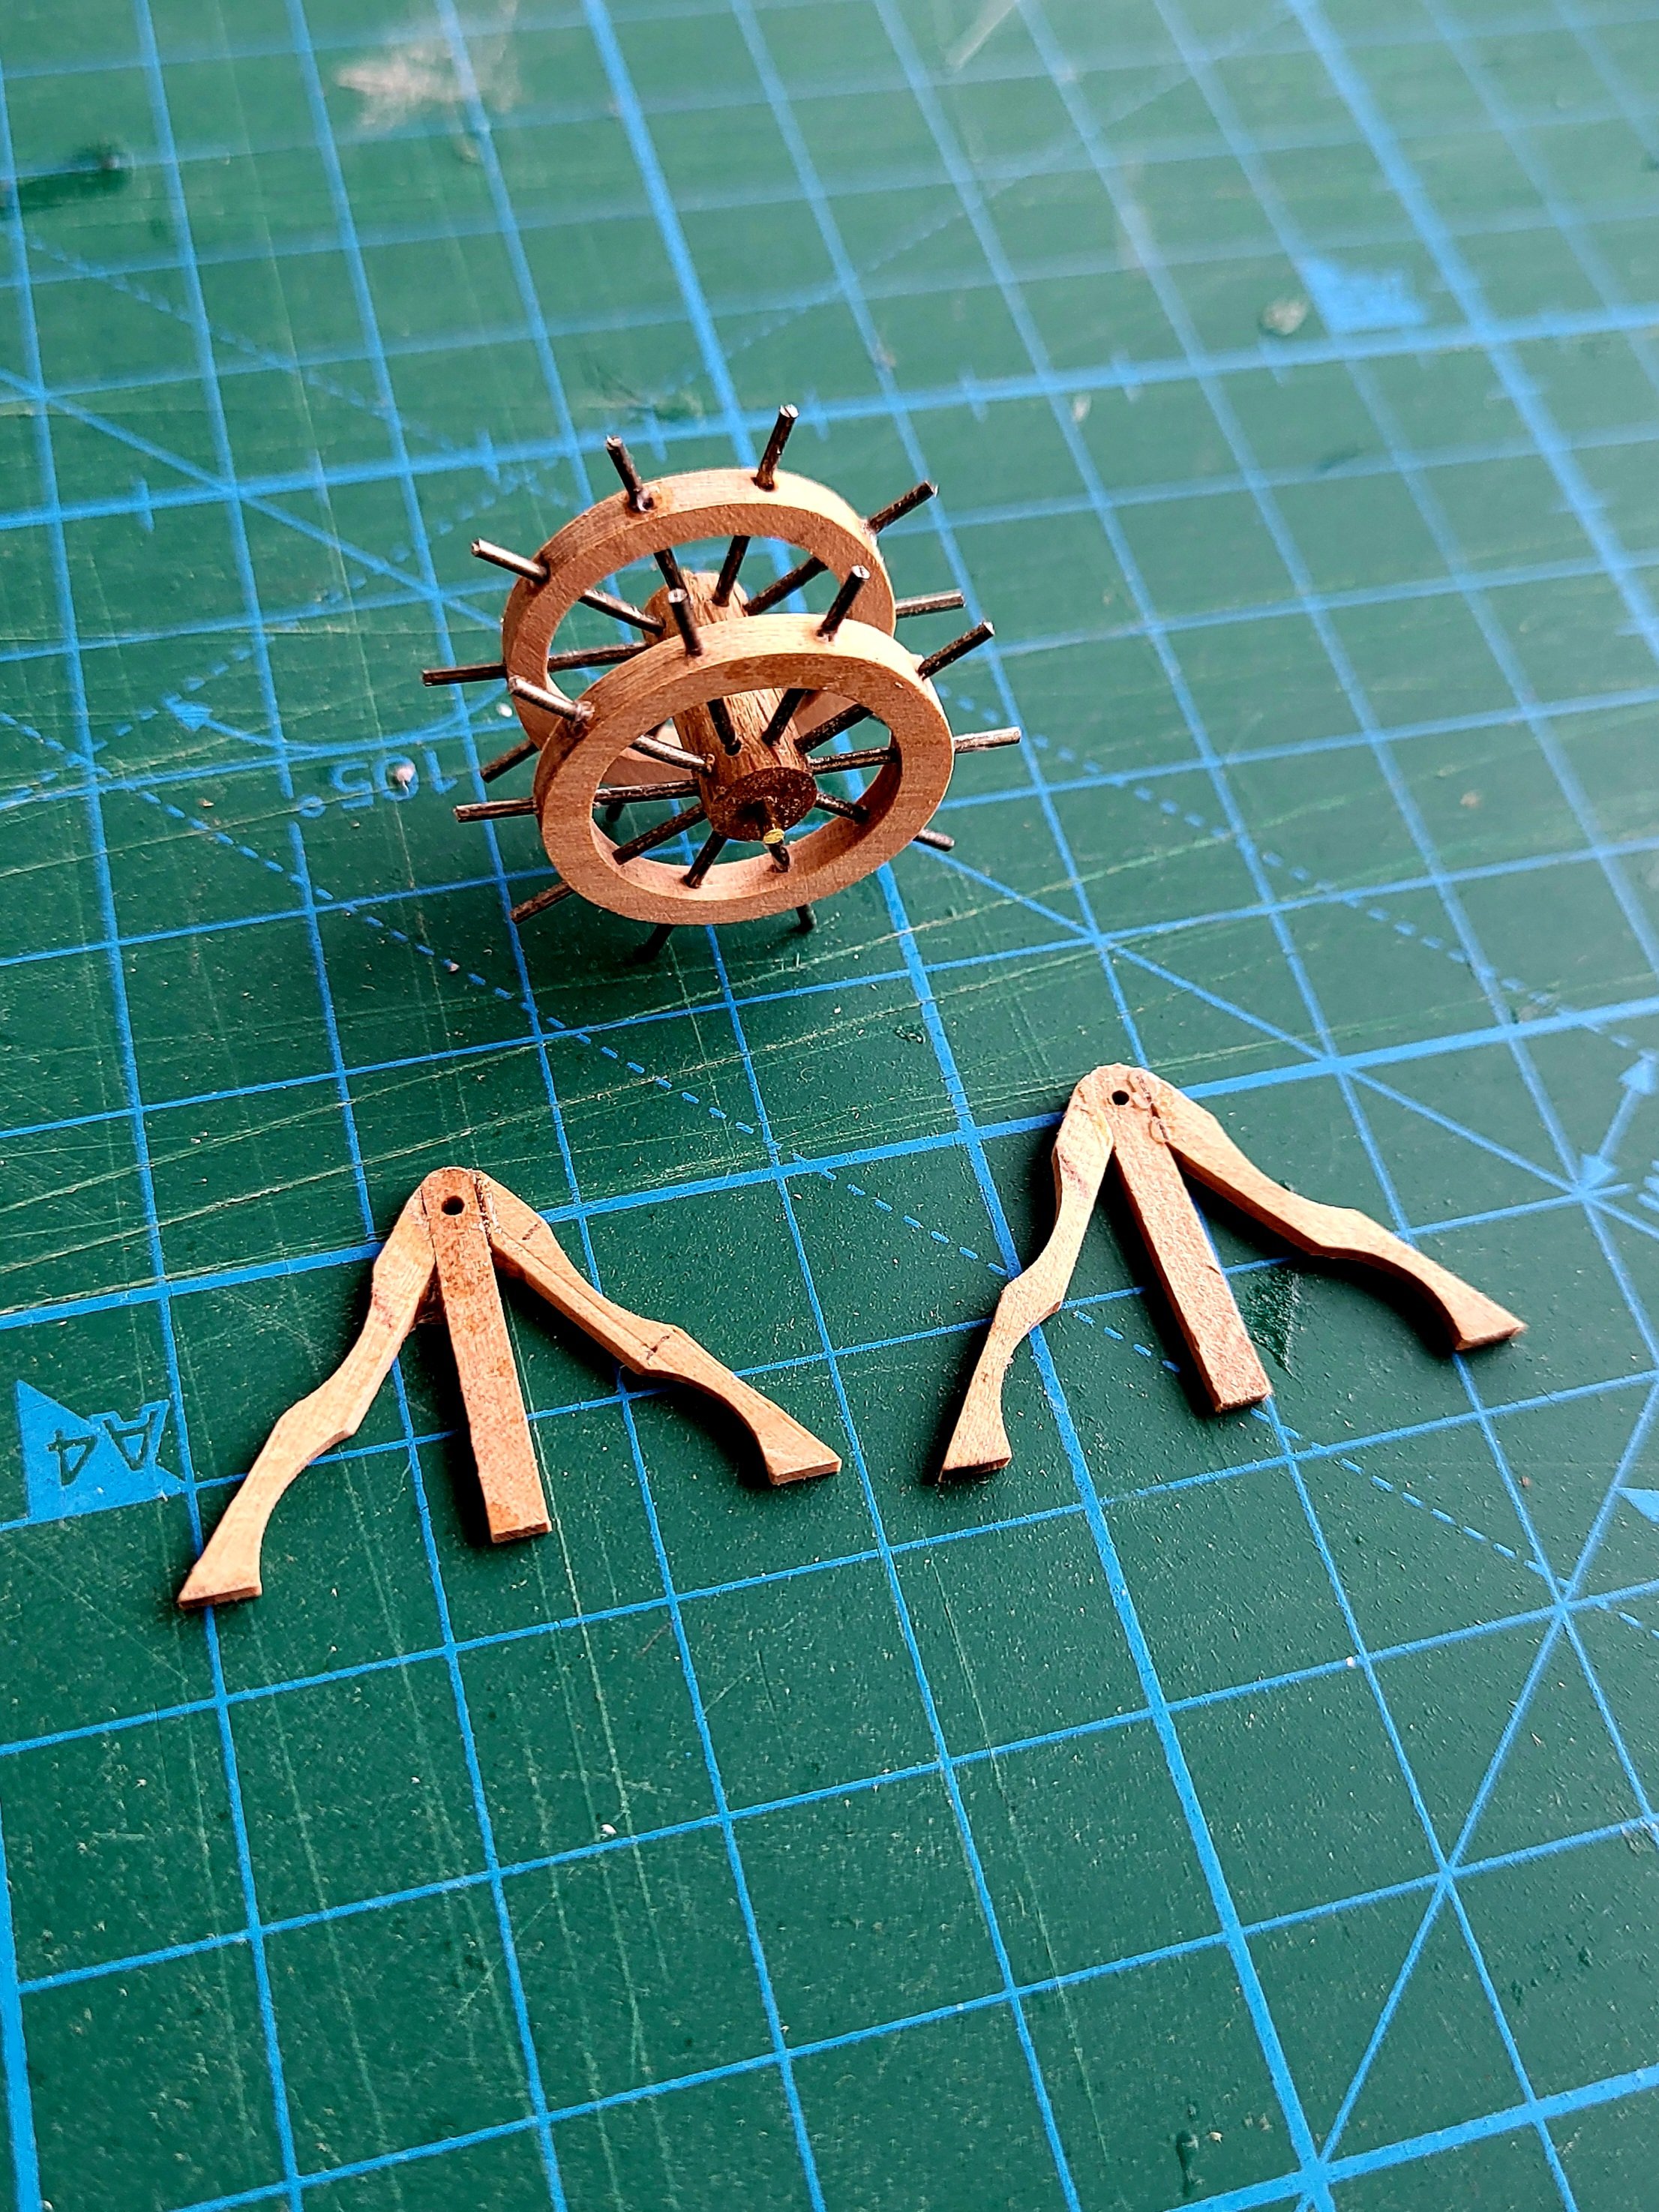
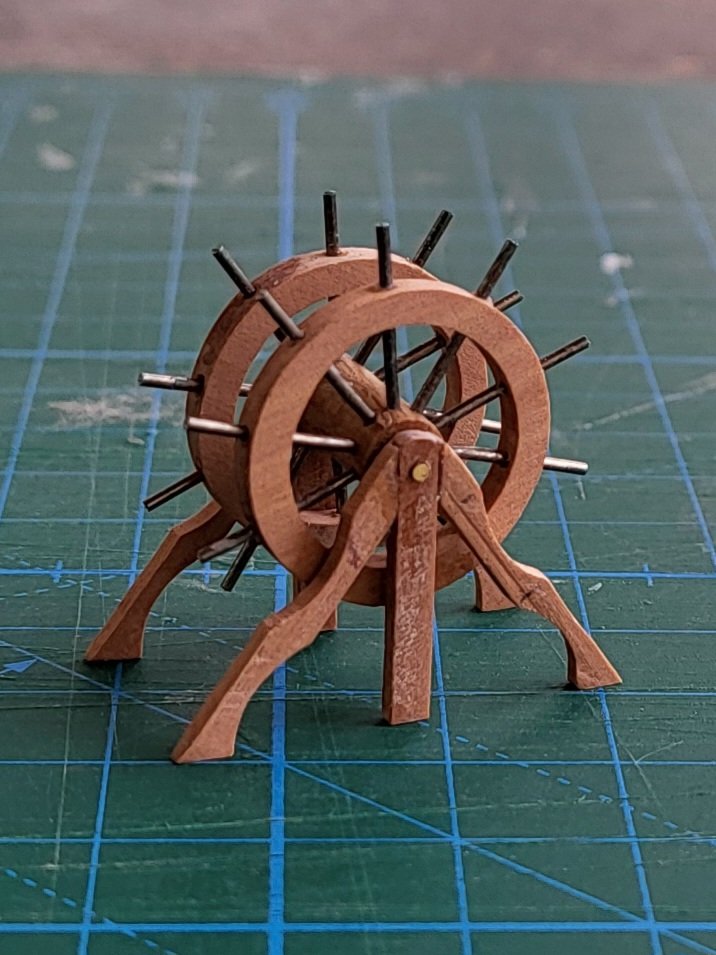
Thanks Jon. I tried to make the spokes out of wood but they were really thin and broke during the turning process. It turned out I needed a drawplate but for now I'll have to make do with metal spokes. -
USS Constitution by mtbediz - 1:76
mtbediz replied to mtbediz's topic in - Build logs for subjects built 1751 - 1800
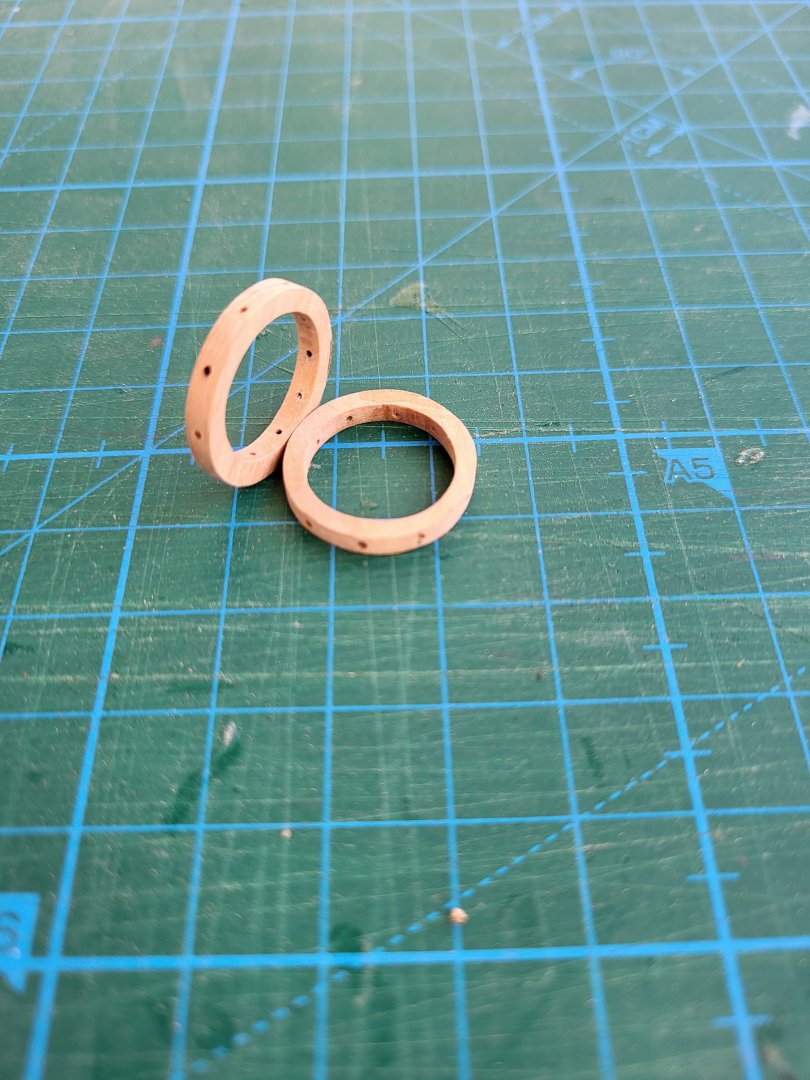
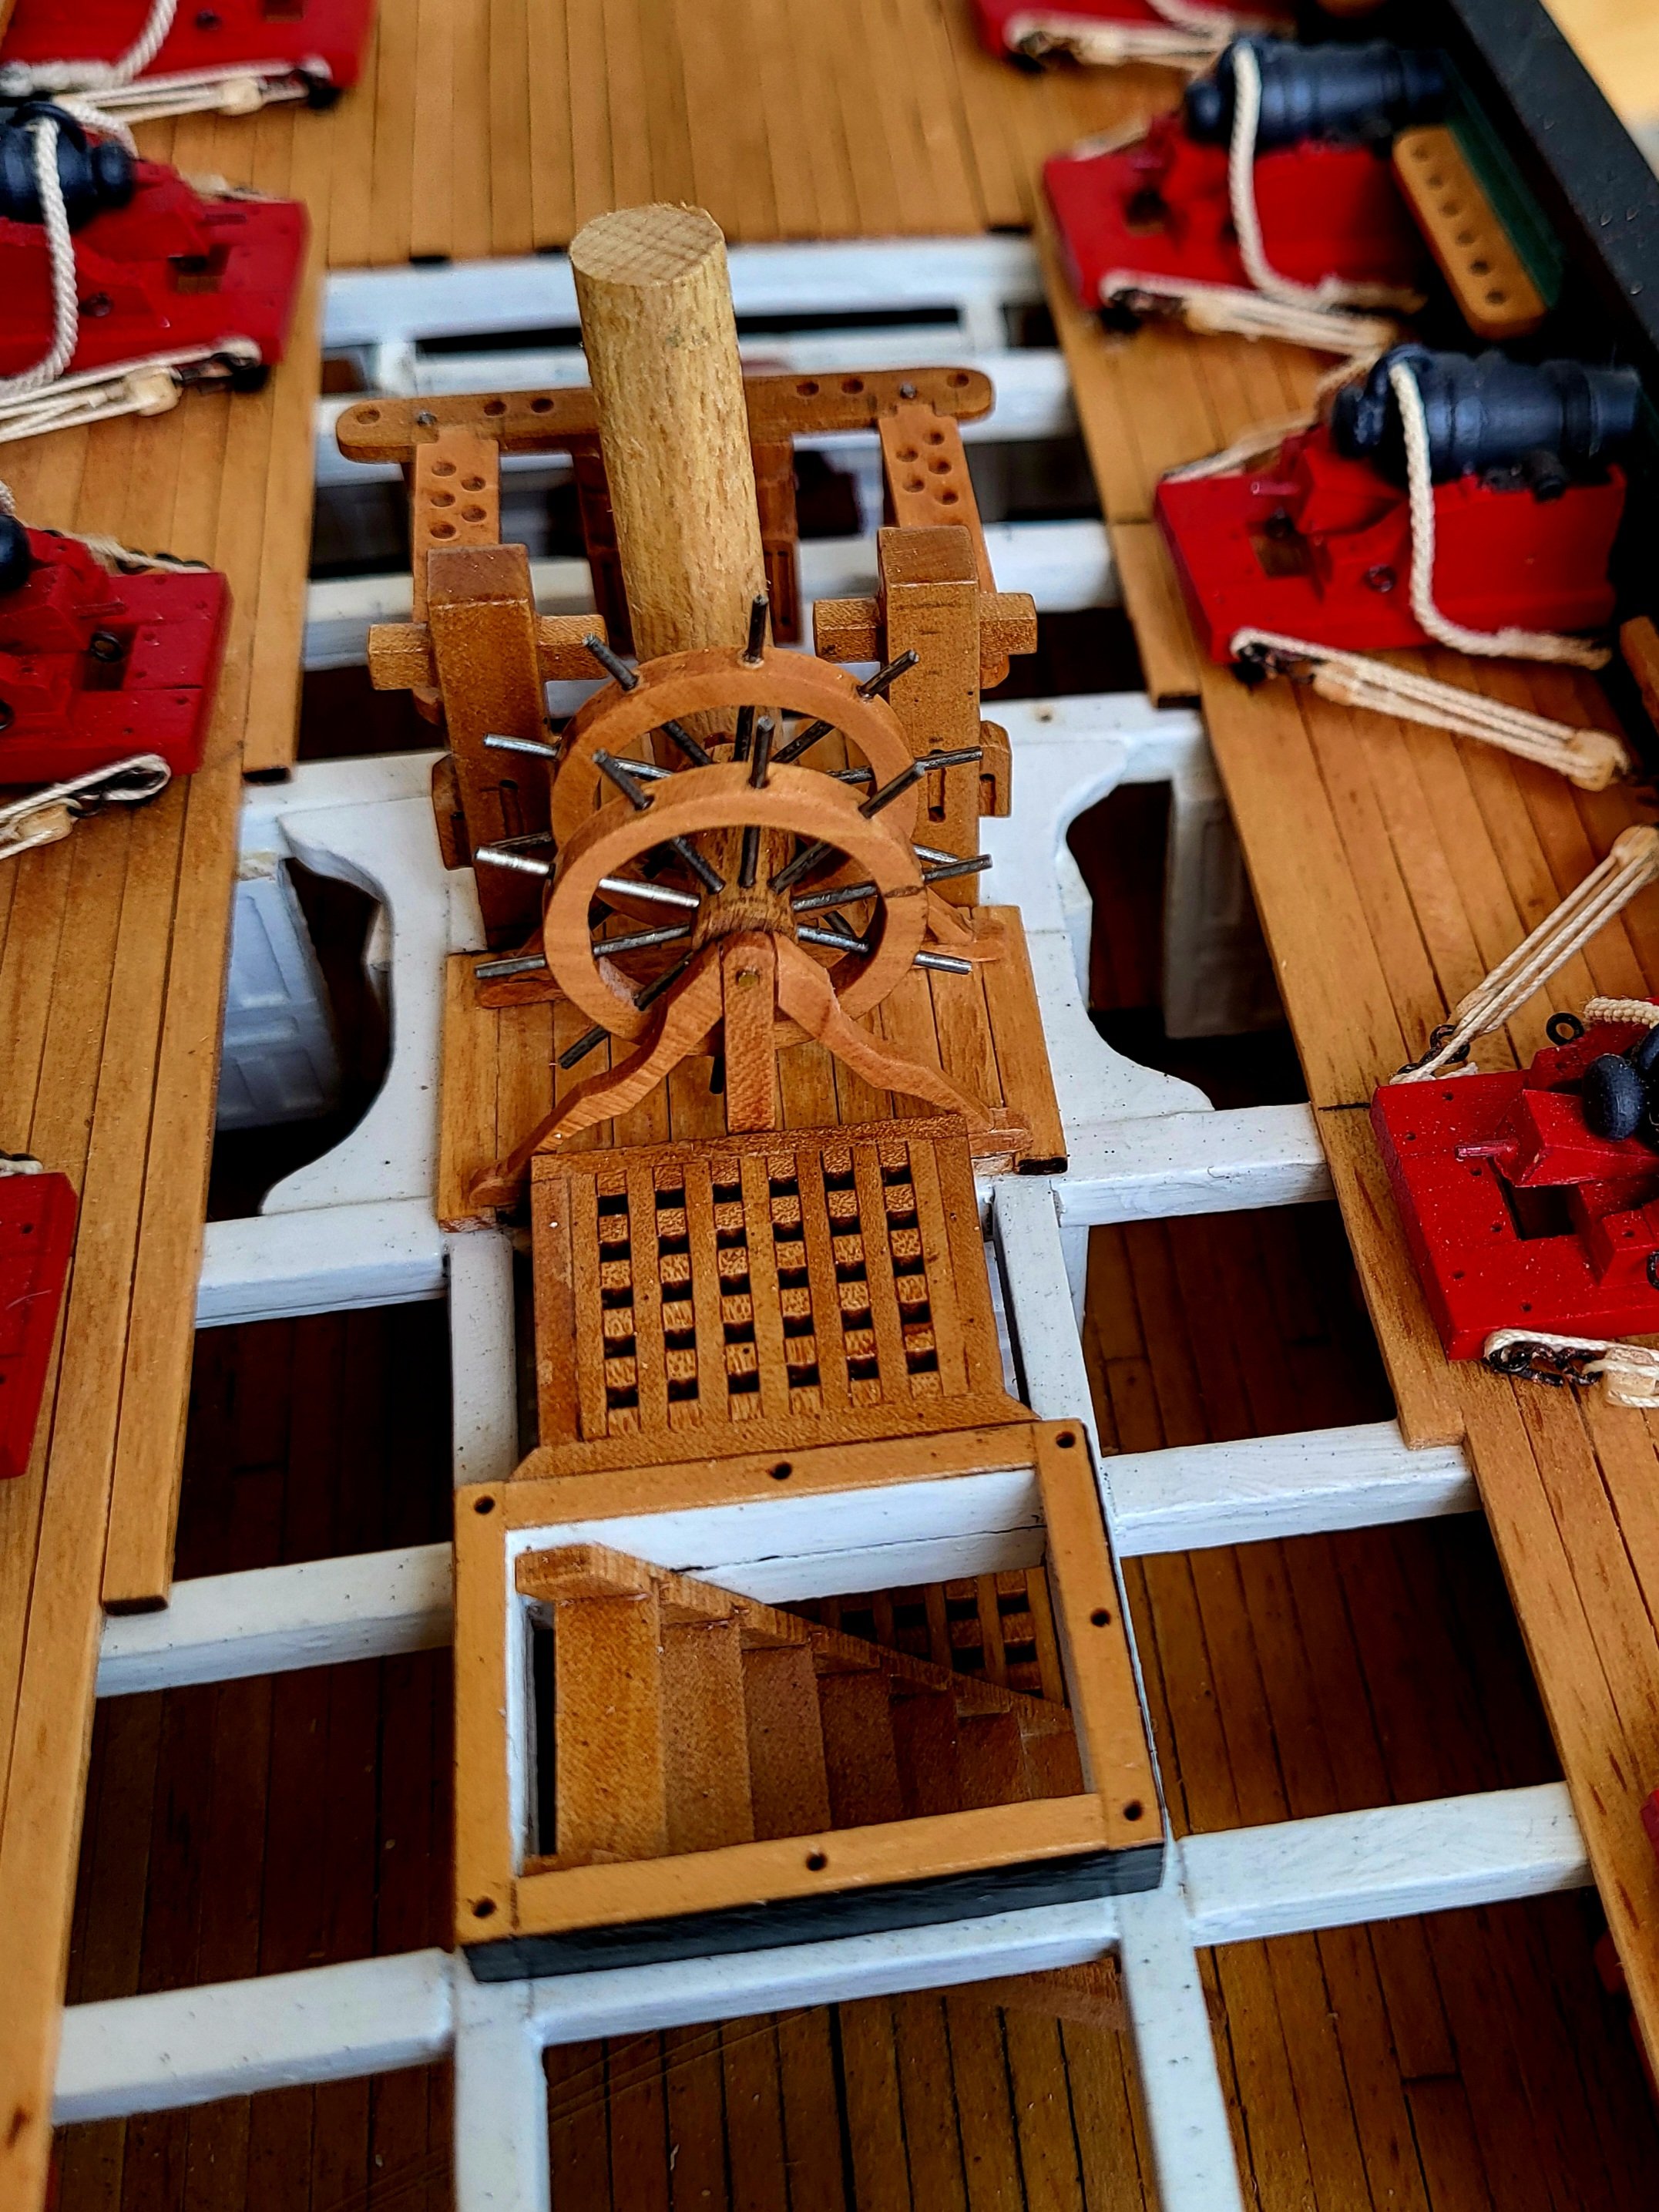
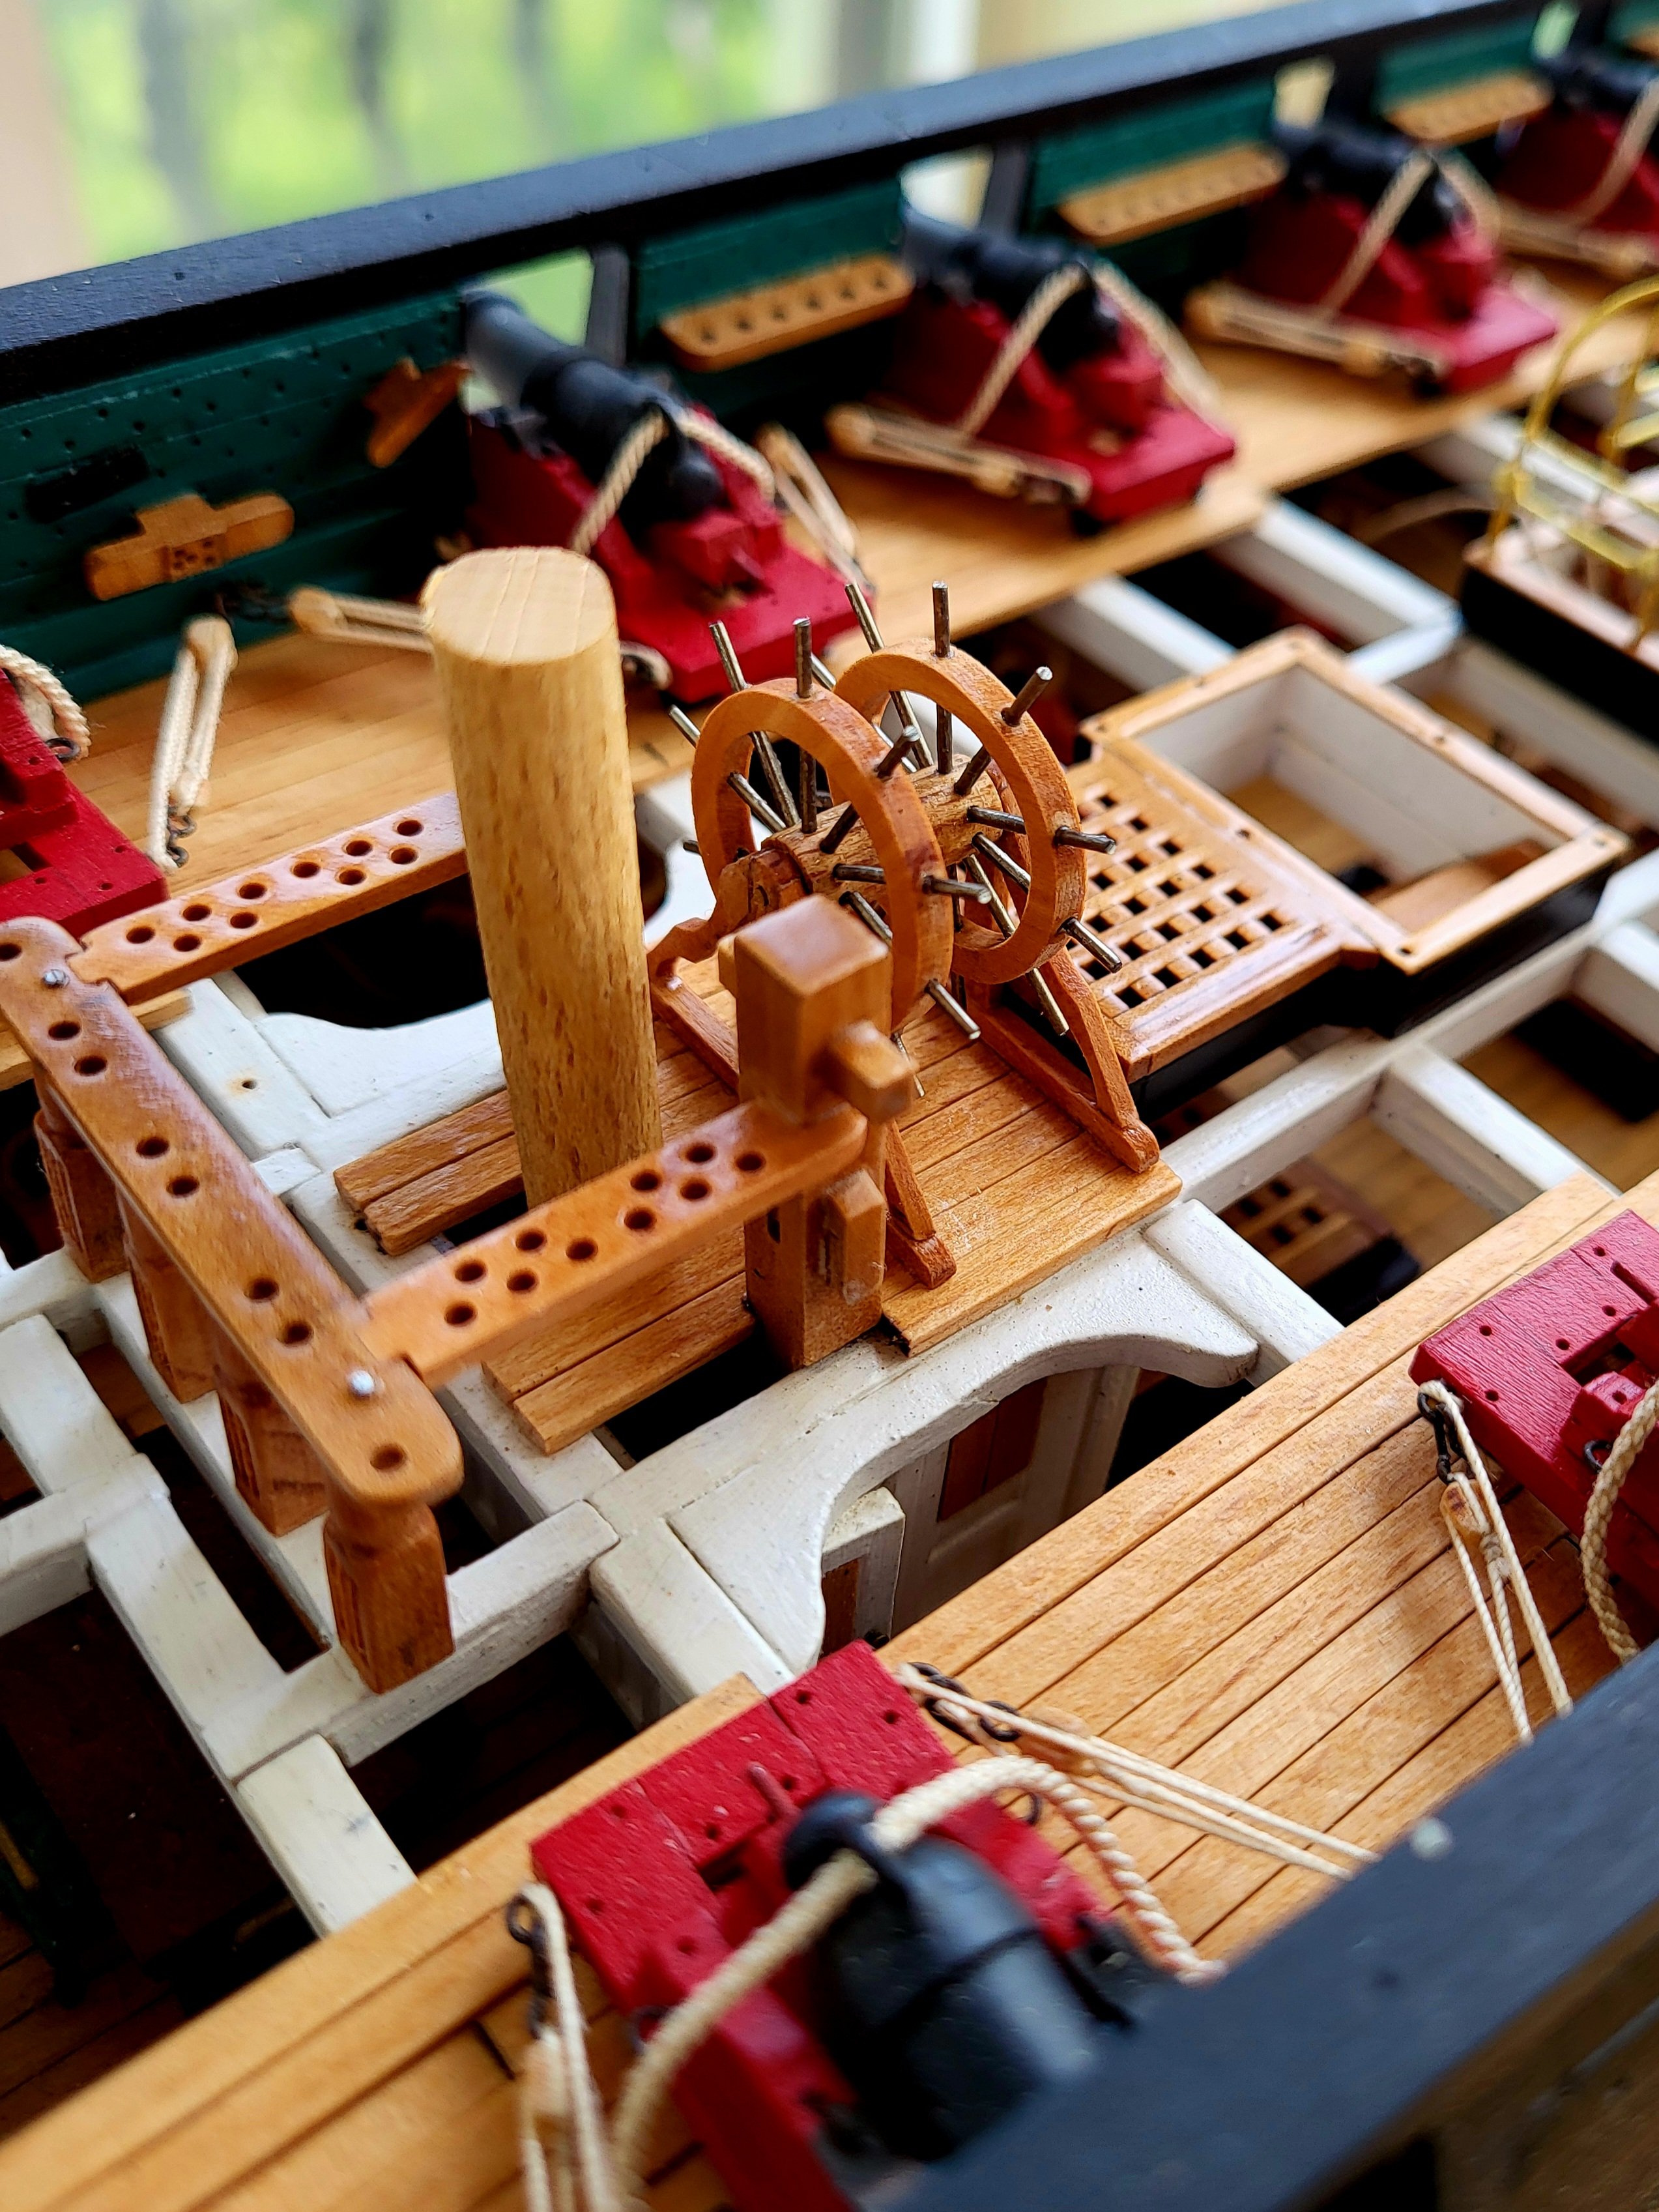
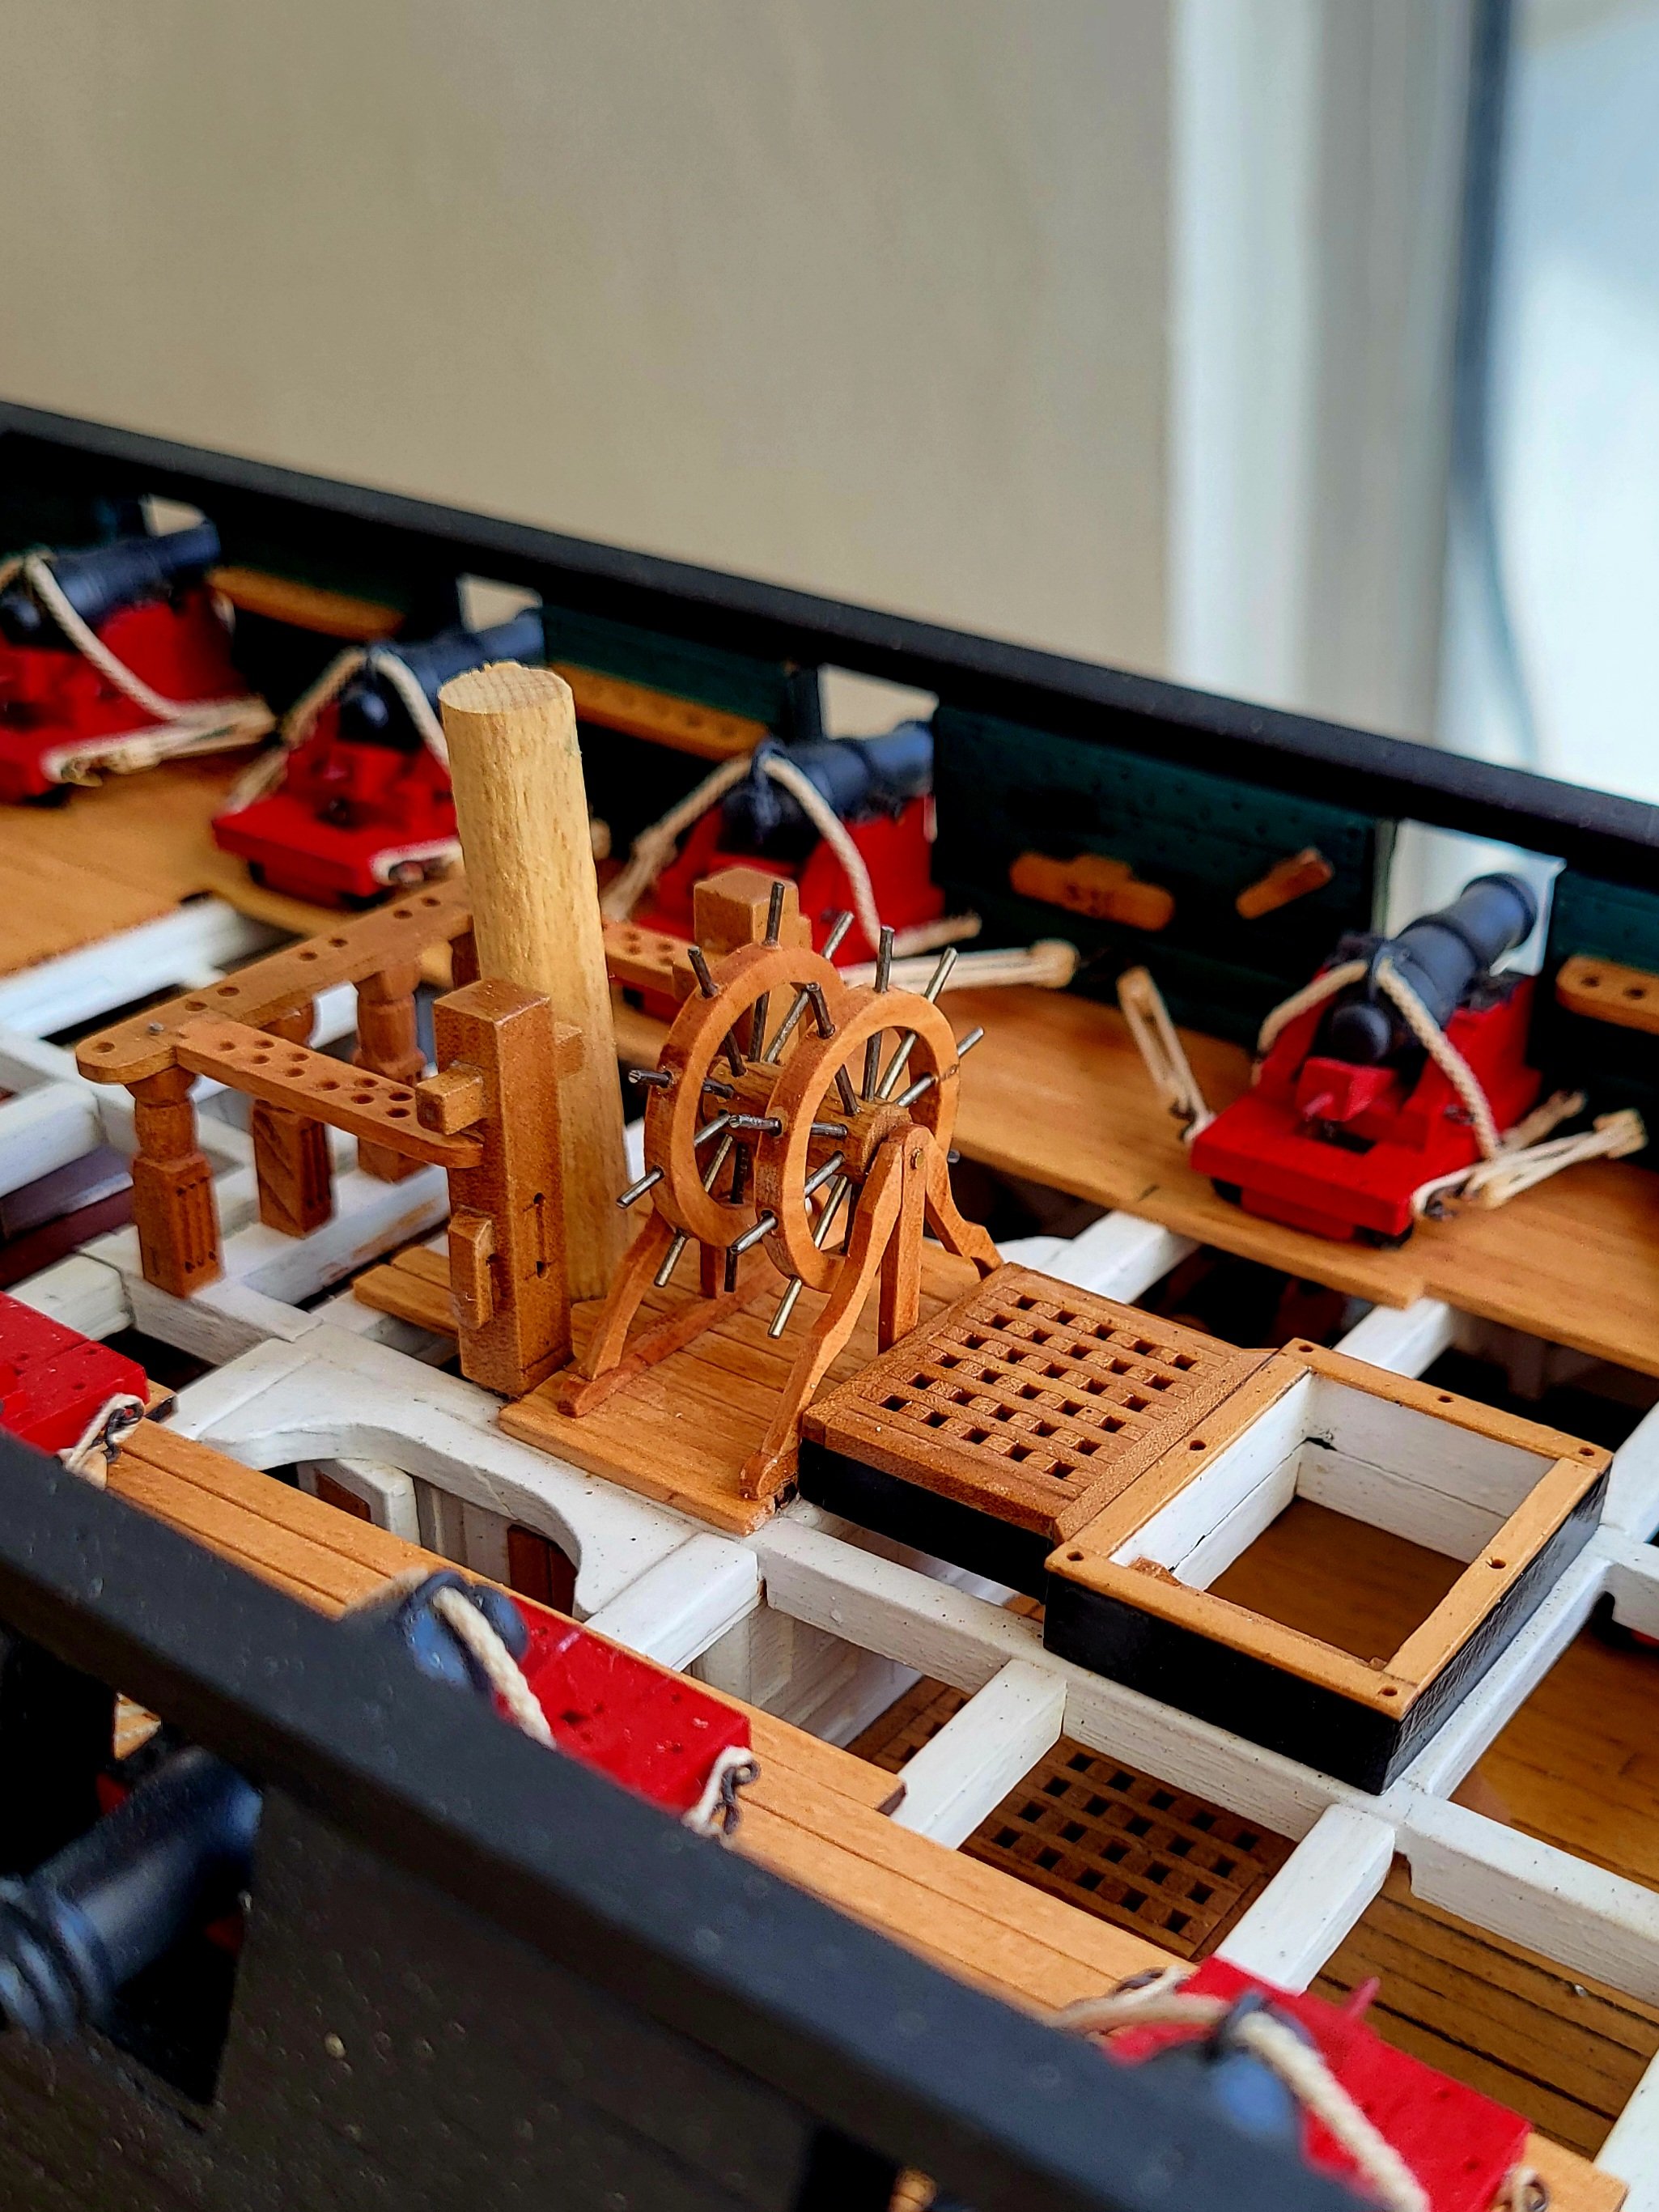
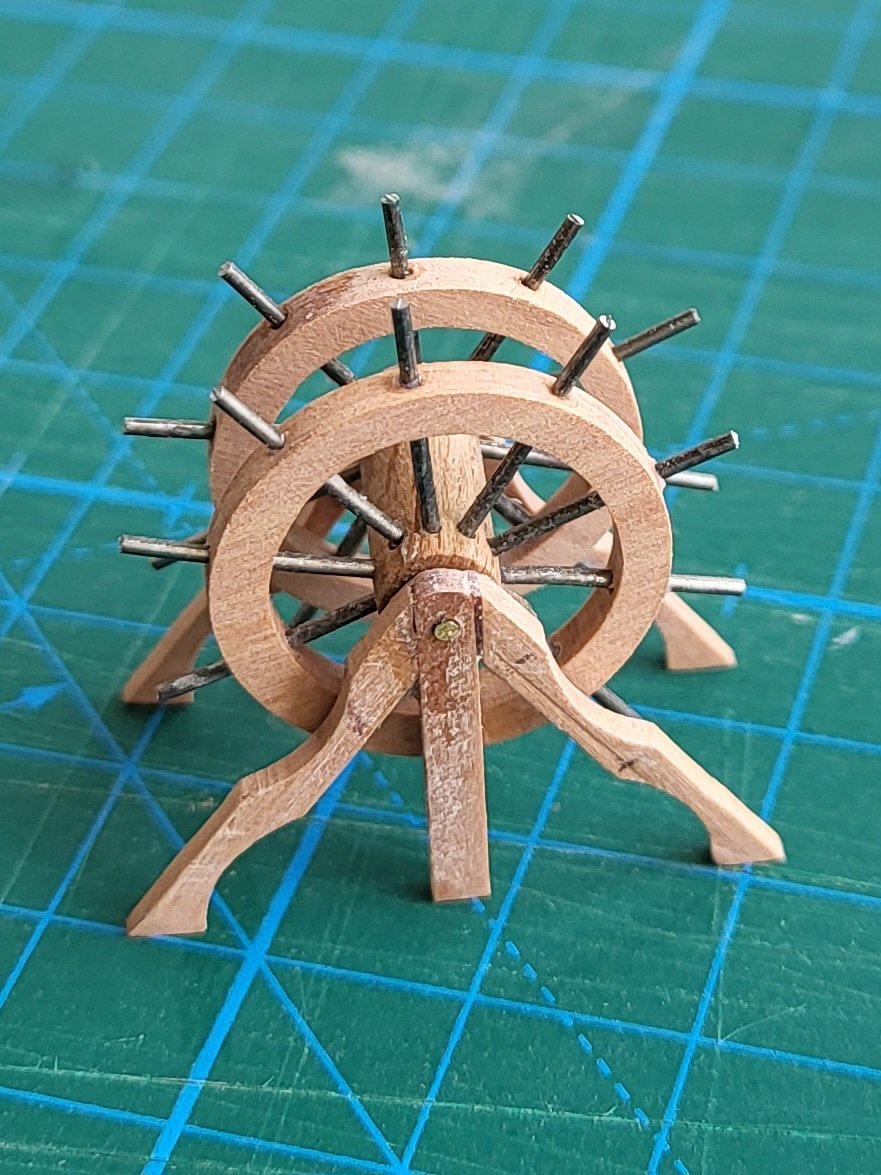
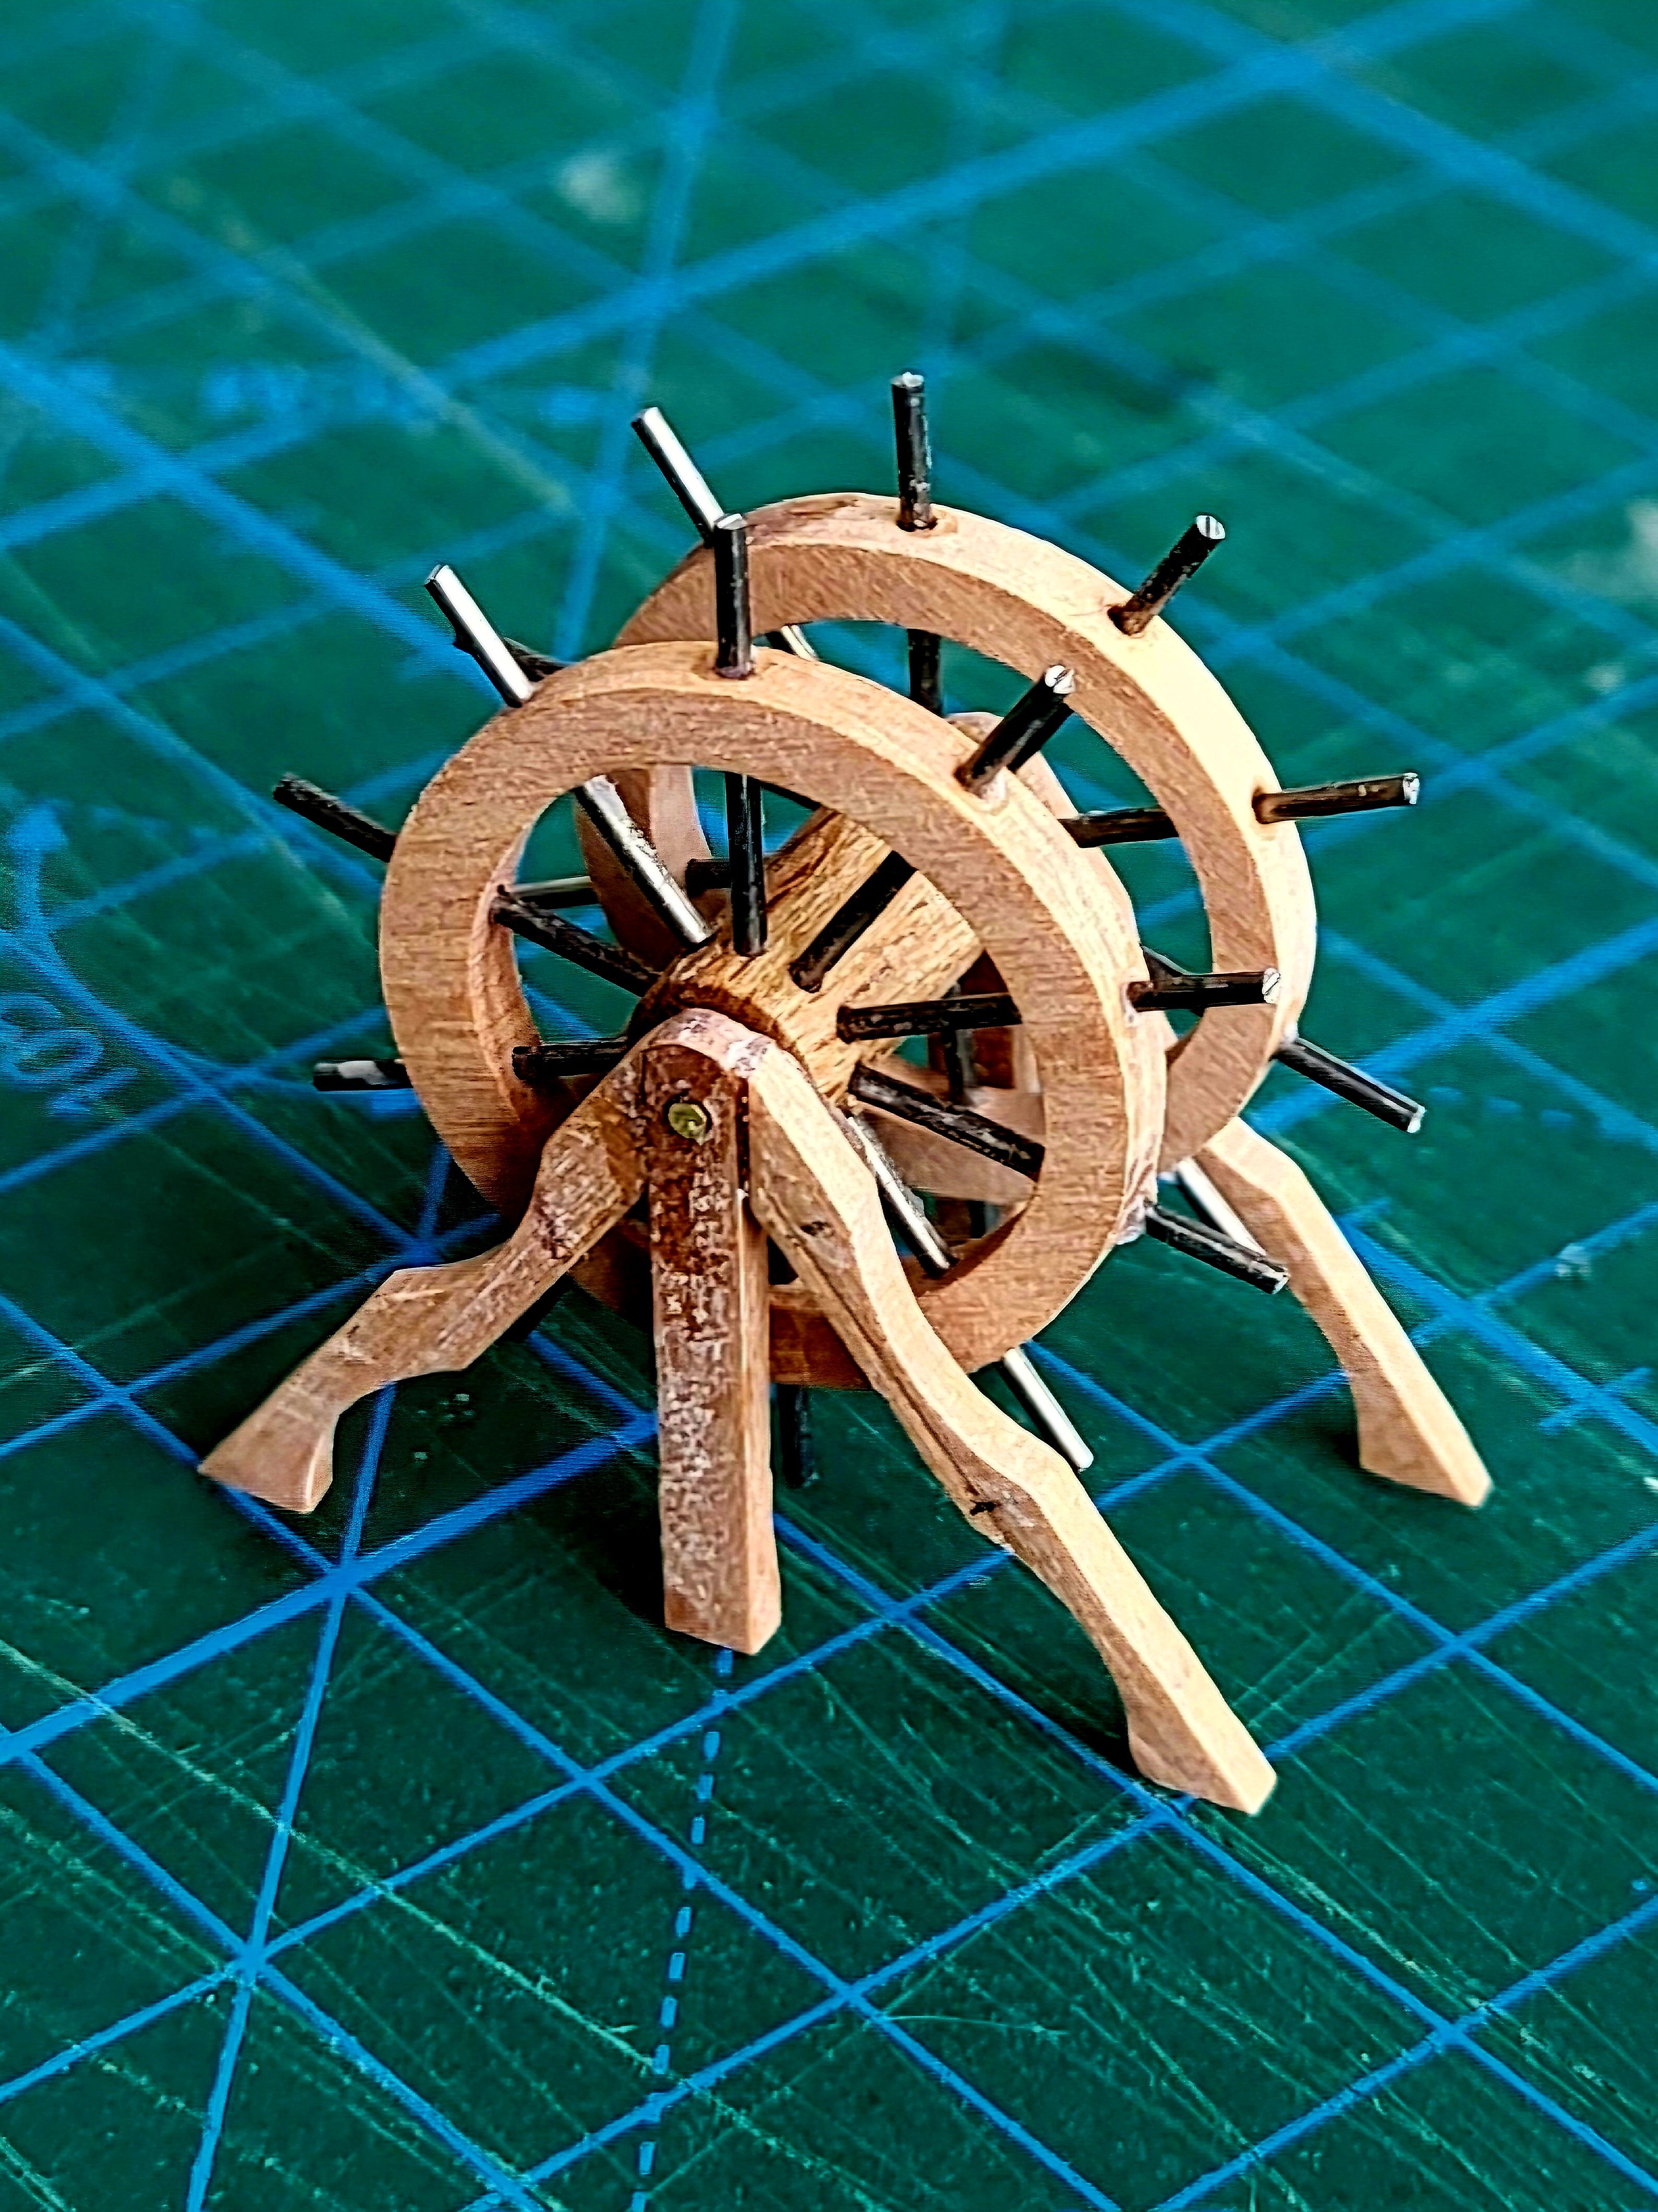
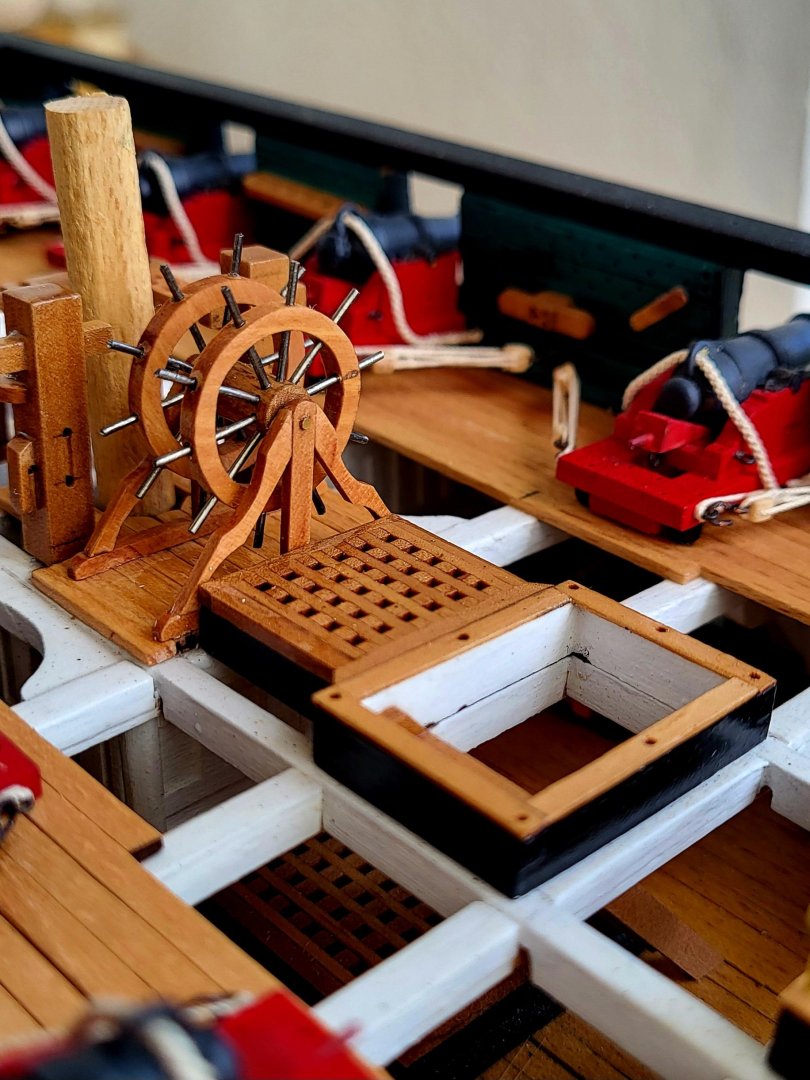
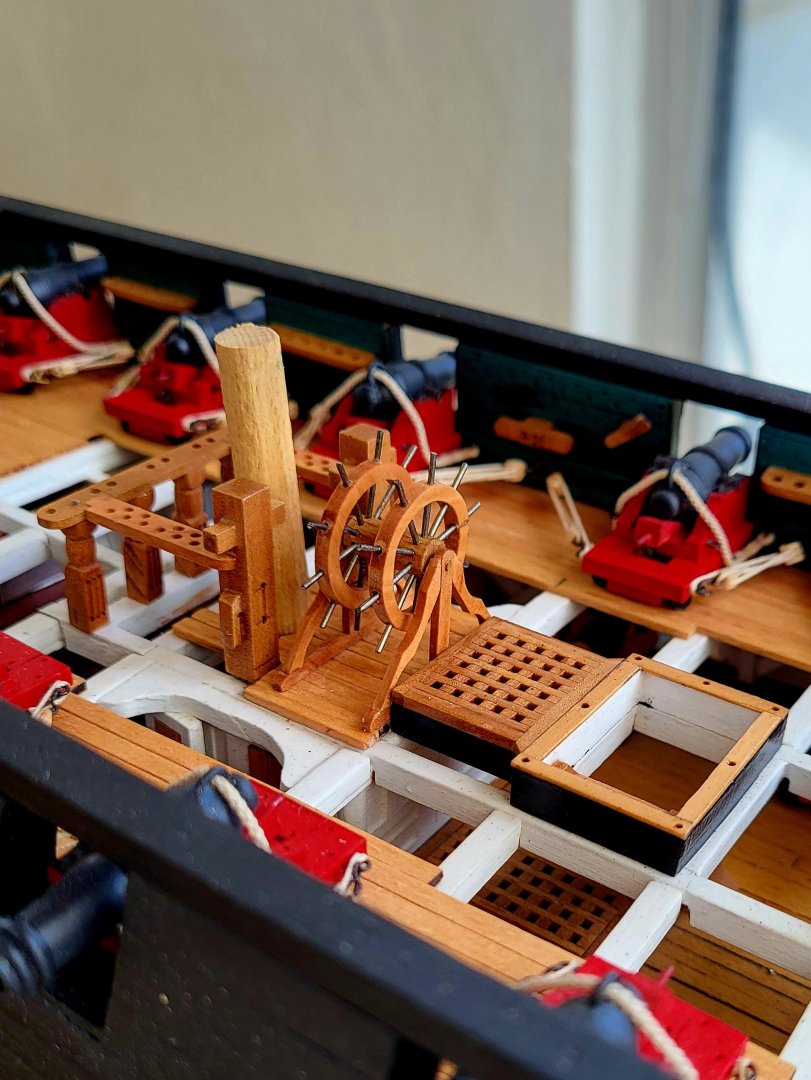
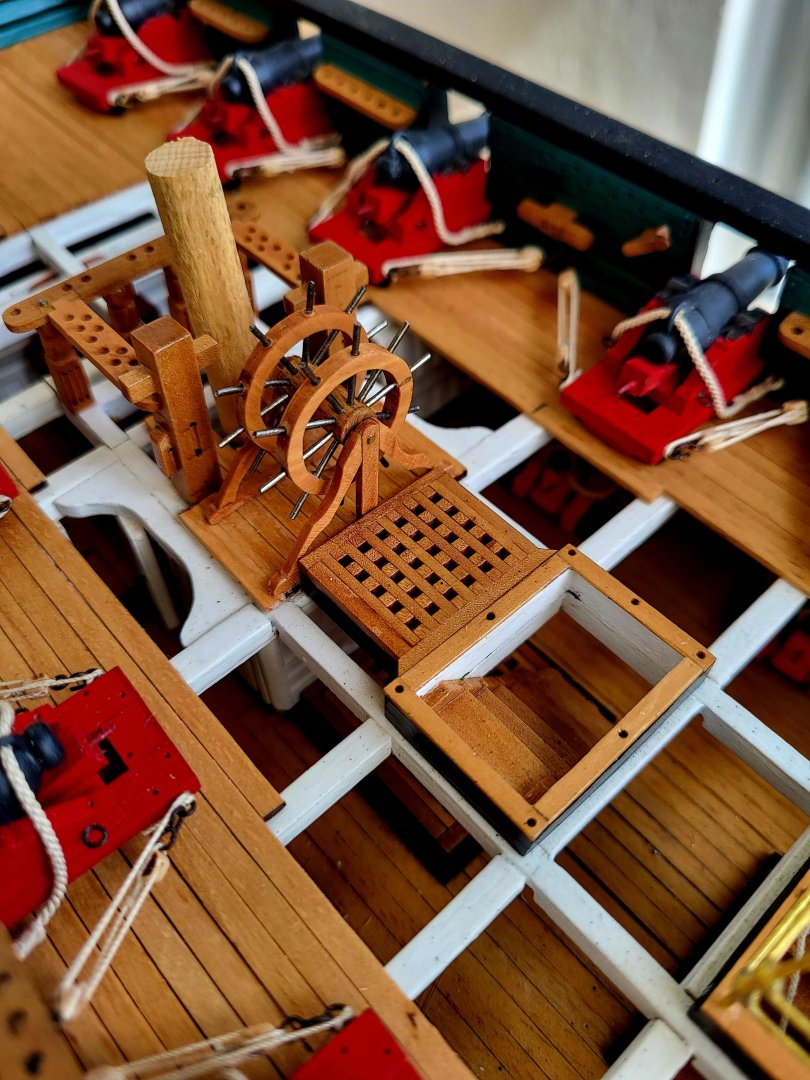
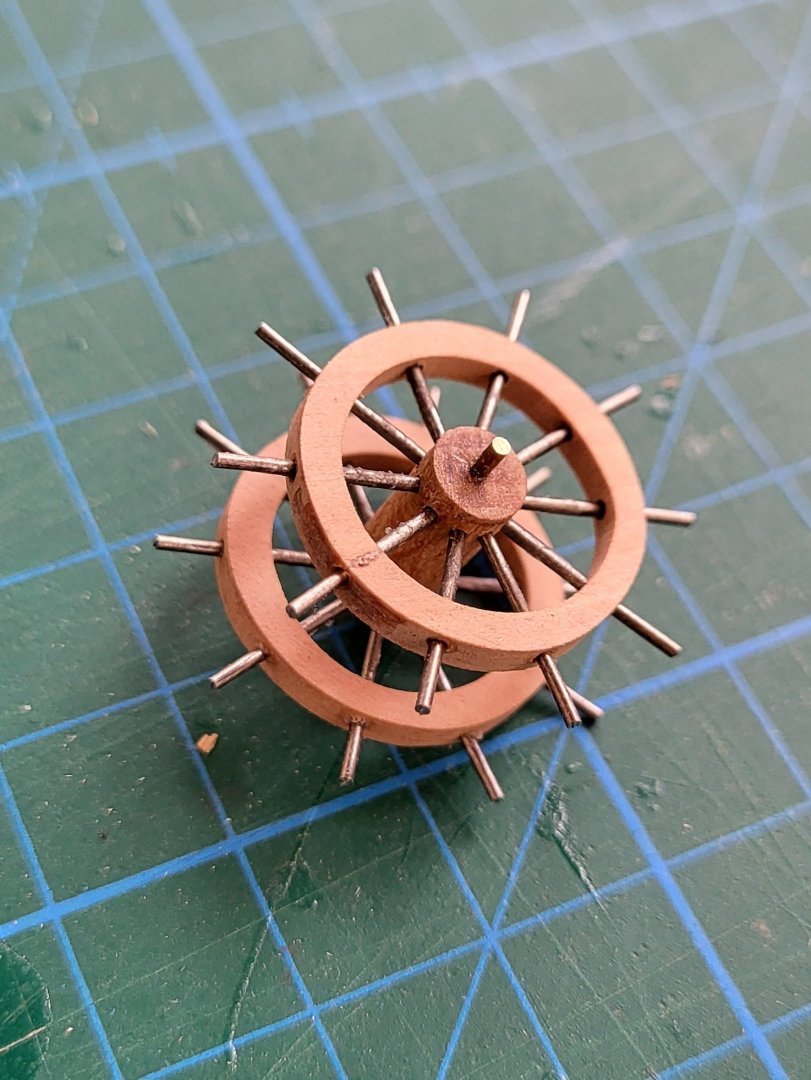
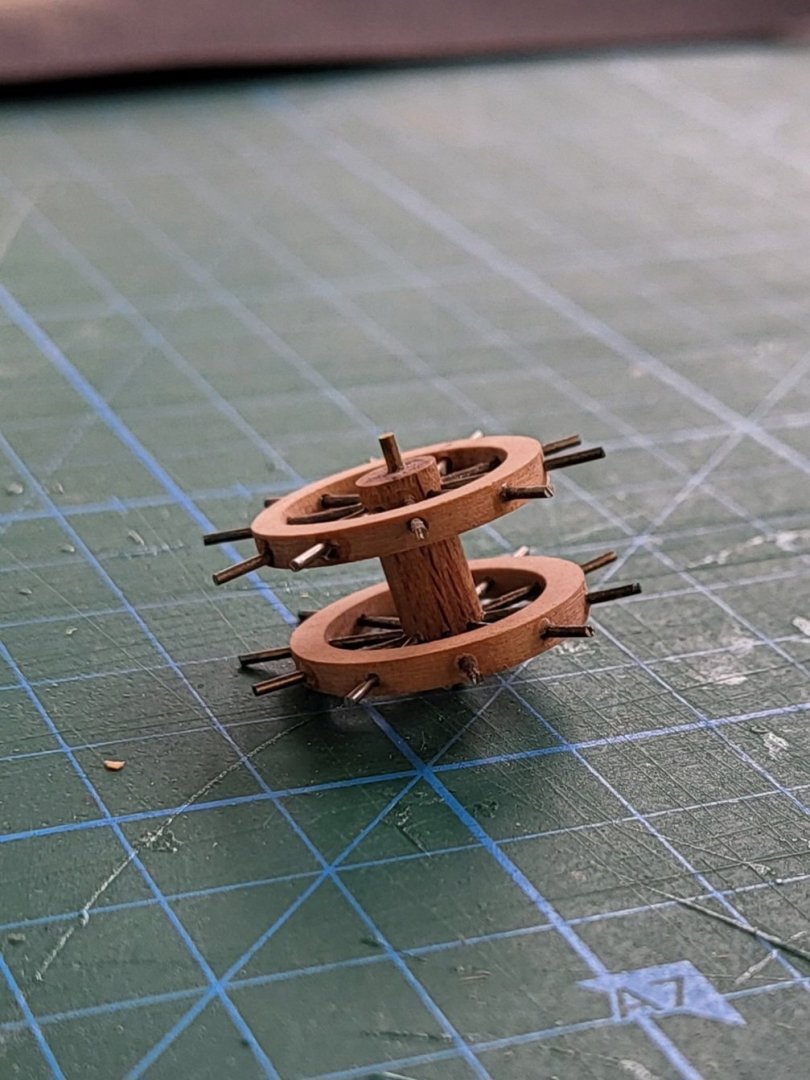
Assembly of the steering wheels done. Since I couldn't find 0.8 mm diameter wooden rod, I made the spokes from metal wire. Later, I will paint them all the same color.


-
USS Constitution by mtbediz - 1:76
mtbediz replied to mtbediz's topic in - Build logs for subjects built 1751 - 1800
I didn't want to go down that path because I foresaw that this would happen to me I chose a path that I felt safe in. Also, I wasn't an expert in soldering, but I learned quickly while doing it. Thanks for the steering wheel plans Jon, they will come in handy. -
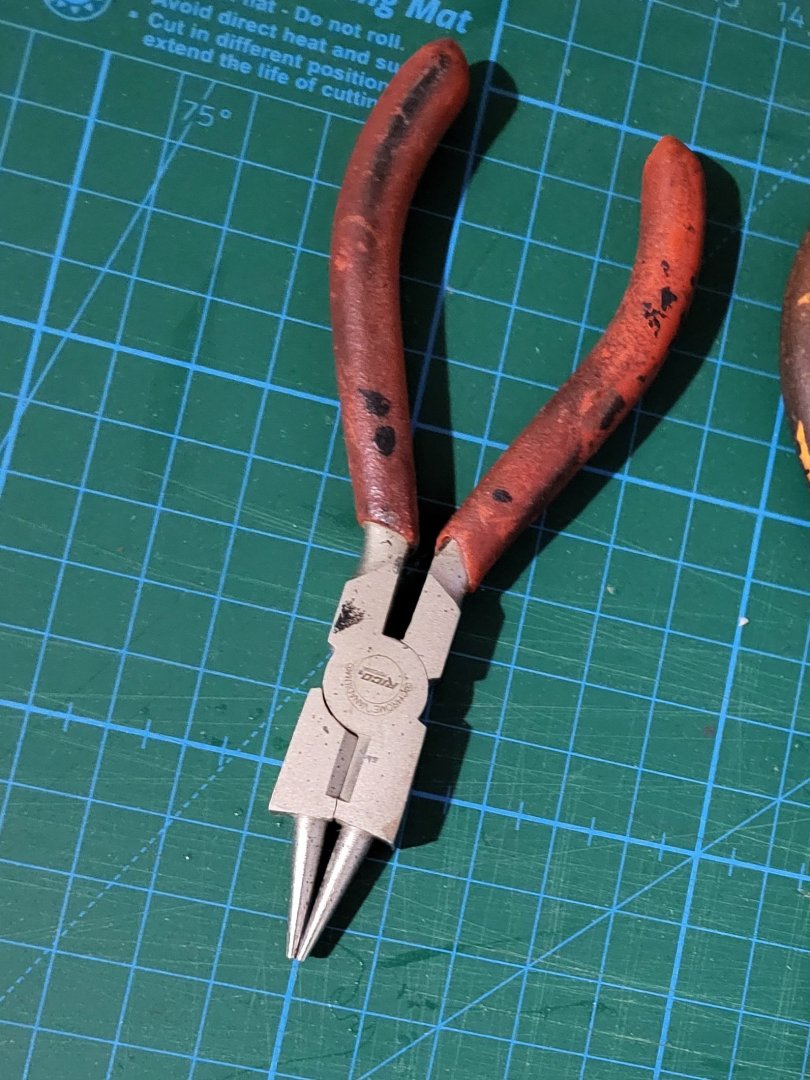
Round nose pliers is an ideal tool to make those loops.
-
USS Constitution by mtbediz - 1:76
mtbediz replied to mtbediz's topic in - Build logs for subjects built 1751 - 1800
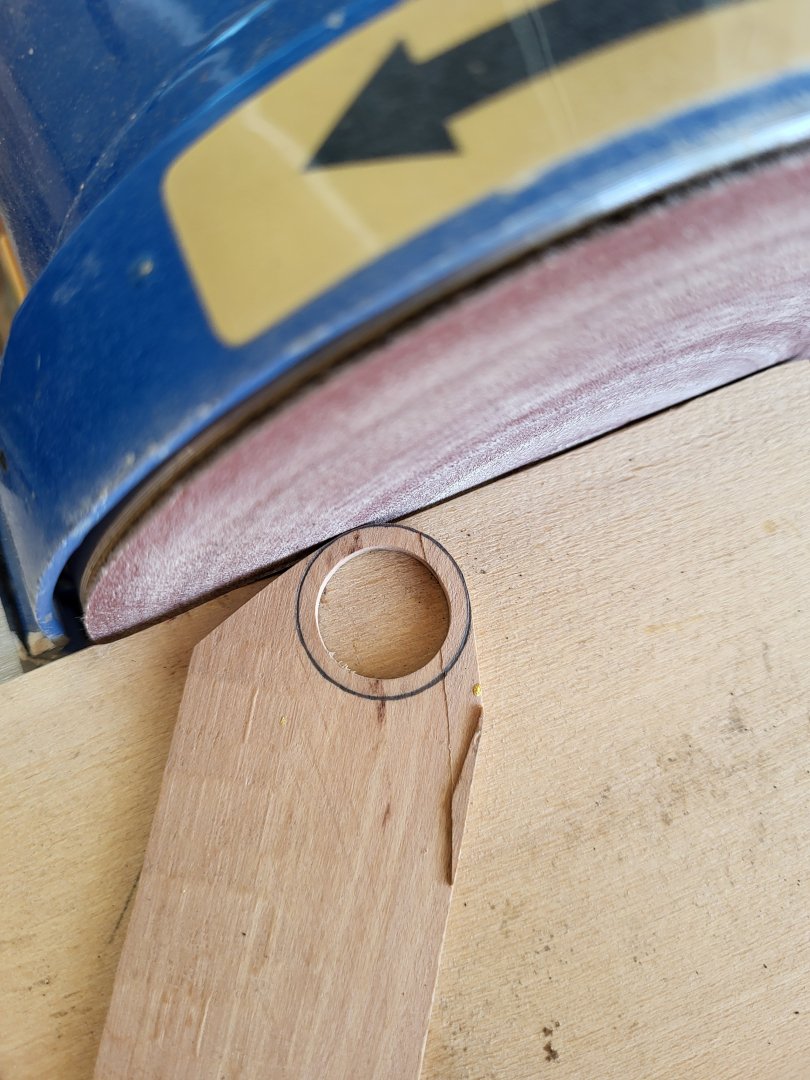
Nope, that's just sandpaper attached to a round stick with double-sided tape. -
USS Constitution by mtbediz - 1:76
mtbediz replied to mtbediz's topic in - Build logs for subjects built 1751 - 1800
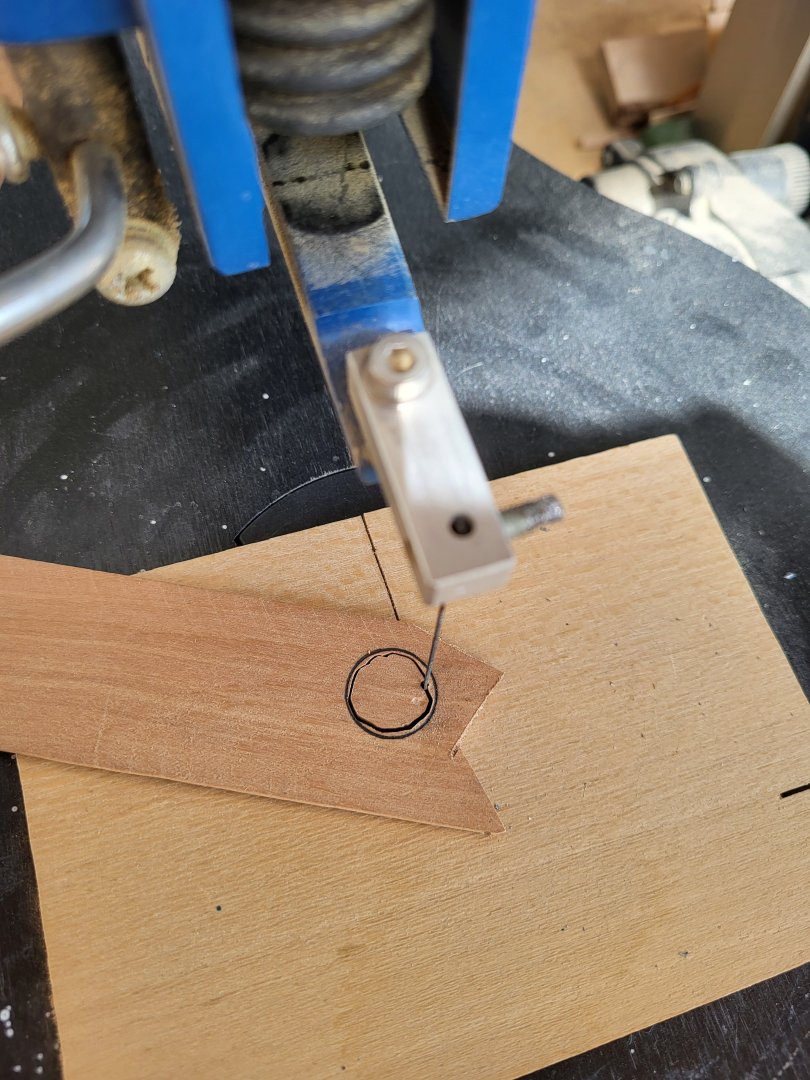
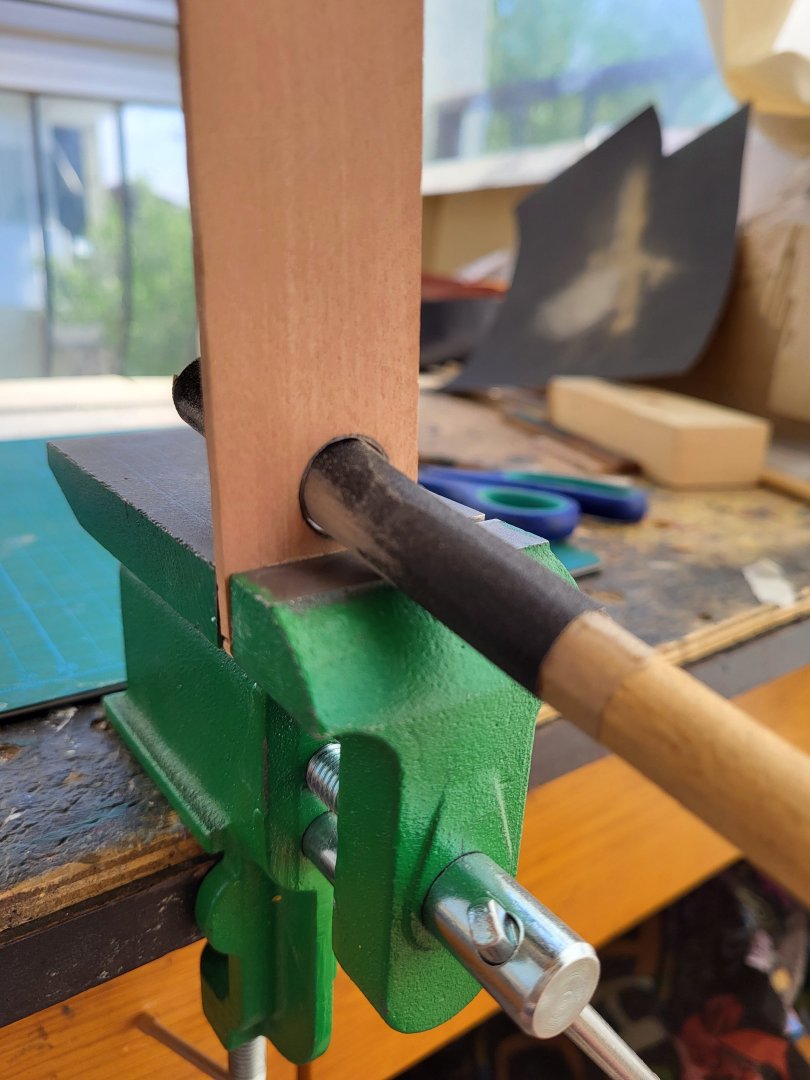
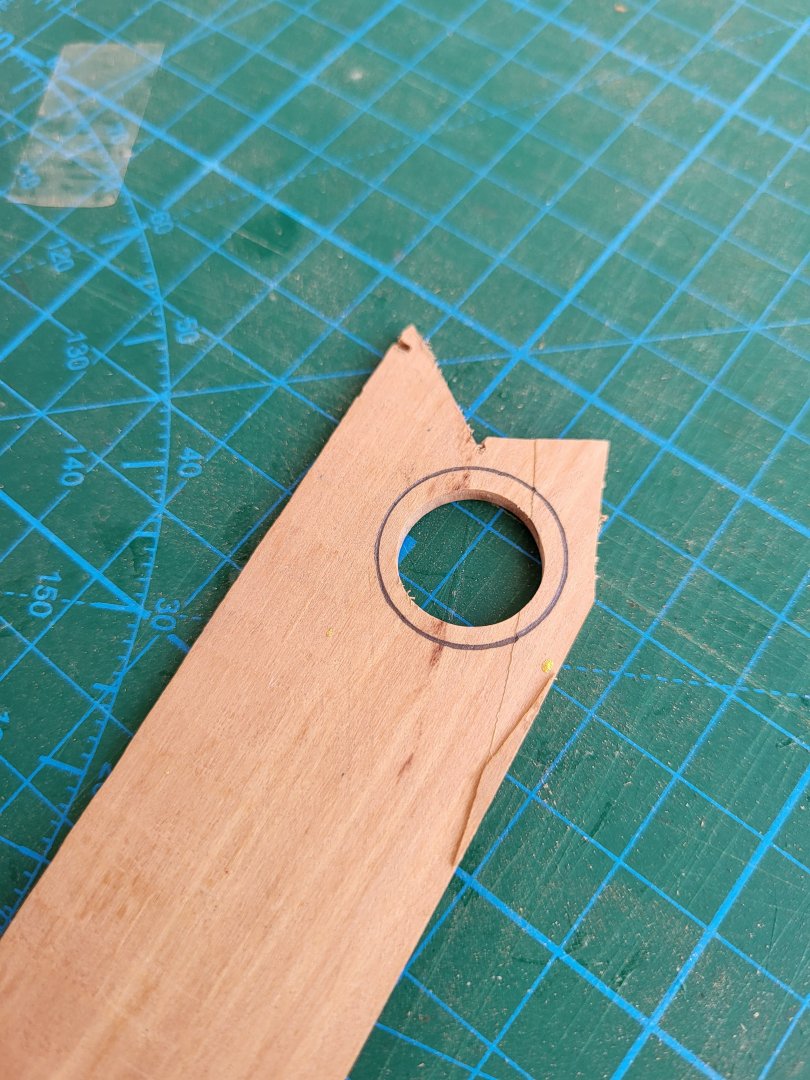
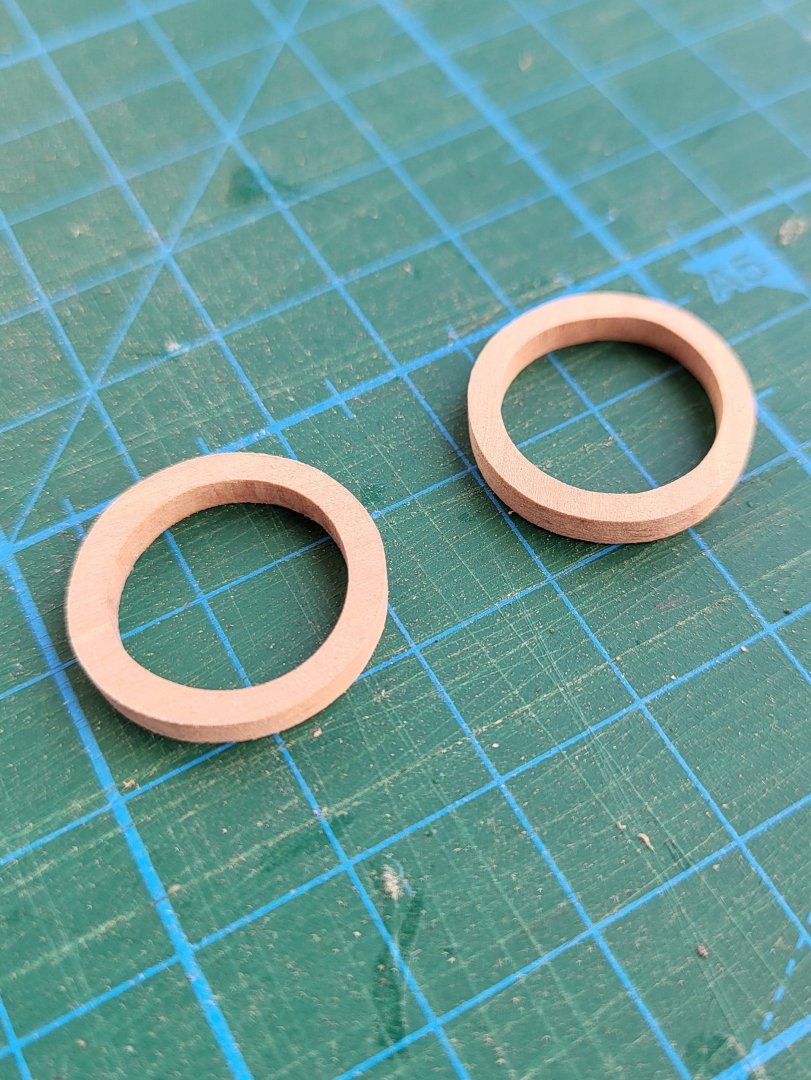
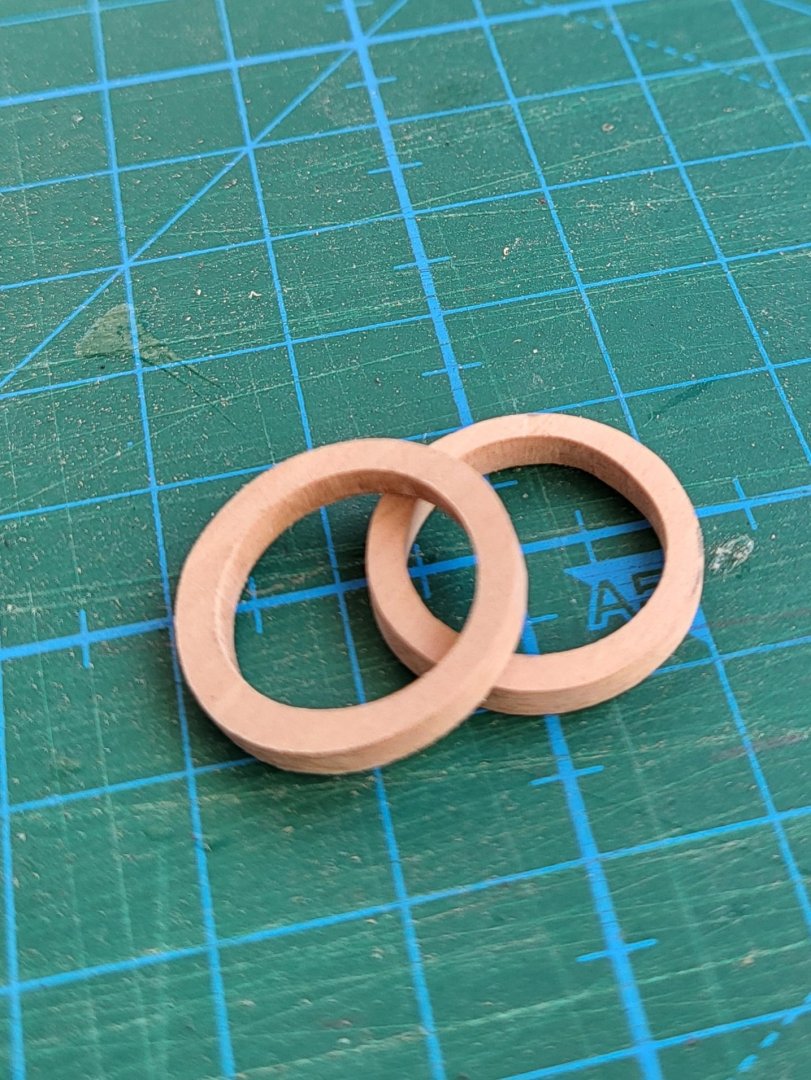
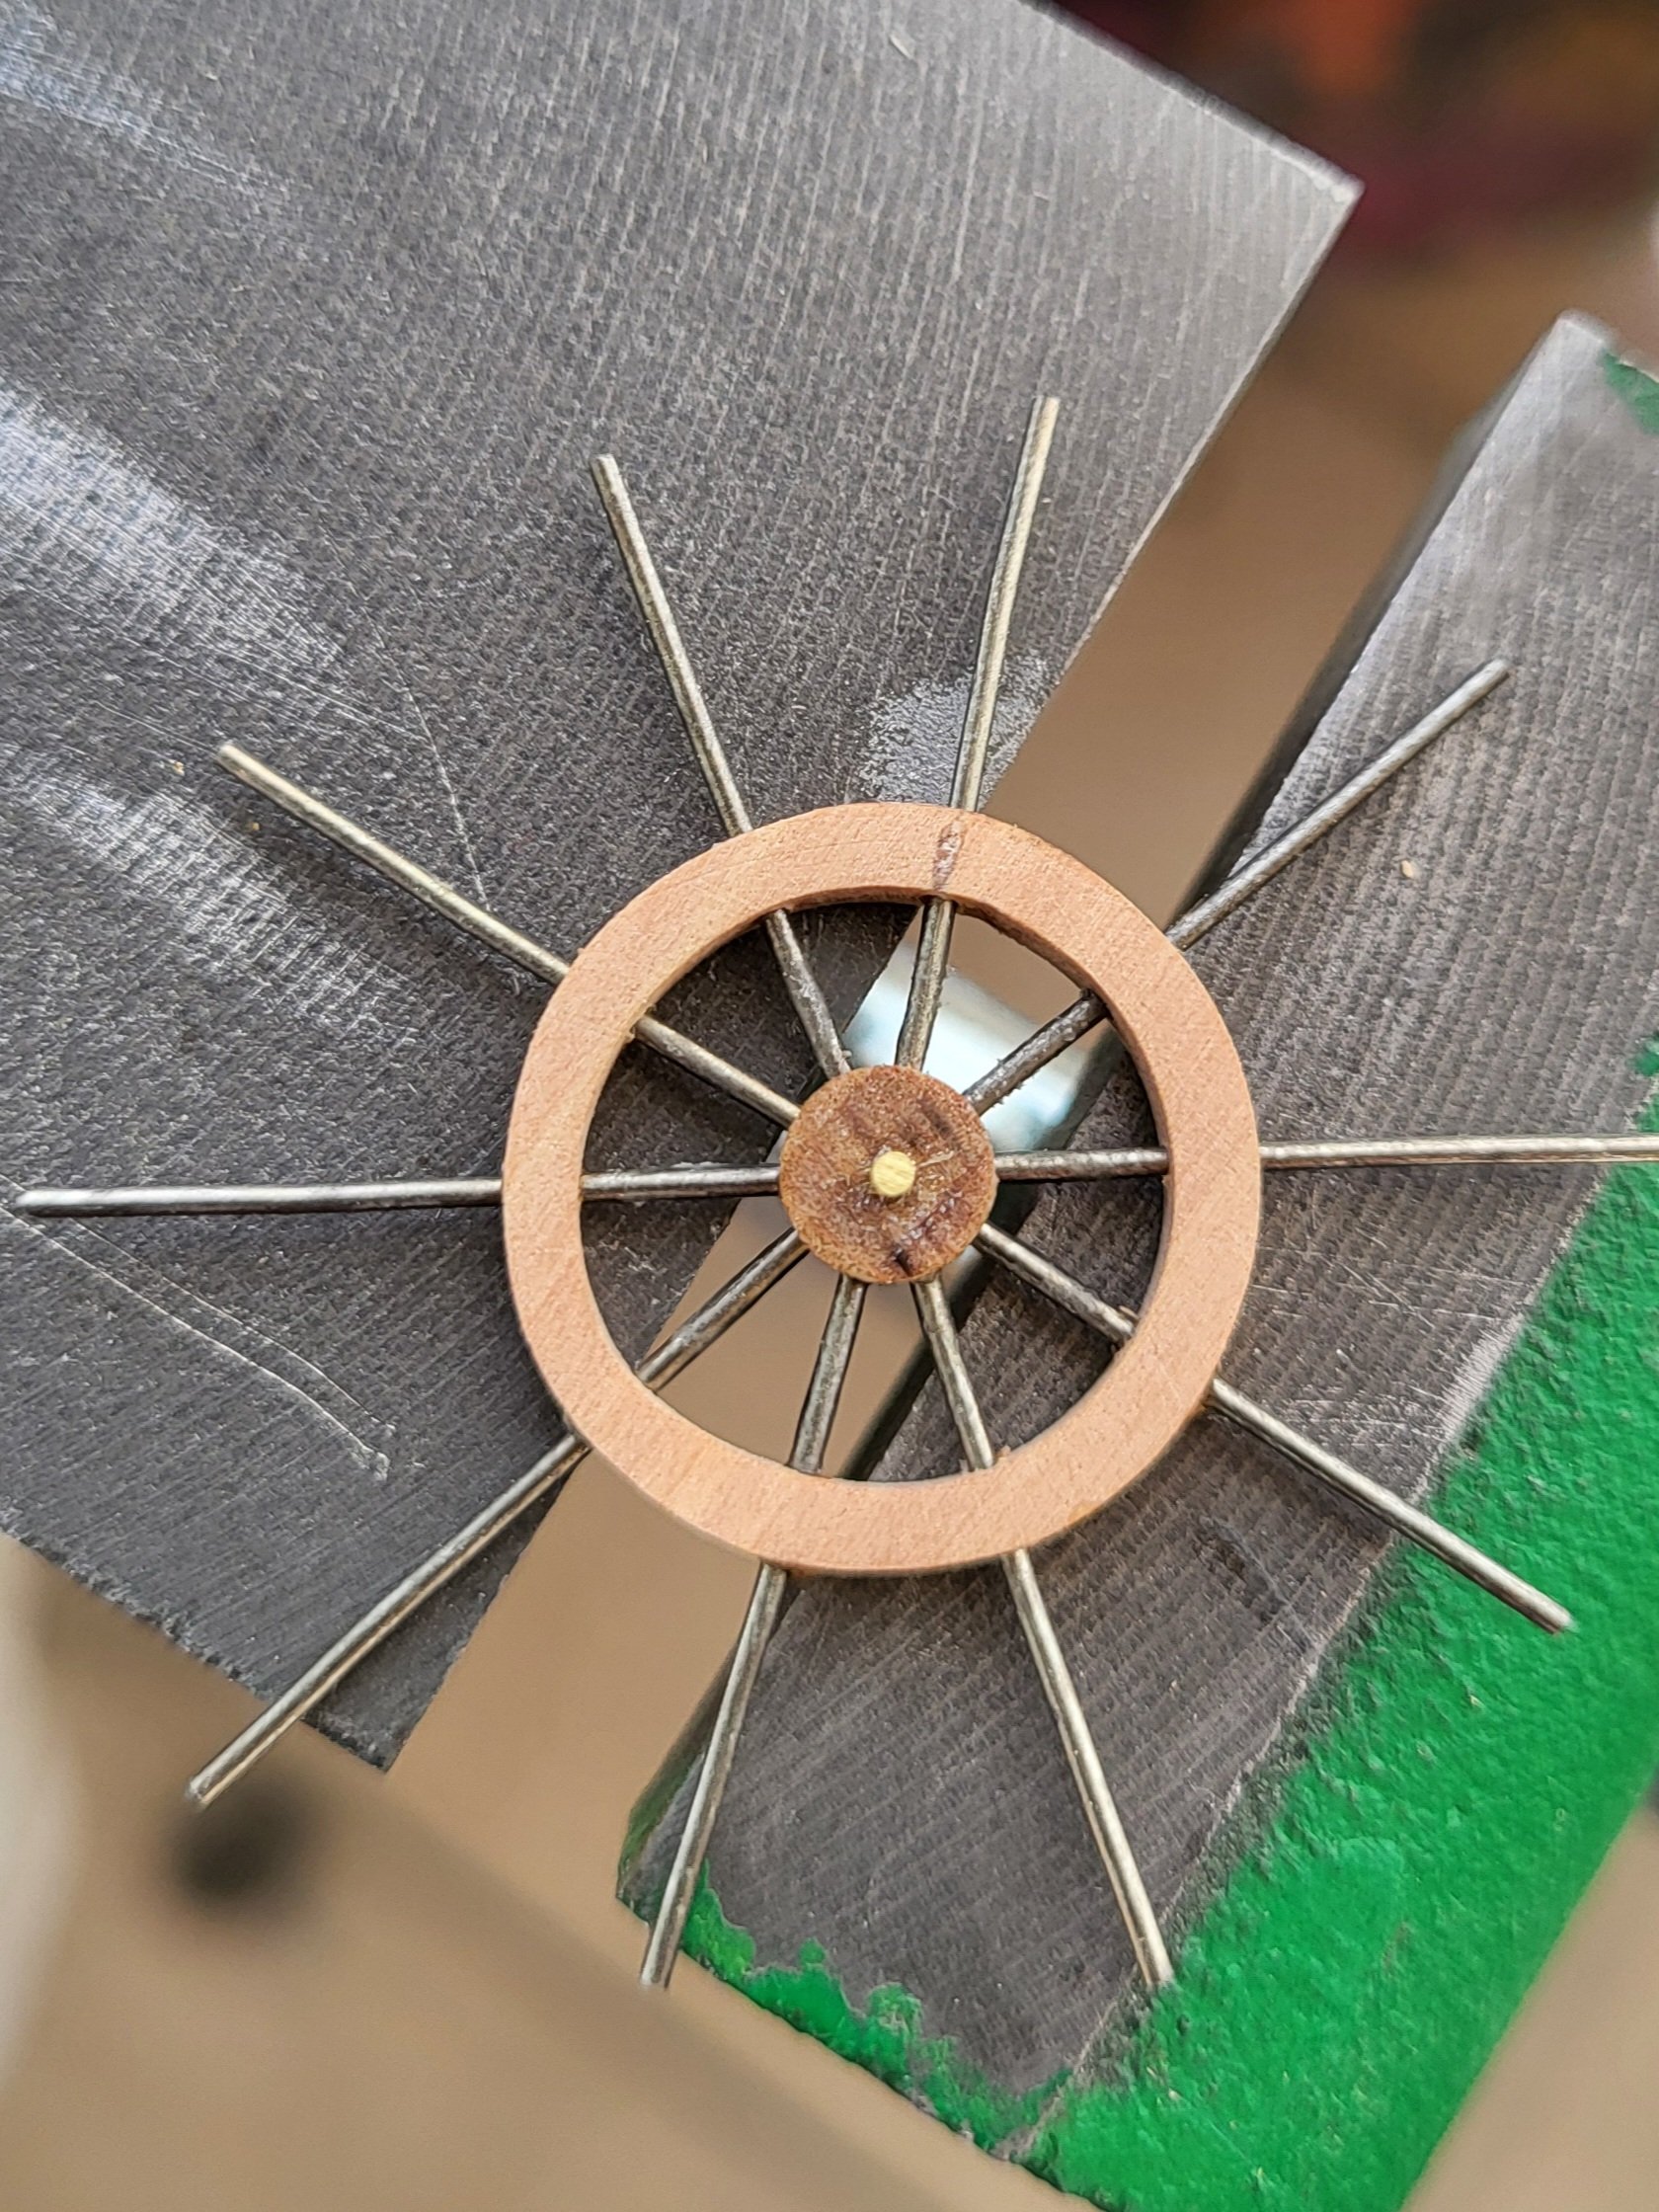
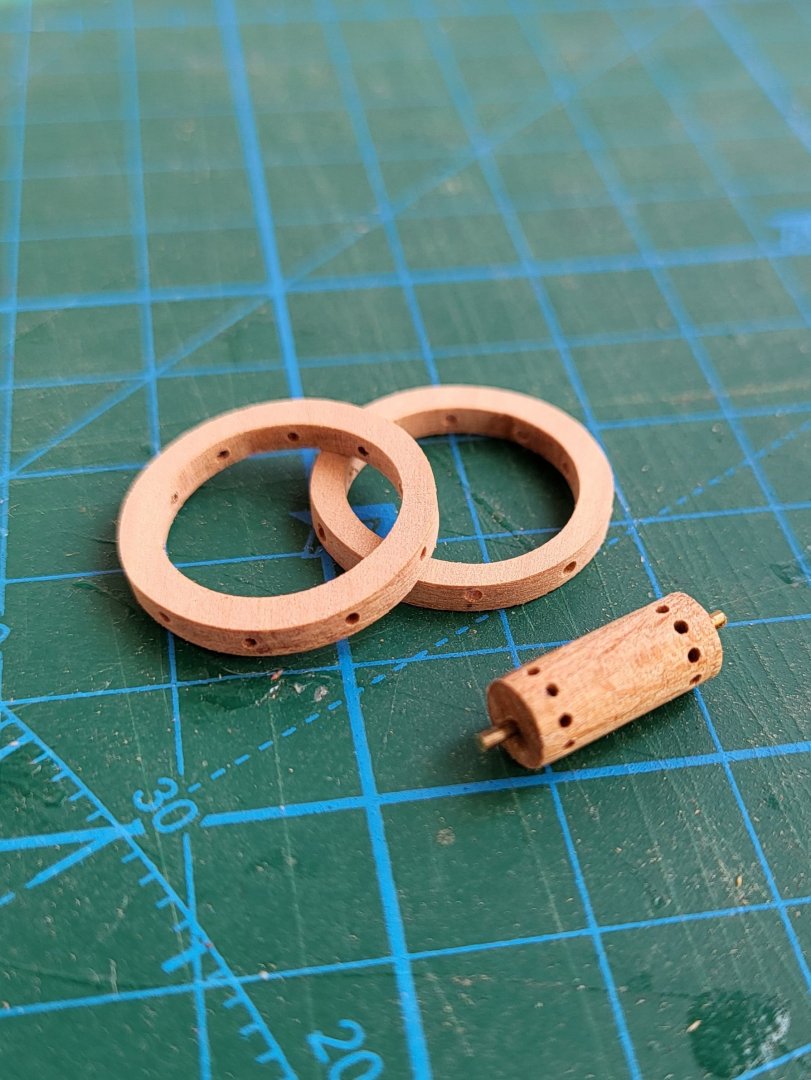
I began fabricating the ship's wheel. I started with the fellies Photos tell everything