HOLIDAY DONATION DRIVE - SUPPORT MSW - DO YOUR PART TO KEEP THIS GREAT FORUM GOING! (Only 36 donations so far out of 49,000 members - C'mon guys!)
×


semorebutts
-
Posts
664 -
Joined
-
Last visited
Content Type
Profiles
Forums
Gallery
Events
Everything posted by semorebutts
-
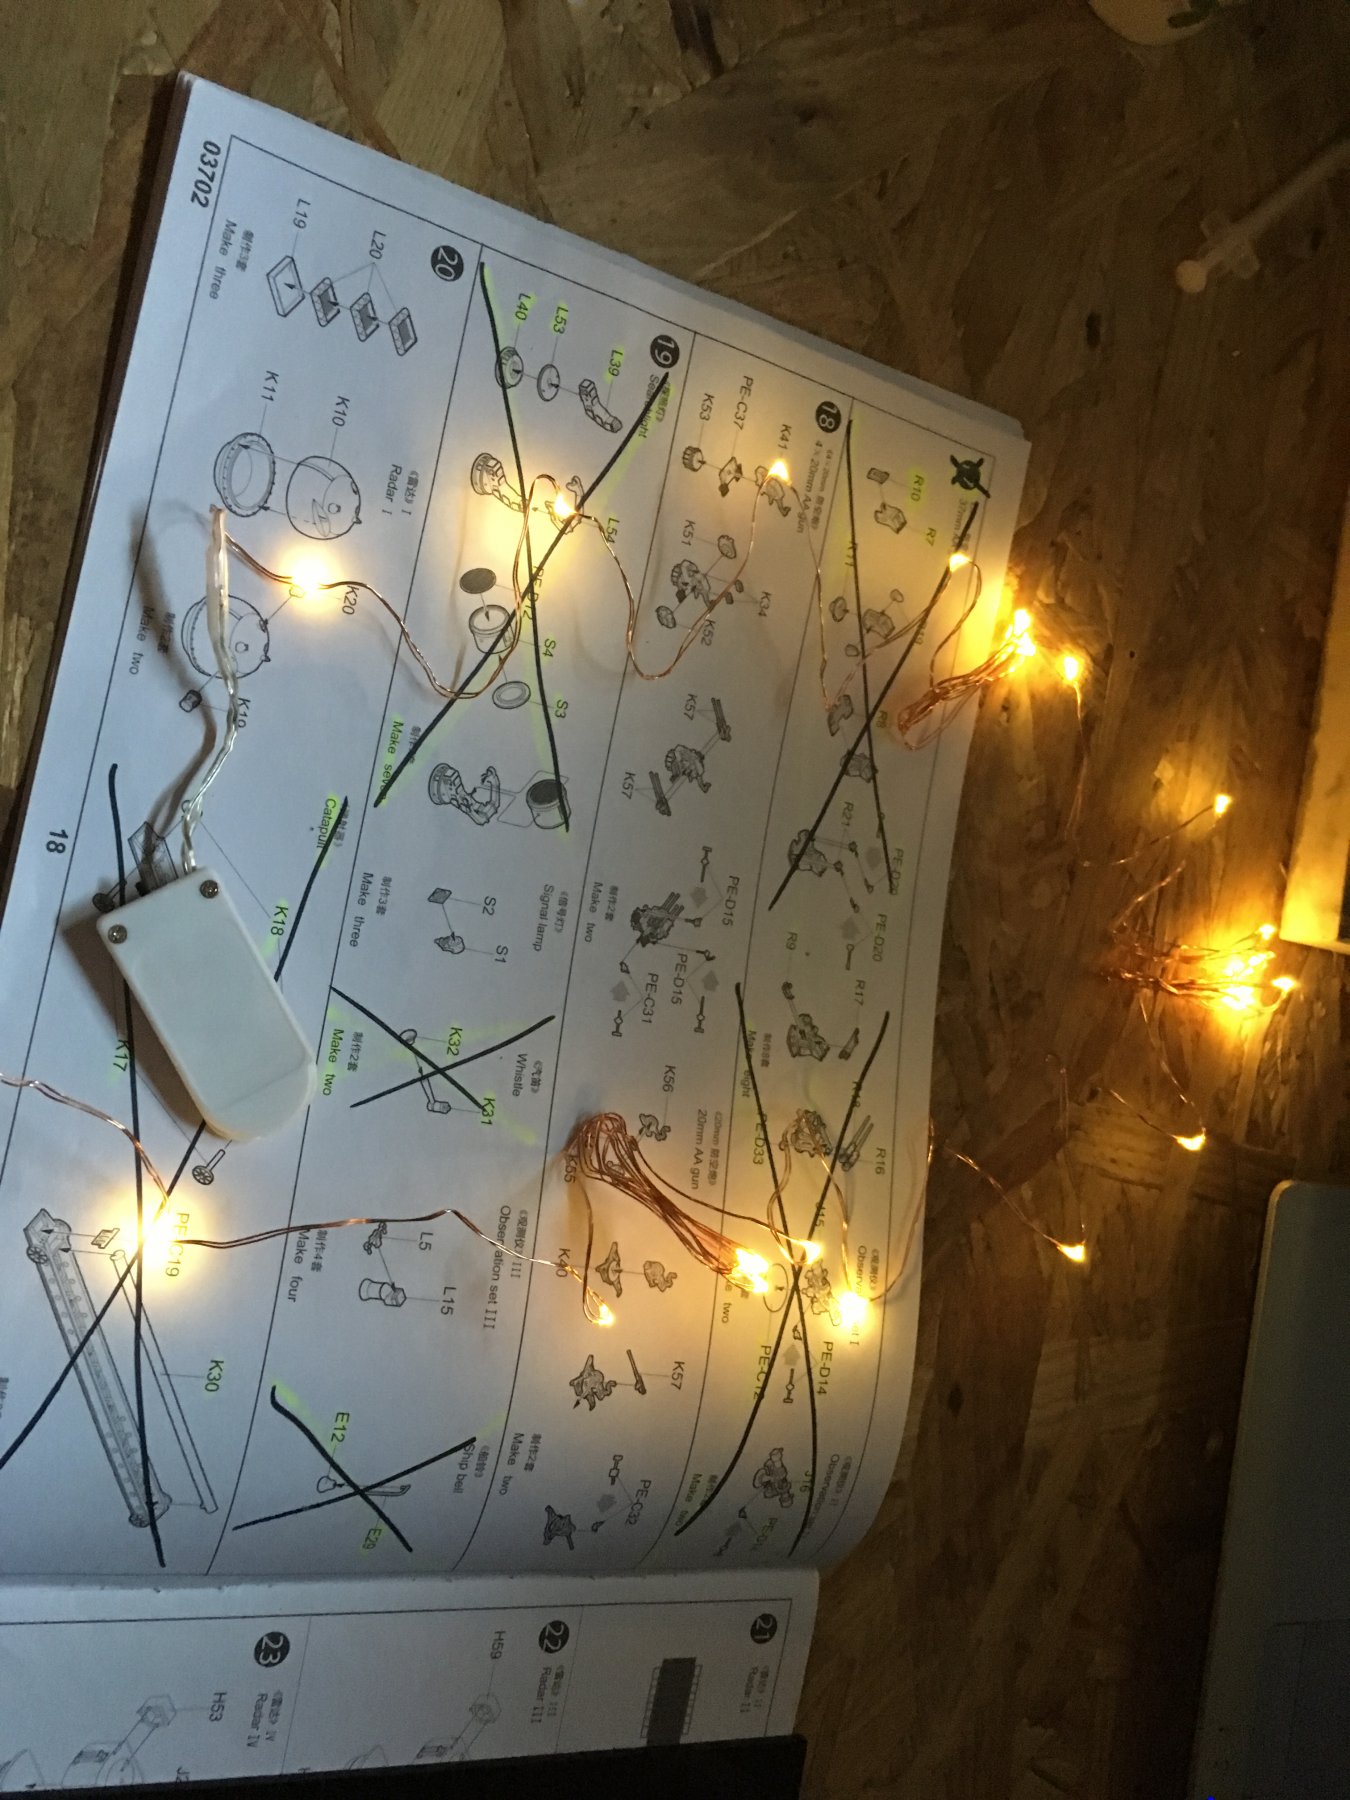
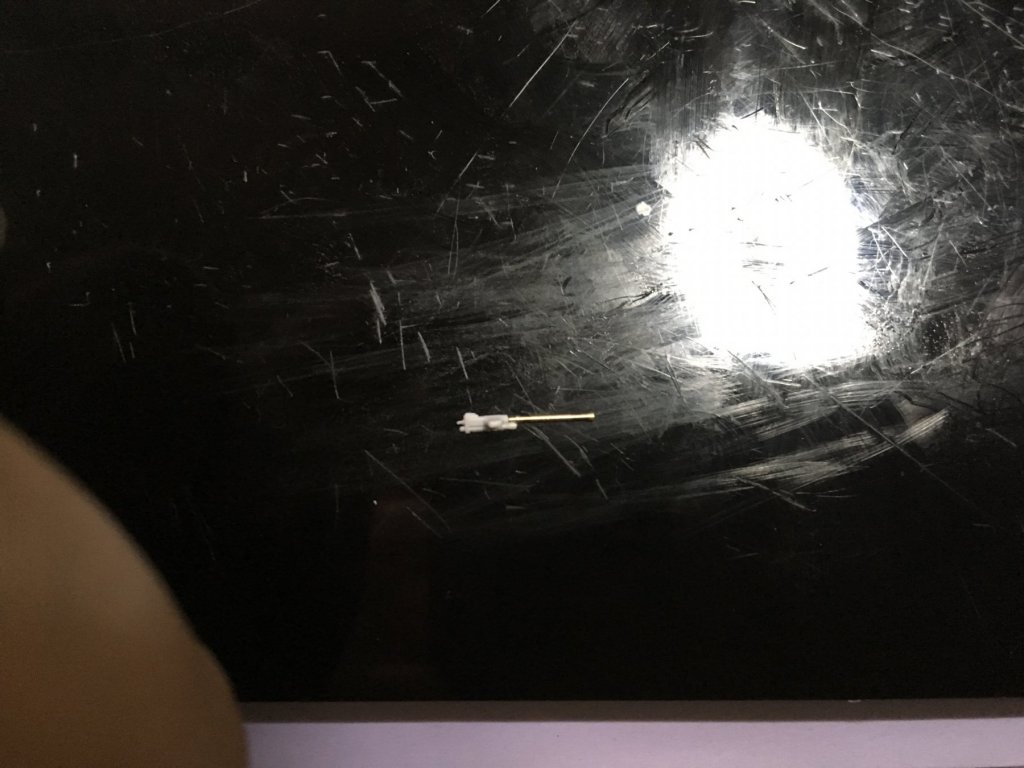
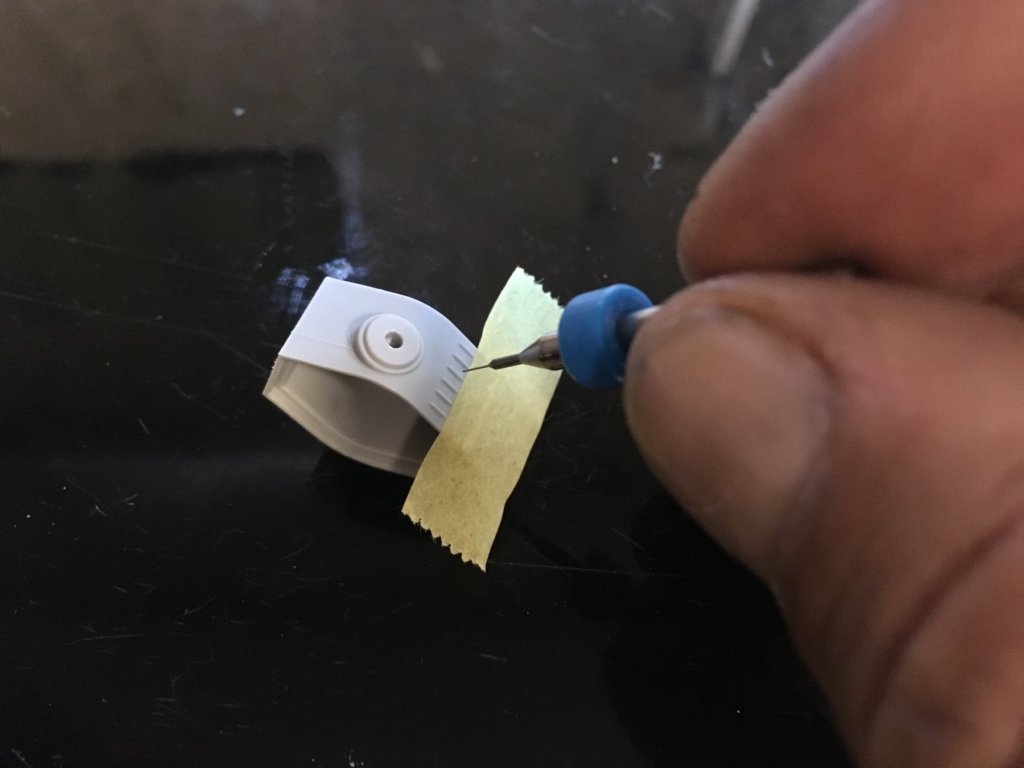
Hey Hof! Yes I thought about LEDs. I have this battery powered string of LEDs. But i have my hands full with this model and dont think I can pull it off🙁 Maybe with my next model ( the Missouri)🙂 I'm now trying to assemble 4 20mm guns. This is where me being a rookie really shows! I dont have the skills to cut off the plastic barrels and replace with brass barrels. I already cut one barrel off so I atleast have to use one brass barrel and it will be a mess.

-
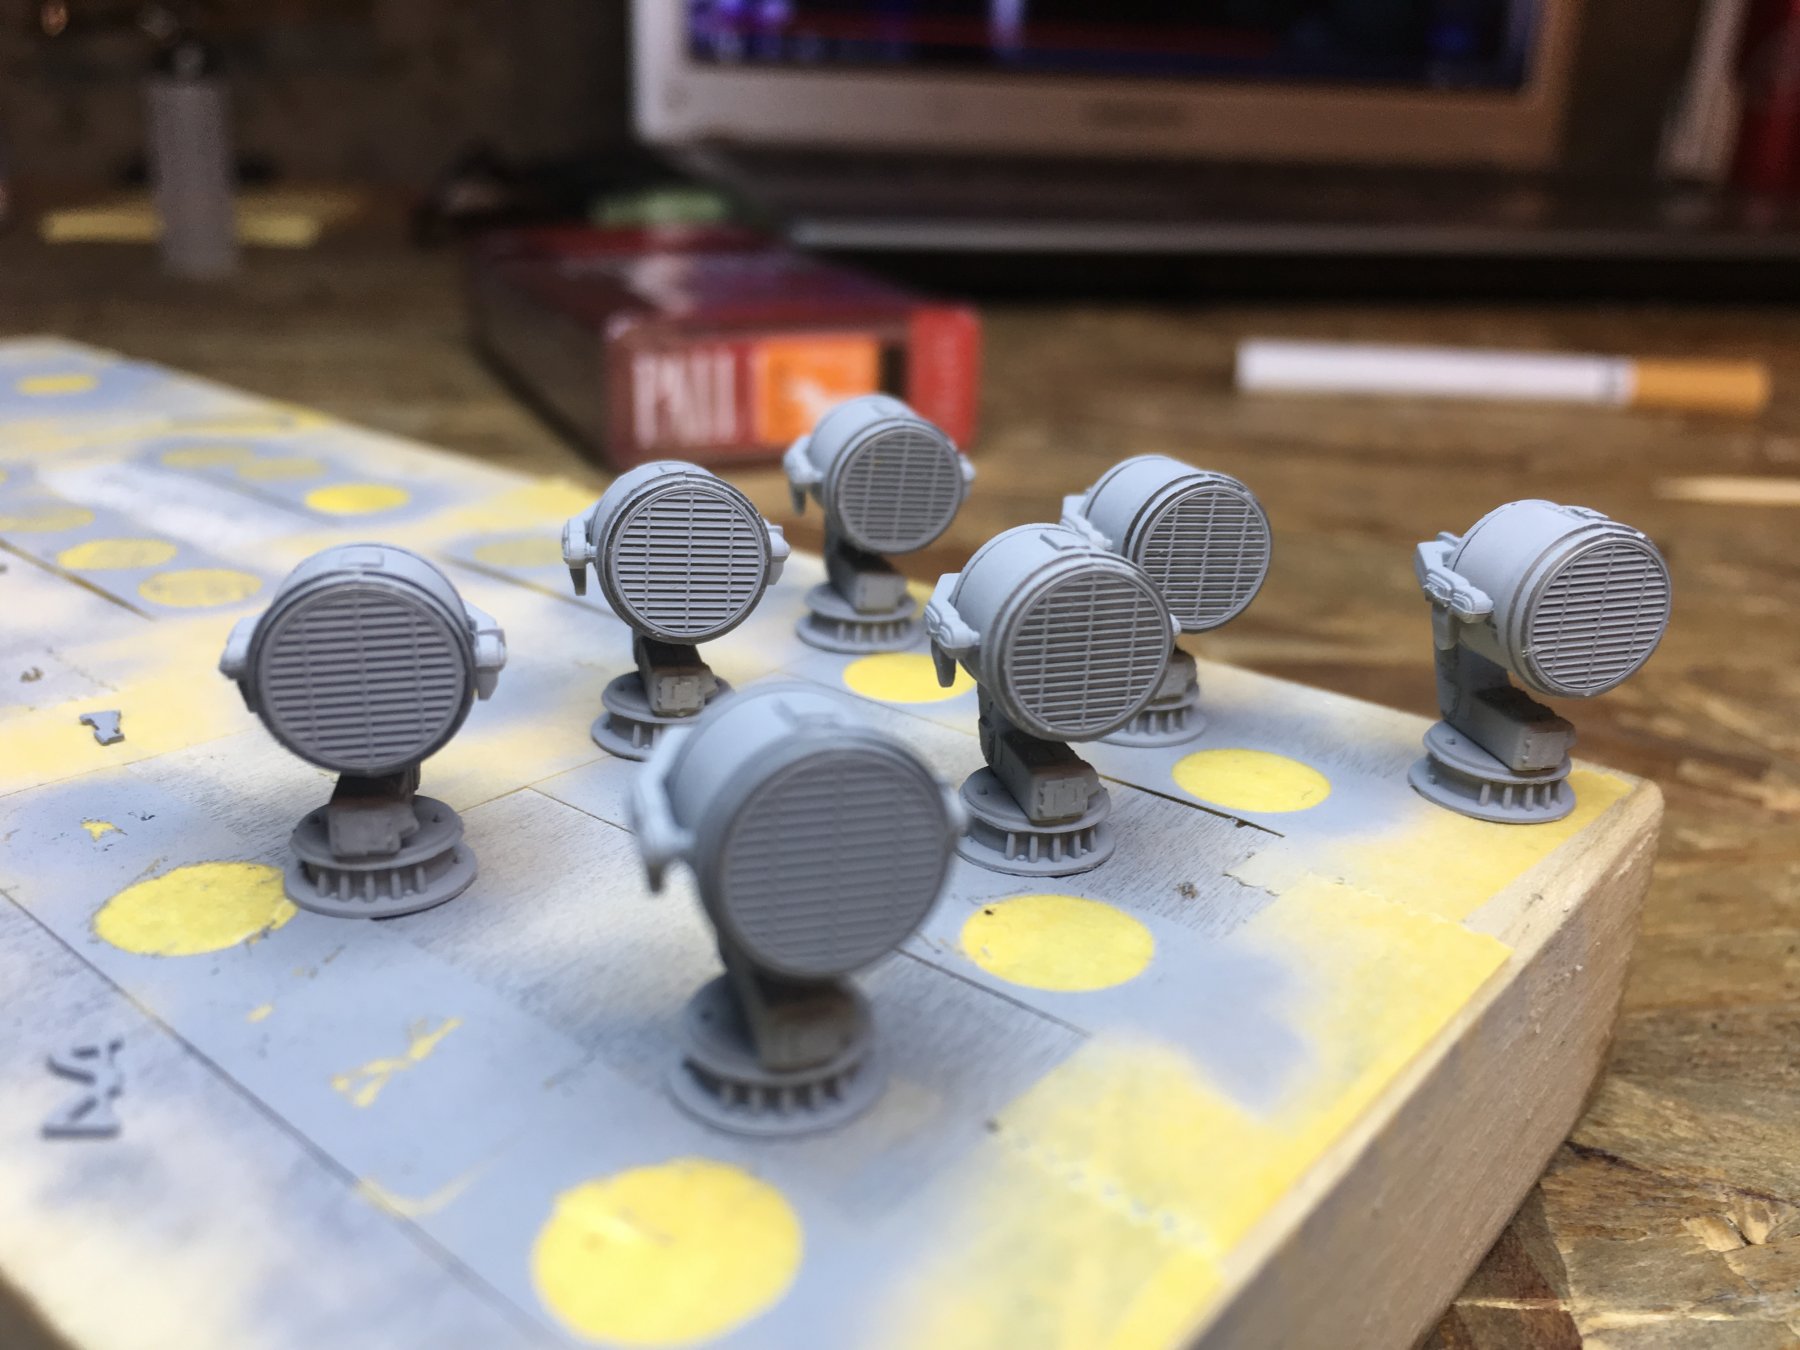
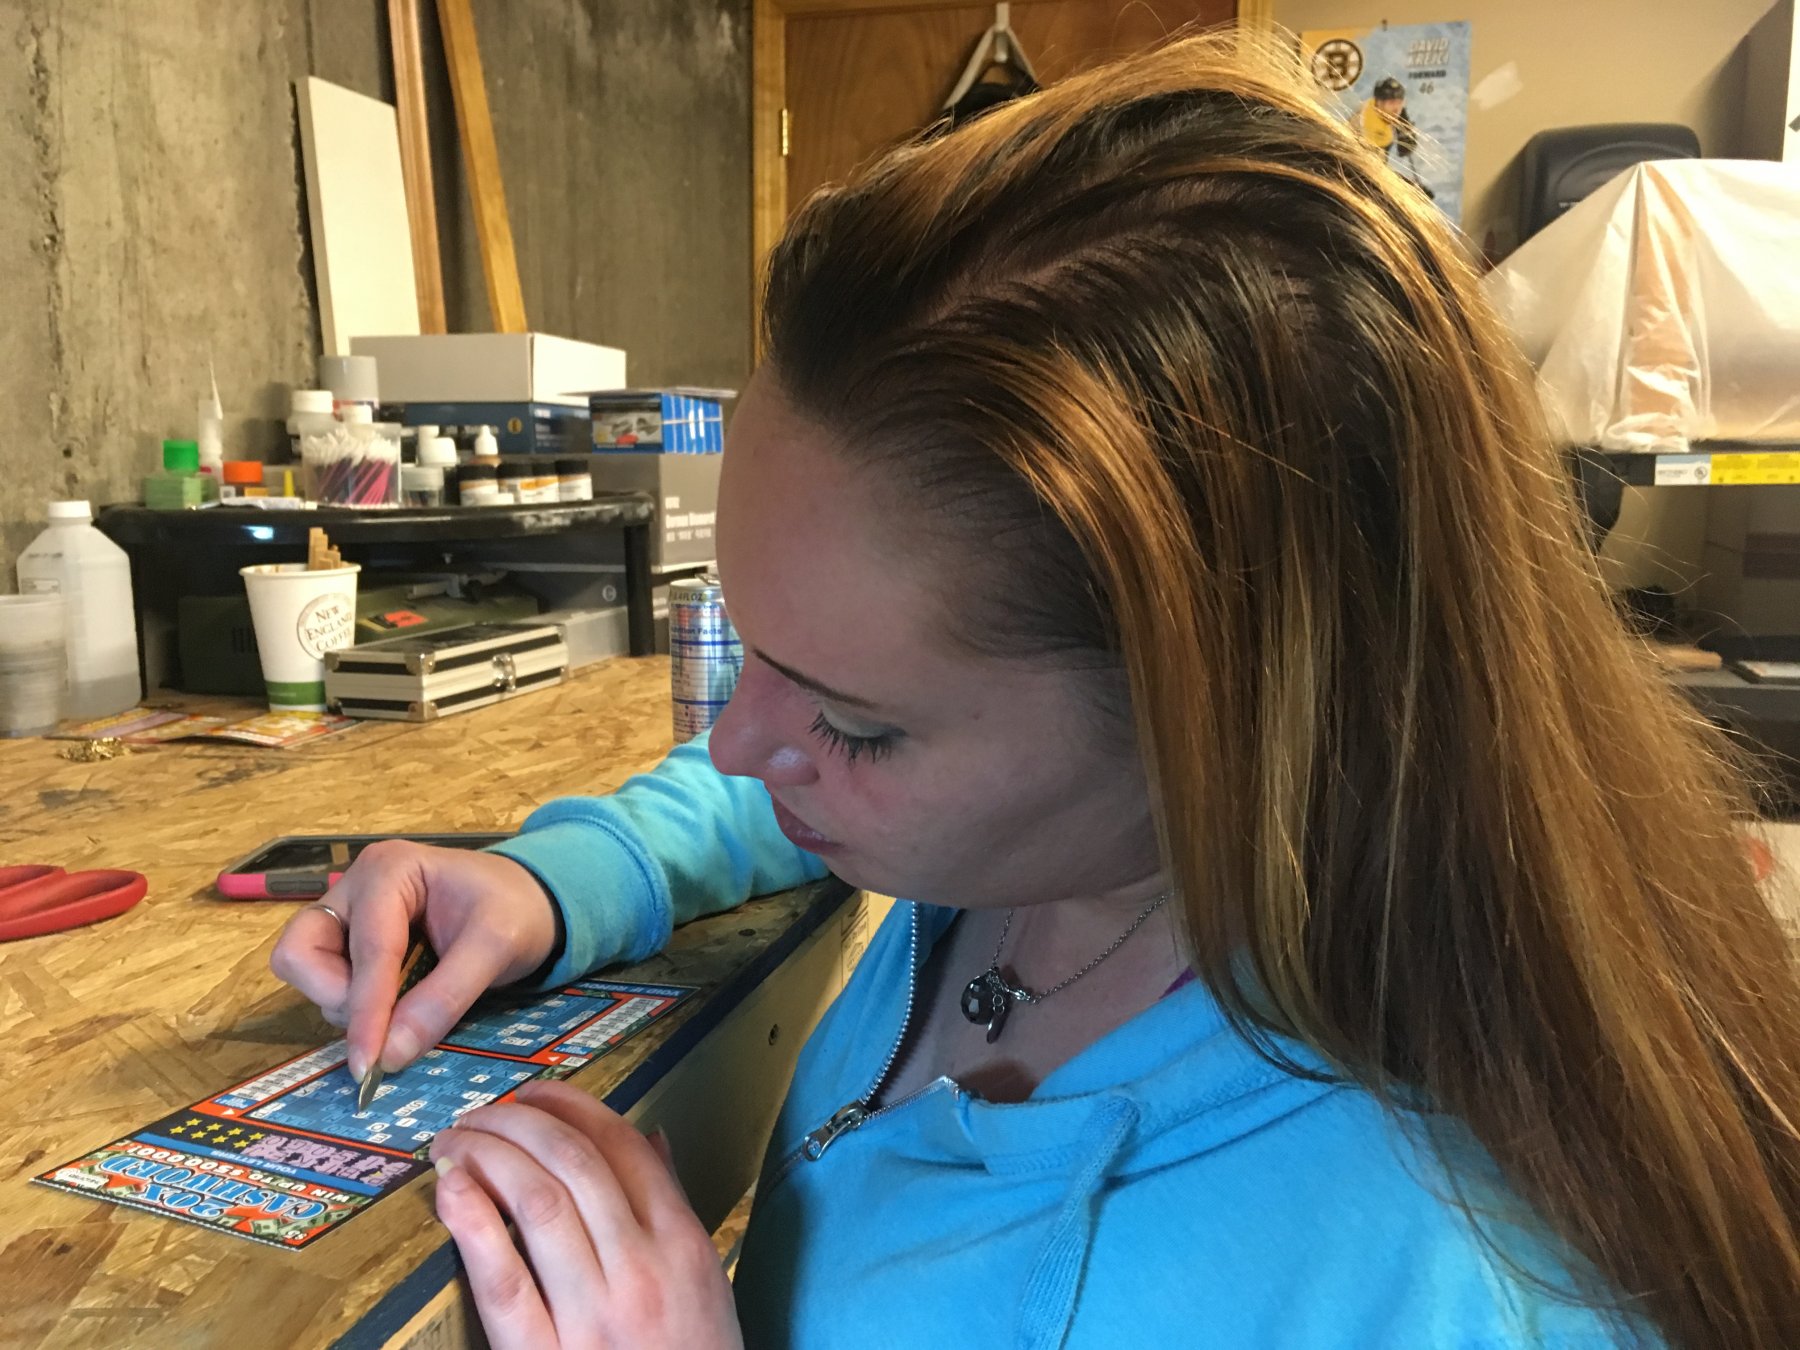
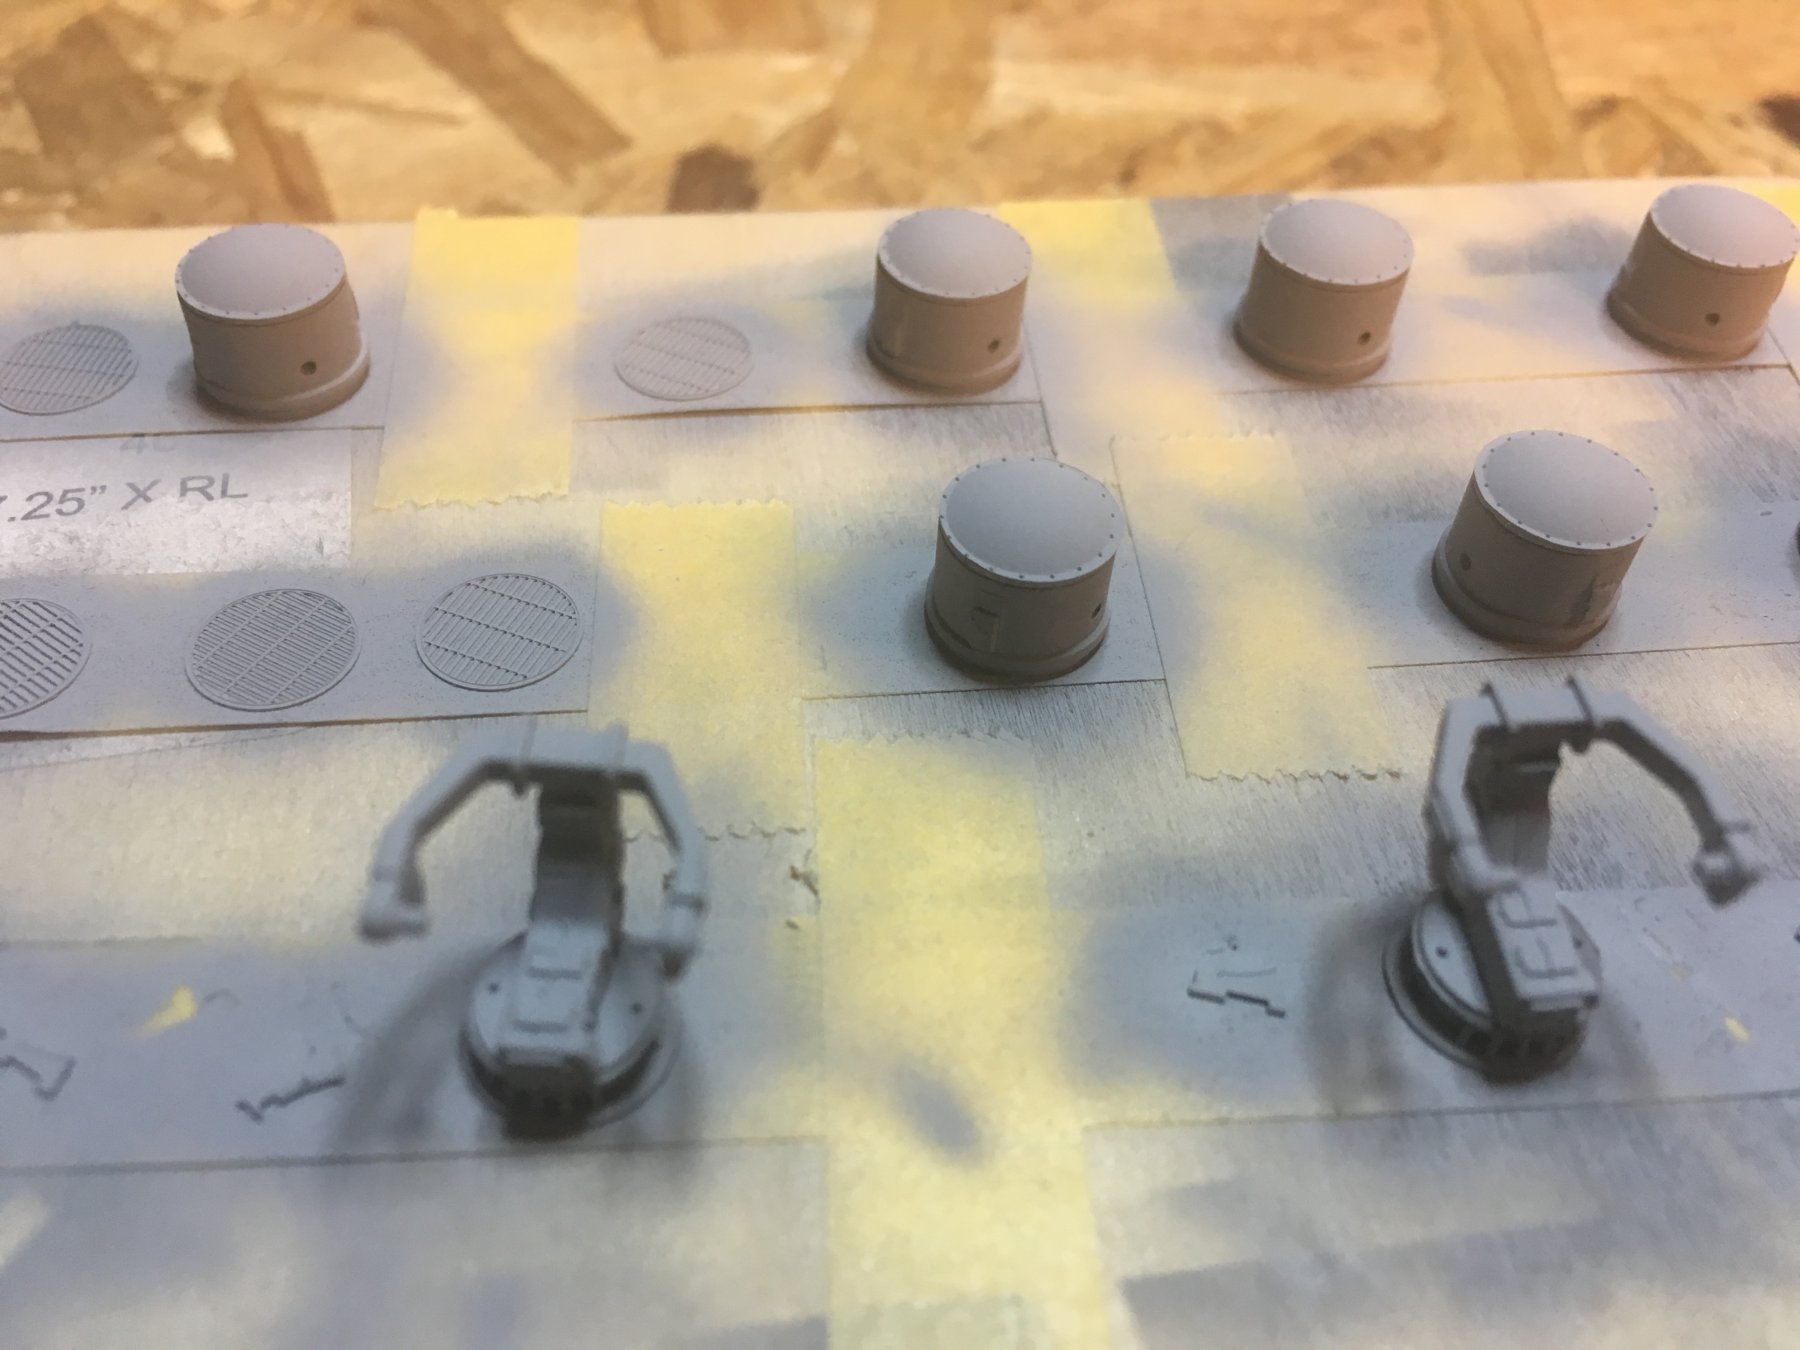
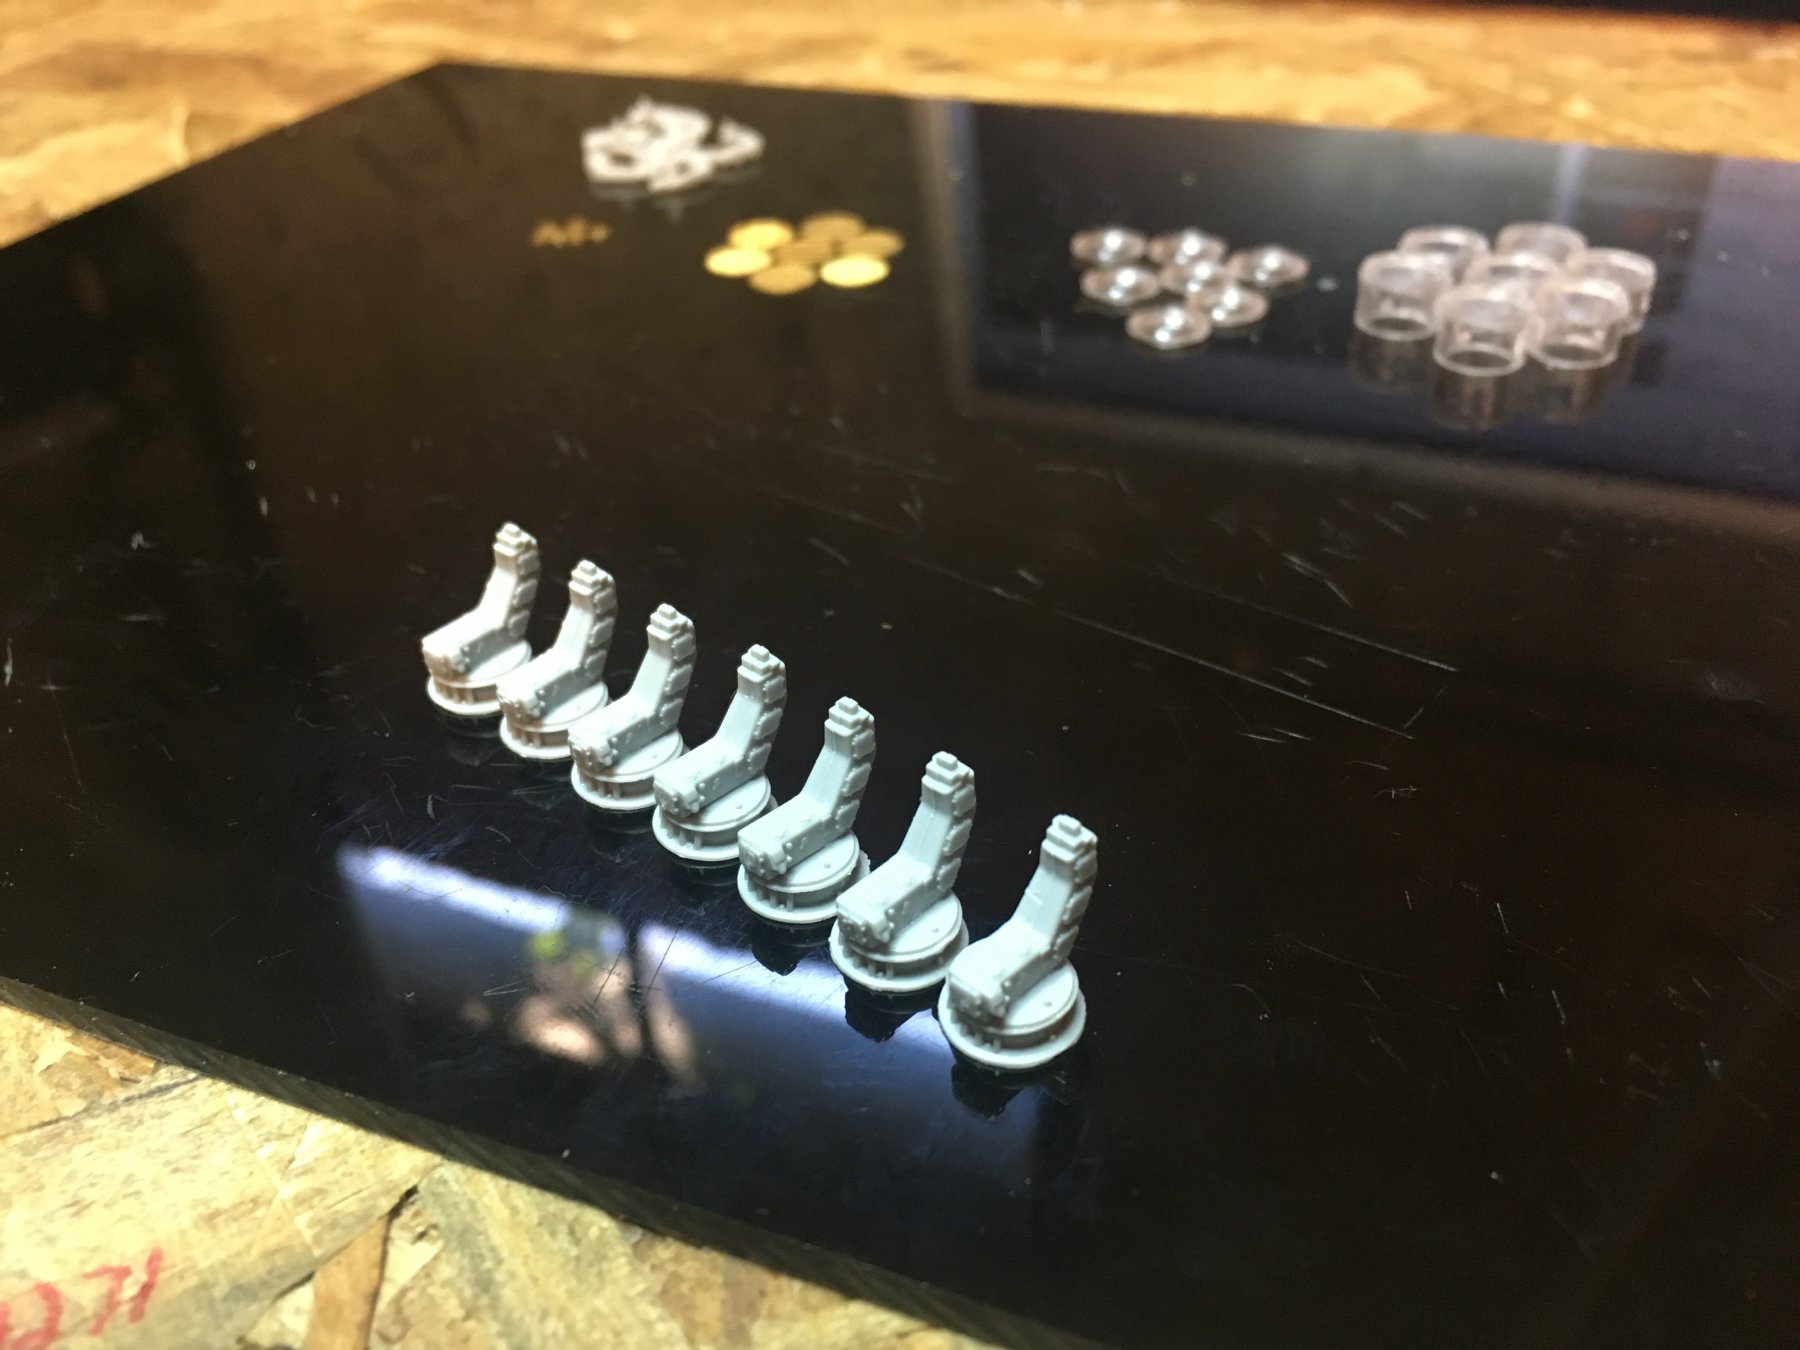
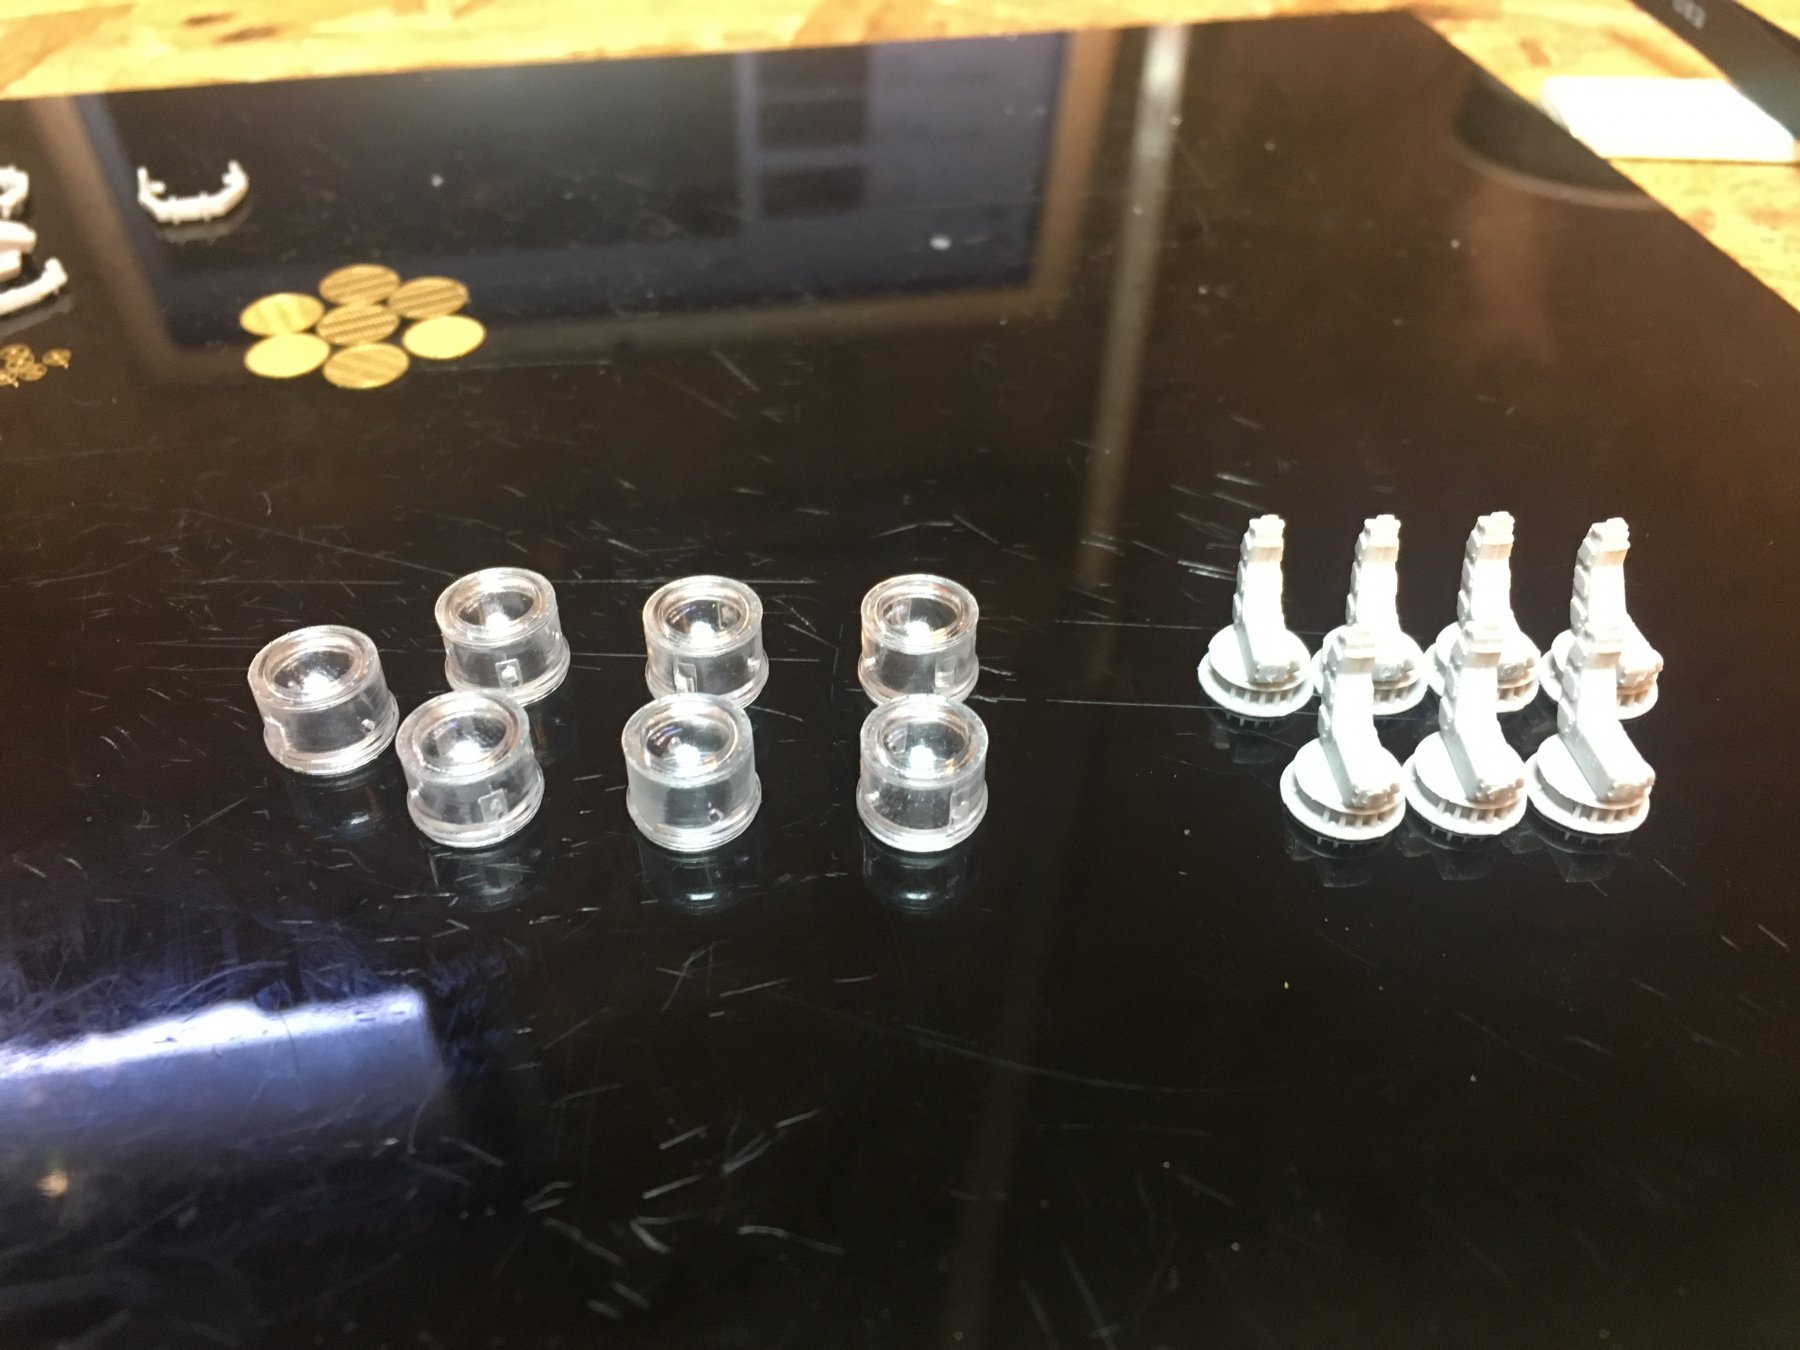
The searchlights are done for now. I like to let the paint dry for 24 hours before I start weathering. So I will continue tomorrow. she wants to help but has shakey hands 😟


-
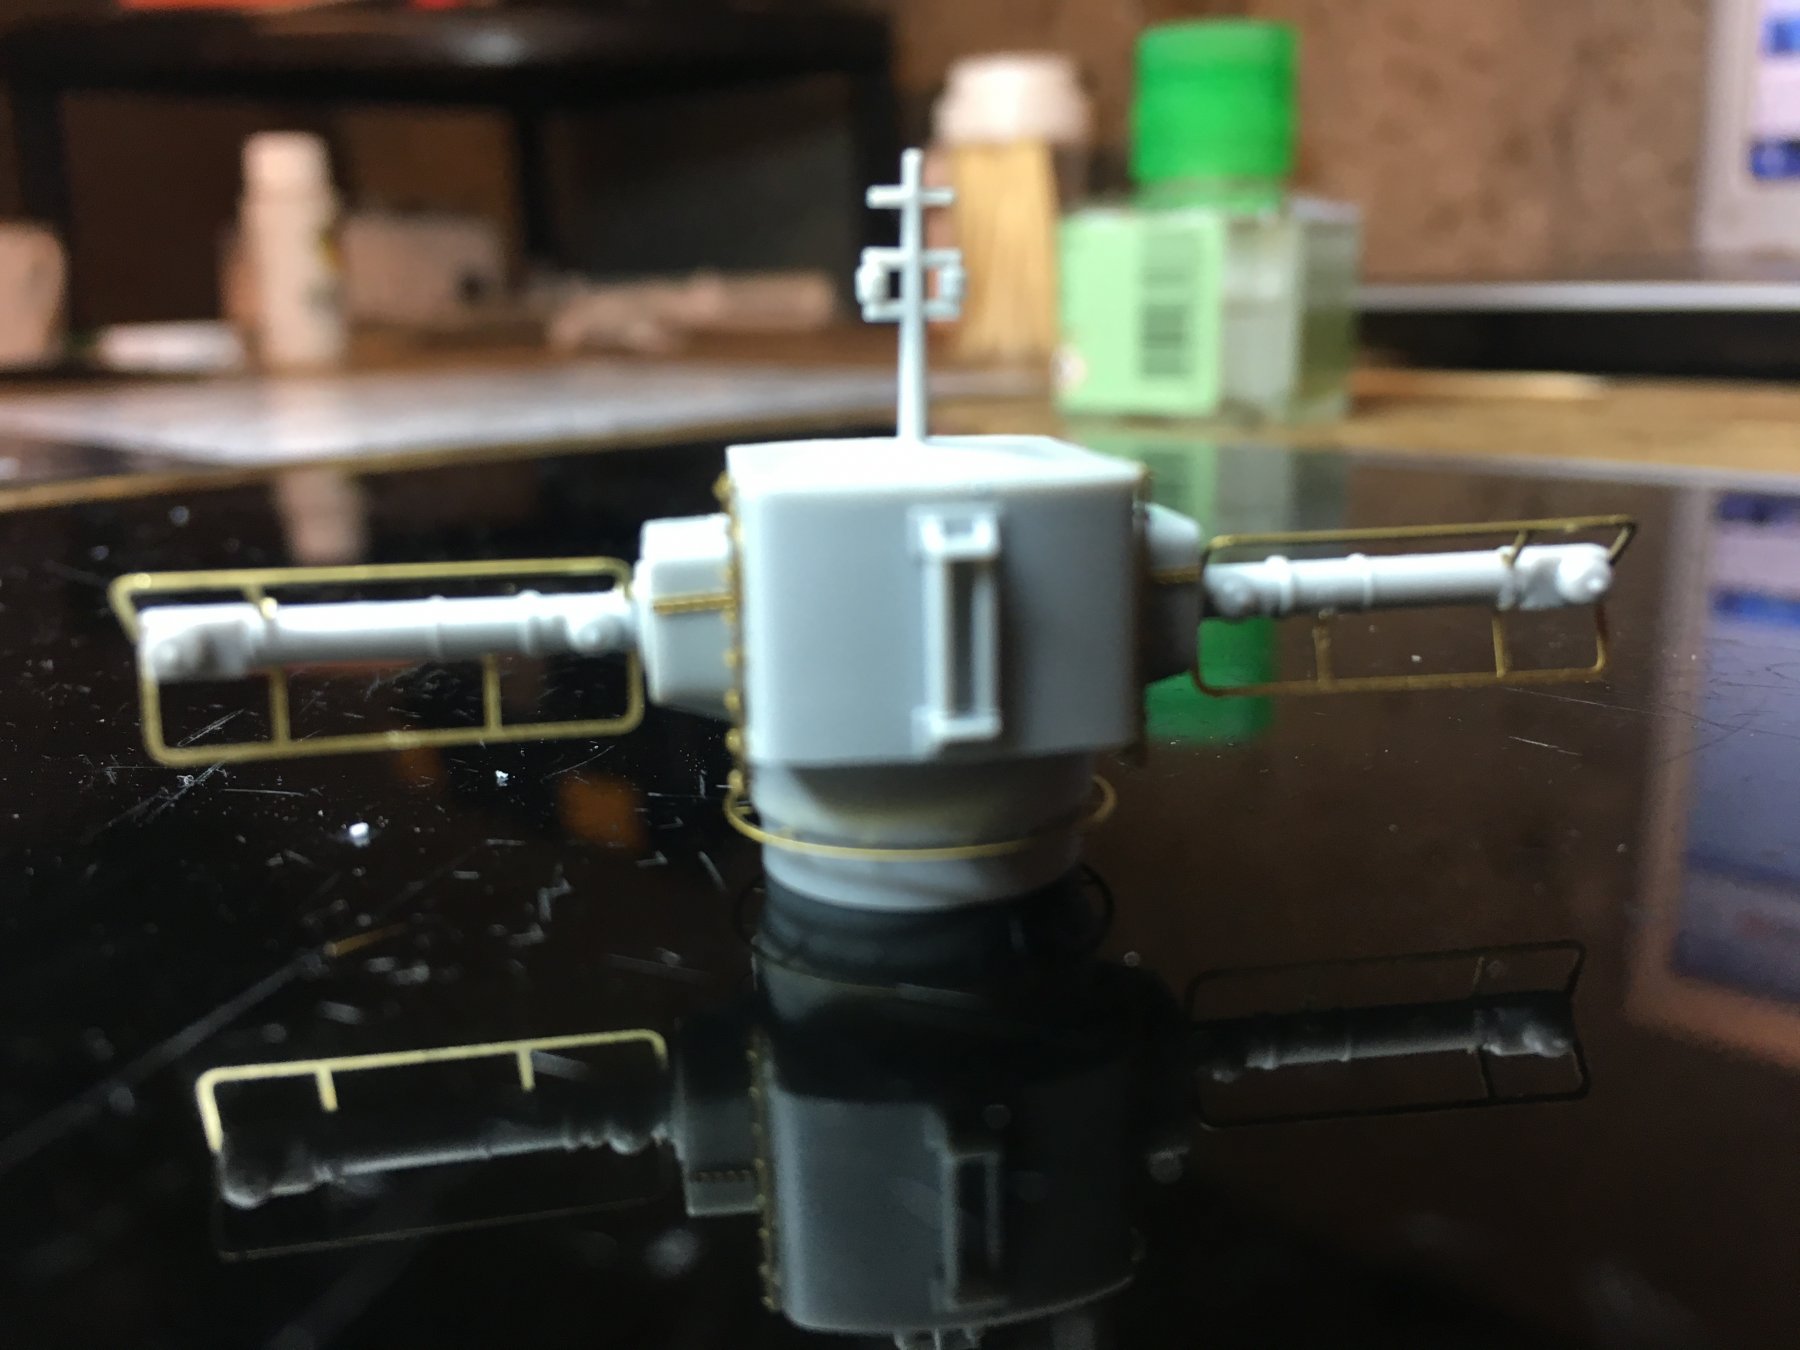
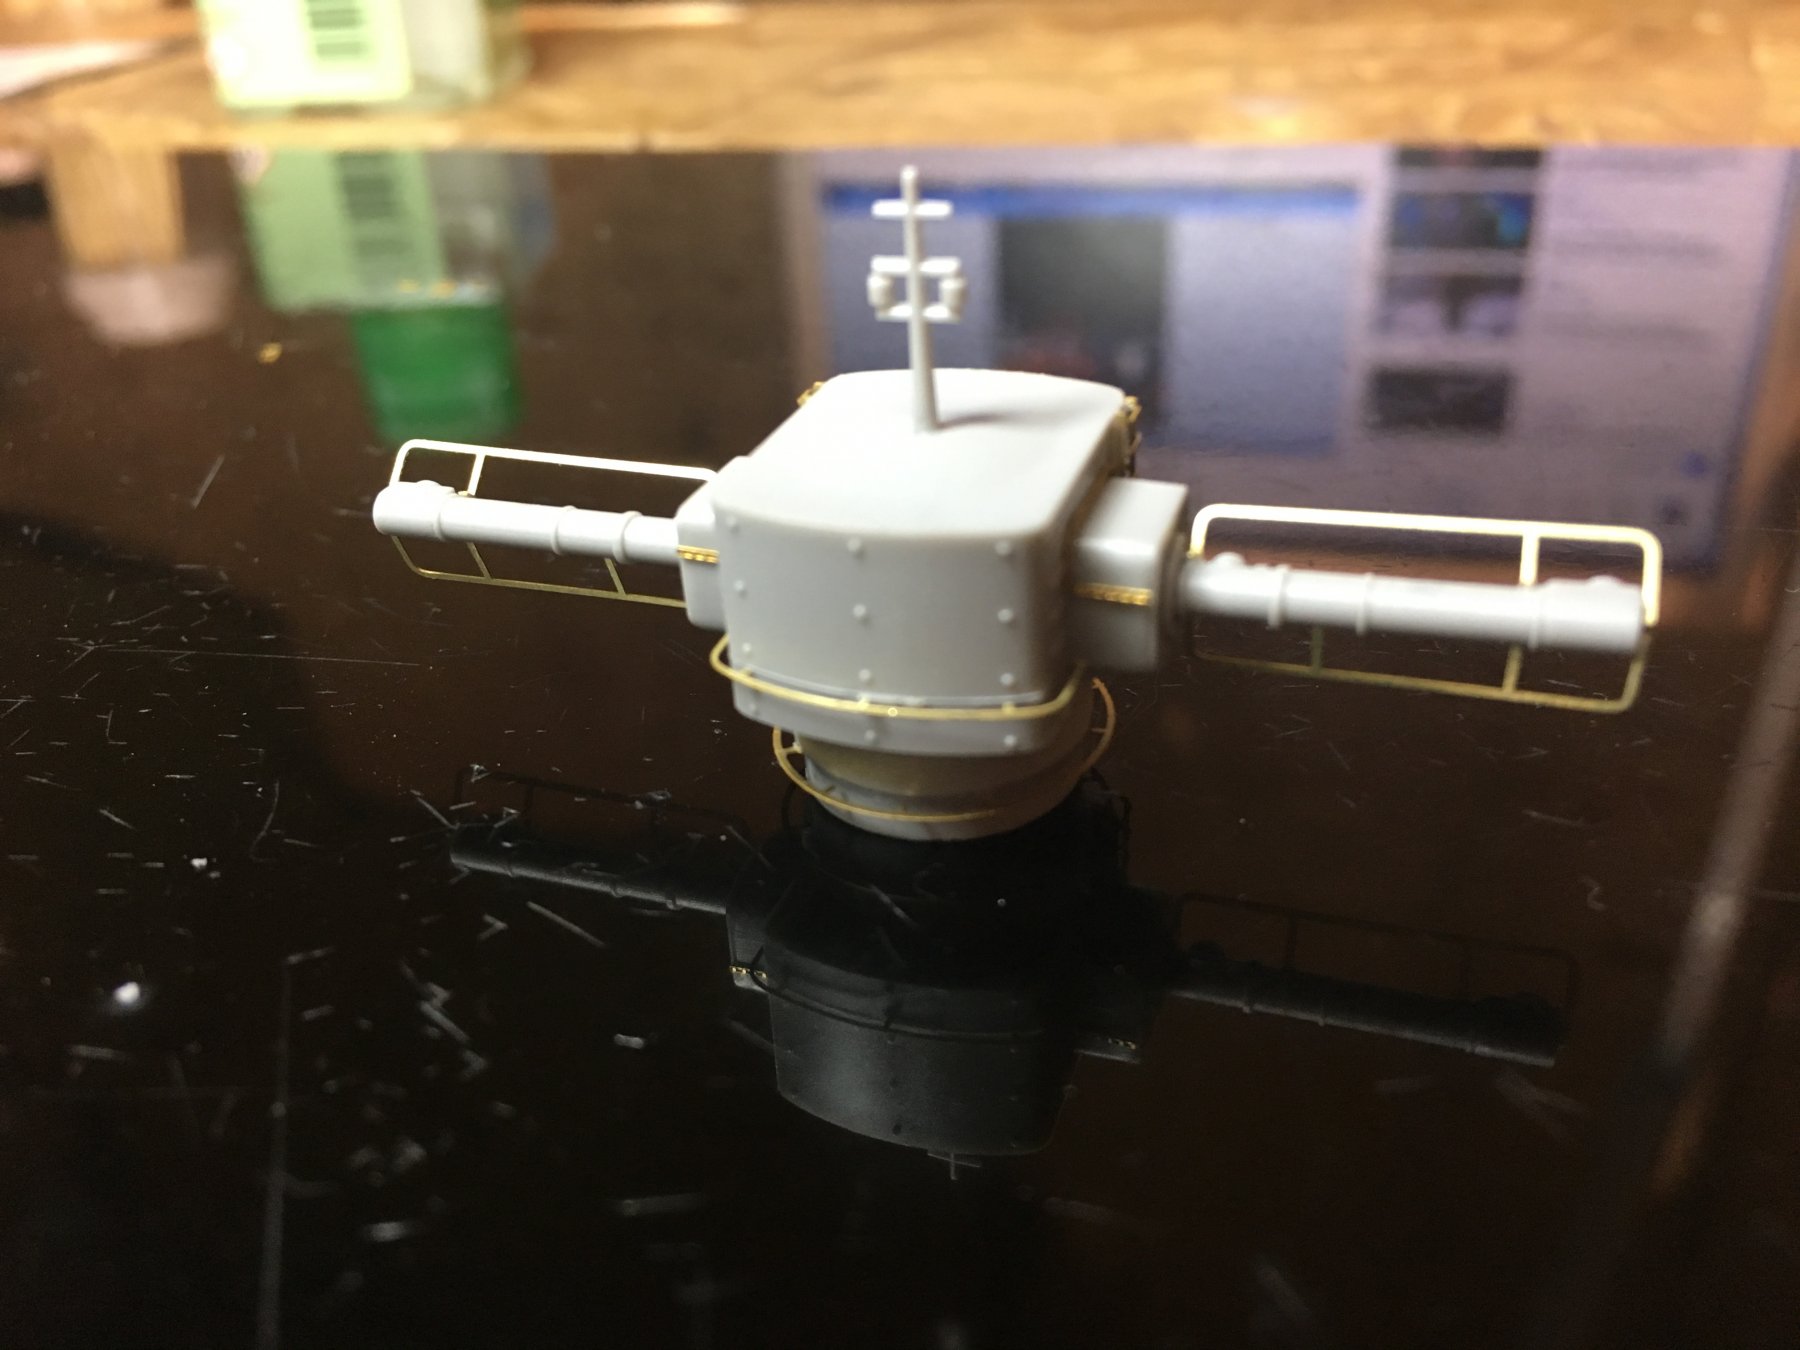
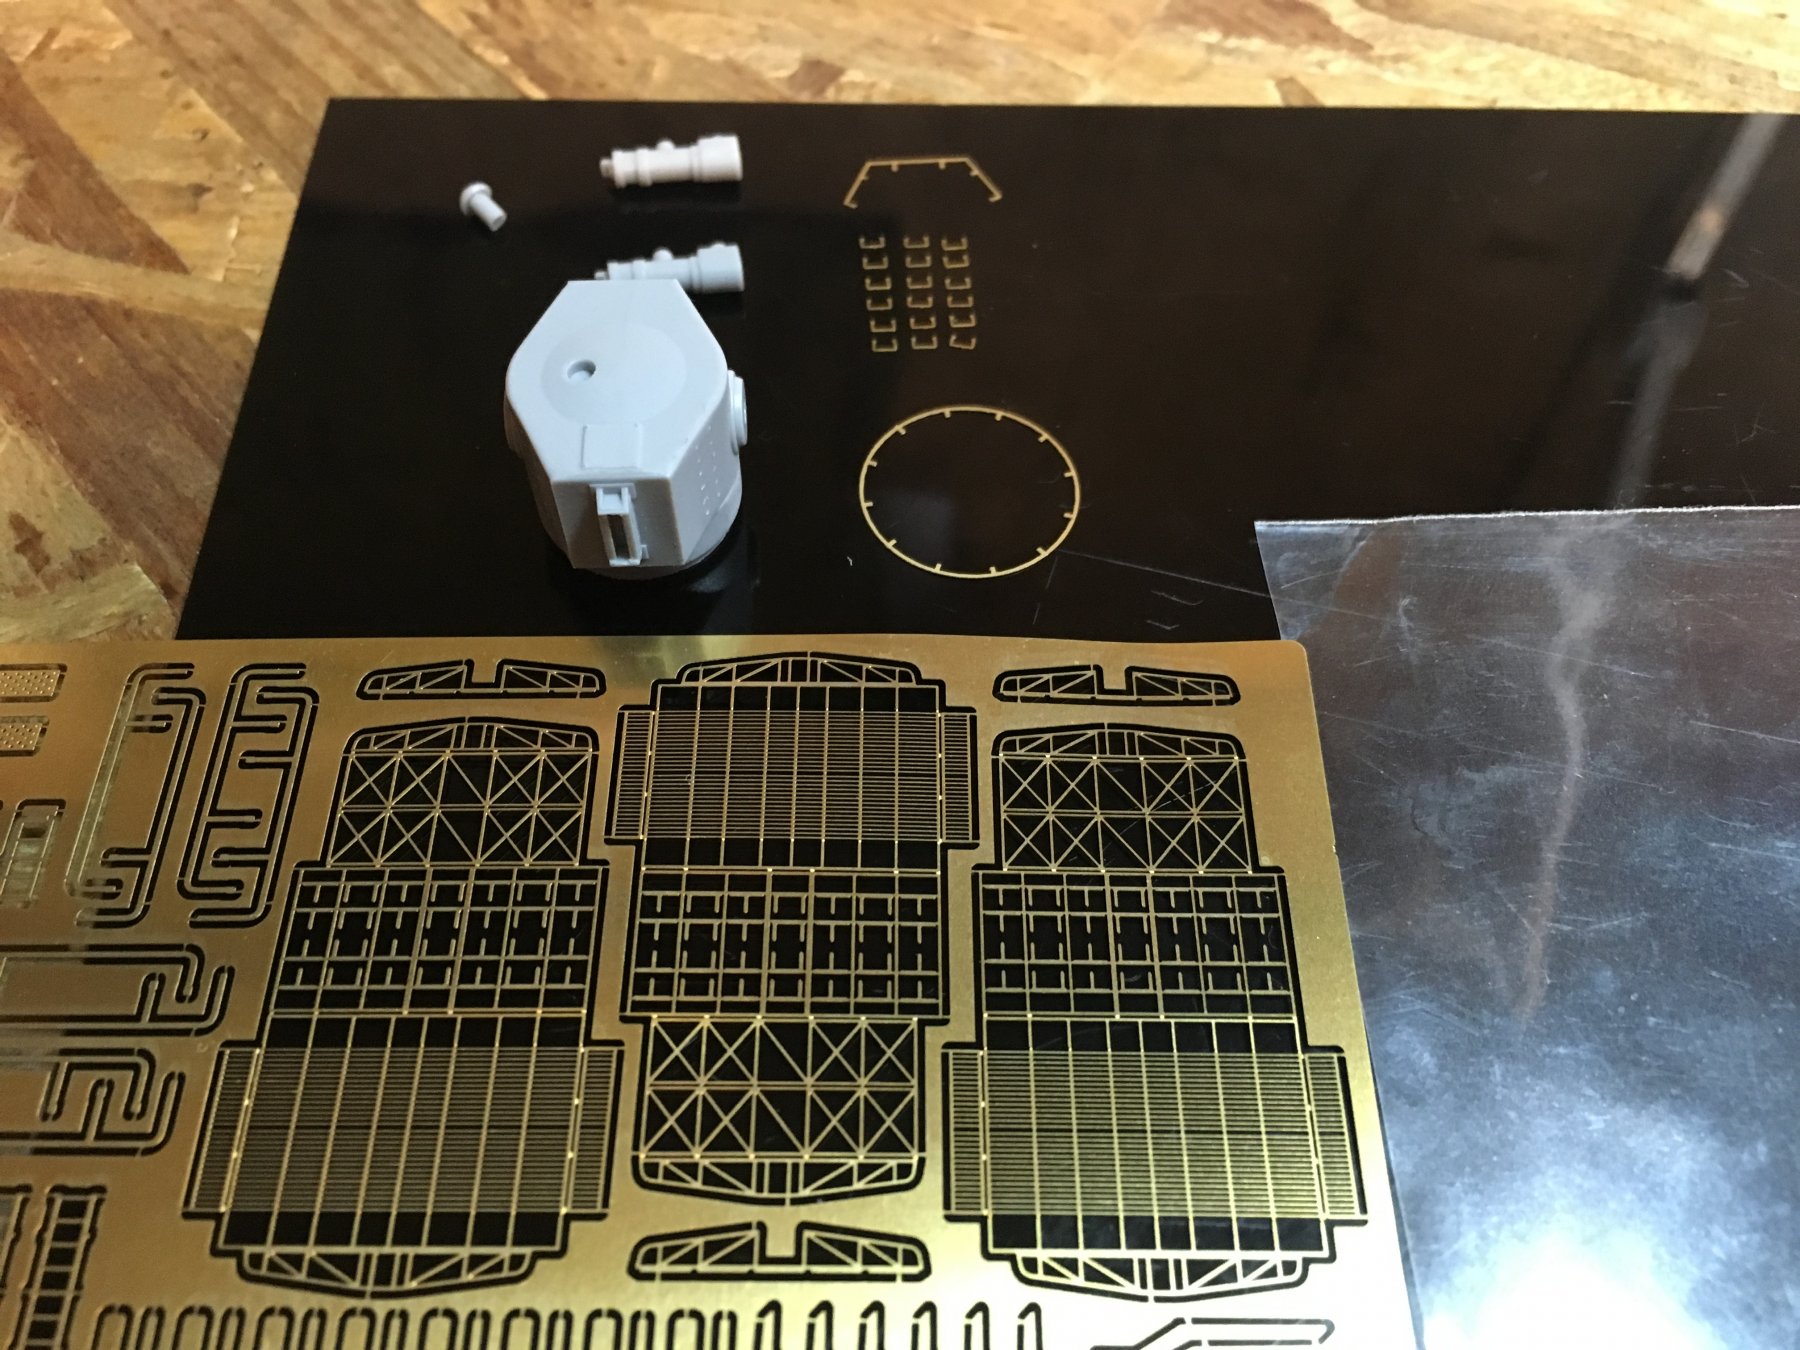
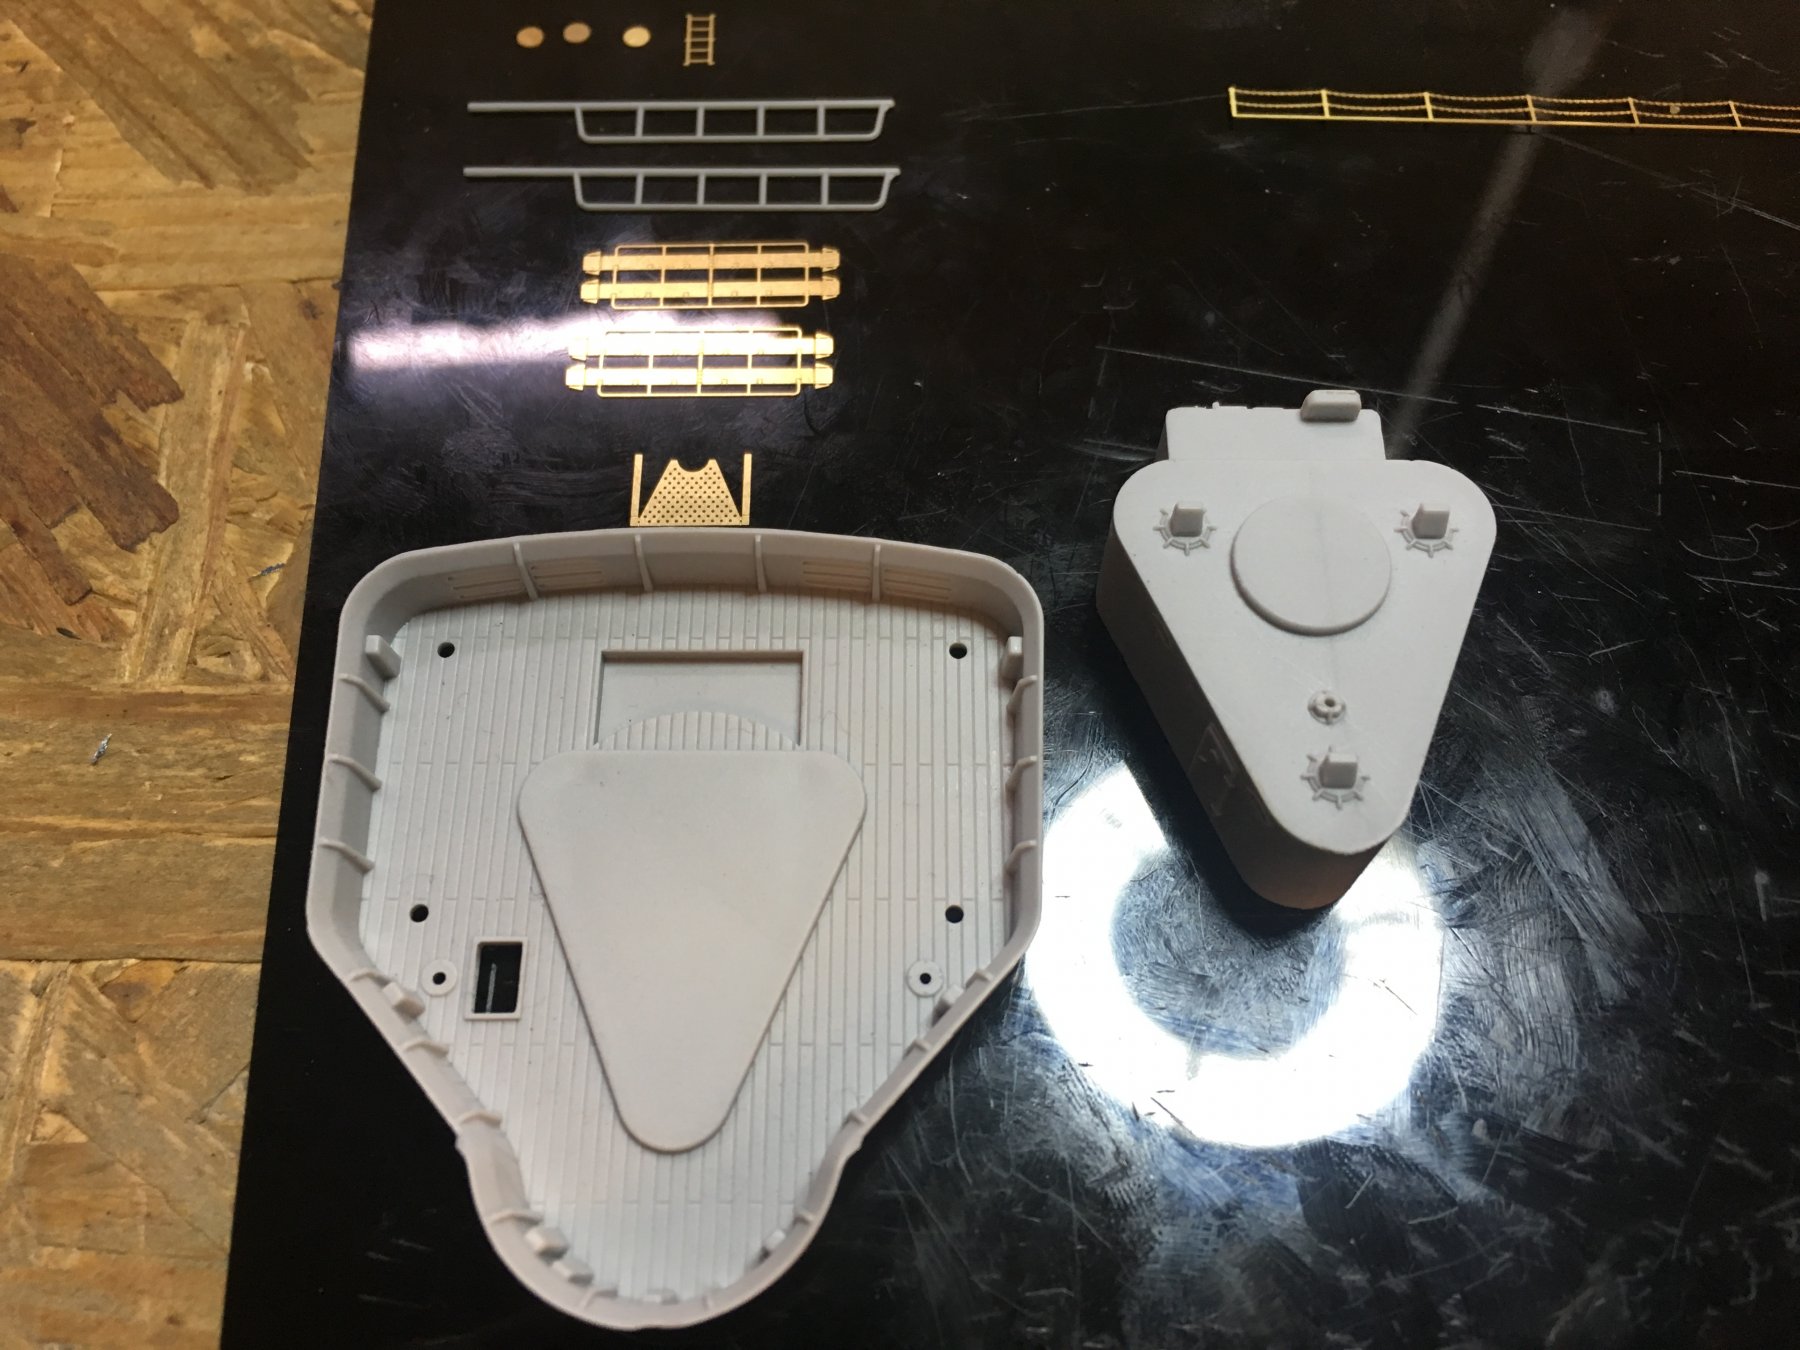
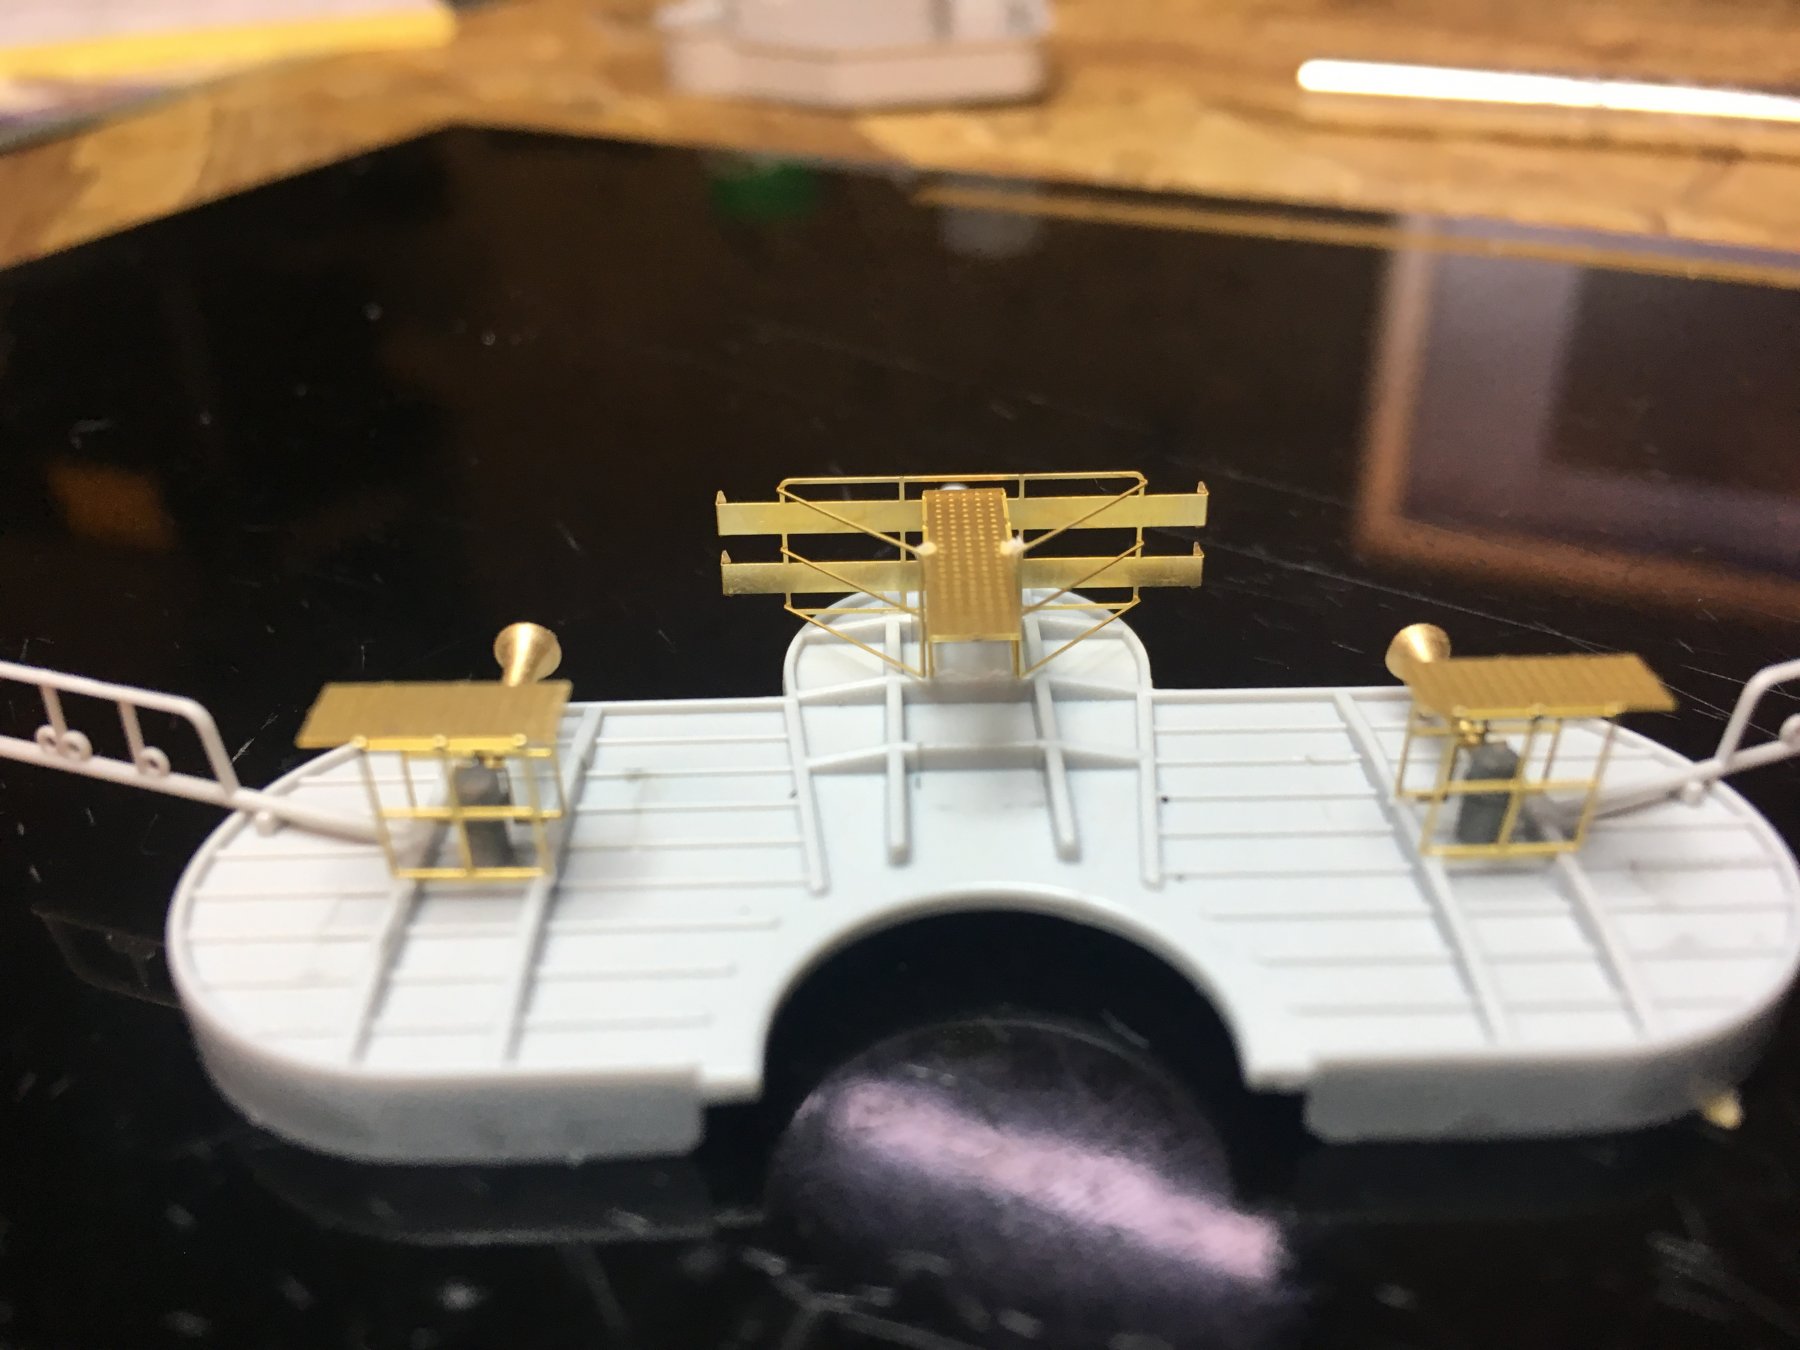
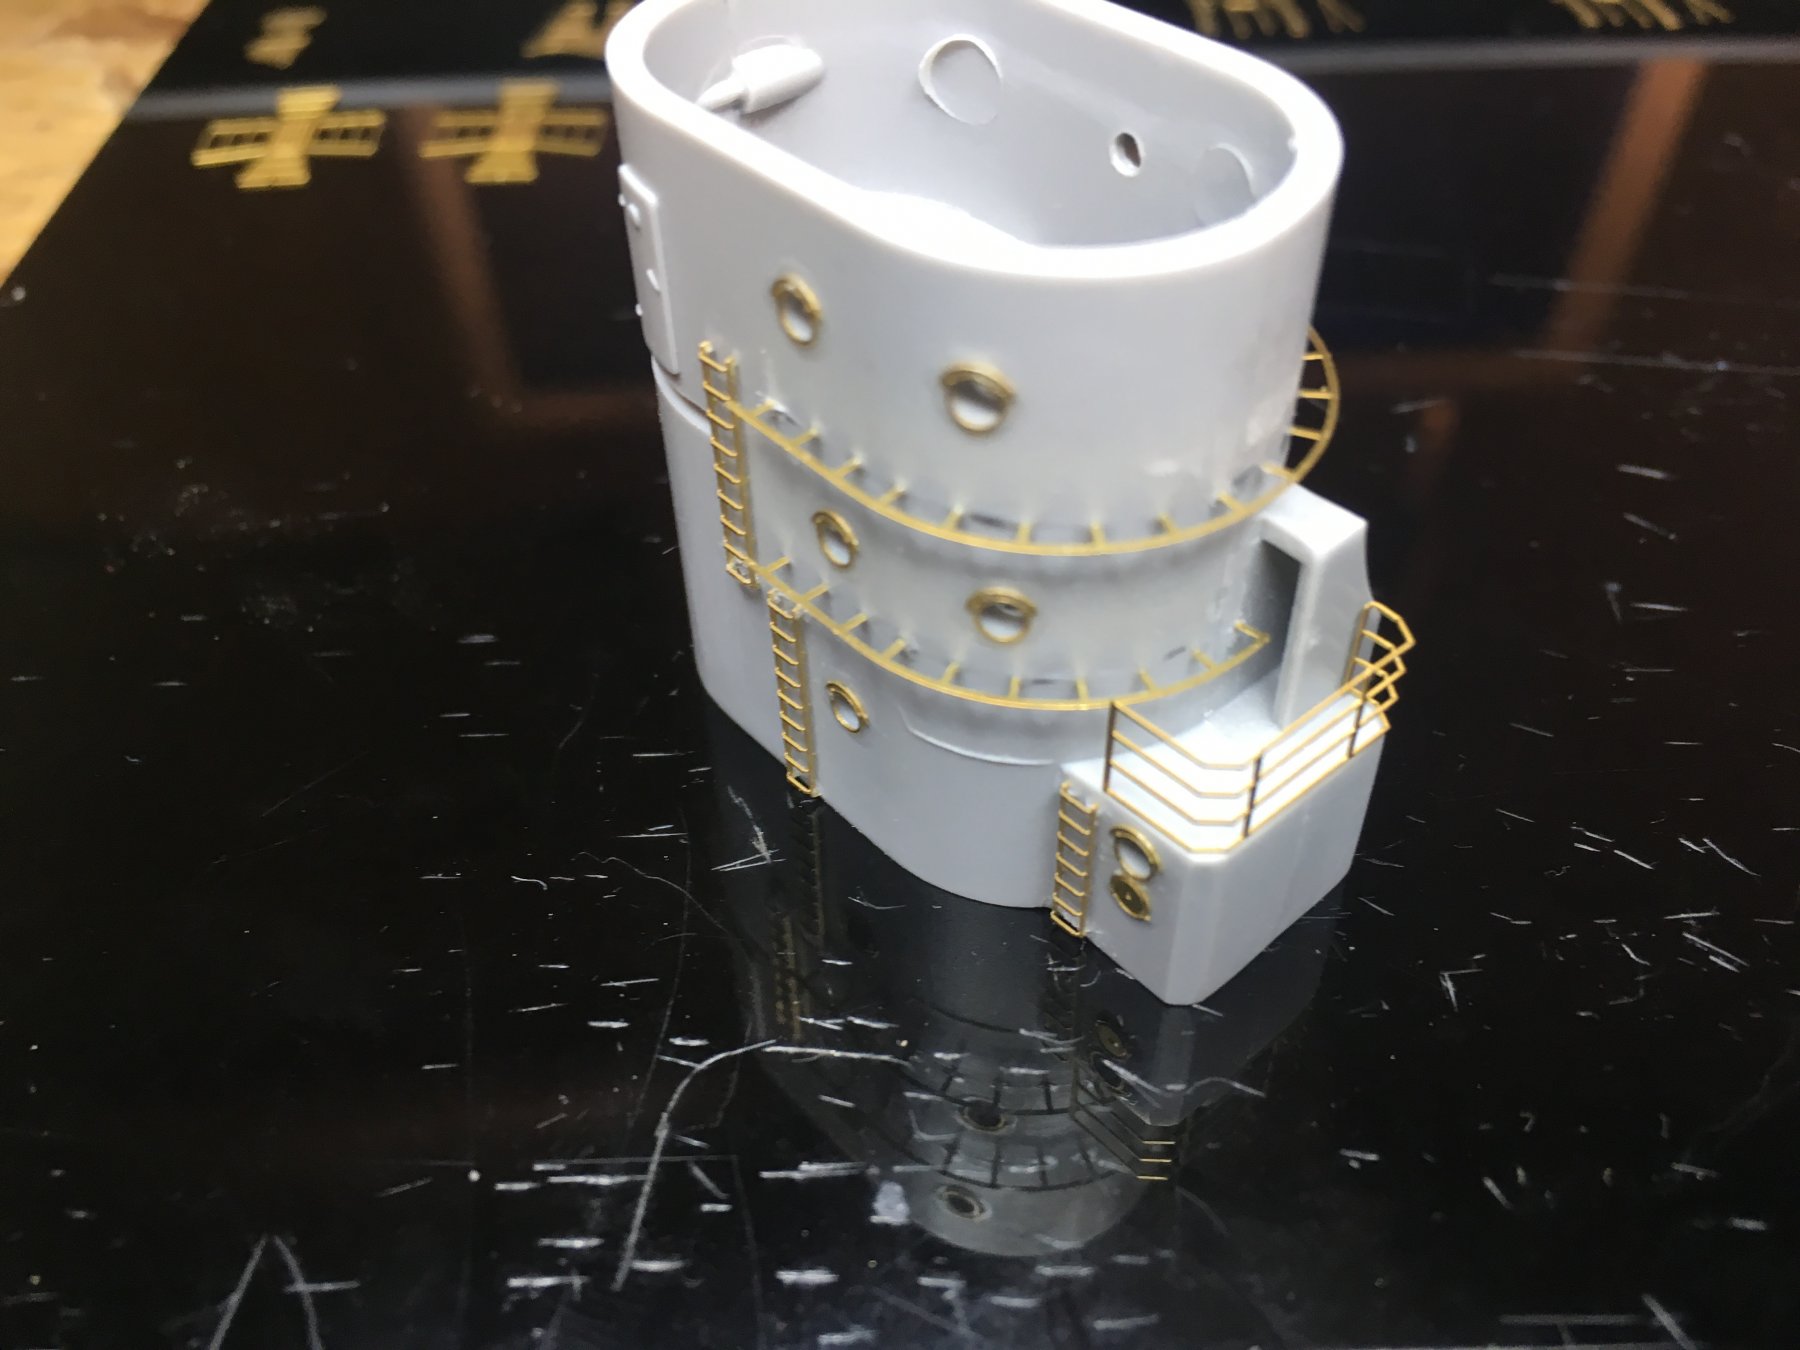
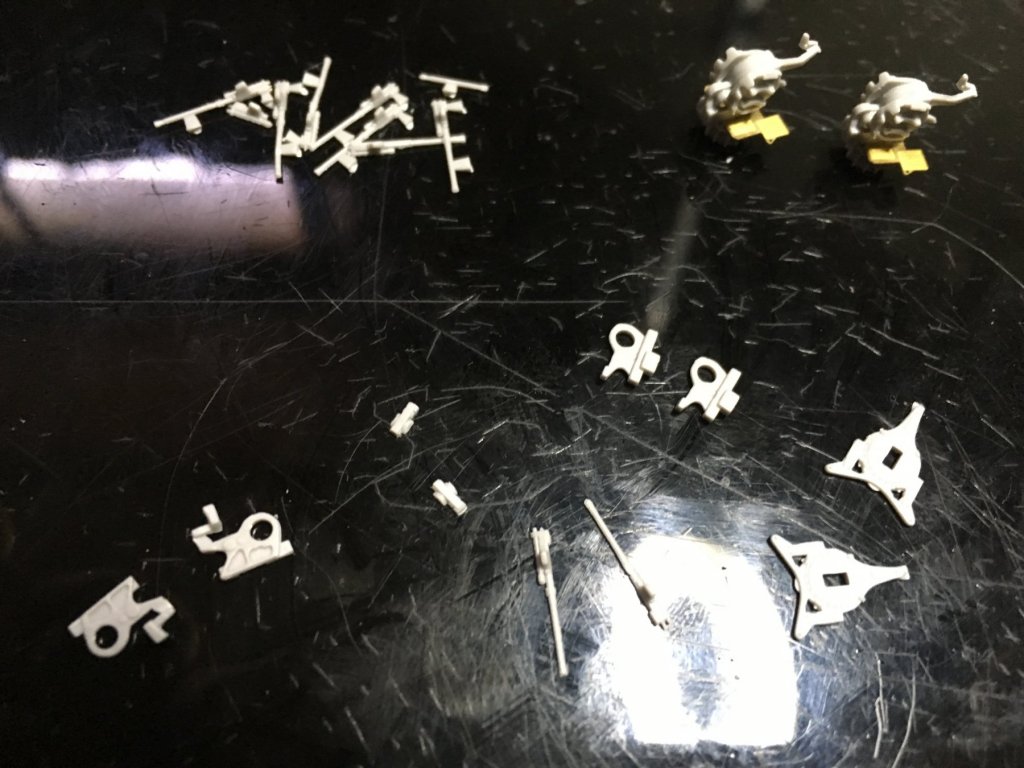
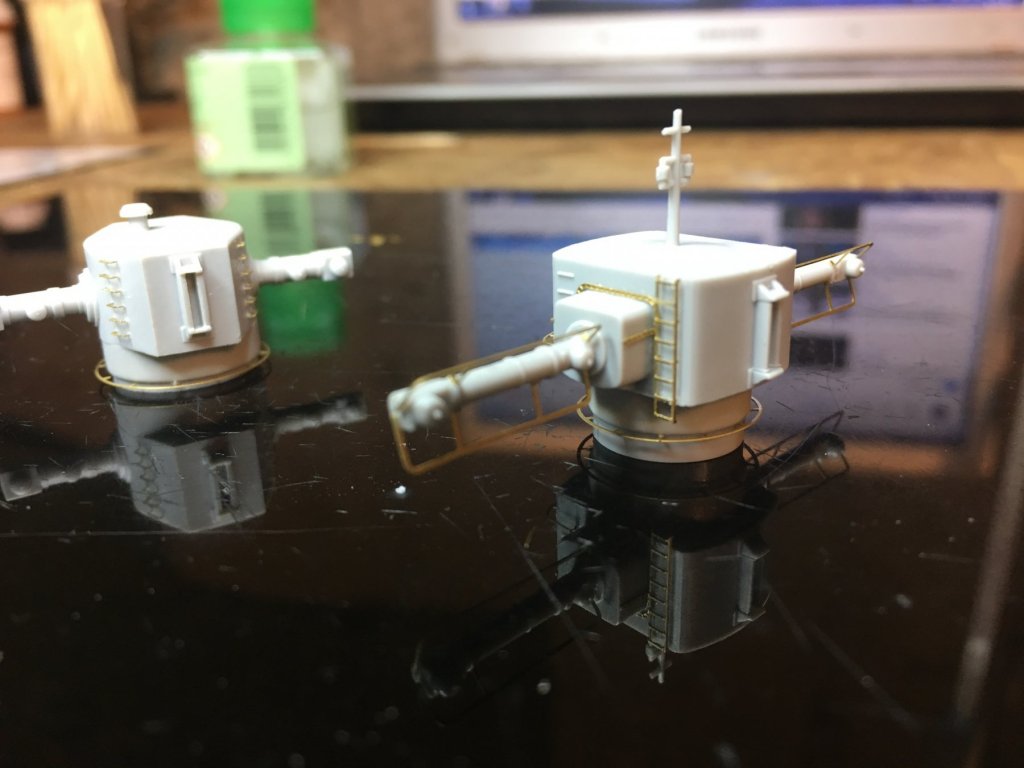
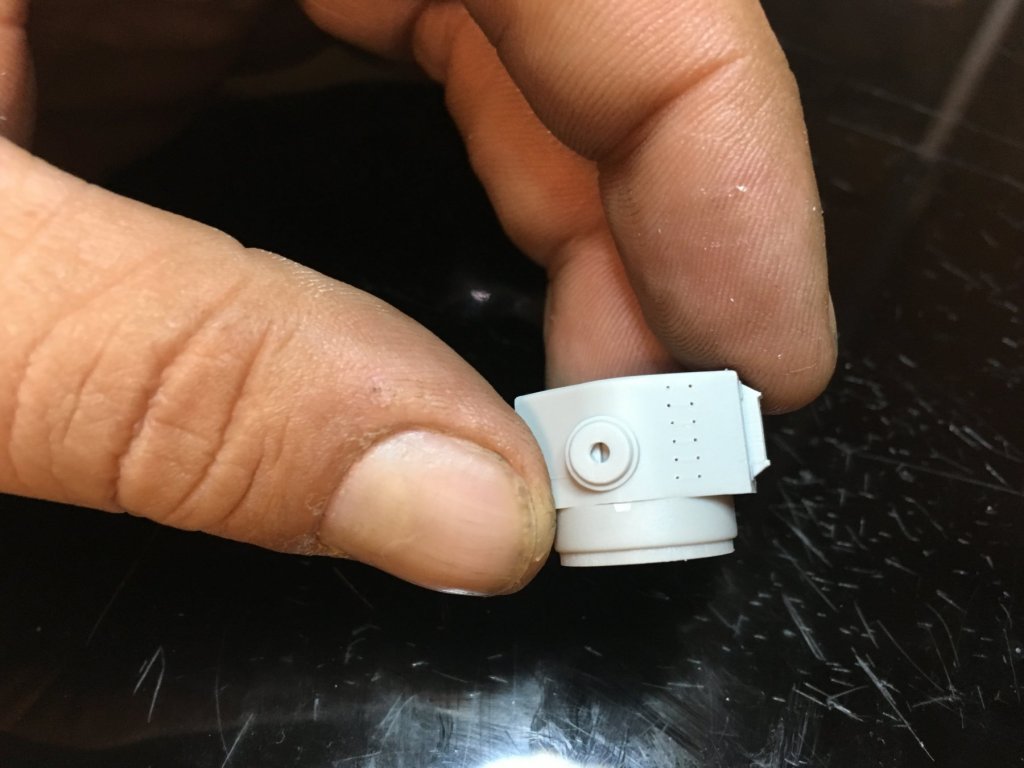
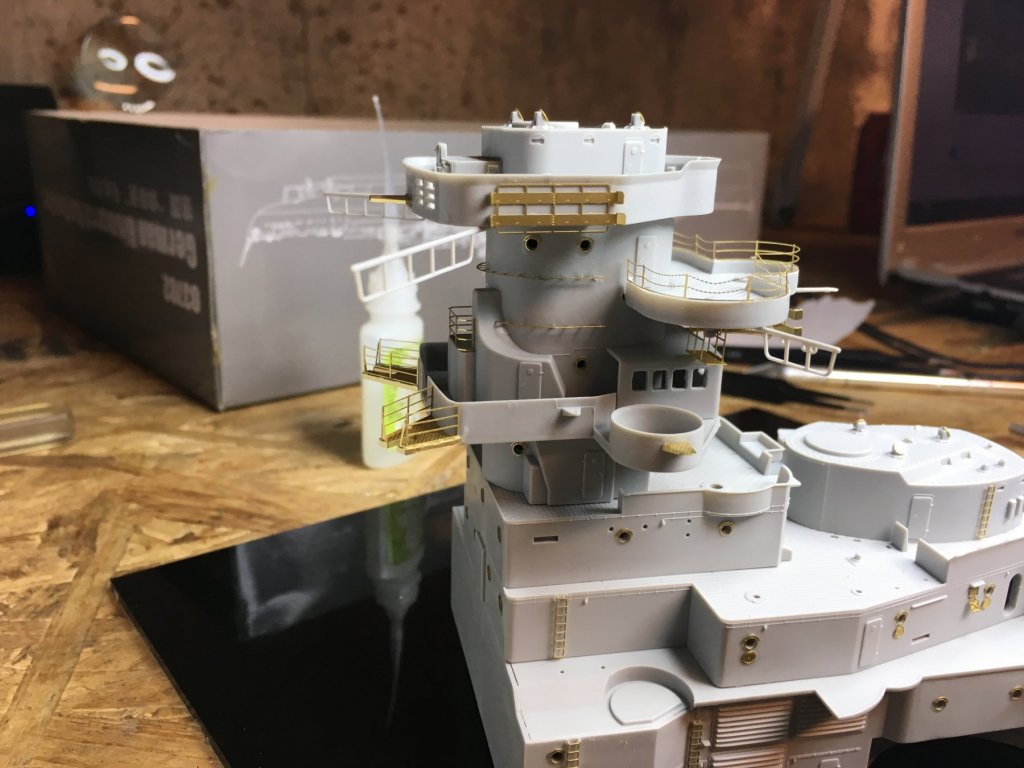
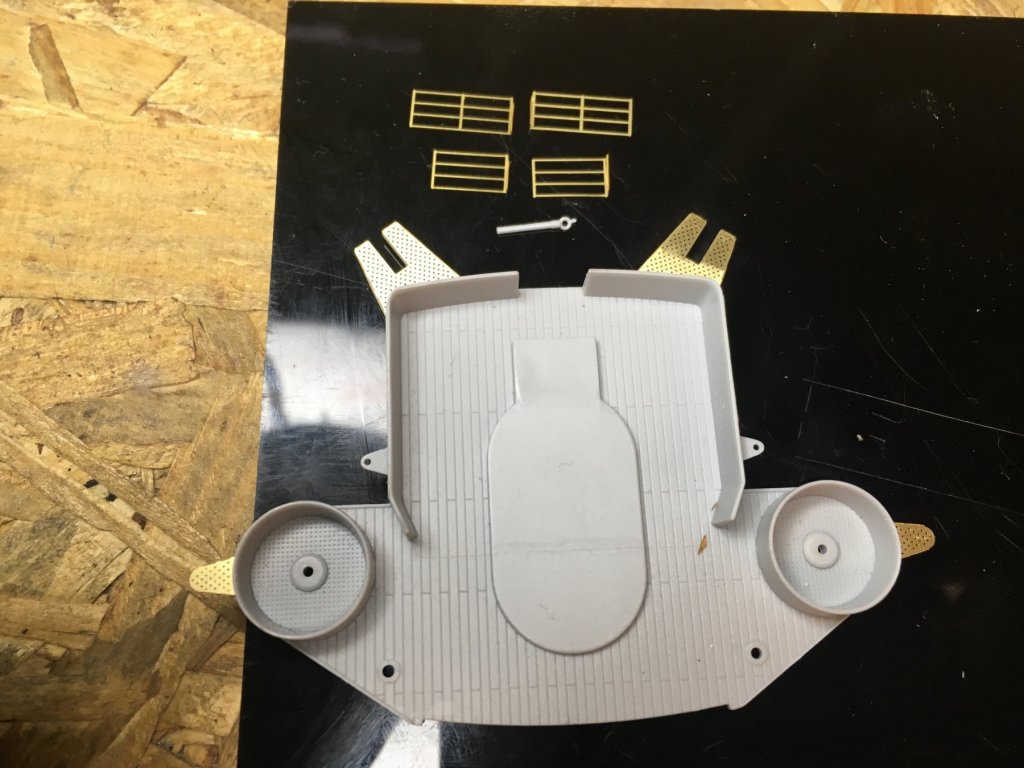
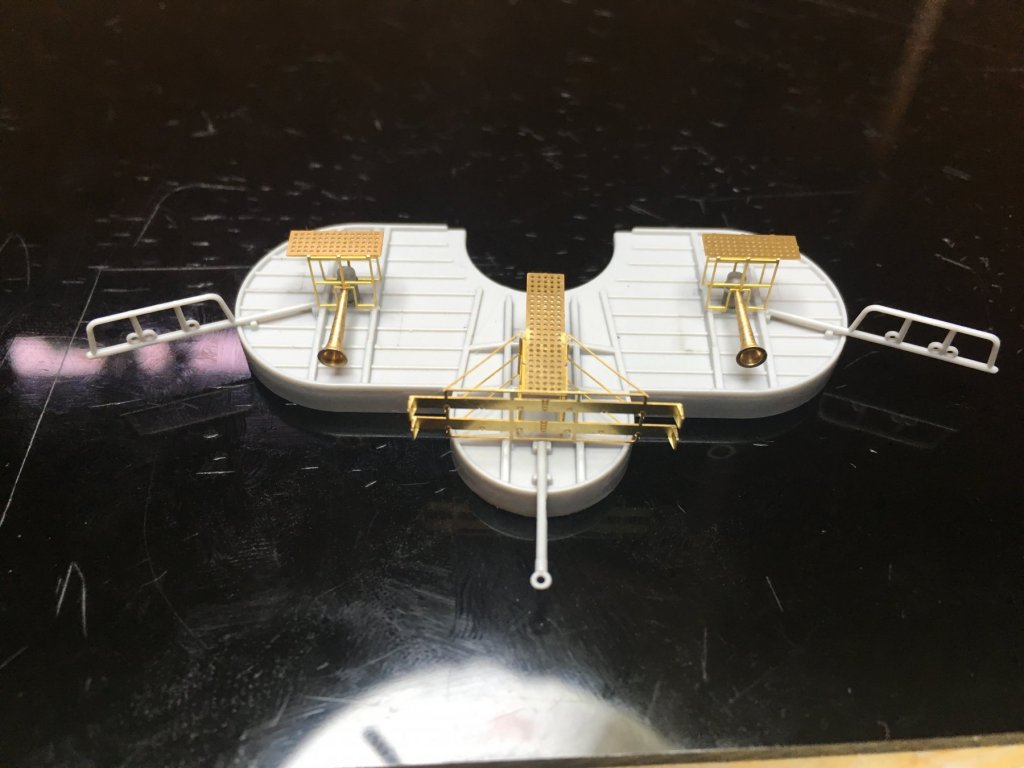
The body of radar II is done. Next is both radars and all of the deck fittings for the superstructure section I've been working on. Then paint, weather, wooden decks and railings. Goodnight everyone.


-
Hey Danny, yes thats what I was thinking too. I think it's better to touch up some paint than not being able get paint into all the nooks and crannys once bent.
-
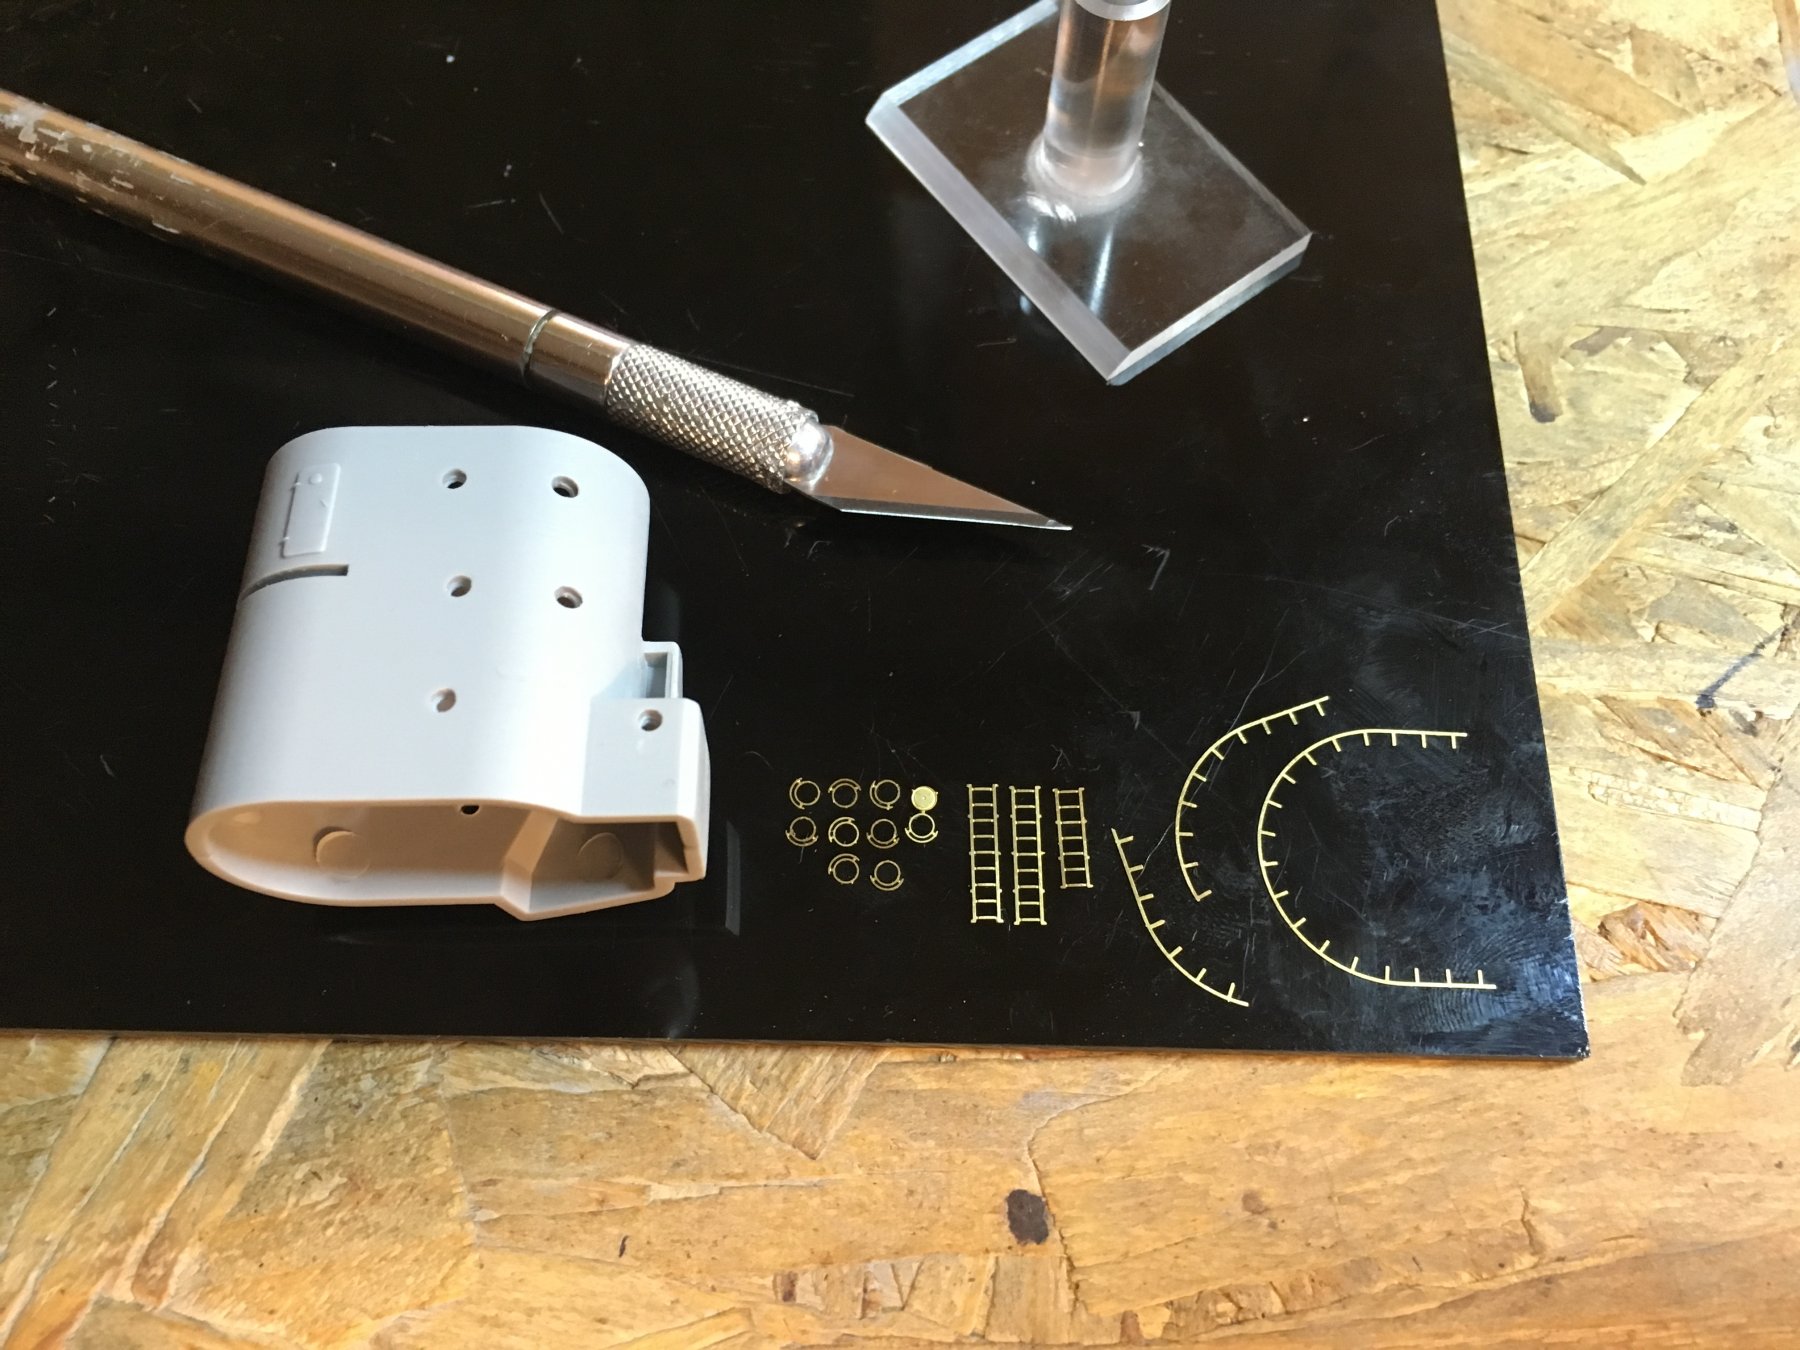
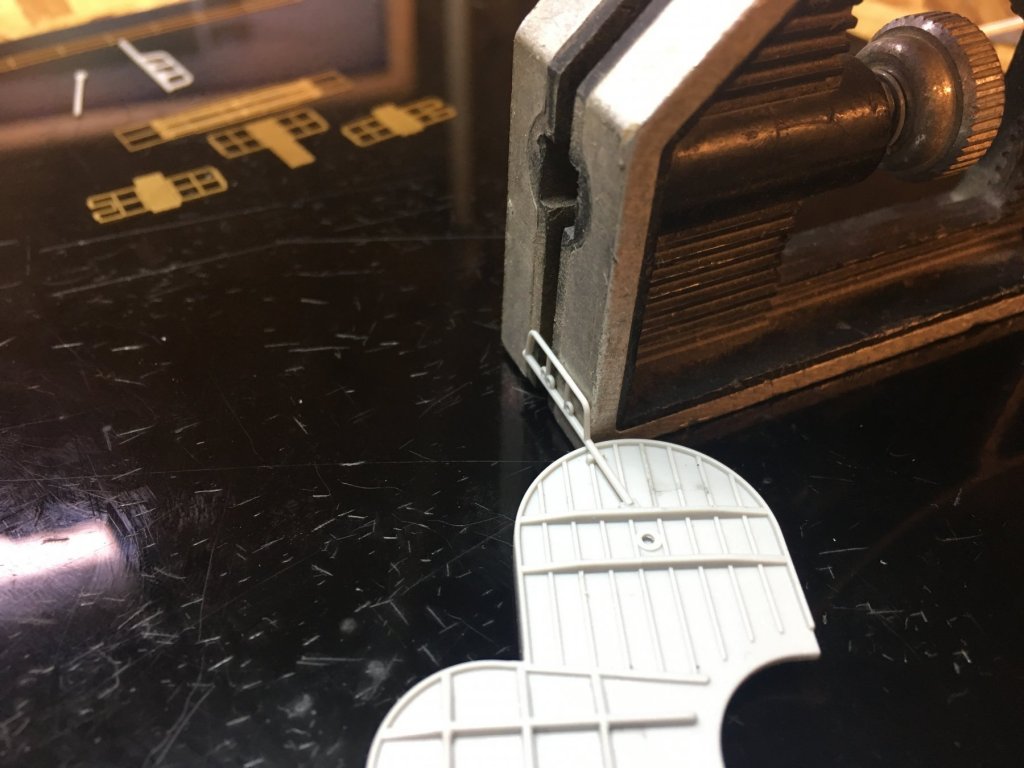
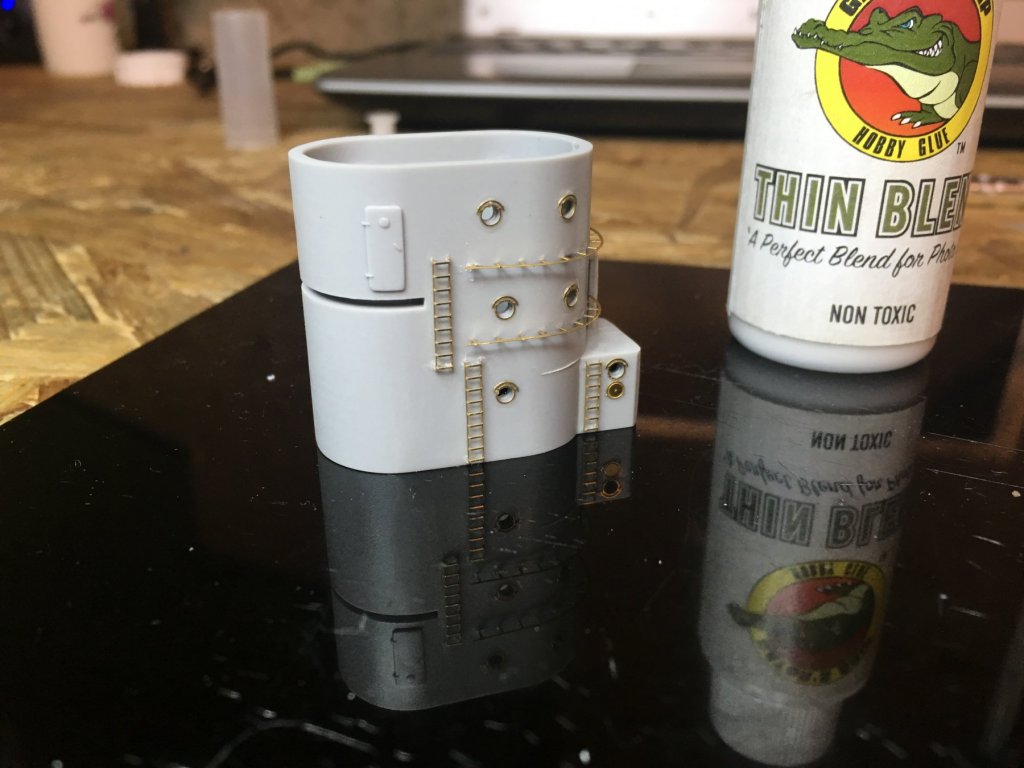
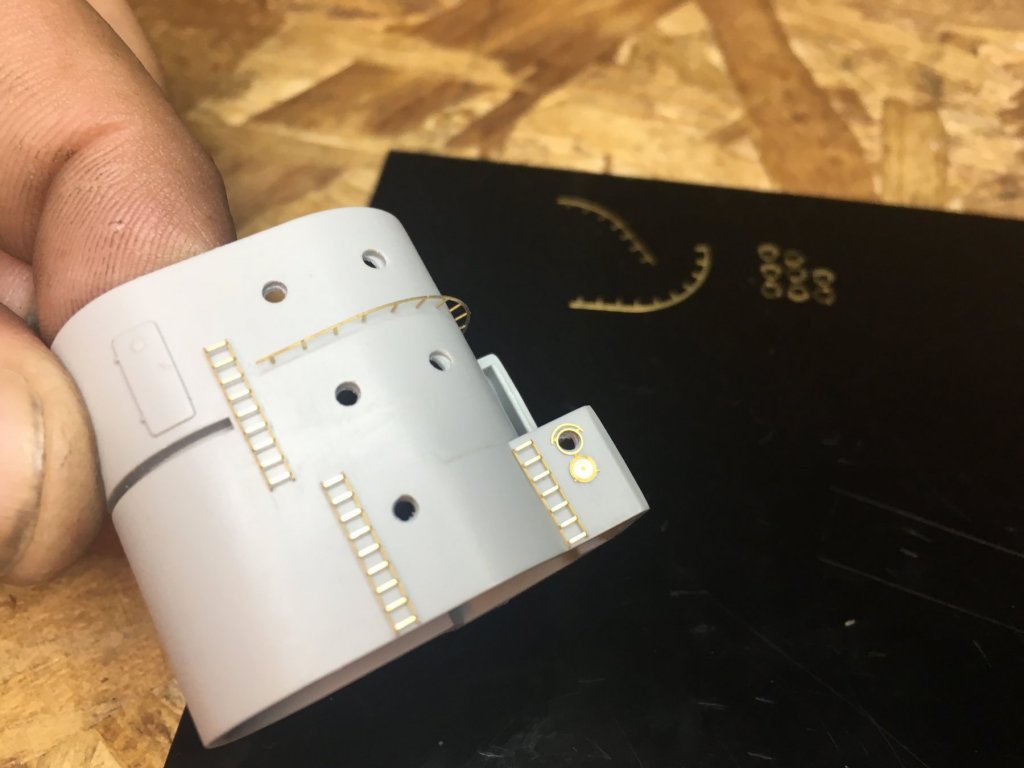
Yup that's exactly what i do! though I just realized that the ends of the ladder rungs are ment to be bent 90 degrees so you don't have to drill holes. I'm still going to drill holes though. Rob
-
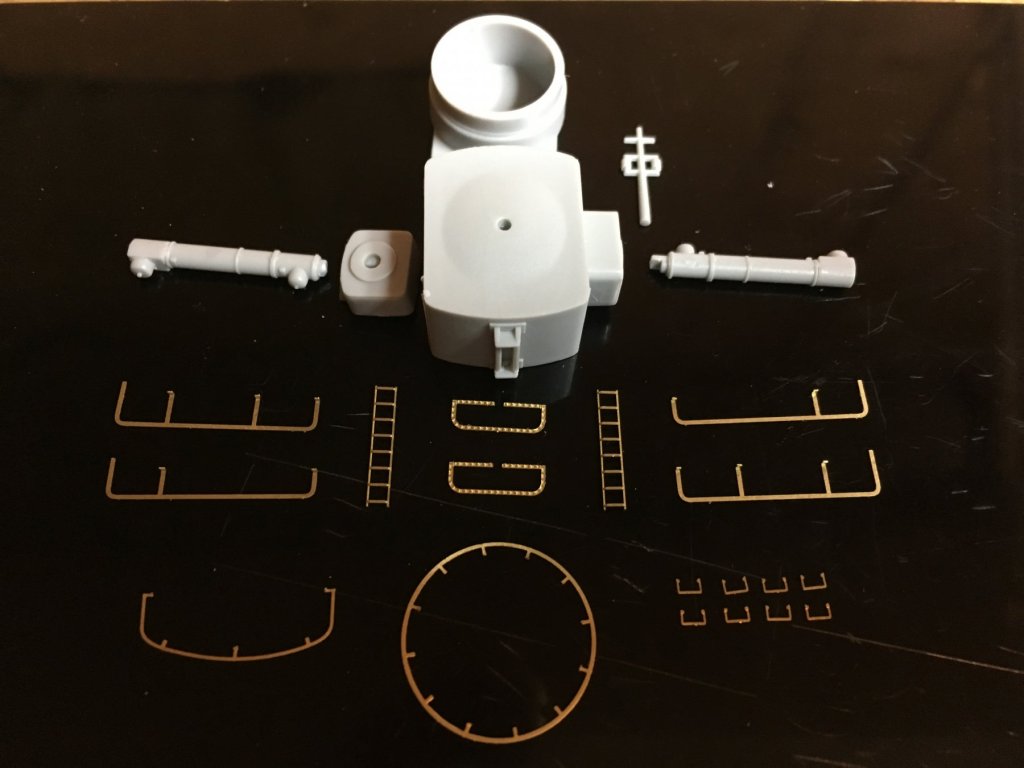
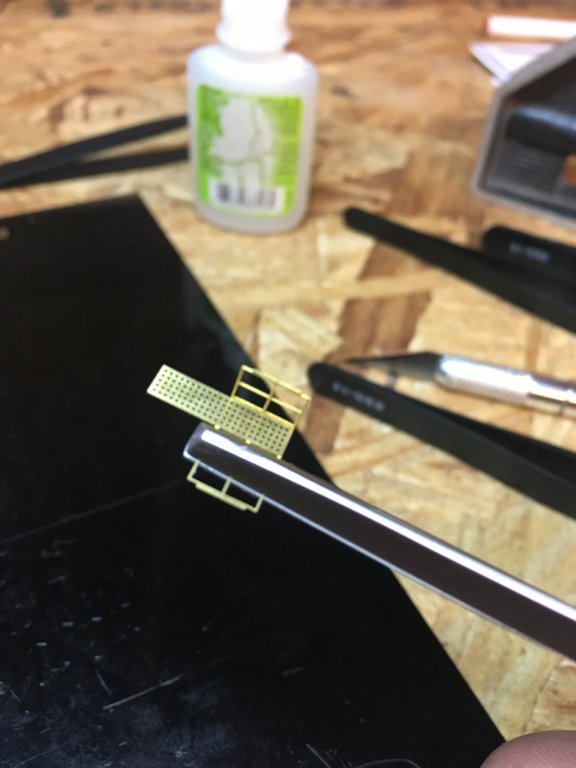
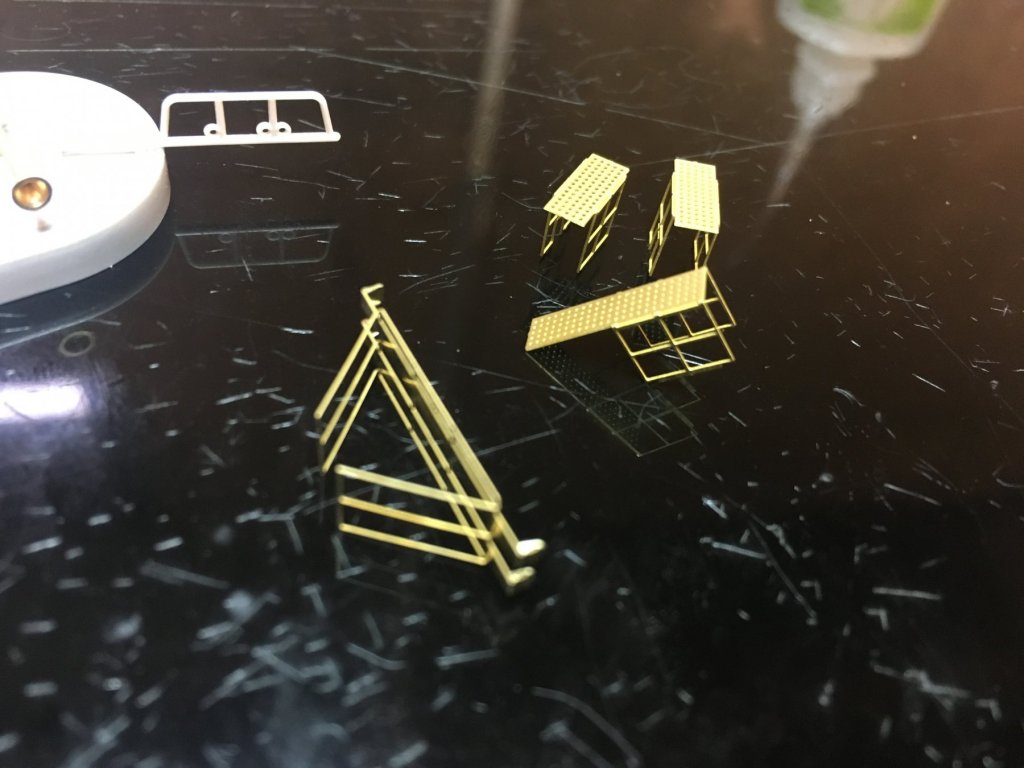
started on radar I and radar II. I'm just doing the bodies first then ill come back and bend the PE radar. Not sure if i should paint the radar black then bend it or bend it then paint it black. Radar I, you can see the piece to be airbrushed black still on the PE sheet. Starting radar II , which seem a little bit more complex. That is all for now.


-
Thank you John. first name Semore, last name Butts. but in reality my name is Scott.
-
Awesome info thanks Danny! For my next model ( the Missouri) I am going to buy a scalpel!
-
Hey danny. I have the tamiya long bending pliers and its great! I bend most of my PE with them. I have allways wanted to try the PE scissors, but im always worried they will bend or warp the PE. Ive heard people swear by them so i going to give them a try.
-
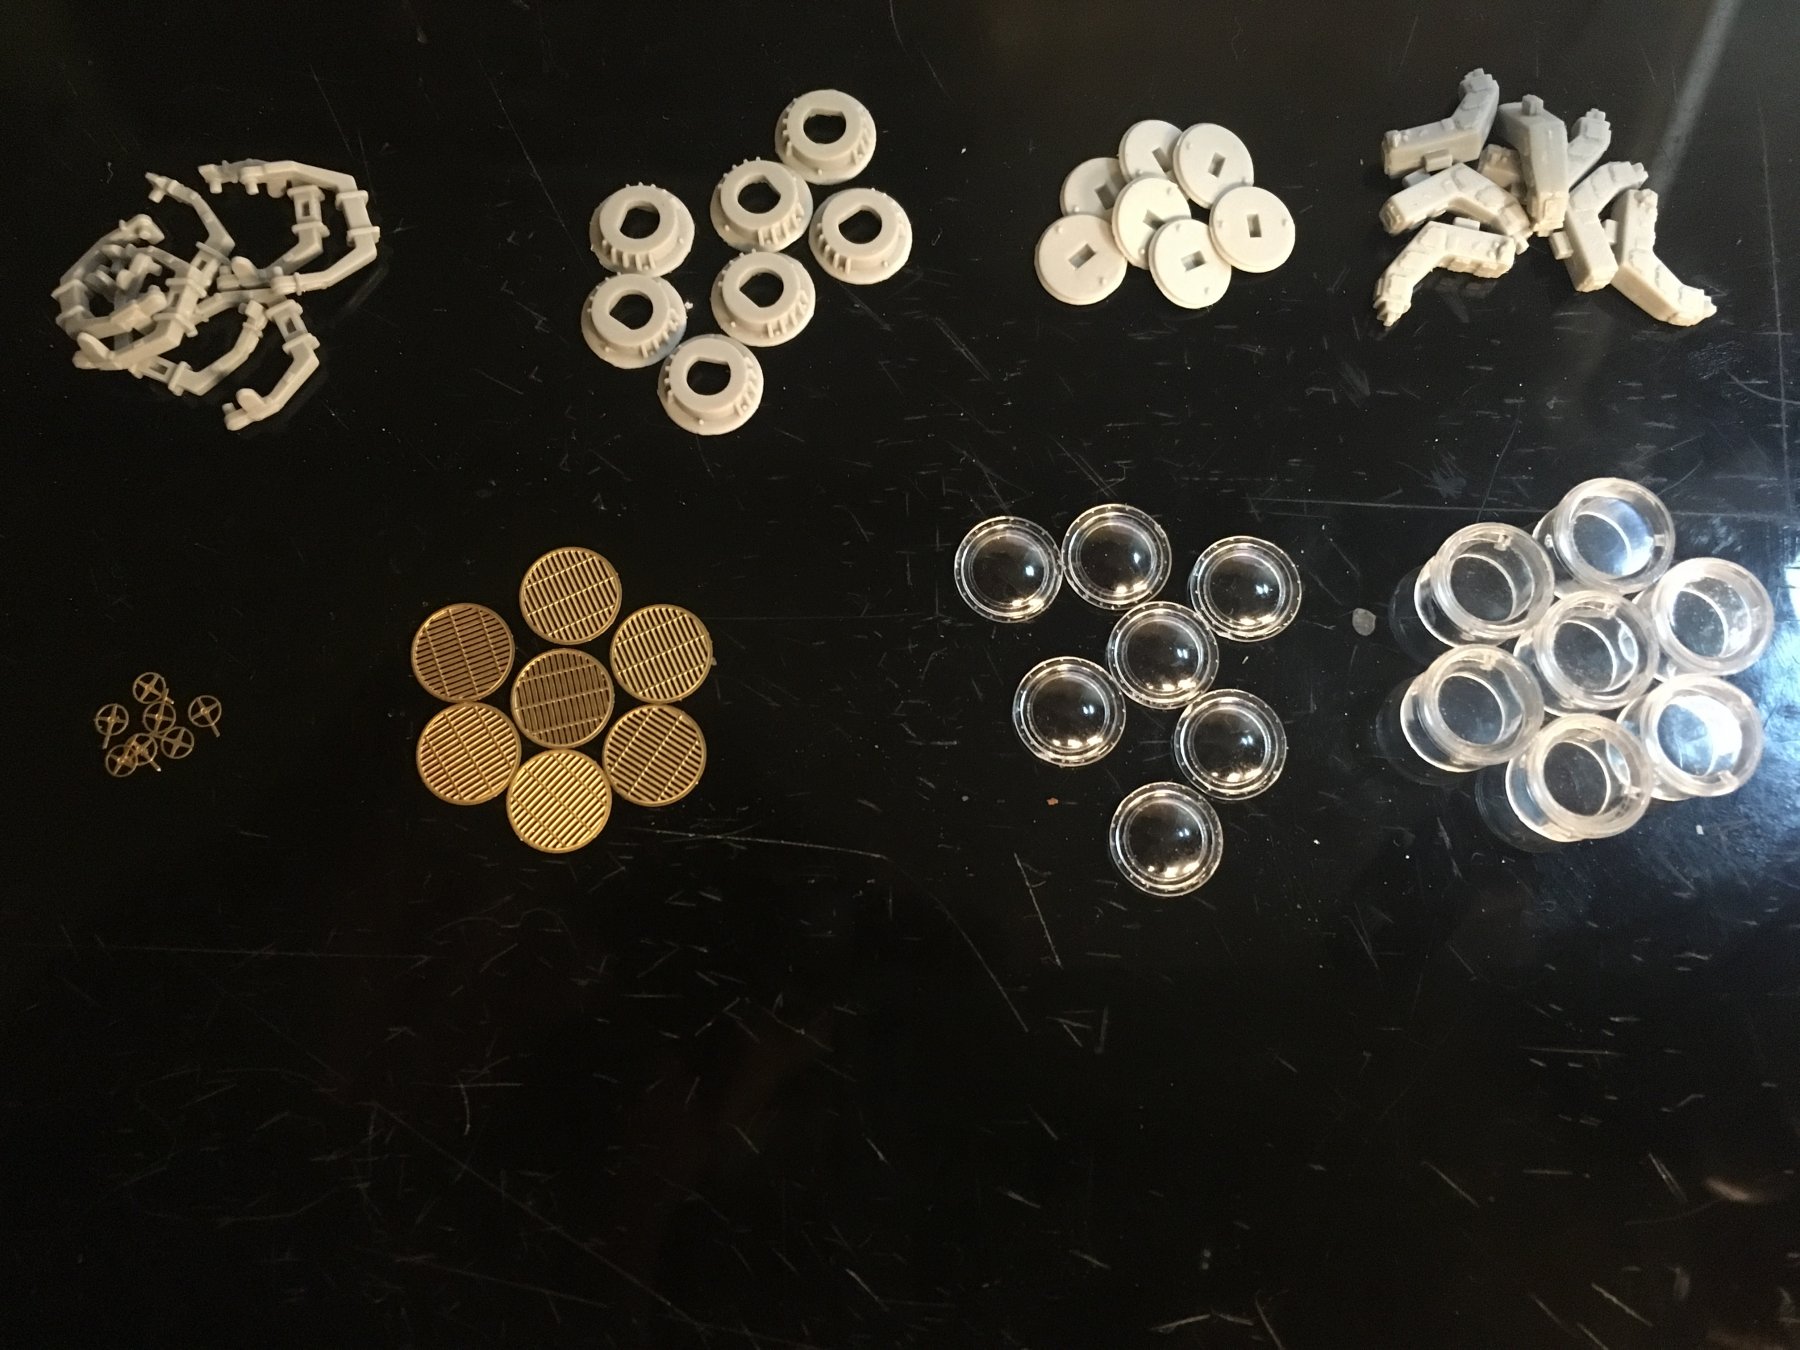
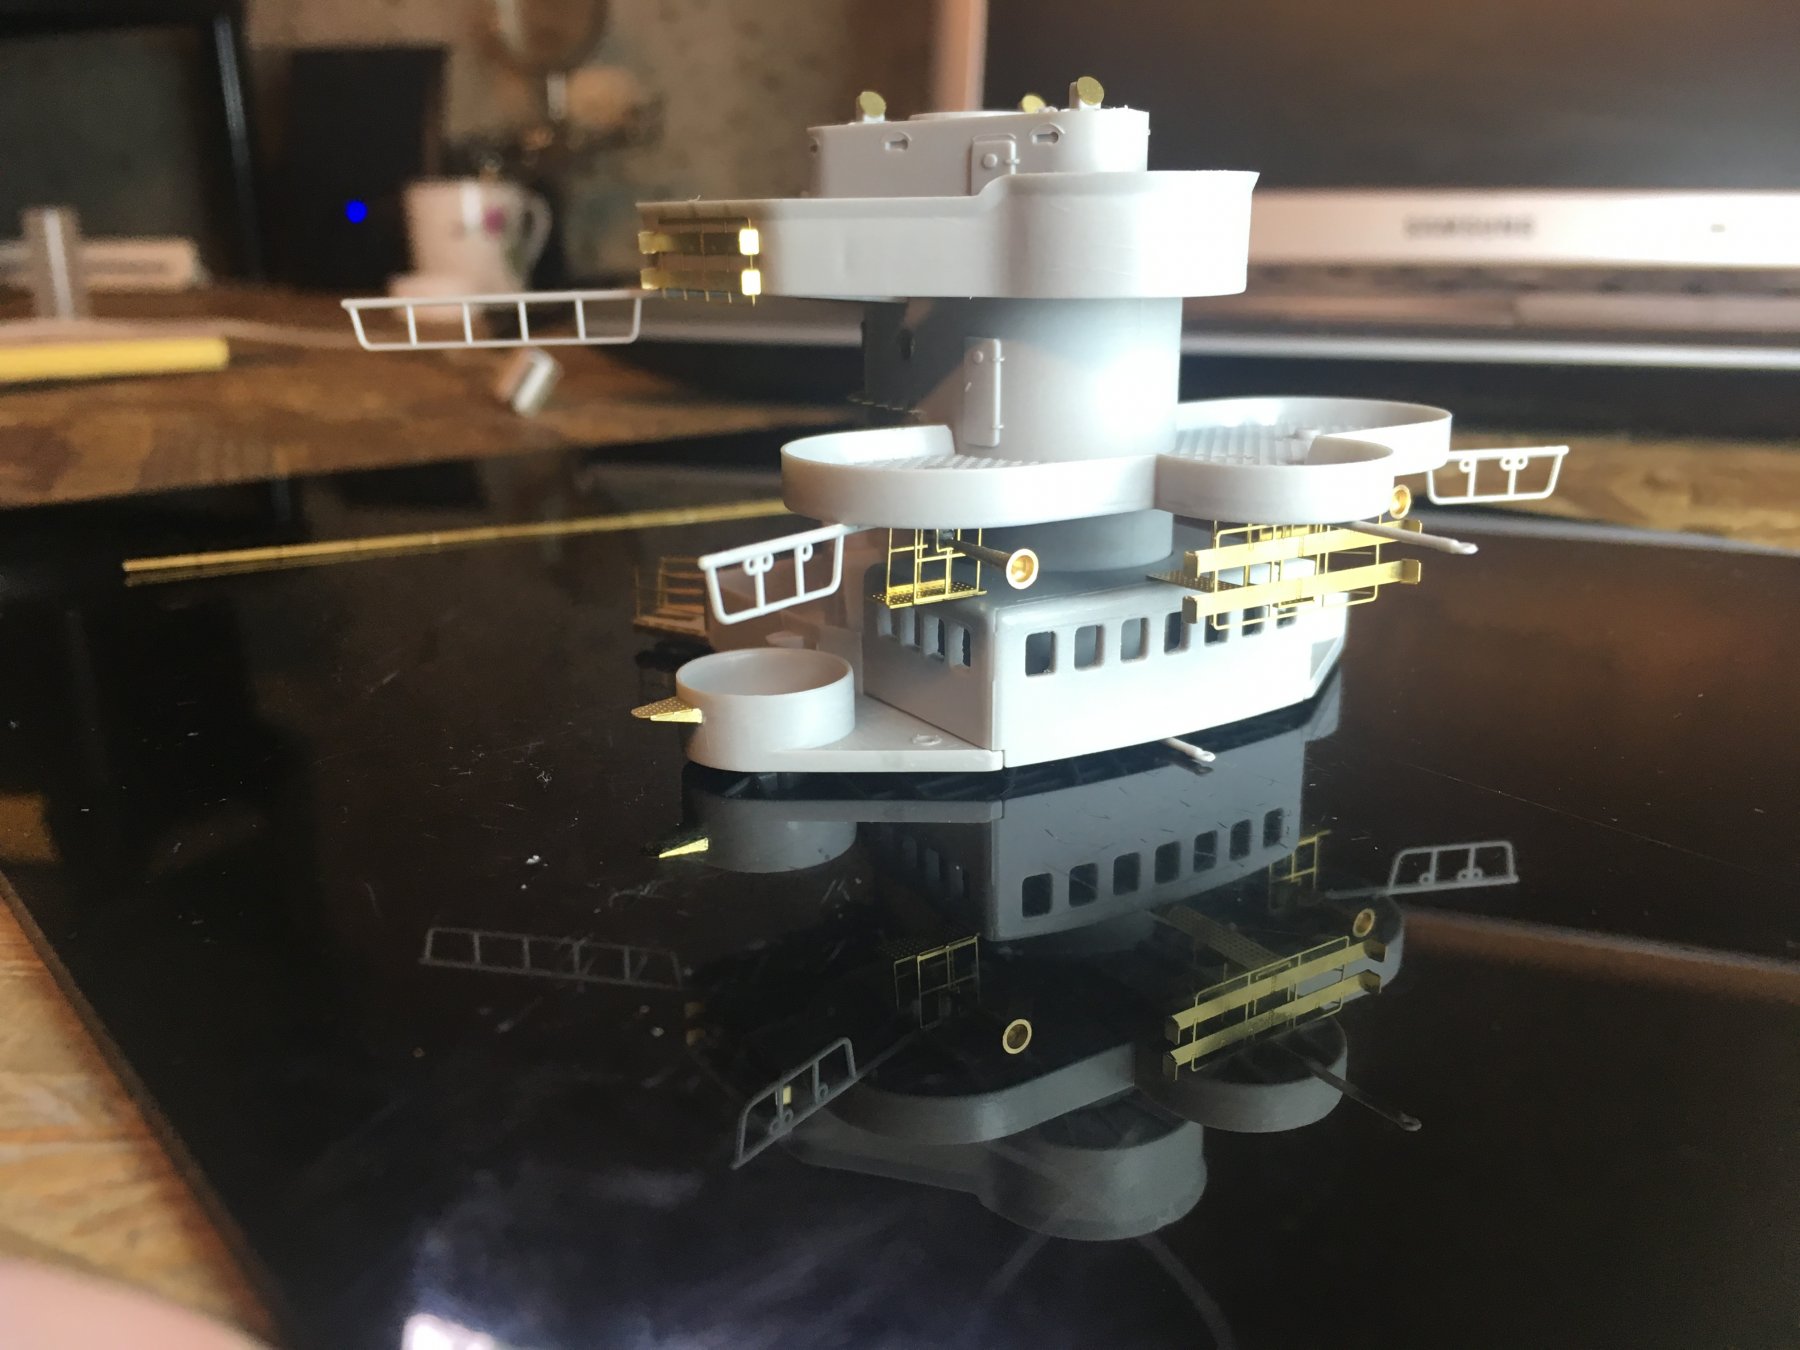
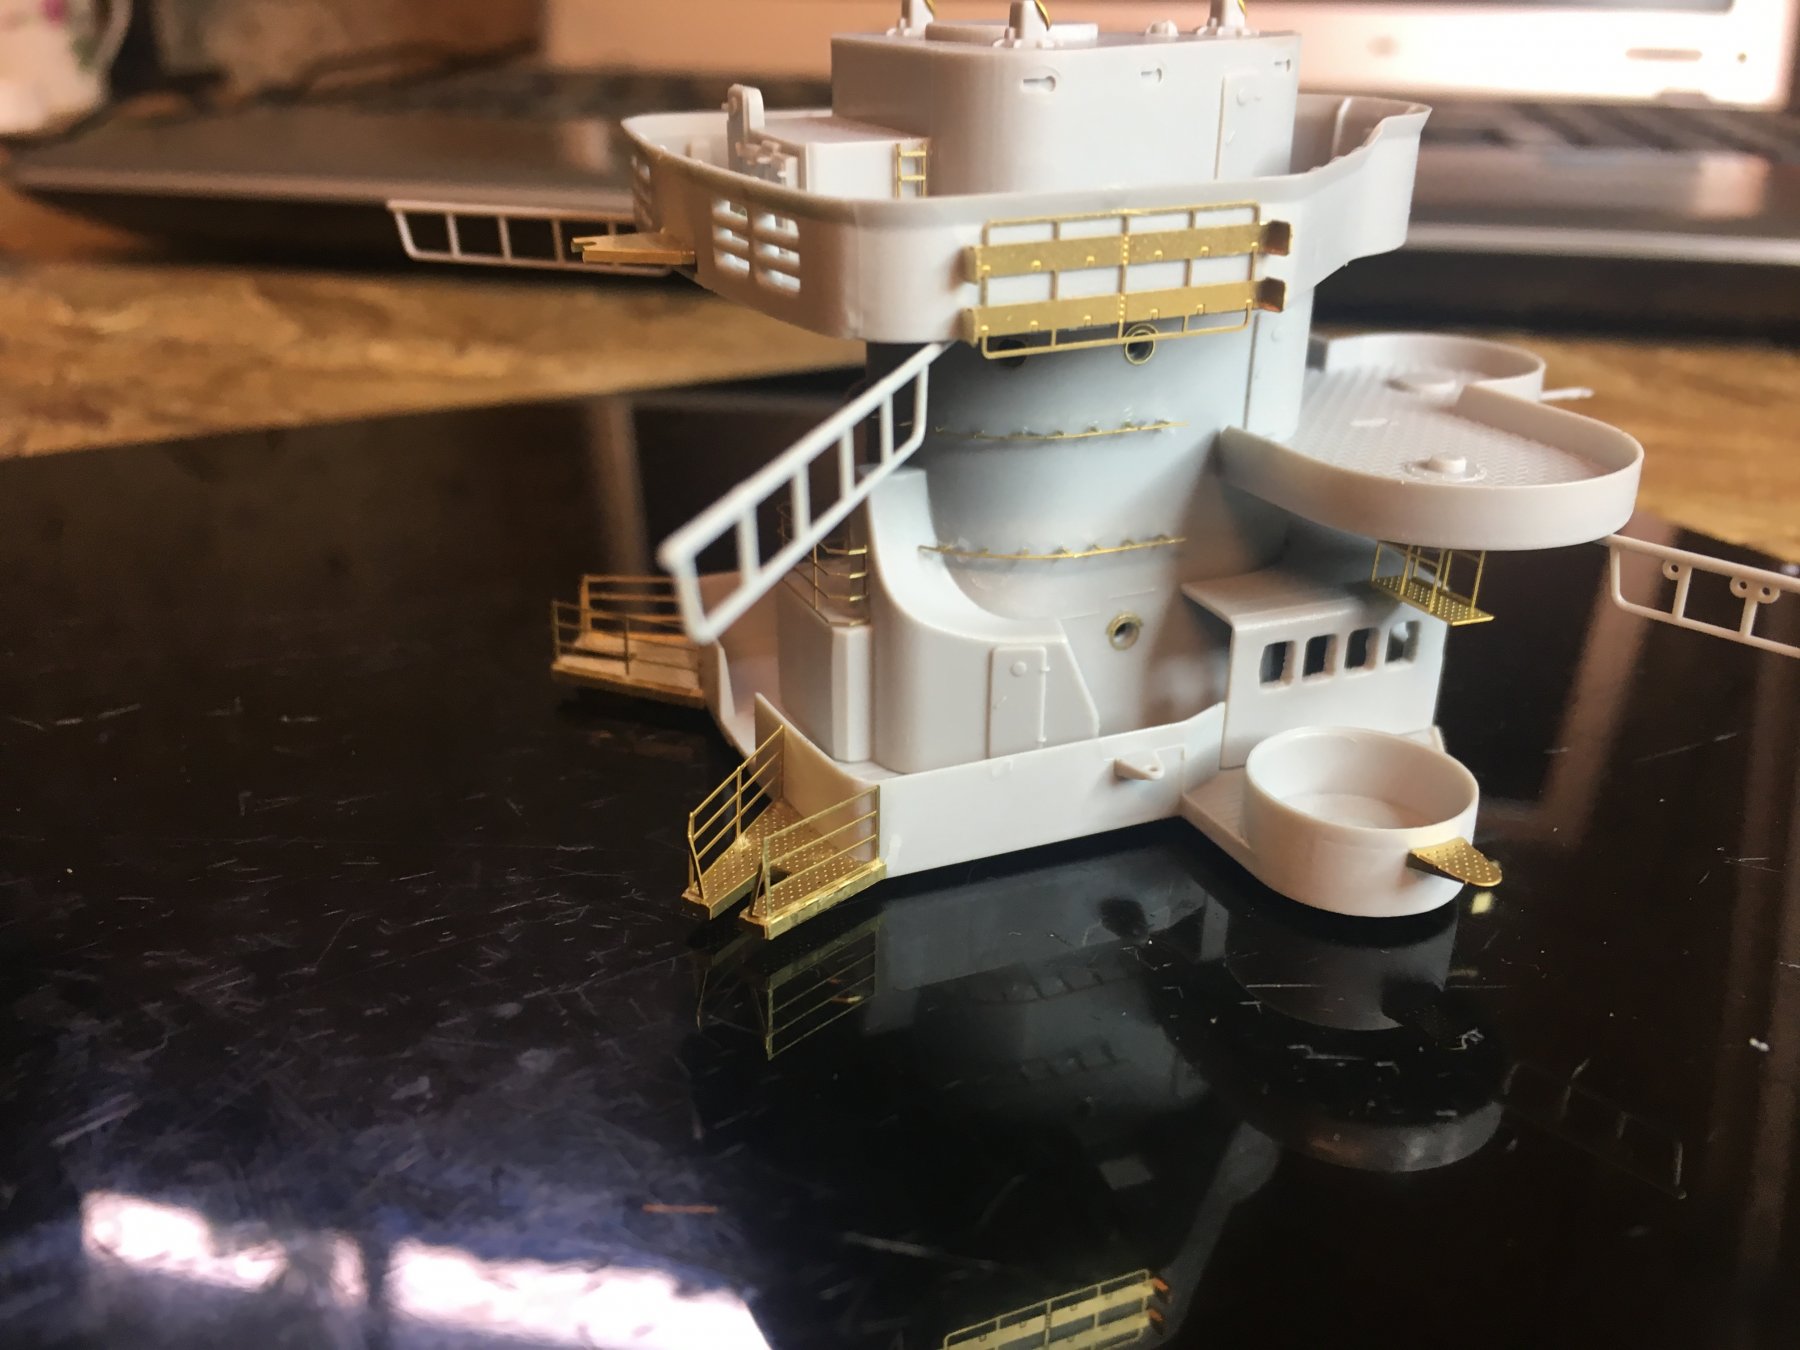
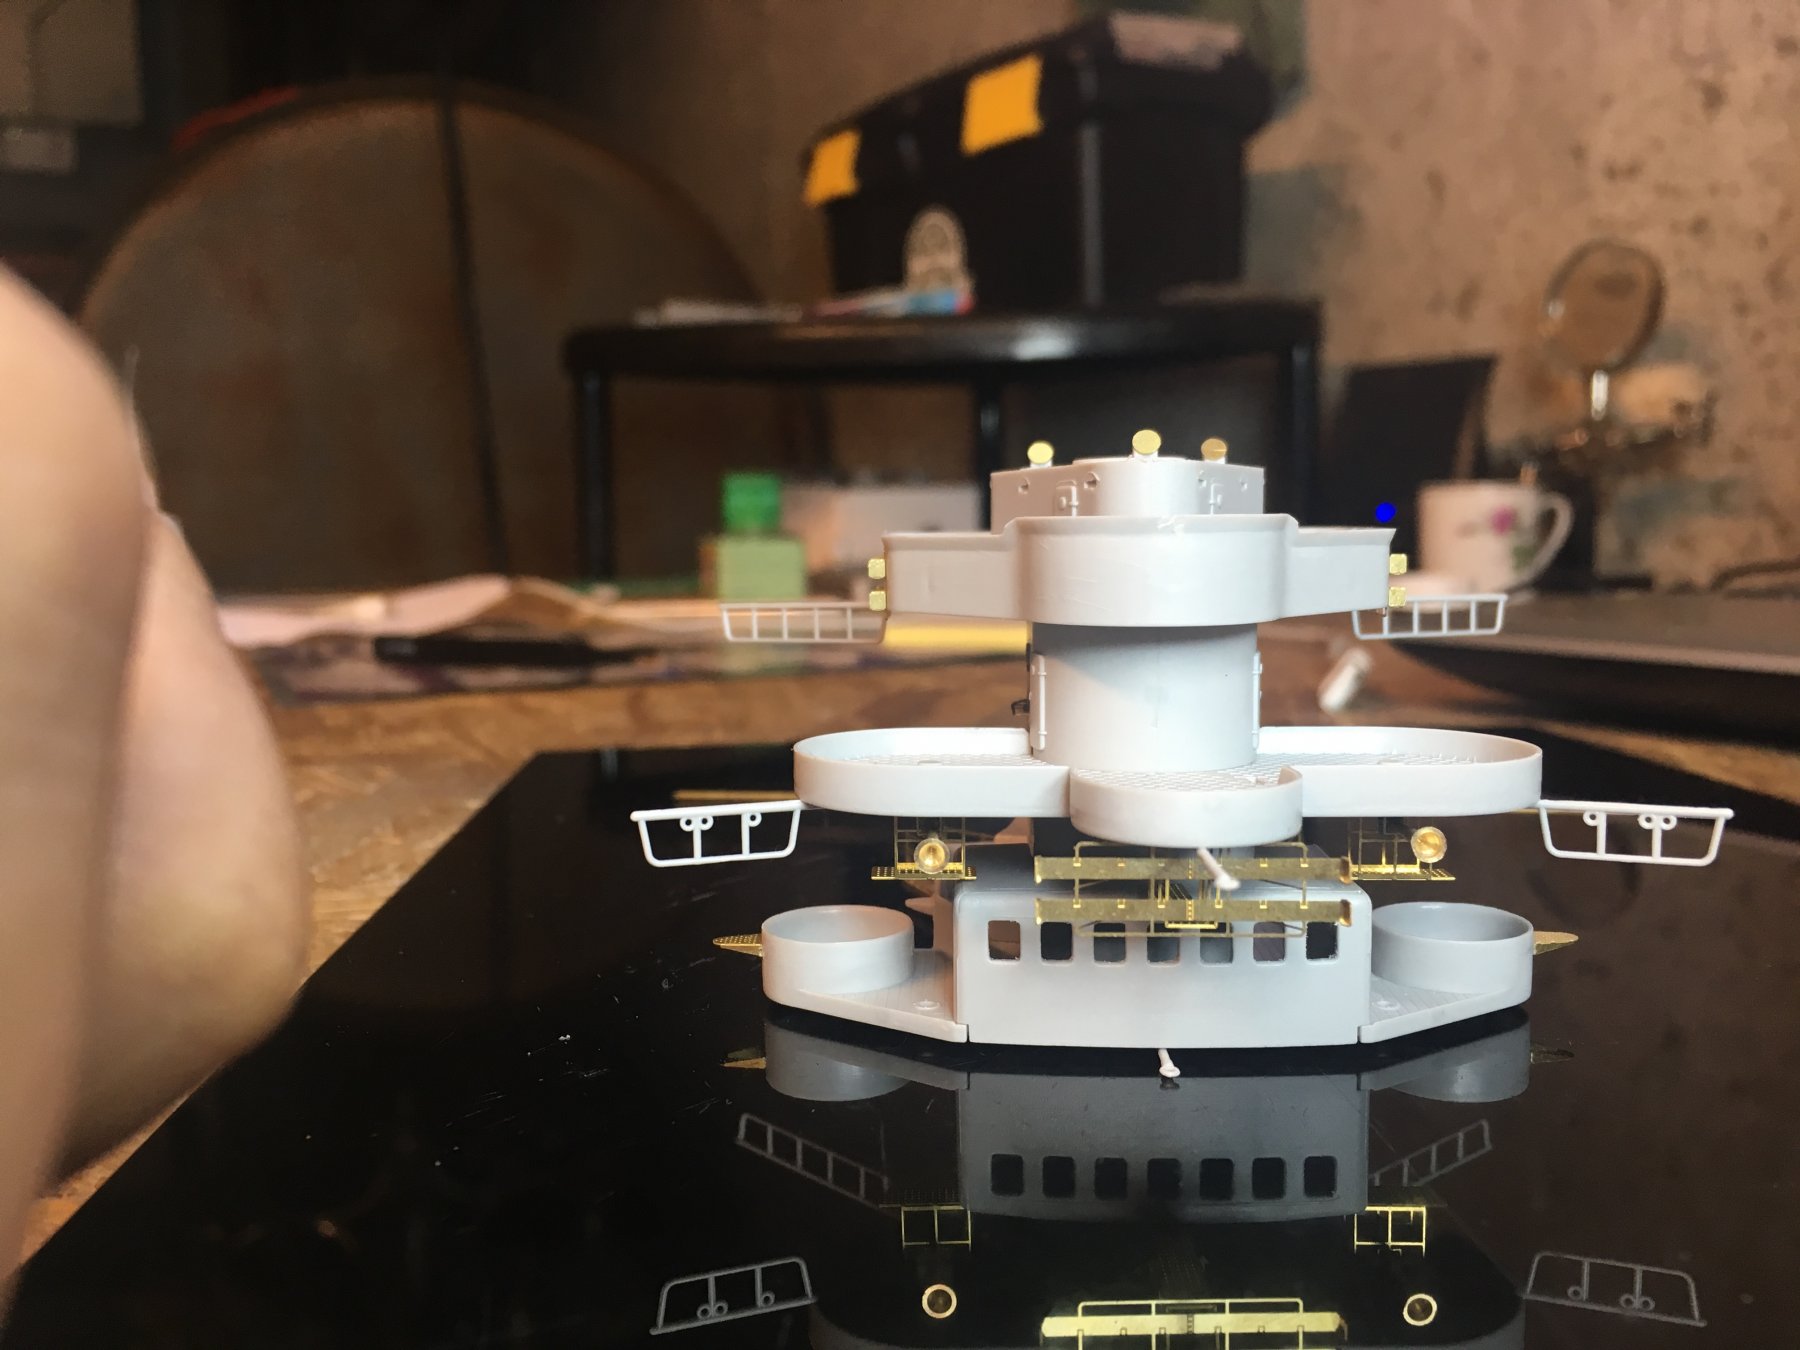
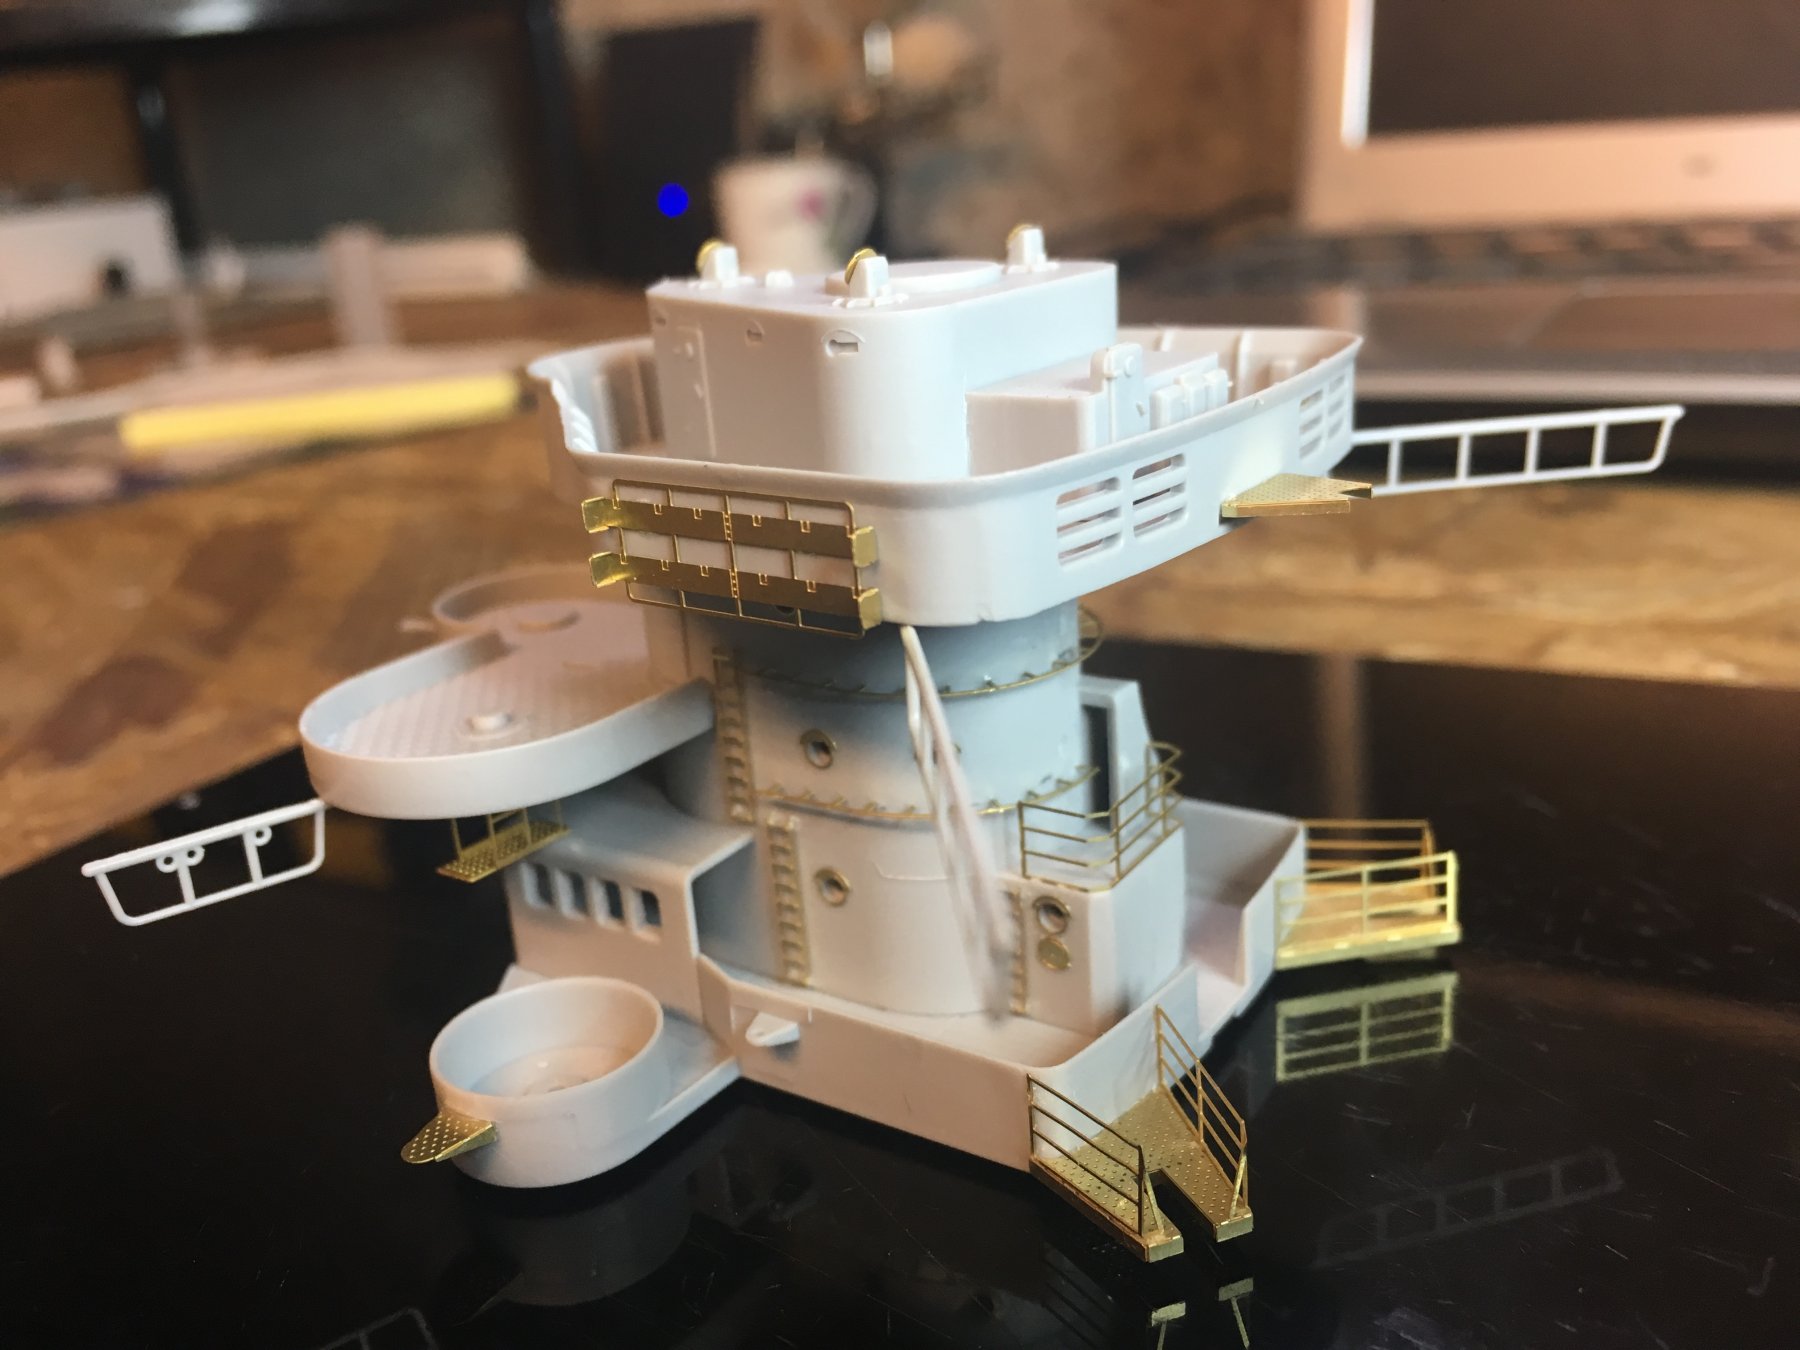
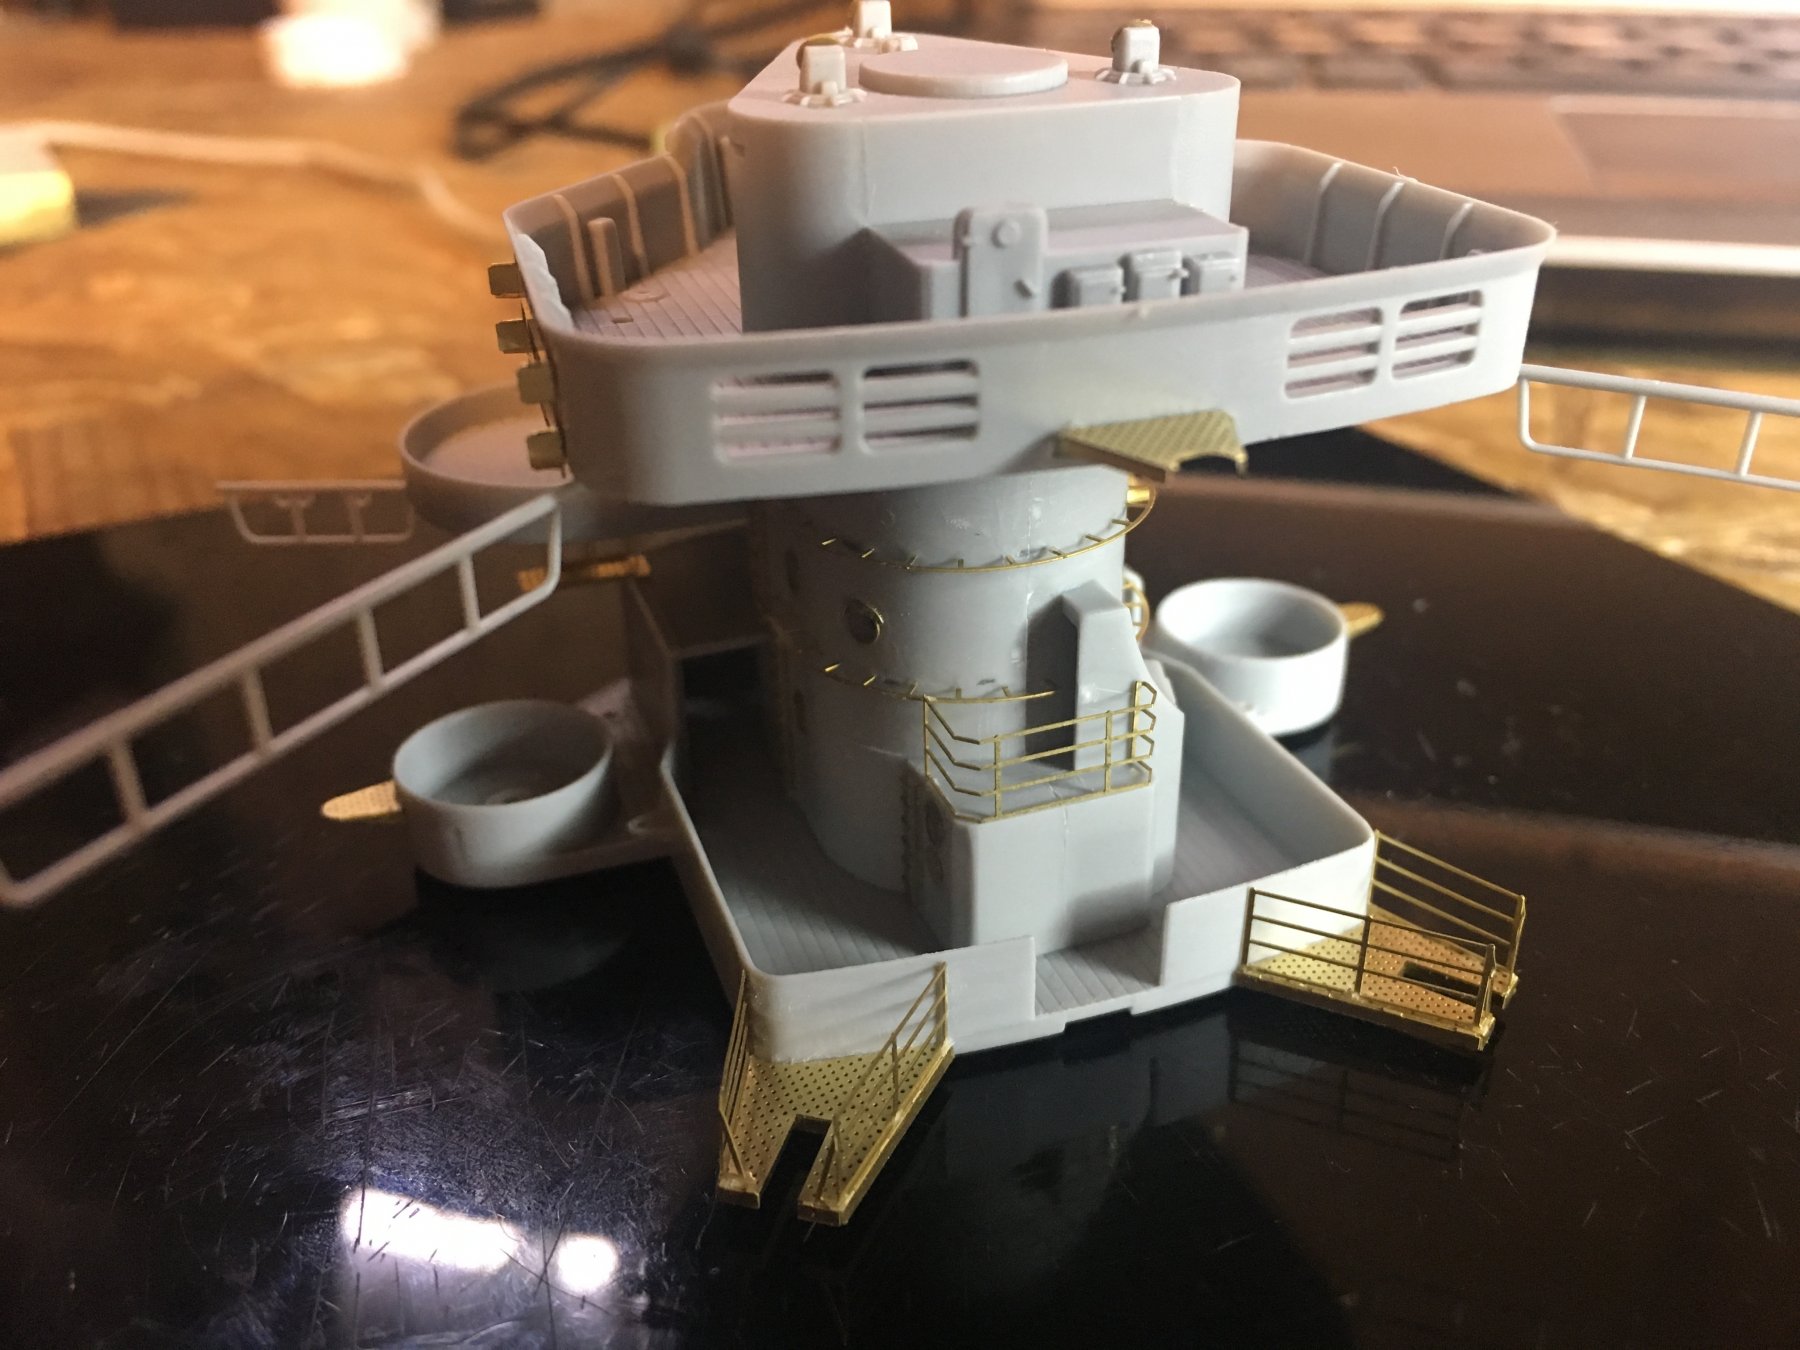
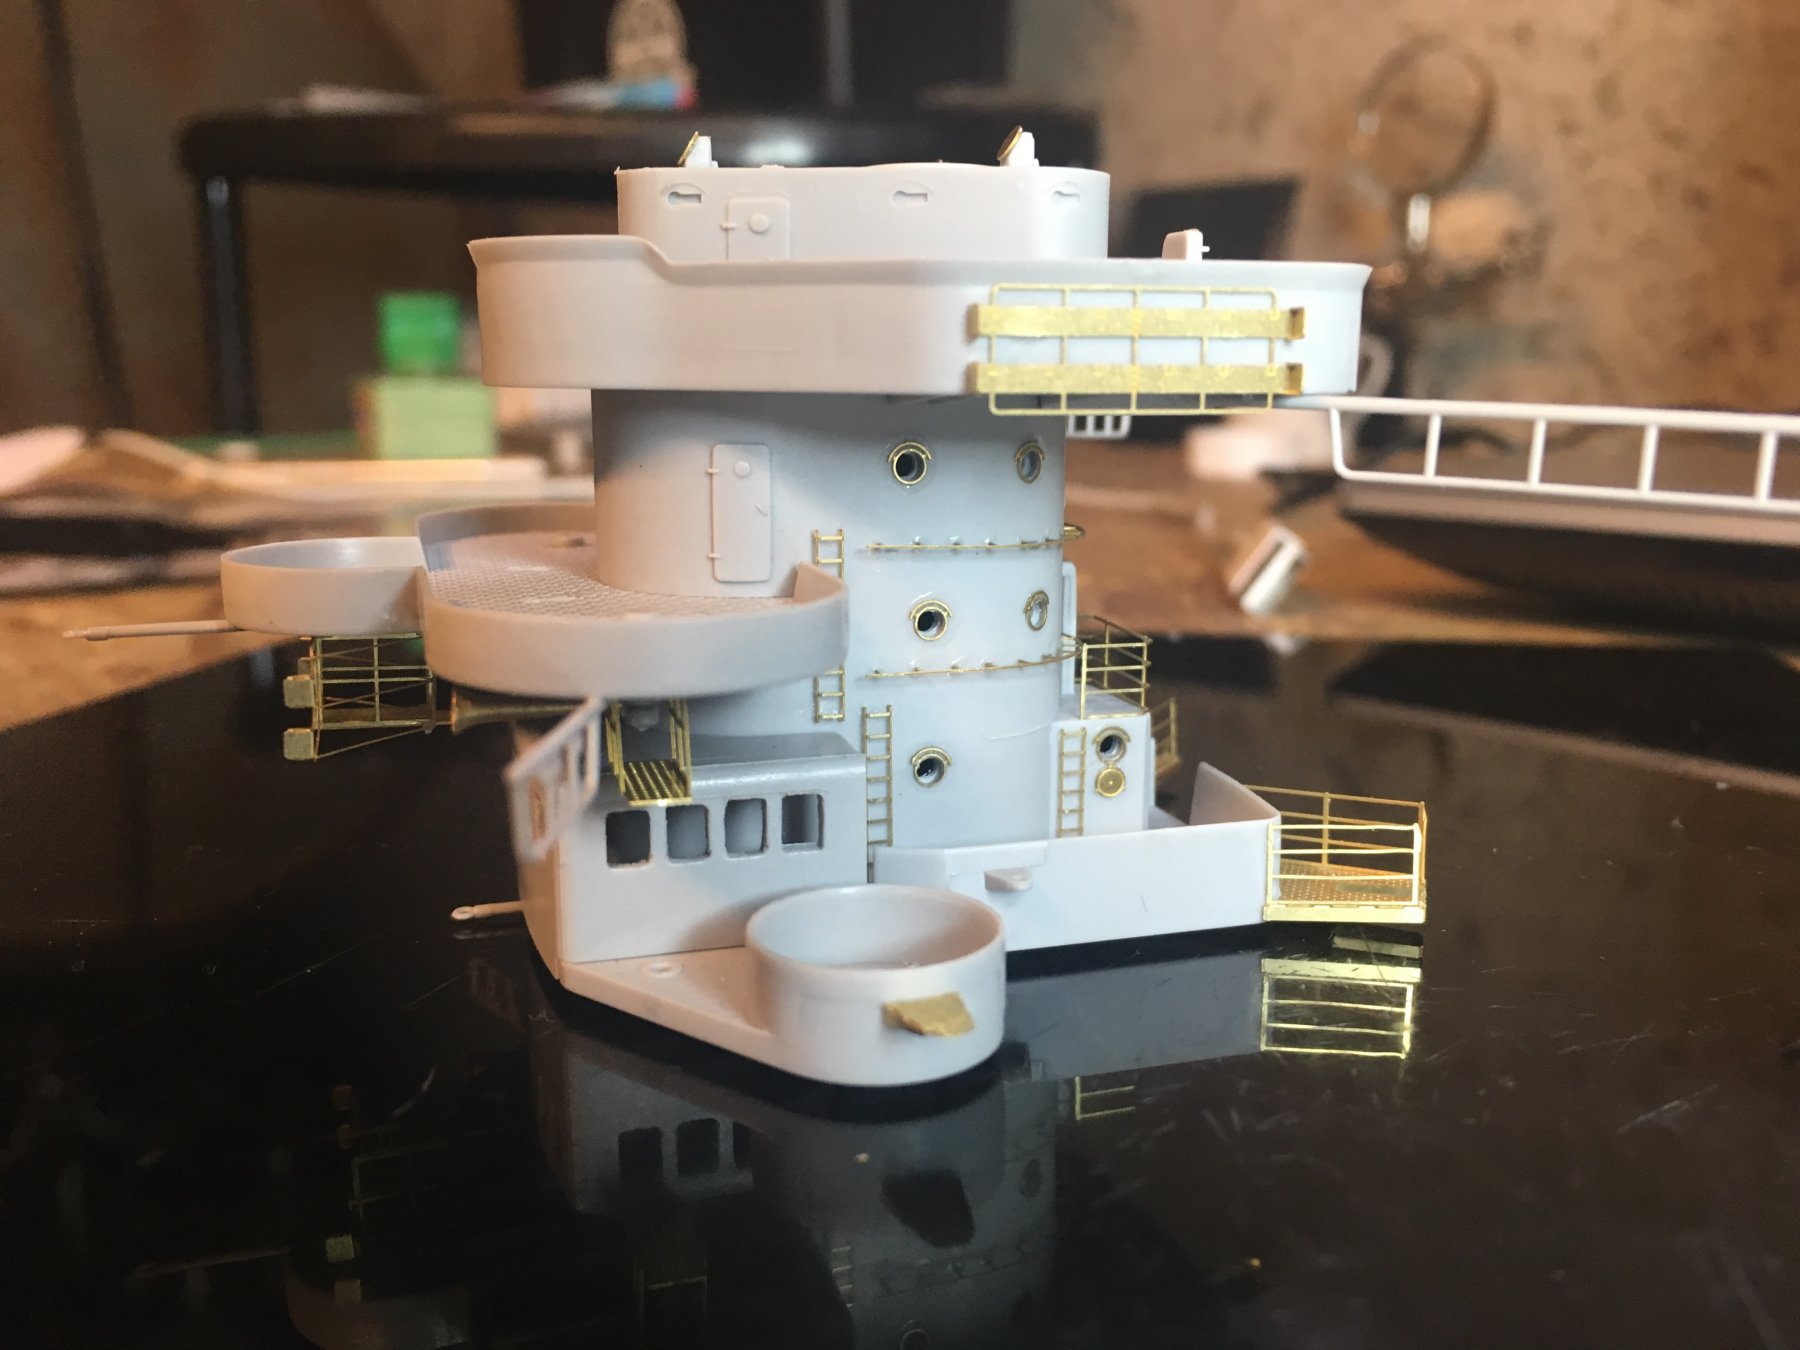
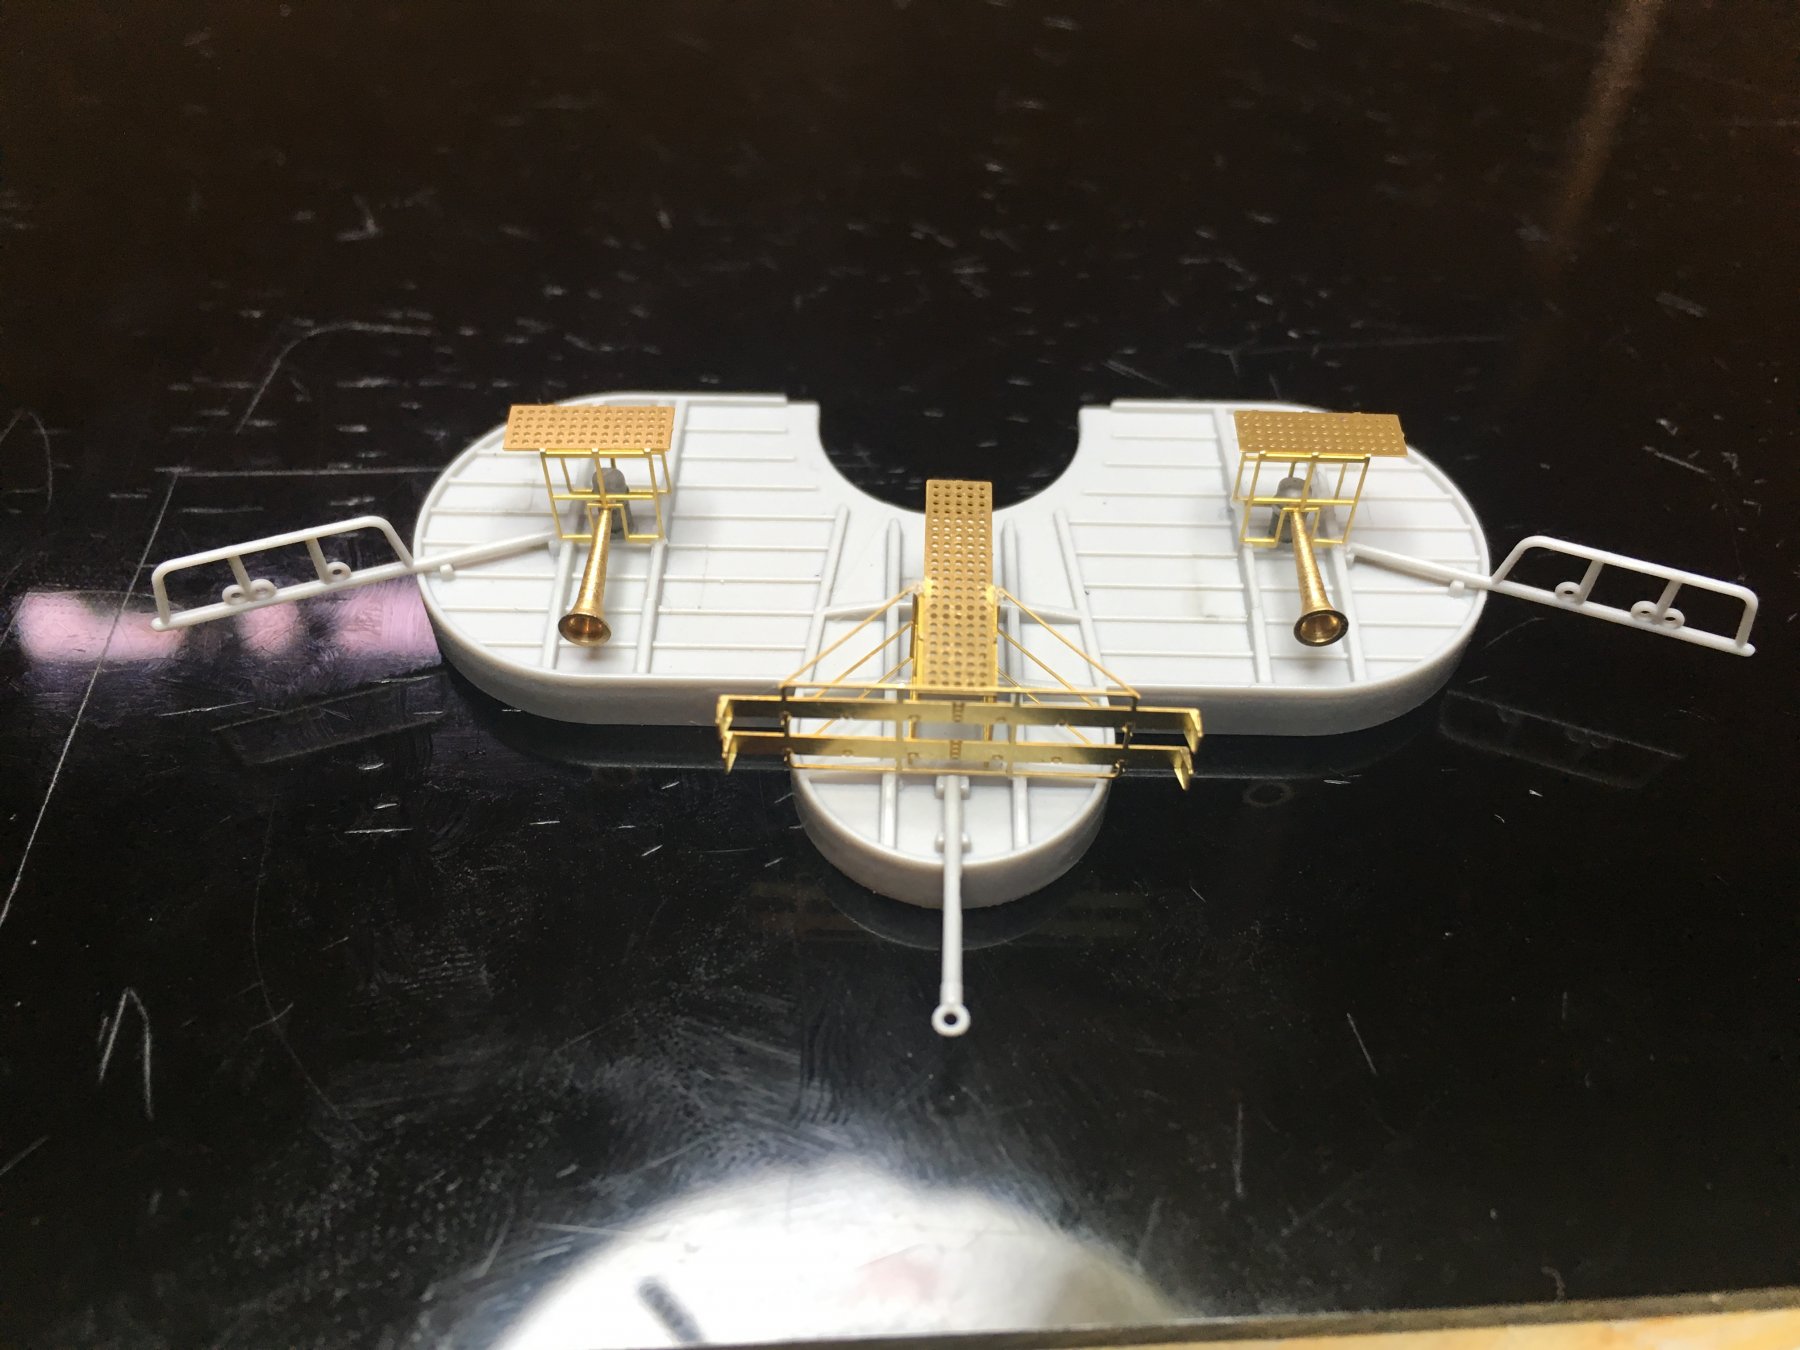
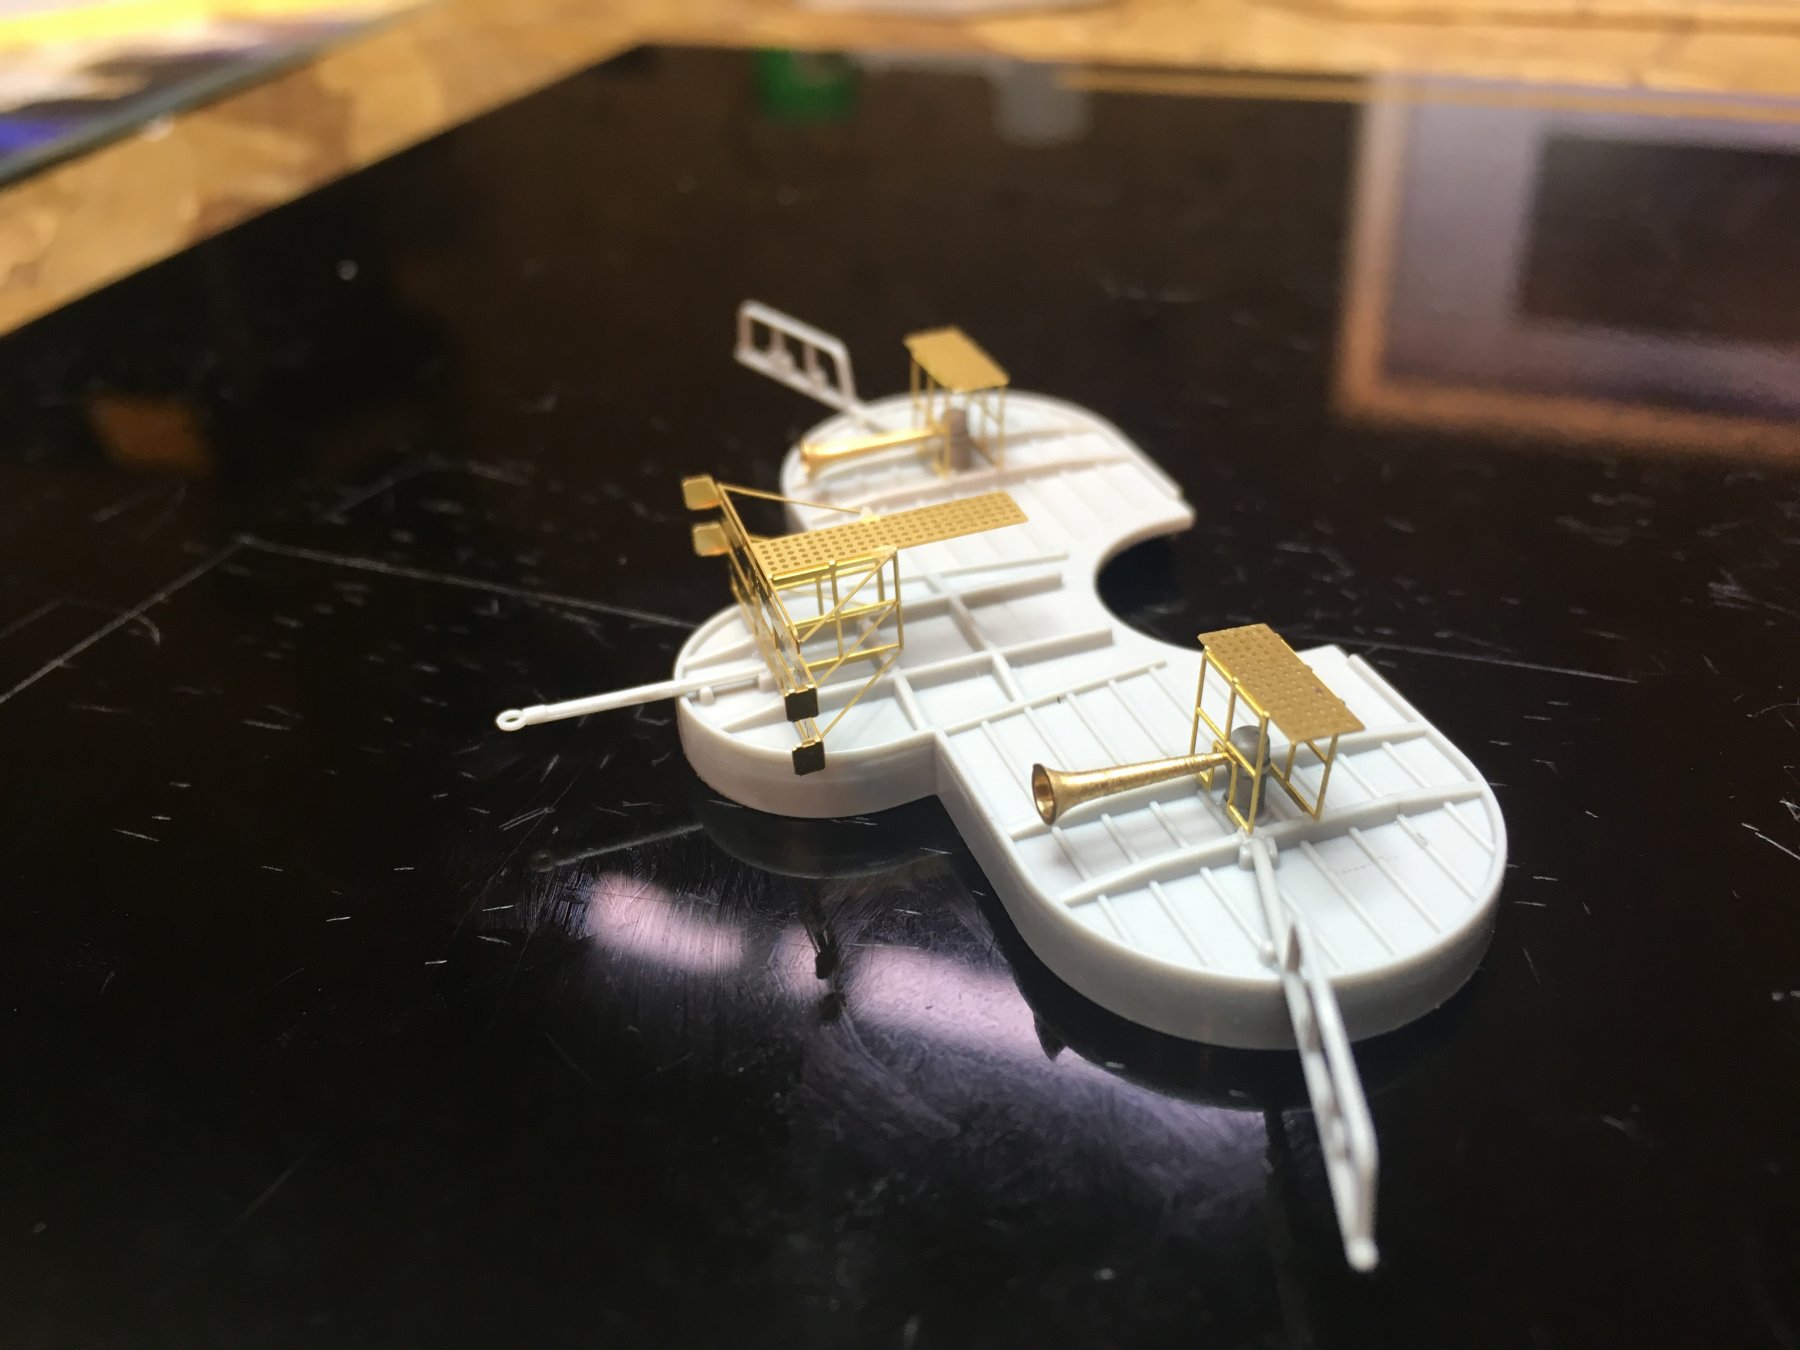
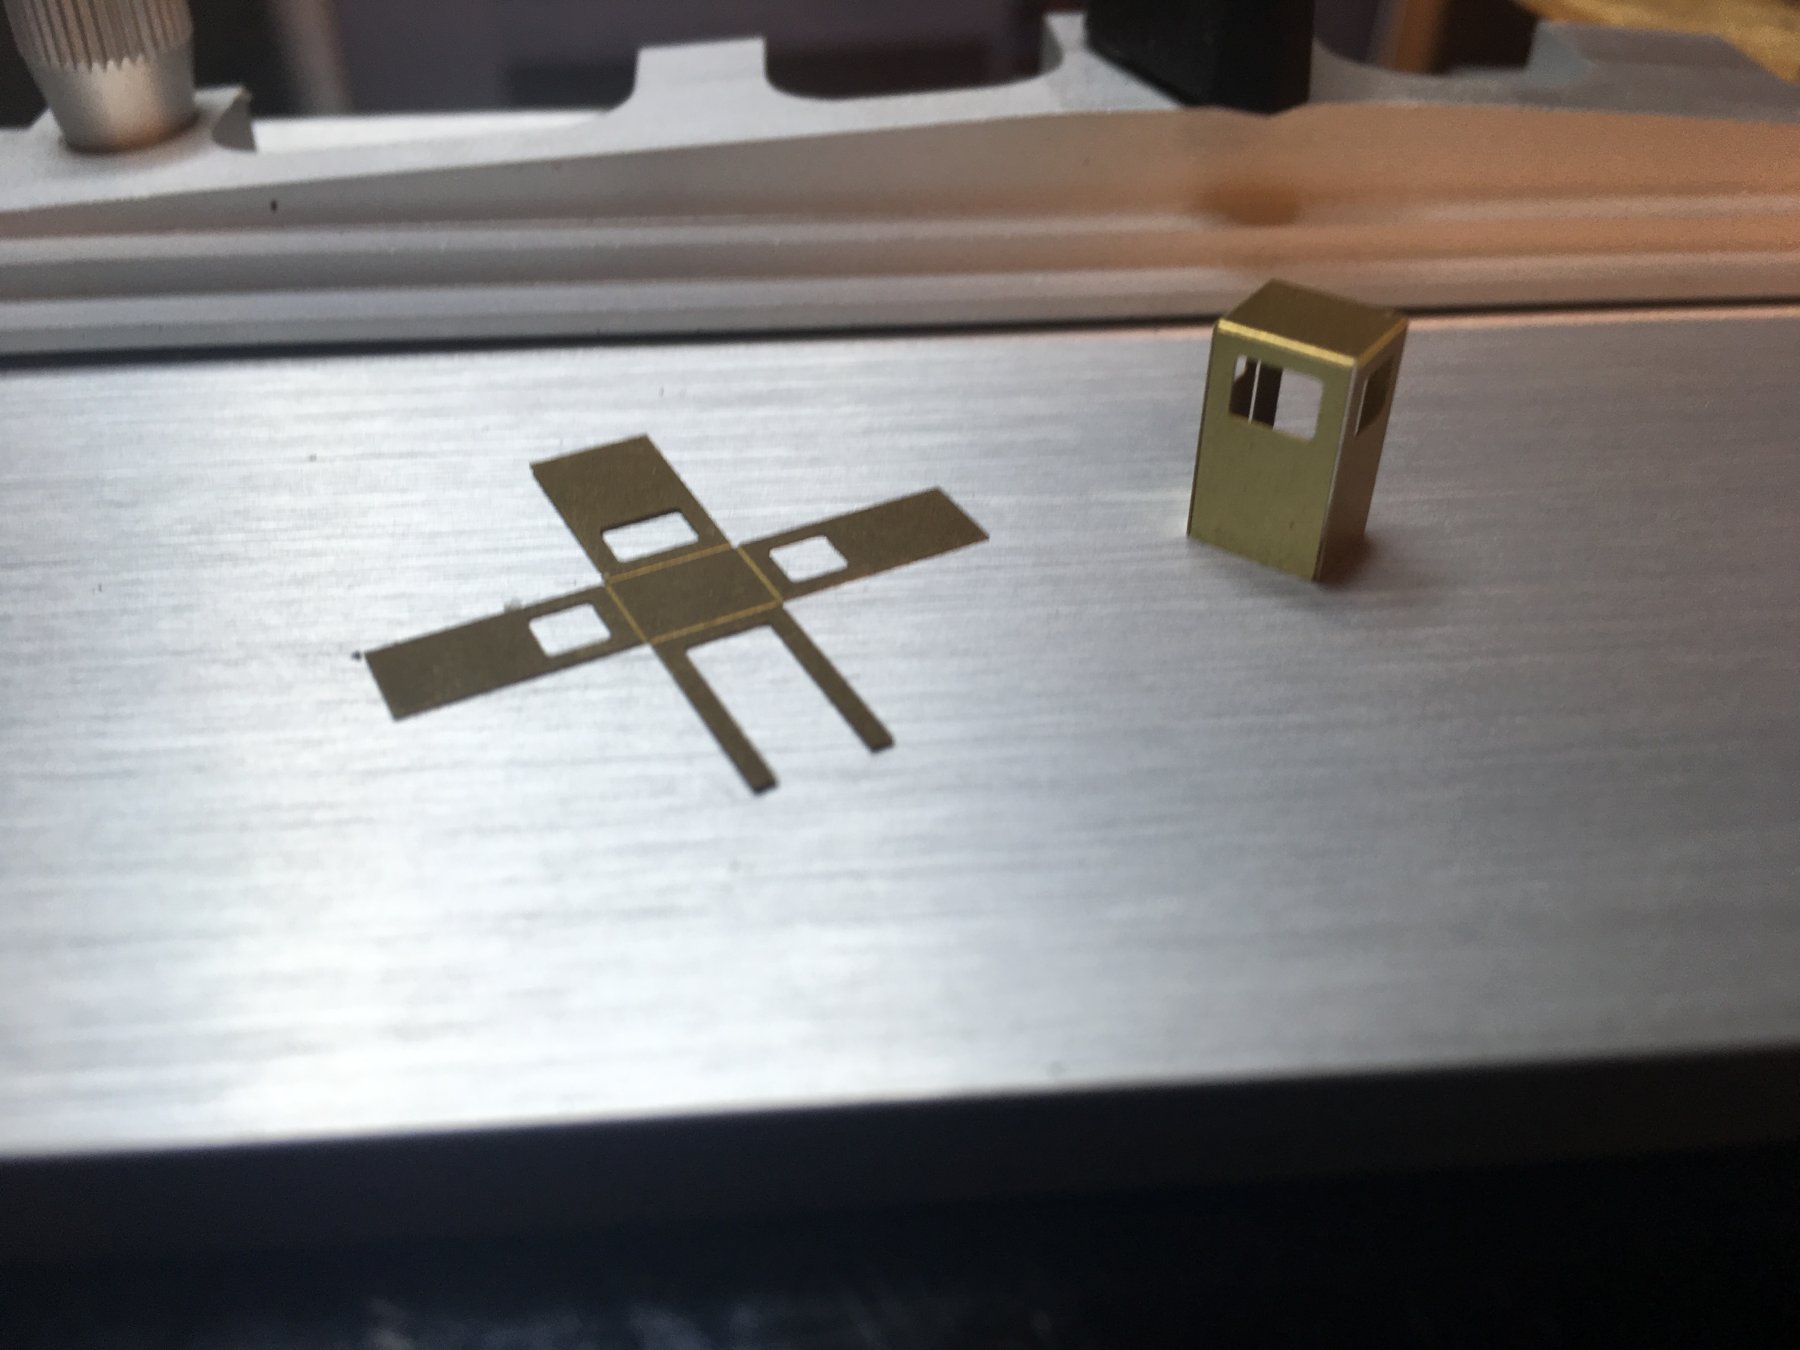
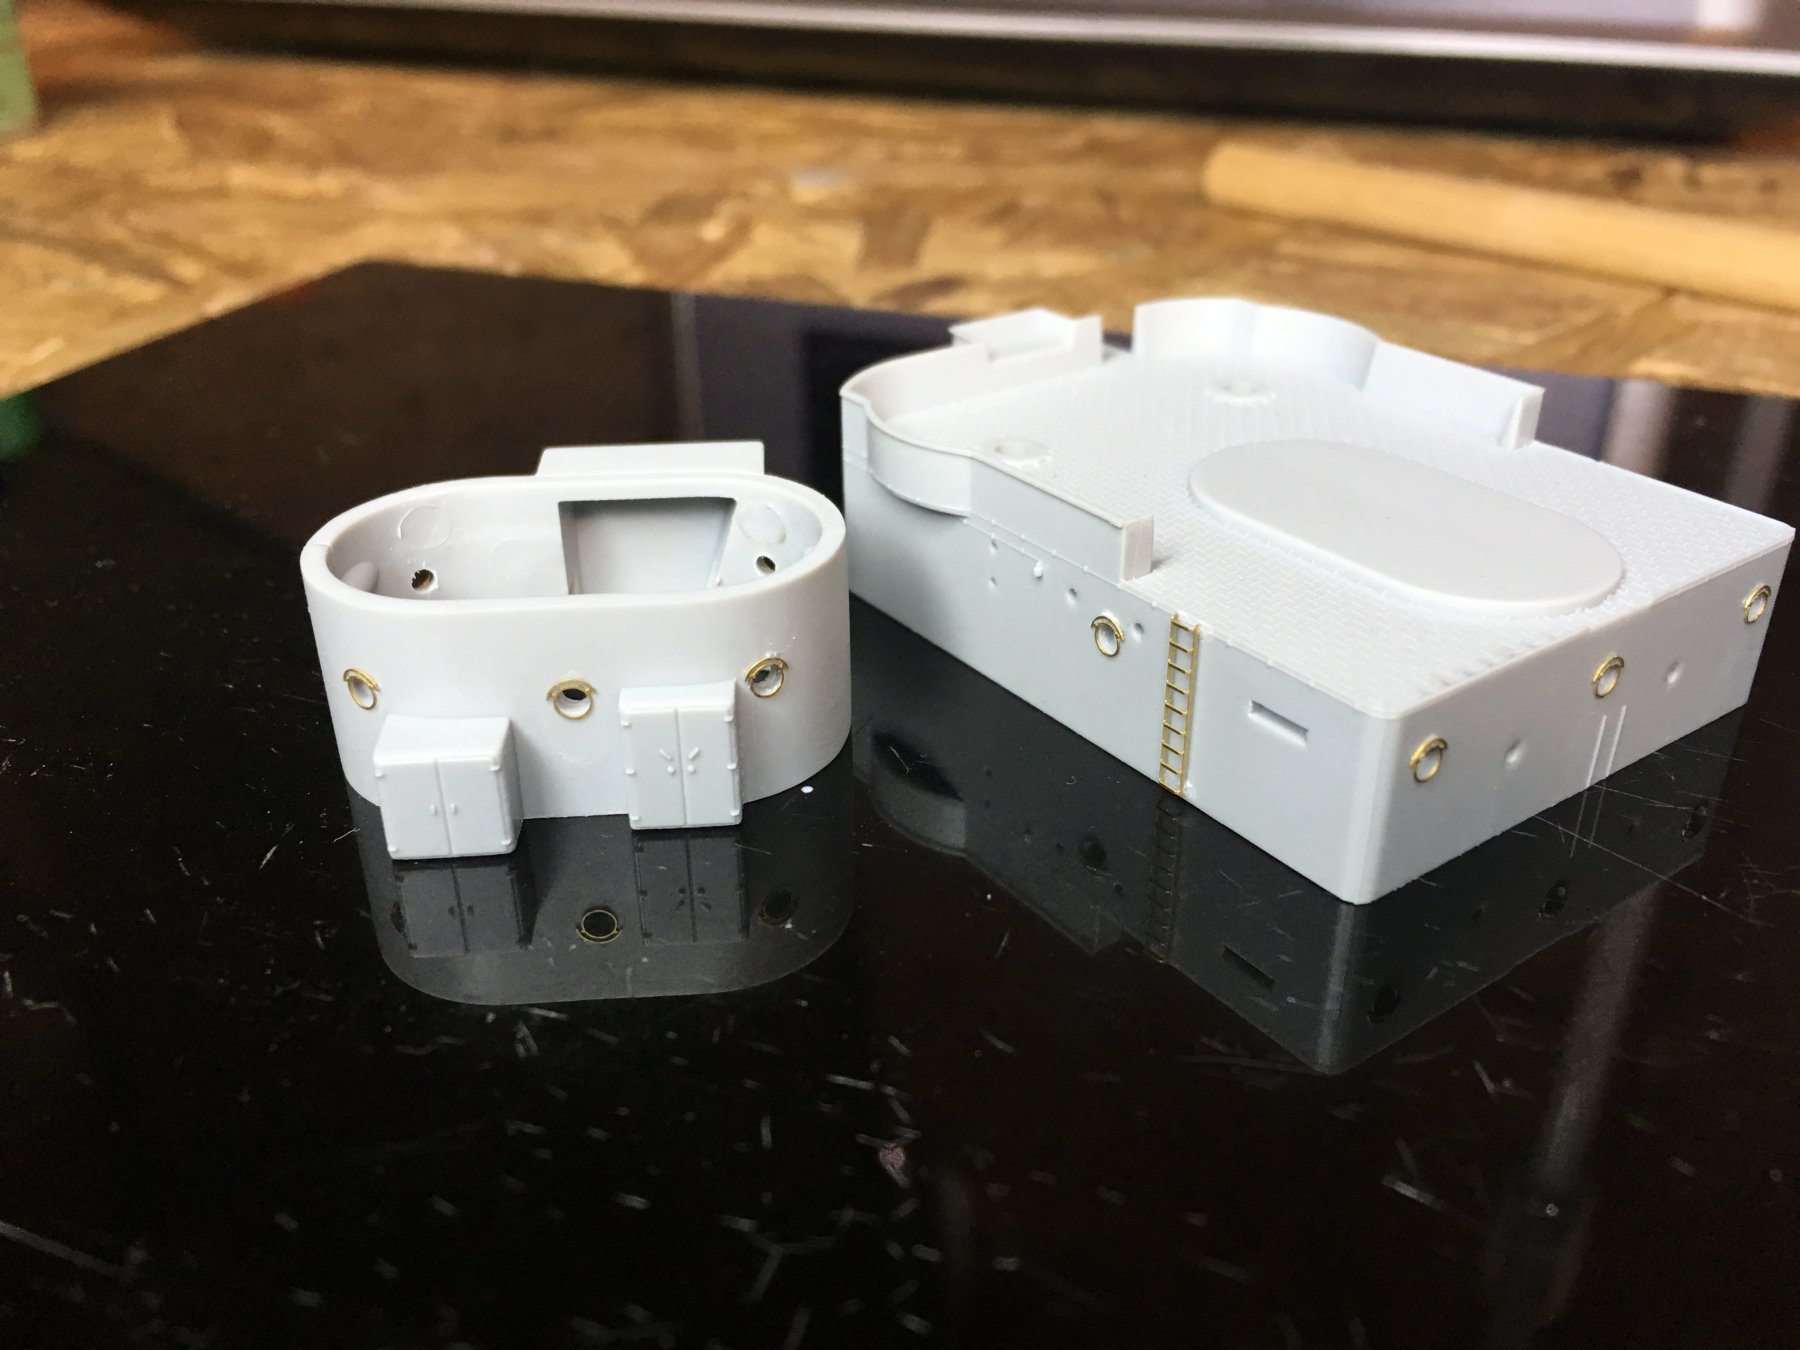
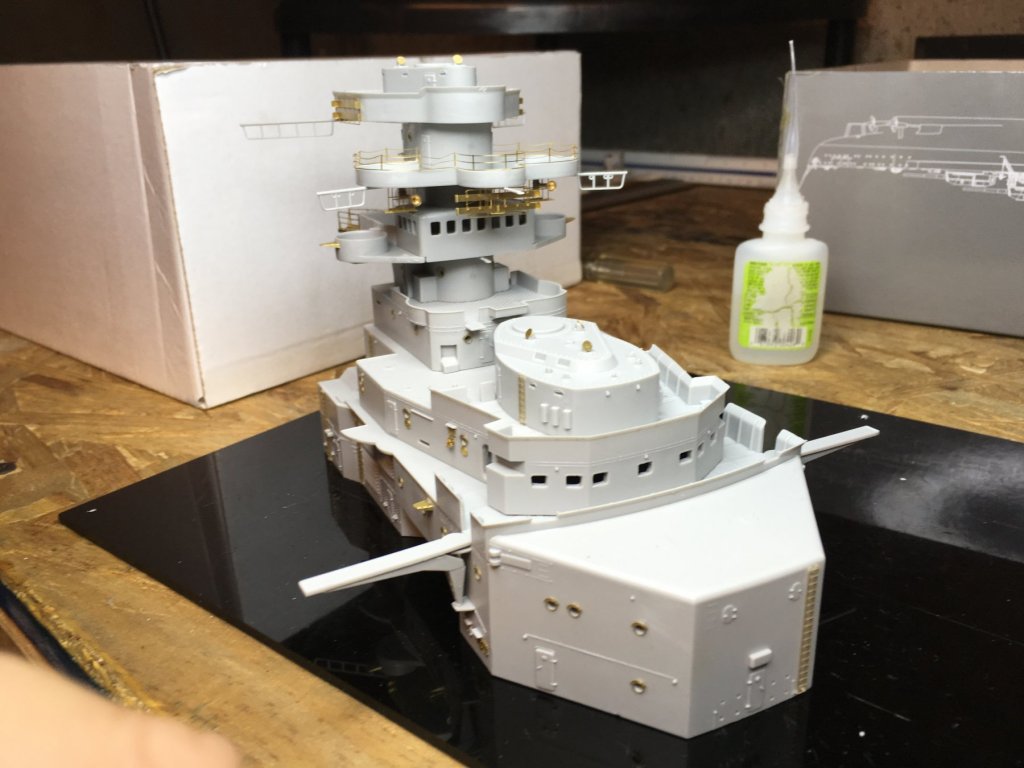
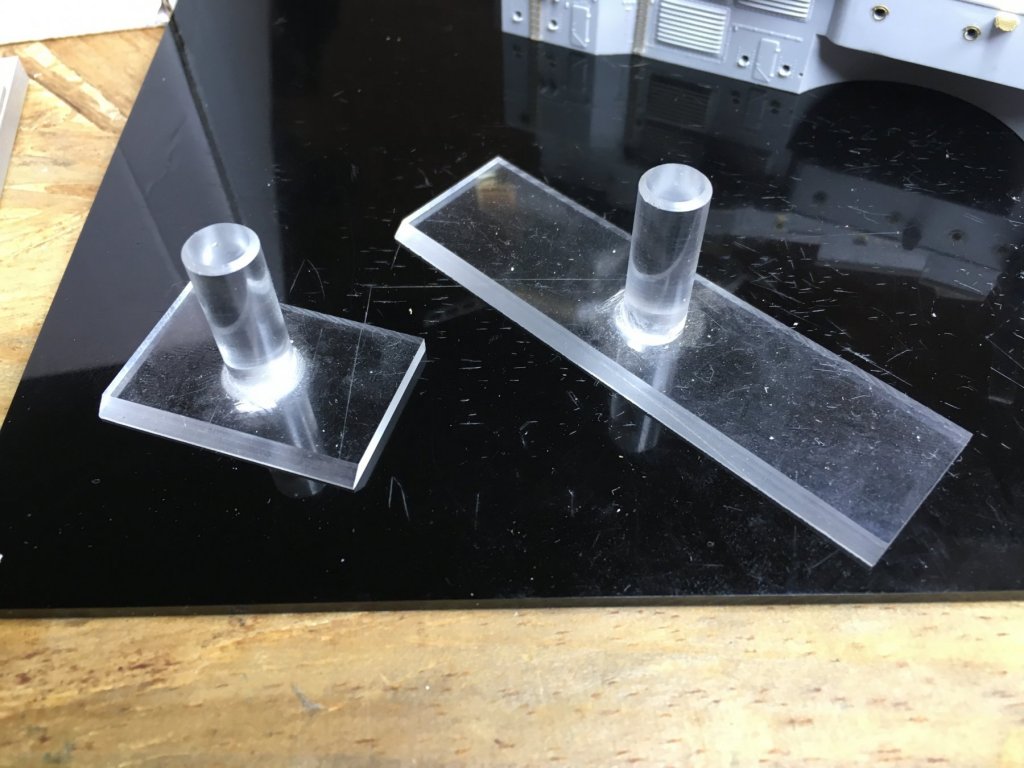
It came with 2 pieces of acrylic so theres 4 sides to wear out. Im still on the first side. and these 2 clear things help alot too. just posting few more photos. Im now ready for all the deck fittings and the 2 radars on this superstructure piece. Then break it down, airbrush it, weather it and reassemble.

-
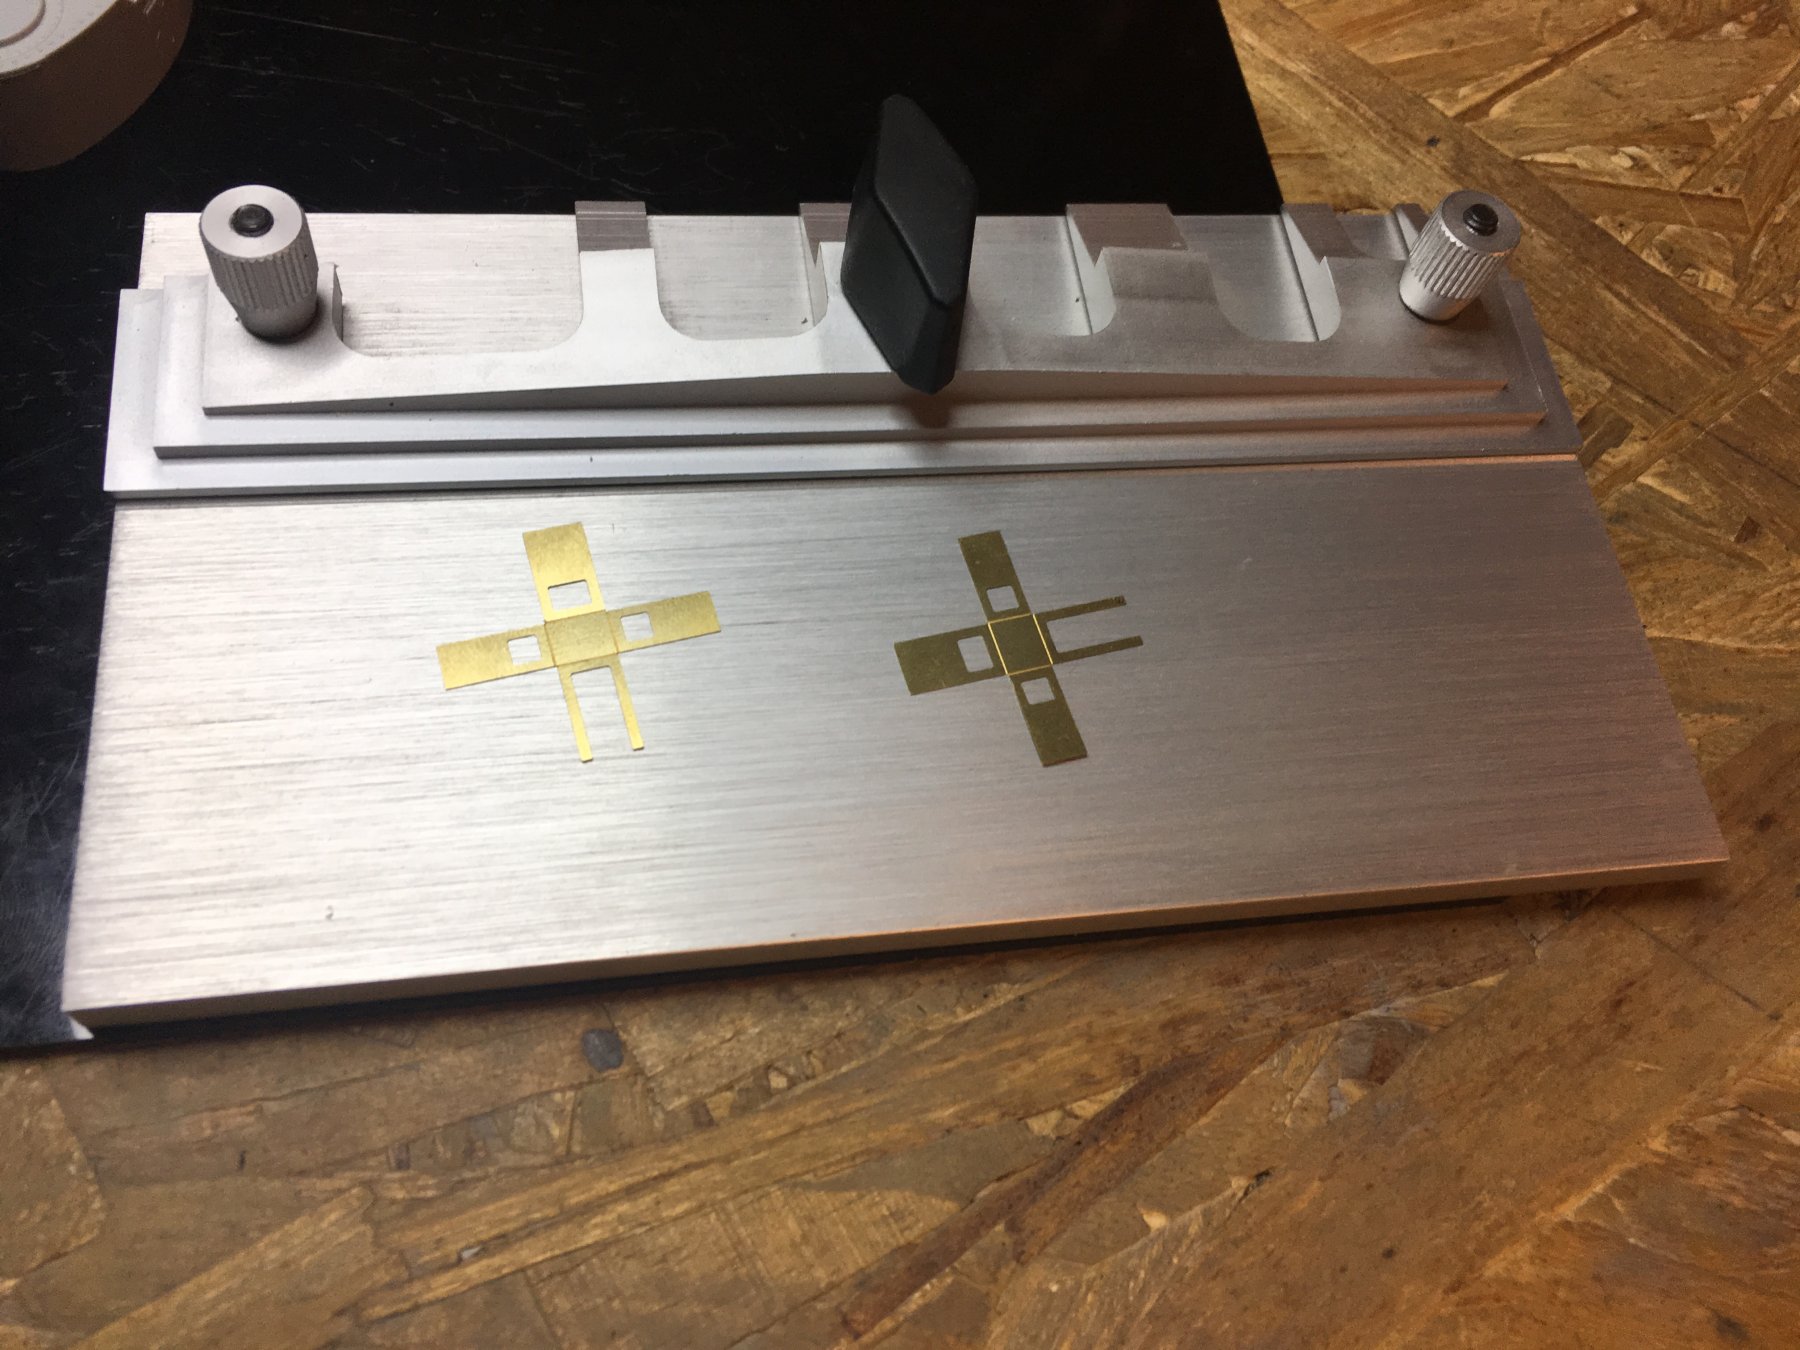
Hi Hof! I am also a rookie when it comes to PE. First I would cut out the PE on glass but that dulled my knife quick. Then i used a slab of marble but that wAs chipping. Finally I went to thesmallshop.com ( which has awesome PE tools) and got the "photo etch cut off kit". It works great! I believe its a slab of acrylic. From what ive read in alot of articles the #22 is best in a rolling motion. I use #11 only because im lazy and havnt gotten #22 yet. Be cautious thought, Just push straight down till you here a snap or you know it went through. Do not slide the blade in a slicing motion you will bend and mess up the PE. I learned that the hard way on some delicate railings. I hope this helped.
-
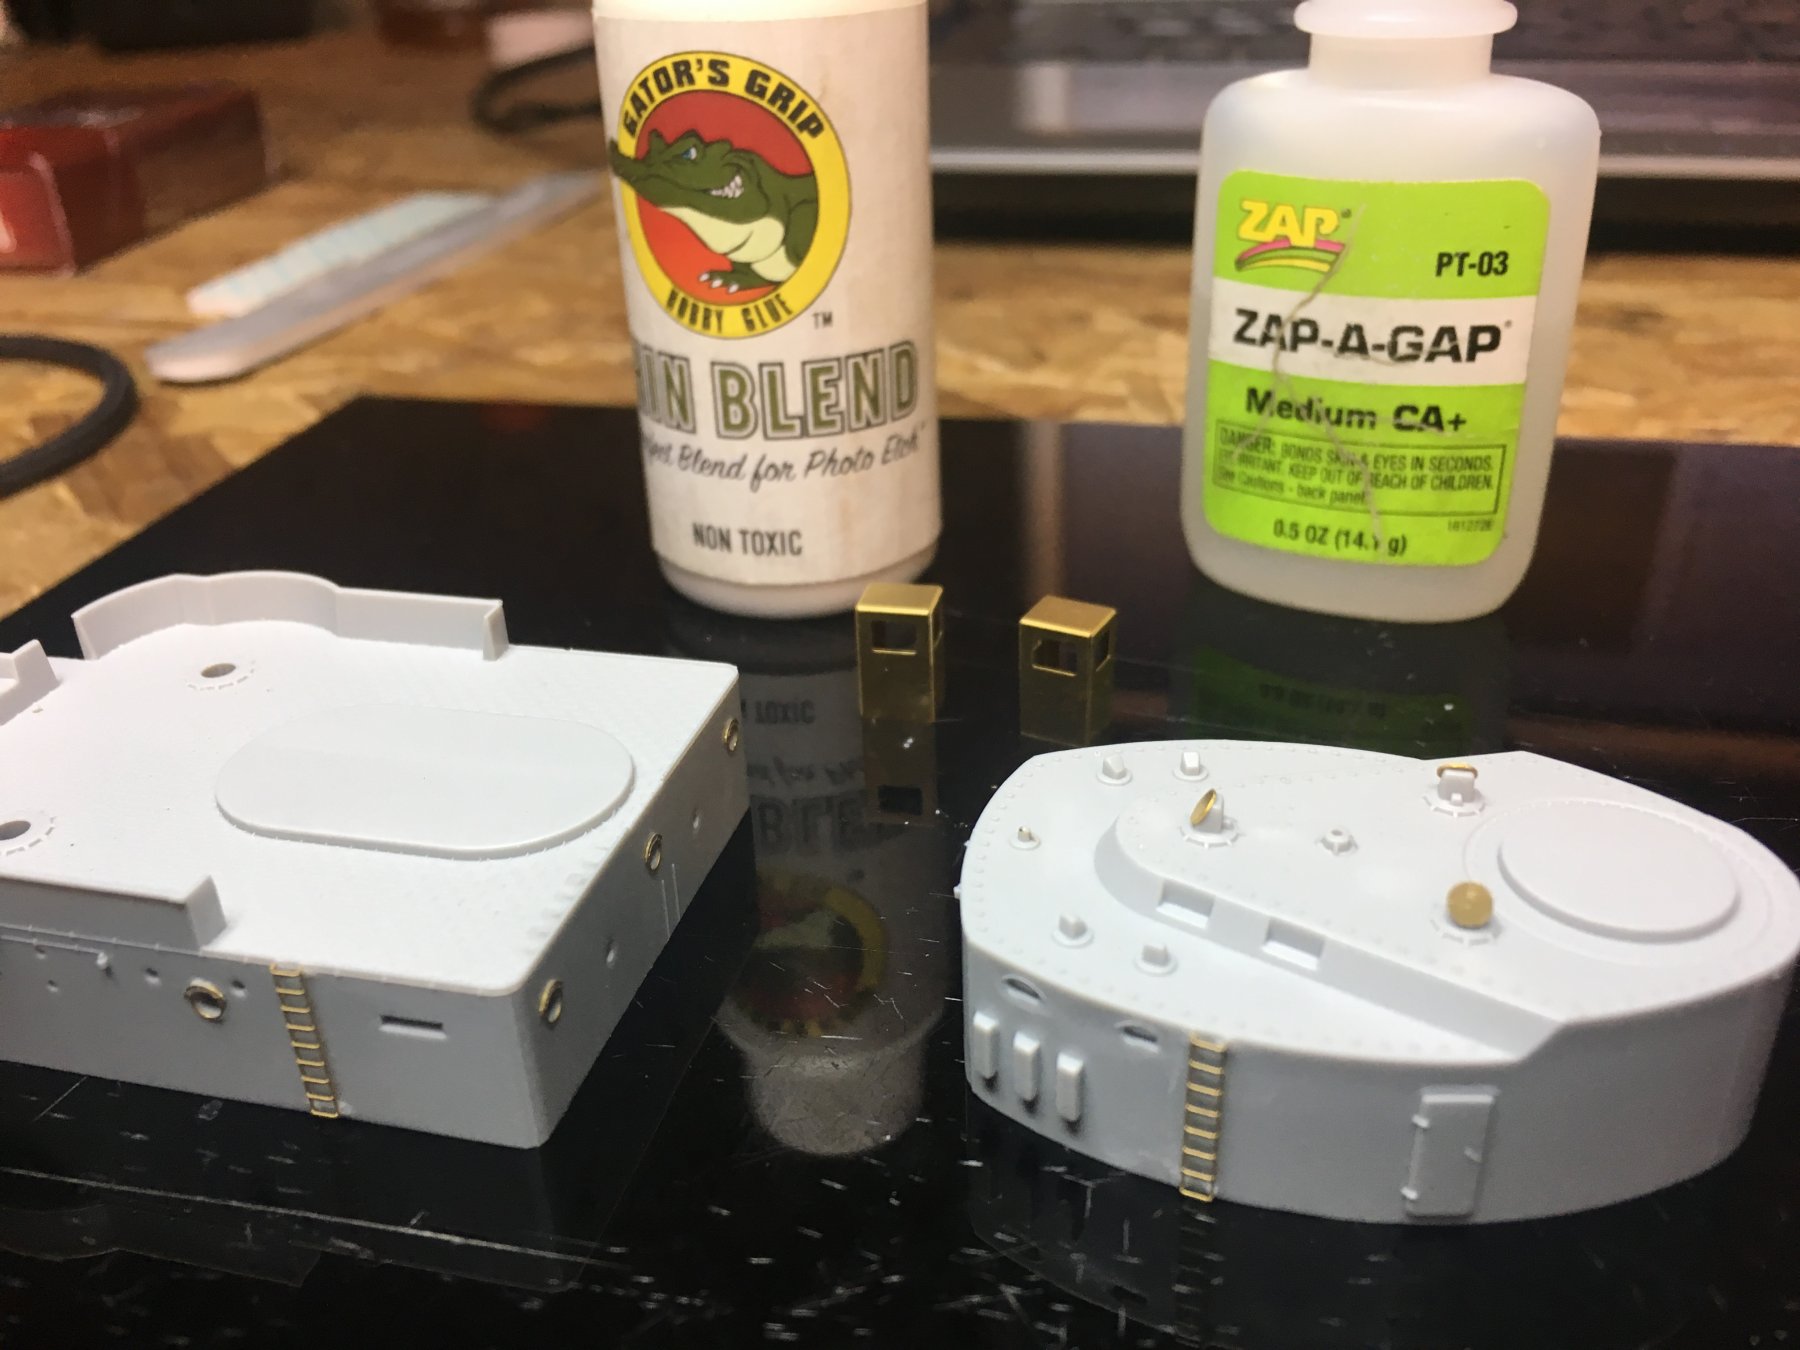
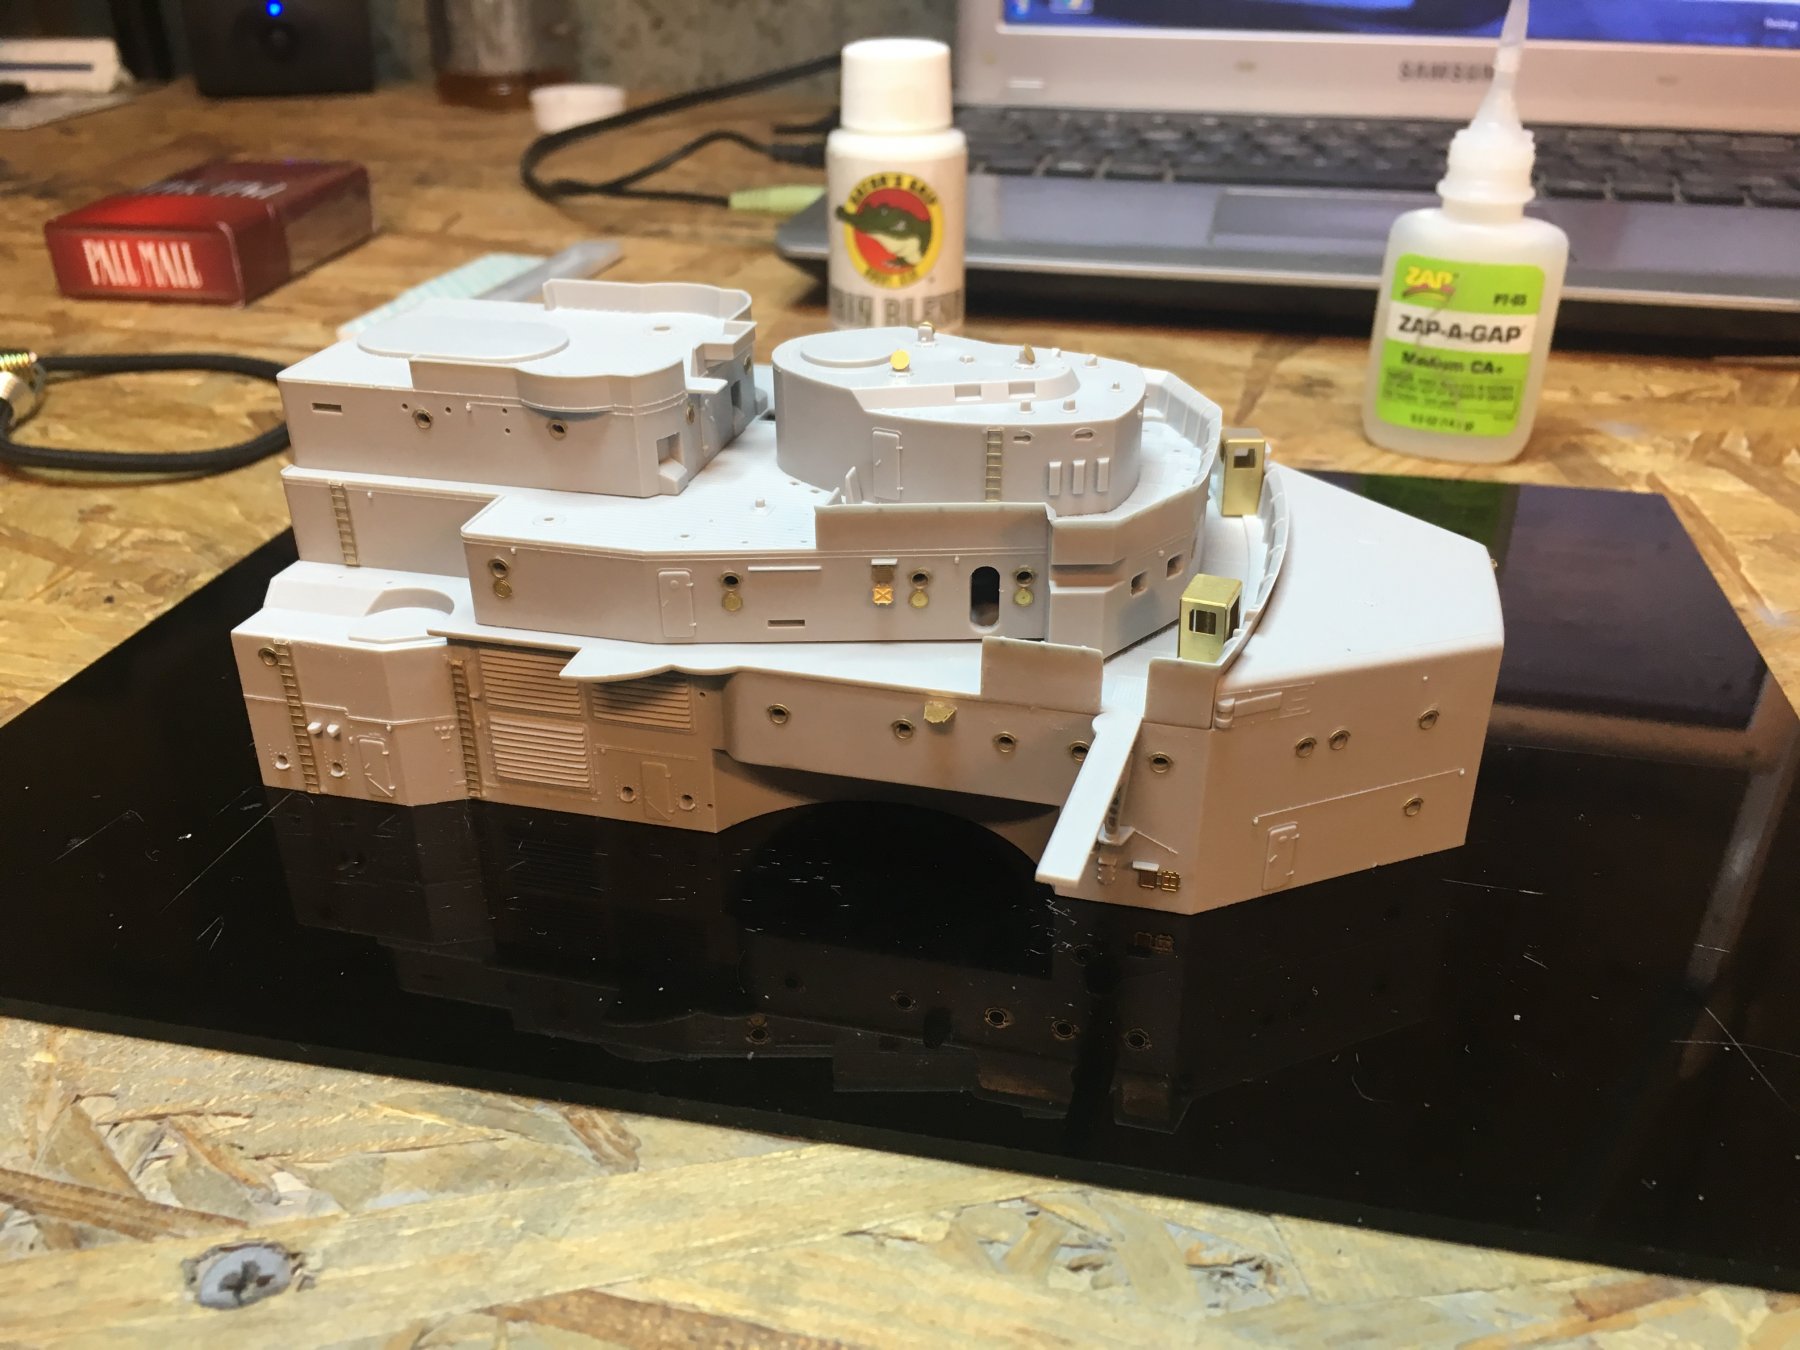
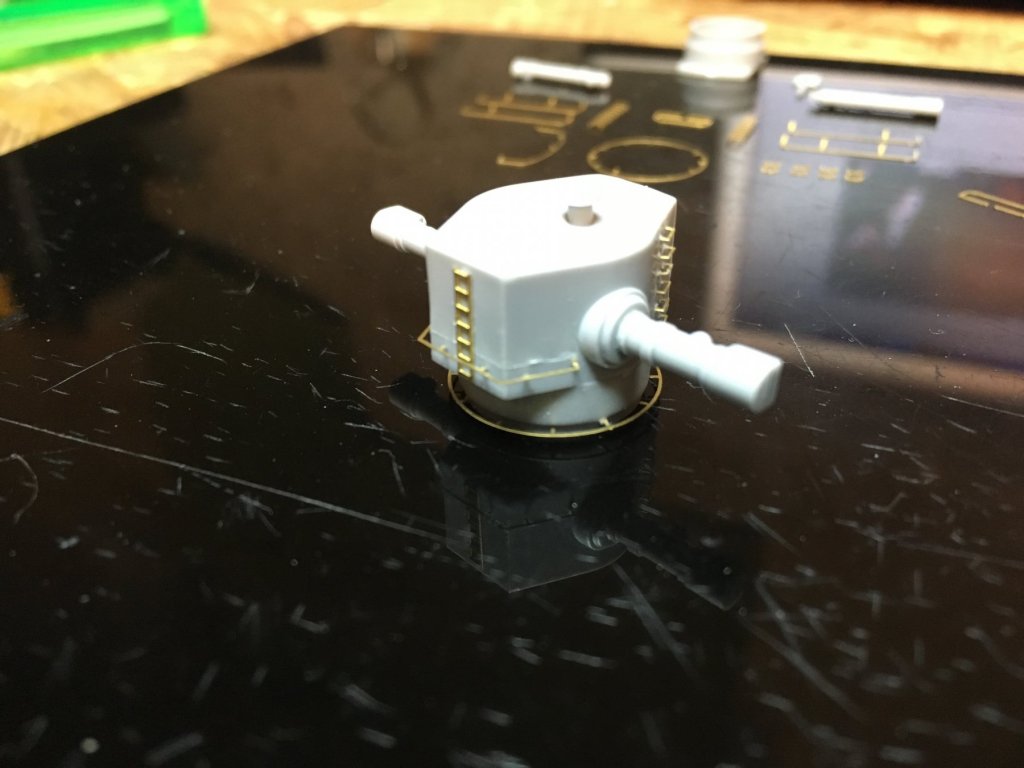
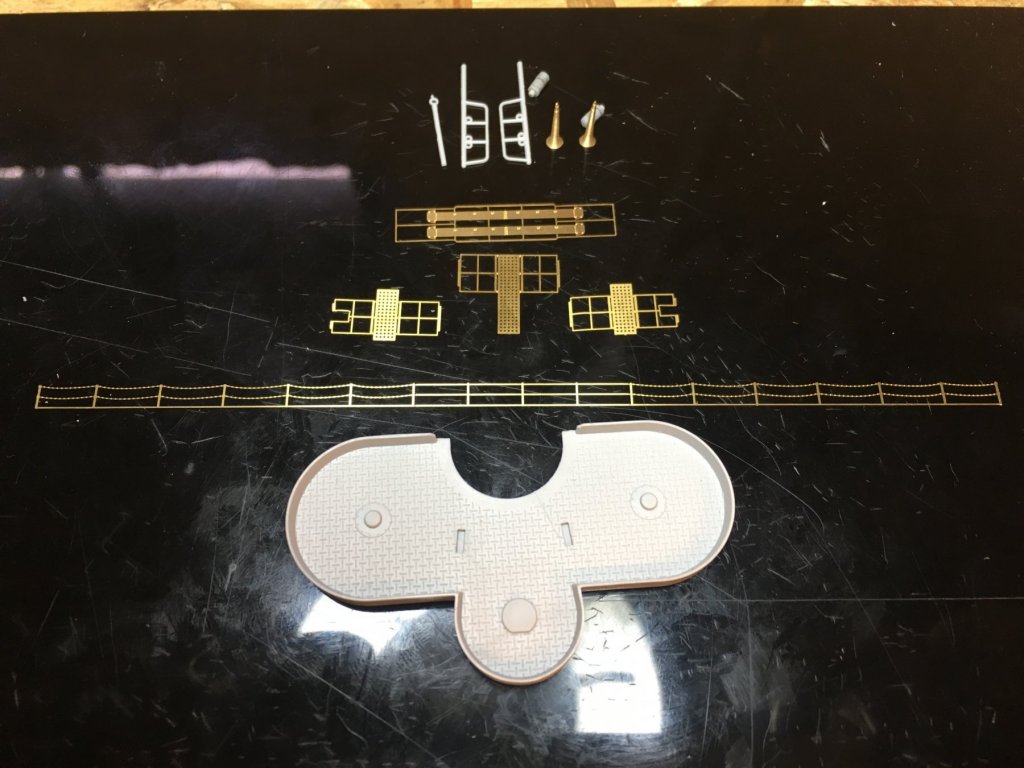
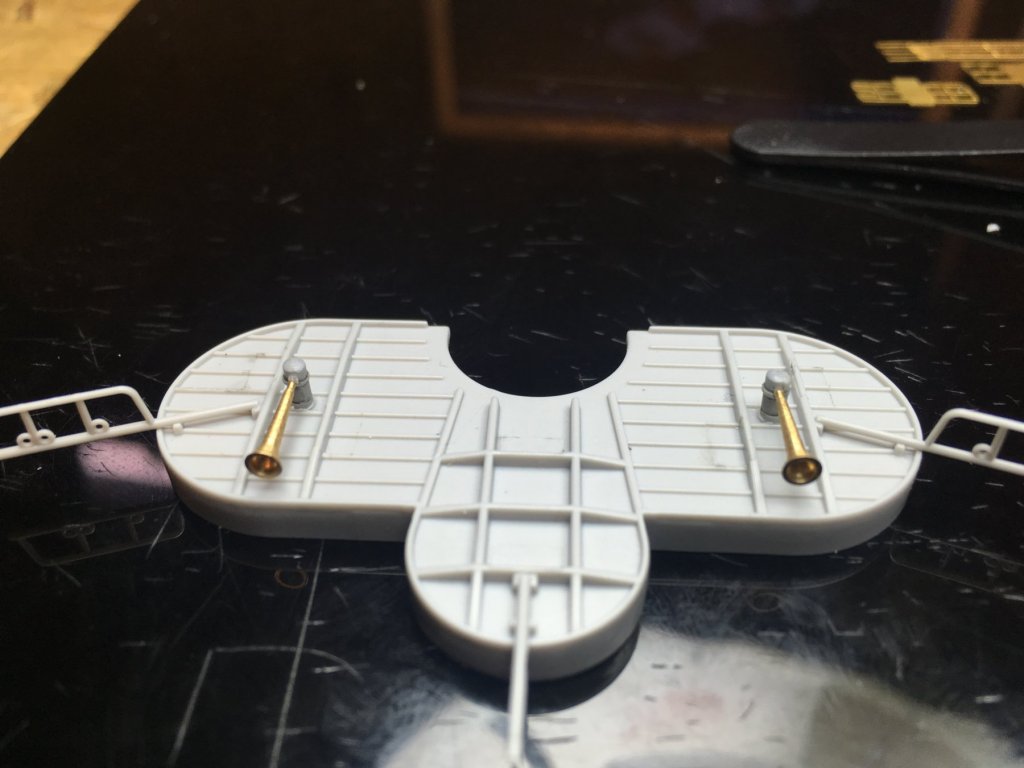
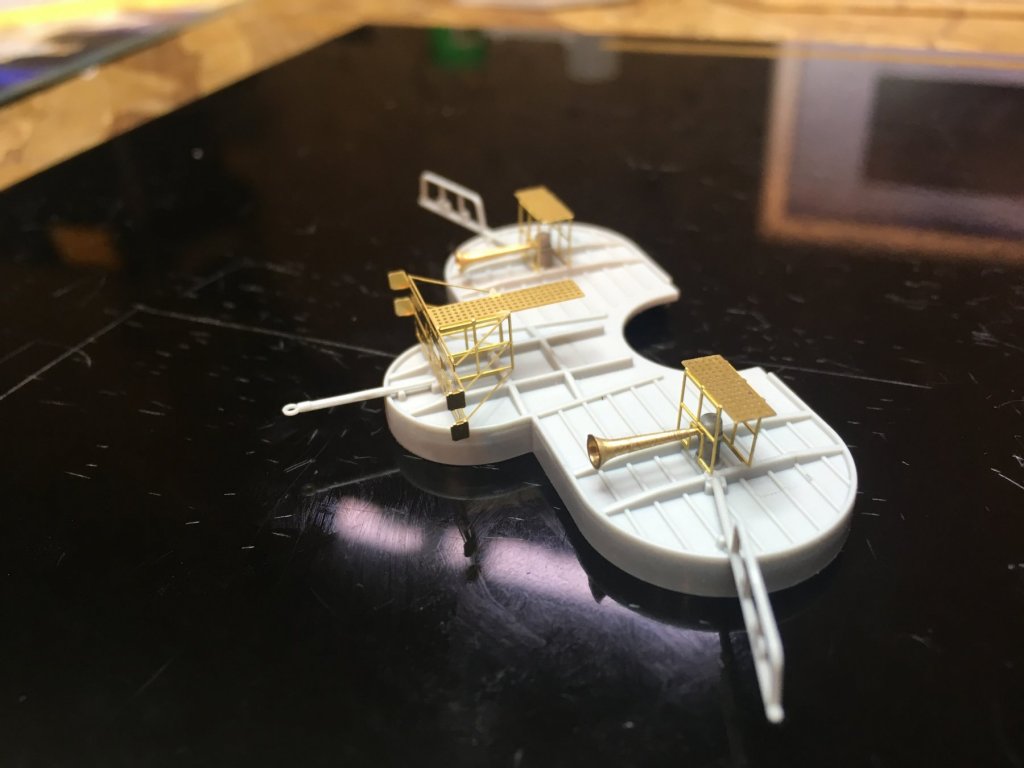
Worked on the Bismarck a little bit more today. Oliver was yelling so I brought him in to keep me company, but I made him promise not to poop on my workbench. So, pretty much the same process I've been using this whole week. So I'm not sure weather to paint the two whistles or to keep them brass. I have to do some research. I hate seeing glue spots like that. Once I turn this part over I will never see the glue spots again, so I will tolerate it. Talk to you all soon!


-
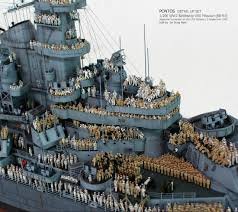
Oooo ill have to check his Victory out! I've seen a 1/200 missouri online somewhere and it had the japaneese surrender ceremory on it. It must of been hundreds of figures!
-
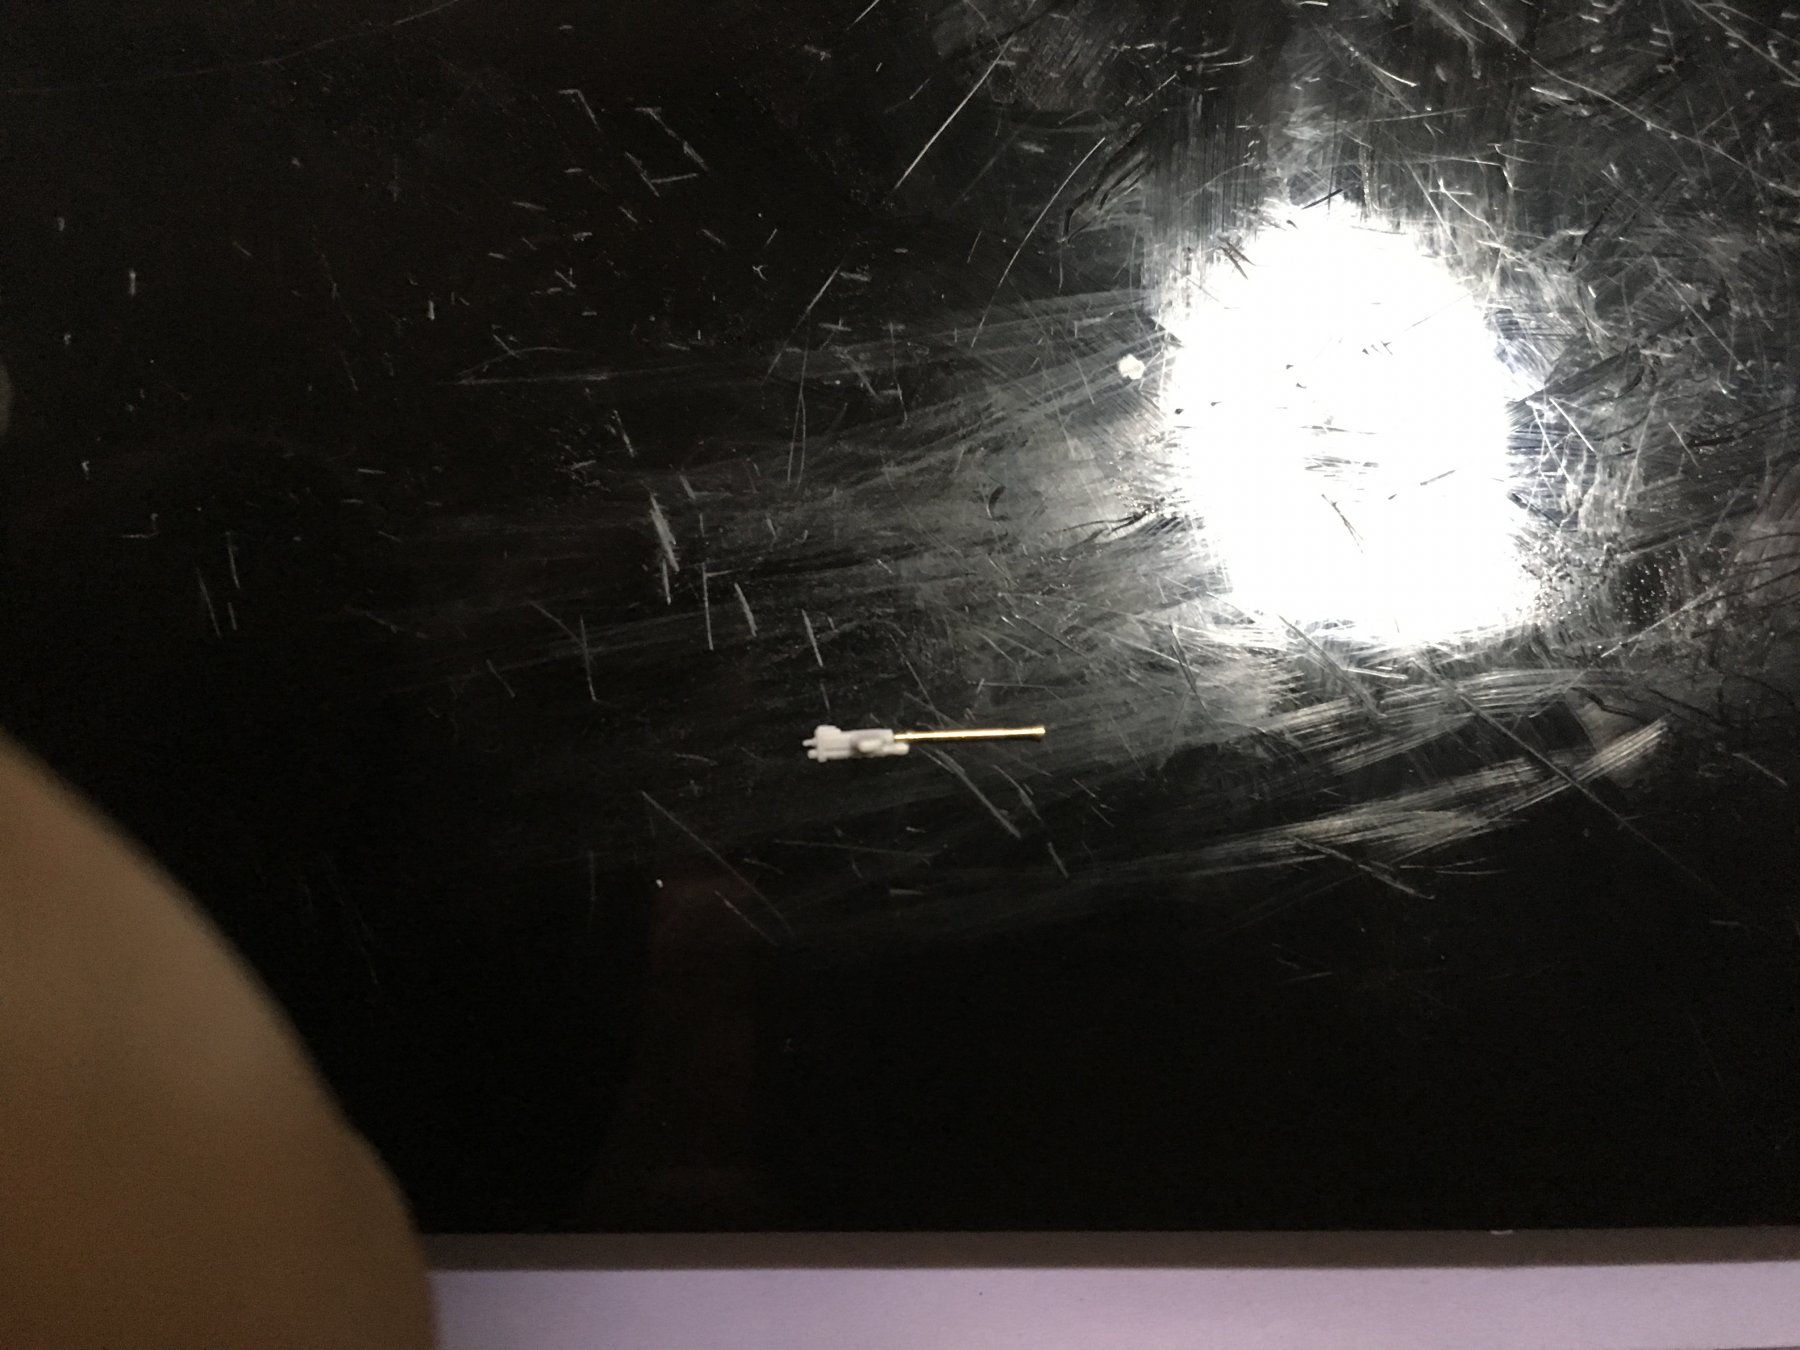
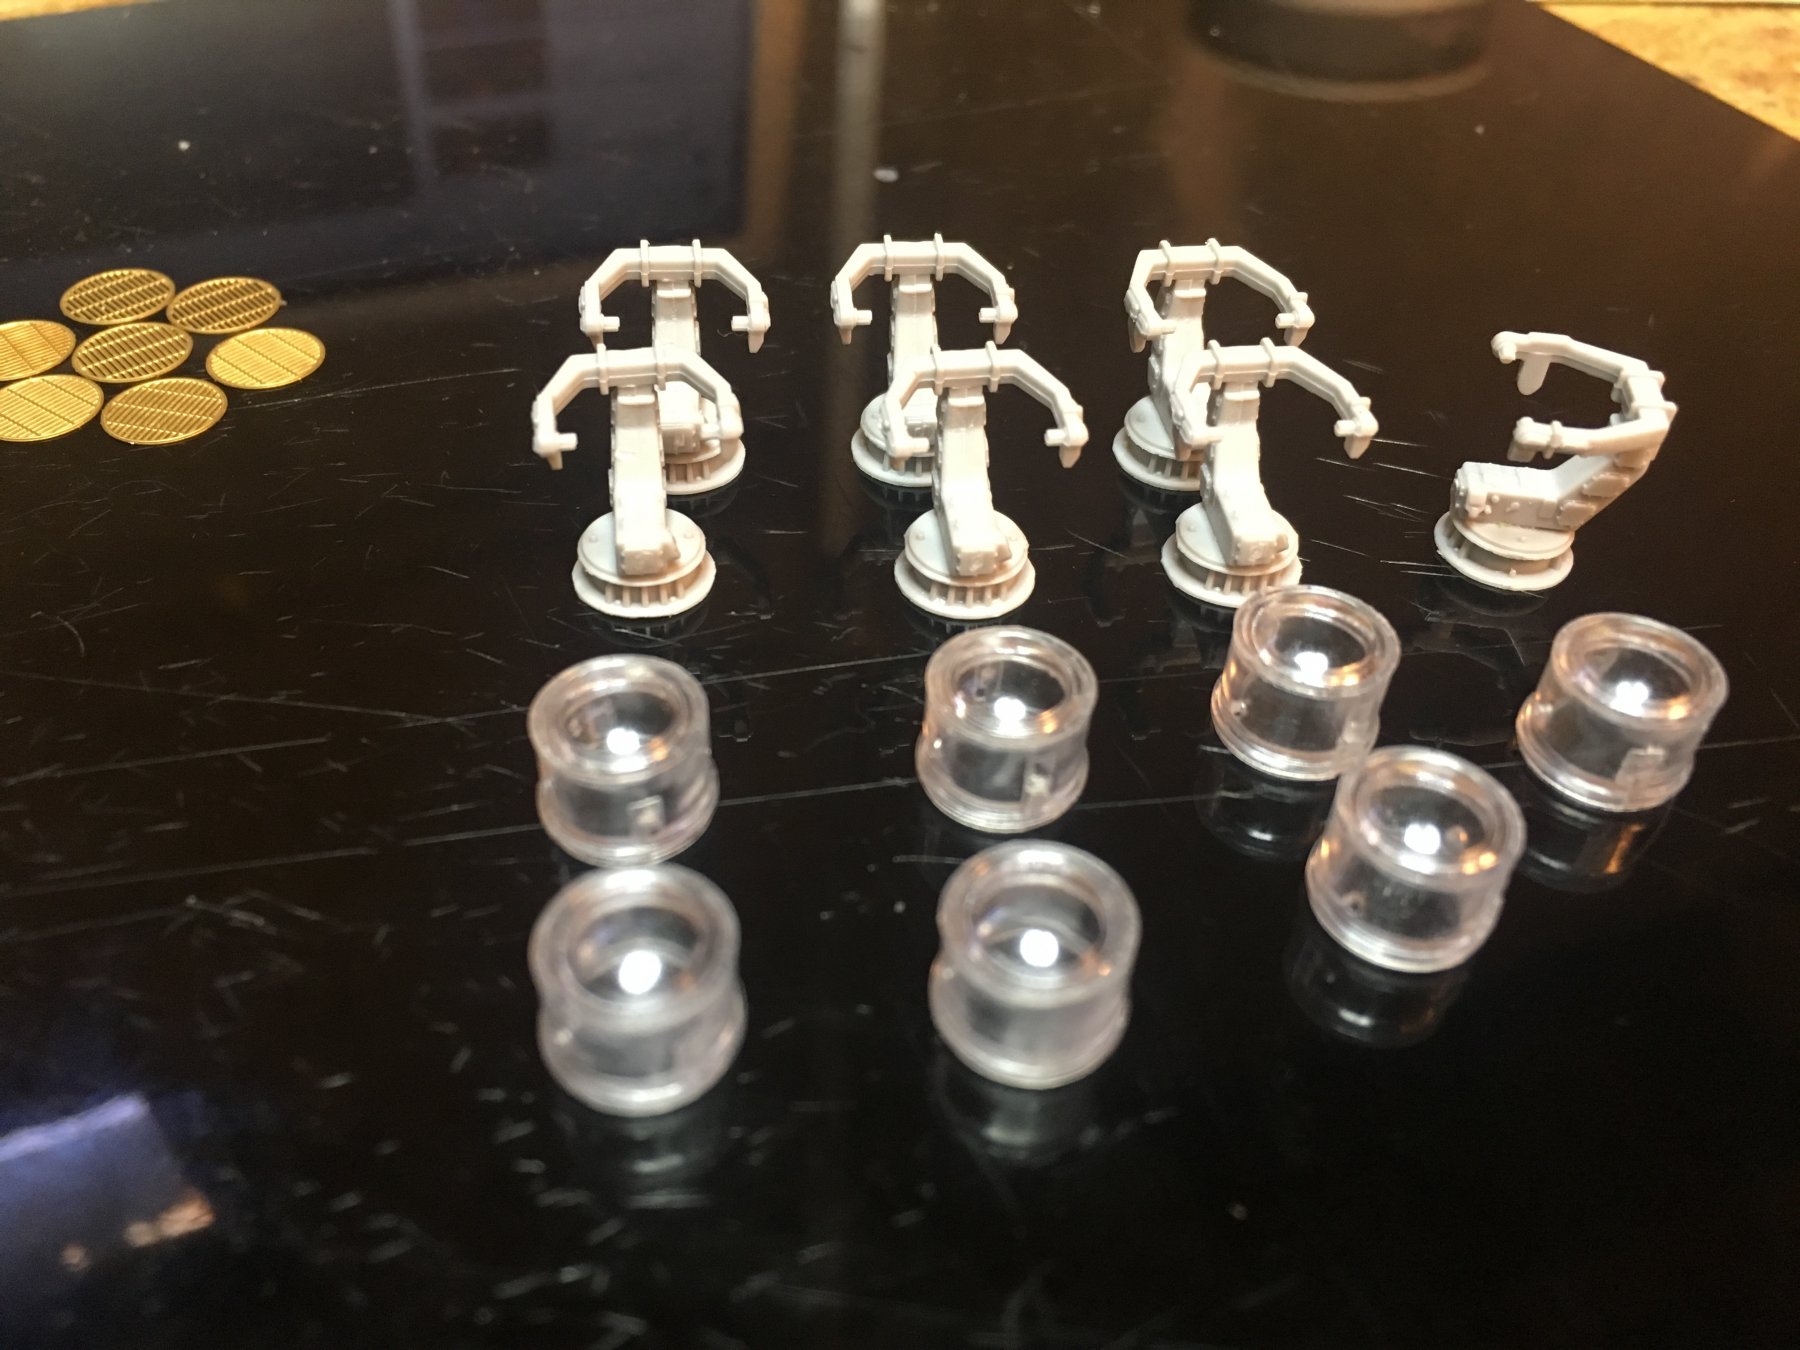
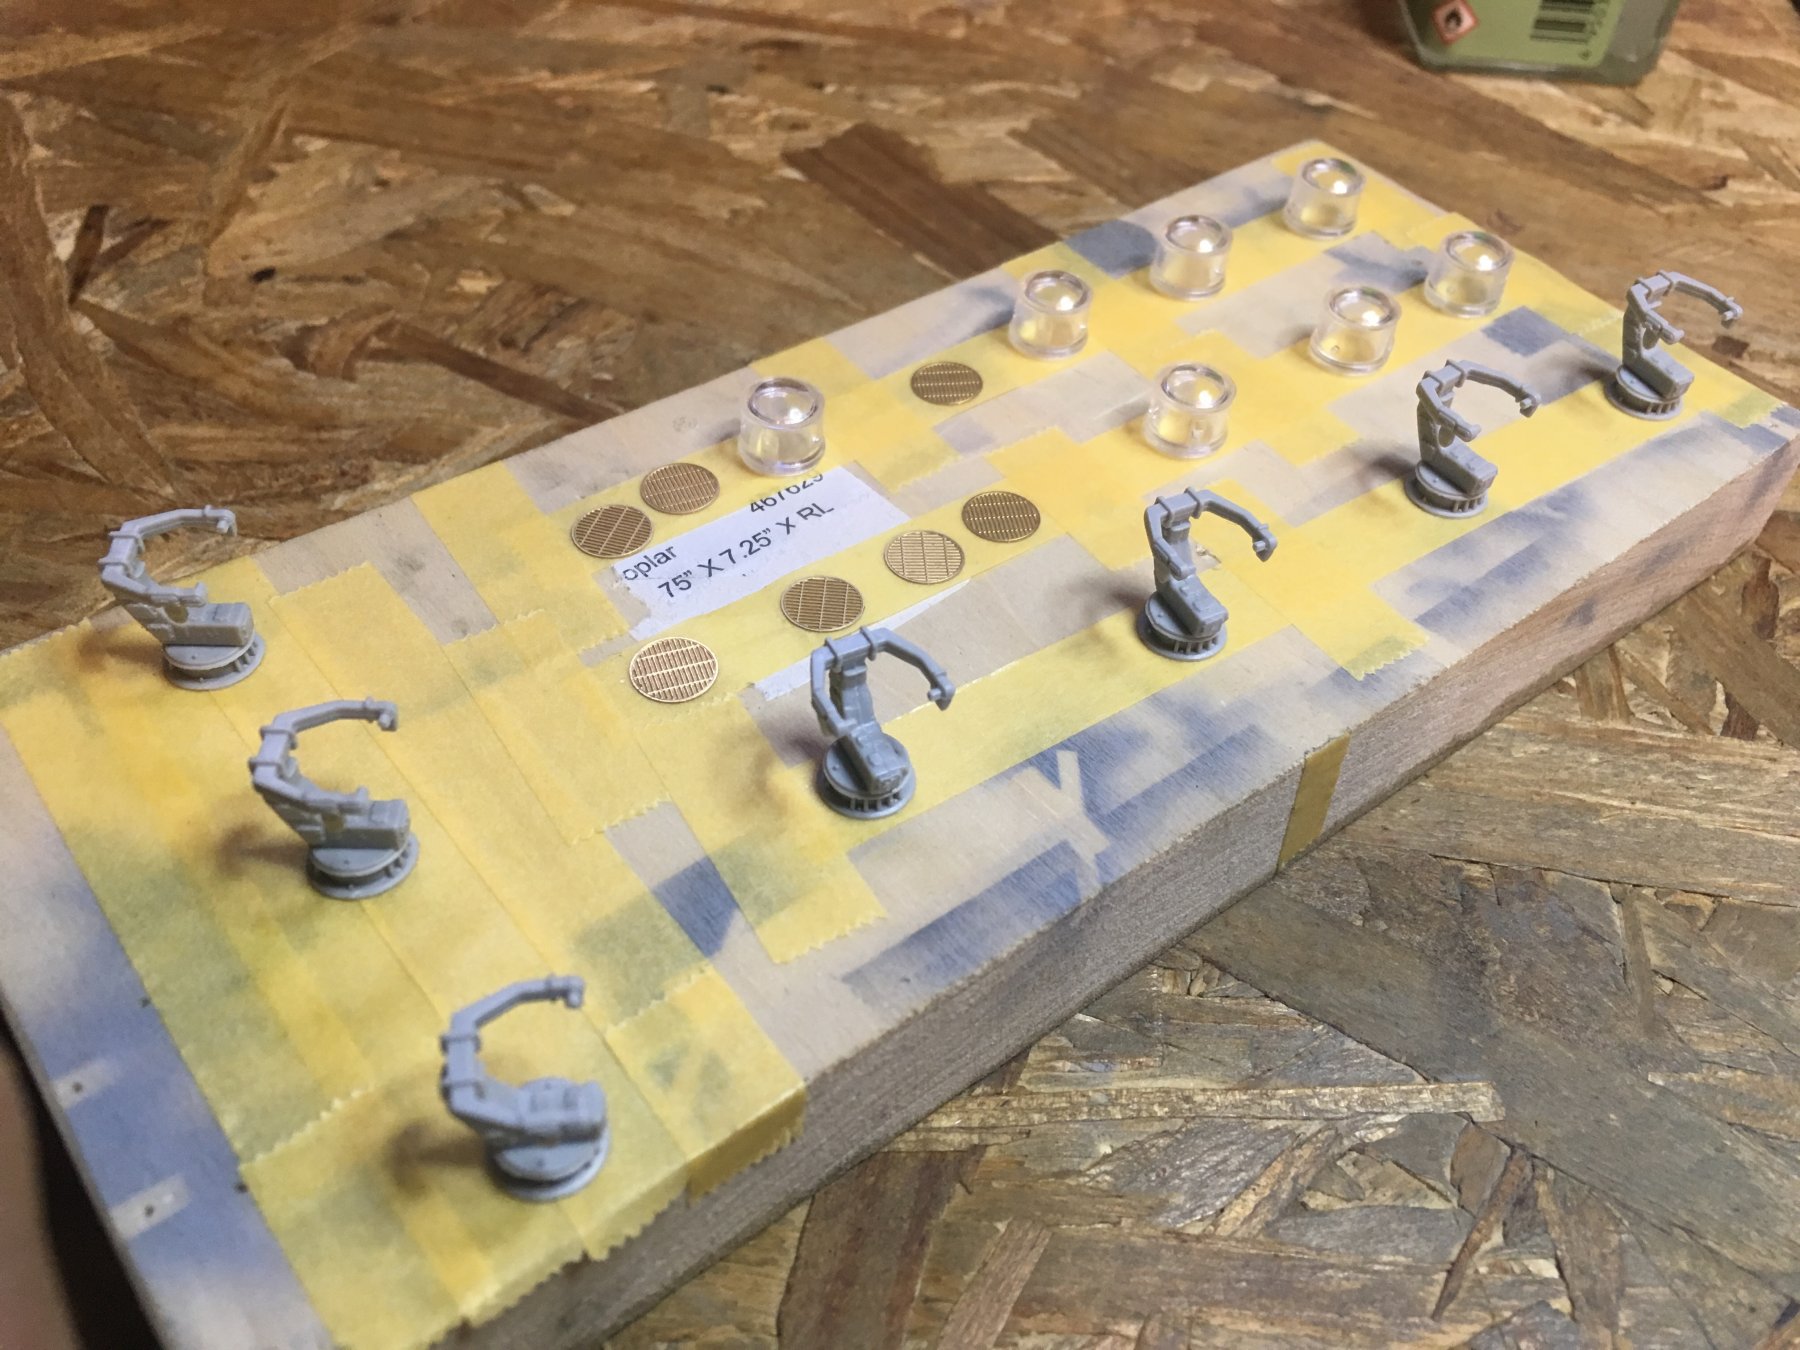
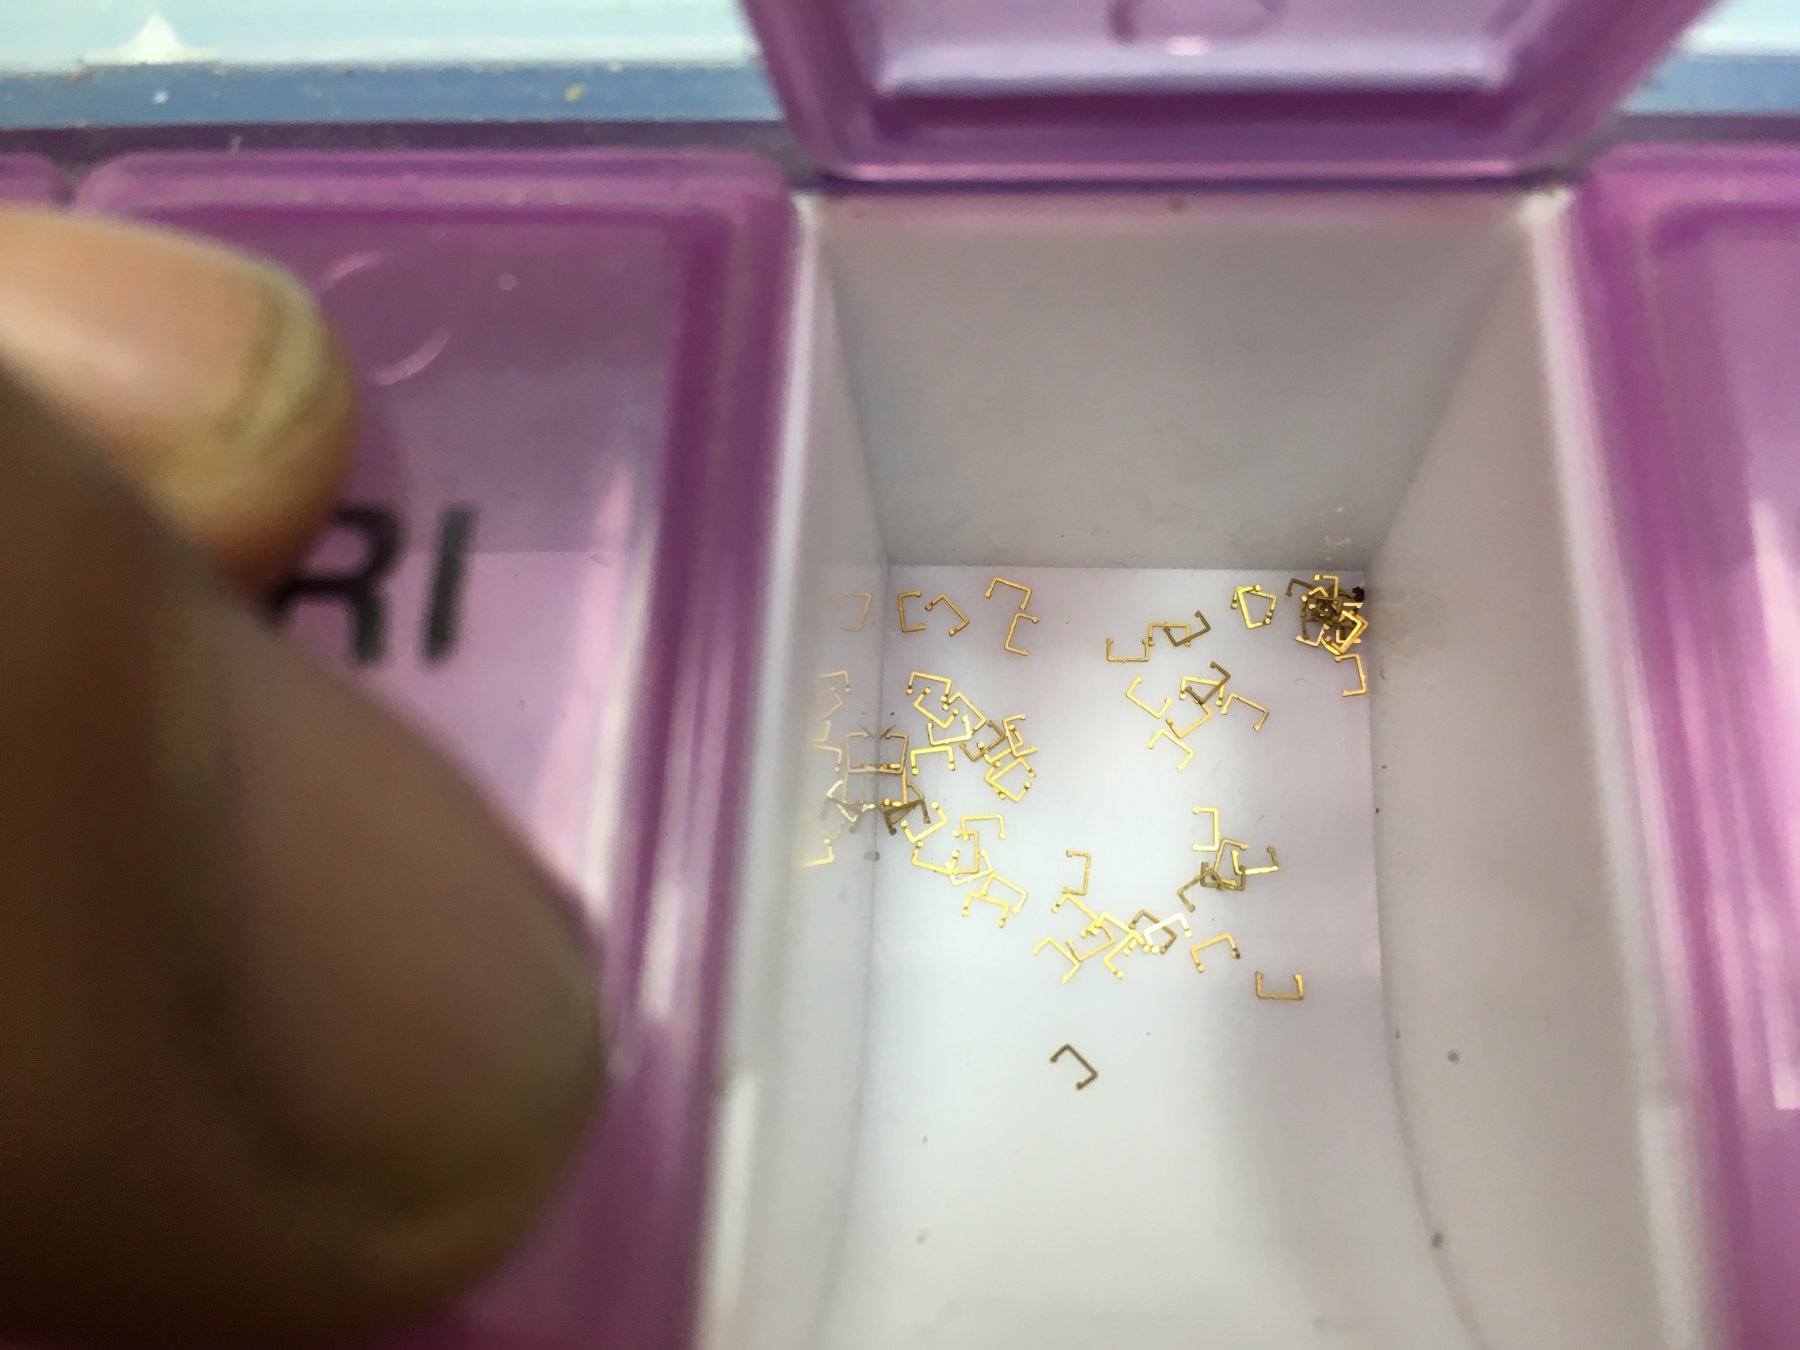
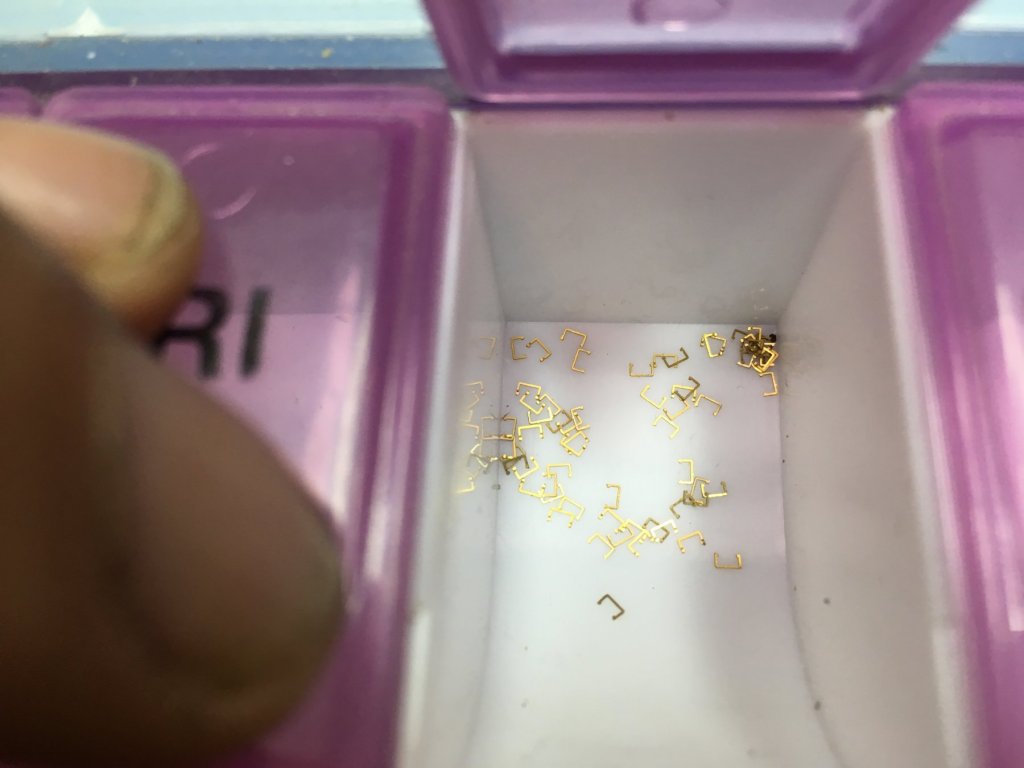
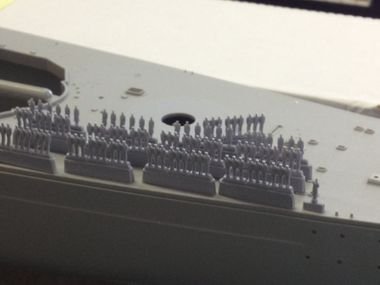
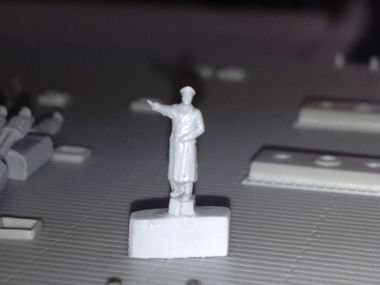
I'm going to order these little guys for the Bismarck. I have no idea how im going to paint them. At 1/200 scale 1 foot = 1/16 inch So a 6 foot tall man is only 3/8 inch tall!

-
well I said i was done for the day but i couldn't resist just a little bit more. it's only a tiny bit of progress, she's been watching me all day!

-
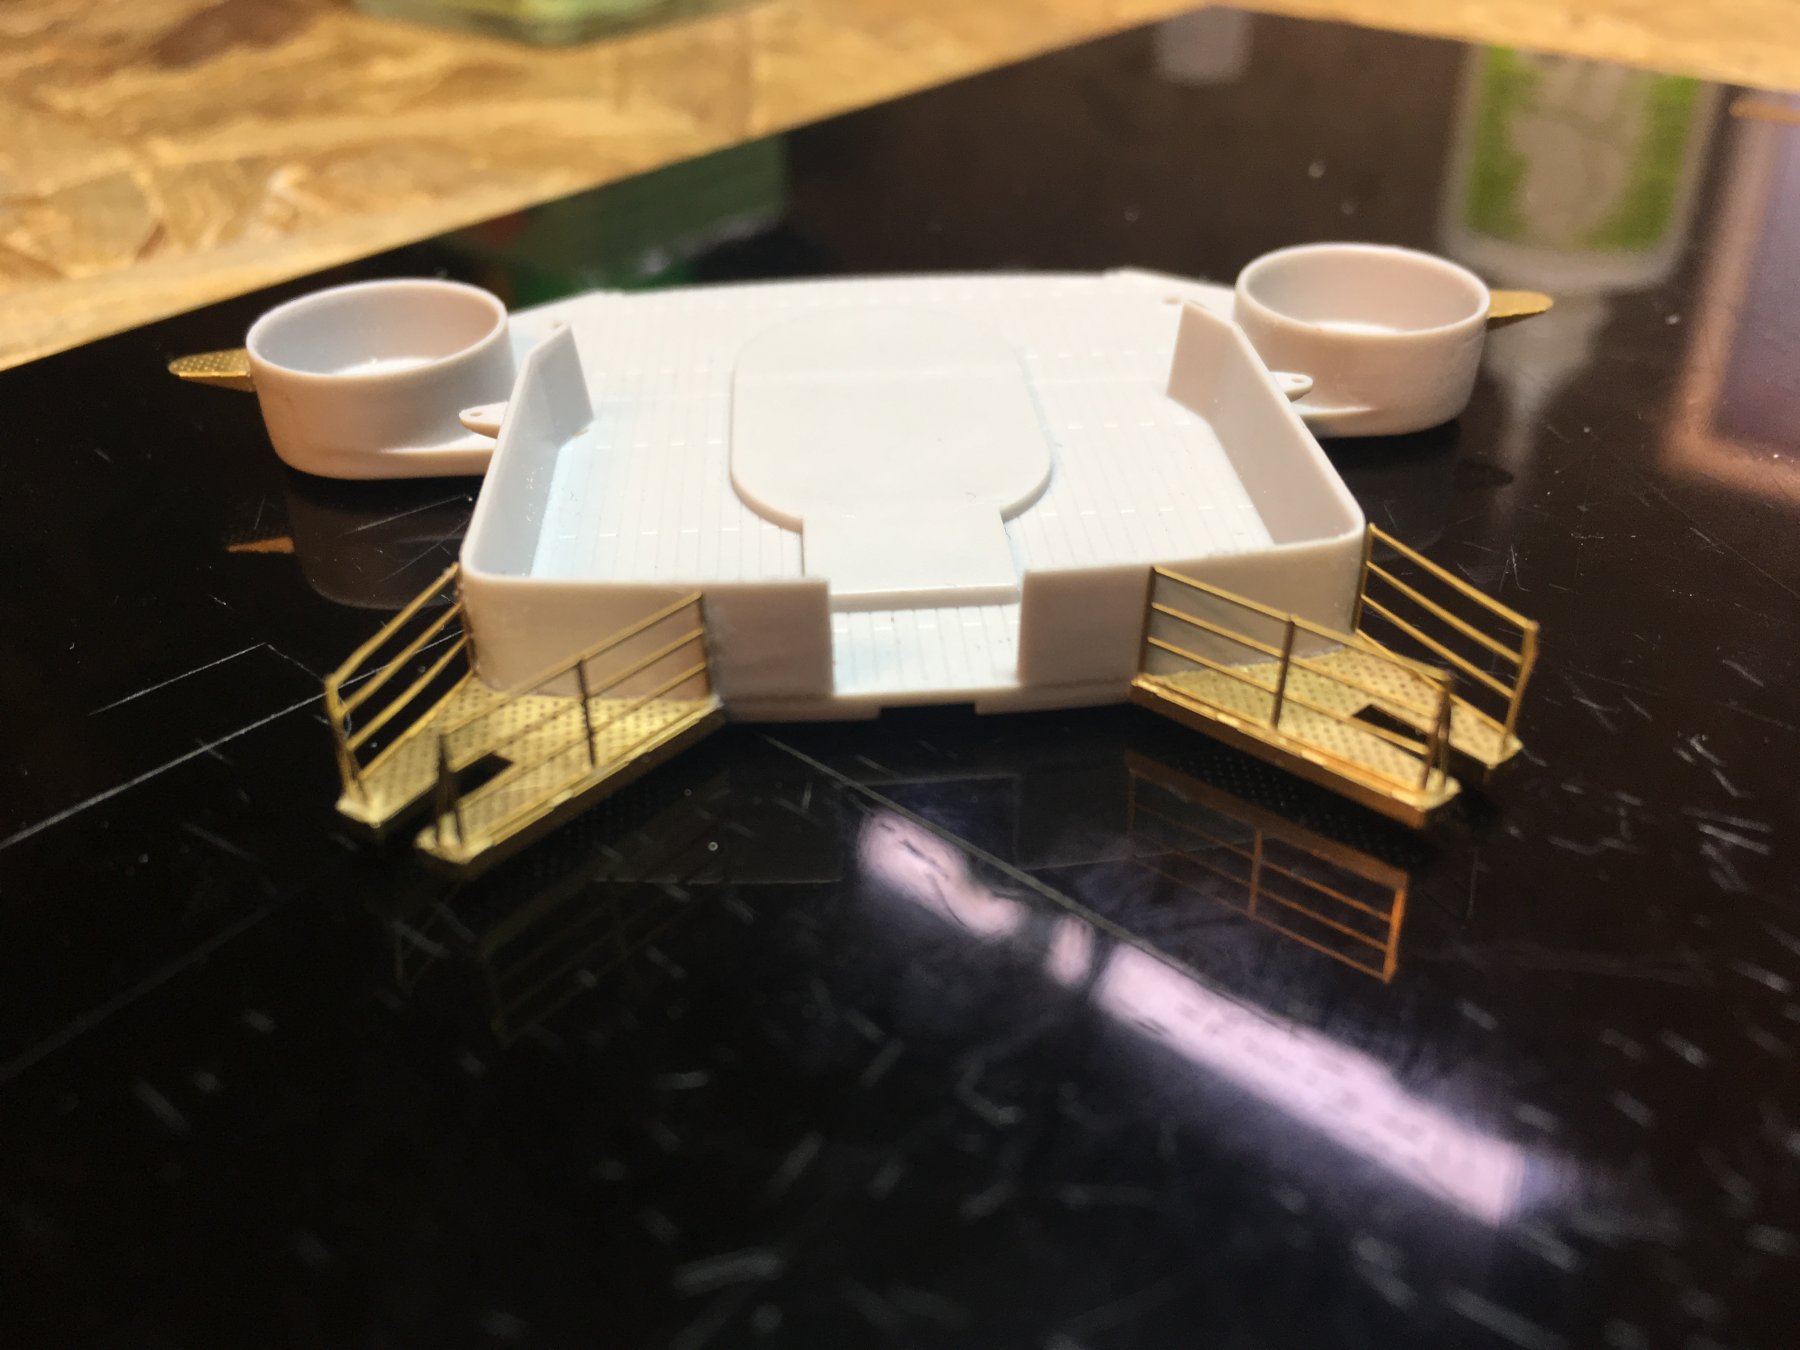
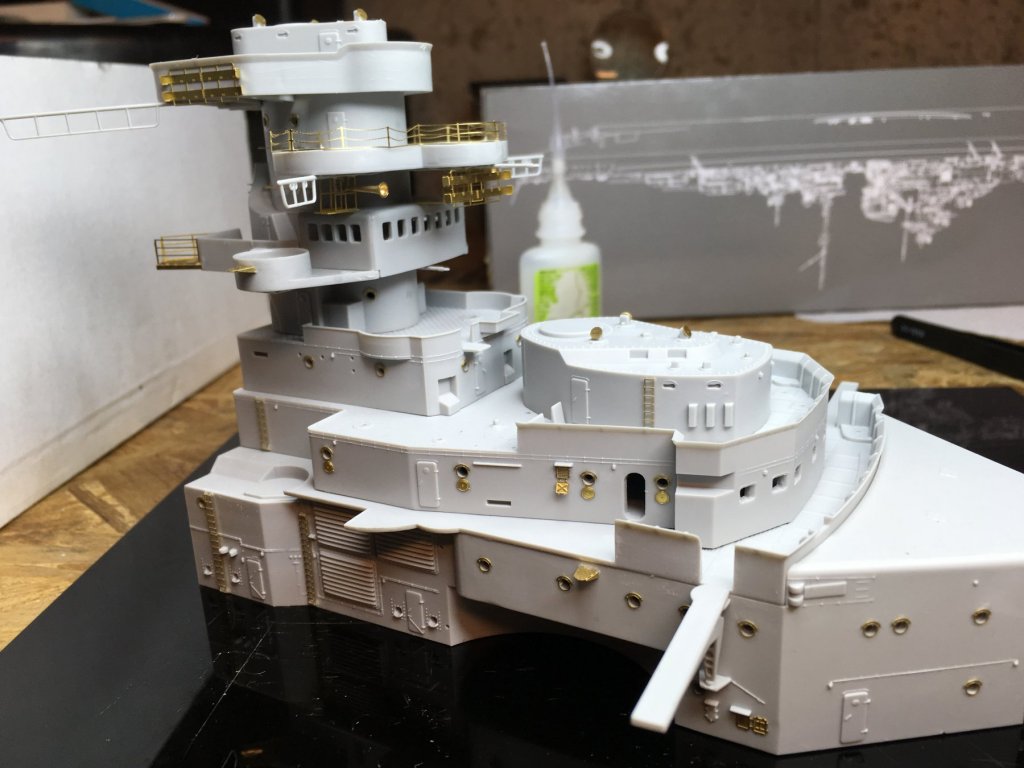
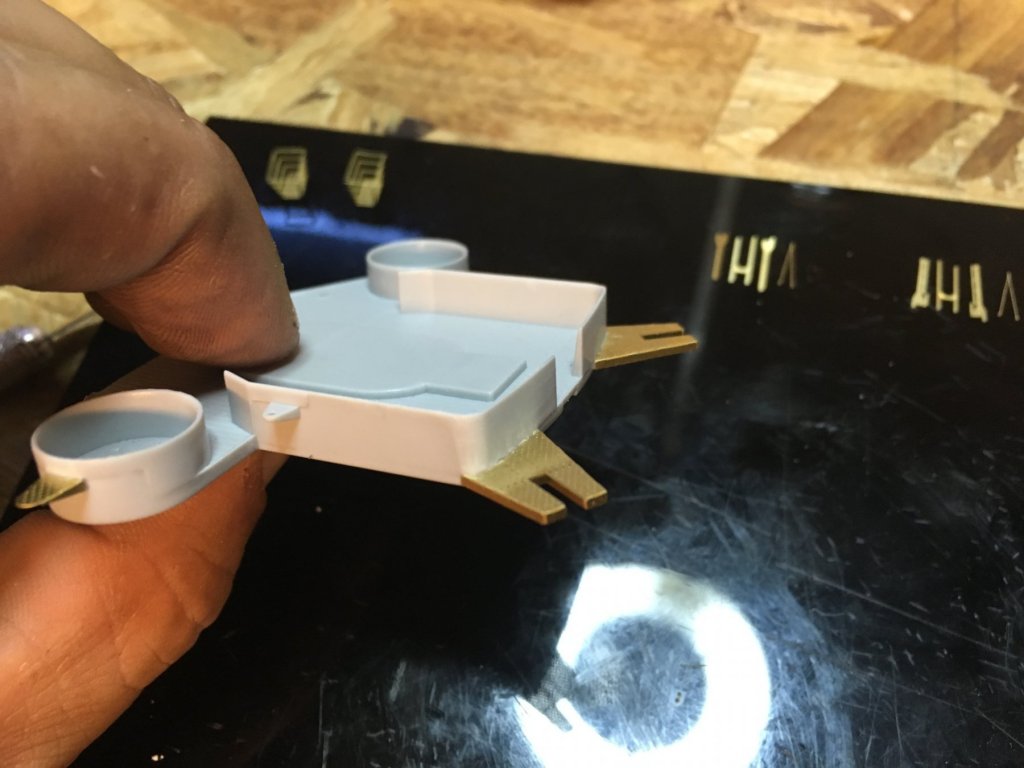
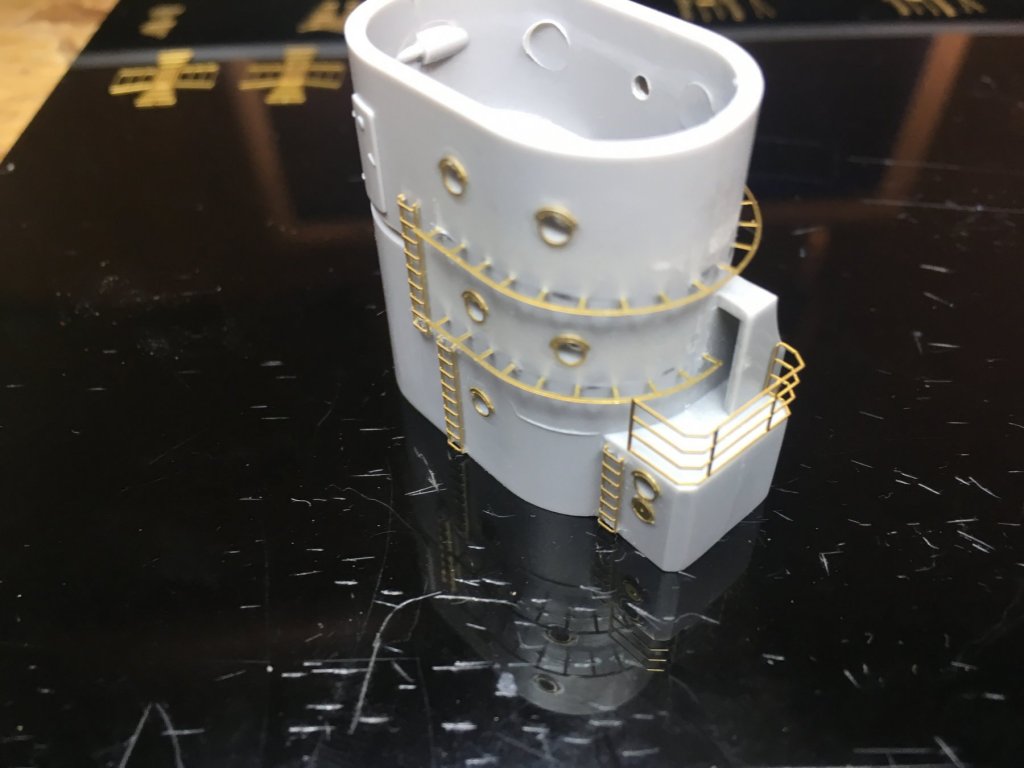
Ragove, Thank you! I try my best that's for sure. I have a small update because I don't think I'm doing any more today. I'm not happy with this first piece. The hand rails were hard for me to put in as a result there is pencil marks and glue EVERYWHERE! I hope airbrushing hides a lot of the sloppyness. Note to self, do not sand off the panel line that runs under the handrail. It would have been a lot easier had I not sanded it away. This next piece should be interesting. What a mess! Have a great day everyone!


-
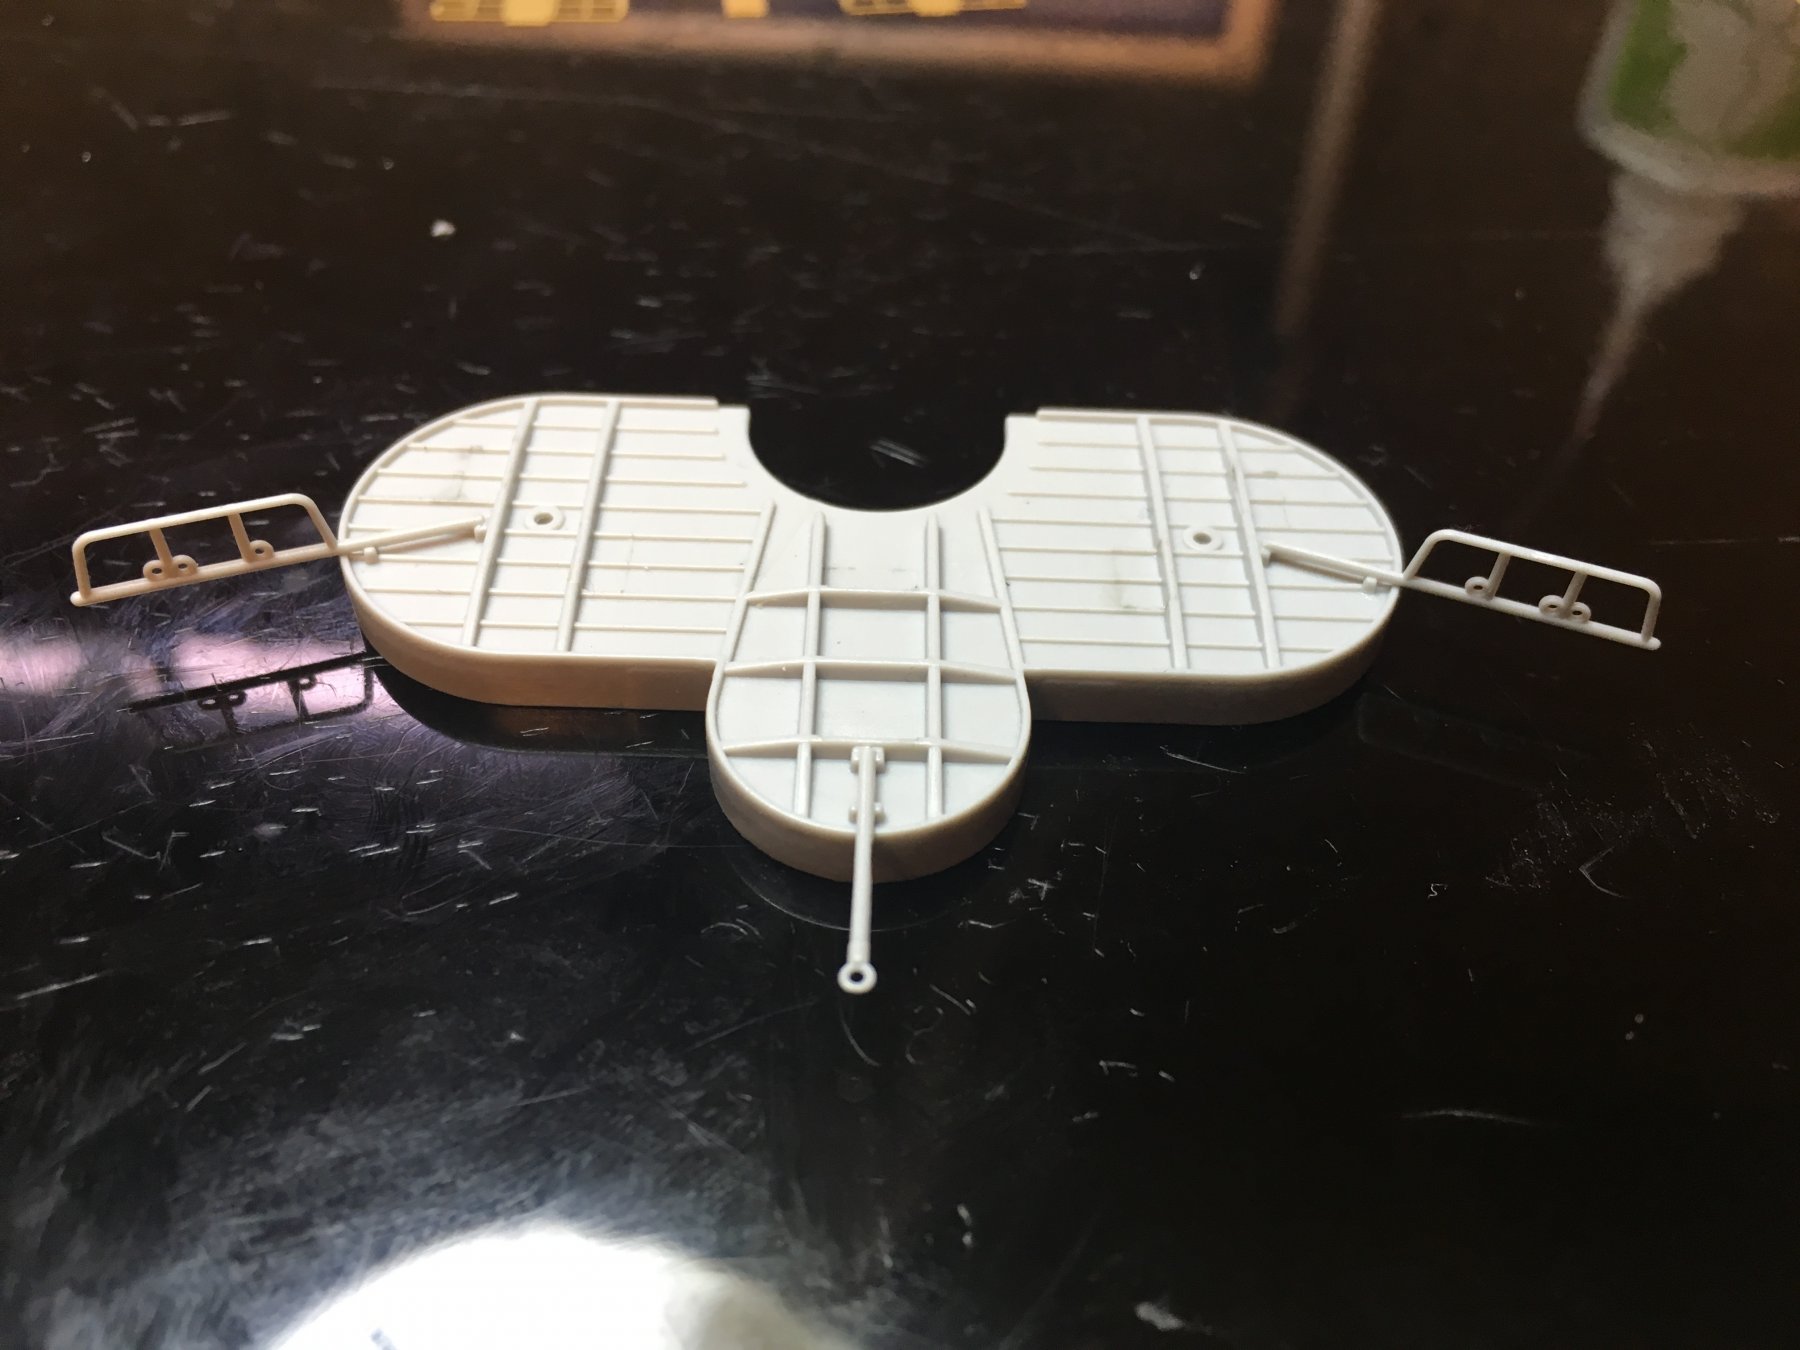
That's it I'm done for the day, wish i could finish this piece but ran out of time. Until next time!

-
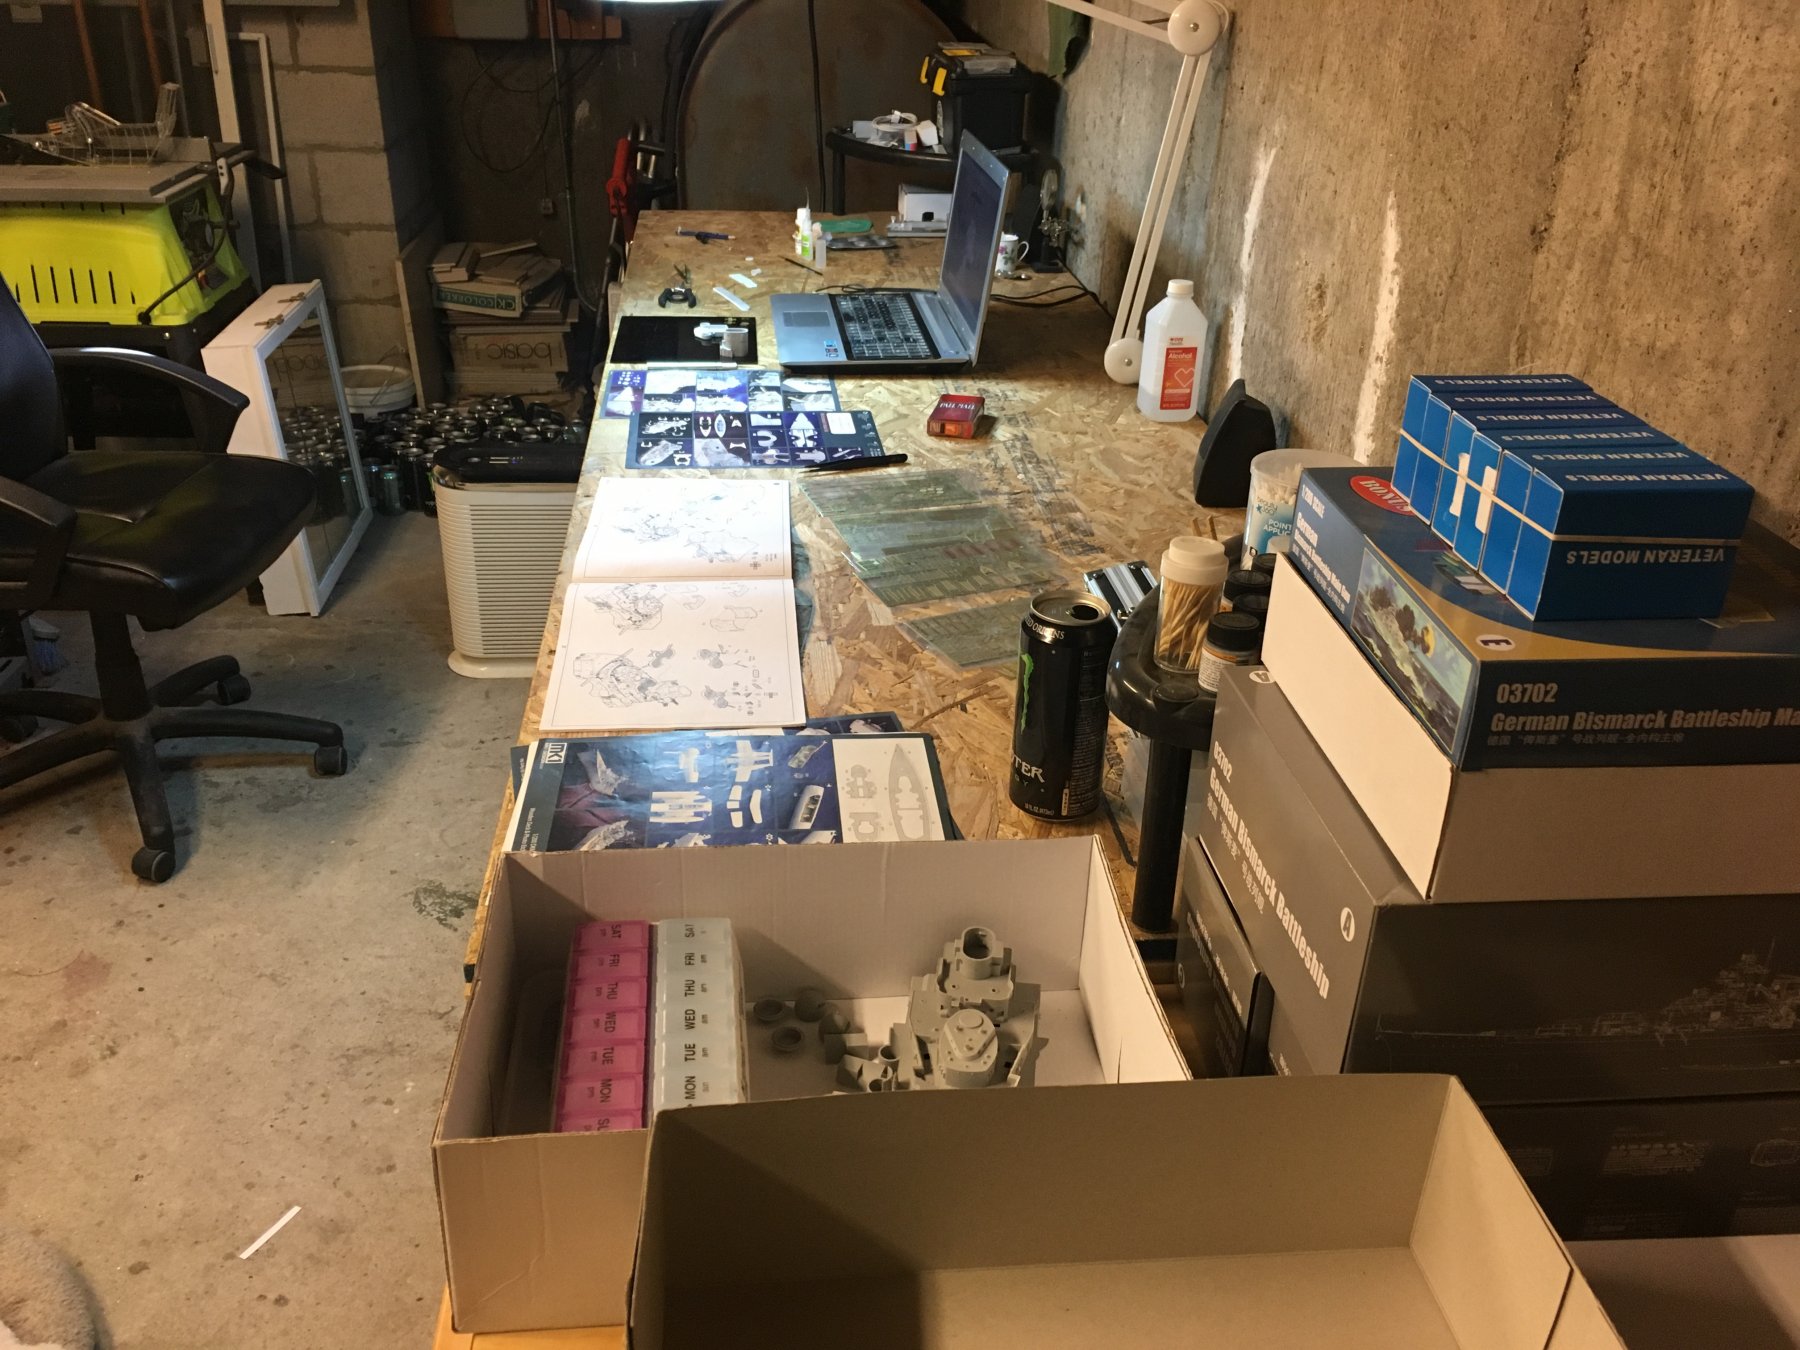
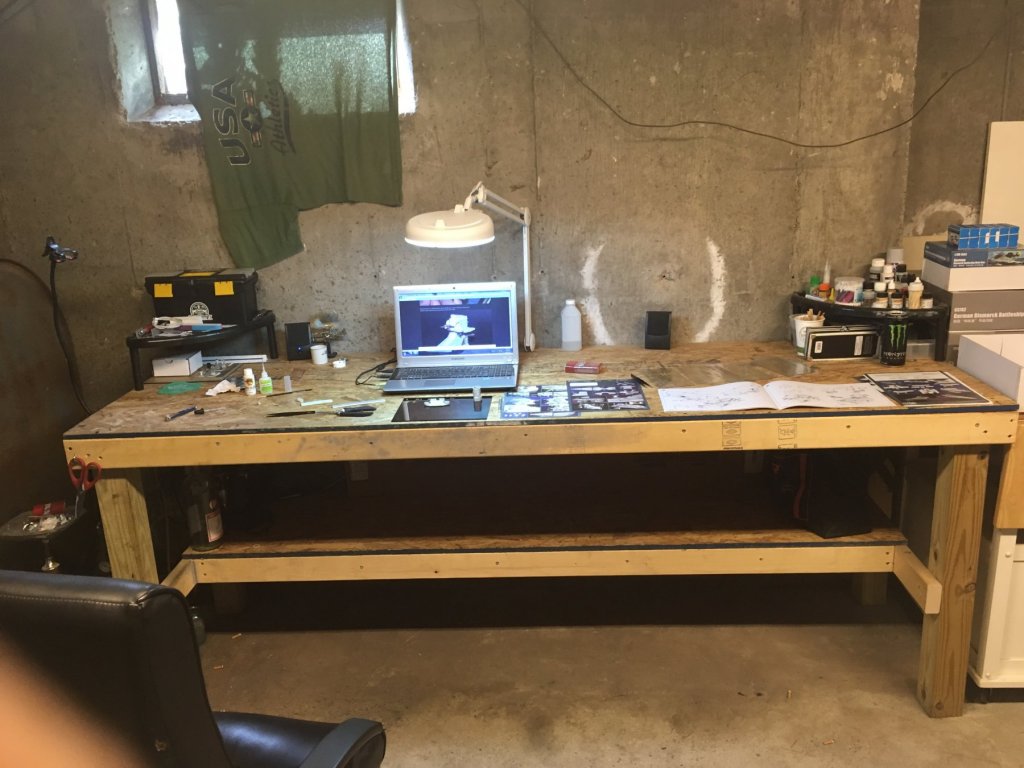
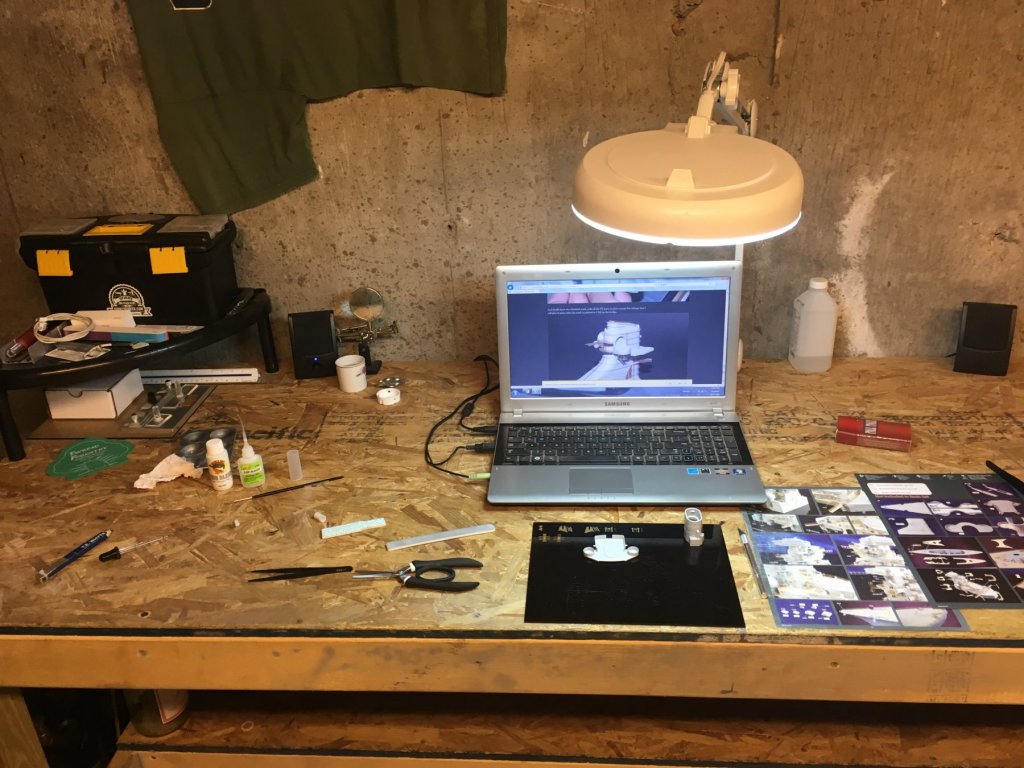
Hi Yves, It's called the etch buddy. I got it on micromark.com tho it's pricey. I should have gotten a cheaper one, they seem just as good. I dont think I could've done this without the Flory models blog! It's amazing! I'm trying to follow exactly what he is doing. infact you can see his blog in the background of one of my photos. thank you for the compliment. Thank you Popeye! I wish I saw what you see. I see all of the mistakes every time I look at the ship, but that's just how I am. I assure you I haven't done a model in about 25 years However I am being very very very careful at every step being sure to study Flory models build. maybe that helps hide me being green lol. I am going to watch closely your new/old heller kit, very interesting!