HOLIDAY DONATION DRIVE - SUPPORT MSW - DO YOUR PART TO KEEP THIS GREAT FORUM GOING! (Only 68 donations so far out of 49,000 members - Can we at least get 100? C'mon guys!)
×


rwiederrich
-
Posts
5,518 -
Joined
-
Last visited
Content Type
Profiles
Forums
Gallery
Events
Everything posted by rwiederrich
-
Glad…… she is coming along nicely. Good contour. I see you made the stern post adjustment for the rudder post. Rob
-
Yeah, once you’ve laid about 2000 plates you can easily be persuaded to NOT do it again. And you only plated half the hull of Cutty. You have plenty to do till Christmas , so full steam ahead. You have bulwarks to build , and another delay in wood delivery. Getting old is a major contributor, especially when having to tackle something that tries your patience. You’re doing a great job, I love it. Rob
-
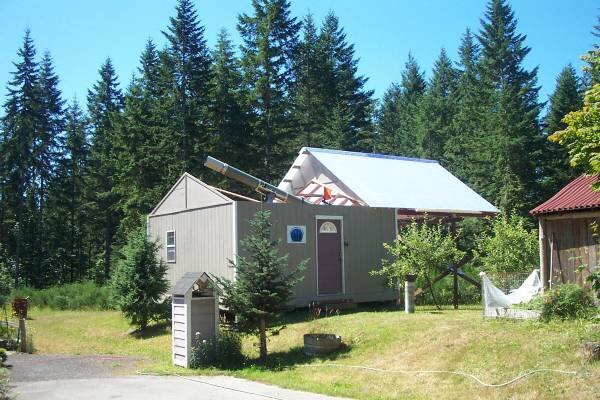
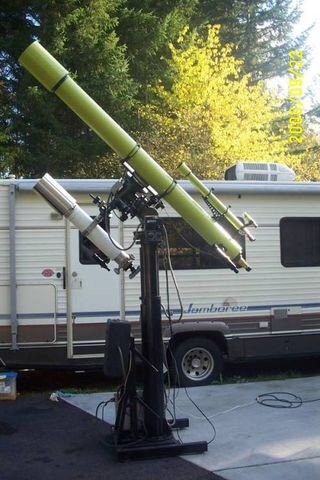
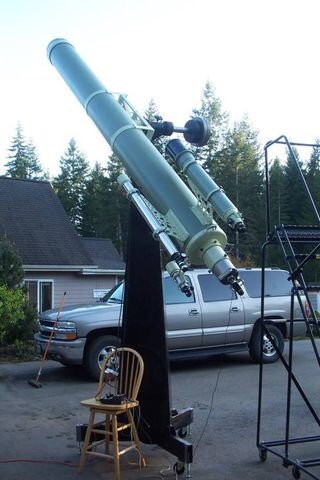
I helped build the lime green one. I built the smaller white scope Mounted on its counter arm. I used it for photography. And I built the big green 10”, but not it’s spotters. That is it in its roll off roof observatory. I also built
- 3,560 replies
-
- 1
-

-
- clipper
- hull model
- (and 2 more)
-
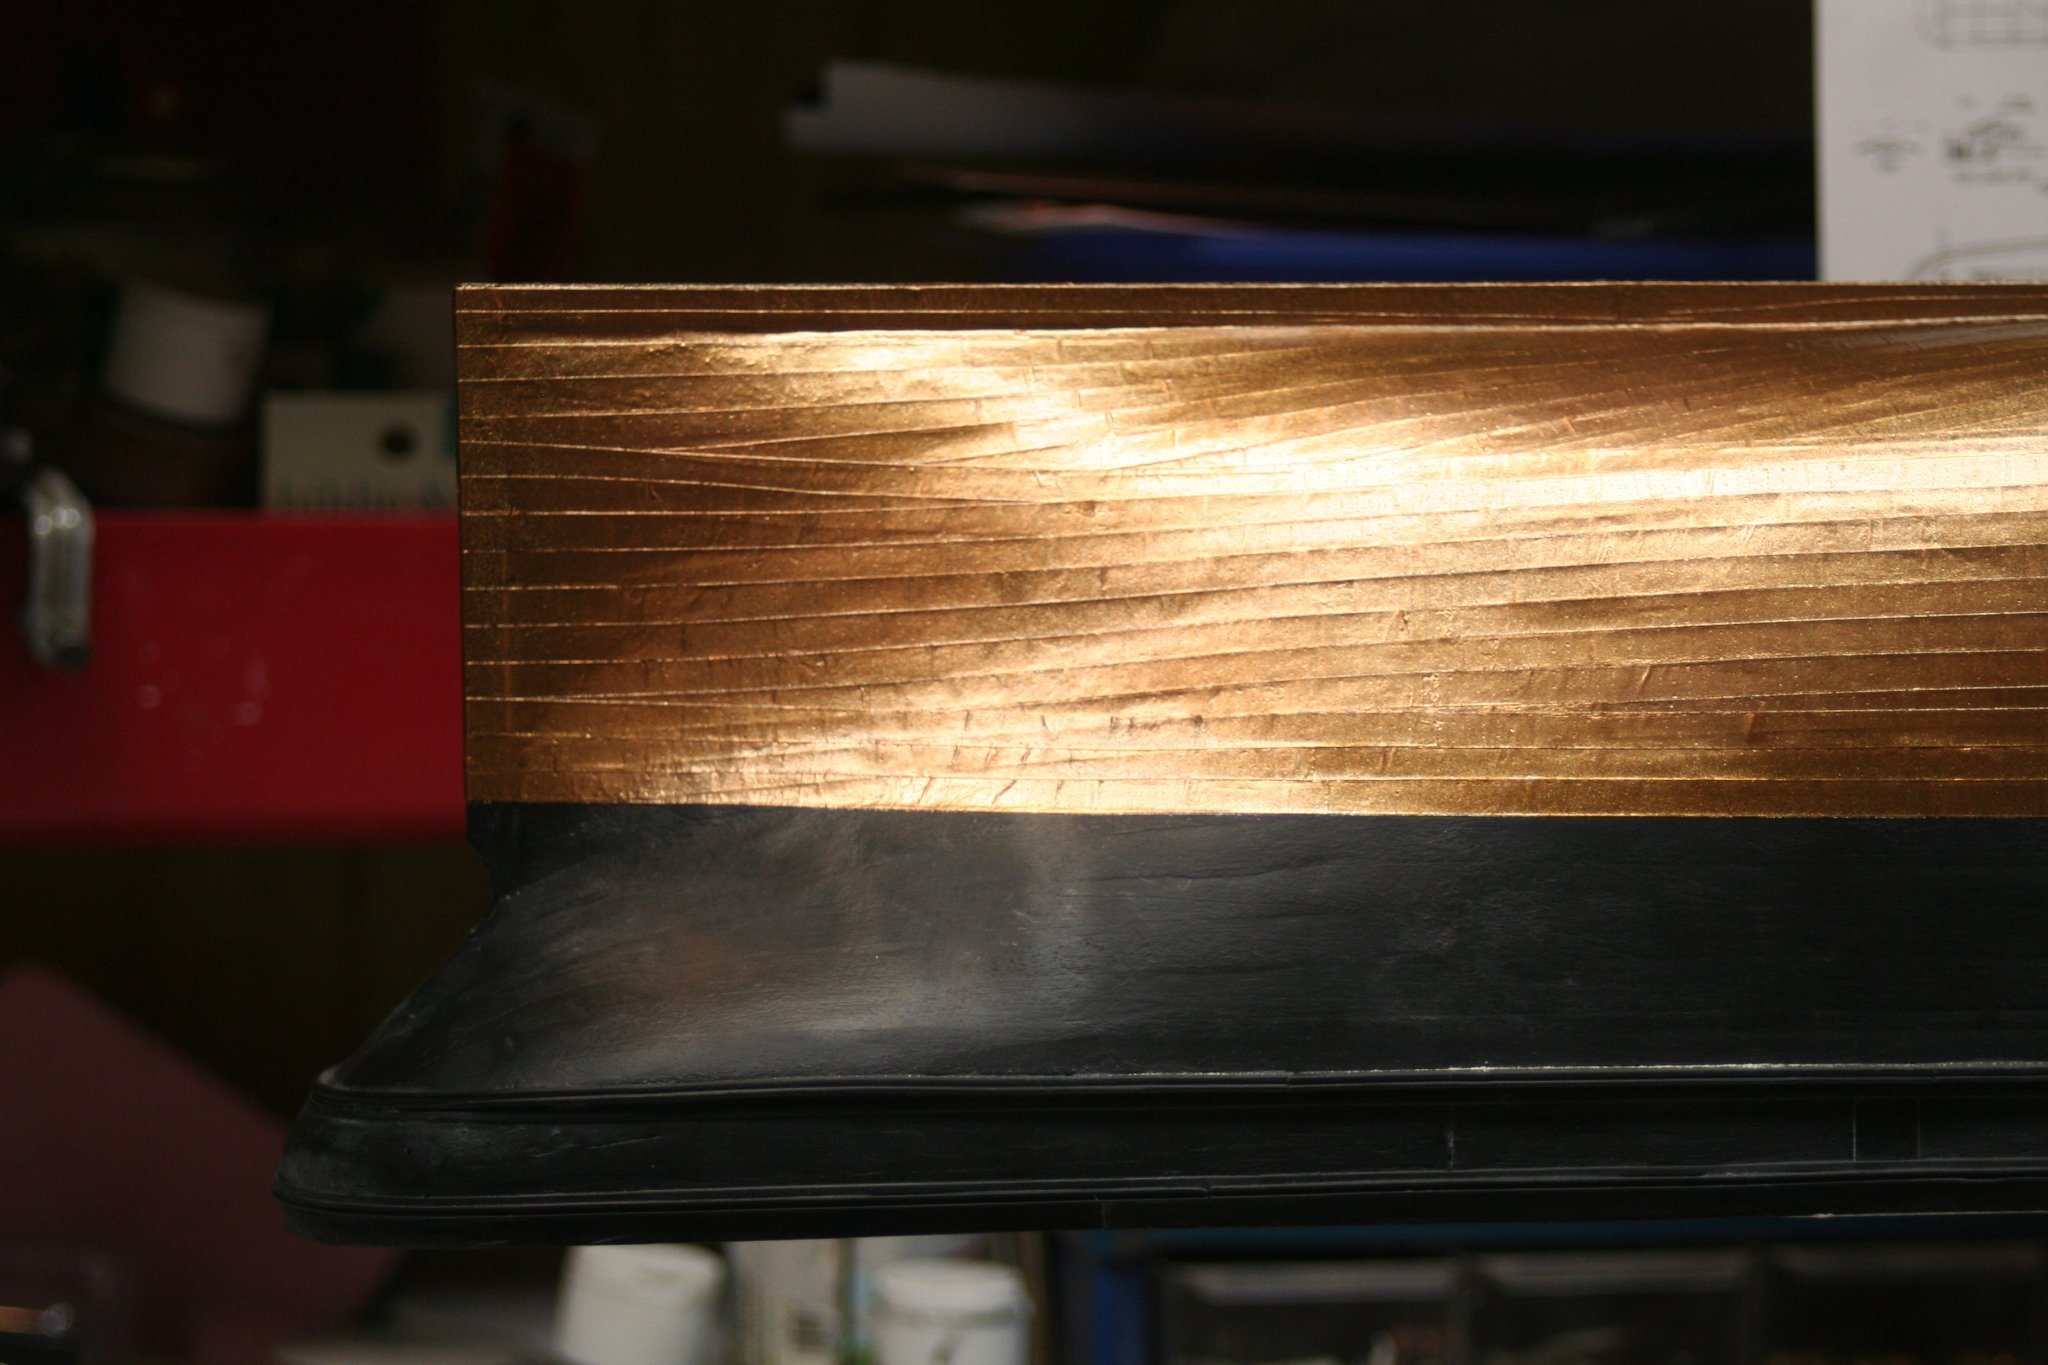
Actually, one could simply use the copper tape or pre formed plates and simply paint them with a metallic paint that shines like bright muntz . Easy peasy . I almost did that myself , Cept I like the weathered look. Rob
-
Specifically astronomical. Astronomy is my second hobby……..or is it my first hobby? Here are some of my homemade telescopes. My 6” f/15 and my big 10” f/15
- 3,560 replies
-
- 2
-

-
-
- clipper
- hull model
- (and 2 more)
-
Stellafane graduate....cool. Back in the day I had the pleasure of meeting John Dobson at RTMC in Cali. I built only one 8" f/6 and focused on 12" to 18" f/4.5's I made about 5 of them on my Porter polishing machine that I used for hogging and a 4 table machine that used to be a Navy optical lab machine. I had a dedicated optical bench for Ronchi testing. Yes...model ship building is far less demanding a hobby. I still build refractors (My largest a 10"f/15), but no pushing glass(Well, I never actually pushed it, it was all done on machine...cept the figuring) Thanks for peekin in. Rob
- 3,560 replies
-
- 1
-
-
- clipper
- hull model
- (and 2 more)
-
My greatest advocate is scale. I can still achieve the accuracy required to make the model authentic and even acutely detailed, but those who work in larger scales must step up their game to include joinery, wood grain acuity, proper metallurgy and accurate rigging techniques for their period. And lets not forget one most critical aspect....the *cover-up*.....Weather detailing.... Most of my skilled contemporaries do not weather their models...and when one limits or removes that aspect....they are forced to maintain a grueling polished perfection...a place I only go when I make telescope mirrors or when washing my car. I am so honored that you think my work is museum quality. To be honest, I do have several models I've created in several local museums...but that is the extent of my fame. Your contribution goes back long before this current project...back when we talked when I was building my first Glory(You remember). It is your own contributions that have verified and even pushed me me to desire to correct all my previous mistakes with my first attempt. So my appreciation is deeply rooted and heartfelt. Now, with all that emotion behind us, let us press forward and continue to create the best Glory we can. Rob(your humble model shipwright and friend)
-
I hate delays. It's like knocking the wind out of your sails...just when your getting in your groove. Yes...I too looked into the premade(very detailed) copper plates...but the price tag was just not acceptable after I calculated the number of them needed to complete the job. NOT to mention that since I was able to complete the job in just over 13 hours(with my method)....that would not have been possible laying one plate at a time. Not withstanding, I might have become either homicidal or suicidal trying it one at a time. It's not in me to have that kind of patience. *Warp speed Mr. Sulu* I'm looking forward to your next installment. Rob
-
Yes...she is looking smooth and clean....a testament to your attention to her lines while faring her out. Great job Vlad. Rob
-
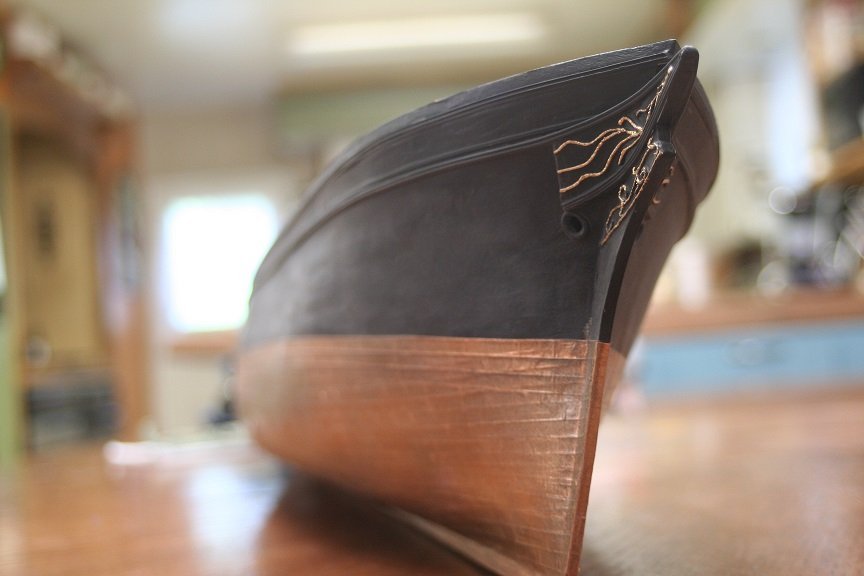
I appreciate that compliment....however, not sure it is museum quality perfection. In the light of Banyon and EdT's mastery, I'd dare make sucha statement. I do, however have a keen eye for details, not that I always implement them or can create them accurately. Now, onto finishing up the topgallant rail/splash board and adding the catheads. Rob
- 3,560 replies
-
- 1
-
-
- clipper
- hull model
- (and 2 more)
-
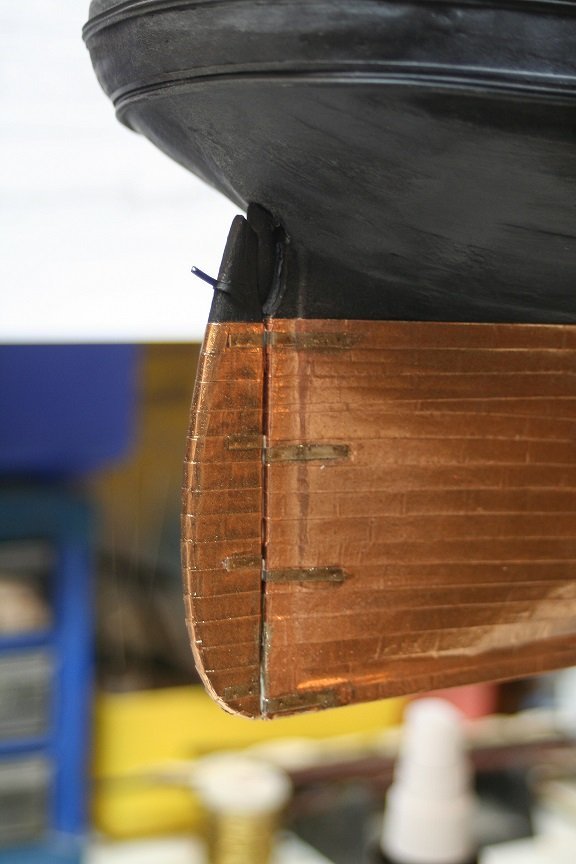
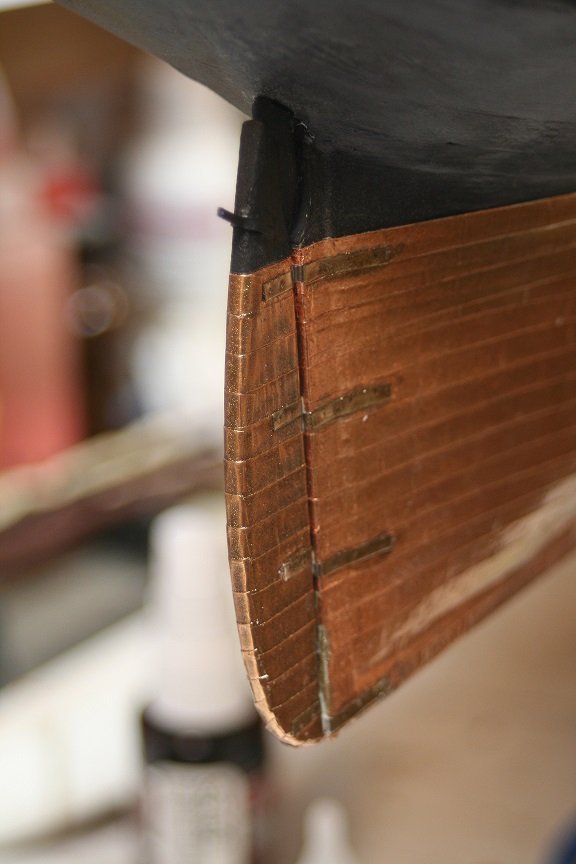
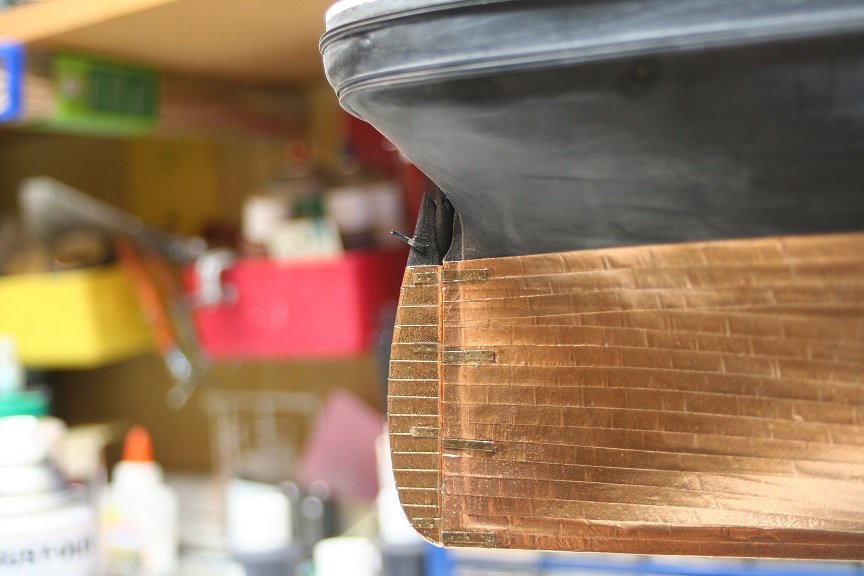
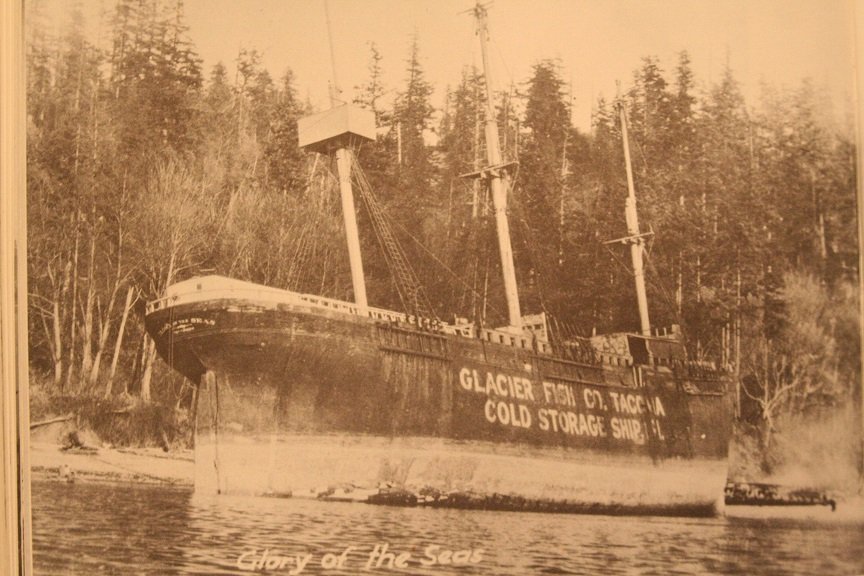
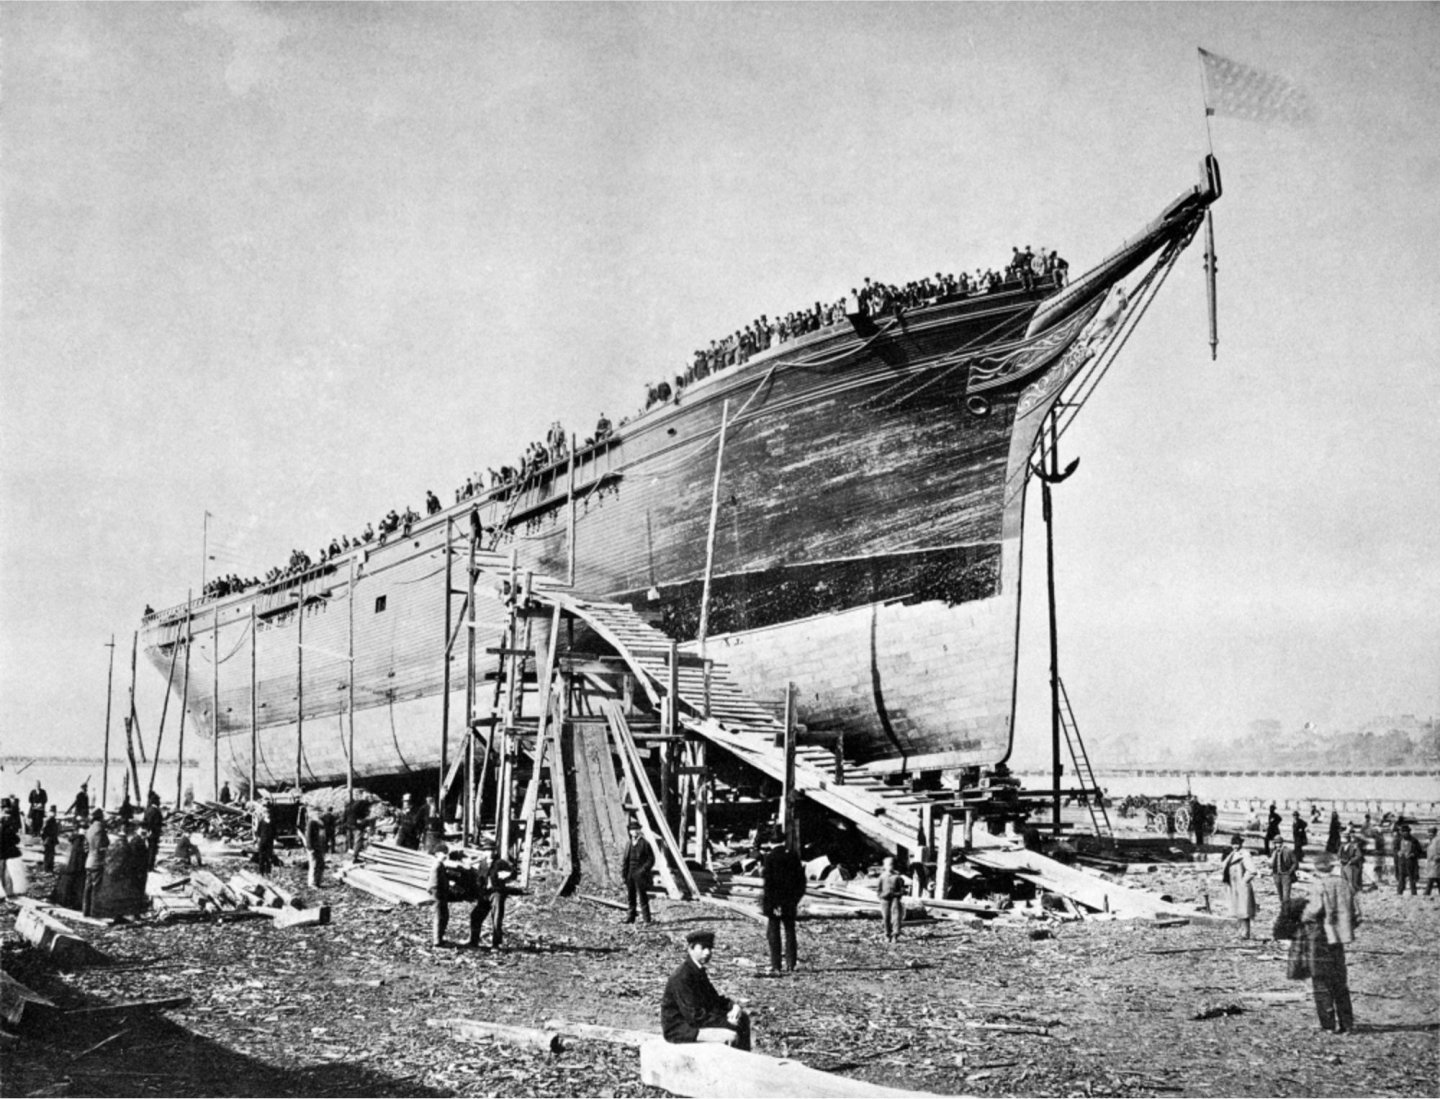
My stern post cut-out is a bit short...so is that of Vlad's. He can still compensate or correct easily...where as I have to make greater concession. From the fitting out pic it appears that there is ample clearance from the copper impinging on this rudder post. I'll do some fenegaling to make things more accurate. McKay's design allows for greater strength and a longer attachment between the rudder itself and the rudder stem.
-
Rich....I'm talking about the rudder post length...as noted in my circled drawing. I think I need to modify my model to reflect this issue.

-
Thanks for lookin in and for the fine comment...much appreciated. Rob
- 3,560 replies
-
- 1
-
-
- clipper
- hull model
- (and 2 more)
-
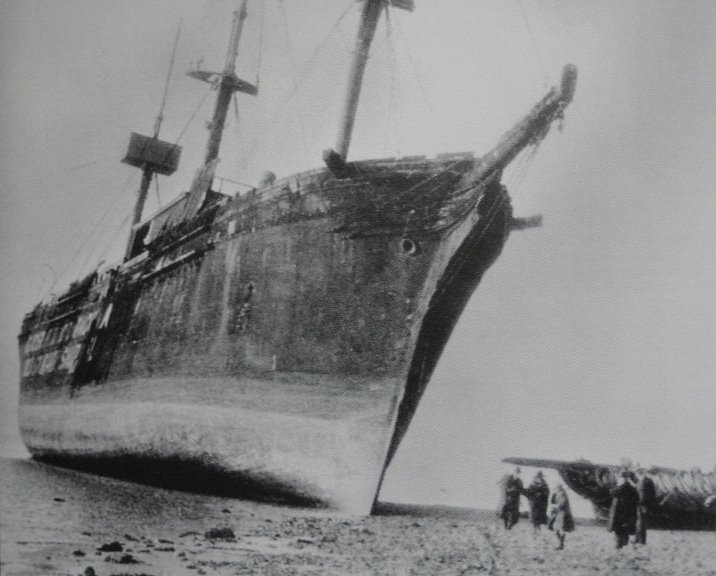
Again....thanks Rich. Each little detail...combined with the last detail...has produced a uncanny likeness of Glory of the Seas for sure. Combined talents of tenacious research, acute attention to detail and some good ole craftsmanship can accomplish much. I will cut in the catheads before I finish up the main rail cap and splash plate on the forecastle. I have come to a quandary of sorts when it comes to the rudder details. For some reason it appears that the stern post cut away access for the rudder axle beam appears to be slightly off from images of Glory. It almost seams to appear that in some cases it is correct, based upon the copper line and in other instances it appears incorrect, based upon the length of the axle beam evident in her beached and even fitting out photos. Check out the images and you will also see. I'm not say that I screwed up, but possibly the bulkhead designs might have not accounted for this detail, and probably should have been slightly altered. This is just my own observation and since this model is a *near* replica, I can't truly complain.

-
“Rob, wow! Amazing! These miniature vessel comparisons are spot on!! This is pretty much all the proof we need to confirm the year's worth of painstaking research has clearly produced the proper results we all have been hoping for! Congratulations!!” Good news Rich. I’m glad we are getting there. She does look good. I’m glad you think I’ve done a good job. Now to add the rail cap and the splash plate. No to mention the rudder
- 3,560 replies
-
- 1
-
-
- clipper
- hull model
- (and 2 more)
-
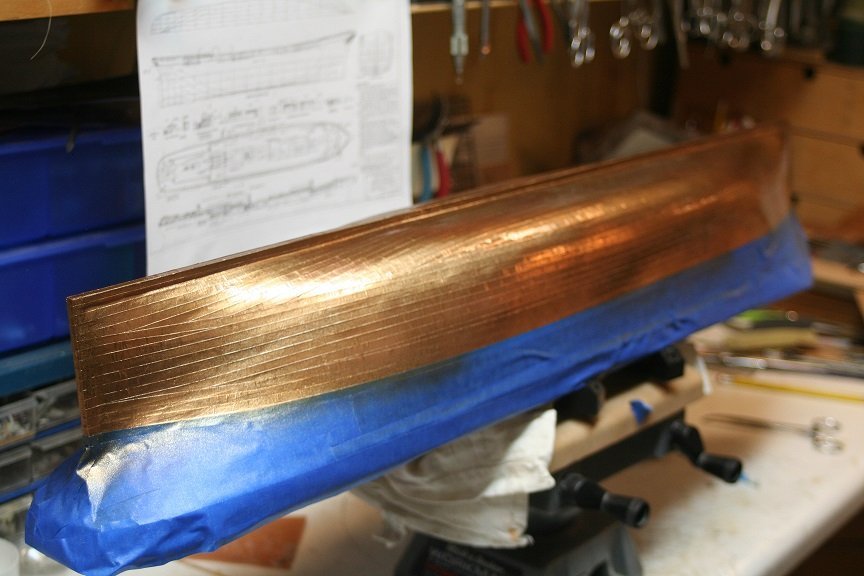
Thanks Pat....I'm thinking I'll probably not be as clean and beautiful as your Victoria...but I appreciate the fine comment. For informational purposes...I put in 13 hours of total work time into coppering and painting the hull. I will repair any weathering damaged by the masking tape after I install the channels and chainplates. I think I'll add the topgallant rail and spray board first to finish off the upper rail, so working it won't interfere with the channel work. Somewhere in that I will finish the rudder and her hardware. Rob
- 3,560 replies
-
- 1
-
-
- clipper
- hull model
- (and 2 more)
-
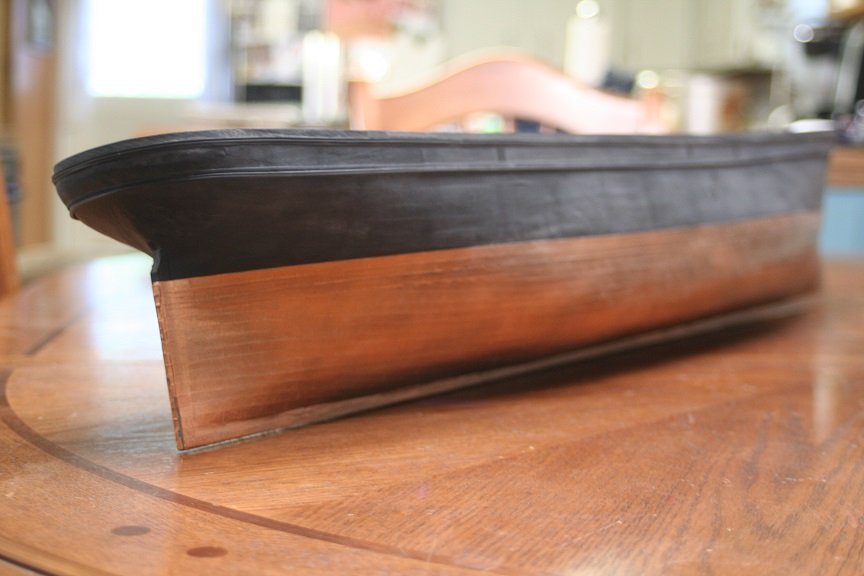
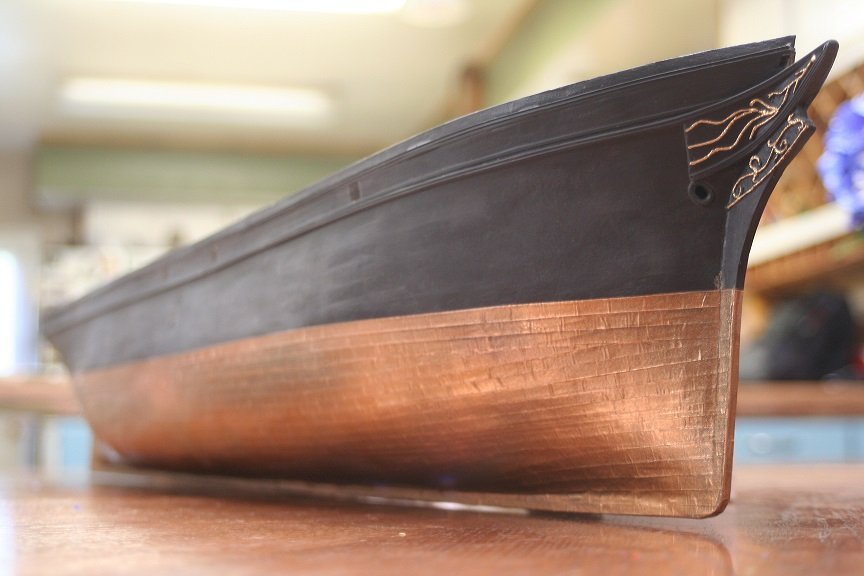
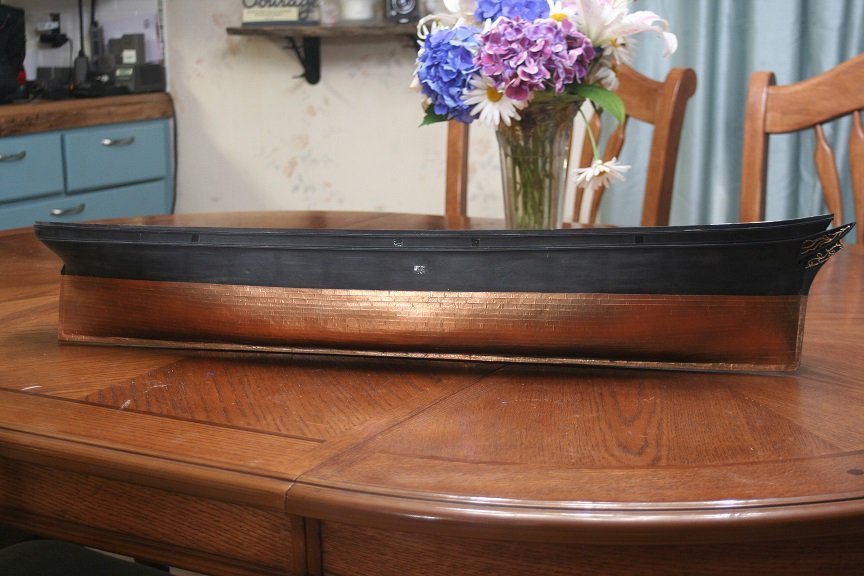
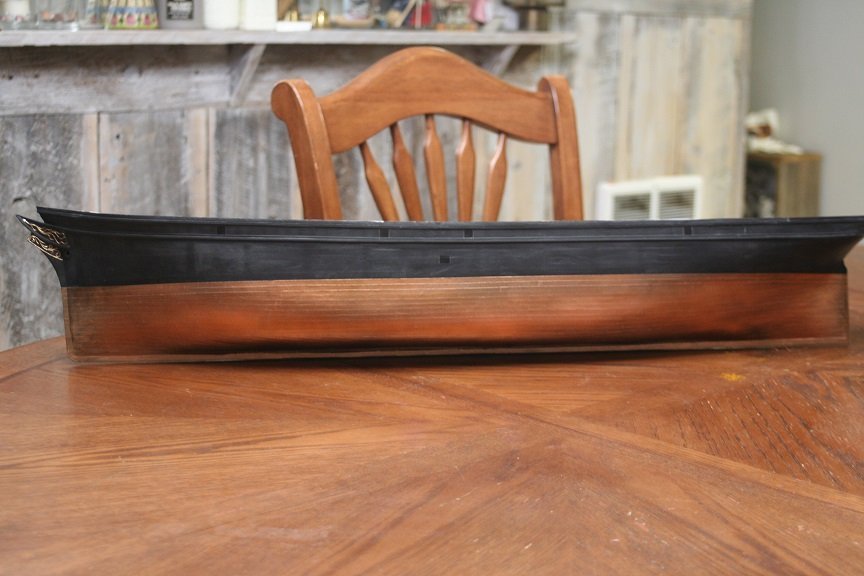
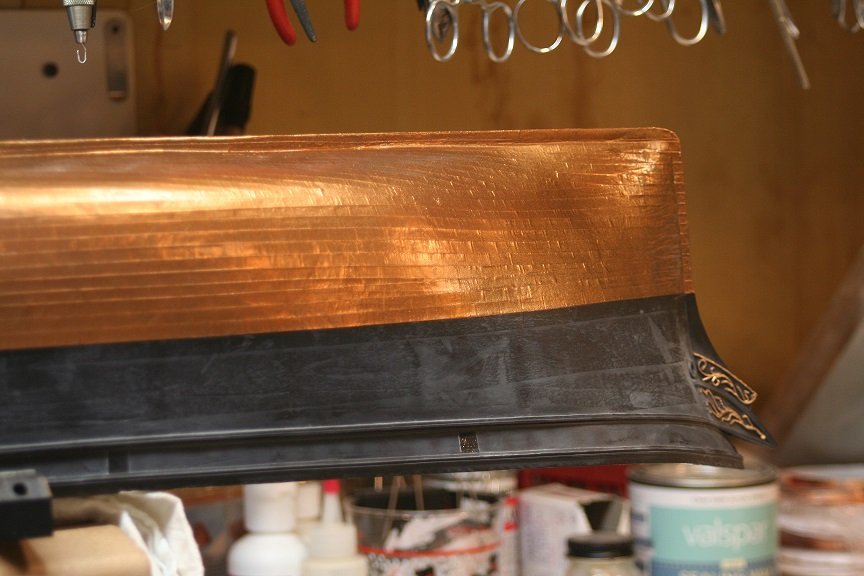
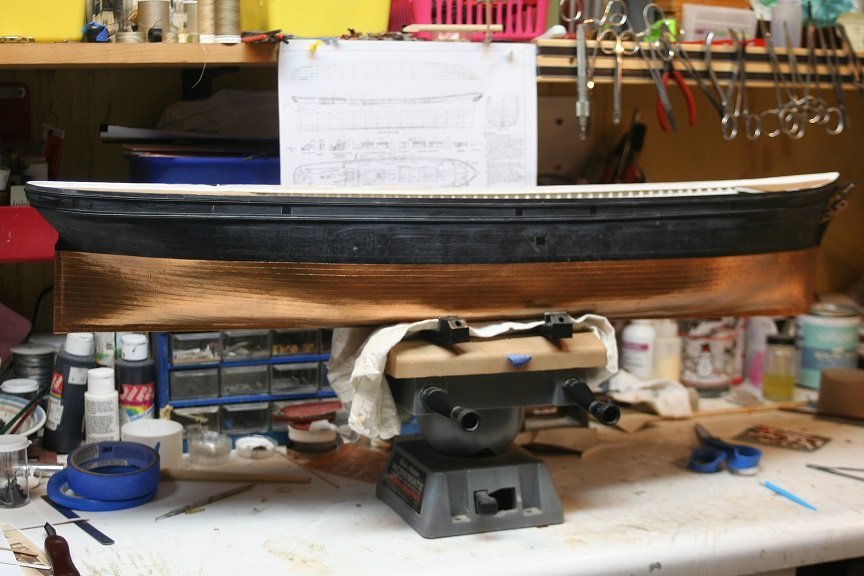
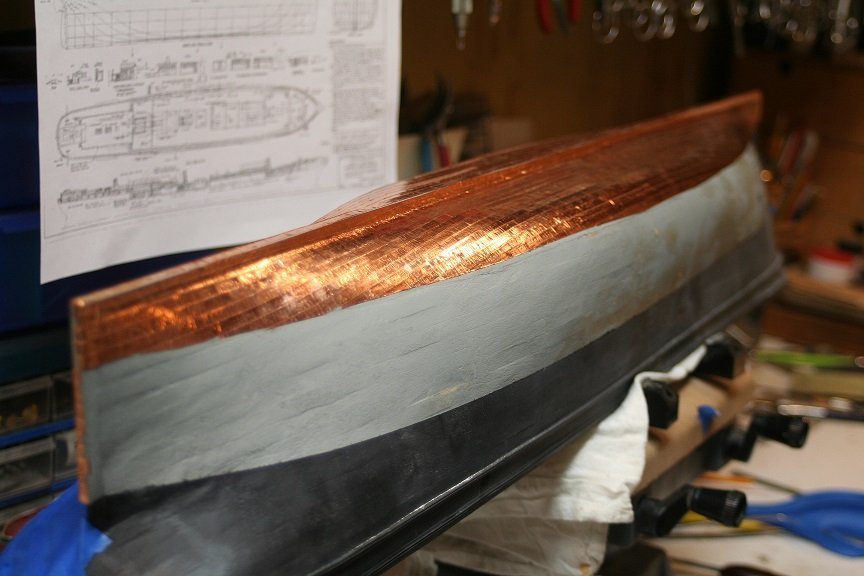
Thanks Greg. I think the metallic paint tones down the shinny aspect and directs the color more toward an oxidized brown muntz Rob
-
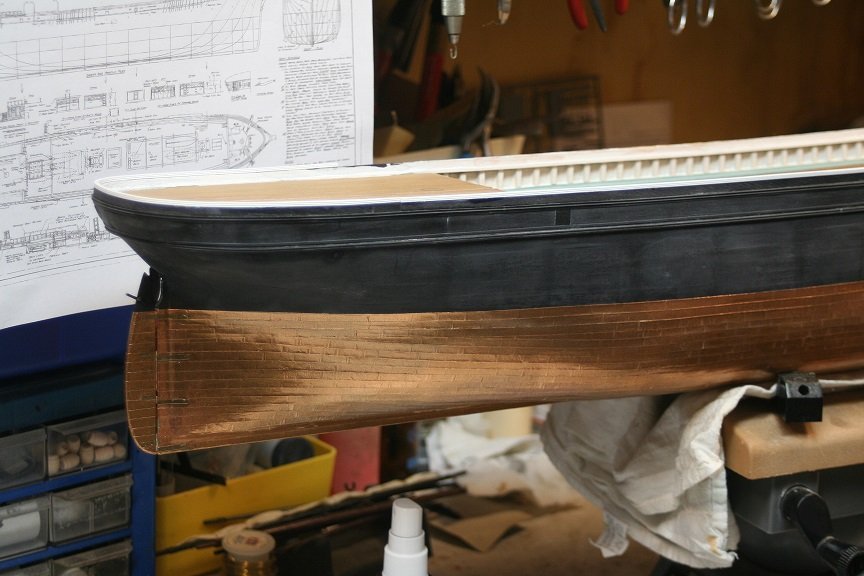
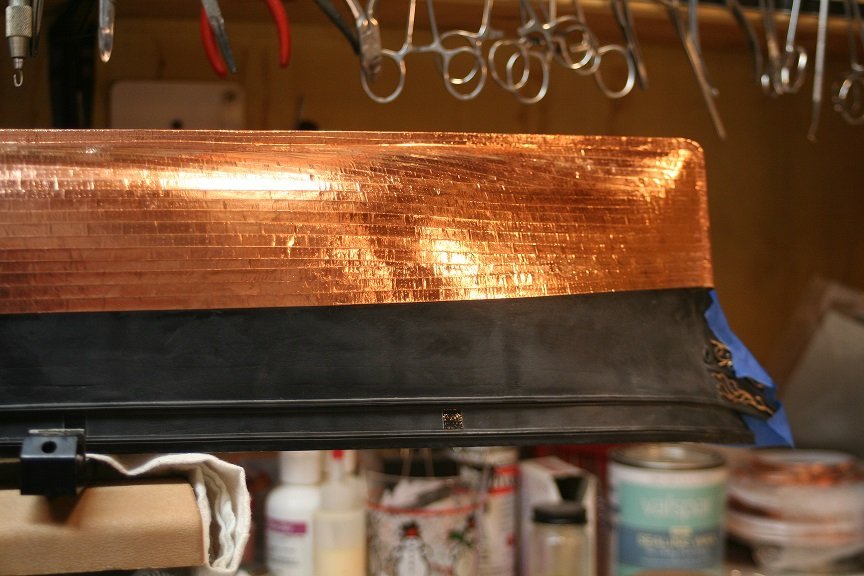
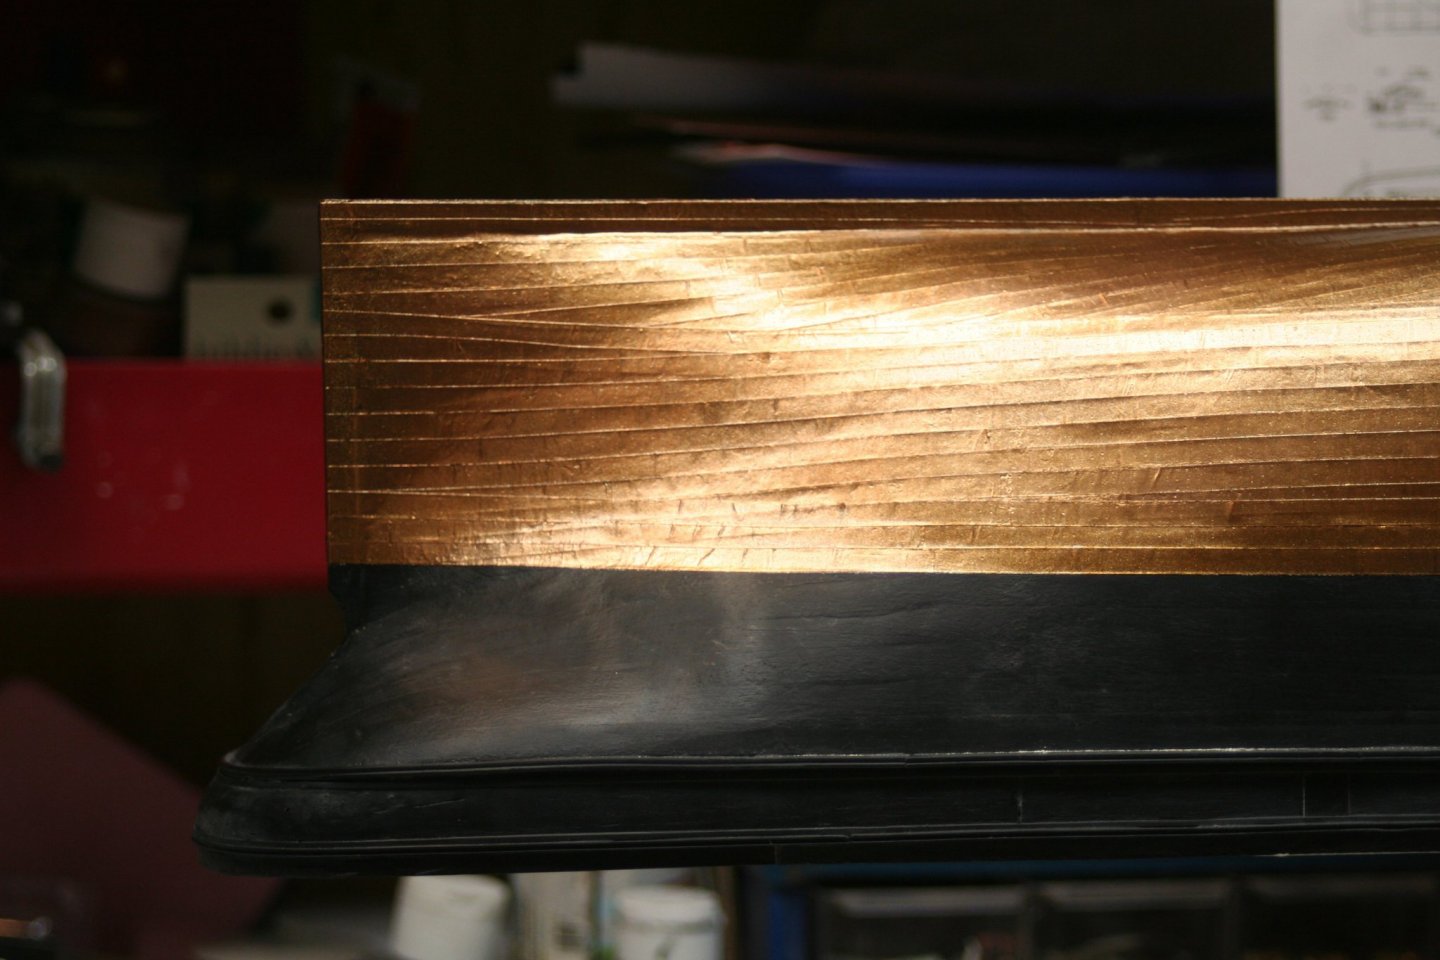
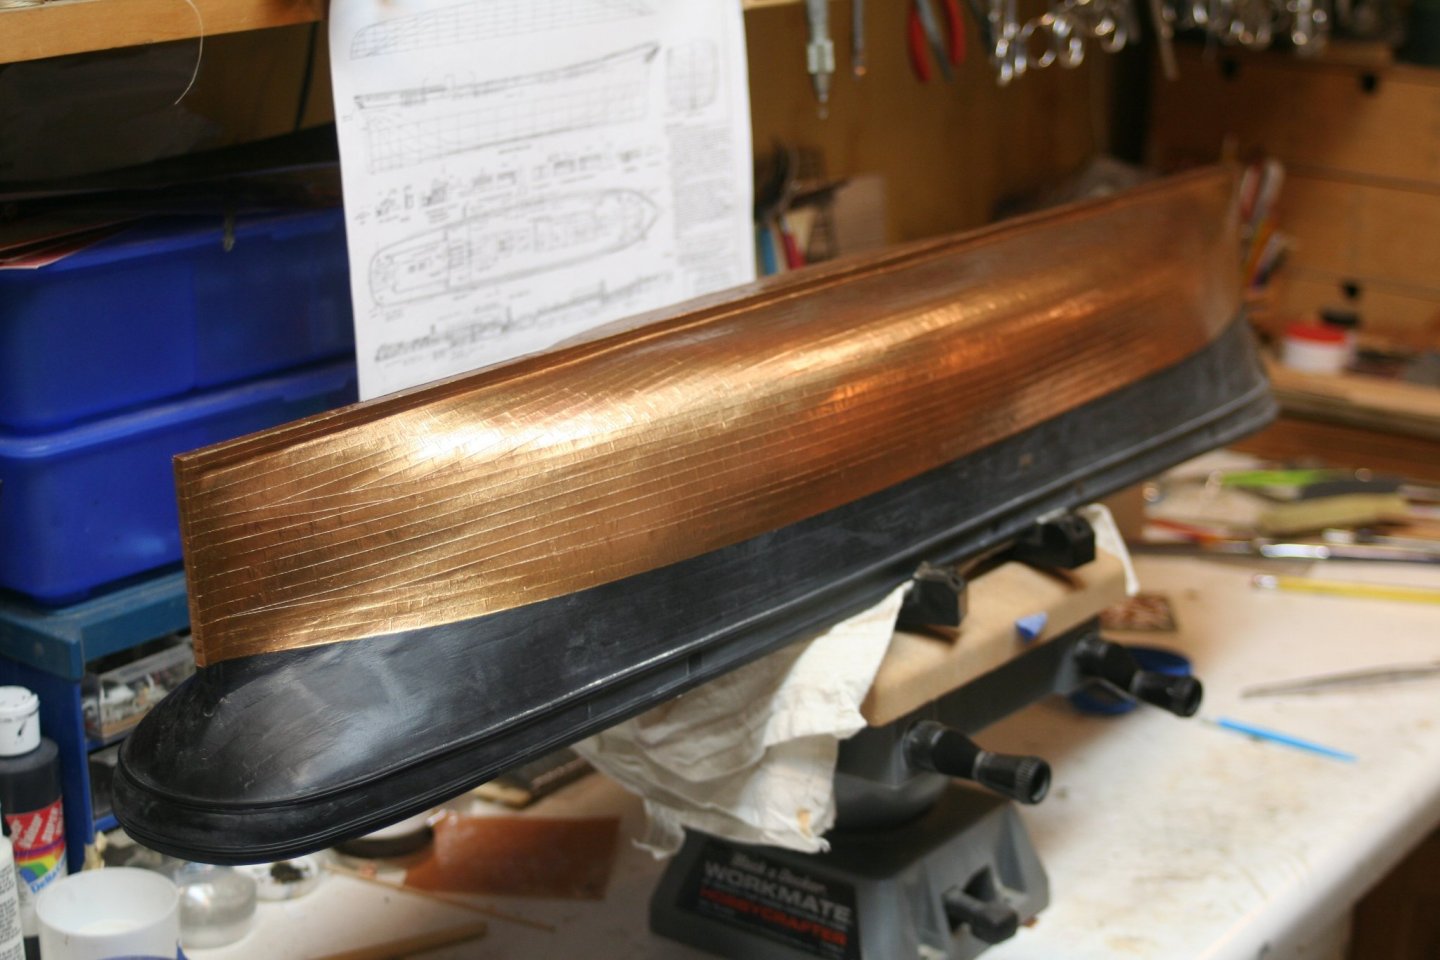
Finished up the copper and painted it the metalic....


- 3,560 replies
-
- 10
-
-
- clipper
- hull model
- (and 2 more)
-
Rich, I caught that when you first mentioned it to us and I really want to provide that image...I really want to finish the coppering first. do you require an image quickly to accompany your email? I can do that now if you wish...but half of the model (Her photogenic side) is covered in masking tape. Rob
- 3,560 replies
-
- 1
-
-
- clipper
- hull model
- (and 2 more)
-
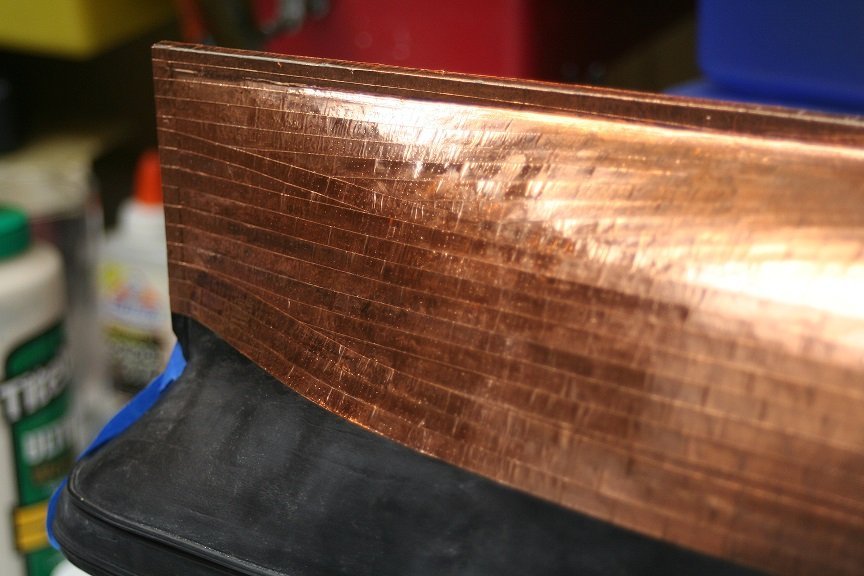
Some more progress pics. After this session I will head to the *Other* shop and make more plate strips.


- 3,560 replies
-
- 5
-
-
- clipper
- hull model
- (and 2 more)
-
You're right on track as far as I can see...good work. Rob
- 3,560 replies
-
- 1
-

-
- clipper
- hull model
- (and 2 more)
-
Rich…..I appreciate your candor and honesty. I apologize if at any time I gave the impression I found what I thought to be a suggestion rude and intrusive on your part. I assure you I have not. I love your input and that of everyone here. I hope I have not offended you or anyone.
- 3,560 replies
-
- 1
-
-
- clipper
- hull model
- (and 2 more)
-
HMCSS Victoria 1855 by BANYAN - 1:72
rwiederrich replied to BANYAN's topic in - Build logs for subjects built 1851 - 1900
Pat……… She is beautiful- 1,013 replies
-
- 5
-
-
- gun dispatch vessel
- victoria
- (and 2 more)