rwiederrich
-
Posts
5,520 -
Joined
-
Last visited
Content Type
Profiles
Forums
Gallery
Events
Everything posted by rwiederrich
-
Rich…..I appreciate your candor and honesty. I apologize if at any time I gave the impression I found what I thought to be a suggestion rude and intrusive on your part. I assure you I have not. I love your input and that of everyone here. I hope I have not offended you or anyone.
- 3,560 replies
-
- 1
-

-
- clipper
- hull model
- (and 2 more)
-
HMCSS Victoria 1855 by BANYAN - 1:72
rwiederrich replied to BANYAN's topic in - Build logs for subjects built 1851 - 1900
Pat……… She is beautiful- 1,013 replies
-
- 5
-
-
- gun dispatch vessel
- victoria
- (and 2 more)
-
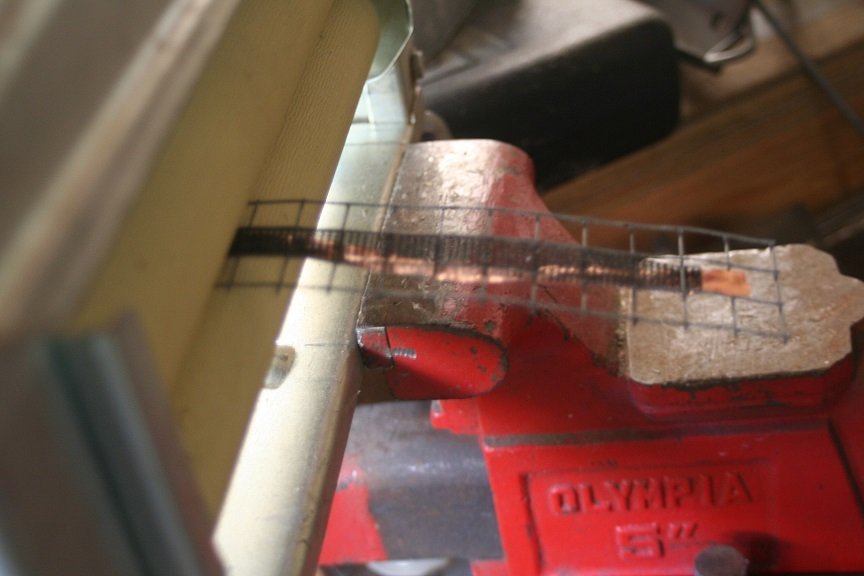
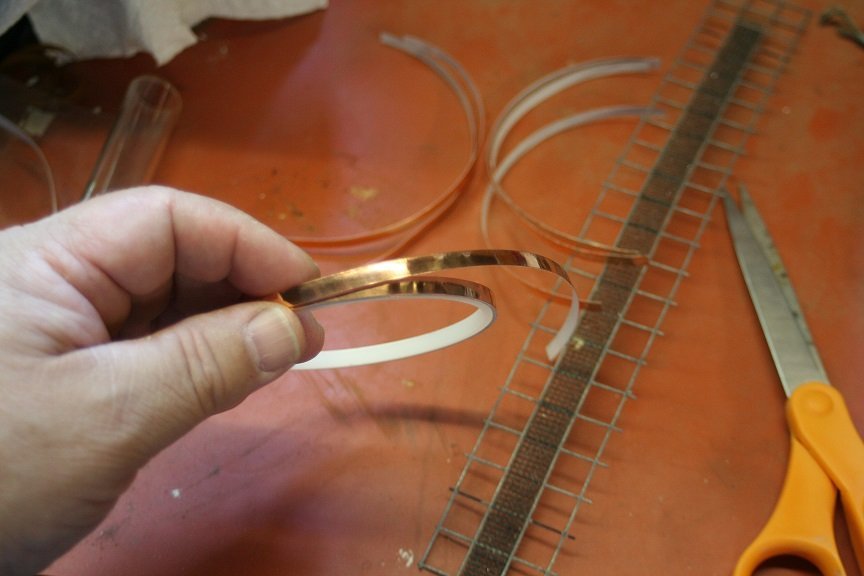
Then roll it on through and there you go... Do this a couple dozen times and you will have ample tape/plates to do a lot of plating.... Enjoy. Rob
- 3,560 replies
-
- 5
-
-

-
- clipper
- hull model
- (and 2 more)
-
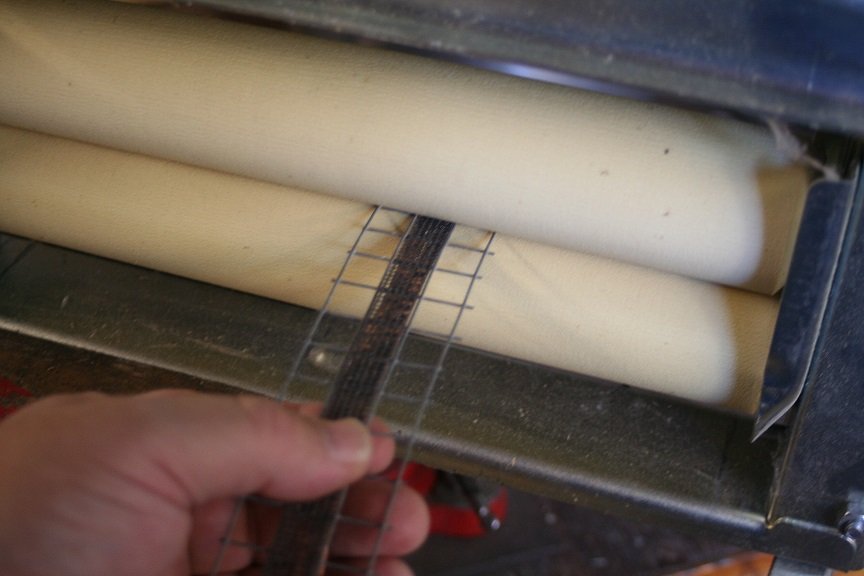
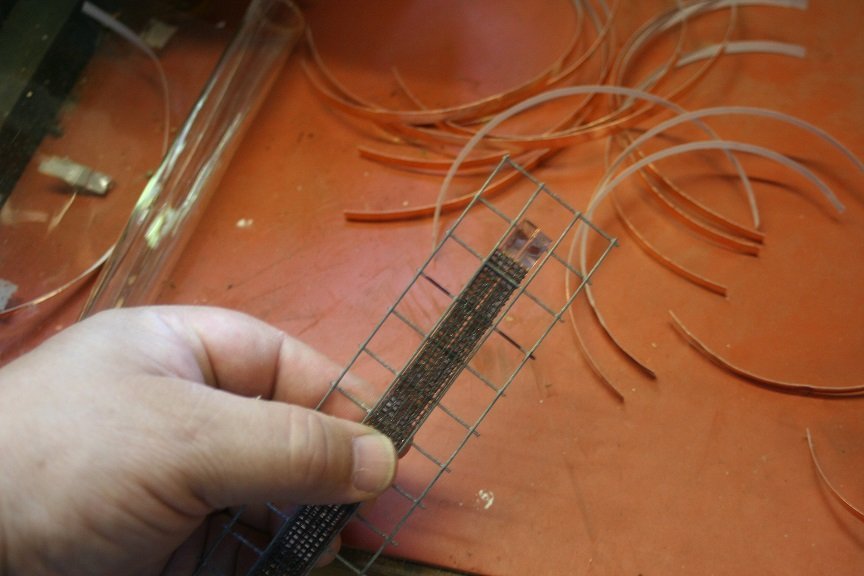
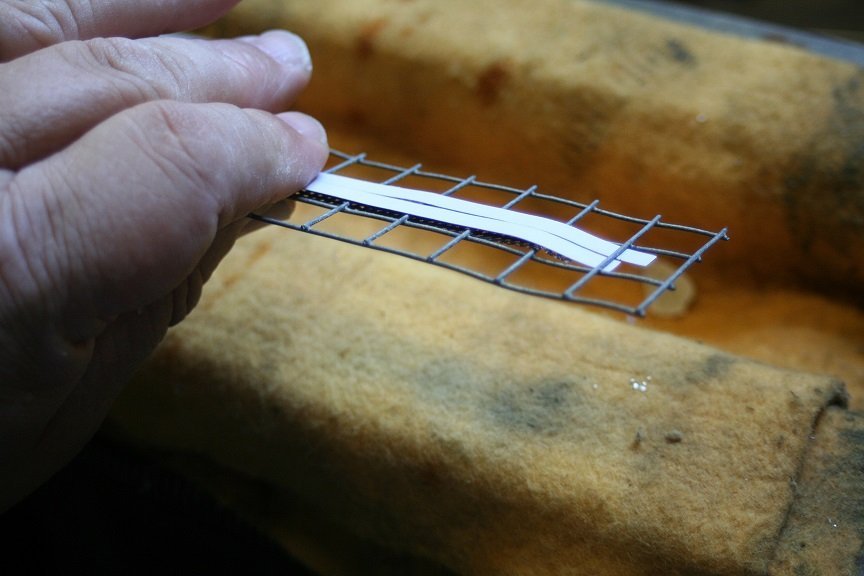
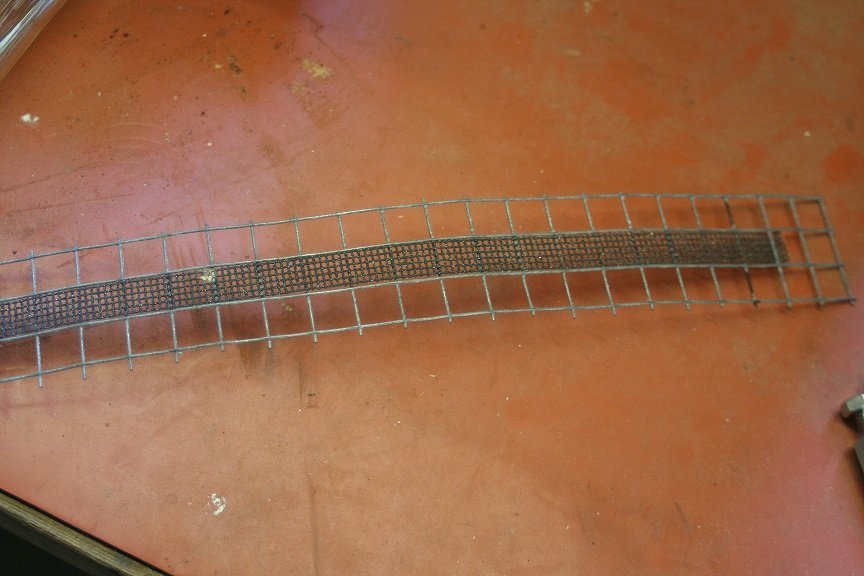
Next I feed the tape into the wire mesh and under the sanding mesh.

- 3,560 replies
-
- 3
-
-
- clipper
- hull model
- (and 2 more)
-
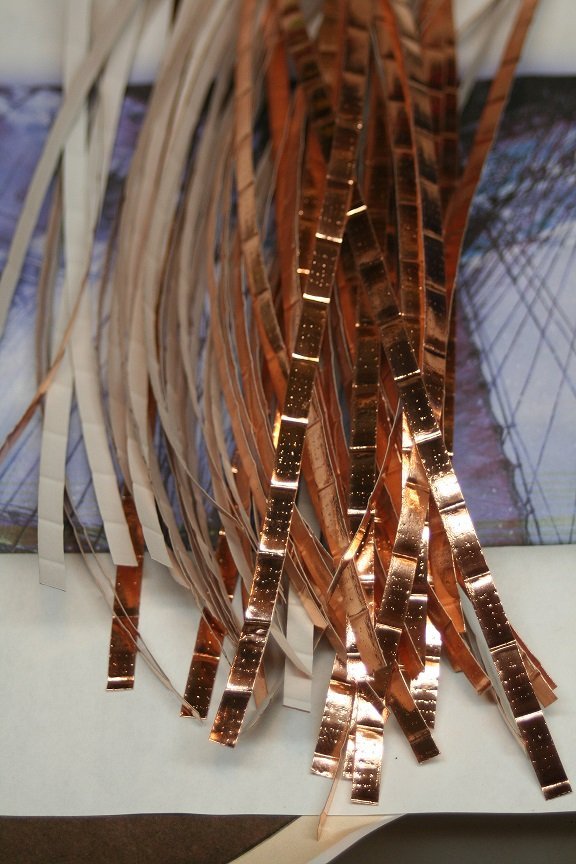
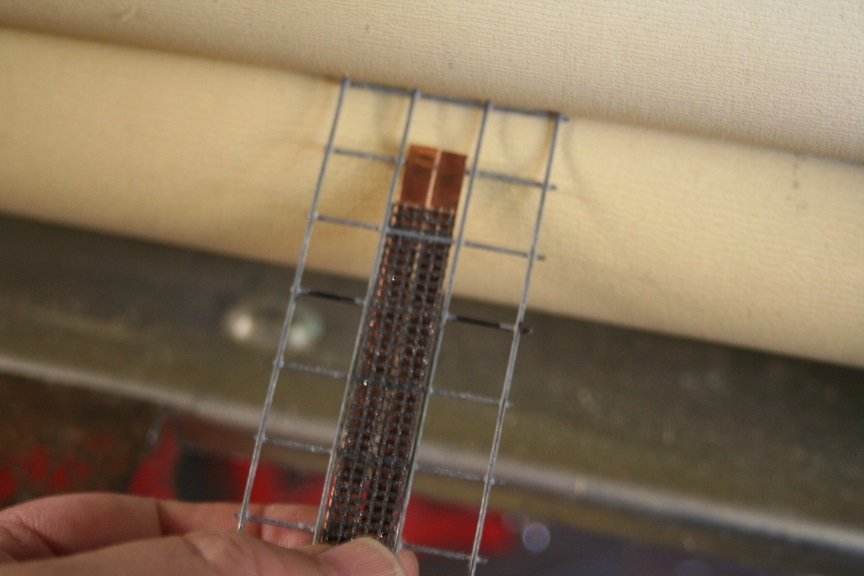
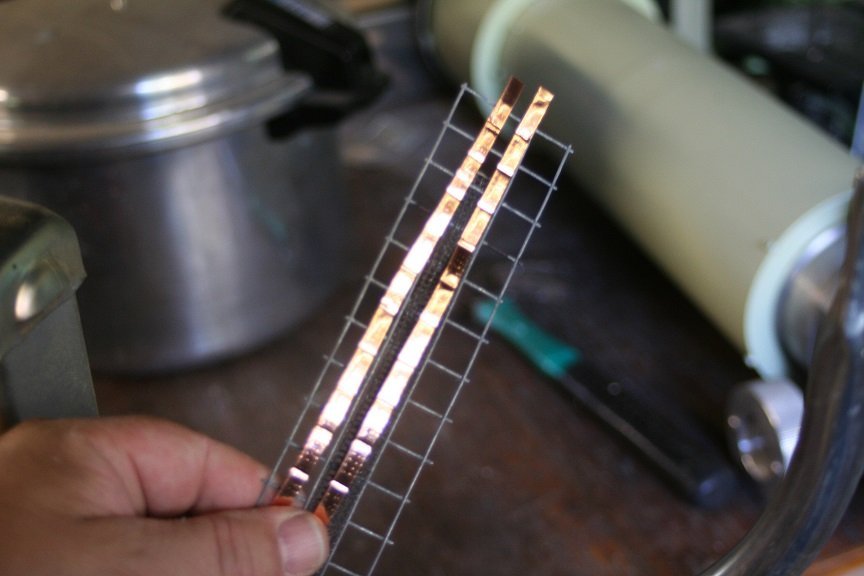
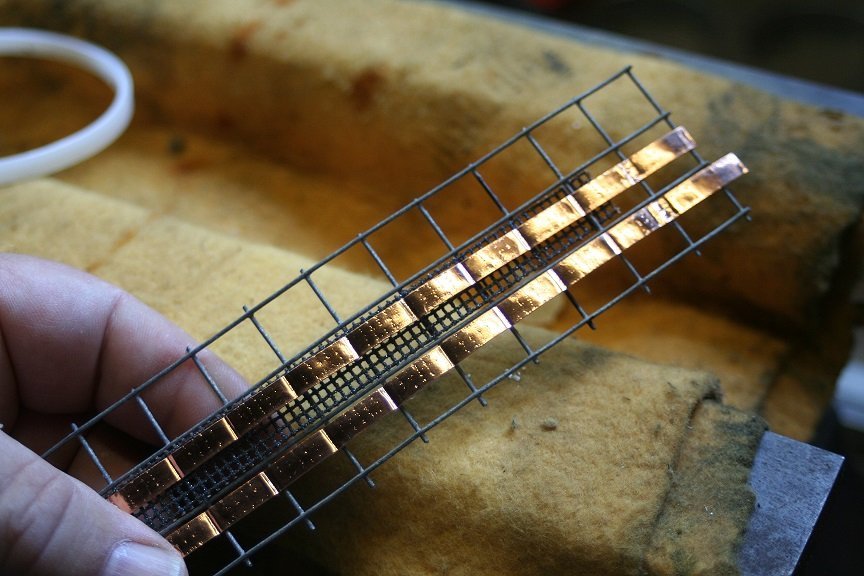
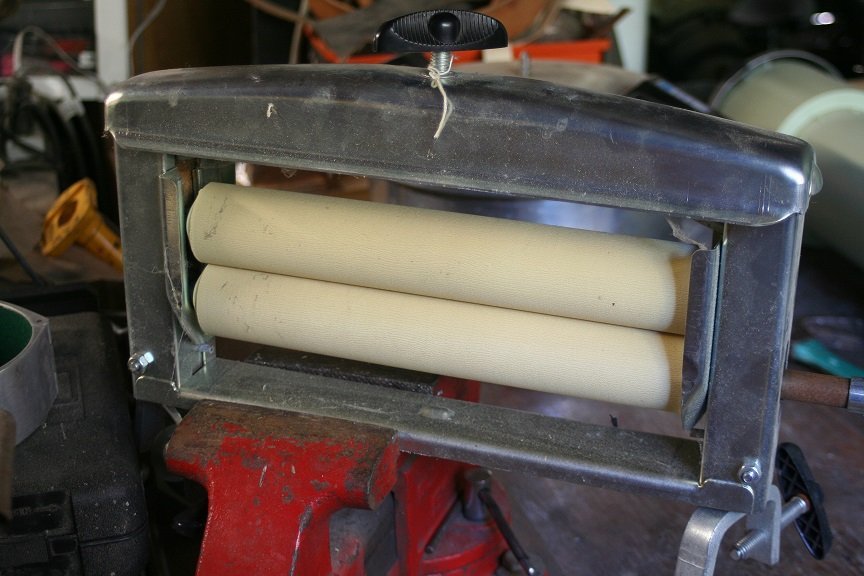
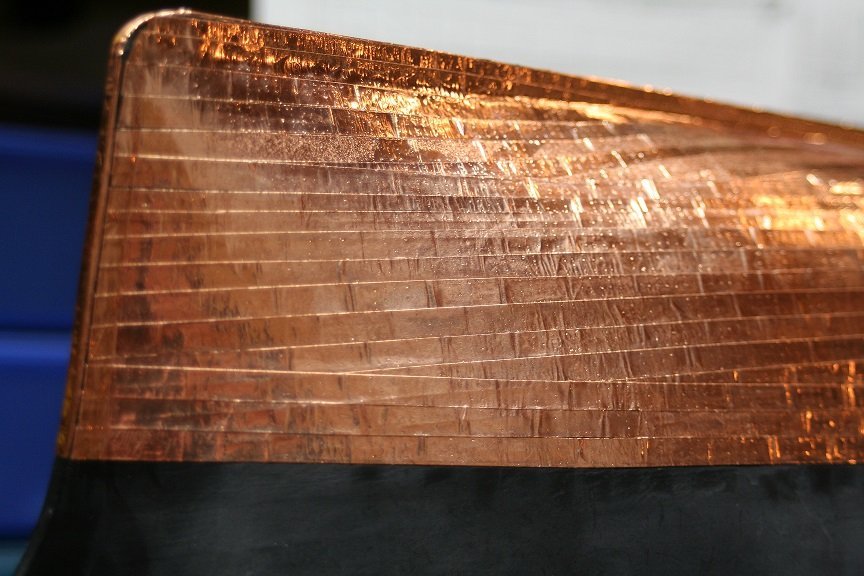
Here are some pics of the process.. First I cut the tape to length....then feed it into the wire mesh and below the drywall sanding mesh Then all that is next is to run it through the roller and there you have nice embossed plates on copper tape. With individual plates and their simulated nail prints. Here is the roller and material
- 3,560 replies
-
- 3
-
-
- clipper
- hull model
- (and 2 more)
-
I dug your rap...my mama don't raise no dummies........ I agree with you completely. I was side tracked thinking you wanted MY version to have brand new characteristics of her launching. Personally...I think Vlad is going the new look and of course I'm going...*been round the horn a dozen times* look. Irregardless ...her hull contours did not change (cept for some aging hogging)....she still is a beautiful well crafted model....from either era. God your back bro.... Rob
-
Just beautiful Vlad.....beautiful. I like the idea of using scale strakes above the copper line...... Great progress...she looks amazing. Rob
-
When I get home from work I will take some pics of my set-up and how I make the plates from copper tape. I never actually showed the mechanism or the process...though I talked about it extensively. I just want the process to be clear for everyone. Images help........ Rob
- 3,560 replies
-
- 1
-
-
- clipper
- hull model
- (and 2 more)
-
Check out my images of the process in my Great Republic build log...I describe it well there. Thanks for the fine compliment. Personally, I bought my copper tape on line...but Hobby Lobby might just have it. Rob
- 3,560 replies
-
- 1
-

-
- clipper
- hull model
- (and 2 more)
-
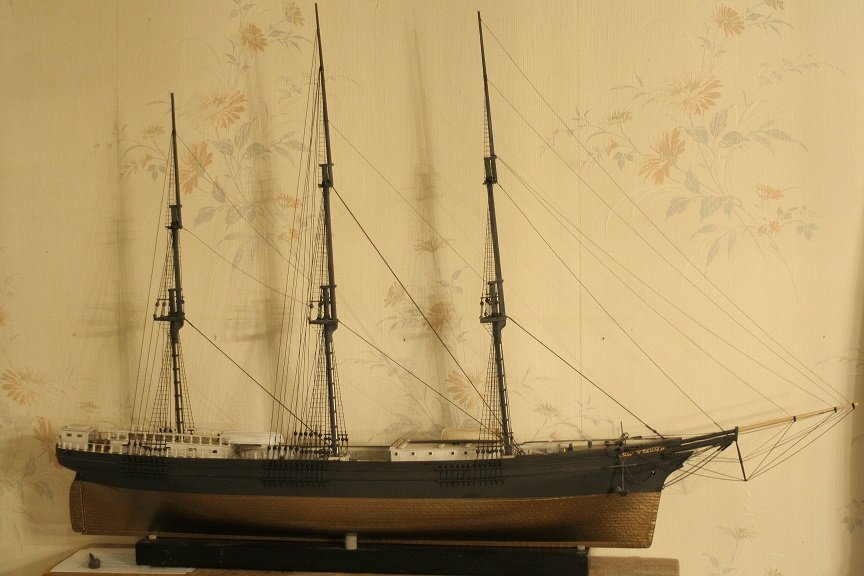
Even that famous painting of her you love...depicts her plates as weathered brown........take another close look. Rob
-
My original Revell Conversion version was built to those specs. However, I'm building her as she appears in that San Francisco image...with all the mods to her houses and rigging. She was NOT shinny and new at that point. So to make her so would be an inaccurate representation of her at that point. If one wishes to make her all shinny and new in her later configurations....they would be taking extreme artistic license in doing so. That is my view anyway. If we want to be accurate in one aspect....that needs to transcend into her esthetics as well. Rob
-
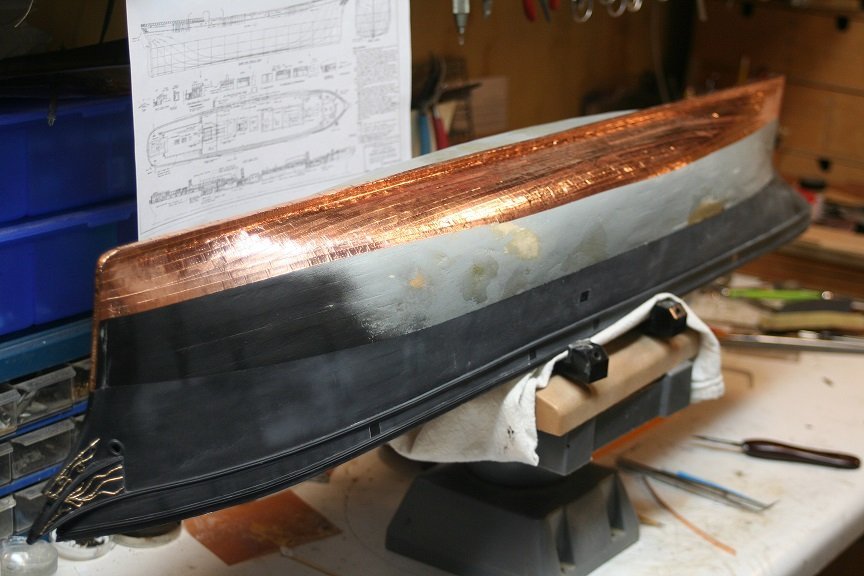
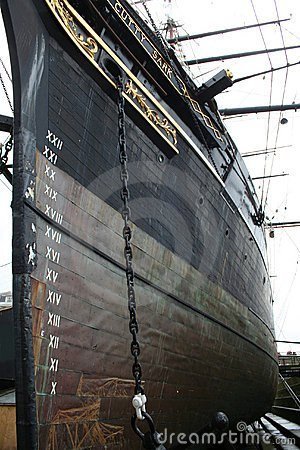
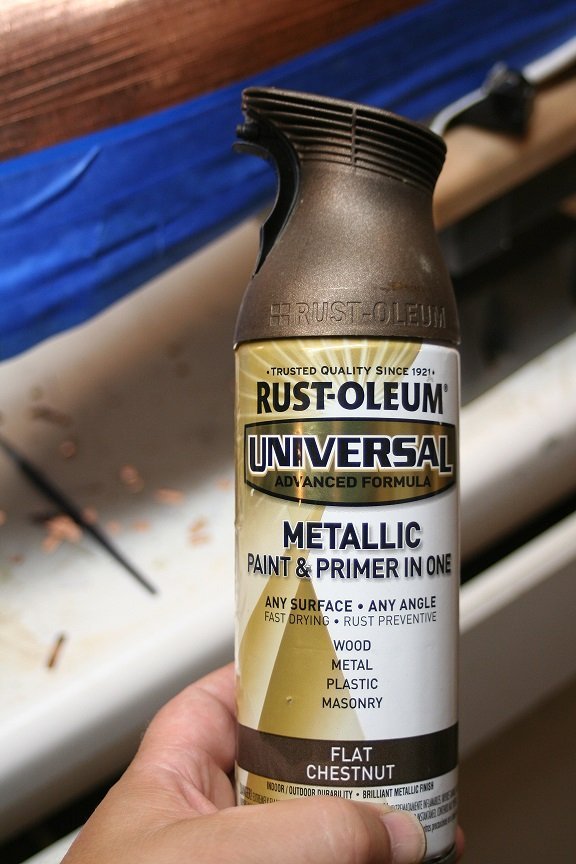
This particular color of paint IMV replicates weathered muntz......NOT......brand new brassy muntz that has not seen water or wear. I know that Vlad is attempting to build his model as clean and flawless as he can...representing a new Glory, as one might expect to see when she came off the *line*. That is not my way. I prefer weathering...it represents IMV a more accurate representation of the subject. Someone once said that a modeler who weathers his model is after effect...while a modeler who models clean spotless models is showing off their skill and prowess as a modeler. Though this notion appears to be on line...IMV it takes more skill to accurately weather a model and not over due it then to simply leave it un touched in an out of the box state. This particular paint is lightly painted on and along with the shinny copper...blends to produce a convincing aged, browning, oxidized muntz metal. It's all perspective anyway. A couple of examples using this technique...changing copper into muntz. And what real old weathered muntz looked like on Cutty Sark
.jpg.4ae508bd2388854f3c3d455e6116ca72.jpg)
- 3,560 replies
-
- 2
-
-
- clipper
- hull model
- (and 2 more)
-
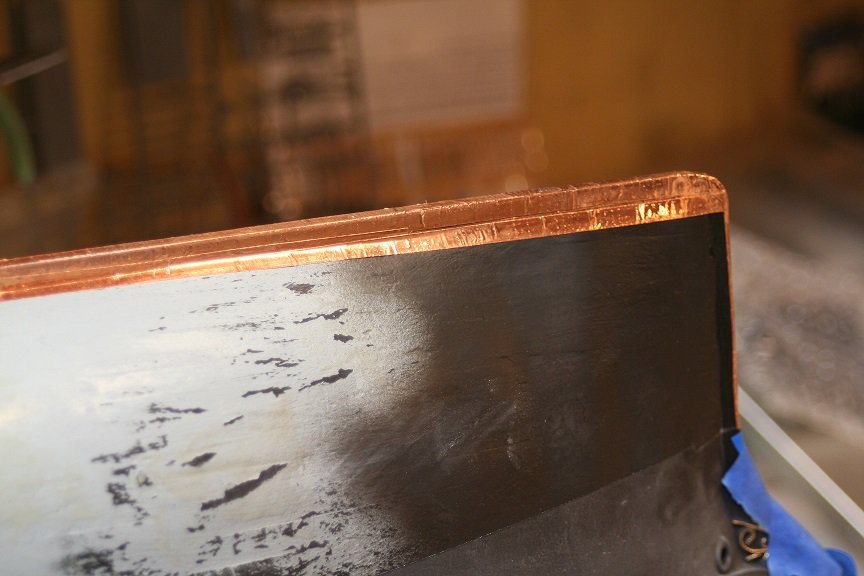
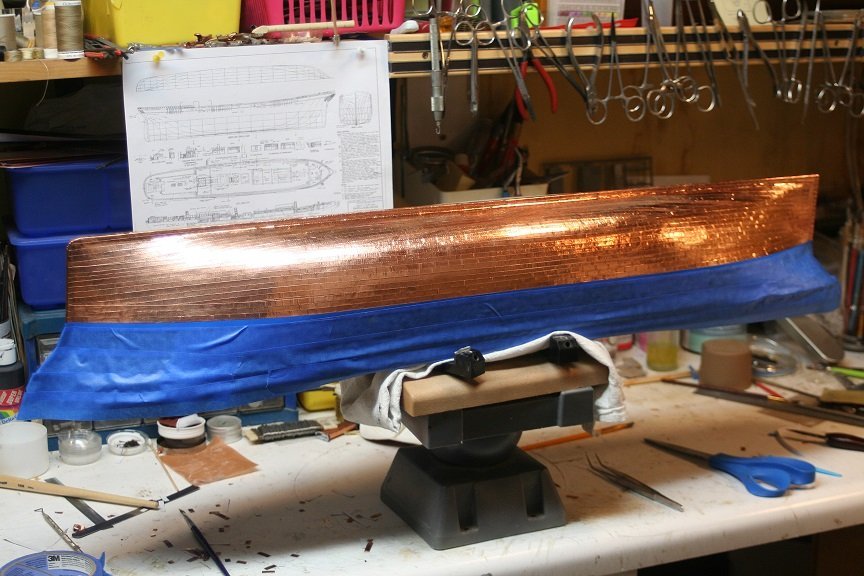
Once I am finished coppering I will mask and paint the plates...once done I will then apply a dull coat to the entire hull(after I add the chainplates and channels). I have more weathering before I seal it all up. Thanks for peekin in. Rob
- 3,560 replies
-
- 3
-
-
- clipper
- hull model
- (and 2 more)
-
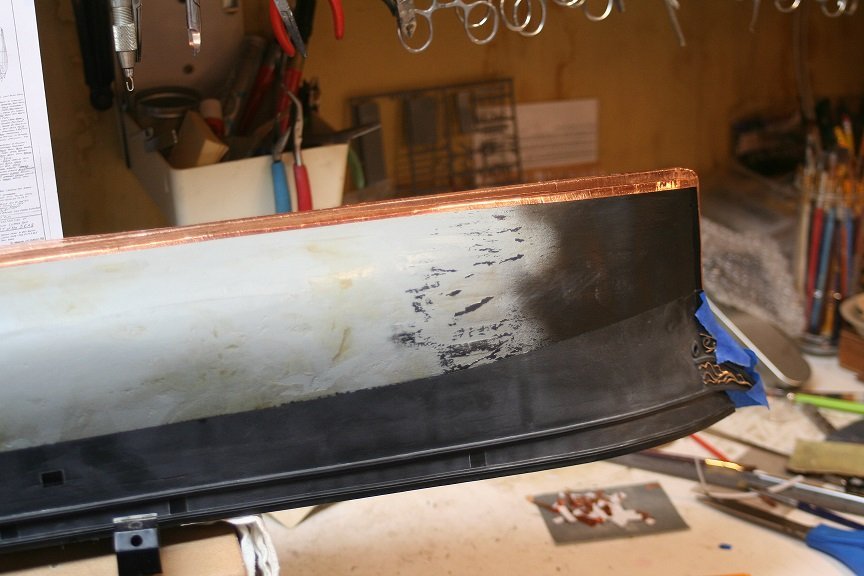
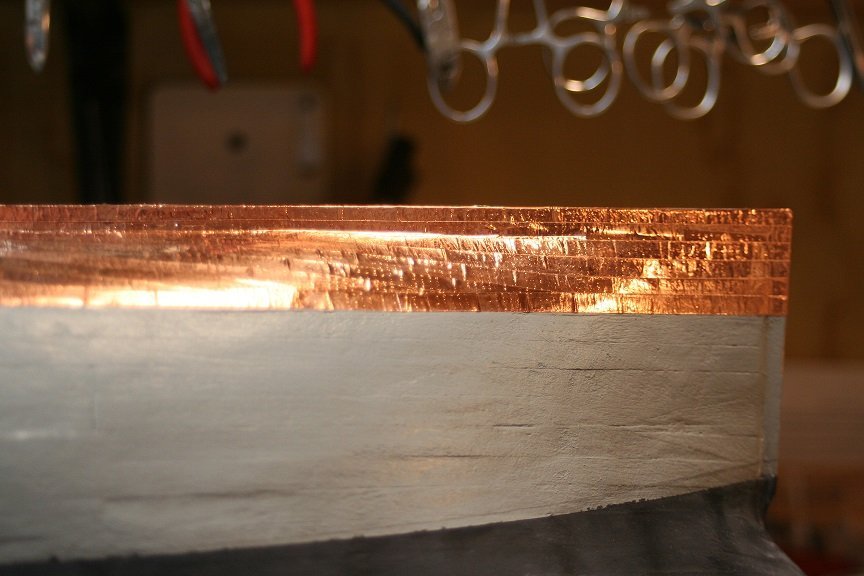
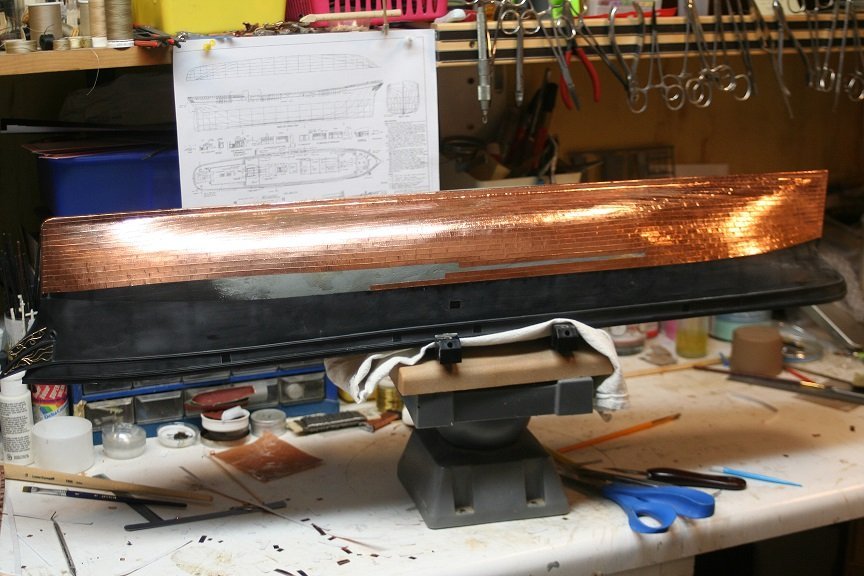
Spent a bit of time working in the shop and I finished up the starboard side and I masked it off in prep for painting. Here is the paint I use to create it into weathered muntz metal.
- 3,560 replies
-
- 3
-
-
- clipper
- hull model
- (and 2 more)
-
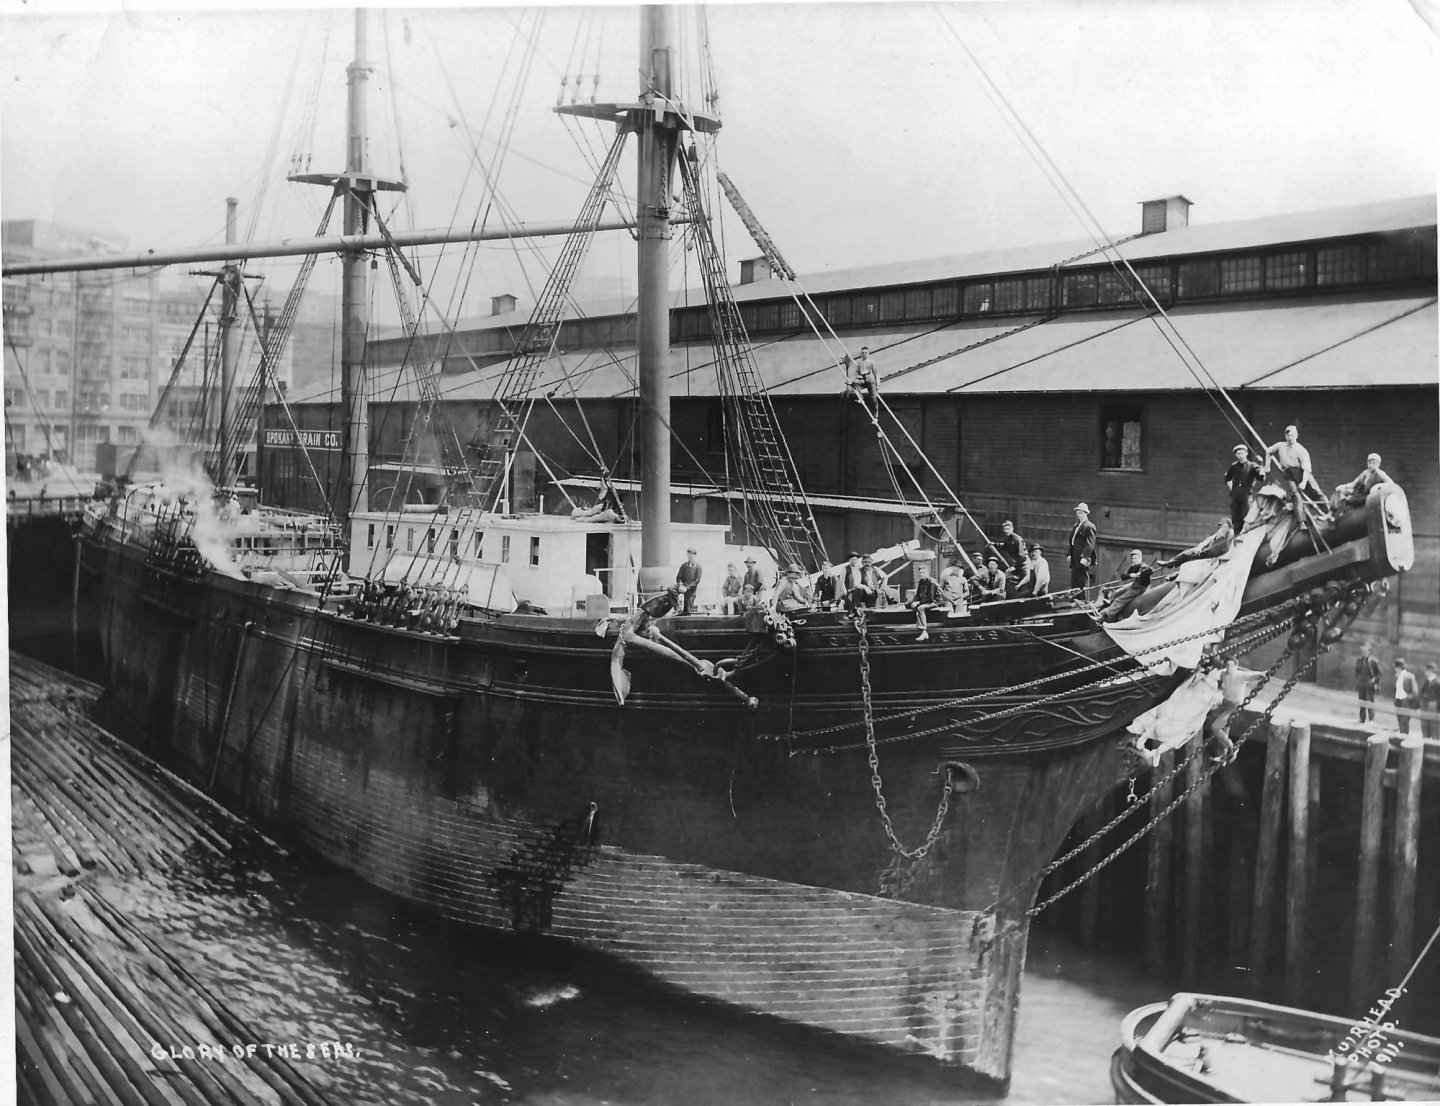
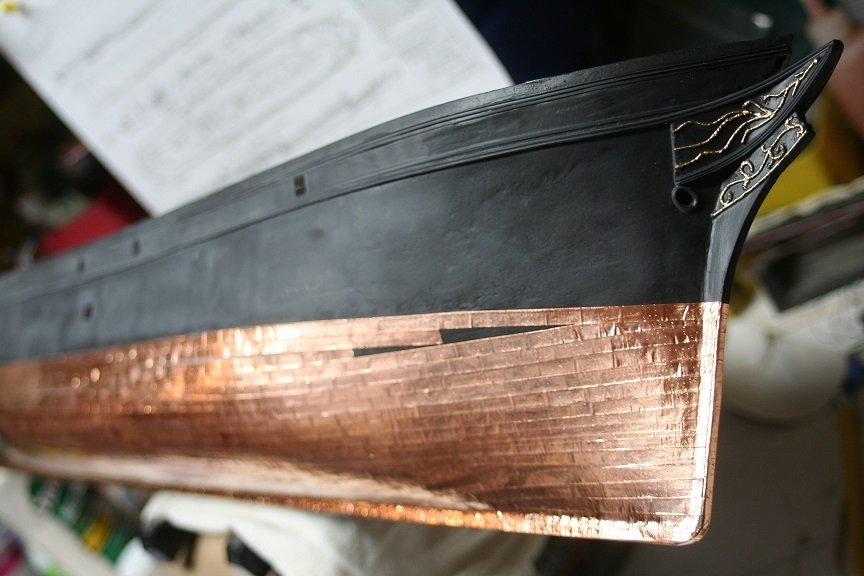
Vlad..you are doing great....but I'm trying to wrap my head around the location of the side port. Several images are conflicting and I know that the copper line has changed over time with Glory...probably due to her weight restrictions placed on her over time.....but... Your ports are placed just above her copper line...similar to that of the image of her being towed to Alaska....but her original launch image shows the side port much higher from the copper line. Even the era I am building shows her side port higher up from her copper line. Note the images. Her copper line has changed in her later years...probably after they removed the copper. Sorry about the upside down image..?
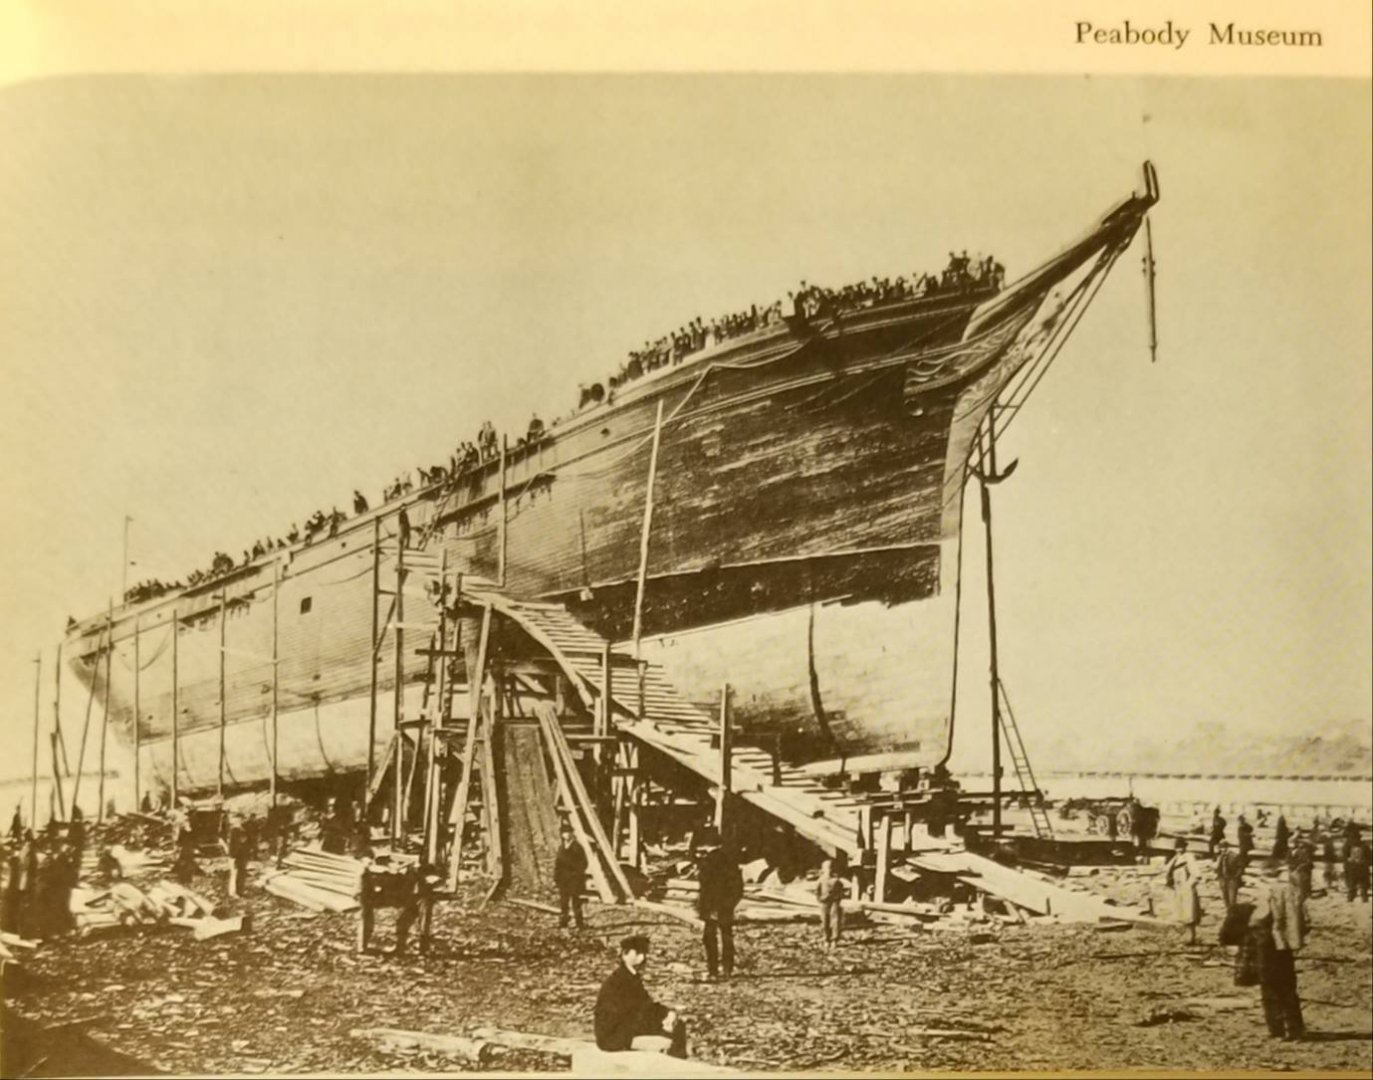
.jpg.008e7e64332950aac2e735bae80829a0.jpg)
.thumb.jpg.0a2919eb20021c7d1662c25c154f2fd3.jpg.2eb5e5e2ee4b88e4b90010c24f043146.jpg)

-
I can't wait to mask the copper off and paint it with the metallic color for the muntz color....I really dislike the glare of shiny copper. More to follow. Rob
- 3,560 replies
-
- 2
-
-
- clipper
- hull model
- (and 2 more)
-
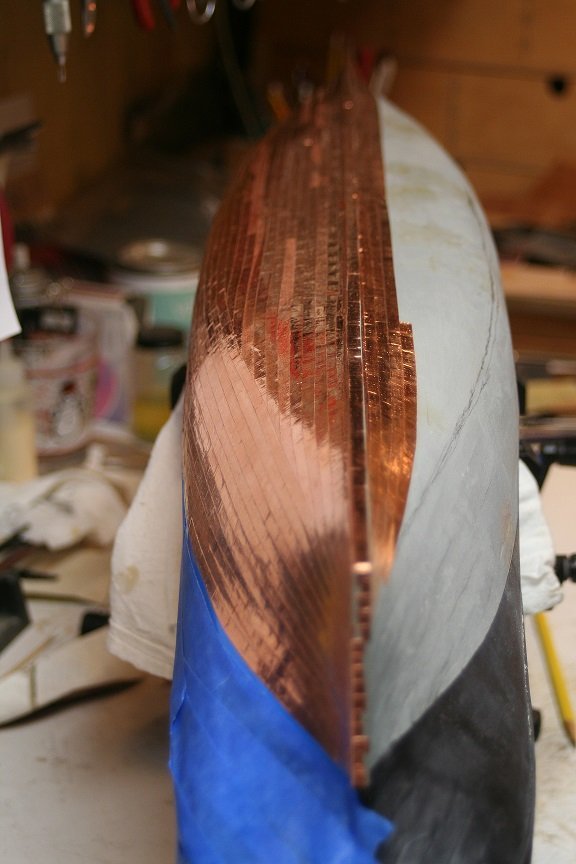
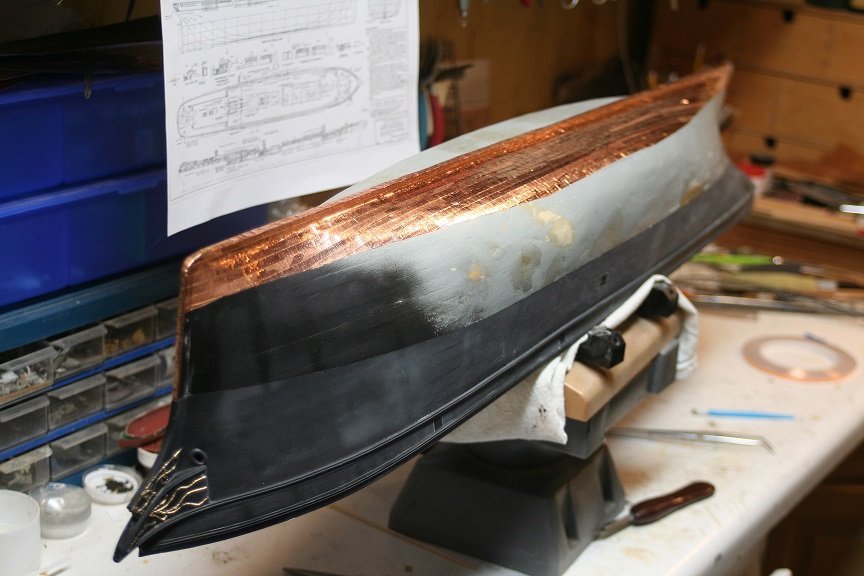
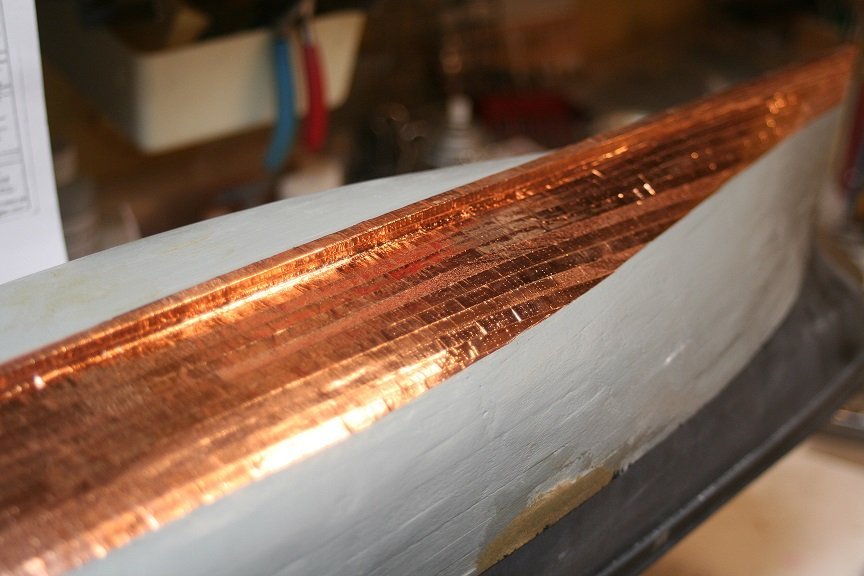
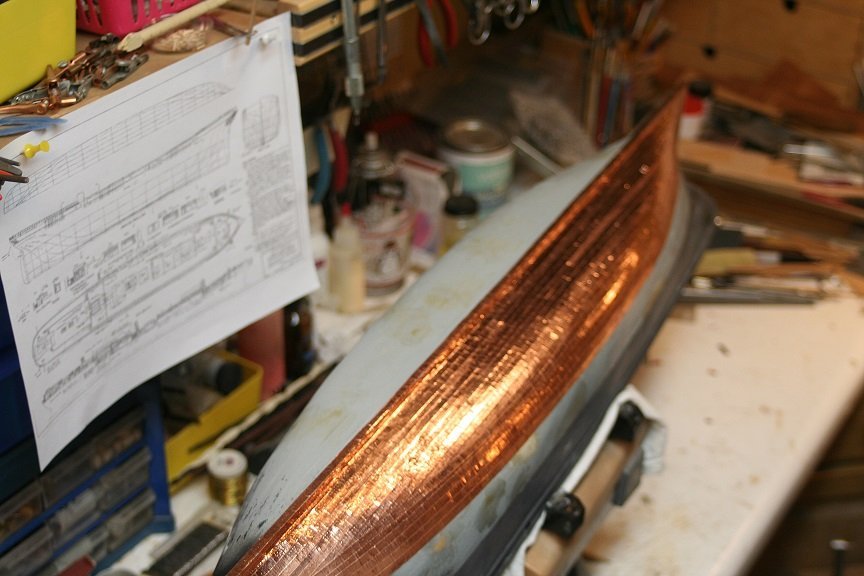
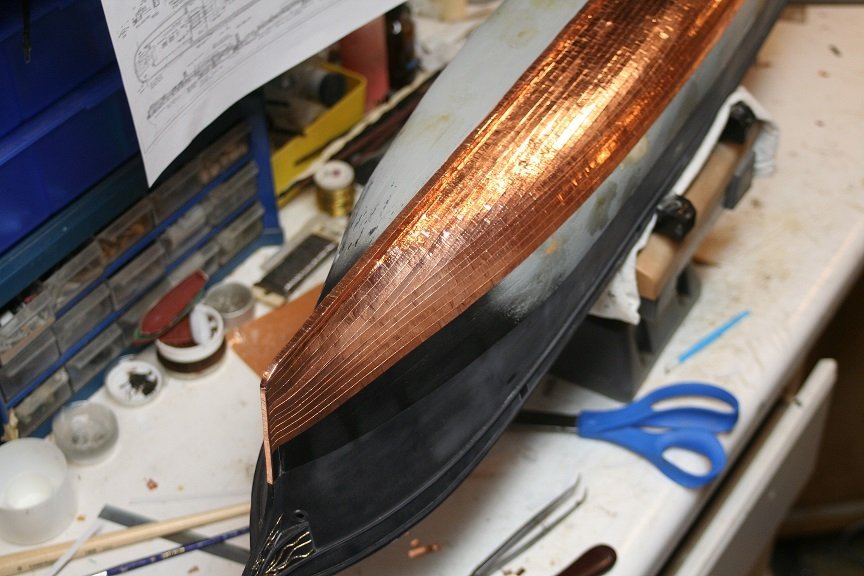
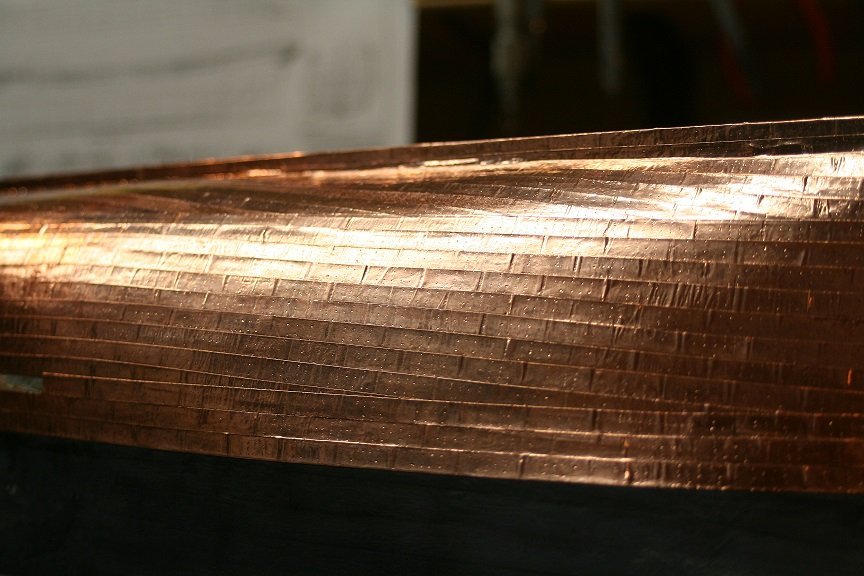
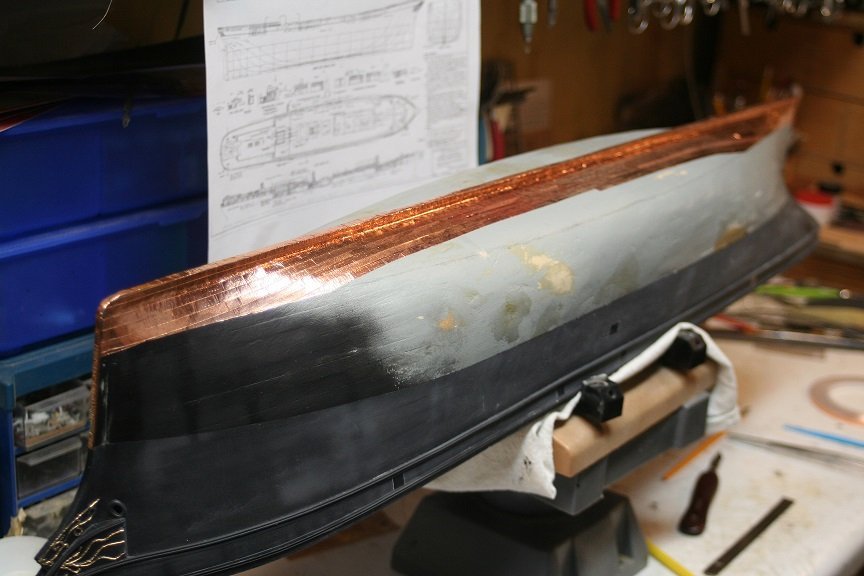
Spent some time working in the shop and adding more plates. Here is a progression session. Still have a bit more work to do till I'm finished on this side. Rob


- 3,560 replies
-
- 7
-
-
- clipper
- hull model
- (and 2 more)
-
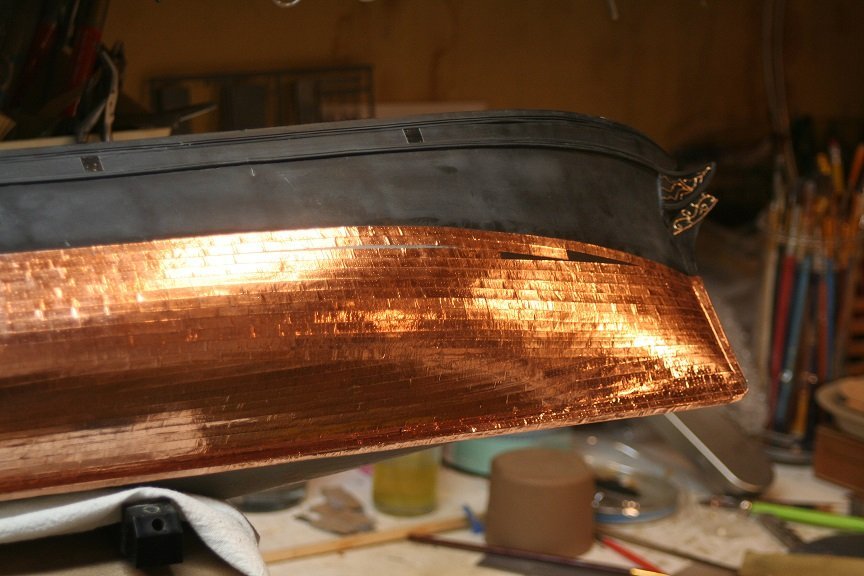
I designed a copper plate simulator by way of using a piece of wire fence.....drywall sand paper and a wash bin roller. The simulated nail imprints are convincing IMV, and from a scale distance look fine. Here is a batch of finished strips and applied strips. This method is fast and I think is accurate enough in my scale of 1/96 Check out my *Glory of the Seas* Log in the scratch build section. Rob
-
Rich...I got an email from Mike and he tells me that he received several images of a *Model* of Glory of her partially painted bow and one of her compared to the launching photograph of Her. Are those images of my version? He sent them along to Ron Haug for analysis and comparison. Hoping to see if any further refinement to his drawings can be produced.....I'm guessing. Do you know about this? I think you mentioned sending him images...but not sure. Rob
-
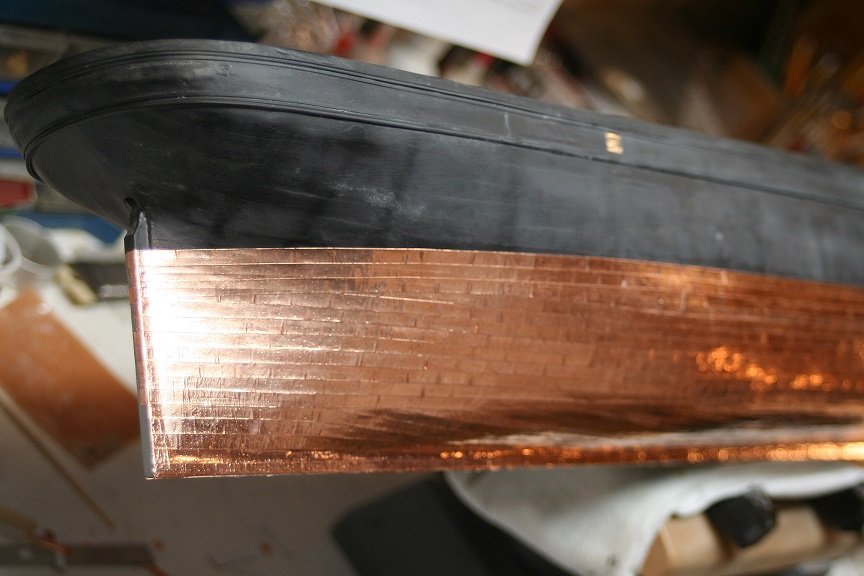
I ran out of the left overs so I went and made some more for this side.......long and pressed ready to go.

- 3,560 replies
-
- 2
-
-
- clipper
- hull model
- (and 2 more)
-
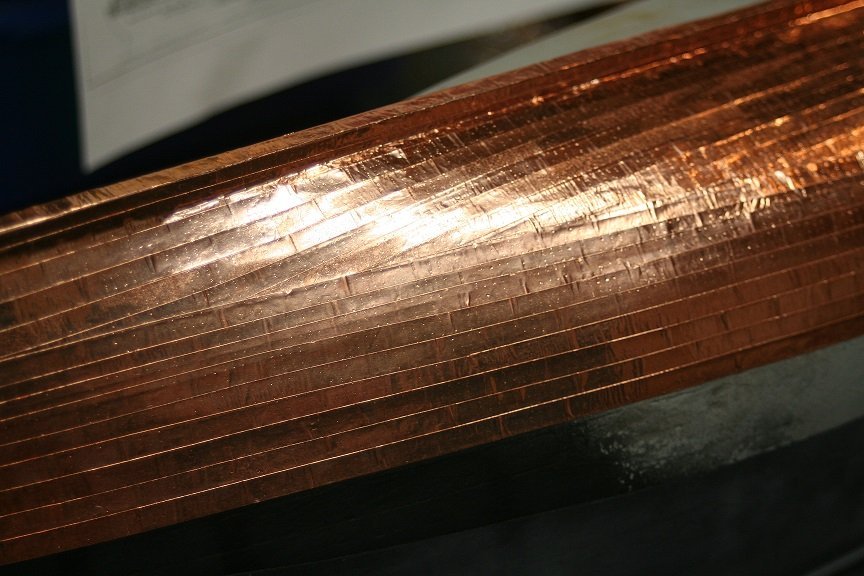
Spent a bit of time working on the plates......here are some beginning images.


- 3,560 replies
-
- 2
-
-
- clipper
- hull model
- (and 2 more)