rwiederrich
-
Posts
5,520 -
Joined
-
Last visited
Content Type
Profiles
Forums
Gallery
Events
Everything posted by rwiederrich
-
The sheer line mentioned may indeed be a structural anomoly, representative of the second internal deck....where as the planksheer is representative of the main deck or more accurately the waterway. I wasn't being critical of your acute observation of my lack of representation of said structure. I was being critical of my own oversight. I wish to make a disclaimer now: I will, at times, omit or even *fudge*(accidently or intentionally) on certain details of this build. Either by way of keeping it simple (due to scale) , by sheer ignorance on my part or by blatant laziness, which may either be, because I wish not to redo an error or my own personal interpretation leads me in that direction. I've made it very clear, on many occasions....that I'm generally a lazy modeler...prone to stray from the pure path, apt to disguise poor workmanship, and tend to rely upon copious amounts of paint and gimicry to hide those faults. Thanks for allowing me the vent space. Hope it doesn't exacerbate my transparency. Rob
- 3,560 replies
-
- 3
-

-

-
- clipper
- hull model
- (and 2 more)
-
Indeed, I noticed the anomaly some time ago myself, but I gathered it was a structural issue and not a signature of the shipwright. Personally I wasn’t sure it was worth trying to replicate in this scale. I’m sorry I strayed from replicating this unique feature. I suppose our year of research has finally been breached by my lazy oversight. I hope Vladimir will include this detail on his model. Good eye.
-
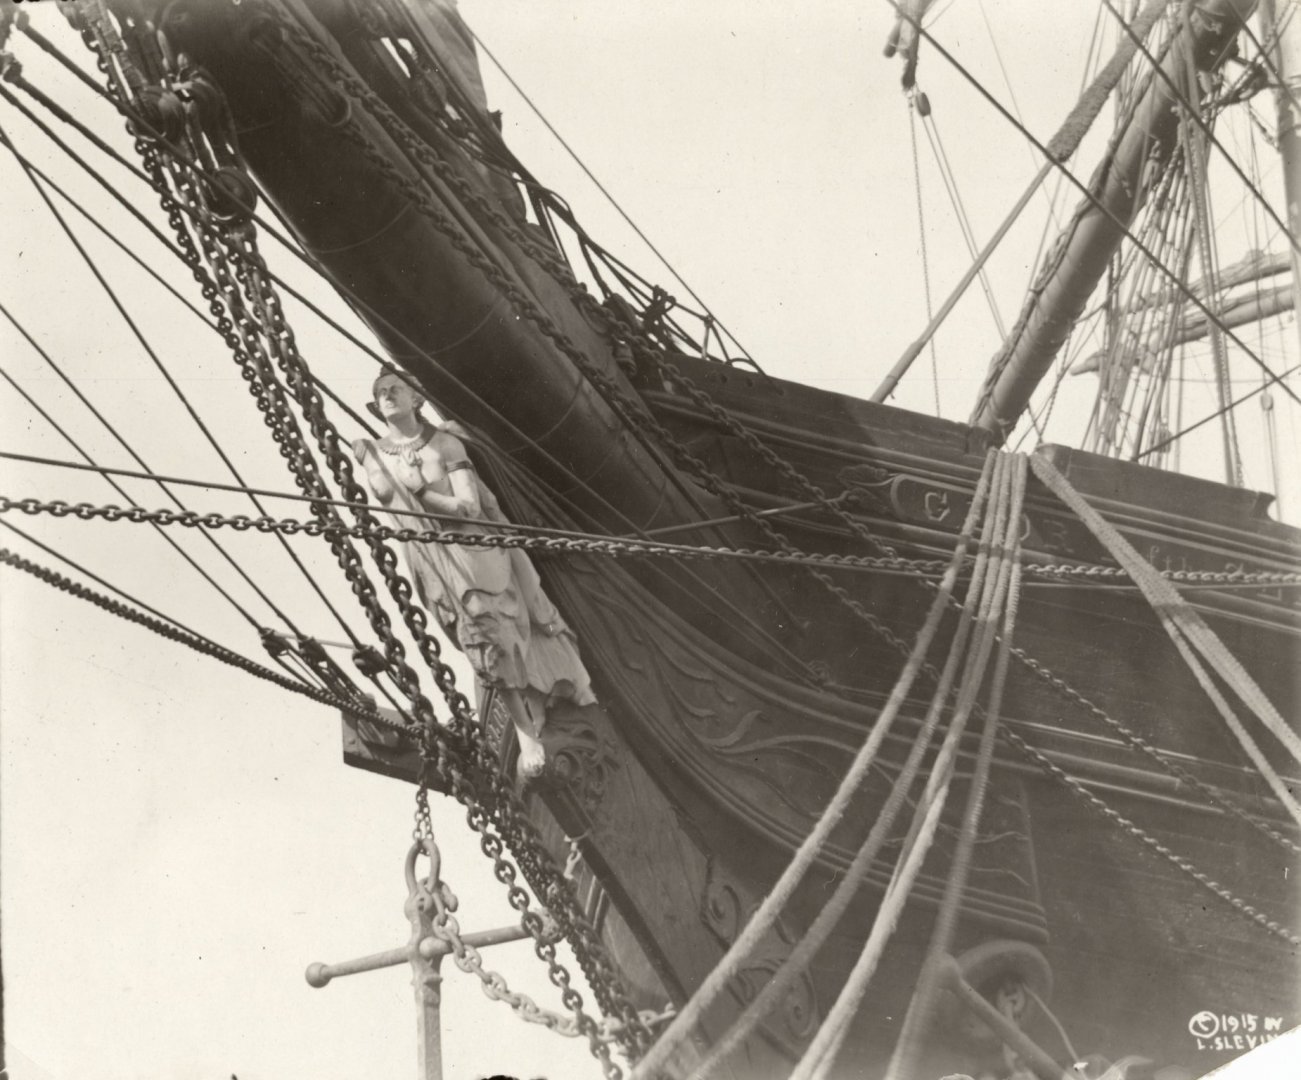
Point it out Rich on the real vessel
-
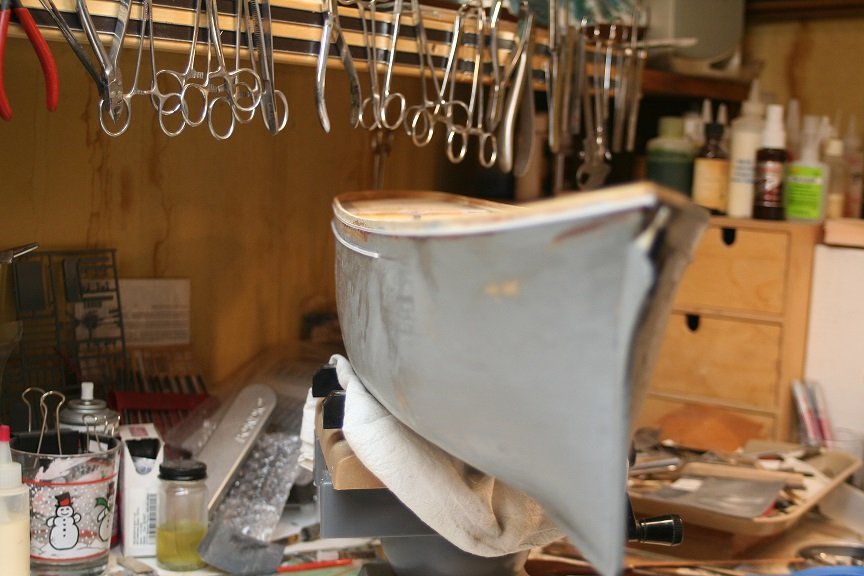
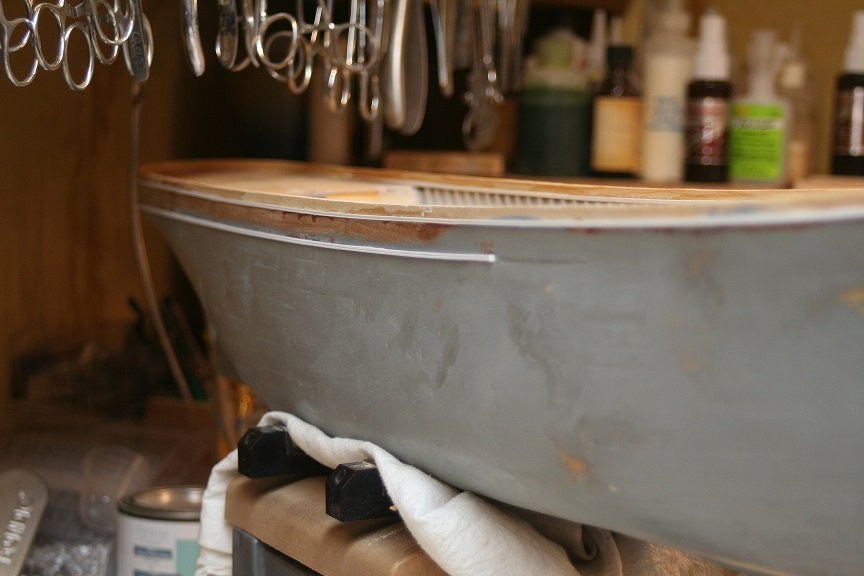
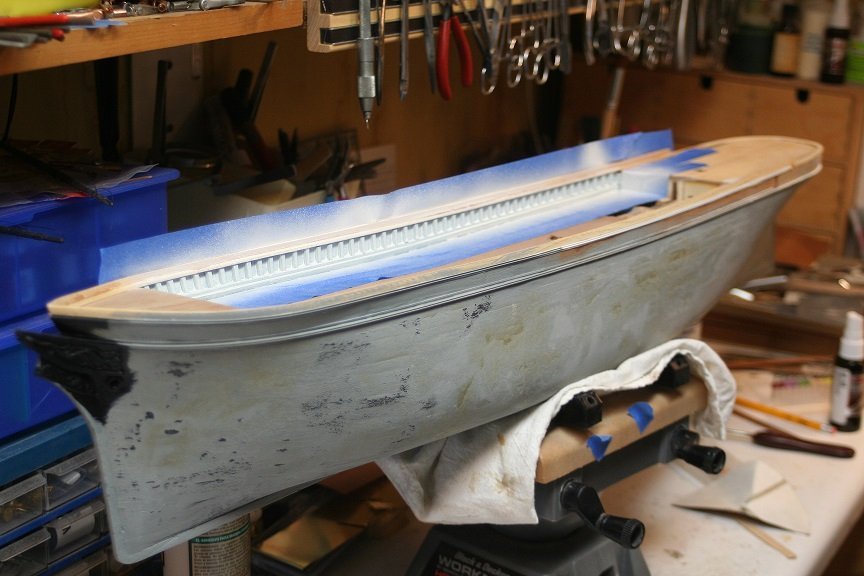
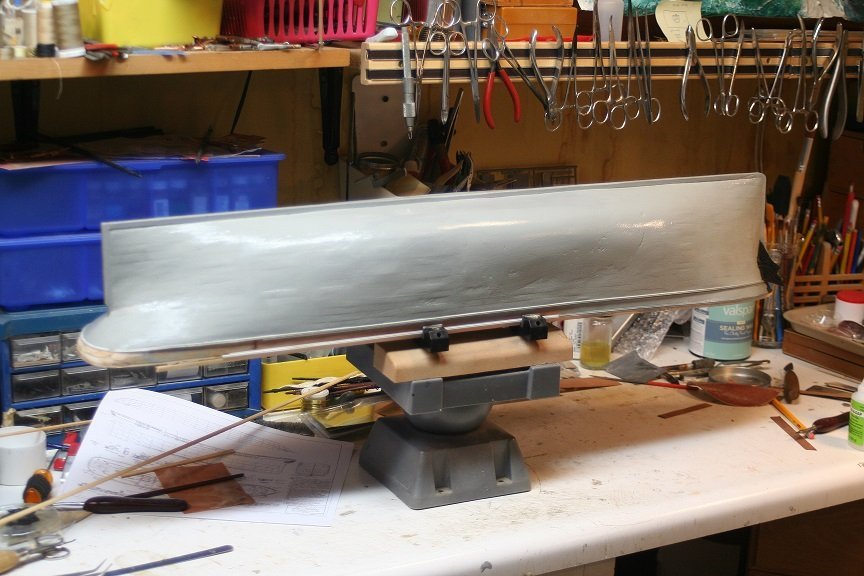
Rich...I wanted to paint the waterways the blue....but the grey(pearl) I selected for the gunwale was far too grey.....so I had to repaint the entirety. And I wanted the grey to slightly *bleed* through the white to give the allusion of a slightly blued pearl color. I took your advice knowing it was the right choice. I think the final result is acceptable. See them on the port trim image Rob
-
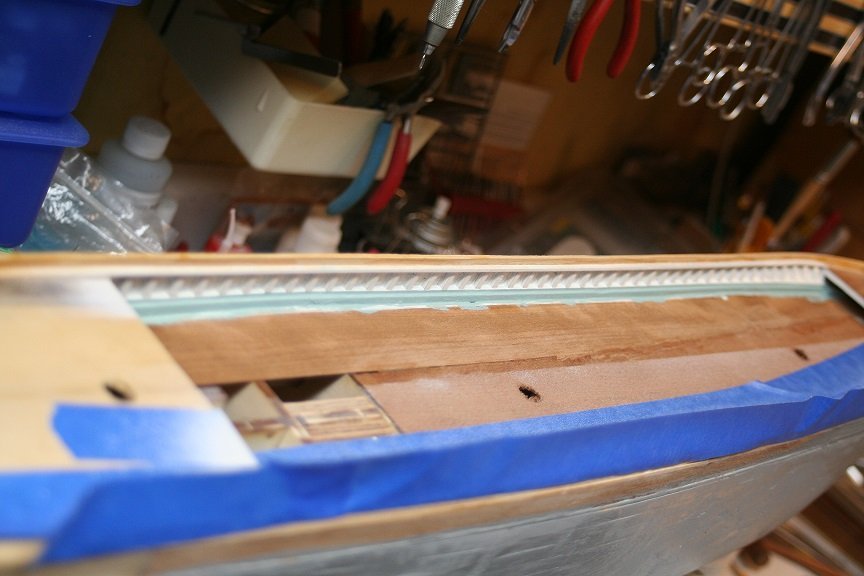
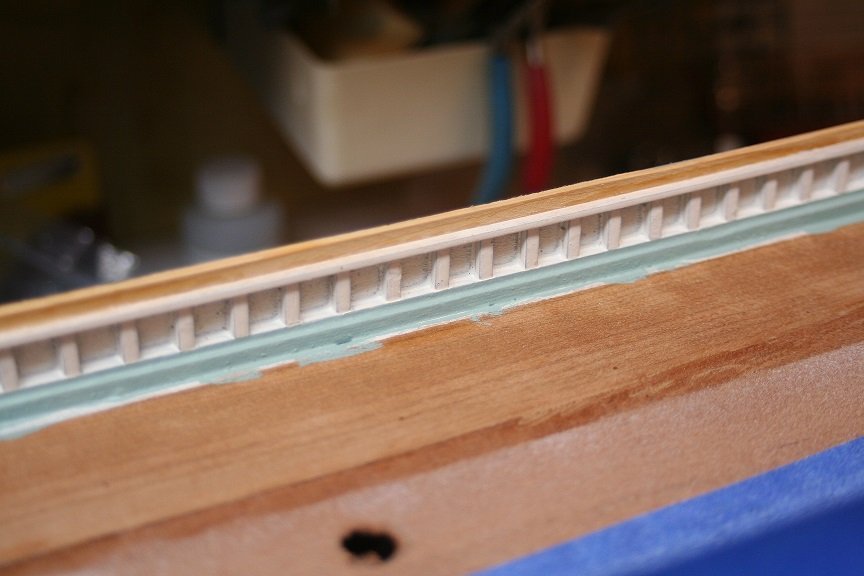
Smarty.....I know about those moldings and I am adding them as well. If you review the port side, you will see them present. I just didn't add them to the starboard side yet (Still working it)....One thing at a time bro..... I had a deep suspicion that you might catch that and again I suspected it might be assumed I *forgot* the extra trim. I mostly appreciate your forbearance and keen eye to be able to point out the inconsistency...and the apparent oversight You 're keeping me honest and true to Glory. Rob
- 3,560 replies
-
- 1
-
-
- clipper
- hull model
- (and 2 more)
-
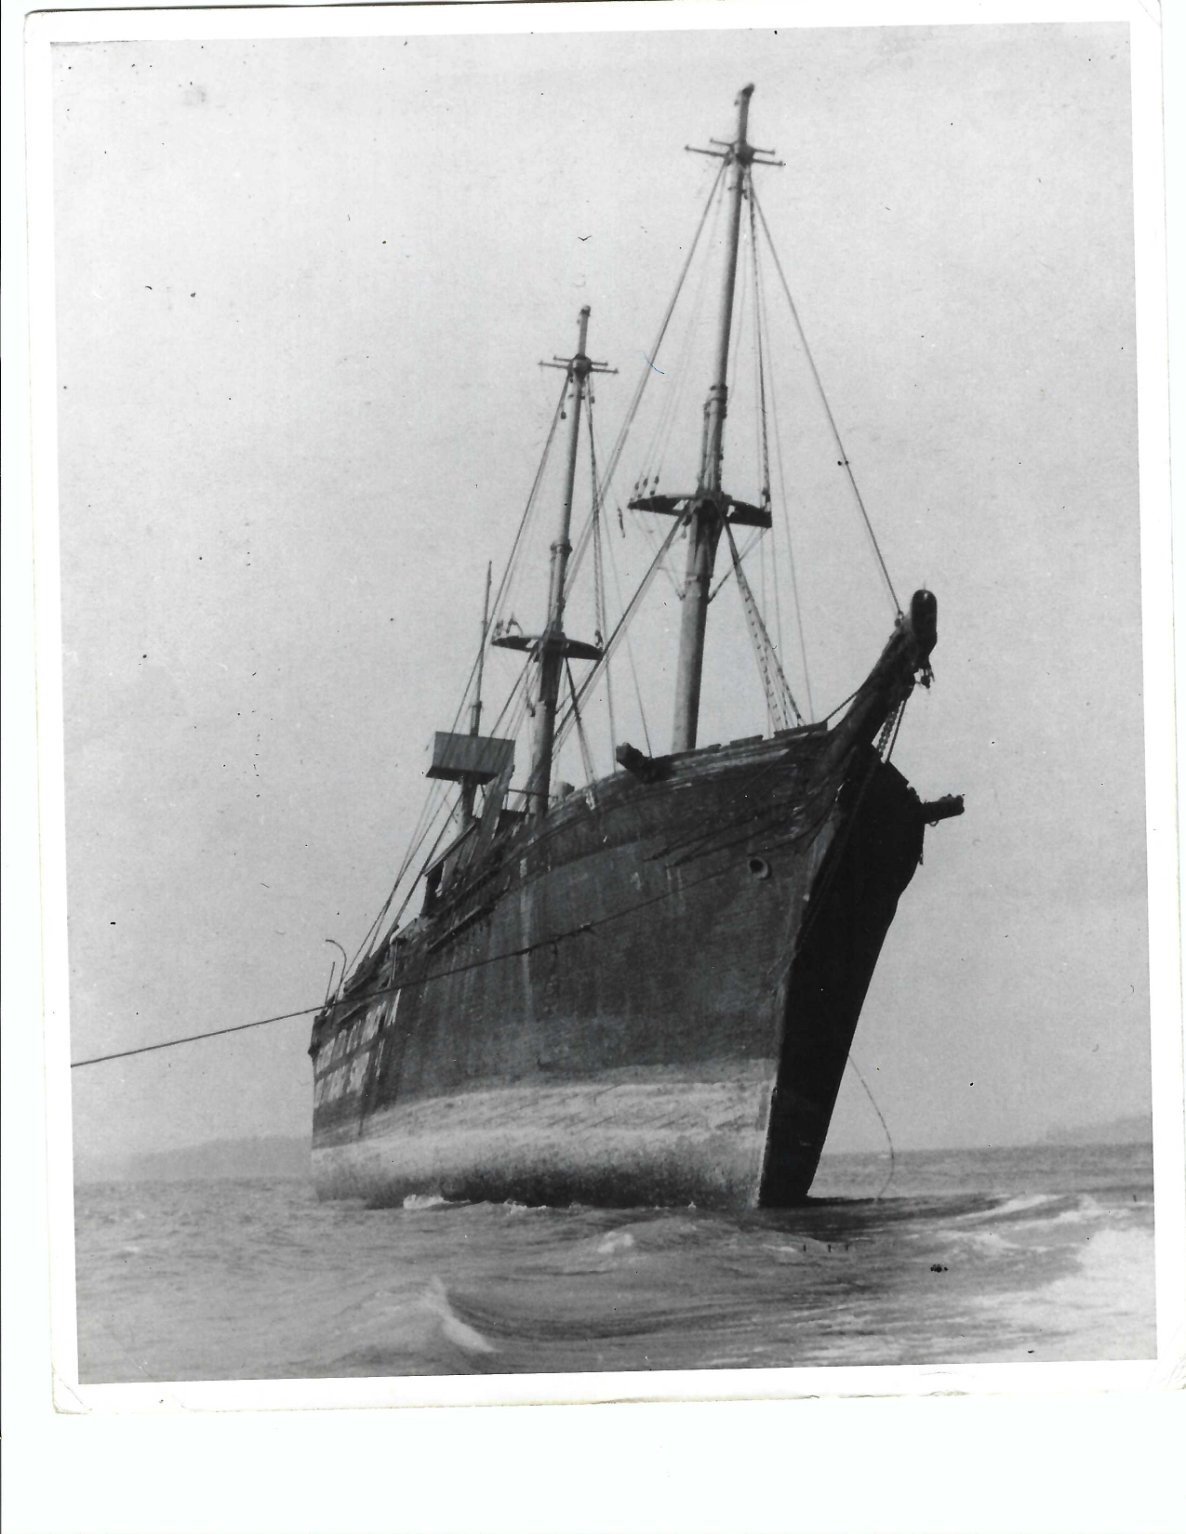
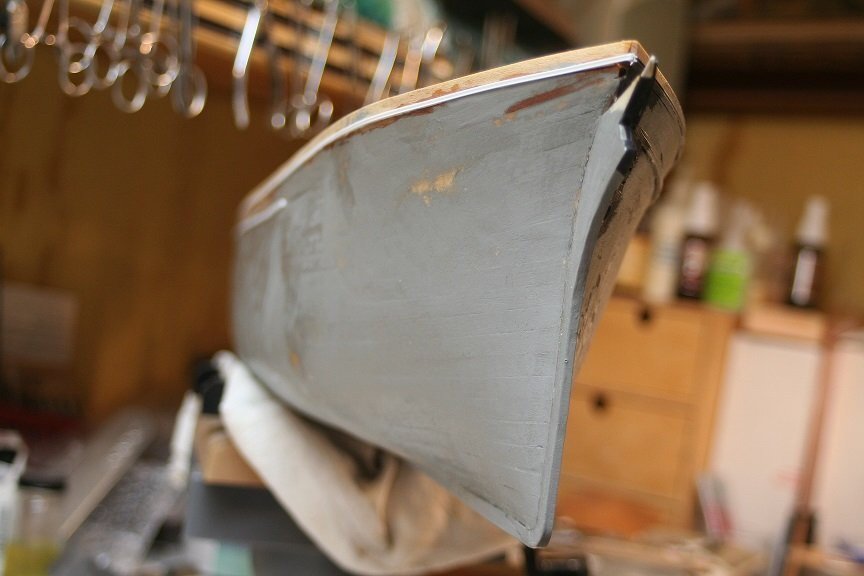
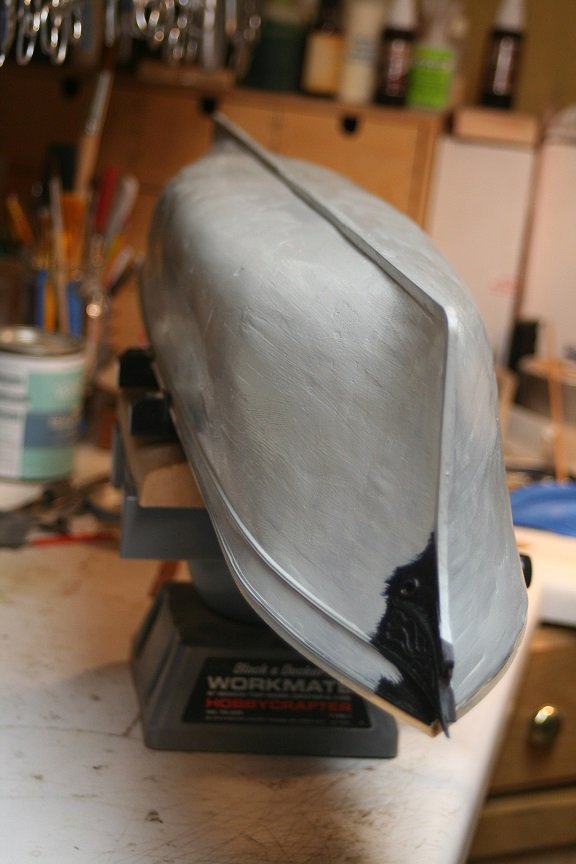
Thanks Vlad. It really is a compromise. I'm still not completely satisfied and will probably(before it's all said and done) do more refinement work on the stern. Comparative images can be very tricky. It is nearly impossible to replicate fully. Since angulation of subject...location and latitude of photographer is never the same. And the greatest issue is the accuracy of the subject matter. I took a comparative image of my first Glory...and though it was some what representative of the original photo...it lacked in every way. I hope as I approach greater completion of this new Glory, that further comparison images will be rendered as far more convincing. Thanks again for your continual support and encouragement. Rob
- 3,560 replies
-
- 4
-
-
- clipper
- hull model
- (and 2 more)
-
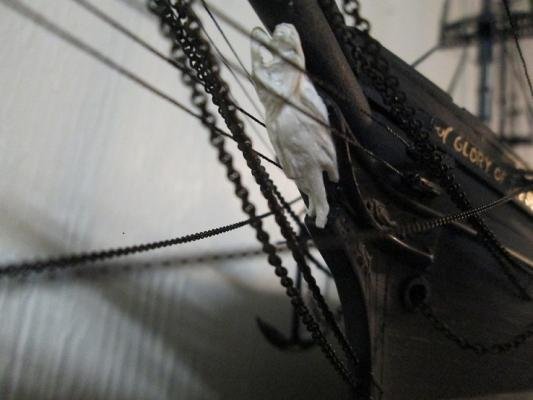
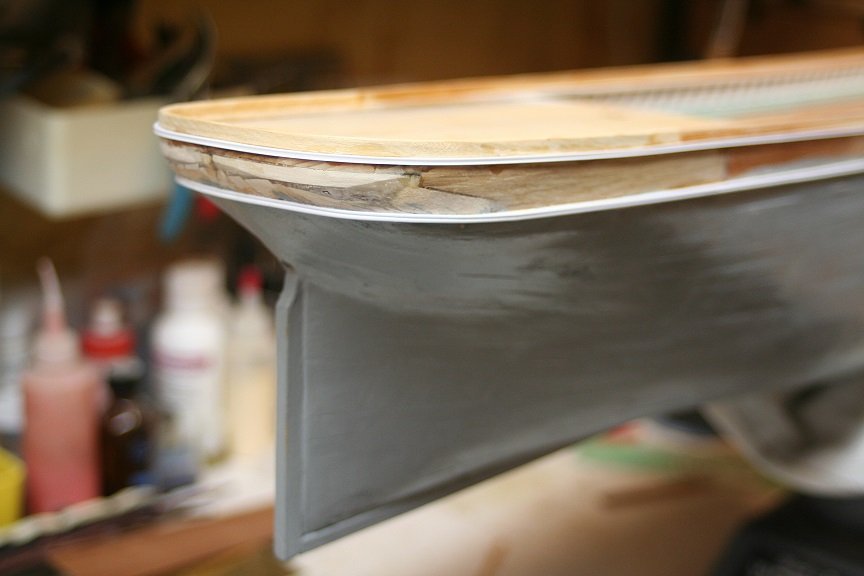
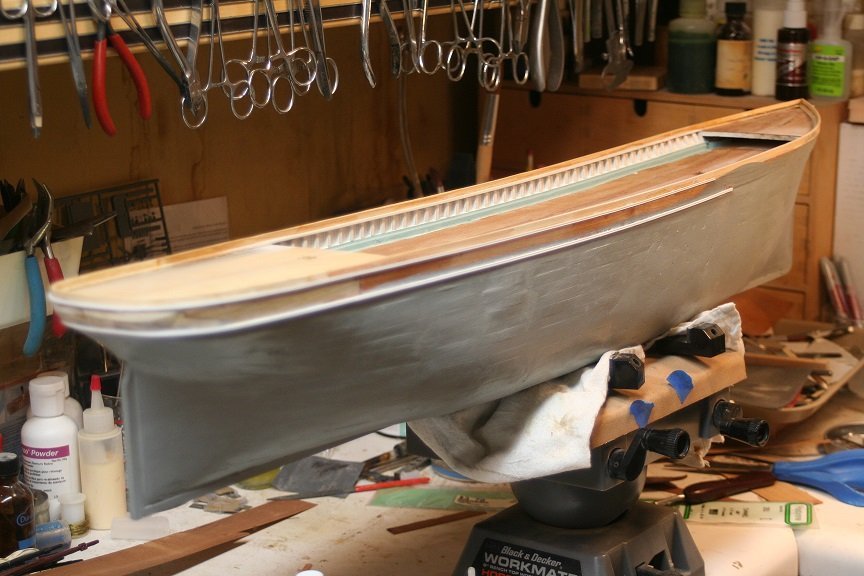
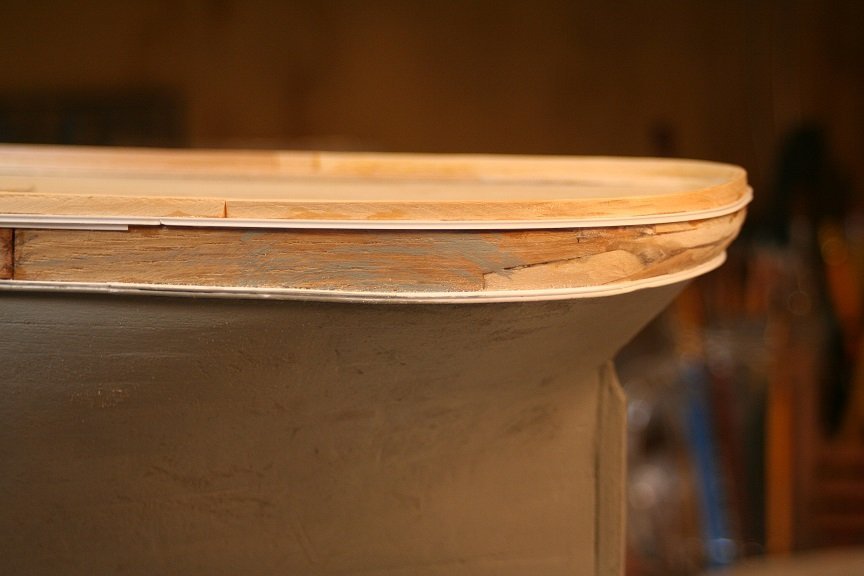
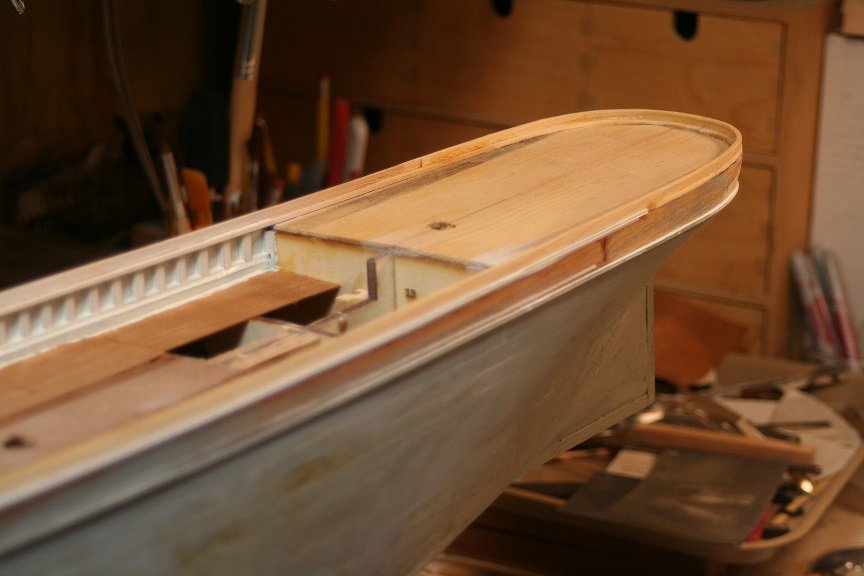
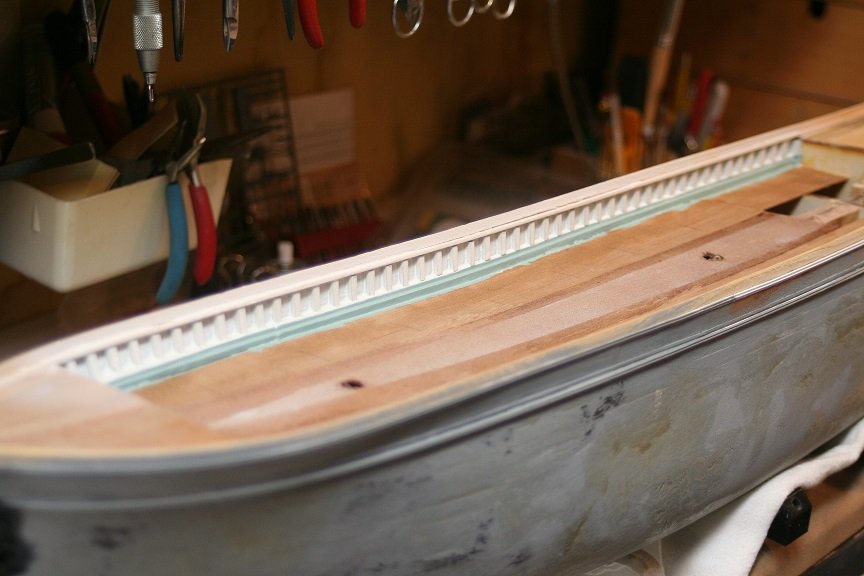
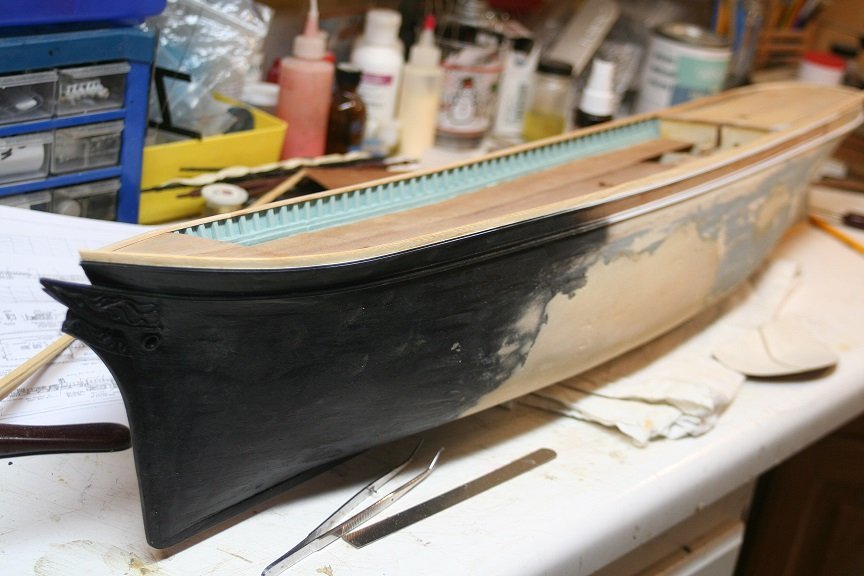
I did the rail work at the same time as the painting but one had to be before the other....I guess. Next images are of the planksheer and rail molding being added. I also worked on touching up small blemishes in the hull on both sides. Some of the images are taken to mimic some of the images of Glory on the beach and such. Next thing will be to add the starboard naval hood and its trim. Enjoy the images. Rob

- 3,560 replies
-
- 6
-
-
- clipper
- hull model
- (and 2 more)
-
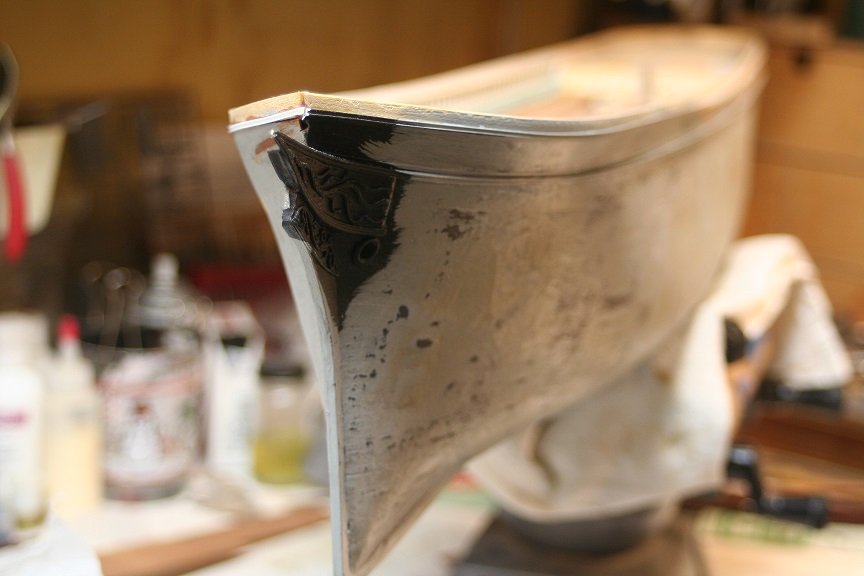
I then focused on finishing up the stern topgallant rail.
- 3,560 replies
-
- 3
-
-
- clipper
- hull model
- (and 2 more)
-
Spent a bit of time in the shop today and I first painted the starboard gunwale and I took Rich's advice and painted the waterways blue. Some images.
- 3,560 replies
-
- 3
-
-
- clipper
- hull model
- (and 2 more)
-
Thanks Rich...I was hoping she would be a good representation.....NOT just a good similarity. Rob
-
Well Vlad...we all put in a lot of time and research ourselves, and it is deflating when a known expert on the subject of shipwright technologies renders a completely different example then what was agreed upon among our group. Mike Mjelde must see, himself the inconsistencies between our and Ron's renderings. I mimic Rich's bewilderment. But as I have stated clearly before...this is about perception and I choose to accept what we have perceived....cuz......I trust my own eyes and my own acquired ability to render what i see, into an accurate model. I have years of experience in mechanical drafting, engineering, and fabrication....so I tend to fall back on those skills to aid my own perceptions. Best thing of all, is that it is a personal thing...you can model your(speaking of anyone) model after whatever you will....I will do the same...without any guilt. What an adventure Vlad......we have undertaken. Rob
-
George...if I recall it was a Crylon paint. There are several metallic shades I think. I used simple painters blue masking tape. I'm sure you have visited my Great Republic log and seen my process. If at all possible that you can find a roller similar to what I have...you can produce embossed lengths of tape in short order. You might be able to Google search for a similar rubber clothes roller. search your hardware store for the correct mesh wire fence material and get some drywall sanding pads. Follow my process and Bam........you can save hundreds of dollars. I have been following your log and gleaning from it to initially build my Glory of the Seas. Vladimir copied the bulkhead style...so I just followed your construction process for the waterways and planking. I'm now ready to add the topgallant(Monkey rail) cap.to the stern. As usual, I'm always sanding and filling the hull. Thanks for your build log and your questions. Rob
- 602 replies
-
- 1
-
-
- Flying Fish
- Model Shipways
- (and 2 more)
-
George….. I painted the bright copper on my 1/128 scale Great Republic with metallic paint. I then covered that with a sealer dull coat to preserve it. No issues and the most important point is I replicated the muntz metal weathered appearance. The technique requires some faith and nerve. But it’s worth the accuracy. Good luck in what you decide.
-
It almost seems beyond comprehension that anyone could arrive at any other conclusion then what we arrived at. The rub of the inconsistency lys in the fact we used 3 heads and we bounced ideas and observations off one another. Ron with all his years of experience simply had himself (though that in of itself is significant). It still did not allow for a peer review. I think, if for no other reason, we had the advantage of numbers. Not to mention the original author himself, Mike Mjelde. I’m satisfied with my representation, based upon our conclusions, In spite of the current apparent mischaracterization.
-
I’m glad you are pursuing the issue further, however, I’m going to move forward in the direction we had already agreed upon. My model will reflect what this group has skillfully uncovered. The photographic evidence is, in my view beyond contestation. I continue to hope your recovery is as uneventful as possible.
-
I think I would have a tough time reconciling steel wool and Brill pads in any *NEW* construction technique I might try to justify. I'm out in left field...but not that far out. I talked to Mike and he says Ron is continuing to modify his stern drawings of Glory. Also he said, he will keep us abreast of any info on his new publication and how we can acquire a copy. I am....oh so looking forward to it. Rob
-
Smart phones…….that is surely a typo. I meant steam bending the transom. You are correct. I picked up some micro drills and some micro table saw blades to aid in construction
-
Thanks Vlad, she’s does look like the photographs. Still lots of sanding work. I still need to add the monkey rail cap, but both sides need to be scribed before install and I will wool stem the transom prior to adding it
-
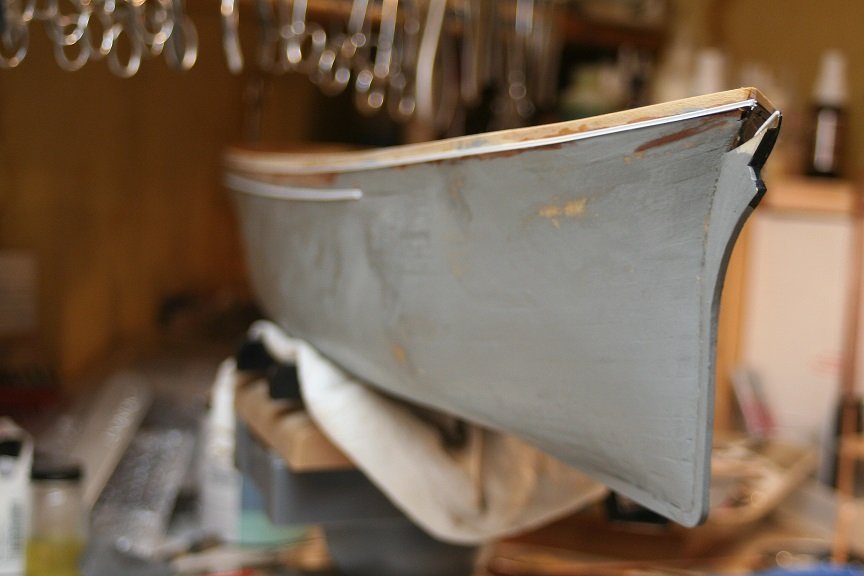
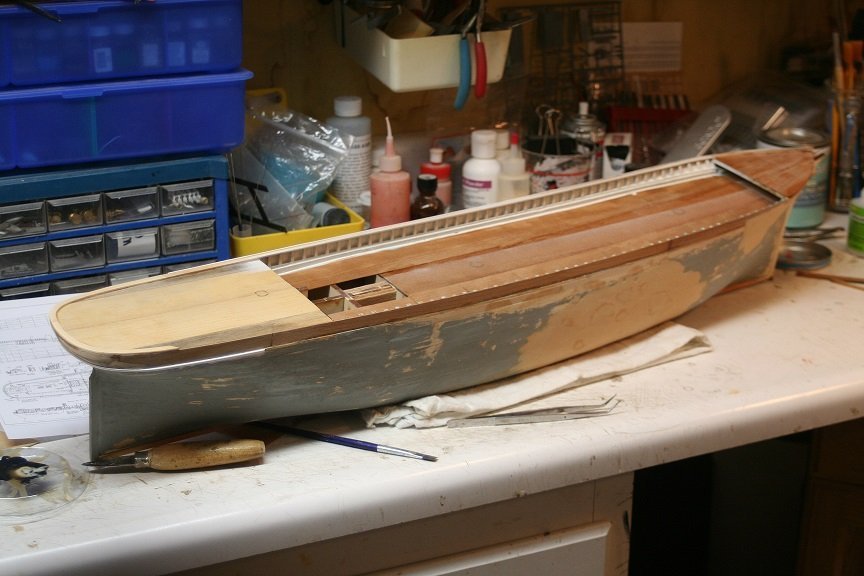
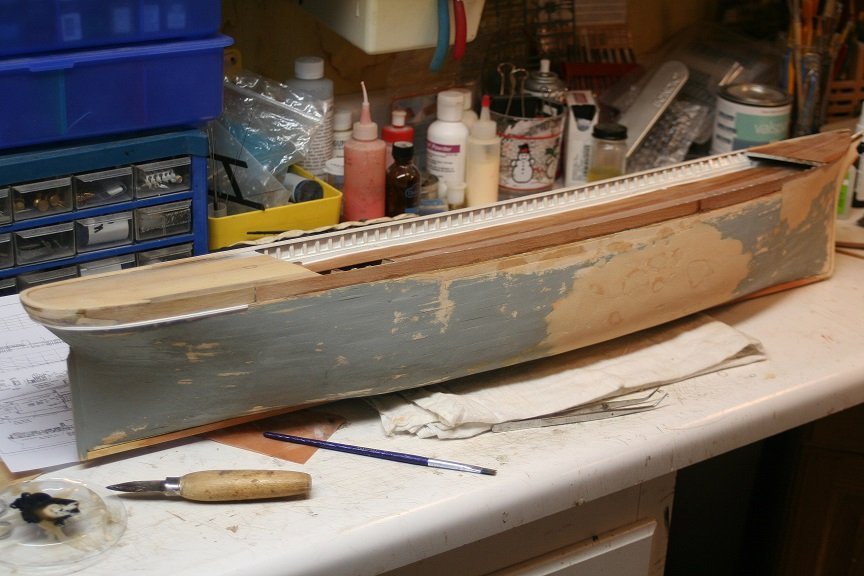
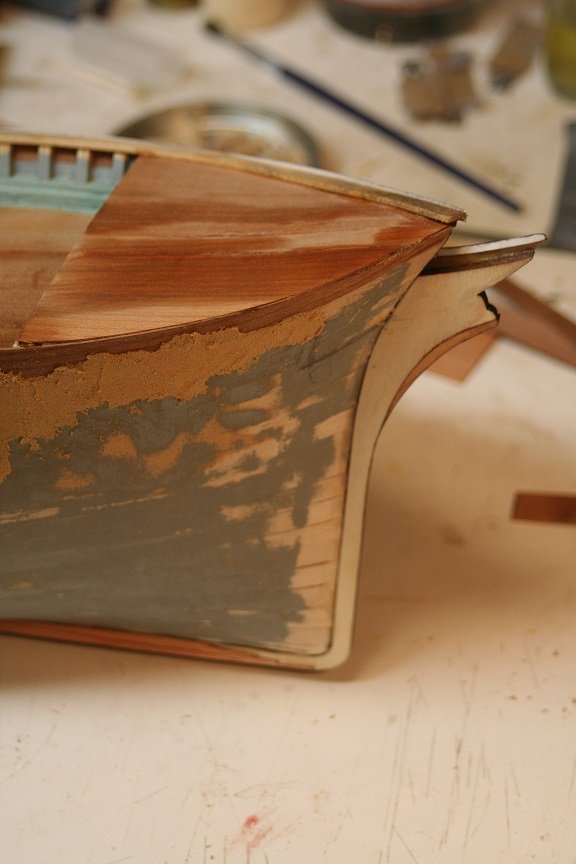
To finish things off for the day....I painted a coat of latex over the entire hull and I will again begin to sand and finish the hull some more. It's a never ending cycle of sanding and filling...and sanding and filling. I'll let this dry and then begin the process all over again....and finish up the stern and add the starboard planksheer and monkey rail trim. I'll tackle the starboard naval hood and scrollwork after that. Rob
- 3,560 replies
-
- 6
-
-
- clipper
- hull model
- (and 2 more)
-
Now..I'll move onto the addition of the starboard main rail and the addition of the monkey rail as well. I still have to tie them together at the stern...but that for another day.


- 3,560 replies
-
- 5
-
-
- clipper
- hull model
- (and 2 more)
-
I forgot to add the pics of the painted bulwark on the inside and the addition of the starboard gunwale.
- 3,560 replies
-
- 3
-
-
- clipper
- hull model
- (and 2 more)
-
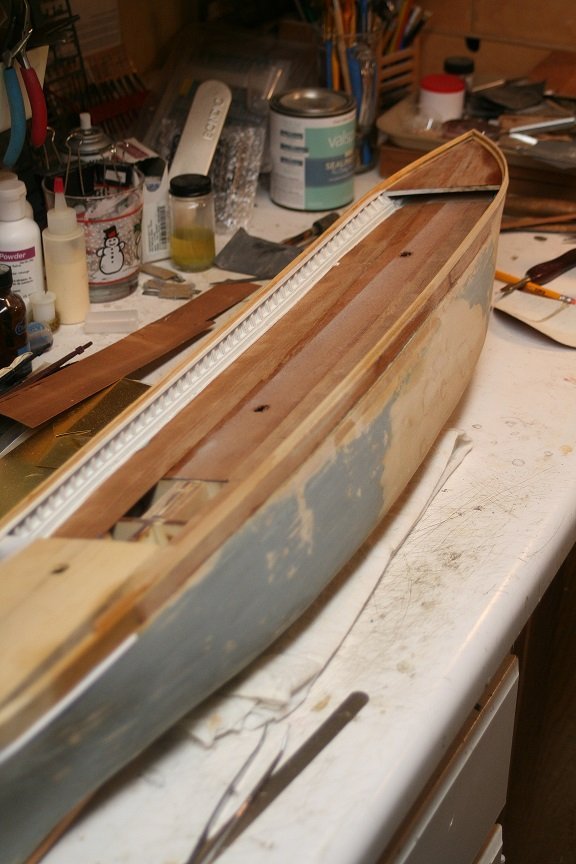
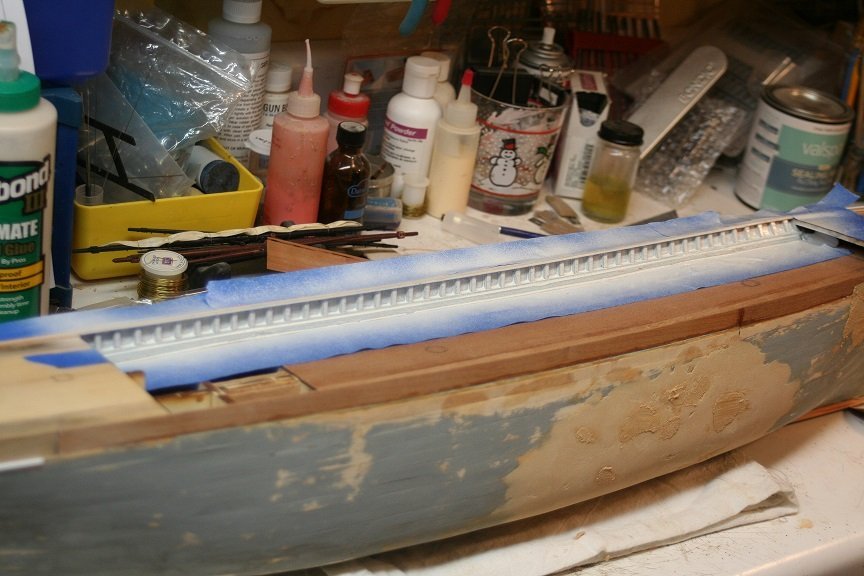
I then cut and added all the framing for the starboard side and painted the bulwark the same grey blue....so when I repaint over it with the white, it will have the same pearl/blue/white color.
- 3,560 replies
-
- 2
-
-
- clipper
- hull model
- (and 2 more)
-
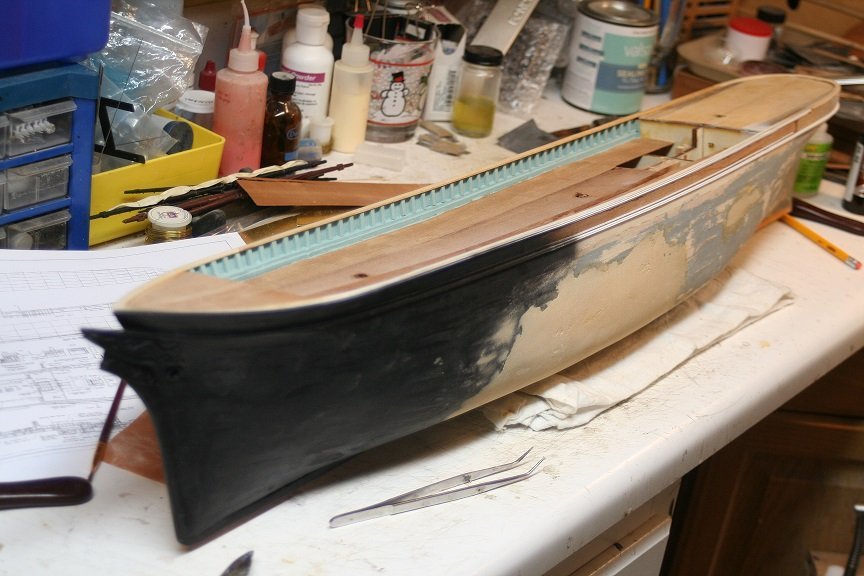
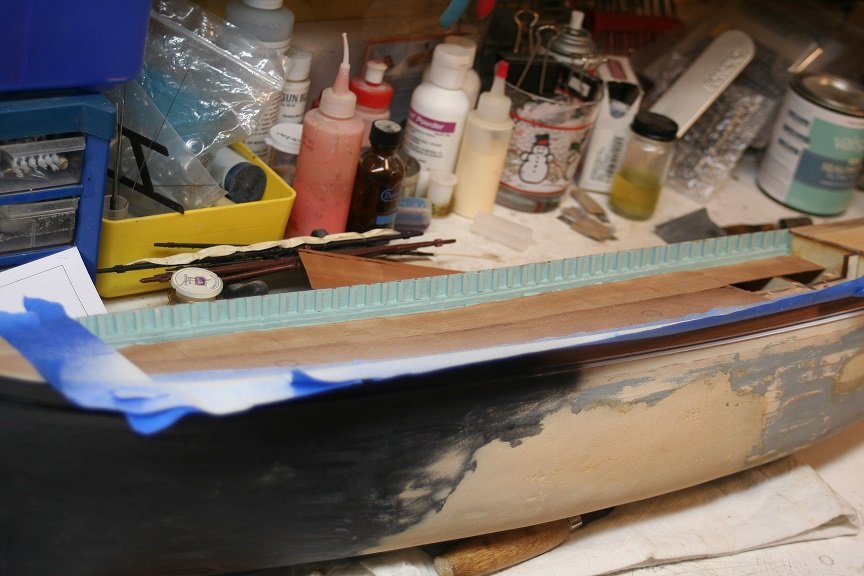
I then decided to paint over the grey gunwale(I didn't much like the *Pearl* color suggested) so I painted over the grey with a white that added the two tome effect of pearl. Personally...I'm building her after her major refit and I'm going with a more traditional color....and reviewing her images when she was in Alaska as canary...her warn gunwales appear to be white...or at least that is what they were repainted.
- 3,560 replies
-
- 2
-
-
- clipper
- hull model
- (and 2 more)
-
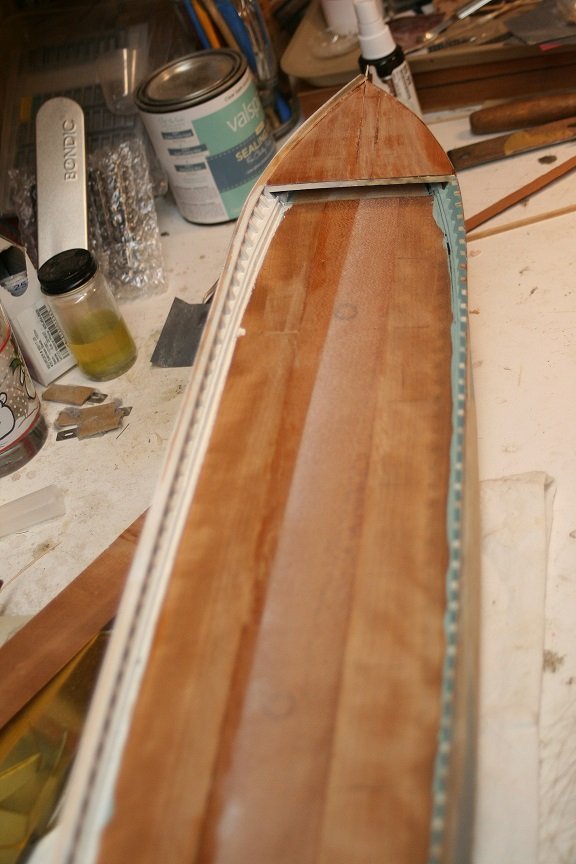
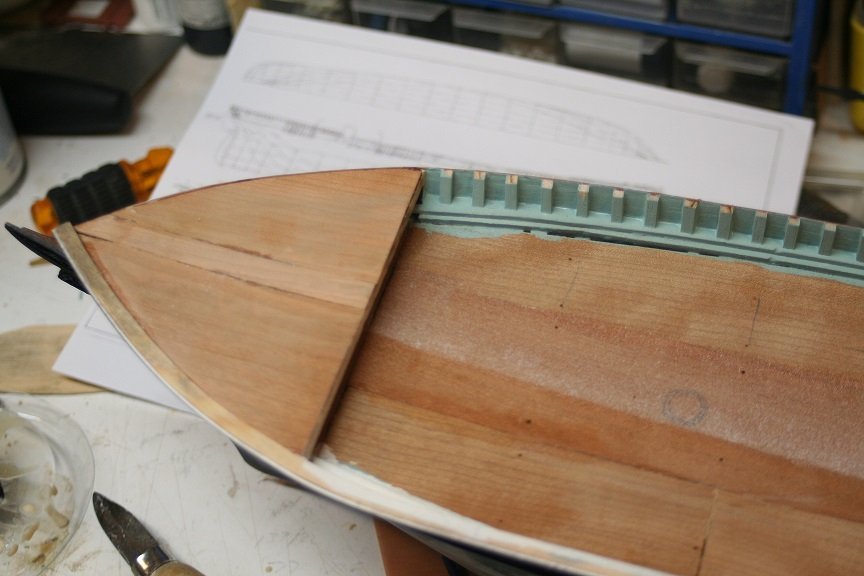
I had to add a bit more filler and then on to the forecastle pre-deck


- 3,560 replies
-
- 4
-
-
- clipper
- hull model
- (and 2 more)