
HOLIDAY DONATION DRIVE - SUPPORT MSW - DO YOUR PART TO KEEP THIS GREAT FORUM GOING! (Only 72 donations so far out of 49,000 members - Can we at least get 100? C'mon guys!)
×


rwiederrich
-
Posts
5,518 -
Joined
-
Last visited
Content Type
Profiles
Forums
Gallery
Events
Everything posted by rwiederrich
-
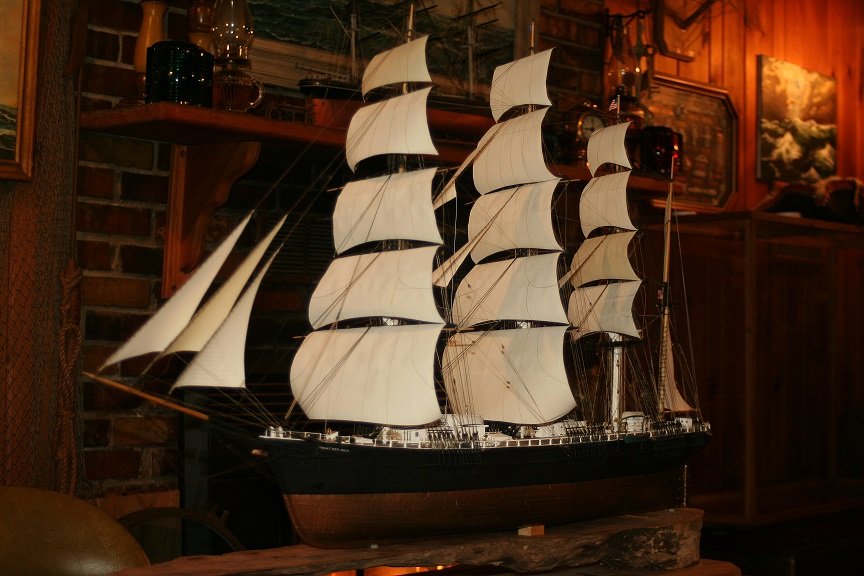
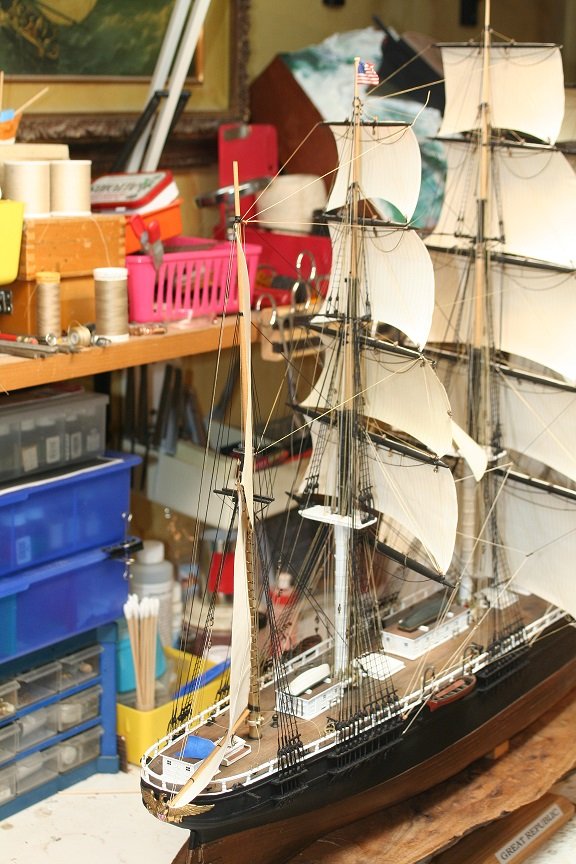
Wonderful work...love it. I finished the Great Republic. Keep up the good work. I'll be working on the Glory of the Seas now..... Rob
- 356 replies
-
- 1
-

-
- red jacket
- finished
- (and 1 more)
-
Thanks Greg..I appreciate that. Now I can shift my focus to the Glory of the Seas and finish her up as well. Rob
- 1,208 replies
-
- 1
-
-
- great republic
- clipper
- (and 1 more)
-
Thanks so very much Paul....she is a pride of my clipper fleet. Rob
- 1,208 replies
-
- 1
-
-
- great republic
- clipper
- (and 1 more)
-
Bob..it was your wonderful encouragement and correction that aided the effort. Rob
- 1,208 replies
-
- 2
-
-
- great republic
- clipper
- (and 1 more)
-
Thanks Pat..it was a great time and your encouragement was a treasure. Now get to the Victoria....mmmm Rob
- 1,208 replies
-
- 1
-
-
- great republic
- clipper
- (and 1 more)
-
Keith it has been a pleasure. Rob(thanks for the comments)
- 1,208 replies
-
- 2
-
-
- great republic
- clipper
- (and 1 more)
-
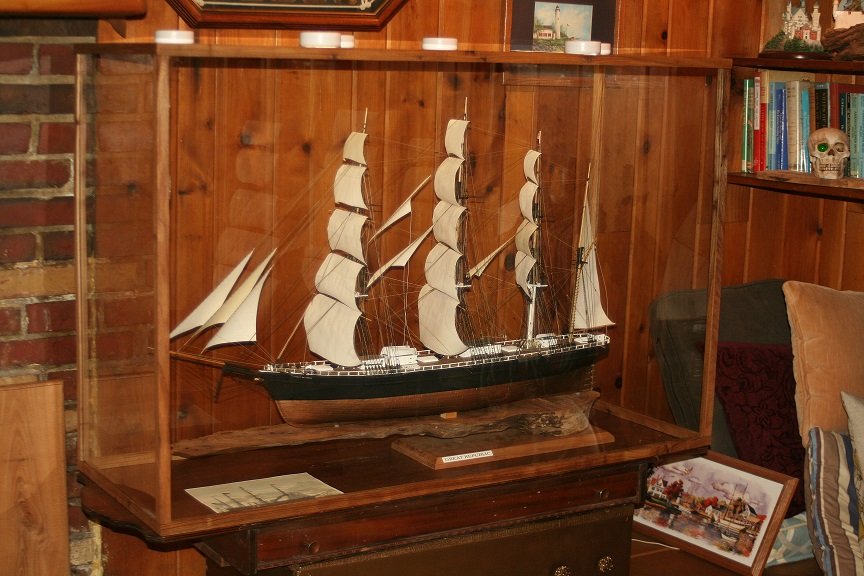
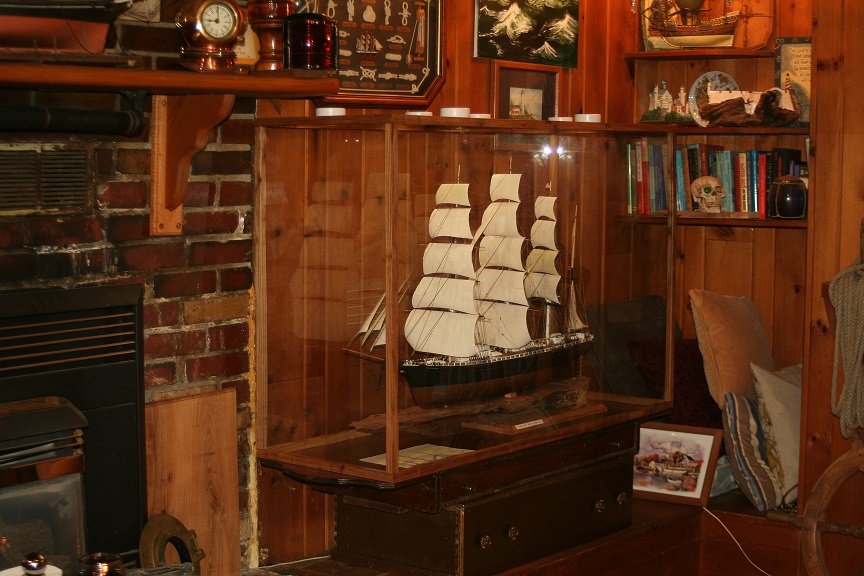
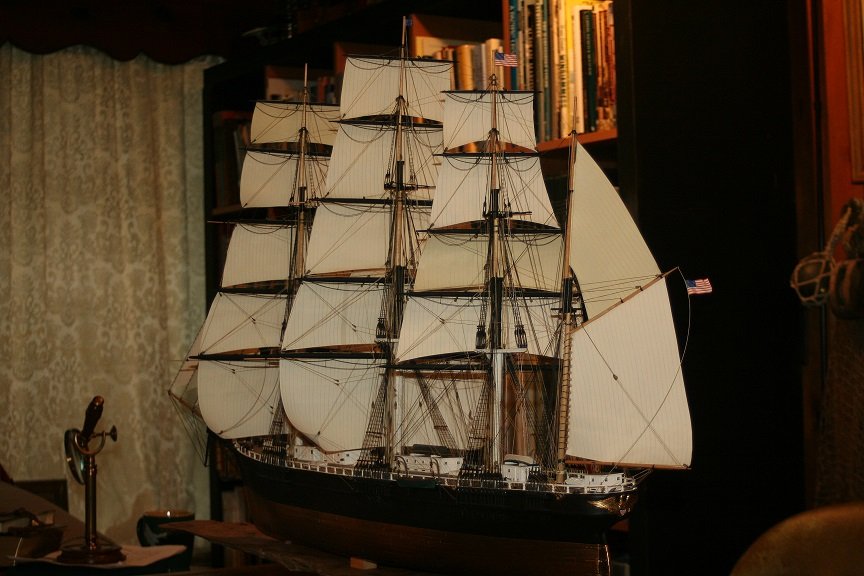
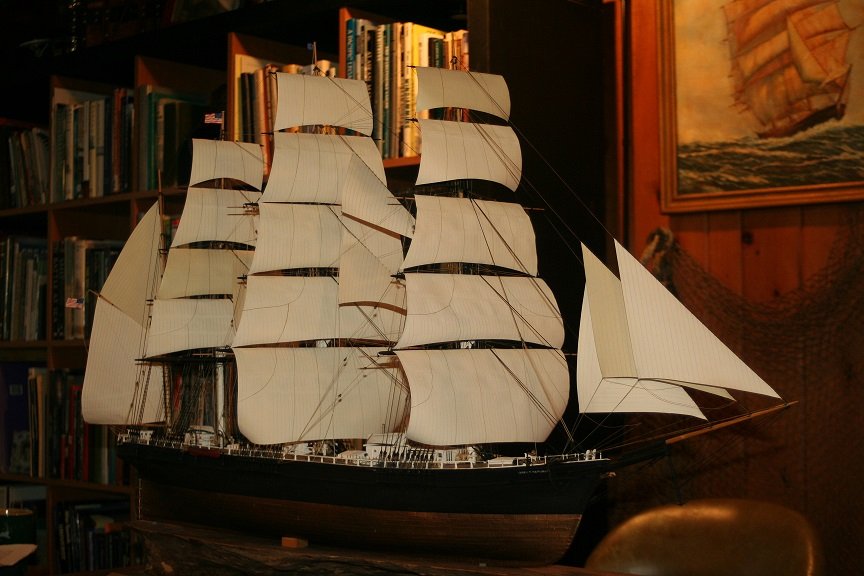
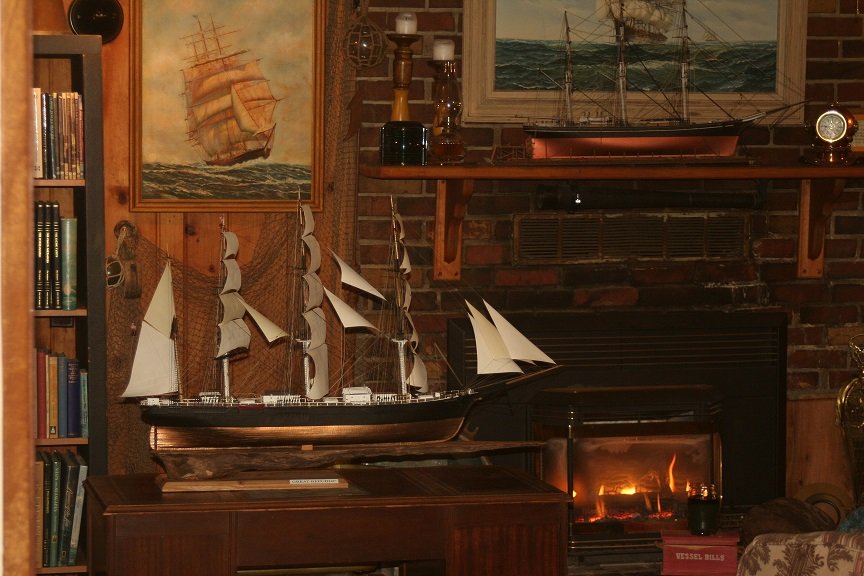
Got her put in her case......and lit up too.... Rob
- 1,208 replies
-
- 18
-
-

-
- great republic
- clipper
- (and 1 more)
-
Finishing up...on the flags and the head gear. And finished model.
- 1,208 replies
-
- 14
-
-
- great republic
- clipper
- (and 1 more)
-
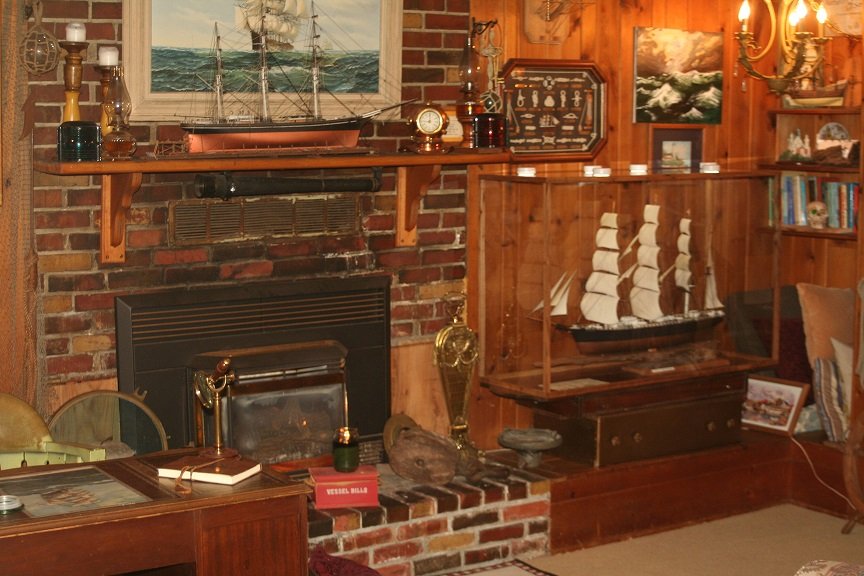
I'm getting close to finishing her...just a few more lines on the head gear and some flags. I found this print of her. she was amazing. Rob(Hope to get her in her case soon)

- 1,208 replies
-
- 7
-
-
- great republic
- clipper
- (and 1 more)
-
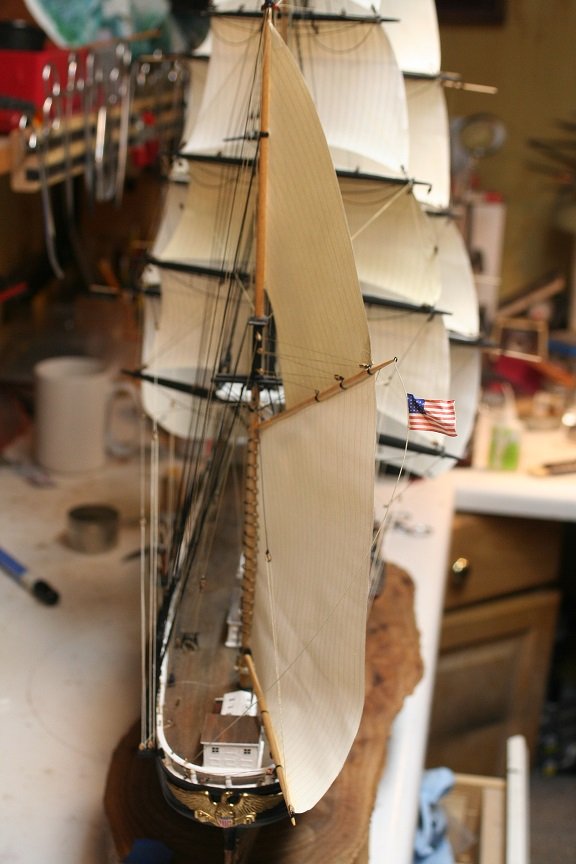
Worked a bit tonight on the final backstays and the mizzen sheets. Rob

- 1,208 replies
-
- 11
-
-
- great republic
- clipper
- (and 1 more)
-
Indeed, skysails and their masts were the easiest additions...adding Howes and Forbes rig to the lower topsails(Newly added sail), would have been a bit more work, but what made sail work easier for the crew. Double topgallants came along even later. If practice was equal across the board....the Red Jacket probably was originally fitted out with mains, topsails, topgallant and royals. It was the clipper hull that made the most impact in the new design.....the rig followed along after. Rob
-
How Realistic Can One Make Sails?
rwiederrich replied to Julie Mo's topic in Masting, rigging and sails
If you have any questions just ask Gabe........ Glad I could be help...and follow my build log of the Great Republic and you can see pics of the process....... Rob -
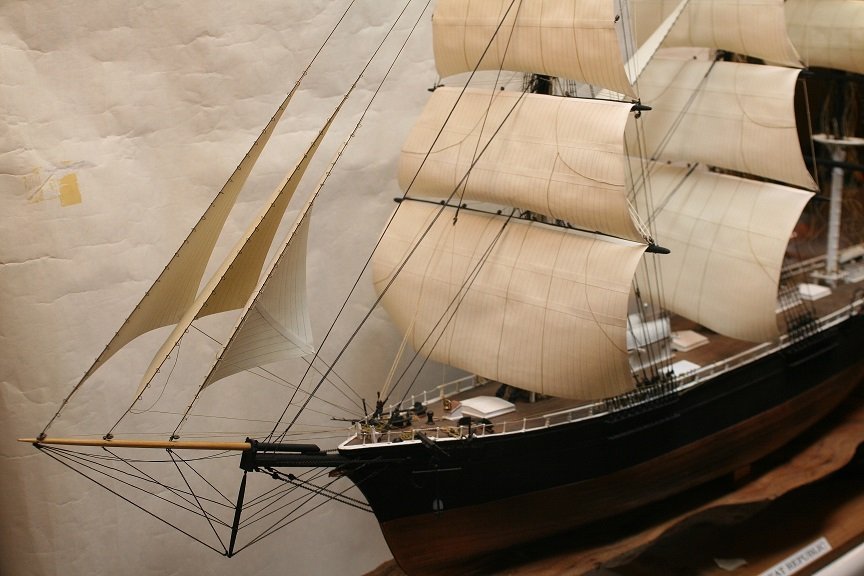
The painting I saw is very similar to the first image of the book cover..... Like most early clippers they didn't have lower topsails or skysails....not until the mid 50's did many get overhauled. Rob
-
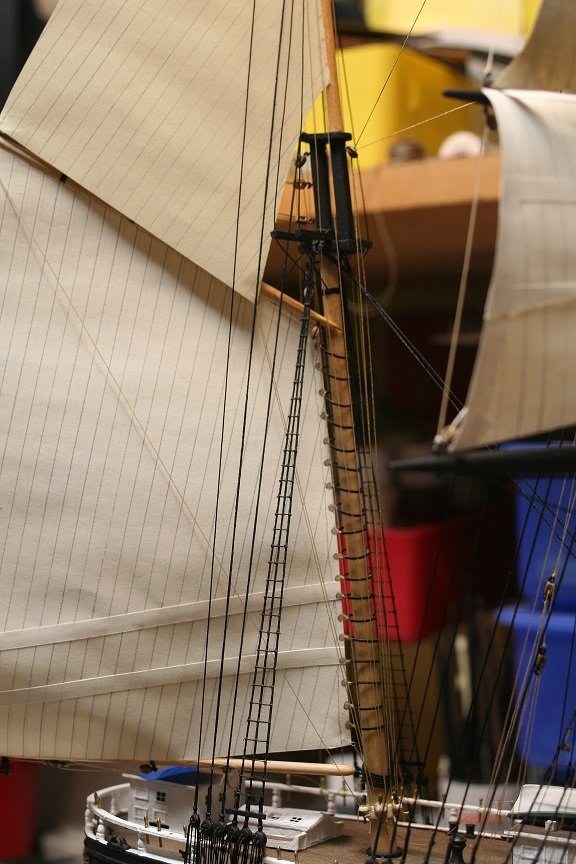
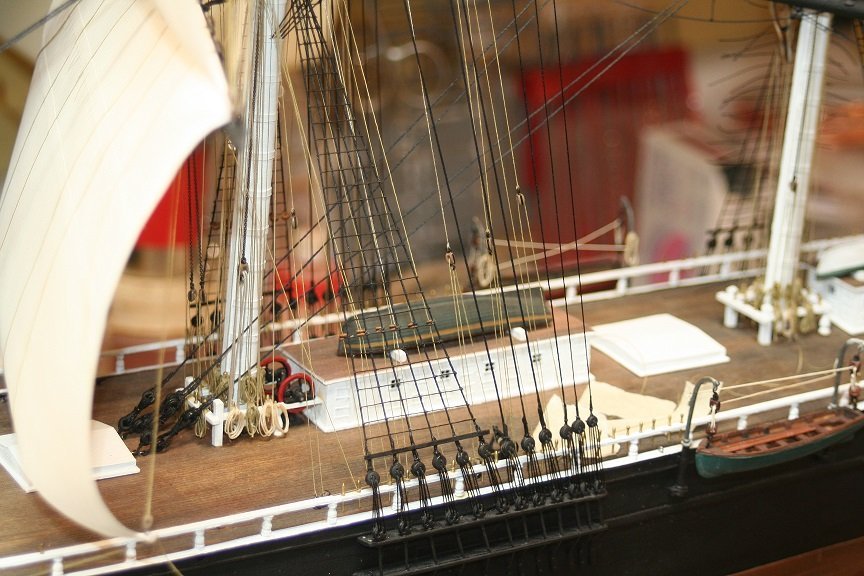
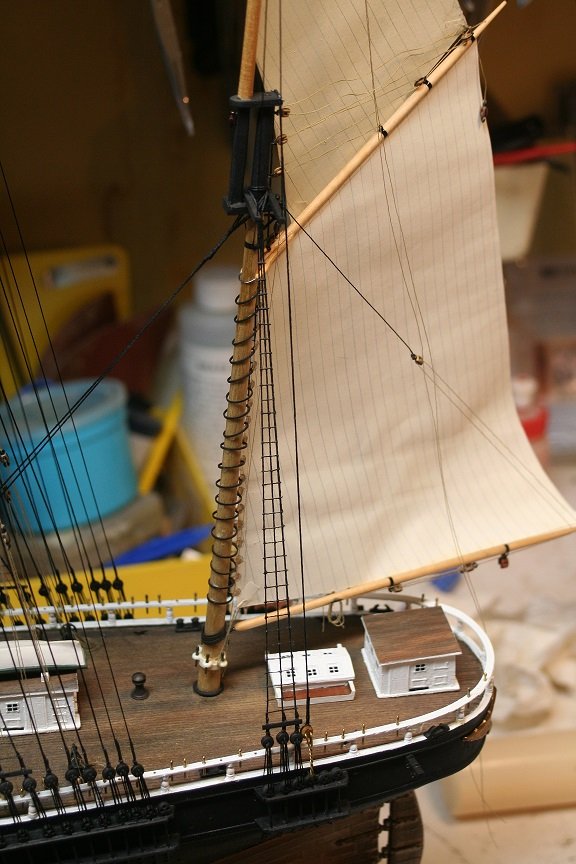
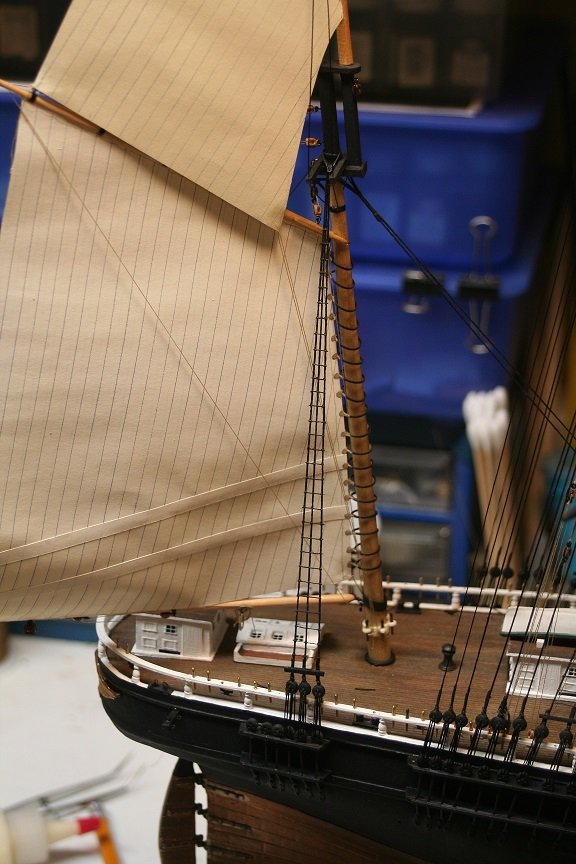
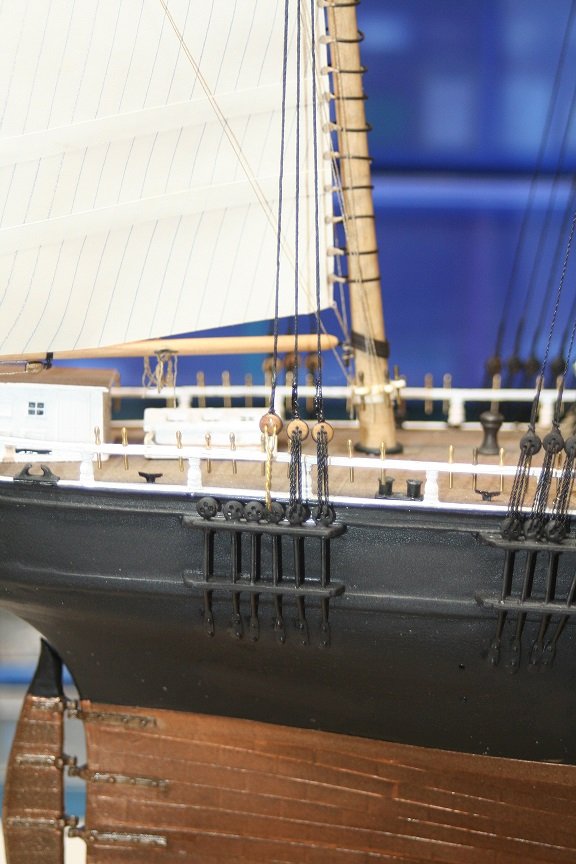
With my scale 1/128...this is the manner in which I attach my ratlines to the shrouds Rob
-
I was hoping to find some progress this morning....but I know full well these *Lady's* can't be rushed and I know excruciatingly well about time availability. I myself am only hours of work away from completing my own GR build, but *things* always come up...I have to install a privacy fence this weekend...so there goes my *hours* of dedication to my own build...... Love your work and am looking forward to your next post. Rob
-
Yes it has. Time availability means the world. I built my 1/96 Cutty Sark on its *ways* depicting her rudder repair...in just over 3 months. The entire thing. Because I had nearly unlimited time to dedicate to it...almost 8 hours a day...and if one is ambitious and tenacious...it is possible. Here, with the Great Republic...she was made totally by scratch...just a set of plans and a start date. I'll try to really focus on getting the spanker rigging finished up...because there is still some sail rigging to tend to and the national flag to mount. NOT TO MENTION....I have a few more details to finish up on the head gear with the addition of some stays. Apart from that..she is about ready to be put in her case. All this really means is that as I finish her up..the Glory of the Seas is waiting..and she will be hauled out on the work bench and I will begin again on her rigging and yarding. IT NEVER ENDS. Then we'll be over at that log. Rob
- 1,208 replies
-
- 3
-
-
- great republic
- clipper
- (and 1 more)
-
My son and wife just today said when are you going to fill that empty case.....? Not, before the model is finished I said..... Rob
- 1,208 replies
-
- 6
-
-
- great republic
- clipper
- (and 1 more)
-
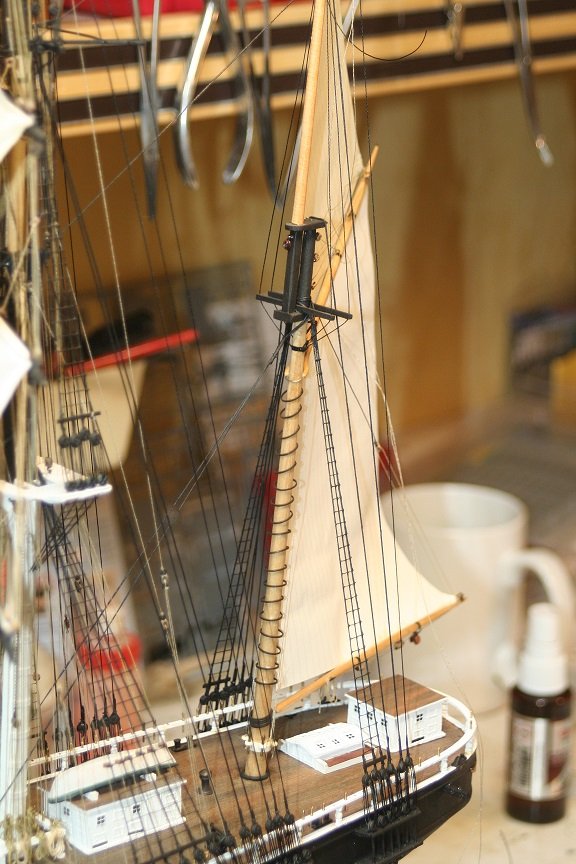
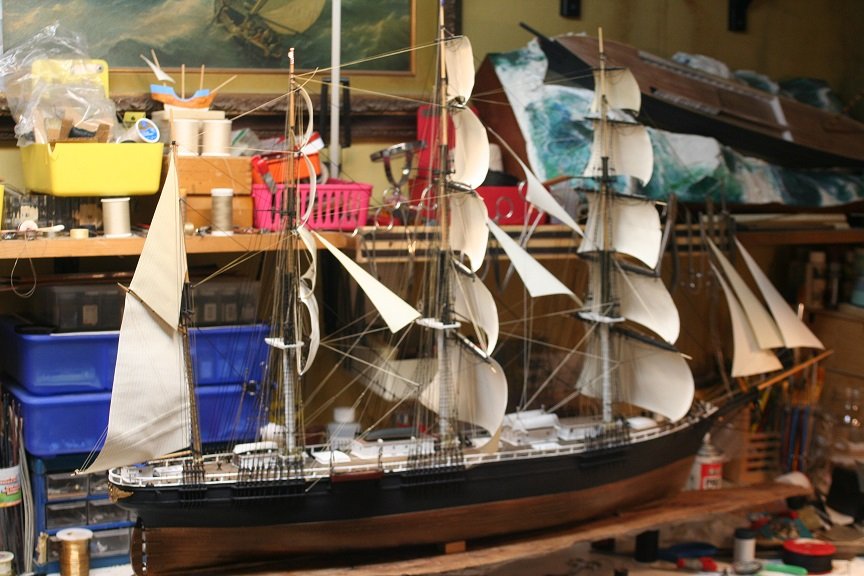
Now that that is done I am beginning with the first of the backstays.... Rob
- 1,208 replies
-
- 9
-
-
- great republic
- clipper
- (and 1 more)
-
Spent some time today working on the shrouds and ratlines of the spanker mast. Rob
- 1,208 replies
-
- 8
-
-
- great republic
- clipper
- (and 1 more)
-
I started again on the shrouds of the spanker mast. Rob
- 1,208 replies
-
- 9
-
-
- great republic
- clipper
- (and 1 more)
-
How Realistic Can One Make Sails?
rwiederrich replied to Julie Mo's topic in Masting, rigging and sails
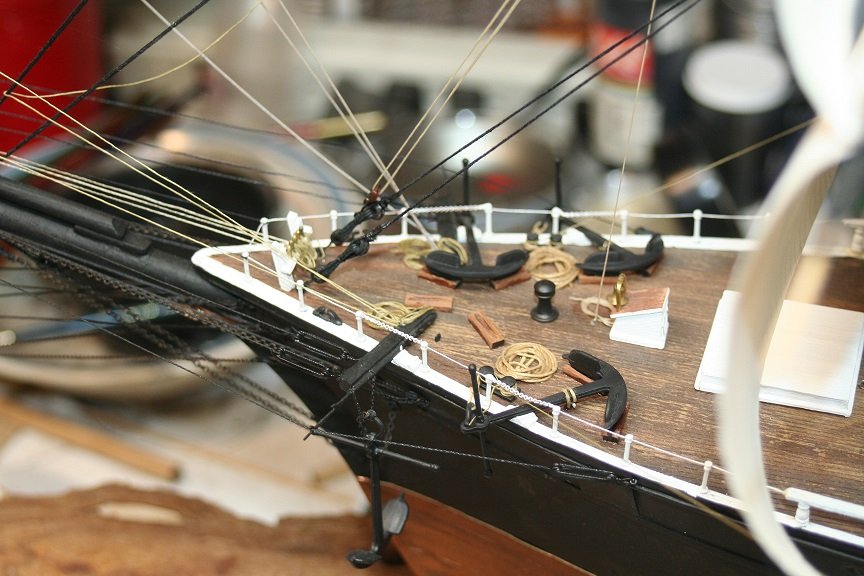
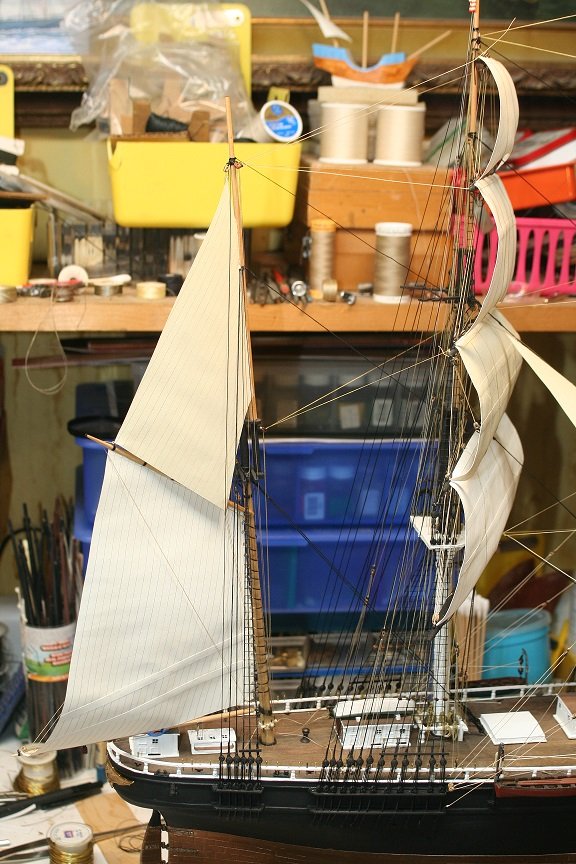
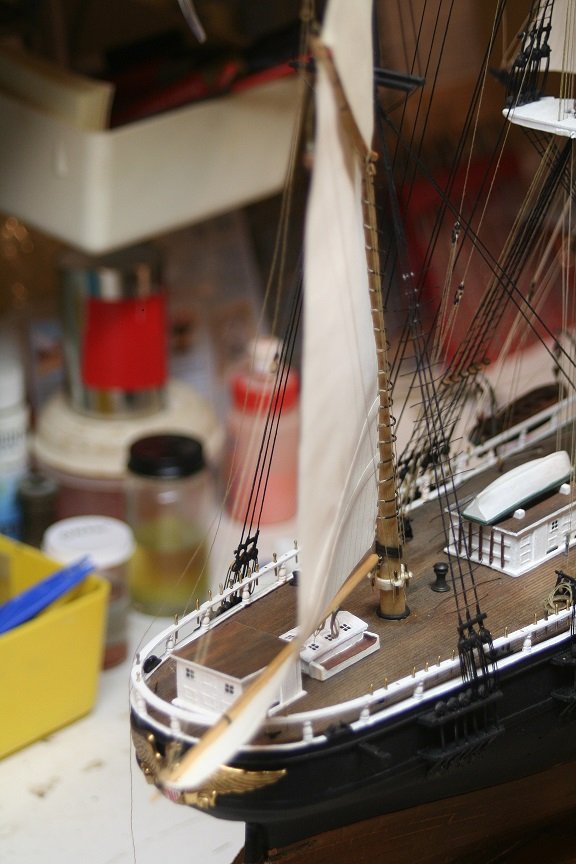
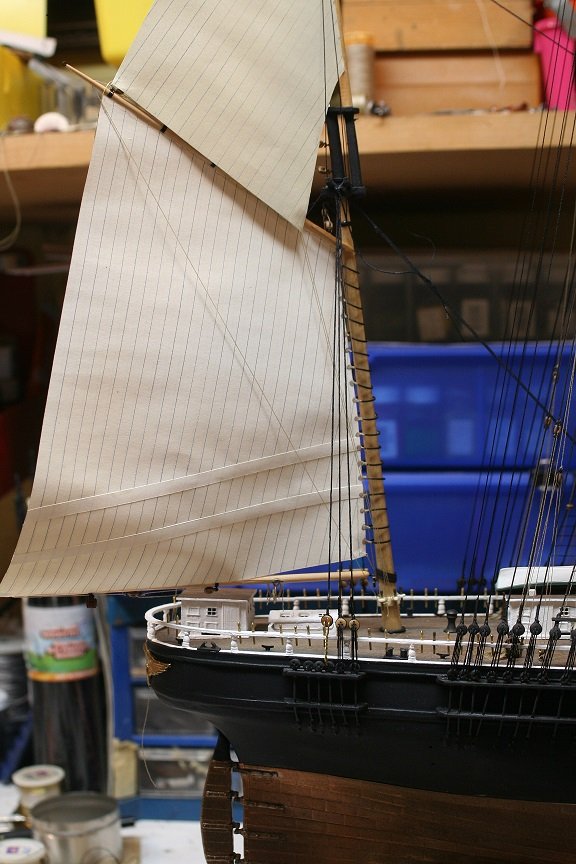
The jibs and stay sails sheets are thin stainless wire painted to mimic rope -
How Realistic Can One Make Sails?
rwiederrich replied to Julie Mo's topic in Masting, rigging and sails
The jibs and stay sails work fine too. Rob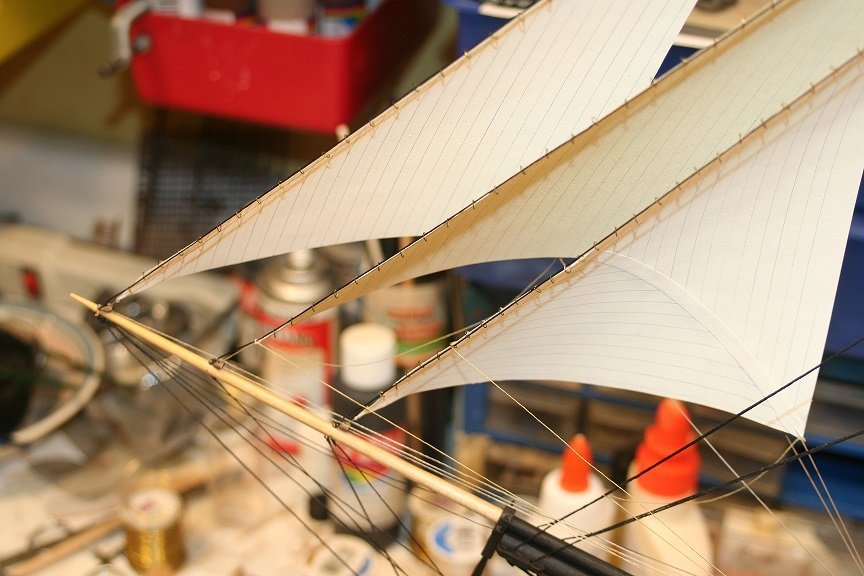

-
How Realistic Can One Make Sails?
rwiederrich replied to Julie Mo's topic in Masting, rigging and sails
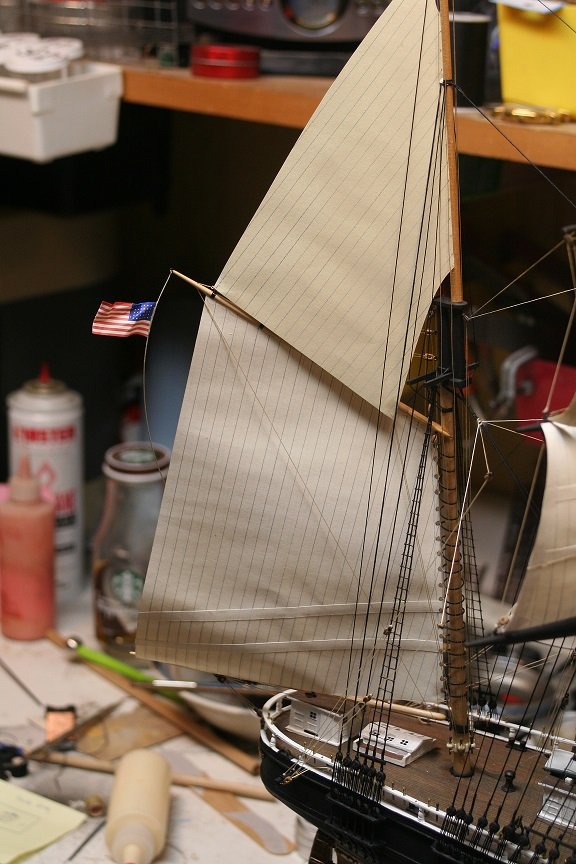
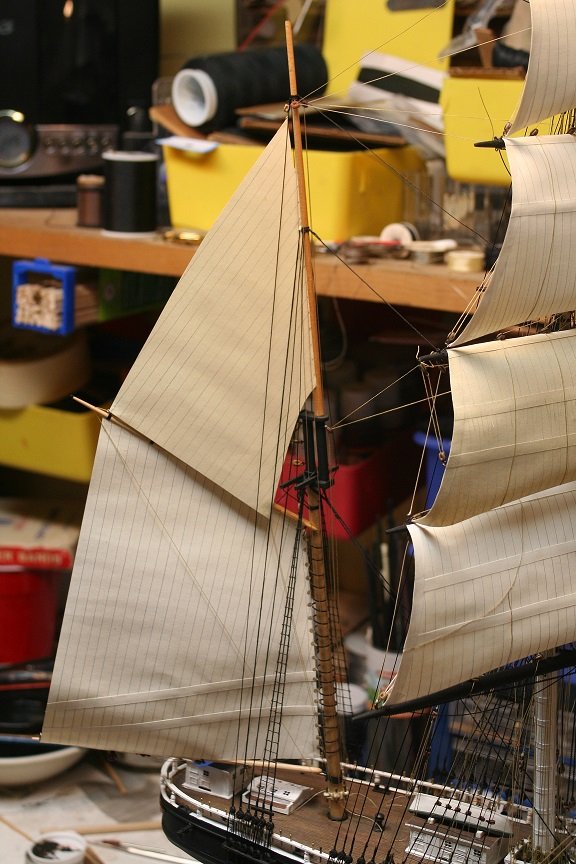
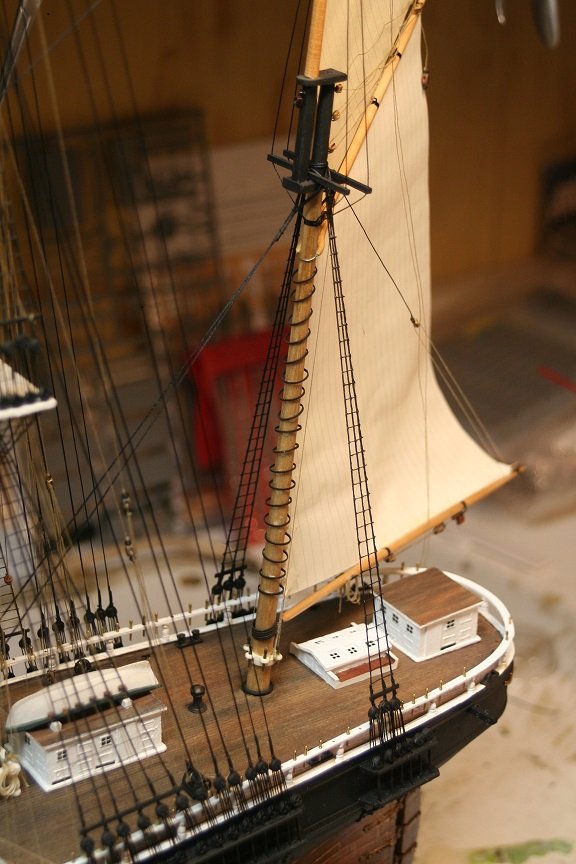
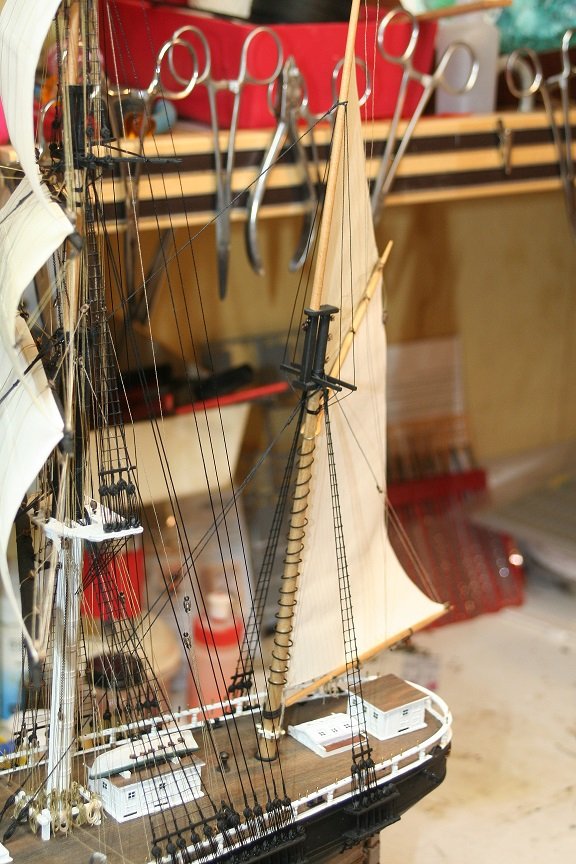
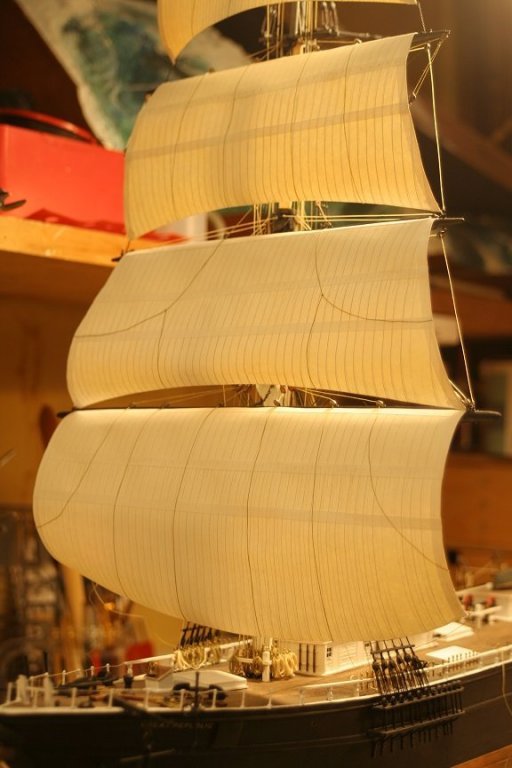
I used a cake fondant roller to smooth and roll the leading edges to give them weight and a good billow. Paper is vary forgiving Rob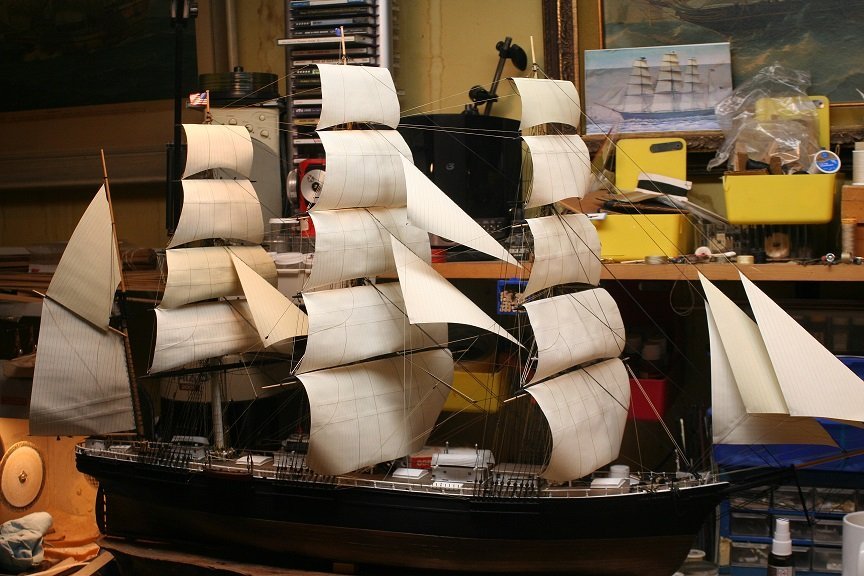
-
How Realistic Can One Make Sails?
rwiederrich replied to Julie Mo's topic in Masting, rigging and sails
As some know...I use plain copy paper to make sails and they work pretty well, and look very convincing too..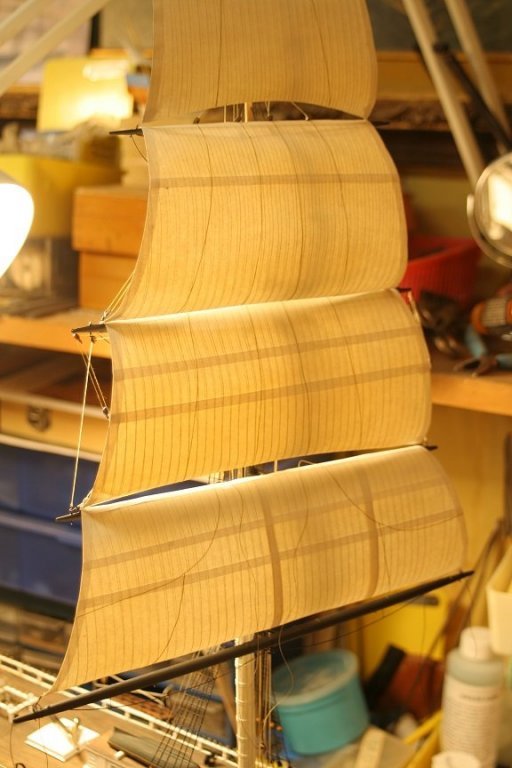
- 100 replies
-
- 10
-