rwiederrich
-
Posts
5,520 -
Joined
-
Last visited
Content Type
Profiles
Forums
Gallery
Events
Everything posted by rwiederrich
-
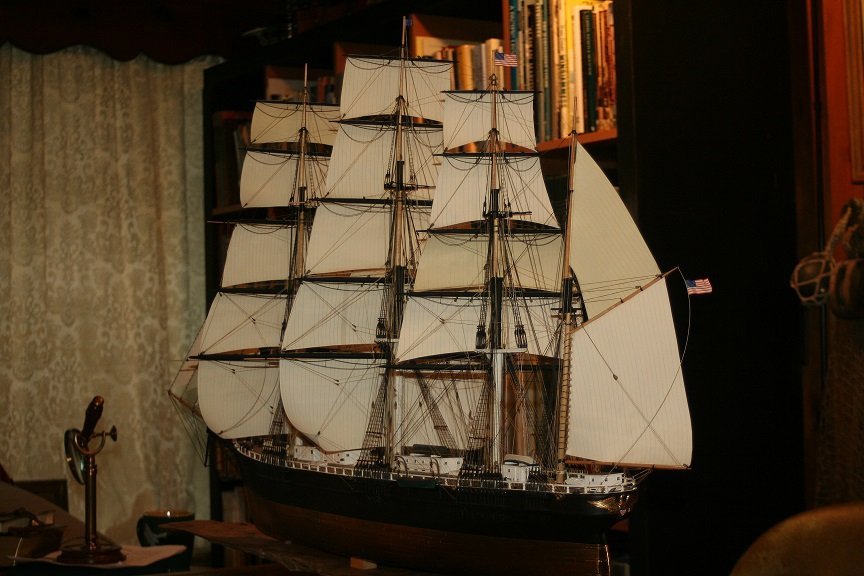
On page 4, post #3 I briefly explain the artifacts. The Glory of the Seas, at the end of her life, was run aground just south of Seattle and was burned for the copper and iron in her hull. During an extreme low tide I waded out to her wreck, found her exposed from the sand and excavated some remains. What's left of her is buried under the sand and about 4 ft of water. Not only is she one of my favorite clippers...the last clipper donald McKay ever built....I have in my possession artifacts from her. What a modelers/collectors joy. Rob
-
Thanks Vladimir...for the wonderful compliment. I love Donald McKay clippers...I've scratch built a few. This one being particularly special....because I actually recovered artifacts of her from her resting place. How cool is that? Thanks for looking in and the most appreciated compliment. Rob
-
That's funny.... However, the best tool in the hands of the adequately unlearned, unskilled is just as apt to produce the same level of poorly executed golf game. Or ship model, if you prefer to be on subject. If my account of the time line is correct....I didn't install the *game changing* advantage until I had completed my project using the most primitive of tools. That would be a 5 lb sledge hammer and a fork....oh....and some Elmer's. Rob(thanks for the best compliment ever)
-
Yes Pat...dental tools do not use the same diameter bits as Dremel does.....making finding them a tough gig. I use micro tapered dental pulp chamber reamers as a drill for my slow speed handpiece. I just stop drilling at the right depth to achieve the right diameter hole I need. I also made a Dremel chuck that fits into my Dental tools that holds all sizes of drills. it's a bit long but for regular pre-assembly drilling, it is wonderful. I have lots of separating discs like you are showing for my dental handpieces that are designed to cut stainless steel and really hard beryllium metals. Frankly having a dental/denture lab for over 30 years allows me to have all the fun toys for my model building. Not to mention casting and duplicating materials. Rob
-
Keith..... I had them when I owned my Denture/dental lab....just now installing them. I can order a plethora of cutting bits and diamond bits for them. Not your average tools....since you need a license to order from the dental supply house. Rob
-
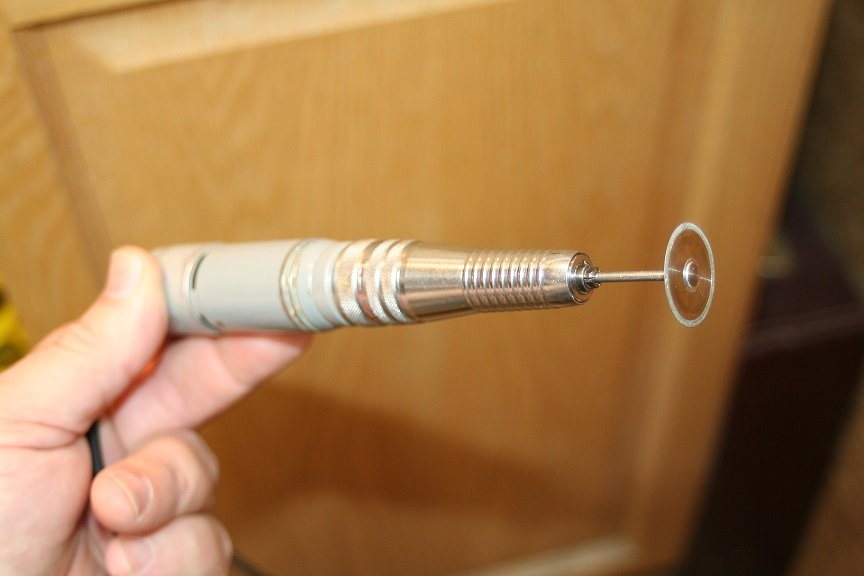
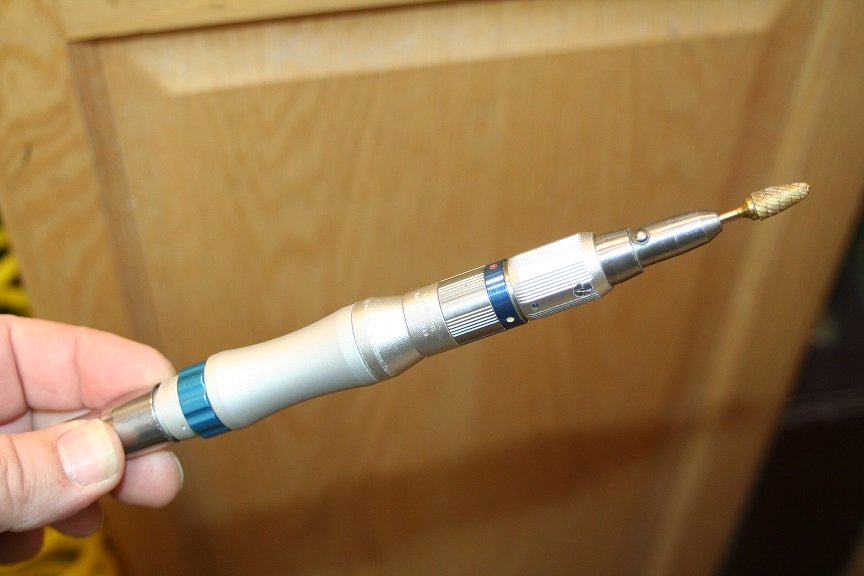
Here is my electric slow speed handpiece.... I have plenty of options now... Rob
-
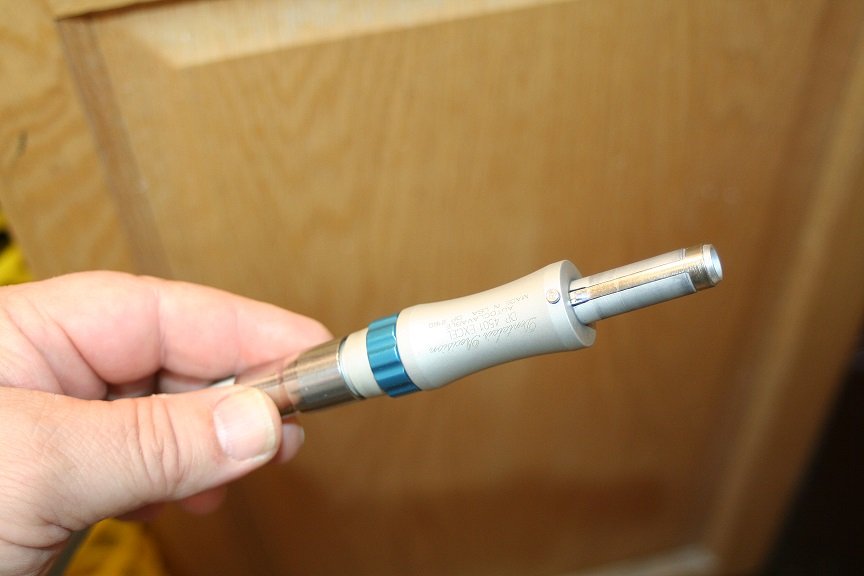
Here is the slow speed that has detachable straight and angle heads. Love this handpiece. You need a air control peddle to operate them..... Rob

-
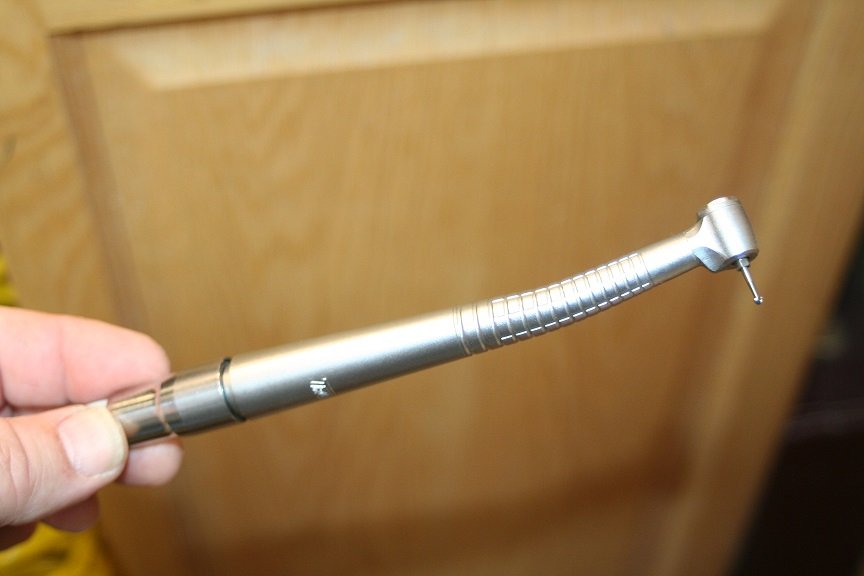
Yes Pat. Here are some images of the new handpieces I installed. first is the contra angle high speed. Rob
-
Making sails for HMS Victory
rwiederrich replied to rafterrat_2005's topic in Masting, rigging and sails
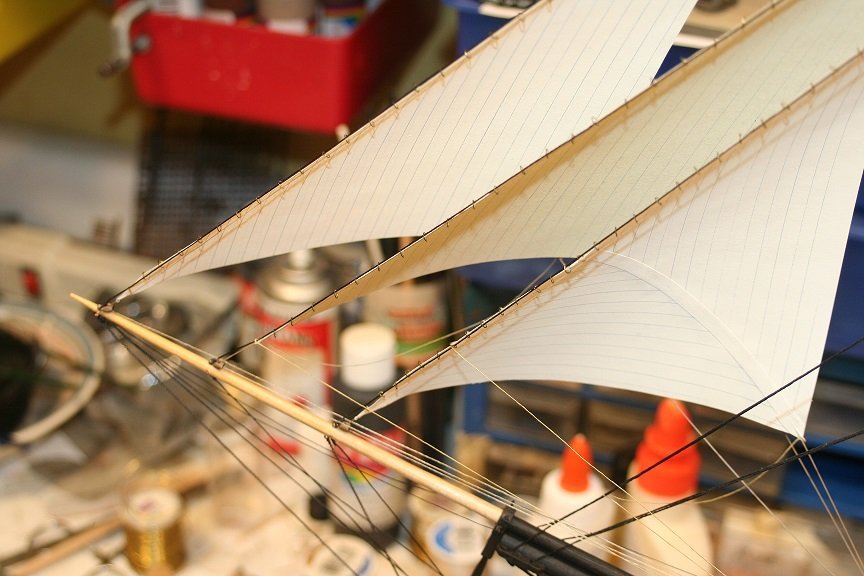
Paper works amazing and is extremely forgiving. Rob -
HMCSS Victoria 1855 by BANYAN - 1:72
rwiederrich replied to BANYAN's topic in - Build logs for subjects built 1851 - 1900
Pat....Victoria is coming along so very nicely. your work with 3D printing is to be noted. I've failed to drop in as often as I would like, but you have done wonderfully. She is so clean and precise......oh so well executed. Great job my friend, your skills are to be commended. Rob- 1,021 replies
-
- 4
-

-
- gun dispatch vessel
- victoria
- (and 2 more)
-
Yep Pat...all is well Spent some time adding some new air handpieces to my tool kit. A slow speed straight and angle drive handpiece and an agled high speed handpiece Makes getting holed drilled at angles in tight place far easier. Rob (vigilantly fearless)
-
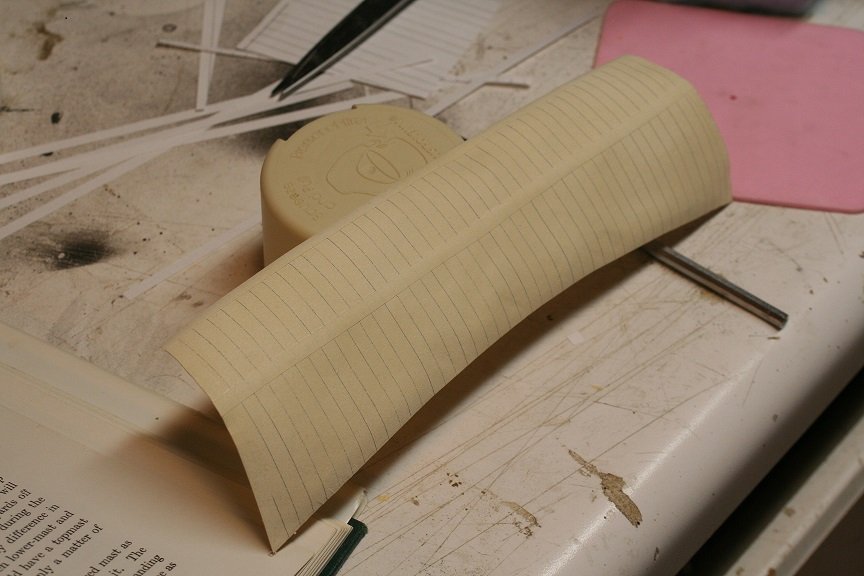
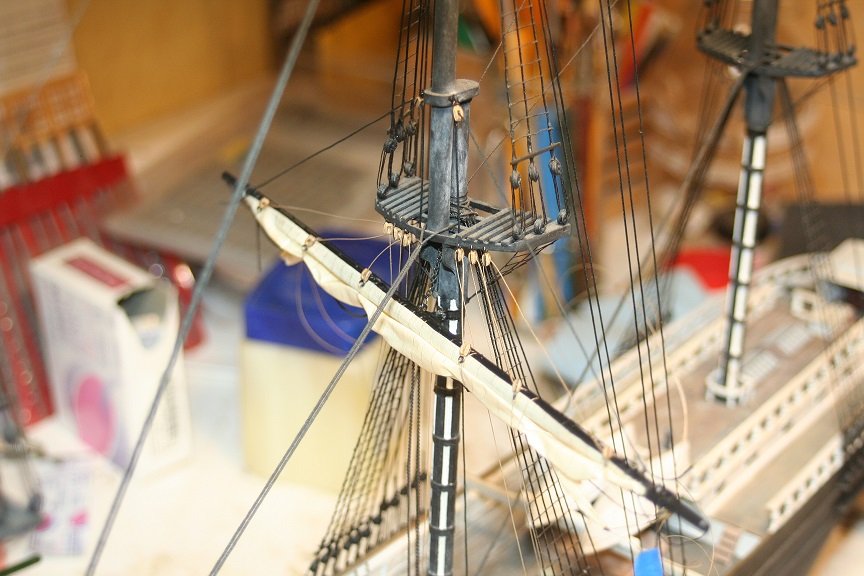
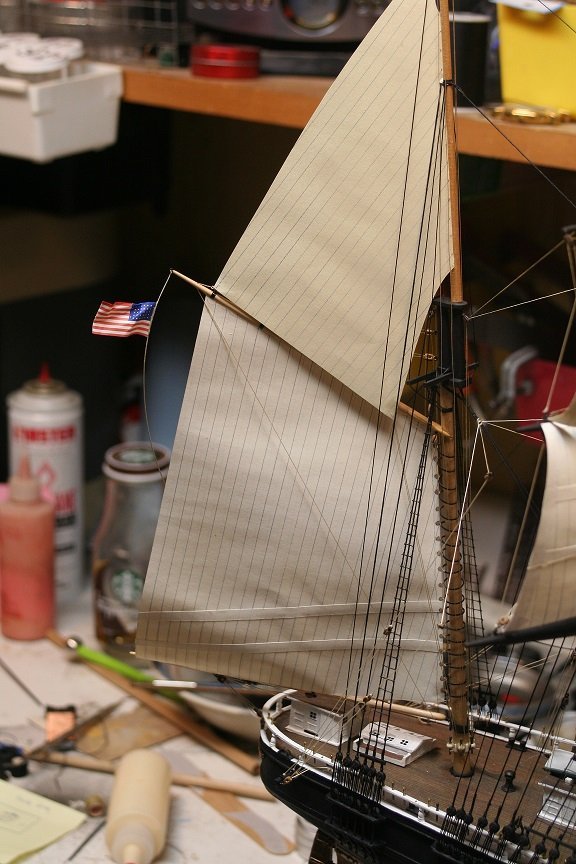
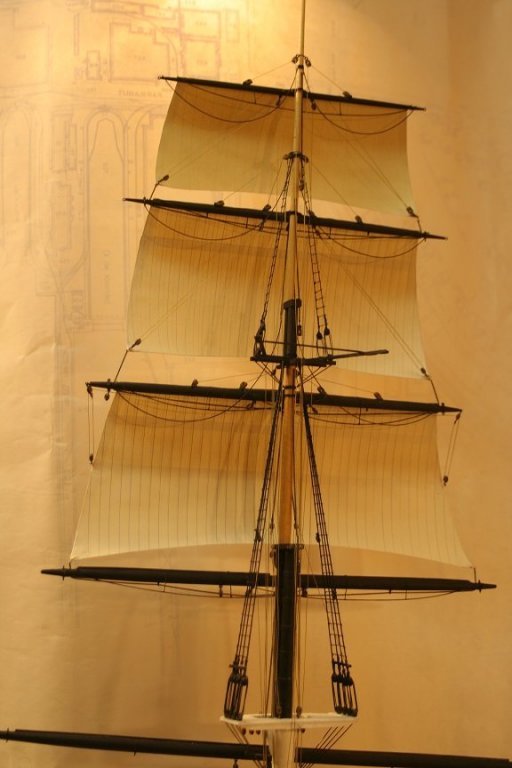
I also began the sail construction for the lower topsail. Lots to still add before it gets bent to the yard...not to mention all the blocks that still need to be added to the yard. Rob
-
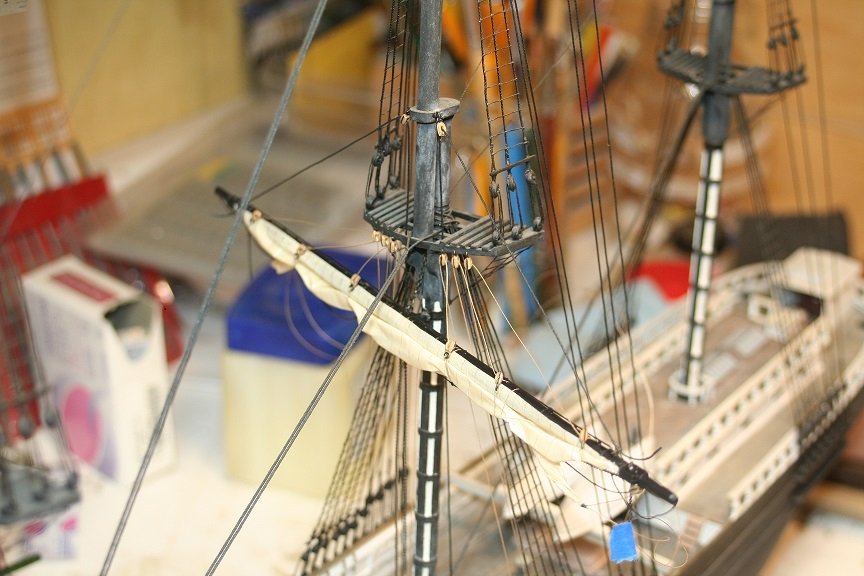
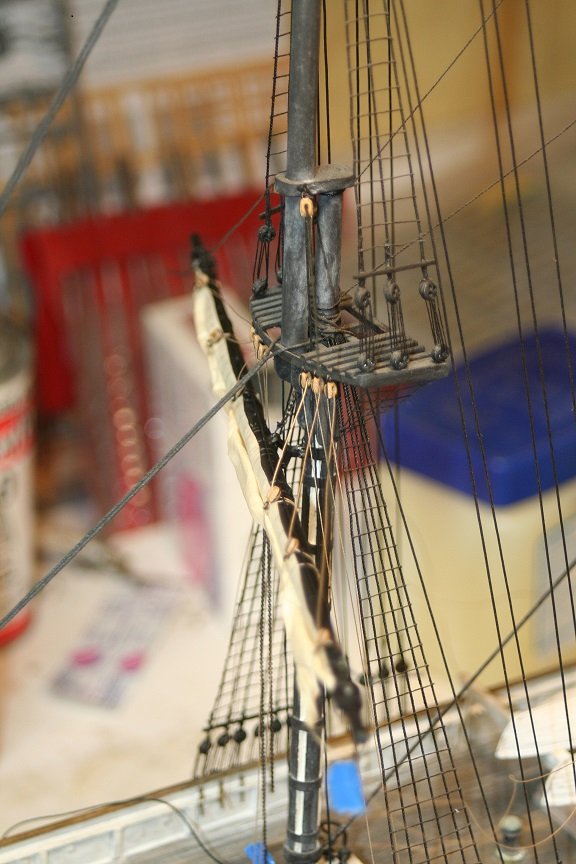
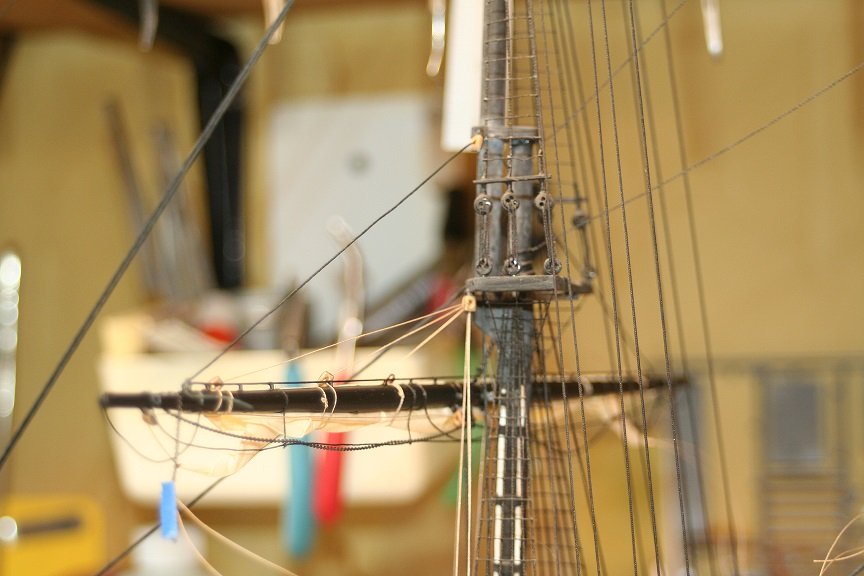
Did a bit of tinkering in the shop and added the lifts for the main yard.
-
I'm sure they were turned on a lathe, then parted off and the holes drilled and chamfered by hand....or a jig was made for the holes for a drill press. Fun stuff. I'd be interested in how you accomplish it.... Rob
- 200 replies
-
- 1
-
-
- cutty sark
- clipper
- (and 1 more)
-
Been a couple of weeks and nothing new Nic...everything going well? I suspect you either are taking a break because of the 19 or you have so much work done you will *thrill* us with a page of new images with finished yards and running rigging...…. Rob (thinking of you)
-
The scale of this model is amazing...it surely allows you to focus on scale details more accurately. What a job and you are working wonderfully. Great job for sure. Following with anticipation. Rob
- 200 replies
-
- 1
-
-
- cutty sark
- clipper
- (and 1 more)
-
Wonderful job on the canon...very convincing. She is coming along very nicely.....love the clean, crisp workmanship. Rob
-
Keith...I'm glad I could be of help. These last 2 weeks have been dicey.....since covid-19 is taking over. I hope to get back to the *Glory* sooner then later.... I'm tinkering on her yards when I can find the time.Again...thanks for the encouragement. Rob
-
Fantastic job Keith...it's coming along so nicely....love the small details. And that magazine page is awesome. Great addition to your historical info.
-
Making Rope Coils with a Jig by Peta_V
rwiederrich replied to ccoyle's topic in Masting, rigging and sails
Nice demonstration. Rob -
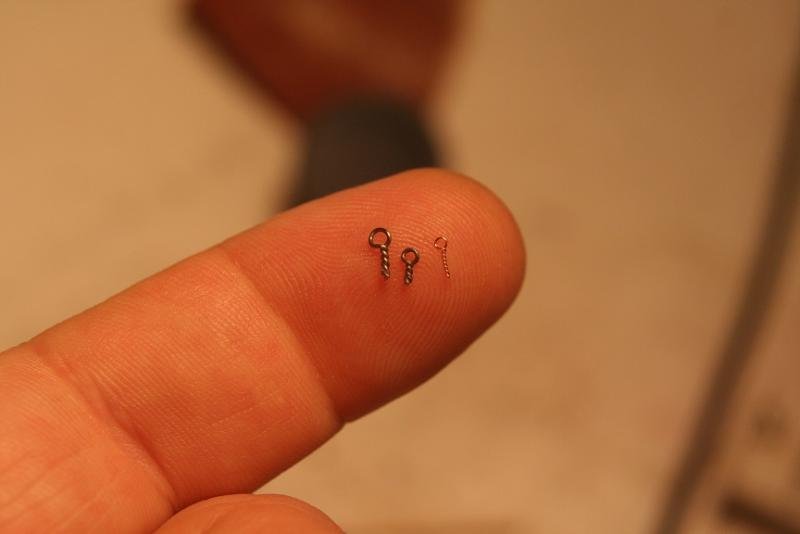
I like wire for active looking rigging like this pennant.
-
Wire in all sizes can be used very convincingly in rigging and as rigging. In many cases it is preferred because it can be formed to act as natural line would....were thread curls and bows according to its weaved construction. I use wire for eye bolts in many sizes and as the relaxed lifts when yards are raised and for the hanks on jib and stay sails . Rob
-
Coming along nicely...... Rob