
HOLIDAY DONATION DRIVE - SUPPORT MSW - DO YOUR PART TO KEEP THIS GREAT FORUM GOING! (89 donations so far out of 49,000 members - C'mon guys!)
×


rwiederrich
-
Posts
5,518 -
Joined
-
Last visited
Content Type
Profiles
Forums
Gallery
Events
Everything posted by rwiederrich
-
Cutty Sark lift interfering with topmast shrouds?
rwiederrich replied to Bruma's topic in Masting, rigging and sails
Thanks Bruma. I wanted more then just the ordinary display...I wanted to tell a story...a story of an actual event in the life of the Cutty Sark. And no better, then the one of her losing her rudder while racing the Thermopylae. The scene imbeds the viewer not only in the model itself, but in real history and a true historical event. Though she lost that race..the fame she retained for her exploits and sheer will of character of her captain and crew to repair her in open ocean......tells a far greater tail then simply a static model of her ever could. Again, thanks for the fine comments and compliments. Rob -
Fantastic job....I love rigging. Rob
-
Cutty Sark lift interfering with topmast shrouds?
rwiederrich replied to Bruma's topic in Masting, rigging and sails
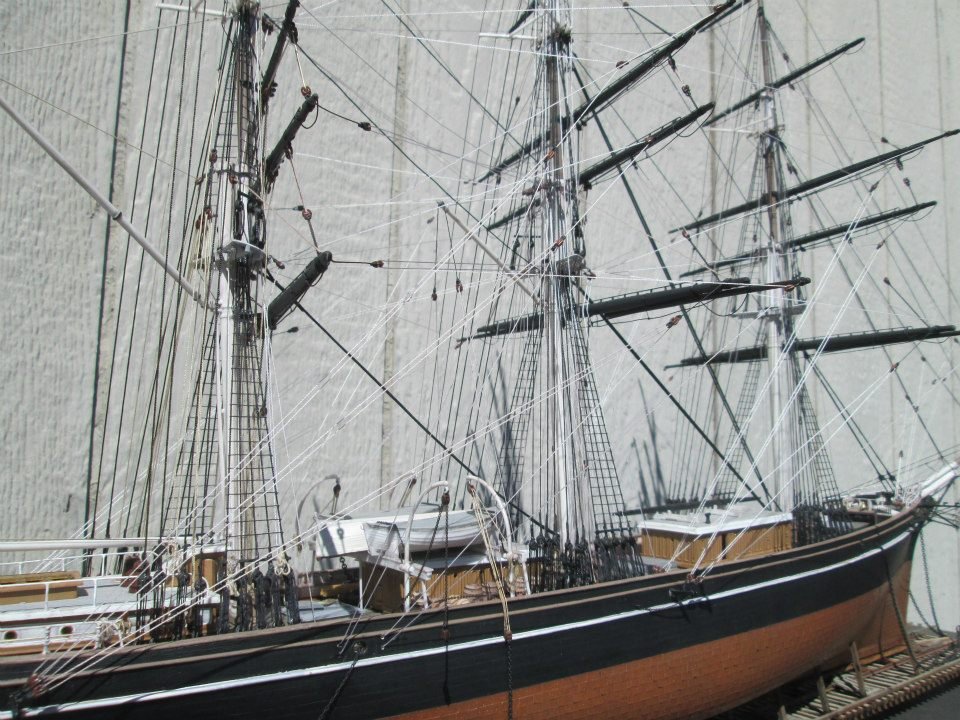
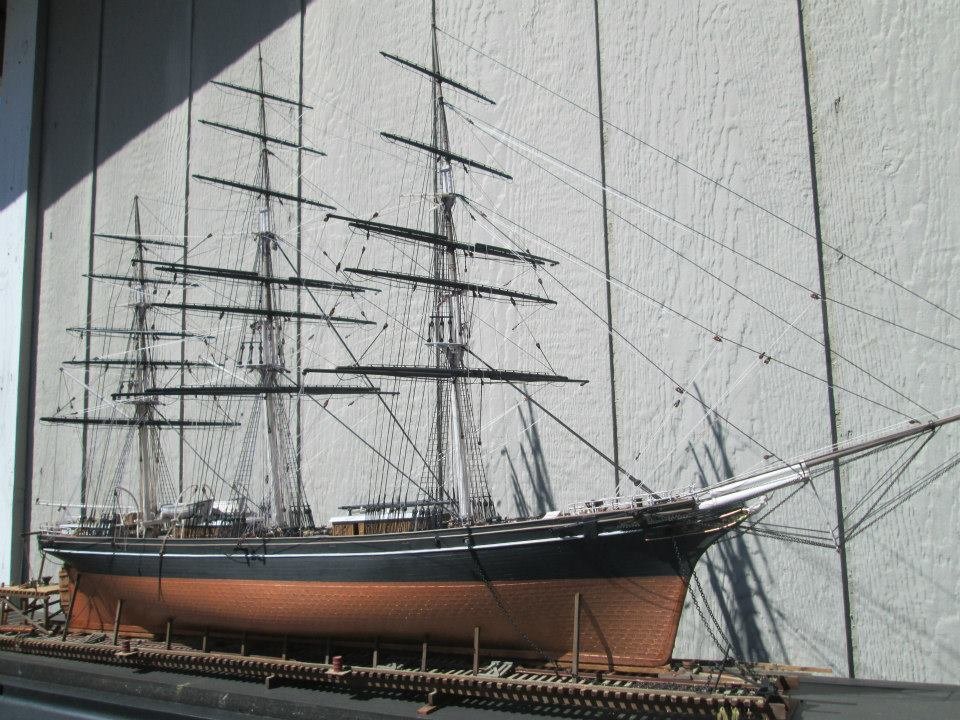
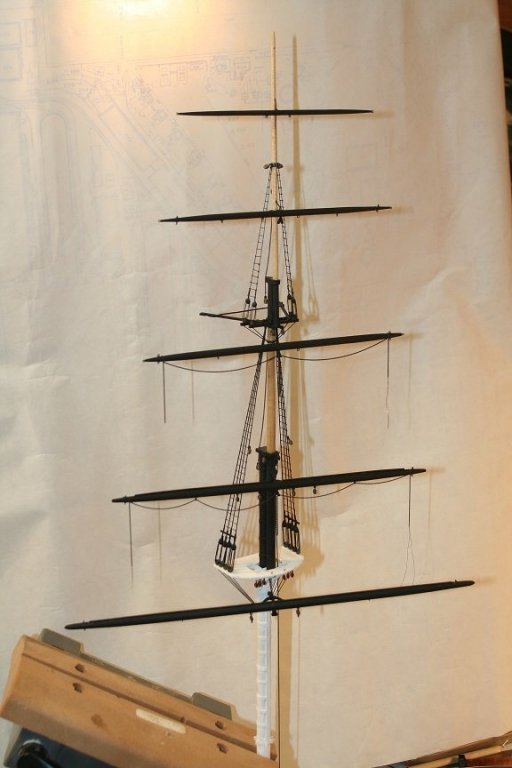
Well you're welcome... not sure I helped you *sort it all out*. But glad I could give input. Here is what I did with the lifts...though not accurate. And some other images to show my efforts. Rob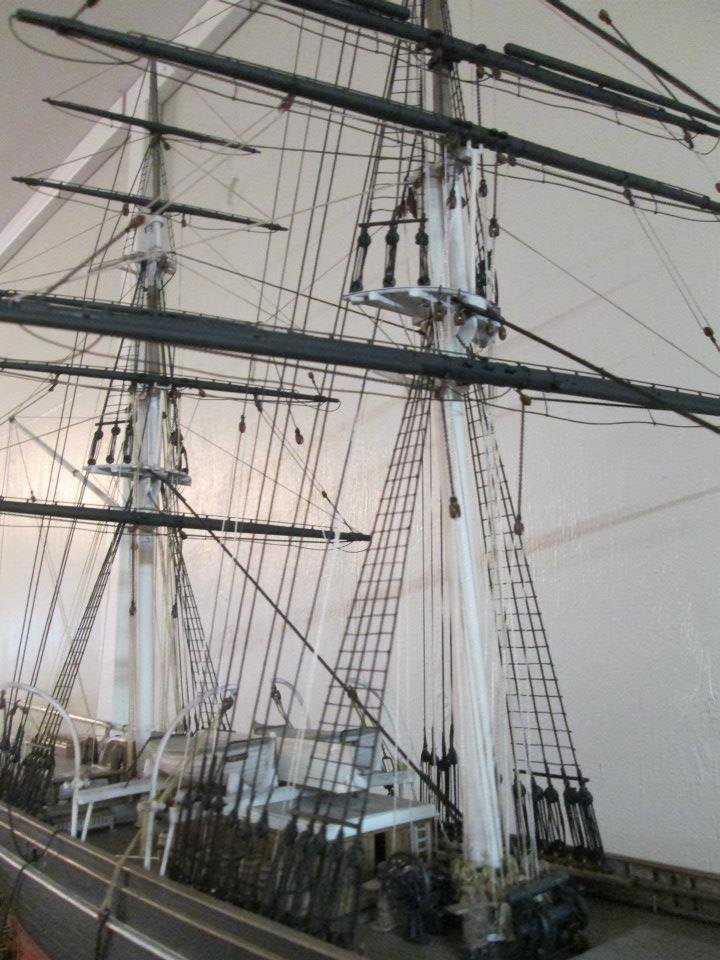
-
HMCSS Victoria 1855 by BANYAN - 1:72
rwiederrich replied to BANYAN's topic in - Build logs for subjects built 1851 - 1900
Pat....any updates on the Victoria? Rob- 1,013 replies
-
- 2
-

-
- gun dispatch vessel
- victoria
- (and 2 more)
-
Coming along very nicely.... Don't ya just love clippers...so sleek and majestic. Rob
-
Well executed Dan....I just love the fine detail and the line of demarcation between the war and commercial designations. Rob
- 238 replies
-
- 2
-
-
- leviathan
- troop ship
- (and 2 more)
-
I'm stunned and very saddened by Gerald's passing...he truly is an inspiration. *Techniques of Ship Modeling* is an amazing testament. I'll miss his conversations and encouragement. Rob
- 281 replies
-
- 5
-
-
- falls of clyde
- tanker
- (and 2 more)
-
Cutty Sark lift interfering with topmast shrouds?
rwiederrich replied to Bruma's topic in Masting, rigging and sails
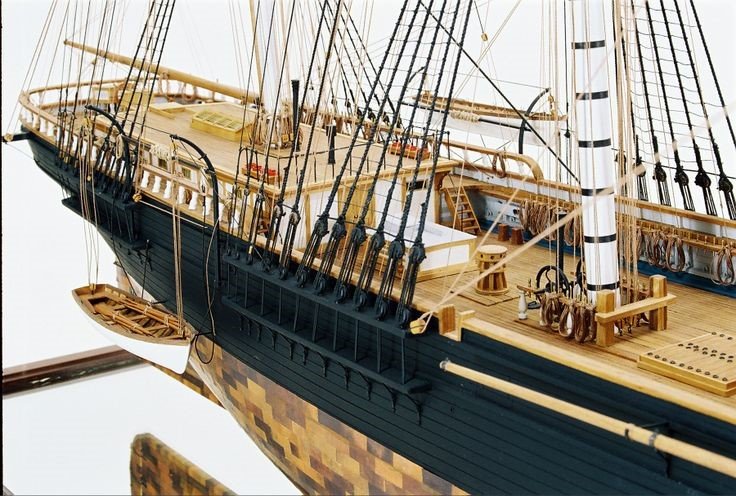
Bruma..it appears that the design was tight for the lifts, as the yard is swung for and aft. Here is an old image of the Ferreira (AKA Cutty Sark), after her conversion due to an accident...but, notice the lifts with chafing guards...probably leather or similar material. Indicative of a chafing issue. All I can suggest is, work with what you have. As I mentioned in a similar post to you....I just ran the lift between the first and second shrouds....knowing, this was a compromise I was willing to accept....also knowing this slight error would get deluded among the complexity of additional rigging. Rob
-
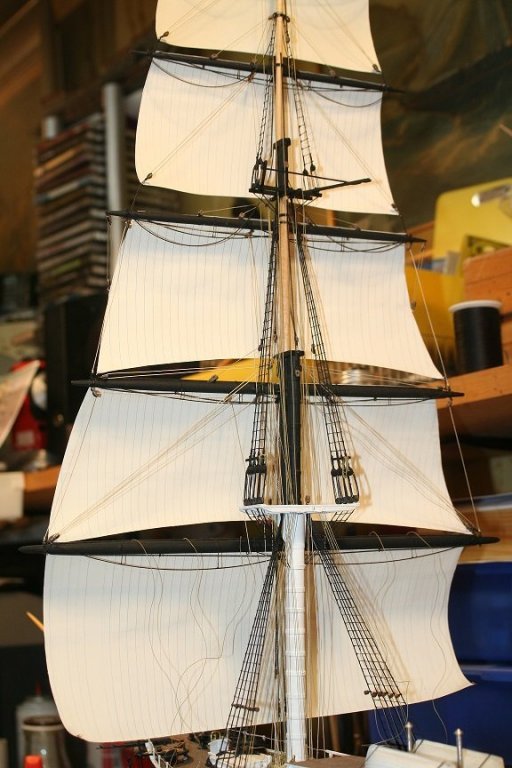
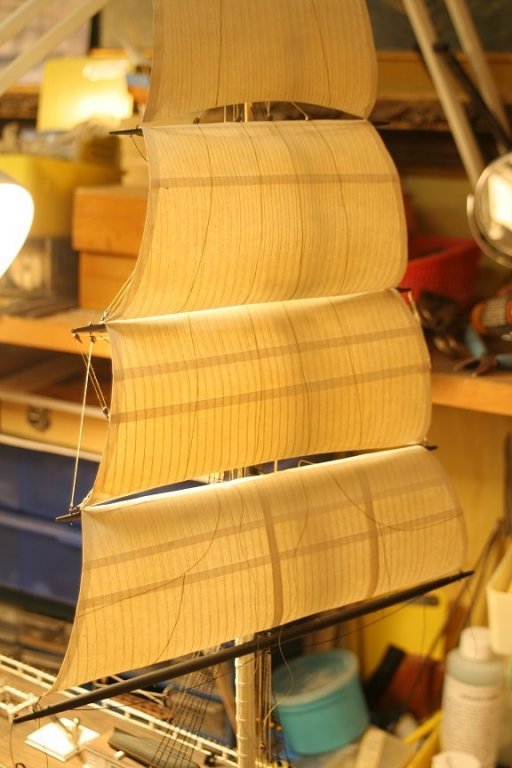
Well that isn't always true. Depends on your sail material and if your sails are to be furled or set billowed. I make my sails from common copier paper...and I add them to the yard after the yard is set to the mast...however..the mast is not stepped in the hull, so I can freely rotate the mast and rig the sail easily. It all depends on what condition you want your sails in. Furled are easier because most are reluctant to figure out a good way to naturally billow sails(It's hard, and there are many techniques). I use paper, becausae its familiar and very workable. Rob
-
MONTAÑES by Amalio
rwiederrich replied to Amalio's topic in - Build logs for subjects built 1751 - 1800
Words can't describe....though we try. Rob -
You're going to produce the Wyoming...…? Cool...In 1:96? Rob
-
You've got 5 months......hmmmm..I wonder. Oh..hey….where is she going to be displayed…...at home or at the shop? Rob
-
Indeed...these models represent the exaggerated color alterations that must have been present when exposed and unexposed plates were secured next to each other when coppering took place. At first it looks odd, but when you recollect that it represents actual representations...….it makes more sense. Rob

-
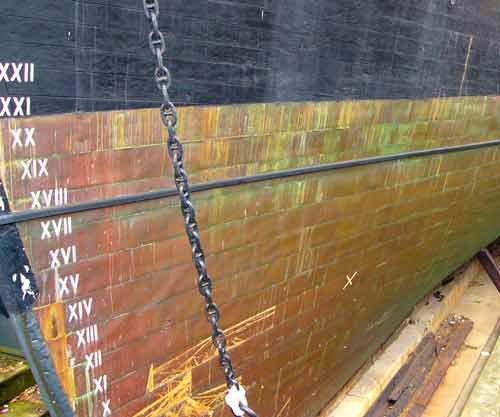
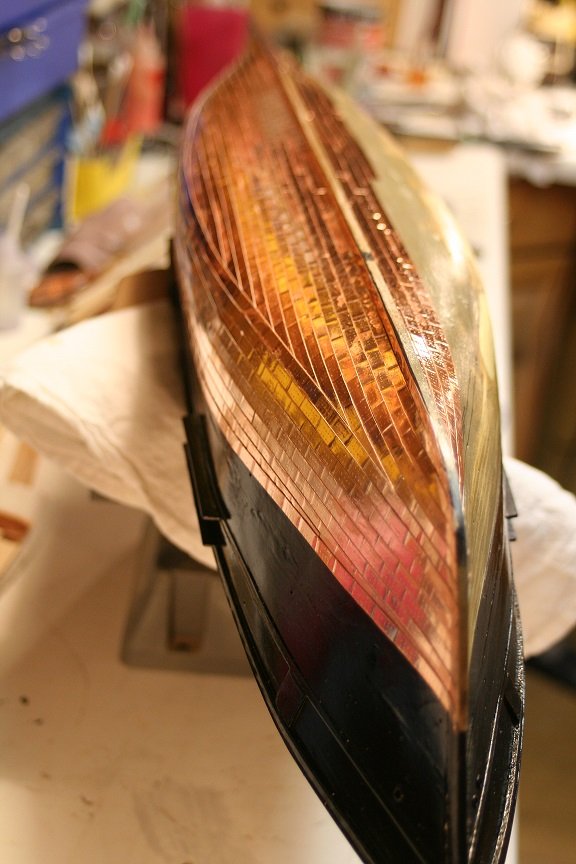
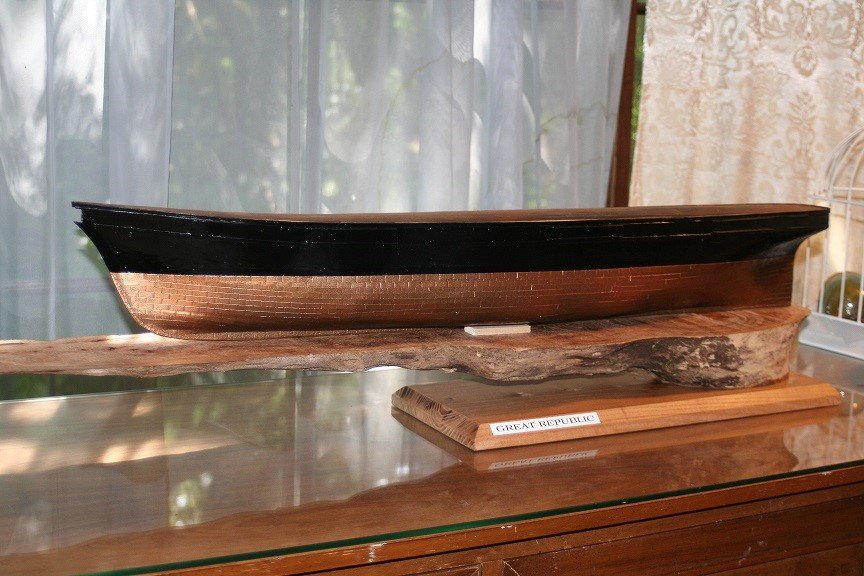
Sutty's old bottom as of the picture I posted probably never saw salt water....but the point I was making is that the plates on her and on my Great Republic where NOT copper as was probably the Constitution...evidenced by the verdigris green oxididation, but Muntz metal....which began its life as shinny yellow and quickly turned brown...… The Cutty image was to demonstrate the color of the muntz when it was oxidized. As for the Original posters questions....I could not find muntz metal to *copper* the bottom of the Great Republic....so I treated the shiny copper foil to look like old Muntz metal plating. Rob
-
Wonderful job thus far. Very nice execution on the ratlines. You just ripped through them.....great job! Did not the Red Jacket have back stay spreaders? Not all clippers did. the Glory of the Seas didn't originally, but was later fitted out with them. At this pace.....you might finish before I finish the Great Republic...…. Rob
-
Wonderful work....just lovely. Clean and neat. All those nots can be tiring. Now it's done....and on to other things. Rob
-
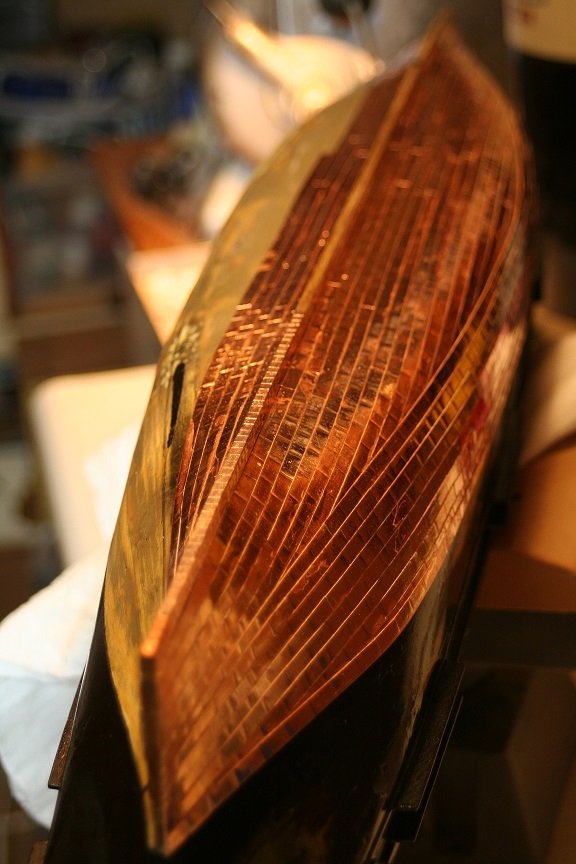
Then, because I don't like shiny copper.....and I wanted a real muntz metal oxidized look...I weather it. The real muntz metal was yellow..new, but when oxidized turned brown. Note the old Cutty Sark bottom.

-
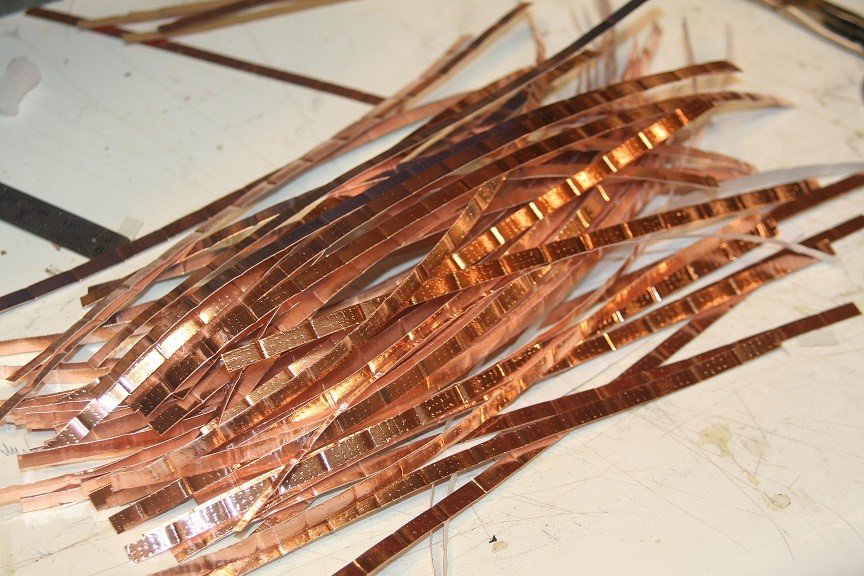
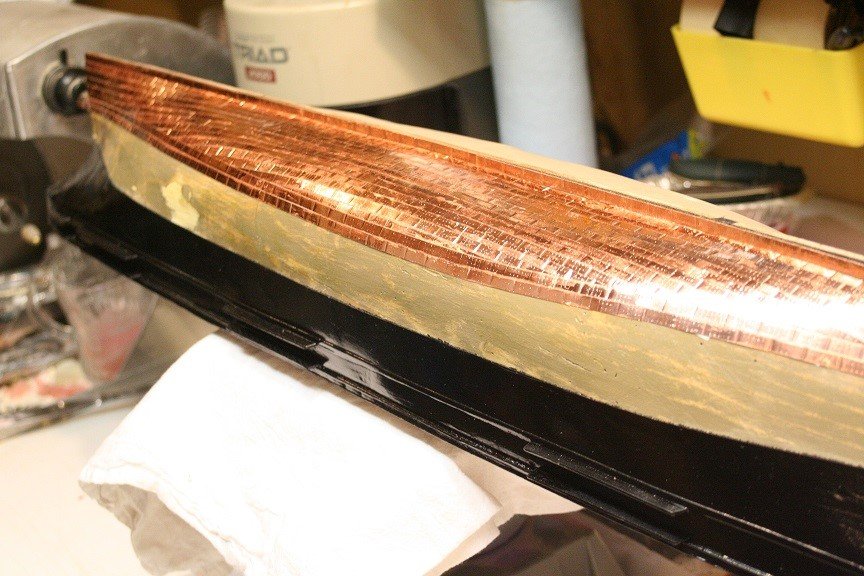
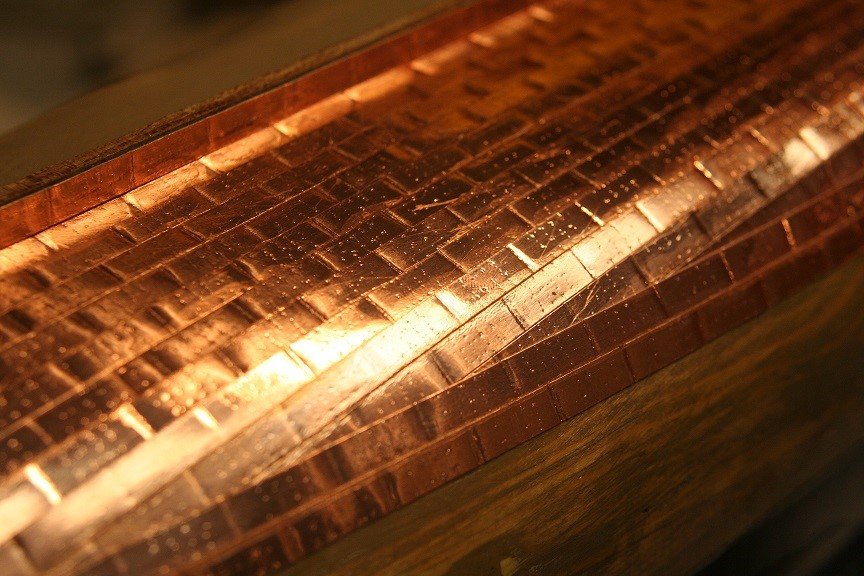
I didn't like the idea of weeks if not months plating a large hull....so I invented a much easier way to *emboss* the copper foil with segment lines nail imprints. Then just glue down each six inch section. Sone in a couple of days. Rob
-
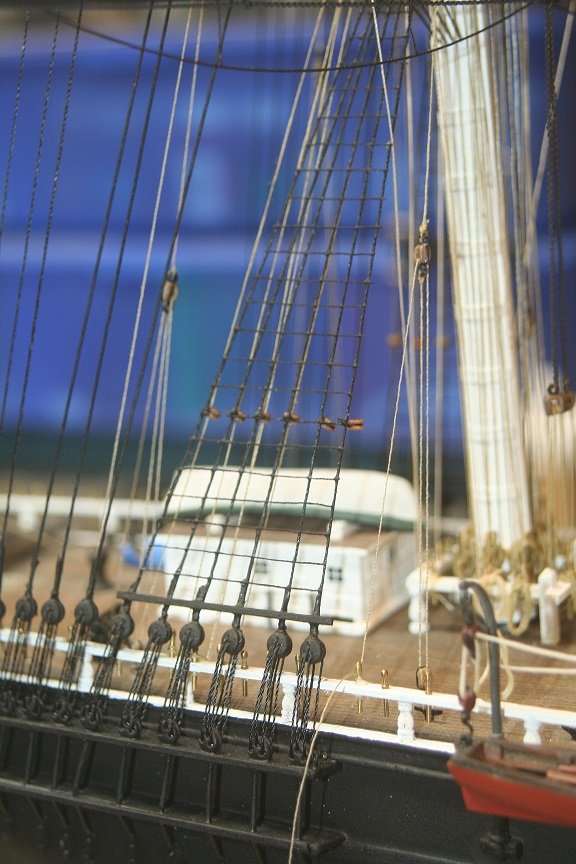
Thanks everyone. It's been a while. I will add some rope coils to the pennant rail before I finish with work deep inside the weather deck. It's a real bear working that far inside and around so much running rigging. I'll probably finish up the topsail and lower topsail braces as well as the main course braces, before I flip the ship and work on the other side. Without the spanker mast mounted it is waaay easier to work the rigging of the mizzen and main mast braces. Rob
- 1,208 replies
-
- 2
-
-
- great republic
- clipper
- (and 1 more)
-
Next I began work on the top mizzen top mast and royal haul purchases and running them to the crab winches..

- 1,208 replies
-
- 16
-
-
- great republic
- clipper
- (and 1 more)
-
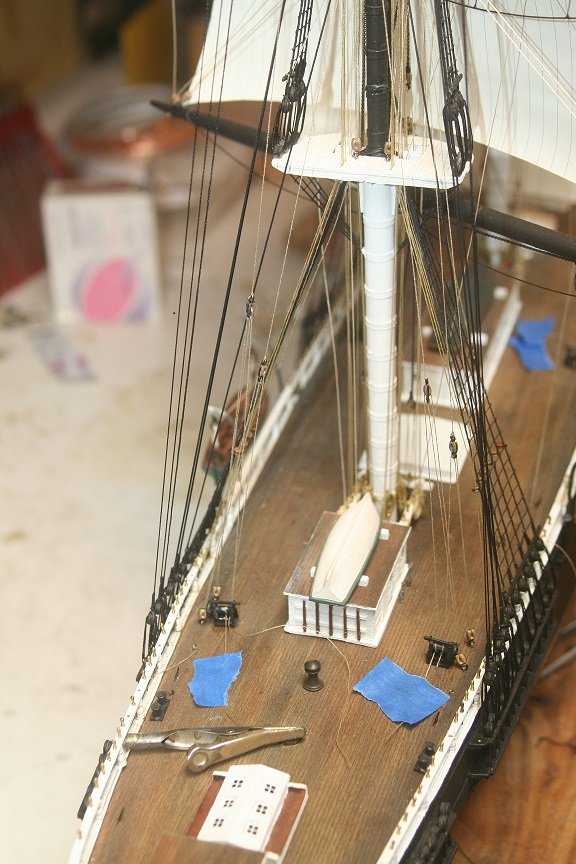
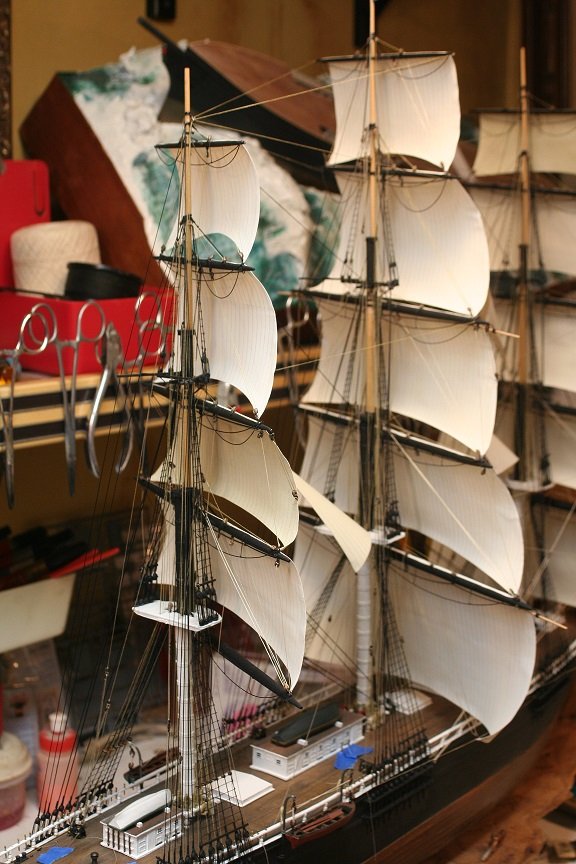
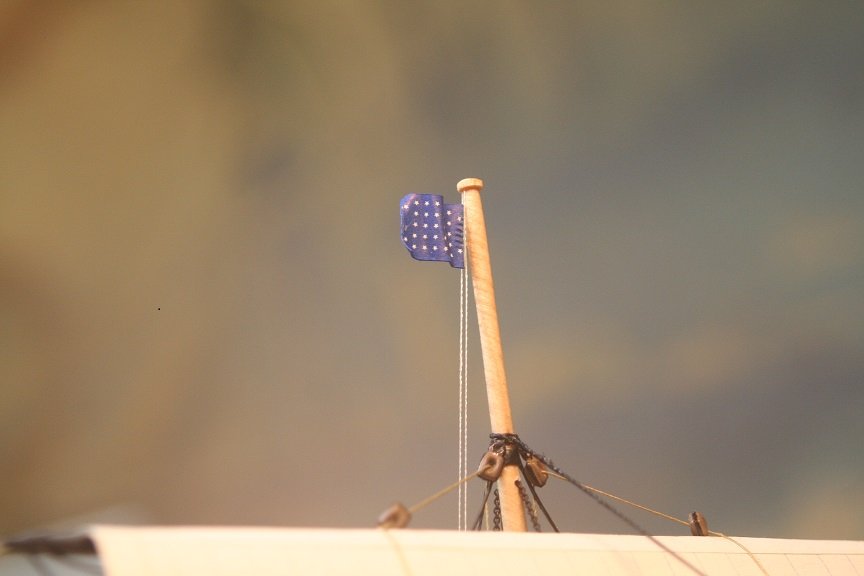
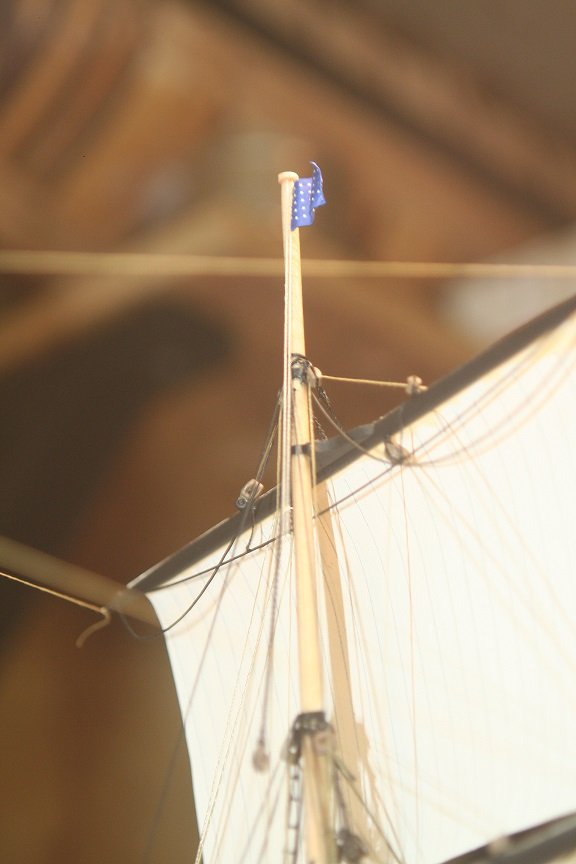
I spent some time tonight working on several items...First i decided to add the main mast pennant and rigging. I first built the rail to belay the pennant line too, and then I built the cap with its sheave. I opted to fly the Union Jack from this location.


- 1,208 replies
-
- 5
-
-
- great republic
- clipper
- (and 1 more)
-
Running rigging and backstays
rwiederrich replied to captain_hook's topic in Masting, rigging and sails
I agree with JC Frankie...you've limited the boom's/gaff's latitude by the location of your backstays. They need to be brought further forward or relocated all together to free up the swing for the boom/gaff. Rob -
great update...….wonderful model...just wonderful. Rob
- 238 replies
-
- 2
-
-
- leviathan
- troop ship
- (and 2 more)
-
MONTAÑES by Amalio
rwiederrich replied to Amalio's topic in - Build logs for subjects built 1751 - 1800
I would only assume that you are using a small jig to accurately and consistently drill all these treenail holes symmetrically? If not...you have more time and patience then almost all of us marvelers combined. Rob