petehay
-
Posts
128 -
Joined
-
Last visited
Content Type
Profiles
Forums
Gallery
Events
Everything posted by petehay
-
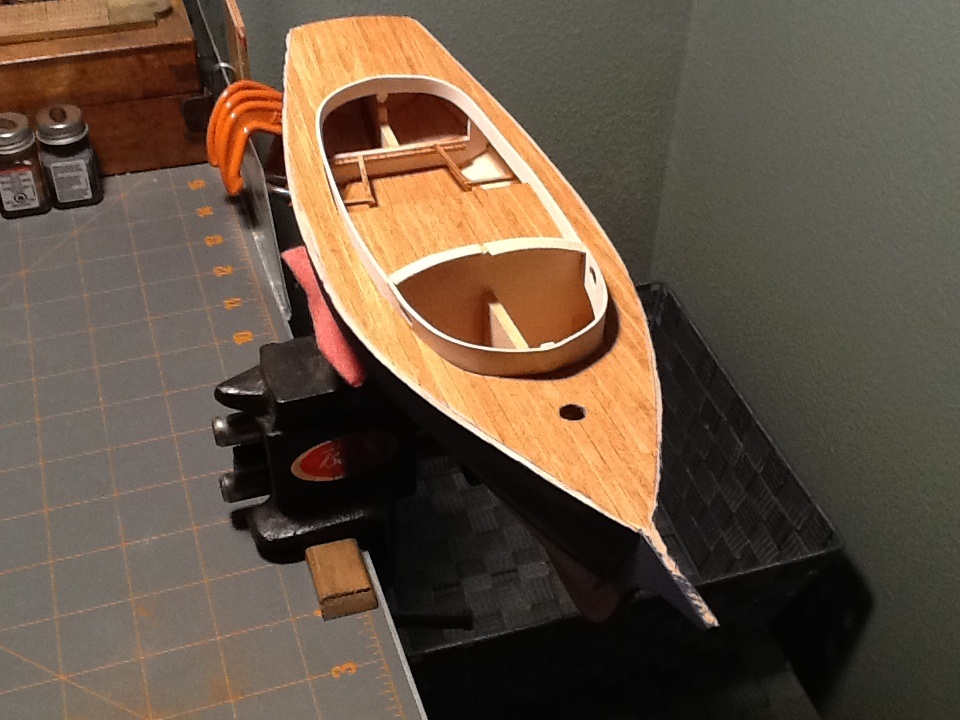
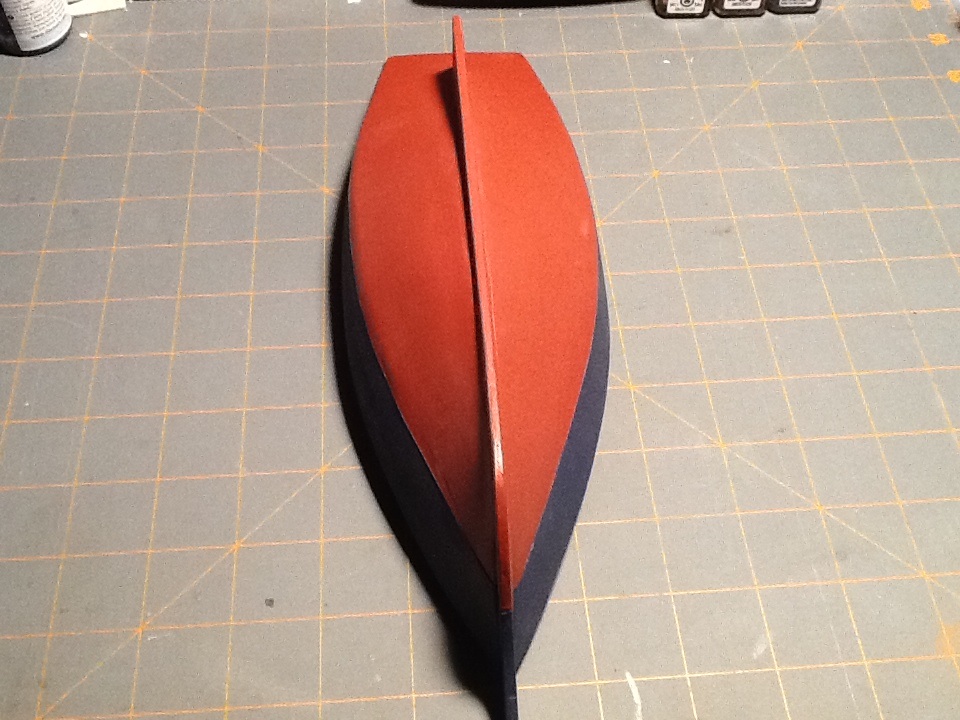
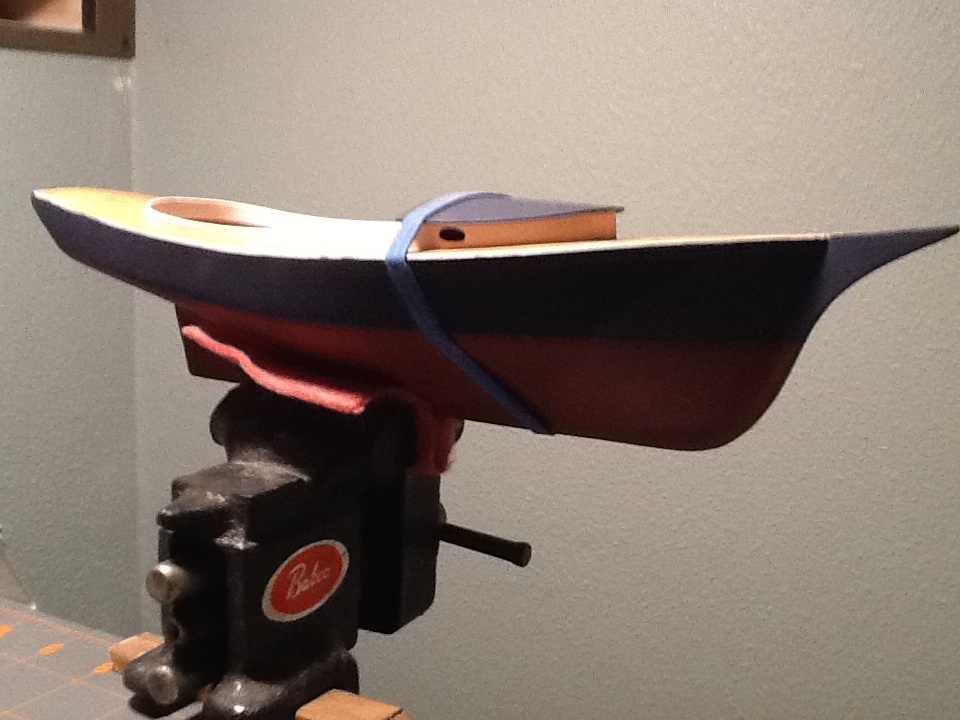
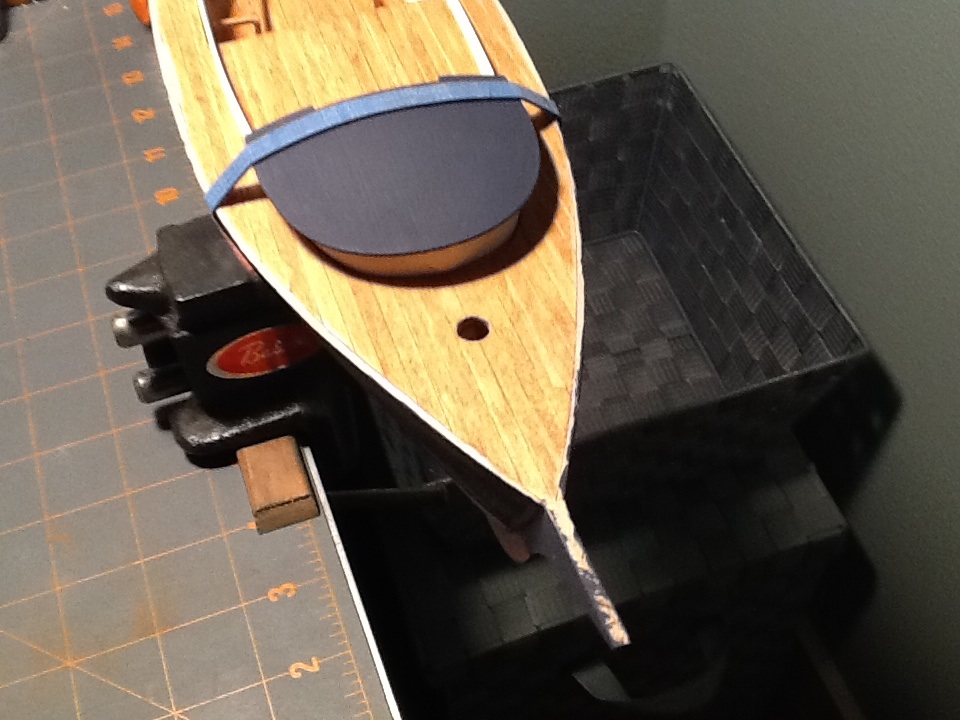
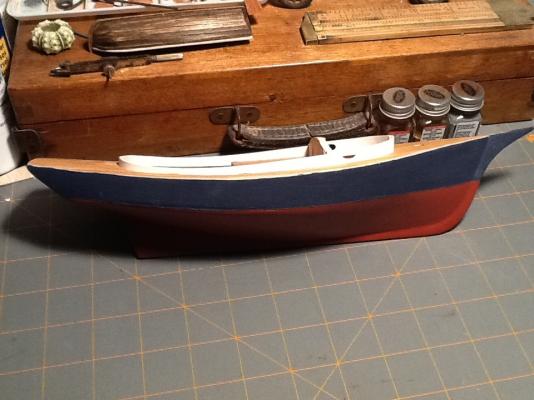
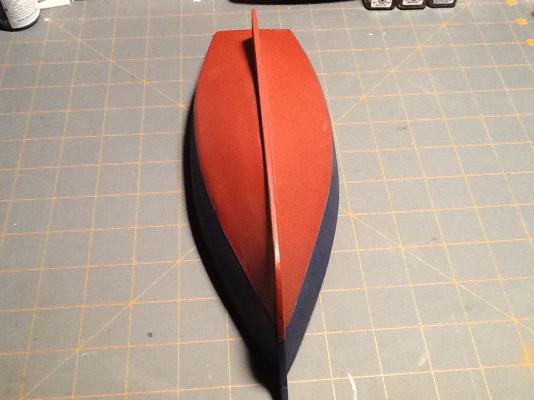
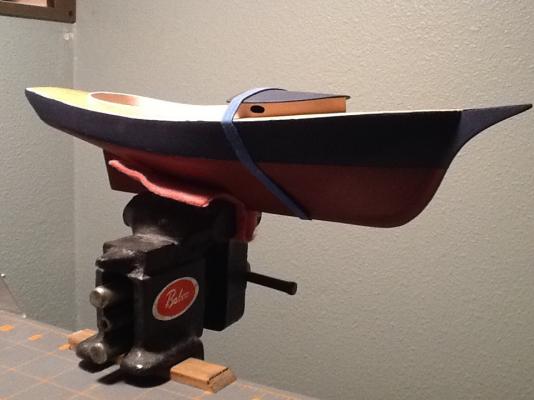
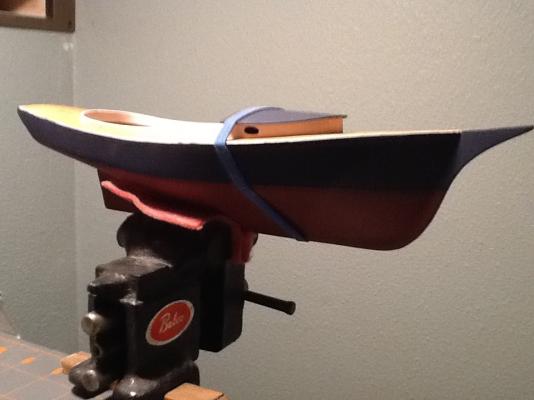
 Inspired and encouraged by Mario, DeeDee and Hexnut I have started my Muscongus Bay Lobster Smack phase 1. Right before MSW went from v1 to v2 I went out and bought this kit along with the Midwest Sakonnet Daysailer. The Daysailer was my first wood boat kit and I learned a lot. I have since purchased a second Smack kit hence the phase 1/phase 2 reference. Following Mario's build as a primer I am currently building Smack #1 pretty much straight out of the box. I did plank the deck and floor with HO scale 2x10's from Northeastern Scale Lumber Co. and was very pleased with the results. I started the build over the Fourth of July weekend and thought the red, white, and blue color scheme was called for. I hope to follow this build with a totally bashed version a'la DeeDee but let's get this one built first. I have attached iPad Picts of where I am now with the build. Glad to join the Smack club. Pete
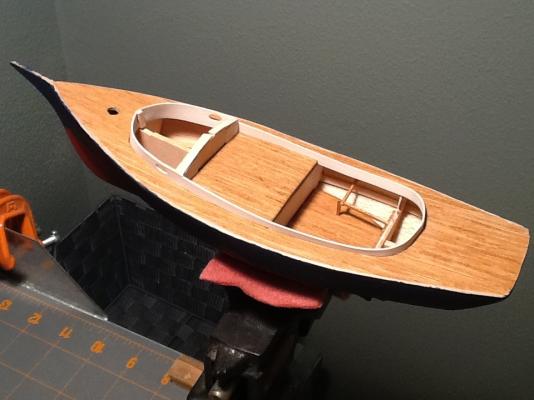


-
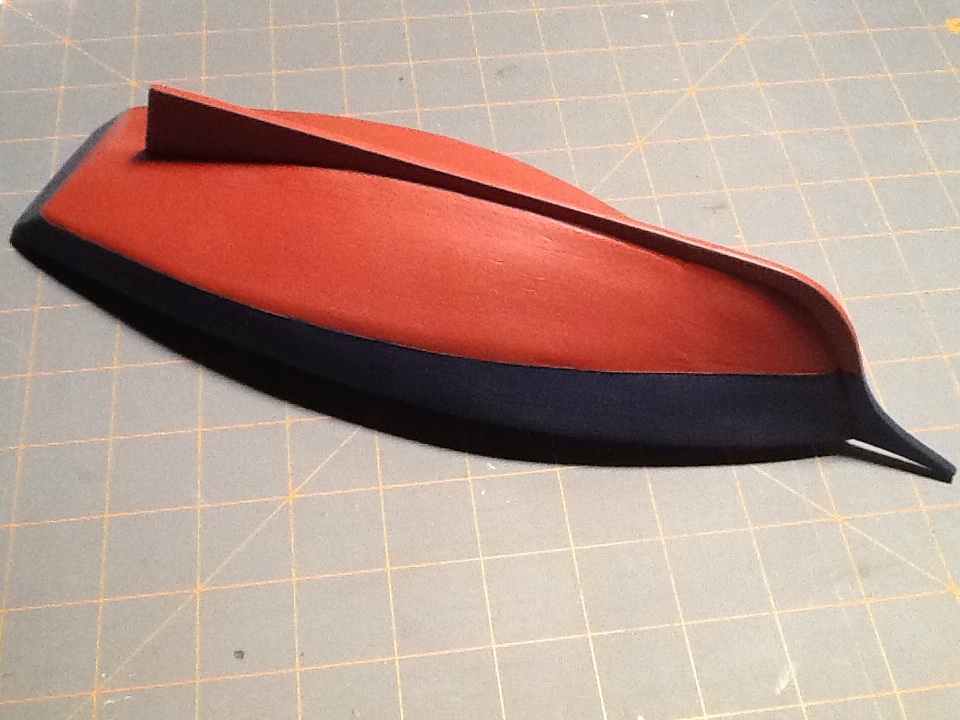
I'm building a Smack right now. Here's how I did it: Soak the balsa in a 50/50 mix of amonia and water (15 min). The side of the balsa that goes against the keel does not need trimming. Use the 1/16th strip that you glued along the keel in a previous step as your foundation. Fit the balsa against this strip snugged up to the keel (it should be quite pliable after being soaked). Play around with it until you find the correct placement then glue it to the keel strip (rabbet), the bulwarks and the batten strip -in that order. Carefully place some rubber bands around the model to keep the curve while it dries. Now you can trim the other 3 sides. Pete
-
Beautiful Paint Job!
-
Am I correct that you are inking/painting the caulking on the edges of the deck planks prior to assembly? Would you explain what you're using (technical pen?) because it looks great. Pete
-
Can you explain your deck planking process? Pete
-
Richard, What did you end up finishing the deck with? Pete
-
Try TUNG oil
-
Top rail on. I had a really hard time getting the two sides to match.


-
Simon, I used Danish oil applied with a small paintbrush on my Midwest dinghy. I was very pleased with the results. Pete


-
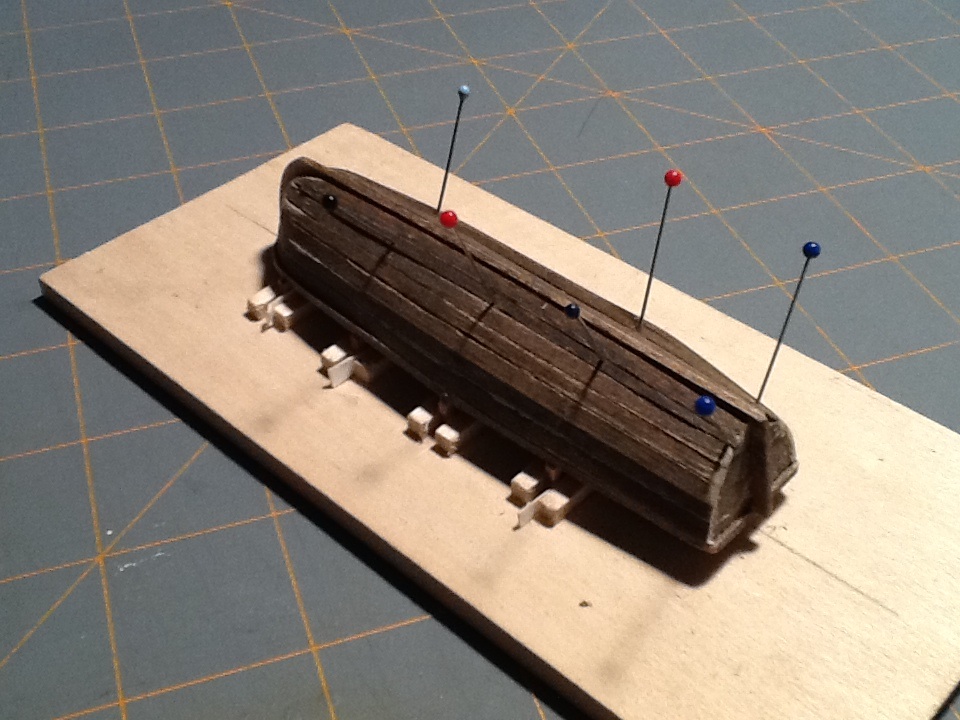
Welcome Jake, Here is a picture of my progress on the Virginia so far, but I swear I'm going to finish this little lifeboat first. Matthew - I promise I'll start my own build log and stop jumping in on yours. Pete
-
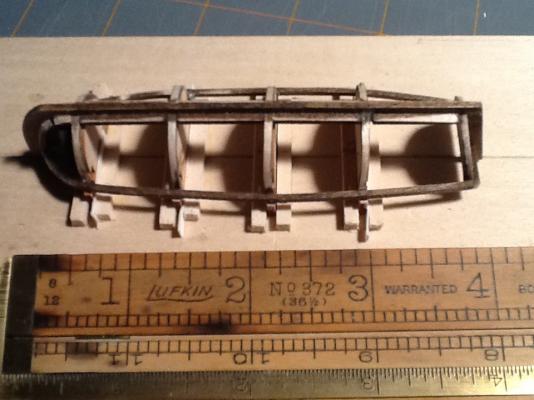
Thanks Frank. I wouldn't have gotten started without your help. Here she is with the ribs in. Pete
-
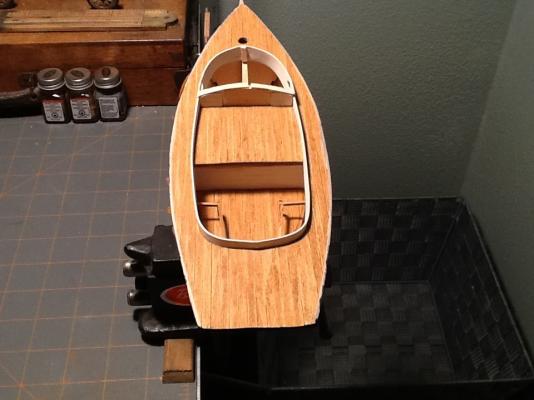
Some planking started. There will definitely be some caulking involved. Pete

-
How did you decide on the length of the deck planks? Pete
- 37 replies
-
- 1
-

-
- virginia
- artesania latina
- (and 1 more)
-
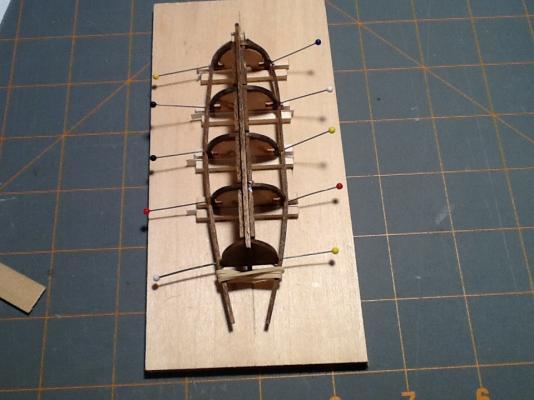
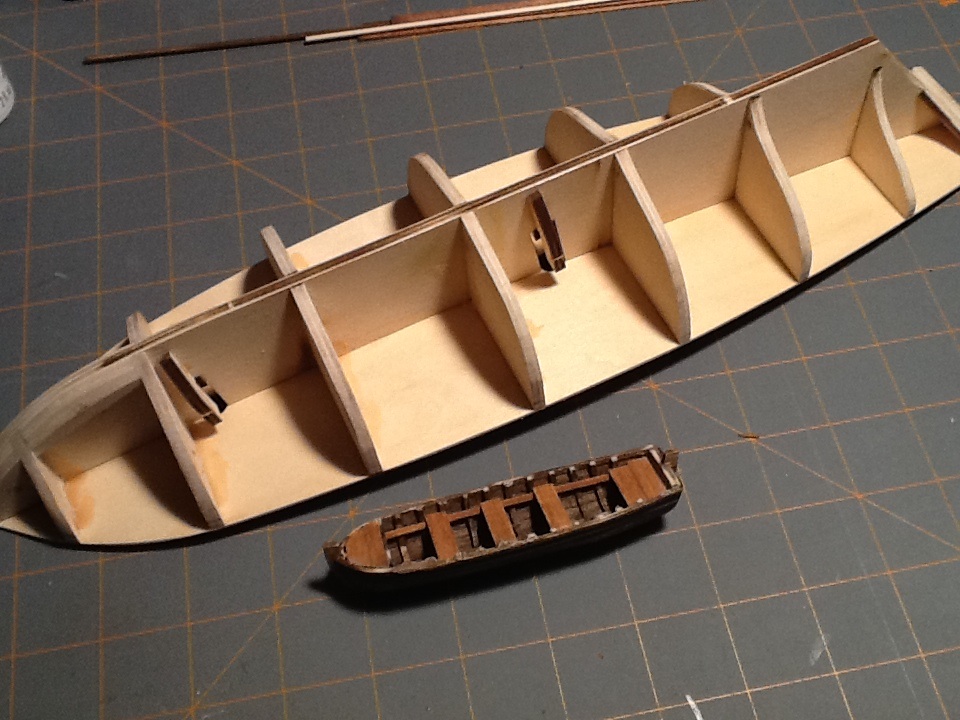
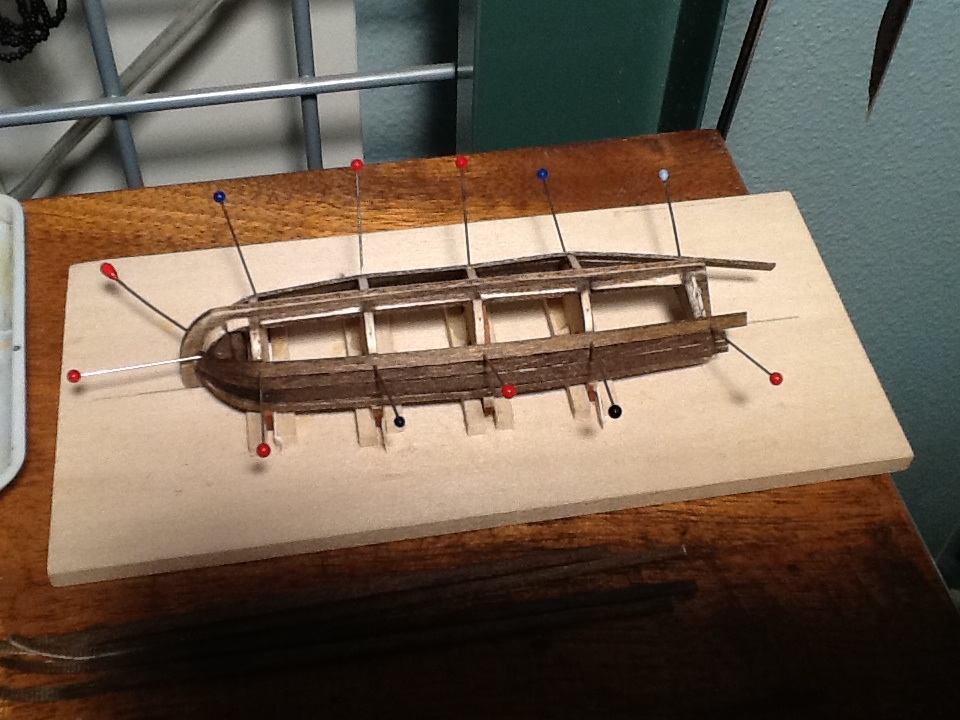
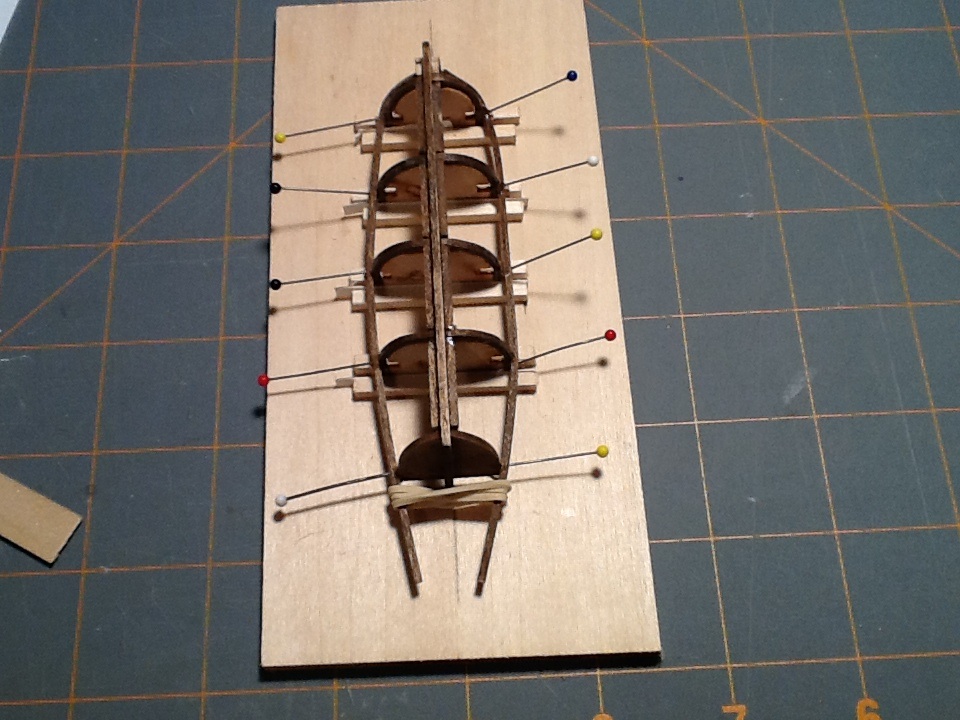
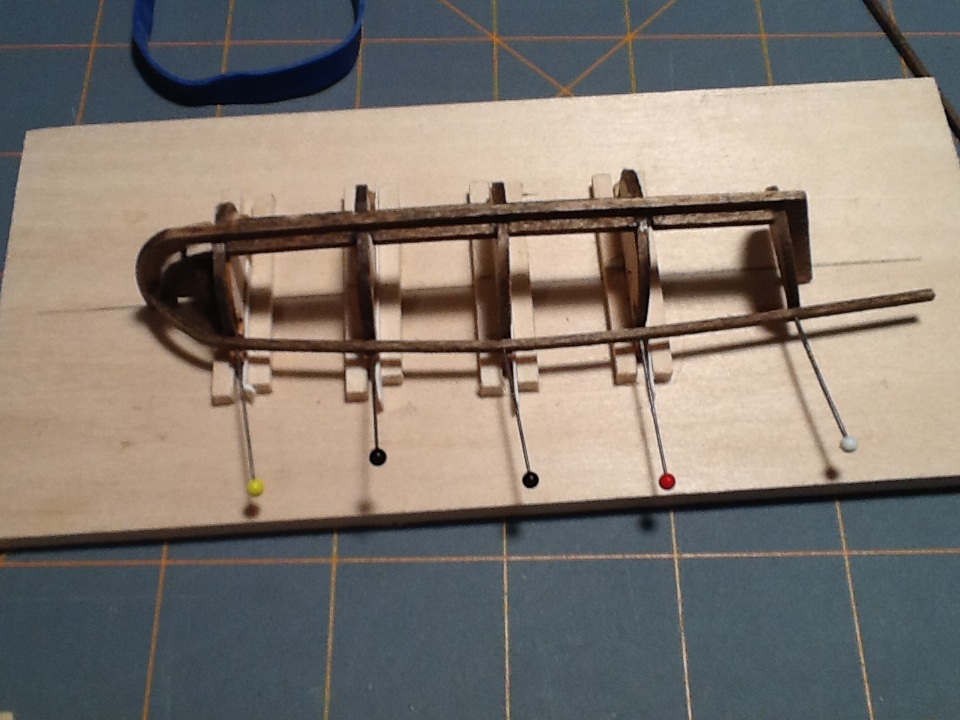
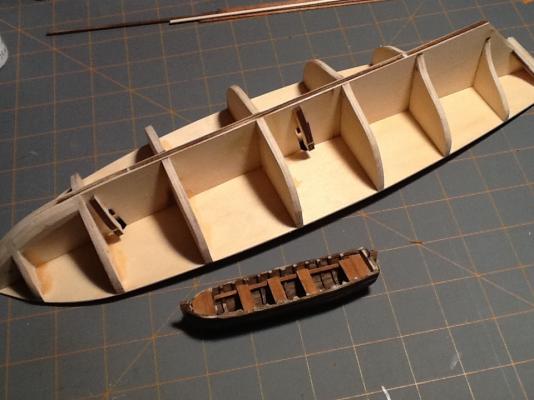
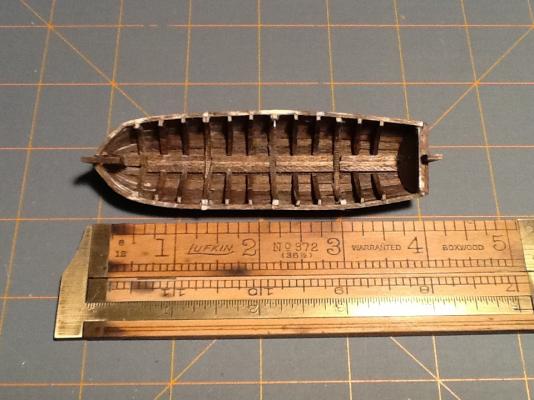
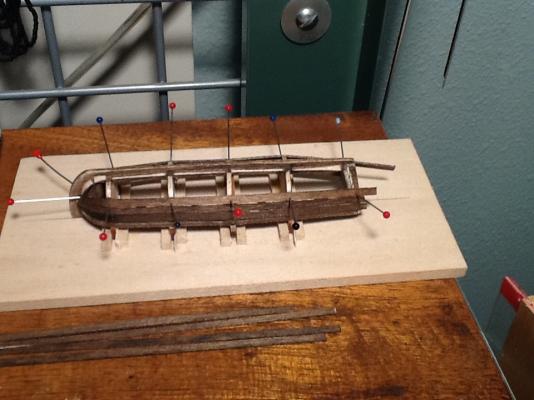
Playing with some false battens to try and get feel for the plank shapes. The framework is very fragile once you start sticking pins in it. The ribs started as 1/16th square but after fairing they are a bit smaller in places. I originally bought this kit for planking practice before I started my AL Virginia 1819 sloop but I might need to go the other way and plank the Virginia as practice for the lifeboat. Pete

- 41 replies
-
- 1
-
-
- lifeboat
- model shipways
- (and 1 more)
-
MRWESQ, No, I haven't started a build log for the 1819 Virginia (although I sort of hijacked yours) - I will post some pics of my progress so far in the next couple of days. I've hit a brick wall with my little lifeboat build, so maybe we can build this model in tandem and learn from each other. Pete
- 37 replies
-
- 1
-
-
- virginia
- artesania latina
- (and 1 more)
-
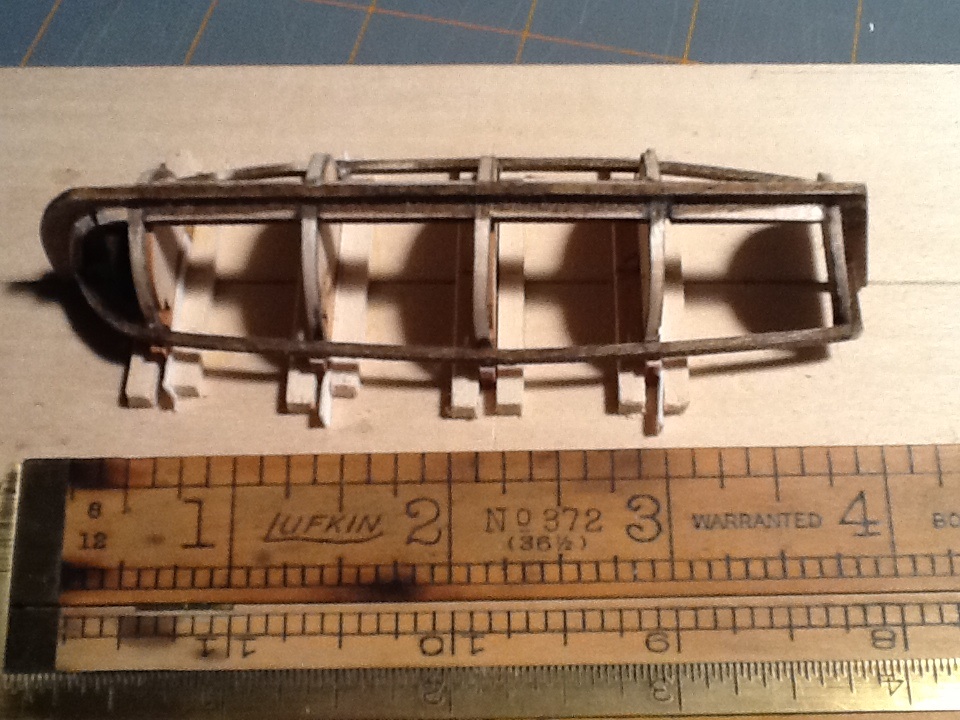
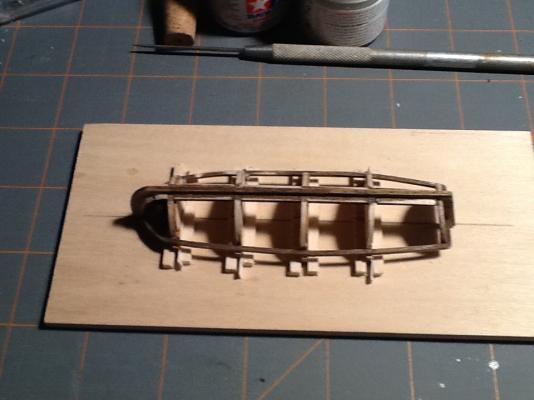
Marvin, Just to be clear - I'm not the builder doing the fine work posted here. I am just starting this model and have gotten to the point of assembling (and fairing) the false keel/bulkhead/false deck structure. If I understand your answer correctly, I can hold off on the deck planking as the kit has me leaving a 5mm gap between the top plank and the deck to allow for the placing of the bulwark piece. Any more thoughts anyone? Will this leave me anough room to trim and sand the edge of the deck planking? Pete
-
Does anyone who has built this kit have an opinion as to why the instructions have you do the finish planking on the deck BEFORE you do the first planking on the hull? I can see no reason not to reverse the order to avoid scuffing up that ultra thin deck planking in the process of planking the hull. Am I missing something? Pete
-
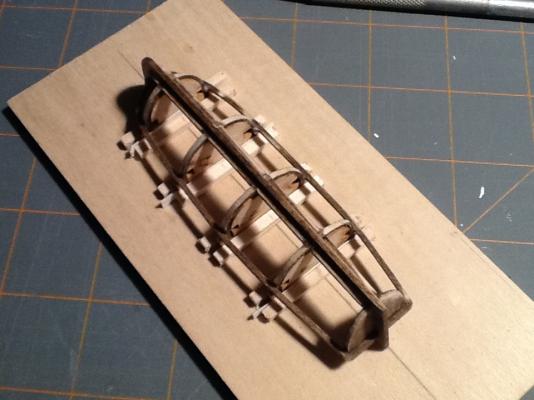
Framework is faired and I'm ready to start planking. Instructions have me planking the transom first. Wish me luck. Pete
-
Popeye, How thick were the basswood planks? (And what scale is your model?)
-
Harvey, Don't know if it's really plywood or veneer. It would have to have some pretty thin layers being just 1/64" overall. Being so readiliy available I was wondering if anybody has ever worked with it. I cut a couple of 3/32" planks from it and it didn't seem too bad. Would like to find 1/64" basswood but my only luck so far was "scale lumber" at the model RR store. This was pretty expensive (but I do plan to use it to plank the deck). I have tried gesso over balsa in the past and ended up with too smooth a finish for my taste. I am trying to somehow keep the semblance of wood grained planks with weathered paint for the hull. Pete
-
I'm thinking of planking my build of the Smack by going over the balsa with 1/4" strips cut from Revell 1/64" birch ply that is available at Micheals. Has anyone used this material? I will be painting over it so the finish isn't an issue but I do want the planking to be obvious. Pete
-
Worked great on the iPad. Both sound and video
-
Adding the Sheer(s). I hope I'm doing this right.