HOLIDAY DONATION DRIVE - SUPPORT MSW - DO YOUR PART TO KEEP THIS GREAT FORUM GOING! (Only 20 donations so far - C'mon guys!)
×


petehay
-
Posts
125 -
Joined
-
Last visited
Content Type
Profiles
Forums
Gallery
Events
Everything posted by petehay
-
 I logged in and the links to the last pics disappeared. I can look to see if I still have them on an old iPad.
 -
Here is my build:
-
When I finally built this I soaked the wood in isopropyl alcohol and taped them to a form. Worked very well, especially on the ribs.
-
What did you use to simulate the tree nails? Pete in Portland
-
Welcome to the Smack Club.
-
Did you use any plans for these? Your dory's beam is much wider than mine and I really like it. It reminds me of what is called a "drift boat" and used on the rivers for steelhead and salmon fishing here in the Pacific Northwest. Pete in Portland
-
Could you post a close up of the cleat on the bowsprit? Pete in Portland
- 209 replies
-
- 1
-

-
- muscongus bay lobster smack
- midwest products
- (and 1 more)
-
How are you doing the cleats? I, too, dislike those supplied with the kit. Pete in Portland
- 209 replies
-
- 1
-
-
- muscongus bay lobster smack
- midwest products
- (and 1 more)
-
I had great luck at coming close to this finish by using thinned acrylic gesso as my sanding sealer. Pete
- 209 replies
-
- 1
-
-
- muscongus bay lobster smack
- midwest products
- (and 1 more)
-
Casey, Hadn't thought of changing the Samson post. Do you have any examples of any less simple ones?
-
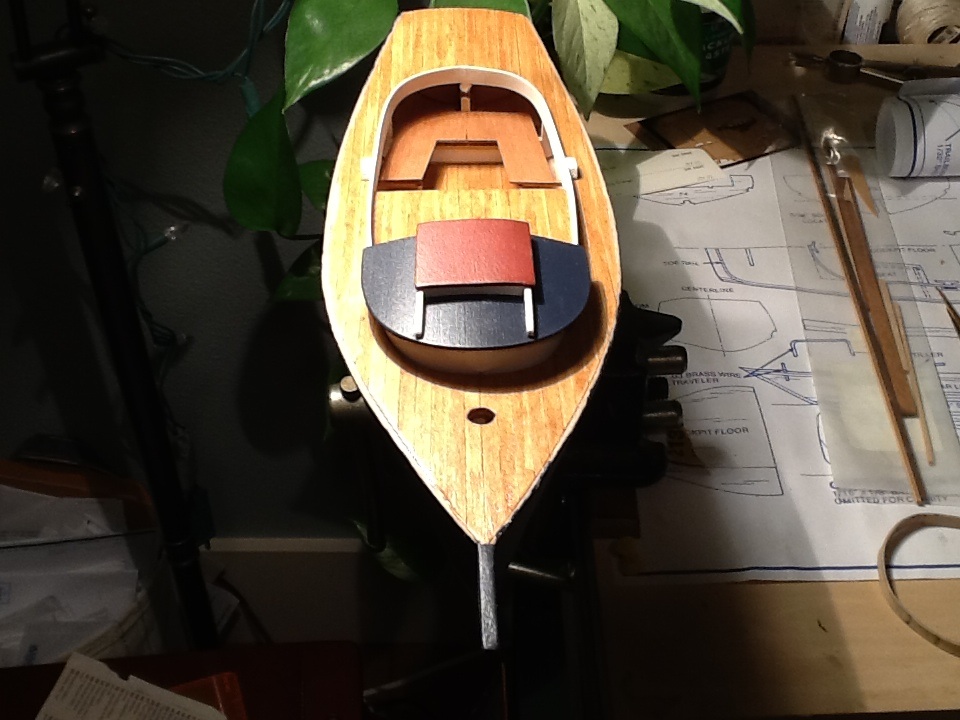
Slight progress - rudder, fish well hatch covers and seat. Now I can fret about the bowsprit.
-
Very impressive job on the scratch build. Did you cut all of the wood patterns by hand or did you use power tools? Pete in Portland
- 209 replies
-
- 1
-
-
- muscongus bay lobster smack
- midwest products
- (and 1 more)
-
This is looking very good. Giving me some good ideas for my second smack. Pete in Portland.
- 209 replies
-
- 1
-
-
- muscongus bay lobster smack
- midwest products
- (and 1 more)
-
Wayne, Thank you so much for that link. I visited the Apprenticeshop in Rockland this past summer and often dream of taking their courses to become a real wooden shipwright but at 62 and living on the west coast it will probably remain just a dream. Pete48, I hope to do a kit-bashed version of the smack (with a planked hull) that is in the same well worn condition as the image of the boat in hexnut's post above. A real example of a work boat with rust and wear and weather. When I see some of the stuff that the model car guys do to make a rusted beater and the weathering that the model railroad folks display - that's what I aspire to produce with my next attempt at the smack. Pete
-
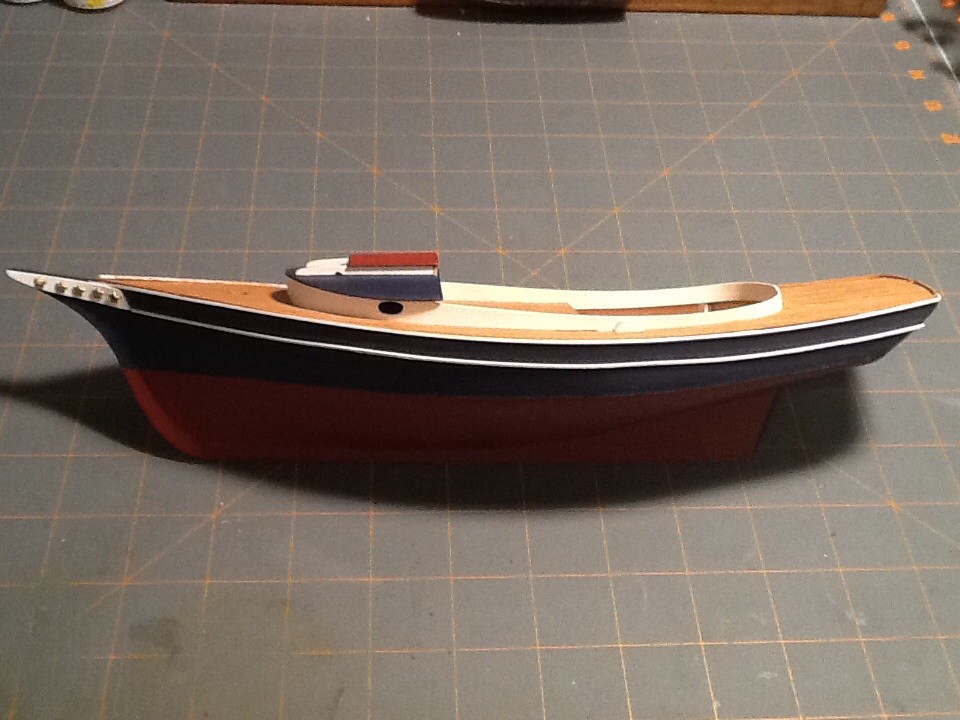
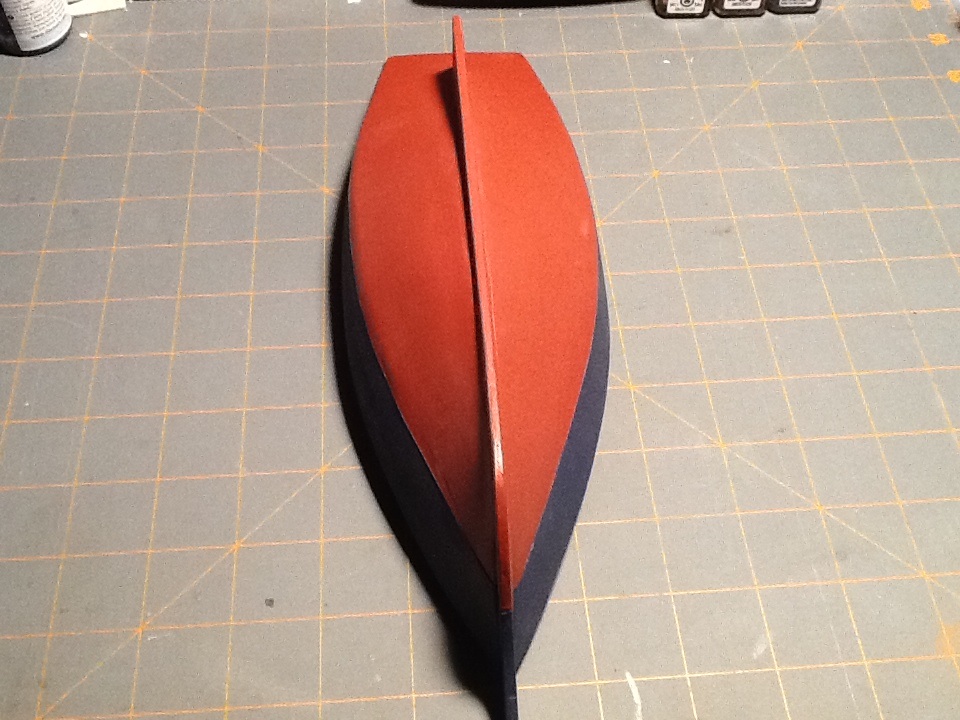
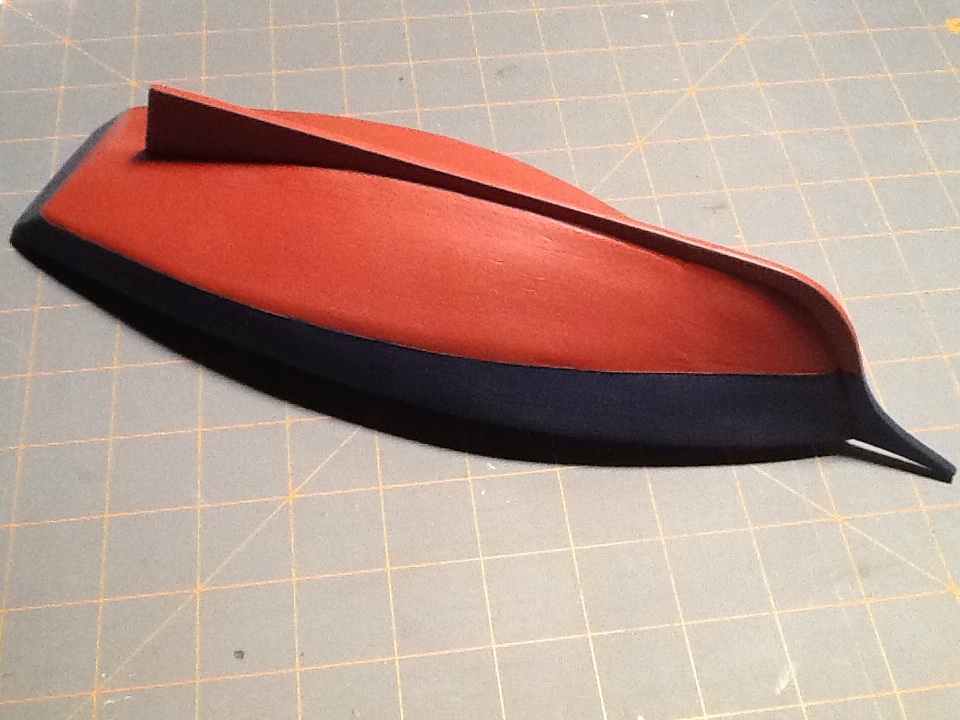
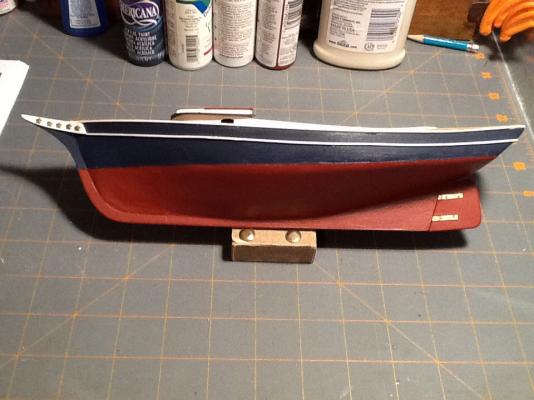
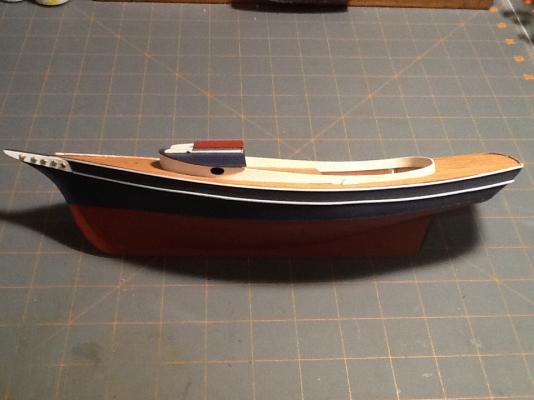
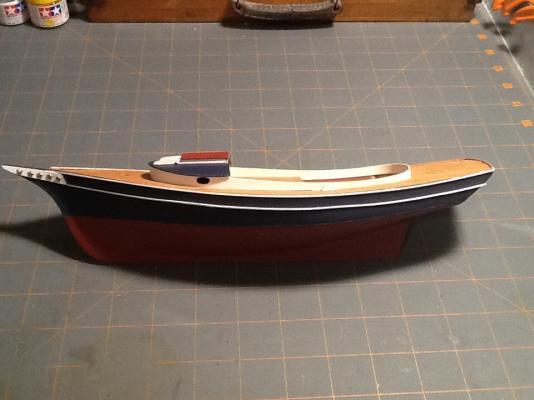
Shawn - I have not used Testors paint on anything other than plastic. I have used Tamiya acrylic model paint and they do have a "Hull Red" color. On the Lobster Smack I have used "Americana Acrylics" from Michaels. Very inexpensive and lots of colors. The smack hull is Barn Red & Deep Ultra Blue. I did have to try a couple of whites before I found one that wasn't too yellow. The trick I've found is to thin them with a couple of drops of water to a dime size blob of paint. I used the paint to seal the raw wood (no sanding sealer) Hexnut - Thanks for the photo. It's exactly the reference I needed. Rudder should go on this weekend. Casey - Yes, the 1/32" molding strips were a pain in the rear. I used a spacer block to guide the lower strip as I glued it on. I glued about 2" at a time to keep things lined up. Pete
-
Thanks Bob.
-
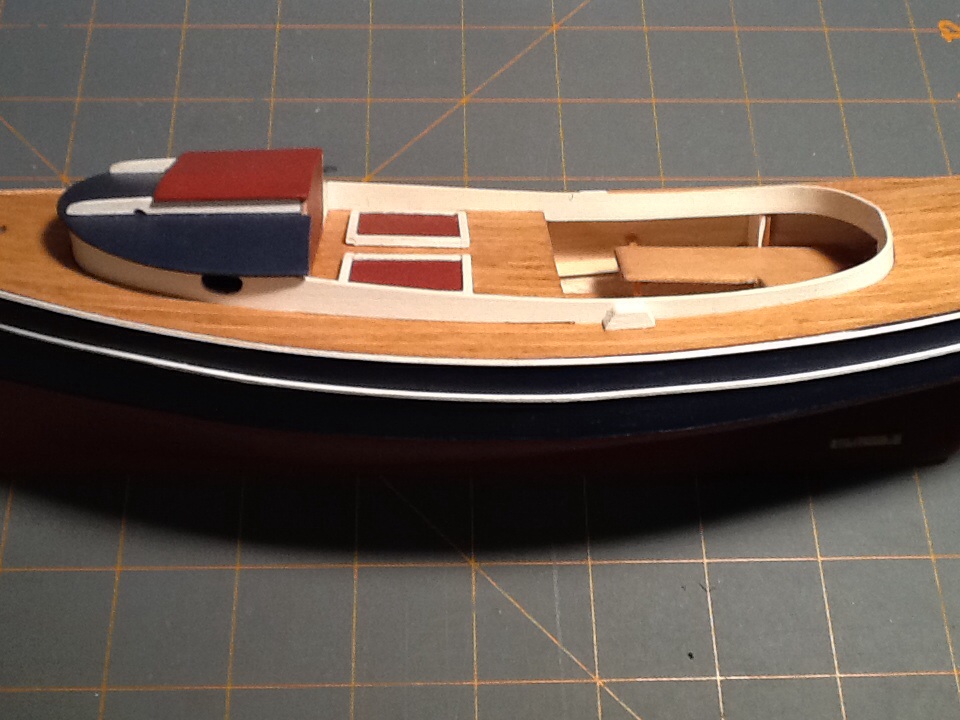
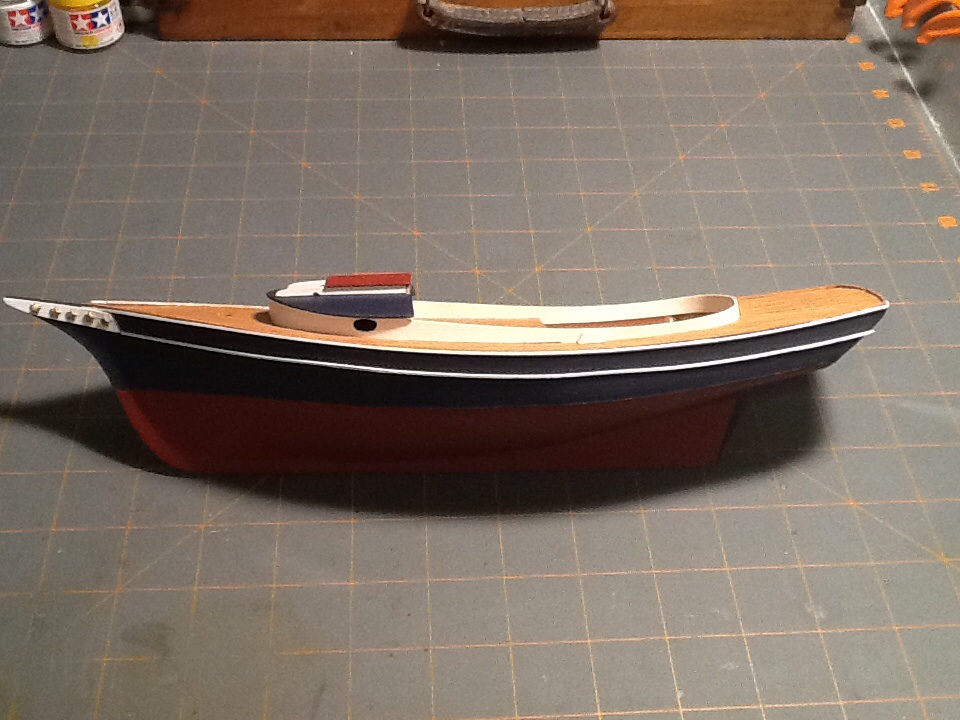
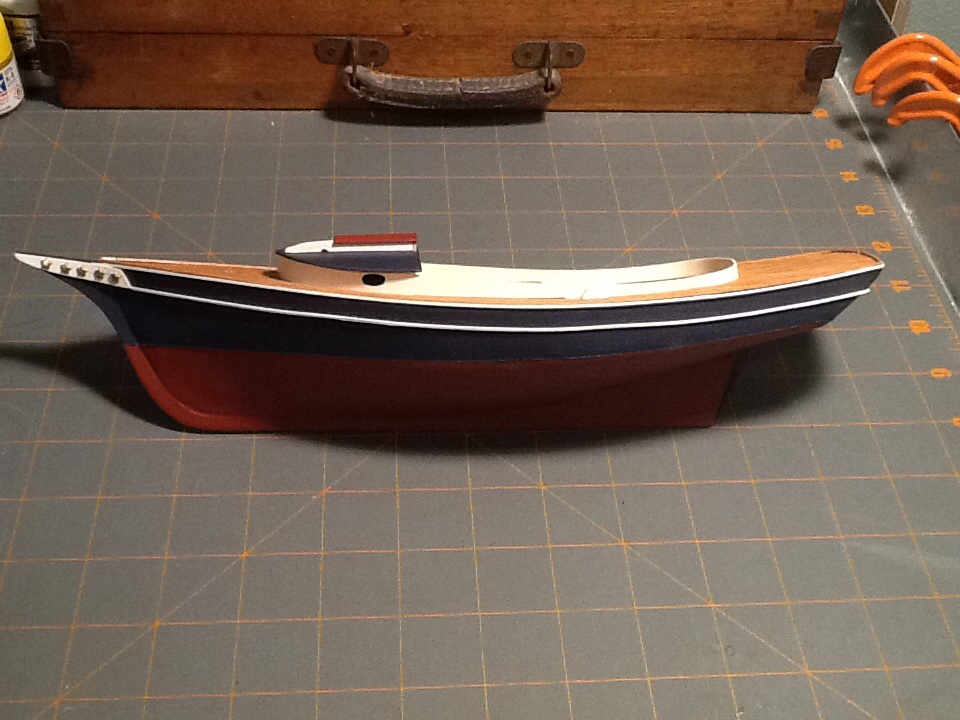
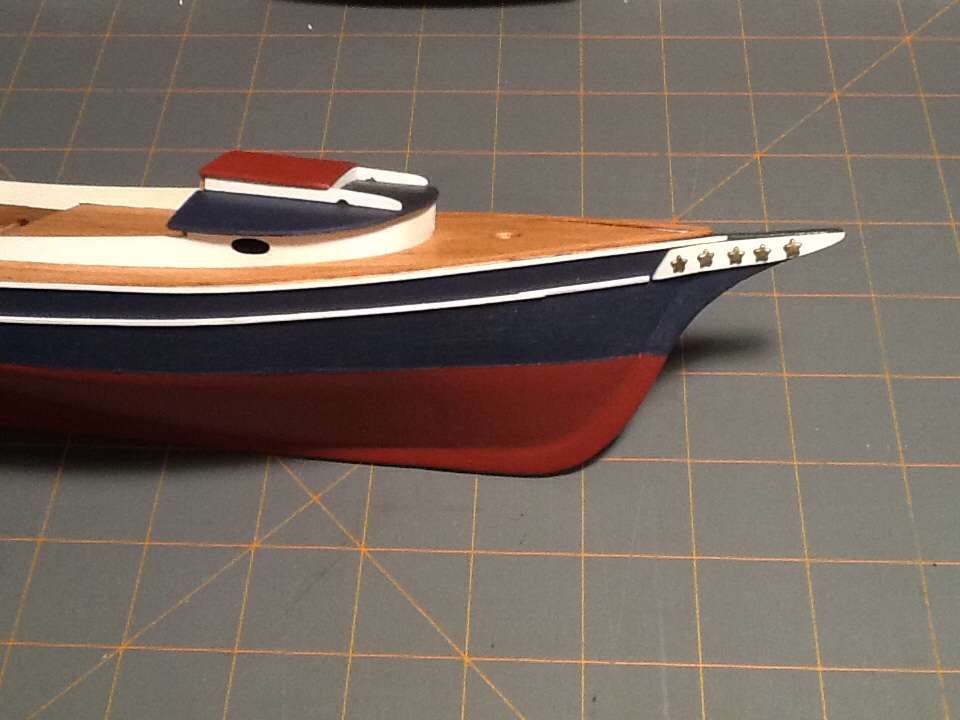
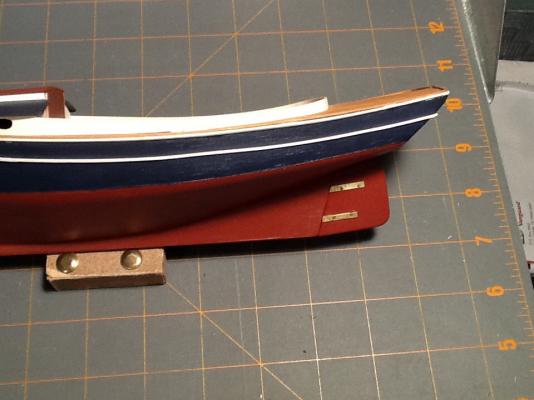
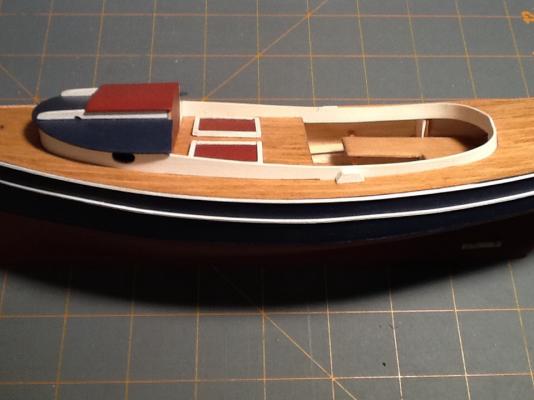
Now that the weather here in Portland is starting to turn it's time to get back to the model boatyard. Over the rainy weekend I installed the toe rails, trail boards and the upper & lower molding. The stars on the trail boards are little sequins that I picked up at Michaels. I found the moldings to be particularly tedious to get right (and not get glue all over everything). Pete


-
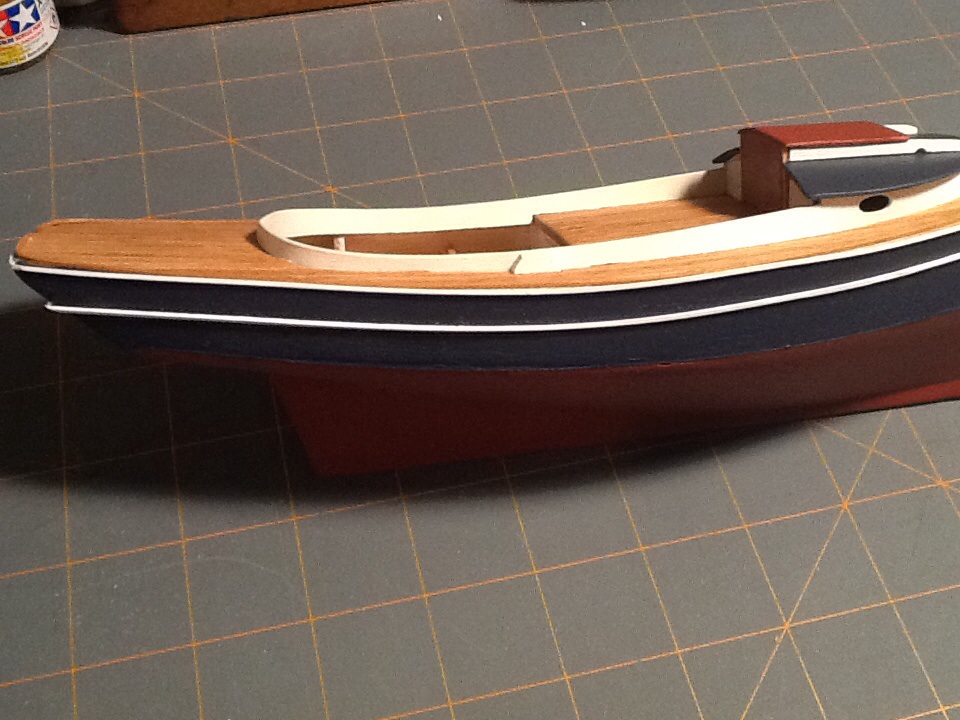
A bit of progress - hatch rails and hatch Pete
-
After 15 min or so in the ammonia solution the balsa just gets "bendy" not limp. What I mean is when you form it to the curve of the bulkhead it does not have the tendency to split along the grain that unsoaked balsa does. Pete
-
Love the crates
-
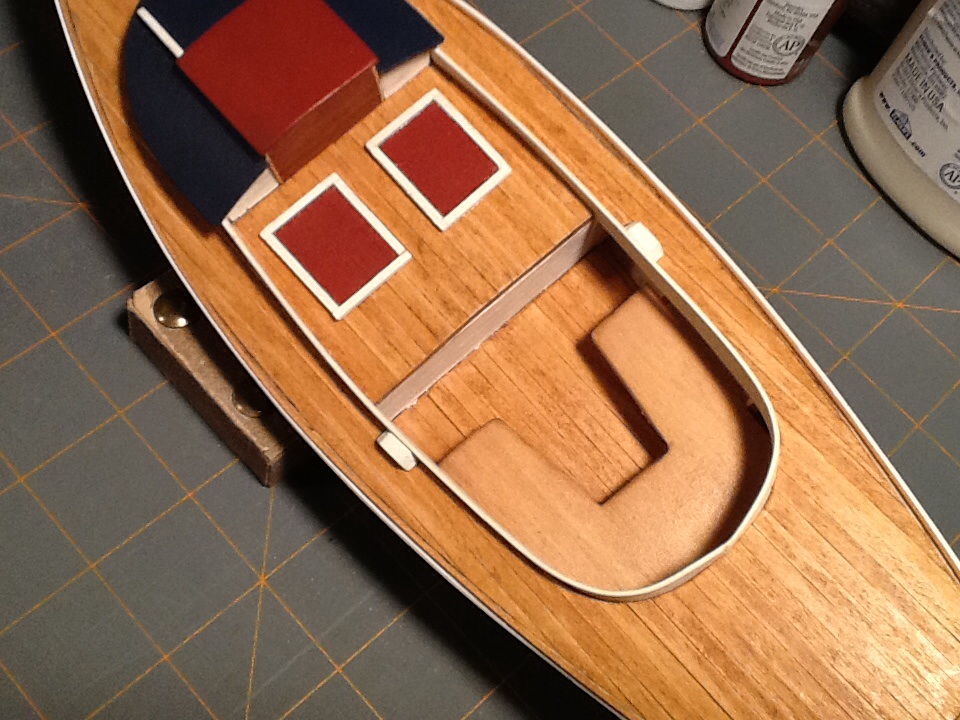
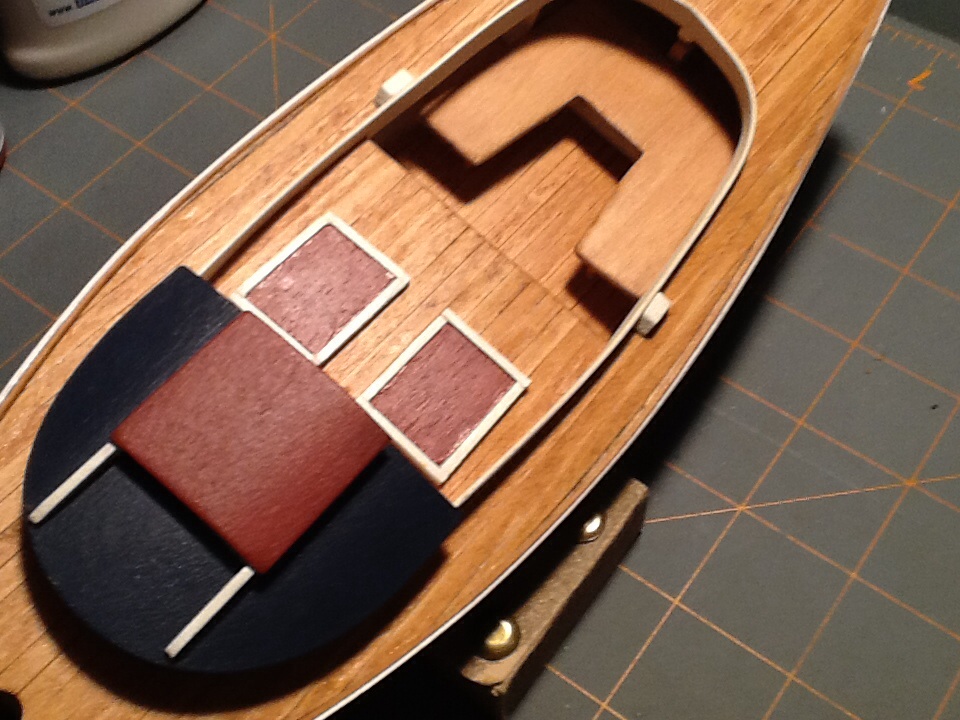
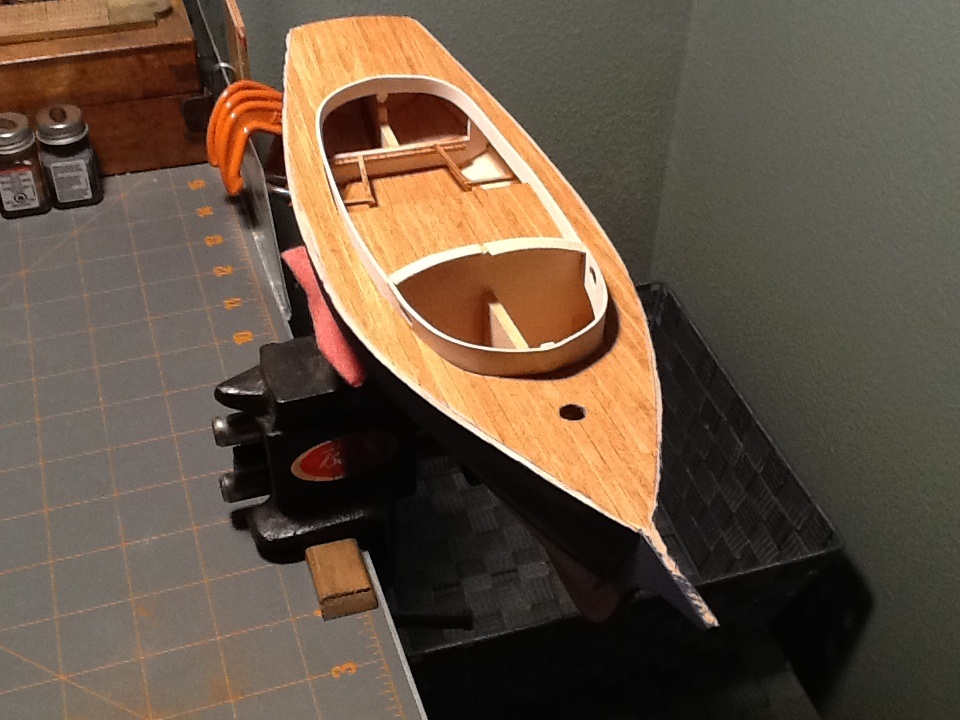
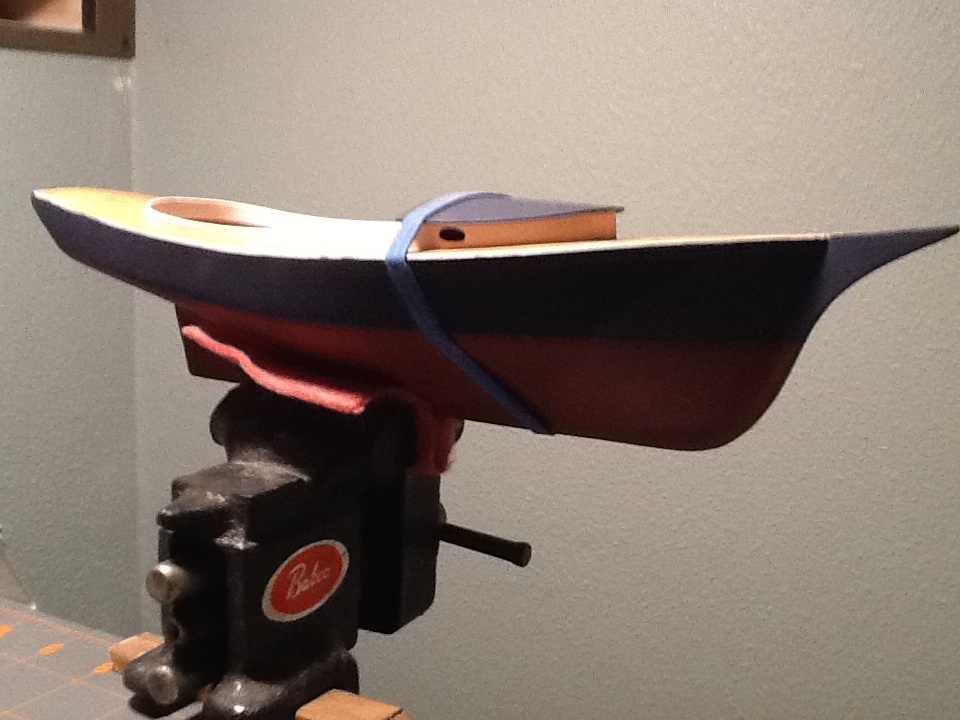
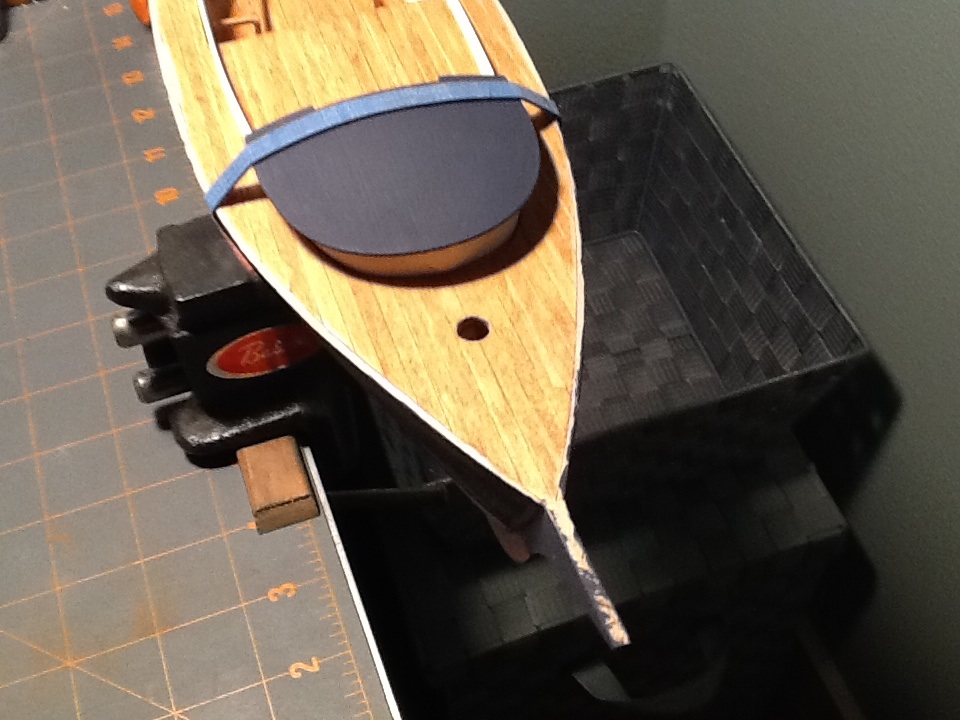
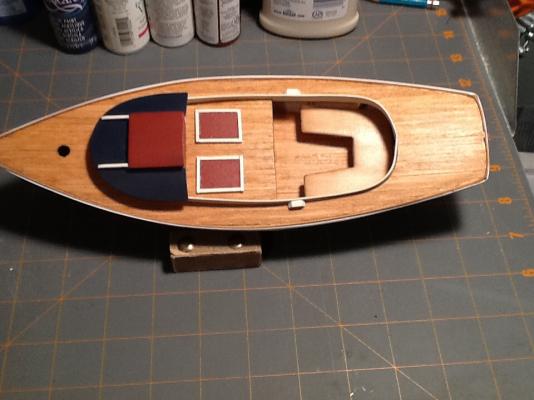
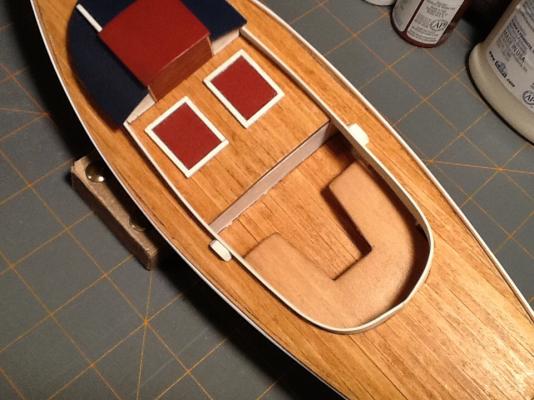
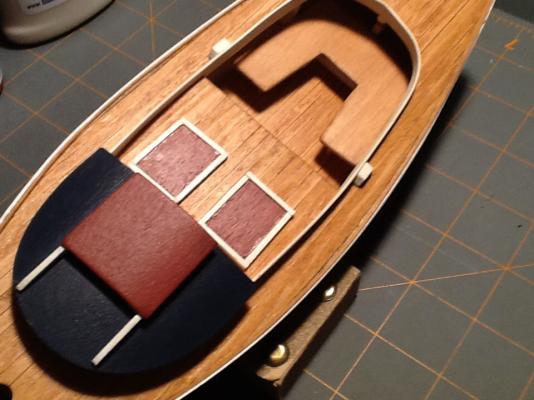
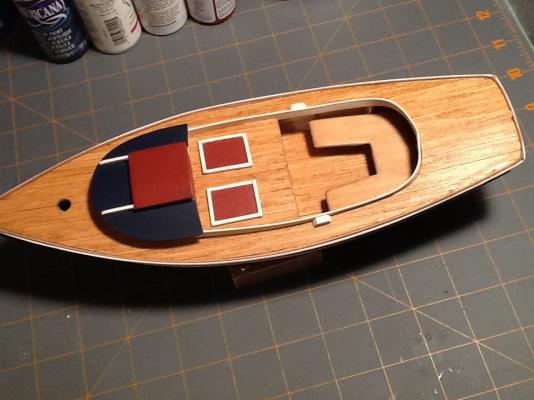
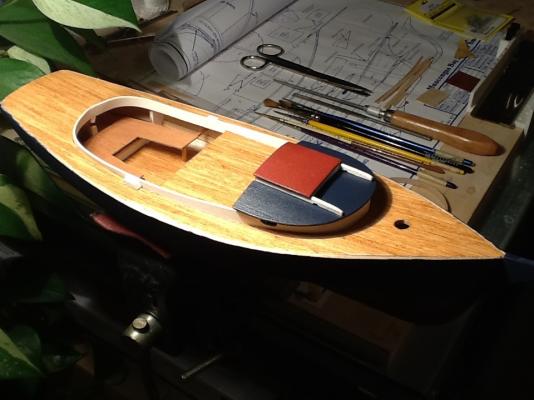
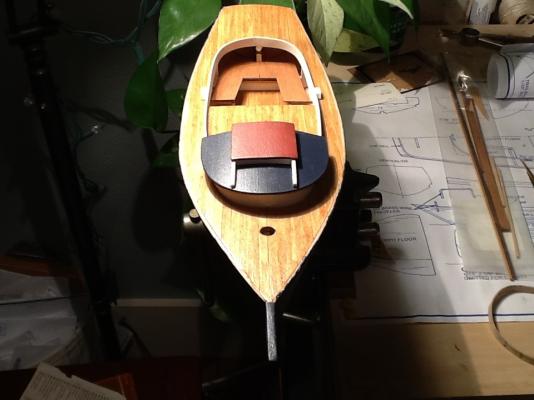
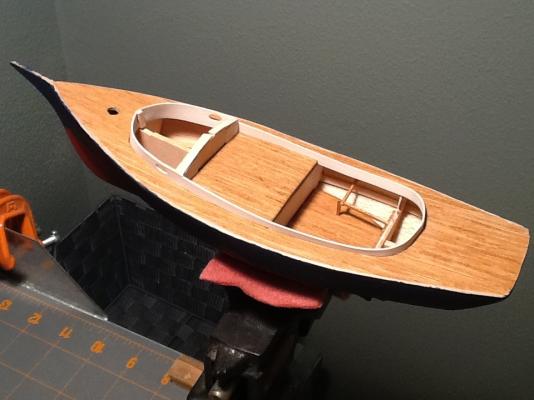
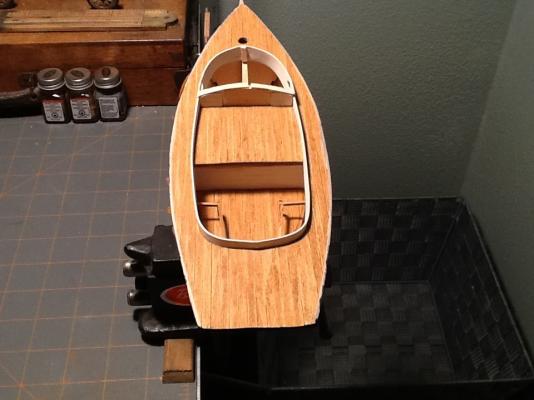
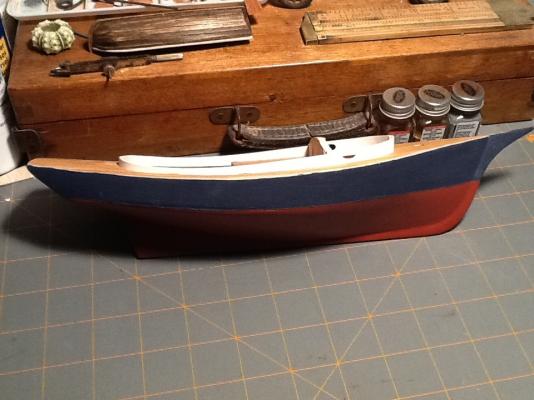
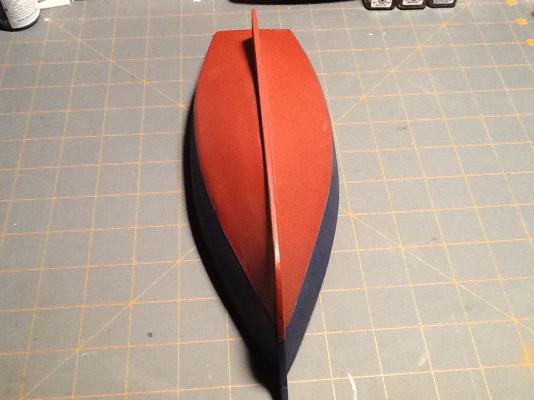
Inspired and encouraged by Mario, DeeDee and Hexnut I have started my Muscongus Bay Lobster Smack phase 1. Right before MSW went from v1 to v2 I went out and bought this kit along with the Midwest Sakonnet Daysailer. The Daysailer was my first wood boat kit and I learned a lot. I have since purchased a second Smack kit hence the phase 1/phase 2 reference. Following Mario's build as a primer I am currently building Smack #1 pretty much straight out of the box. I did plank the deck and floor with HO scale 2x10's from Northeastern Scale Lumber Co. and was very pleased with the results. I started the build over the Fourth of July weekend and thought the red, white, and blue color scheme was called for. I hope to follow this build with a totally bashed version a'la DeeDee but let's get this one built first. I have attached iPad Picts of where I am now with the build. Glad to join the Smack club. Pete


-
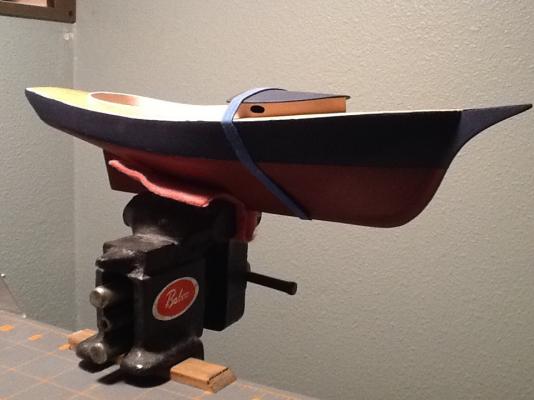
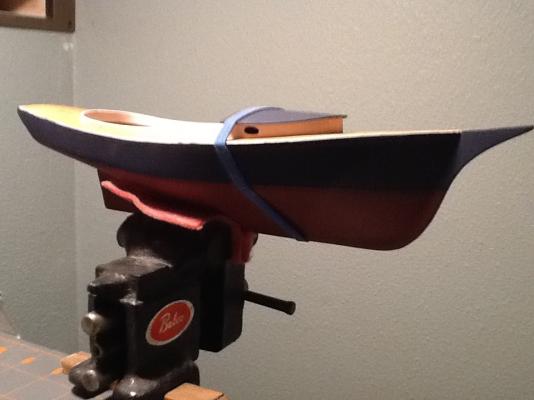
I'm building a Smack right now. Here's how I did it: Soak the balsa in a 50/50 mix of amonia and water (15 min). The side of the balsa that goes against the keel does not need trimming. Use the 1/16th strip that you glued along the keel in a previous step as your foundation. Fit the balsa against this strip snugged up to the keel (it should be quite pliable after being soaked). Play around with it until you find the correct placement then glue it to the keel strip (rabbet), the bulwarks and the batten strip -in that order. Carefully place some rubber bands around the model to keep the curve while it dries. Now you can trim the other 3 sides. Pete
-
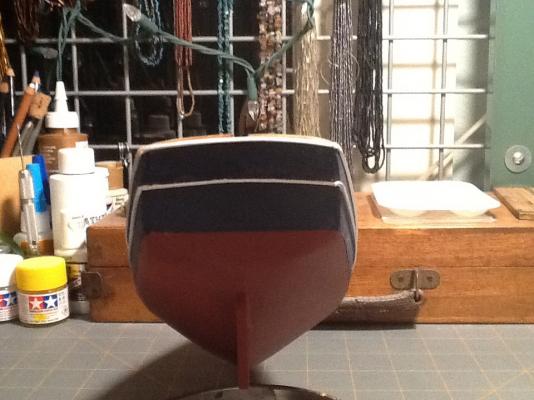
Beautiful Paint Job!