king derelict
-
Posts
3,292 -
Joined
-
Last visited
Content Type
Profiles
Forums
Gallery
Events
Everything posted by king derelict
-
Thank you very much Mike. I’m amazed I got through the build without breaking off some of the barbette guns. Alan
- 78 replies
-
- 5
-

-
- Derfflinger
- Flyhawk
- (and 2 more)
-
Thank you very much Mark. I’m still learning with every model. Flyhawk make very well thought out kits with great detail so one of their kits is a good start for a handsome result. Alan
- 78 replies
-
- 4
-
-
- Derfflinger
- Flyhawk
- (and 2 more)
-
Getting quite complex Mike. Very nice work. alan
-
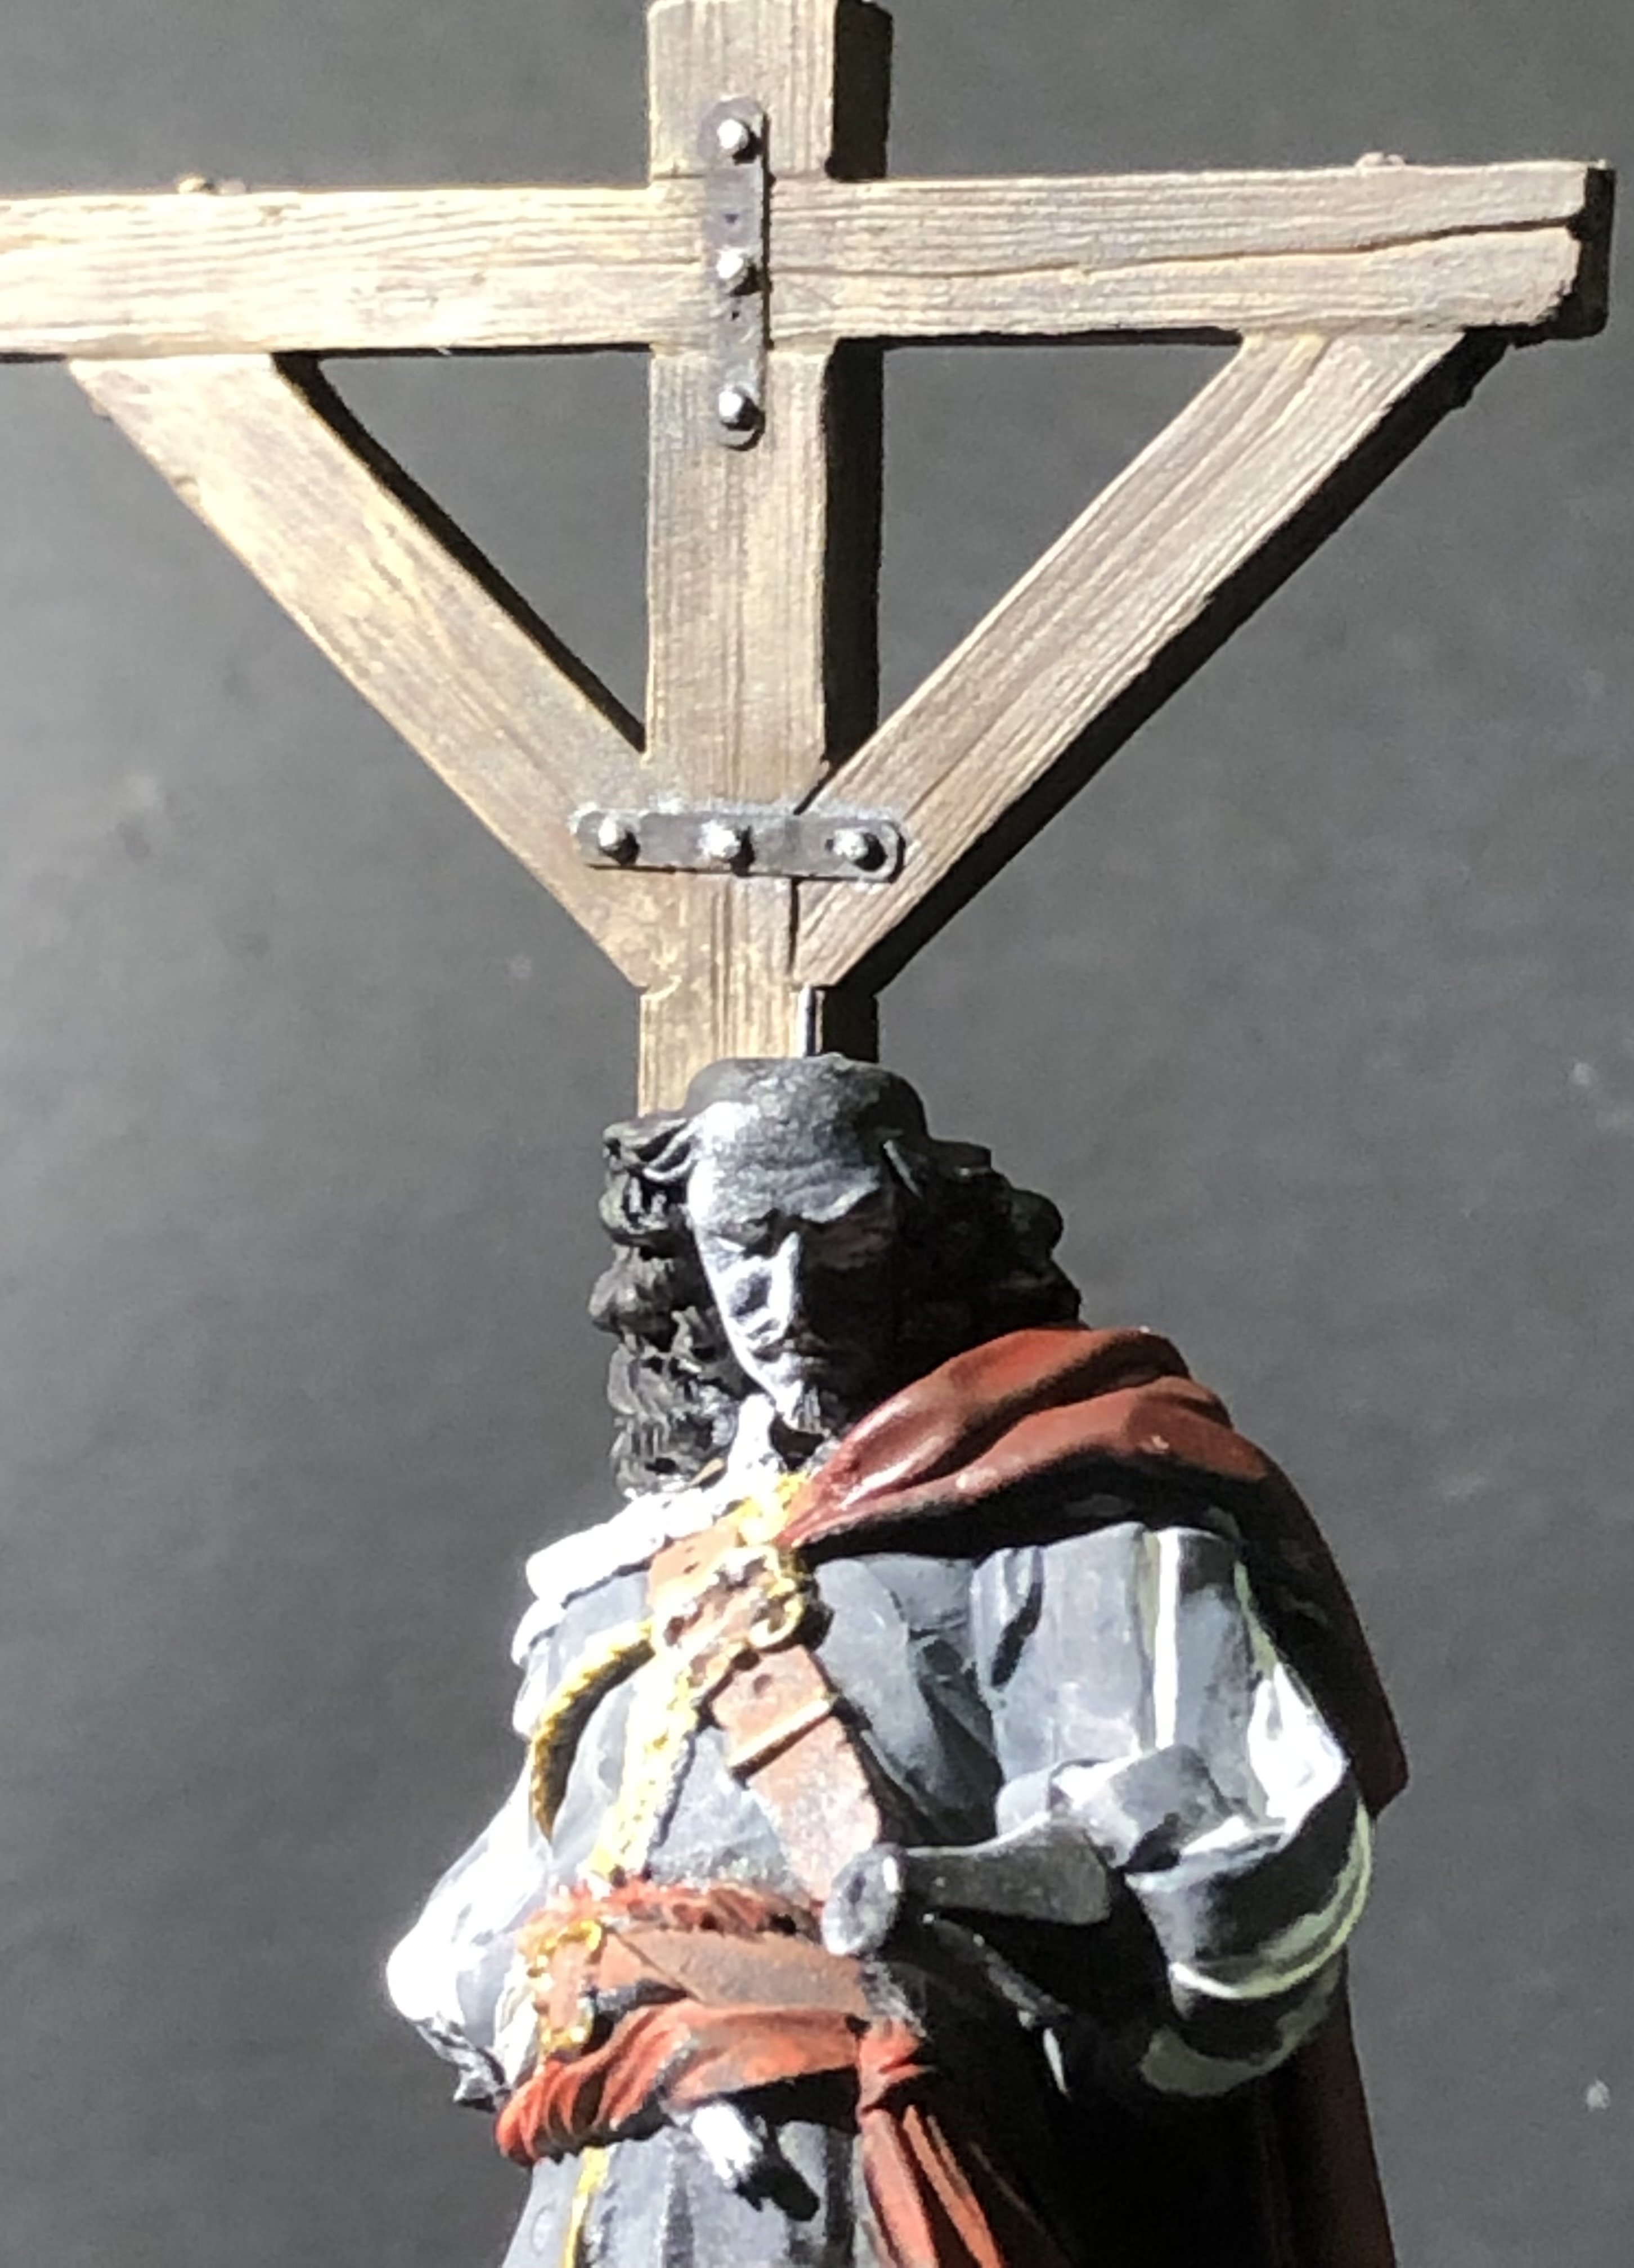
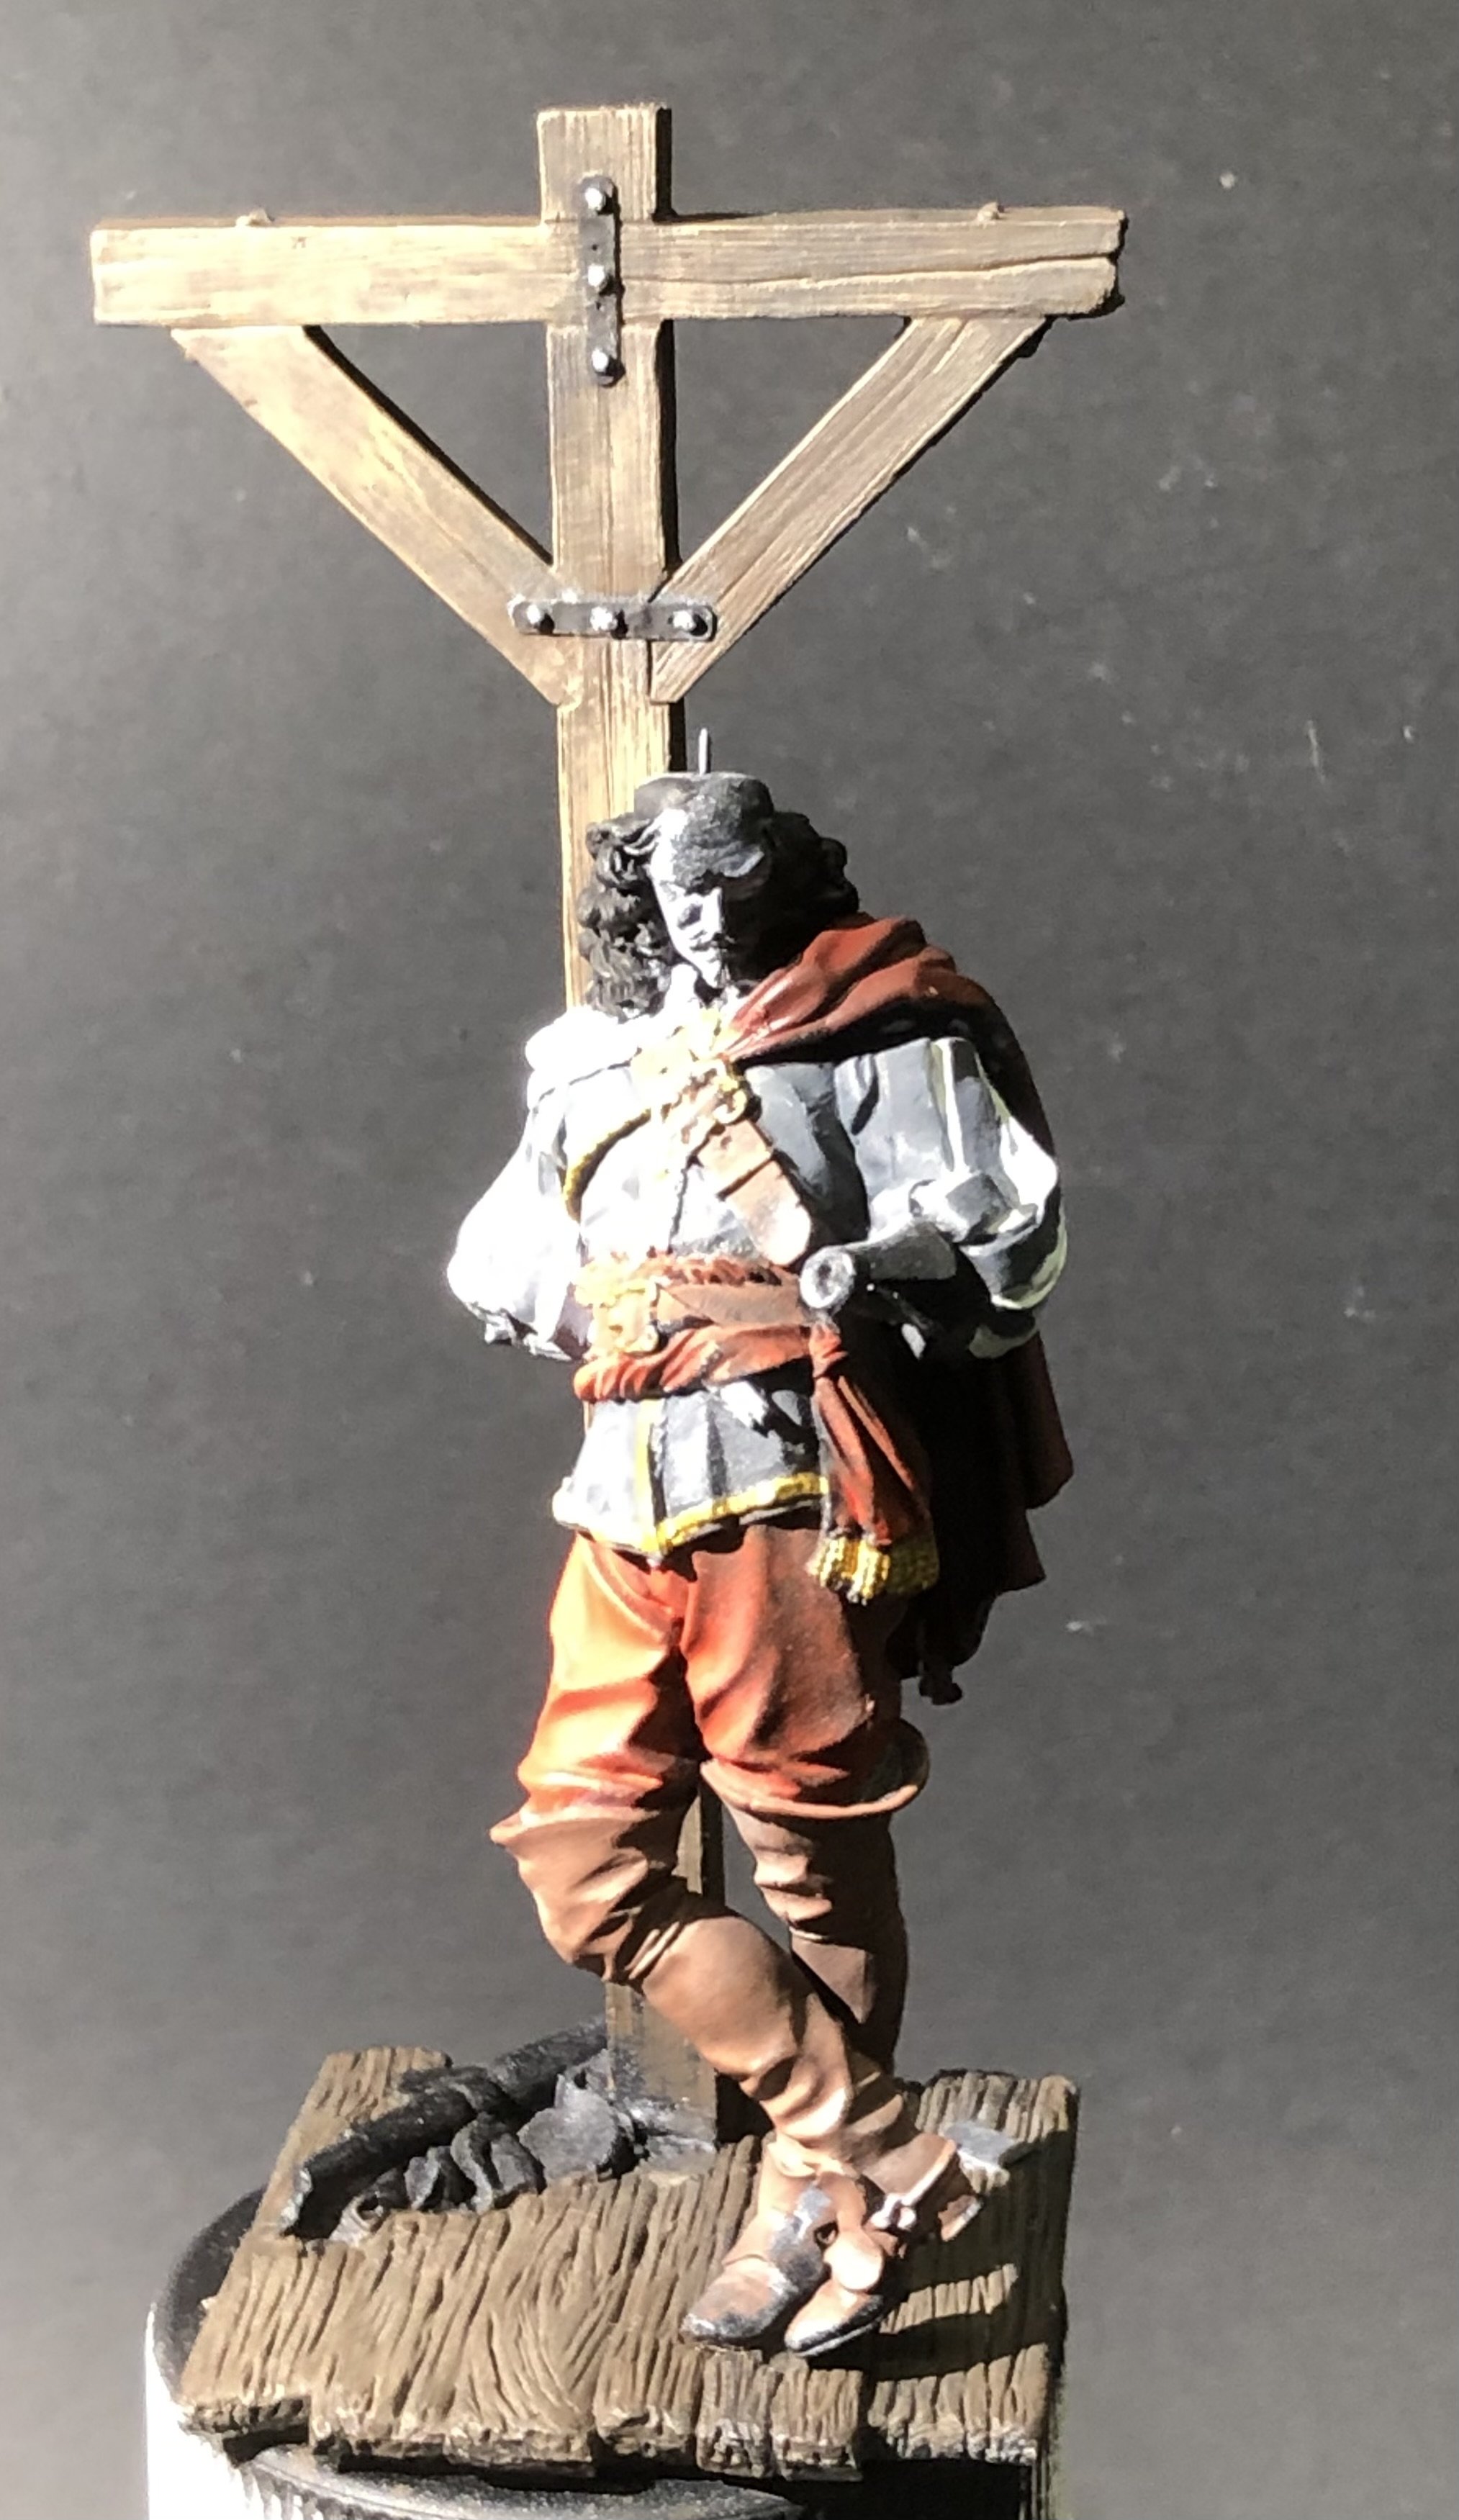
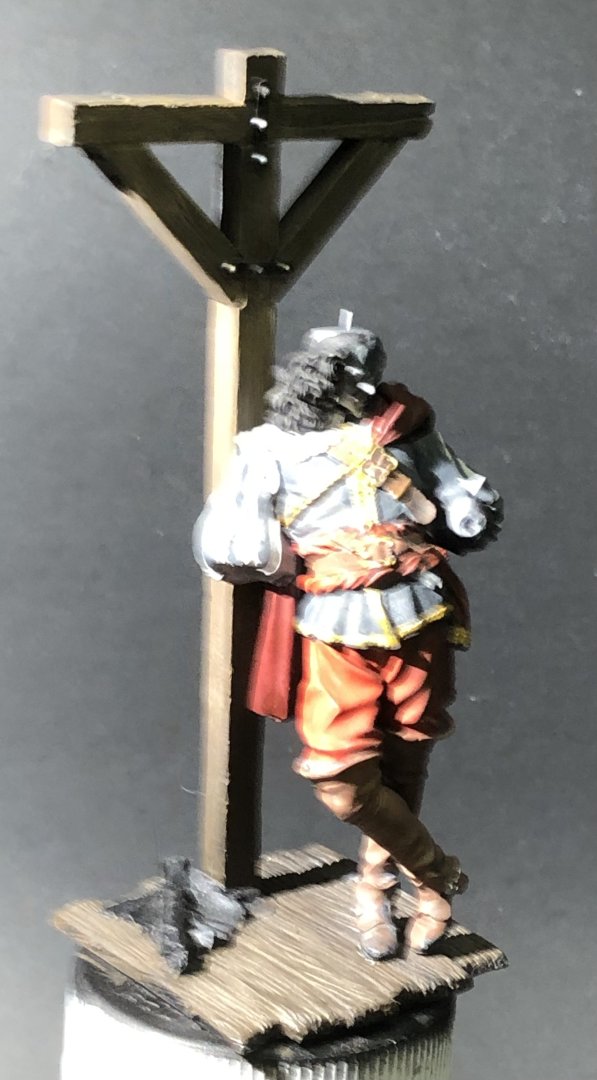
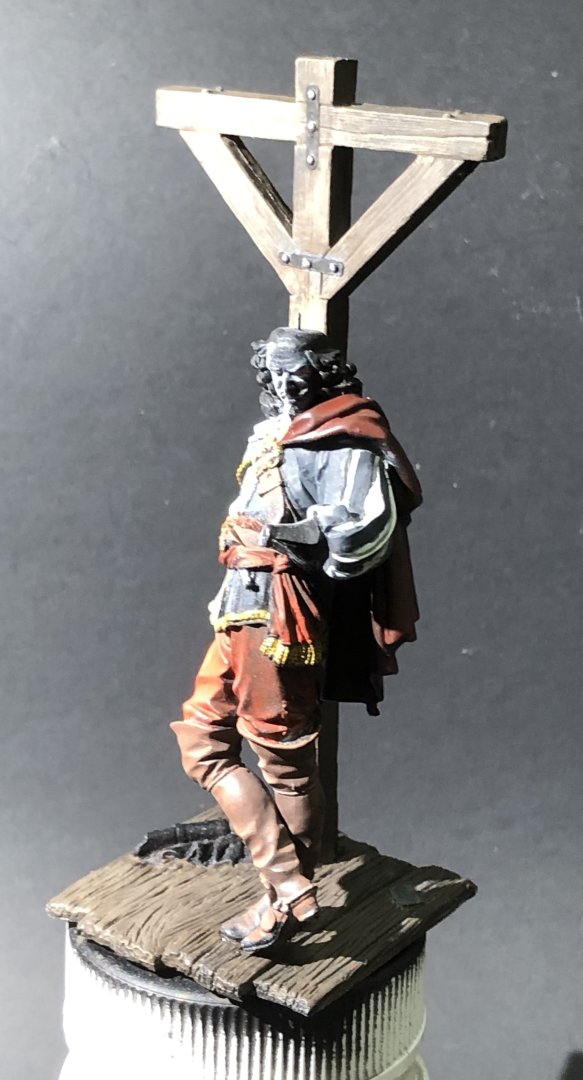
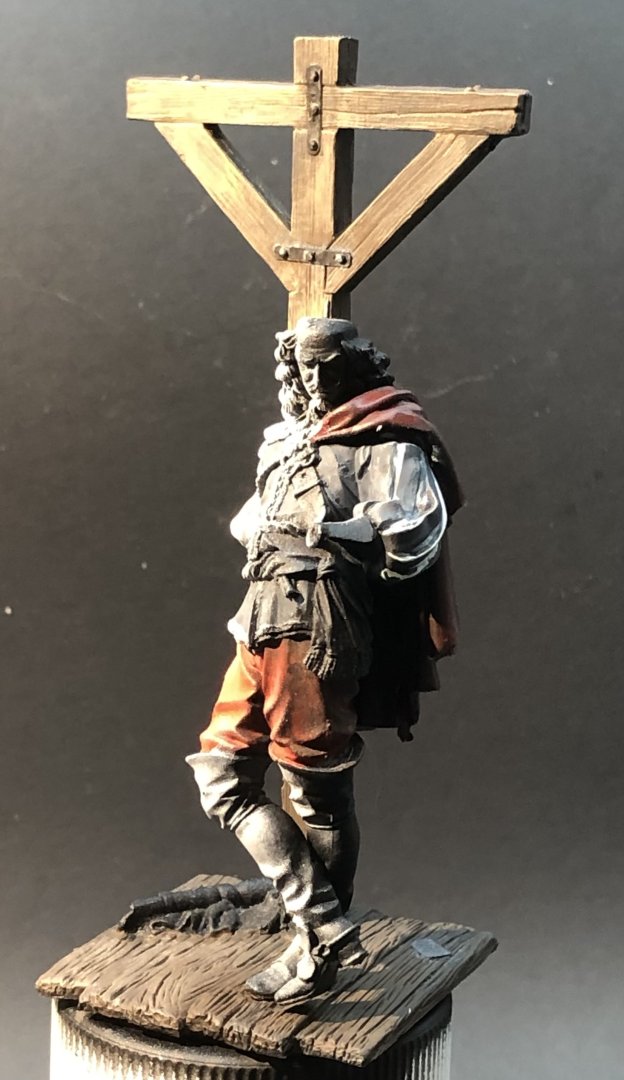
I continued adding washes to the pants and tunic. I’m using a darker grey on the right side and light grey instead of ivory for the tunic slashes to try to maintain a darker cast to the unlit side. boots have been painted in saddle brown and then polished lightly to add some shine and also let some of the black primer through to show wear. I’m quite pleased with them. The golden hemming and sash fringes are good painted on orange, it seems to look less metallic like that. Hair is black and will get a light gloss added. The eyes have been touched with off white on the left and pale grey on the right. The face will be tomorrows challenge. So far this is proving very nice to paint. Some shine on the cloak will need to be addressed and I’m still not sure I like the grey for the tunic. Thanks for looking in and for the likes Alan


-
Beautiful work Dan alan
-
Great recovery Rob. Congratulations Alan
-
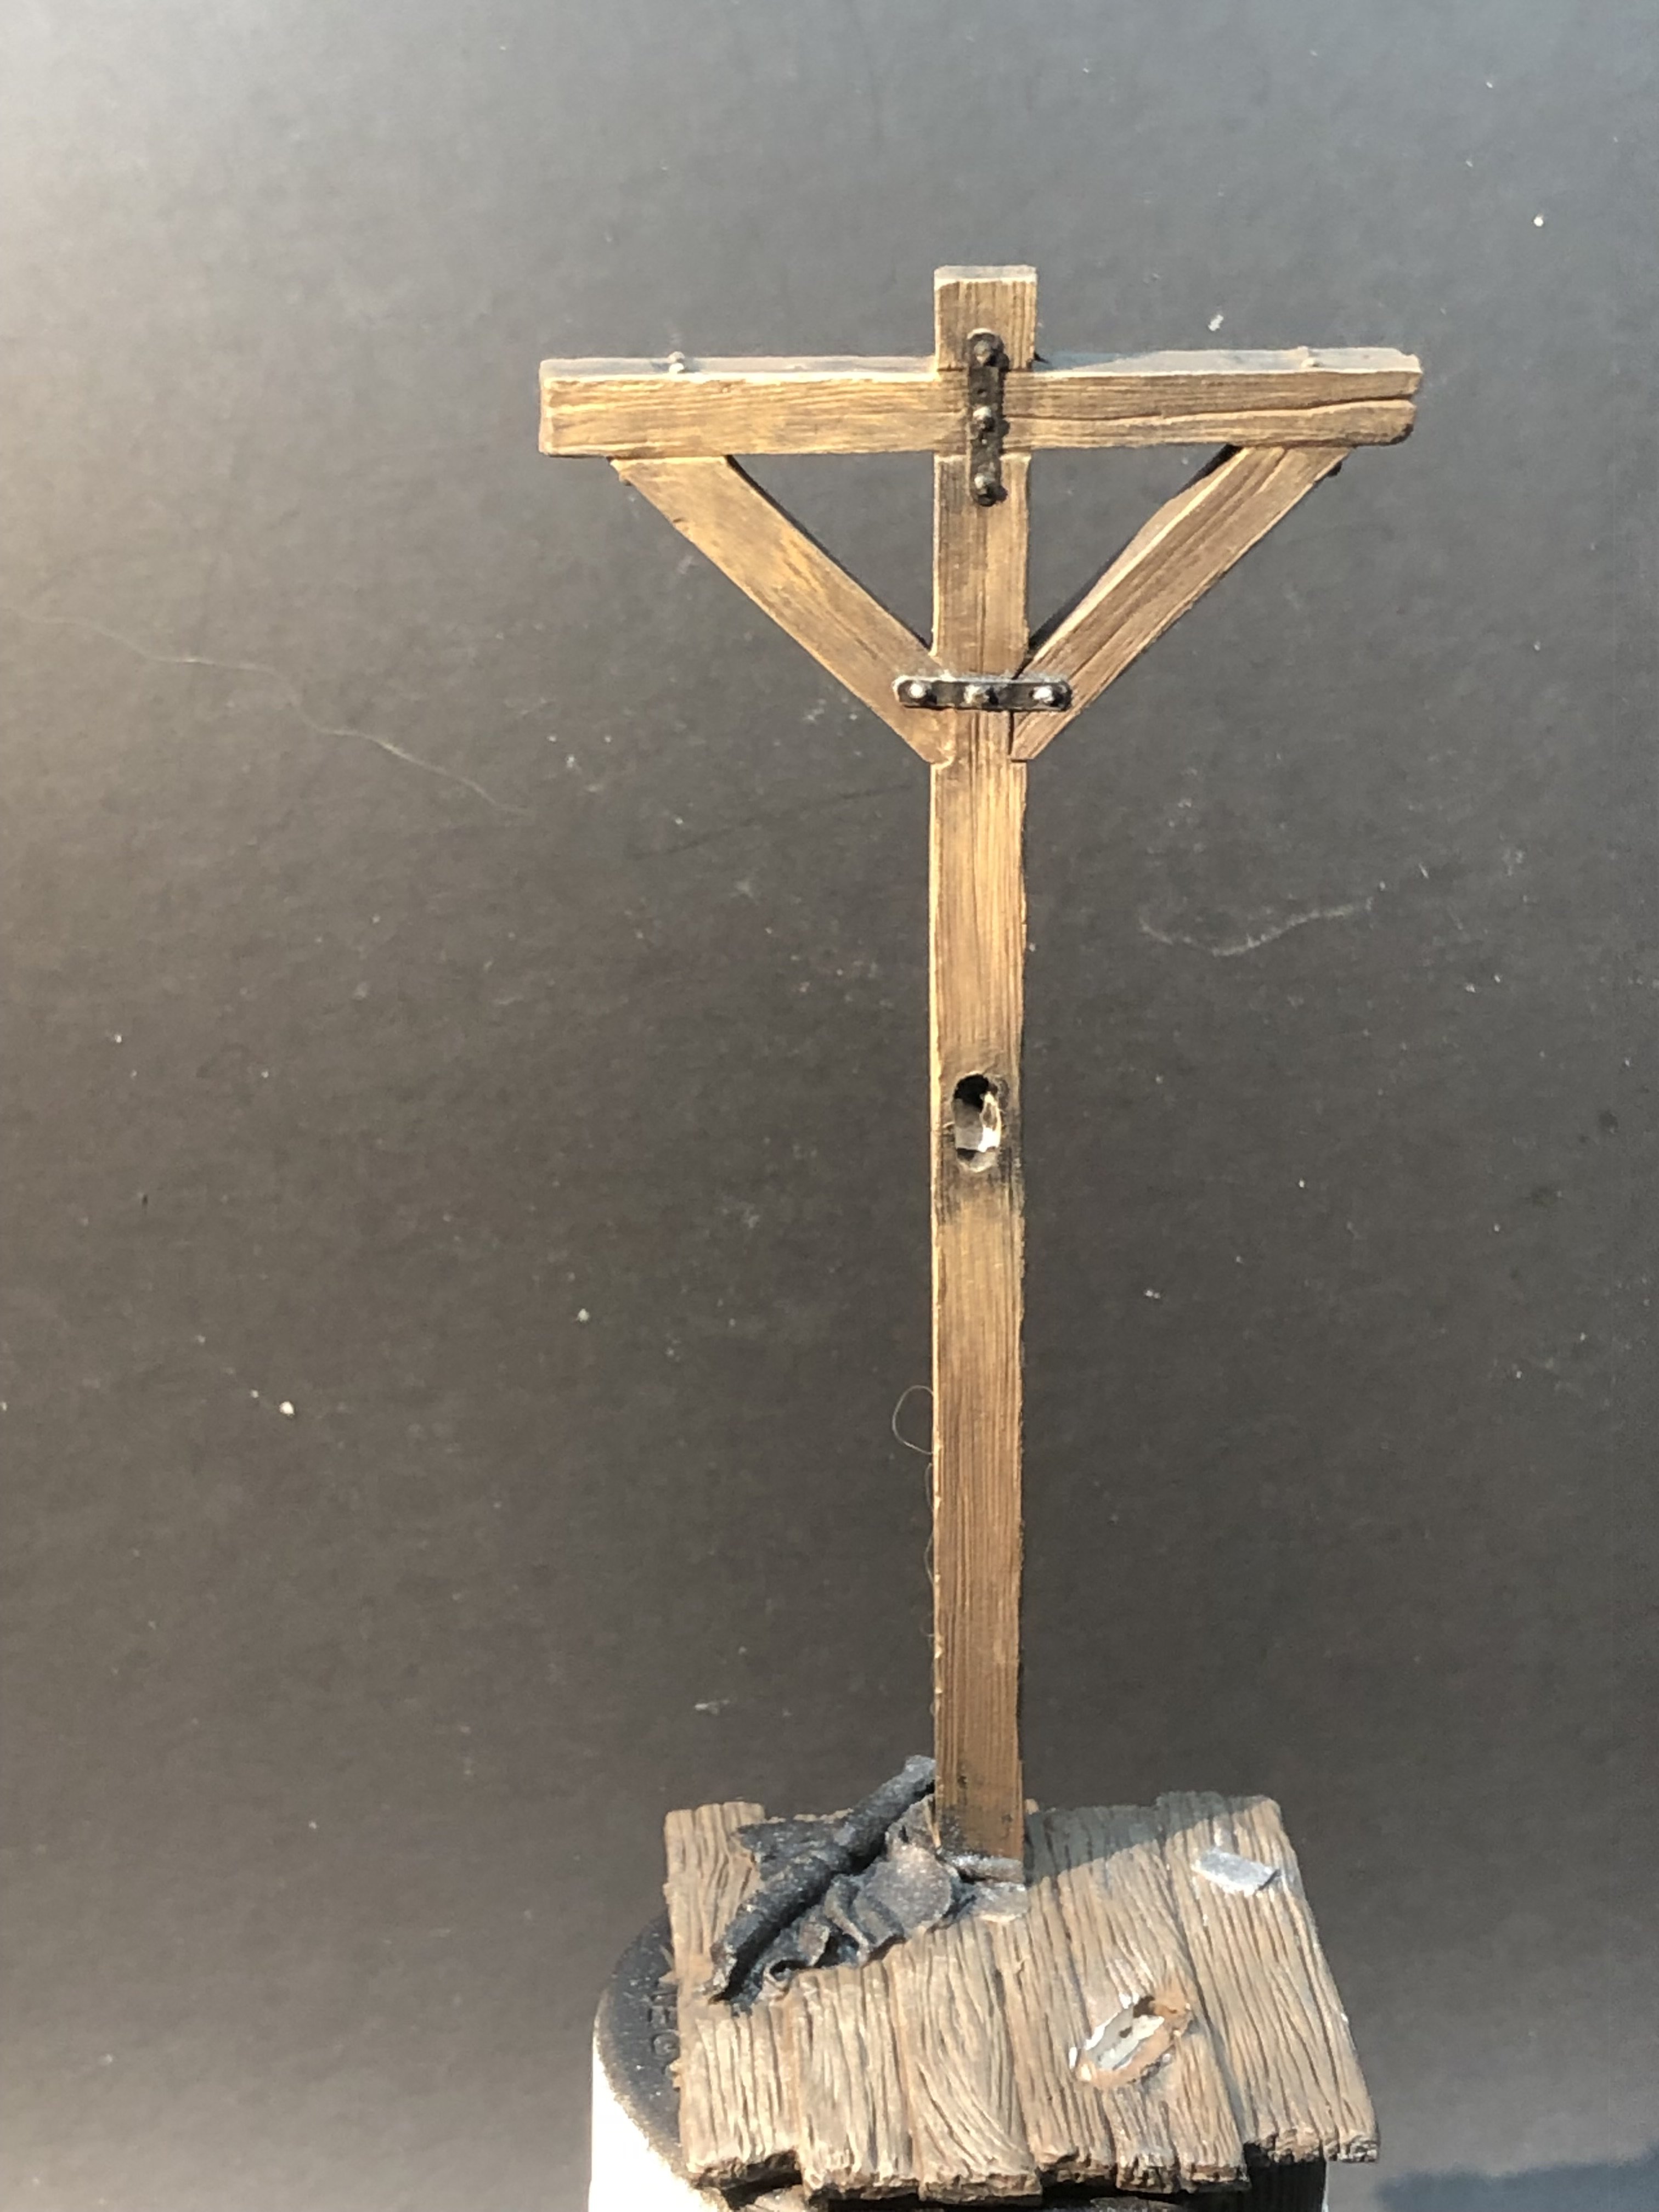
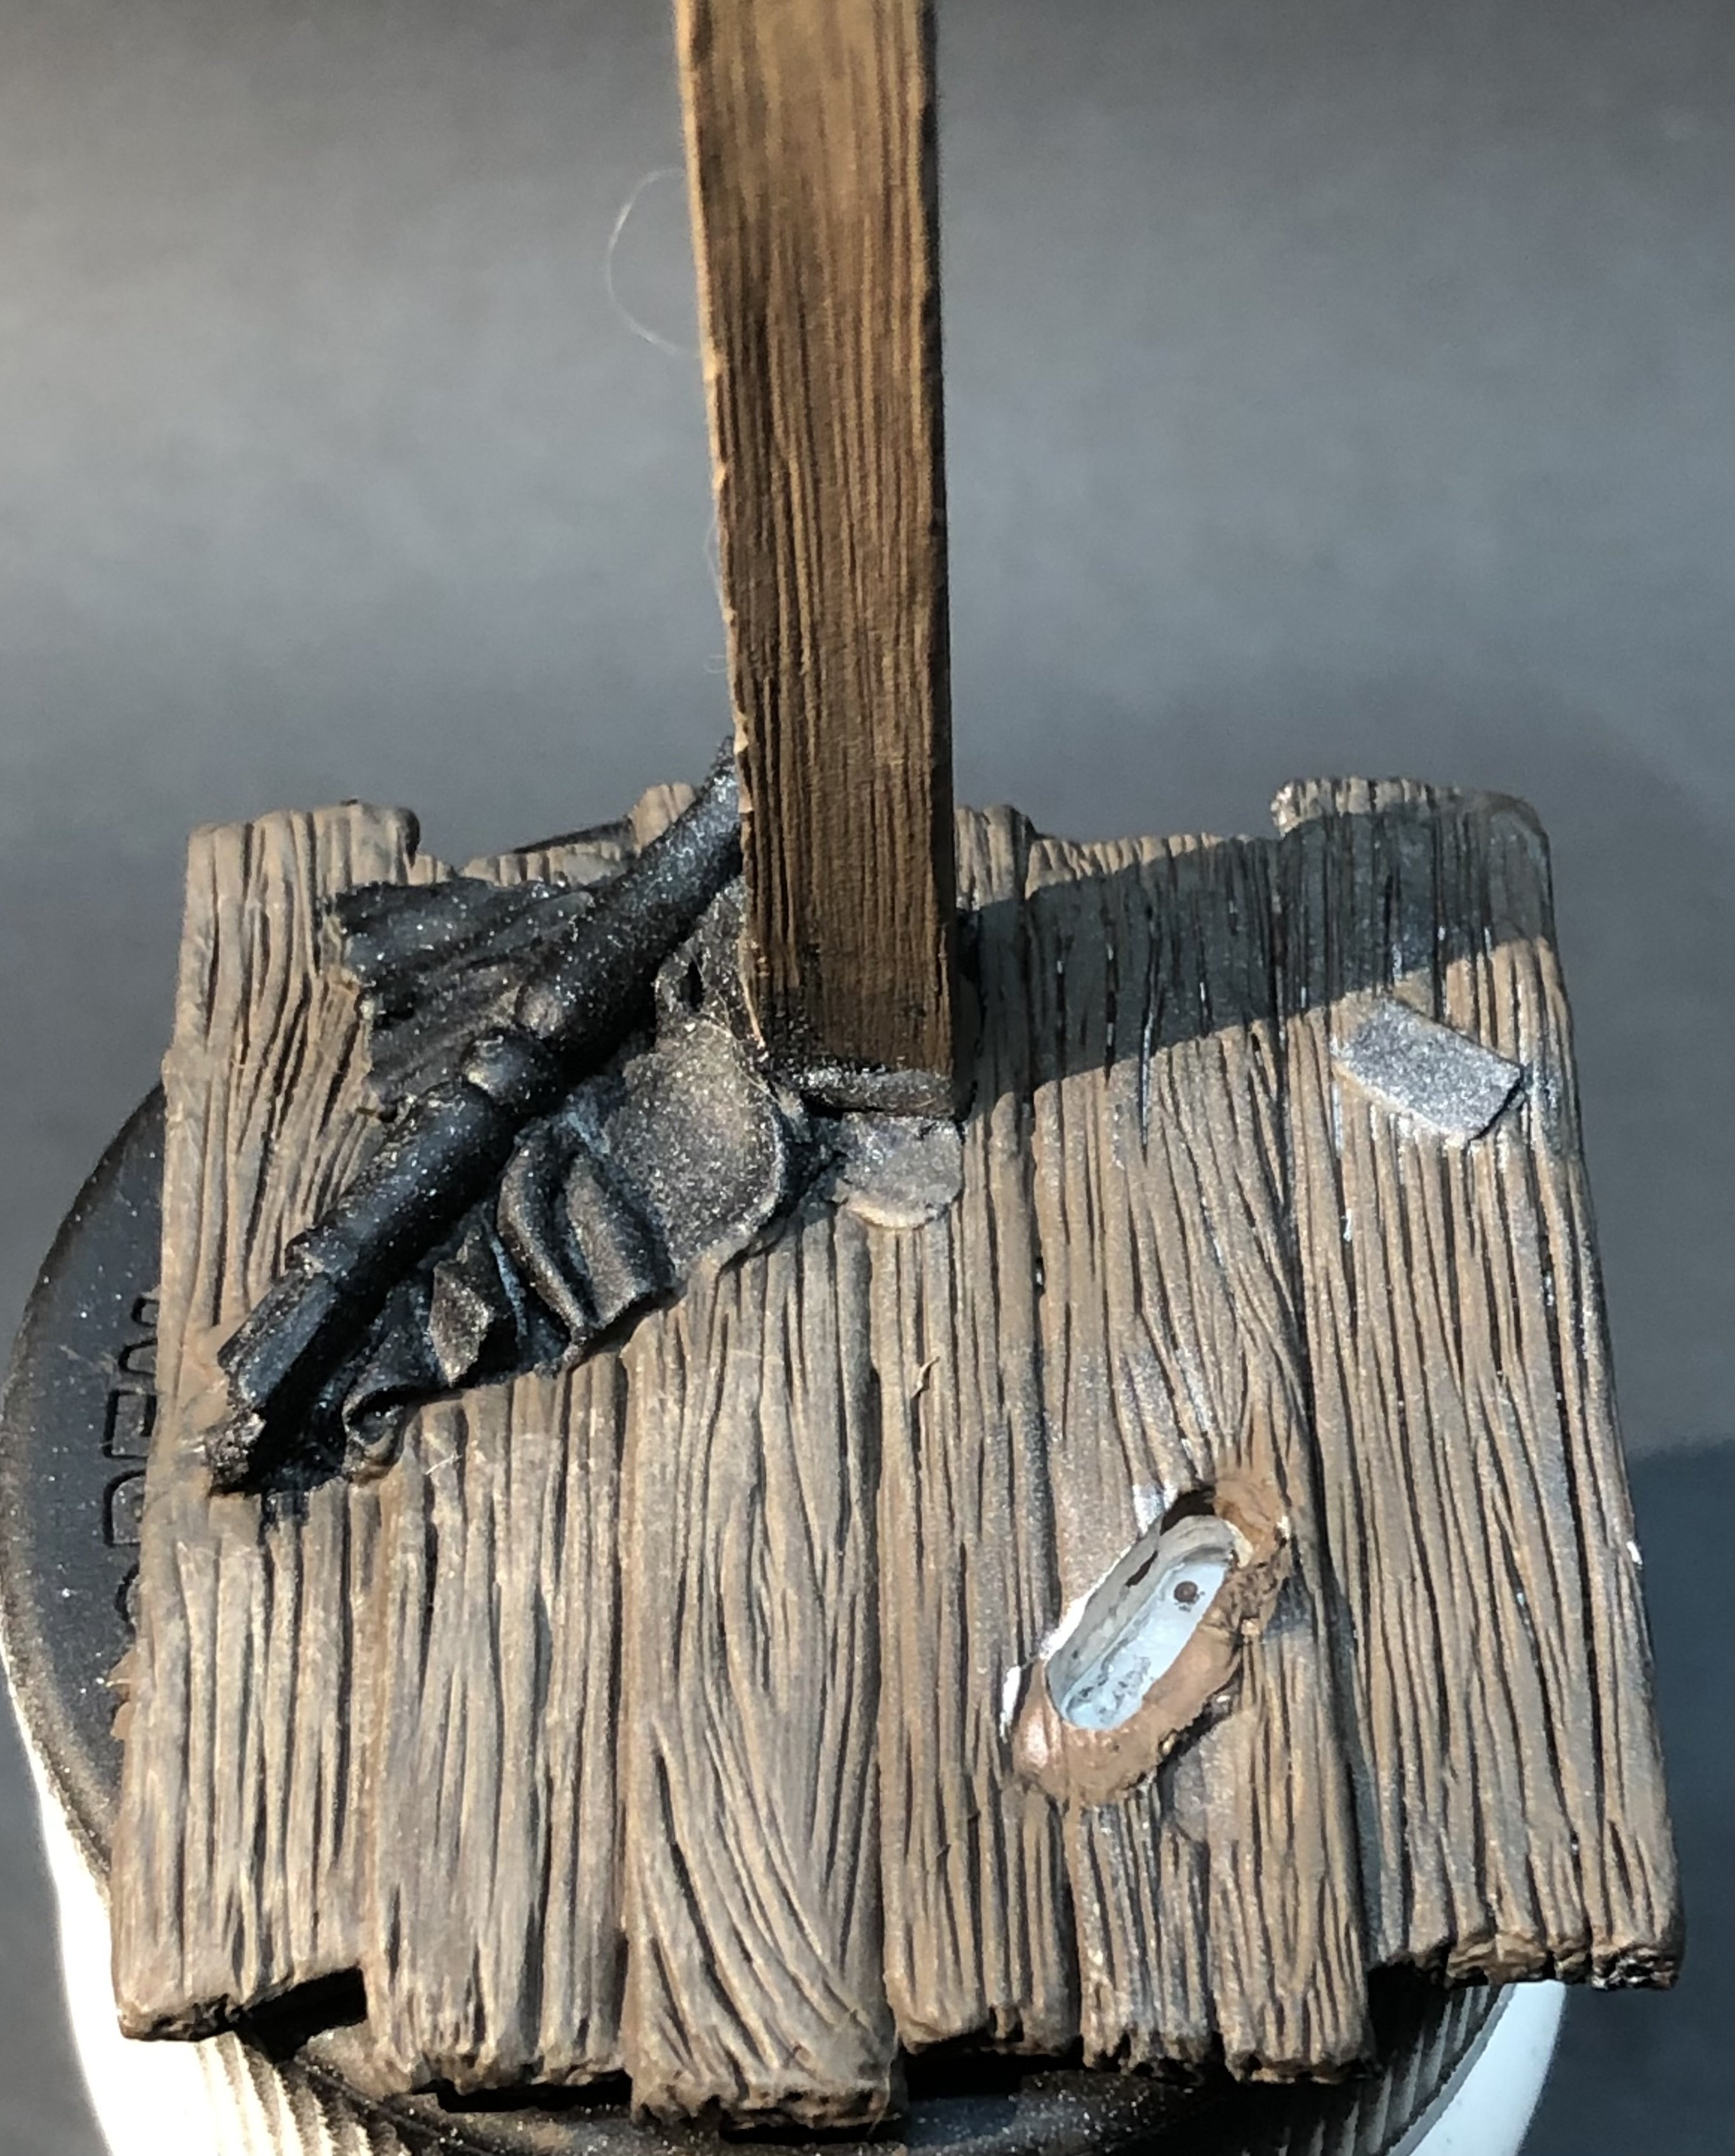
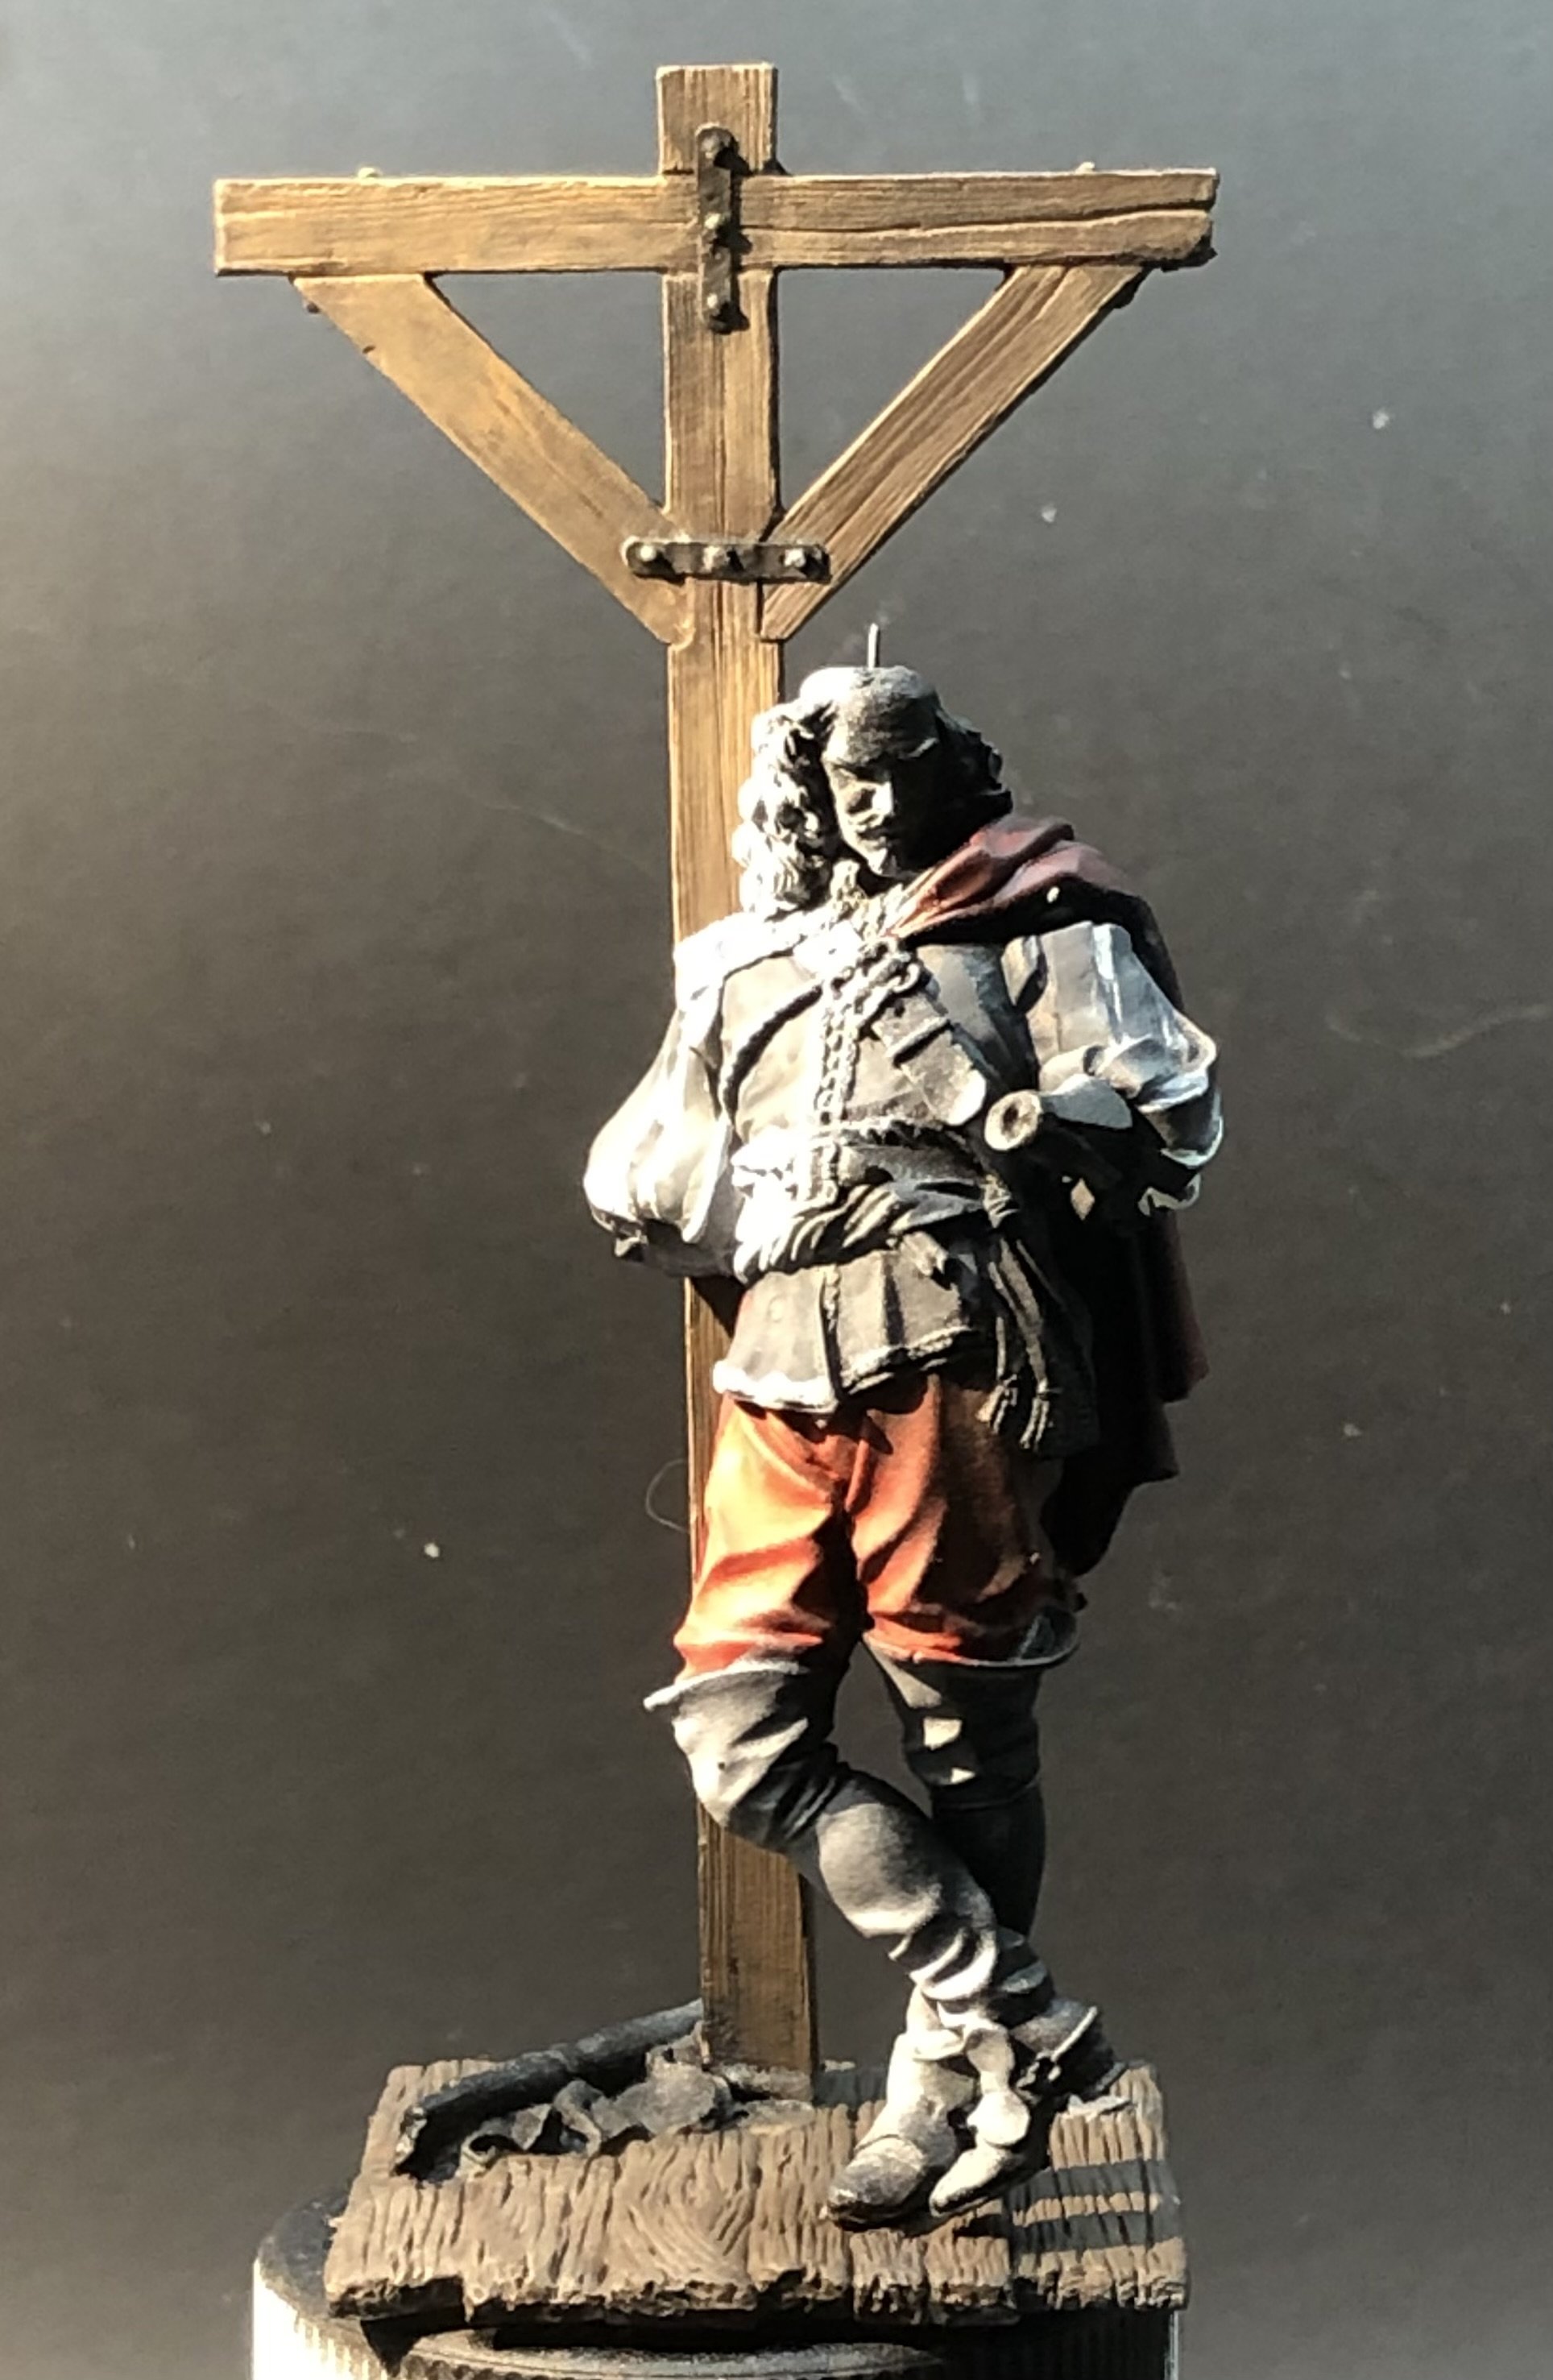
Jack is back! Now that the Derfflinger is finished it’s time to get back to work on Jacques. The figure was only temporarily glued in place for the zenith Al air brush shading. He was removed and the wooden structure was painted. I used a couple of thin coats of burnt umber and then dry brushed cork brown to give the wood some grain. I’m curious about what the base represents. There is a lamp to go onto the left hand arm but it seems to be a bit substantial for just a lamp. The ground / floor is also wooden so is part of a ship. Alternatively is it a gibberish at the end of a pier? Given l’Olonnaise behavior that doesn’t seem completely inappropriate. Also, I’m trying to work out what is at the bottom of the post, some sort of cloth. And the rectangle at upper right? The figure has been reattached to the base and I’ve started the basic washes on the figure and I’m trying to keep the unlit side of the figure subdued. This is as relaxing as always. I completely forgot that I was supposed to be scrubbing the grout lines on the bathroom floor. Thanks for looking in and for the likes and comments Alan


-
Thank you very much Andrew. It was a thoroughly enjoyable build. I just looked over at your Sparkler build. Beautiful work but I’m so sorry to read that you’re having health troubles. It seems to be a nasty wet winter in the UK. Take care and get well Alan
- 78 replies
-
- 4
-
-

-
- Derfflinger
- Flyhawk
- (and 2 more)
-
Thank you very much OC. I want to finish a couple of miniatures but after that I’m not sure. Probably something Flyhawk, maybe the Iron Duke or one of the carriers but I’m a bit nervous about lots of 1/700 Swordfish Alan
- 78 replies
-
- 4
-
-
- Derfflinger
- Flyhawk
- (and 2 more)
-
That is so frustrating after such precise work creating a beautiful model. It’s one thing to reach the limit of your skills but another to have something random happen to the model. My commiserations. It’s so beautiful. Alan
-
This is a lovely build to follow. Alan
-
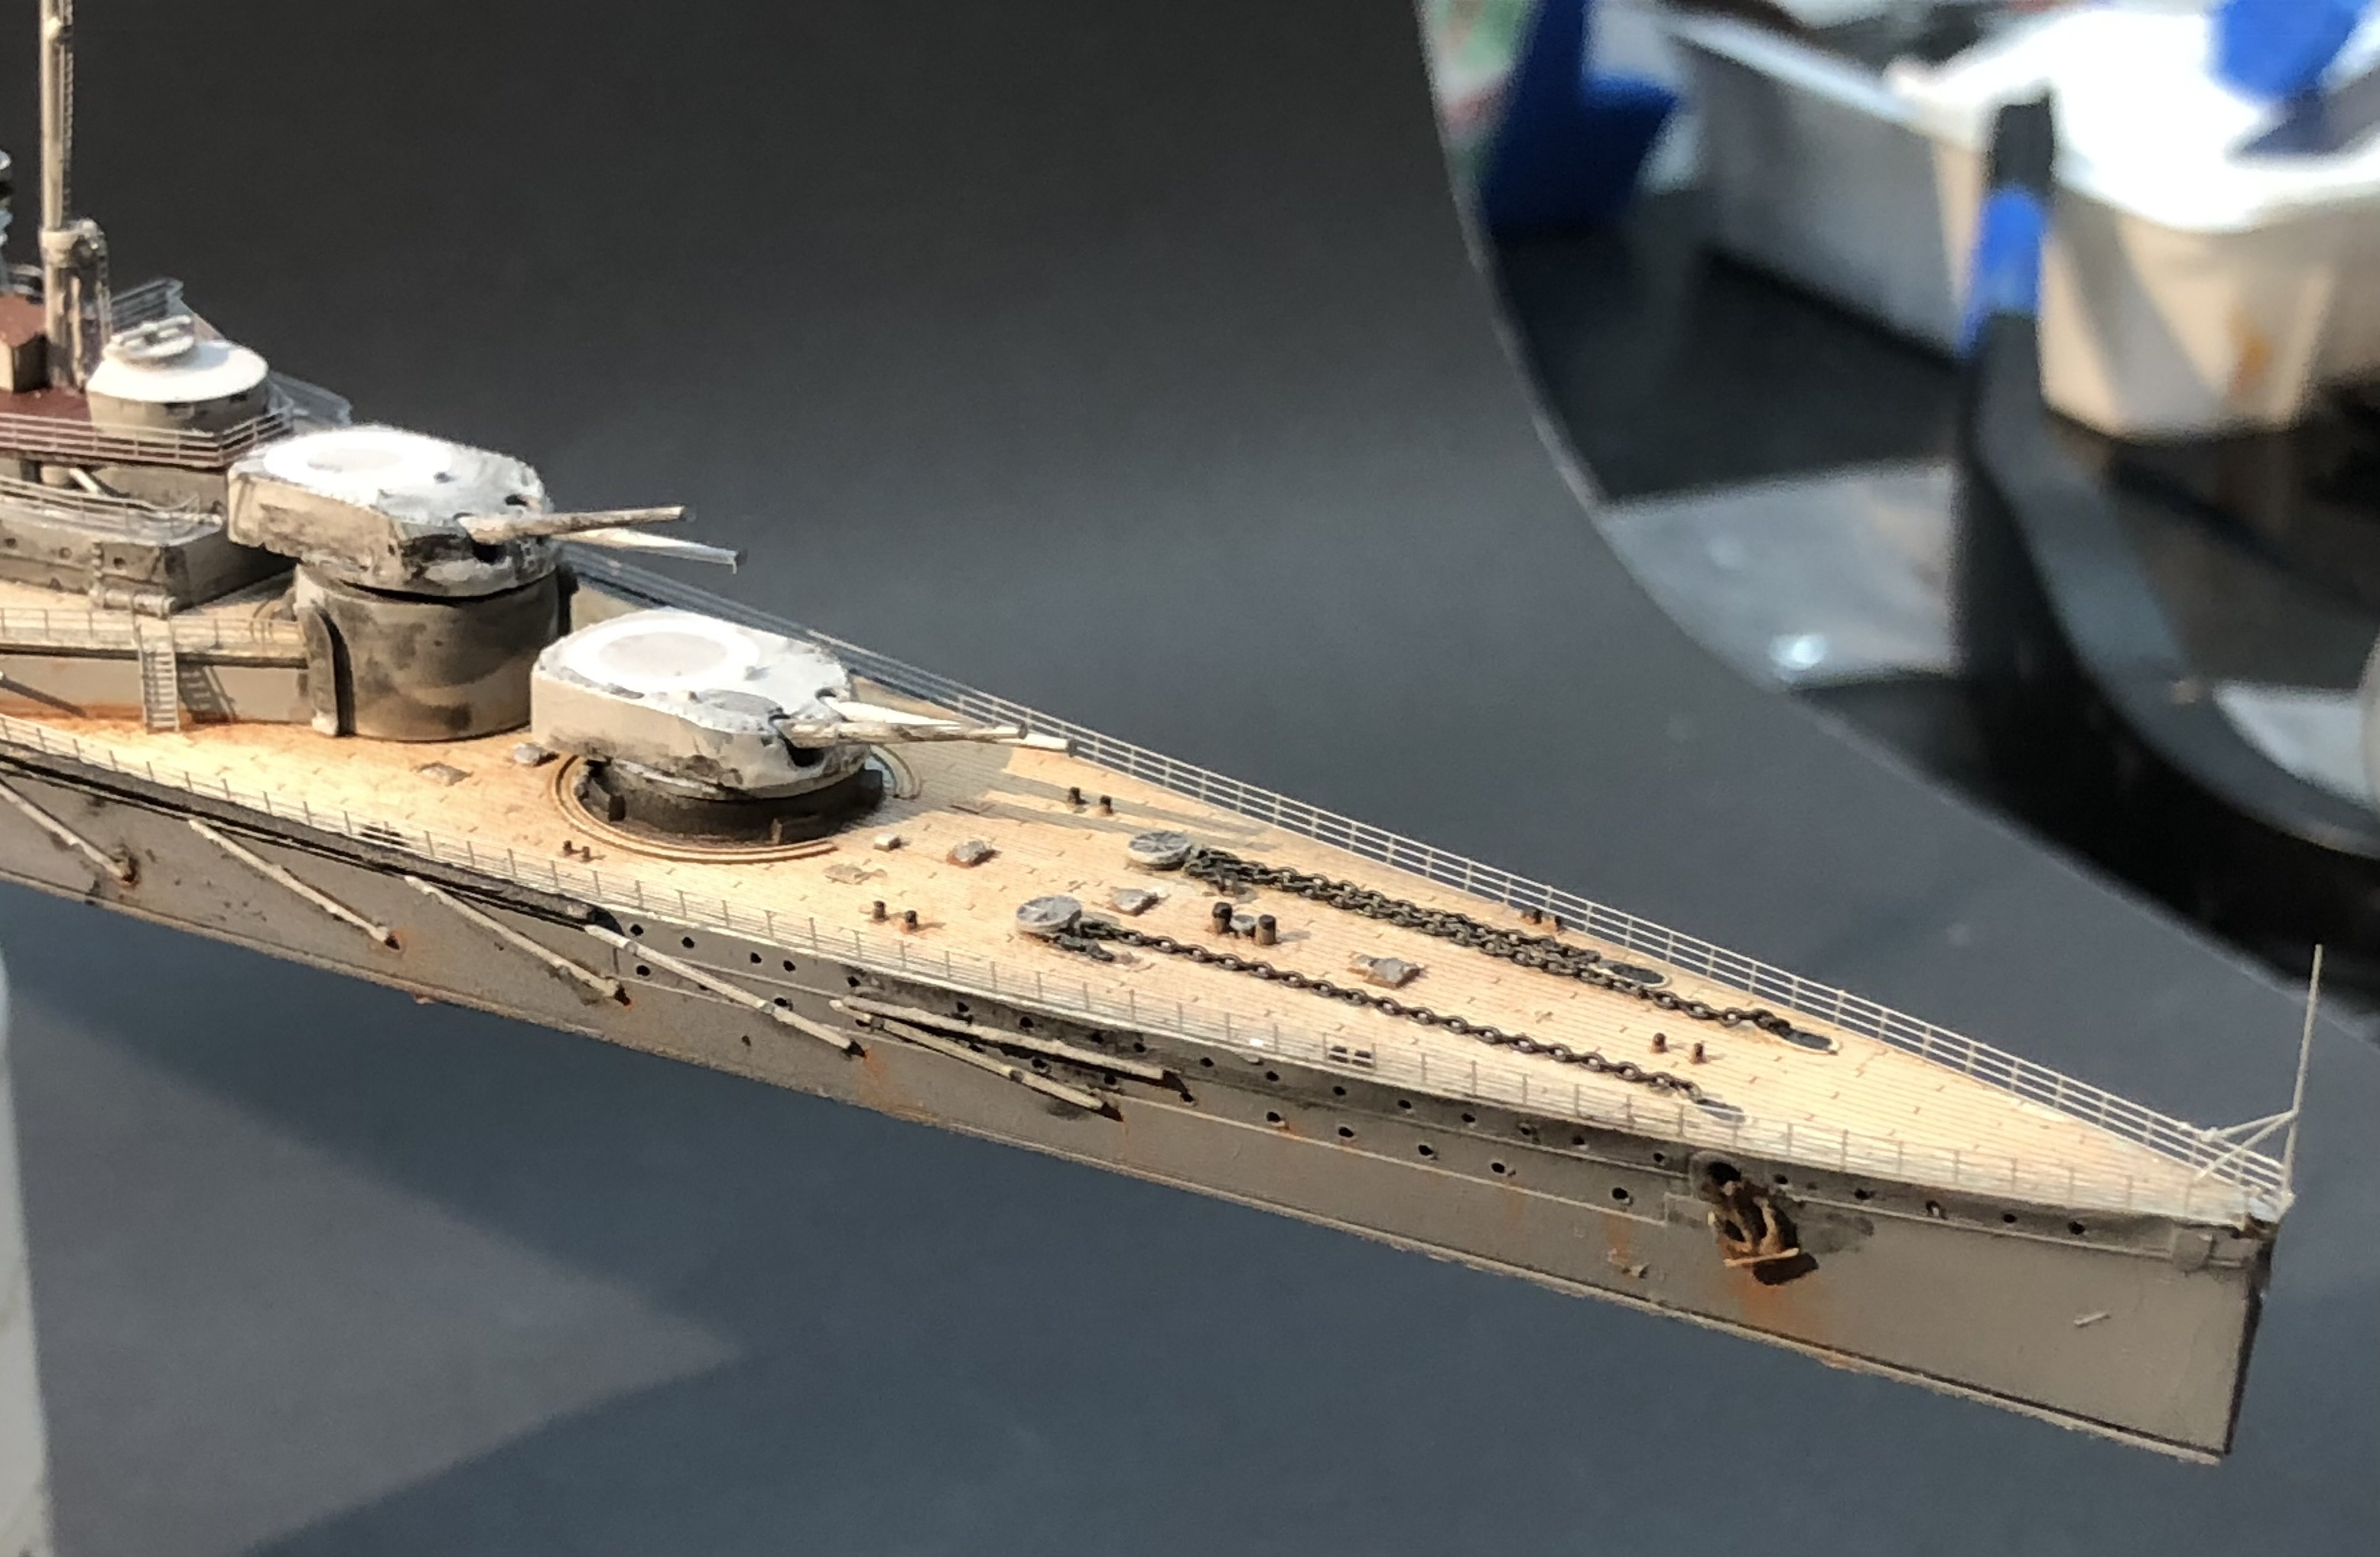
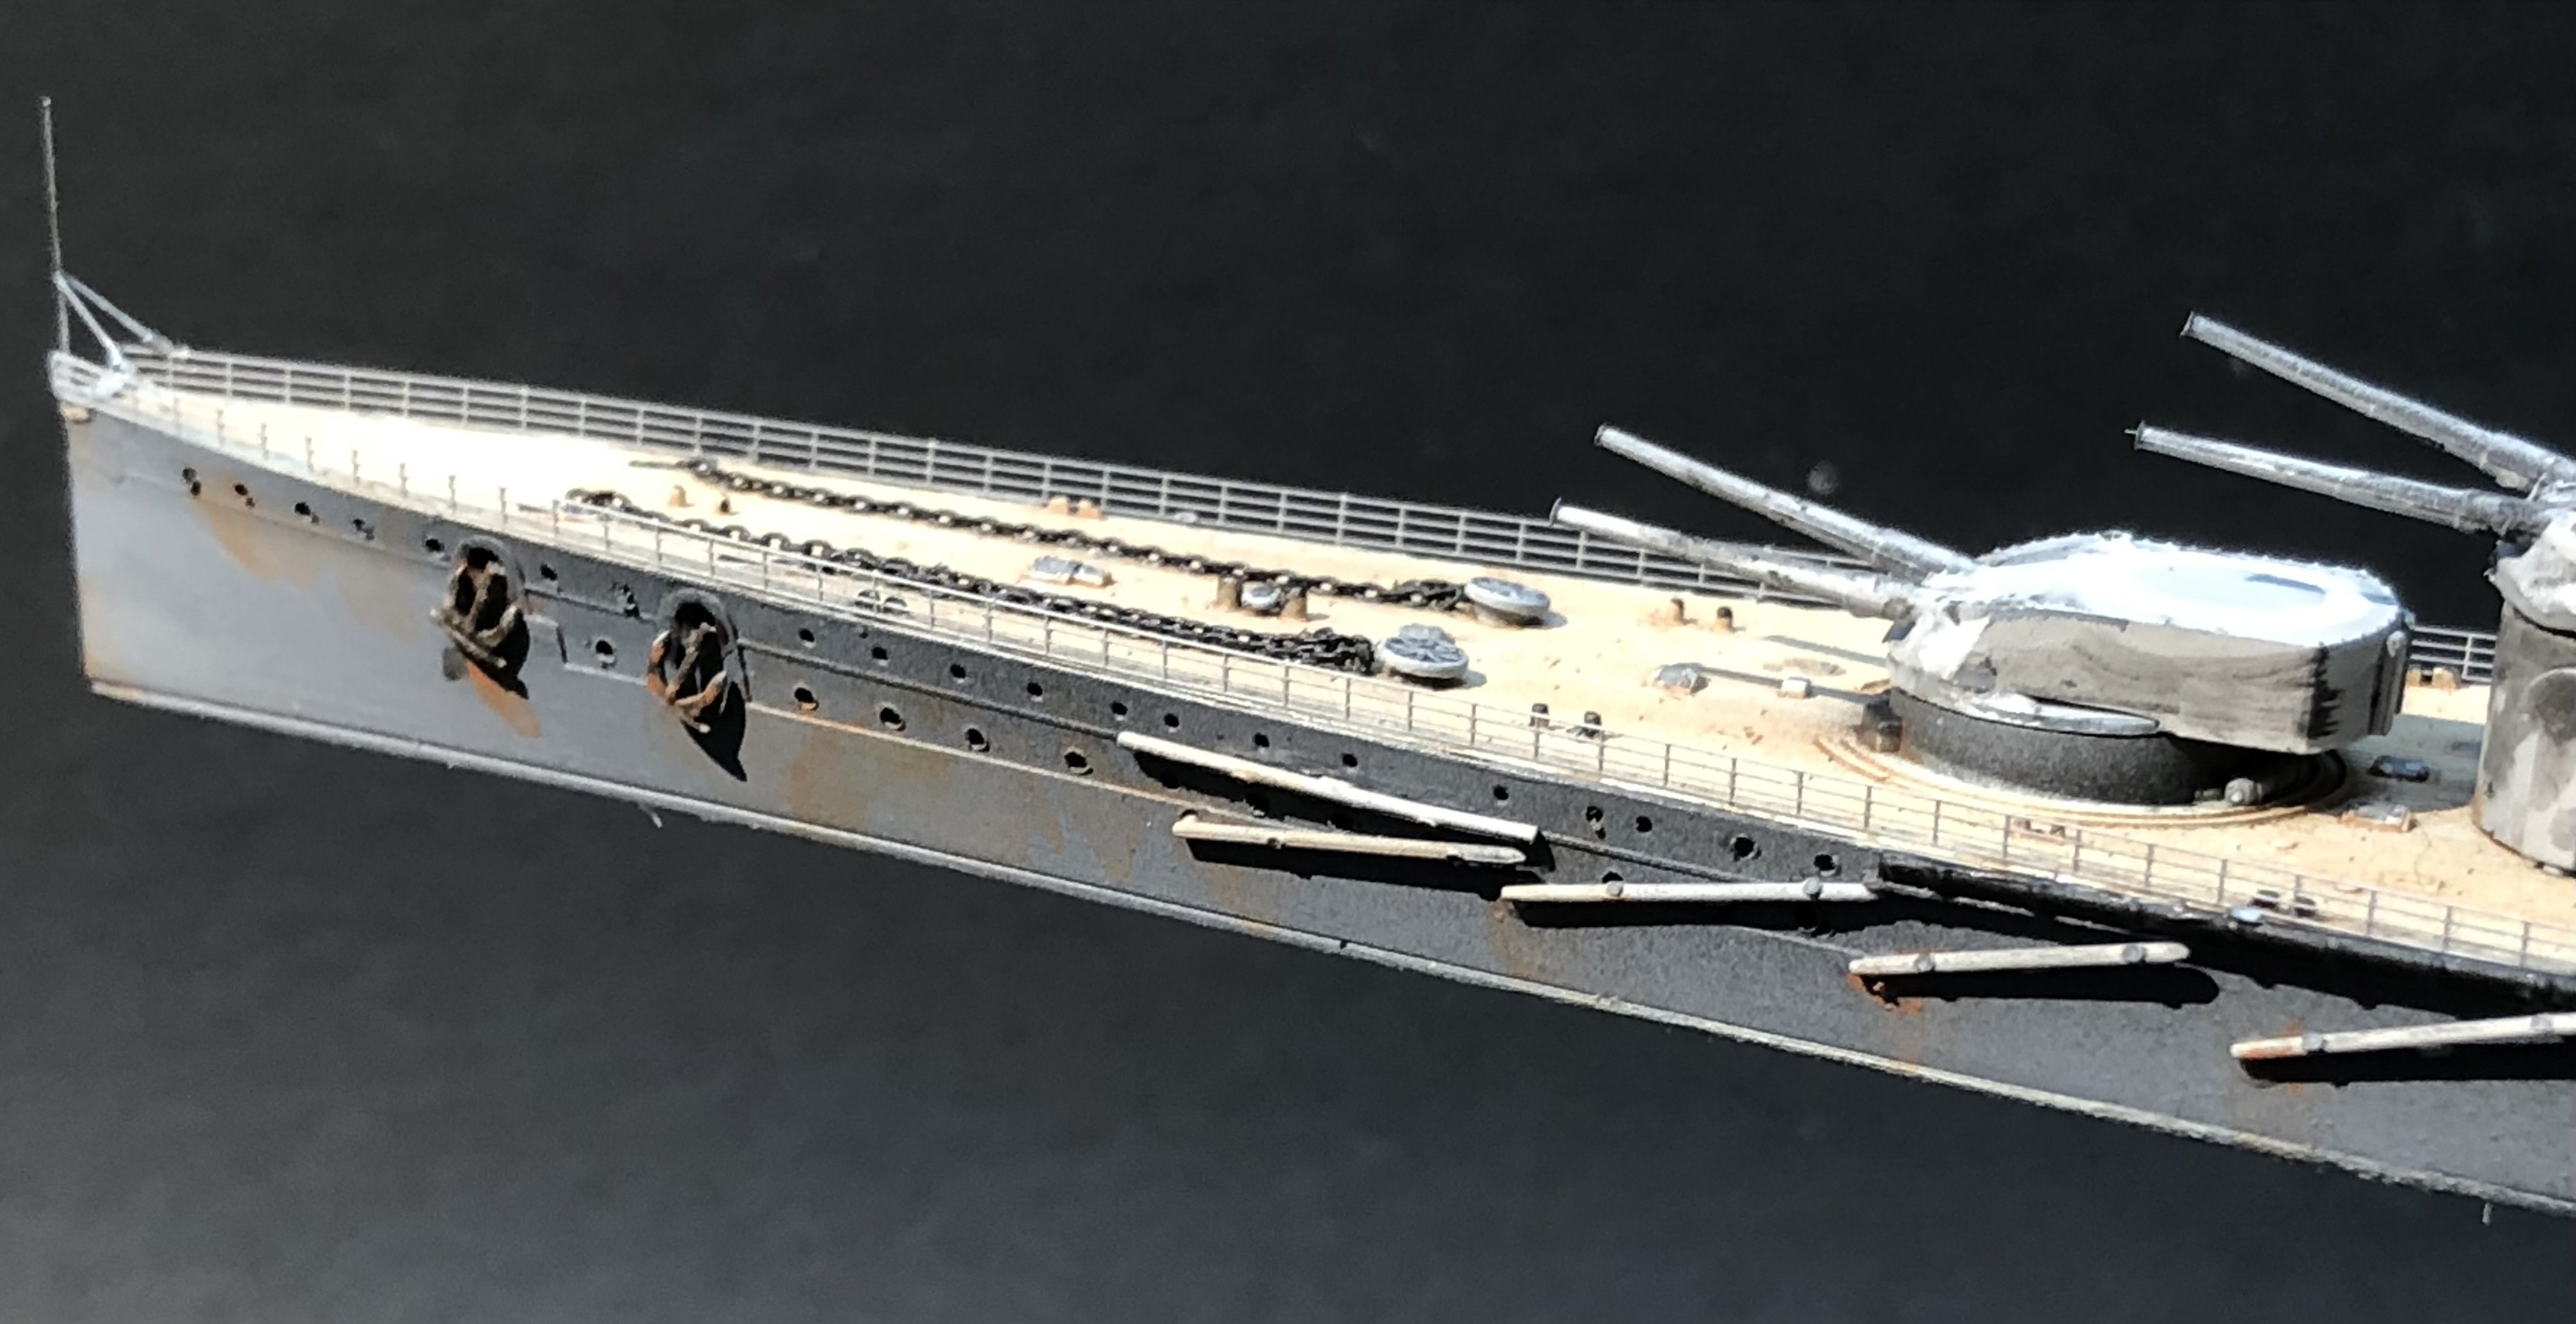
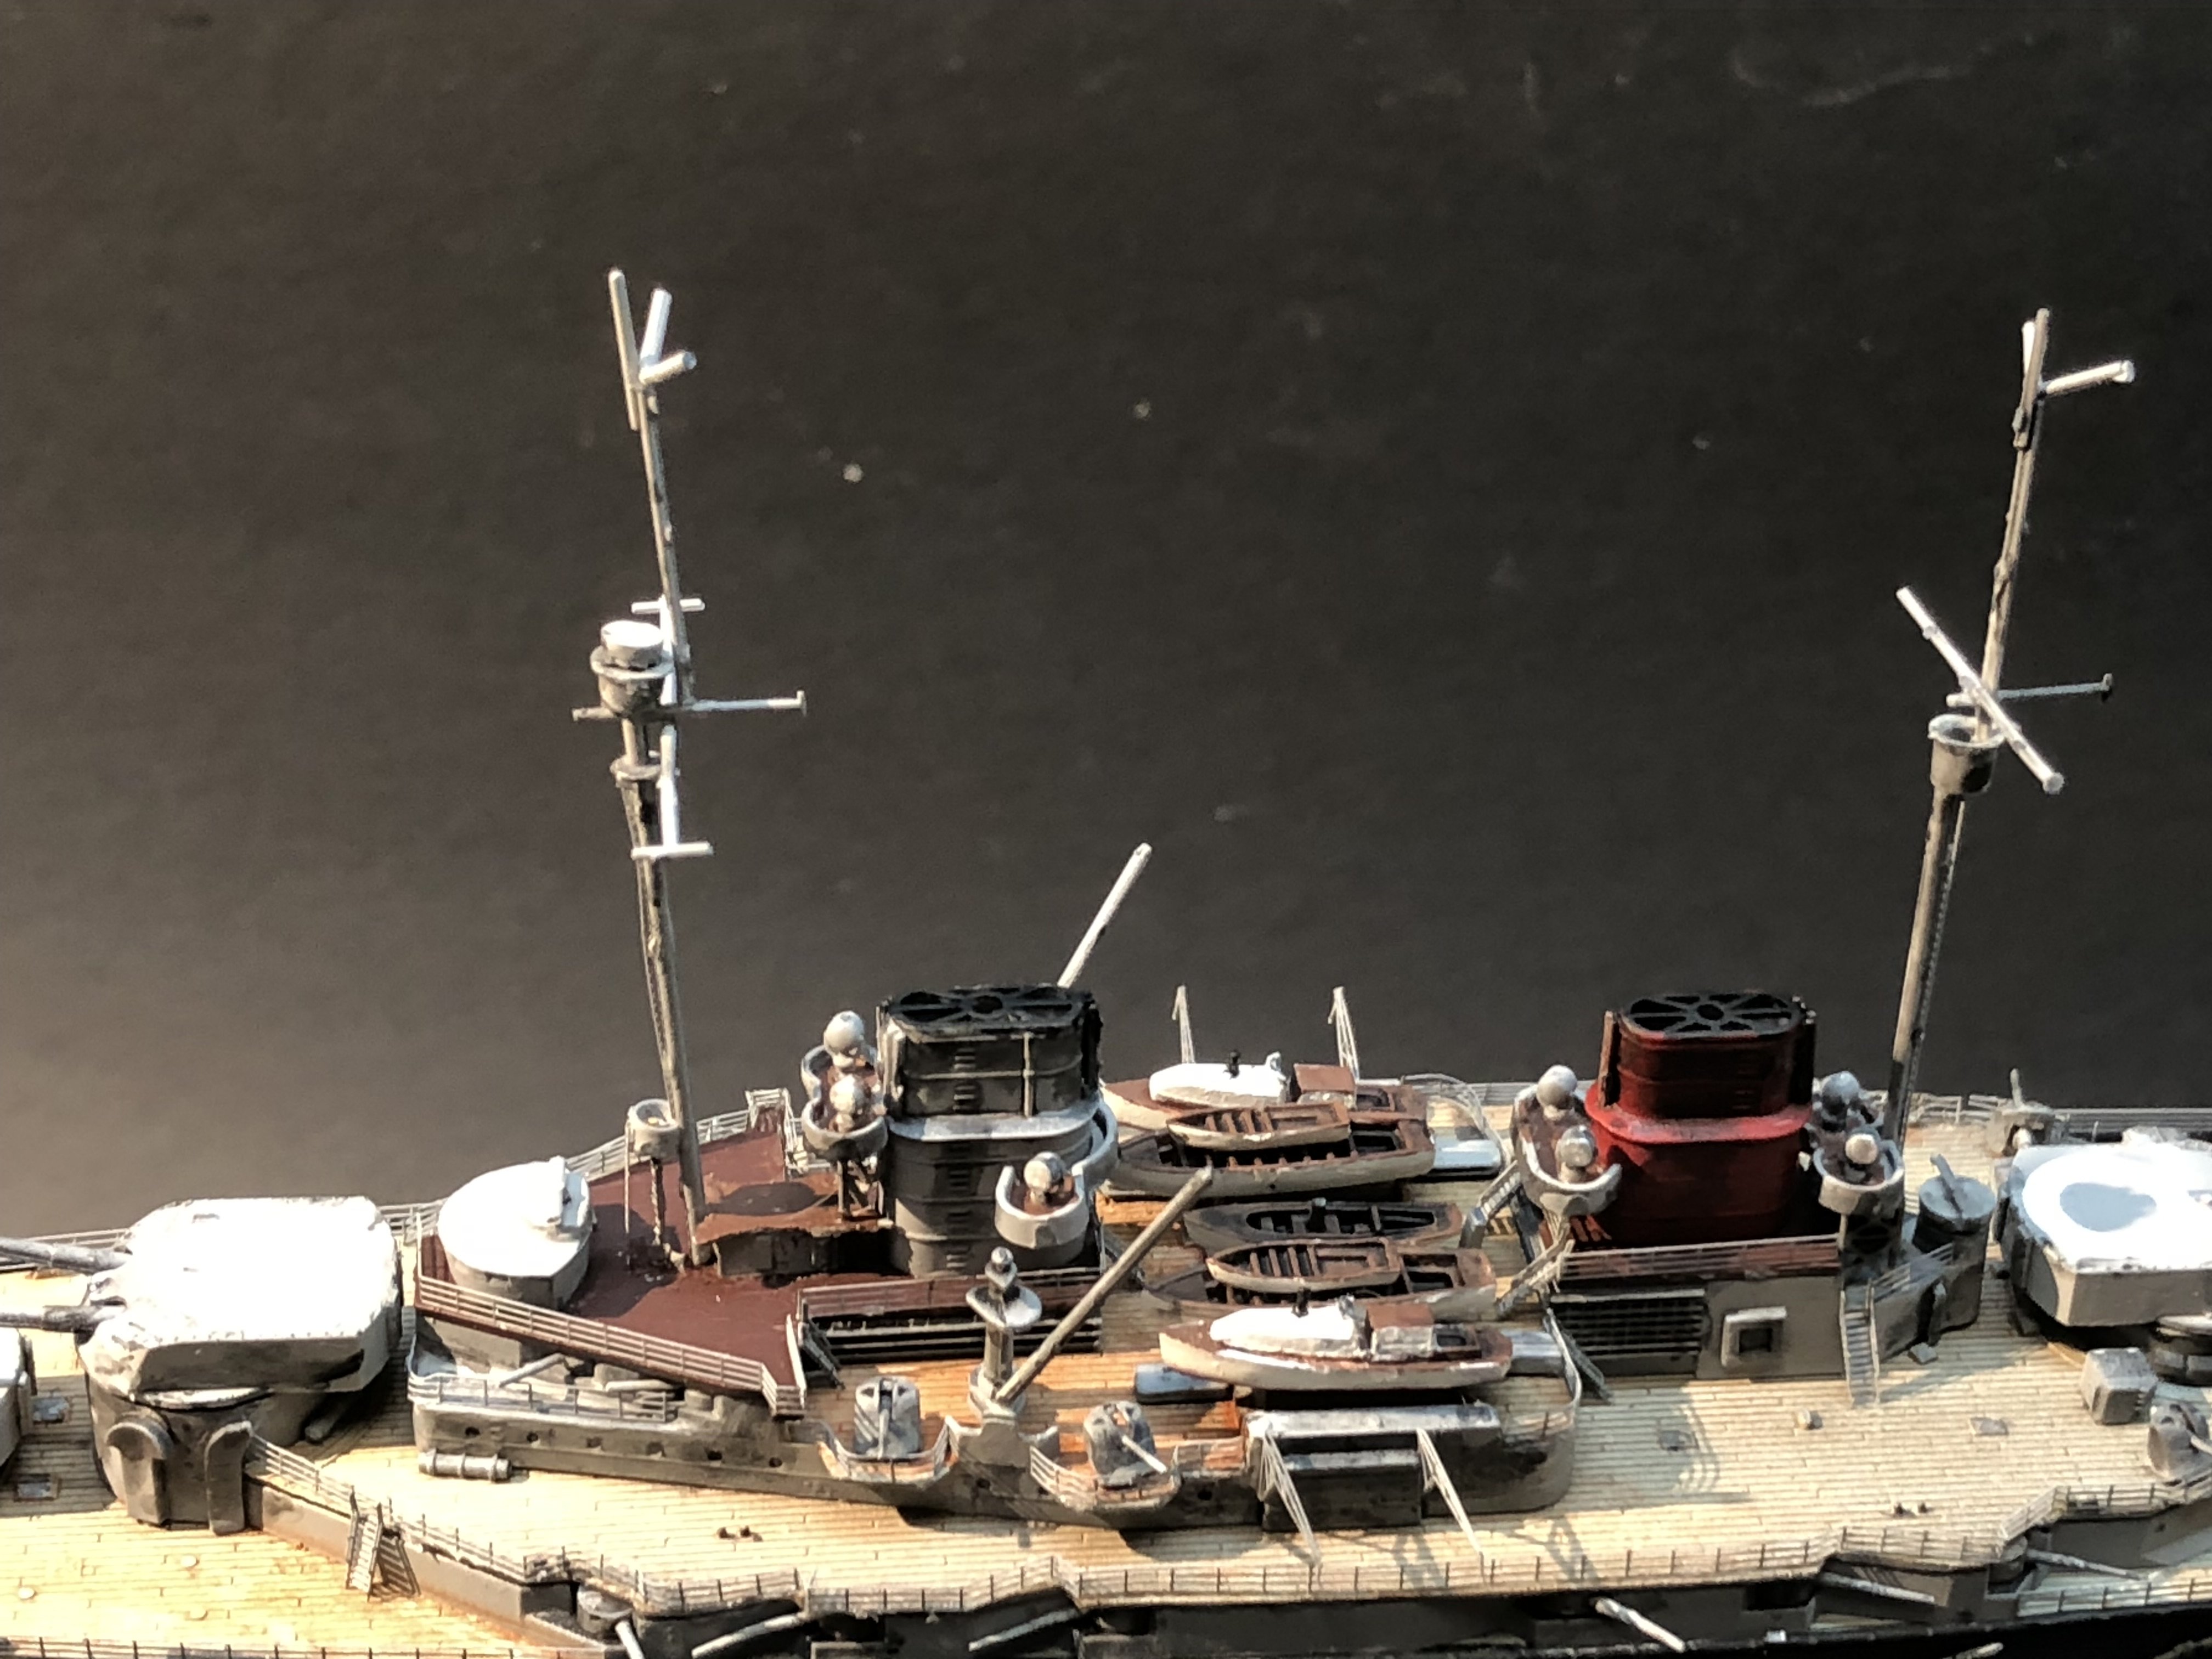
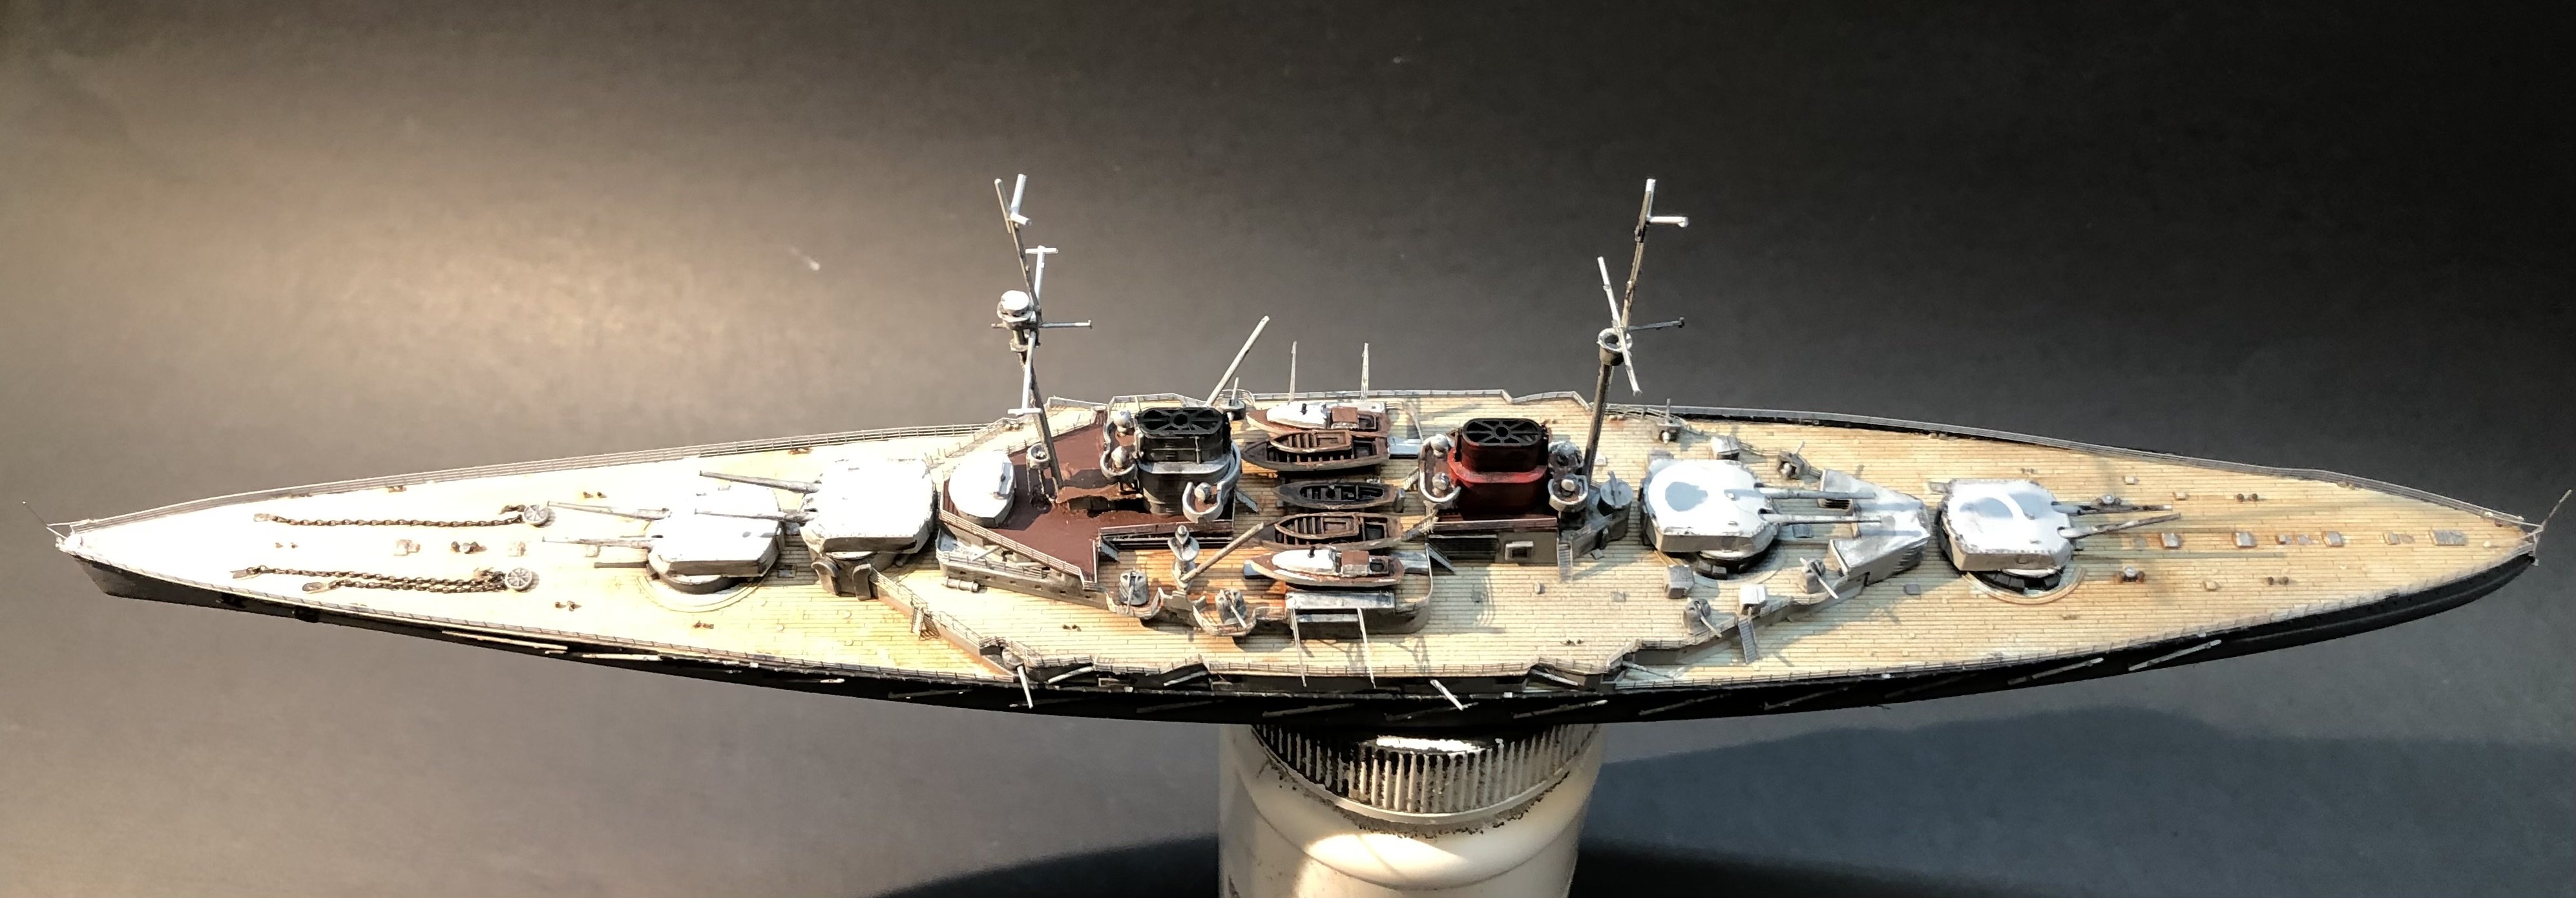
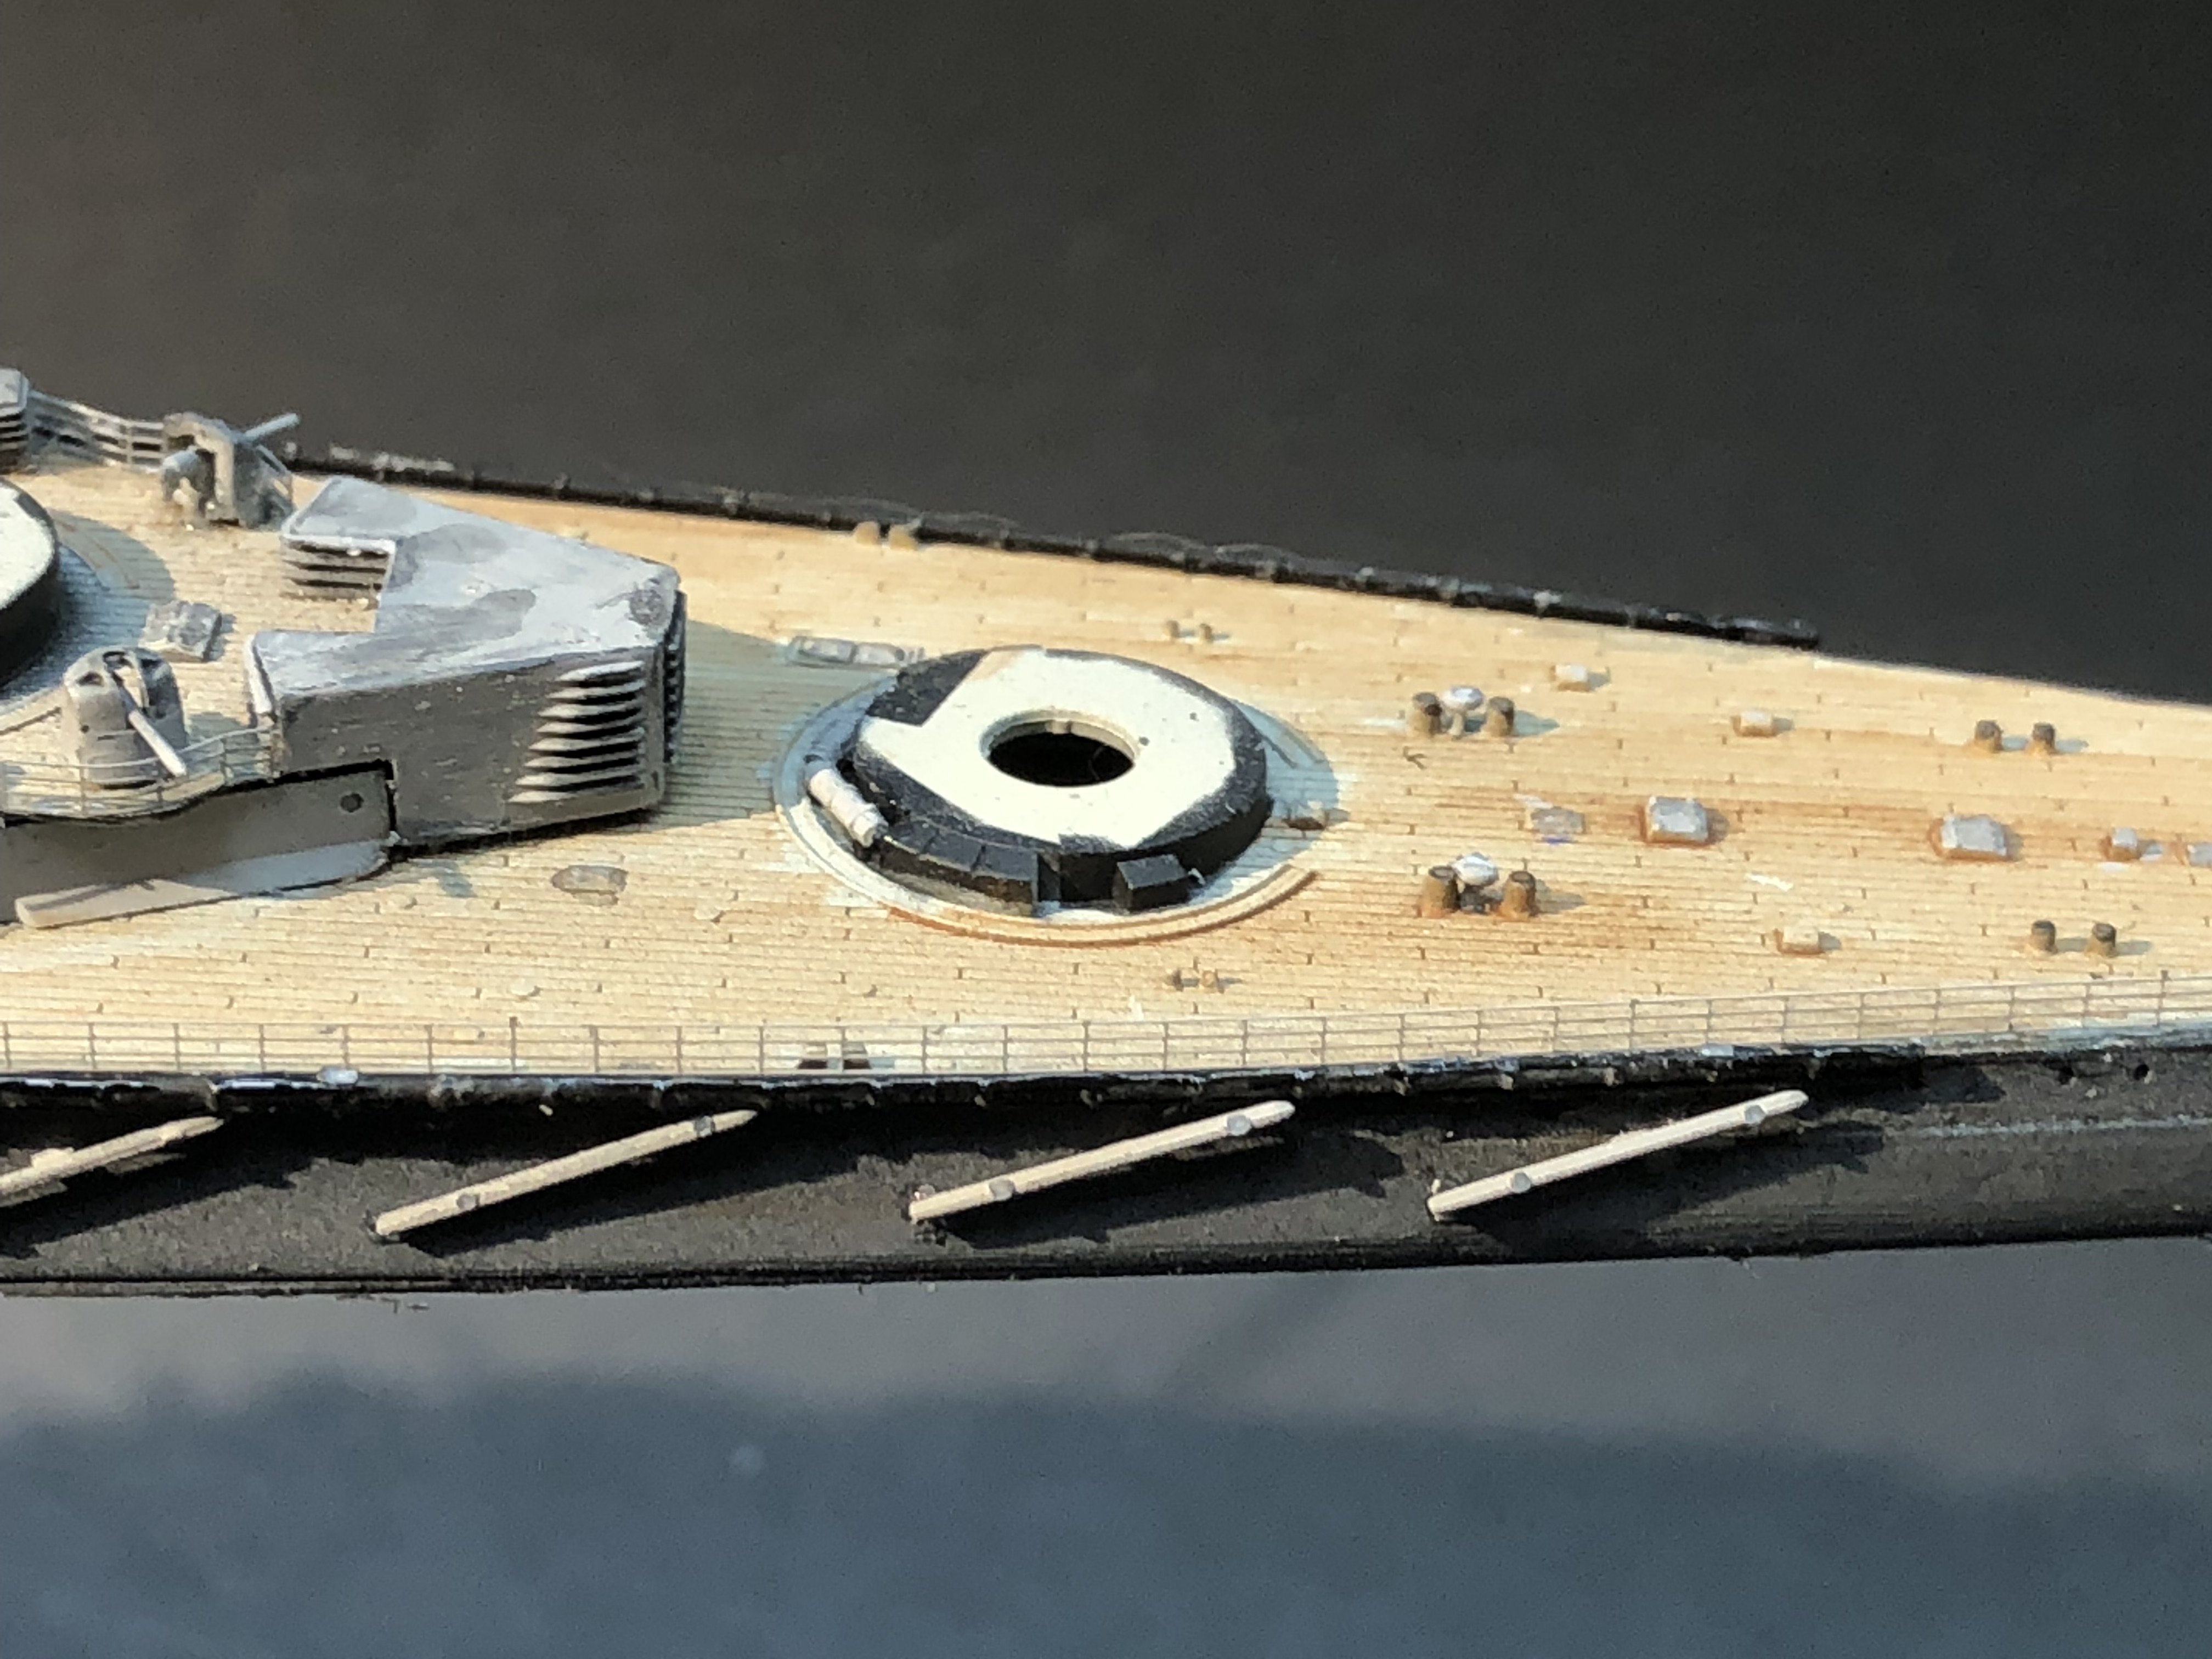
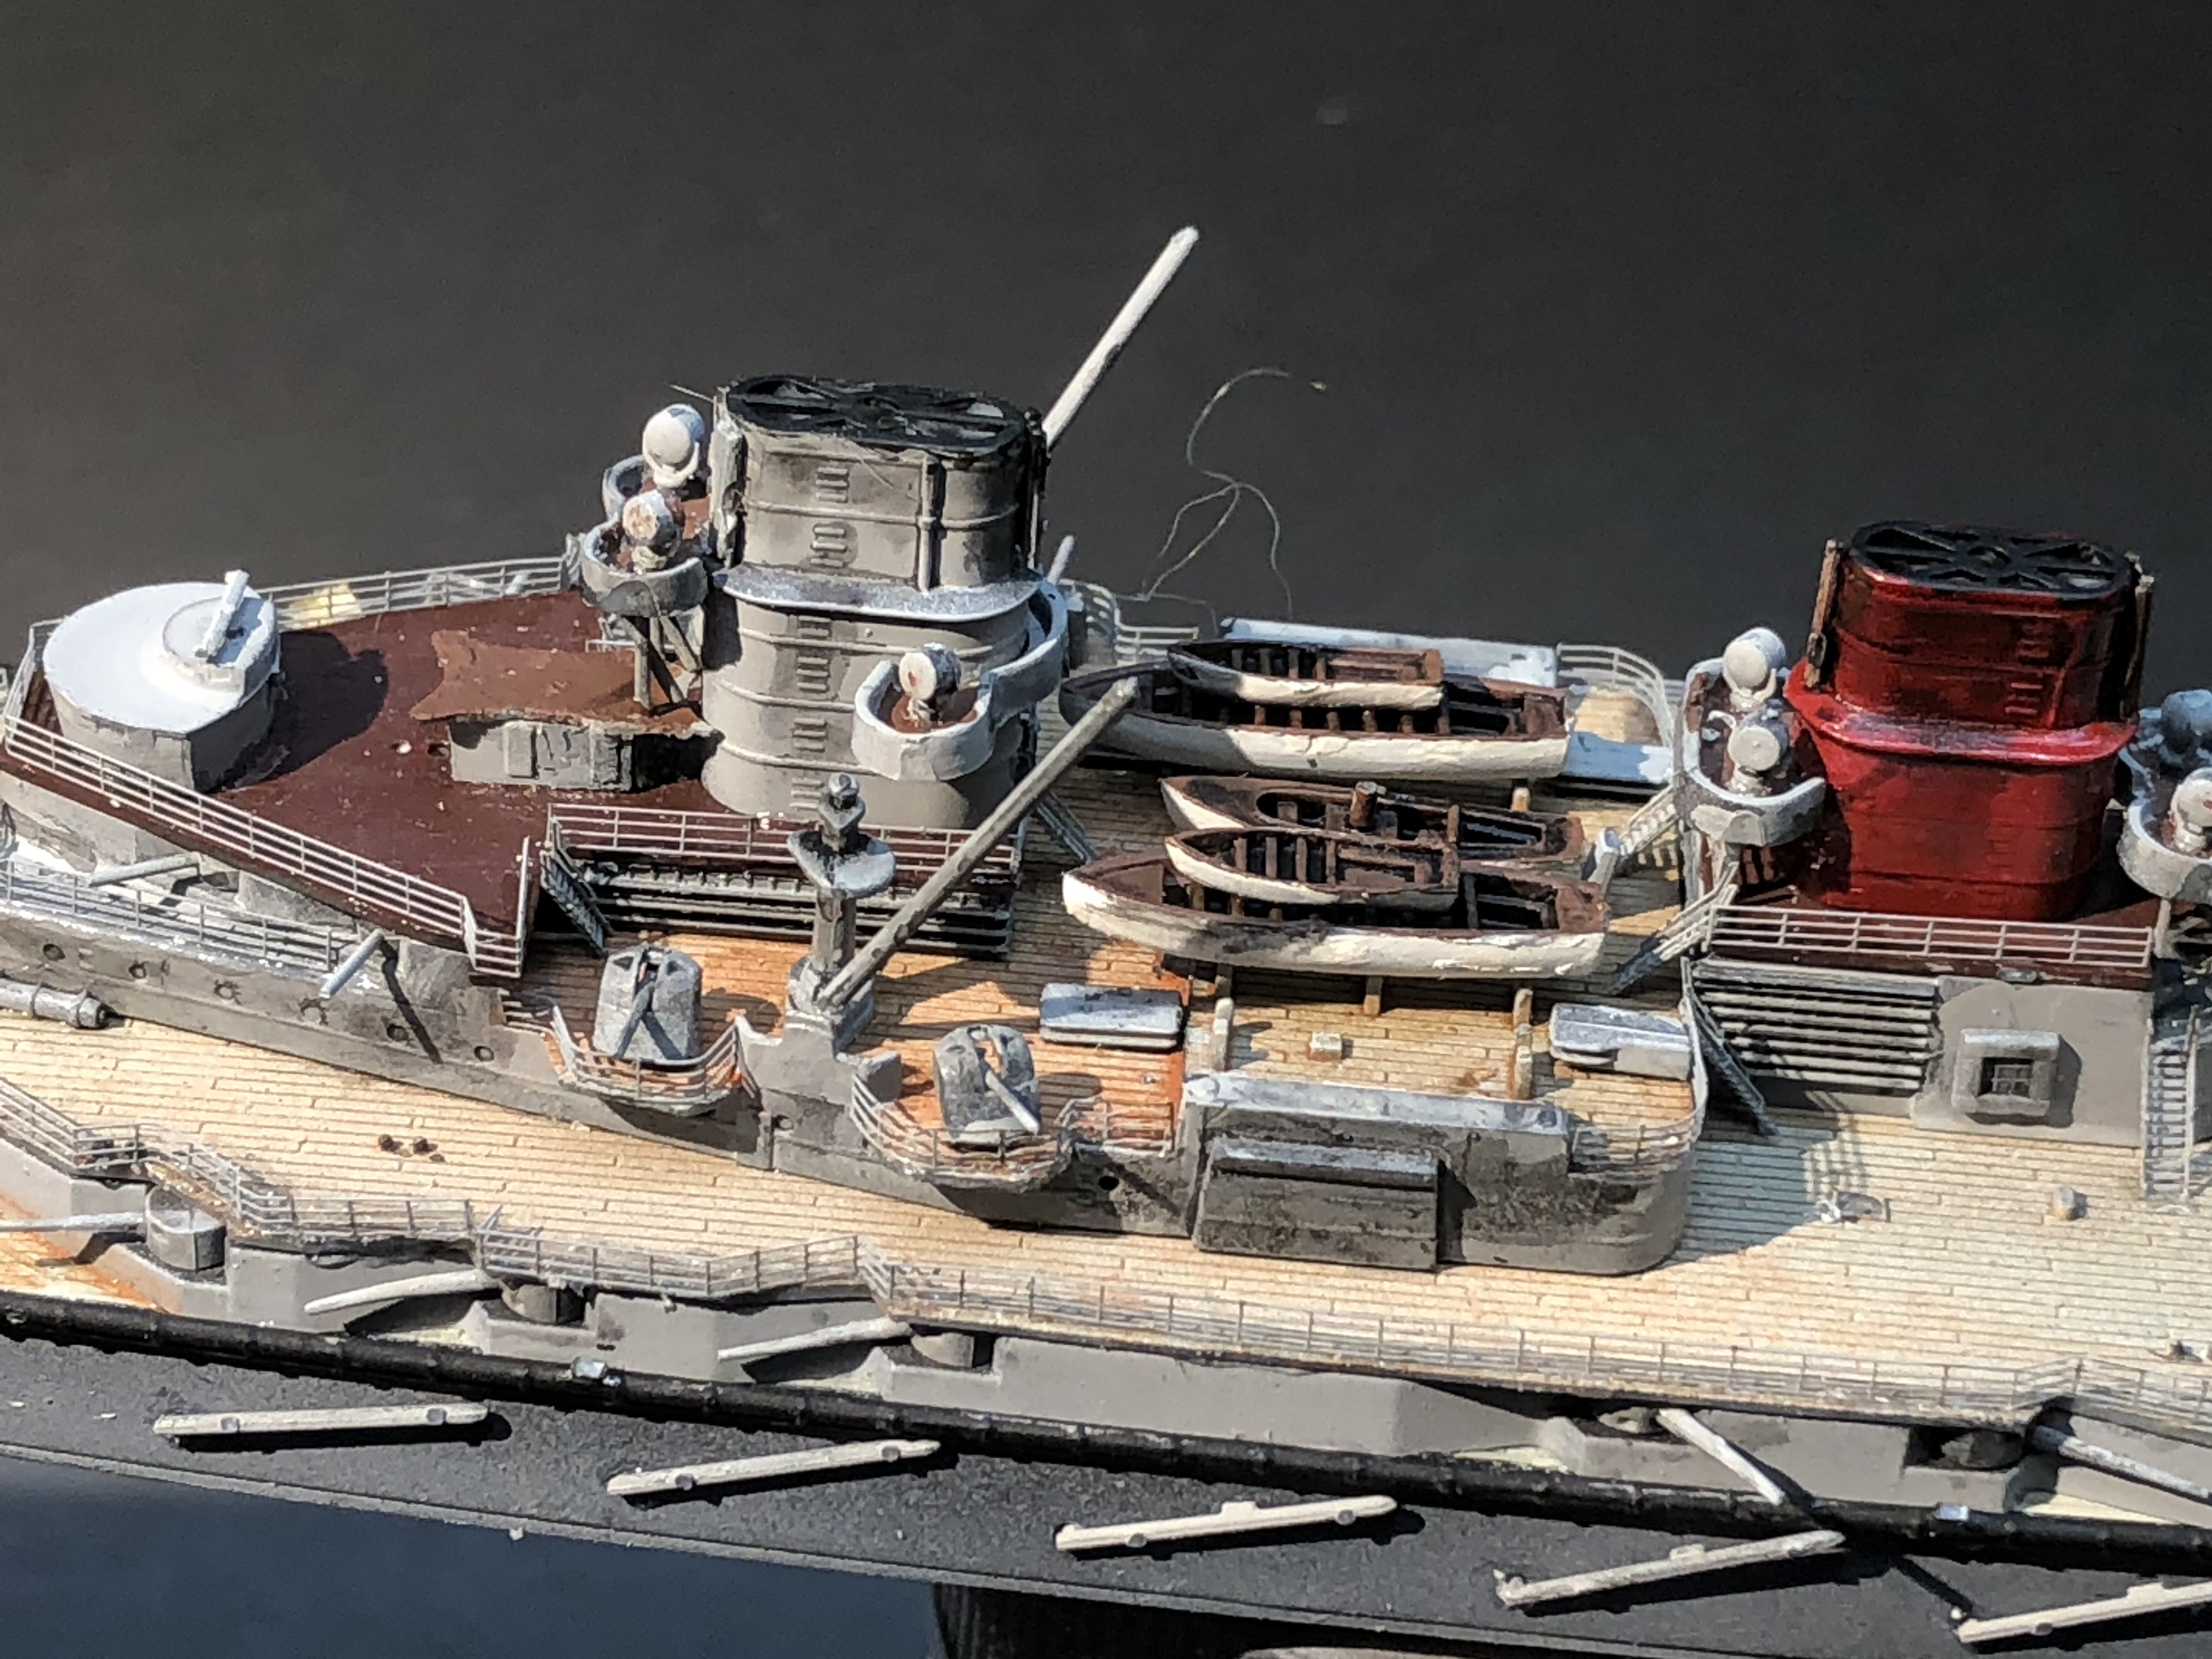
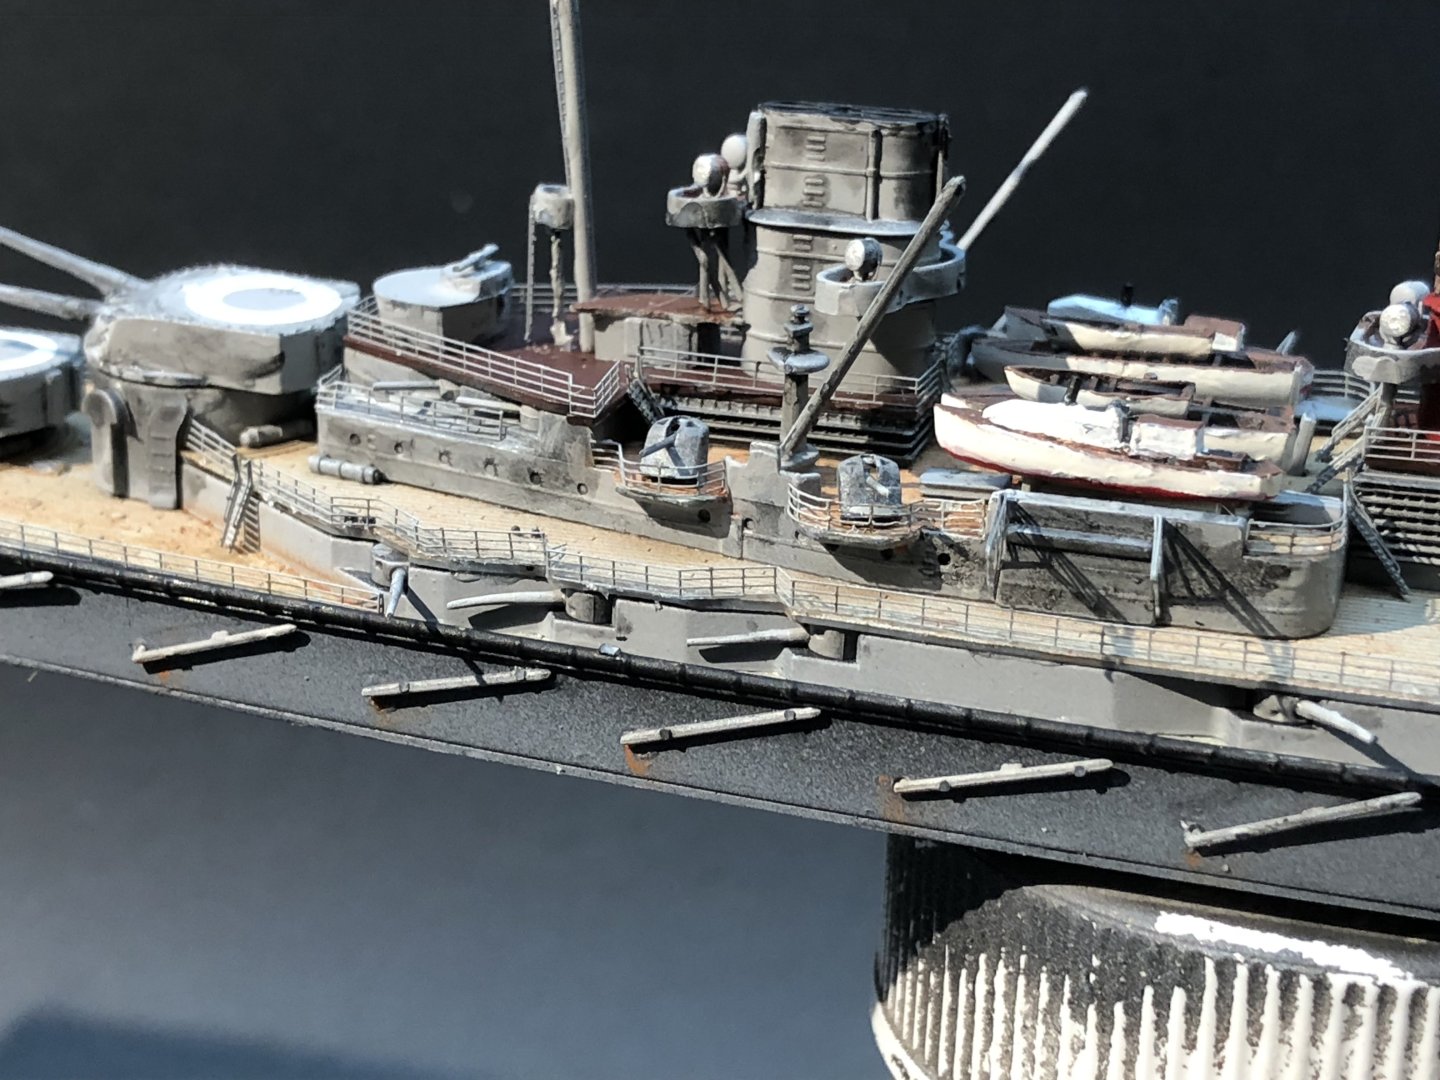
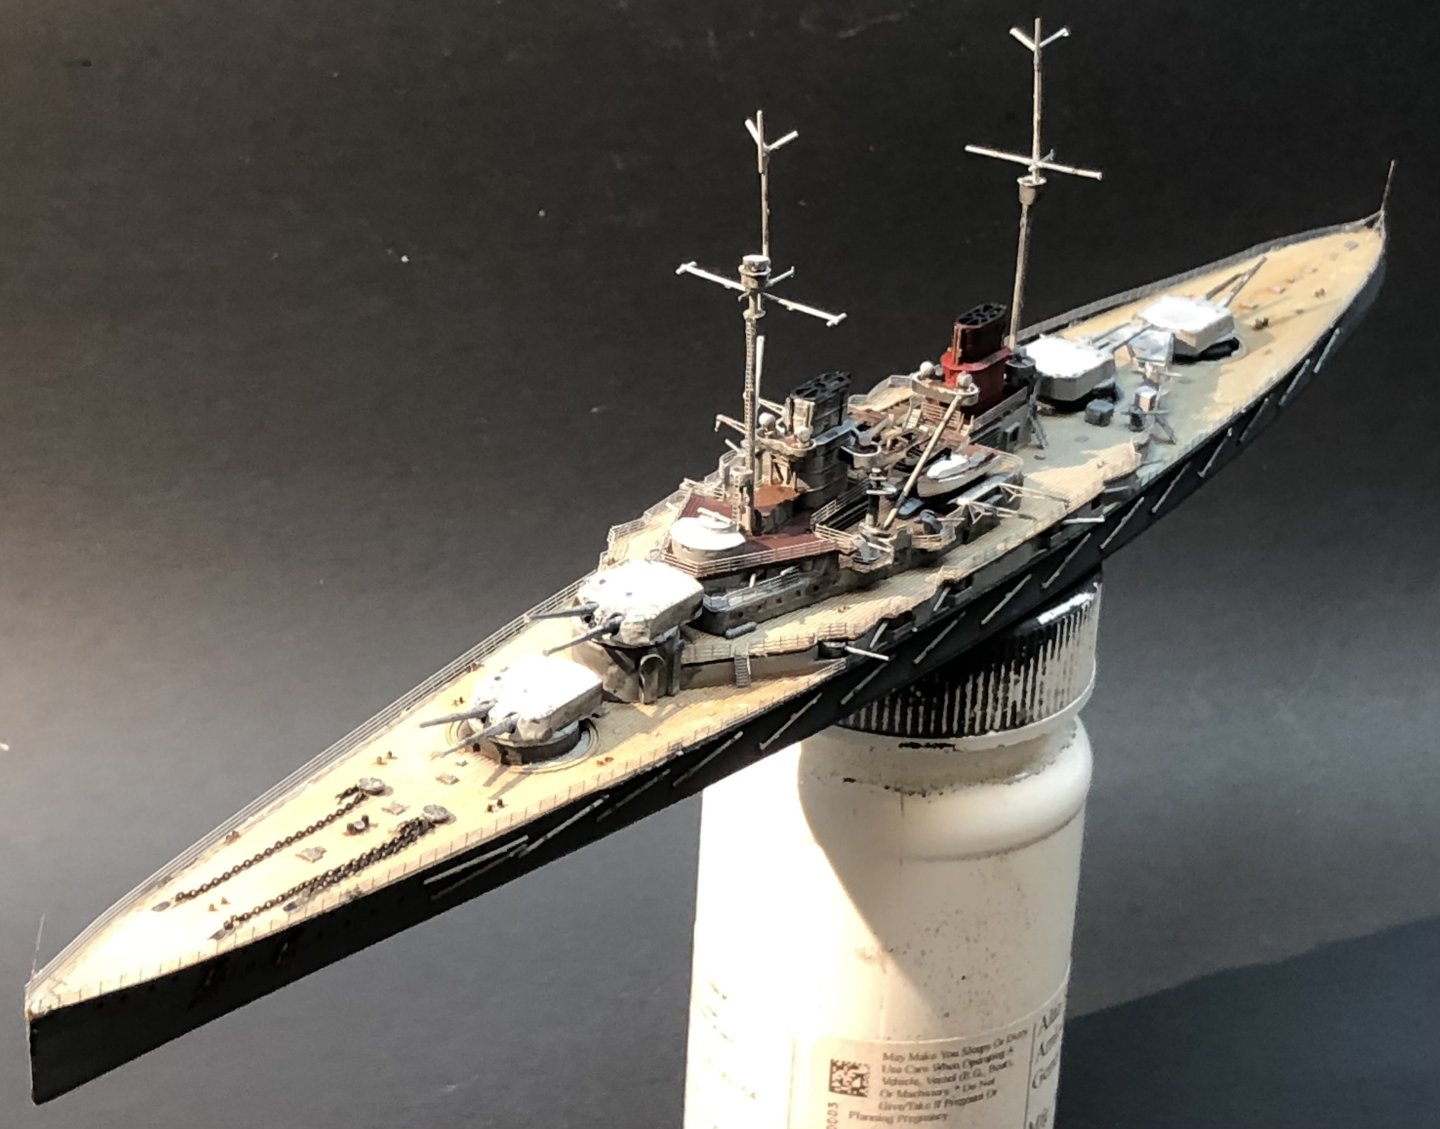
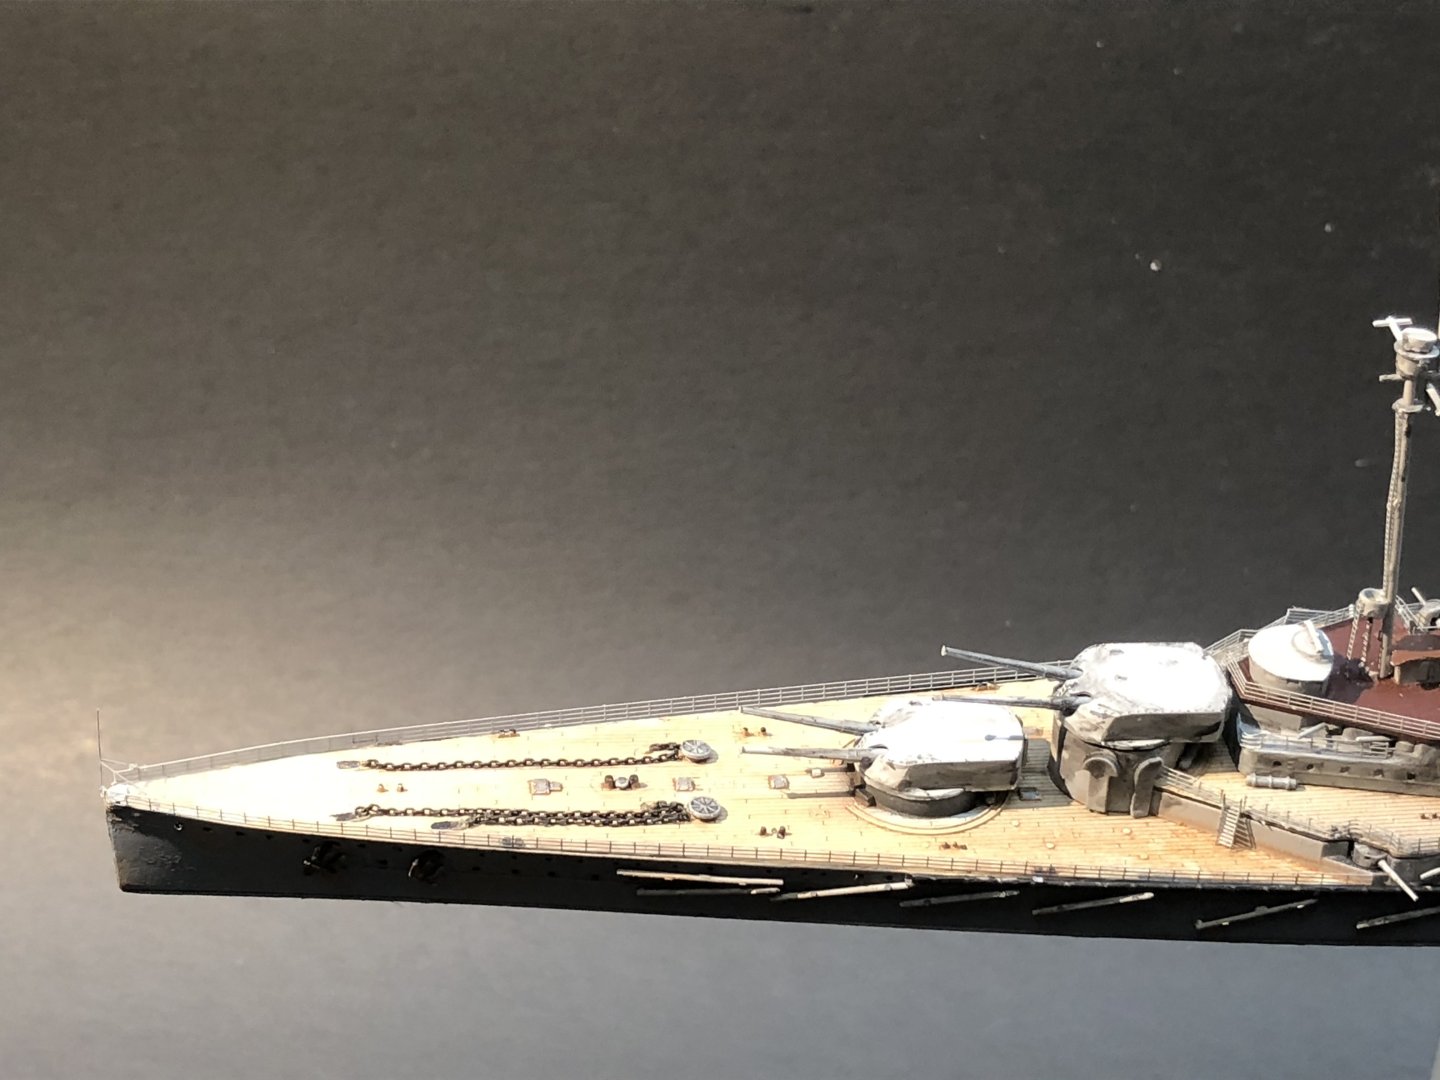
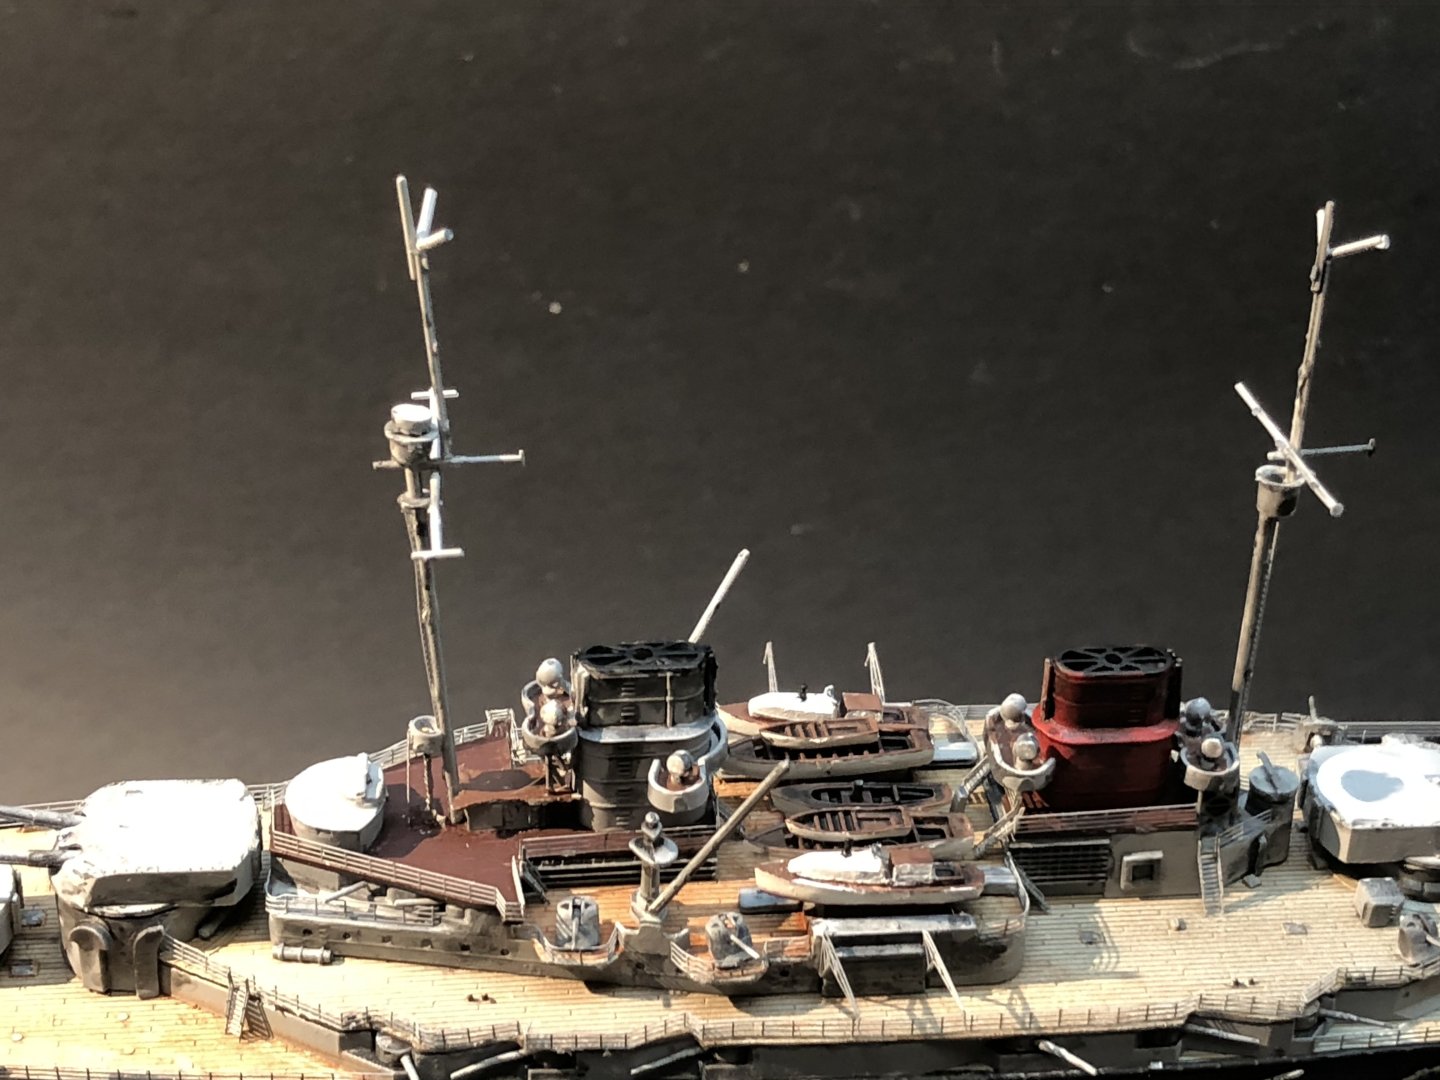
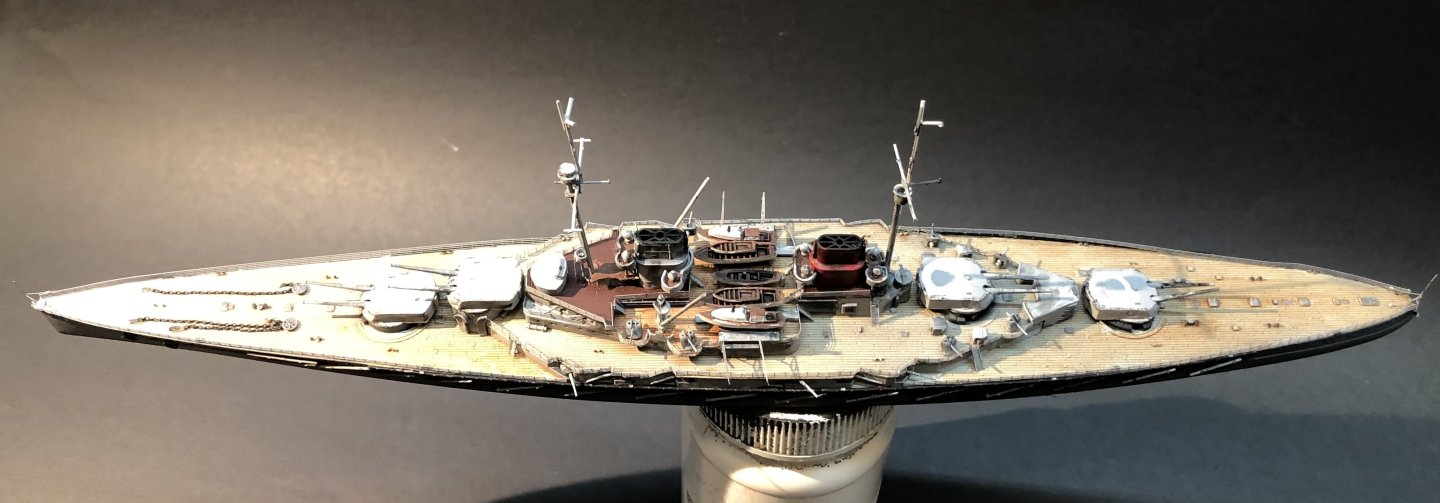
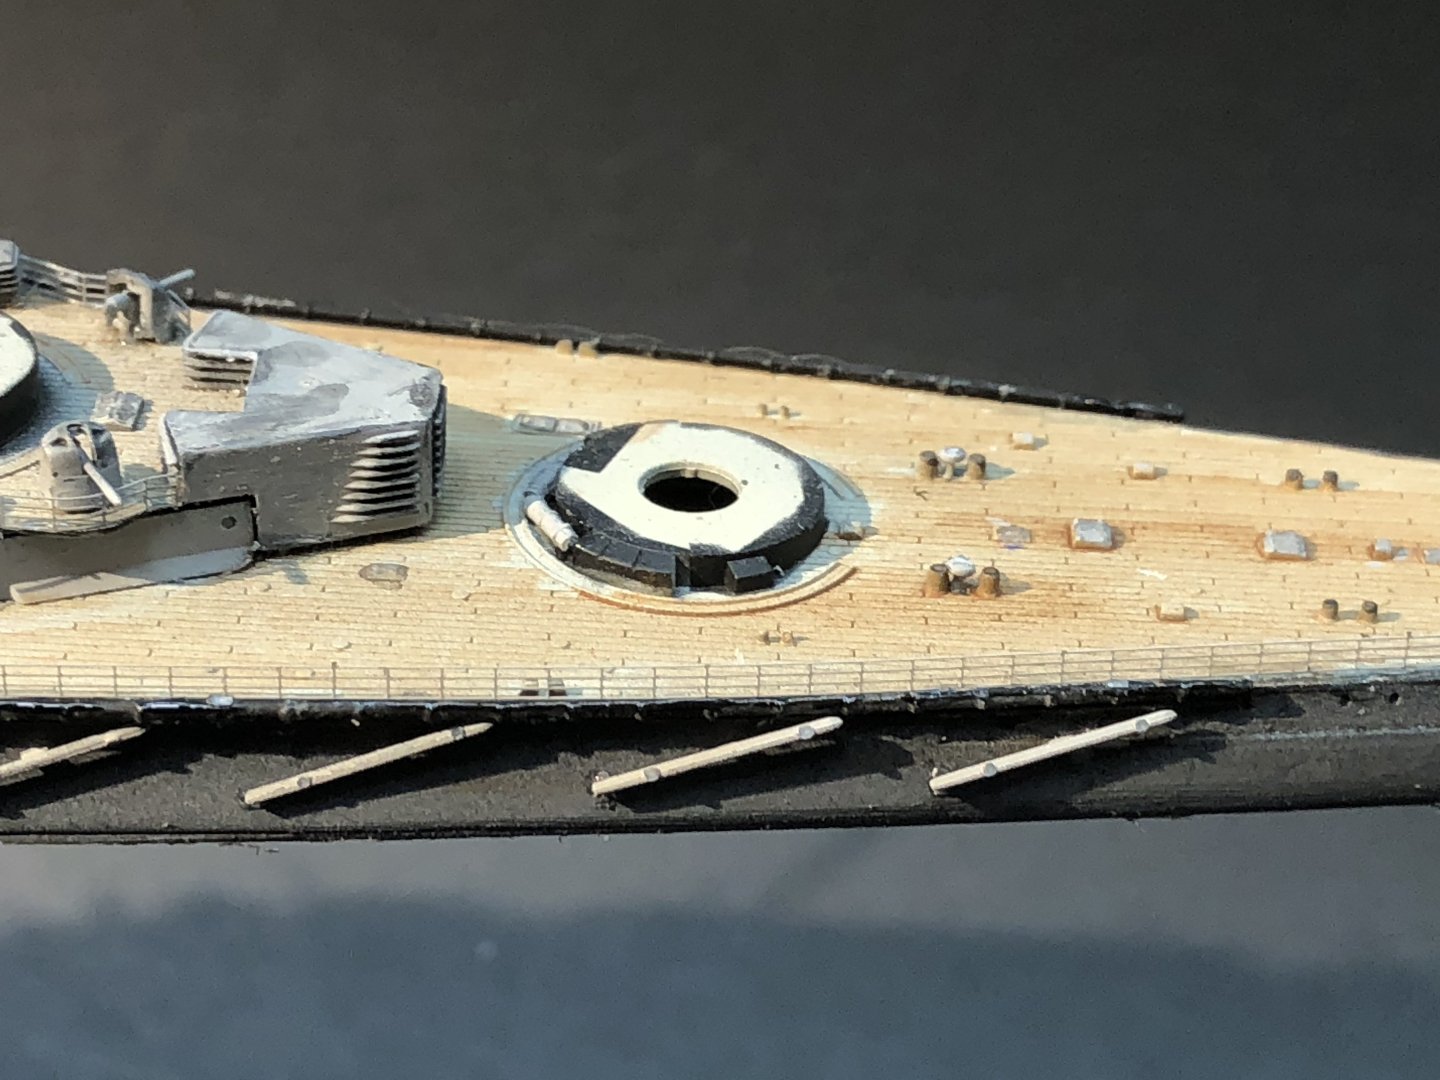
I think this SMS Derfflinger is complete. I added the last details, the PE Jack staffs and the anchors. The torpedo net booms are added and I gave the whole ship a coat of matte finish to get everything unified. The gun turrets got a black wash and I weathered the hull with light rust washed out a little. I try not to go too wild with the weathering. In 1/700 it’s easy to overdo it. I'm not going to rig it. The masts are too fragile, there is a bit of a bend in one section unfortunately. In retrospect I think I should have tried to make replicas in brass rod but they are quite complicated structures to duplicate. i had two fails with the build. I was too busy slavishly following the instructions and feeling pleased with the painted wooden deck I failed to consider that the anchor chains should probably run along a section of steel deck rather than wood. It was far too late to do anything about that thought. I didn’t add ensigns. The Jack staffs are so thin I know I would never get the ensign in place without reducing the staff to a pretzel. Thanks for the support, kind comments and likes as this has progressed. It been one of the most enjoyable builds for a while. Just about the right level of challenge for me and a decent result at the end. its back to the non-categorized section to work on a couple of miniatures Alan


- 78 replies
-
- 9
-
-

-
- Derfflinger
- Flyhawk
- (and 2 more)
-
Very nice work with the yellow paint. It looks really even and unblemished. Congratulations. I hate using yellow or red. alan
-
I use iPhone to take recent photos and upload them using my iPad. It worked with this one

-
Thank you very much Mike. The last two sets of railings went on this afternoon- a major milestone for me. Especially as the long sections went on without creases or bends. 1/350 kits are imposing but that’s also the problem for me, working space and display room. I’m going to look through the kits and photograph and list some for sale. Alan
- 78 replies
-
- 5
-
-
- Derfflinger
- Flyhawk
- (and 2 more)
-
Thank you very much. I have a 1/700 Iron Duke and Queen Elizabeth in the stack Alan
- 78 replies
-
- 4
-
-
- Derfflinger
- Flyhawk
- (and 2 more)
-
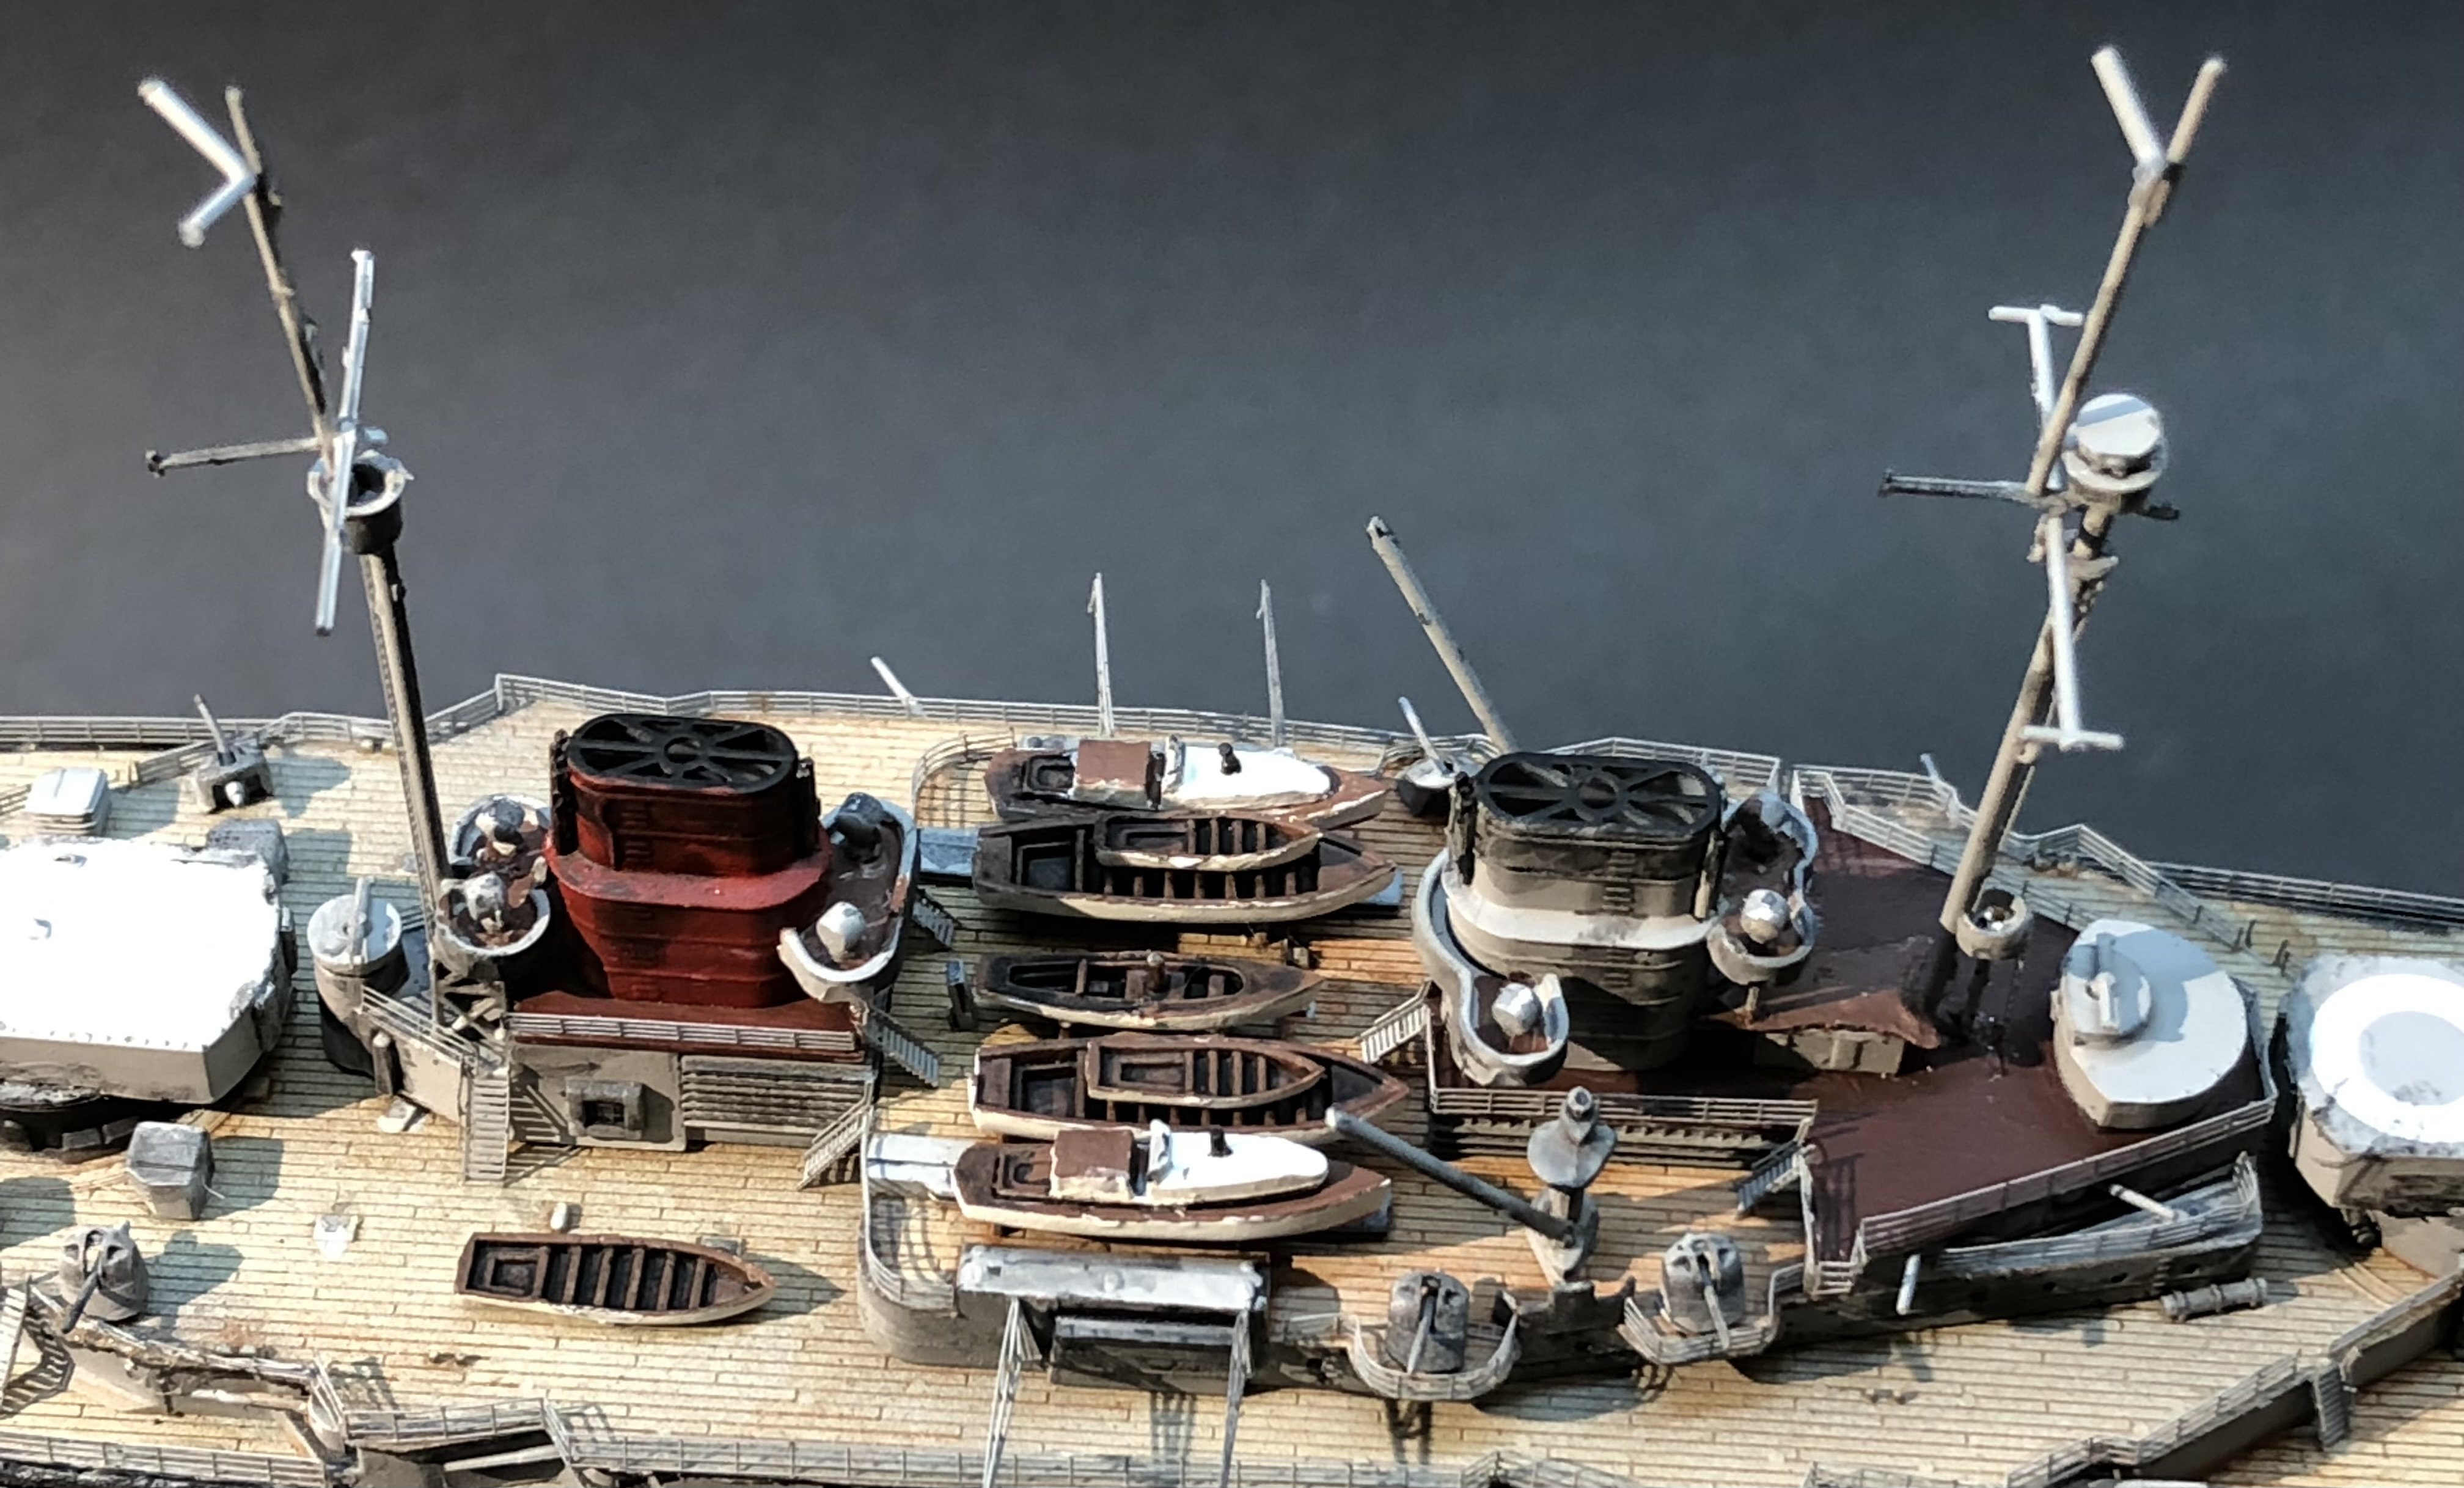
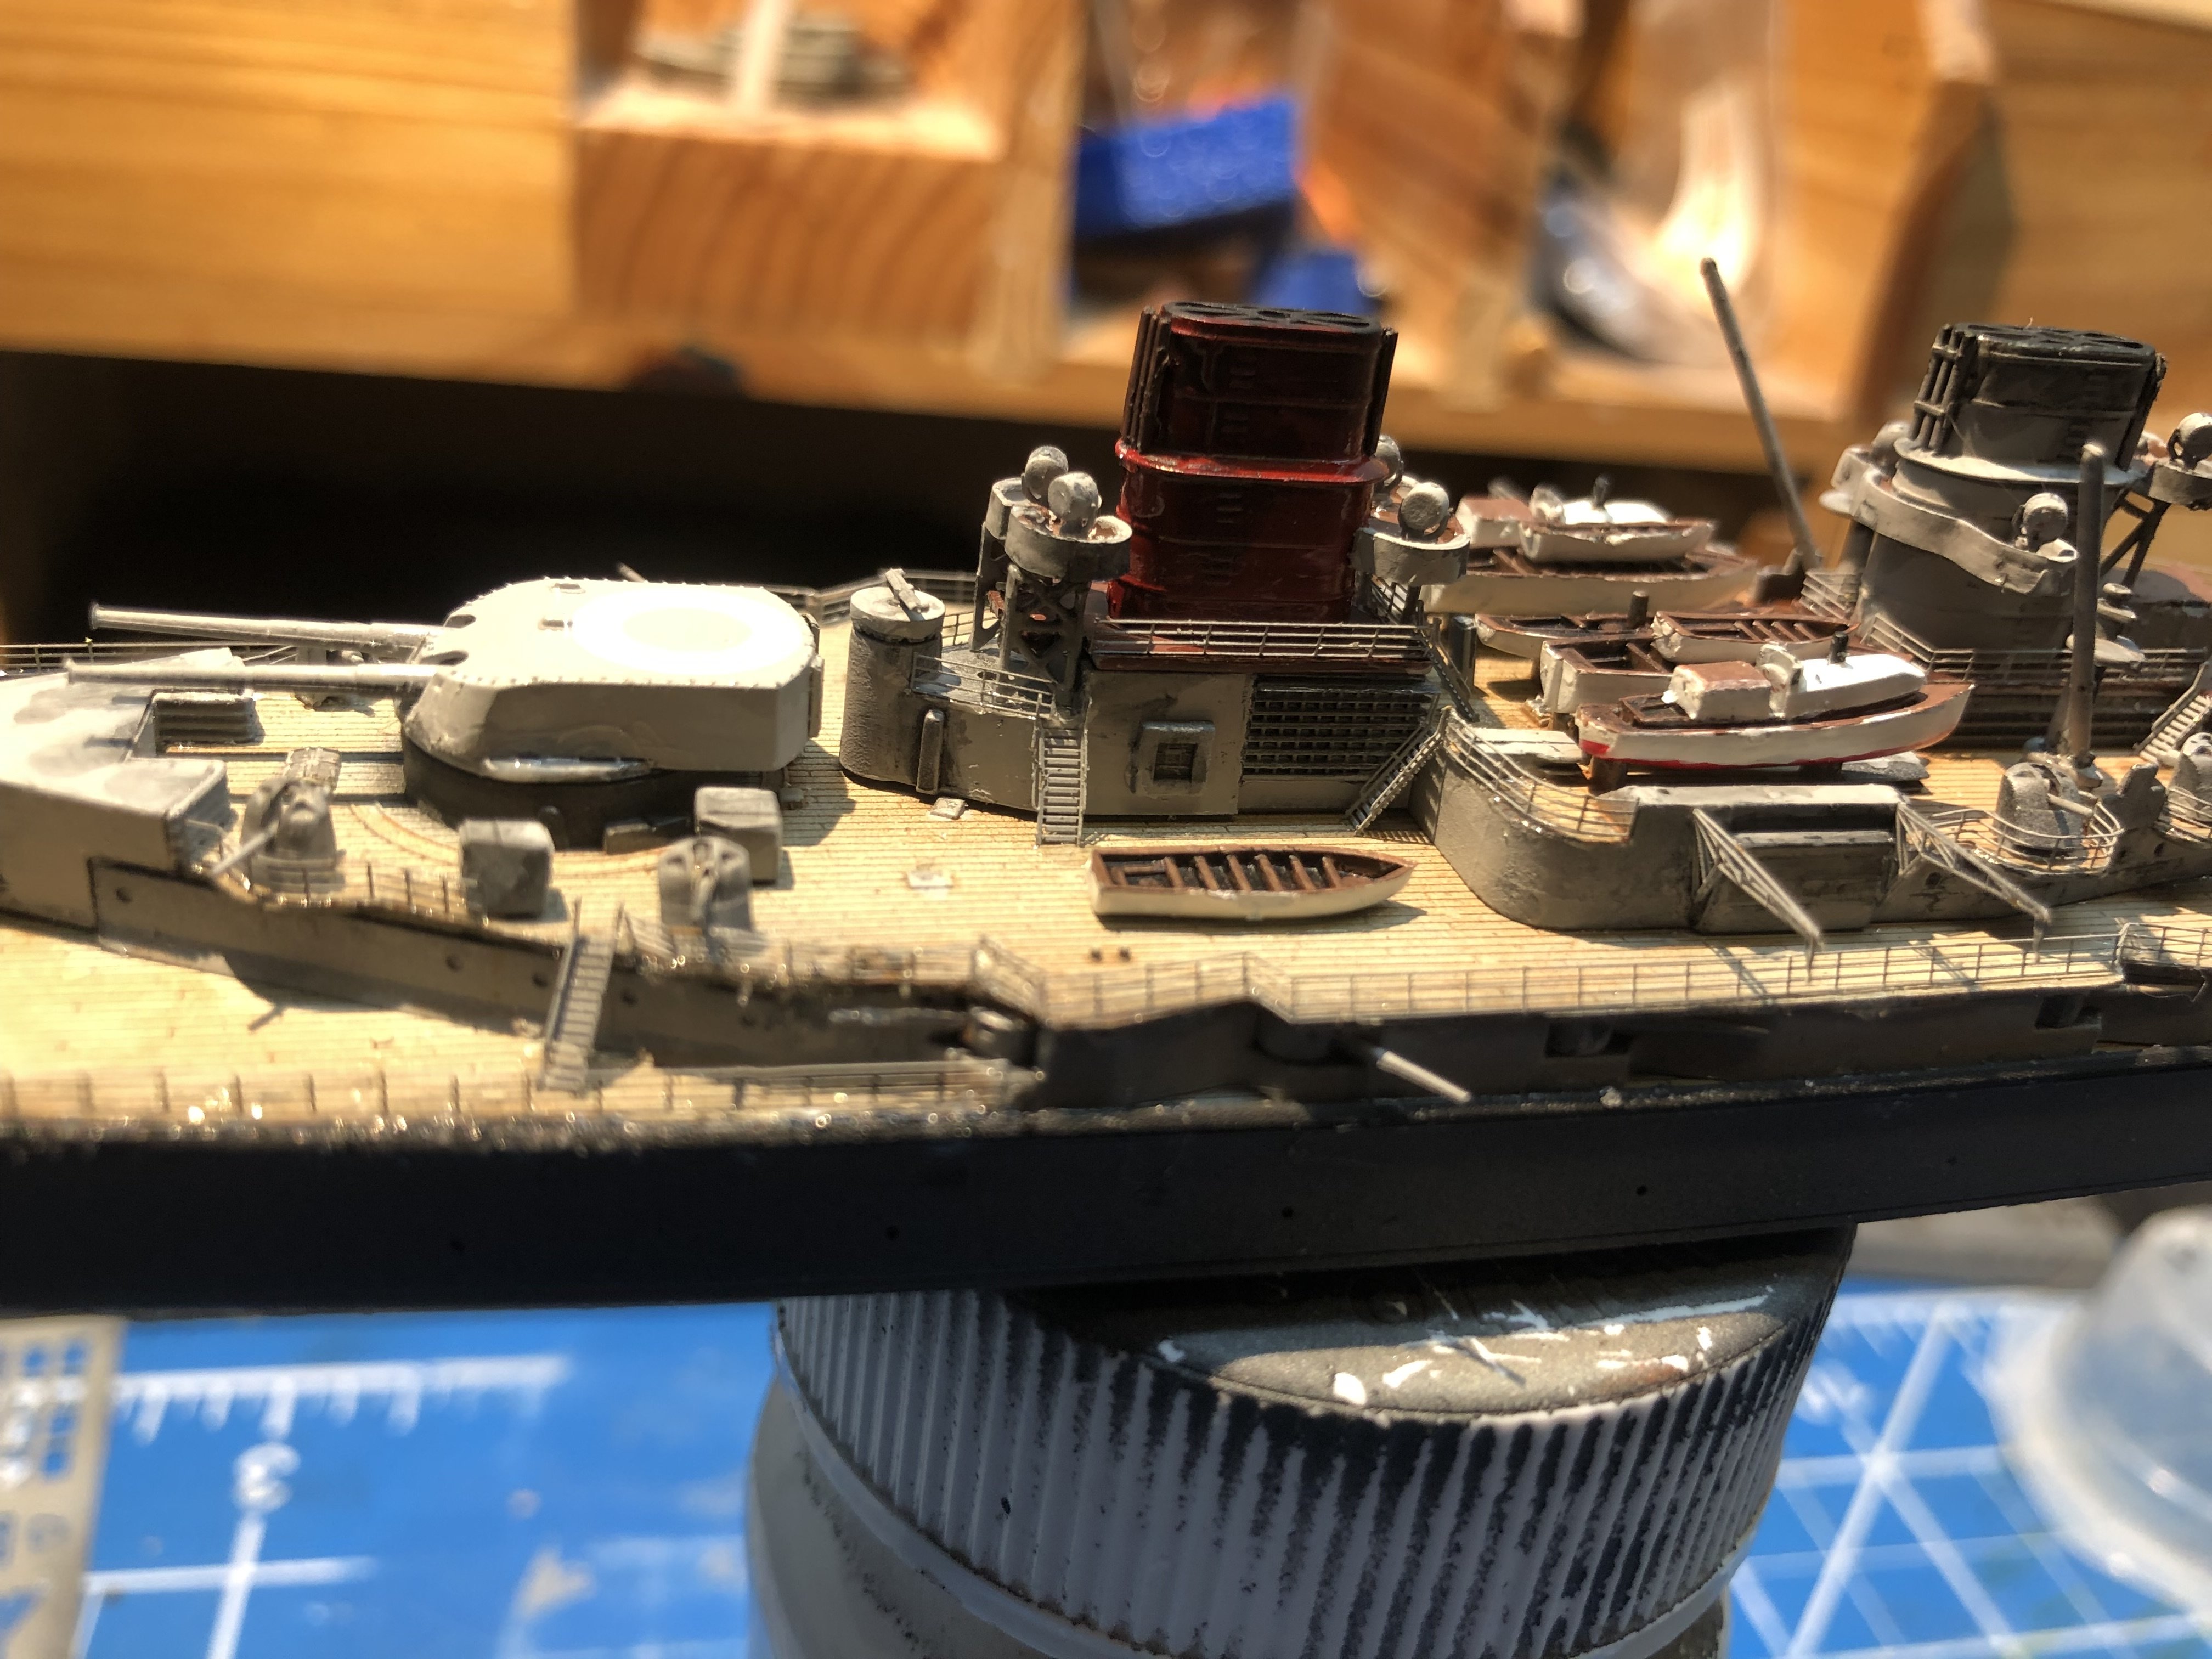
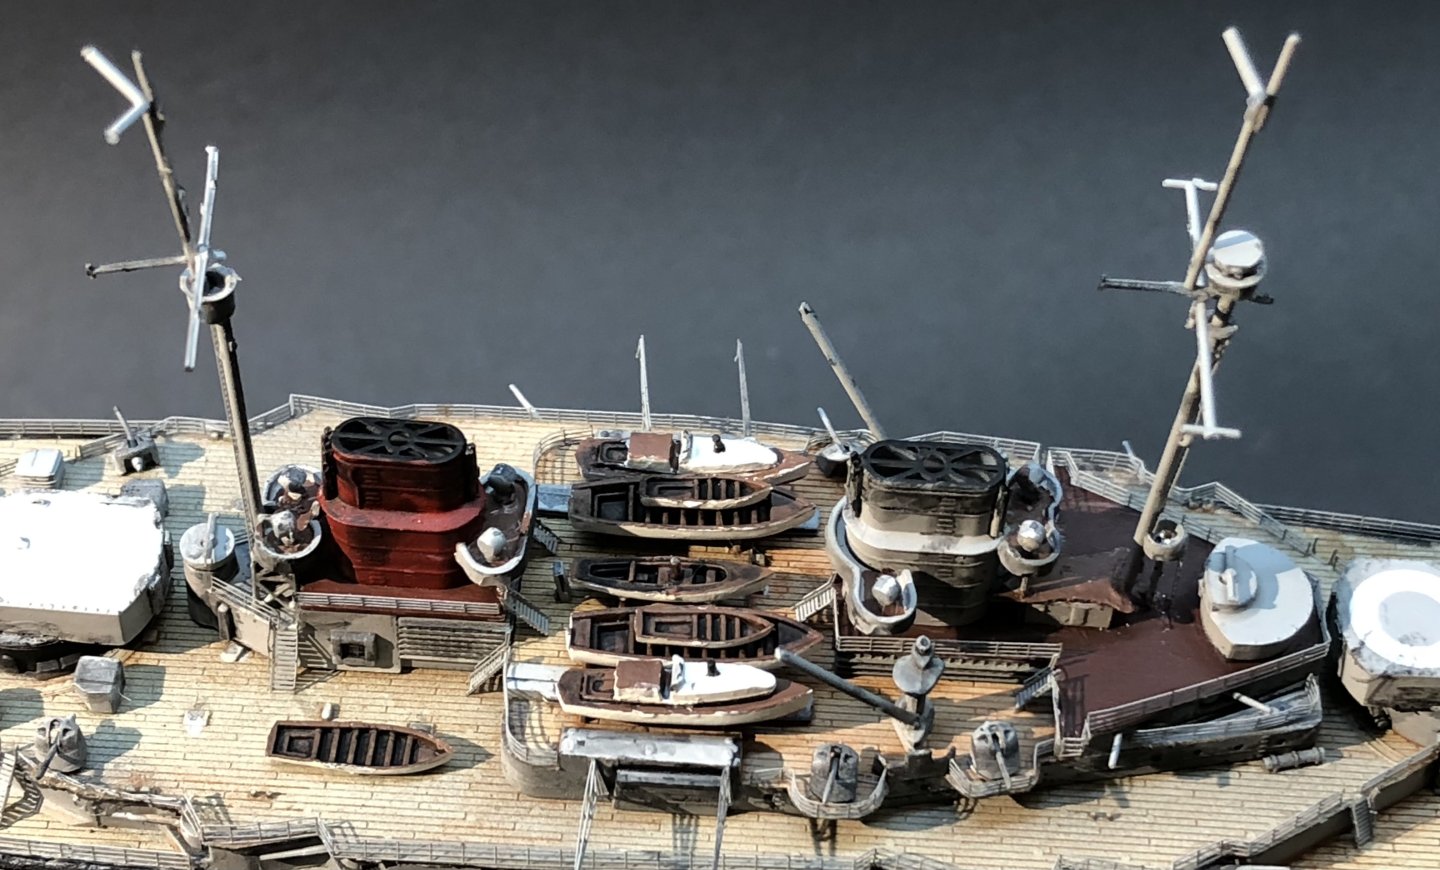
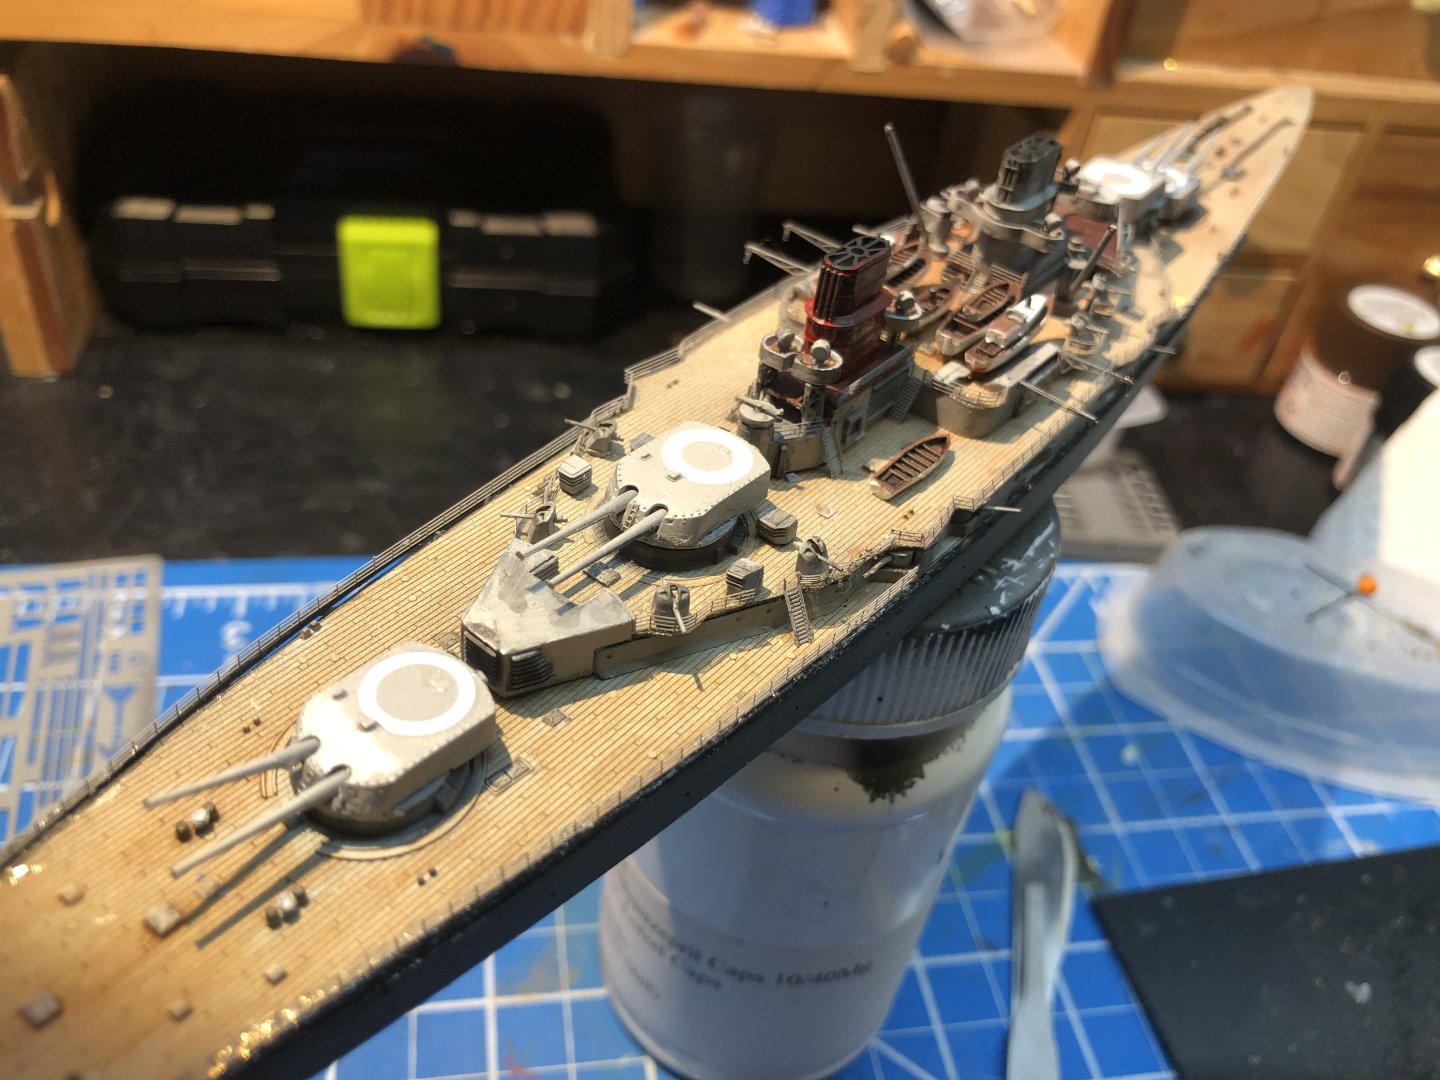
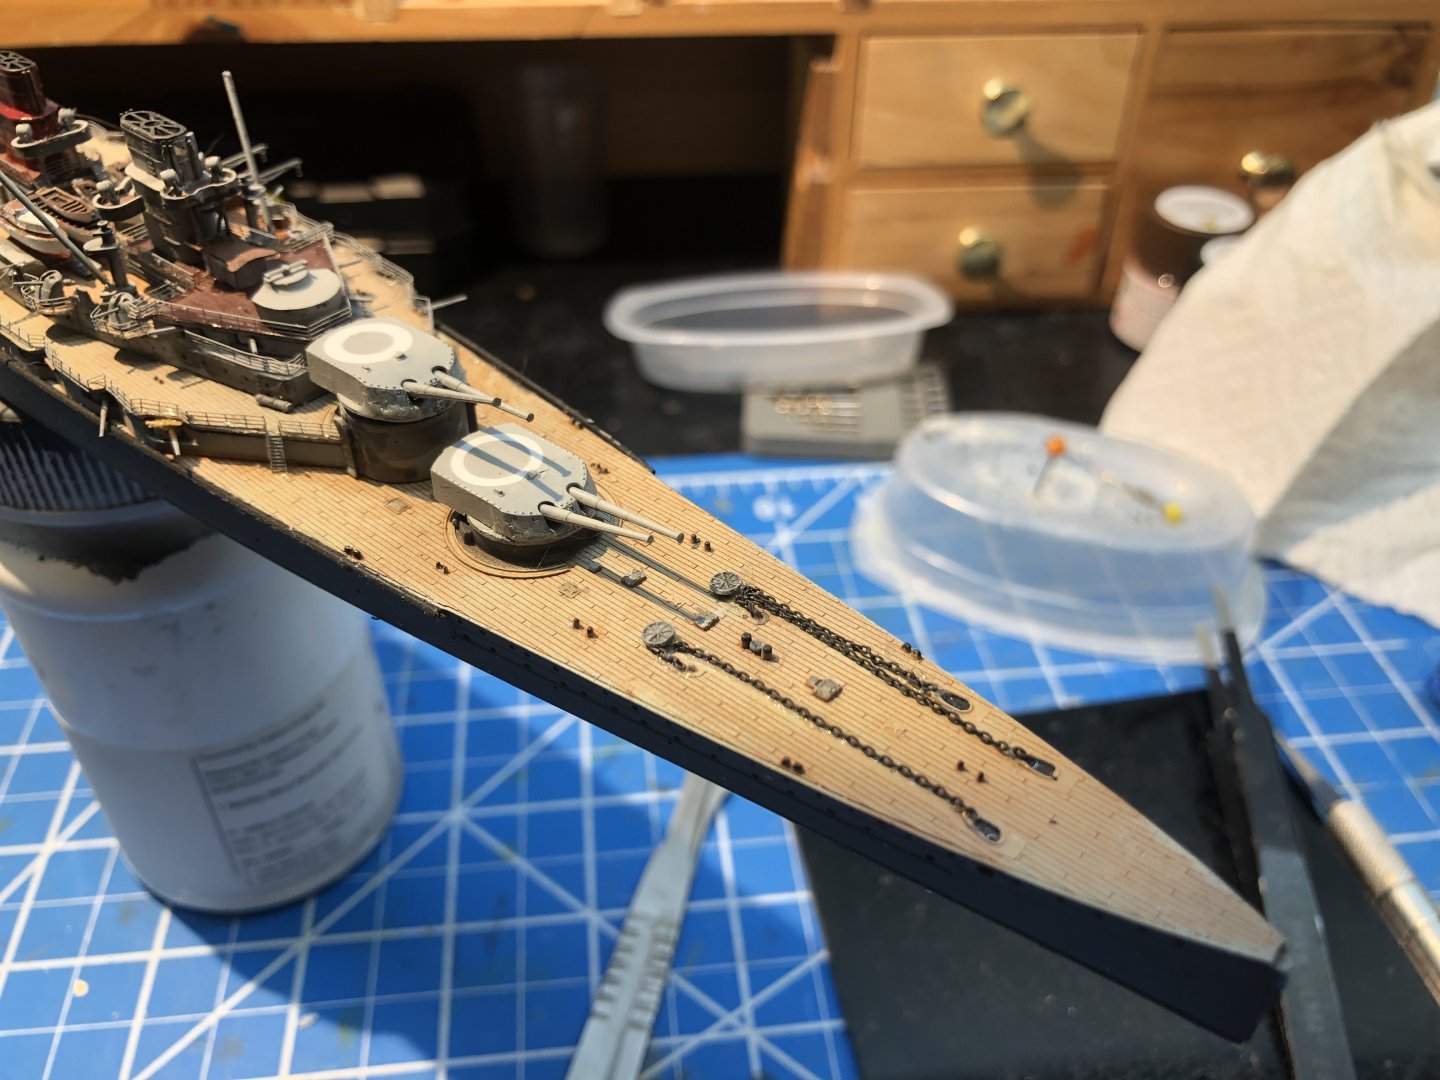
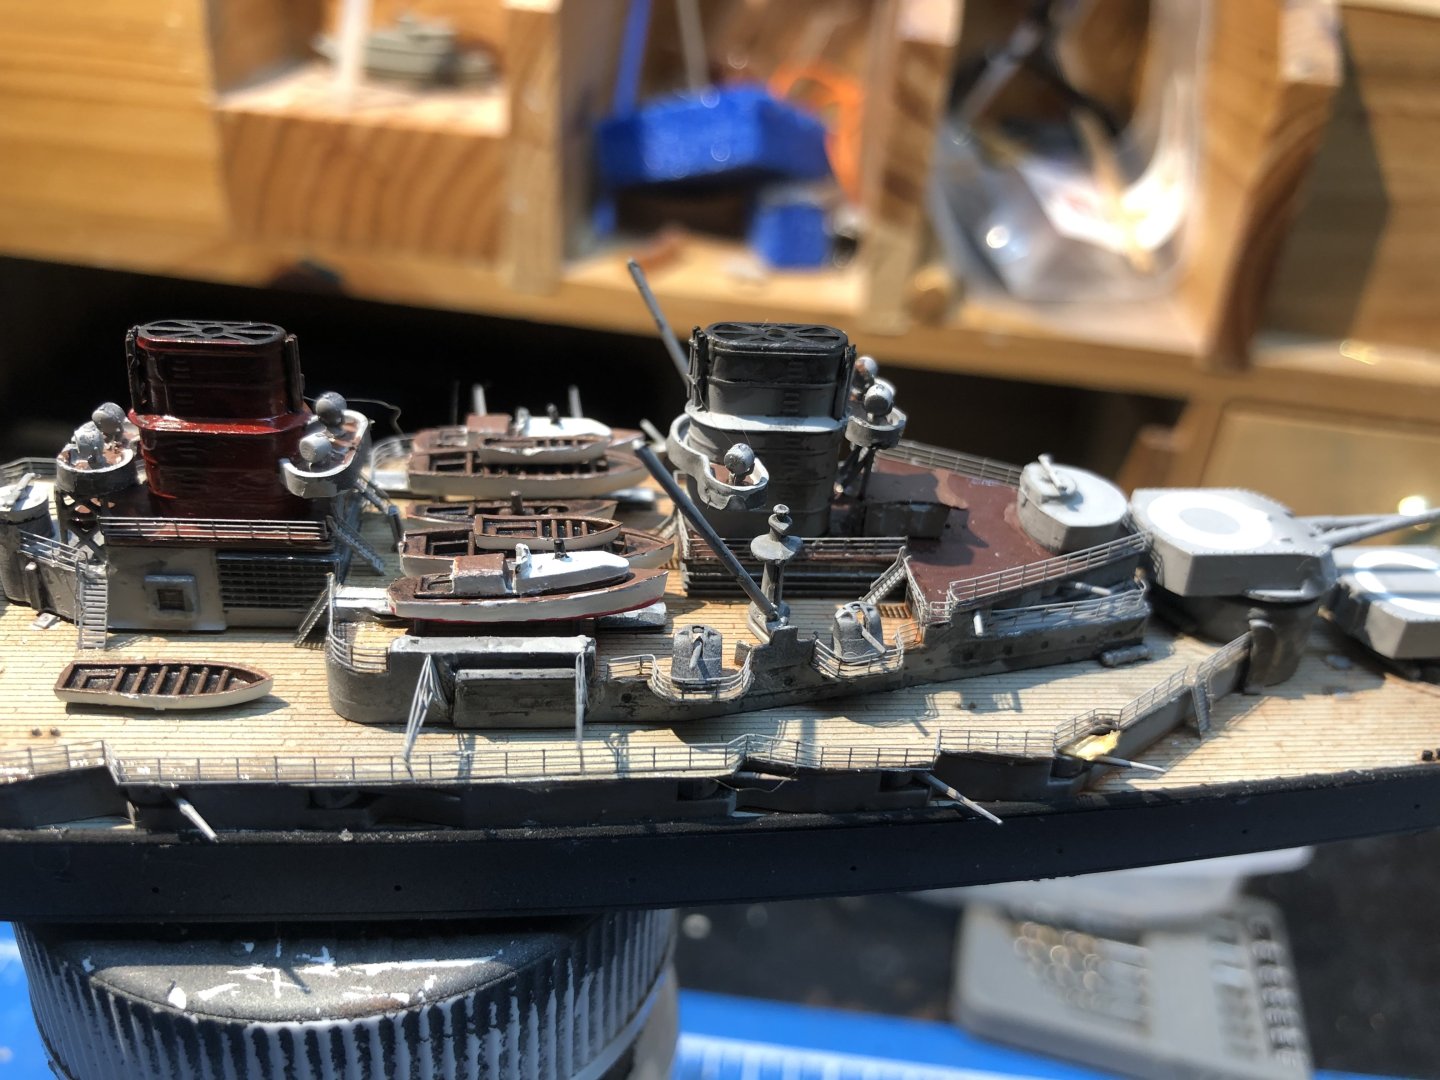
It’s been a day for working on a variety of details but the big one is …. The main gun turrets are in place. They need the black wash treatment to complete them. And the anchor chains are in place too. These are left over resin chains, I like them better than the PE. The motor boats are in place and I see a need for some touch up on one. The aft deck railings are in progress and so far behaving themselves. I’m using the MiG Ammo Ultra glue which works well and gives time for adjustment. I’m almost at the bottom of the bottle after several additions of water to keep it thin. Thanks for looking in and the likes and supportive comments Alan


- 78 replies
-
- 7
-
-
-
- Derfflinger
- Flyhawk
- (and 2 more)
-
Thank you very much Mark. The washes do seem to add some depth especially in grey on grey color schemes. alan
- 78 replies
-
- 4
-
-
- Derfflinger
- Flyhawk
- (and 2 more)
-
Thank you very much Andrew. They do have a distinguished look. Alan
- 78 replies
-
- 4
-
-
- Derfflinger
- Flyhawk
- (and 2 more)
-
Thank you very much OC. I still a bit of a strain at times but I quite like 1/700. I fits on my small bench much better and it doesn’t take up so much room when finished. When I first started doing this a few years ago I thought I would like to build 1/350 and bought several kits in that scale before getting a 1/700 HMS Lance kit in 1/700 to learn on. I’m realizing I will never get to the 1/350 stuff so I am planning to dust the kits off and put them on the sale page and hope someone will enjoy building them while I continue in tiny world. Alan
- 78 replies
-
- 4
-
-
- Derfflinger
- Flyhawk
- (and 2 more)
-
You do a great job with the 3D printed parts Mike. They look great. Alan
-
Beautiful results Phil. Very fine painting and shading Alan
-
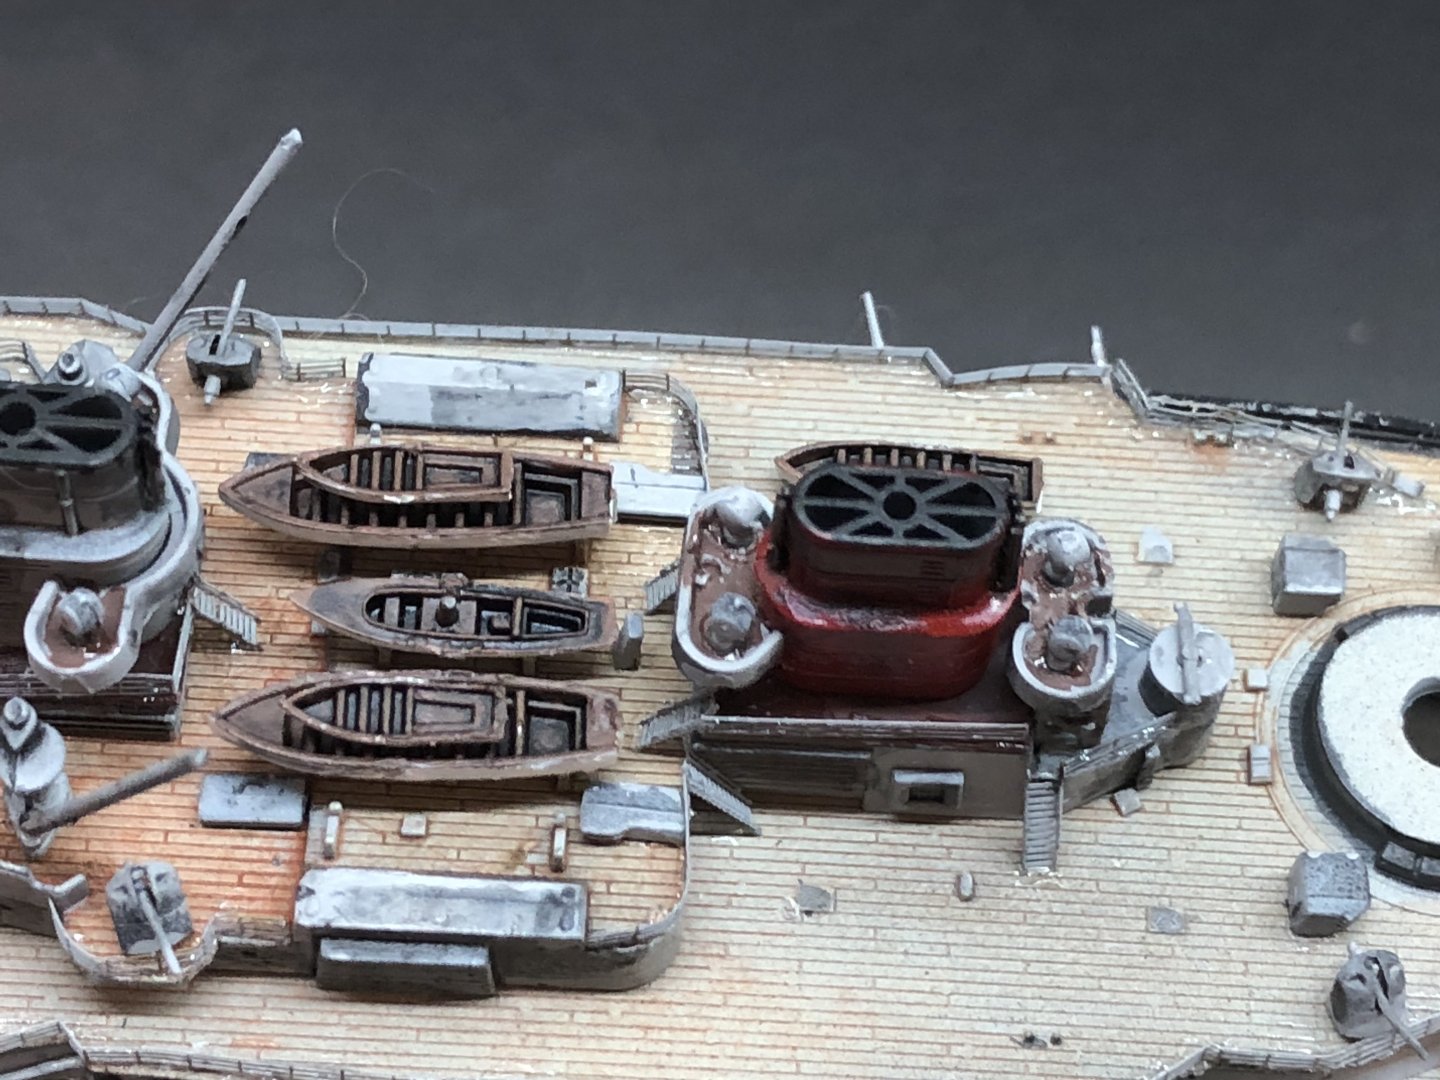
Suddenly the end is approaching. The boats have been painted and given a black oil wash. The first ones have been placed on the deck. All the upper railings are complete and I’ve started on the long runs of the main deck railings. The stowed torpedo nets are in place and their booms are going on. I’ve used a black oil was to add some depth and detail around the ship. Further tidying up will take place when the railings are on. Thanks for looking in and for the likes and comments Alan


- 78 replies
-
- 7
-
-
- Derfflinger
- Flyhawk
- (and 2 more)
-
A great color choice and beautifully applied. This is going to be stunning. Alan