king derelict
-
Posts
3,292 -
Joined
-
Last visited
Content Type
Profiles
Forums
Gallery
Events
Everything posted by king derelict
-
This one seems to be a fight all the way but you are producing a great model in spite of it. Your log is giving a lot of helpful information too. Many thanks alan
-
Lovely paint scheme Andy. Very neat work alan
-
That’s terrific work Mike. I’d be scared to get rough with the model having done so much. It came out really well and displaying the gun in maintenance is going to look spectacular. Alan
-
Great work Mark. I don’t think I would have the mental fortitude to do what you are doing. I hope there will be a bottle of choice alcohol under the tree. alan
-
Wow. And I thought PE ladders were painful. Great work alan
- 288 replies
-
- 4
-

-

-
- Card
- Pre-Dreadnought
- (and 3 more)
-
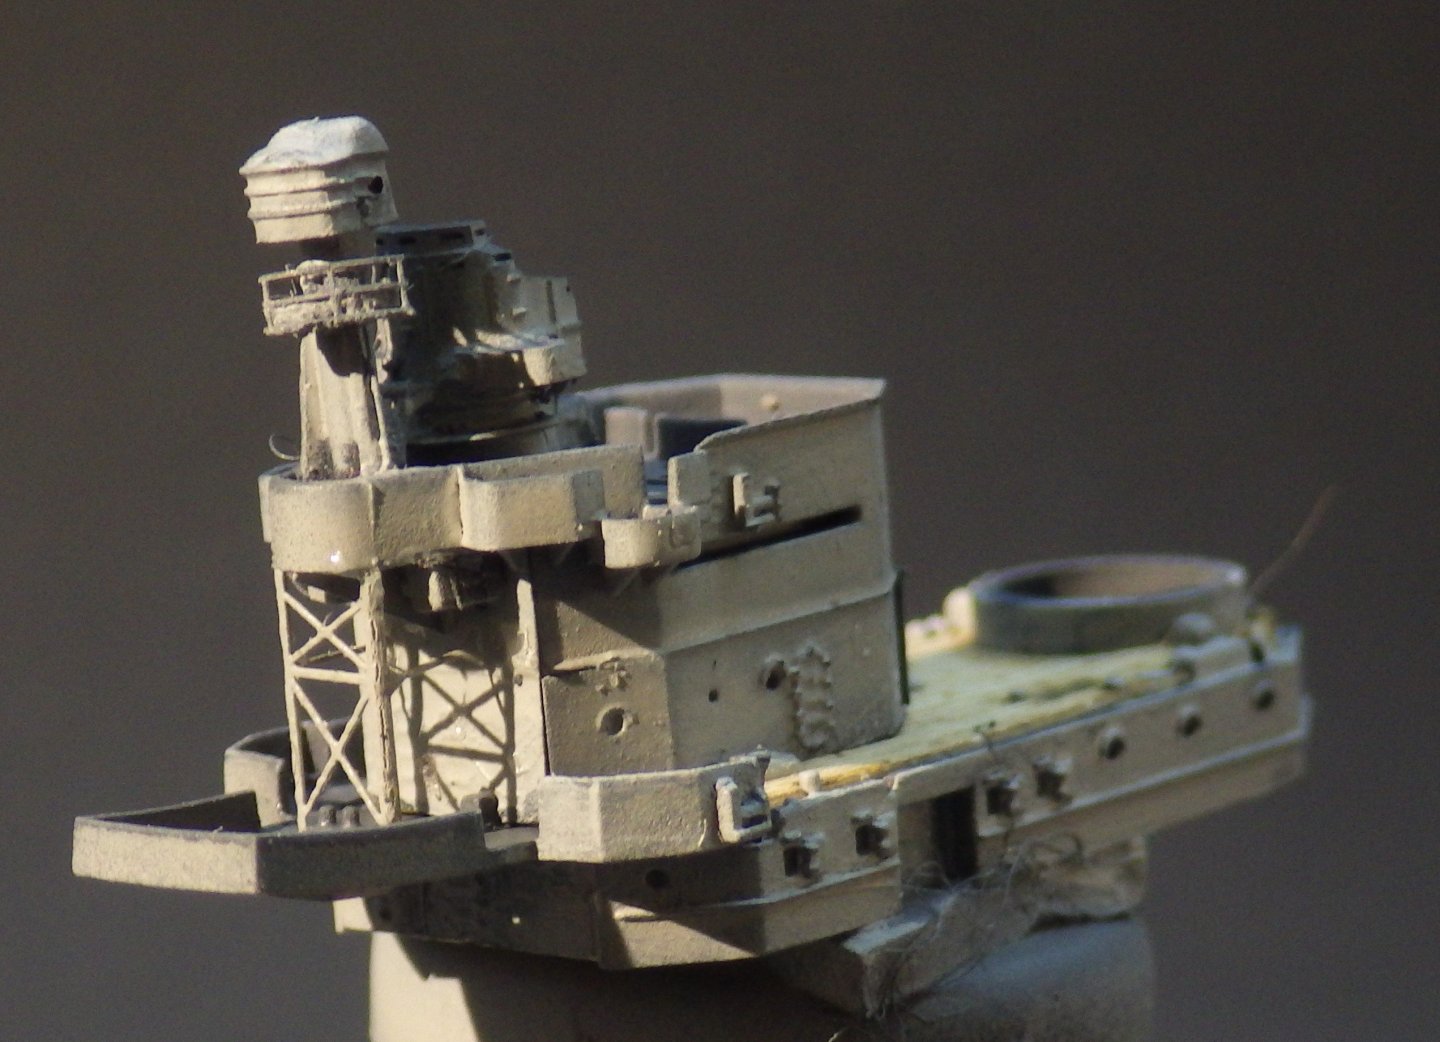
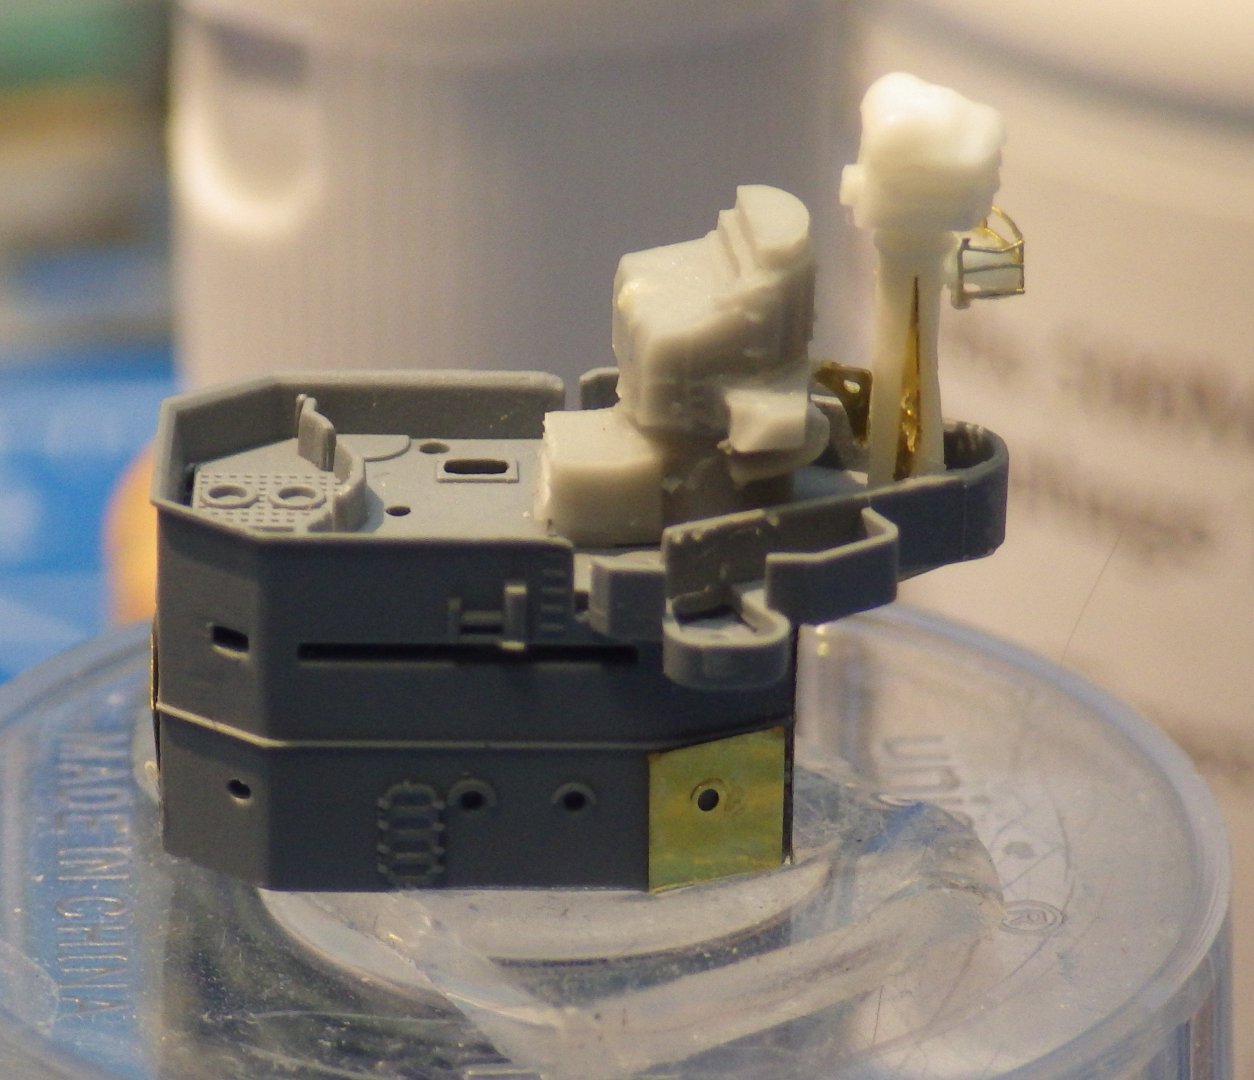
Thank you very much OC. I spent the afternoon adding insanely small parts to the bridge. Searchlights, binnacle, binoculars and peloruses (pelori ?). Beautifully made with no flash but so tiny. A few pinged off the tweezers but I found them all. alan
-
Thanks Mike I'm using Life Color acrylic paint this build. It seems to dilute well with Tamiya thinner. Alan
-
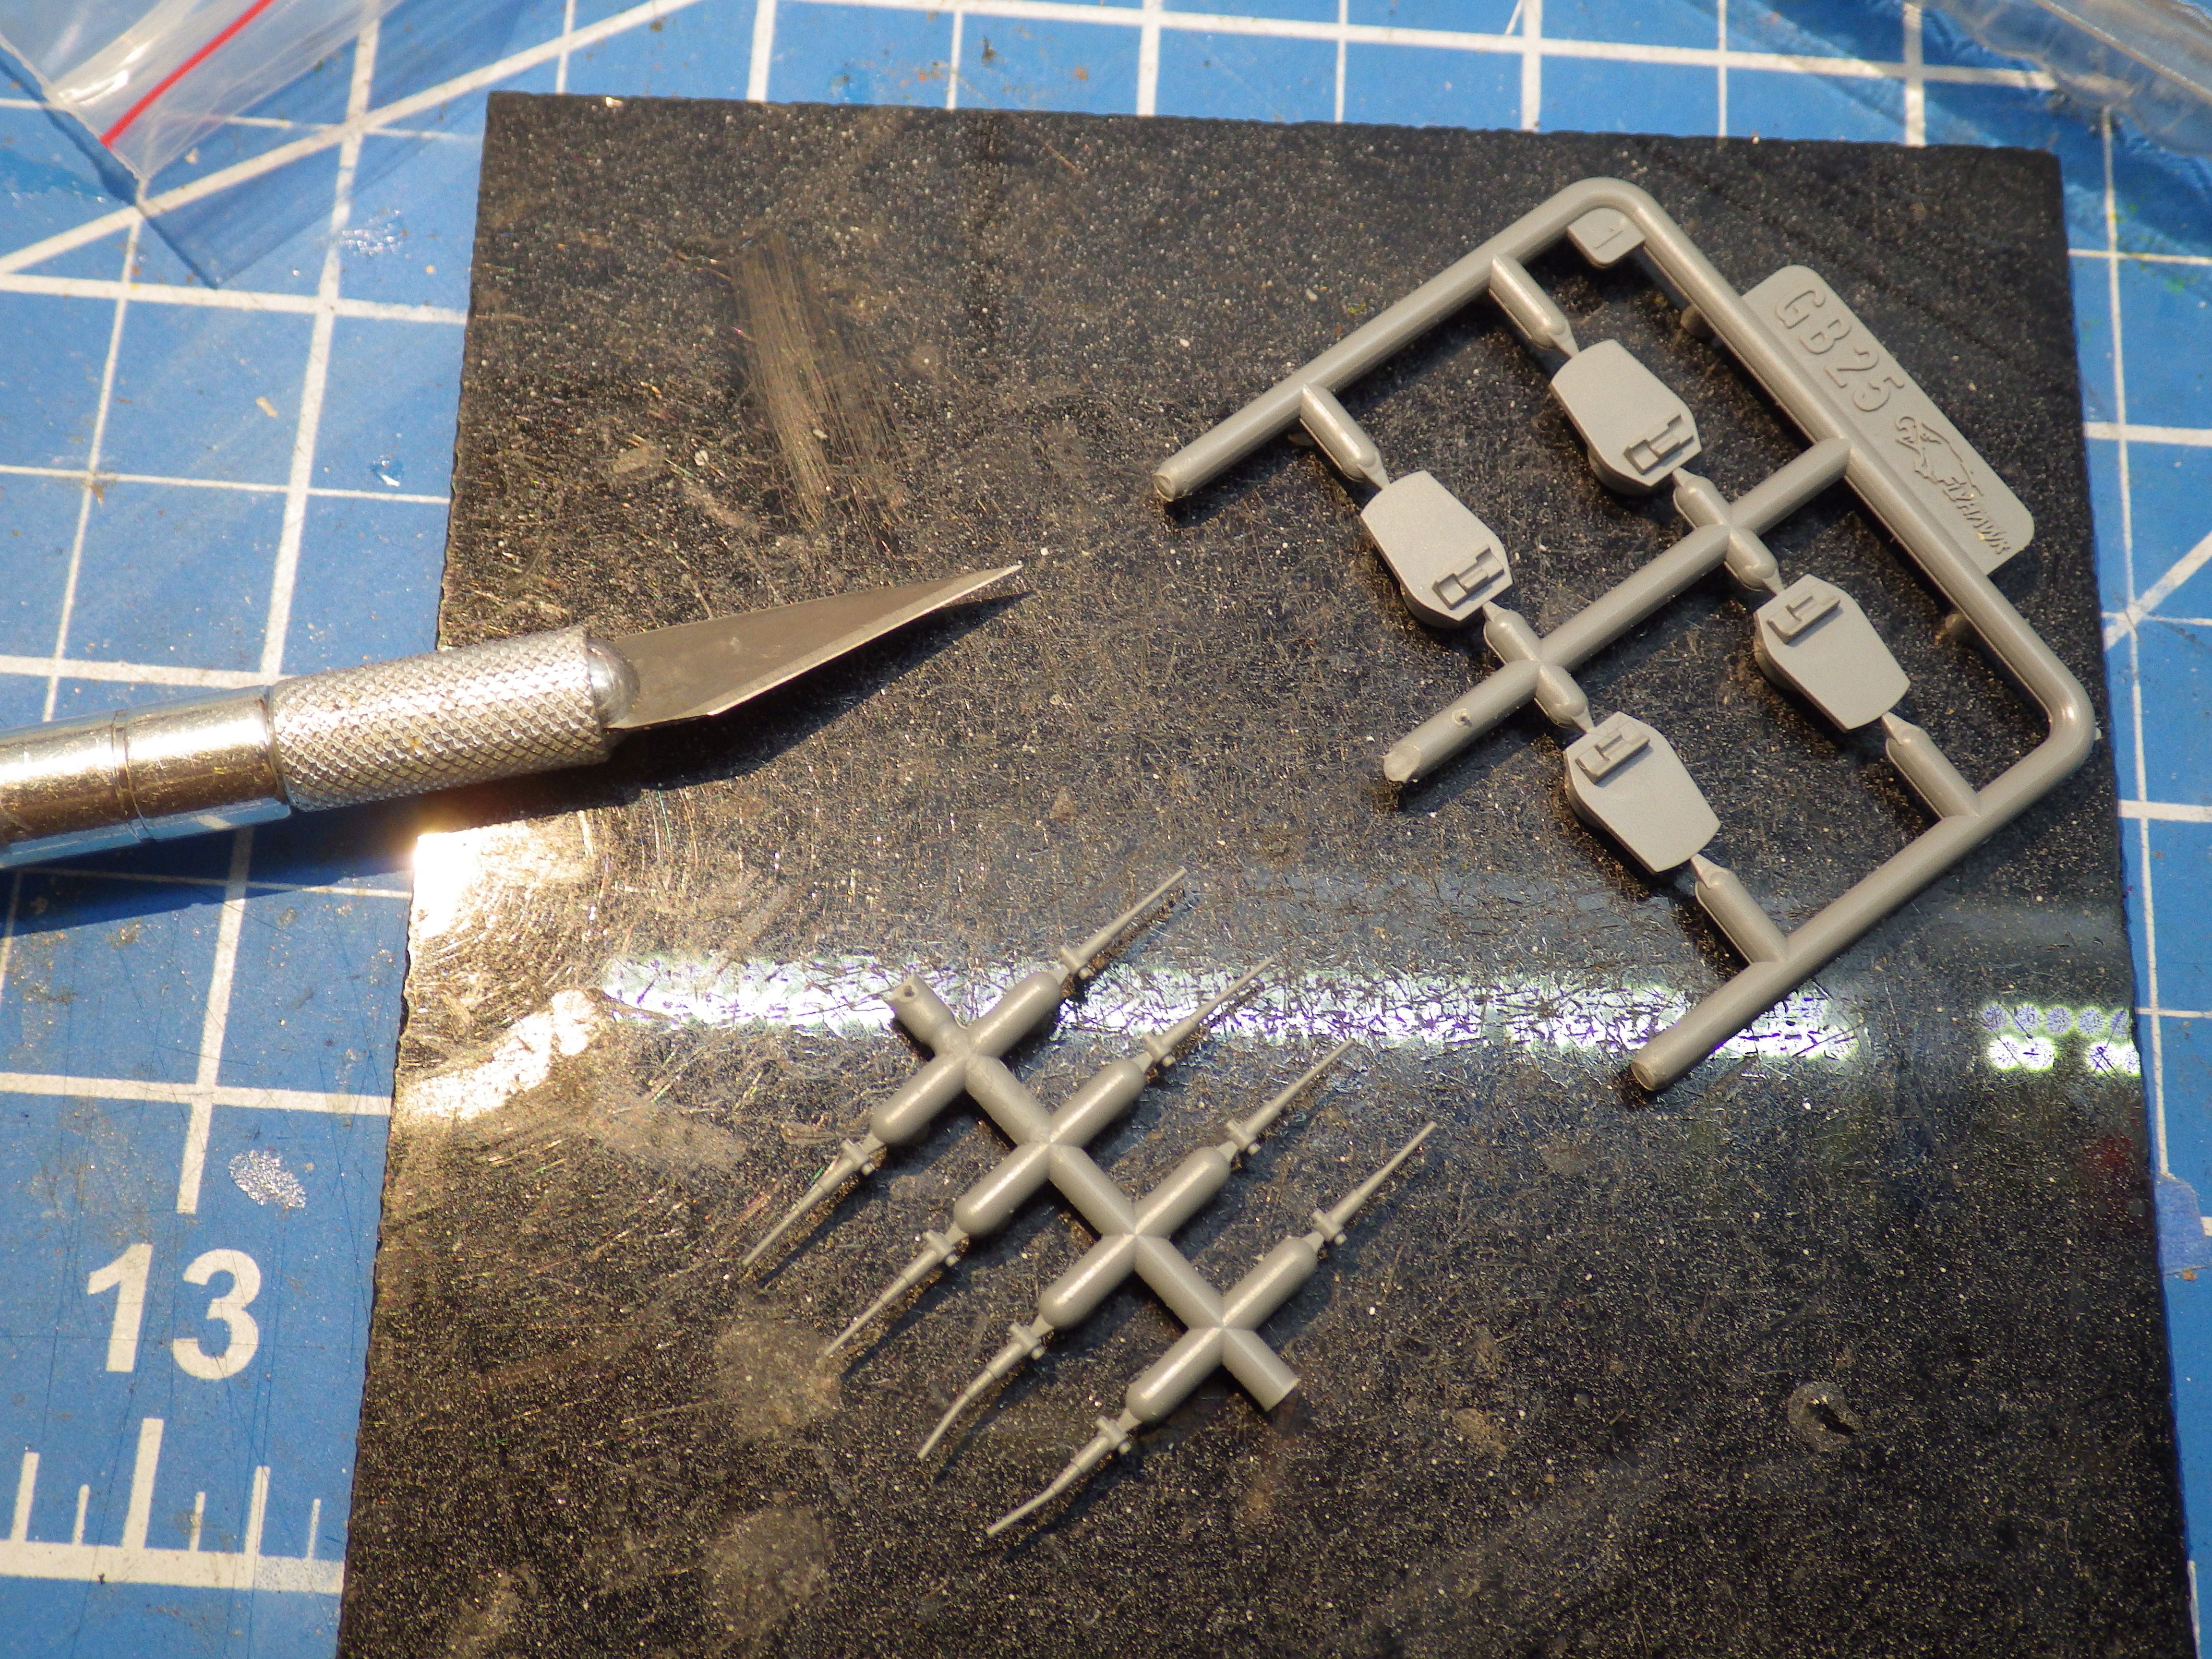
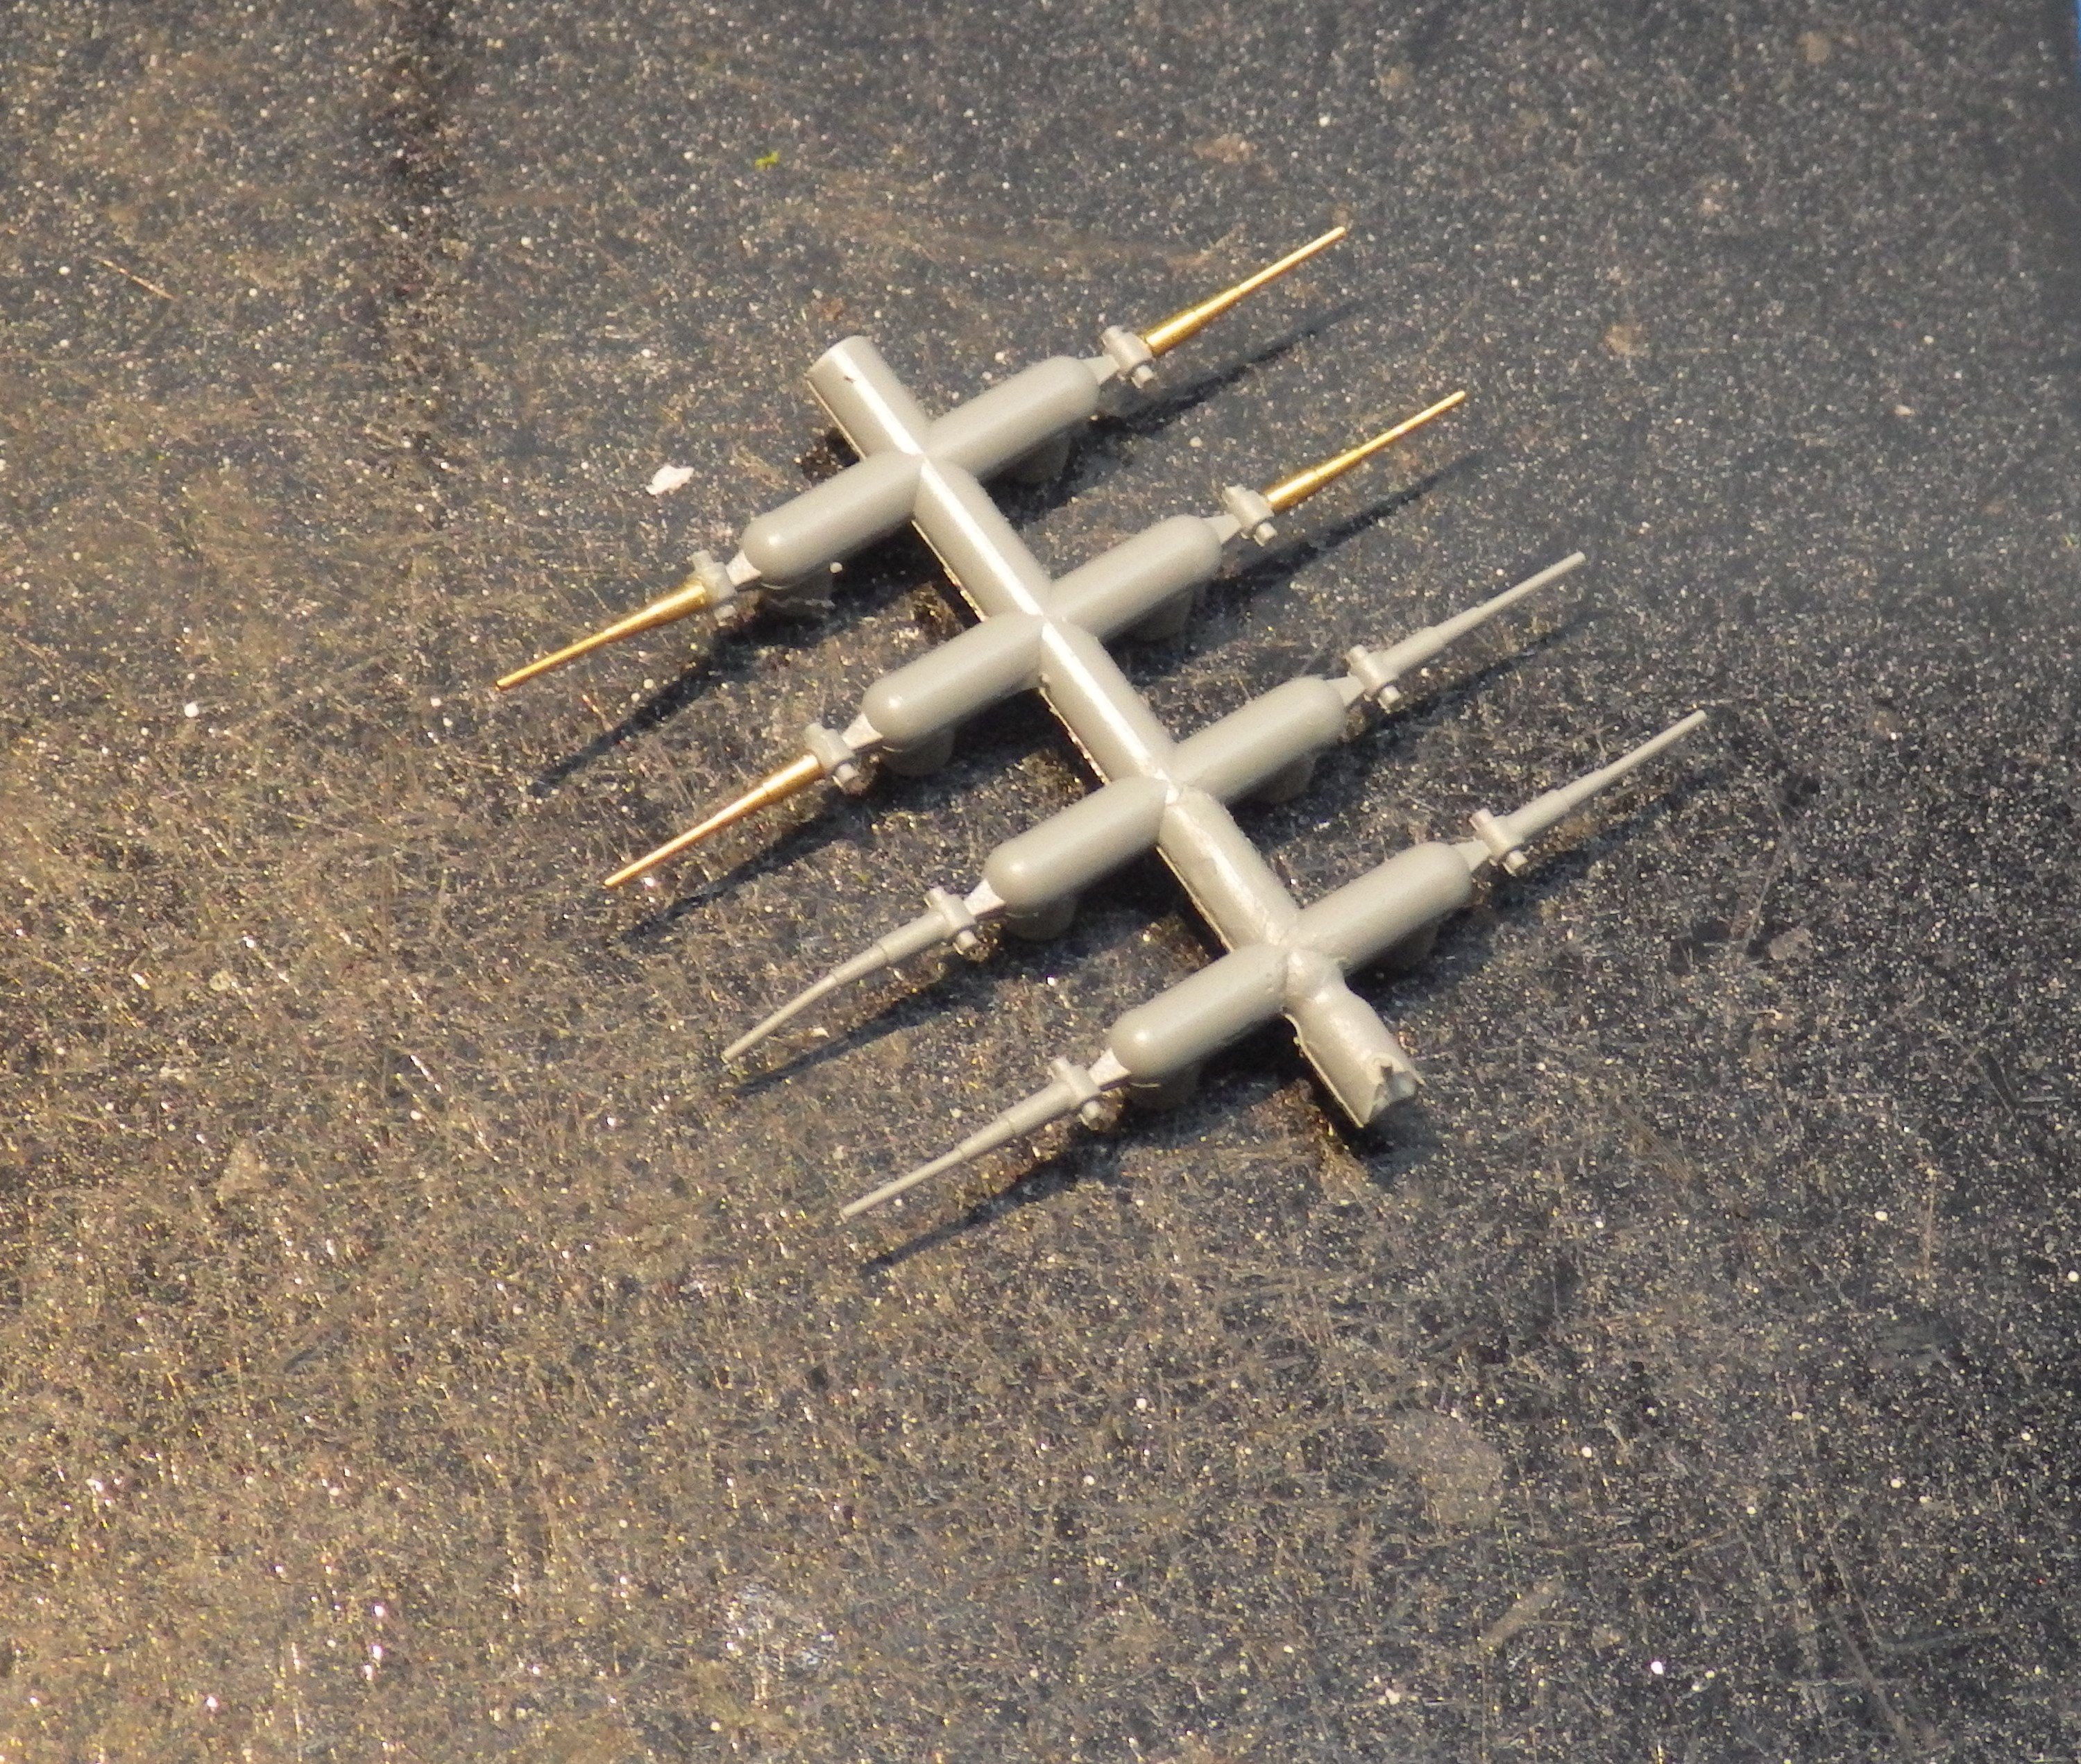
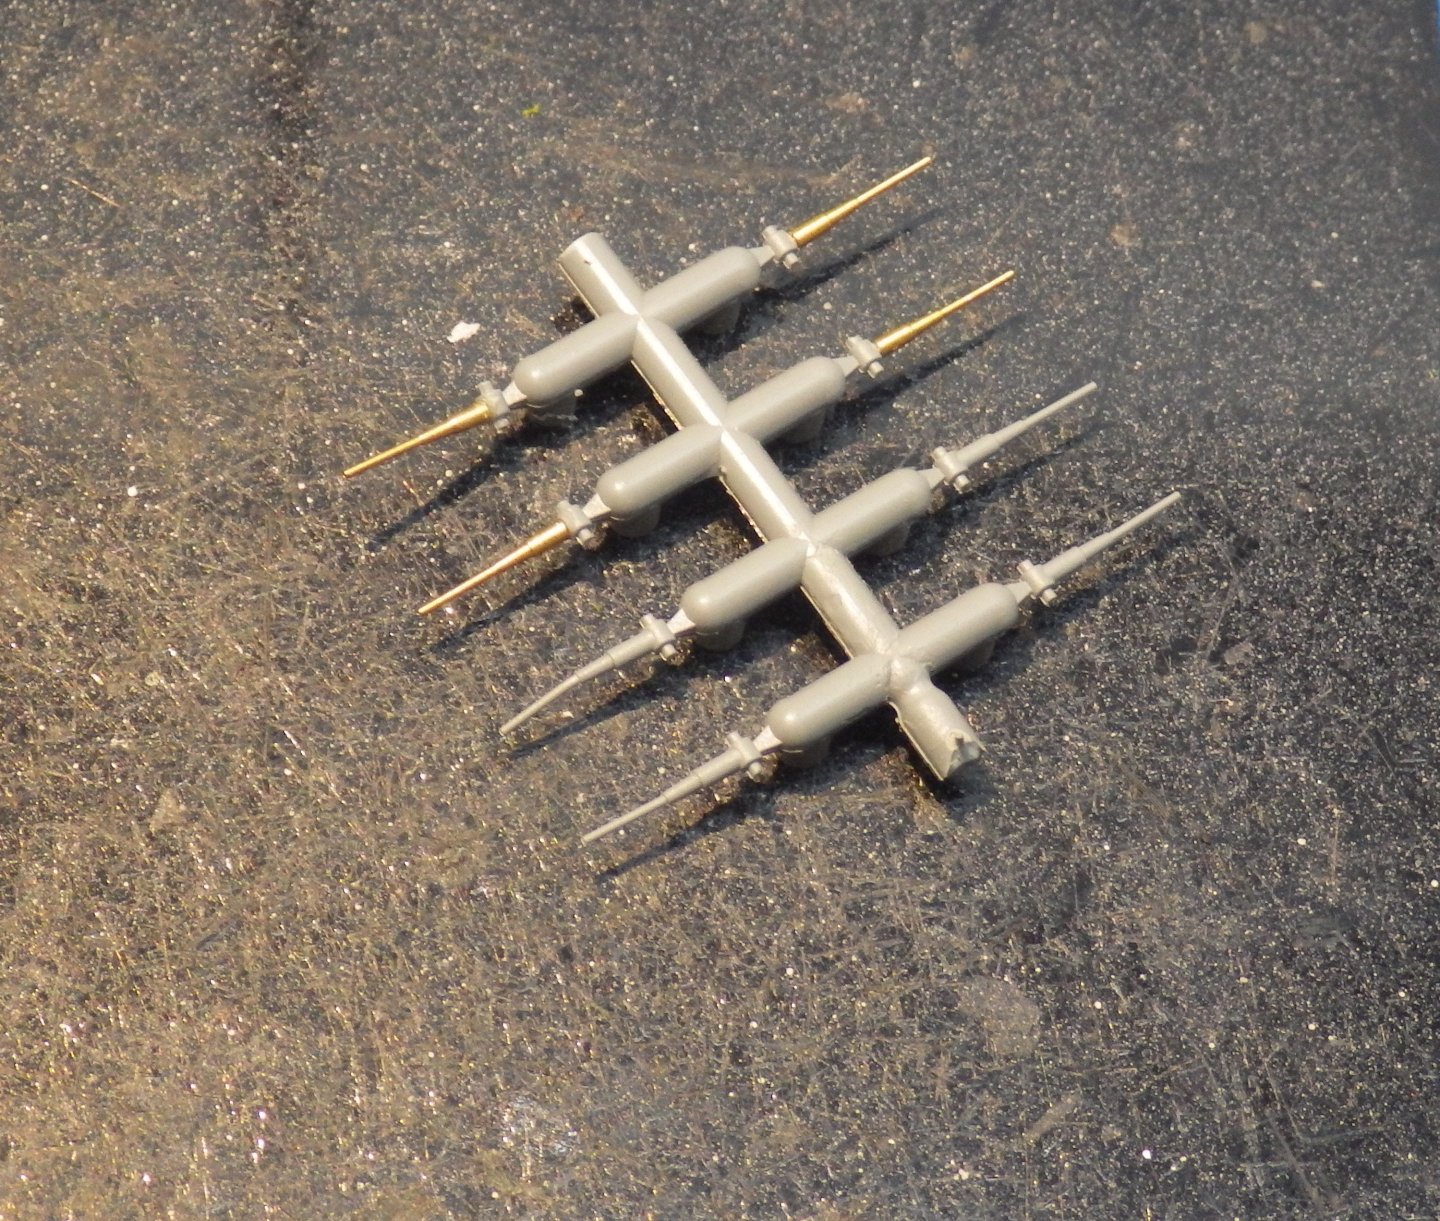
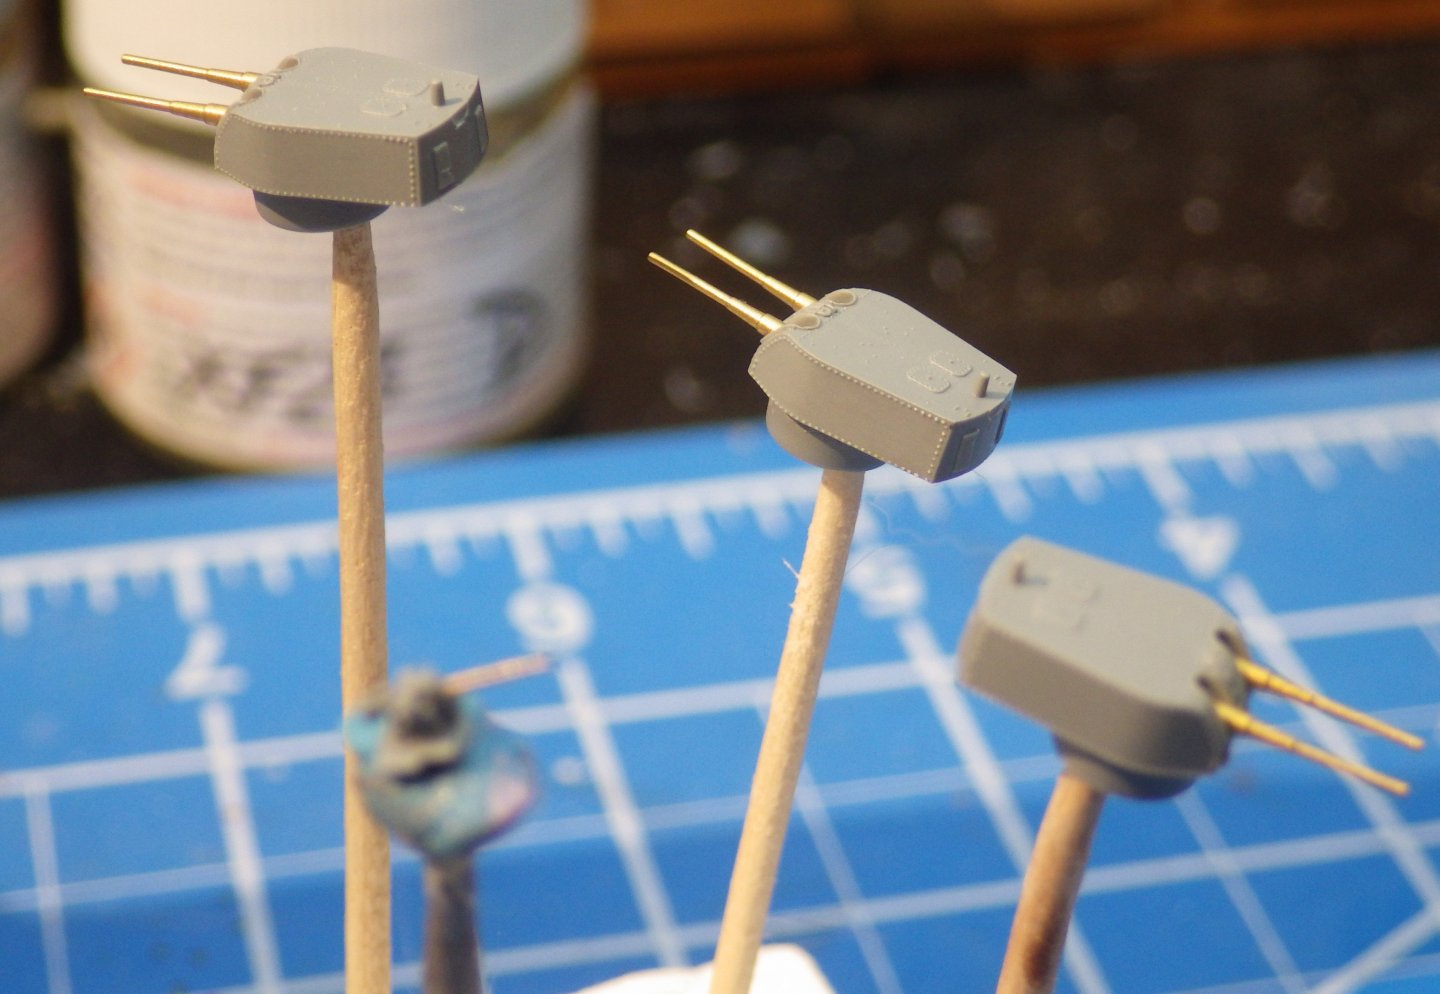
Thanks Mike. I’m glad I made the effort with the brass barrels. They do look nice even though I’m amazed at what Flyhawk can do with the plastic parts. I’m starting to get into the swing of the build now Alan
-
Absolutely wonderful work Rob. The desert weathering is so realistic, the sand scape is terrific and there is so much packed into a small space. Lots of great details. This is one to remember Alan
-
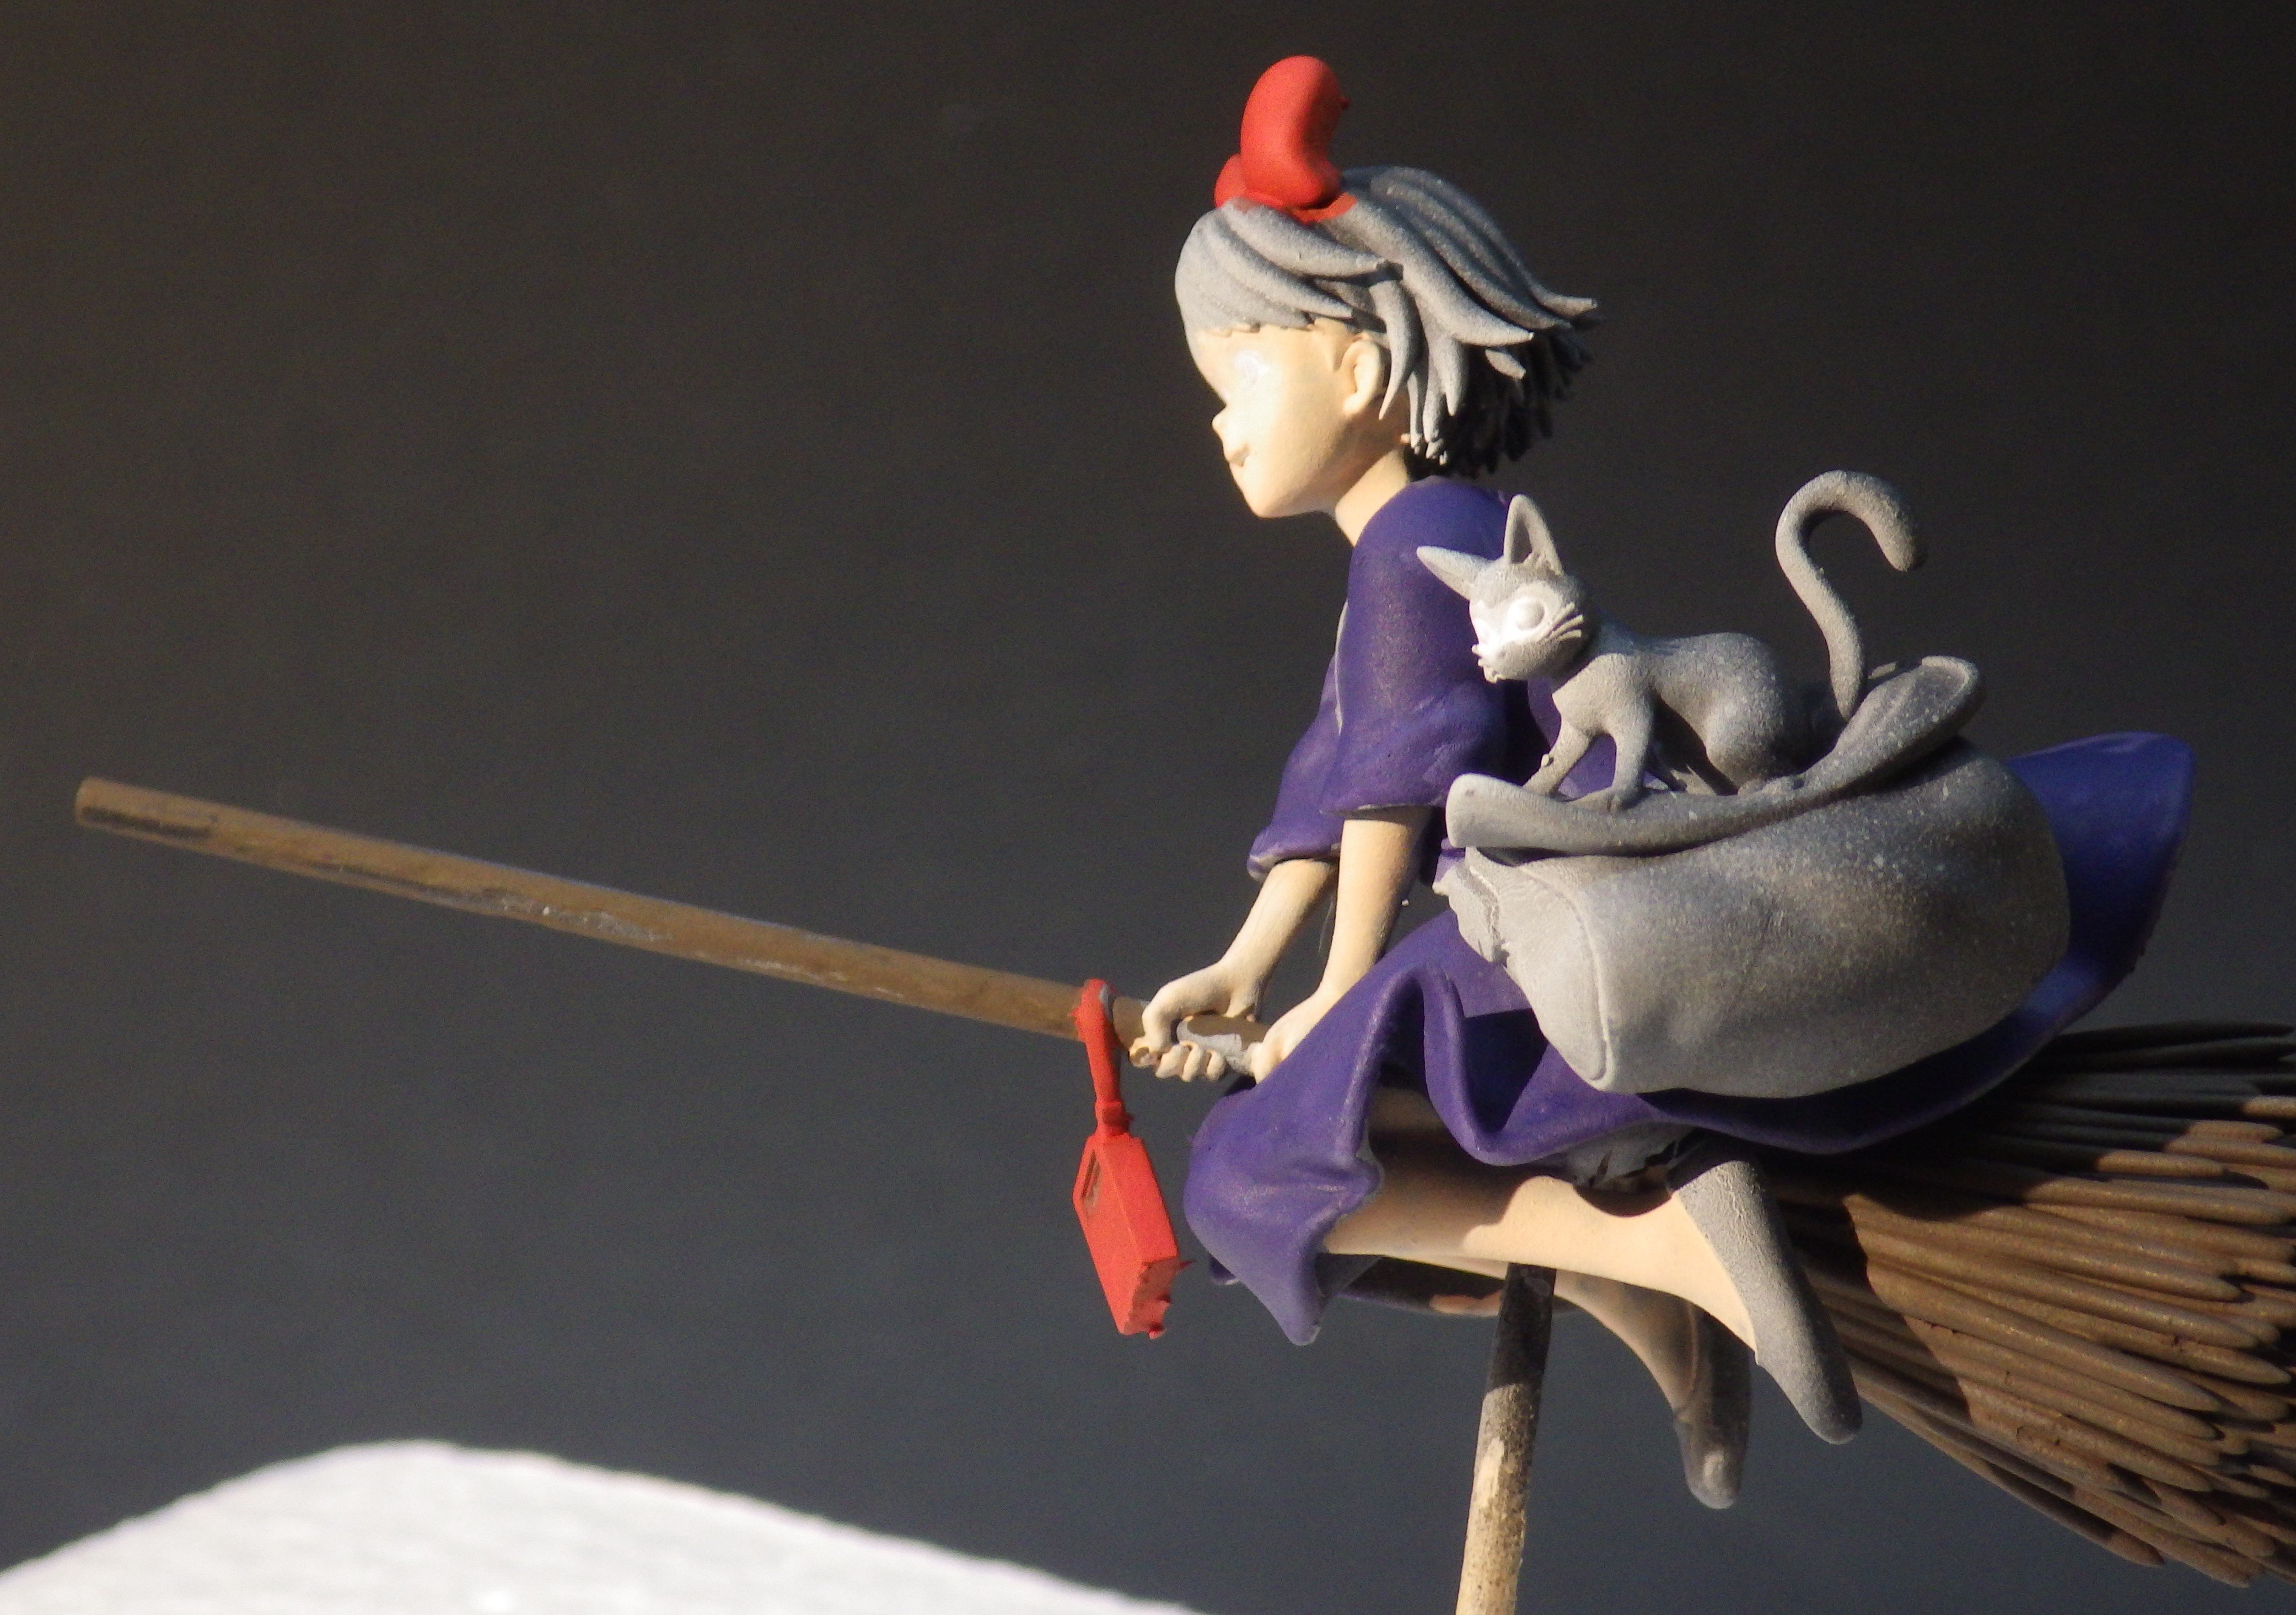
This was one of a few resin figures bought off Etsy. The site seems full of wild and wonderful creations 3D printed in resin. I thought they might be a bit of light hearted relaxation when the fine detail on Galatea becomes a bit too intense. Annoyingly I thought I had taken photos of the parts that make up the figure but according to the memory card I didn't so my apologies. The figure is Kiki who I believe is a (possibly Japanese) animation character. I liked the rather nice pose and at 75 mm its a bit bigger than the usual subjects. Being based on an animated figure it presents some food for thought regarding the painting. The face has the exaggerated features and the cat is somewhat of a character rather than a real cat so I need to think how to deal with the eyes on both figures. Anyway its a bit of fun and will probably be a Christmas present so please don't take it too seriously. I primered the figure and added the white directional shading. Now I'm blocking in the basic layers of colour Thanks for looking in. I'm not sure where this will end up. Alan


- 7 replies
-
- 10
-
-
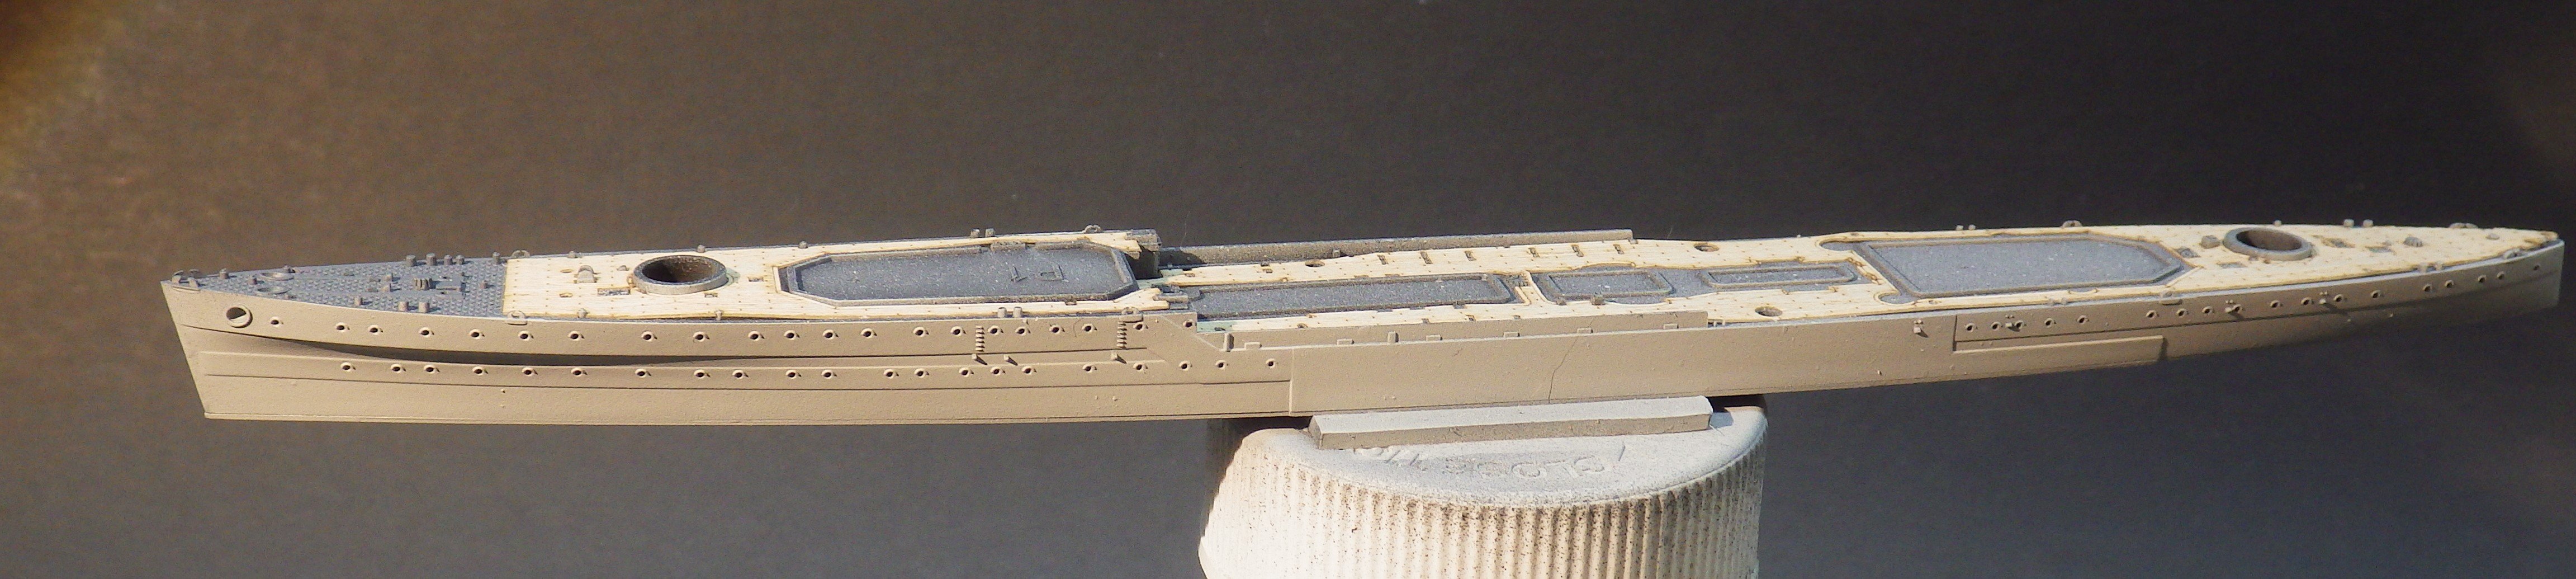
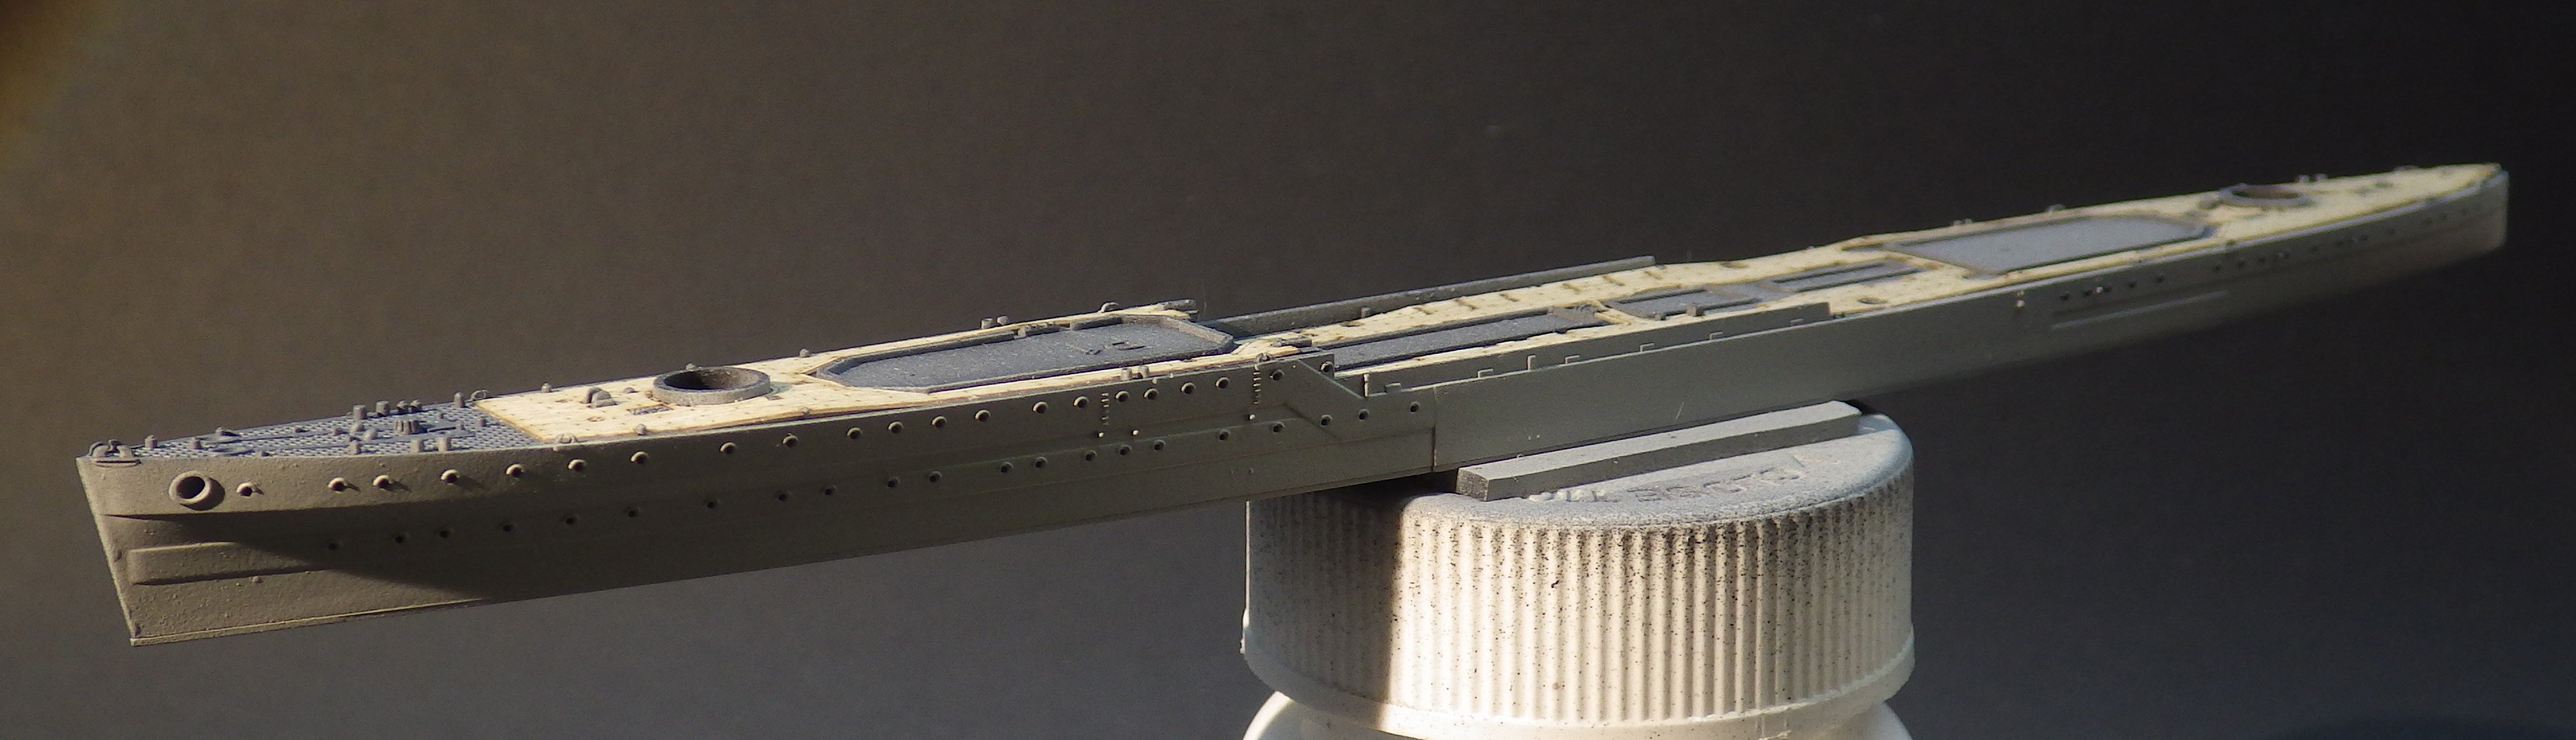
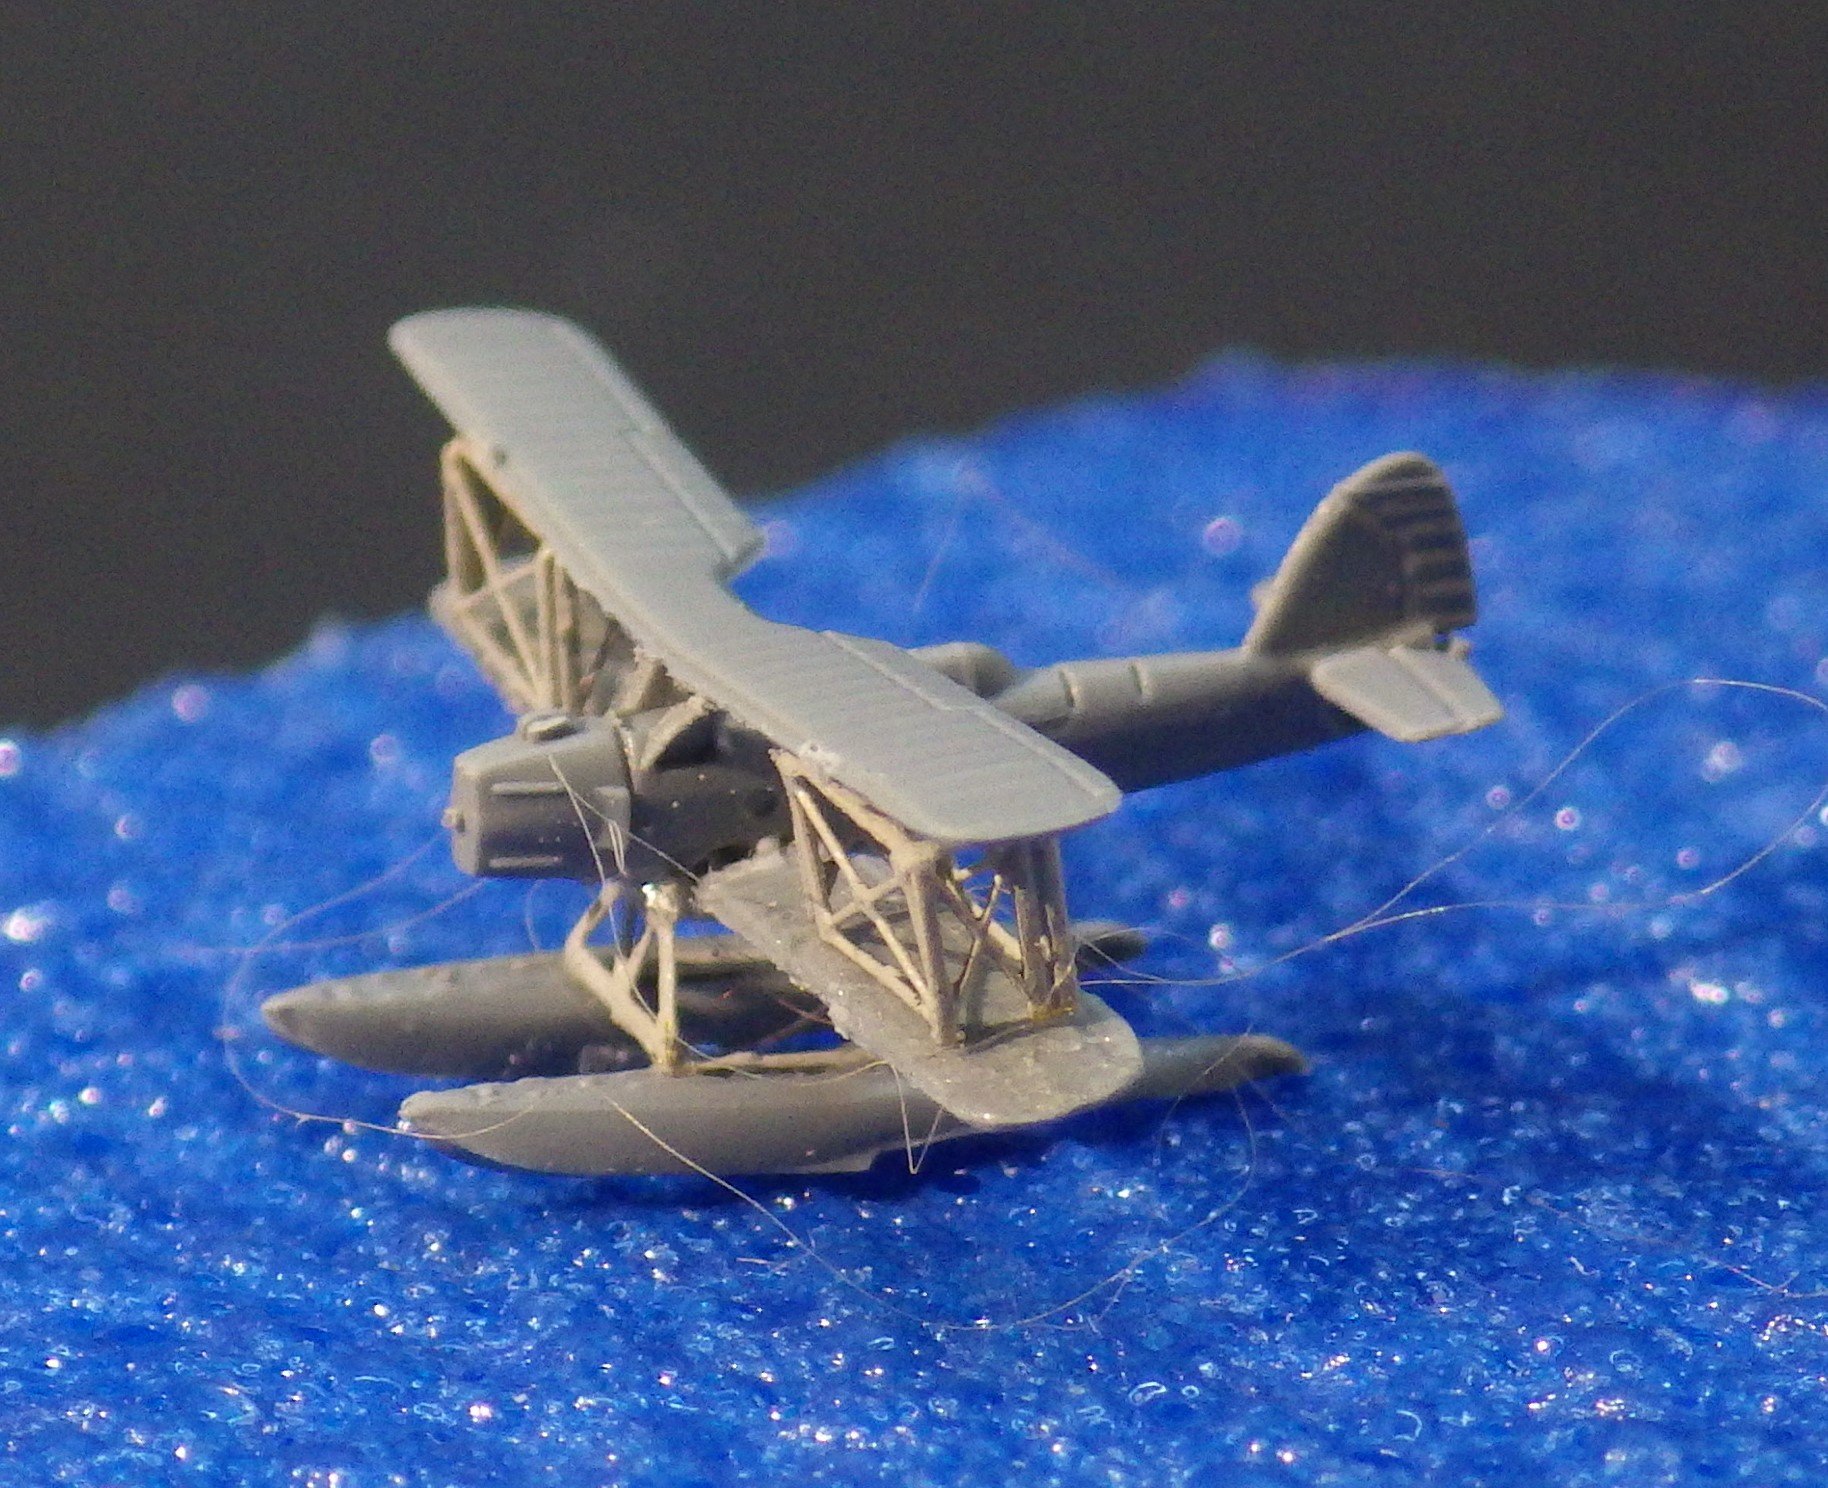
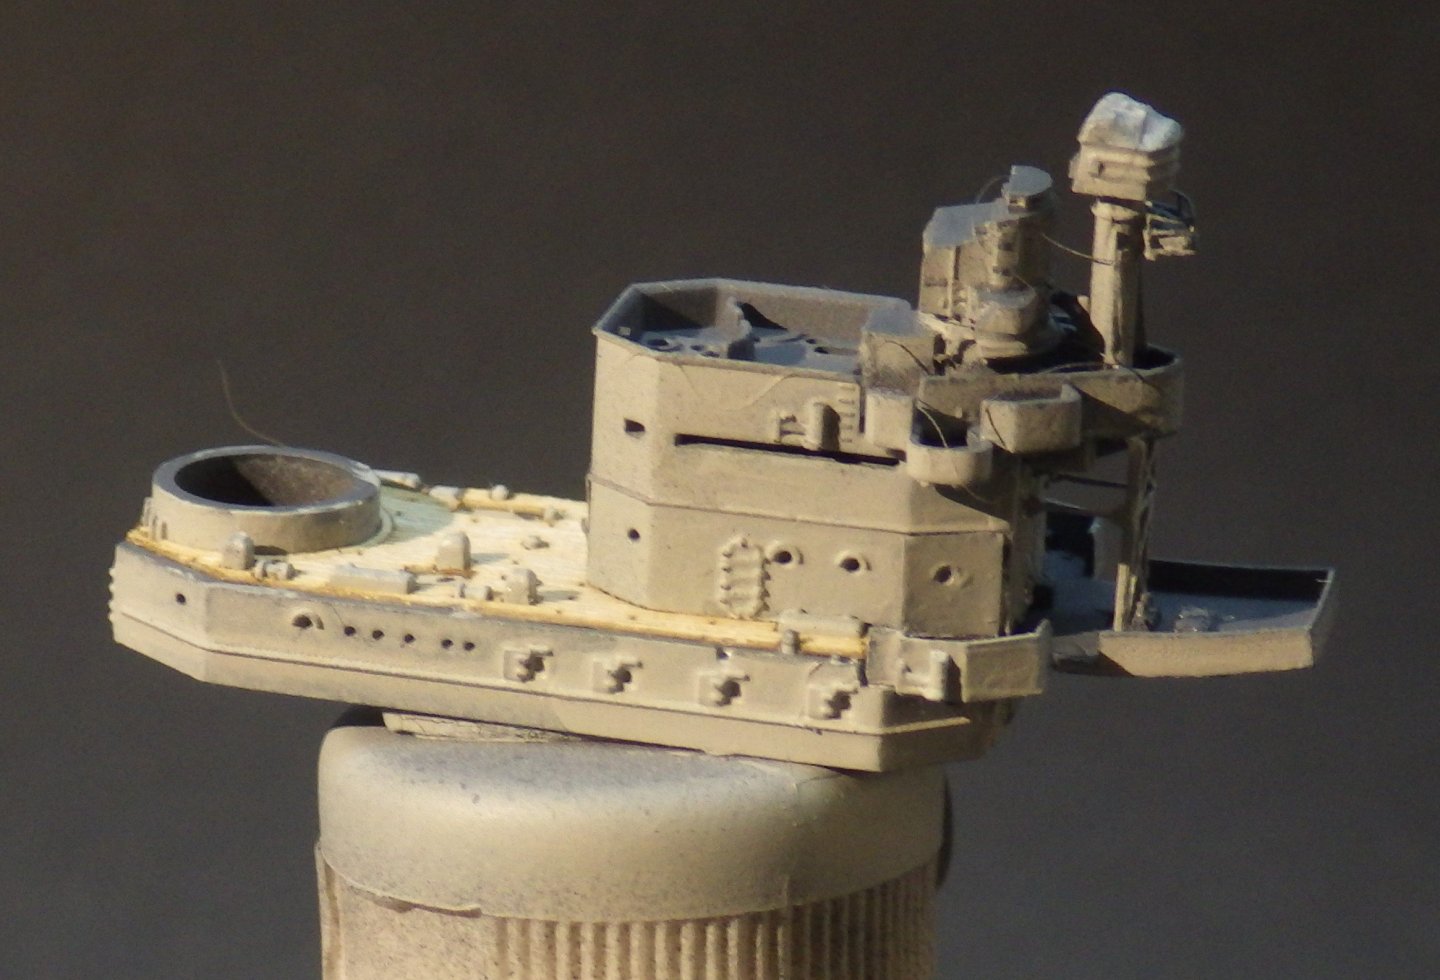
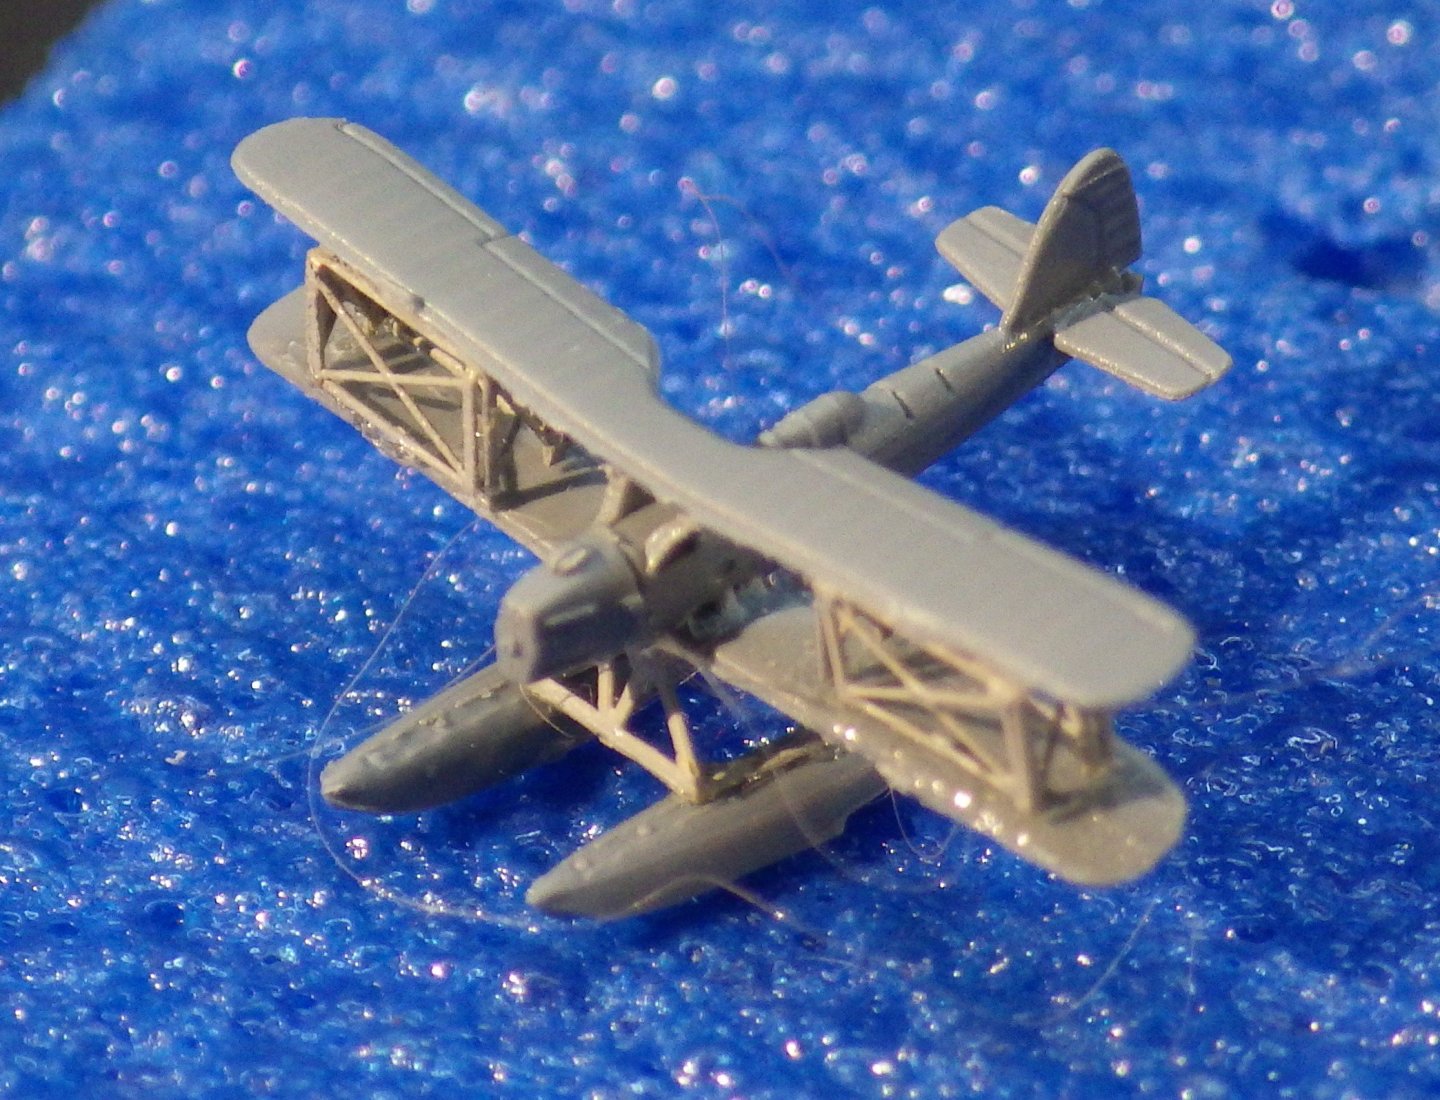
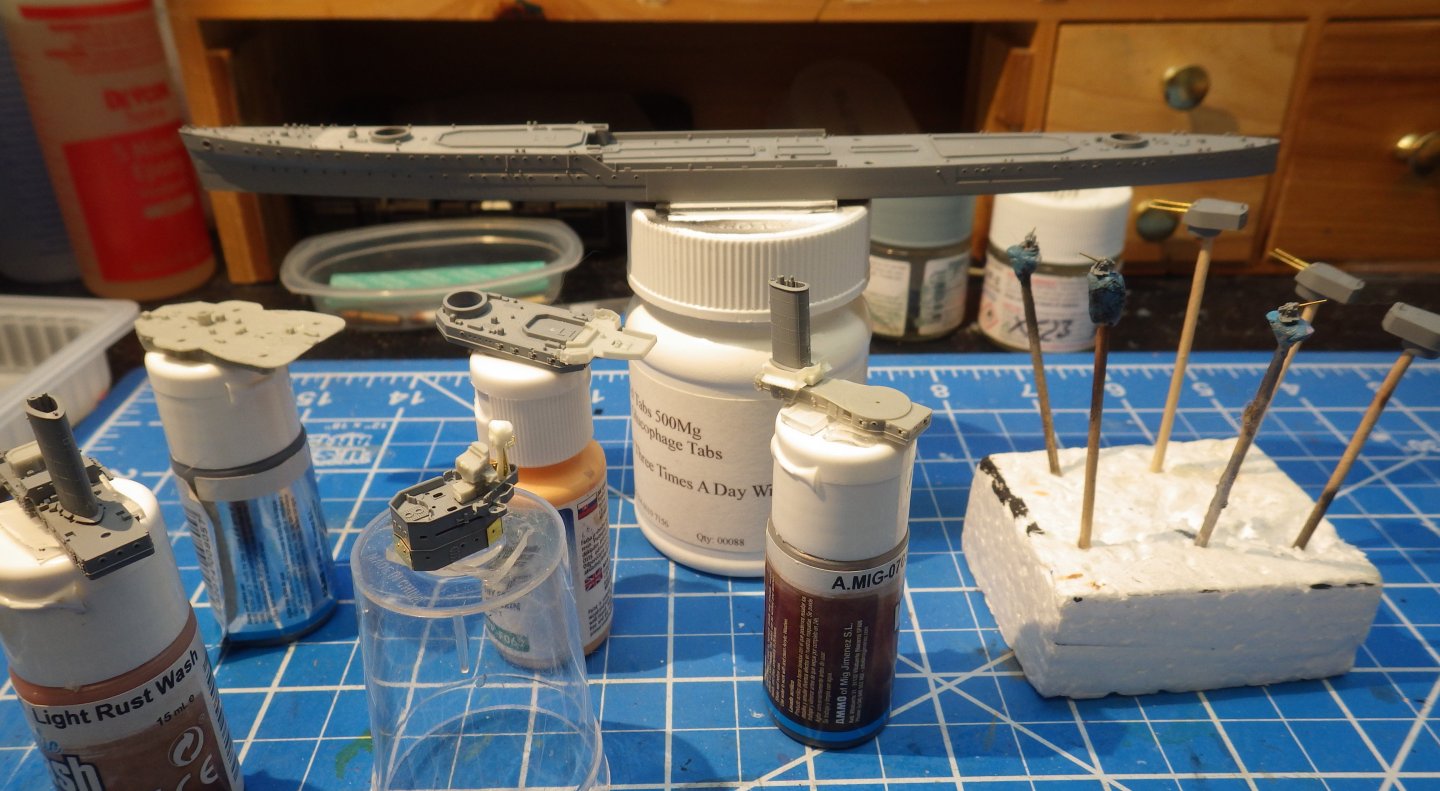
Progress has been slowly made. The dark grey steel decks and the pale grey superstructures have been painted. At this point the wooden decks have been added. The fit was perfect and they seem to have stuck down nicely. The PE is slowly being added . The usual thin PE material that has little spring and folds well but is very unforgiving if you need to bend a second time. And todays work in tiny world - building the Sea Fox. Looking at the photos the wing bracing could be better so I may try to adjust that tomorrow. The upper wong has a dihedral and the lower wing doesn't and the PE bracing doesn't allow for that. I realised at the weekend that I had somehow overlooked priming and painting the sprues of small parts, binnacles, searchlights, bollards etc. so this has now been done and I can start populating the various subassemblies. Thanks for looking in and the likes and comments Alan


-
Thanks Mike. It is a super kit to work on after the Amodel number. Parts fit, have no flash and wonderful detail. There is enough detail that I don't feel anything needs to be added apart from the wooden decks. Probably going to be slow as I work my way back into the sequences needed to build it. Alan
-
Lovely, nice neat paint work Andy. Are these the Vallejo Model Air range. I use the Model Color range for my figures and like them a lot but haven’t tried them in an air brush. Tamiya acrylics work well for me with the airbrush as do MiG Ammo ones. AK real color doesn’t and I have mixed success with Life Color. I spent yesterday afternoon unclogging the airbrush after ten minutes trying to spray heavily diluted Life Color 507A. I bought a couple of MiG Ammo Atom paints to see if they are any good but haven’t tried them yet. Alan
-
Welcome Ken. I think the Flyhawk kits are level above others. The plastic parts are so crisp and delicate you hardly need PE. They do challenge me a bit with the tiny parts and delicate PE. Bright lights and magnifiers are essential. They have some interesting subjects but I would be very happy if they did a 1970s Ark Royal with Buccs and Phantoms. 1980s HMS Hermes with Harriers? alan
-
Welcome OC, I do like the Flyhawk kits. Everything fits together perfectly. For better or worse I have primered all the decks with MiG One Shot, painted the appropriate light and dark grey bits and just added the wooden decks. So far they seem to be sitting down nicely. For some reason I seem to have forgotten the order I do stuff in on these kits so progress may be a bit erratic alan
-
Welcome Andrew The Flyhawk models are well thought out and the parts are very precise. The plastic parts are often better than PE except for railings and girders etc. a lot of detail and sometimes a bit taxing because of the tiny parts. I like them a lot. i just started reading your Sparkler log. It looks a great kit and almost tempts me to try a wooden ship although rigging sounds daunting. alan
-
Beautiful and neat work alan
-
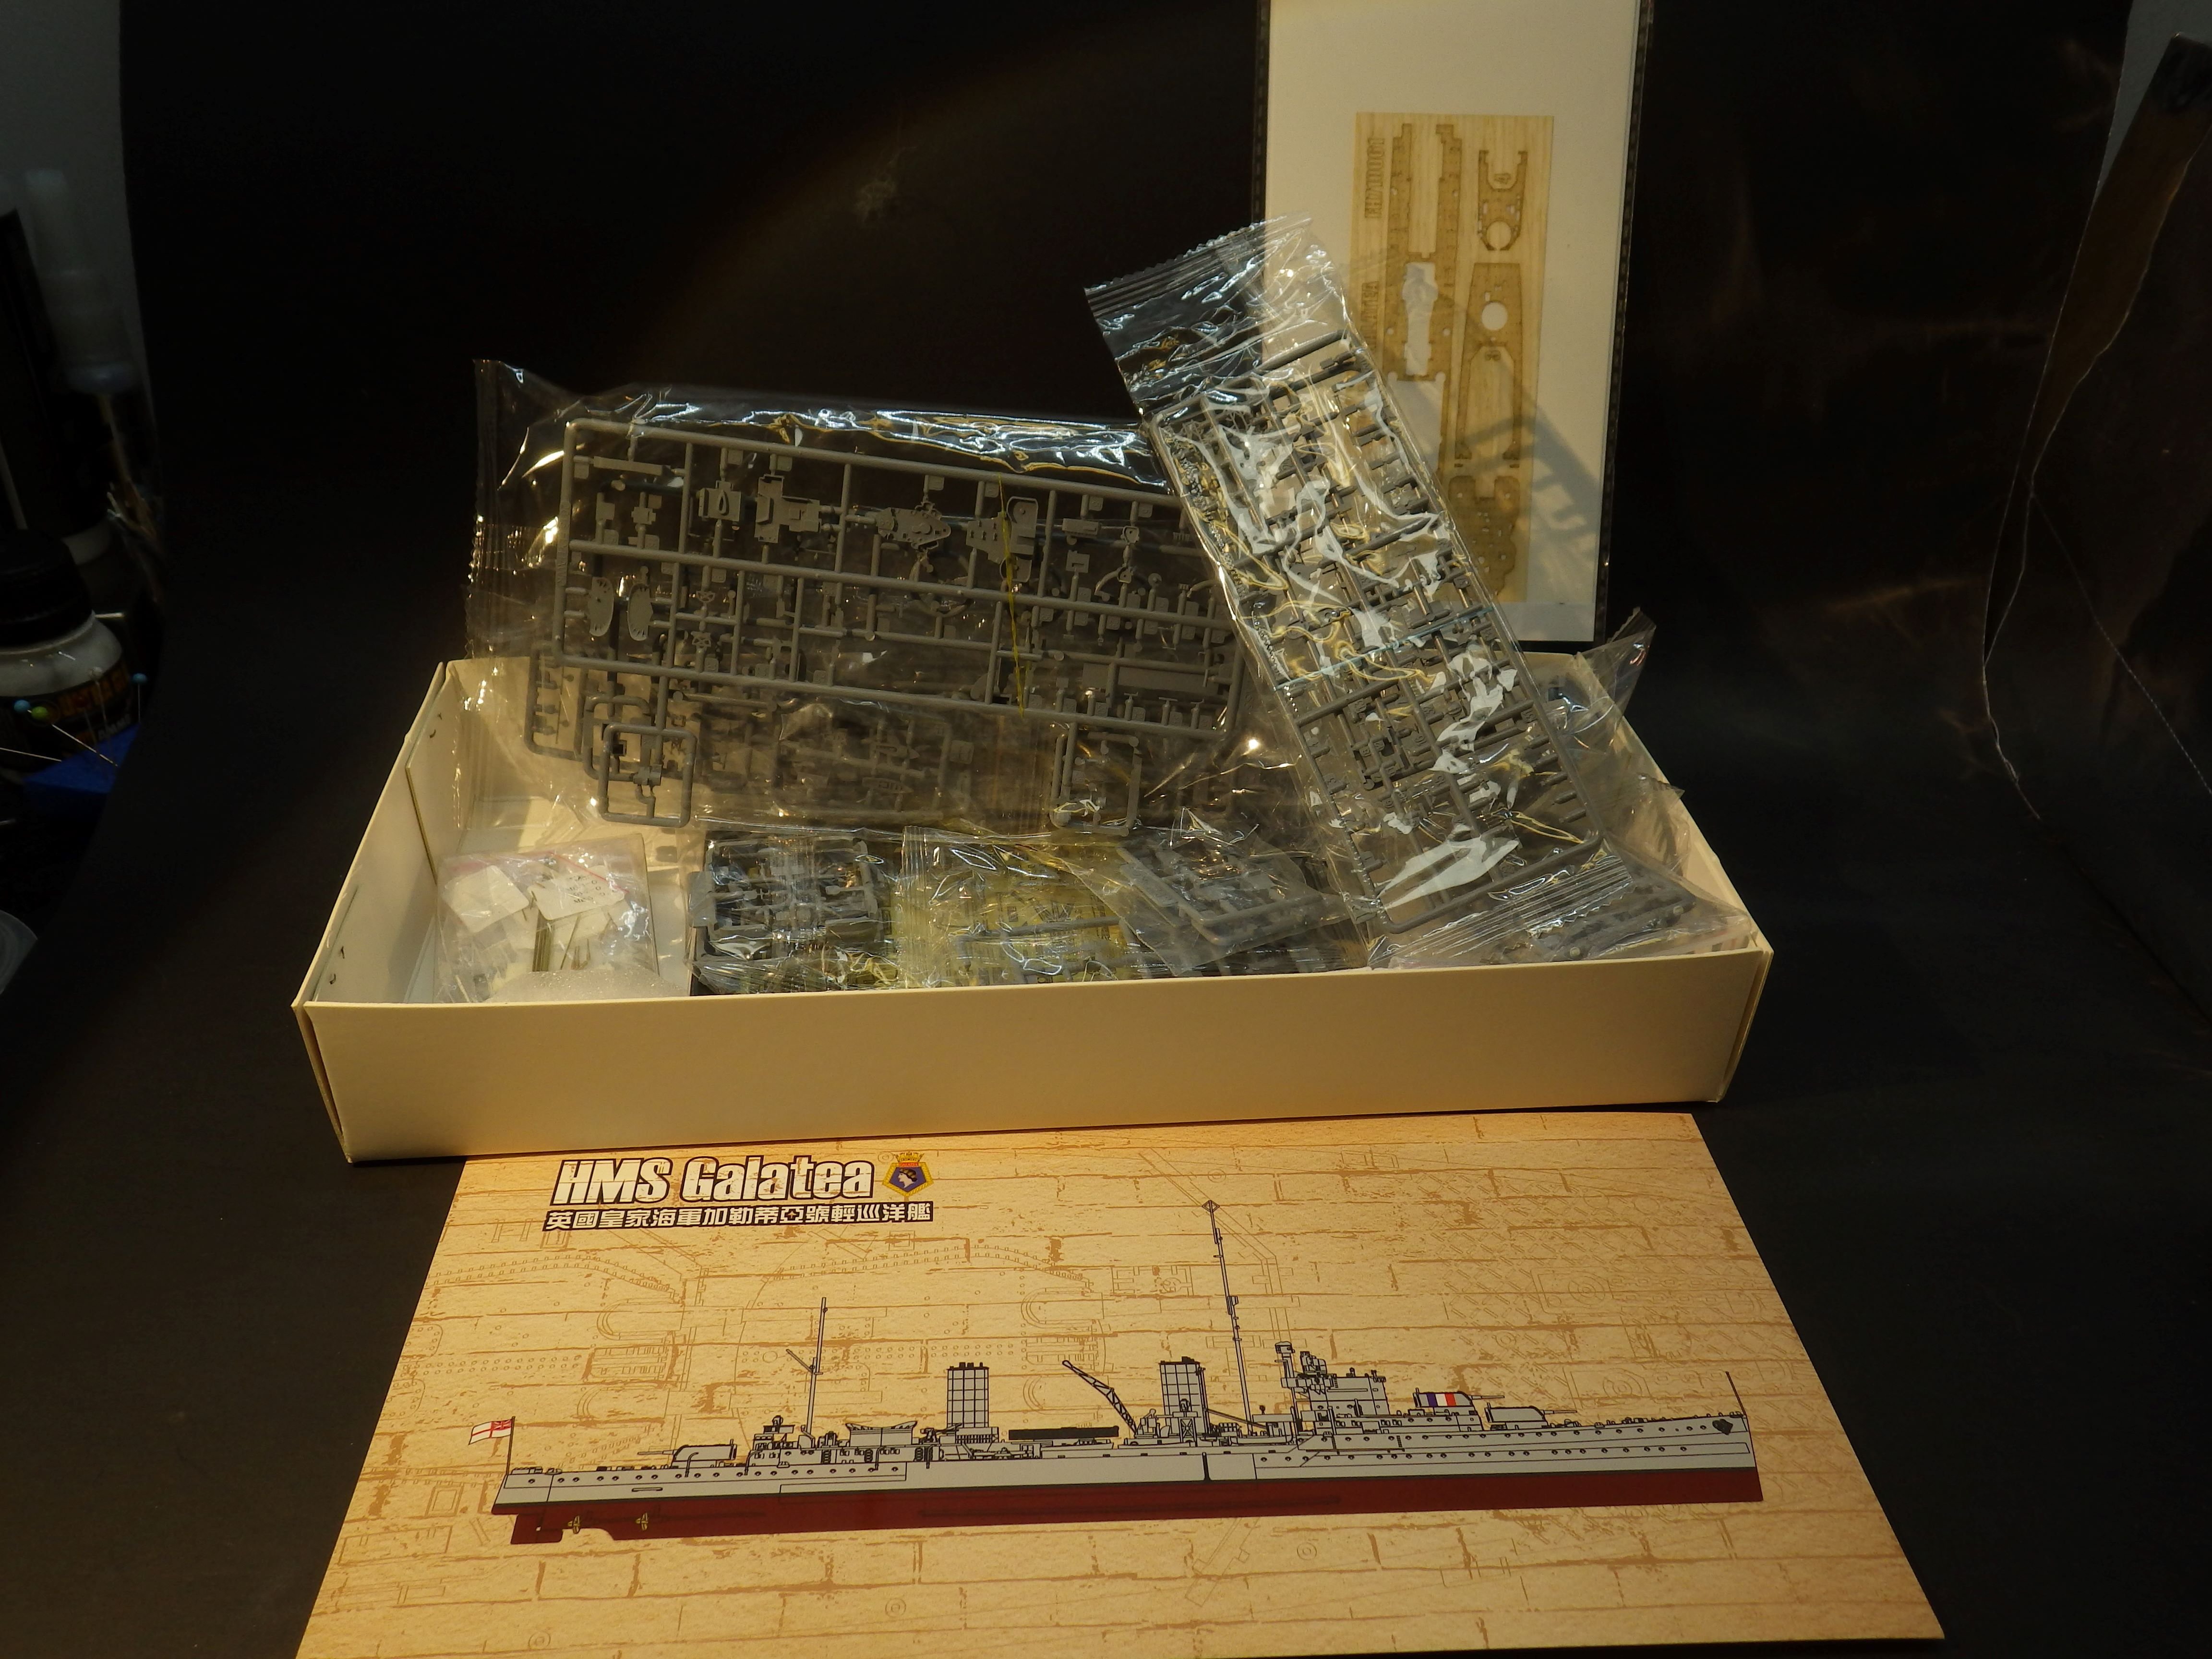
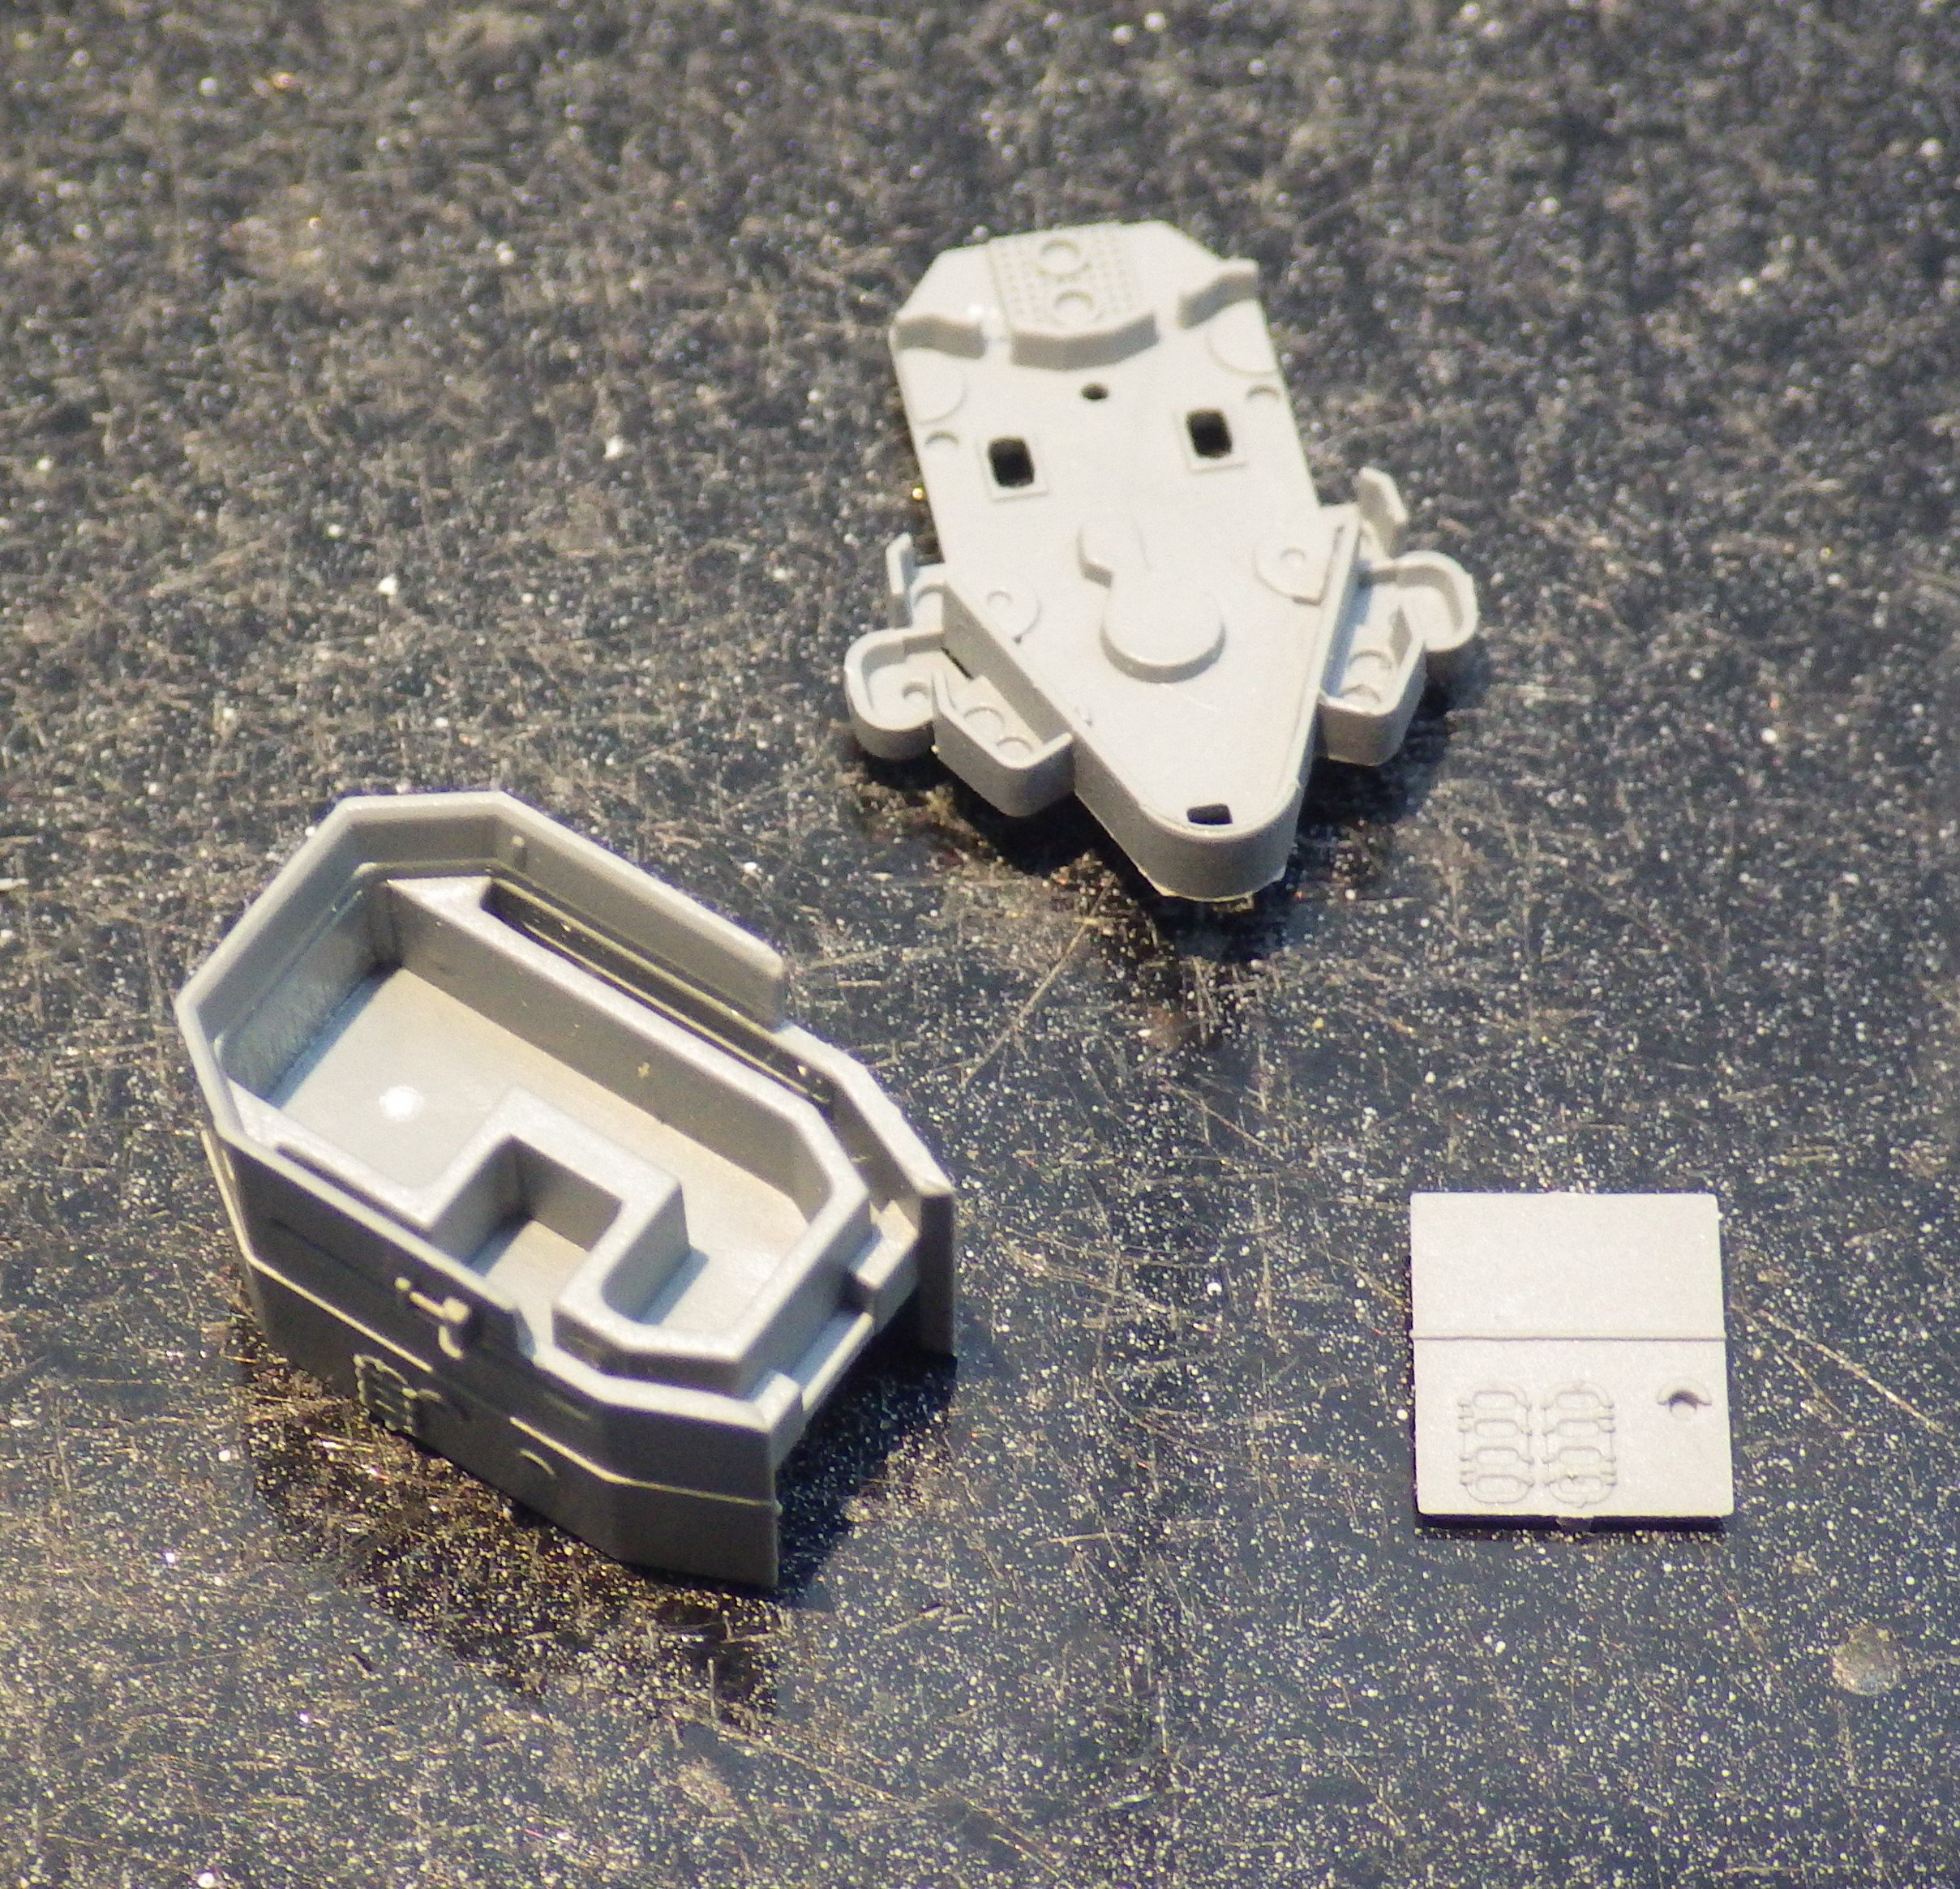
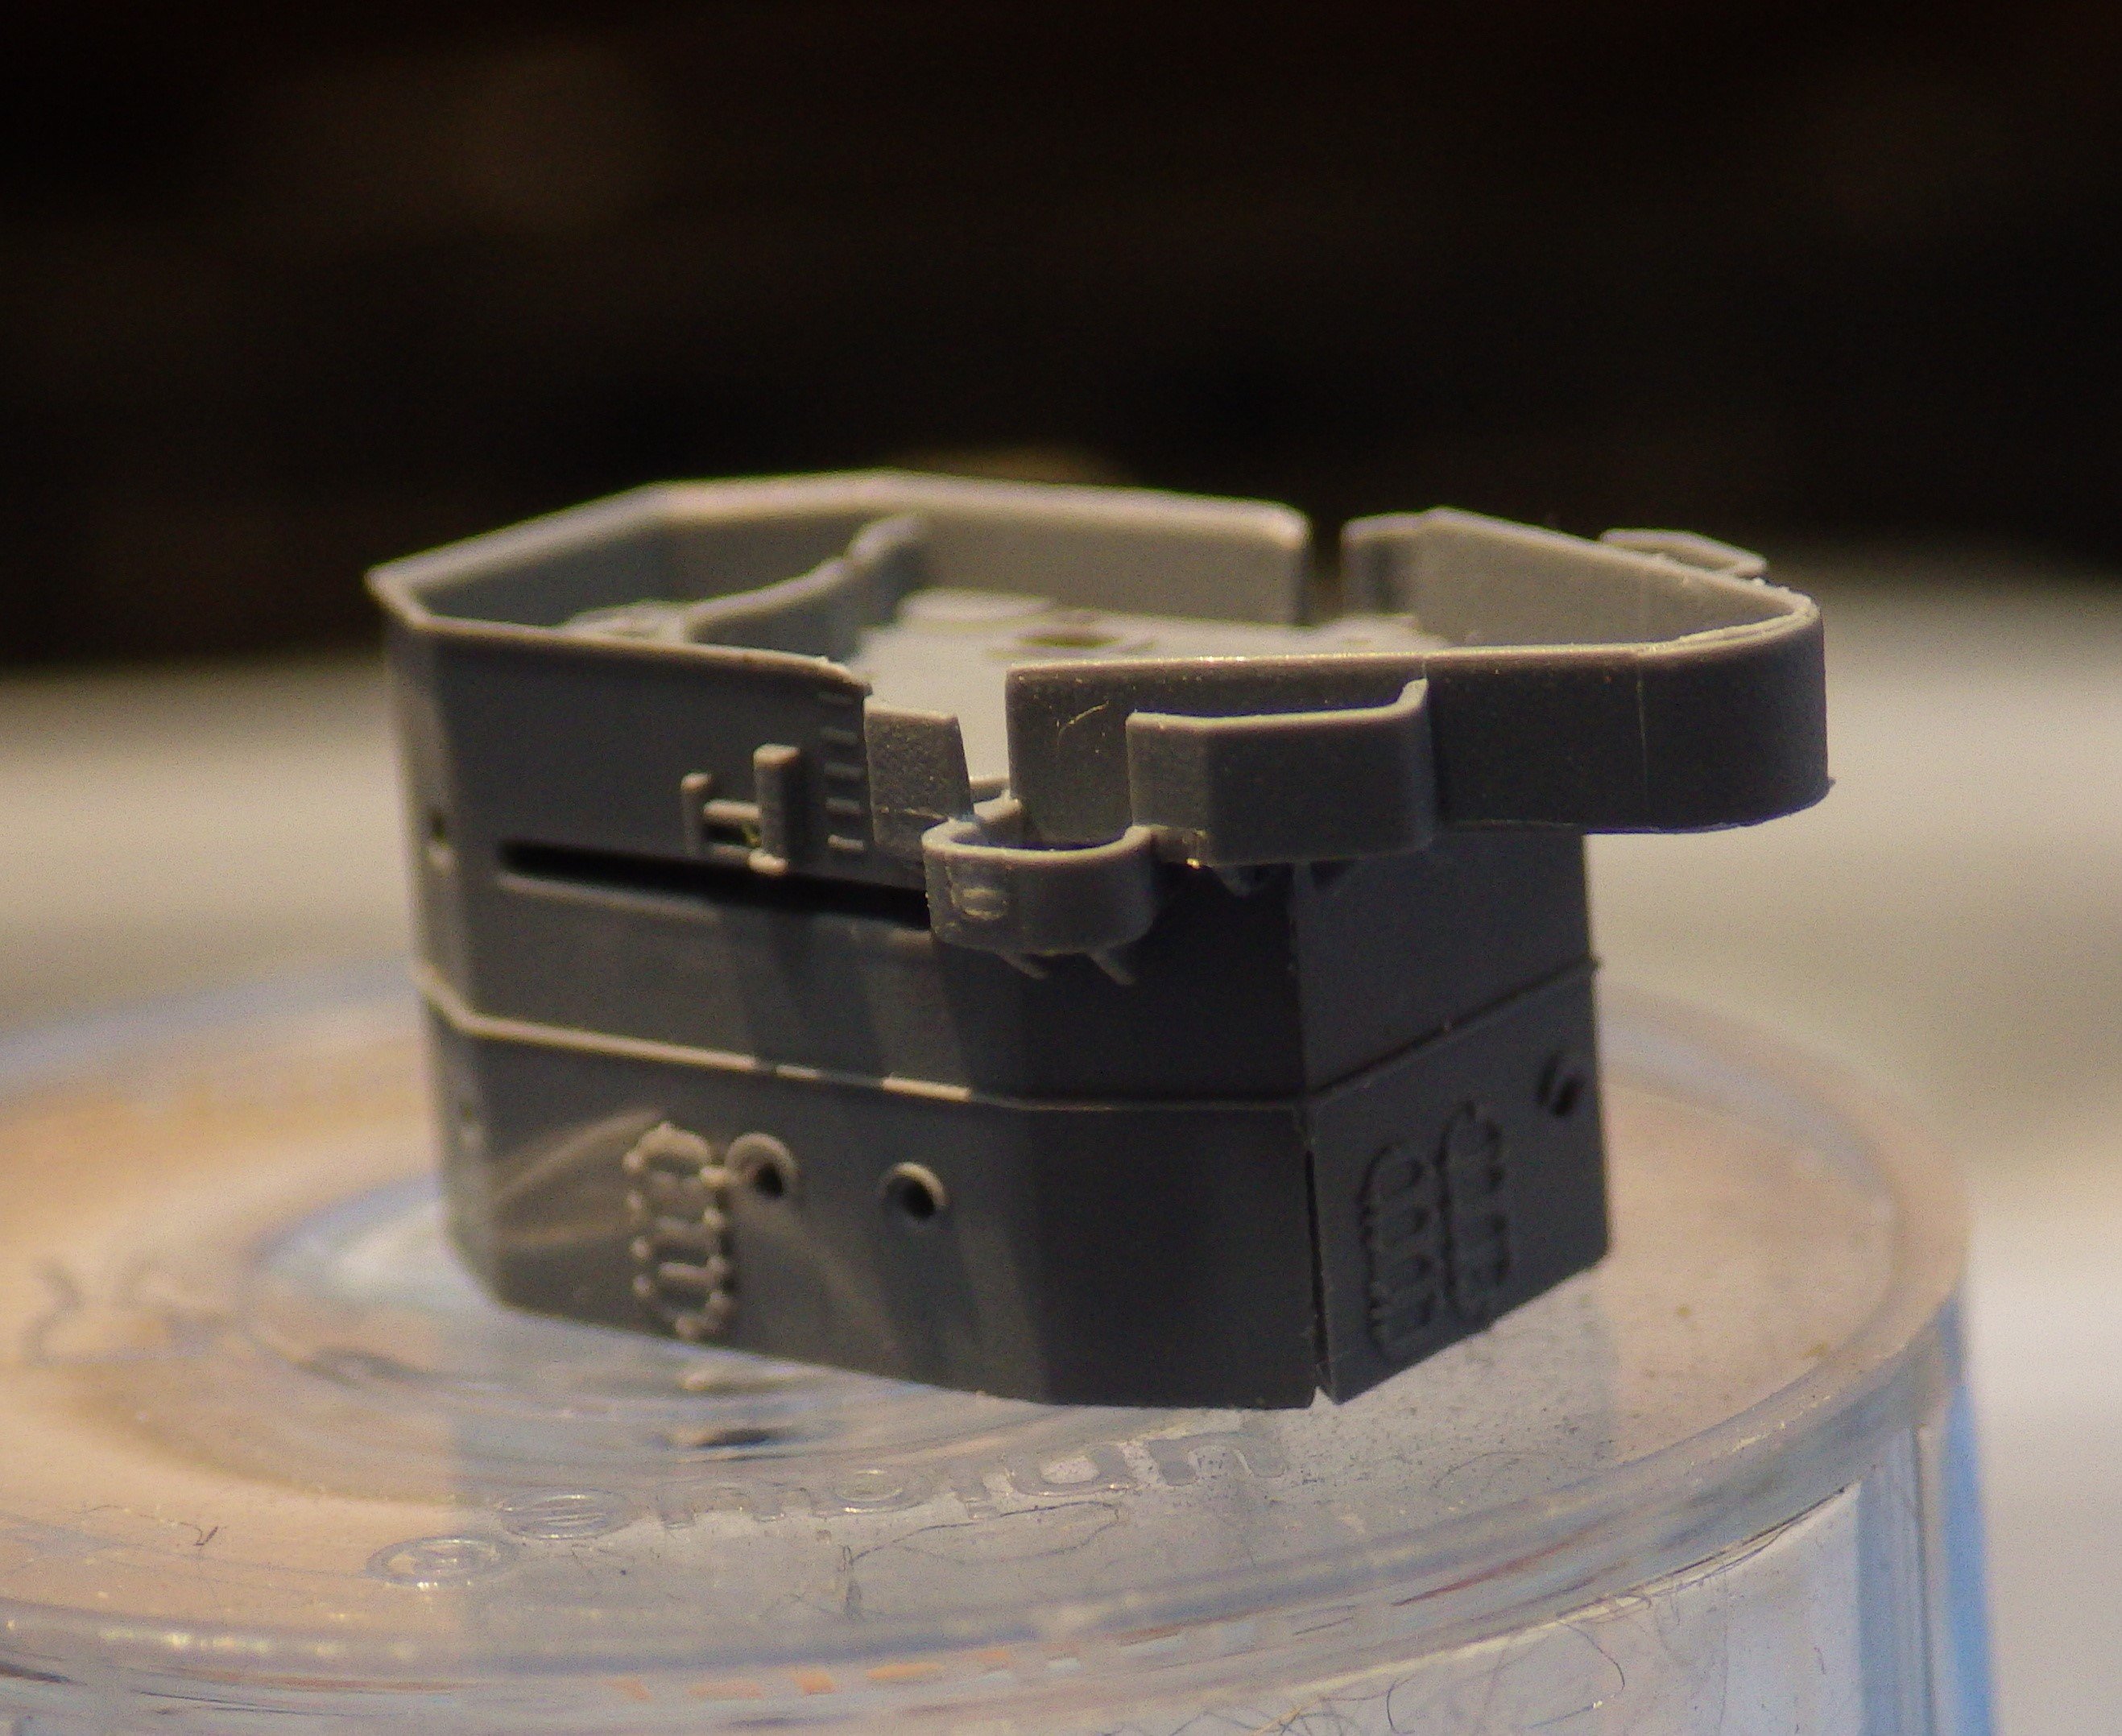
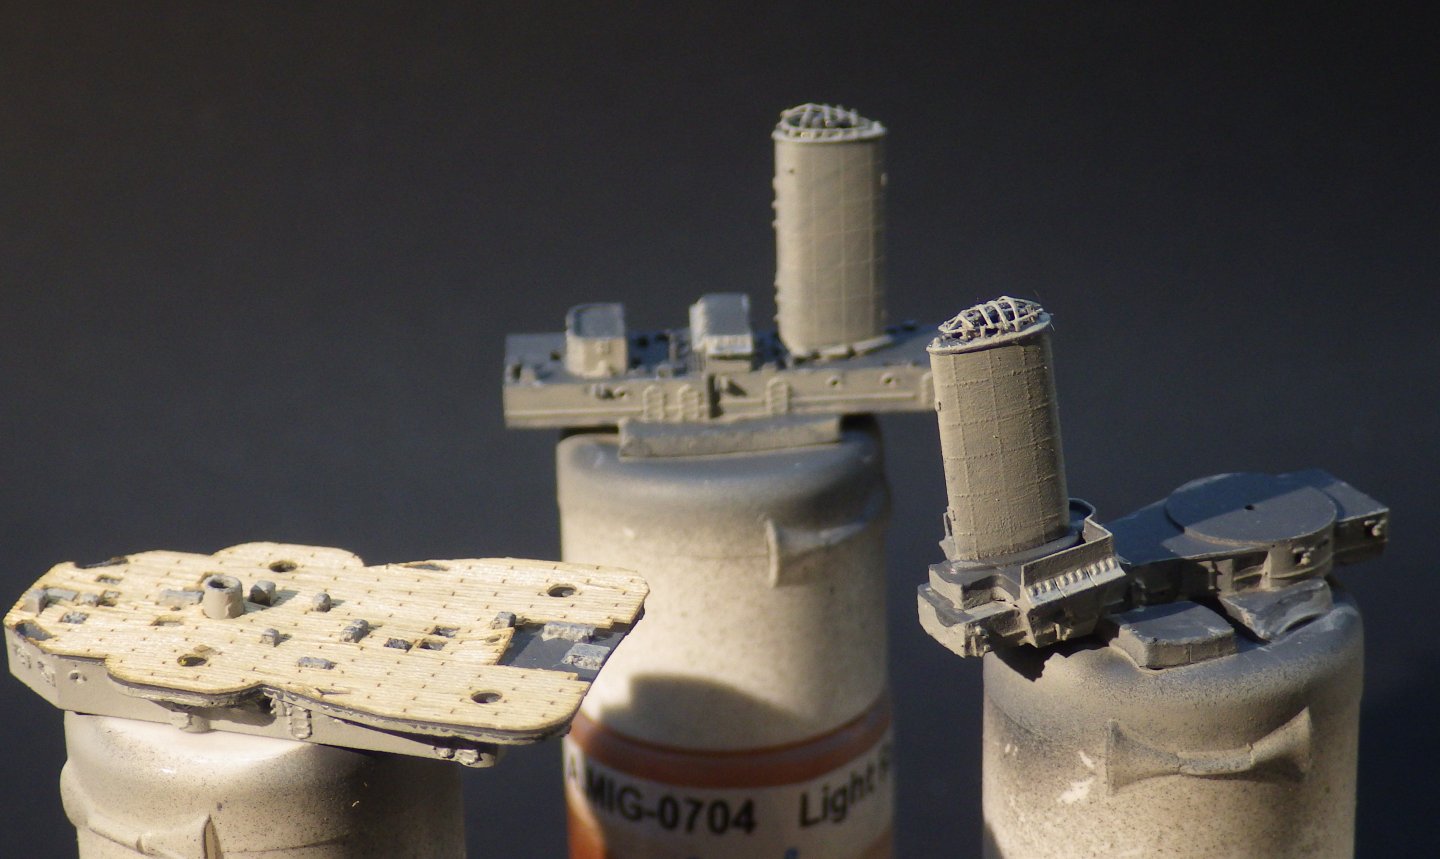
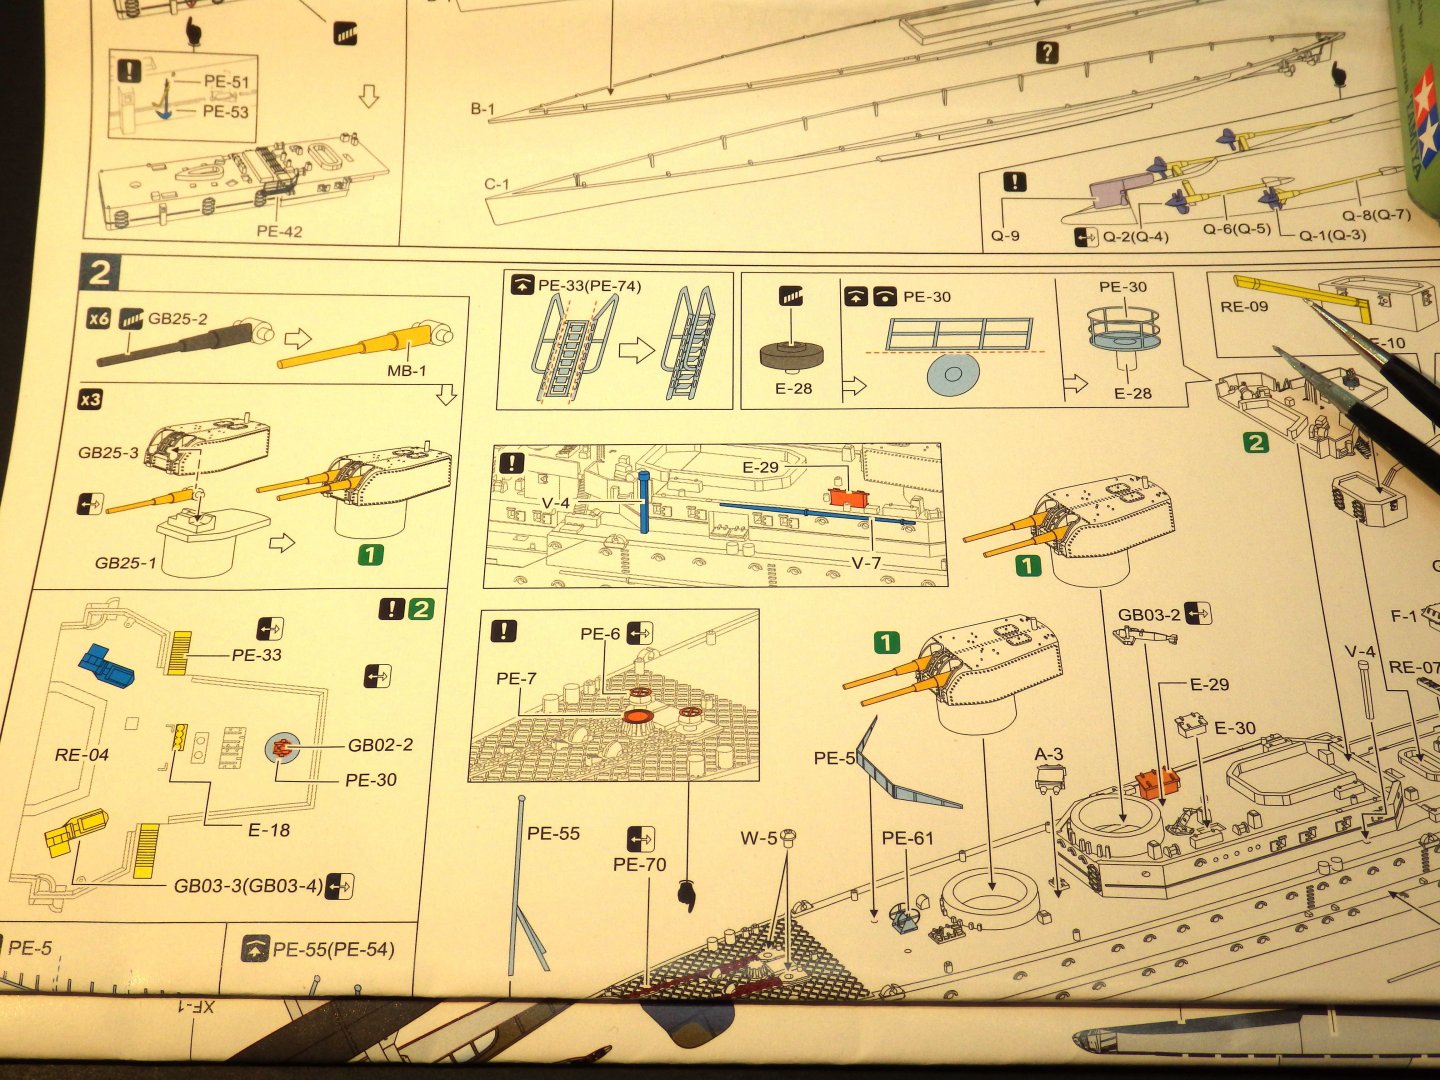
Slow progress as I relearn the 1/700 methods and Flyhawks way of doing things. Partly its deciding on the order of build and paint. I had thought of building up all the basic structures and painting them, assembling the modules and then add the details but this has to be modified because of the wooden decks which have to be installed before additional decks are added above. So I think I am going to have to add the wooden decks and then mask them. The Flyhawk wooden deck set suggests that there are masks in the kit but I don't see them so I'll used tape as necessary. The instructions need careful study being the usual information dense sheets. Thankfully this kit incorporates the PE into the basic instructions so you don't have to juggle a parallel set of instructions and work out what has to be removed and replaced. The kit contains PE and resin parts. The kit parts are just as good but I think the resin bits cover the changes from the basic Arethusa kit. As usual the box is stuffed with parts and there is no way its all going back in once its been disturbed. After the Amodel kit the Flyhawk parts are lovely. Very crisp detail, no mold lines or flash and the parts fit so well. These parts just click together The eight inch guns were so nice that I would have considered not using the brass barrels but unfortunately the plastic parts had been deformed (posibly the full box thing) so the brass barrels were added The PE is nice to work with although tiny.. I've built up as far as I think I can go so these bits will now get black primer, the dark grey deck paint and the light grey hull colour. Thanks for looking in and the likes and comments Alan


-
Thank you very much Rob. It’s such a 1950s space vibe I had to build it. I really want to try the Mallow flying boat but I need to forget some of the aspects of this one first alan
-
Thank you very much Jav, The kit was a bit of a fight and the NMF finish was a new adventure for me but I learnt a lot and I like the result Alan
-
Skoda 30.5 cm 1911 Cannon by RGL - - WIP3D - 1/35
king derelict replied to RGL's topic in Non-ship/categorised builds
many thanks EG. That’s most informative and reassuring. I will still wear a N95 mask though when spreading margarine or Marmite alan -
Thank you very much Jav. The sculptor gave him quite a characterful face. alan
-
The 3D print upgrades are excellent and will really upgrade the model. Super work alan