king derelict
-
Posts
3,292 -
Joined
-
Last visited
Content Type
Profiles
Forums
Gallery
Events
Everything posted by king derelict
-
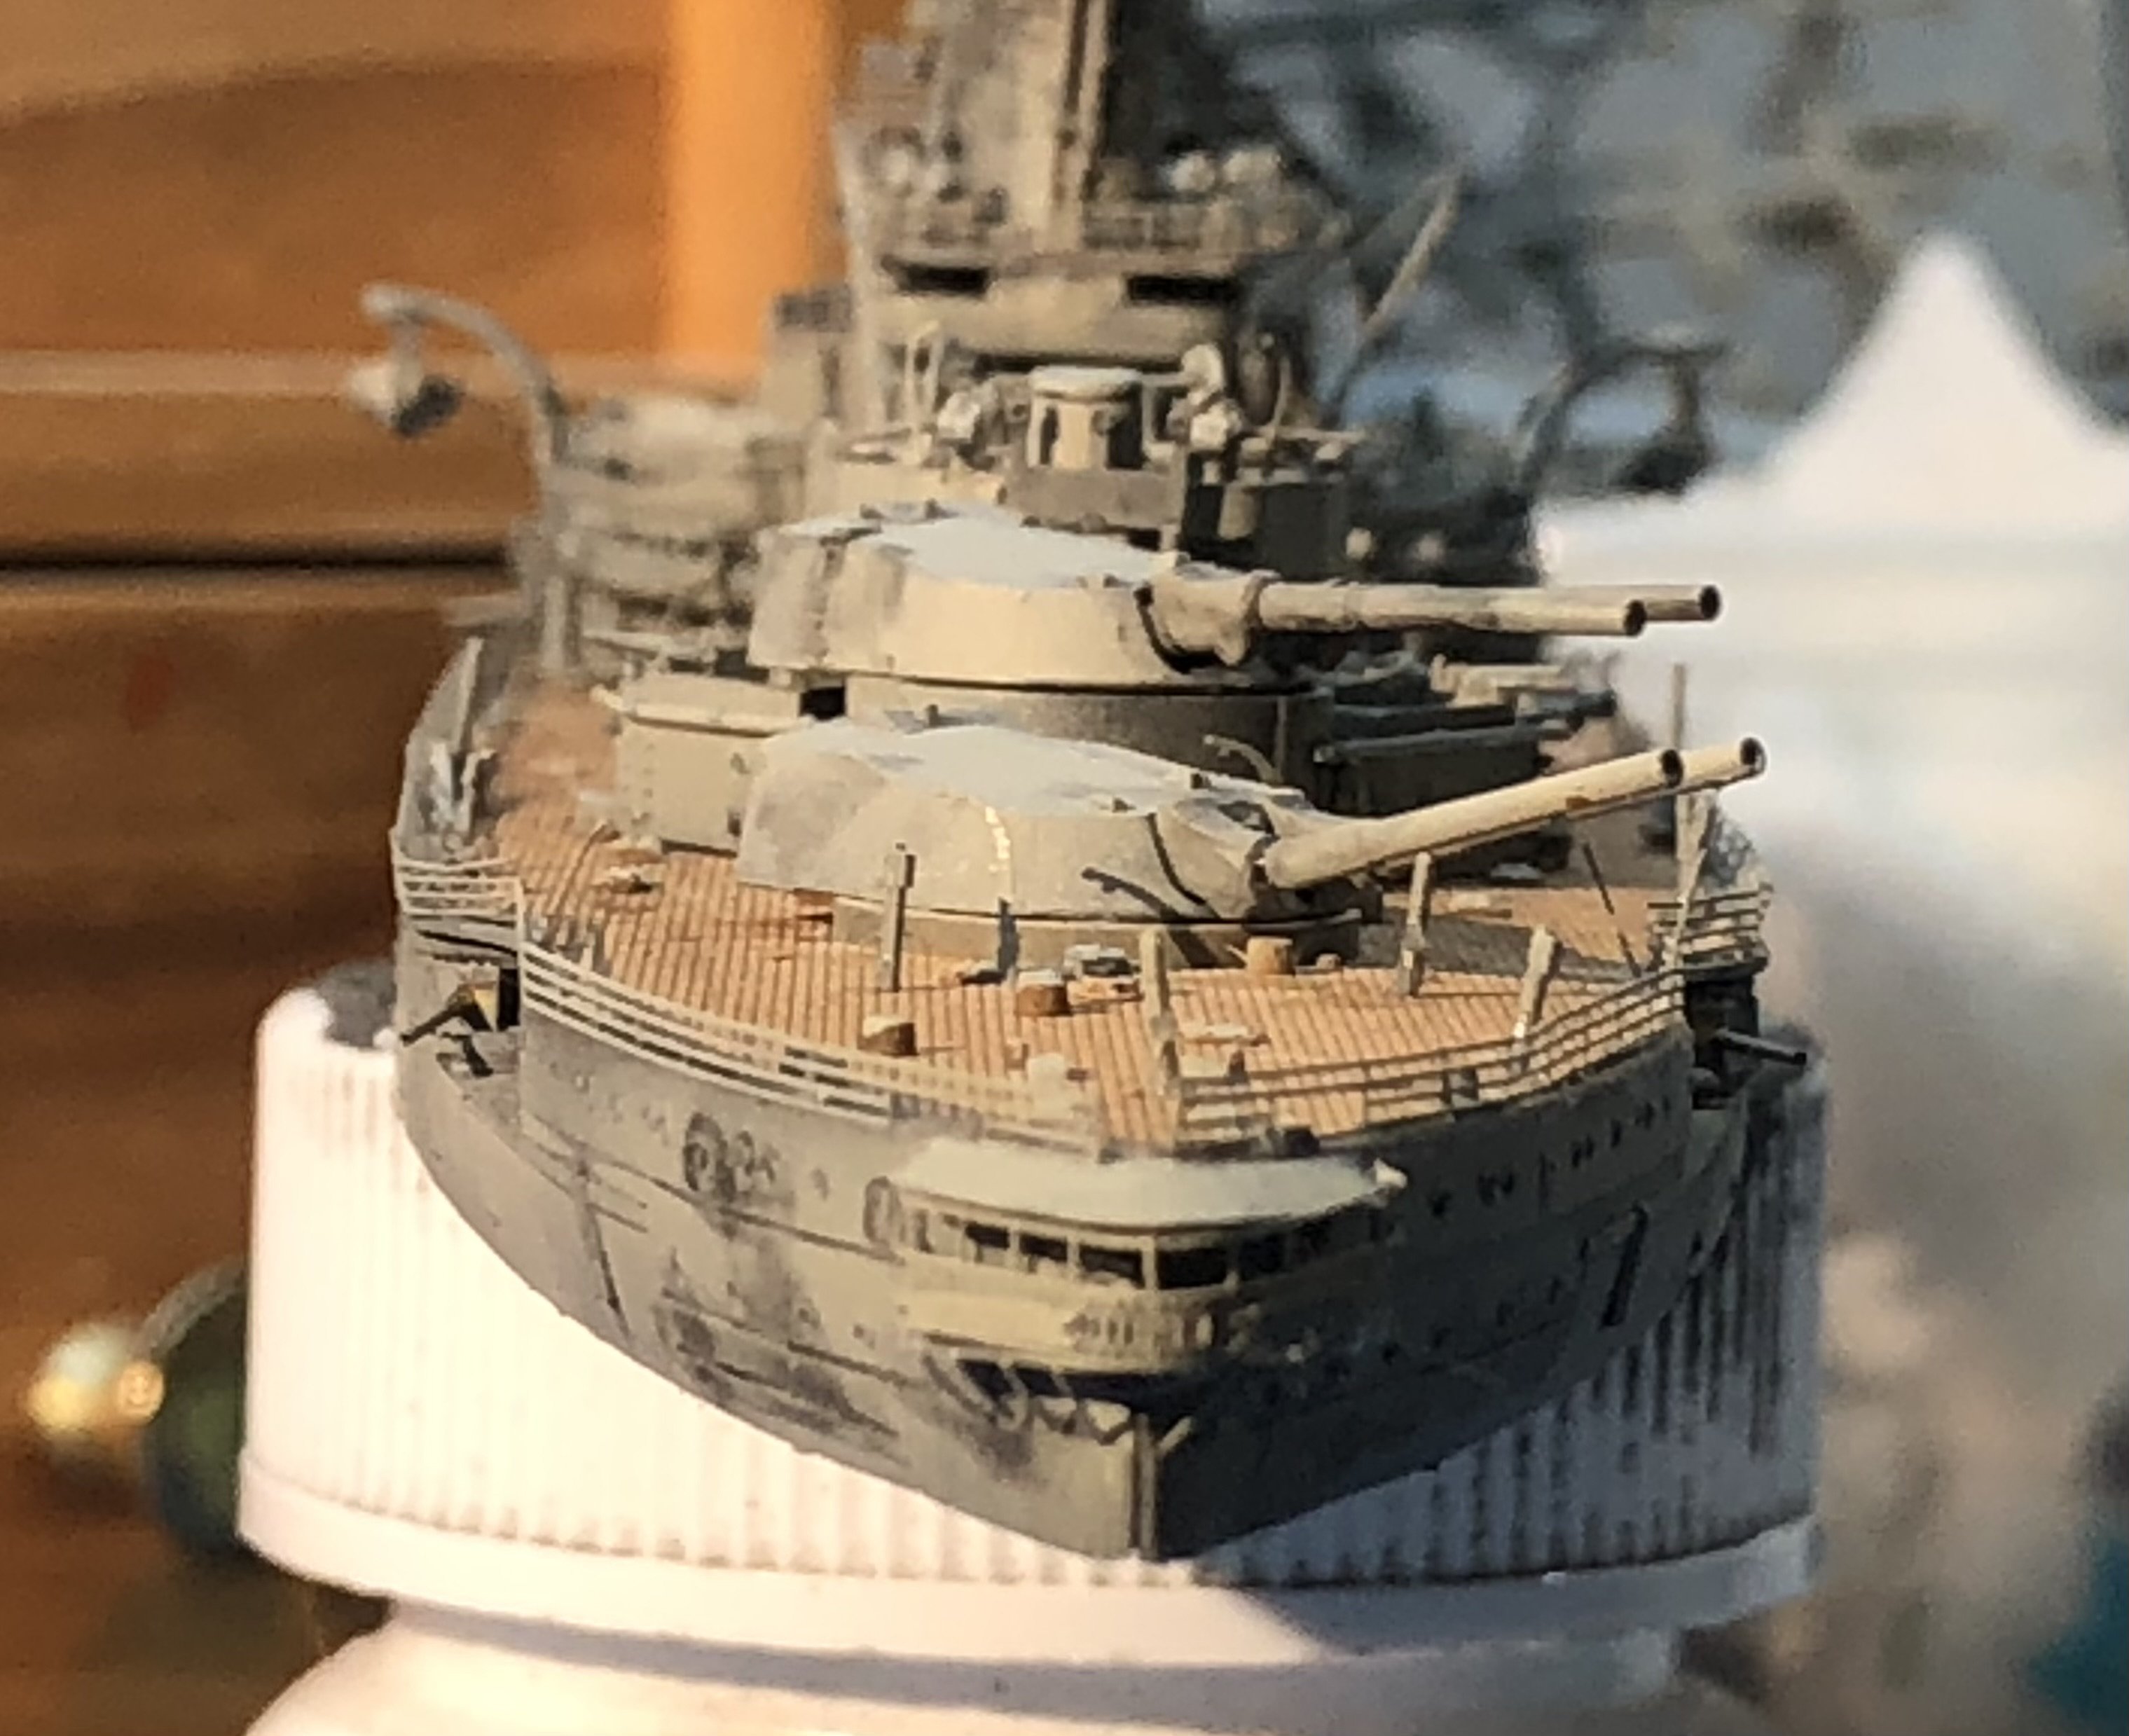
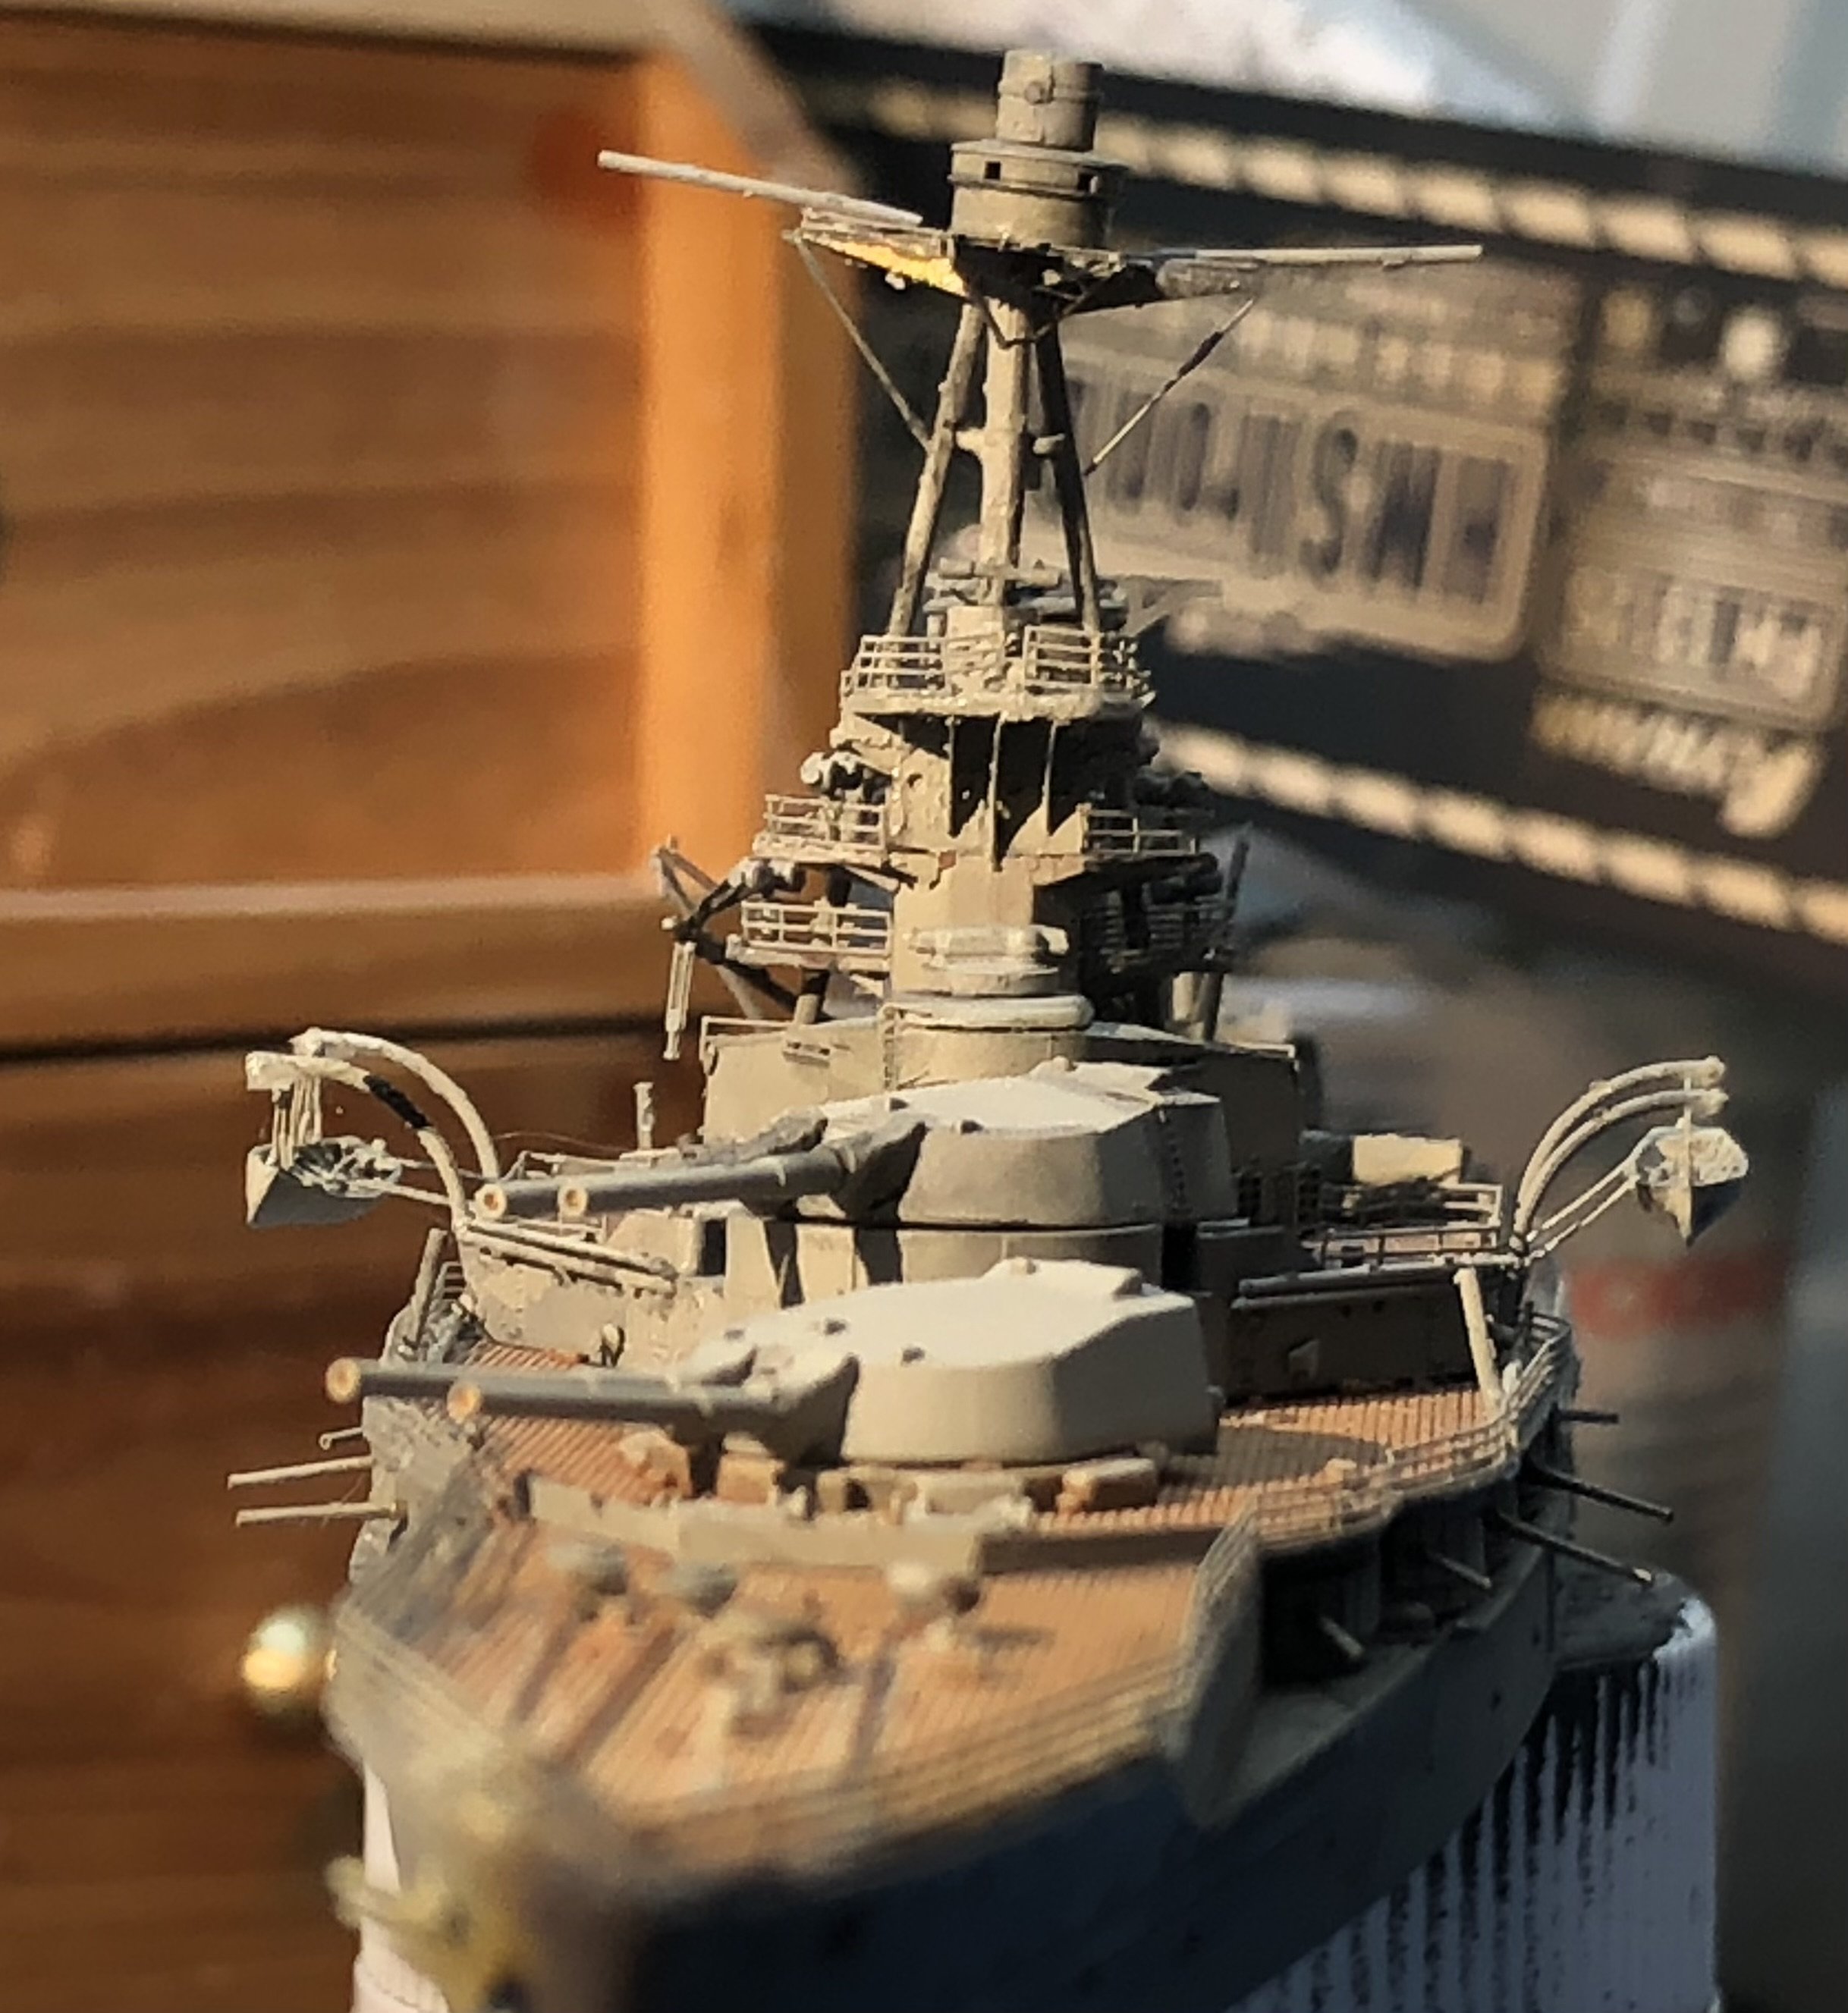
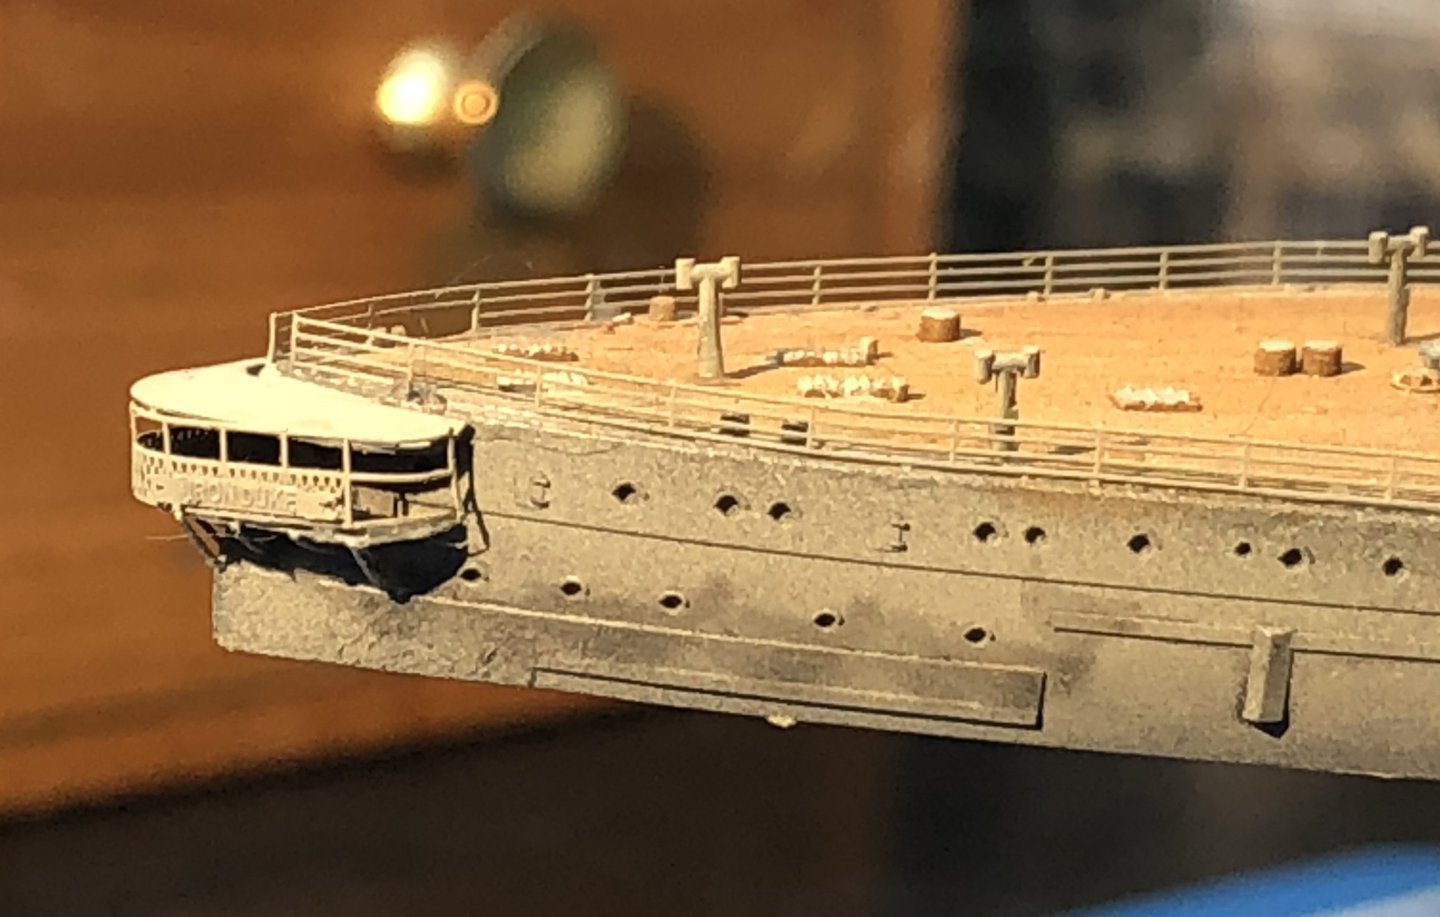
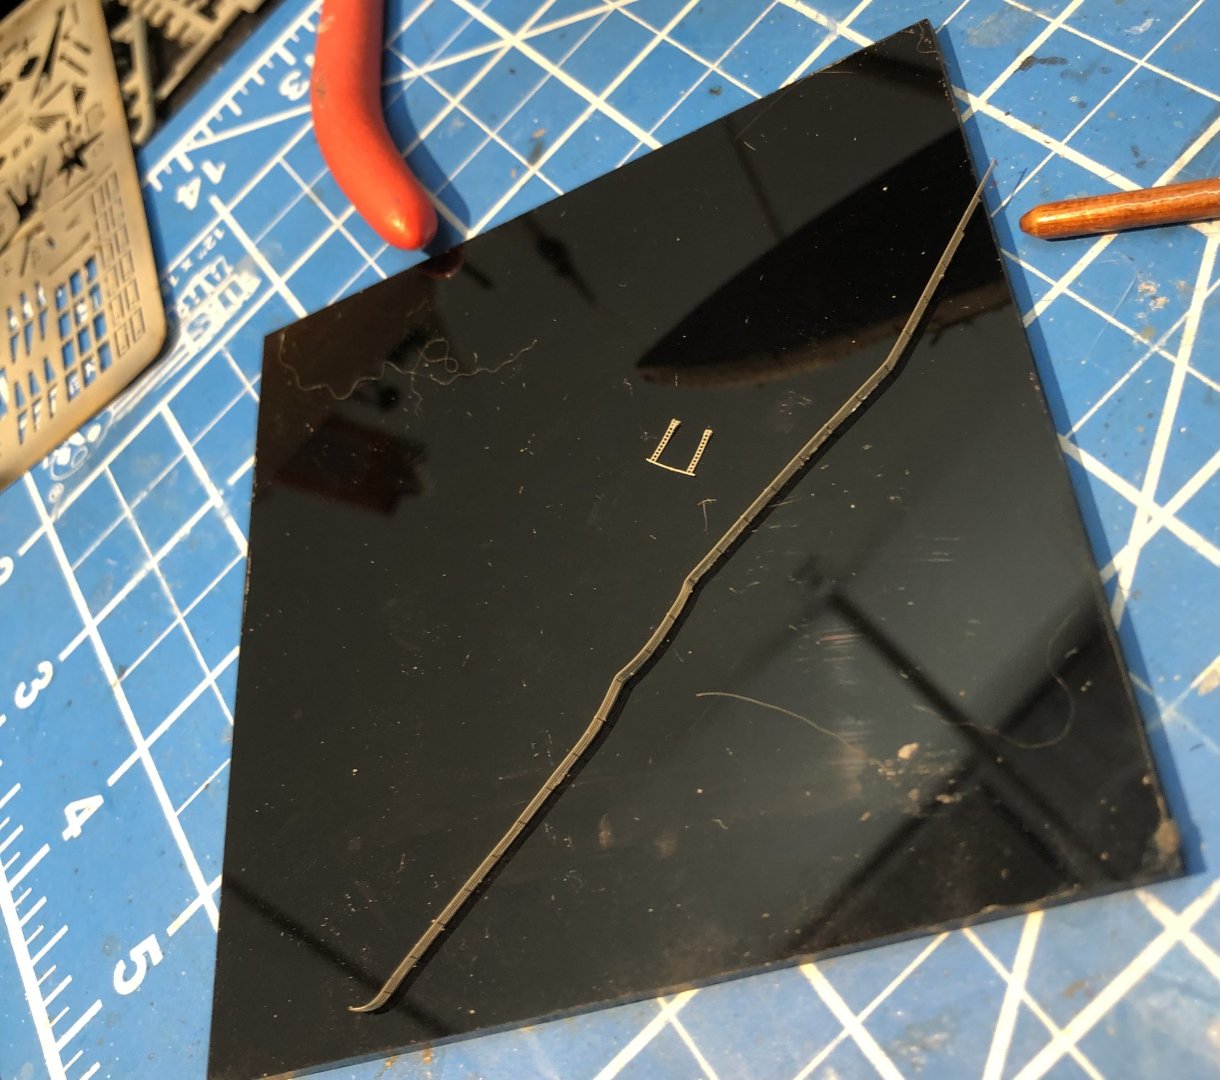
A rather mixed day for progress. I had made a brass mast to replace the kit plastic one. I painted it and set it aside to dry and now I can’t find it anywhere. I stripped the work bench, crawled around the floor with a flashlight, even vacuumed through the house and nothing! It’s not that tiny so I should be able to see it I would have thought. The cats are looking innocent, it’s gone! I made another one this morning and I made a better job of the soldering so maybe there are some positives. It’s had a coat of Mr Metal primer and it will get the grey paint tomorrow. I added the railings to the structure at the top of the tripod and bent up the admirals walk and fitted it. It actually fitted well and I placed the name boards on each side. The photo shows I got them the right side out and the right way up😁 once the mast is added I need to add a bit more of a black wash and a bit of rust. Thanks for looking in and the likes and comments. alan

-
Thank you very much Mike, the tiny braces on the underside gave me fits and I was not confident that everything was going to line up well. The mast passes up against the back of the platform, hopefully vertically. We shall see. Alan
-
I know the feeling. I made a brass mast for The Iron Duke, painted it and set it aside to dry. And it’s gone! Searched on hands and knees with a torch, vacuumed through the house, no sign of it. Even the cats look innocent. I just finished building a replacement so I’m expecting to find the original any time now. alan
- 288 replies
-
- 5
-

-

-
- Card
- Pre-Dreadnought
- (and 3 more)
-
Beautiful work, the seat looks amazing alan
-
Looks like this kit is working you hard but it is paying off with a beautiful hull. alan
-
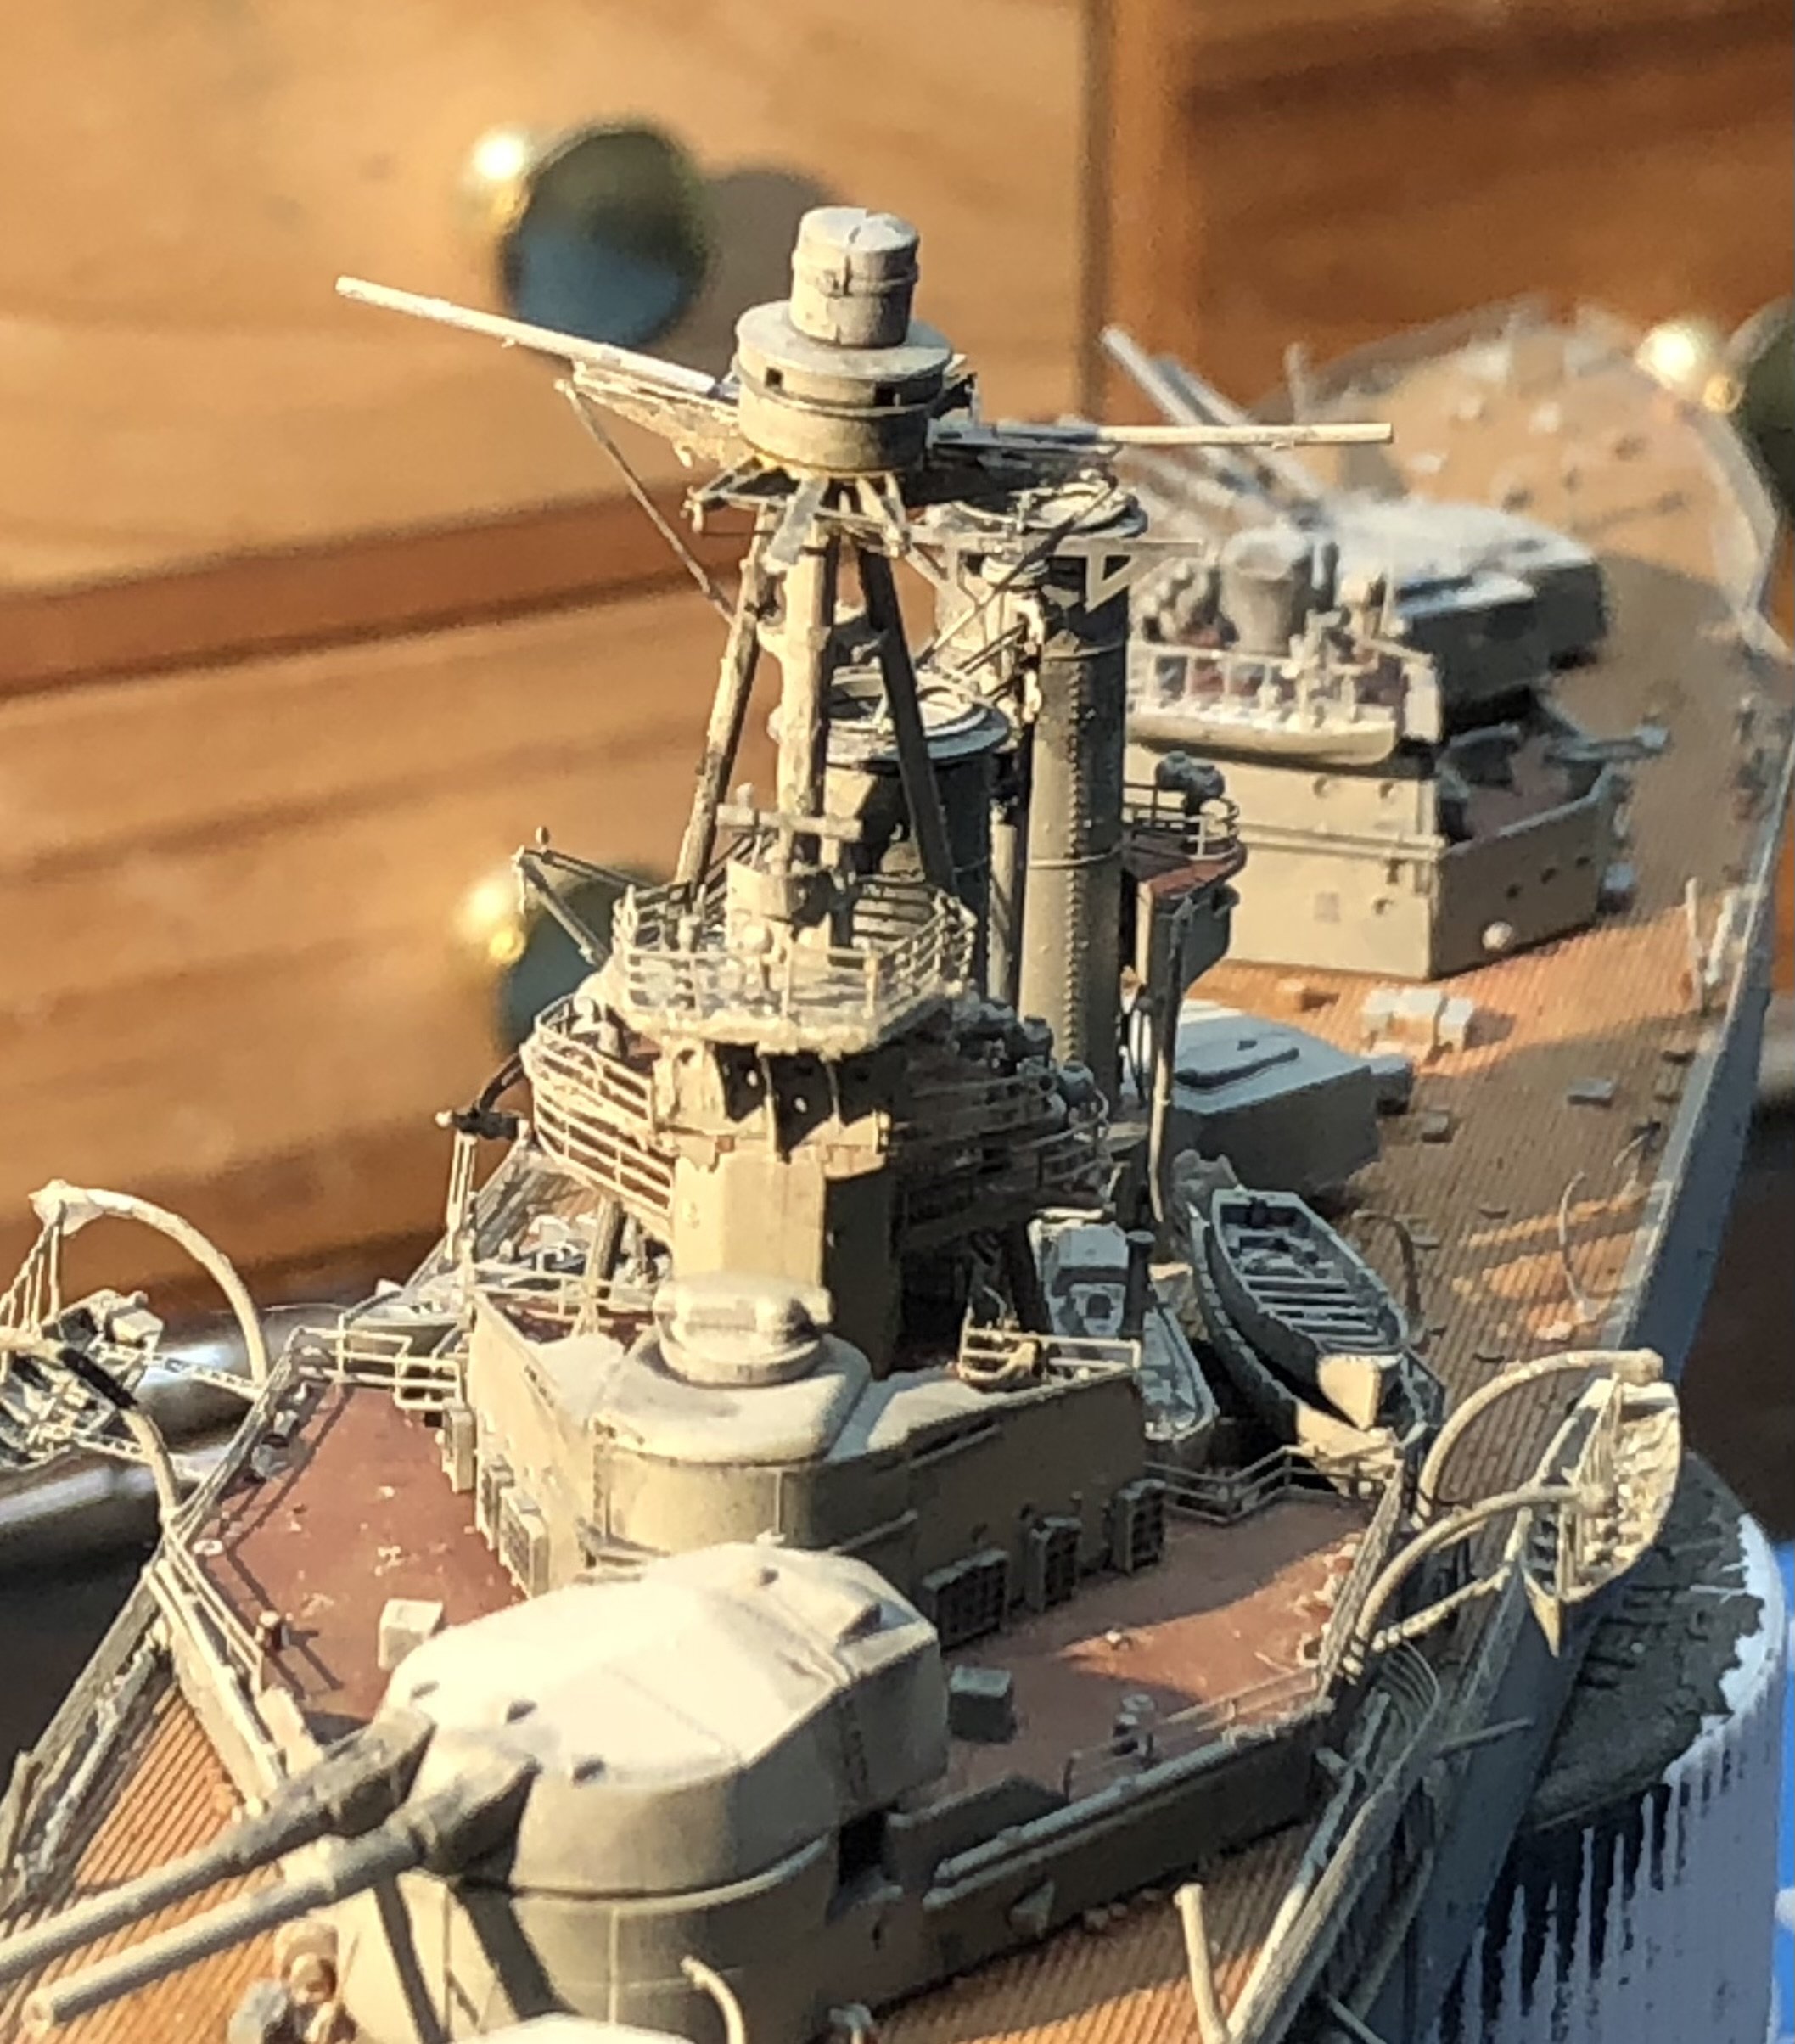
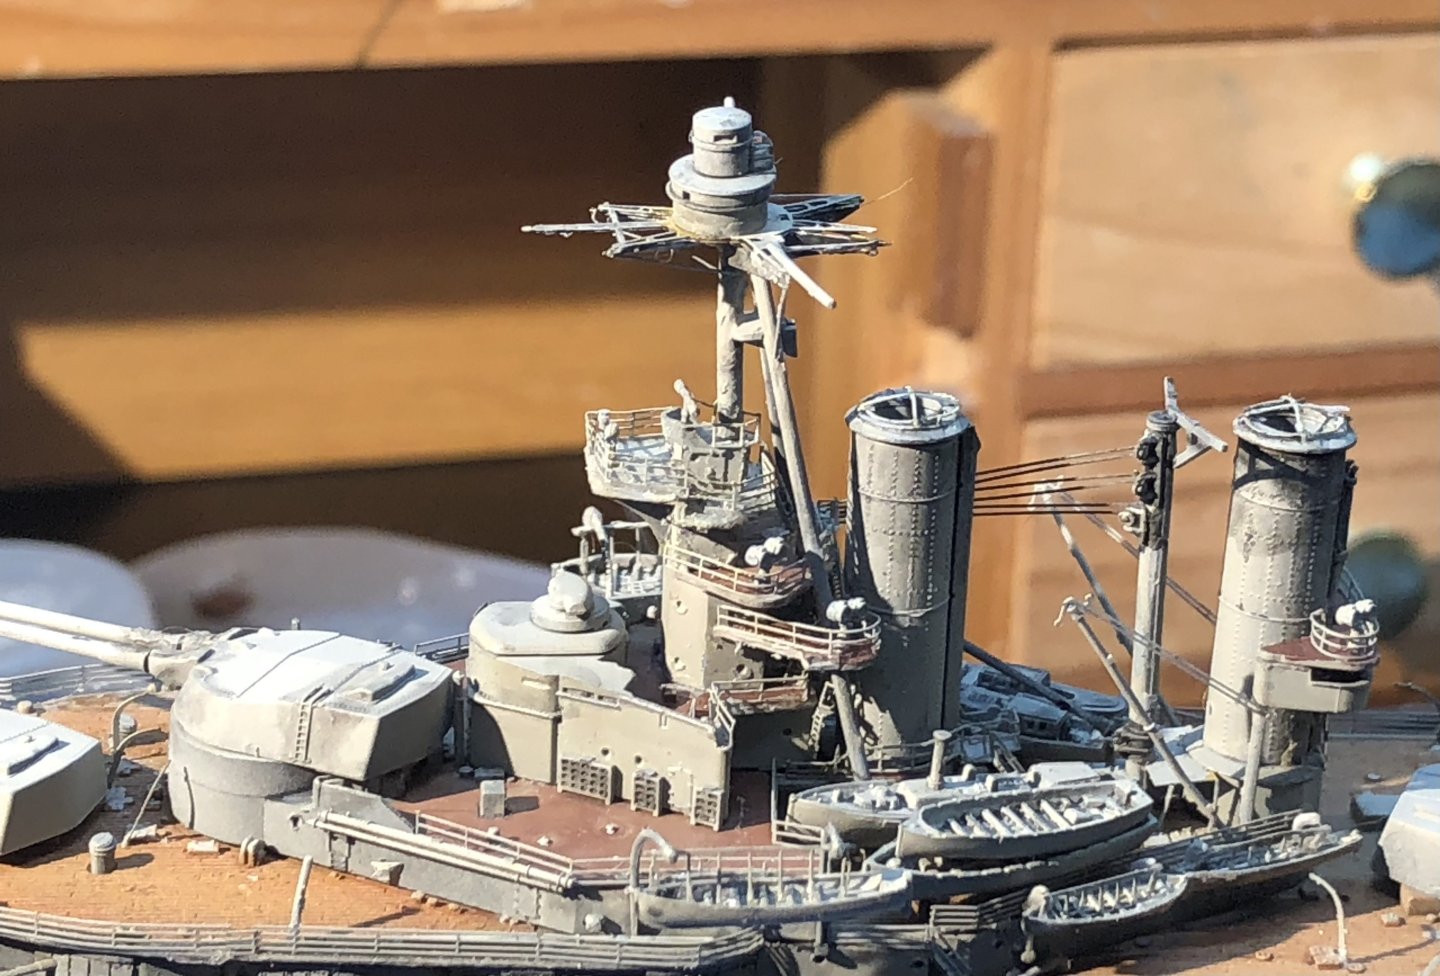
The elephant sitting in the corner of the room couldn’t be ignored any longer. I’m not sure what the proper name is for this element. Upper bridge? Anyway it is made up of several bits of PE, mostly small and with several bends. I used a small amount of epoxy to secure it to the top of the tripod. There is a mast to add yet which has the potential to be a fiddle so I wanted this piece to stay put. It actually went on quite well. A plastic mast is provided but i elected to make one out of brass rod which looks a bit better and I think it will be easier to install. Thanks for looking in and for the likes and helpful comments. alan


-
That sounds like a very rewarding hobby, I’ve seen some beautiful examples. alan
-
Thanks Per, I find it has a bit of time for adjustment and so far Ive had no adverse effects using it. alan
-
Thank you very much Mike. I think railings are one of the best upgrades to a ship kit and really set the finished model off well but they can be a miserable experience especially when there are complicated shapes. i try to avoid CA glue, I seem to have become sensitive to the stuff and get cold like symptoms after using it. I now use Bob Smith Gold CA which is a medium thickness low odor glue and is not super fast setting. Gators Grip and MiG Ultra give me a bit more flexibility when placing the railings. I apply the glue with an pin and then give it a few minutes to tack up and then place the part. It usually has enough grip to hold then. I’ll work by placing one part of the section and let it set up before positioning the next part. I find it easier to get the railings to follow curves that way. I definitely like the fact that the PVA type glues have a bit of a flexible bond and parts doing break away from accidental contact. Some days seem to go well and others are a fight. Alan
-
You created a beautiful model Mike. The color choices are perfect and the wood looks so nice. Great job alan
- 47 replies
-
- 3
-
-

-
- Annapolis Wherry
- Chesapeake Light Craft
- (and 1 more)
-
Lovely work on the seats. Adding to an already beautiful canoe. alan
-
Very nice. Beautiful subtle camouflage Alan
-
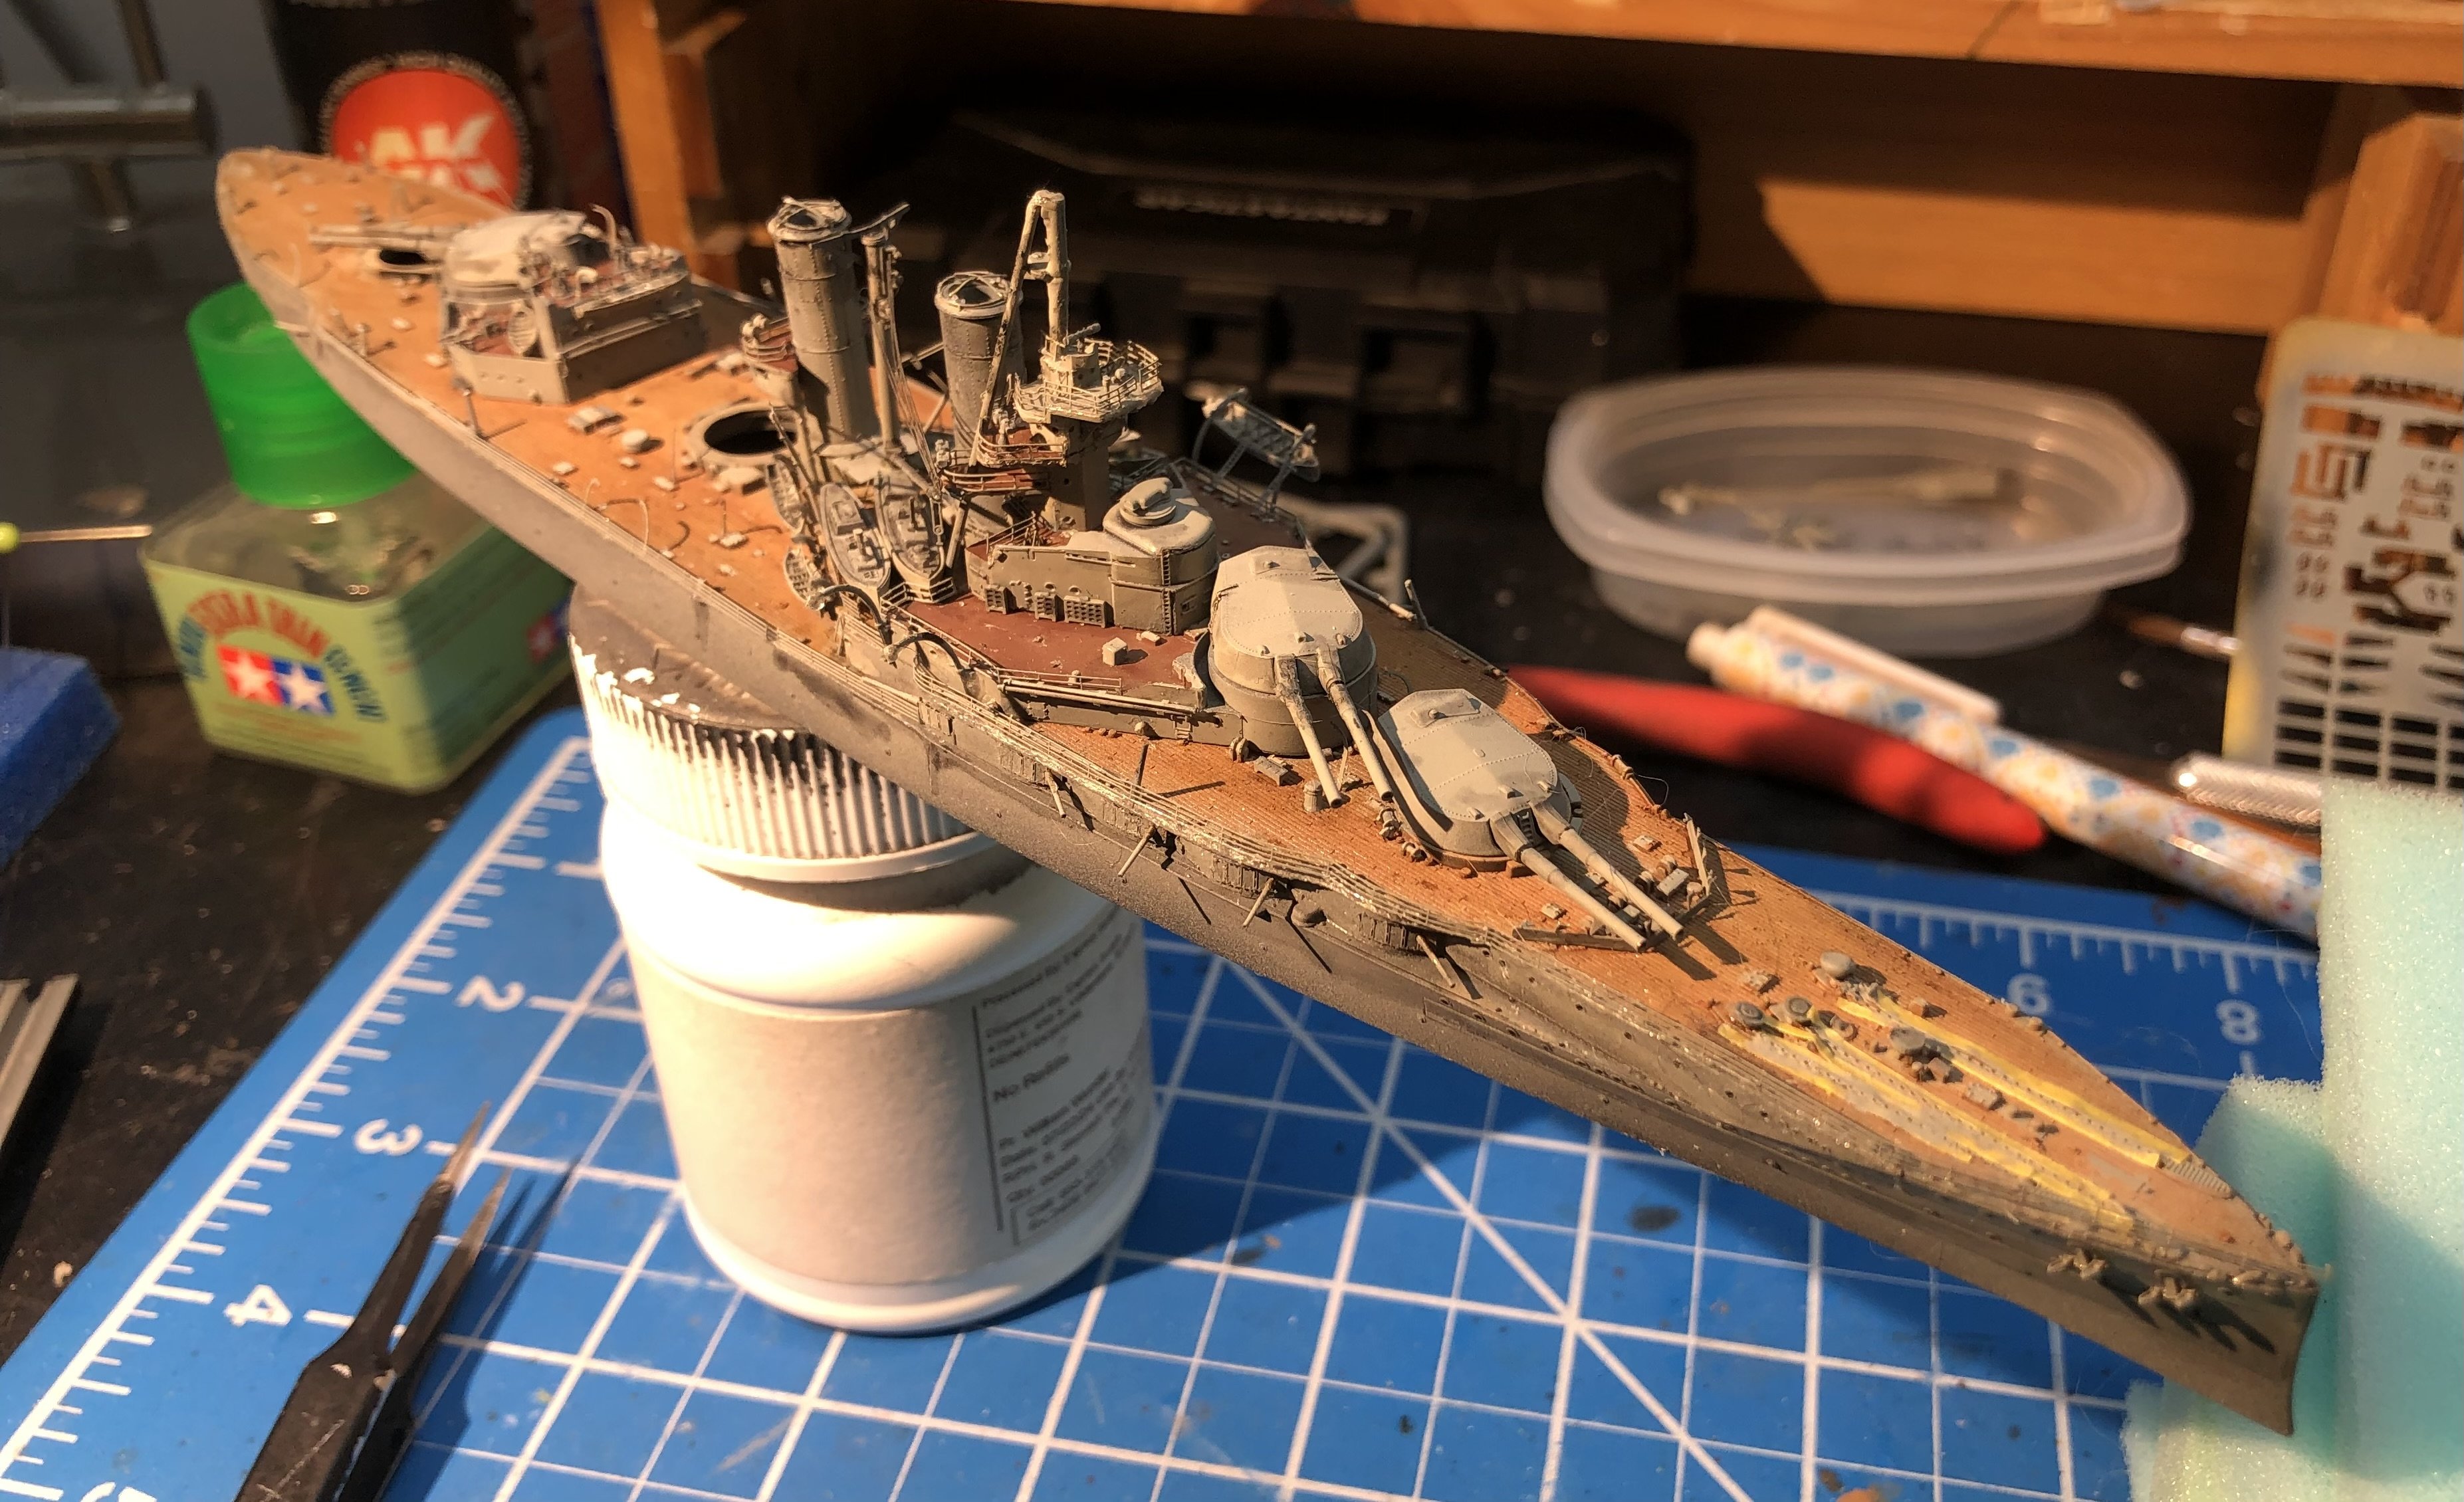
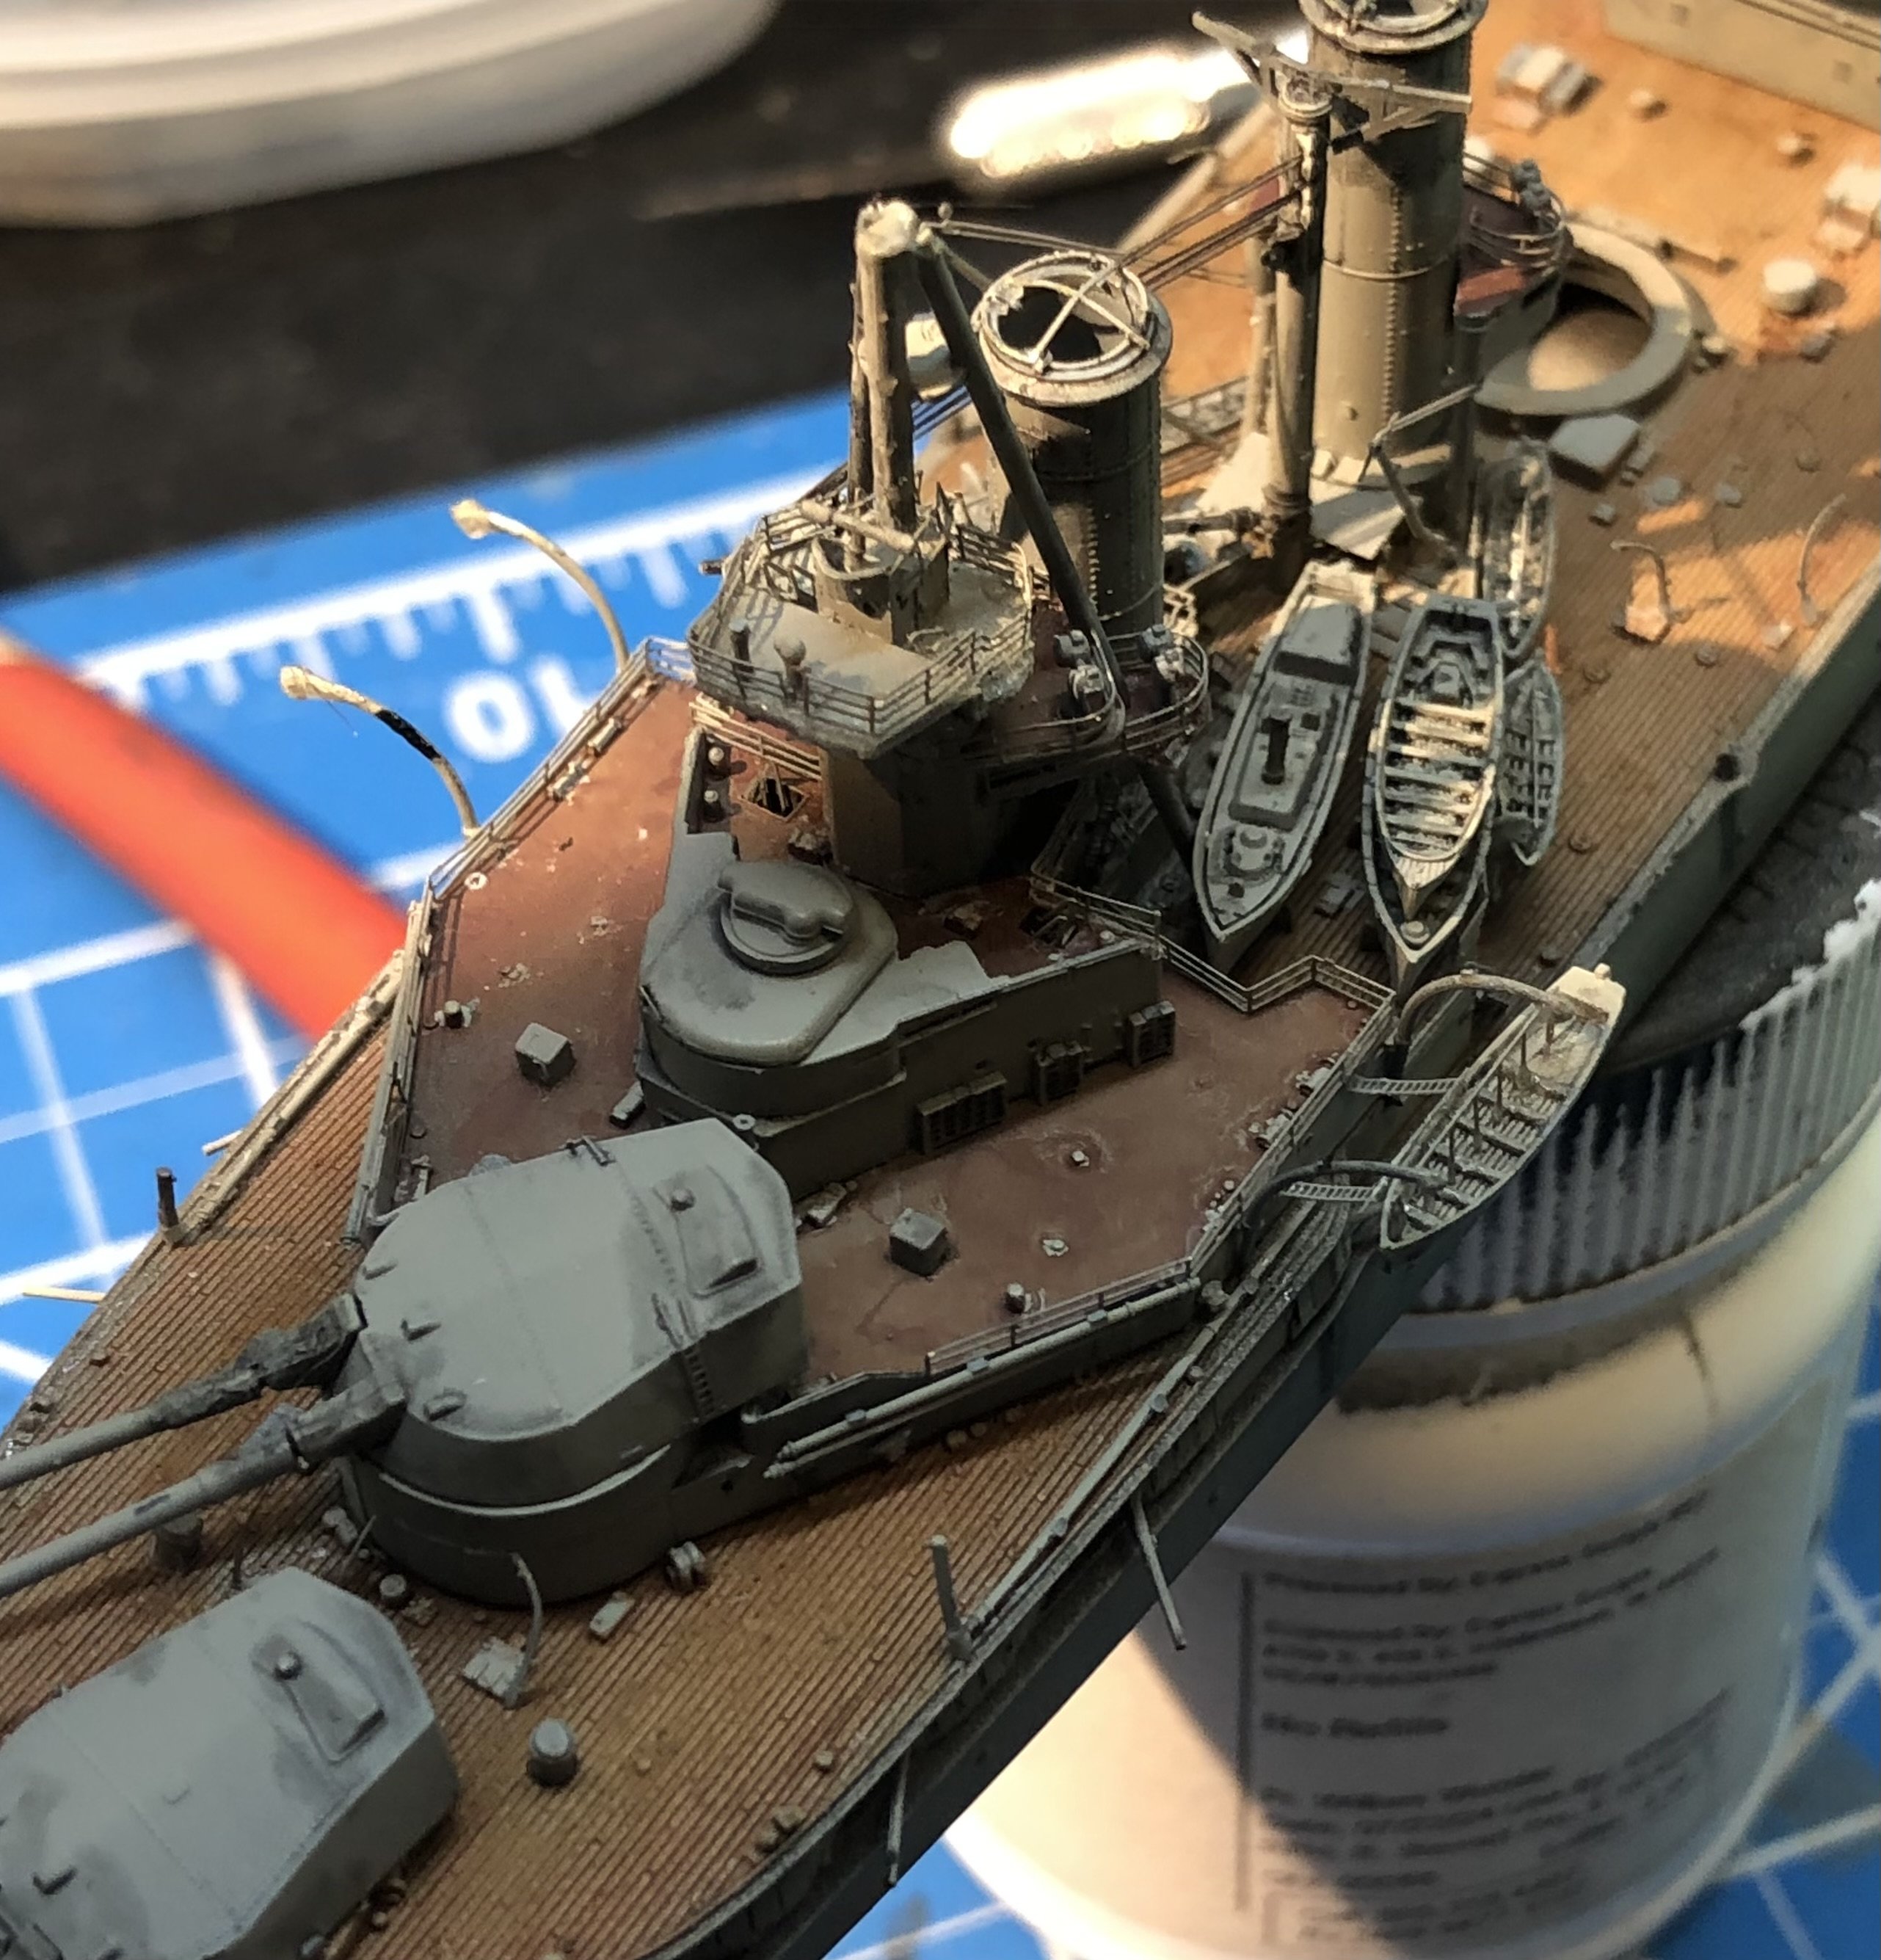
I swallowed my pride and cut the forward port railing section into shorter pieces and things went rather better. I was able to sneak the railings under the boat and davits without damaging anything and with a reasonably low swear count. I completed the full run of the starboard railings and inserted a small section into the gap from a (possibly) spare piece in the fret. It is a numbered piece but it’s not referenced anywhere and I don’t see any more places to add railings. Possibly I will regret this later. To celebrate a fairly positive day I added the boat to the starboard davits and quit while I was ahead. Four sections of railings remain and I need to think about the mast and upper structure. Thanks for looking in and the likes and comments. Alan


-
I’m definitely counting down the number of PE railings left😁 Alan
-
Thank you Per, It’s a challenge to keep the railings looking neat and avoiding any accidental bends. They never quite straighten out properly. At least for me 😁 Alan
-
I’m really enjoying this build log. The blend of the models progress and the the small boat sailing experience is terrific. It brings back happy memories of sailing around the British coast in small keel boats. Thank you very much for providing such a great flow of information. alan
- 167 replies
-
- 4
-
-
-
- Norwegian Sailing Pram
- Model Shipways
- (and 1 more)
-
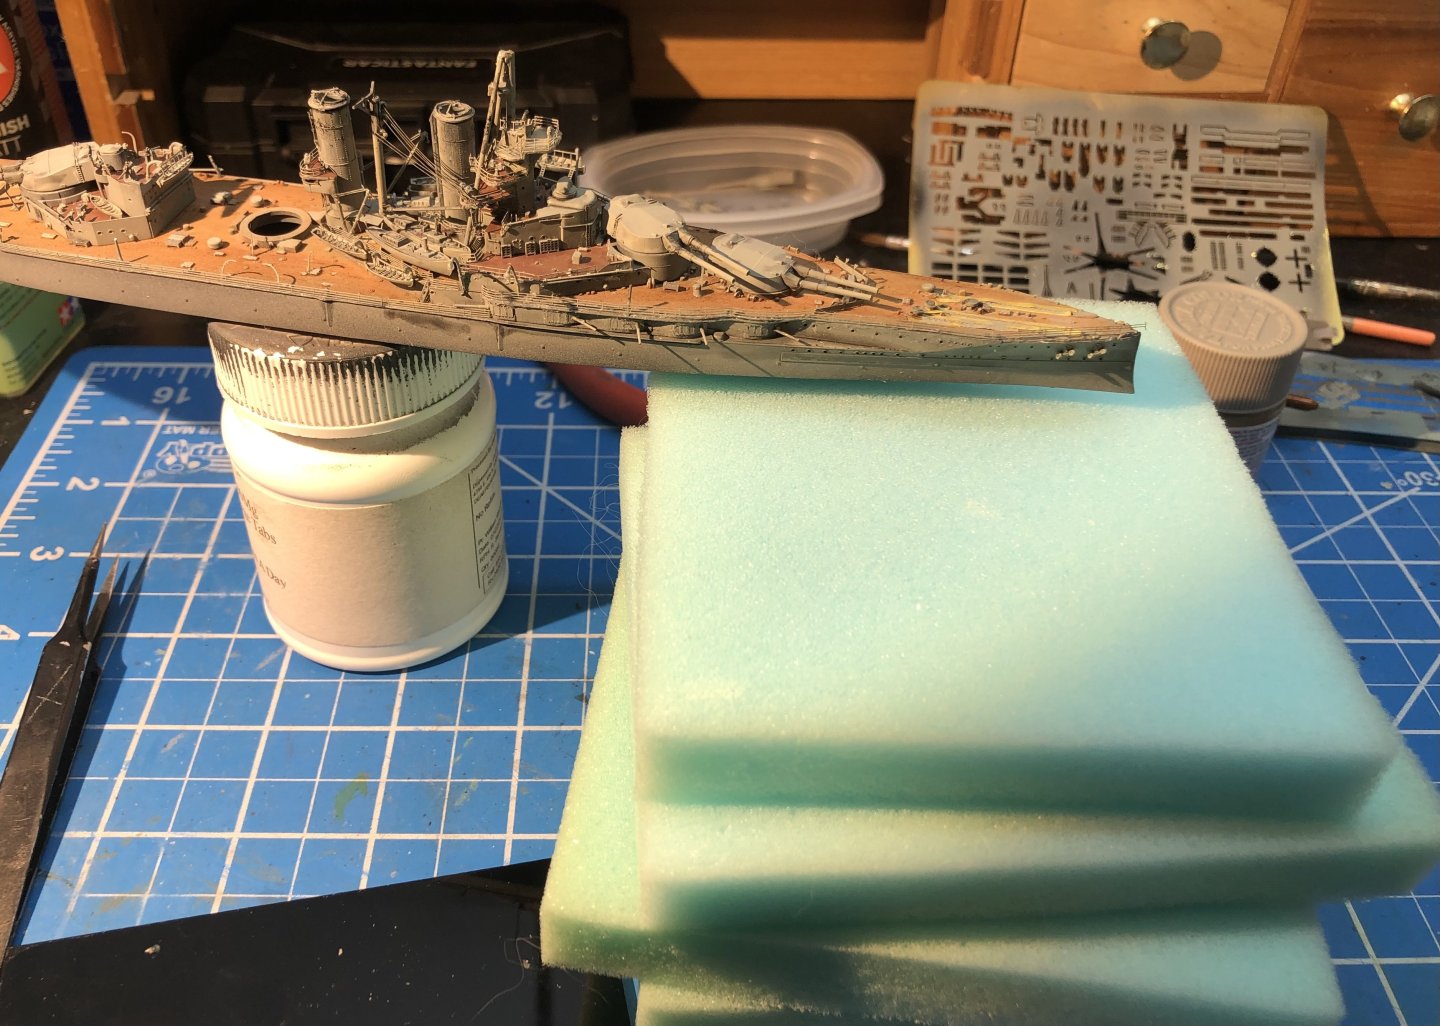
I’m moving along slowly. The forward railings are proving to be a bit of a challenge. The railing section is long and the shape is a complicated set of bends and curves. I got the shape but mounting the railings was extremely difficult and took two days ( and walking away from it a number of times). I eventually got it started this morning and worked my way along to get the rest done. two sections working towards the stern were much simpler and faster but curiously the sections seem shorter than the guide would suggest. I just have the stern section to go and we will see what happens then. And look, we now have boarding ladder for the boats on davits. I’ve realized that the railings are going run under the boat and I’m going to be interested to see if I can get them installed without damaging the boat. I haven’t added the boat on the starboard side after discovering that. The pile of foam squares is my secret weapon for installing the boat falls and ladders. It makes a great hand rest next to the model for placing small bits without any uncertainty. Ive also worked a black wash over the hull and superstructure to add some visual interest. Thanks for looking in , the likes and kind comments. alan


-
Thank you very much, it’s pushing my limits on vision and steadiness of my hands. alan
-
Thank you very much Jav. This is about my limit and some of the minuscule PE parts have been omitted because I can’t make them neat enough and they add very little to the finished model. alan
-
Nice work on the panel lines and staining. Looks very appropriate. alan
-
Thank you Phil. I’m enjoying your Oryal build, it’s very impressive. alan
-
Thank you very much Mike. It was a nice break from a long project. alan
-
Thank you very much Rob. Flyhawk really detail the little tanks. I’m thinking of moving onto the Tiger next to experiment with the camo scheme. alan
-
Thank you very much Mark. These little Flyhawk AFVs are a lot of kit in a small space. alan
-
The staining looks great, the panel lines came out really well. alan