king derelict
-
Posts
3,296 -
Joined
-
Last visited
Content Type
Profiles
Forums
Gallery
Events
Everything posted by king derelict
-
Thanks Mike. As with their ship models the AFVs have some daunting small parts. Alan
-
Spectacular work with the rivets Alan
-
Beautiful work Mark. From the lovely glossy blue hull to the neat rigging and the magnificent sails it a lovely boat. The stand sets it off so well too. congratulations alan
-
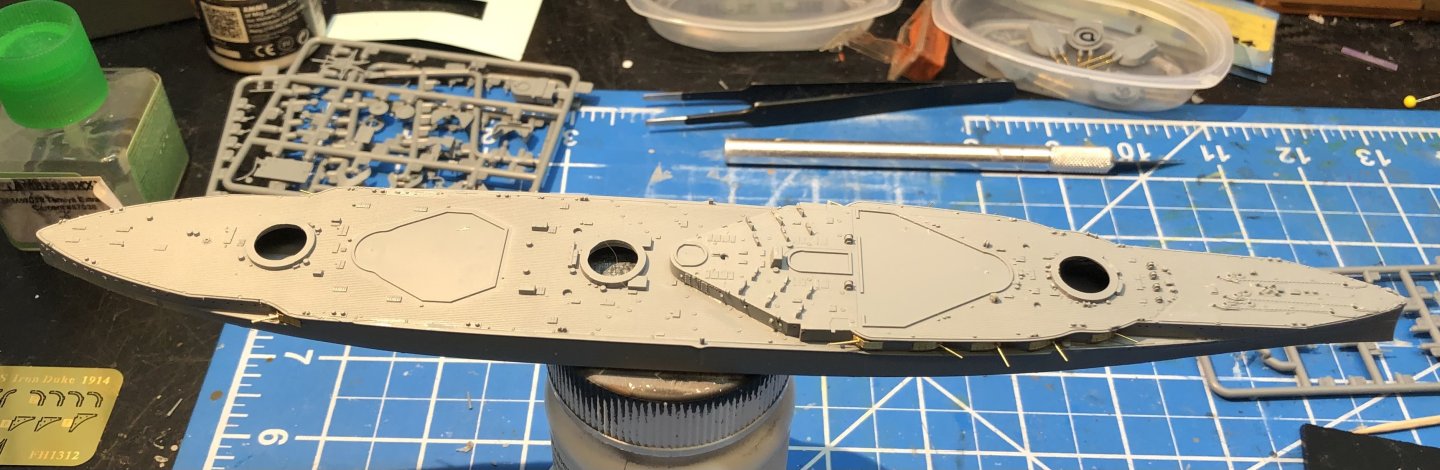
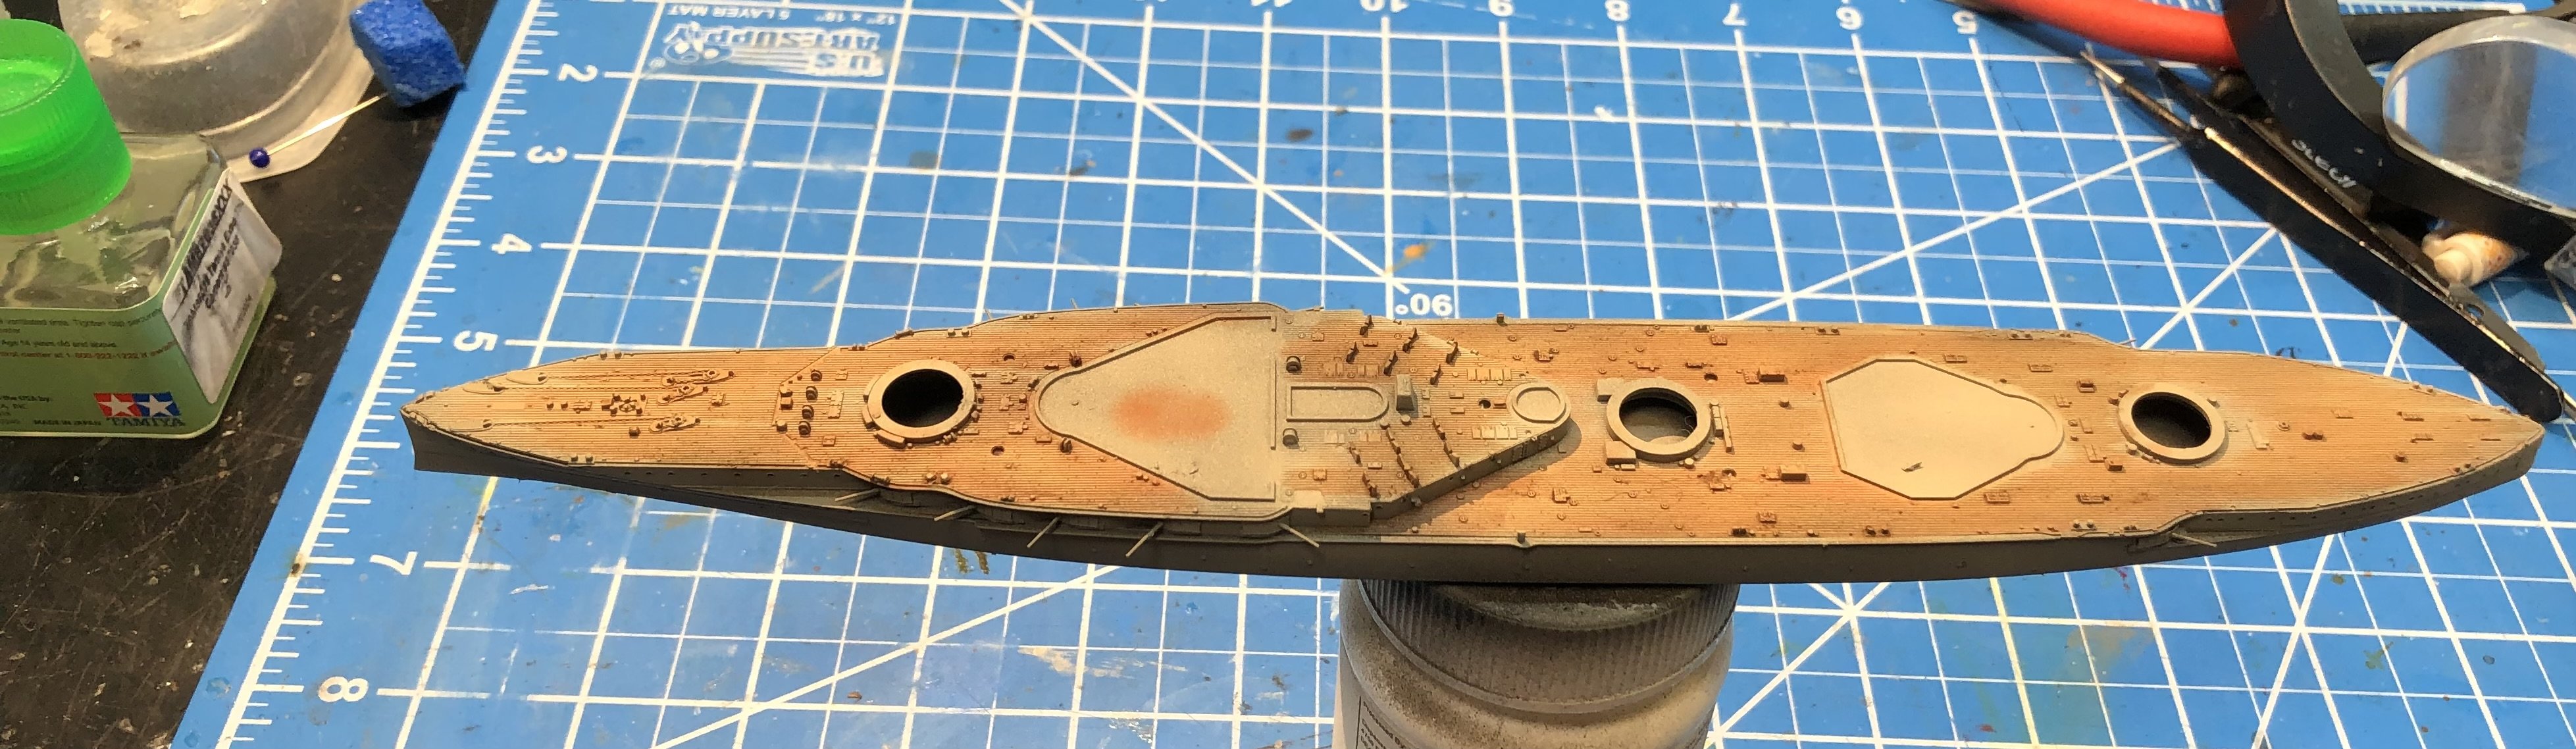
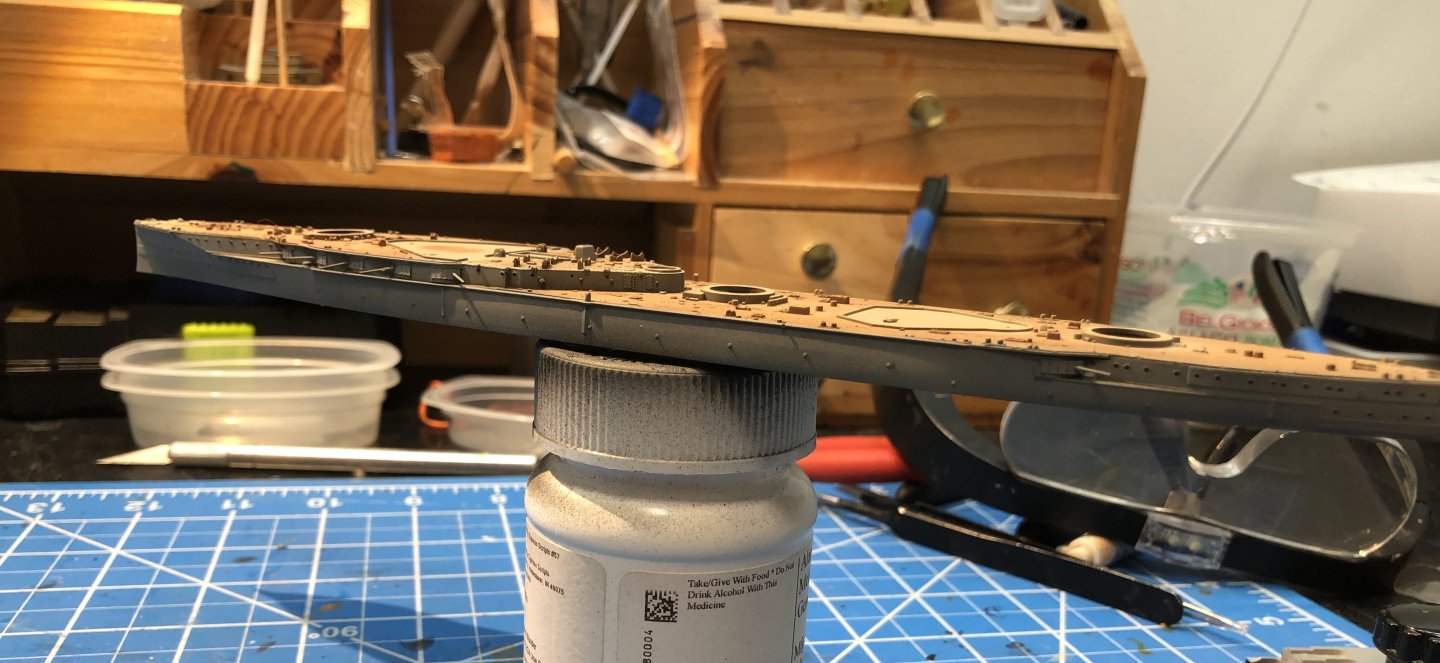
Progress hit a bit of a roadblock. I had to order the hull grey, the Flyhawk guide calls for a darker grey than anything I have. Then I had to do taxes, vet visit, eye clinic visit and a trip to the dentist. Anyway, the has arrived and the hull and superstructure were given several light coats to try to avoid a uniform color. The decks then got a coat to the Tamiya wood deck and then I used washes of burnt sienna and burnt umber oil paints. I like the result so far but I may add a thin black wash to pick out the details. Next up will be painting the linoleum decks and then back to the photo etch and a lot of railings. Thanks for looking in and the likes and comments. Alan


-
Hi Ken, As far as I can tell very few are alternative options for a different version so it’s all going into that tiny hull. tracks are link and length which I like better than the elastic band style but the links are tiny and it’s all going to be on show. Alan
-
Nice planking. alan
-
You are making a beautiful model Mike. It looks fiddle but the results are great. alan
- 47 replies
-
- 3
-

-

-
- Annapolis Wherry
- Chesapeake Light Craft
- (and 1 more)
-
Beautiful, neat PE work. It was almost a shame to paint it. alan
-
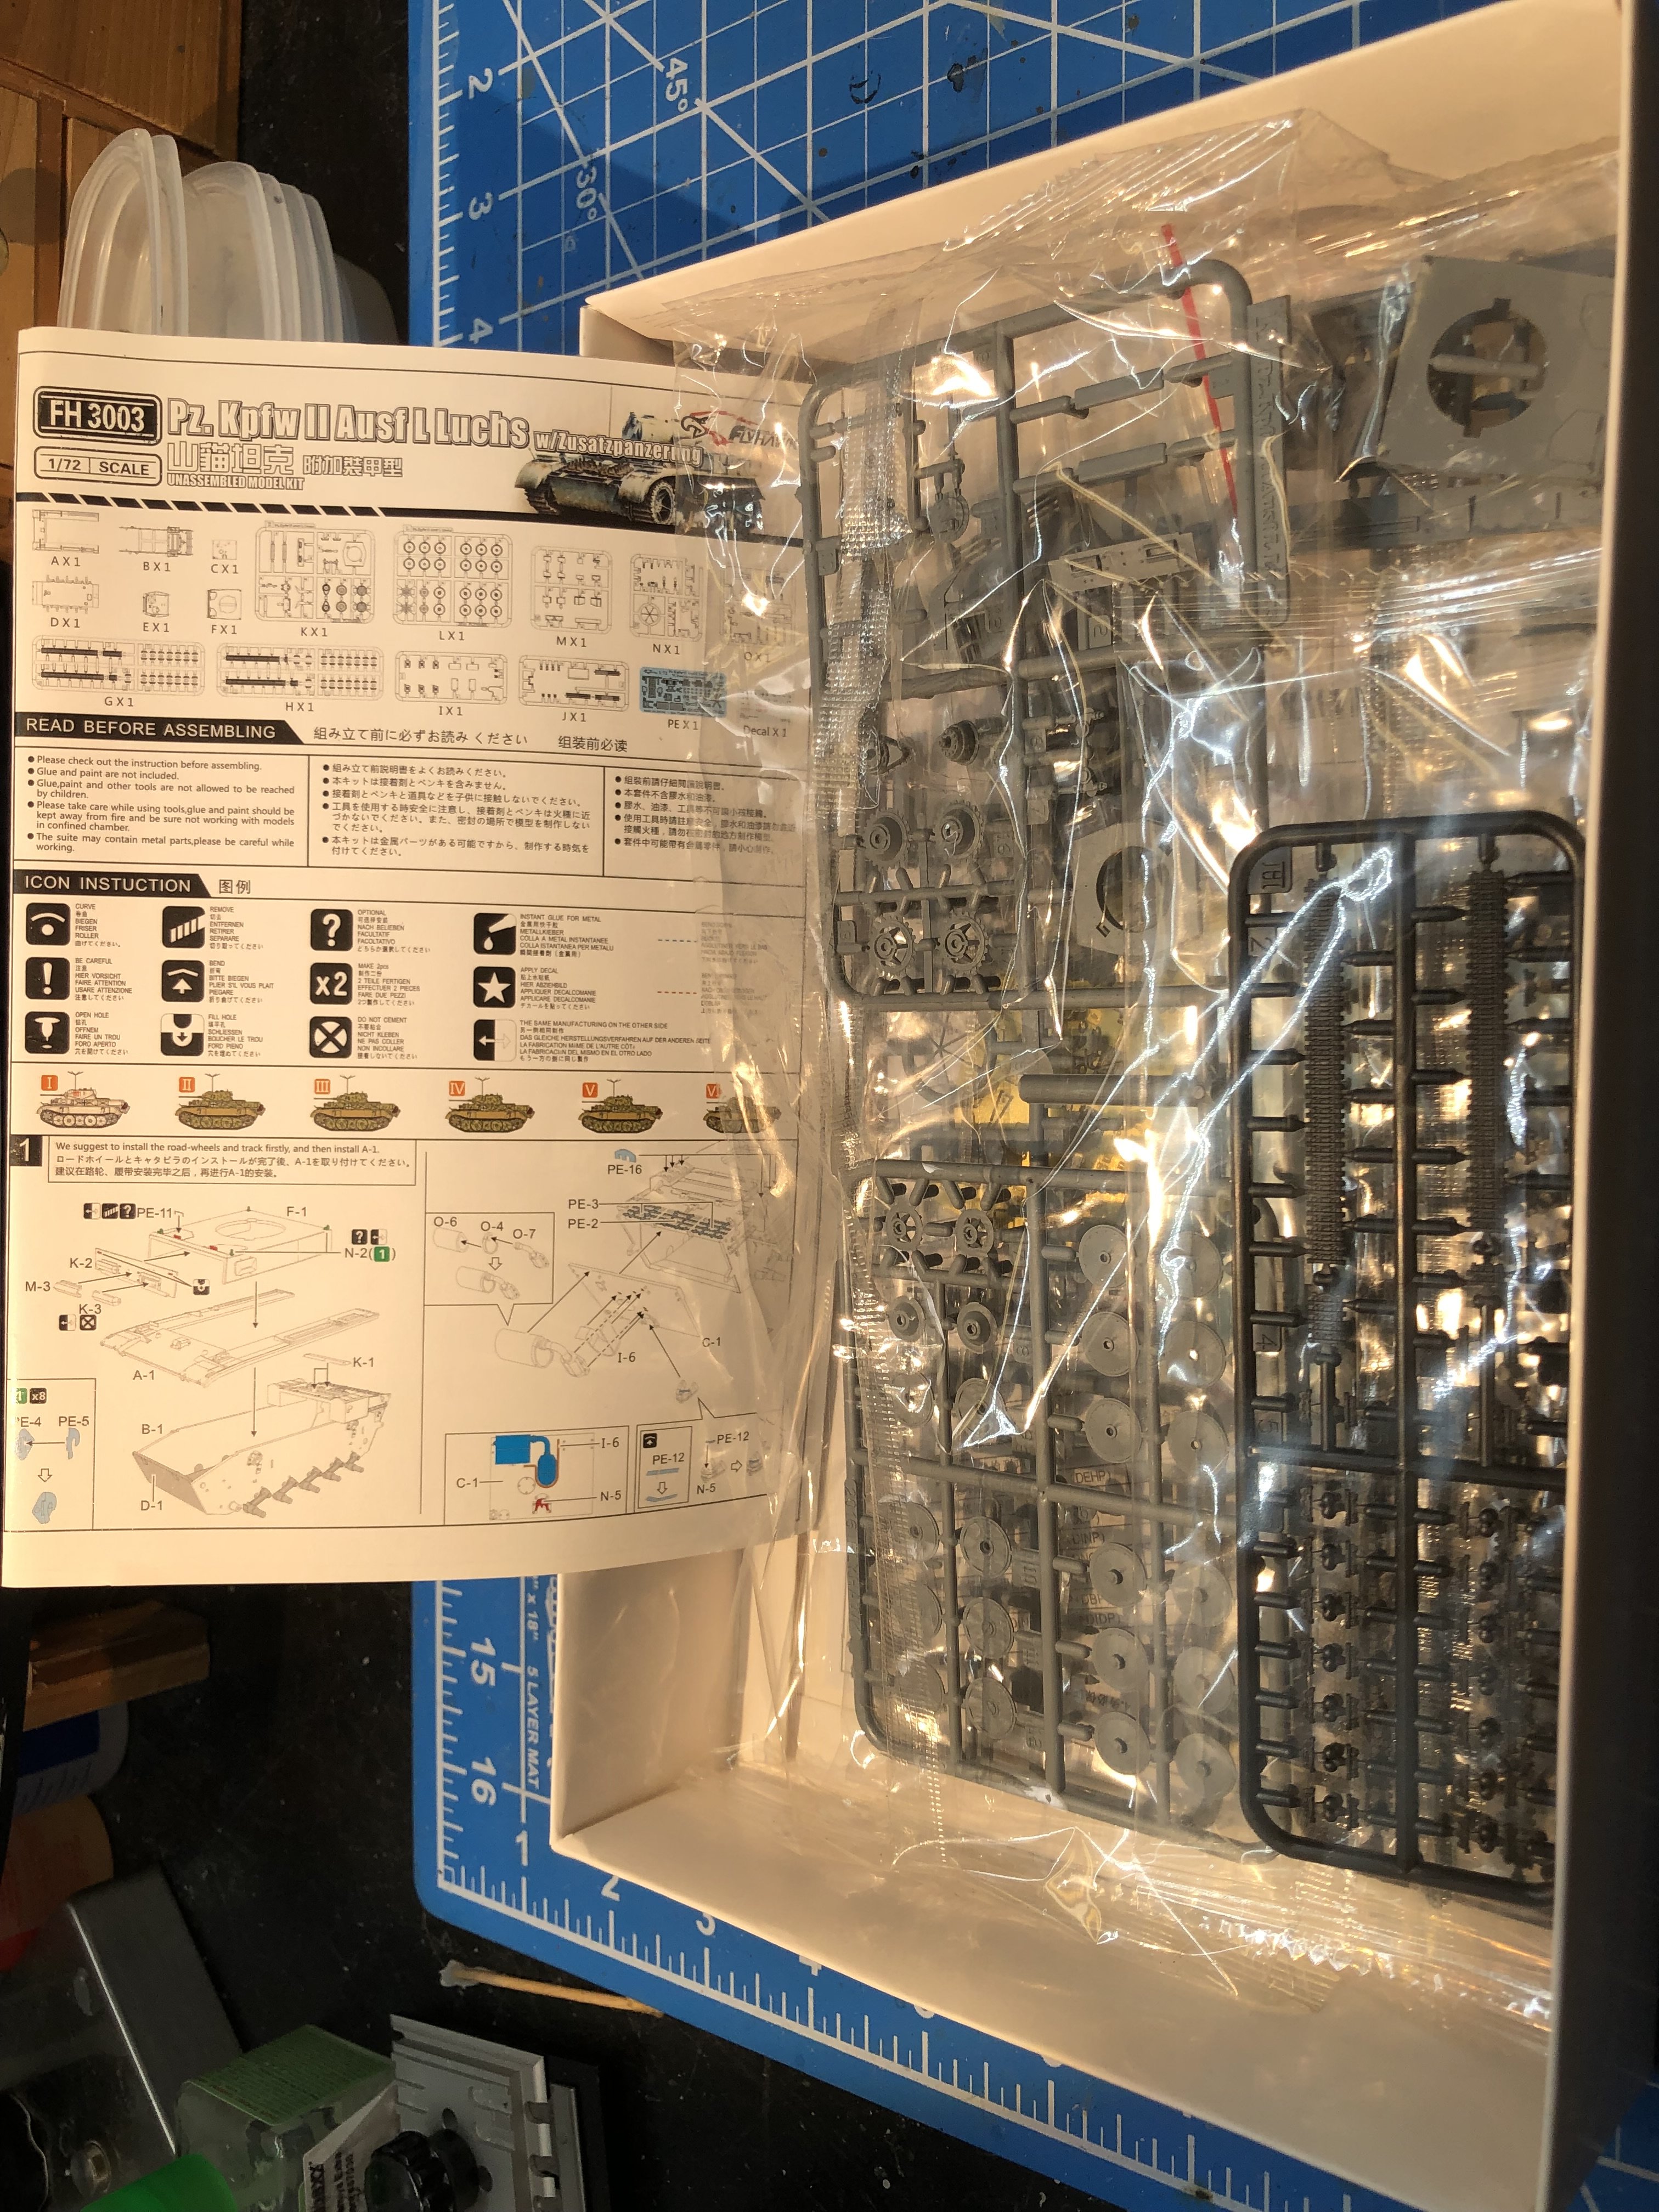
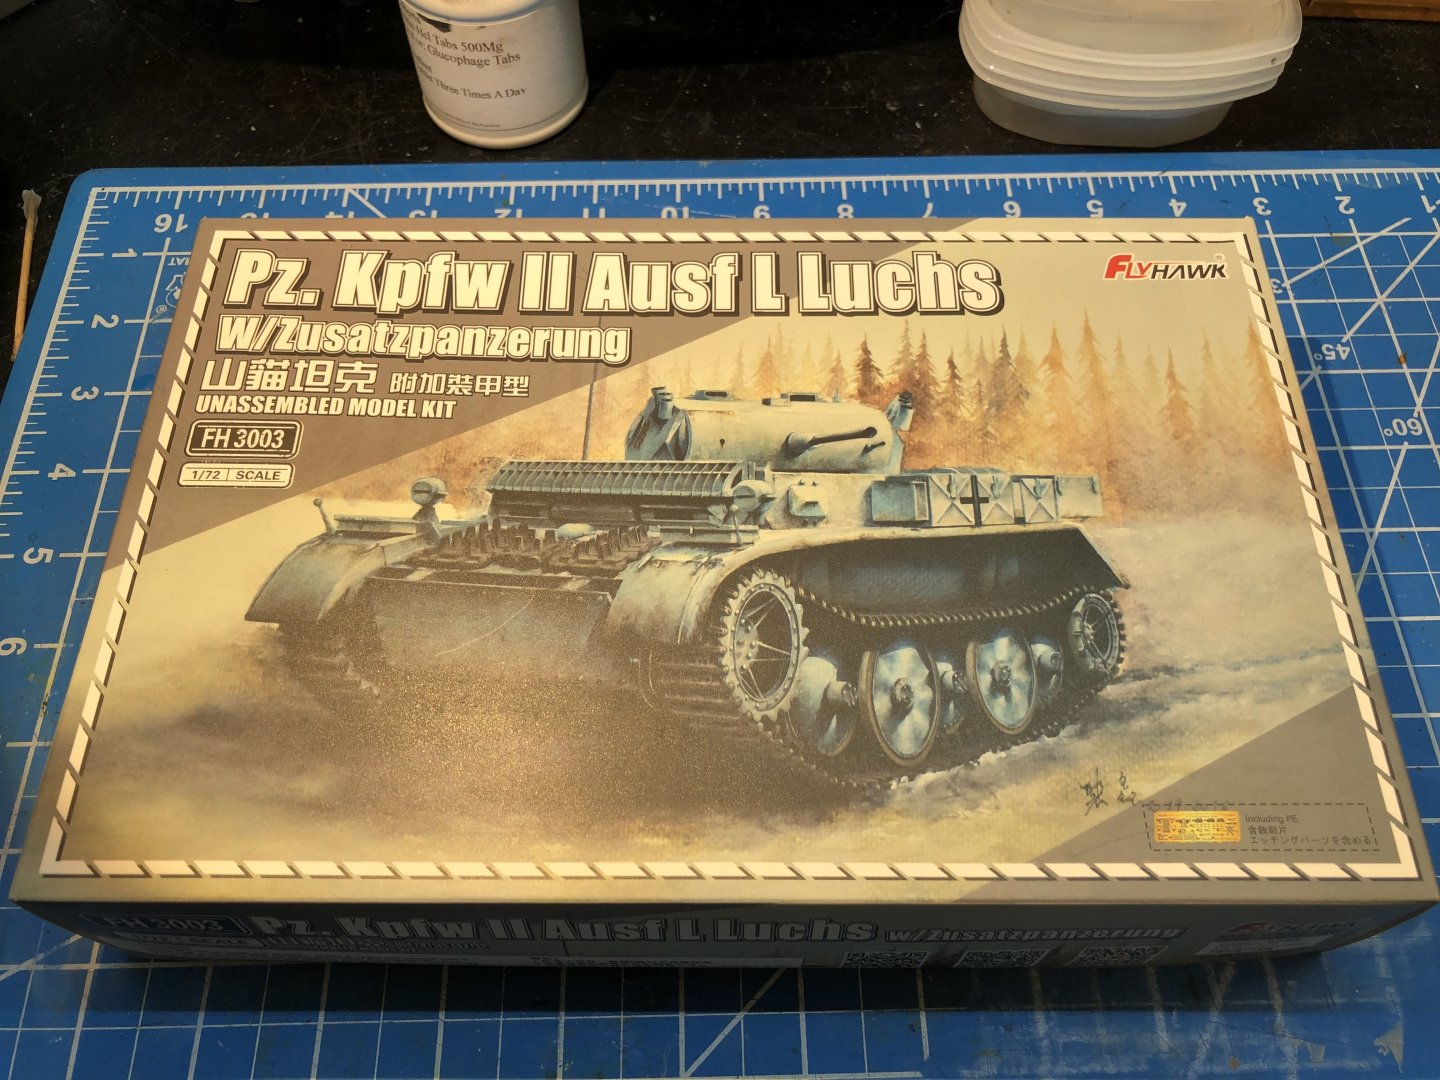
Thank you OC. It’s an amazing kit with so many parts for such a small vehicle, although I have a feeling I’ll be cursing it later. Flyhawk make a small number of AFVs. This one and the regular Kpfw I and II, the Renault tank and the King Tiger which has a nice brass barrel. They make super little models and are very satisfying to build. Alan
-
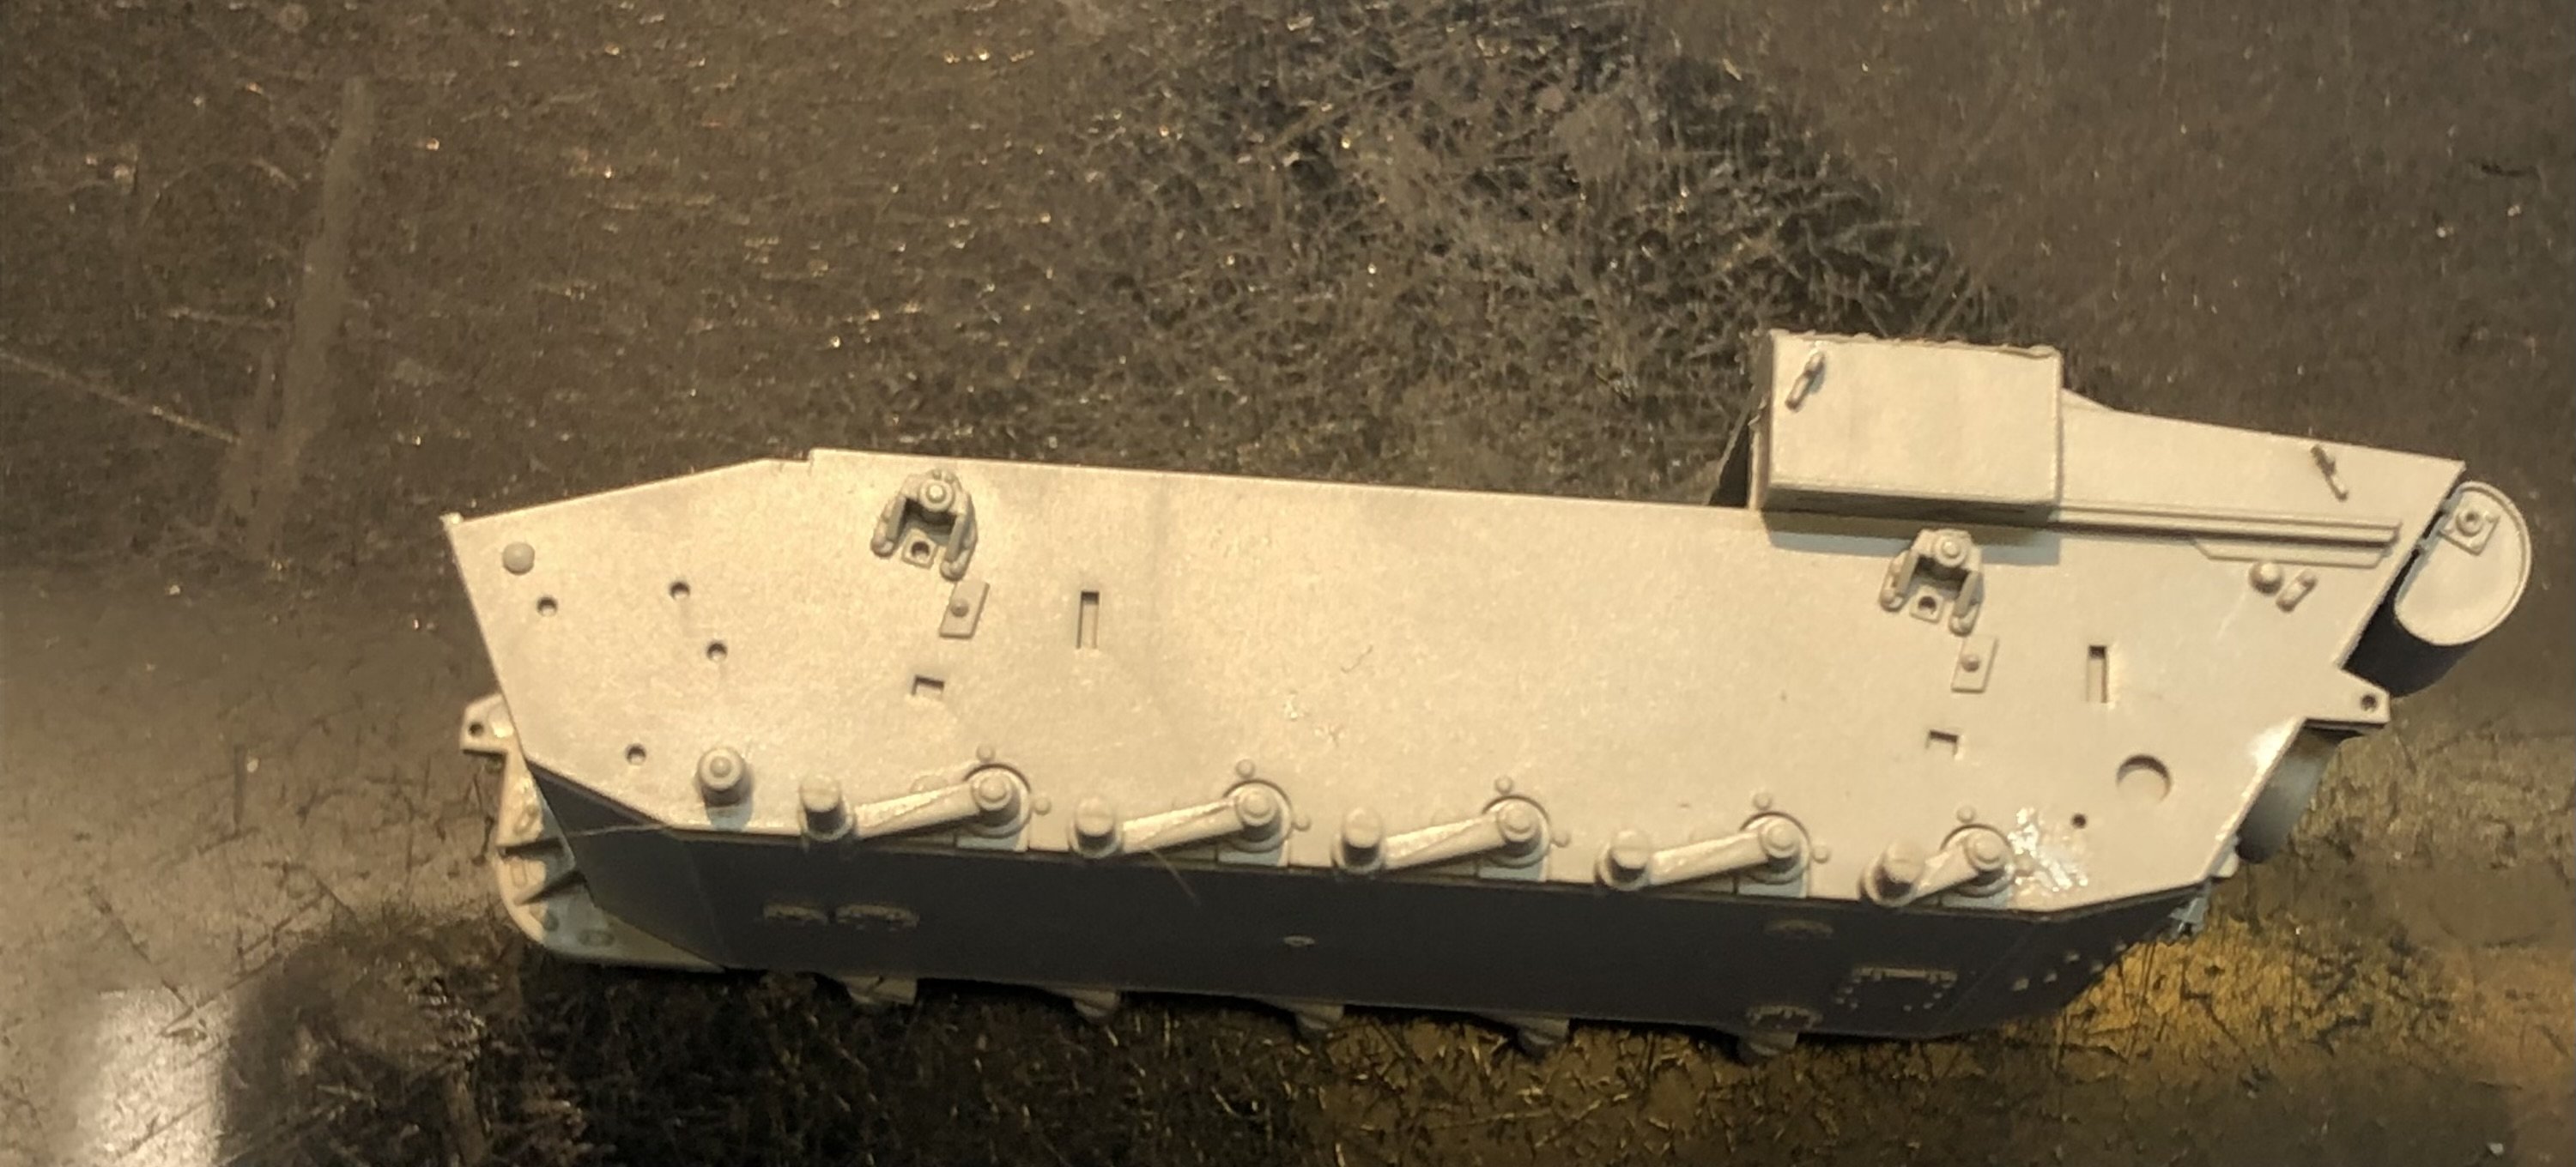
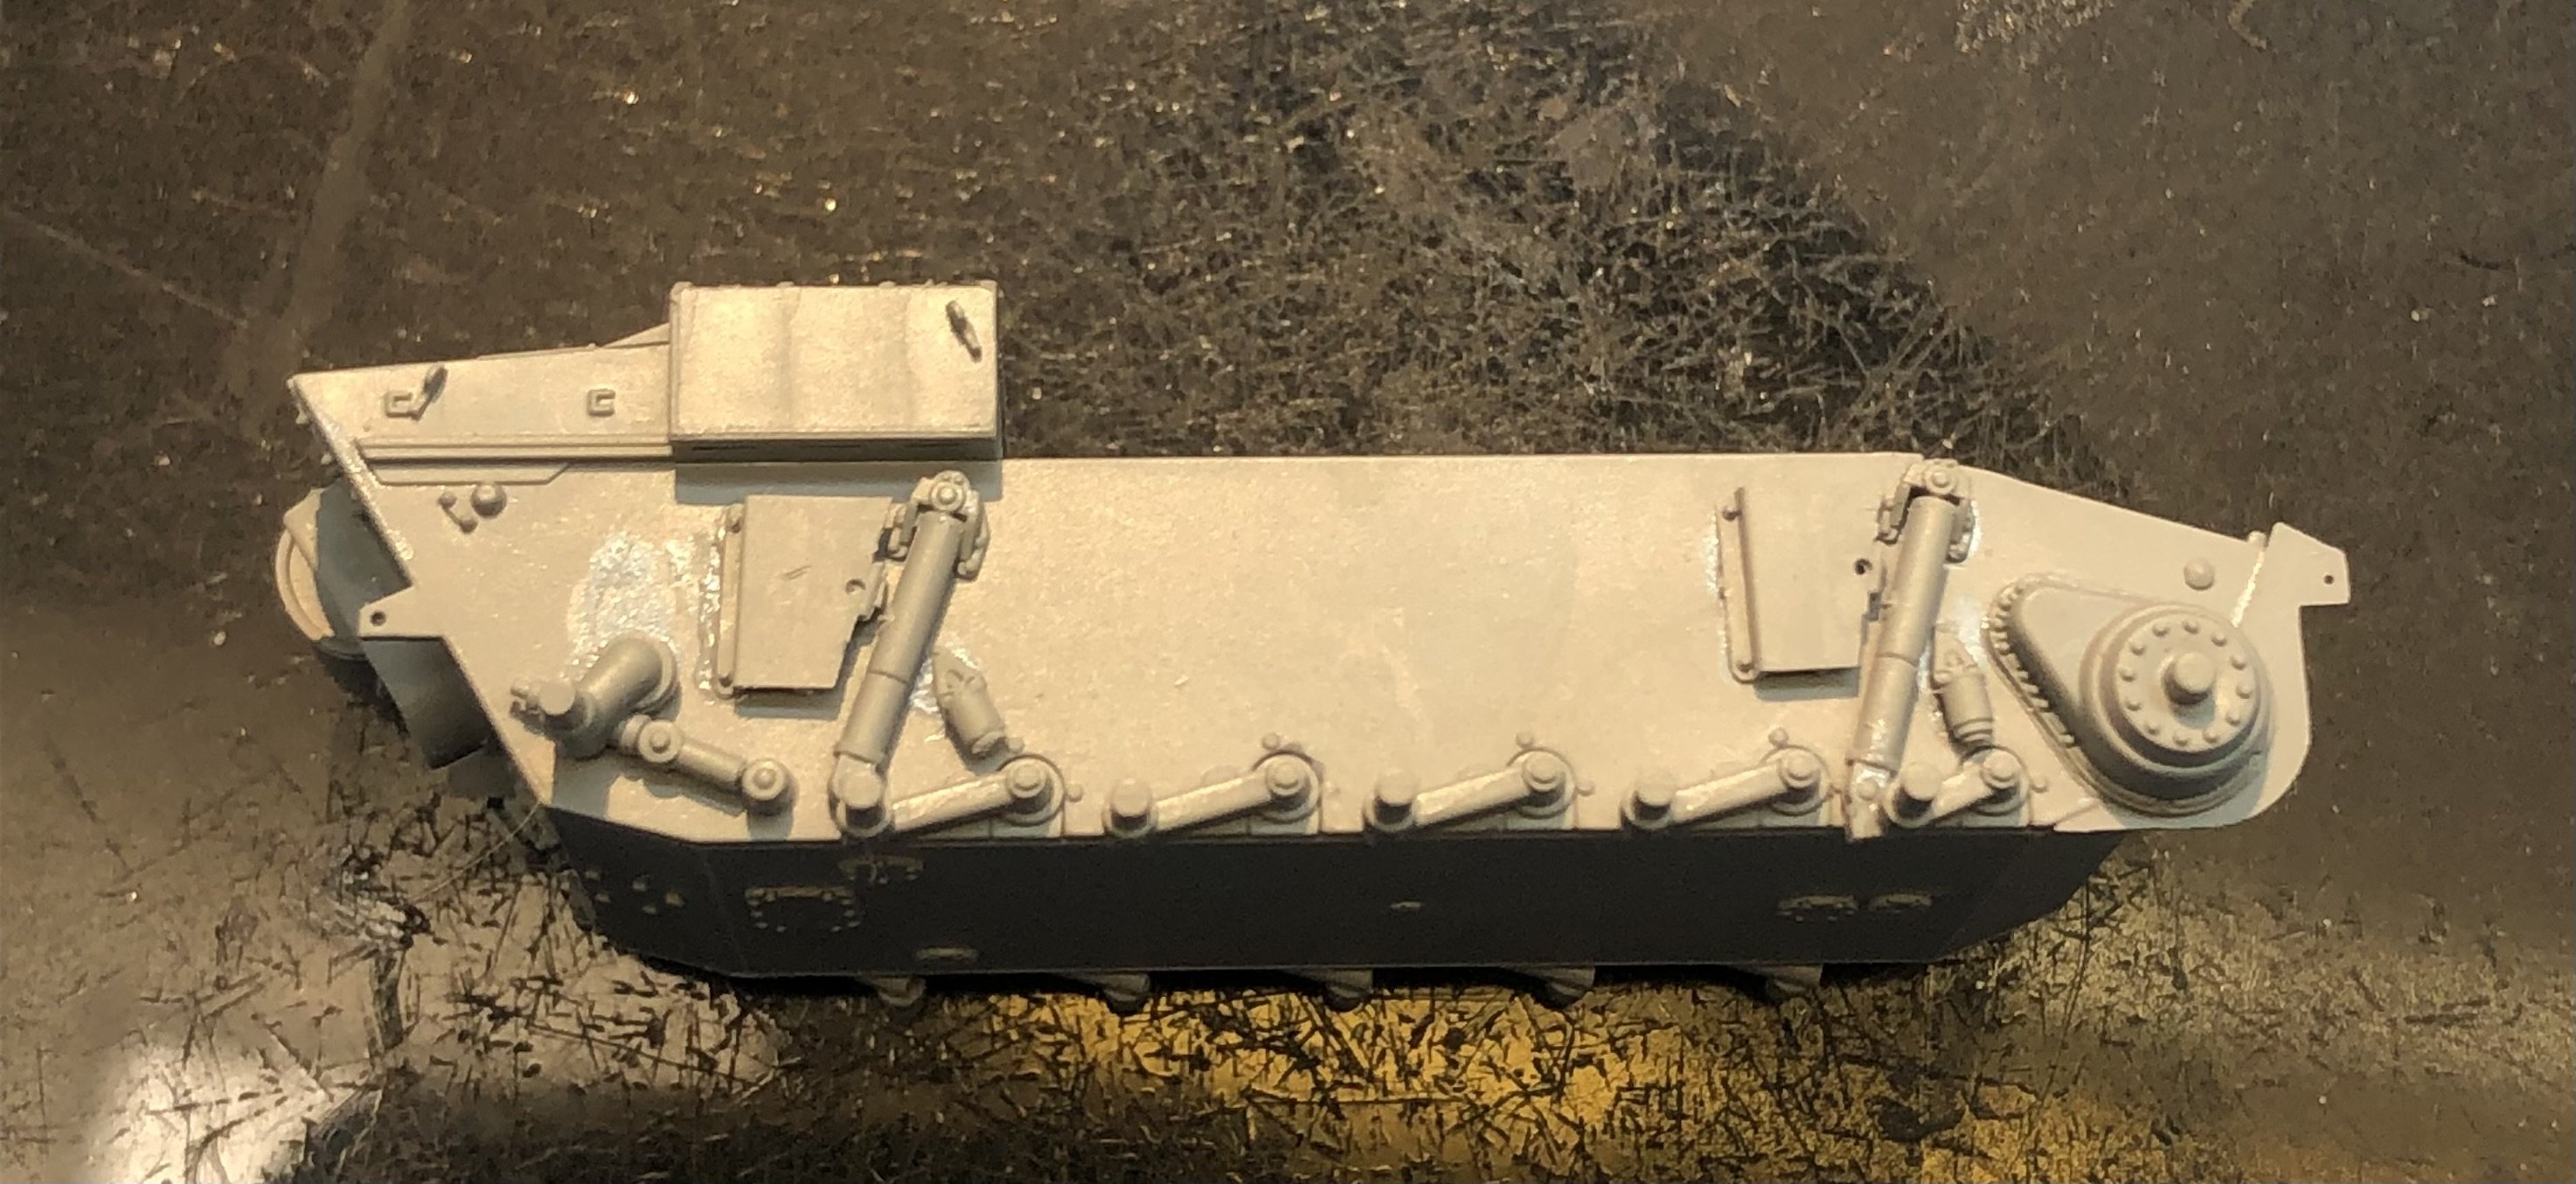
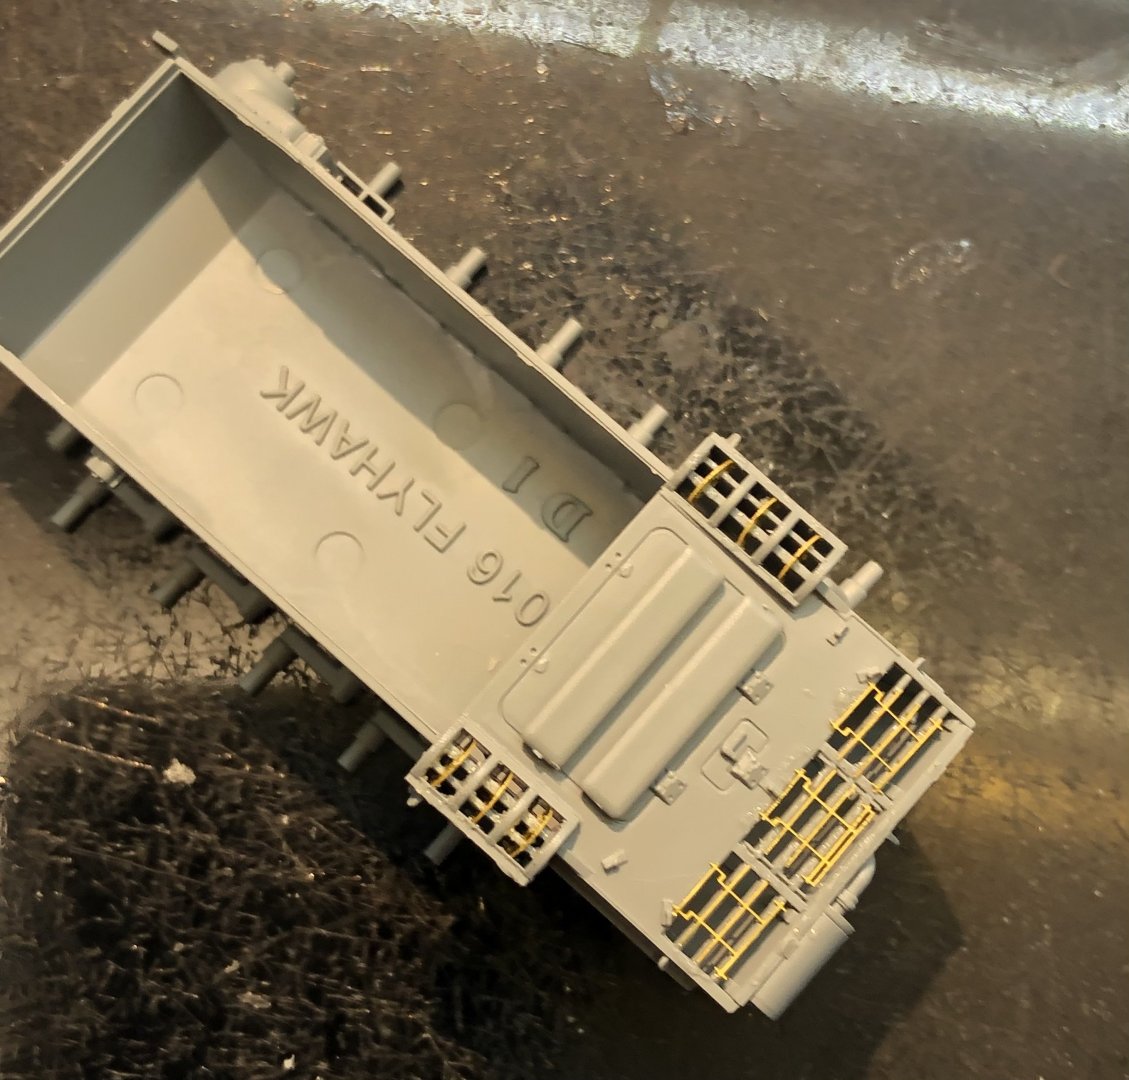
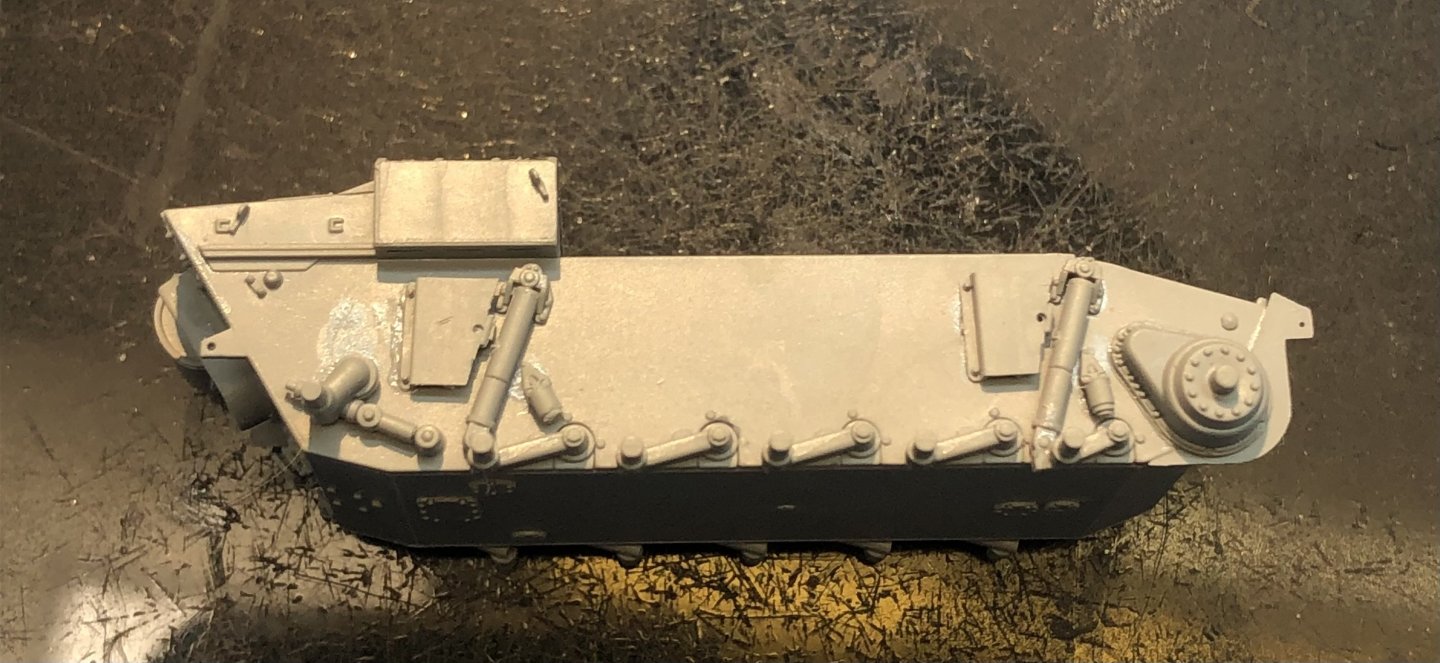
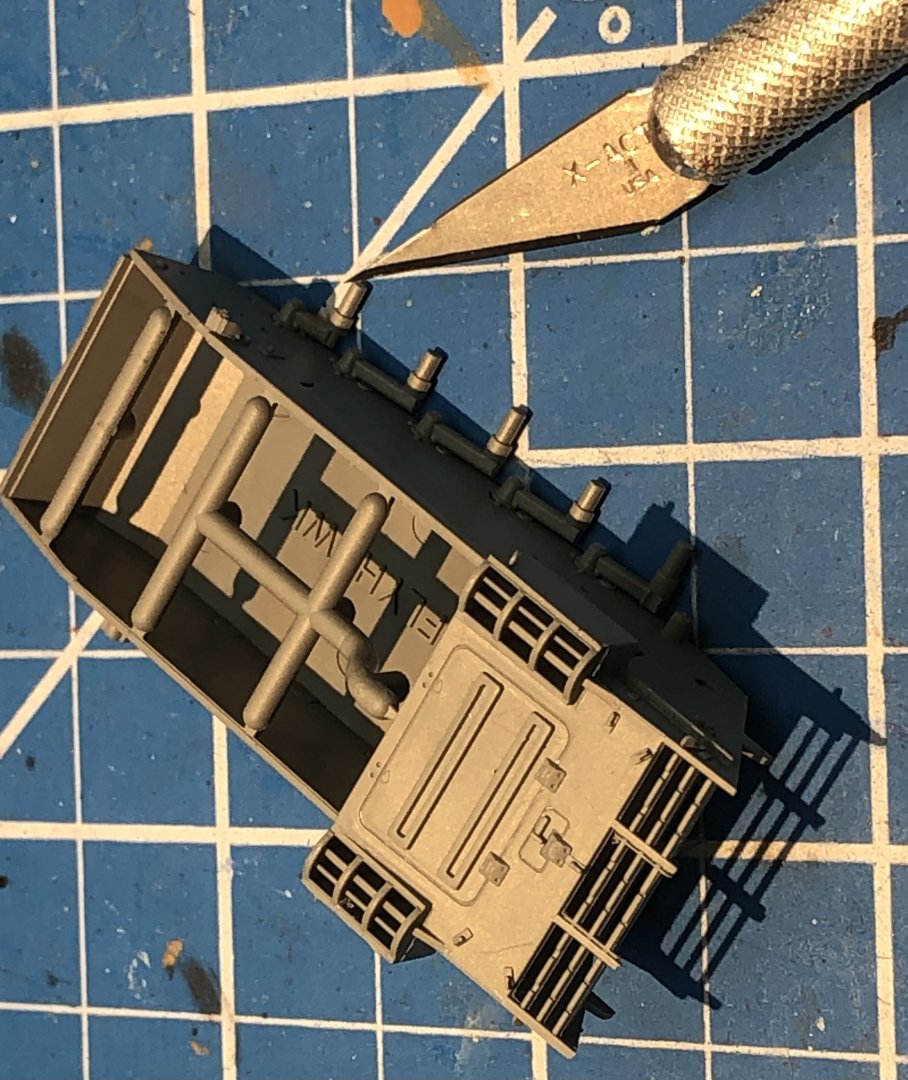
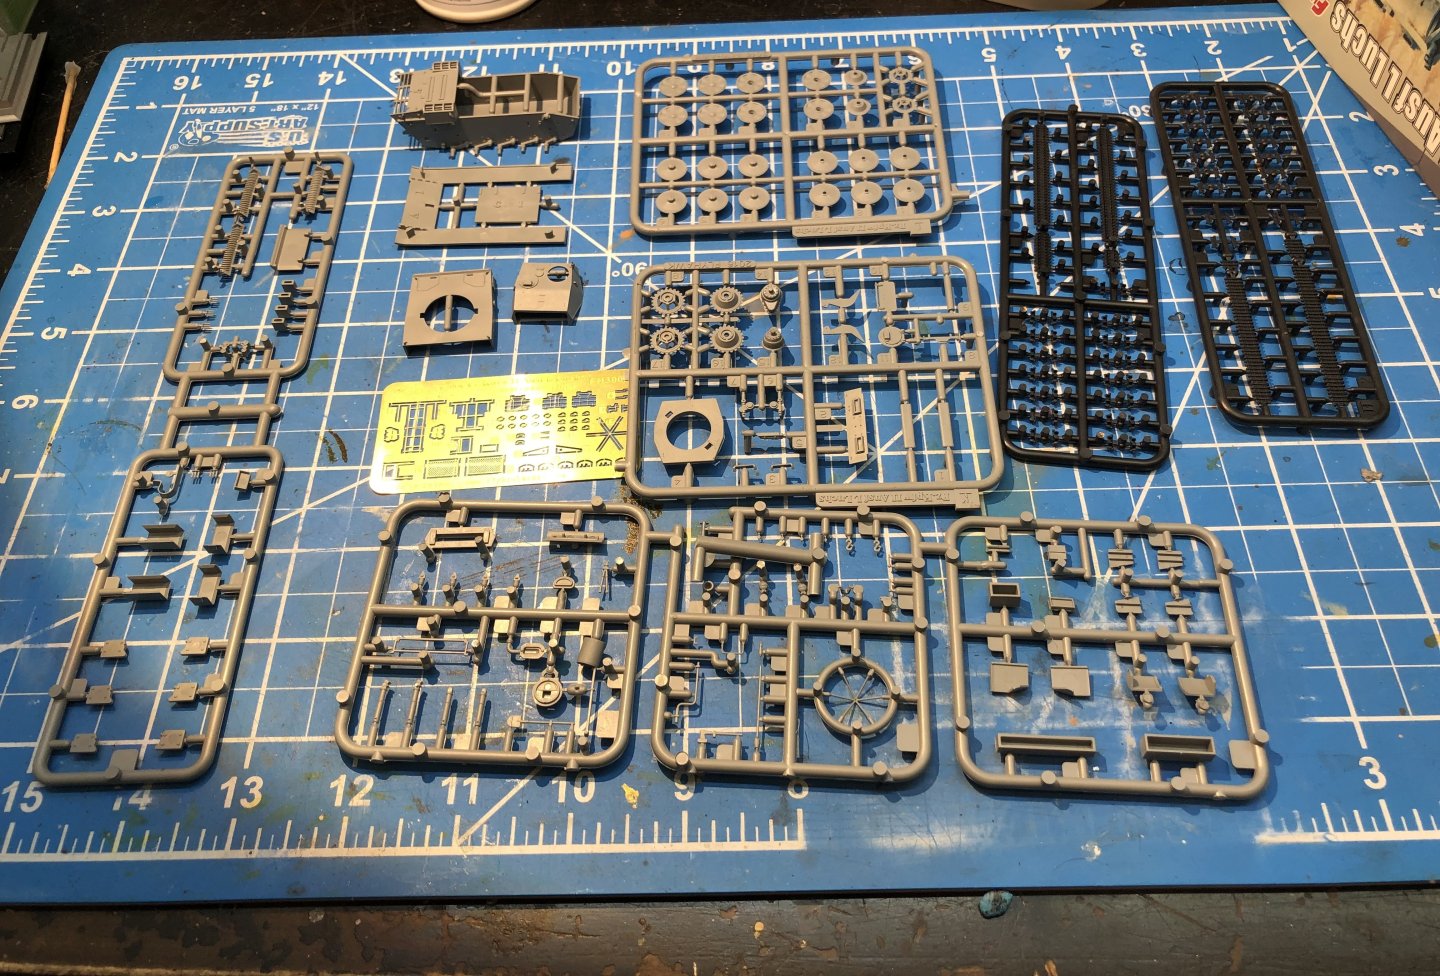
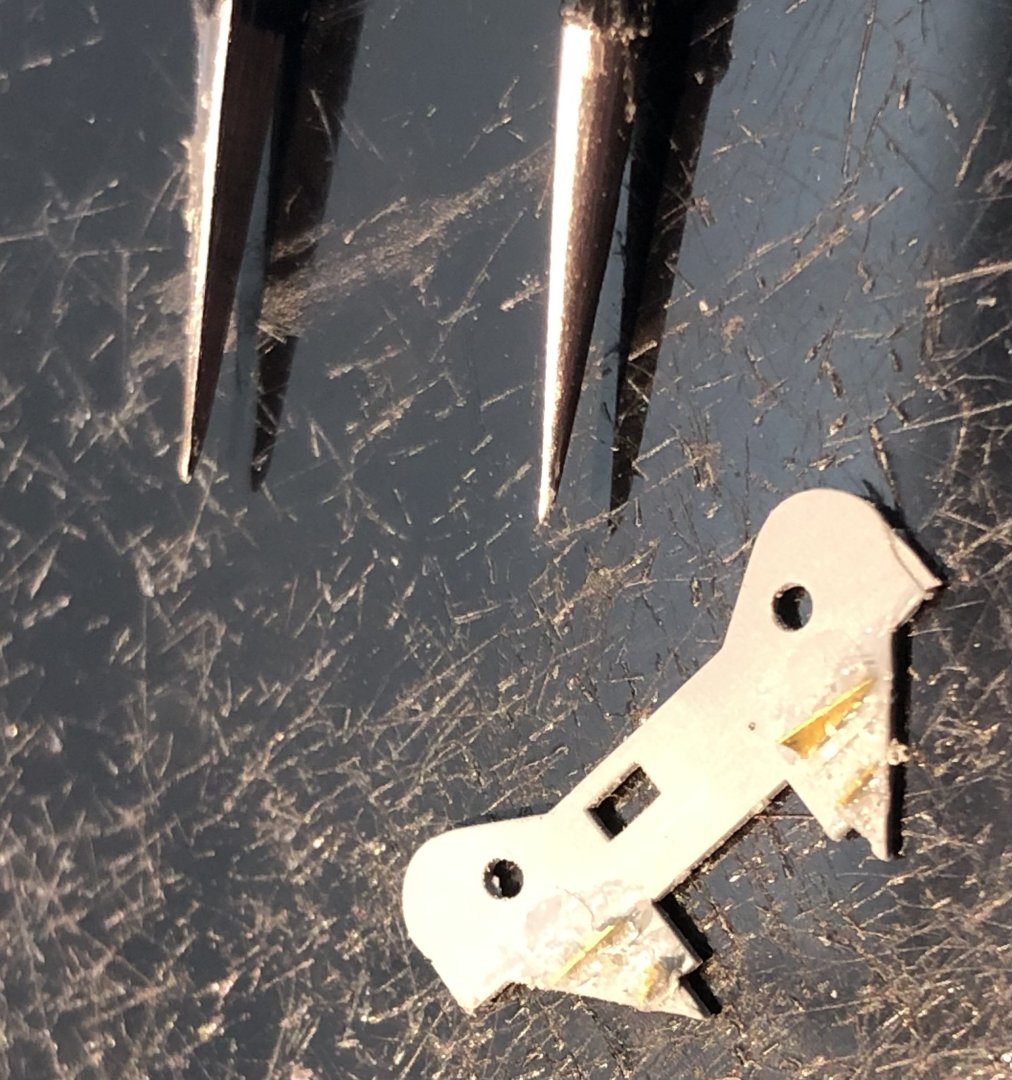
While I was stalled on the Iron Duke build I opened this box to keep me out of trouble. It’s a tiny 1/72 model of a tiny tank but with all the details that Flyhawk do so well. As I understand it the Zusatzpanzerung refers to the additional amor added to the tank. For such a small tank the box is well stuffed with parts There is a small PE fret of delicate parts. Some look impossibly small. The finished model is going to be small even with all the extra parts added. Assembly has started with the lower hull adding some PE to the engine vents and armor. There is quite a lot of suspension parts to add to the hull . So far it’s all fitting very nicely although it takes several reads of the instructions to work out what is intended. And the instructions are printed very small. One side done and one ready to start Thanks for looking in Alan


- 34 replies
-
- 14
-
-
You made a beautiful job of her and the color scheme really sets the boat off. Congratulations and the case looks great too. alan
- 81 replies
-
- 3
-
-
- Norwegian Sailing Pram
- Model Shipways
- (and 1 more)
-
Beautiful painstaking work. alan
-
Congratulations Rob What a maze! alan
-
Have a great vacation Mike alan
-
I’ll watch with great interest. It sounds like a nice looking model when finished with a rather different build method. Good luck, I’m sure it will come out well. alan
- 47 replies
-
- 3
-
-
-
- Annapolis Wherry
- Chesapeake Light Craft
- (and 1 more)
-
Thank you very much Phil. A great miniature of a very nasty man alan
-
Looking forward to seeing you build this one. It looks like a great kit alan
-
Nice modification and it came out really well. I always get nervous cutting into stuff like that. alan
-
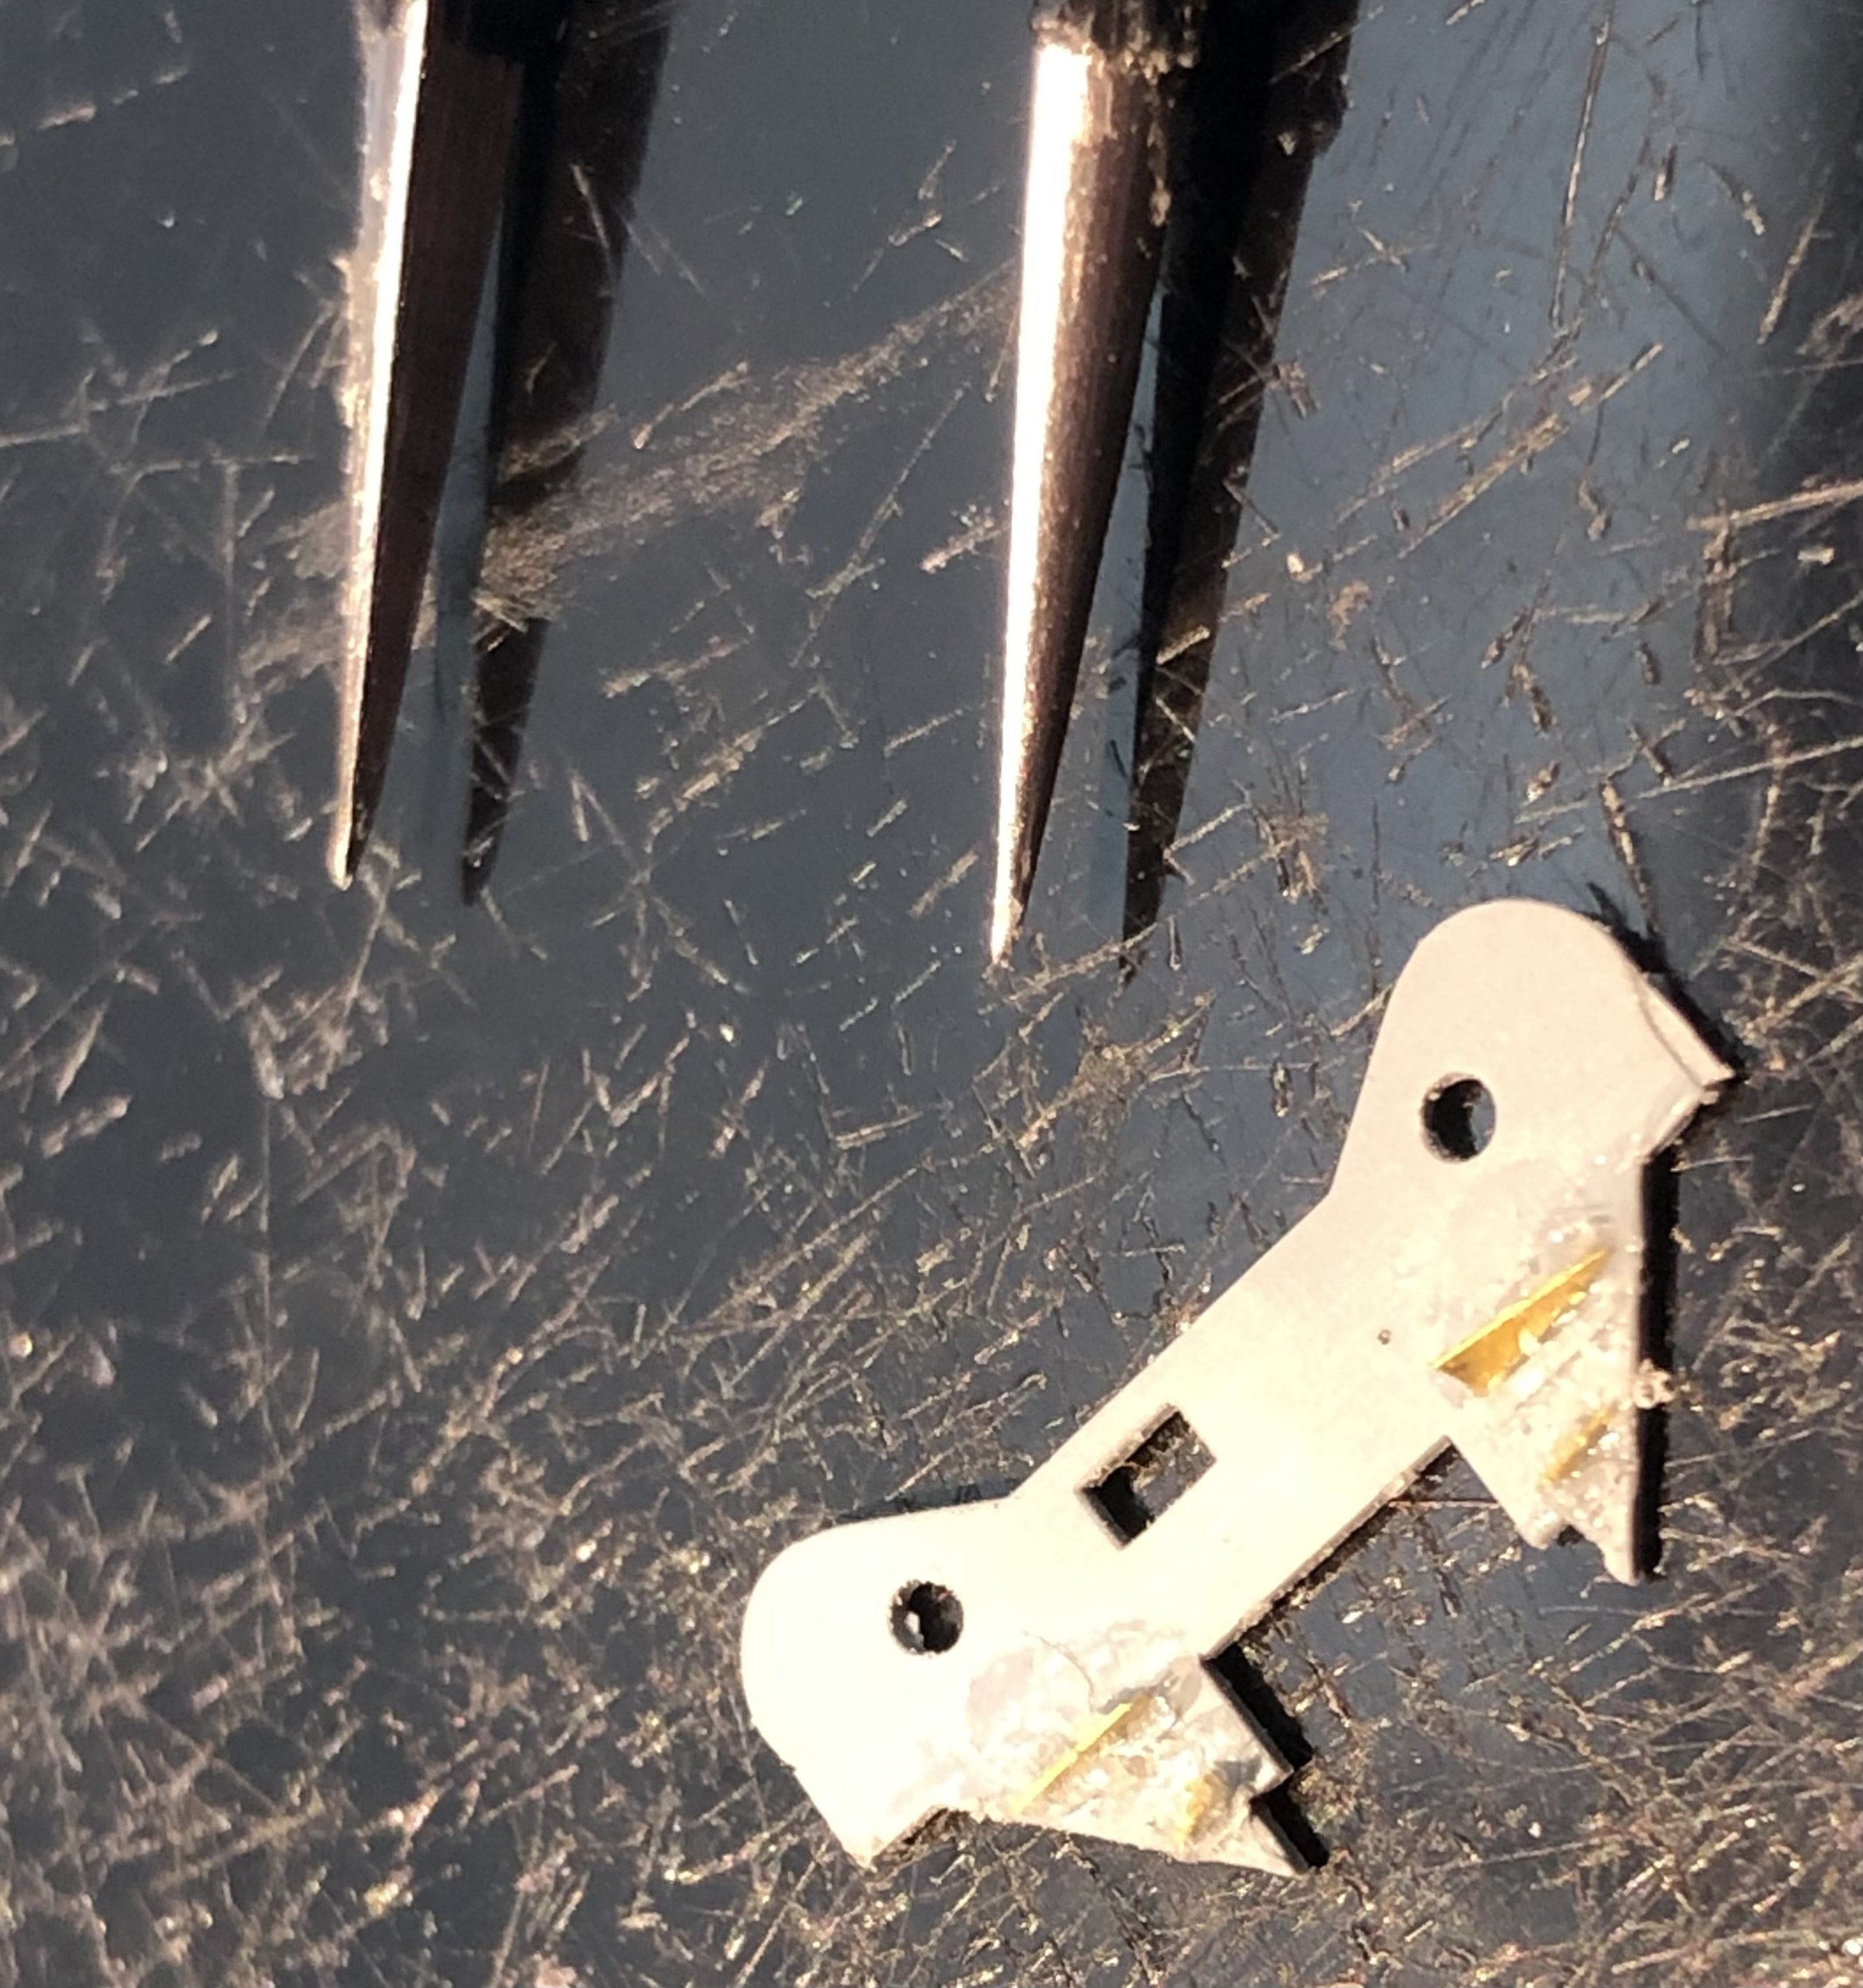
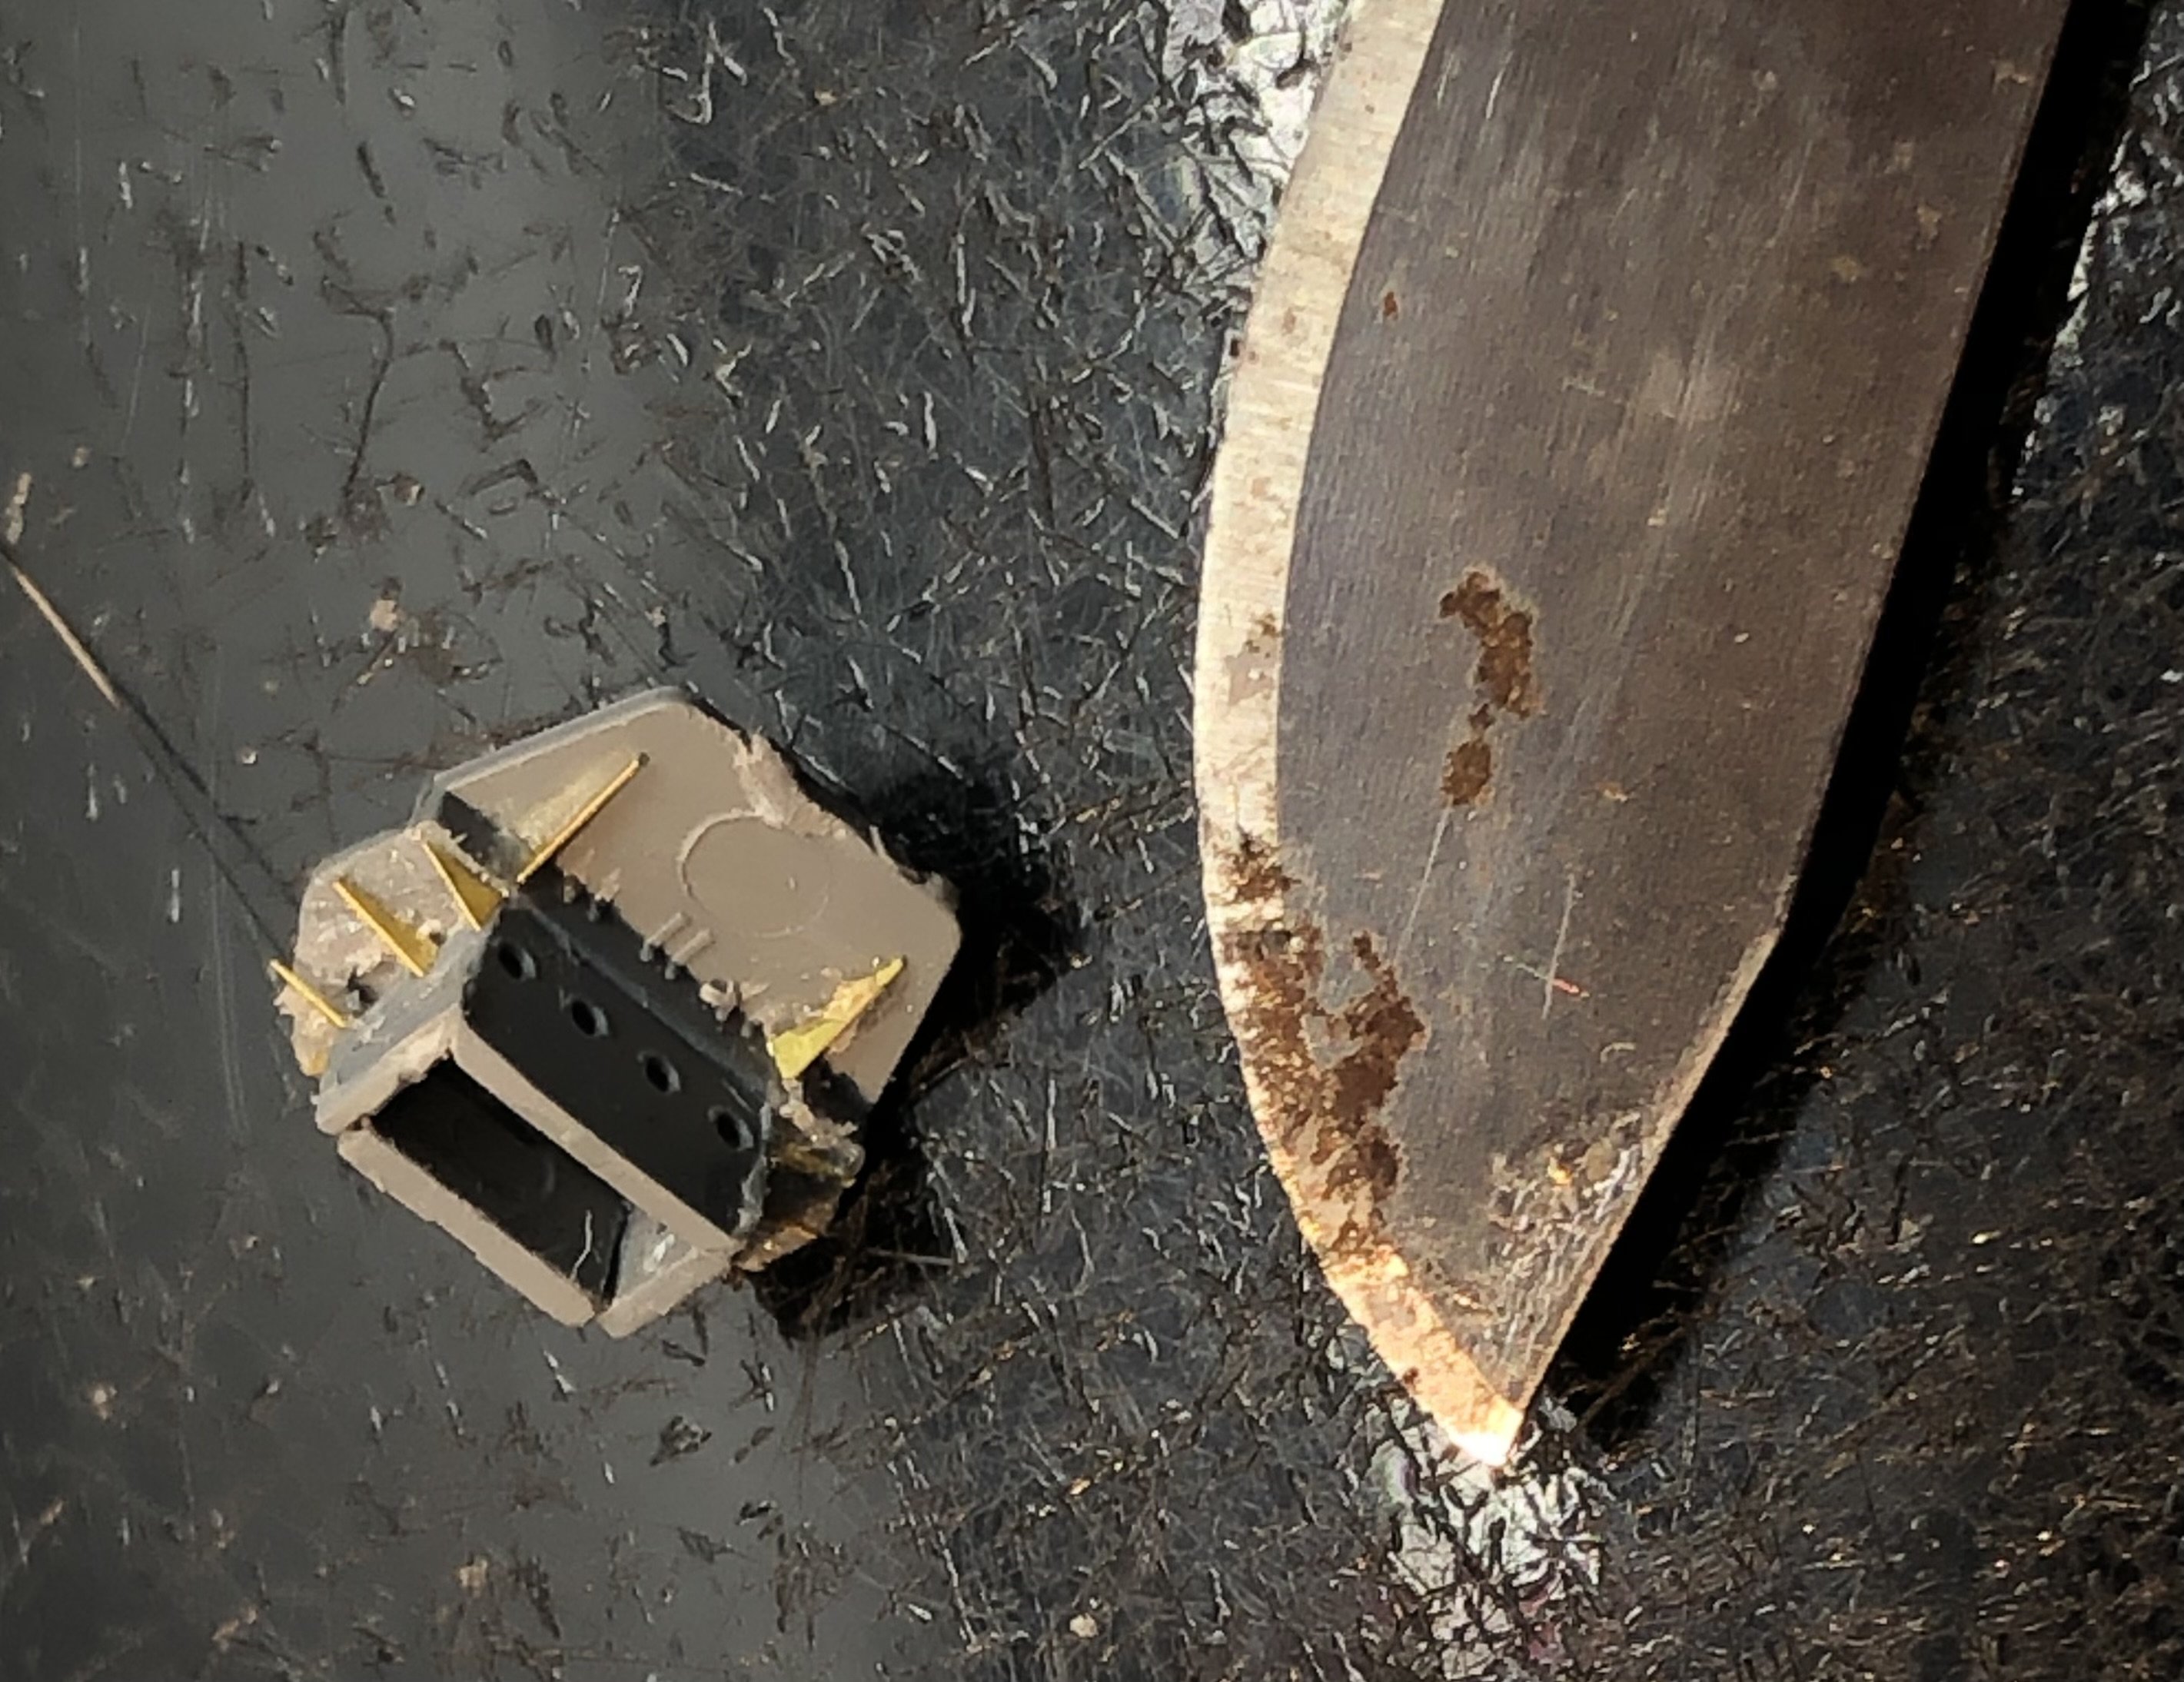
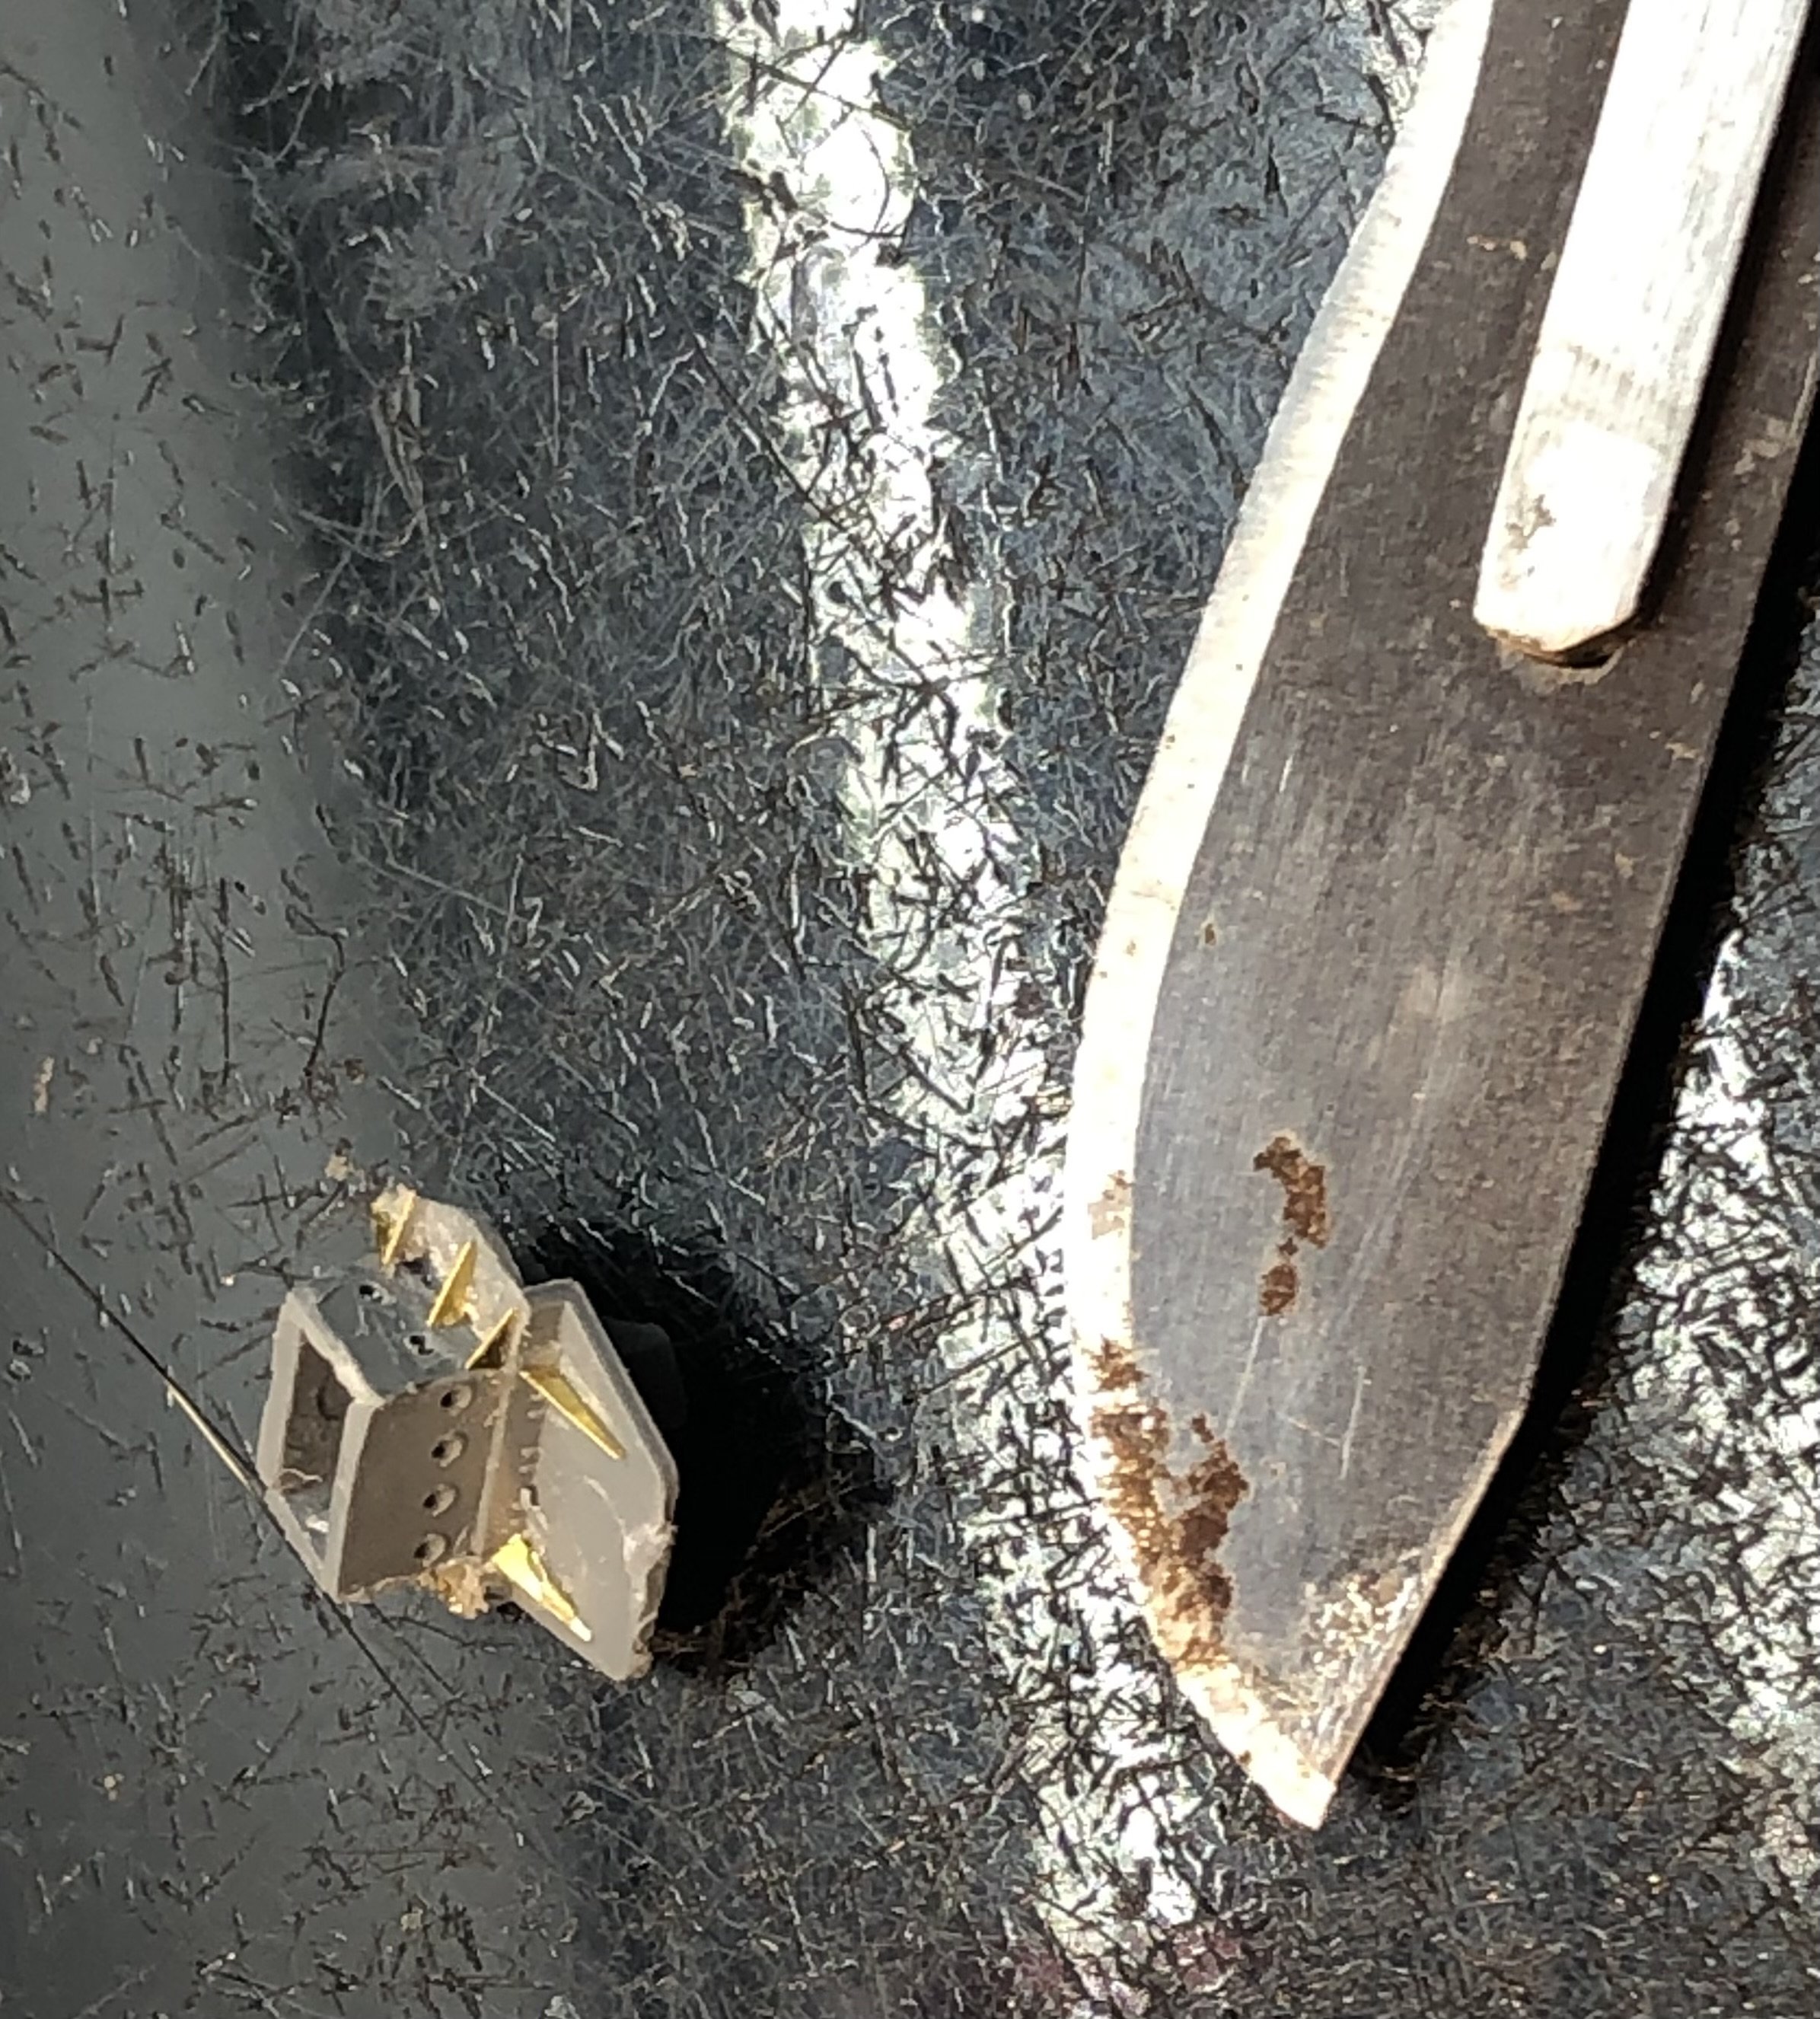
I found a little courage this morning and cut the plastic supports off two of the platforms and added the tiny photo etch parts. It took all day to build them up with a few diversions to find the little triangles after they flicked off the tweezers. Oh and a three hour power cut. At the end of the day they came out okay but I’m not sure it justifies the work. There is one more to do but I’m thinking of passing on it and moving forward with some primer. Thanks for looking in, the likes and comments. alan


-
Thanks Andy, I knew I had heard of casements somewhere 😀 Now that I recall I seem to think fortifications had casemate walls and later casemates housing guns. alan
-
Thanks for the correction. I had the feeling that barbette was wrong but casement didn’t occur to me. alan
-
Exquisite work. I am very impressed with the aged screws. Beautiful detail. alan
-
Thank you OC. This is a great kit and the brass kicks it up a notch. I’m hoping I can make a decent job of it. alan
-
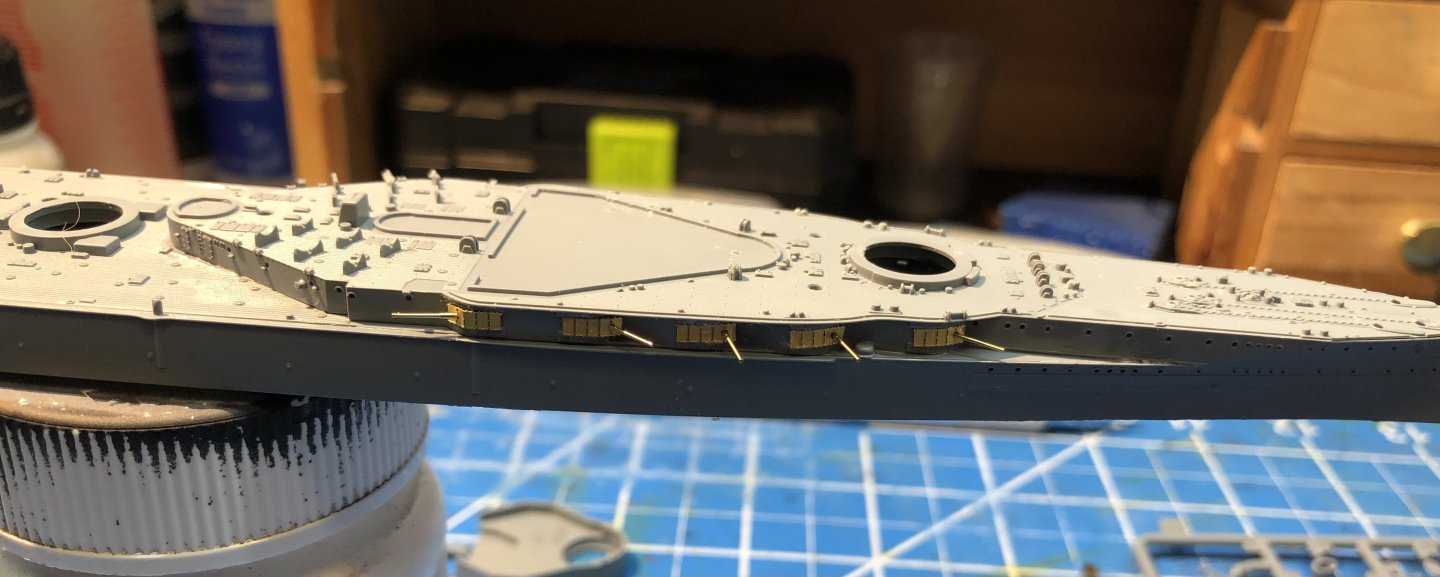
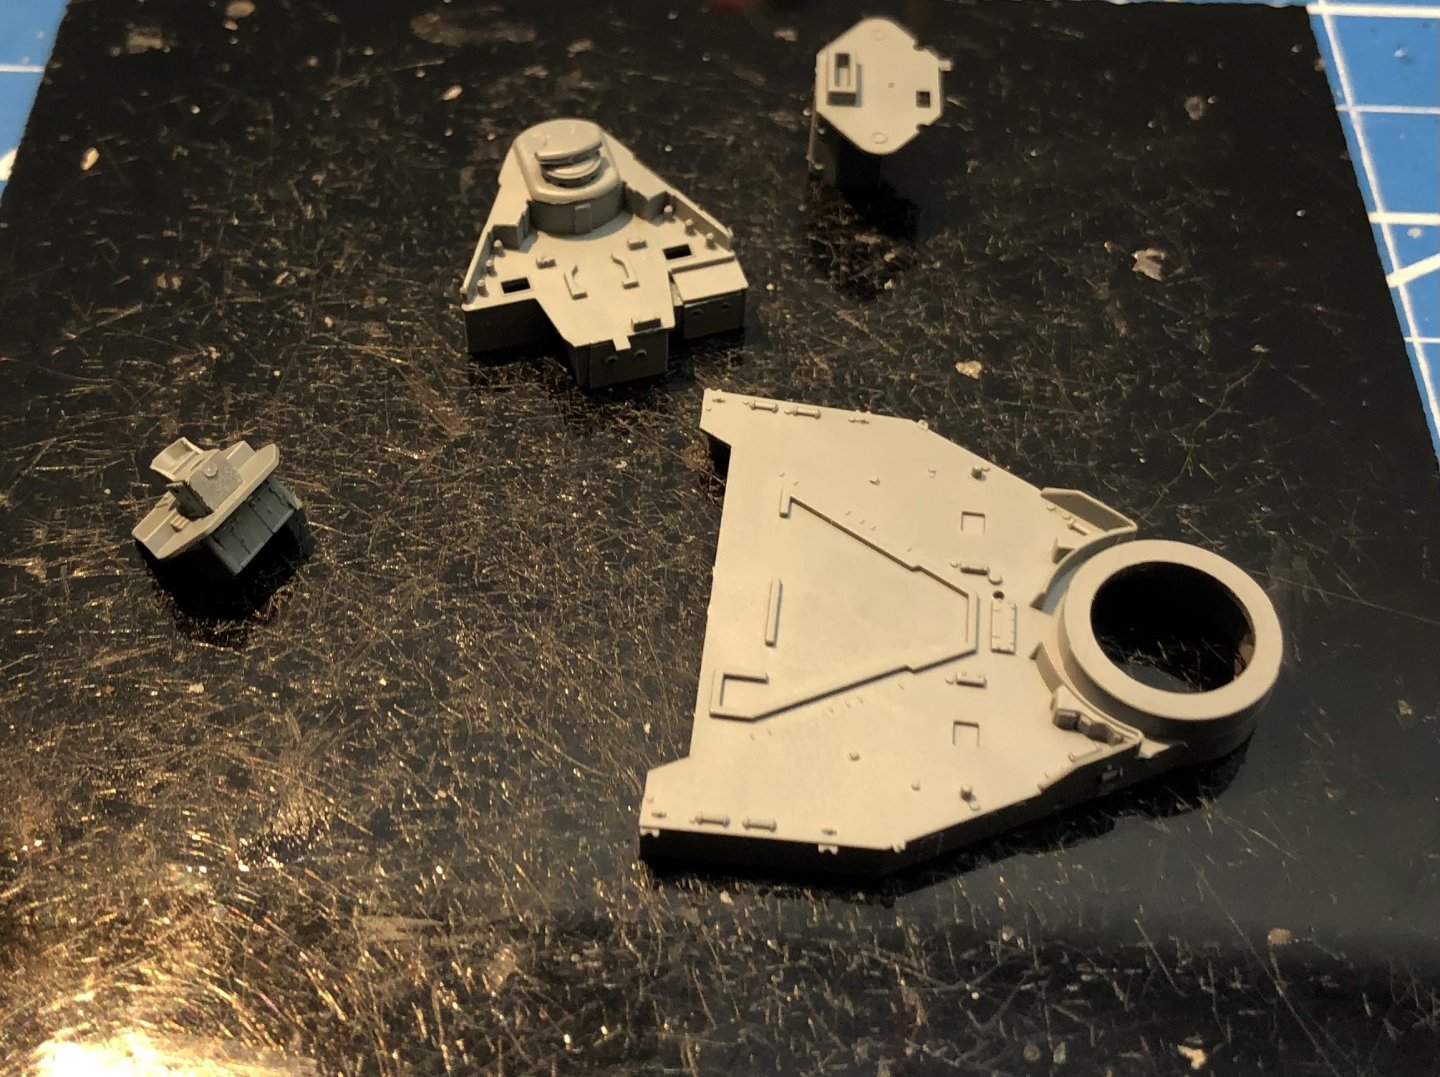
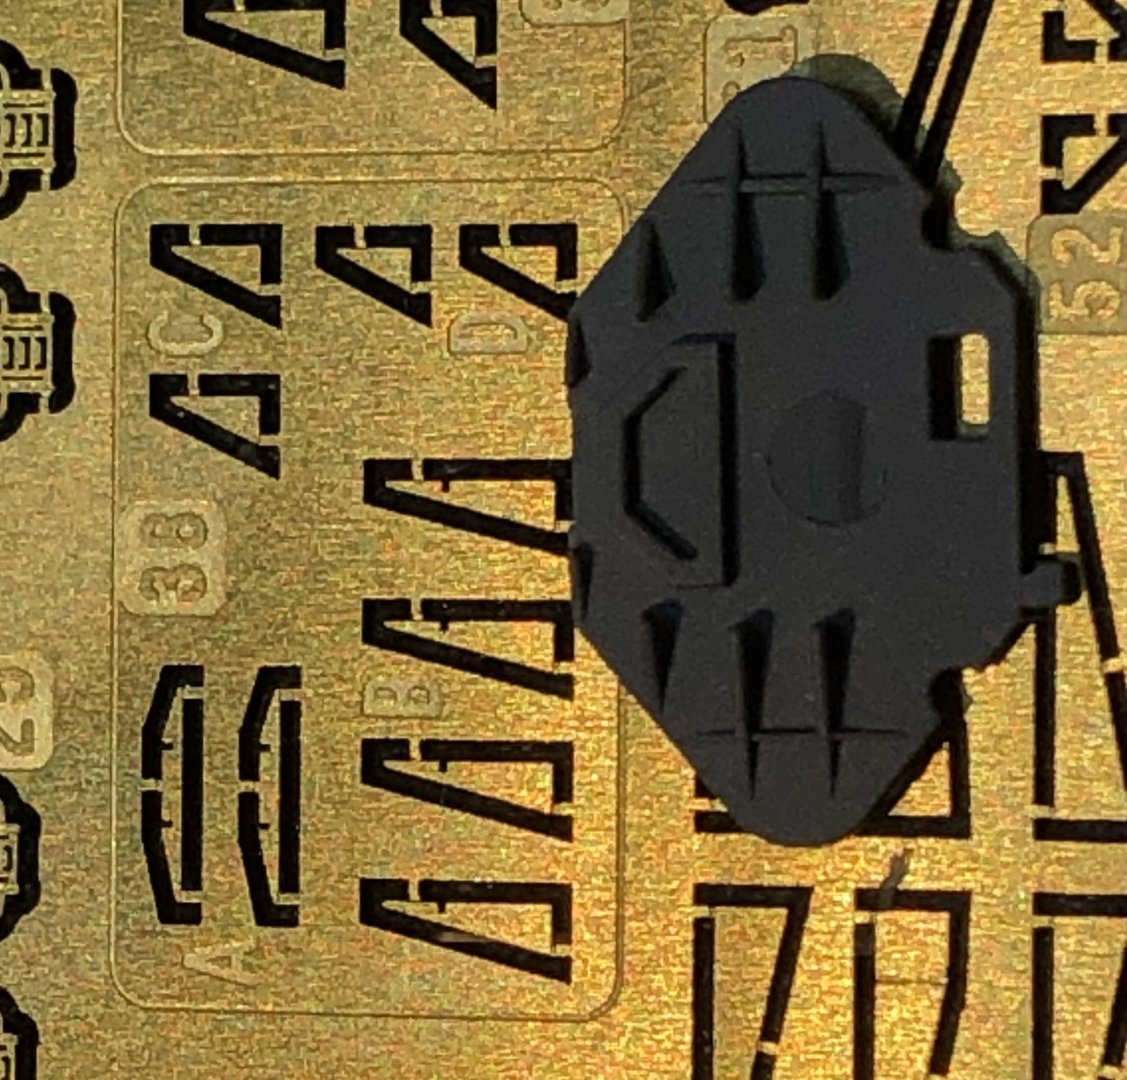
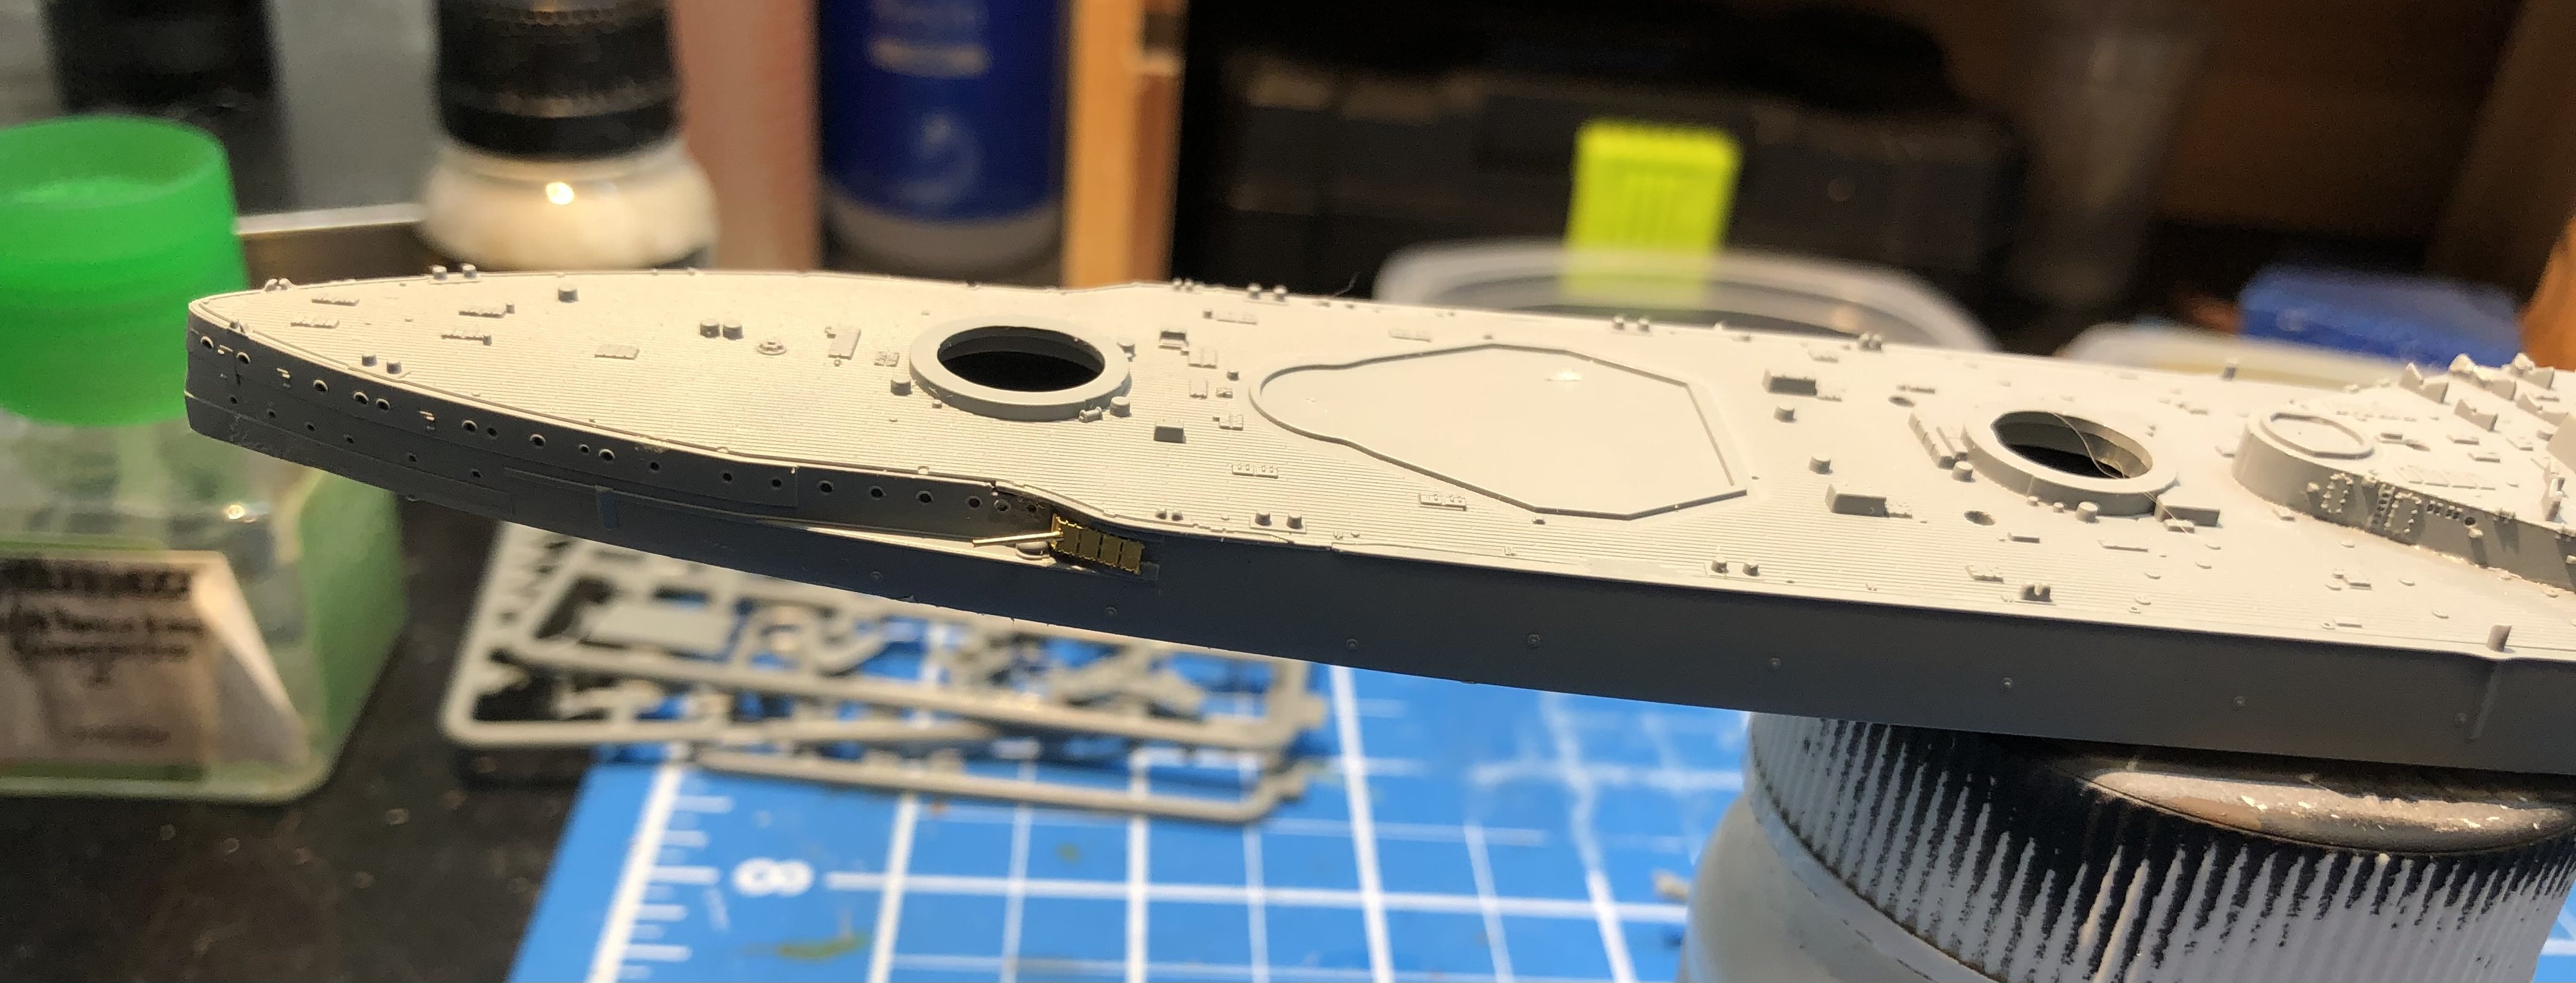
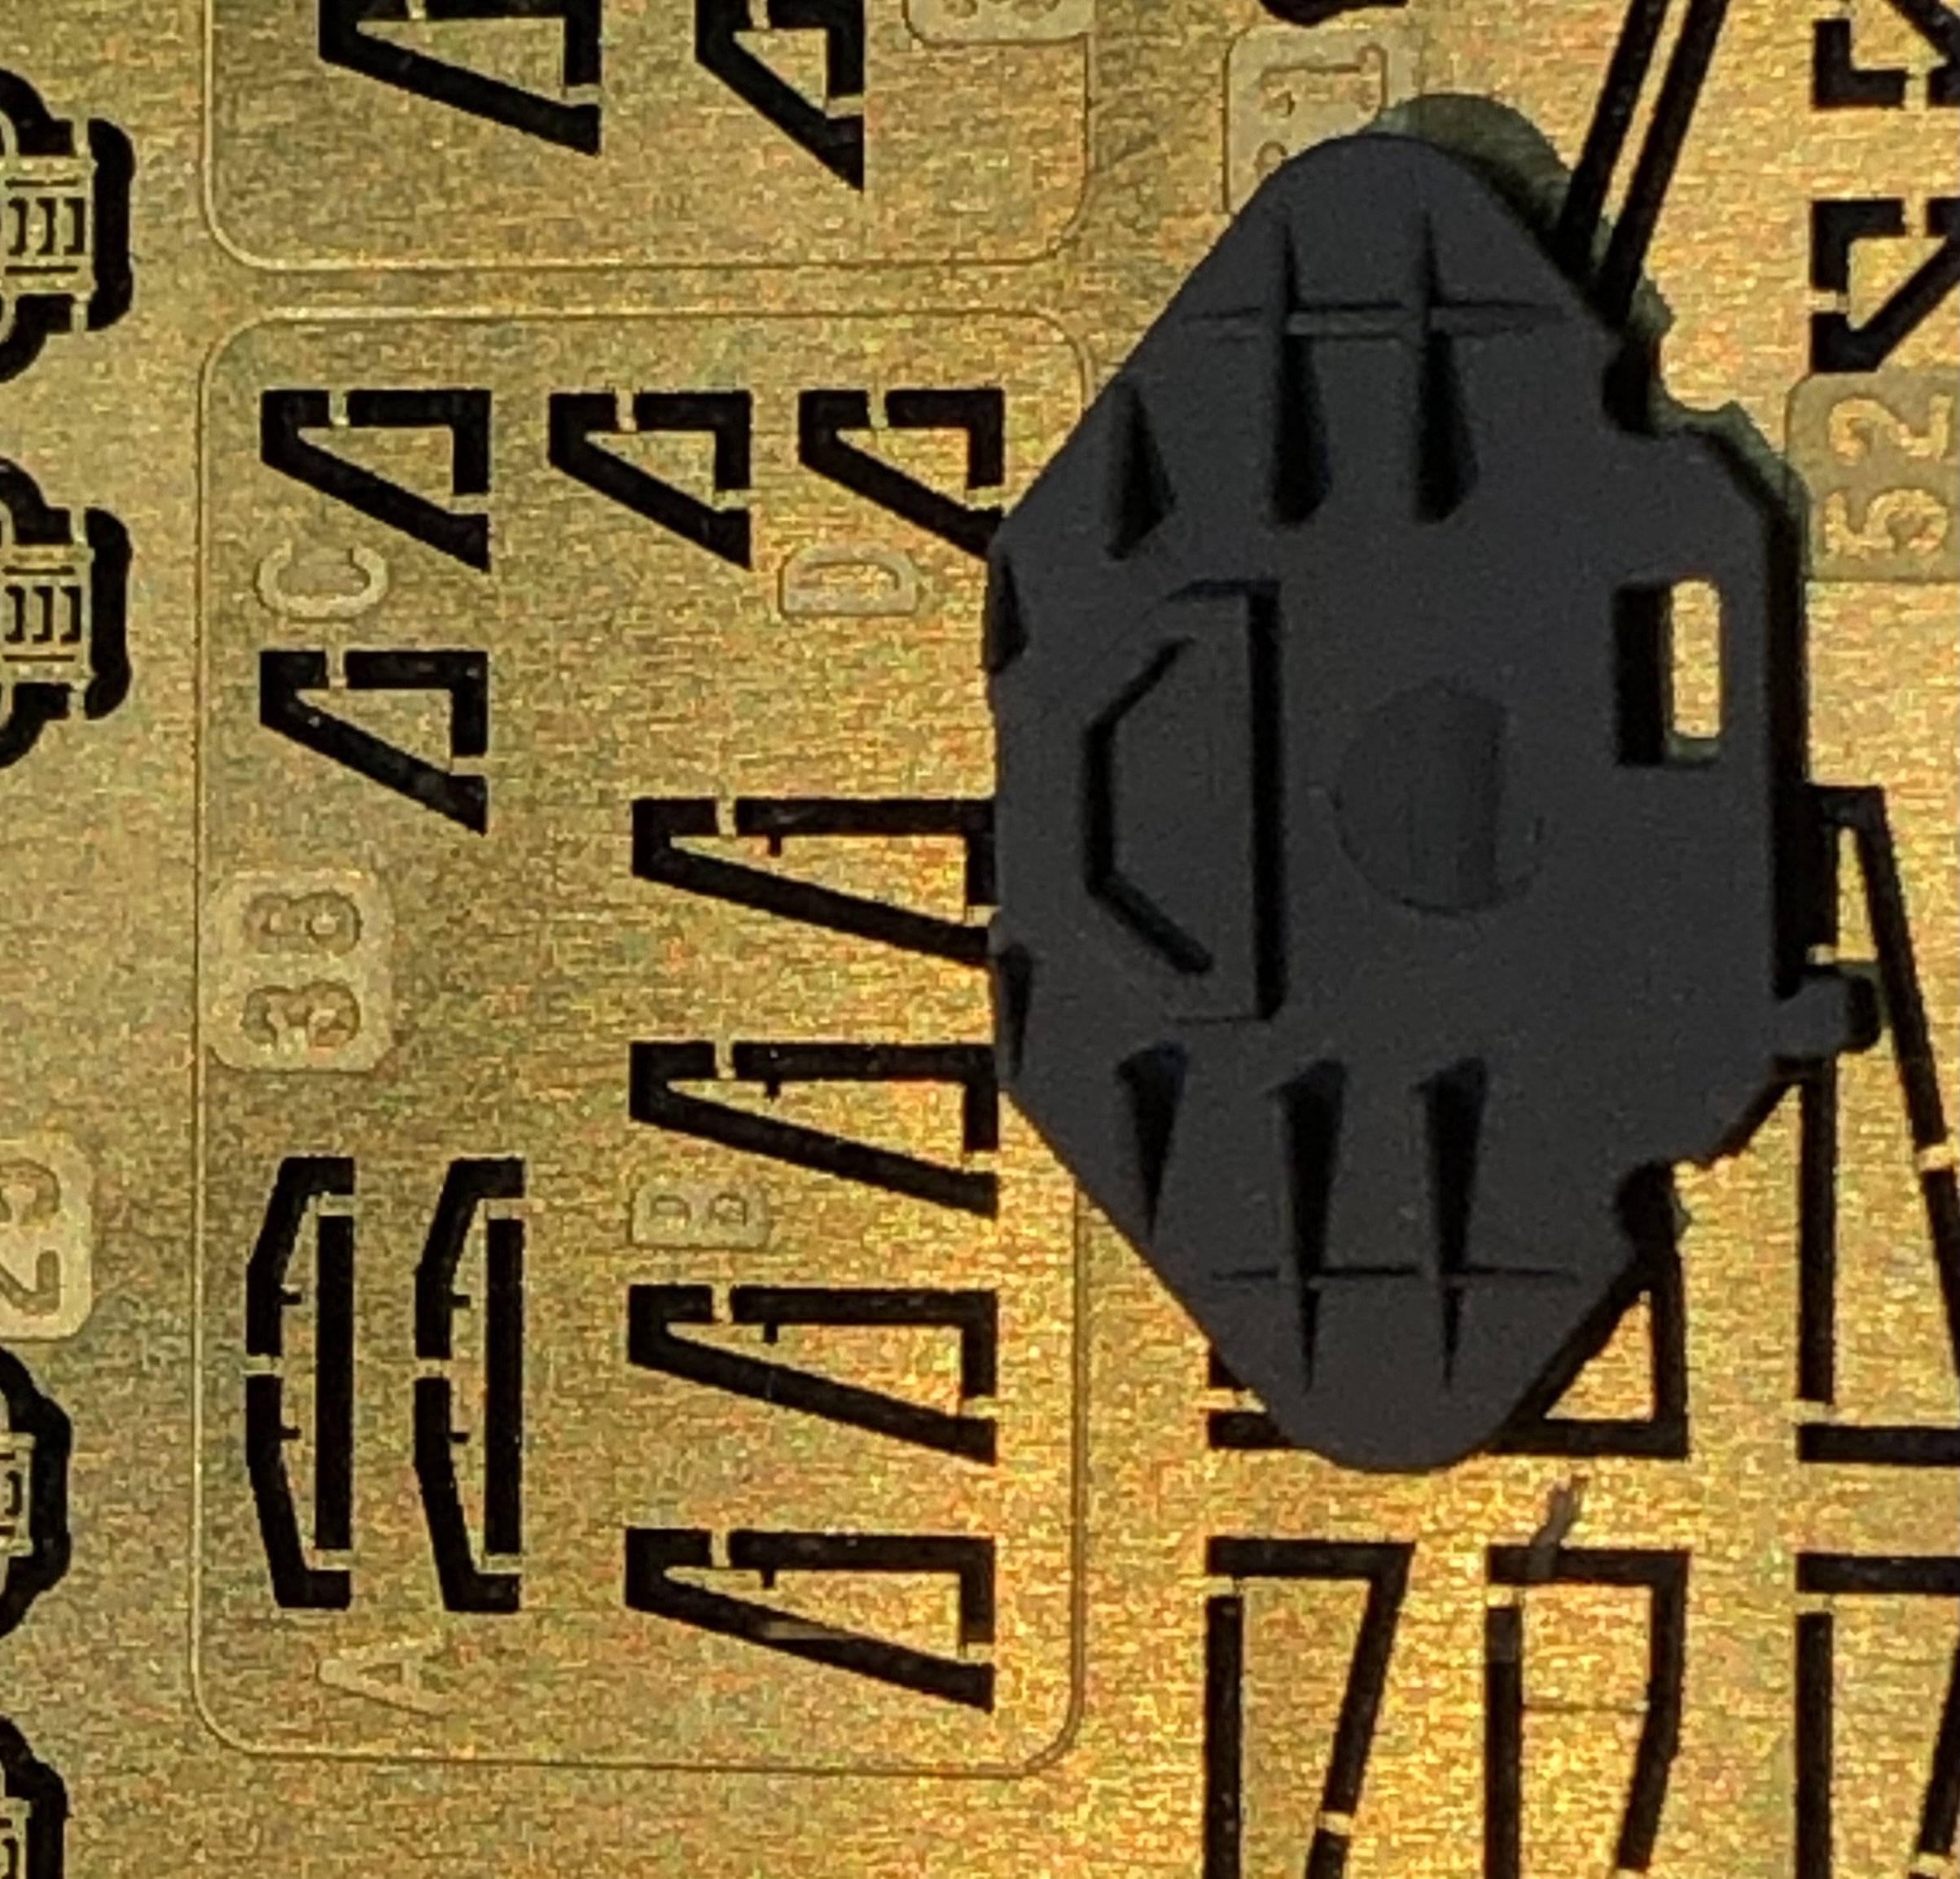
Slow progress but plenty going on. I completed all the barbette doors and added the barbettes. In hindsight I should have installed the barbettes first and then added the photo etch doors over the top. Doing it the other way around meant it was difficult to line up the gun barrel and the locating features of the barbettes. However, given that the doors completely mask the barbettes the gun barrels can just be poked through the hole in the door and glued in place without bothering with the barbettes. So far I haven’t found a downside to this thought. You have to use the brass barrels with the doors, the plastic ones are too thick. With the guns sorted out I glued the roof in place and this bit is ready for some primer. one reason things are moving slowly is the need to keep assessing how far to go before priming and painting. I started building some of the superstructure subassemblies. Photo etch needs to be added, some like railings, ladders are a good thing but other bits really don’t add much detail and feel like PE for PE sake. I’m brooding over whether to replace the plastic support for the platforms with the PE. These are parts 38 on the fret. The plastic supports are over scale but are probably neater than I can achieve and I don’t see anyone turning up with calipers to get difficult about it. I’ll decide in the morning. Thanks for looking in, the likes and comments Alan