king derelict
-
Posts
3,294 -
Joined
-
Last visited
Content Type
Profiles
Forums
Gallery
Events
Everything posted by king derelict
-
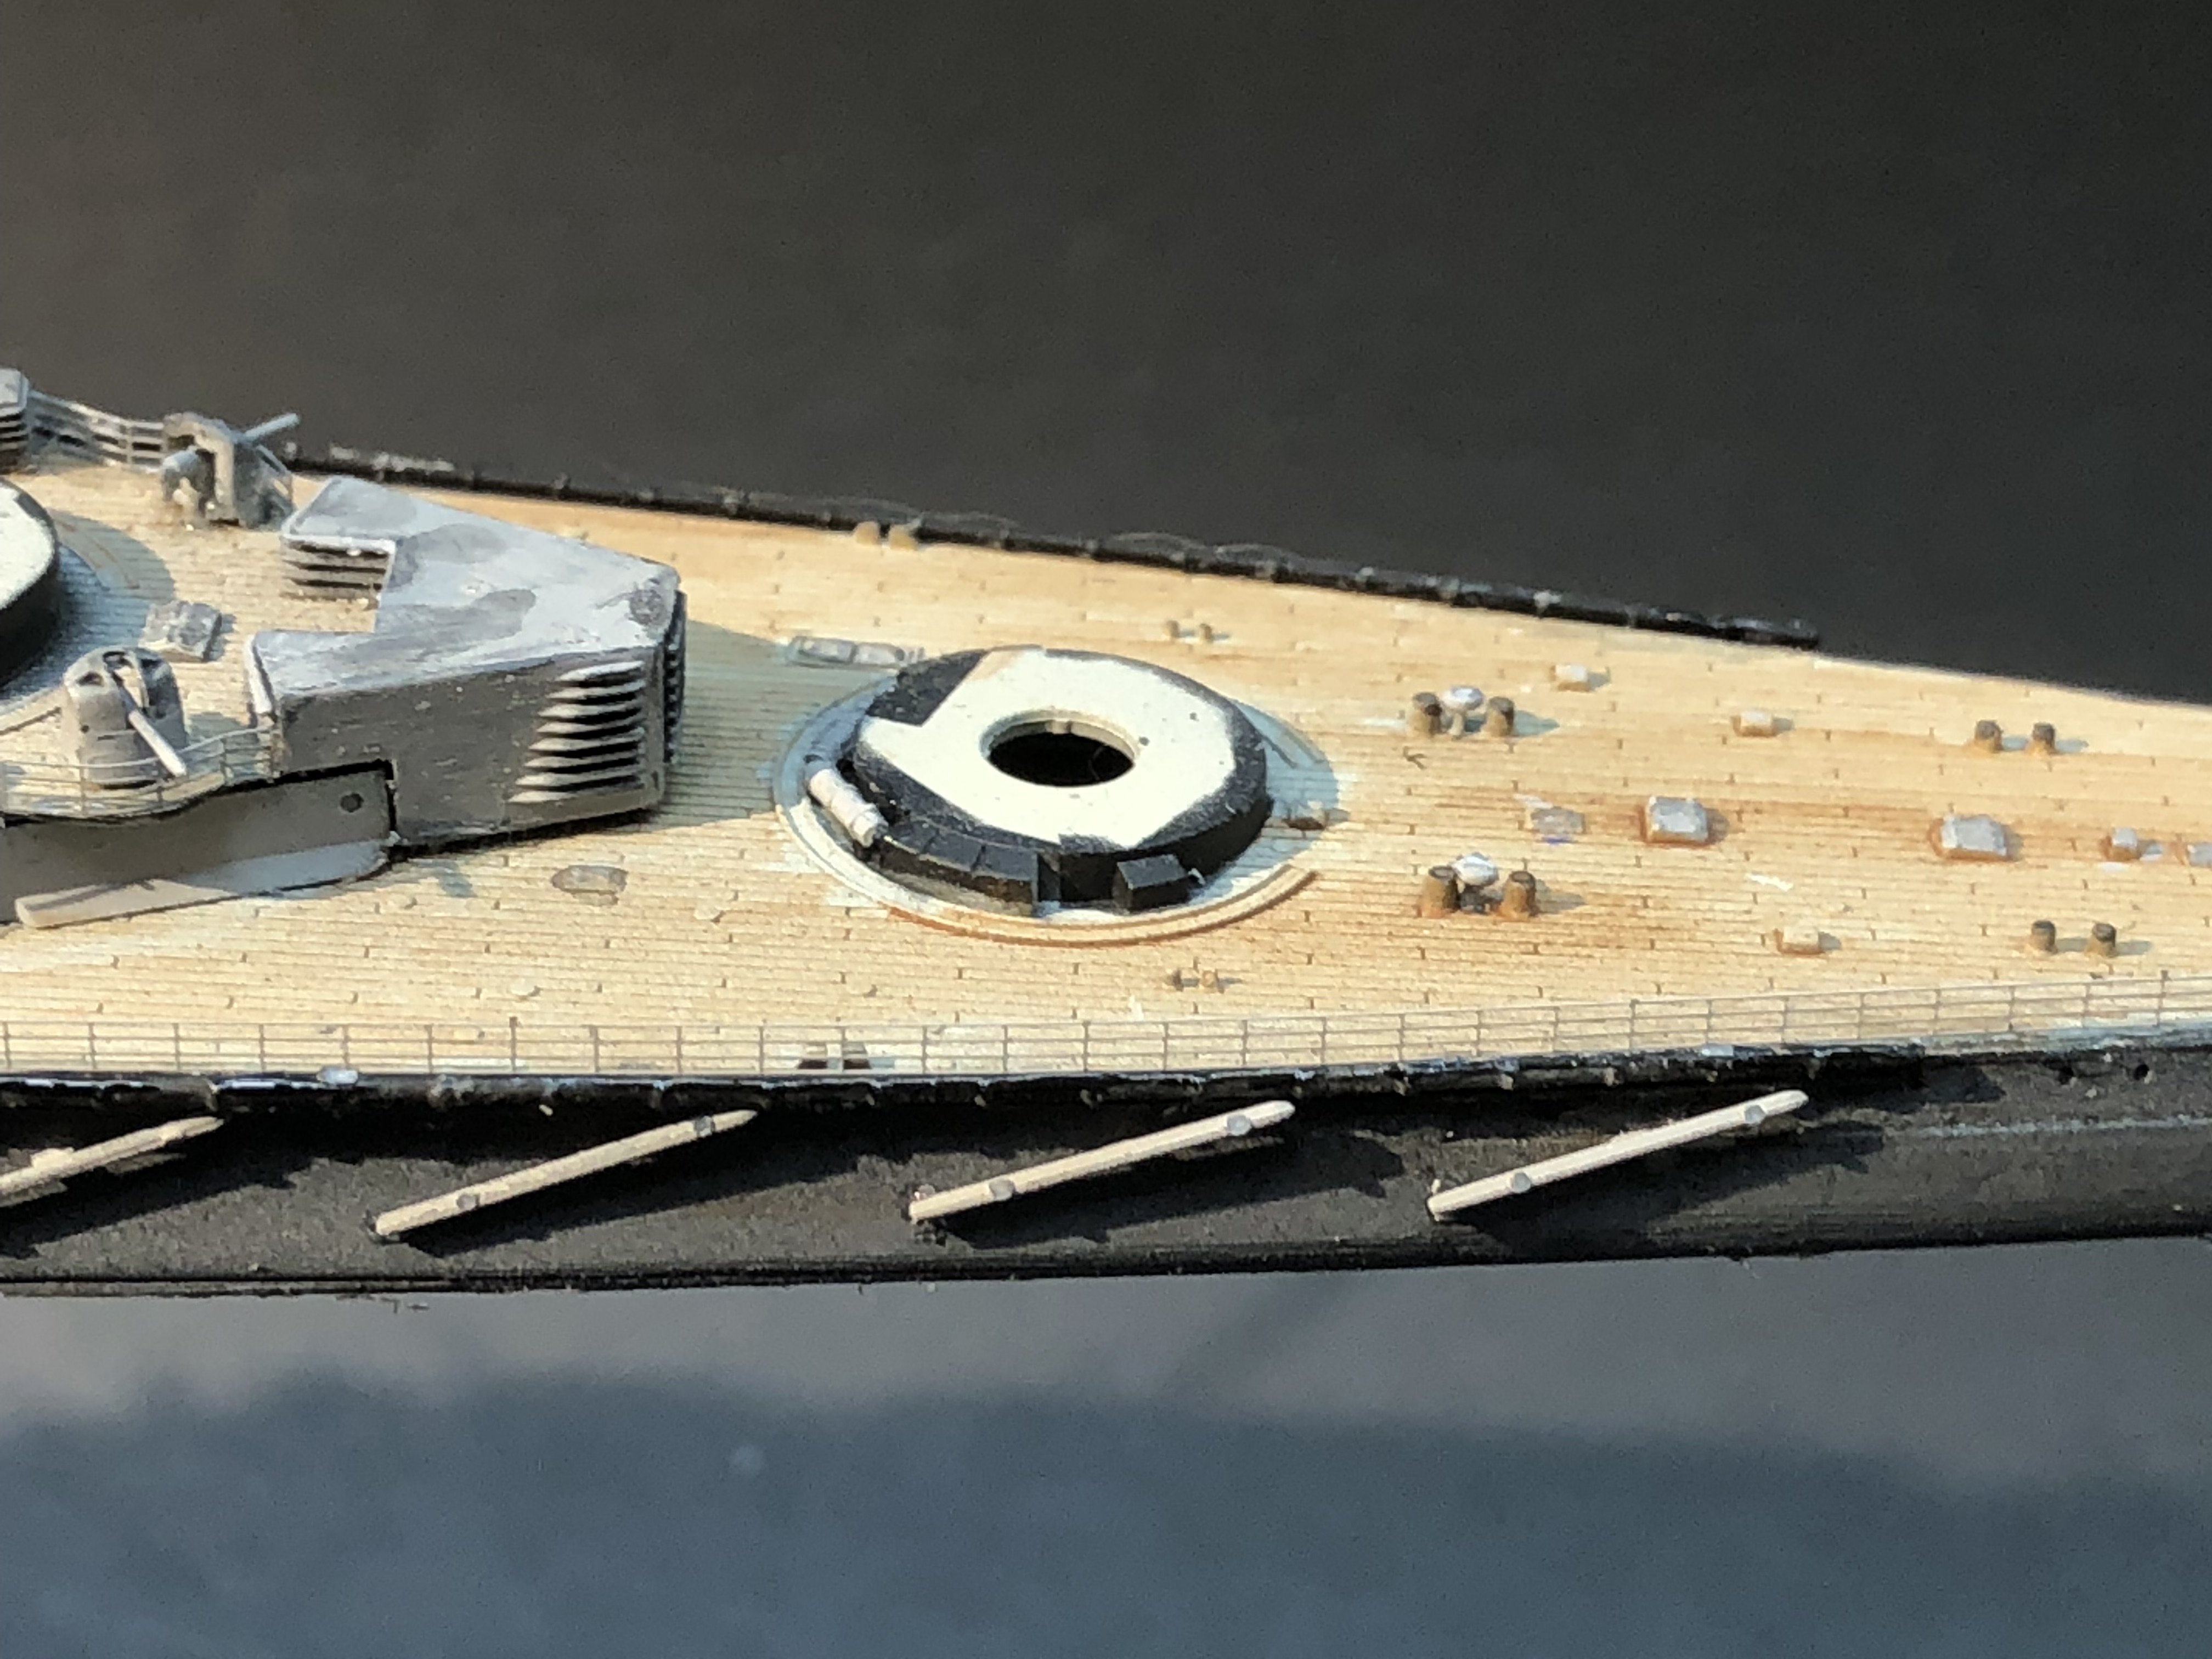
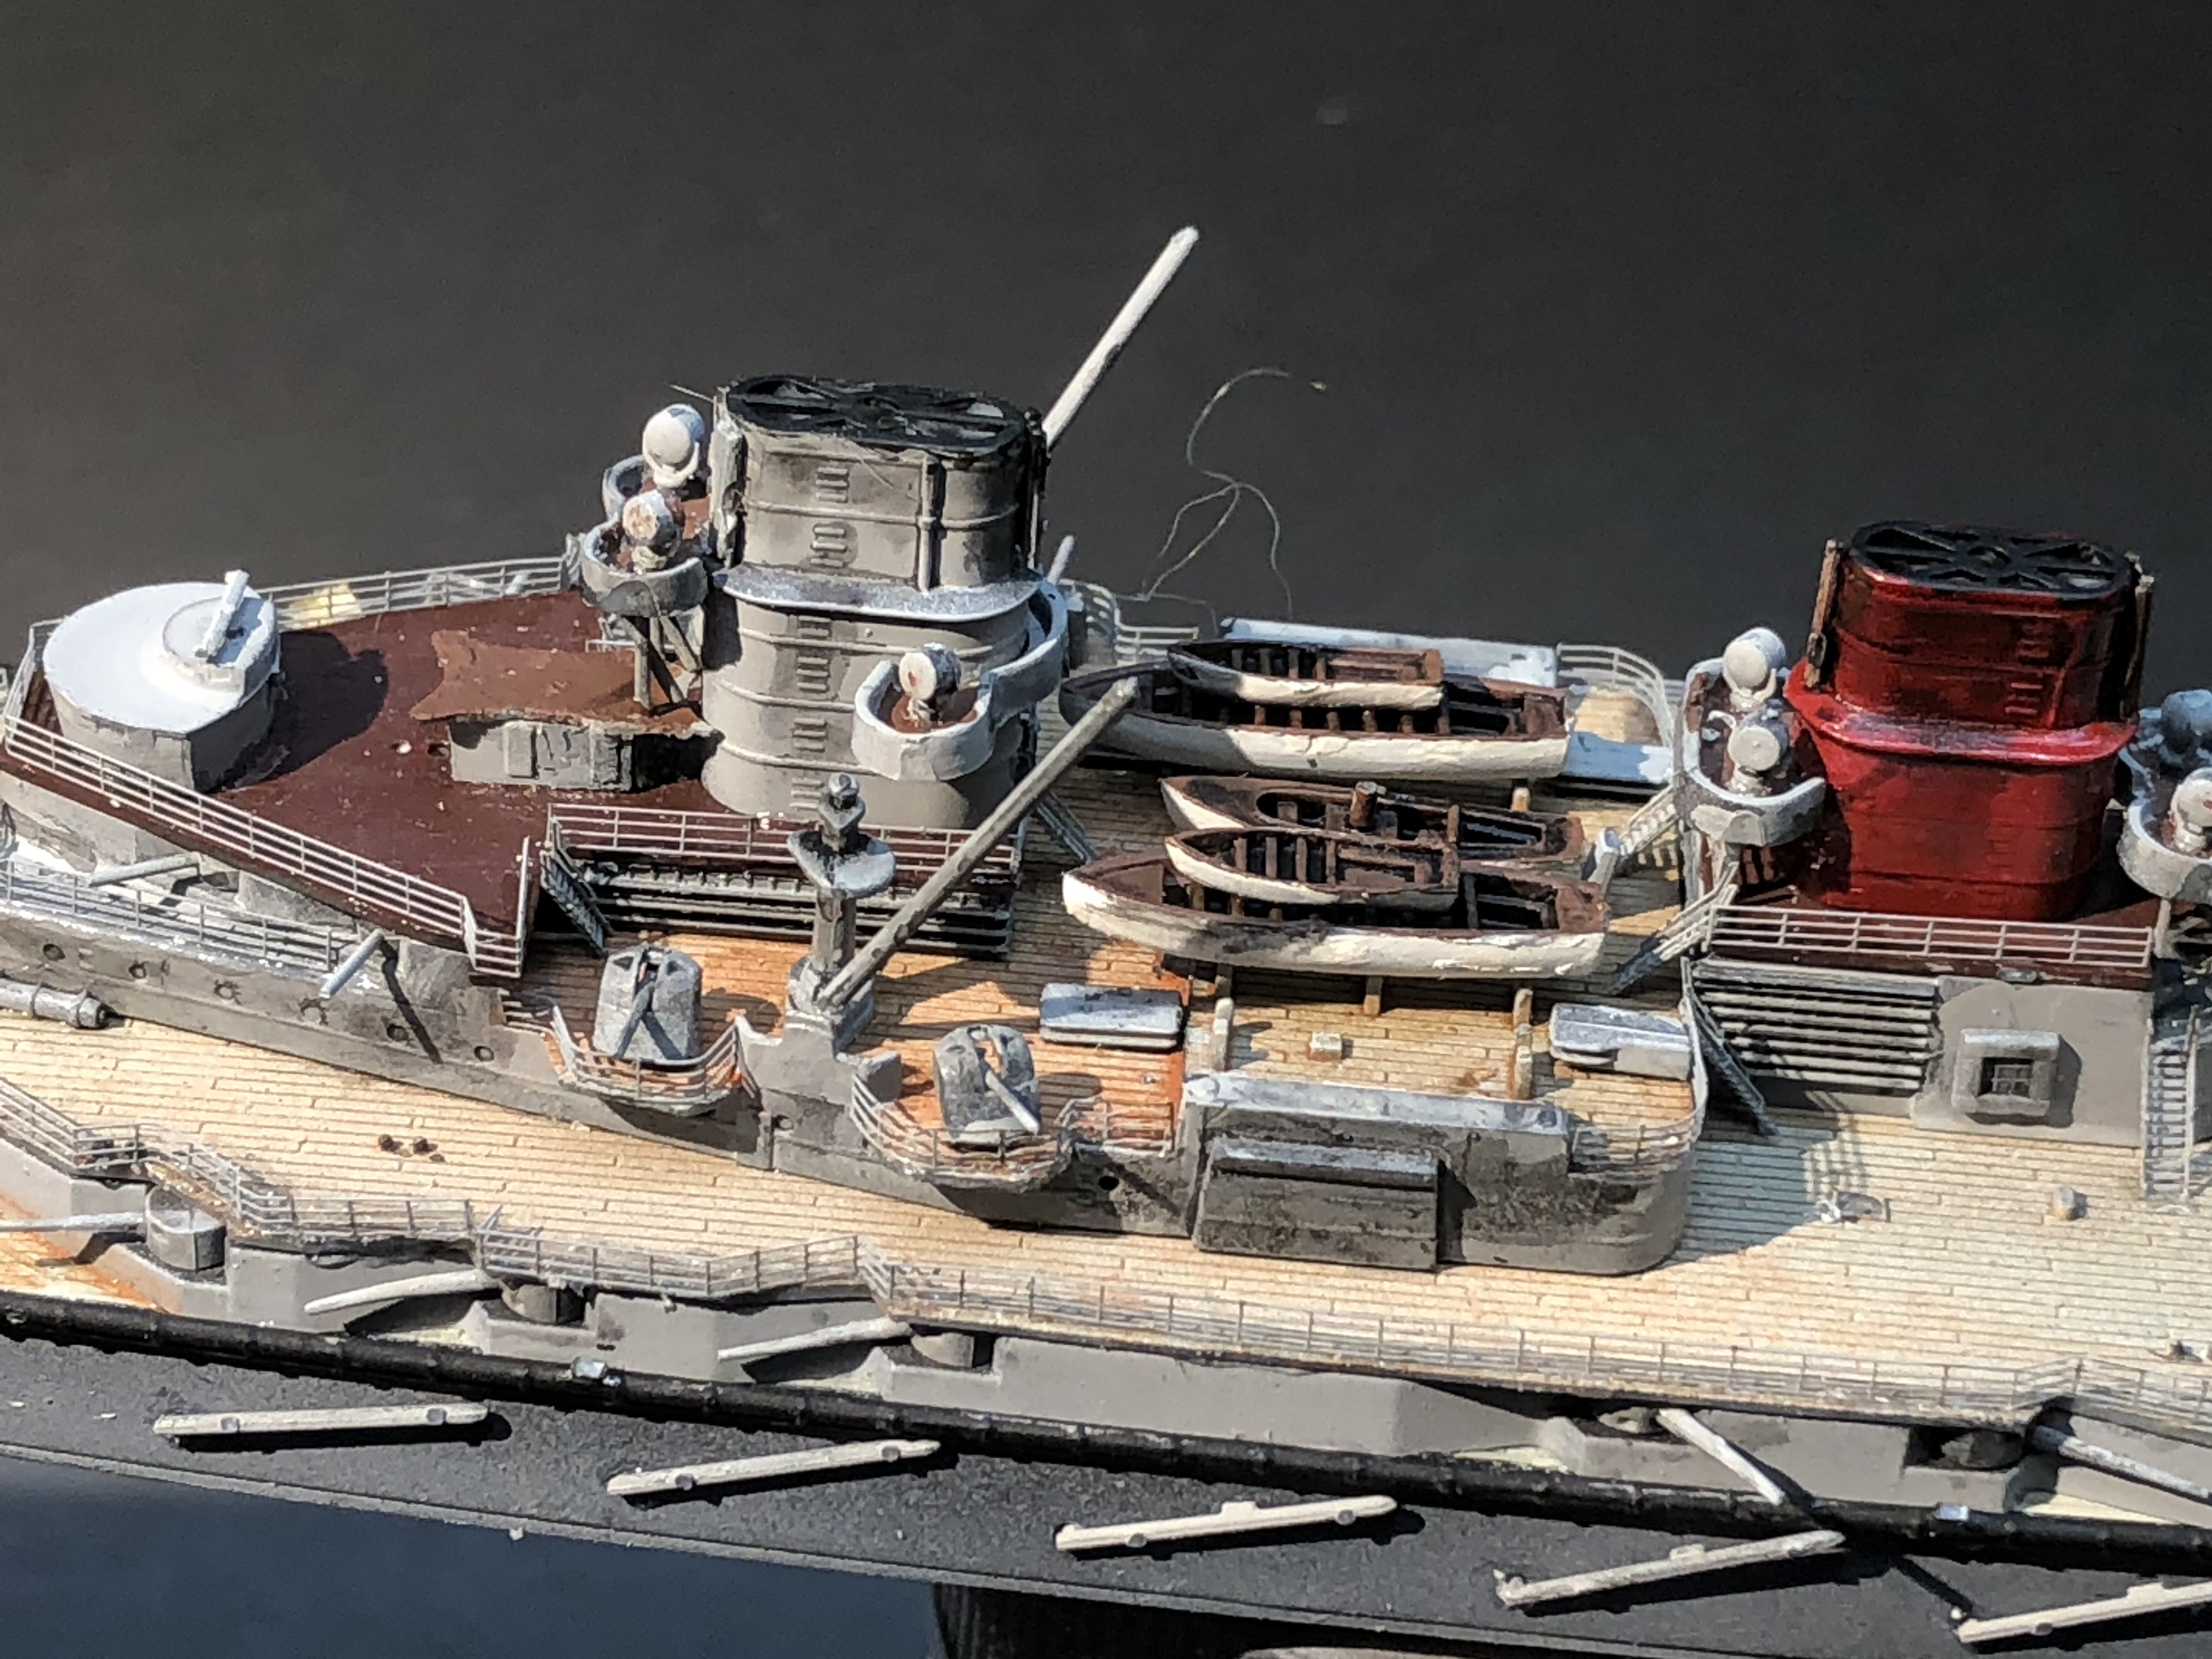
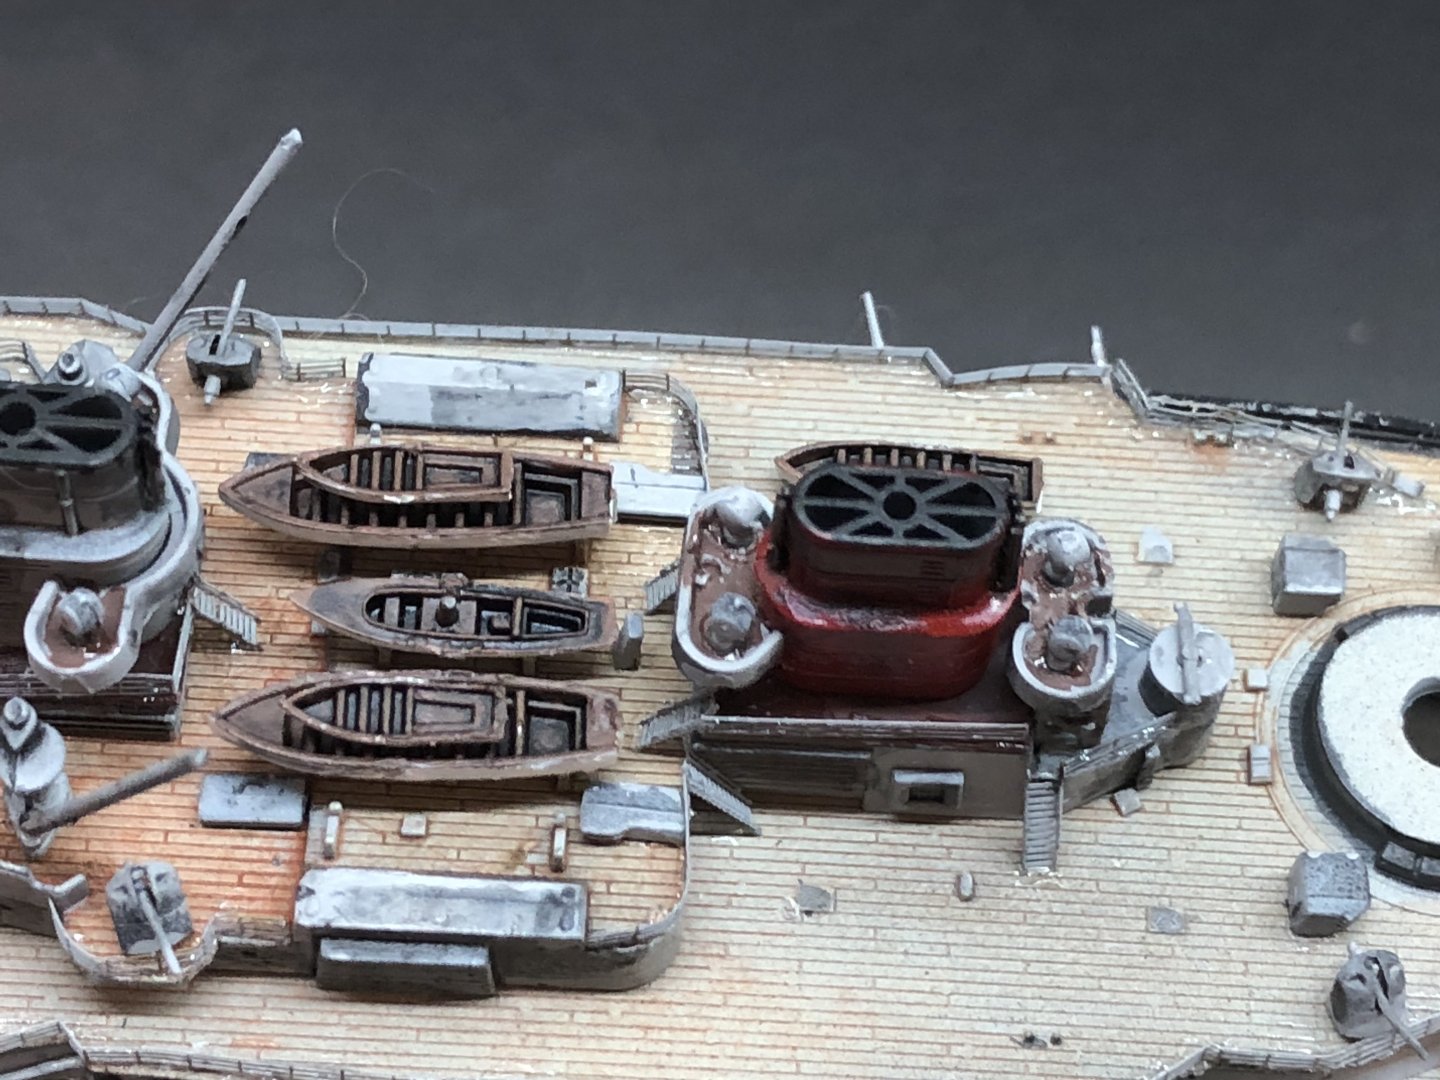
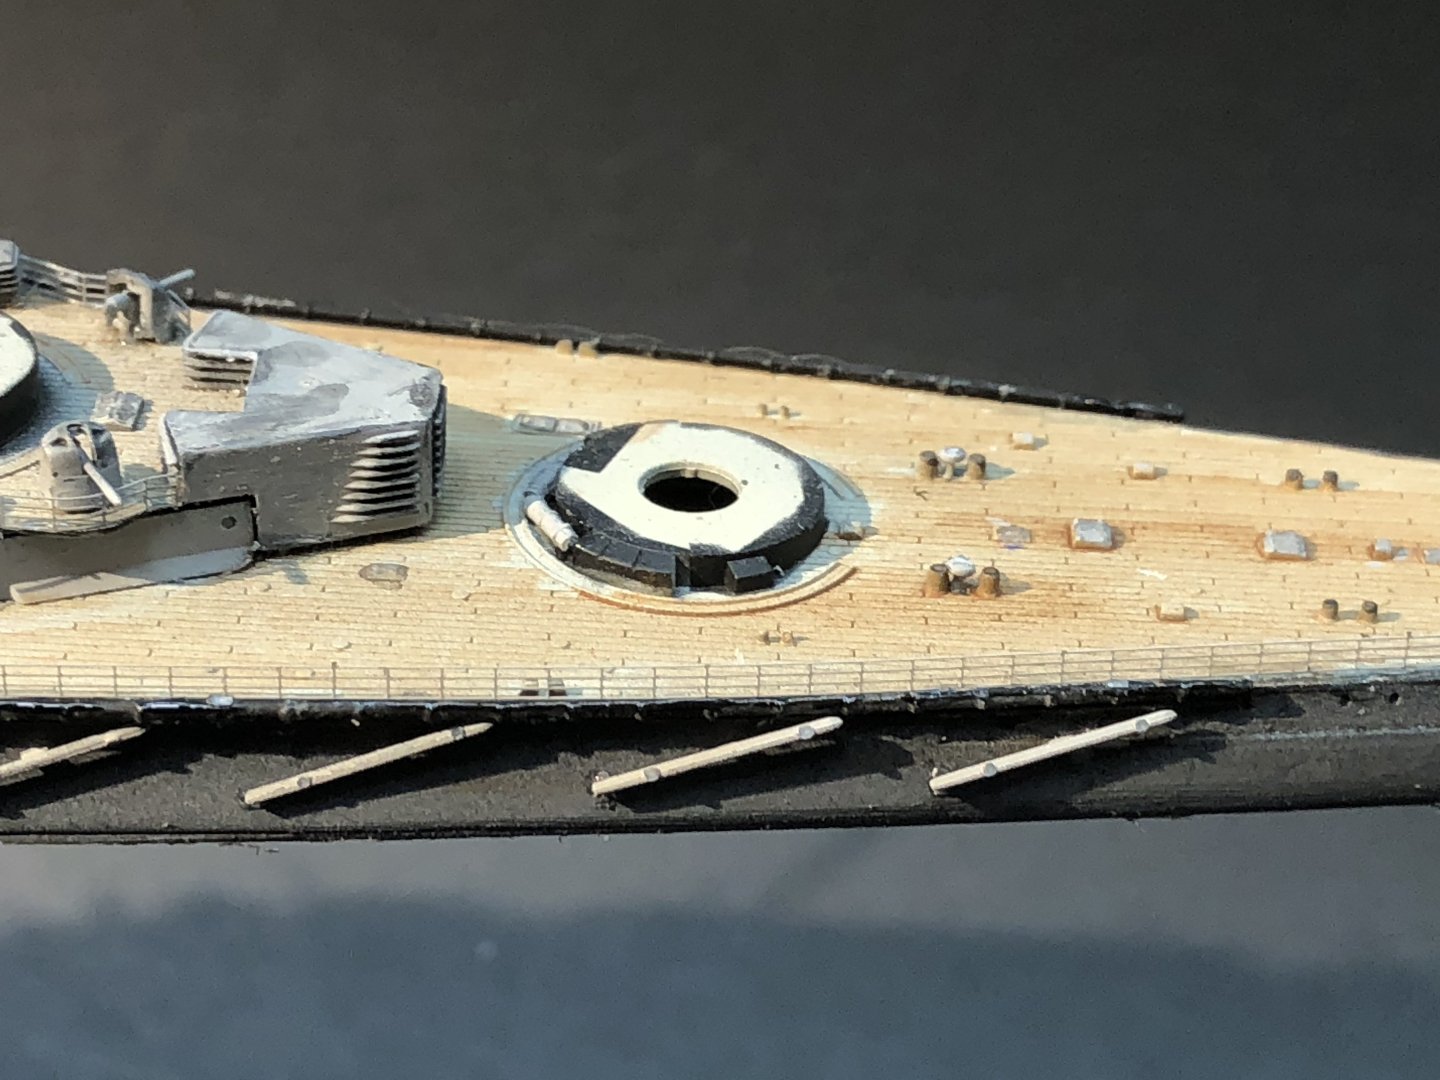
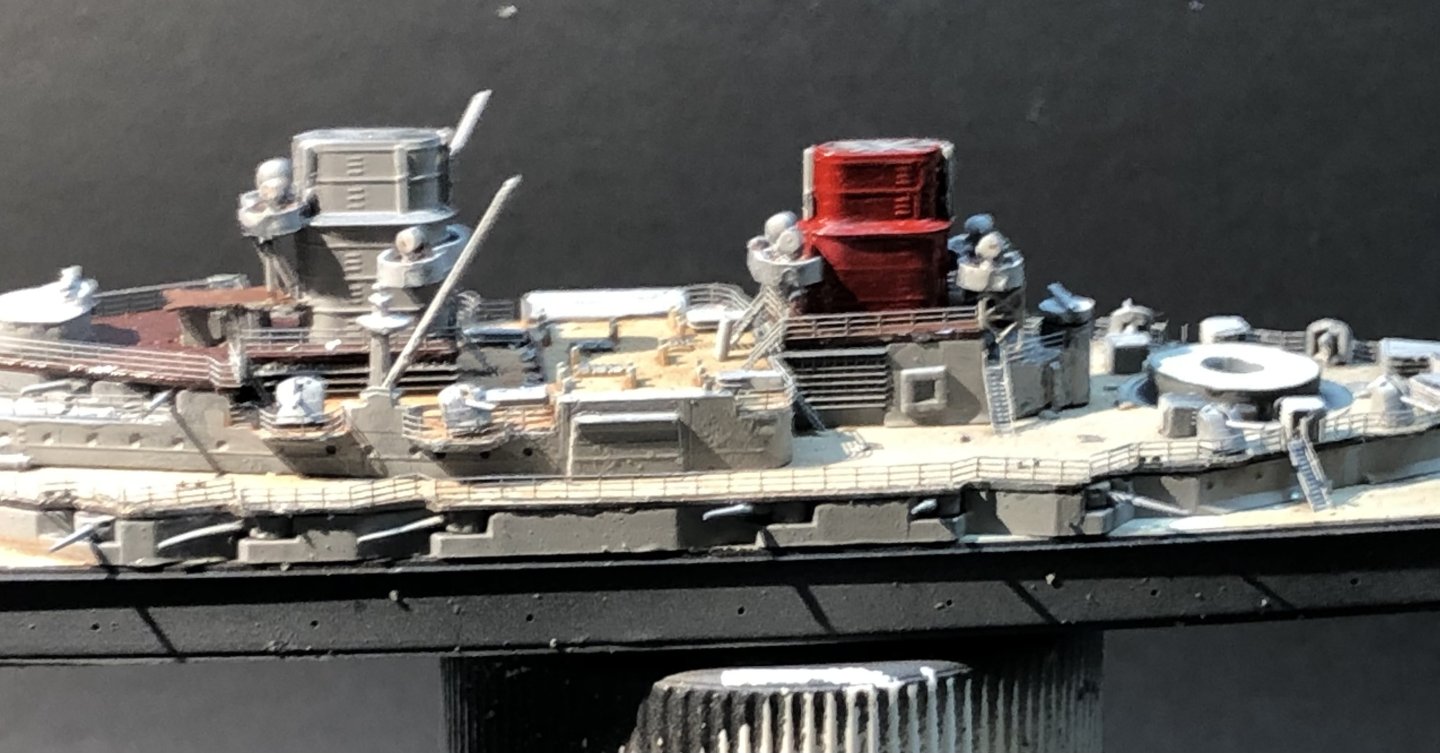
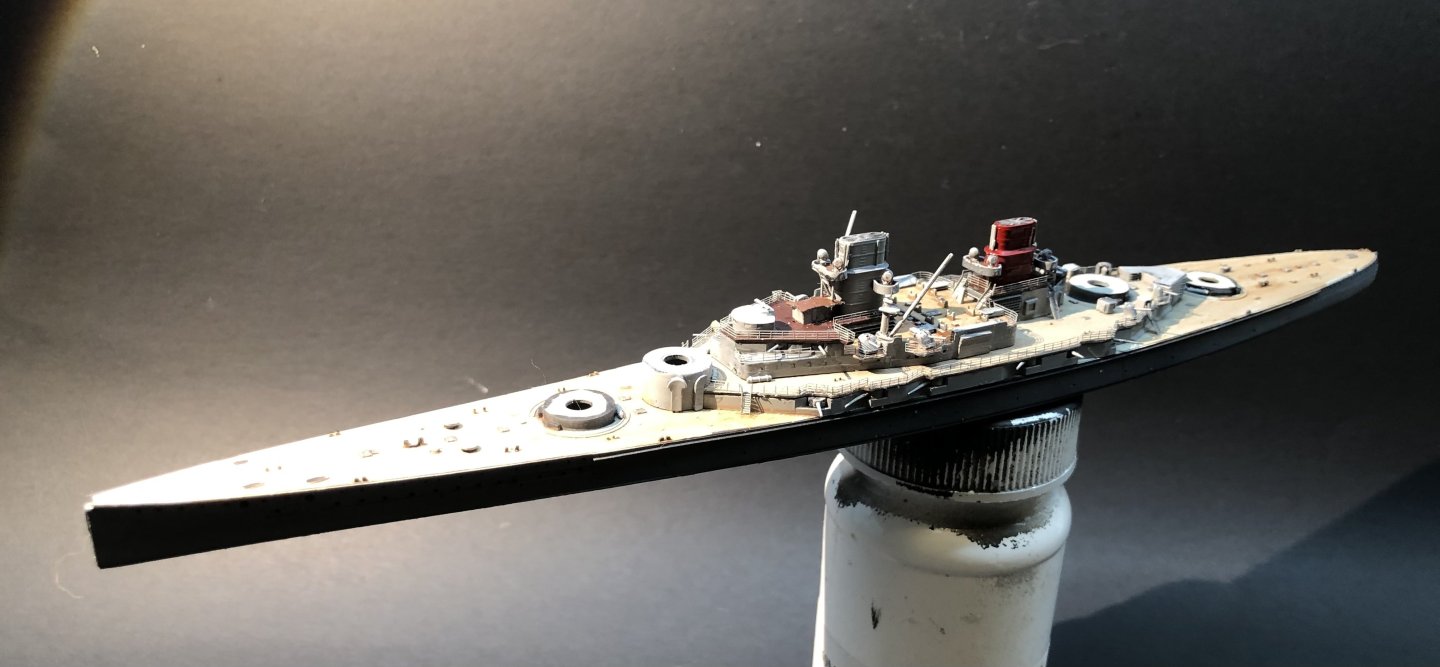
Suddenly the end is approaching. The boats have been painted and given a black oil wash. The first ones have been placed on the deck. All the upper railings are complete and I’ve started on the long runs of the main deck railings. The stowed torpedo nets are in place and their booms are going on. I’ve used a black oil was to add some depth and detail around the ship. Further tidying up will take place when the railings are on. Thanks for looking in and for the likes and comments Alan


- 78 replies
-
- 7
-

-
- Derfflinger
- Flyhawk
- (and 2 more)
-
A great color choice and beautifully applied. This is going to be stunning. Alan
-
For picking up PE I use a cocktail stick and rub the end on a piece of beeswax. For small pieces I use a dressmakers pin again rubbed on beeswax. I assume candle wax might work too. It’s easier to see where you are placing the part. Great progress. Alan
-
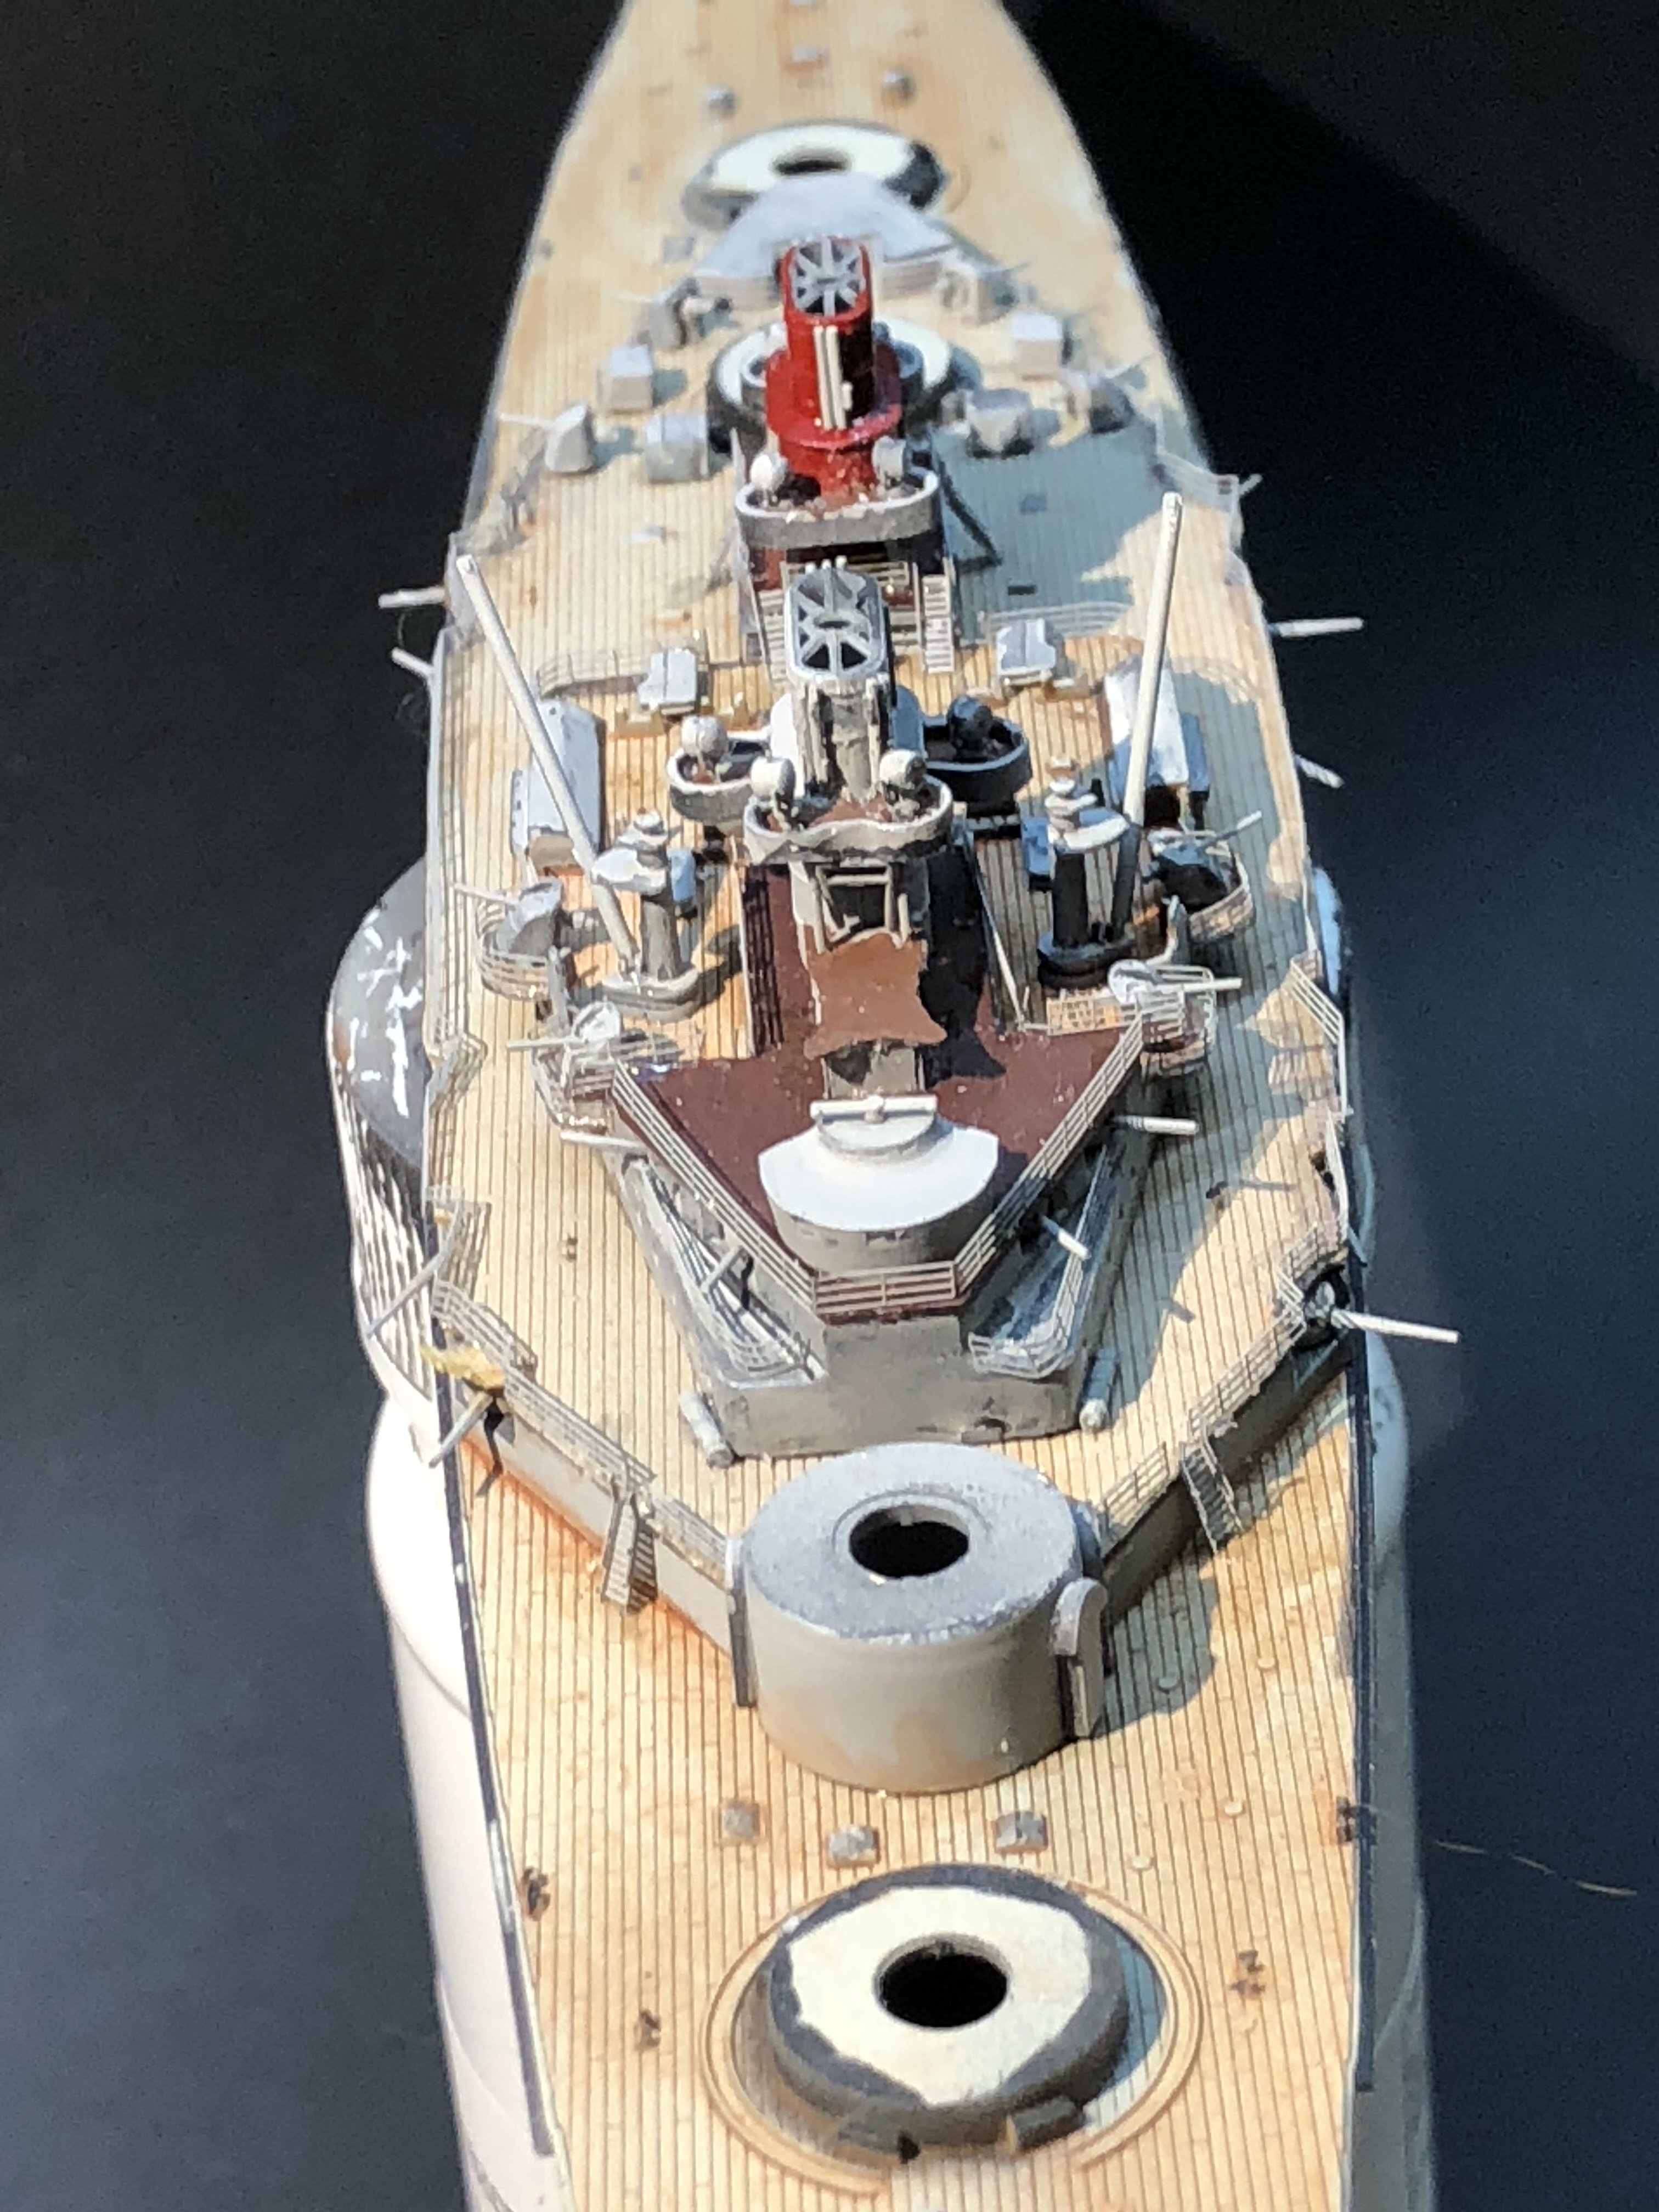
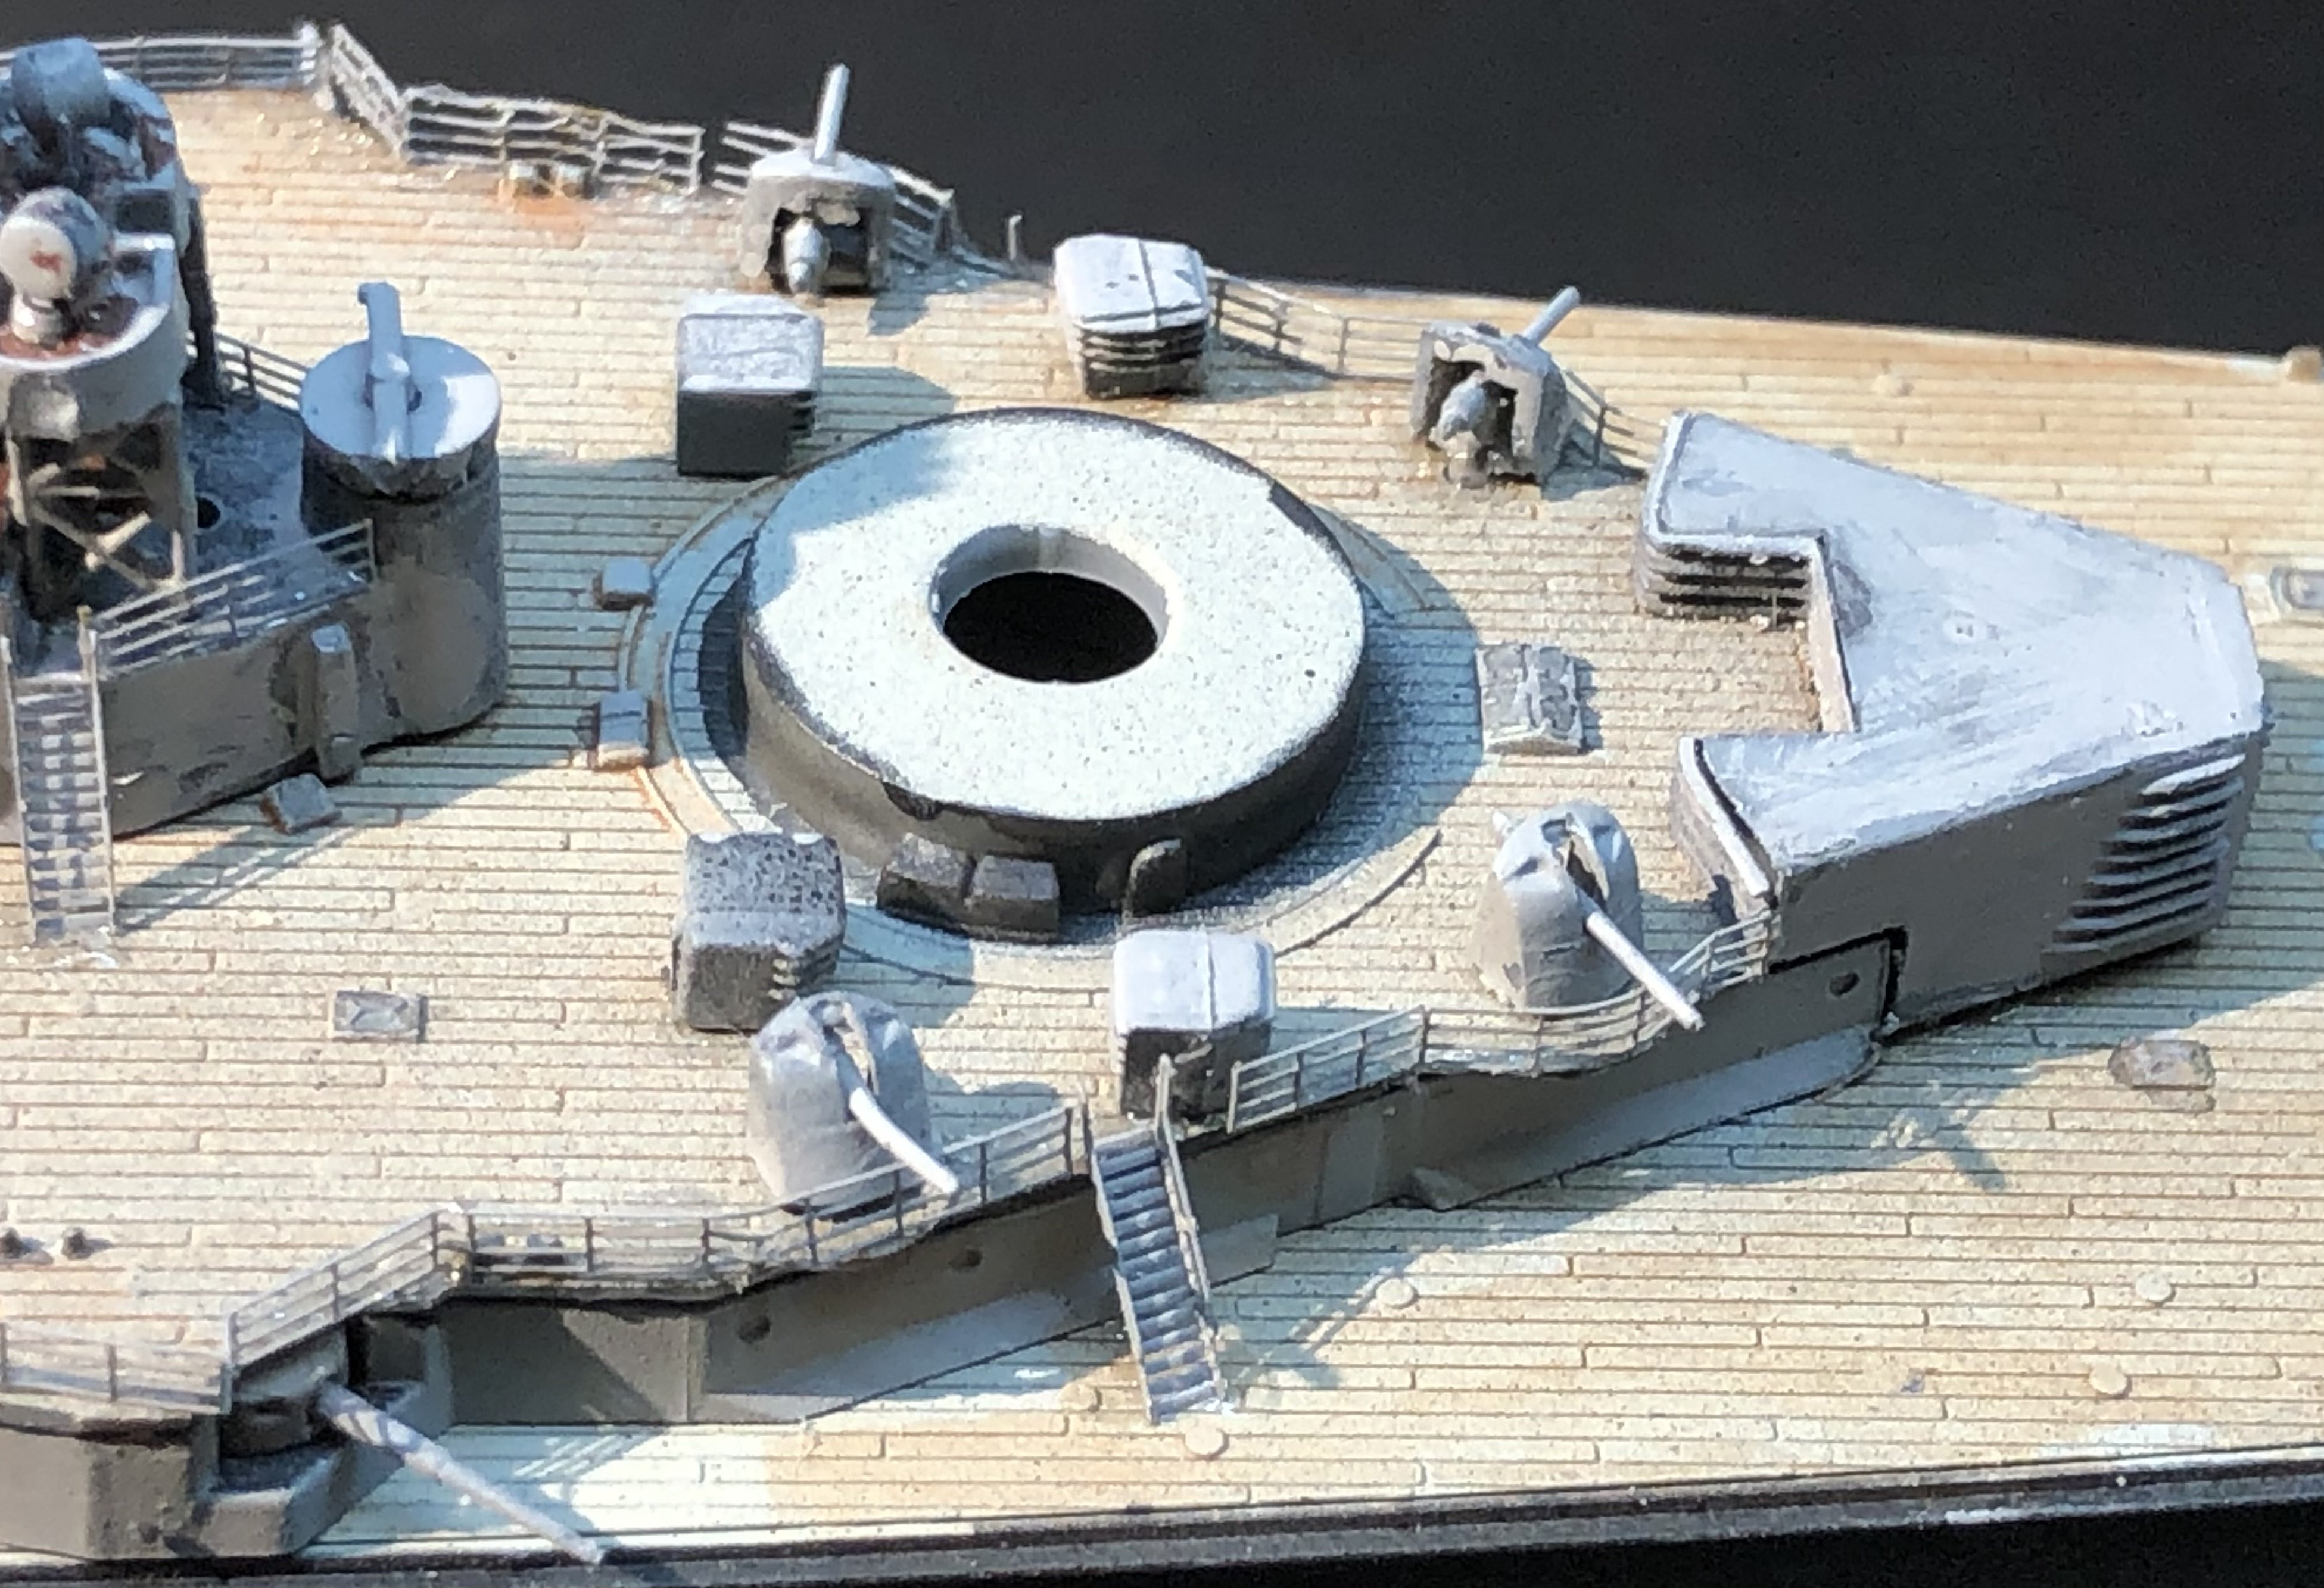
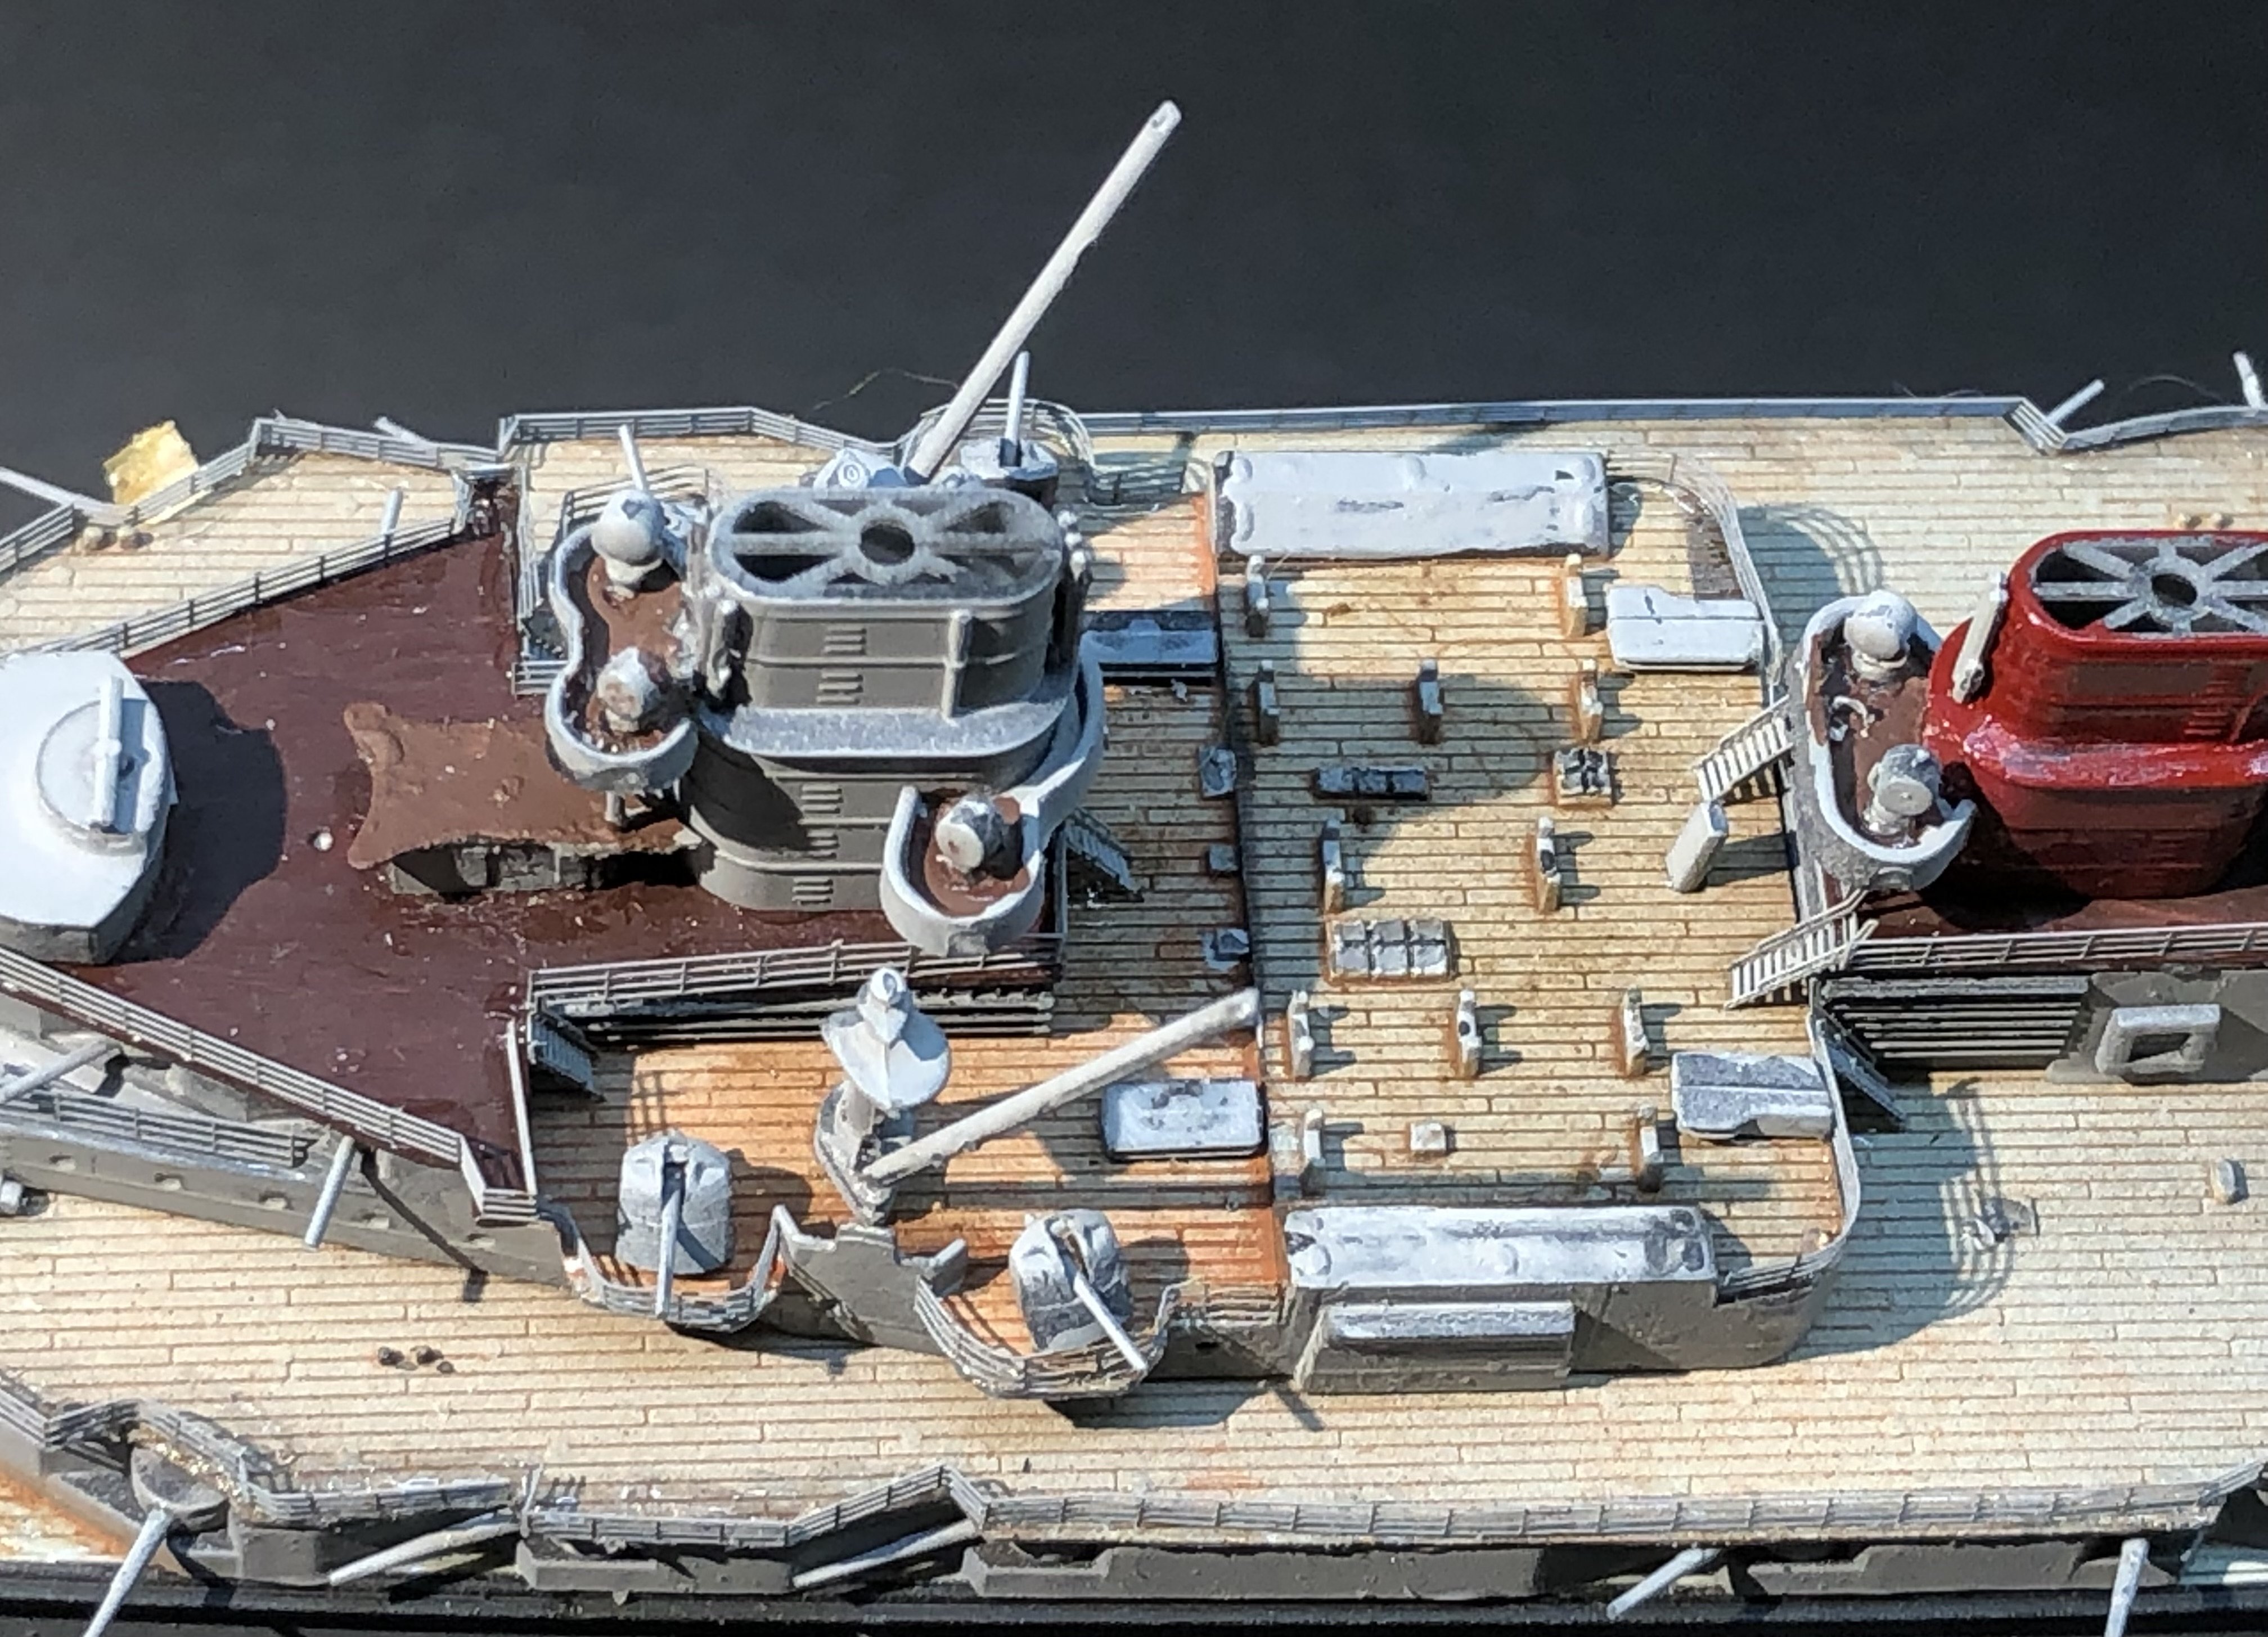
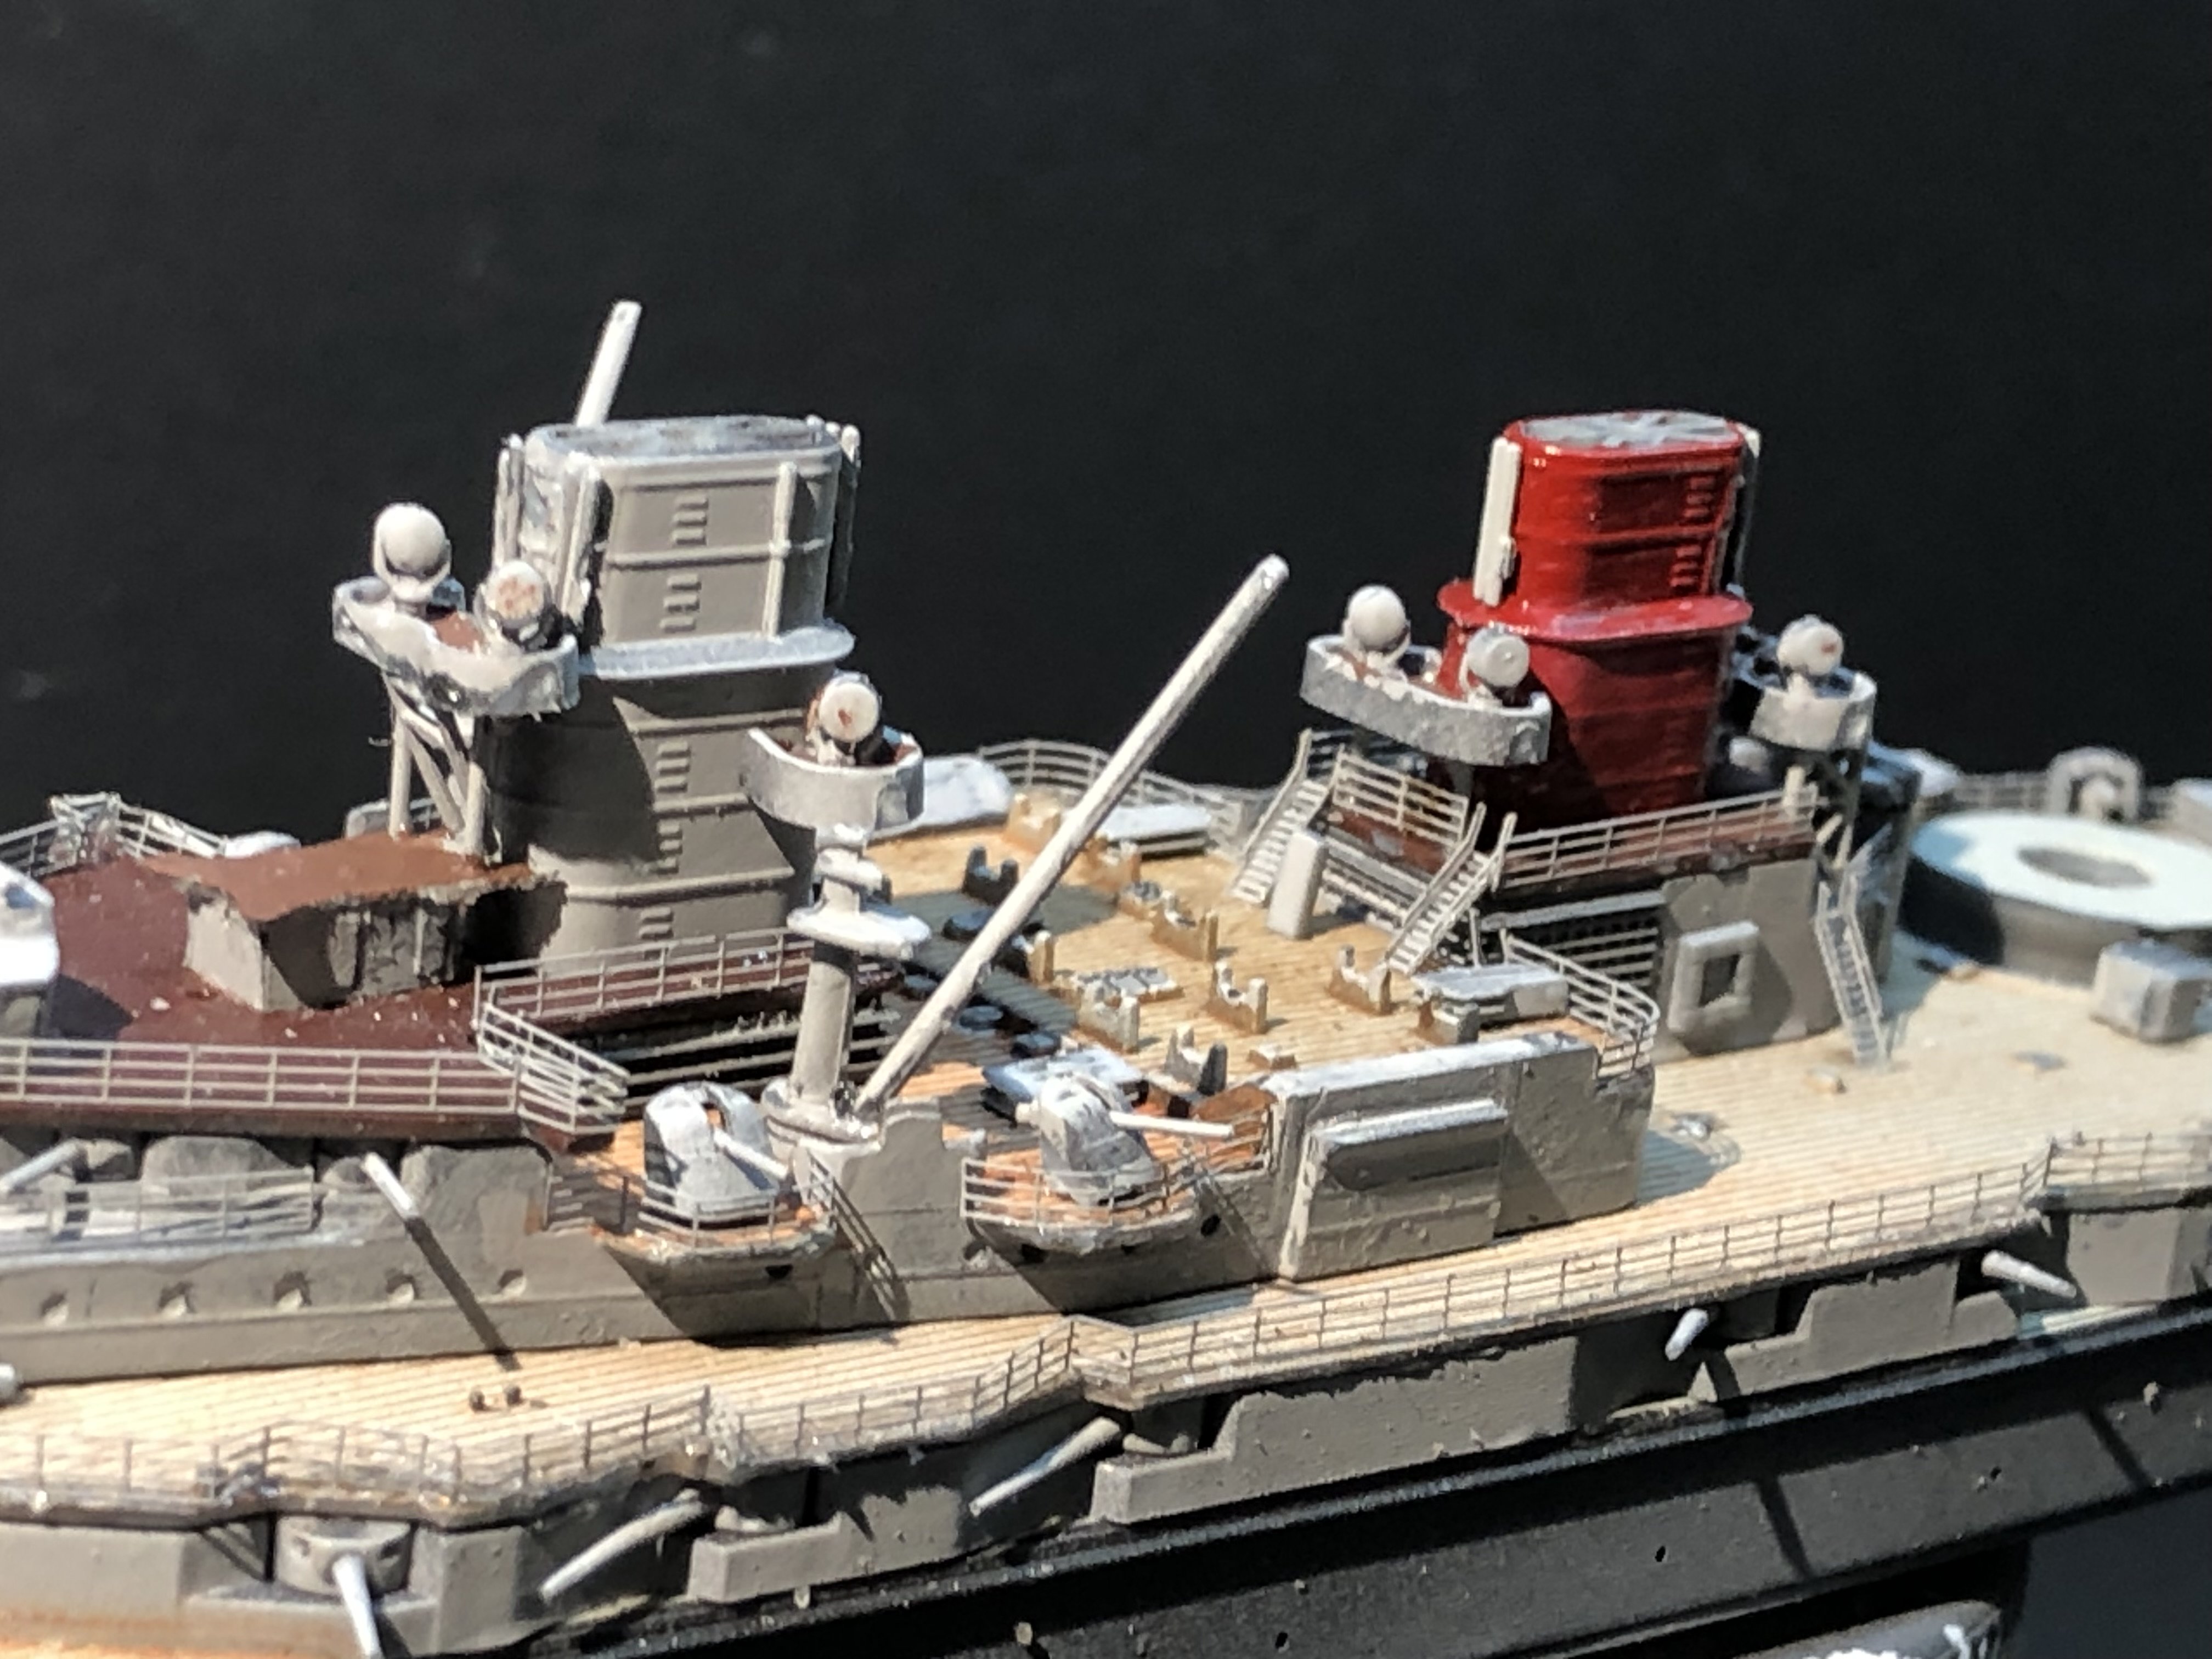
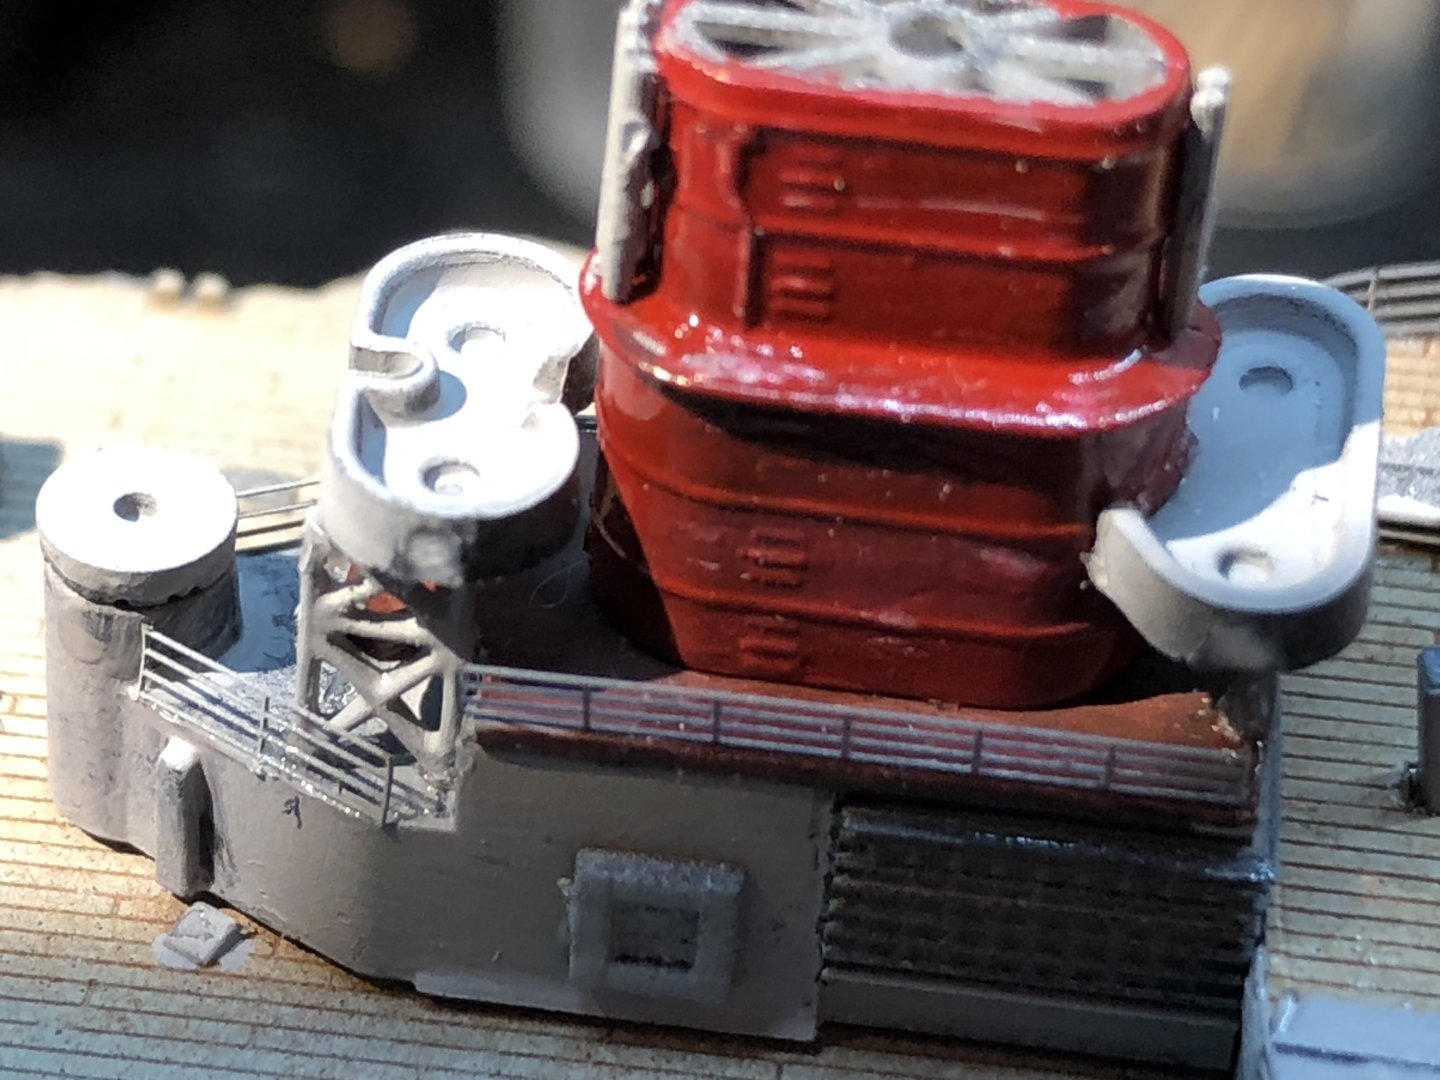
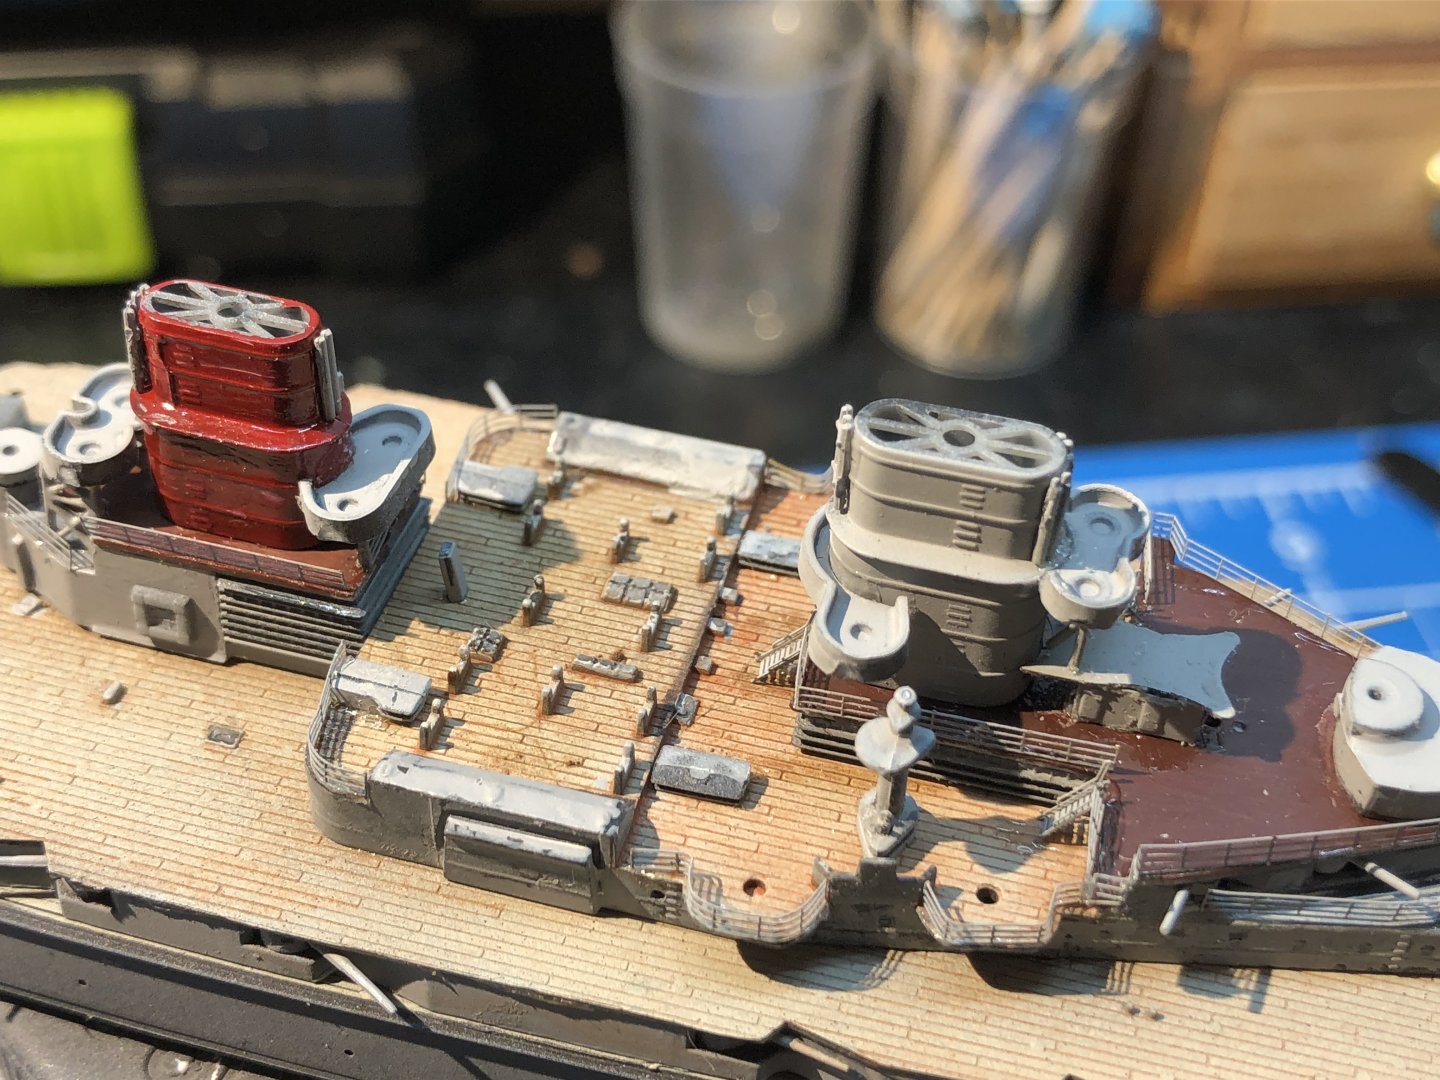
Far too many diversions in the last week but some progress on the Derfflinger. Mostly PE There are some tricky curves and bends around the gun placements on the upper deck which slowed things down. The Flyhawk railings are ready scored at the points where bends are needed but they have the disadvantage that they are weak in those places and if the PE is allowed to move around they are liable to break. I had a section disintegrate on the aft starboard side which the photos now show needs some remedial action. The secondary guns have been added along with several plastic details. I’m painting the ships boats which will be the next bits to be added, then a black wash and some weathering. The torpedo nets and boom, then finally the masts. The masts are very finely mounded in several pieces but are horribly delicate so I think they will stay off until handling is mostly done. There is quite a bit of touching up before the main deck railings get fitted. Thanks for looking in and for the likes and comments. Alan


- 78 replies
-
- 9
-
-
- Derfflinger
- Flyhawk
- (and 2 more)
-
Very,very nice work Phil. The red leather straps and bags really make it stand out. alan
-
Very nice work on the hair Phil alan
-
Lovely work on the turret Andrew. It looks really great and a huge improvement on my attempt at the Airfix Defiant in 1/72 nearly sixty years ago.😁 alan
-
The Derek Robinson books are great, possibly unsettlingly realistic. A Good Clean Fight set in the Western Desert is probably my favorite alan
-
I admire your determination to create an exceptionally authentic model in spite of the problems that presents. Excellent work on the hull and the PE is a great start. Looks very good alan
-
I was thrilled to have it restored and the restorer was quite excited to work on it. I see a few on EBay but only non-working as parts. The clock bit is pretty standard but the pigeon racing part is interesting and I honestly don’t understand all mechanisms there. There are interlocks that prevent the clock from being opened once the race has started, but there are two subsidiary dials that I don’t understand and there seems to be a way to start the clock which is triggered by the ring of holders for the birds rings. Maybe to synchronize the clocks? Thank you very much for your kind comments about the deck too Alan
- 78 replies
-
- 3
-
-
- Derfflinger
- Flyhawk
- (and 2 more)
-
It’s an old pigeon racing clock. The pigeon’s ring is dropped in through the top of the case and the key turned. The time is then stamped on the paper roller. Per family history my mother was clocked in on this clock when she was born Alan
- 78 replies
-
- 3
-
-
- Derfflinger
- Flyhawk
- (and 2 more)
-
Thank you very much. I’m quite pleased with the painted deck and if I can repeat it I will be less inclined to pursue wooden decks. They have their own problems with adhesion sometimes and the fit around the superstructure alan
- 78 replies
-
- 3
-
-
- Derfflinger
- Flyhawk
- (and 2 more)
-
Thank you OC. Yep dinging the railings really annoyed me because they fitted really well. I used up several days allowance of bad language but it came out okay in the end. Alan
- 78 replies
-
- 3
-
-
- Derfflinger
- Flyhawk
- (and 2 more)
-
Thank you very much Mike. It’s a very enjoyable kit to build, even the PE is workable. Alan
- 78 replies
-
- 2
-
-
- Derfflinger
- Flyhawk
- (and 2 more)
-
The details on the miniatures look very nice especially for 28mm. They are going to look great. alan
-
Shame about the gaps but you are doing a terrific job of the cockpit Alan
-
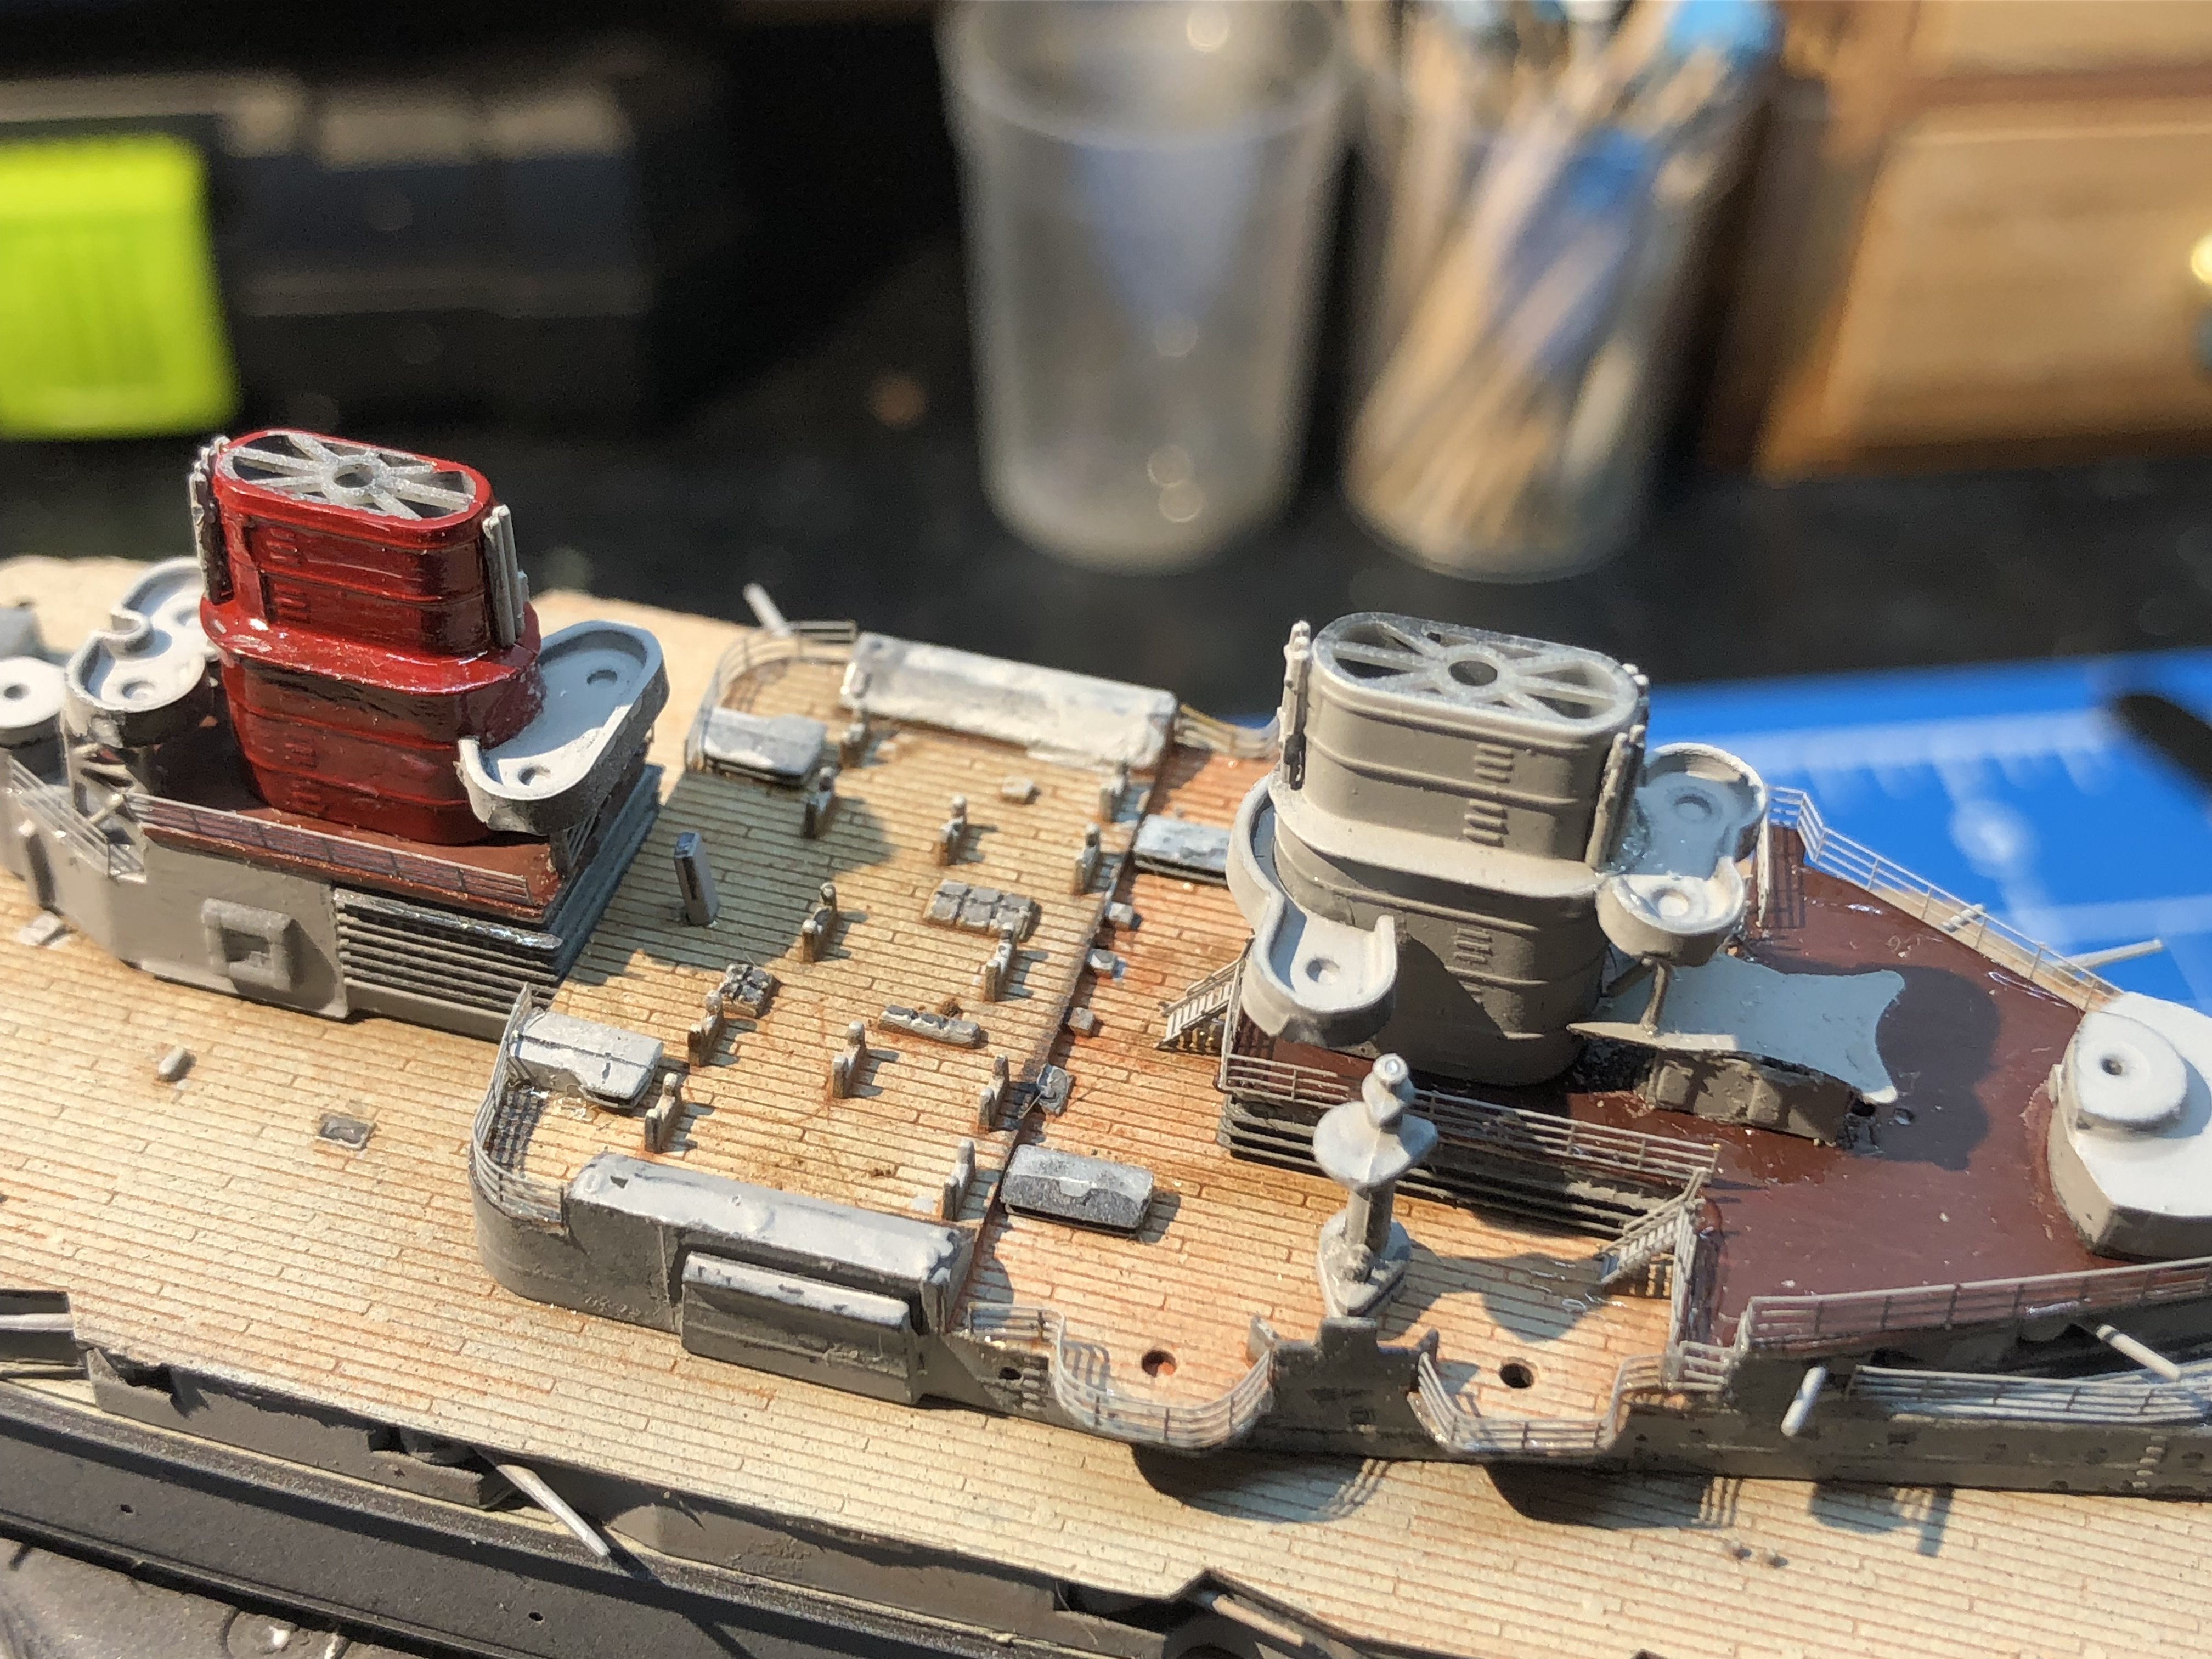
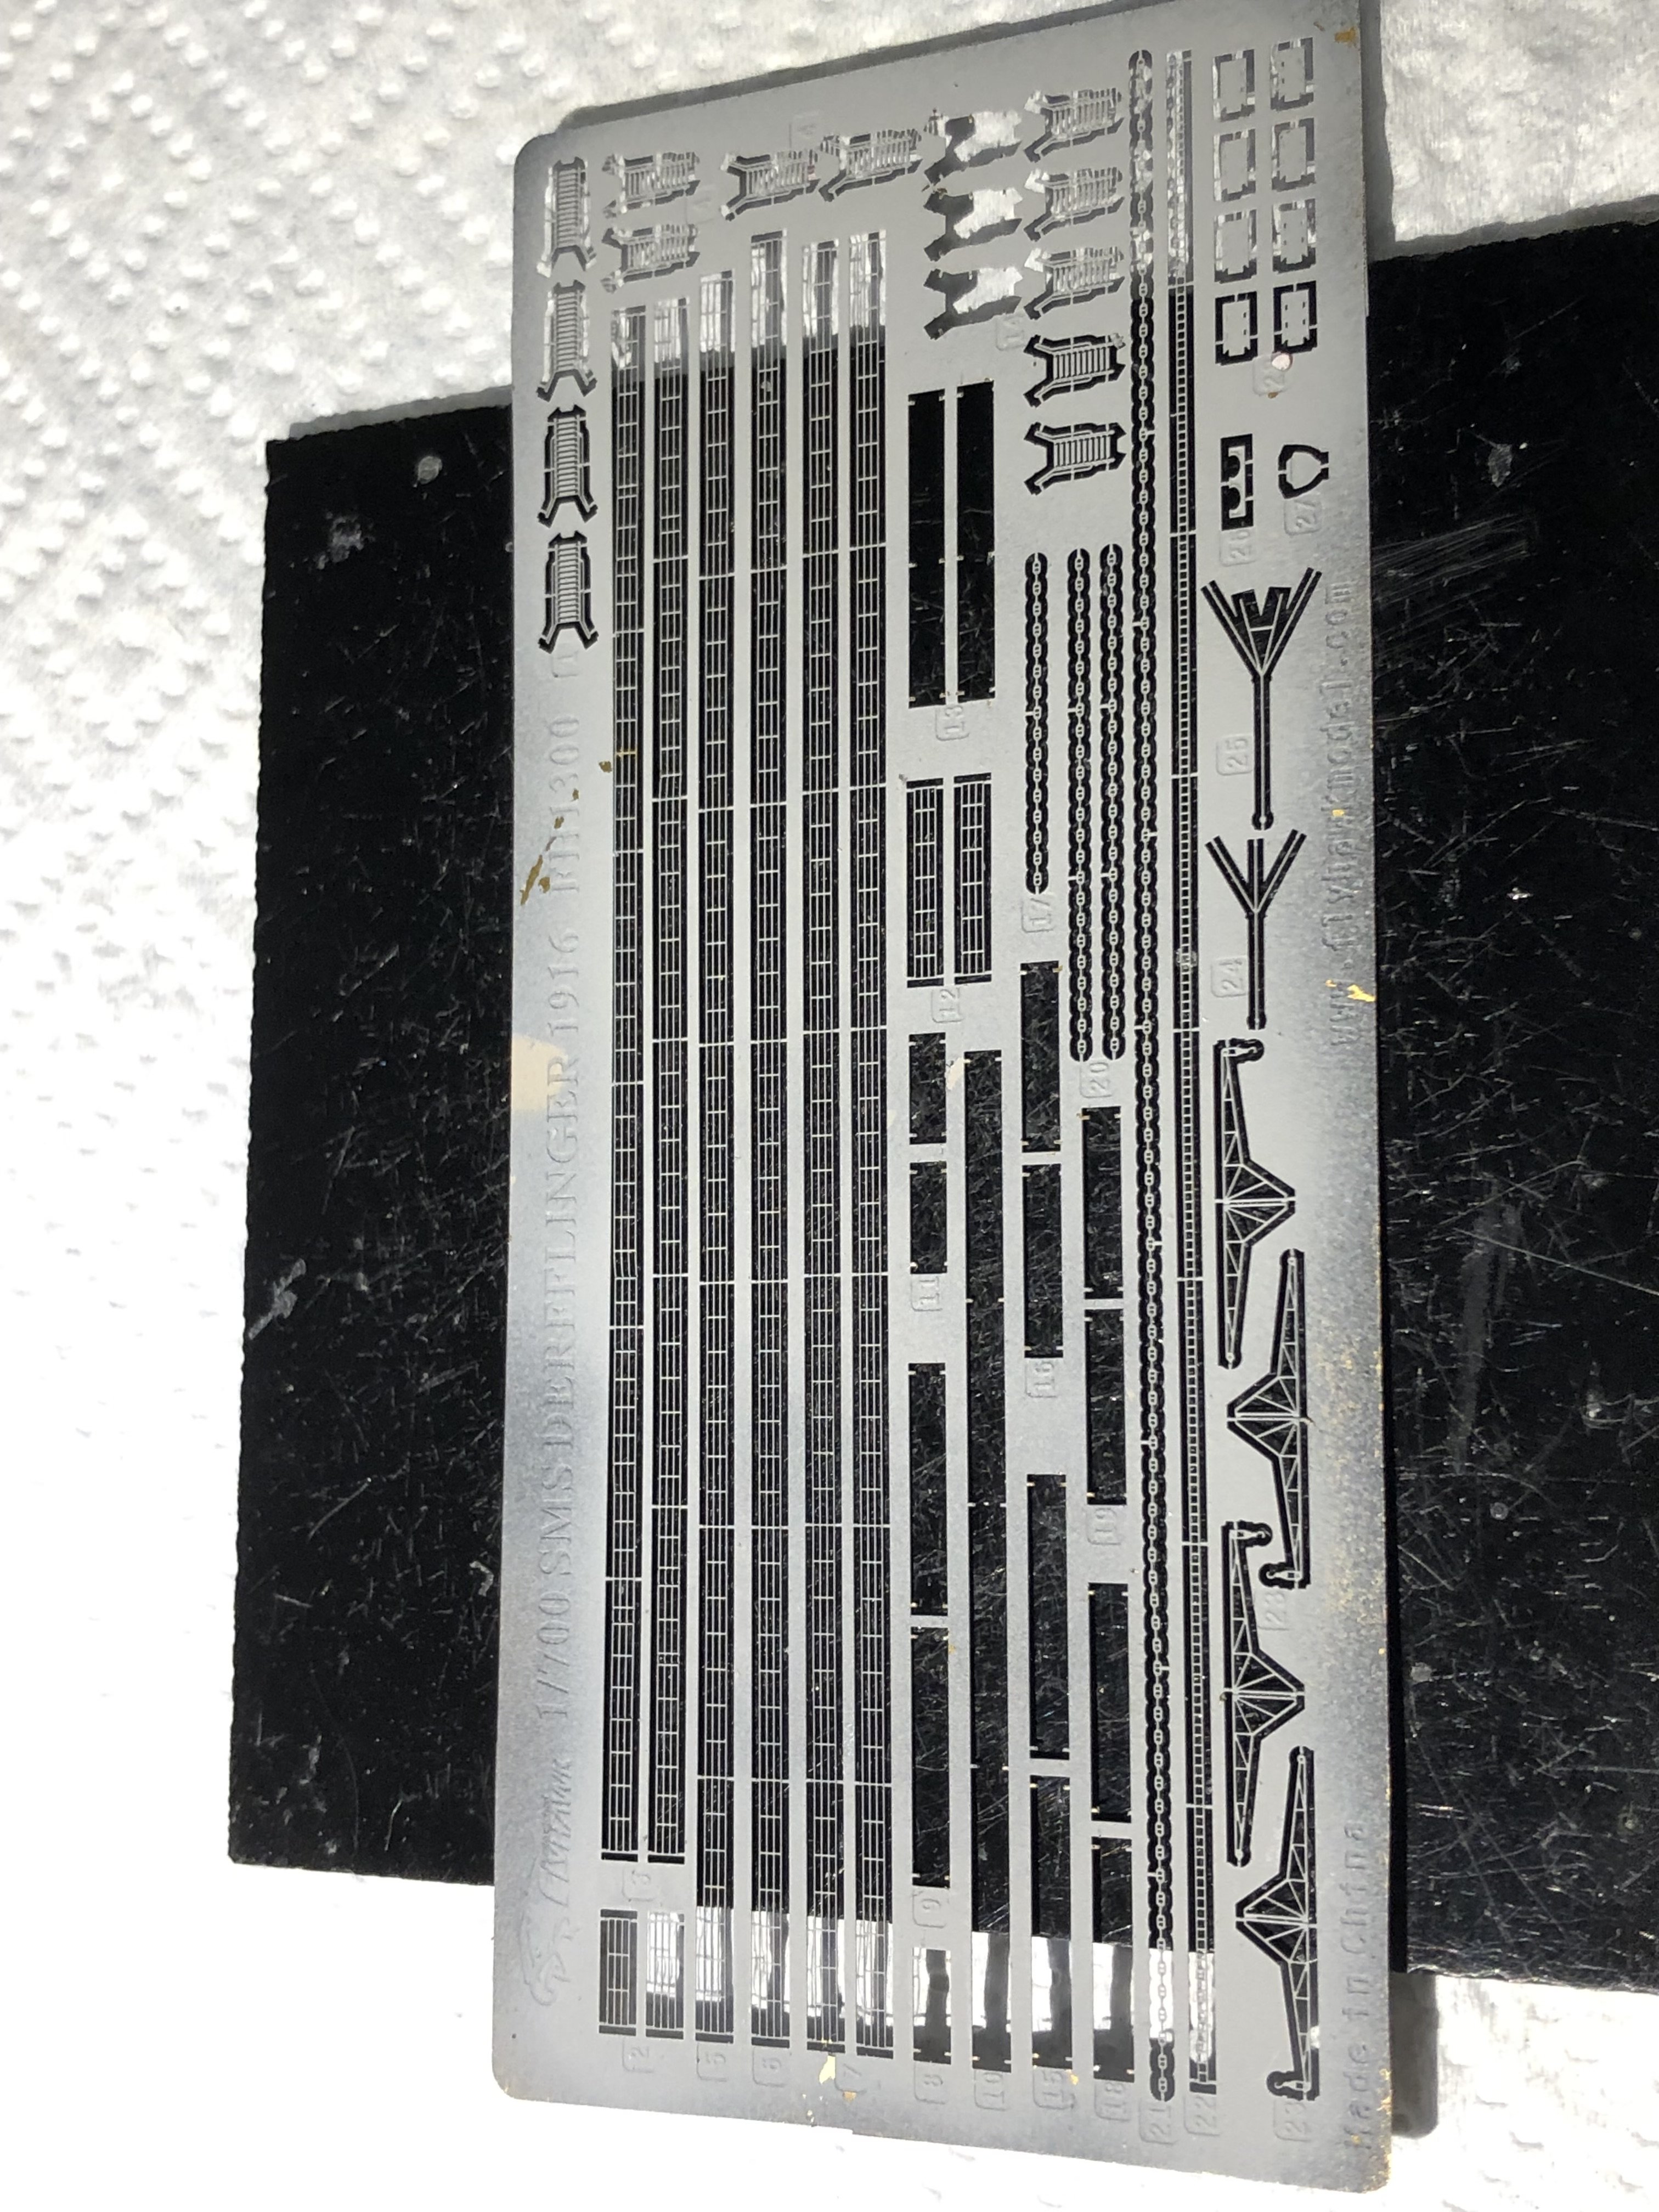
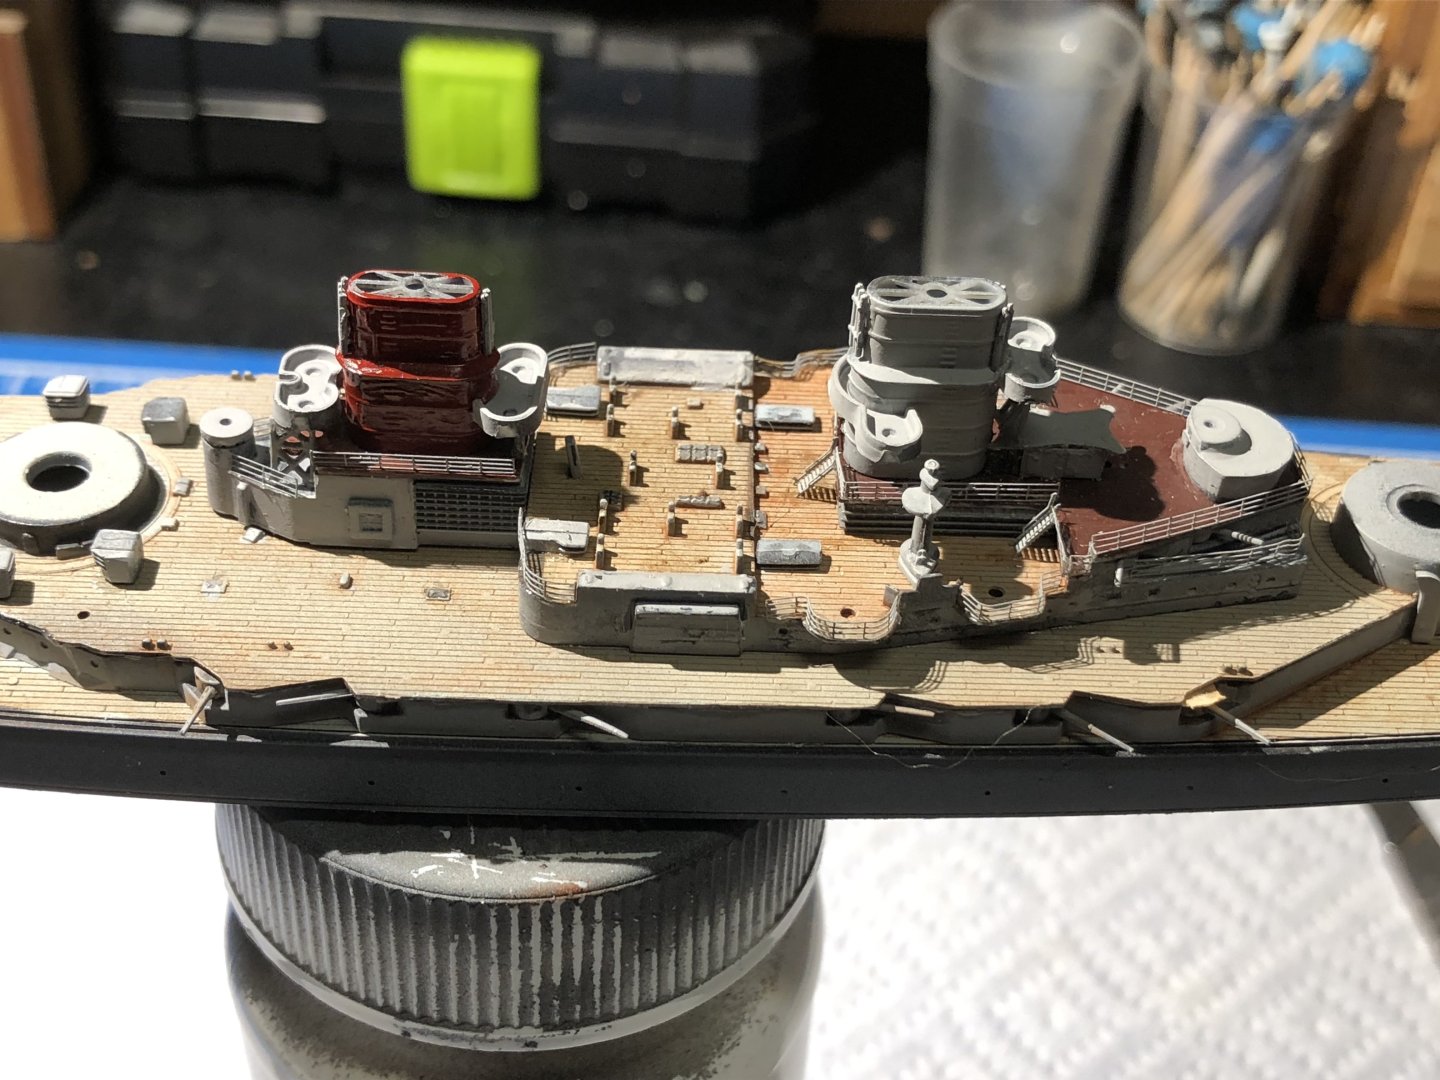
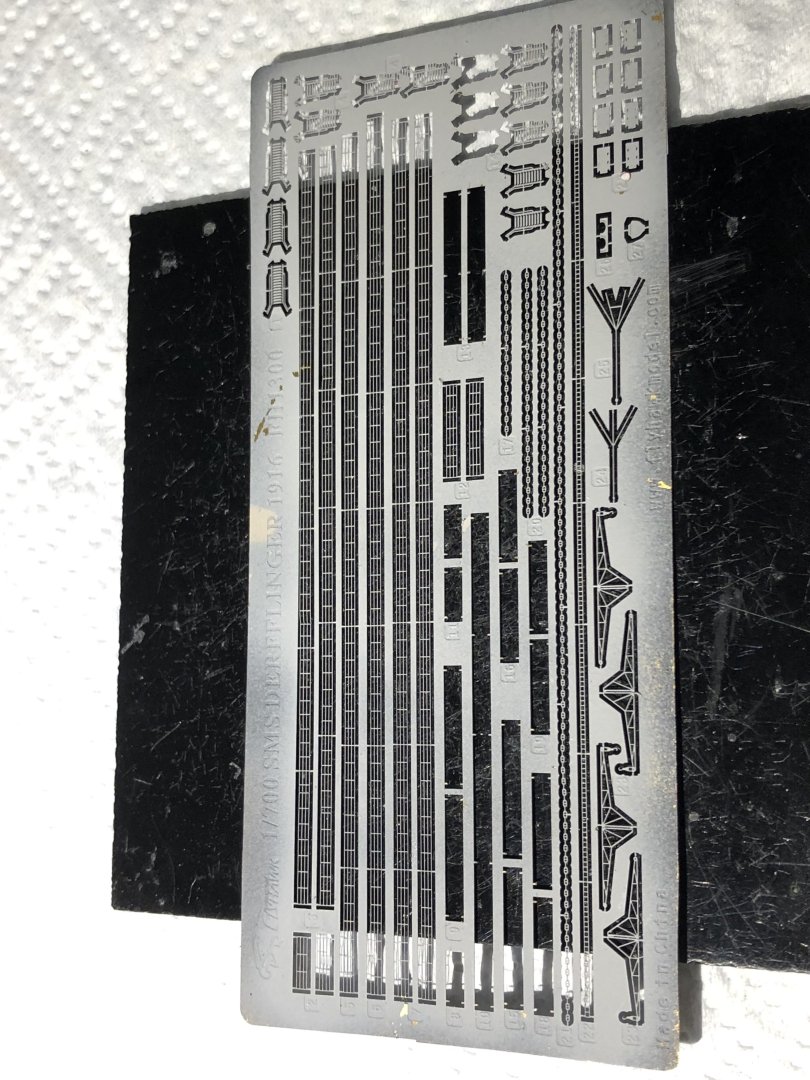
Slowly working through the fog of jet lag and tidying up after three weeks absence. If anyone needs cat hair please let me know. i completed the railings on the forward structure and then managed to drop a pair of tweezers which landed on the newly installed railings . Luckily I found my long missing box of spare PE which had some appropriate bits. It also had a wooden deck for SMS Derfflinger. I have no idea when I bought that but I still rather like the painted wooden deck. With the railings added the forward structure is now delicate so I added it to the hull. The railing work continued on the aft structure and was nice and straightforward after some of the curves and bends up front There is still quite a bit left to do but the PE sheet is beginning to show gaps. More railings, ladders and painting the boats up next. Thanks for looking in, the likes and kind comments. Alan

- 78 replies
-
- 9
-
-
- Derfflinger
- Flyhawk
- (and 2 more)
-
Beautiful work. The paint scheme is excellent alan
-
Horribly annoying and sorry to hear it. After spending the morning adding PErailings to the Derfflinger I managed to drop a pair of tweezers which landed…..right on the new railings. There’s something going around today. alan
-
You have made terrific progress while I have been away. I’m amazed at the delicate railings but they really improve the model. The ship is looking really good as the build progresses. Congratulations alan
- 288 replies
-
- 4
-
-

-
- Card
- Pre-Dreadnought
- (and 3 more)
-
Late to the party but you have done a beautiful job Phil. Congratulations alan
-
Than you very much Mike. The kit fought back quite a lot but it’s helped me improve my seam filling skills. I have an Amodel Mallow that’s gradually working its way to the back of the pile. The Flyhawk kits are spoiling me. alan