HOLIDAY DONATION DRIVE - SUPPORT MSW - DO YOUR PART TO KEEP THIS GREAT FORUM GOING! (89 donations so far out of 49,000 members - C'mon guys!)
×


king derelict
-
Posts
3,286 -
Joined
-
Last visited
Content Type
Profiles
Forums
Gallery
Events
Everything posted by king derelict
-
Ferrari 250 GTO by CDW - Model Factory Hiro - 1:12 Scale
king derelict replied to CDW's topic in Non-ship/categorised builds
That looks like a great book Craig. Haynes have come a long way since my oily 1972 copy for the Ford Escort alan -
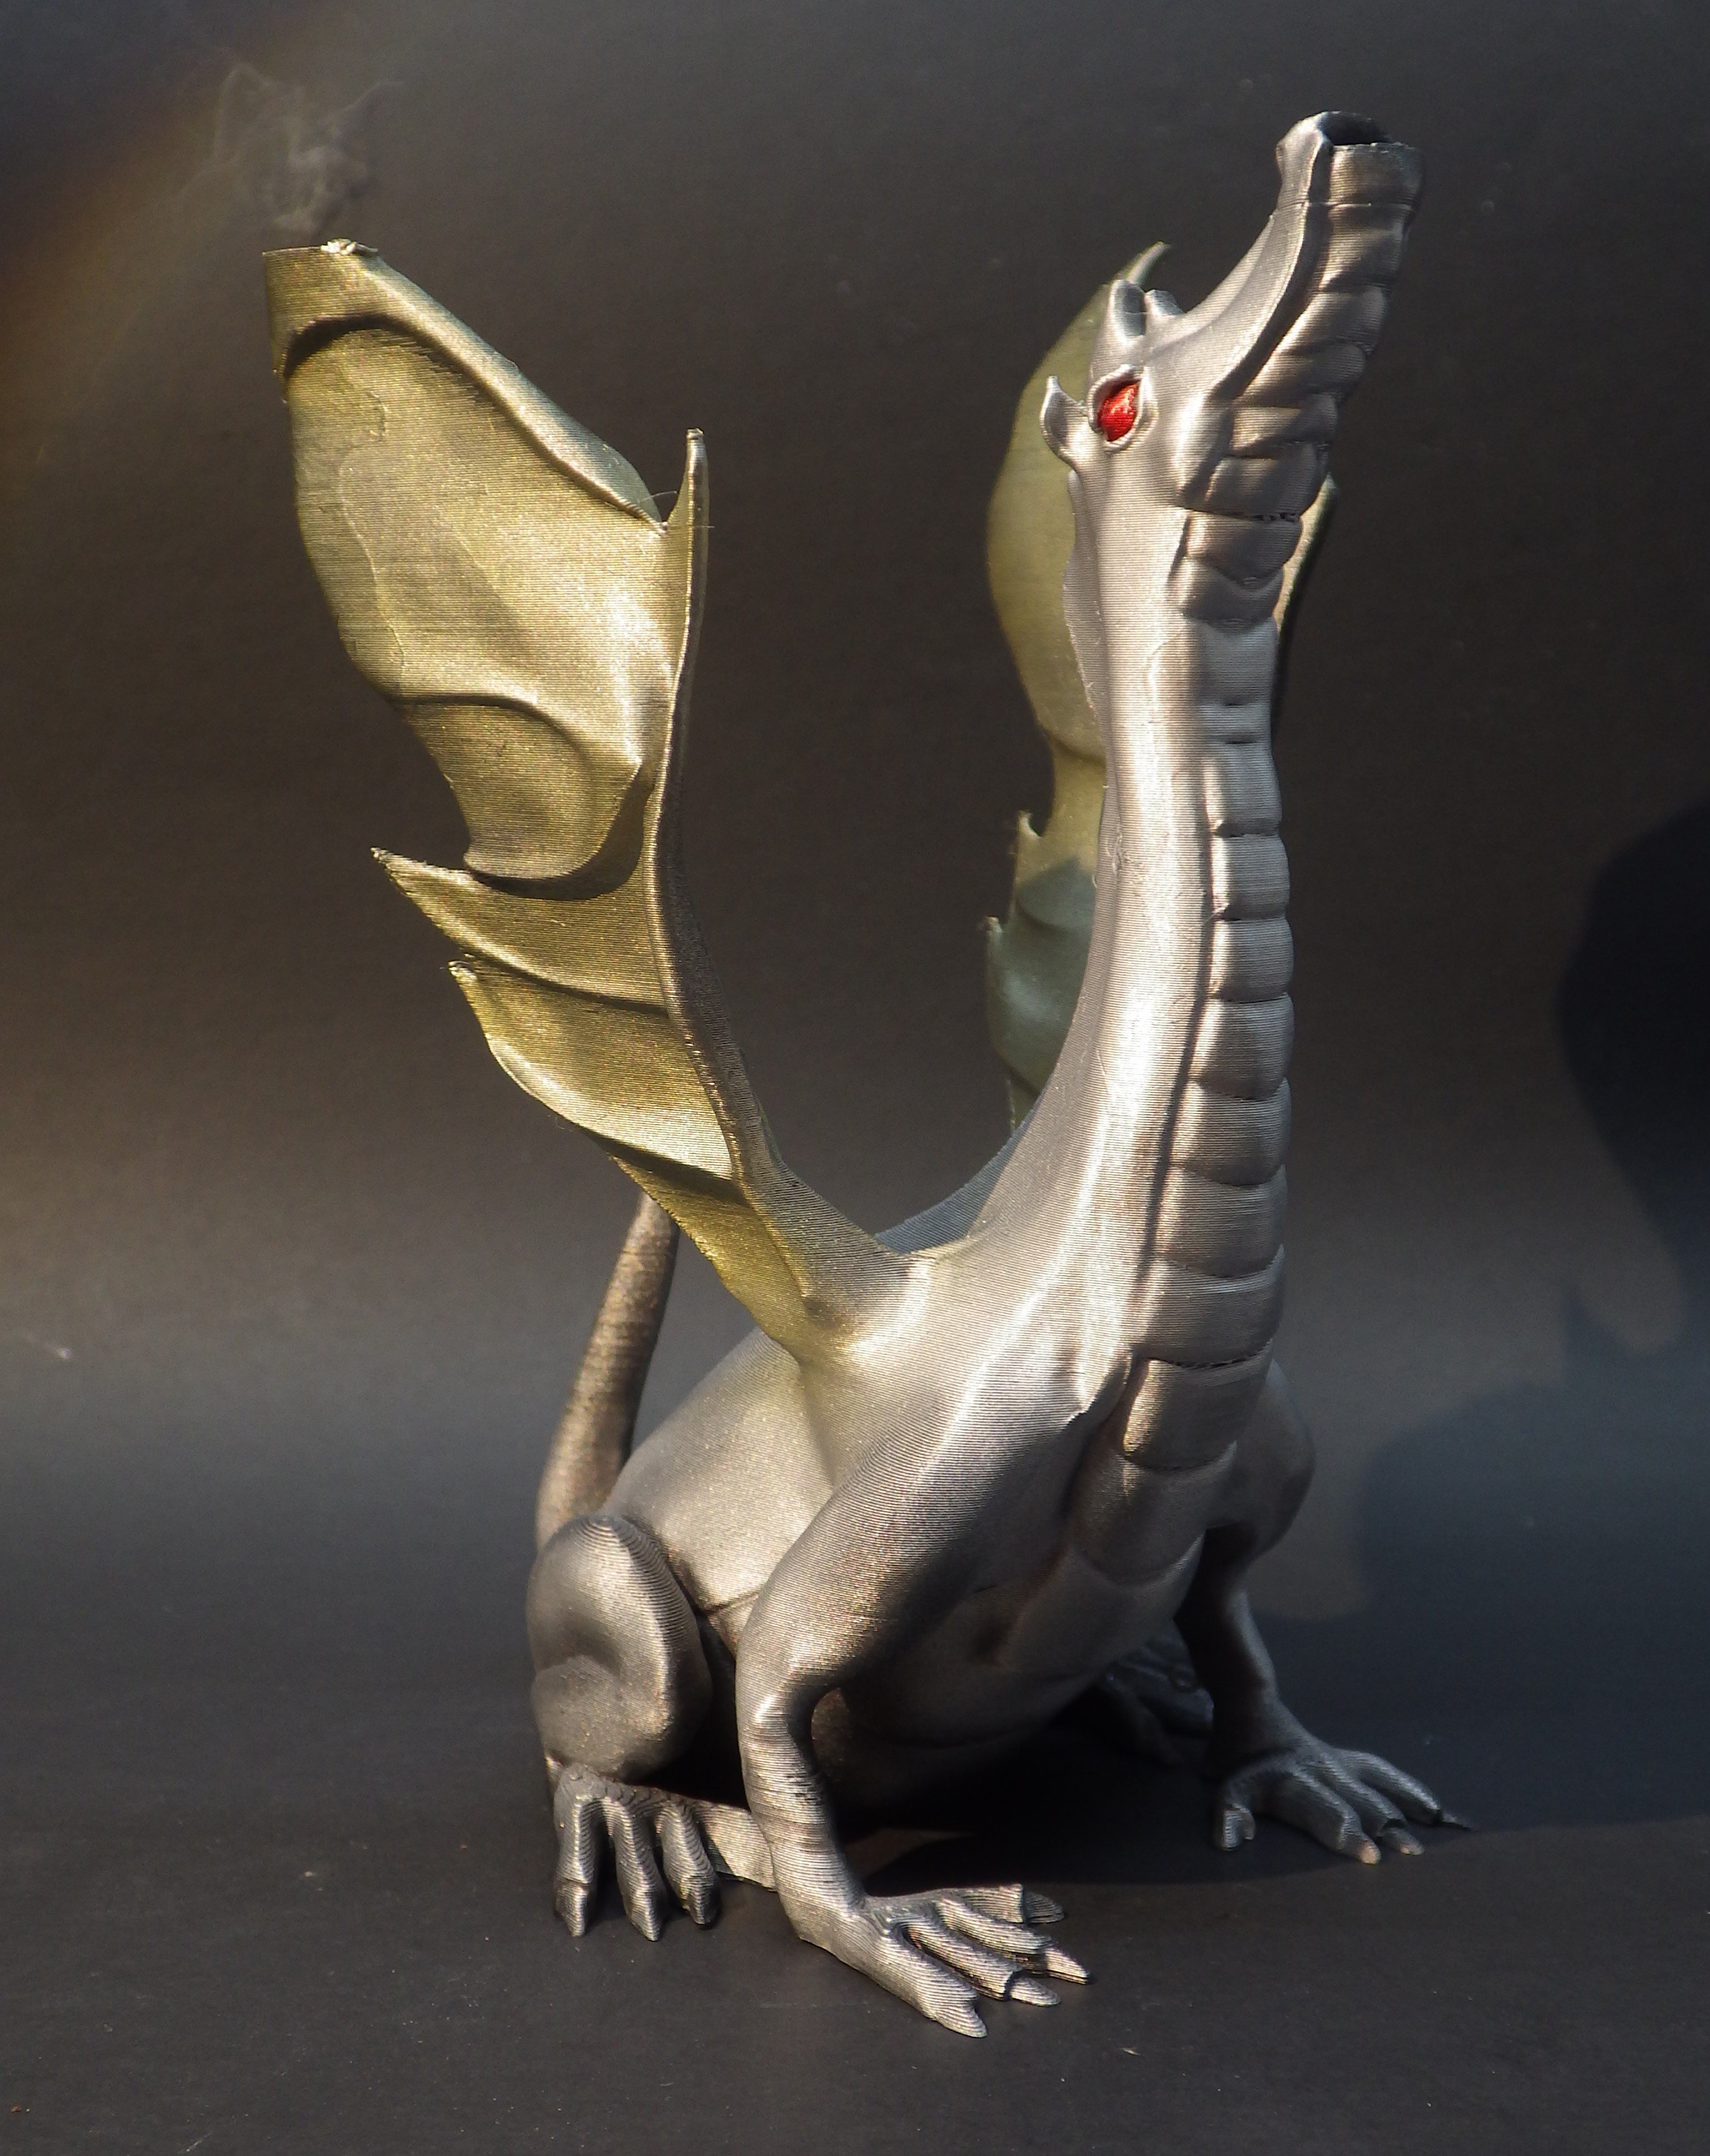
The dragon was a FDM 3D printer test piece that I was reluctant to throw away so it’s been used to get a bit more comfortable with the Vallejo Metal acrylics and my air brush. I like the result so it can go and sit with the Welsh dragons scattered around the house alan
-
Thank you Ken. Having a weatherproof roof helps the morale too and I feel less distracted. The Yak model is quite a struggle. The gear is annoying for a relatively simple set of bits. The nose gear especially so. Yes the set up is very similar to the AV-8B too. Double main and wing tip dollies alan
-
Great work Jav. You really did an excellent job on the finish . It really shows what a bruiser the Tempest was alan
-
Thank you very much OC. This kit is going to fight to the end Alan
-
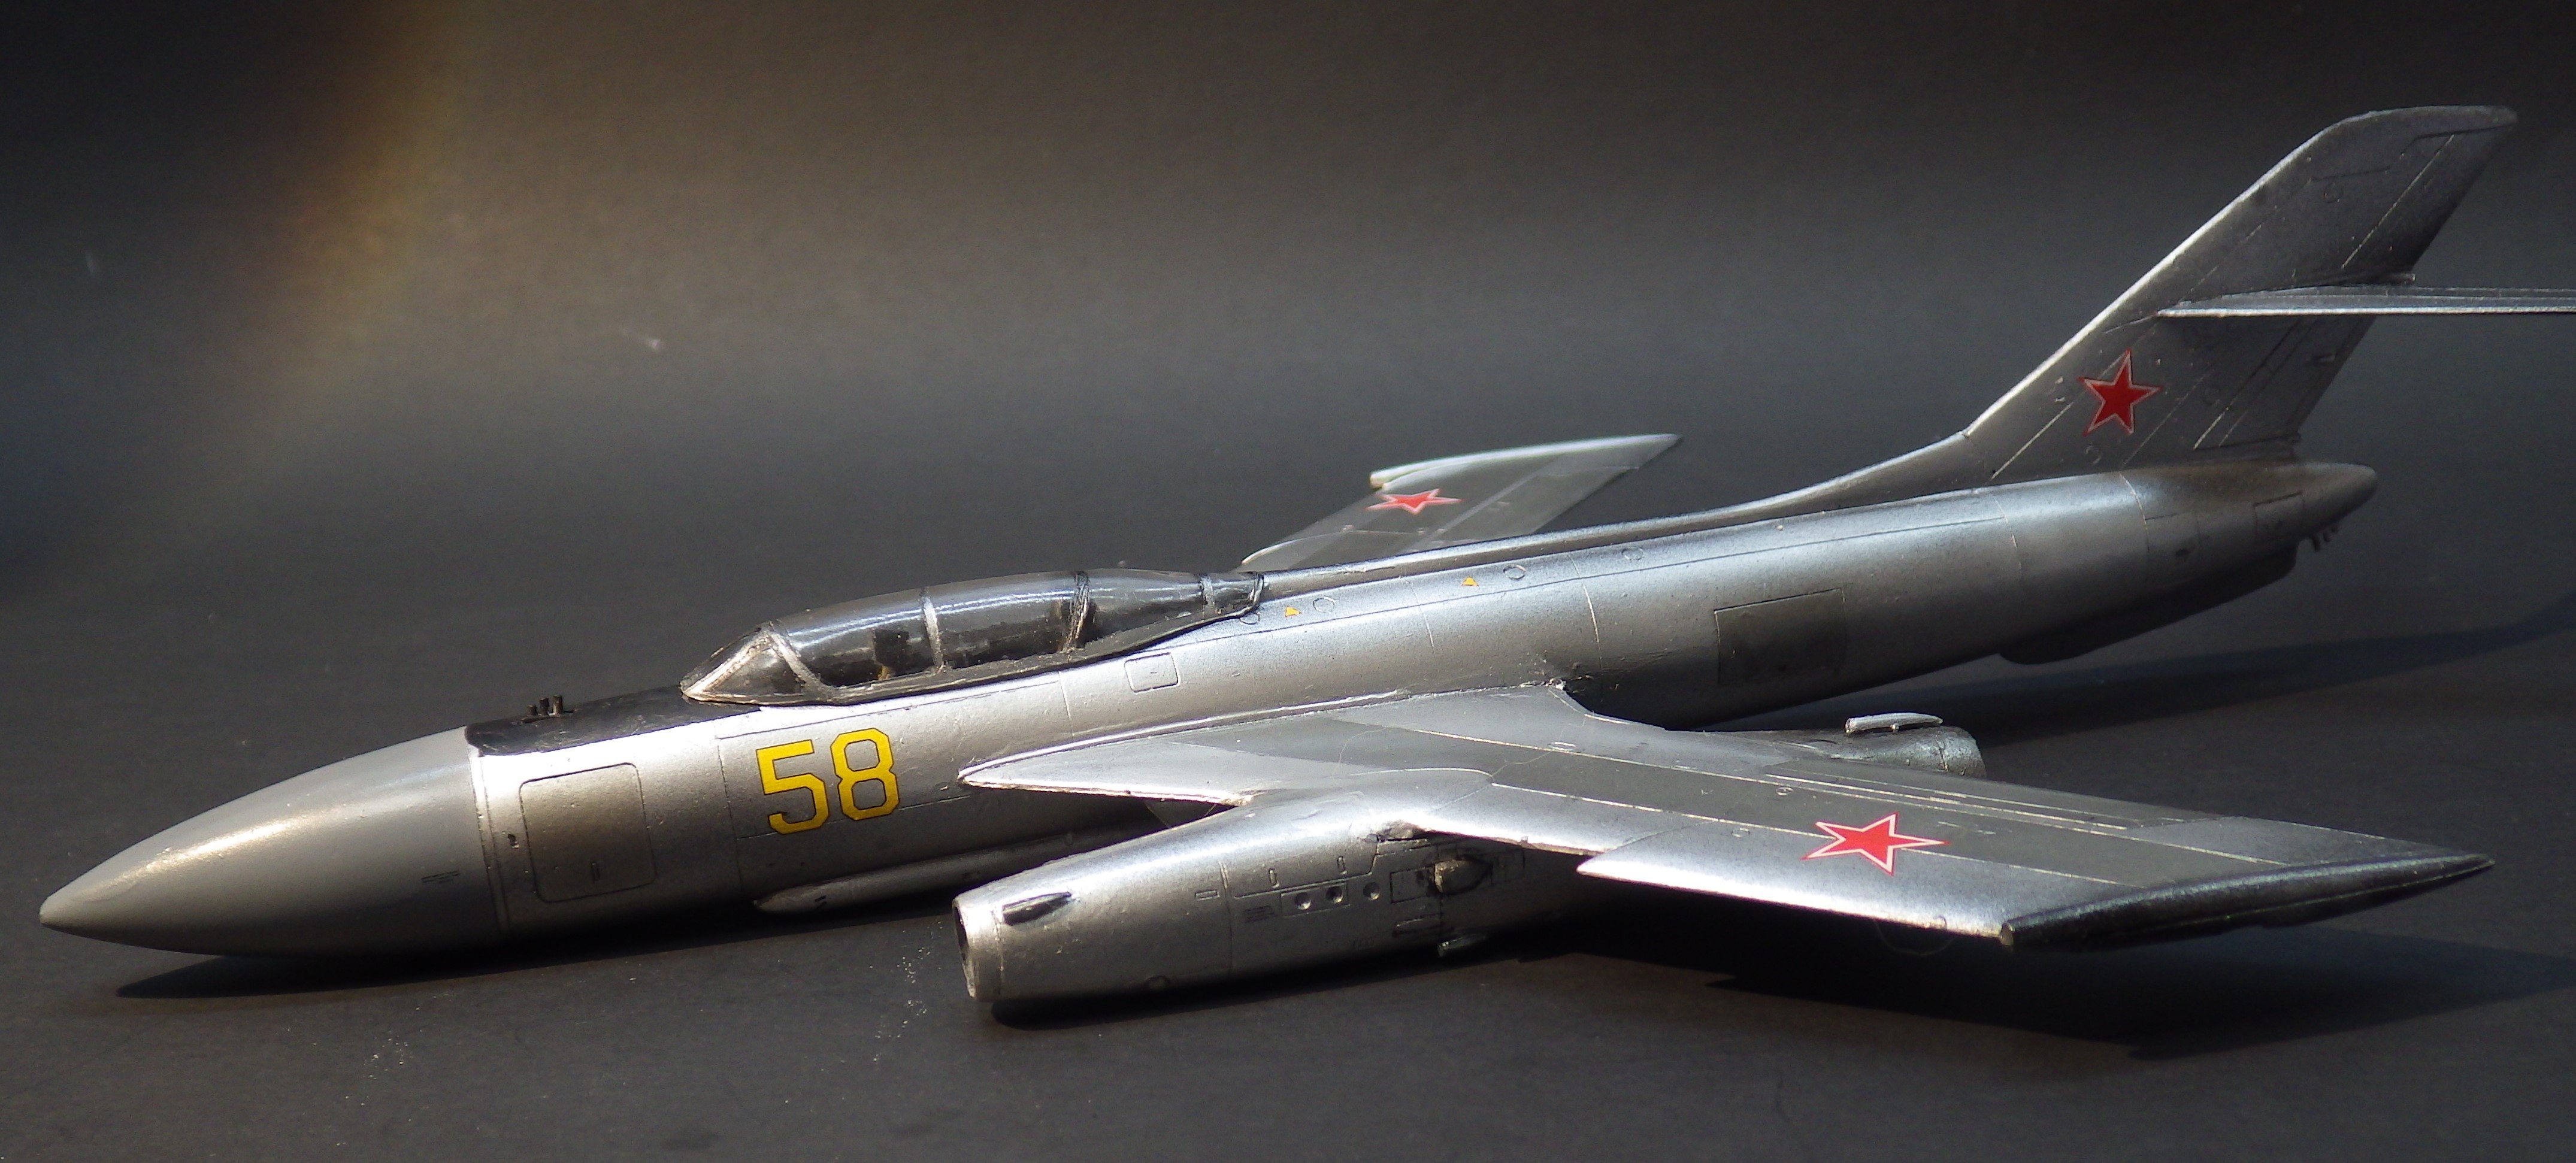
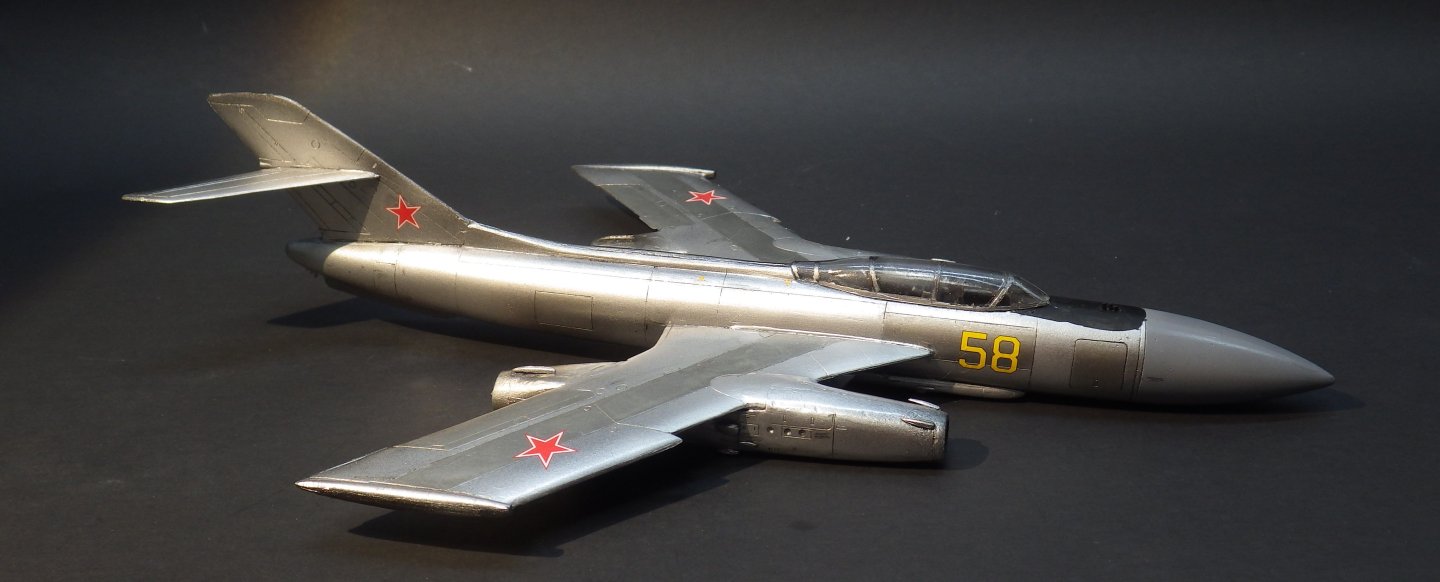
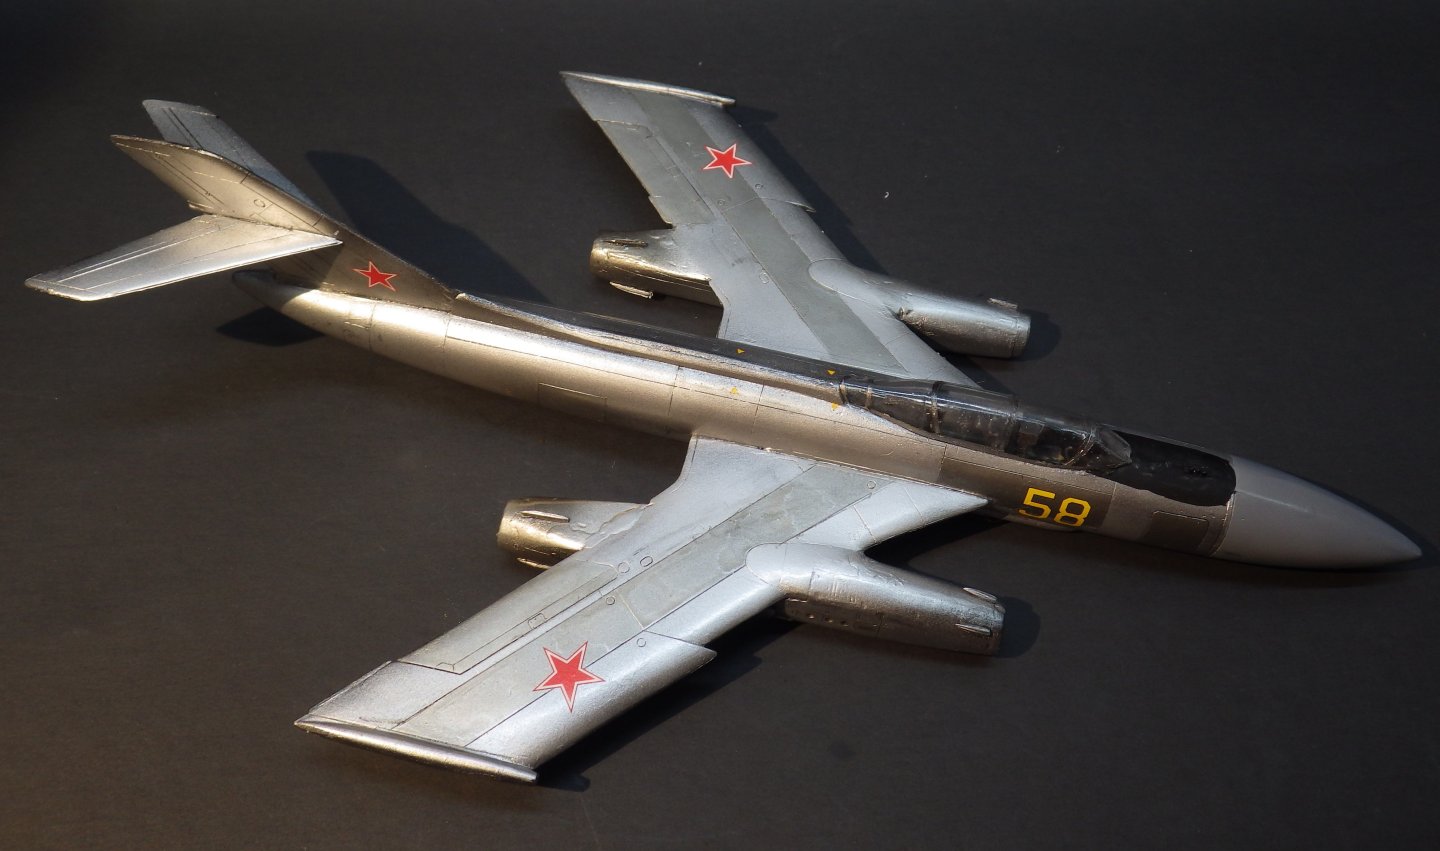
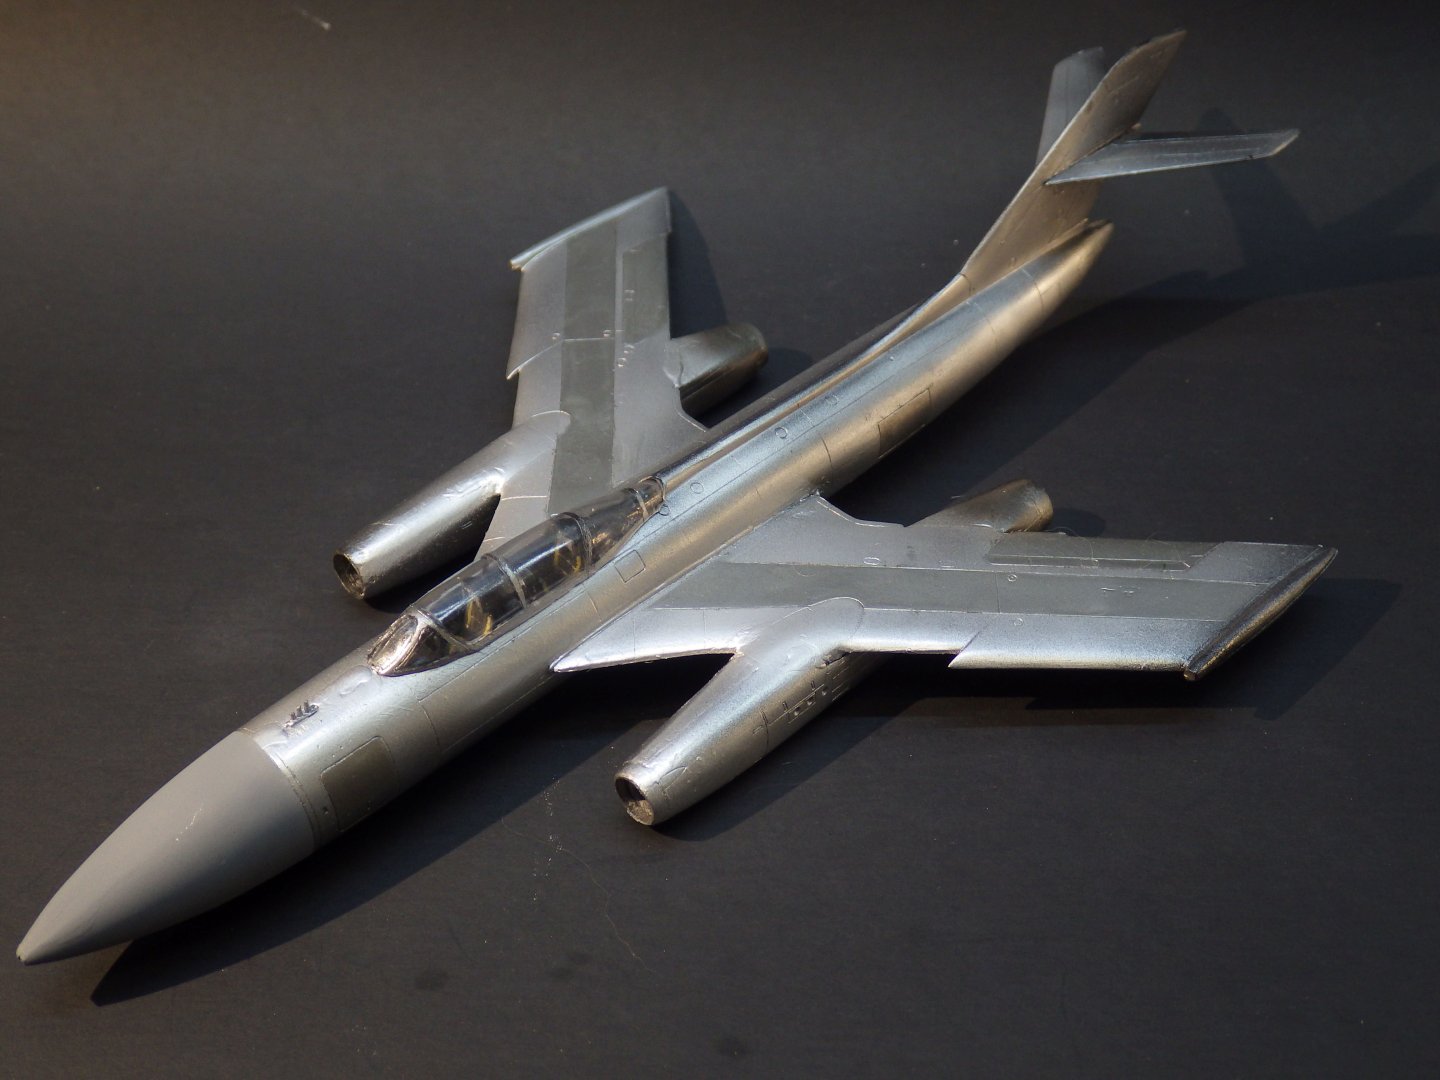
So. here we are slowly creaking back to life. The roofers were here at last and repaired all the damage to the roof. Thankfully its been mostly dry weather since the tornado came through. The glass company has promised Tuesday to replace the broken windows. I've started picking the Yak up and moving one although it may not be the best model to get back into gear with. I added the various nacelle details which required a lot of clean up. There were two fences for the upper surface of the wings which were shown as optional. They were a mess of flash so I opted not to use them. I gave everything a coat of gloss clear and worked on the decals. They were exceptionally nasty to deal with. They didn't release easily from the backing and were difficult to position. The majority were tiny warning labels which were dutifully applied but are almost invisible. This is probably the biggest. In some cases extra decals were provided and in others not enough. The identifying number 58 is shown as only being applied on the starboard side but photos show them on both sides. A second "58" is thankfully provided. The photos suggested that the heat staining may extend further forward than I have applied. I may try to mask and add a little more. I have tried a panel line wash using a black wash from Mig Ammo. I don't really like it. It seems a bit thick and didn't flow along the panel lines and also took a lot of cleaning from places it shouldn't be. It worked better after I had diluted it but I think I will go back to the homemade brew of very diluted oil paint. The landing gear and the wingtip probes are all that remains. I think I will need to get the brass rod out to make the landing gear struts look better. And here is a NMF dragon which has a lot less stressful to play with Thanks for looking in, the likes and helpful comments Alan


- 89 replies
-
- 11
-

-

-
Ferrari 250 GTO by CDW - Model Factory Hiro - 1:12 Scale
king derelict replied to CDW's topic in Non-ship/categorised builds
Ahhh, that would explain why all my shipments from Art Girona required signature on delivery. Thanks for that. alan -
I was a young test engineer at RAE Boscombe Down in the early seventies and in the summer of 1973 Boscombes long runway was under repair so everything was using the short one. It made quite an impression watching a Lightning do an ab takeoff, clean up the gear just after getting airborne and then almost stick the aircraft on its back and climb. Always loved them after that. Thanks a lot for the link. XP693 was our test aircraft and was F6 standard then but didn’t have the overwing tanks for the work we were doing. it would be great to build that aircraft. Alan
-
Thanks Ken, that’s a good choice. I think the F2 kits are better than the F6 which I had been contemplating because that was the aircraft I worked on in the early seventies. alan
-
Ferrari 250 GTO by CDW - Model Factory Hiro - 1:12 Scale
king derelict replied to CDW's topic in Non-ship/categorised builds
I must confess I have one had one bad experience buying off eBay and none as a novice seller. I used to be interested in watches and some of the forums have scary stories about sellers selling a watch and the buyer complaining about it, the money being refunded and the buyer returning a substitution leaving the seller empty handed. probably a highly unlikely eventuality with a Trumpeter Queen Elizabeth or similar 😃 I use PayPal quite a bit to limit exposure online. Thanks for all helpful information I need to sort out what is on the sale list. alan -
Thank you for the kind thoughts Rob. I consider tornadoes ticked off the life list. But we were lucky, the cats are settling down again we are fine. The repairs will get done soon and hopefully we can enjoy the best season in Florida. Thank you regarding the Yak, hopefully the details will come together, they are a bit of a mess of flash. Thank you also for the recommendation for Mr Surfacer. I have put an order in for a selection and the leveling thinner. I thought the hit and miss results from the Vallejo primers was down to me or my airbrush but I did switch to MiG One Shot and things have improved. Cheers Alan
-
Thank you, its slowly coming together. The county is supposed to be starting on debris removal next week. There’s actually an outdoor hot tub piled up on the kerb. I suppose the rain and low pressure popped it out. Thank you very much regarding the Yak, I’m shamelessly borrowing from your experience. I think I would like to try a quality kit in NMF, maybe an EE Lightning, my first test aircraft. alan
-
I hope they are an improvement for your eyes and then ease back into the painting when comfortable alan
-
Thank you very much Yves. I like the subjects of soldiers away from the battlefield. Art Girona make some very nice subjects. I have another multi figure French napoleonic diorama waiting. Les Bourres. Should be fun. alan
-
Thank you very much Dan. For some reason it didn’t occur to me that I could mix the various metal colors. I’ll try that next time. I found that the dark aluminum although dry was rather fragile initially and I used a cotton bud in places to shade the color down a bit. After 24 hours it was a durable finish. Alan
-
I hope the new glasses are working out well and painting is possible. Yes dad did all his jumps from a Dakota . He thought it was much more civilized than going out of the hatch in the floor of a Whitley Alan
-
Ferrari 250 GTO by CDW - Model Factory Hiro - 1:12 Scale
king derelict replied to CDW's topic in Non-ship/categorised builds
Thank you very much for your comprehensive answer. I tend to agree about eBay. There are some horror stories out there about dishonest sellers and buyers. I’ll try some of your other suggestions. many thanks alan -
Ferrari 250 GTO by CDW - Model Factory Hiro - 1:12 Scale
king derelict replied to CDW's topic in Non-ship/categorised builds
I’m not aware of any particular problem with Royal Mail. I just received a letter from the UK which arrived four days after shipping. It was a bill of course 😃 I also bought merchandise from the Royal British Legion as part of the Armistice Day commemoration and that arrived four days after ordering. The Art Girona orders from Spain turn up in about ten days. I’ve not lost anything in the mail yet - even from Ukraine alan -
Very nice work on the wooden decks alan
-
Ferrari 250 GTO by CDW - Model Factory Hiro - 1:12 Scale
king derelict replied to CDW's topic in Non-ship/categorised builds
Hi Craig I hope this is not an inappropriate question but what method do you prefer for selling your unwanted kits. When I was first attracted to plastic ship modeling I thought I would be mainly building 1/350 scale and thought I would do a couple of 1/700 as a learning process. I’ve found I work better with 1/700. My eyesight means I have to work with higher magnification / shorter focal length so big subjects are a problem and so is display space. And as for that 1/200 Bismarck? So I’d like to let someone else have a chance to build them and replace them with something I can really work on Alan -
Thank you very much OC. I don’t know how you get the uniform details at 28 mm I’m not sure what’s next. I had thought of a couple of Paras for the 80th anniversary of Market Garden but it got away from me Alan
-
Thank you very much OC. This is new stuff for me so I’m keeping it fairly simple. The details are going to be a challenge. The instructions are very vague and no locating features of course alan
-
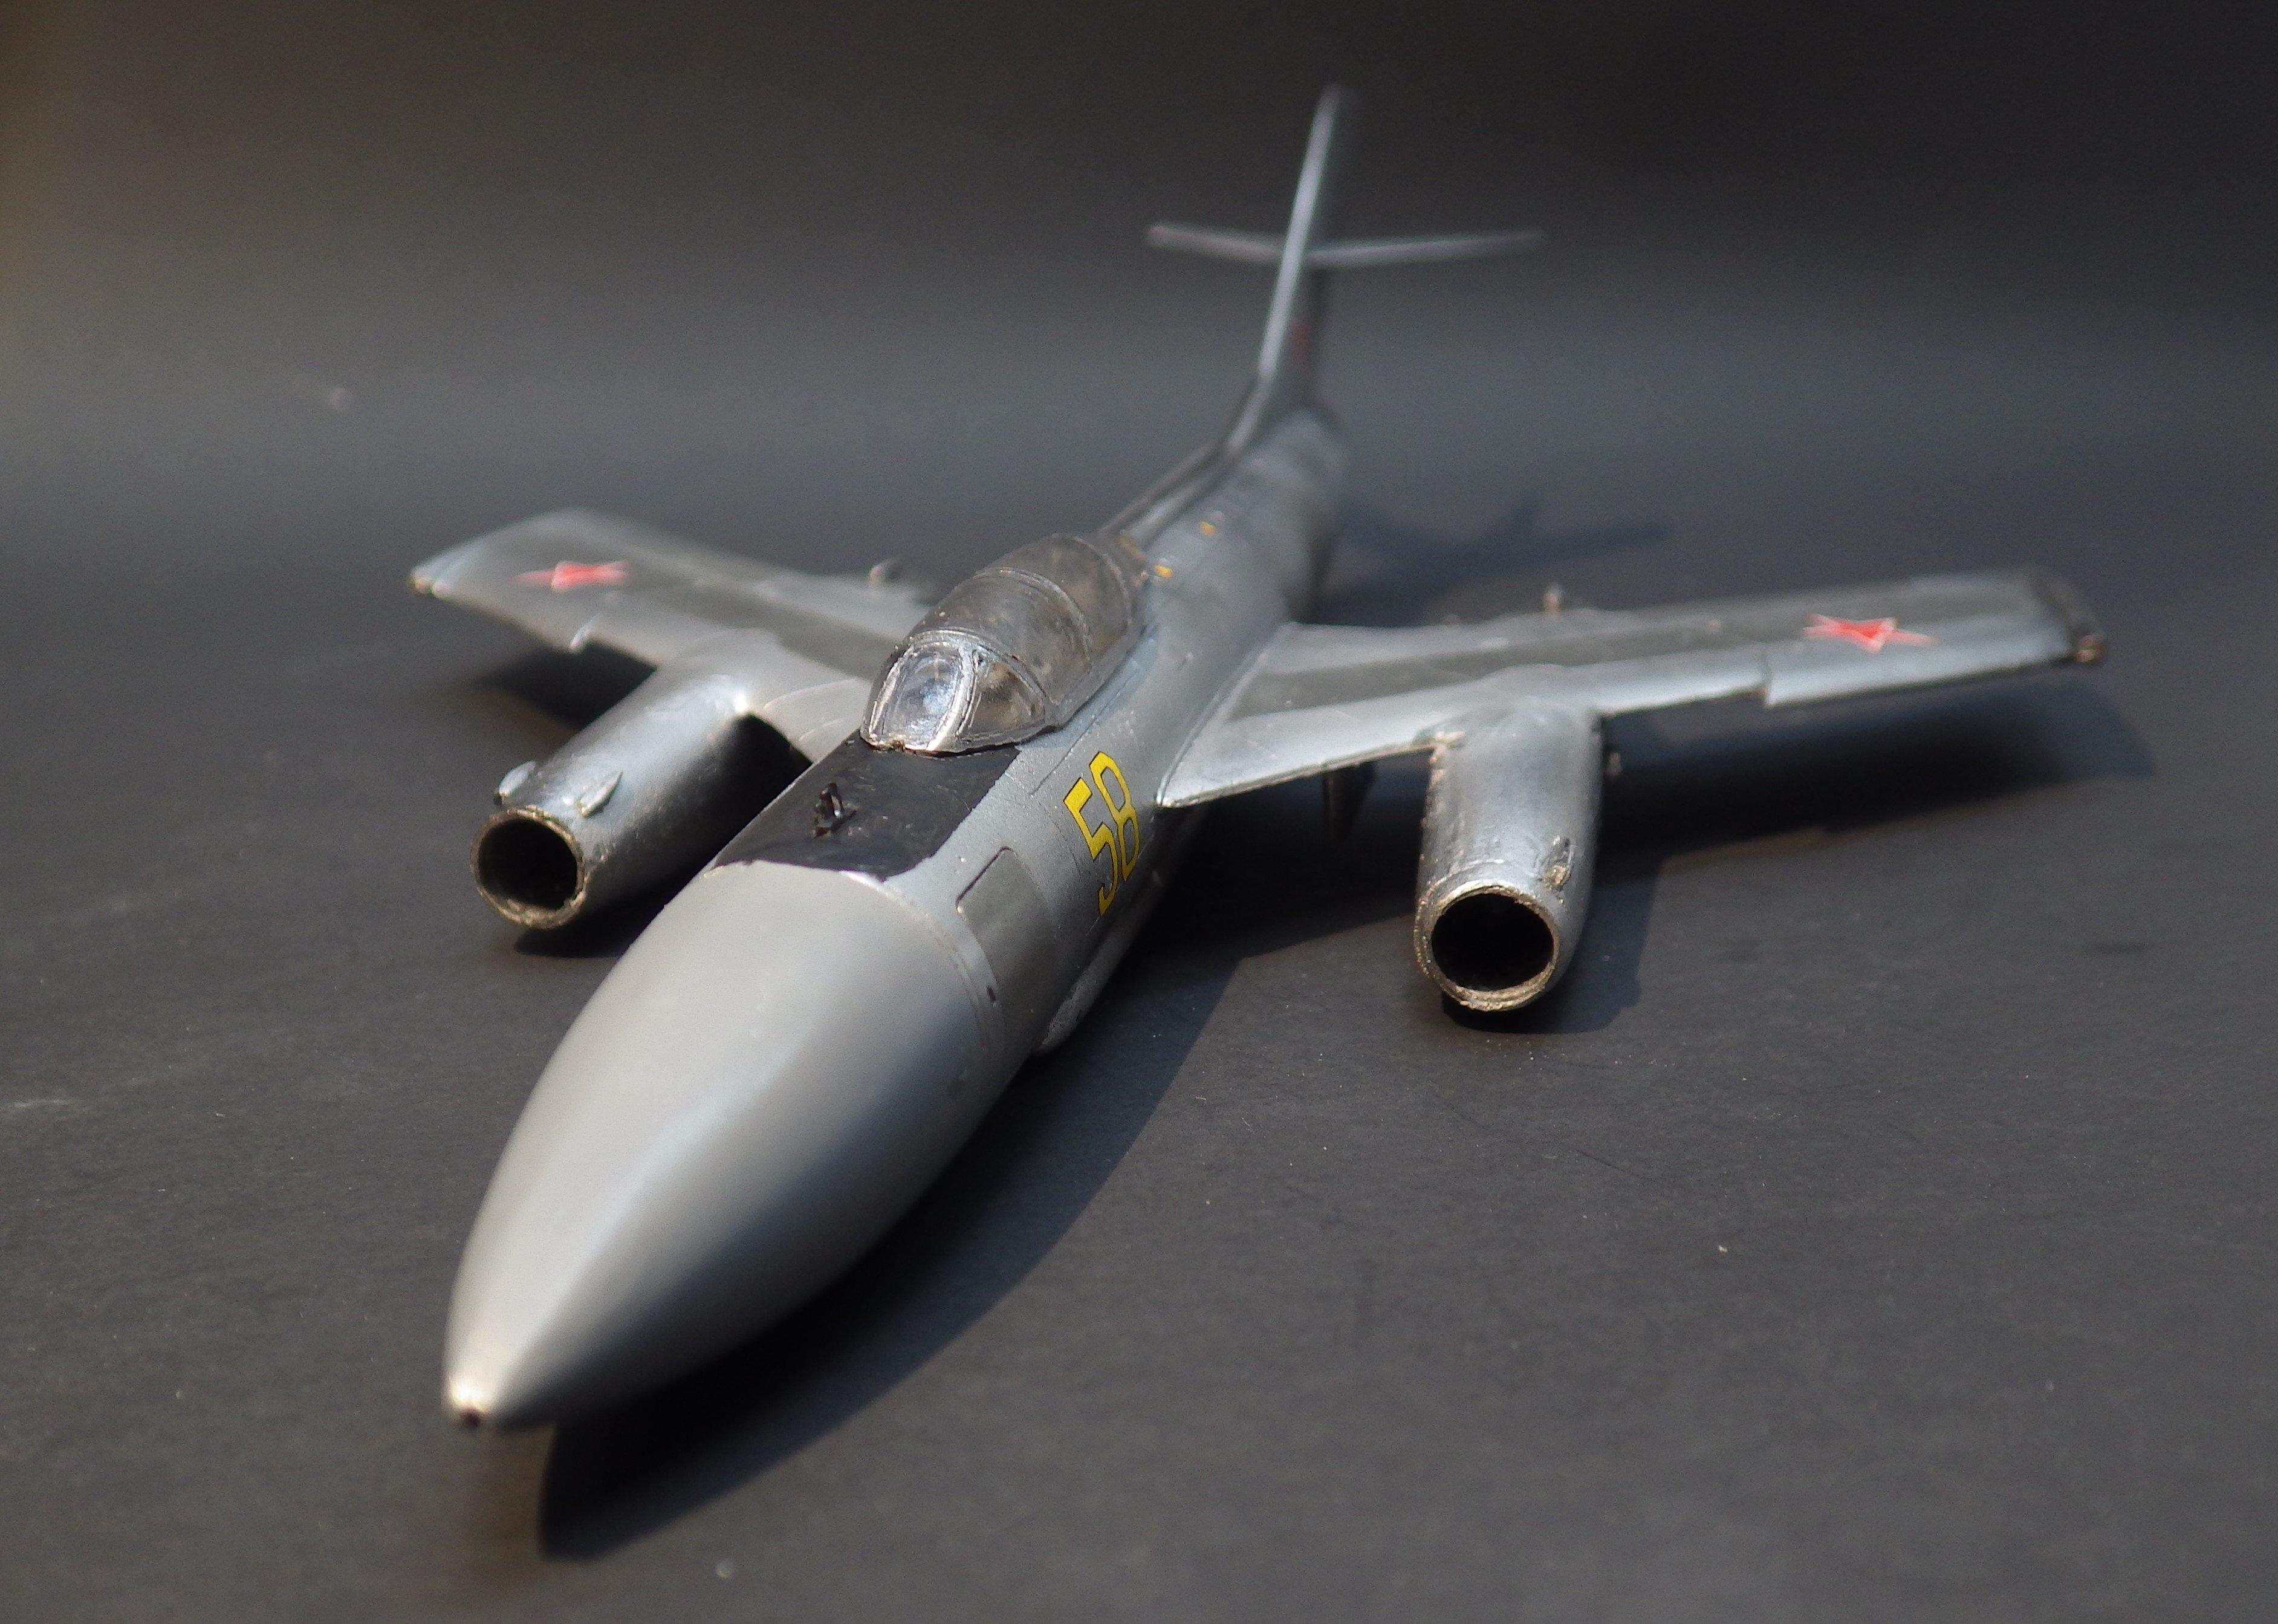
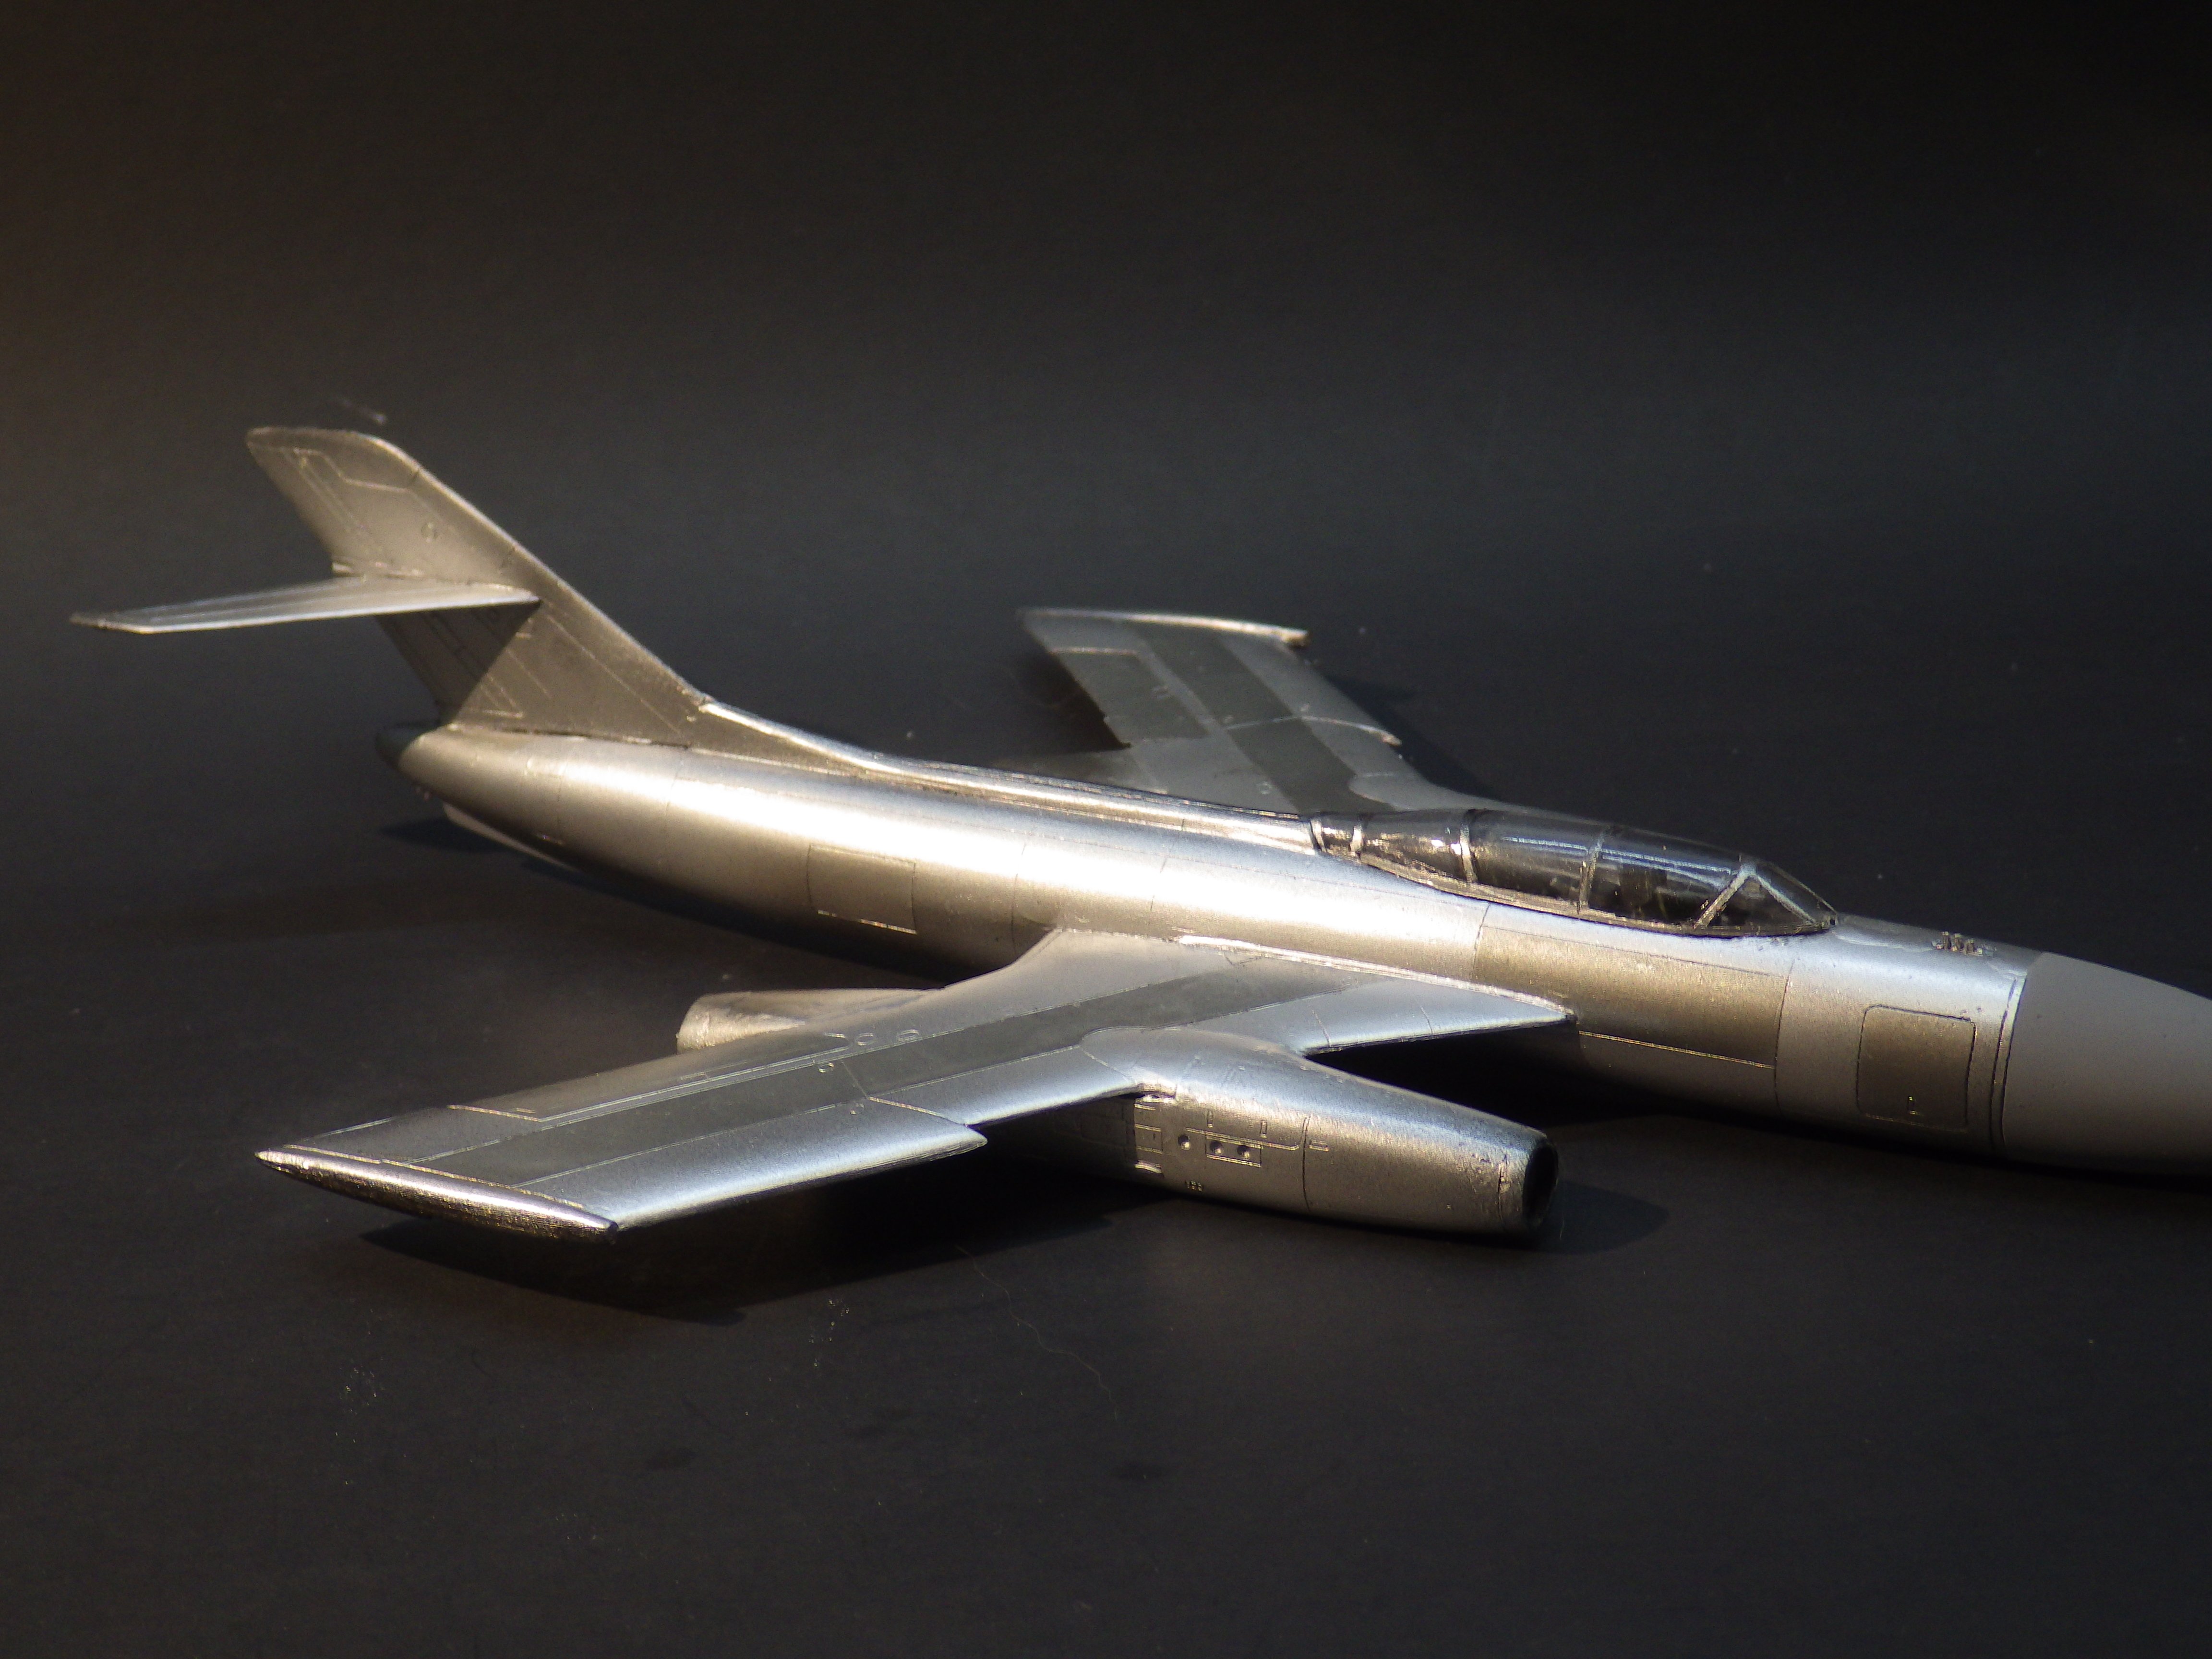
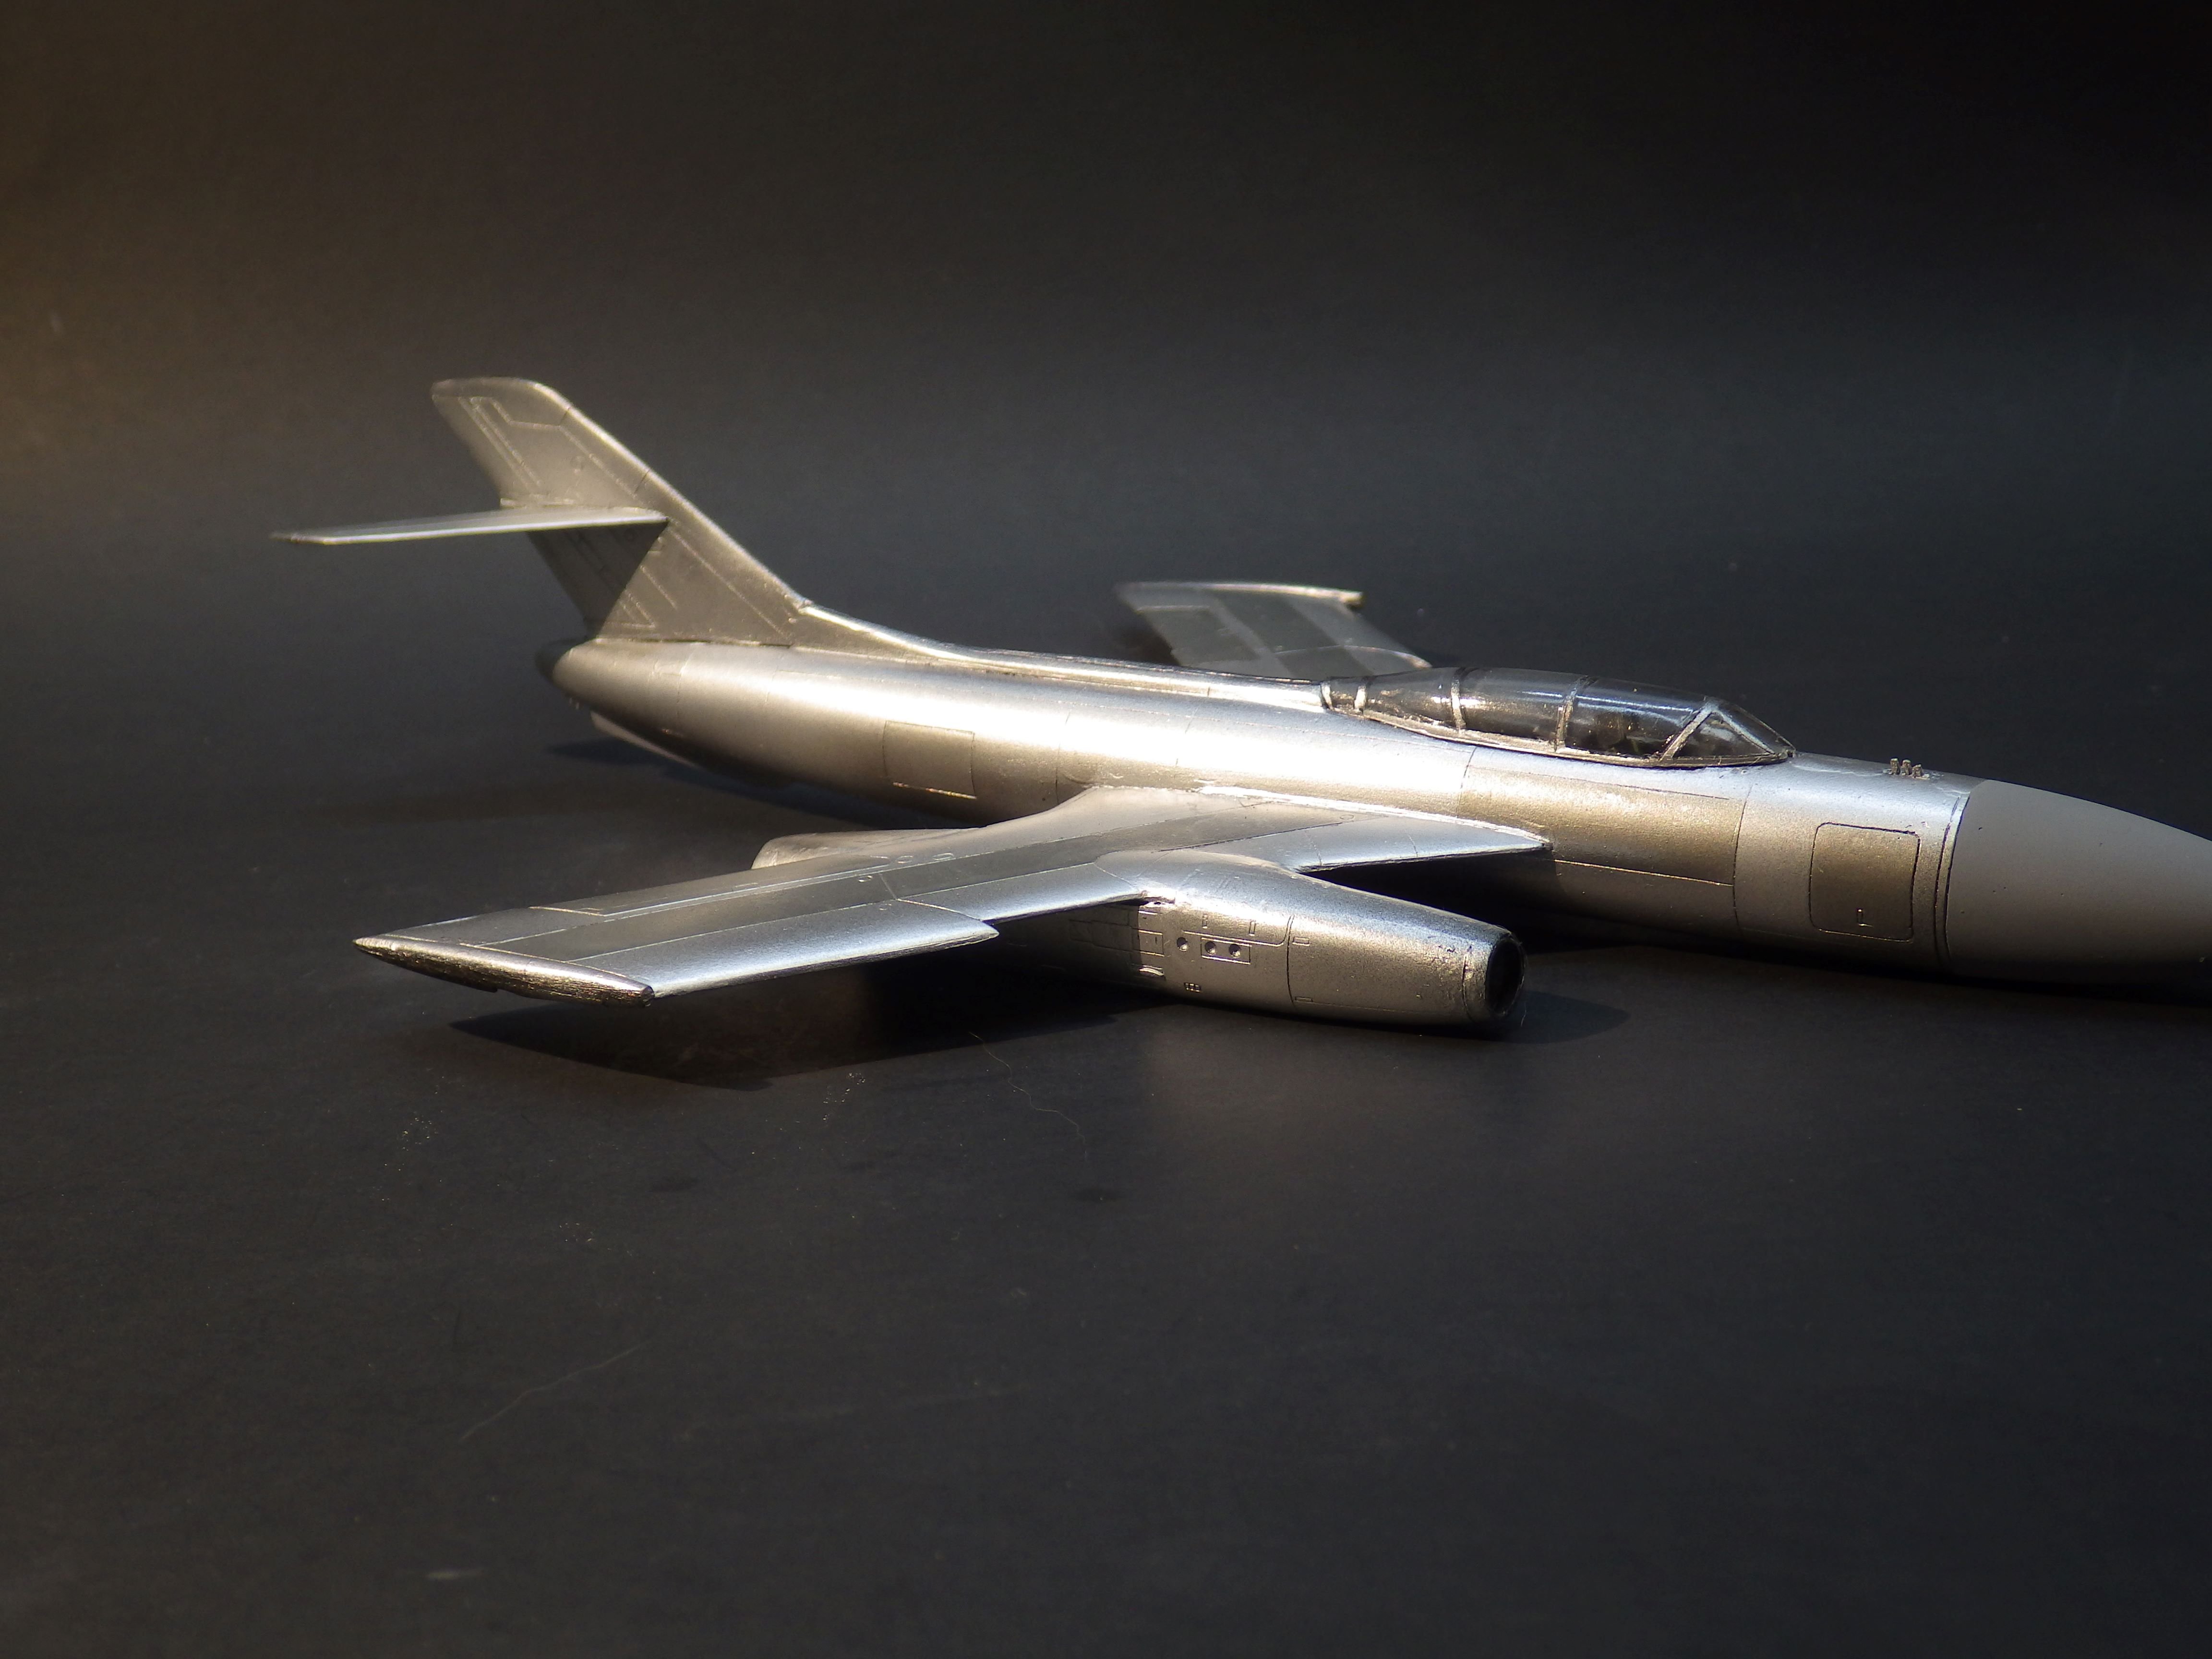
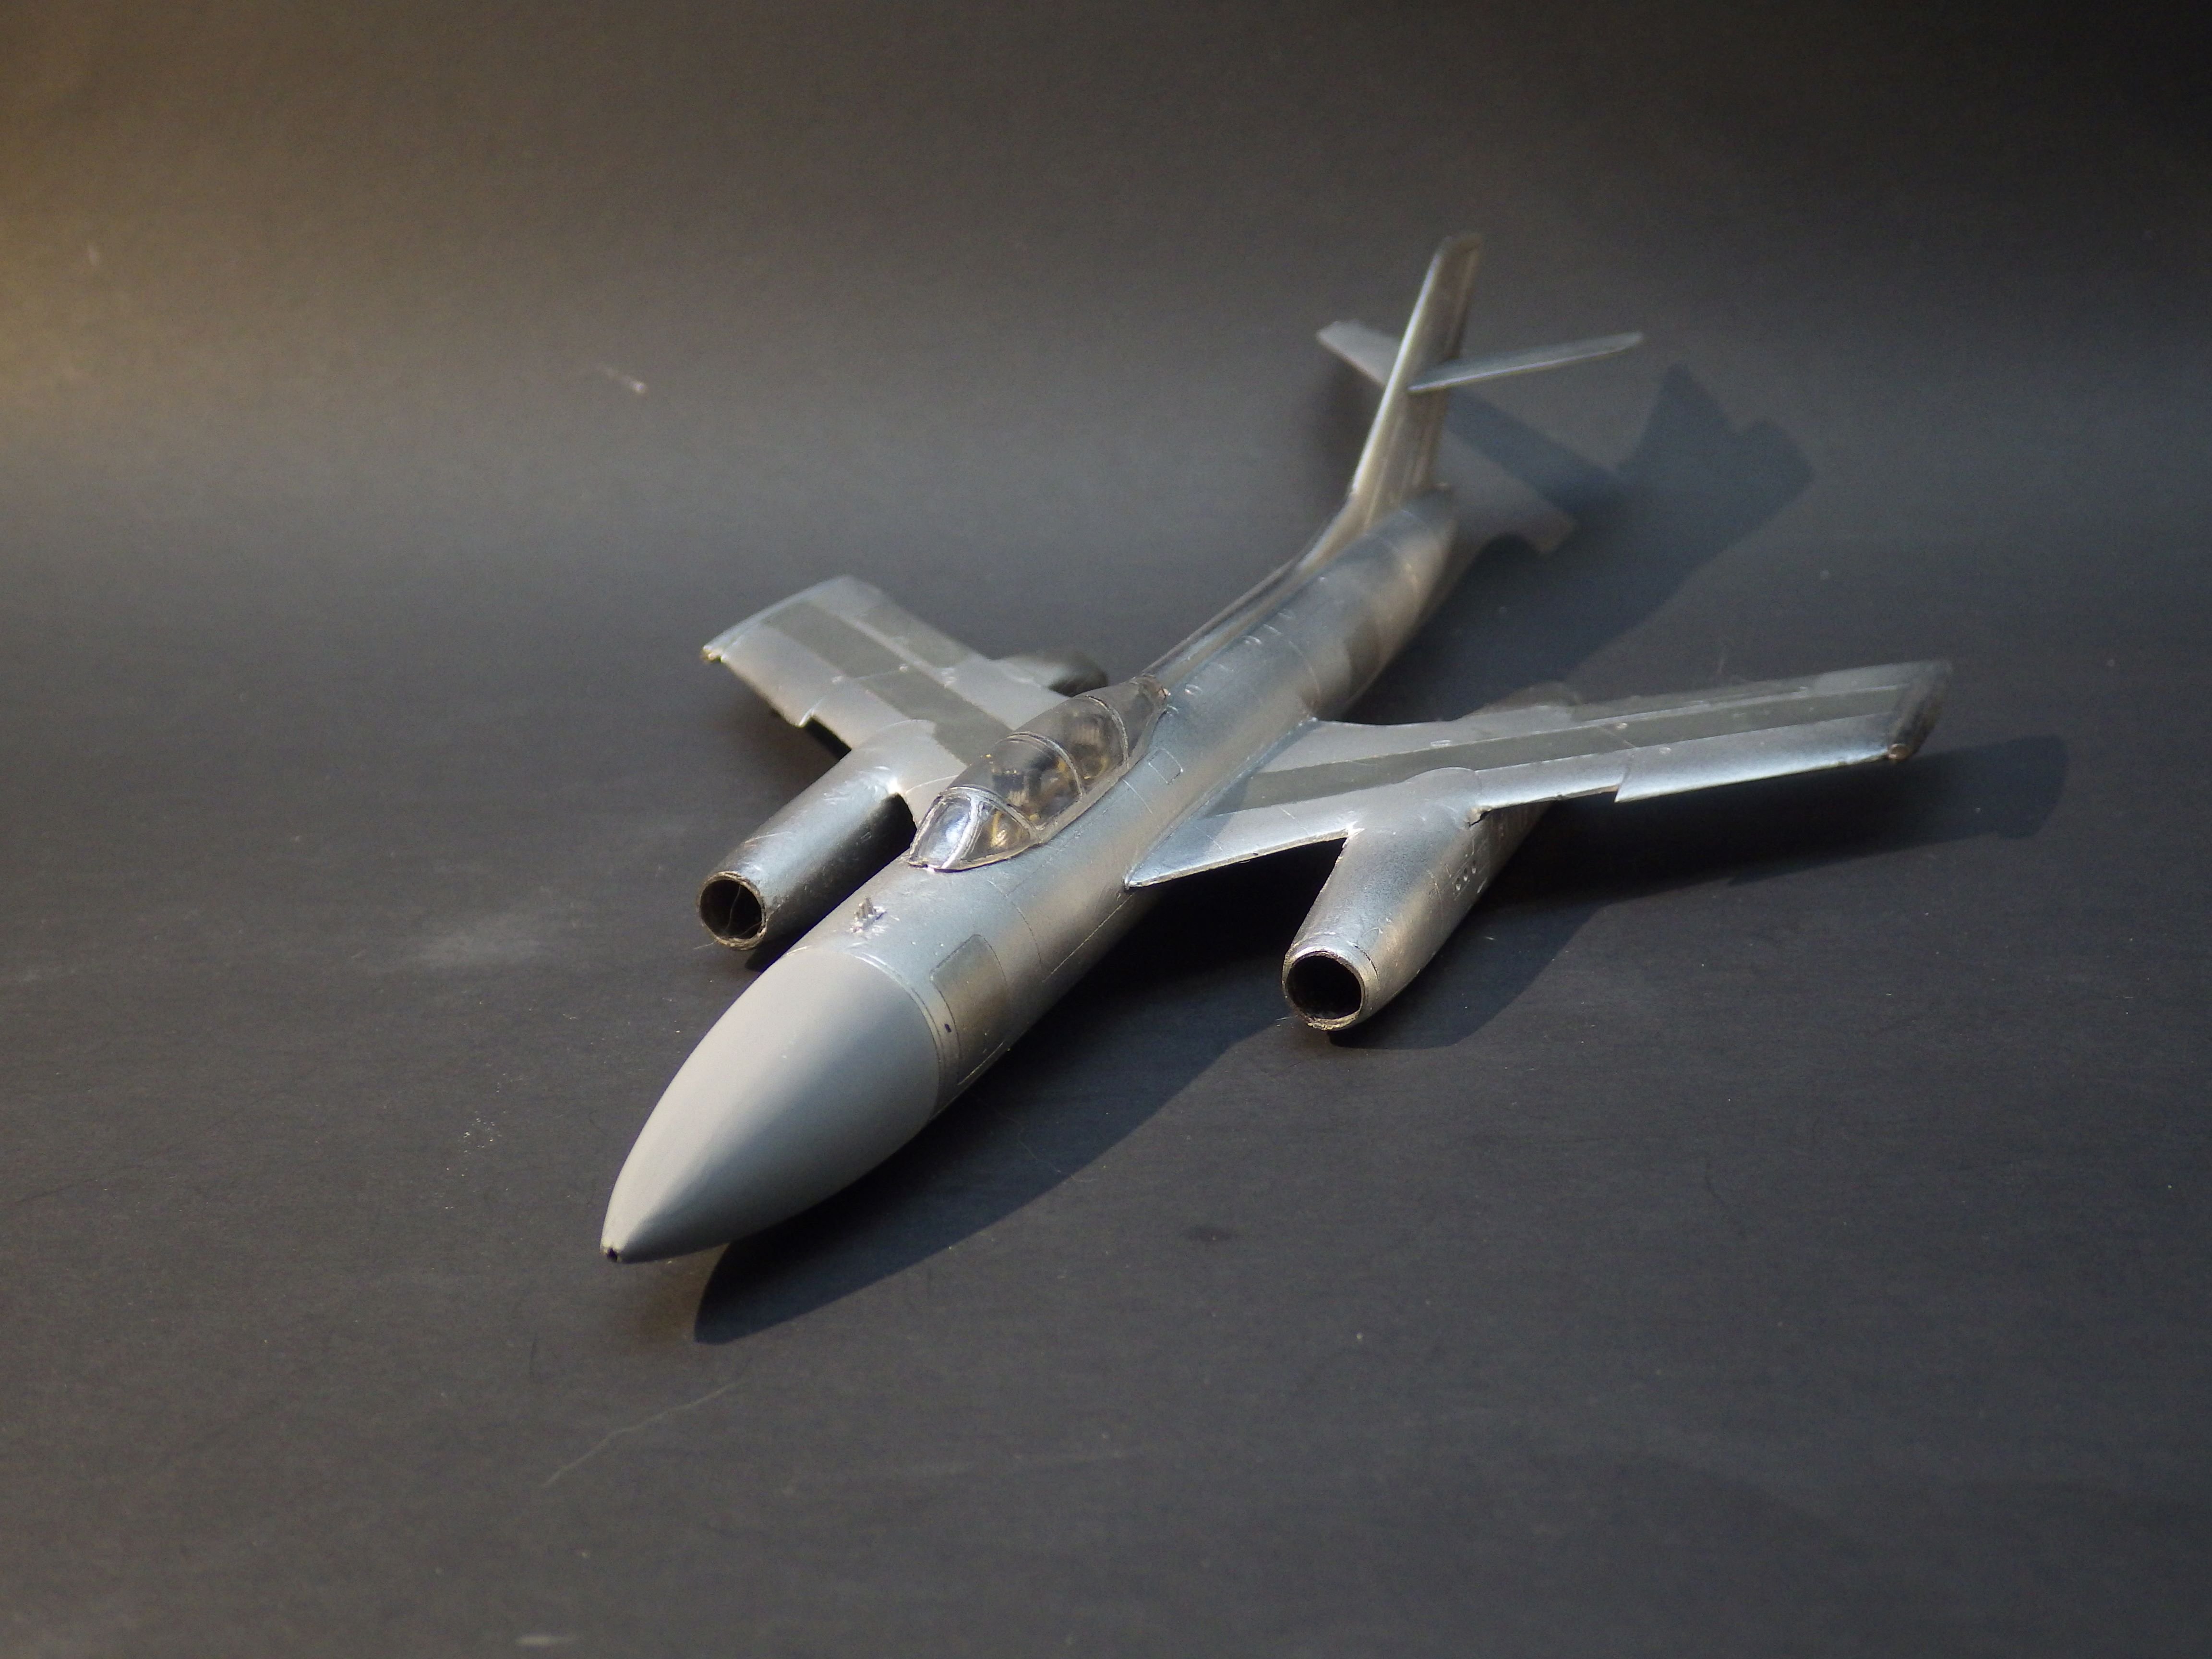
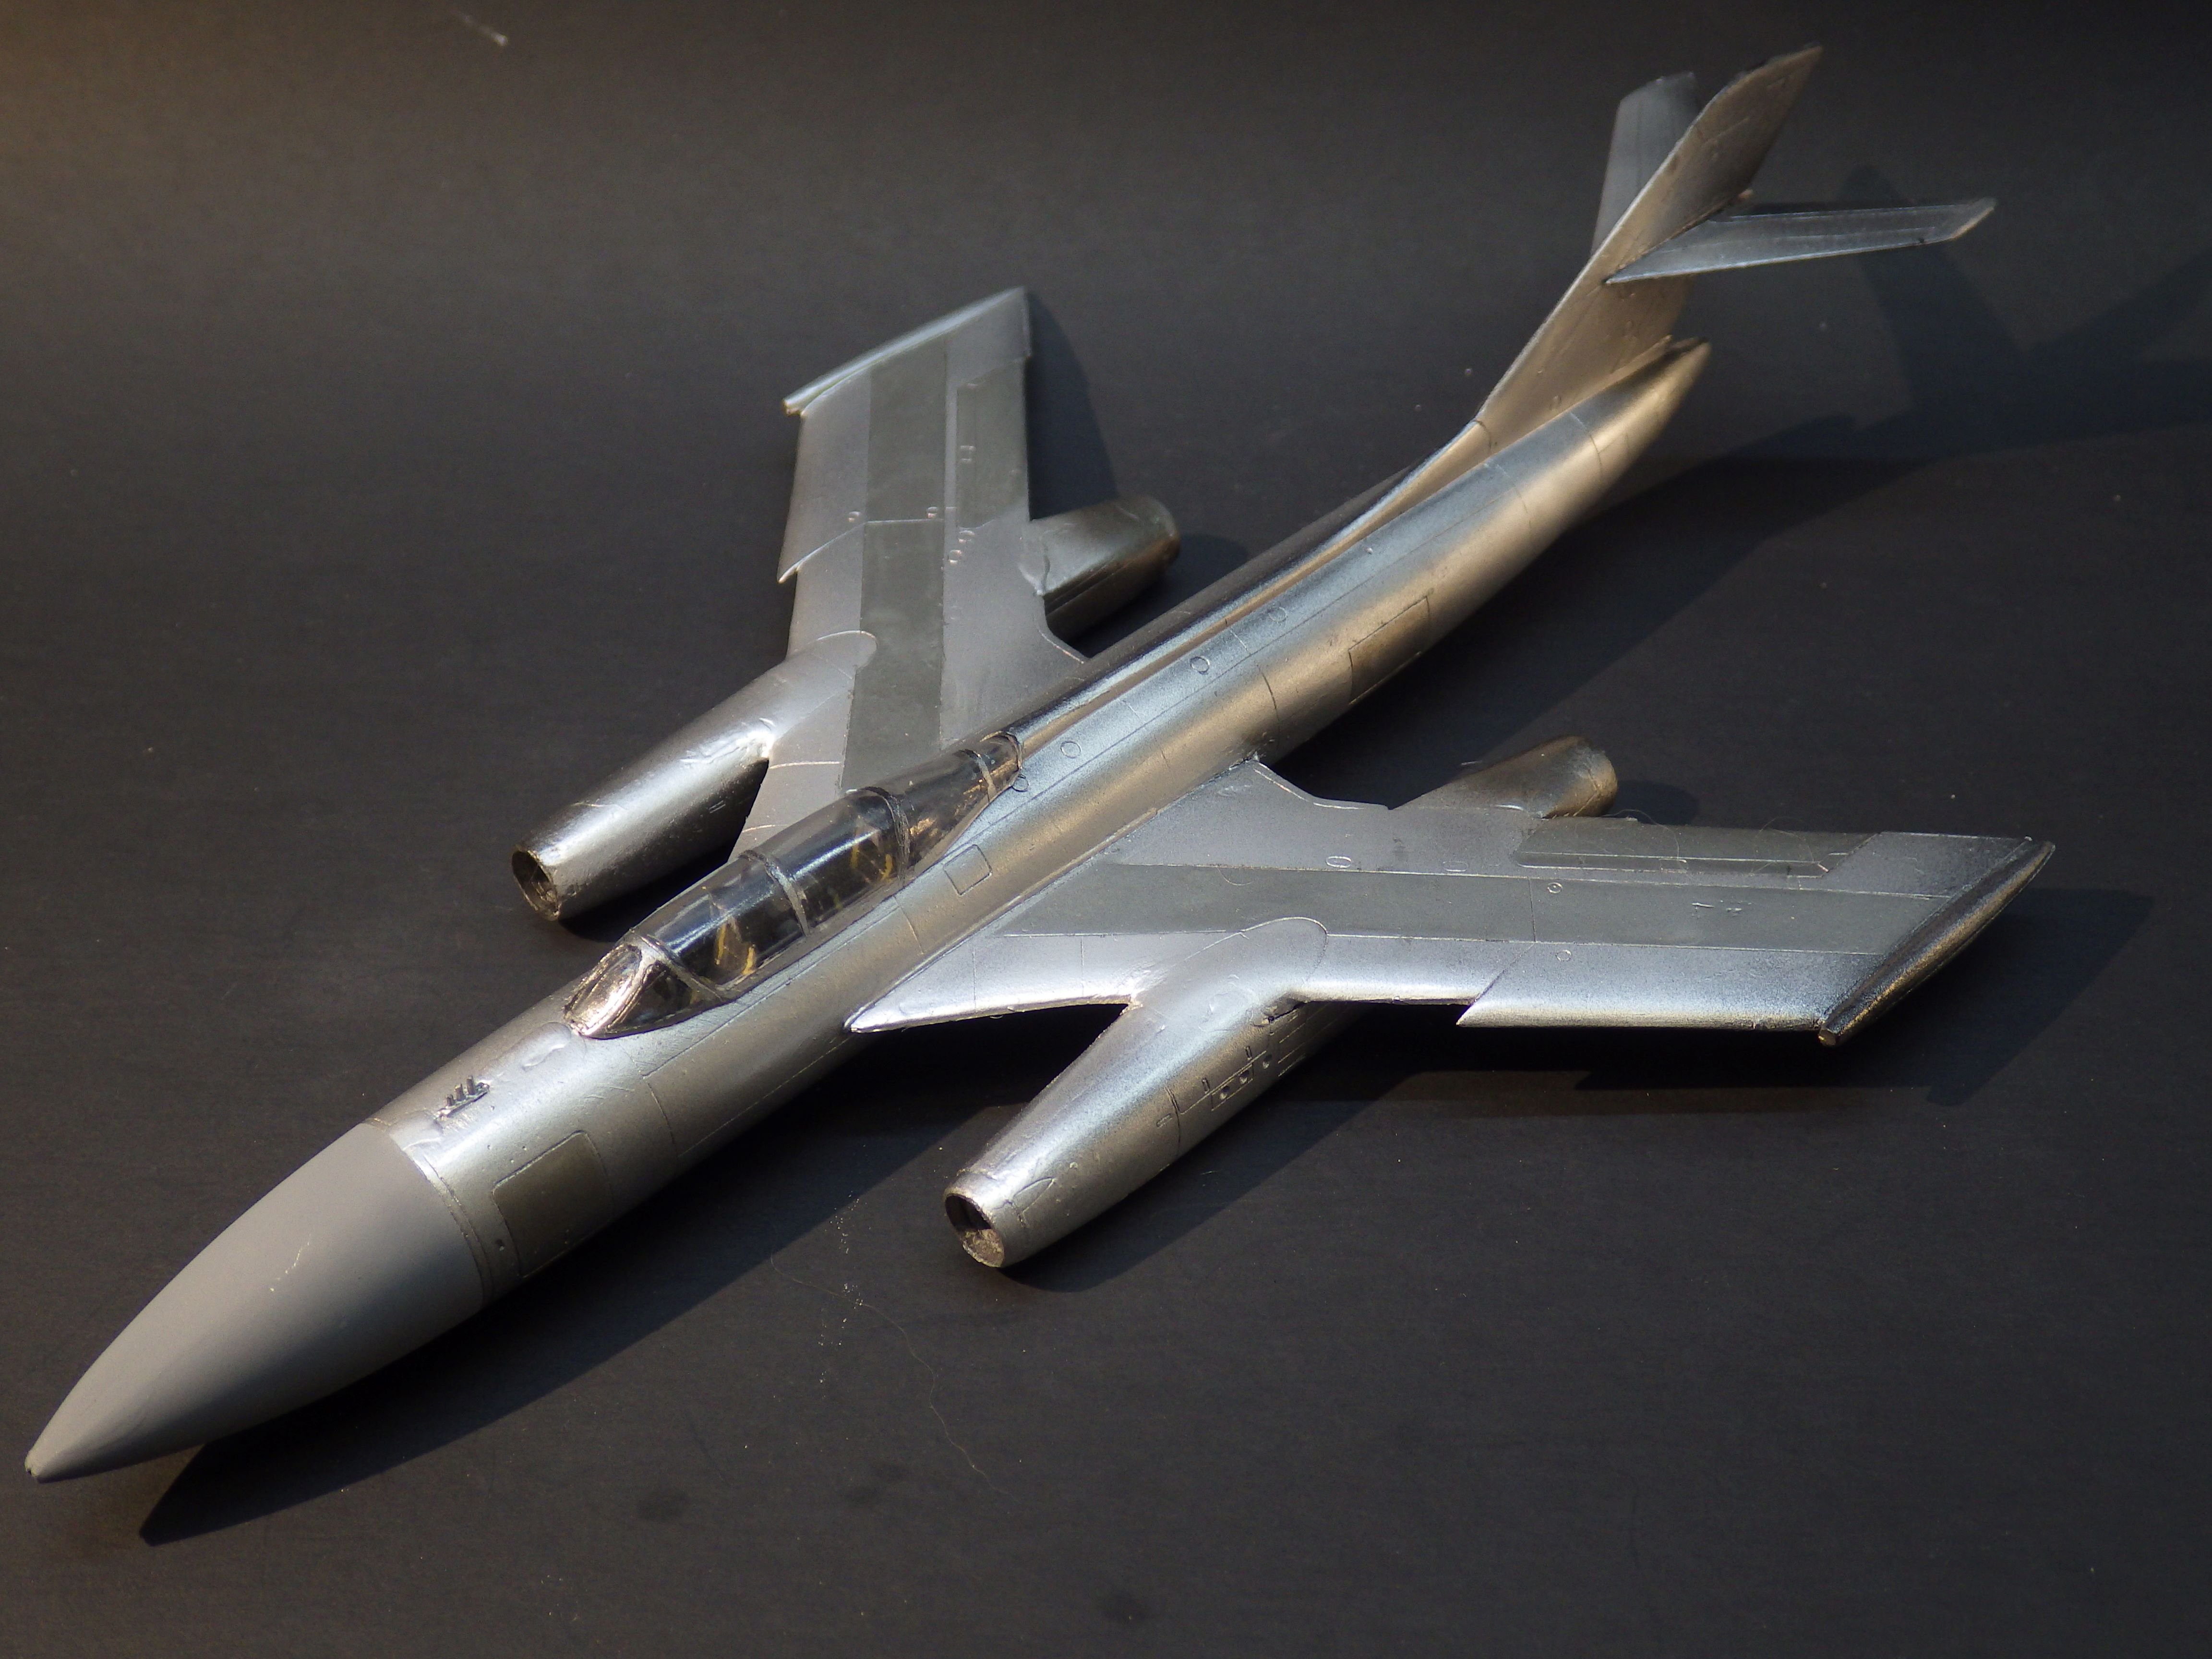
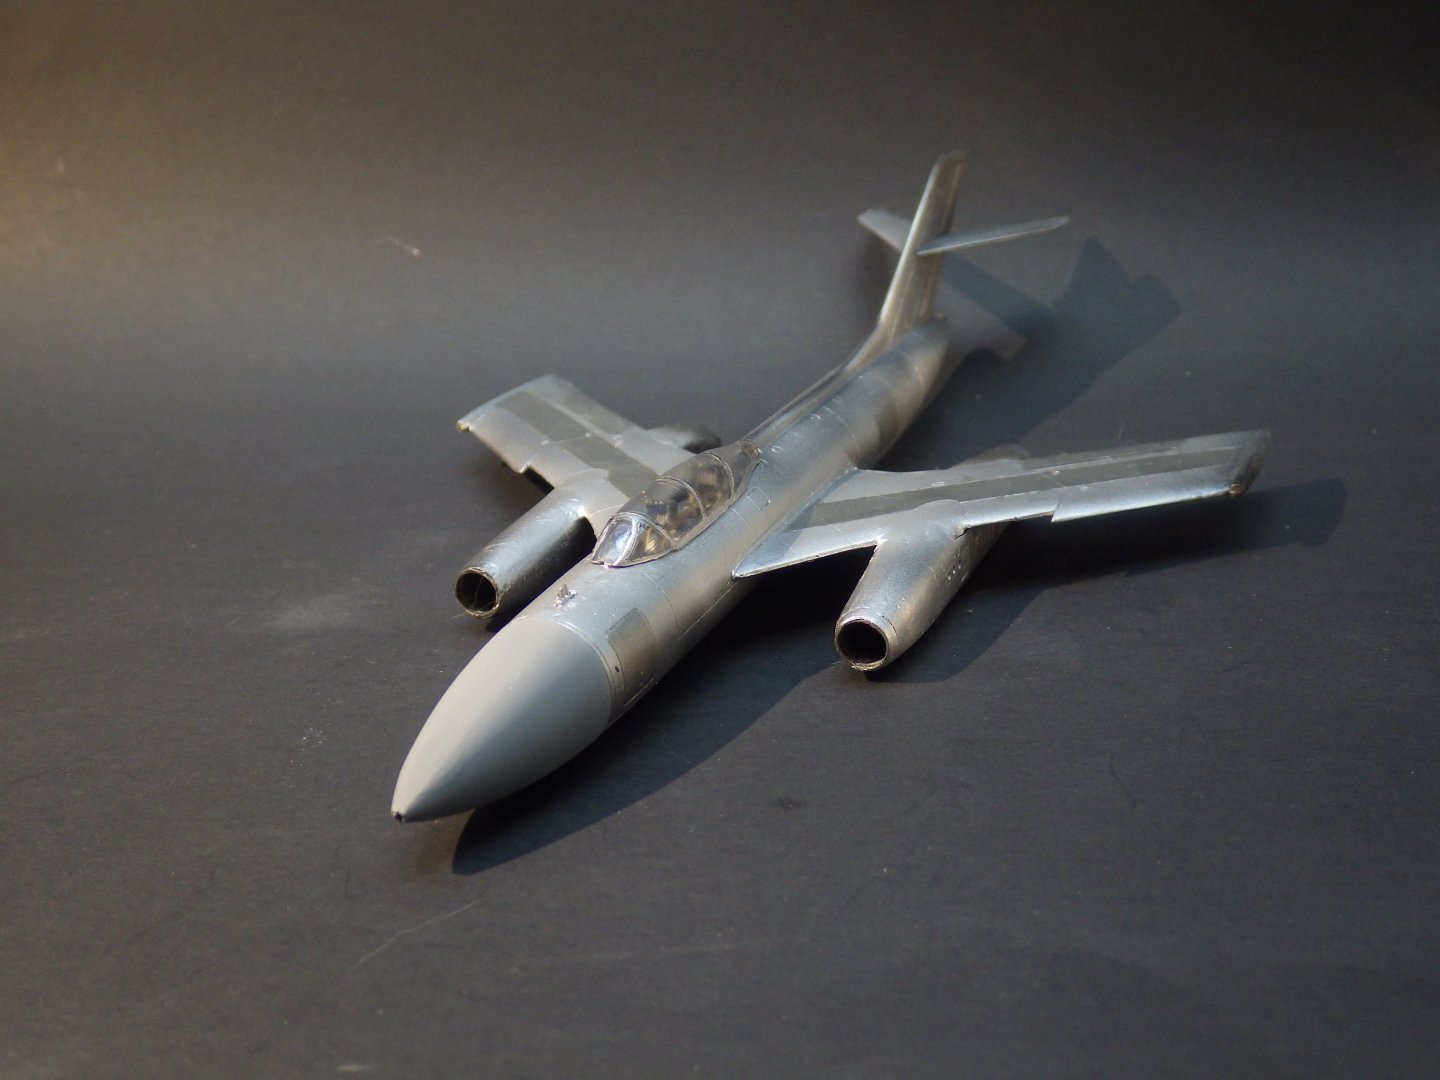
This update really shows the work prior to getting dusted off by the tornado. The metal finish was airbrushed using Vallejo Metal Aluminium which went on easily but I'm afraid it shows I need to do a better job of the surface prior to painting. However I think the shine is about what is needed for this aircraft. I masked some panels (based on some Yak 27R photos) and sprayed Vallejo Dark Aluminium and added some Vallejo Jet Exhaust lightly sprayed at the hot end of the engine nacelles. That could be heavier but I didn't want to overdo it. The canopy came out okay considering the frame details were nonexistent. Time to start adding the details and then the landing gear which looks a bit of a challenge. Thanks for looking in Alan


- 89 replies
-
- 11
-
-
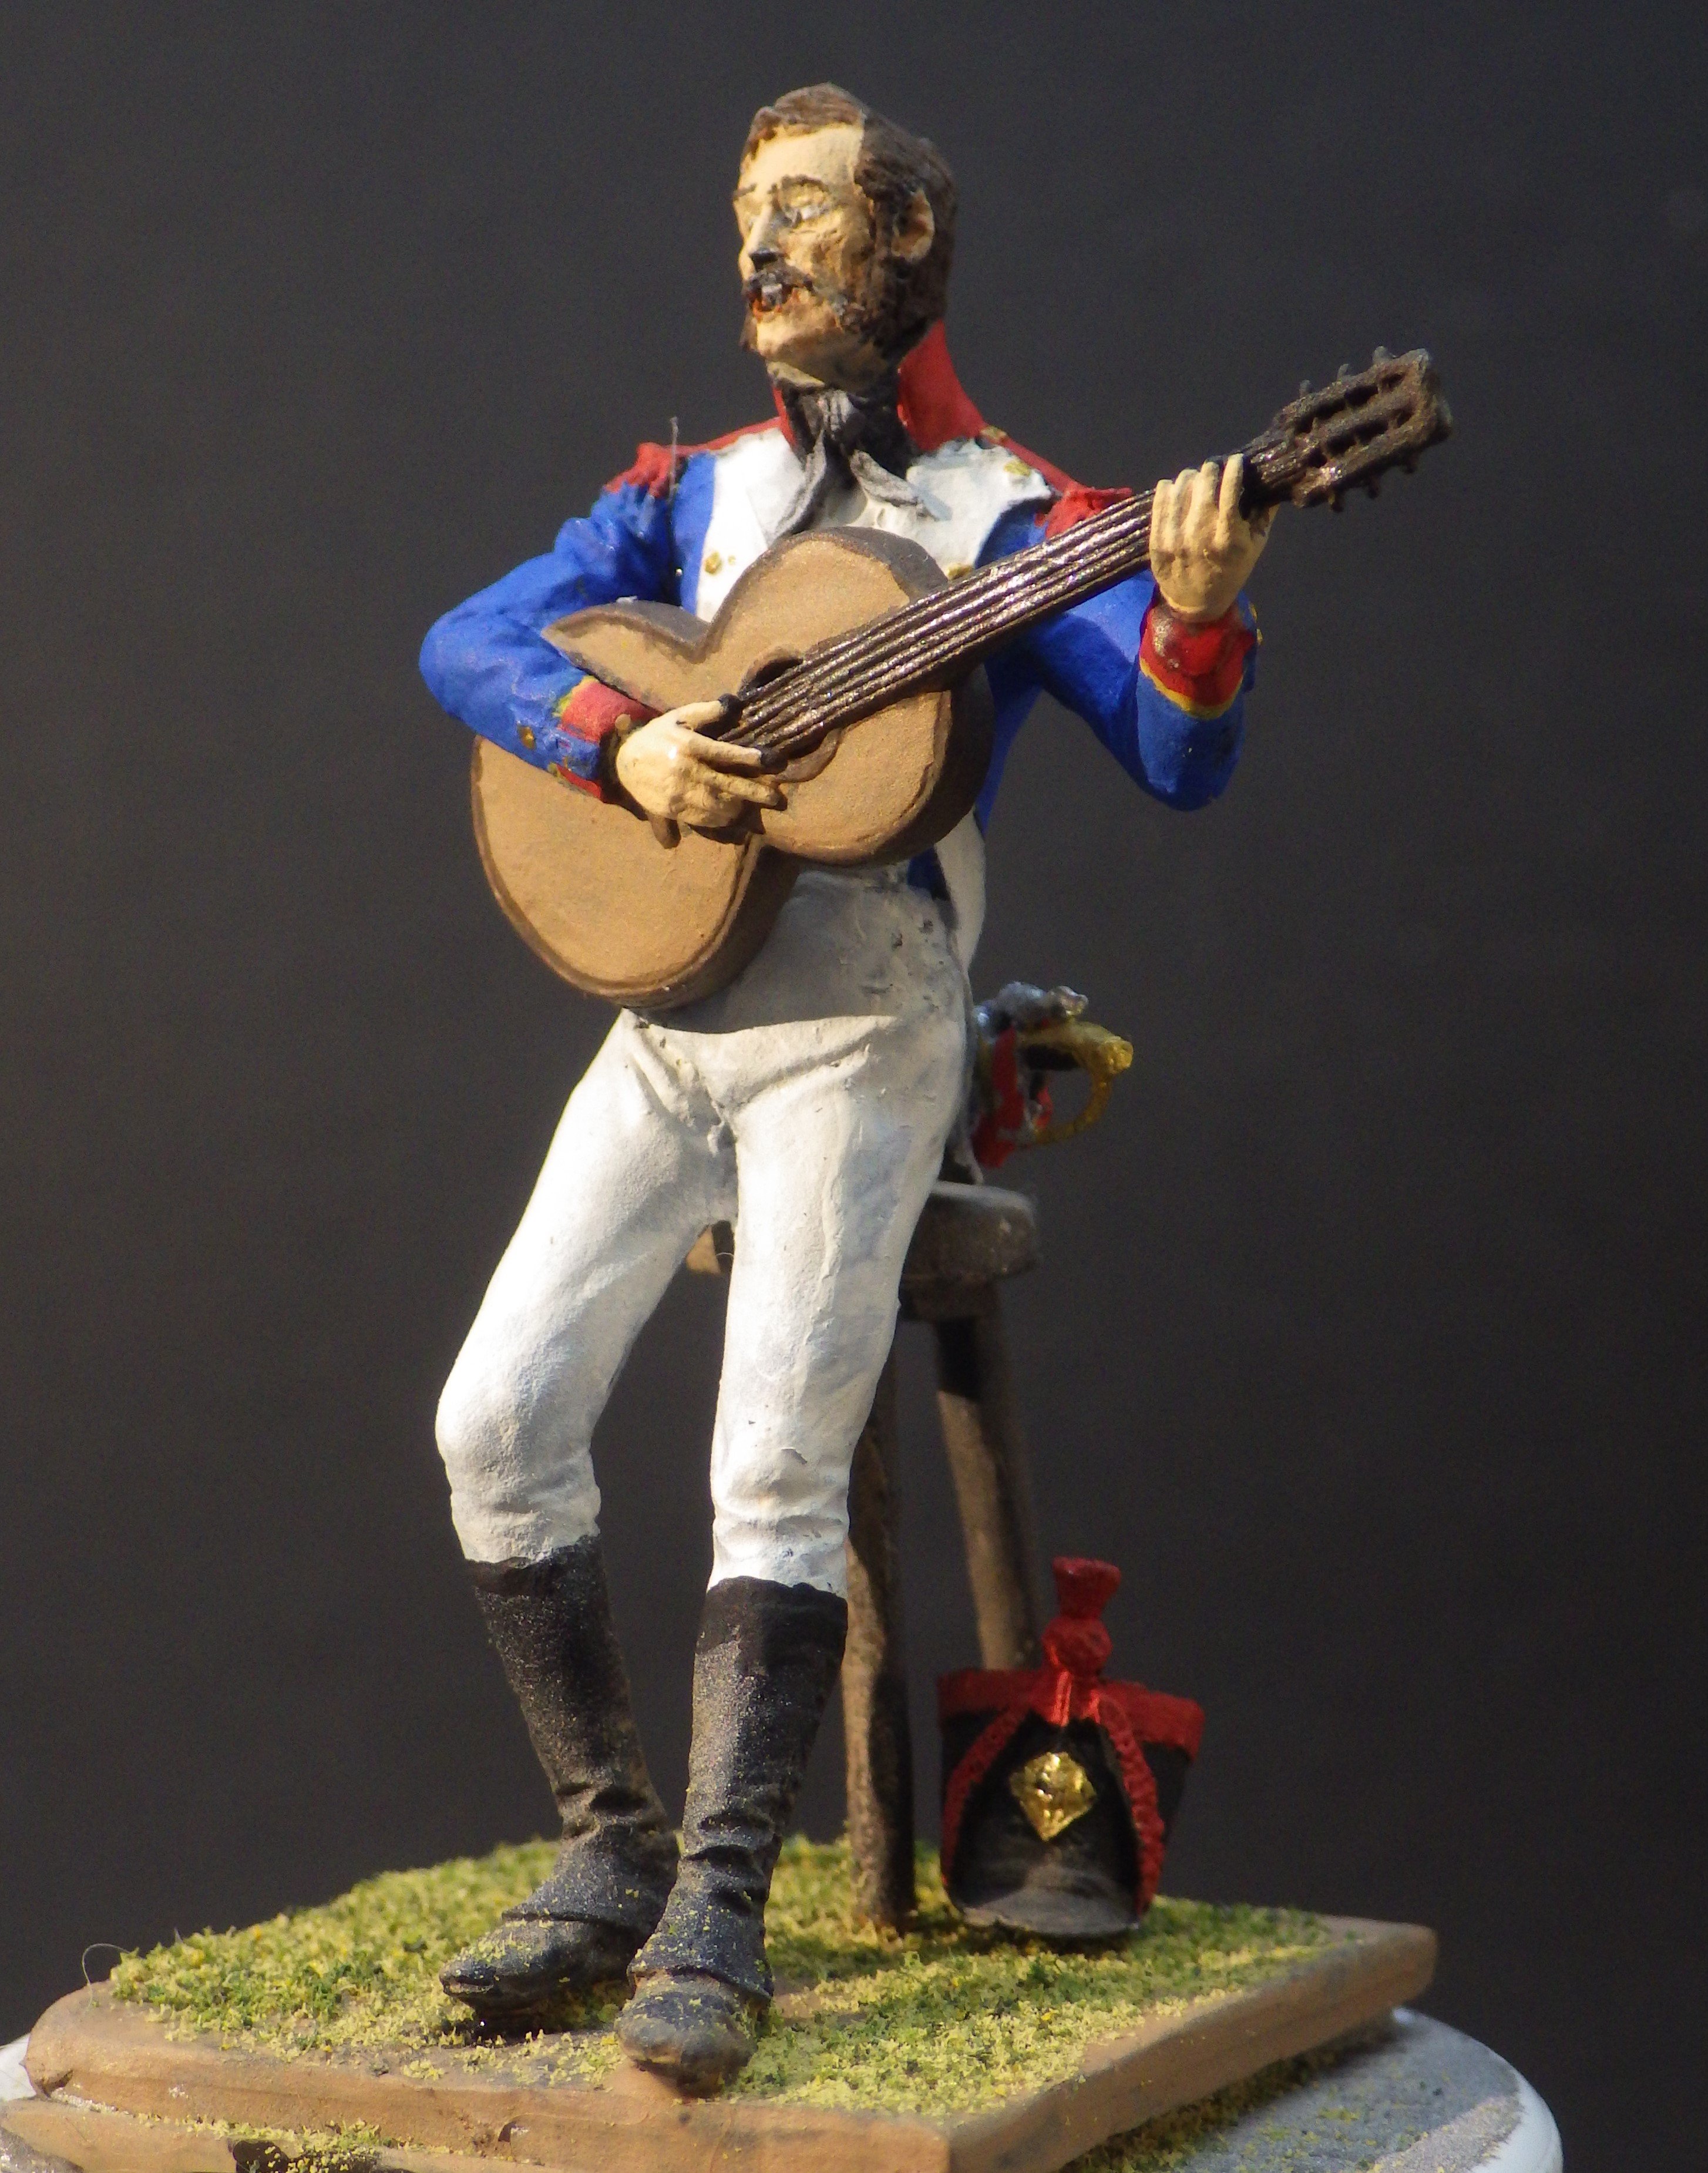
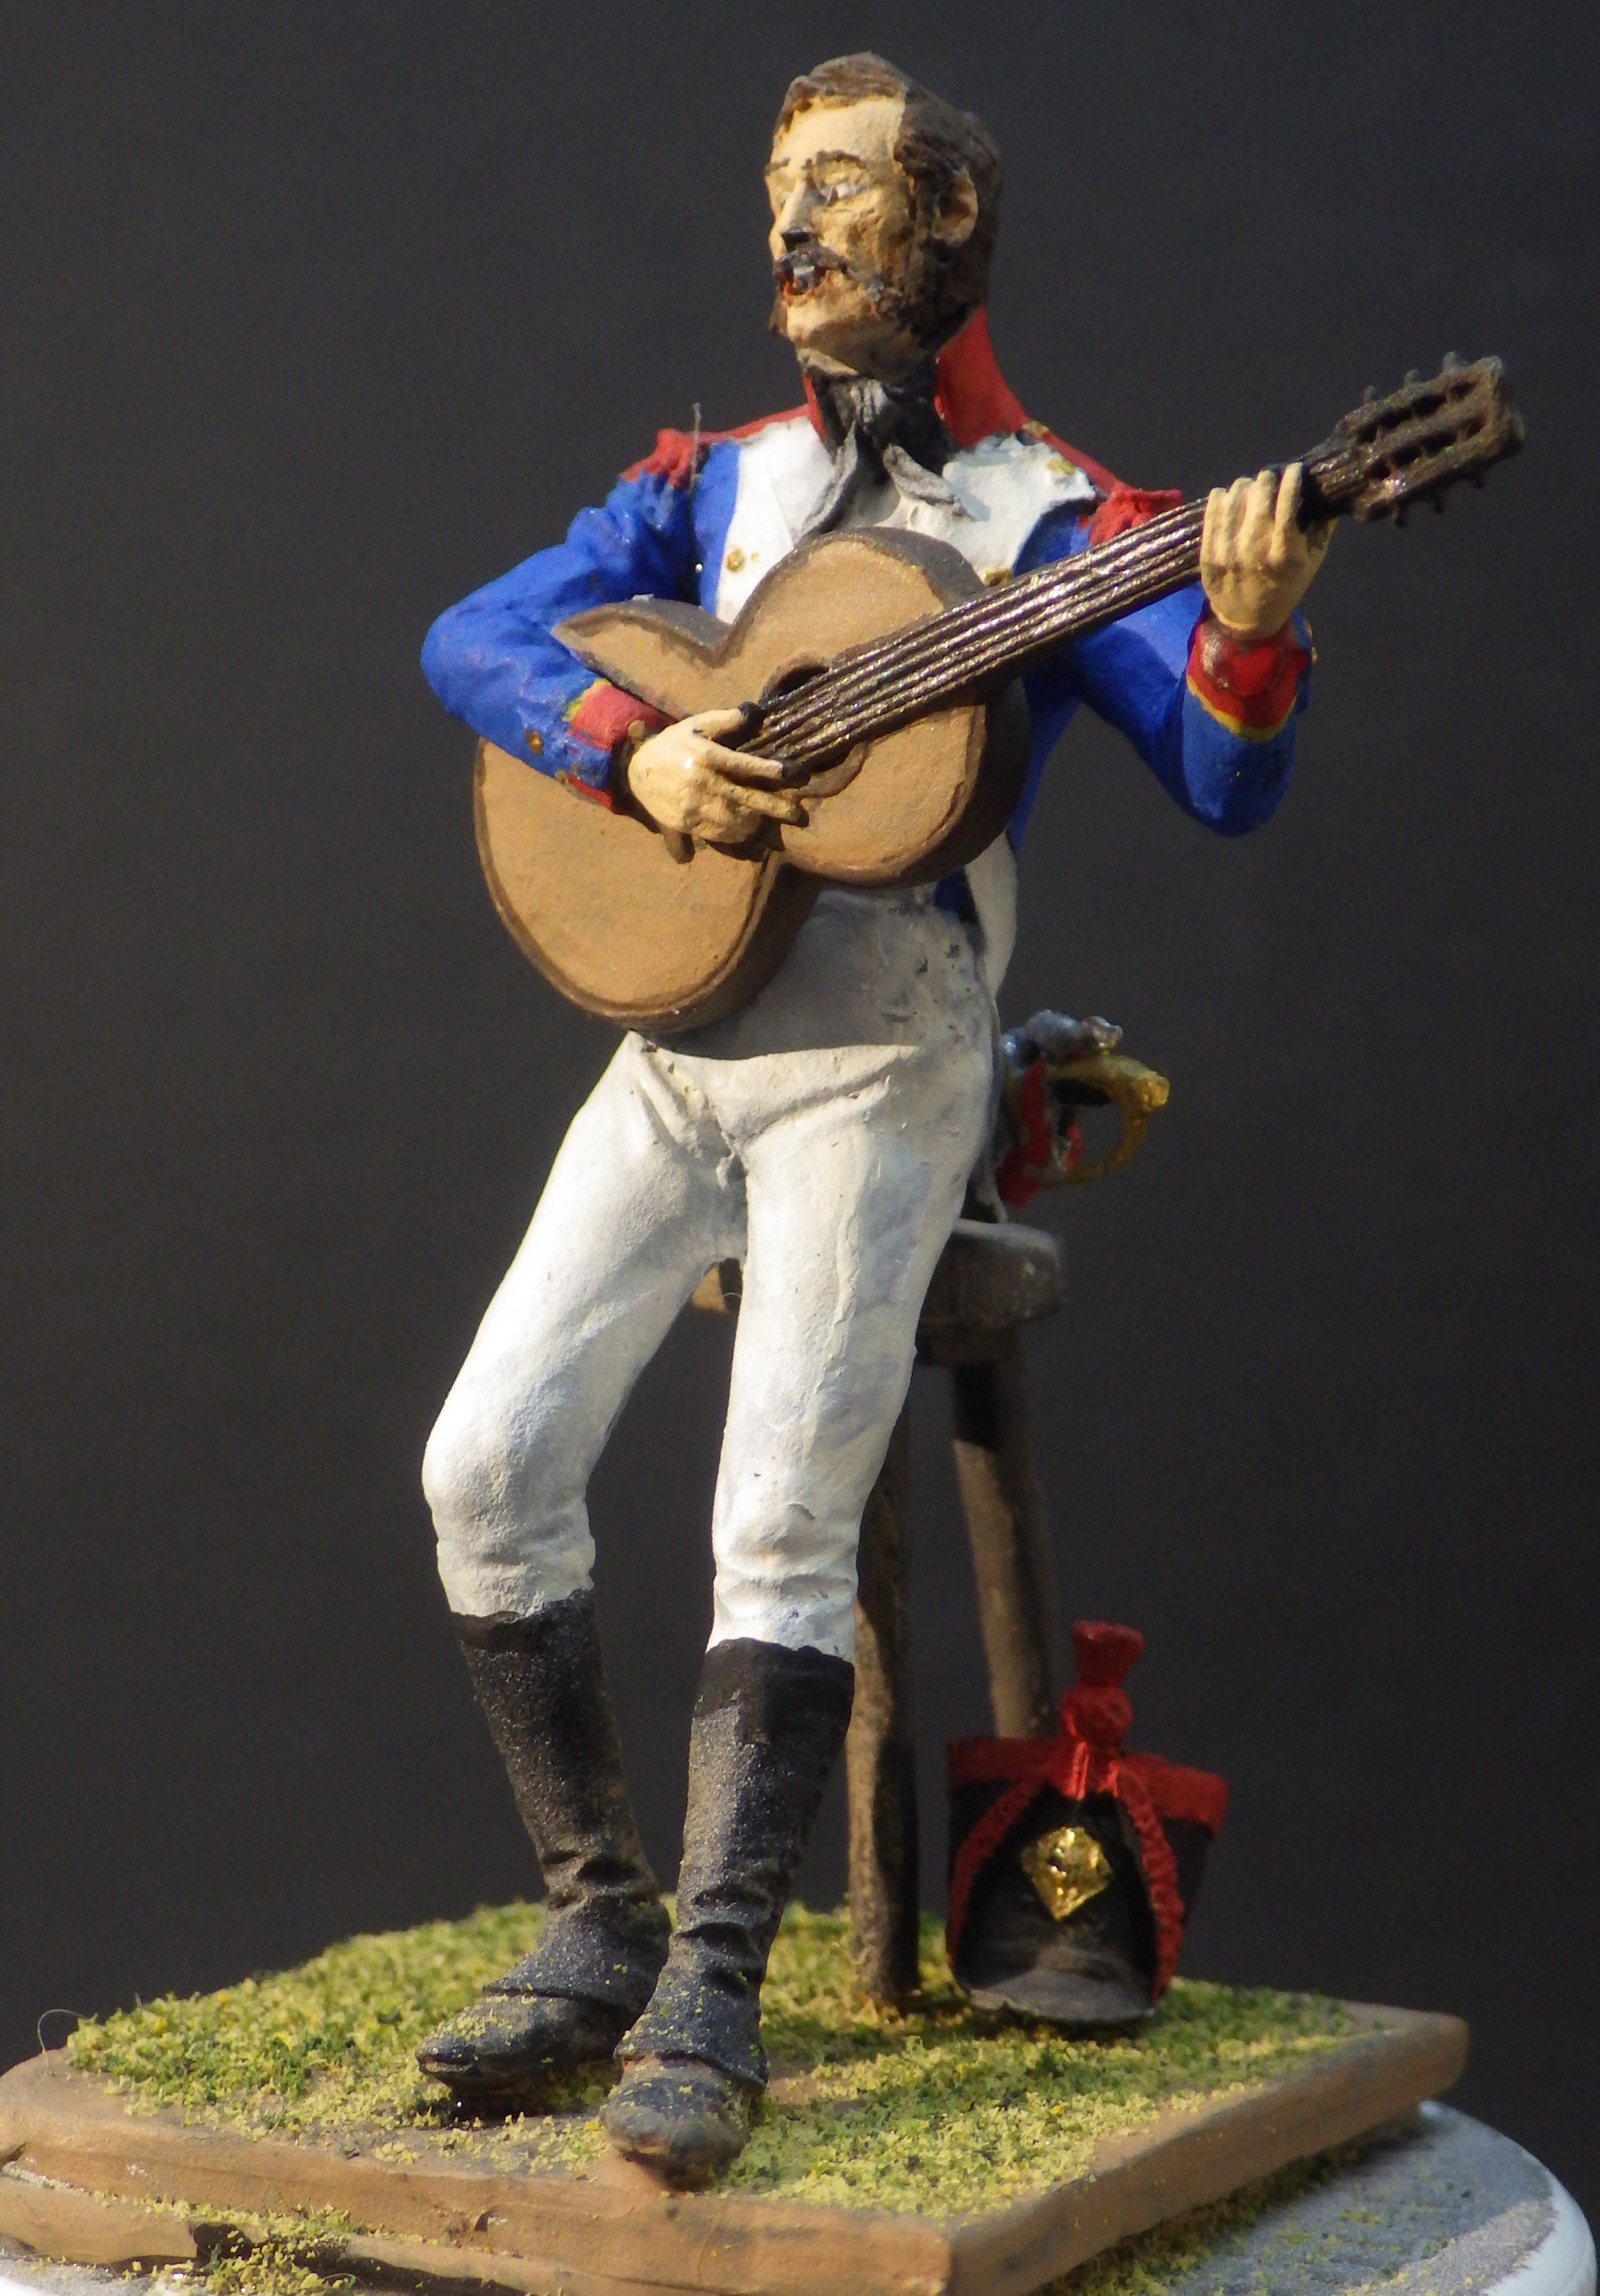
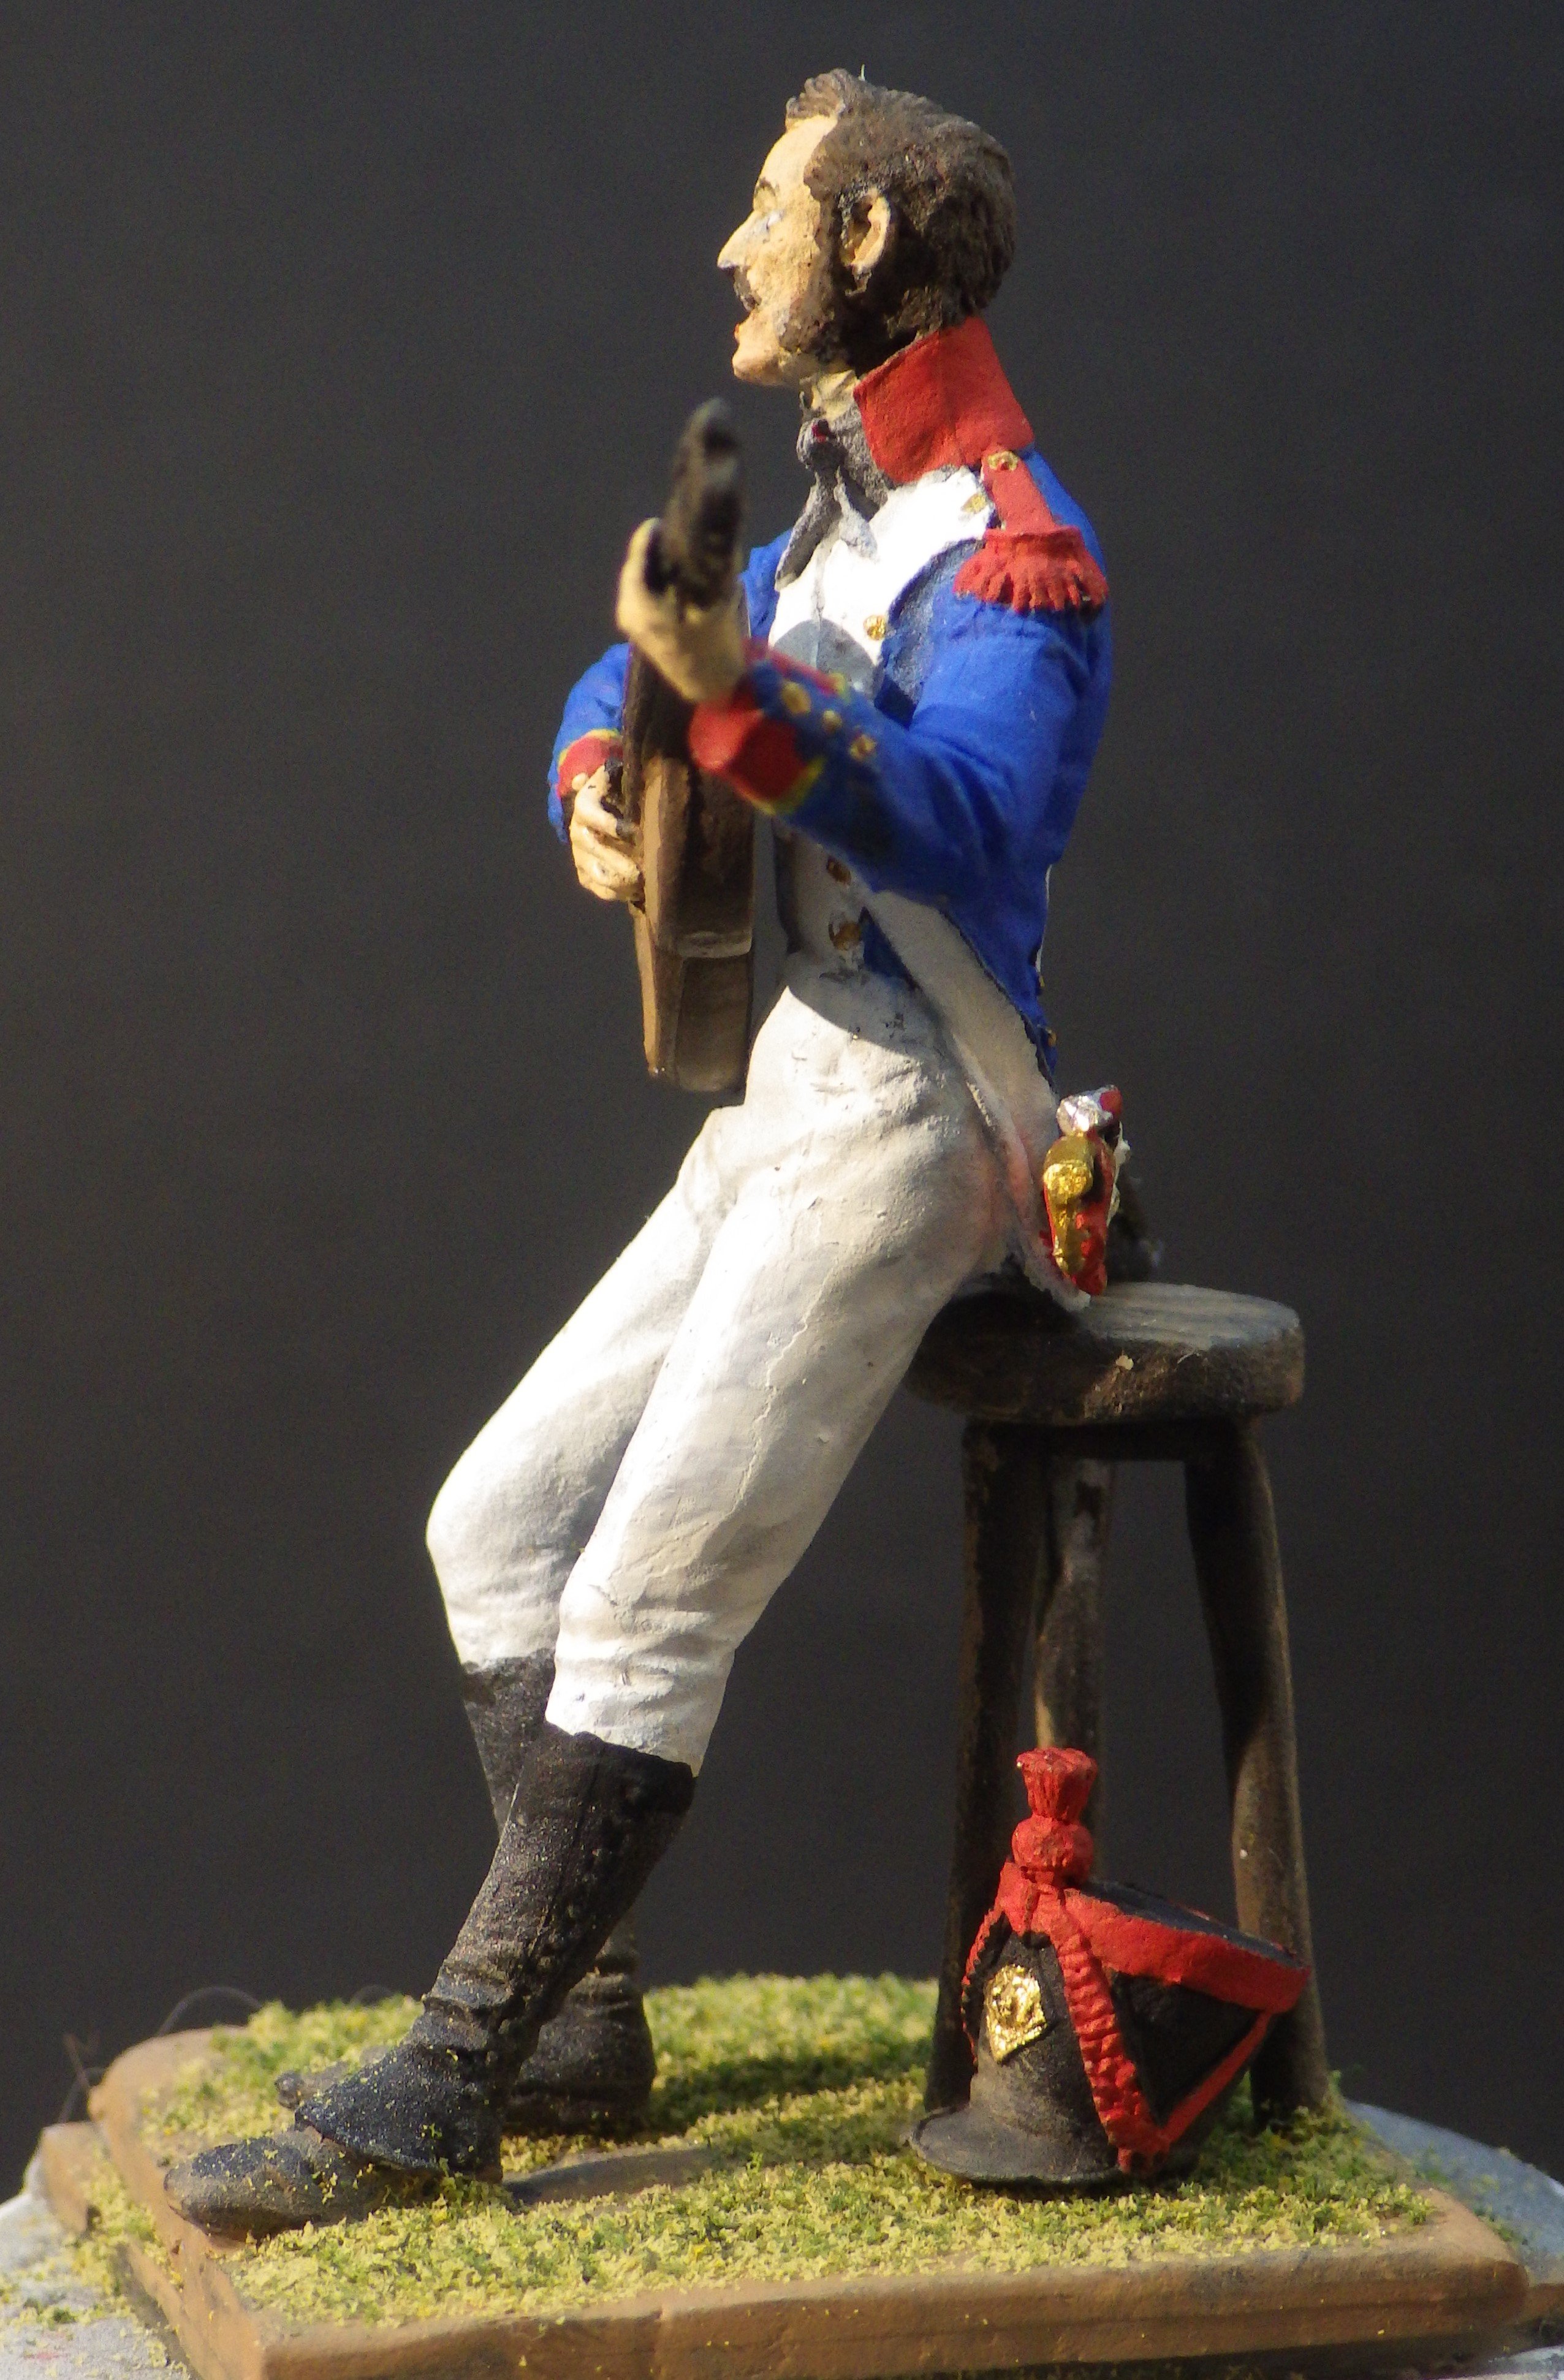
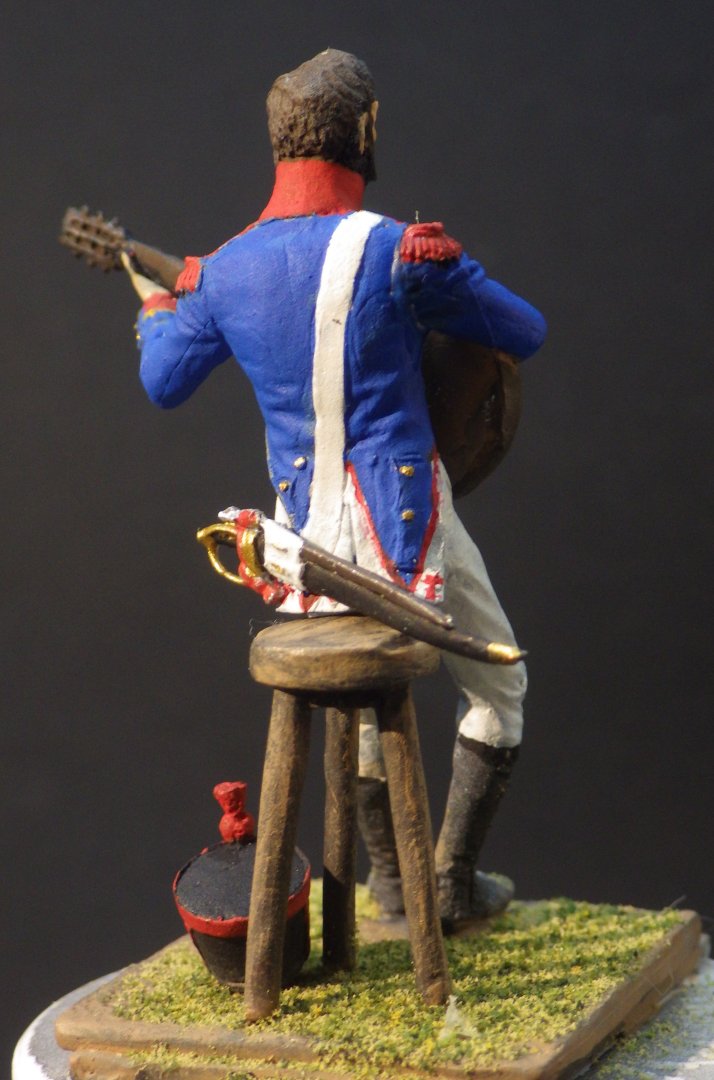
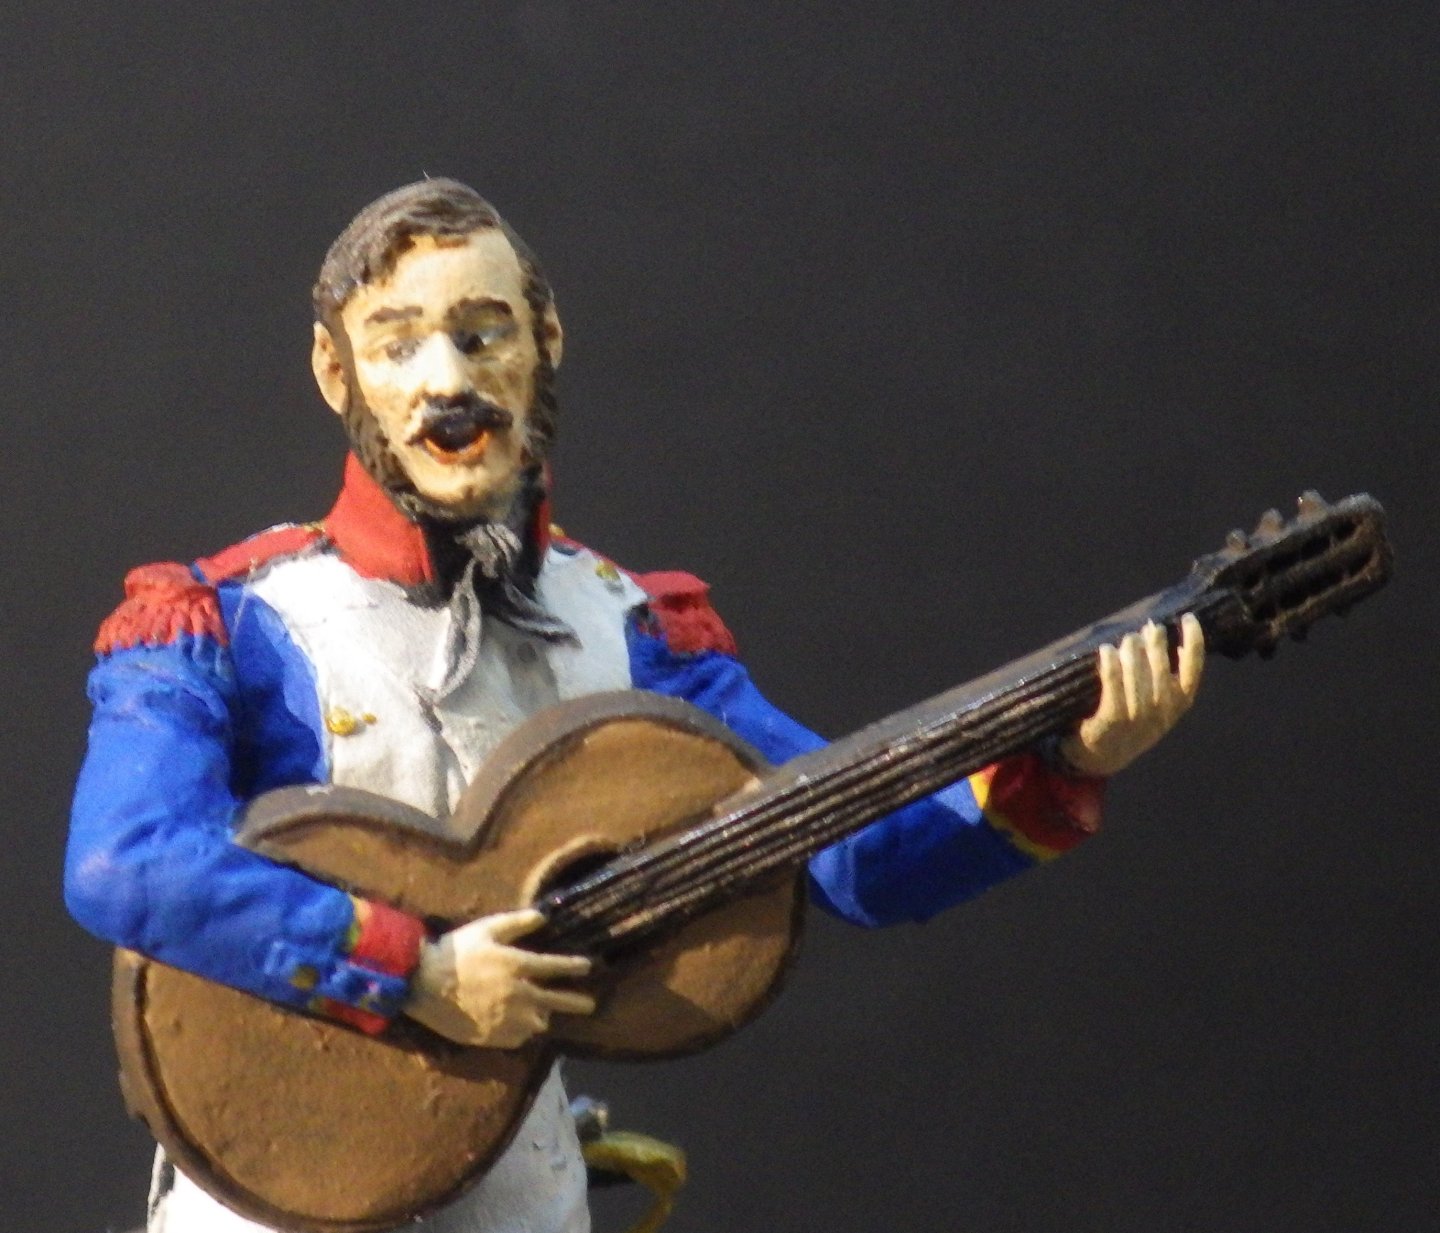
Picking up again on the work bench. Most of the progress predates the tornado. The arm and guitar had already been added to the body and the paint touched up. Today was really parking him on the stool. adding his shako to the base and painting and adding his sabre briquet. The yellow piping on the sleeves leaves a bit to be desired but I think its as good as I can get. The uniform may have a few errors but it follows the general uniform of a grenadier in a line infantry regiment. Thanks to OC @Old Collingwood its more accurate than the original Art Girona artwork. Thank you for all the likes and the helpful comments as this developed. I think this one is finished. Alan


- 23 replies
-
- 10
-
-
-
The water at the stern looks very real and the water streaming from the ports is excellent alan