HOLIDAY DONATION DRIVE - SUPPORT MSW - DO YOUR PART TO KEEP THIS GREAT FORUM GOING! (Only 44 donations so far out of 49,000 members - C'mon guys!)
×


king derelict
-
Posts
3,274 -
Joined
-
Last visited
Content Type
Profiles
Forums
Gallery
Events
Everything posted by king derelict
-
Thanks Ken i think it’s going to be slow. Reputable contractors are snowed with work and supplies like roof tiles are in high demand. Hoping we don’t get a lot of heavy rains in the near future alan
-
Wonderful work. It’s so realistic alan
-
Thank you all for the kind thoughts and wishes. It’s been a grim week but I have to remind myself that I am fine and the cats are safe. Everything else is just money. So many people have been hit much harder. There is a house among others in the next development that has nothing standing a few feet above the foundation. might be a little while before I pick up the paint brush alan
-
Well, I’m back although not with much of a progress update I’m afraid. Hurricane Milton in itself caused very little disruption on the east coast with winds about 30 mph. Unfortunately and unusually there were a large number of powerful tornadoes riding the thunderstorms on the front of the hurricane. One came through my neighborhood with my house on the edge of the track. I’ve got roof damage and smashed windows, trees down. I’m comparatively fortunate and importantly the cats and I are fine, just a bit traumatized in our own ways. On the other side of the street the houses are untouched. But behind my house maybe 150 feet away there is extensive damage and several houses are completely destroyed. It looks like a war zone there. Debris and furniture across the street and glass everywhere. The power was out for eight days and came back on Wednesday. I’ve been clearing debris at home and for neighbors. When the windows blew out glass was shot right across the room and after several sweepings and vacuuming I’m still finding shards. The rooms are off limits to the cats for now. So things are notionally back to normal for me, I have signed up contractors for the repairs and now just have to wait but I look out of my window and see shattered homes. I’m still in shock at how close I was to losing my house and belongings and I feel wretched about the people who have. im afraid I haven’t felt like picking up a model yet. I need to work through some of this. Sorry to be long winded. It’s been a wild week Alan
- 89 replies
-
- 11
-

-

-

-
That’s good. I used 3/8 to stop it flexing because my wood working skills are lousy. It’s just a simple acrylic box on a base of acrylic sheet
- 68 replies
-
- 4
-
-
- Scharnhorst
- Trumpeter
- (and 1 more)
-
The case looks great Jav. I’m guessing that it weighs a bit. I made a very basic acrylic one for my 1/48 Flower corvette and could hardly lift it over the model. alan
- 68 replies
-
- 4
-

-
-
- Scharnhorst
- Trumpeter
- (and 1 more)
-
I miss my old VW Jetta diesel. I could get to Atlanta on a tankful - but traffic like that would probably affect my mileage. I must be very scary being in traffic like that watching the gauge slowly drop stay safe all alan
-
Thank you OC. I’ll finish the shutters tomorrow afternoon. Meanwhile it’s nice to have a bit of light. It’s been about three years since I huffed the panels round the house from the garage. Someone has been adding weight to the sliding door panels in the meantime. Maybe I should get serious about accordion shutters. Hobe sound now has a coastal flood warning but so far we seem to be just that little bit higher than nearer the beach. Looking in the freezer to choose something expensive to eat for dinner in case we lose power in a big way stay safe all alan
-
Thank you Phil. They are a lot of fun. Alan
-
I just put up all the south and westerly facing shutters. I’d forgotten how much stuff I had piled on them in the garage. I think we are going to be a sideshow compared with the west coast unless it drifts south. Stay safe everyone. alan
-
Looks great Mike. A lot of detail in a small model alan
-
Thank you very much Mark. Yes, I was chasing non existent problems looking at the photos in the earlier set up. Still room for improvement but I’m happier with the results now alan
-
Thank you Mike. I think this one is a favorite. alan
-
You do great detailing work congratulations alan
-
Oh yes, I can always take the shutters down again and the exercise is good for me - and another chance to promise myself impact windows this winter Alan
-
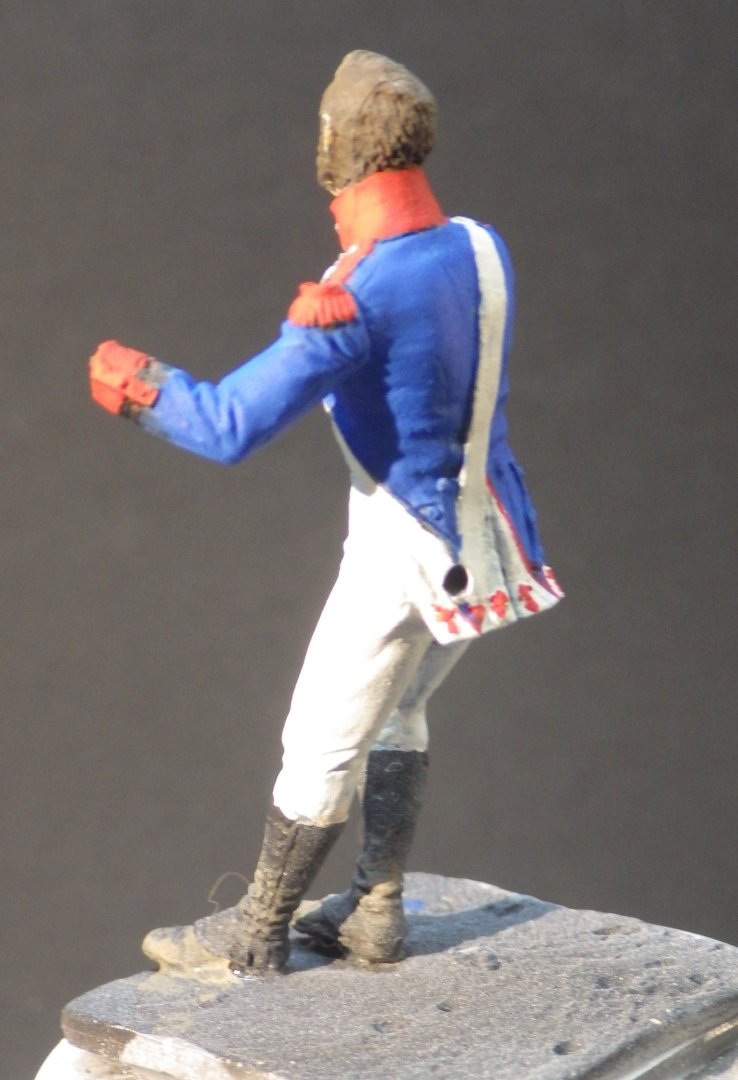
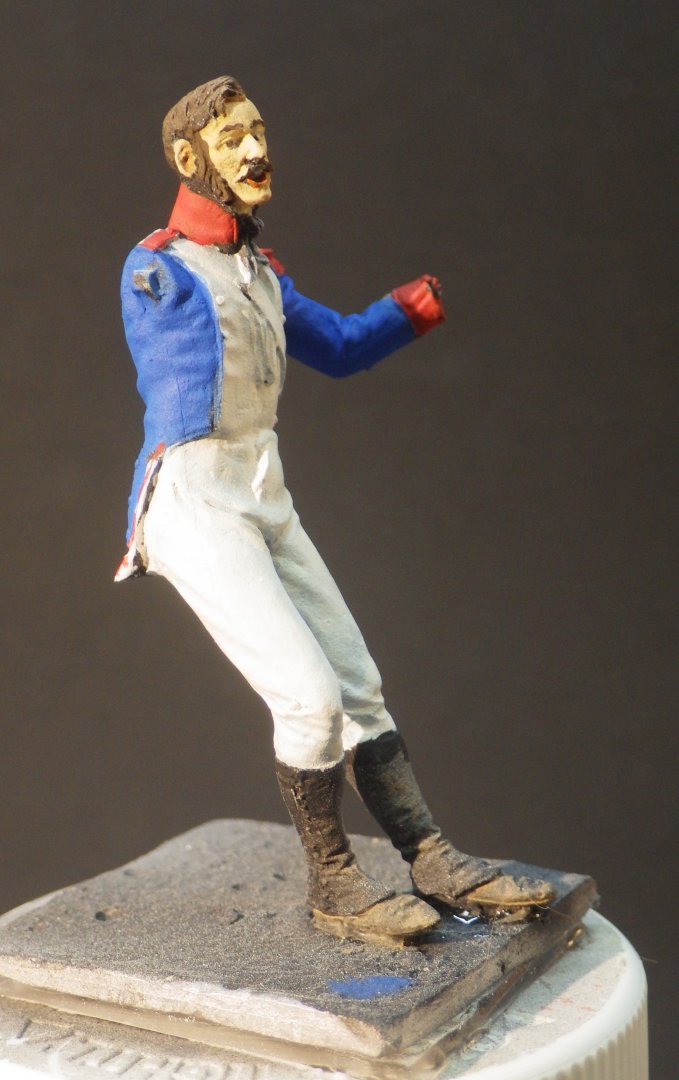
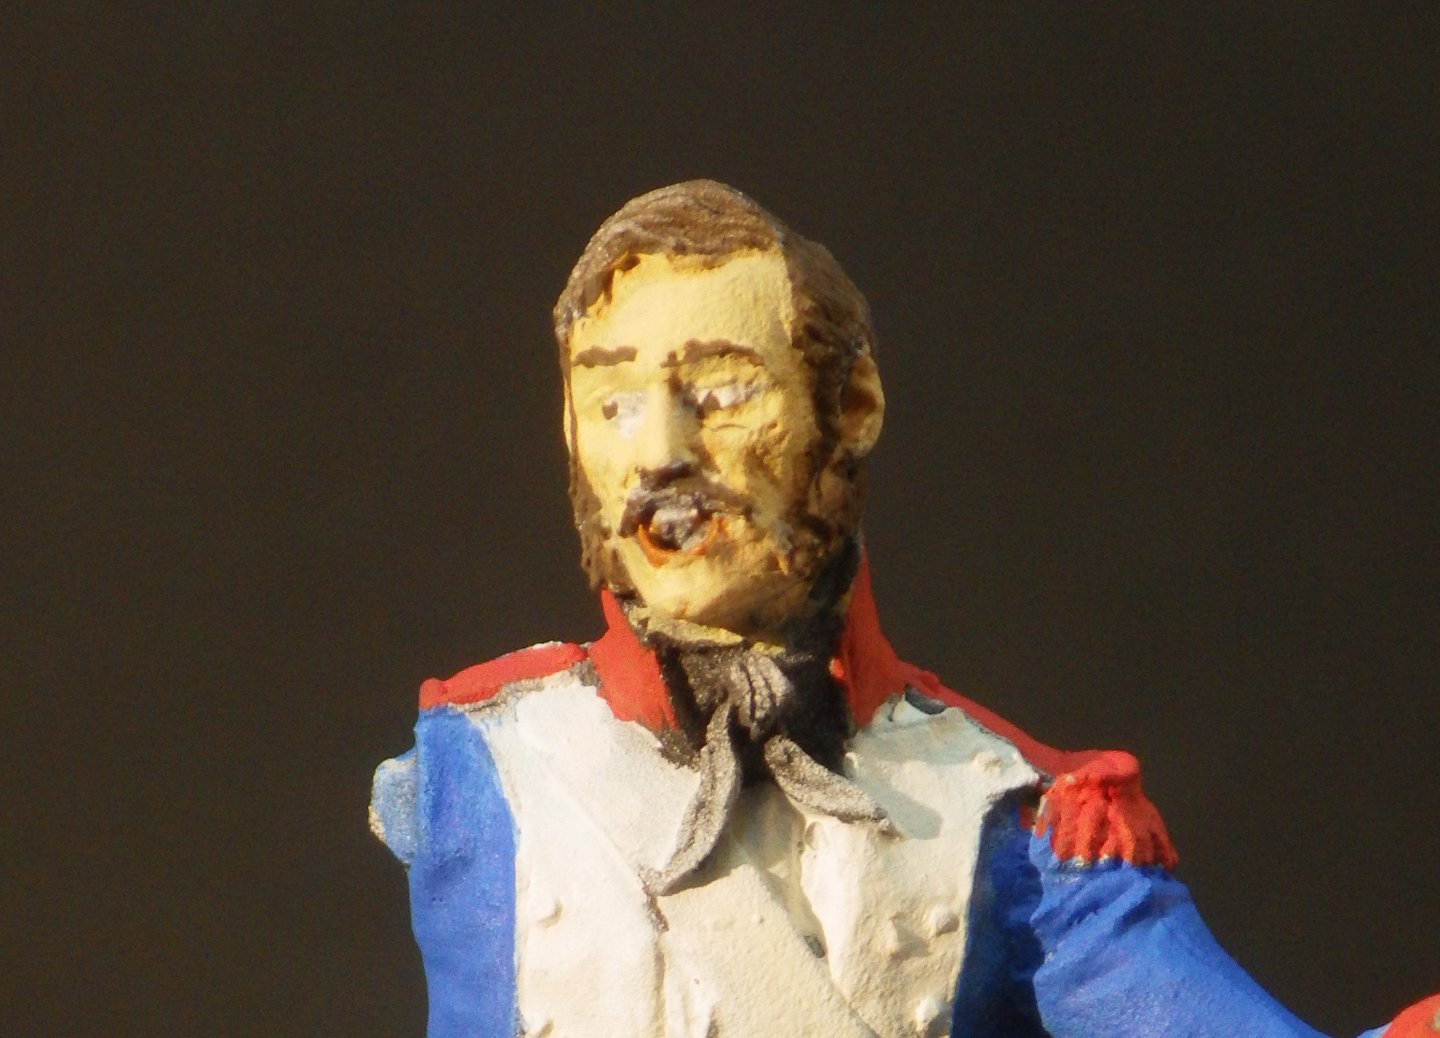
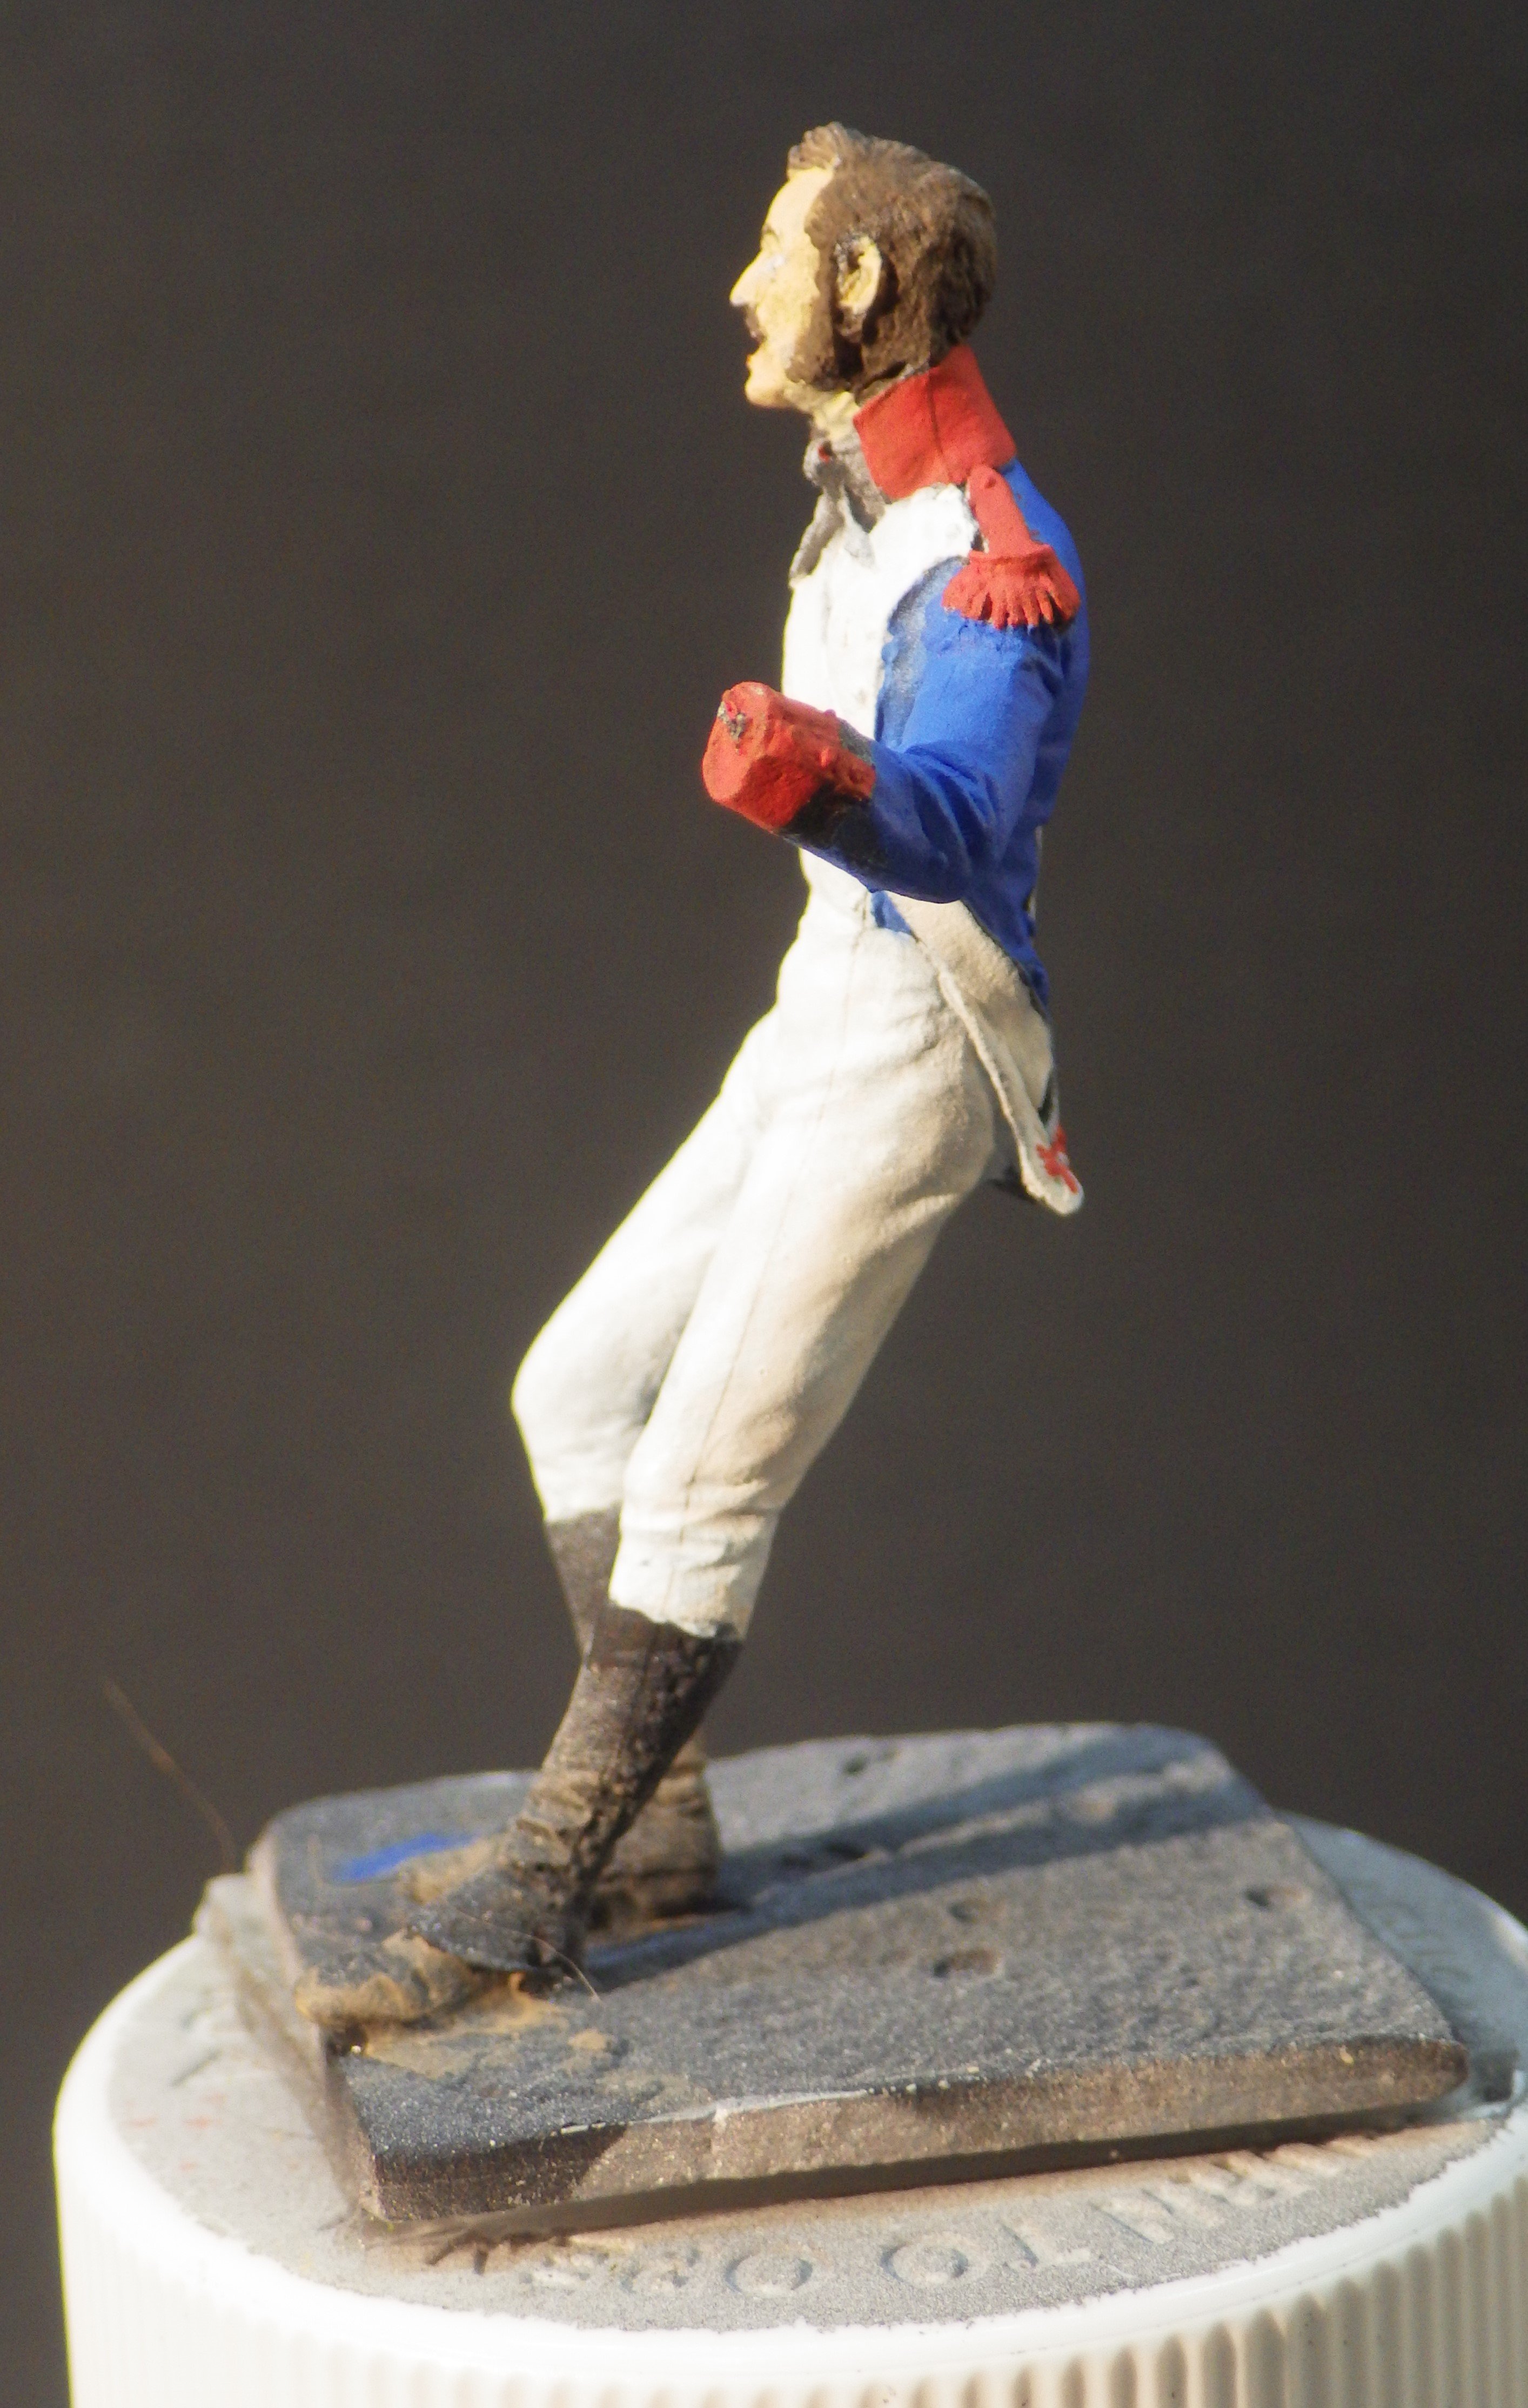
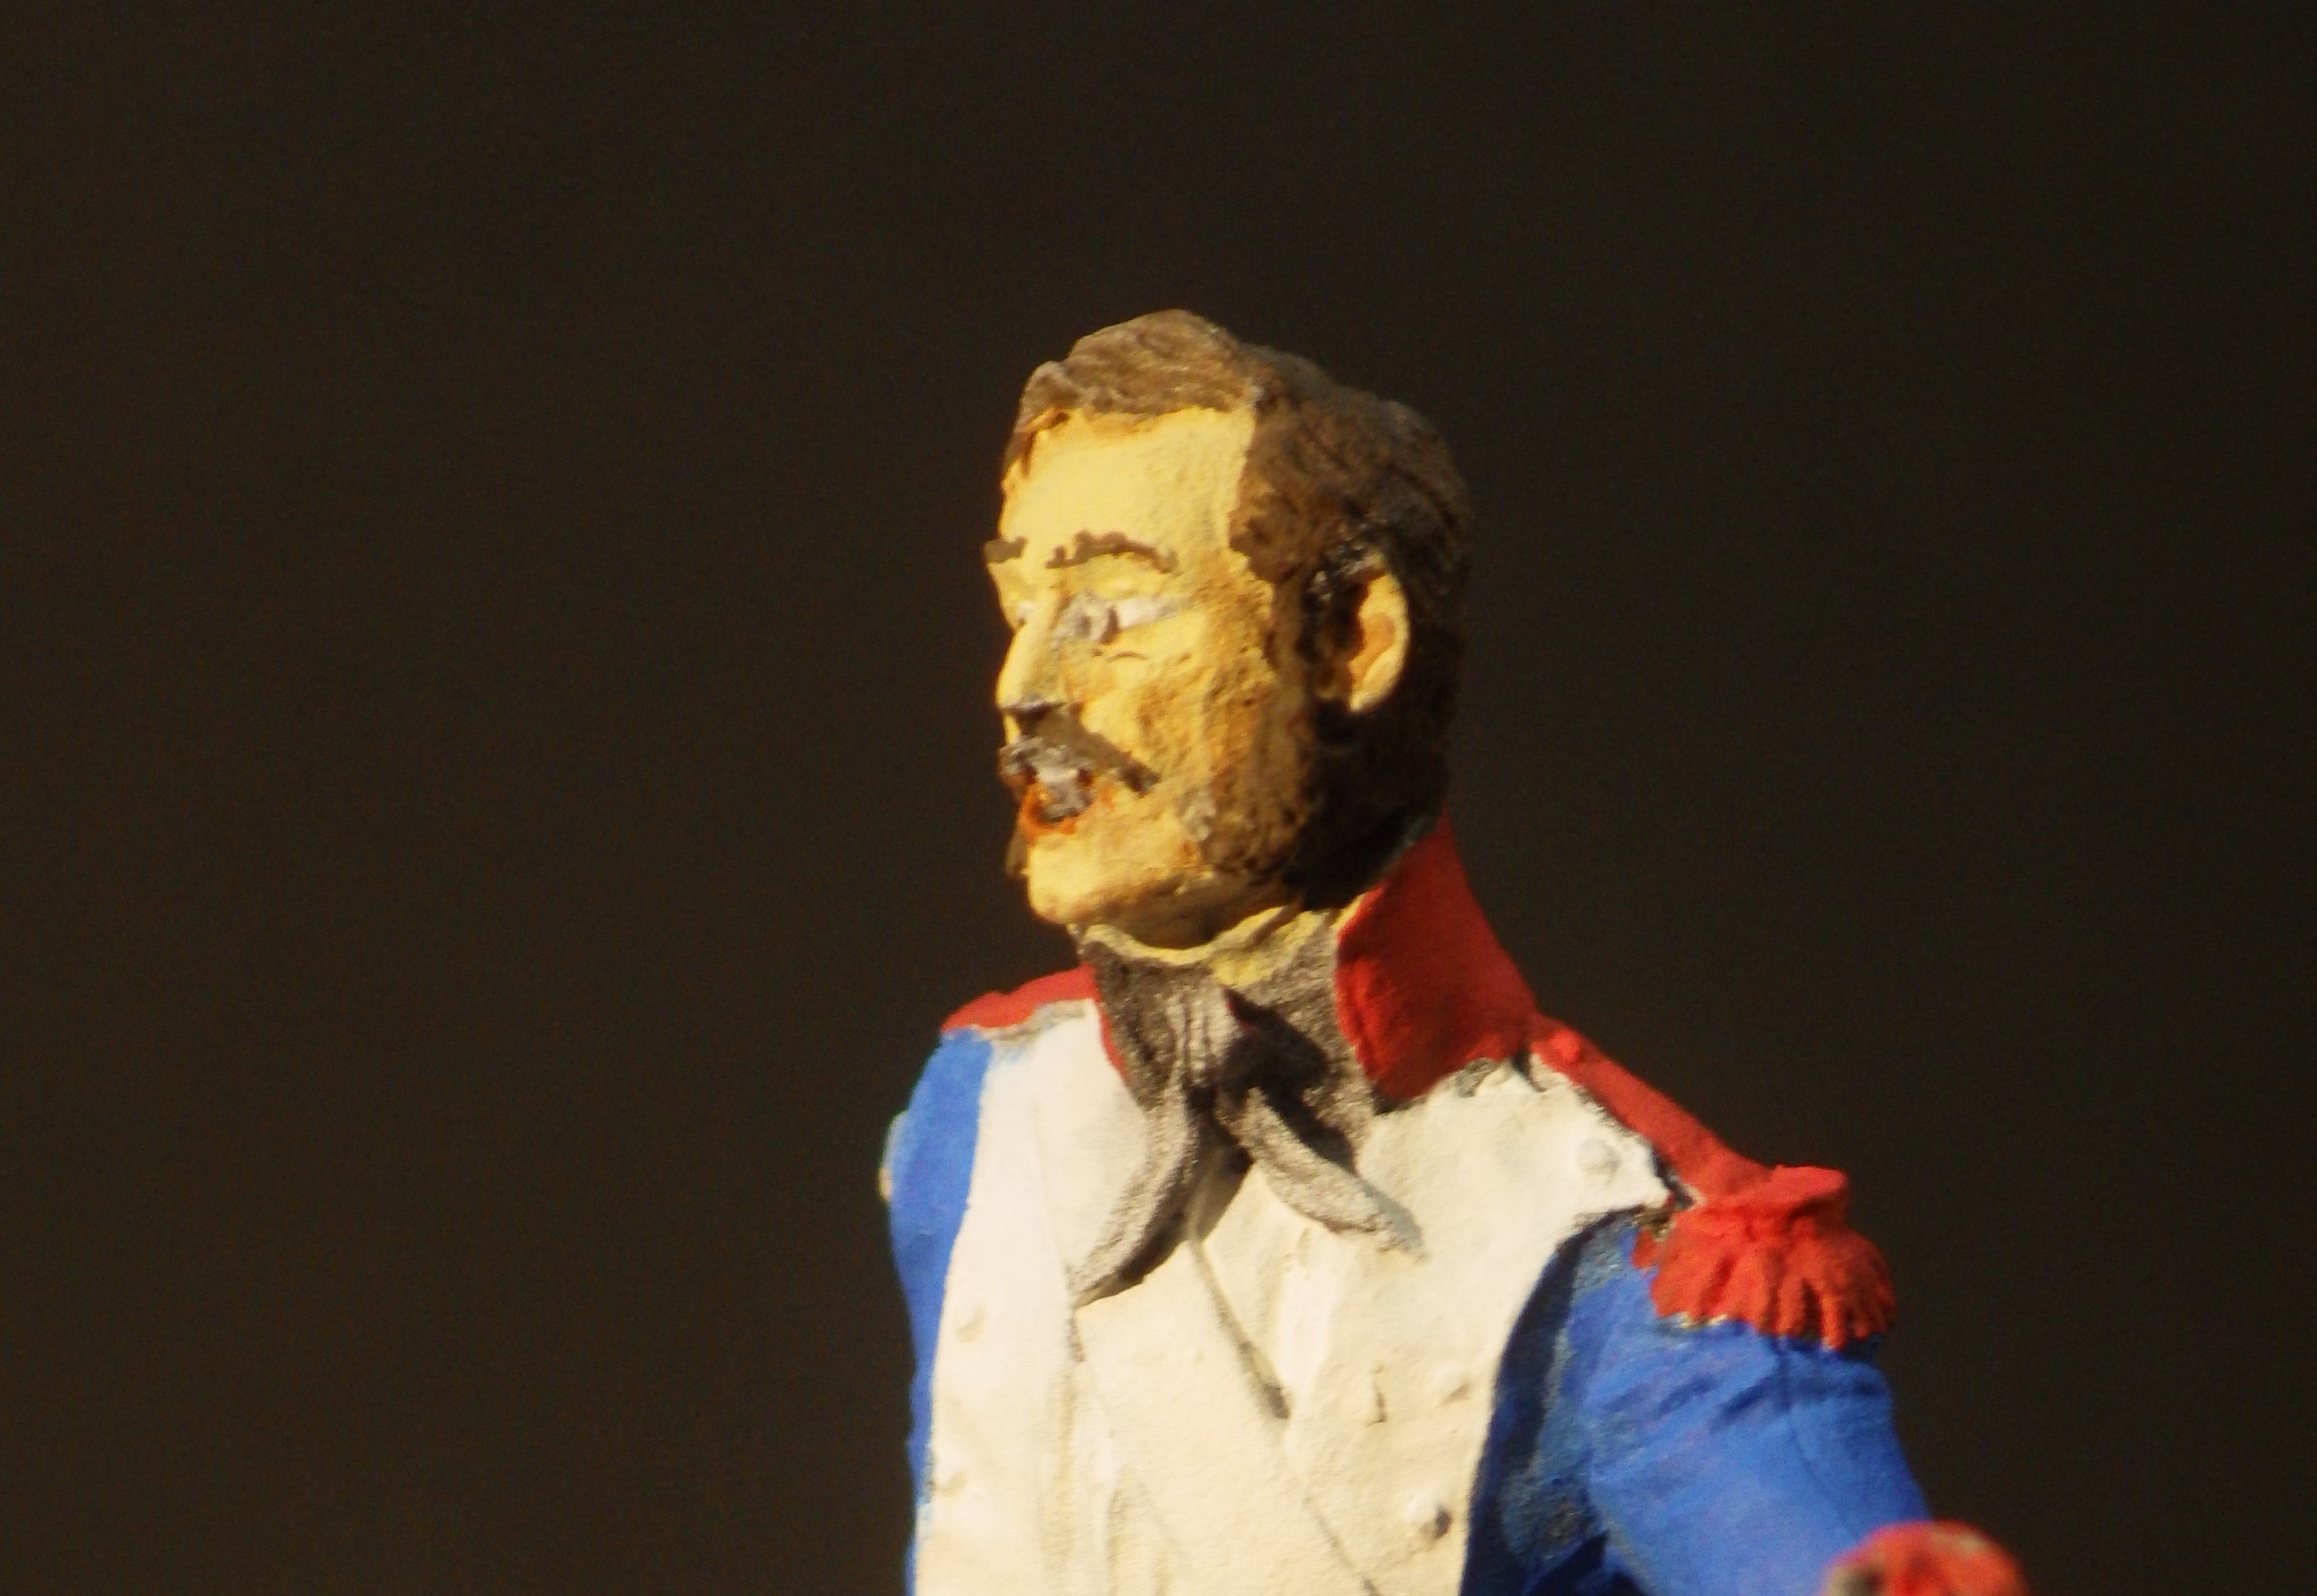
Thank you Jeff. I use a small diamond file to clean up the mould lines but I find I miss a few and they show up when painted (and photographed). The soldier has one on his left leg that I thought I had removed. I’ll clean it up and repaint. Thanks for letting me know. Alan
-
I hope it is going to drift north a bit and stay out of Tampa Bay. The models are all in agreement right now although they look a shade more northerly than the NHC track. I’m thinking about putting the shutters up on Monday. There are a lot of tall trees behind me (south) that would prefer to stay outside. I hope we all do well. alan
-
Great news Ken alan
-
Thank you Ken. He does look like he could happily swash a buckle. Now I’m thinking I should have given him a black mask and made him Zorro alan
-
Thank you very much Jeff. Yes the Nabopolassar figure was supposed to be a one off attempt as a gift for a friend in Spain who is a professor of ancient history and a specialist in neo Babylonian history. She has said Nabopolassar is a favorite subject for her. Anyway it came out better than I dared hope and I found it very relaxing and enjoyable. It’s a great break from struggling with a difficult kit too. I did order an Etsy Athena figurine to broaden my horizons. alan
-
Thank you Ken, morale sags a bit at times but still pushing forward. I hope all is well with you and Helene didn’t cause any injuries or damage to you and yours alan
-
Nice delicate detailing alan
-
Thank you for the kind words and the advice. I’ll add the buttons and yellow edges to the cuffs. Alan
-
Thank you very much OC. The black clothes had me a bit concerned on this one but the shades of grey worked very well and Art Girona do such a great job of sculpting the folds. alan
-
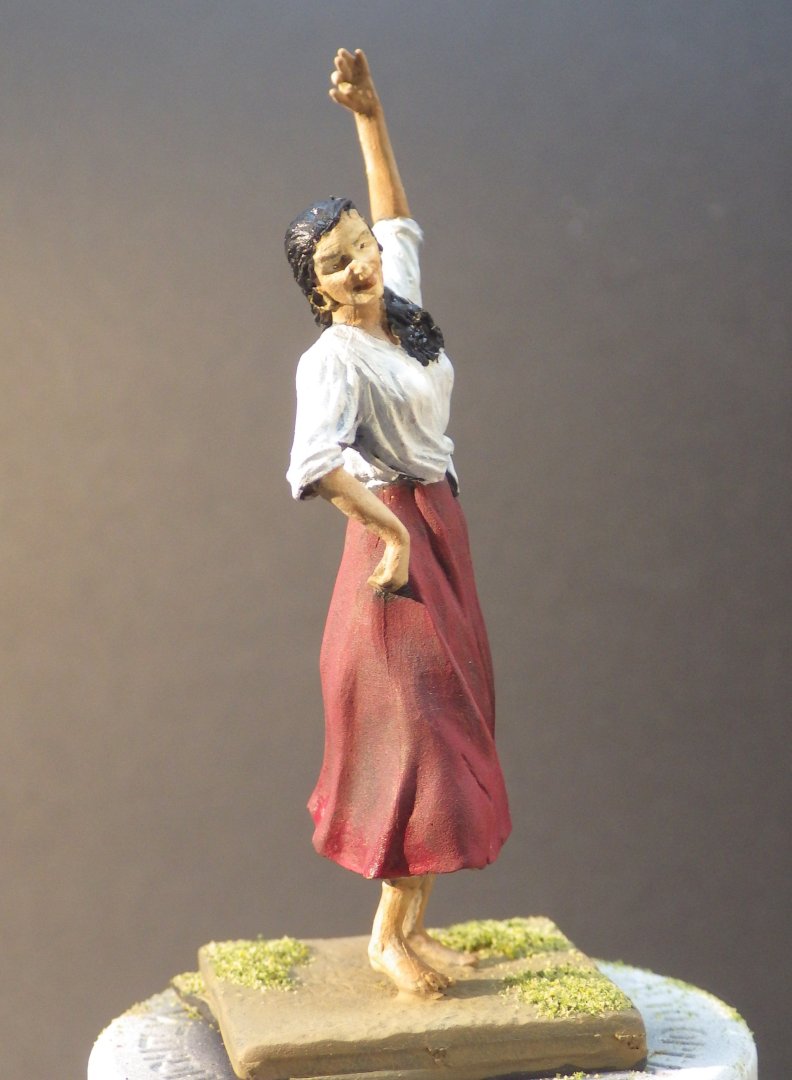
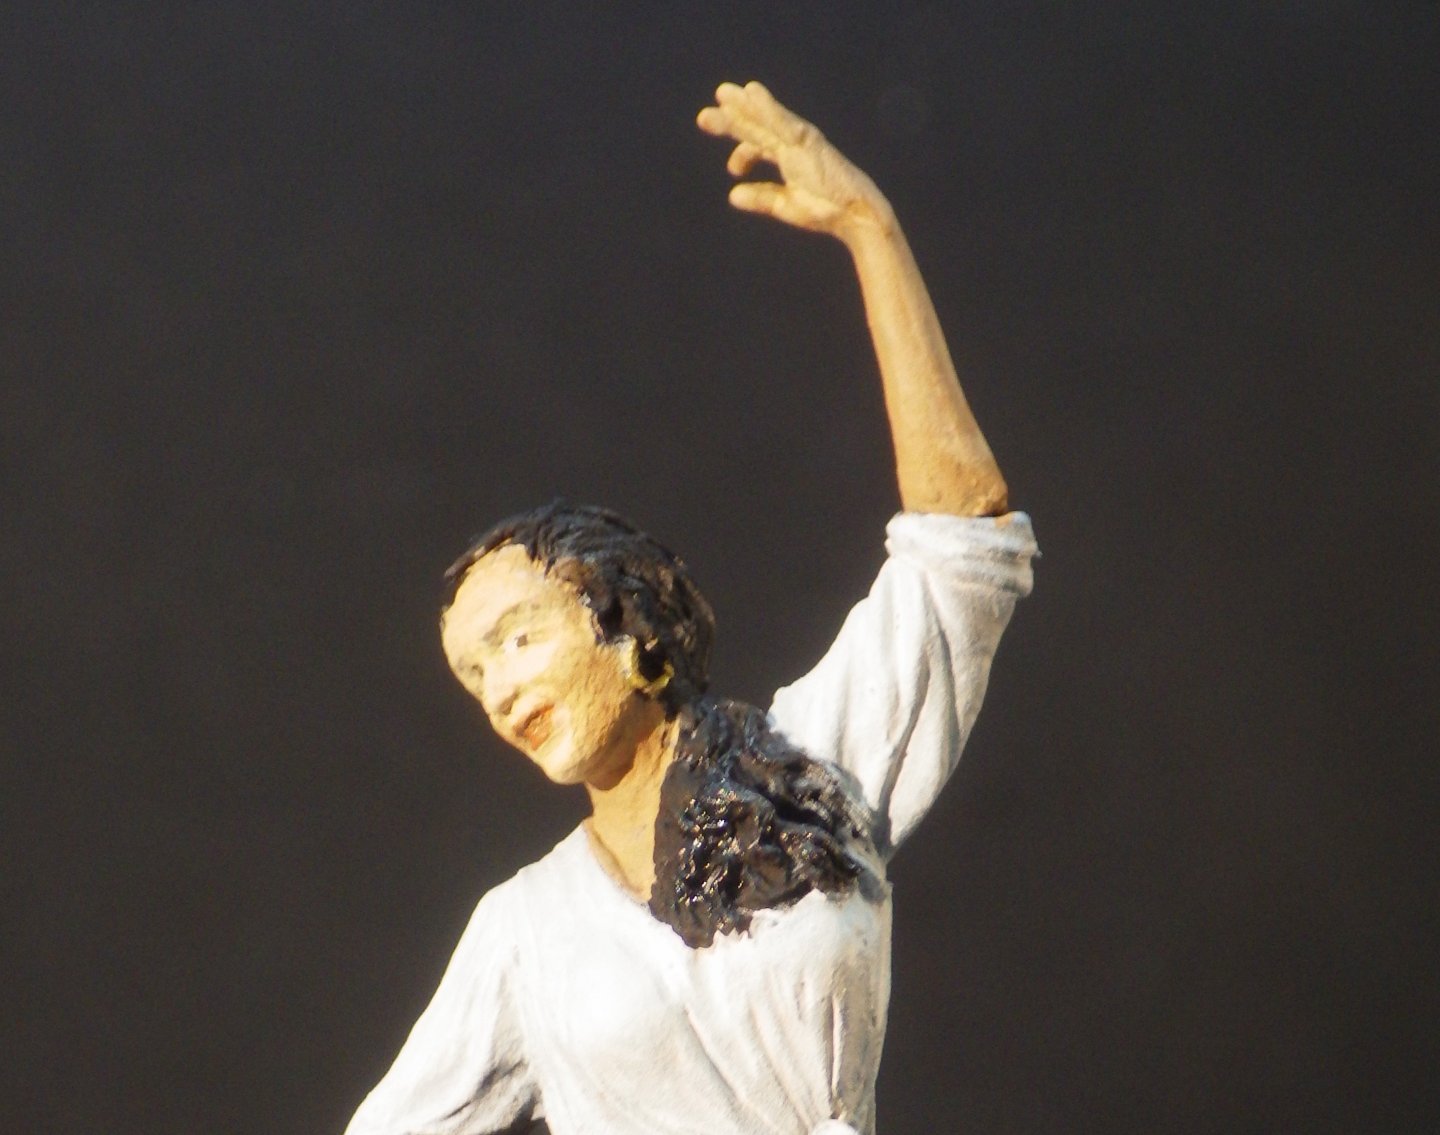
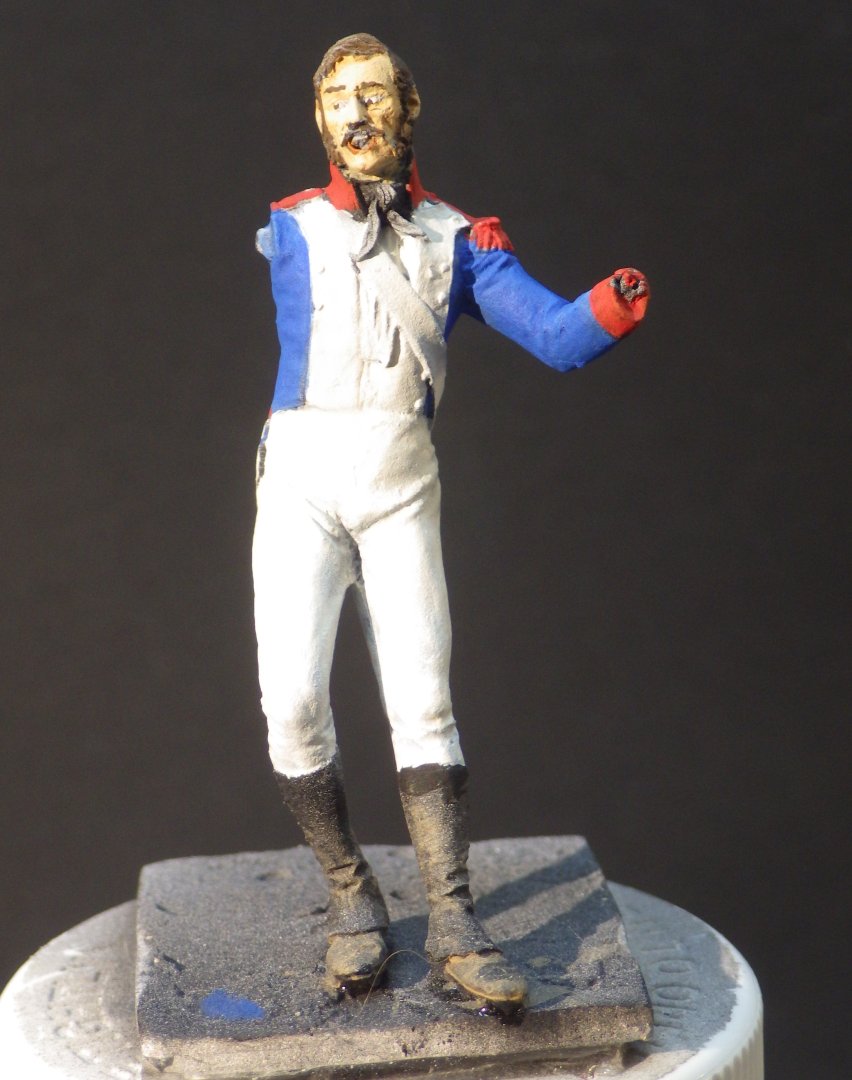
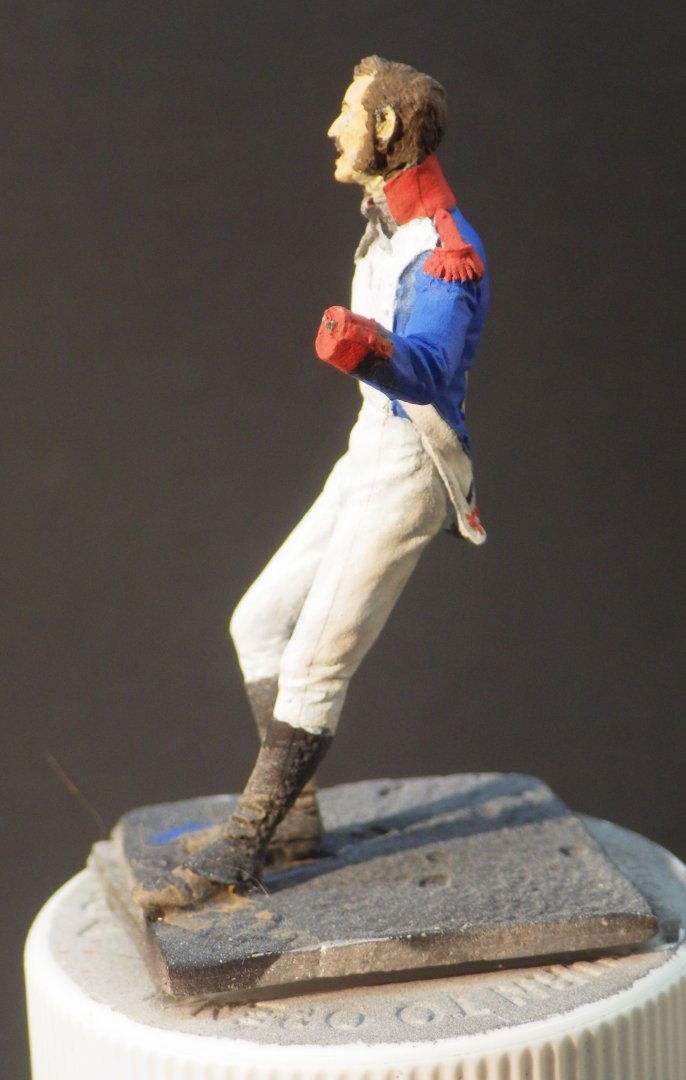
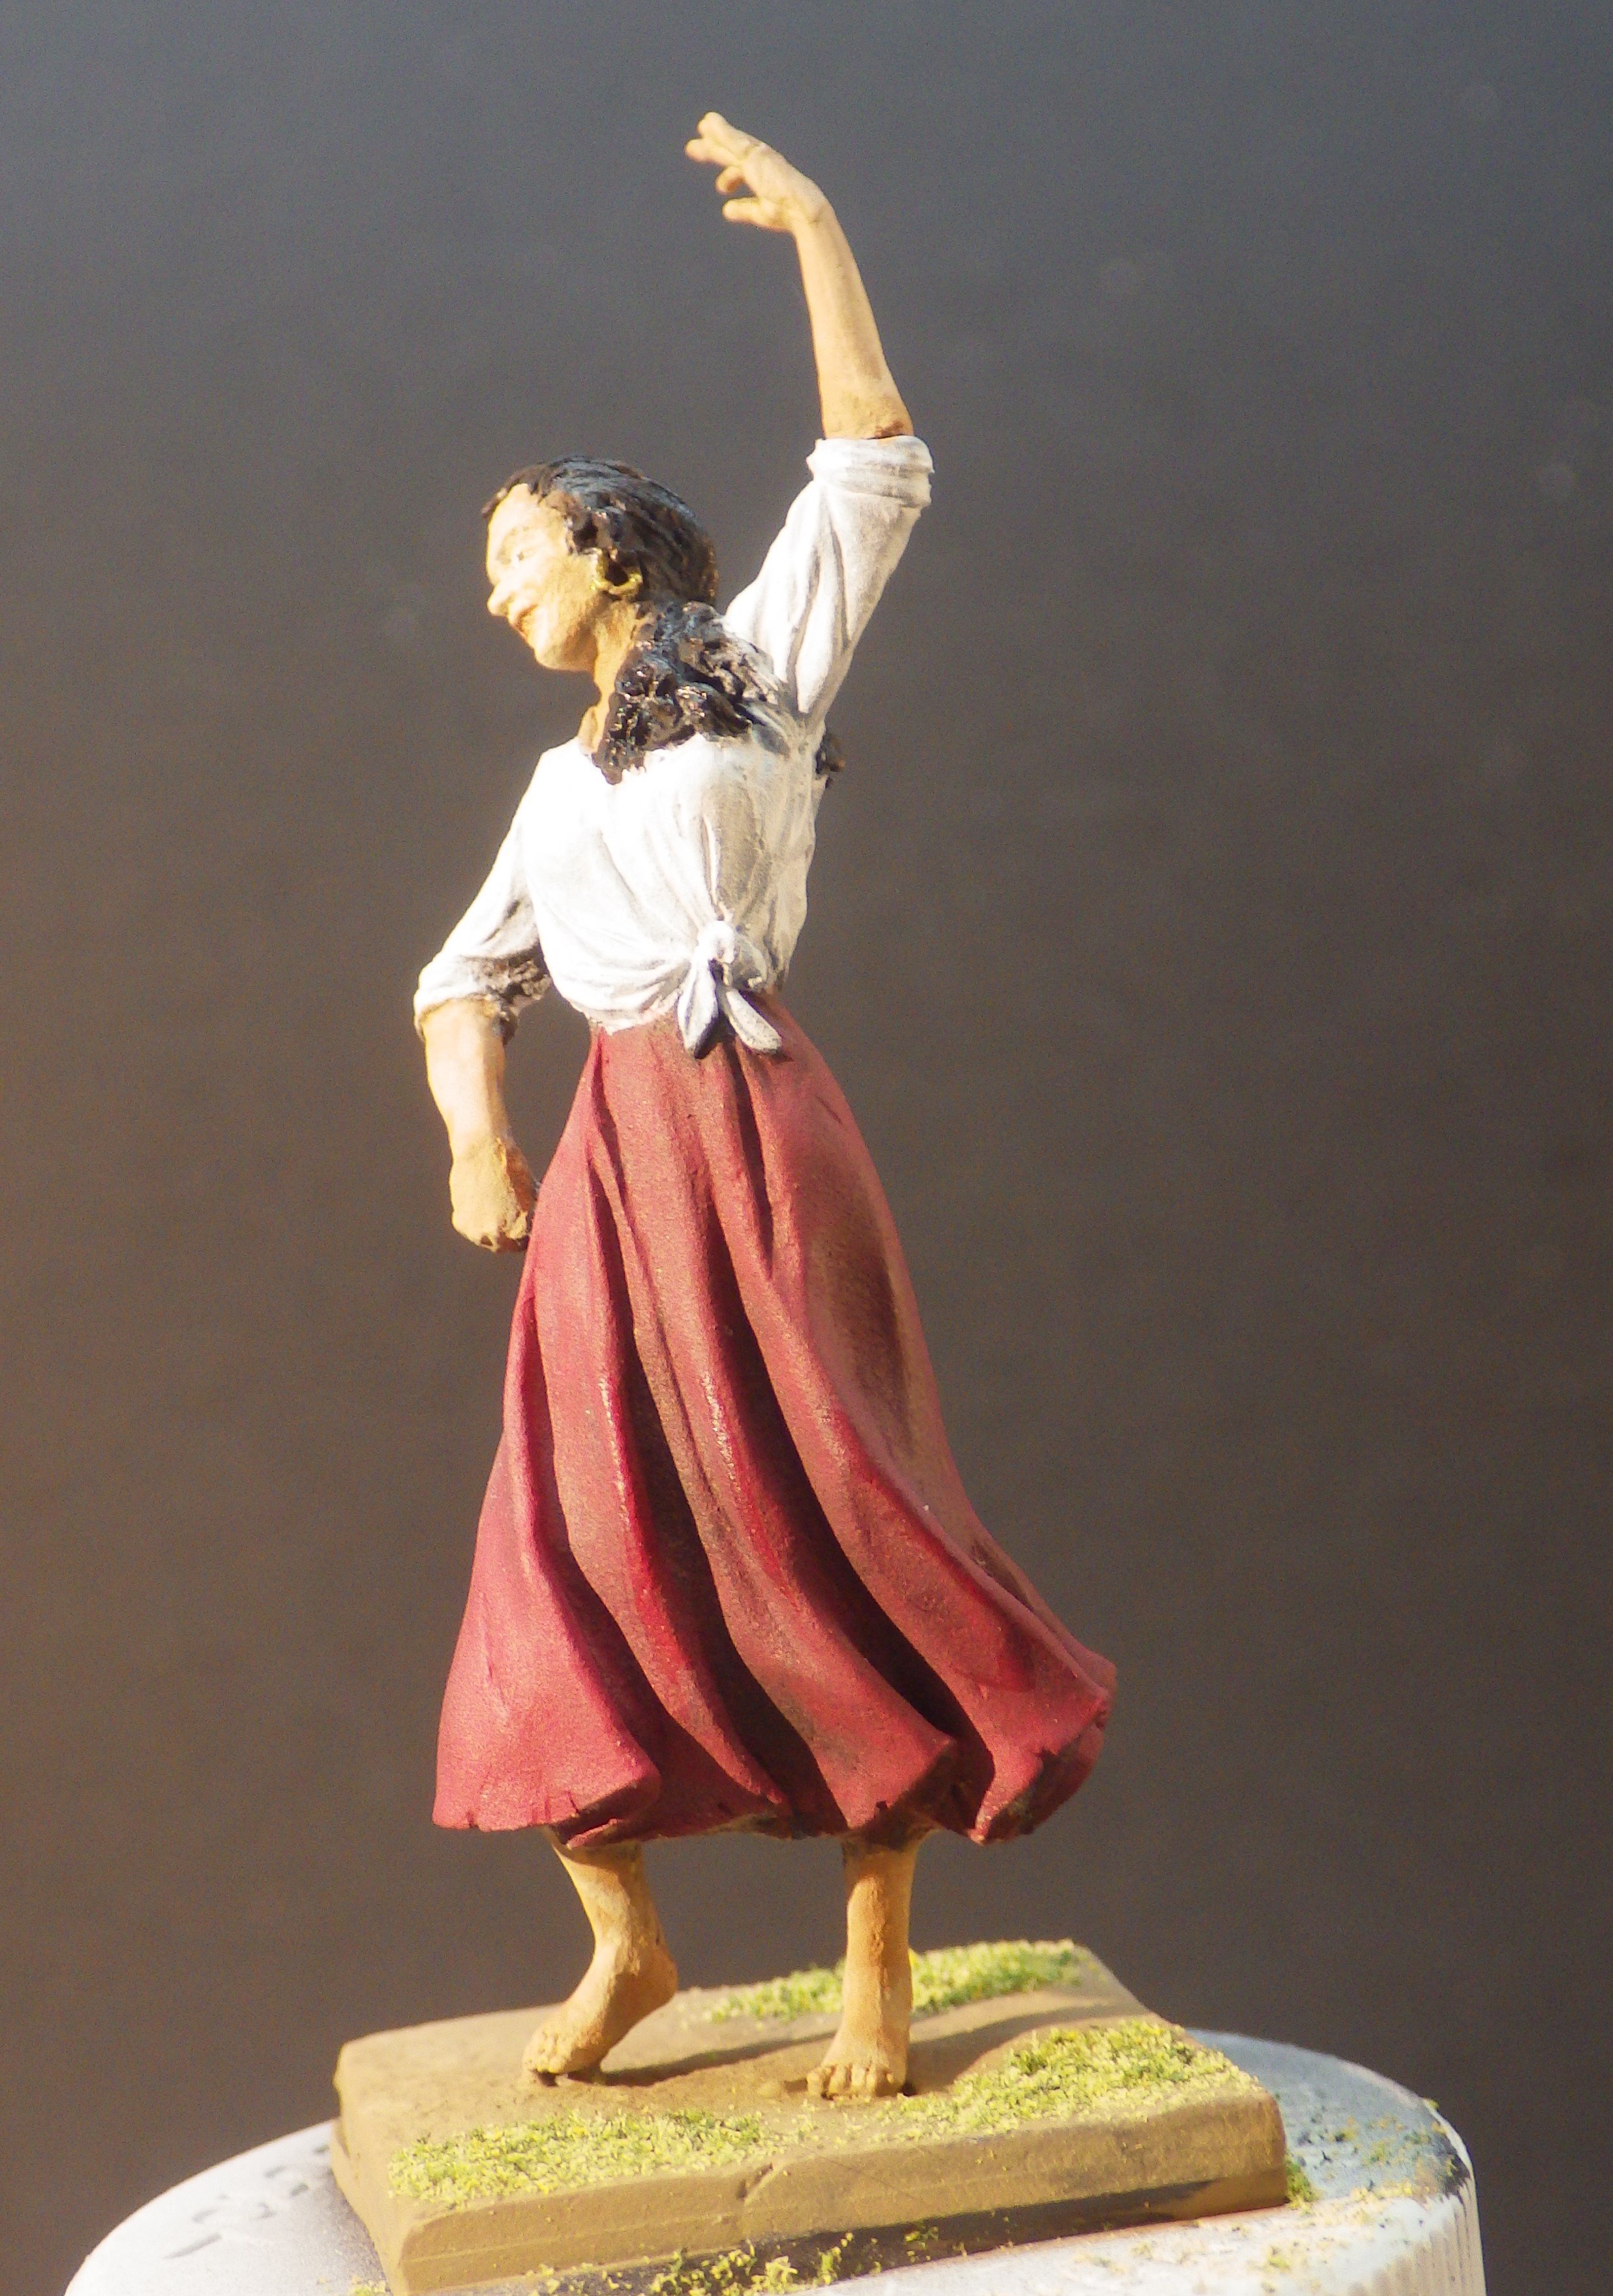
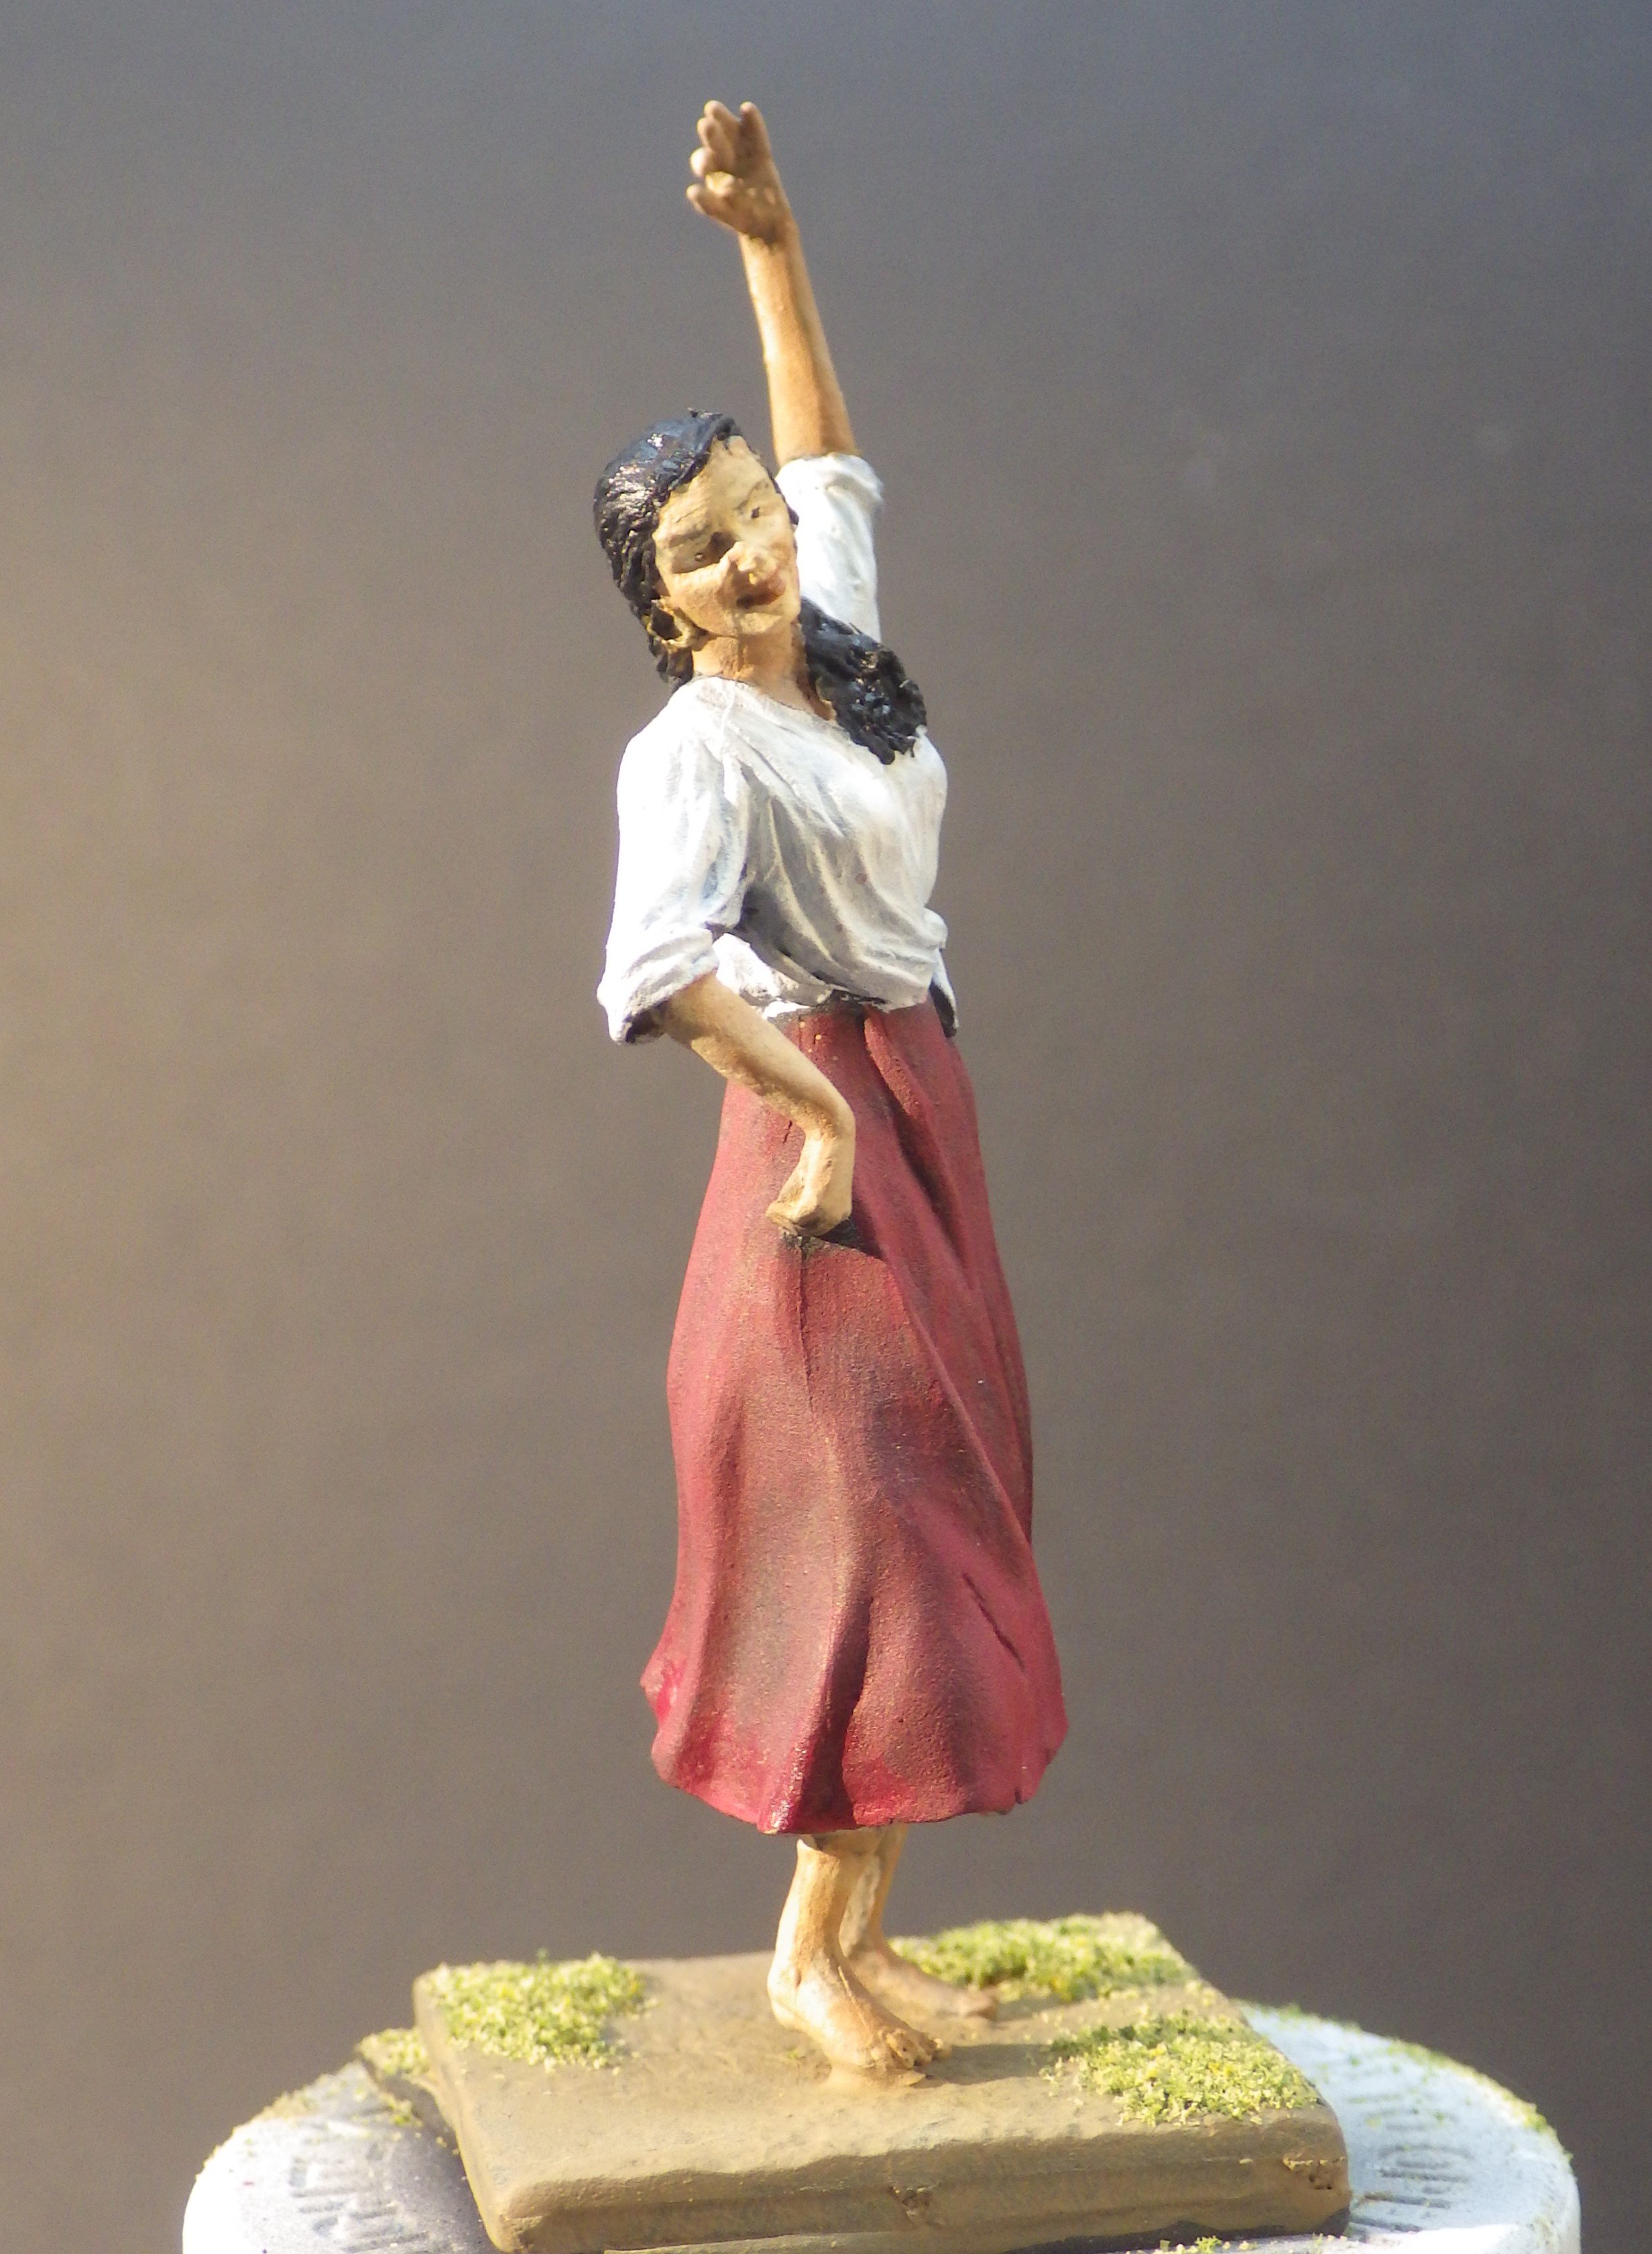
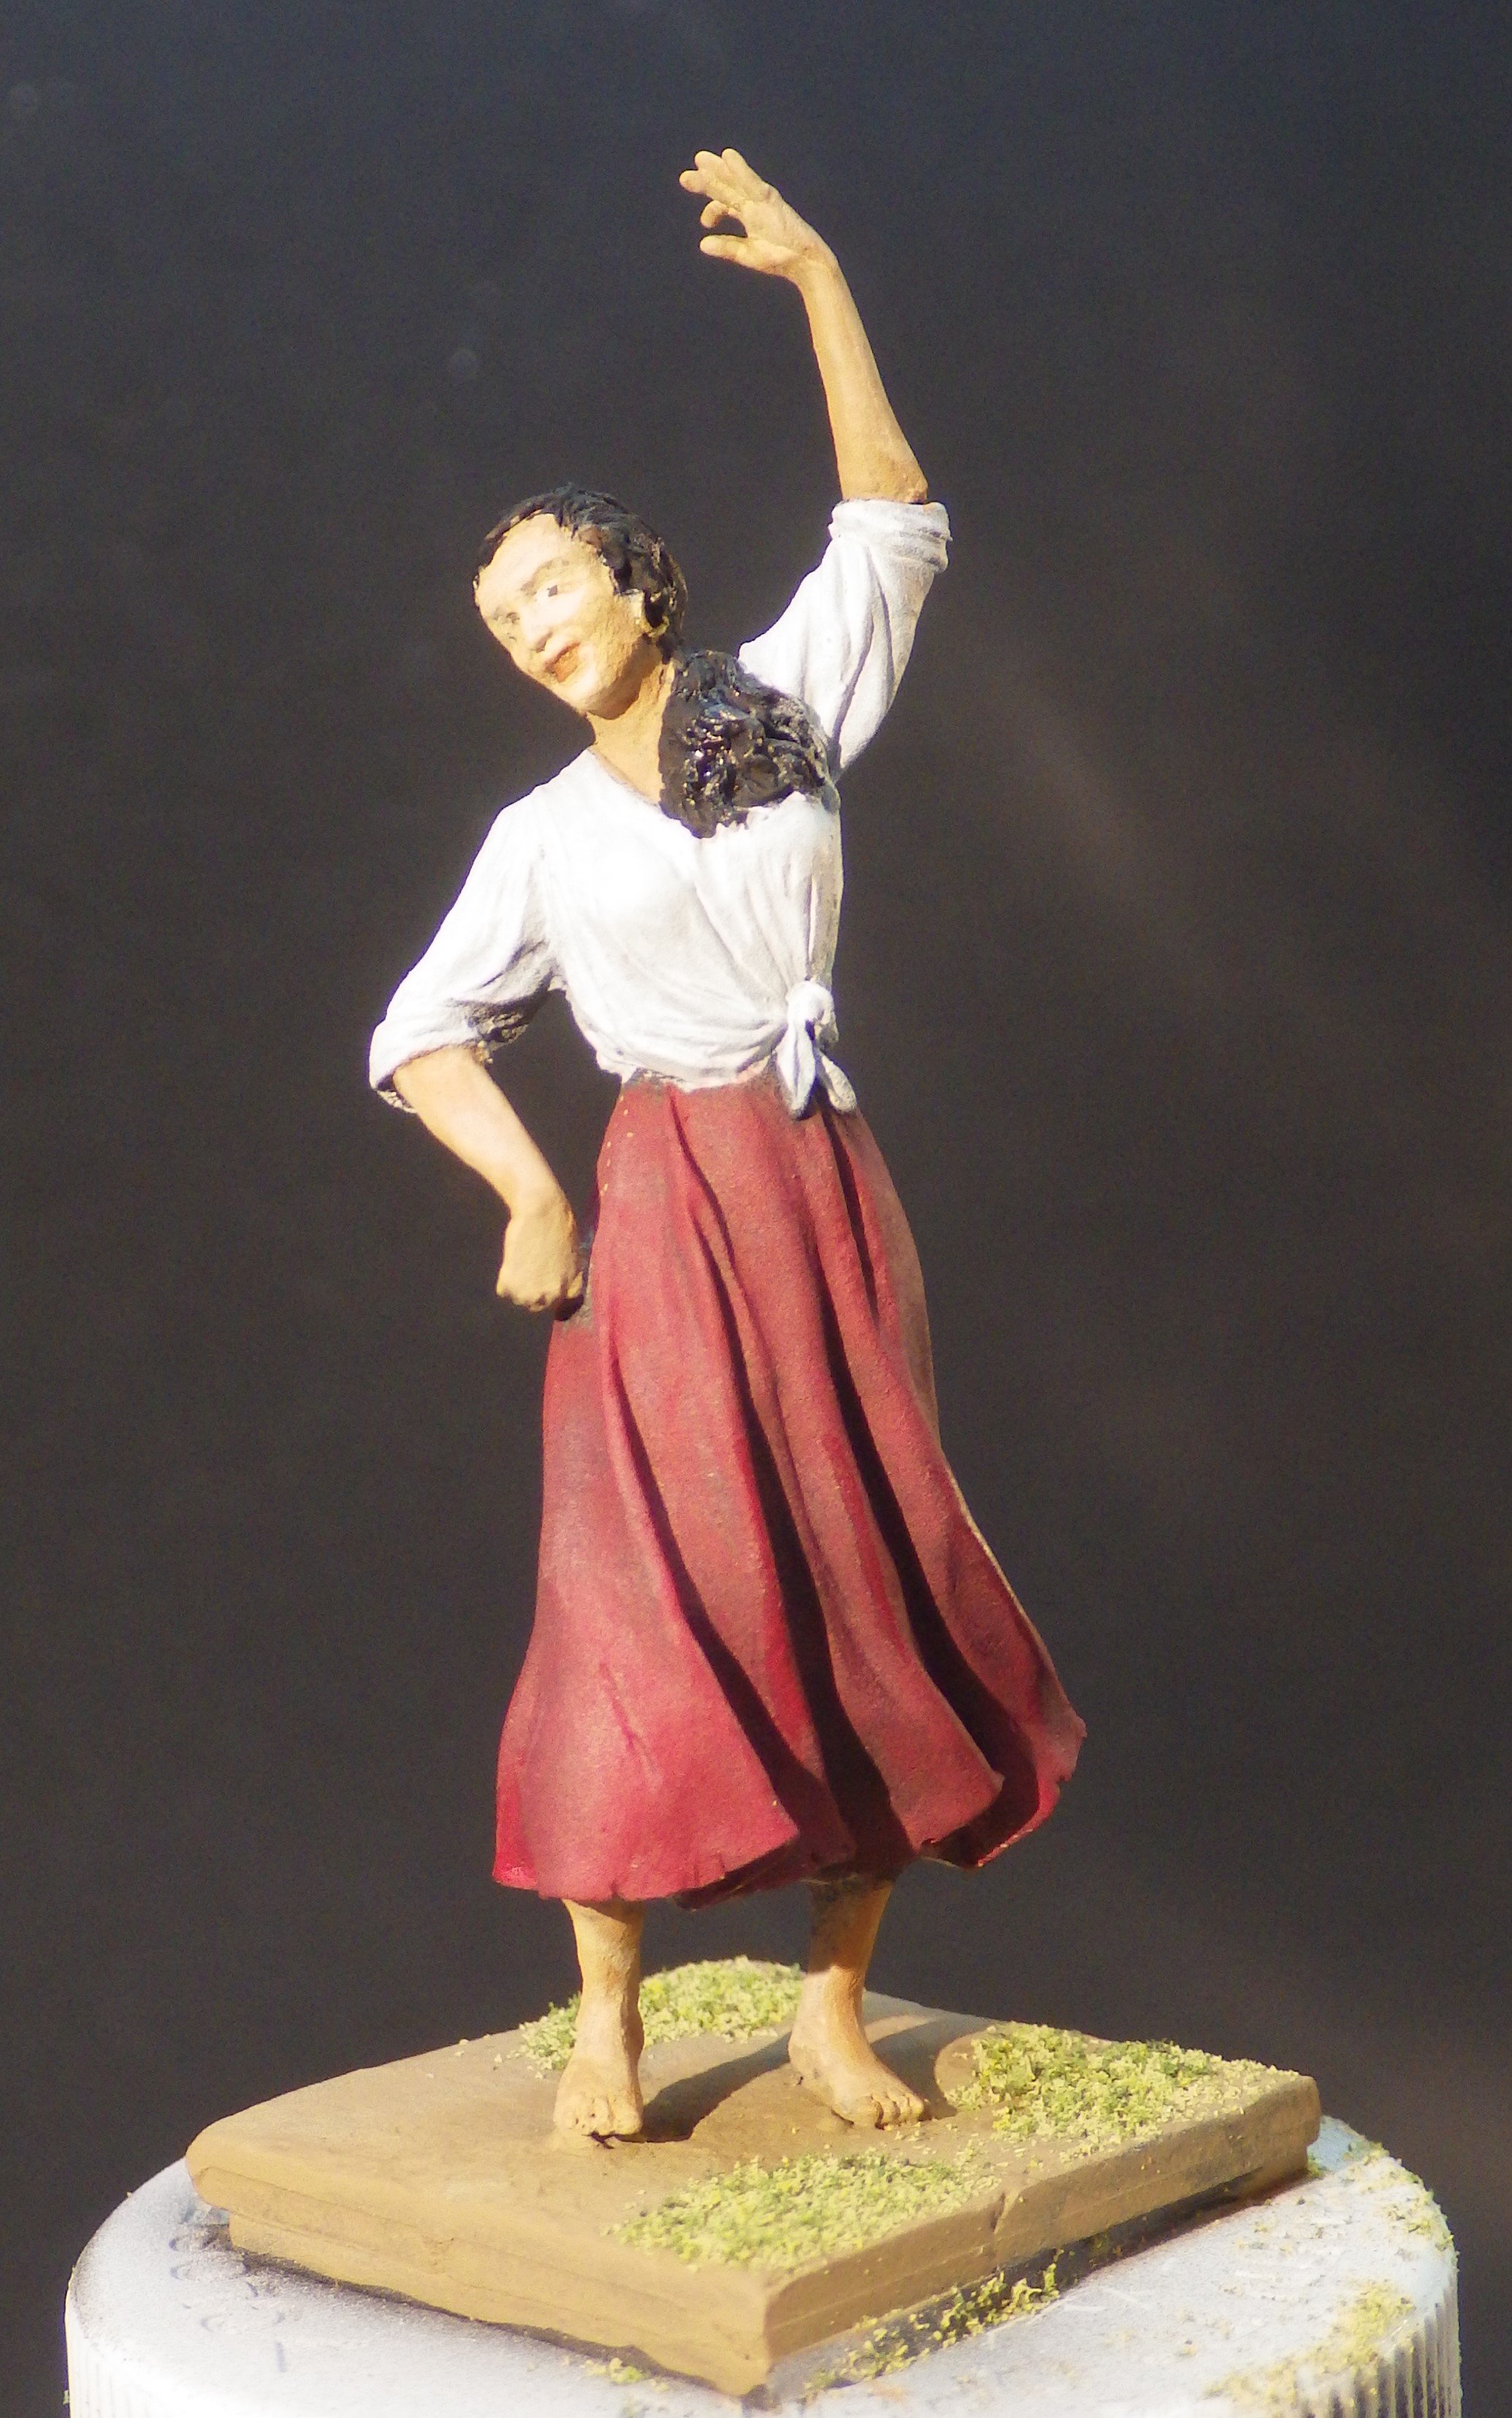
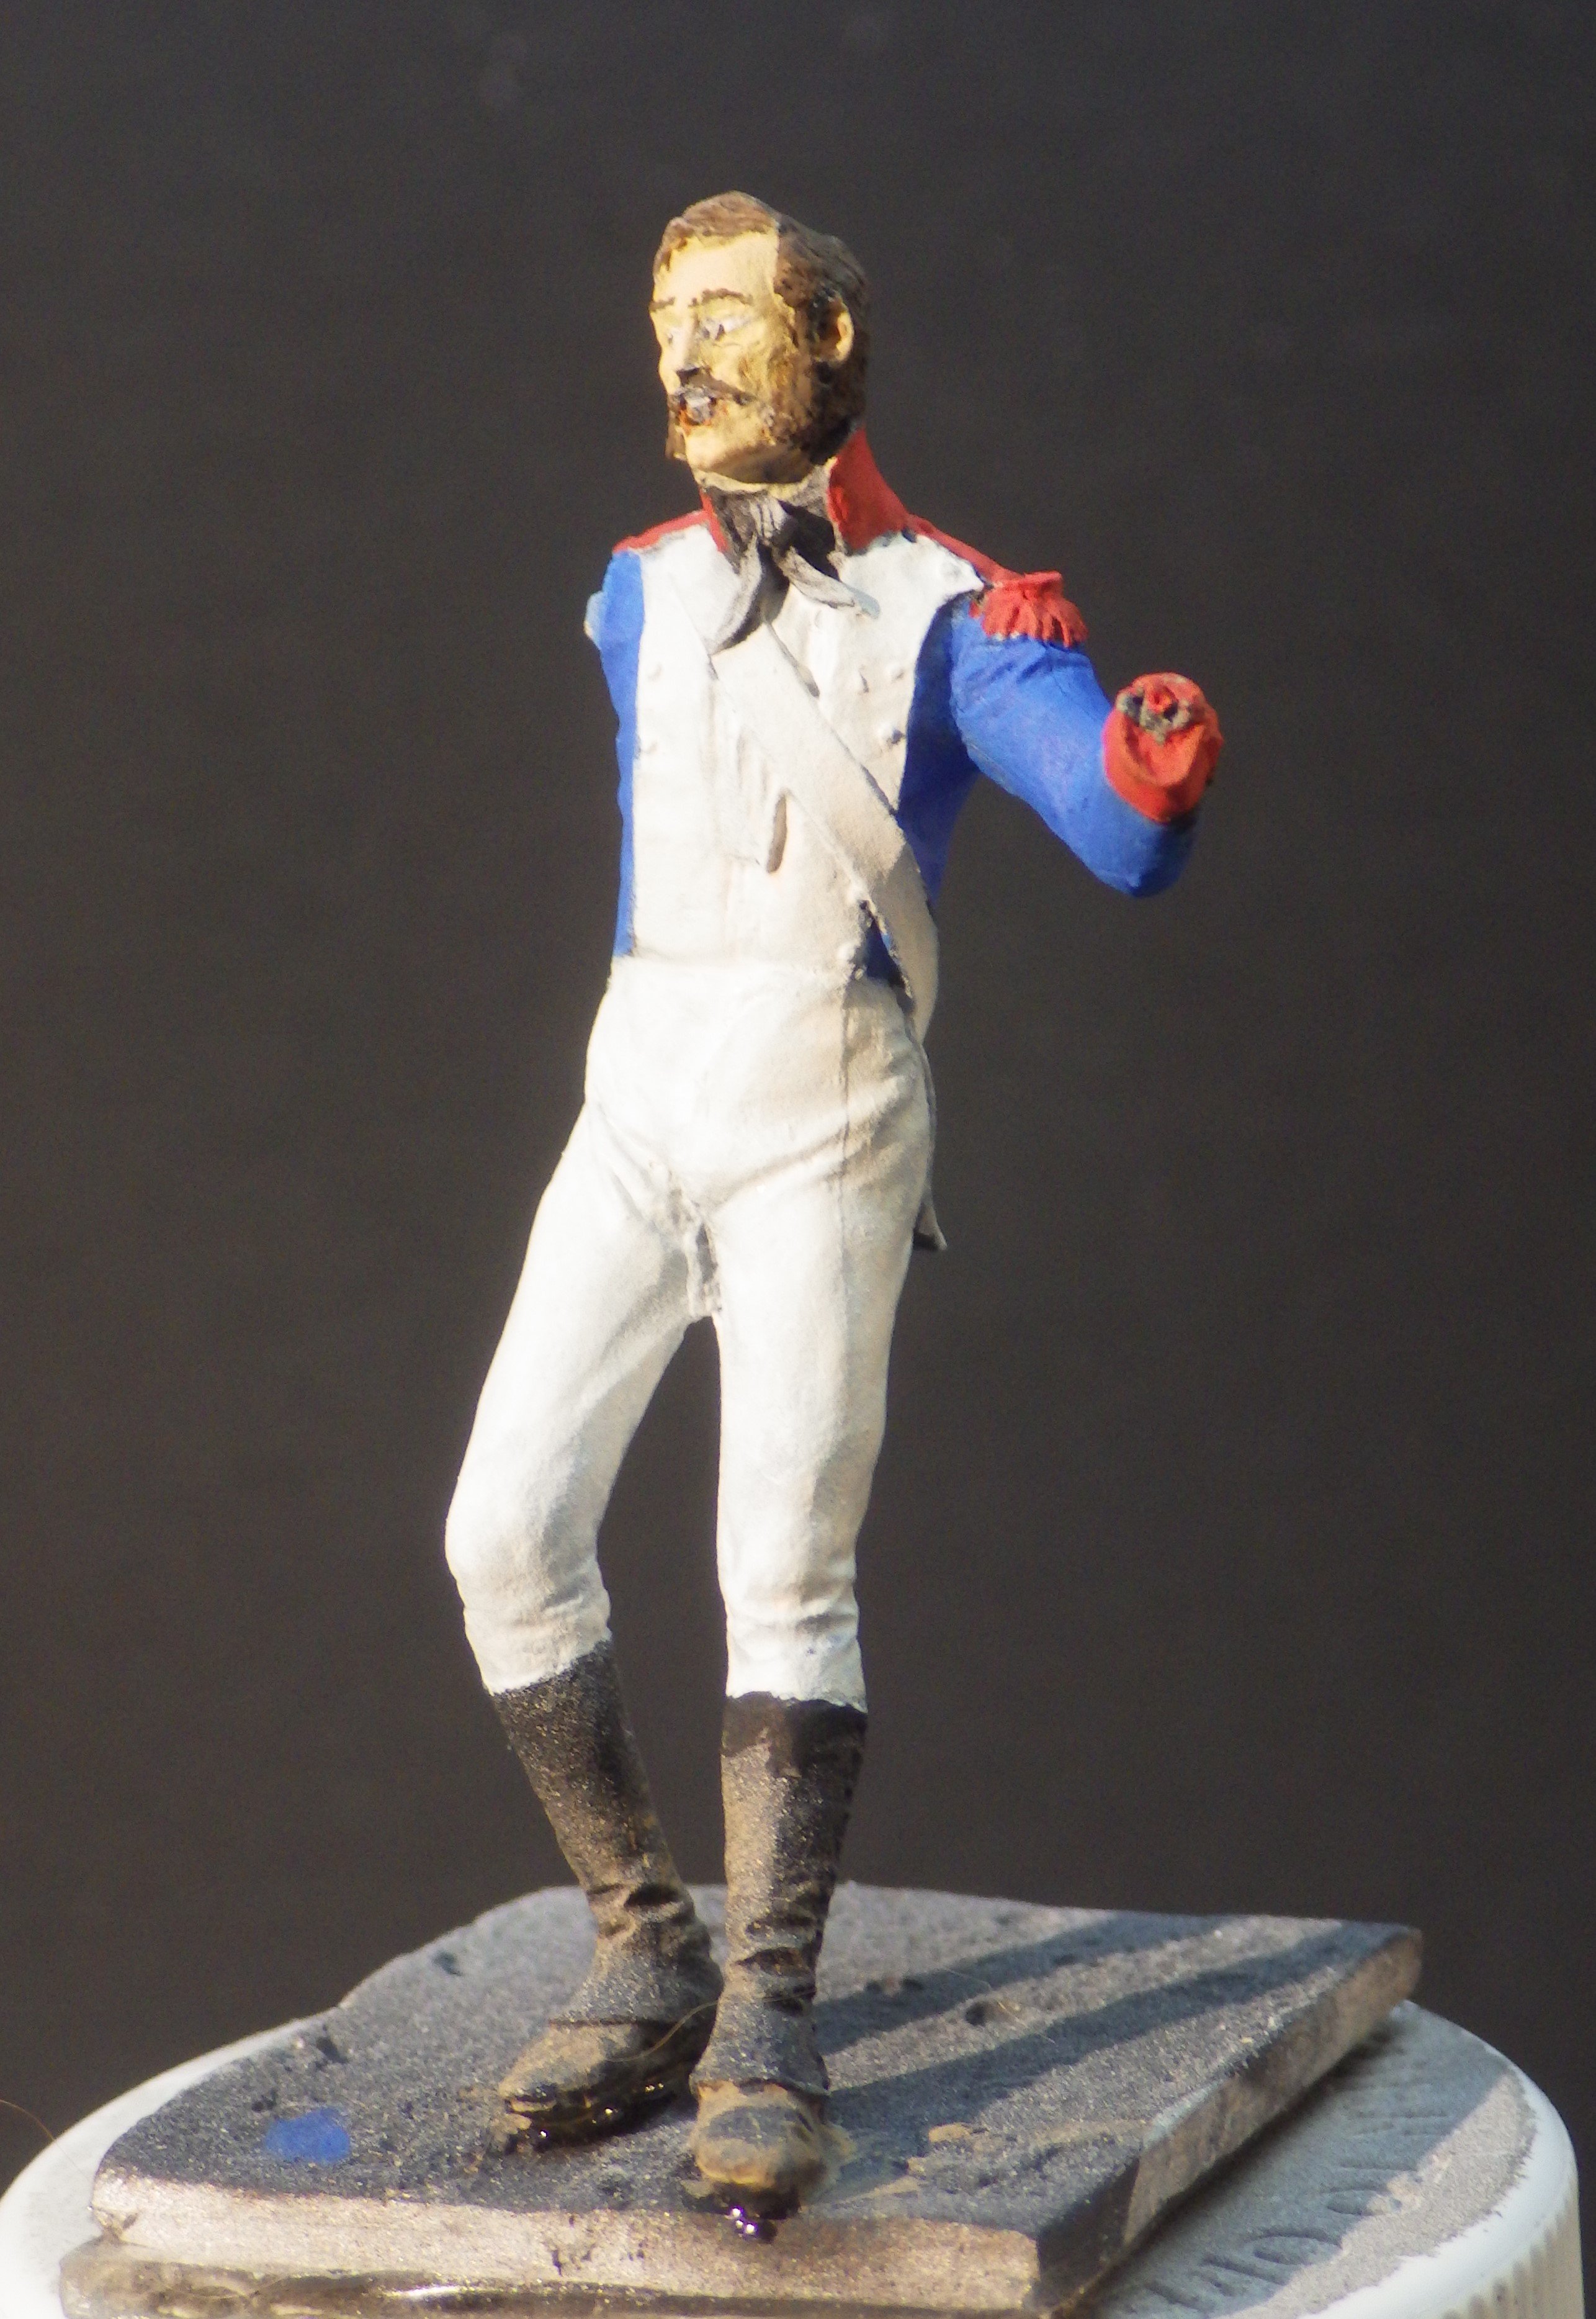
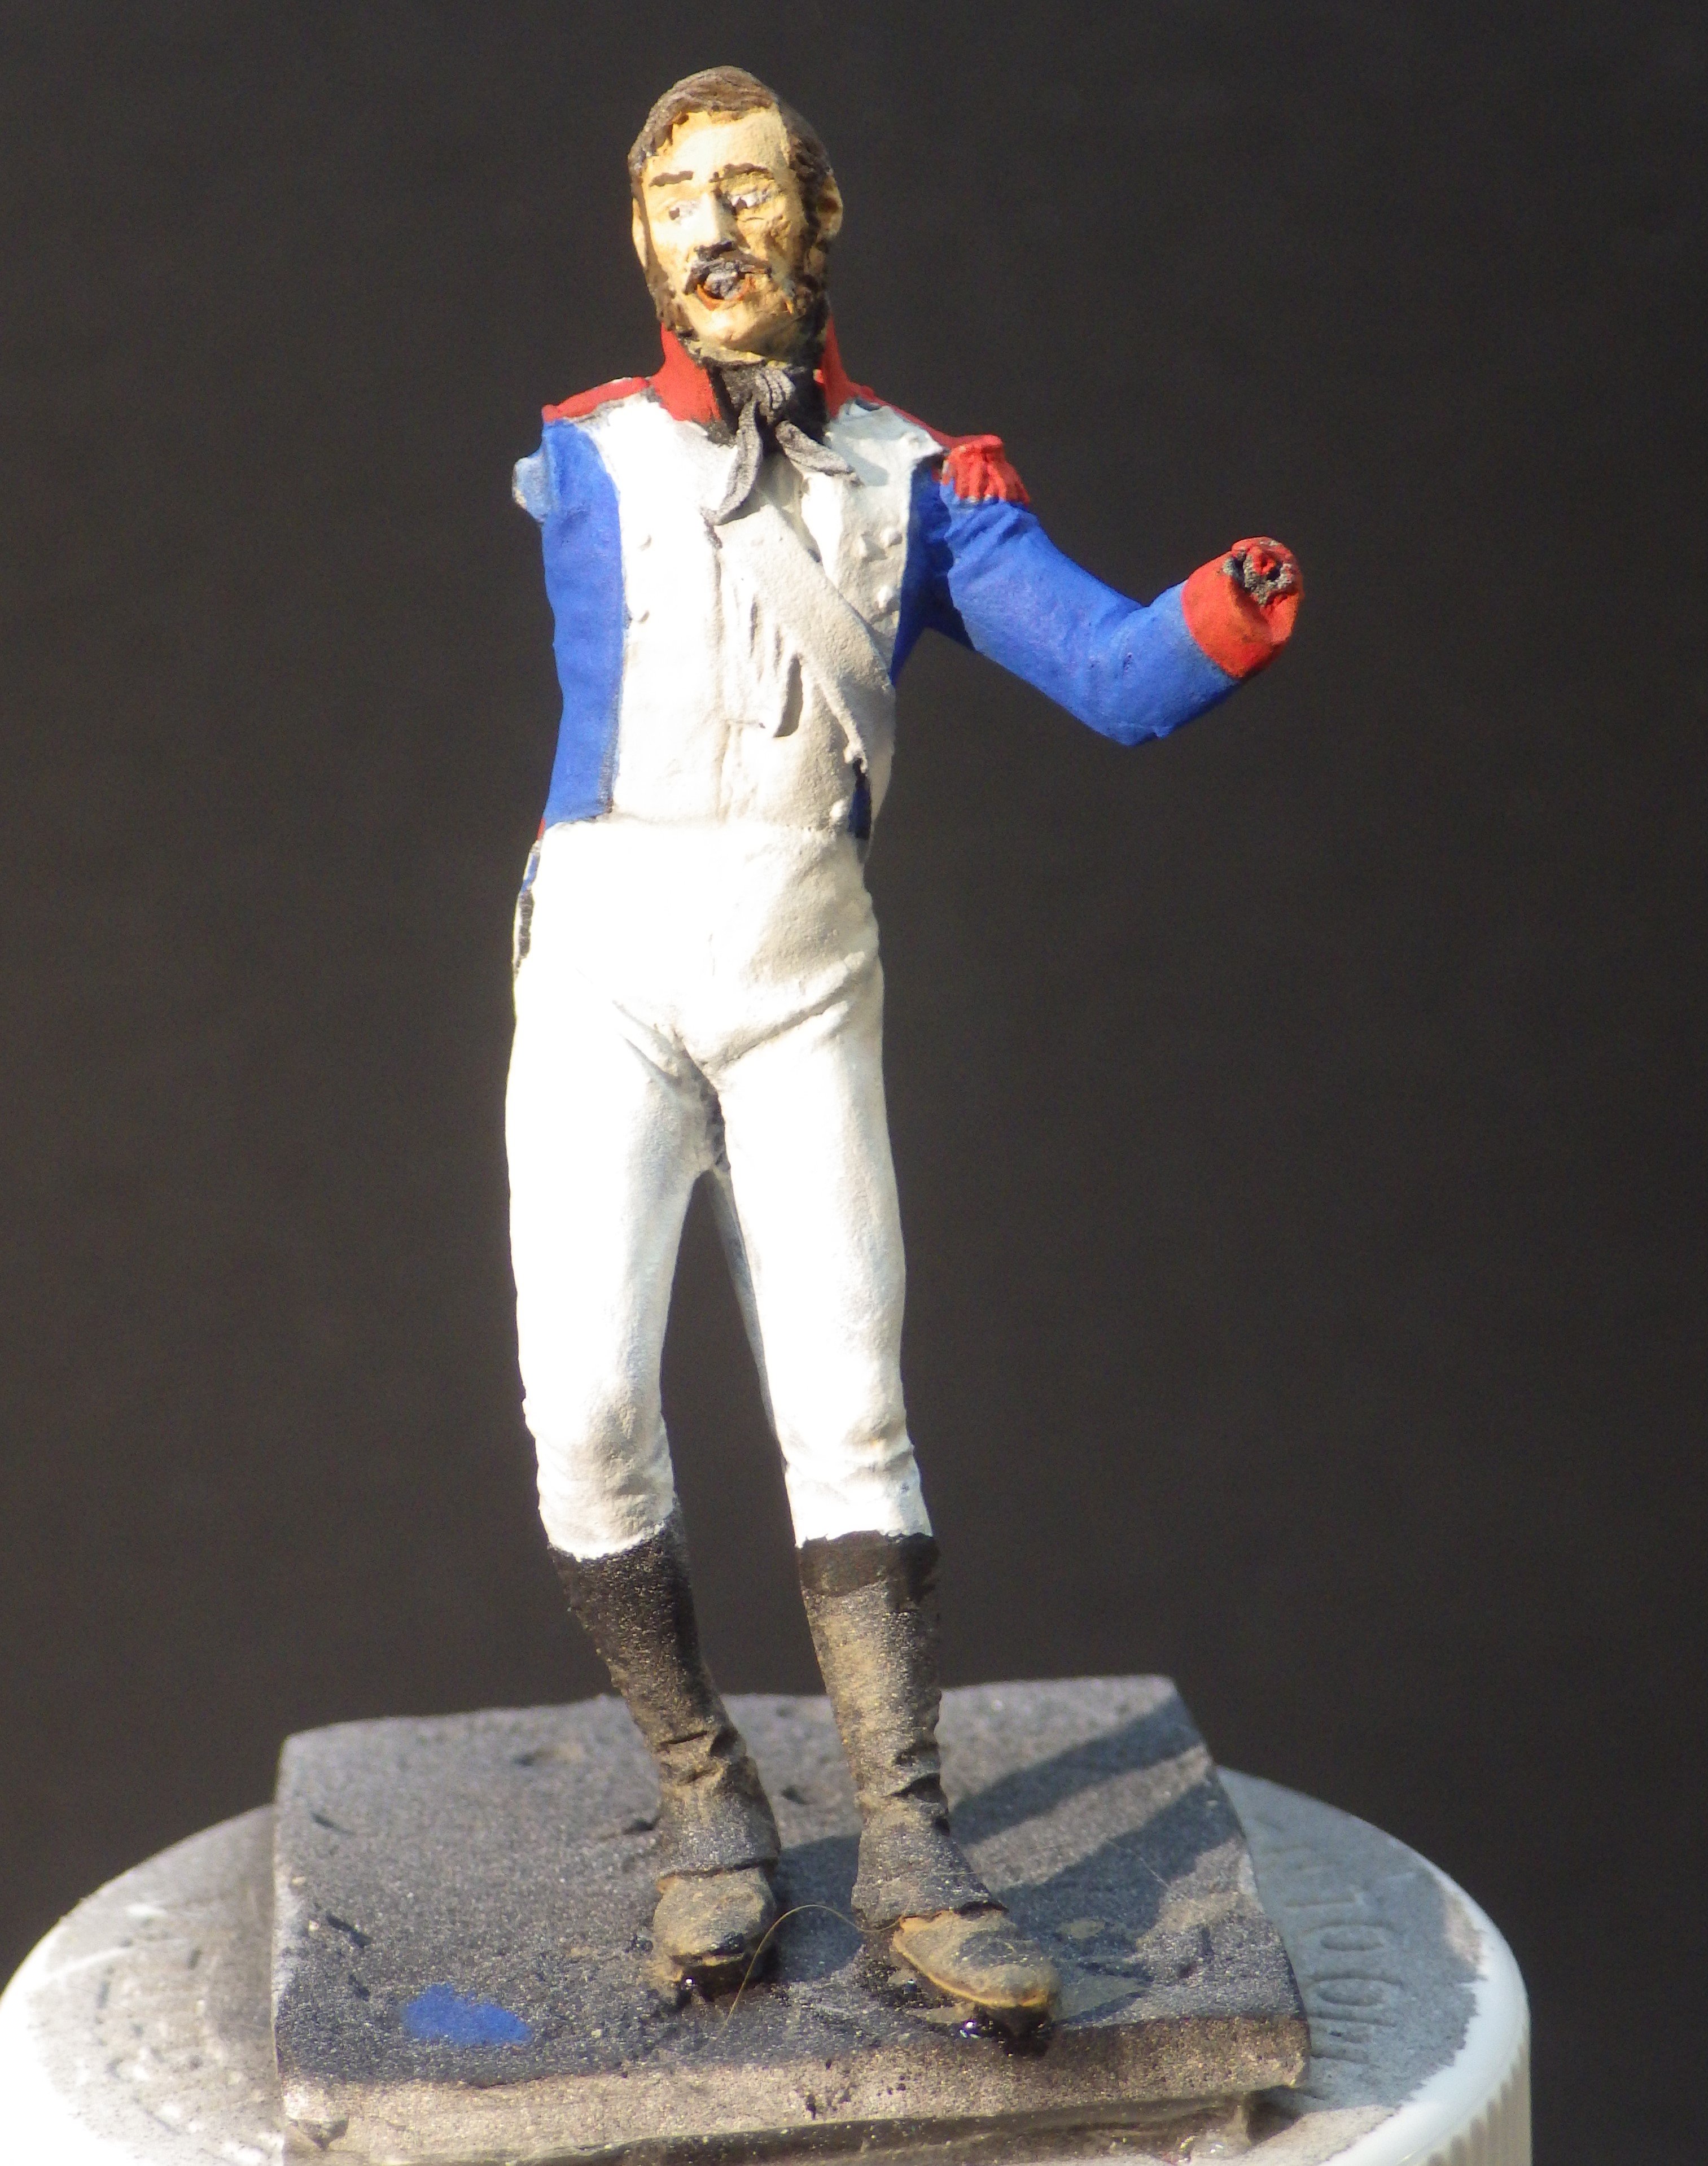
I added the gypsy ear rings to the dancer and some gloss coating sparingly to her hair. That seemed to complete this figure so I completed the base. Rather simplistically, trying for a dusty patch with a bit of rather dry grass. She would hardly be dancing in a bramble patch so I kept if basic. And with the improved photo set up The Frenchman has had the basic uniform completed. I'm still not sure about his coat turnbacks and I need to add buttons but hopefully let me know if you see something badly wrong.. I have added dust to his boots and gaiters. I am not sure whether to muddy his pants. Off stage I have started on the guitar, missing arm and shako - and teh essential stool. Thanks for looking in and for the likes and helpful comments Alan