HOLIDAY DONATION DRIVE - SUPPORT MSW - DO YOUR PART TO KEEP THIS GREAT FORUM GOING!
×


king derelict
-
Posts
3,260 -
Joined
-
Last visited
Content Type
Profiles
Forums
Gallery
Events
Everything posted by king derelict
-
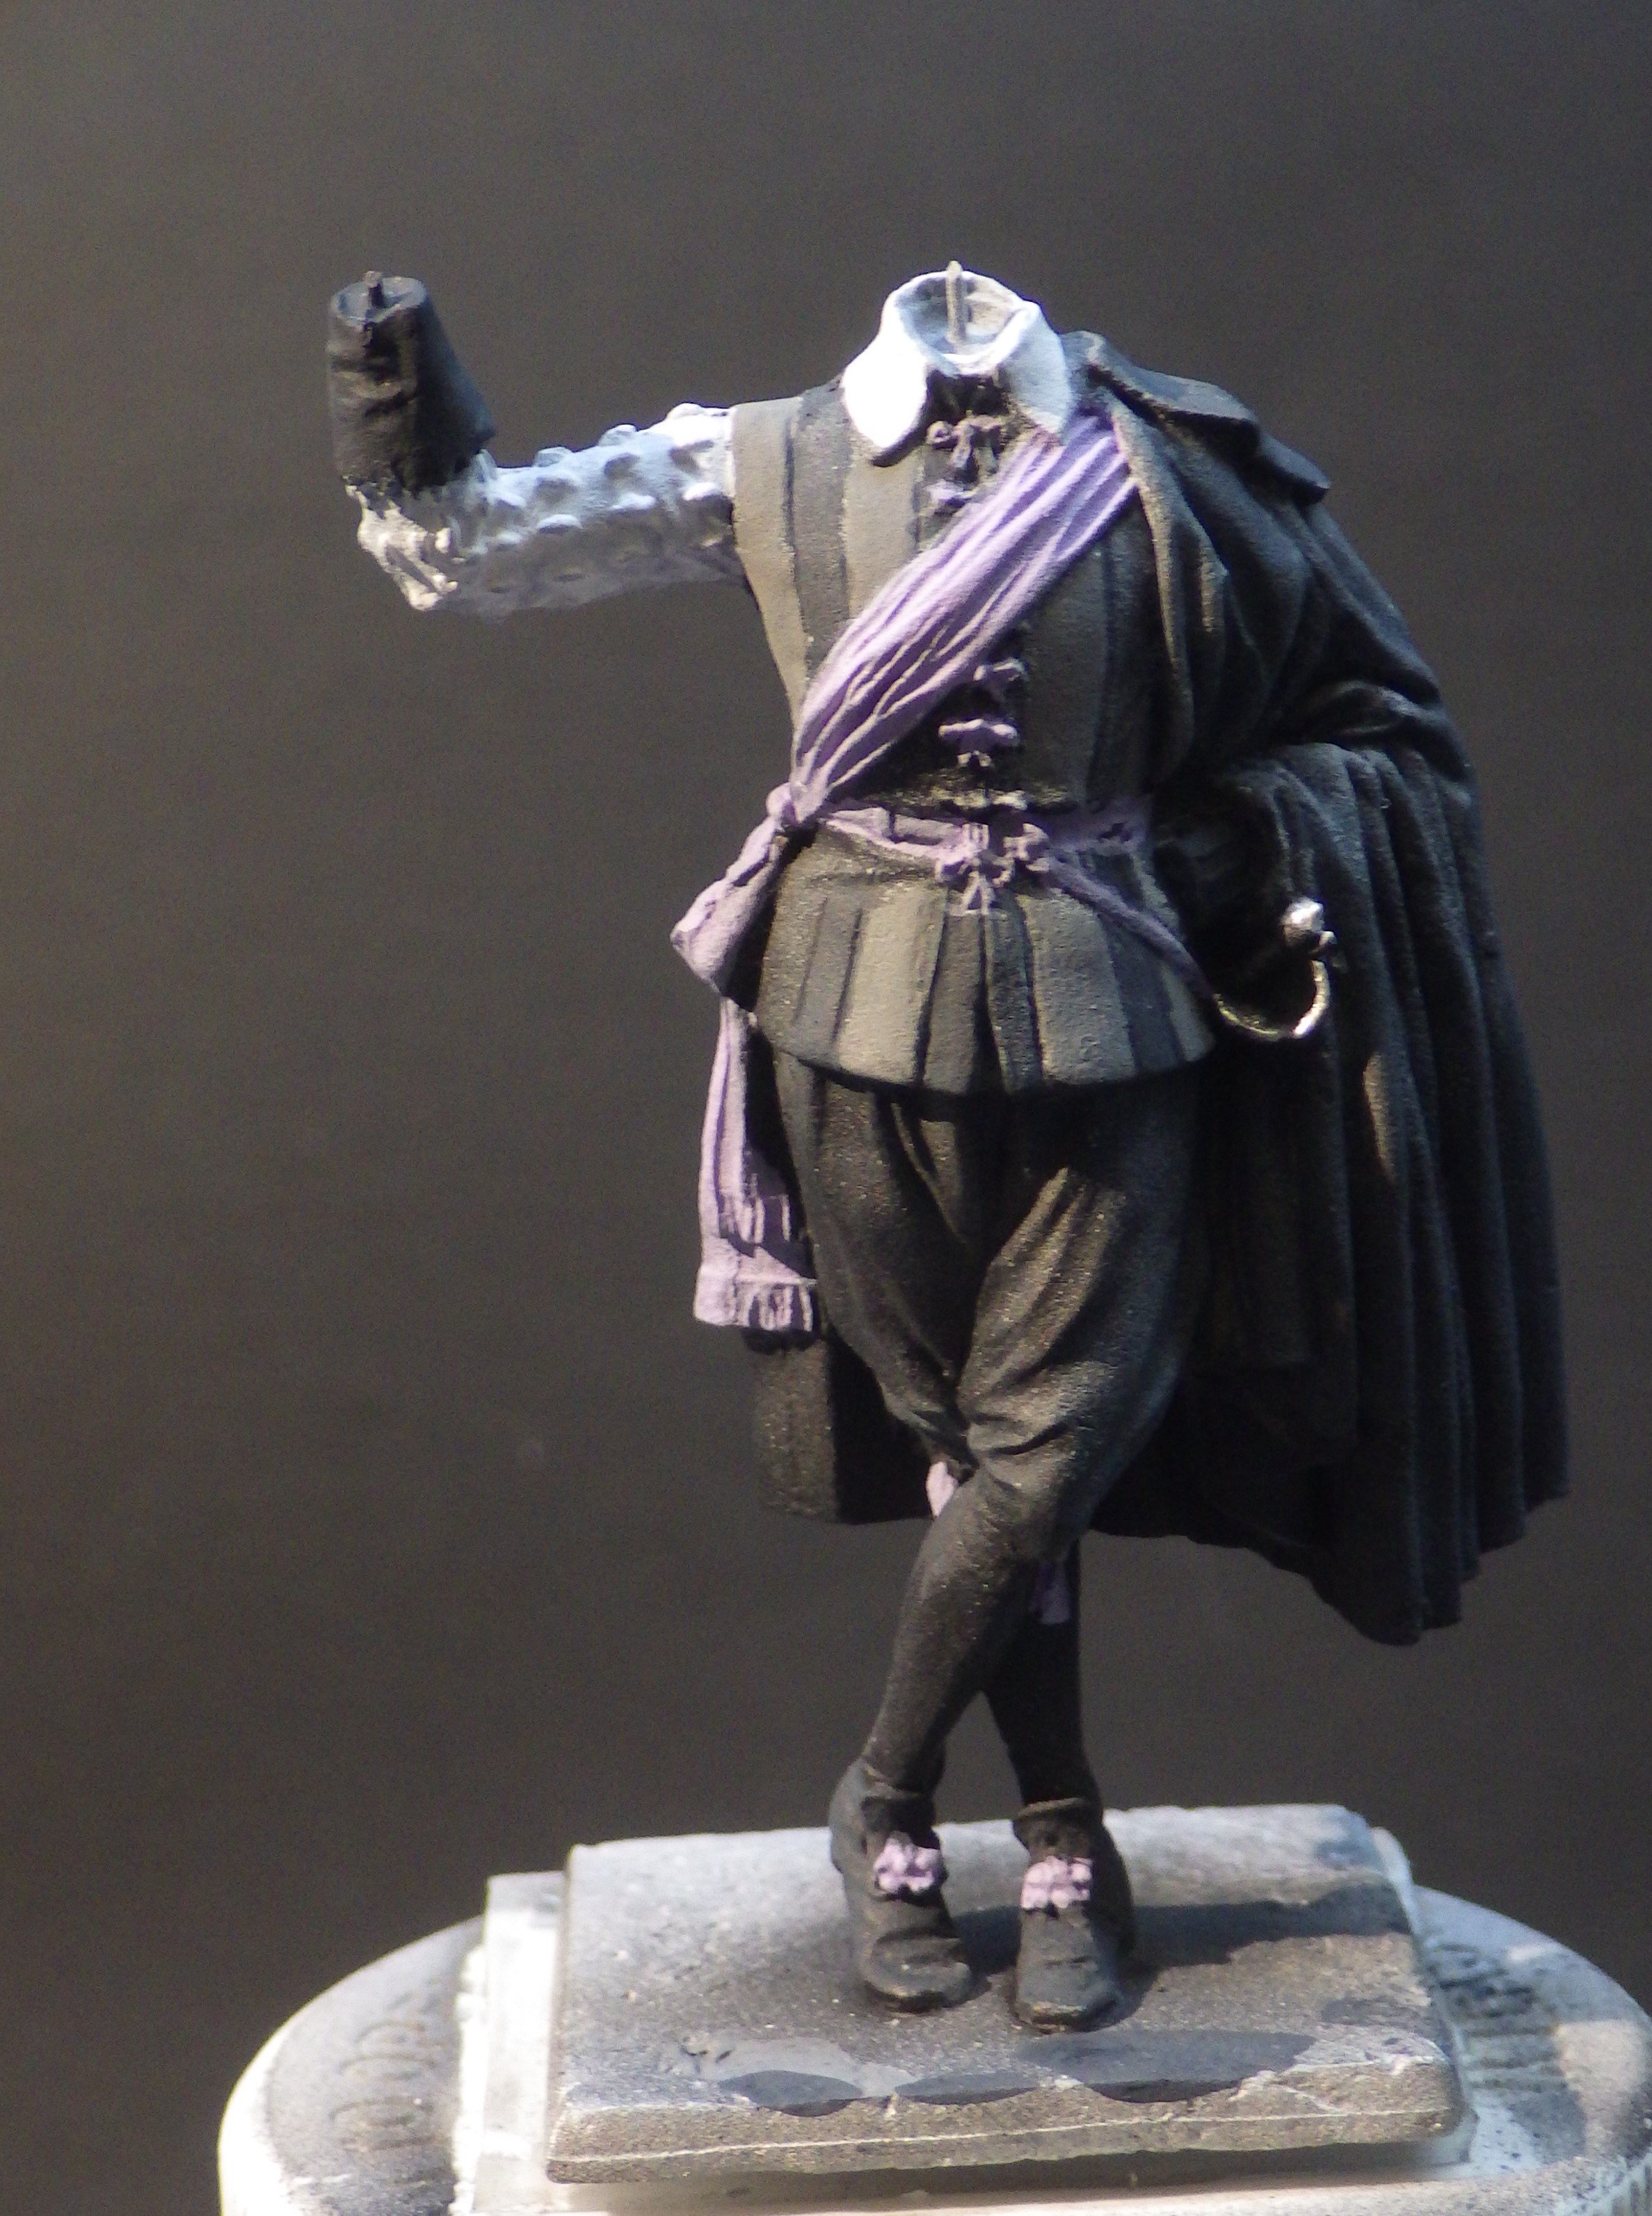
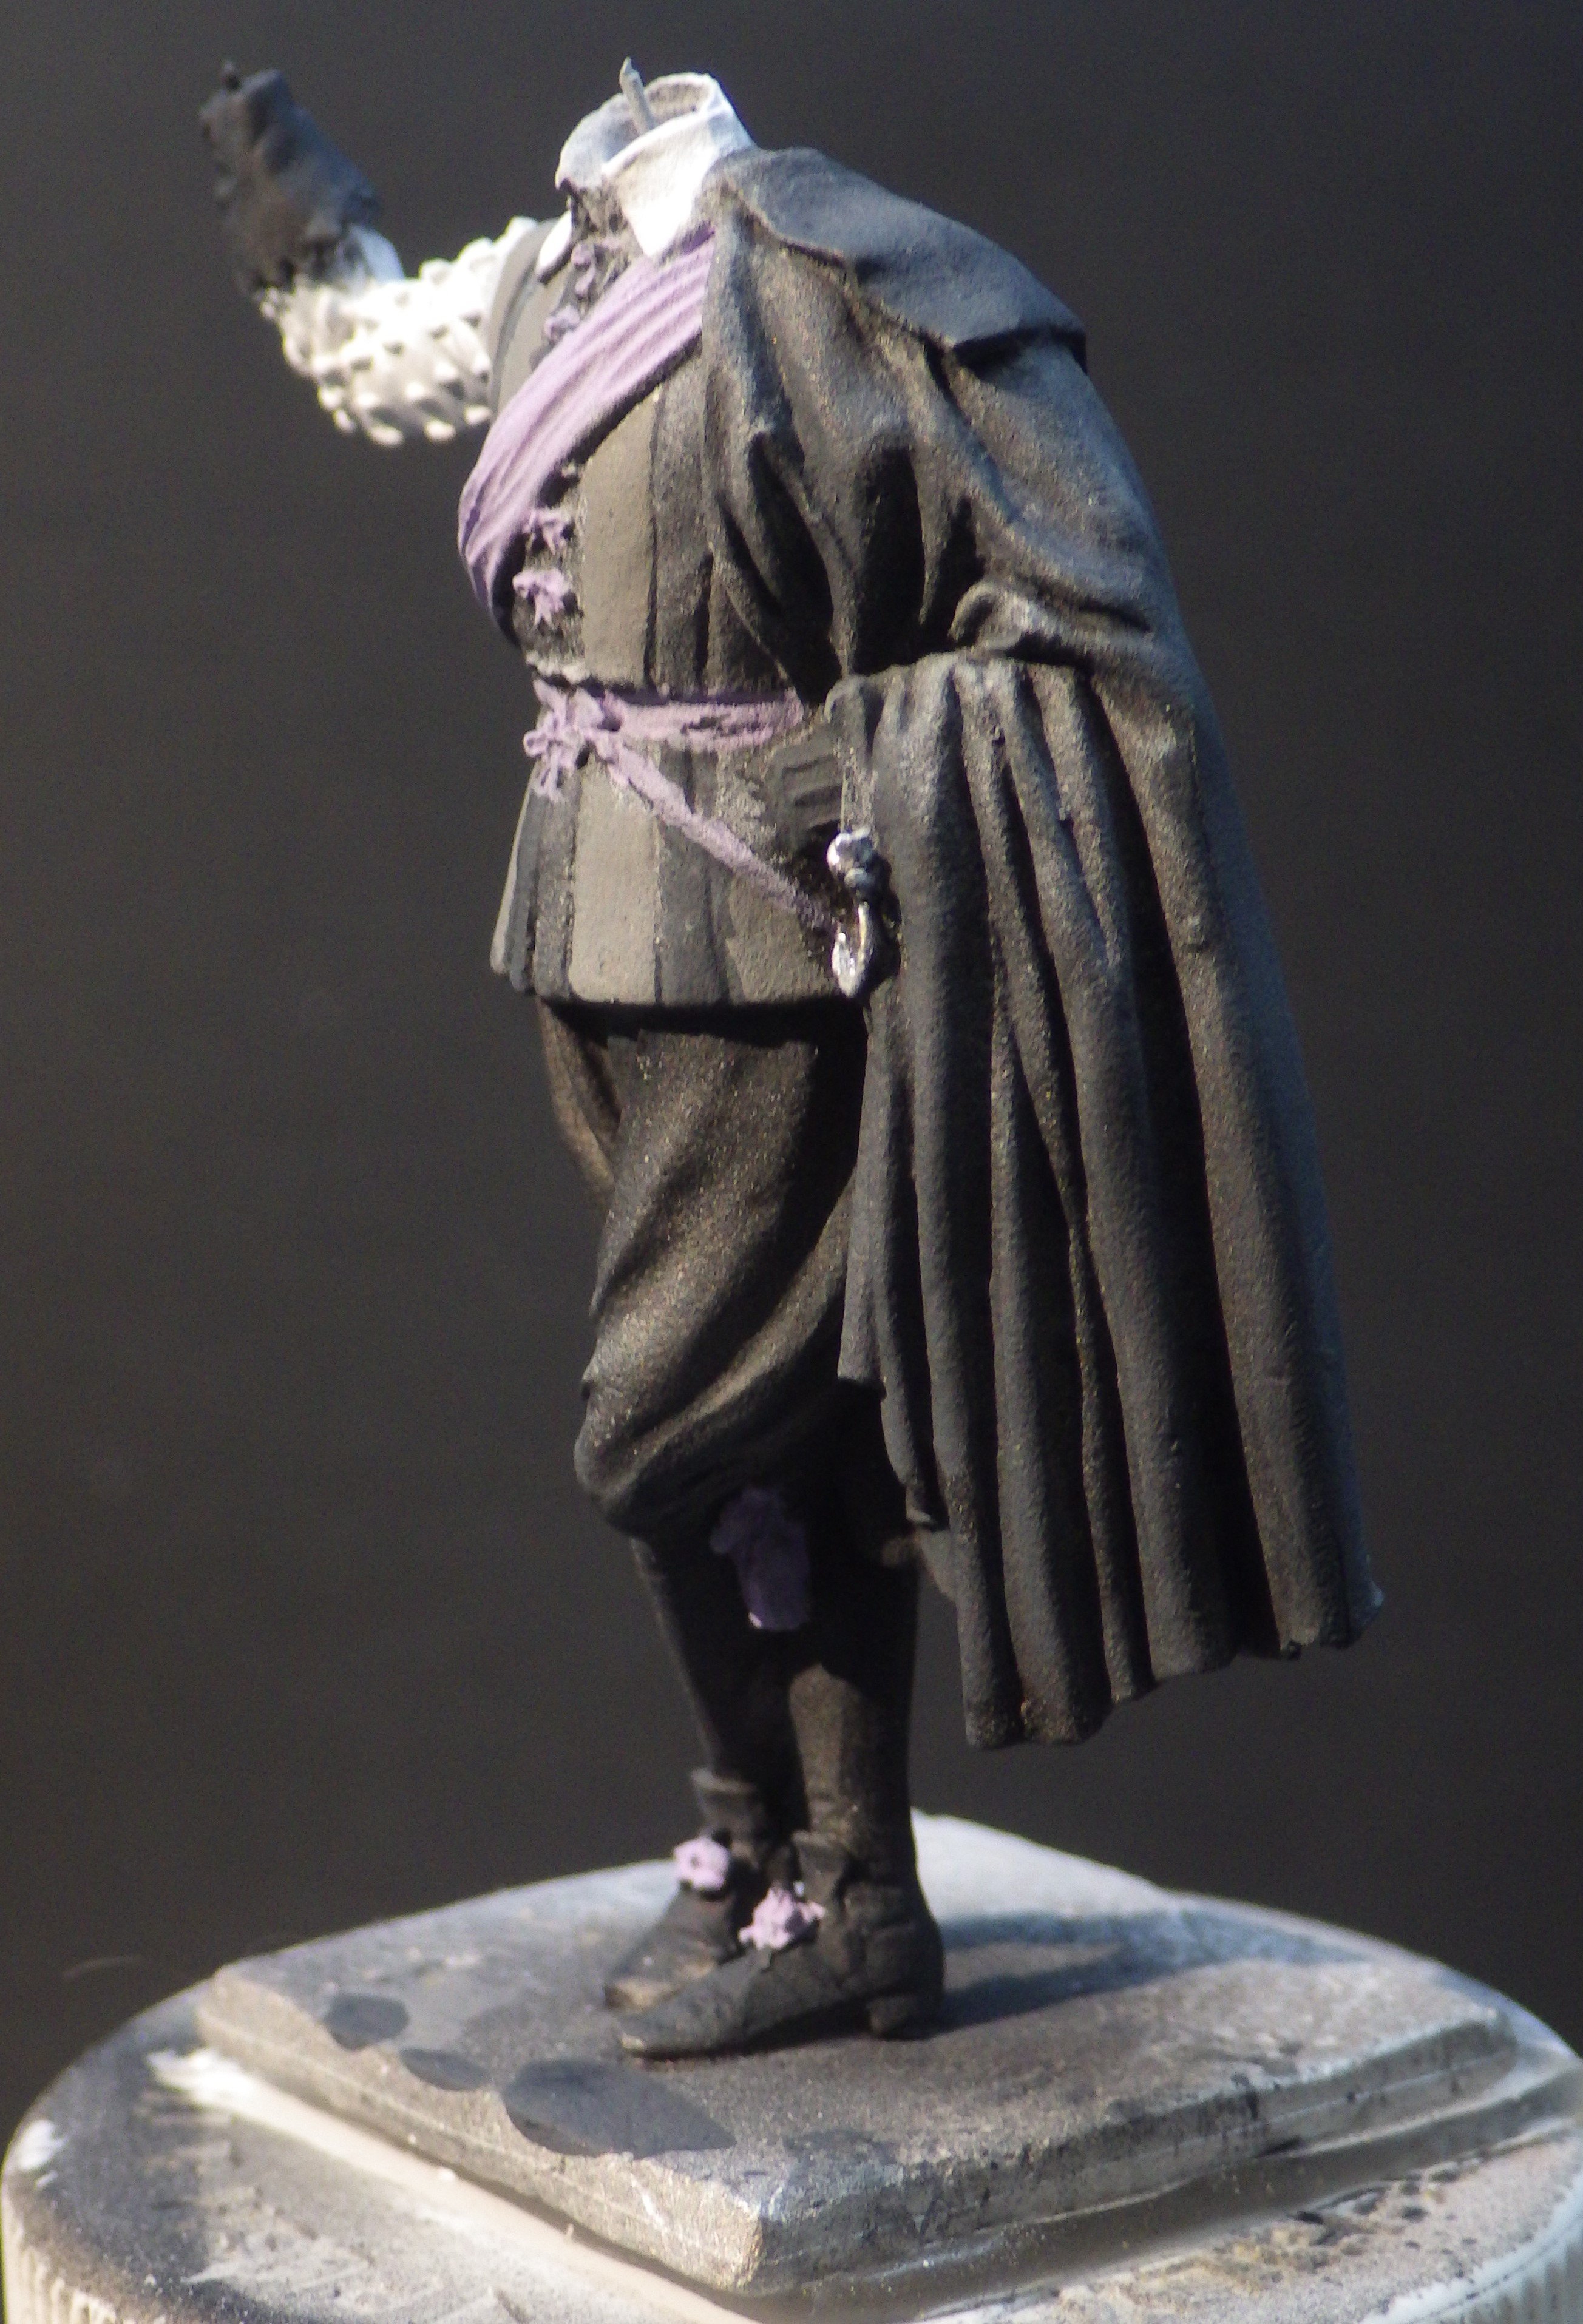
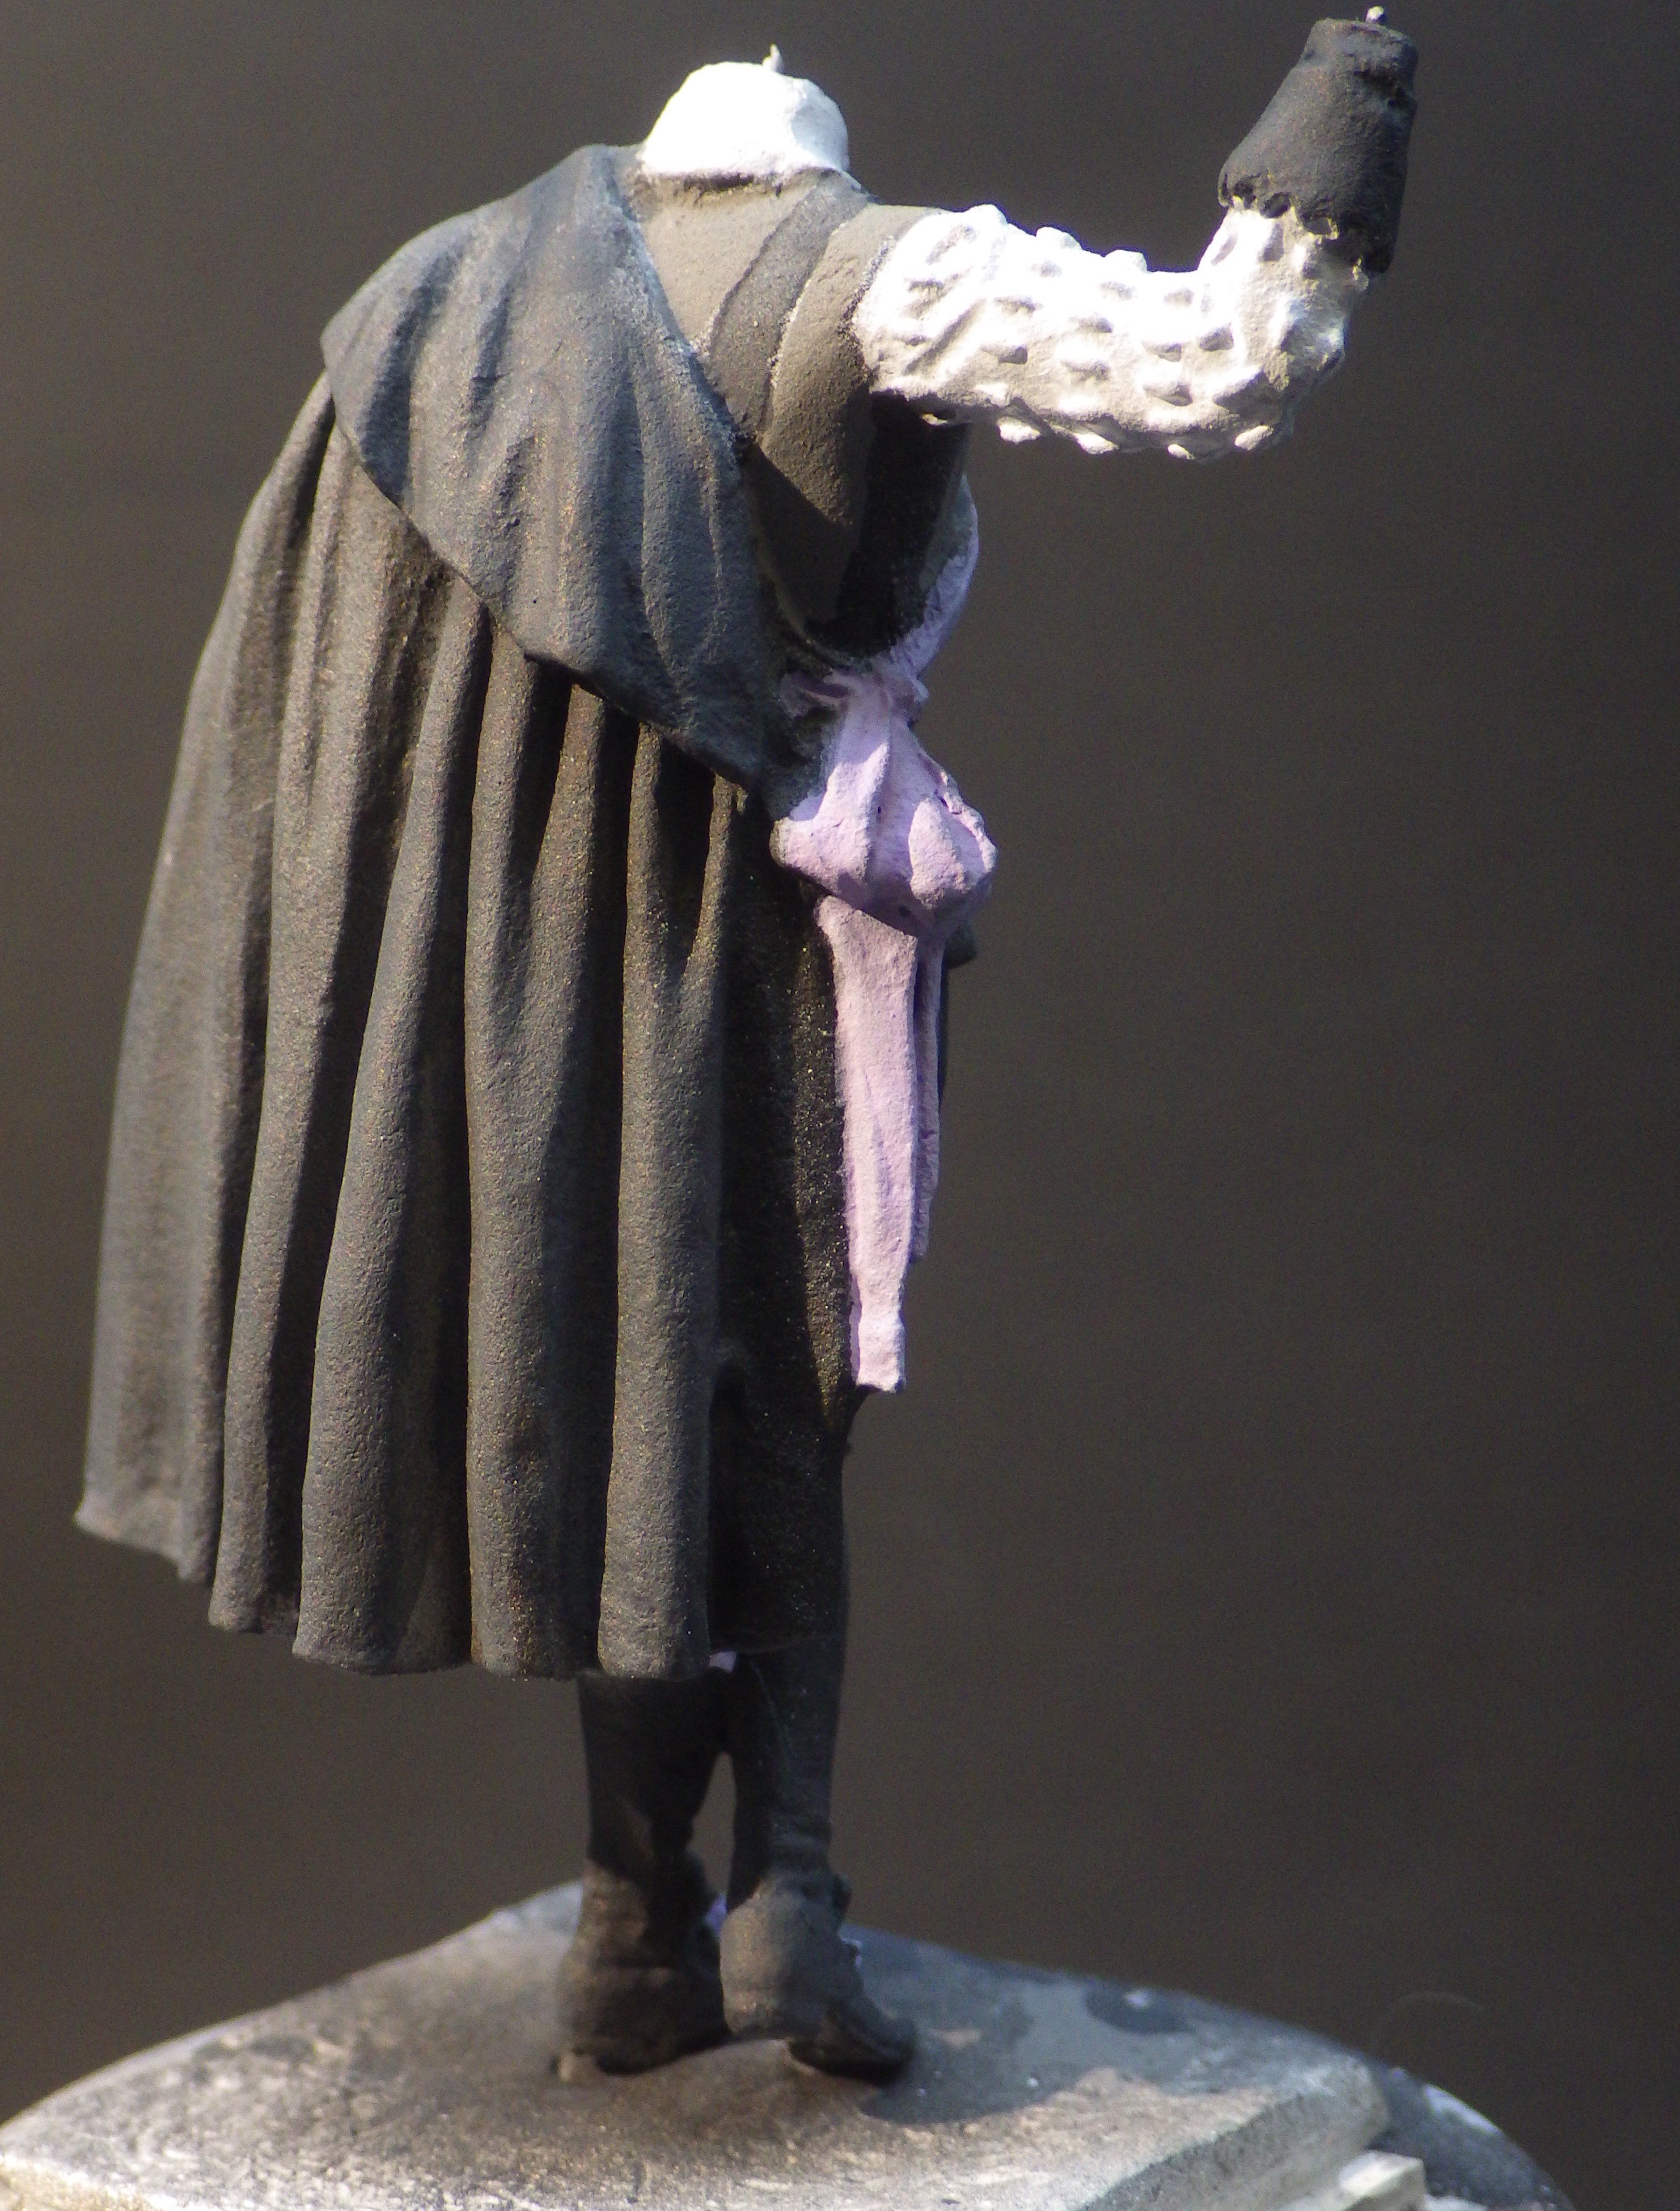
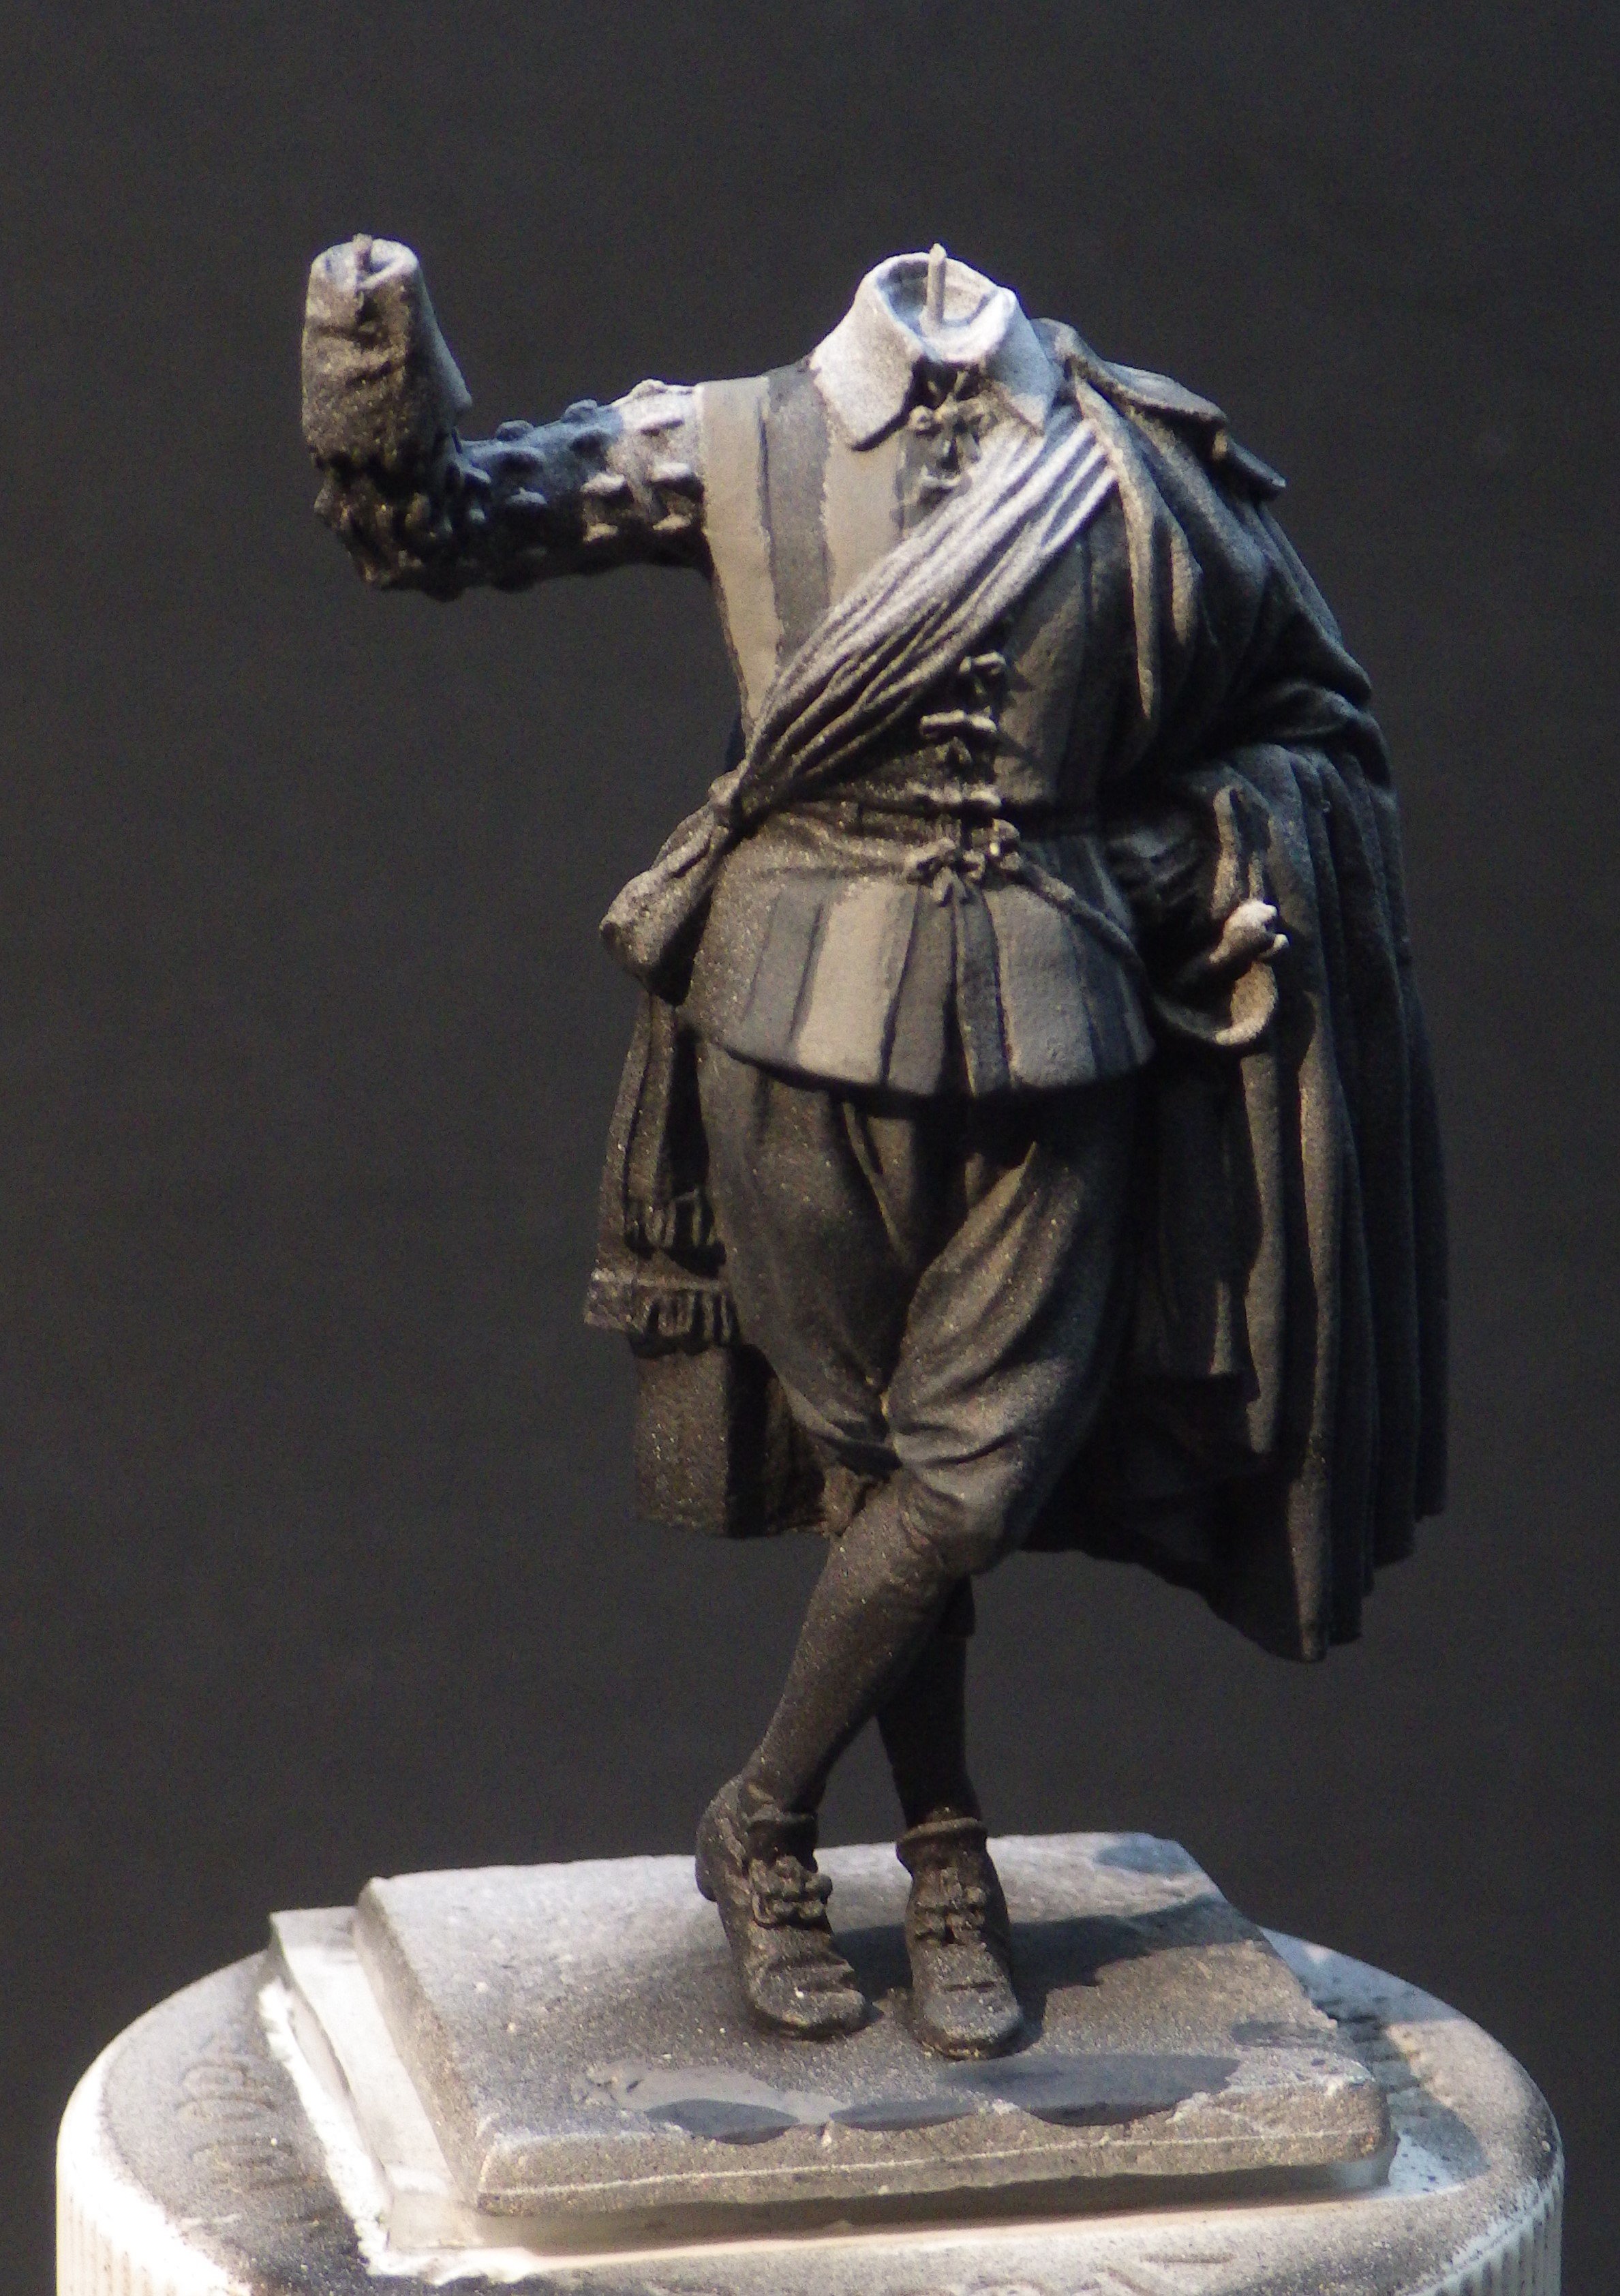
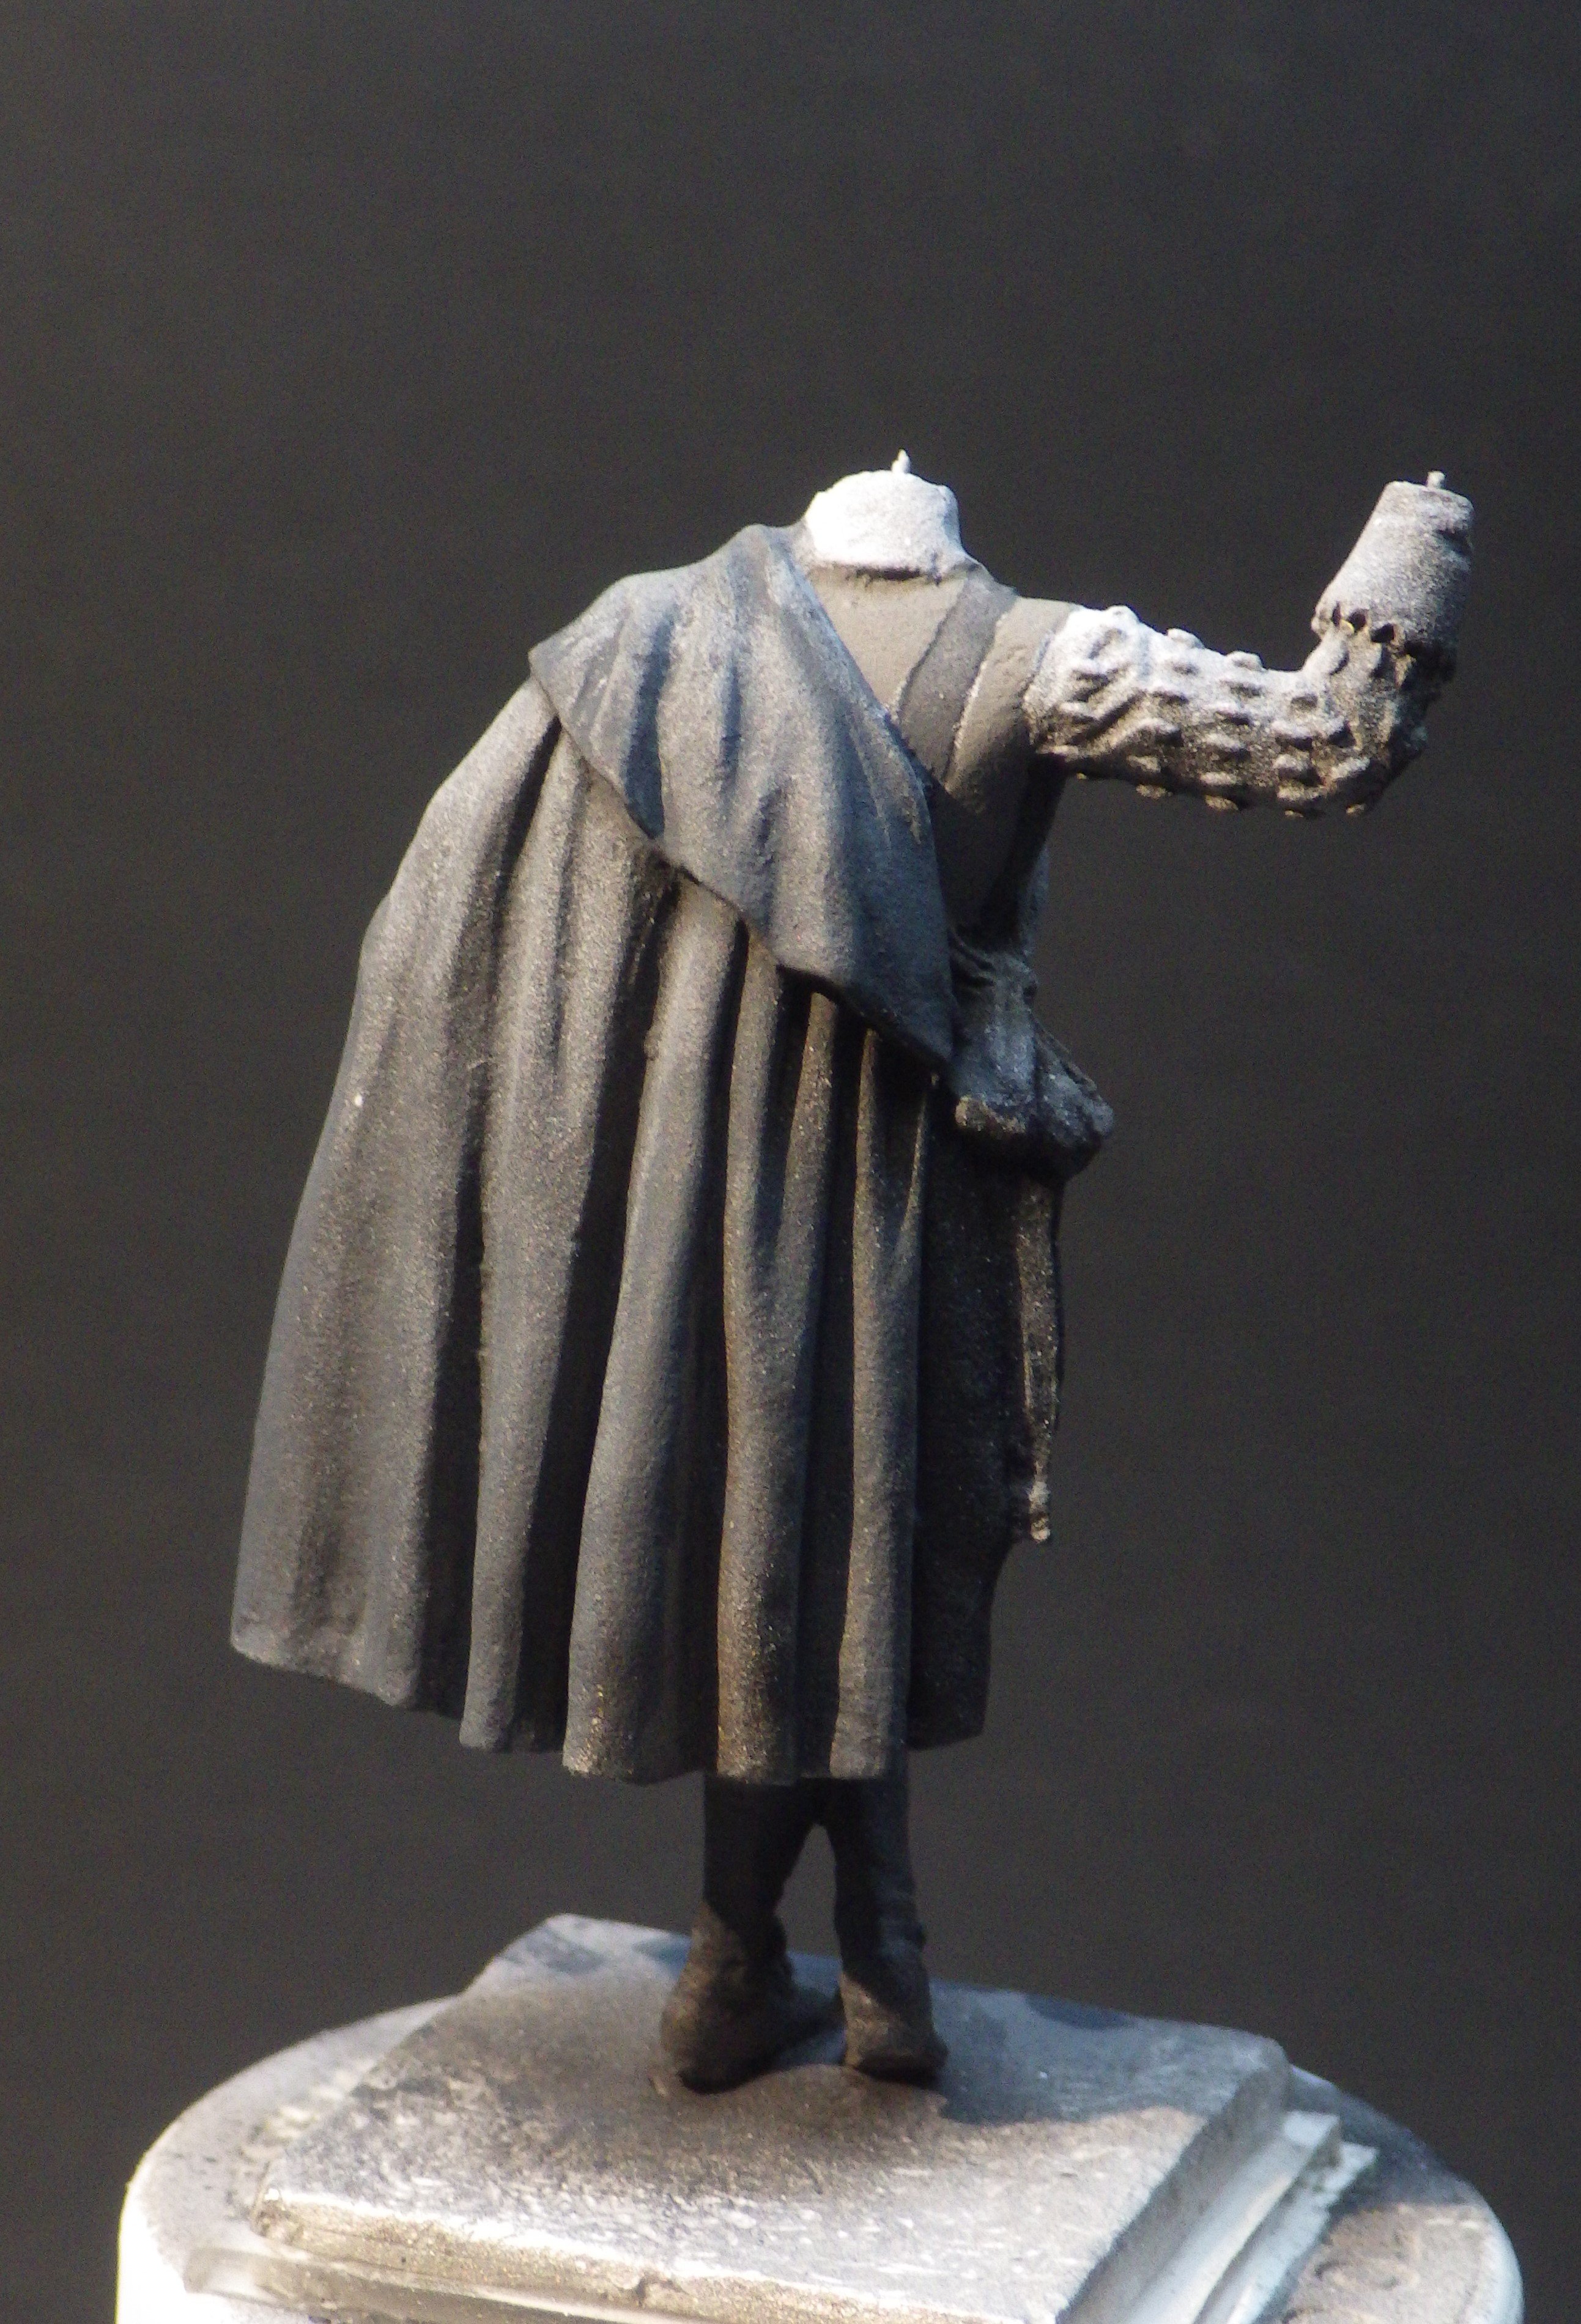
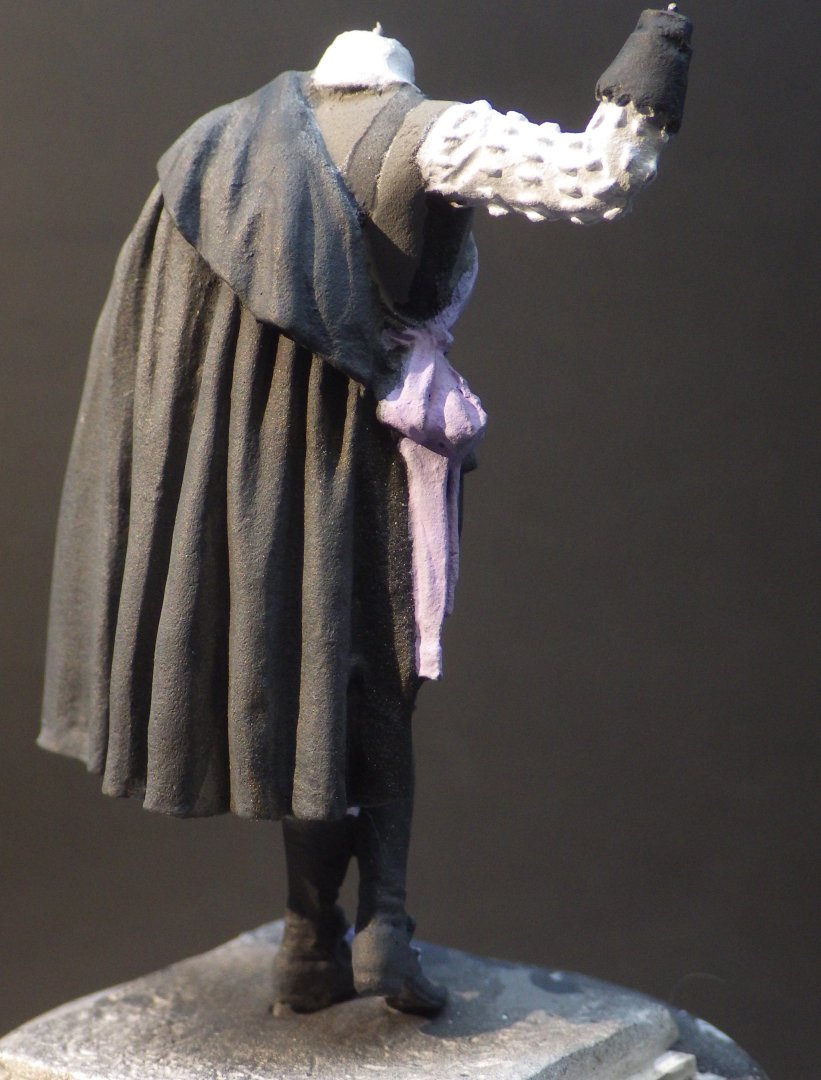
While glue and paint was drying elsewhere I started adding details to this fellow. First I added more glazes of dark grey to teh cape and I think it is now where I want it. Then it was onto the violet details and the white shirt. I've picked out the cast in sword handle. Now I need to add the violet ruches (is that what they are?) on the sleeves and try to seperate the hose and boots a bit better. Then the face and hat. Thanks for looking in and the helpful comments. Alan


-
Thank you all for confirming my thinking. I went with teh Vallejo Dark Grey and it seems to be working out quite well. Alan
-
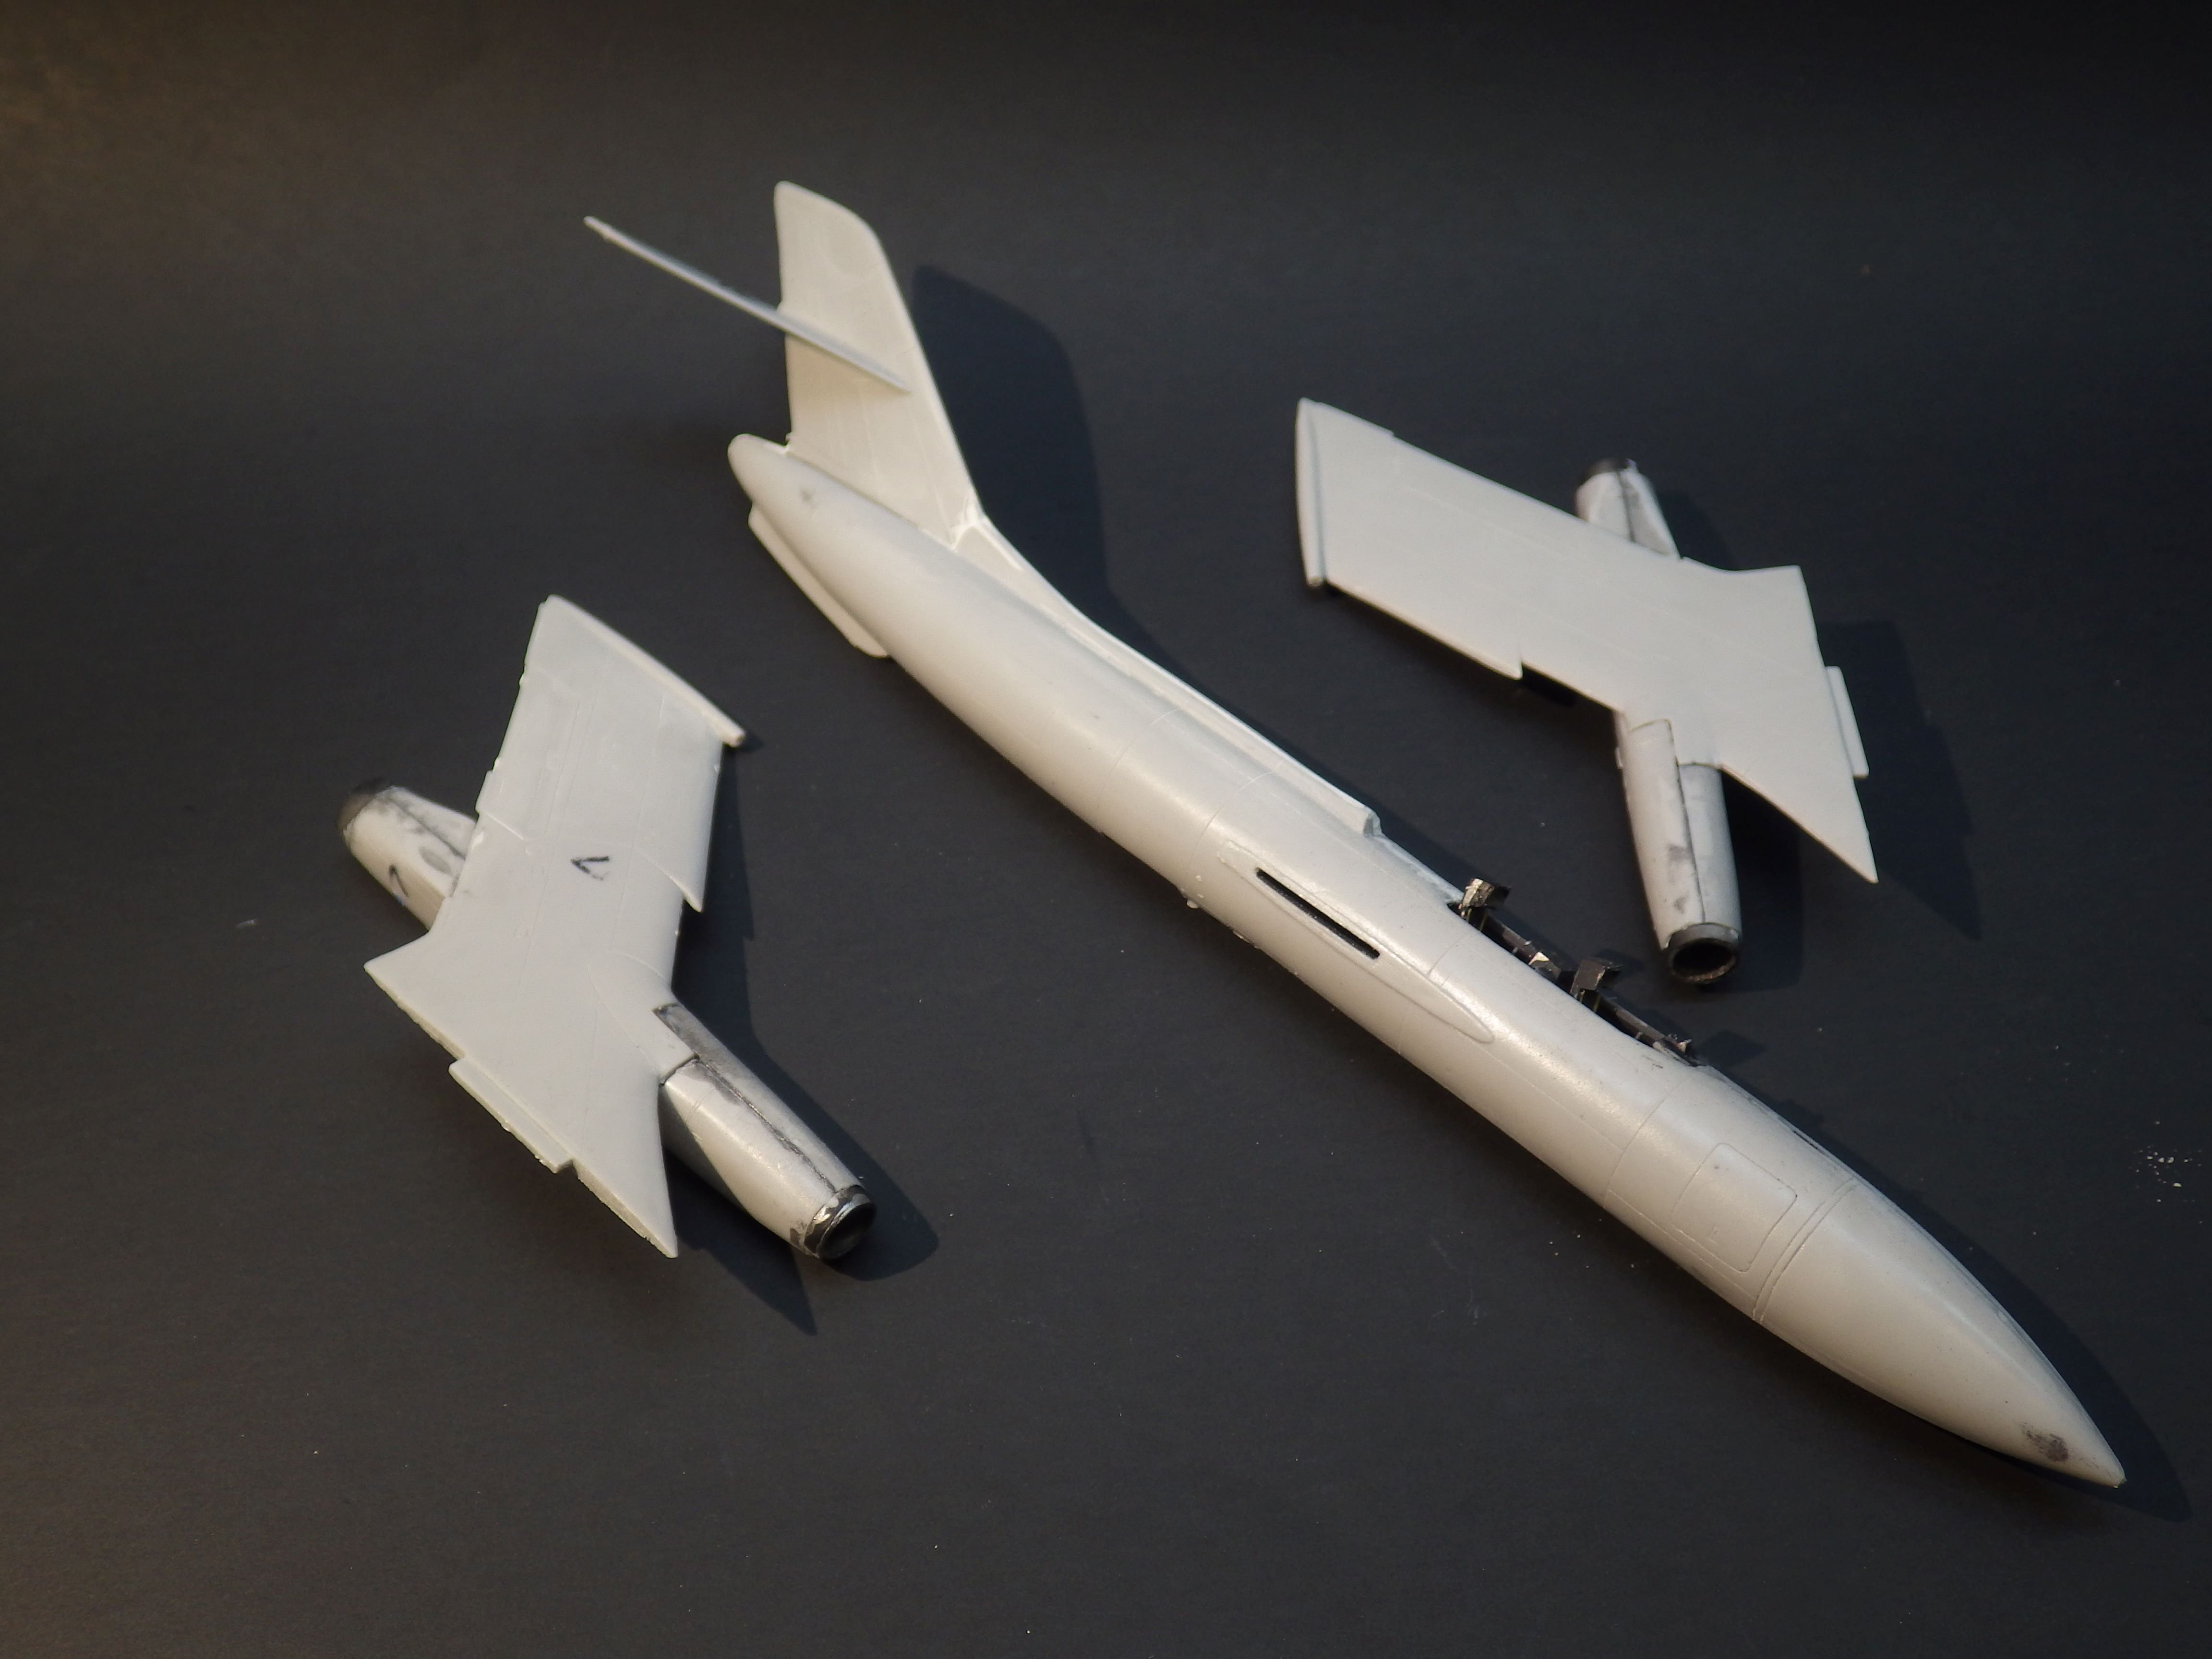
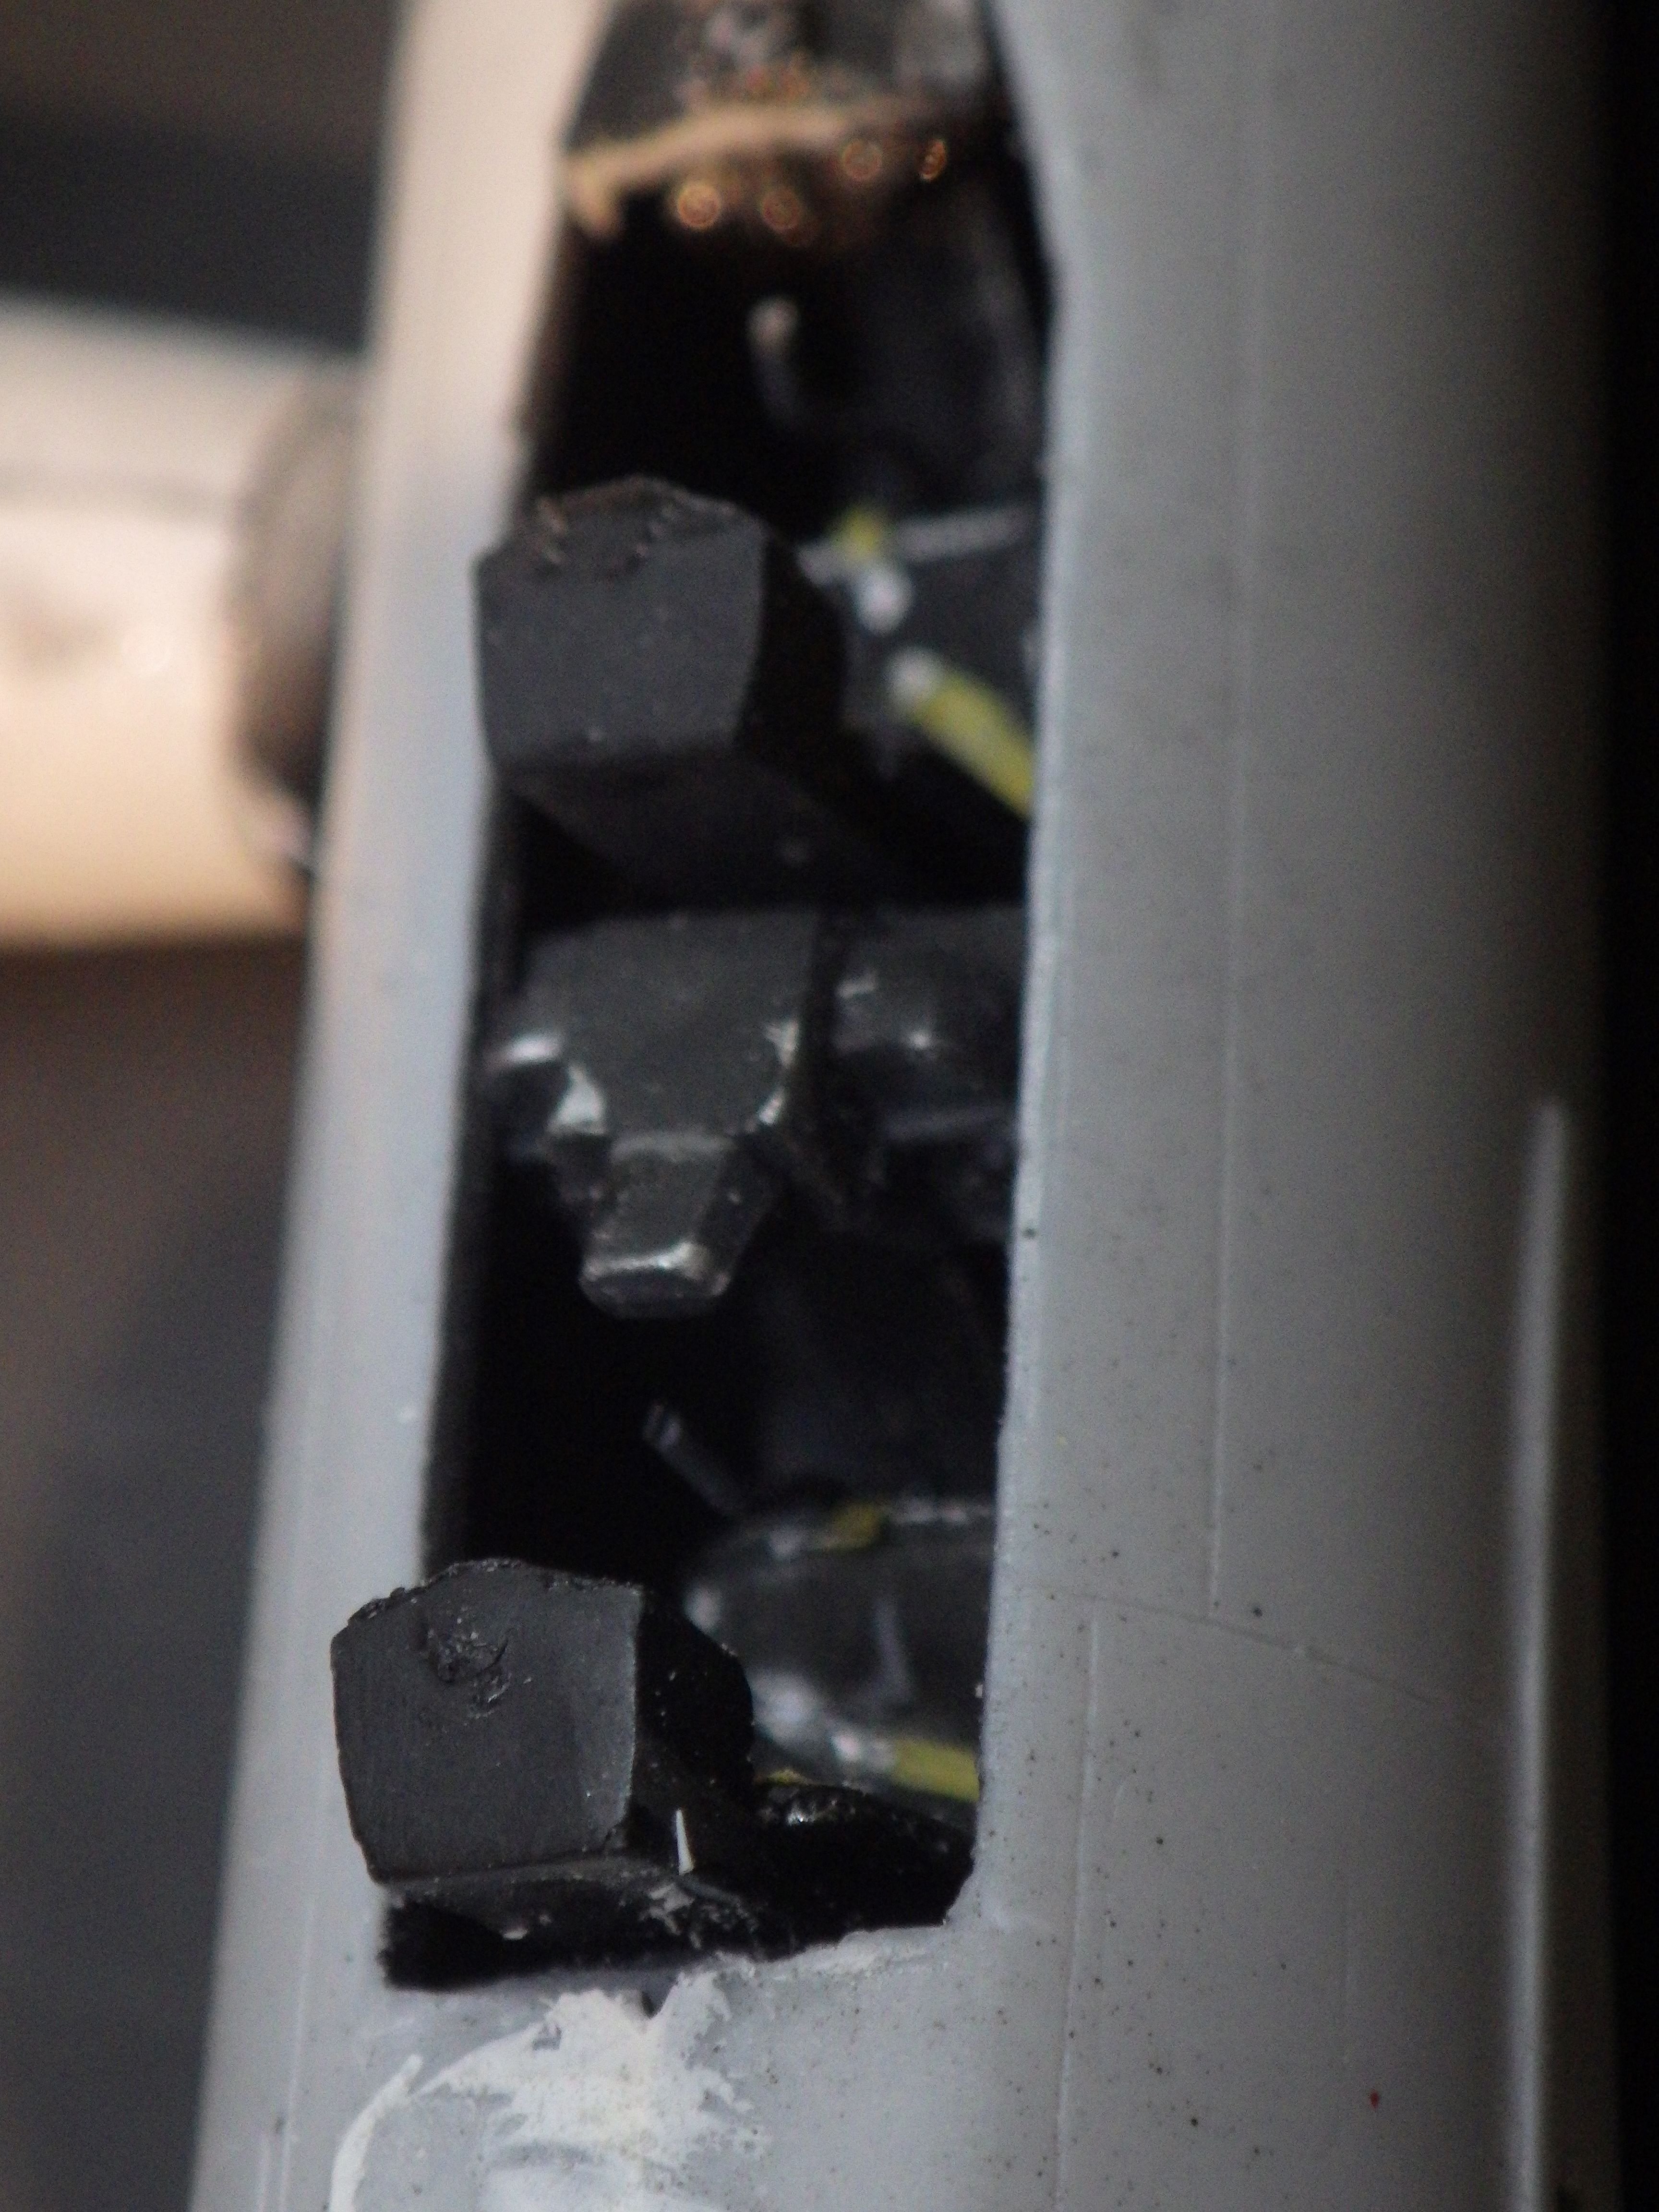
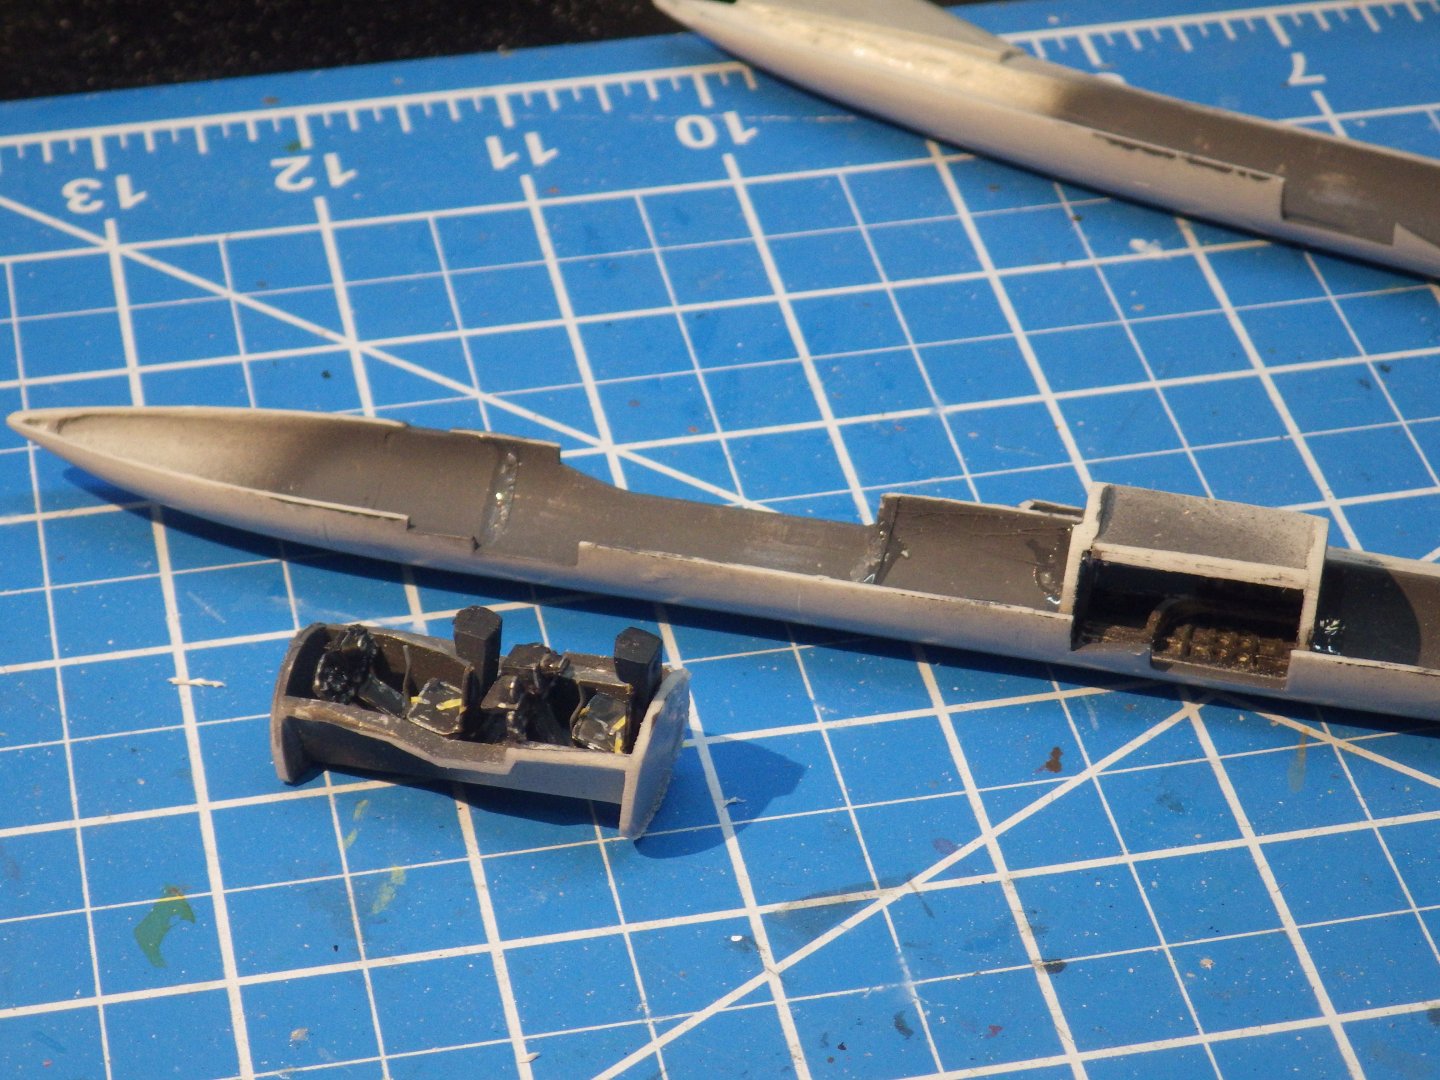
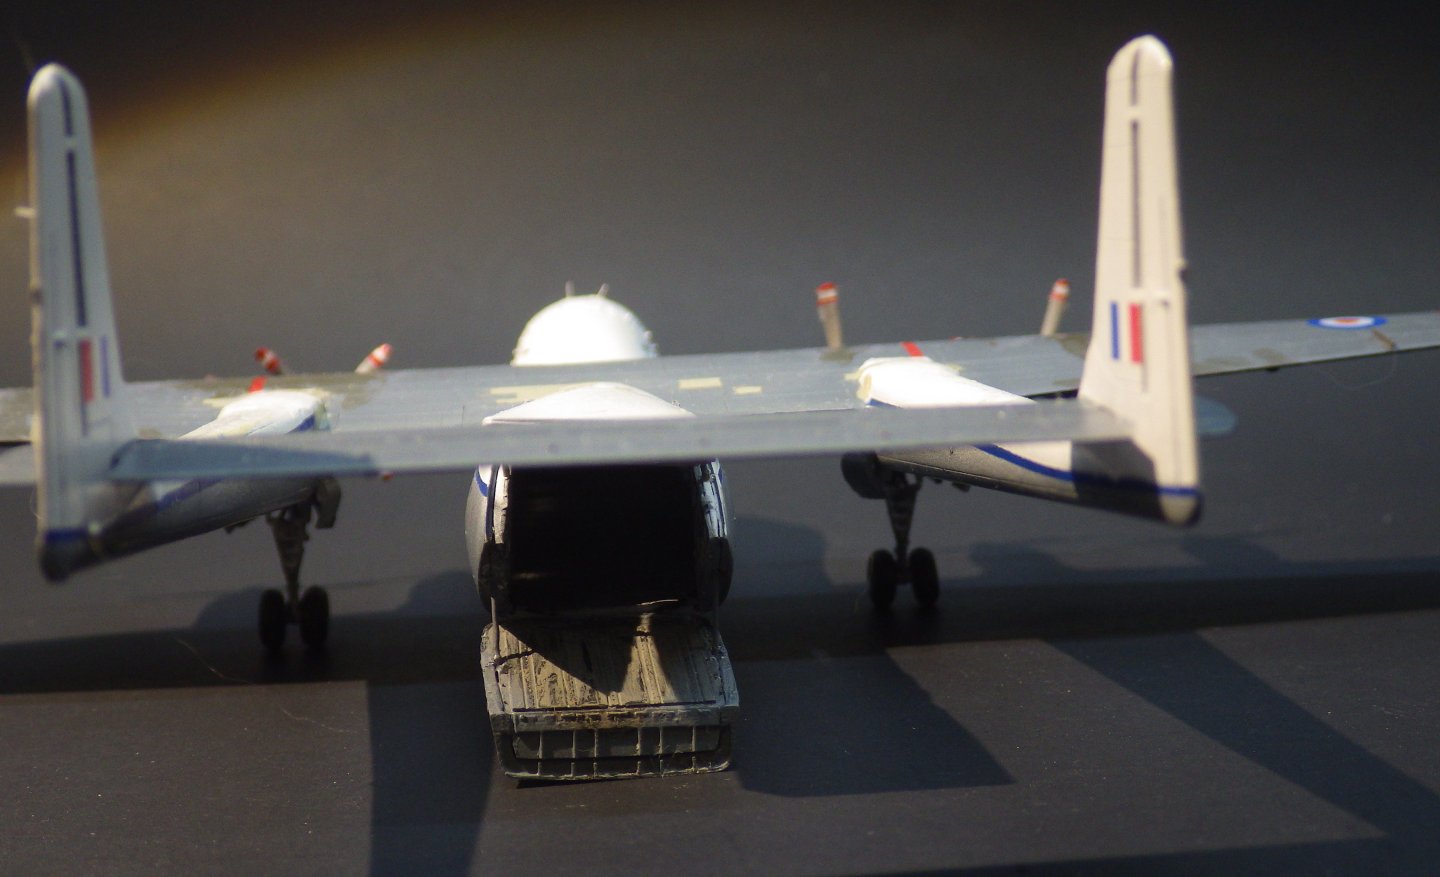
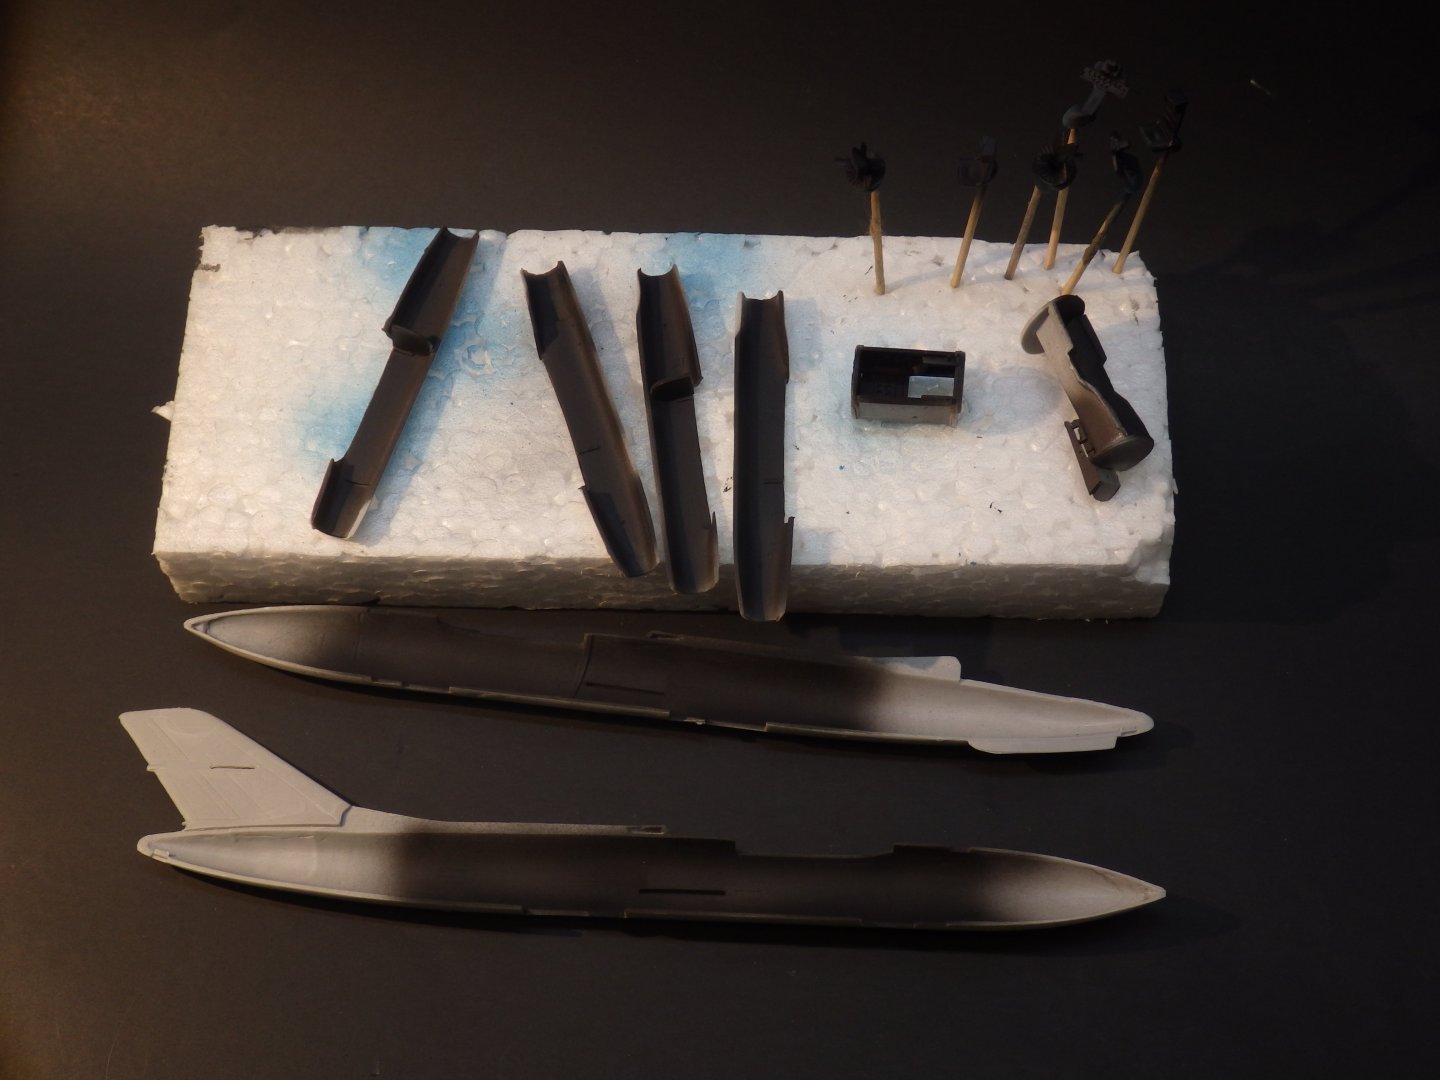
I closed up the fuselage which required a lot of iterations filing the cockpit bucket and nose landing gear bay to fit. The nose landing gear bay was a pale shadow of its initial shape by the time I had got it to fit I made up the wings from the upper and lower halves. Again the sanding sticks and files were an essential part of the process. I then had a look at the engine nacelles. The kit provides a first stage compressor and a final turbine stage with spray ring for the afterburner. They don't fit. I had to do some significant work with the files and reduced the sides almost to teh spray ring before it would fit. Those oval turbine wheels never really caught on! I originally thought I would paint the nacelles separately from the wings but fit checks showed that a lot of filing and filling was going to be necessary so I thought I should get it together before the primer goes on and get the gaps sorted out. The compressor / turbine discs wont be seen unless someone is very determined. Dry fit suggests the wings will actually go on okay. My fancy forward instrument panel is lost forever now that teh cockpit is closed up I'm moving a bit slowly with this one because I am letting the glued joints set overnight to withstand the violence with the sanding sticks that will follow. Thanks for looking in and the likes and comments Alan


- 89 replies
-
- 13
-

-

-
Thank you for the kind comment. Although it was rough in terms of fit and flash the details are impressive right down to the PE turbulence control vanes over the flight deck. Alan
-
Thank you very much Mike. The Yak is the last of my planned exploration of east European kits and it looks like it’s going to have its moments. Lots of filing and filling. I have promised myself the next will be something from the opposite end of the market and will be back in the ship page. Something Flyhawk I’m thinking. alan
-
Looks like it’s TS Helene now but a cat 3 on landfall. Definitely needs watching. I hope you will miss any severe stuff. alan
-
Looking very good Yves. It has to be a little stressful working just above those delicate luggage racks alan
-
Thank you very much Andrew. It must be old age but I find I have a lot of affection for the aircraft produced by British aviation prior to the forced amalgamation of most of the great old names. I remember the hangers at Boscombe Down in 1972 having so many different types. Lightnings, Javelins, Canberras, Hunters, Sea Vixens. It would make an interesting project to build one of everything that I saw there that year. alan
-
Thank you very much OC. A bit of a struggle at times and my inexperience shows but I’m really happy to have built something from the high days of post war British aviation when there were so many different types around. alan
-
Eye problems are very scary. I hope this gets resolved quickly and effectively. Good luck alan
-
I completely agree with you on this. They uncompromising companionship and loyalty and brighten the worse days. Congratulations on Ruby. paint finish is astounding and well worth the care in letting it cure completely. Alan
-
Excellent weathering Jav. You’ve done a great job on this one. alan
-
She’s beautiful. I wish you many long years together alan
-
F-51D Mustang by ERS Rich - Tamiya - 1/32 - PLASTIC
king derelict replied to ERS Rich's topic in Non-ship/categorised builds
I’ll be using the Vallejo metal paints on my YAK-27. Any tips on air pressure and needle / nozzle size? I have some of their gloss black primer on order. Thanks alan -
F-51D Mustang by ERS Rich - Tamiya - 1/32 - PLASTIC
king derelict replied to ERS Rich's topic in Non-ship/categorised builds
Super metal finish alan -
The last two photos could be the real thing although for ultimate realism there probably needs to be a draft of cigarette ends on the floor 😃 Absolutely brilliant alan
-
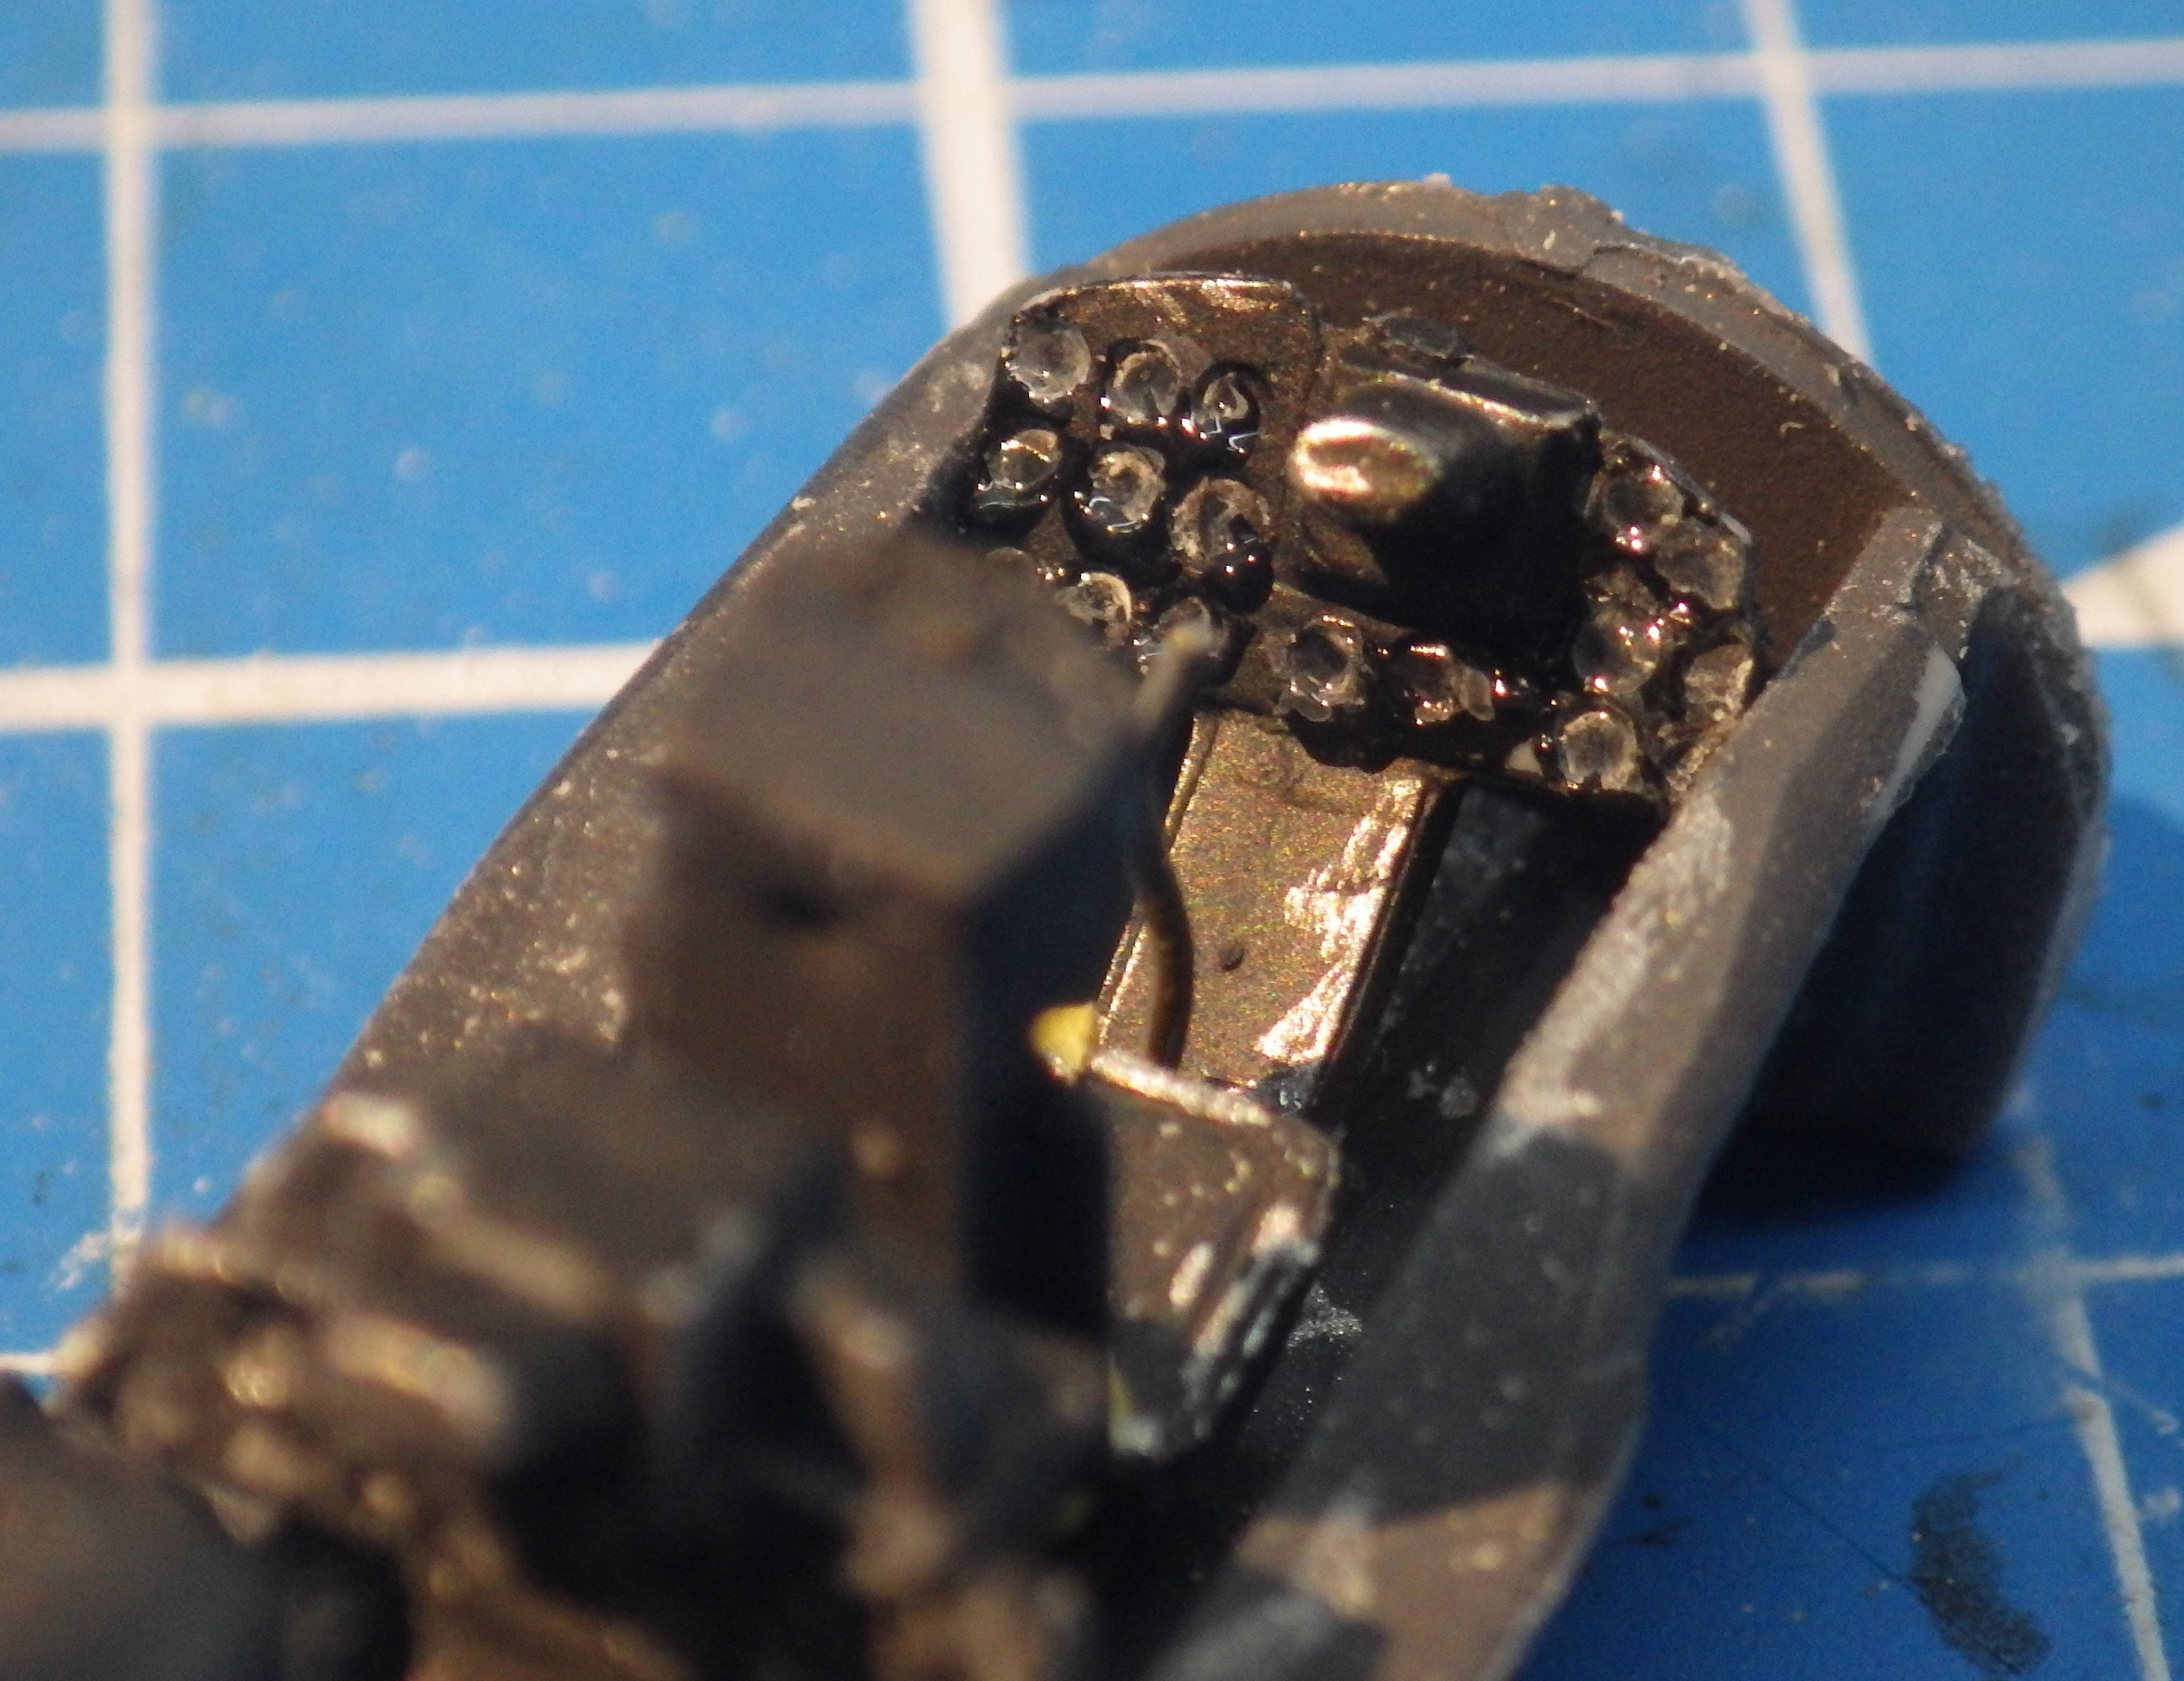
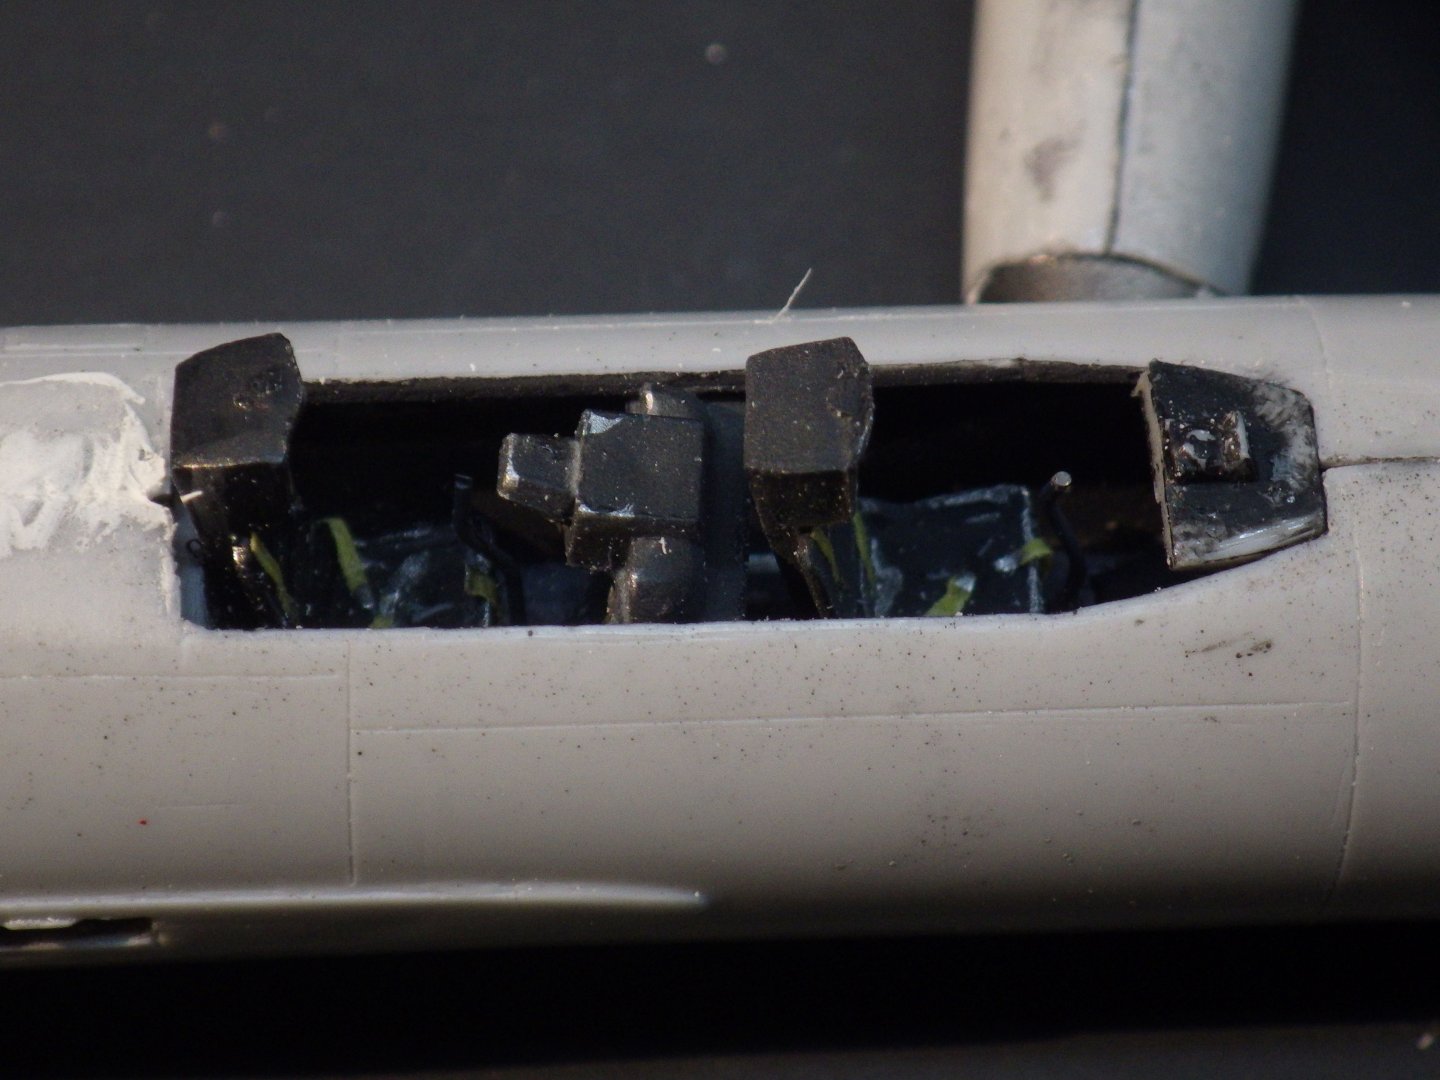
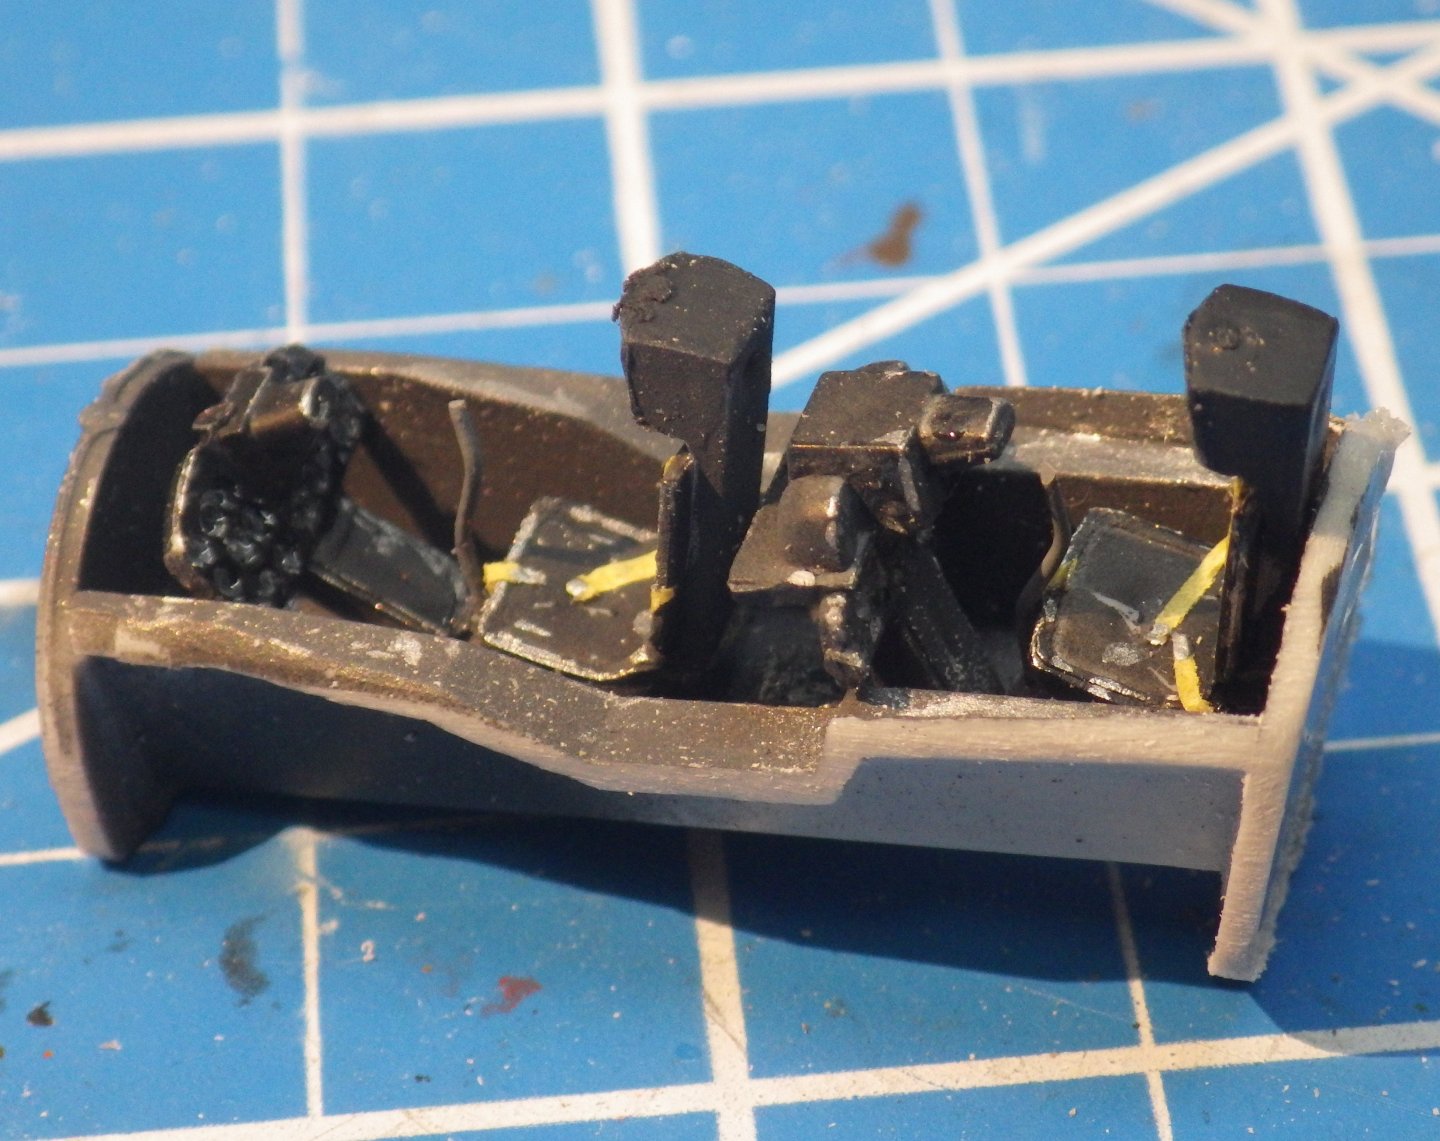
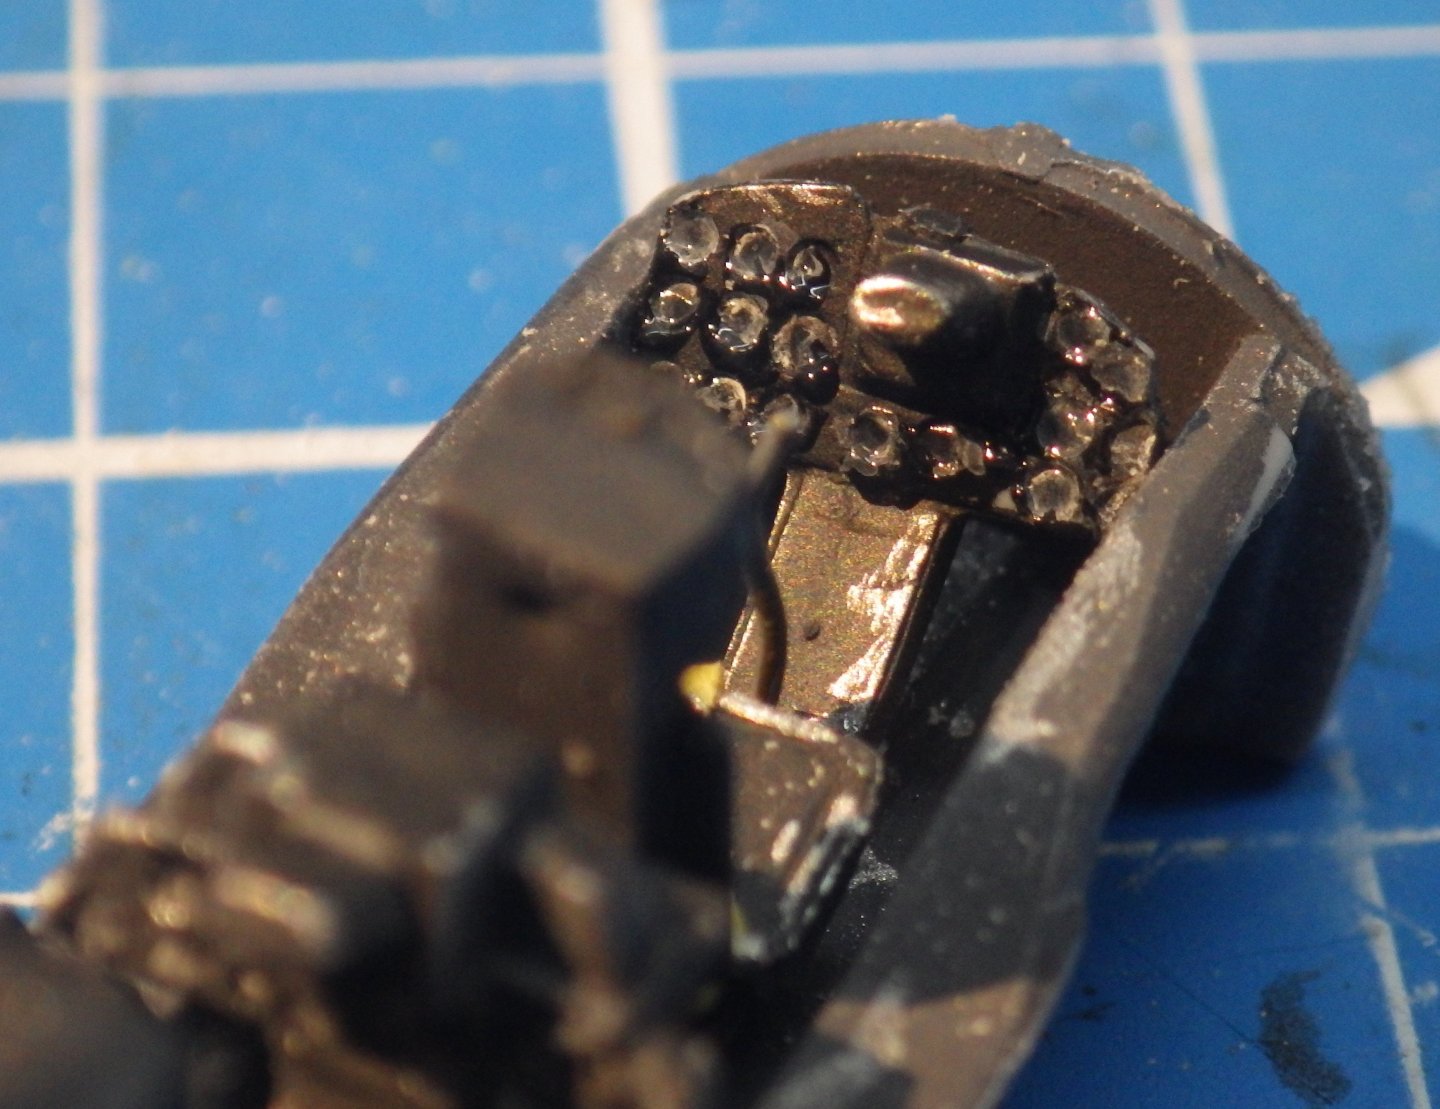
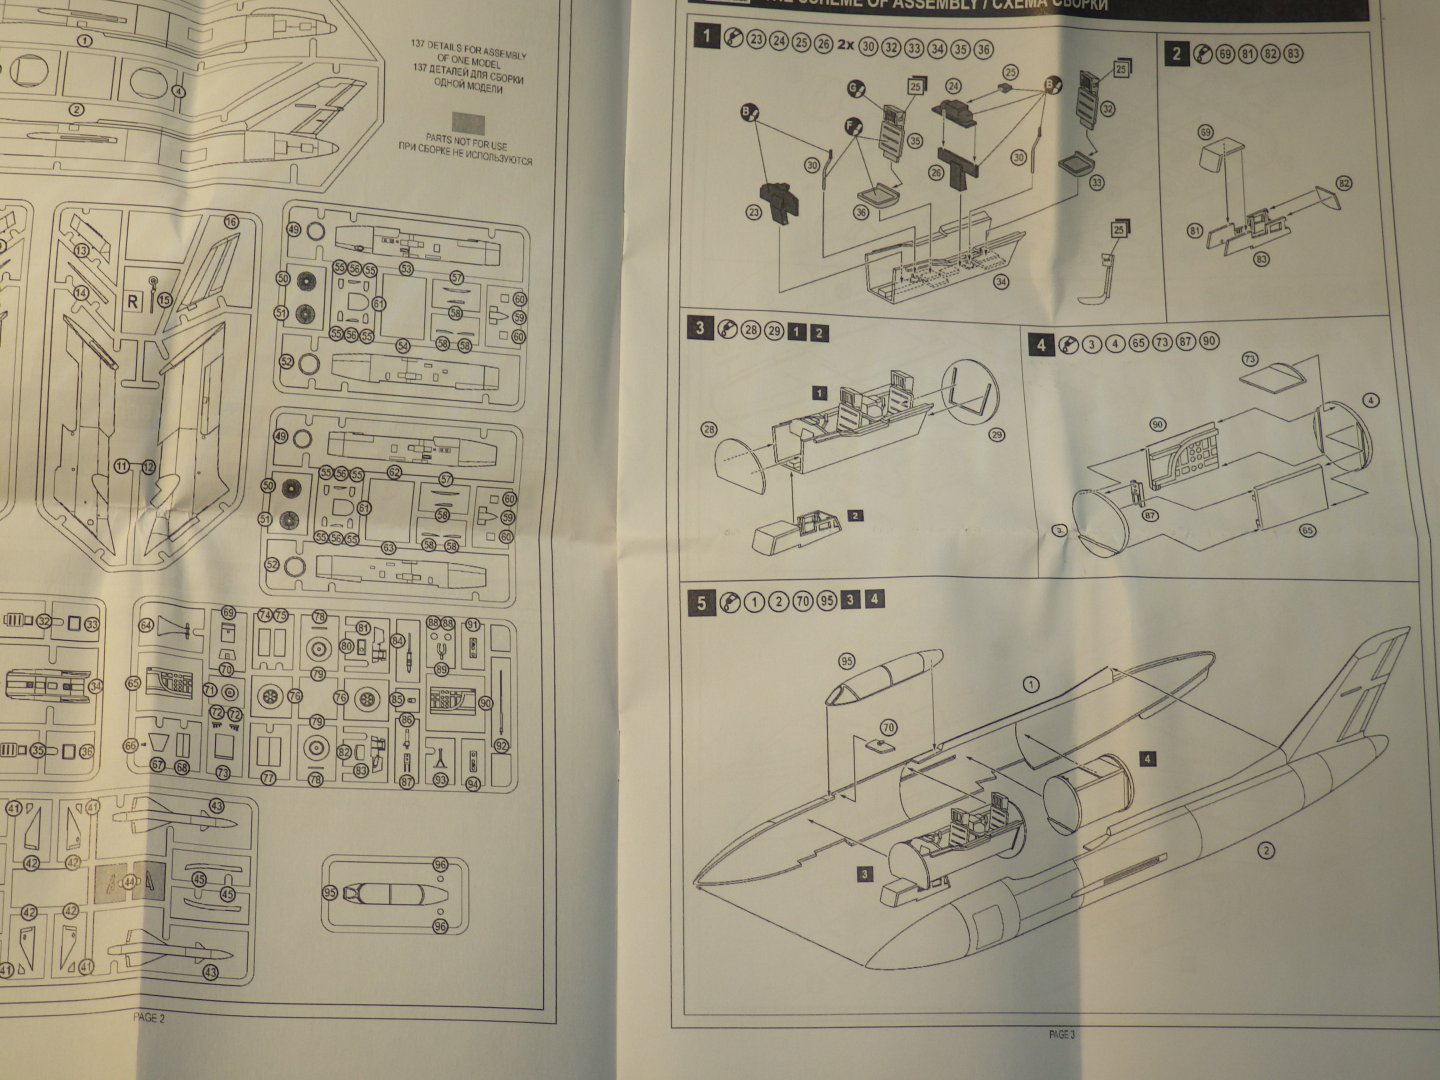
I started putting things together and have already got a flavour of how things may go. I started with the cockpit tub and the first problem was trying to fit seats and instrument panels. As shown there just isn't room. I sanded the bottom of the rear panel to set it at a different angle which gave be just enough space to the front seat. I dumped the joysticks, they were a mess of flash and were far too tall unless Yaks of the 50s used eye level sticks. I made a pair from 0.5 mm brass rod. The instrument panels have dials sunk into them. I used very dilute white paint in each dial which had the effect of highlighting the rims and giving a bit of depth. A dab of Gators Grip acted as the glass. It will never be seen once closed up but it came out quite well. The rear bulkhead is requiring some heavy-duty sanding to allow the two fuselage halves to come together. A bit more work still needed and I may need to adjust the front IP too. I also made up the rear main landing gear bay and had to get pretty savage with teh sanding sticks there but it does not fit and the uselage will close back there Thanks for looking in and the likes and comments Alan
- 89 replies
-
- 10
-
-
Welcome Dave
-
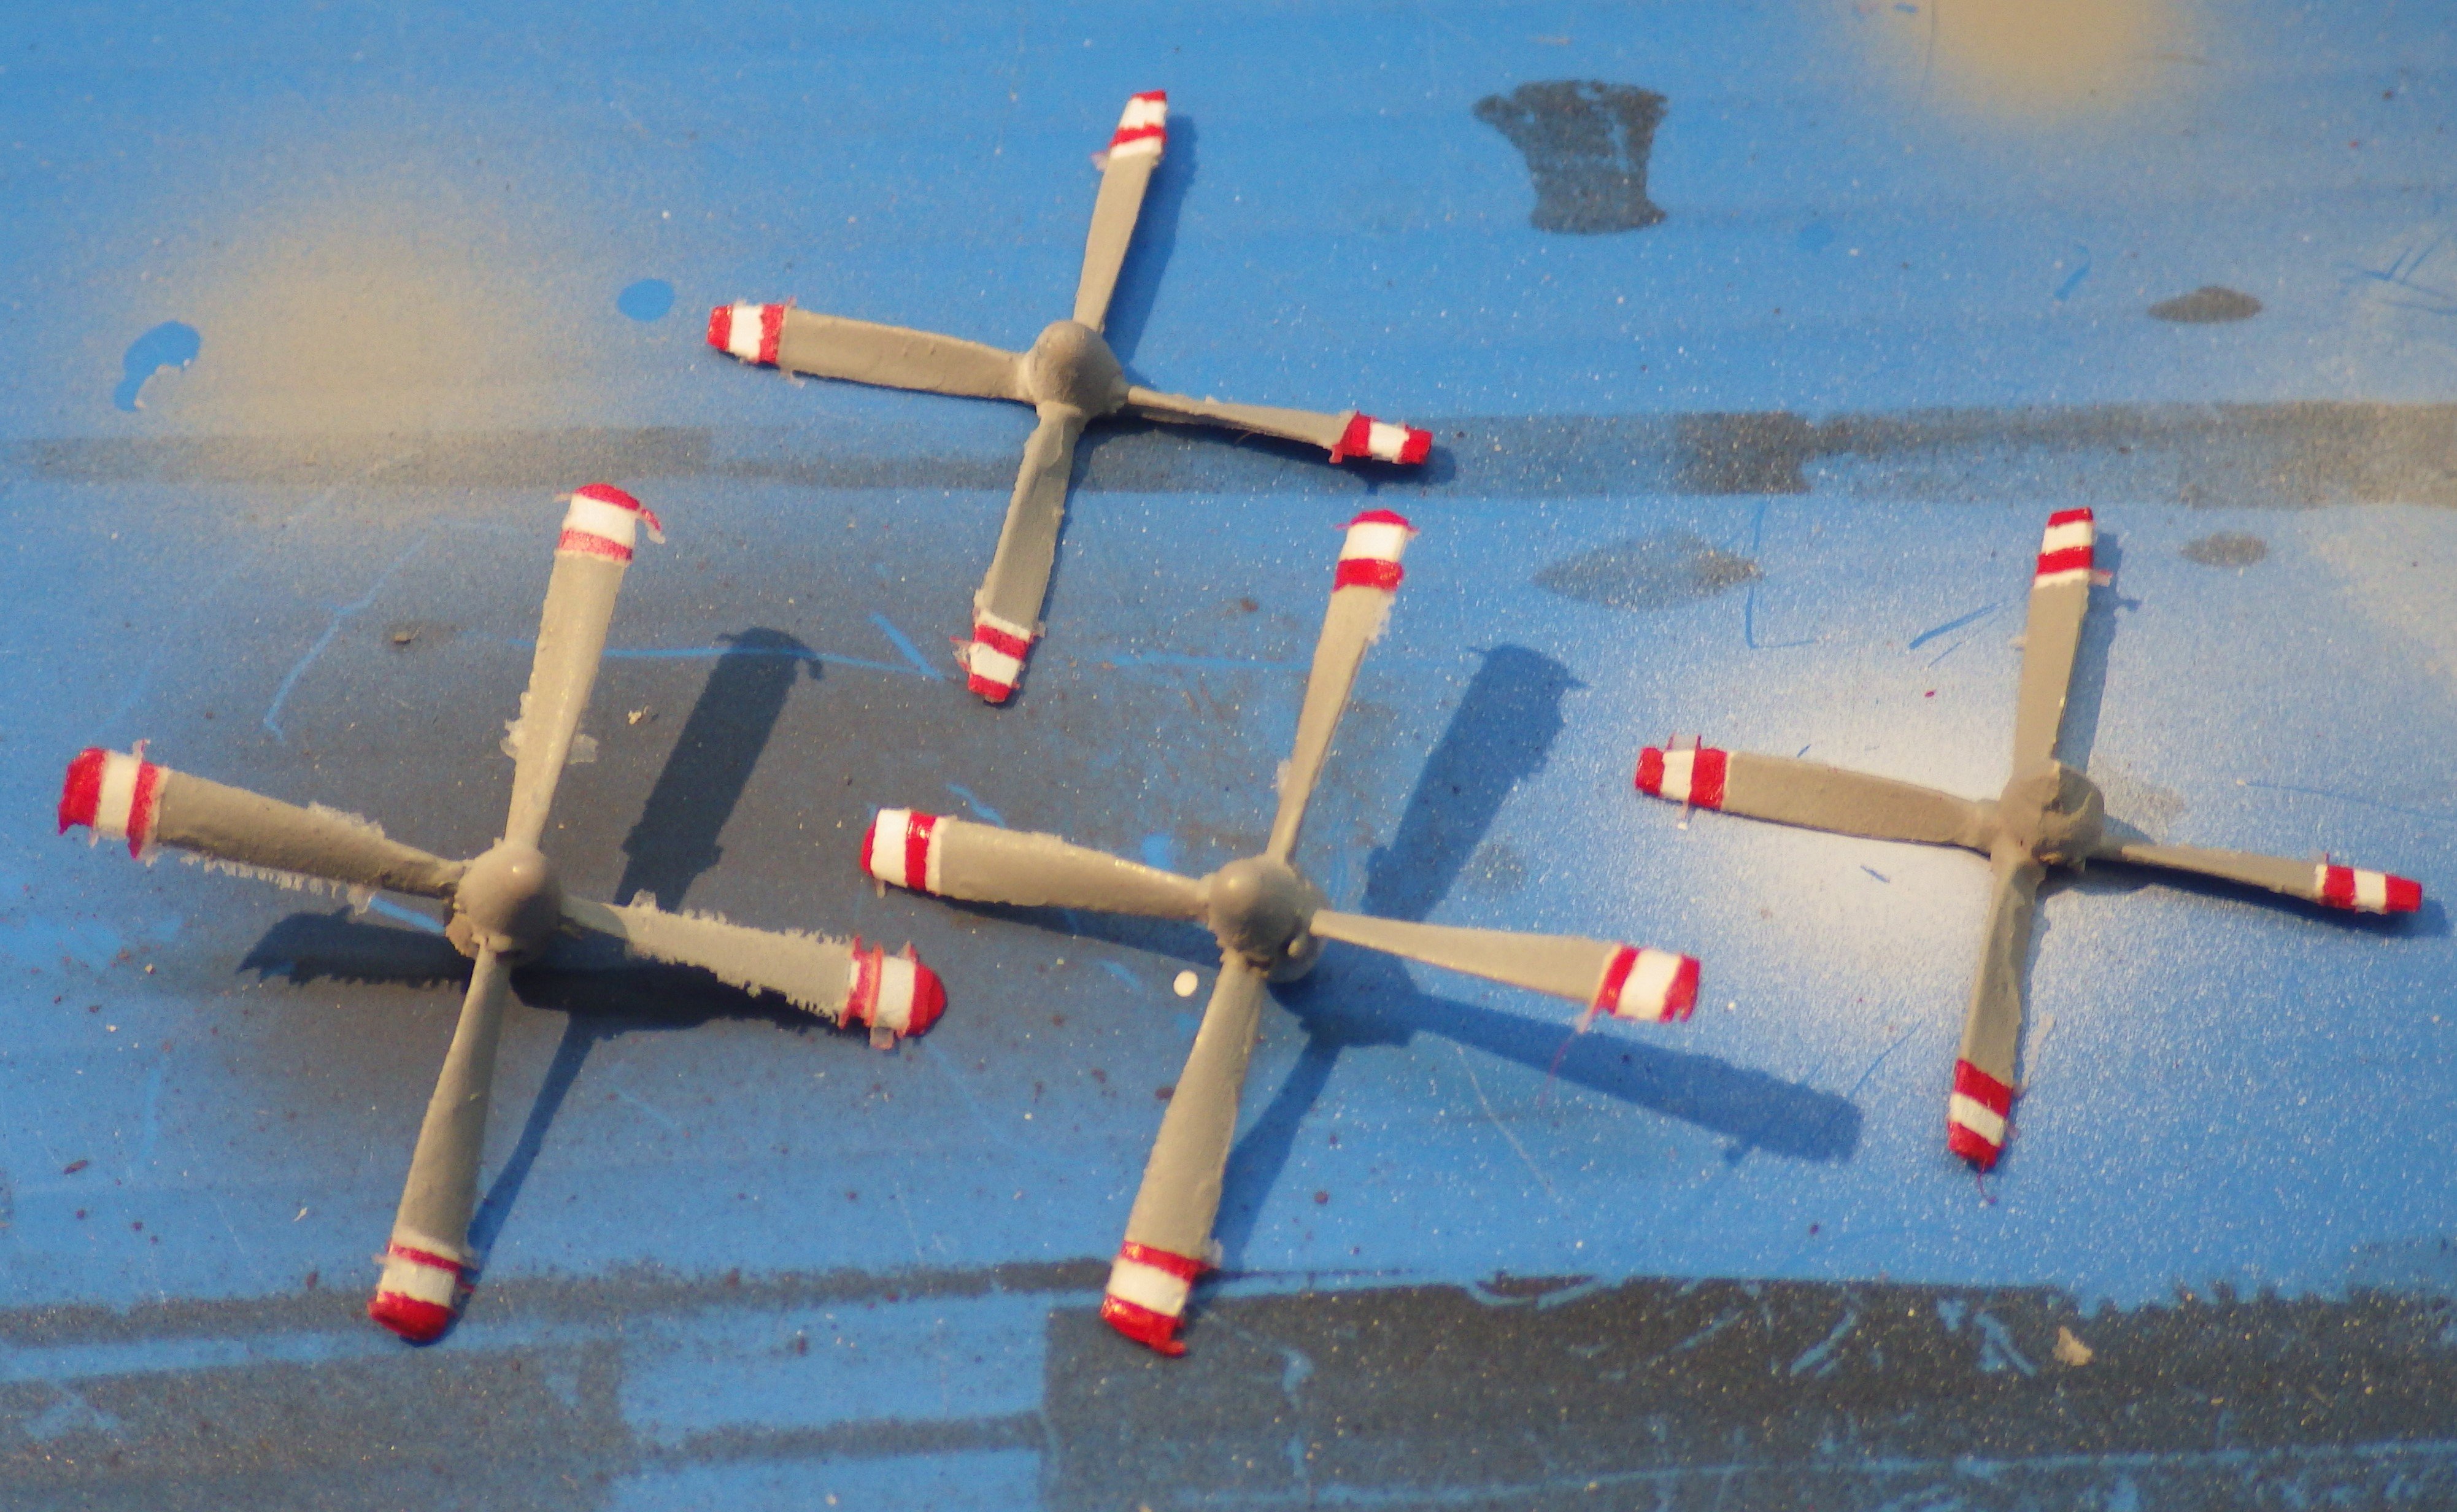
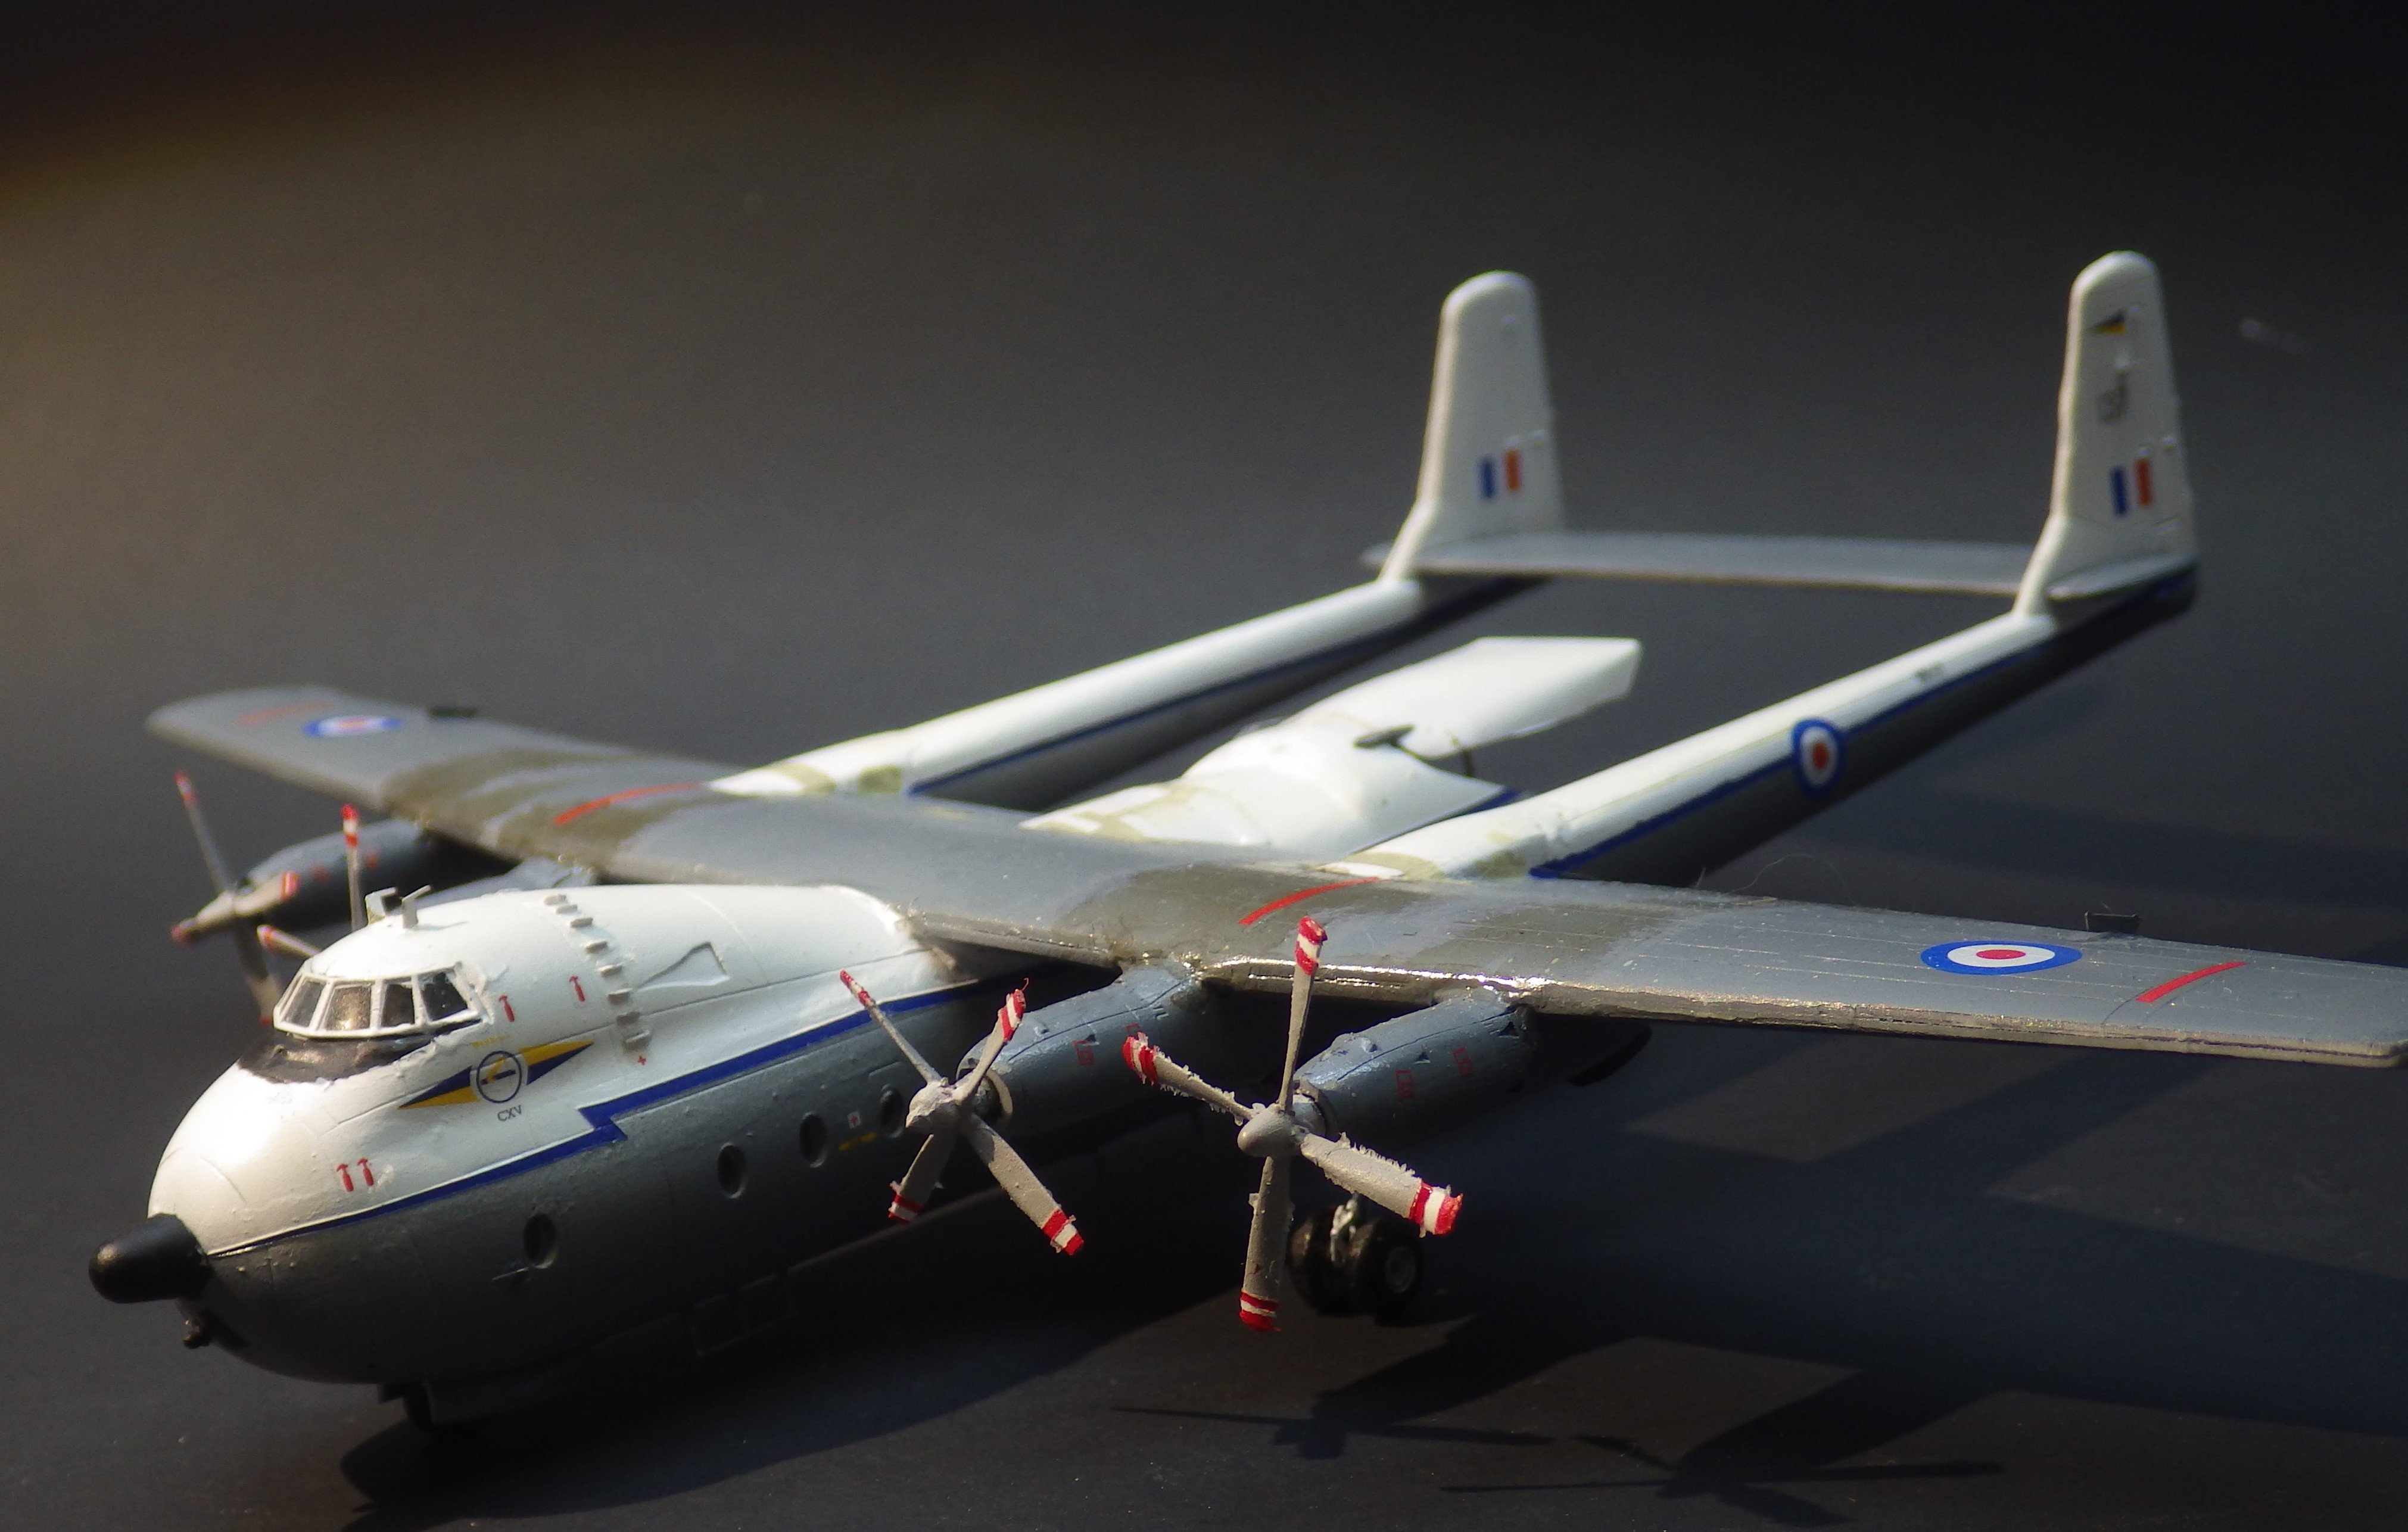
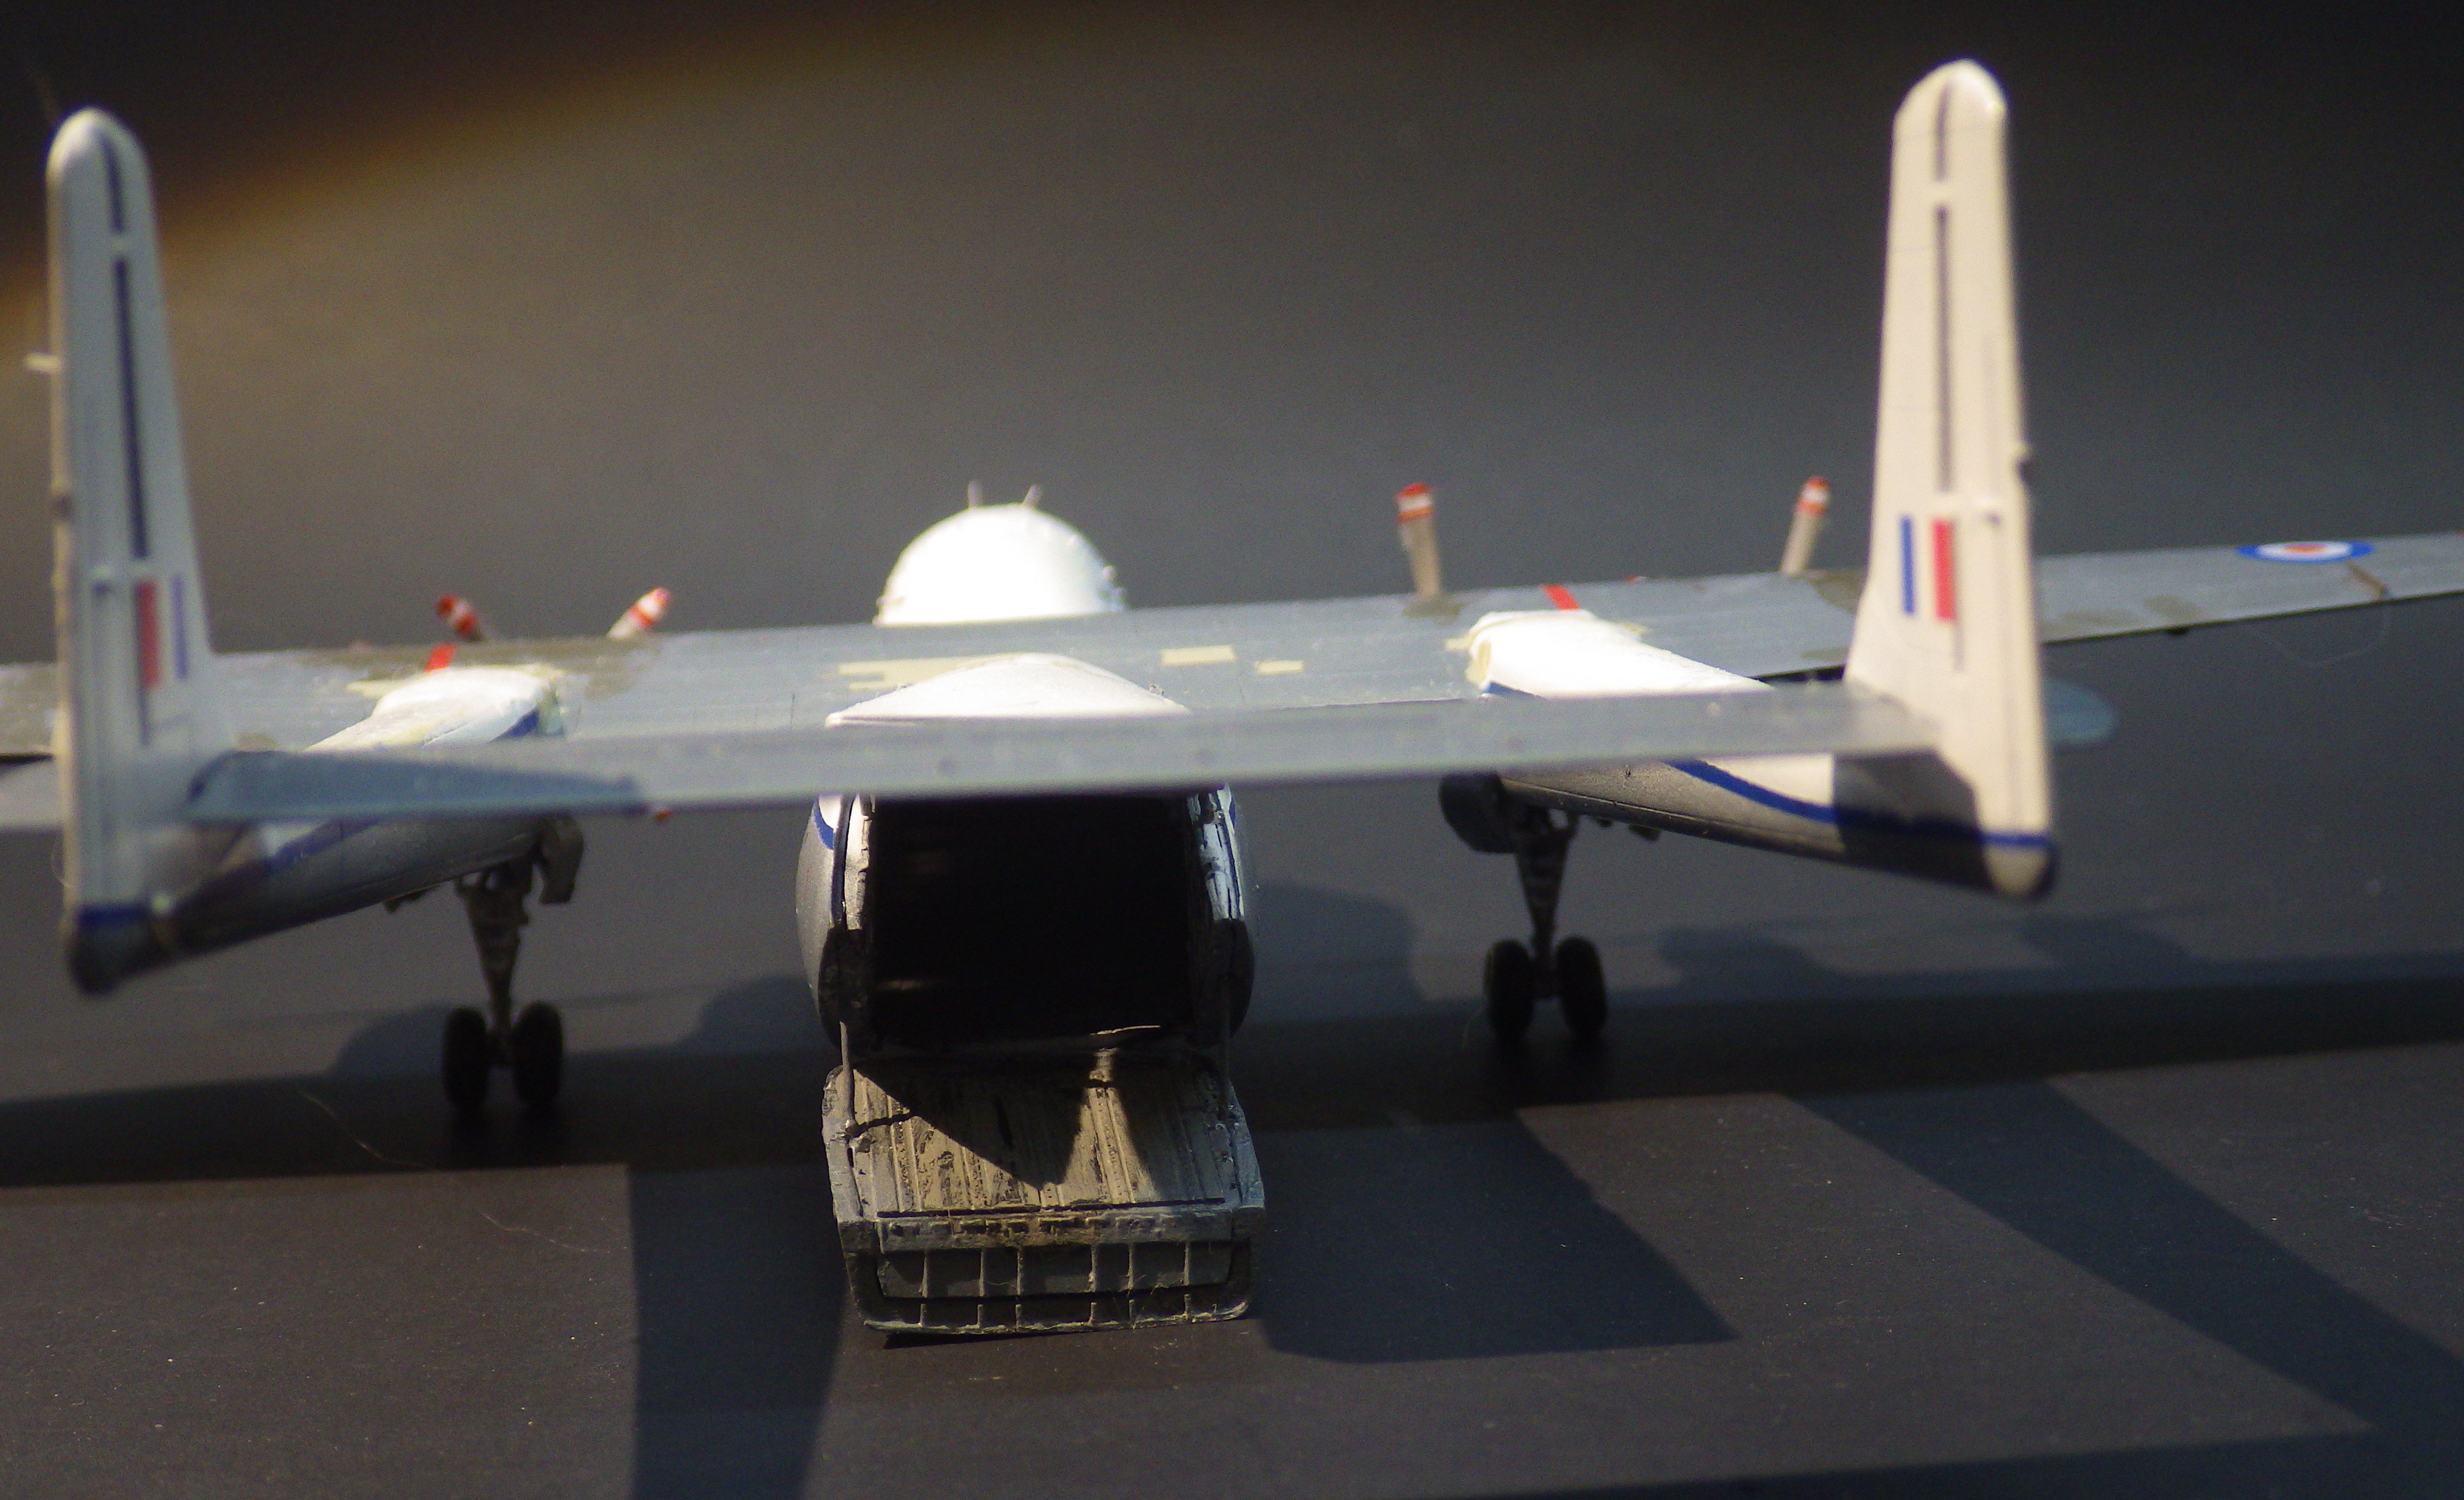
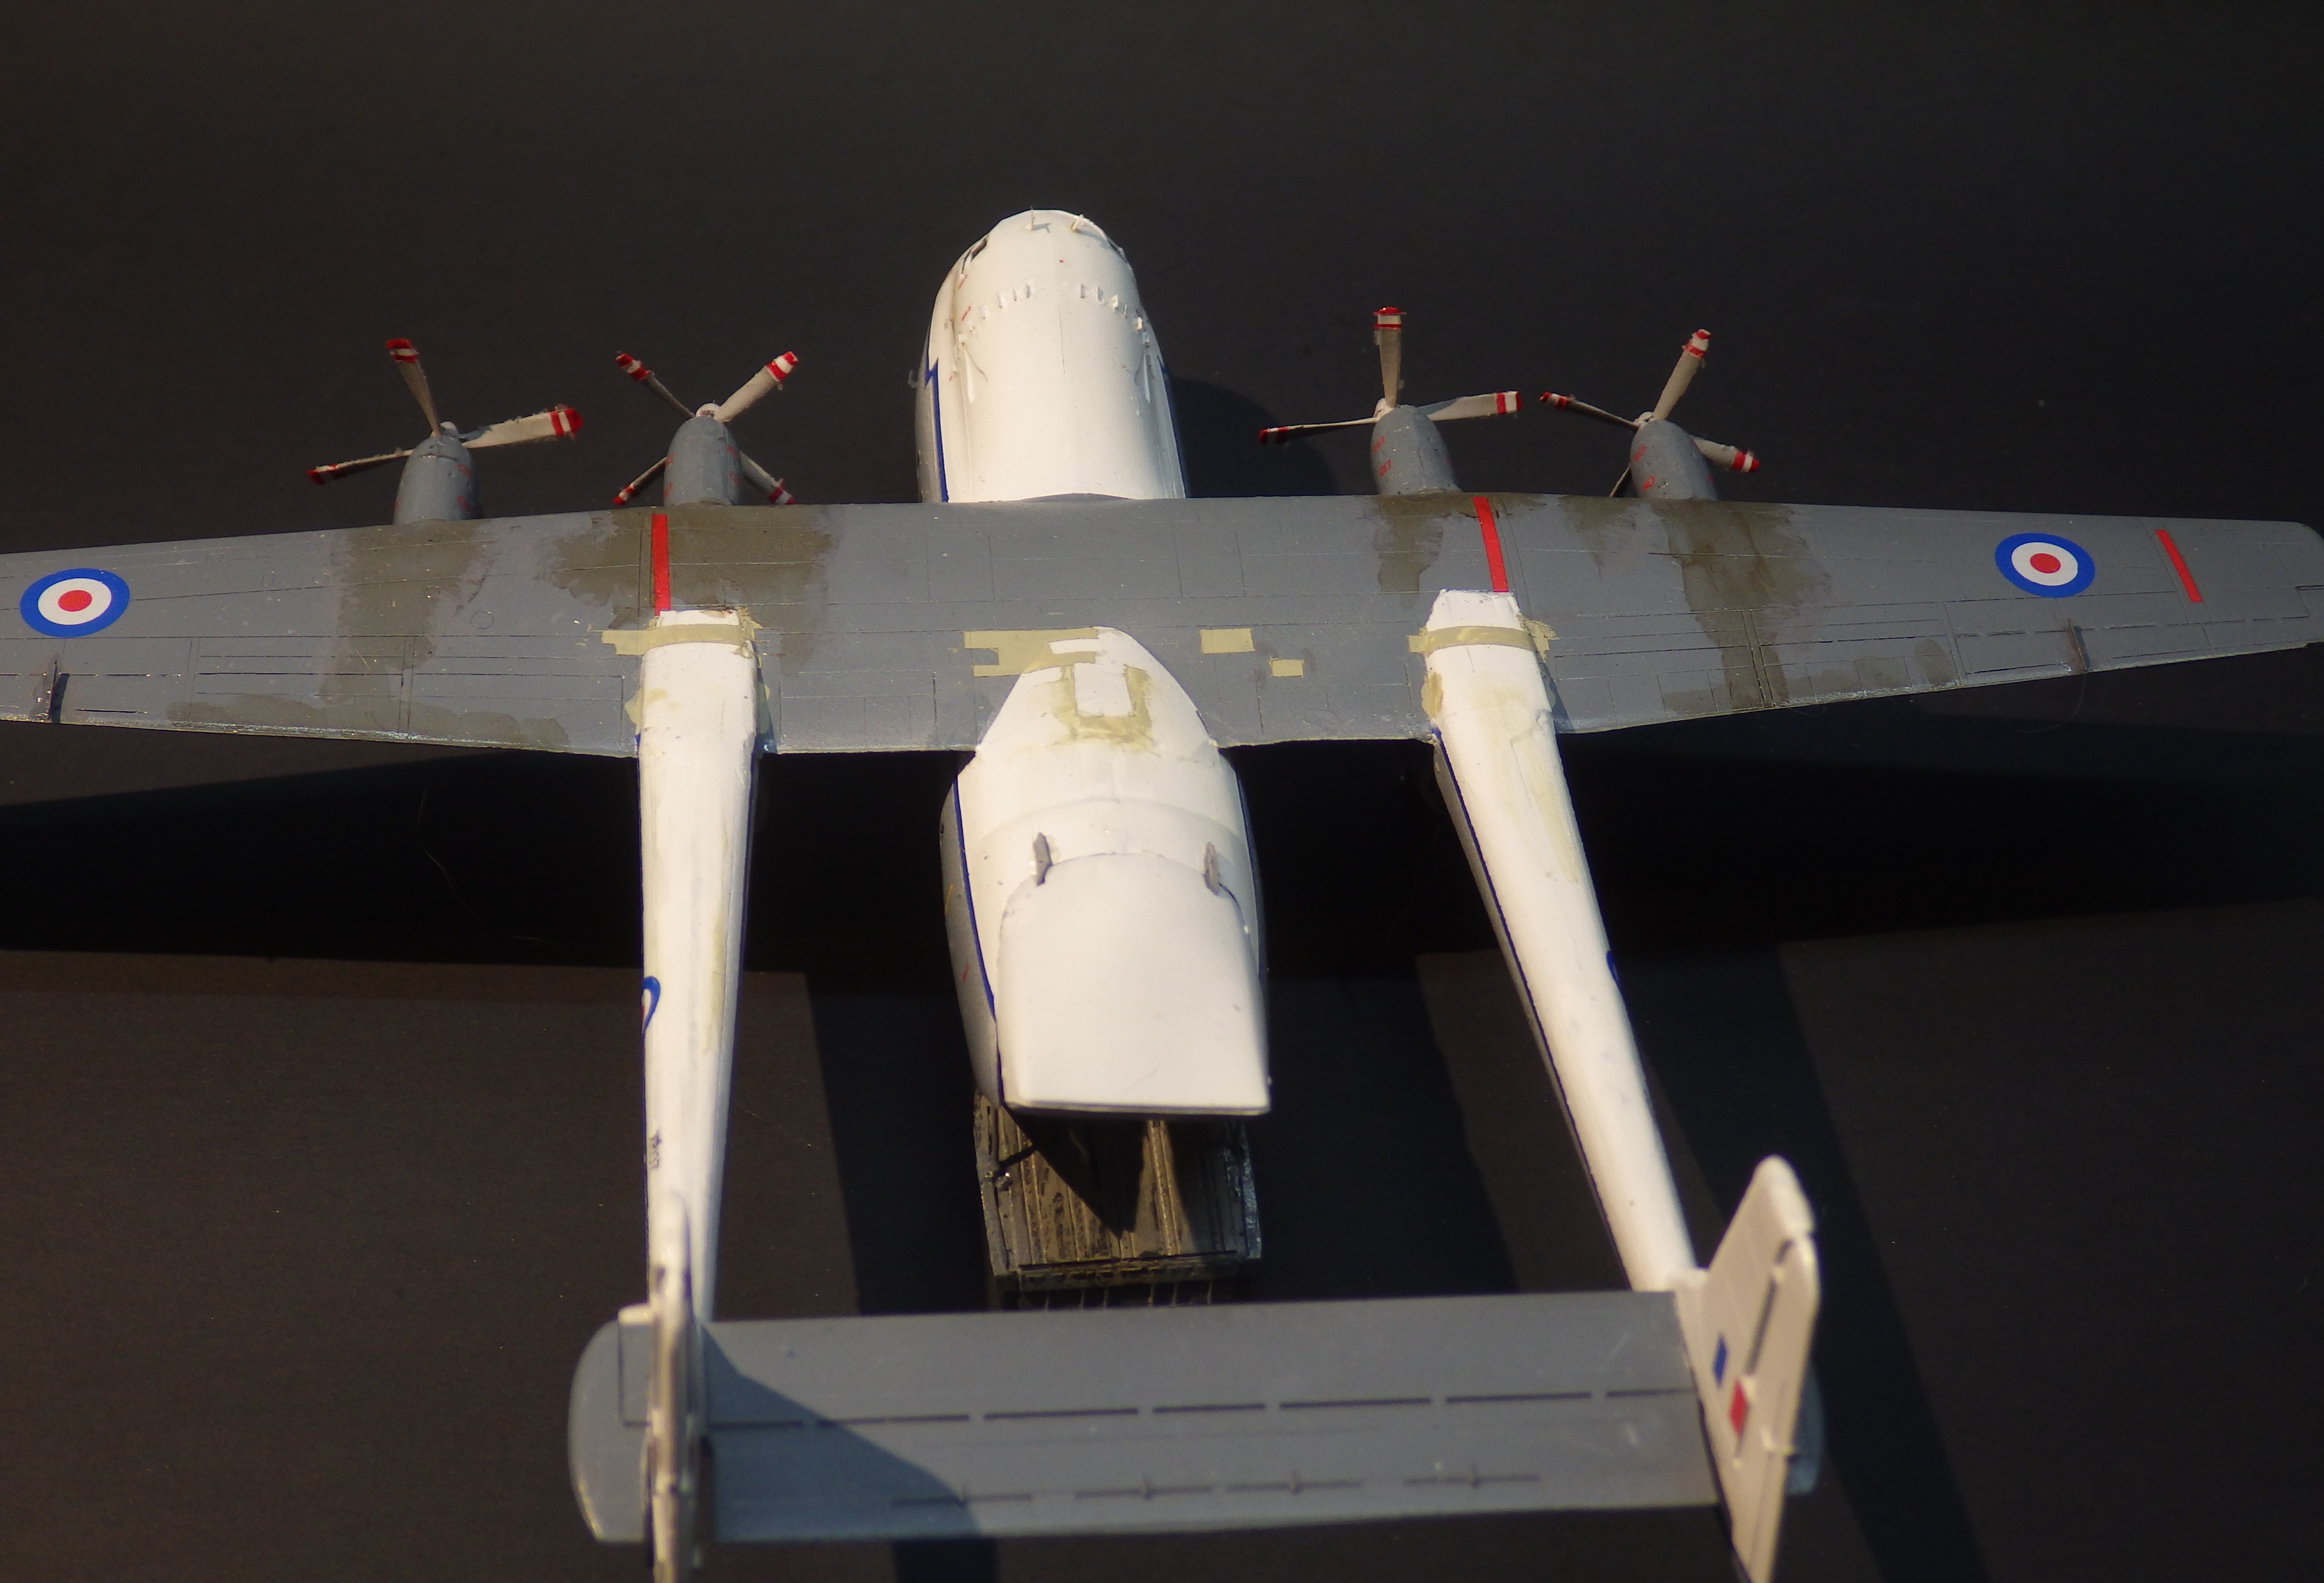
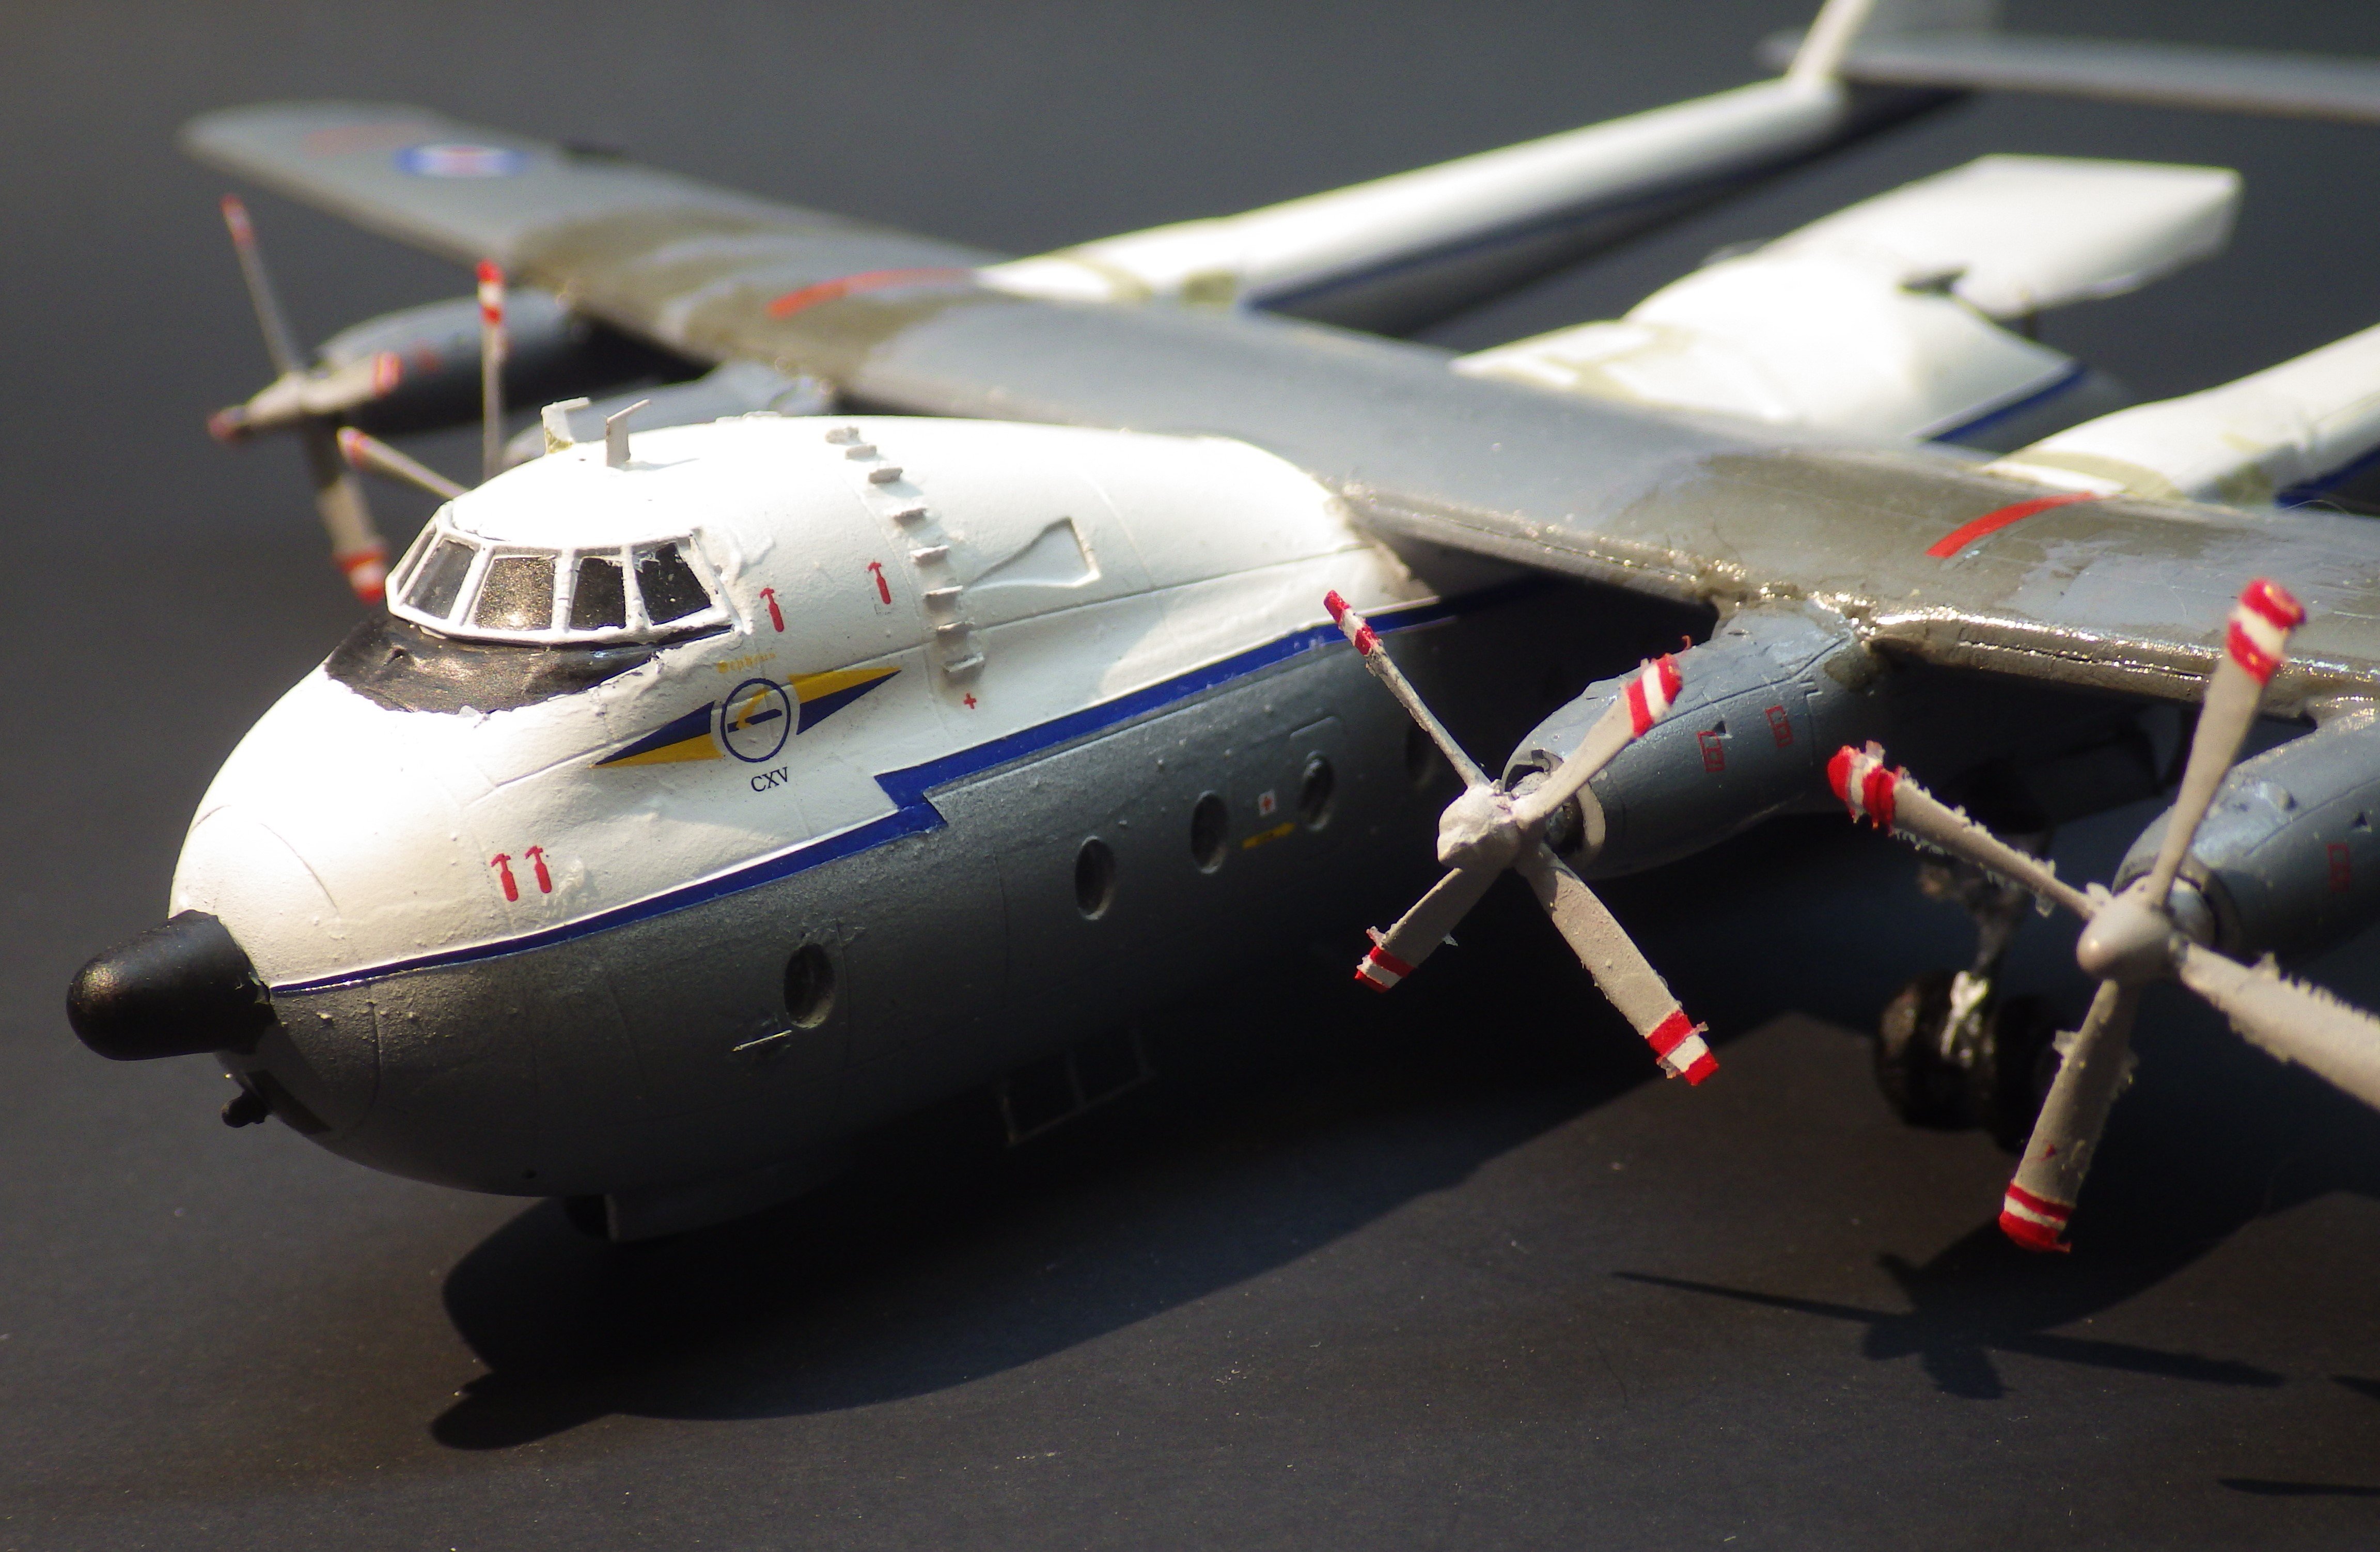
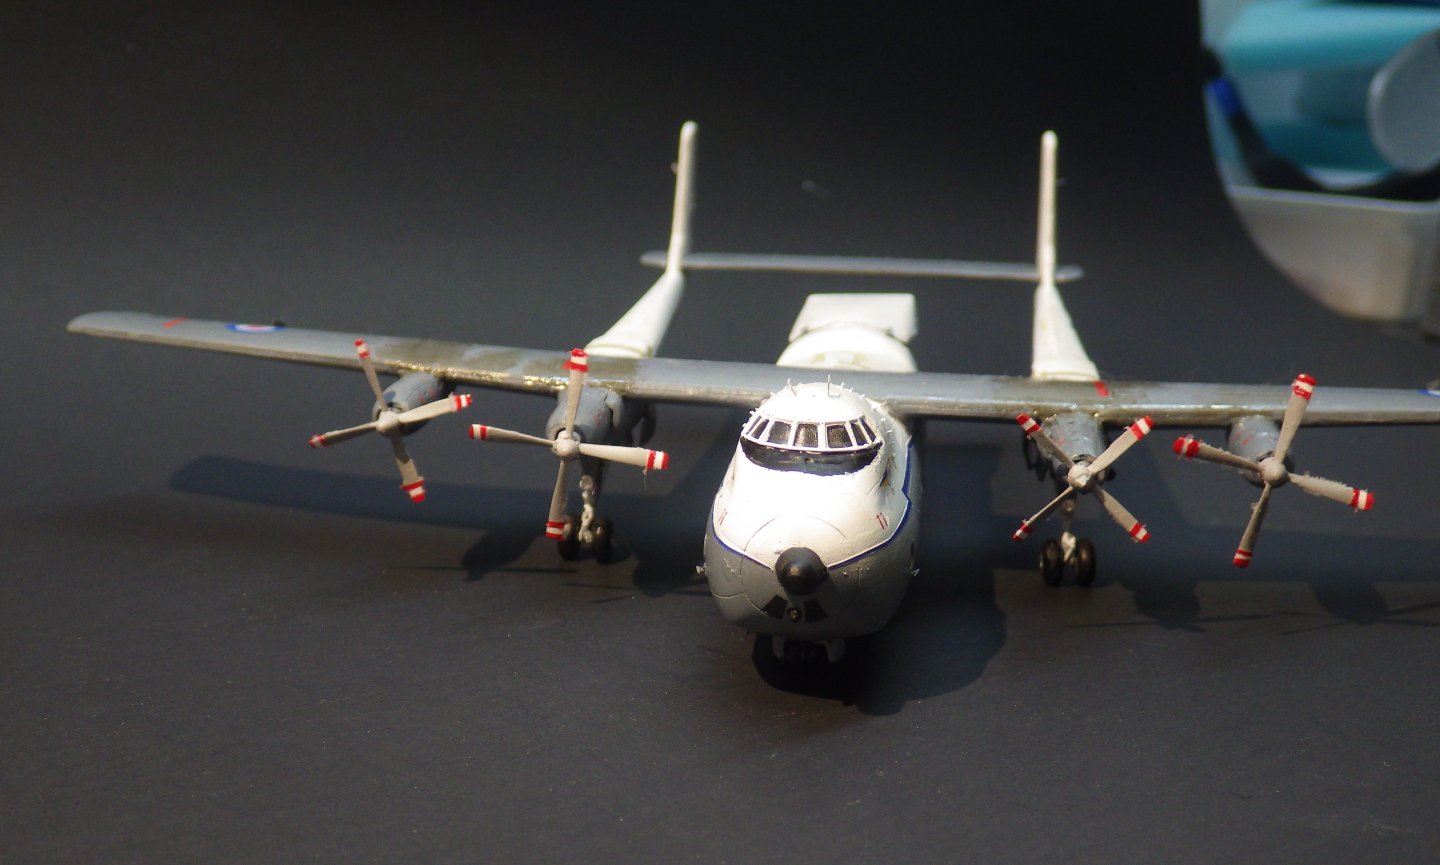
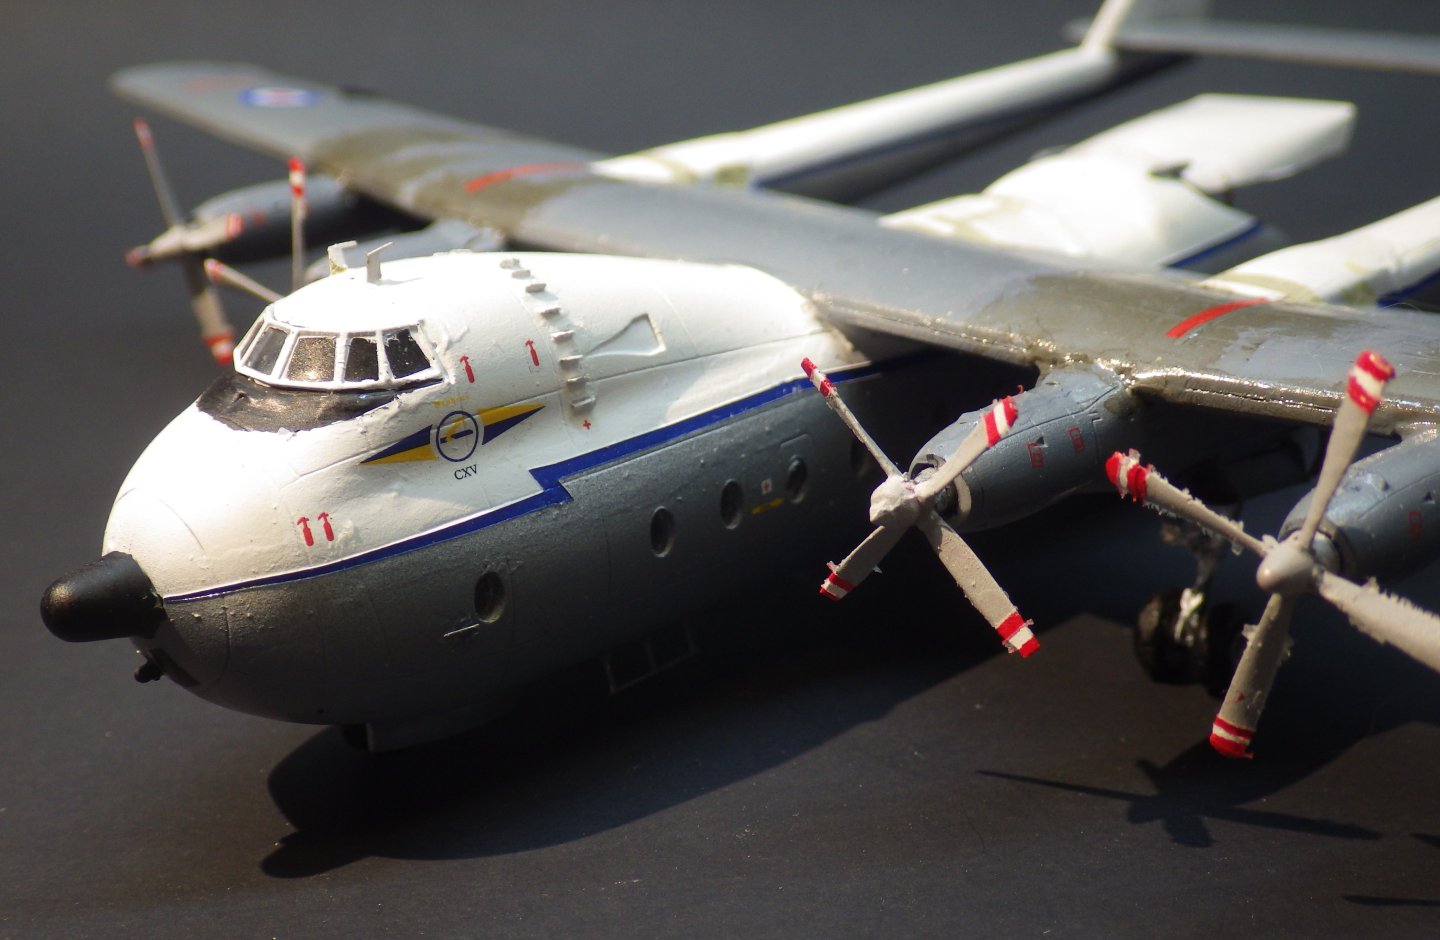
So at last the sage of the prop tips is over. Paint props white mask tips and paint grey ,mask blades and paint red Each time I let the paint cure for 24 hours between coats and I used a dilute clear coat to seal the masks. I never seem to get on well with Tamiya Red but the alternative was a bottle of Mig Ammo Atom Red which is completely untried and I did not want any more drama. I had to tidy up the results from spraying but they were close enough to make it worth a bit of touch up by hand. Touch up duly completed and the props reattached. They are not perfect but they are reasonable for a first attempt at 1/144 scale aircraft. Lots of scope for improvement - and I have a few more 1/144 scale to build when I feel strong enough. I think I have learnt a few things that will improve my efforts for the future. Fairing wings, fuselage and tailplanes will be given more attention and @Landlubber Mike has provided an excellent note to help future builds. Thank you all for the likes and helpful supportive comments. It was nice to see an old remembered aircraft come together as a completed model Alan


-
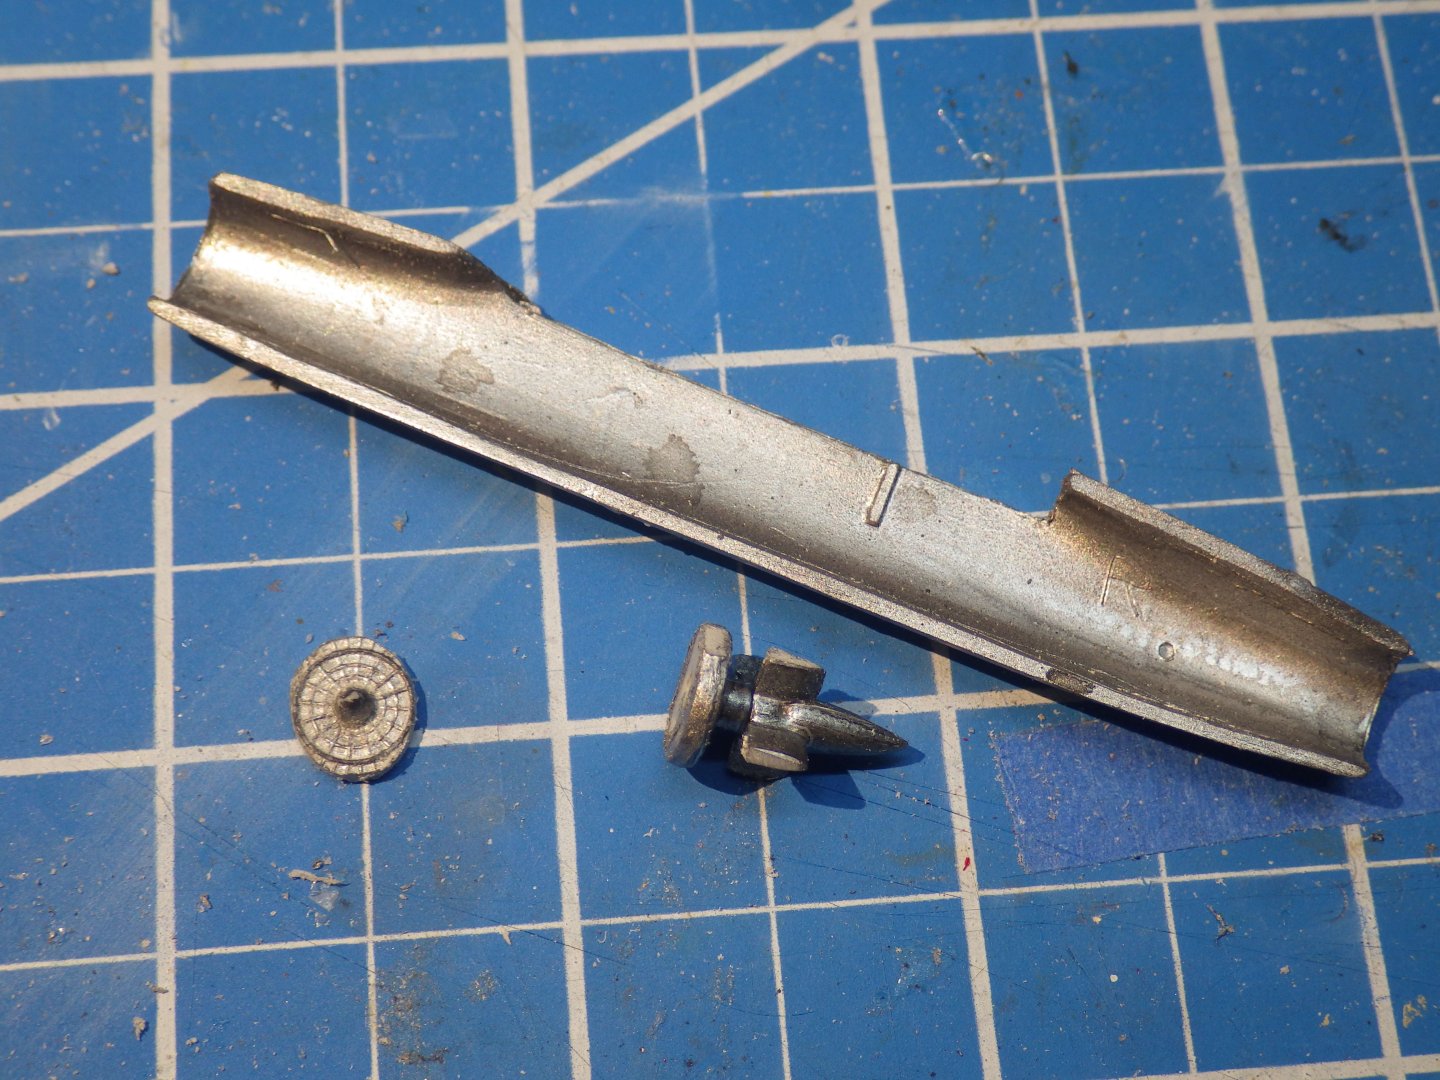
Hi Ken You are right about the Yak-28 developing from the -27. All four missiles are included in the kit. I’m not sure if it makes sense to use any or all of them. I had a brief look at the engine nacelles and I need to save up my allowance of bad language for them.
-
Thanks Mike. I suspect there are some interesting issues ahead alan
-
Thanks OC. There seems to be a lot of time waiting for paint to dry and idle hands get into mischief 😃 alan
-
Lovely work and beautiful photographs. Alan
-
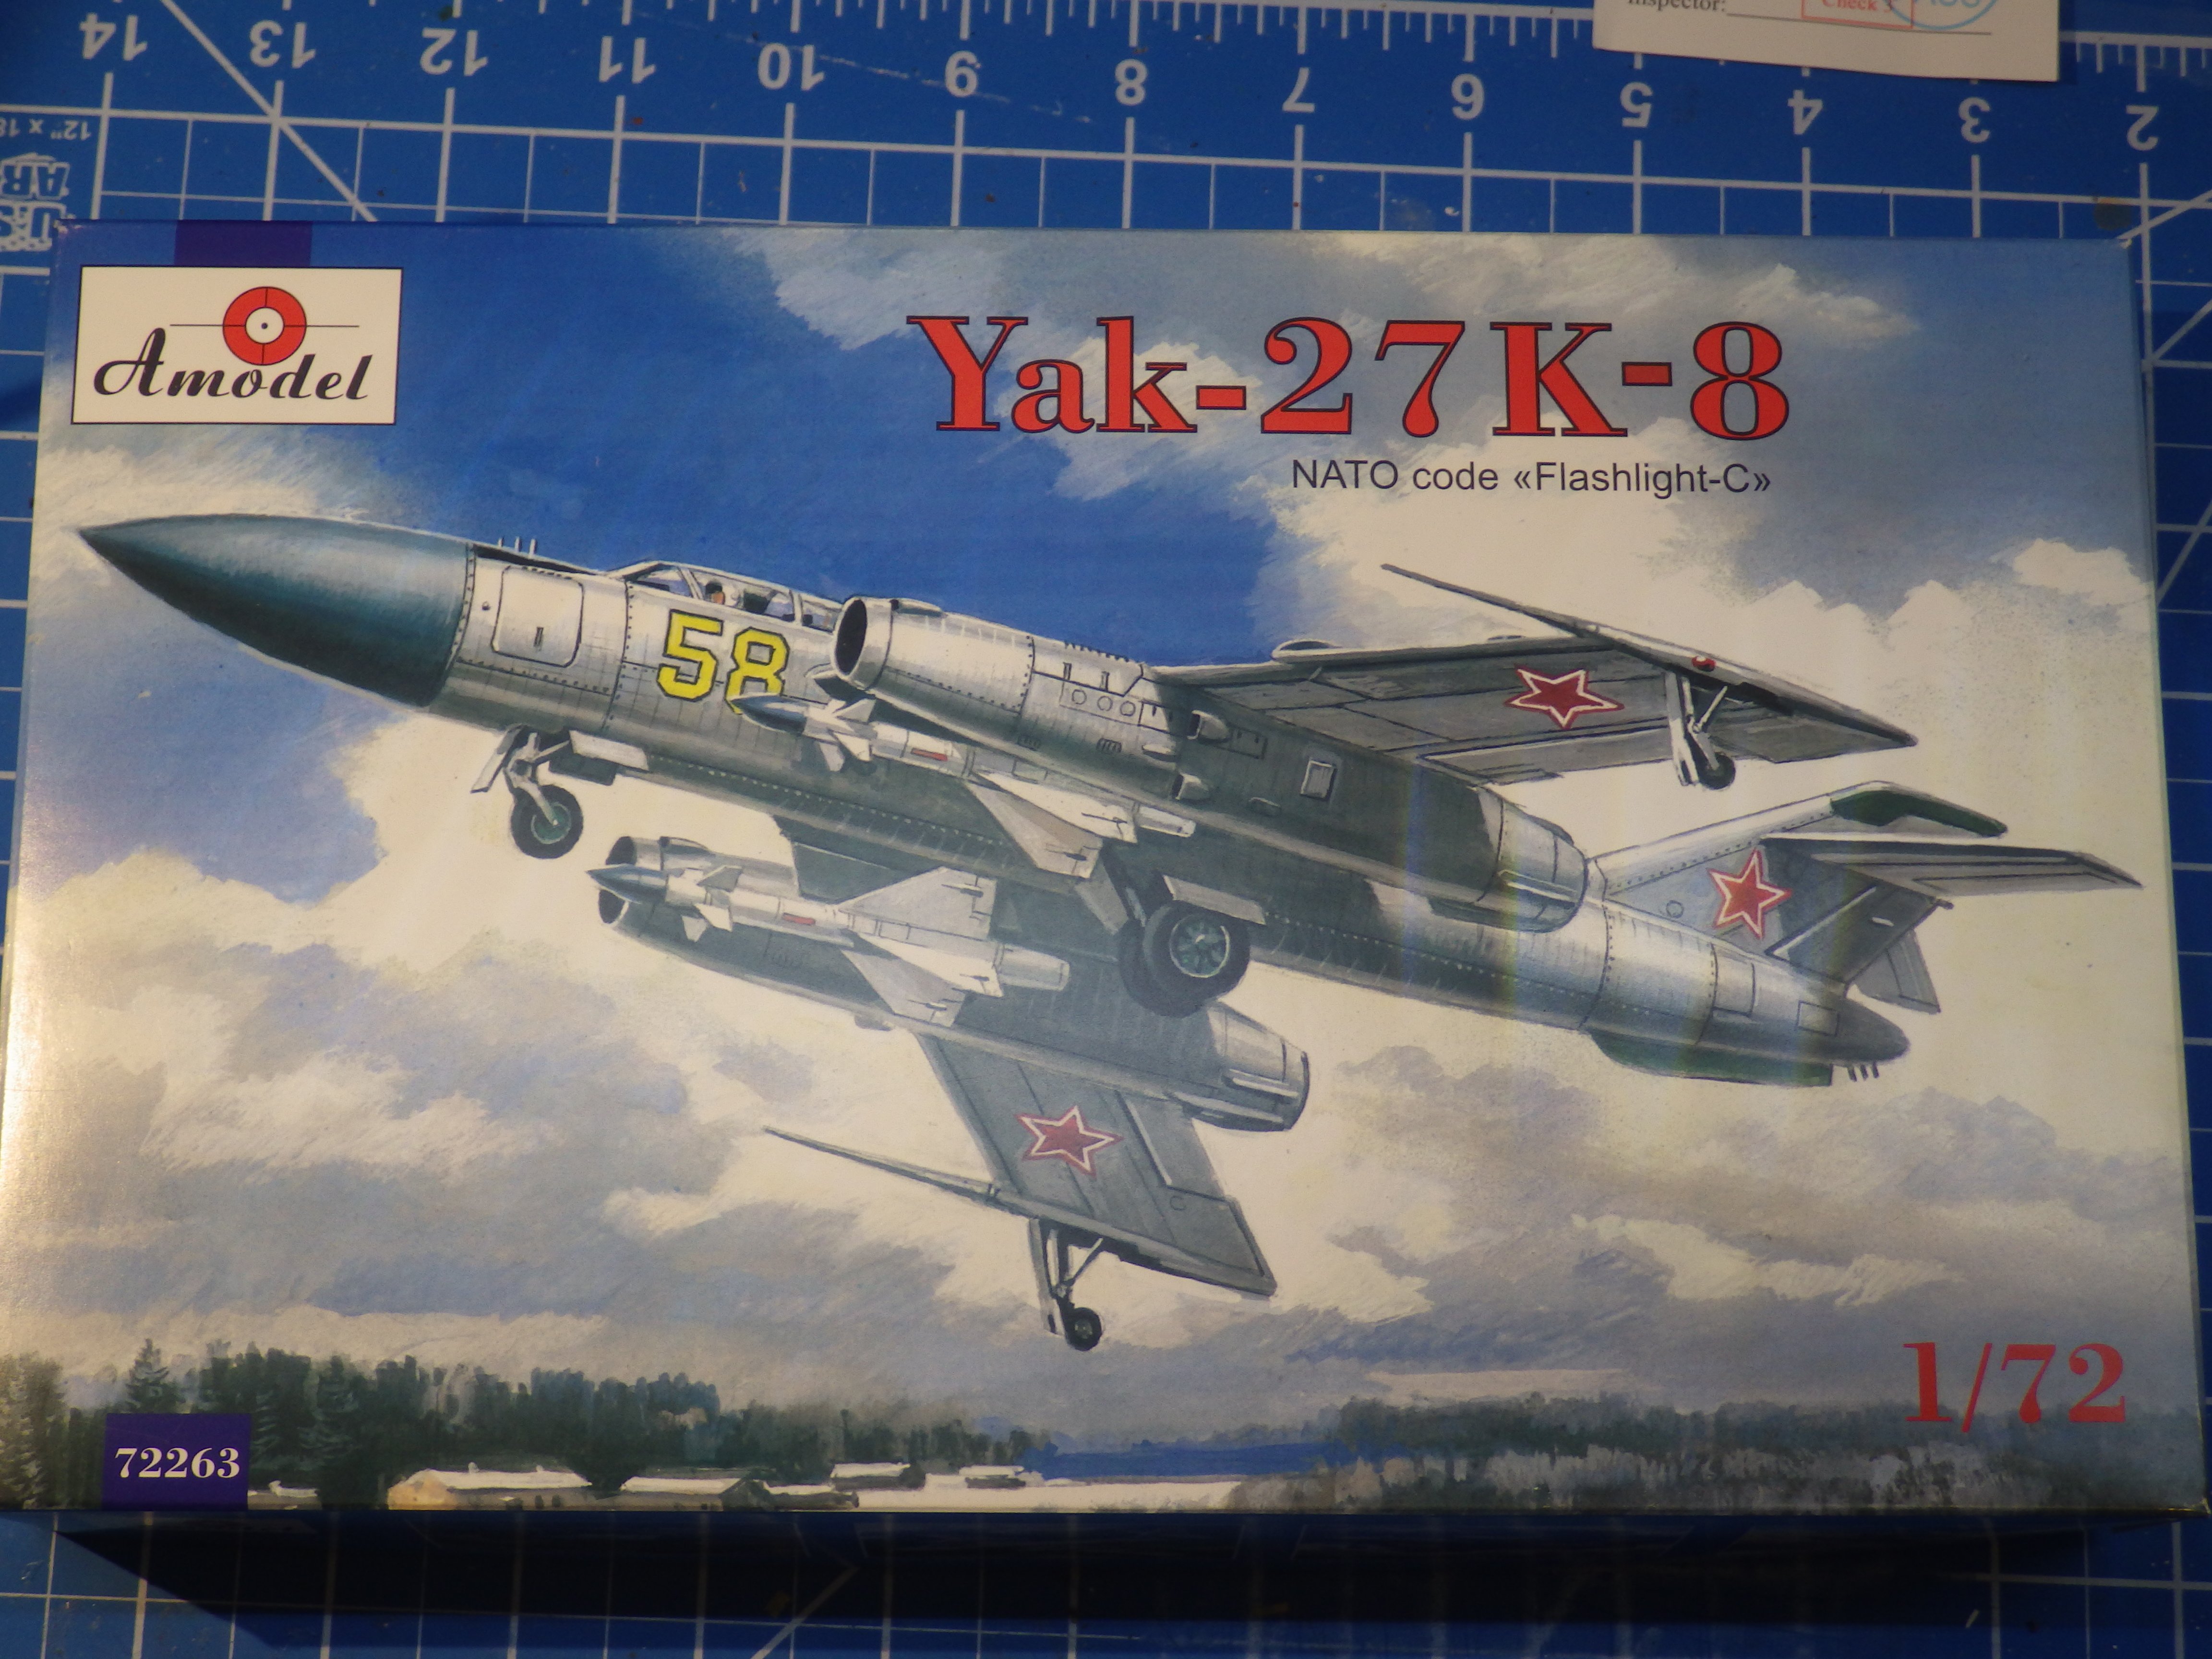
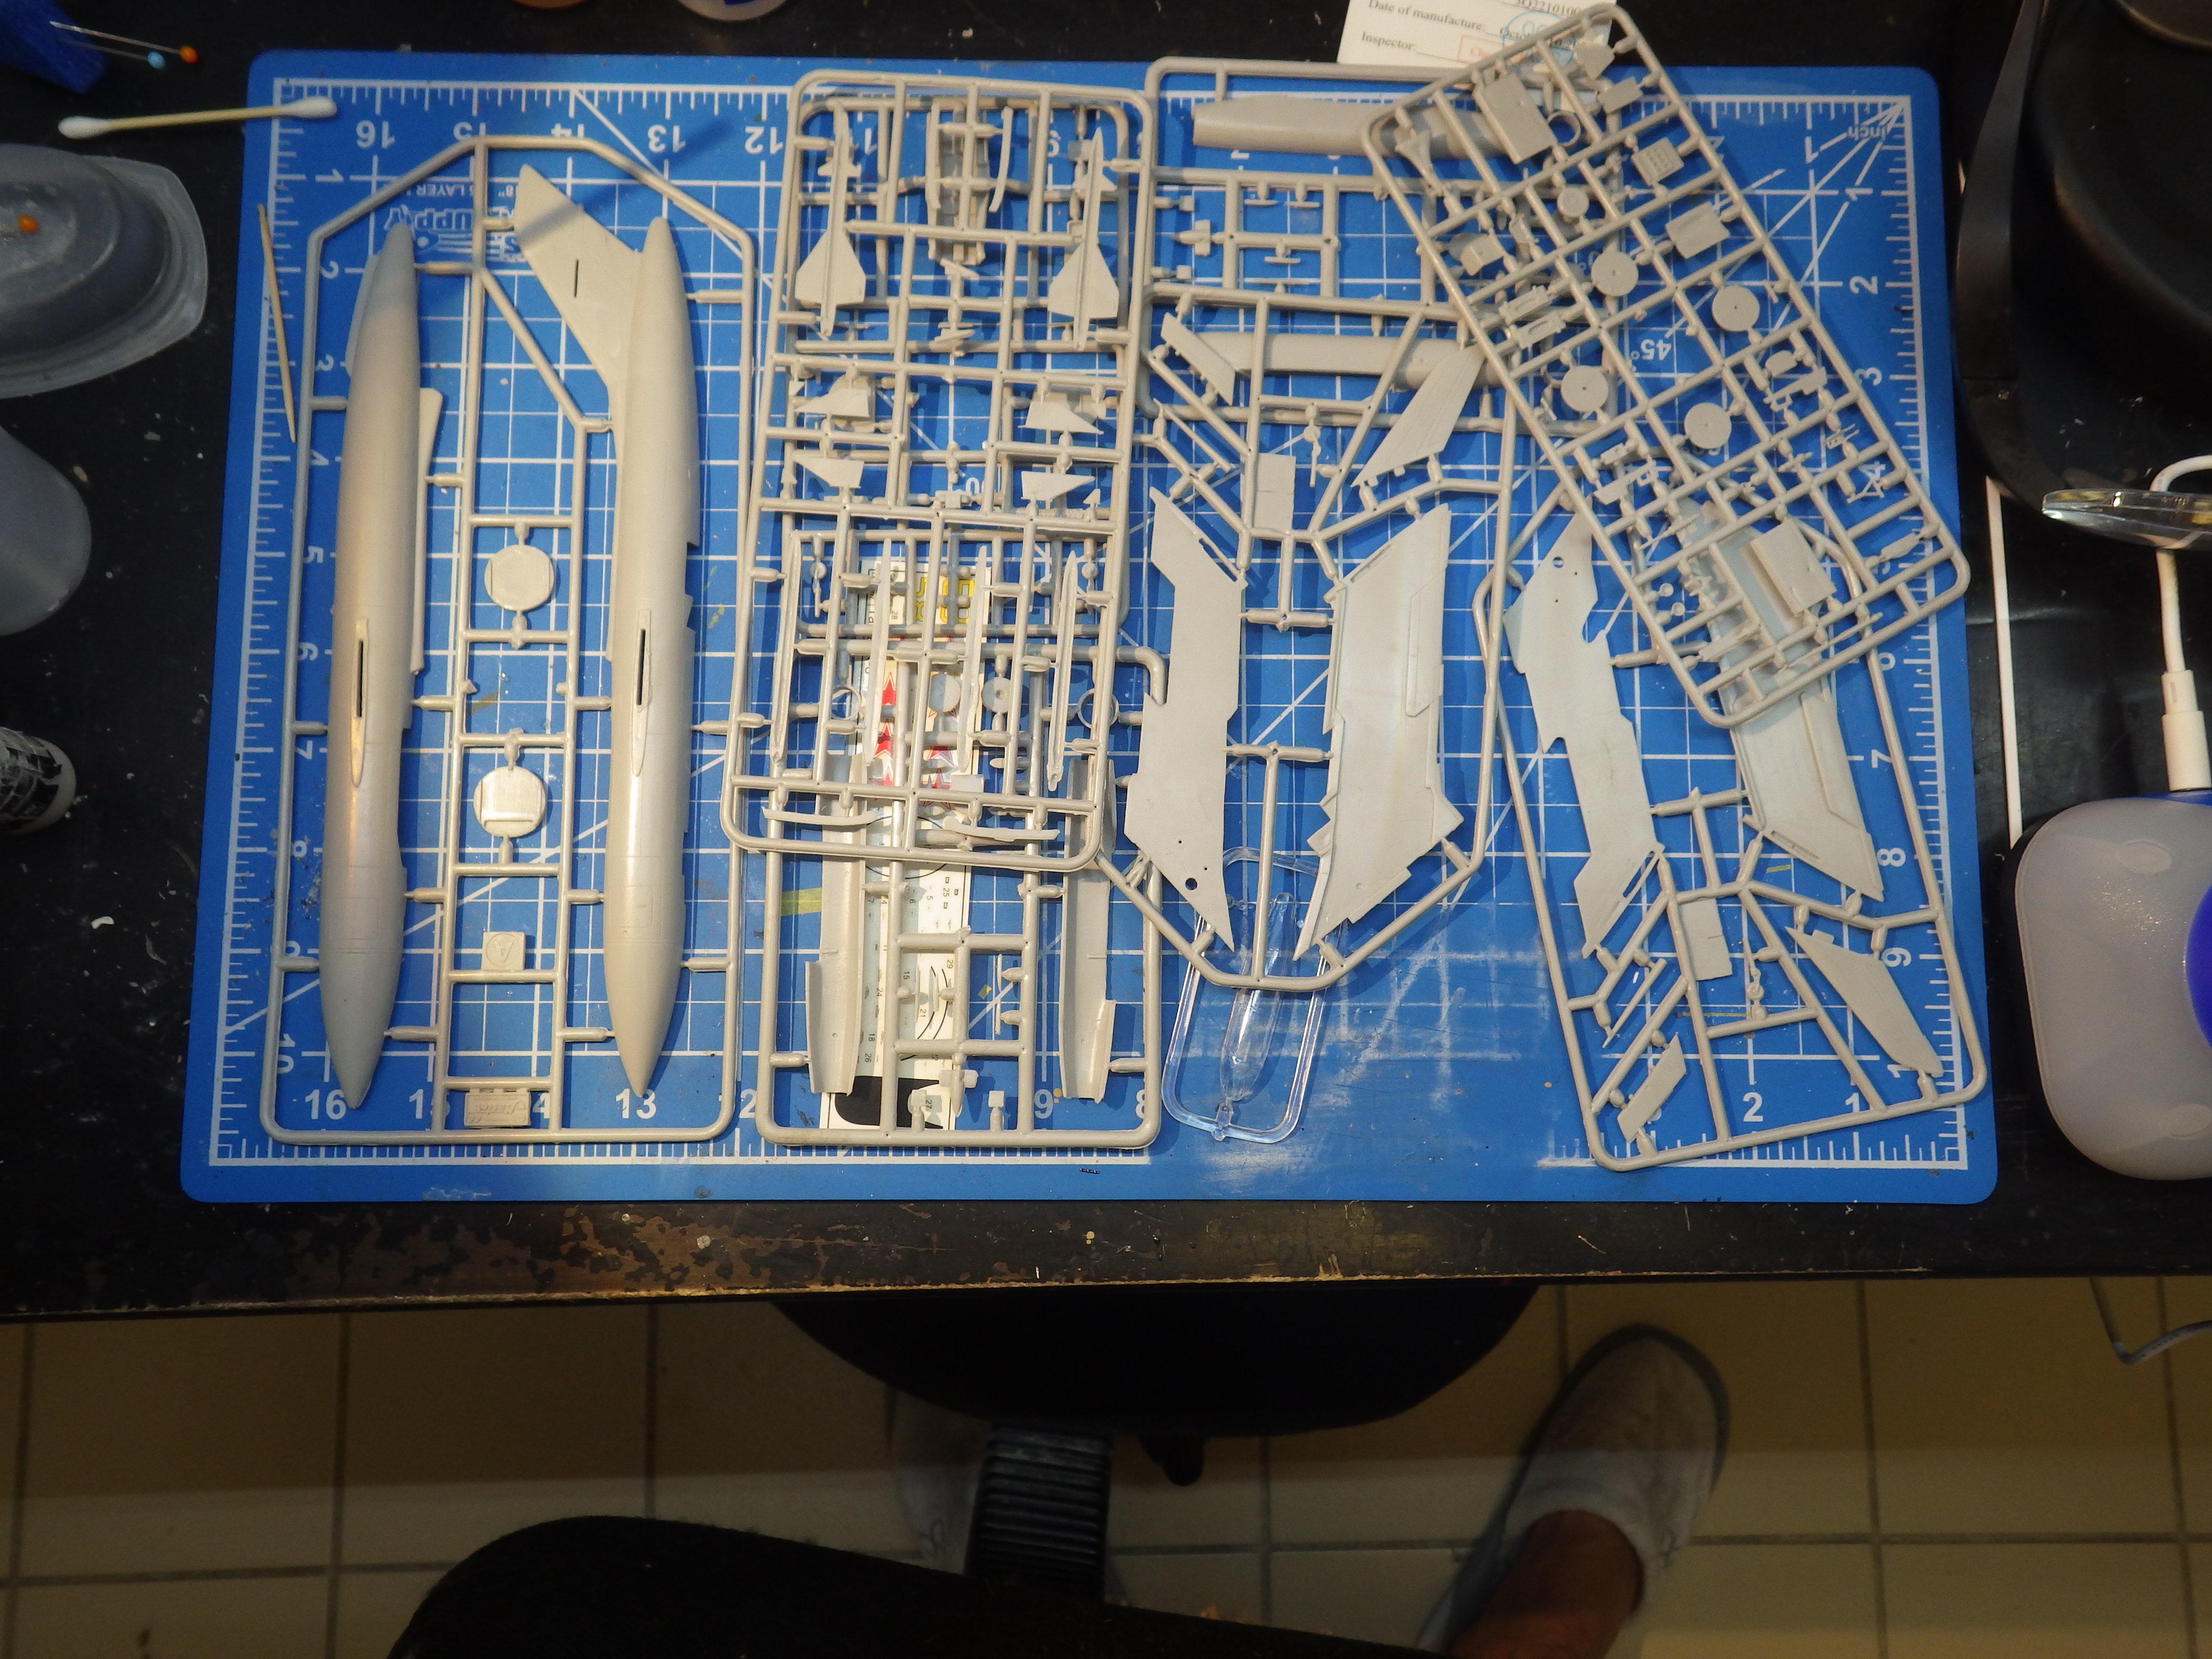
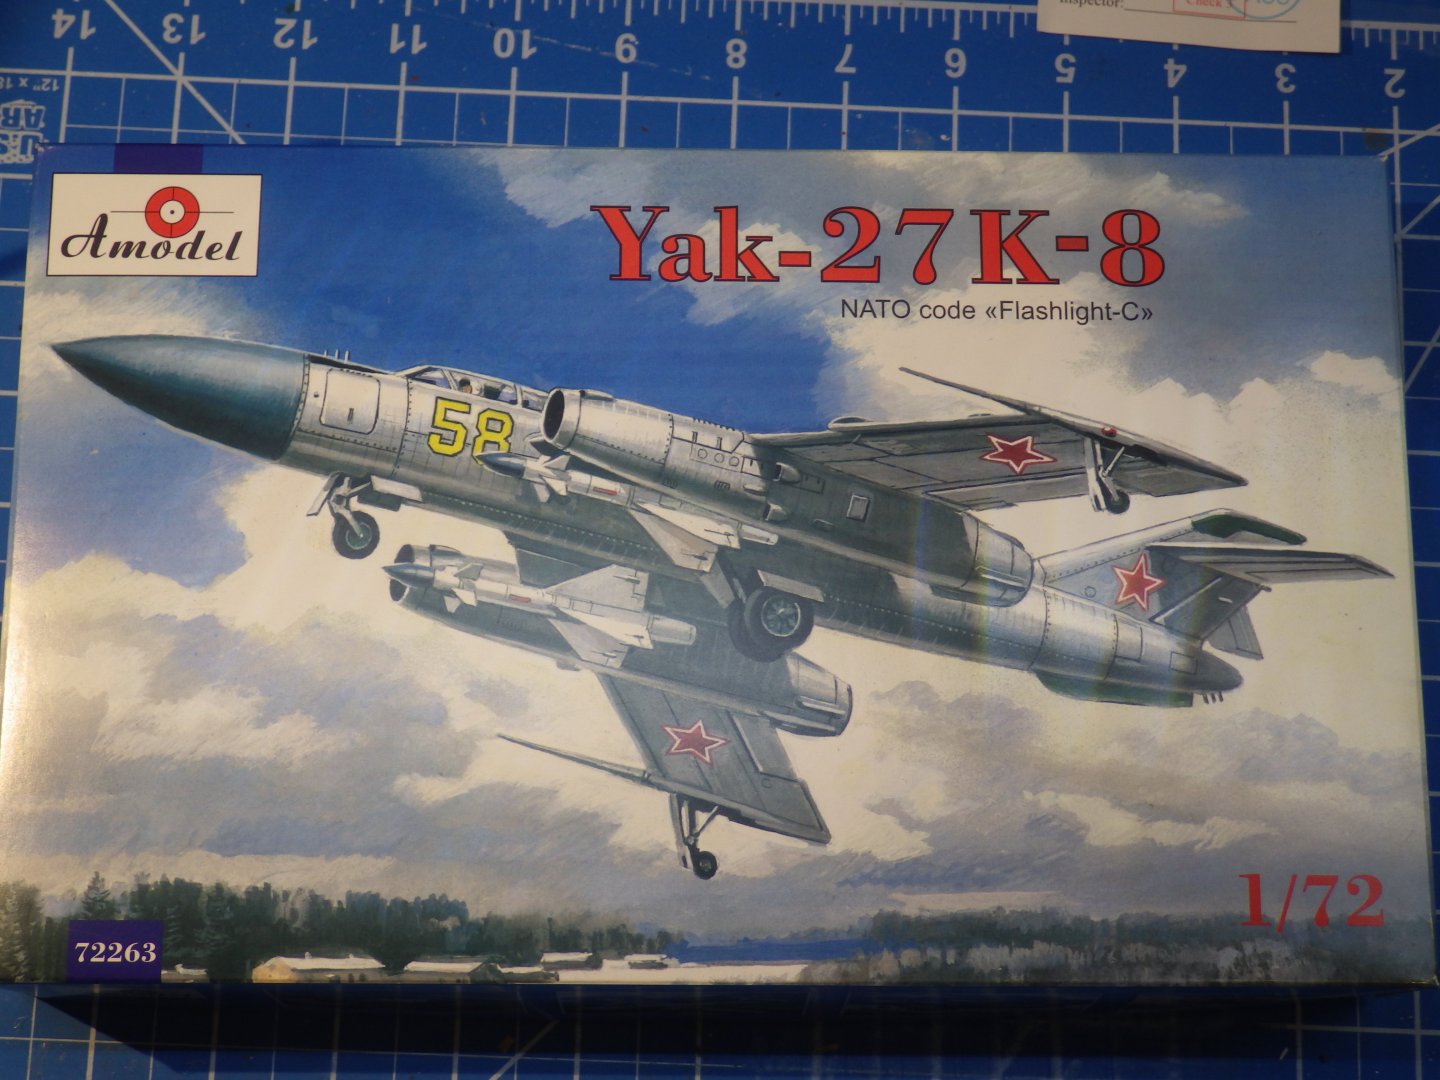
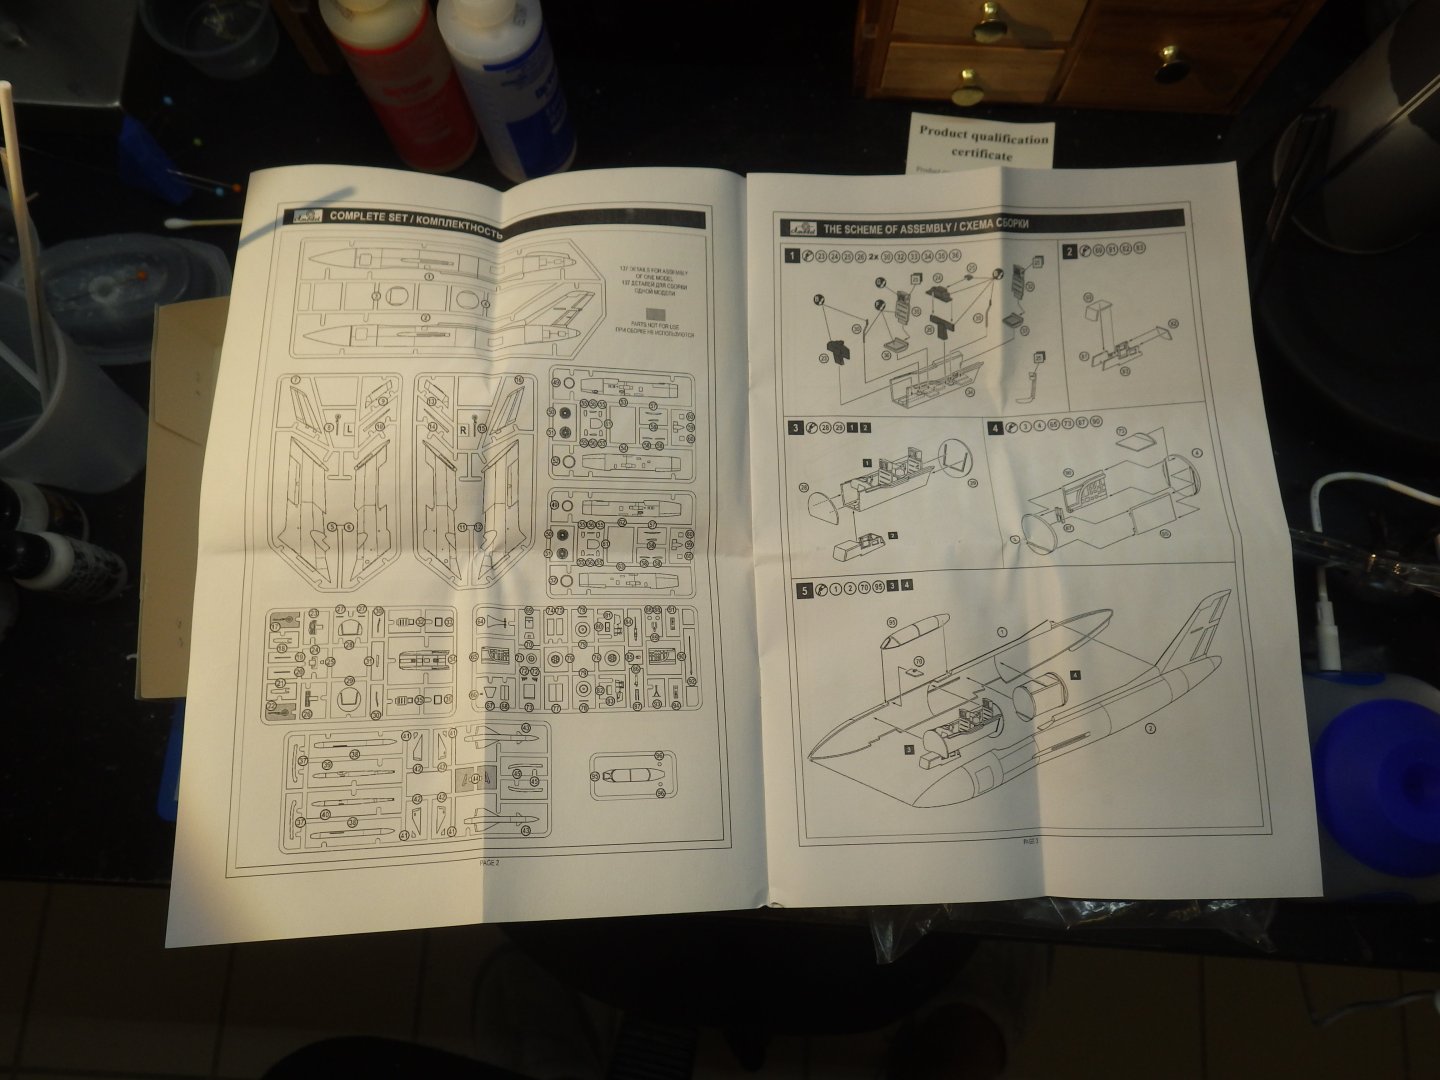
This is the third of my planned Eastern European kits and may be the most challenging. It was an impulse buy because I liked that 50s "supersonic" look. As I understand it the Yak 27K never made it beyond prototype although a reconnaissance did get in. to production. This was also planned to see if I could improve my metal finish skills without too much heartbreak. Having had a quick look in the box I think it may also define the cliff edge of my sanity. References are scarce and it seems that few models have made a public appearance. Lots of parts in the box, quite a bit of flash, some distorted looking parts, sink holes and no locating pins. No major warping at first sight tough. Instructions are somewhat vague and tend to indicate an approximate location of where to add parts Fuselage halves have been cleaned up and the cockpit bucket assembled. Primer added while I try to determine colours. As far as I can tell Yaks had dark grey cockpits in the 50s not the turquoise seen in most Soviet aircraft. I don't think much will be seen inside once the fuselage is closed up. The current overall plan is to complete the fuselage, add wings and tail surfaces then paint. The engine pods will be assembled and painted separately and then fitted. Obviously a lot of dry fitting before picking up the airbrush. I see a lot of filler in my future. Thanks for looking in. Alan

- 89 replies
-
- 11
-
-
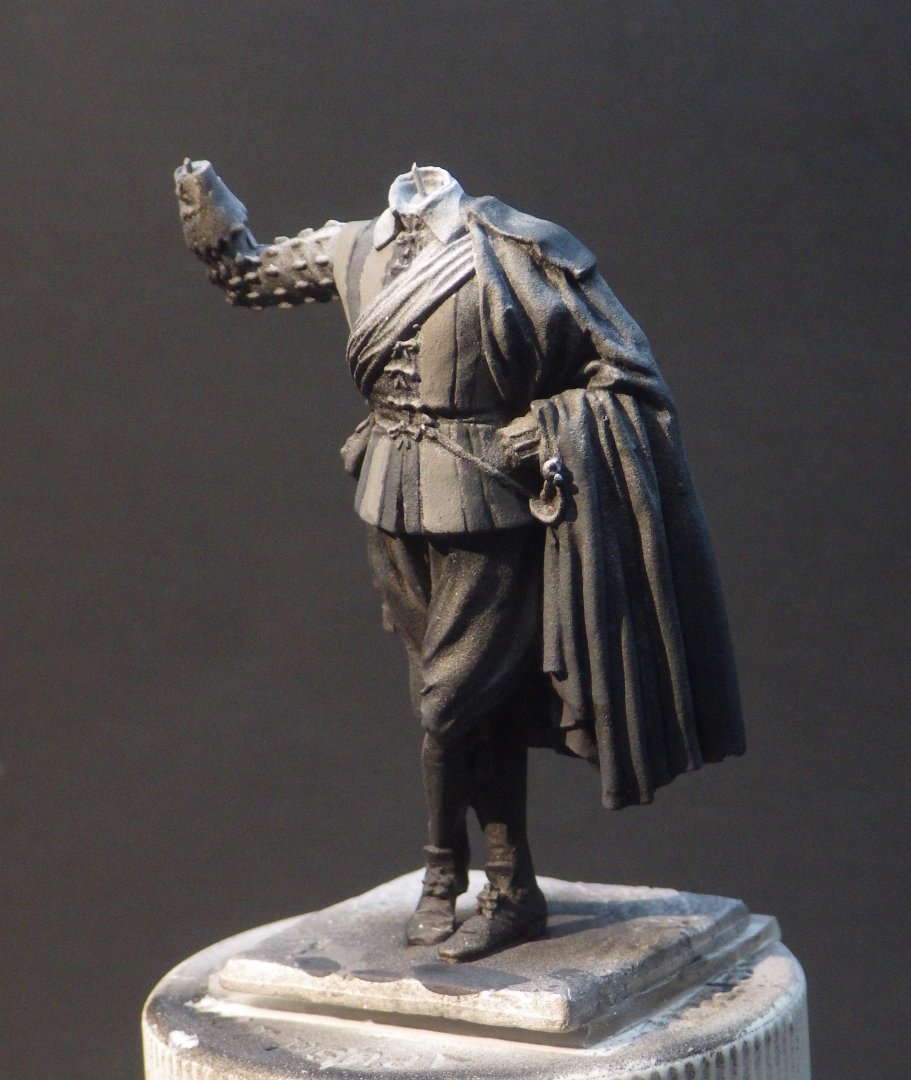
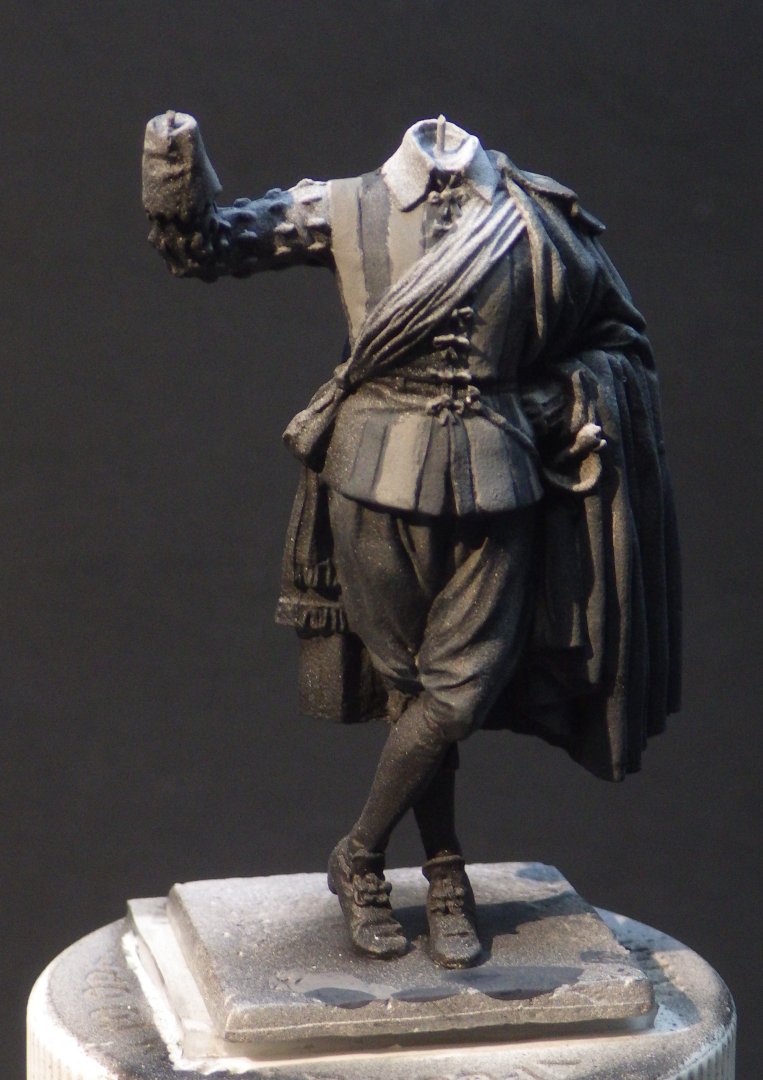
I made a start on the colour glazes. The colour guide on the back of the card with the figure states that cape, vest, breeches, hose are all black. The sample photo shows bands of grey on his vest and the figure actually has seams where the colour changes. I am reluctant to paint everything in black he is going to look like medieval panzer crew. Also the clothing will not be well efined. I actually think dark grey may be better which will become black in the folds and where the white shading isn't present. Curiously the guide also calls out "carmesi" for the sash and bows but that is crimson I think and the guide photo shows violet. Having just bought a bottle of Vallejo Dark Violet I will be going with that. I can't find any images to confirm / contradict. So the first coats of the mid grey and dark grey are on. The cape is going to need more; its a little too light at the top. I think I am going to leave the hose as black and maybe work a little grey into his shoes to demark them. Thanks for looking in and for teh likes and comments Alan