HOLIDAY DONATION DRIVE - SUPPORT MSW - DO YOUR PART TO KEEP THIS GREAT FORUM GOING!
×


king derelict
-
Posts
3,260 -
Joined
-
Last visited
Content Type
Profiles
Forums
Gallery
Events
Everything posted by king derelict
-
Thank you very much OC. This is a really nice sculpt to work on. Alan
-
Thank you OC. I find the Vallejo a bit rubbery and has a tendency to peel away sometimes as well as shrink. Tears a bit when sanding too. I do like the disolved putty (apart from the smell) but that seems to be a solution for small gaps. Alan
-
Thank you EG. Your NMF work with the F104 is a standard reference read for me. wealth of options for NMF is impressive Alan
-
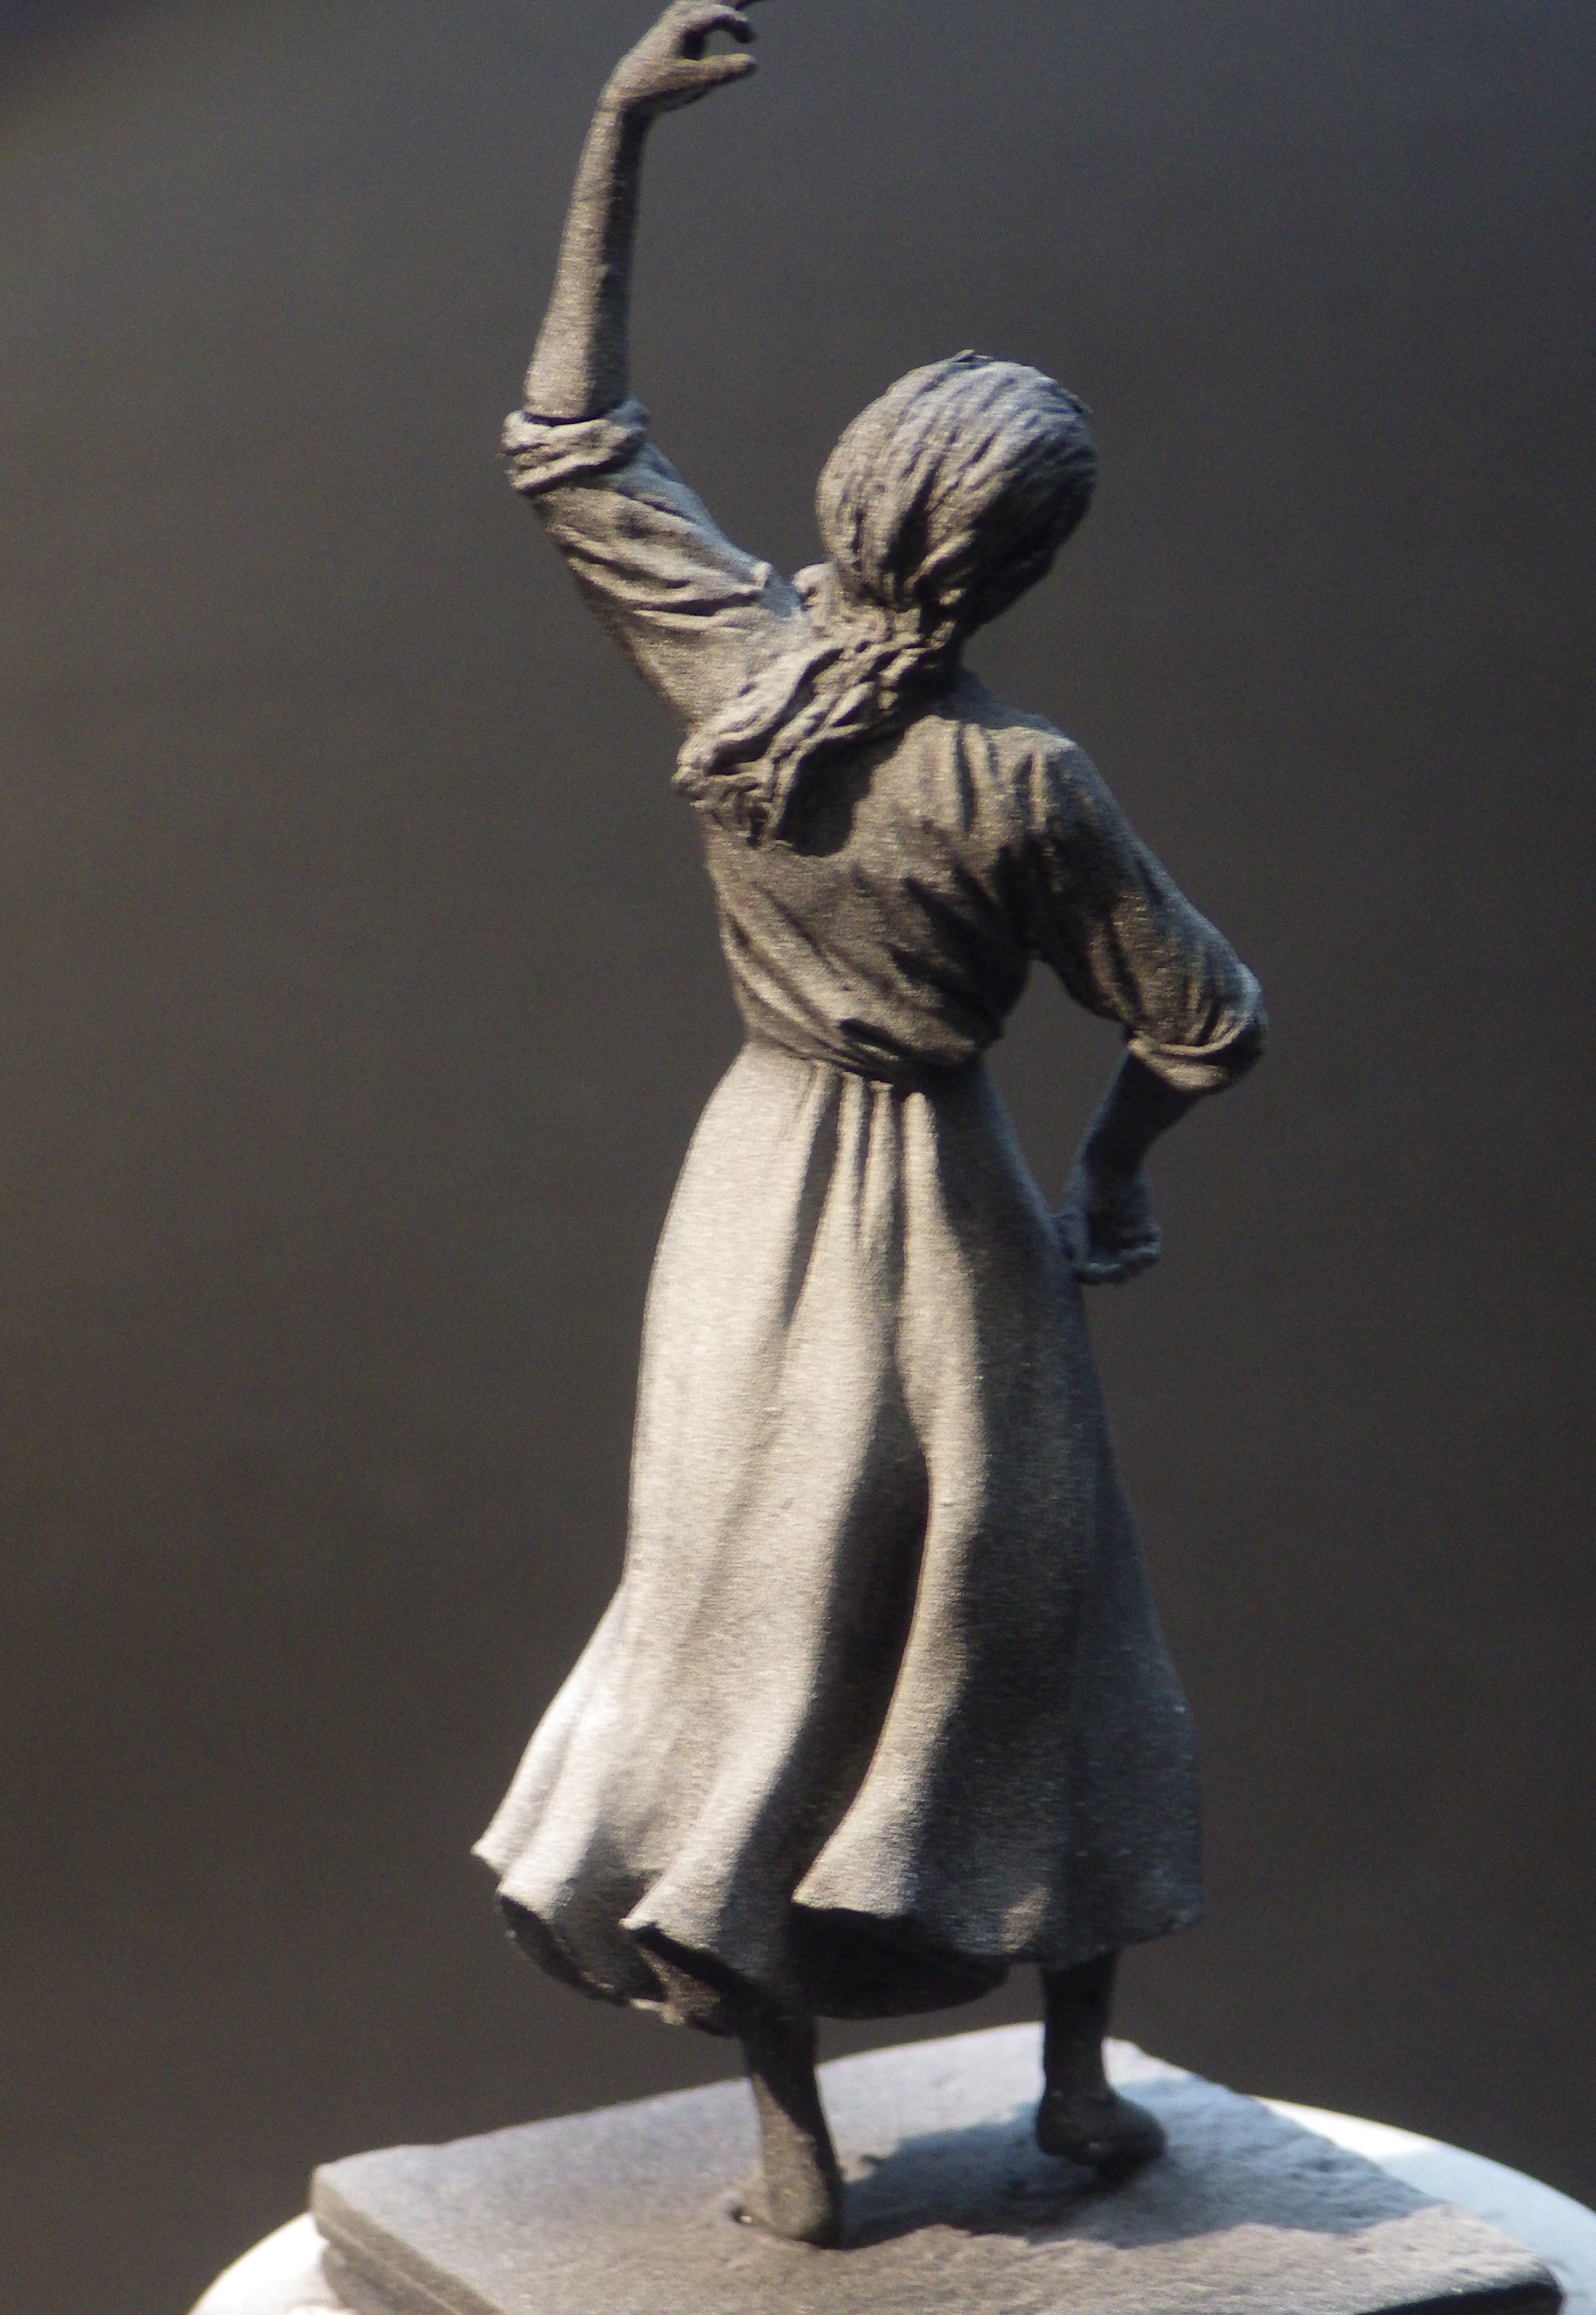
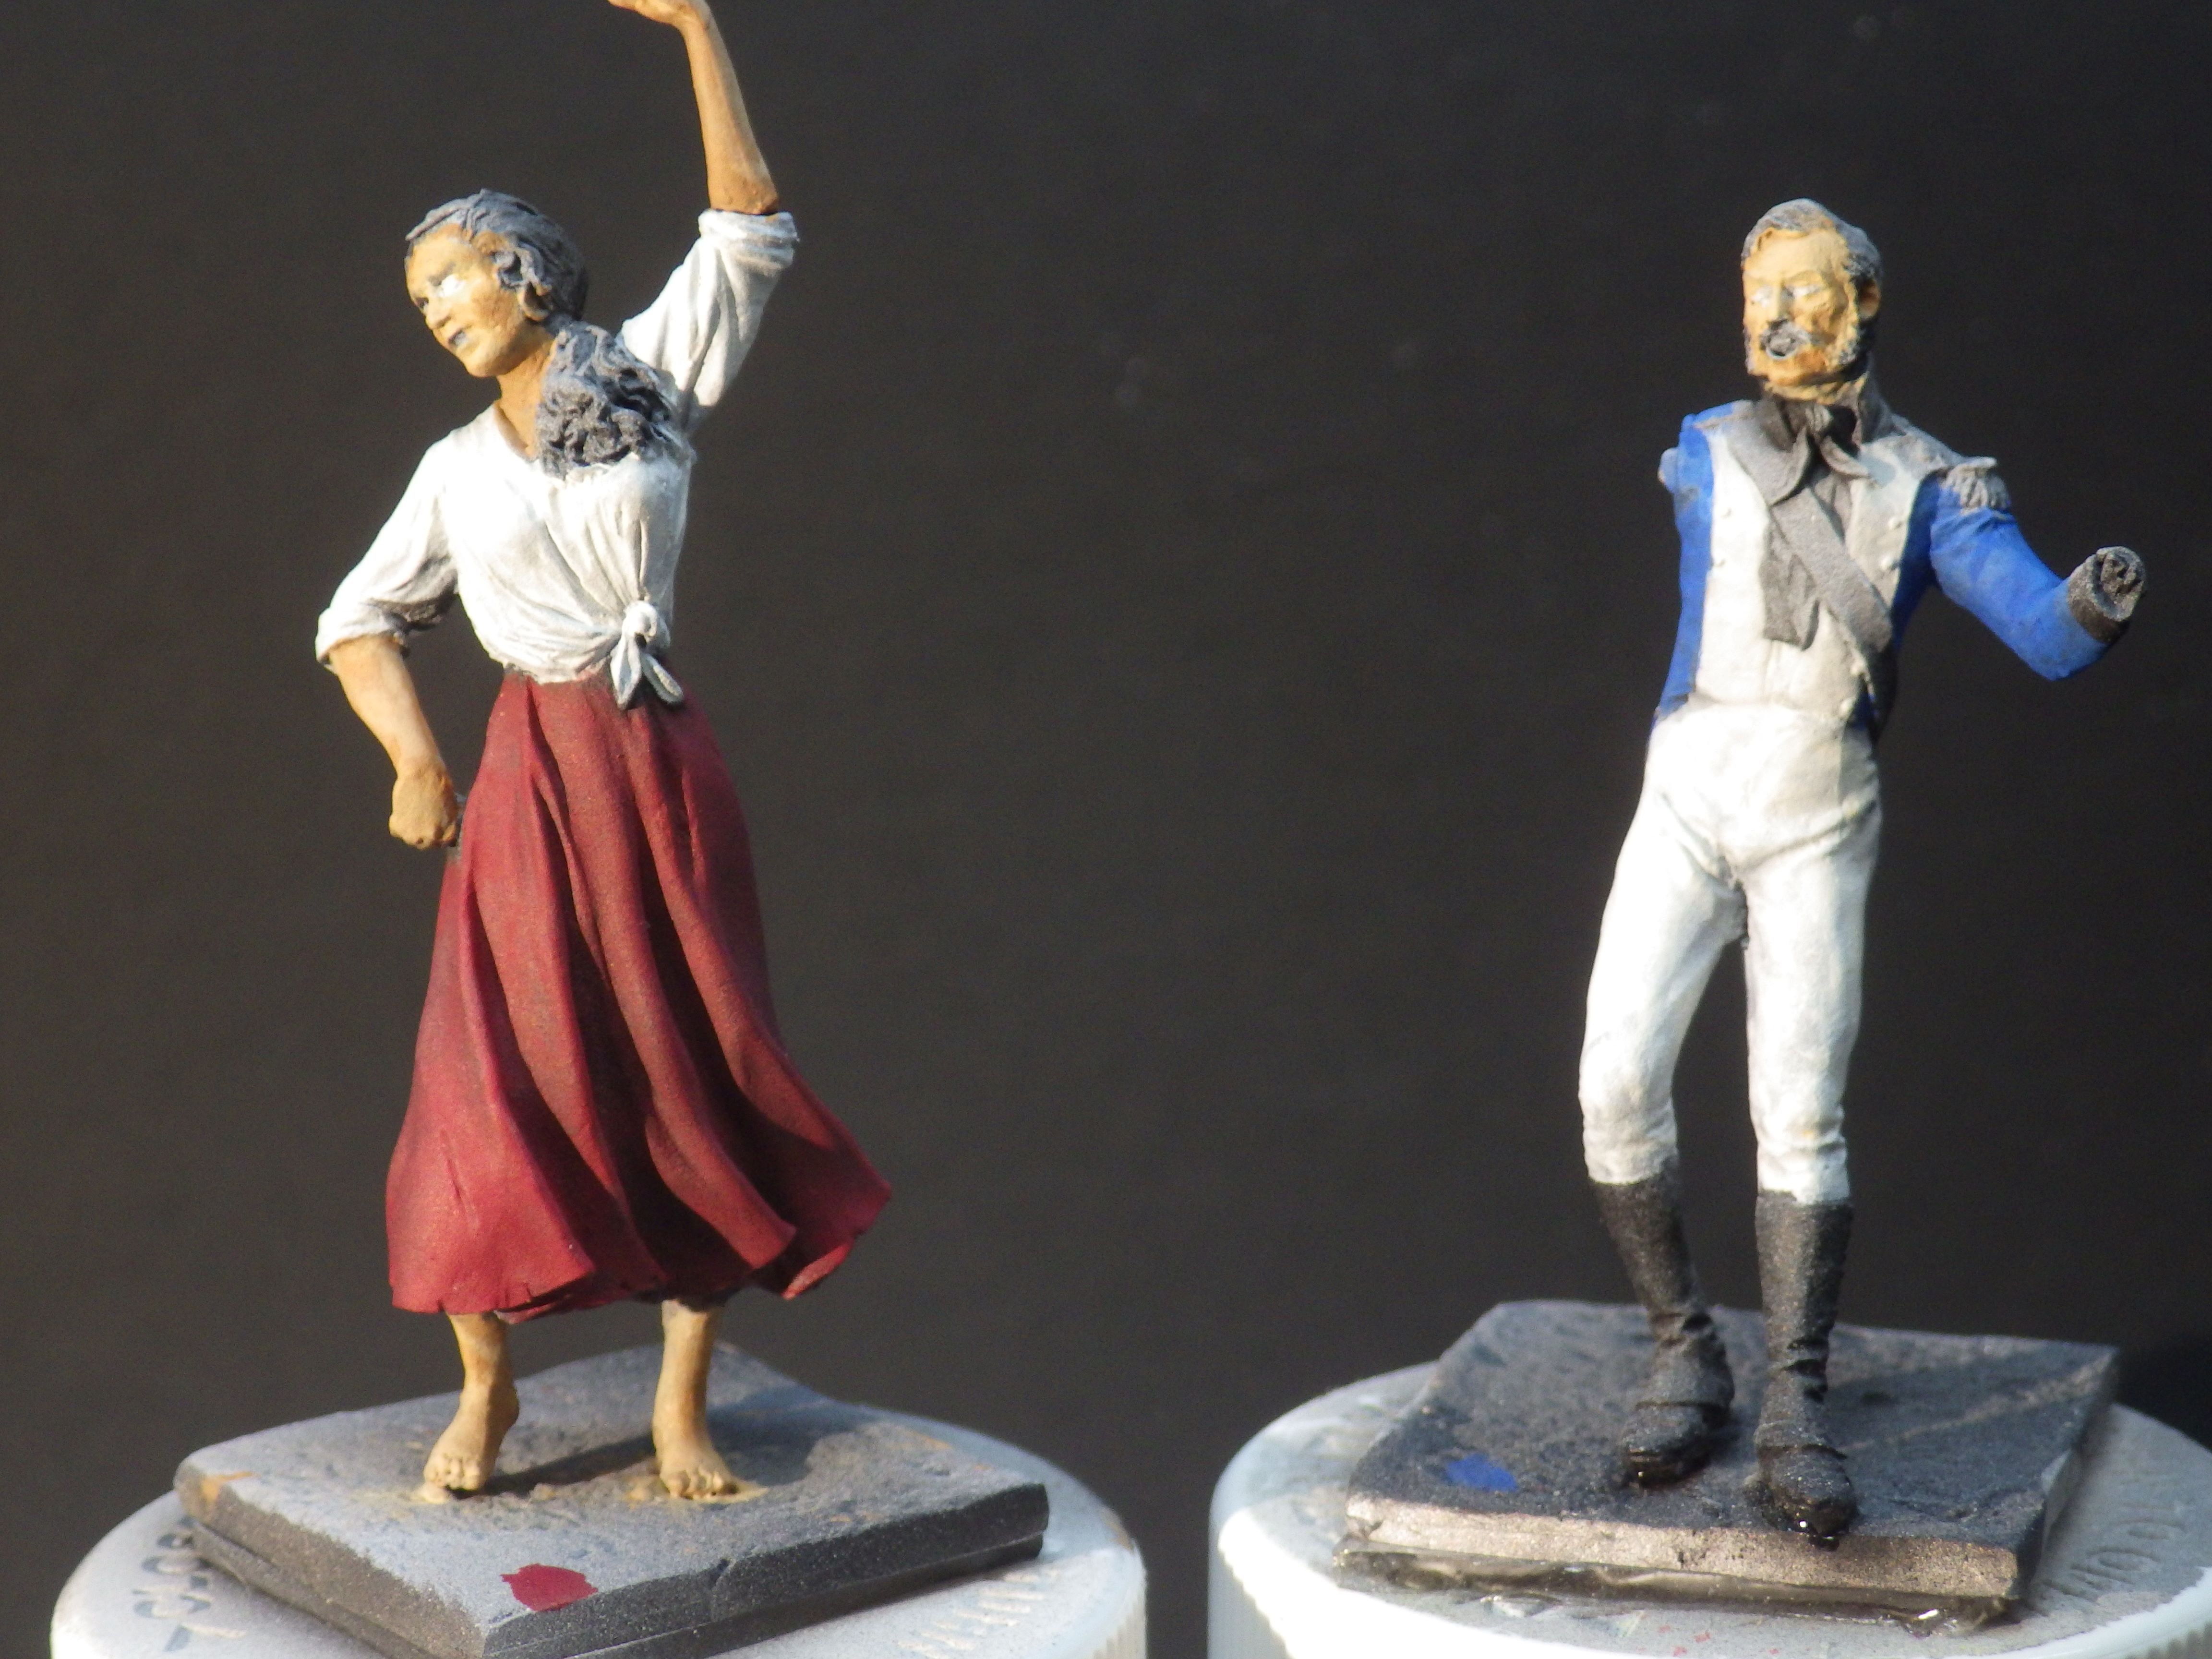
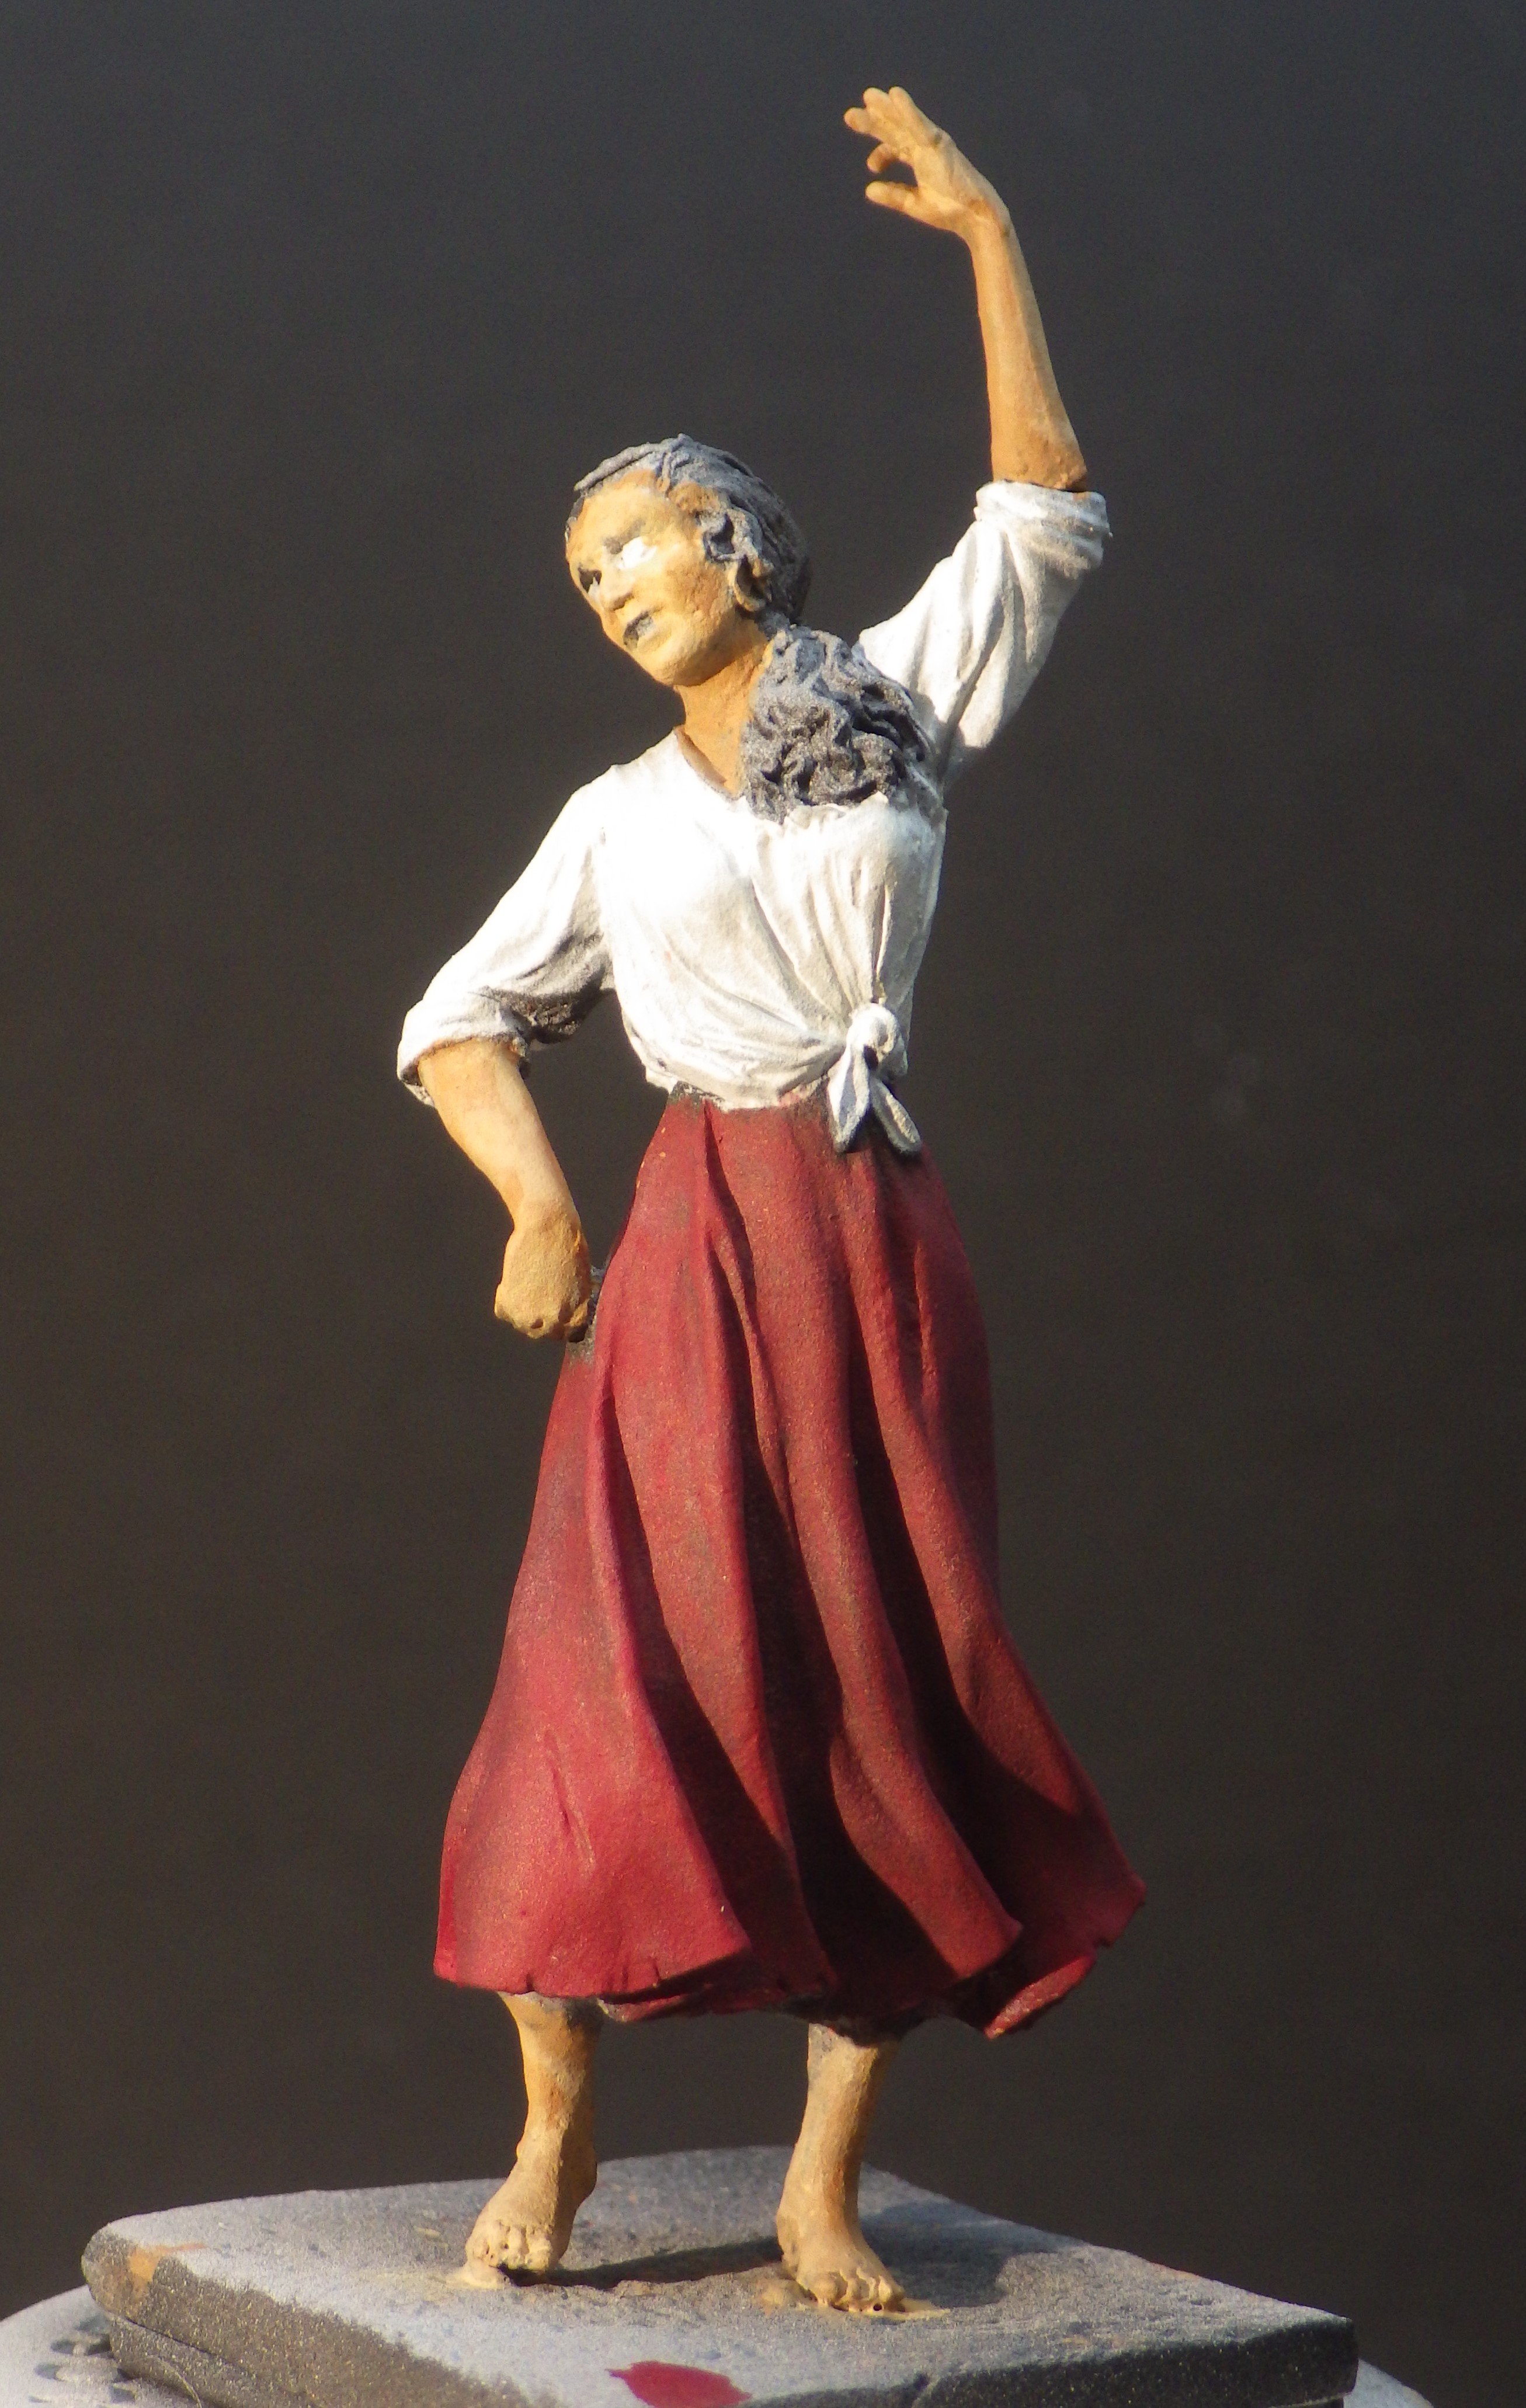
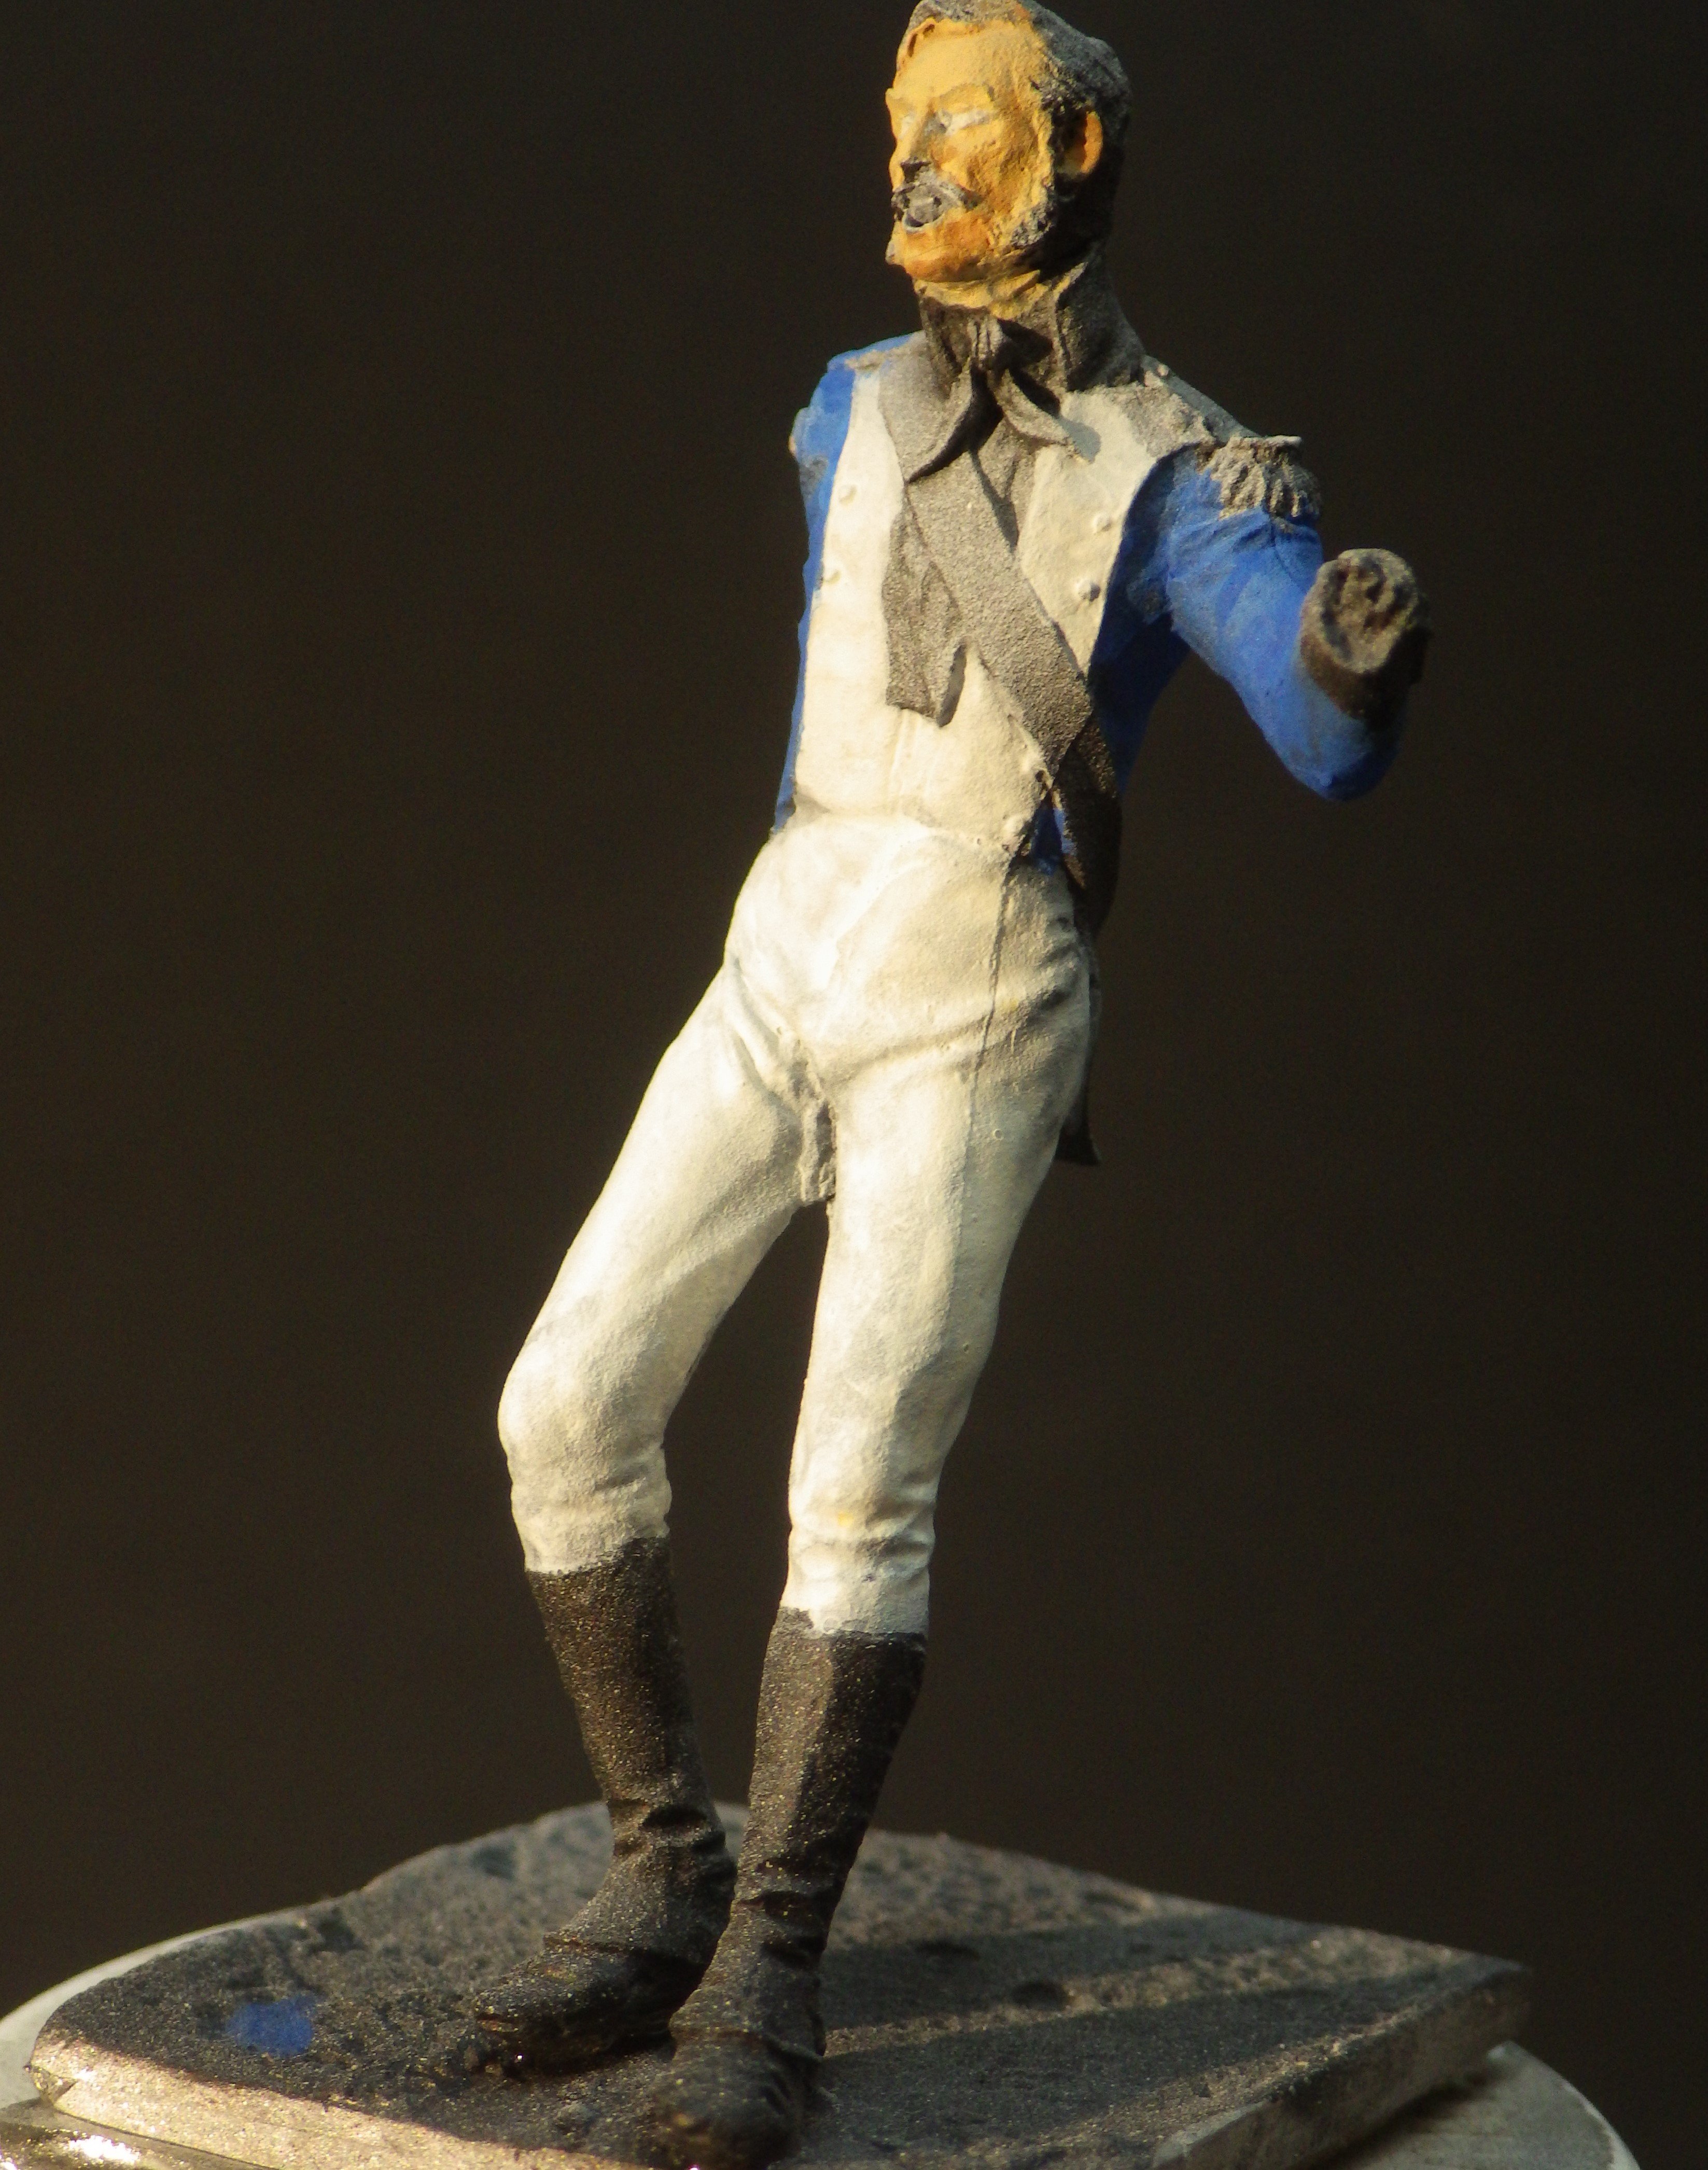
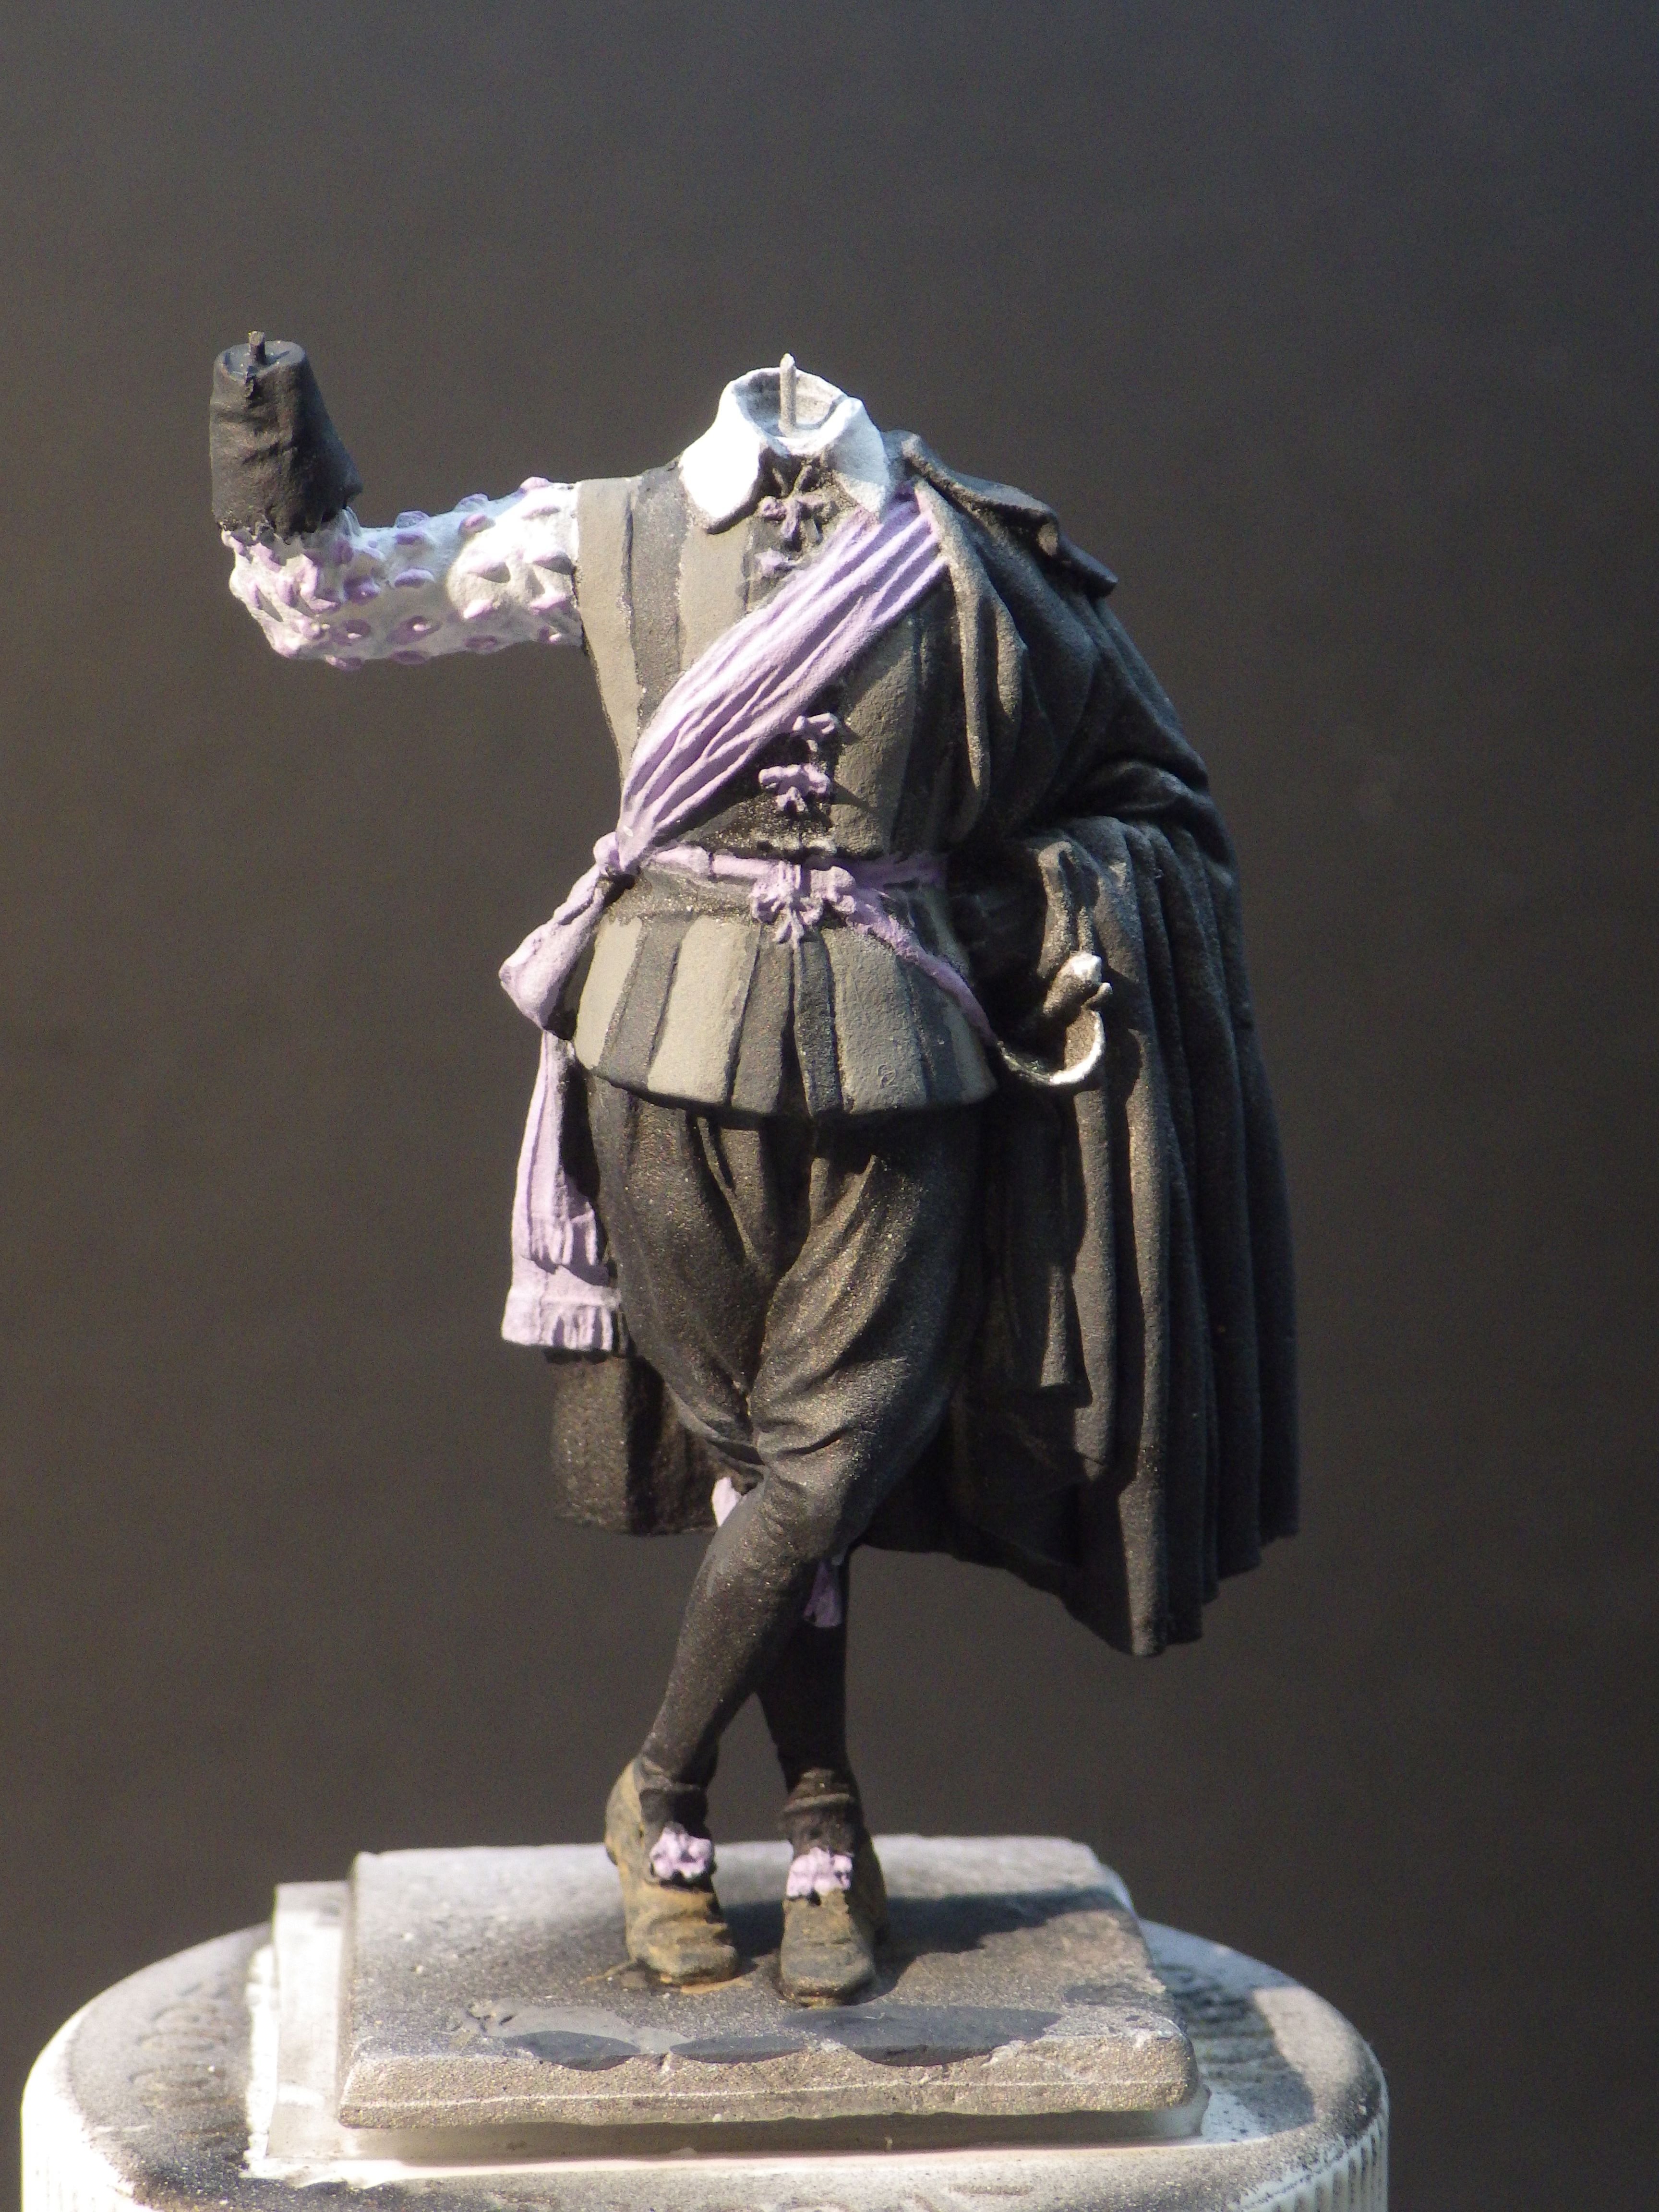
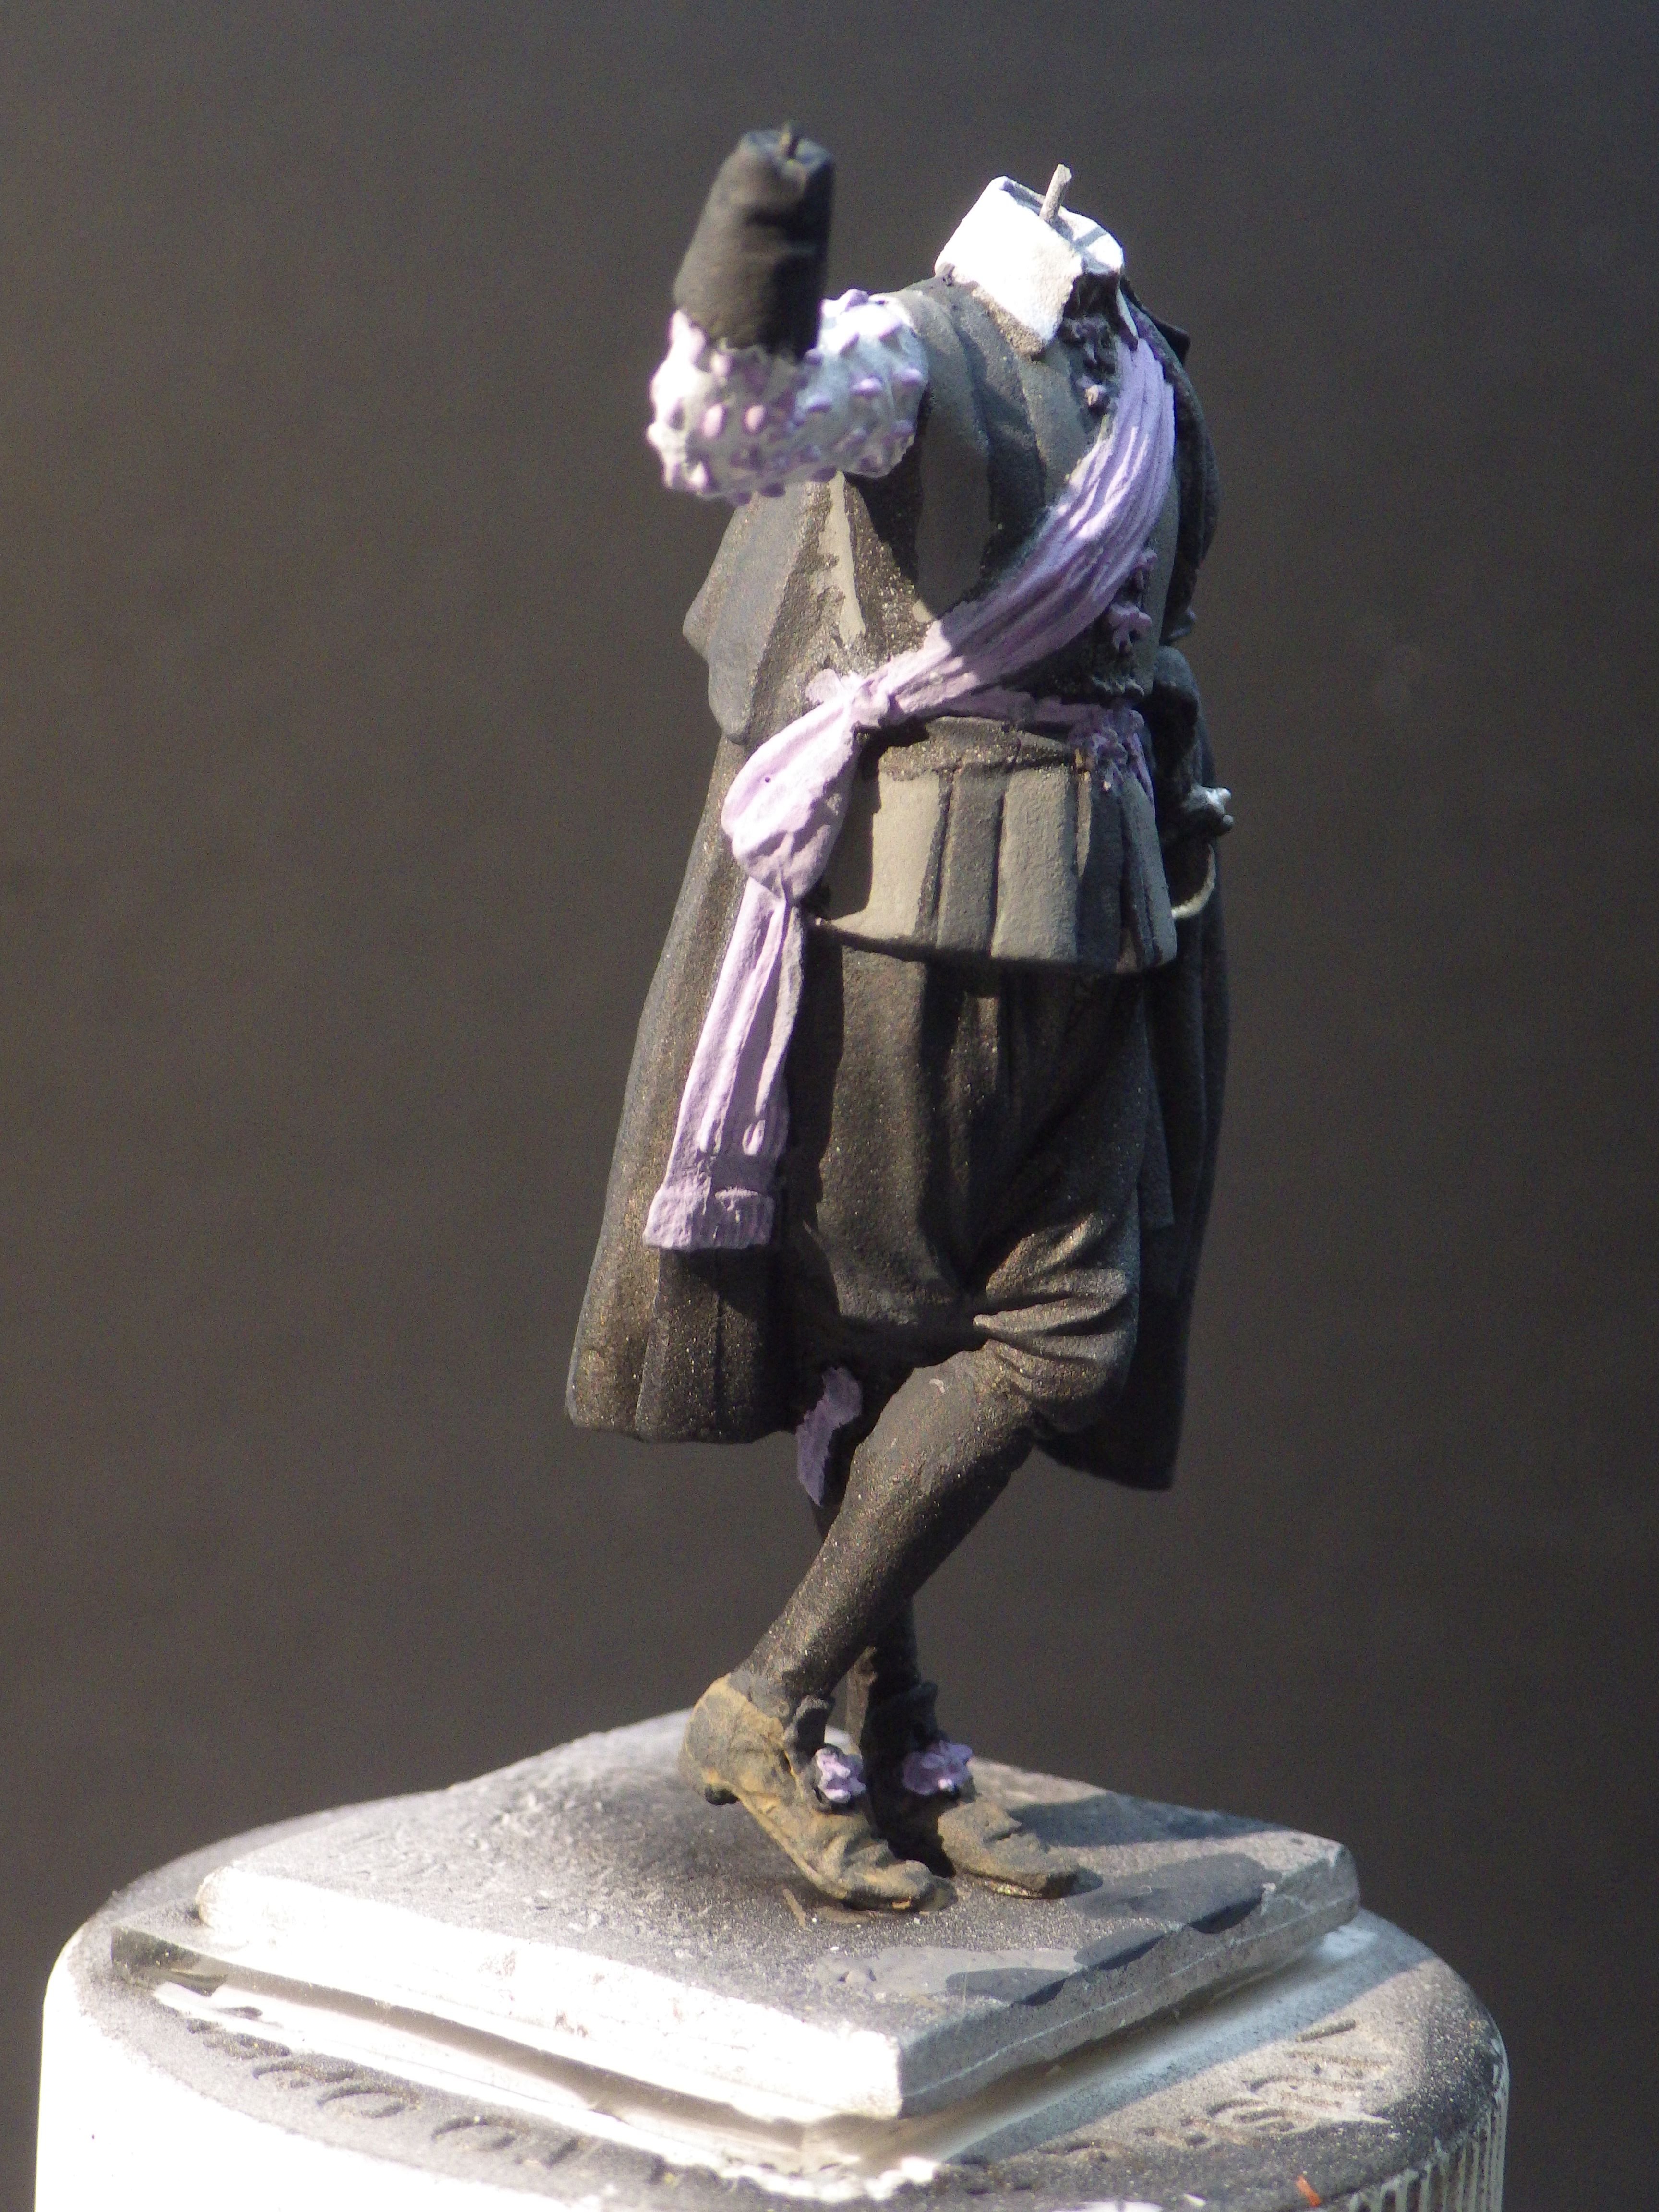
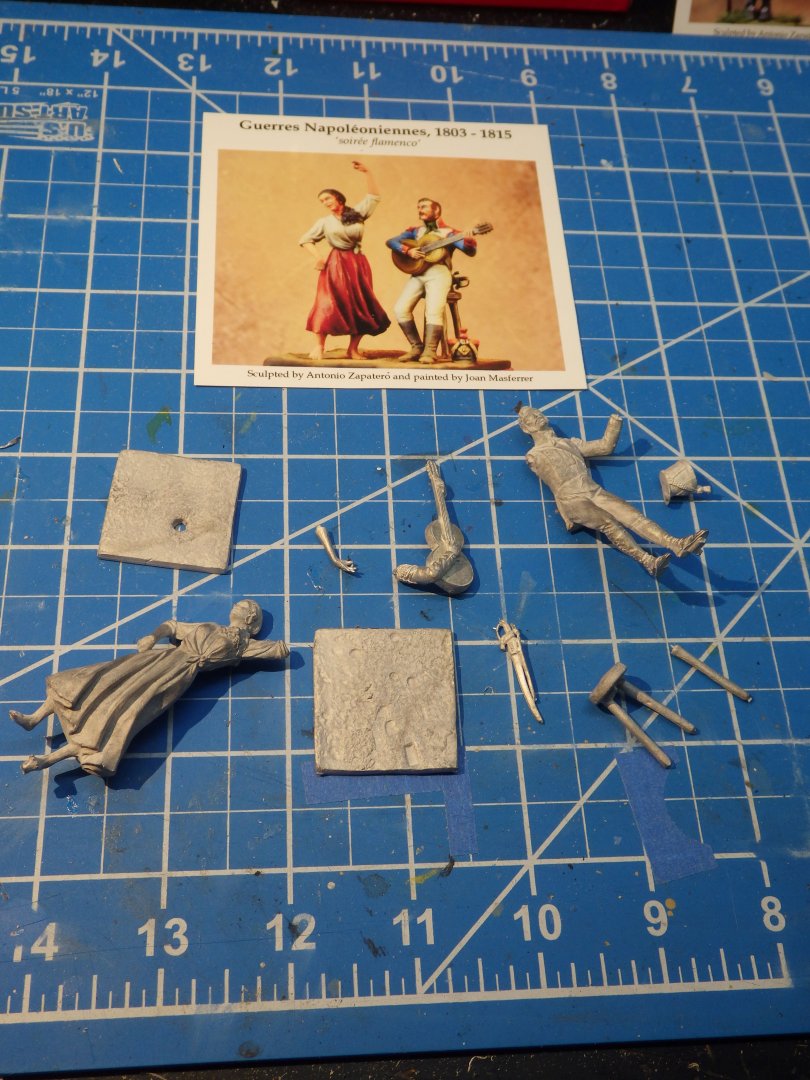
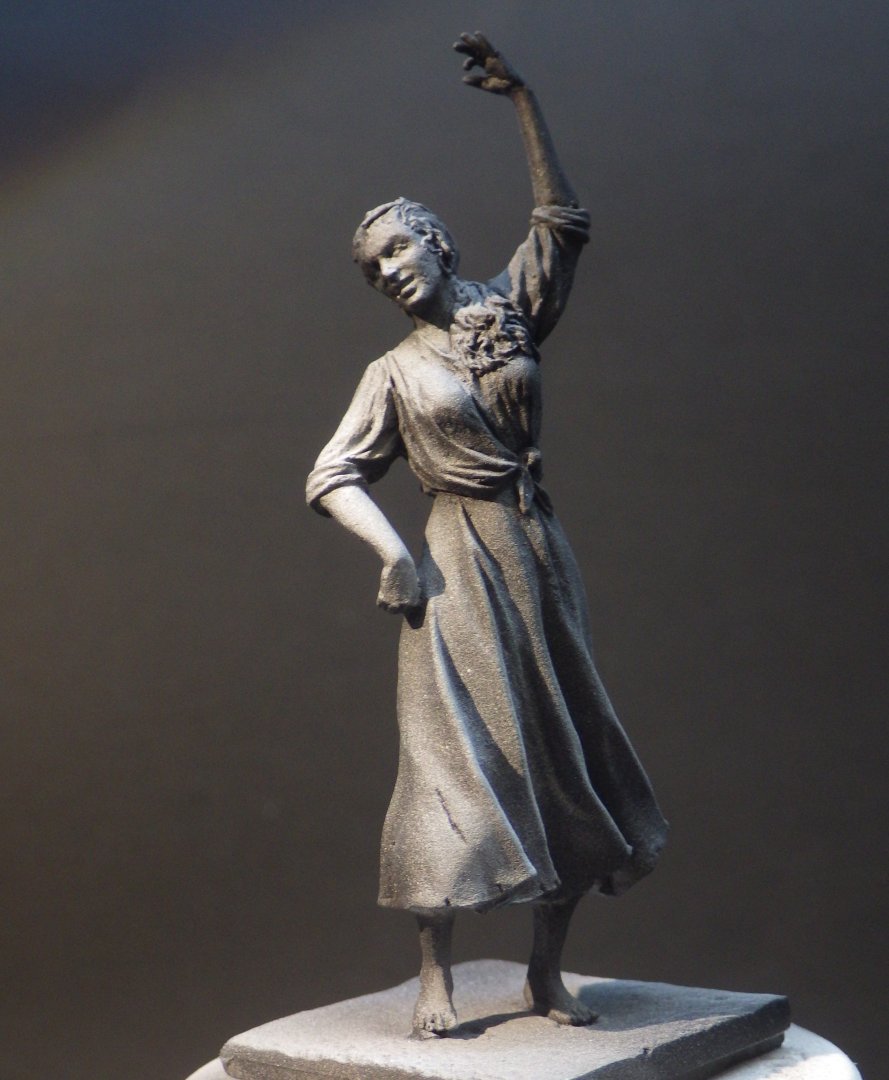
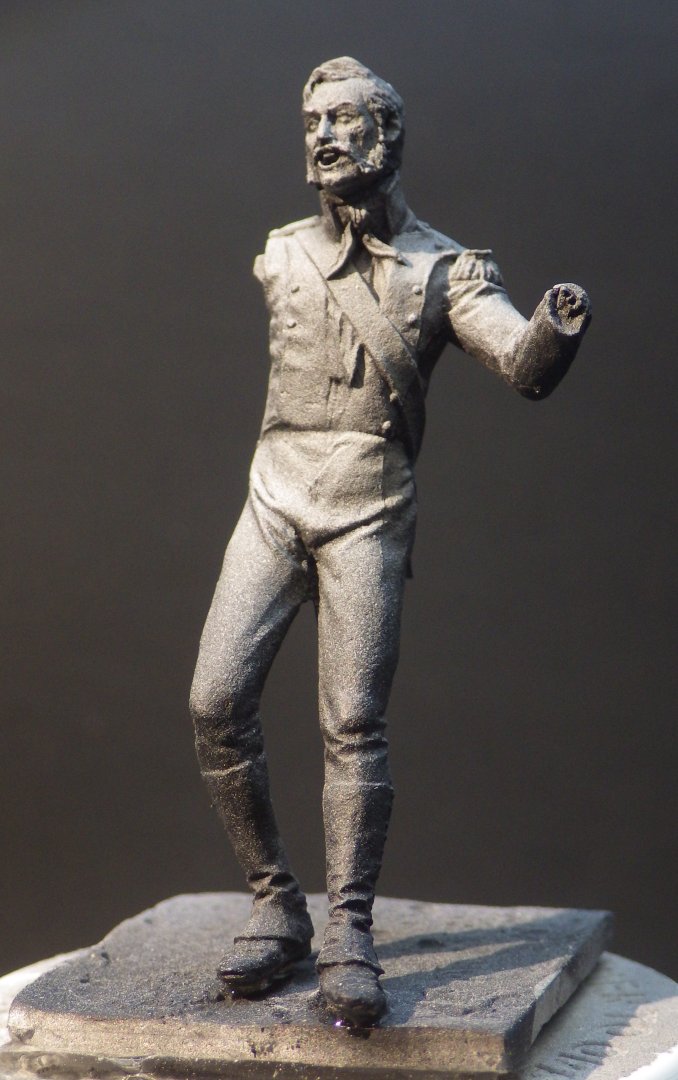
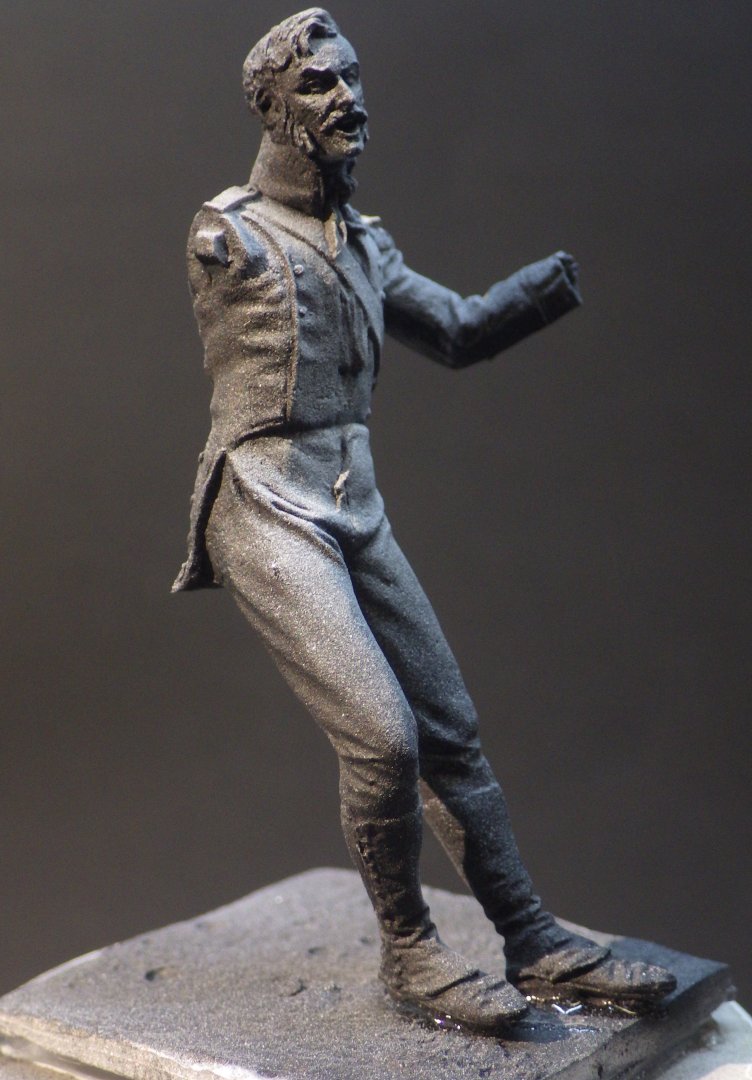
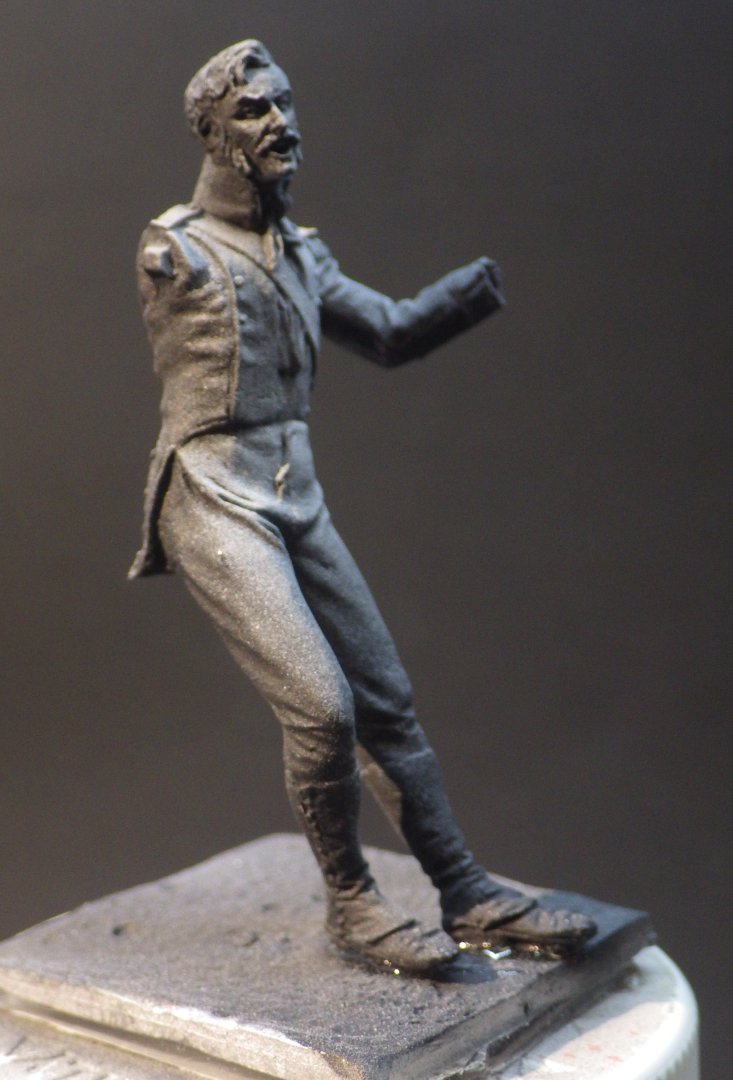
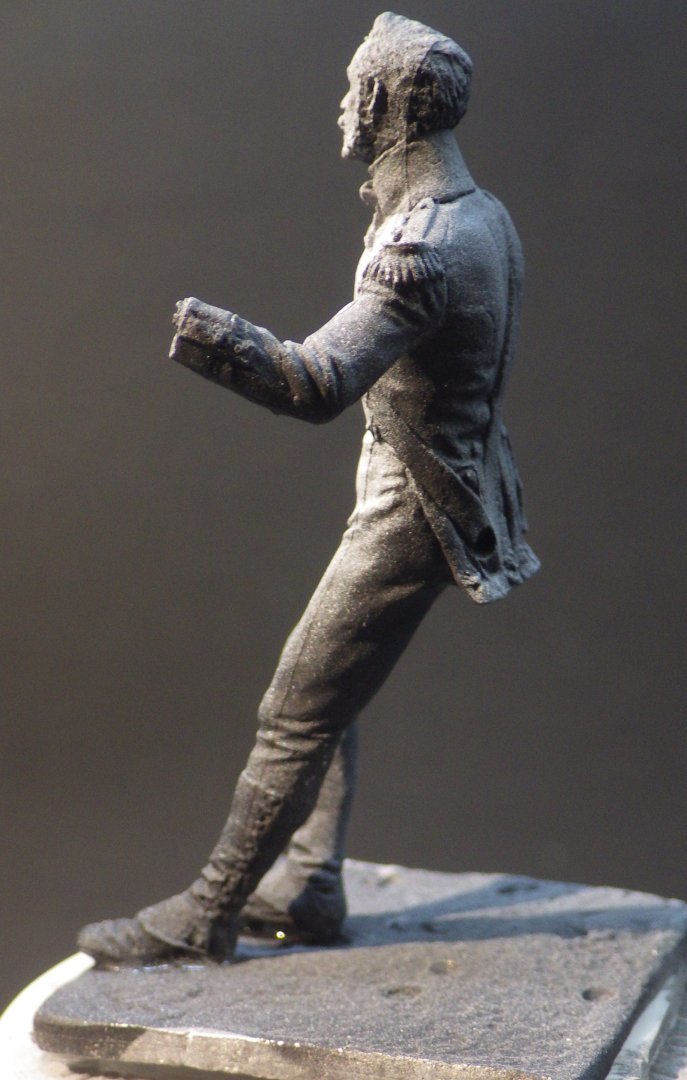
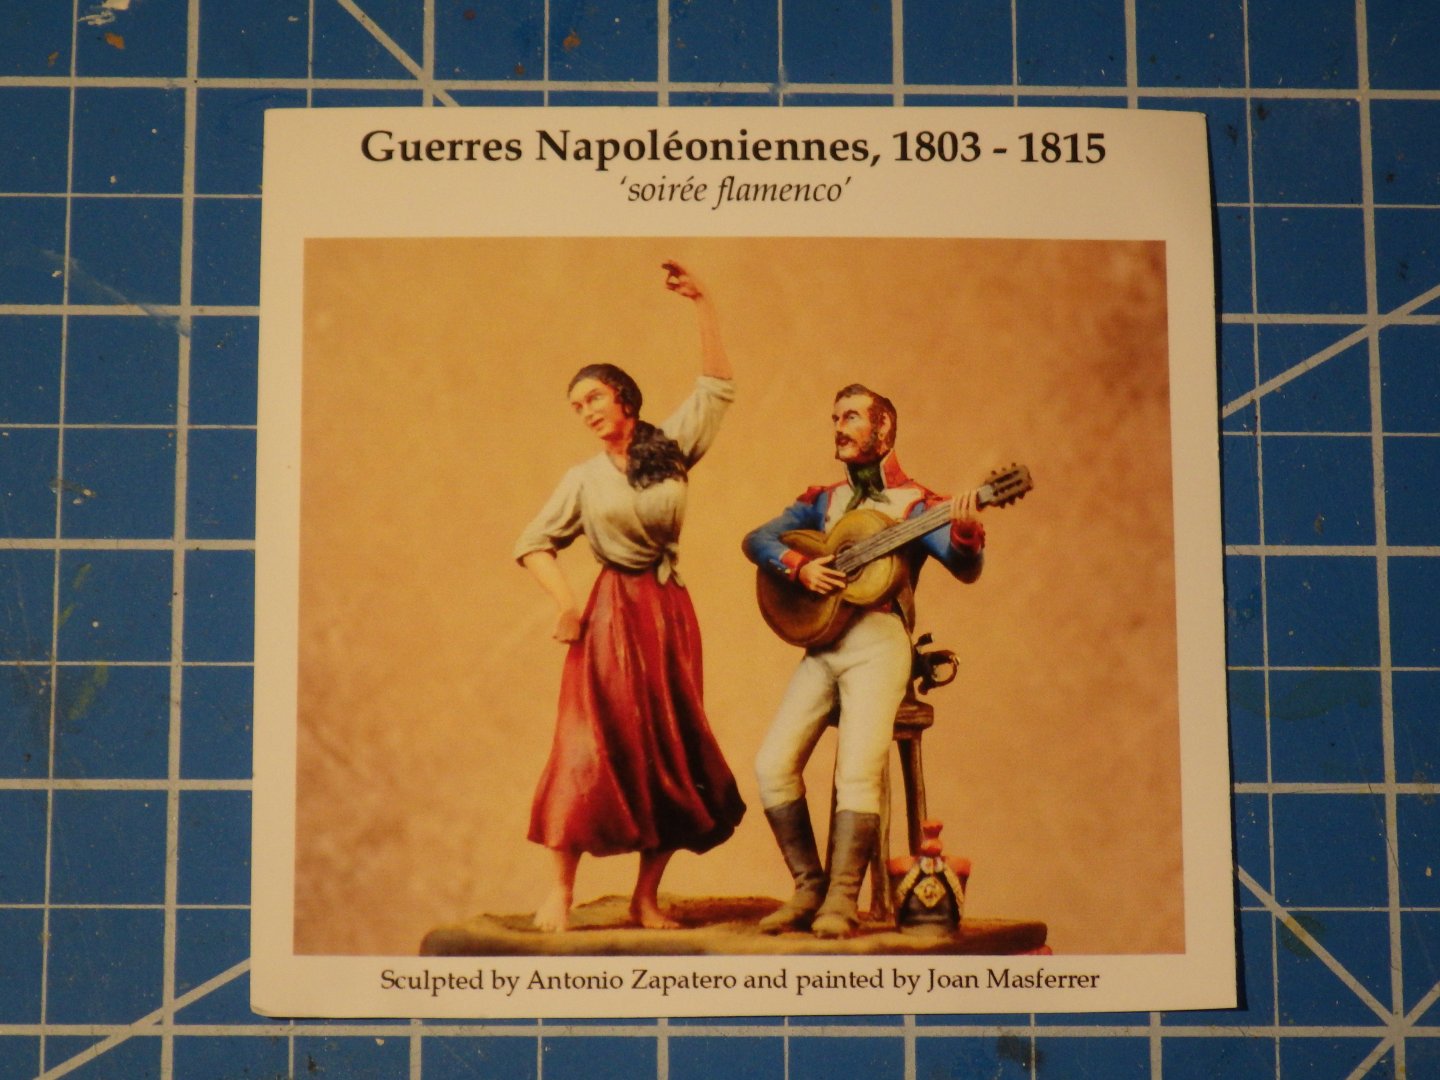
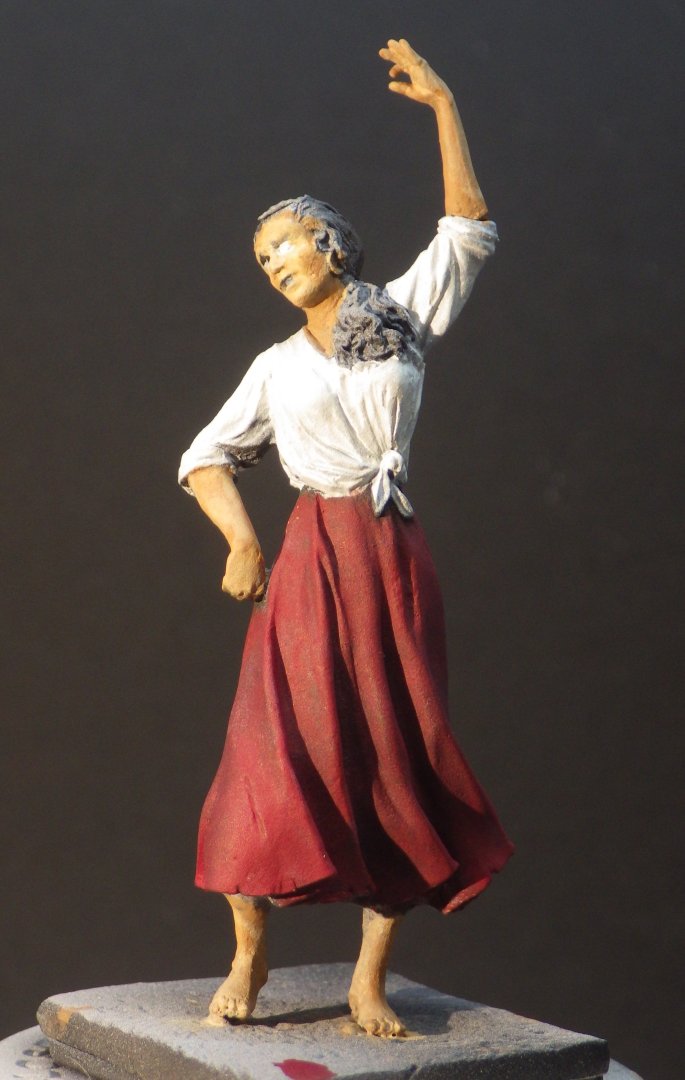
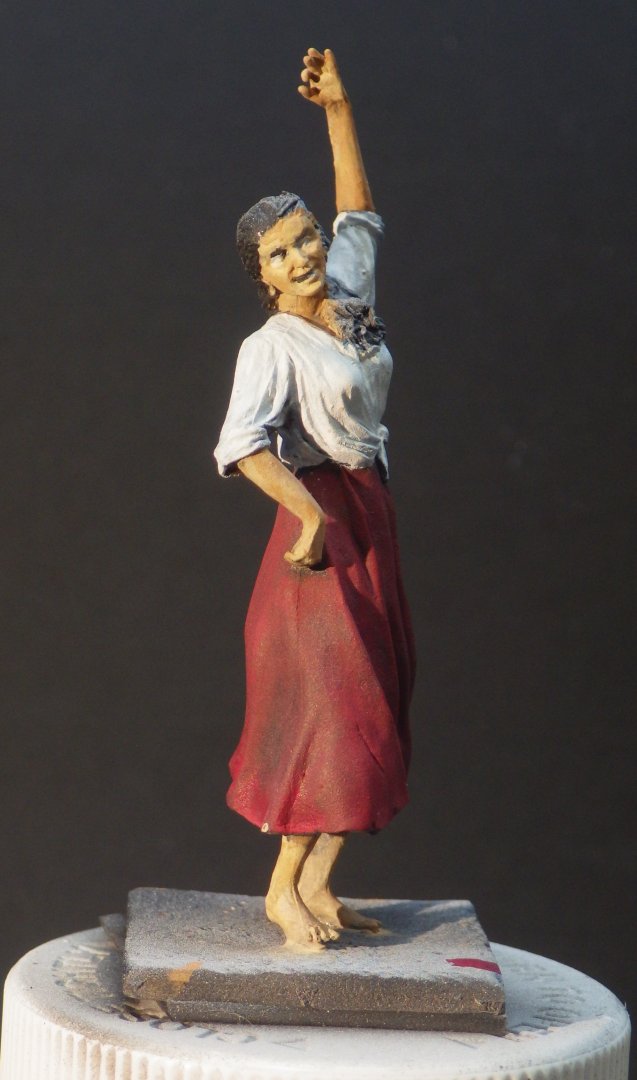
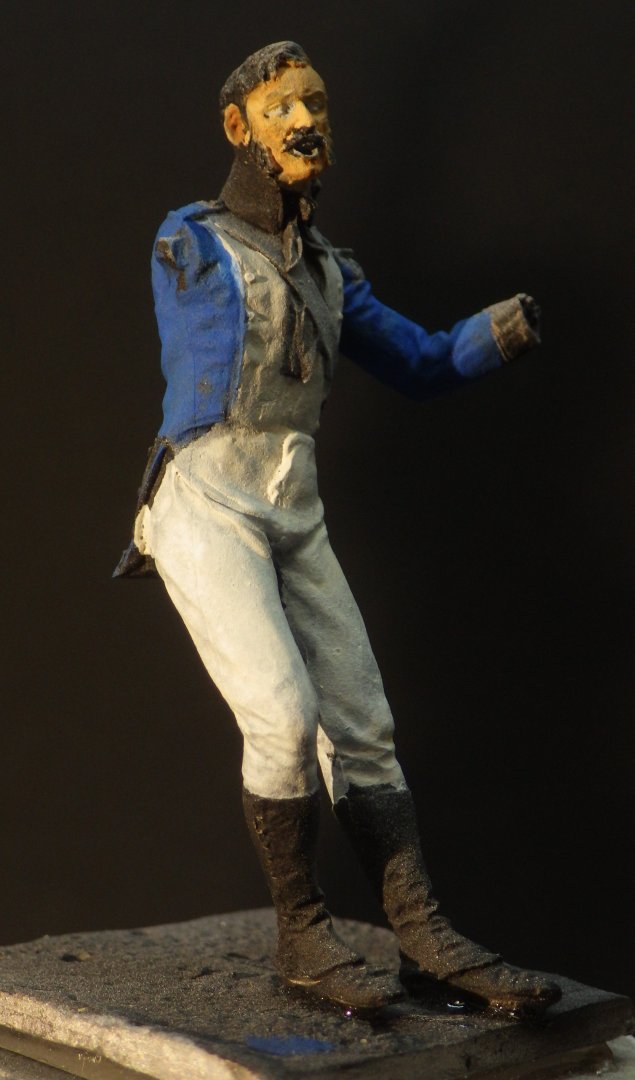
This took my eye when I was ordering the last figures from Art Girona. I'm not sure its a wise choice; at least to me, it seems hard to capture dynamic motion in static figures which is why I like the A-G casual poses. The little scene appealed so I ordered it and will see how it works. I'm not sure the Spanish civilians were always enchanted with their French invaders so I have thought about adding a knife hilt to the back of the dancers skirt to make it a little edgier but we shall see. There seemed to be a lot of spare time while other things were drying so I opened the bag and started fiddling I decided there was no good reason to leave the dancers arm separate so I glued into place and the fit was good enough to not need a pin. Similarly the way the guitar and arm fit onto the soldier they seem self supporting and didn't seem to require a pin. The soldiers head was pinned as is becoming standard practice for me. I plan to build the bases into a single piece at the end of the painting. The shaded primer has been applied and shows another nice set of A-G castings. I've started with the initial glazes on both figures. I'm trying to generate two different skin tones. The painting notes describe the dancer as a gypsy so I am trying for a darker tone than the French soldier. His rather agonising posture is because he will be sat on a stool in the fullness of time which should make him a little more relaxed. Now I am at a point where my lack of knowledge about Napoleonic uniforms runs out and I'm not helped that for this kit A-G only provide a front view (and I also think some of the details are shaky) The French soldier is described as a Line Infantry Grenadier and the uniform looks right for that. I believe that epaulettes, facings and cuffs would be red, cross belts White with red borders possibly. Any information on these items would be very gratefully received Thanks for looking in on yet another miniature. Alan


-
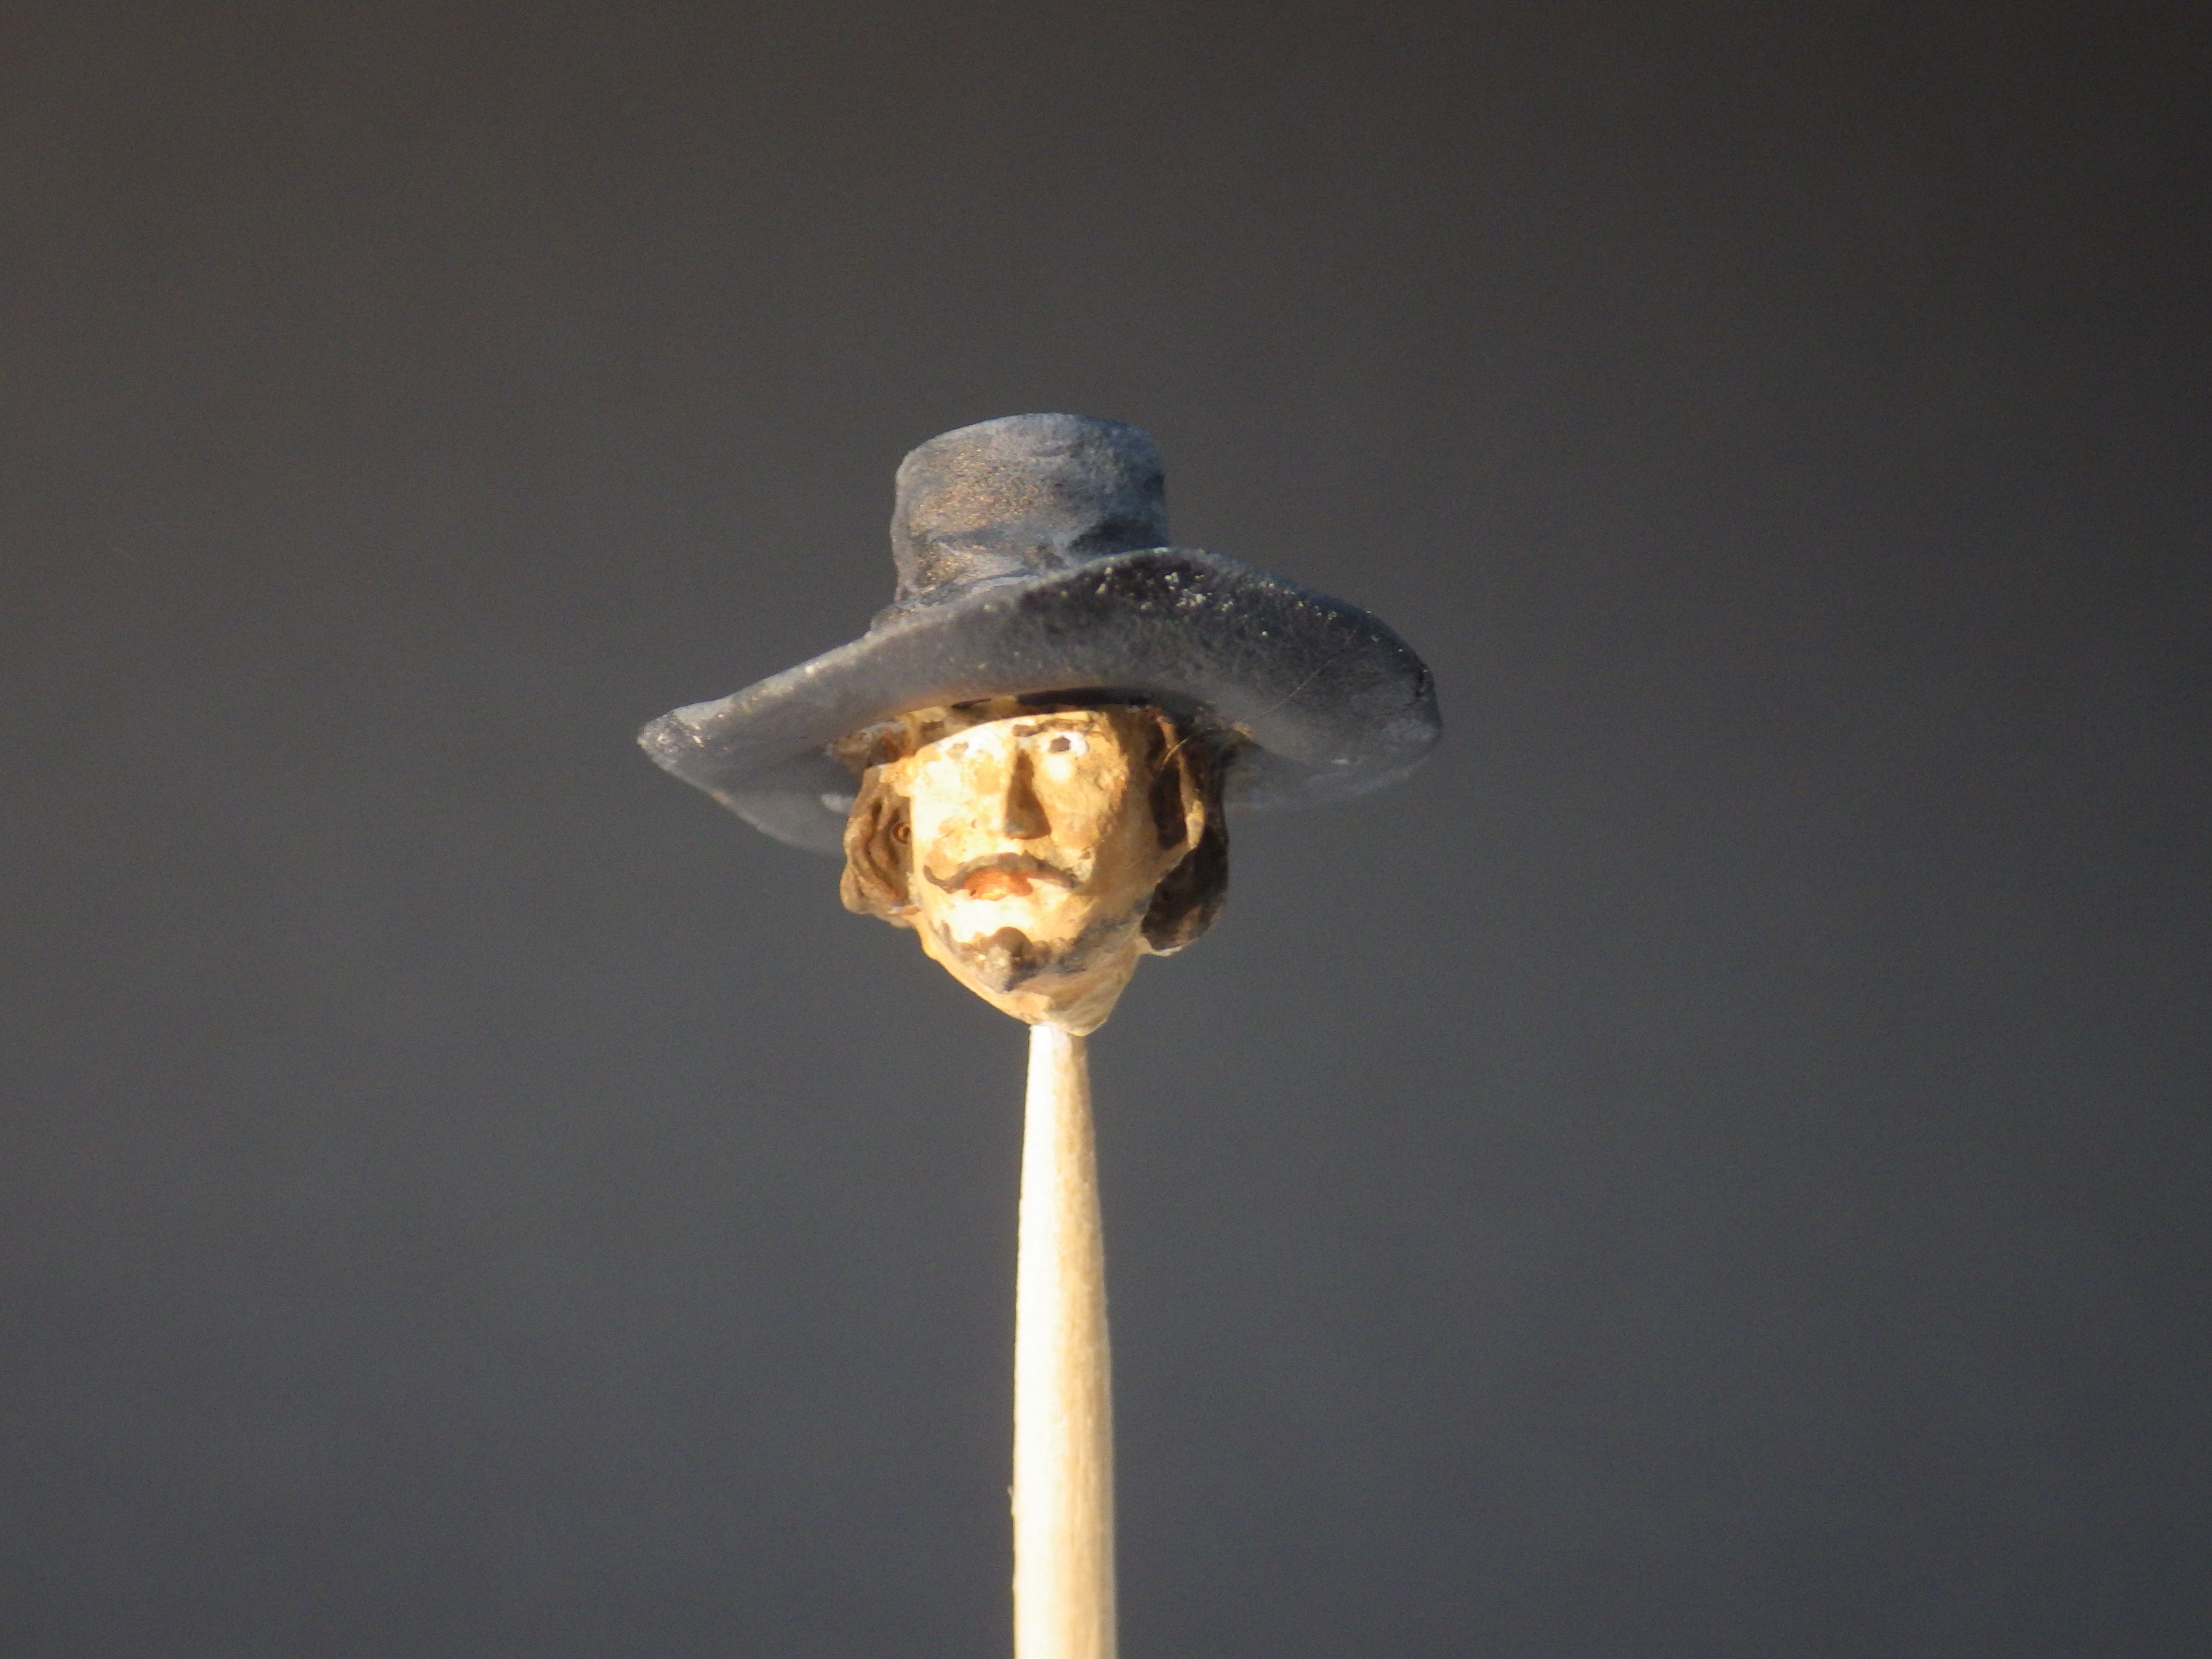
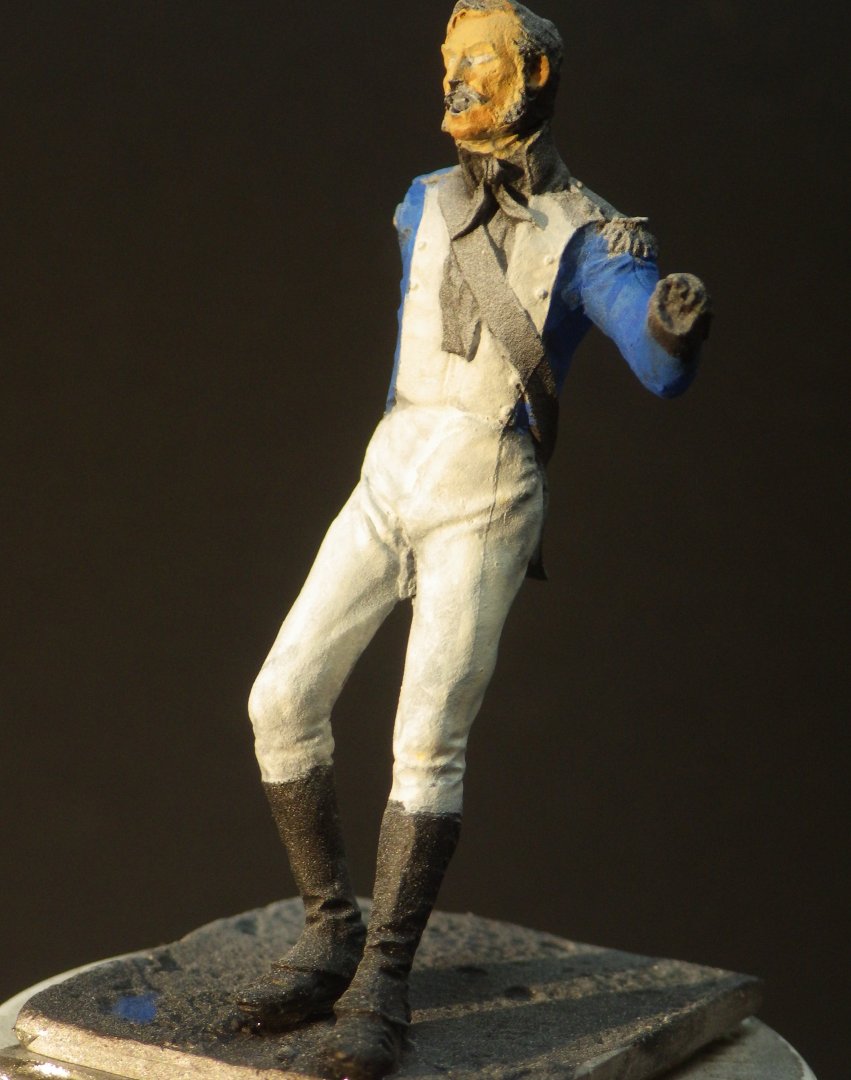
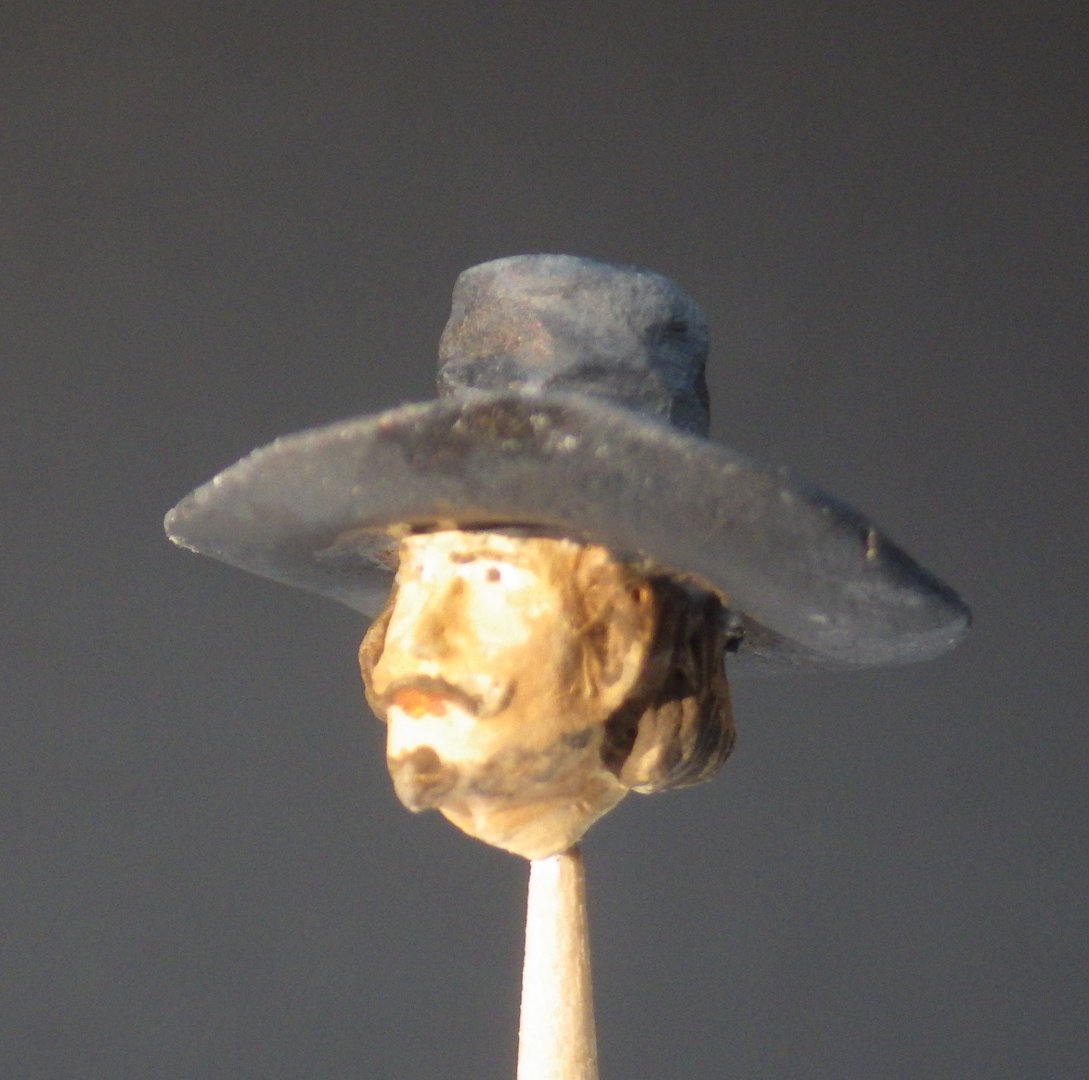
A bit of general tidying up of the outfit. I found I had missed one of the light grey panels on the waistcoat so I tidied that up. I fiddled with a few ideas to better delineate the shoes and the hose from each other and in the end I put a very dilute cork brown wash over the shoes and let it dry in the folds as dust and I think it has worked out well enough. I remember my shoes at school looking like that occasionally I'm still working on the face. There isn't a lot of room under the hat brim to get to the eyes but its coming together slowly. Got a bit of that Dali look going. Thanks for looking in and the supportive comments Alan


-
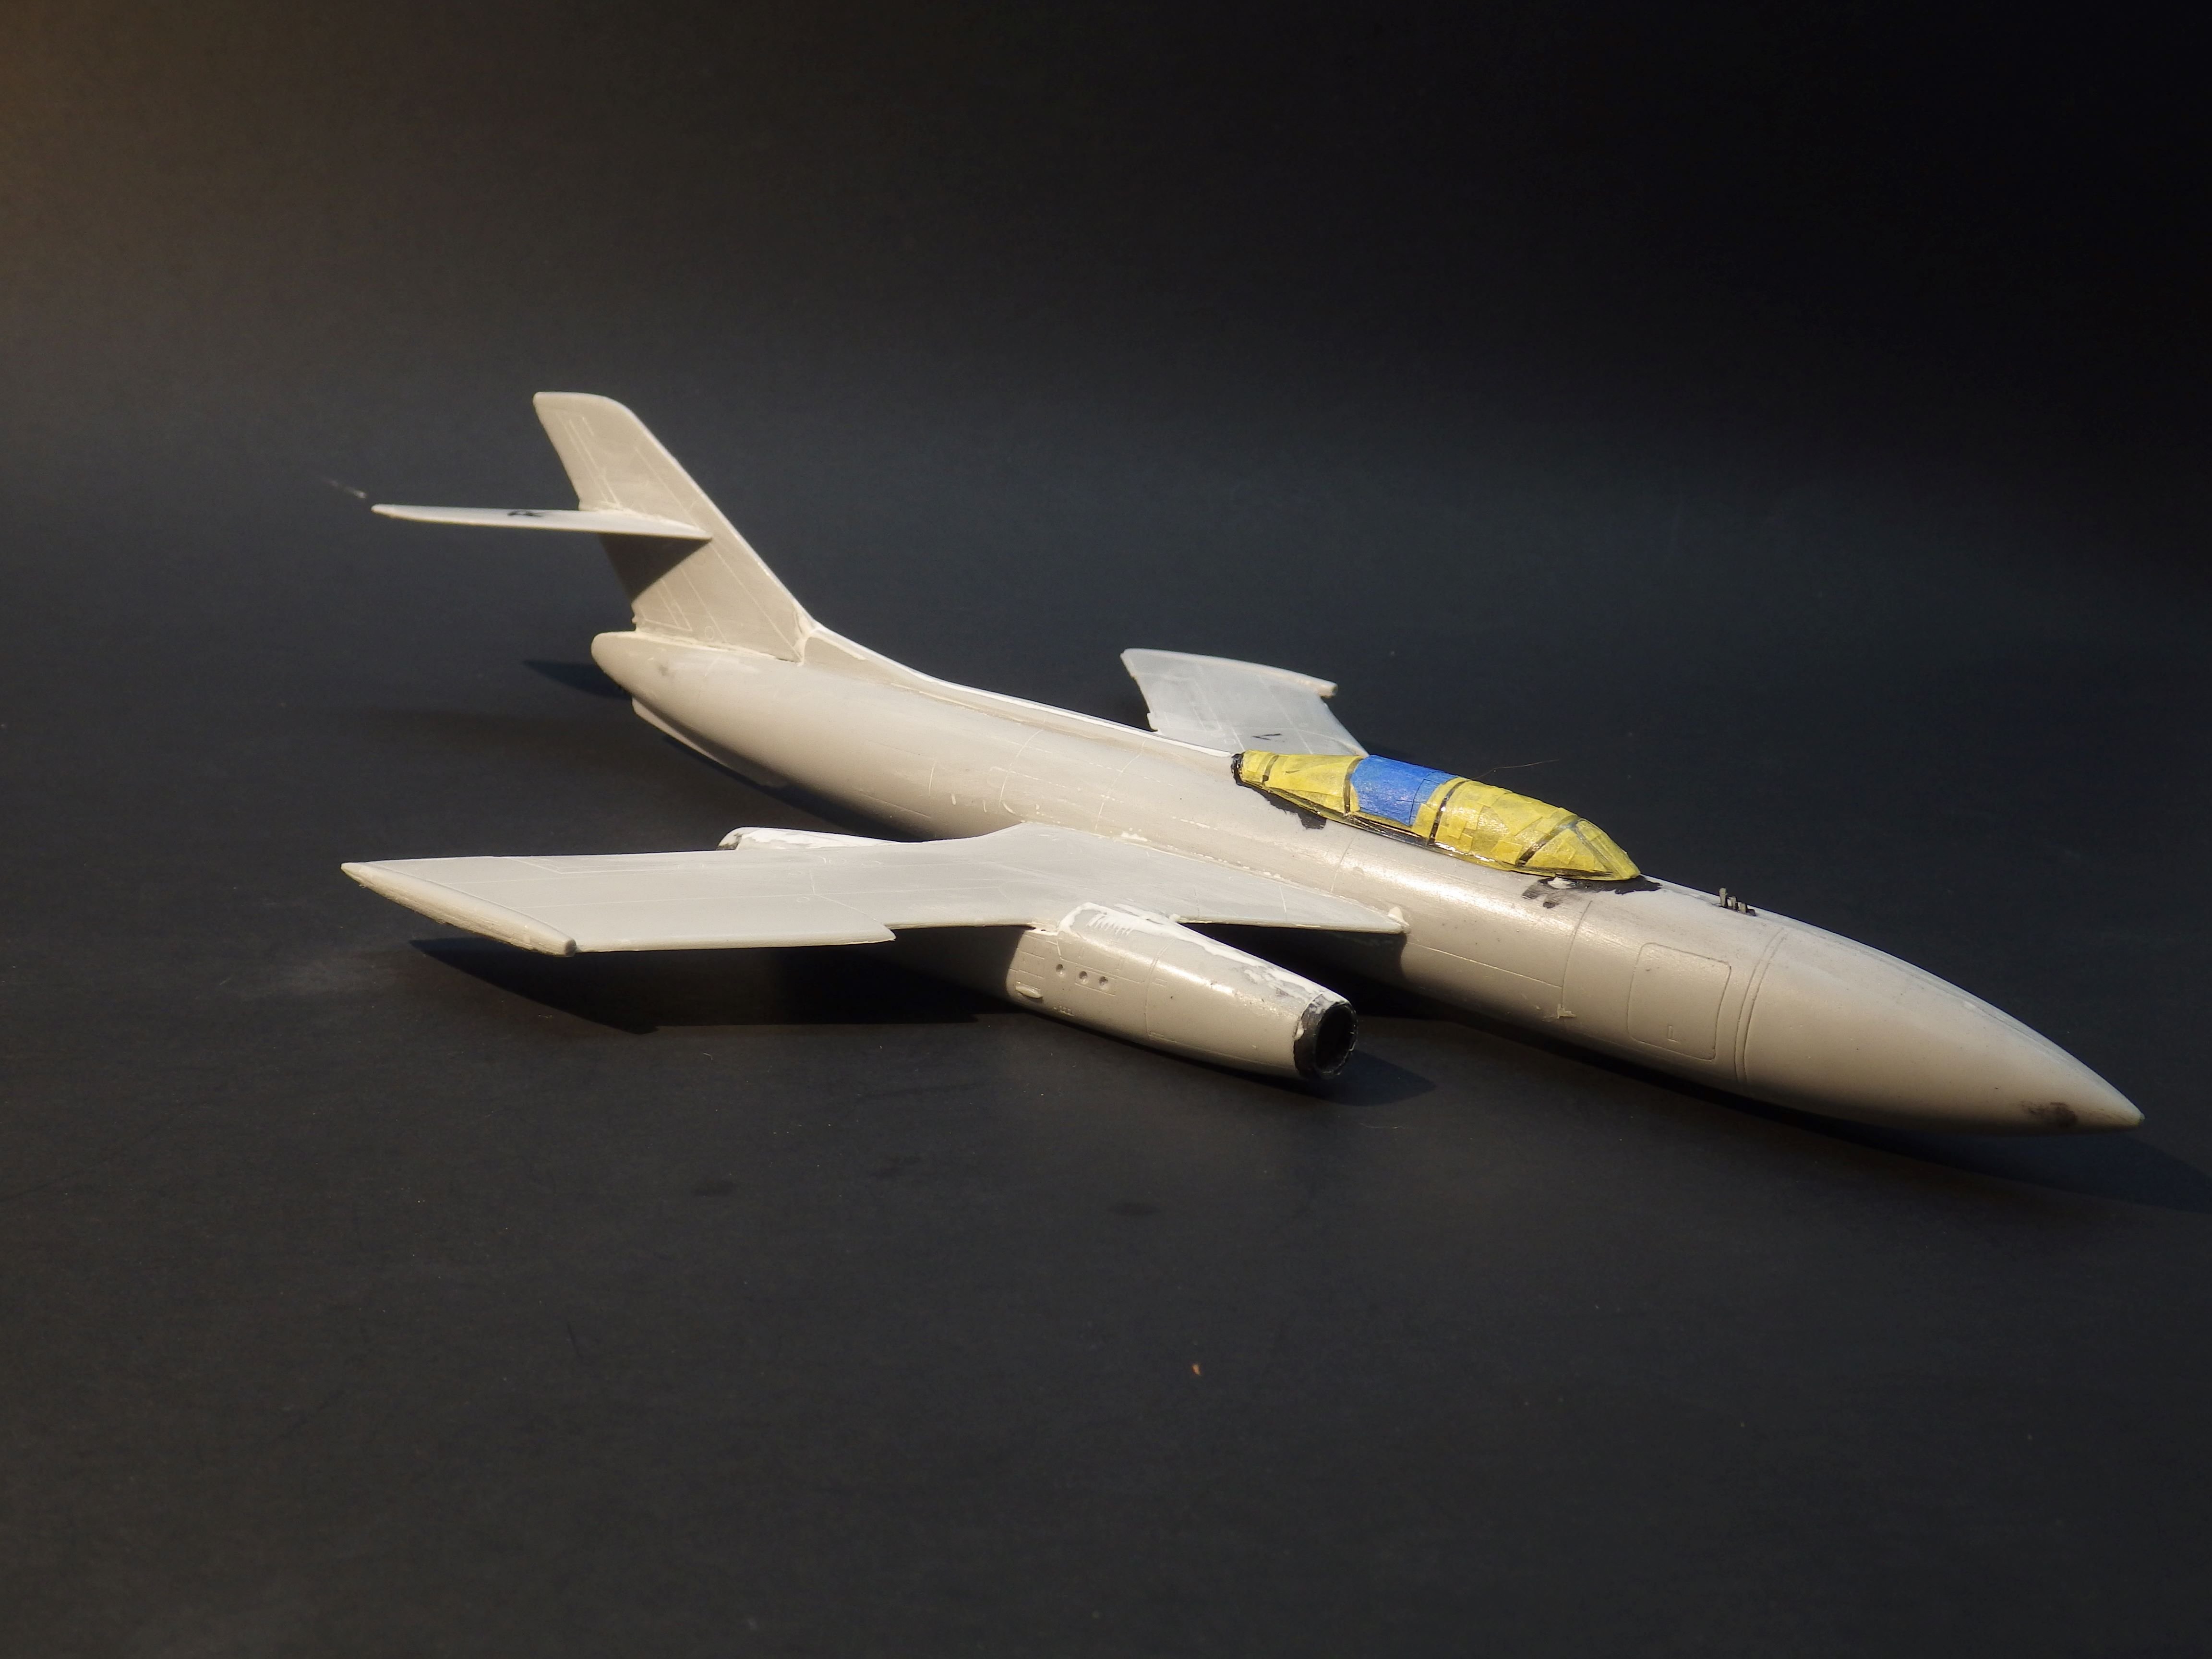
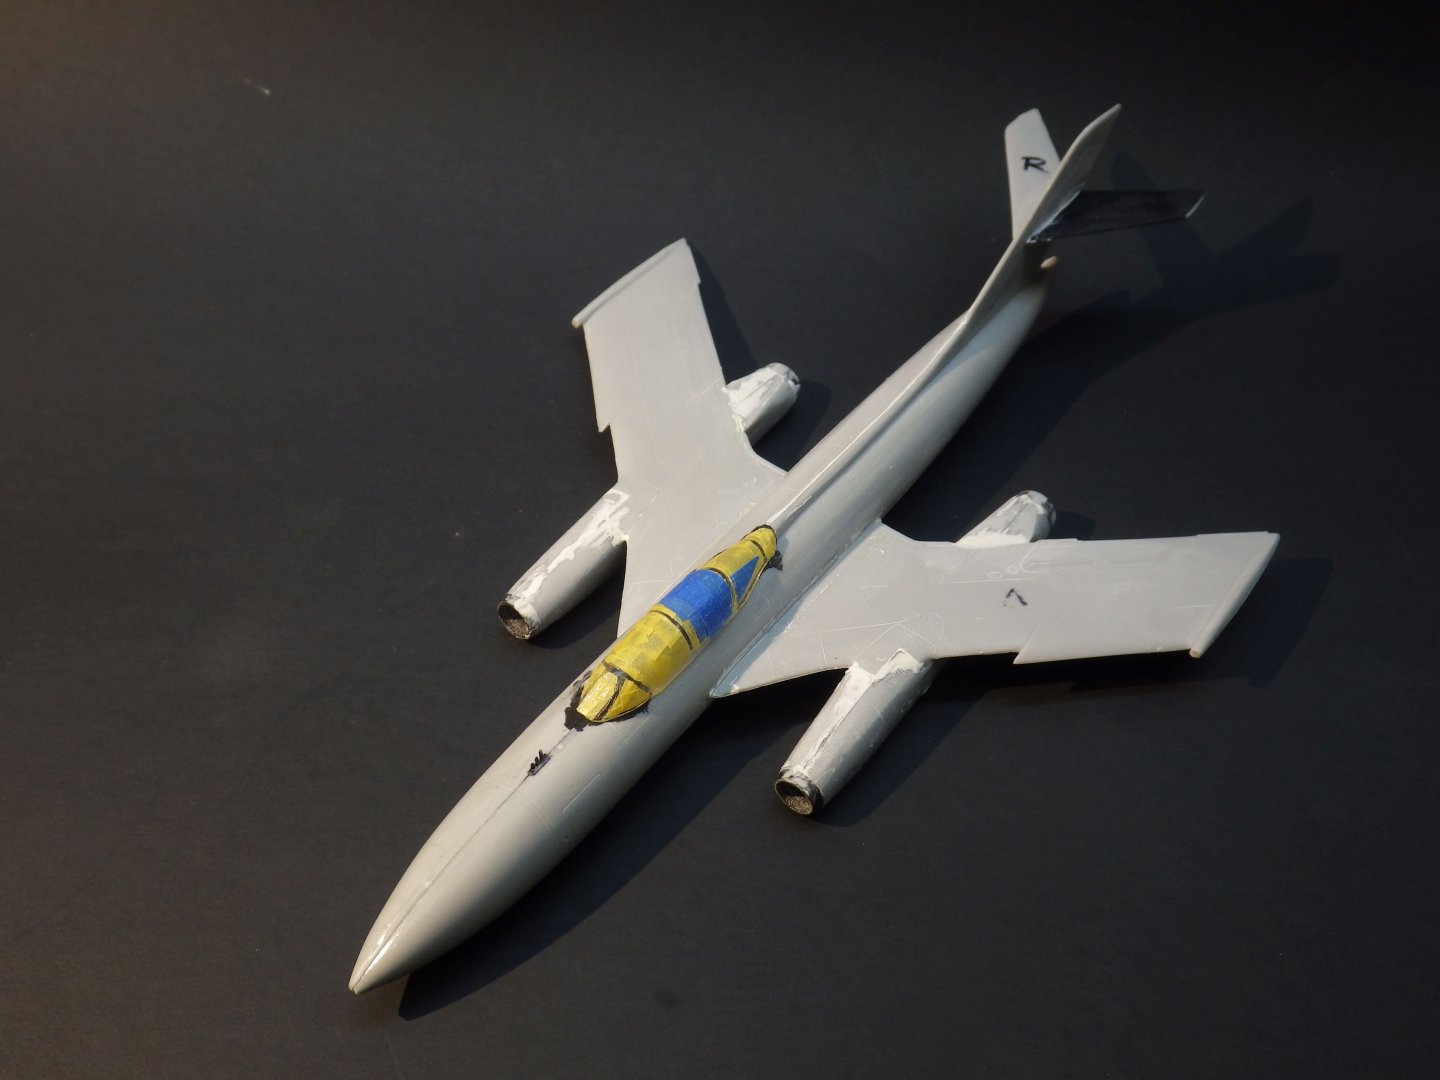
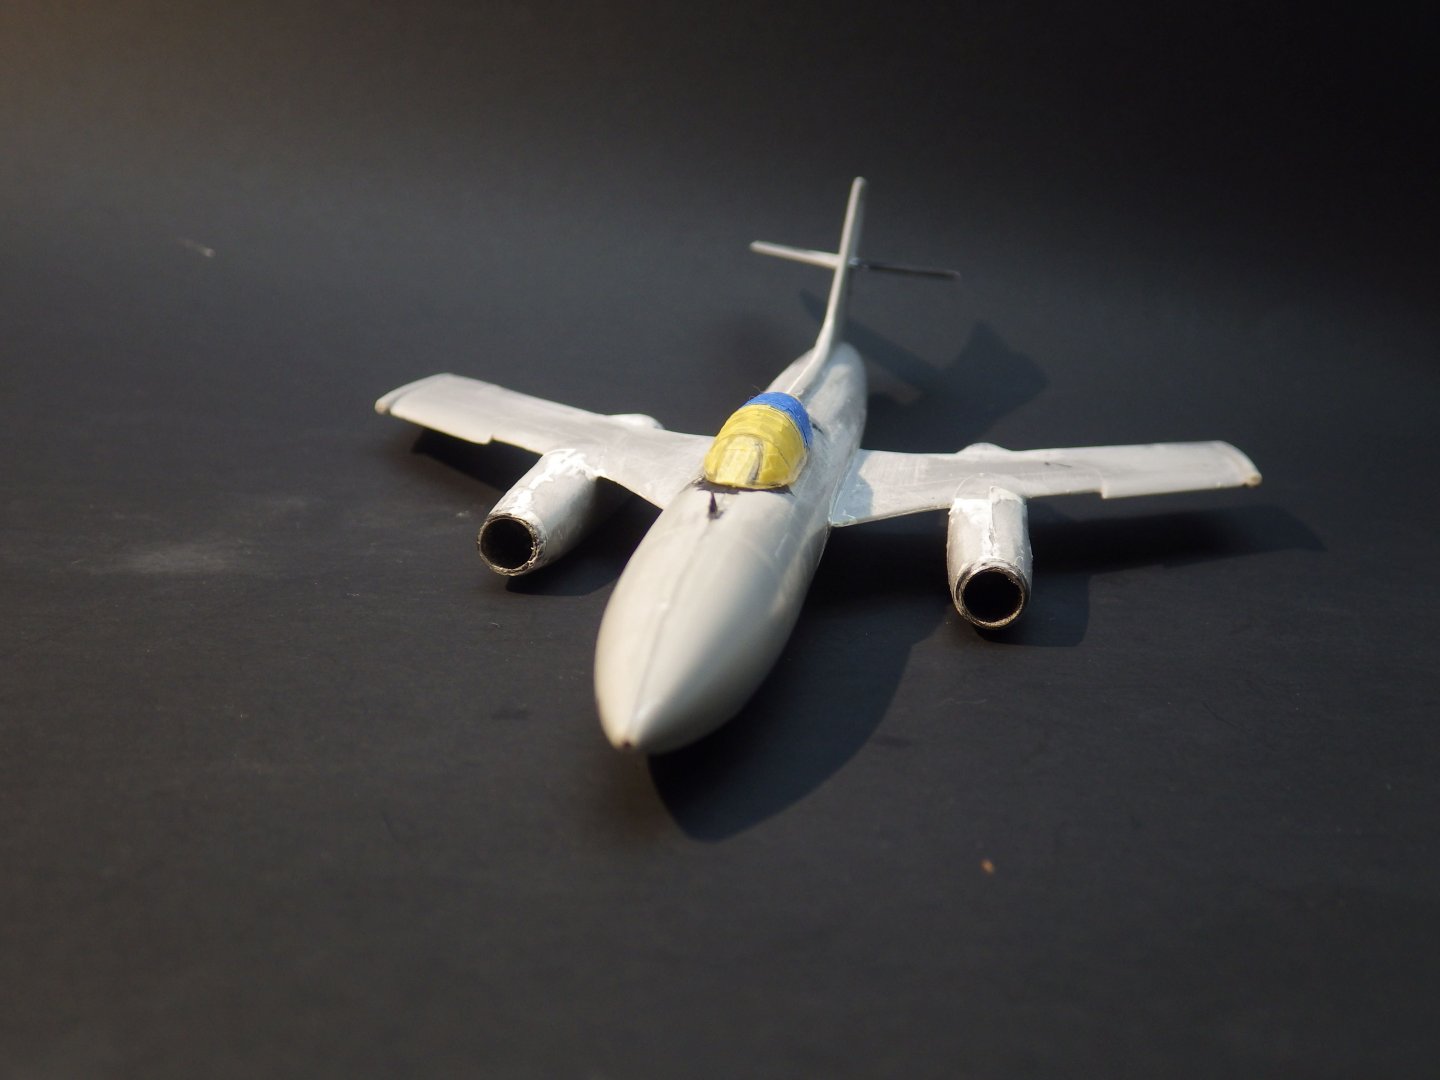
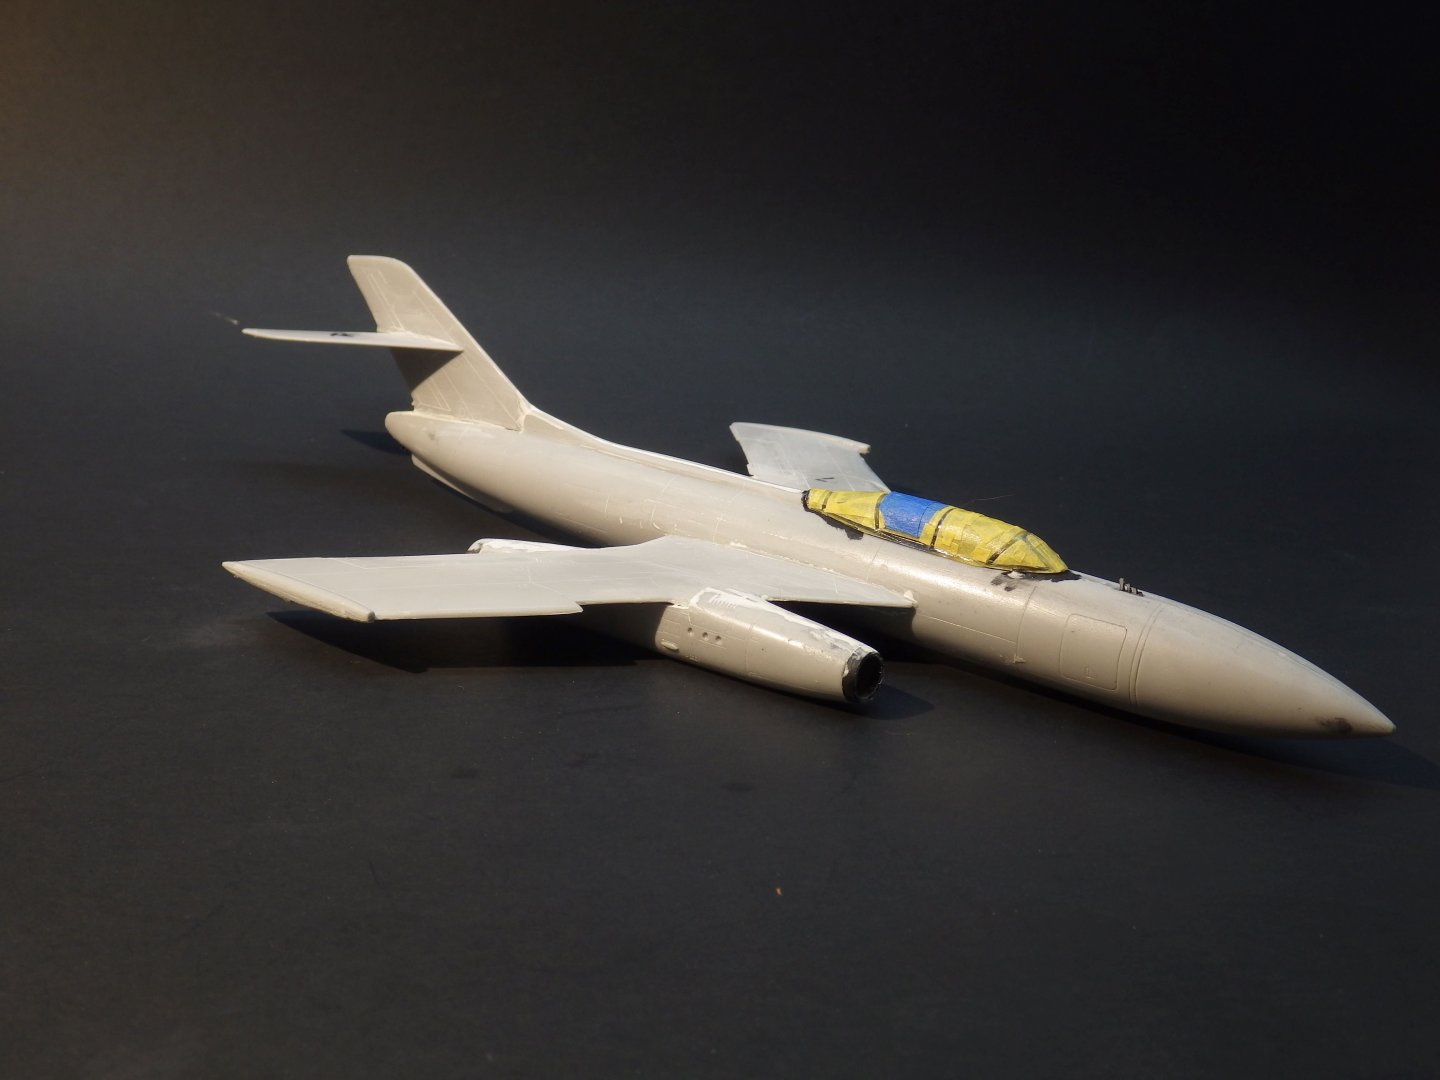
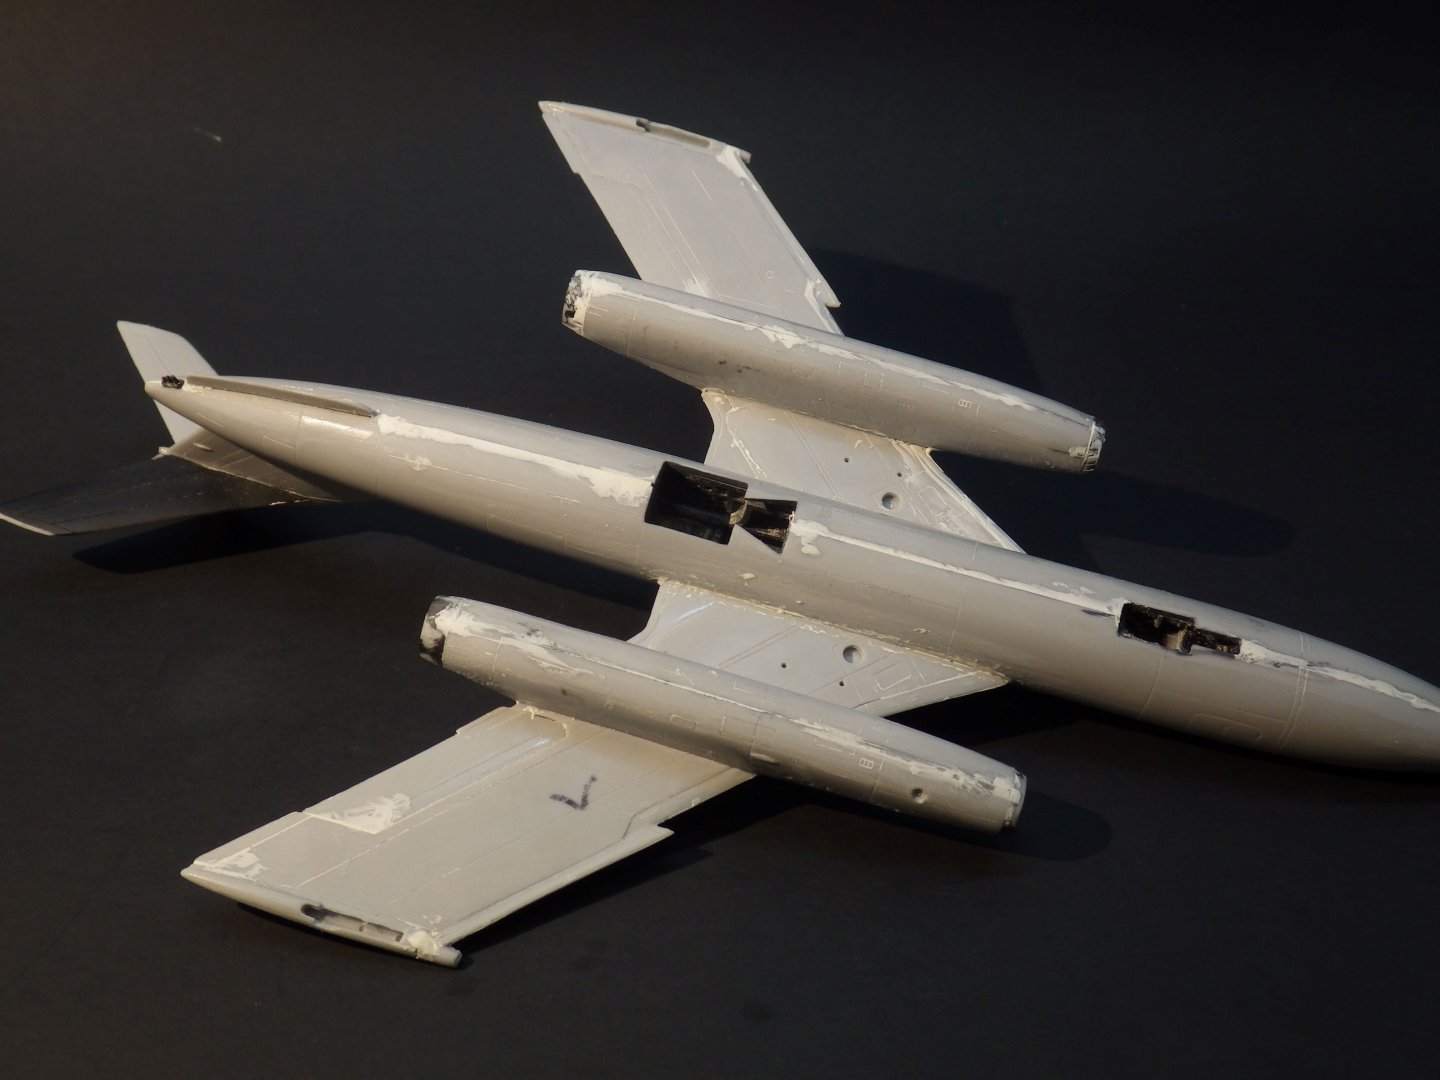
The big bits are finally together. The nacelle to wing joint left a lot to be desired but its done and actually hasn't required a lot of filler to blend it in. The canopy has been masked and fitted. The fit was very good but the canopy frame lines were very badly cast and impossible to see in places so there is some guesswork there. With the main gear so far back no worries about tail sitting on this one. I have gone round a few cycles of fill and sand and I think I am now going to try a thin coat of matt grey primer to see how things are progressing. Thanks for looking in, the likes and helpful comments Alan
- 89 replies
-
- 12
-

-
Thank you Dan. Thats great information about the Soviet finish. Alan
-
Thanks Mike That is good information about the Vallejo putty shrinking. I didn't have to use a lot of it this time so hopefully the shrinkage will be acceptable. I ordered some Tamiya putty to try and some Mr Surfacer 500 for the very small stuff. Its getting to be quite an armory. Alan
-
Your metal finish experiments are looking very good. And a lot of useful information from @CDW and @DocRob. I'm getting dangerously close to having to commit to a path with the Yak. Alan
-
Working on the scenery is a good thought. That requires more creativity and imagination and less precision so prefect while you get the new glasses and things settle down. Besides I always find that to be great fun. Alan
-
Thats very sad news for those of us that have watched the progress of thi fantastic work. The vignettes you have shown so far have been spectacular and it seems such a shame to lose it Is there a way to space out the figures already completed to populate the diorama and still tell the story? I'm now having to use 5X magnifiers for models which give a limited depth of field but work reasonably well and are cheap. Very best of luck. This has been a firm favourite to watch. Alan
-
Thank you very much Mike. They are great little side projects that are completely different from what else I’m doing. They can be picked up for an occasional half hour and they don’t take up a lot of space when finished. alan
-
I tend to be a bit hard on brushes and mess up the tips. I bought this brush cleaner and it does clean well but it also does a good job of reshaping the brush tips. General Pencil General 105-BP Pencil Masters Brush Cleaner & Preserver, 1 Pack, Clear sorry for some reason I’m struggling to get the link to copy but it’s available on Amazon. alan
-
Those nail brush sets are great value and seem to stand up well to use. I bought a couple of sets including one that look like yours and I like them a lot. They have been great for the faces and details on the white metal miniatures. alan
-
Lovely work on the cockpit Jav alan
-
Great work. The panel lines and weathering are terrific alan
-
Glad you all came through okay Craig. Your new pup can chalk up her first hurricane. The reach of this storm was huge, would have covered the whole of England and Wales apparently. Looks like a lot of flooding and wind damage out there. alan
-
Thank you OC. Time to tackle the face alan
-
Thank you very much OC. Now I have to get my nerve up to tackle the Beverly Alan
-
I hope you are safe from damage or injury Ken alan
-
F-51D Mustang by ERS Rich - Tamiya - 1/32 - PLASTIC
king derelict replied to ERS Rich's topic in Non-ship/categorised builds
Thank you very Mike. I’m going to practice this before committing. Sorry Rich, won’t digress again alan -
Thanks Mike. I’m now at the point where your notes on filling gaps is very helpful. Actually although the nacelle to wing joints are nasty they seem to have cleaned up without leaving too much of a gap. Tailplanes fit quite nicely and the wings look as if they will be much better than the Condor. So far I’m using Vallejo putty and letting it dry overnight before attempting to sand it back. alan
-
That’s good news OC. It sounds like the best outcome from a scary situation. alan
-
I look forward to seeing this build with interest. I’ve been curious about the Profipack kits and I’m trying to work up to a Naural Metal Finish on the Yak. alan