king derelict
-
Posts
3,292 -
Joined
-
Last visited
Content Type
Profiles
Forums
Gallery
Events
Everything posted by king derelict
-
Thank you very much Jav I really enjoy the seascapes but they take up too much room. I need to go back to just doing the model on its own. Maybe alan
-
Q Tips! They are sitting on the work bench and I never thought of them. Thank you so much Jack. I just ordered a three pack of compounds from Amaon which has the rouge and the green polish so I will try them as soon as they arrive. Thanks again Alan
-
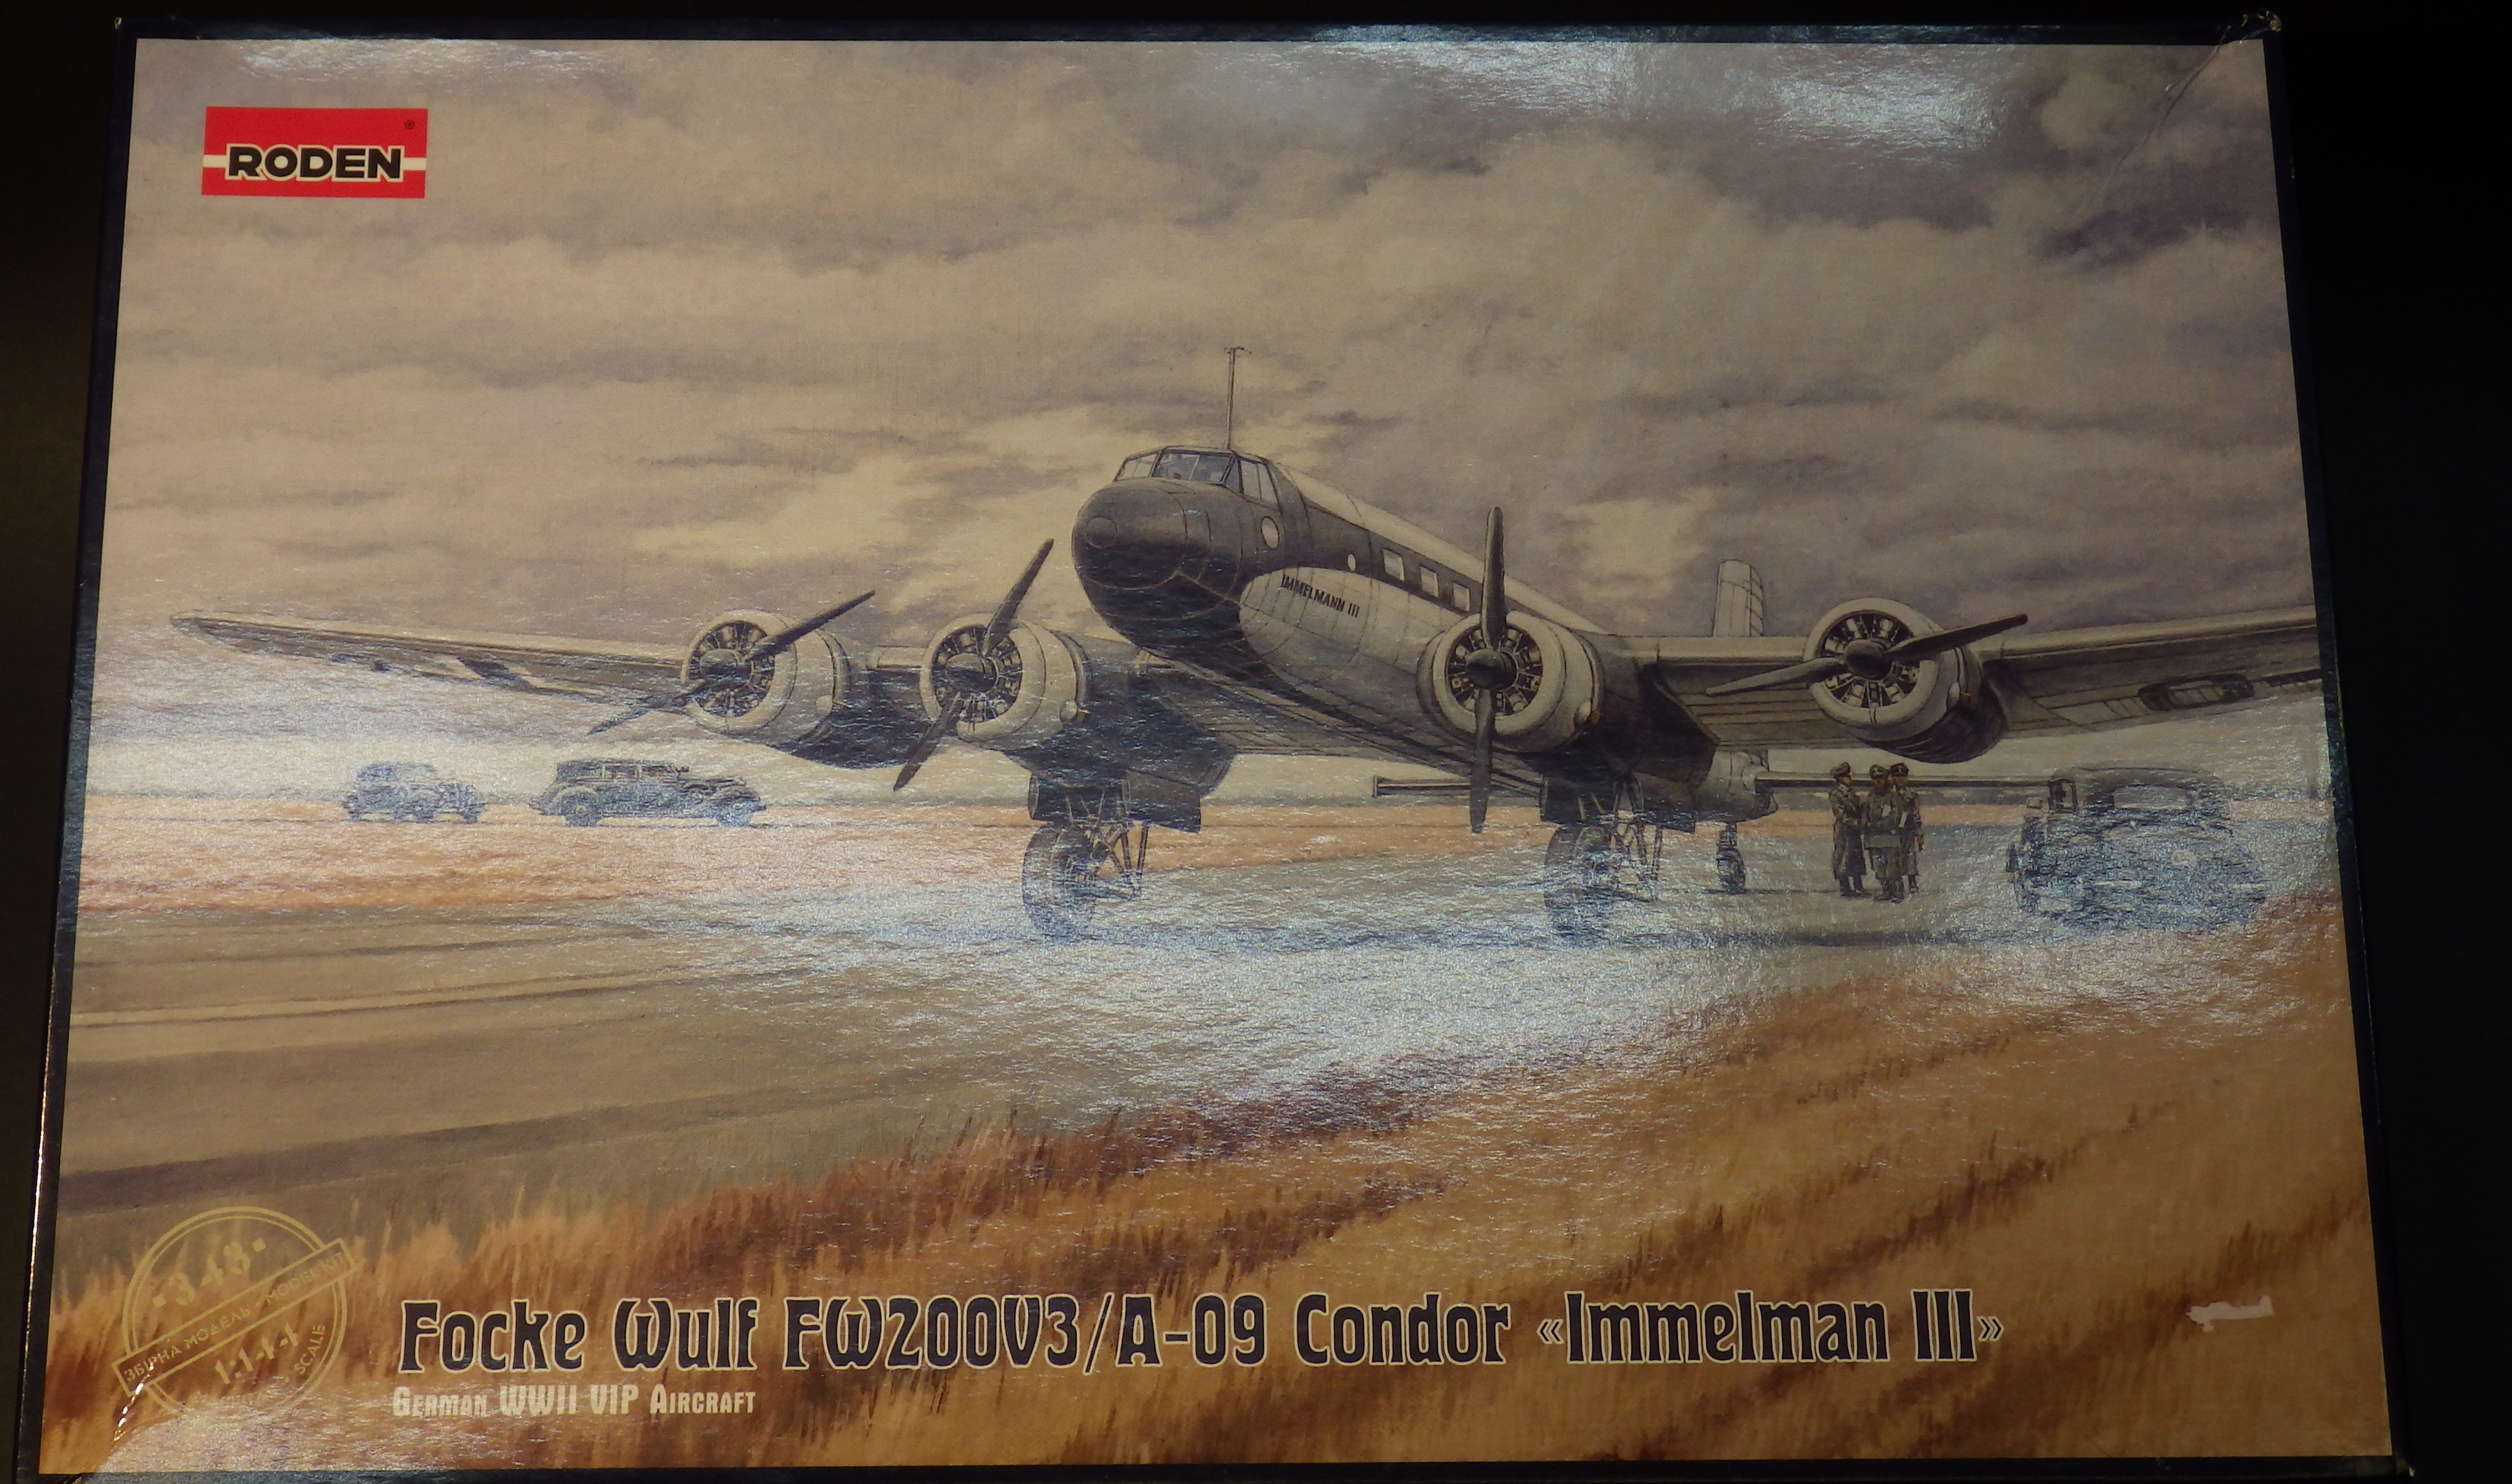
I may be overextending myself here but I don't think the Holland class submarine will take much longer to complete. This will be the next kit, a rare venture into aircraft and the surprises of a Roden kit. The kit provides several alternative markings for "you know who's" personal aircraft from 1938 to 1943, ranging from civilian schemes through camouflage to Russian winter white. I like the scheme shown on the box art, The kit provides decals for the gloss black elements and the base is silver. I am trying to decide whether this should be a polished metal finish or whether it was silver paint. So far the photos suggest that teh fuselage and wings may be polished metal with silver painted fabric tail planes. More research need and any advice is very welcome. The kit looks very simple but teh painting may be interesting. Thanks for looking in Alan

- 50 replies
-
- 13
-

-
Thanks Mike I look forward to seeing them. Your 3D printing skills are excellent Alan
- 27 replies
-
- 5
-
-
- Holland class
- plastic
- (and 2 more)
-
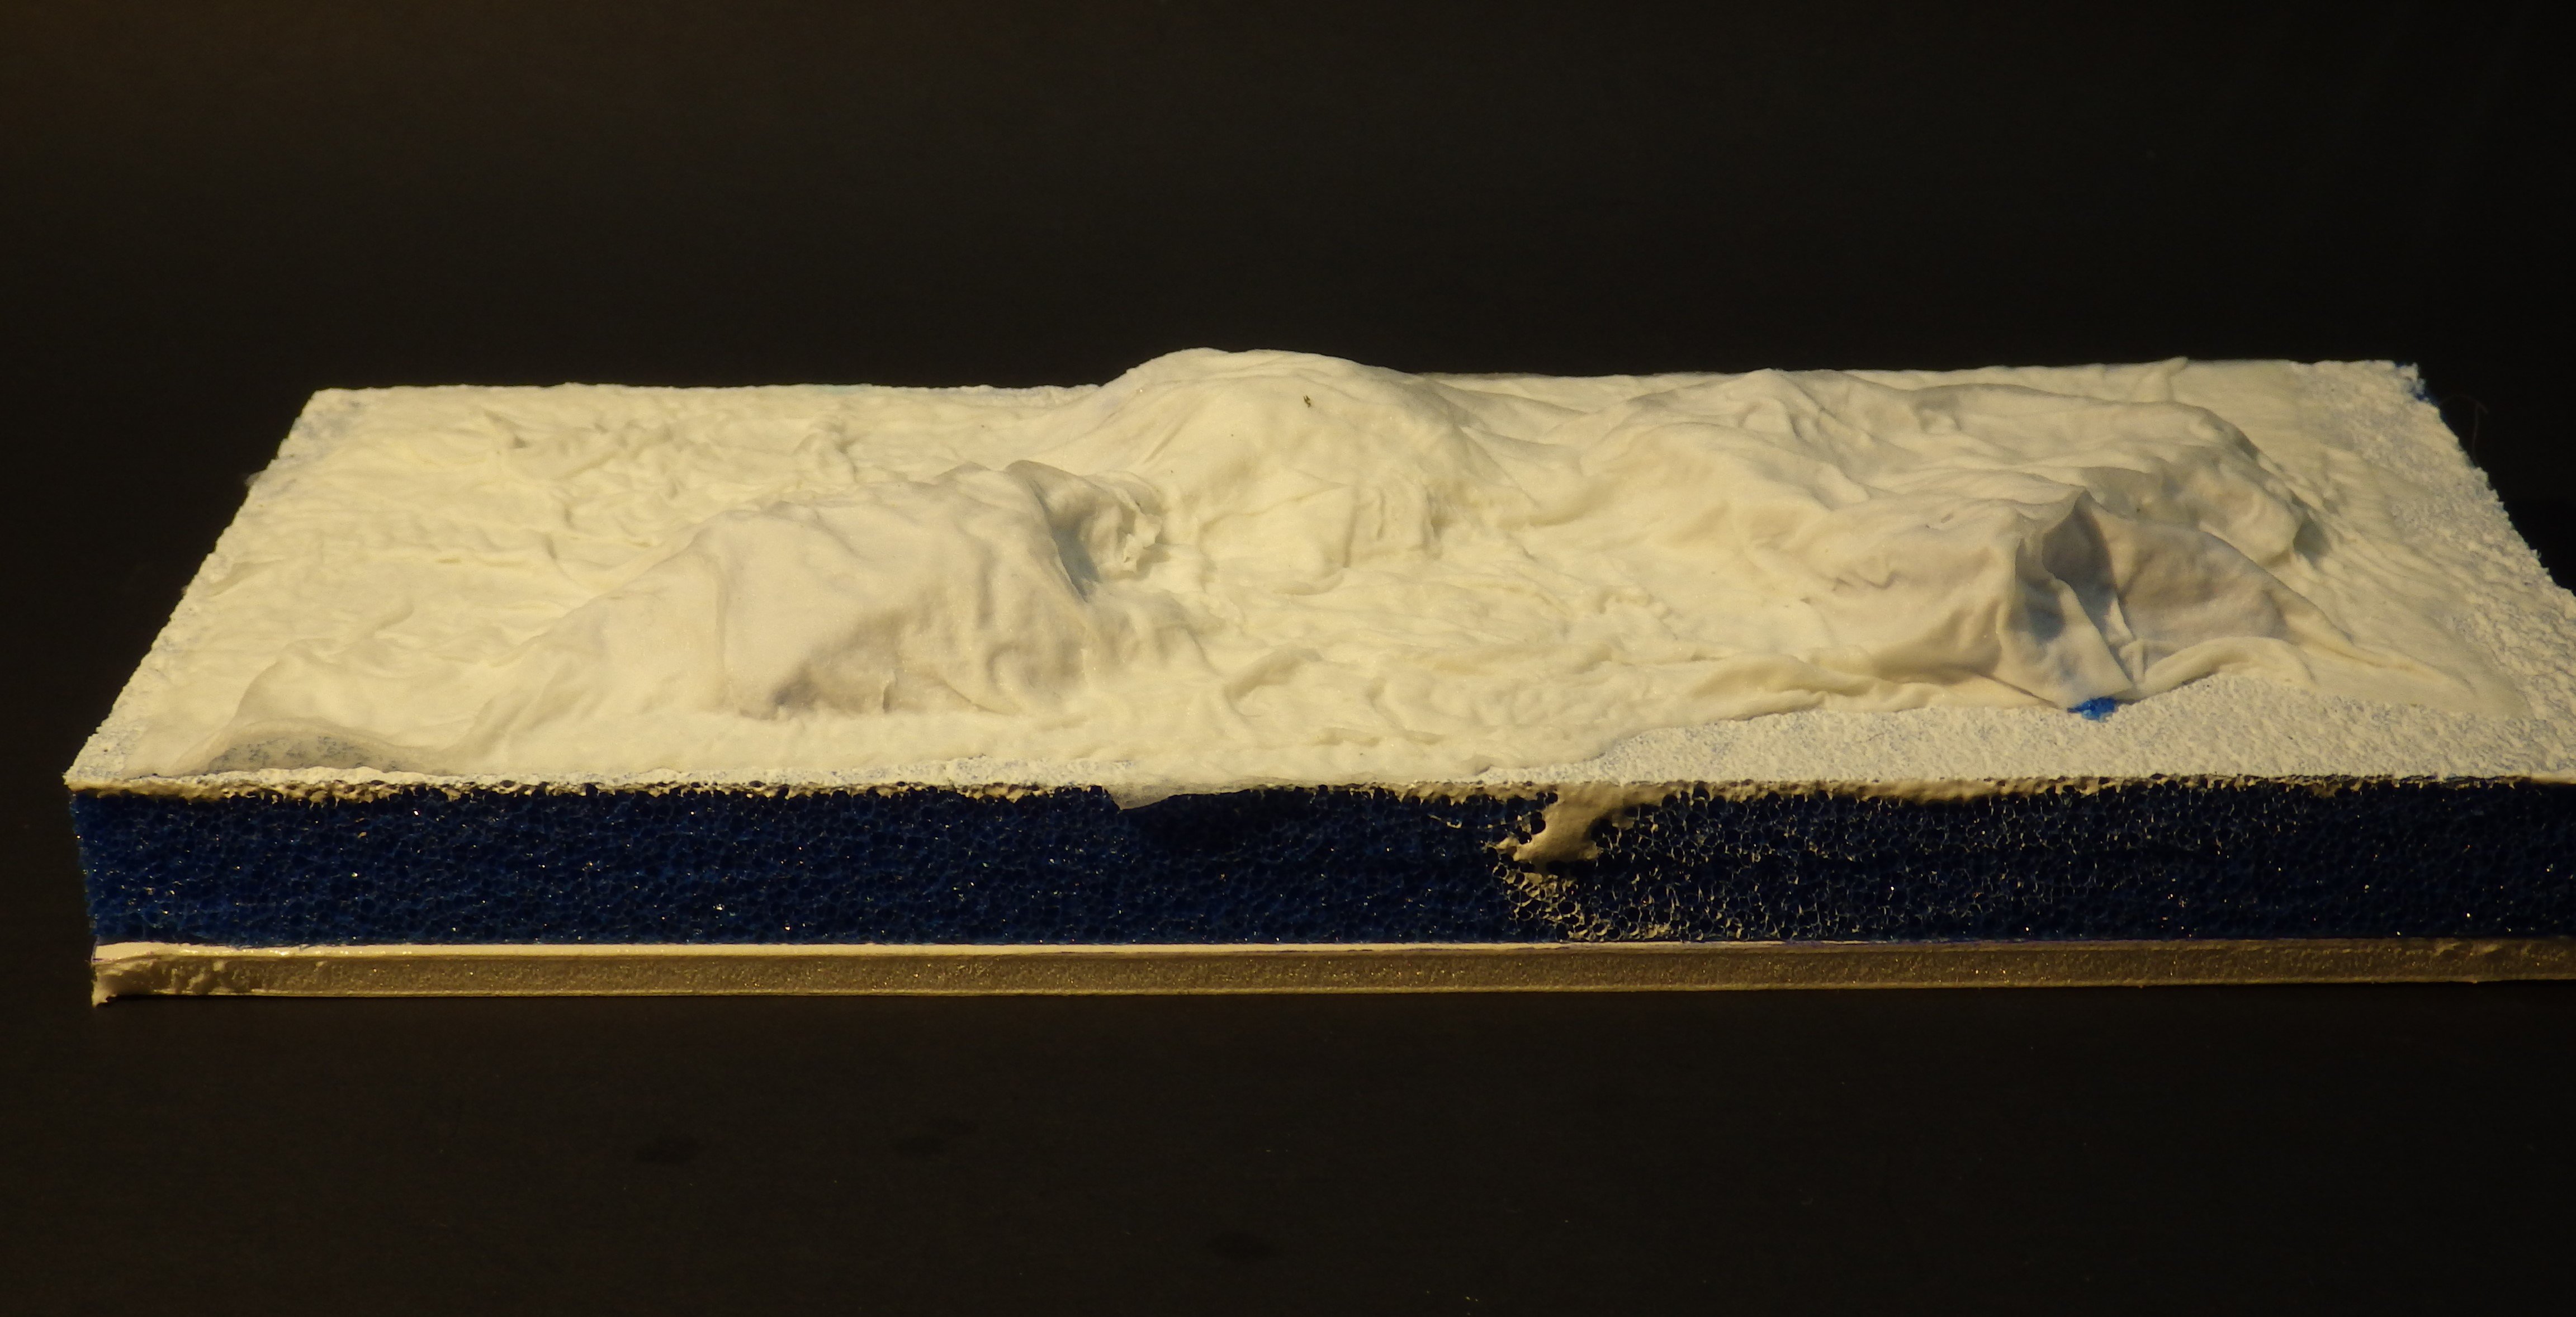
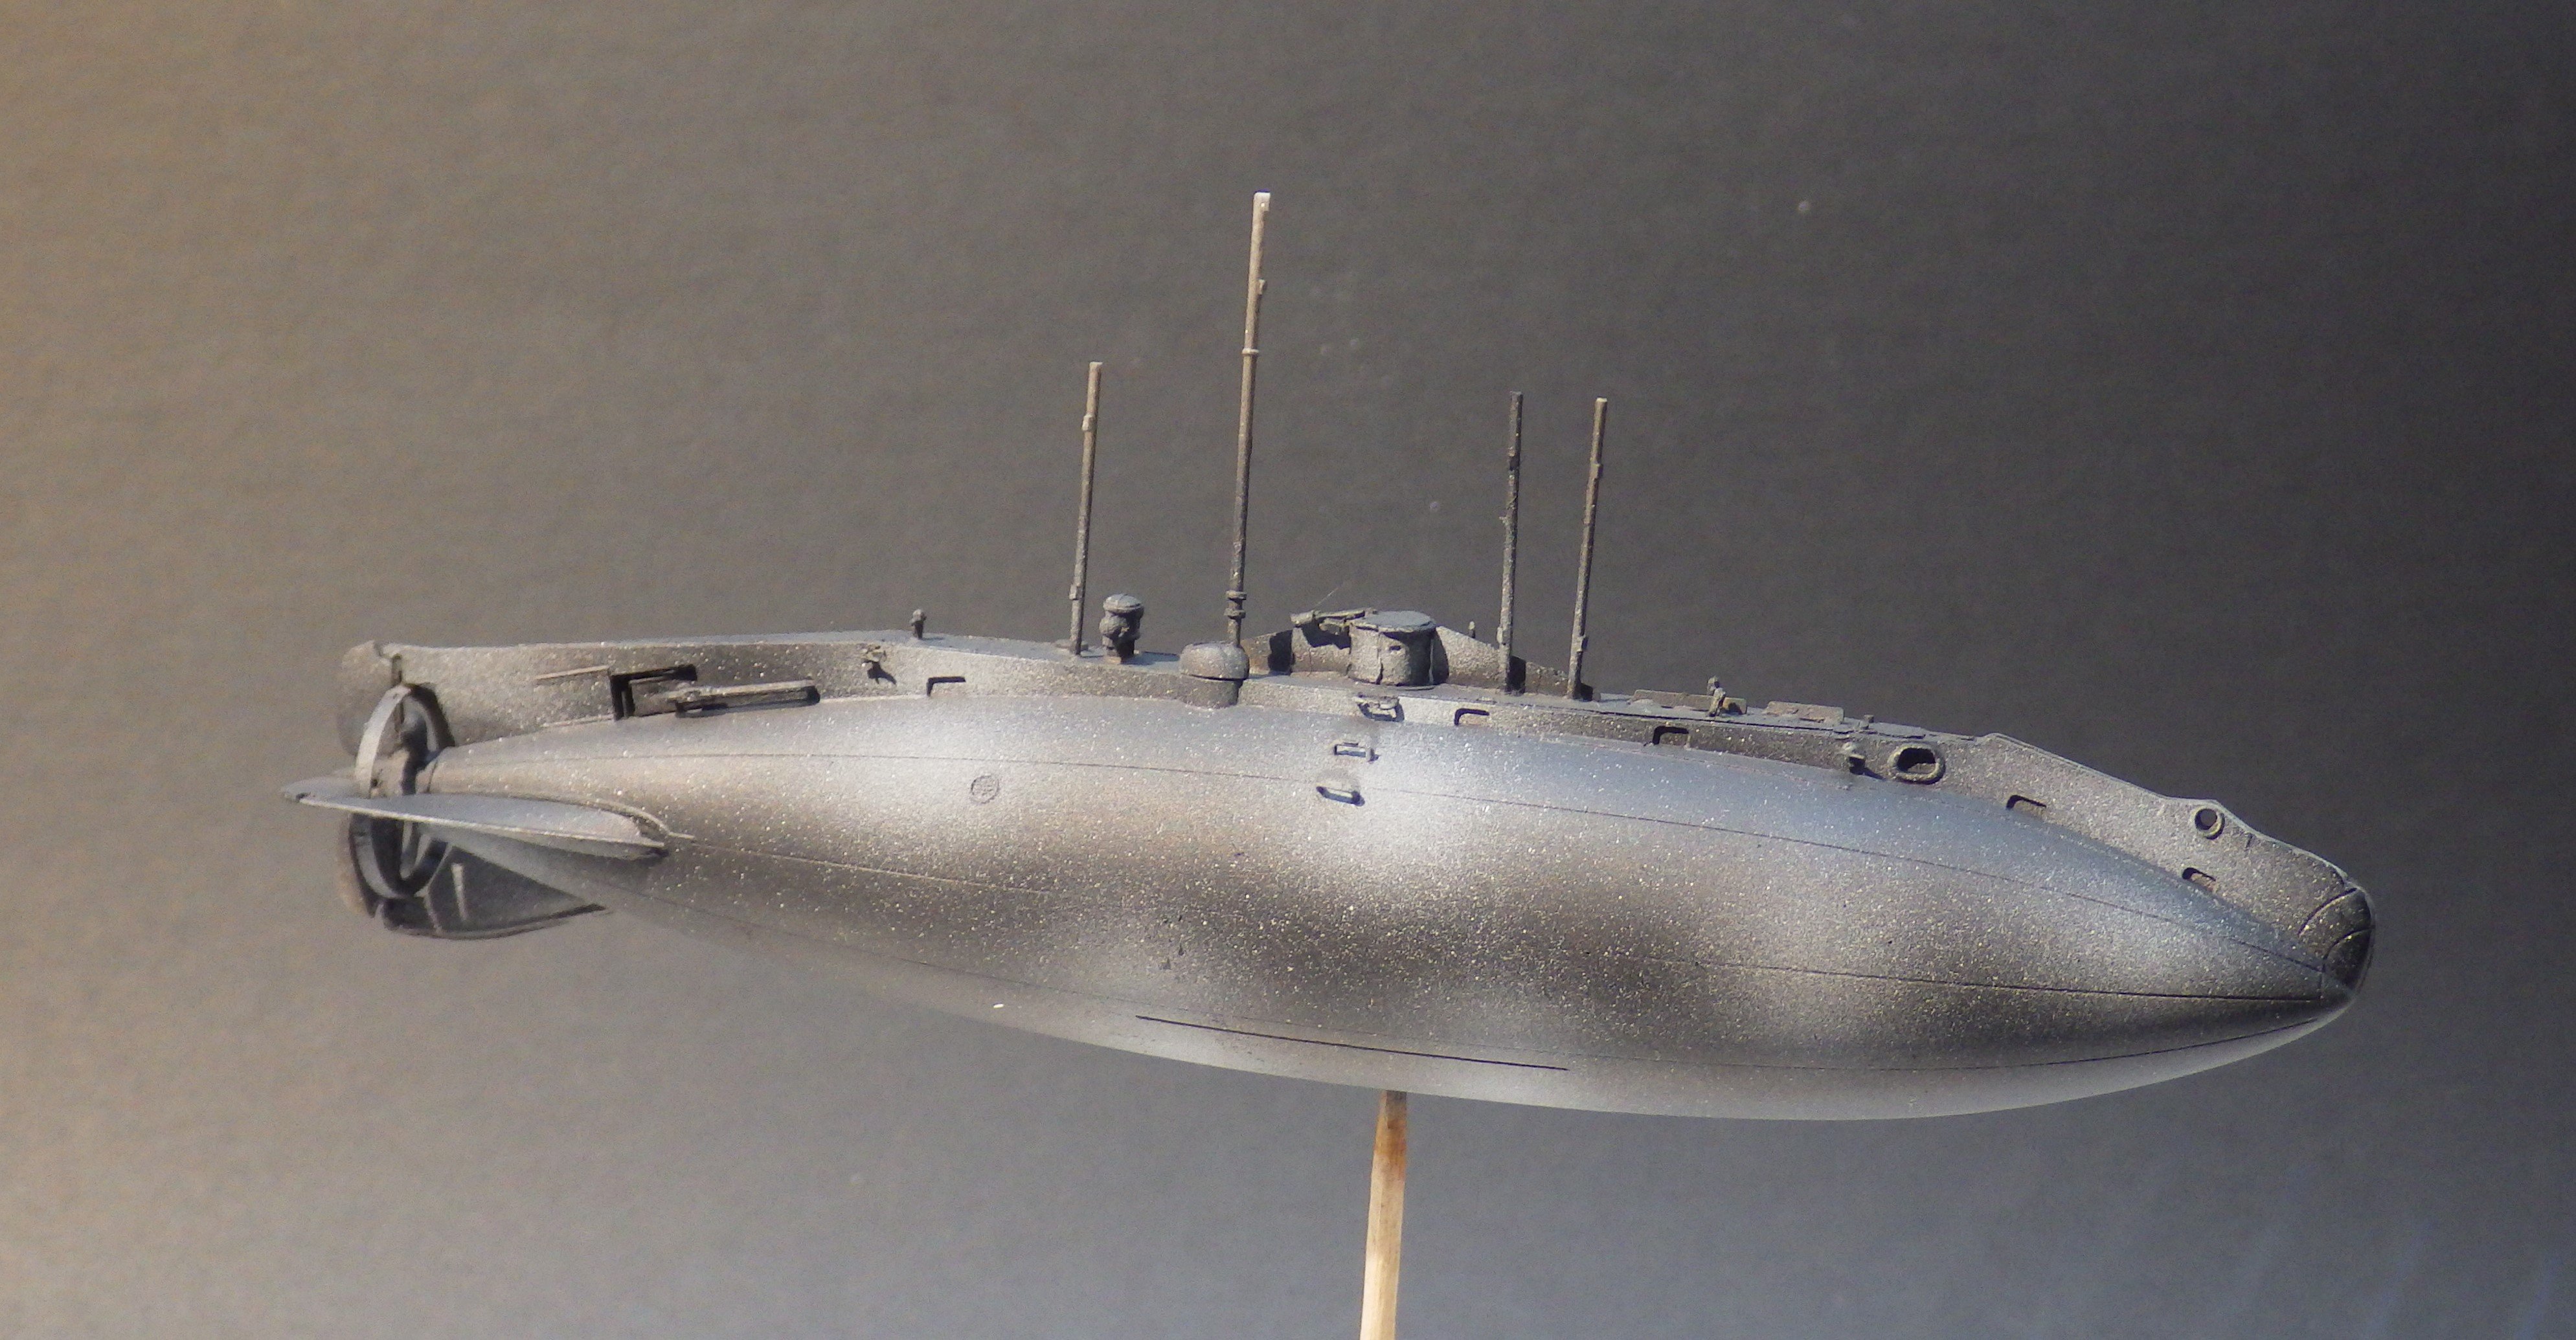
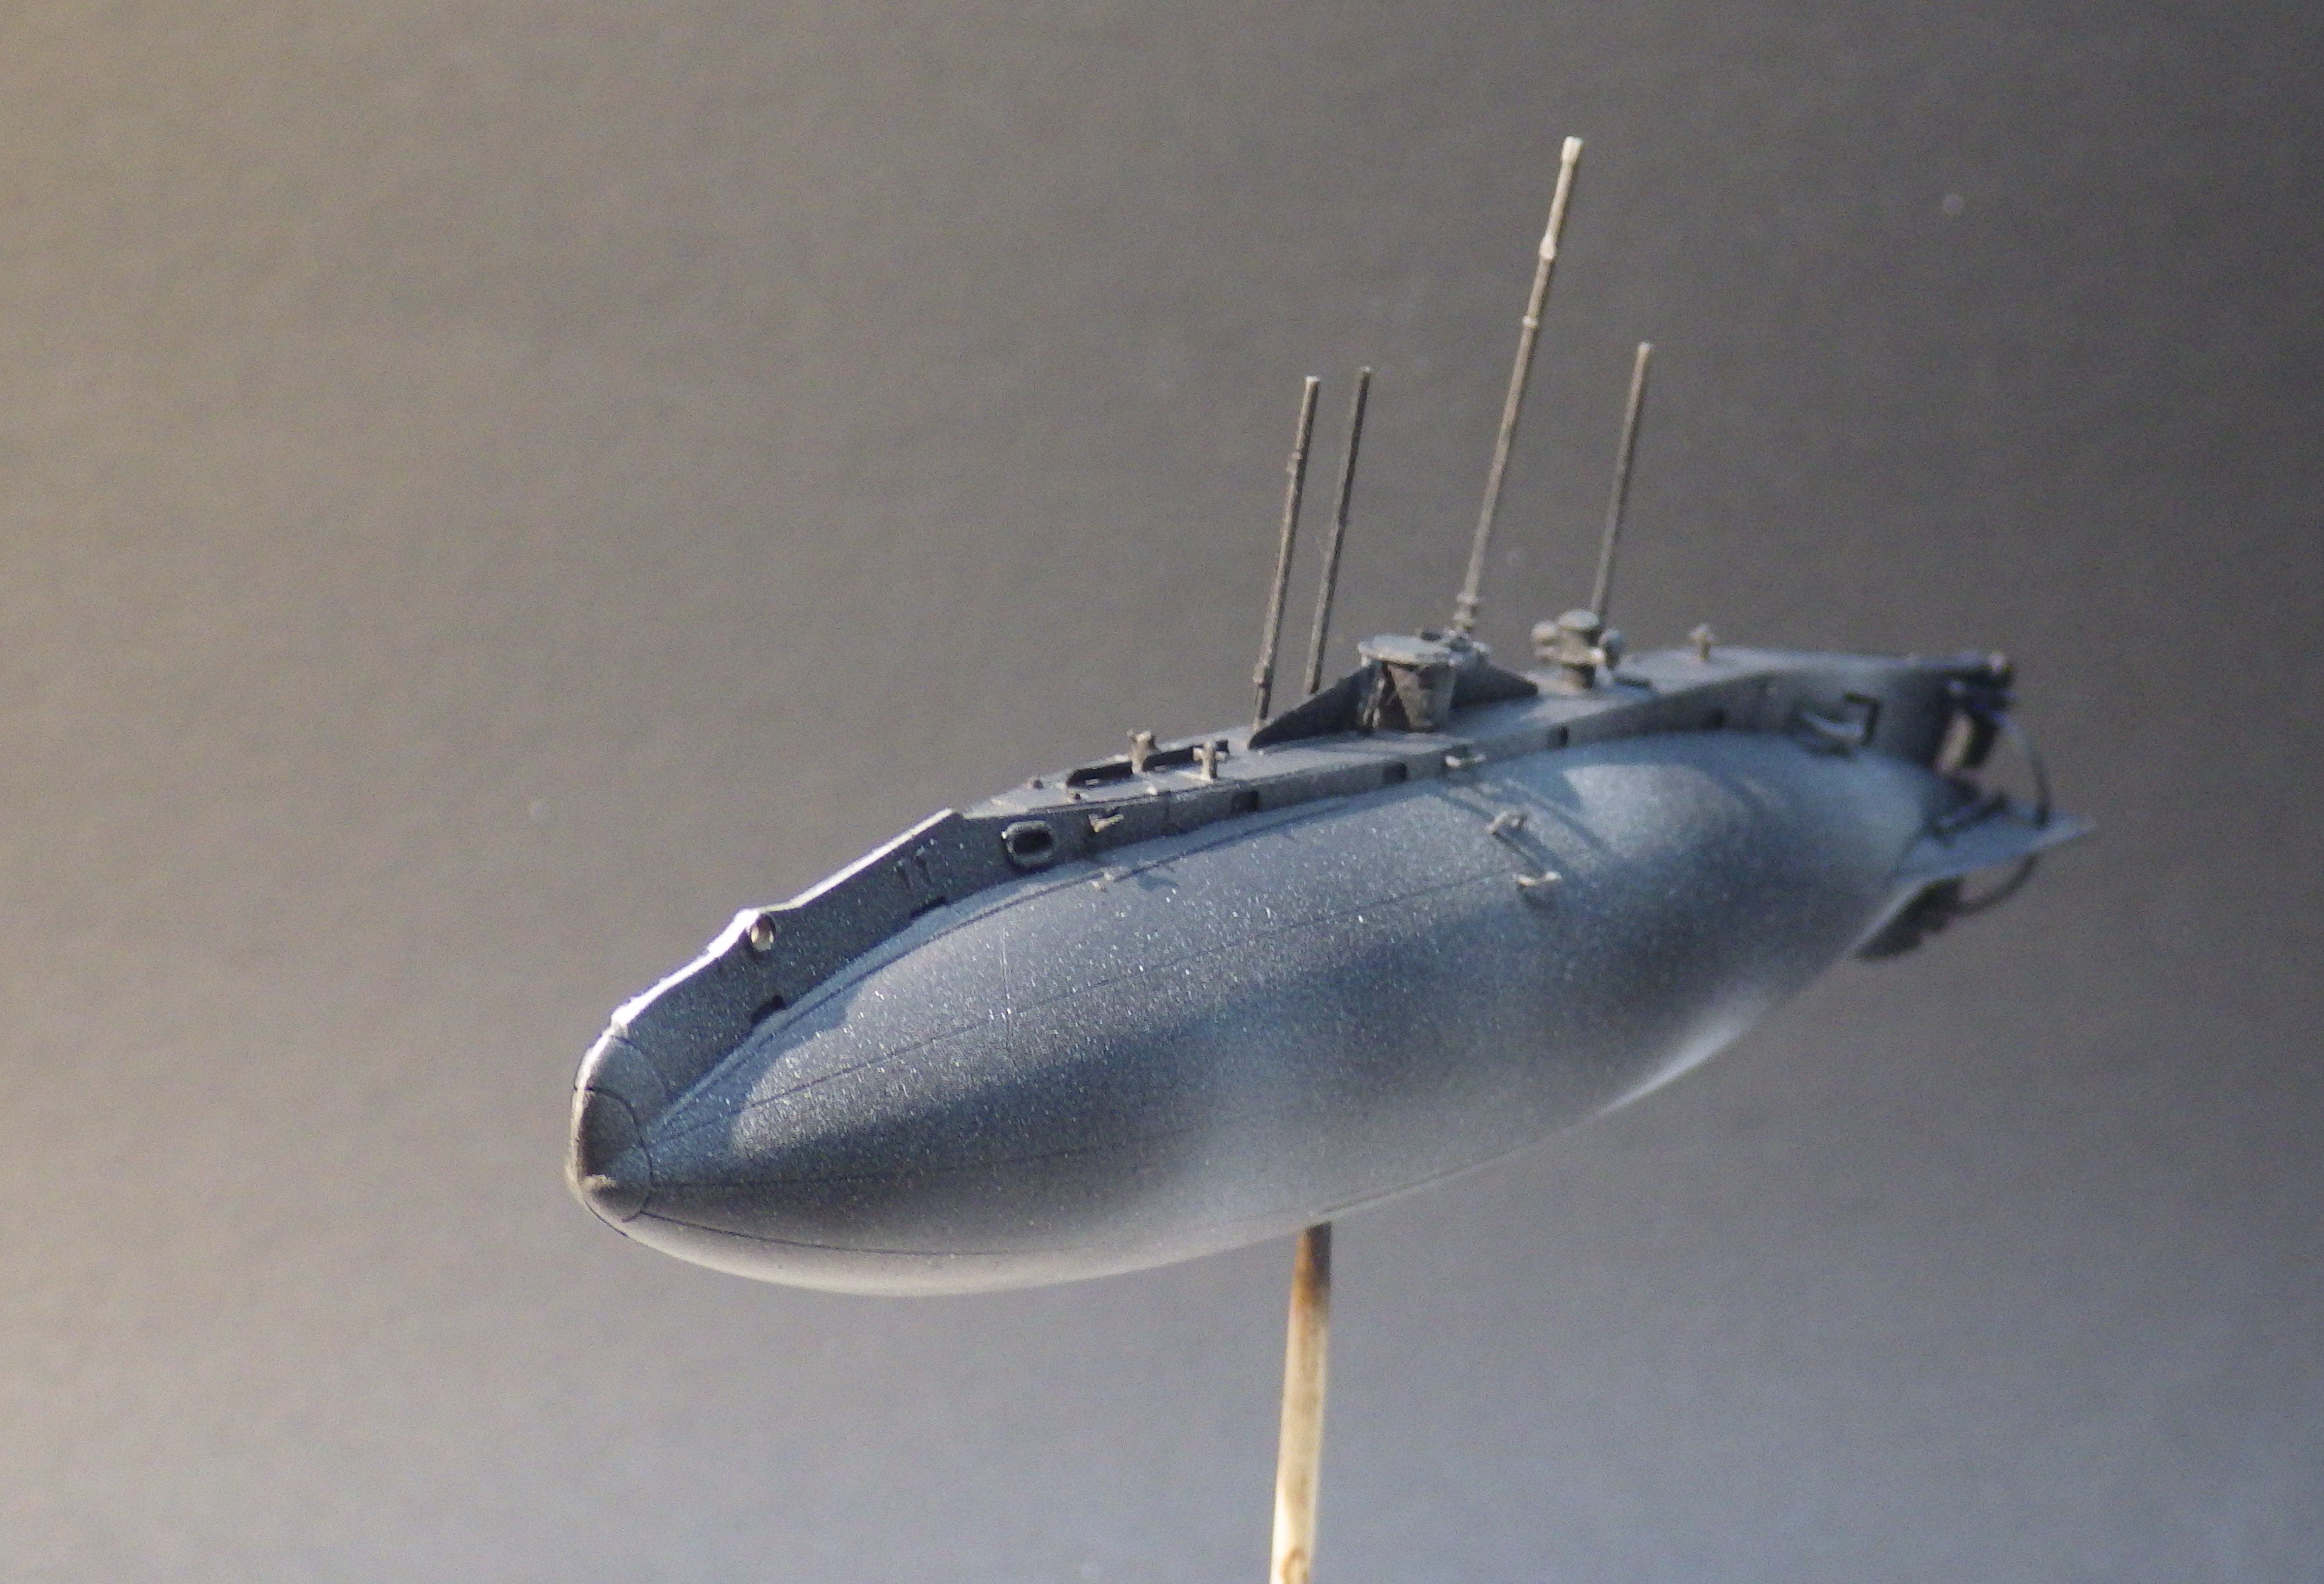
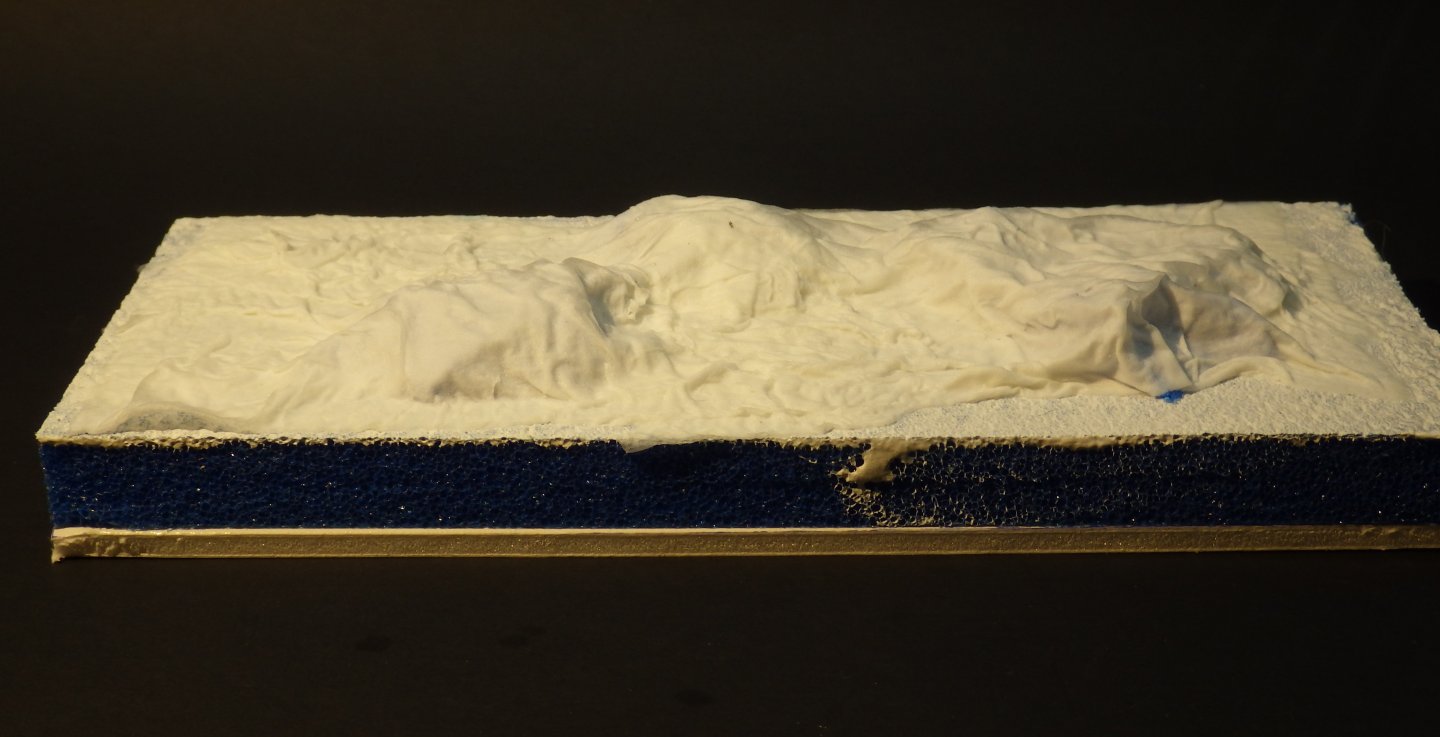
I air brushed Tamiya XF-24 Dark Grey onto the lower hull. I'll let this dry overnight and then mask and paint the light grey upper hull. I then added some terrain to teh base using some foam offcuts and toilet paper soaked in white glue. Thanks for looking in and teh likes and comments Alan

- 27 replies
-
- 12
-
-

-
- Holland class
- plastic
- (and 2 more)
-
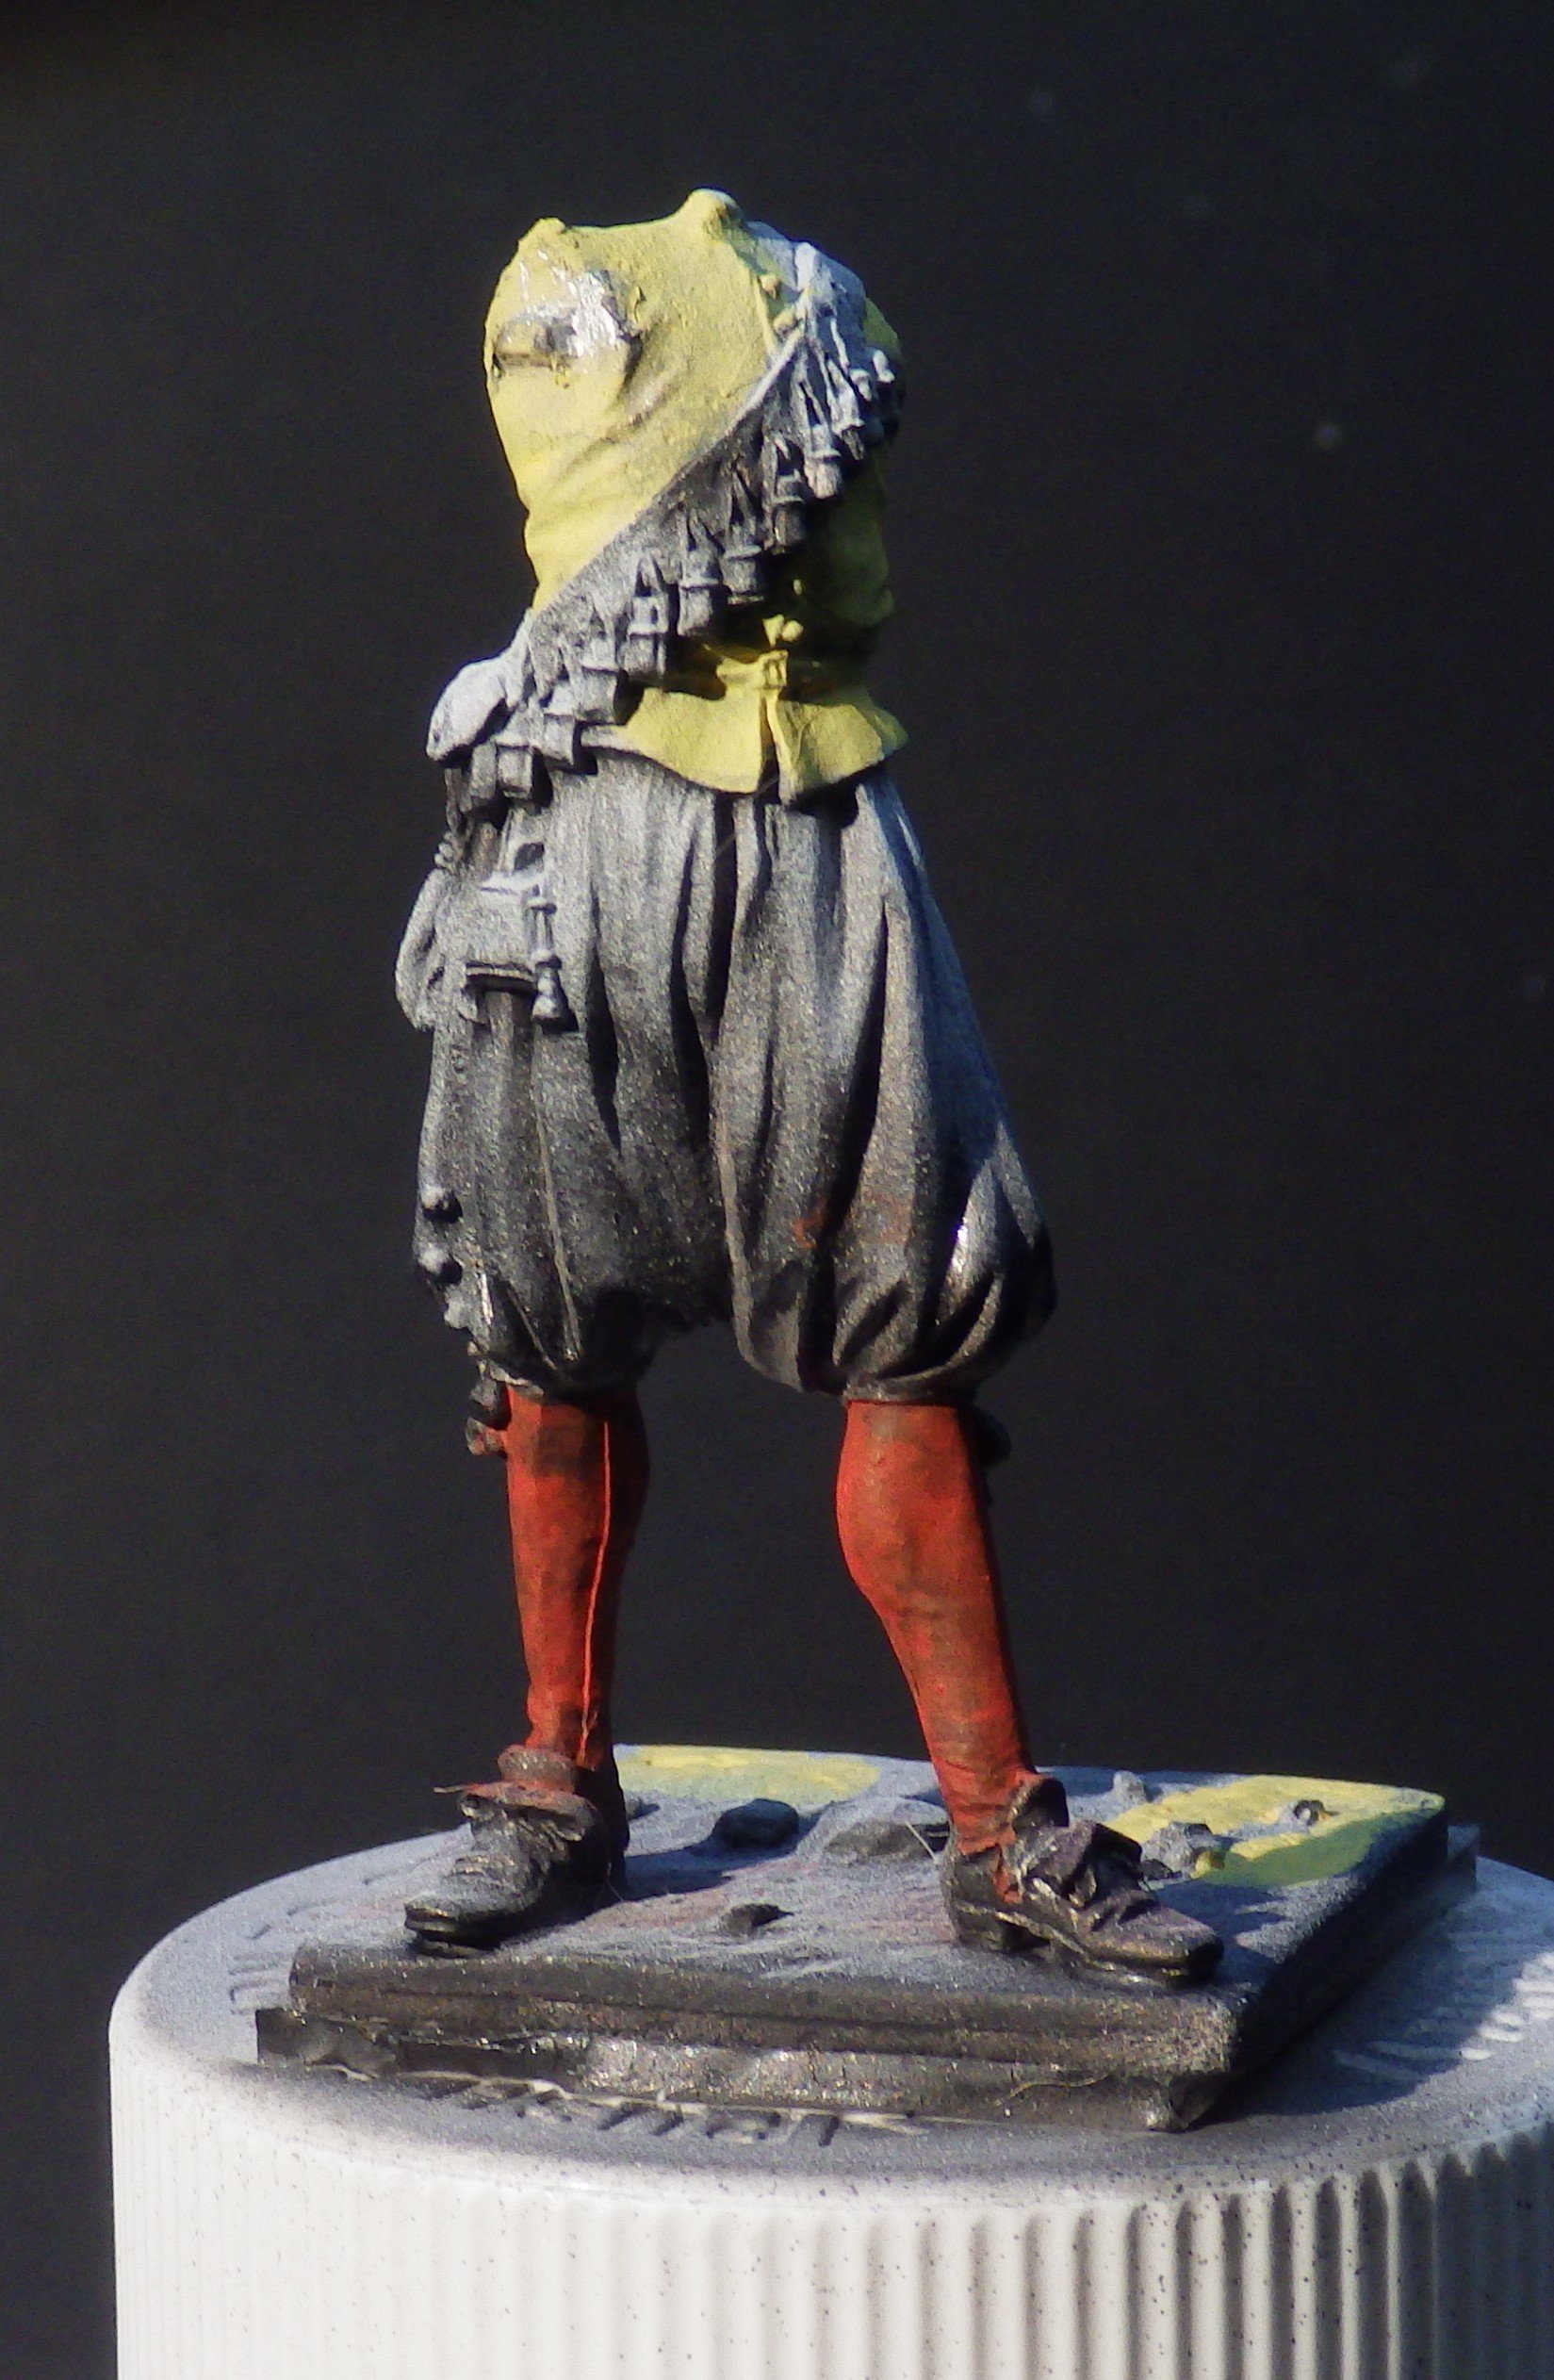
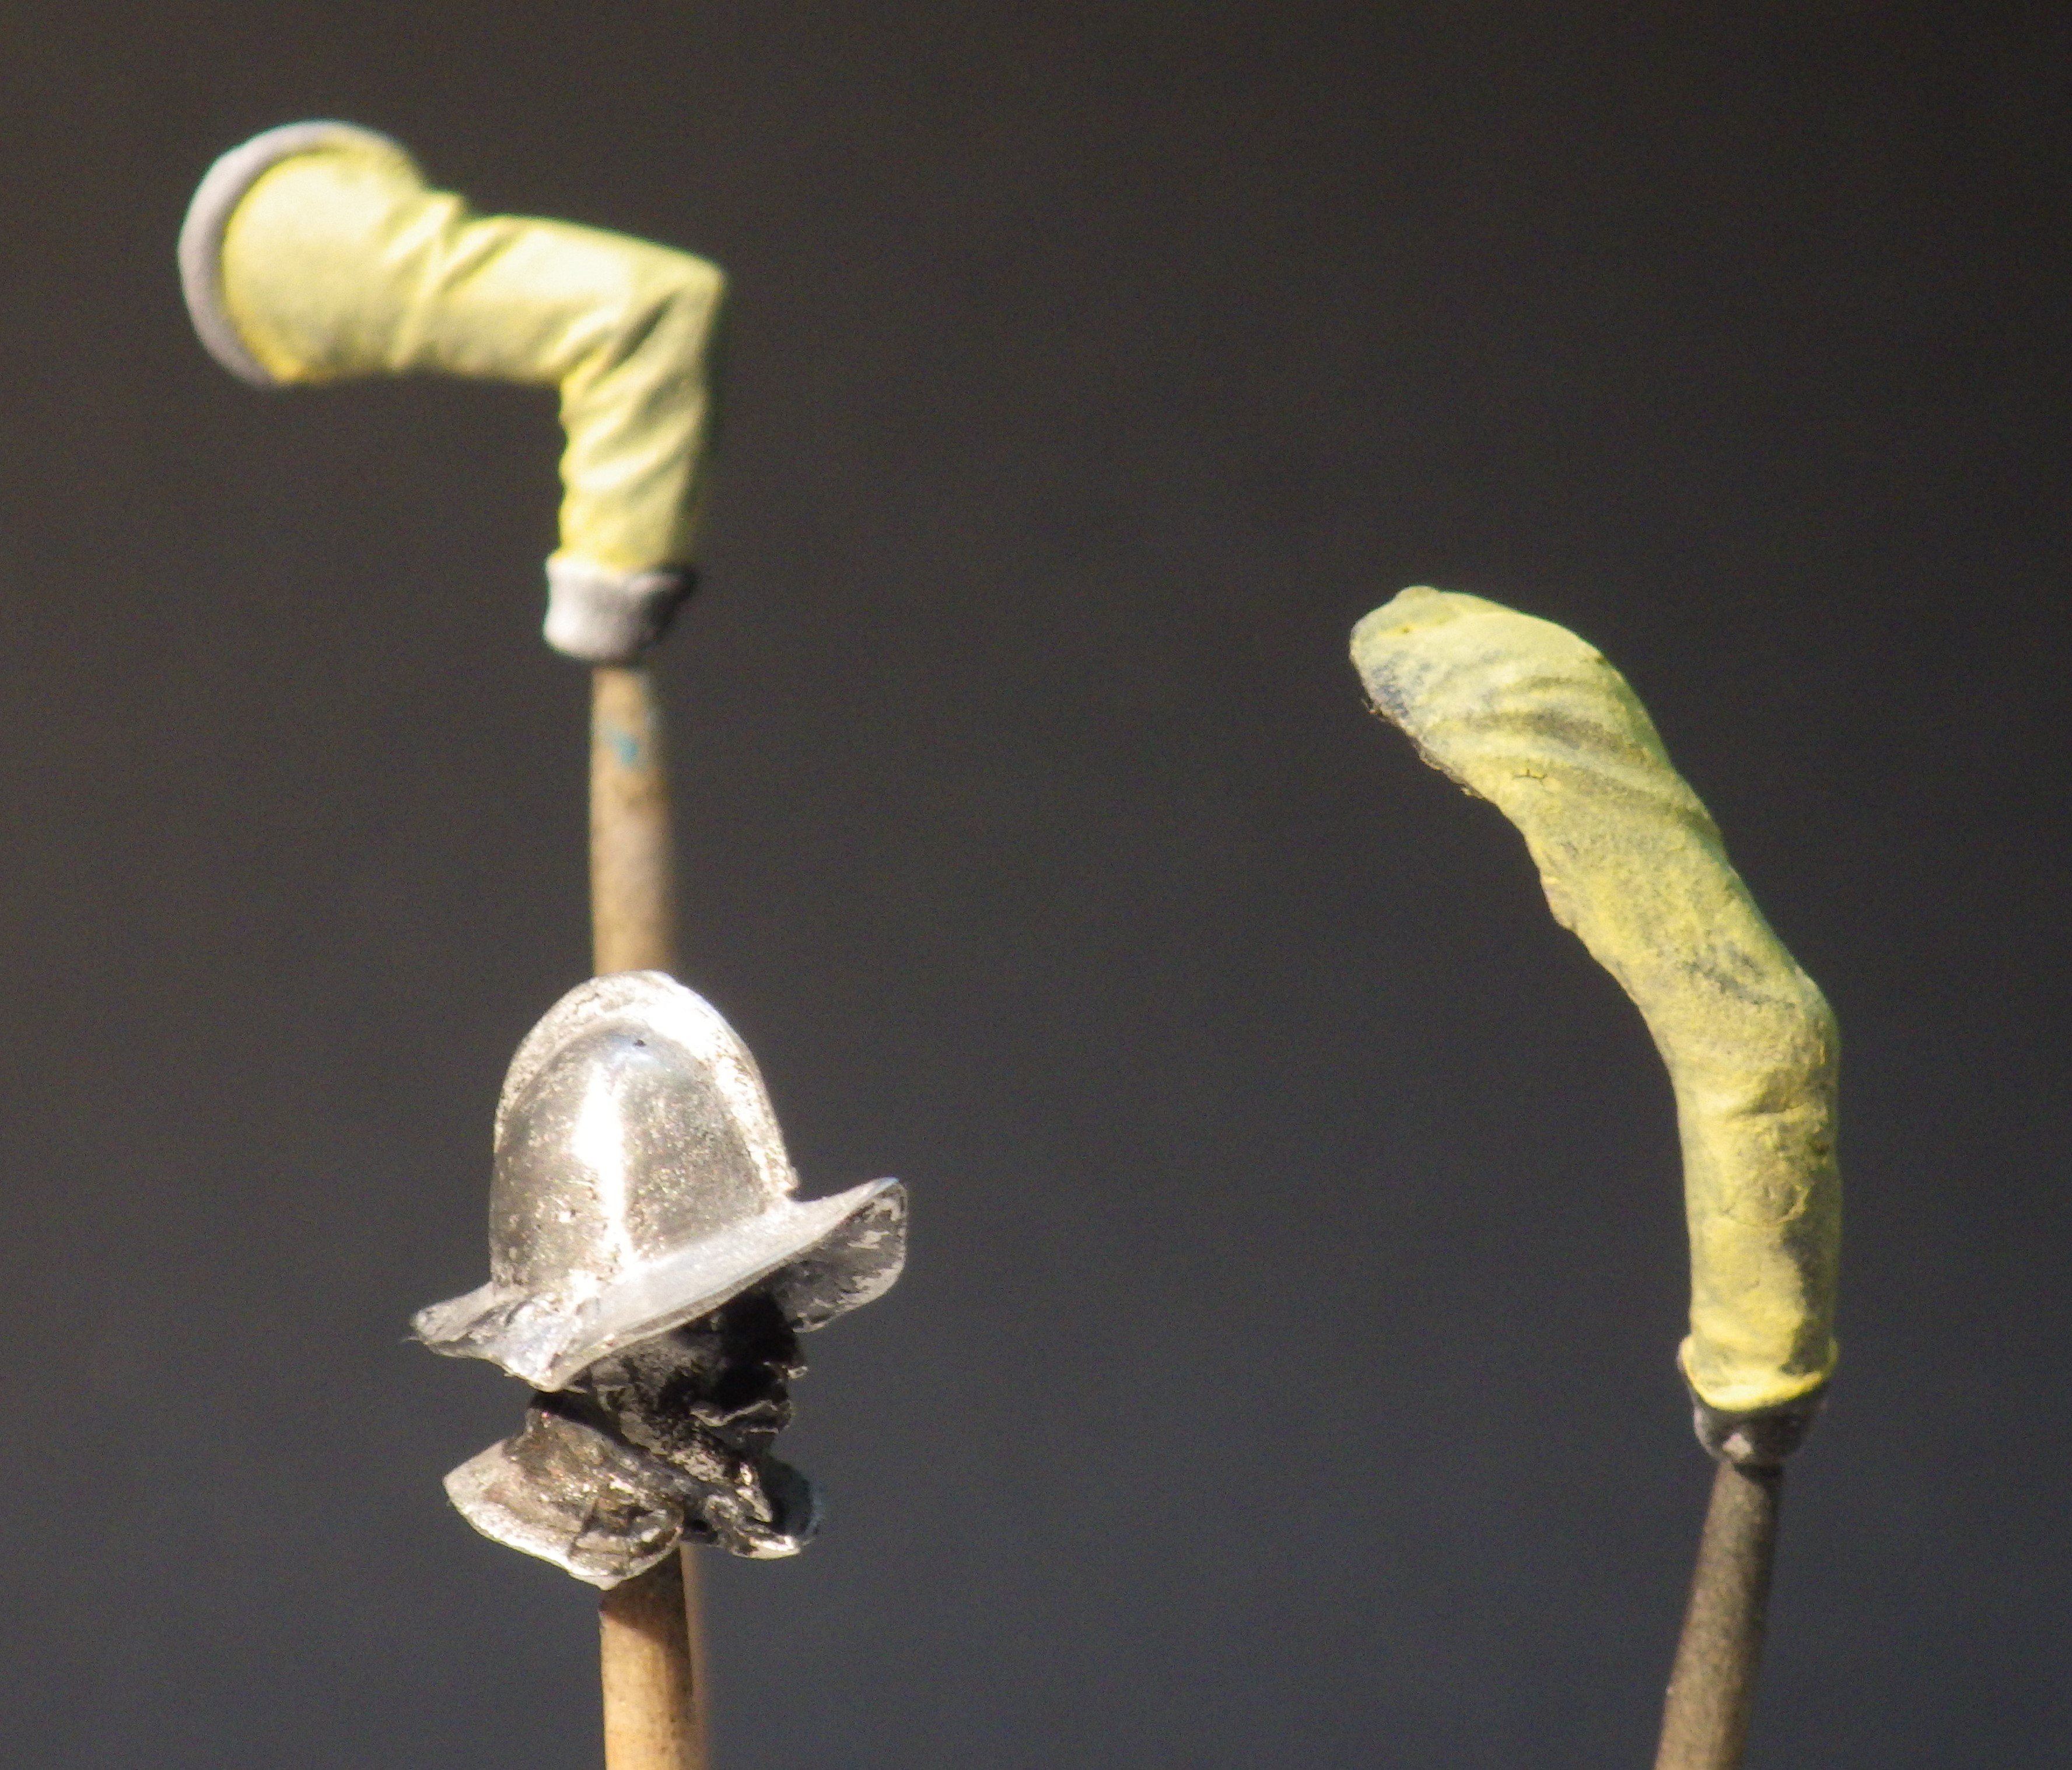
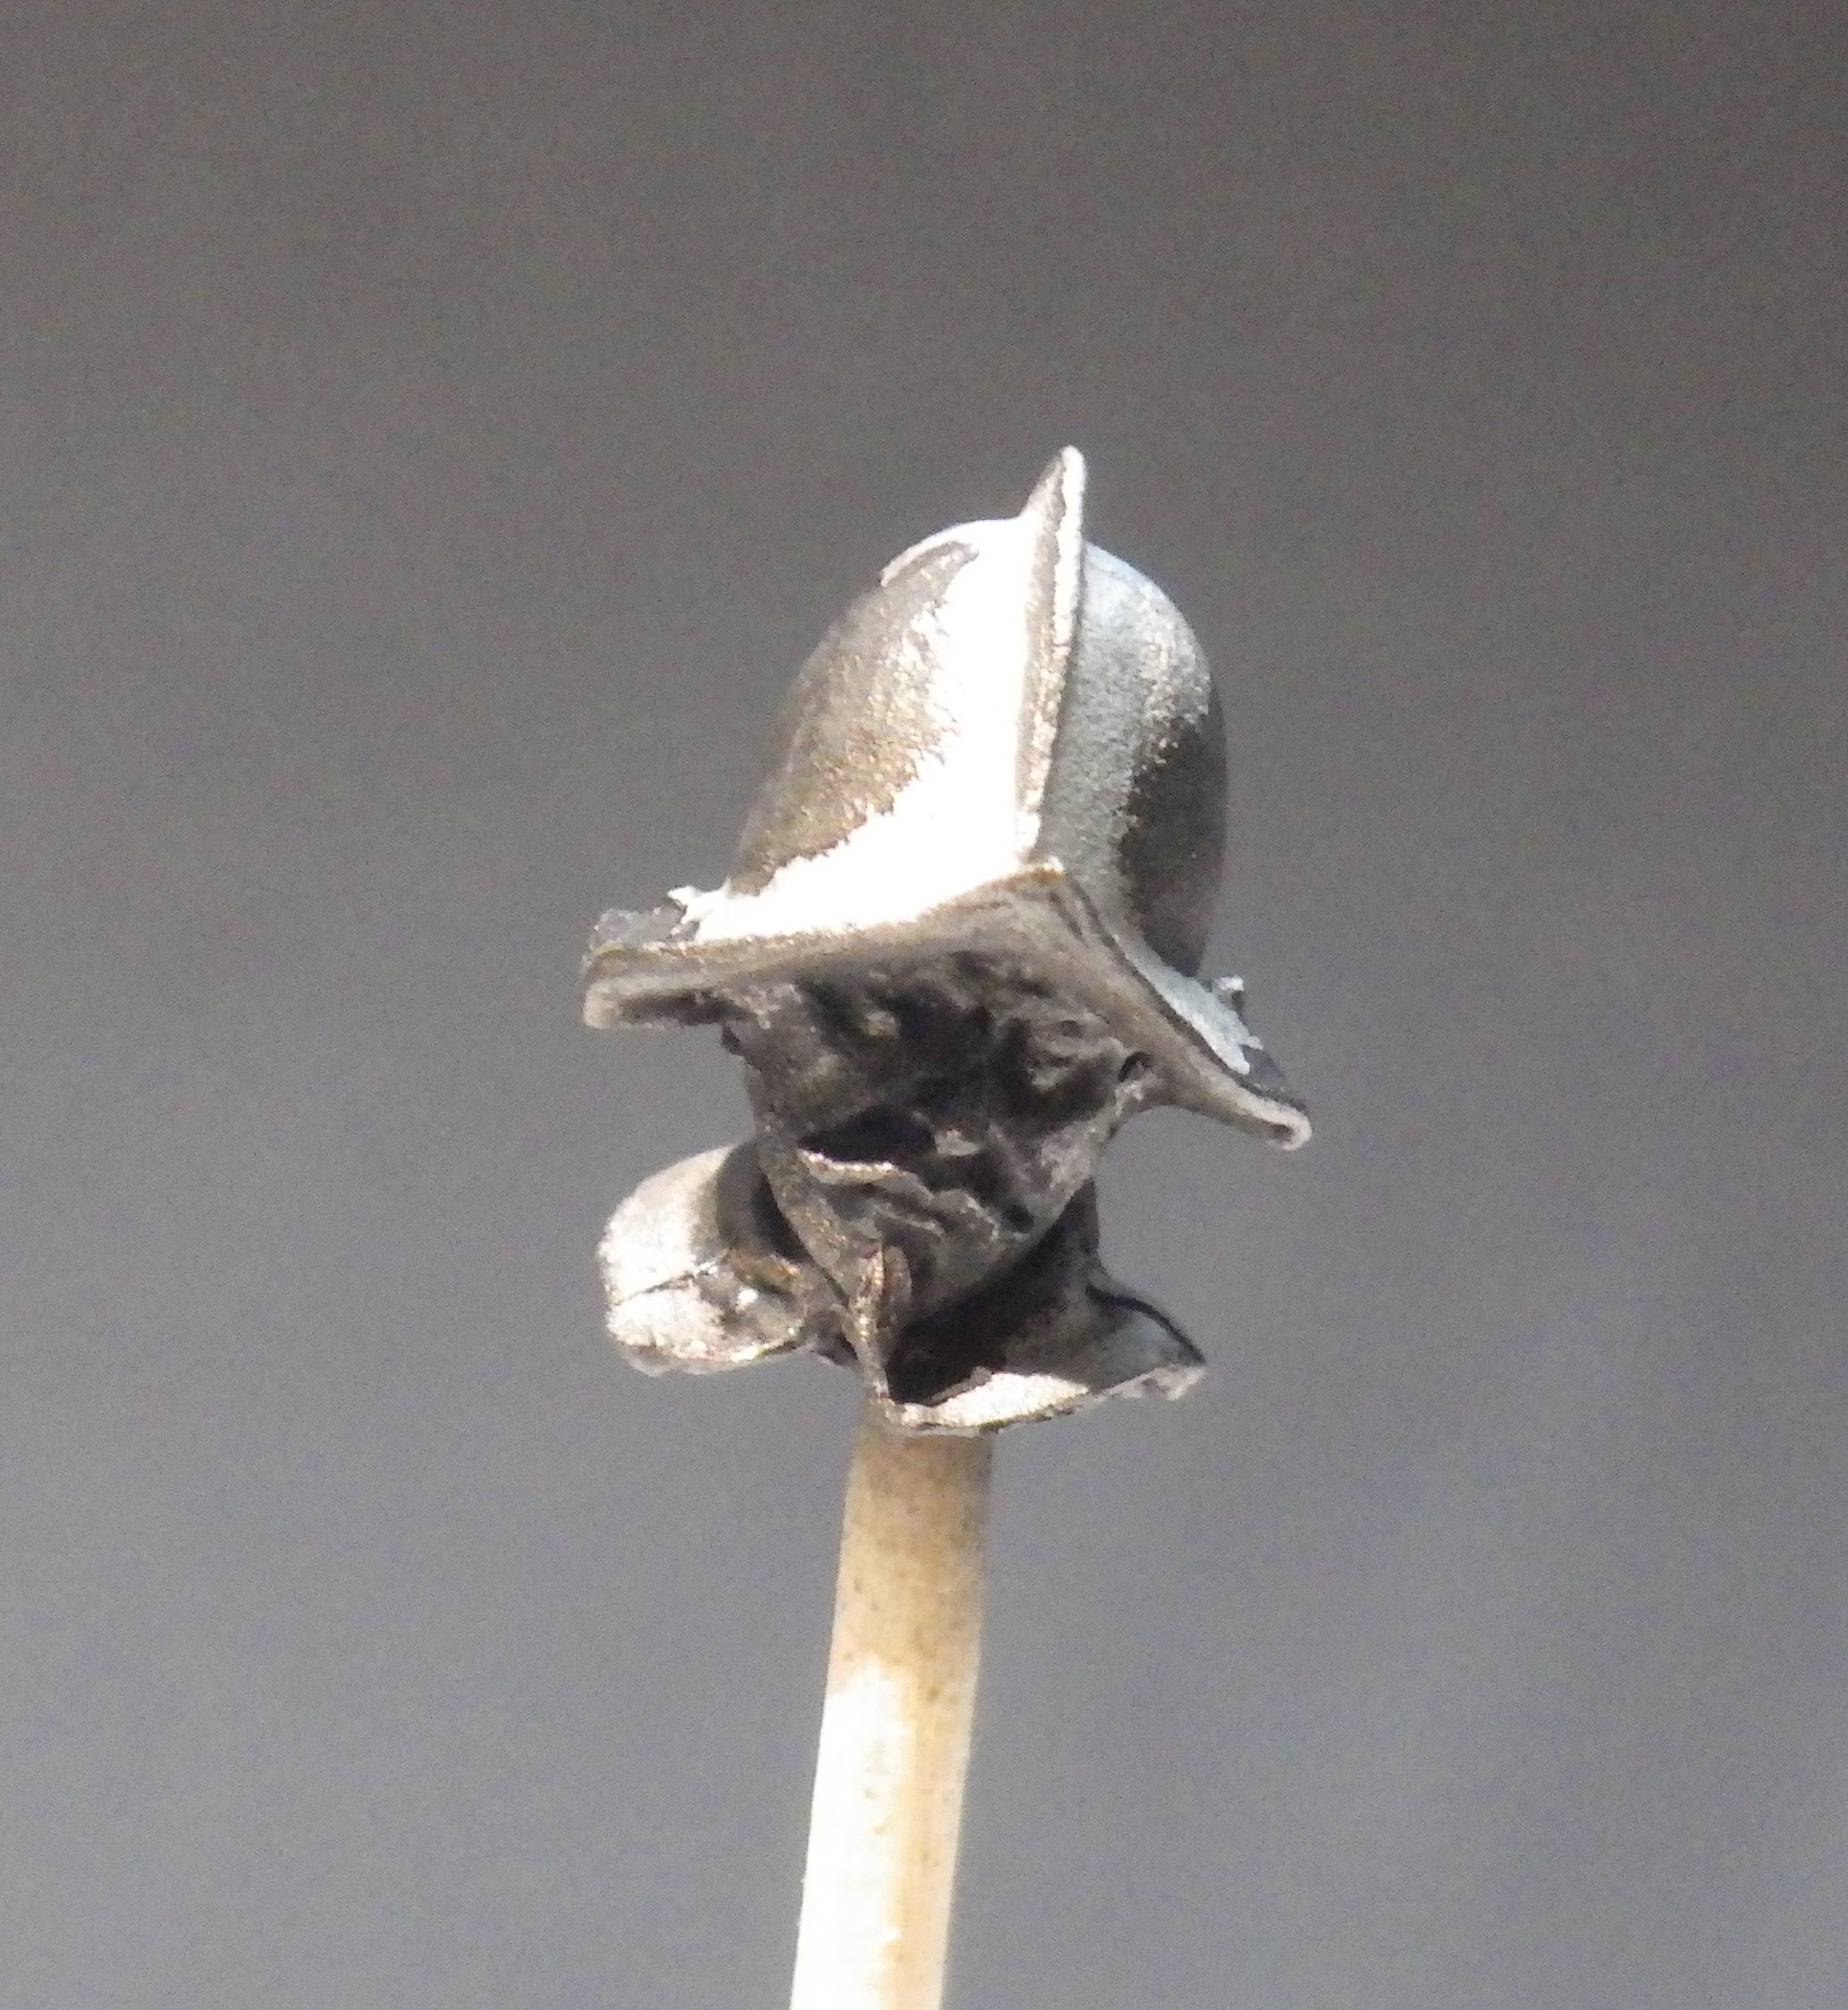
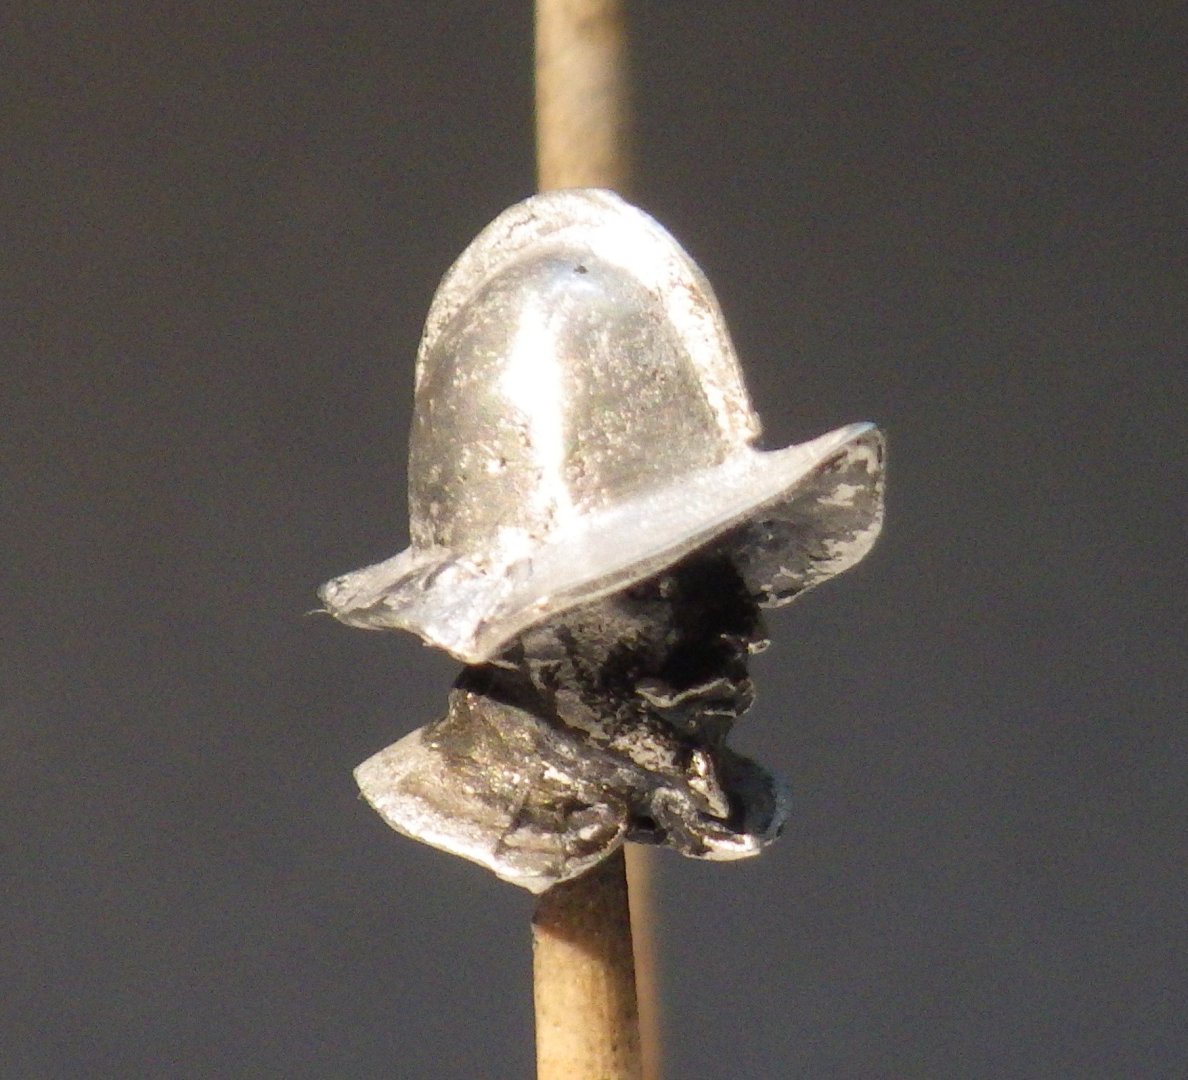
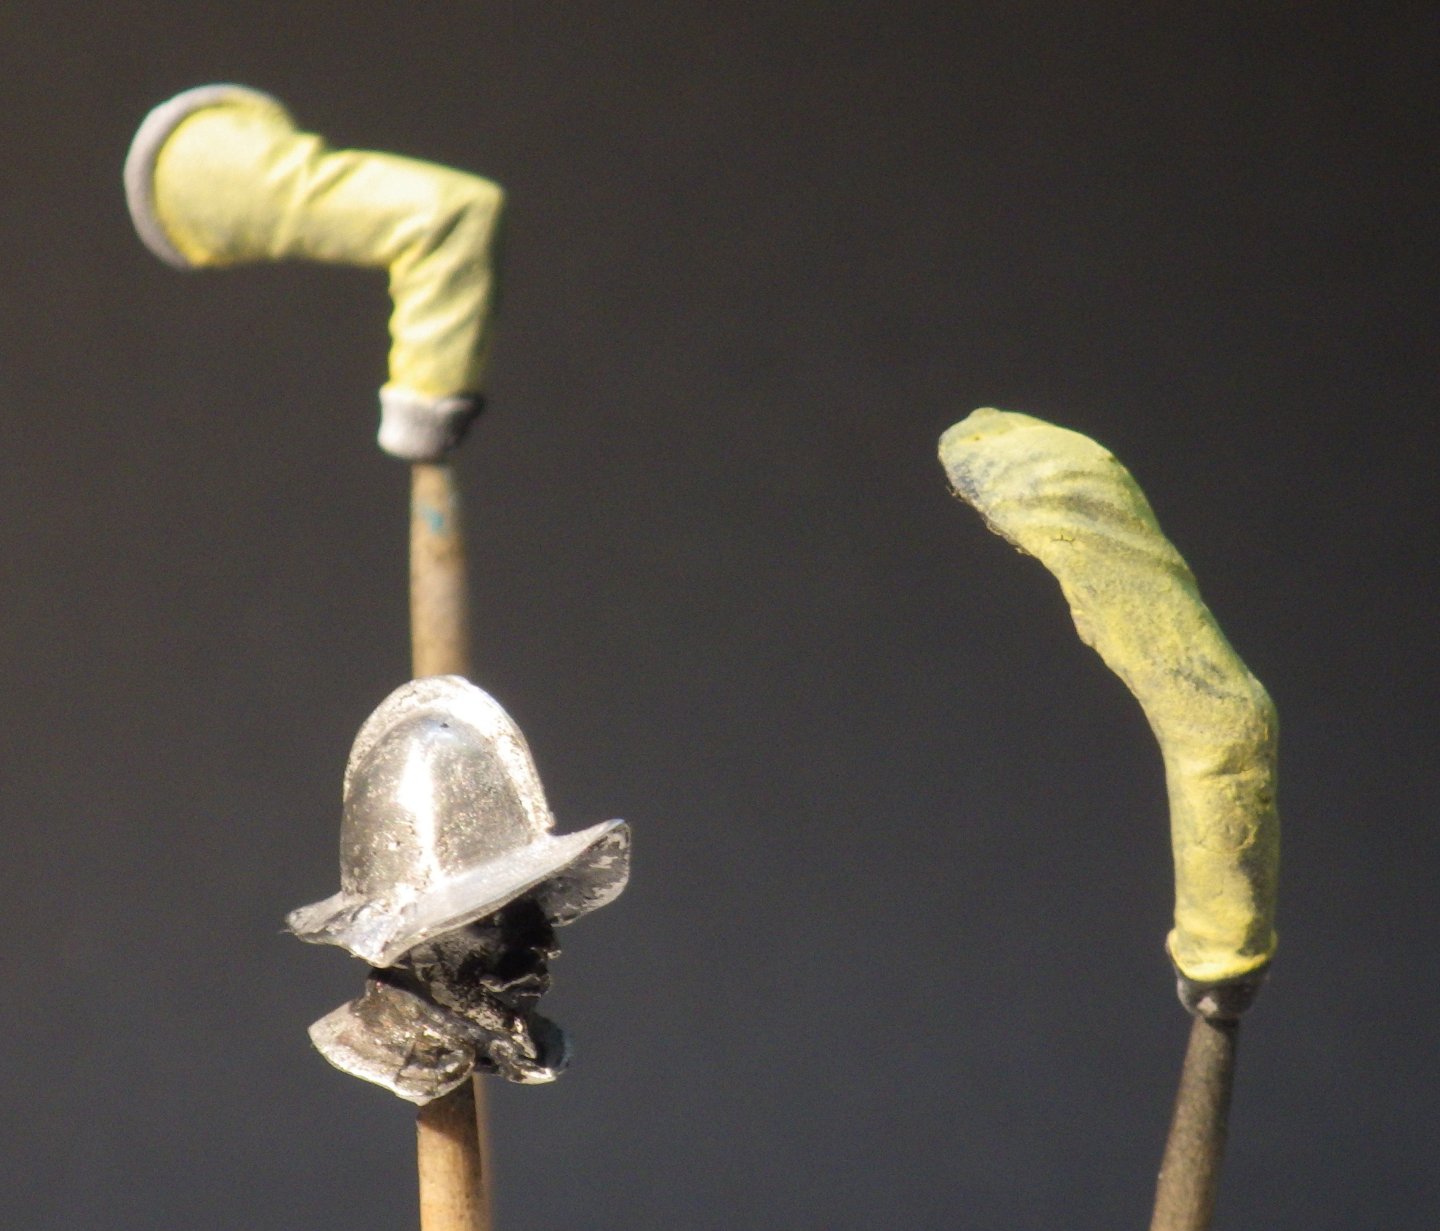
I removed the arms and drilled them so they can be held on a cocktail stick during painting. I them started adding the first glazes to the jacket and hose. This is more of a yellow ochre than the deep yellow of Skinners Horse. It seems to build up more easily than the brighter colour. Following the thinking of others out there, it occurred to me that the casque is polished metal and the figure is metal so rather than trying to paint the helmet maybe I should try polishing it. I started with cut down very fine sanding pads and then moved to solver polish. It looks better in real life but I think I will give it another go with the polish. Its small and awkward to hold (and I am nervous about deforming the collar below). I think a gloss coat and then a black wash to bring up the details Thanks for looking in, the likes and kind comments alan

-
Its great to have you along Ken. I just got an Aldi air fryer so I can serve all sorts of "healthy" fried snacks Alan
-
Thank you OC. Its another lovely casting with well delineated details so I hope to make a decent job. Alan
-
Great to have you along Jack, Looking forward to some expert advice. Alan
-
Hi Craig, yes Art Girona make some beautiful casts. I think they will be seeing more orders from me. Their range of subjects is also very wide alan
-
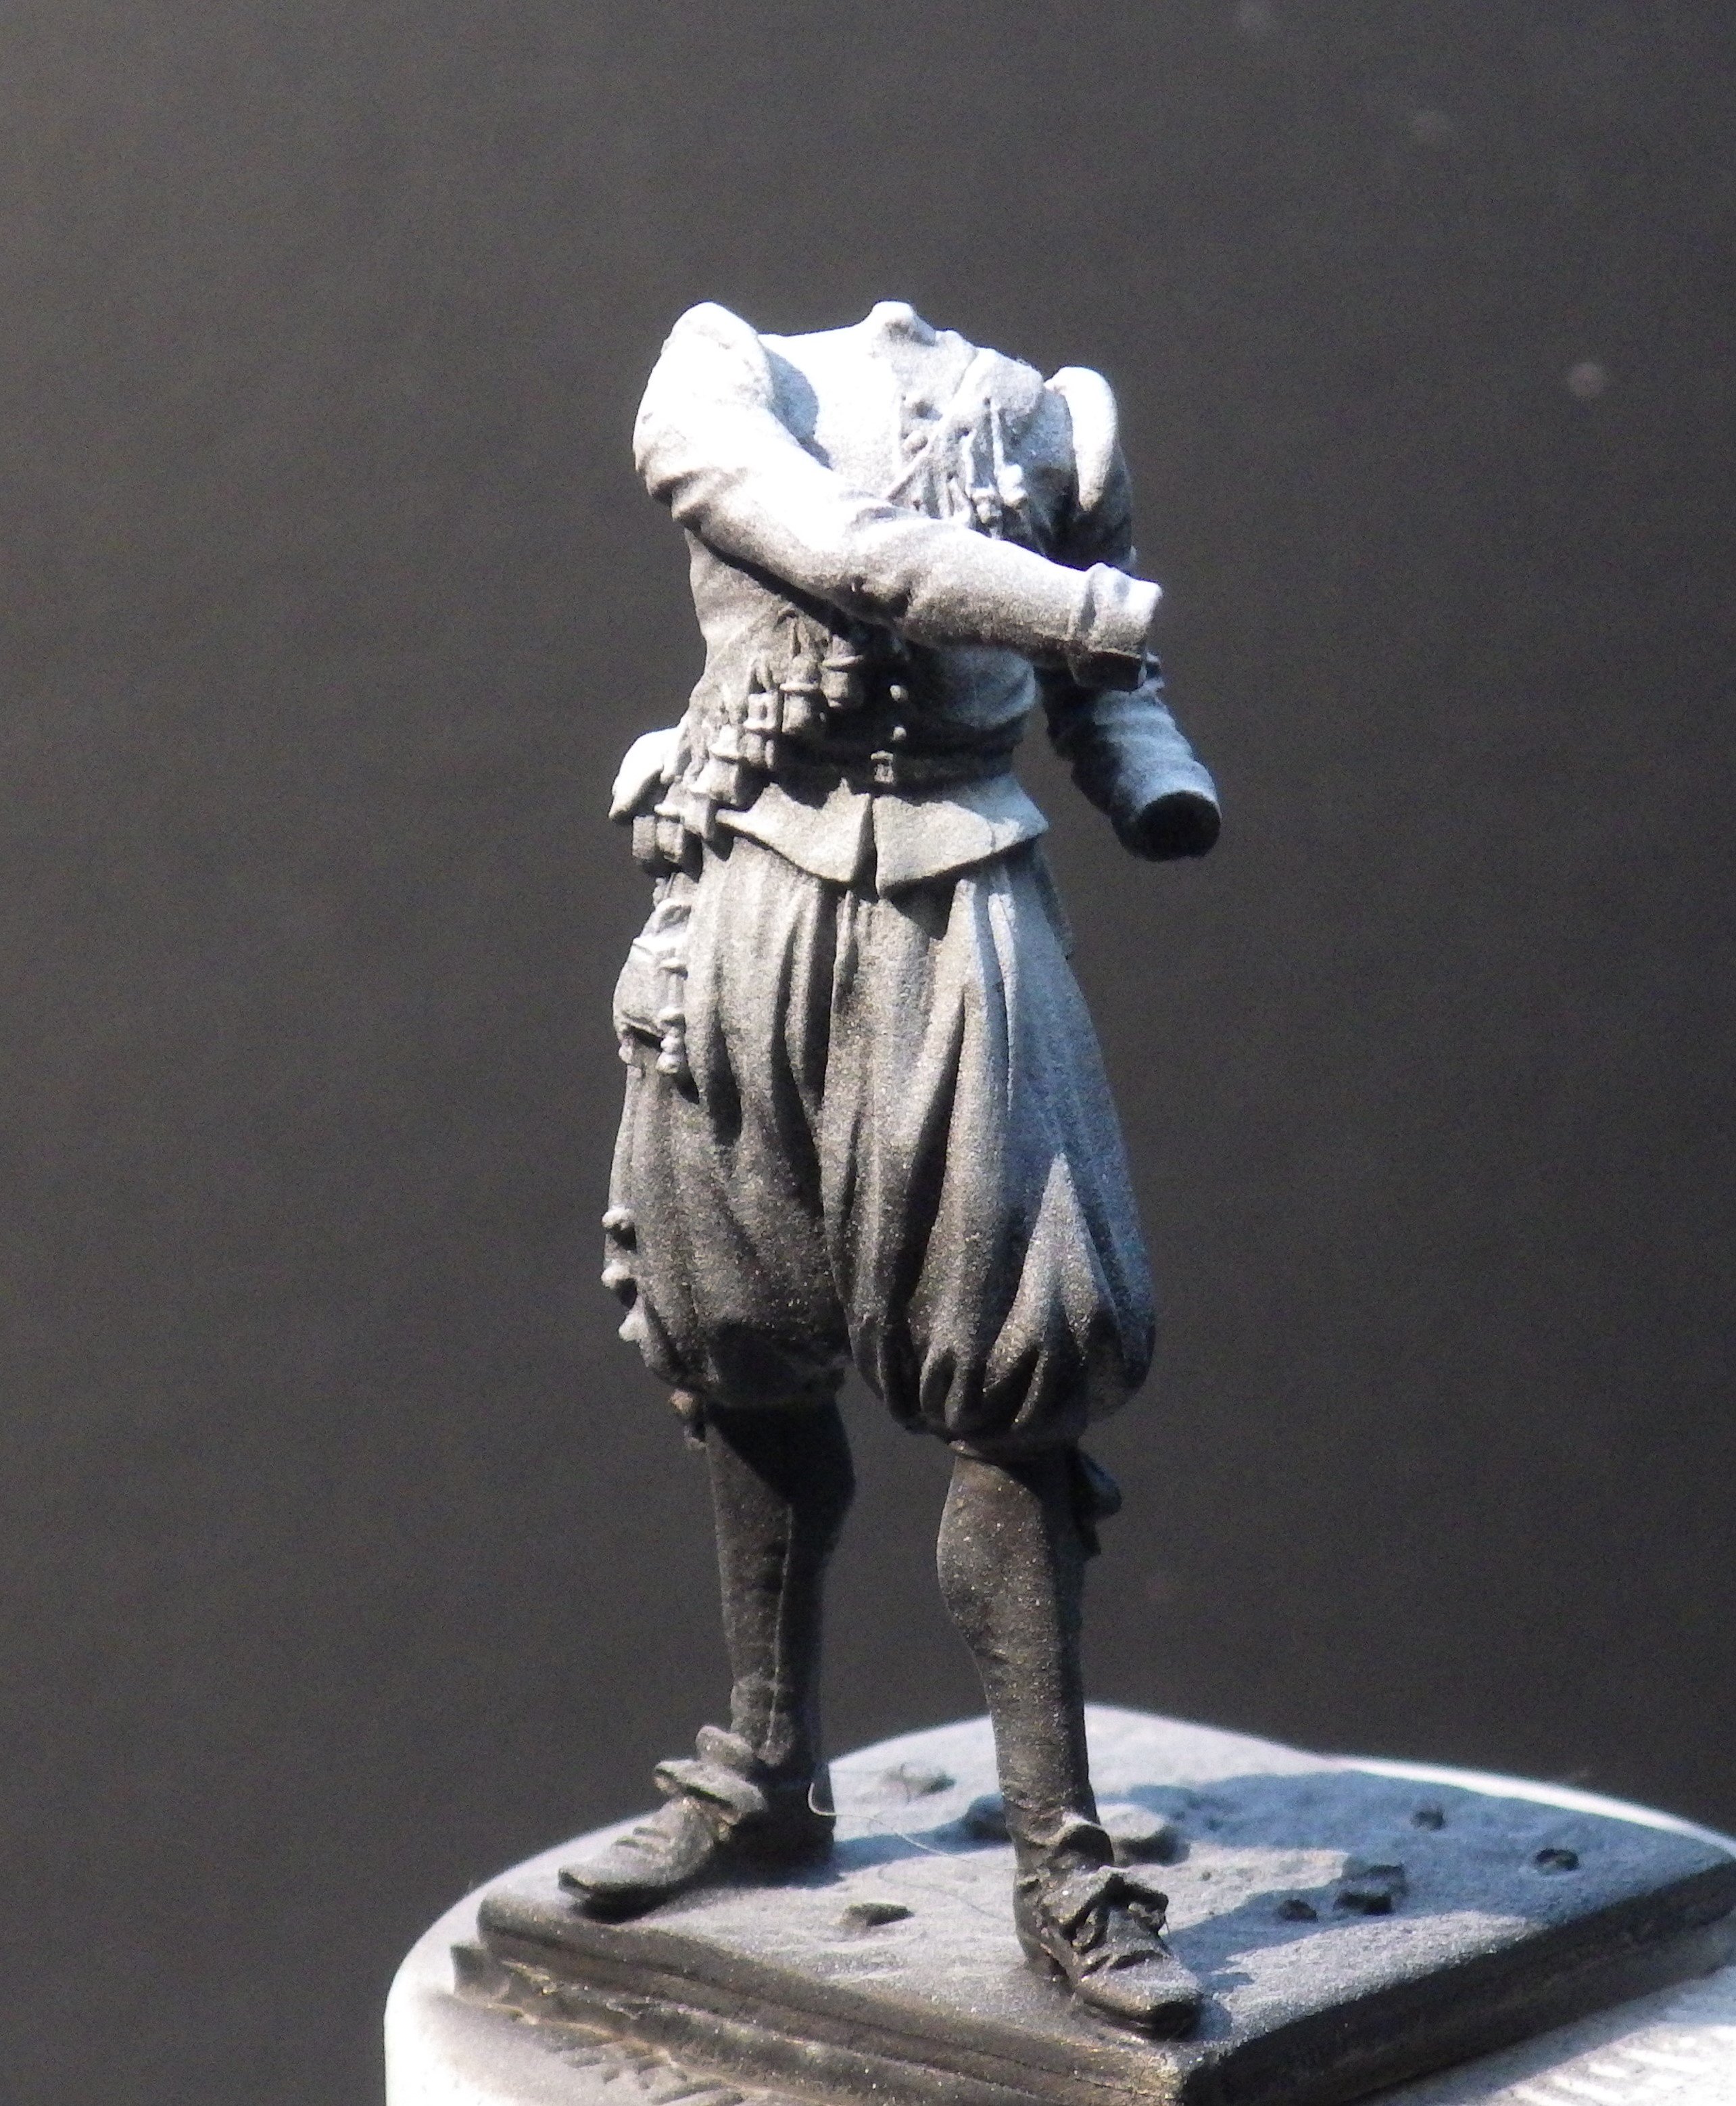
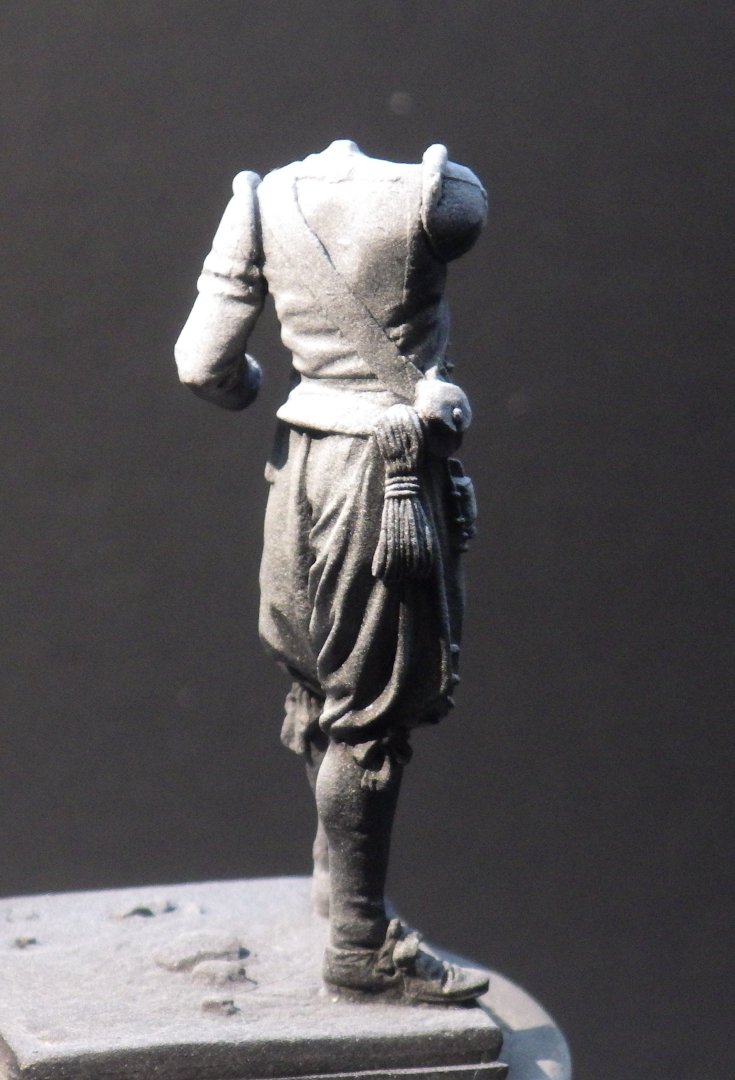
I was very impressed with the white metal figures from Art Girona and thoroughly enjoyed painting them so I decided to try a few more. Here we have an arquebusier from the Thirty Years War (1618 - 1648) Learning (I hope) from the previous effort I have used the heavy duty double sided tape to mount the figure to the pill container doing duty as holder. I decided to keep the head separate to make painting easier and the arms are only attached for the black priming and the directional white highlights. Next I will start building up the coloured glazes onto the primers Thanks for looking in Alan


-
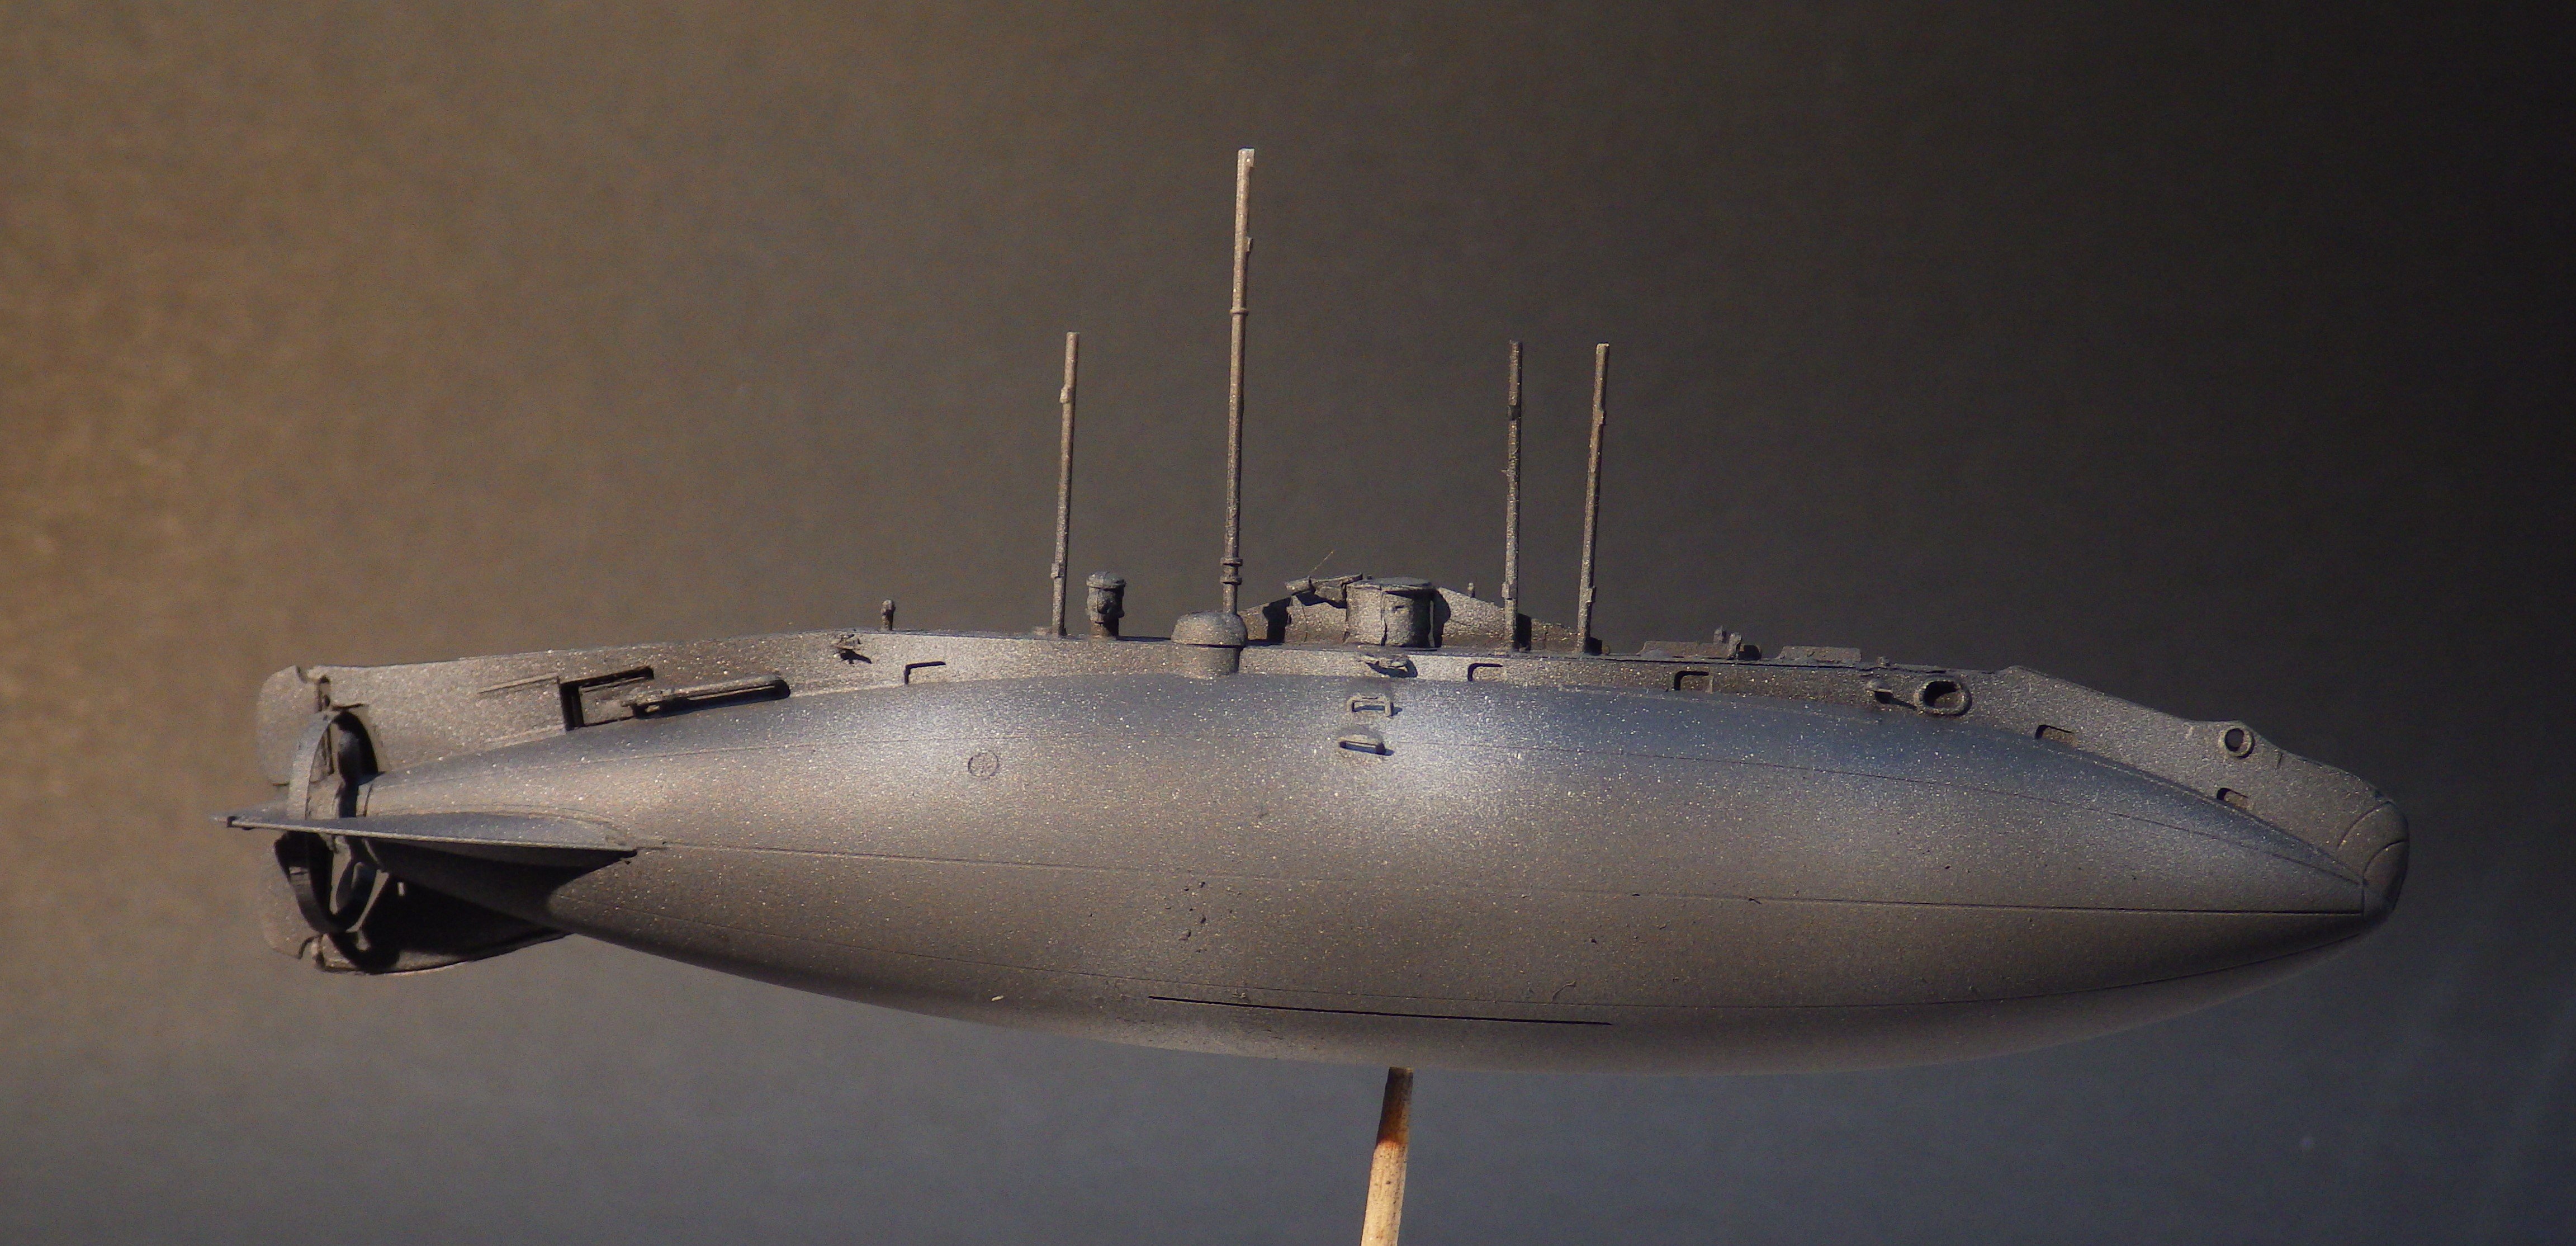
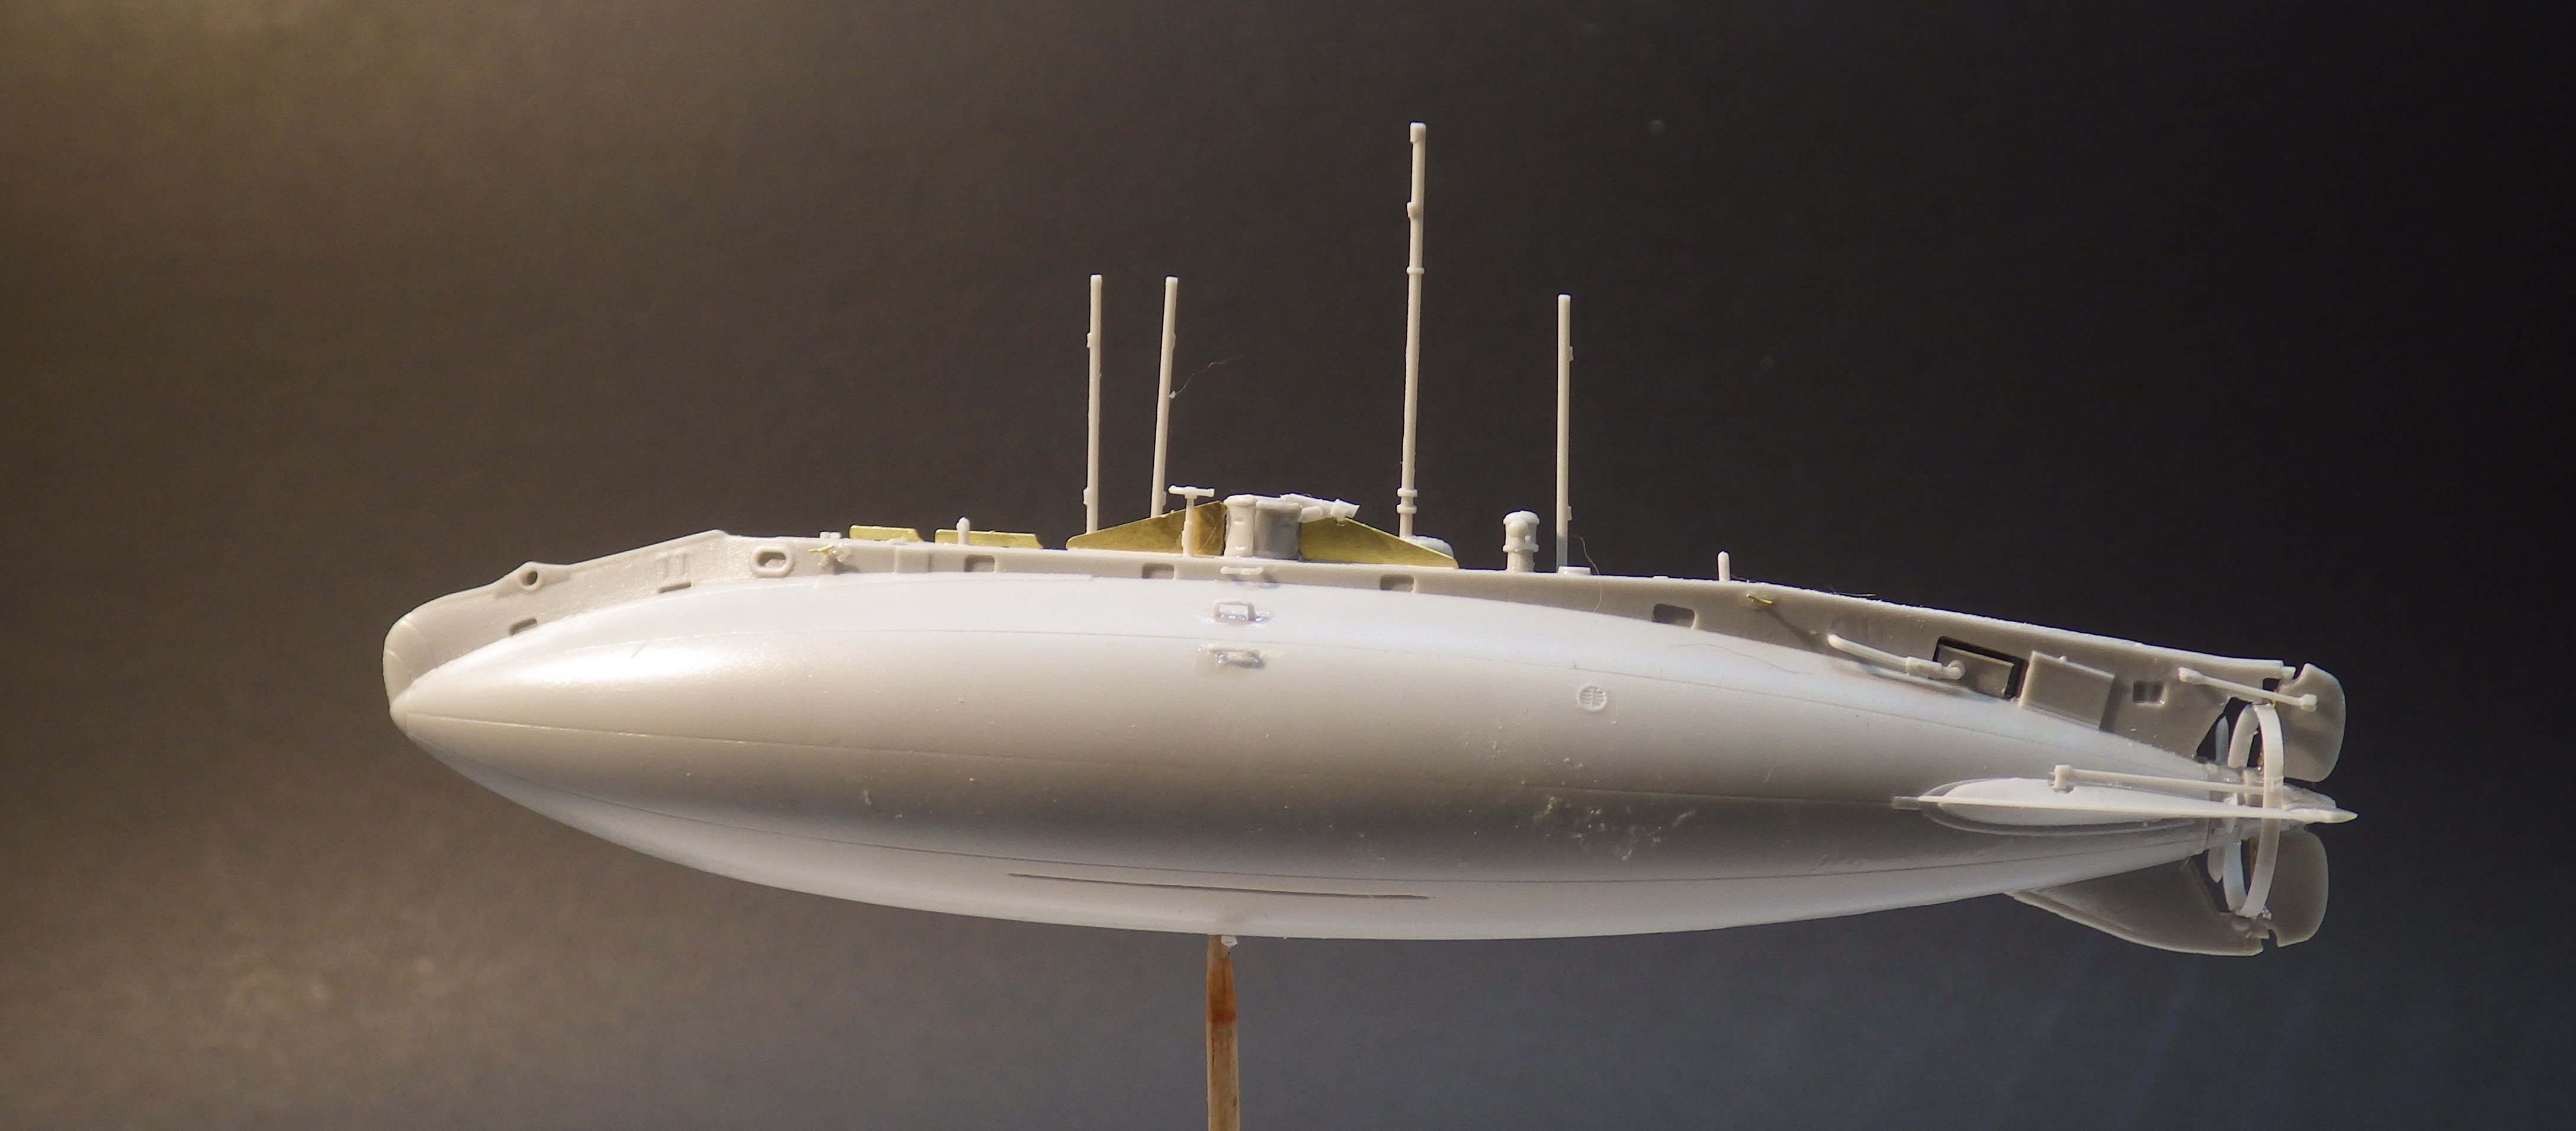
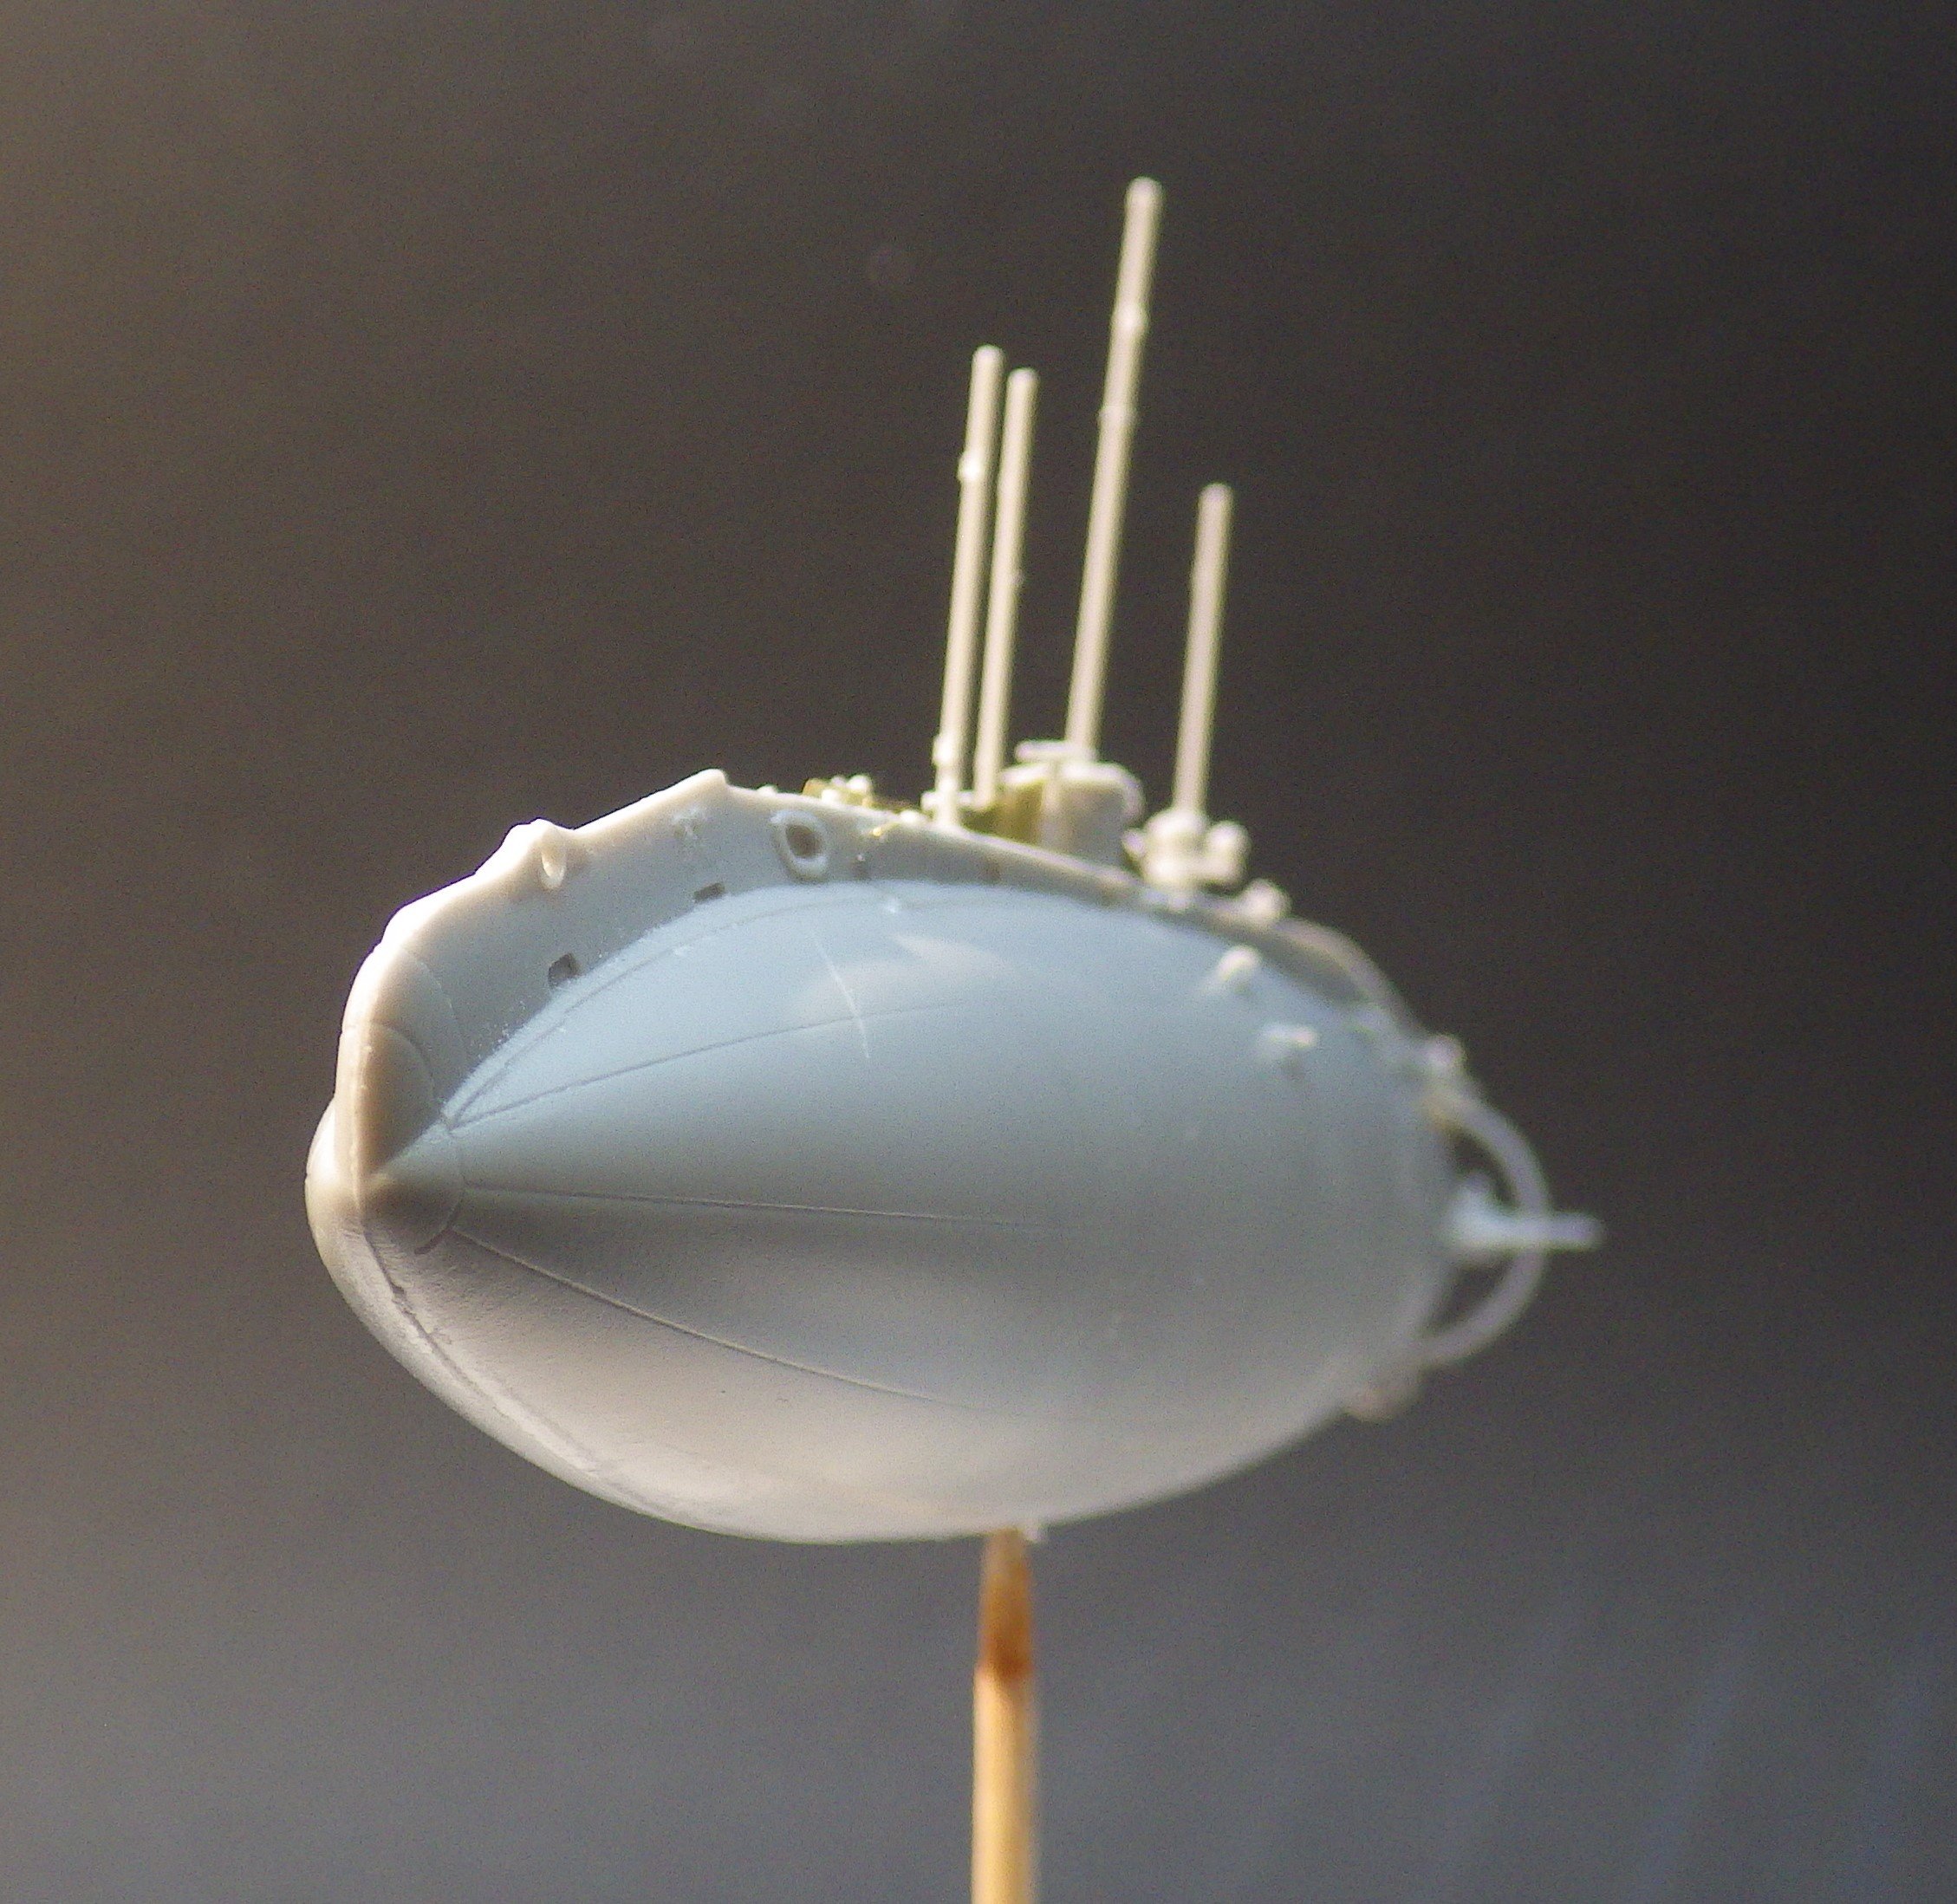
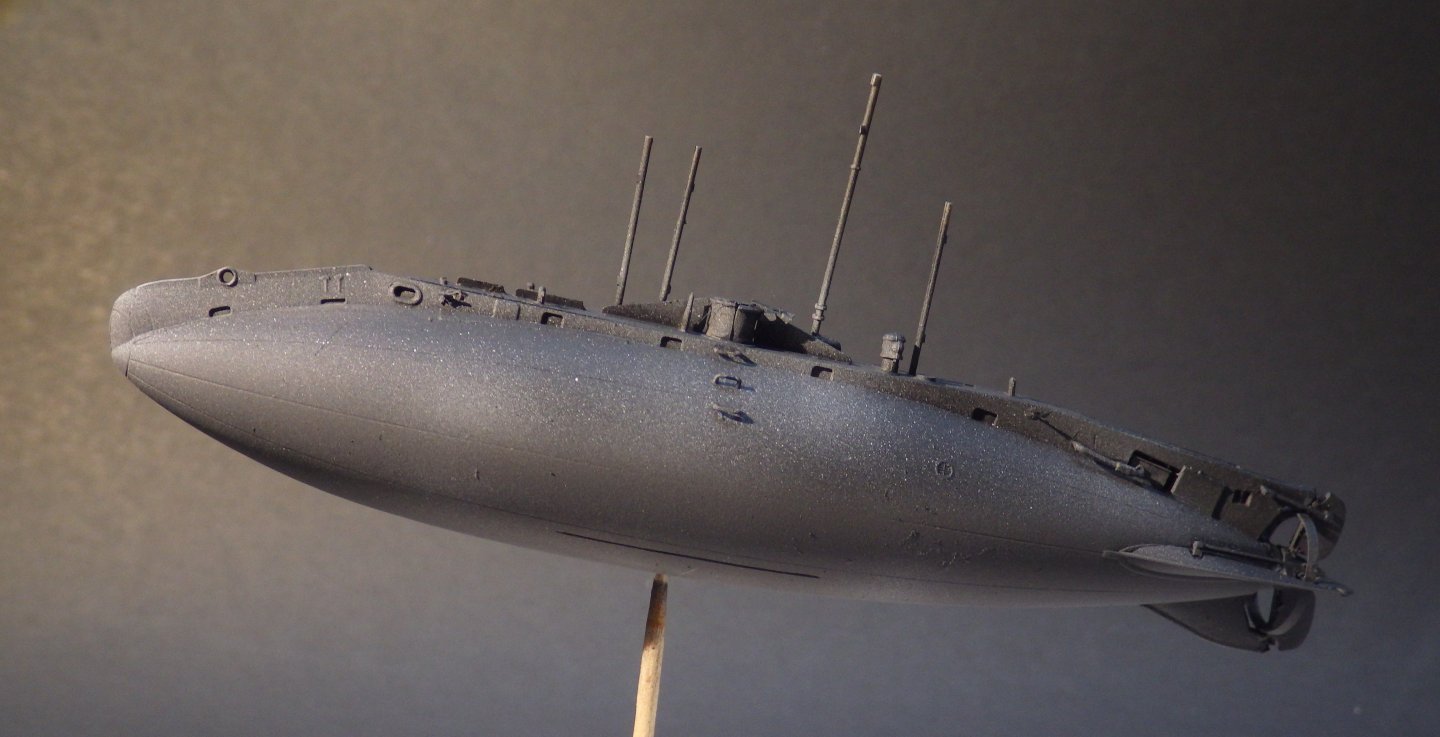
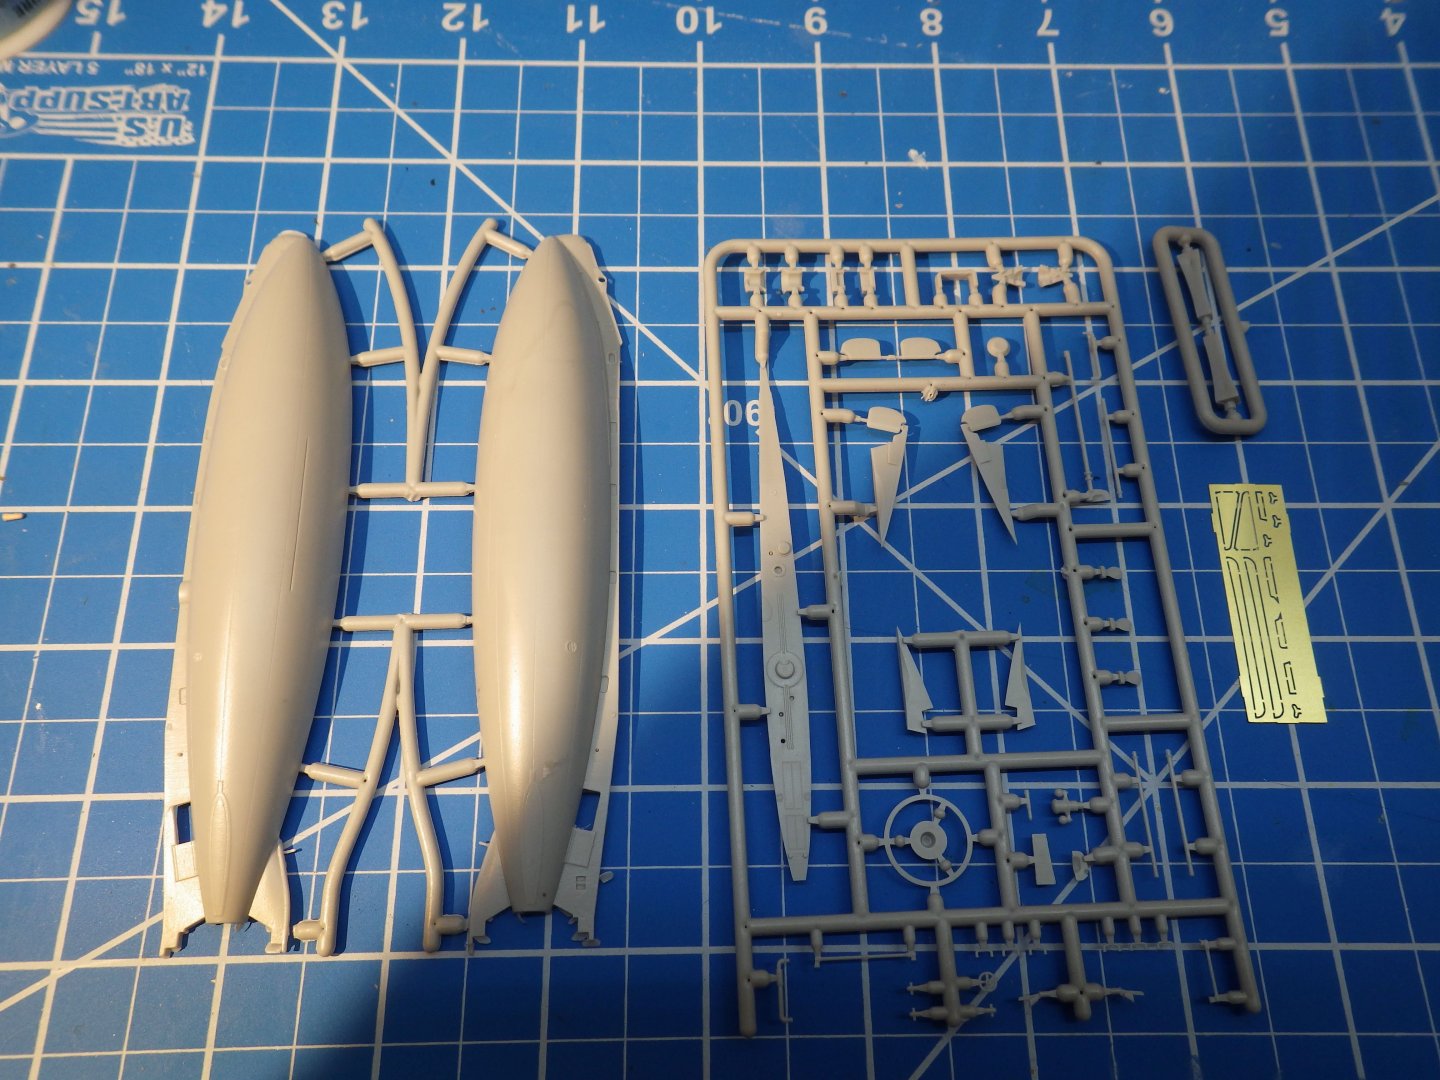
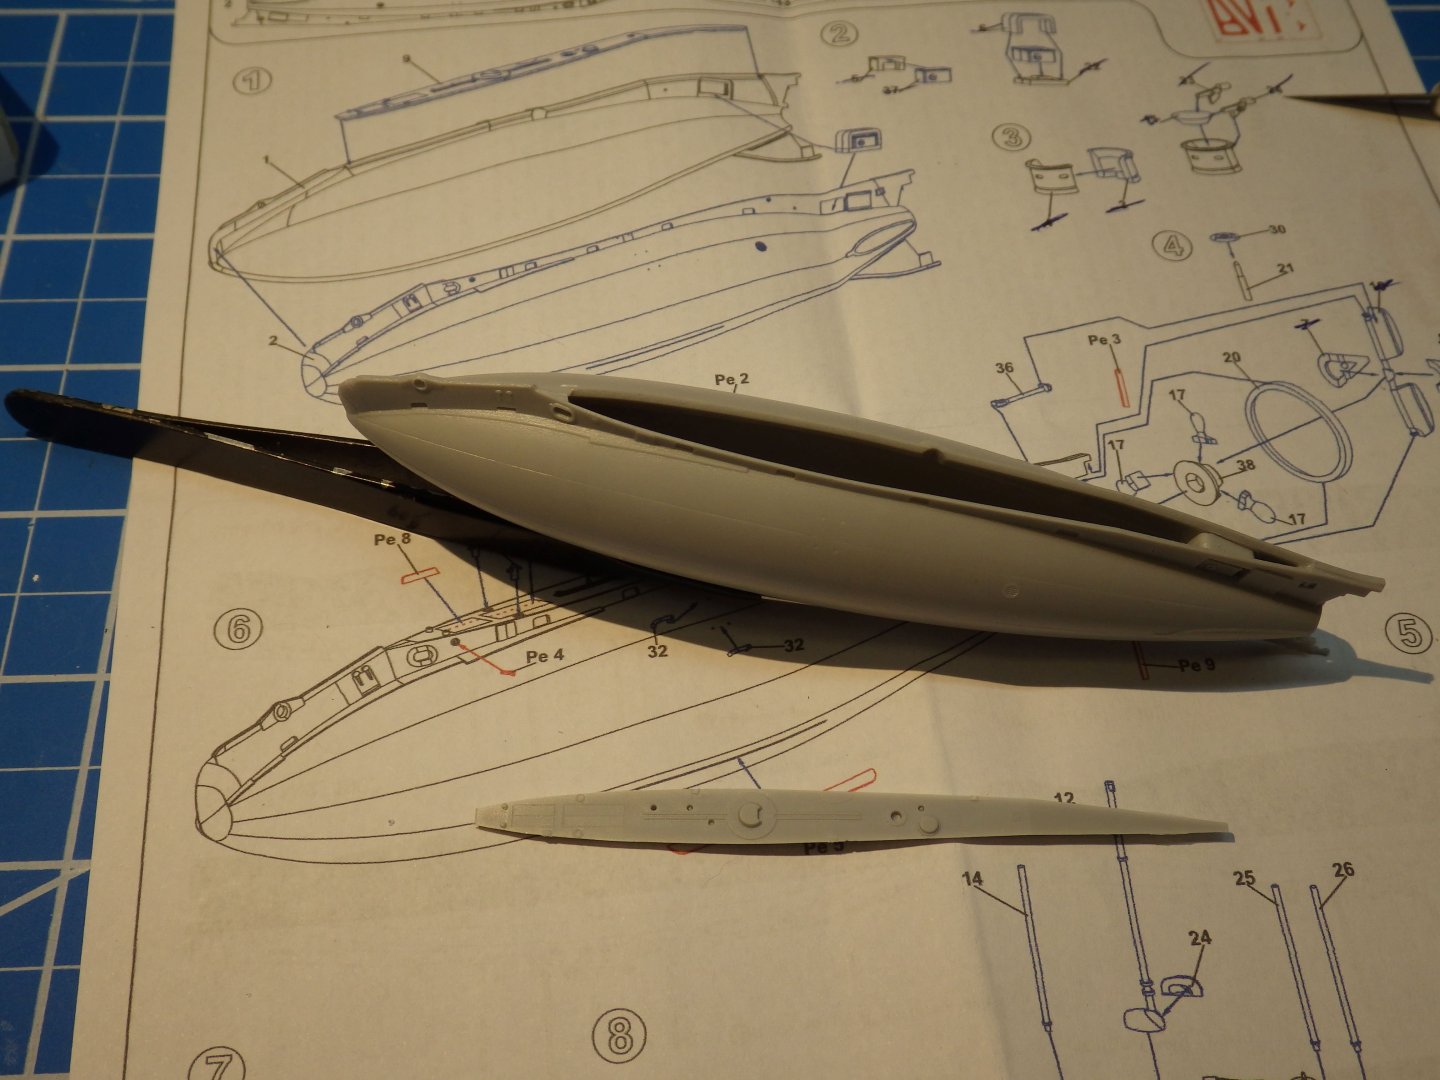
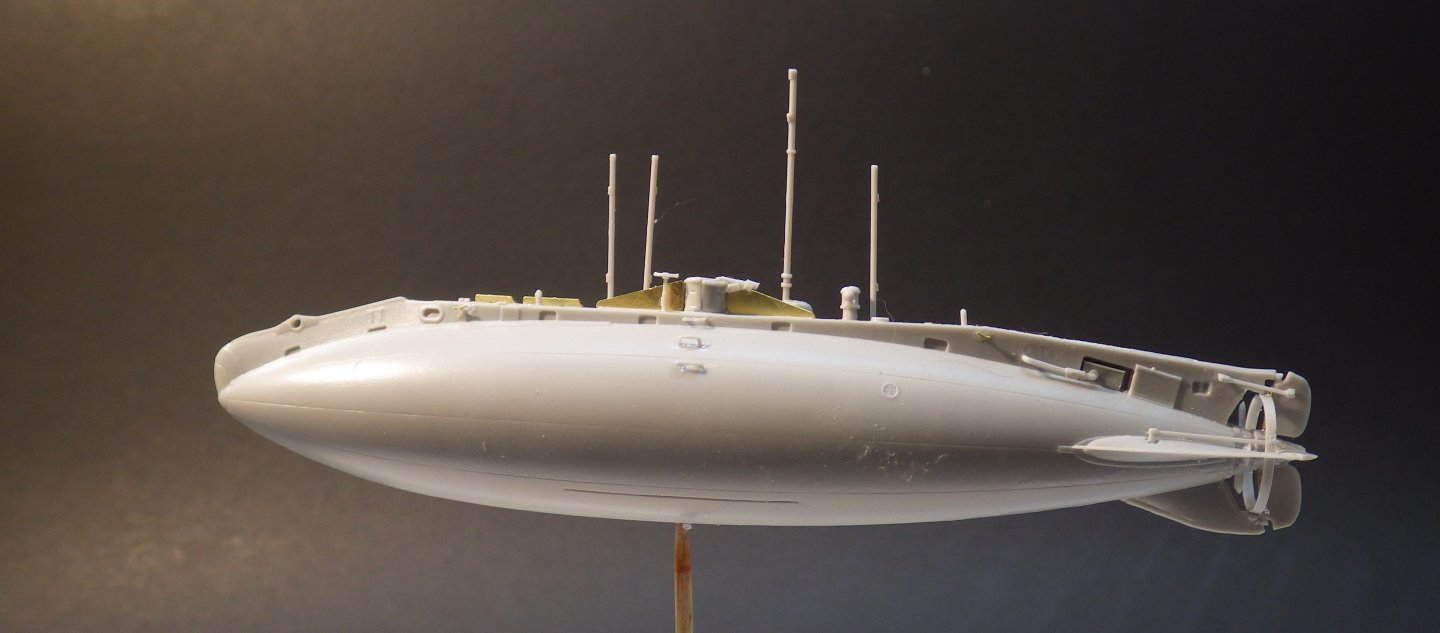
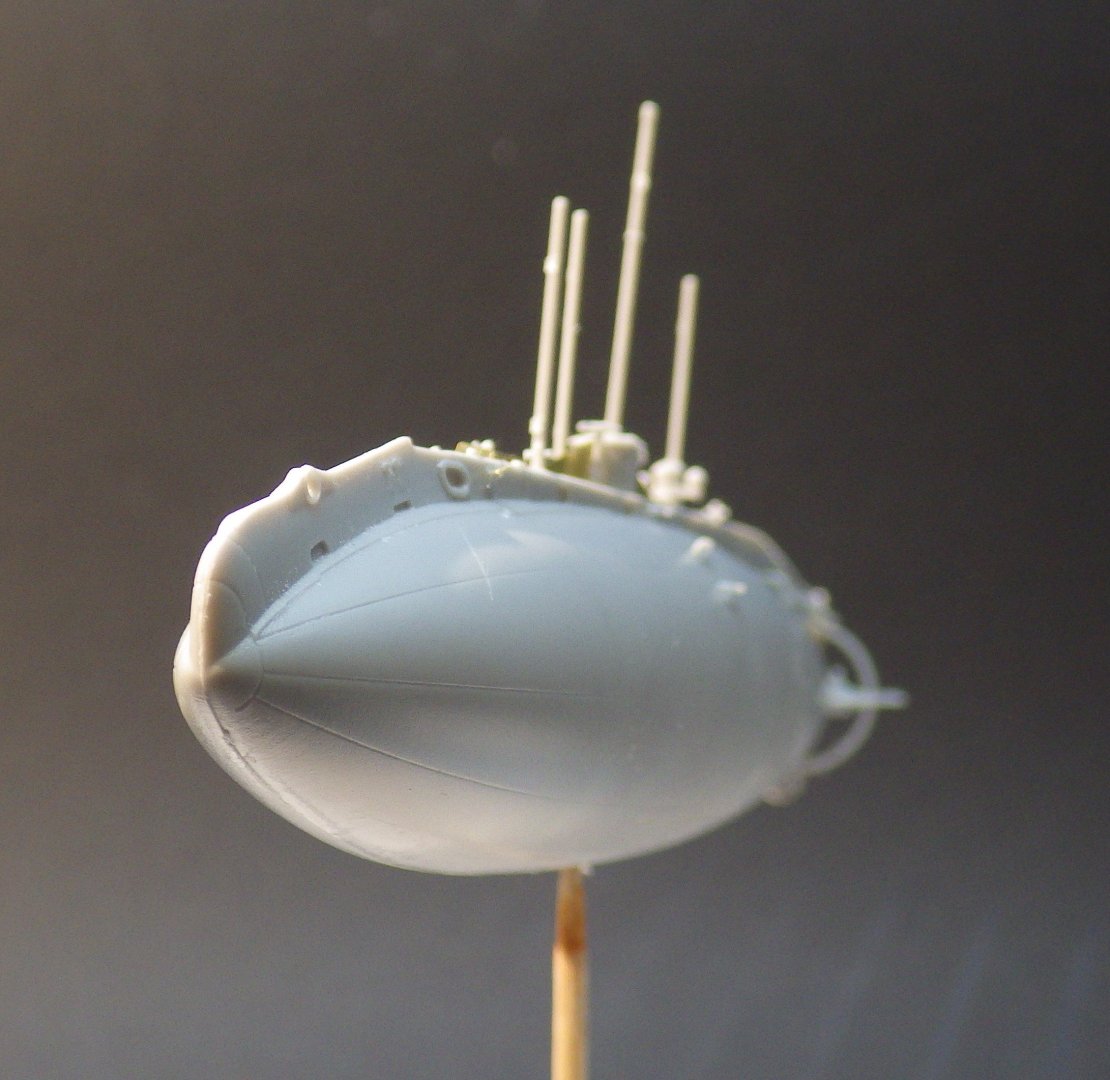
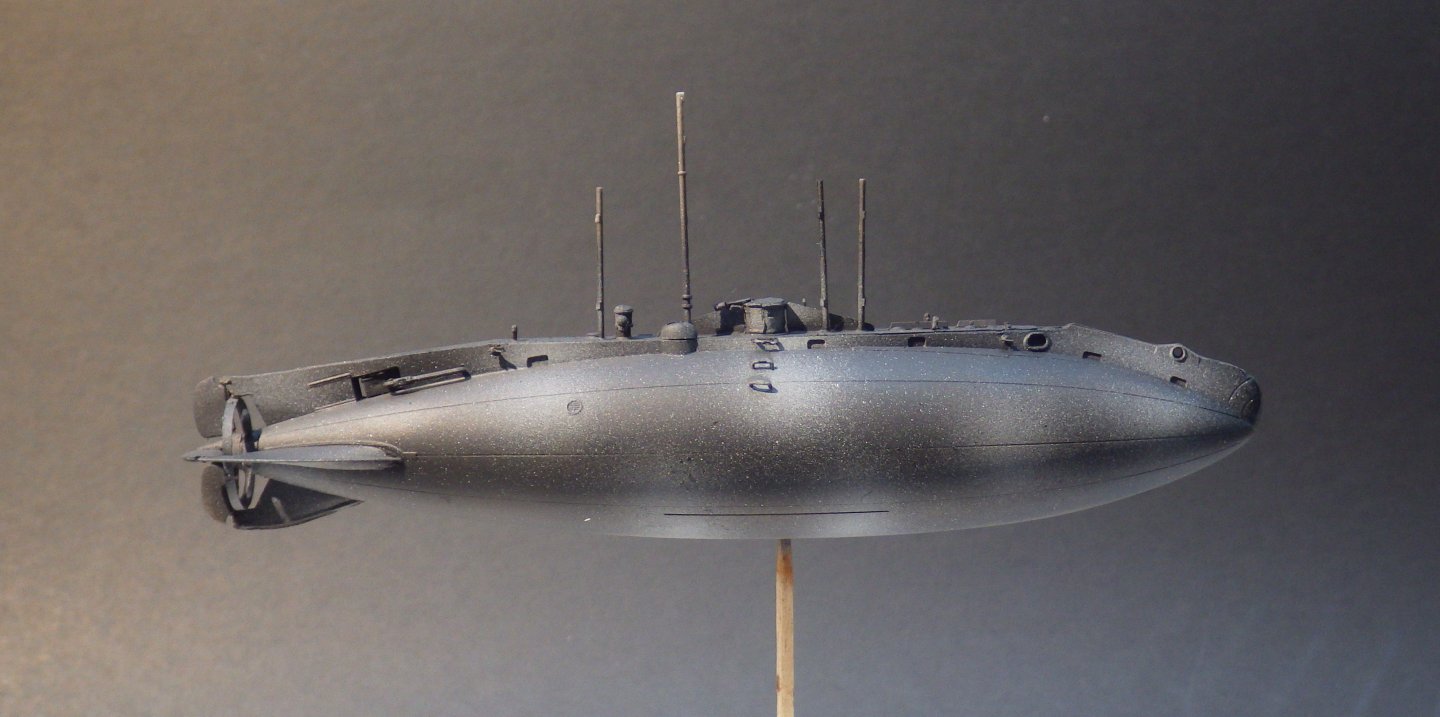
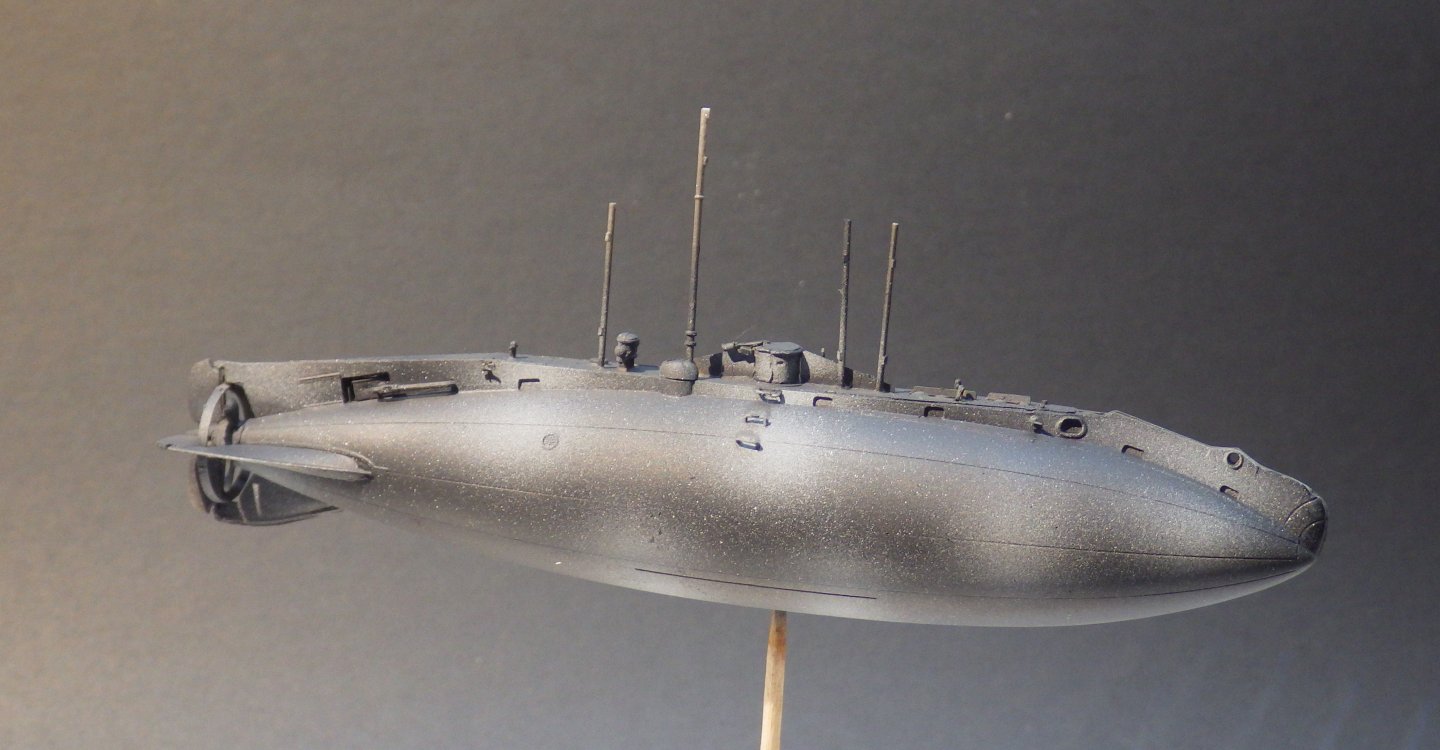
I think this will be the start of a number of fairly short builds as I explore the contents of a rather large collection of Eastern European kits bought on a whim because of the uncommon subject matter. Mikro Mir, Dora Wings, IBG, Amodel and Roden are all likely to be showing up in various guises. So first up is the Mikro Mir 1/44 scale Holland Class submarine; the Royal Navys first venture into submarines at the start of the 20th century Not very many pieces but lso very little flash. No location holes / tabs but the pieces fir together very well and the hull and deck pieces joined together without the need for putty or excessive sanding. At 63 feet long with a crew of 8 they must have been cosy little crafts I have built up everything in the kit except for the PE bilge keels which will interfere with the masking I used Mig One Shot black primer and then added some white to try to bring some variation into the dark grey top coat So far it has been entirely enjoyable. The paint scheme will be light grey uppers and dark grey lower. I plan to display it on my usual submarine base of an acrylaic rod and a simple sea bed. Thanks for looking in. Alan


- 27 replies
-
- 13
-
-
- Holland class
- plastic
- (and 2 more)
-
Absolutely beautiful paintwork Craig alan
-
Looking forward to seeing the build develop into a stunning model alan
-
Thank you Eric I really enjoy making the seascapes. This one was way beyond anything I have tried before Alan
-
Thank you very much Yves Thats a good point about wetting the hull. I'll give it a try. Thanks for teh tip. A 1/200th Flower? Now you have me thinking. Alan
-
Thank you very much Jack. I got some good suggestions from you all as usual which helped immensely. I will remind me of the misery of escort on Atlantic convoys in those ships. And so many young lads who had never been to sea before. Alan
-
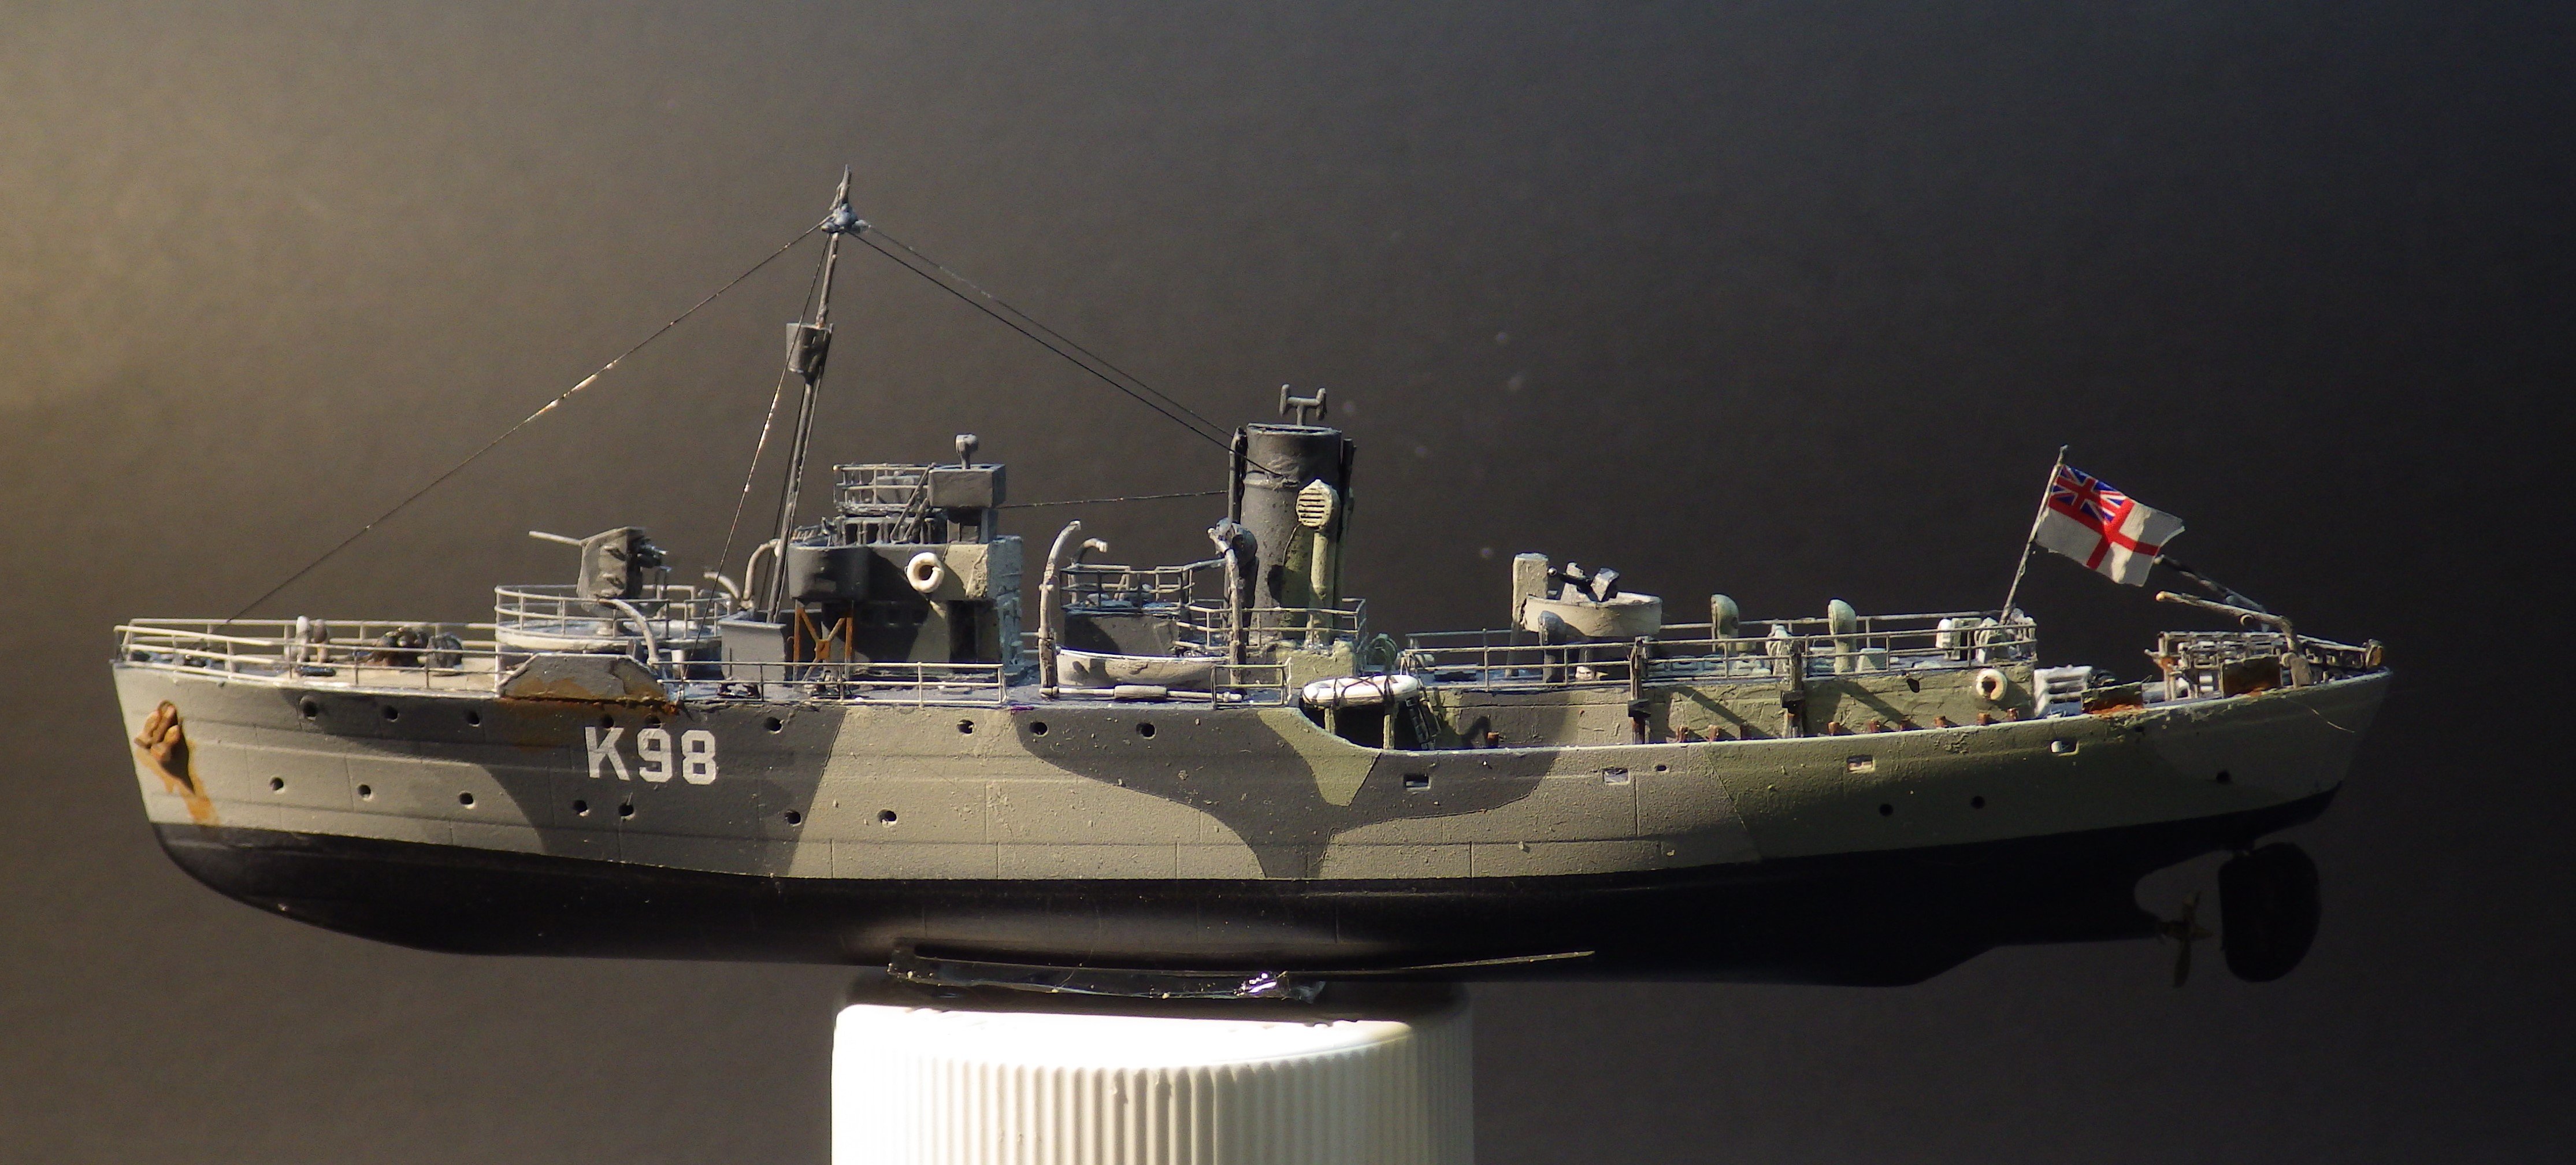
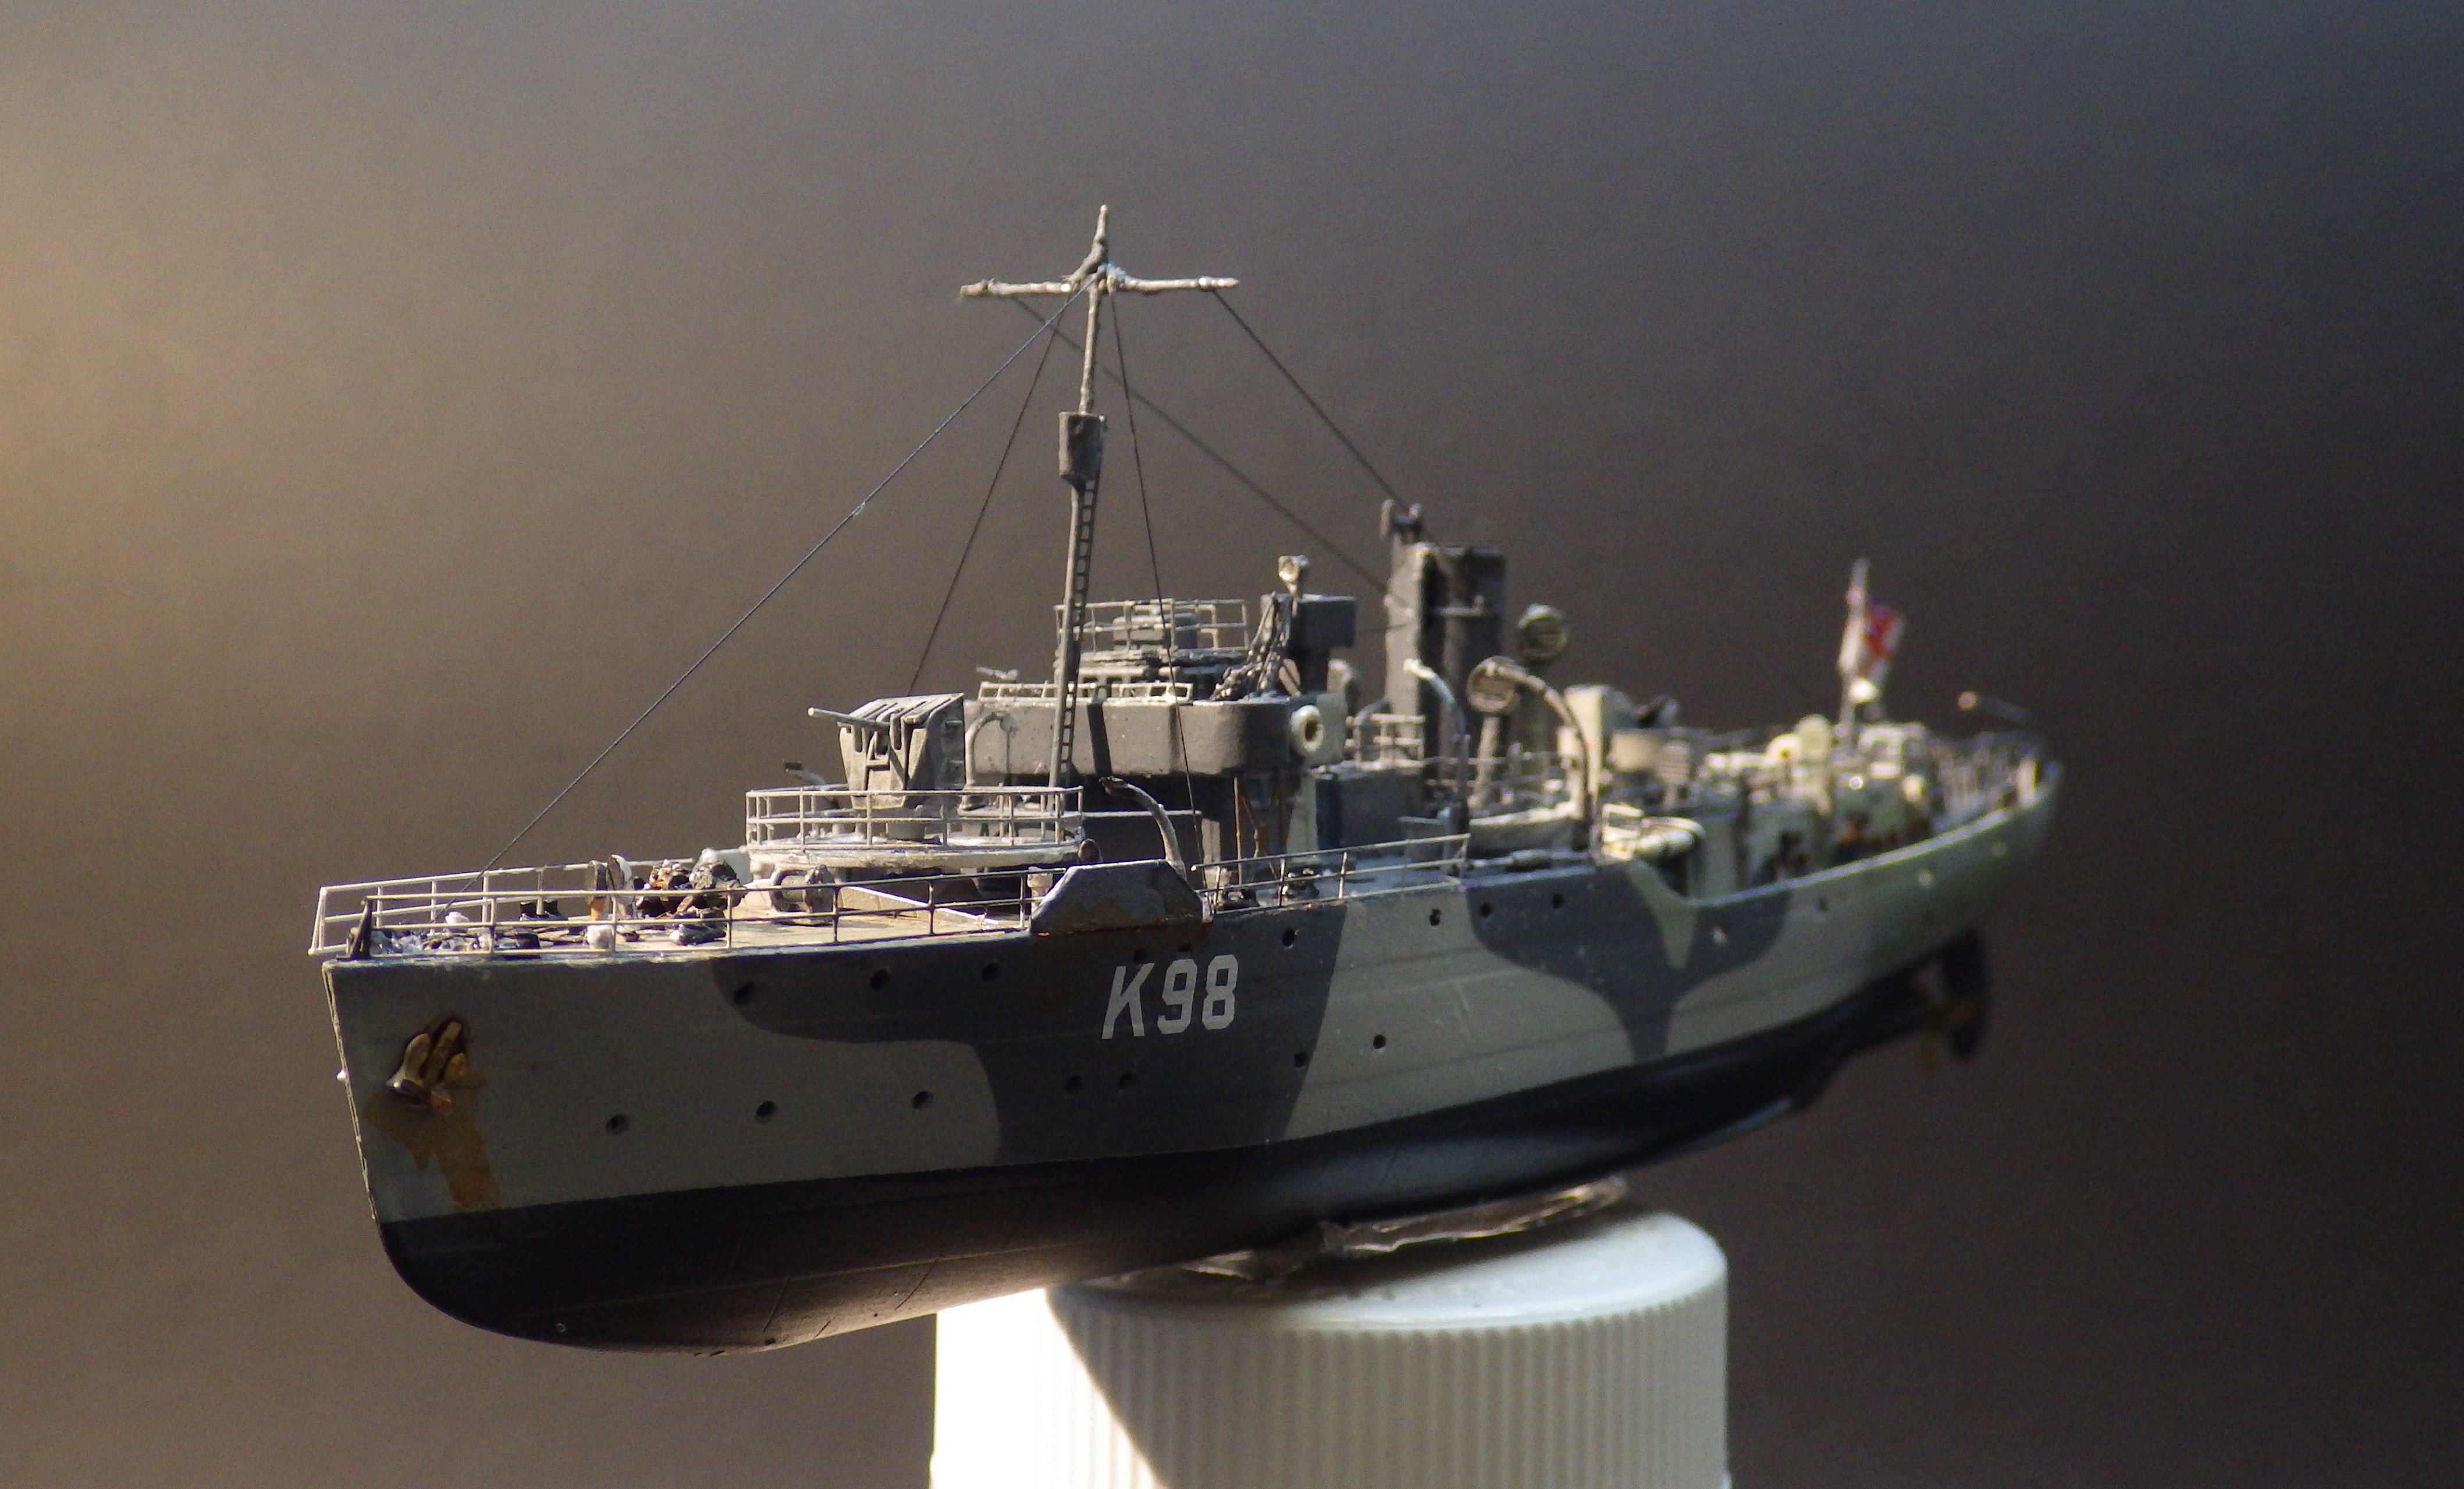
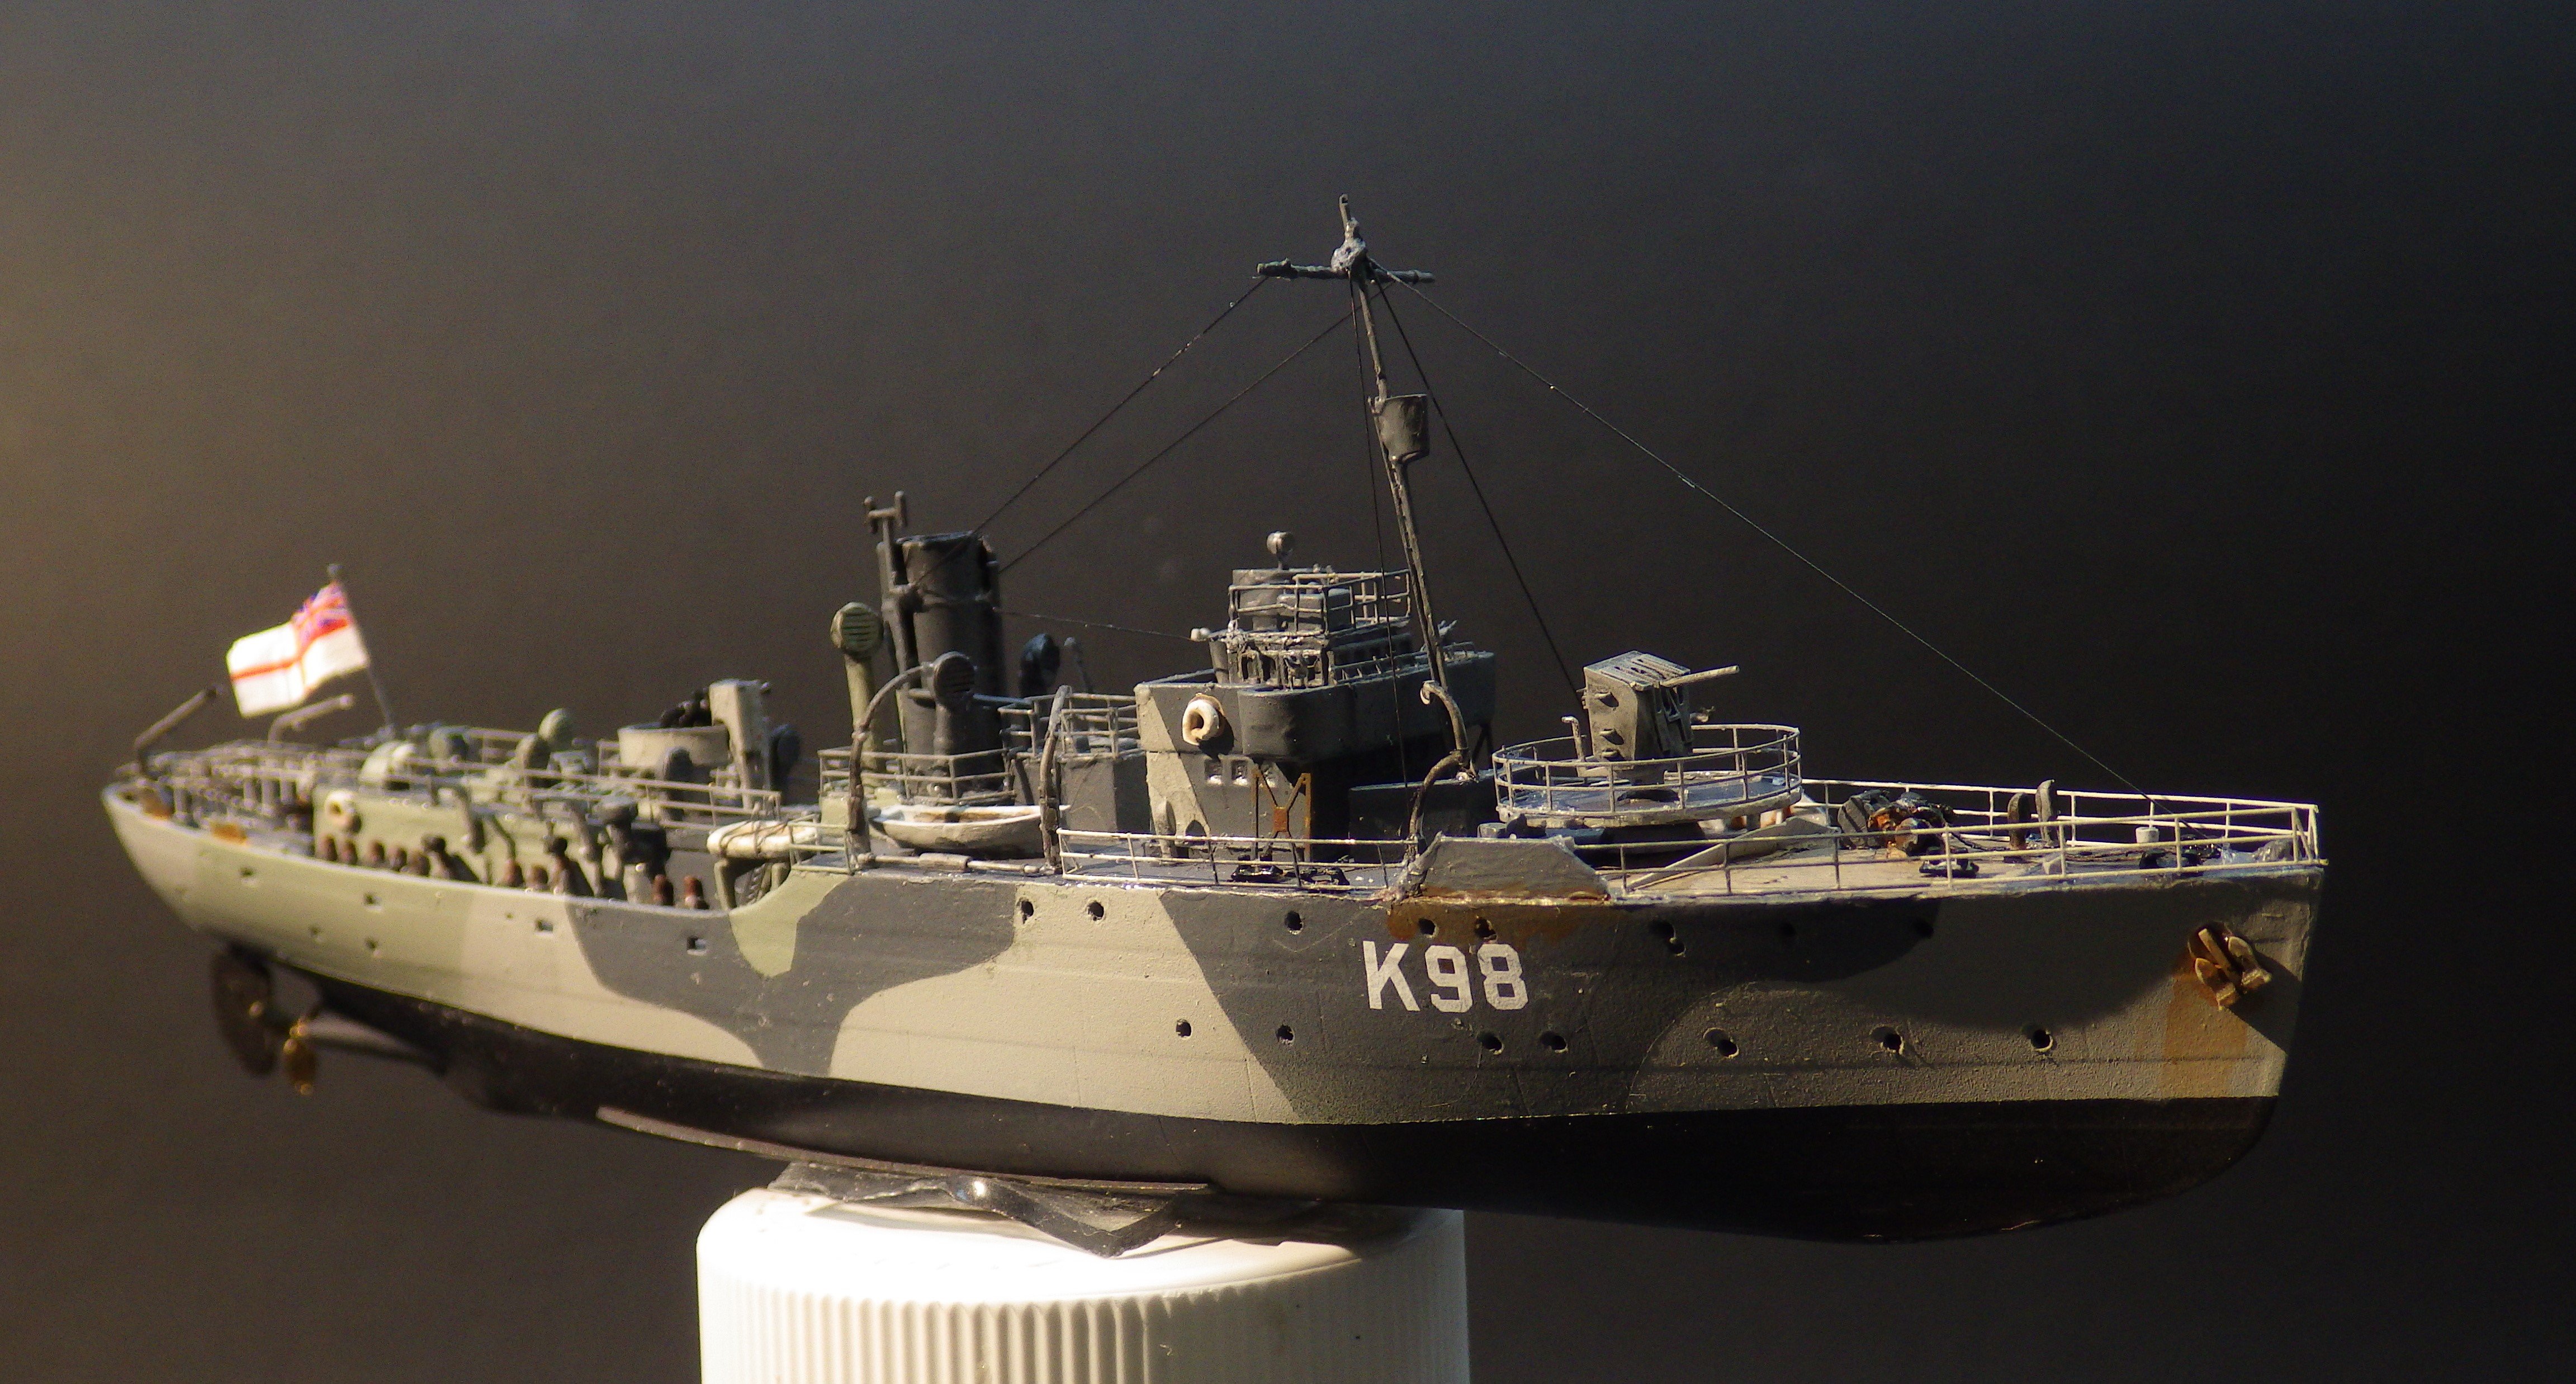
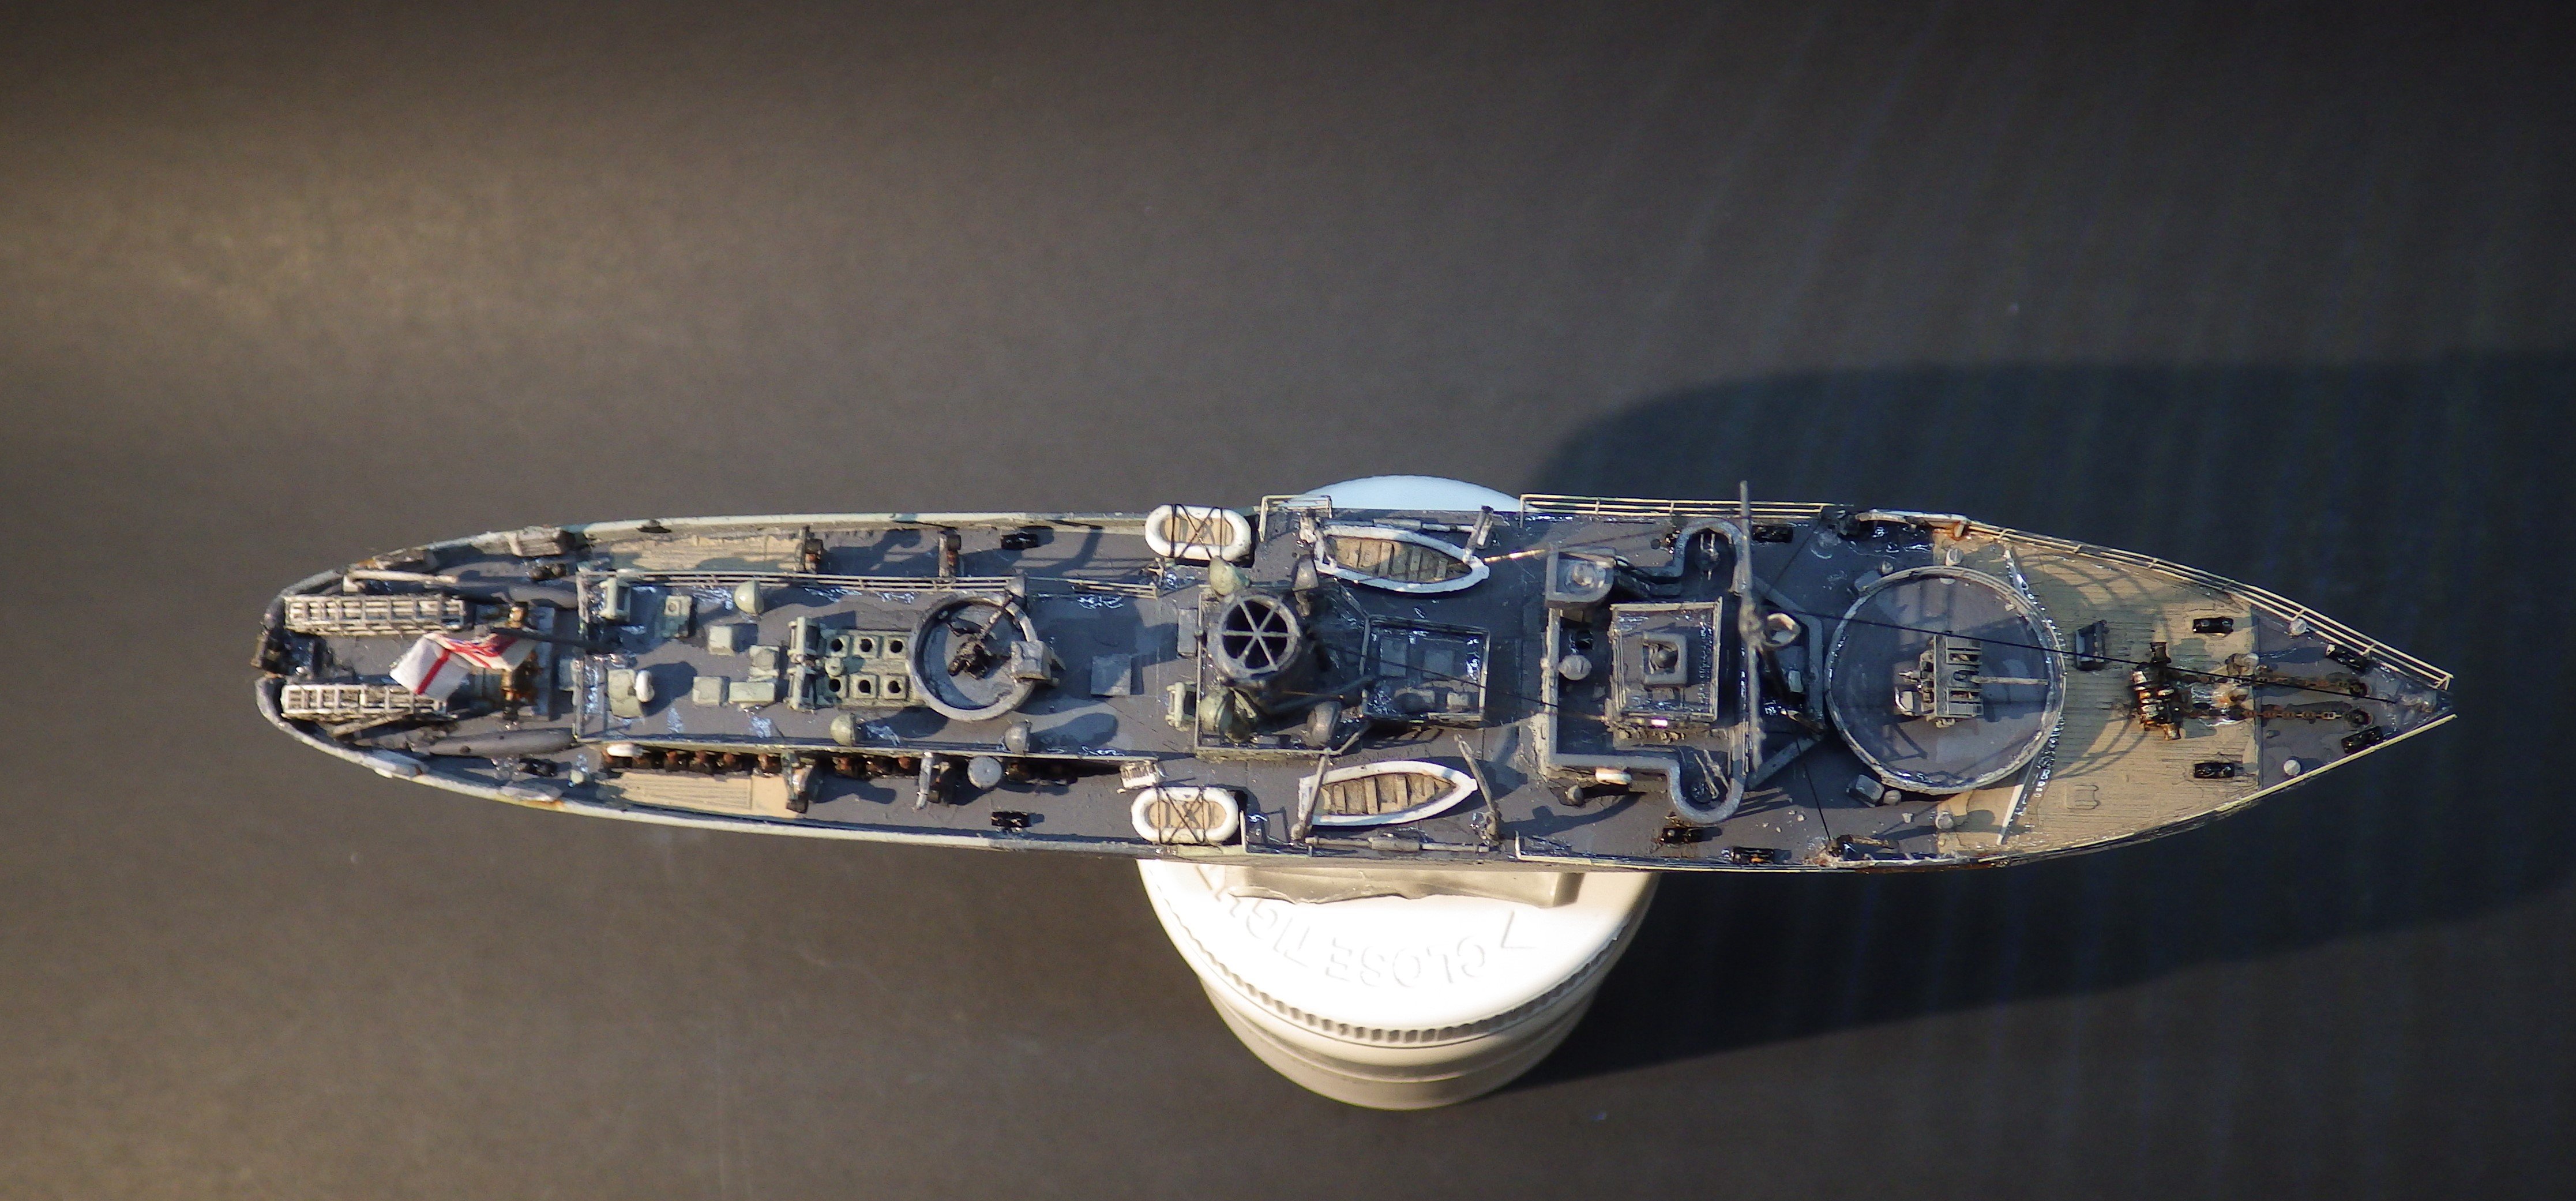
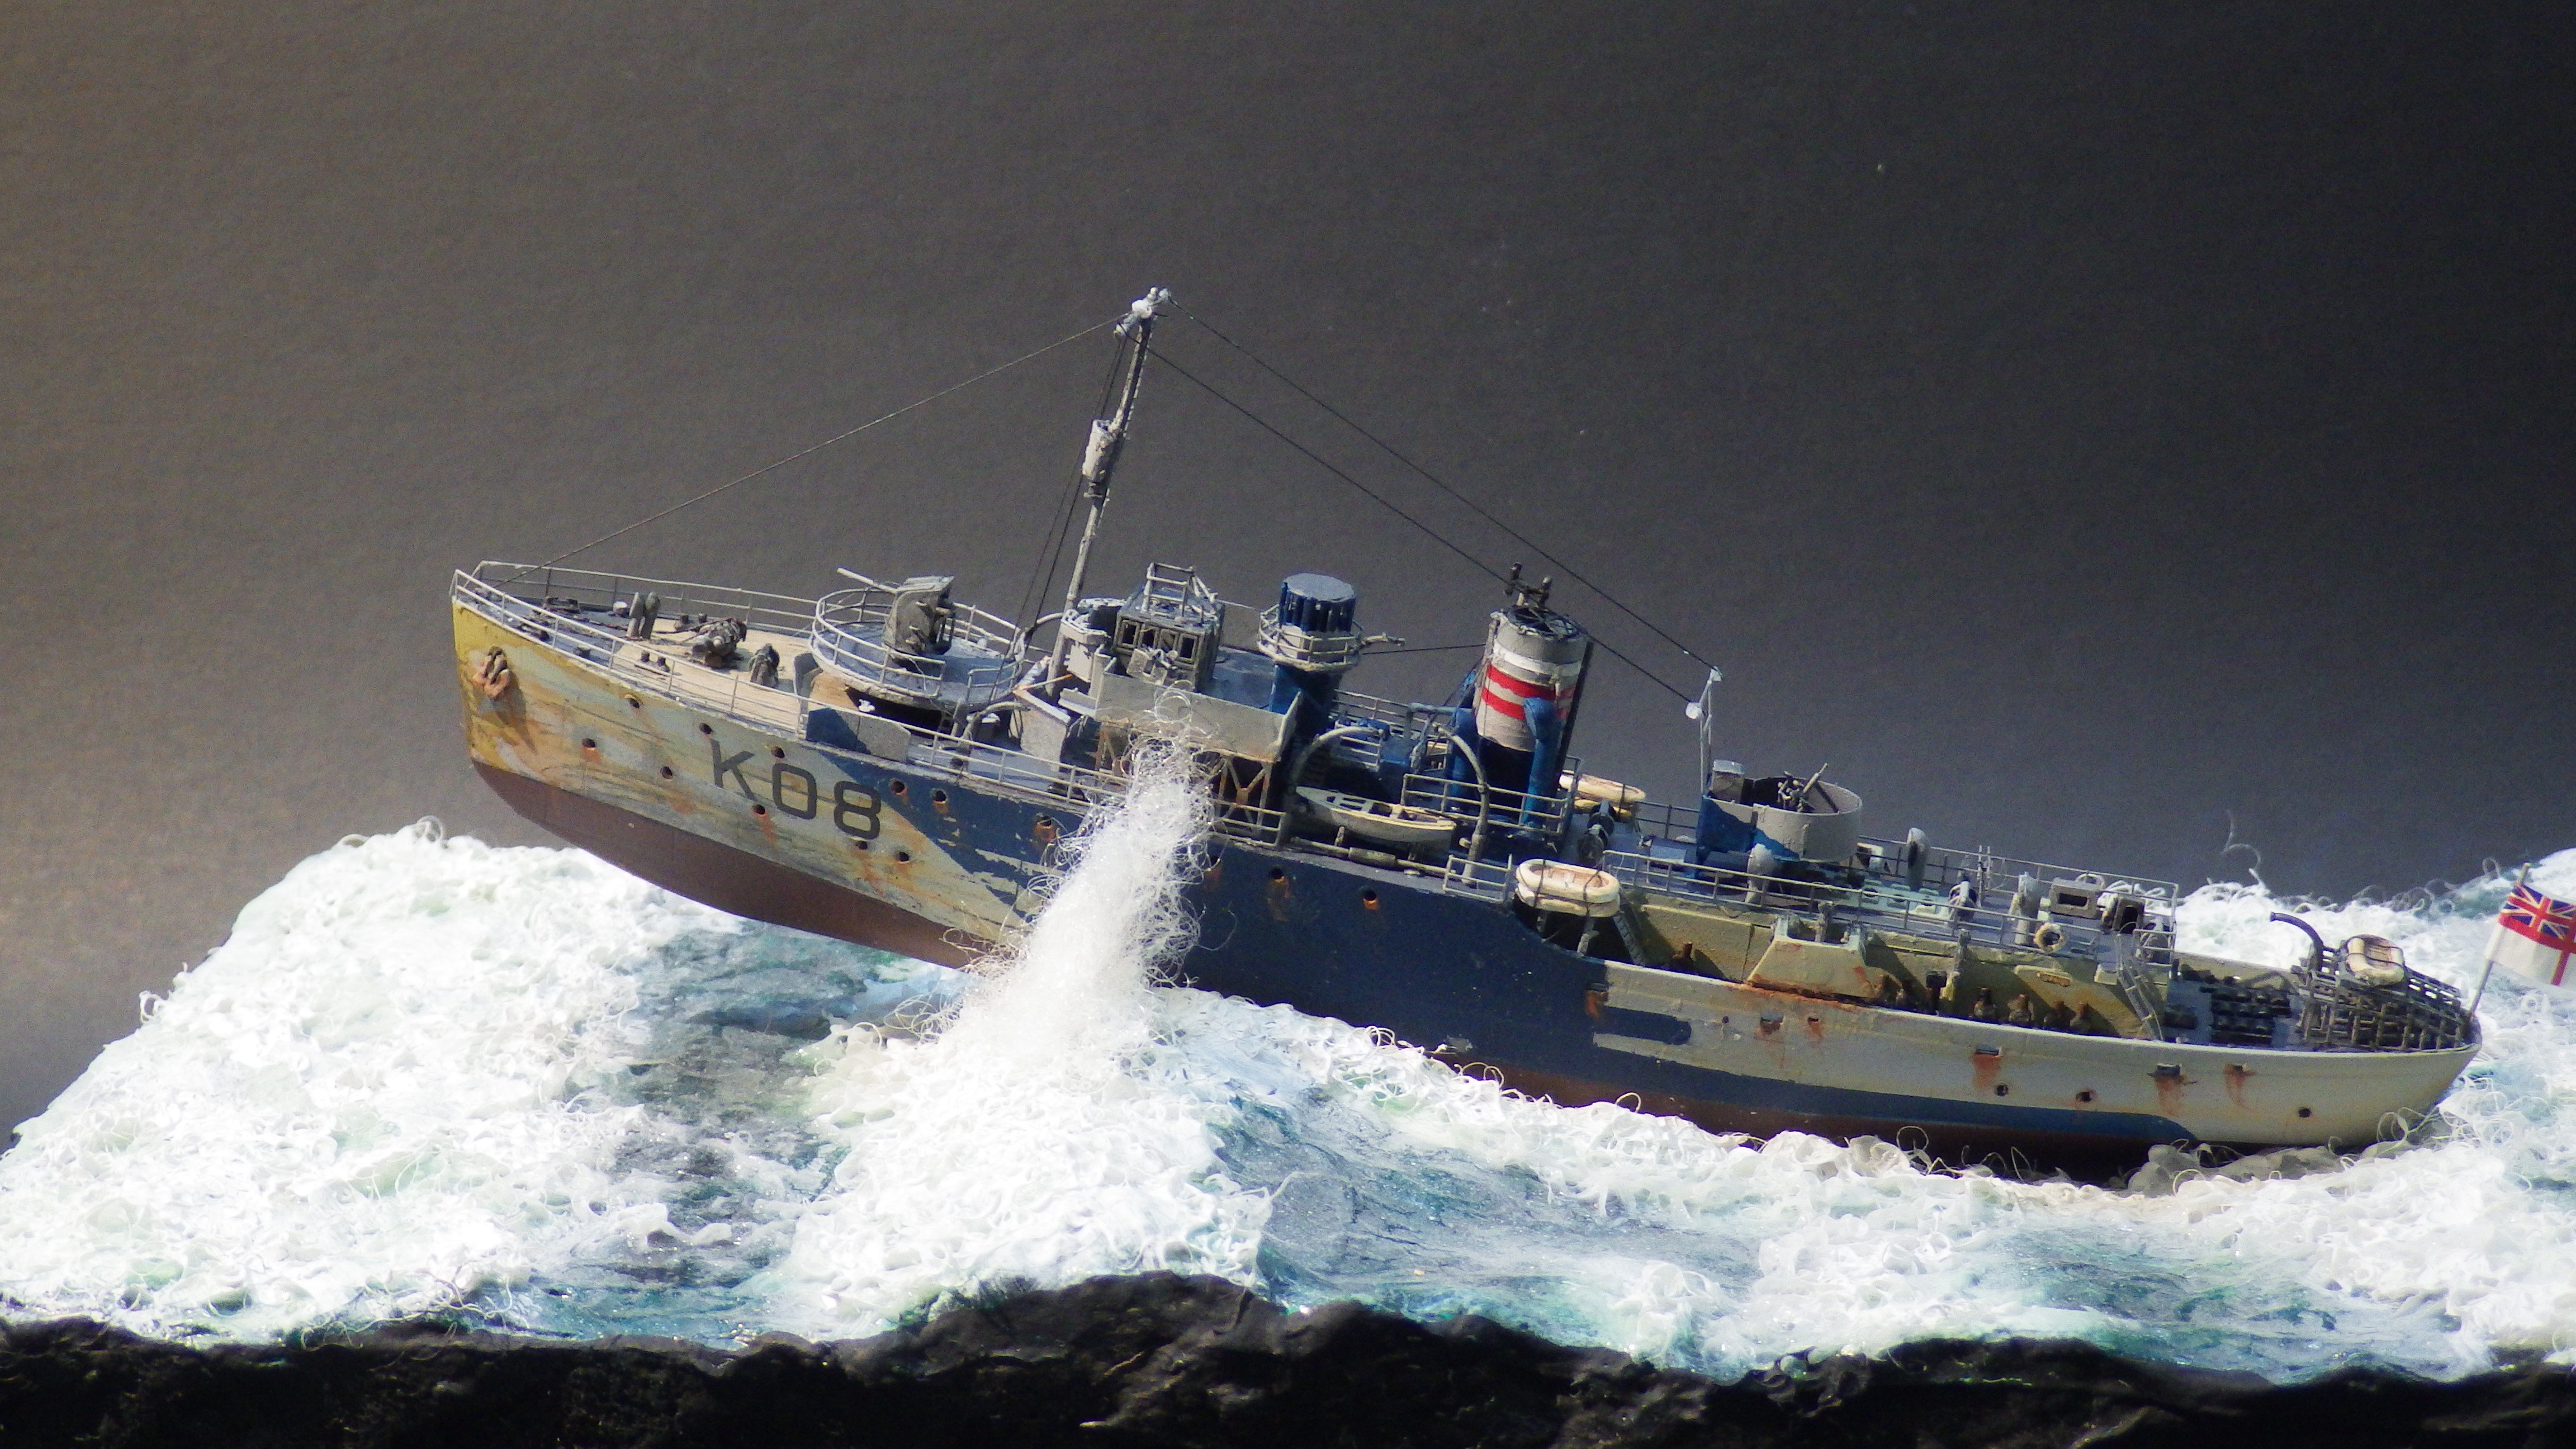
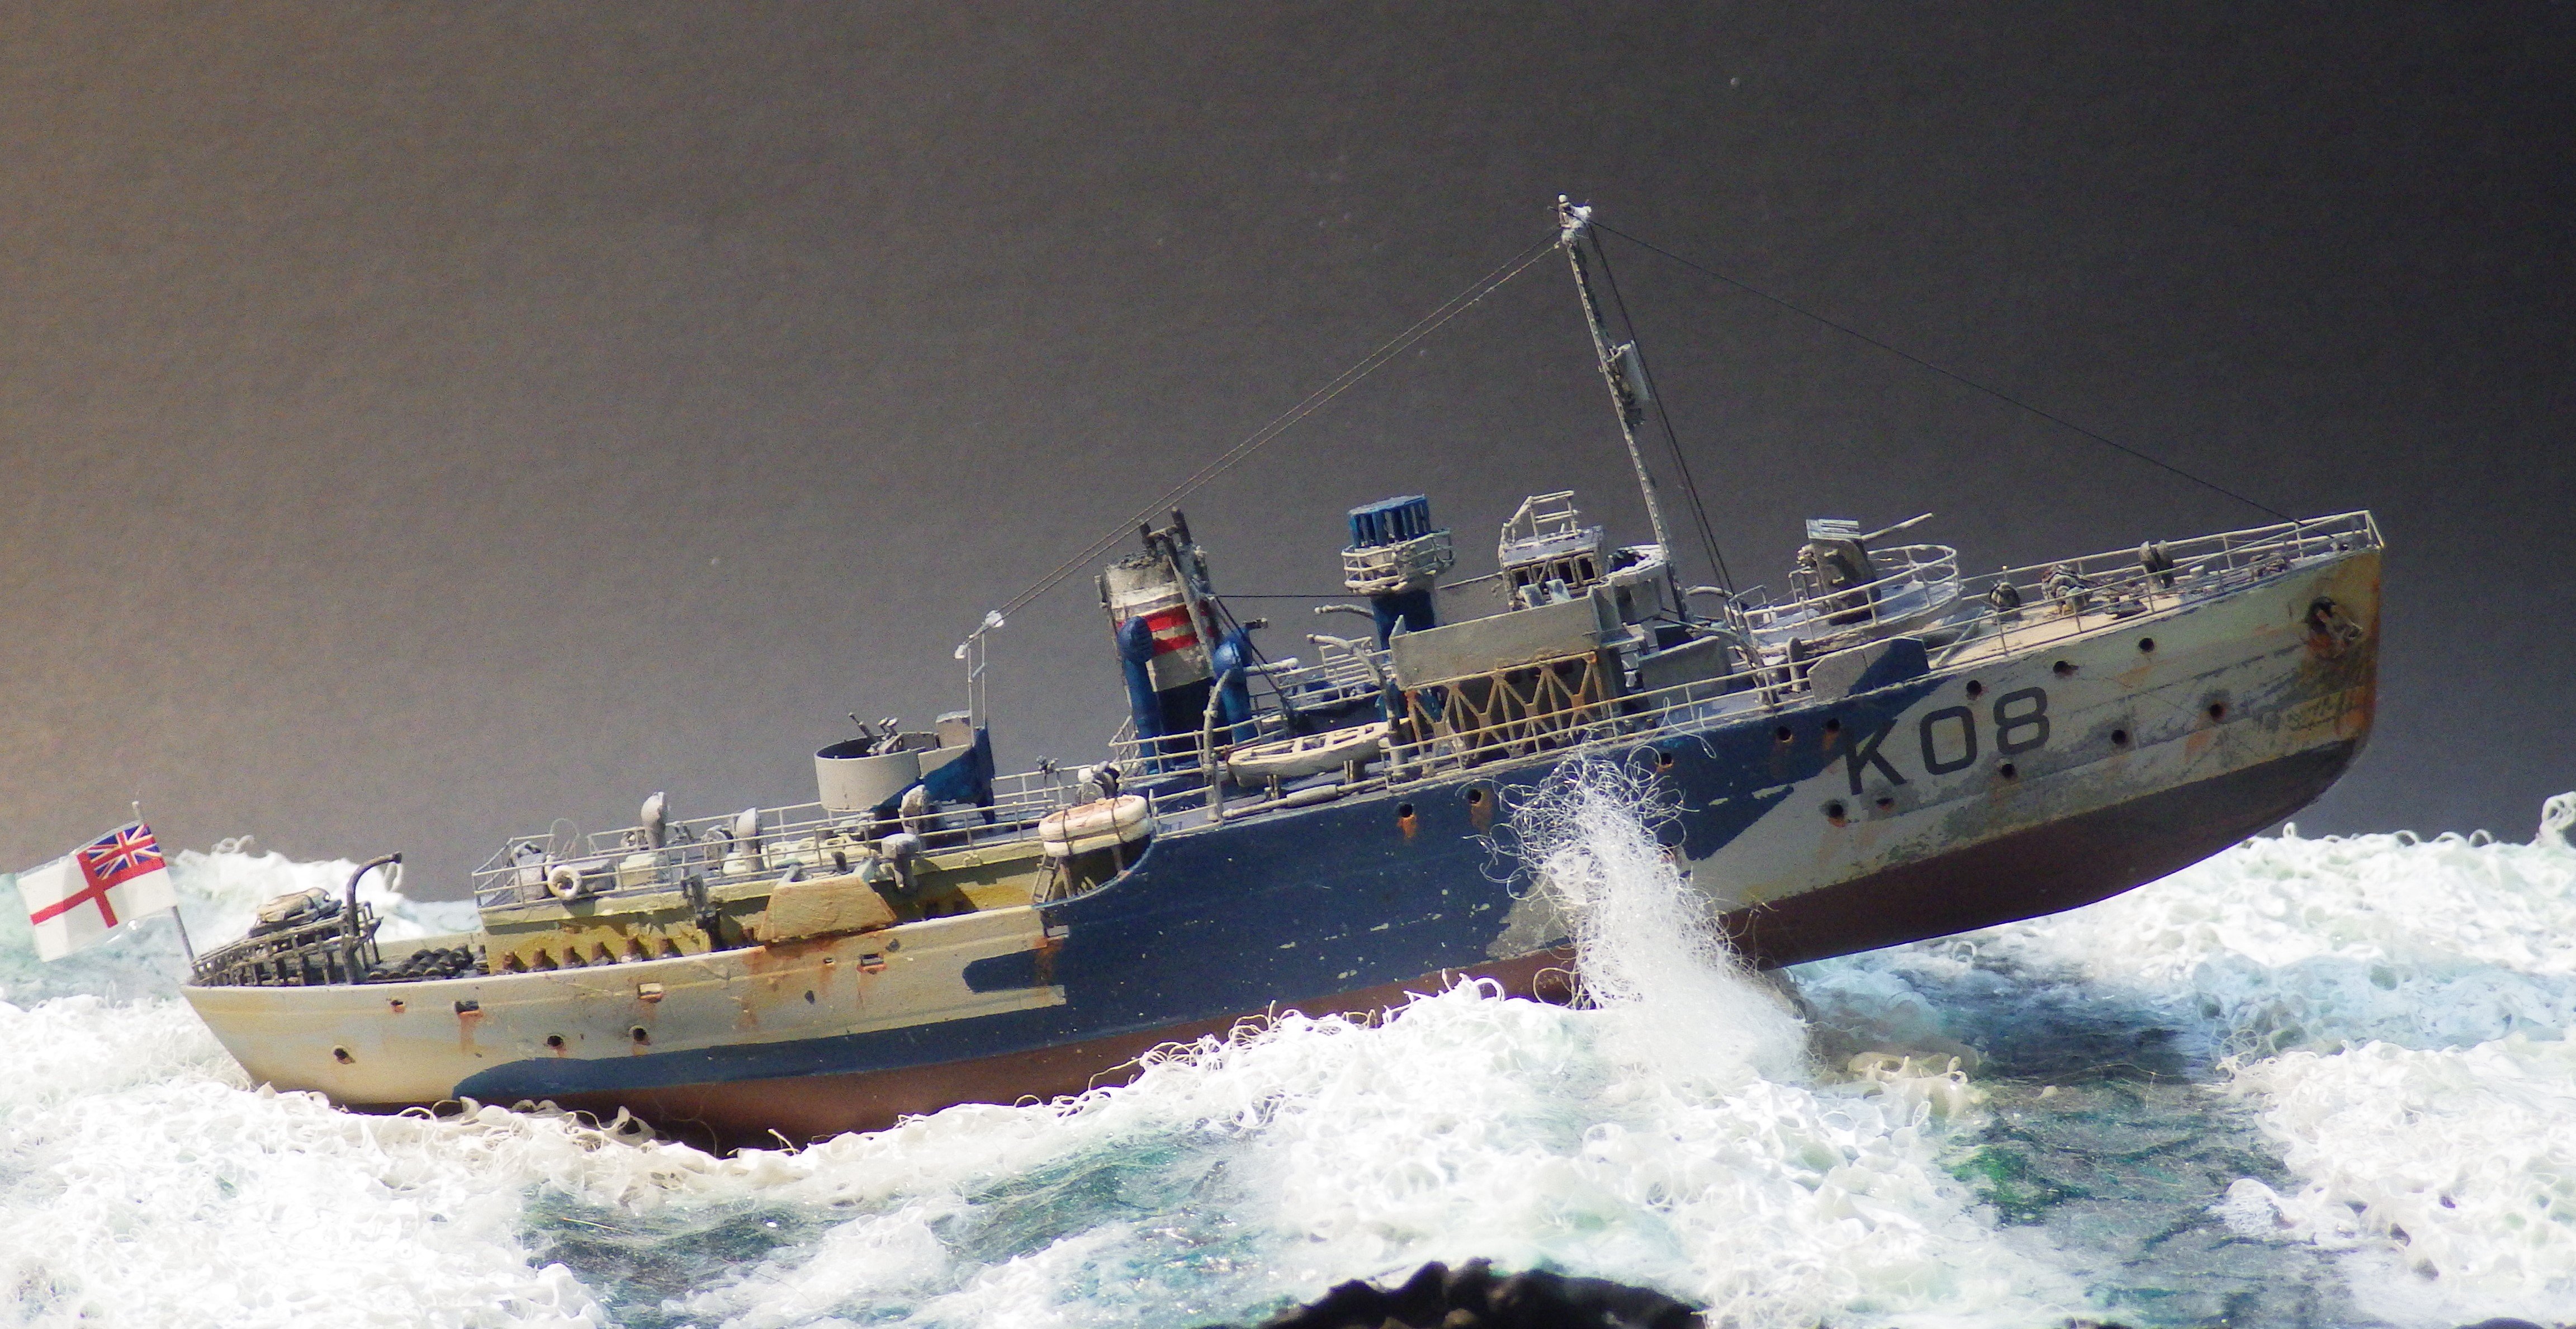
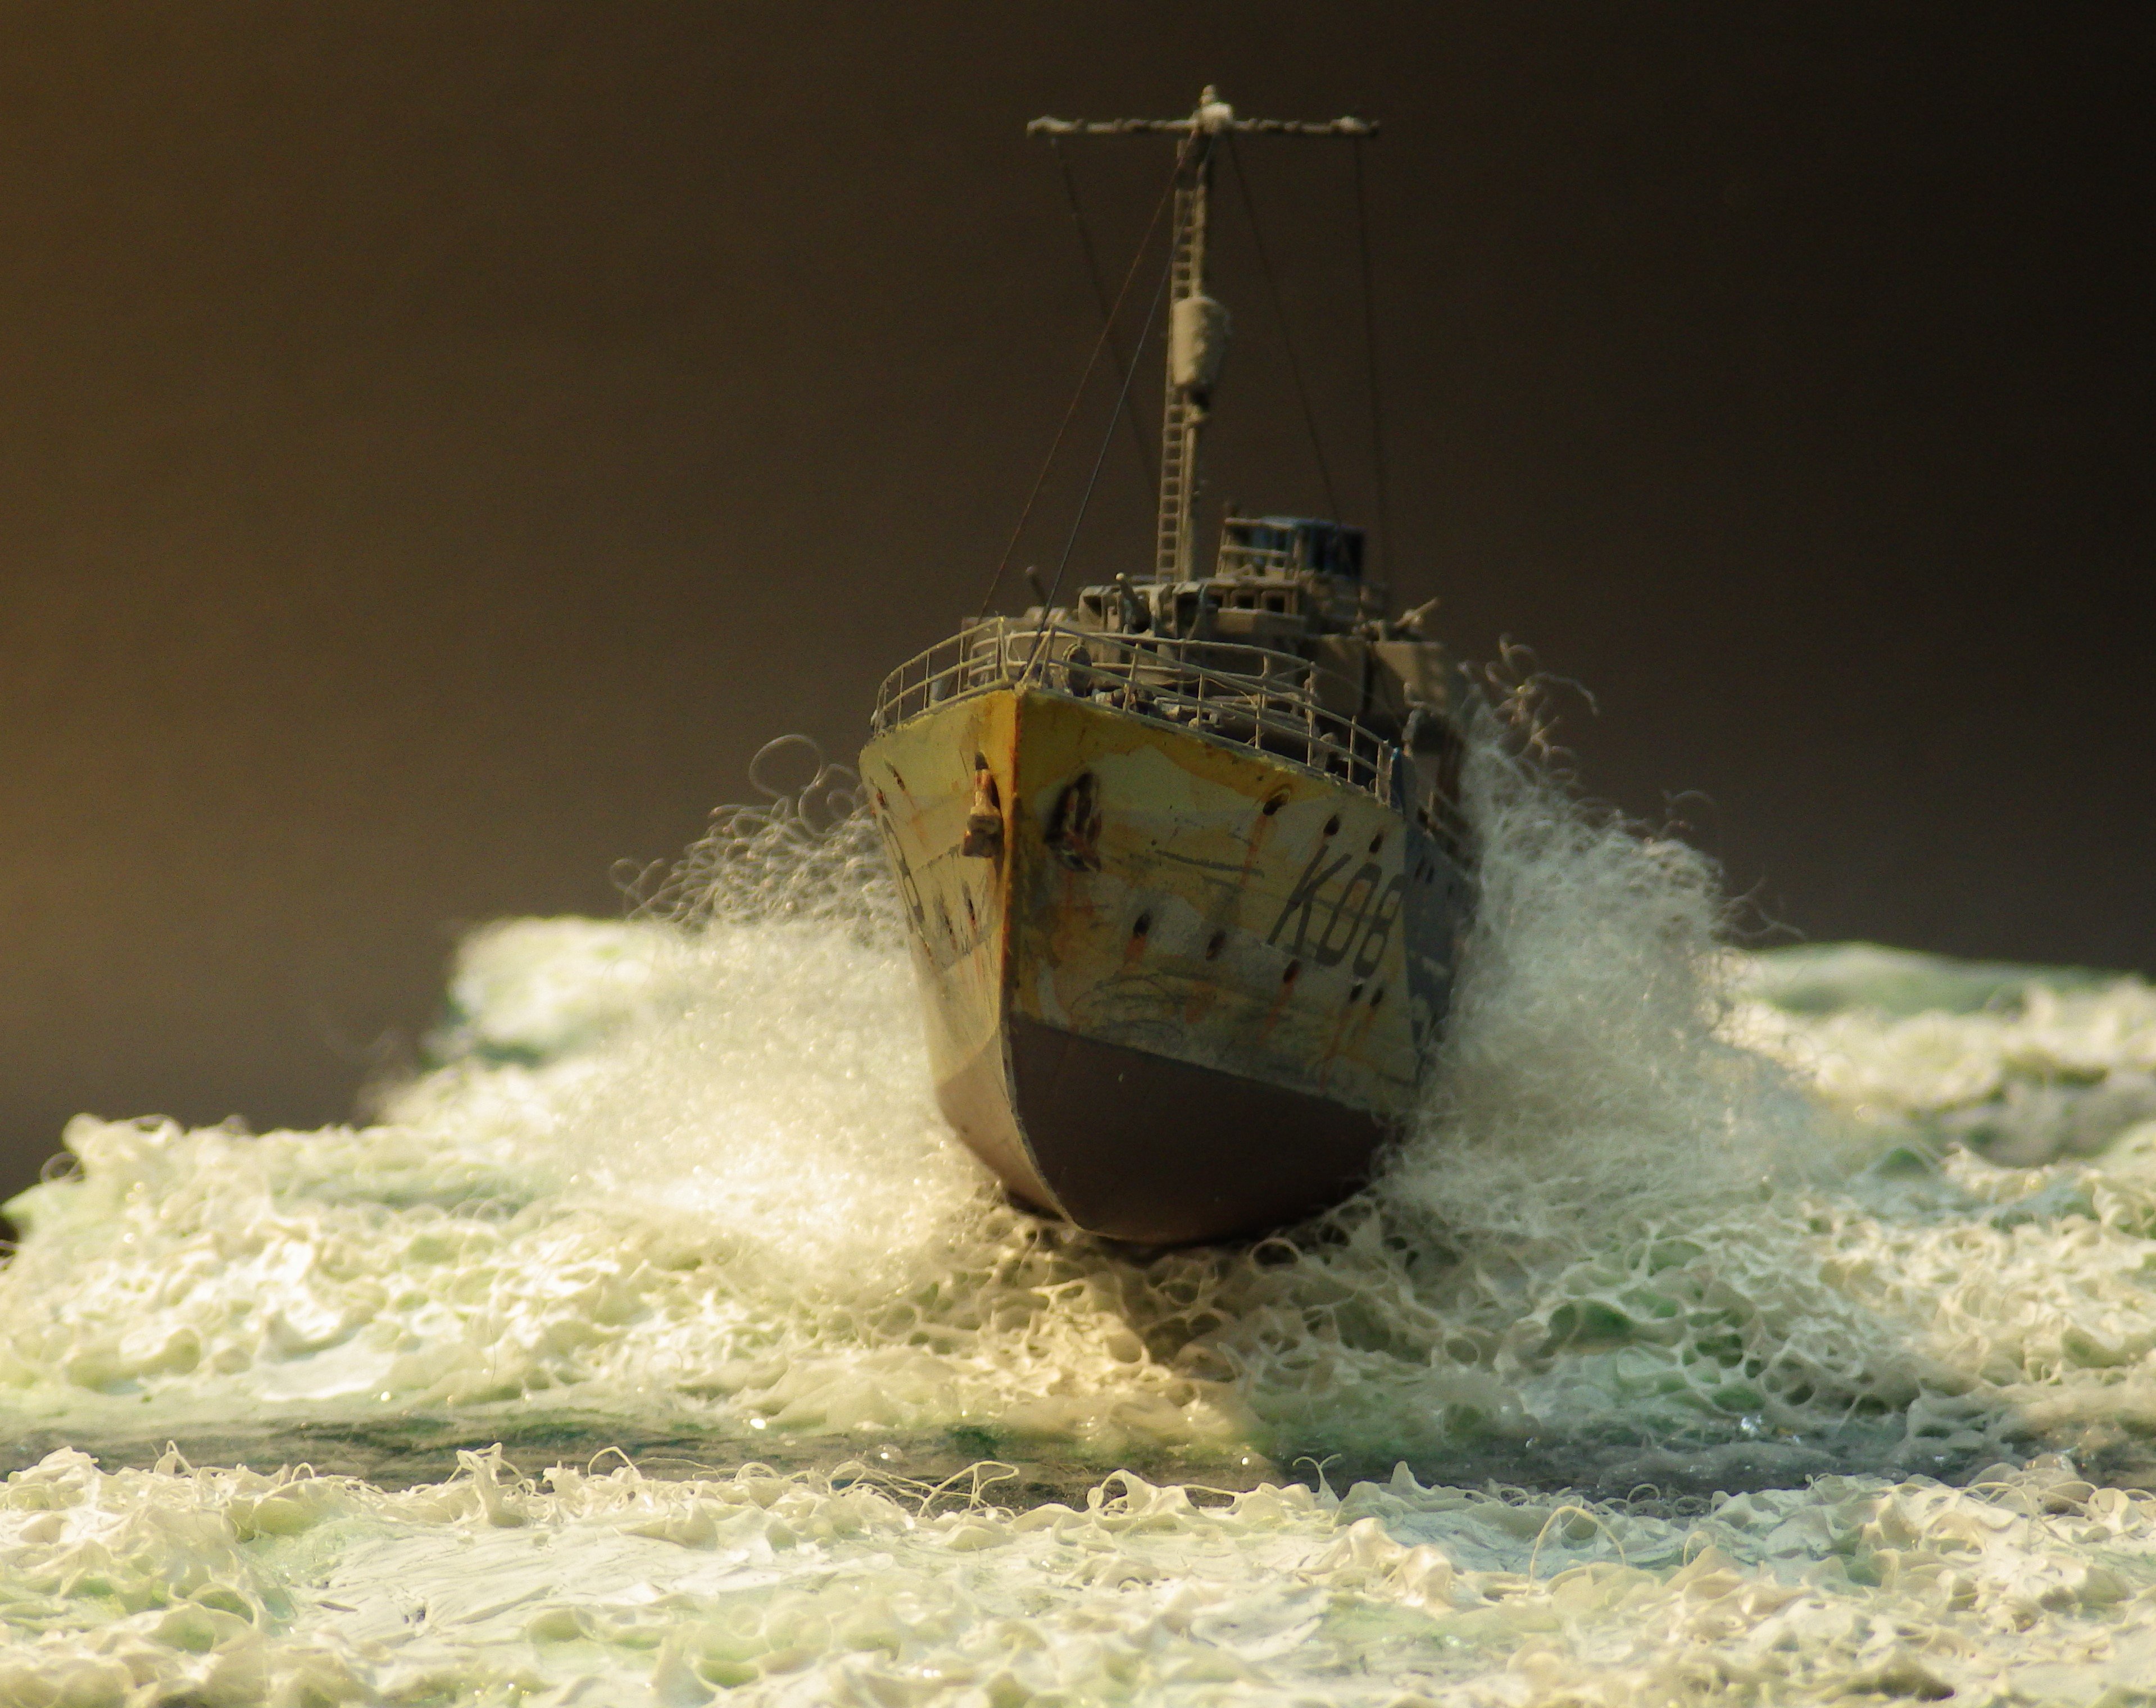
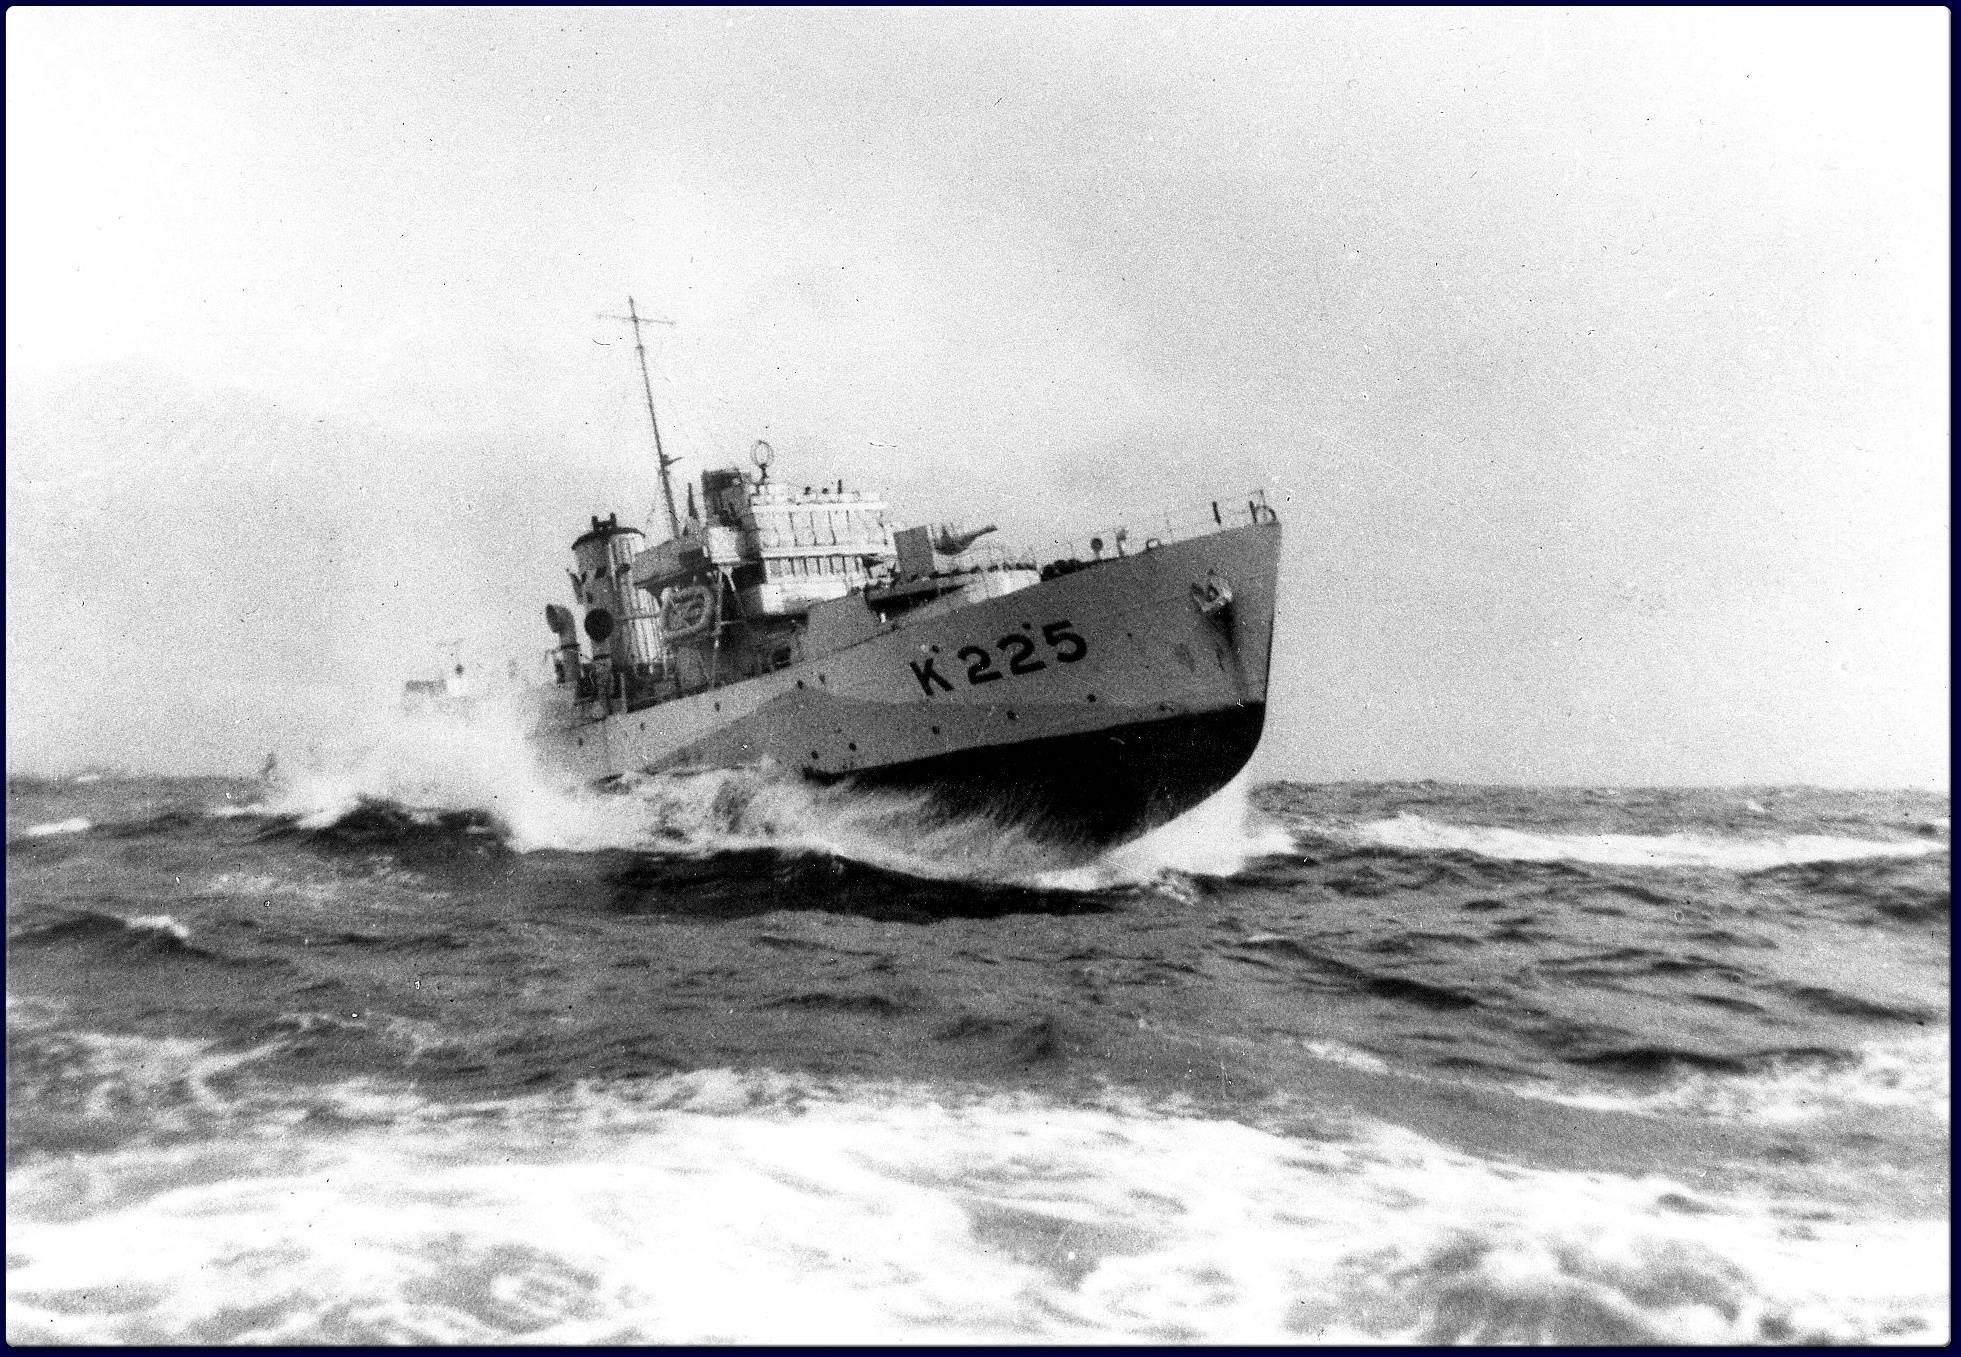
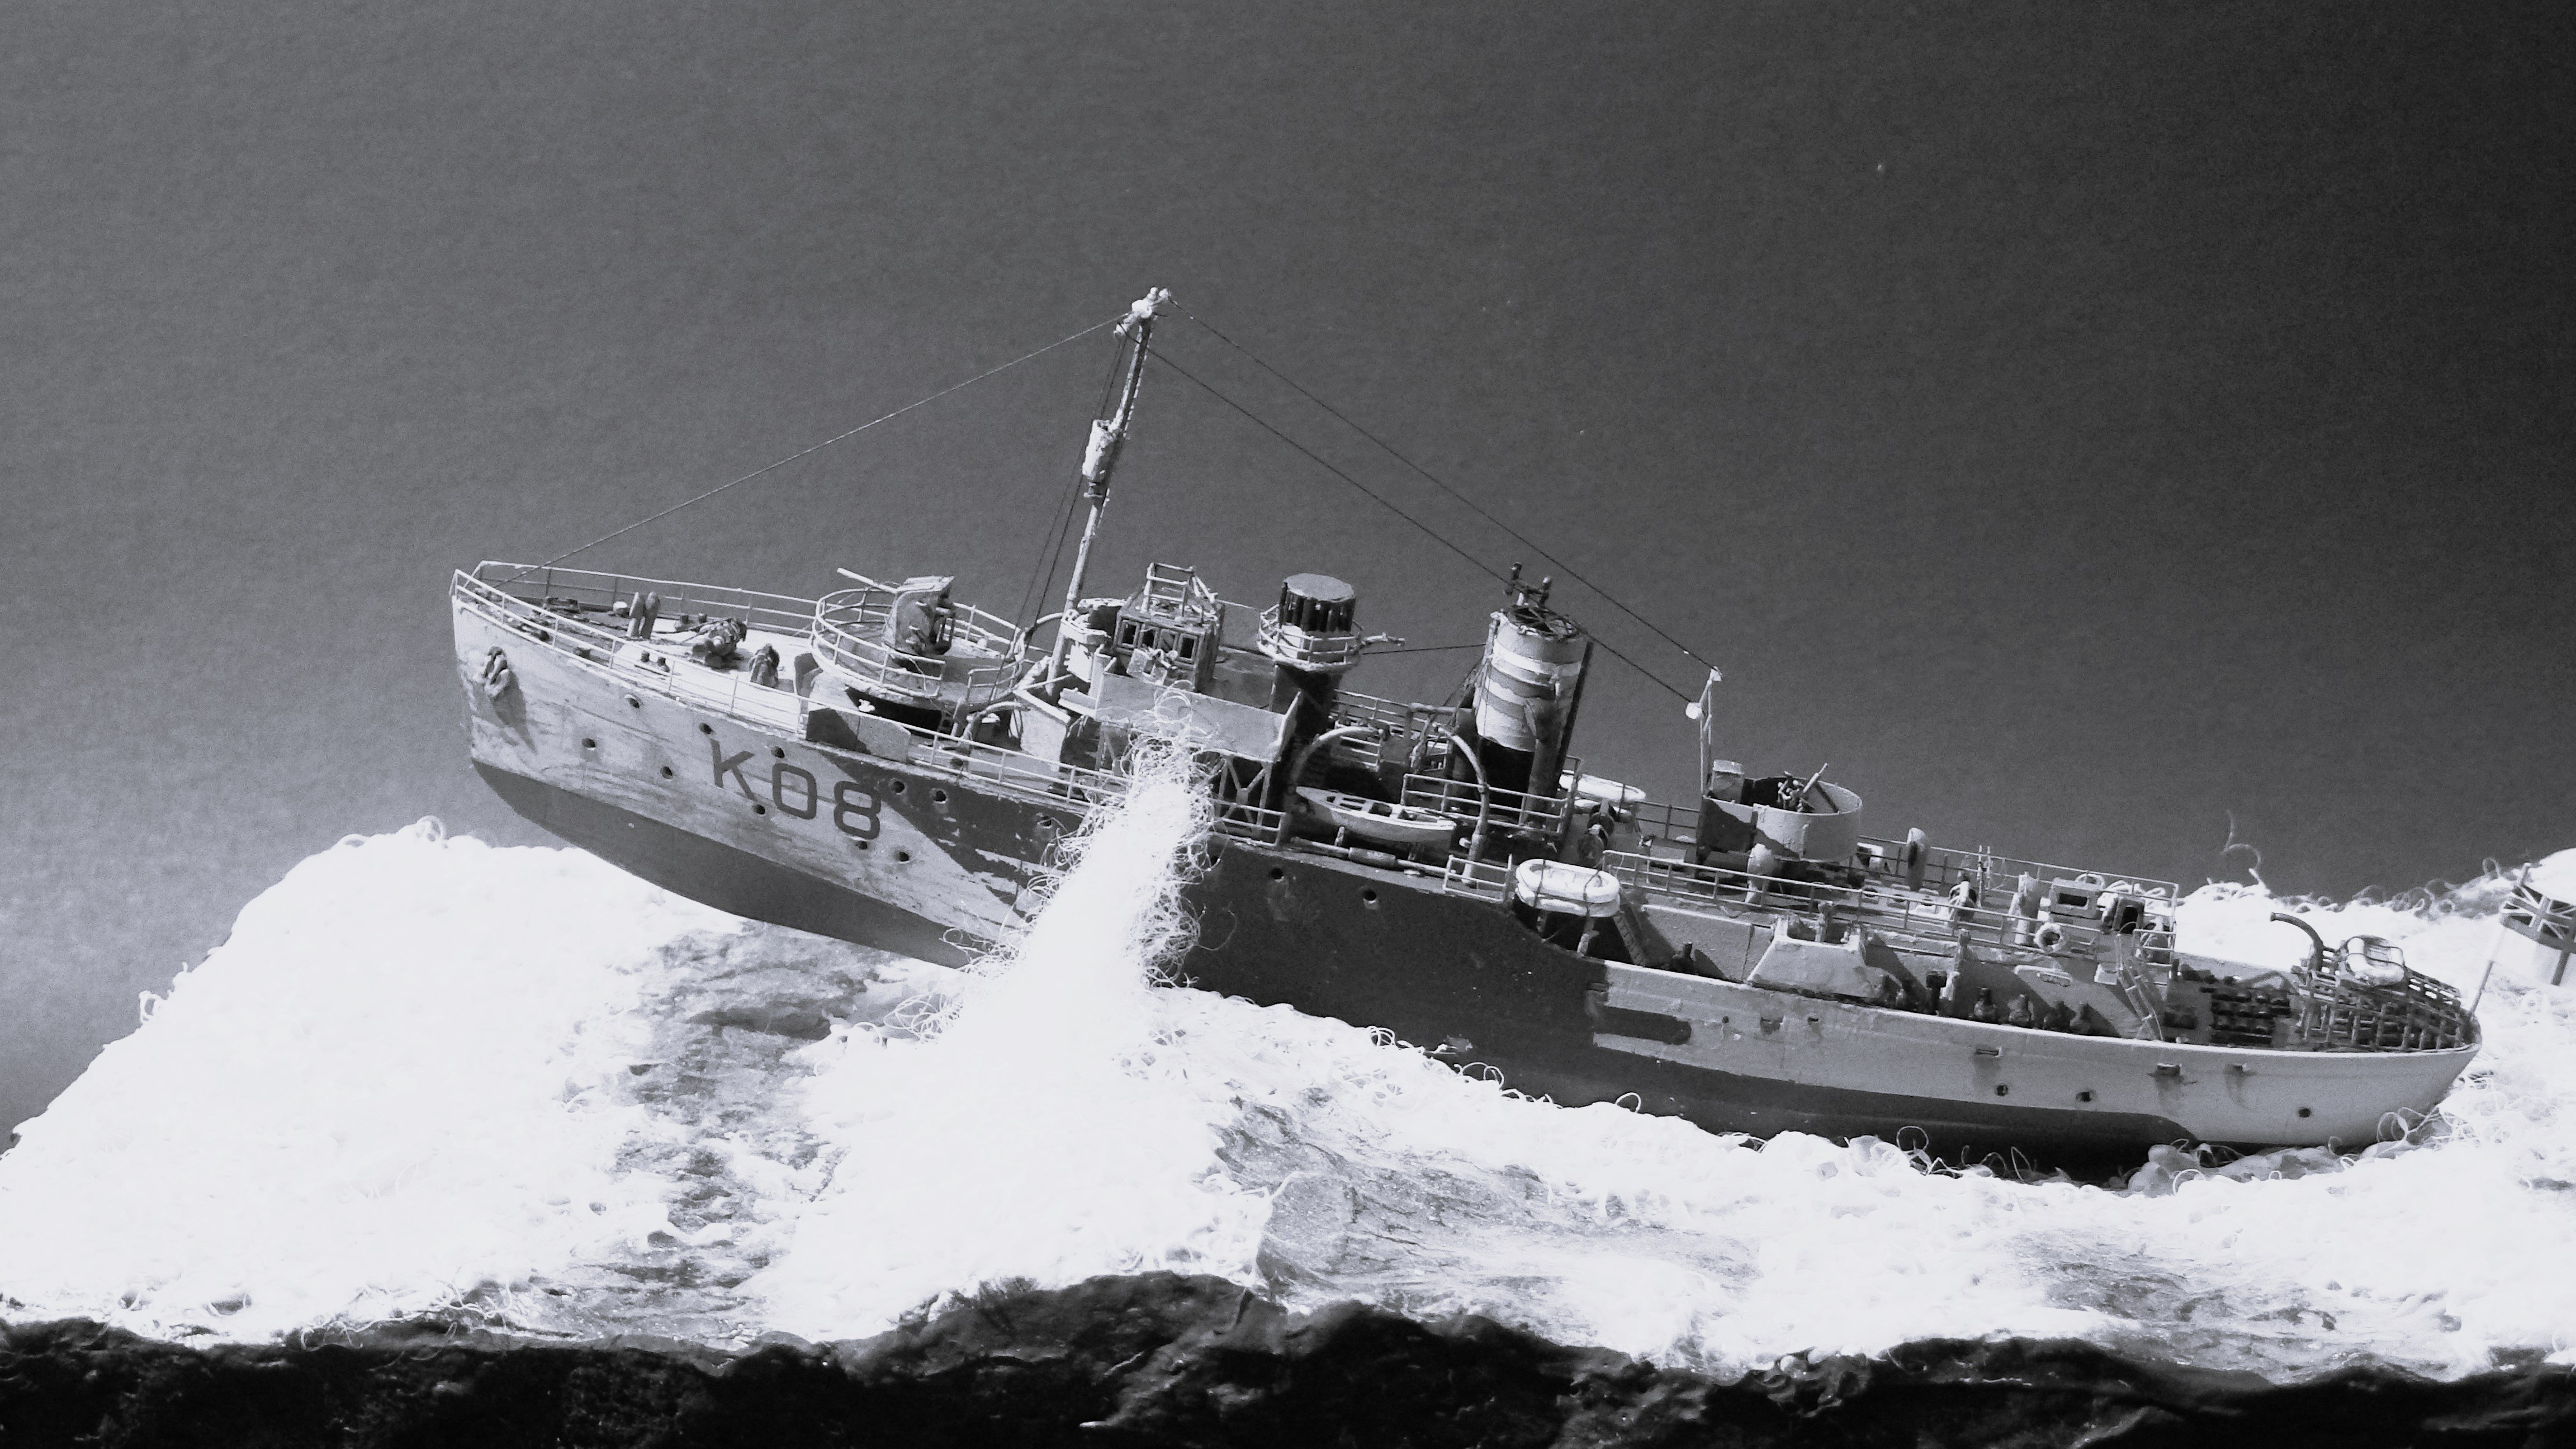
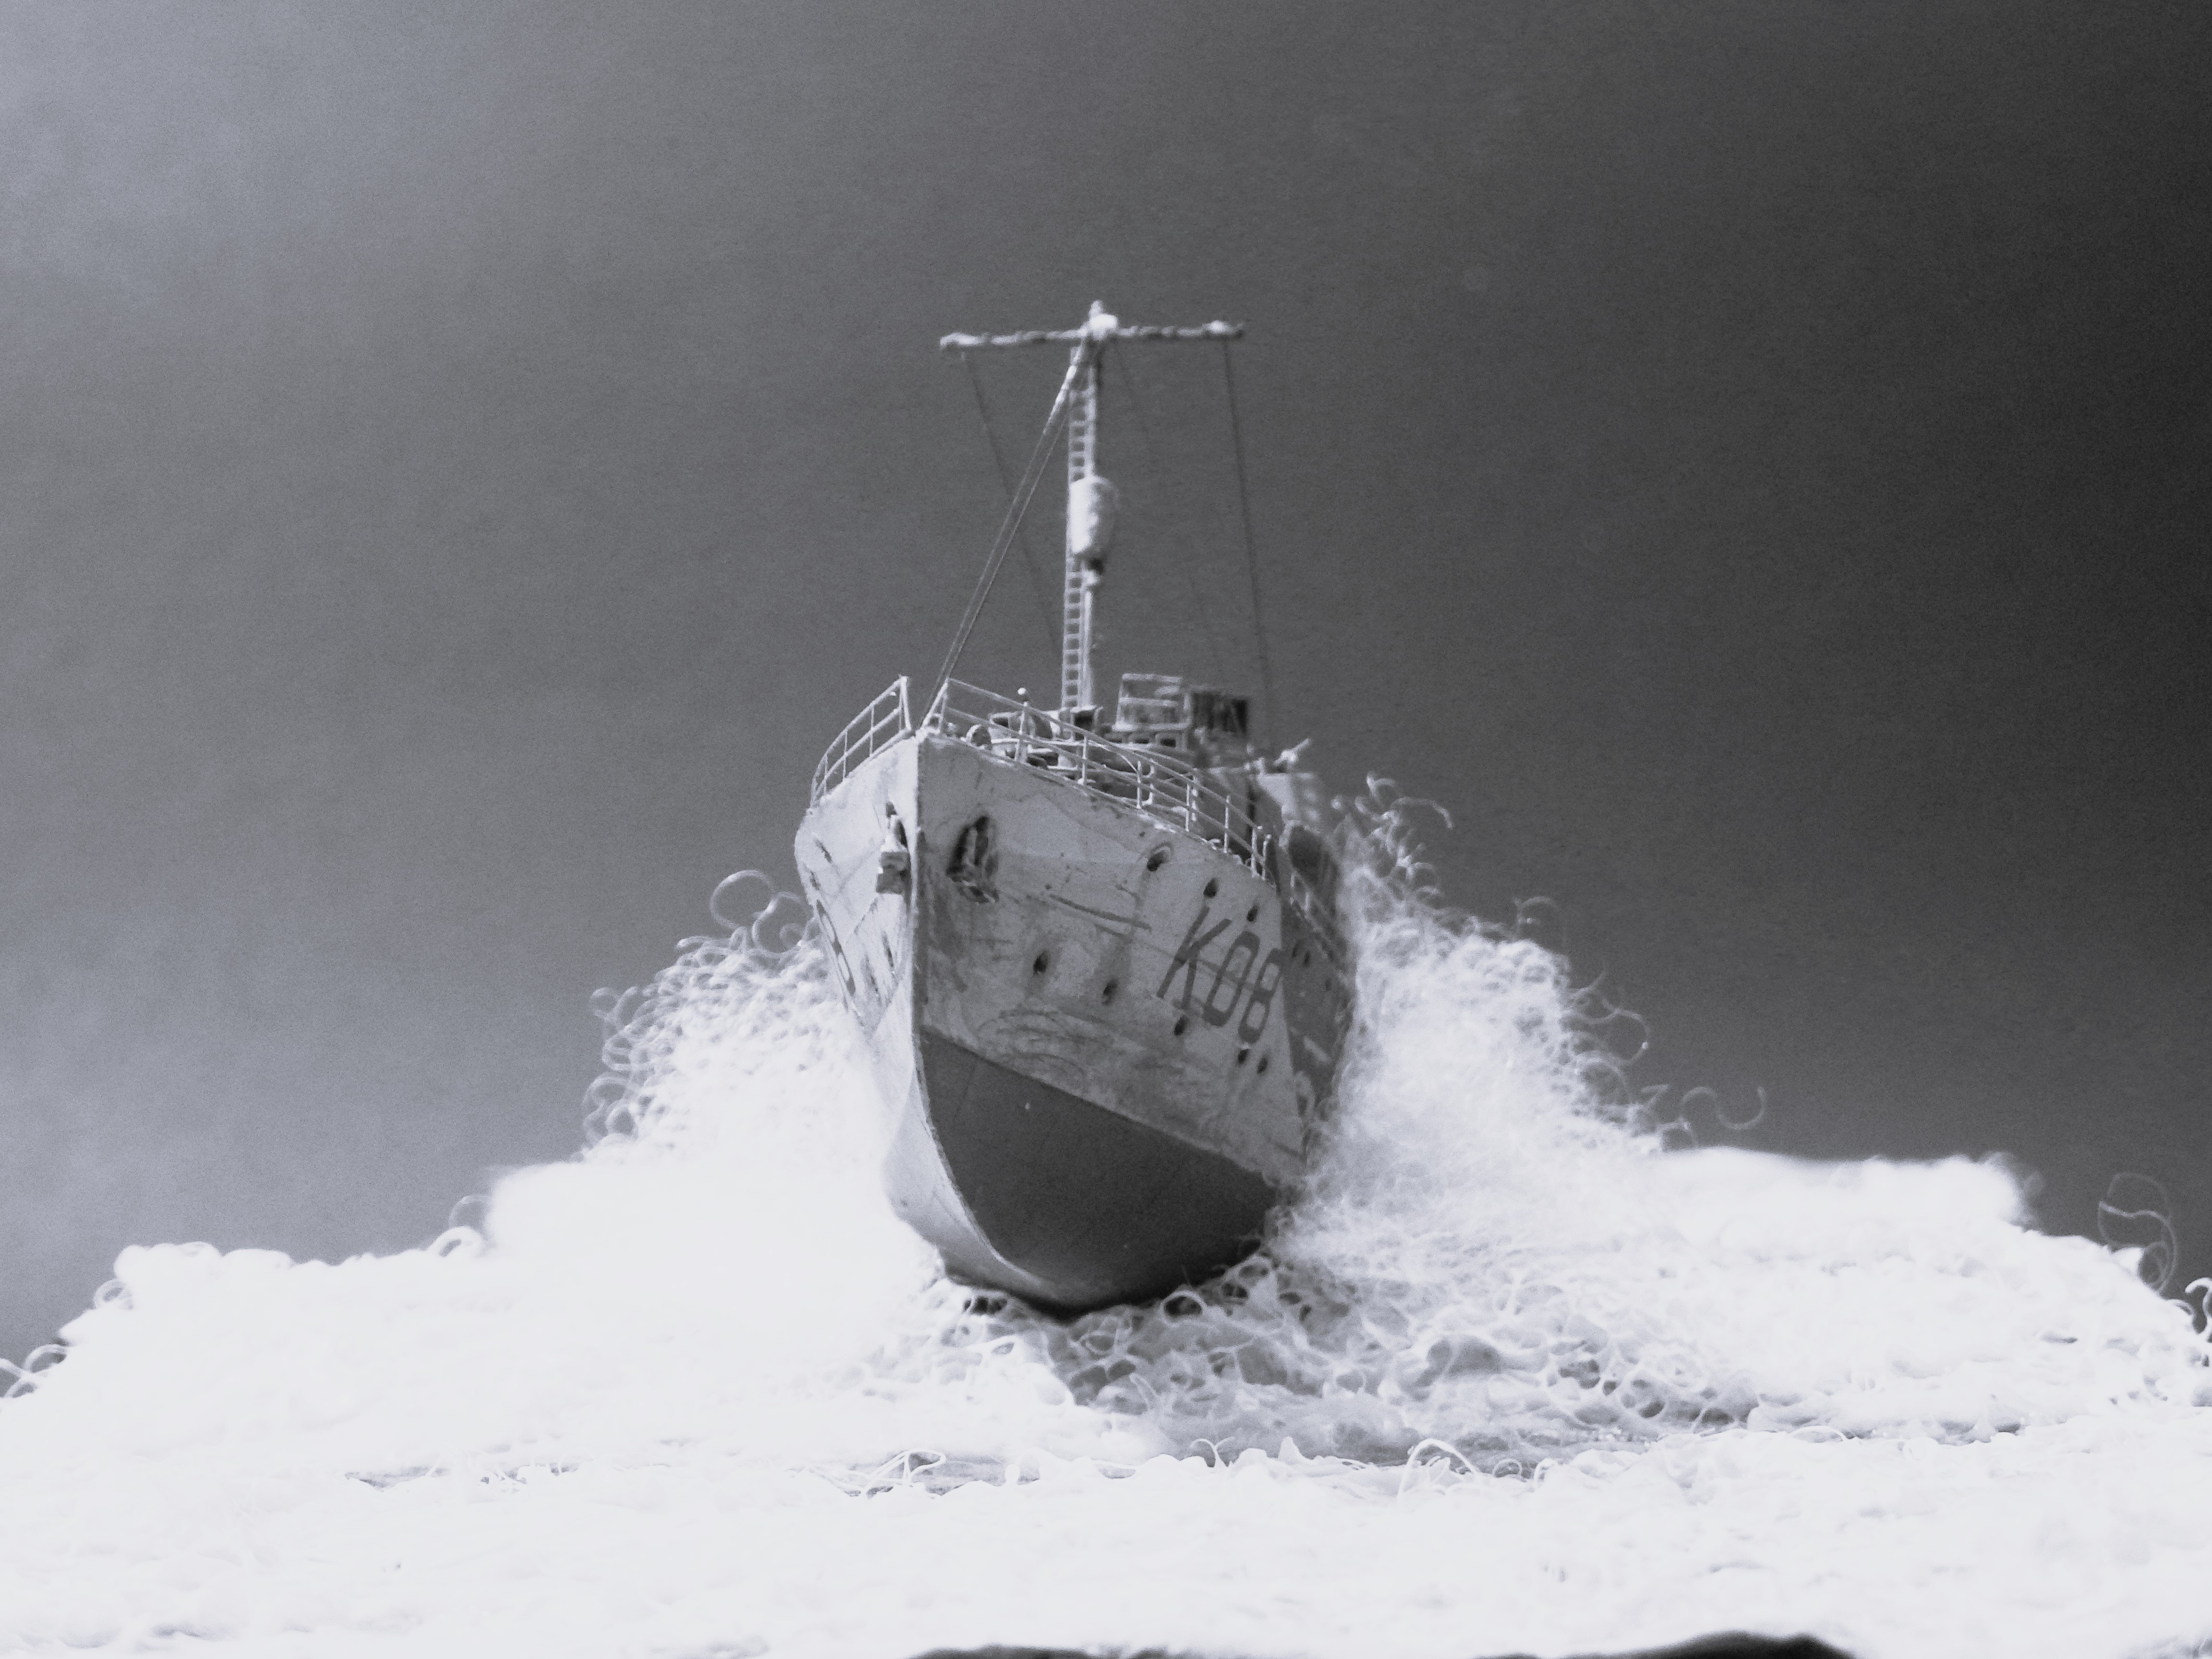
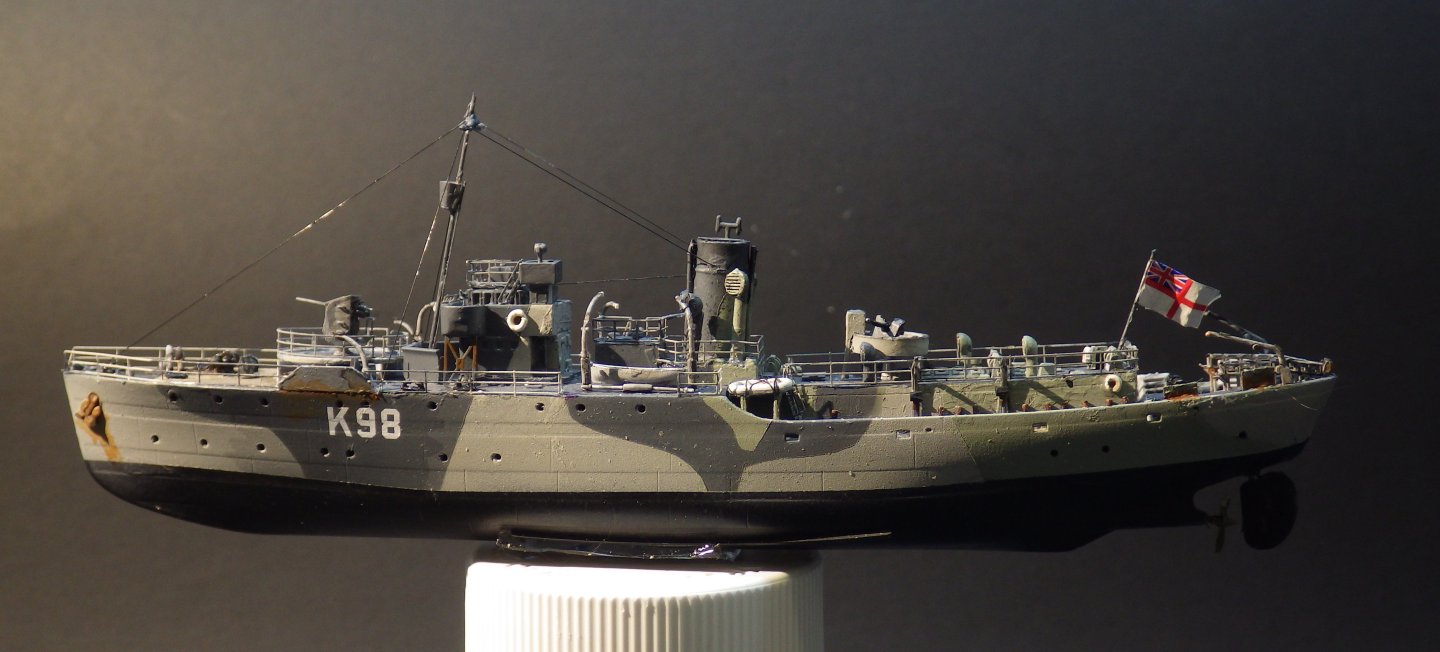
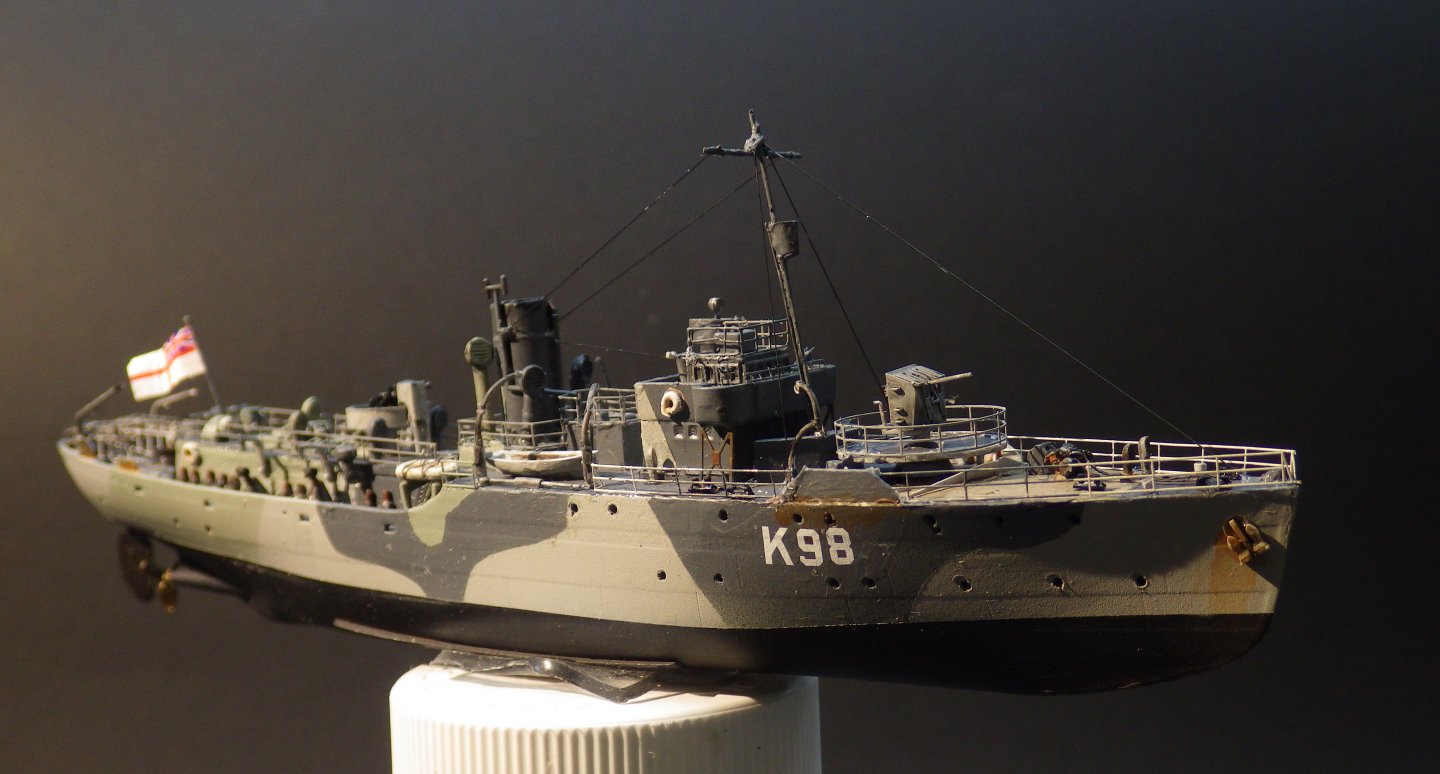
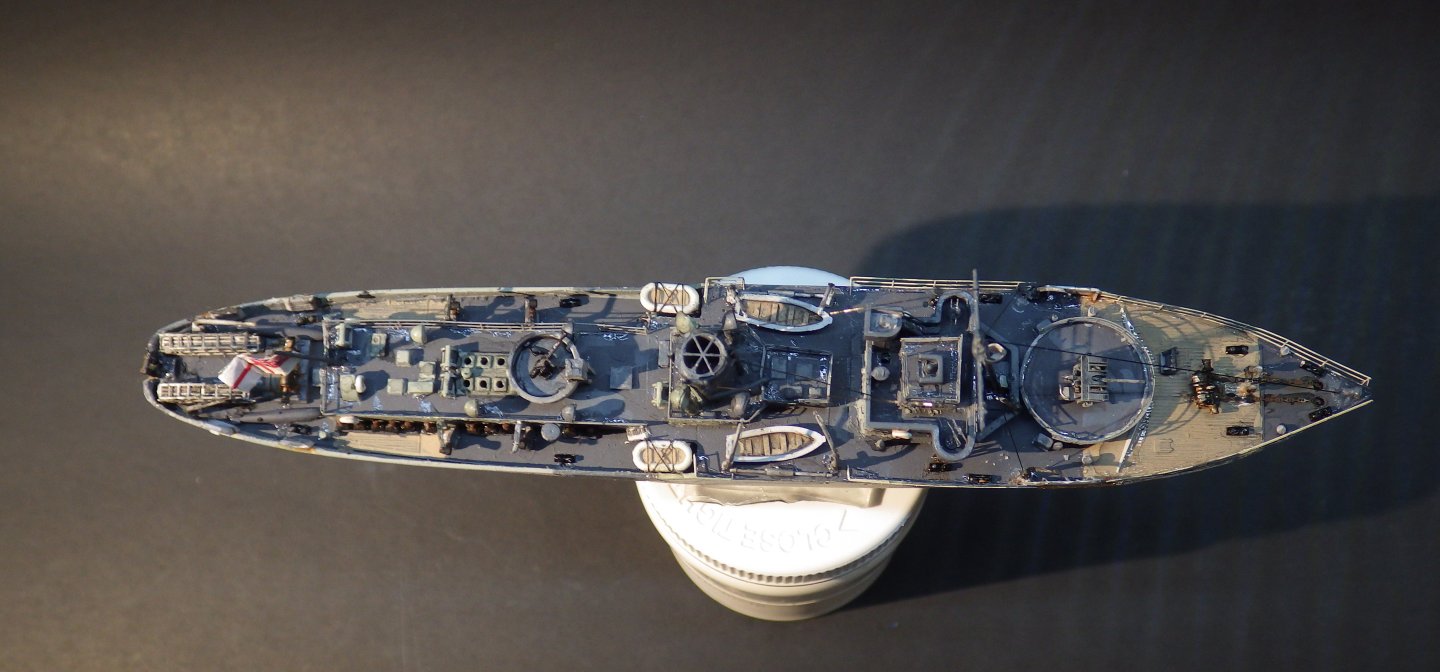
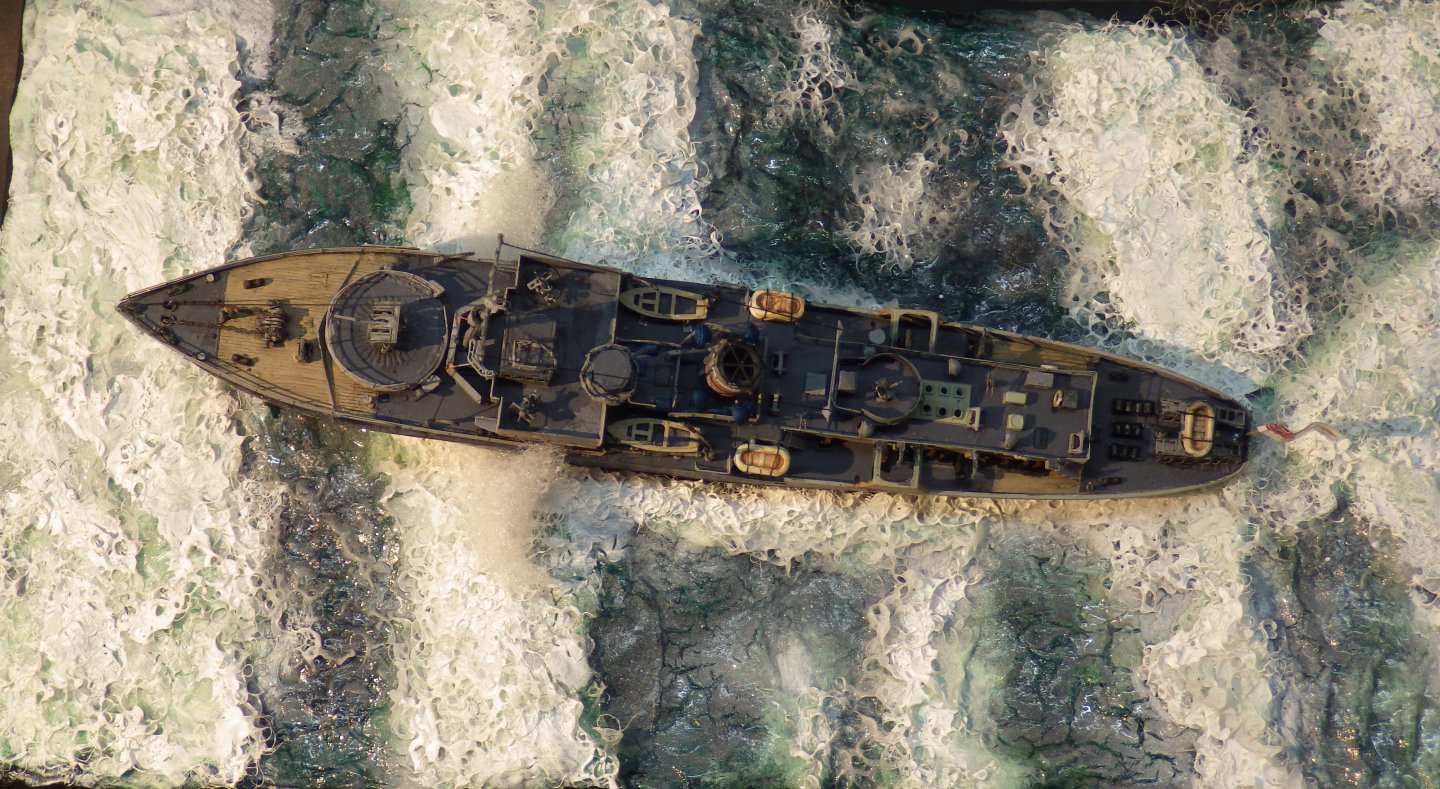
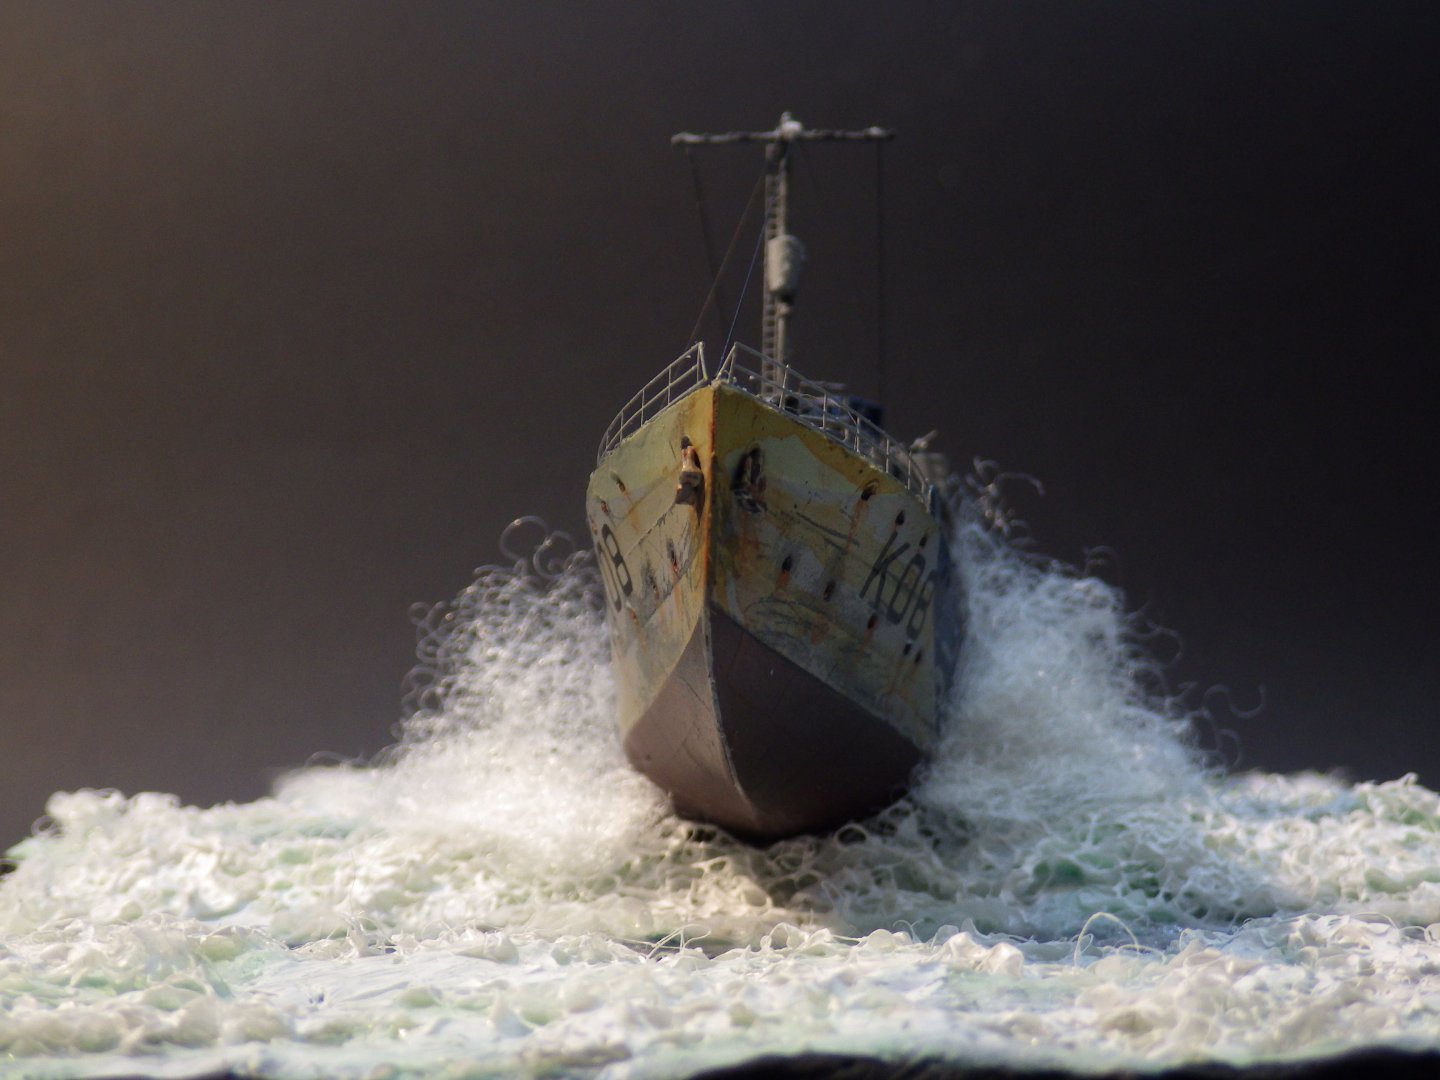
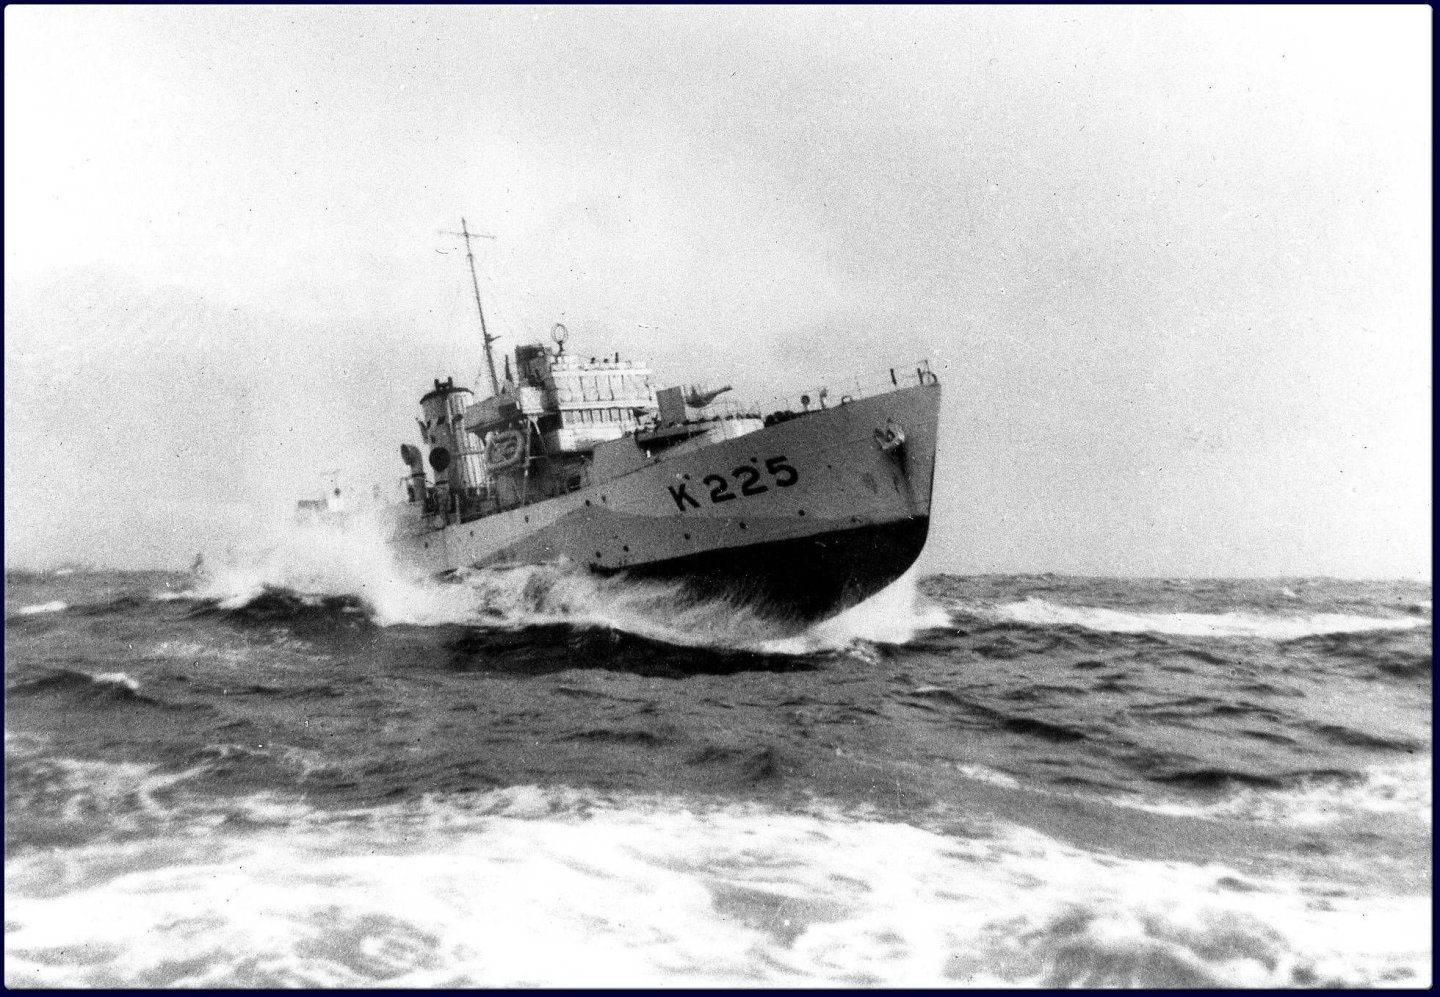
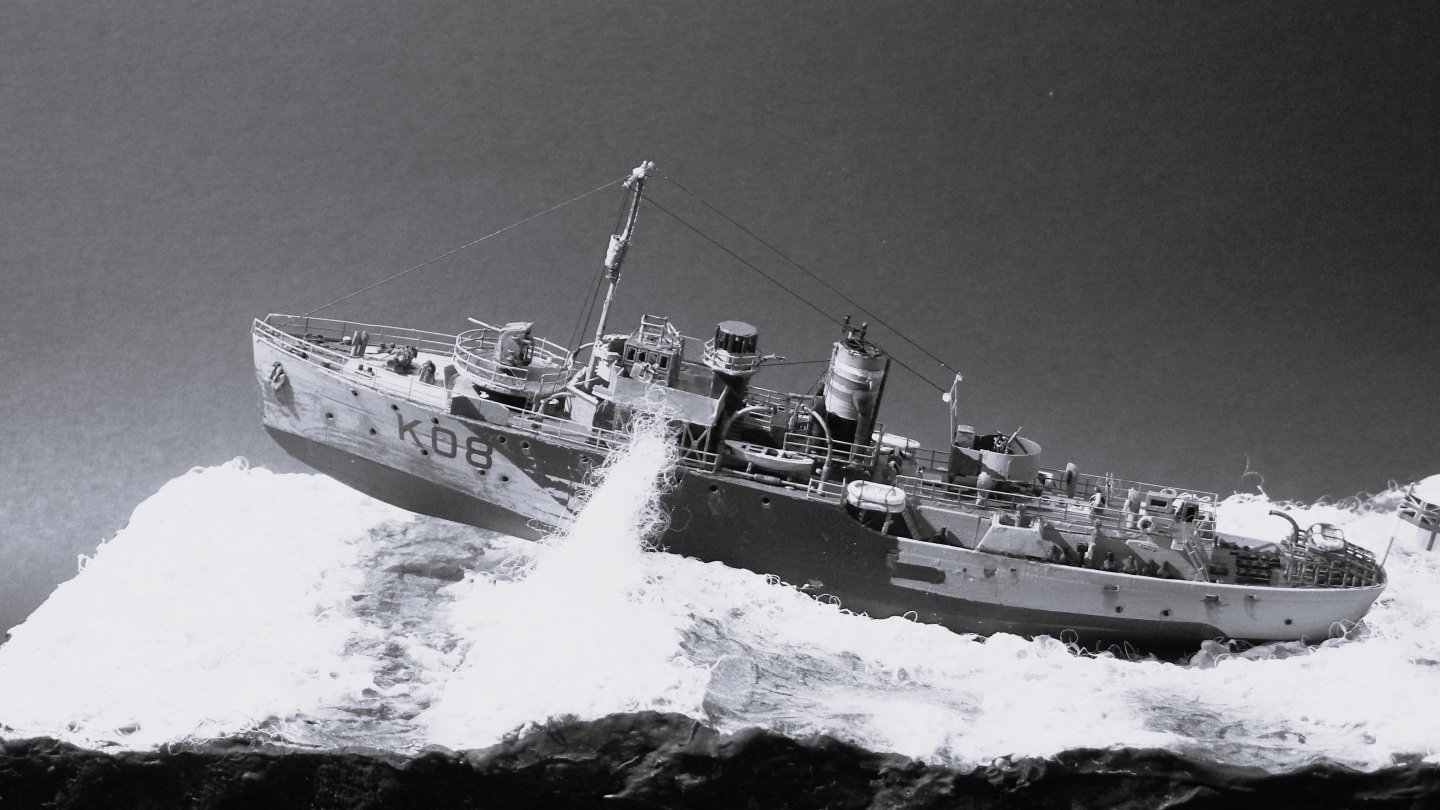
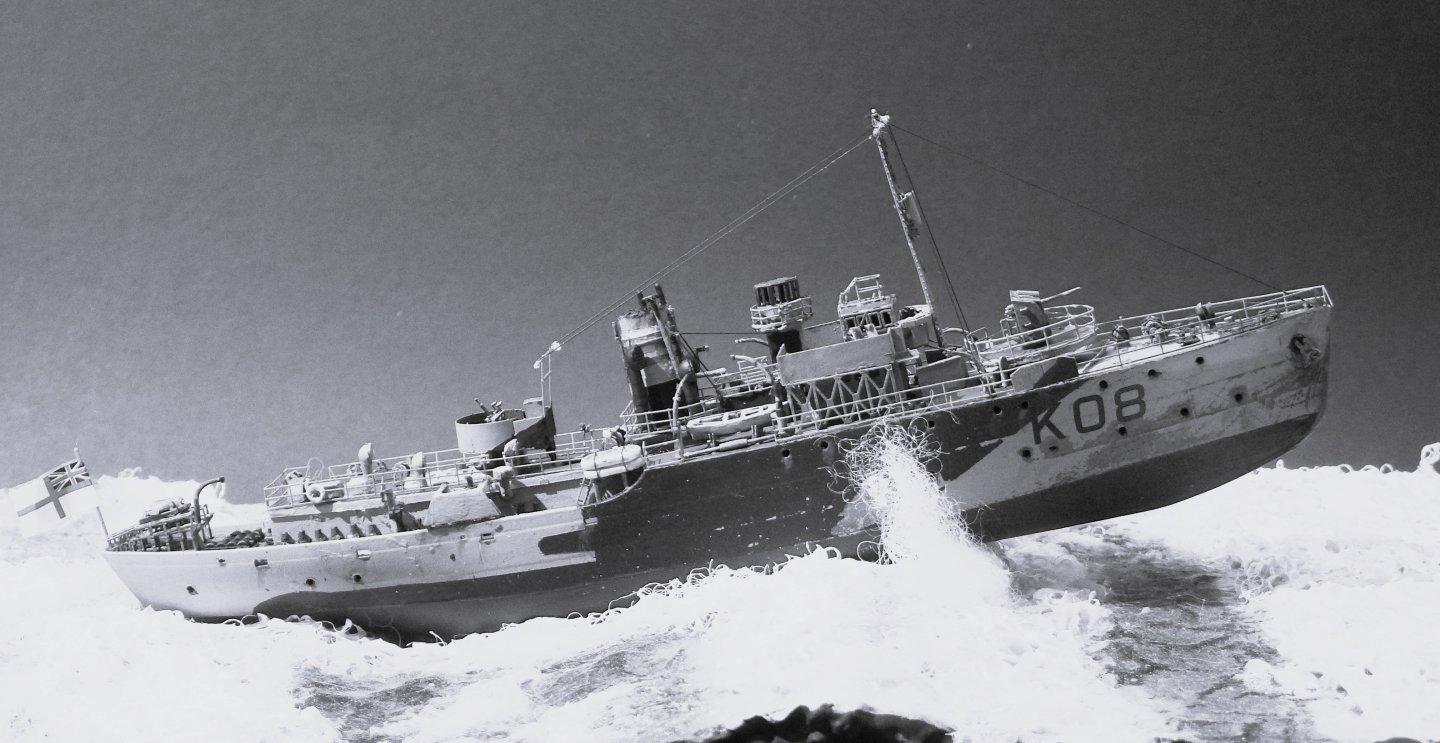
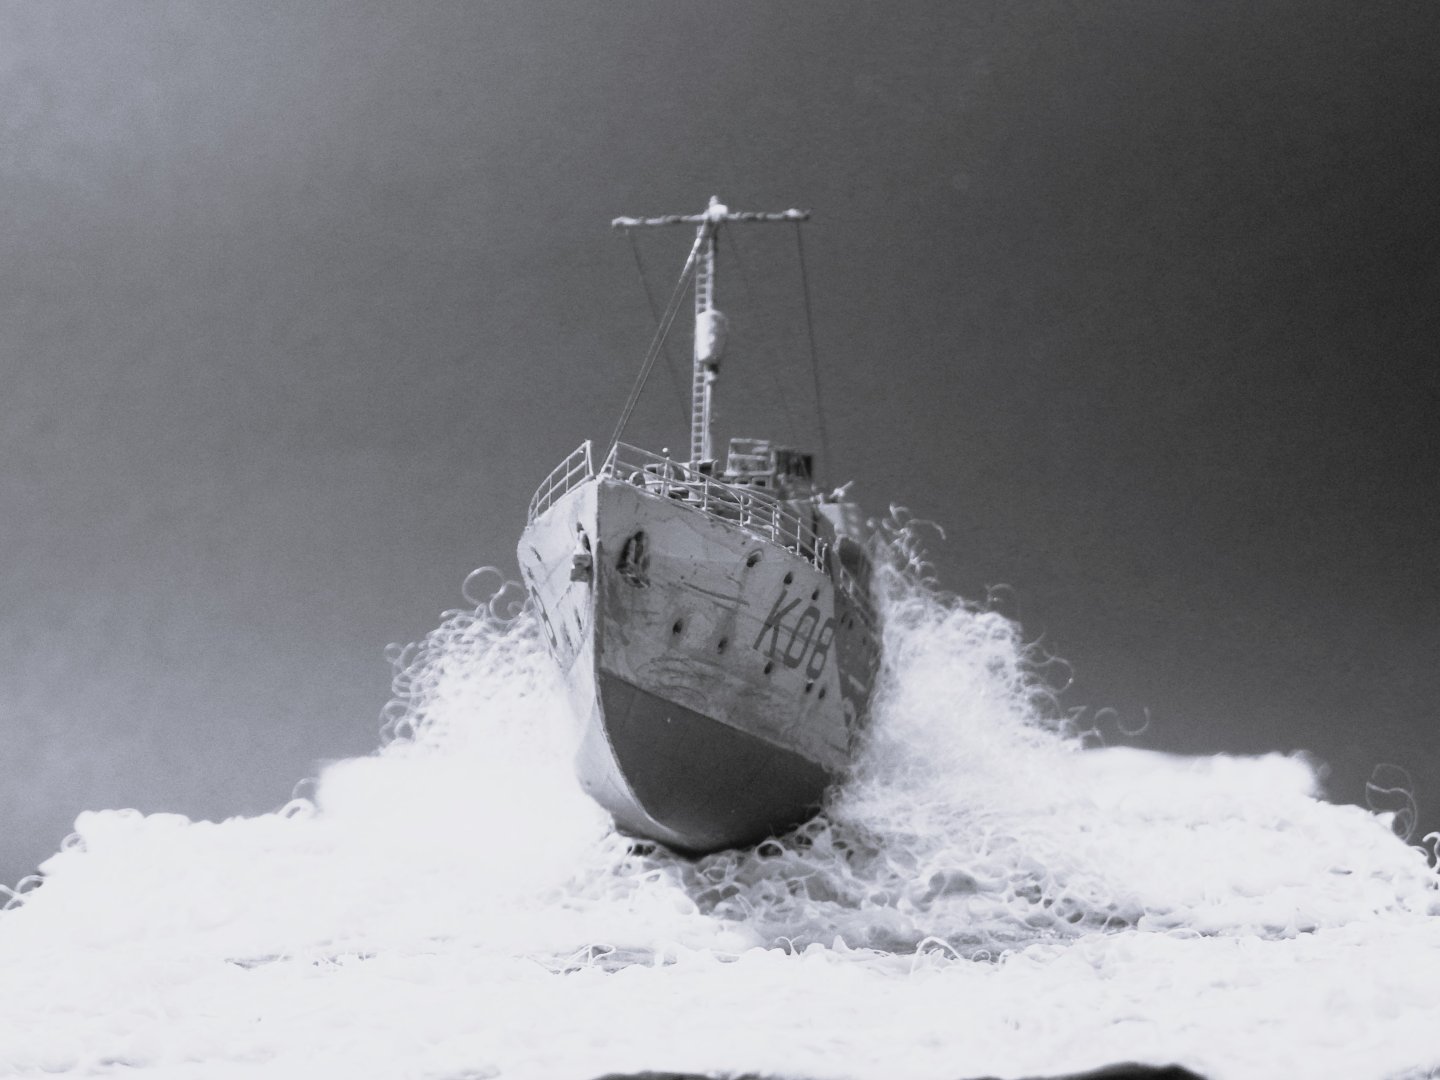
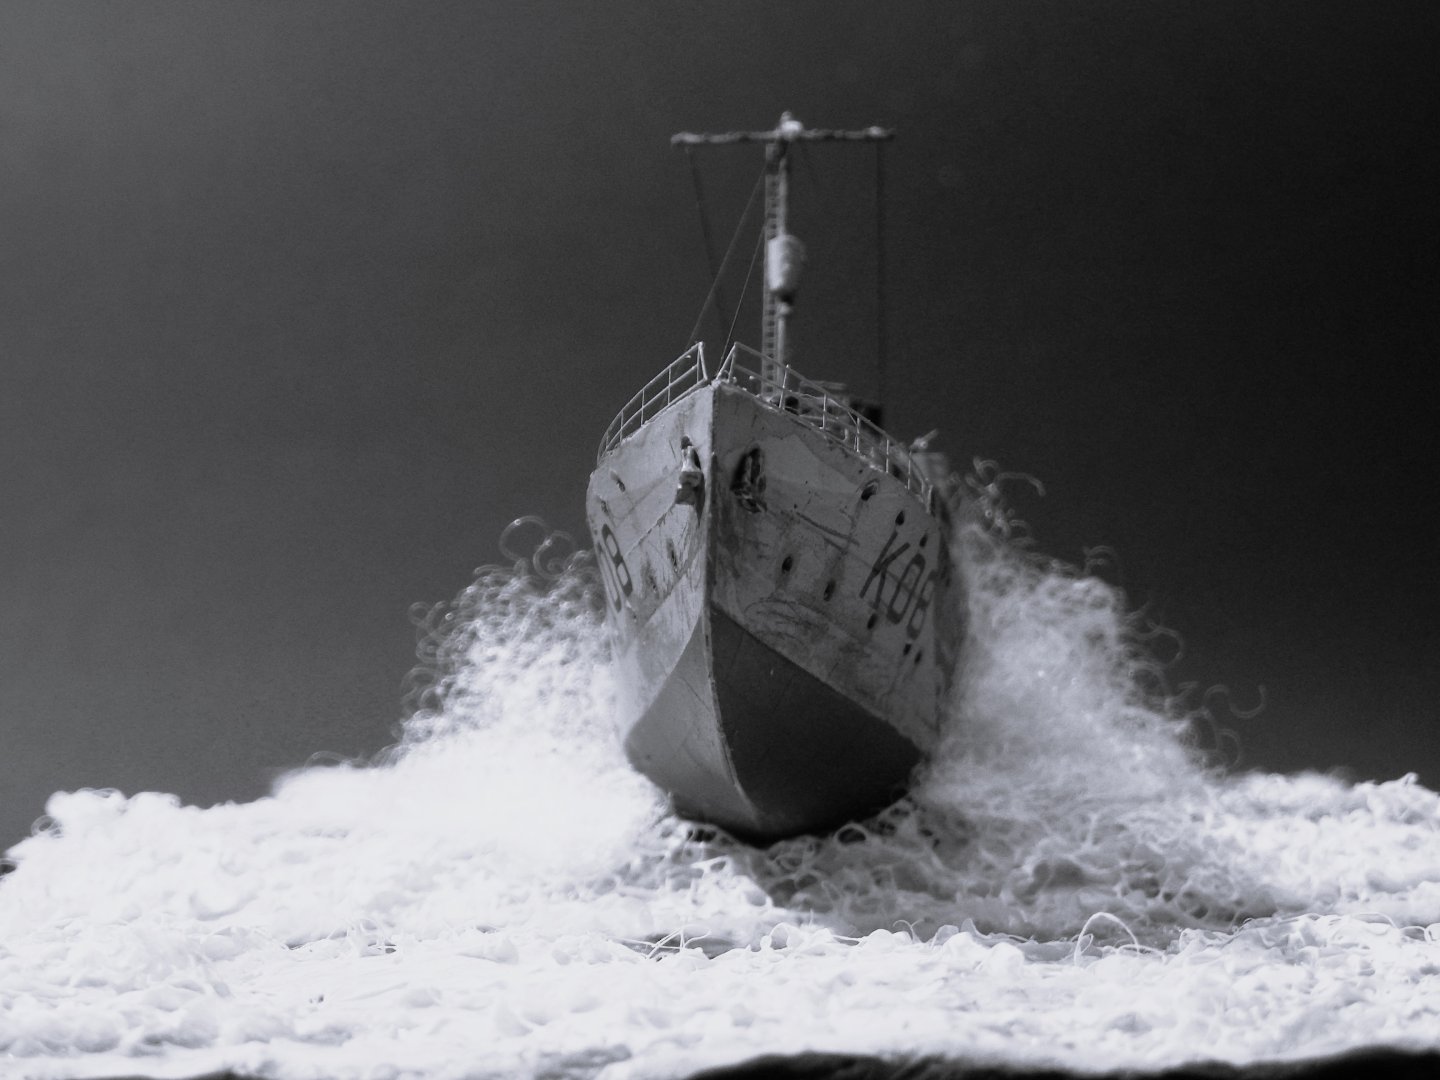
I tidied up the last details on Zinnia, added the ensign and made some replacement life bouys from lead wire. They are not perfect but with a bit of a dirty wash they have come up quite well and are better than the kit parts with all their flash or omitting them altogether. She will now move to the display shelf after I have made a cradle I have been playing about shaping bits of plush toy stuffing stiffened with white glue and added the chosen pieces on either side of the hull as the bursting wave to complete the seascape. No teddy bears were hurt in this process. I am sure there is room for improvement but I quite like the end result so I will call this complete for a first attempt at wild water. This photo from the Imperial War Museum archives is the spur that started this project So I had to try the black and white filter again Trying to freeze spray, smoke and mist is a huge challenge but this does have somewhat of a feel for the moment As always making a seascape was a lot of fun thankyou everyone for looking and for the likes and the supportive comments through this build Alan


- 97 replies
-
- 13
-
-
-
Sorry to hear of your misfortunes OC. Life seems to wait until you are on your knees before lining up a big kick. I hope you get a speedy recovery from all three events. Lifes full of it though. The girl friend decided the full tub of dietary fibre was out of date and dumped it down the sink (Don't ask me why) and ran water into it. Blocked the whole thing up. The plumber just finished installing a new waste disposal and drain line. Alan
-
A classic British sports car. I always liked teh XKs better than the E types. I look forward to seeing this turn into a beautiful model. Alan
-
You’re right Jav. Cases are horribly expensive. I make my own basic plexiglass ones but I don’t have the woodworking skills to make a nice base. alan
- 68 replies
-
- 4
-

-
-
- Scharnhorst
- Trumpeter
- (and 1 more)