king derelict
-
Posts
3,294 -
Joined
-
Last visited
Content Type
Profiles
Forums
Gallery
Events
Everything posted by king derelict
-
The carbon fibre effect is very nice, very subtle. Alan
-
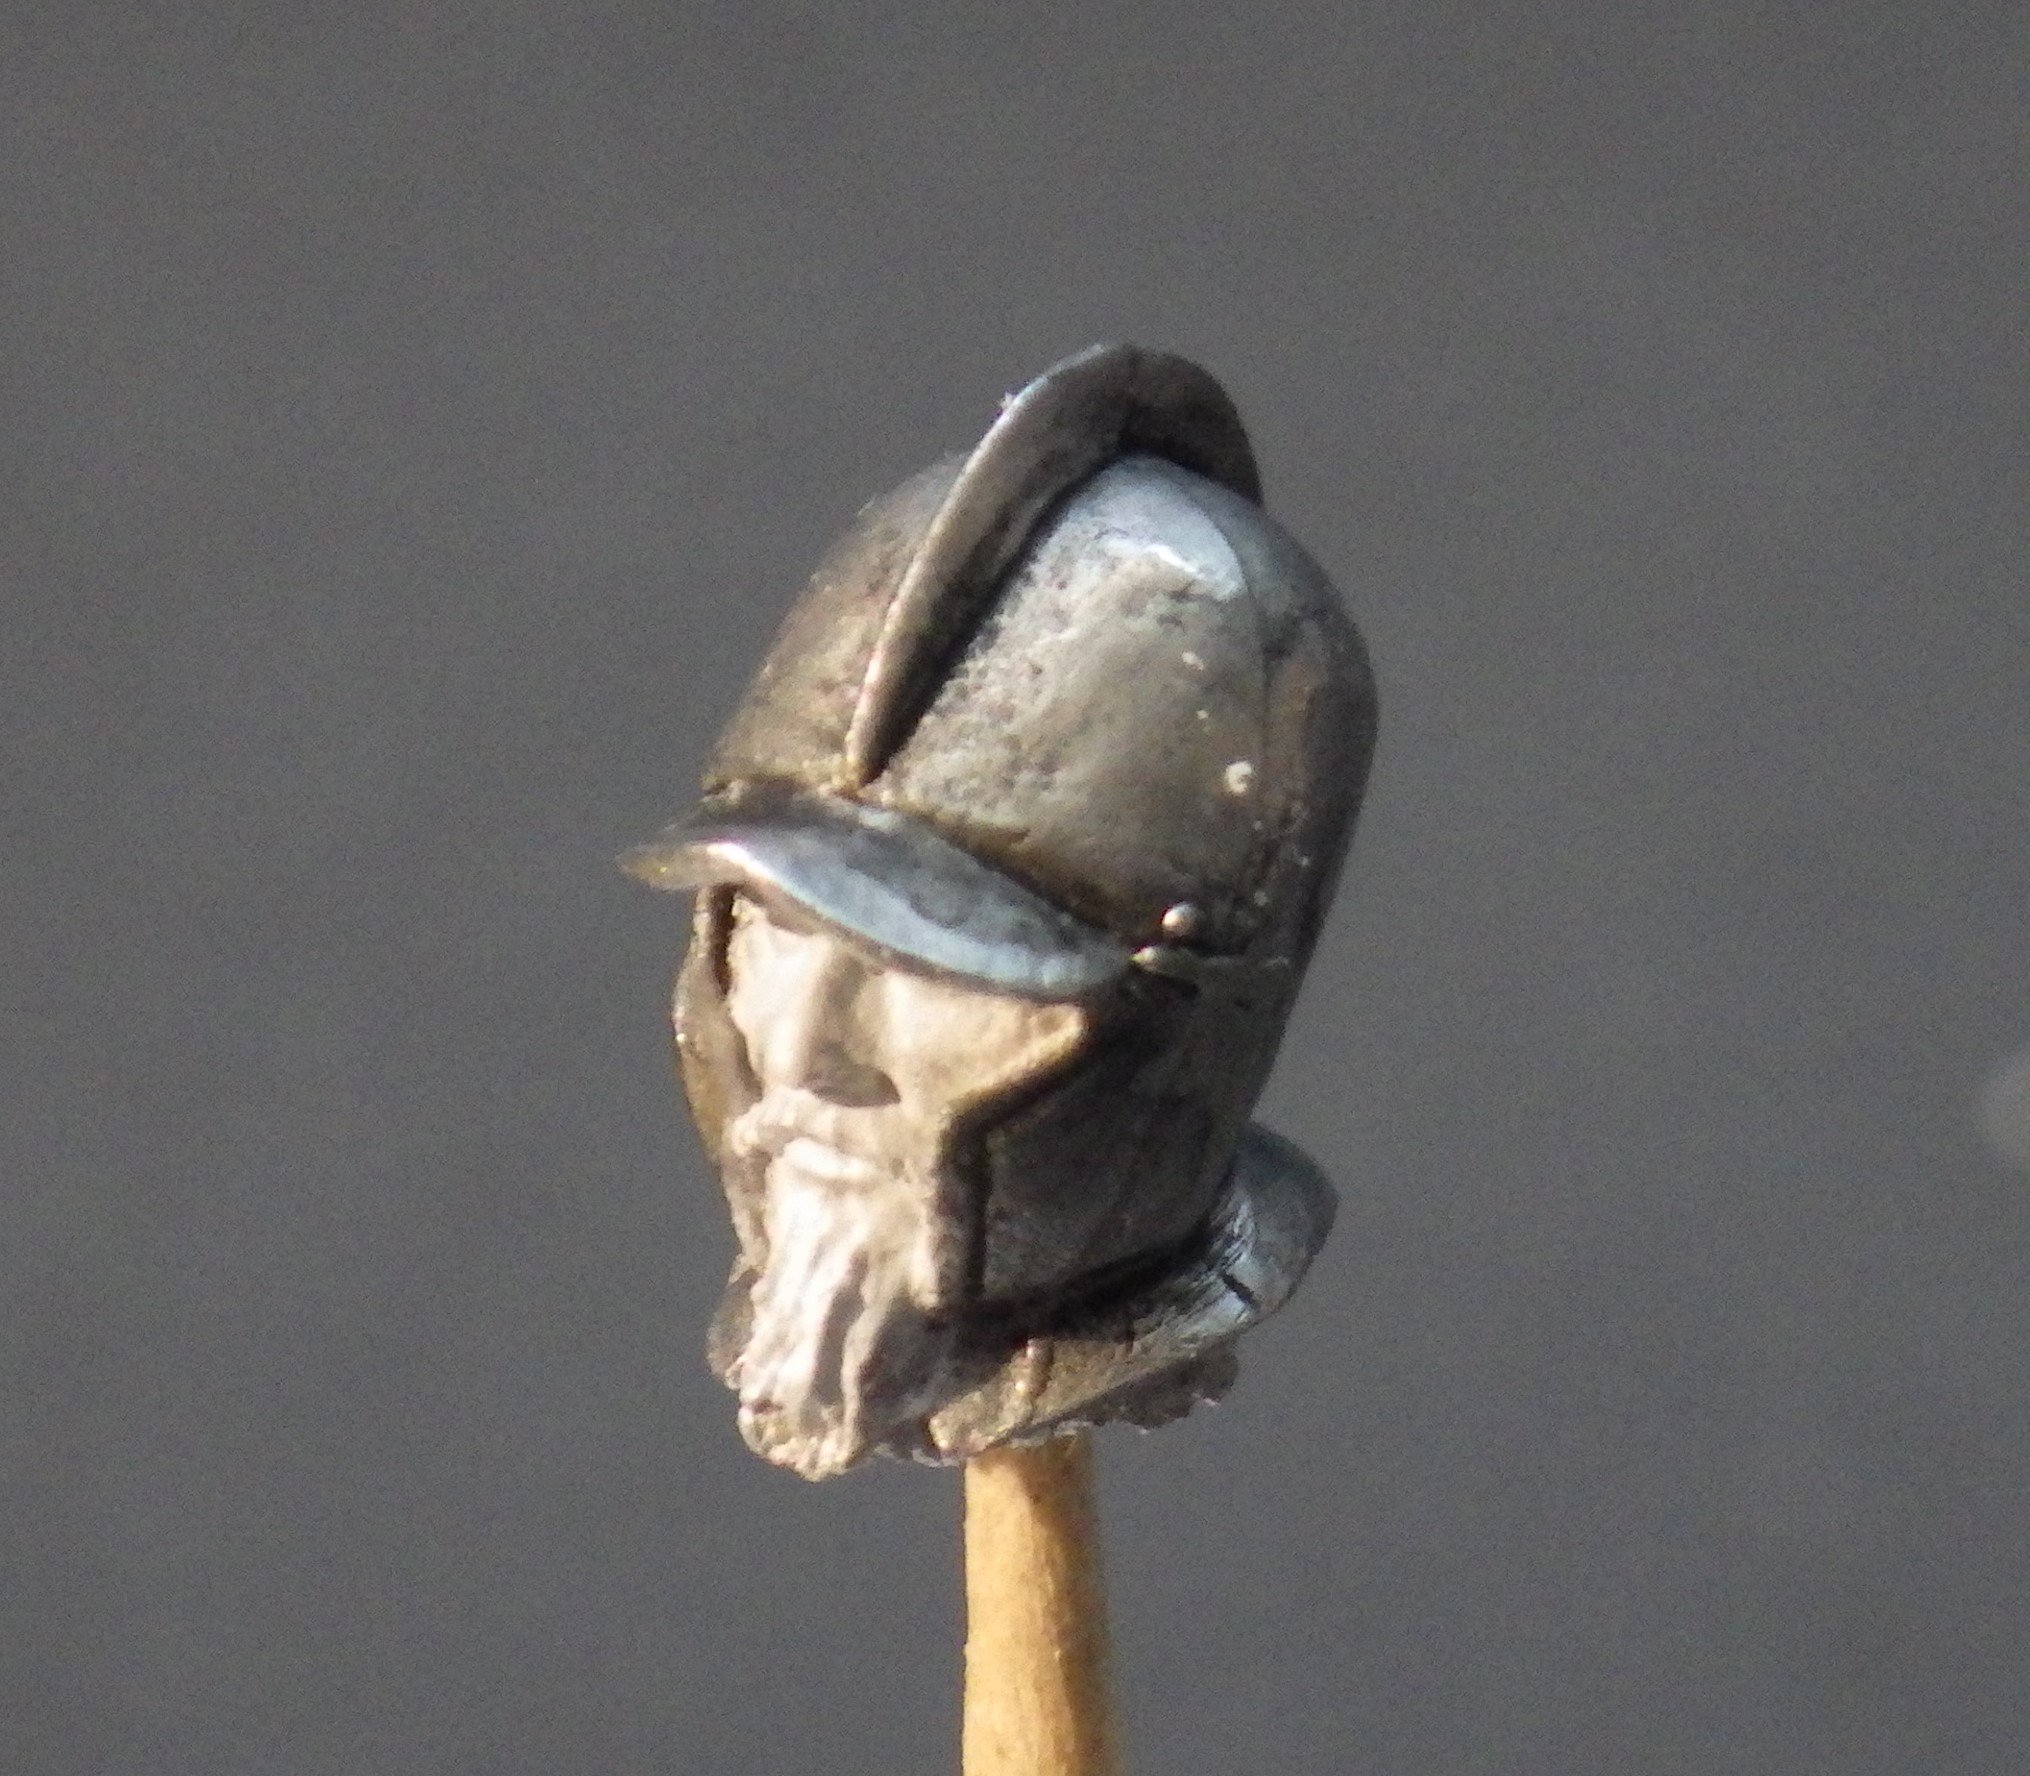
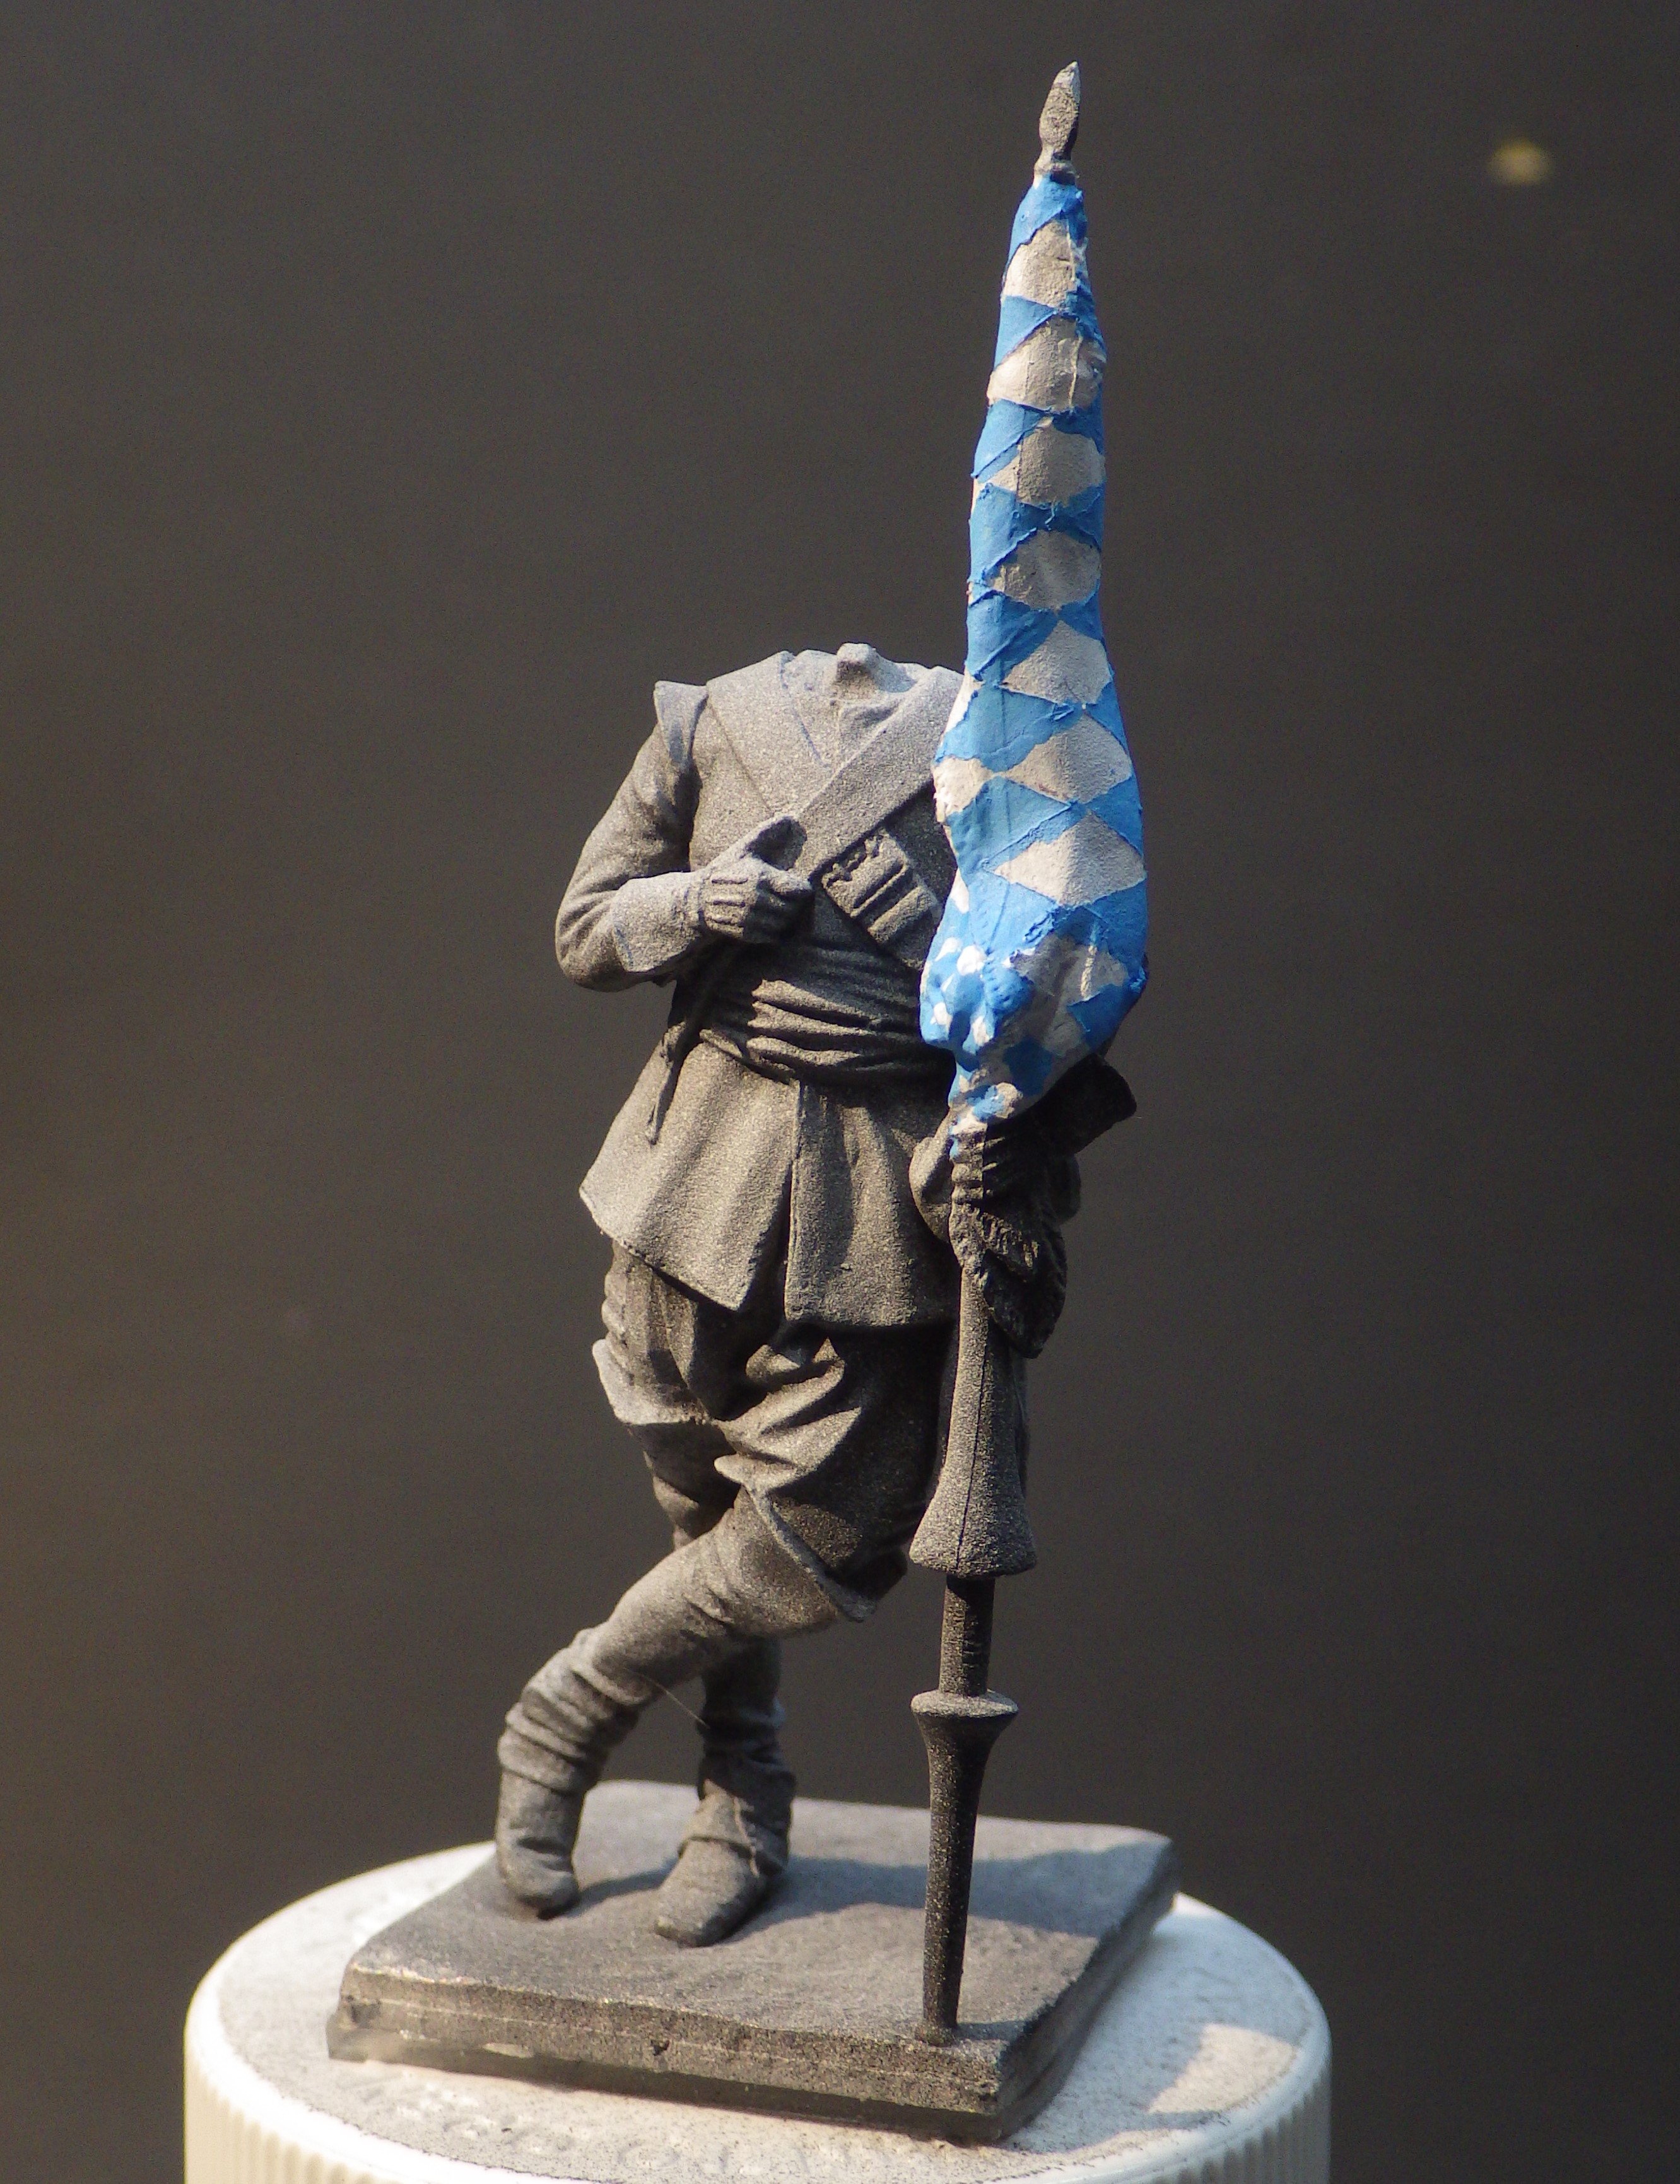
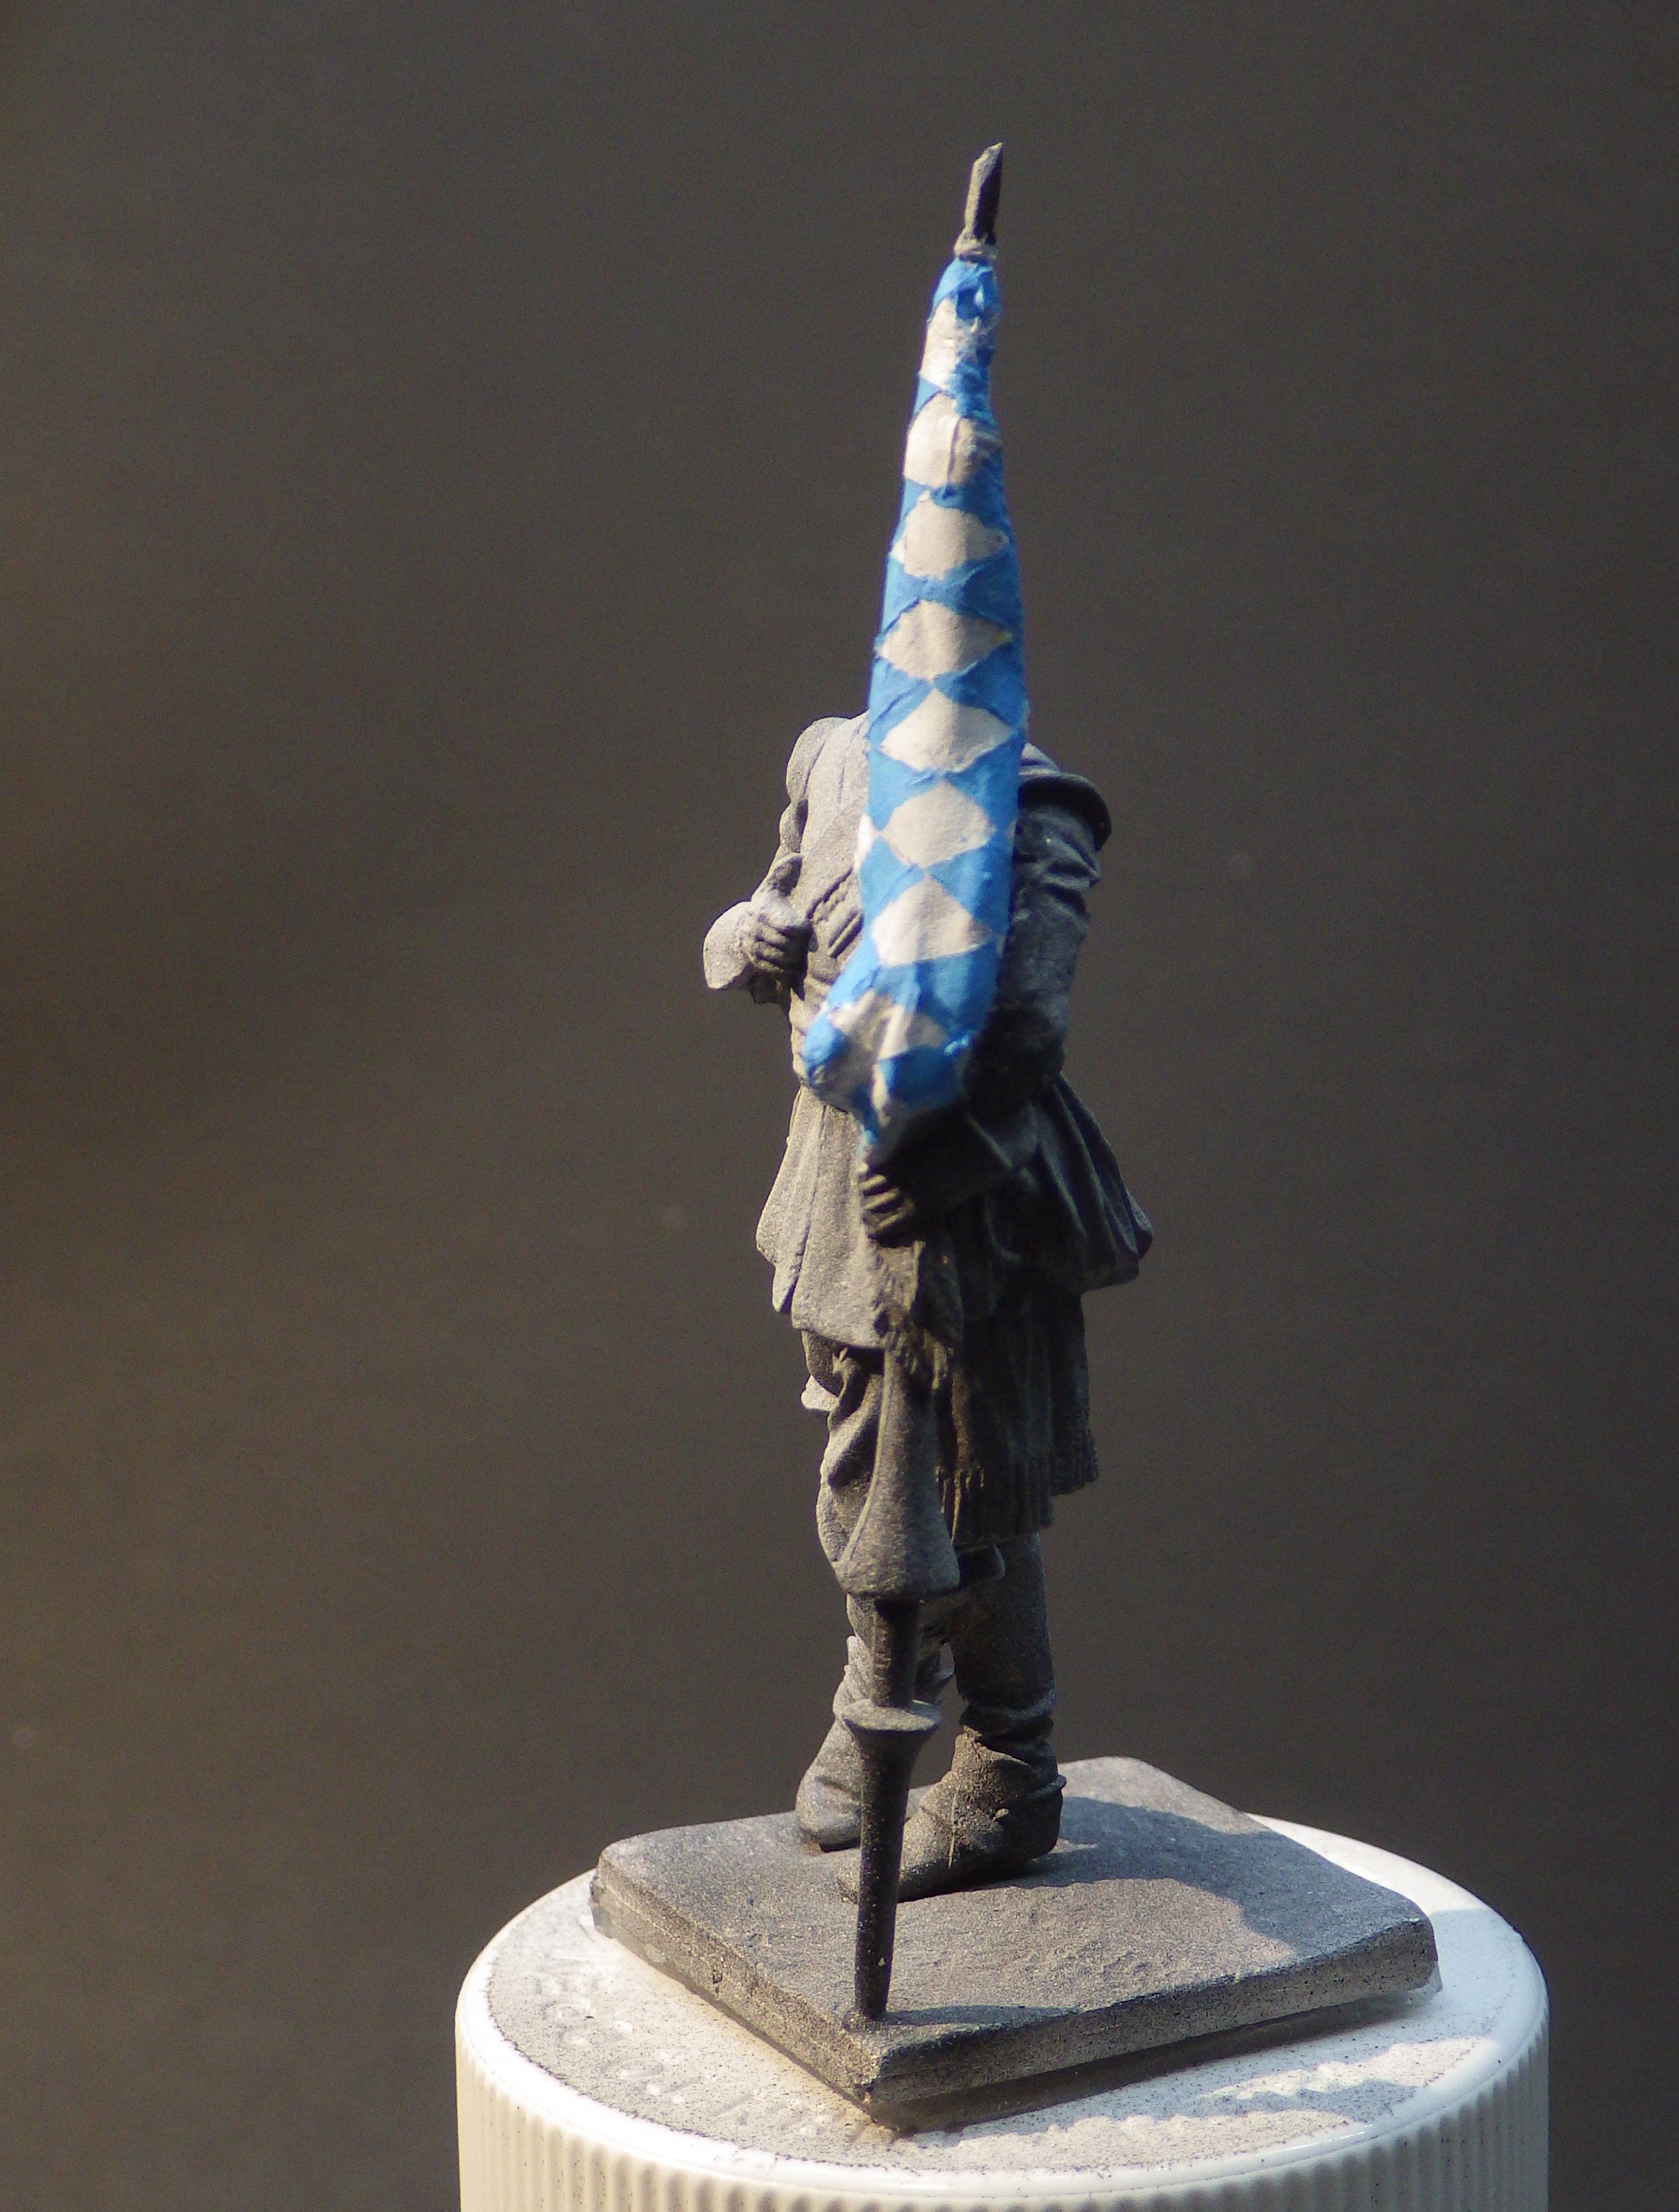
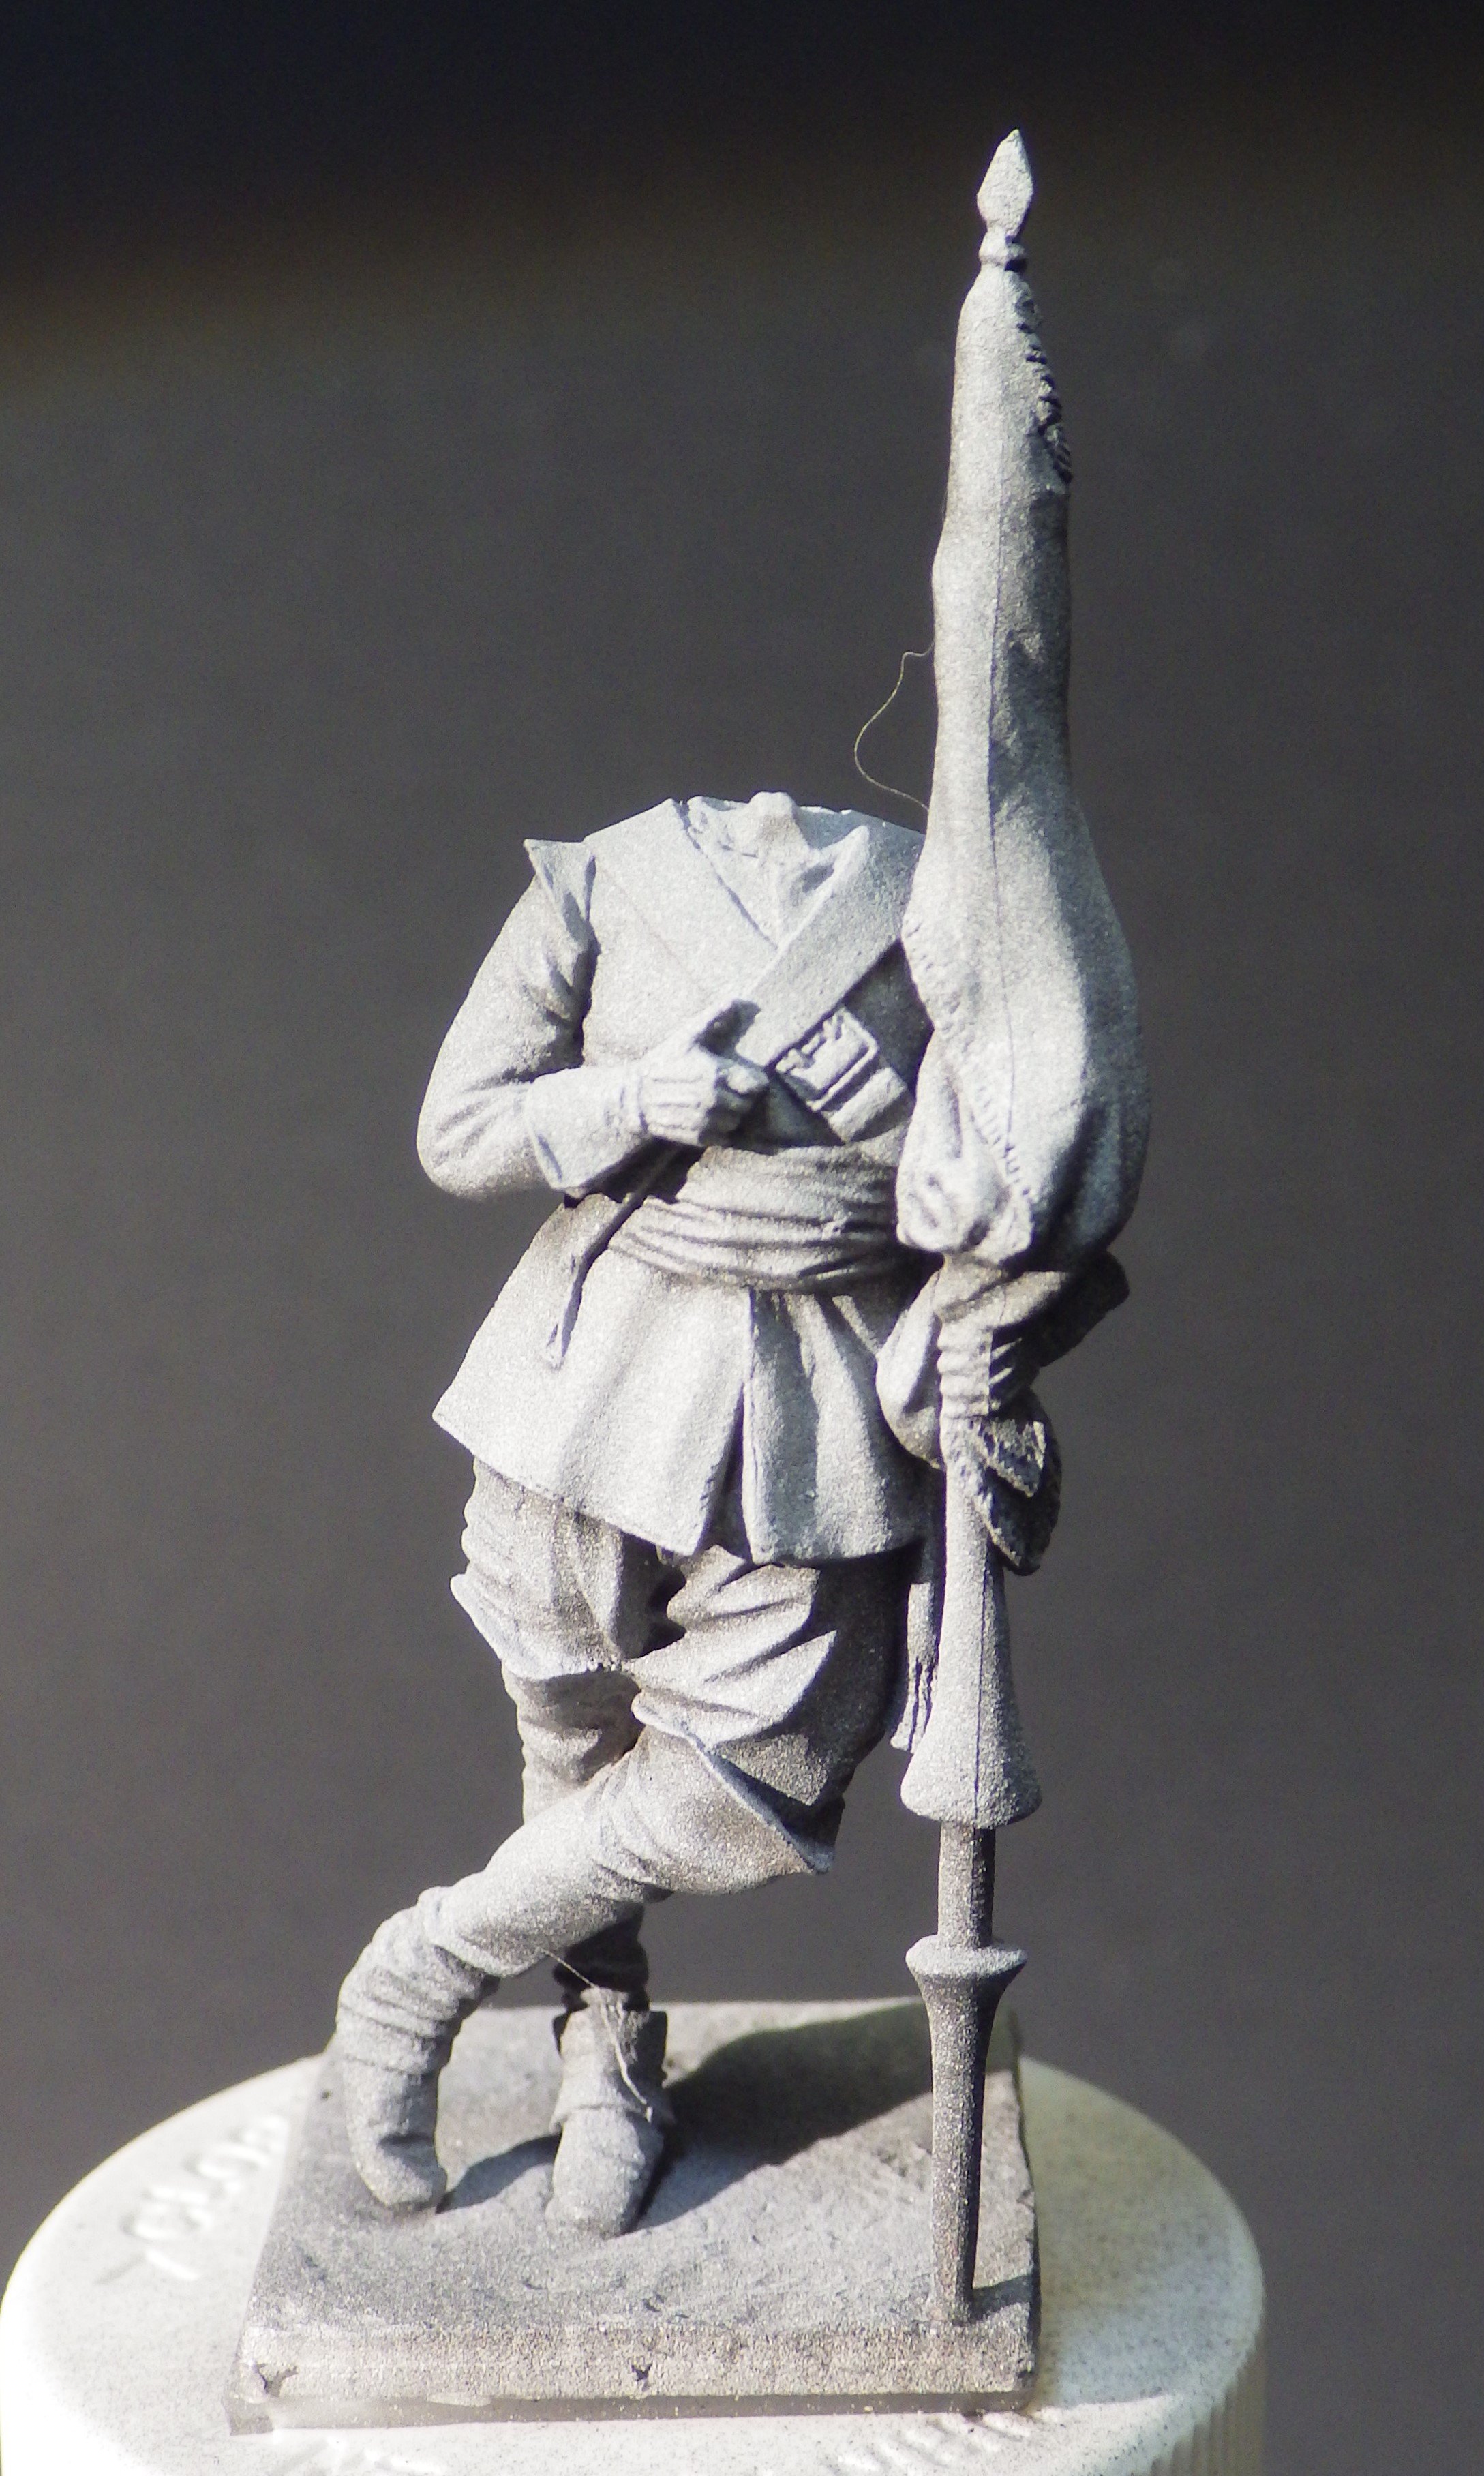
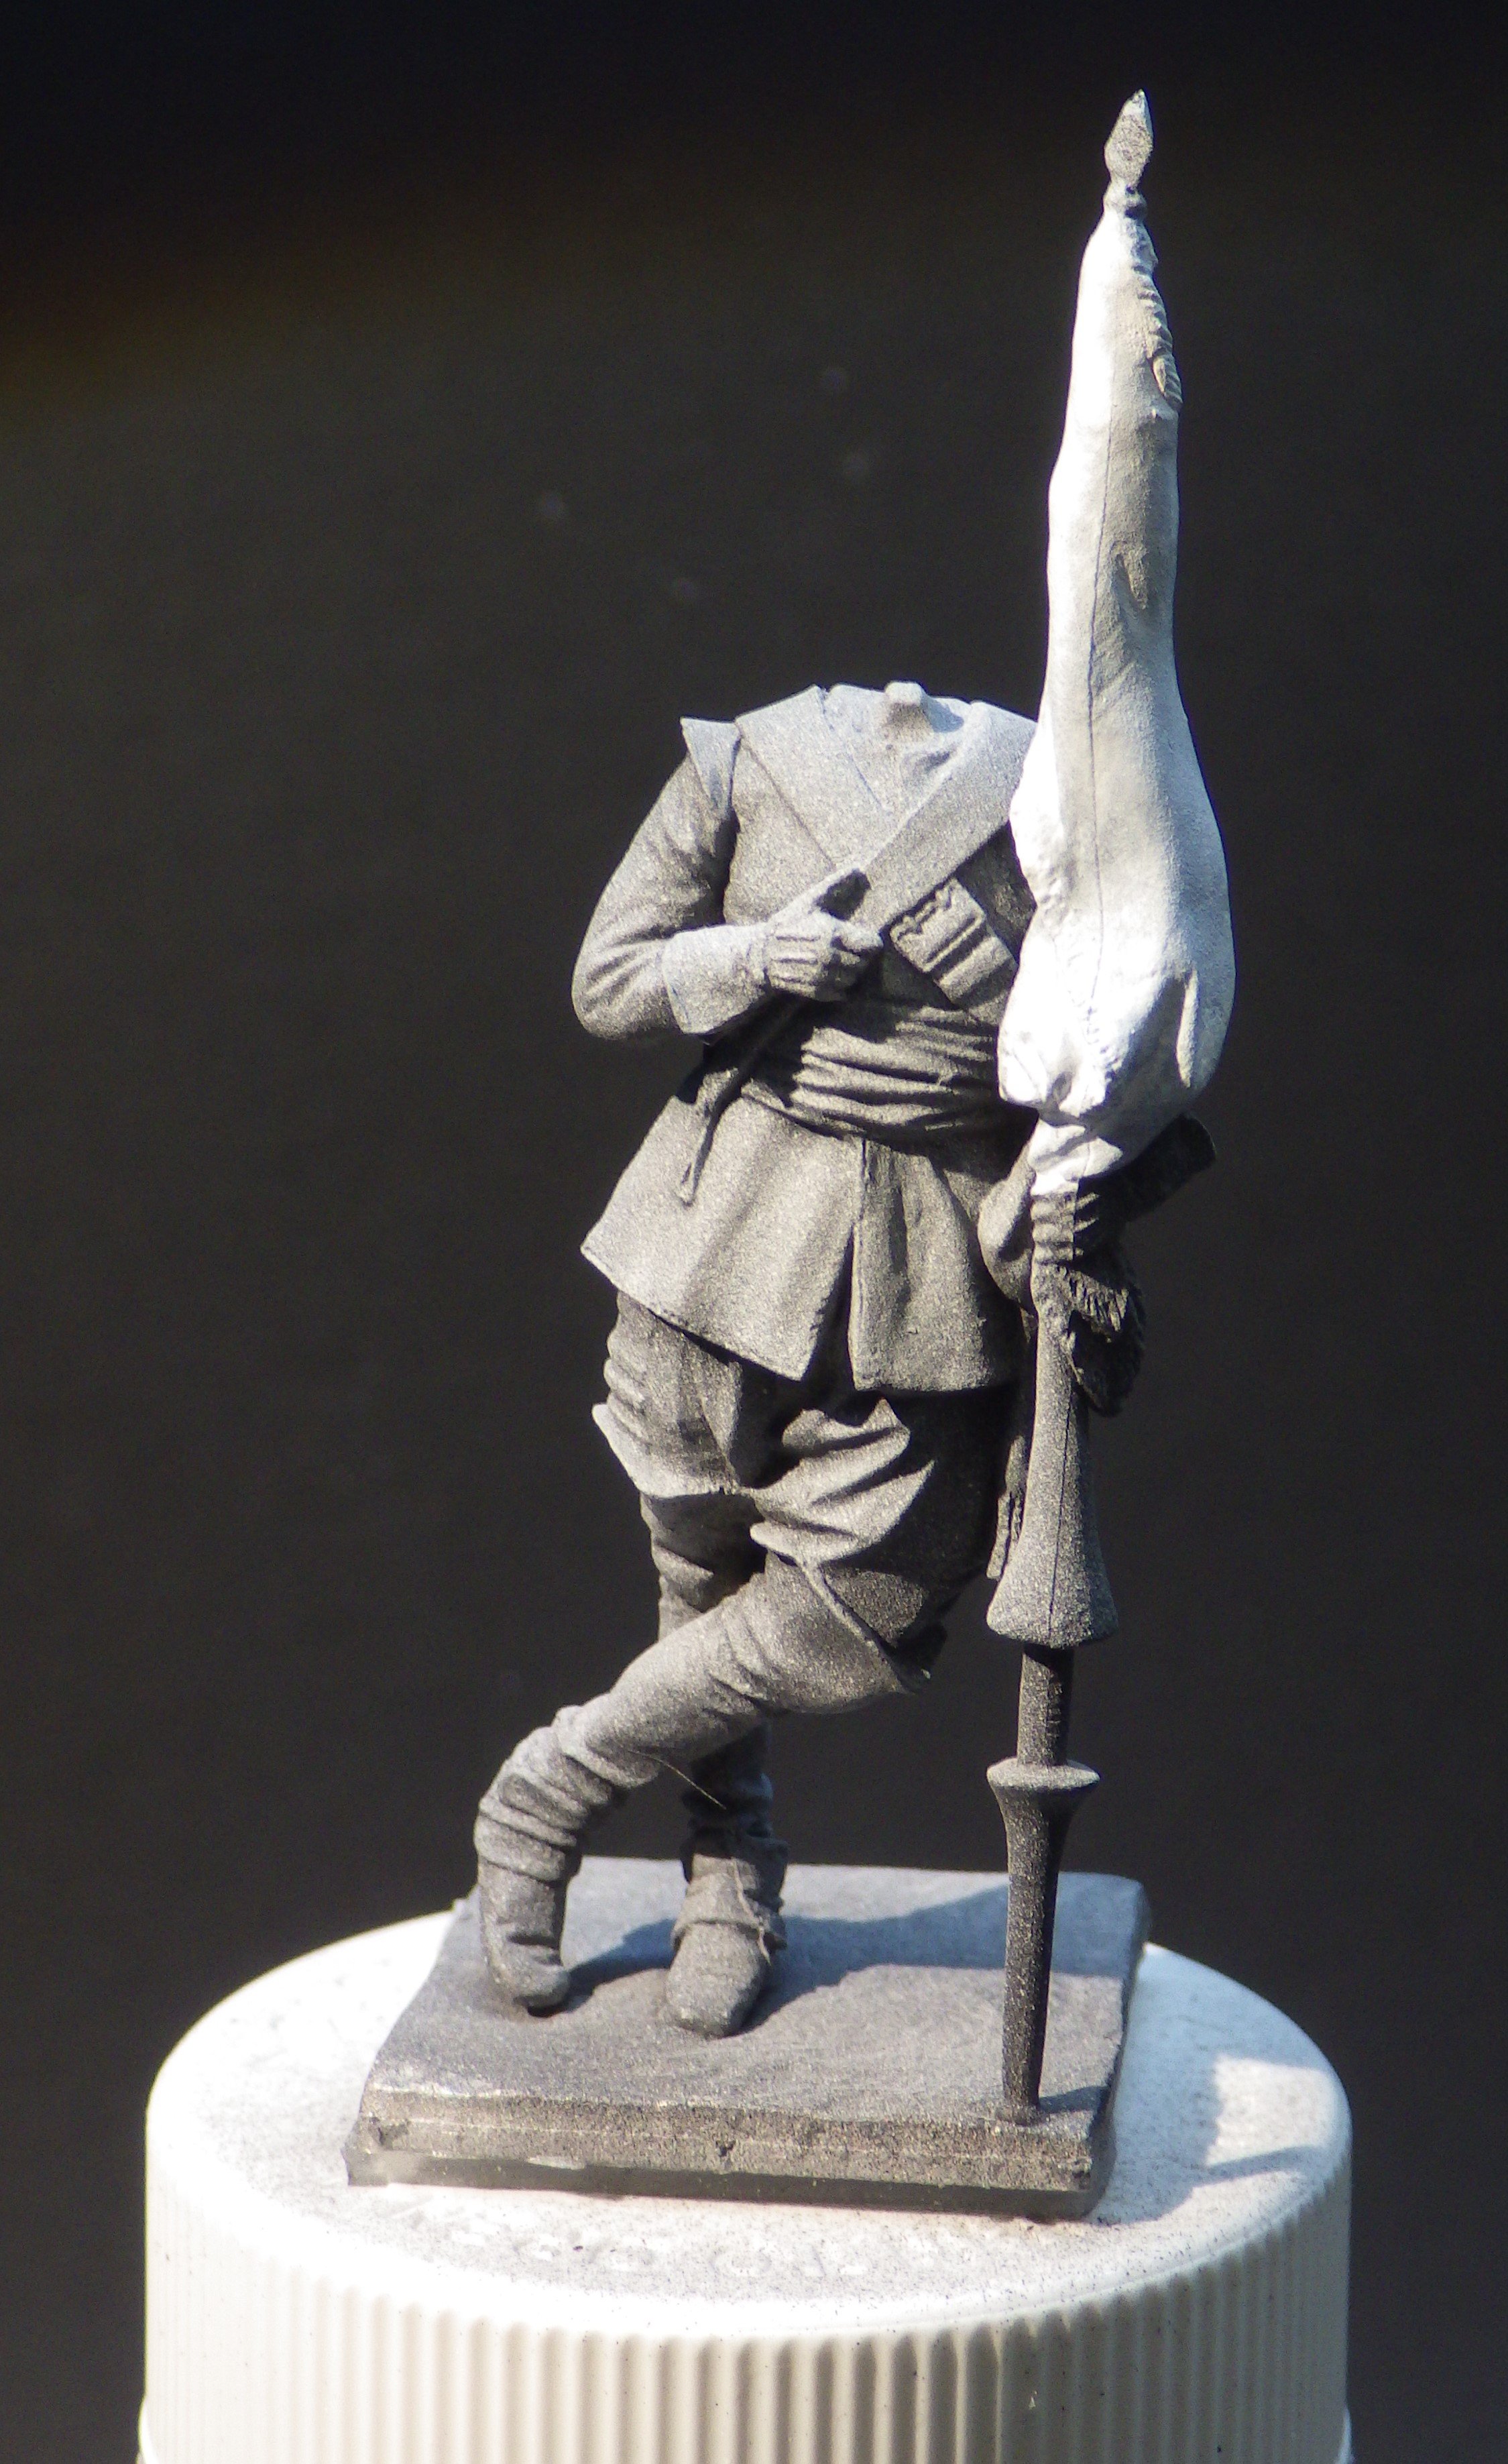
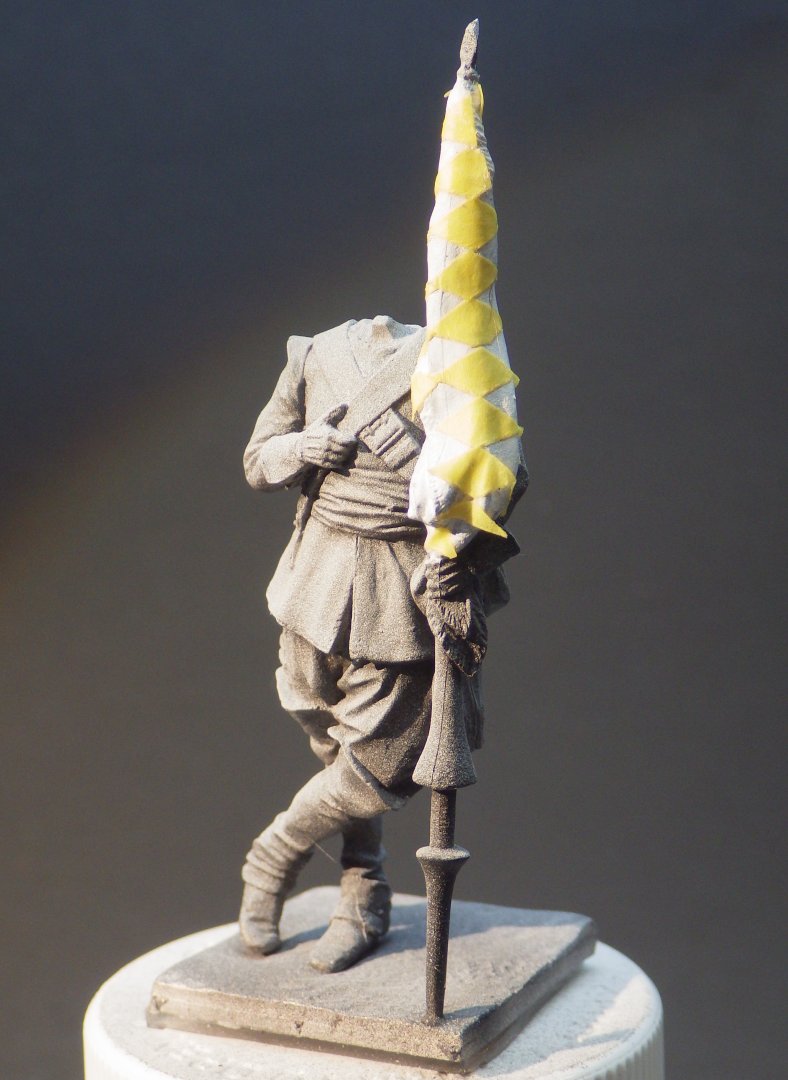
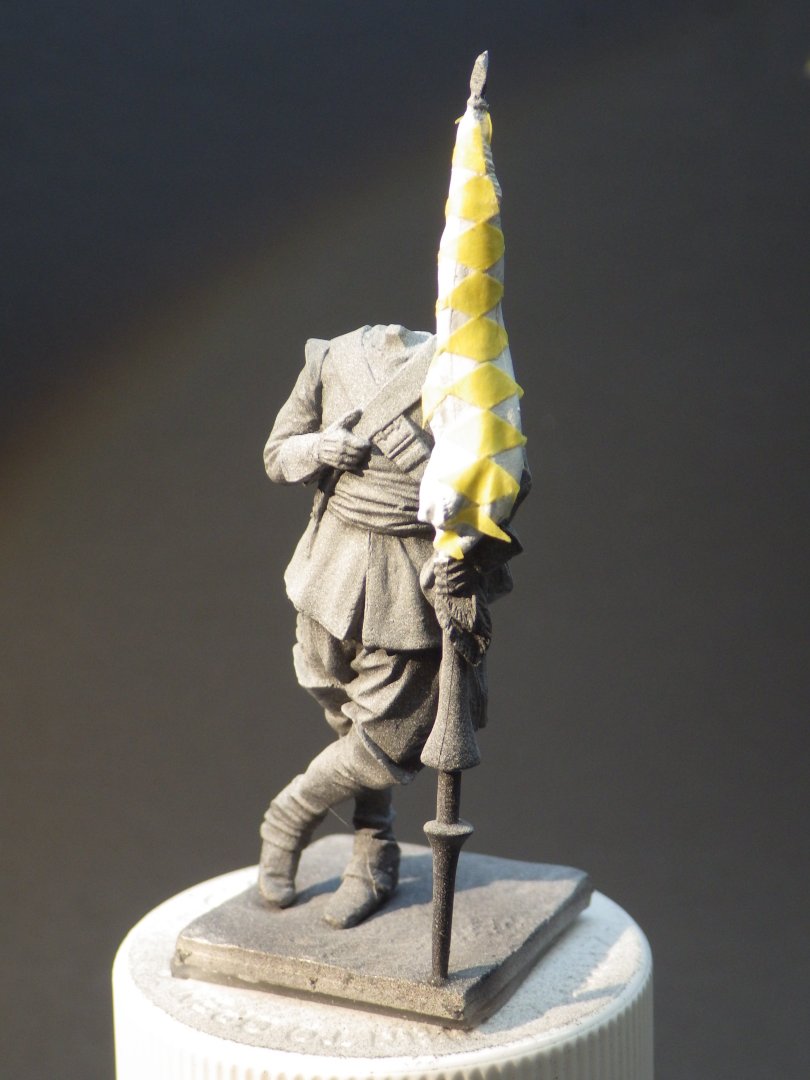
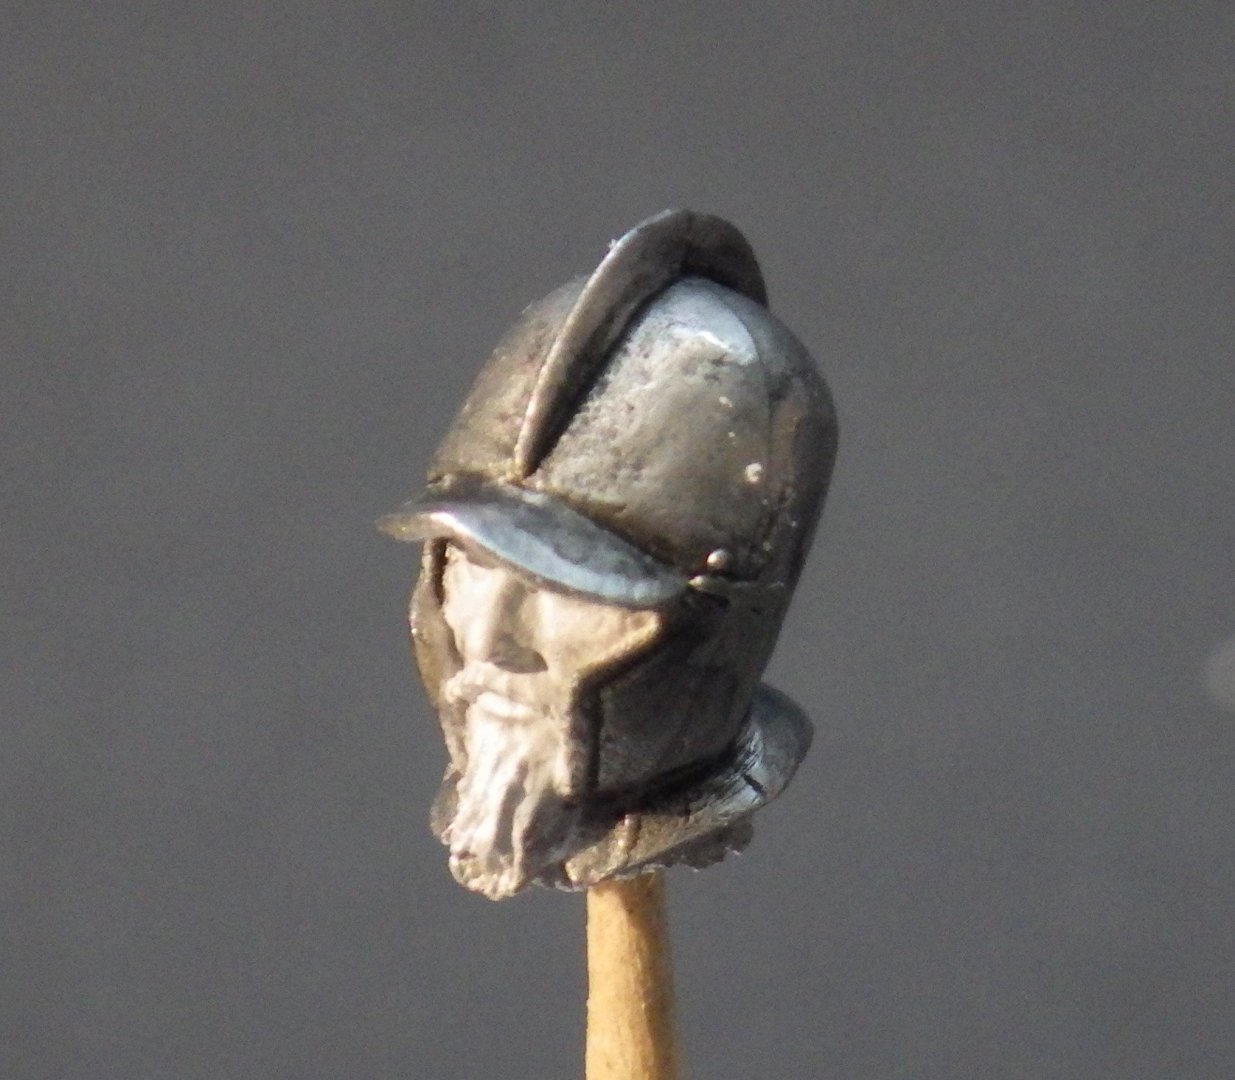
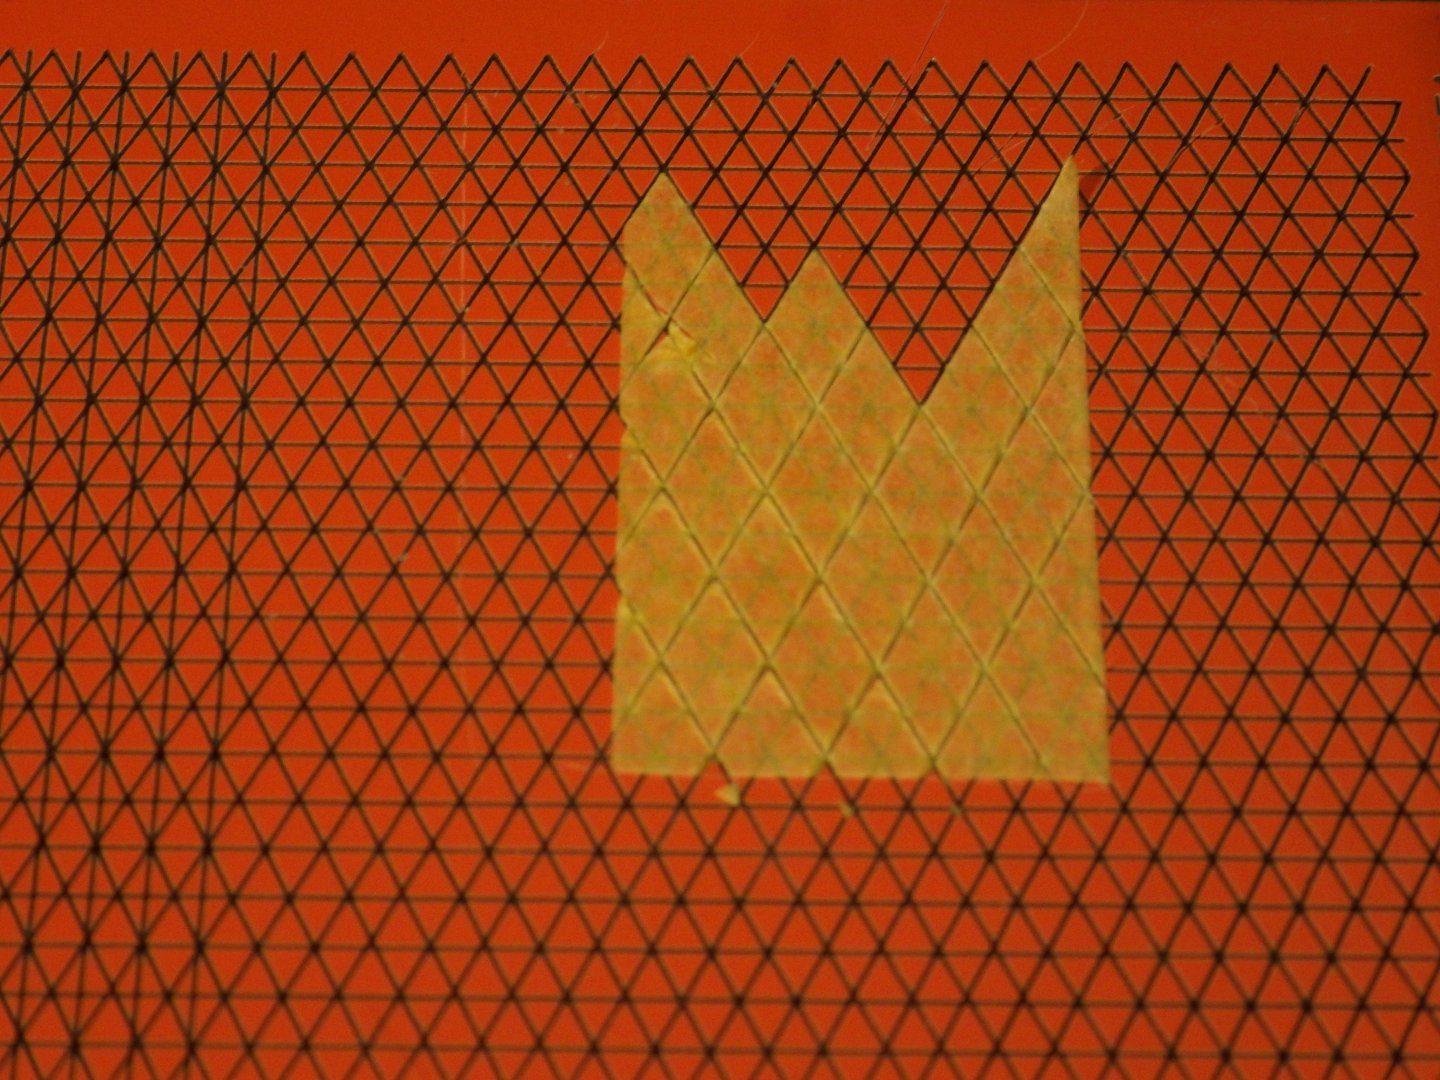
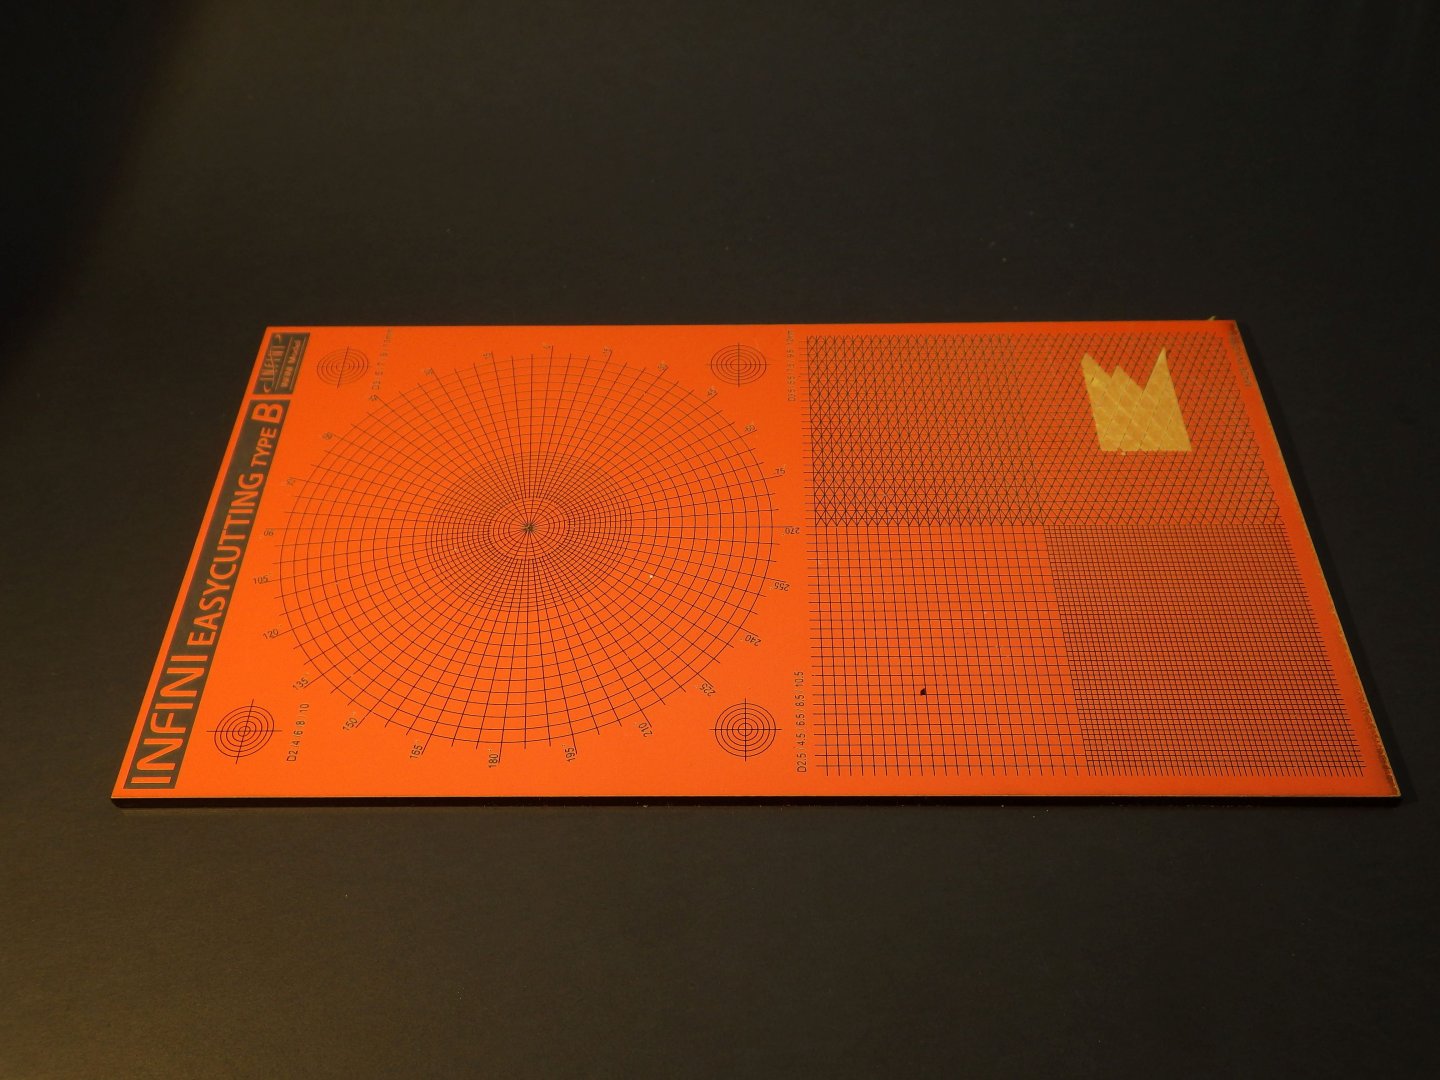
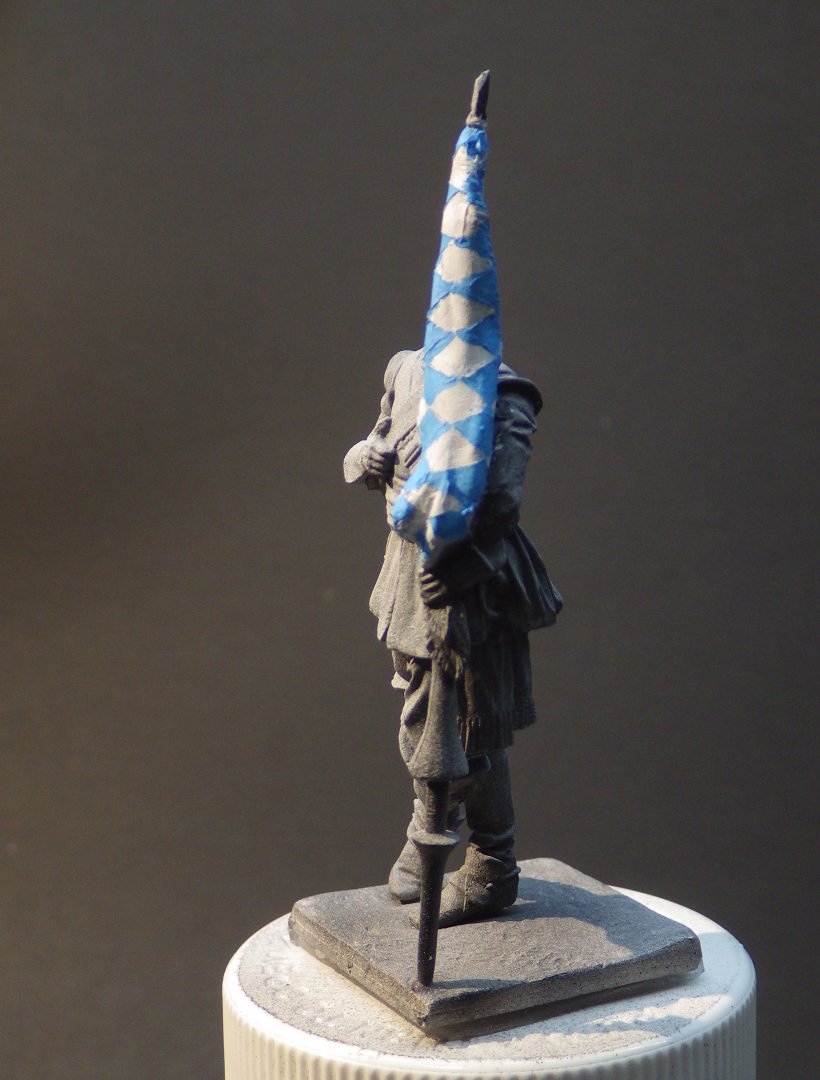
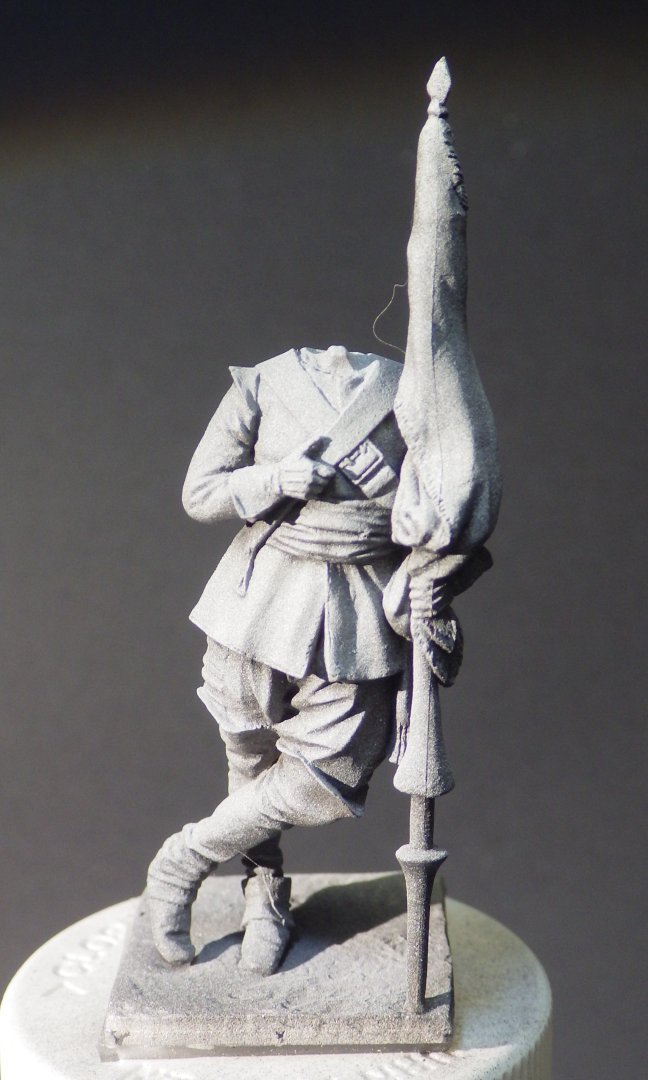
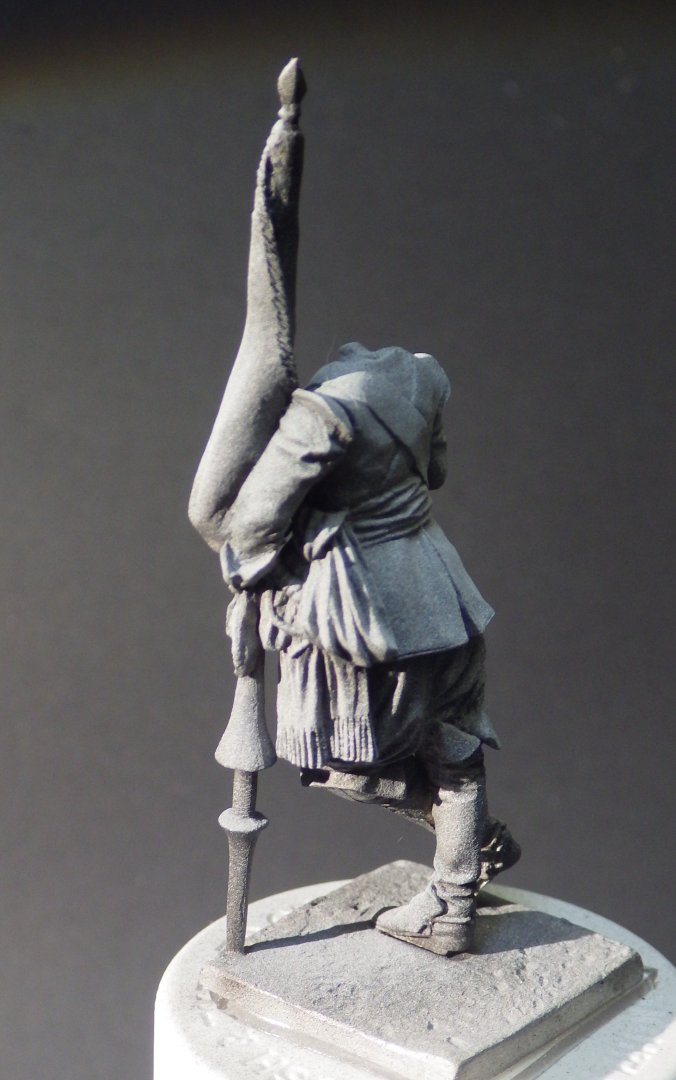
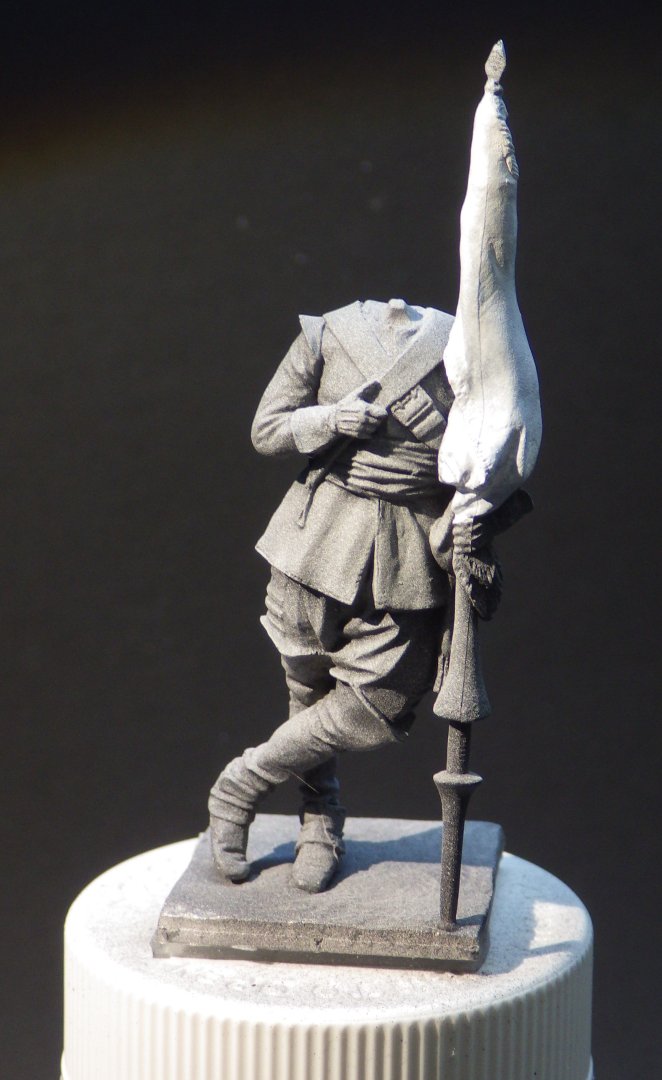
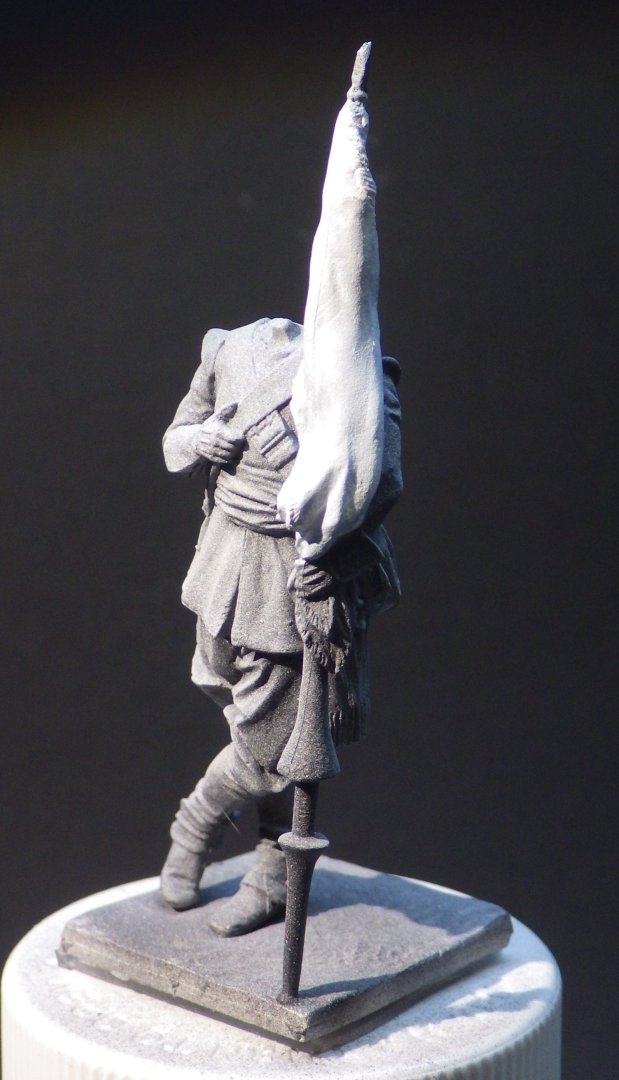
I polished the helmet and added a black wash. The face has been given a coat of grey Vallejo primer to let me see the features better. Then I had to face up to the flag. A few experiments convinced me that the pencil outline / steady hands approach was not appropriate for my skill level so I tried the masking route (boo hiss cheat). Initially that didn't work out much better as I was finding it difficult to generate consistent diamond shapes with the masking tape. Then I remembered that I had this cutting template. And with a new knife blade and an inch of masking tape. I had decent diamonds And these were placed on the flag and given a thin wash of matte clear coat to seal them. I was nervous the thinned blue paint would seep under the masks. The blue paint was brushed on and once hardened I got brave enough to pull teh masks off. Its not completely perfect but I think it will work. A little touch up should improve it and I think its a success for the method. I don't think I would have liked to paint Jacks Albatross that way though. I think a similar approach will be taken to the green bands on the tunic arms. Thanks for looking in, the likes and comments Alan

-
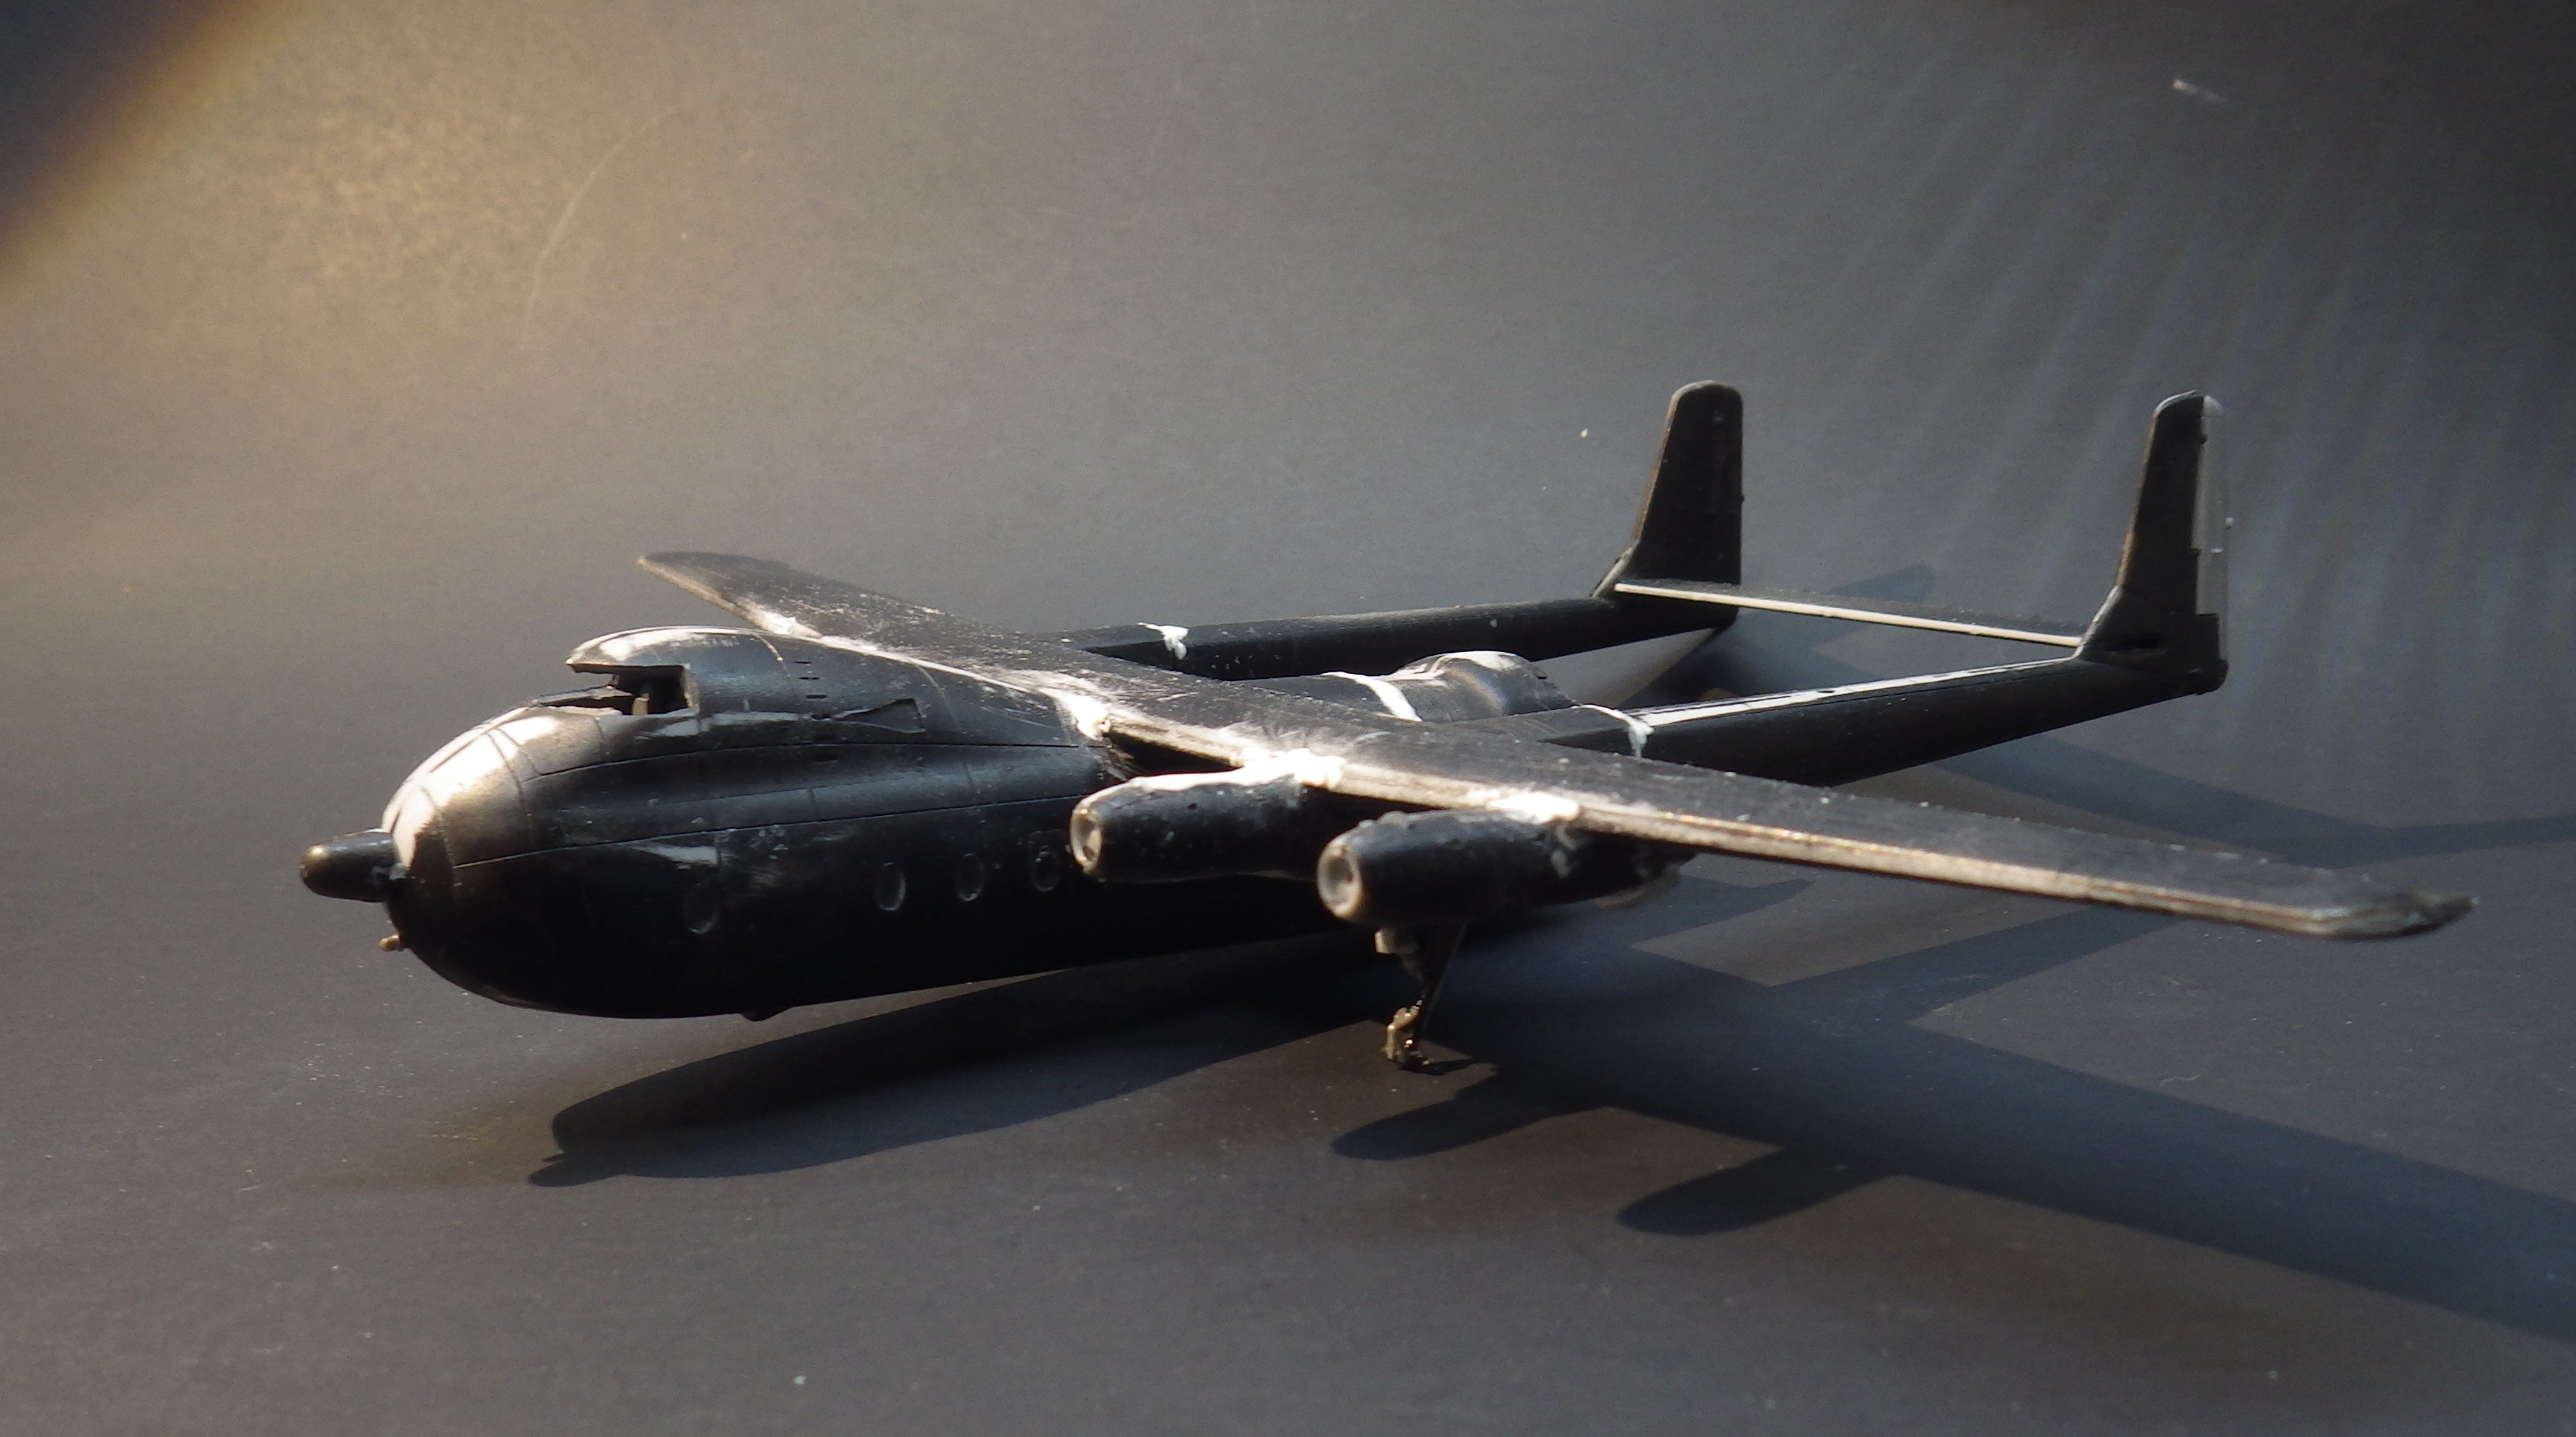
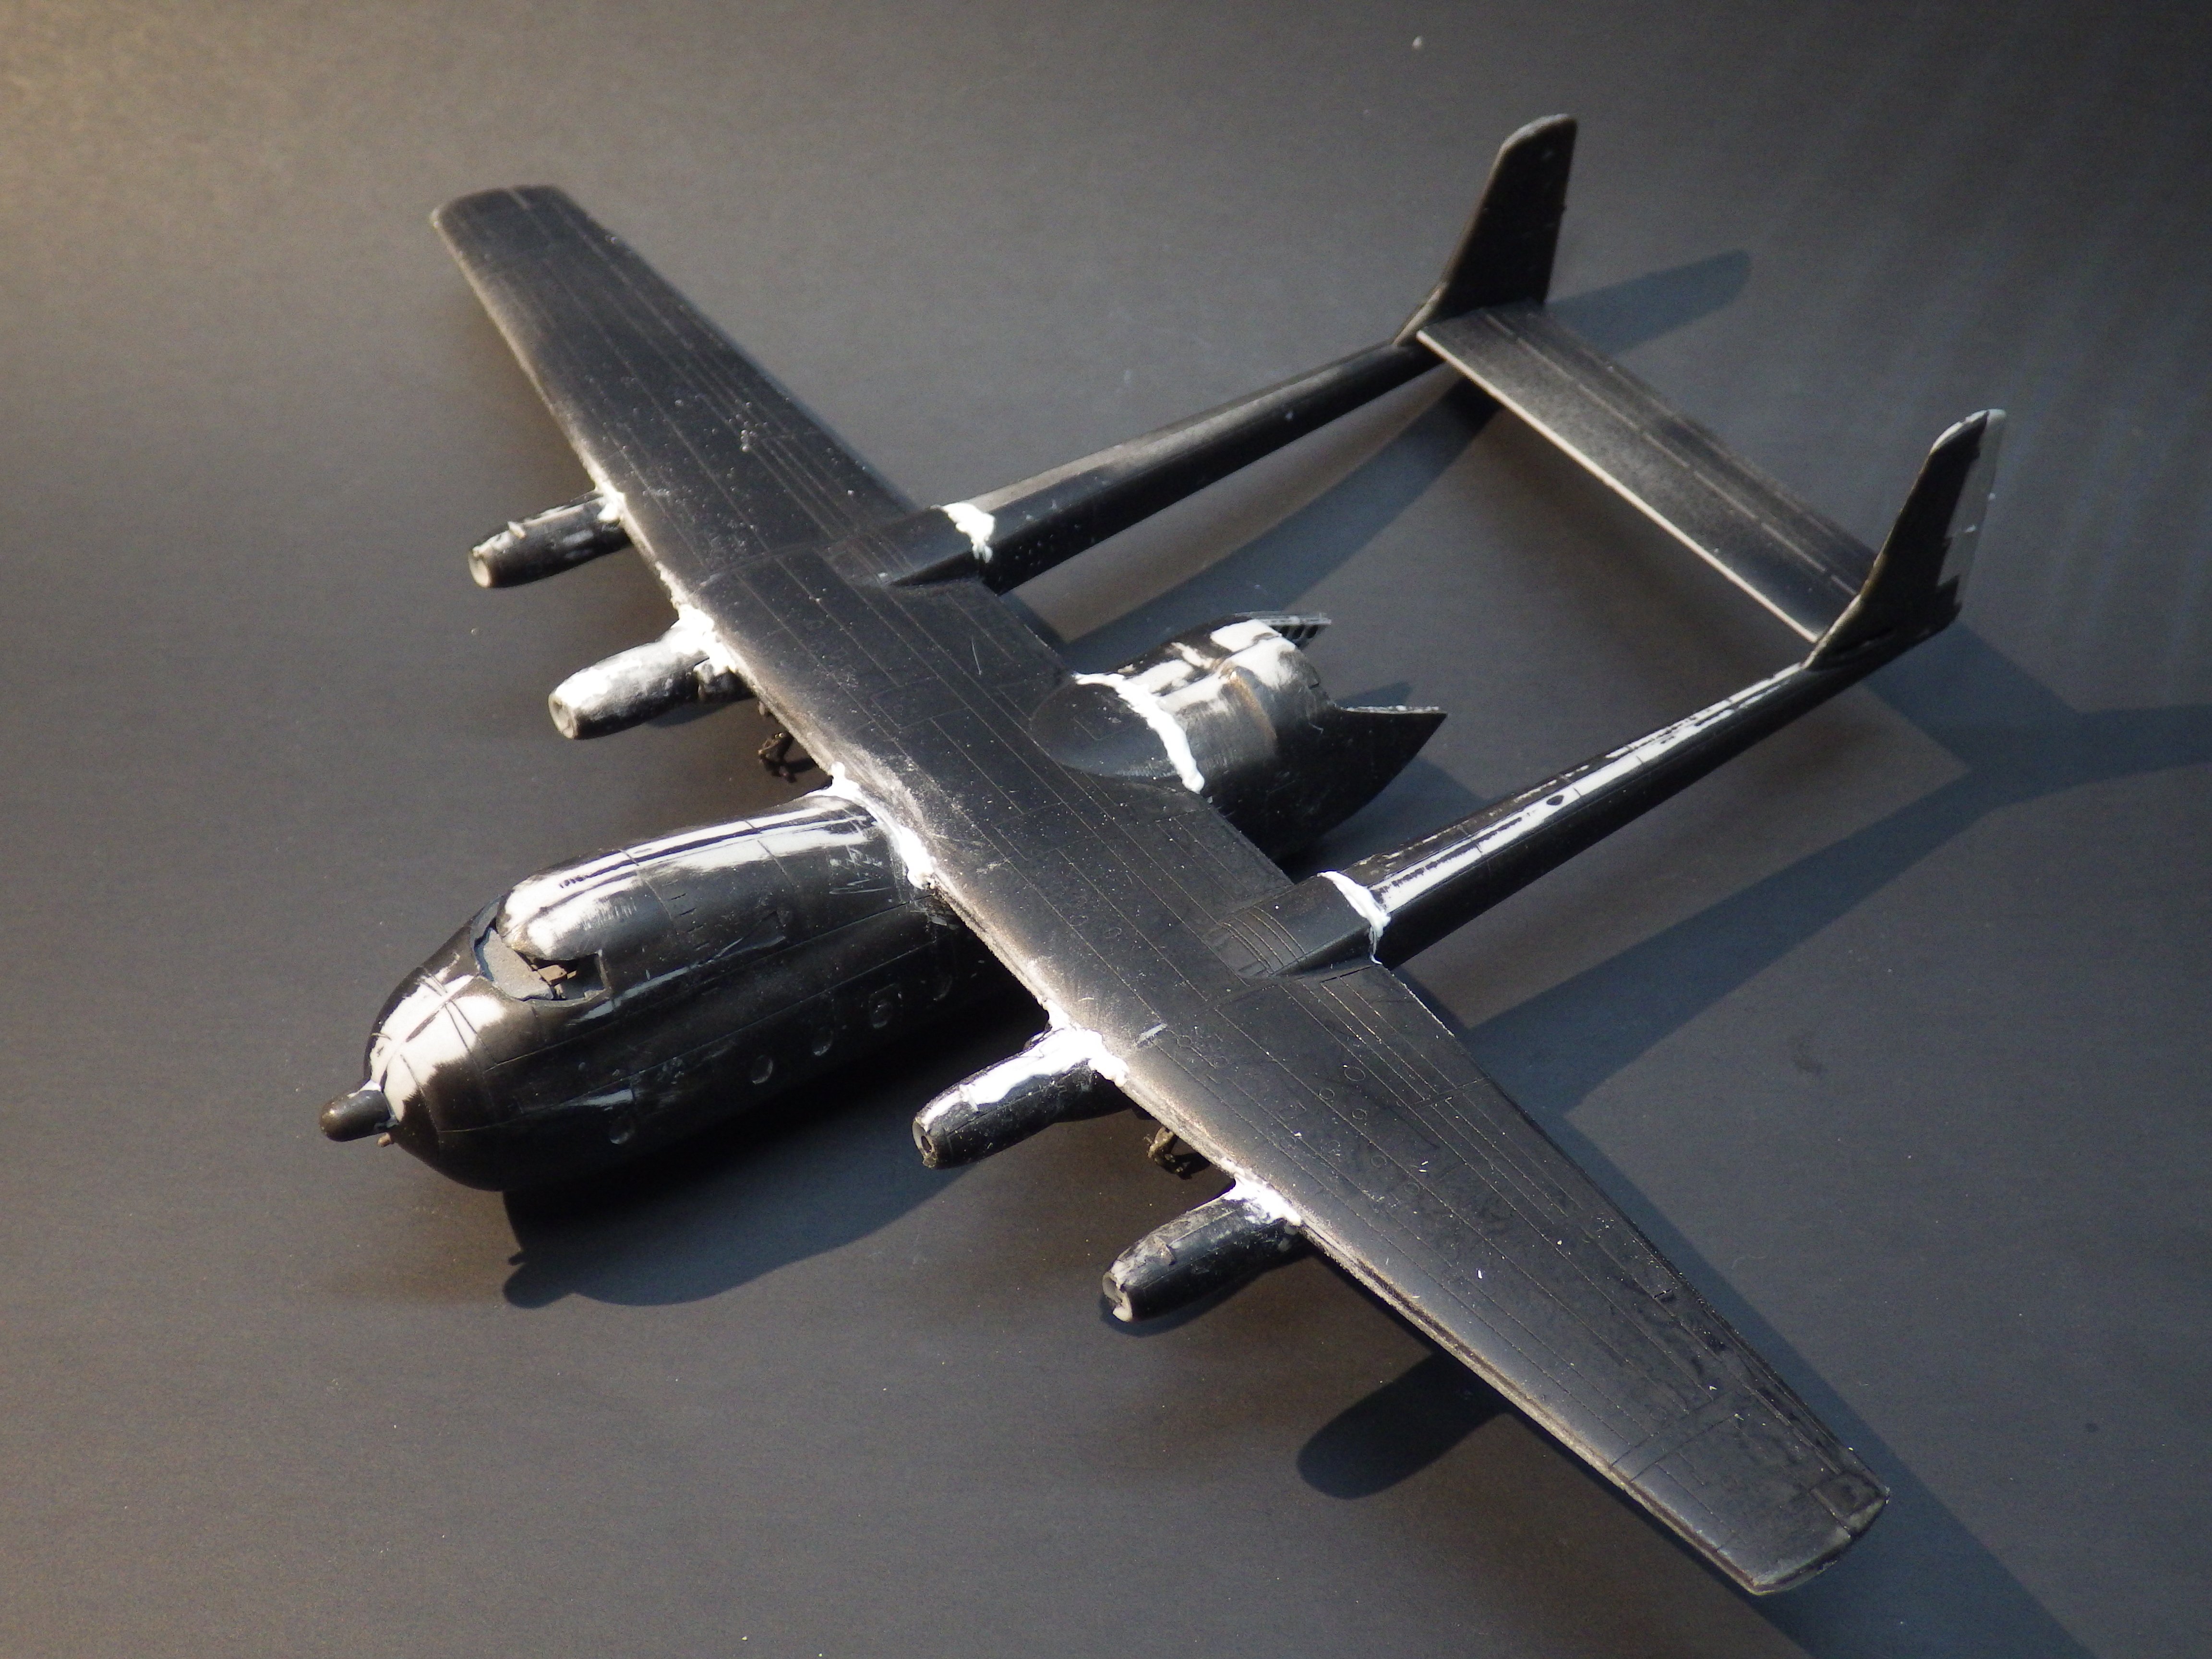
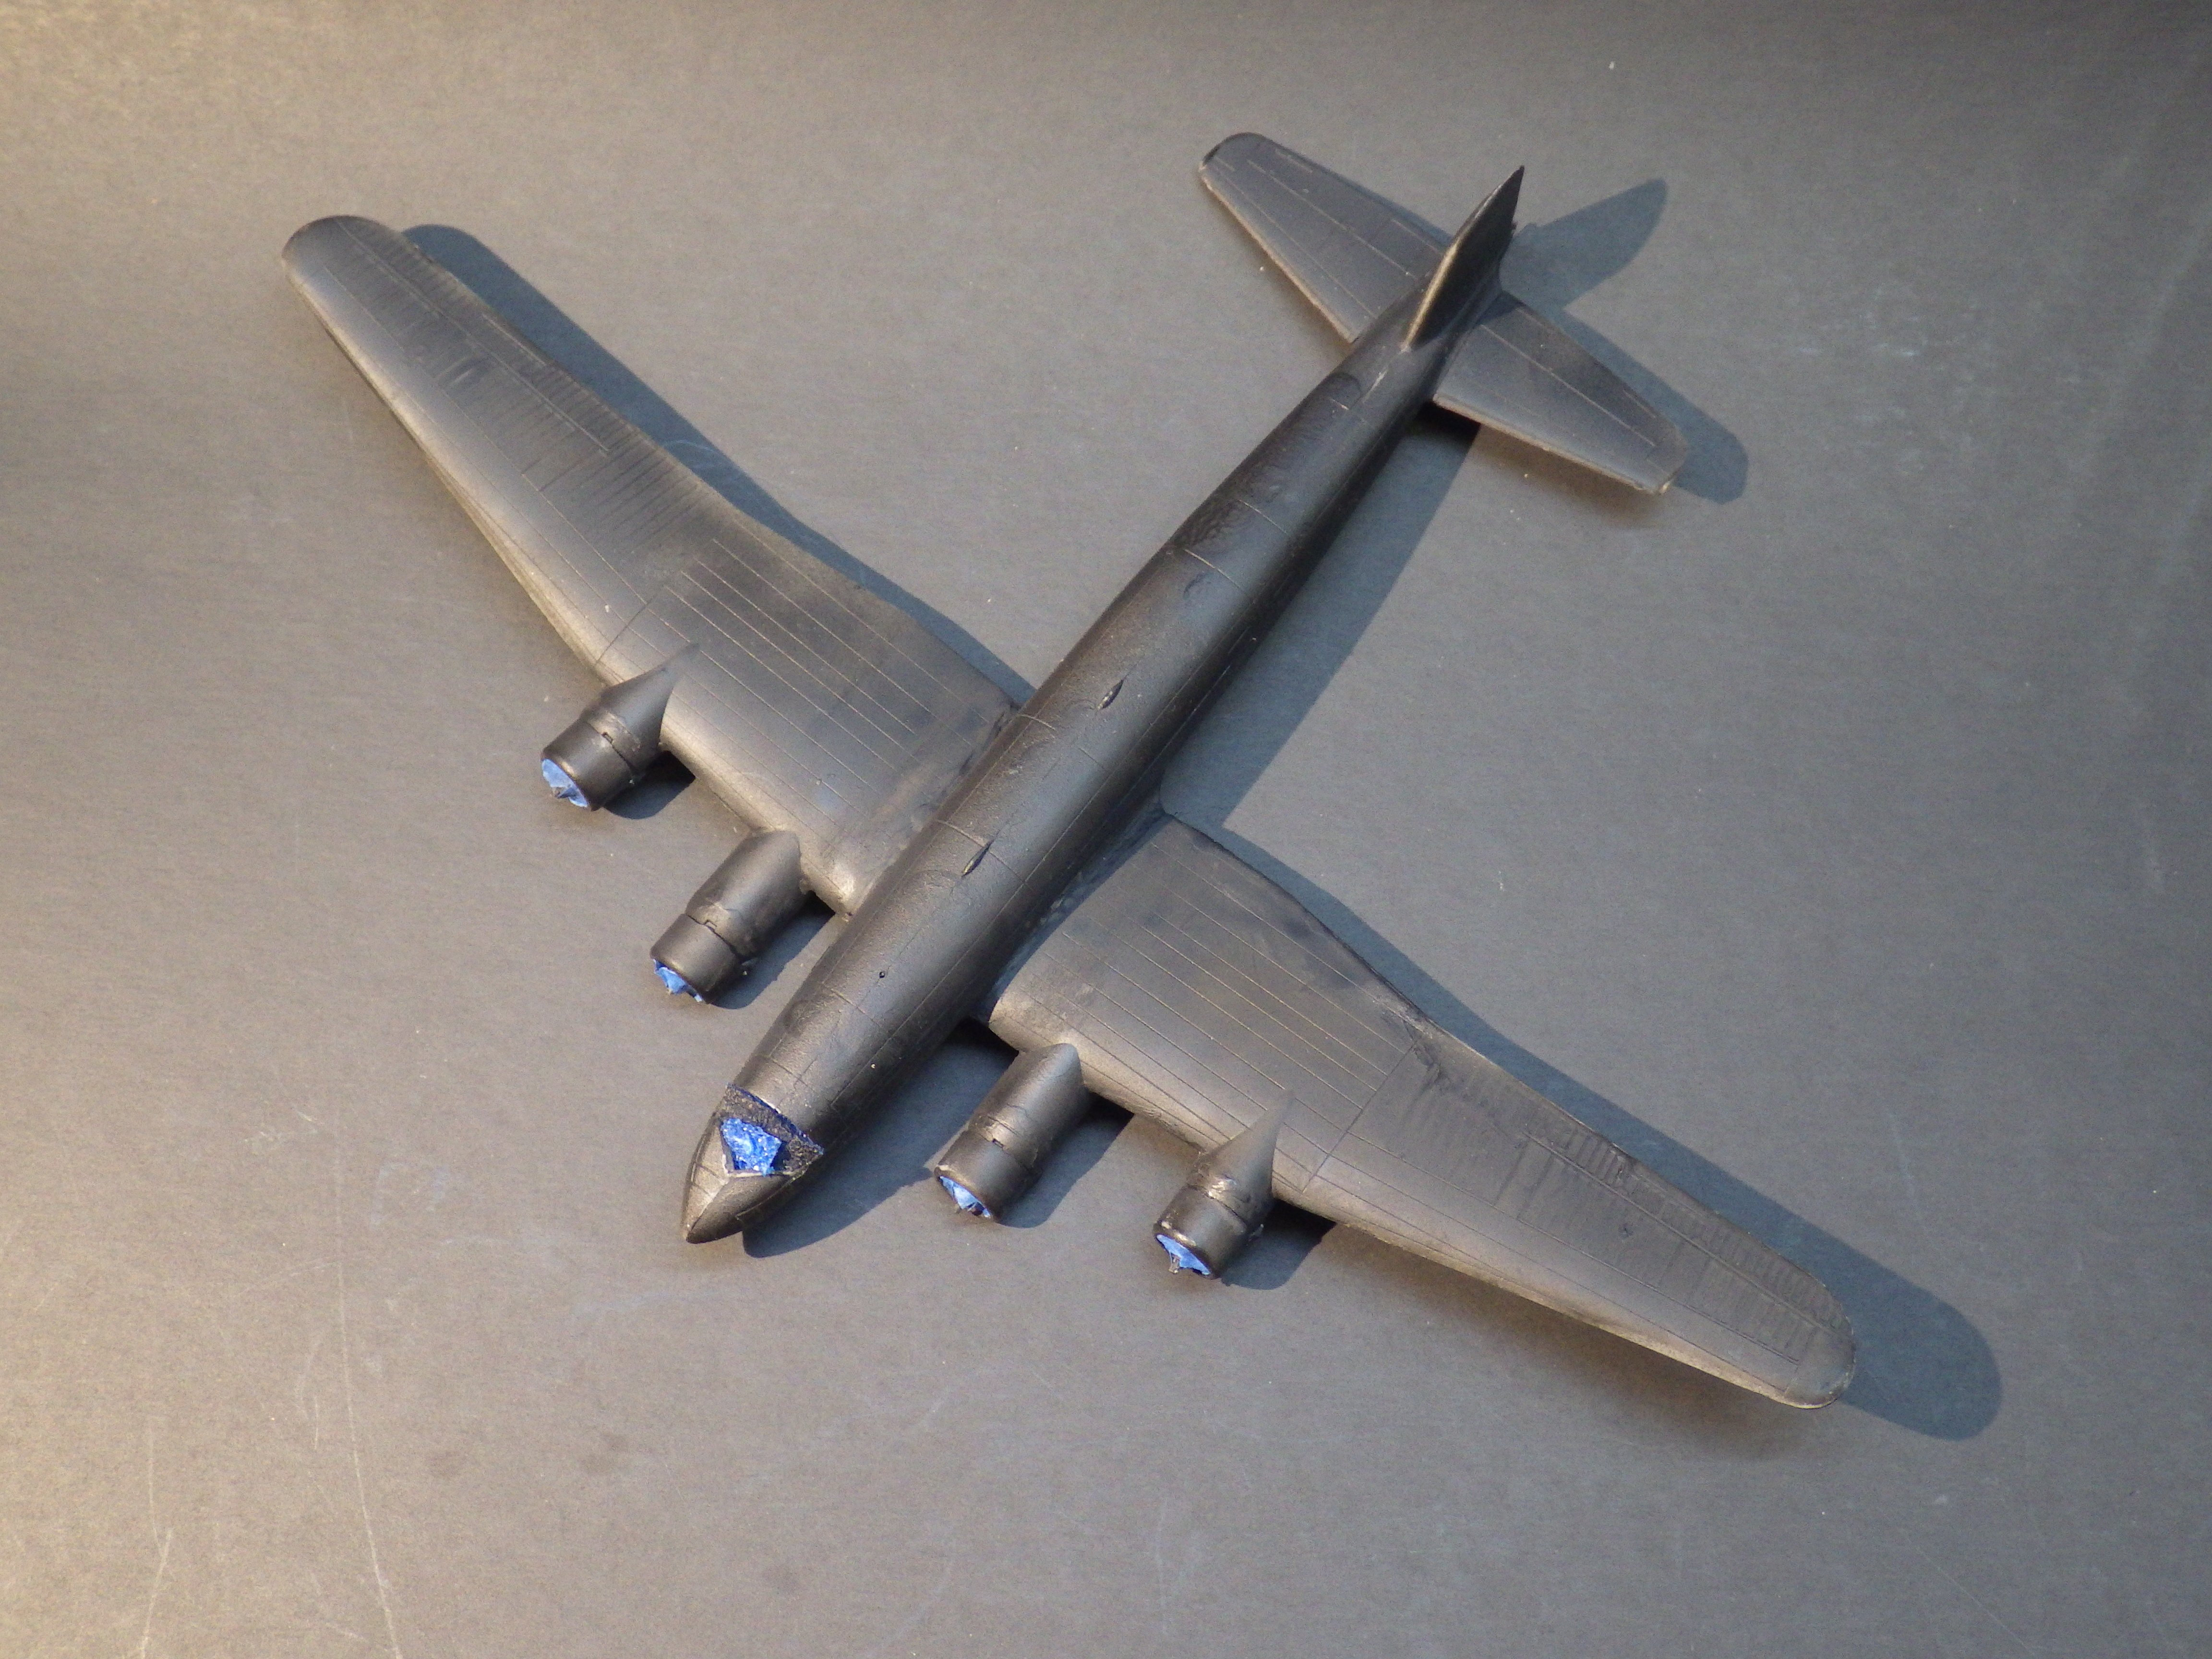
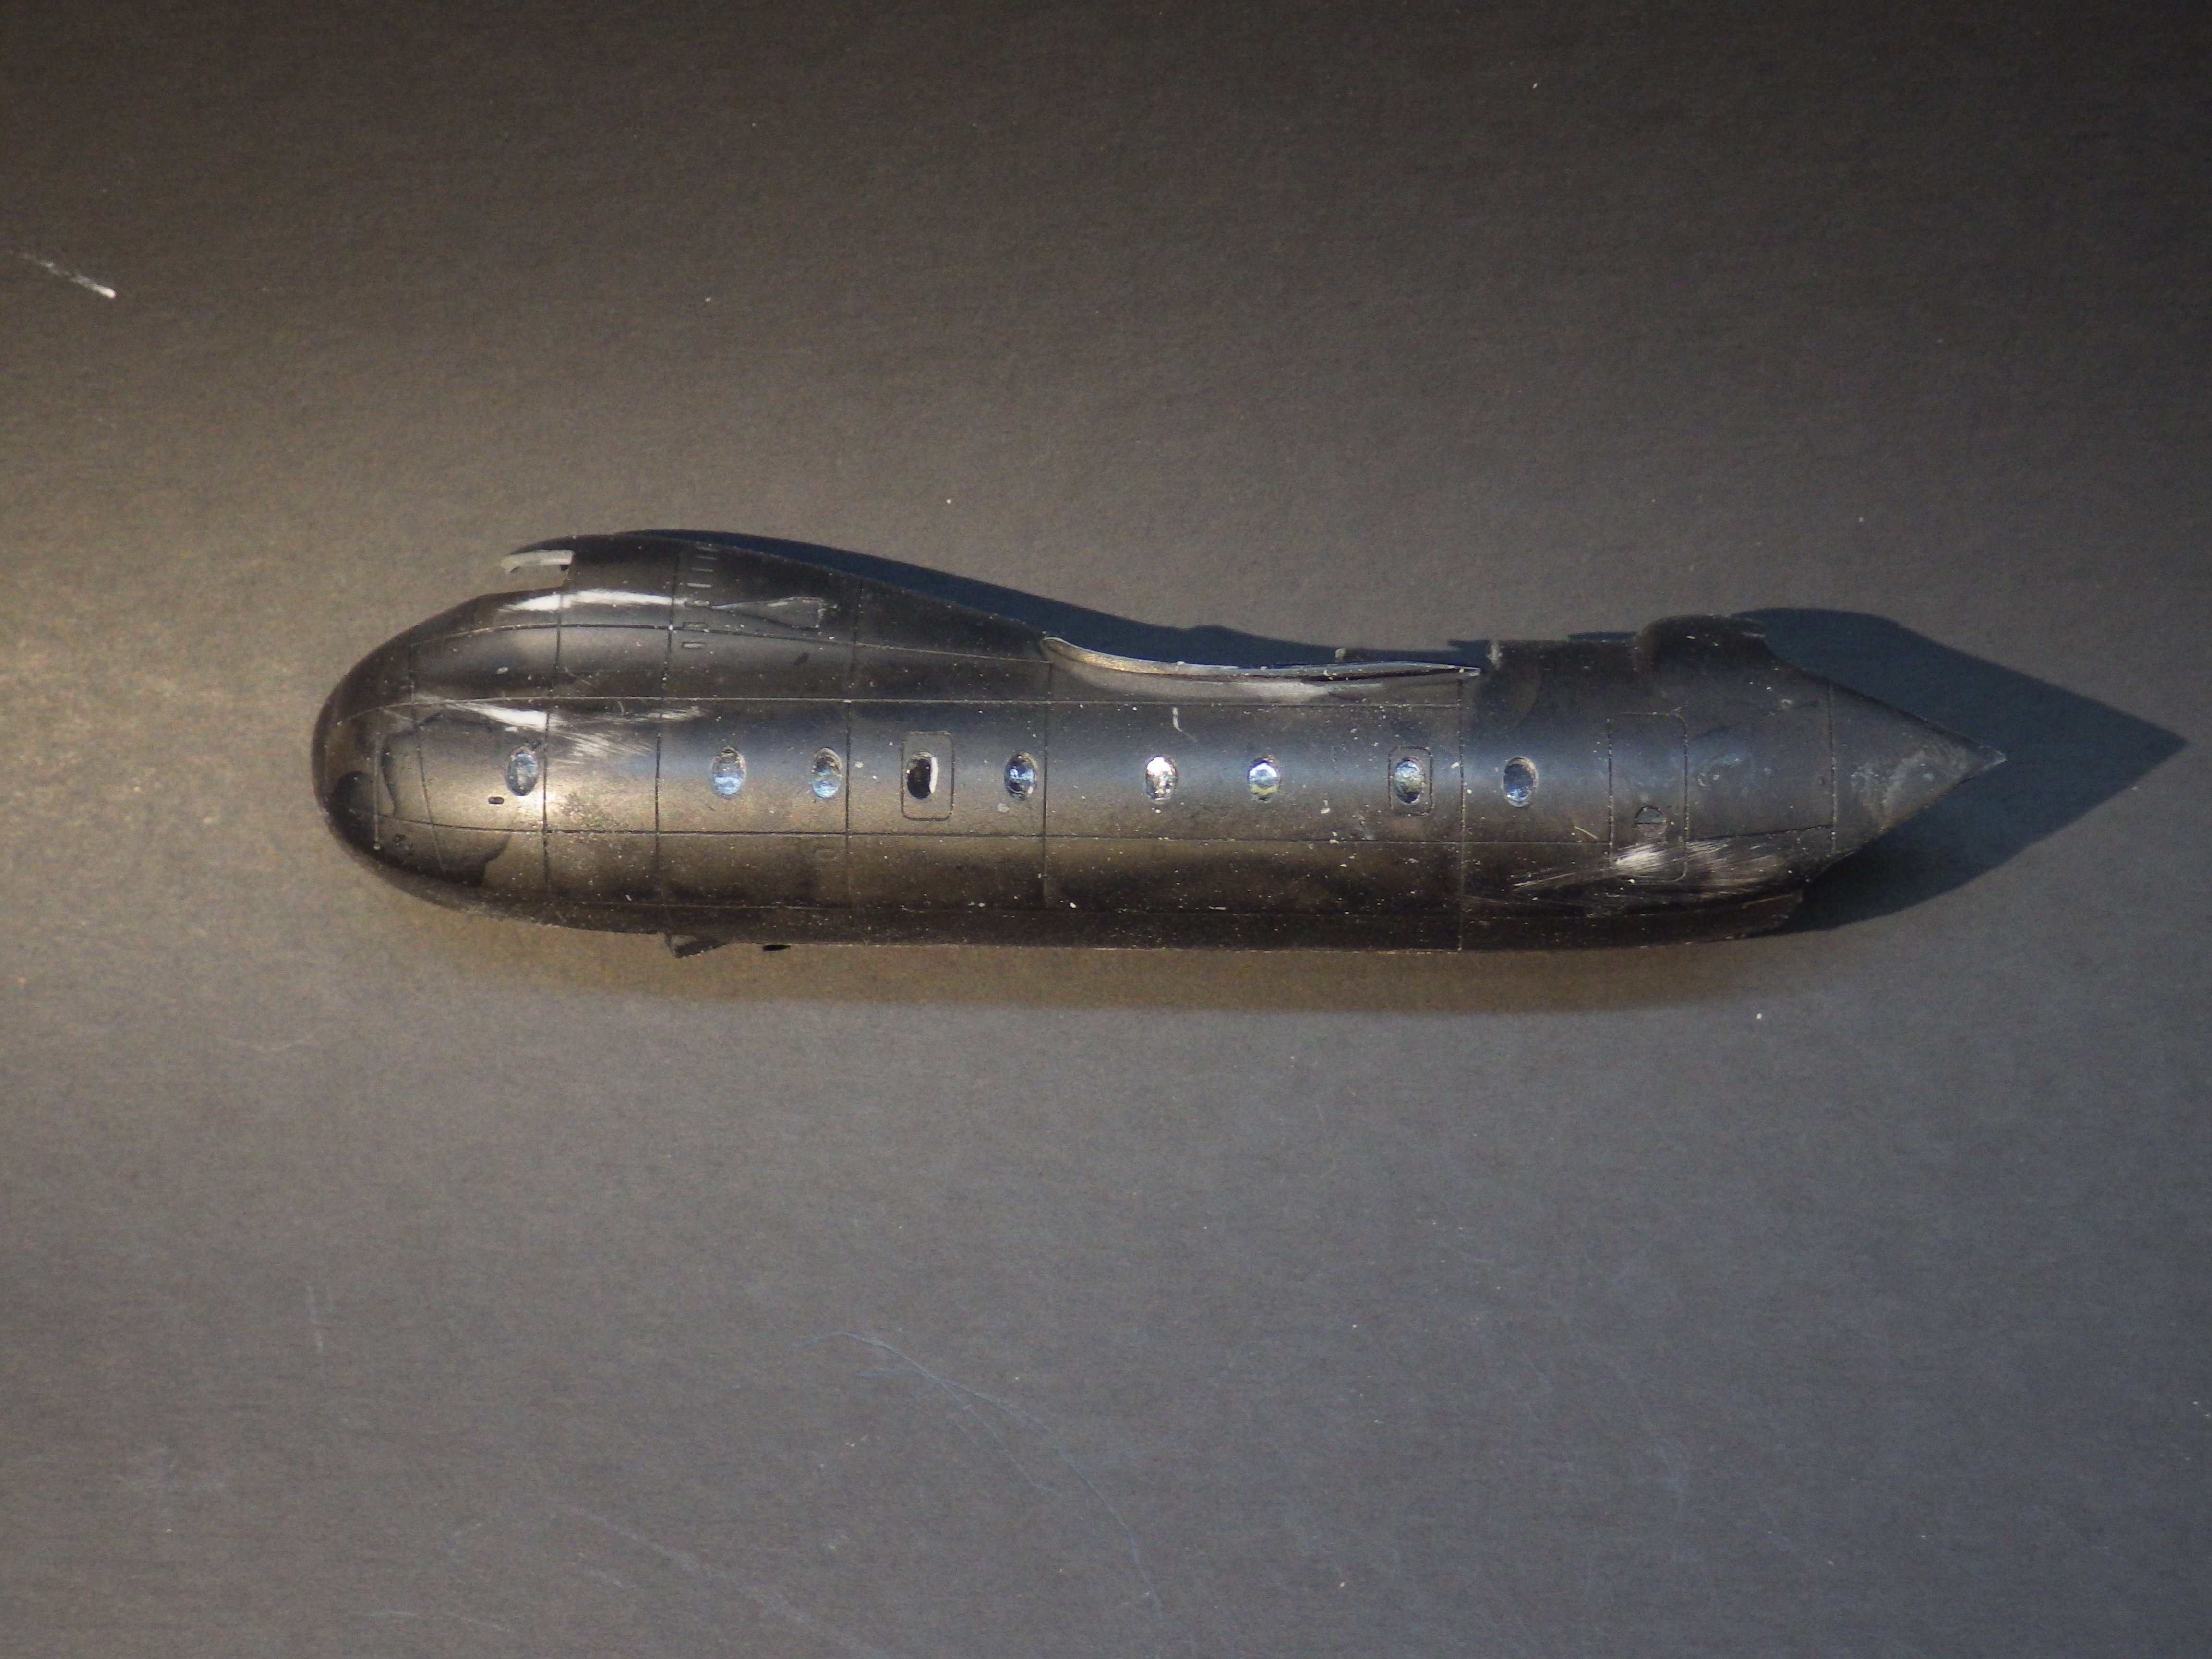
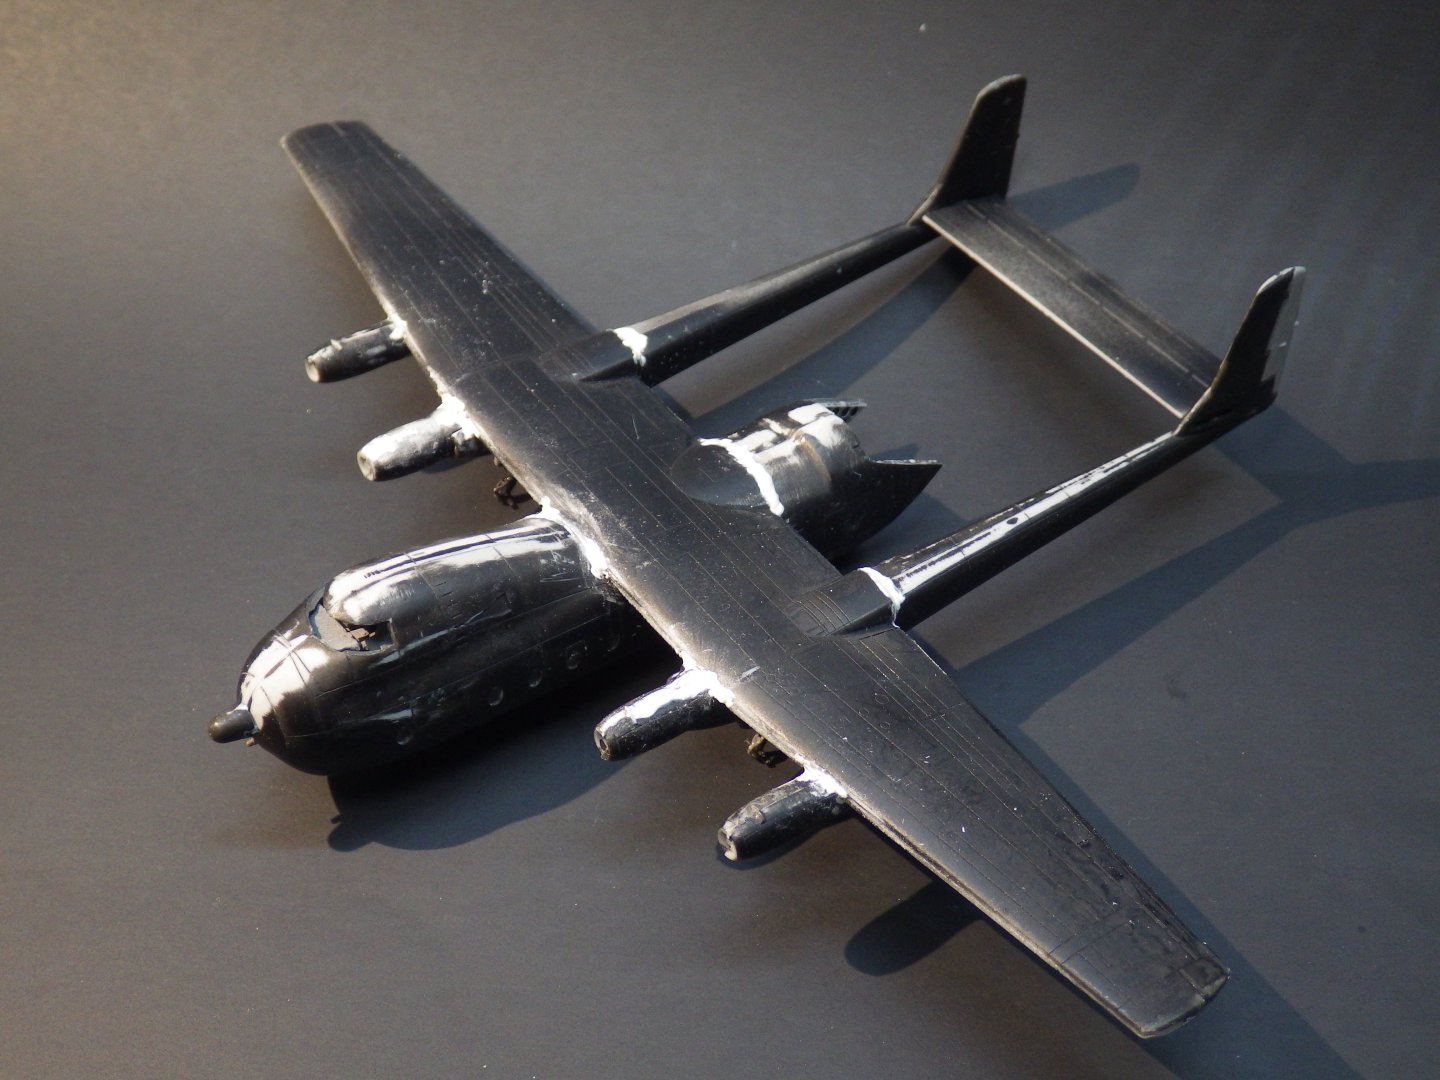
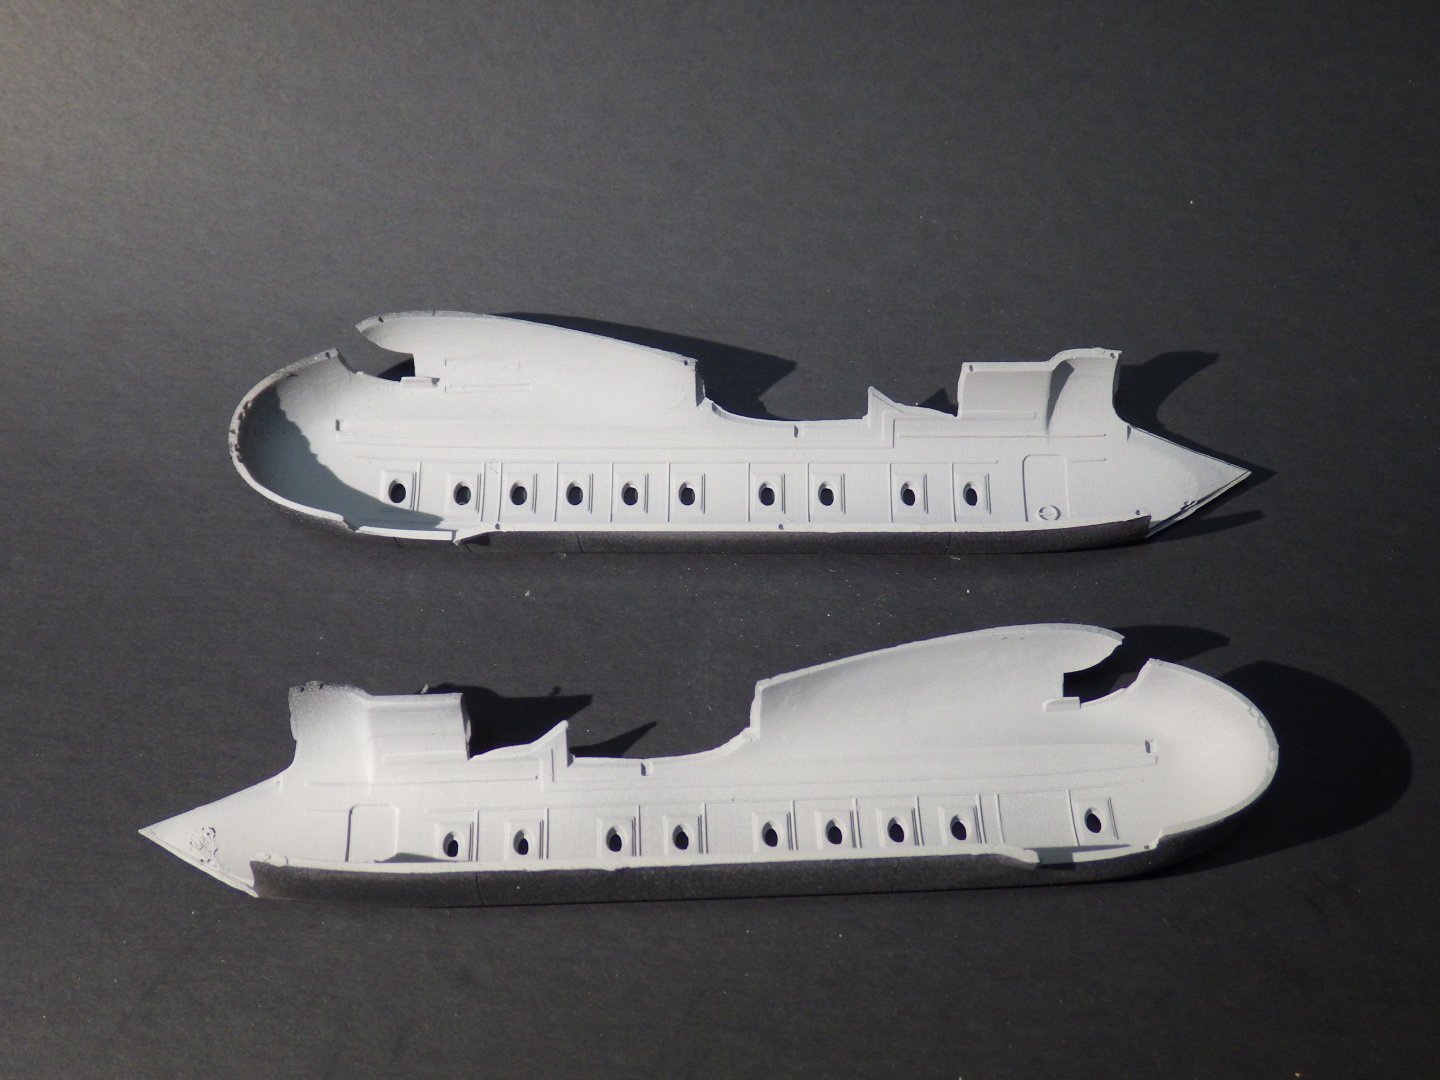
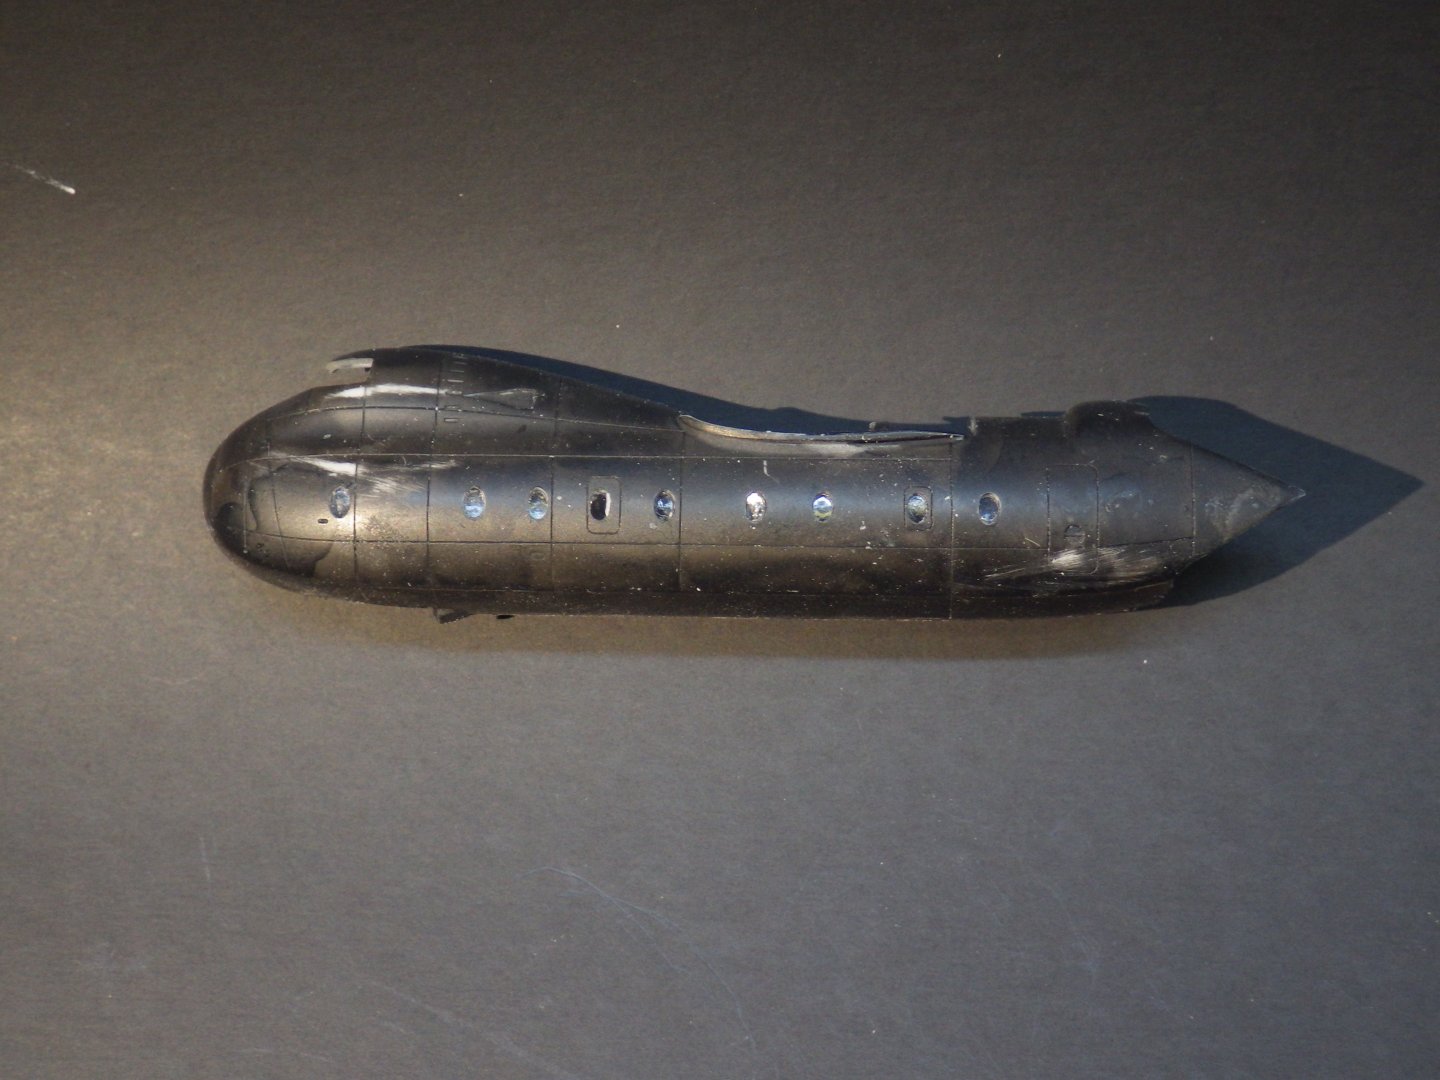
After a couple of days getting seriously medieval with the tail booms and the wing / fuselage fit the major pieces are assembled and the first round of filler applied. She is a serious tail sitter but I plan to complete her with the doors open and I'm hoping the ramp will put her back on the nose wheel. I need to find a few decent photos of the clam shell door in the open position. The kit provides masks for the port holes (but not enough so some are liquid mask). Once the filler has hardened I will try a coat of primer and see what I have got. Thanks for looking in and the likes and comments Alan

- 52 replies
-
- 11
-

-
Hi Ken Thats exactly how the Argosy kit is. Plus a mis-shaped parts. It does have some good features; the booms are designed to lock into the wings so they are aligned and fir the tail plane - but if only they fitted the engaging parts. I have the Amodel Firebar too. I'm trying to decide whether to start it in this iteration or complete the Beverley instead. Or make a break for sanity and pick a Firehawk ship are revel in the fit of parts. Alan
-
Thank you very much OC. The decal work is taking a while but only three more to go now I hope the laptop keyboard issue is getting sorted Alan
-
Thanks Mike I need to get better at metal finishes. The extensive decals help cover up some of the blemishes. Hopefully I can make the stand work to pull it together. Roden seem a bit hit and miss. I have made some great kits but this is not one of them😄 Alan
-
Great progress Yves. The gaps between the strips makes the build much harder but you have it very exact and neat. Alan
-
Mike, the scratch built gear looks spectacular. It definitely repays your efforts. wing looks nice too. alan
-
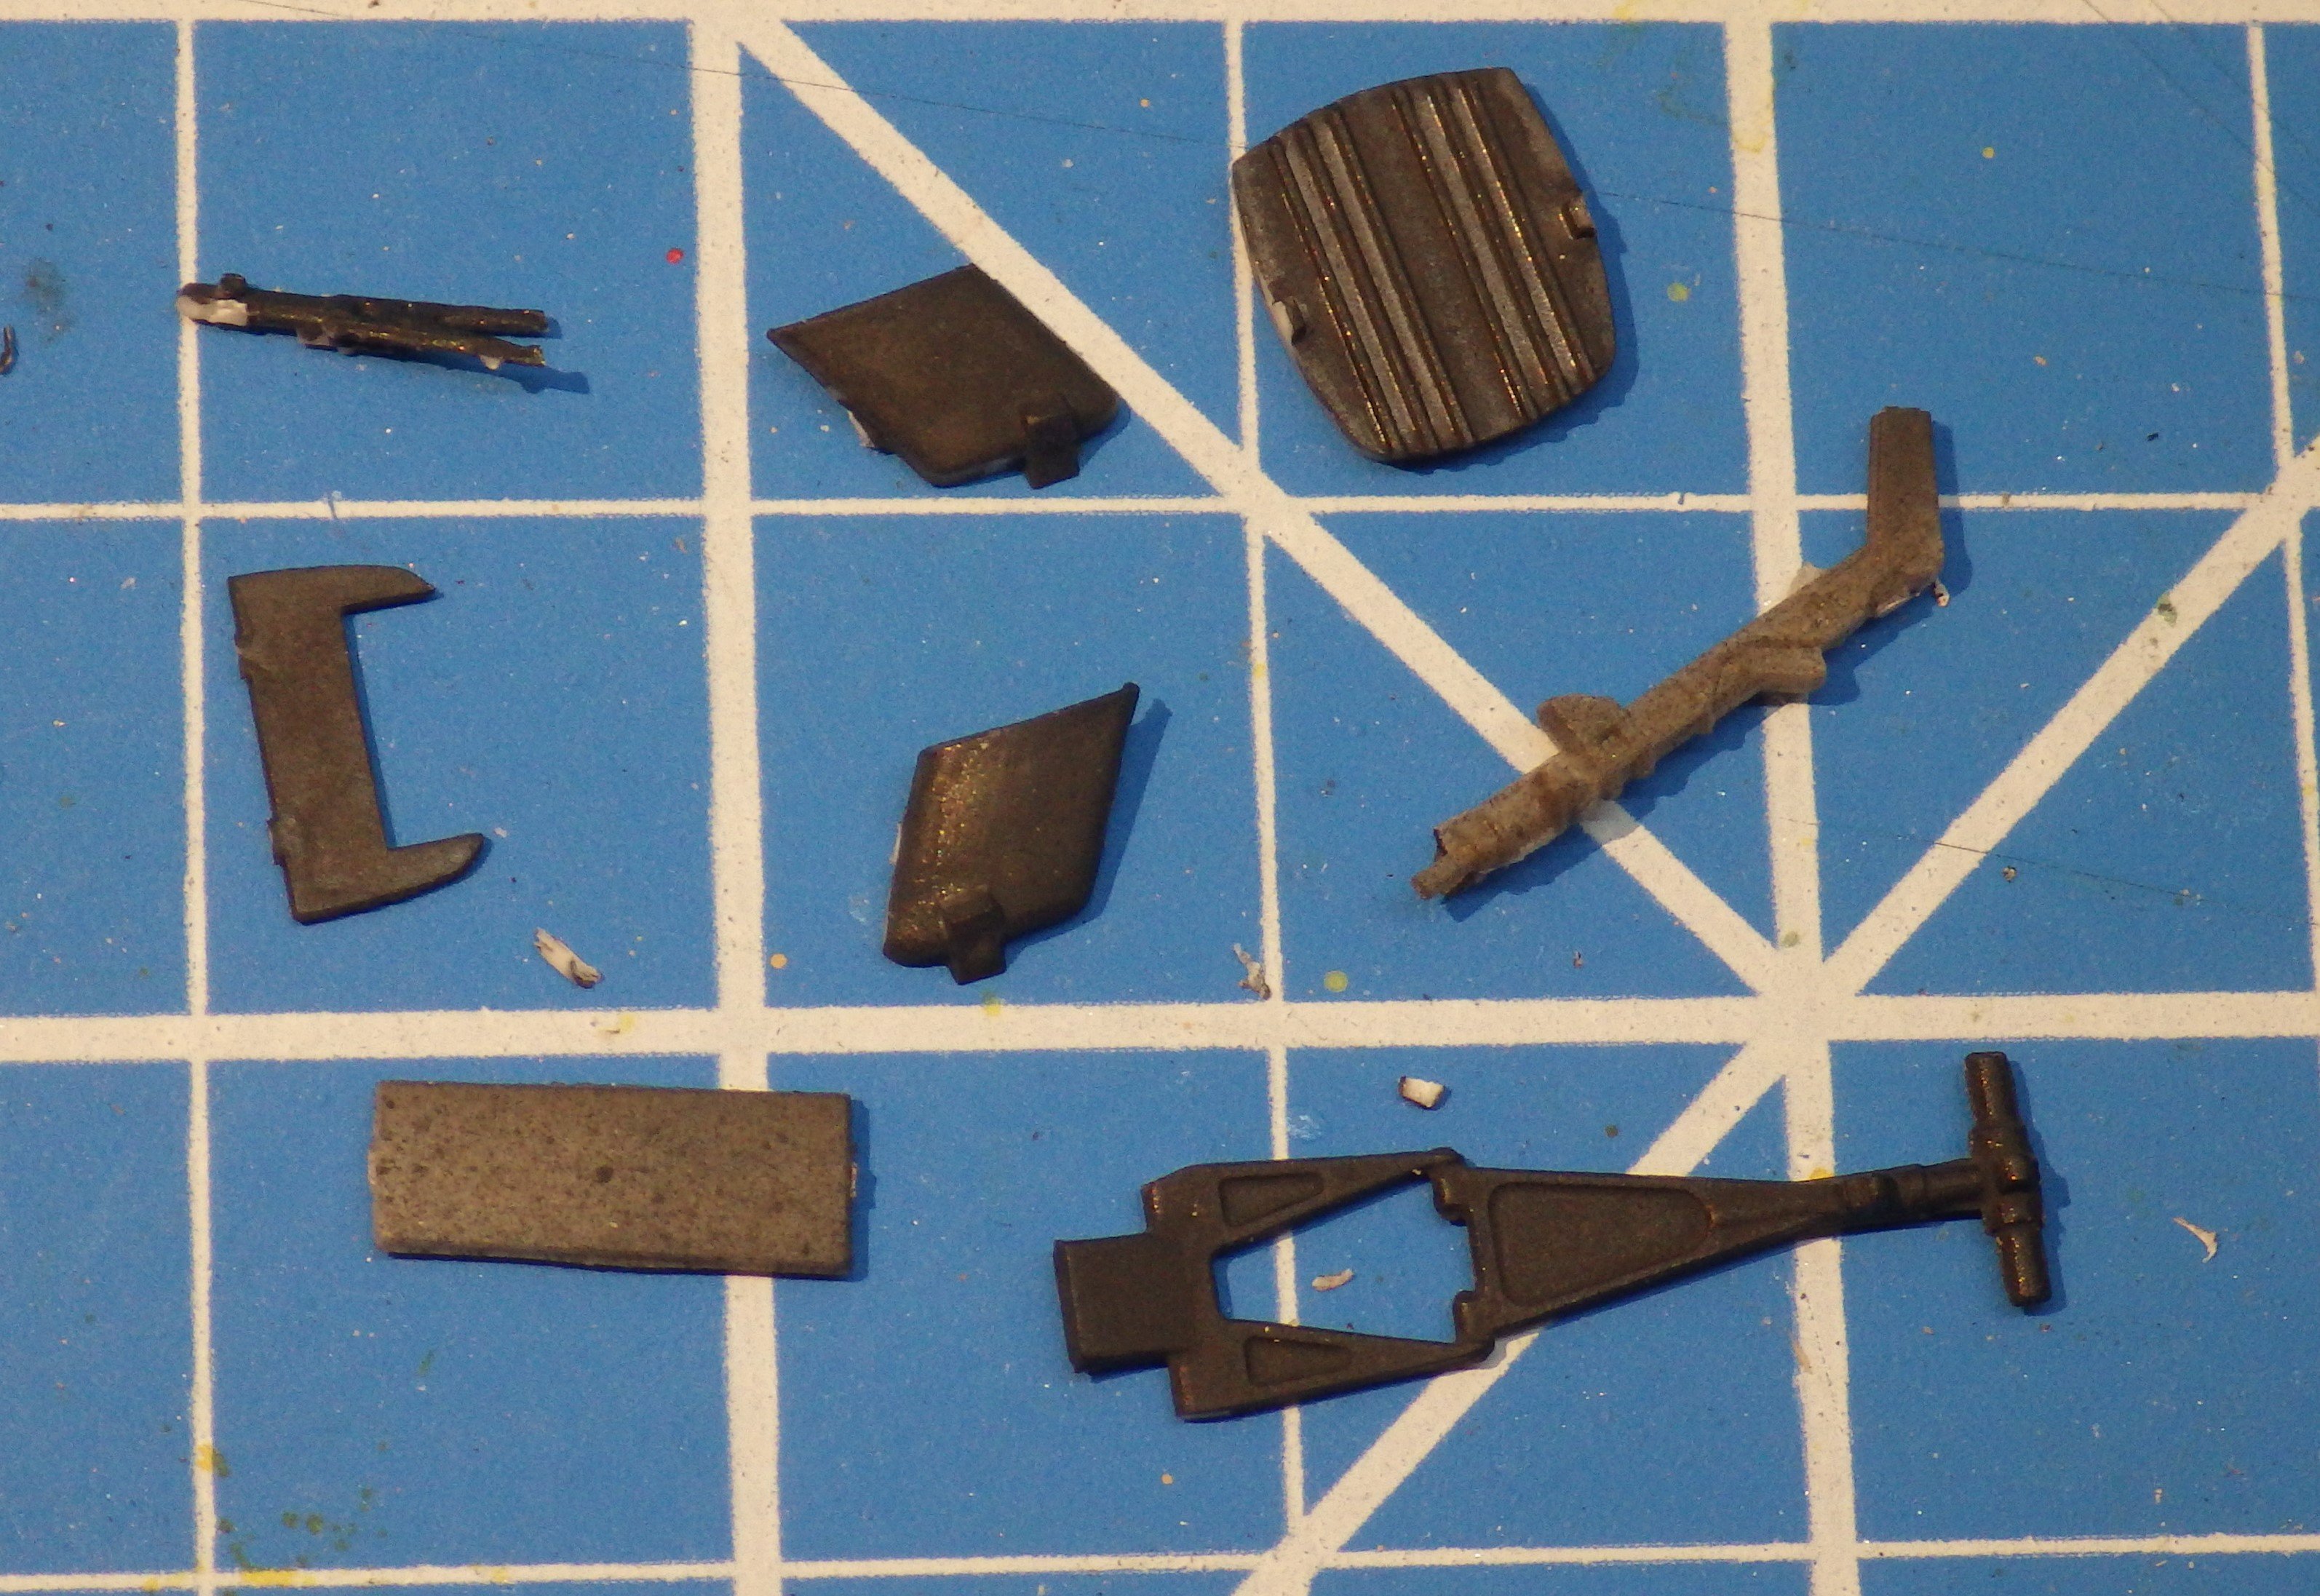
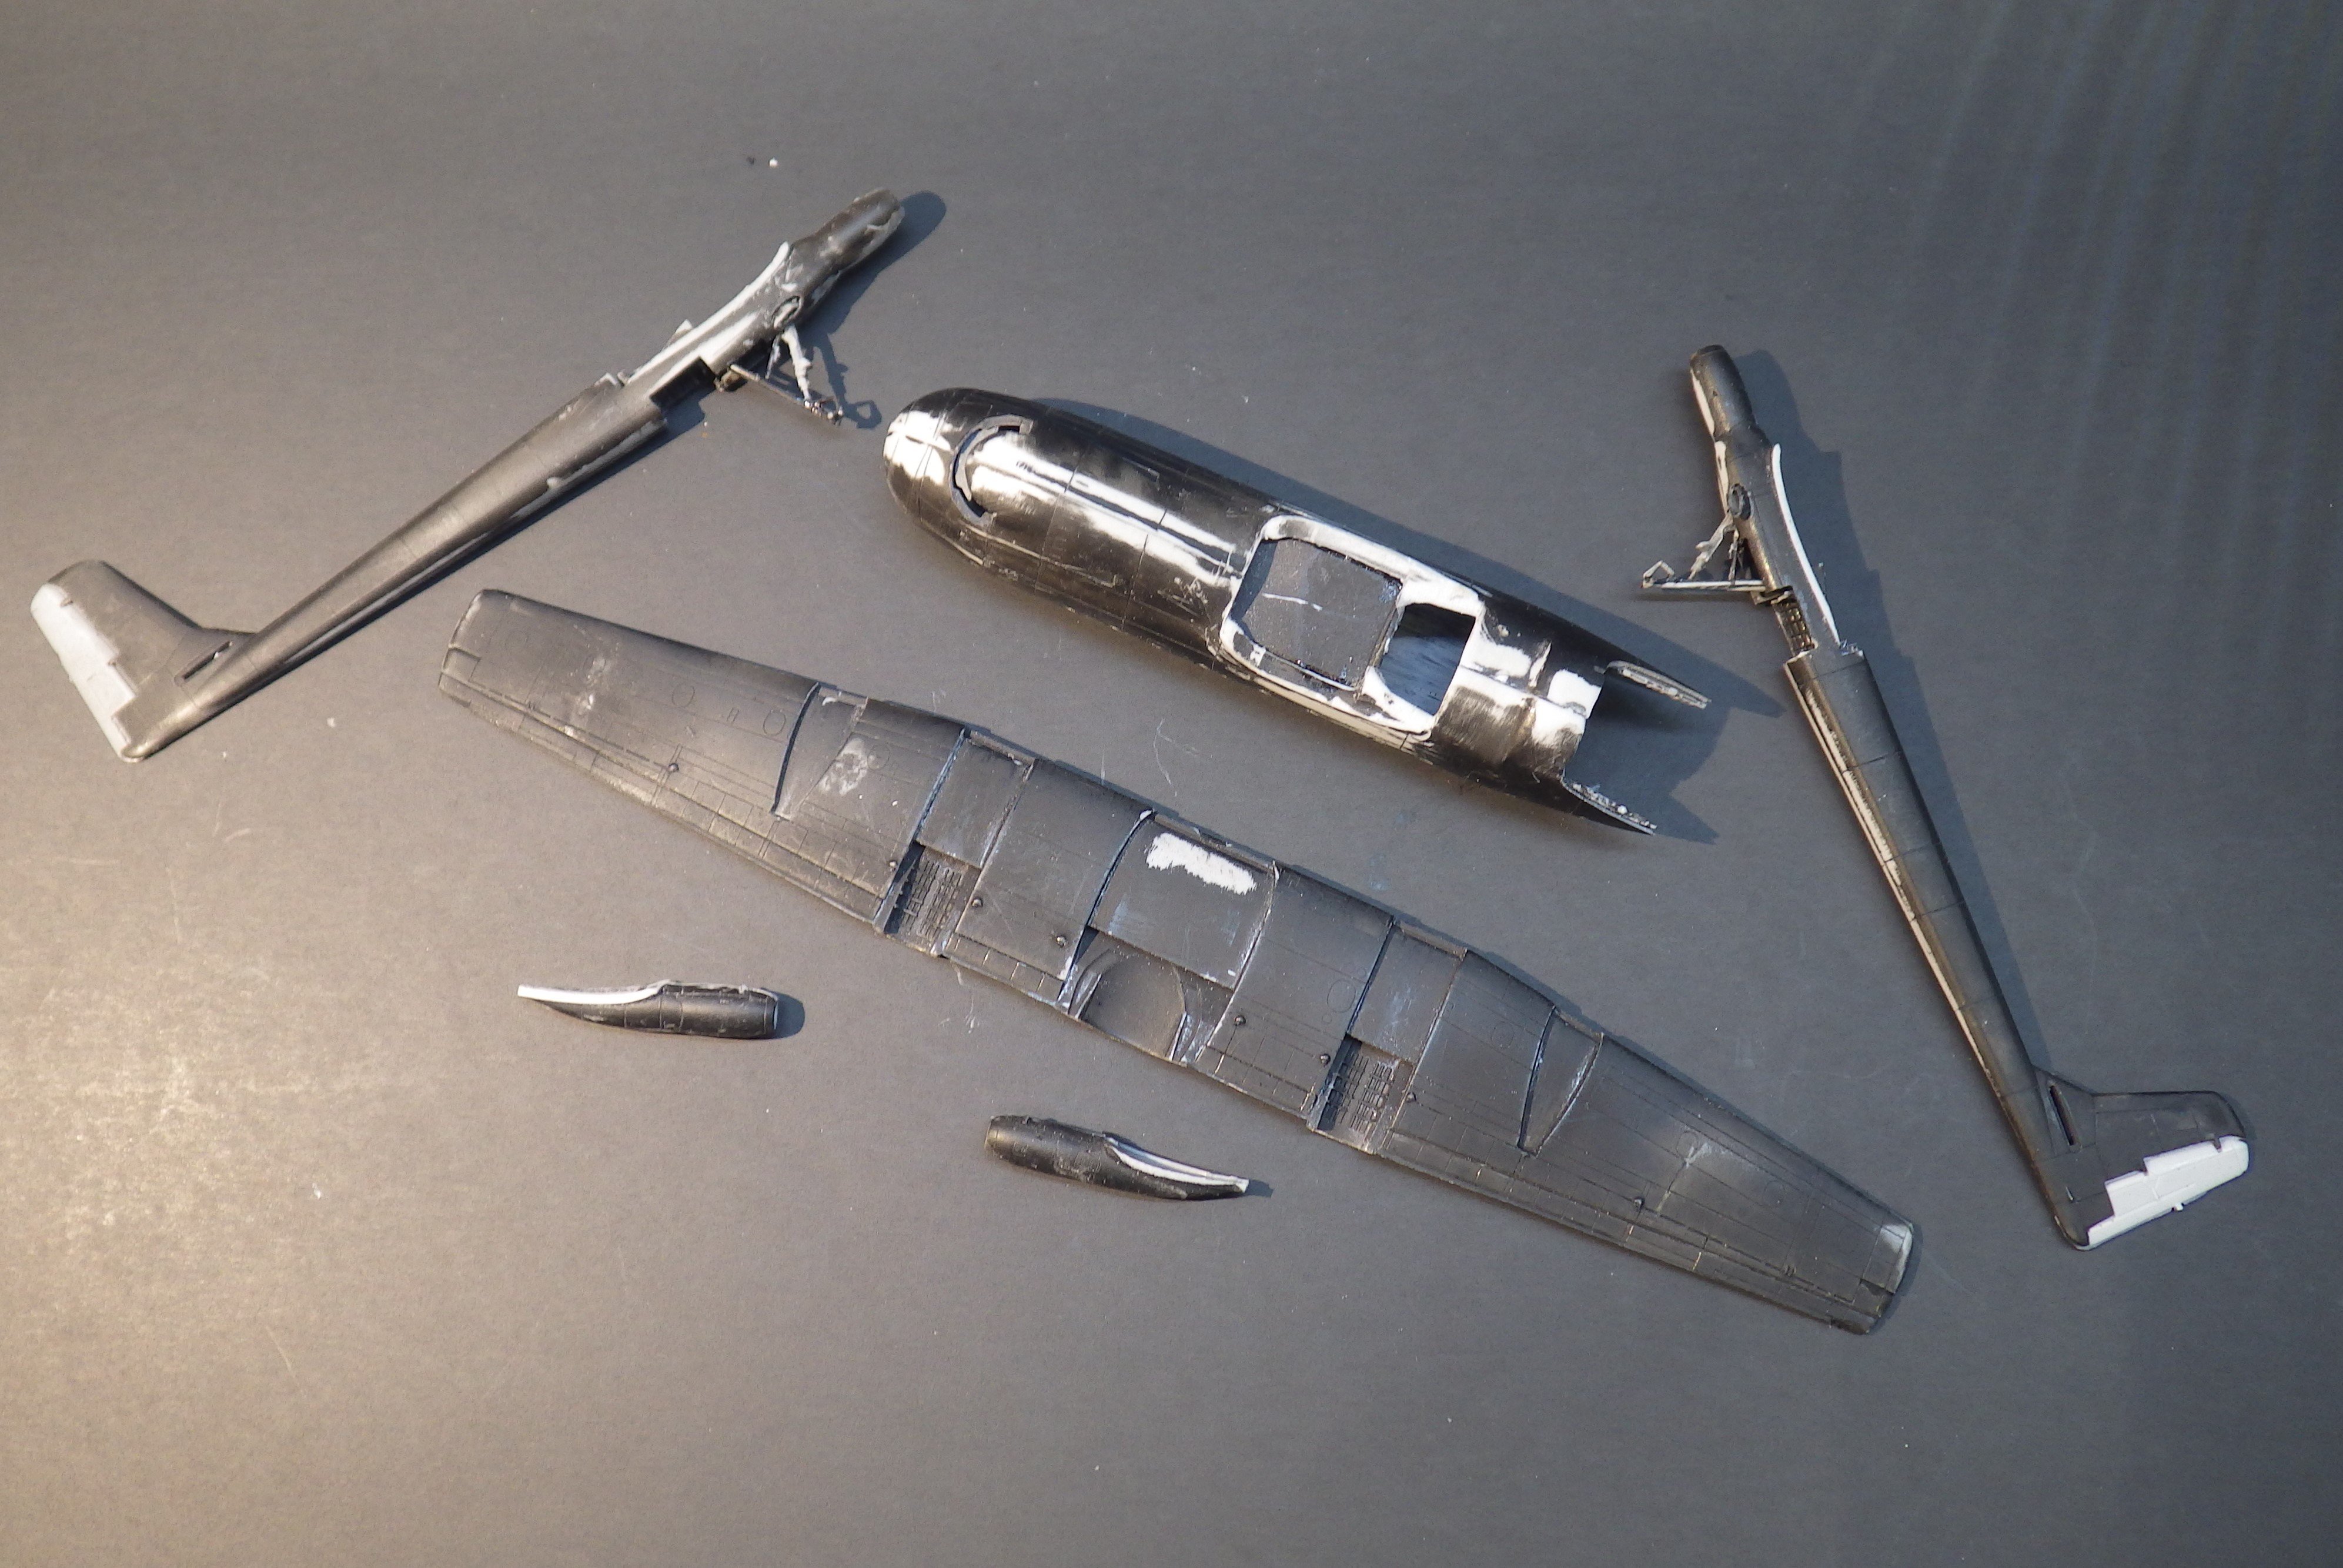
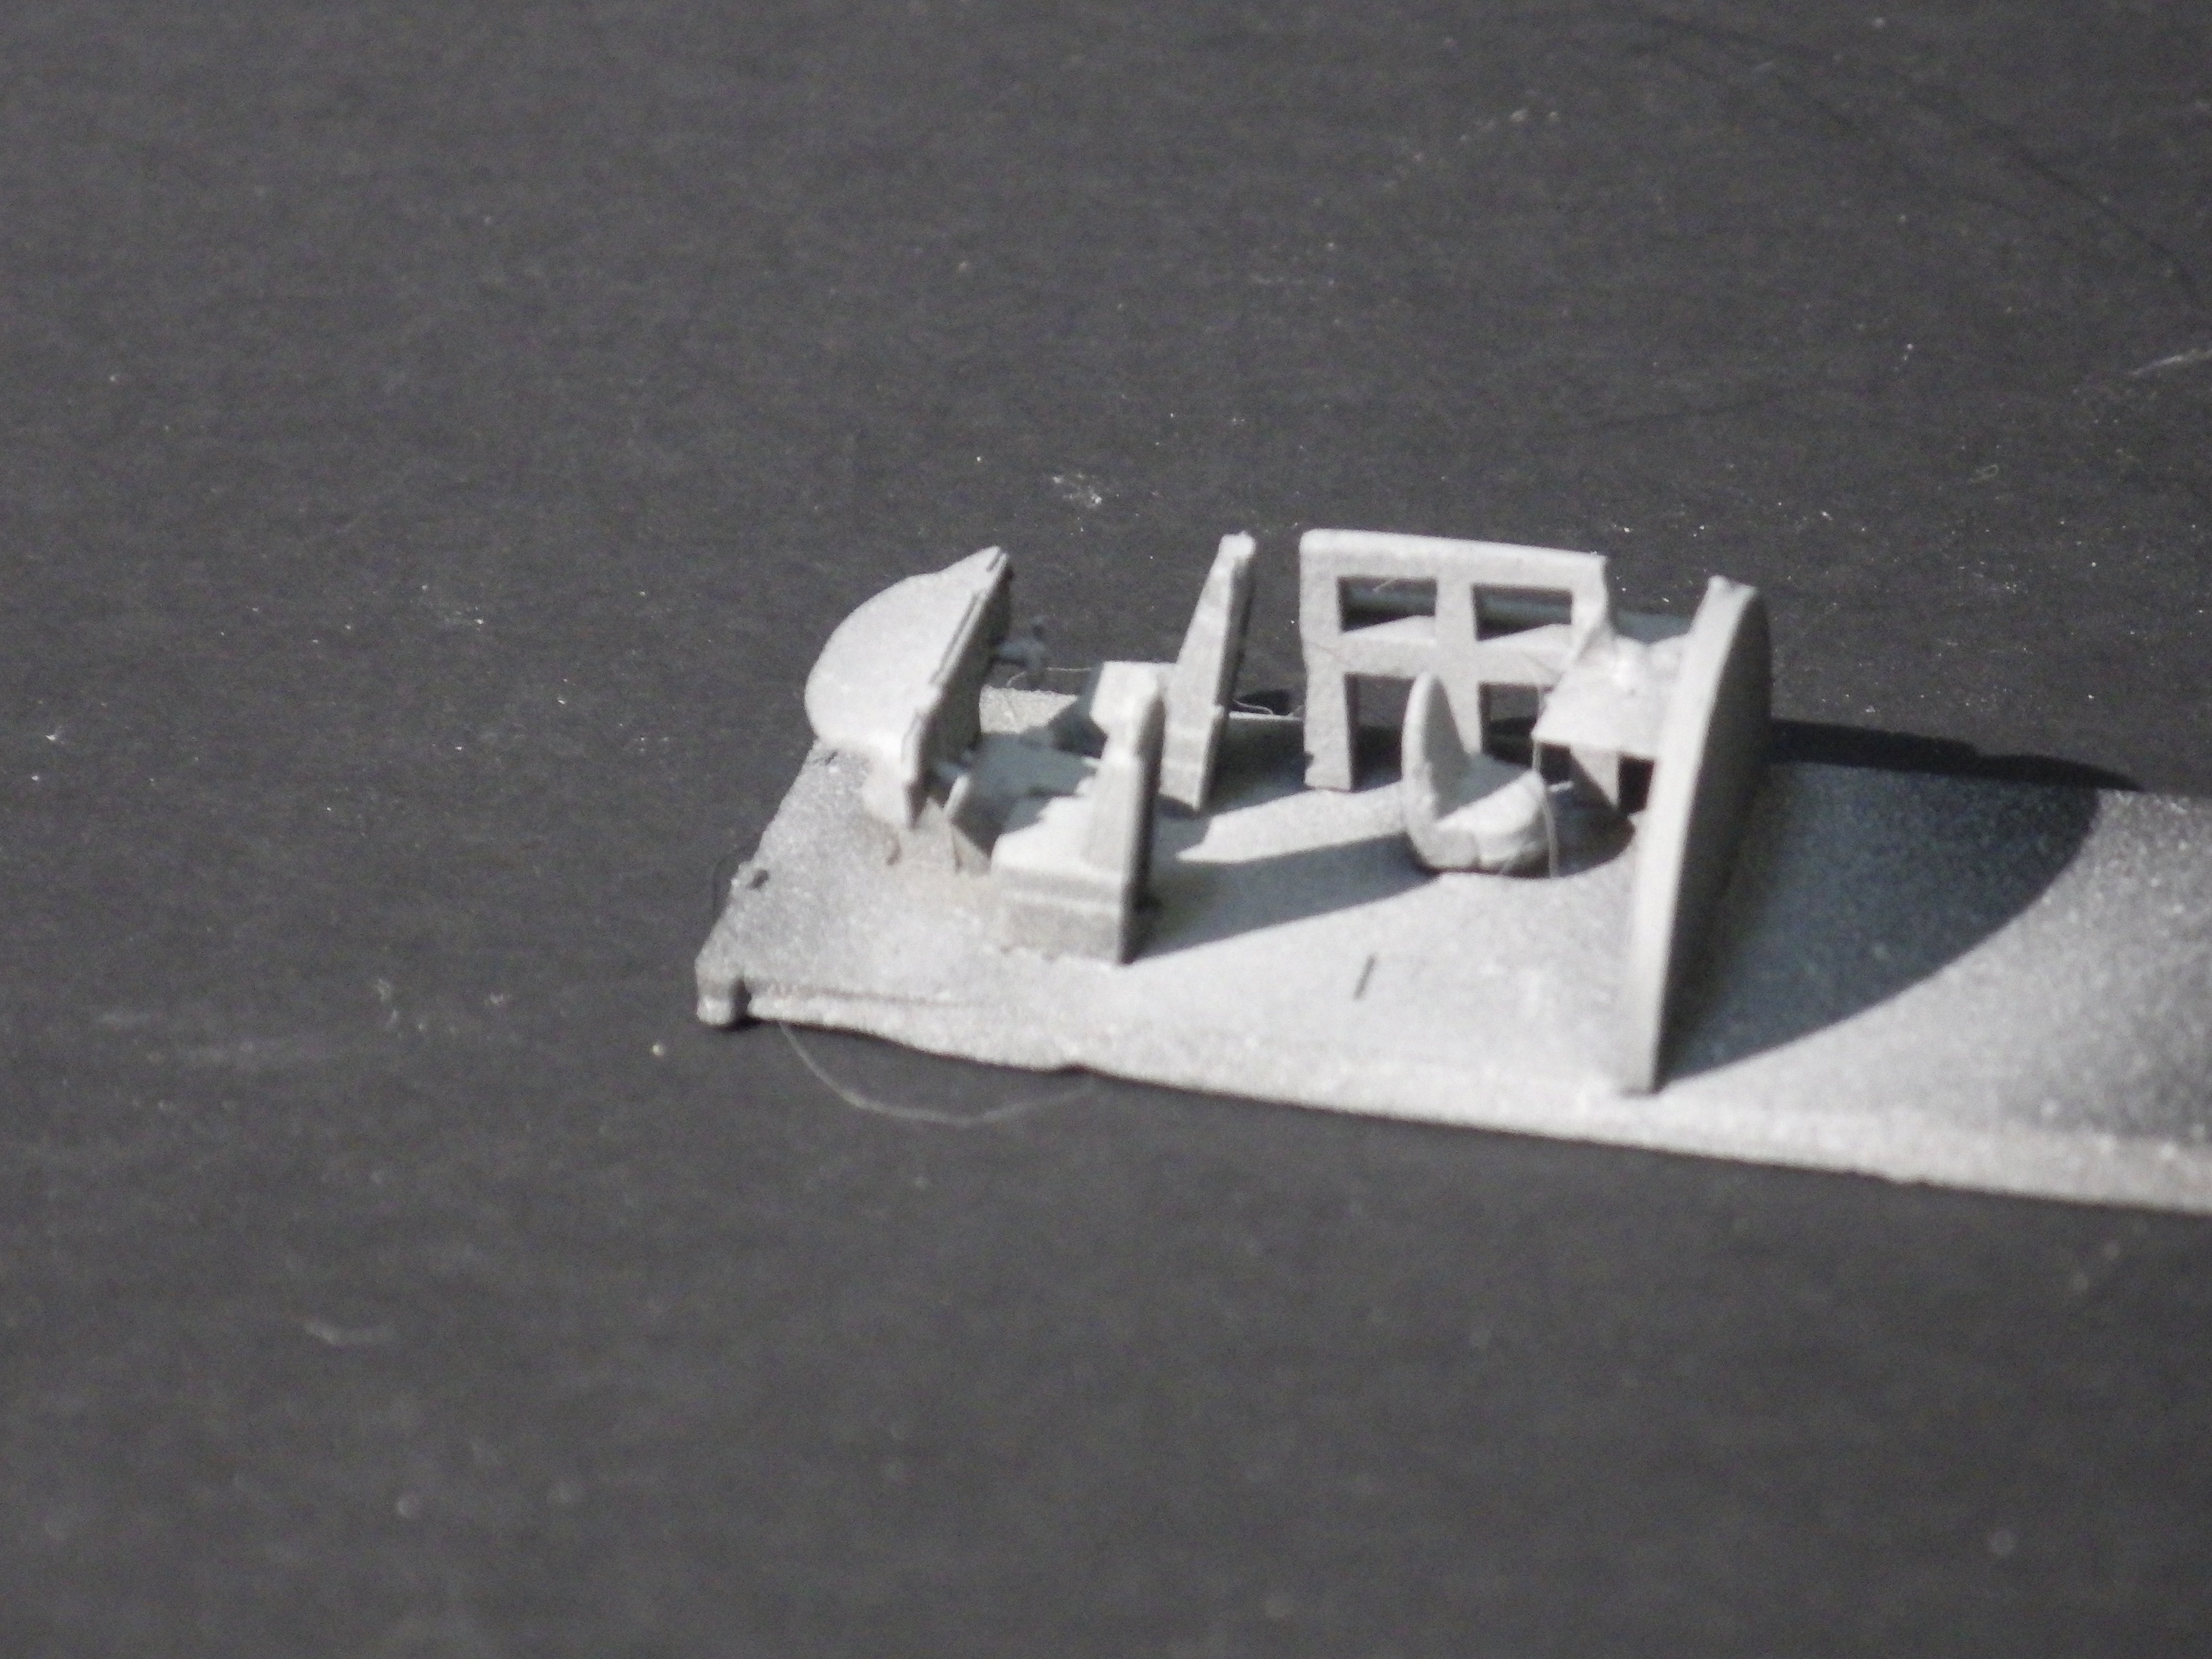
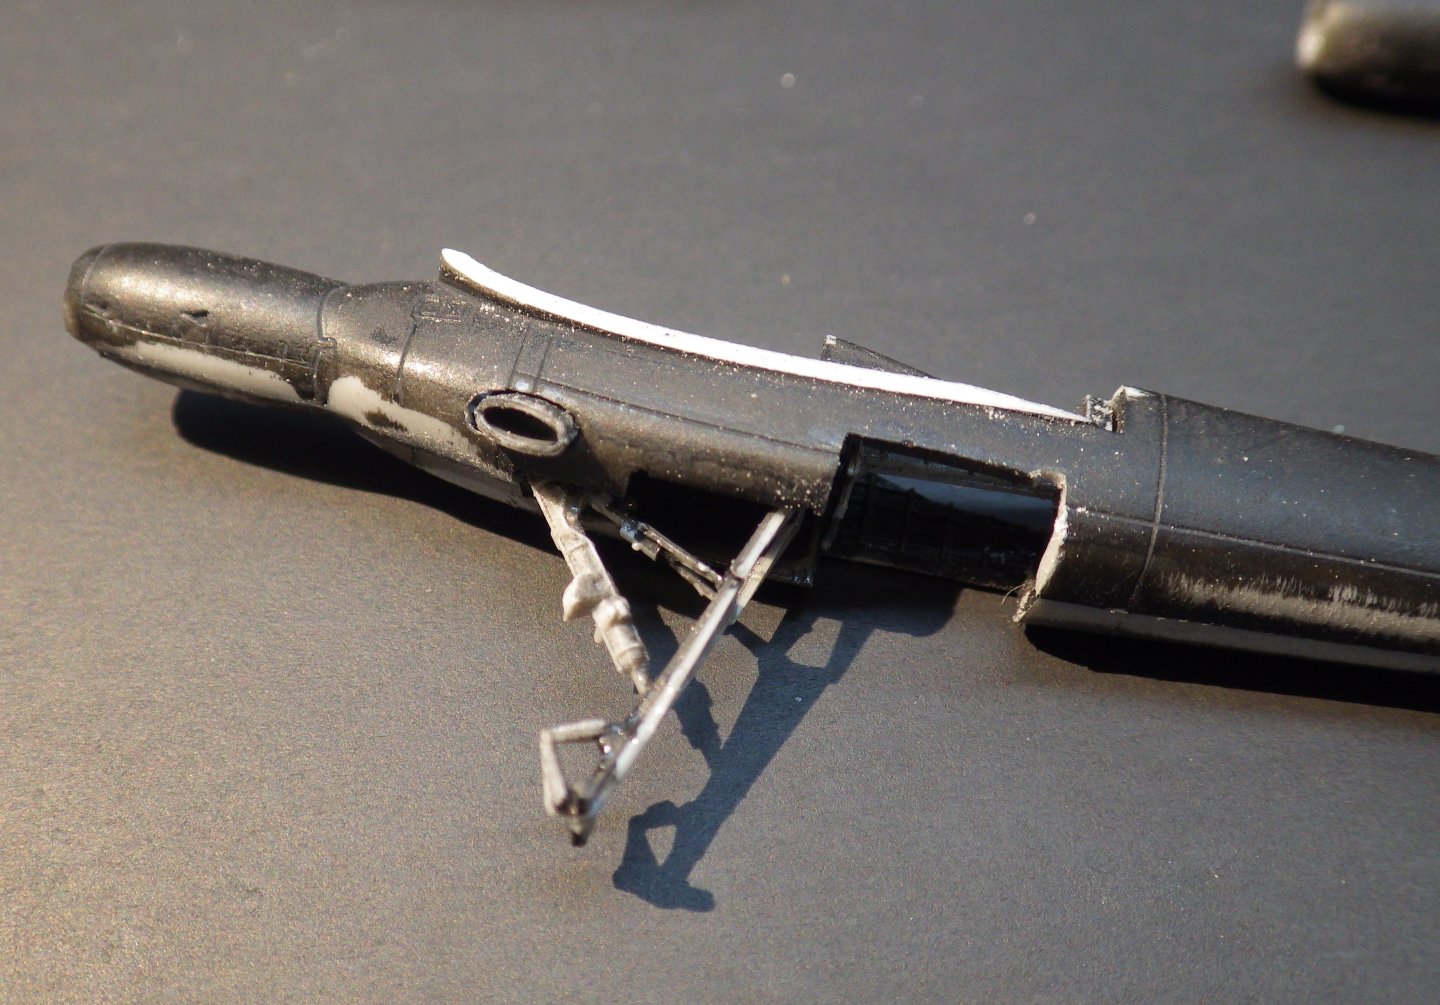
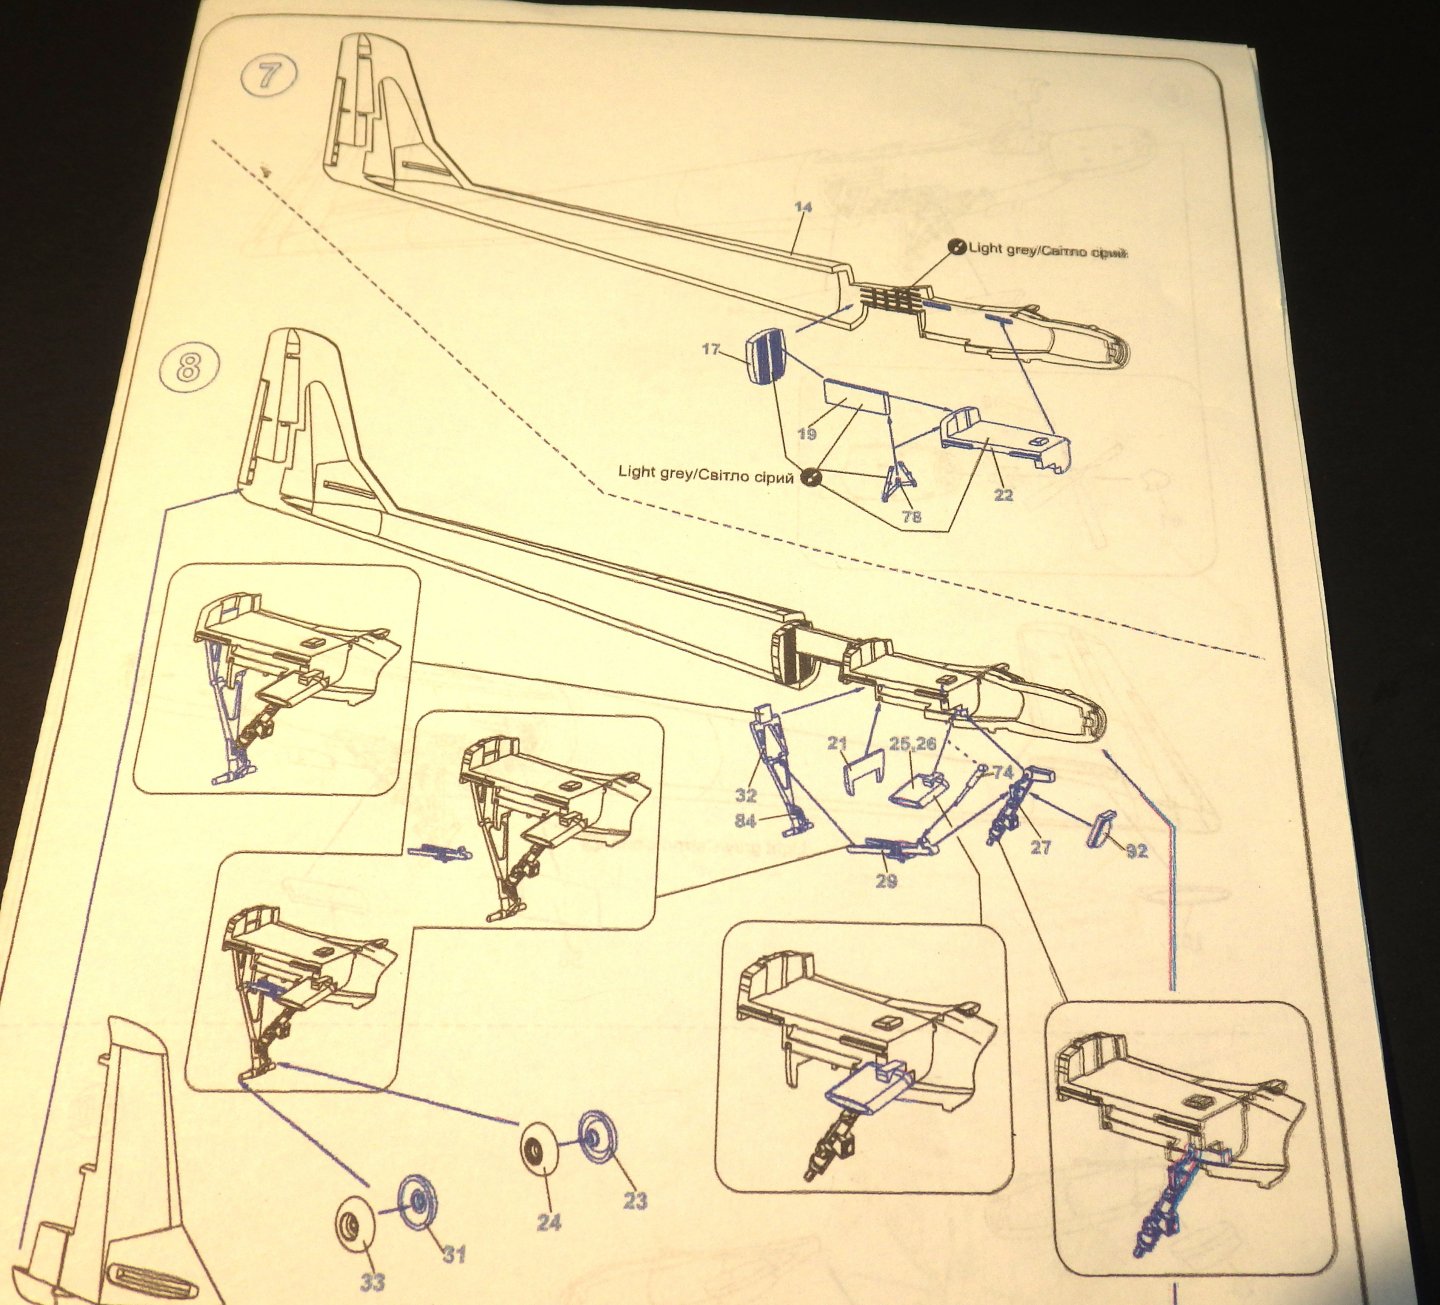
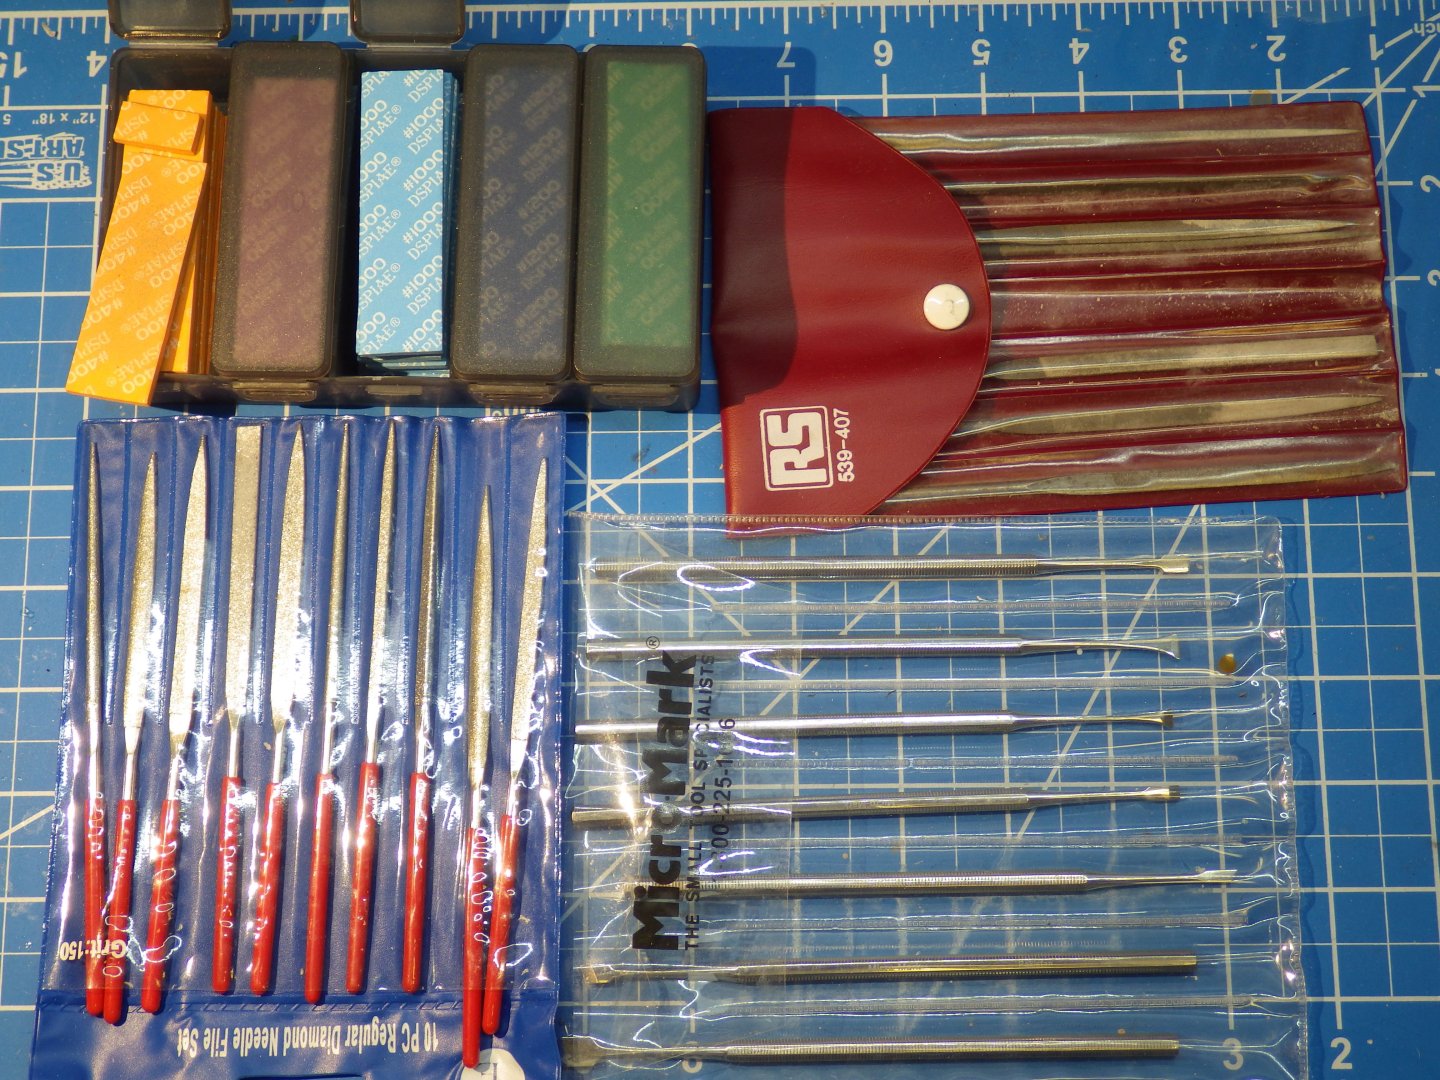
The Argosy kit is now showing its true colours and its turning into a bit of a fight. I have been working on the booms and its taken nearly two full days to get them completed. The gear is made up of several pieces shown below and the instructions need a lot of puzzling over to work out how they go together. Parts 25 and 26 make up the exhaust and have to be installed such that they will protrude through the relevant hole in the other side of the boom. Naturally the hole is too small and needs enlarging. There is a tiny actuator (part 74) that I couldn't make sense of and spent an hour or so on the internet to finally work out where it goes - its a bit of a wasted effort though - its going to be completely invisible. The detail is quite impressive for the scale but it was a long tussle to get to the point where the booms could be completed. I made up the outer engine nacelles and then started dry fitting everything to the wing. Nothing fits even closely. I had teh full range of material removing gear in play at some point or other. Th DSPIAE sanding pads bought on impulse are seeing a lot of action on this build. The wing / fuselage interface needed a disturbing amount of material to be removed and the booms were not much better. On the plus side the booms locate well into the wing and should line up and even allow the tail plane to fit properly (I think) The assemblies all fit now and the amount of material removed can be seen. I probably should not have primed anything until it was fully built. So maybe tomorrow I will have some bits assembled. I think nacelles and booms and then the wing onto the fuselage. Hopefully that should be the last of the seriously rough stuff. Thanks for looking in and the likes and comments. Alan


- 52 replies
-
- 12
-
-
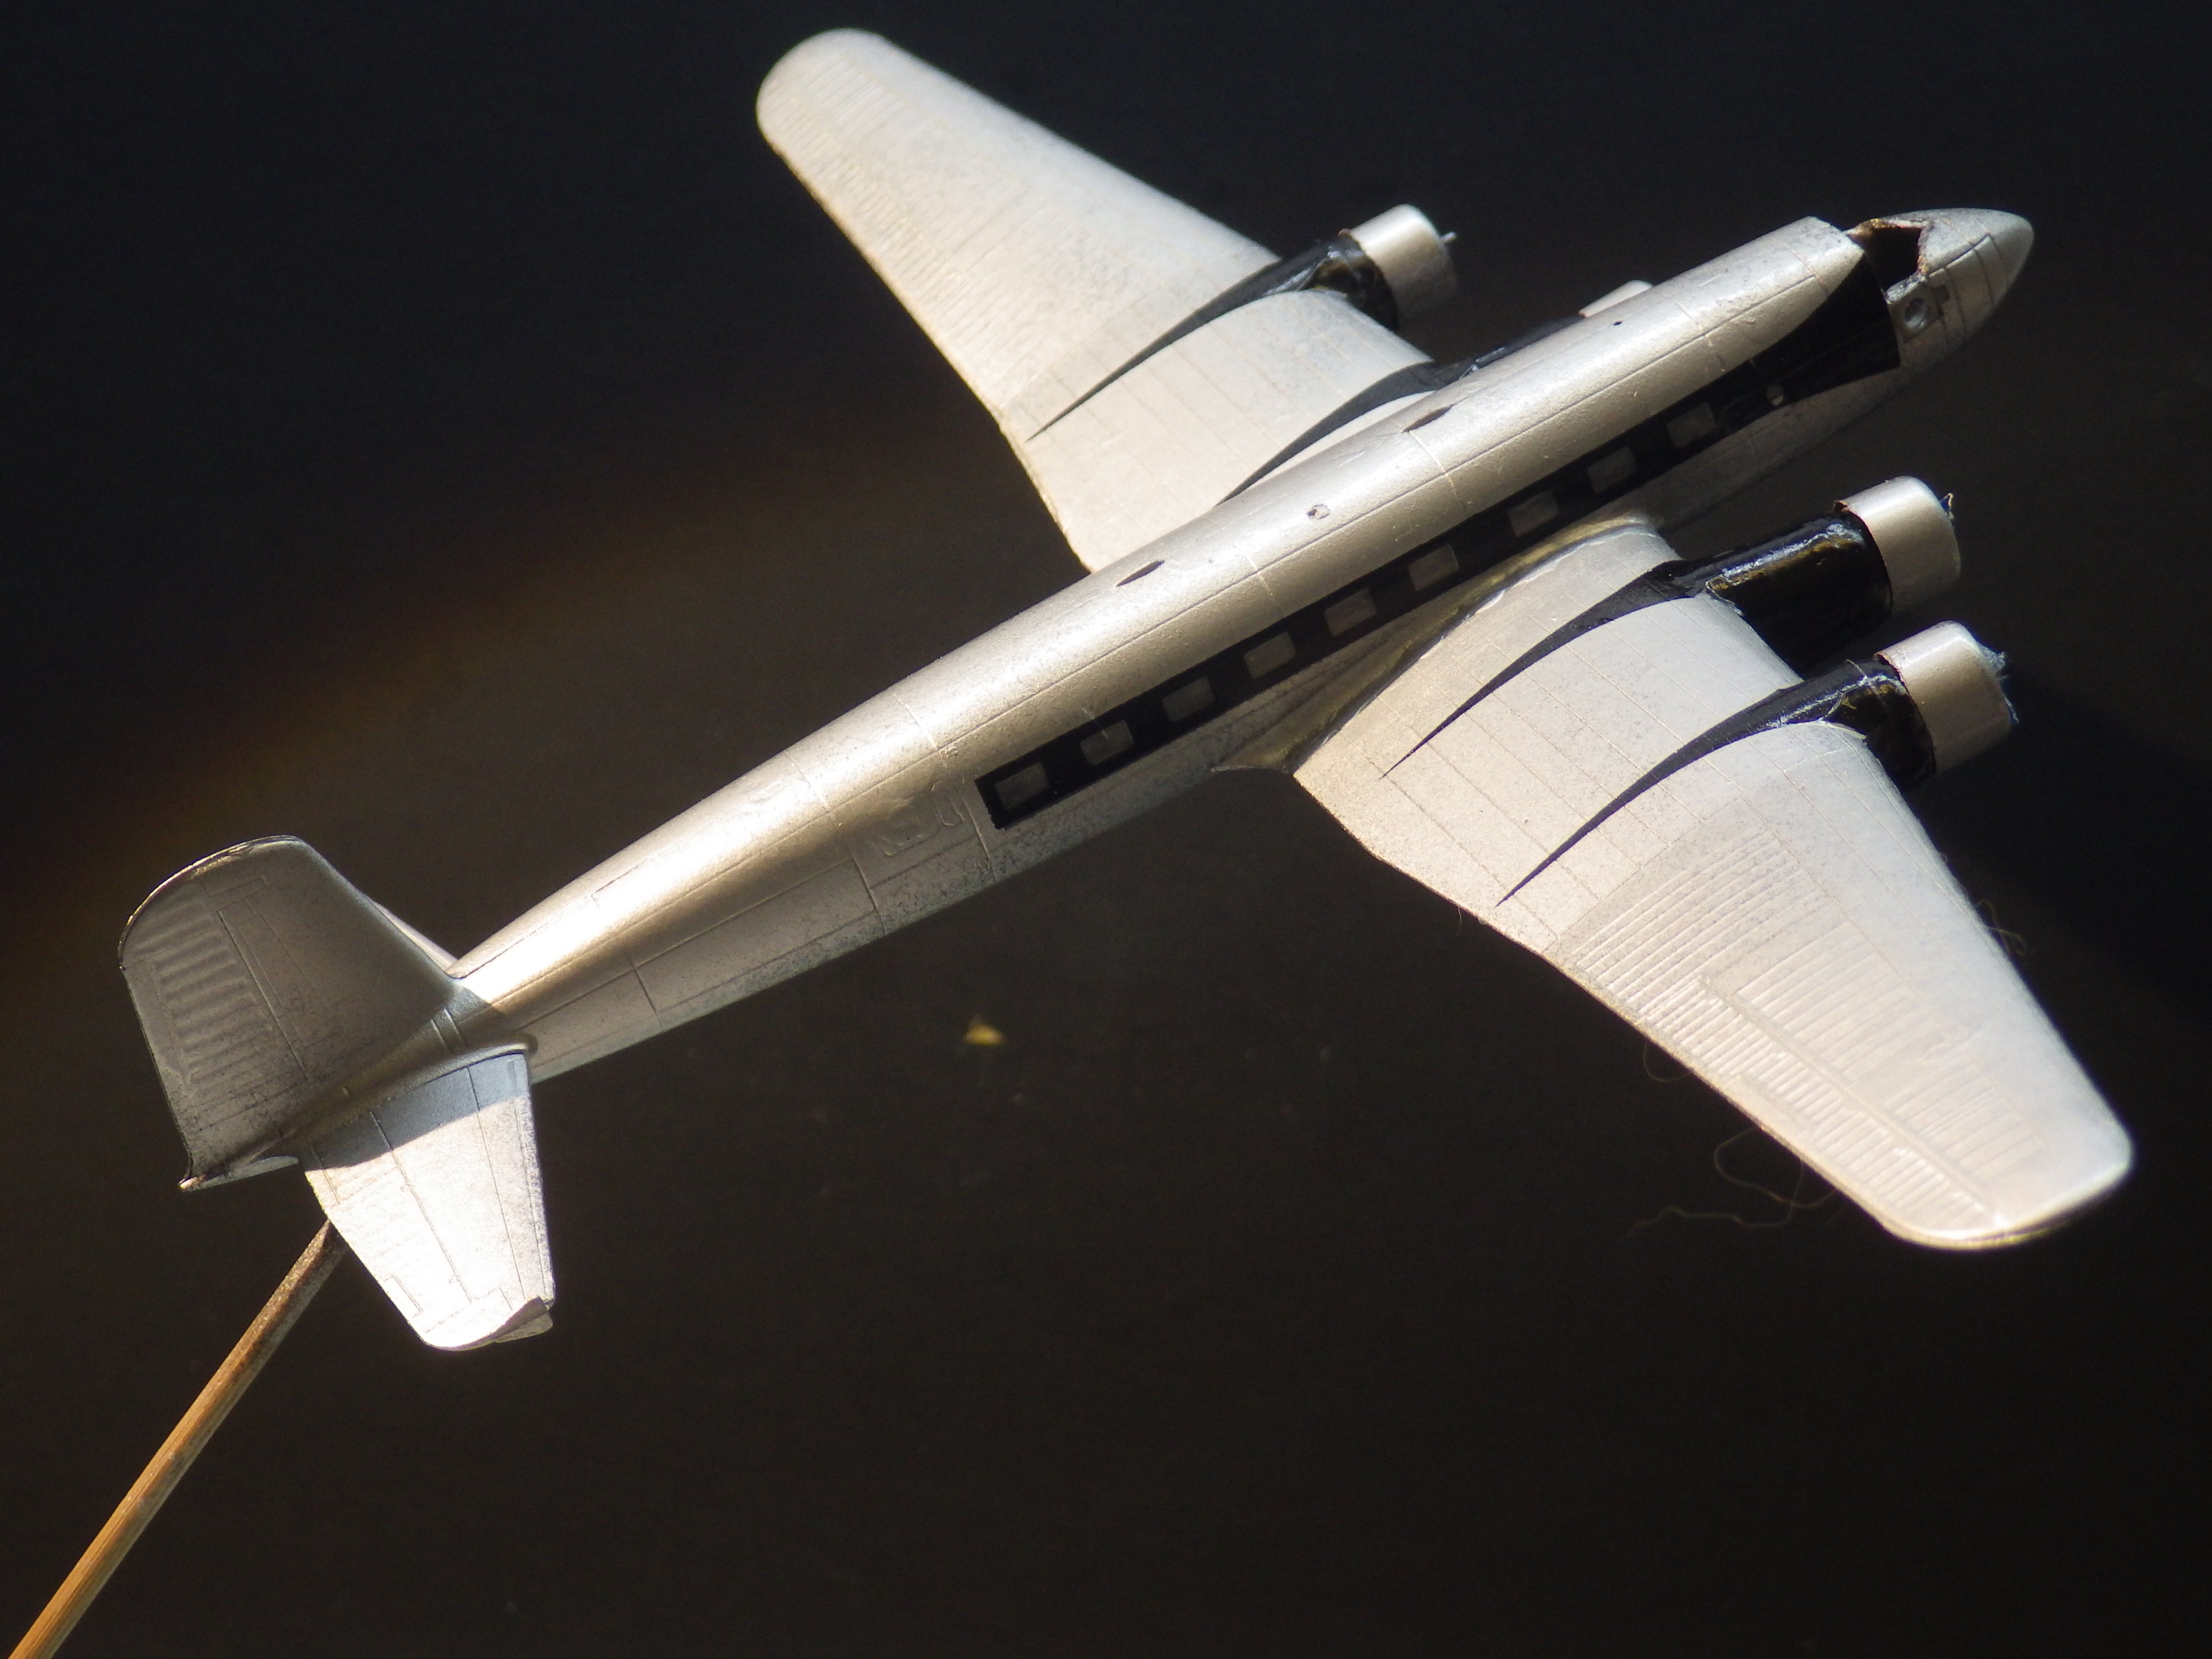
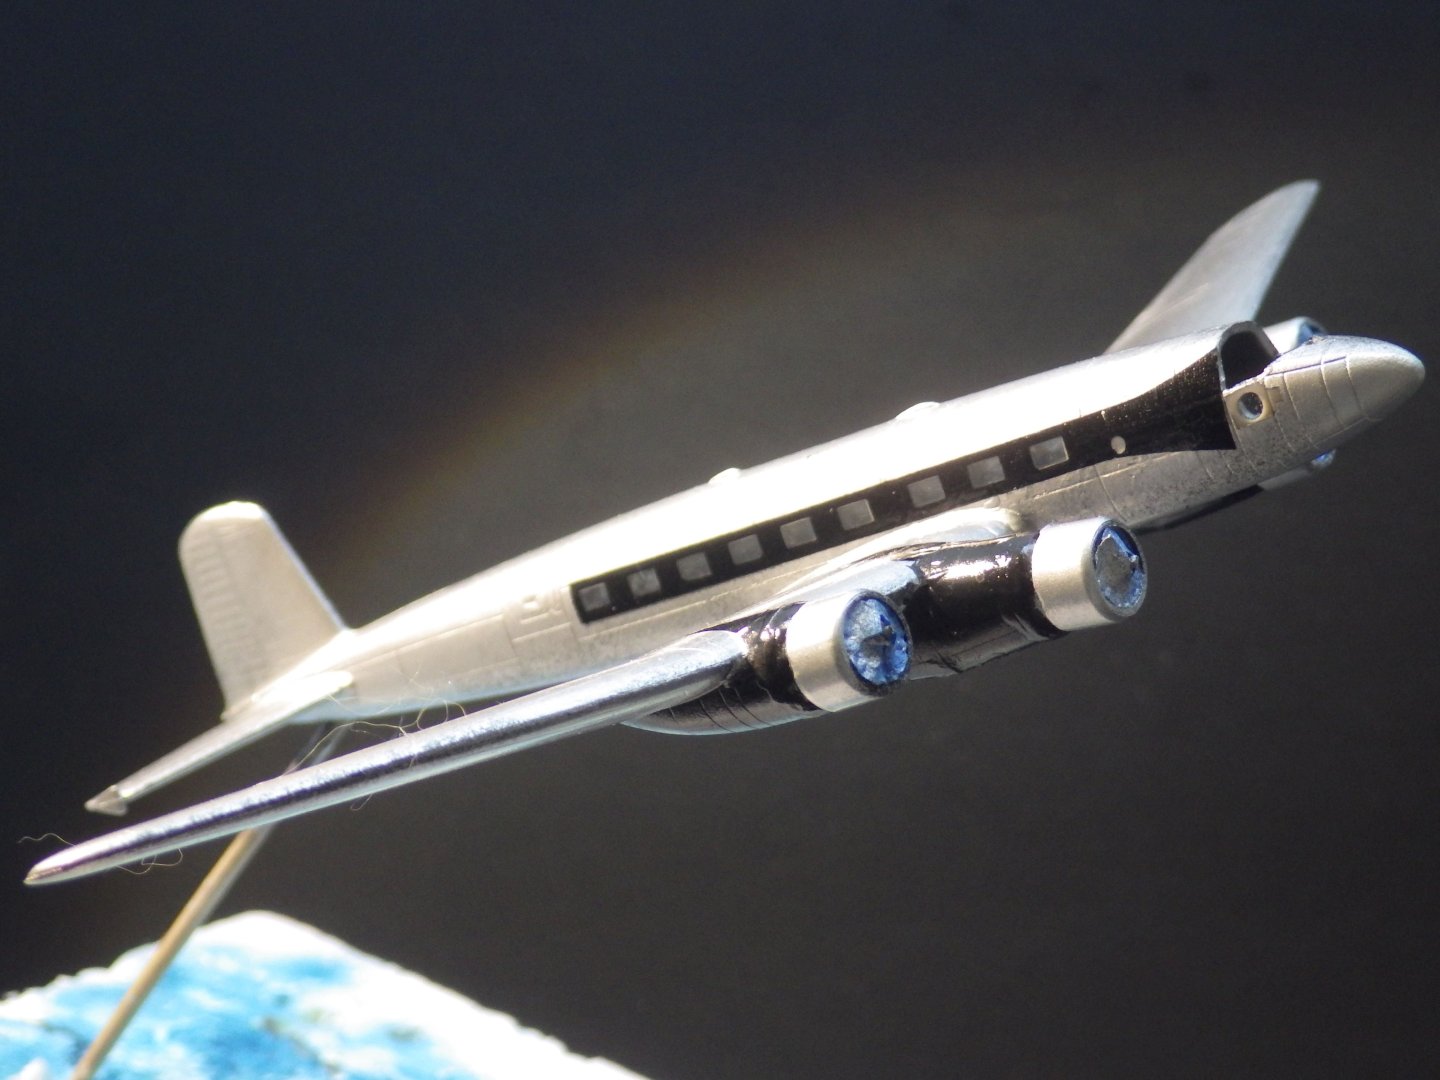
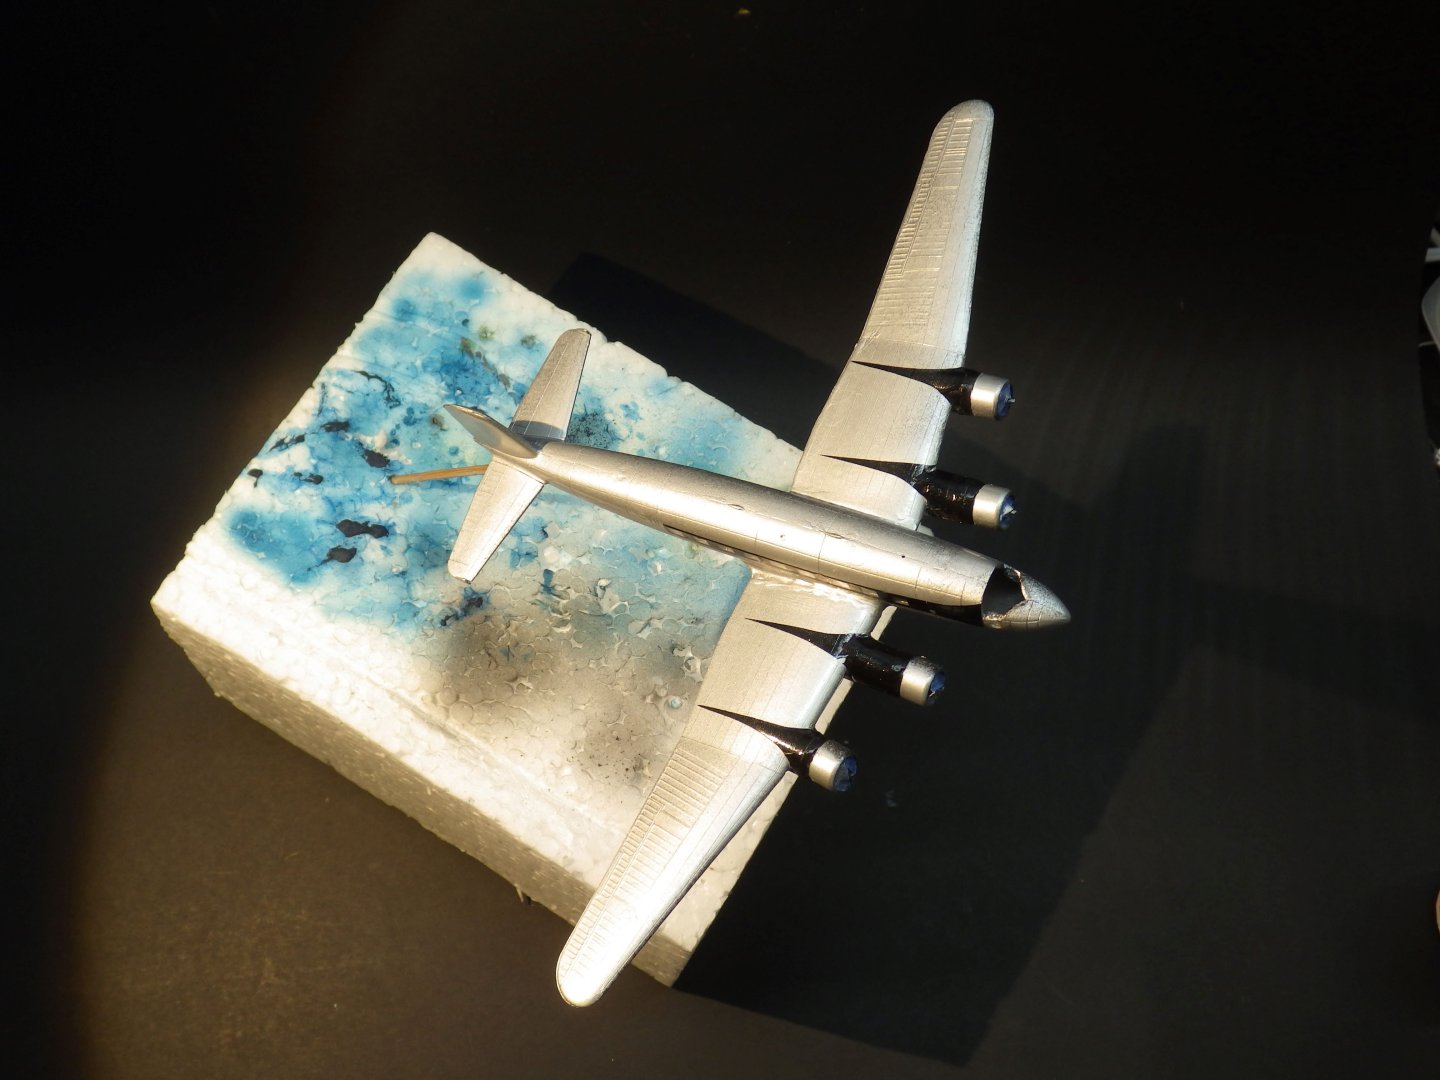
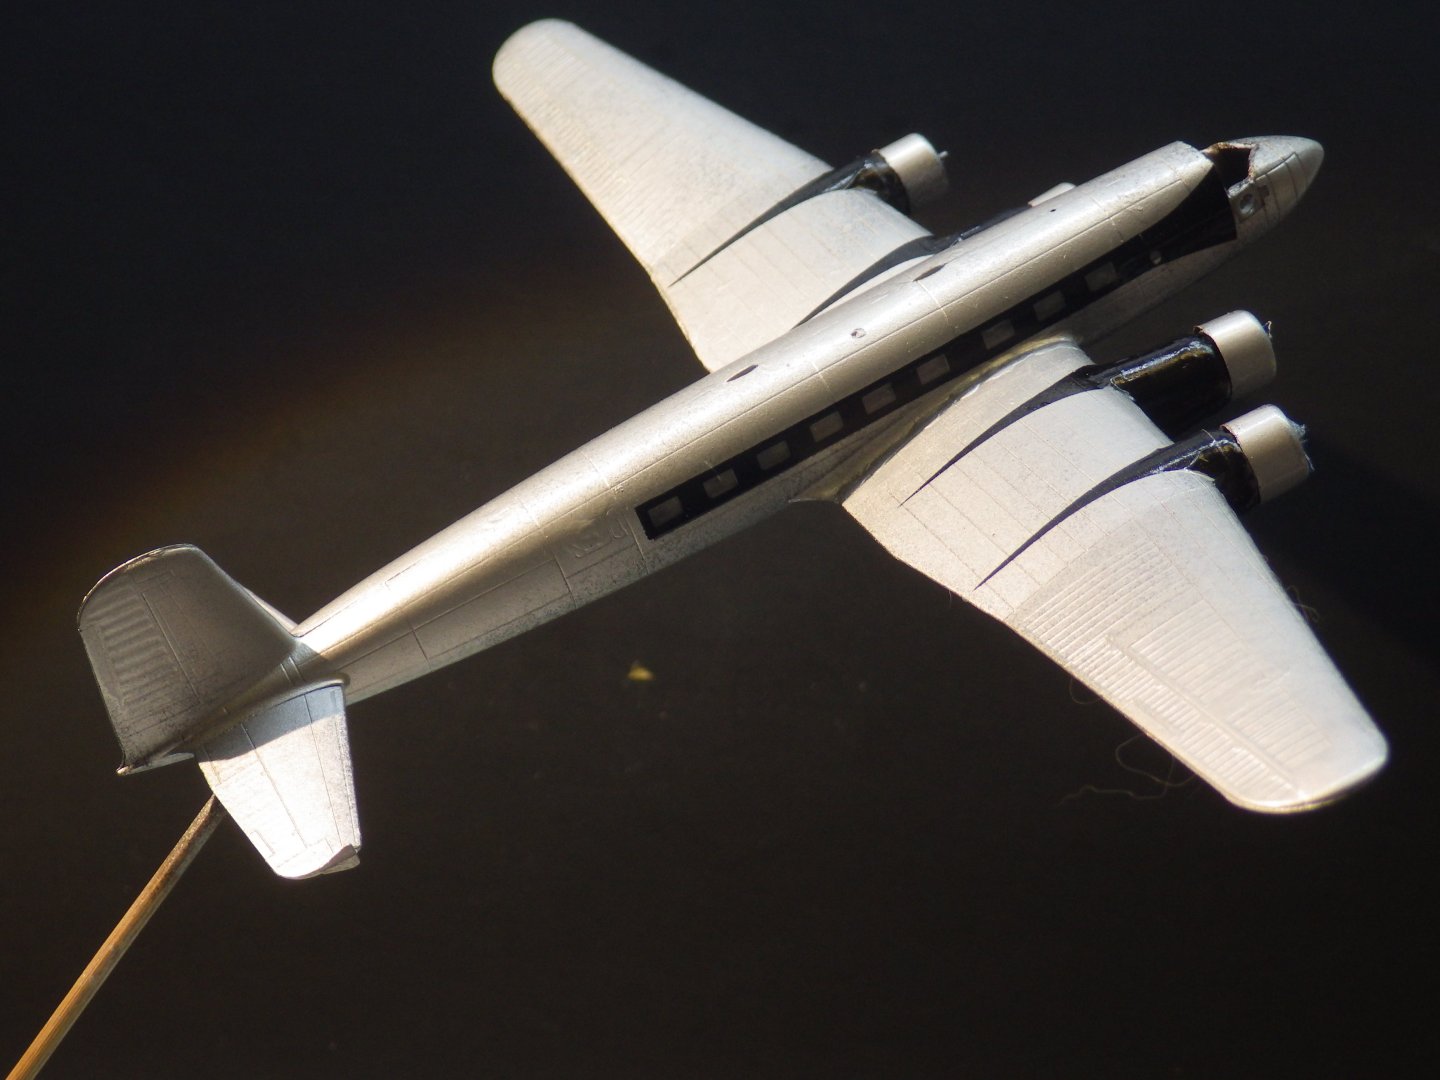
Well, this is turning out to be a humbling experience. Hopefully a learning experience too. My first encounter with metallic paints. I'm using the Vallejo acrylic aluminium paint. For some reason lacquer paints frighten me. The Vallejo paint went on well in thin coats although I think it was drying too fast in the heat of my garage. Maybe I should experiment with some retarding fluid. Its not as good as Alclad but it does have a reasonable shine. It may have benefited from one more coat too but I was a bit concerned with the paint pooling or drying rough. Its okay for a first attempt. I have learnt that you can't hide anything under a metal finish. I thought I had the primer down nicely but I can see all sorts of minor imperfections.. So now I am adding the black decals on the wings and along the fuselage sides. The fuselage one broke in three pieces but I managed to piece it together and my masking sems to have been accurate - the decal covers the masked area with no gaps (so far). I am doing a few decals at a time because I don't want to risk moving ones as I handle it. The acrylic rod shows up tomorrow, the props need adding and the base needs to be completed Thanks for looking in and for the likes and comments Alan
- 50 replies
-
- 12
-
-
Some of those photos look entirely real. Wonderful work Yves. alan
-
Beautiful work Craig. Immaculate paint finish and great photos alan
-
Well spotted. Thank you. The camera picks up that stuff better than I do Alan
-
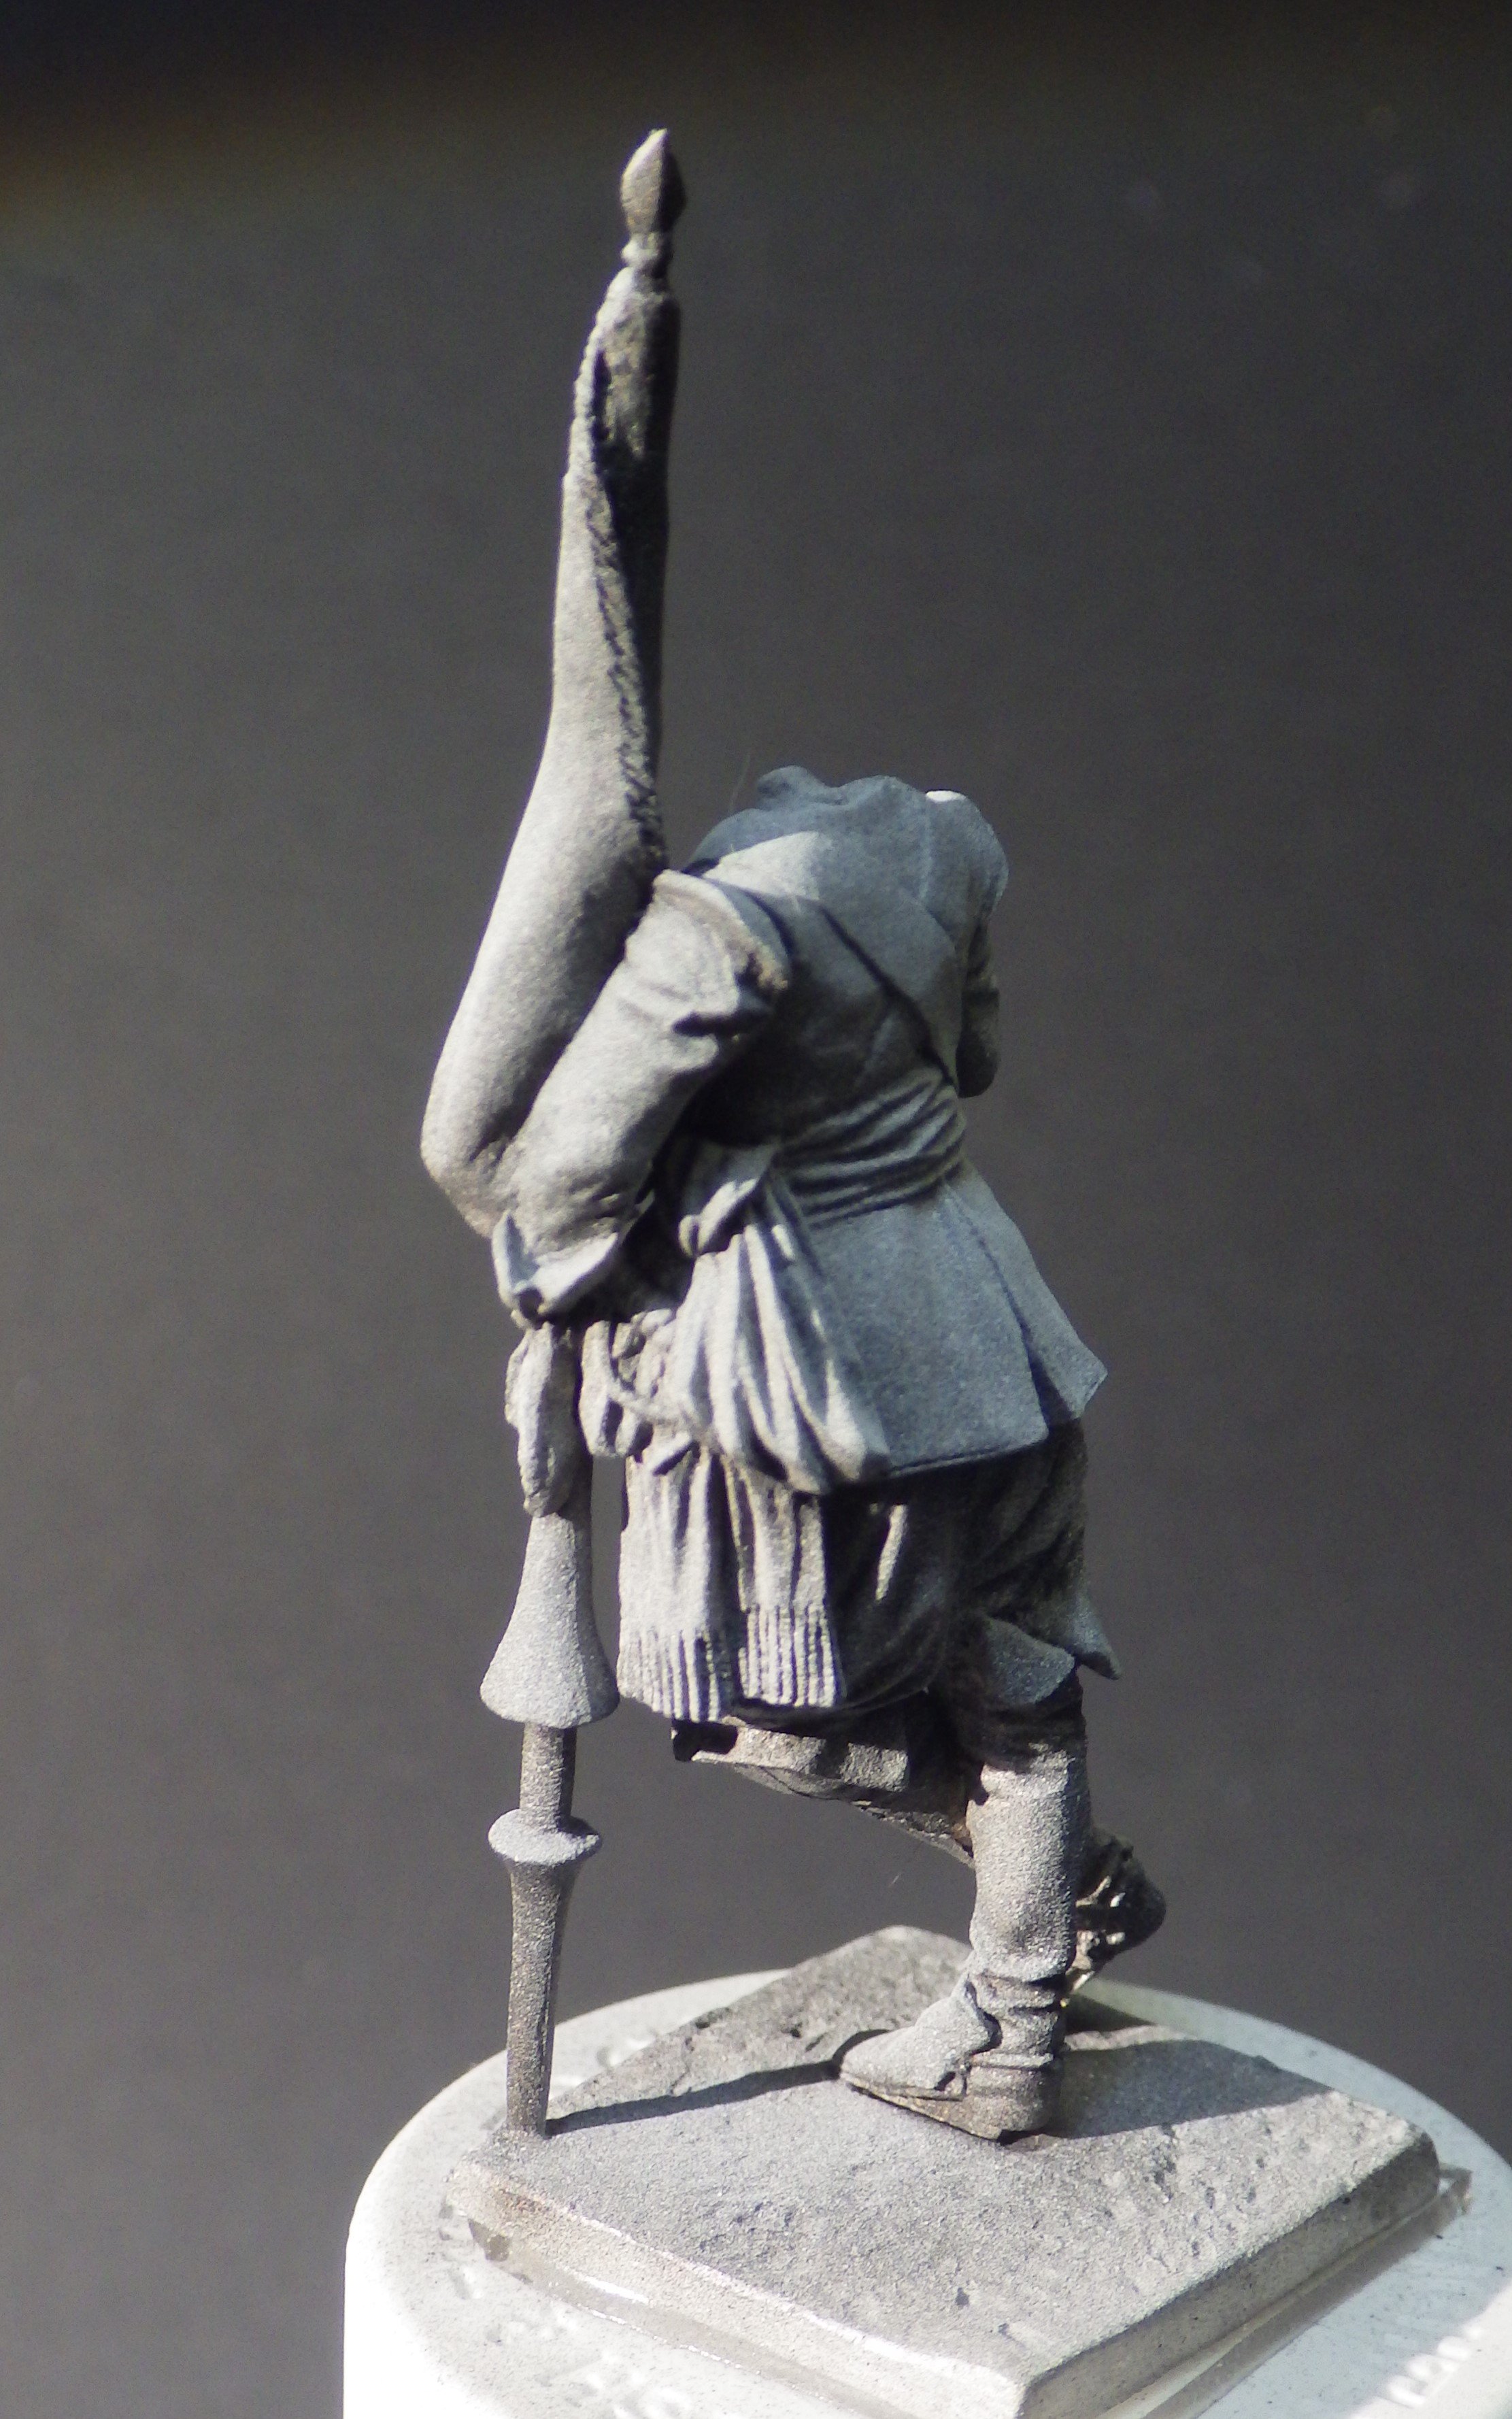
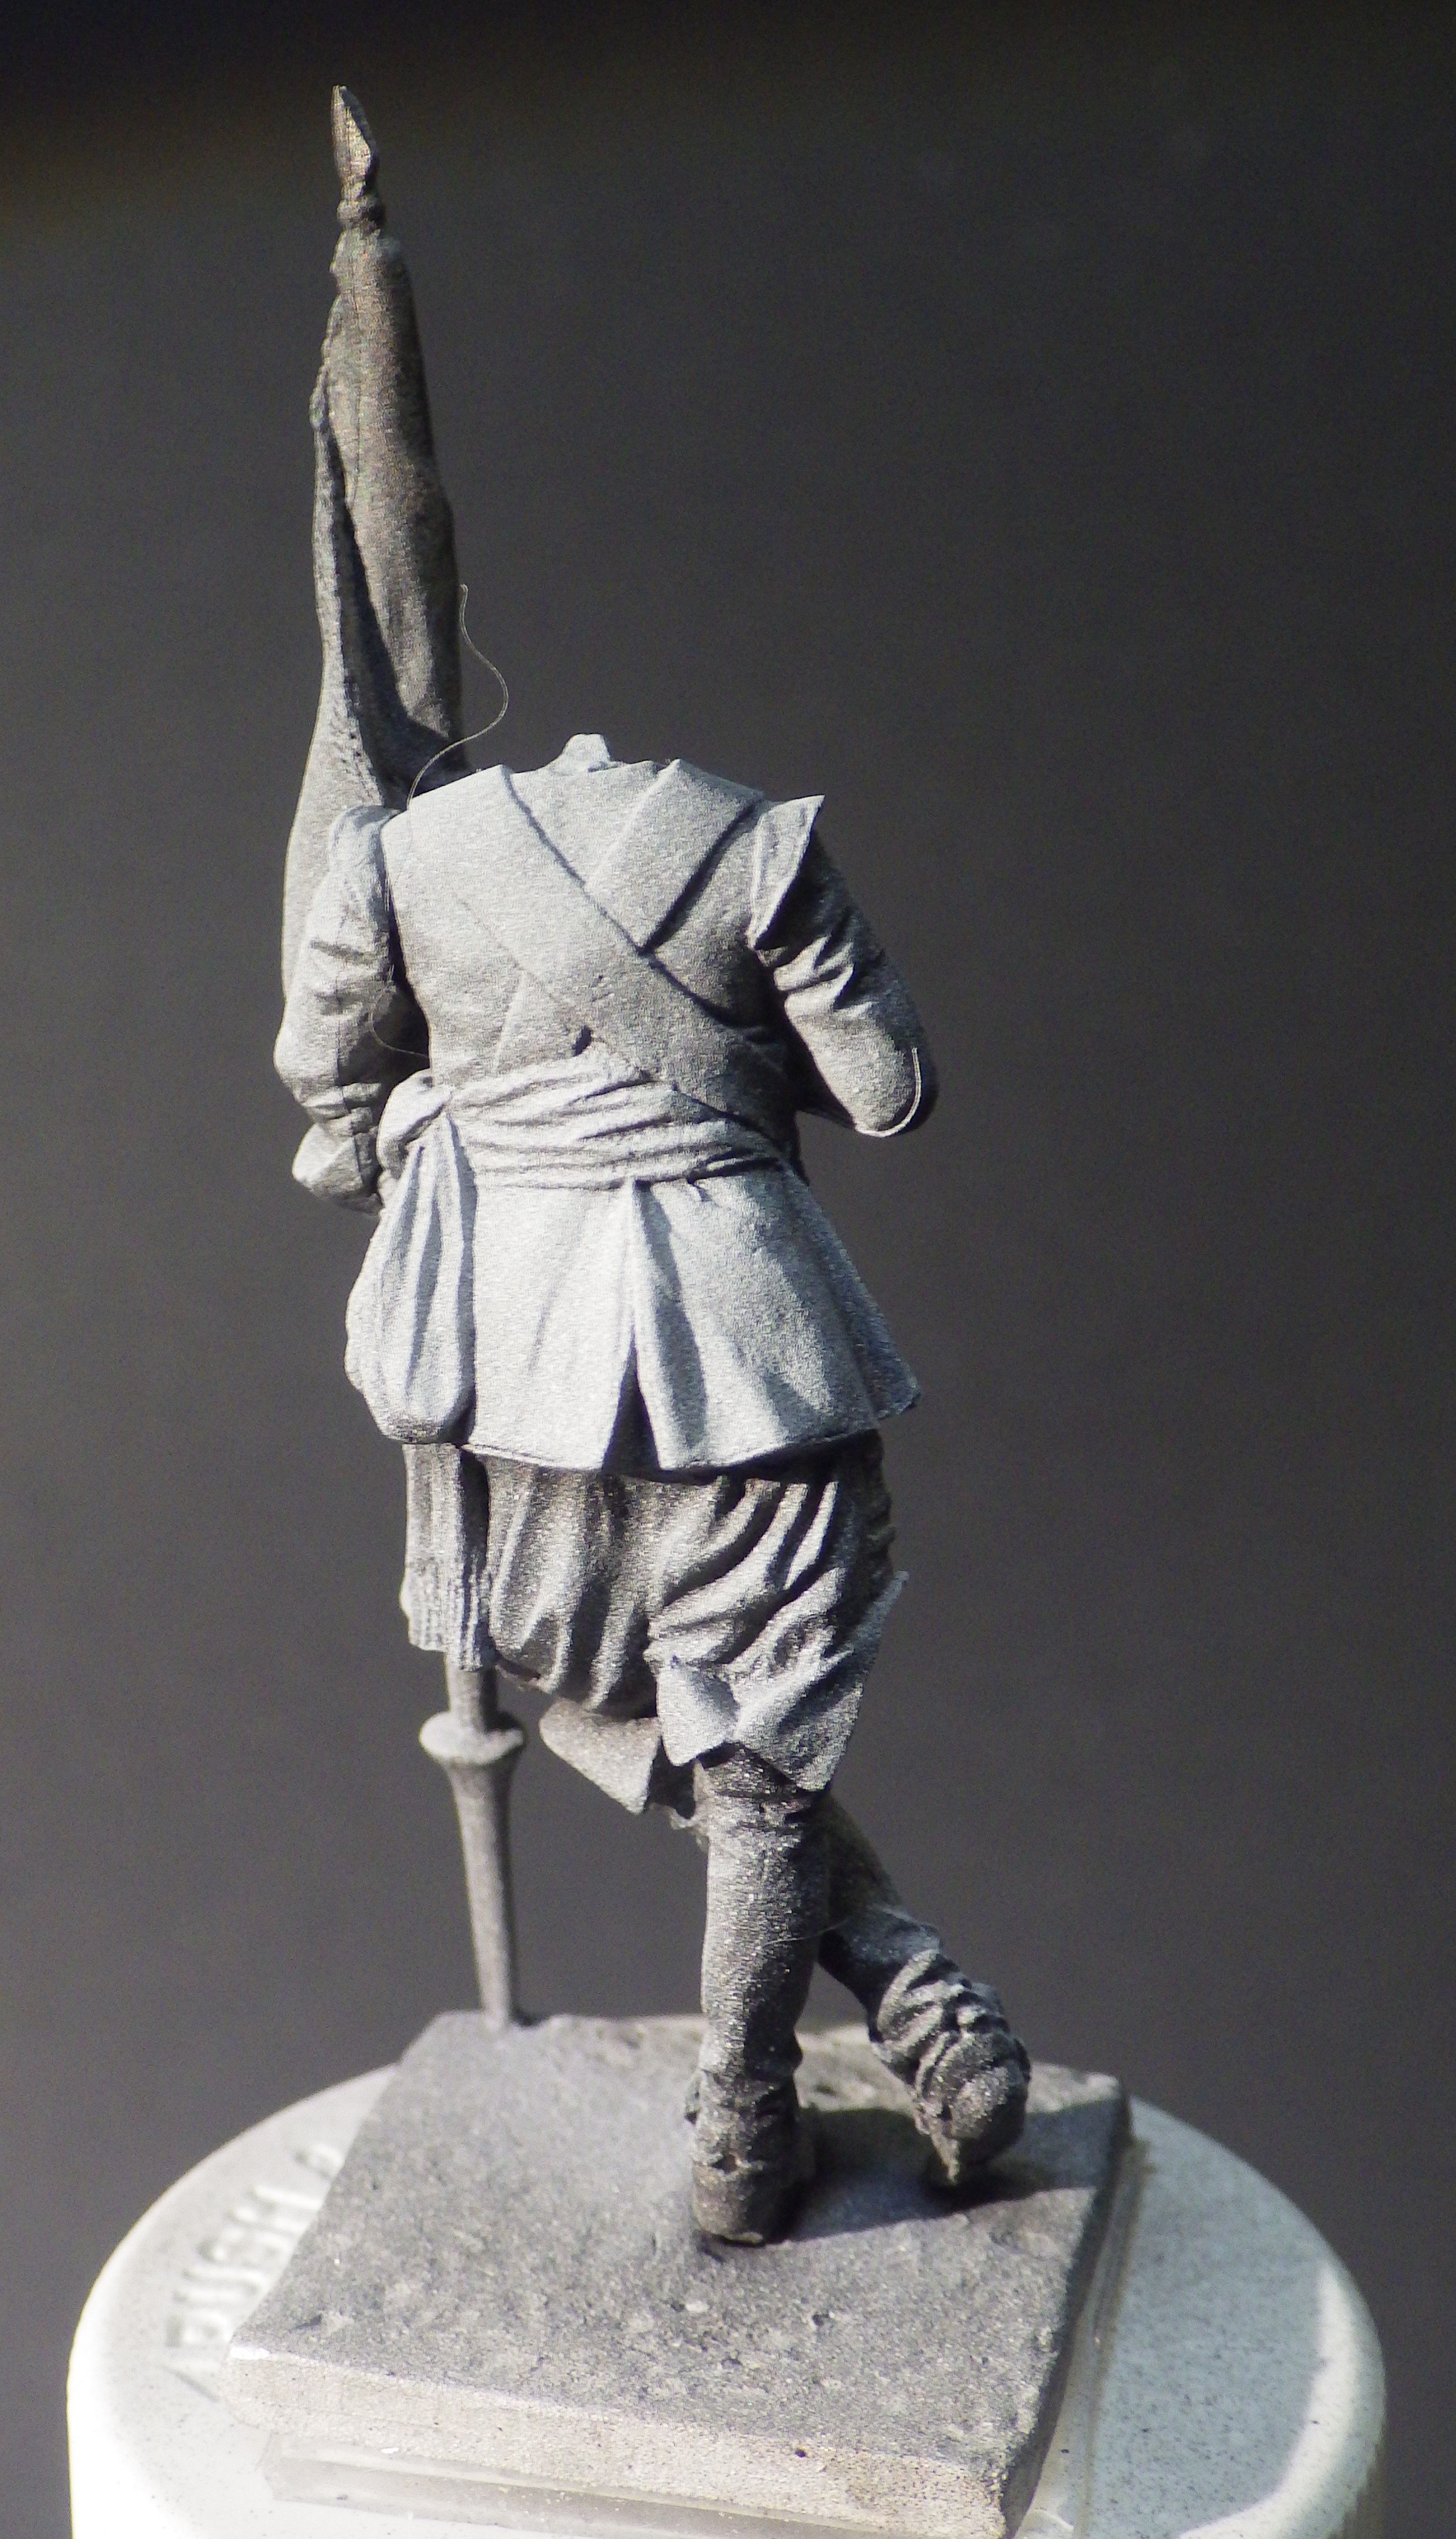
I've sprayed the figure with Mig One Shot black primer and then sprayed the directional coat of white to enhance the final tones of the colours I started laying on the first coats of white on the flag. I think this bit needs doing before starting the rest of the figure. Might as well get most of the frustration out of the way at the start 😄 Thanks for looking in and the likes and comments Alan

-
Thanks for the input I think the pencil guide and then paint the blue parts is how it was done on the photos that illustrate the figure. I may try that; its the simplest but requires the most skill. I may have to forego the morning coffee for this Alan
-
Jan You are right, it devastated large areas of Europe. It seems like large parts of the continent fielded armies as the conflict expanded. Alan
-
Thanks Jack; thats a great photo. Painting the flag should be trivial compared to that expanse. Alan
-
Just a brief update to announce that I think I have finally broken the fill / sand / prime cycle. It has however improved my ability with One Shot primer as a benefit. Now some masking before starting on the main colours. Thanks for looking in Alan

- 50 replies
-
- 11
-
-
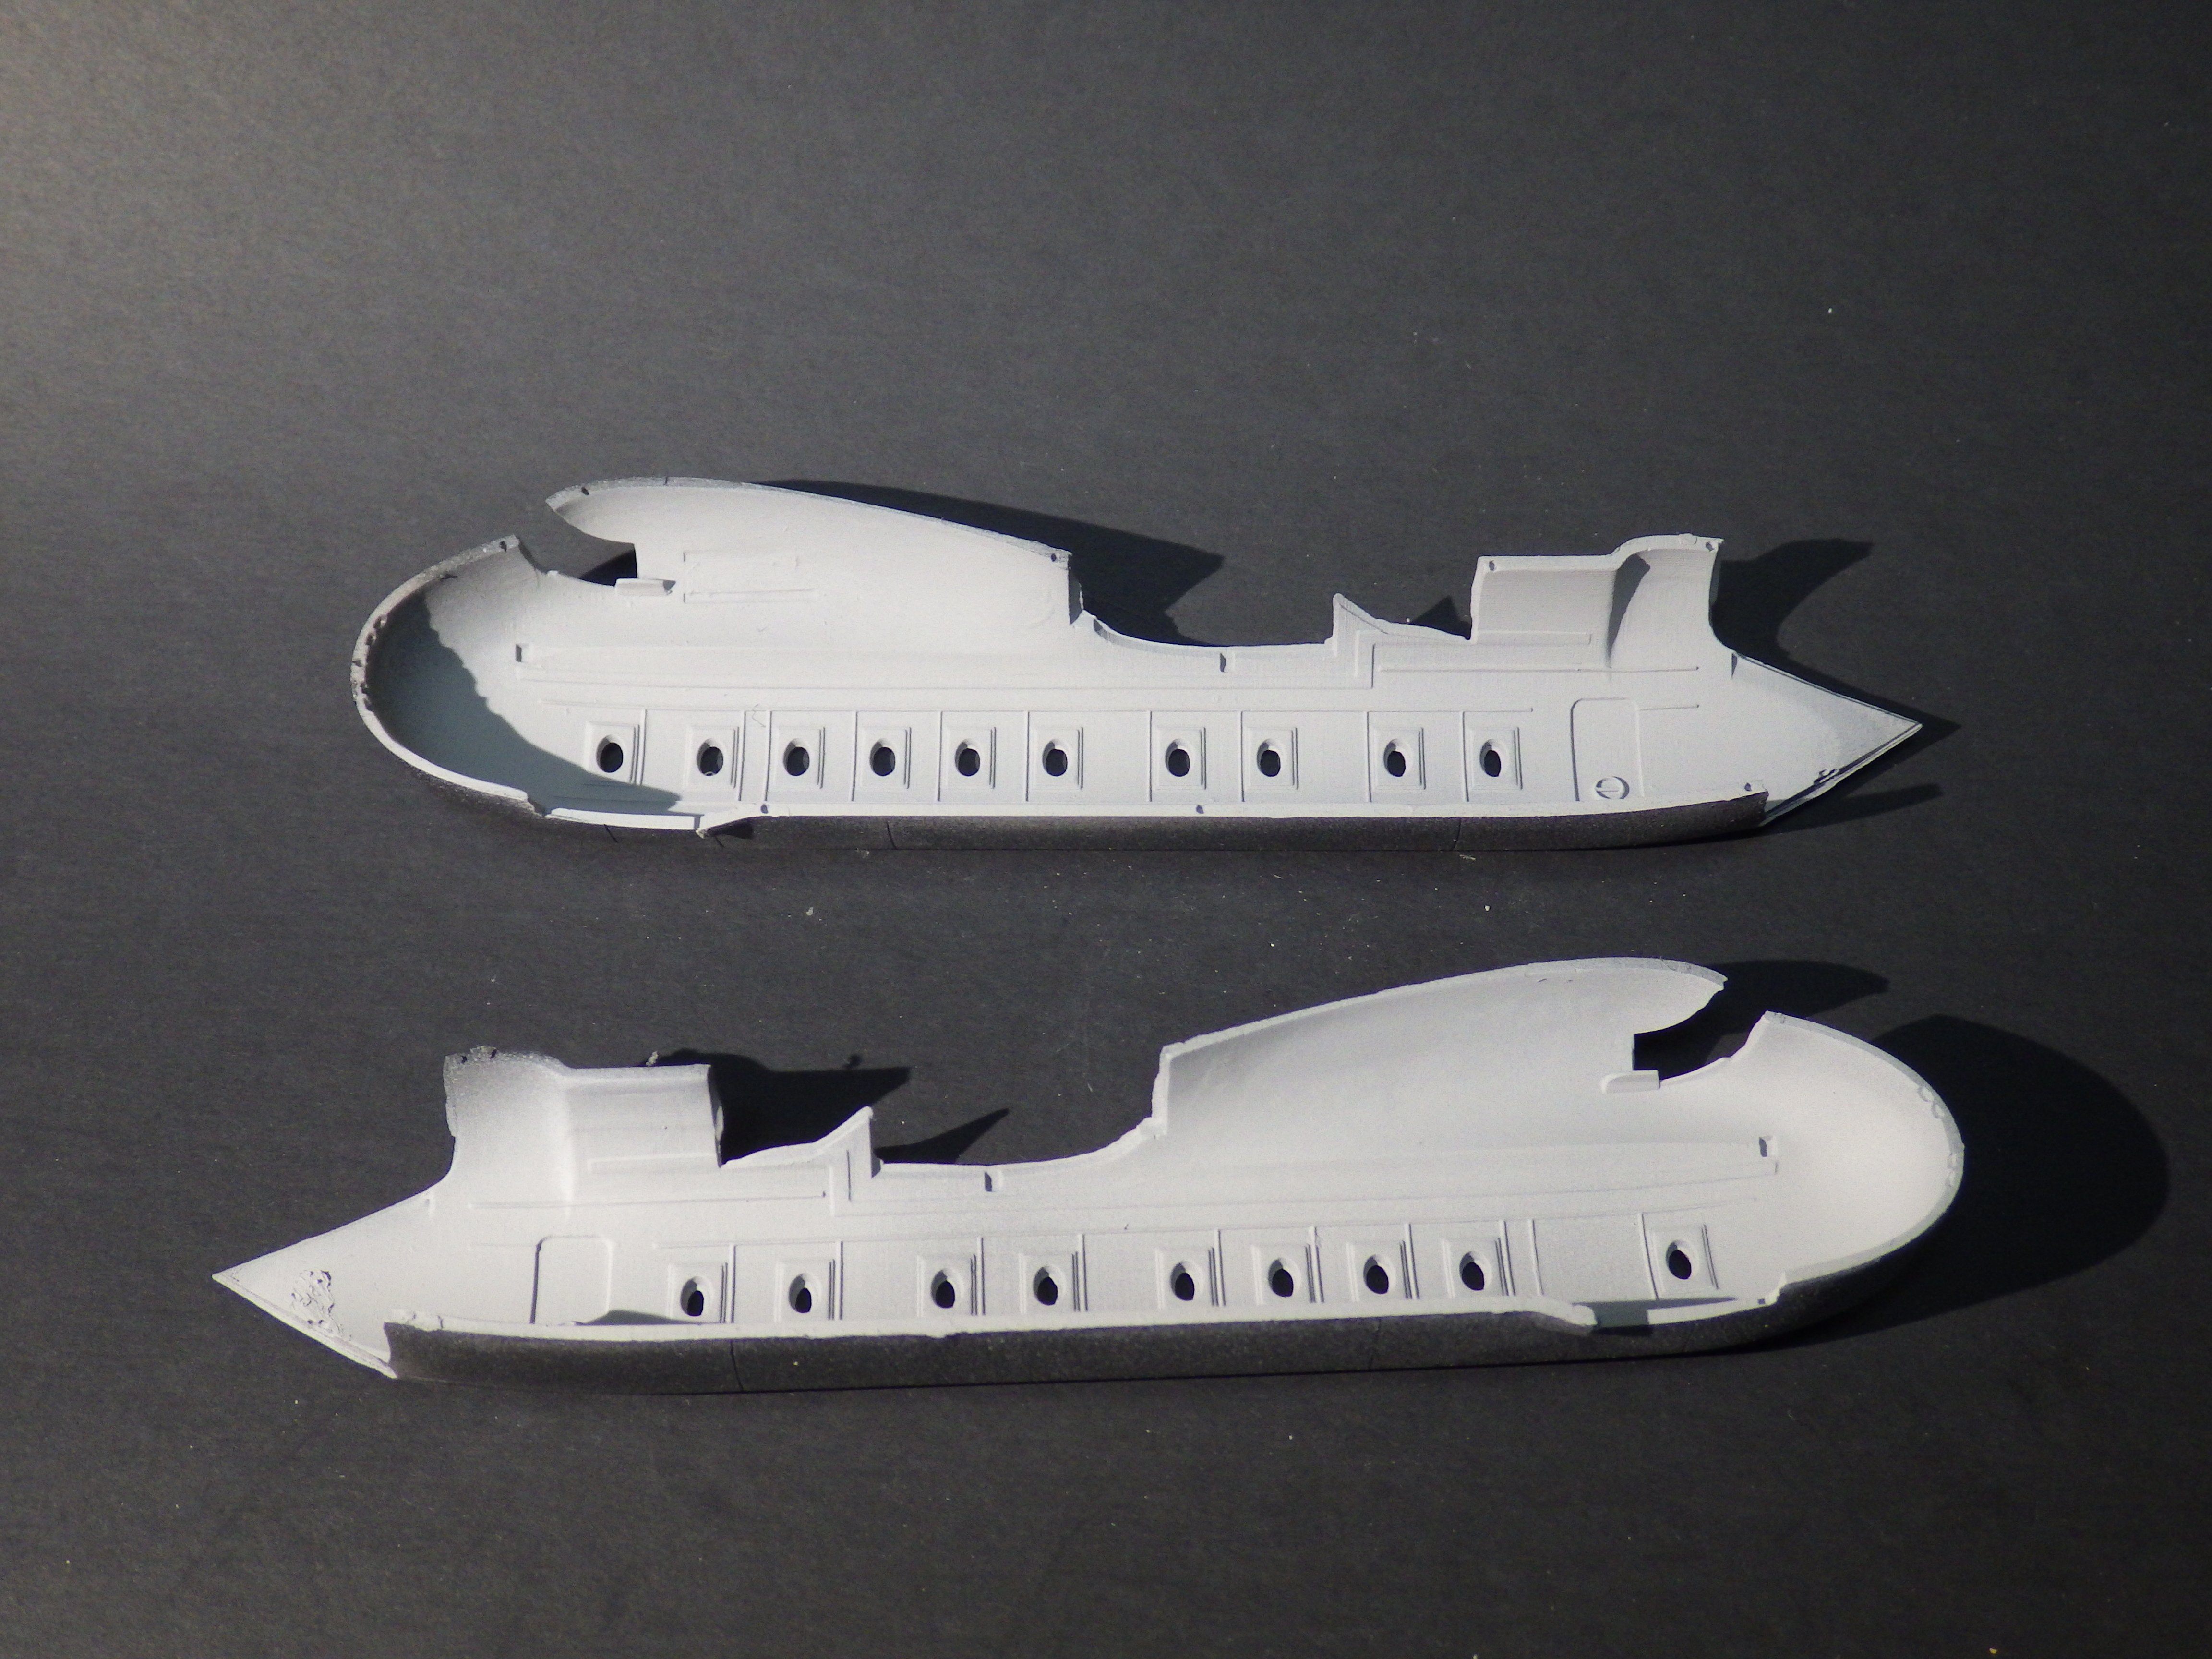
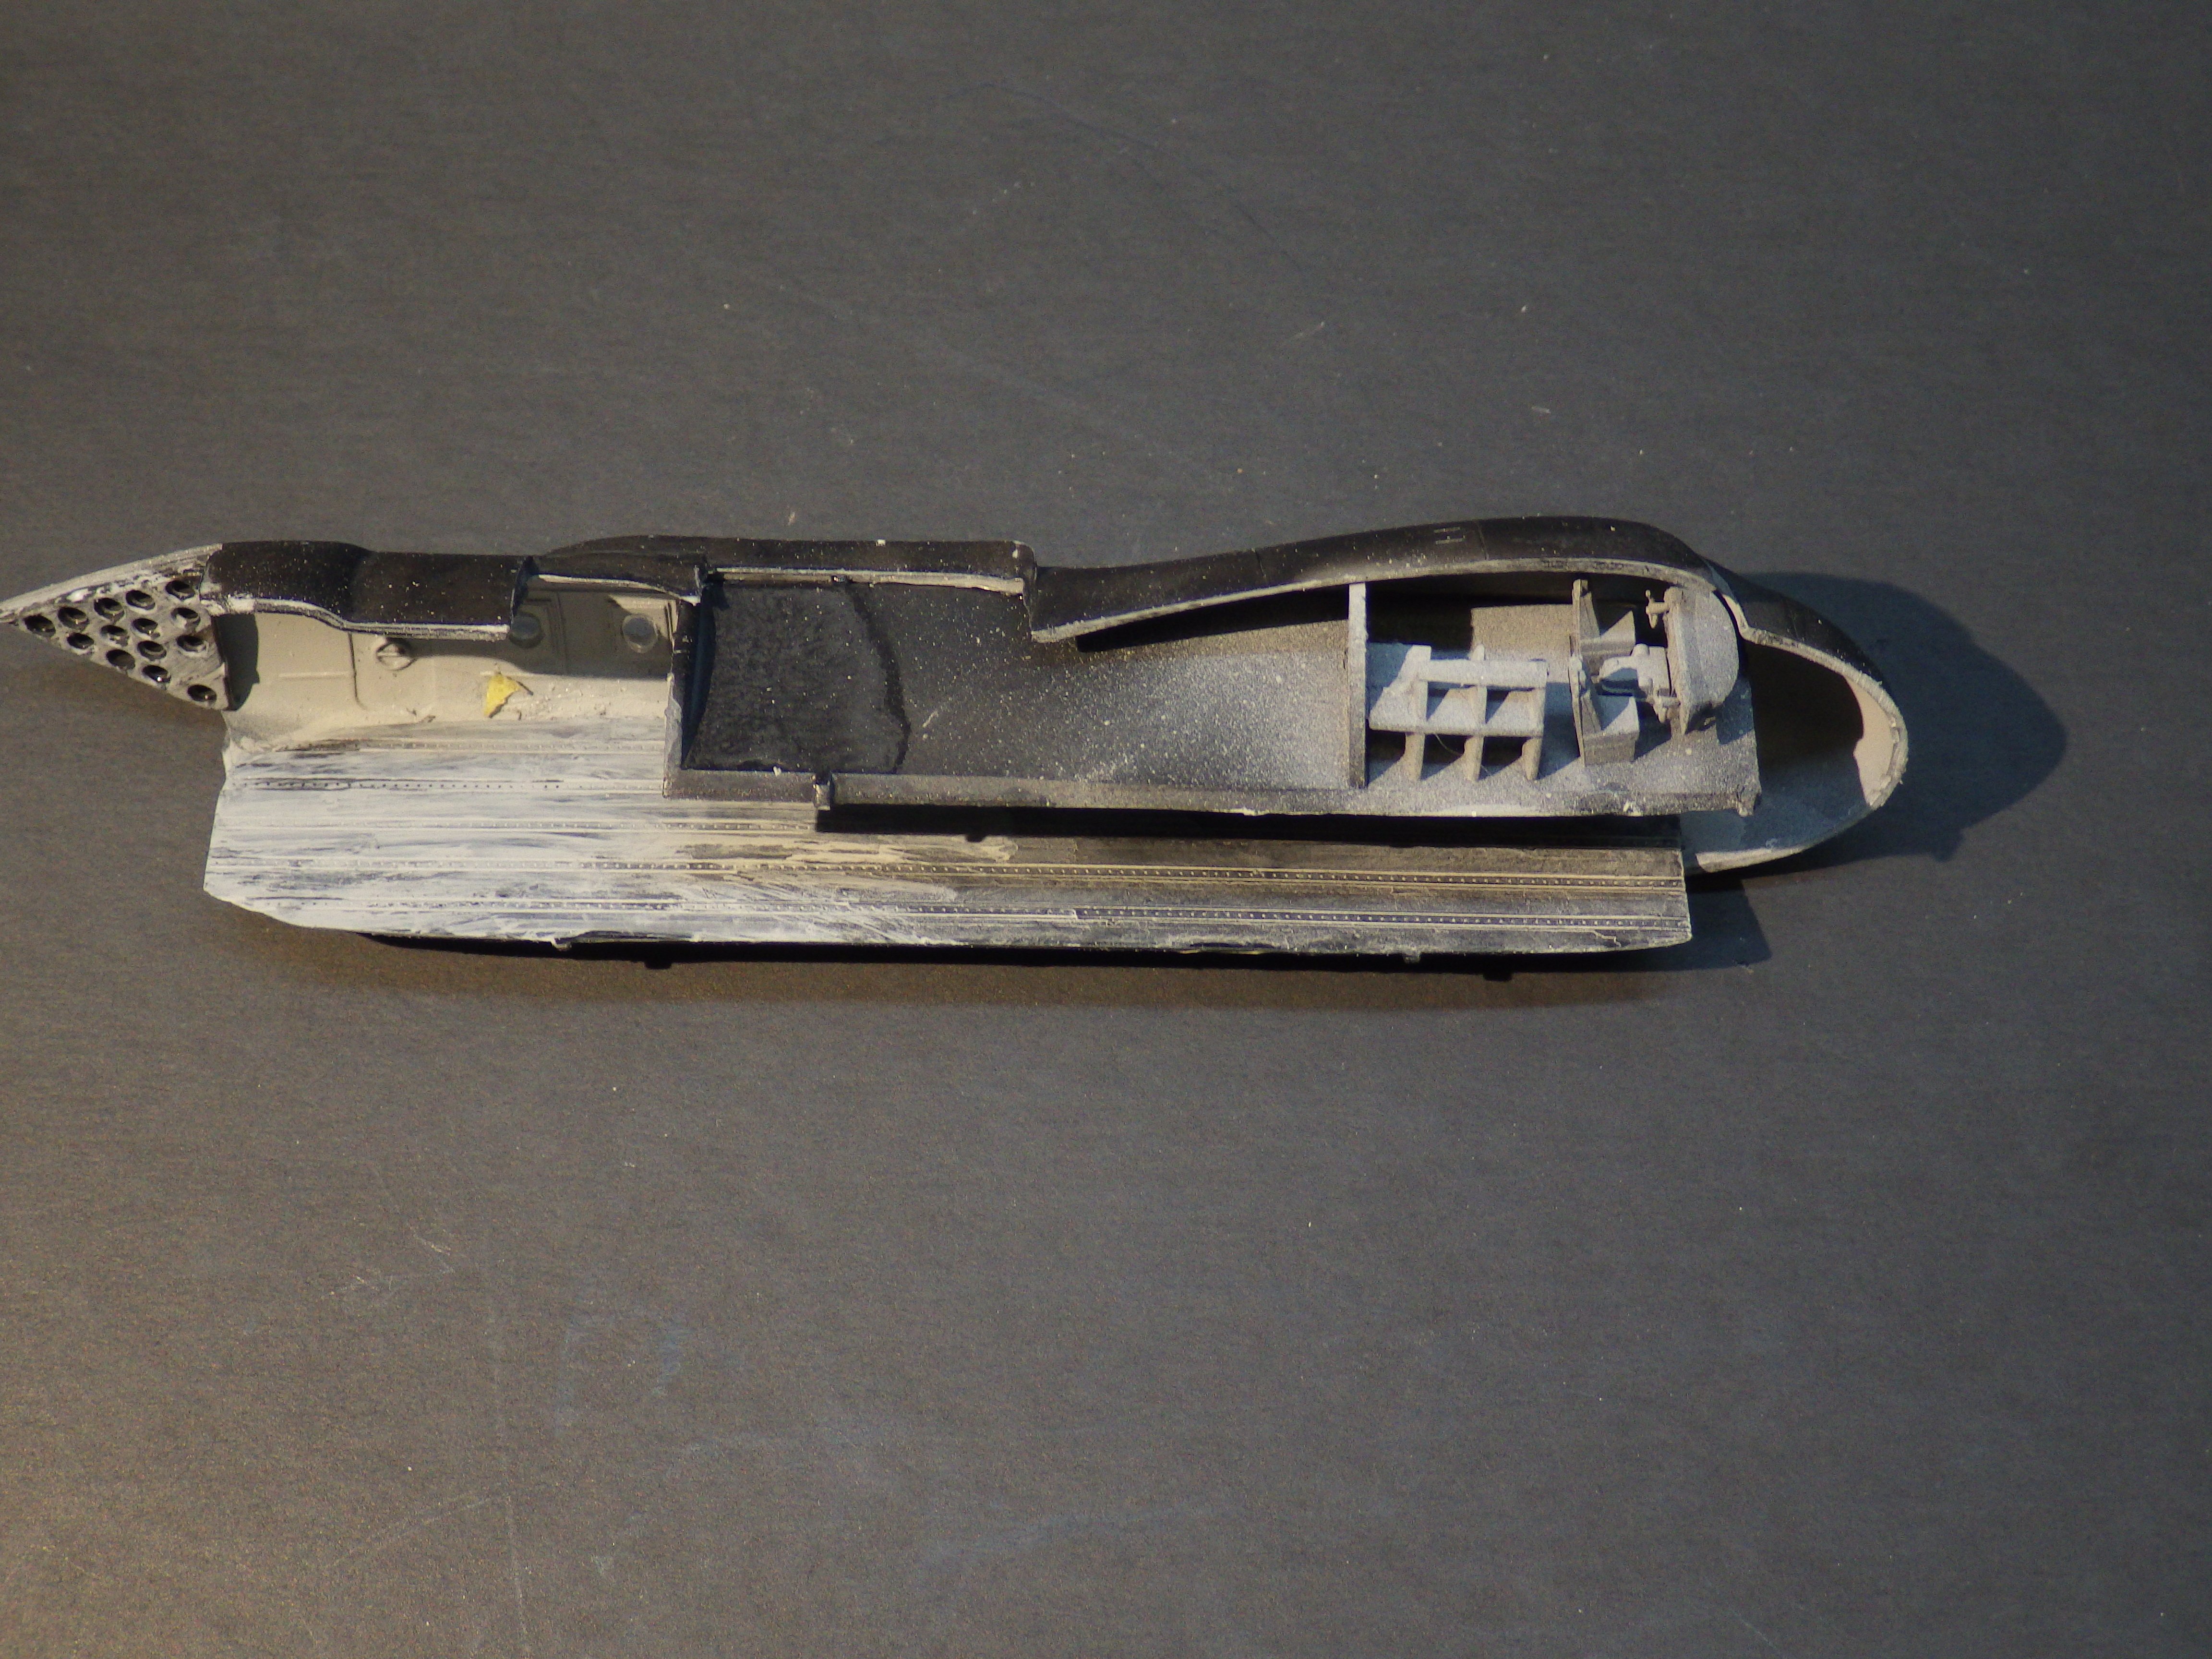
Moving along; this is an interesting kit and has the advantage that you can work on several elements, fuselage, wing, booms etc so I'm not brought to a halt to wait for paint to dry. I've primed most parts and sprayed the interior of the fuselage with light grey. I gave the cockpit a light coat of grey over the primer to bring out the details. There is not much point in getting wild with the painting here; its going to be invisible once the fuselage is closed up The porthole glazing was then installed. Each window is a separate tiny clear part and they are all too big to fit the hole in the fuselage so each opening had to be reworked. Several escaped from the tweezers but thankfully all were recovered. The flight deck was installed along with the cargo floor which was painted light grey and scuffed up to show wear. This will be the last look at the flight deck. I made up the doors and they look quite nice although the fit might be a bit nasty. I plan to have the doors open which may also stop the nose lifting. I don't see much space to stow some weights up front. Maybe some lead weight under the floor - or possibly a 1/144 vehicle or pile of freight. So far this is a lot of fun with some interesting challenges ahead, mating the wing, booms, tail - and then the paint scheme. Thanks for looking in and the likes Alan


- 52 replies
-
- 12
-
-
Thanks Jeff indeed he could. That will be a great back up option. His arm stripes might go the same way alan
-
Thanks Harvey. The flag is mounded partly draped around his arm. I think it would need some heavy surgery so I’ll try some other ideas first alan
-
Hi OC, unfortunately the flag is completely plain so no guidelines or anything. It is a great figure though alan
-
Thanks guys. I’d hate to attract lots of booing and hissing alan
-
They still look good up there. There is never enough display space! I love the large models but I have nowhere to put them. The 1/48 Flower class corvette is hogging most of it all on its own. Alan
-
Oh yes. I don’t think I am capable of free handing it. I’m wondering if I can paint the white and then mask with small diamonds of tape and then paint the blue. Or is that cheating in the figure painting world? Still not going to be easy Alan