HOLIDAY DONATION DRIVE - SUPPORT MSW - DO YOUR PART TO KEEP THIS GREAT FORUM GOING!
×


king derelict
-
Posts
3,266 -
Joined
-
Last visited
Content Type
Profiles
Forums
Gallery
Events
Everything posted by king derelict
-
Beautiful and neat work alan
-
Thank you very much Mike. The east European kit companies have some intriguing subjects and I rather overindulged. Most look like short builds but that just moves the problem from too many boxes to too many on display. alan
- 27 replies
-
- 9
-

-

-
- Holland class
- plastic
- (and 2 more)
-
Thank you Ken. A very enjoyable painting exercise. alan
- 27 replies
-
- 6
-
-
- Holland class
- plastic
- (and 2 more)
-
Thank you very much Yves. I do like submarines. alan
- 27 replies
-
- 6
-
-
- Holland class
- plastic
- (and 2 more)
-
Thank you OC. I find the painting to be very absorbing and time passes quickly. I’m enjoying this far more than I expected alan
-
Nice. You do great with the 3d printing alan
-
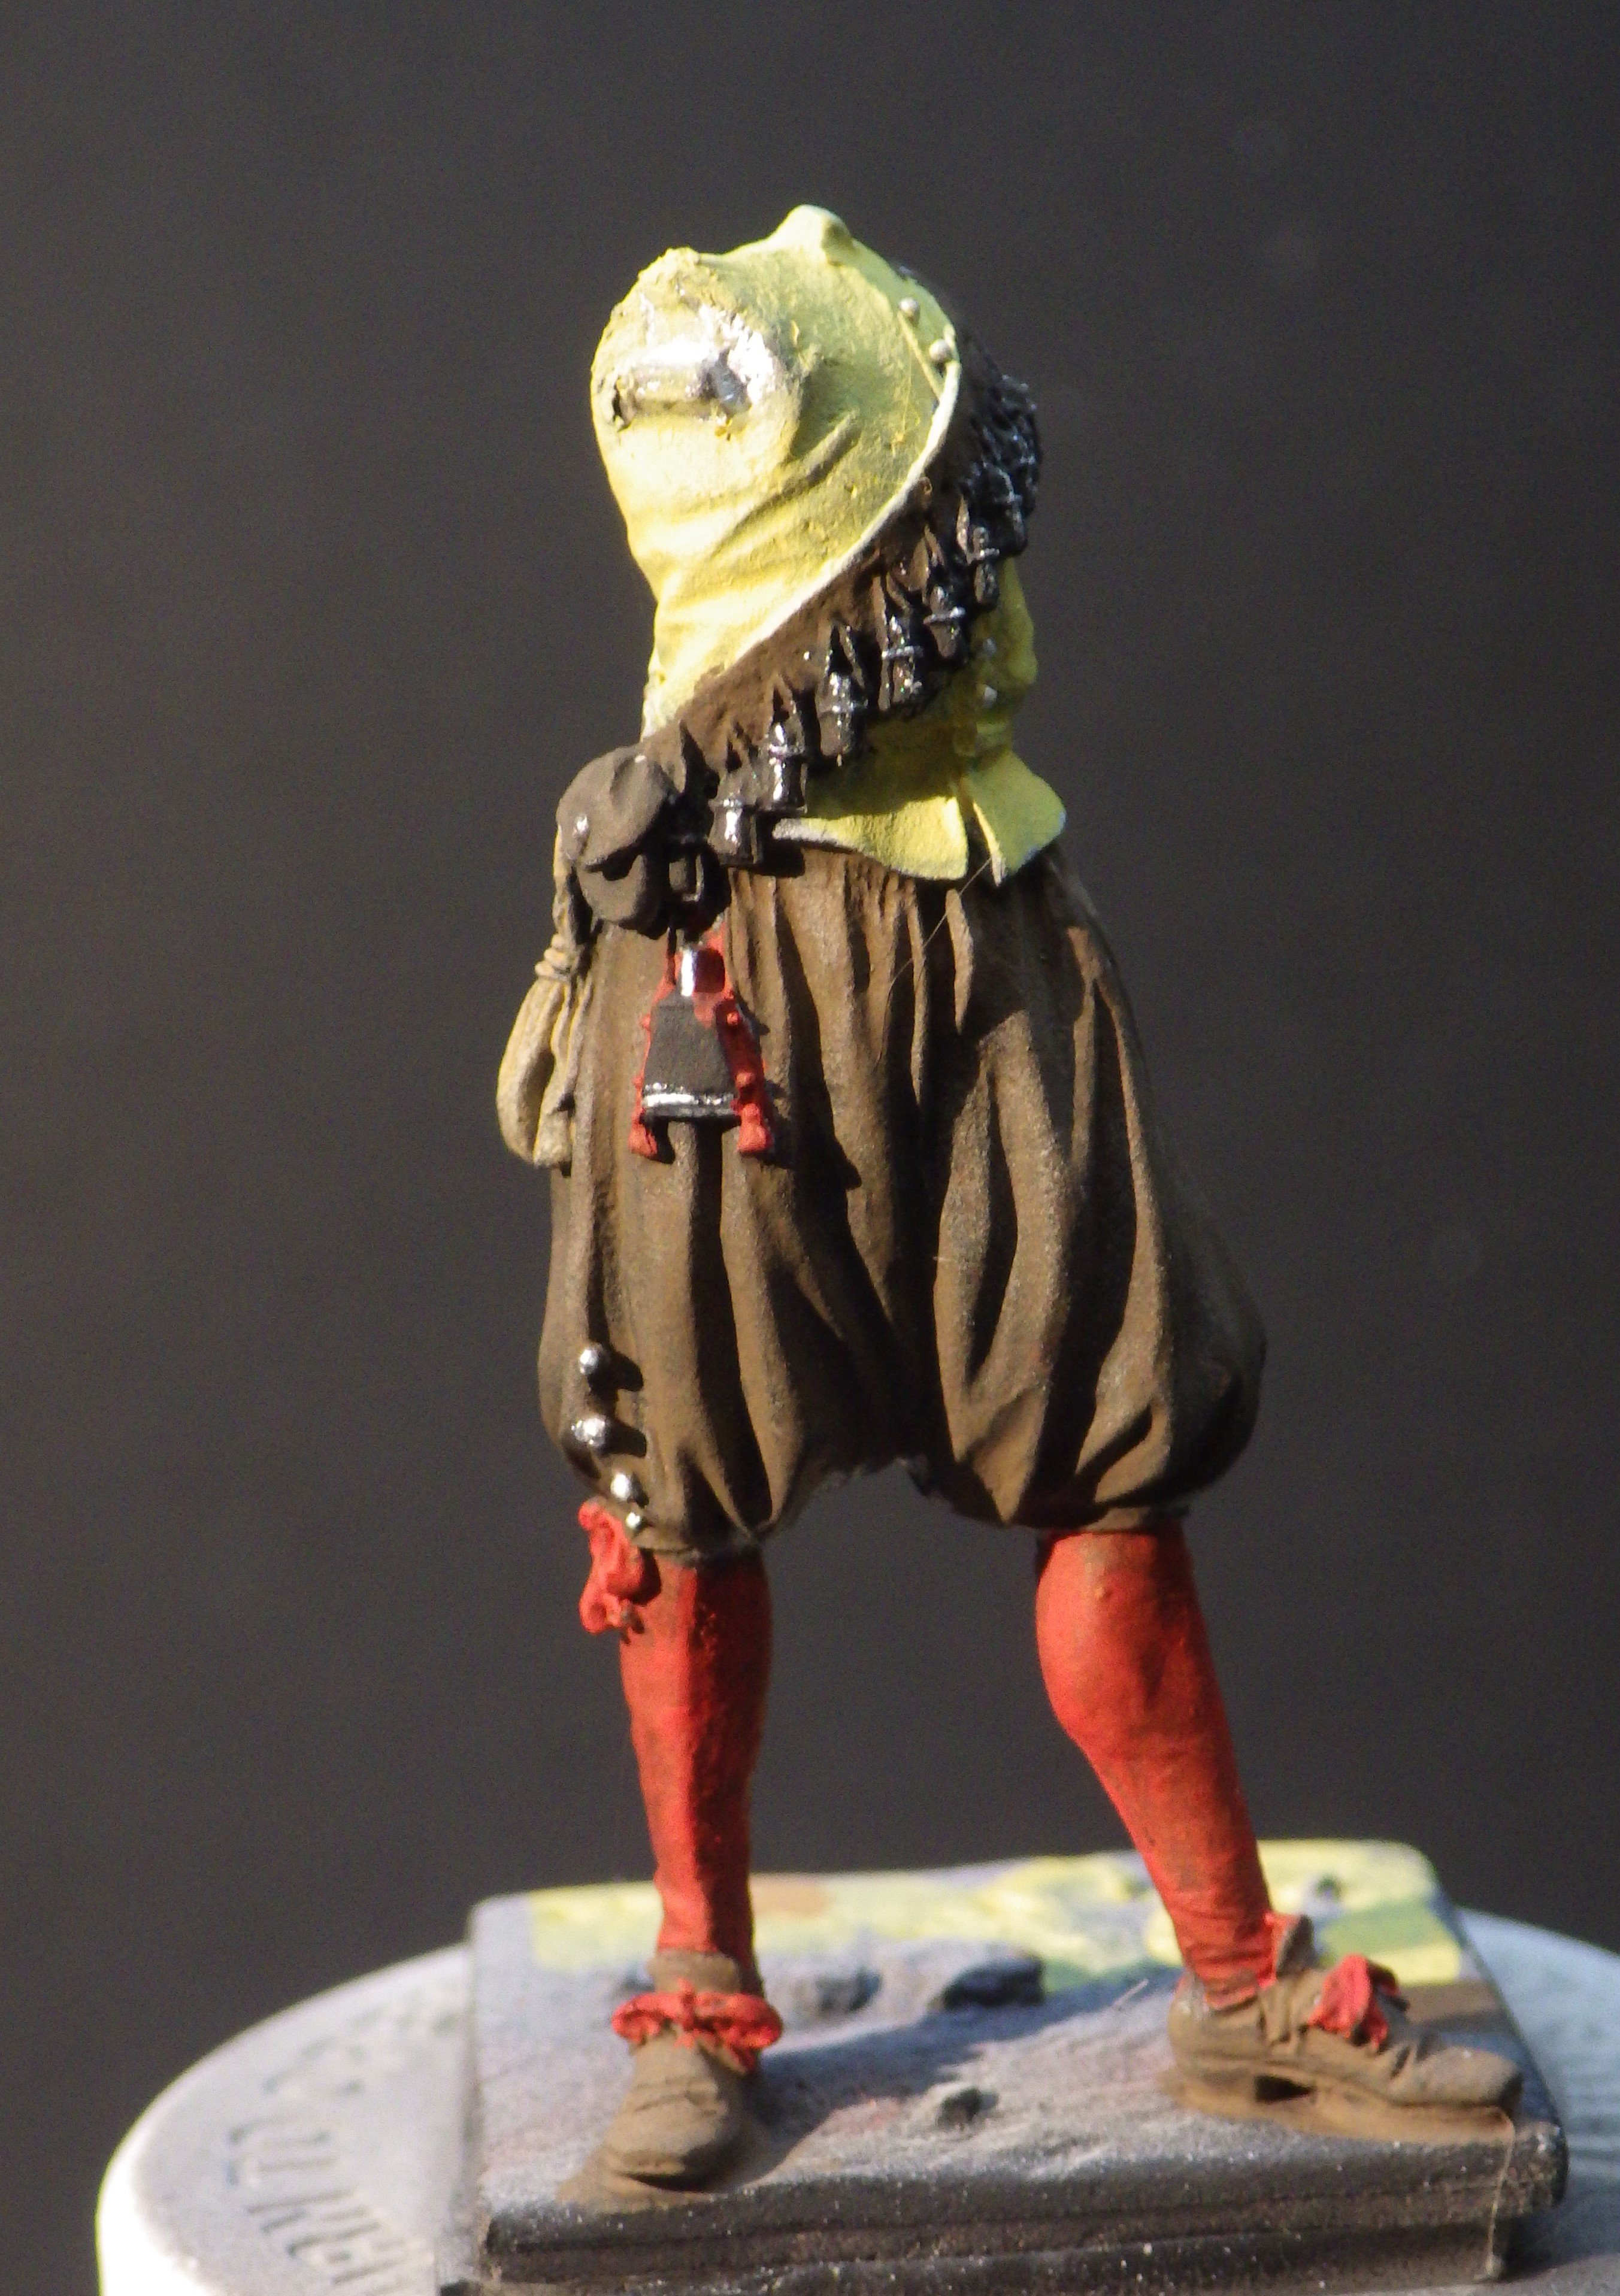
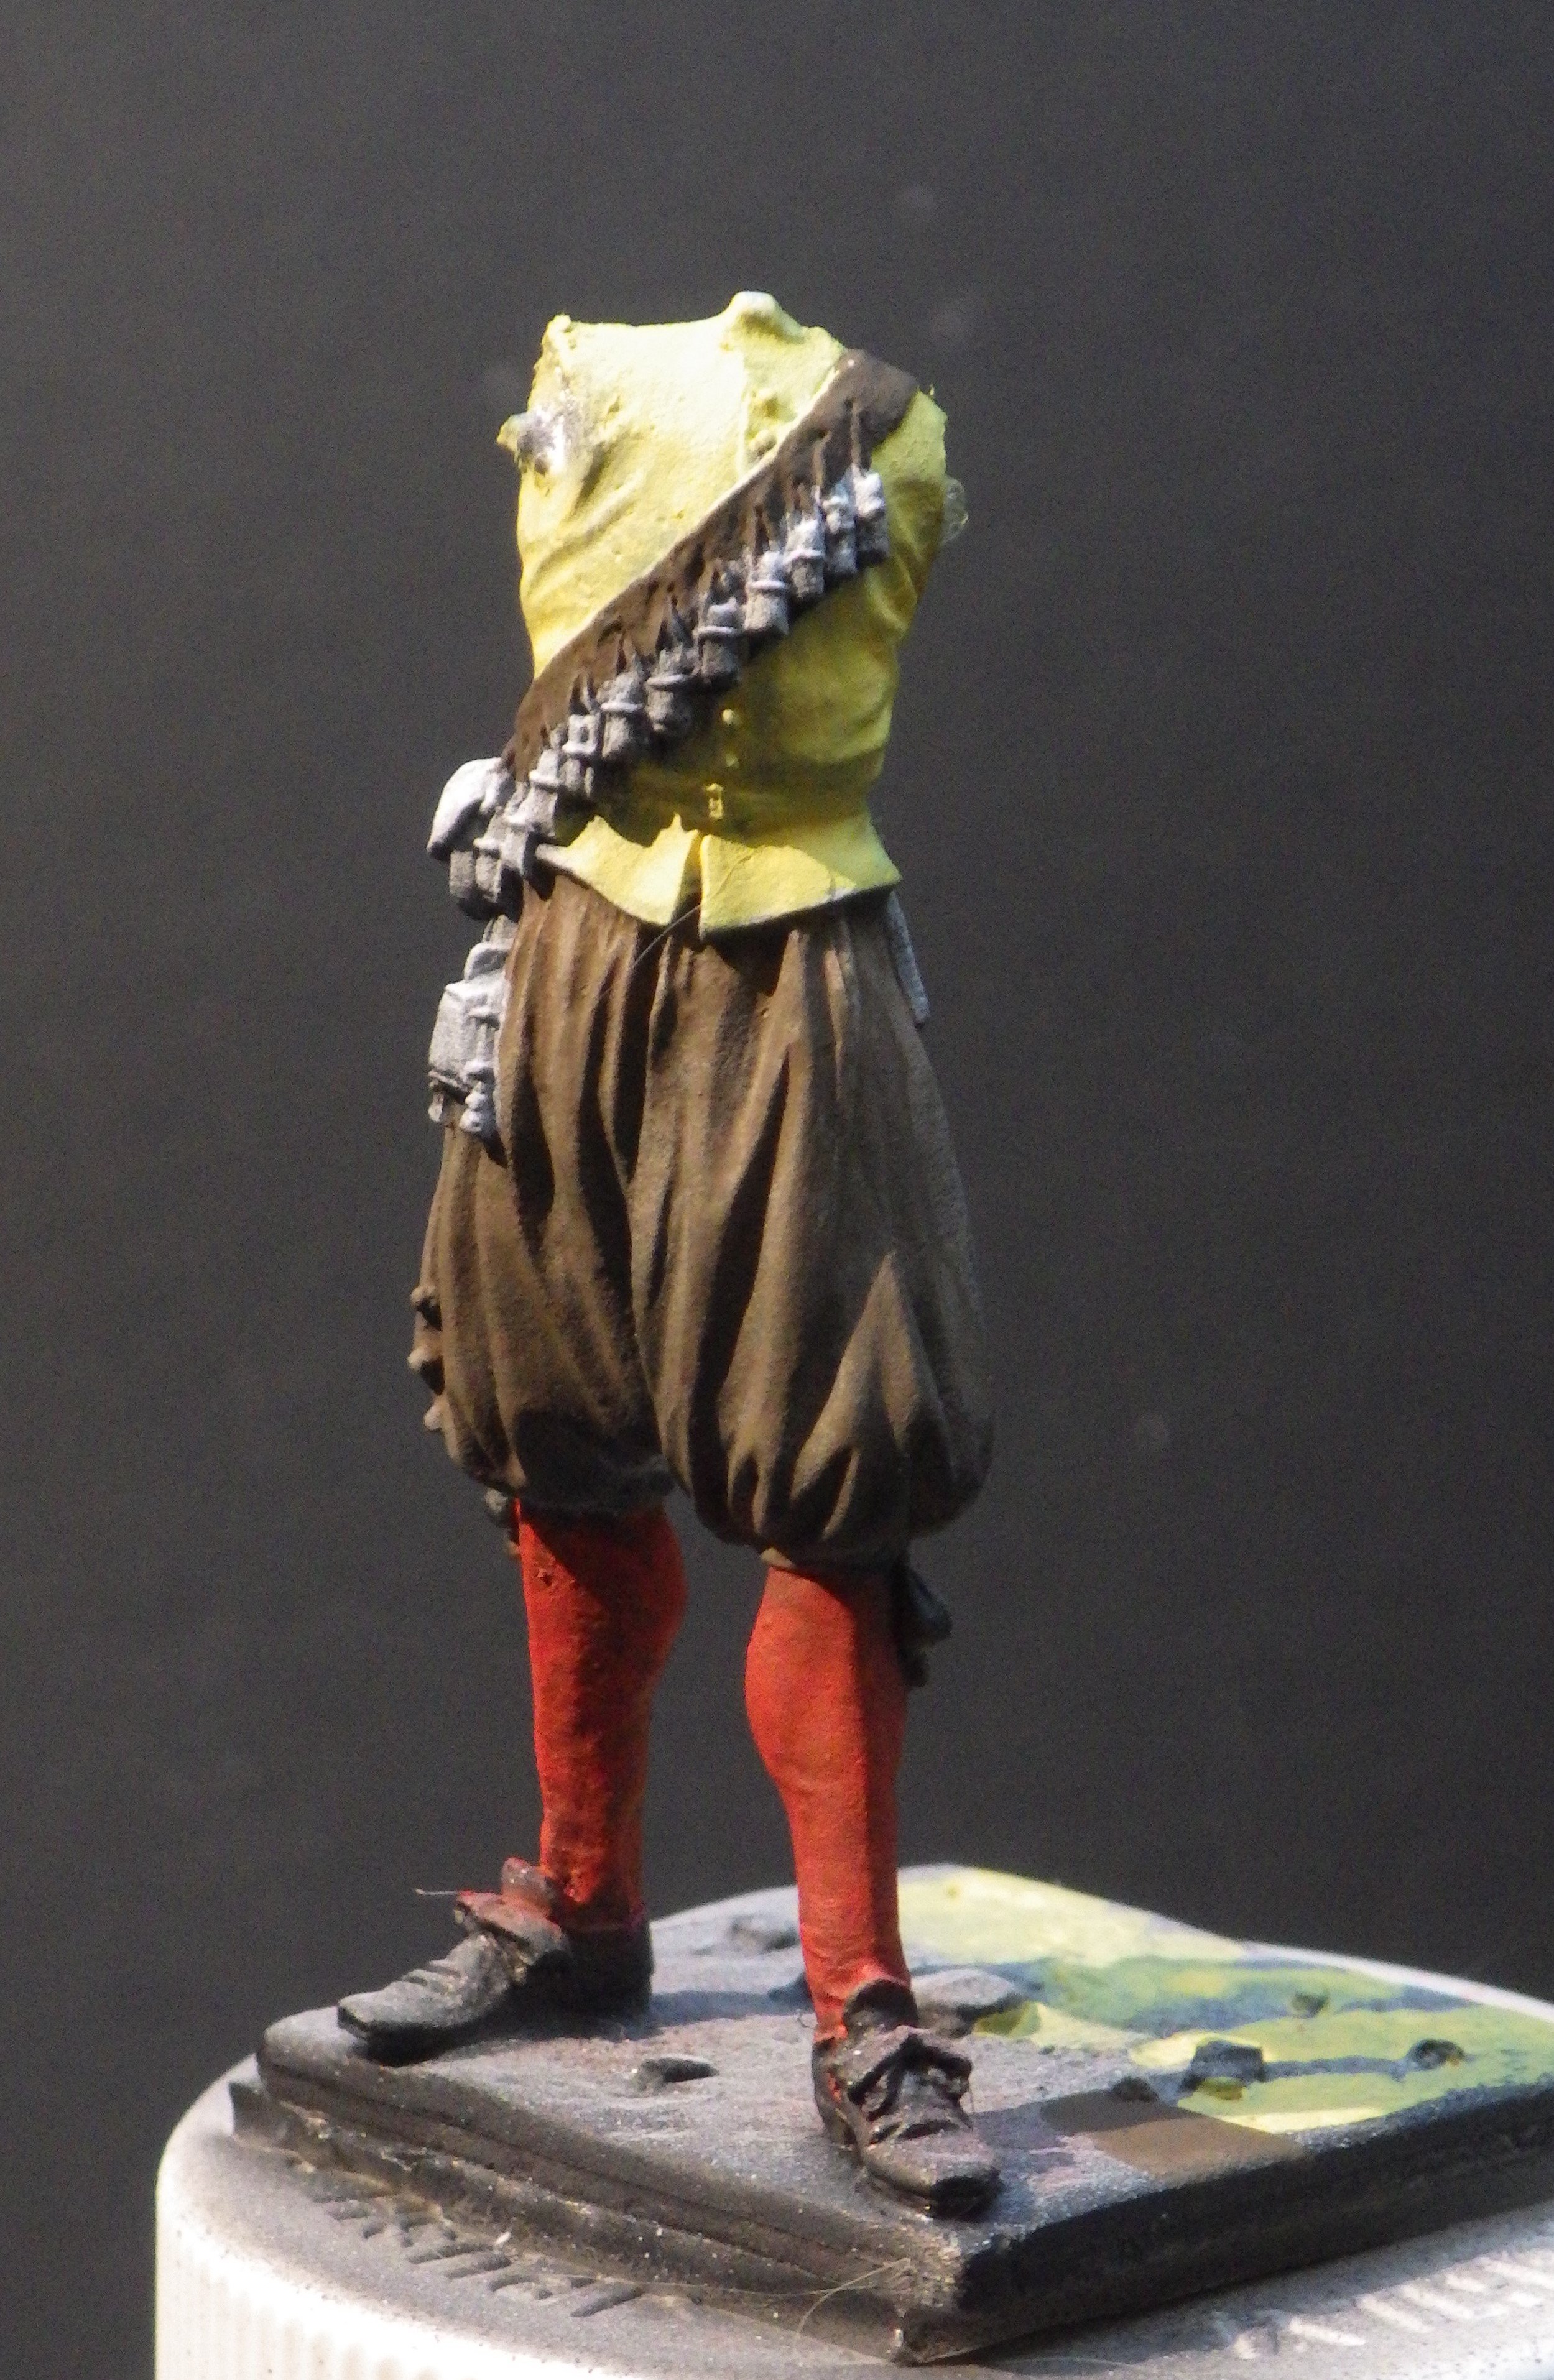
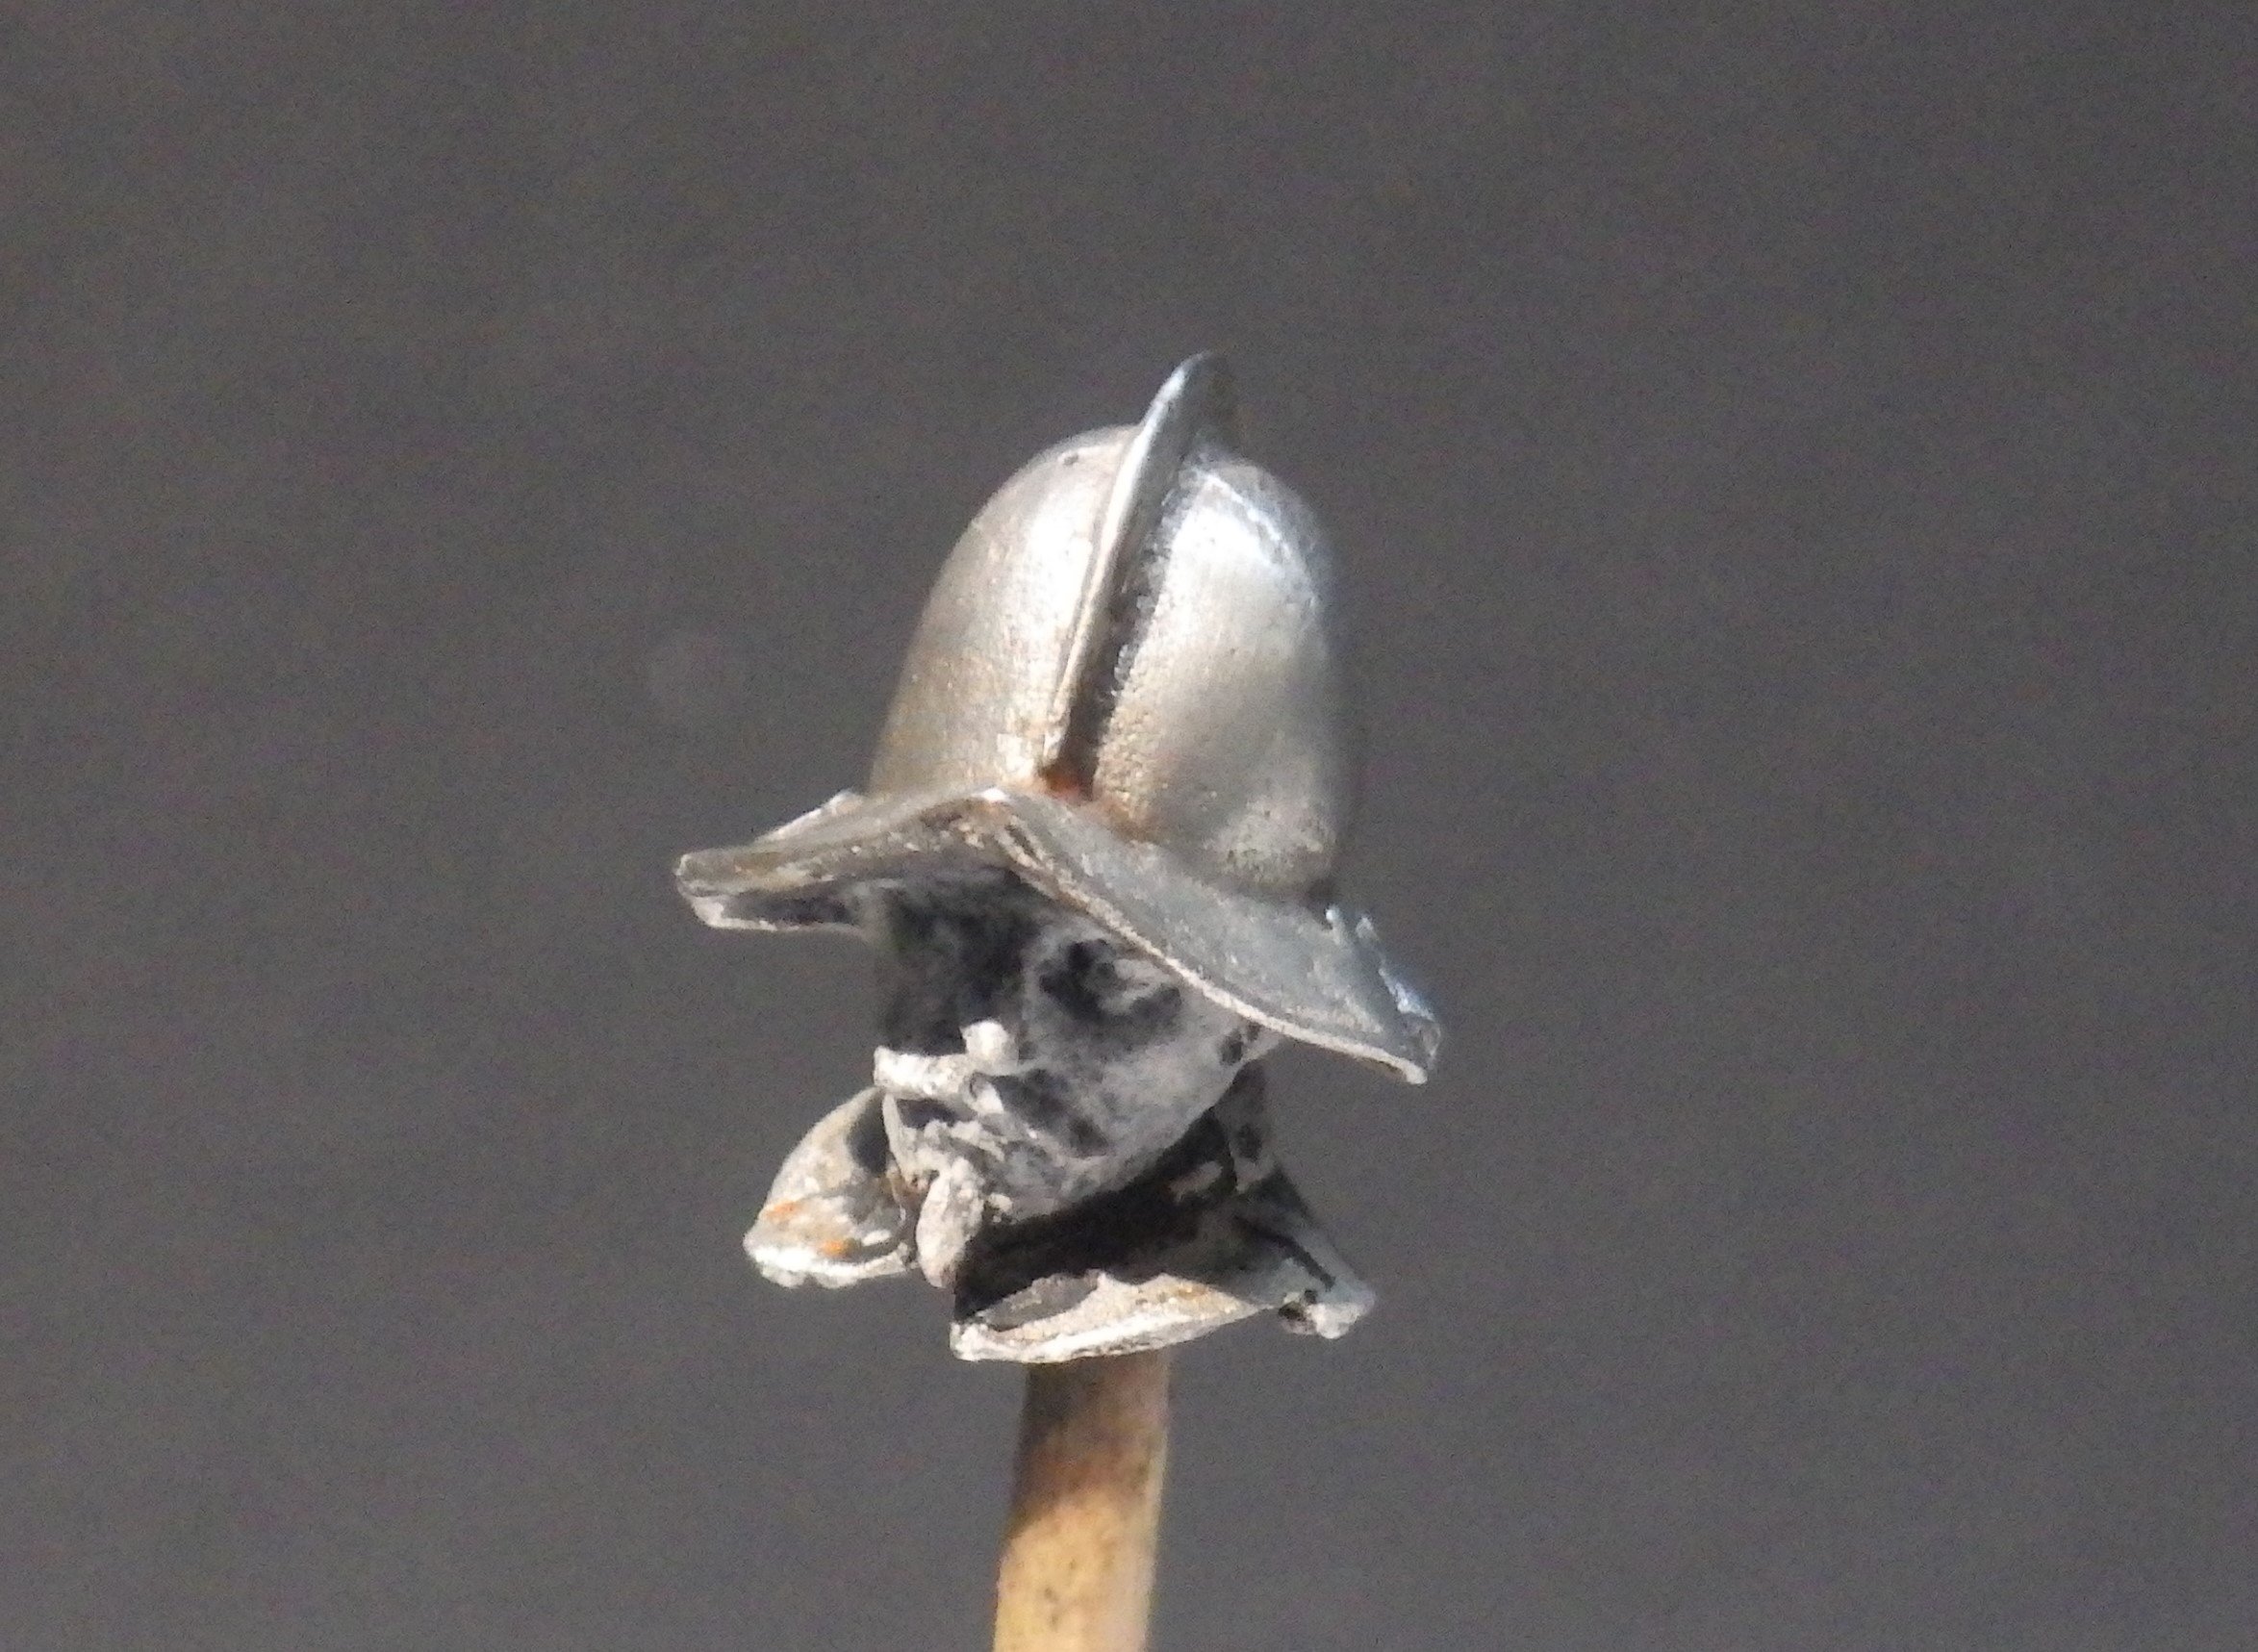
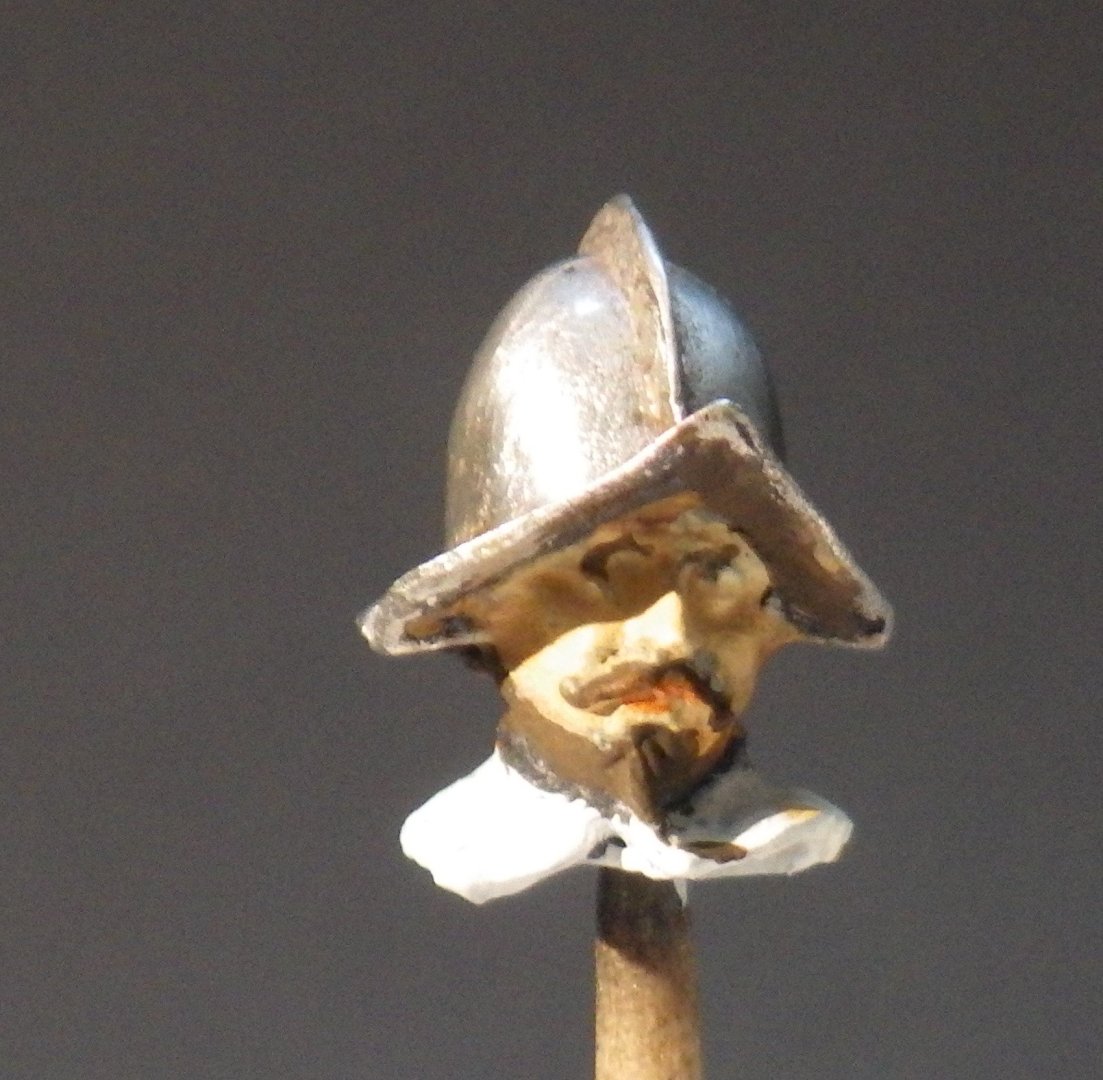
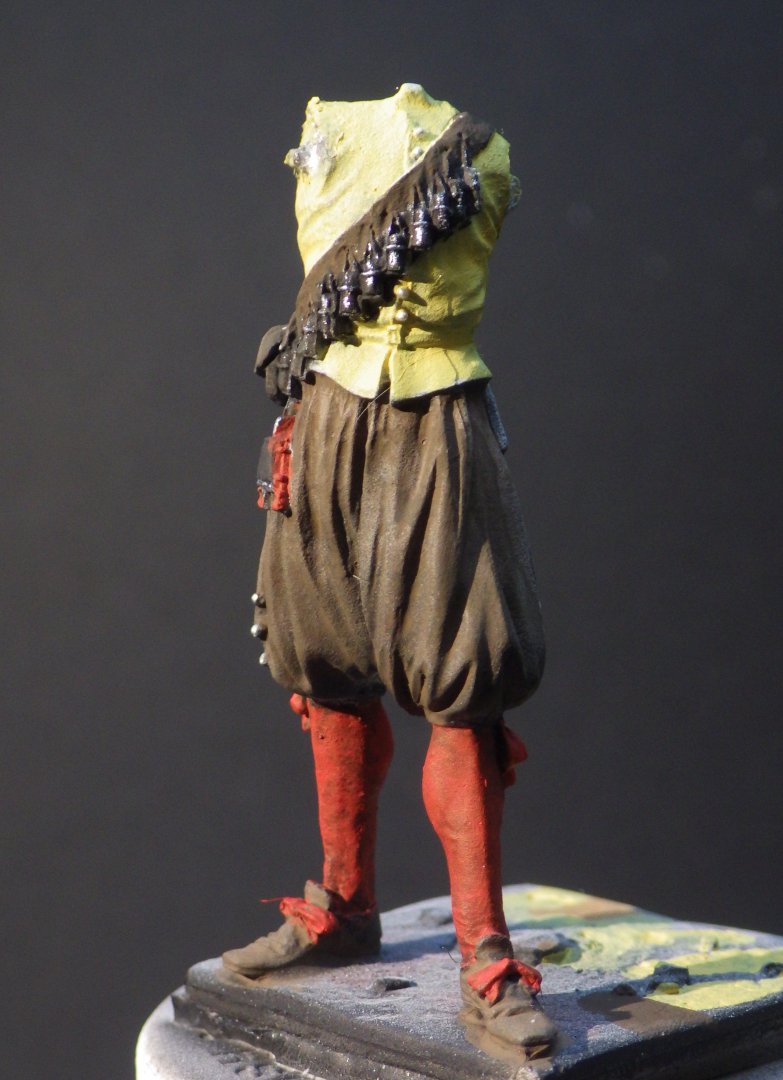
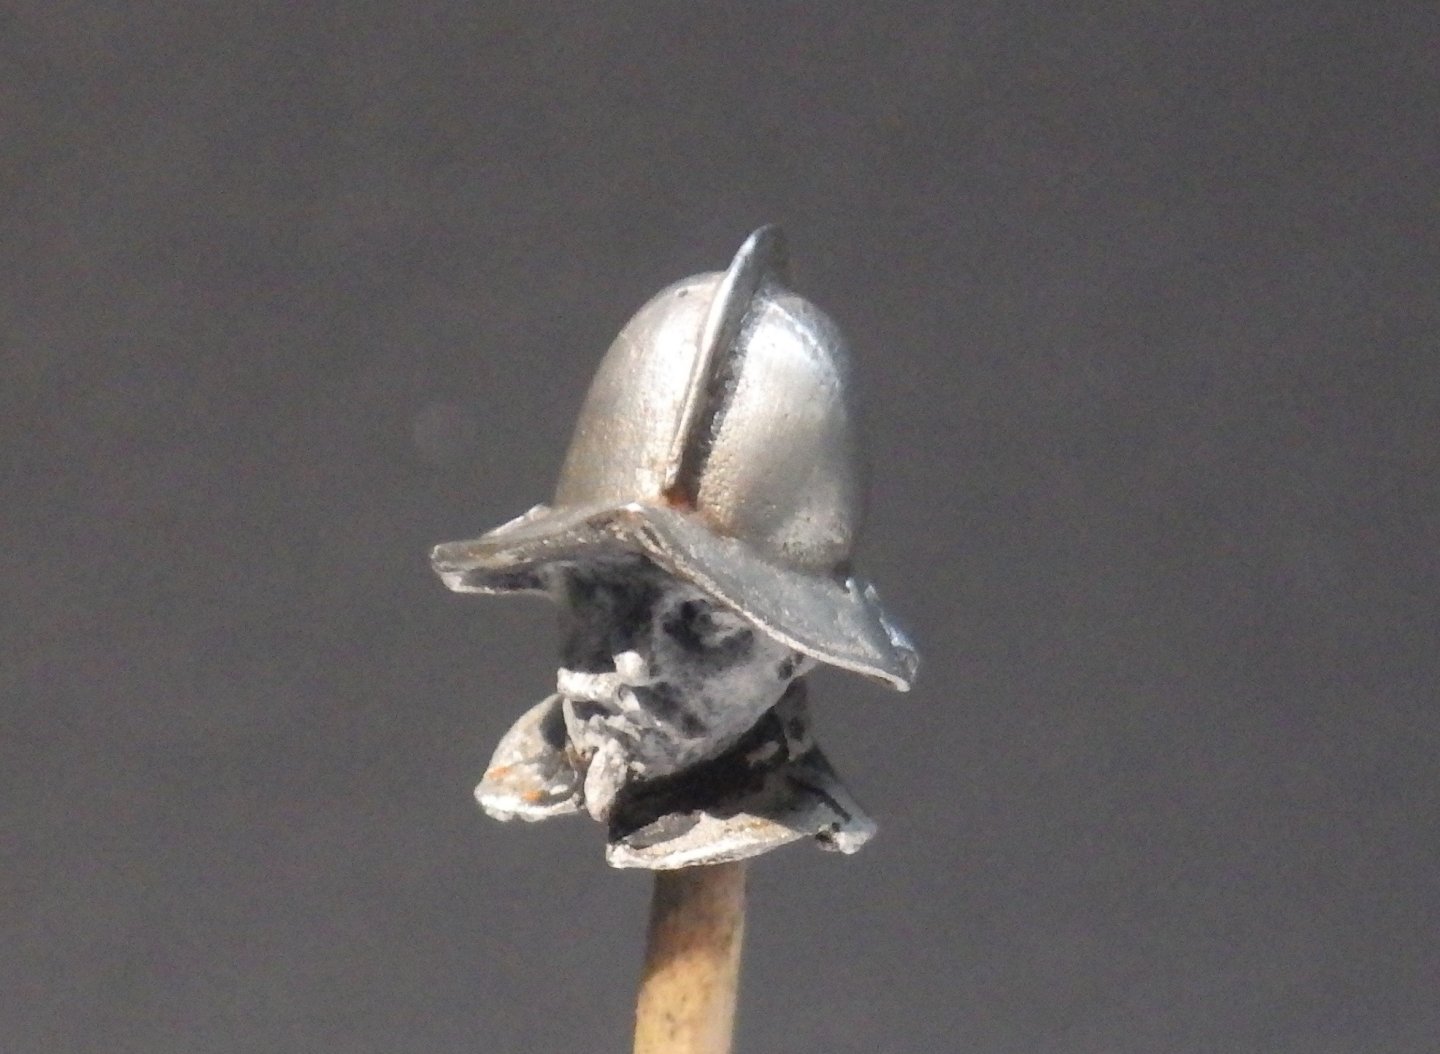
These are great little things to absorb time. Its so easy to just do a little more, and maybe a little more.... This is moving along rather quickly. I think I might be assembling the pieces tomorrow if I get some time. I added details to the main figure and I like how its coming out. I think I need a lighter red to highlight the bows to make them stand out a little better. Then I started on the head and worked flesh tones and the beard. I added a gloss coat to the helmet and I will add a little black was once the rest of the head is complete. The moustache is a little untidy at this point. I have rather set myself up by enlarging these shots to this level. The actual face is about 1/3 inches in height. Thank you for looking in, the likes and helpful comments Alan

-
Thanks Jack. I decided to leave well alone but I have a few more of these that feature armour so I will be using the polishing compounds again soon. Alan
-
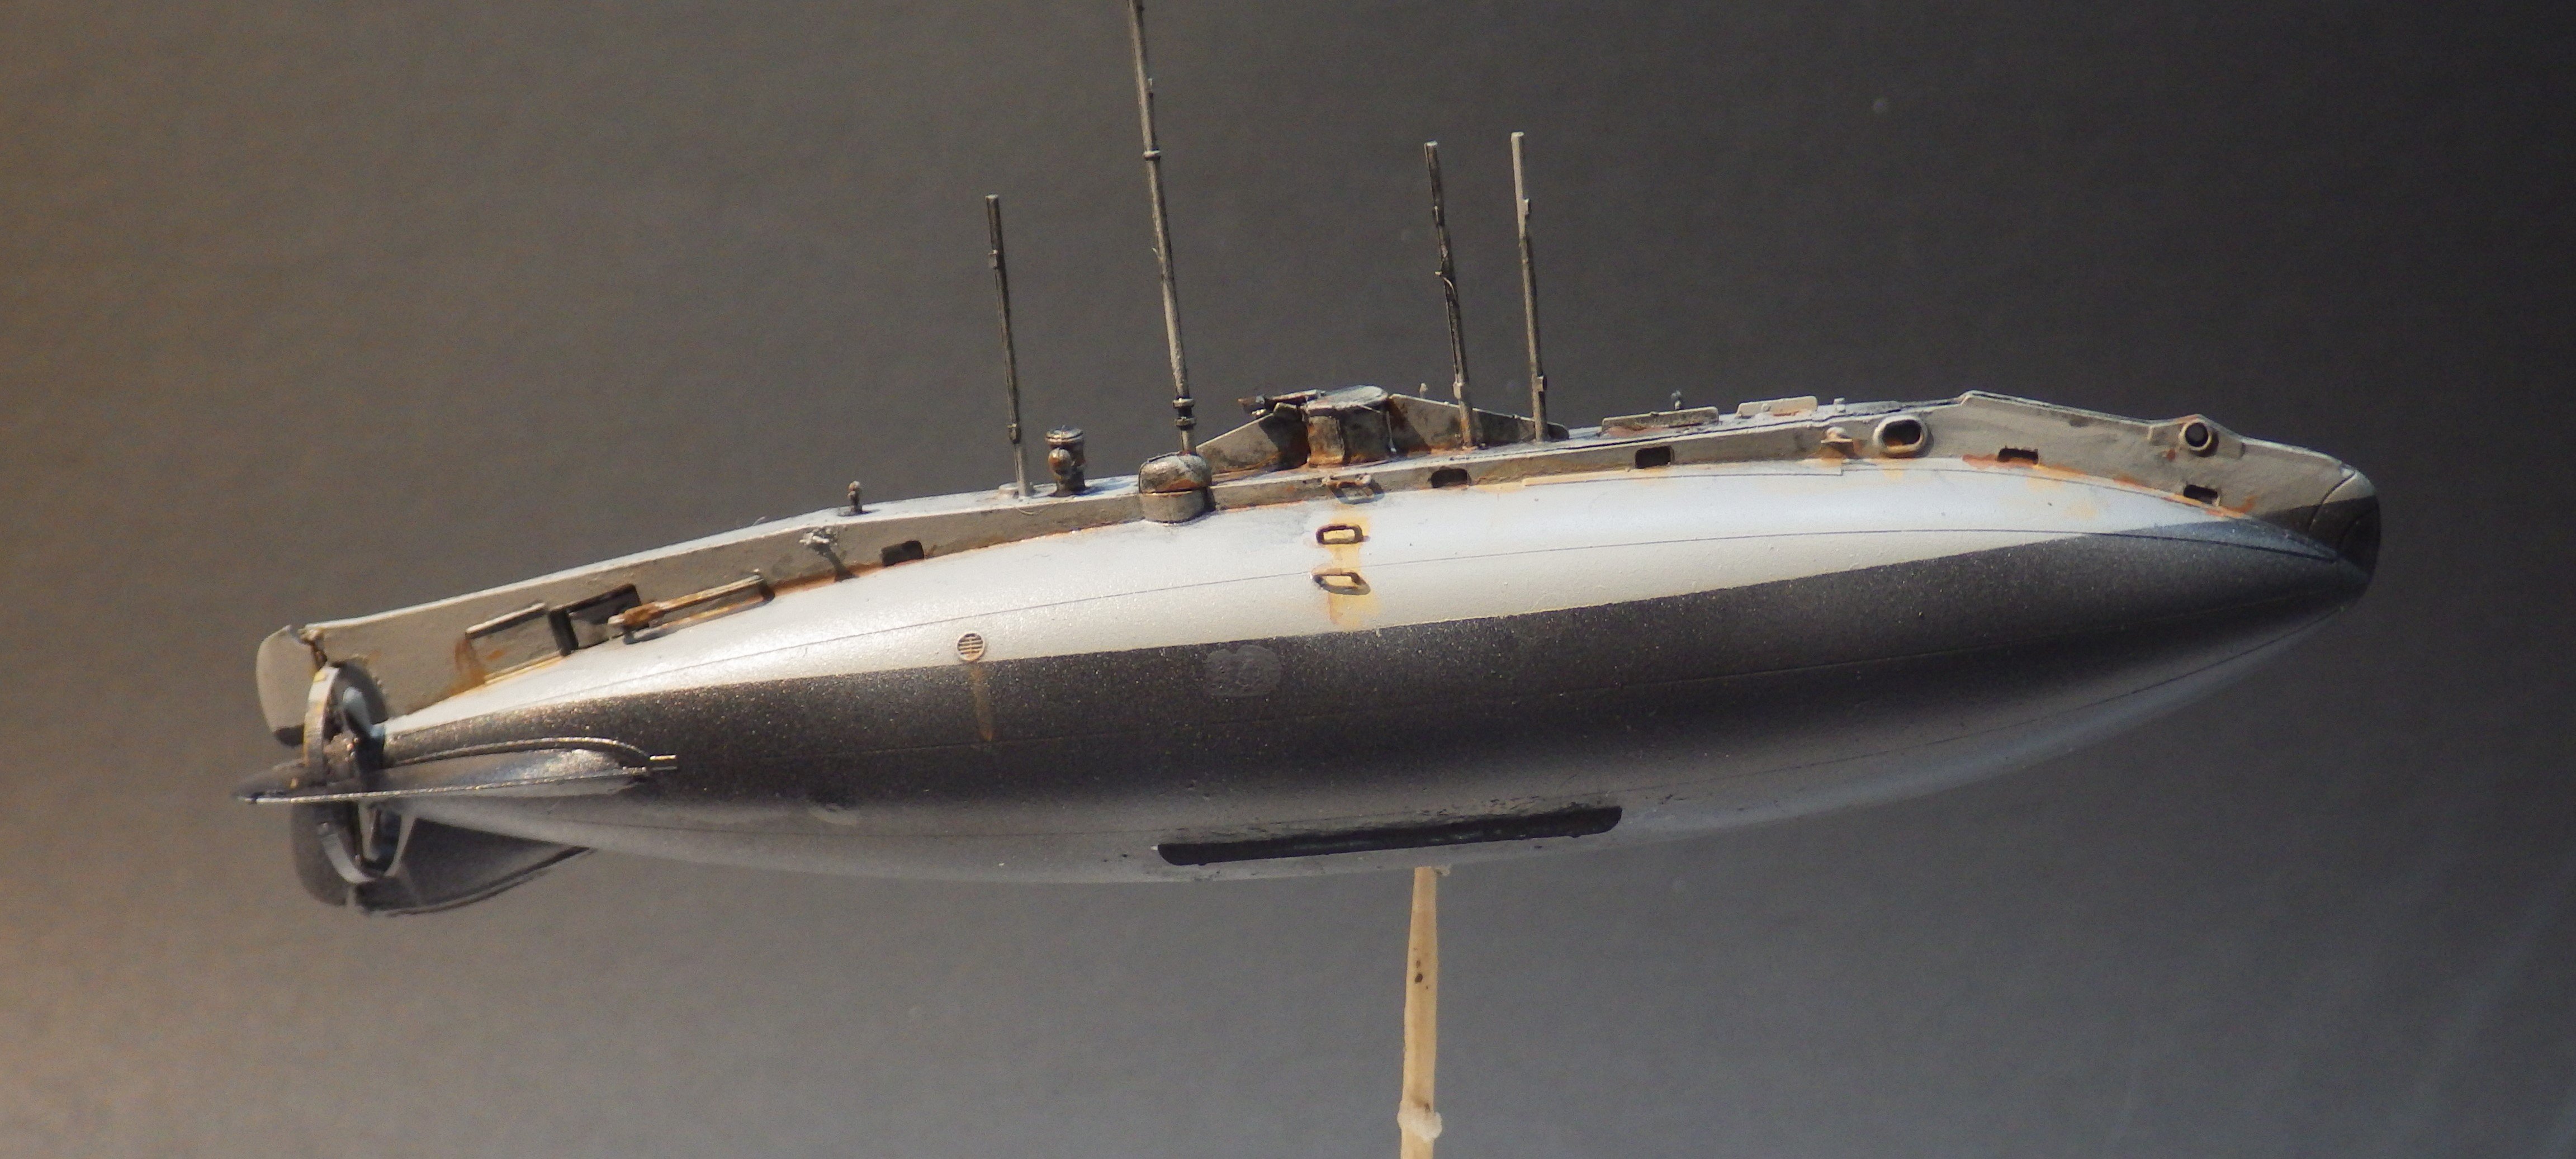
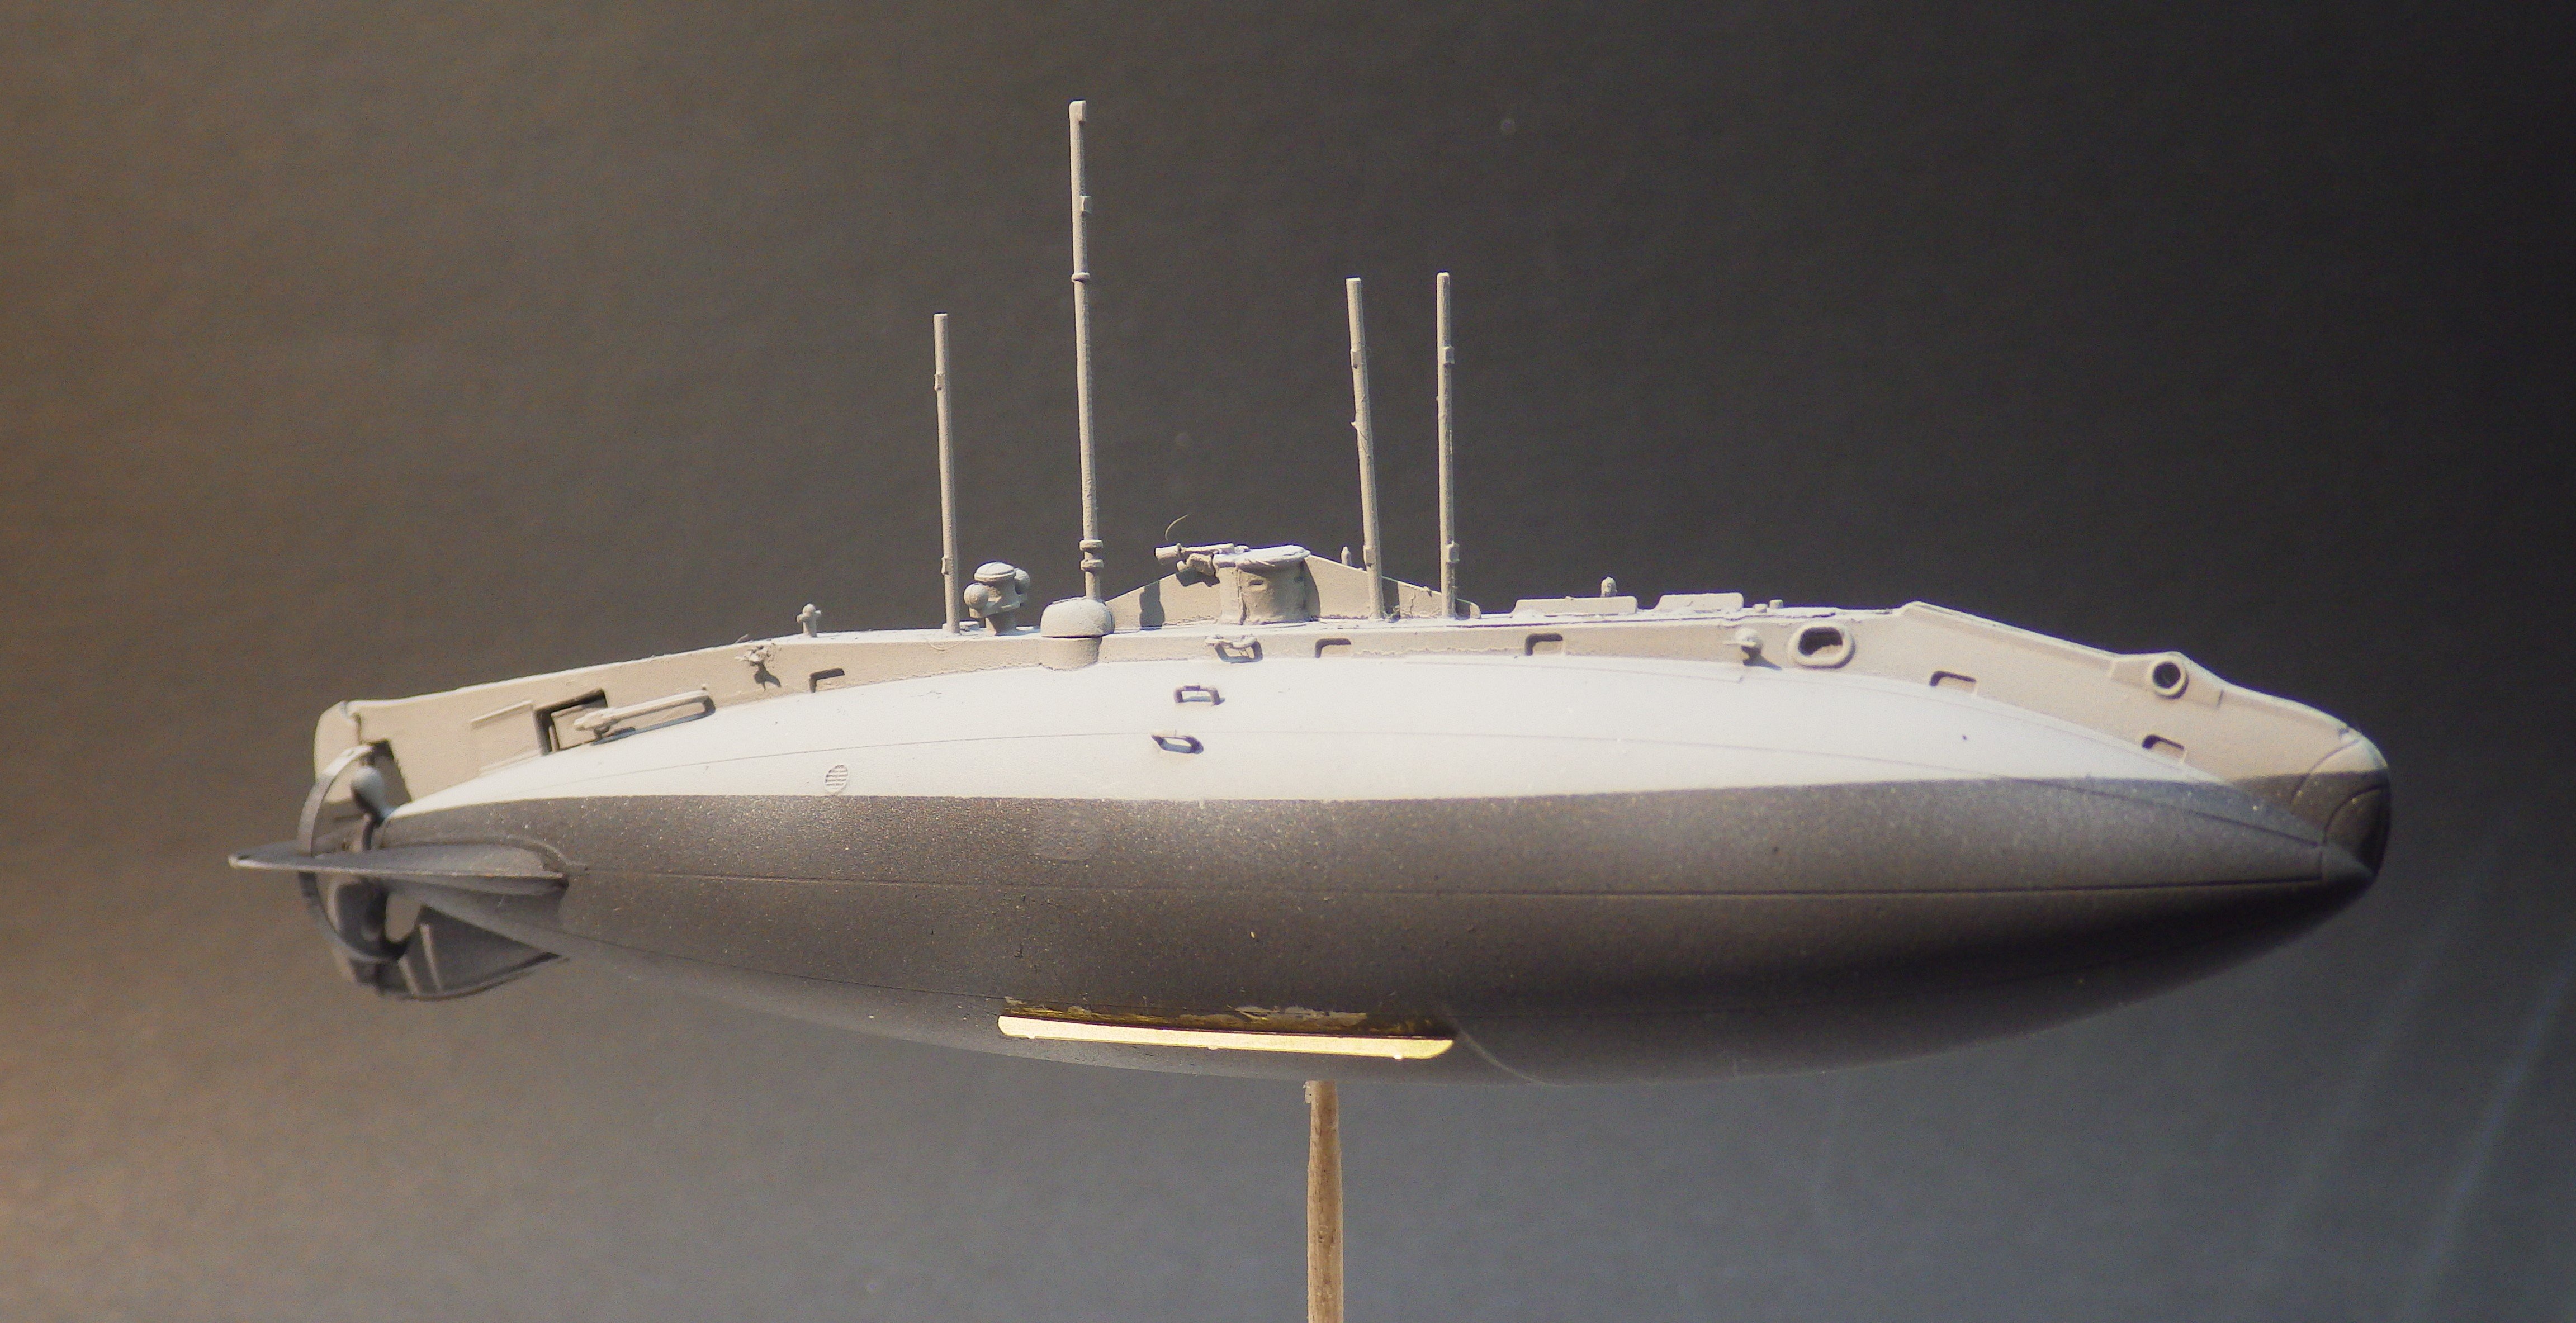
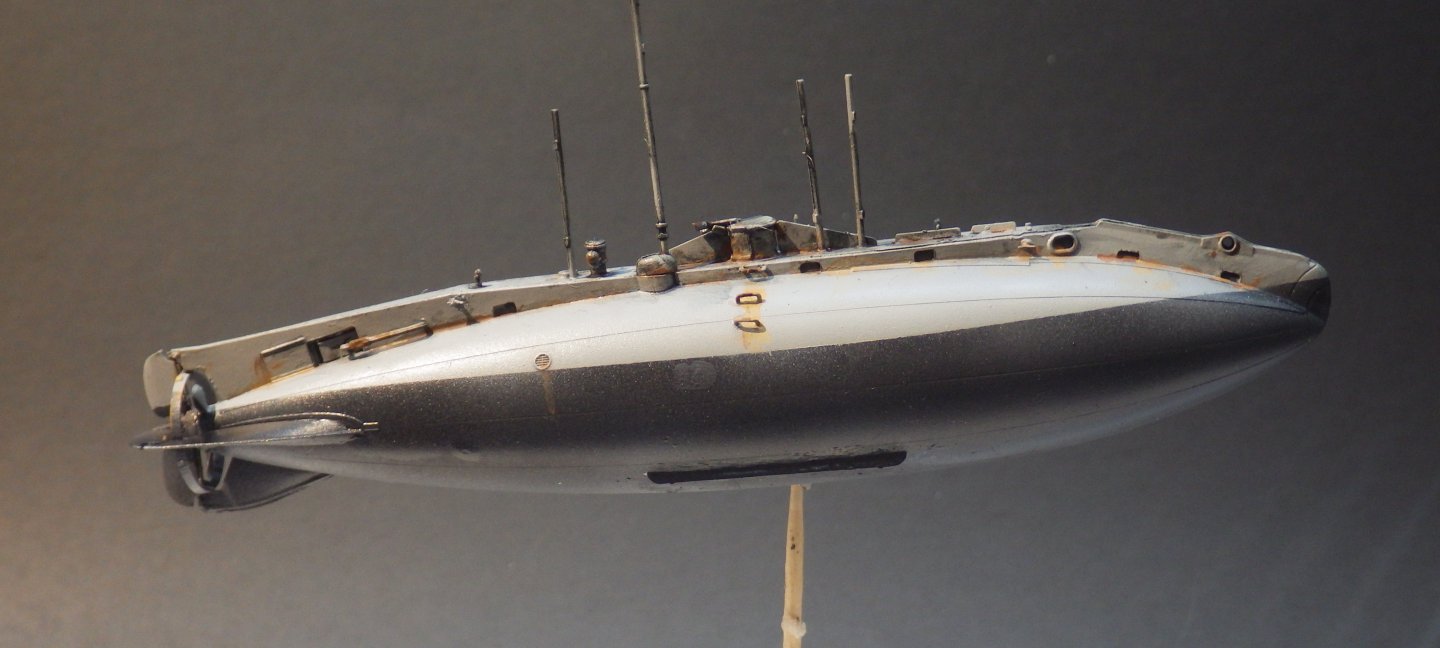
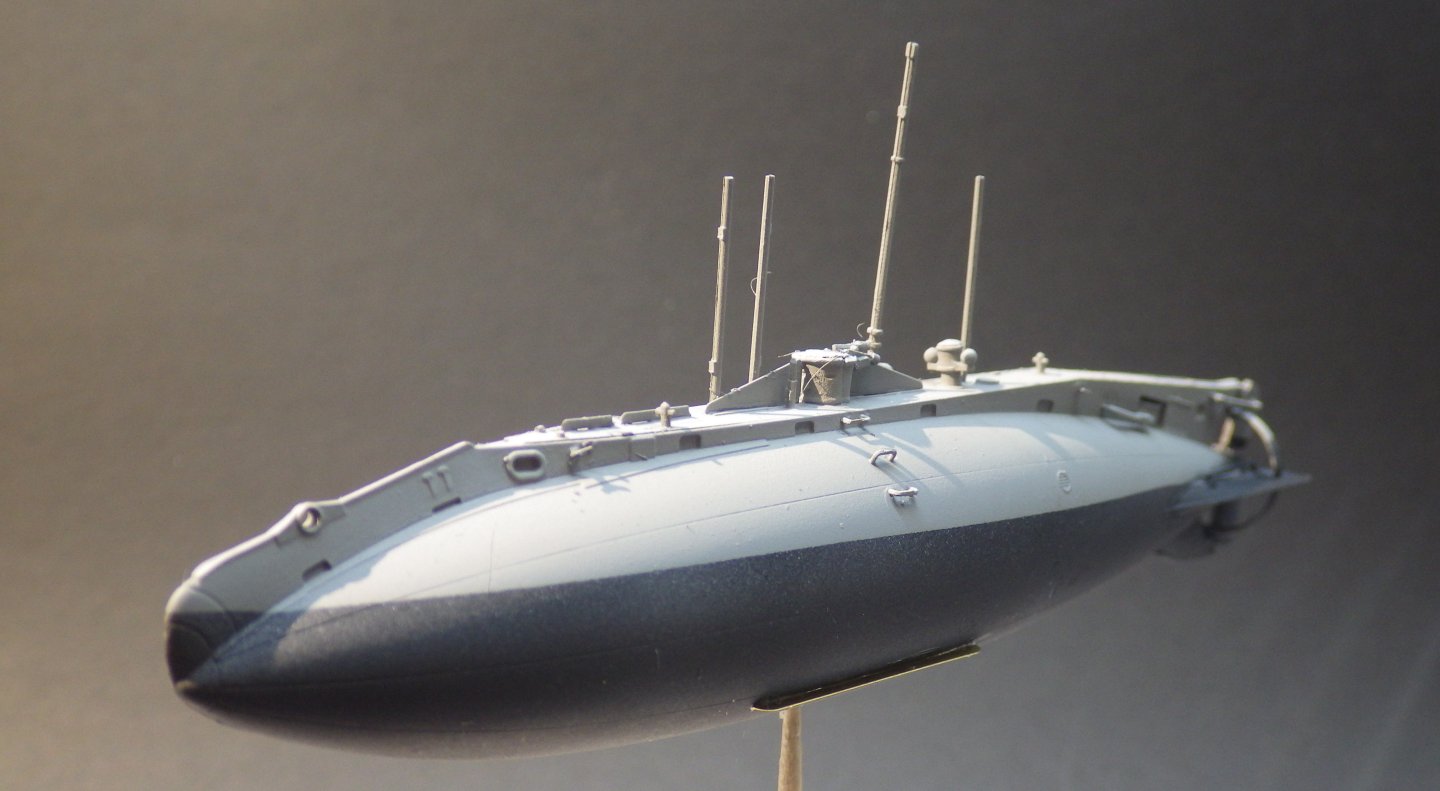
After a gloss coat I added a black wash around the detail and then followed up with some dark and light rust washes.. I need to touch up teh propellor but otherwise the submarine is ready for a matte coat and mounting onto the base. Thanks for looking in and all teh likes and comments Alan

- 27 replies
-
- 15
-
-

-
- Holland class
- plastic
- (and 2 more)
-
Lovely work Mike. It looks really nice but it does seem to be a tough kit if you want an accurate result. Alan
-
Hi Mike, 1/44 is a new scale for me. I have one or two aircraft in that scale that I can't afford space for at 1/72 or bigger. I'm curious to see how they turn out. Alan
-
Thank you Patrick. Something different for me Alan
-
I always thought the Condors were graceful aircraft. The kit looks pretty basic so it will be mostly a painting exercise. Alan
-
Beautiful work Mike with such small parts. They look very neatly constructed. Very interesting subject too Alan
- 19 replies
-
- 6
-
-

-
- Five Star
- Akitsu Maru
- (and 1 more)
-
Thank you very much Andrew Now its time to mess it up with some rust. I hope all is going well with you Alan
- 27 replies
-
- 5
-
-
- Holland class
- plastic
- (and 2 more)
-
Thank you very much OC. Its a treat to paint although I need frequent rests to let the eyes cool down a bit. The nail brush suggestion has proved very valuable too Alan
-
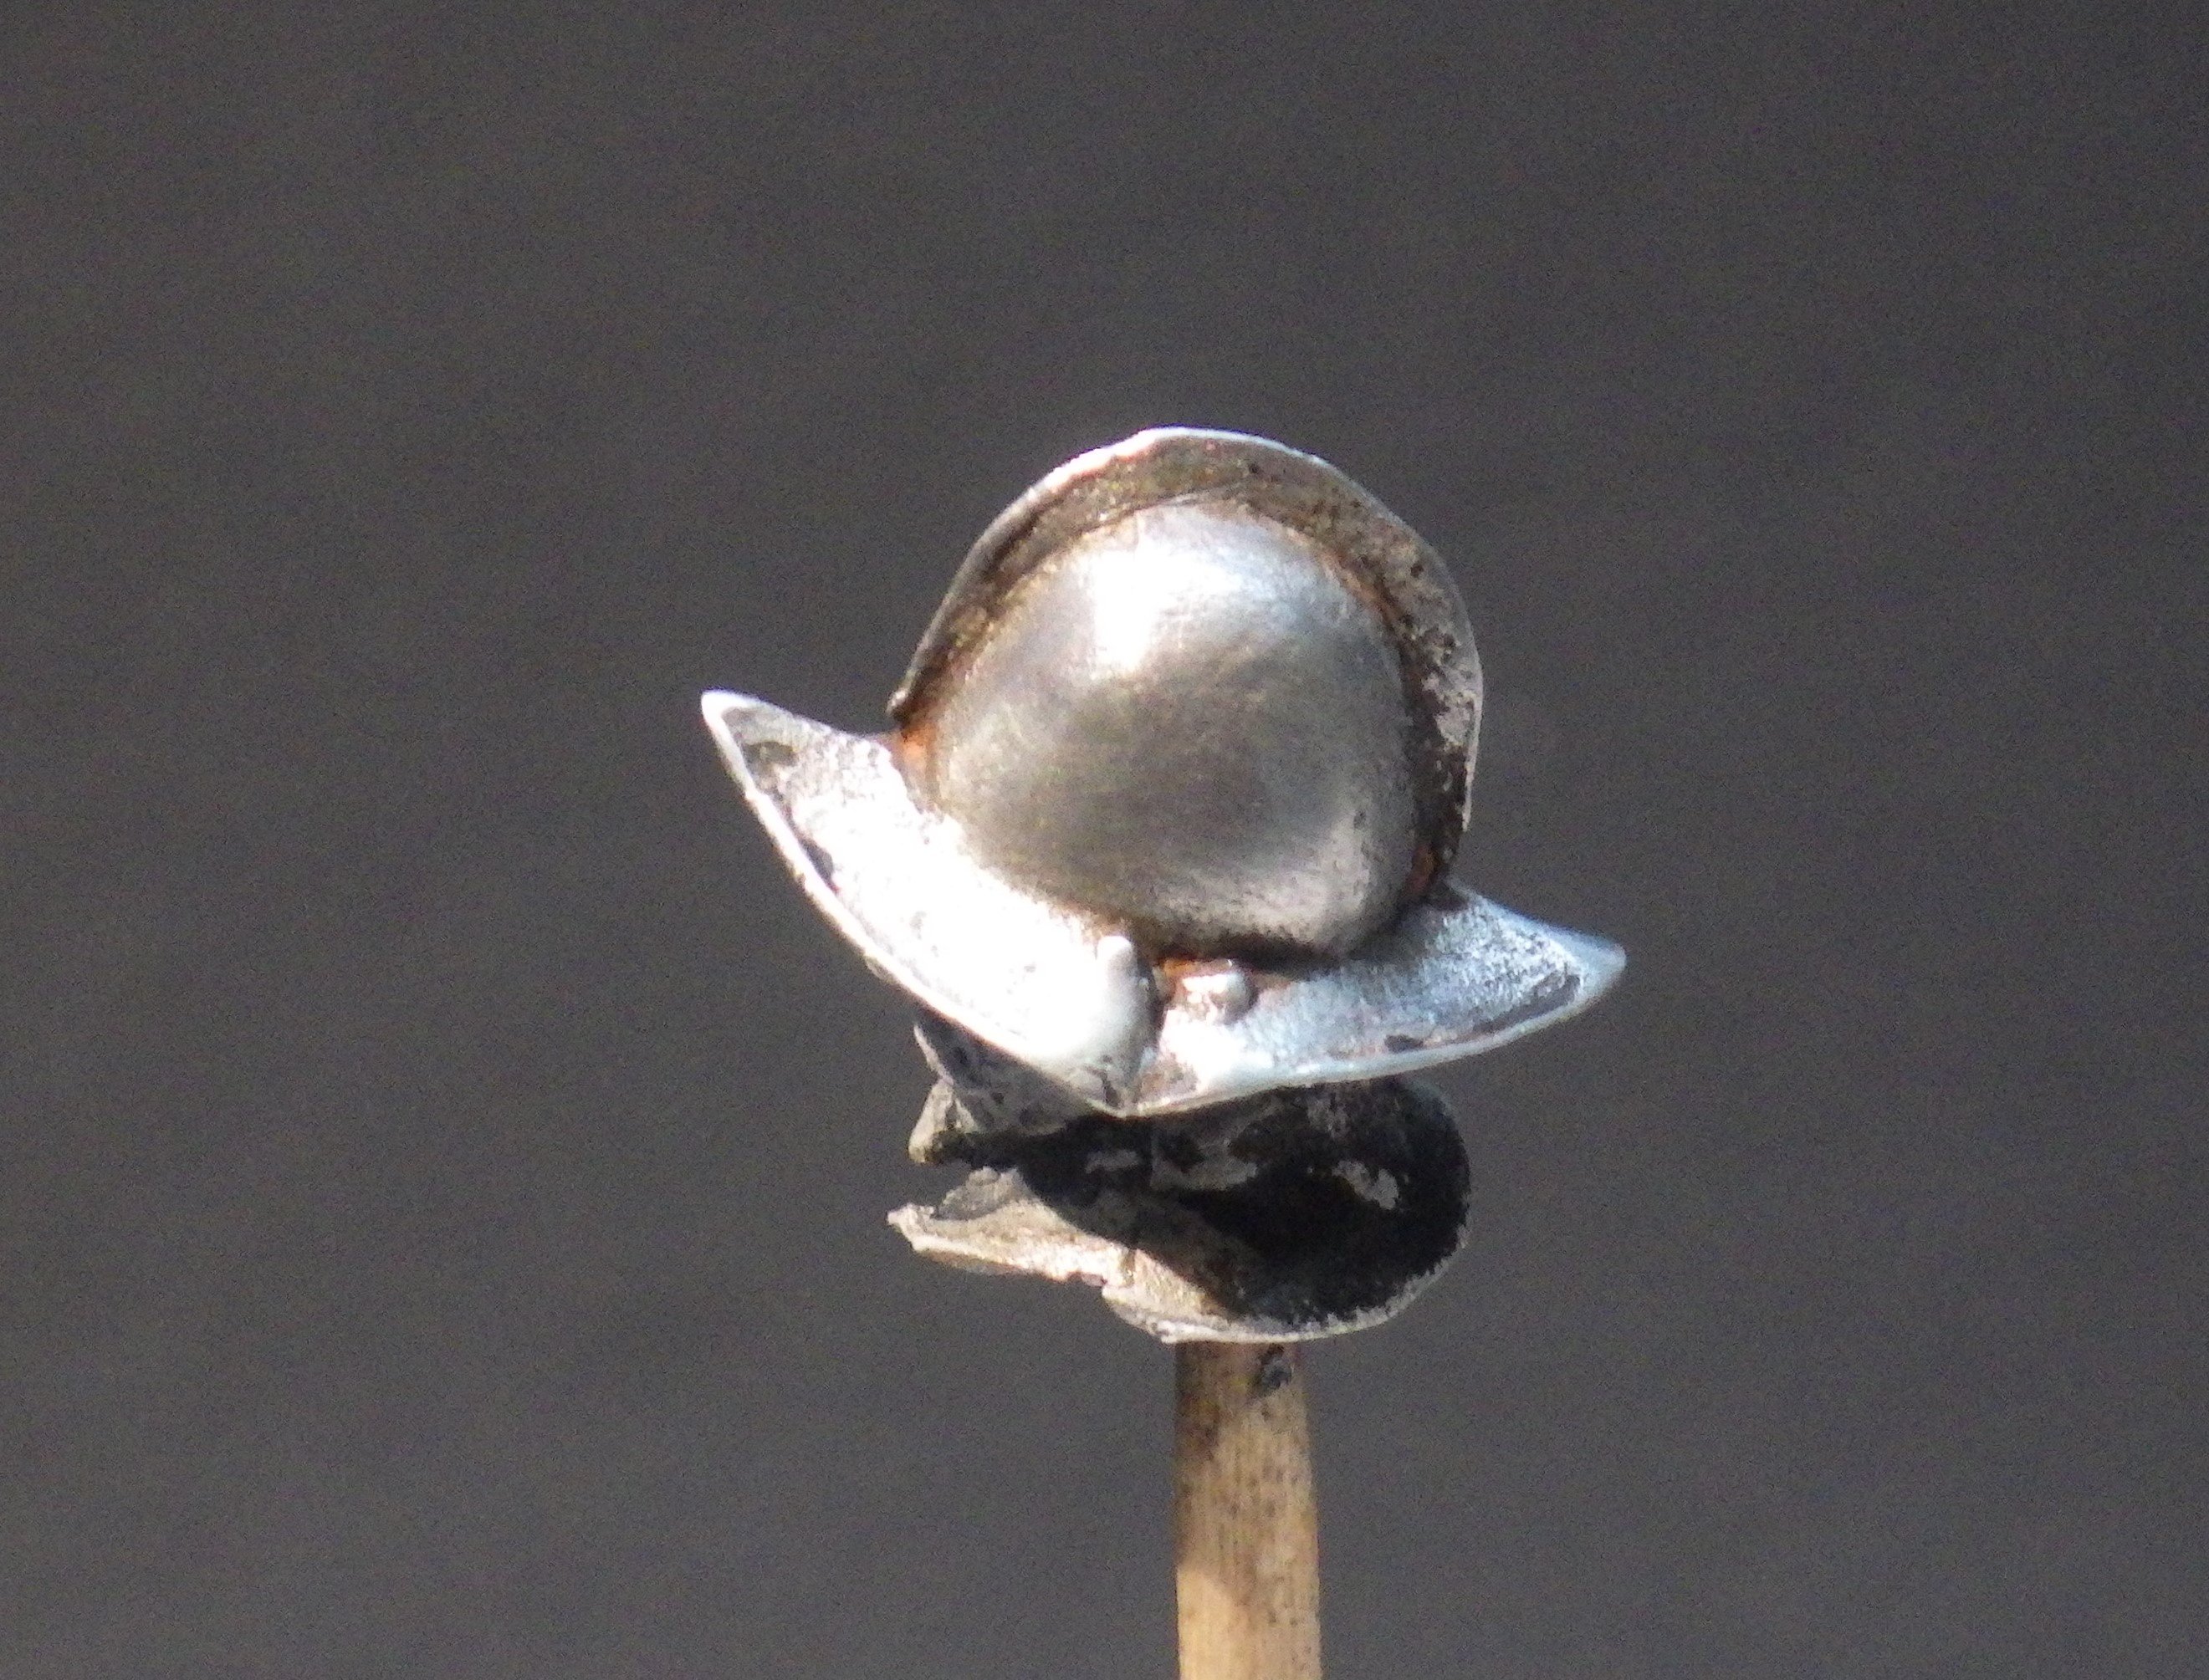
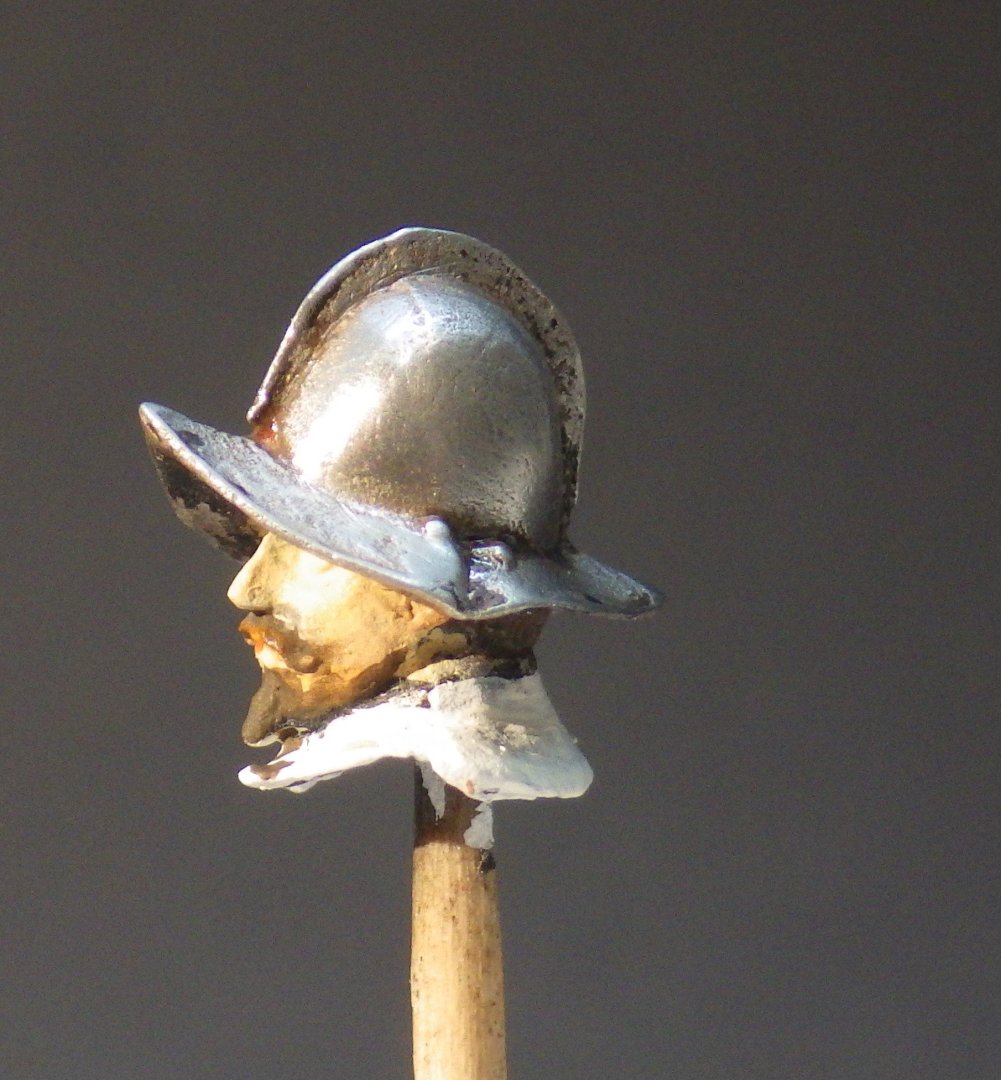
Thank you very much Jack. The green polishing compound arrived today so I might give the helmet one last polish but I think its not bad as it is. The collar under the head is a bit fragile and I am reluctant to break it off chasing perfection Alan
-
Thank you wefalck. Everything I have found says that it would have been polished metal, no silver doped surfaces. Thank you very much for the input and links Alan
-
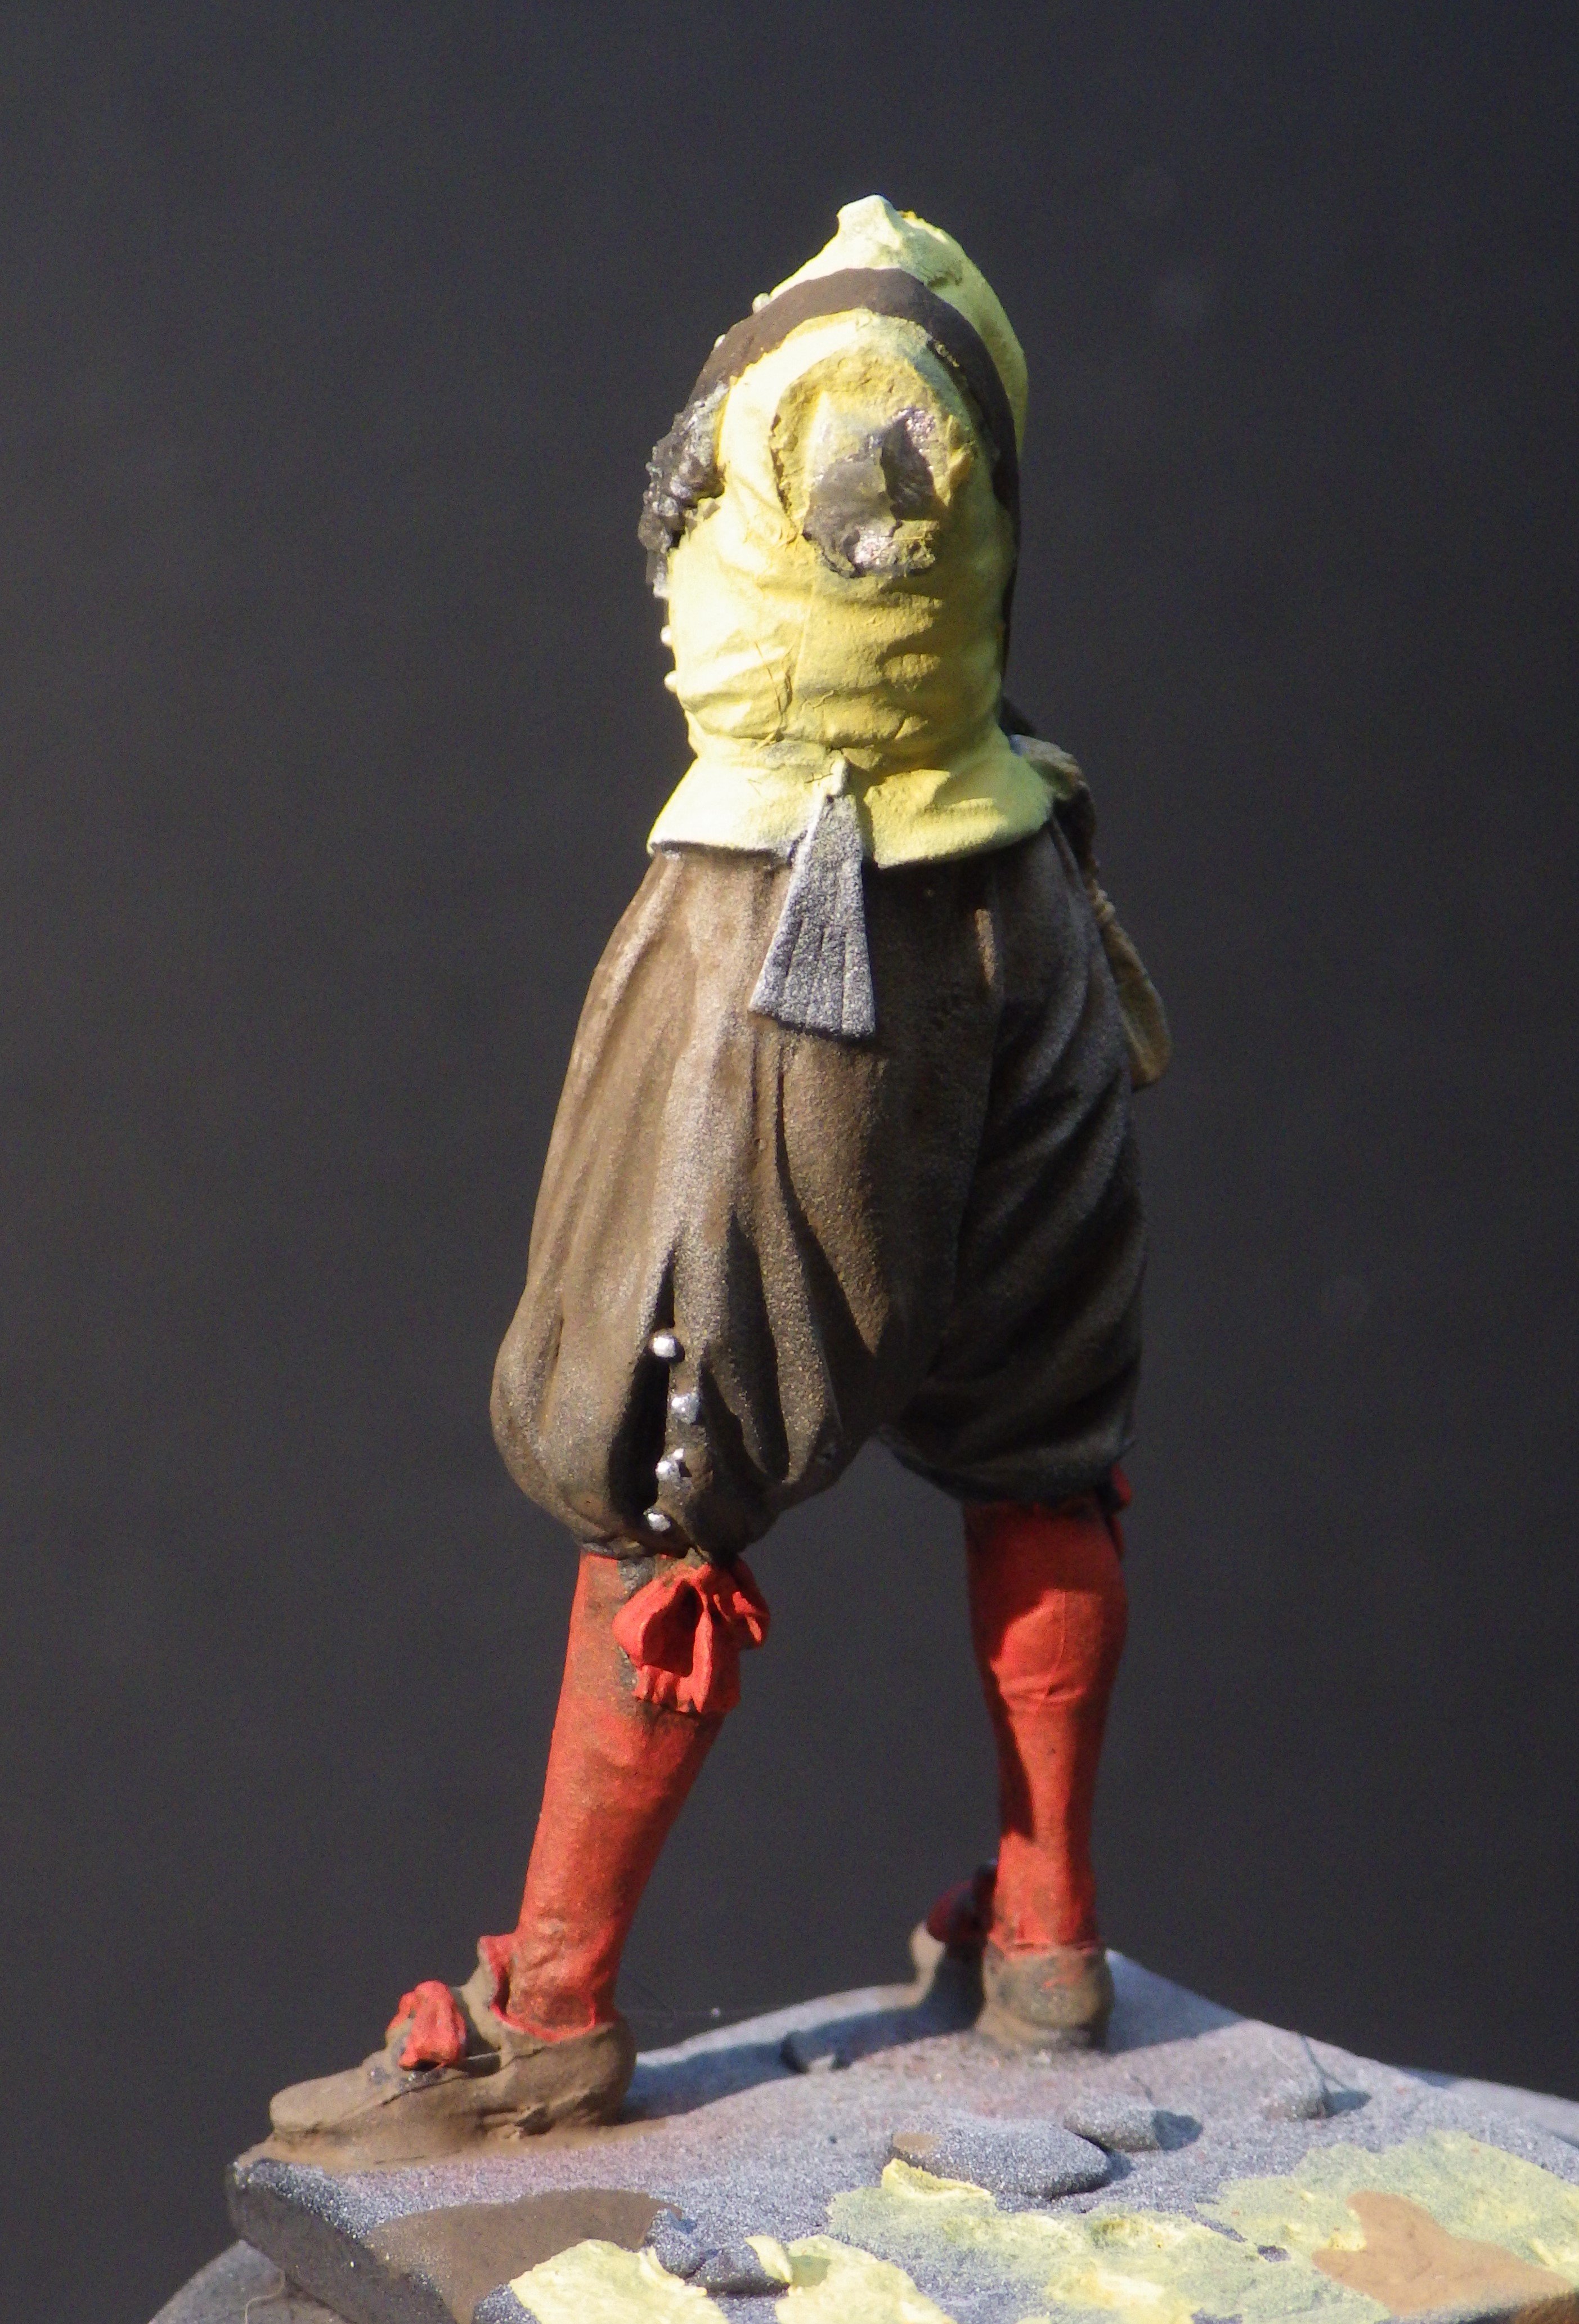
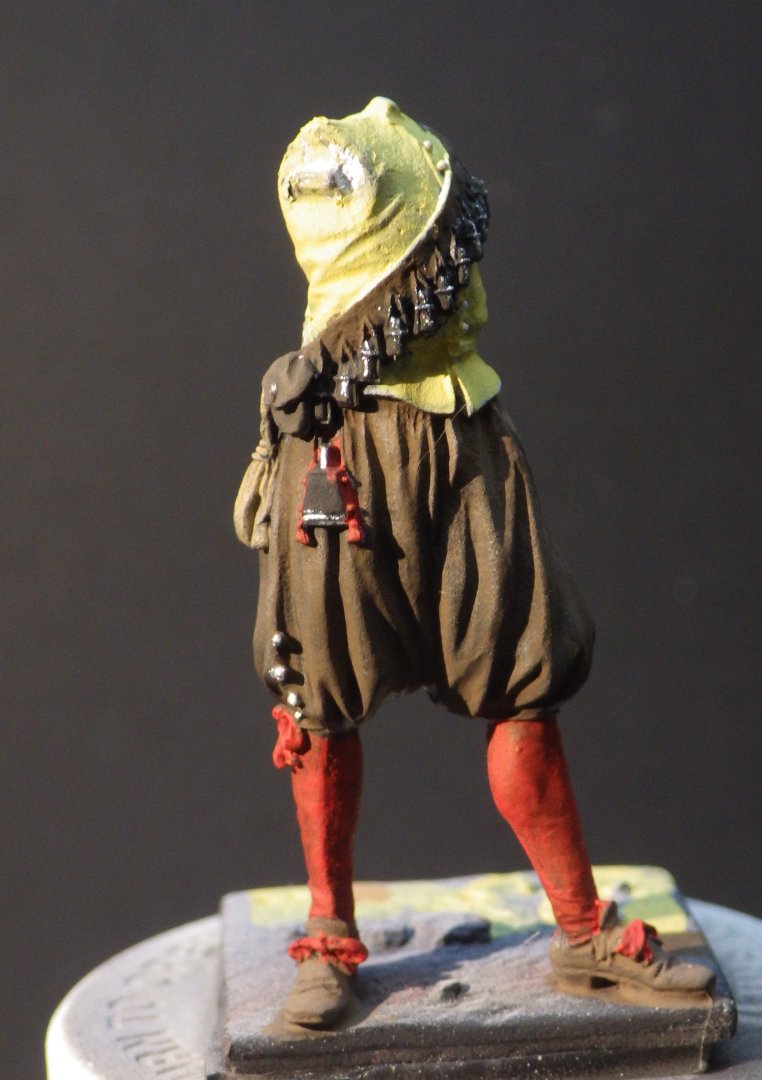
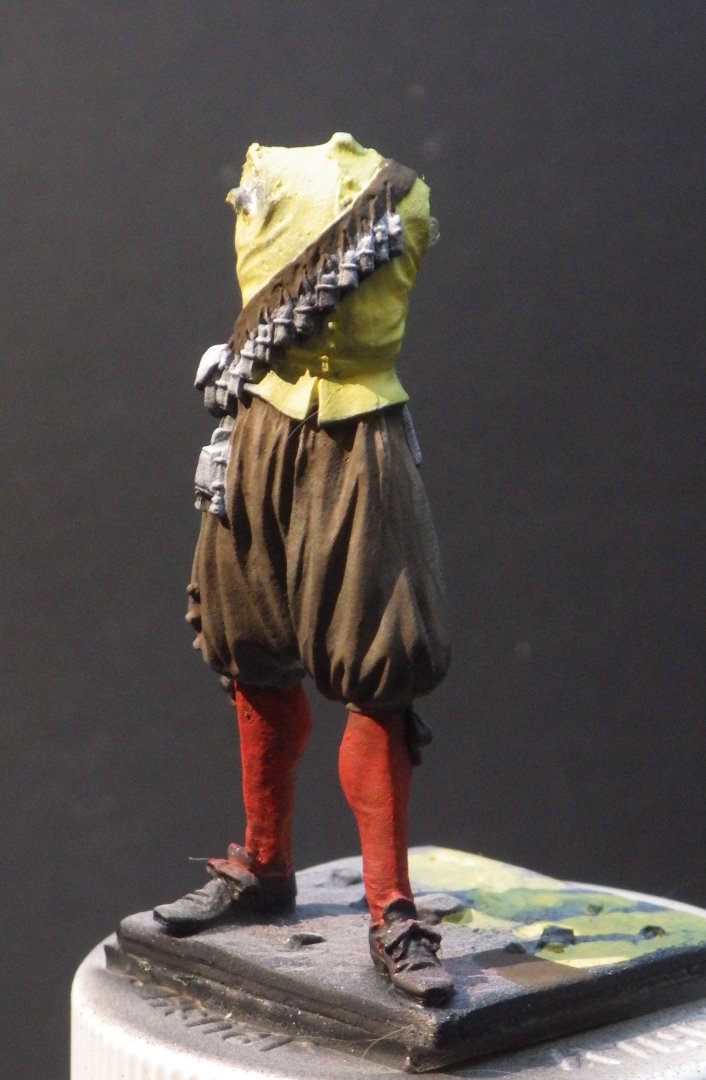
I added further coats of yellow glaze to the jacket. I also notices a mould line on one of the legs in yesterdays photos so I filed that off and built up teh colour there too. I have added glaze to teh breeches and I think they are good so its onto the detail Following some very helpful input from @Jack12477 I used jewelers rouge tip on Q Tip to further polish the casque. Its coming up quite nicely. I may try one more iteration. I added some white primer to the face to bring up the details ready for the flesh tones. Thanks for looking in and the likes and comments Alan

-
Thanks Jack I found what I think is a small stick of jewelers rouge in a box of Dremel accessories and used it to good effect. I do have one of those micro engravers and may do another attempt using that. Thanks for the great tips. Alan
-
Spectacular work. You have built a beautiful model. Really lovely paint finish. Great photos too alan
-
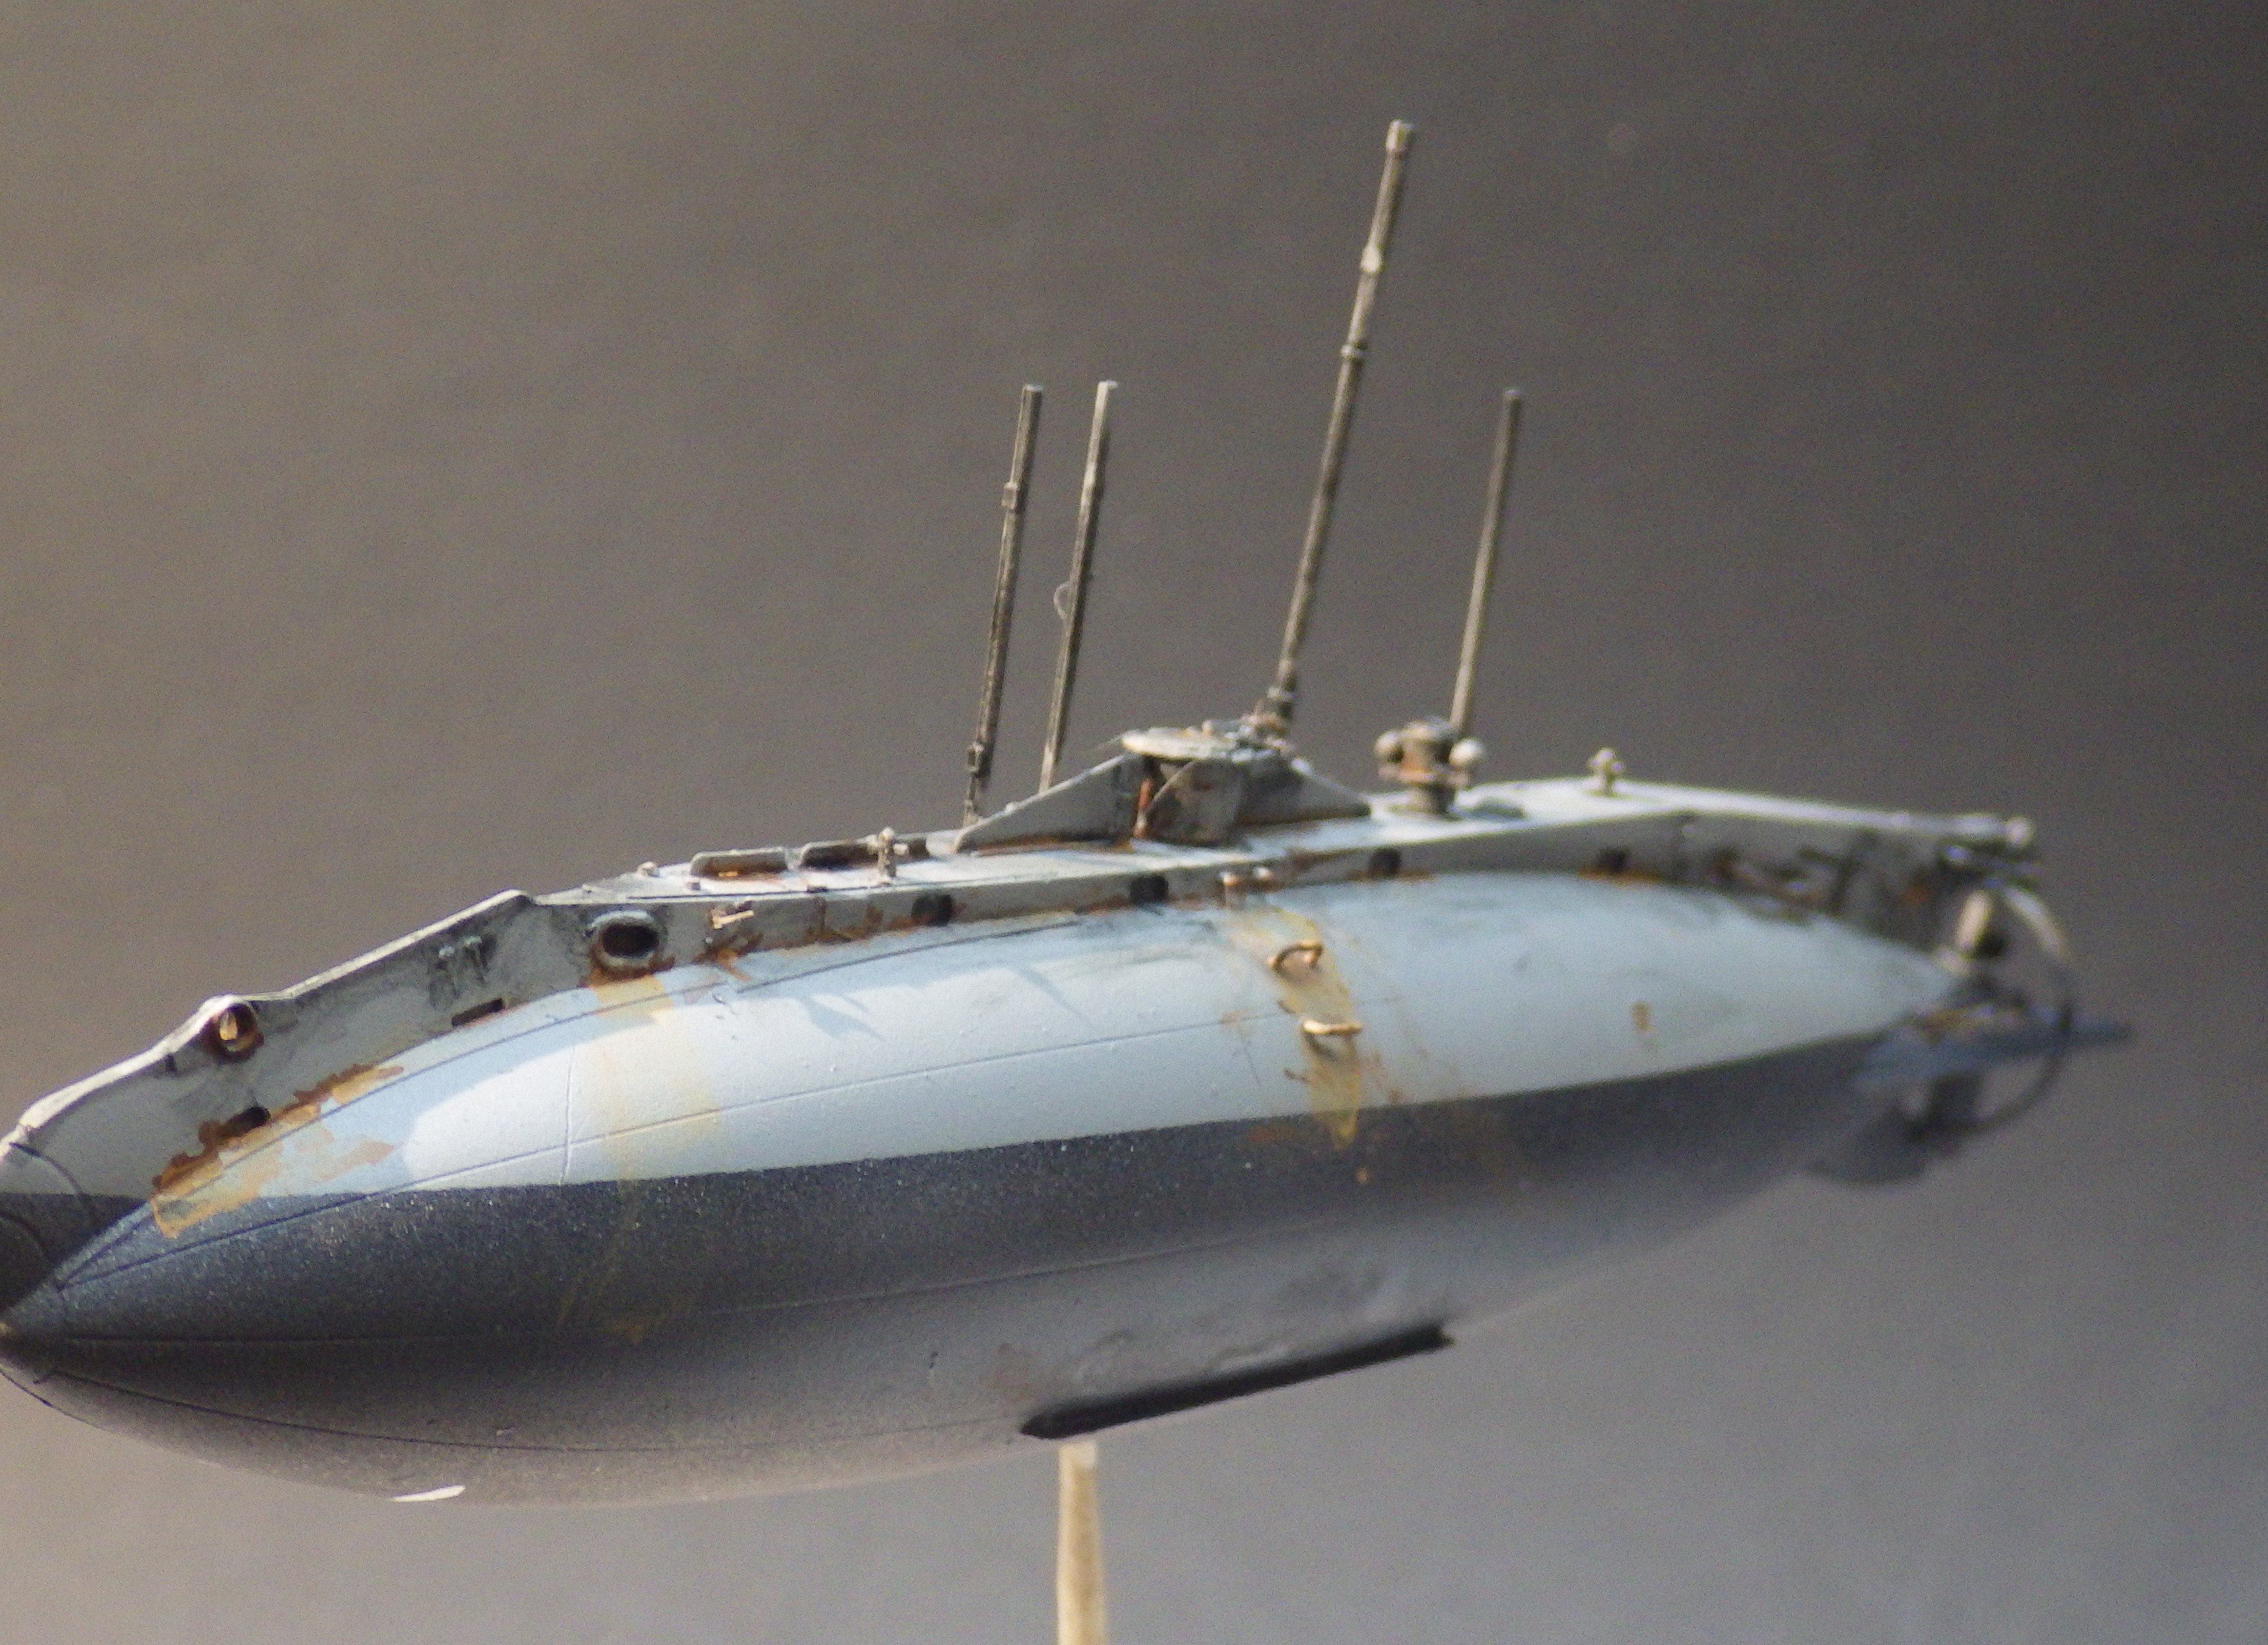
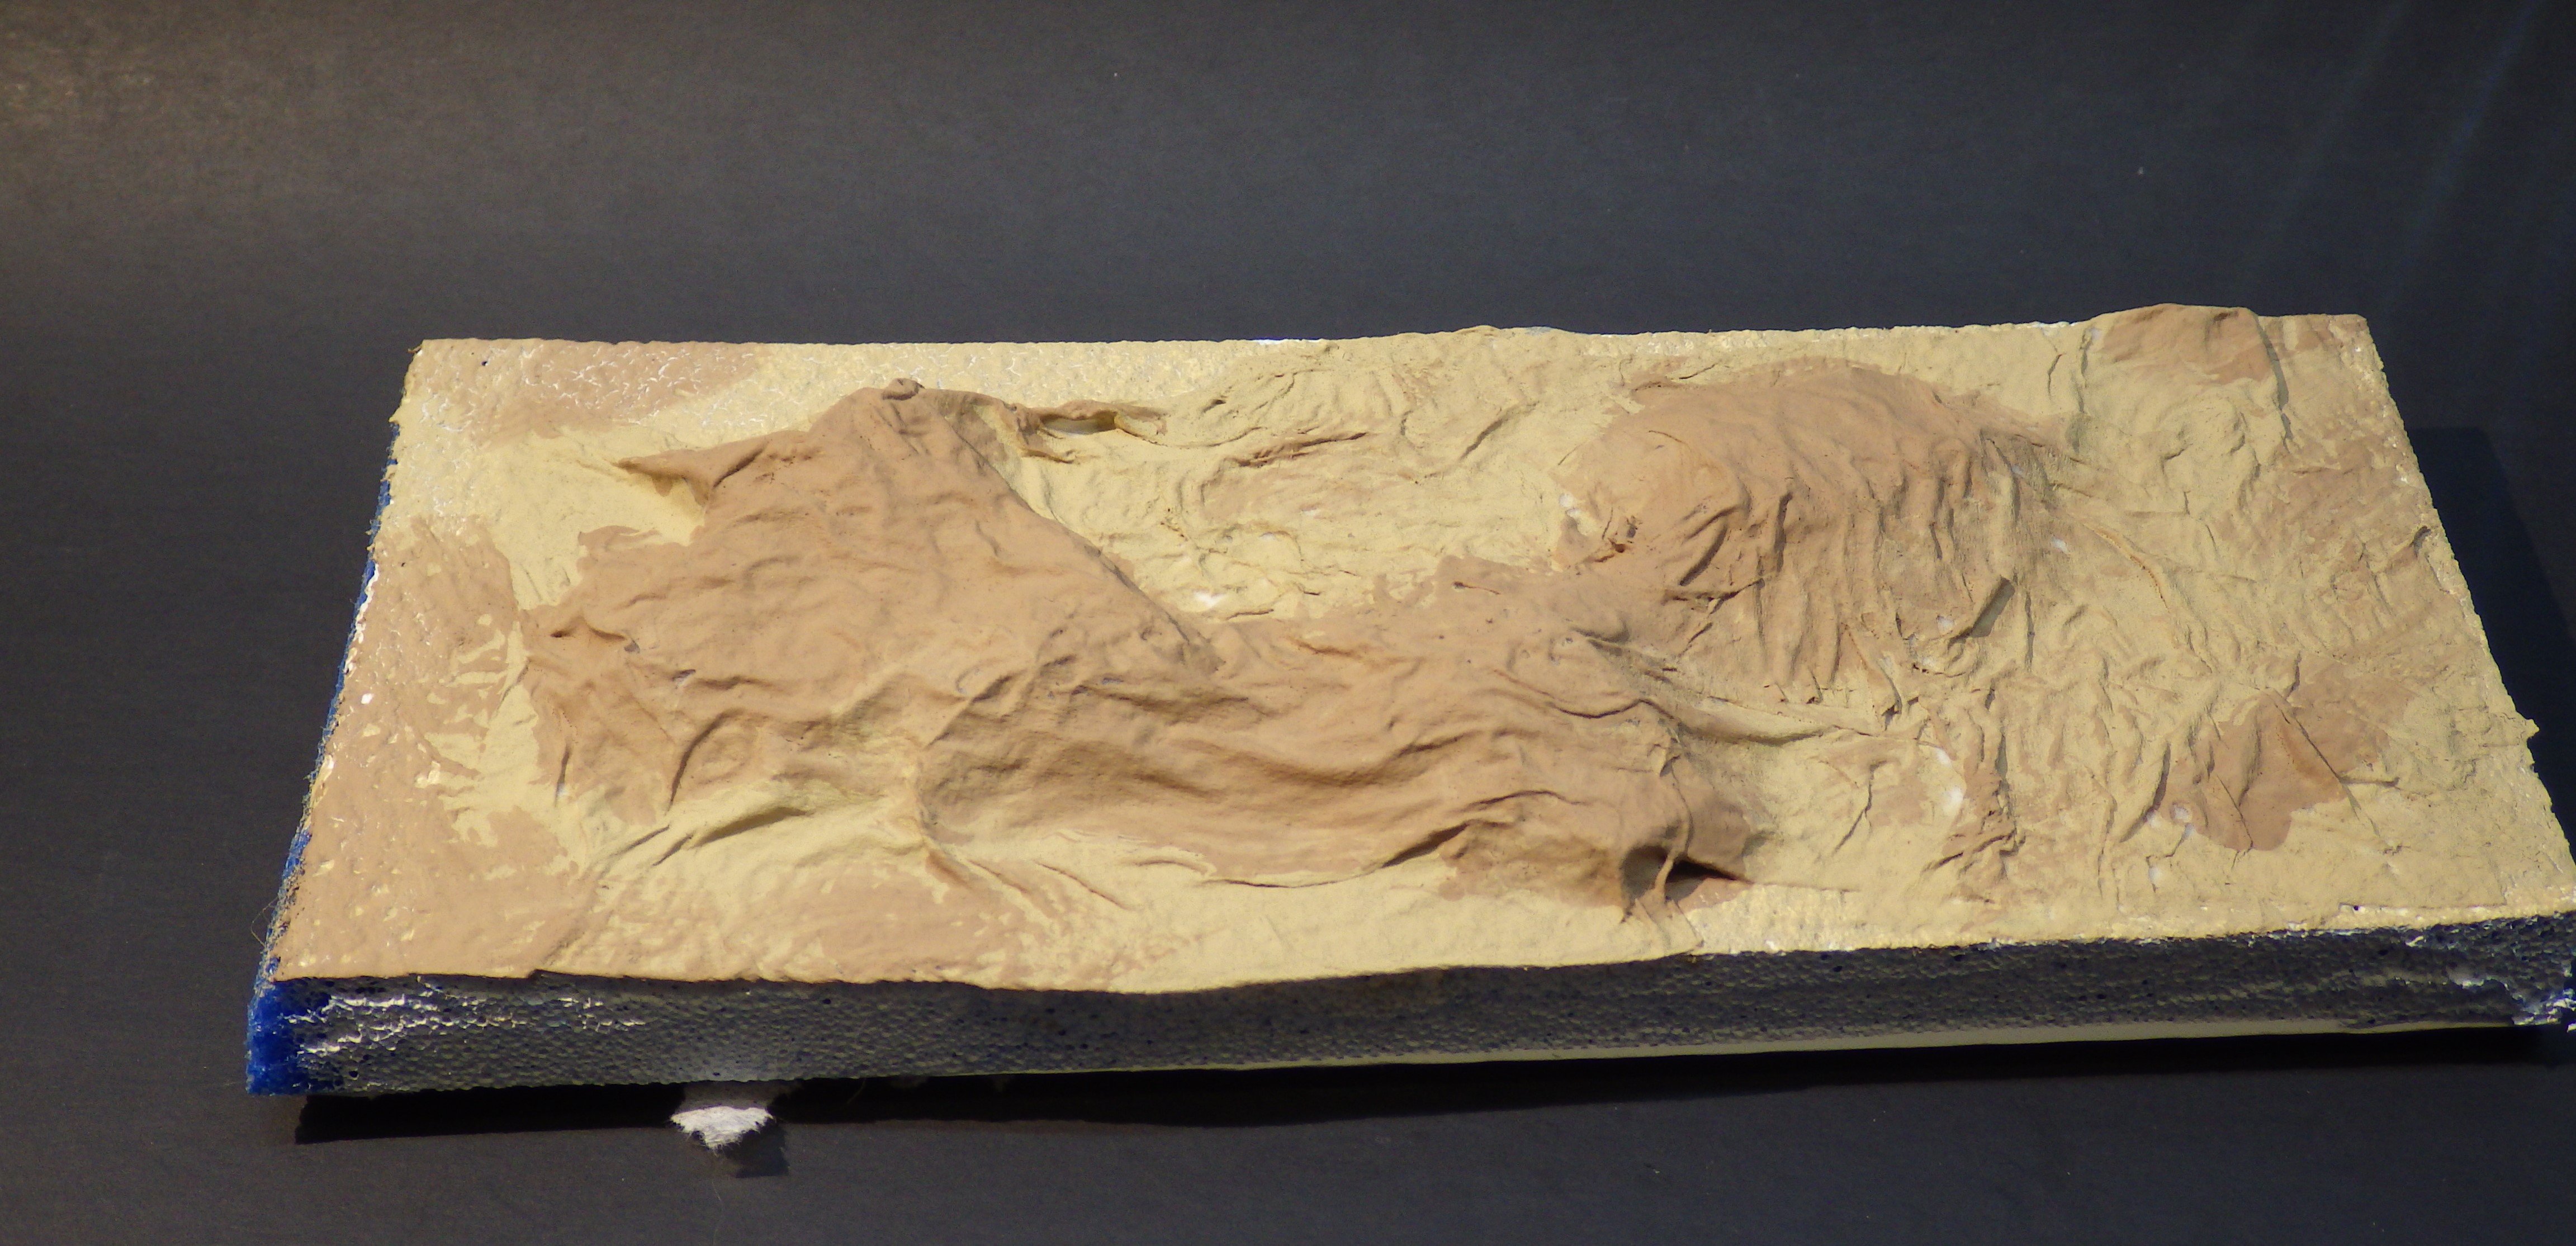
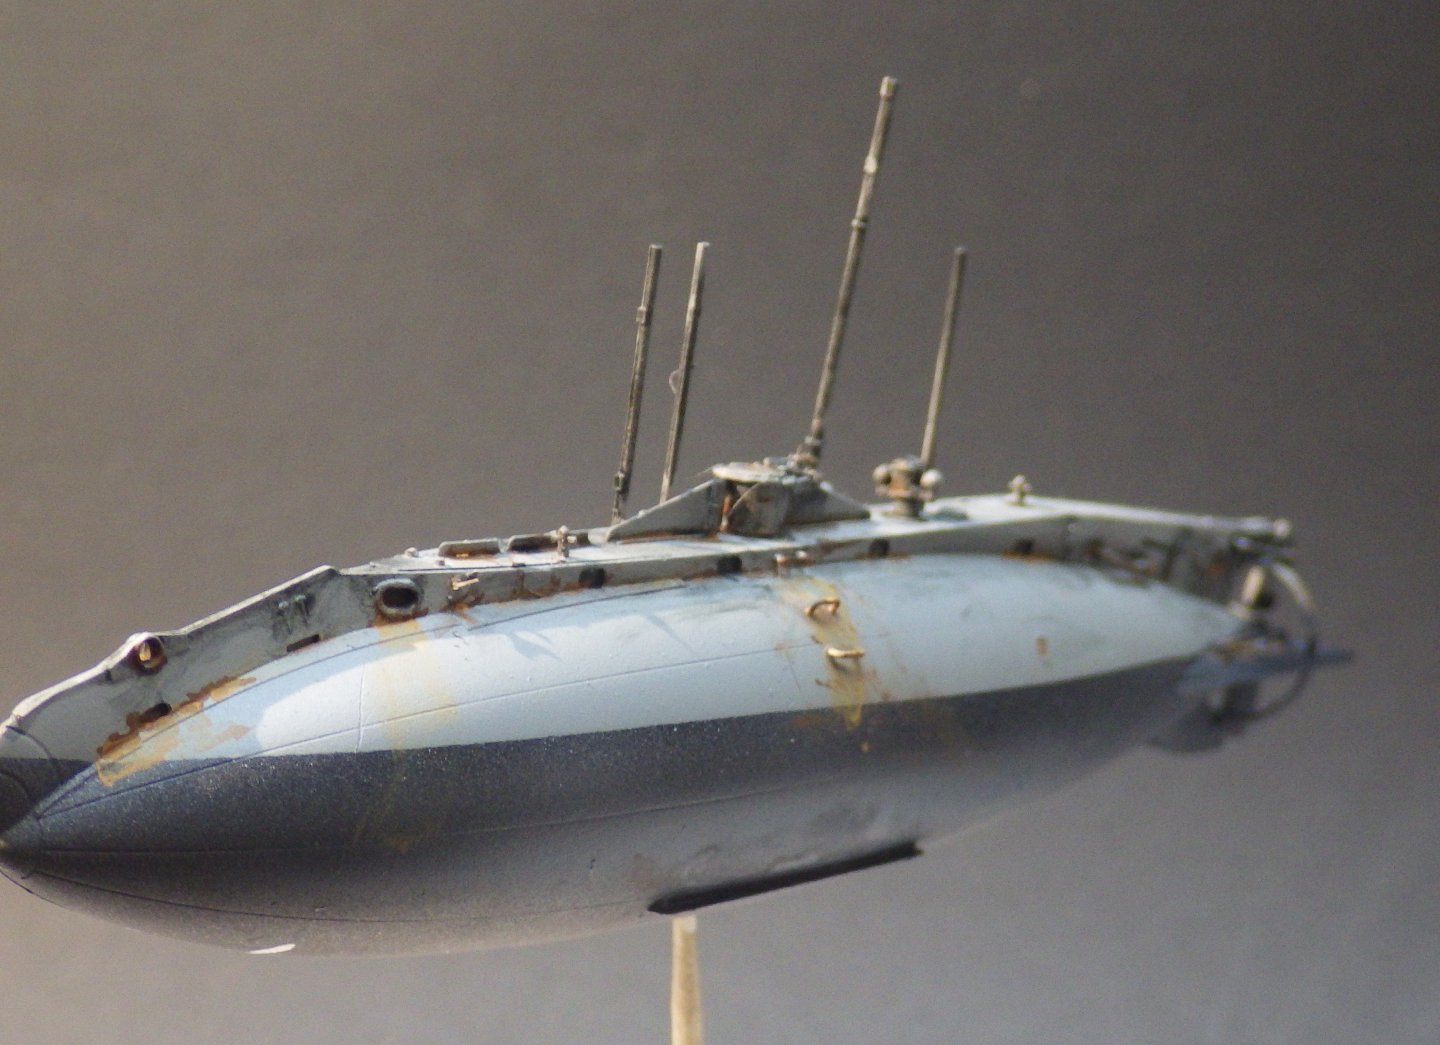
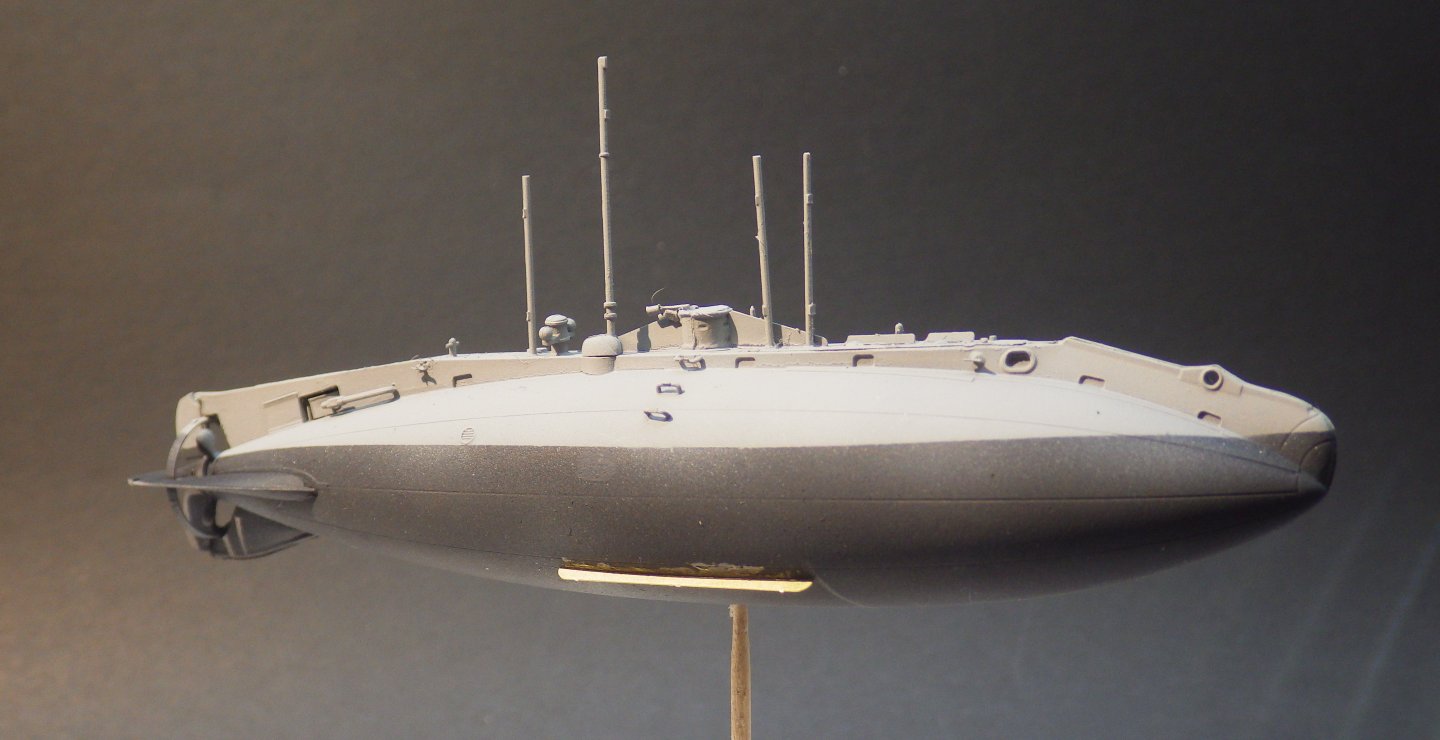
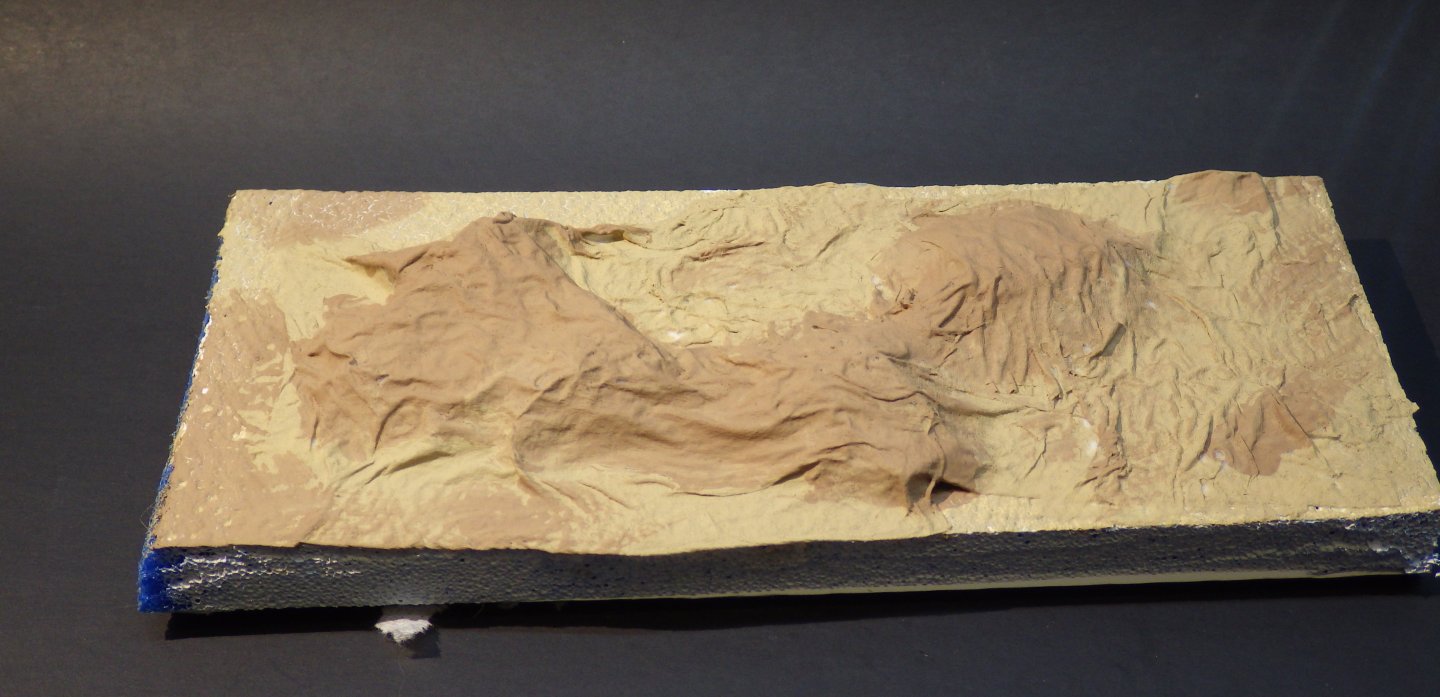
I masked the hull and sprayed the light grey upper hull colour. The masking produced a nice crisp line. I added the PE bilge keels which will need to be painted and then I will add some rust and washes to bring out the detail. I painted the seabed and that is now ready for submarine Thanks for looking in and the likes and comments Alan
- 27 replies
-
- 13
-
-
- Holland class
- plastic
- (and 2 more)
-
Thanks Mike The air brush did spit a little; I'm not sure if its getting too hot in the garage where the painting takes place. Maybe I need to add some retarder. Alan
- 27 replies
-
- 6
-
-
- Holland class
- plastic
- (and 2 more)
-
Thanks Oc. Its a nicely made kit and fun. More of a painting exercise really though. Alan
- 27 replies
-
- 5
-
-
- Holland class
- plastic
- (and 2 more)
-
Thank you very much Jav I really enjoy the seascapes but they take up too much room. I need to go back to just doing the model on its own. Maybe alan