Tim Moore
-
Posts
357 -
Joined
-
Last visited
Content Type
Profiles
Forums
Gallery
Events
Everything posted by Tim Moore
-
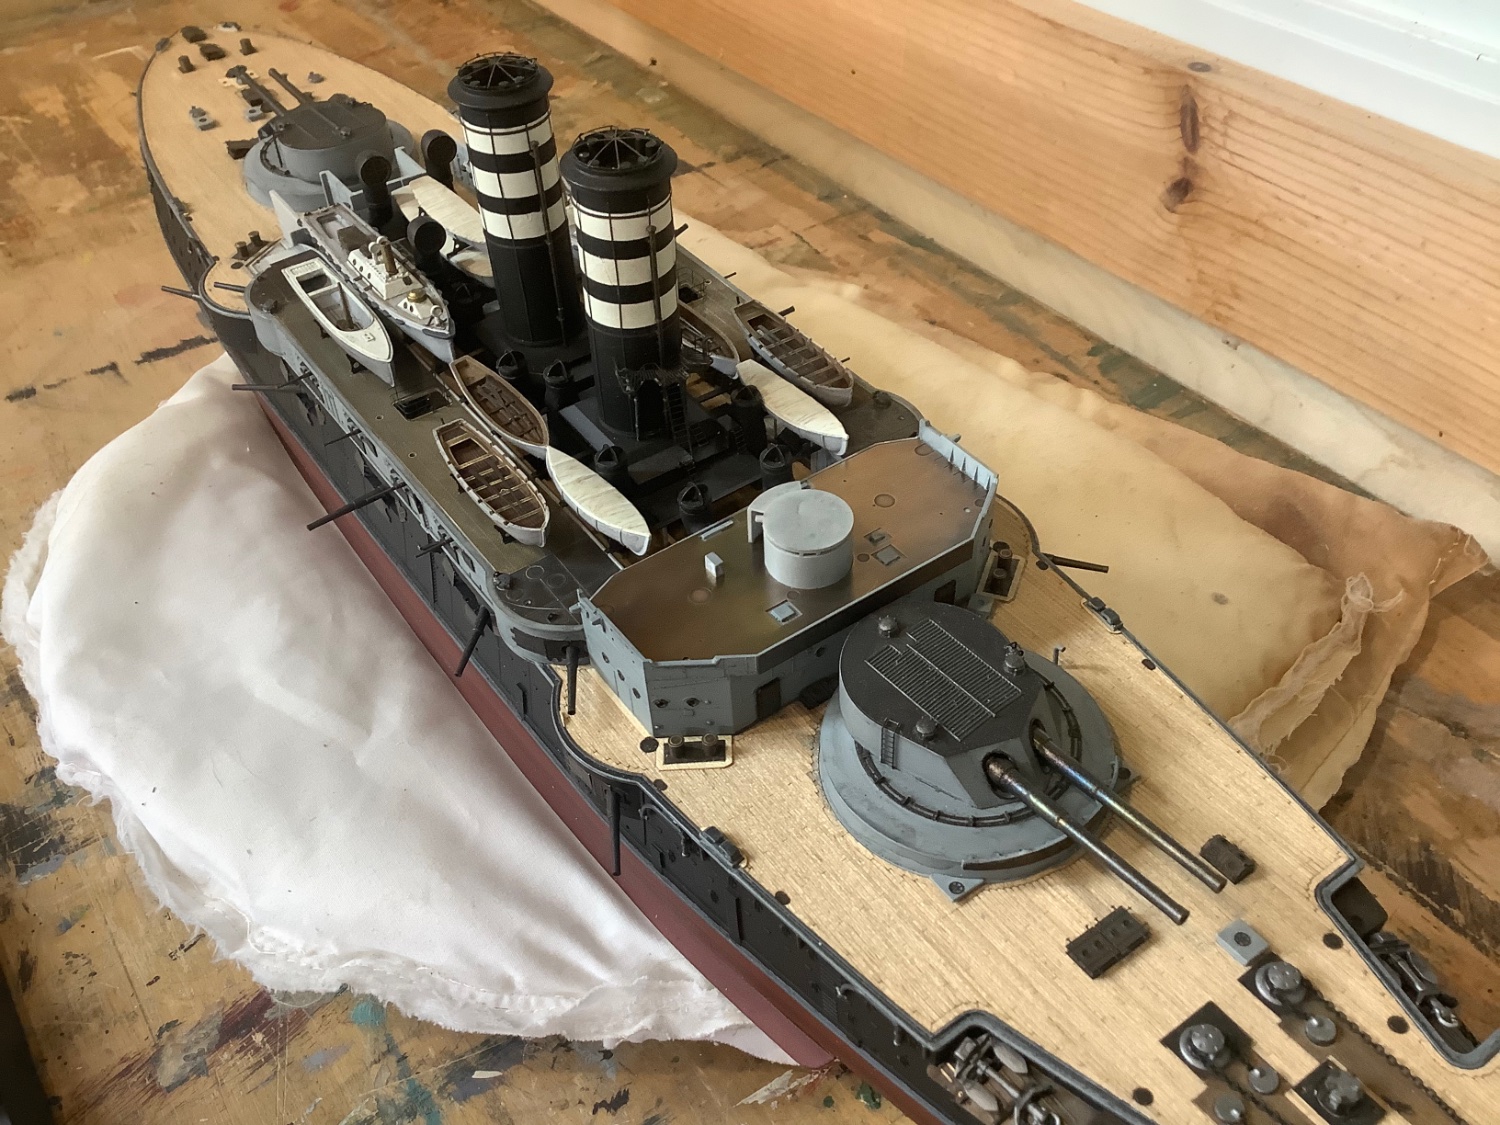
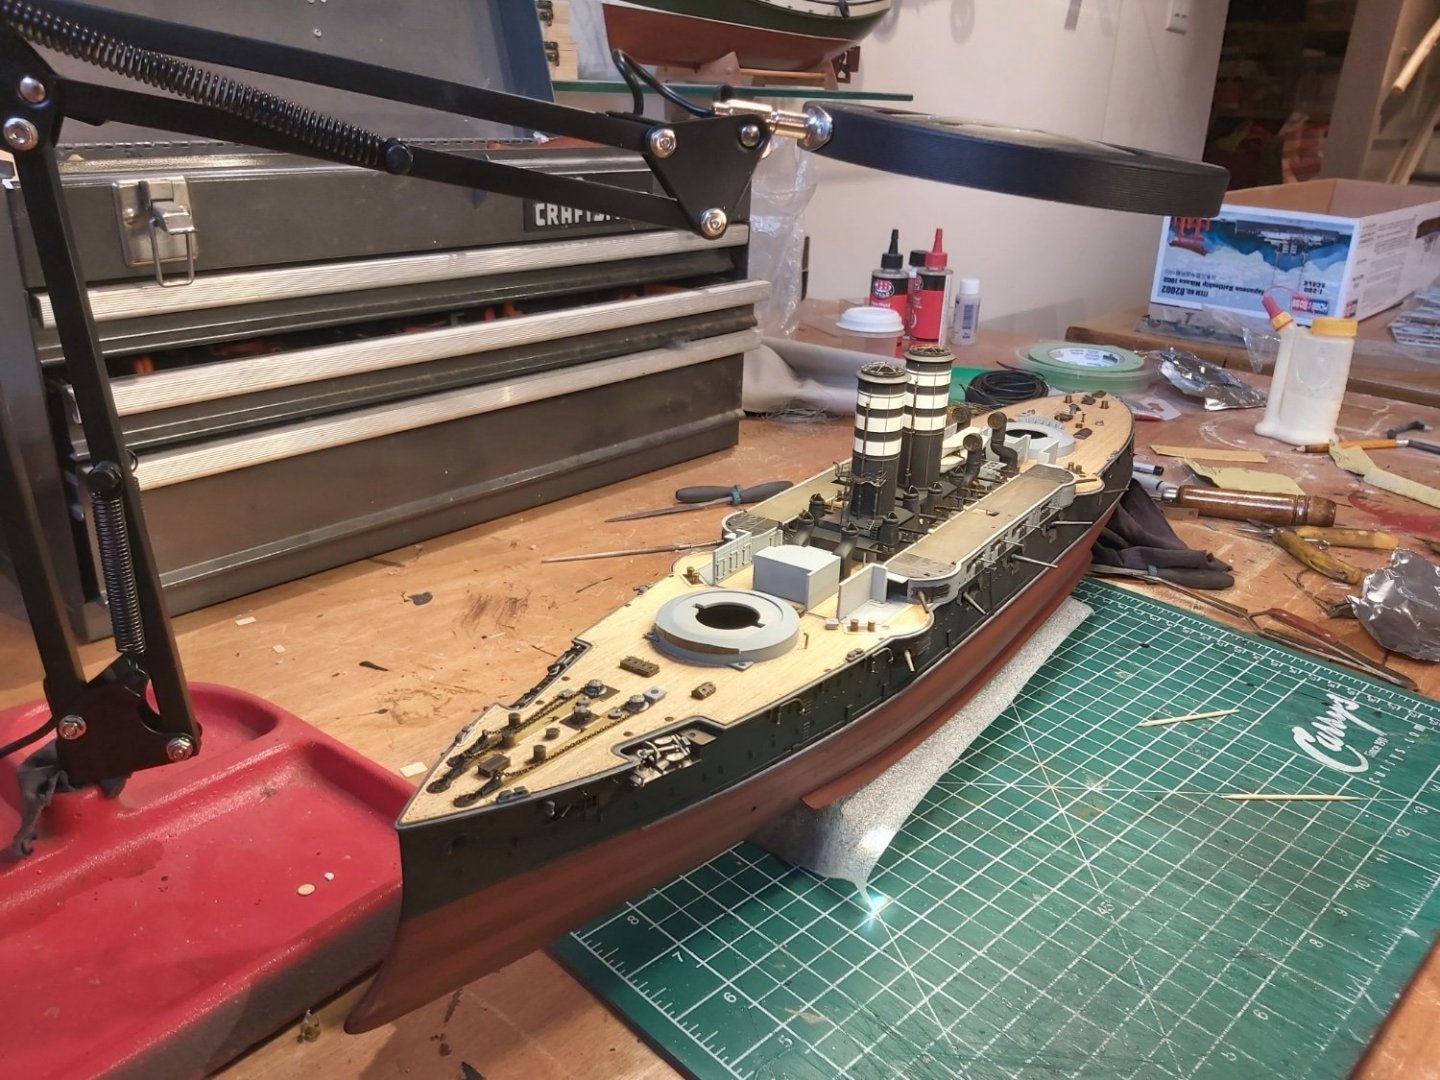
I’ve finally shipped out to the model cabin to begin work on completing Mikasa. Damage from the drop was repaired, so I’m starting on the forward bridge, which involves a lot of superstructure and added Pontos brass work. The main guns have taken on an interesting patina from the gun blue over the intervening months. I can probably deepen them to black but they look sort of beautiful like they’ve been fired.

-
Hi Jeff. I use gun blue for my brass blackening. I usually cut away a contiguous chunk of related parts from a brass sheet to begin with,, usually a few square inches or more to be manageable. I dip it in 10% cleaning vinegar to clean, wipe dry with a cloth, then dip in a weak solution of gun blue and water (50/50 or less). If I’m going for a dark gun metal I leave it in for a minute or two, let it dry on a paper towel then rub it with a rag to get the final patina. If I want it darker I might do it again. In cases where I want a lighter bronze rather than gunmetal I reduce the time in solution to just a few seconds. An example of that on Mikasa are the upper boat decks, which are brass sheeting, and some of the small boat parts. I sometimes do a light rub with 400 sandpaper on some edges of a blackened or bronzed piece to highlight the edges or give a suggestion of wear.
-
Jeff I apologize for not getting back to you - work life takes over during the building season and my head was elsewhere, didn’t read your inquiry until now. If you still need my bluing info let me know. I’m just about to start back up on finishing Mikasa, will be moving it out to the cabin to work on it there in the fall. The first job, regrettably, will be to repair all the damage due to me dropping it when moving it over the summer. Several guns and boats were among casualties, but usually these repairs take less time than first feared I find.
-
Martini Porsche 935 by kpnuts - FINISHED - Tamiya - 1/12
Tim Moore replied to kpnuts's topic in Non-ship/categorised builds
Super job on this Porsche! Great detail work. I enjoyed going through your build just now. -
Hi Lyle - Yes you are definitely wise in prioritizing time out on the water, especially when things warm up. I’m actually out on Vancouver Island myself now and the weather’s fantastic. The Mikasa+Pontos is a crazy endeavour with all the photo etch but it’s coming together. Not sure when I will get back to it as there is a lot of construction on my plate when I return.
-
Great work on those anchors Lyle, love the rusty patina, and the cannon are terrific.
-
I’m sorry I don’t for sure, but if it is 18” then it’s @ 1:100 scale, and I know Mamoli has a 1:100 Bounty kit. There might be other possibilities though.
-
Hi Dave. Yes, having built one, the hull/layout appears to have the general form, structure and details of HMS Bounty.
-
Thanks Roger. Main gun assemblies are straightforward and move quite well after mounting. Well that’s about it for the time being, I will be away from the shipyard for the next few weeks at least. Thanks for looking in and I’ll pick this up whenever I can get back to it. Cheers Tim

- 62 replies
-
- 18
-

-
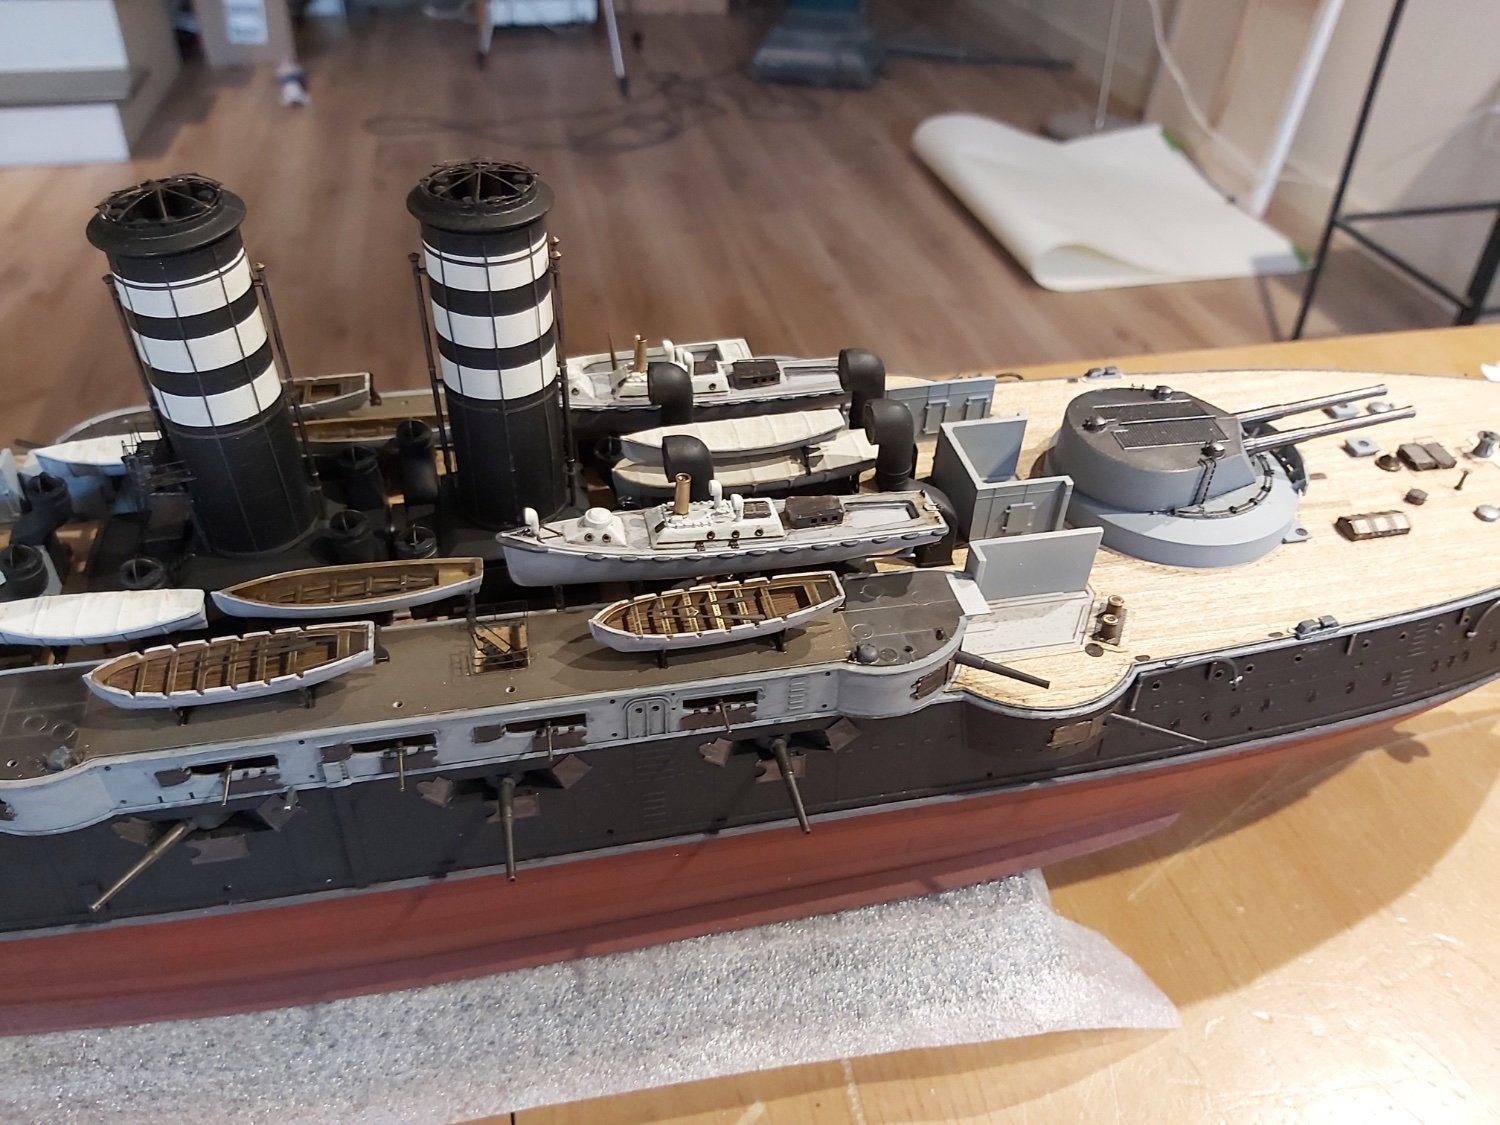
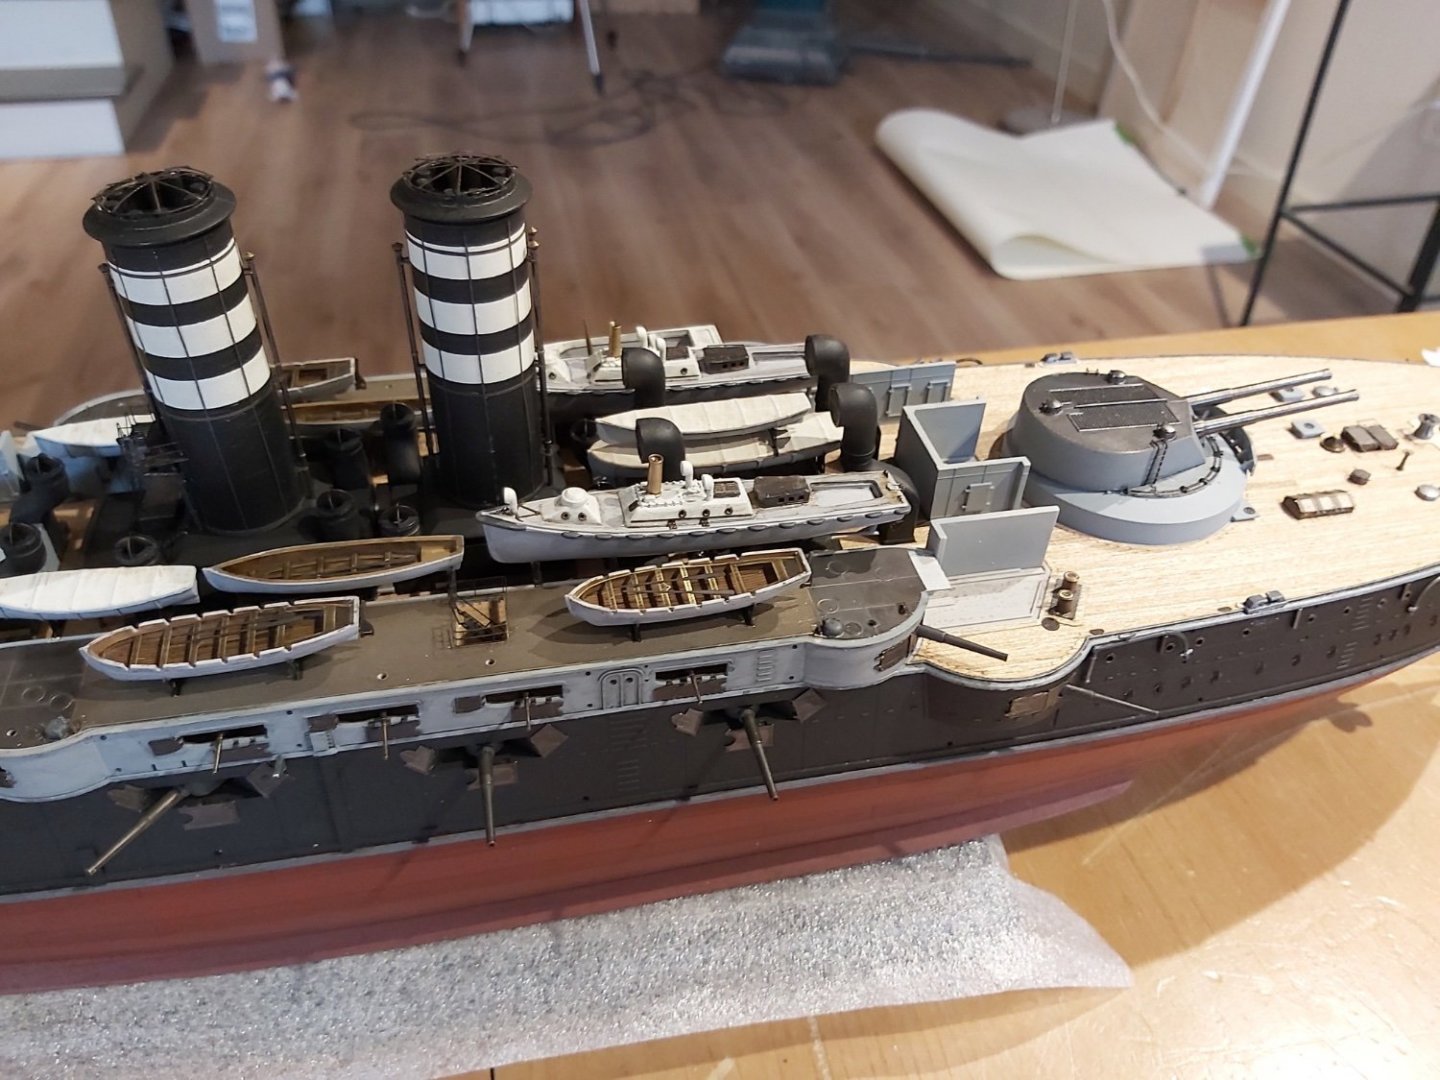
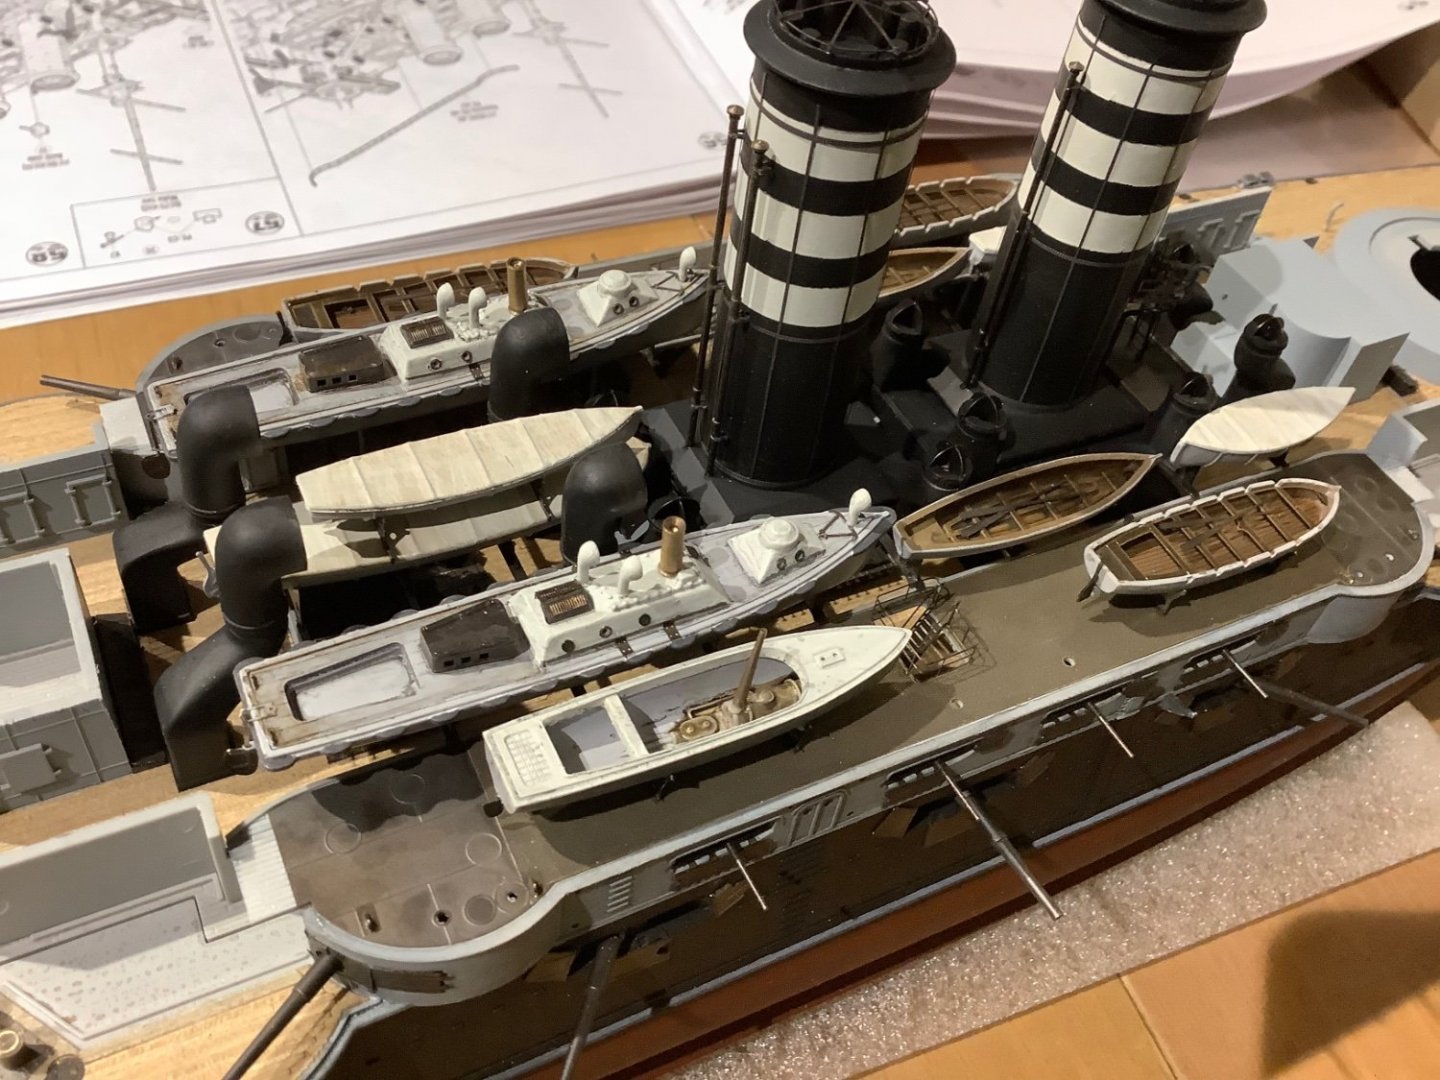
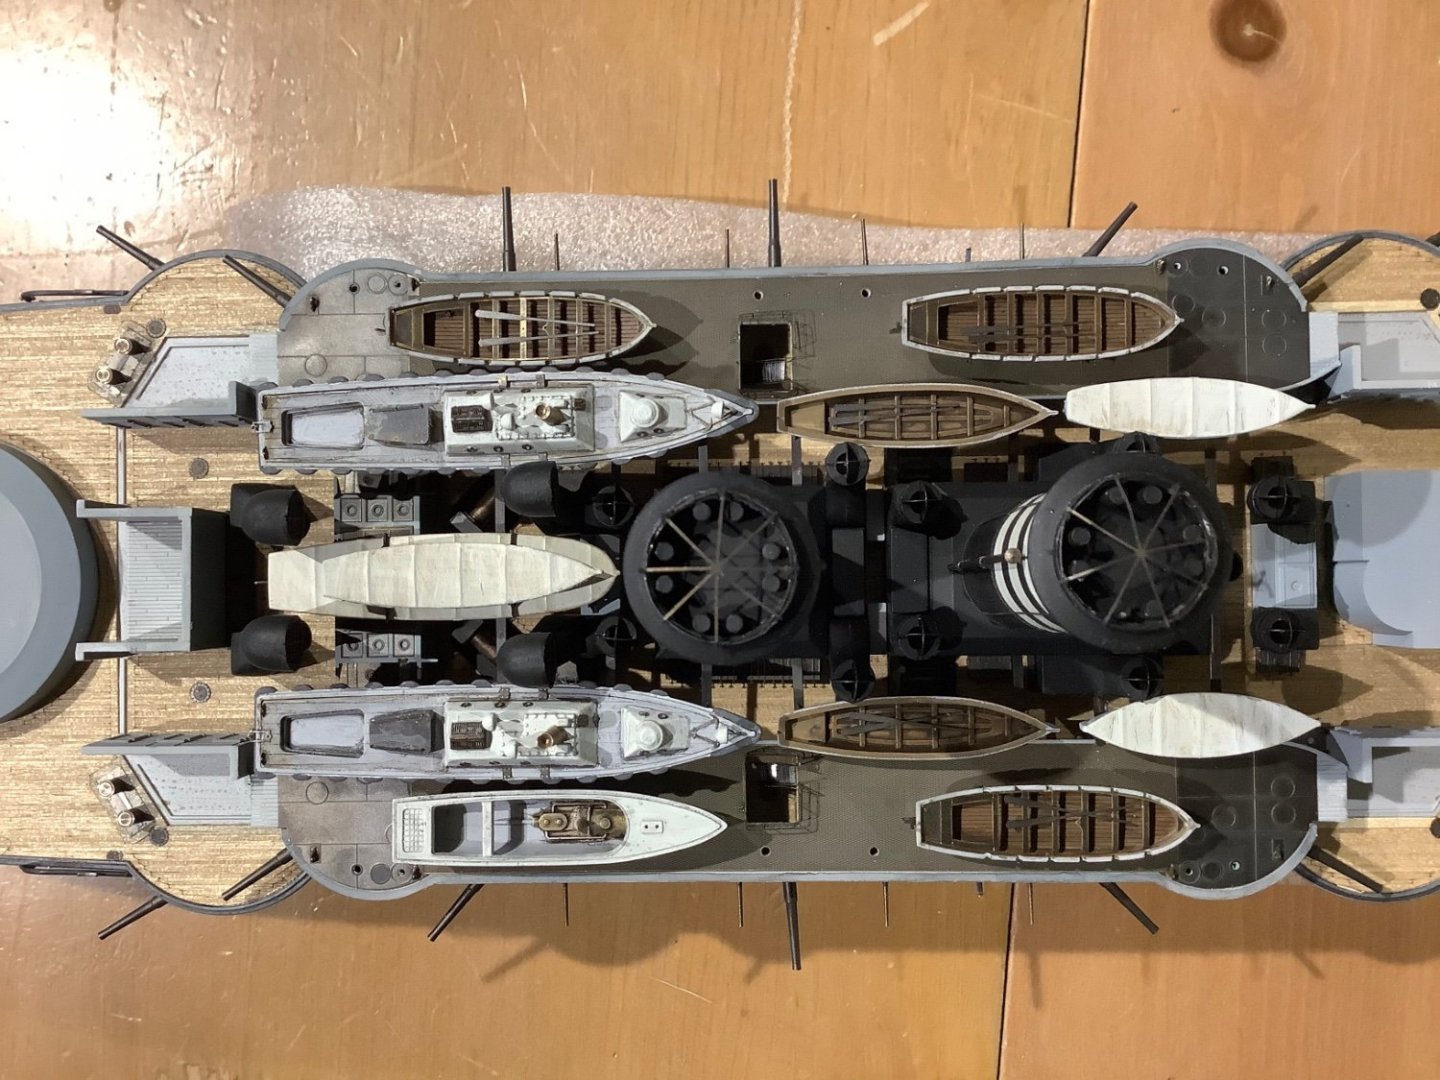
…and more boats….a whole fleet of them on board. Took Rogers guidance on the picket boat fenders. Painted them white at first, looked great but way too pretty, so overpainted them in grey. Model is starting to look more interesting. Think I’ll leave the gun installations here on the boat decks until later after the railings are in, so they don’t get in the way as I’m fumbling around with that work. move on to the main guns now and then superstructures. I find some of the more satisfying modeling work is the small boats on ships. The Bounty and Fifie had good little boat projects that really added to the final product. I'm soon going to have to suspend this build for a while as I’m travelling out west for a couple of weeks, and construction season will begin soon after I return, which means a lot less time in the shipyard.
- 62 replies
-
- 10
-
-

-
Hi Ian - great to make your acquaintance, what a great anecdote. That would have been the Railway Inn I believe. I understand that exhaustion and can well appreciate your cycling efforts! I cycled Canada some years ago from Peterborough to mile 0 on Vancouver Island, know that feeling at the end of a long ride, totally done in after fighting the hills around Lake Superior, the wind across the prairie or the brutal climb to the ice fields in the Rockies. You brought me back to those memories with your story!
-
Hi Roger thanks for that! It’s funny, this morning I was looking at that very aspect thinking that scalloped edge might be floats, and should really be white or some other contrasting colour. You are obviously correct so I’ll make that change, thanks again for the advice.
-
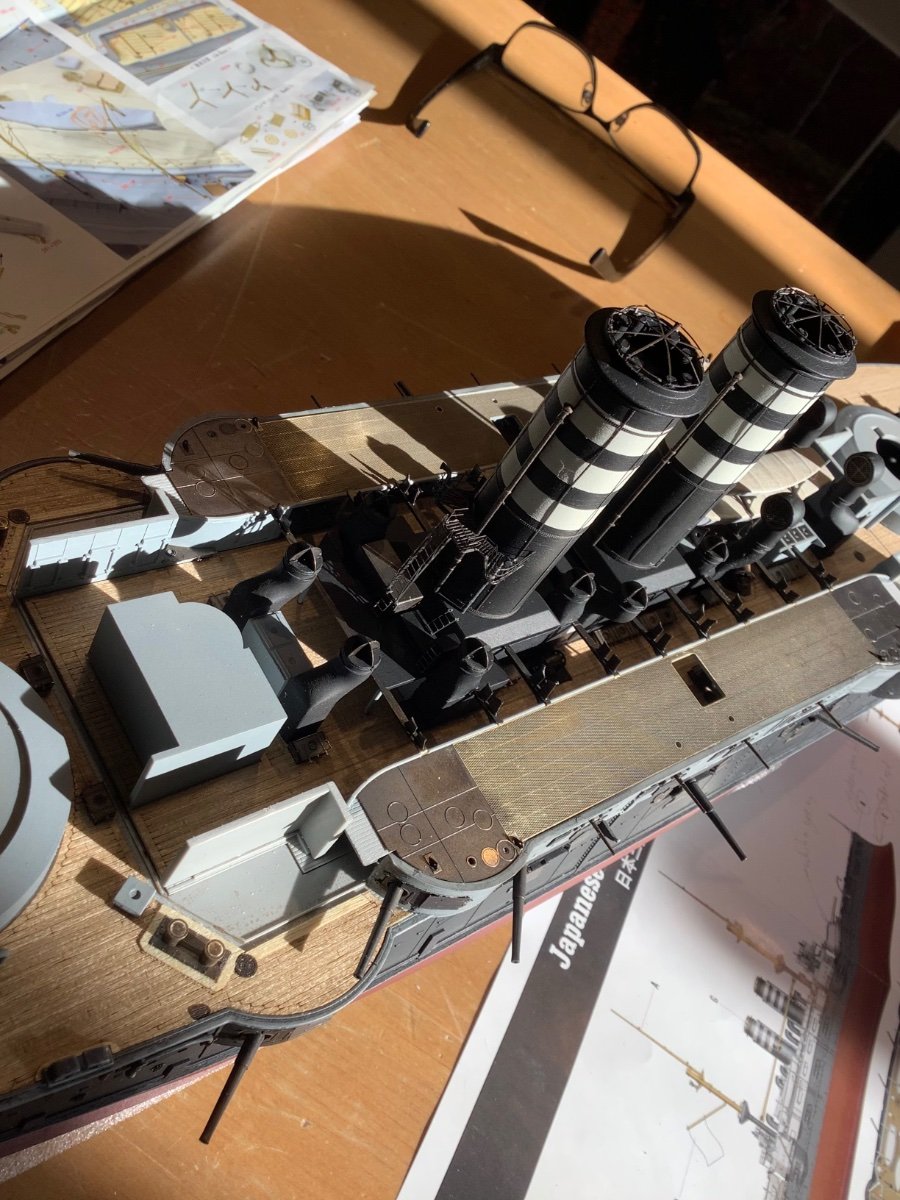
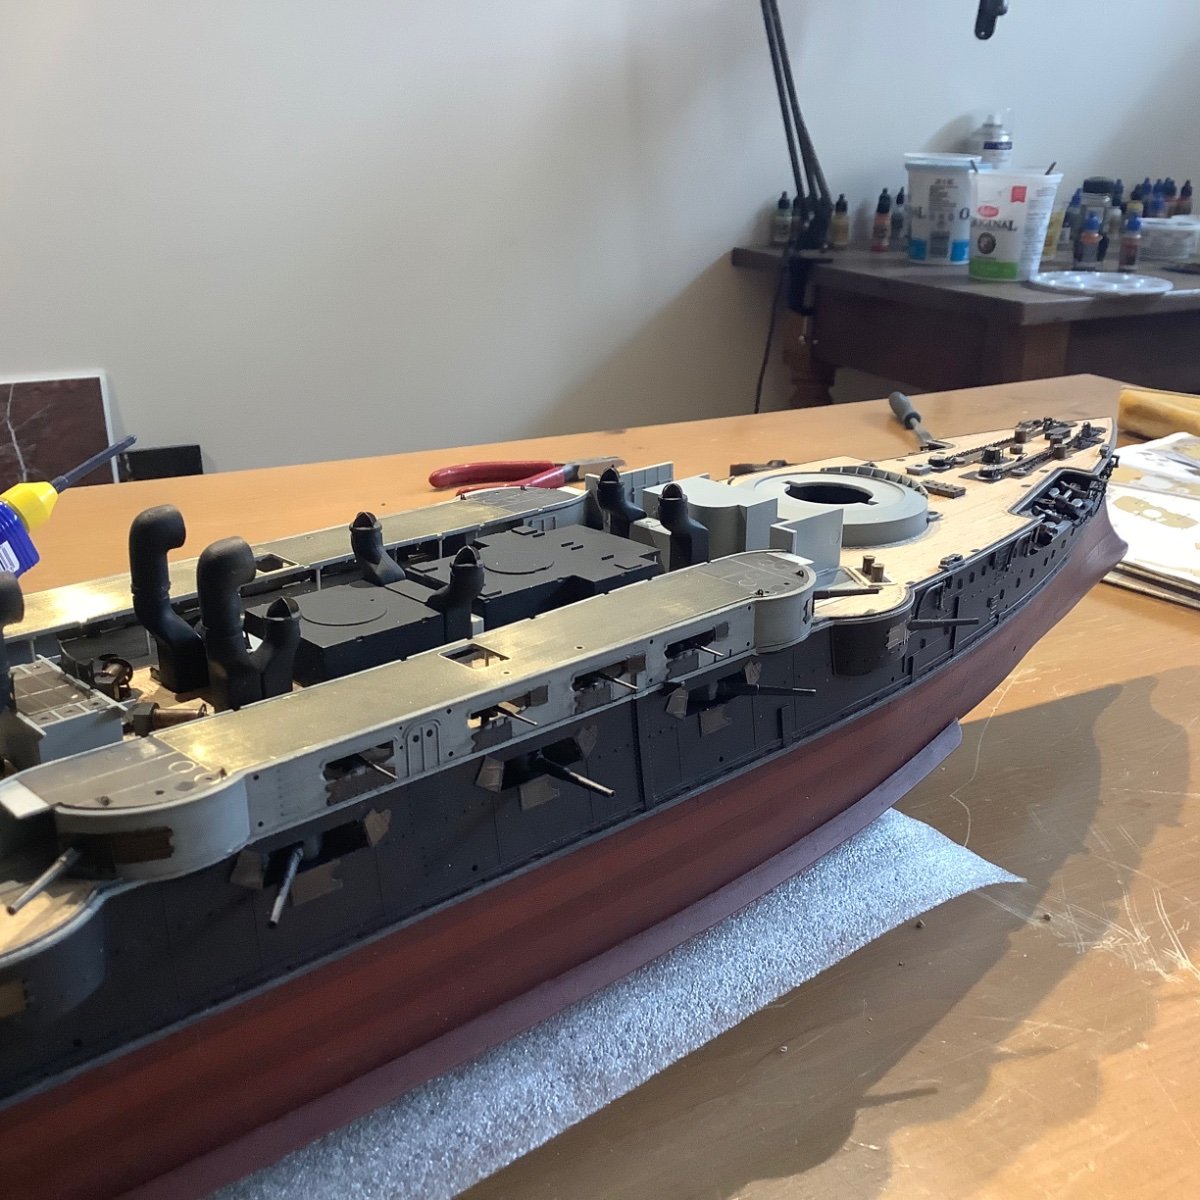
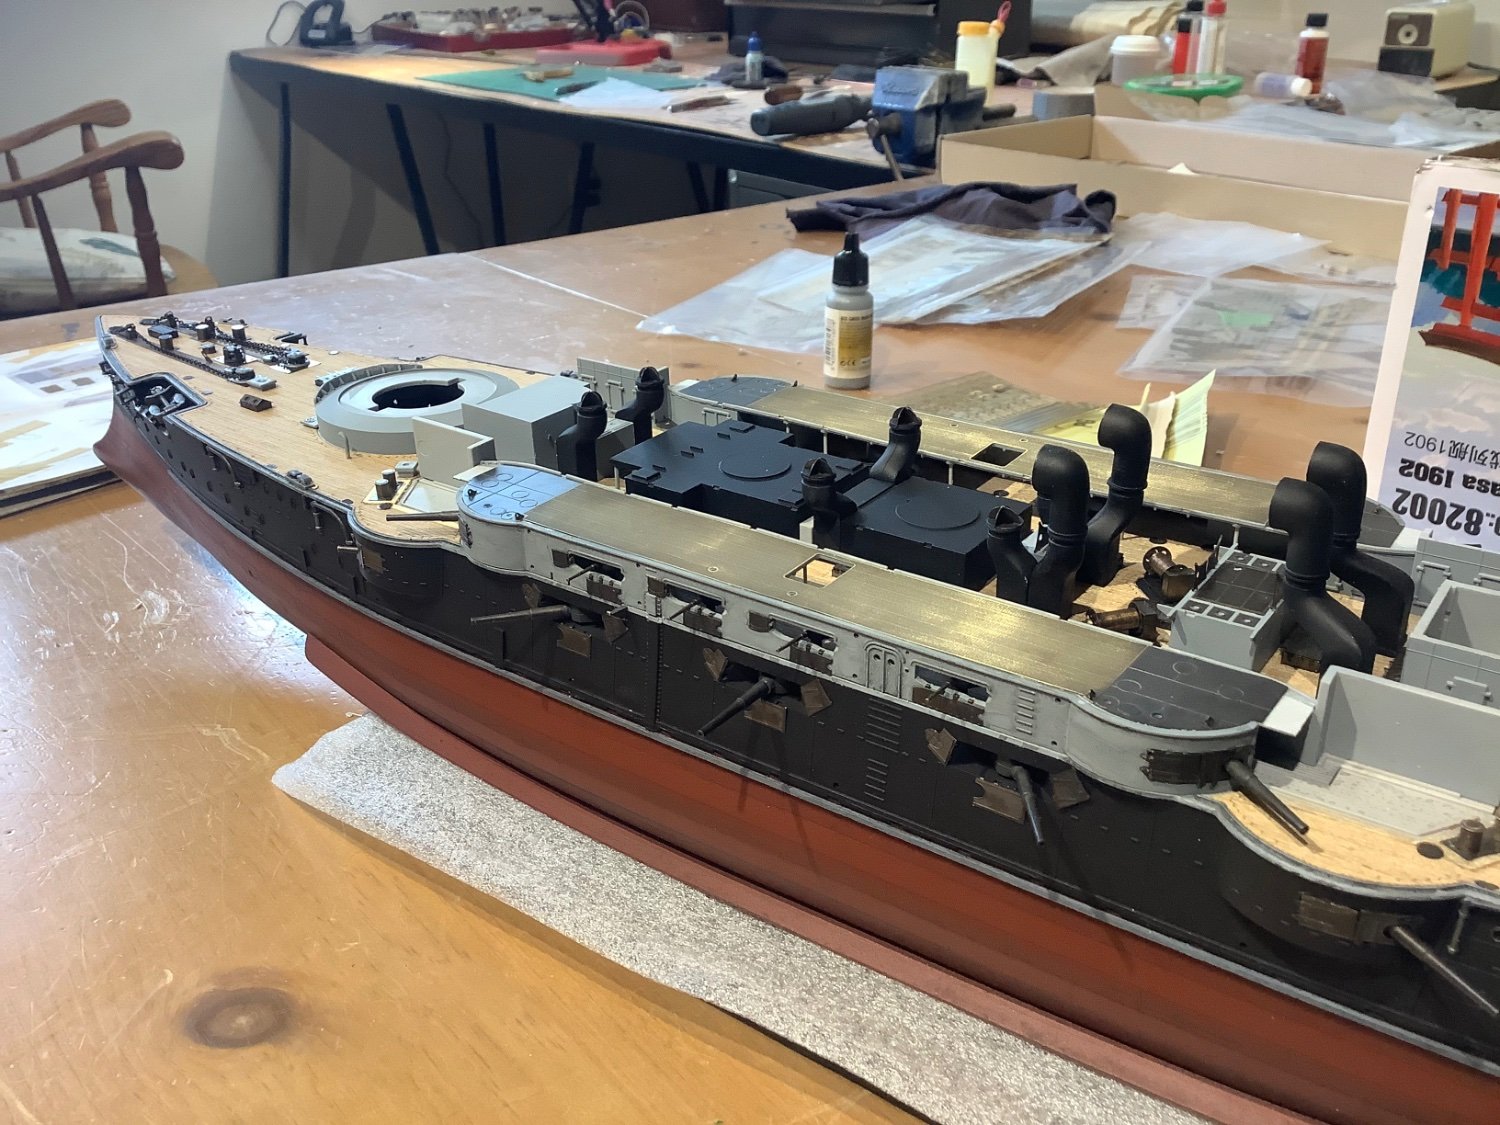
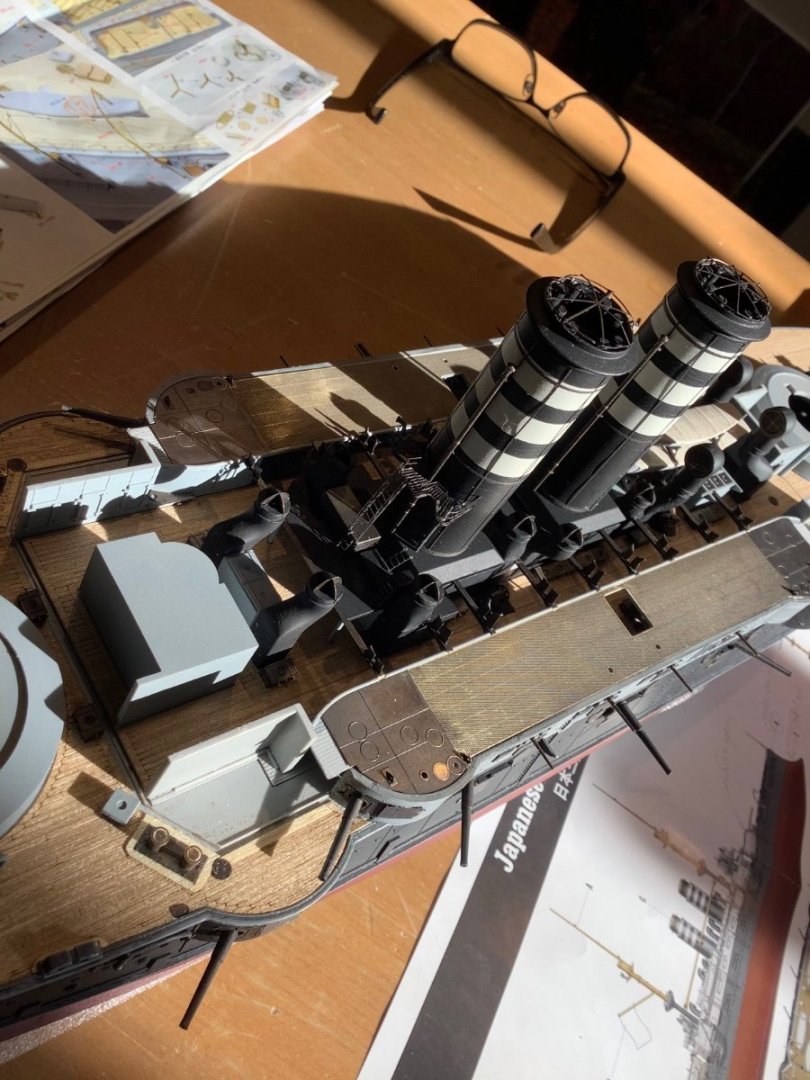
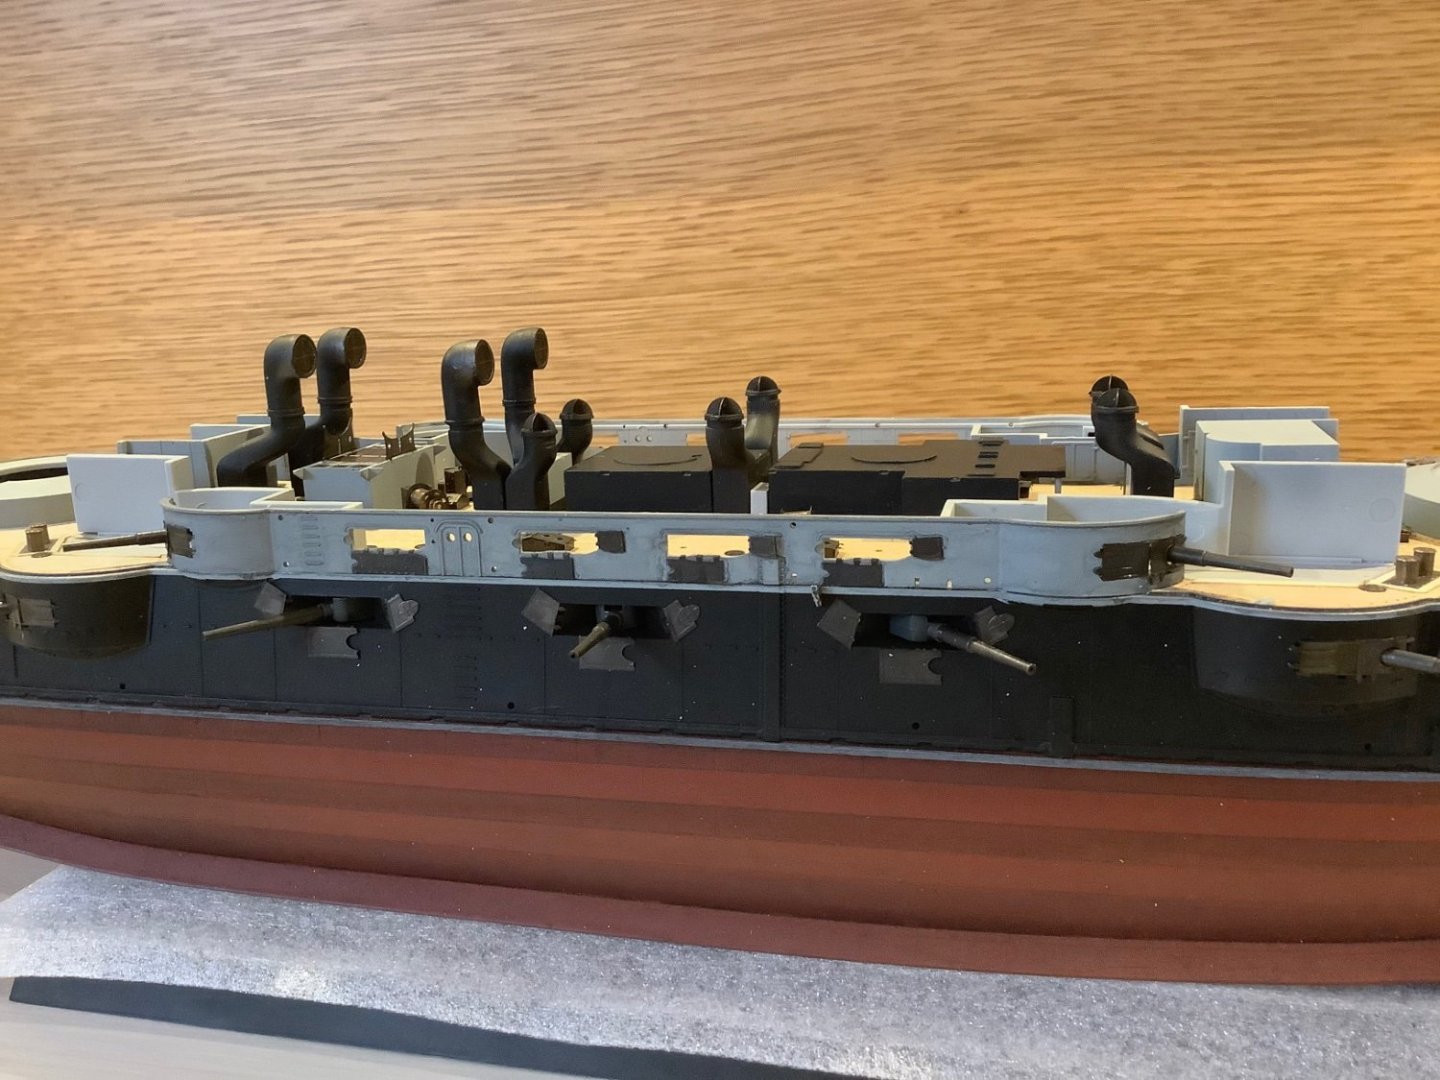
Progress: Continuing with the remaining pieces in the inner areas of the centre section. The funnels have a lot of nice details. I mostly followed the Pontos upgrade strategy with them, except I used the kit PE for the funnel caps and some piping, rather than the so-so Pontos pieces. The Pontos plastic is particularly bad, definitely not worth using in most cases. Had a foul up that delayed progress a day or two, classic bonehead issue. I was handling the ship and noticed something was rattling around inside. Turned out to be one of the big 6” guns which had come off its mount and fallen deep into the bowels inside. Seemed impossible to extricate at first, but after delicate surgery we got it back, reinstalled and the entry wounds stitched up. Musings: This model is a great subject and will be a nice rendition with all the fine detail when it’s finished, but I can’t help feeling it is going to lack something as a built object. Seems a tad underwhelming to me, too small in scale for all the detail, doesn’t pack the punch I expected. Probably just what I’m used to in terms of the larger scale I’ve been working in lately I expect.
- 62 replies
-
- 13
-
-
The hanging beams for boat storage complete. The Pontos upgrade provides a more refined result, if a little tedious to assemble.

- 62 replies
-
- 10
-
-
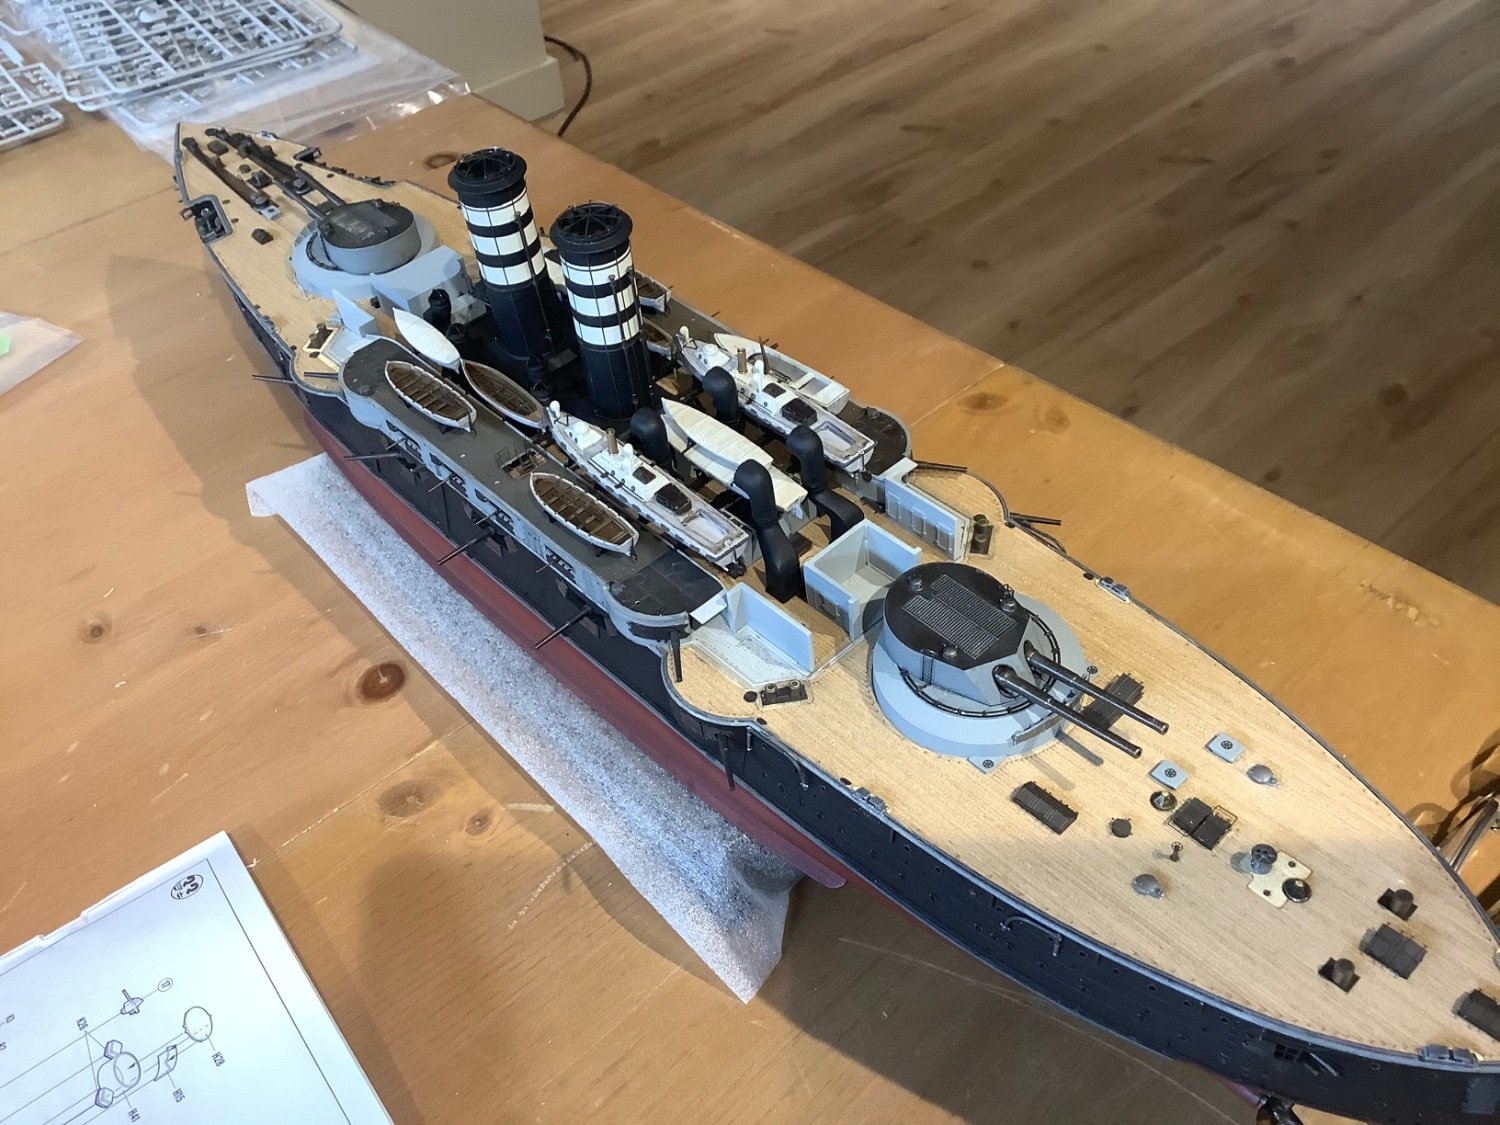
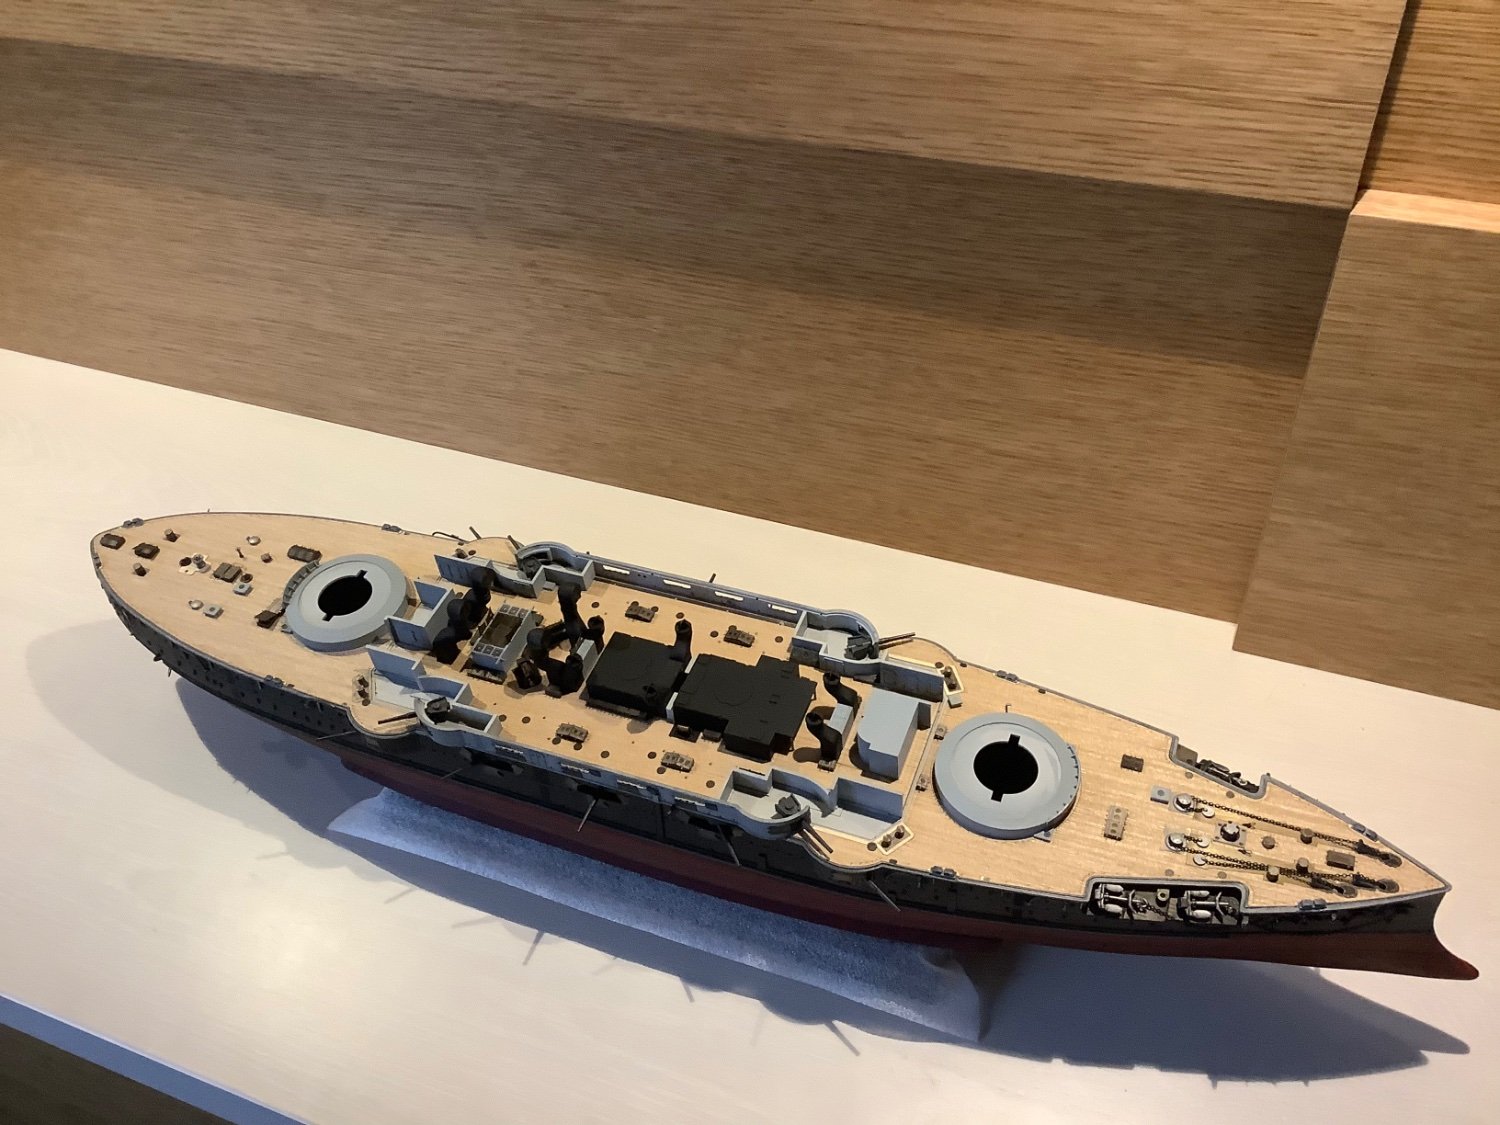
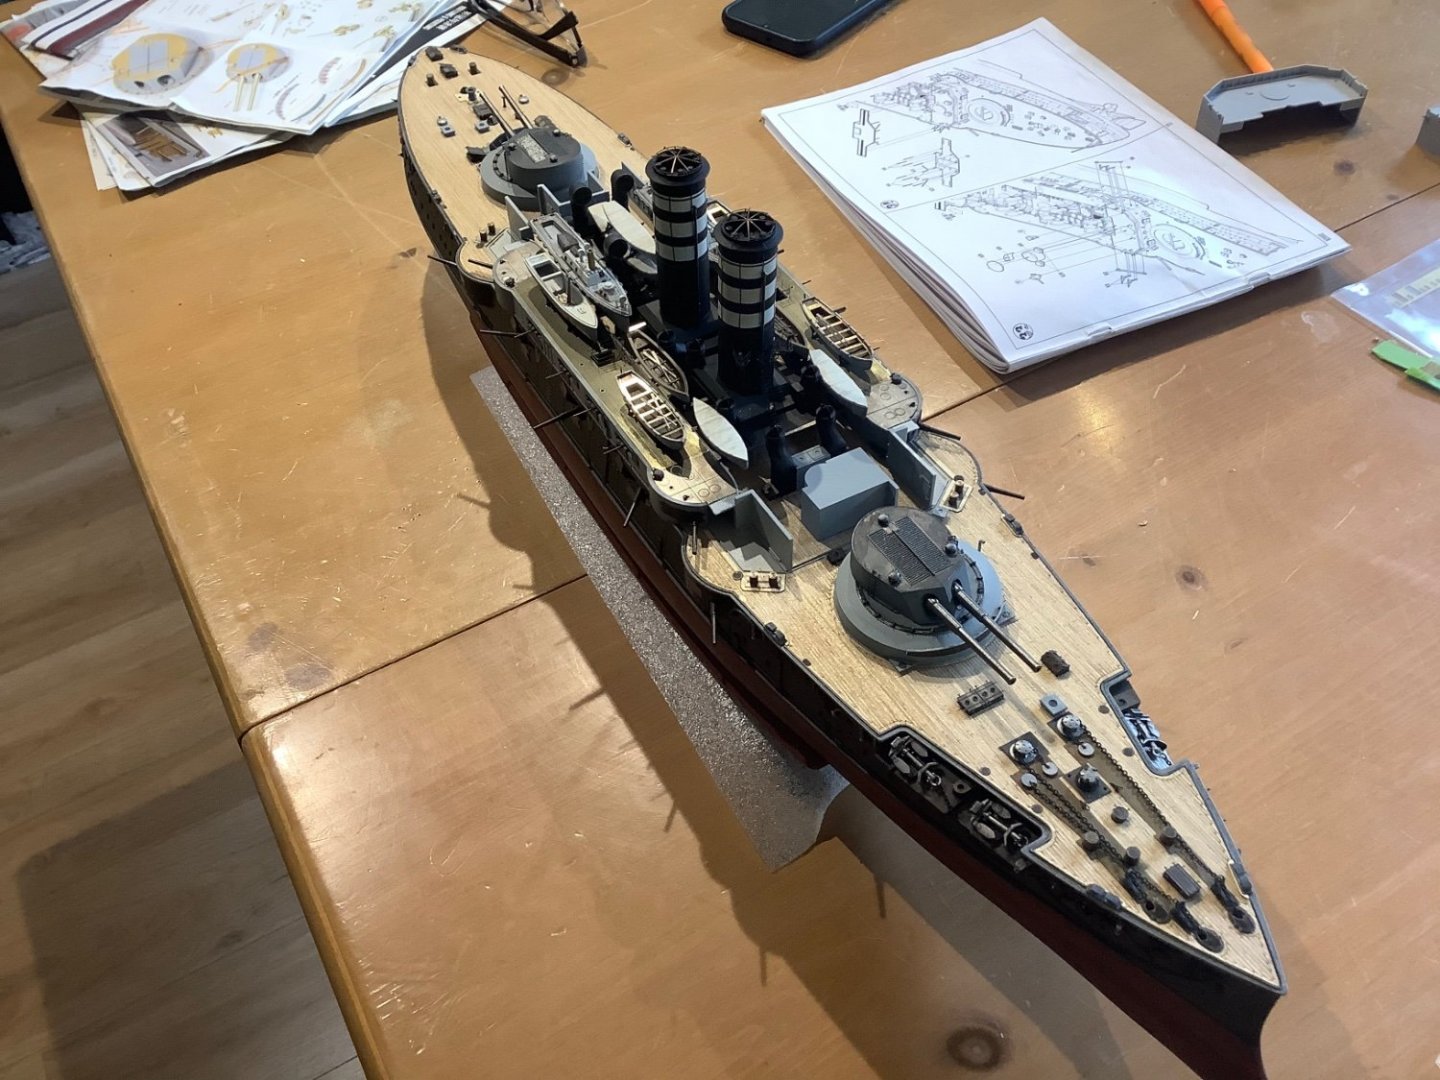
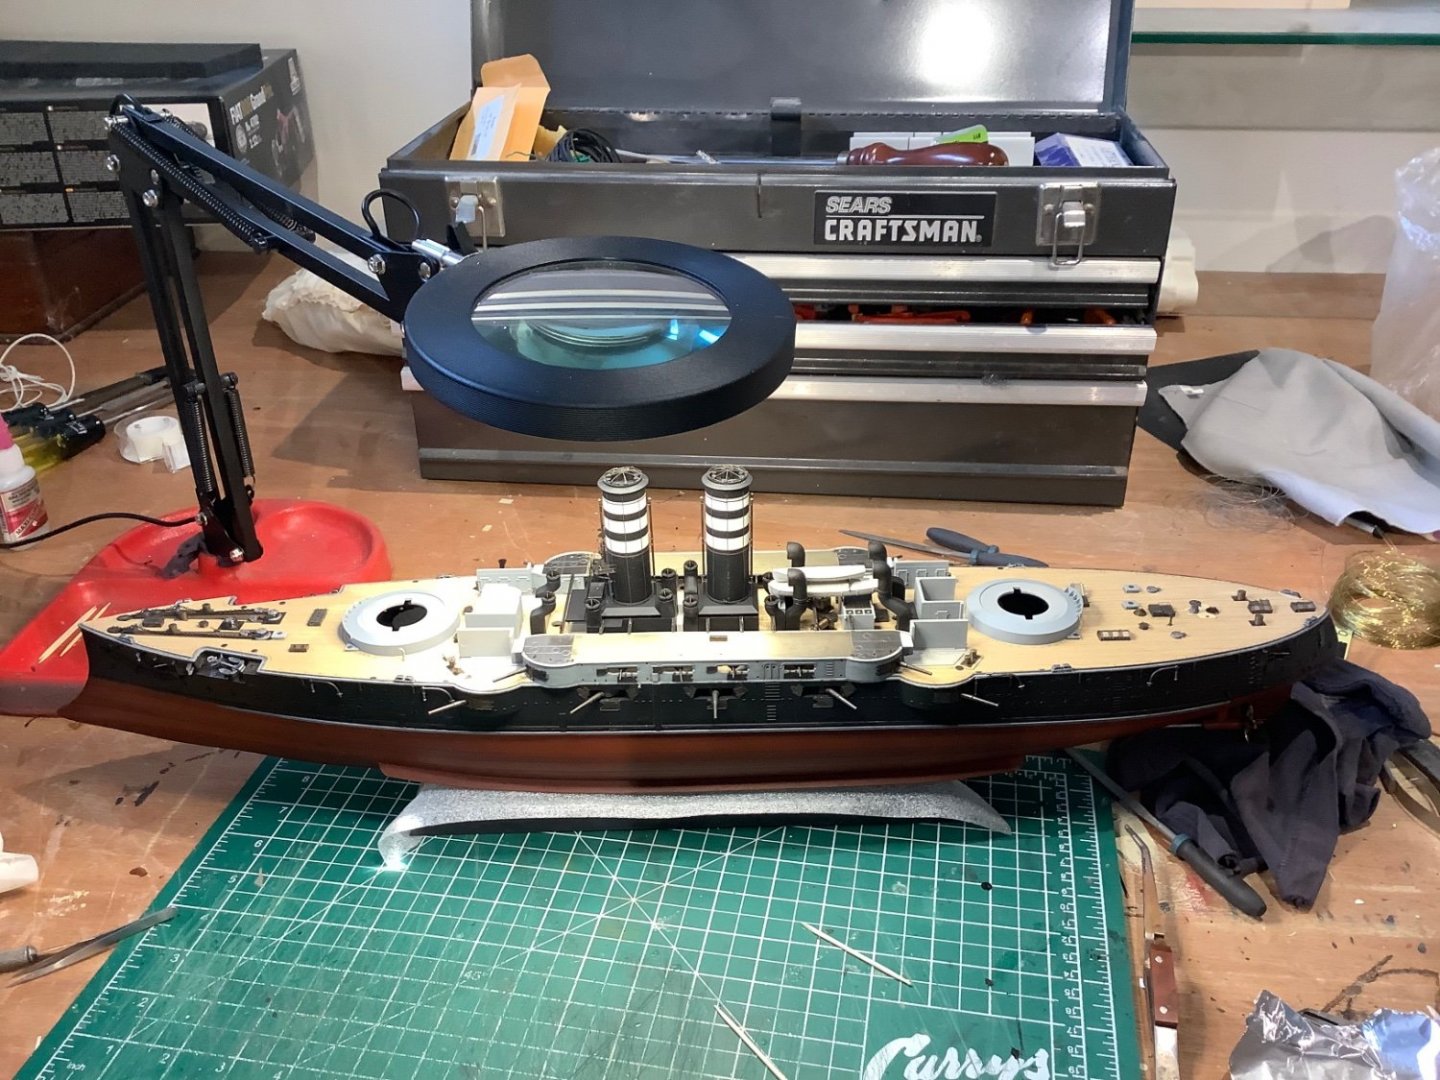
Just taking stock of all the superstructures and other details on this boat; this is such a rich subject. Think I’ll continue on with a little more amidships before starting the bridge structures. The Hobby Boss kit manual is very helpful for planning what goes where and the build sequence.


- 62 replies
-
- 12
-
-
Excellent! Thank you Artesania Latina.
-
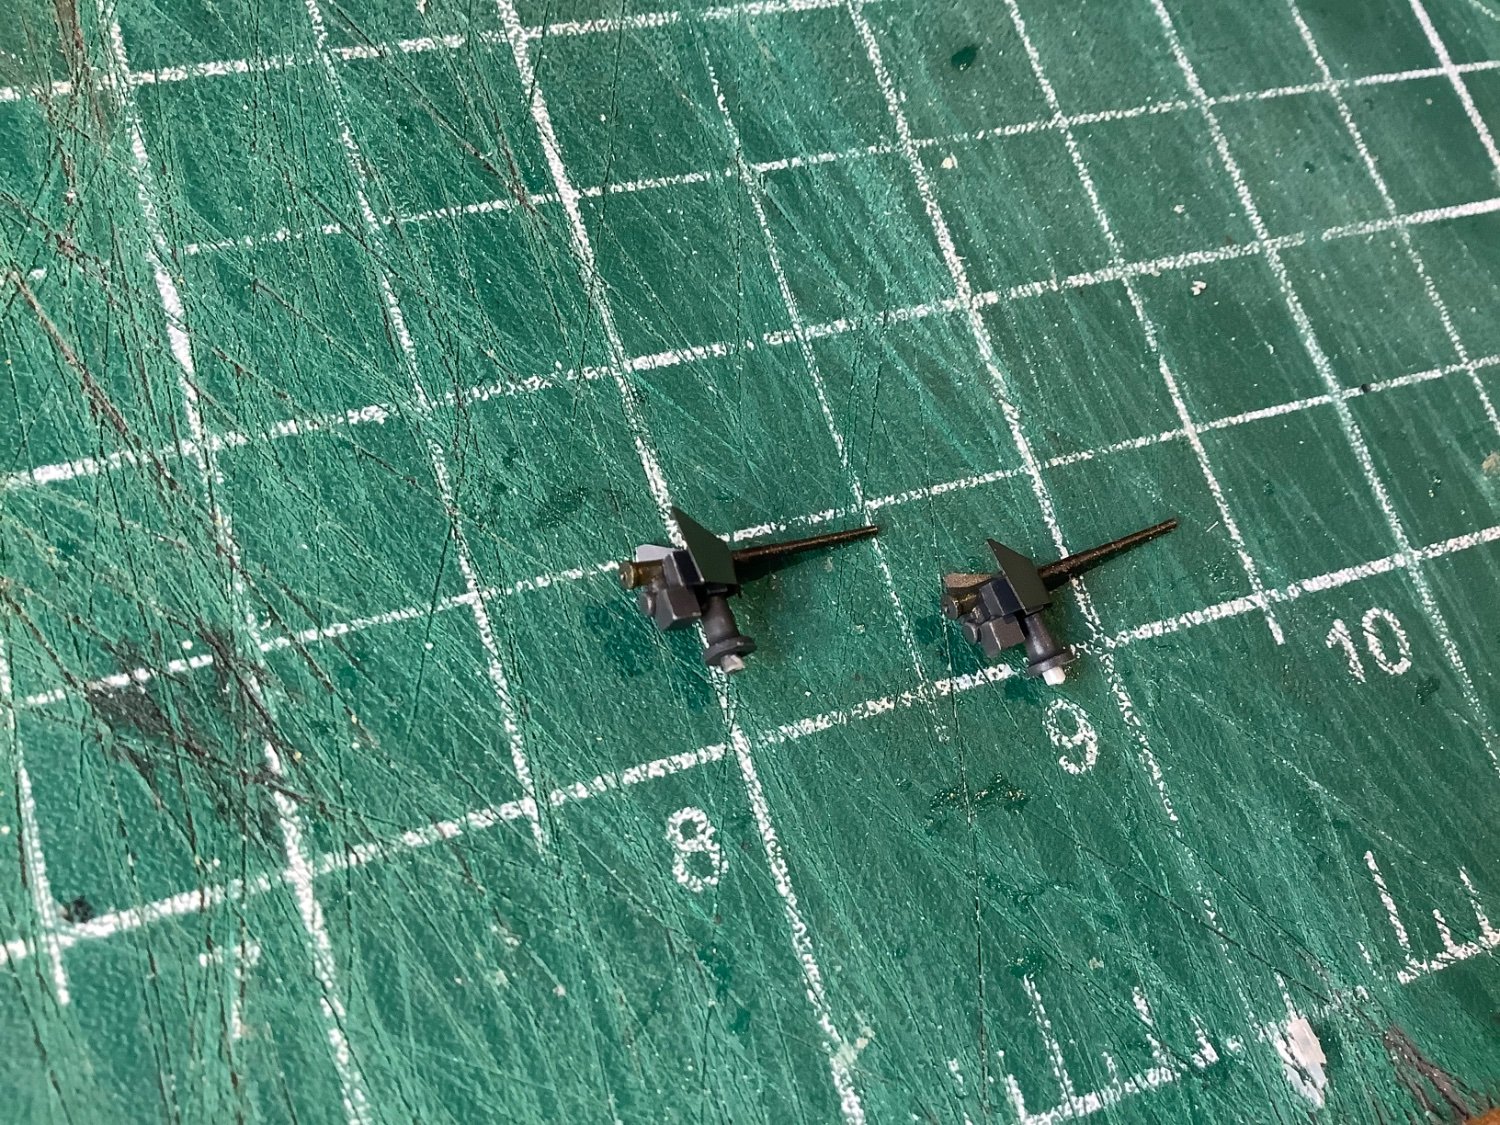
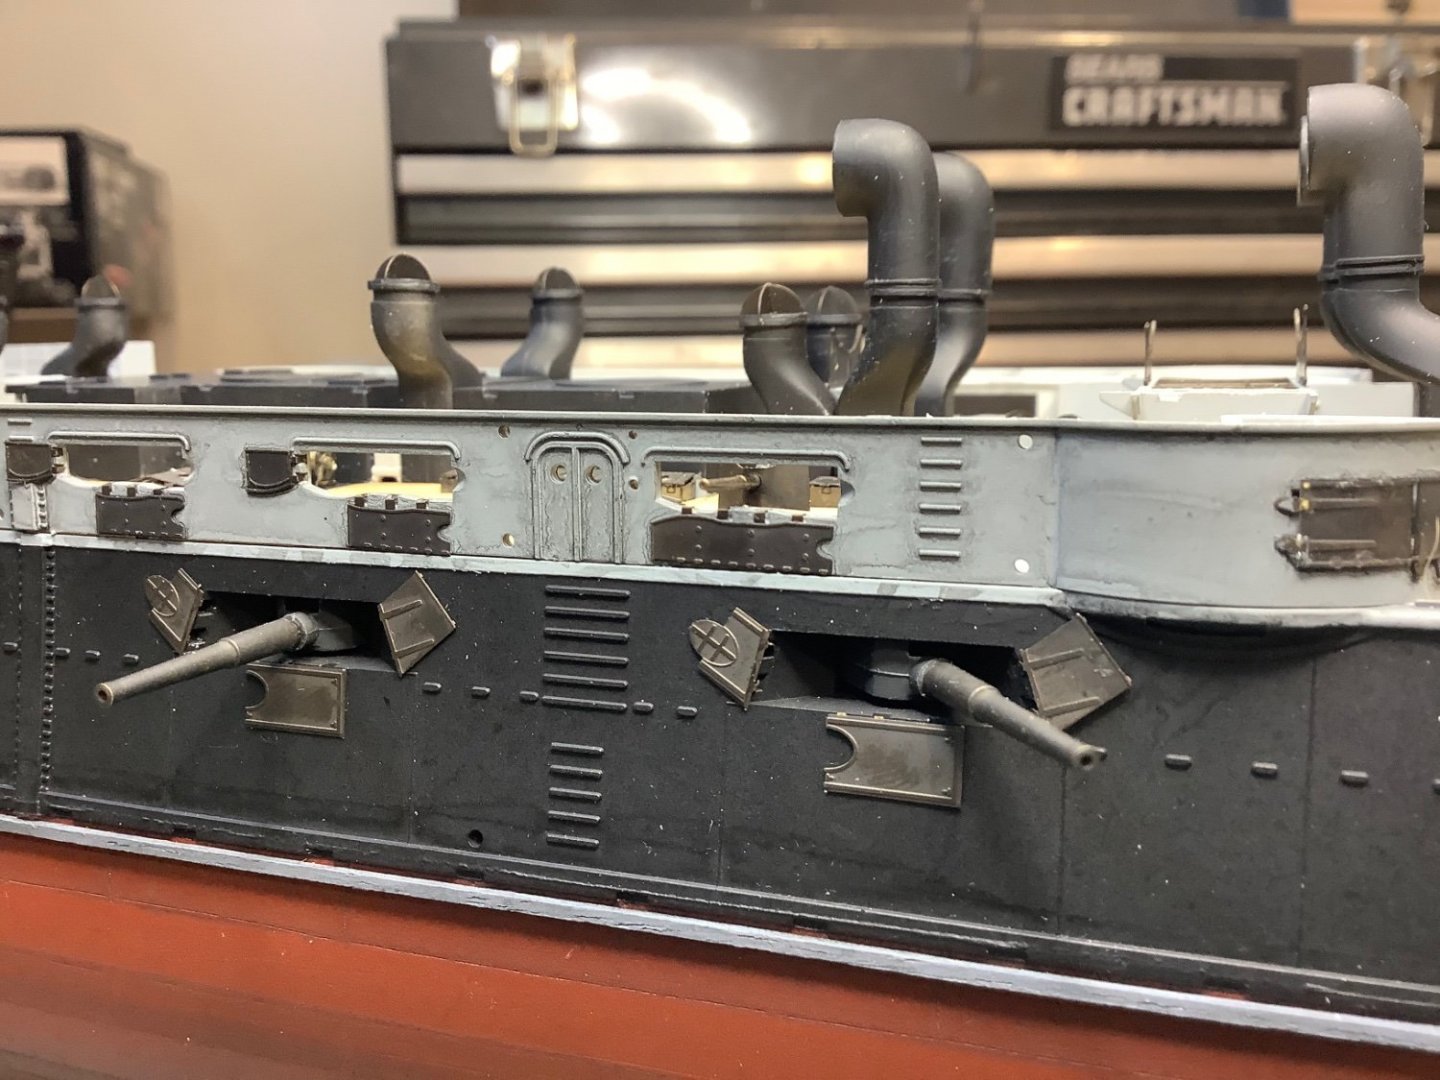
Thanks Mike. There are 16 - 3” guns that Pontos provides brass parts for. After preparing one and watching winter turn to spring as well as the eventual visibility on the ship when installed, I decided on a modified approach to the first eight, which are tucked under the centre deck. I replaced the plastic barrels on the kit guns with the Pontos brass, which is easy to do, and added a shield by modifying some of the PE from the base kit. It’s not exact but a reasonable facsimile of what the form of these guns were on the real ship, as helpfully illustrated by Jeff in his current build.

- 62 replies
-
- 14
-
-
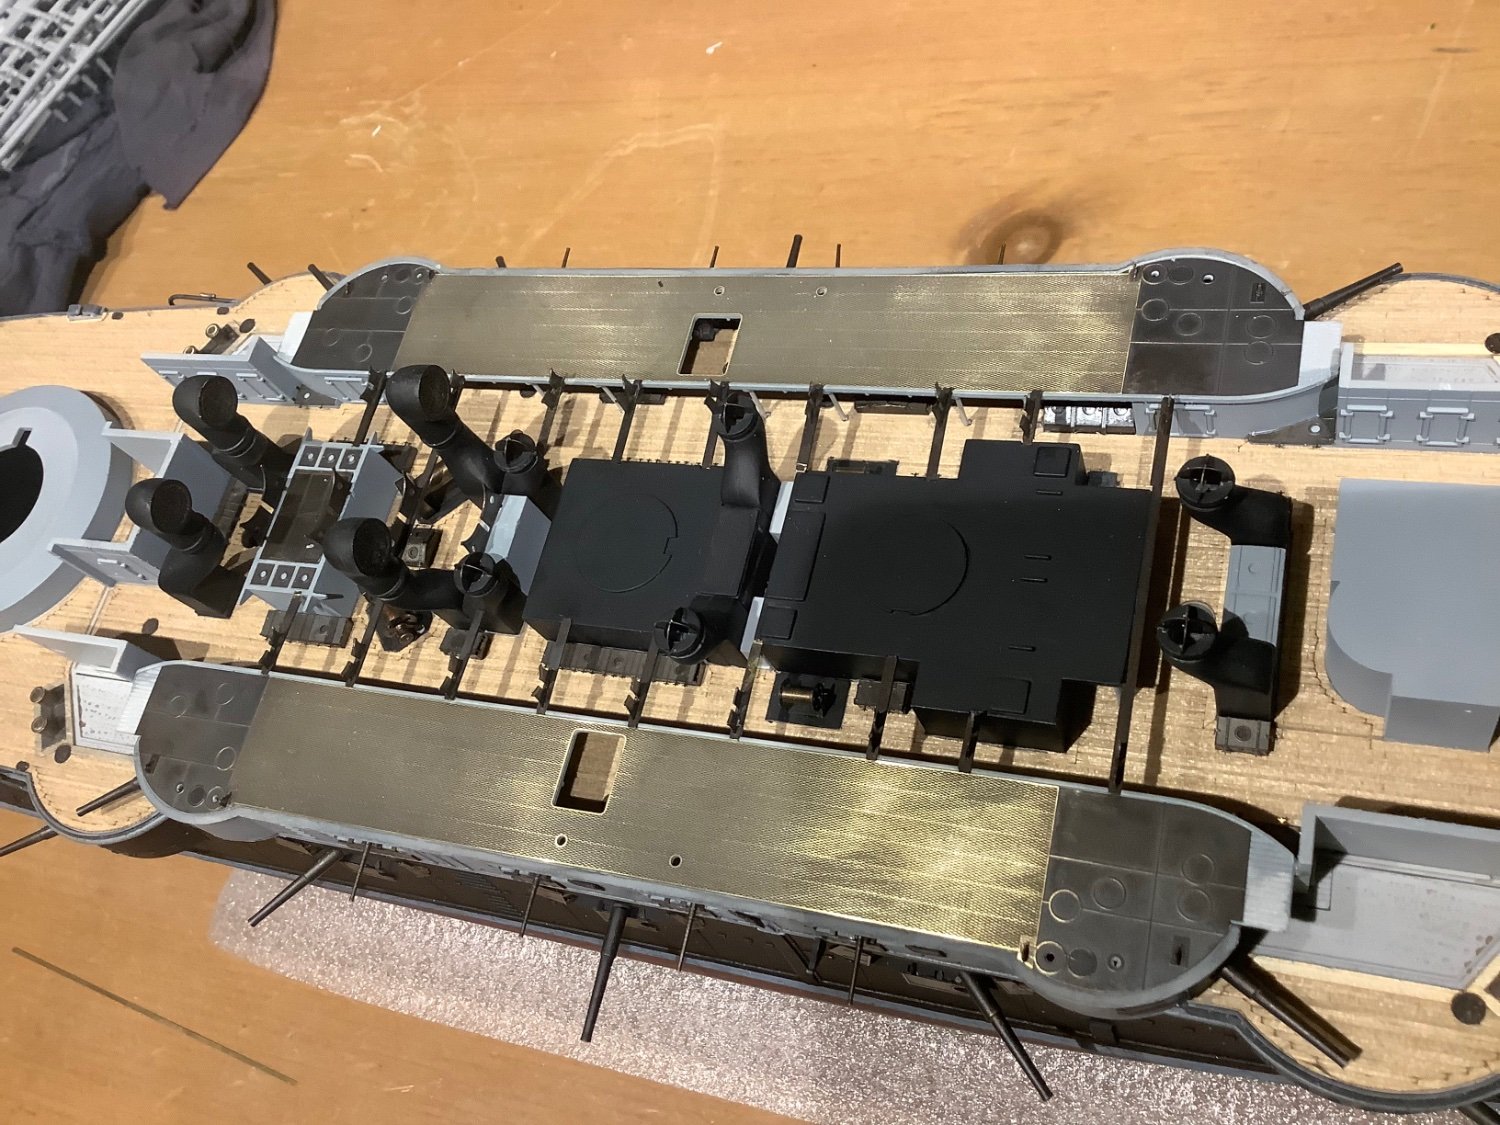
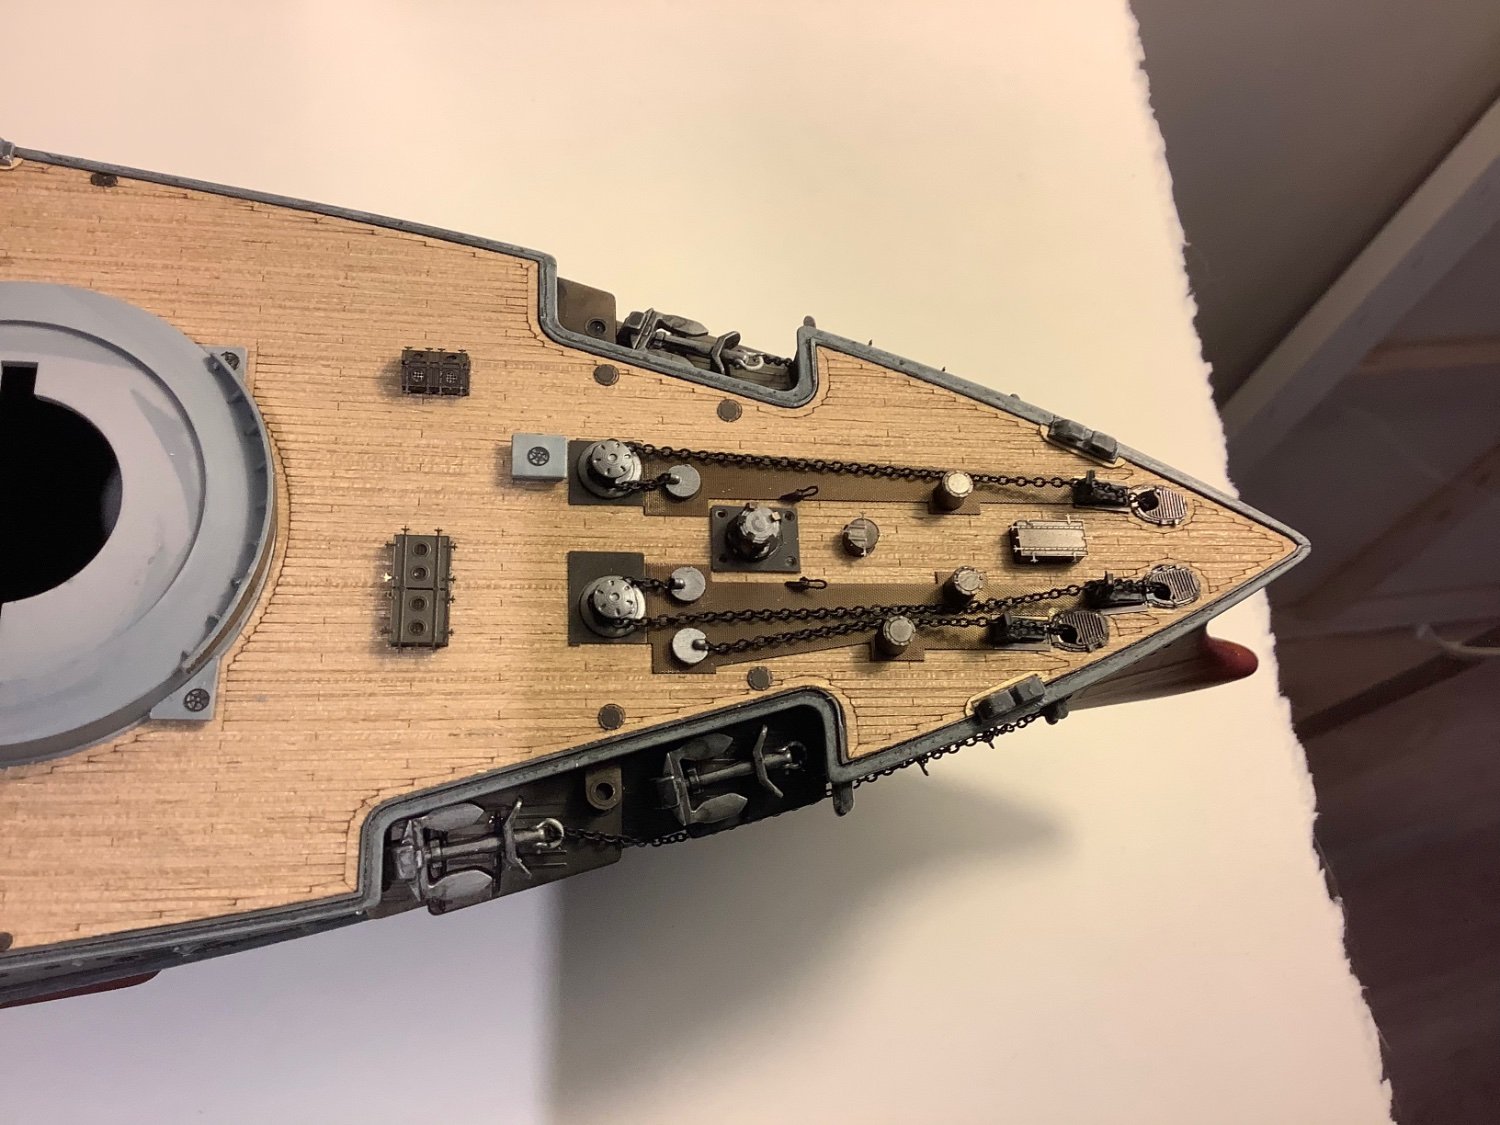
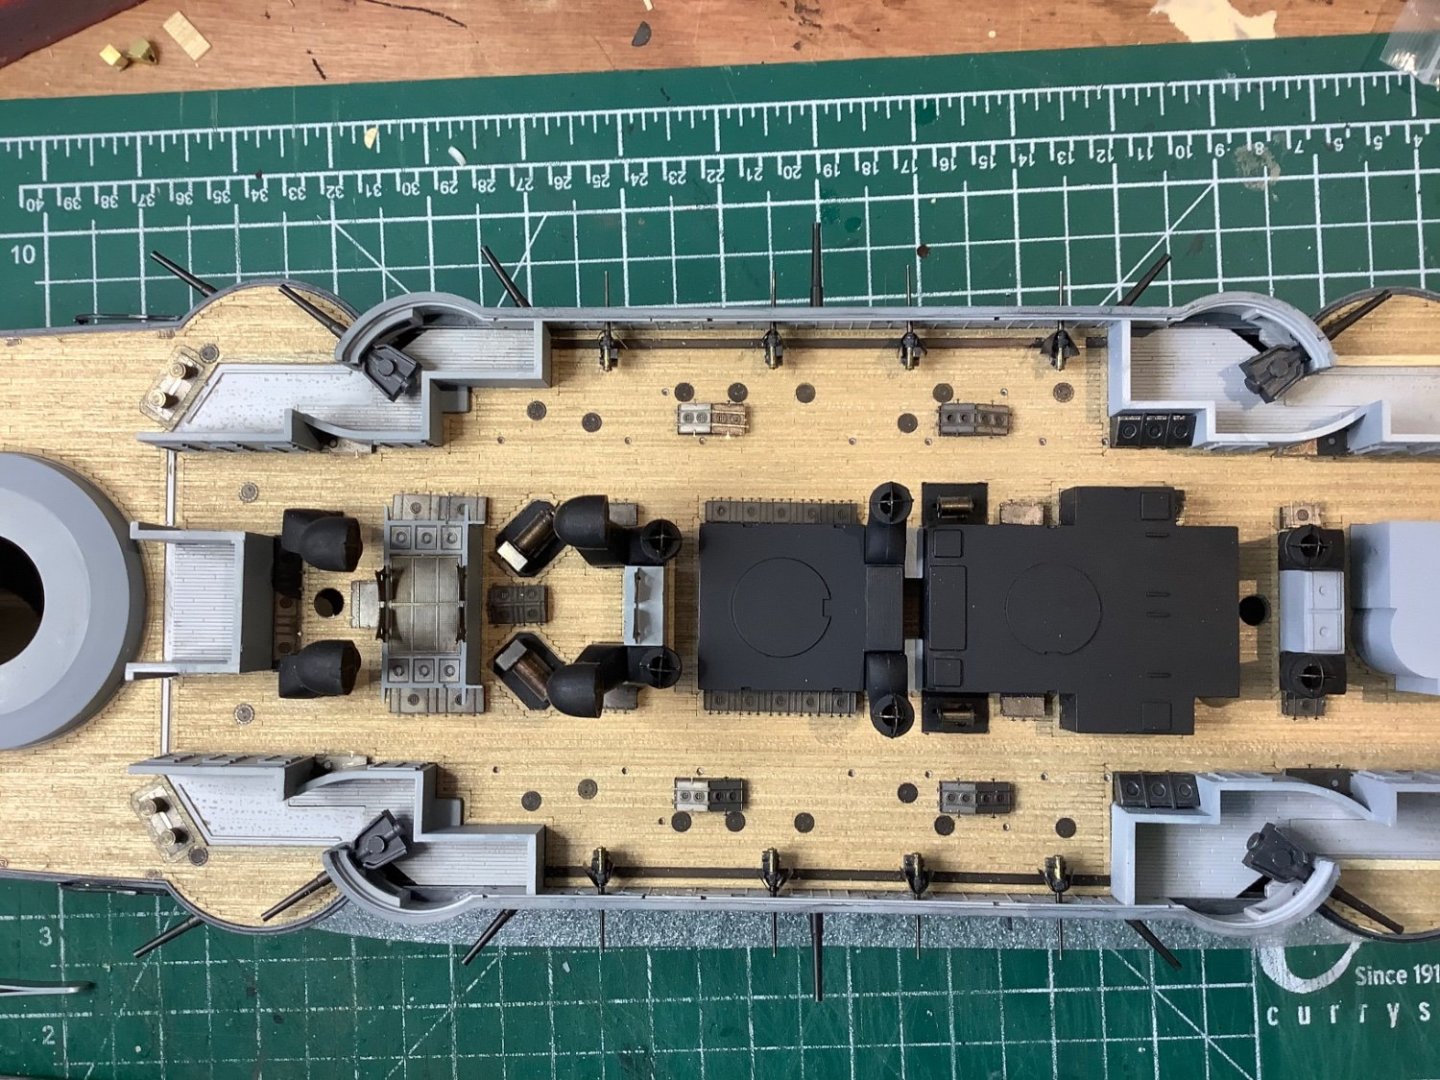
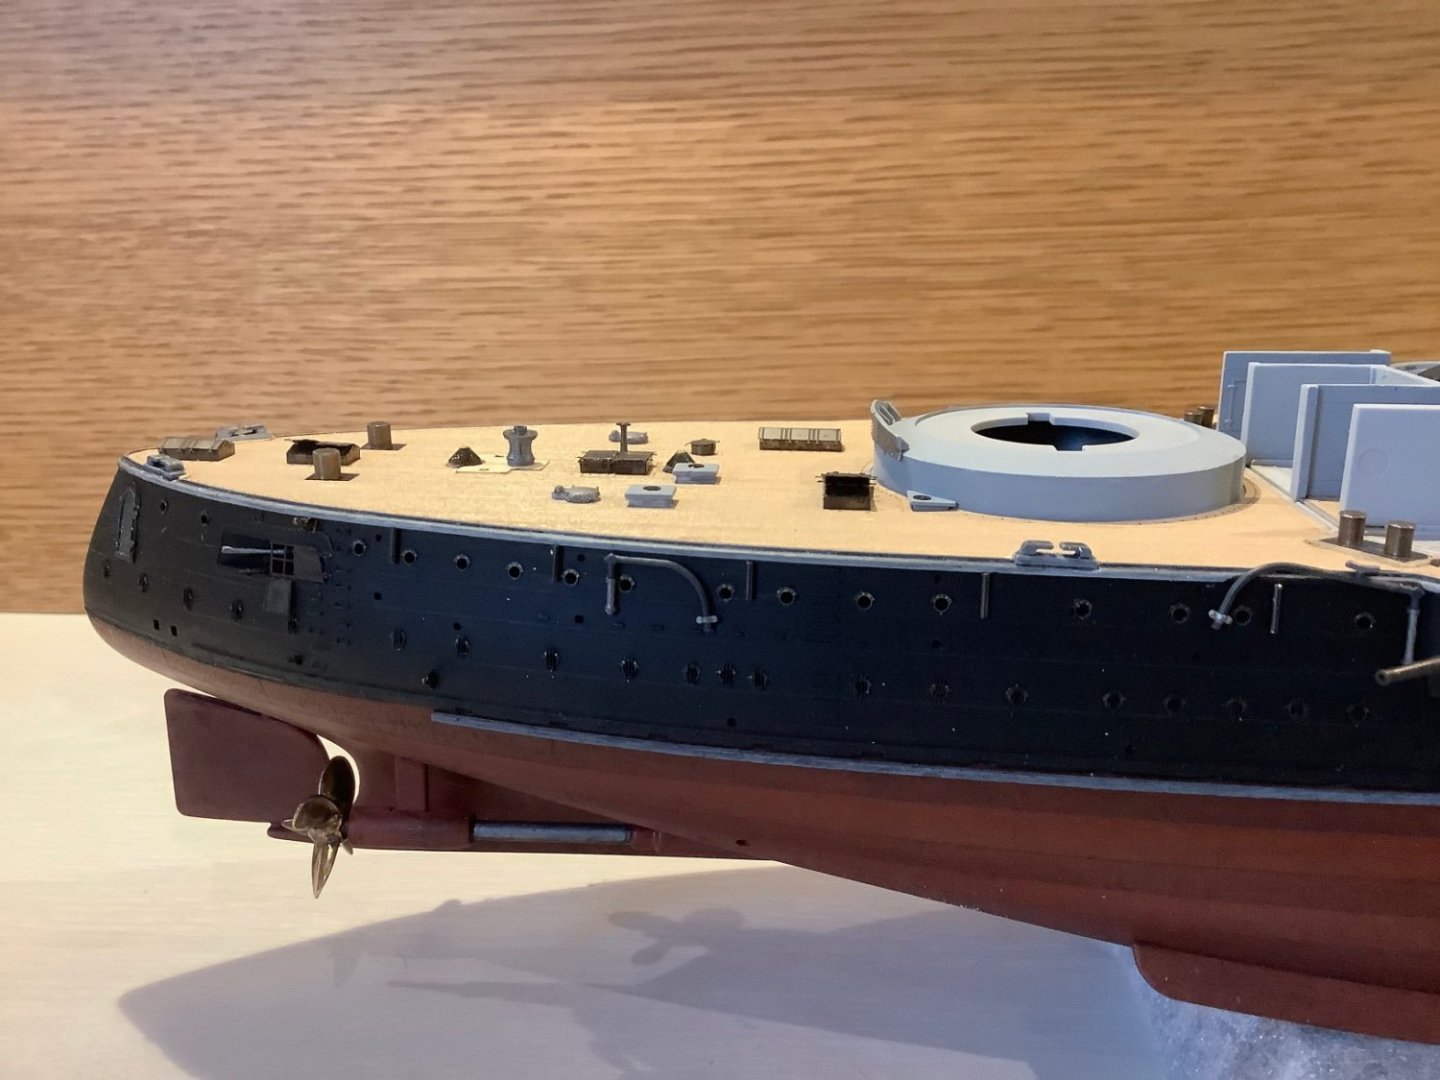
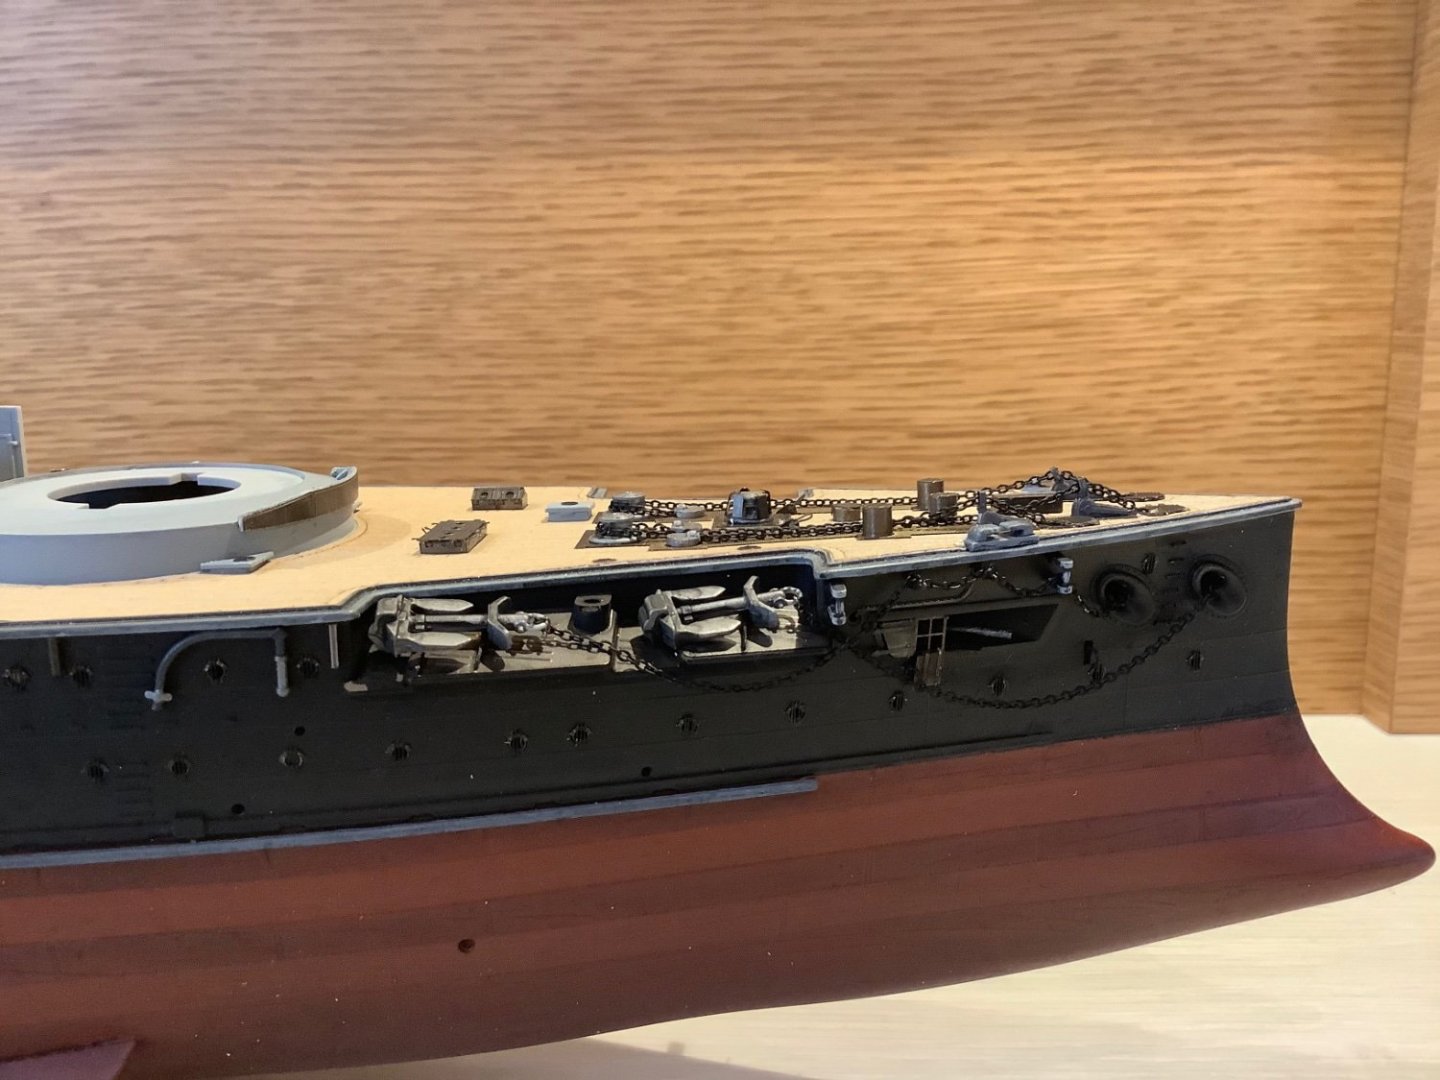
Most of the deck level paraphernalia on. Lots of nice detail in the Pontos, although disappointingly nothing by way of an anchor upgrade. Got a load of 3” guns to fabricate and install before superstructure on the centre section. They look ridiculously finicky, would love to subcontract them out, but sadly I’ll have to get my ratline concentration mode turned on and suck it up. The kit provides rather cool looking gooseneck vents with PE grilles which look excellent. Pontos changes that to a truncated stack with a basic “X” outlet, which is less visually dramatic. Looked through a few Mikasa illustrations and decided a mix with goosenecks aft was an acceptable solution.


- 62 replies
-
- 13
-
-
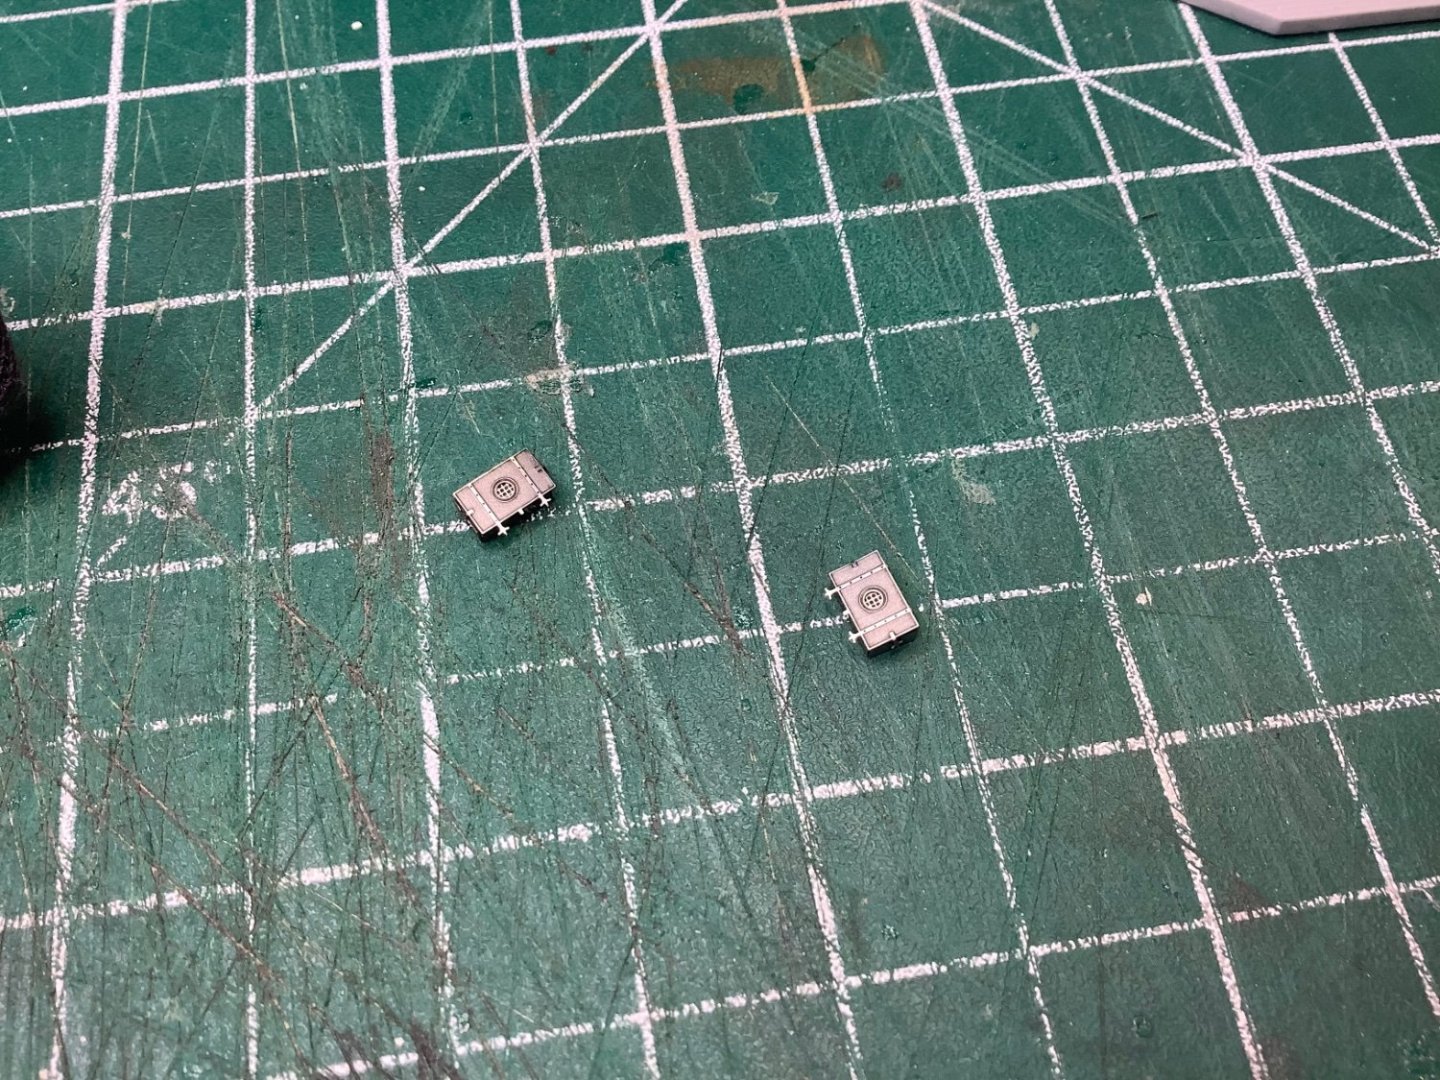
Ok now that I have the microprocessor circuit board ready all I have to do is reinstall it and the photon torpedoes should be back on line.
-
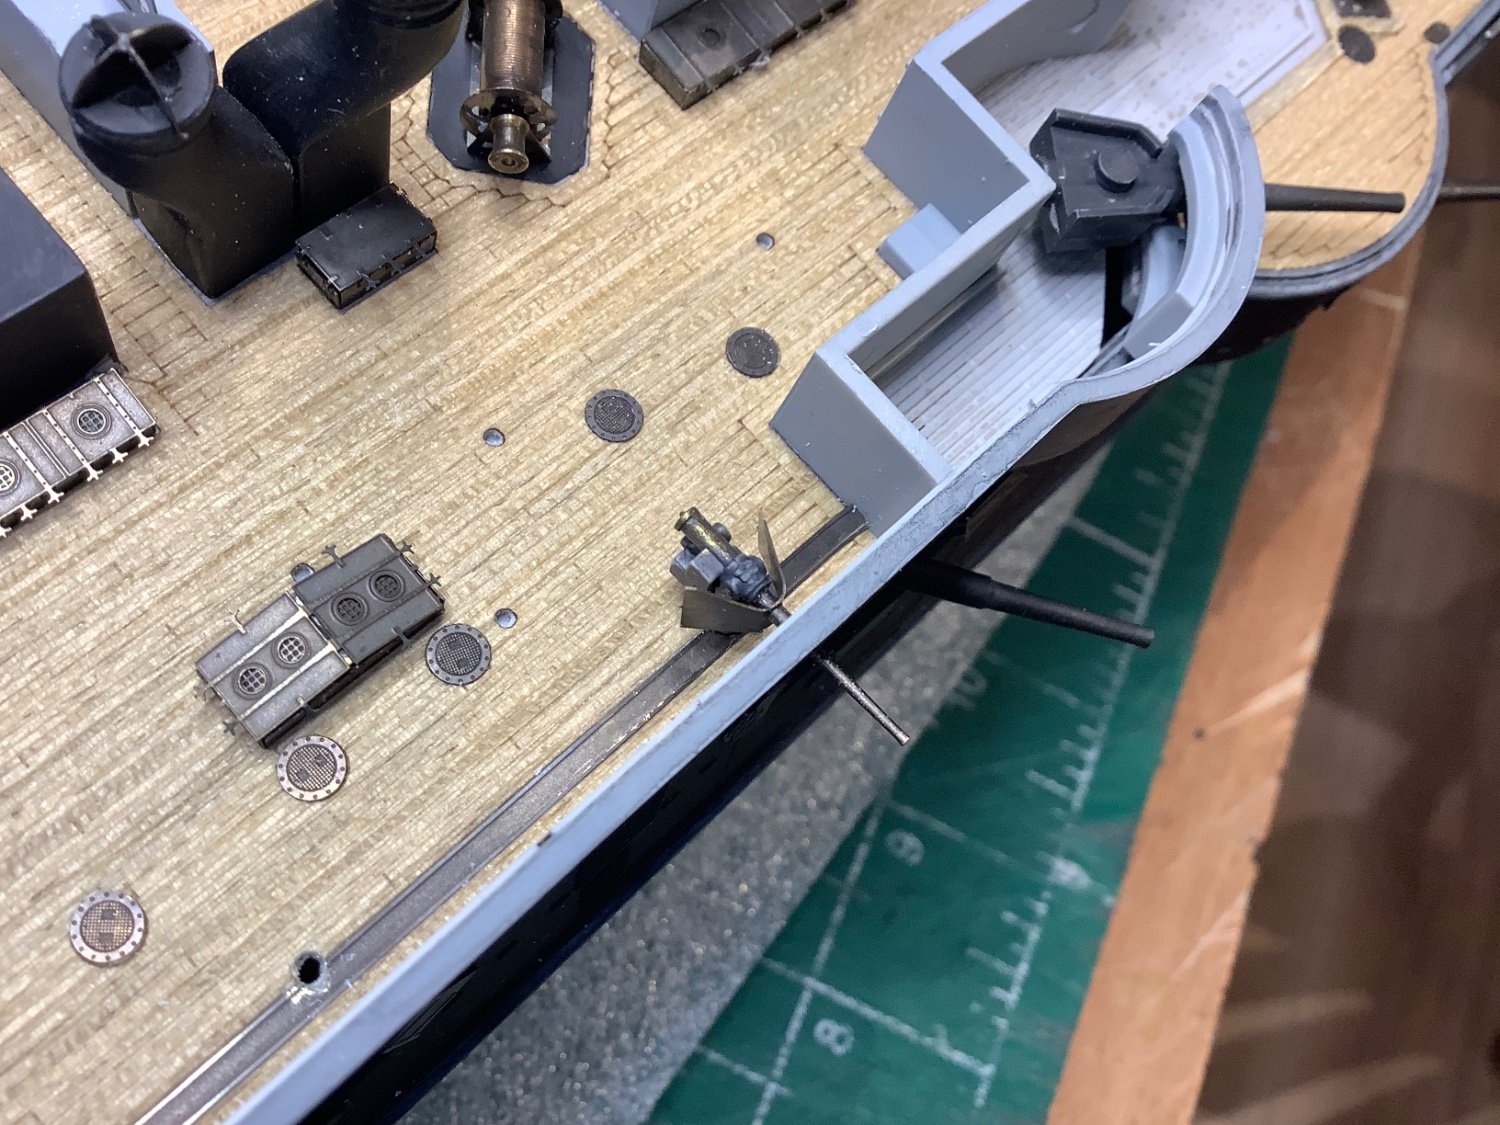
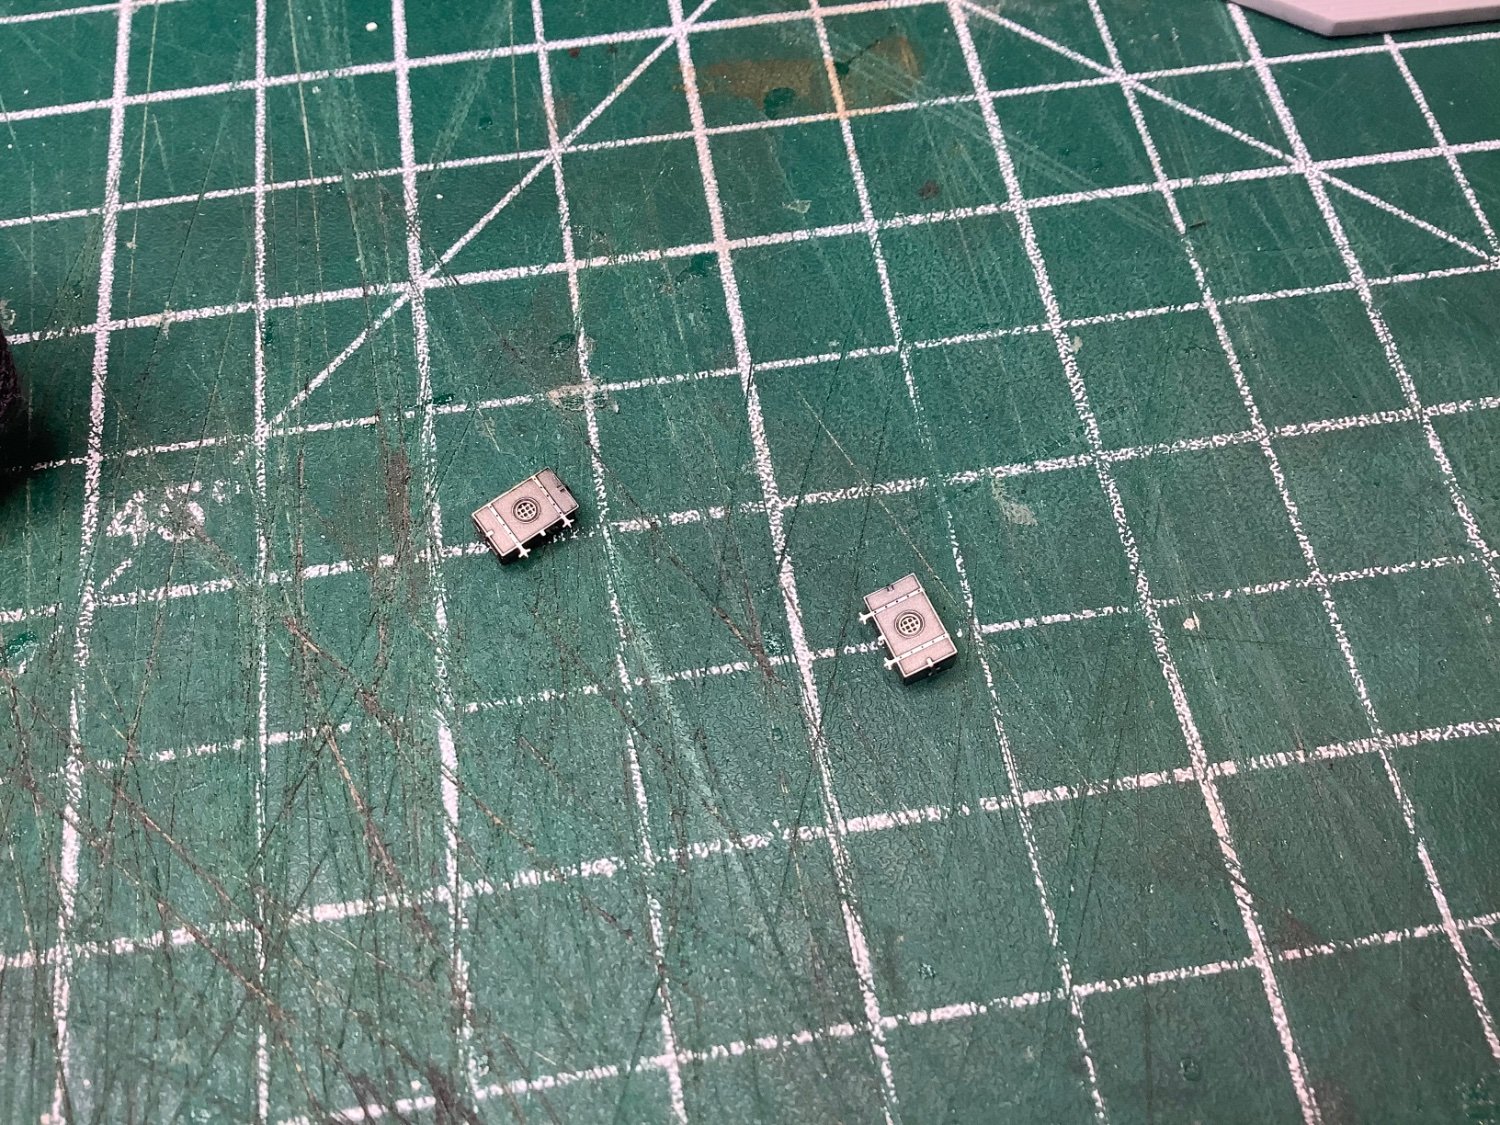
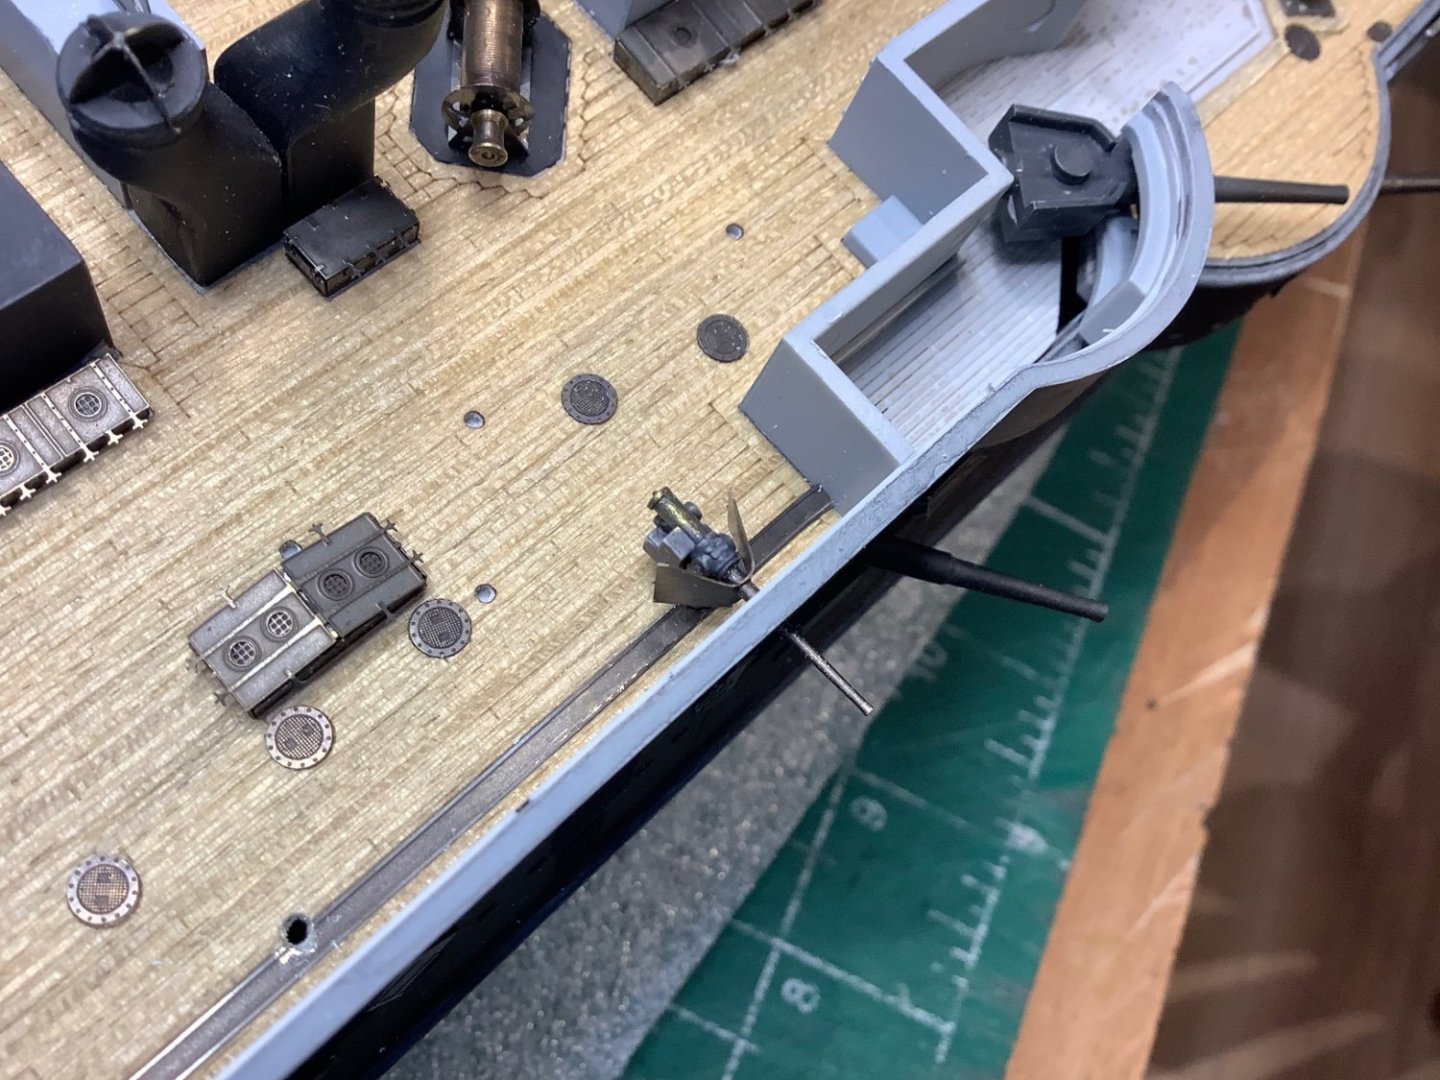
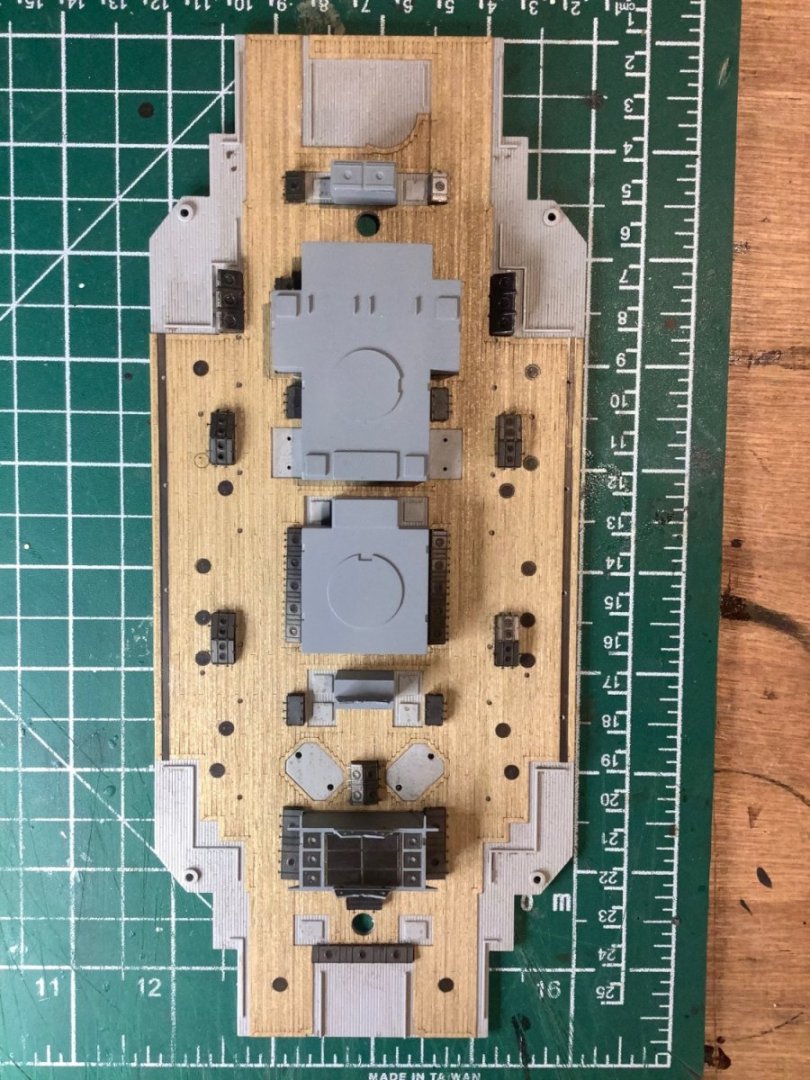
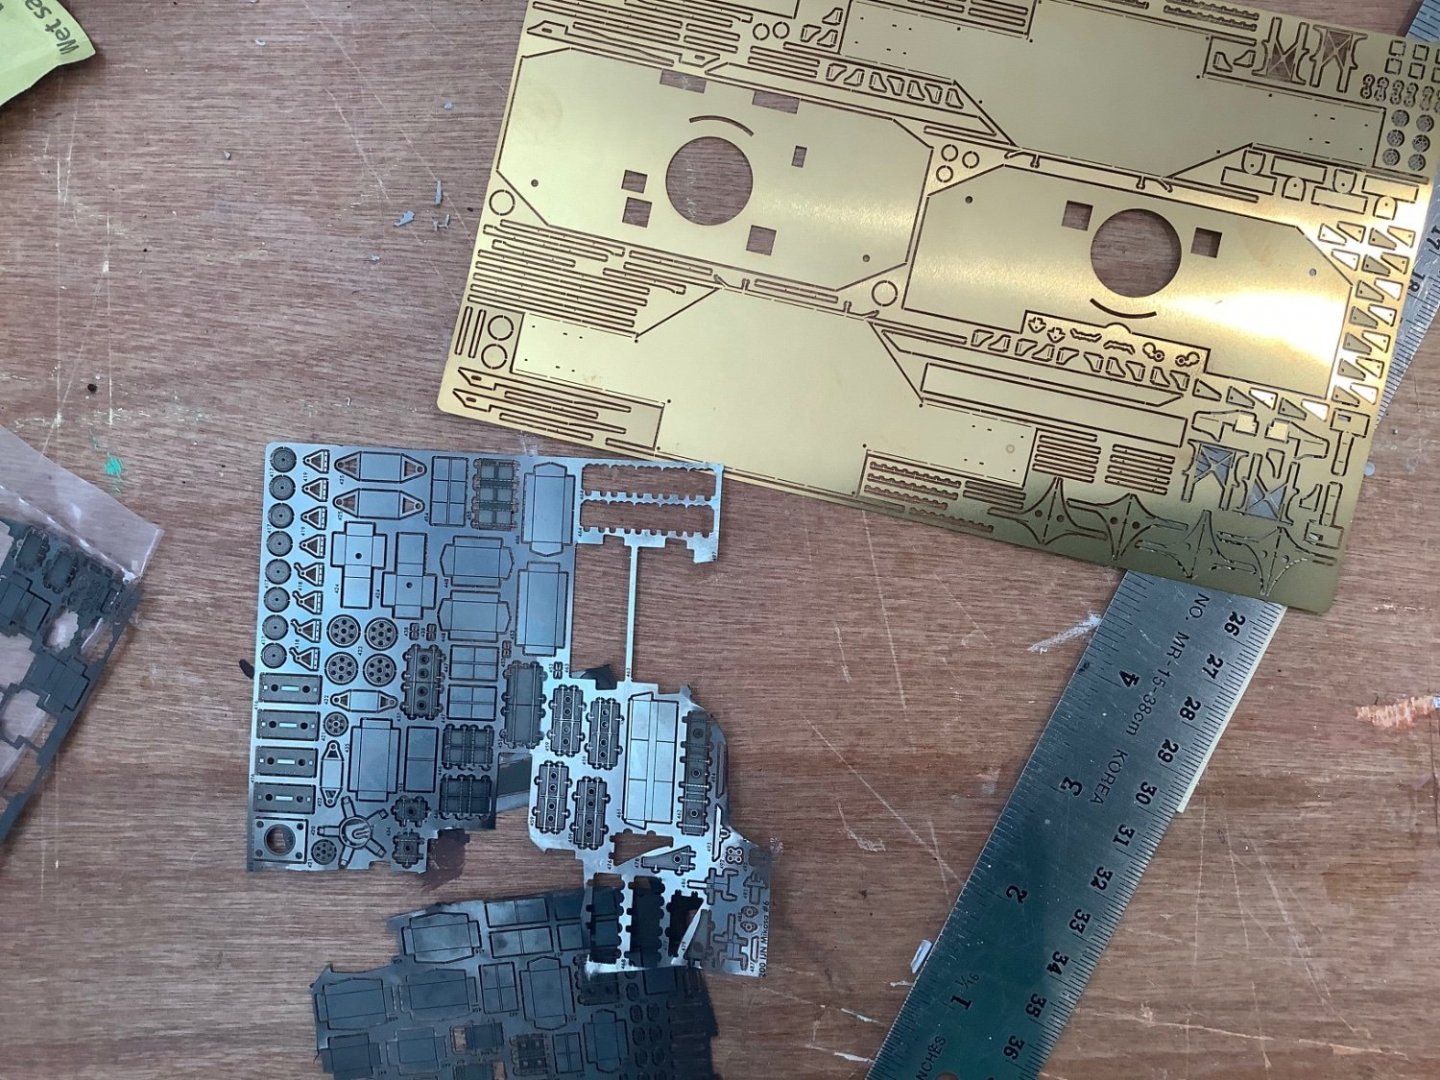
Thanks Joe. Progress: installing the Pontos replacement deck accessories, starting with the centre section. There are dozens of these little gems, hatch boxes or whatever. First part of the process is to turn the brass into gunmetal, then it’s a simple bending process in this instance. A couple of the Pontos replacements are the wrong size so reverted to the kit version in that instance.
-
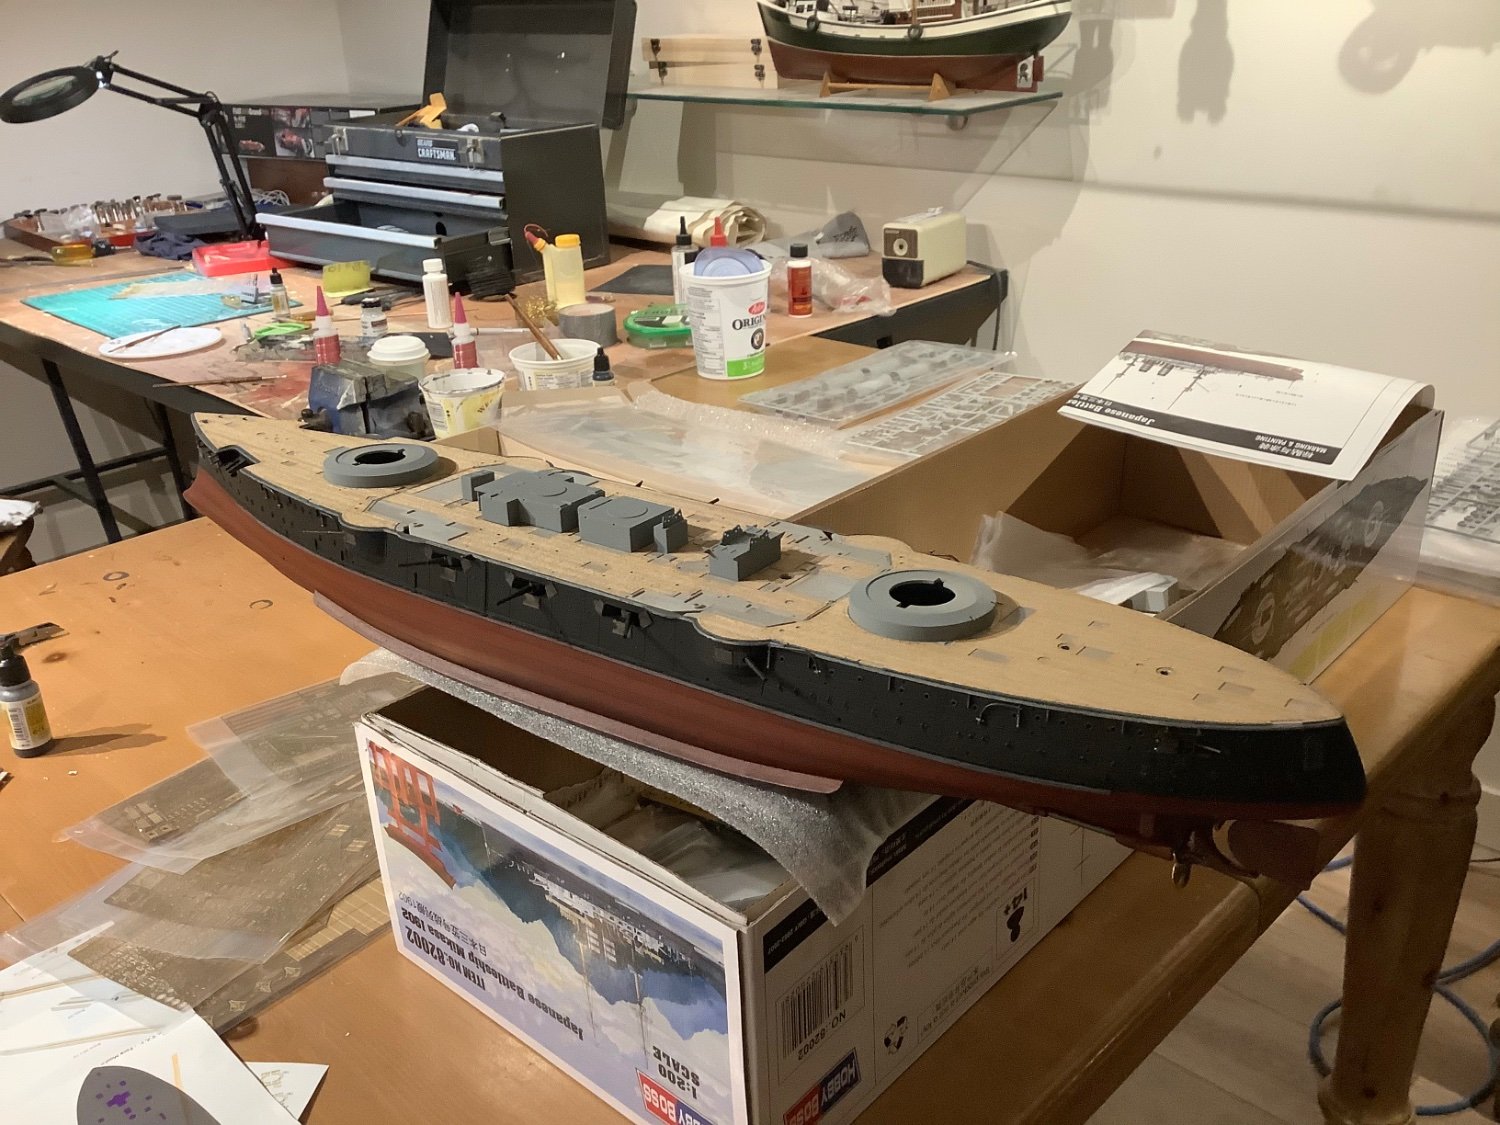
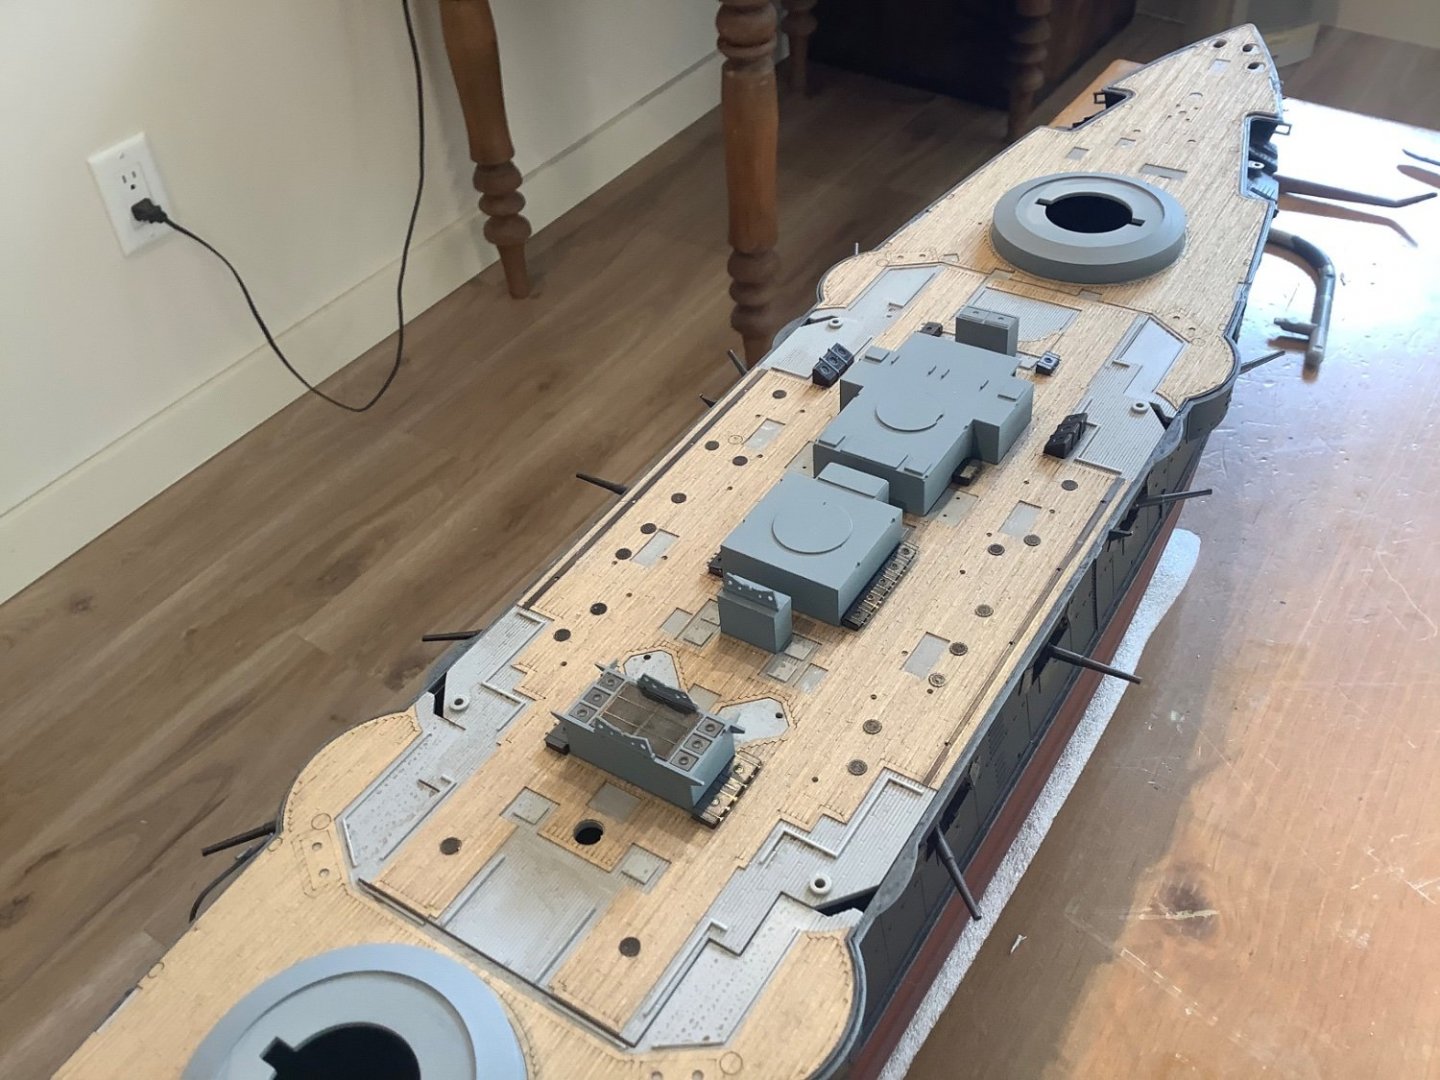
Progress: Deck is on, easy process as it’s self adhesive. Toned it darker with some tannin I had left over from my Fifie alchemy. This will be the base wood colour, will be aging it later, probably after it is plastered with a million PE installs. Decided on a Medium Sea Grey for the superstructure, should all make sense when finished. Tried it on the first few bits. Musings: Speaking of aging, so will I before this sea dragon is done. Speaking of PE, my psychiatrist says it’s safe to go back into the demon Pontos box tomorrow so long as I maintain her recommended drug regimen.

- 62 replies
-
- 11
-
-

-
Hi Jeff - sorry I missed your post above somehow; I’ve had your log up on my iPad but never read yours from the 13th until just now. I’ve made a start, and yes it’s photo etch madness for sure. My method is to try and keep my eye on the big picture and not get too lost in the micro but we will see how that goes. Im just putting the deck on. My modeling calendar is usually restricted to winter which here is a lot, but I will be building on the real world scale as usual starting in April so wanted to at least get it rolling before then. Right now I’m pondering a superstructure base colour - did you paint yours?