

Kenneth Powell
-
Posts
241 -
Joined
-
Last visited
Content Type
Profiles
Forums
Gallery
Events
Posts posted by Kenneth Powell
-
-
-
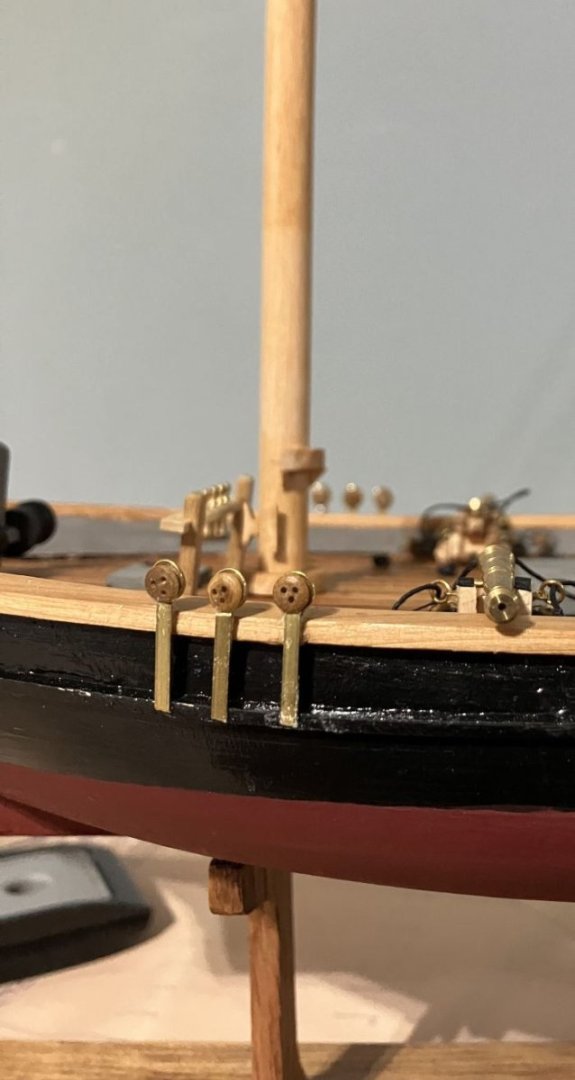
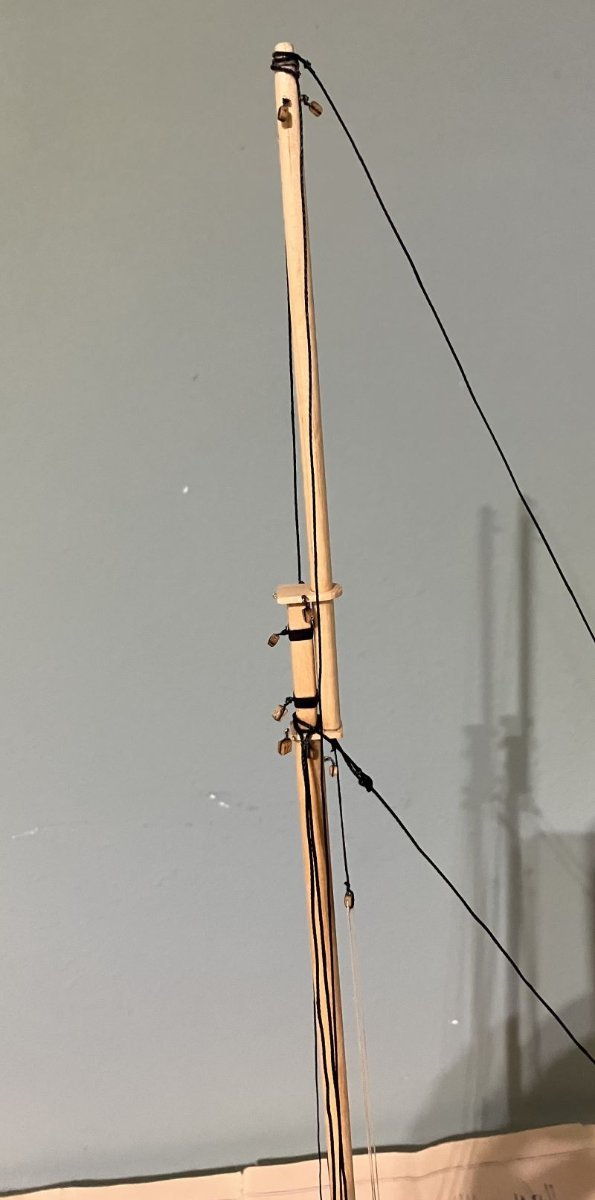
This weekend was wet, nasty and rainy. So, I stayed inside and installed standing rigging:
I also secured the cargo hook.

I'm going to do some touch-up today if I can.
Comments welcome = Kenneth
-
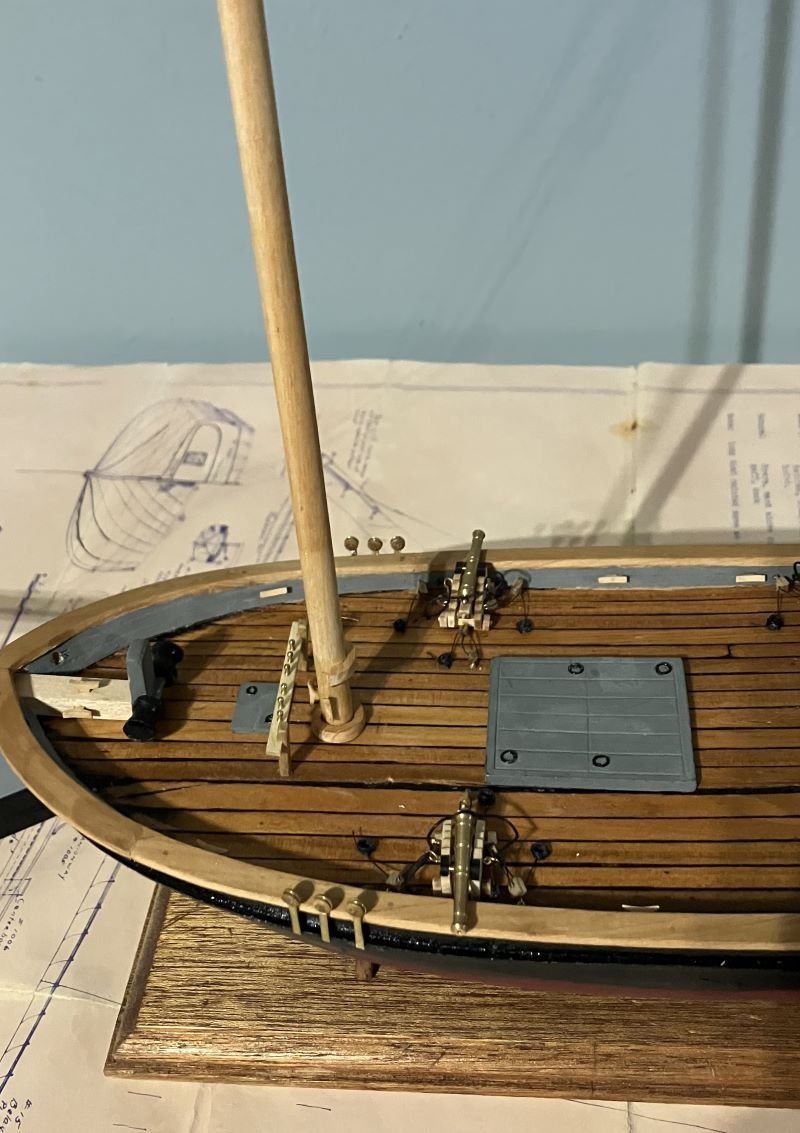
Chainplates and deadeyes and the mast is set

- Kenneth
-
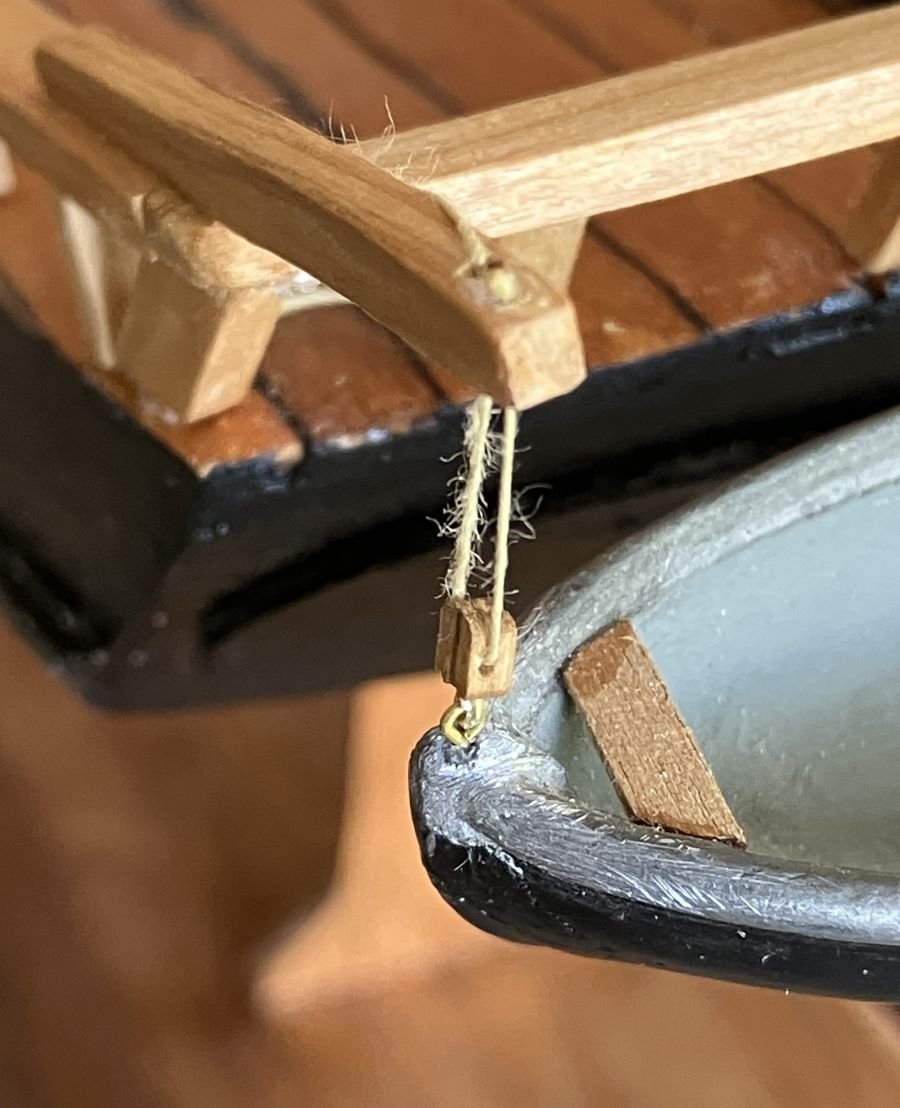
Actually, I've hit a small snag with the chainplates and deadeyes, so I built the cargo hook and boom:
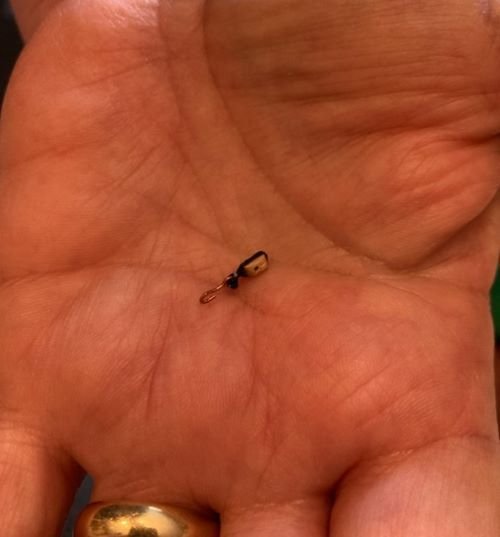 My first attempt and I have a very small hand
I will build the chainplates and deadeyes next - planned.
Comments welcome - Kenneth
-
Hello Everyone -
I painted my little bird
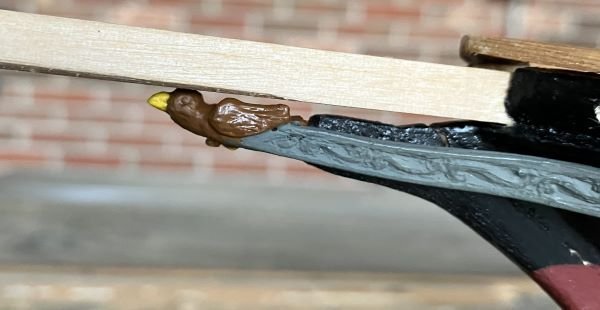 Craft paint sealed with Testors dull cote.
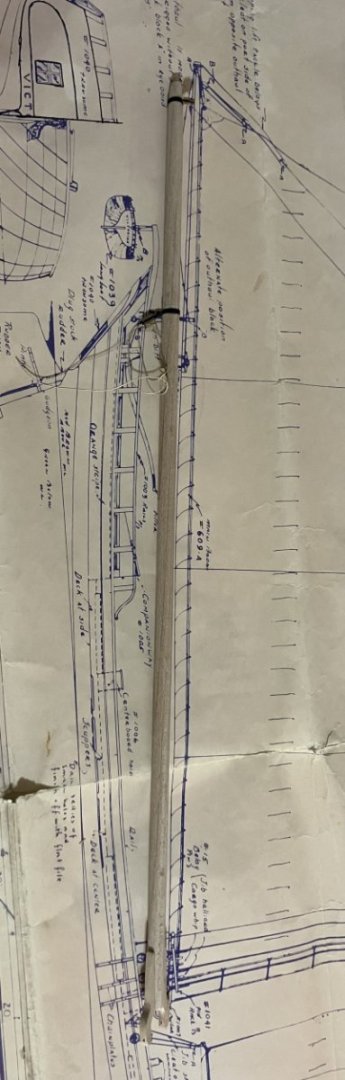
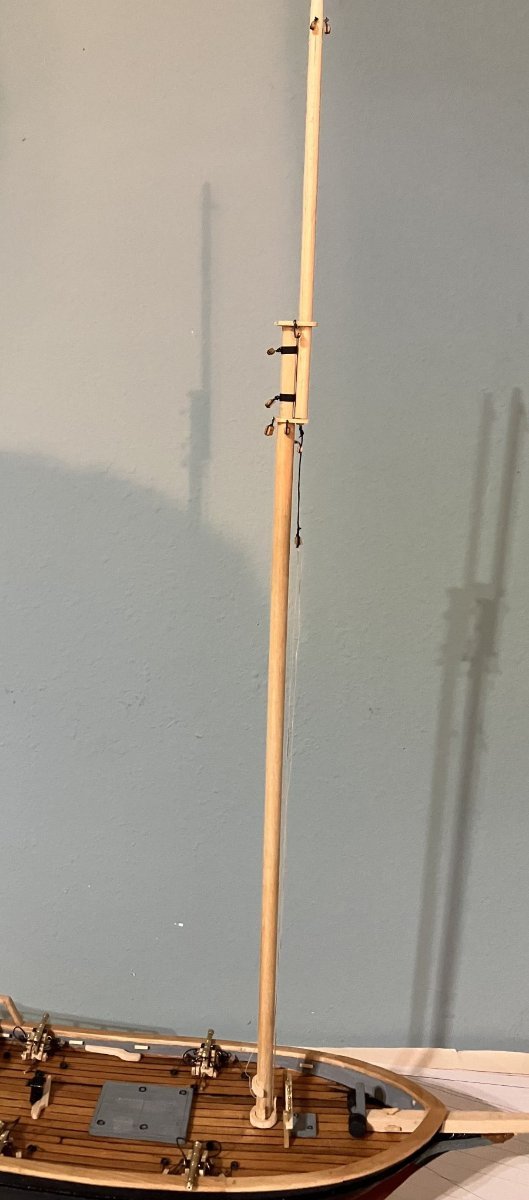
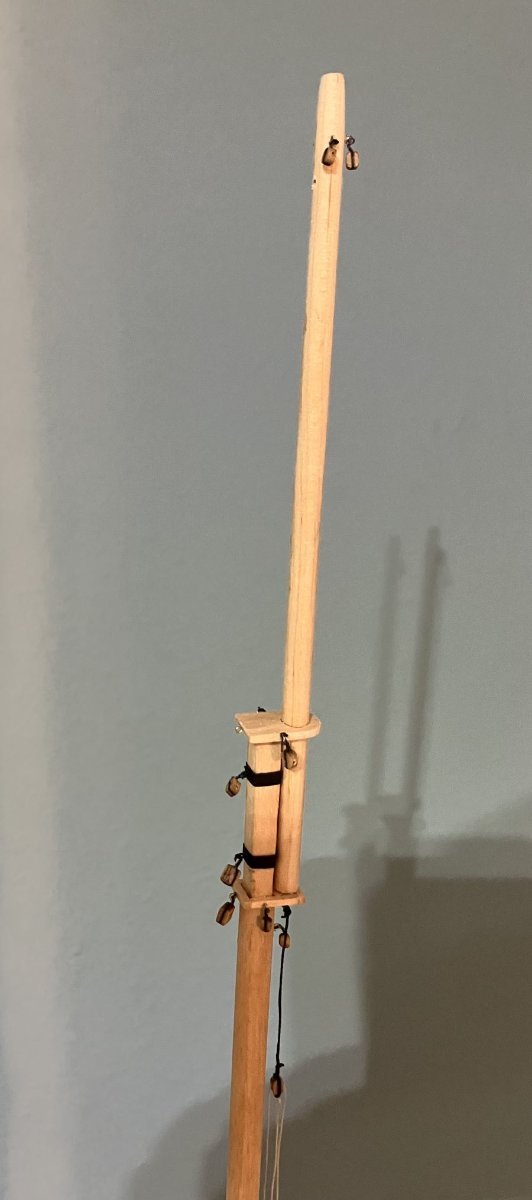
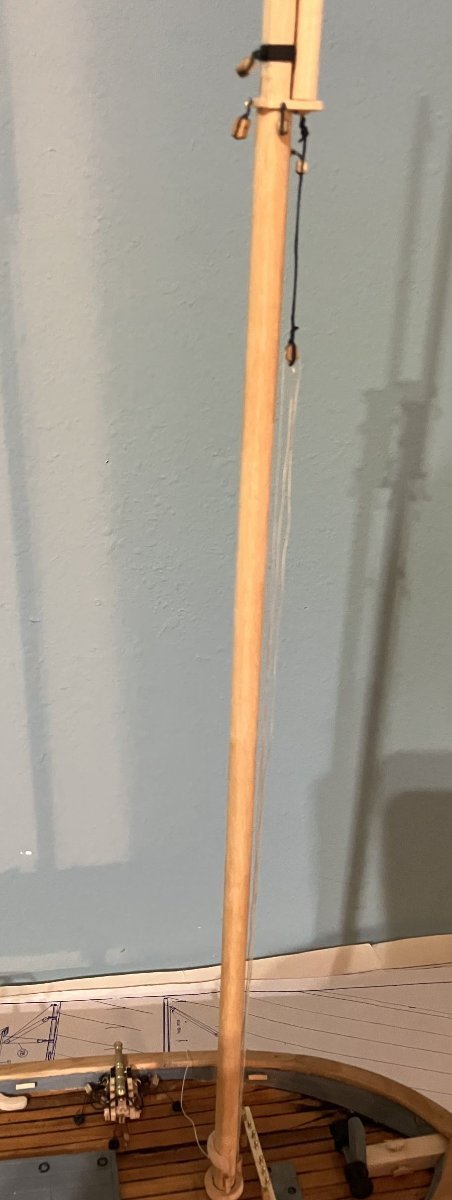
I also built the mast
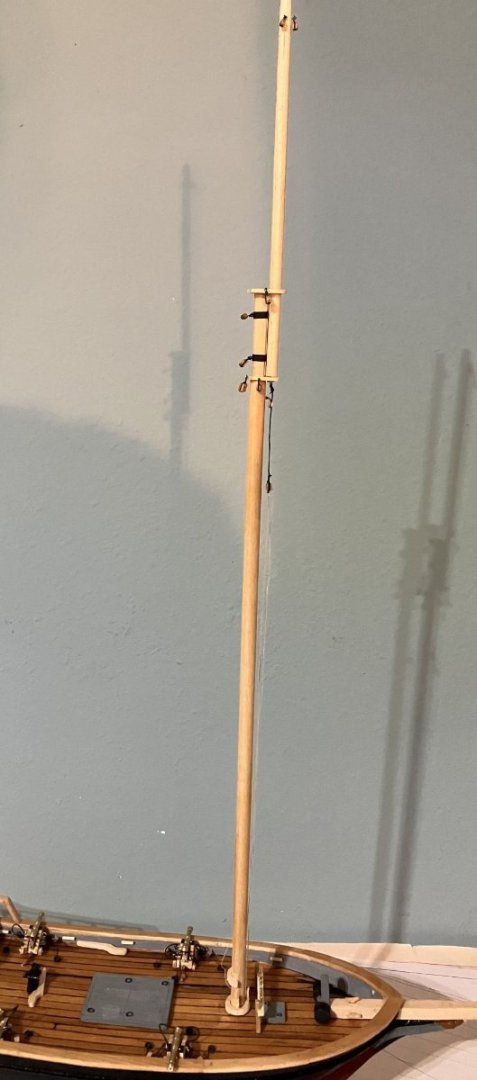
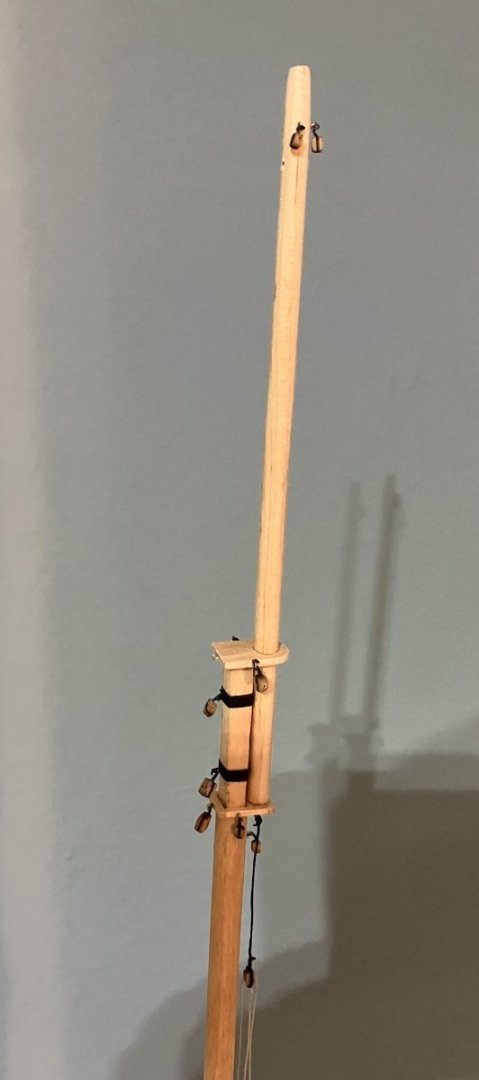

It's just set in place for the photos for now. The line attached is the cargo gear. It's easier to add now with the mast out of the boat.
The chainplates and deadeyes are next.
Comments welcome - Kenneth
-
-
Thanks, JacquesCousteau -
The ship's boat is actually a metal cast boat that came with the original kit. I added some walnut strips for seats.
It's amazing it survived all this time.
- Kenneth
-
-
-
-
Hello Everyone -
I changed the coils again.
These guys wouldn't take the time for tight coils, and it's better than my first attempt. I put clear tape on a very small dowel and wrapped them and touched a tiny amount of clear Elmers glue to hold everything together. They slid off just fine. The best part is that I did this while sitting next to the Admiral while she cross stitched.
The ship's boat was also added. Once again, next to the Admiral.
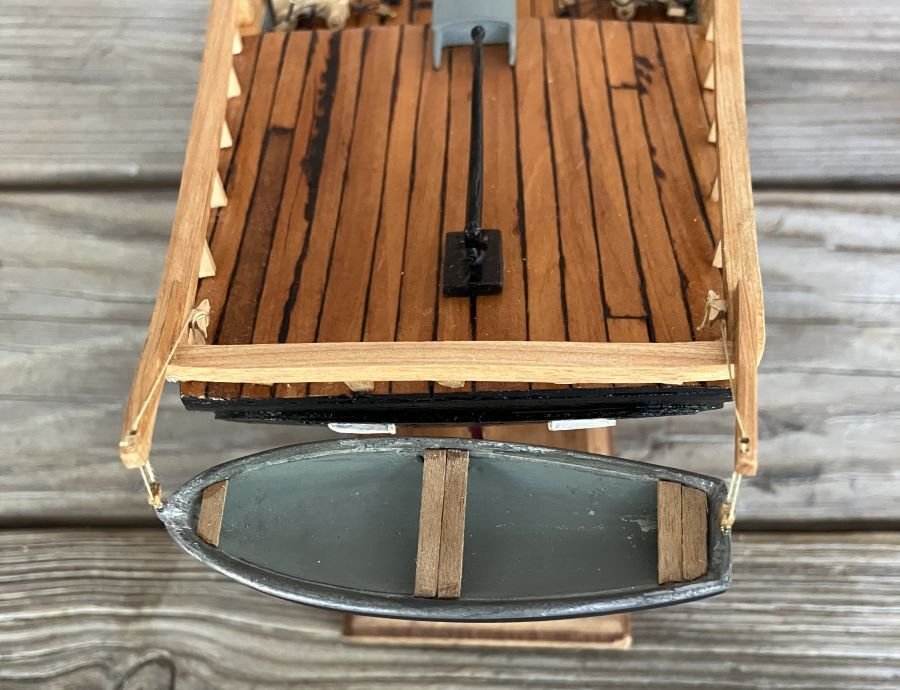

I drilled a tiny hole in the bow and stern and inserted a deadeye. The hook on the block is a trimmed deadeye.
Next up is to paint and detail the figure head and trail boards.
Comments welcome - Kenneth
-
Hello, Sgmartz -
Most of the tools used for plastic models can be used for wooden models - hobby knife, magnifier, clamps of various sizes, paint and brushes, adequate lighting, and others.
A Dremel and a set of sanding tools will help with shaping wooden parts. Sandpaper in a range of grits is a must. A pin vice with small drill bits will be needed for drilling holes.
Sometimes kit manufacturers will have a sale on tools. Sign on to Model Shipways and other email lists to get a better idea of what's available.
Cruise this site to get more ideas.
Hope this helps - Kenneth
-
-
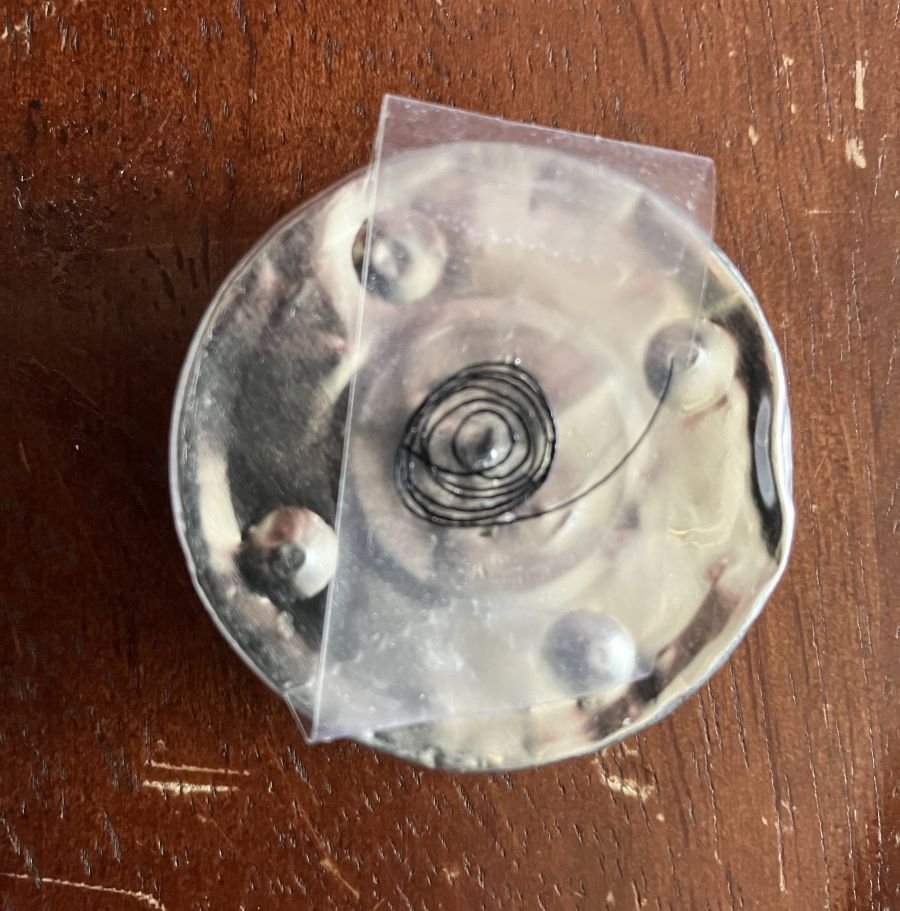
My wife took one look at those rope coils and said 'Nope'.
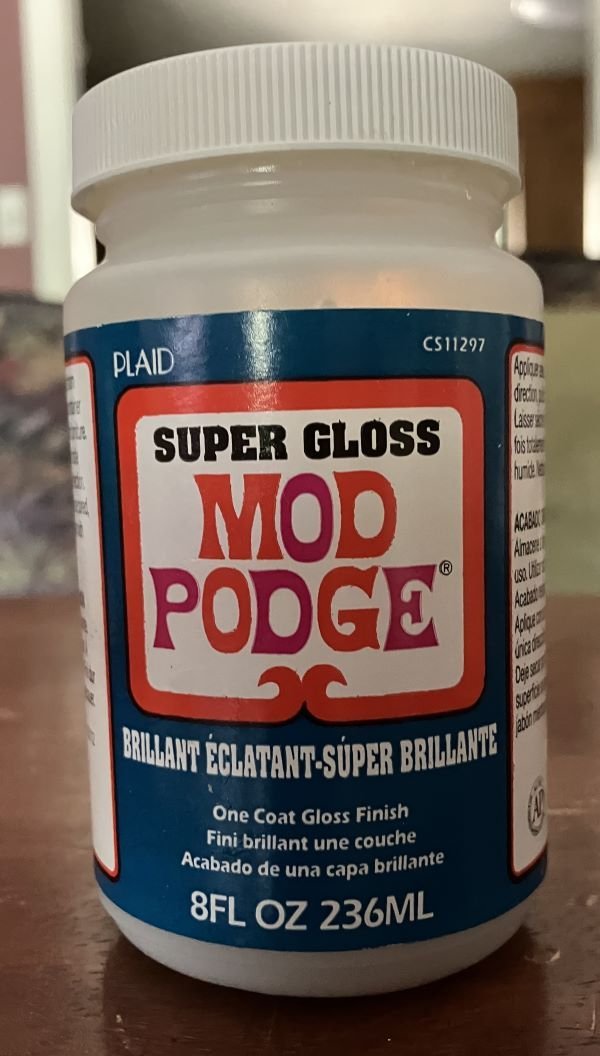
She suggested I cut enough line to make the coil and run a small length through the hole in the tealight holder from the top and push the nail from the bottom to hold it in place. Then slowly spin it around the nail while keeping it tight. While spinning add very tiny amounts (I used the tip of a straight pin) of Mod Podge to hold the coil together. Let it dry a few minutes and pop if off and trim.
It's used to seal crossword puzzles and stuff.
This is something I can work on while we sit together and she does her cross stitch. Things like this is why we celebrated our 35th wedding anniversary last week.
BTW, stress isn't always bad. It can get us prepared for what we need or want to do. Keeps us on our toes.
Comments Welcome - Kenneth
-
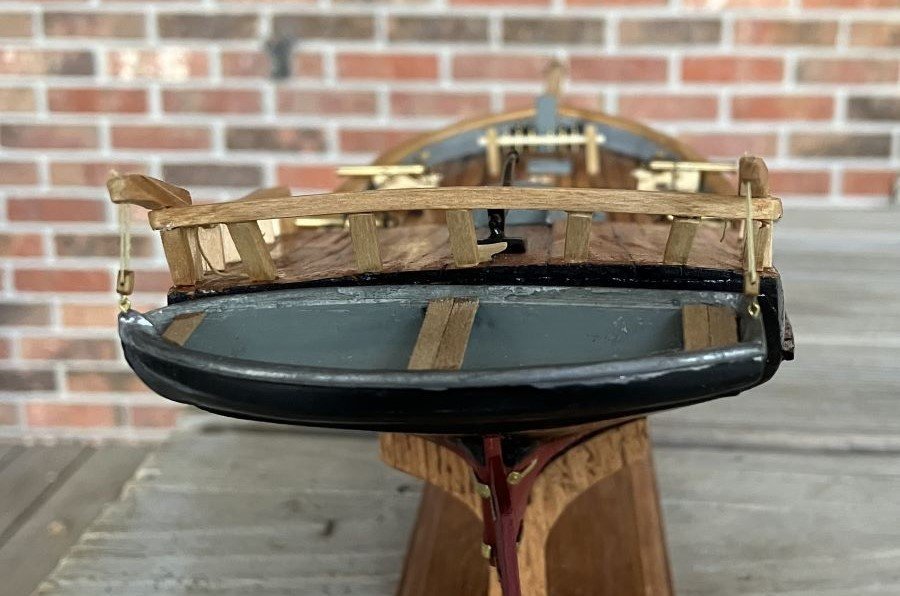
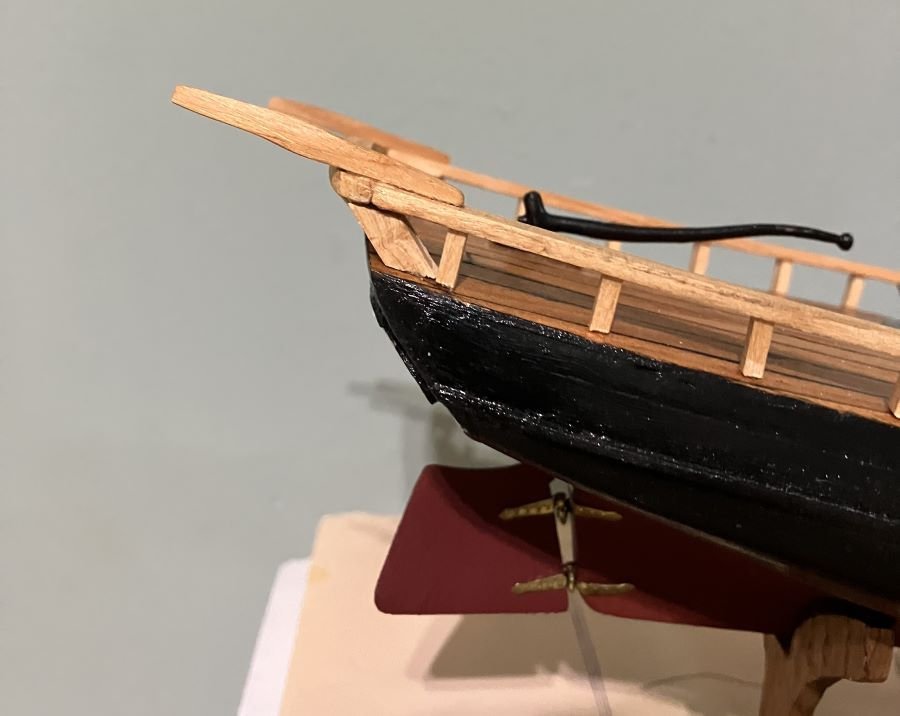
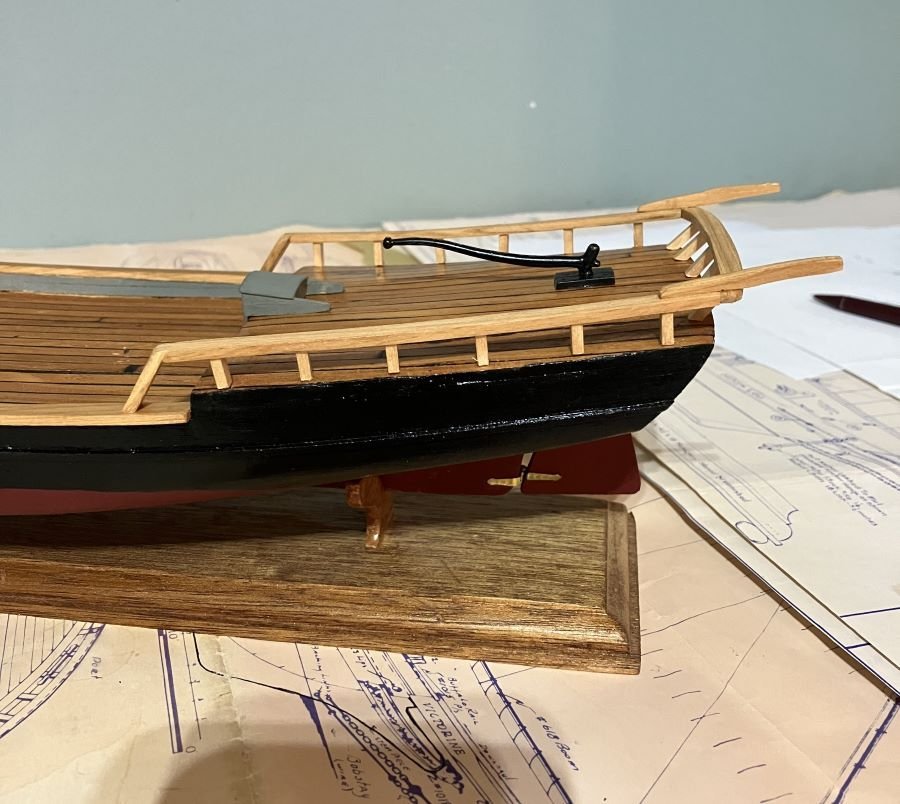
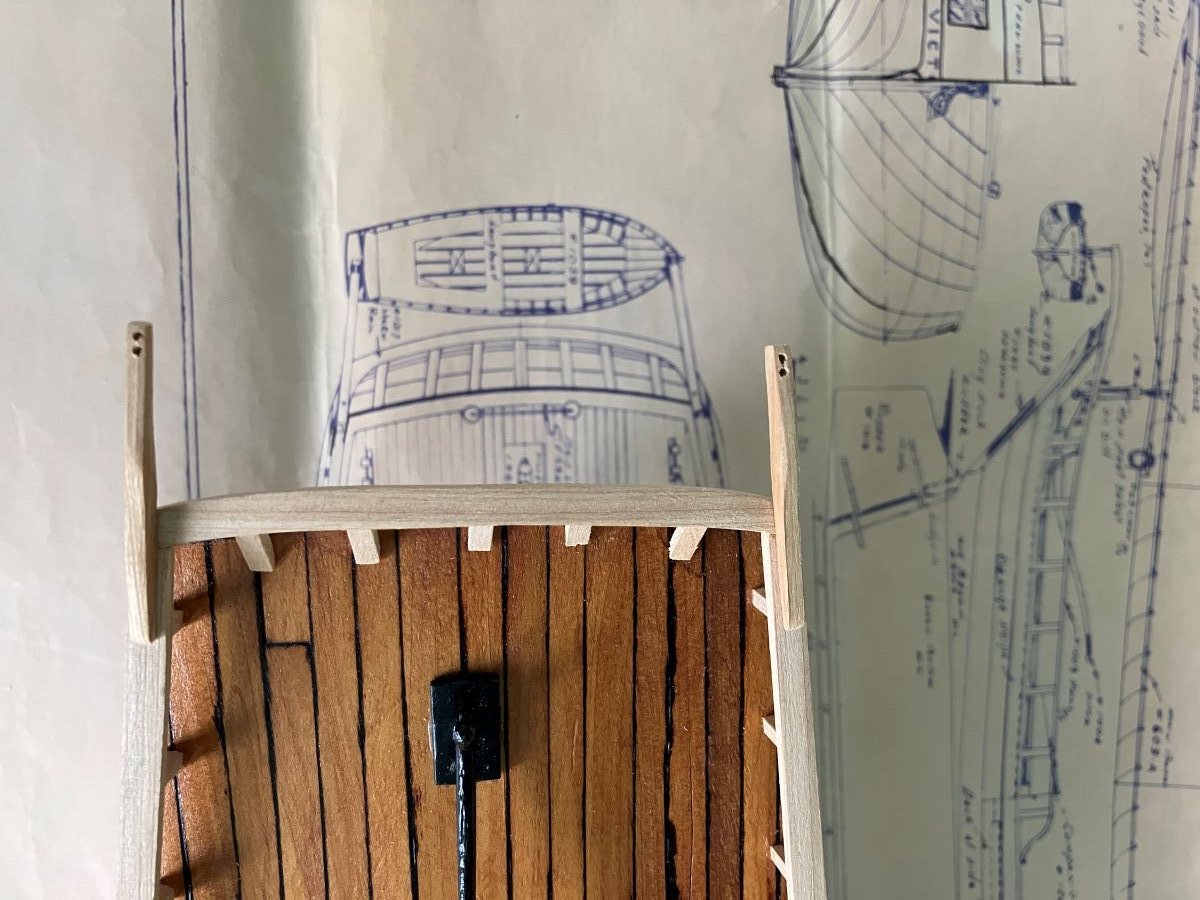
The extra supports were added under the davits and I like it:
I looked into rope coiling and started an attempt:
I poked a small nail through the center of a tealight holder and placed a piece of tape to hold the line in place. This small line didn't exactly act accordingly but it did stick in place. I wasn't looking for a perfect coil, something that would keep the deck clear for possible action.
A touch of clear Elmer's glue was added to hold it together. After a few minutes I lifted the coil off the tape and installed it.
I've had some self-induced stress over rigging and mounting the cannons and it's cost me some time. The stress comes from the Rattlesnake and its small size. These are larger with more space to work.
One down, three to go.
With all due respect to recent events, these cannons don't thunder, there's nothin' to plunder except in our imagination along with a frozen concoction.
Please give comments - Kenneth
-
-
-
Thanks, JacquesCousteau for stopping by with comments and asking the thought-provoking questions.
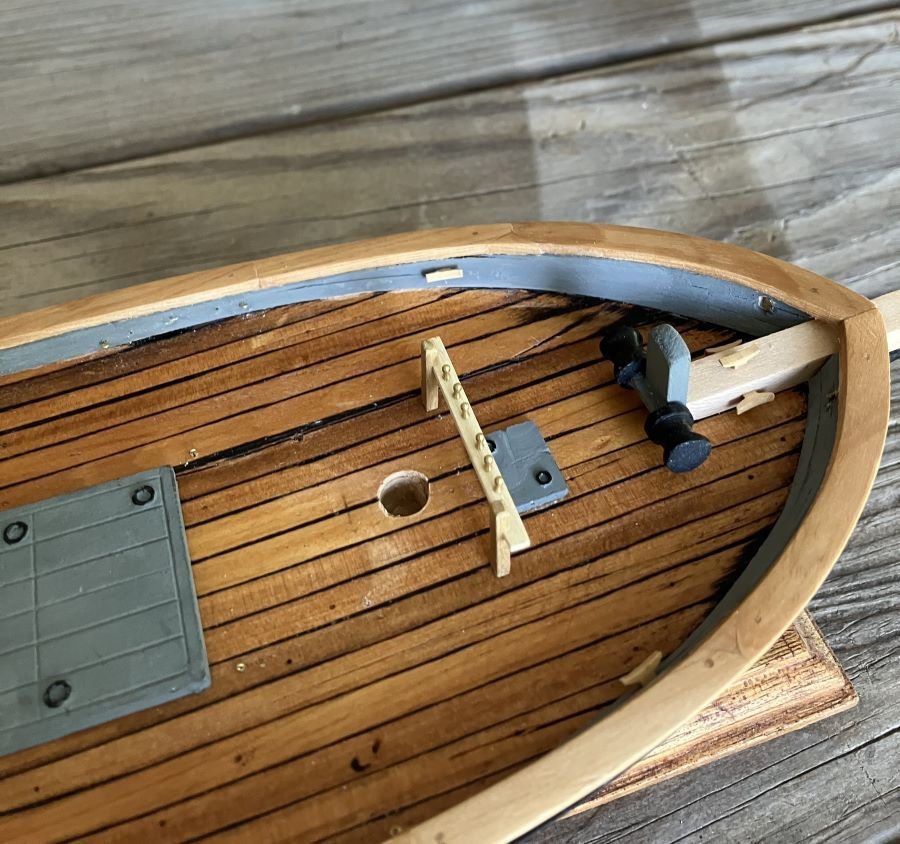
You certainly are right about the needed support under the davits. Please see the photo below. That's a part of soft metal railings with the davit that came with the model, and it does have a support right underneath. I will correct this on my model. Good catch.

As far as higher bulwarks for crew protection, I was thinking they would avoid a fight as best they can and just exchange crew and goods with the larger fighters. The guns are defensive. But you bring up a good point. Let me give it some thought.
Comments welcome - Kenneth
-
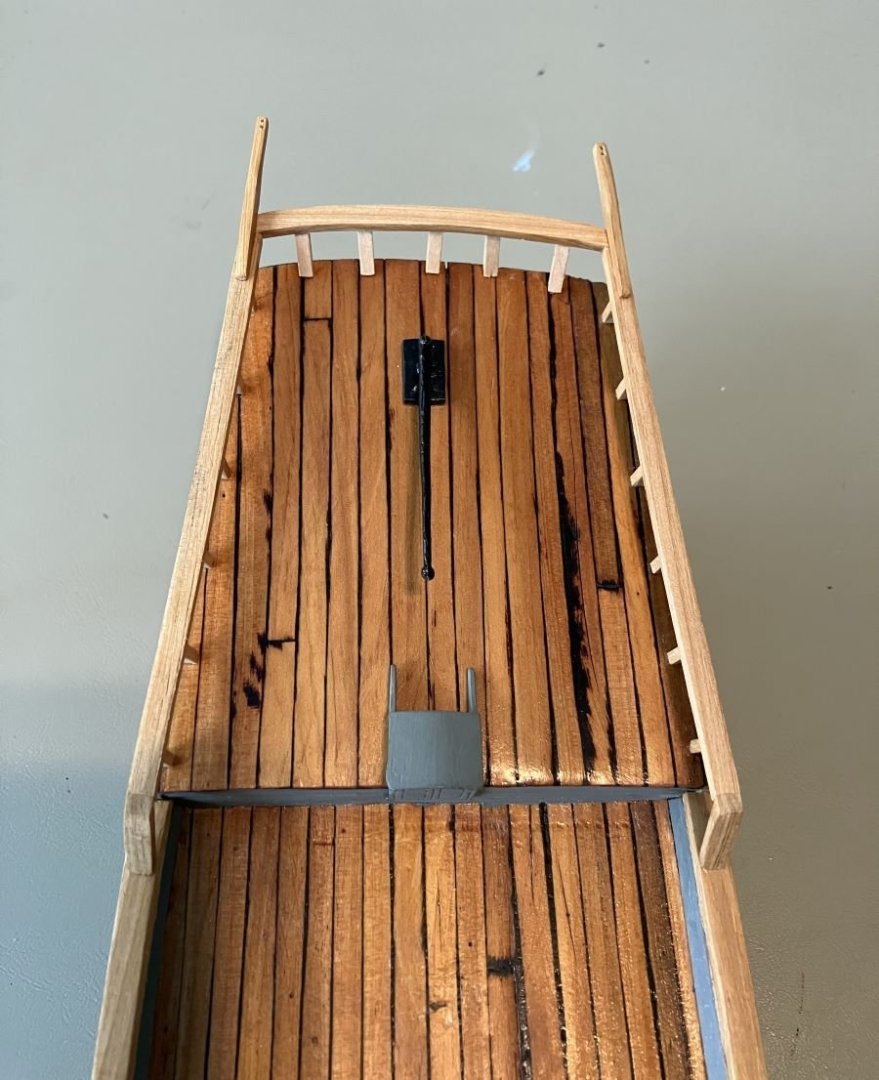
I had to skip the guns and go to the centerboard. The guns would have fallen off when she went upside down. 🧐
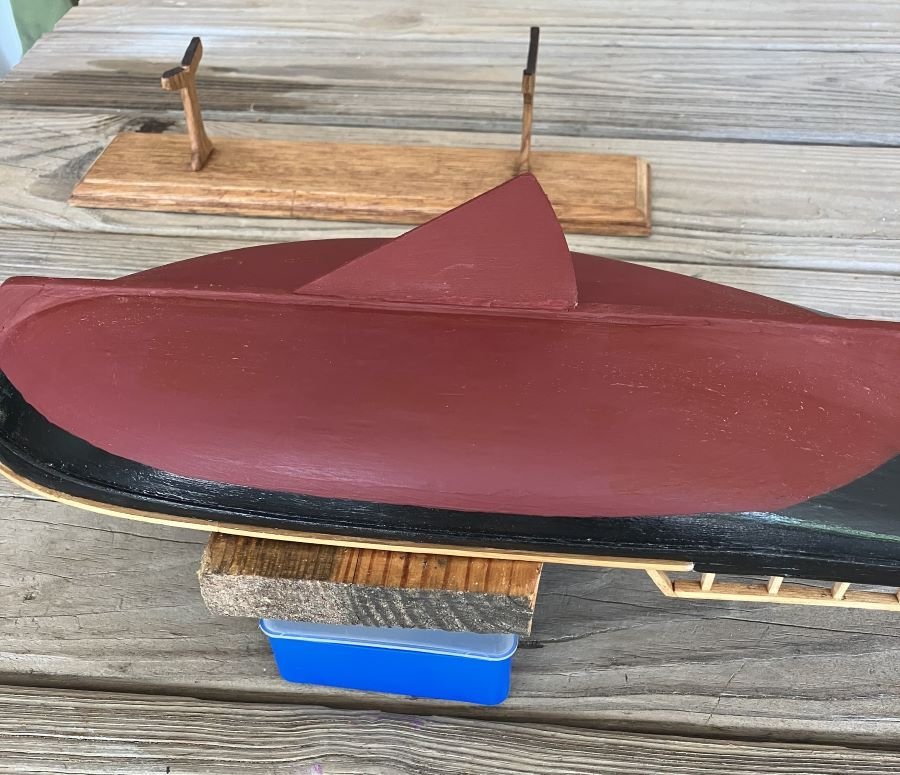

So then I adjusted the stand. I went under the porch to get a special piece of oak for the job and met up with a group of wasps.
After a good sting on the shoulder, I made new uprights.
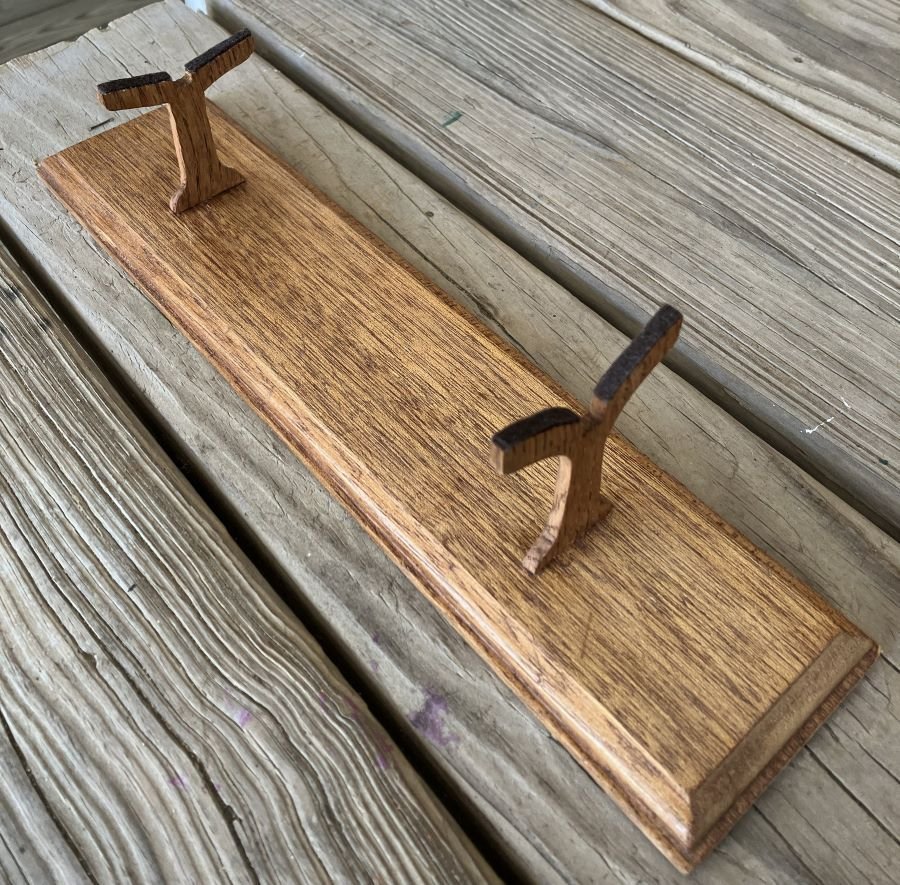
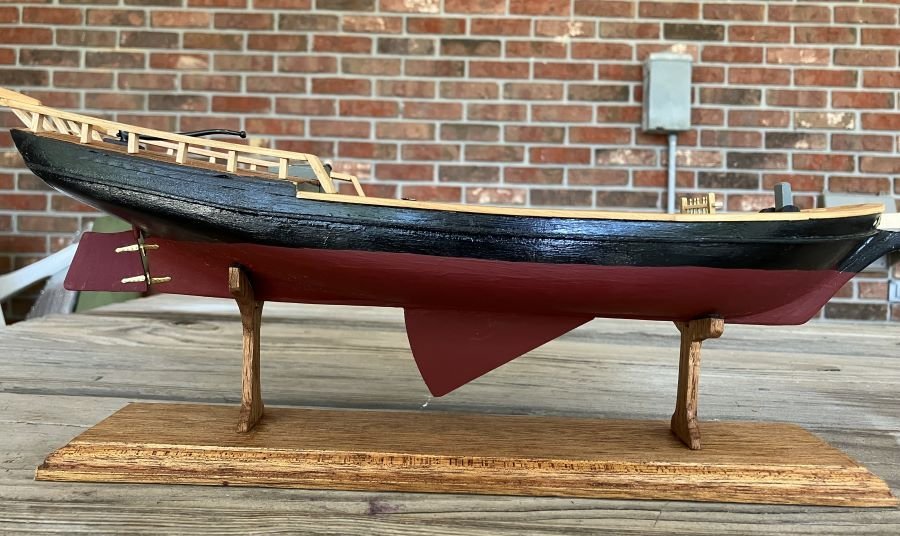
All snug together with plenty of room:
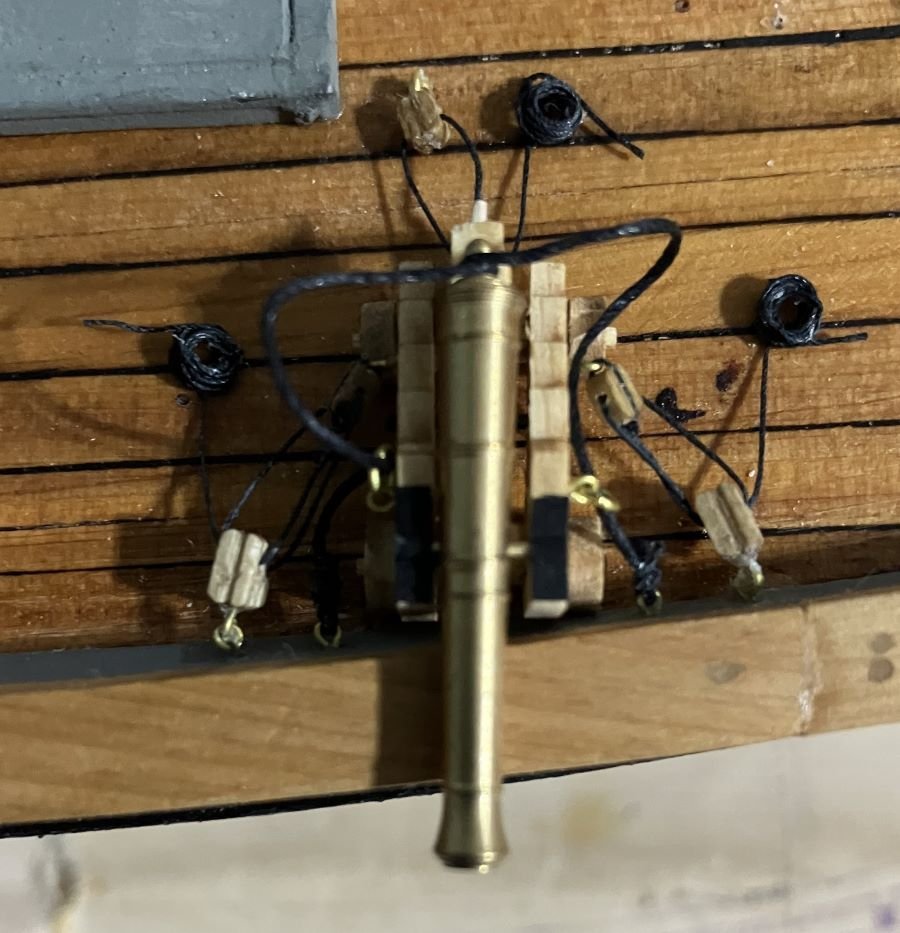
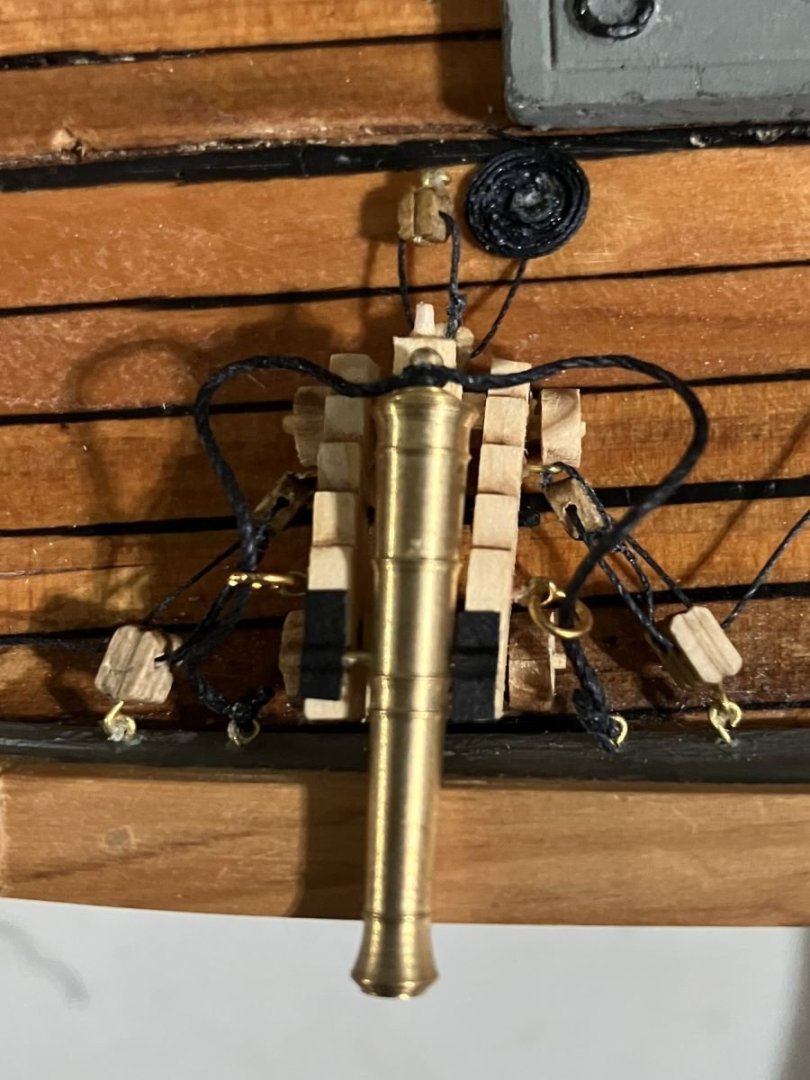
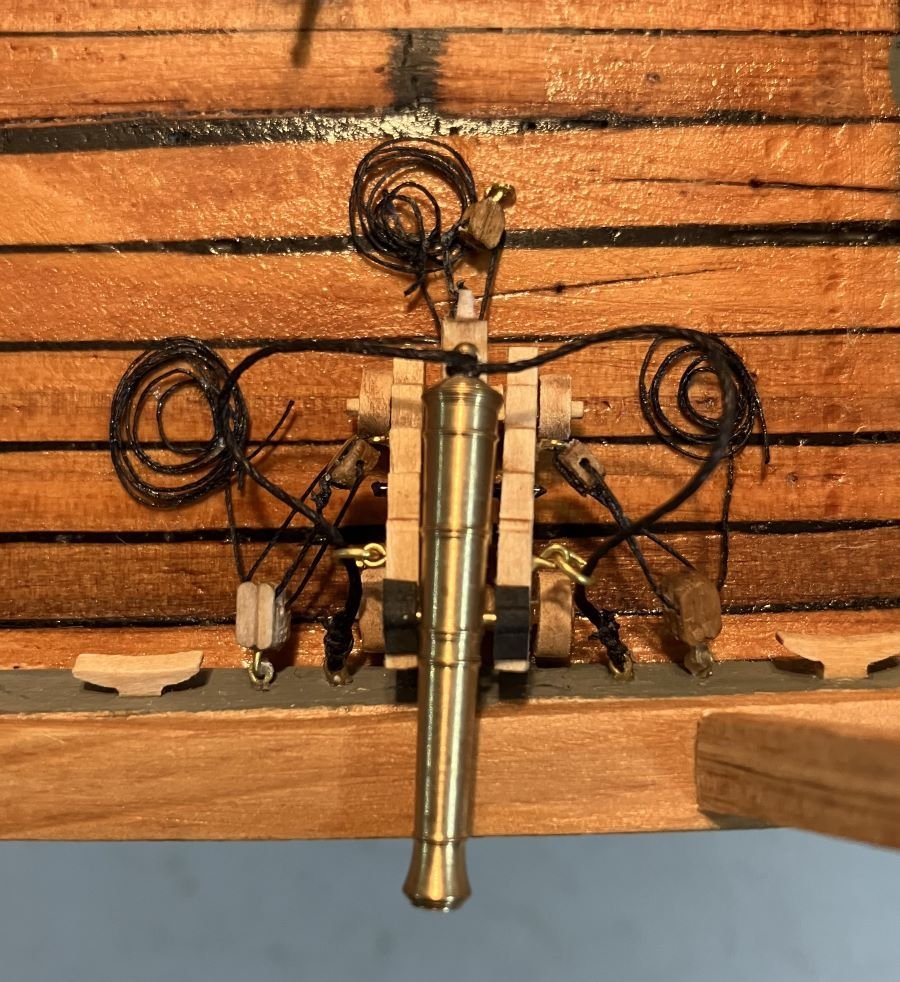
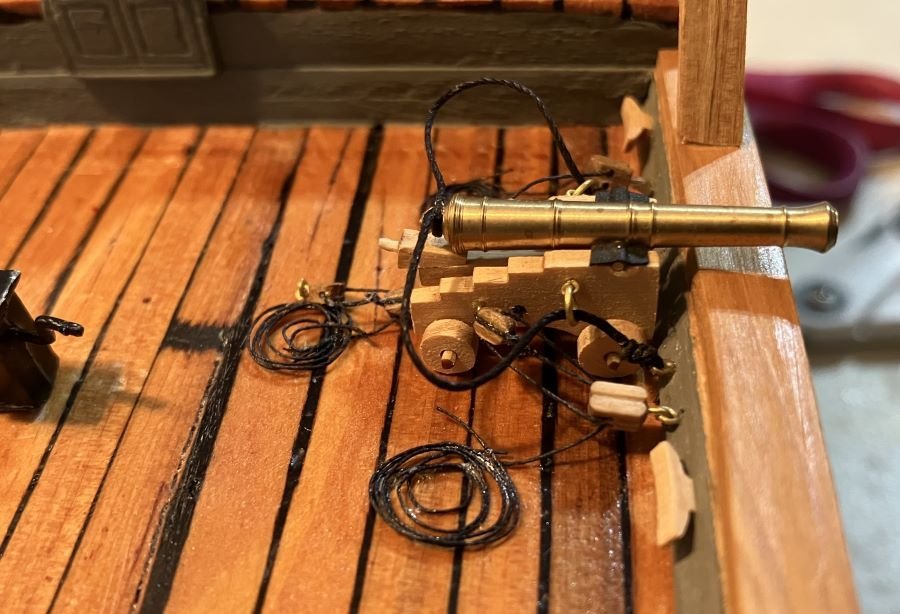
I did do some work on the guns.
Rigged gun ready to mount:
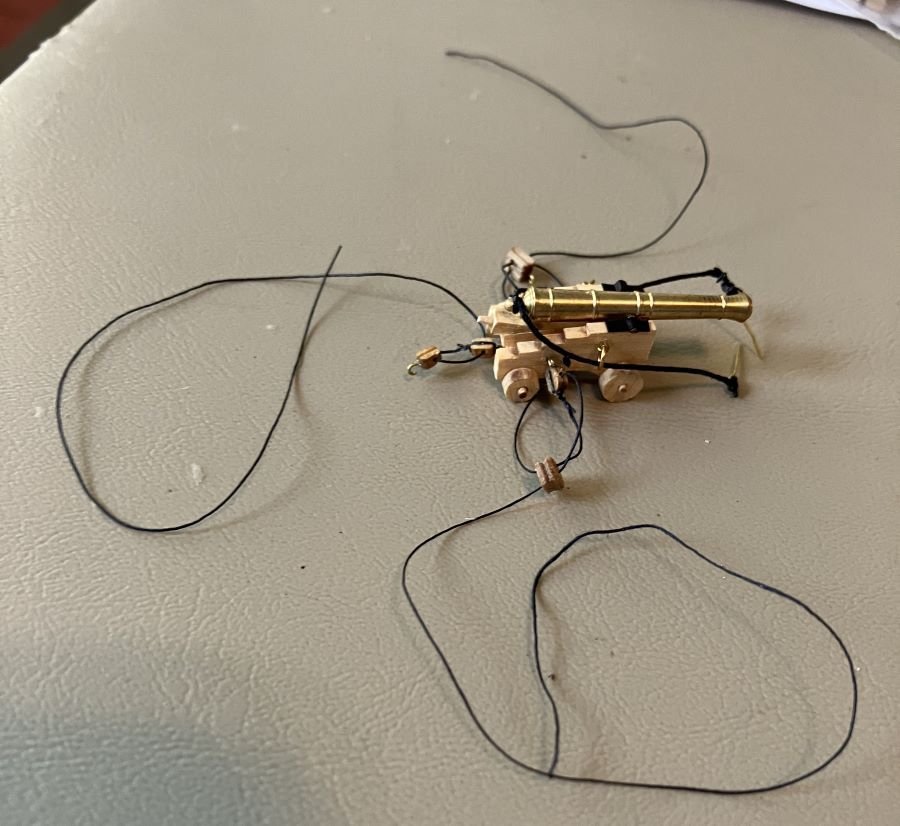
Gun mounted:
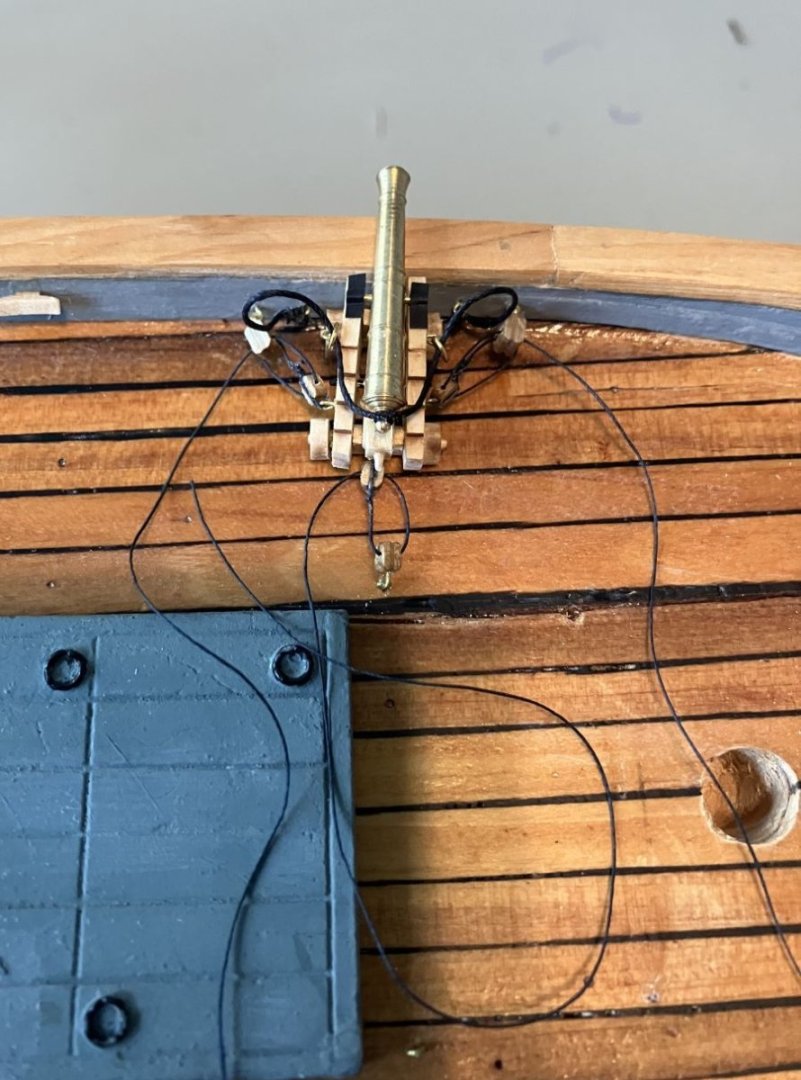
Once I learn the coiled rope technique I will tidy everything up.
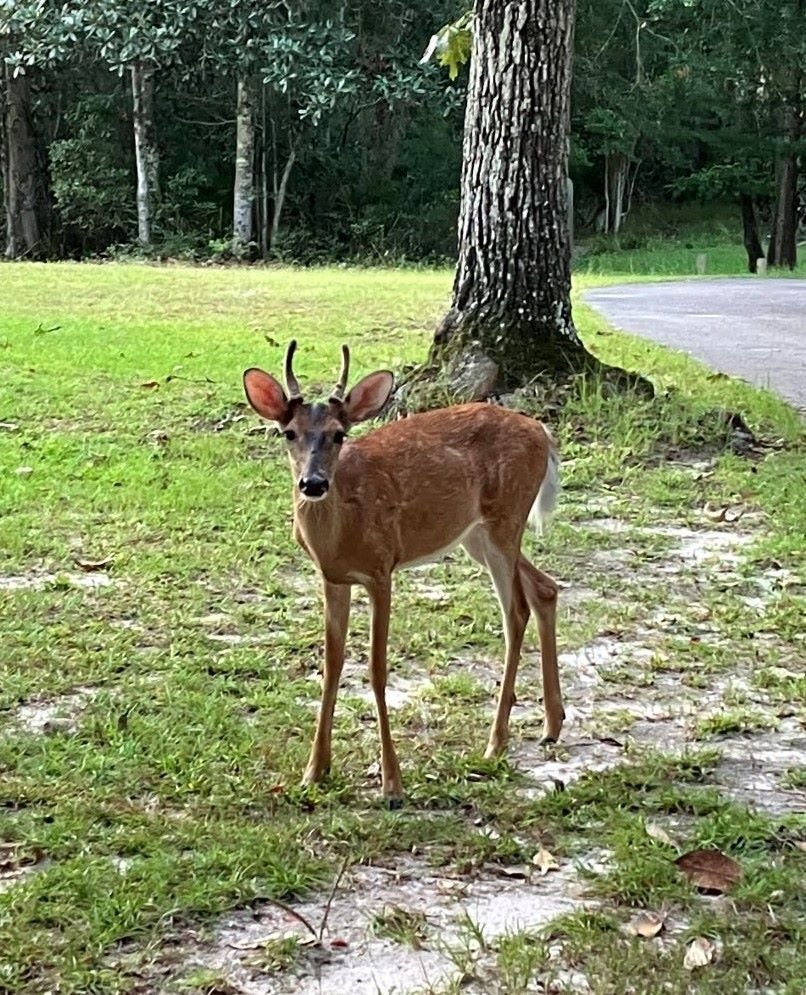
By the way, this guy met me for my morning walk in my front yard:
Comments welcome - Kenneth
-
-
OOPS
I got my centuries wrong.
She would be a 19th century crew and supply boat.
😳
-
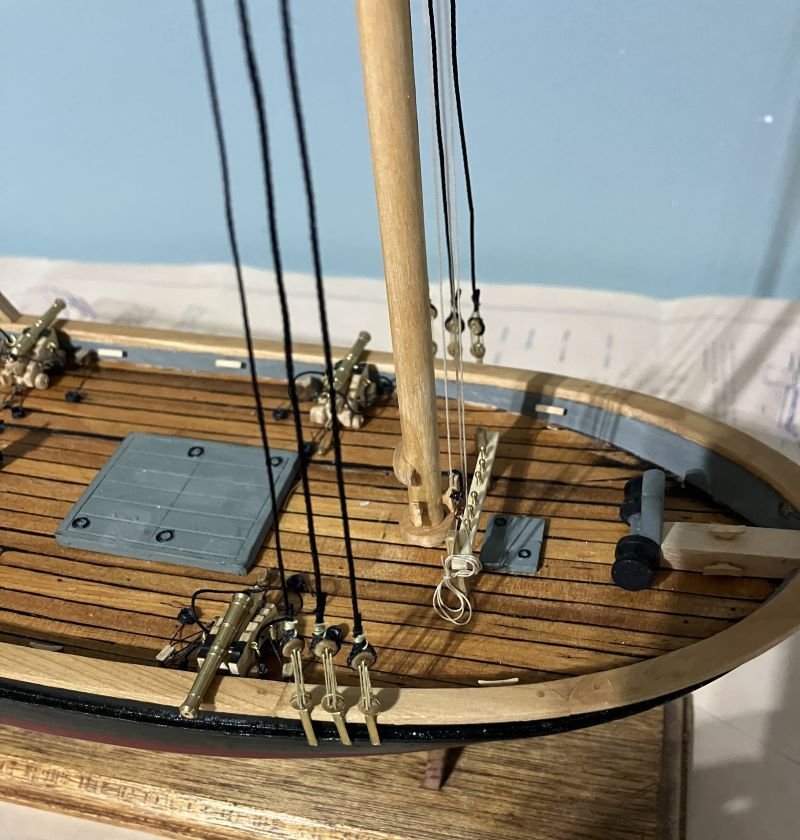
Hello Everyone -
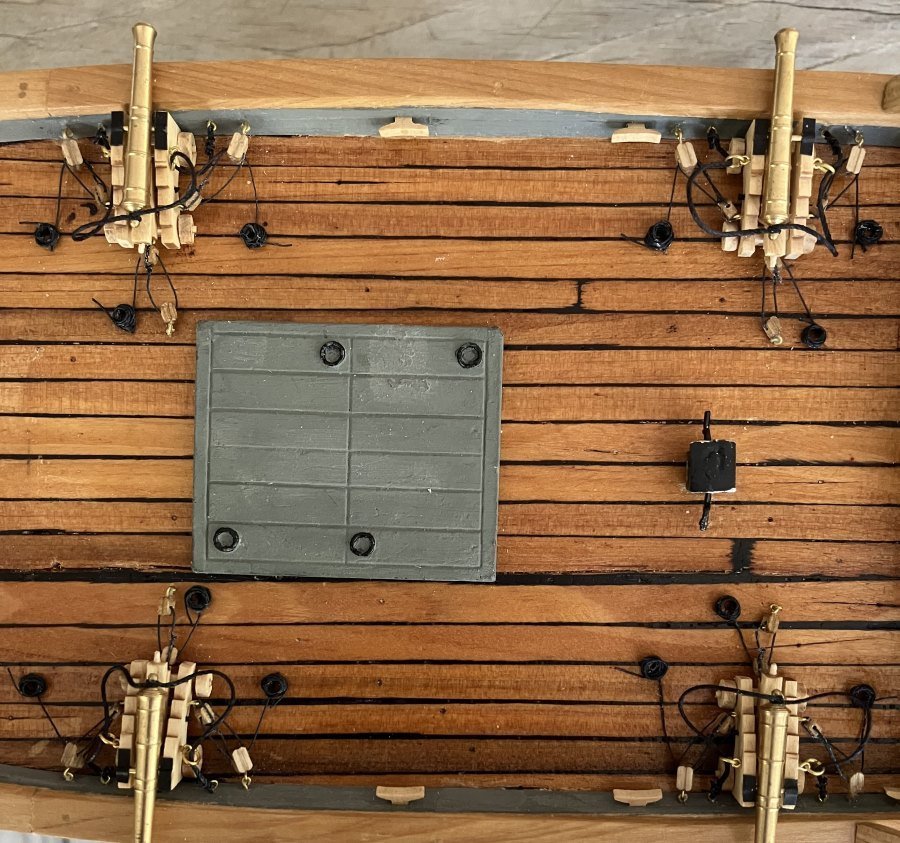
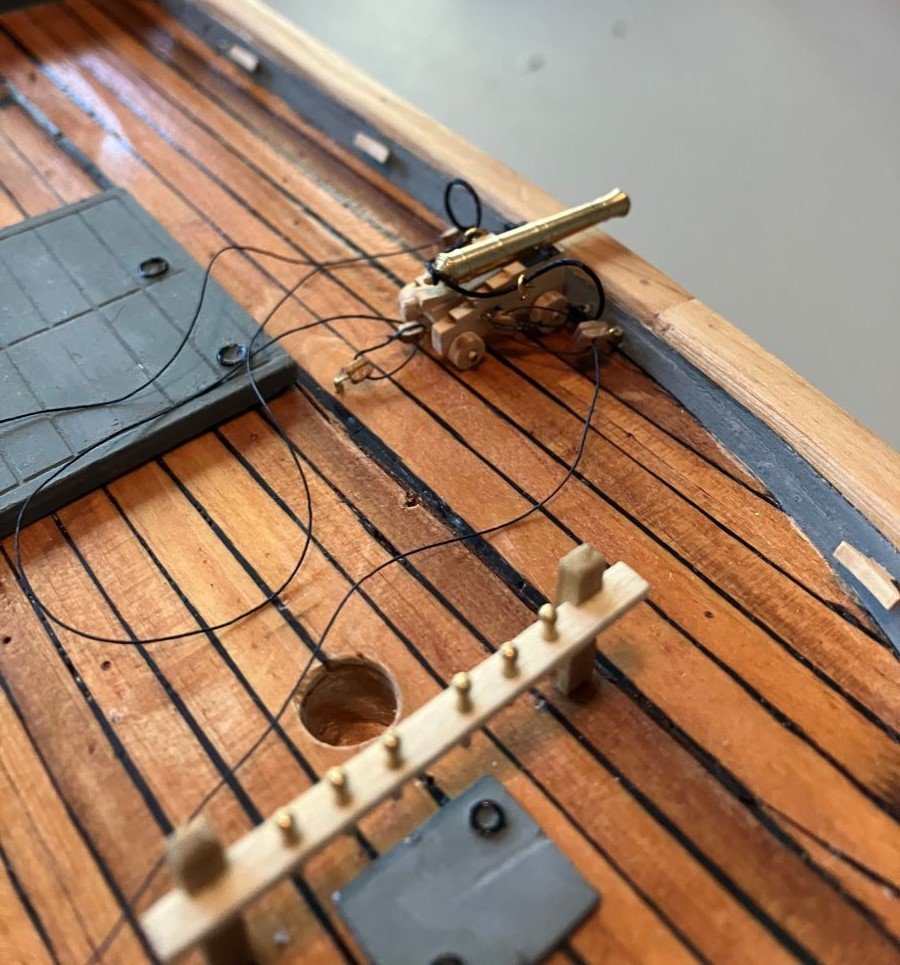
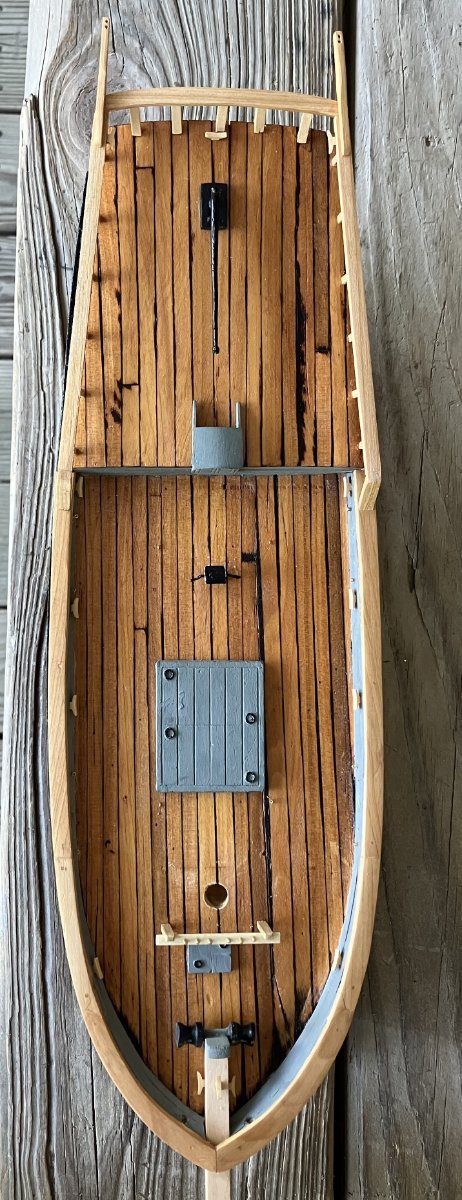
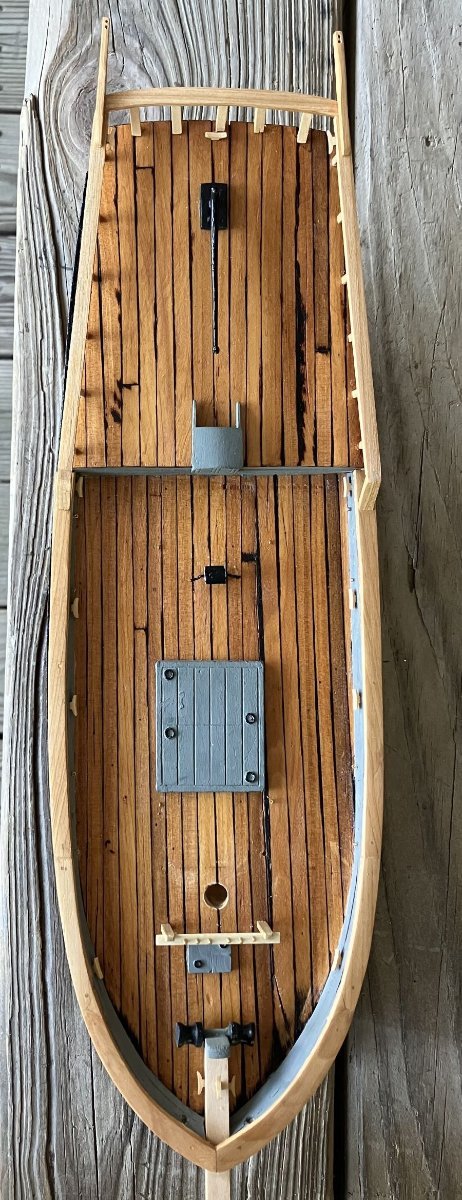
I've been working on the deck fittings and such:

I moved some things around on deck to accommodate the guns. One hatch cover was removed and the other placed more in the center.
At 65 ft and shallow draft, this boat would bring men and supplies out to the larger attack ships and return with men and plunder through the bayous and marshes to the hideouts.
Kind of a 17th century crew-change boat.

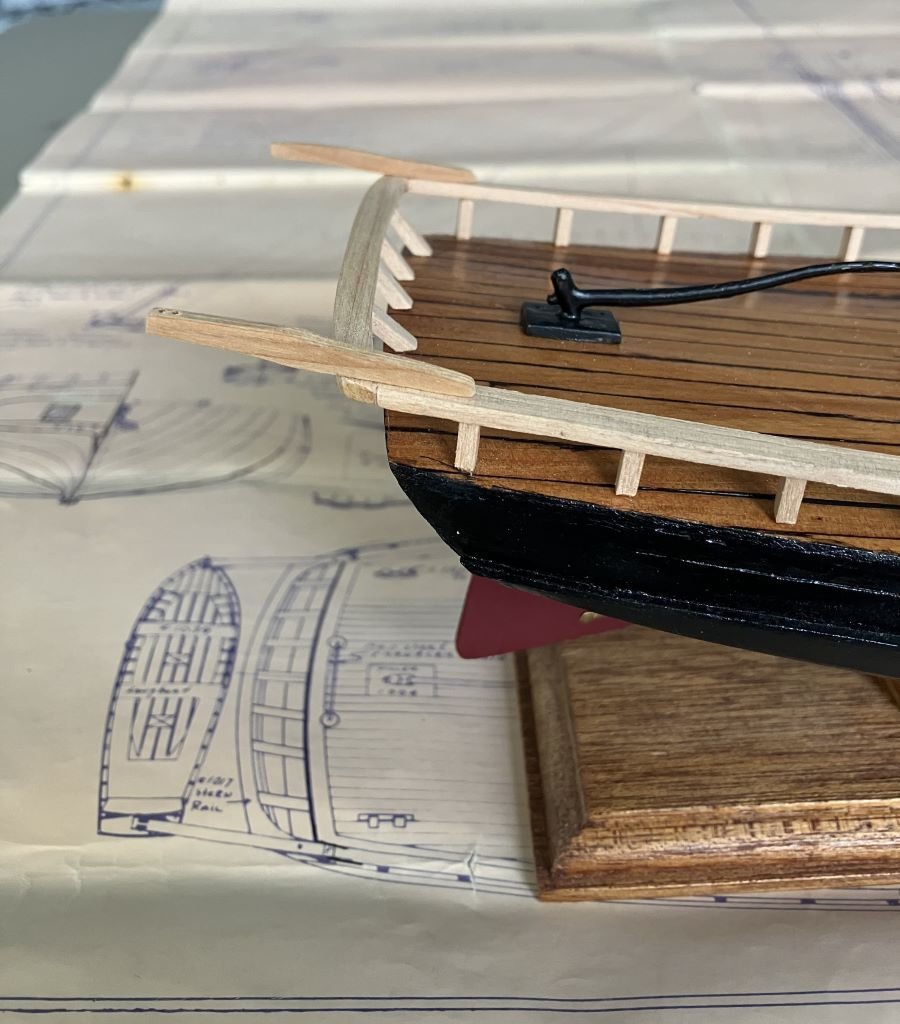
My little pin rail:

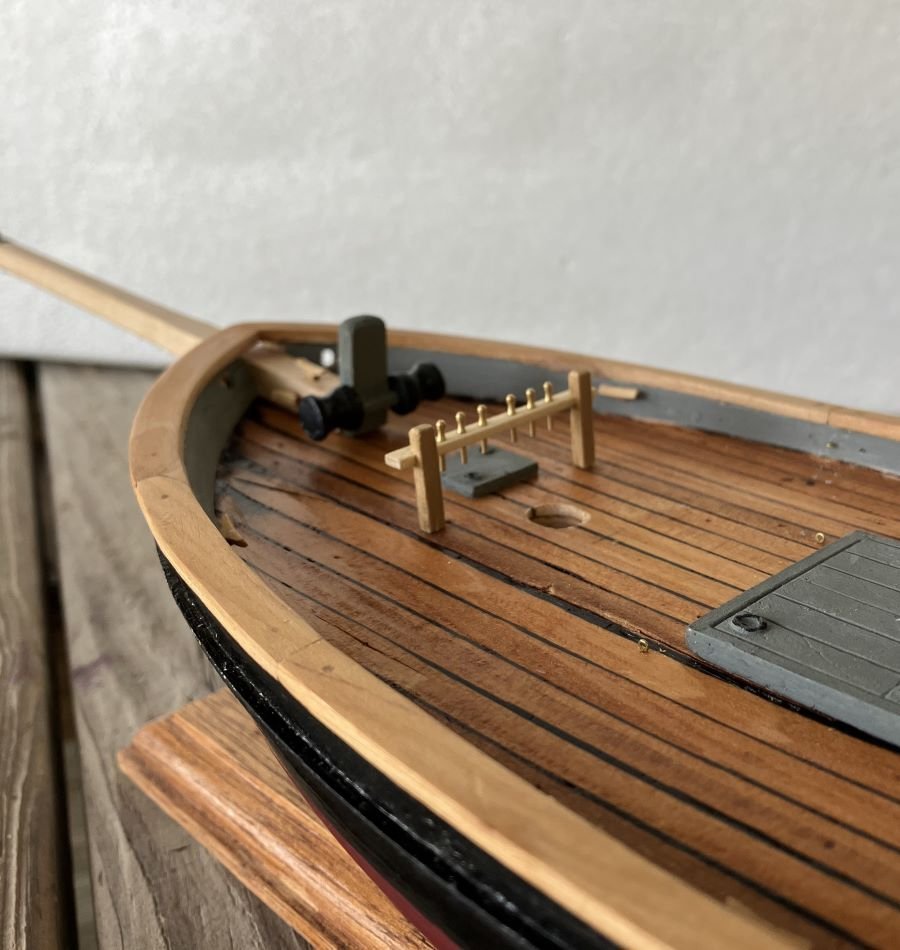
A paper template to place the eyebolts for the guns consistently.
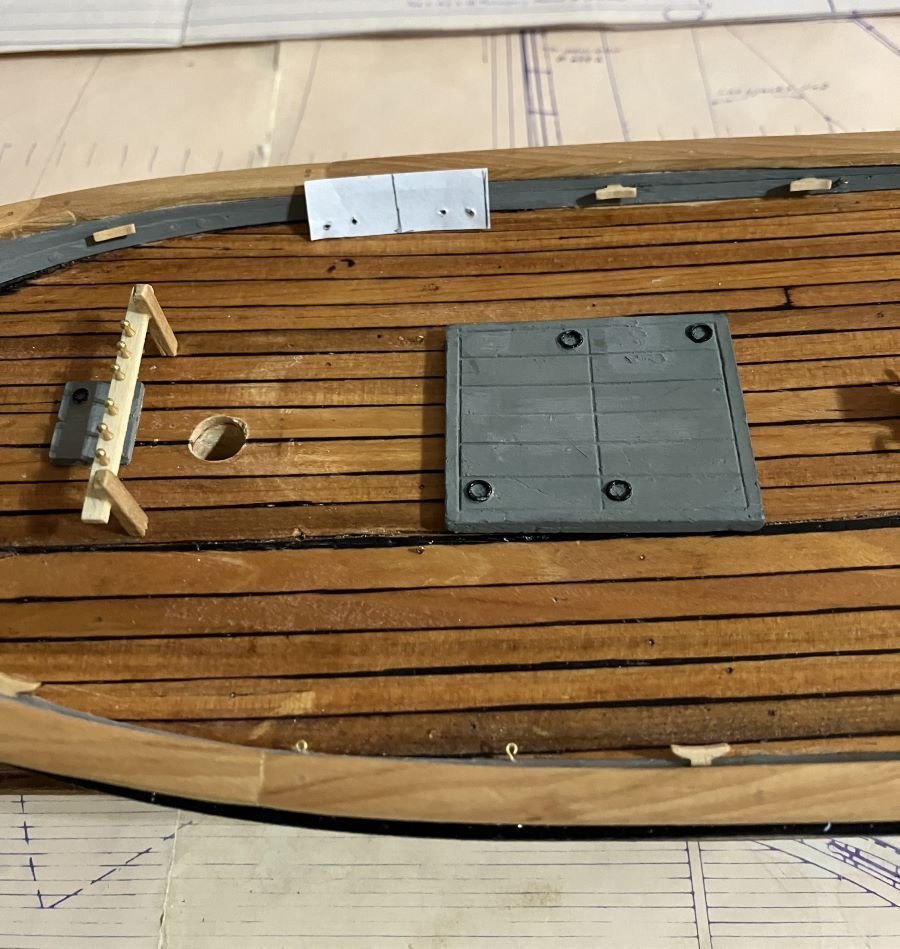
The guns will be installed next.
Comments welcome - Kenneth

-
As promised:

Only subtle differences after the finish. You can certainly see how the juniper picks of the finish differently than the basswood.
Happy 4th and comments welcome - Kenneth
-
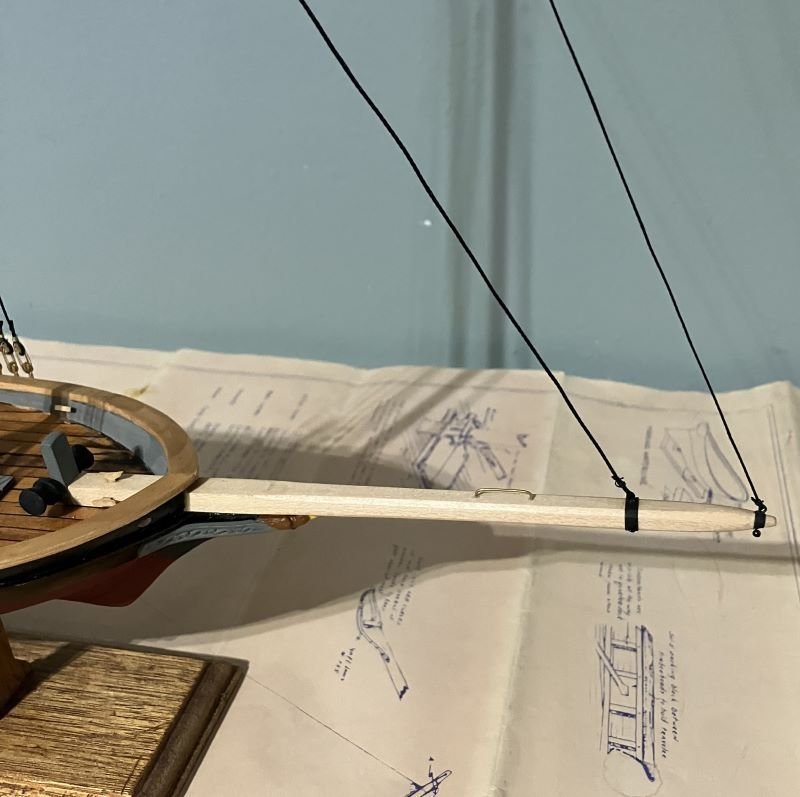
Hello -
I made the stern davits from the same juniper and using a piece of a part from the kit as a template.
As you can see, the metal parts that survived the years have been bounced around and not in good shape. That's okay because I was going to scrap build them anyway.
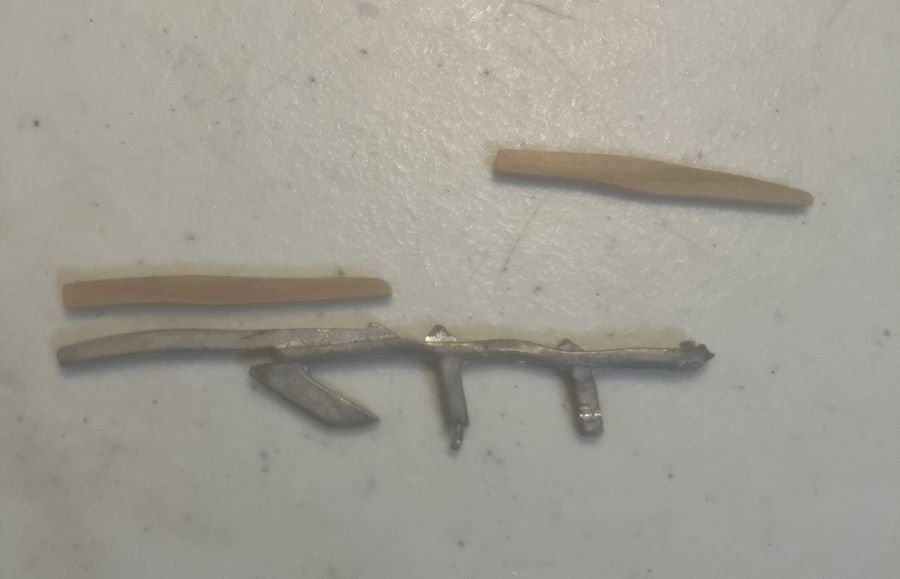
Attached after finish sanding:
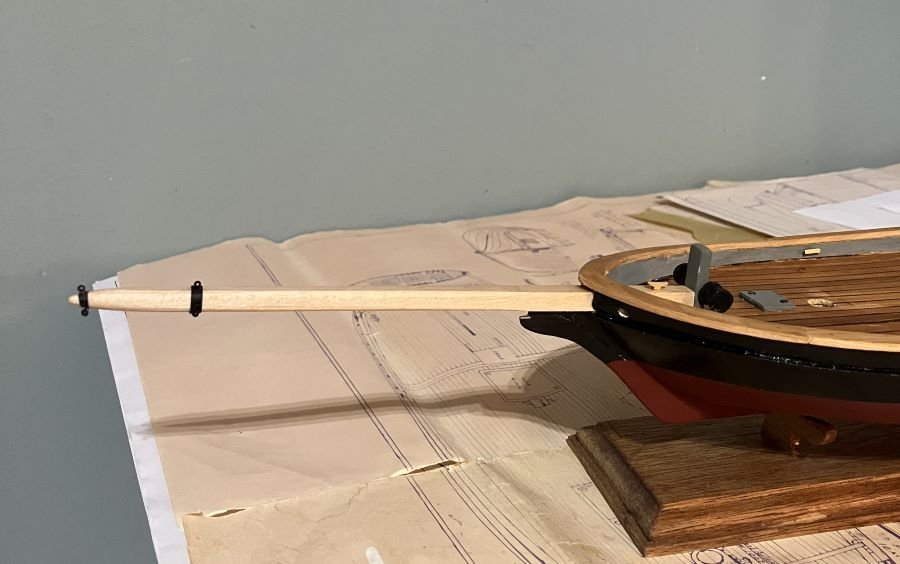
I'll alter the bowsprit next. Then I'll put a coat of Testors Dullcote Lacquer on all the unfinished wood.
Comments welcome - Kenneth


Coastal Pirate by Kenneth Powell - 1:64 - Bashed from Marine Model Company Victorine
in - Kit build logs for subjects built from 1801 - 1850
Posted
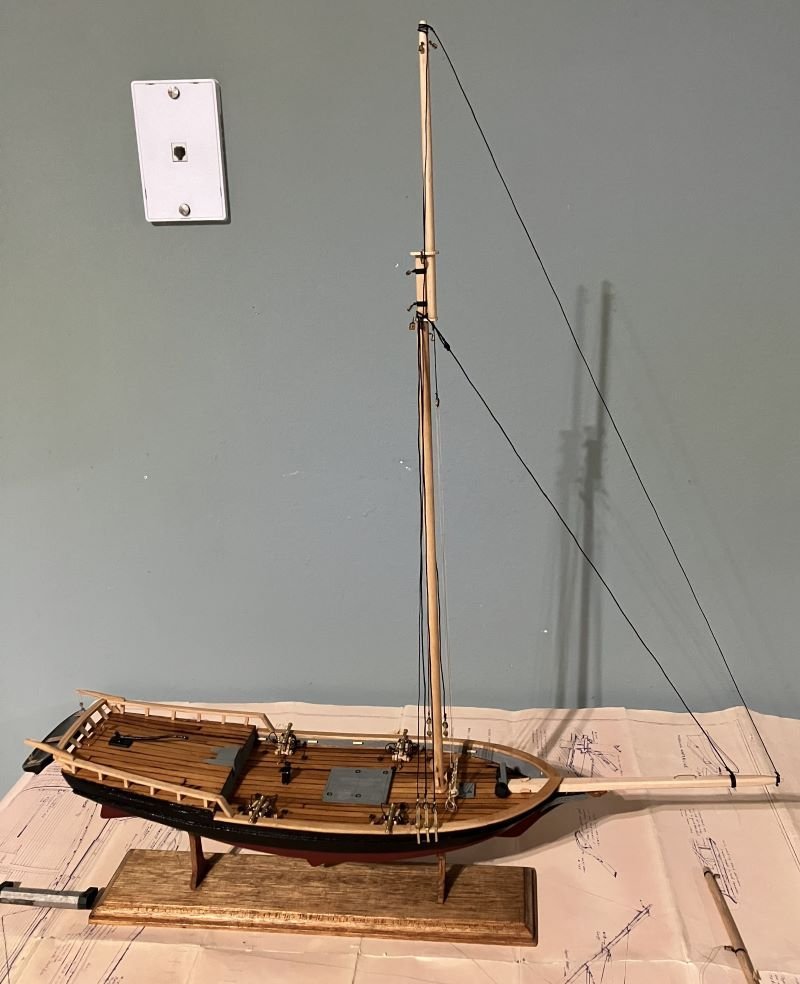
Hello -
I installed the boom with the topping lift.
The gaff and staysail boom built and installed
Loosely installed waiting for sails
The spars are next, but I don't know how much I'll be able to do this close to Christmas with all the holiday honey-dos the admiral has for me.
We'll see. If I don't post; Happy Holidays and Peace to all and in your own way.
- Kenneth