MORE HANDBOOKS ARE ON THEIR WAY! We will let you know when they get here.
×

Kenneth Powell
-
Posts
276 -
Joined
-
Last visited
Content Type
Profiles
Forums
Gallery
Events
Everything posted by Kenneth Powell
-
 Thanks guys for looking in. David - I will try the 2-sided tape. Thanks for the idea Scott - I have the other gun pieces removed from the sheet and ready to assemble. I tried to sand the entire sheet down a few millimeters but parts wanted to come out so I stopped. It just seems the carriages are a little too thick for the overall scale of the model. As always, ideas are welcome
 -
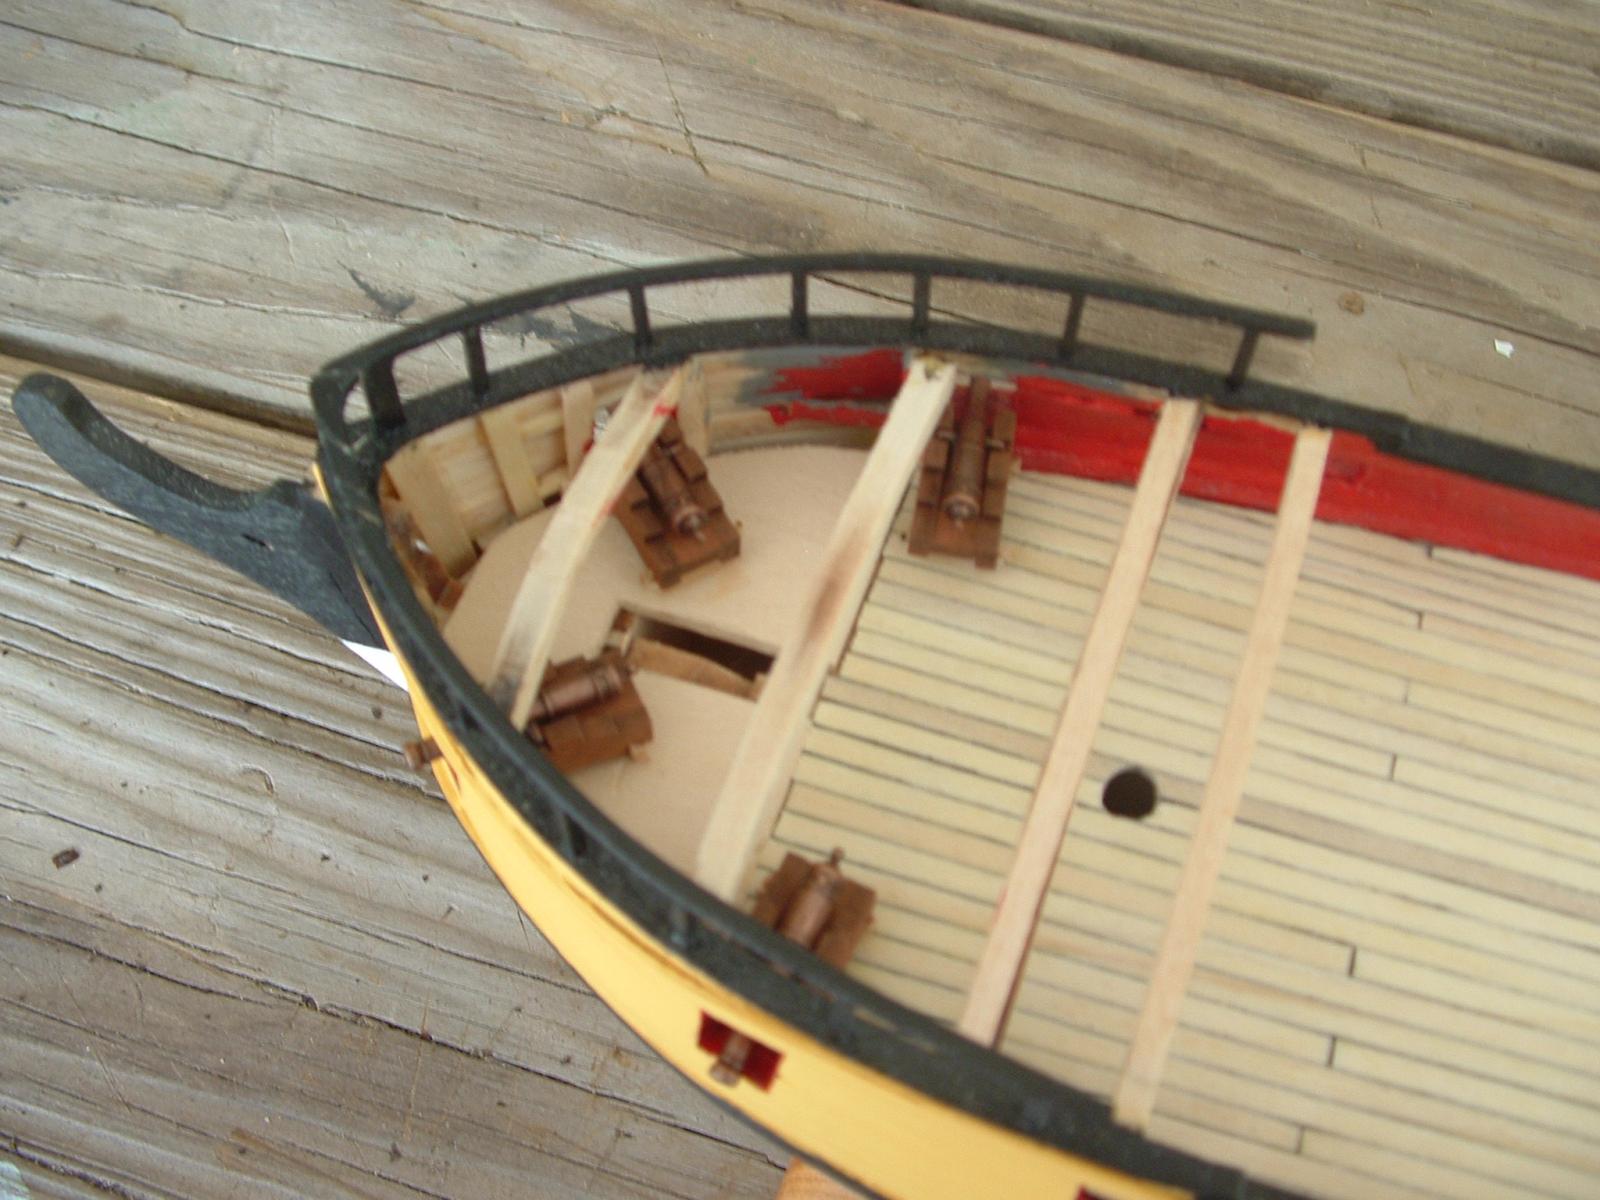
Thanks Guys for looking in. Here are a few more photos. I used my little sanding boot and got good results. Next I'm going to add the ring bolts for the gun the lies half under the forecastle deck because it will be impossible to get to it once the deck is on. Rigging the gun later shouldn't be too hard with small tools. Or am I kidding myself? I've seen other builds where the entire set of guns is set and rigged but the sanding really makes a mess. Ideas are welcome.
- 152 replies
-
- 3
-

-
- rattlesnake
- Model Shipways
- (and 1 more)
-
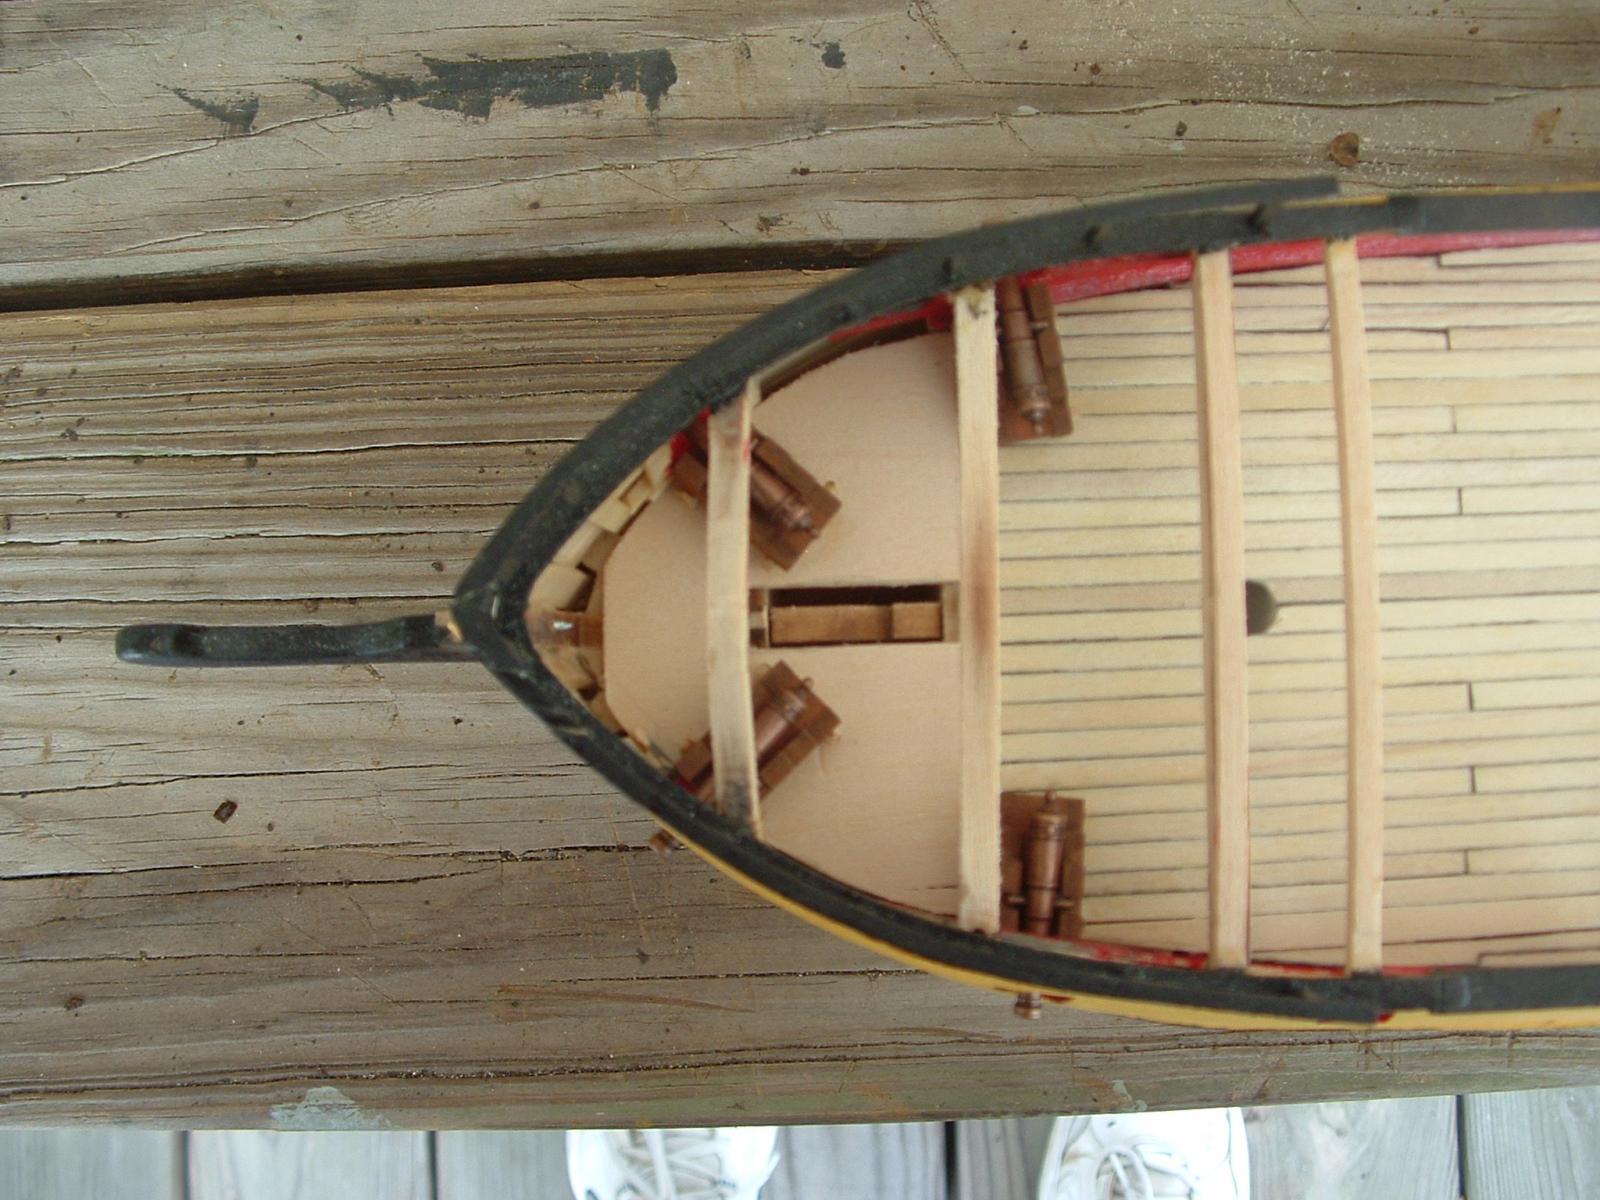
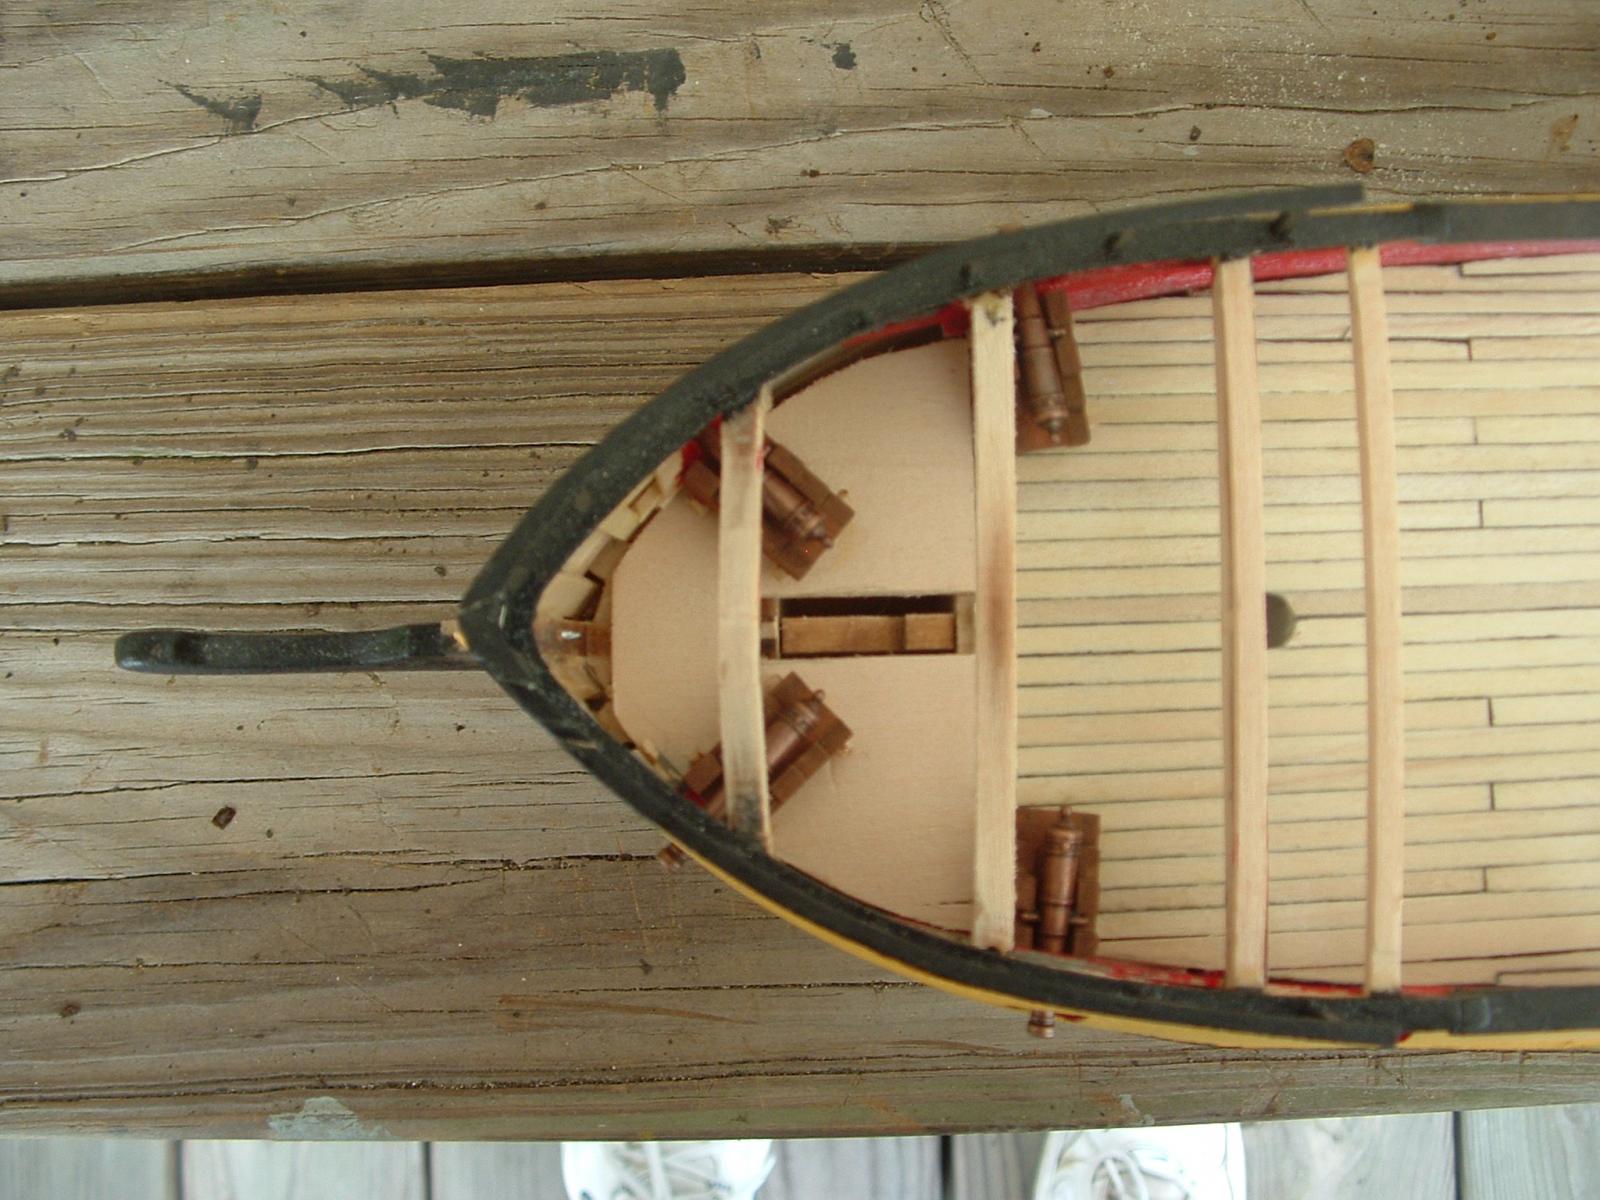
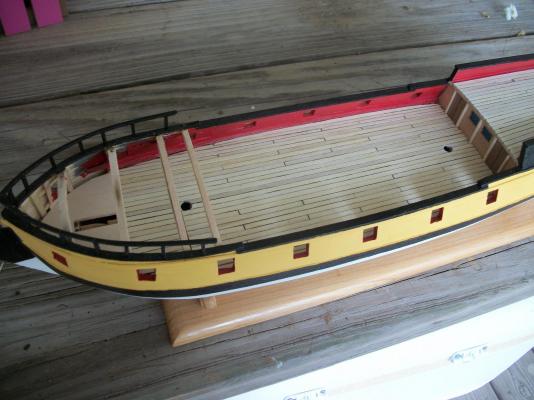
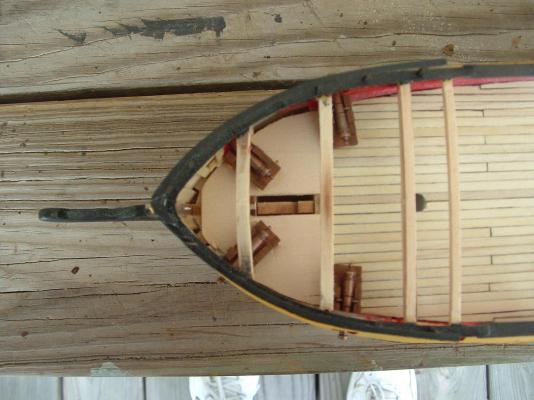
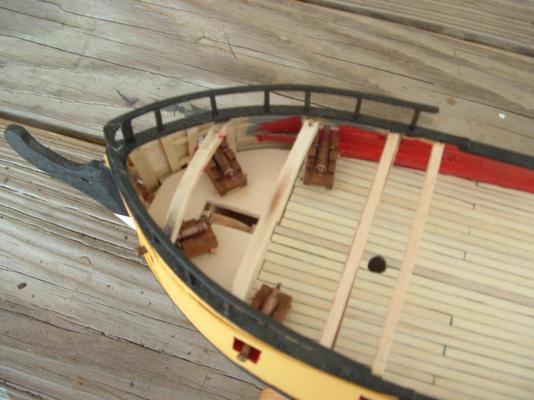
It has been a long time since my last post but this time I have a good excuse; triple by-pass surgery with a patch. My Adrimal, the best admiral in the history of admirals, told me not to go to work but to the doctor. Like any of us men, I went to work, said all I need is rest. She then got my brother to call me at work to convince me to go to the doctor. The rest is a down hill adventure with 5 days in the hospital and 8 weeks home from work. I did manage to read 4 Patrick O'Brian novels. My Admiral was there the whole time and has never left my side. I wouldn't be here without her. Last week I felt good enough to cut deck planks and sand them to size. There was a time I couldn't even stand long enough or use my arms and chest enough to do anything. I cut a pad from 1/16 sheet wood to mount the foward guns to cut back on the tight planking. It will be under the foward deck and no one will see it. So here are some photos. we do need a better camera: I bought extra guns from Model Expo. I know she probably didn't carry 20 but I thought 'What the heck' and I know there is not enough room for crew to move around. I added 1/16 strip instead if wheels to get a better glue joint. A few photos didn't upload so I'll have to adjust and finish later. Comments are very welcome.


- 152 replies
-
- 4
-
-
- rattlesnake
- Model Shipways
- (and 1 more)
-
Fantastic work. It's been said here before but worth repeating - Reading through your log is like reading a 'Wooden Boat' issue. Oh Wait! This is a real boat and you're just telling us it's a model. Kenneth
-
Looks Great. Keep up the good work.
-
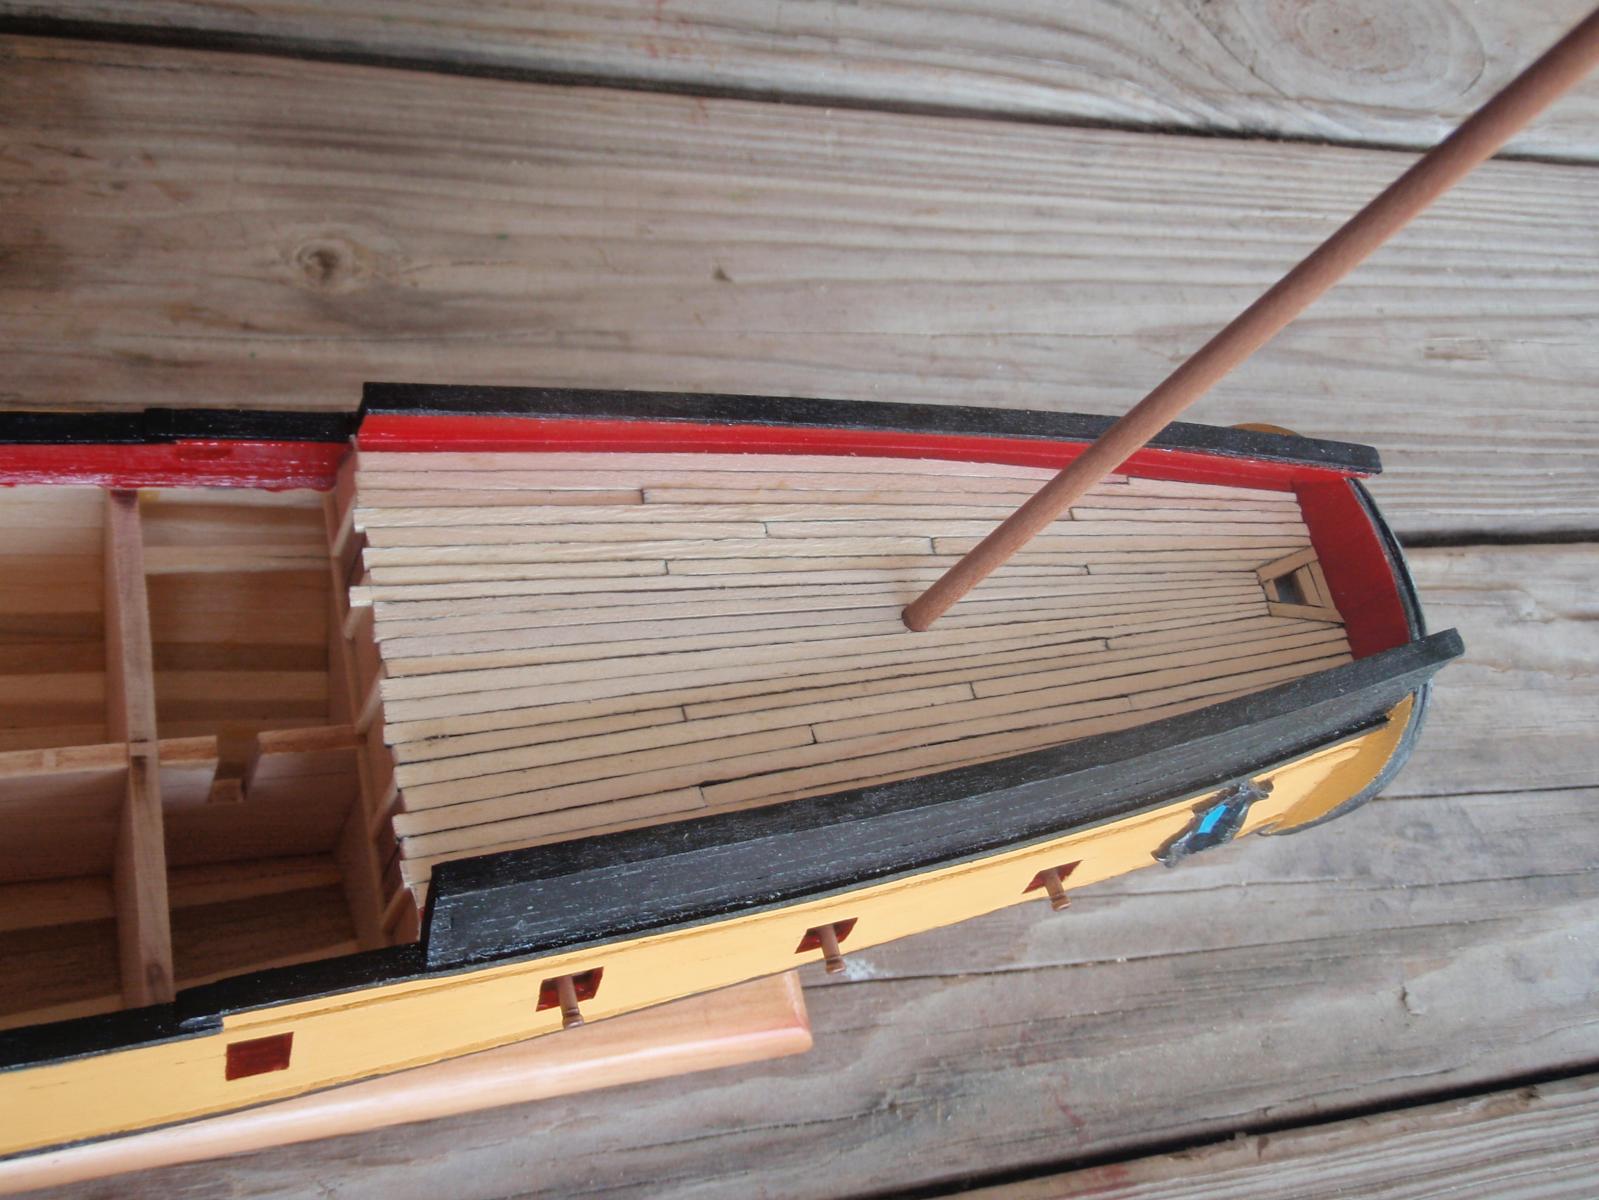
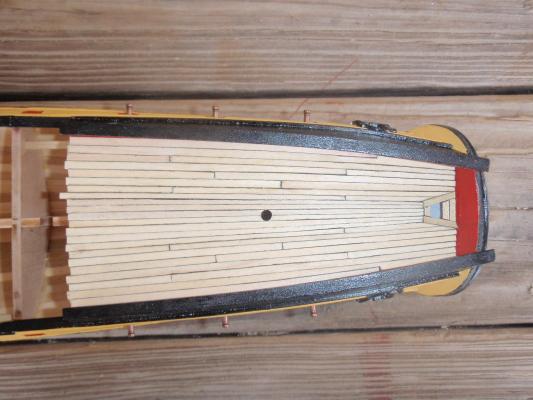
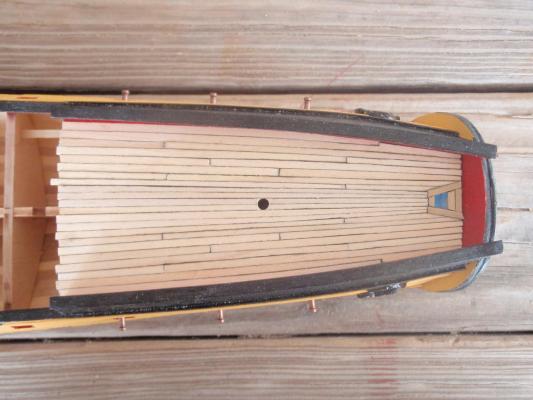
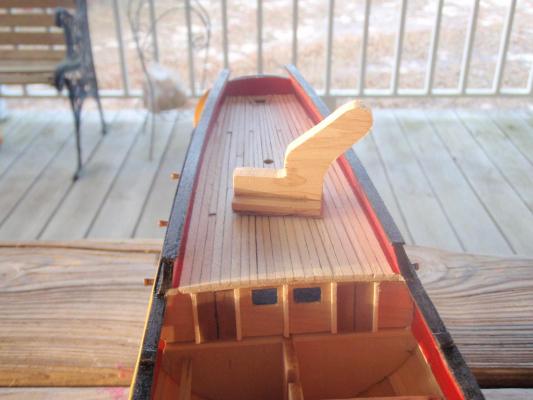
Thanks guys for looking in. Russ - The sanding tool worked quite well. It's actually a piece of the stand I was making that broke off so I trimmed it and glued a flat bottom. It has a good shape for the job. Scott - I used a very thin layer of wood glue to attach the sand paper. I hope it peels off the 'boot' without much trouble. The decking is very narrow. The plans call for a taper but my measurements must have been a little off. Next up is the main deck.
- 152 replies
-
- 1
-
-
- rattlesnake
- Model Shipways
- (and 1 more)
-
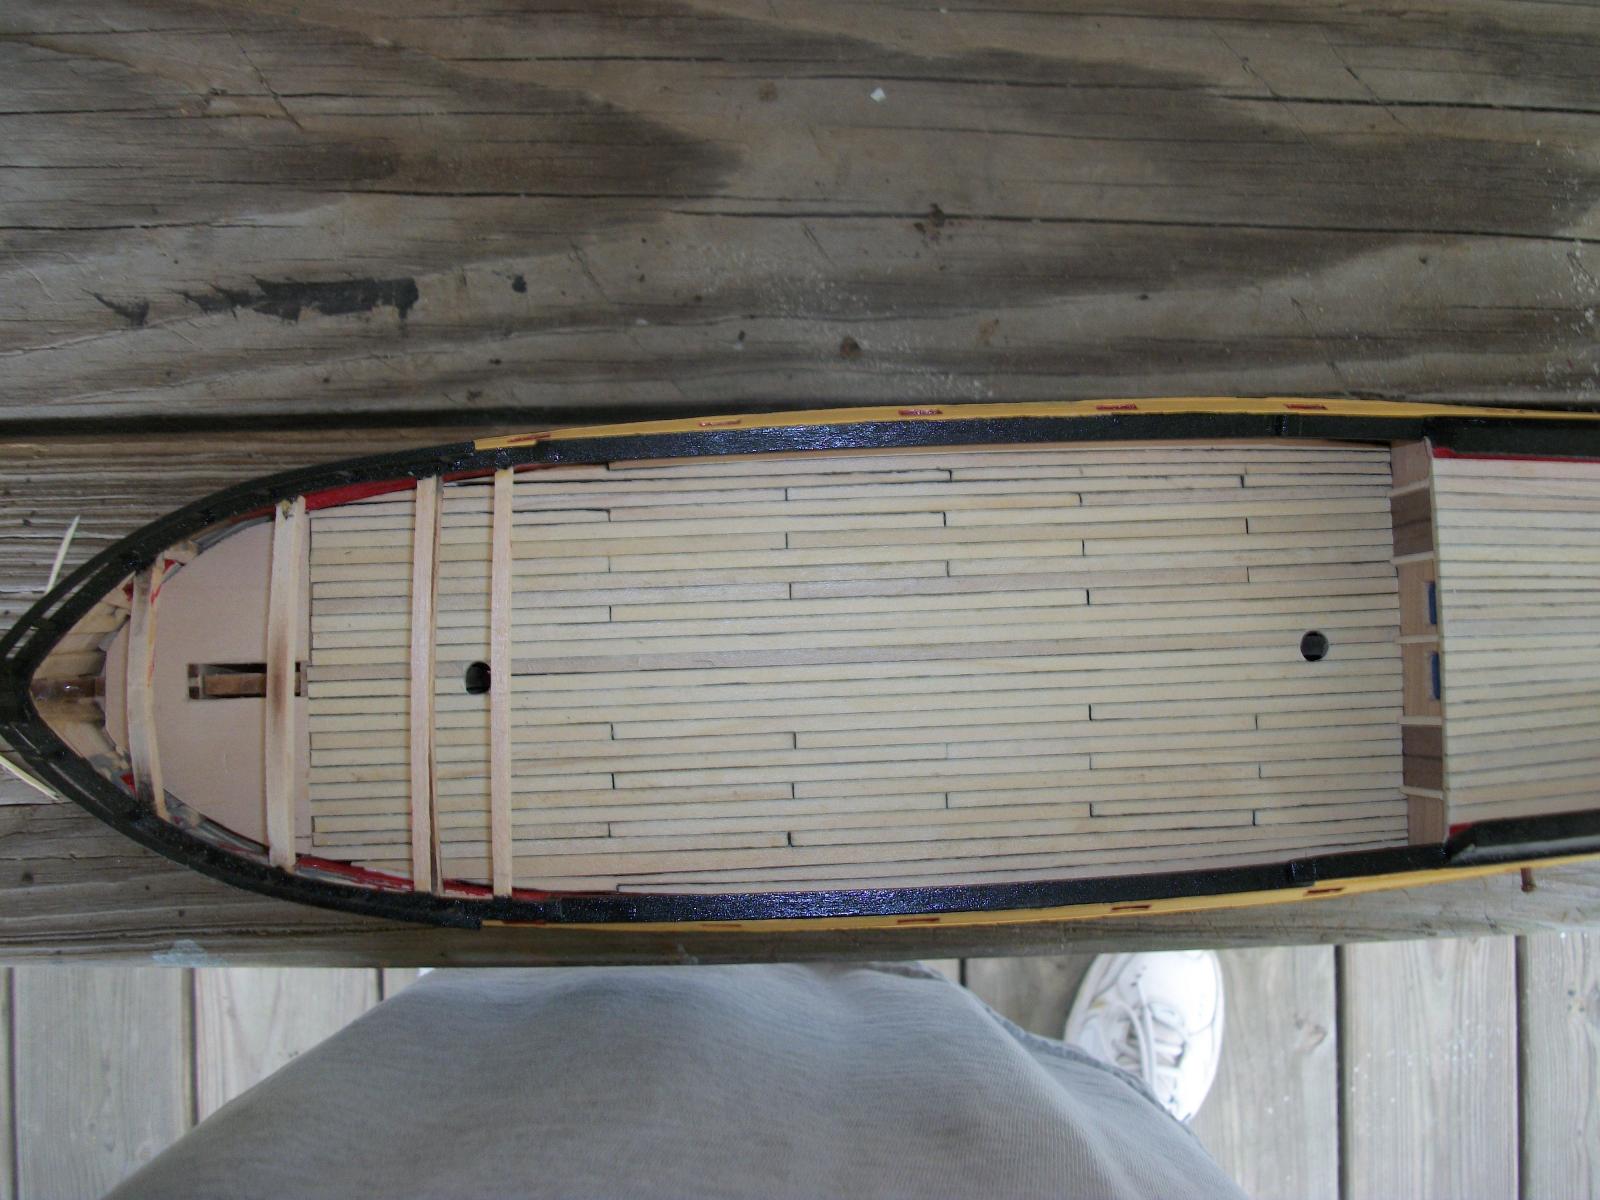
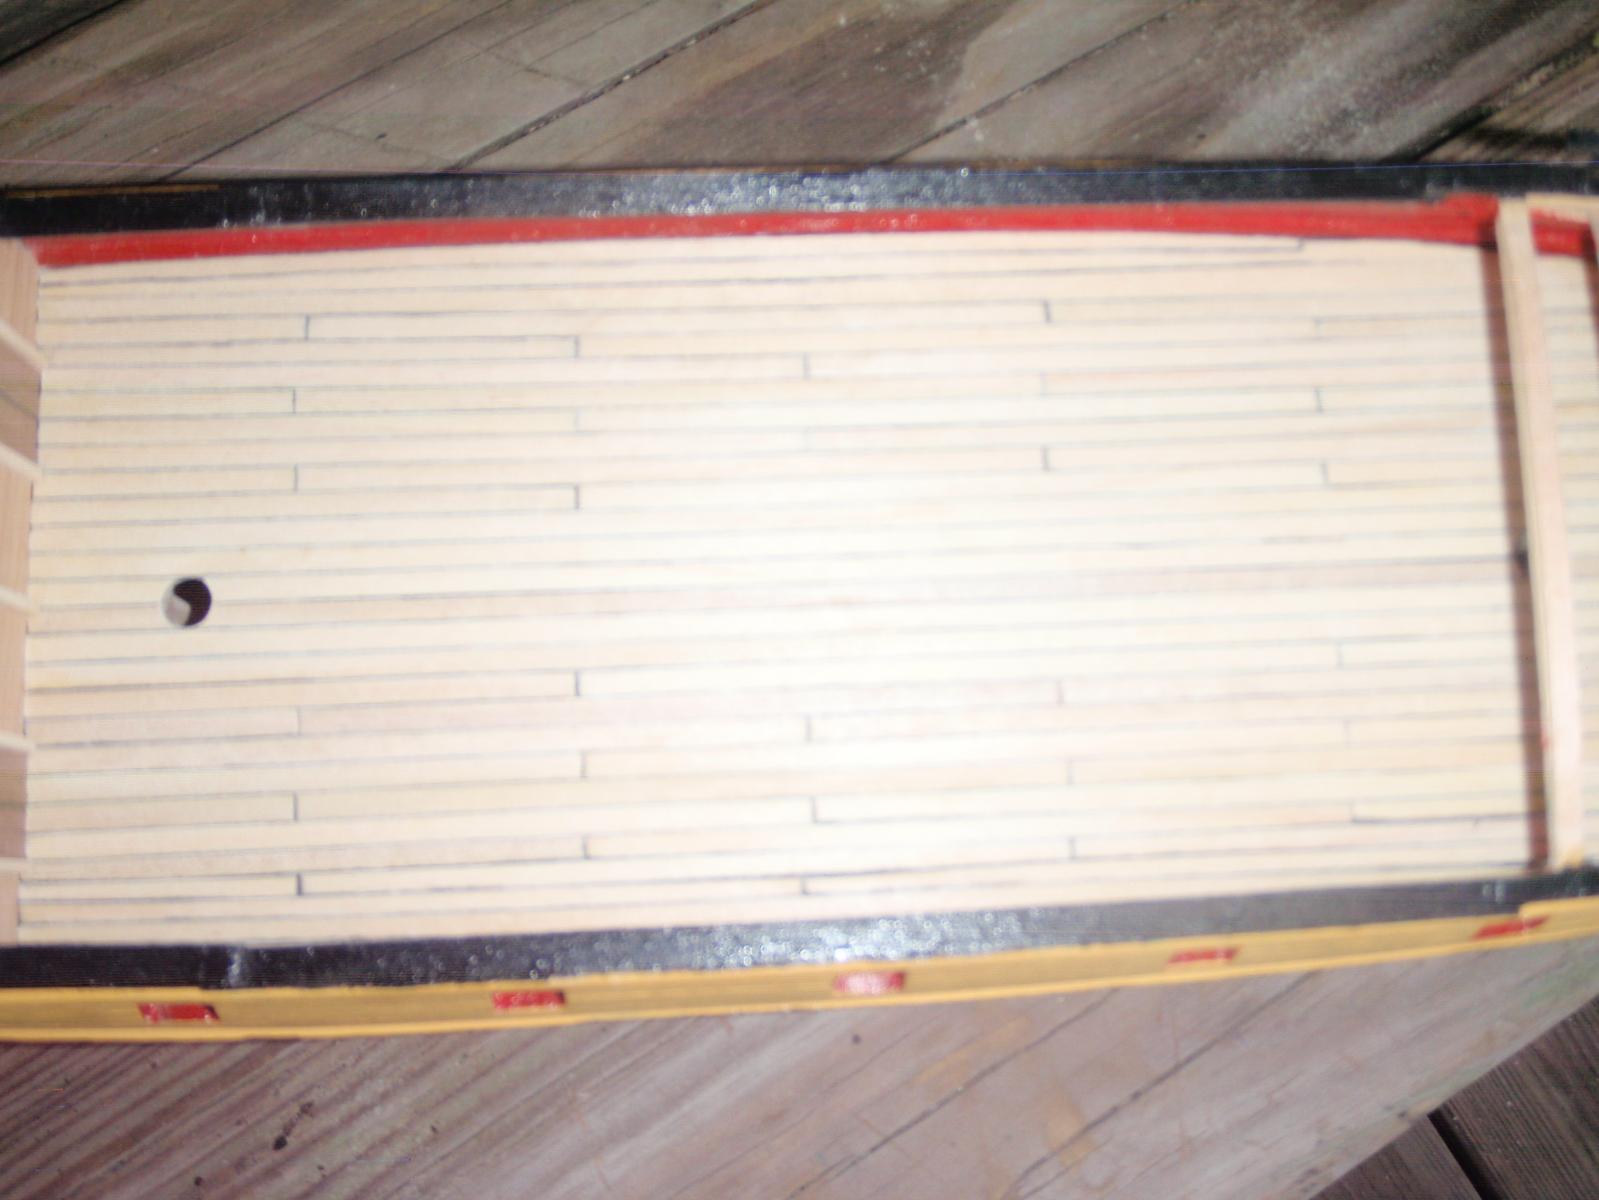
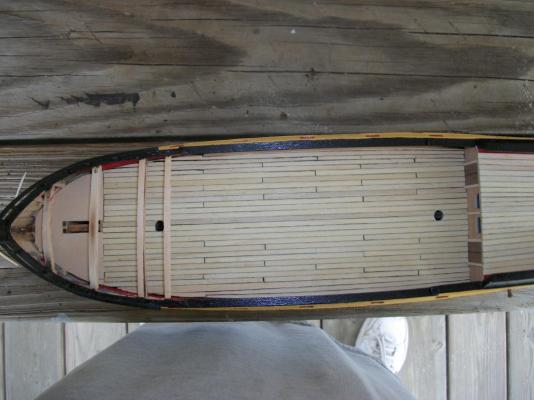
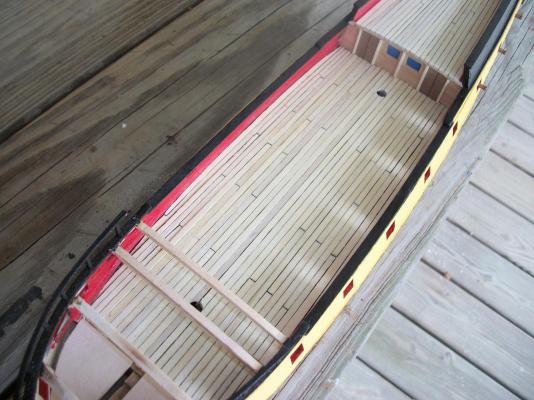
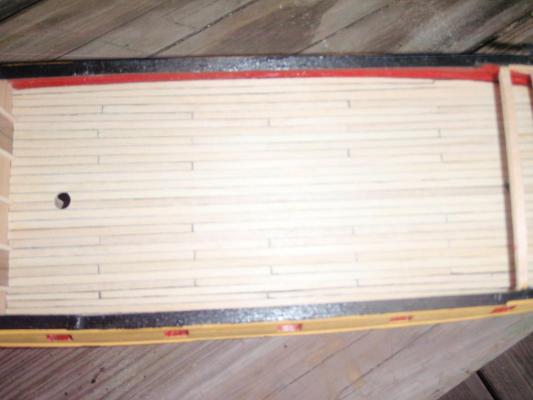
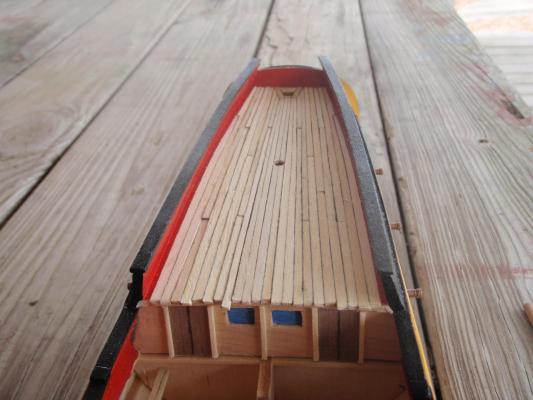
I had no idea I hadn't posted anything for so long! Been busy with every other thing under the sun. I did accomplish some decking. I could take some time on some evenings and do a pair or 2 of deck planks treating each one like its own model. Isn't that our motto? Before trimming and sanding After trimming and sanding Say Hello to my little sanding tool


- 152 replies
-
- 5
-
-
- rattlesnake
- Model Shipways
- (and 1 more)
-
Shawn - I purchased this same kit in an old dusty toy store in 1984 after college graduation and before career start. I remember lightly sanding waiting for the phone to ring. I had time to actually work on a model then; not like now. It was a fun kit and I still have all the instructions and other printed material. It's kind of a sideways bread-and-butter construction. The balsa did dent once and I filled it in with marine grade epoxy filler. I can't wait to see your new cut pieces. Kenneth
-
What a resurrection! To stay in a box for 21 years and be in good shape shows she is still a lucky ship. I will be watching with interest. Kenneth
-
This is so cool!
-
Beware the fragile deck beams - They pop off like pop corn in the popper! I just glued mine back together and kept on going.
-
Thanks Guys for the info
-
Eric - Sorry I addressed my question to the wrong person Kenneth
-
Sport - Everything looks great. I also painted mine the gray the instructions called for, but after further review I went over it with red and liked it better -but it's a personal choice. I really like the decking. How did you get the great-looking, dark simulated caulking? Thanks - Kenneth
-
Thanks Everyone for you your responses! Very helpful. I will try the pigment on EdT's log that j21896 listed. Will let you know how it turns out.
-
Has anyone heard of or knows where I can get a wood glue that dries dark brown or black? I would like to use it to glue the deck planks and simulate caulking on my Rattlesnake. Thanks - Kenneth
-
Nice tutorial, JPett. I will certainly use it.
-
Awesome, just awesome work!
-
Excellent tutorial. Keep it up.
-
Excellent work. I really like the anchors Kenneth
-
See, I told you I'd visit. Your build looks great. I especially like the detail of the boat with the oars and all the scratch-build items you are doing. Keep it up. Thanks - Kenneth
-
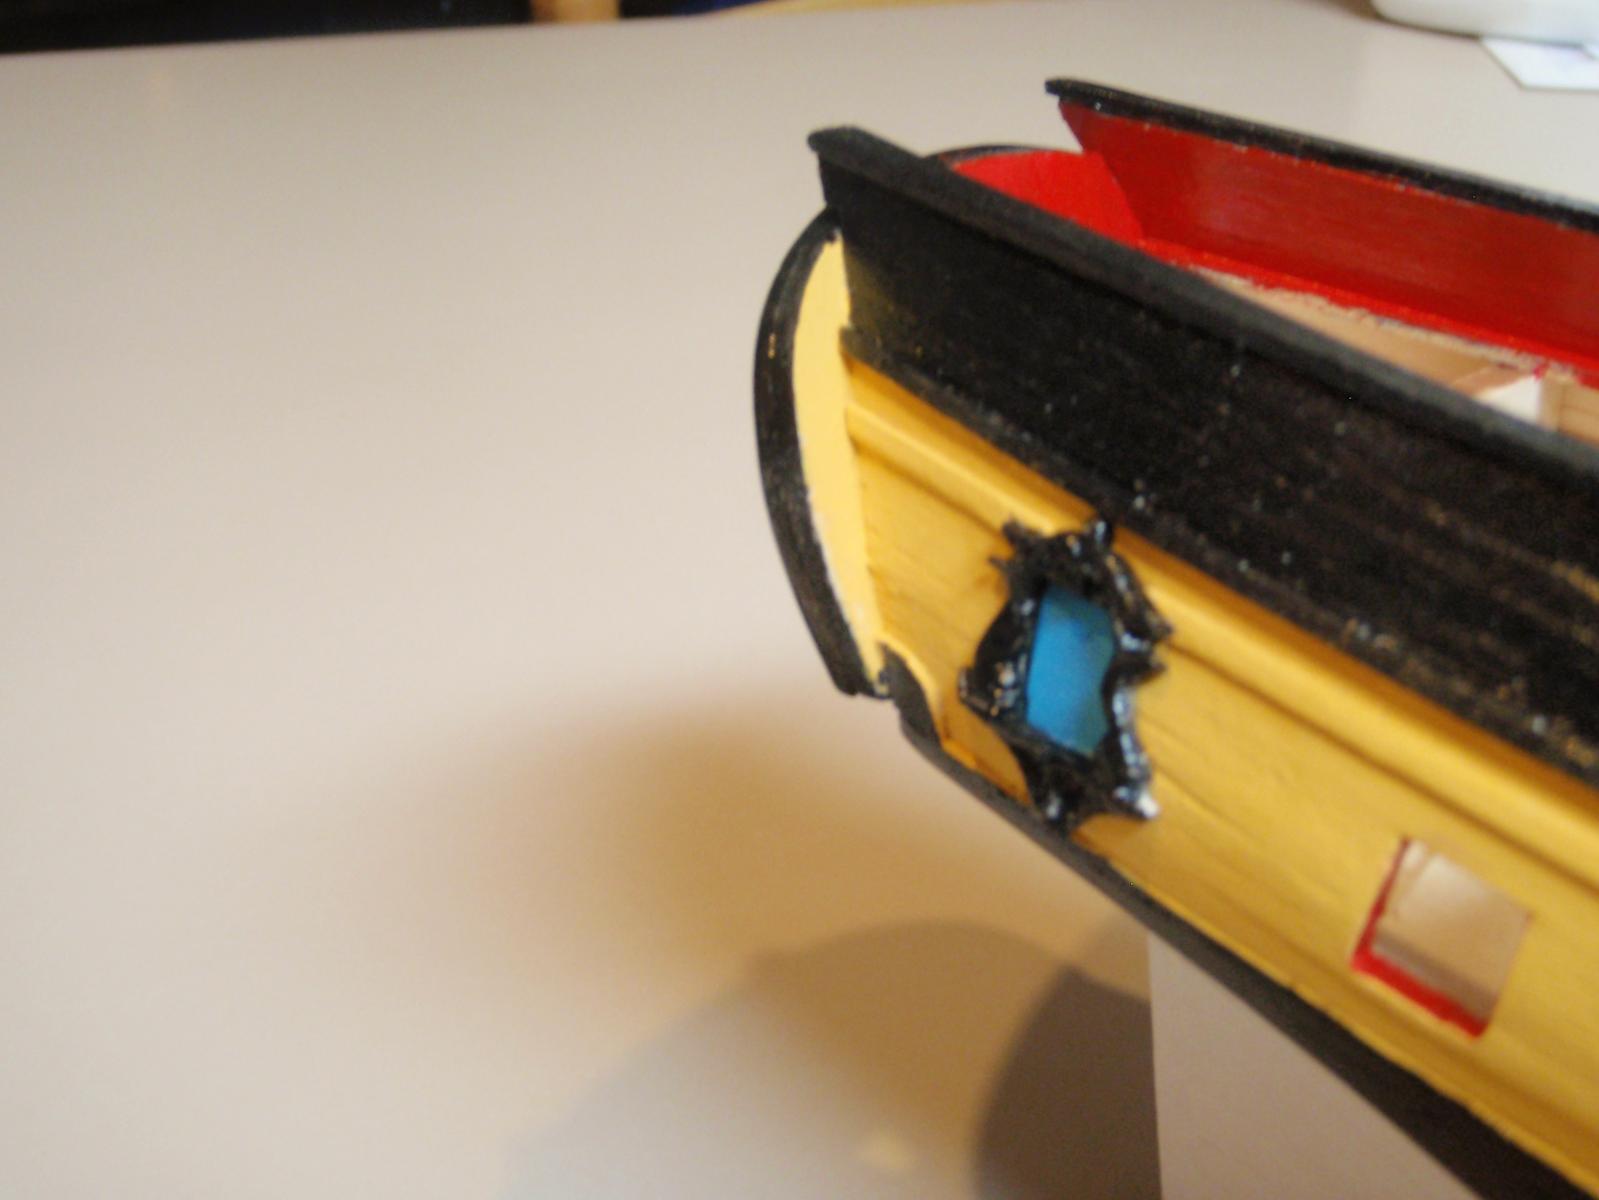
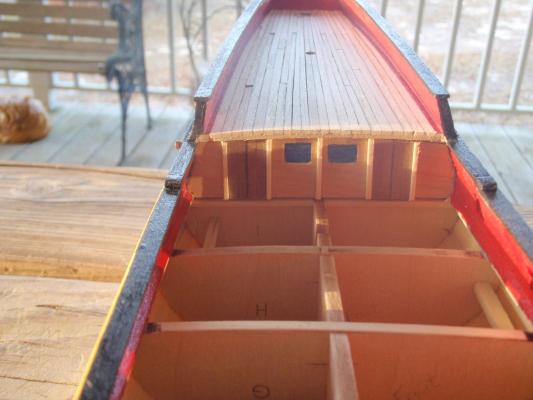
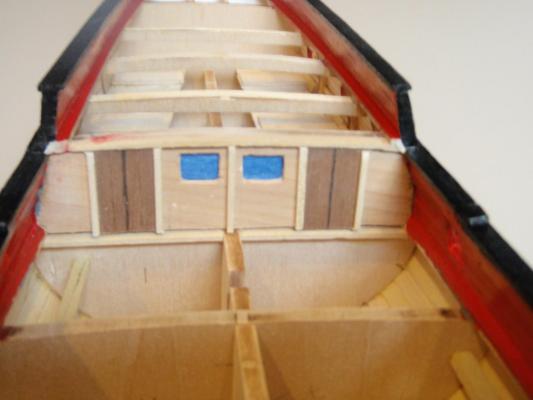
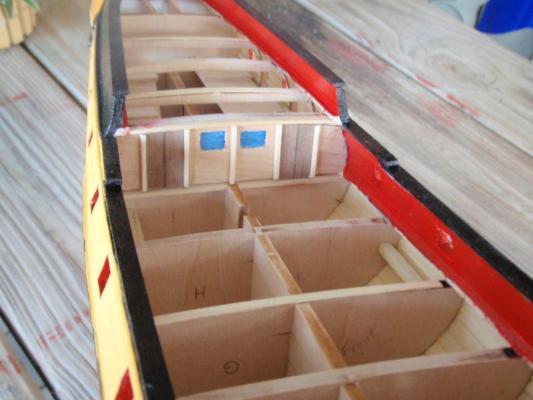
Thanks everyone for stopping by. Martin - The work bench is actually a chunk of an old bowling alley. I went on business travel for a few days and my wife and her friend tore out my old bench and gave me a full garage make over. Really nice but I couldn't find anything for 2 weeks! Mog - The blue in the windows was easy; painted a sheet of paper, cut to fit and placed cellophane cut to fit over it and behind the cut-outs. I think I will stay with most of the precast items from the kit, but will not use the anchors as supplied. I am going to visit your log right now. Next up: guns and decking. Thanks - Kenneth
-
HMS Victory by willz
Kenneth Powell replied to willz's topic in - Build logs for subjects built 1751 - 1800
Awesome! -
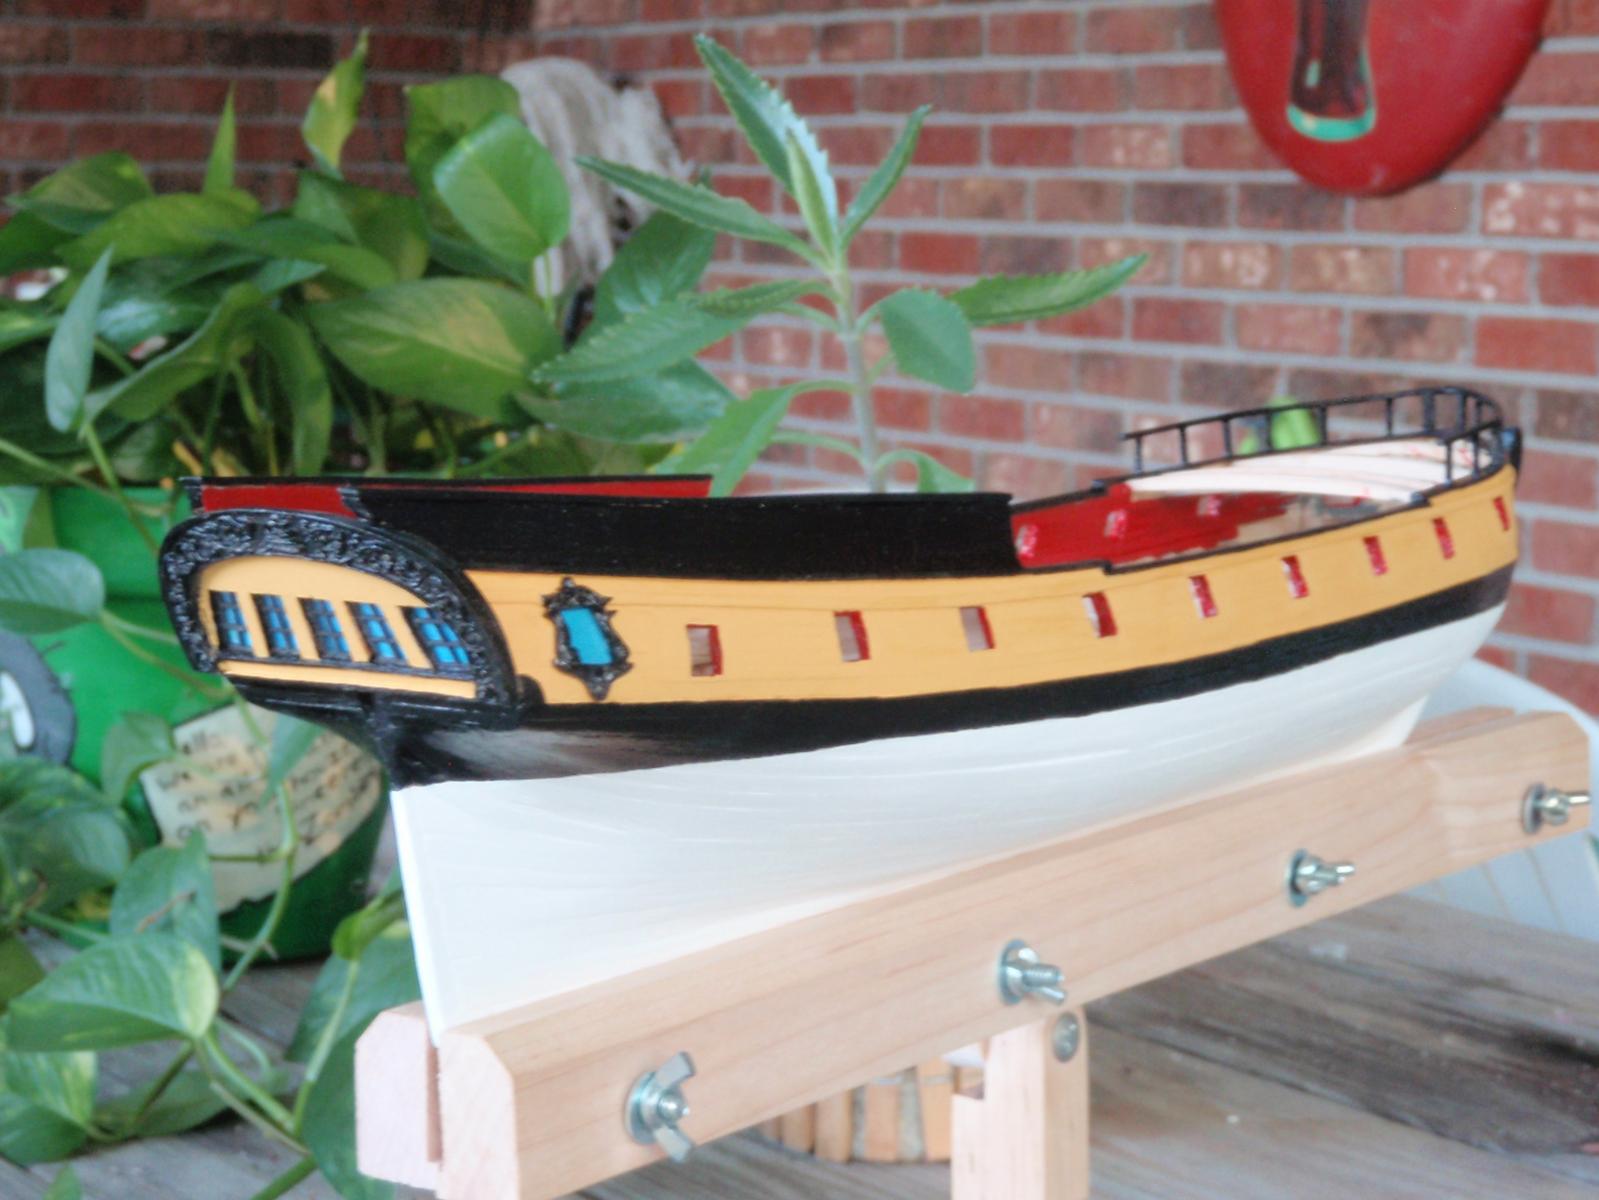
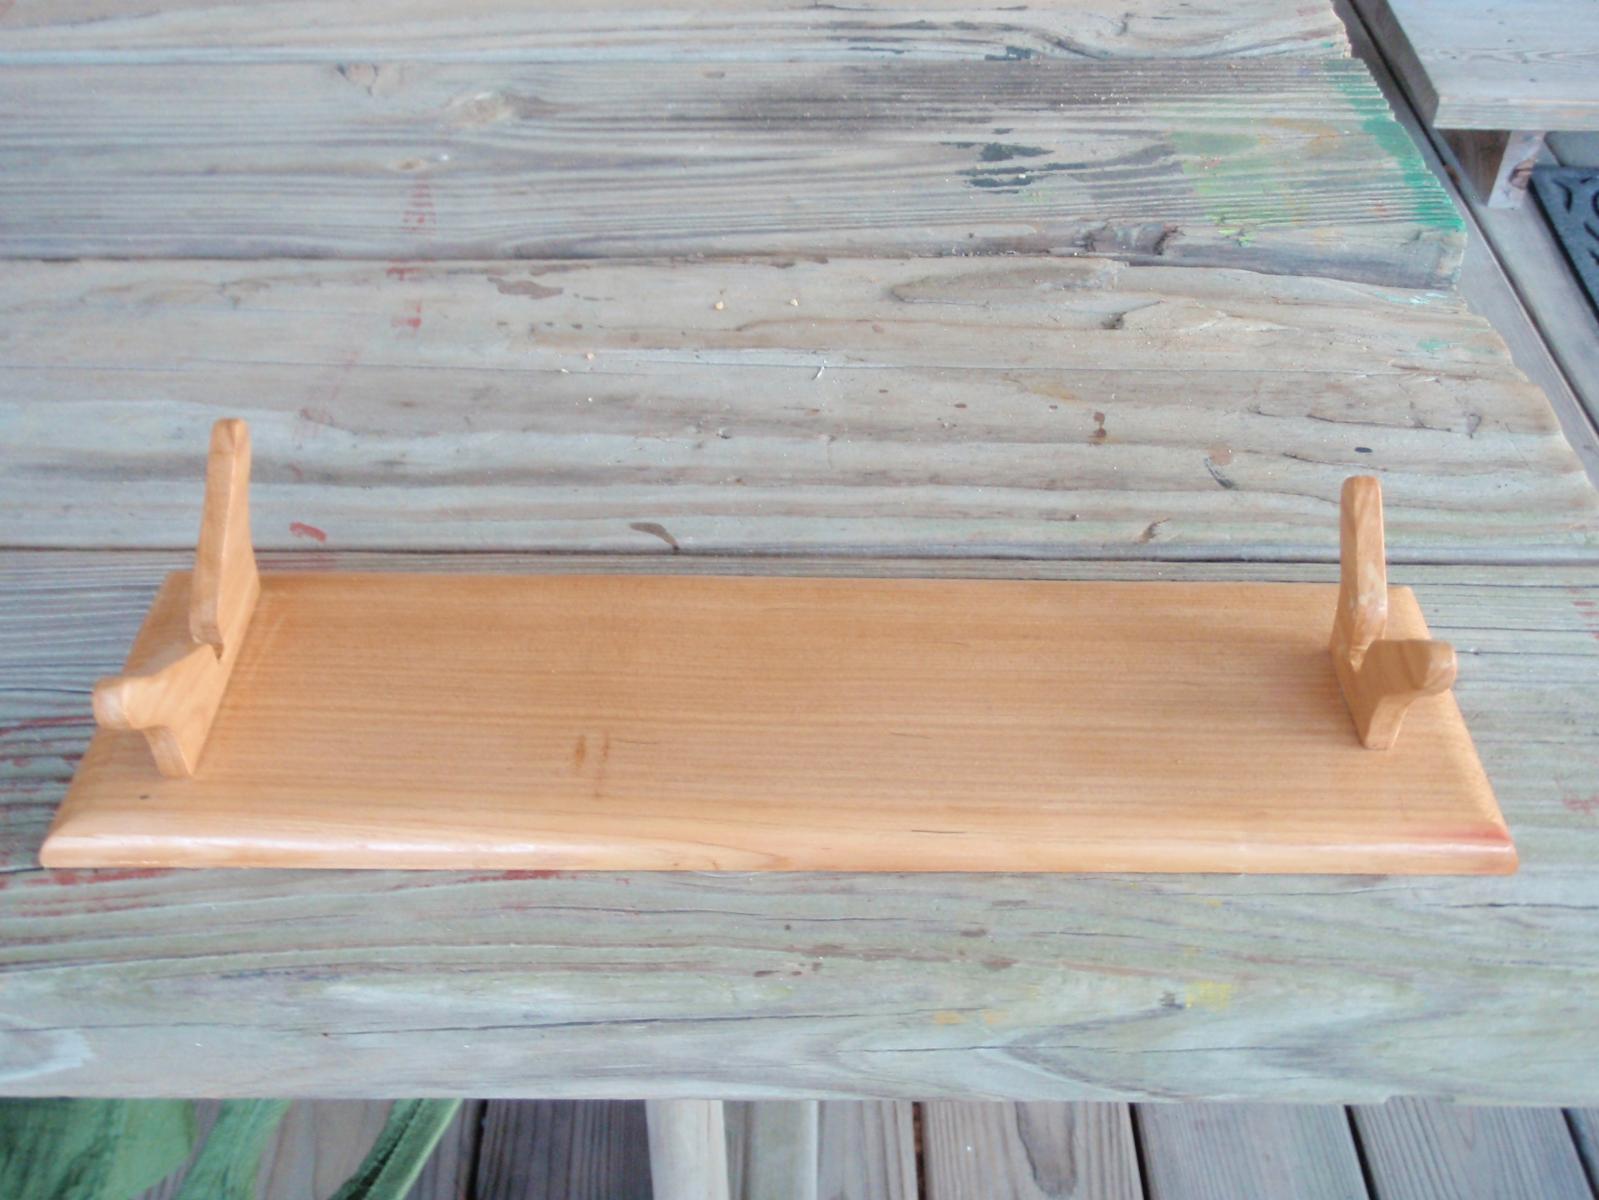
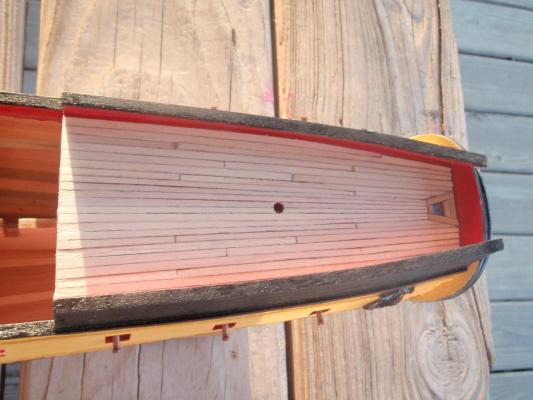
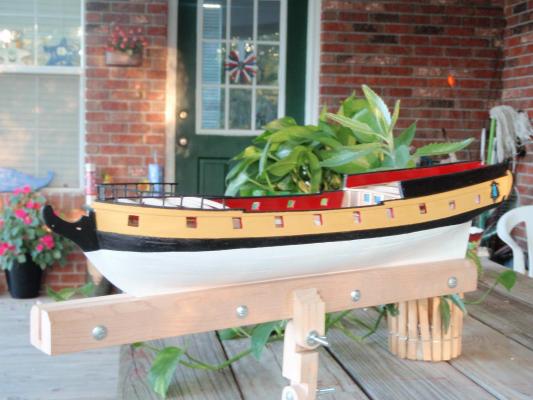
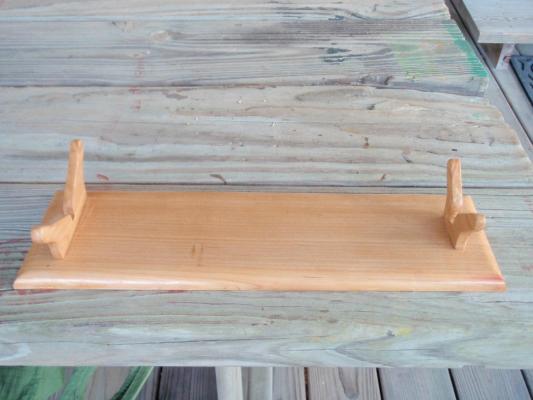
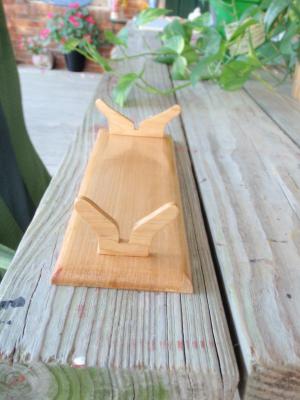
Okay, Now for Red Russ, I took your advice and I like it better than the gray. Sport, I hope these photos help. My camera is not the best. The metal and wooden transom together As close as I could get without getting blurry I also built a stand. I used a nice piece of cypress and finished with clear varnish. I plan to add felt strips once it completely dries.


- 152 replies
-
- 3
-
-
- rattlesnake
- Model Shipways
- (and 1 more)