MORE HANDBOOKS ARE ON THEIR WAY! We will let you know when they get here.
×

Kenneth Powell
-
Posts
276 -
Joined
-
Last visited
Content Type
Profiles
Forums
Gallery
Events
Everything posted by Kenneth Powell
-
 Very nice use of a building jig - even for a small boat. Now you can pop em off as often as you like. Kenneth
 -
Russ - It was good to see you at the wooden boat show in Biloxi yesterday; once a year is not often enough. Everyone - The photos are nice but nothing is like seeing this little schooner up close and personal. The decal work is amazing for this scale and so is the deck planking. You almost need a magnifying glass to see the hardware (I used my reading glasses) and it is top-notch. Kenneth
-
Looking good Russ. Nice precision work. Kenneth
-
Thanks Russ I hope to varnish the deck sometime this week when the stain completely dries. Kenneth
-
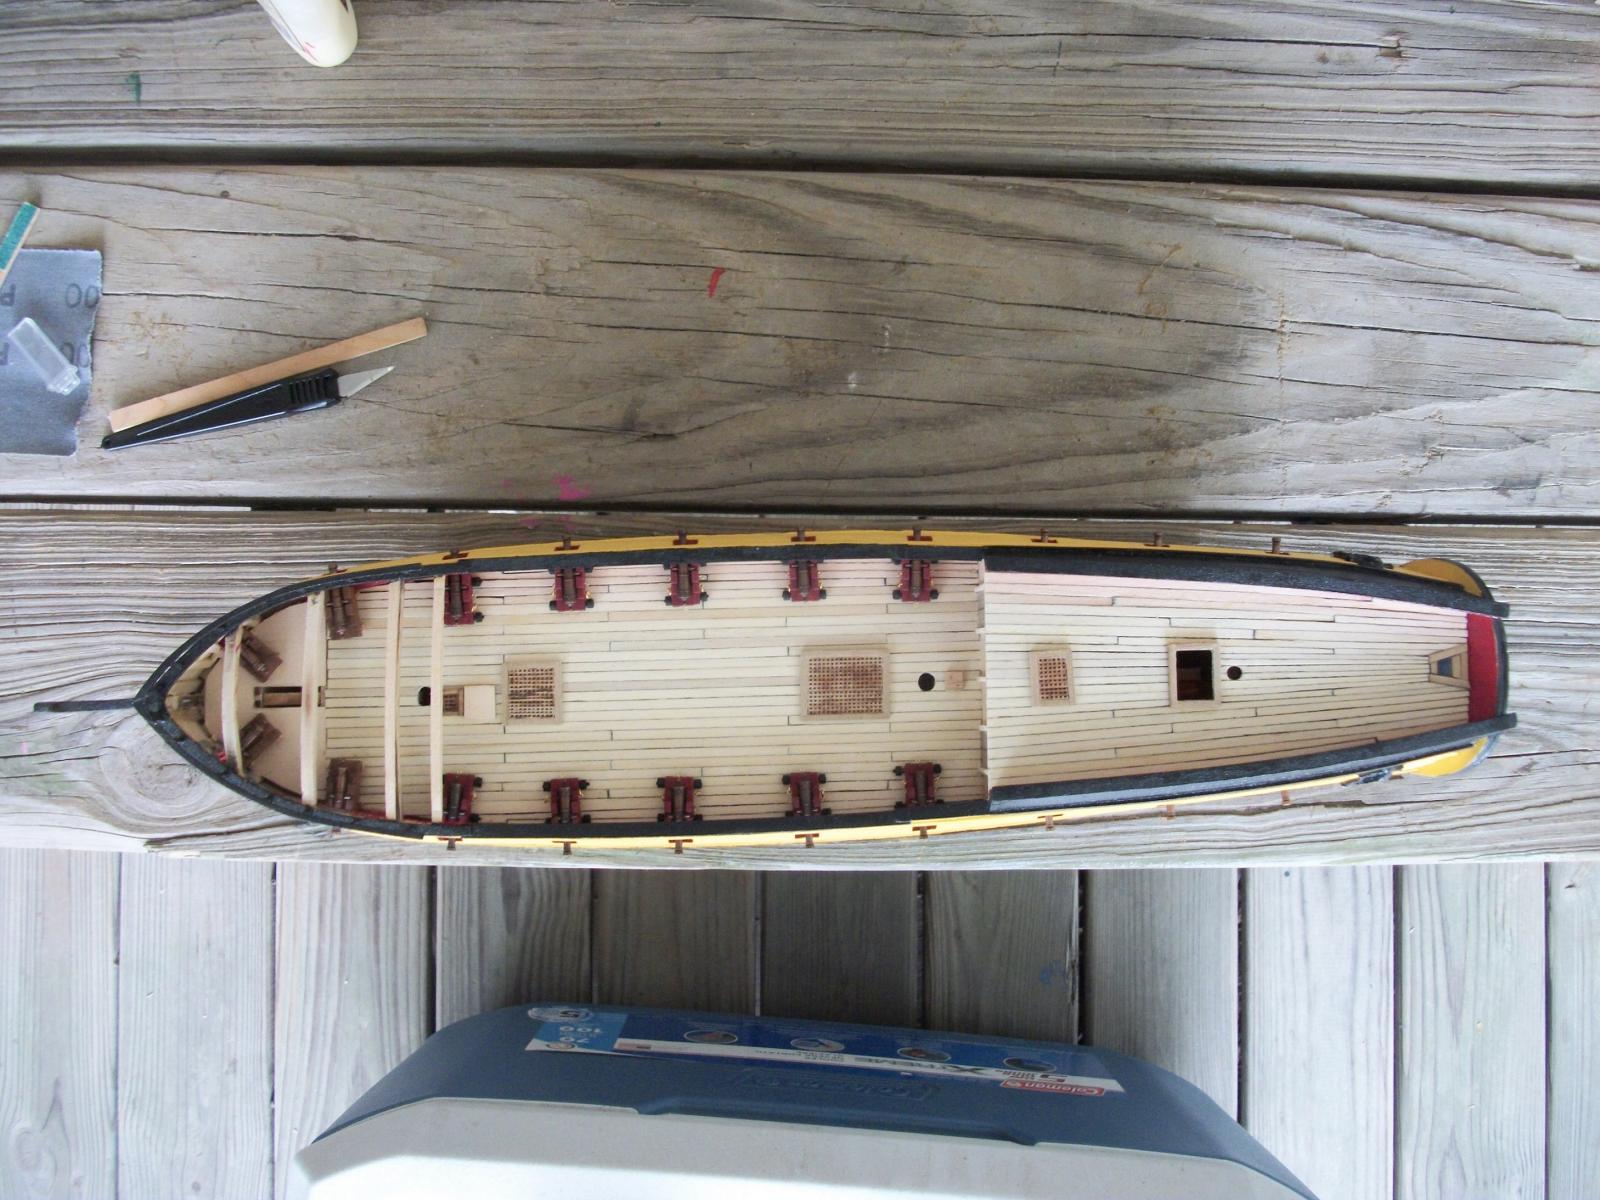
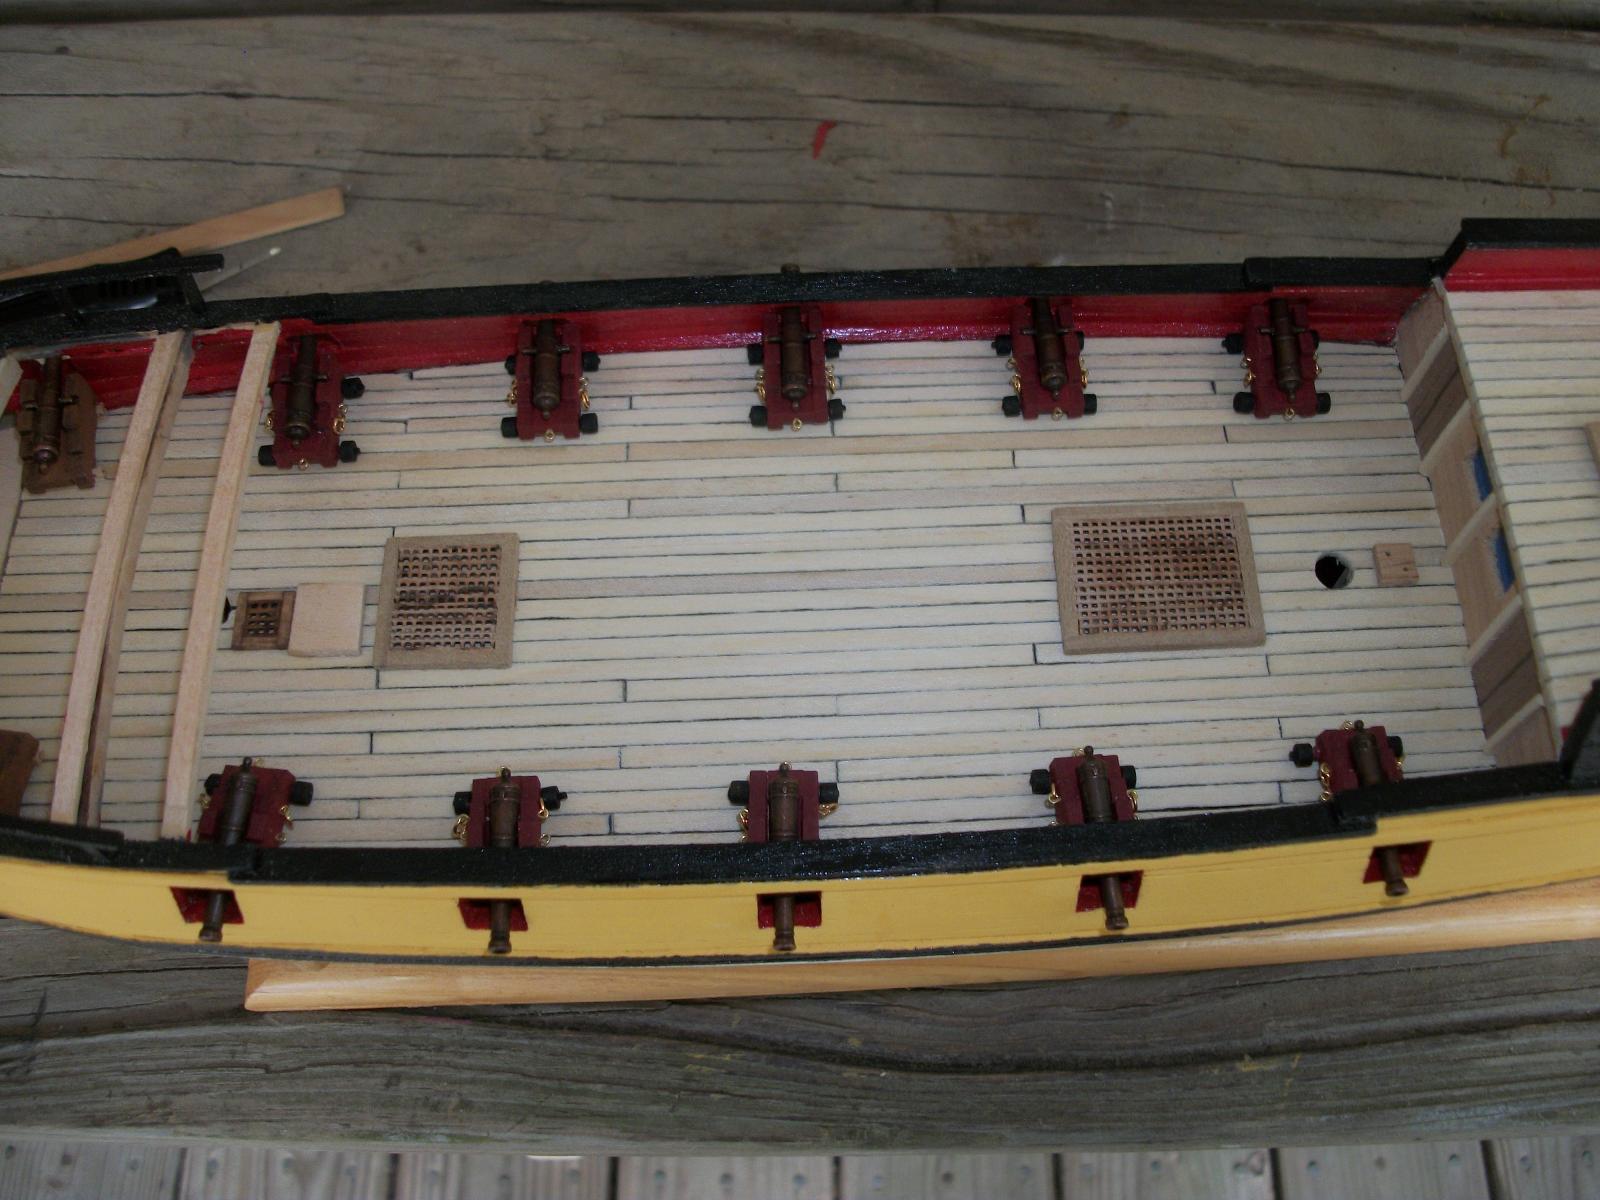
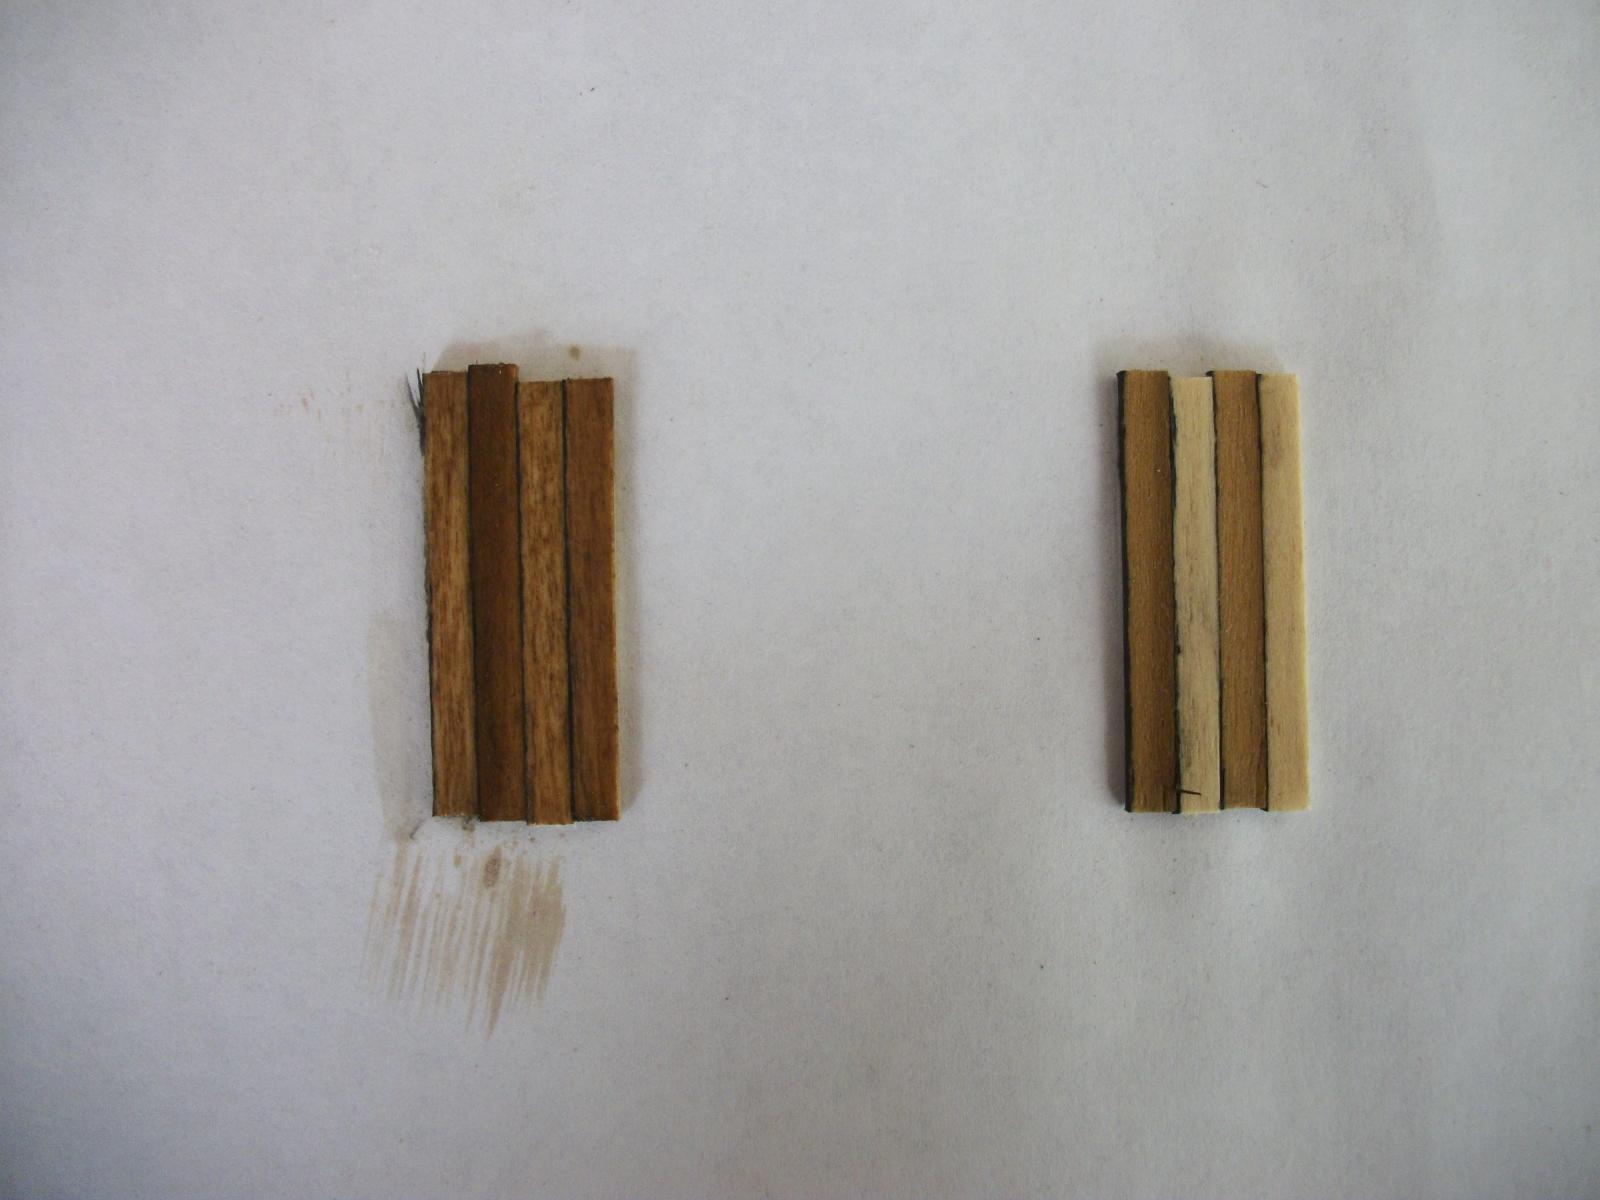
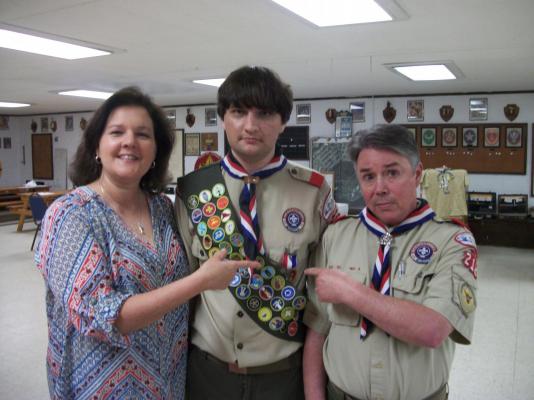
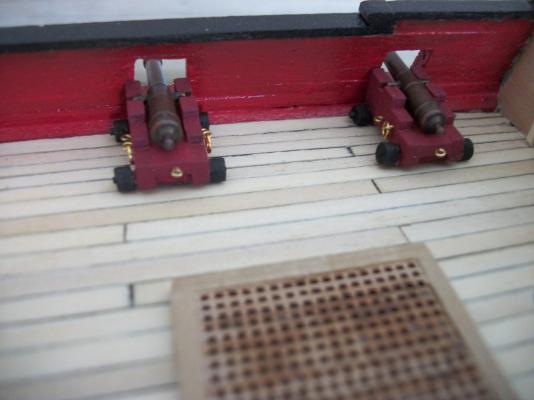
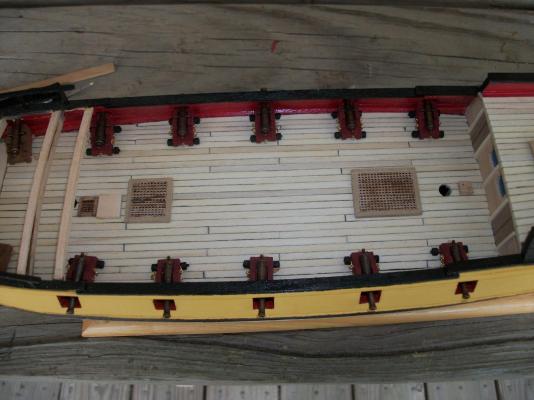
Hello Everyone - Just to let you all know what I've been up to the last few months: My son is now an official BSA Eagle Scout. I didn't do any of the work on his 39 merit badges but as a dad I pushed and worked him right up to the end. He's much taller than my 5'1" Also: Once again, I didn't do any of the work but keeping a teenager focused through graduation is a real challenge. The admiral and I are very proud. I would steal a few moments at a time and work on my Rattlesnake. I realized I need to put a finish on the deck before I can mount the guns and I need to build and place the gratings and such before that. The guns almost completed and set on the deck: I want to put a light stain on the deck to minimize the differences in the color of the kit supplied wood. I made a little test sheet: The stain is drying and I will apply a coat of satin varnish on that. More photos to follow. Comments and suggestions welcome. Kenneth


- 152 replies
-
- 3
-

-
- rattlesnake
- Model Shipways
- (and 1 more)
-
Russ - It was good to see you at the Wooden Boat Show in Biloxi earlier today. Also nice to see this little gem of a model schooner. Everyone - Photos can't do justice to the intricate detail in this build. Too bad I didn't have a magnifying glass Kenneth
-
That is bad news. But, if you want, and you have the rest of the kit, you could use the templates and cut out new parts. Of course, that's up to you. Kenneth
-
Just to repeat the obvious - GREAT looking deck. Kenneth
-
Alex - Excellent work on your Black Queen. There's a whole world of opportunity and adventure in ship modeling. Take the skills and lessons you've learned and with Antony's help press on to another one. And of course Kudos to Antony Kenneth
- 33 replies
-
- 1
-
-
- Black Queen
- Mamoli
- (and 2 more)
-
Kenny - JPett is 100% correct; as you've learned already lazer cut doesn't mean accurate cut and some building-up in areas may be required. The decking will cover the false keel and I didn't add anything to it. Let the deck follow the natural curve of the ship. use battens to make sure it will lay true as you lightly sand the bulkheads. Kenneth
-
Kenny - I broke several deck beams on my MS Rattlesnake. They are so fragile. Follow the good advice from JPett and MOG and you will do well. You have a real good start. Kenneth
-
Thanks all. I hope to try it soon
-
Excellent detail on such a small scale - Looks like we could step on board and sail away. Kenneth
-
Thanks guys - I'll try both suggestions
-
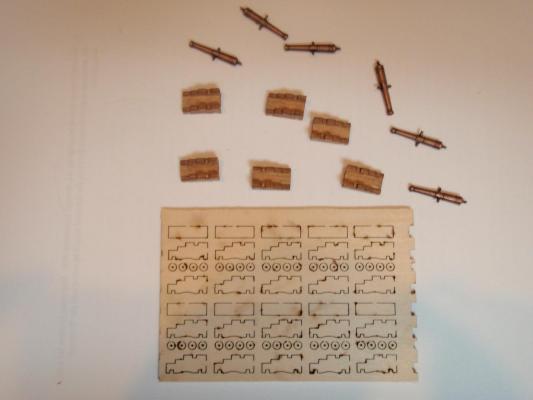
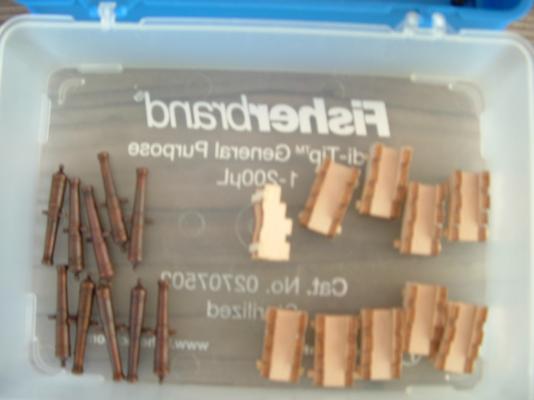
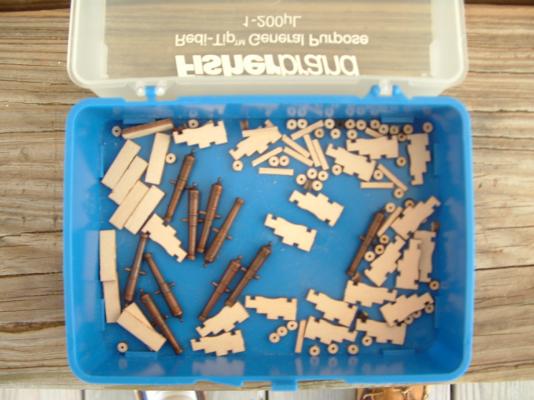
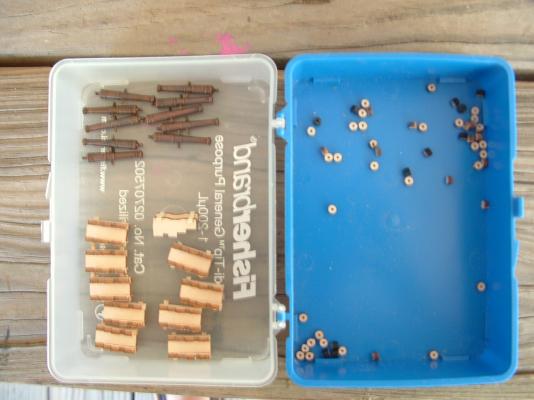
I went on to gun work This is how they are supplied in the kit: A Lazer sheet to pop out and assemble. My progress so far on the 10 that will be seen: My question now is what color should I paint them? The ones that won't be seen are a neutral brown. Red would blend in too much. I want to paint them before adding deadeyes and such. Suggestions welcome. Kenneth
- 152 replies
-
- 1
-
-
- rattlesnake
- Model Shipways
- (and 1 more)
-
Looking Good Young Man! Keep up the good work. This build is also one of the best examples of mentoring I've seen. Kudos Antony Kenneth
- 33 replies
-
- 3
-
-
- Black Queen
- Mamoli
- (and 2 more)
-
Thanks guys for your nice comments. I want to also let everyone know that today is my 26th wedding anniversary (with the same woman!) Kenneth
-
JPETT - This looks wonderful, as usual with your high degree of modeling. I really like your timer; it's hard to believe how long it really takes for such an accomplishment. Kenneth
-
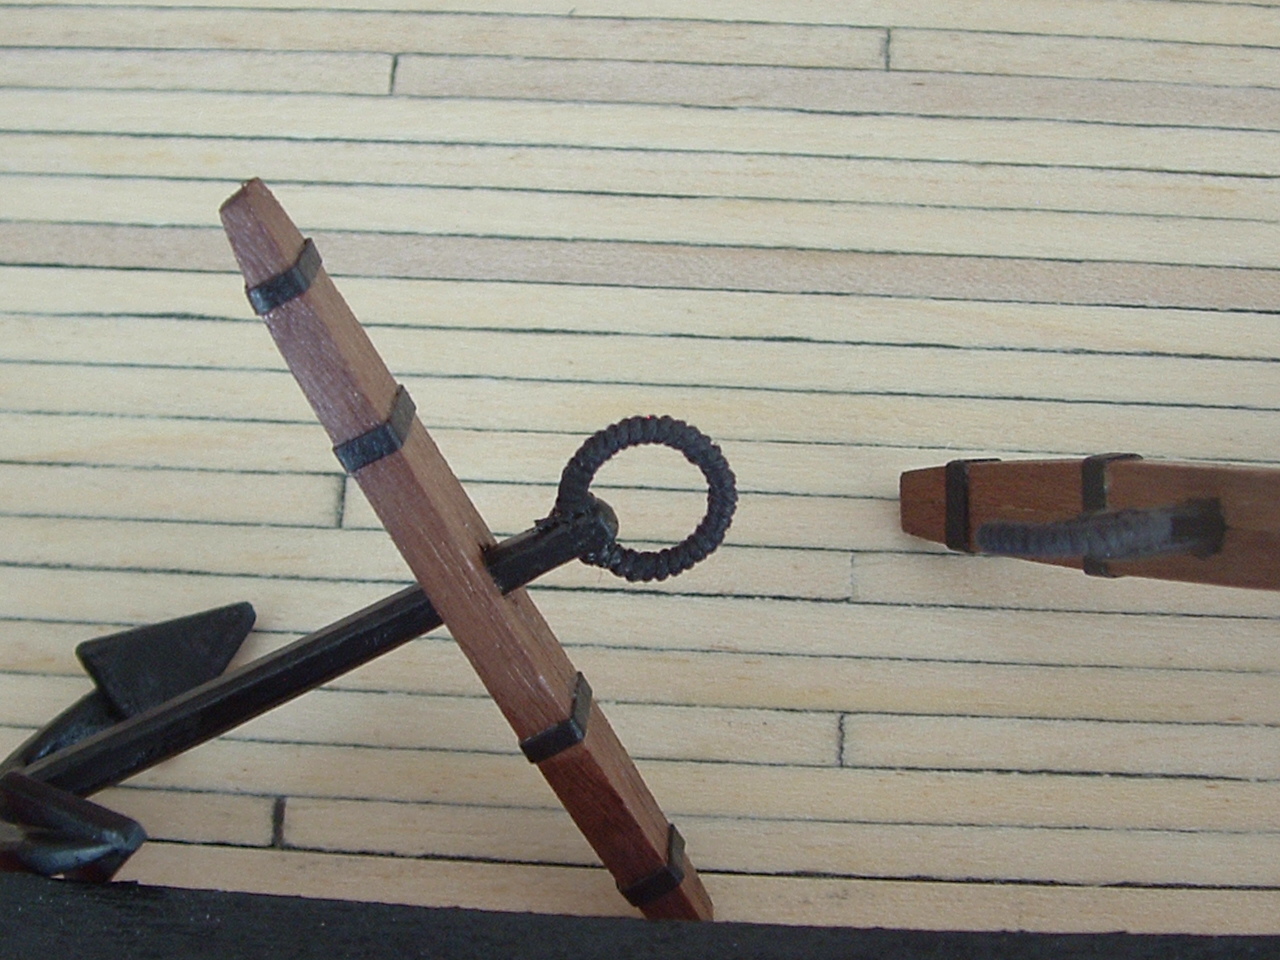
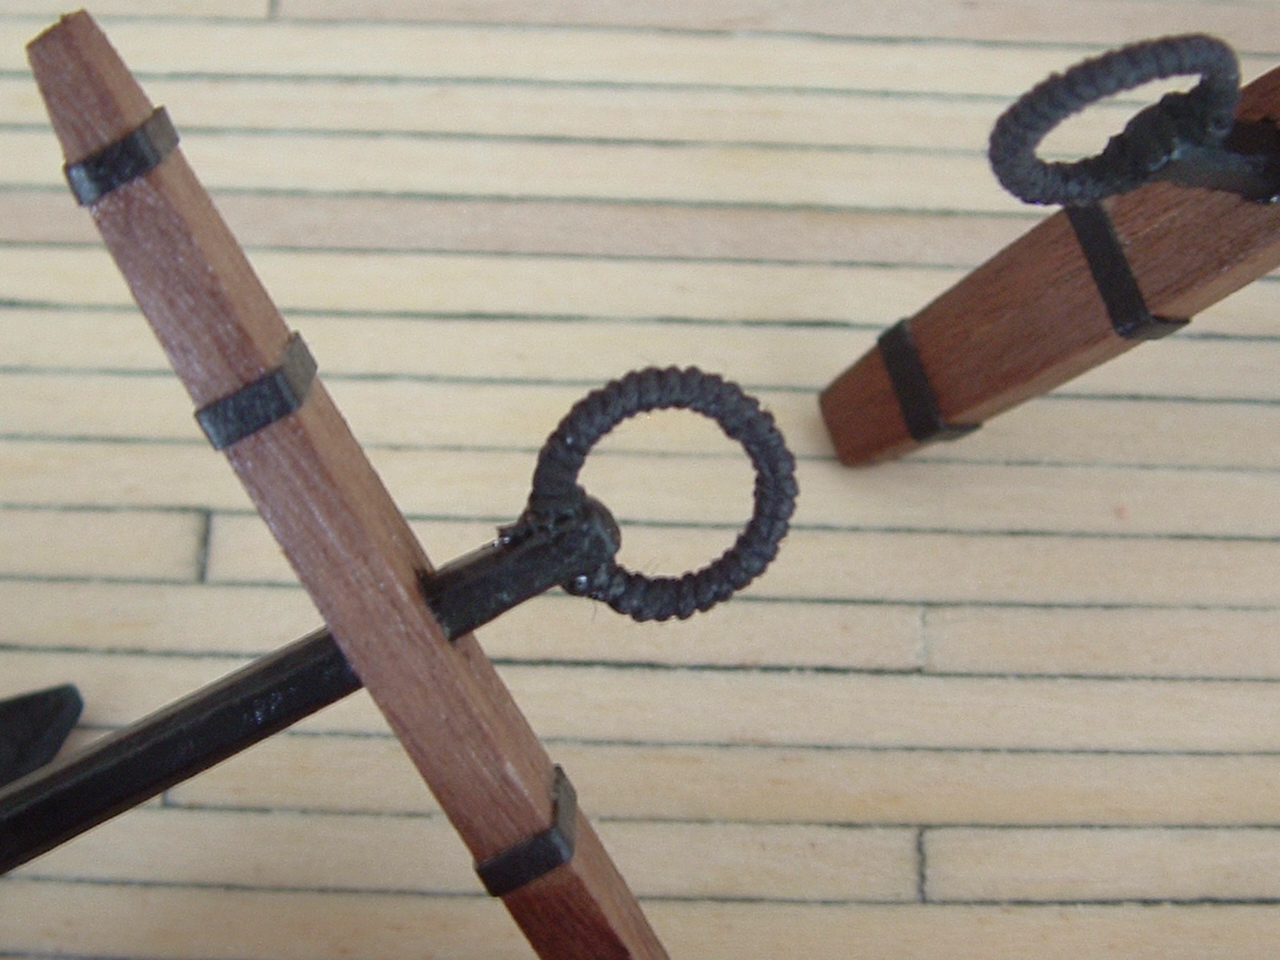
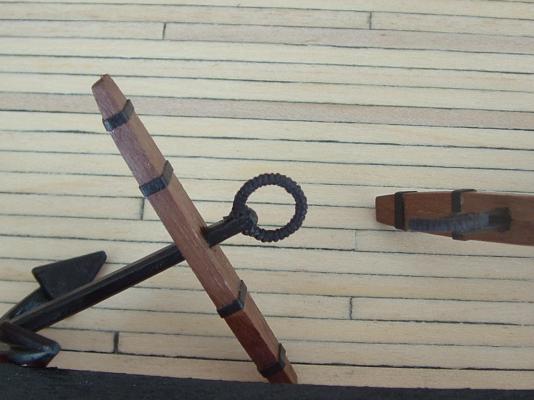
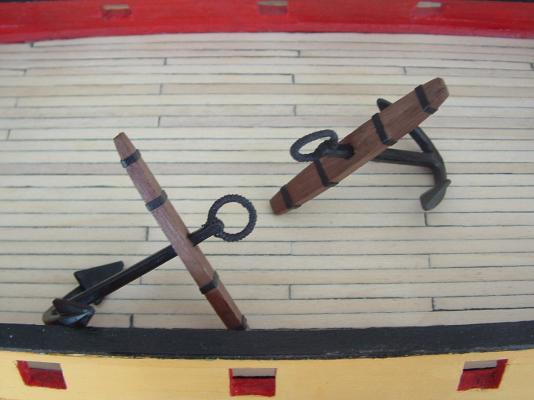
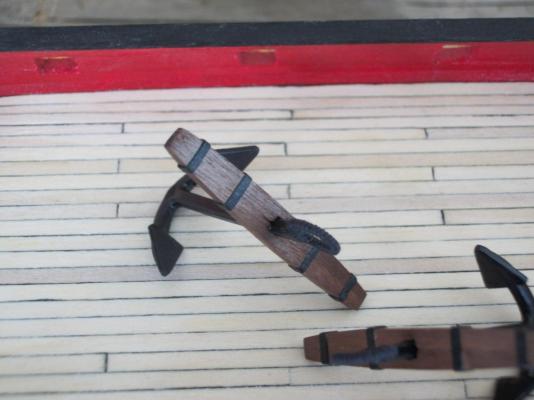
I finished the anchors: I used card stock from the Admiral's supply and I like the results, but will try the heat-shrink tubing on a project one day. I glued the stock halves together and glued the card stock then painted the shafts and all flat black, then glued the stocks to them. I twisted the largest brass wire from the kit around a dowl and trimmed then encircled with left-over rigging string. Once everything dried and cured I put a layer of varnish over the entire anchors as a layer of protection. I like the results I really must build the guns next. Thoughts and comments welcome

- 152 replies
-
- 4
-
-
- rattlesnake
- Model Shipways
- (and 1 more)
-
Excellent start on your Black Queen. And thanks to Antony for his help
- 33 replies
-
- 4
-
-
- Black Queen
- Mamoli
- (and 2 more)
-
Thanks Bill for looking in and giving the good advise. With so many choices I'll have to think about which one to try. Your anchor looks great by the way.
-
Thanks Russ - I will try
-
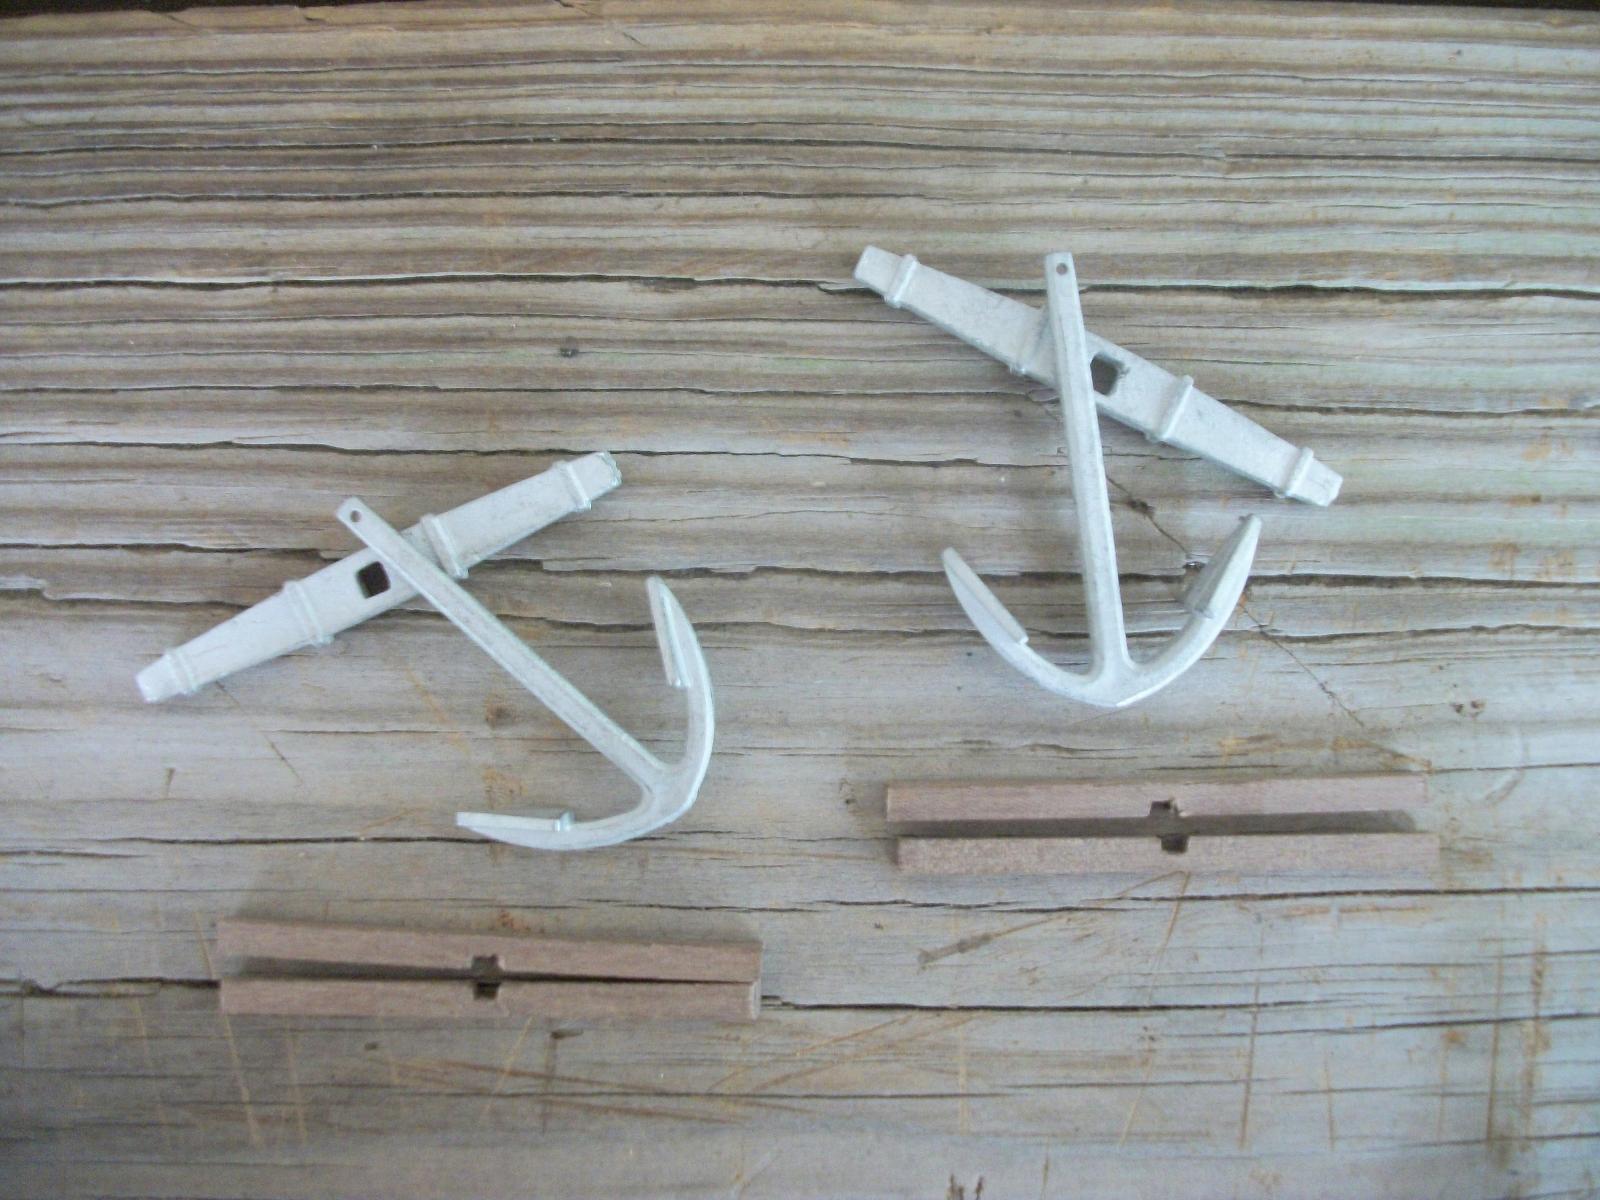
I decided to work on anchors - I don't know why but the urge hit me today when I was looking over things. Like I said before, I will not assemble the anchors as supplied. Hidden on the wooden table in the photo above are pieces of hardwood (walnut?) I trimmed to use as the stock. I will use the supplied pieces as a template then attached to the shank. I will then use small metal strips for the bands. Comments welcome Kenneth


- 152 replies
-
- 1
-
-
- rattlesnake
- Model Shipways
- (and 1 more)
-
Everything looks great. An inspiration since you are a little ahead of me. The comment on the boat by JSGerson is correct - don't glue on the bottom piece until all sanding is finished. Thanks - Kenneth