


Tschiller
-
Posts
34 -
Joined
-
Last visited
Content Type
Profiles
Forums
Gallery
Events
Posts posted by Tschiller
-
-
10 minutes ago, Scottish Guy said:
I get where you are going, but do you not think this is wasted time and material? I can smoothen wood the same way as I could do fibreglass, just with a lot less work and effort. Especially when using putty which would be the same as using putty in the first place with the wood?
Micha
Hi Micha,
I wouldn't do fiberglass on a static model, the only added benefit is durability from dings and such which are not a normal problem for static display.
- p40warhawk1 and Scottish Guy
-
 2
2
-
One easy way to fiberglass over wood is to do what RC aircraft builders have done.
1) Make sure is sanded to the final shape and then fill any low areas and sand until it looks perfect.
2) Cover area using Nylons (yes women's hosiery). Cut it to fit and lightly stretch until any wrinkles or loose fabric is taught and then glue using Thin CA to secure to the hull (you only need to glue at various points to hold the fabric to the hull). It will take more than one piece so you may have to overlap slightly to ensure complete coverage.
3) Mix you Fiber Glass resin (practice with a small amount at first to determine how fast it hardens to determine how much you can work with at once). Use a scrap piece of card to apply resin onto fabric, work it into the fabric to ensure that all air bubbles/pockets are worked out and the fabric is laying flat against the wood and get surface as smooth as possible. Let resin set up.
4) Add a second coat of resin over the dried first coat and allow to fully cure.
5) Sand the resin being careful not sand through t nylons, this will show areas where the resin maybe low and require additional coats of resin. If you sand into the nylon you will need to recoat that area with resin.
6) Once you get a decent smooth surface you can fill any small pinholes or imperfections with an Auto body Glazing Putty and sand them smooth.
- p40warhawk1 and Scottish Guy
-
1
-
 1
1
-
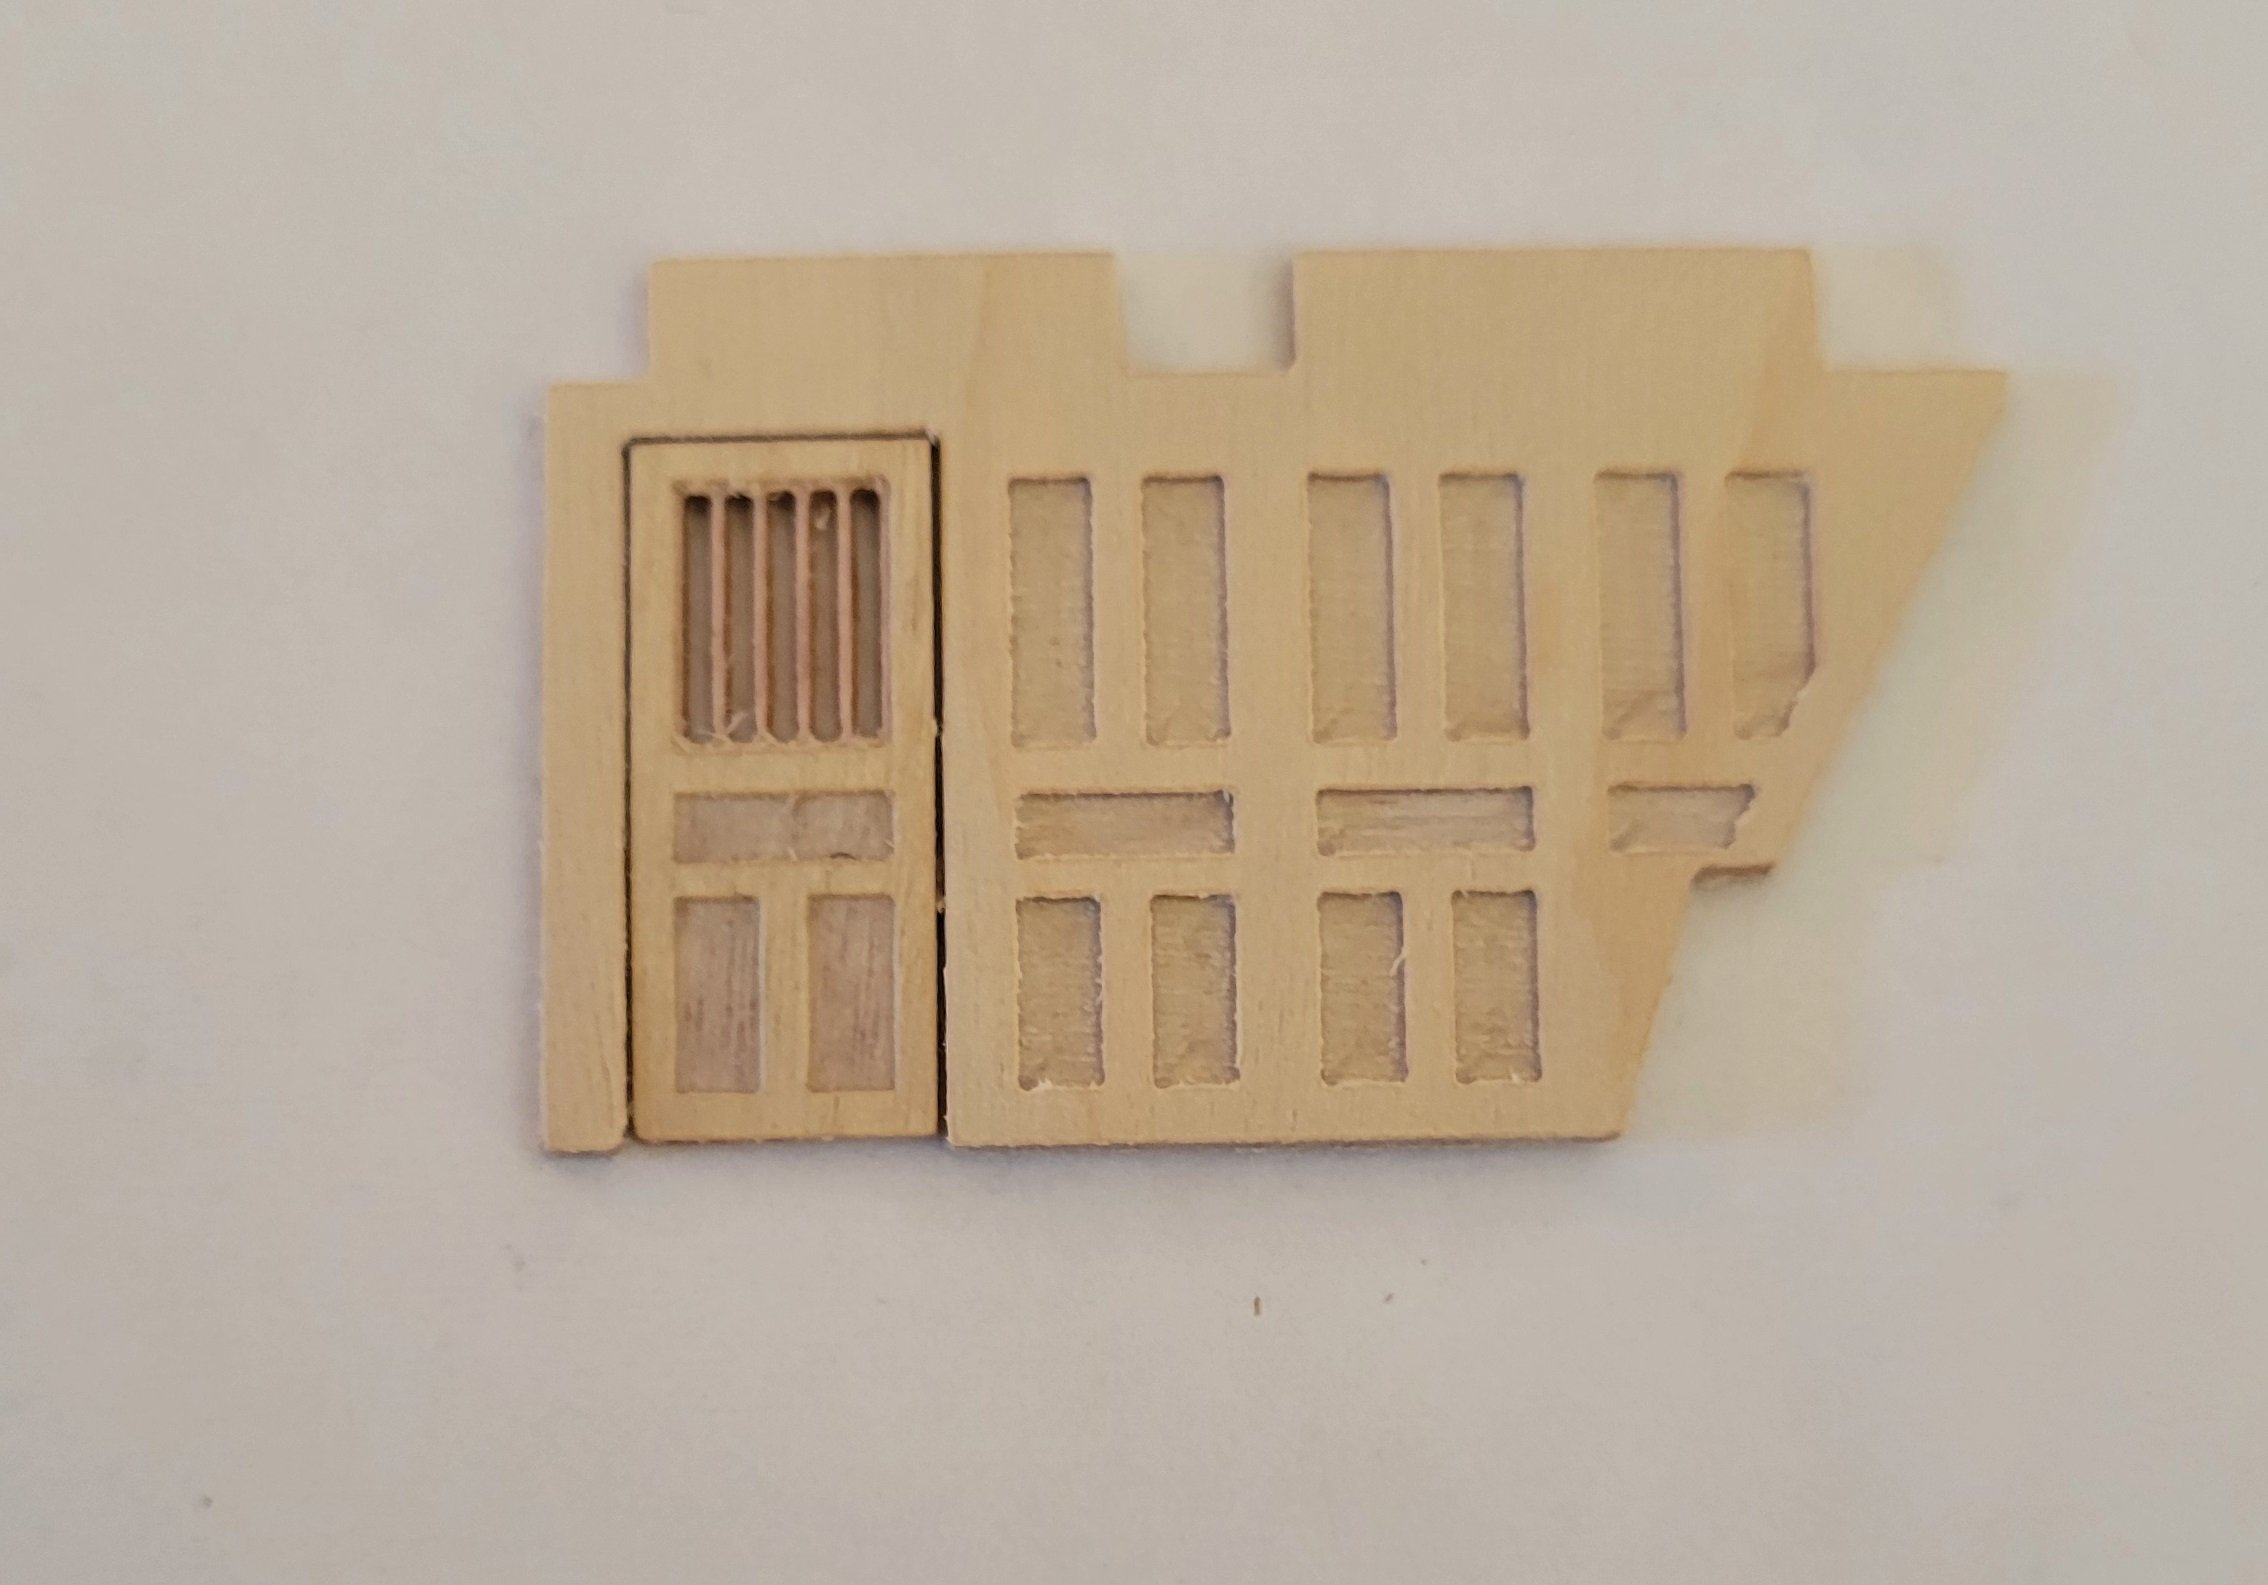
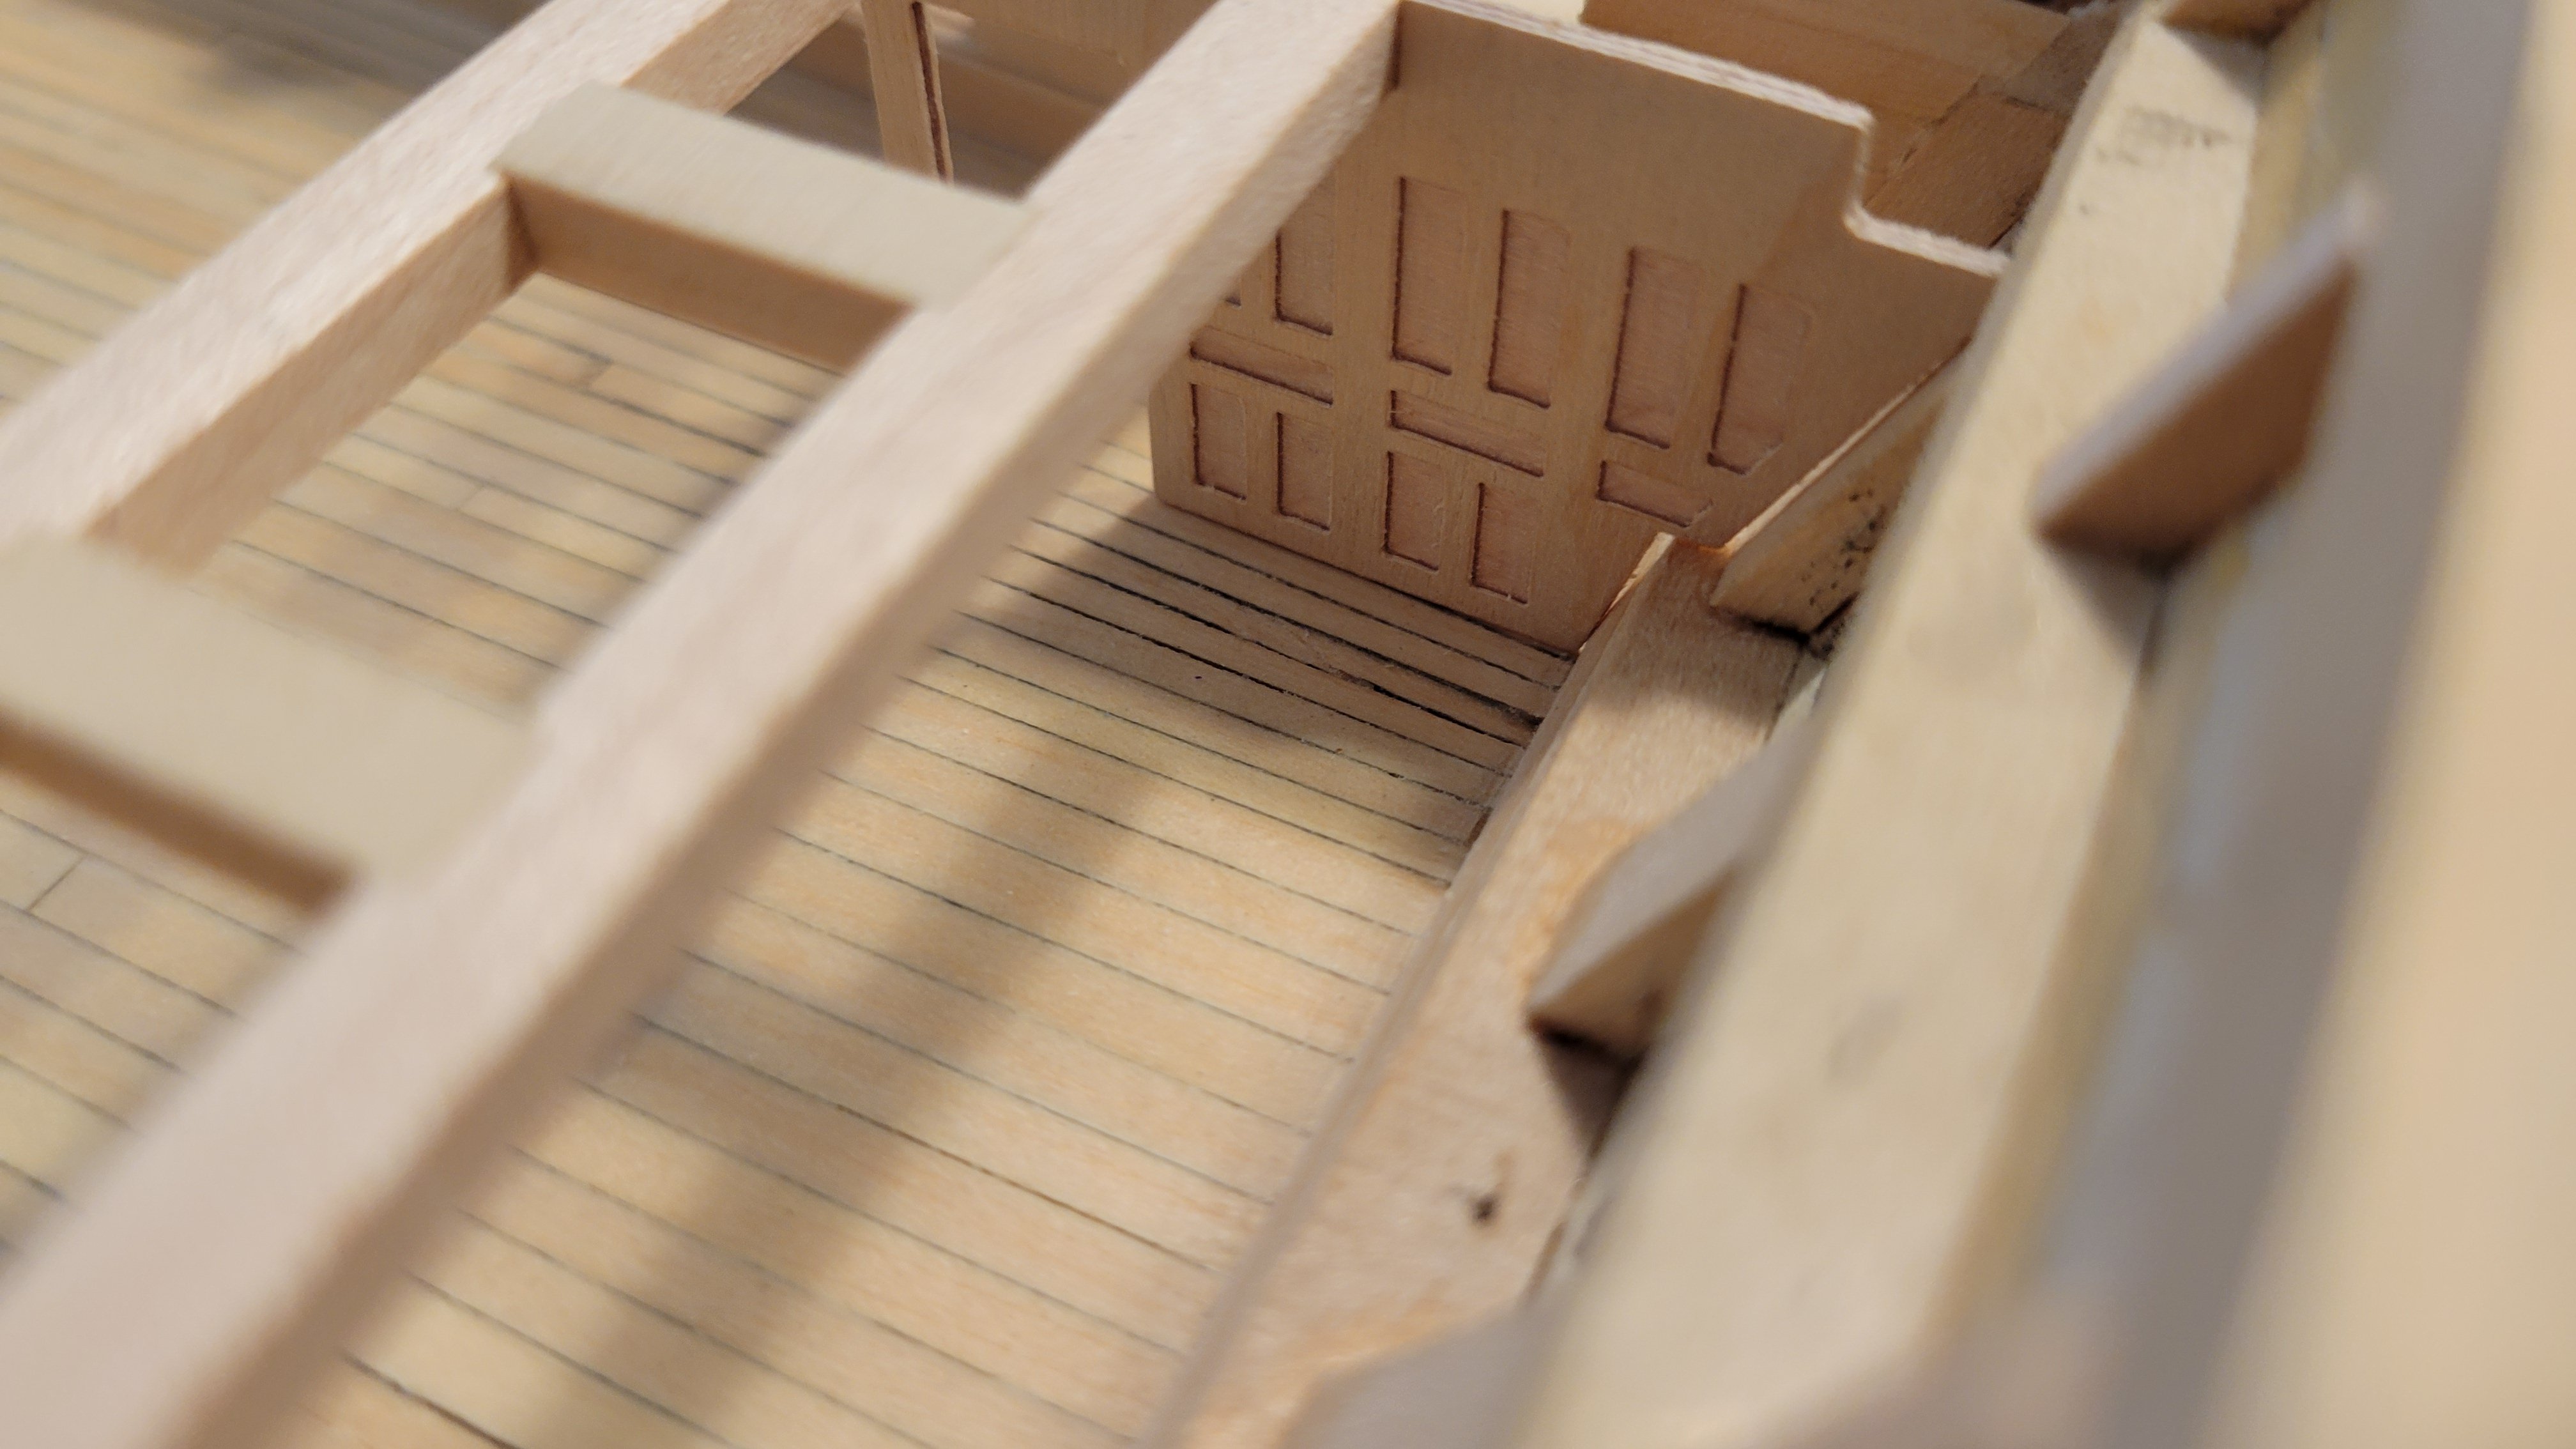
I cut out the wall leading from Captains Aft Cabin to the Starboard Stateroom and test fitted the door, everything appears to align well.

and then I checked the fitment in the ship, not too bad nothing a little tweaking with a file wont fix!

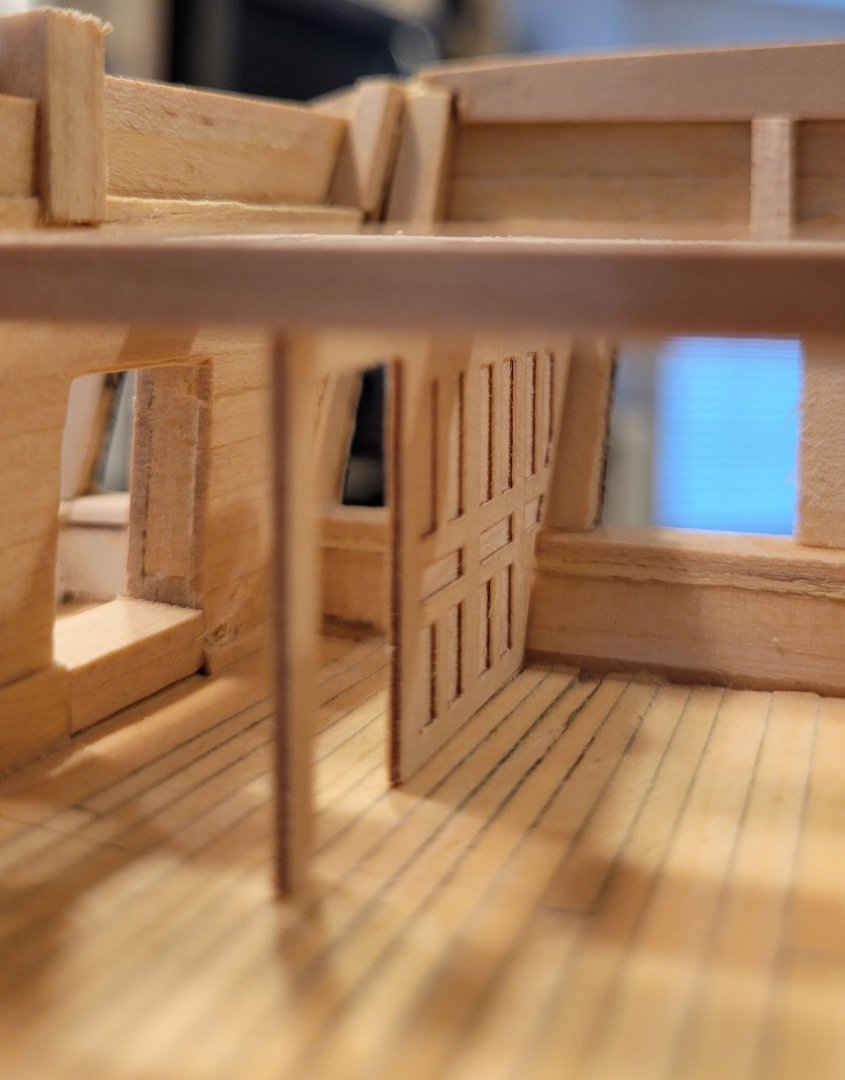
I plan on experimenting with doing raised panels vs recessed panels on the CNC just to compare.
-
36 minutes ago, Scottish Guy said:
Looks like a huge success though. Looks amazing...
Micha
Thank you Micha
- Scottish Guy and mtaylor
-
2
-
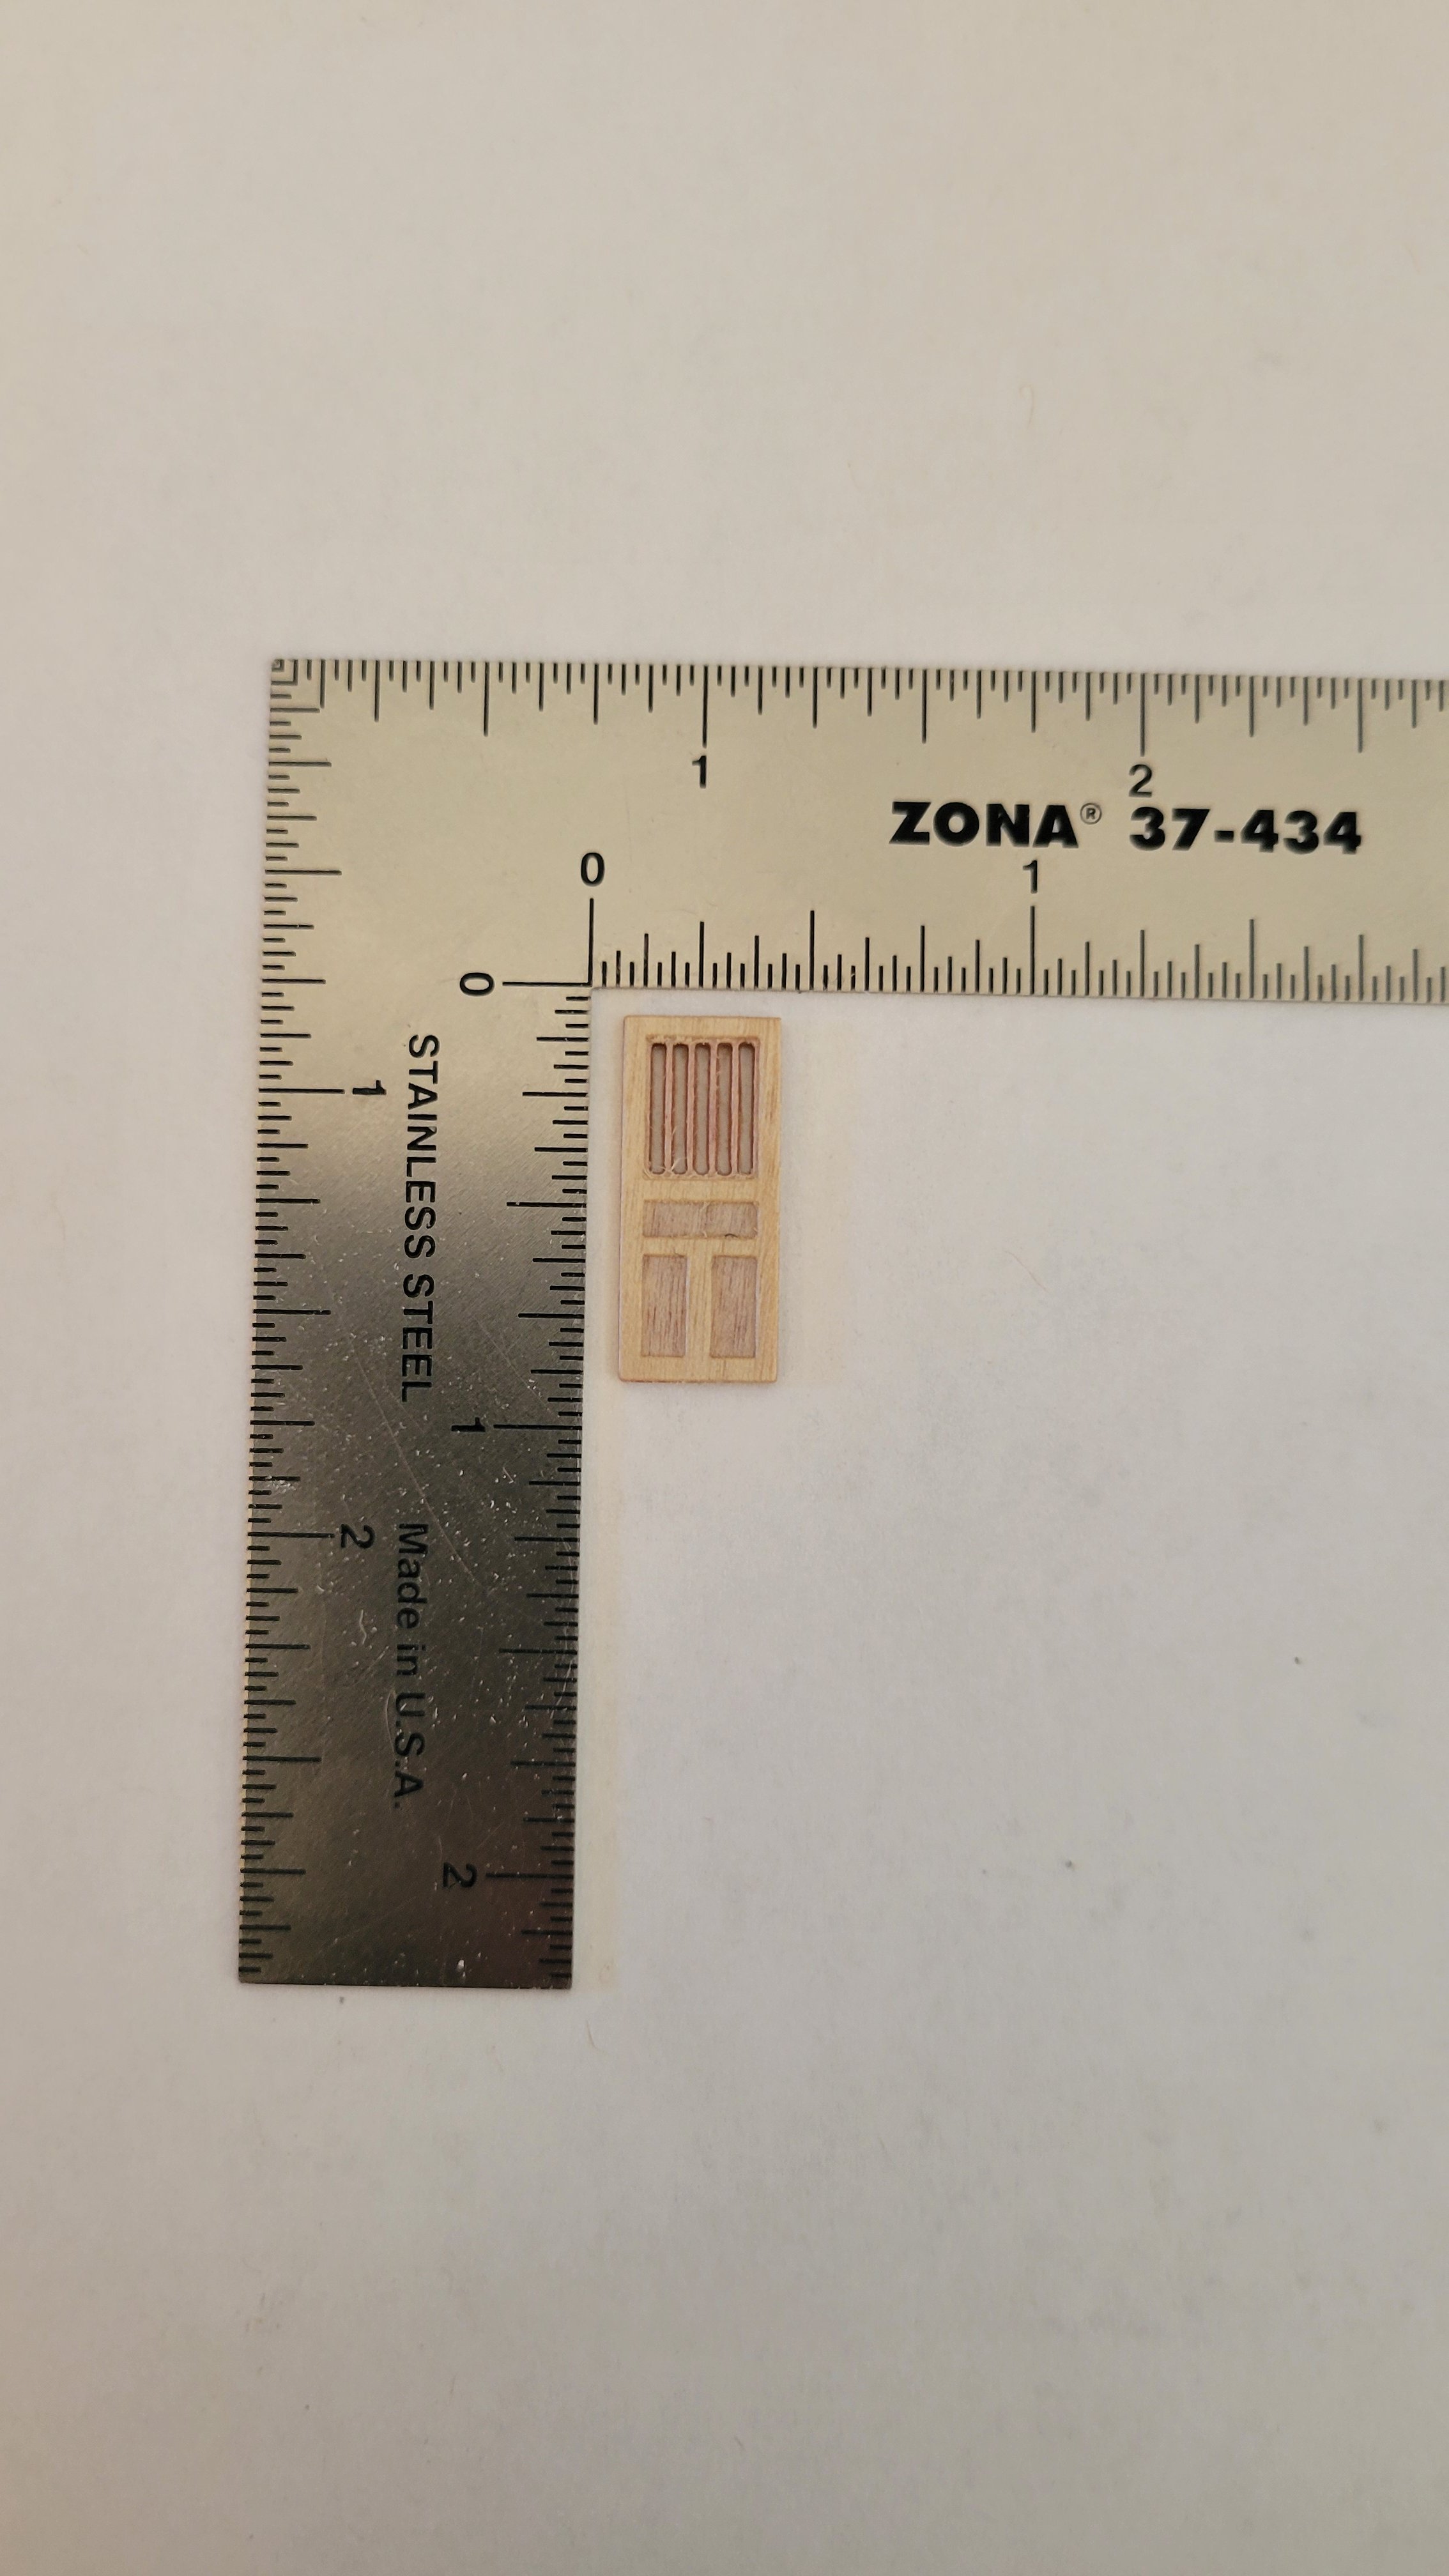
Playing some more with the CNC I have cut a Cabin door out of 1/32 plywood. I am really liking this desk top CNC!

-
19 hours ago, JerryTodd said:
I think we all go through a "name plate phase" as we grow in our modeling
")
I have to say, you're making the best use of what I consider to be a criminally awful kit, that I've seen yet. I wonder if it would have been cheaper for you to buy materials and build from scratch.
You don't have to wonder, the materials included in this kit are horrible, good thing I have a lot of maple, walnut and other woods in the garage and a way to cut them. But, the box it came in is really useful for holding all the scraps!
-
29 minutes ago, Scottish Guy said:
Really nice work and very accurate. Love it and gives me the vibes to one day do a Constellation as well, is a really nice ship, I just don´t like cannons, I prefer merchant ships (like the Cutty Sark).
Looking forward to the rest of your build.
Micha
Thank you Micha.
- Scottish Guy and mtaylor
-
2
-
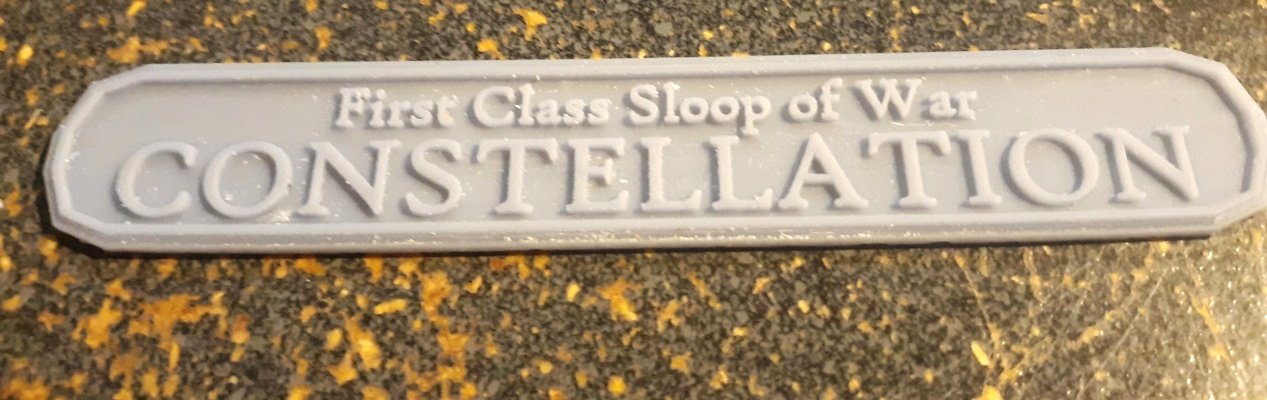
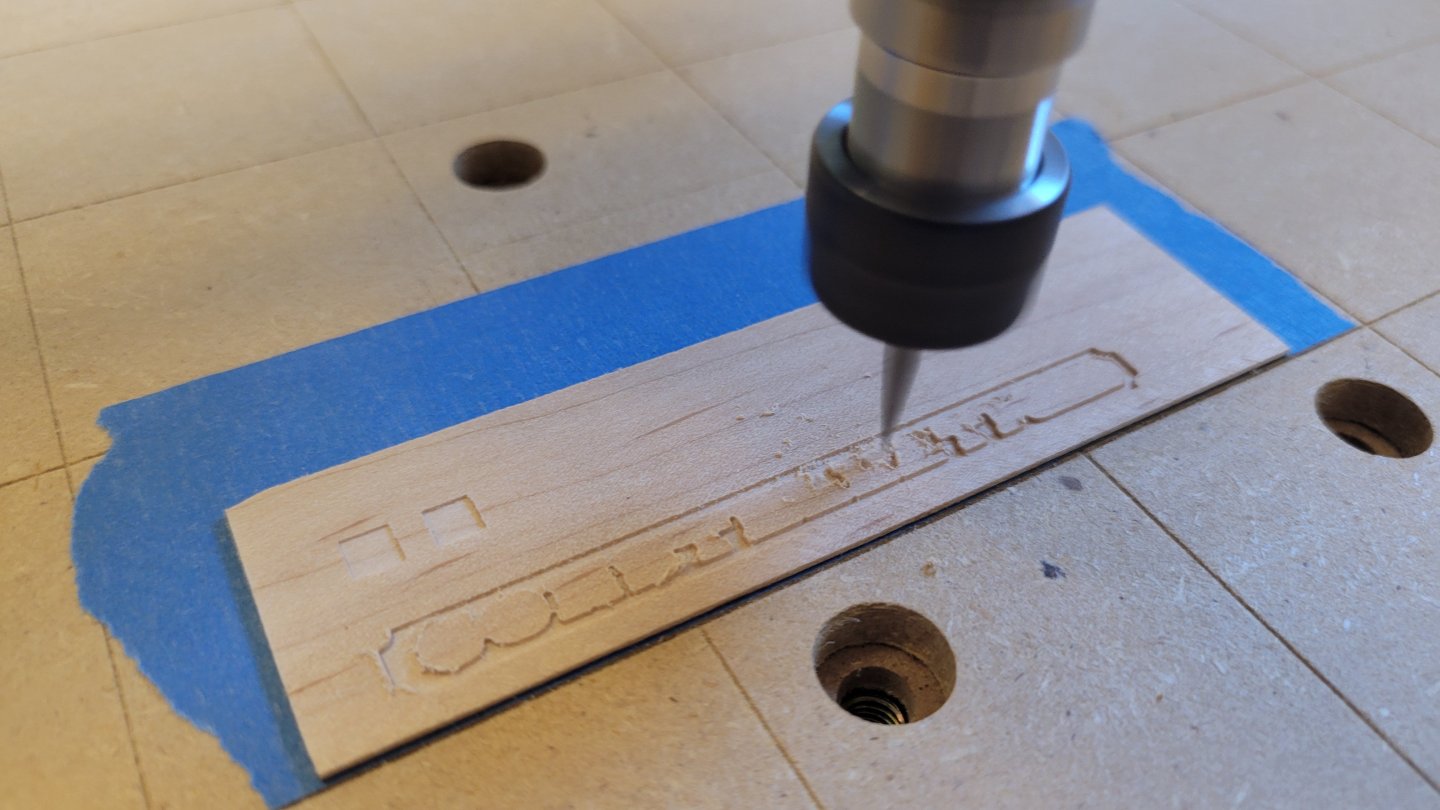
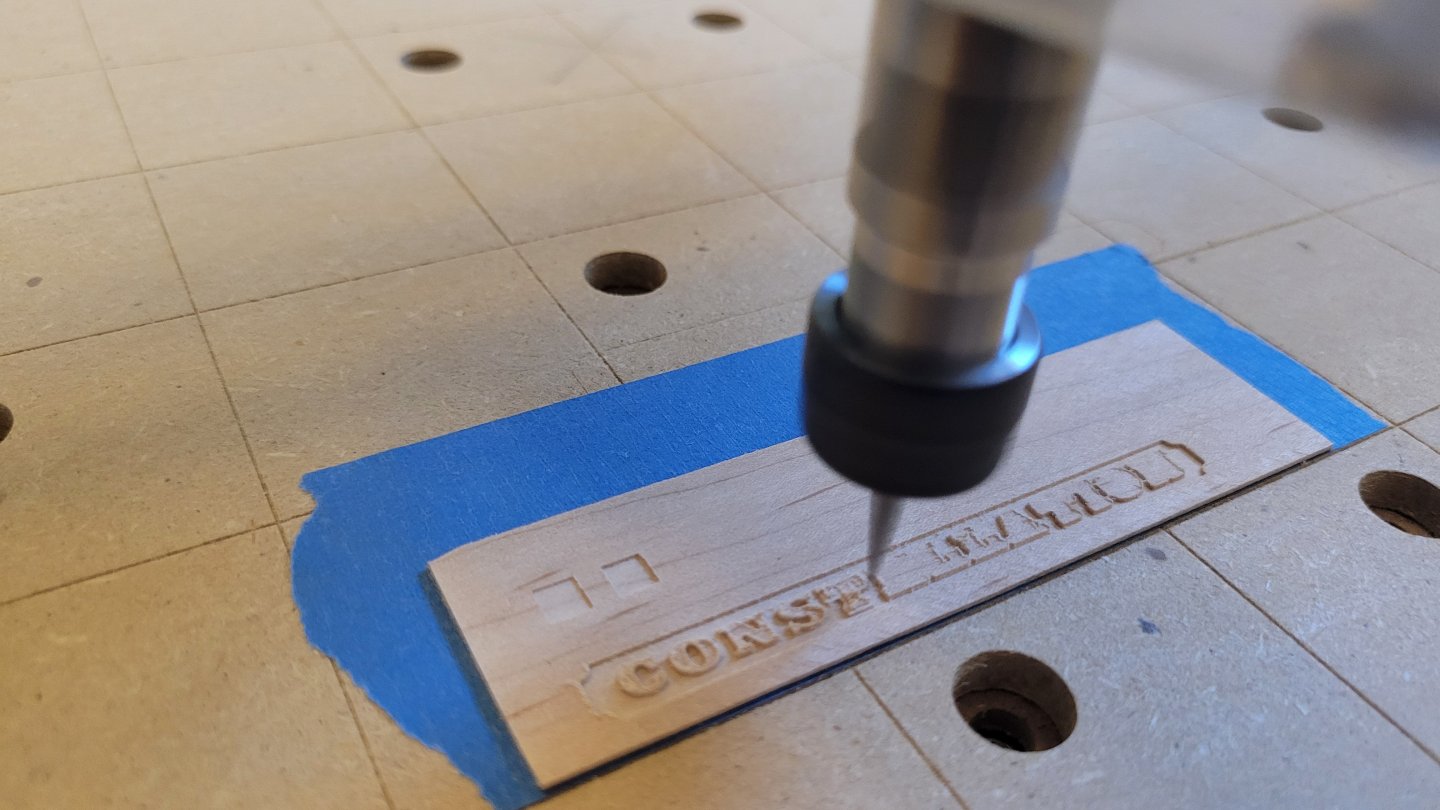
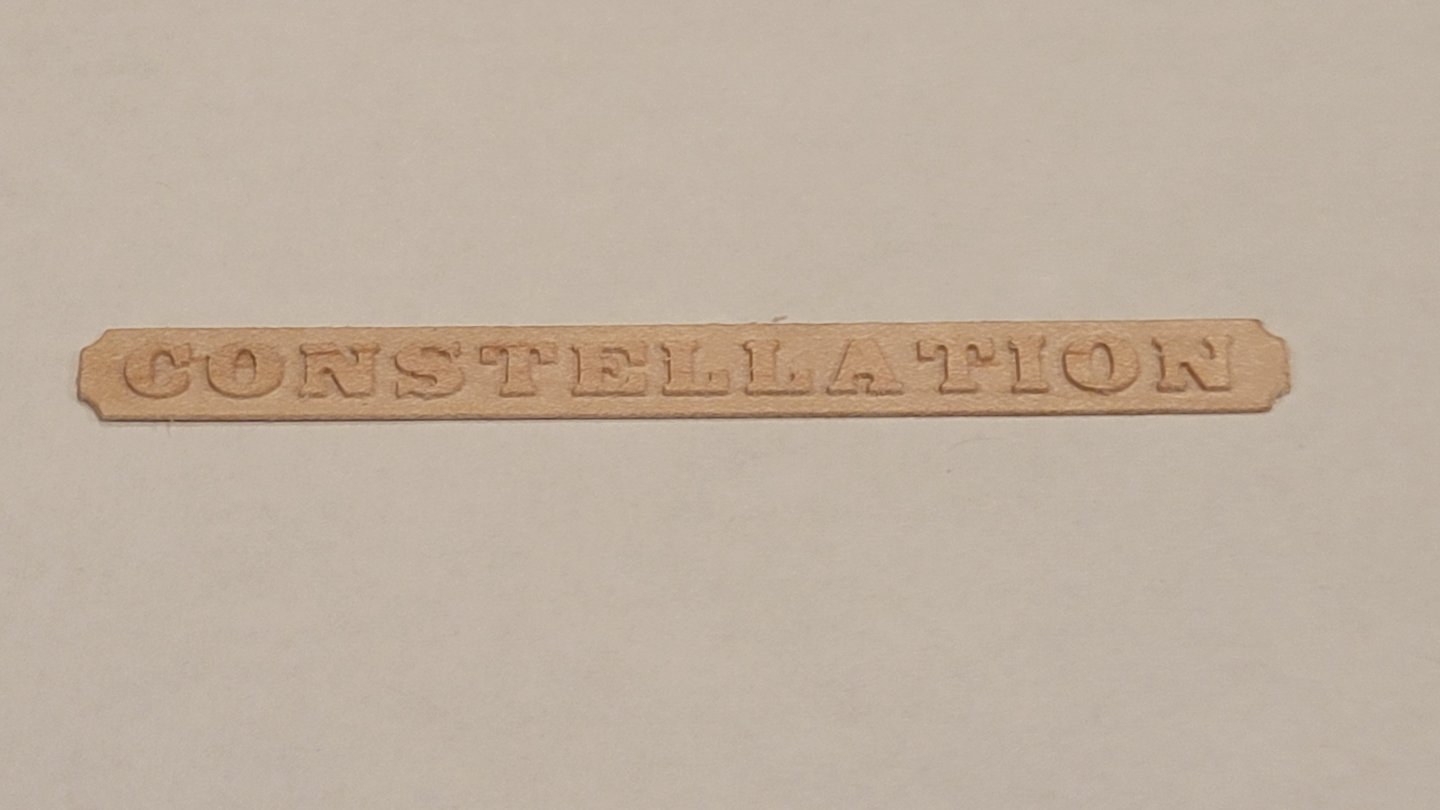
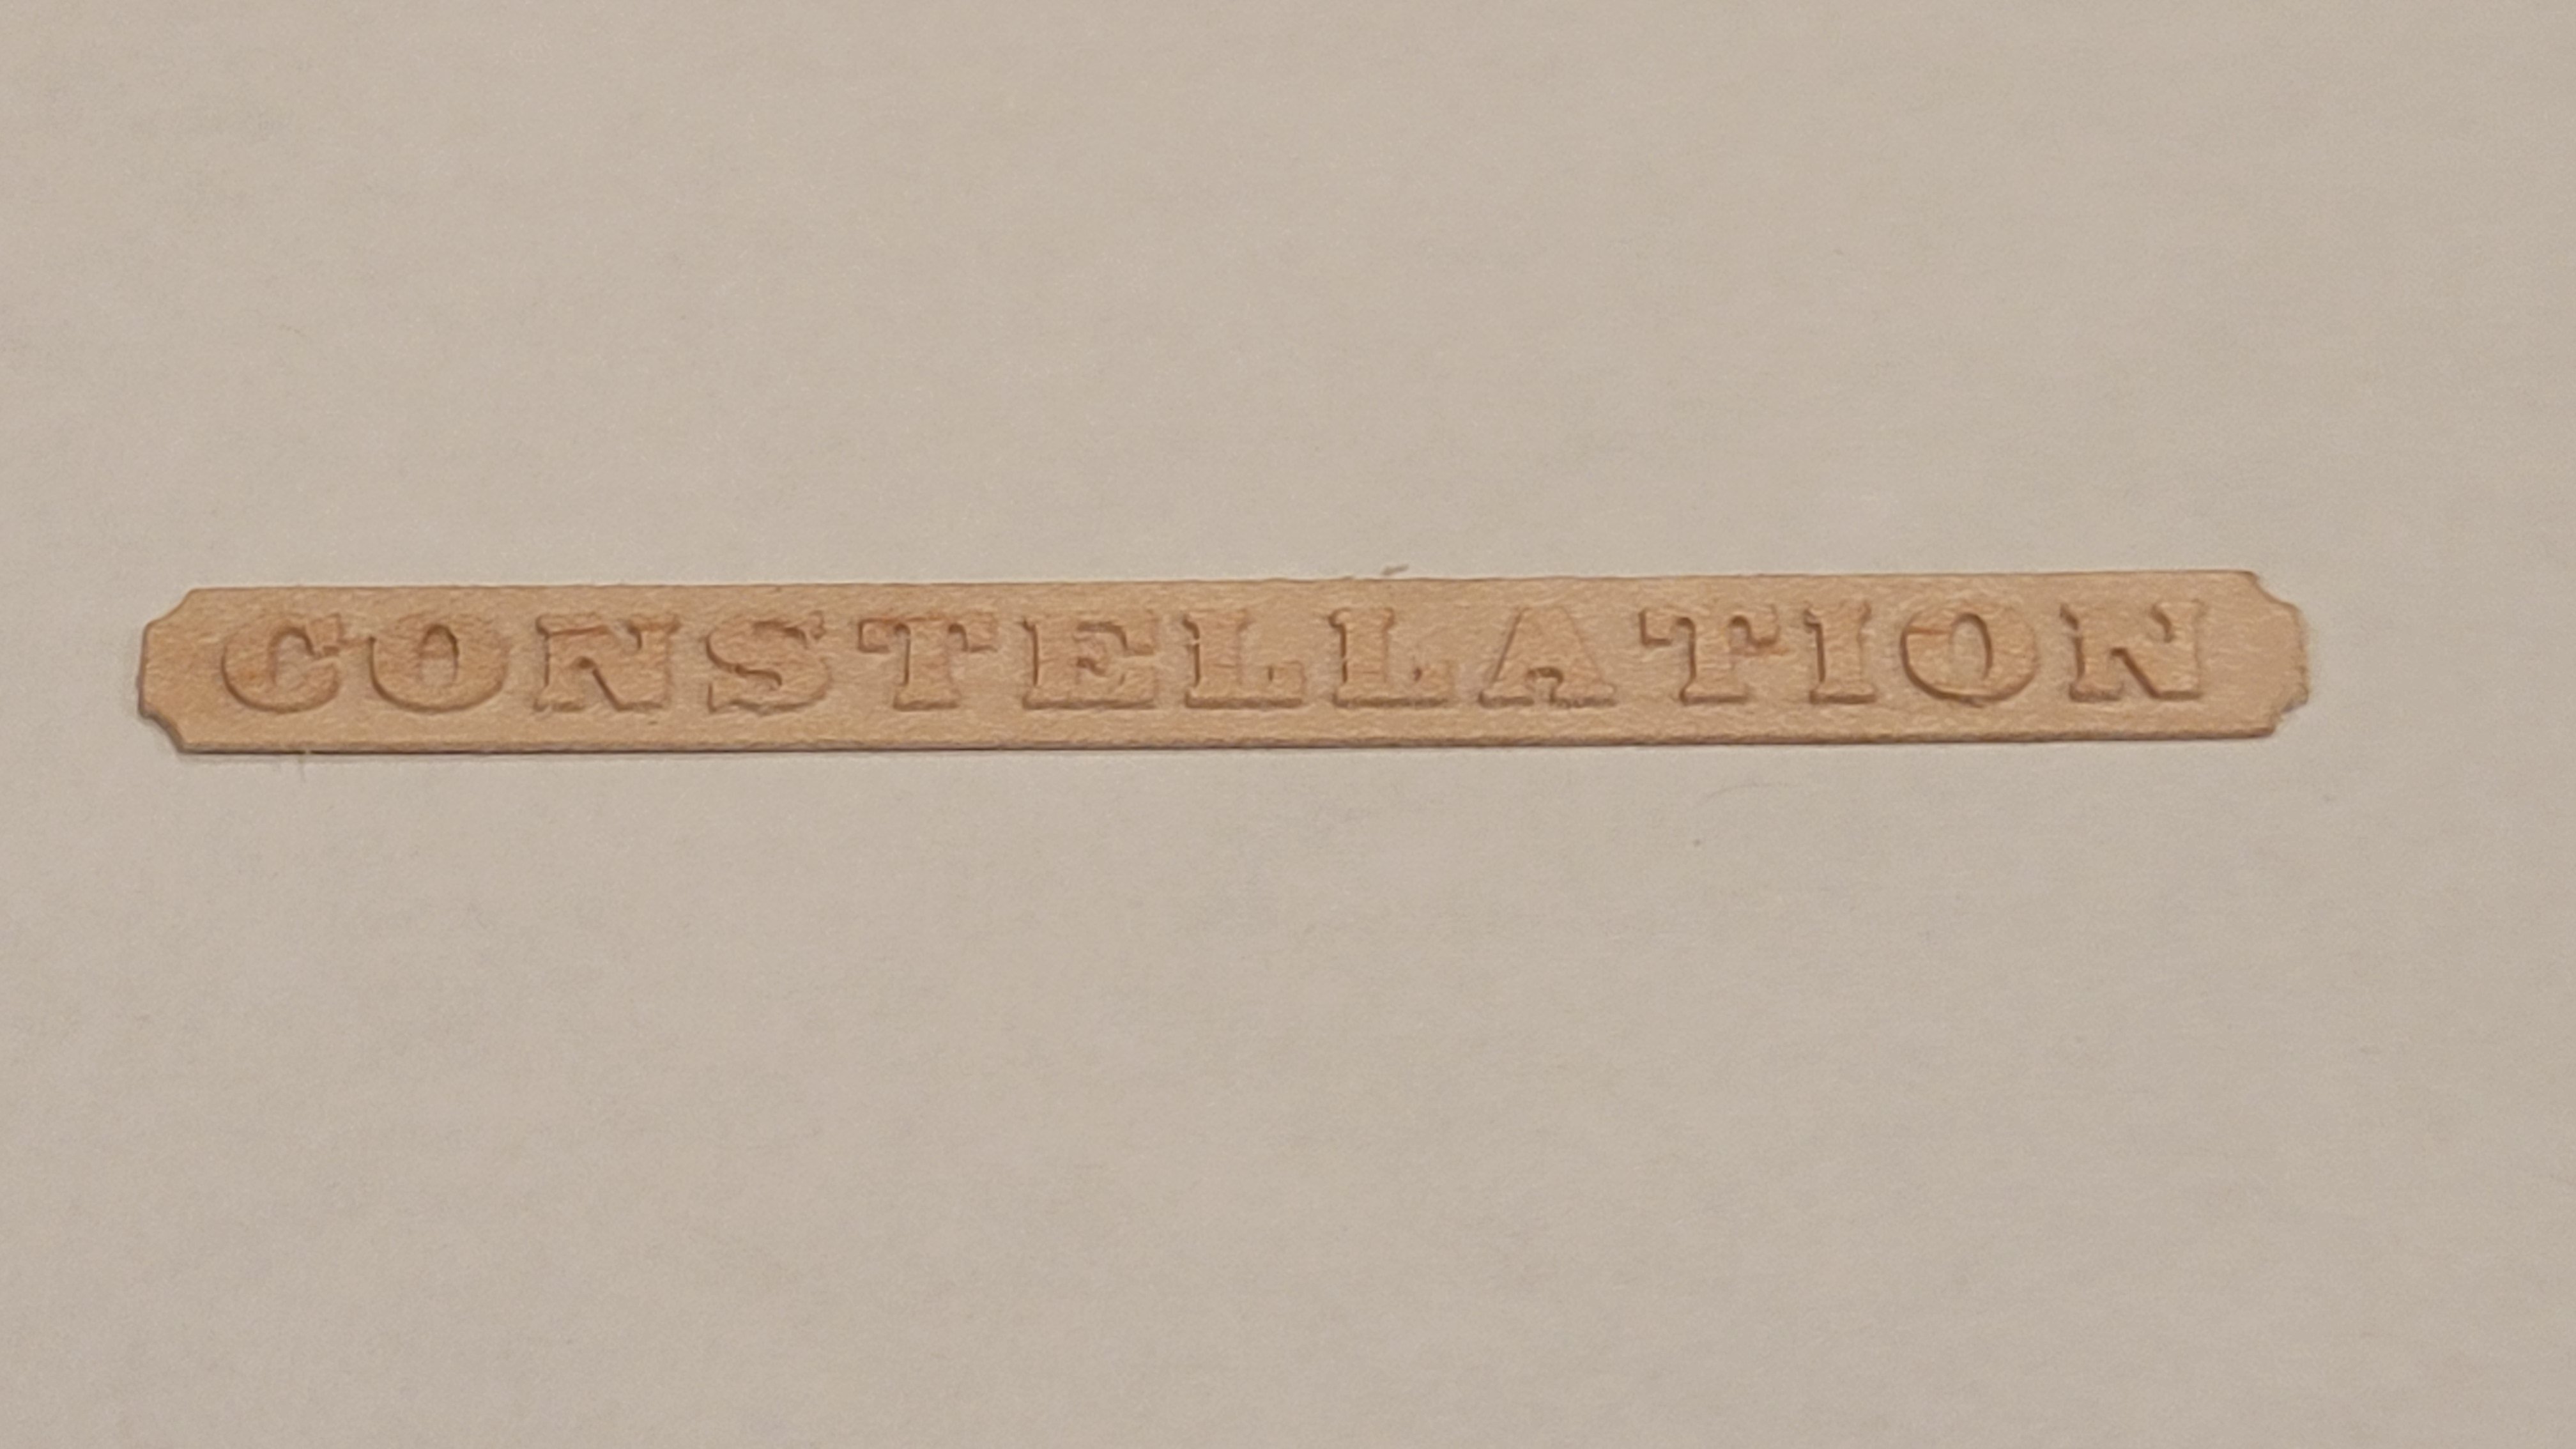
I pulled the trigger and got a desk top CNC the other week. After setting it up and researching how to use it and what software for creating the files, I have finally produced something somewhat acceptable....
Although I need to rework it with a slight arch to fit the stern and figure out why there's not a hole in the A.....
- Scottish Guy, mtaylor and ERS Rich
-
 3
3
-
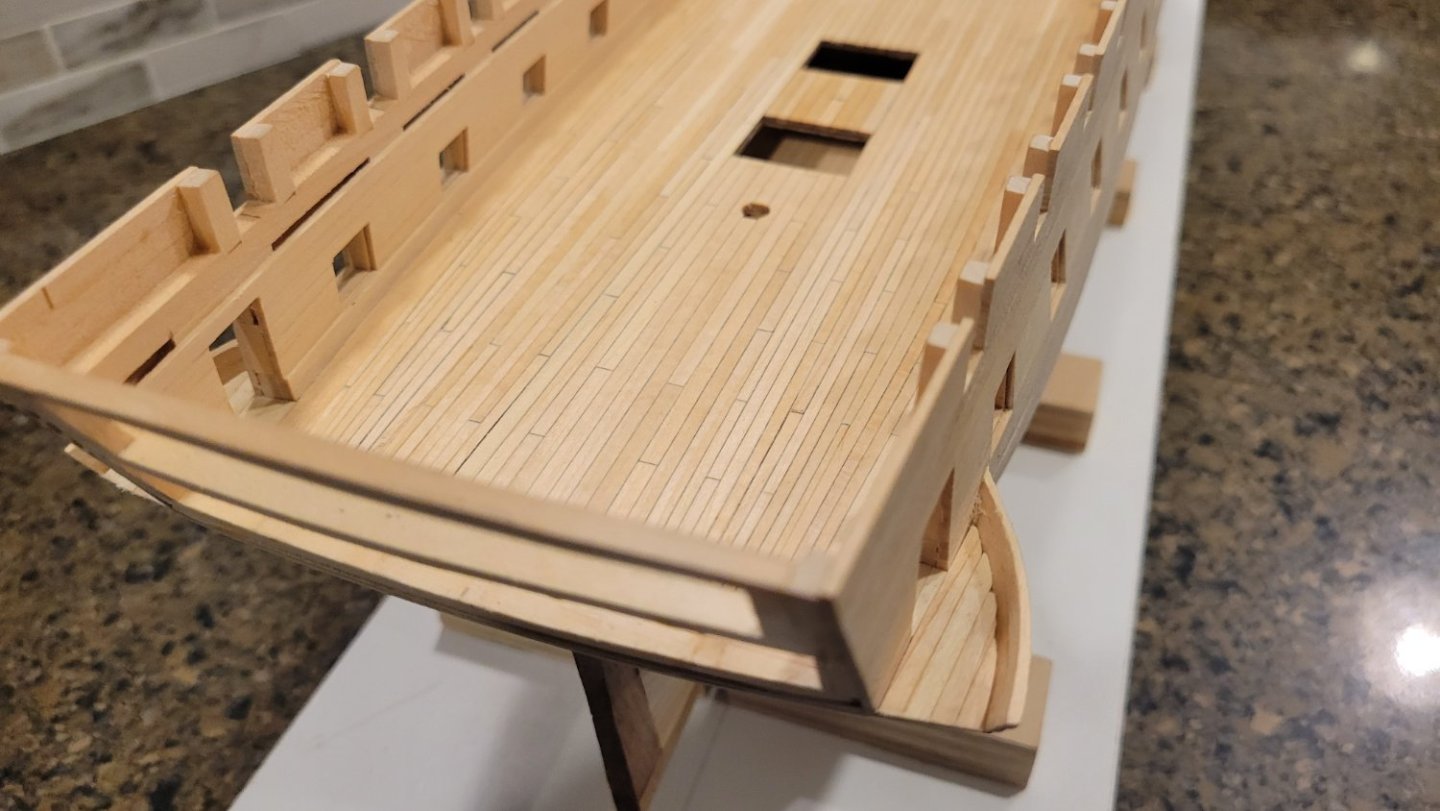
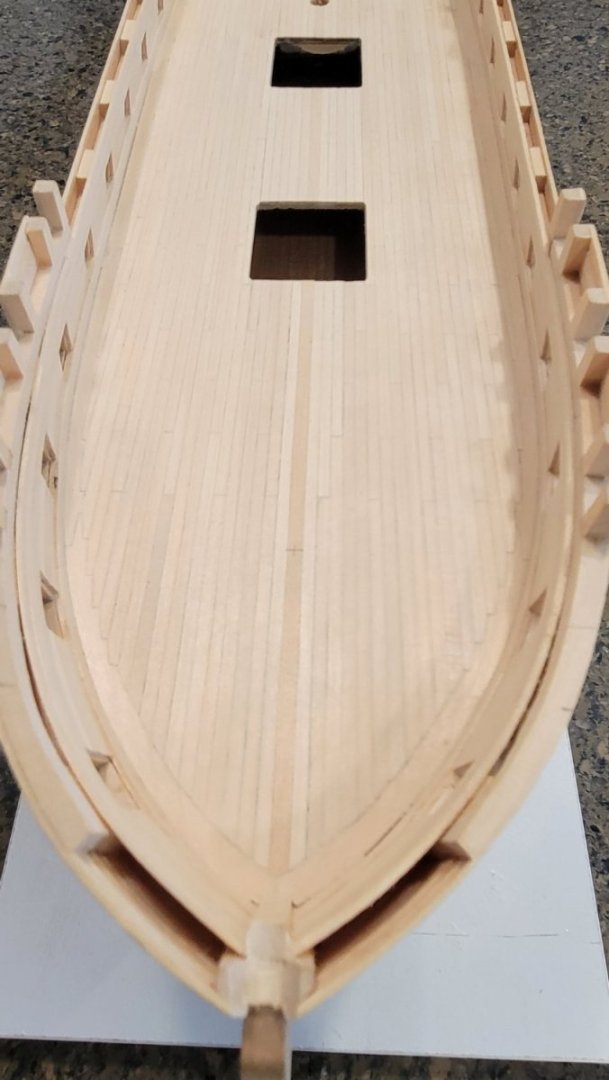
So I have made a bit more progress since my last post
Completed the Breast Hook for the Spar deck...

Started the Beams in the Aft to located the walls in the Captains Cabin...
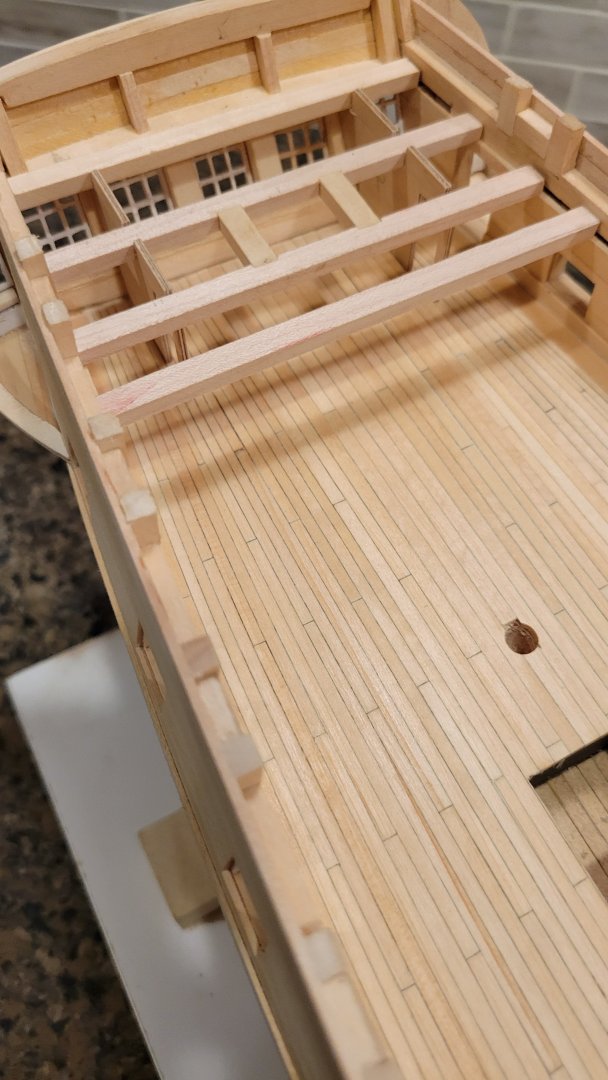
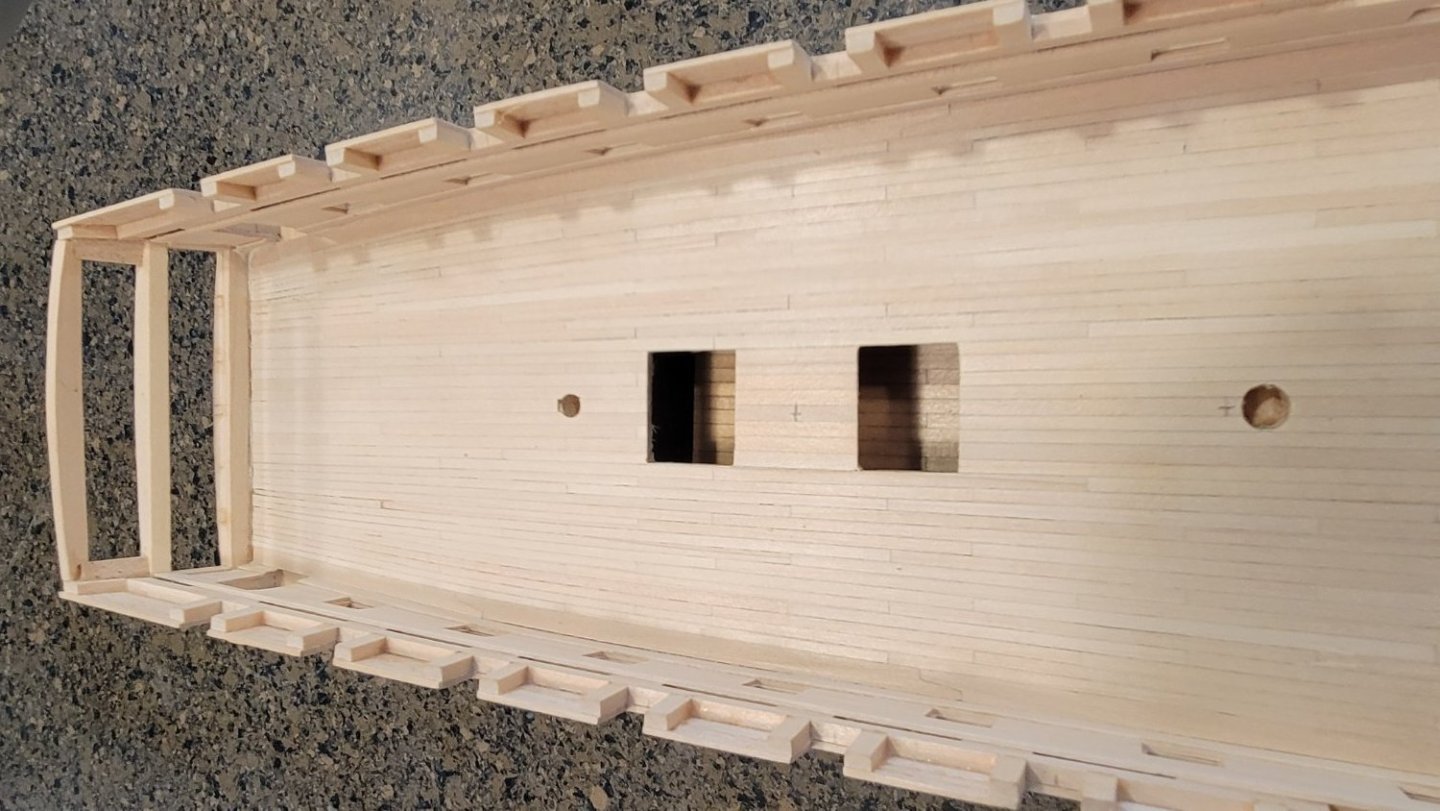
and finally was able to complete the lower planking on the Quarter Galleries...
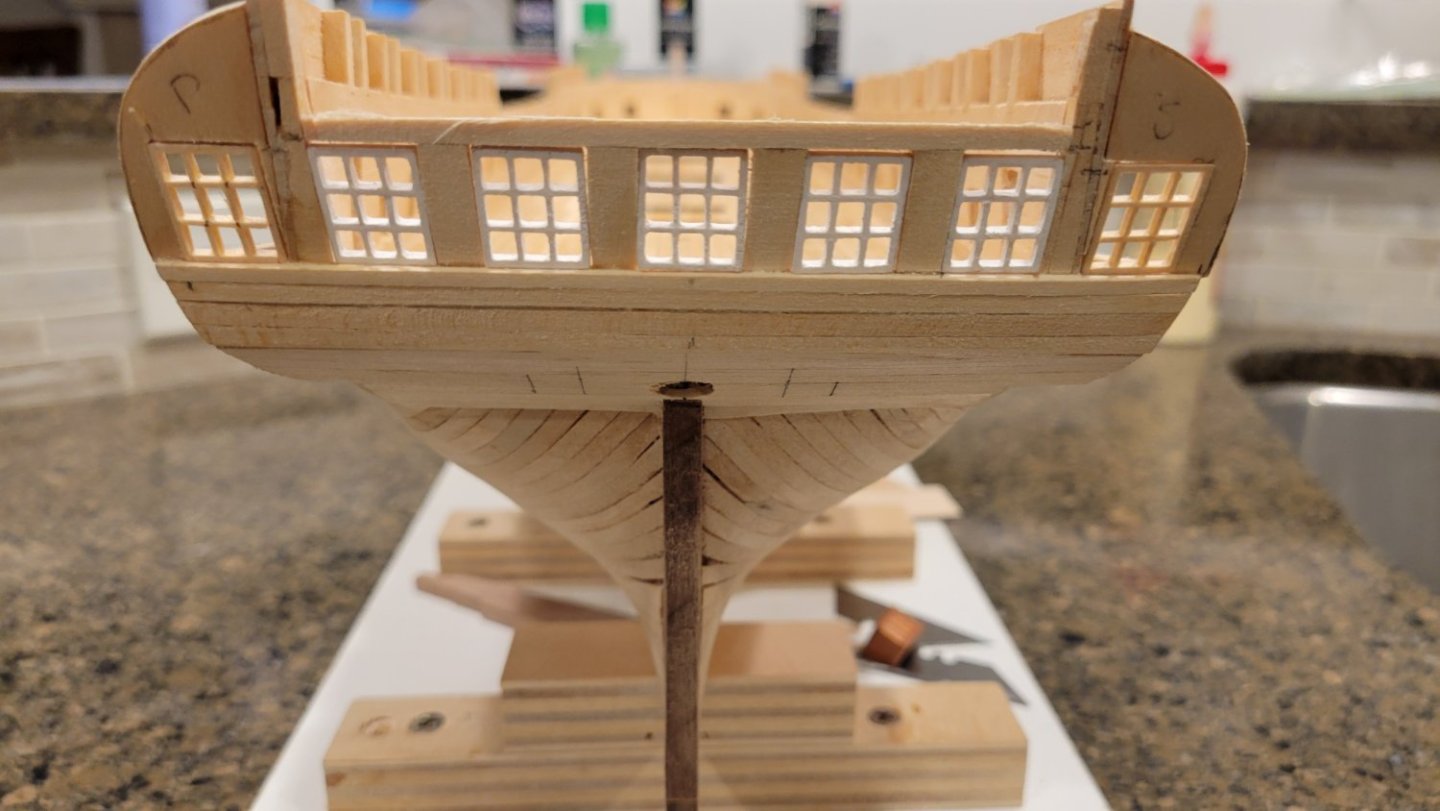
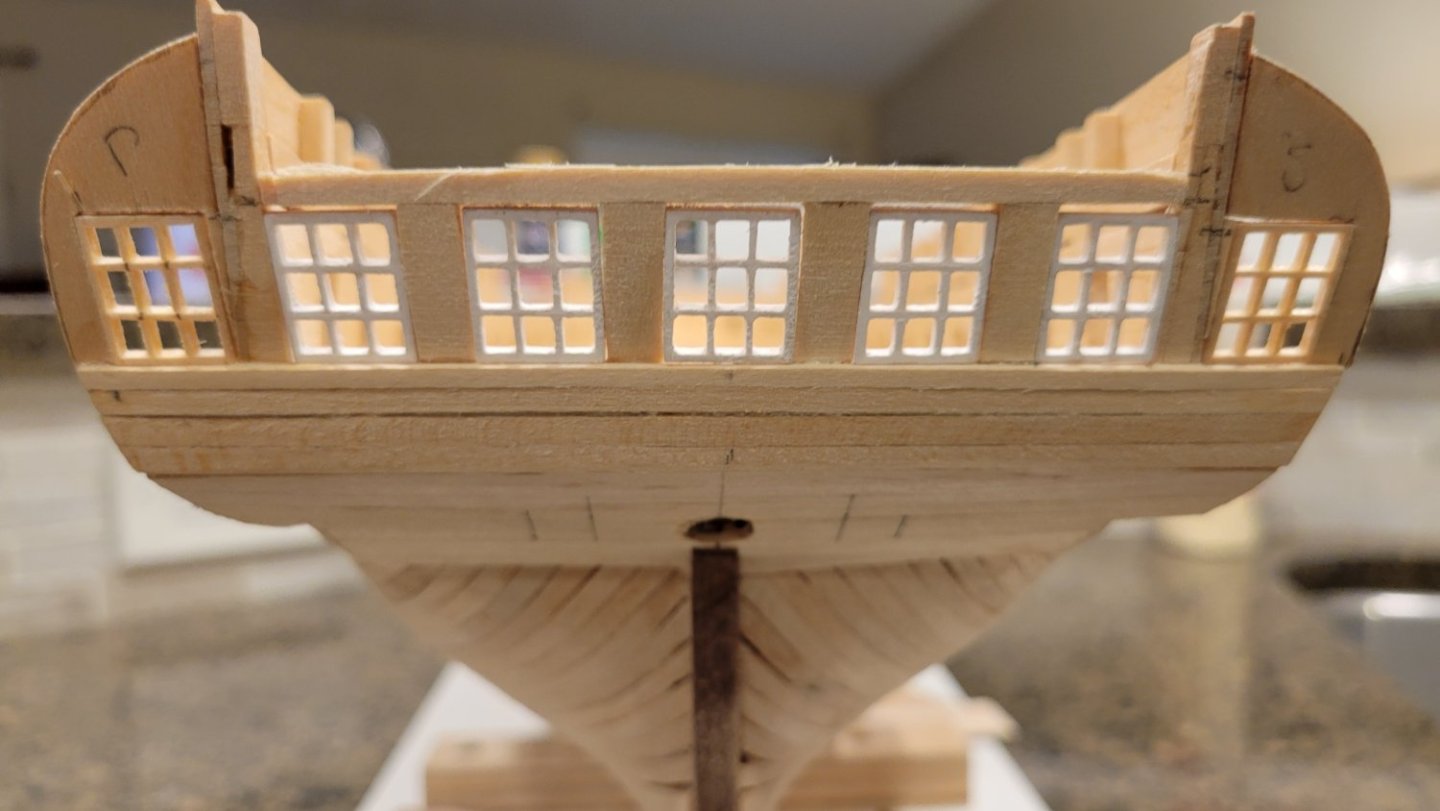
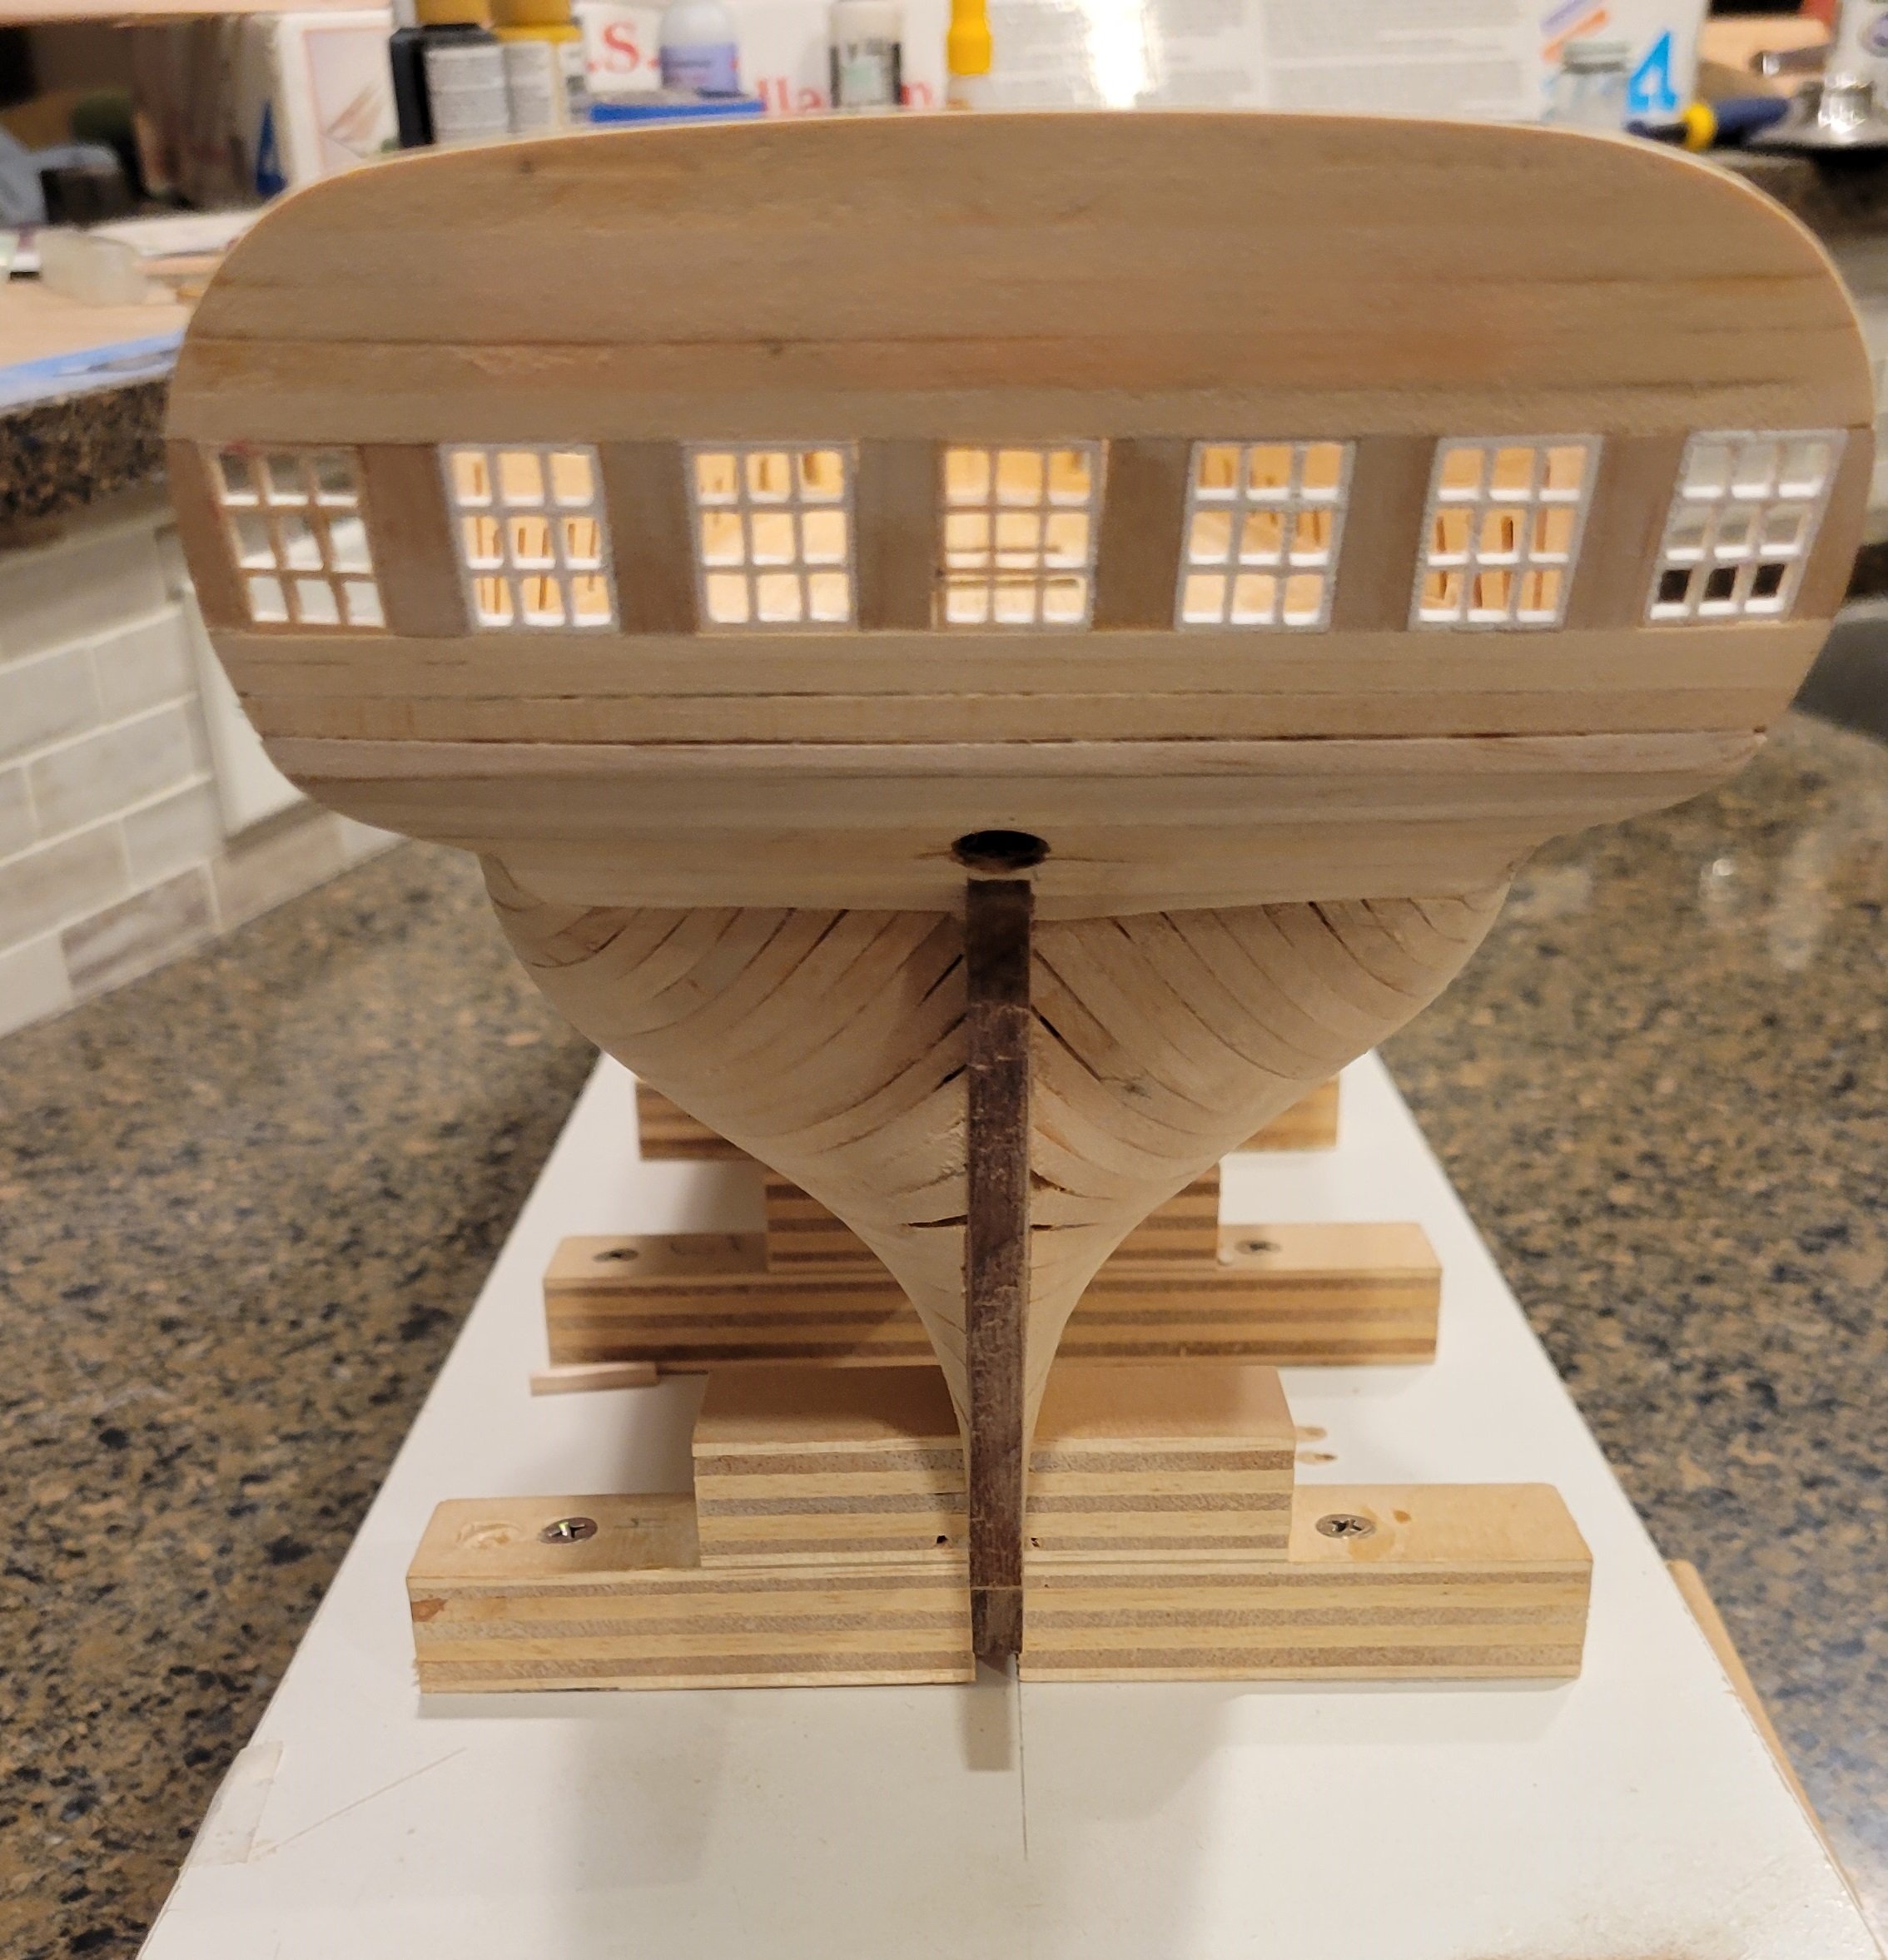
and lastly I completed the planking on the Stern and fitted the Stern windows. All in all, I think it turned out pretty good so far.

- mtaylor, wvdhee, Scottish Guy and 1 other
-
4
-
-
Good Morning,
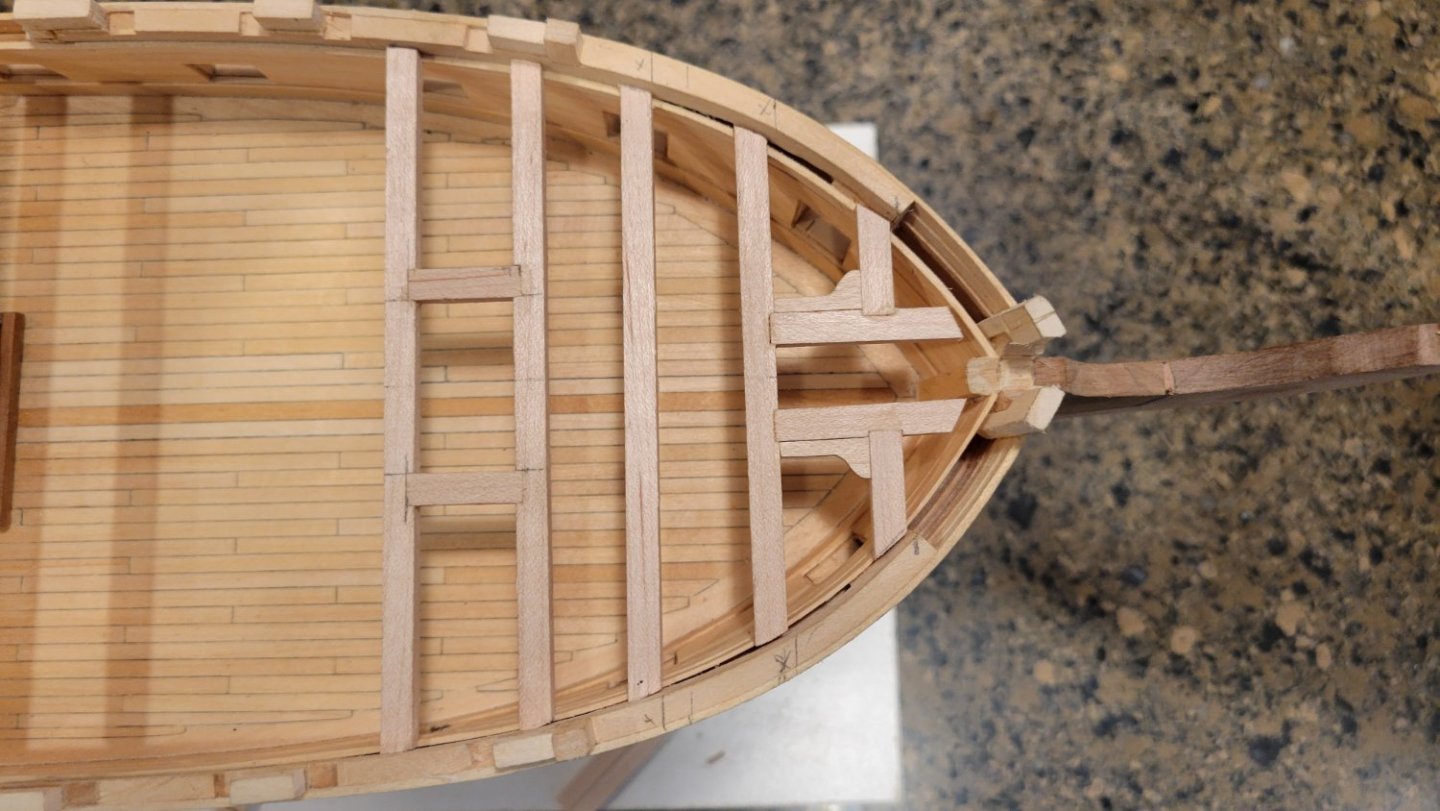
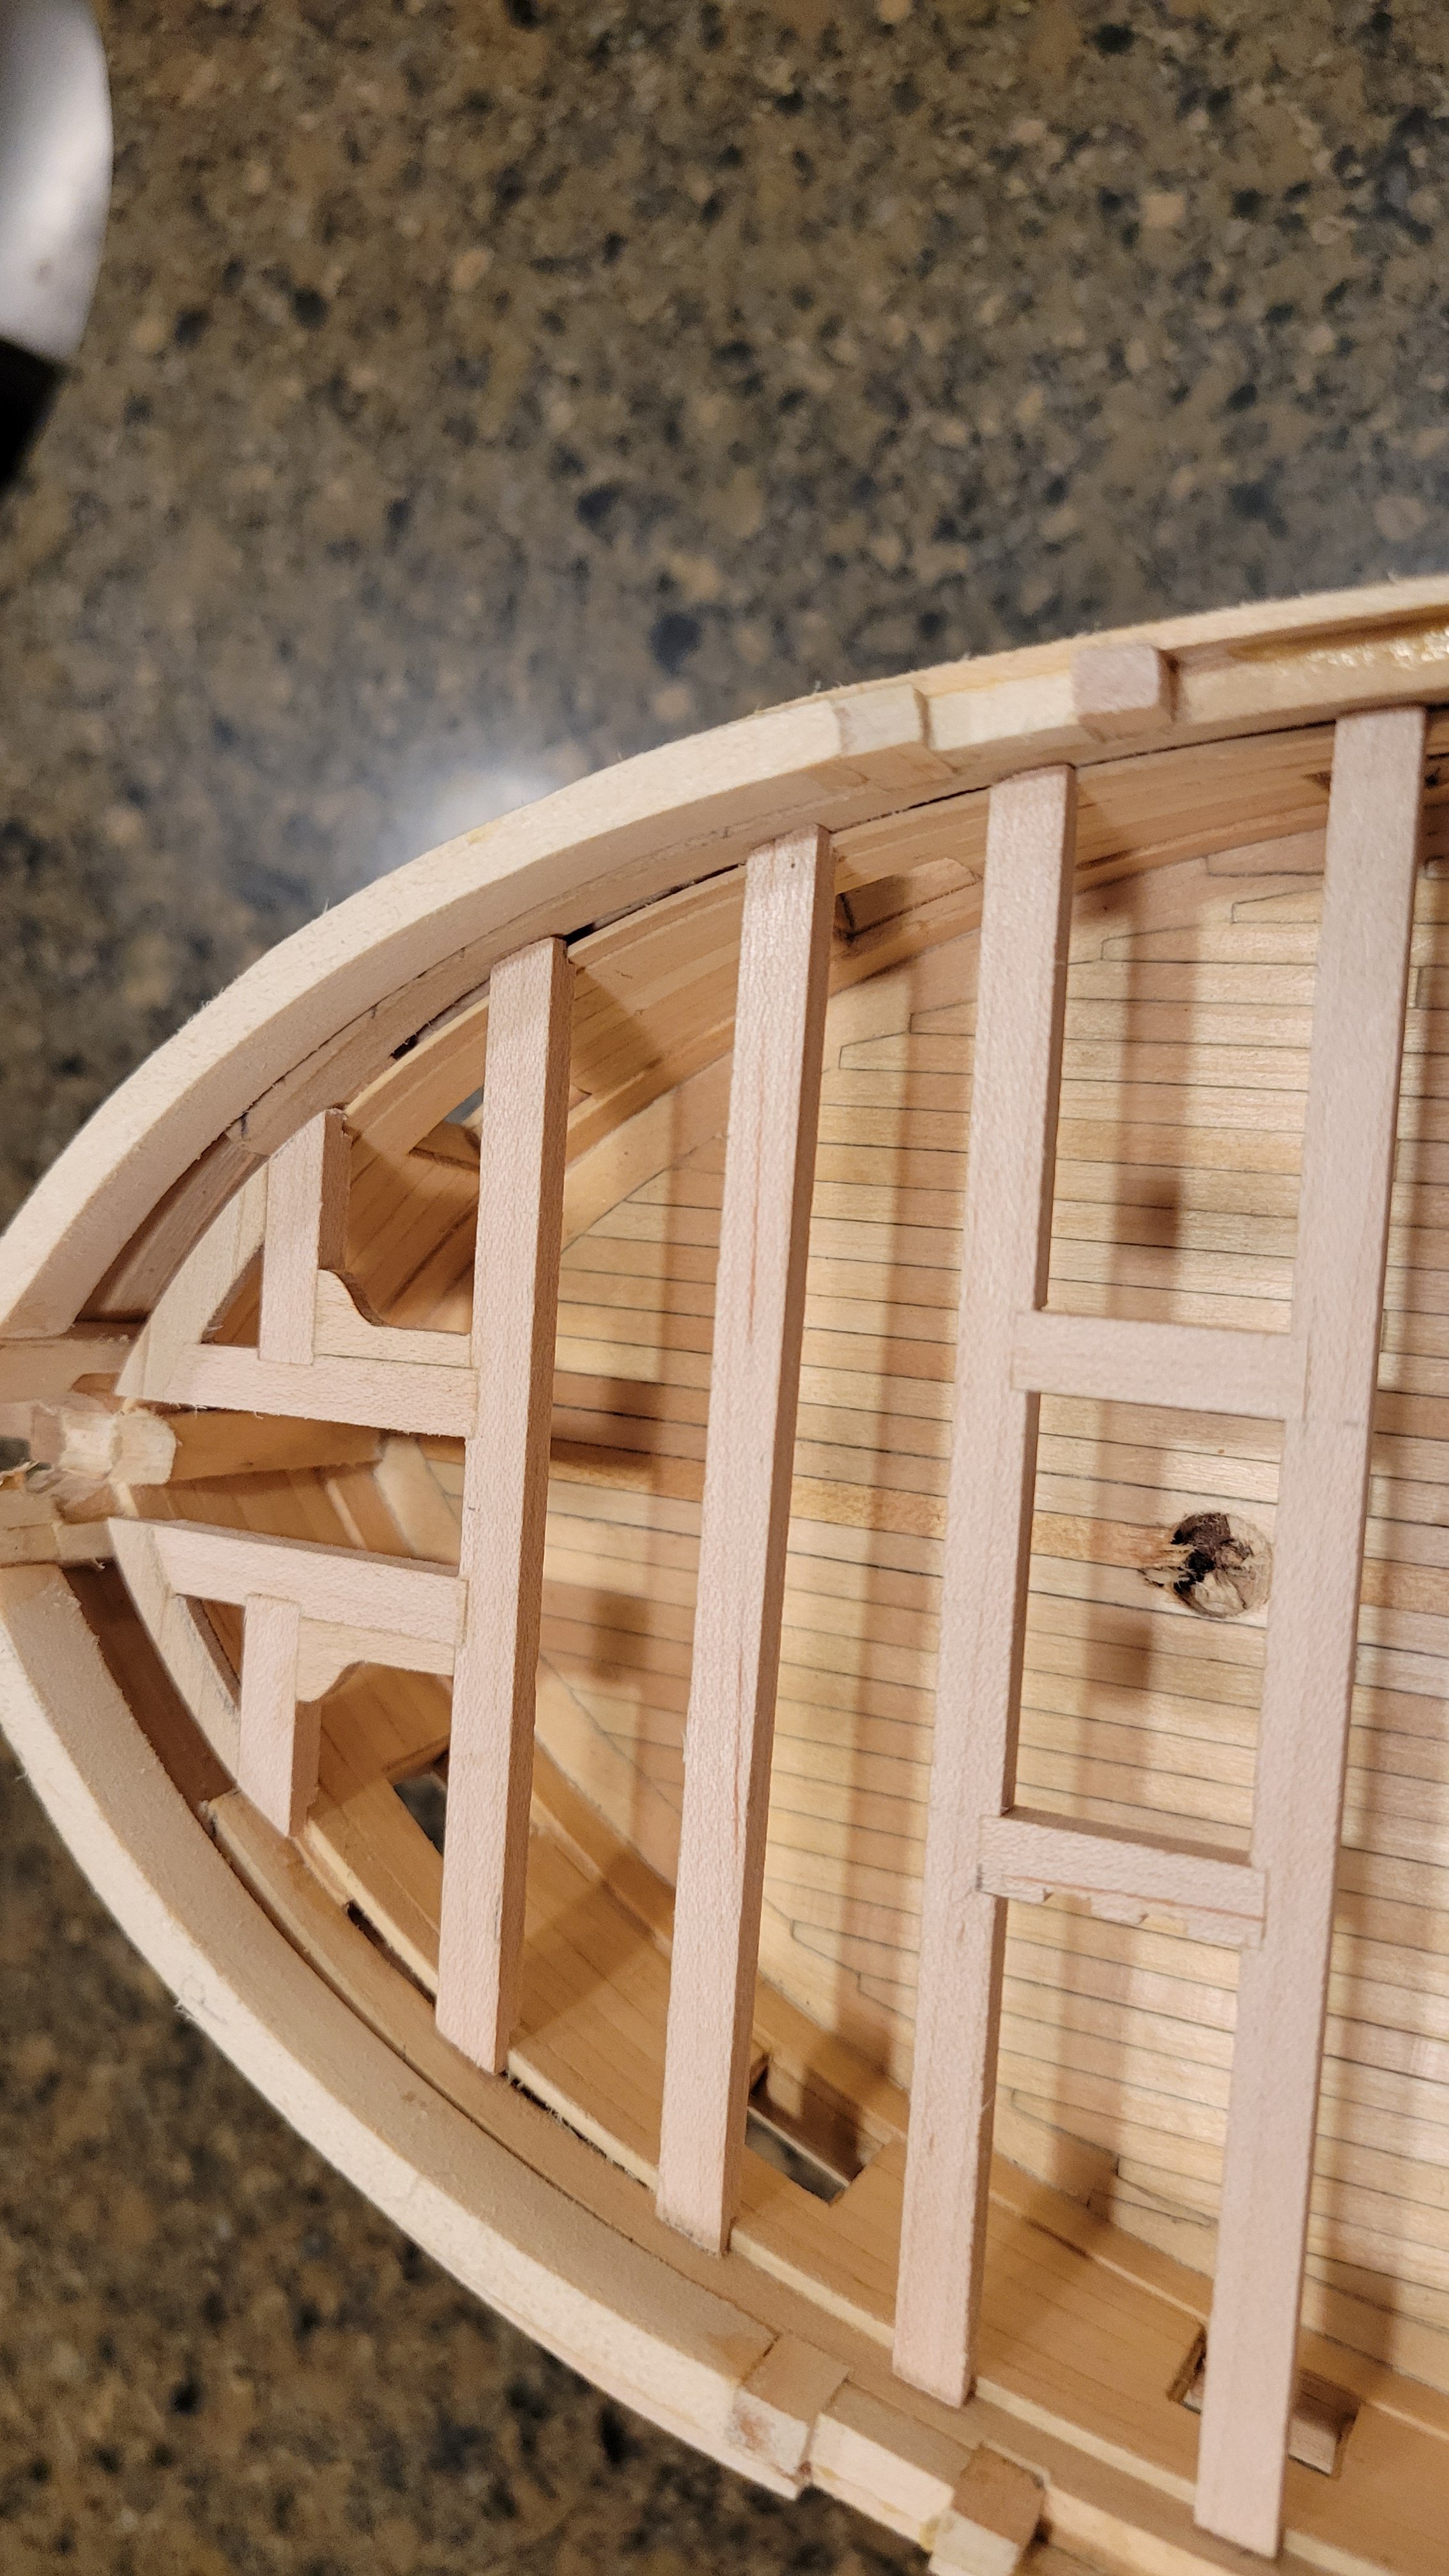
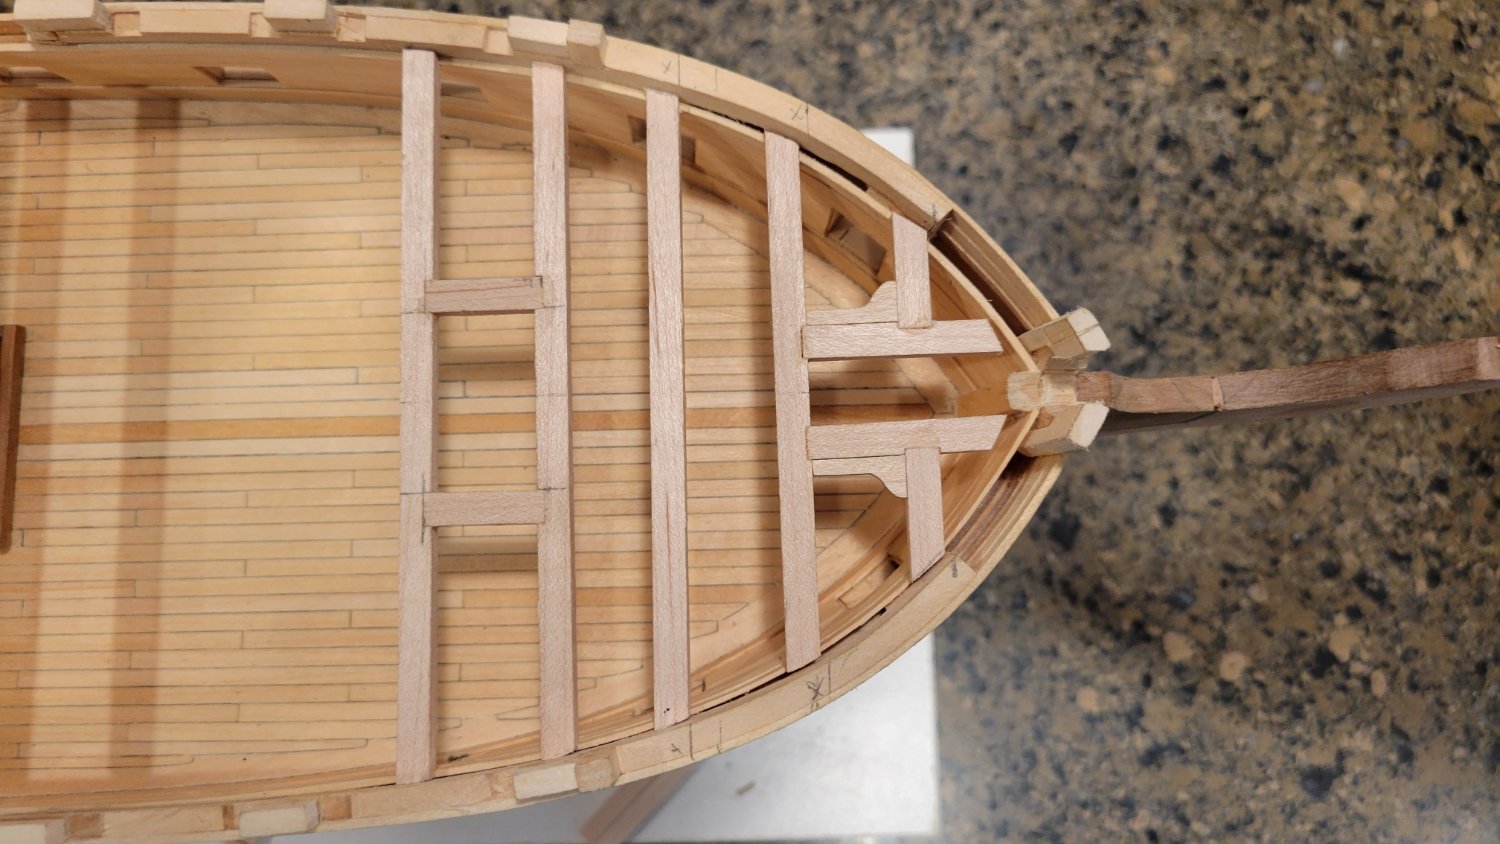
I've done some work on the Gun Deck Framing, determining the Beam locations and Carling locations for the Bowsprit and Foremast openings. Next will be to make the Spar deck hook, lodging knees and half beams.

- Scottish Guy, JerryTodd and mtaylor
-
3
-
Okay, so I have cut the Fore and Aft Bits on the gun deck and mocked them up with the first 3 Spar deck Beams (as depicted on the Lines of the frigate Constellation in Chapelle's book) to determine the final location on the Gun Deck. I need to turn a 3/8" rod for the Bowsprit so that I can determine the size and location and how to attach the Bowsprit step so I can finally determine the width and final location of the Fore Bits.


- Scottish Guy, JerryTodd and mtaylor
-
3
-
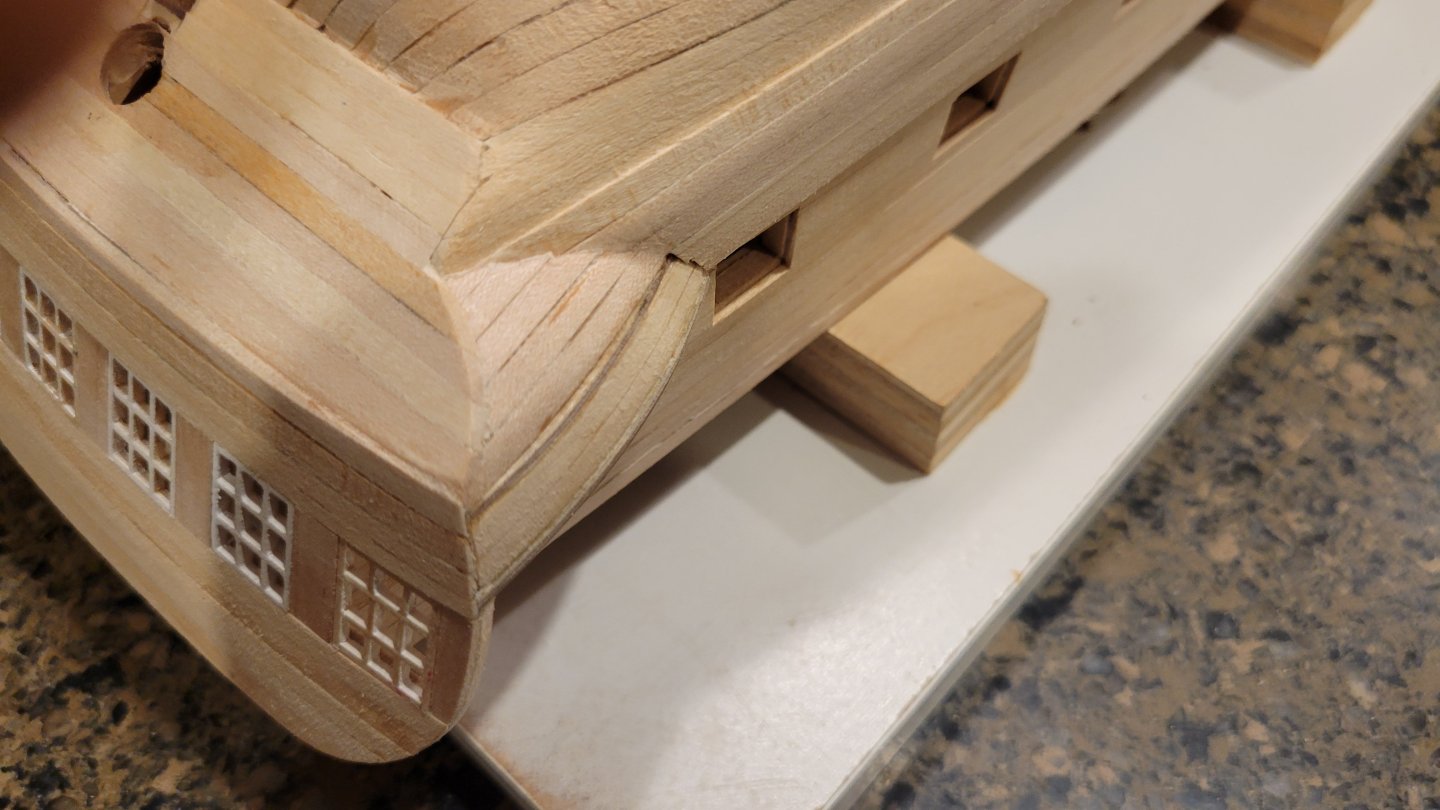
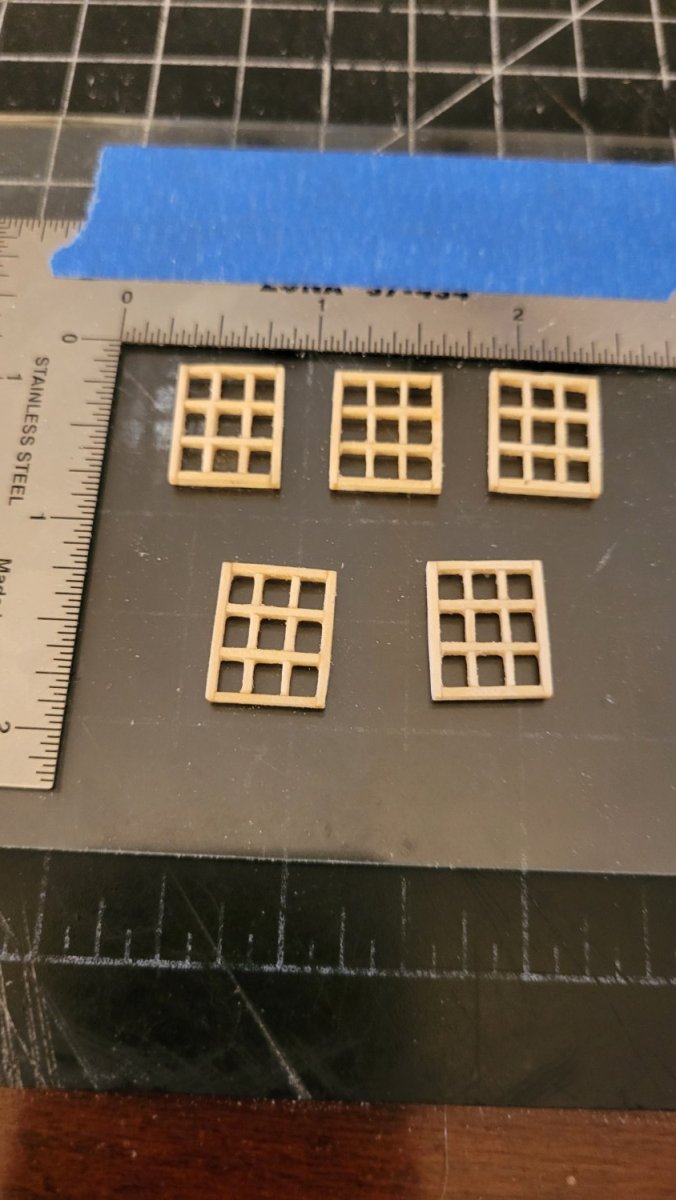
Hello,
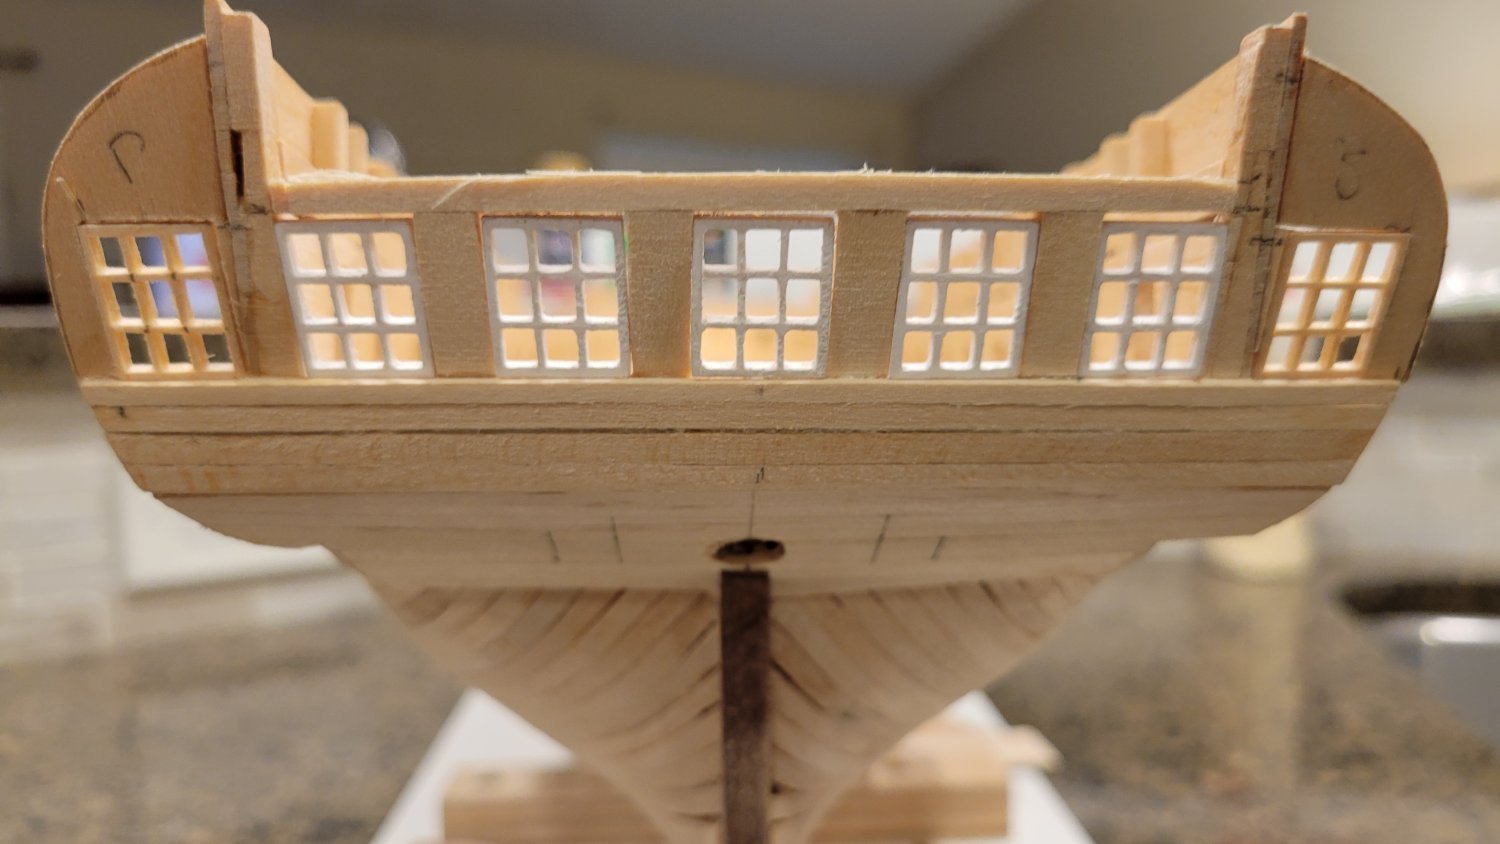
I completed building the last 2. So now the ship has 7 windows across the Stern!
I have them mostly fitted but still need to finish cleaning them up and painting them, and do some work on the Stern and Quarter Galleries before I can install them for good.
- mtaylor, Scottish Guy and JerryTodd
-
3
-
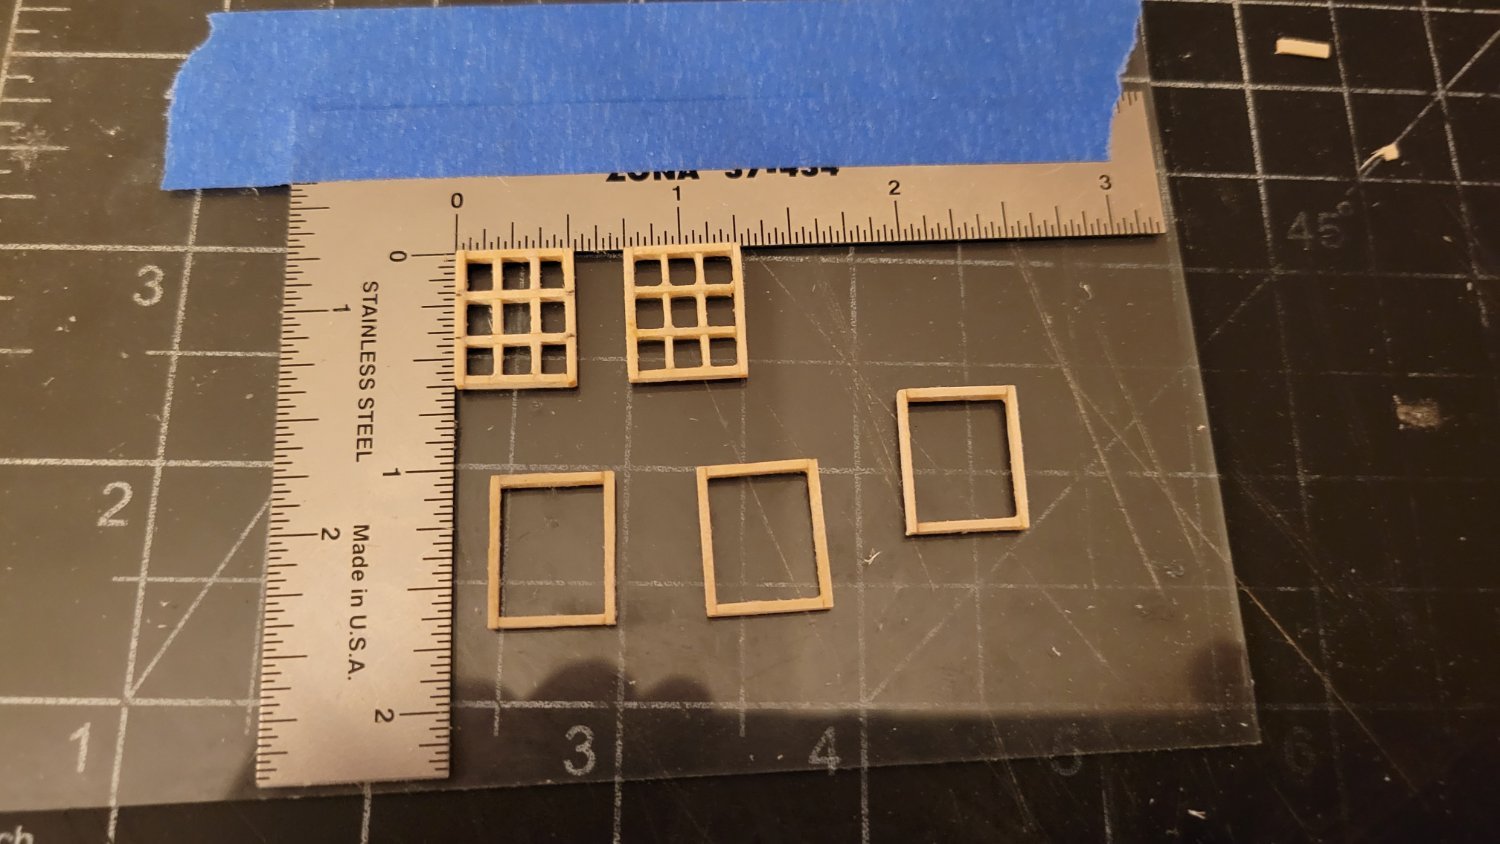
In my usual manner of jumping around all over the place, I started the Stern windows. After hours of cutting at least 3 times as many pieces as needed, I have completed 5 of the 7 windows for the Aft Cabin and Staterooms.


- GrandpaPhil, ccoyle, mtaylor and 3 others
-
6
-
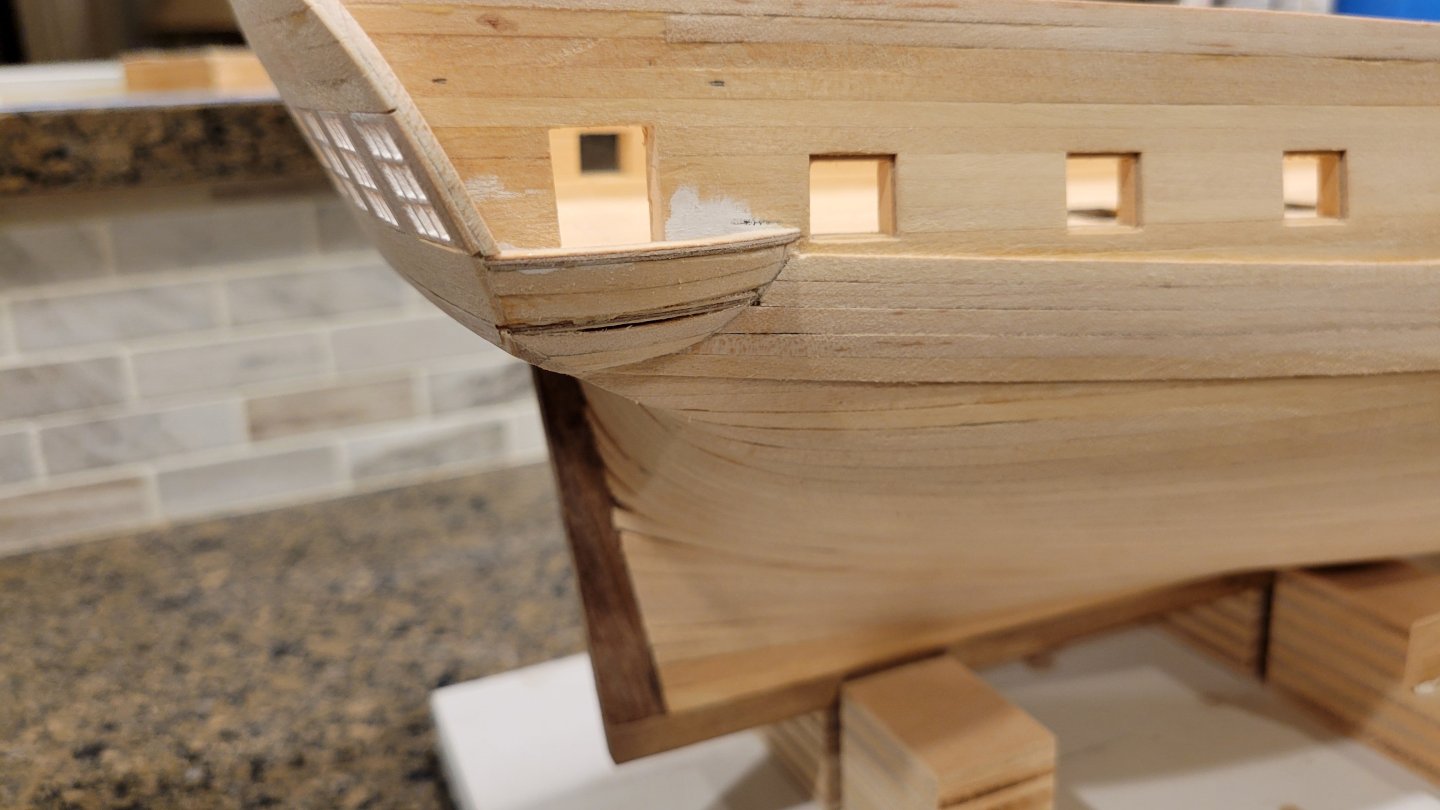
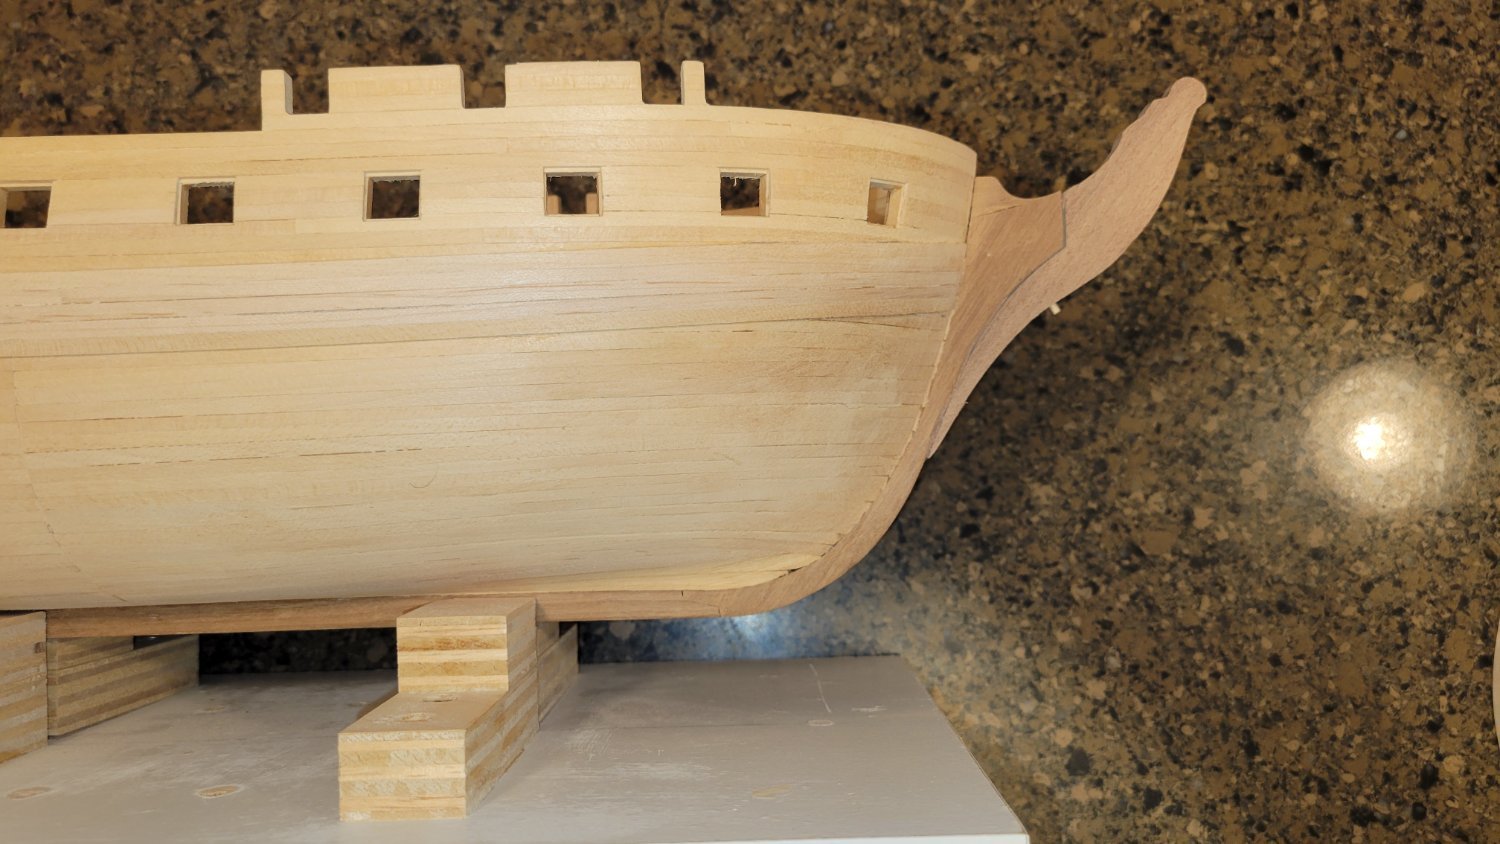
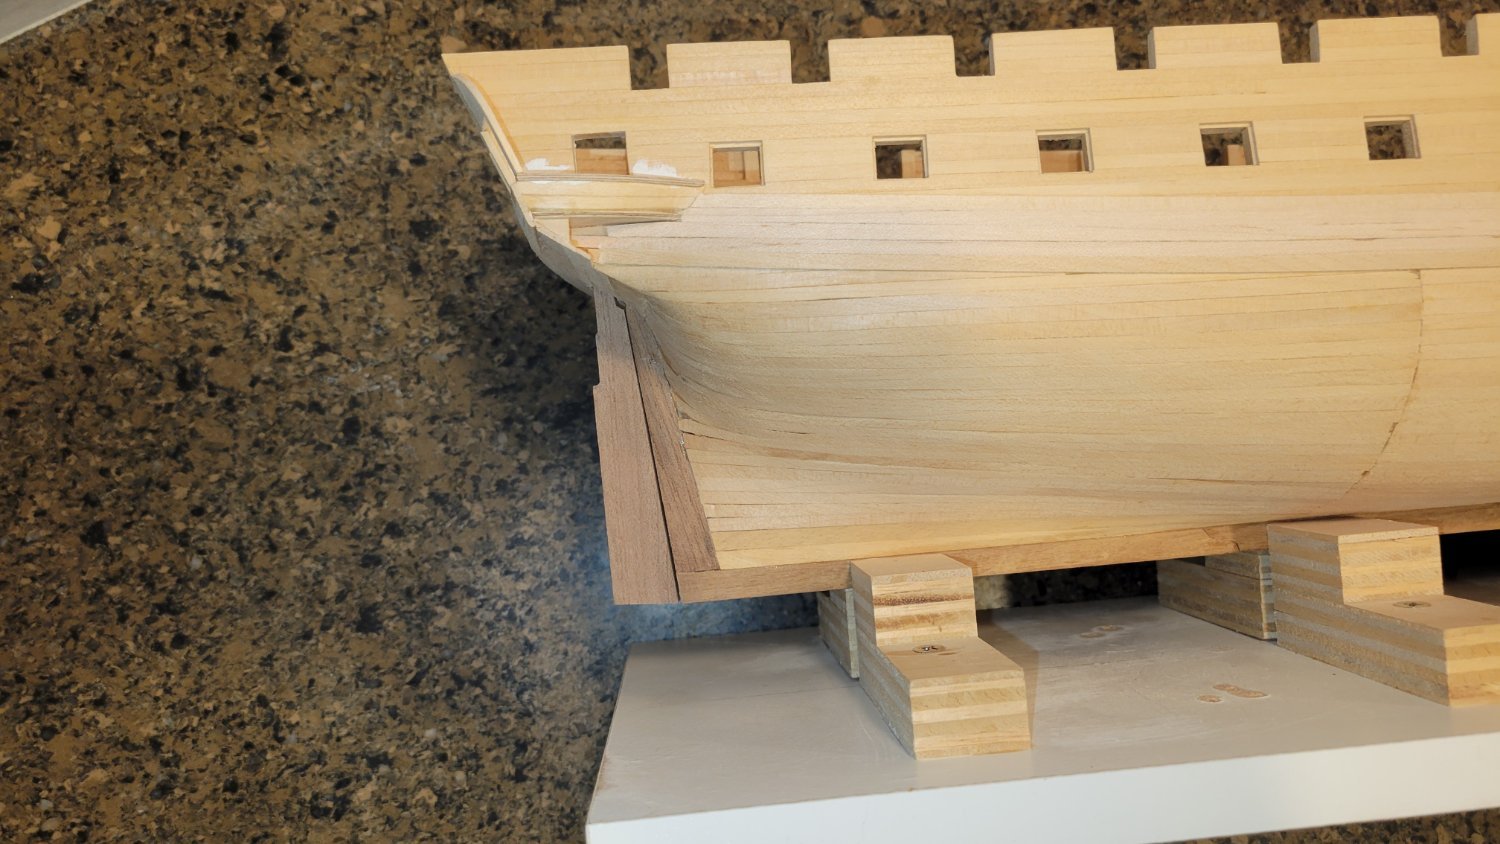
Good Morning,
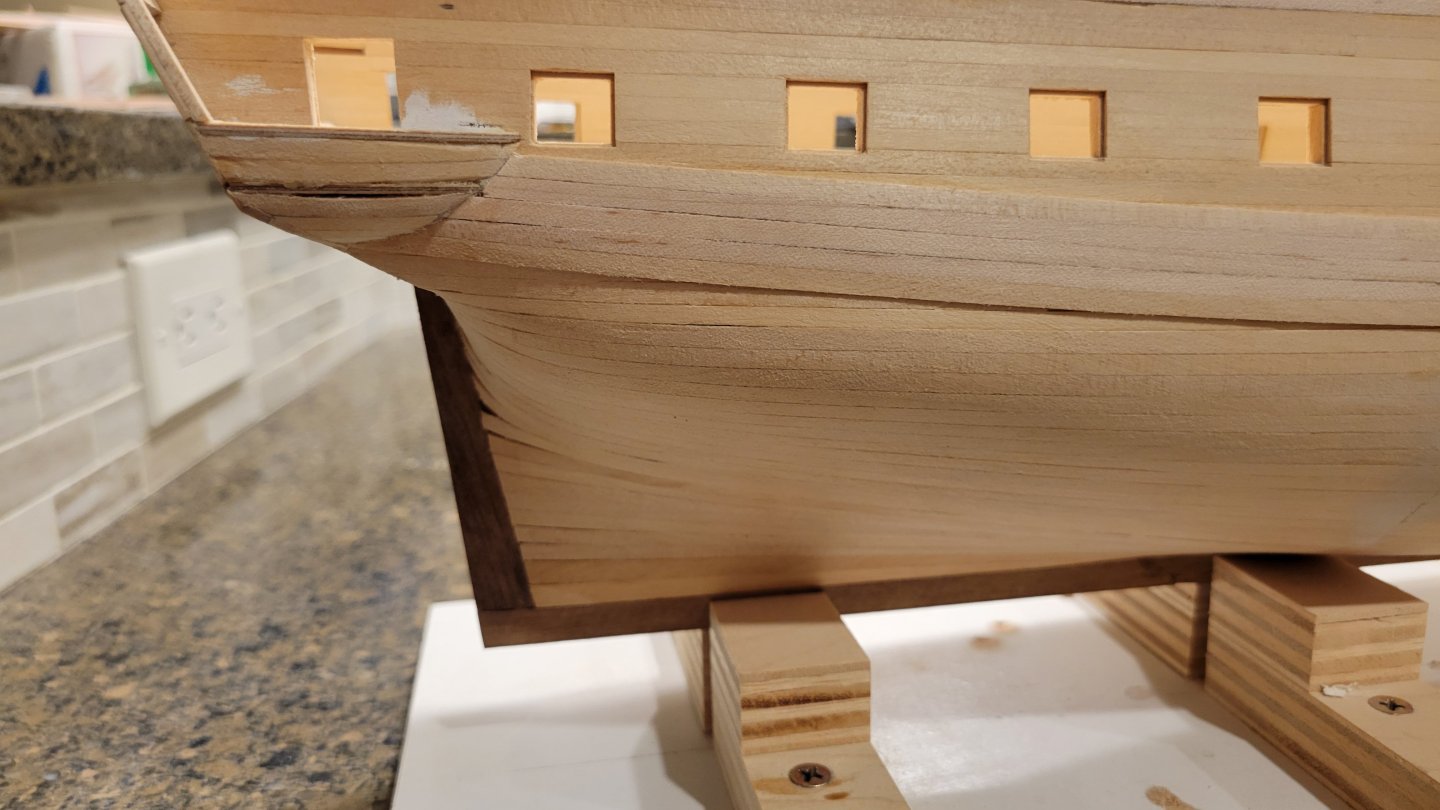
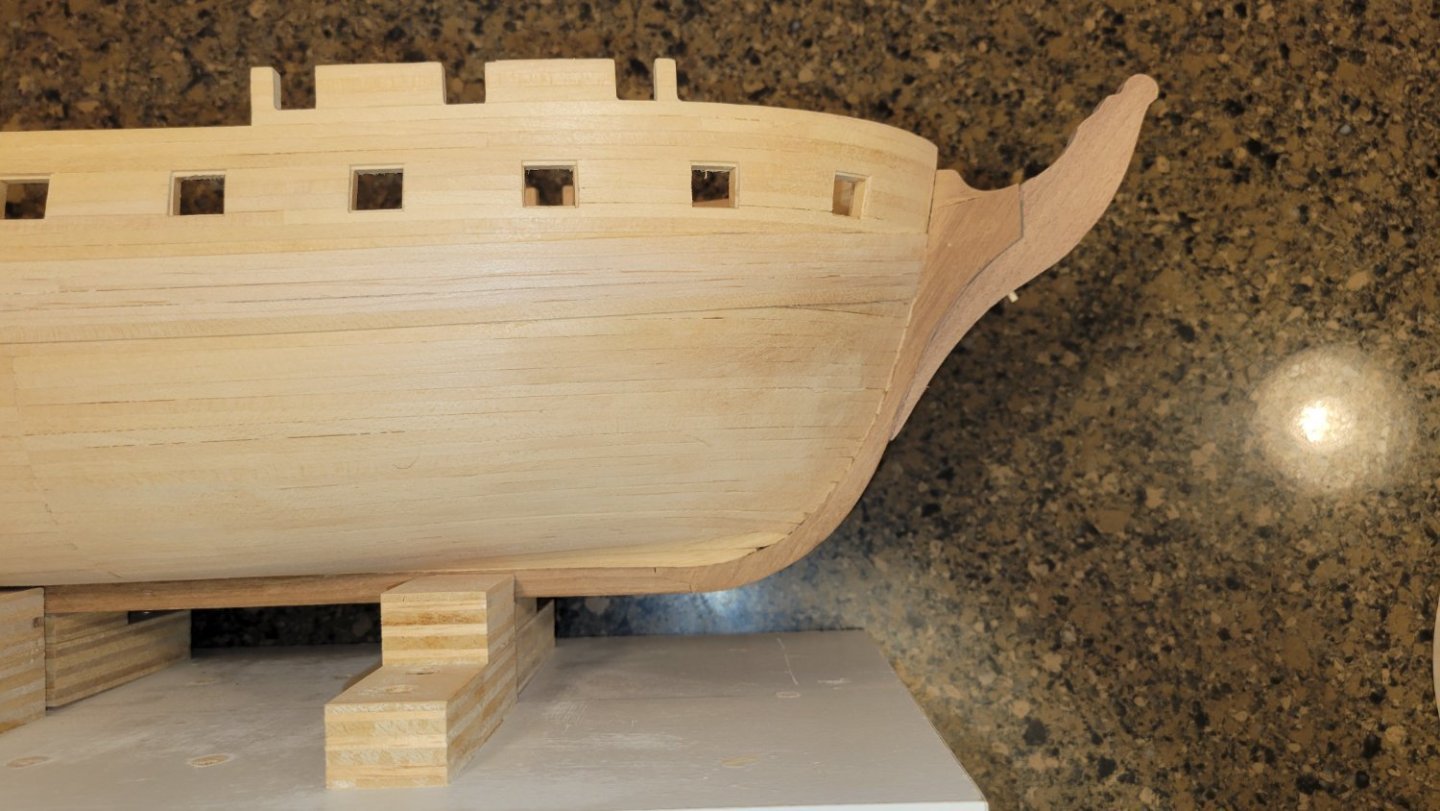
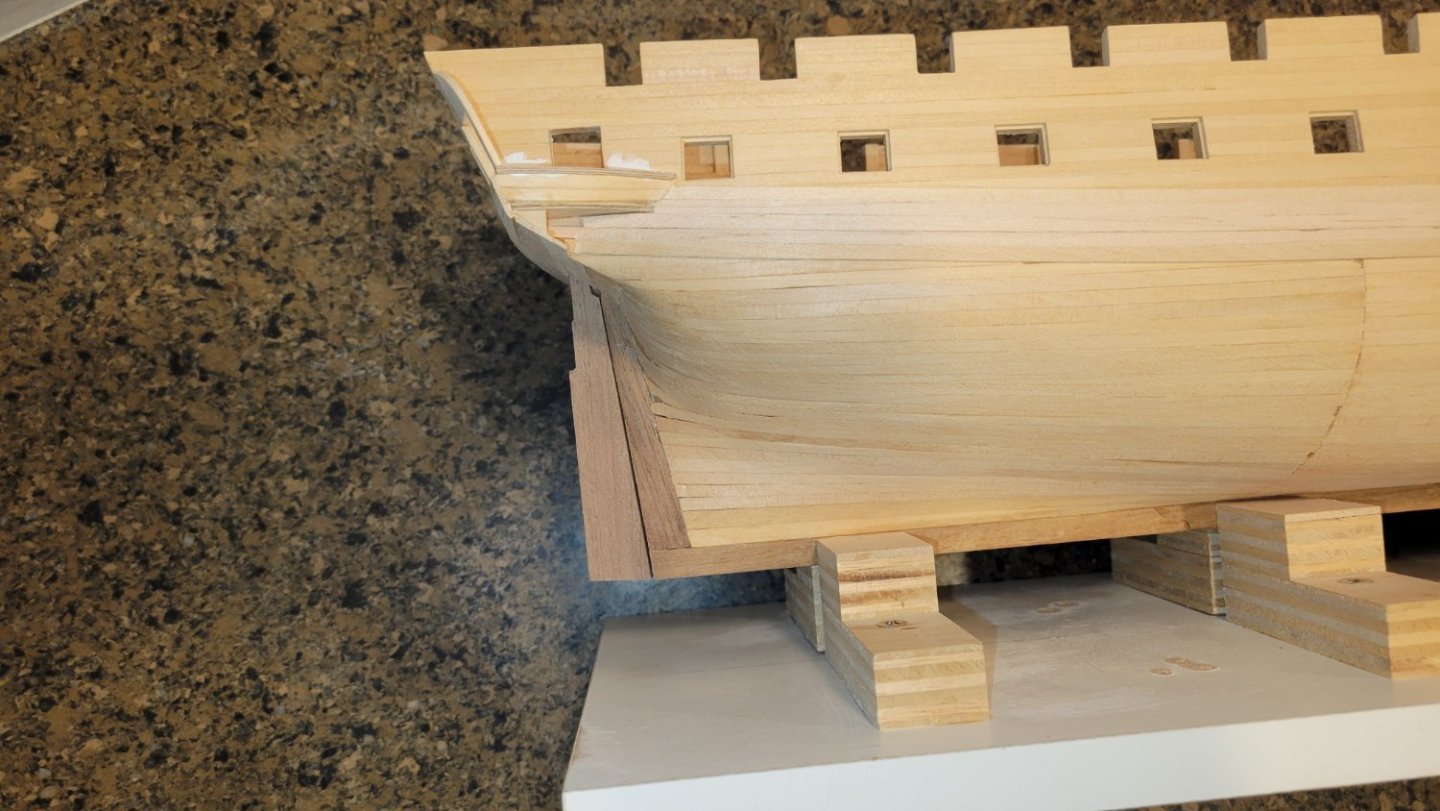
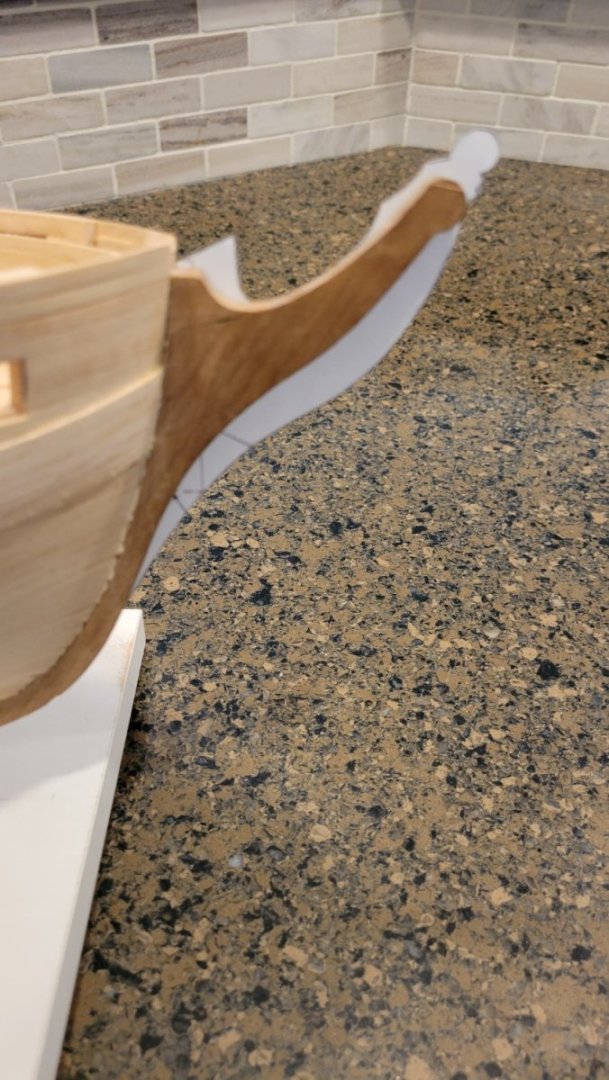
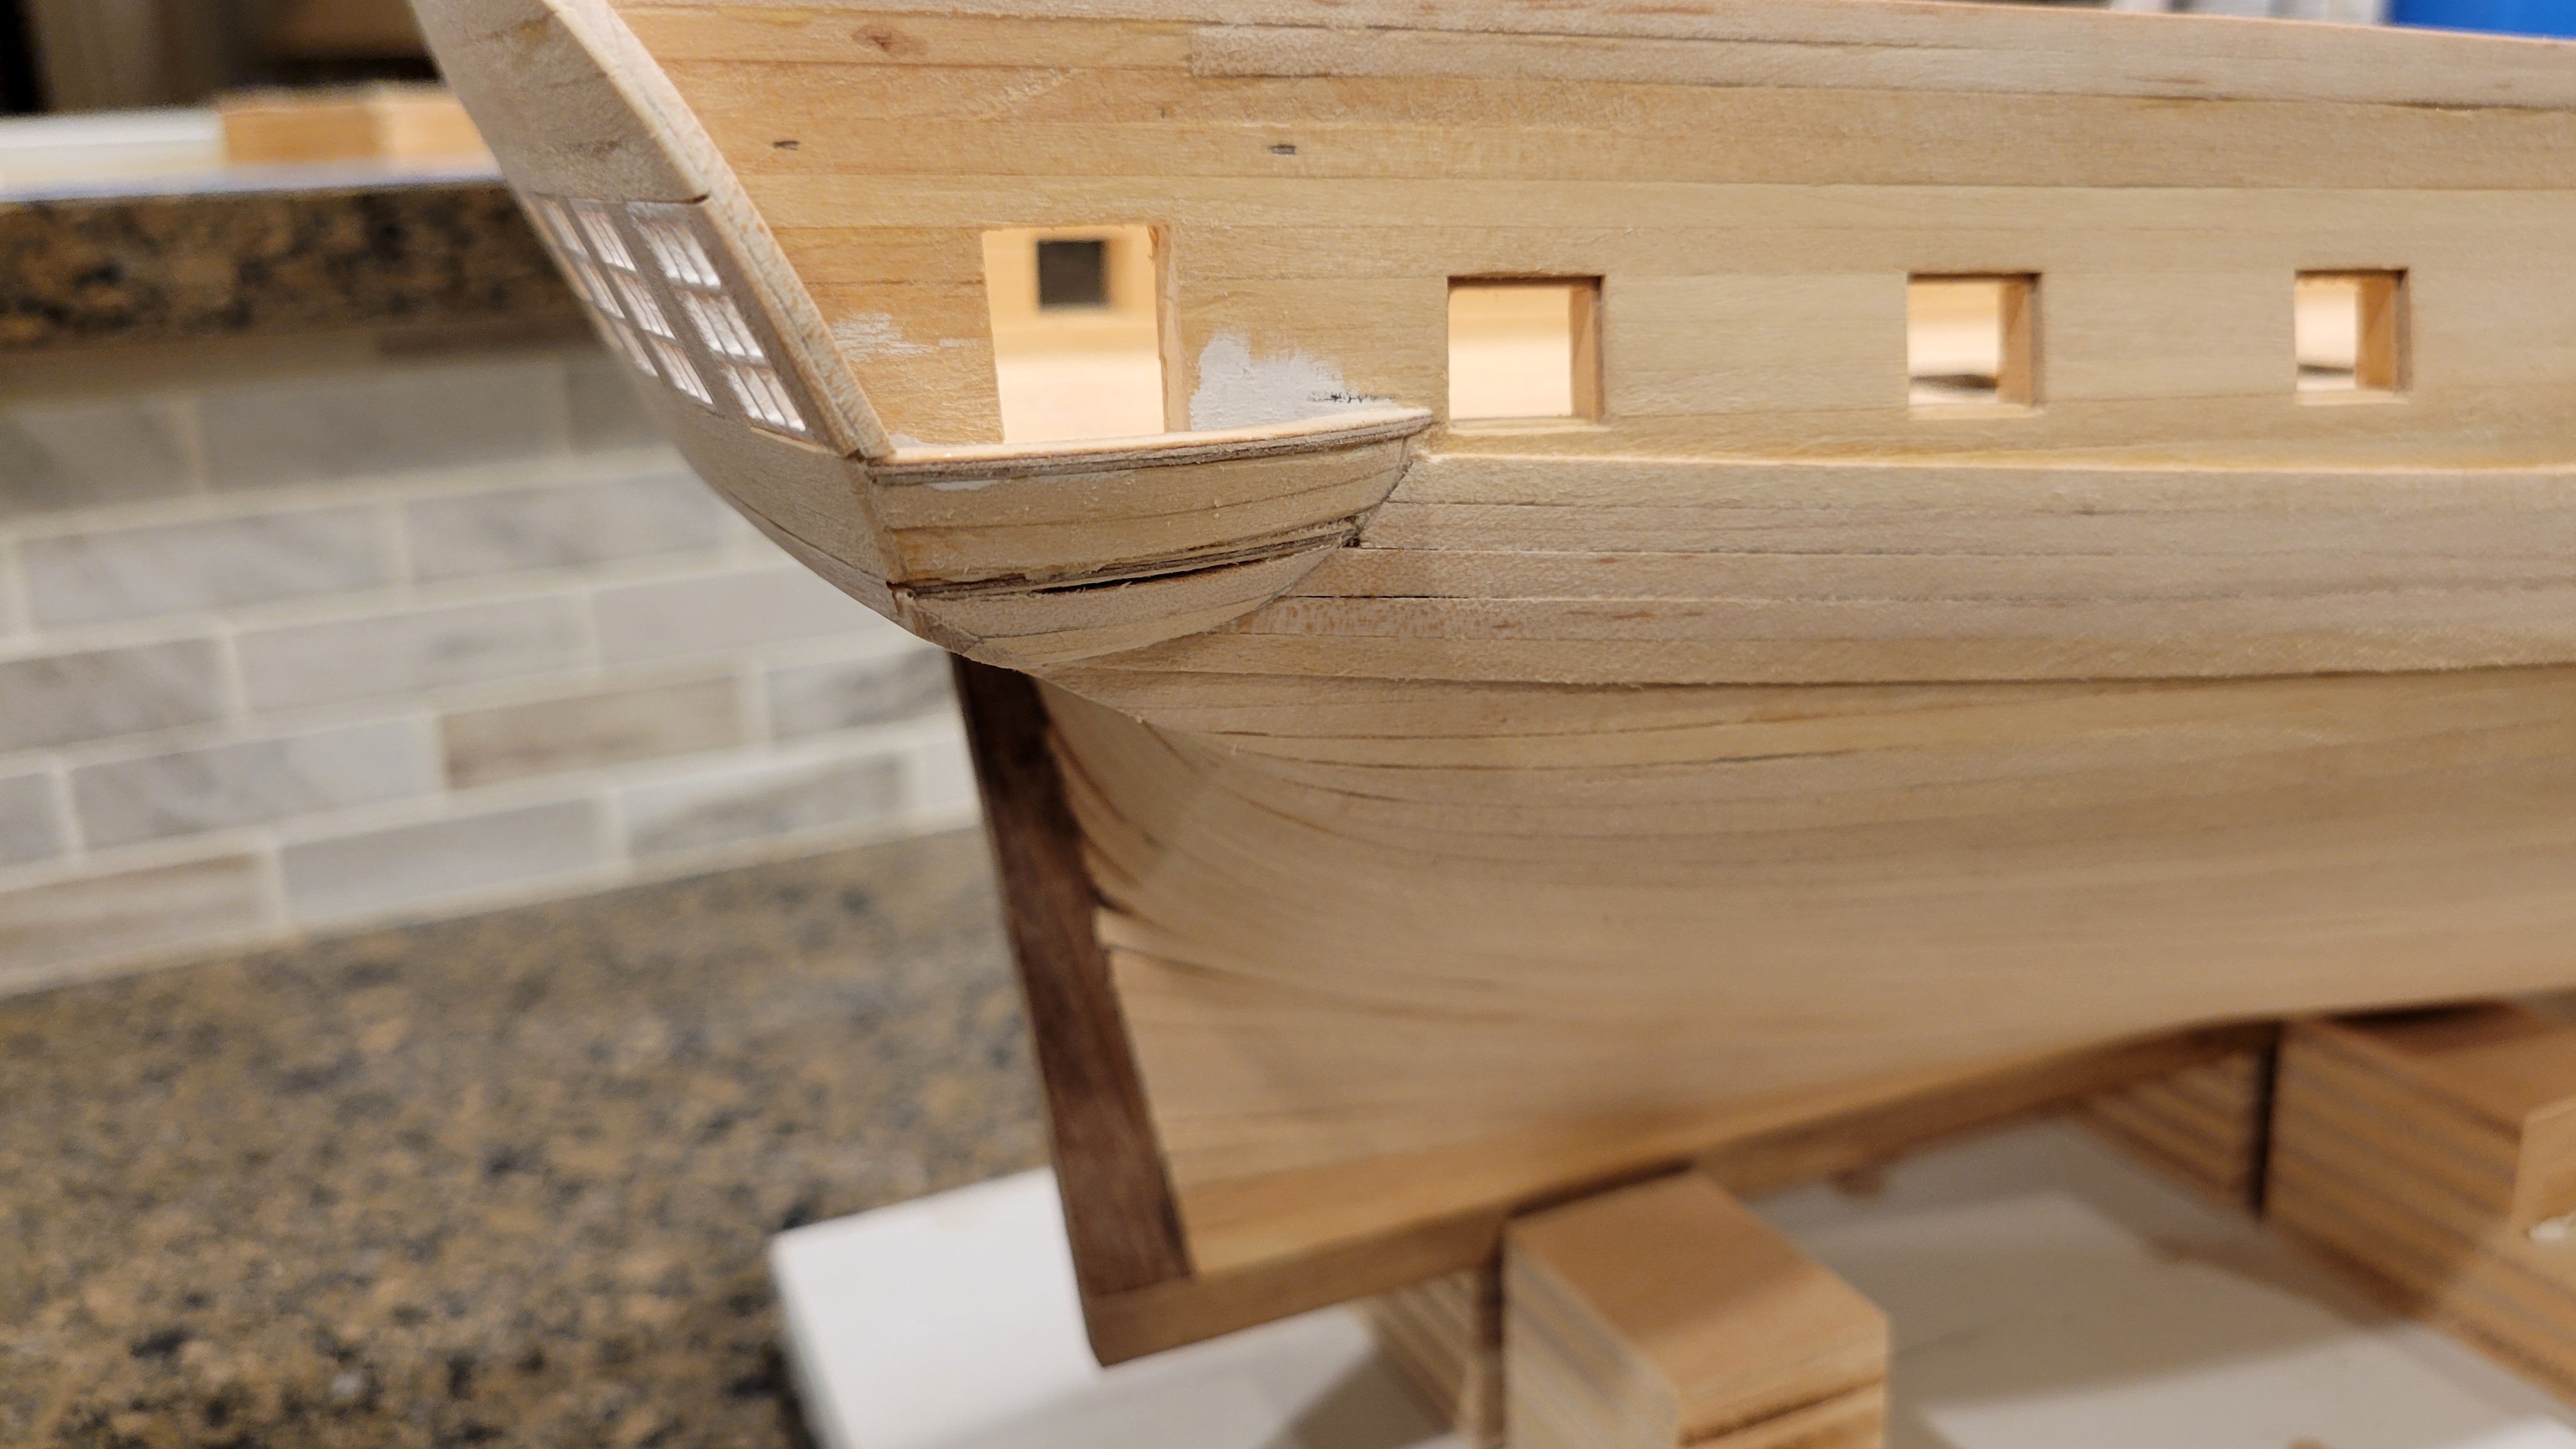
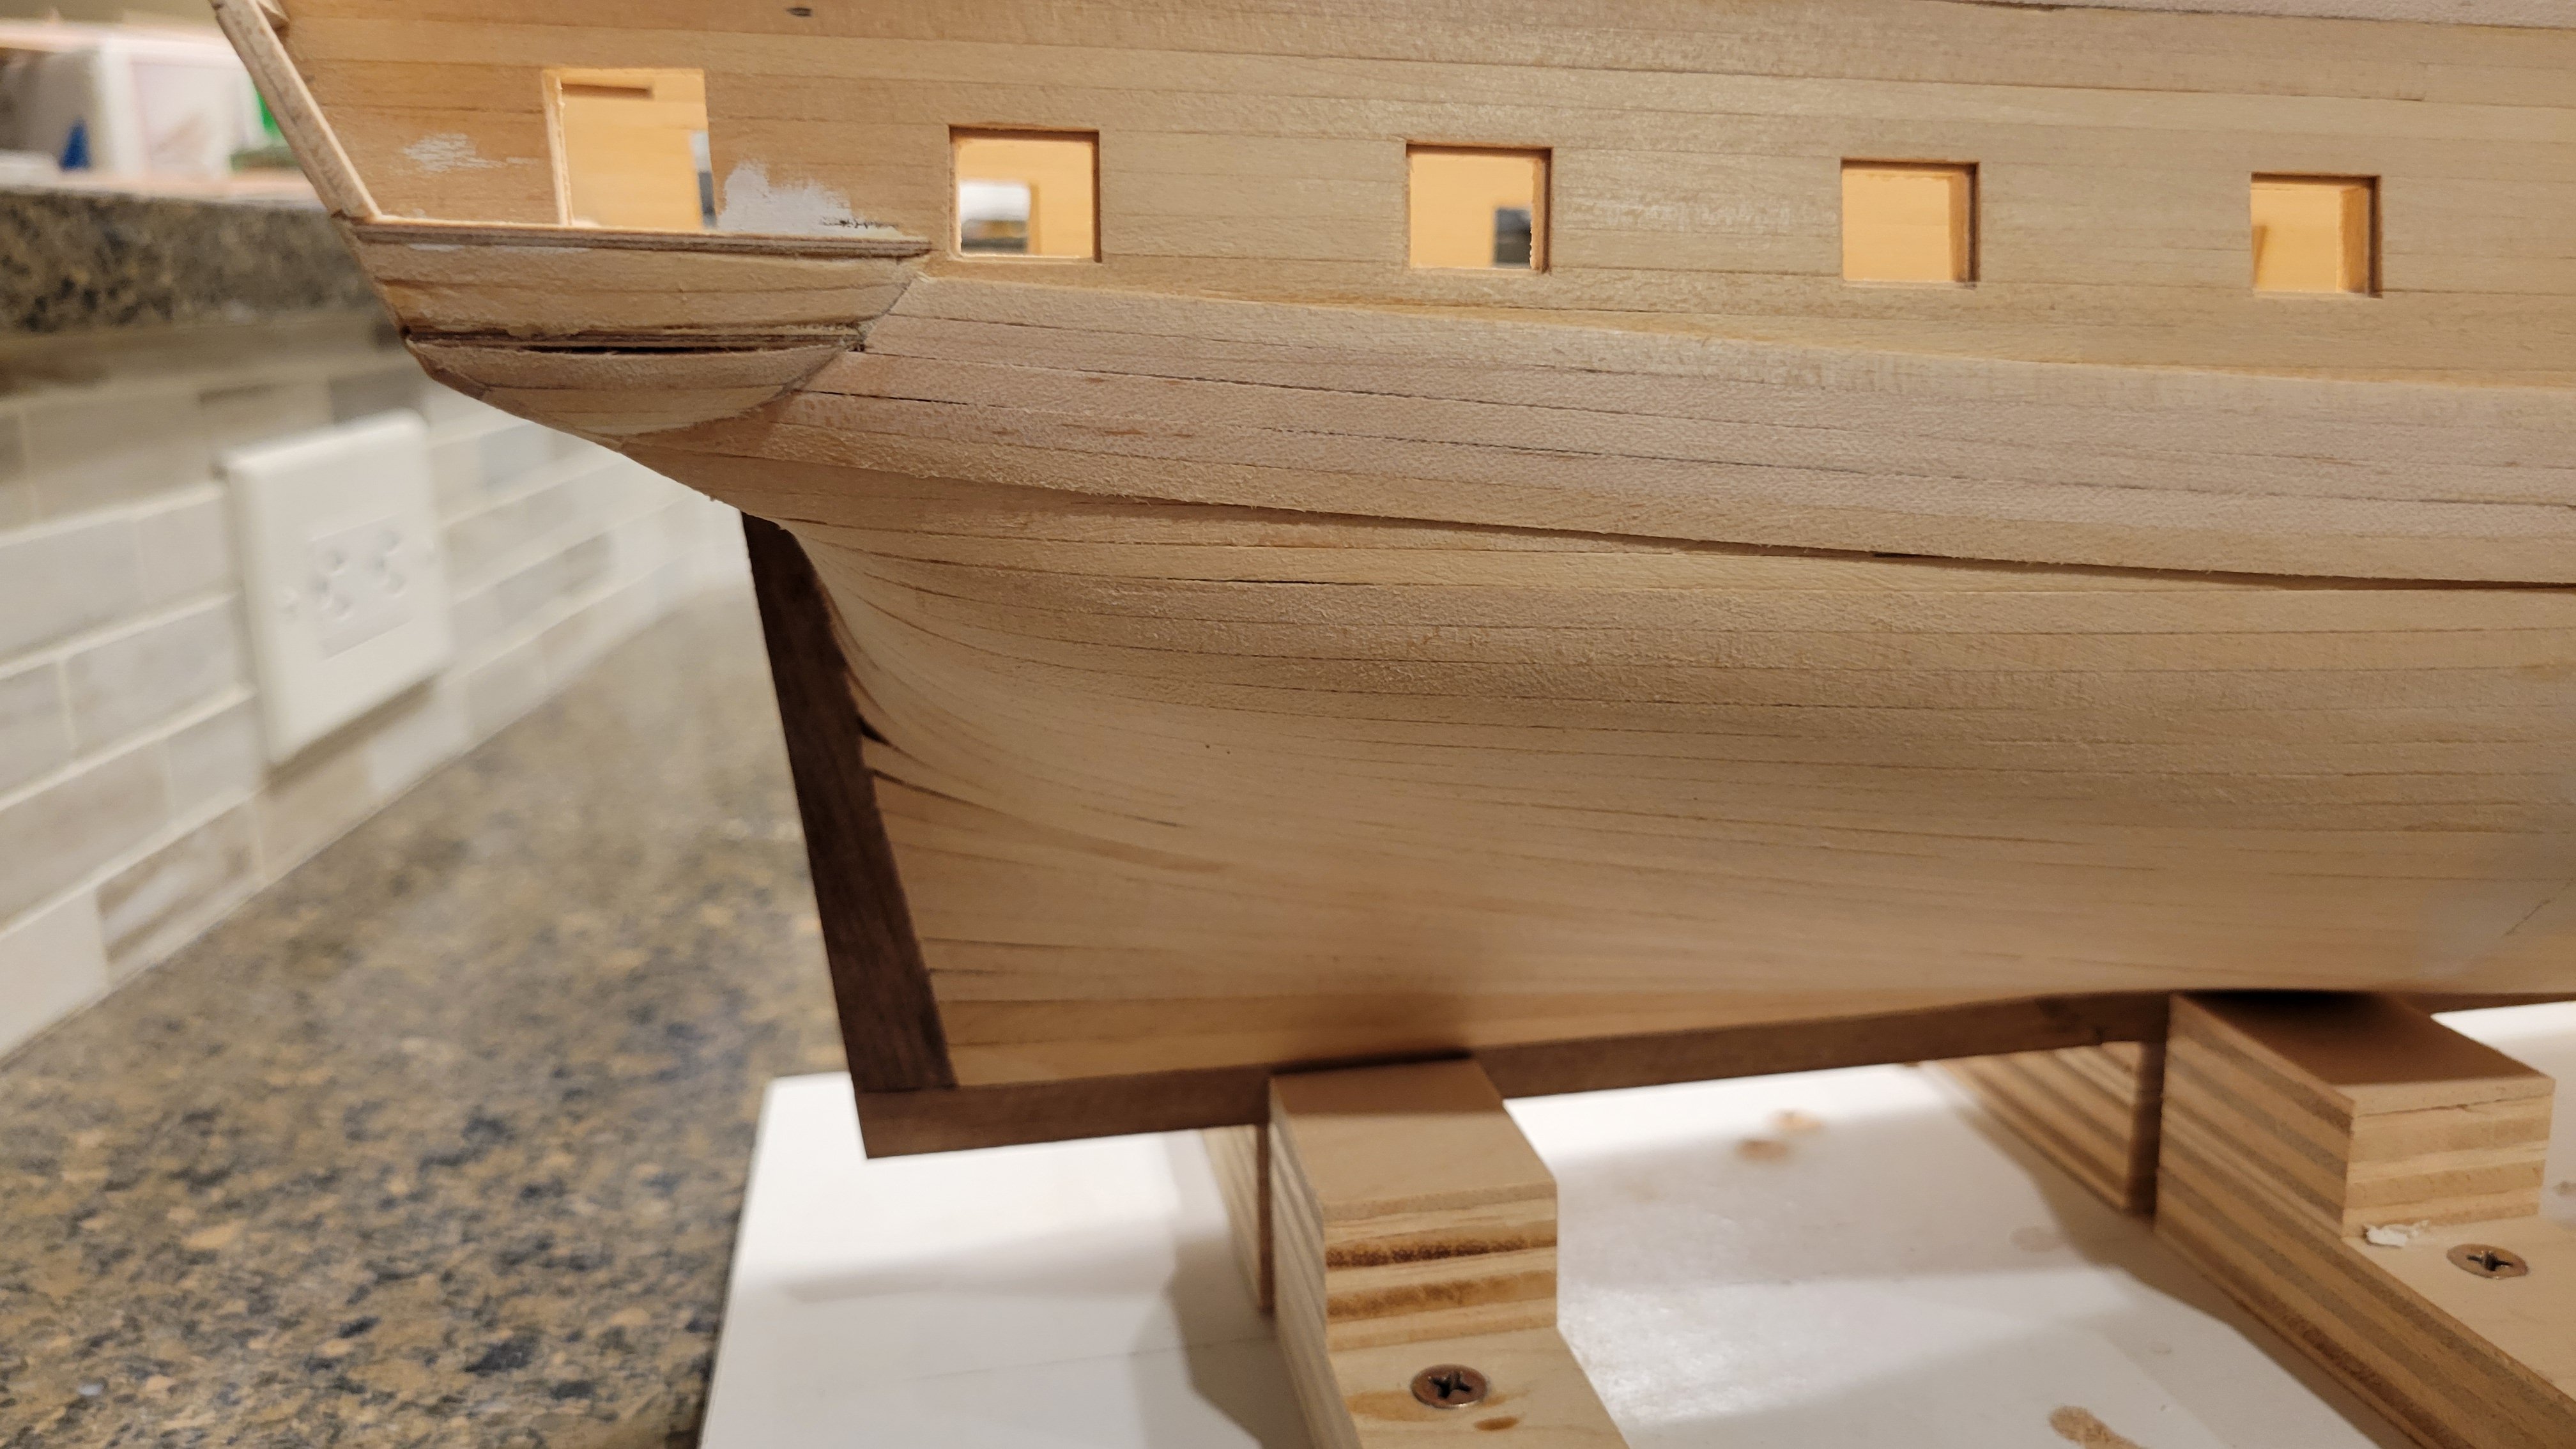
Some progress made on the Stem. I ripped down some Walnut to the thickness of the original stem and then cut out the new profile using a template from the USS Constitution, and grafted it onto the original Stem using toothpicks and epoxy. Now I just need do some filling (Walnut sanding dust and glue) and finish sanding to blend it in with the original.....
Also cut the new rudder to replace the rounded kit rudder.
I believe the hull profile is now in line with the 1797 Constellation.

- mtaylor, Scottish Guy, JerryTodd and 2 others
-
5
-
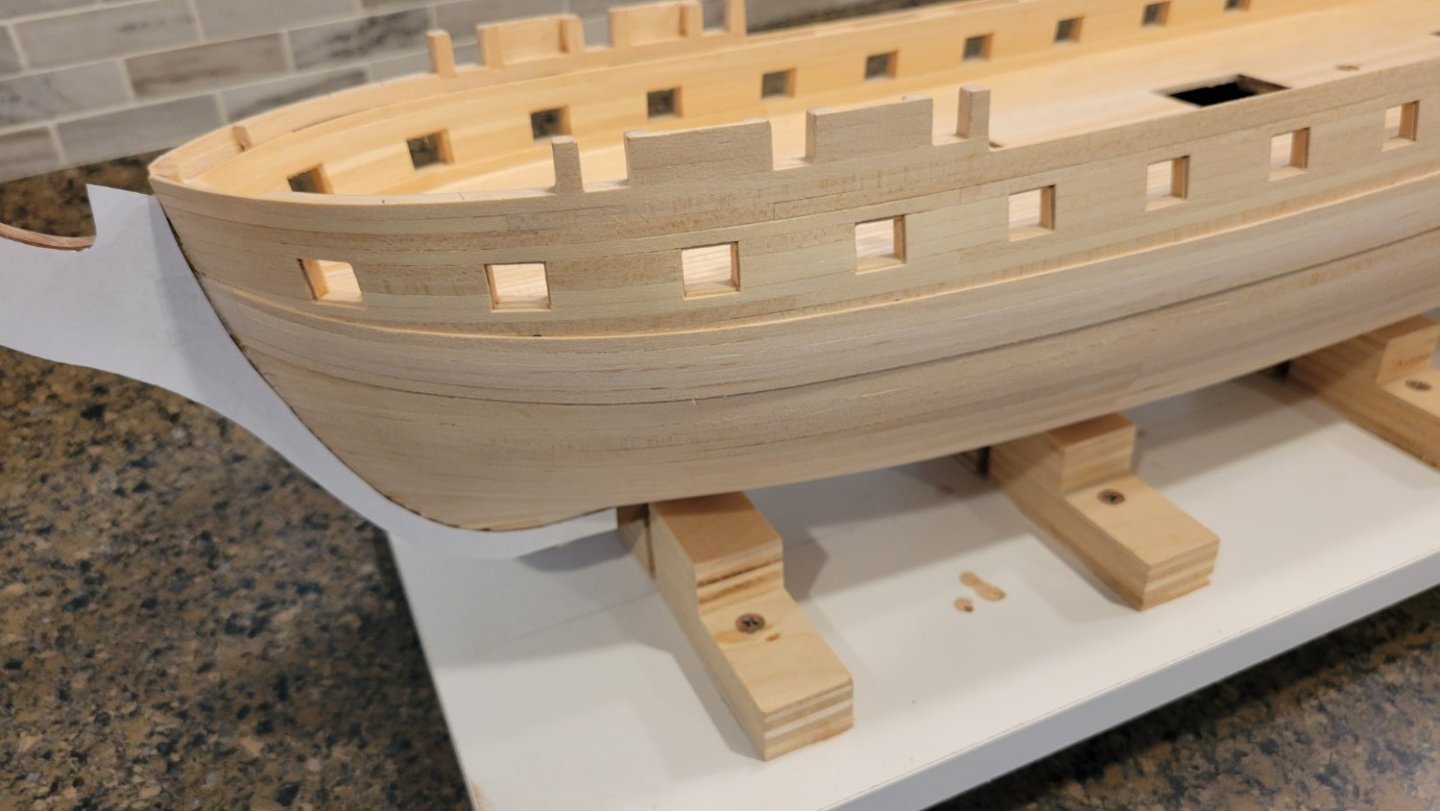
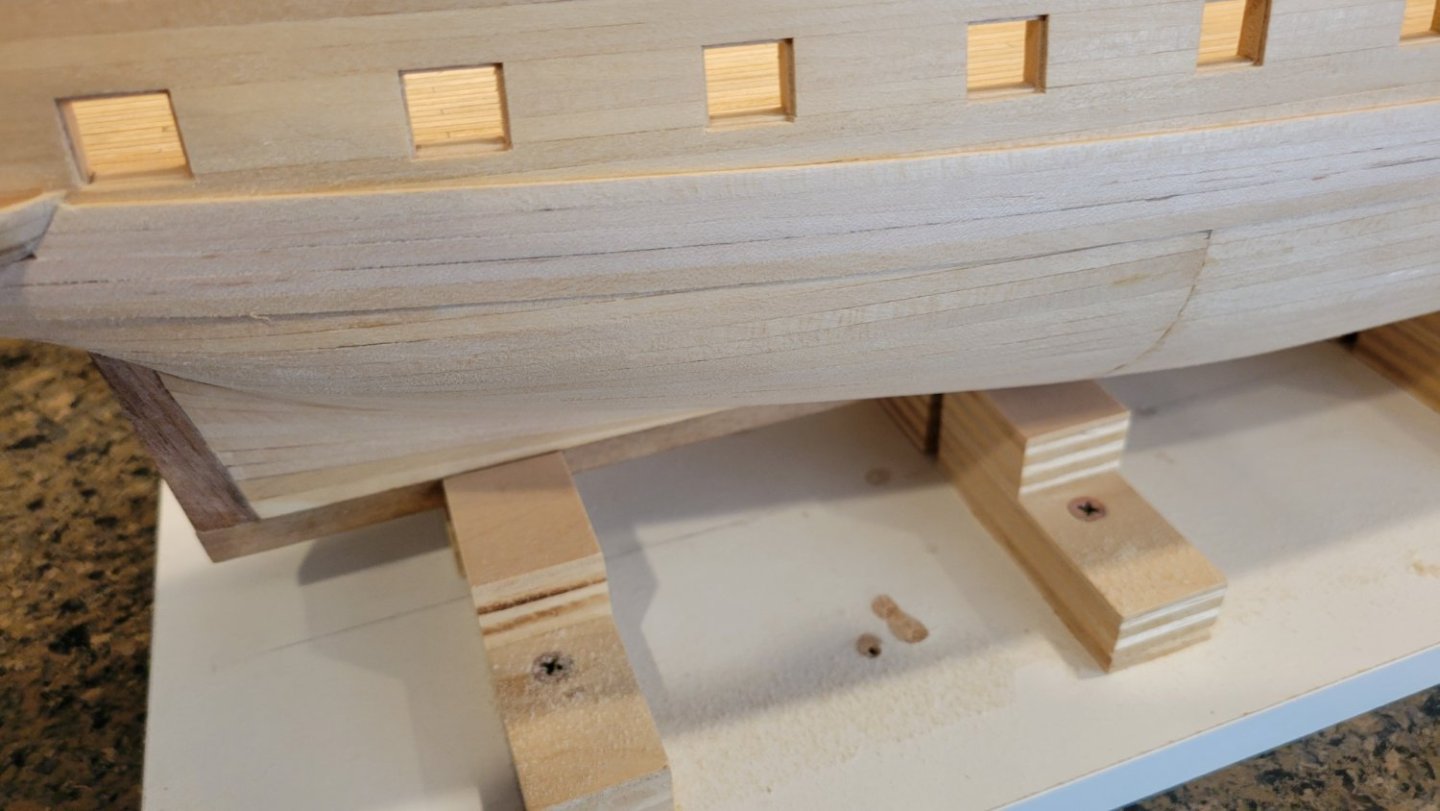
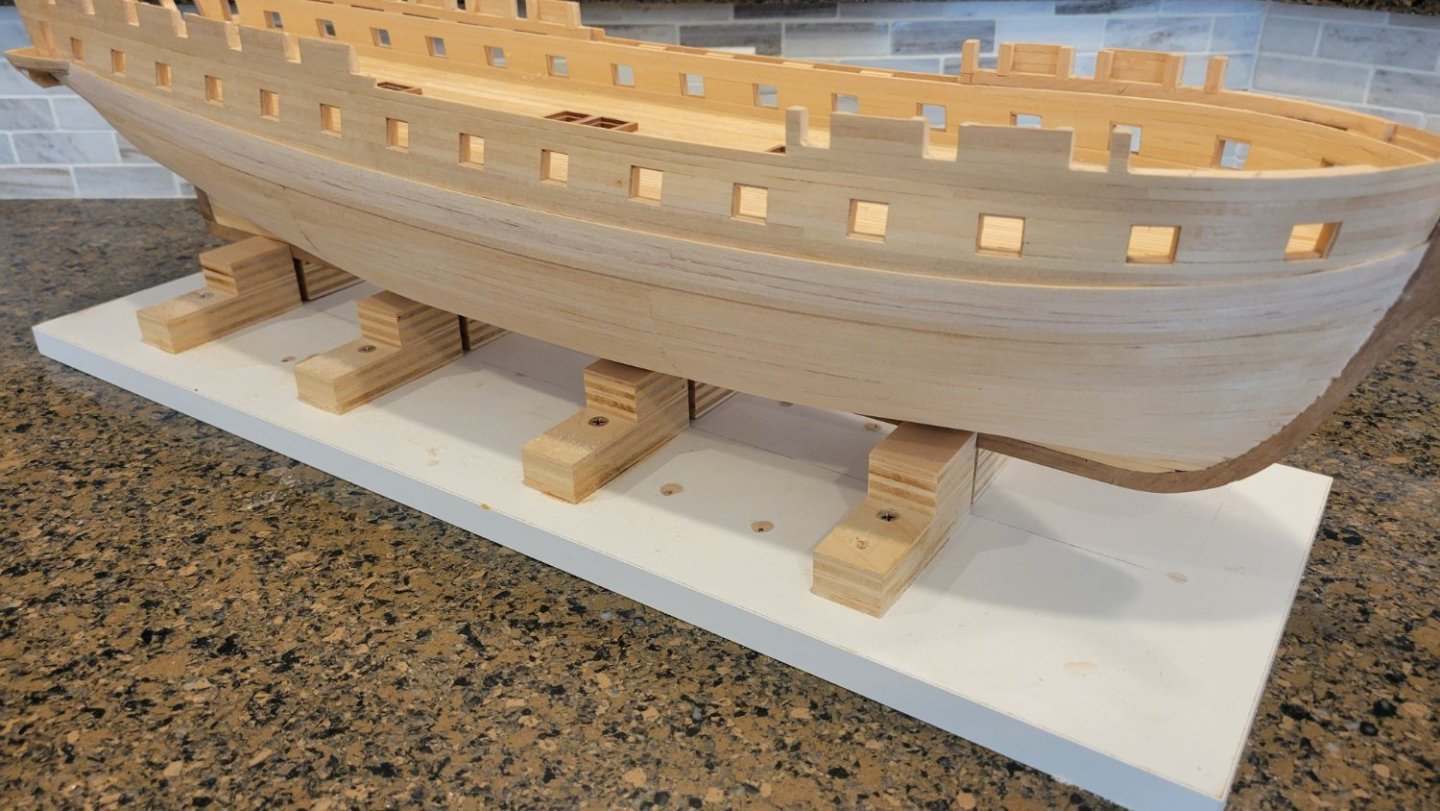
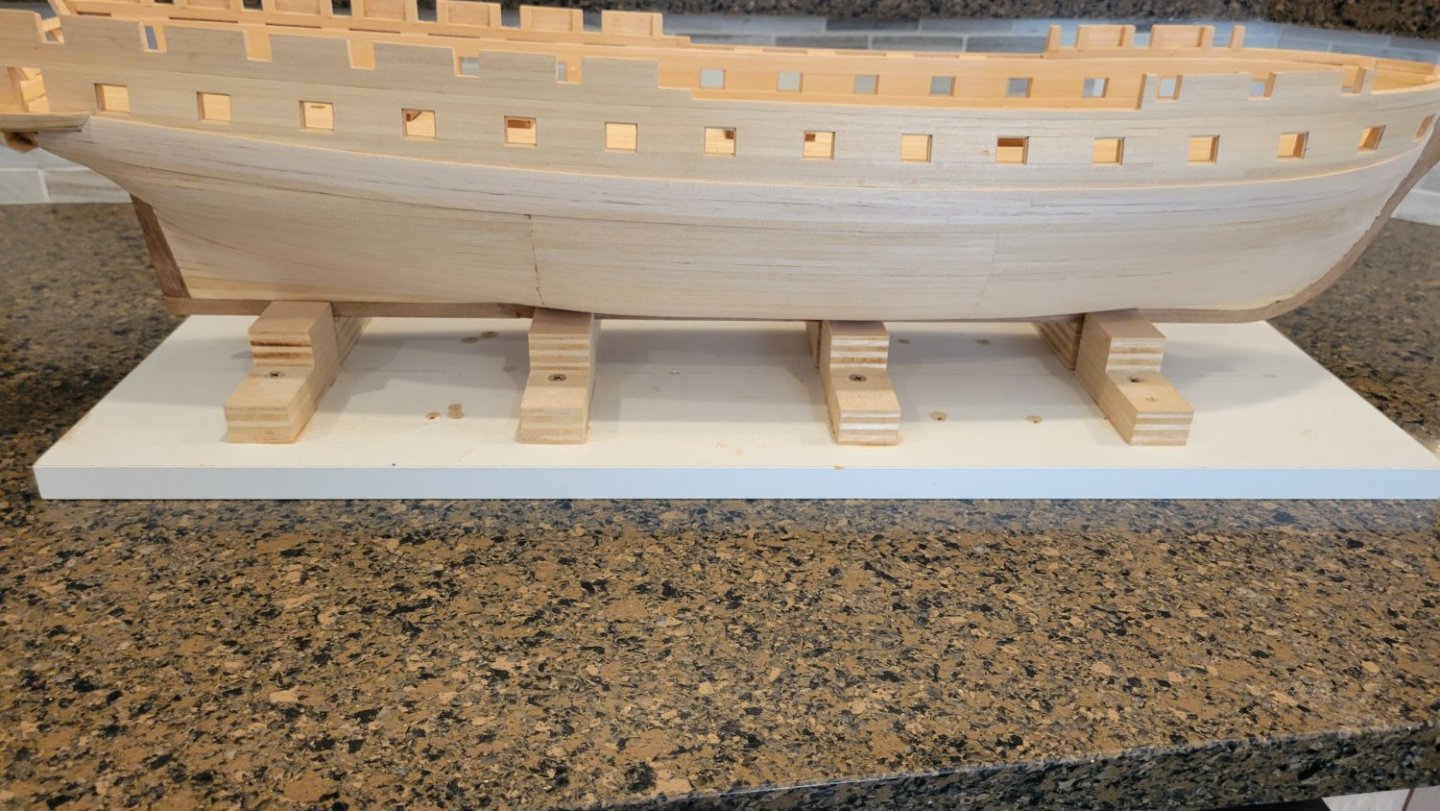
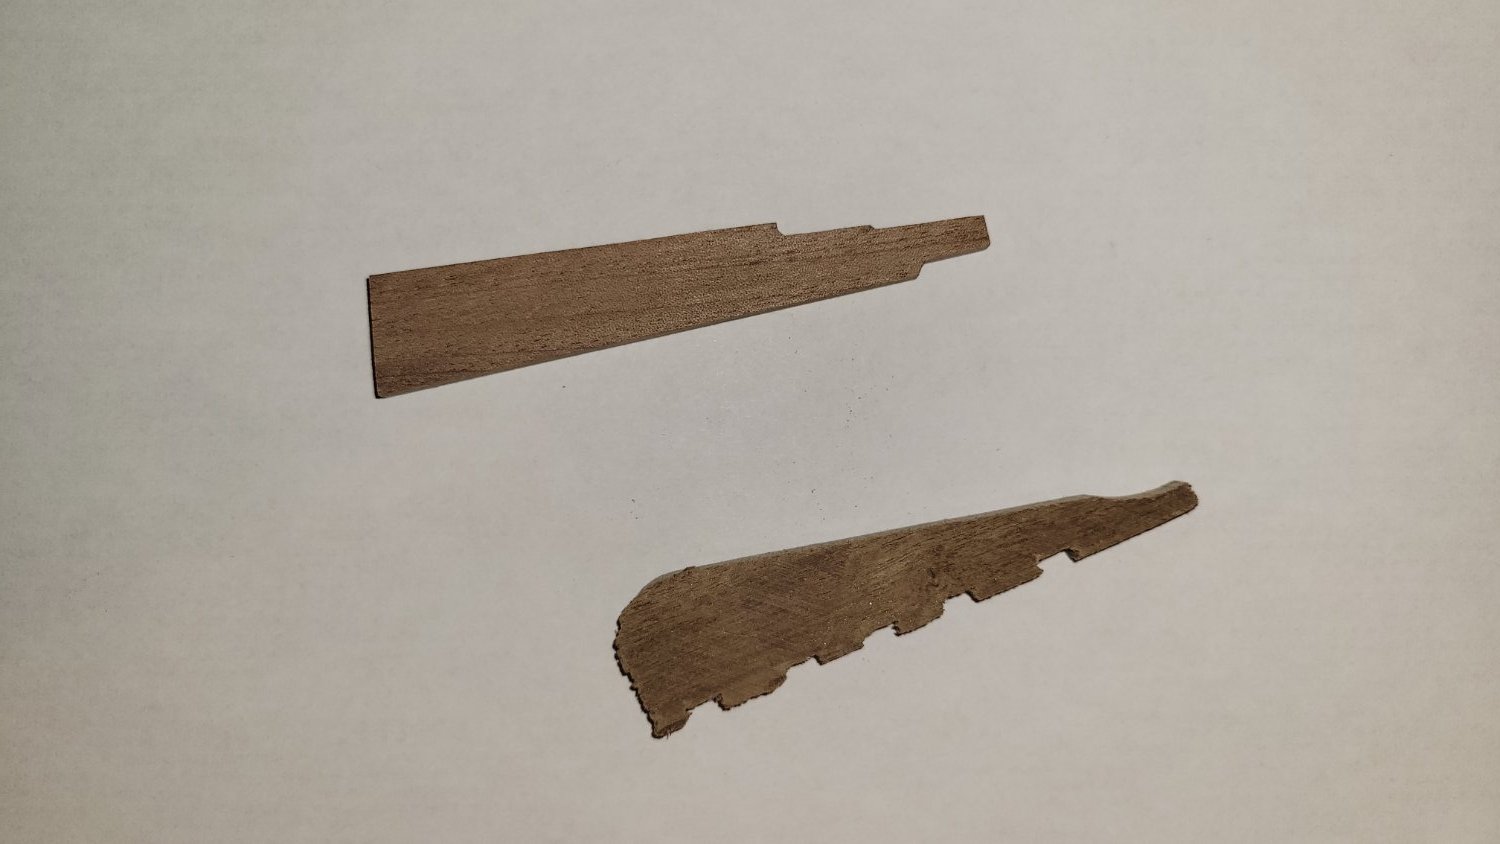
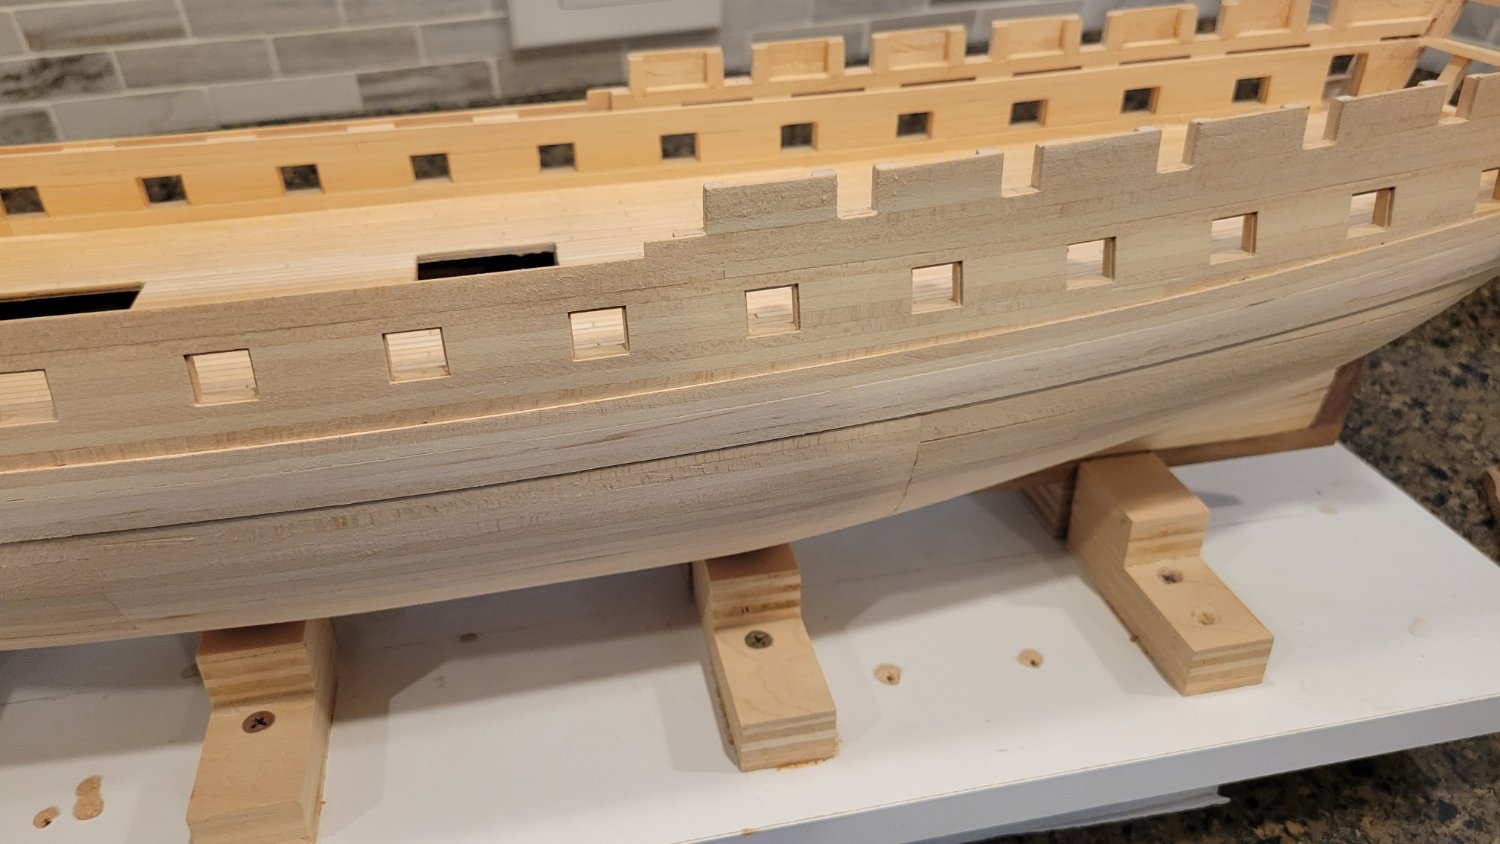
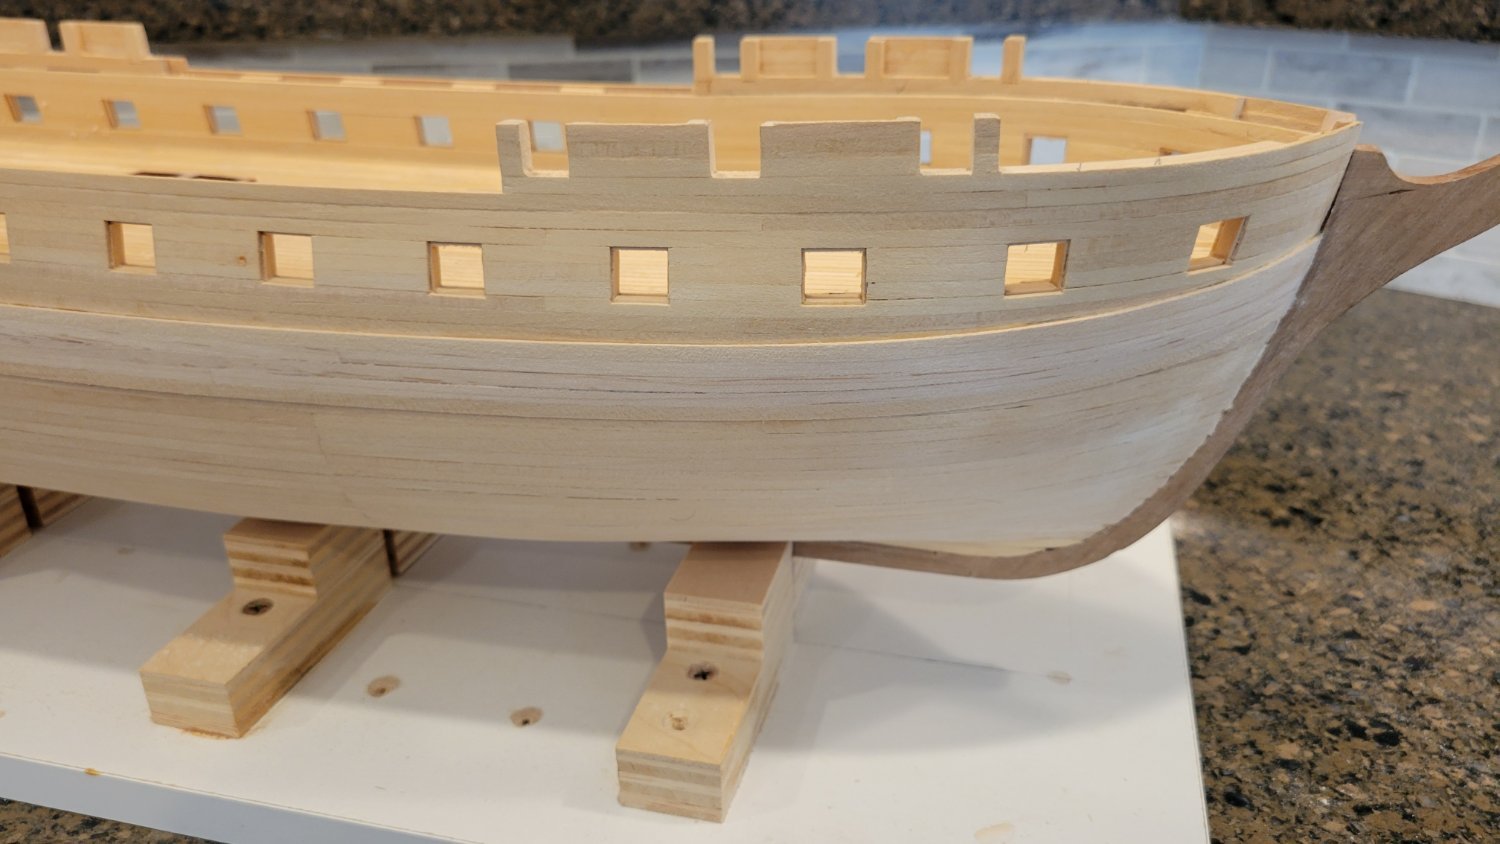
okay,,,, with the completion of planking and sanding the Port side Wale the Wales are done.
The template on the Stem shows the difference between the kit Stem for the USS Constellation (1854 Sloop of War) and the Stem of the original draughts of the 1794 Constellation. As well the rudder from the 1854 Sloop of War is a complete miss....
So out to the garage to rip down some Walnut and cut the correct rudder and build up the Stem to match the template.


- mtaylor, Scottish Guy and JerryTodd
-
3
-
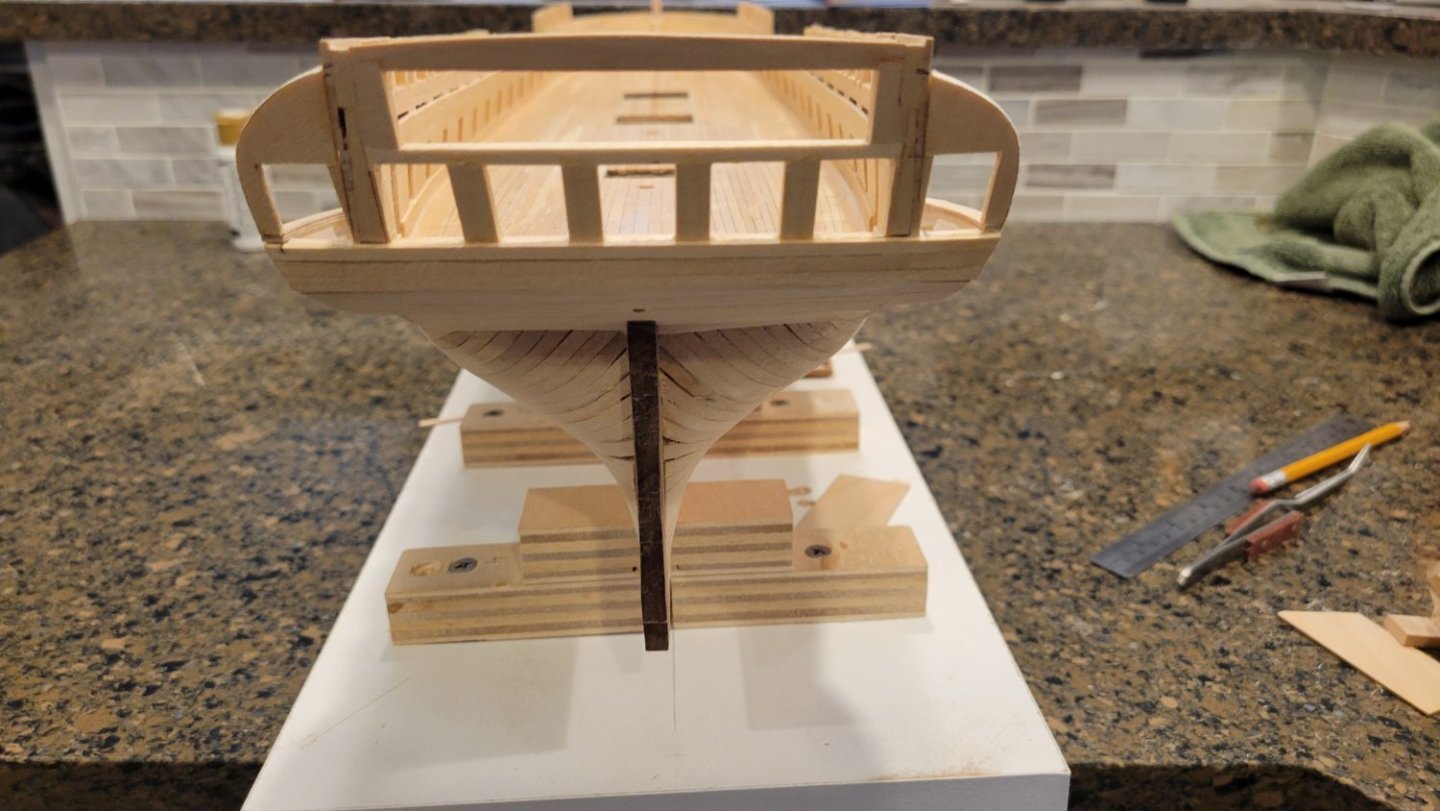
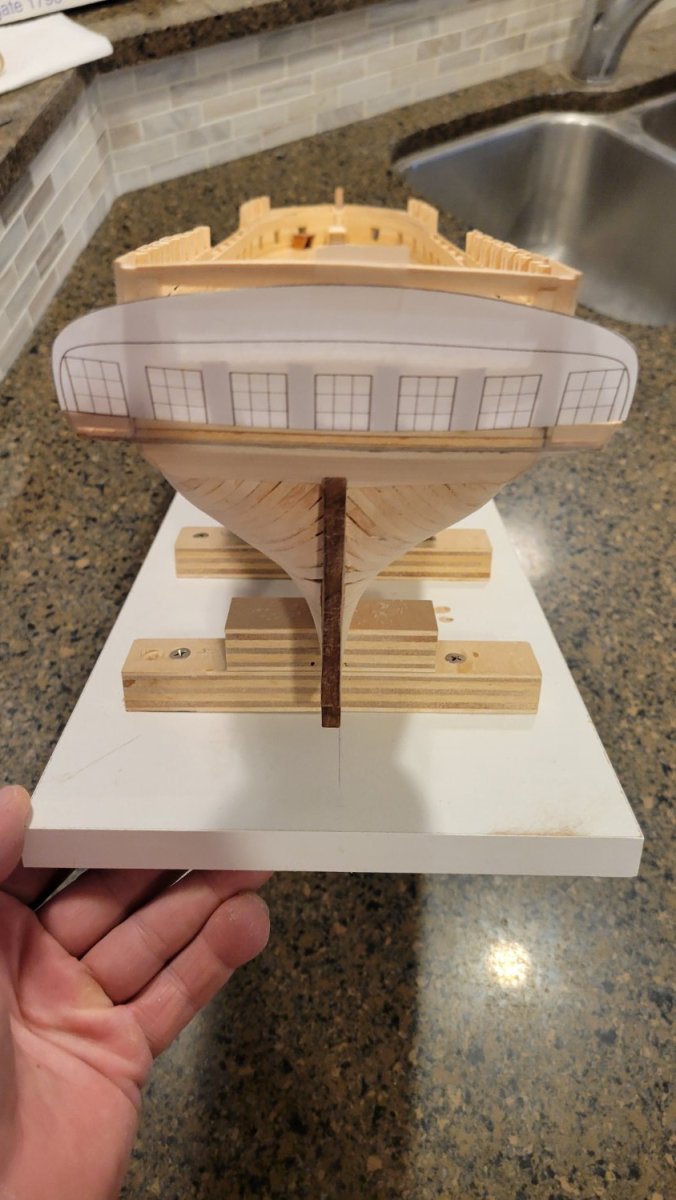
Completed the roughed in arrangement of the Seven Window Stern and also completed the Wale on the Starboard side.

- mtbediz, mtaylor, Scottish Guy and 1 other
-
4
-
-
-
23 hours ago, ccoyle said:
Very nice planking work!
Thank you Chris.
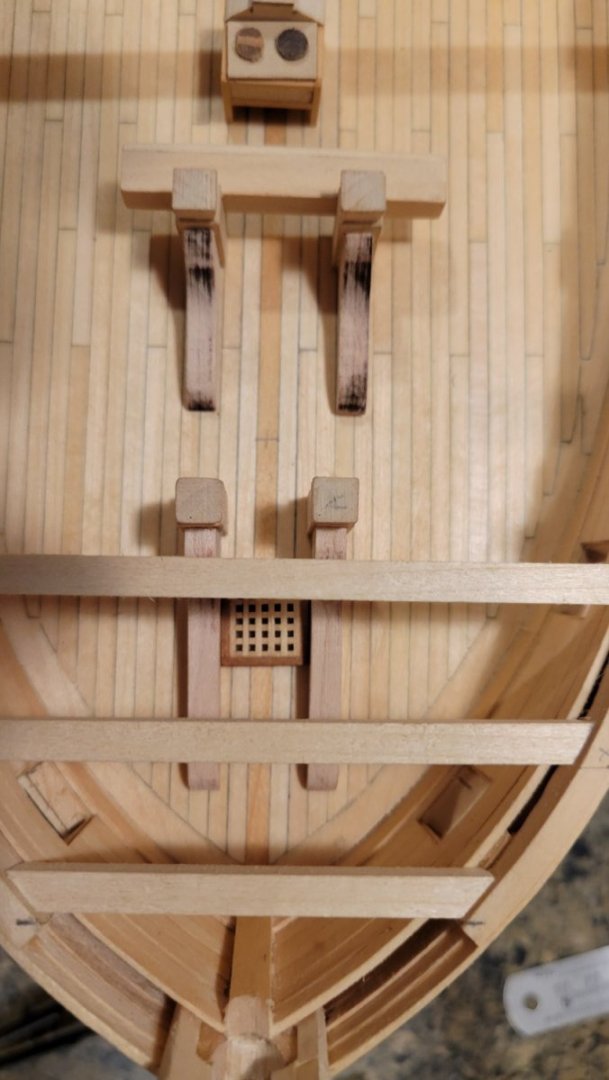
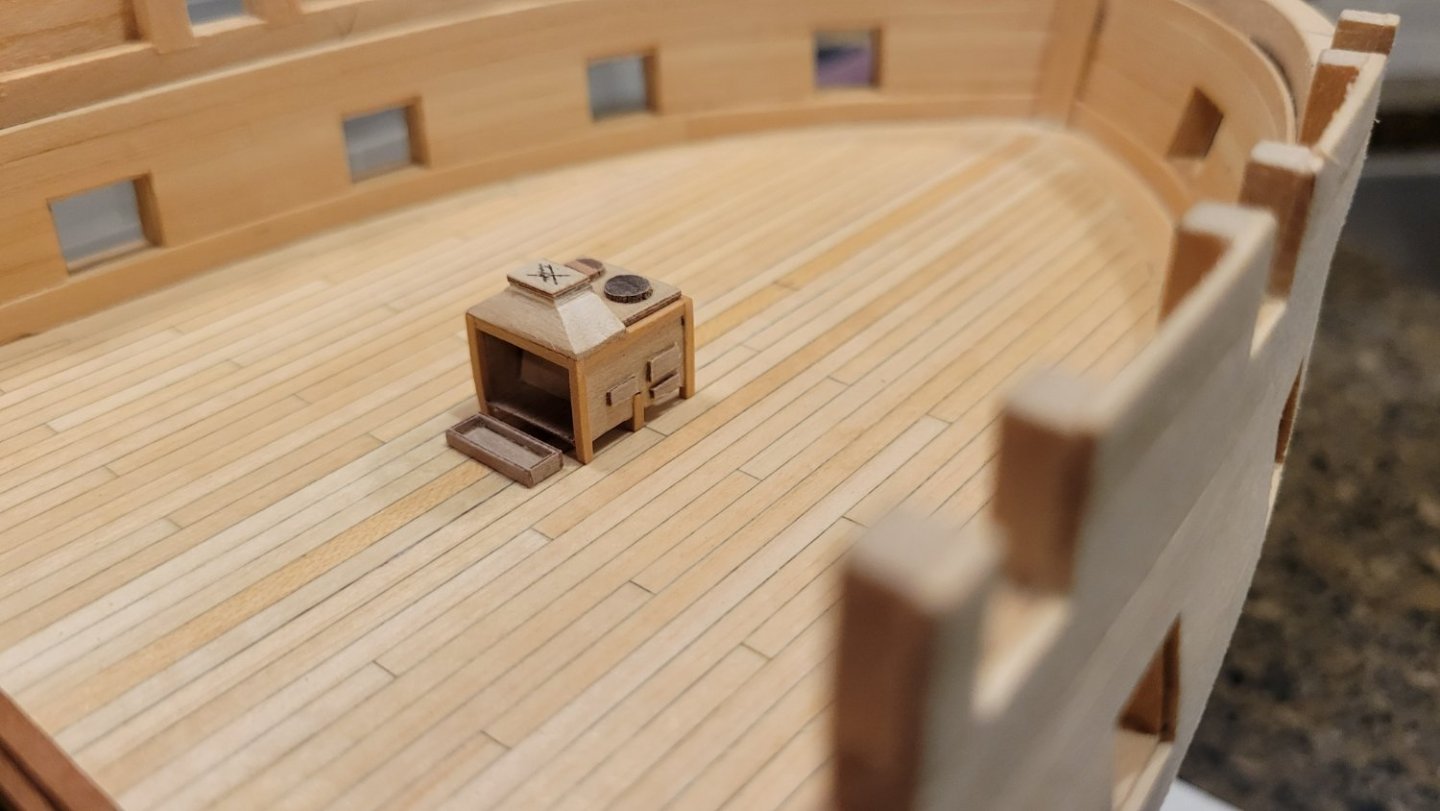
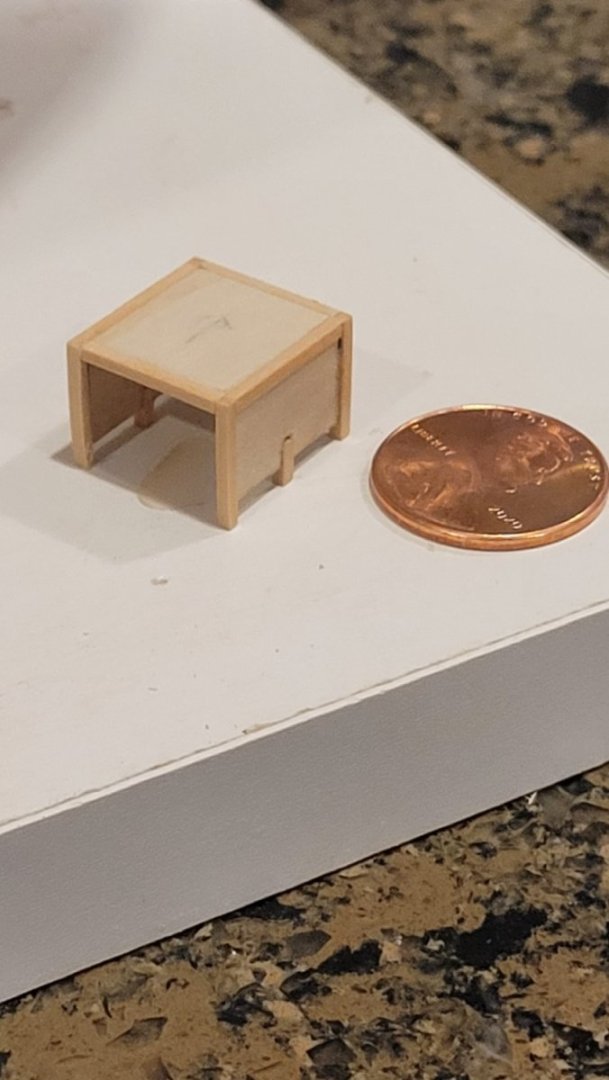
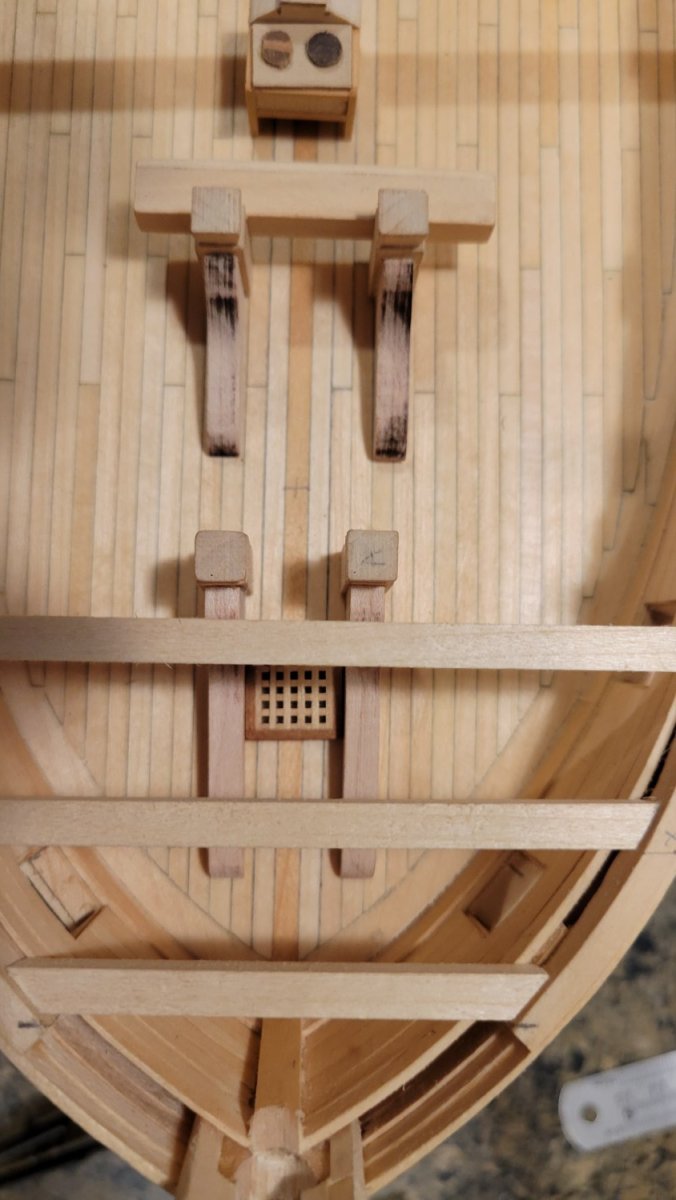
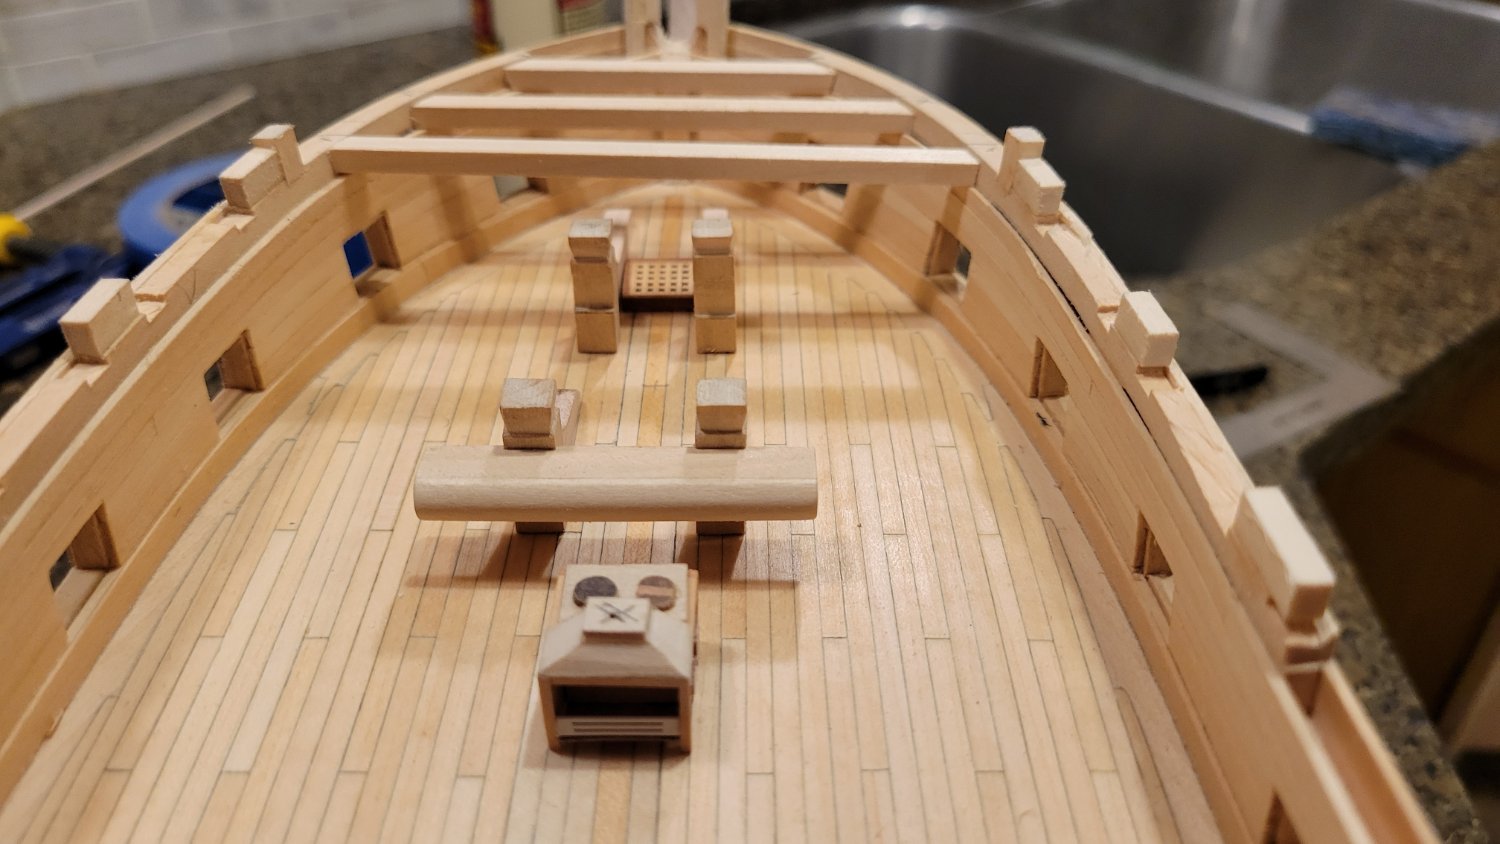
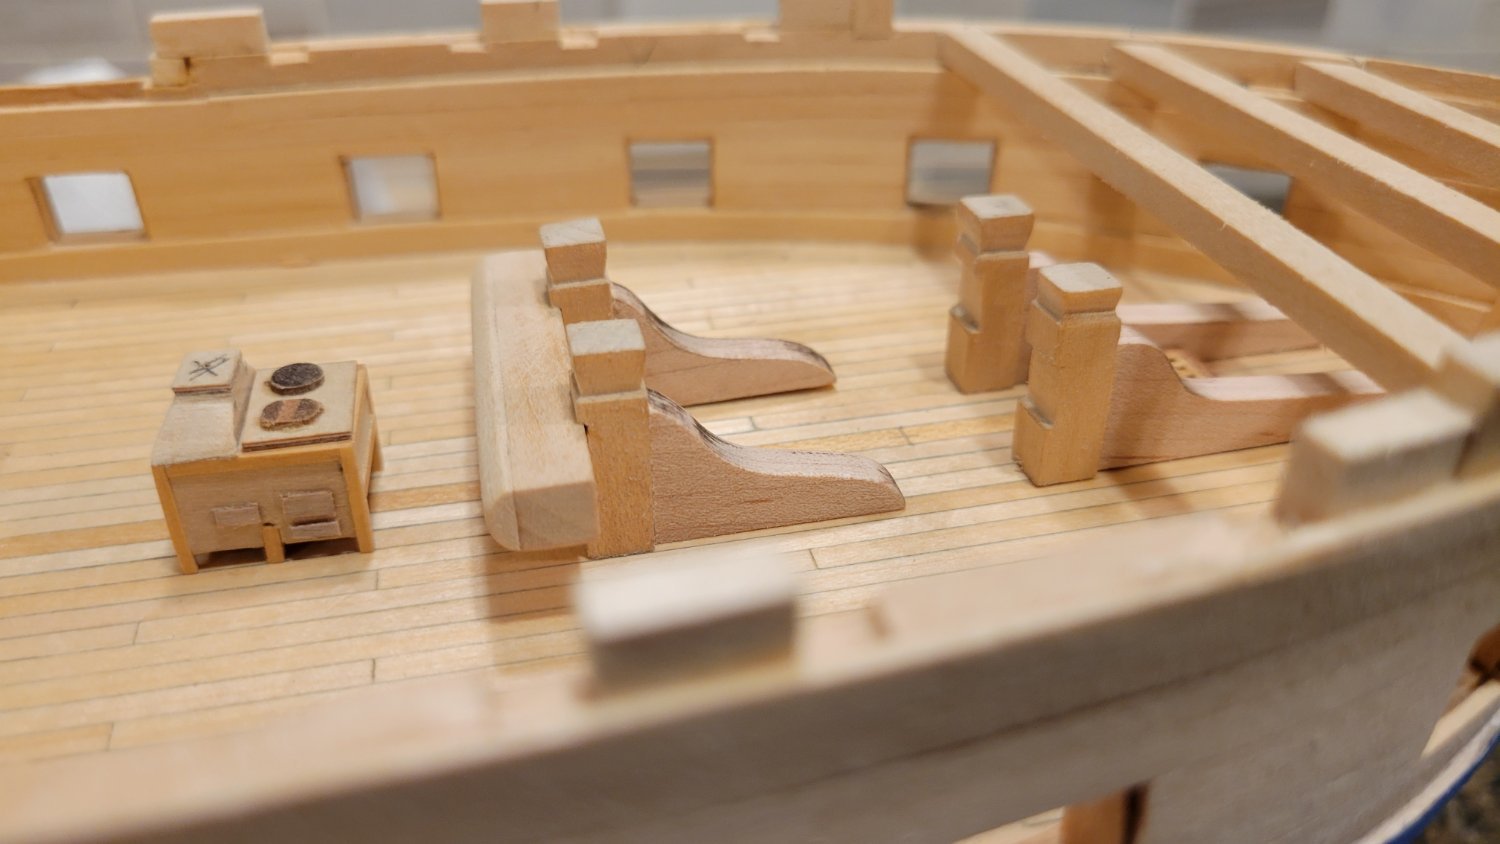
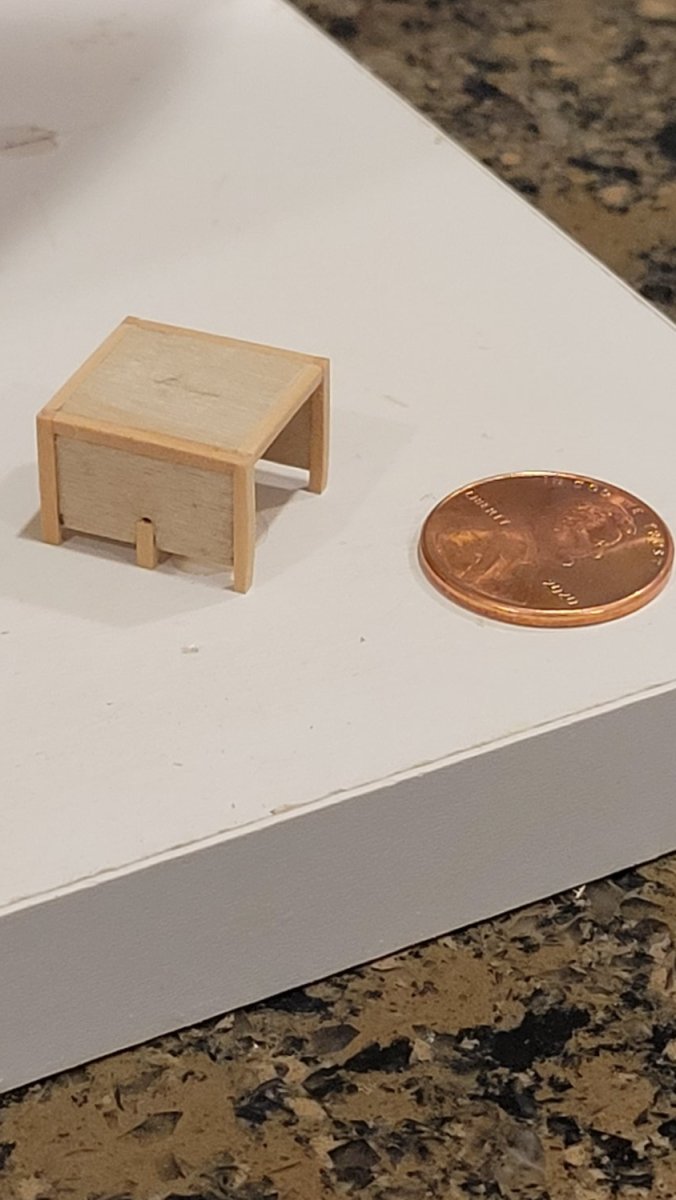
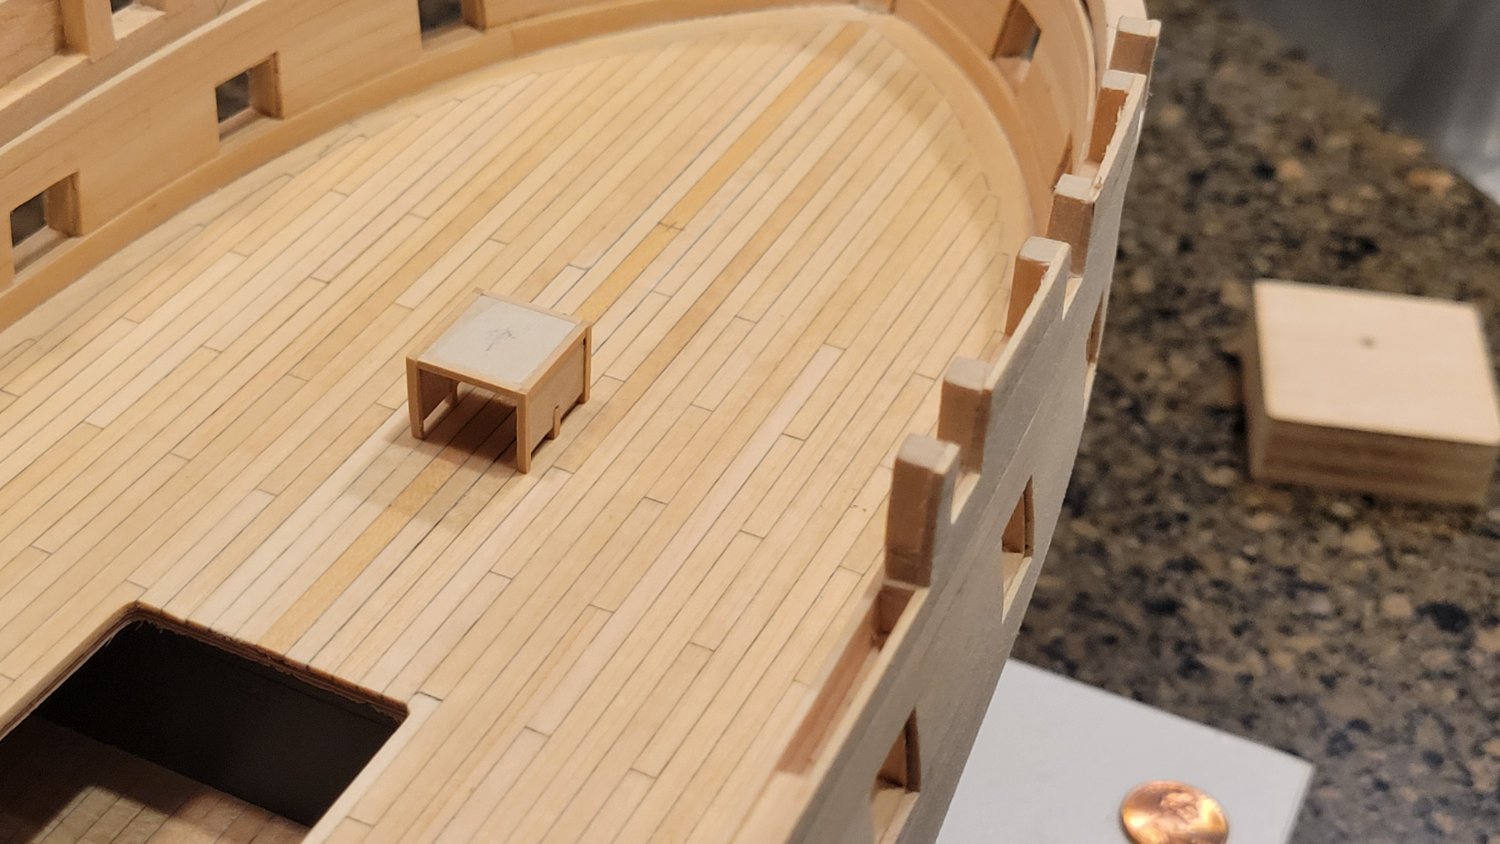
Added more details to the ship's stove, need to pick up some brass for the rotisserie details and make the water condenser.
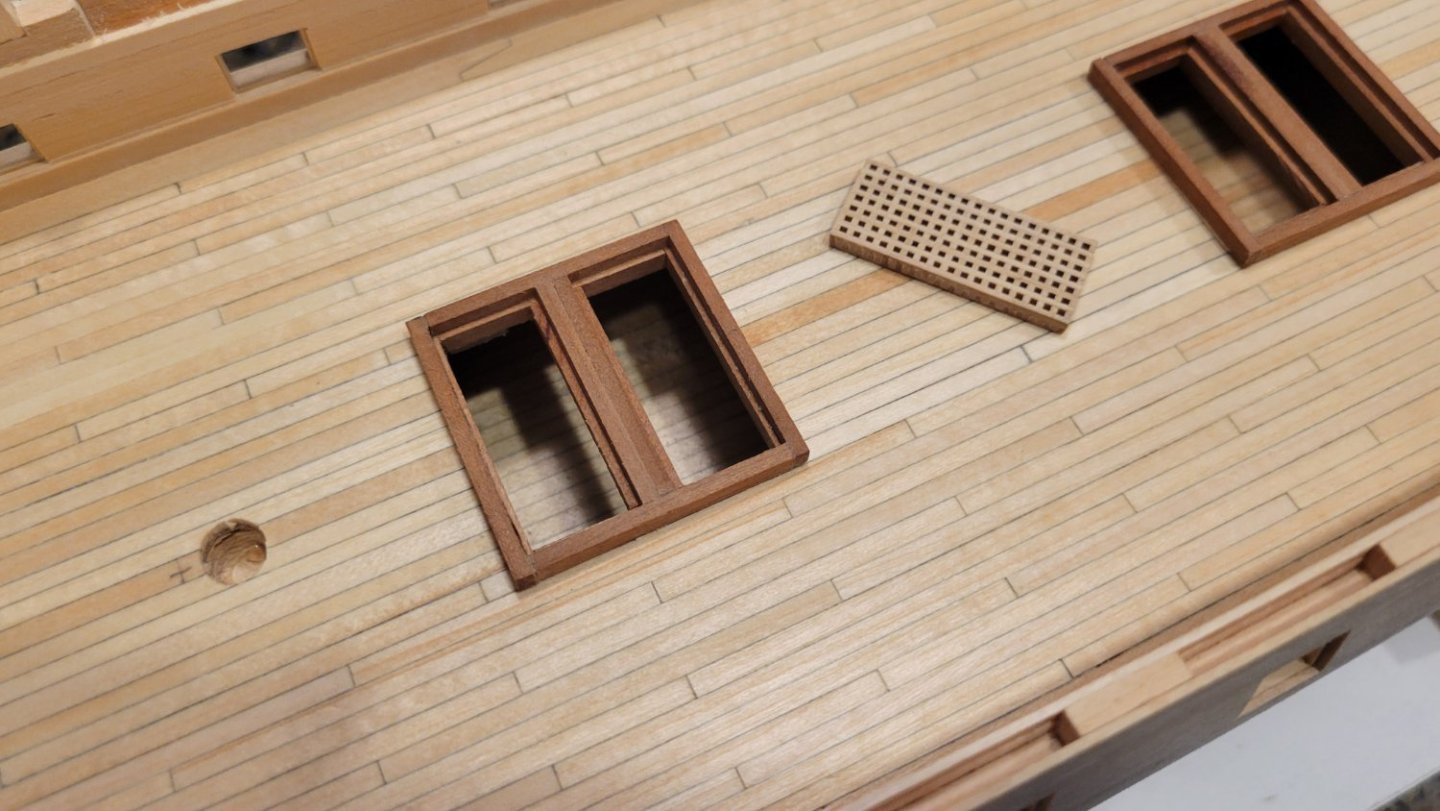
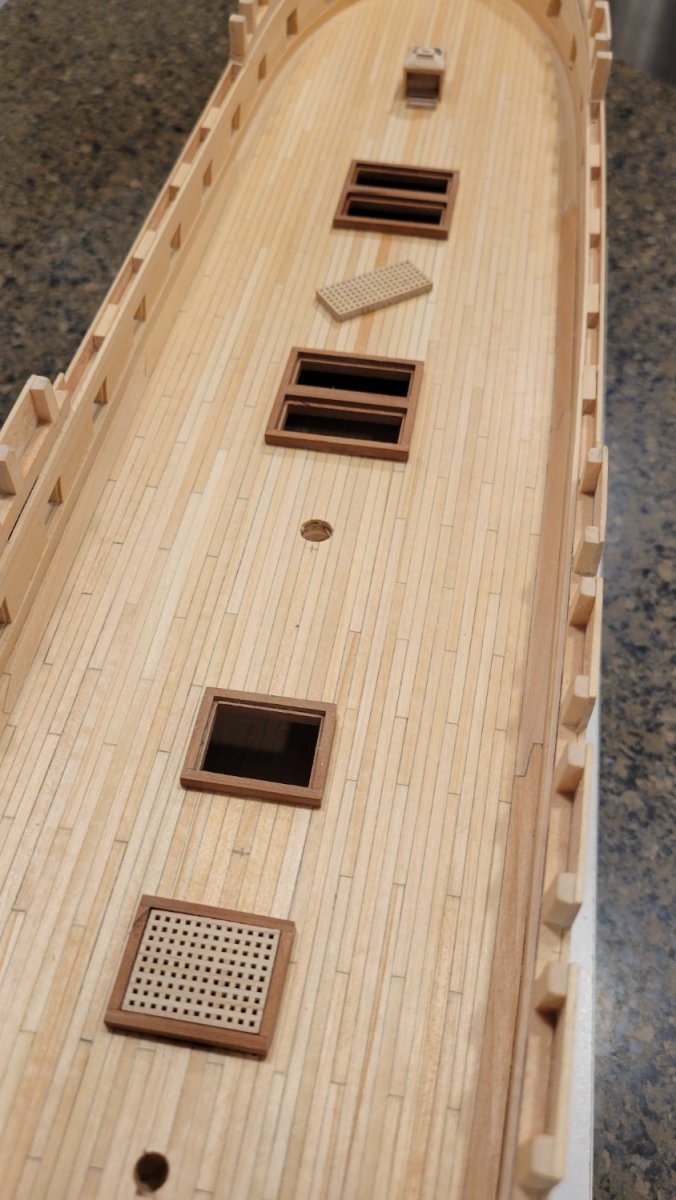
I also started the Hatch Coamings, they are made out of walnut but I'm not sure if I want to use a different (lighter wood) as I'm undecided about weather I should paint them or not...........

- Scottish Guy, mtbediz, mgatrost and 5 others
-
8
-
-
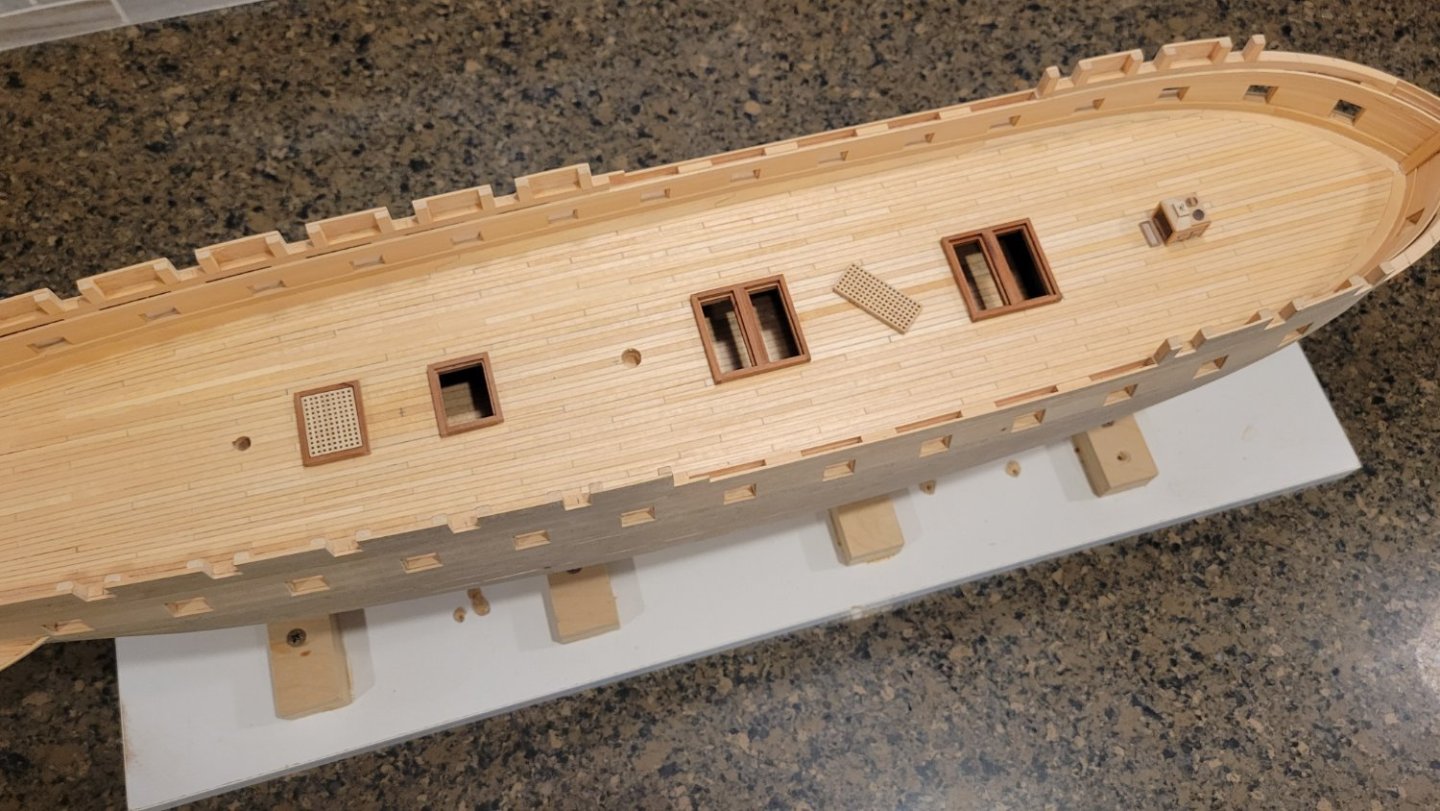
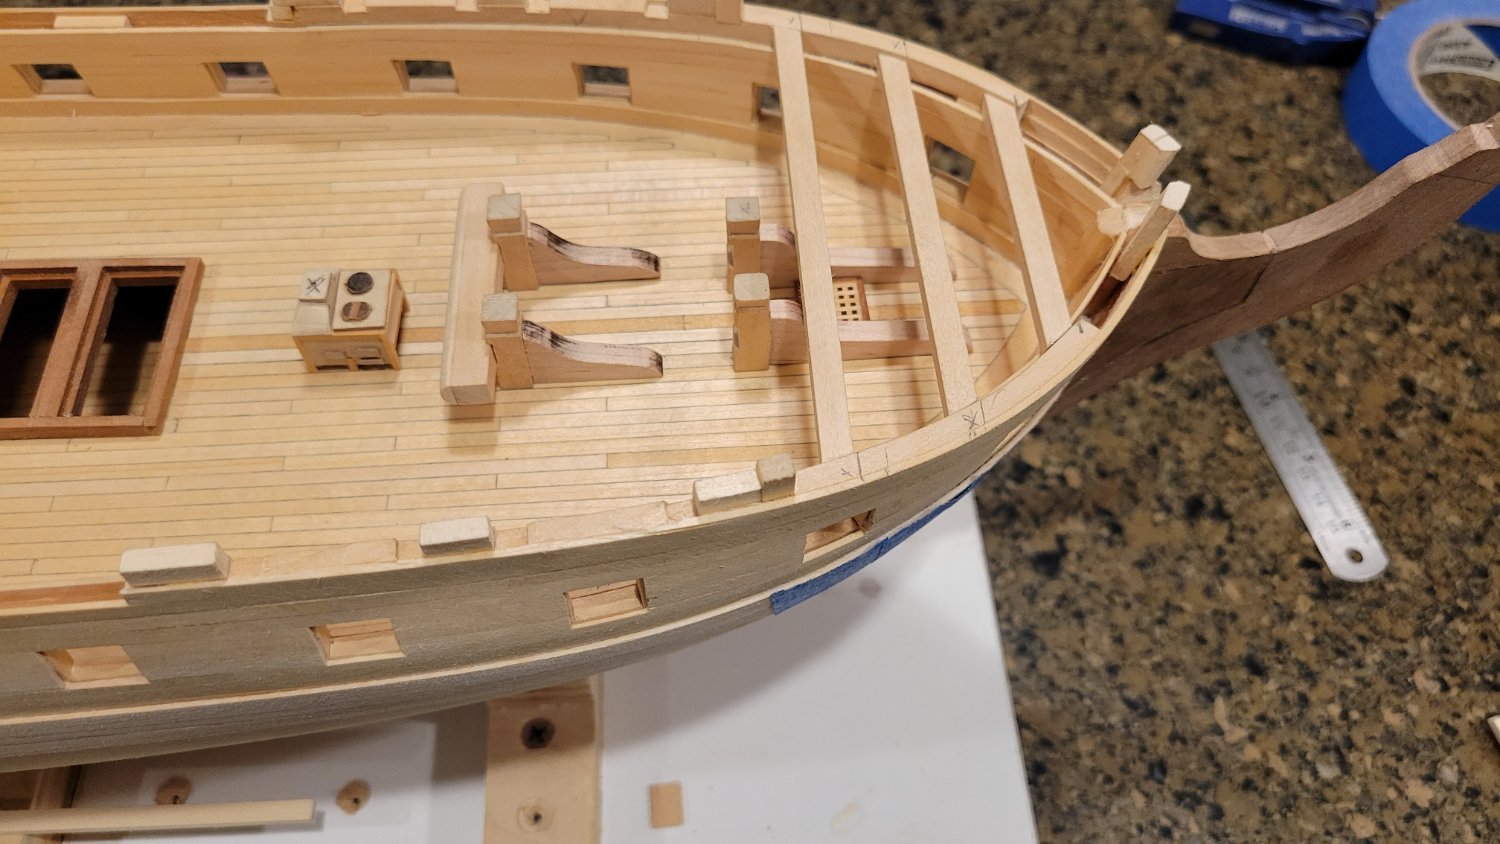
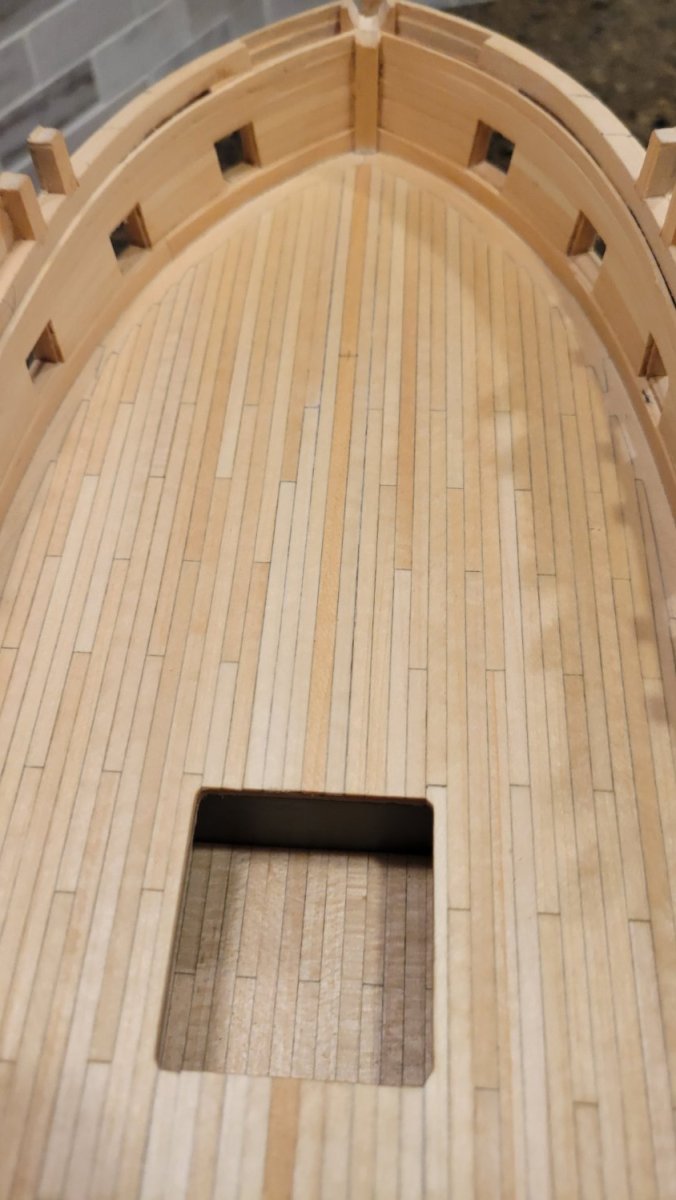
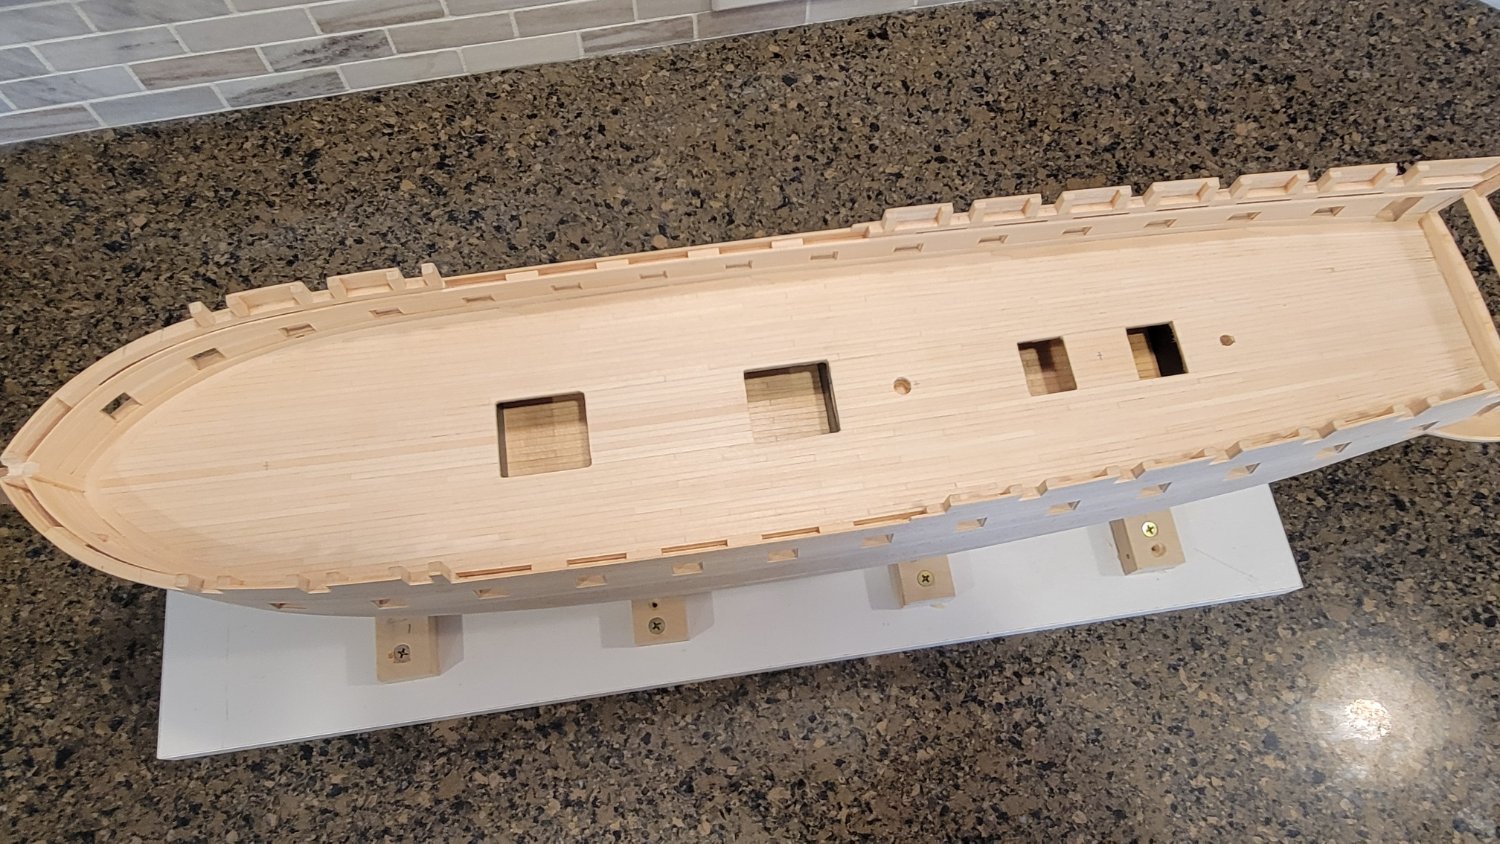
Completed planking the Quarter Galleries and finished the Gun Deck with 3 coats of Clear Lacquer.
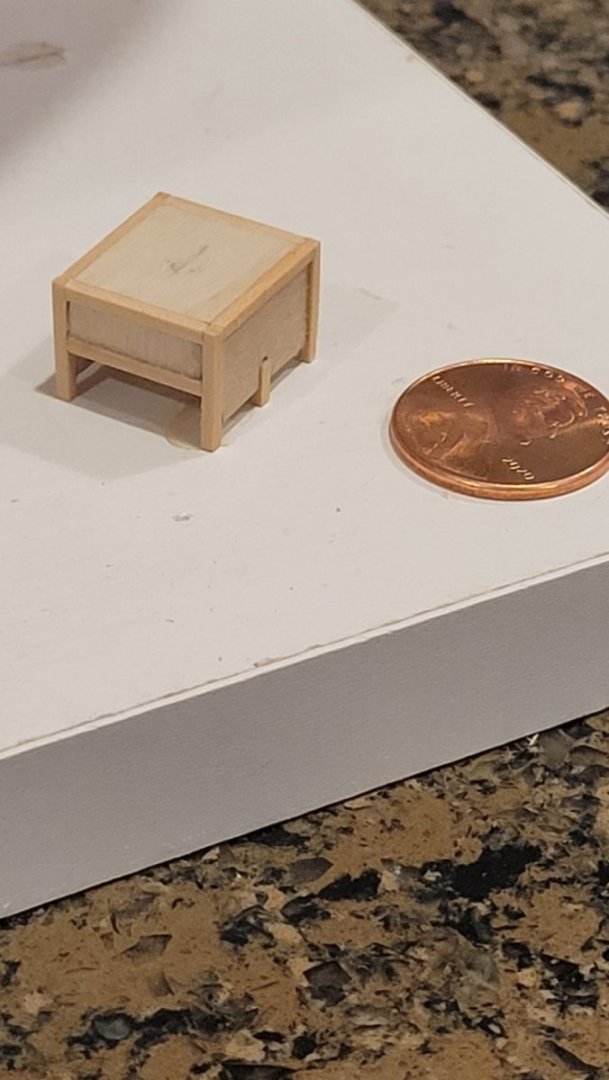
Next I started on the ship's stove as I need to get all fittings and furniture together so I can layout the deck arrangement.
This is my second attempt on building the stove, I wanted to incorporate more details in making the stove body vs trying to add them to a square box. Next will be finishing the stove body, chimney, door details etc..... a work in progress.


- JerryTodd, Paul Le Wol, mtaylor and 4 others
-
7
-
Hello,
So, after one of those life gets in the way induced hiatus, I have finally dusted of this project and started working on it again. I completed planking and sanding the Gun Deck. Need to finish planking the Quarter Gallery decks and then apply a finish to the decks.
- mtbediz, chris watton, schooner and 4 others
-
7
-


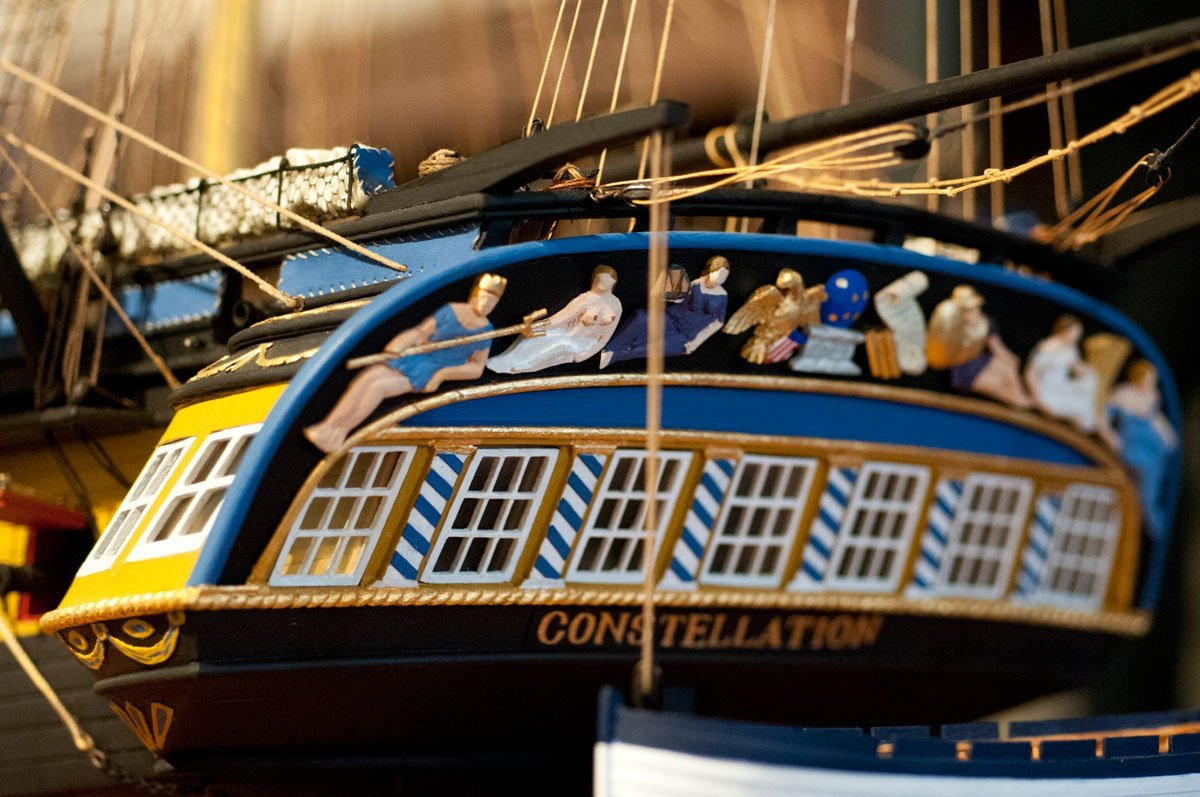


USS CONSTELLATION by Tschiller - Artesania Latina - Scale 1:85 - Kit Bashed back to 1797
in - Kit build logs for subjects built from 1751 - 1800
Posted
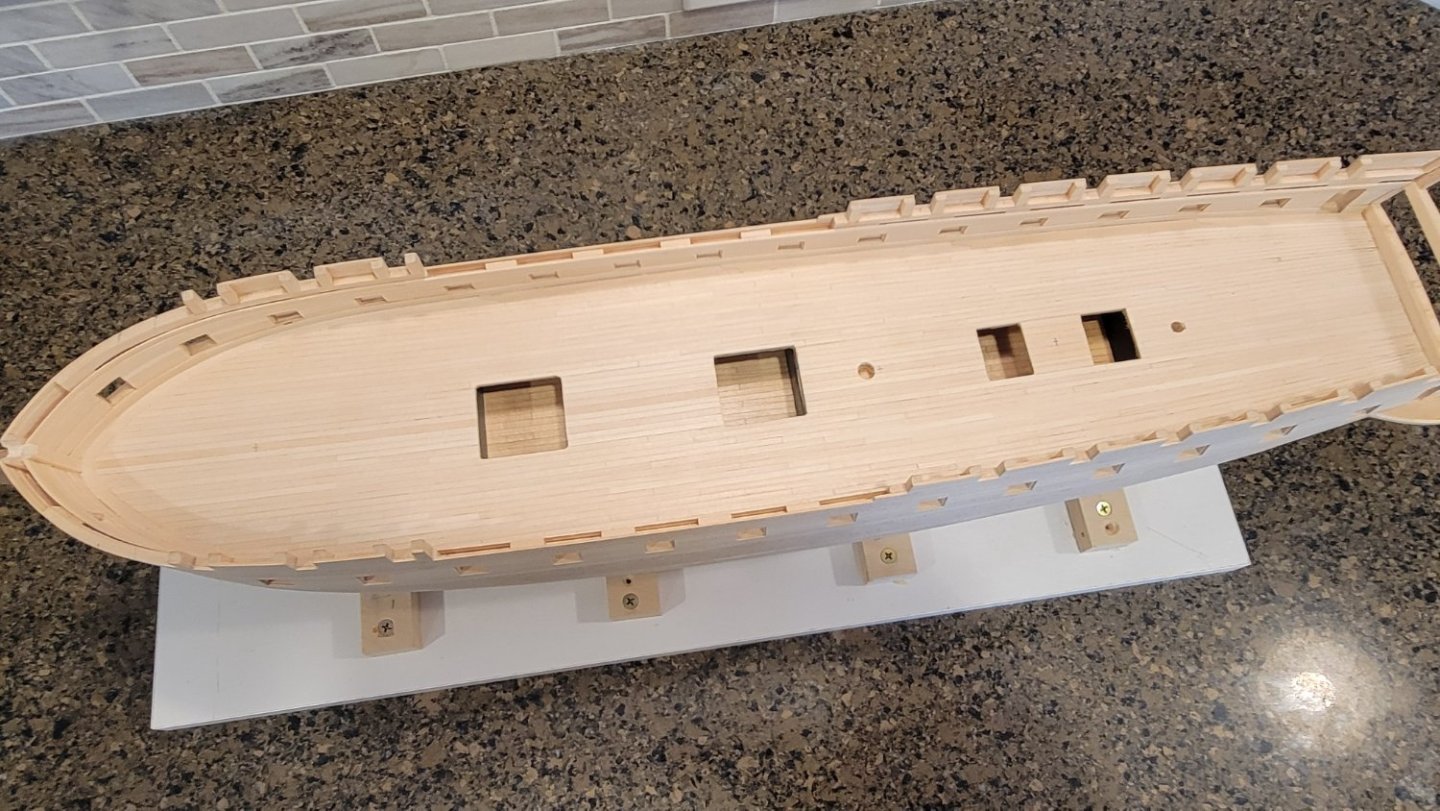
I made the ladders and shot racks for the Hatches on the gun deck. Both the ladders and shot racks are made from maple.
I believe I will just finish the coamings, grates and shot racks with clear lacquer the same as the decks.