Vane
-
Posts
618 -
Joined
-
Last visited
Content Type
Profiles
Forums
Gallery
Events
Everything posted by Vane
-
 Great to see you back in business. I have so many projects going and nothing gets finished. I also hope to returen to my Snake someday. At least i finished the deck some month ago. When Working on several builds its probably better to aim for Good enough and actually finish something rather than perfection in everything and not finishing anything. HMS Jason is your masterpiece where no compromise should be accepted. But this one is already far beyond Good enough so just wrap things up.
- 800 replies
-
- 1
-

-
- snake
- caldercraft
- (and 1 more)
-
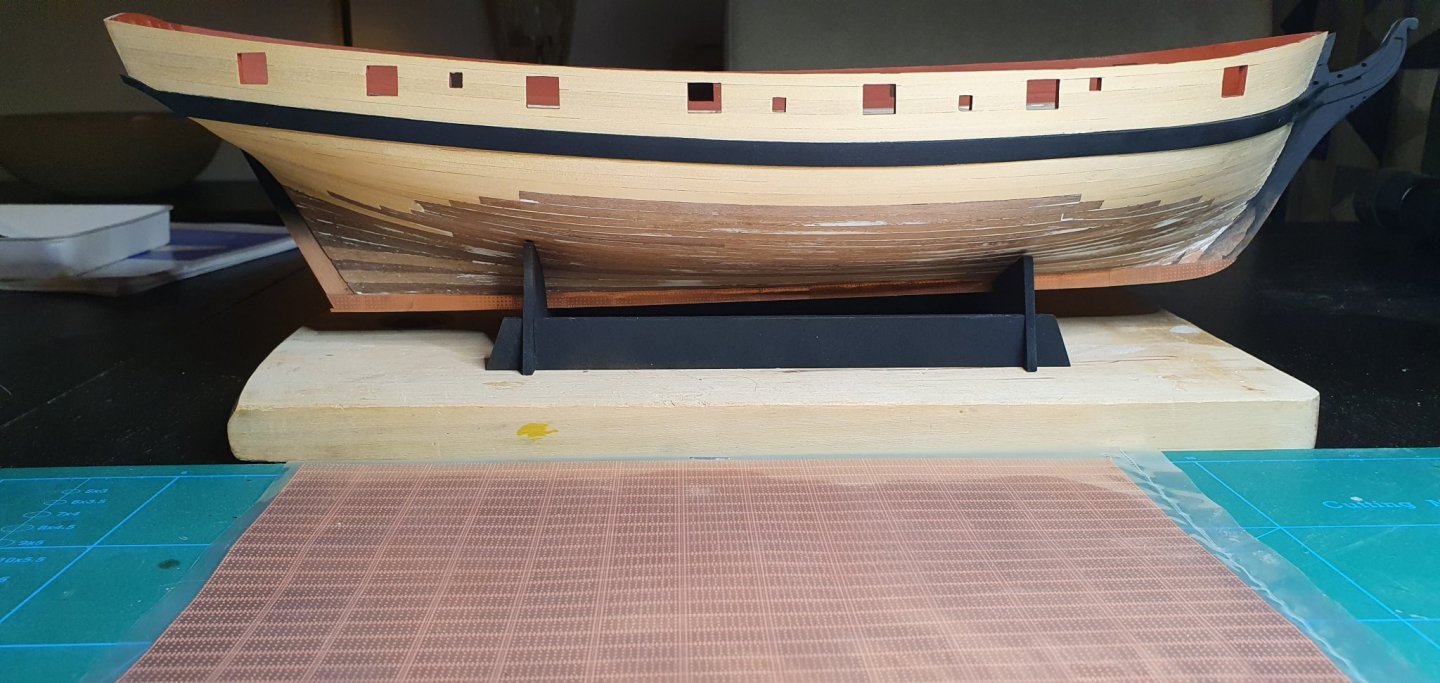
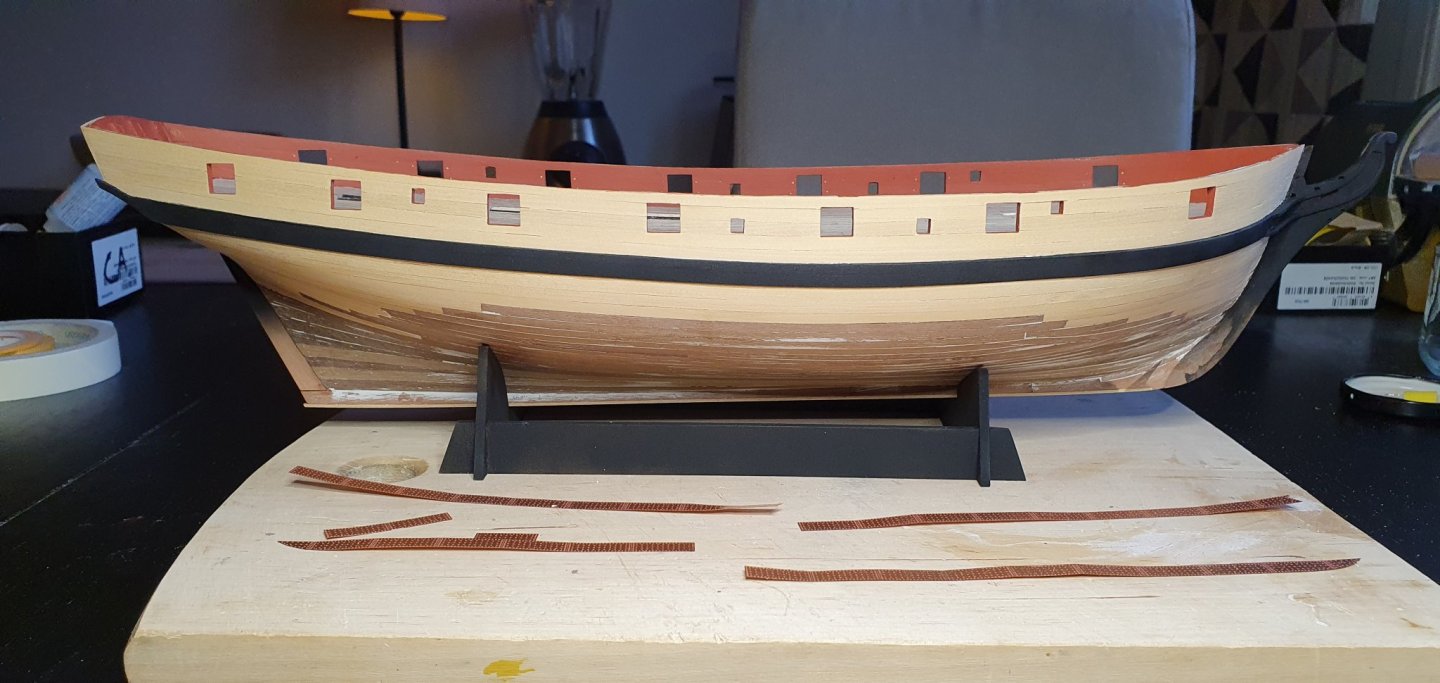
Finally, the ugly walnut have been covered! I saved 20 strips of boxwood and my calculations matched up 🙂
-
I think this looks nice, but I would argue that as a brand Vanguard should keep some "consistency" in the look of the line-up of boat models. Its great that you constantly try to come up with new solutions and better designs, but you also need to think of what Vanguards model stand for. The more the business expands the more important it will be to create a certain style that flows through the whole line up. You created a very unique look with the transparent stands and i Think you should continue with that kind of look in all of your models.
-
Thanks 4 all support and comments. Yes, once you try box it will be difficult to go back to walnut. Just working with this Wood is a pleasure.
-
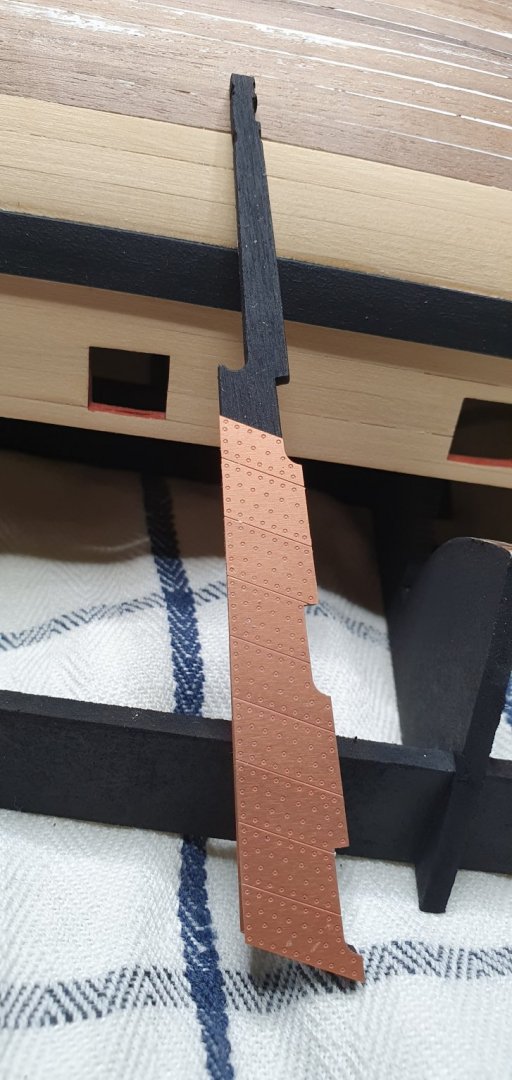
First row on both sides done! I dont have that much experience in this but I must say that Vanguards has done it again with pre etched patterns etc making this step much easier. The plates also looks much better than what i have on my Snake from Caldercraft. I Probably need to order these for my Diana in the future. Another tip is also to start using a New bottle of CA. Old bottles not have the same consistence and with the frustration of constantly getting "too attached" to your ship you want to make it as simple as possible.
-
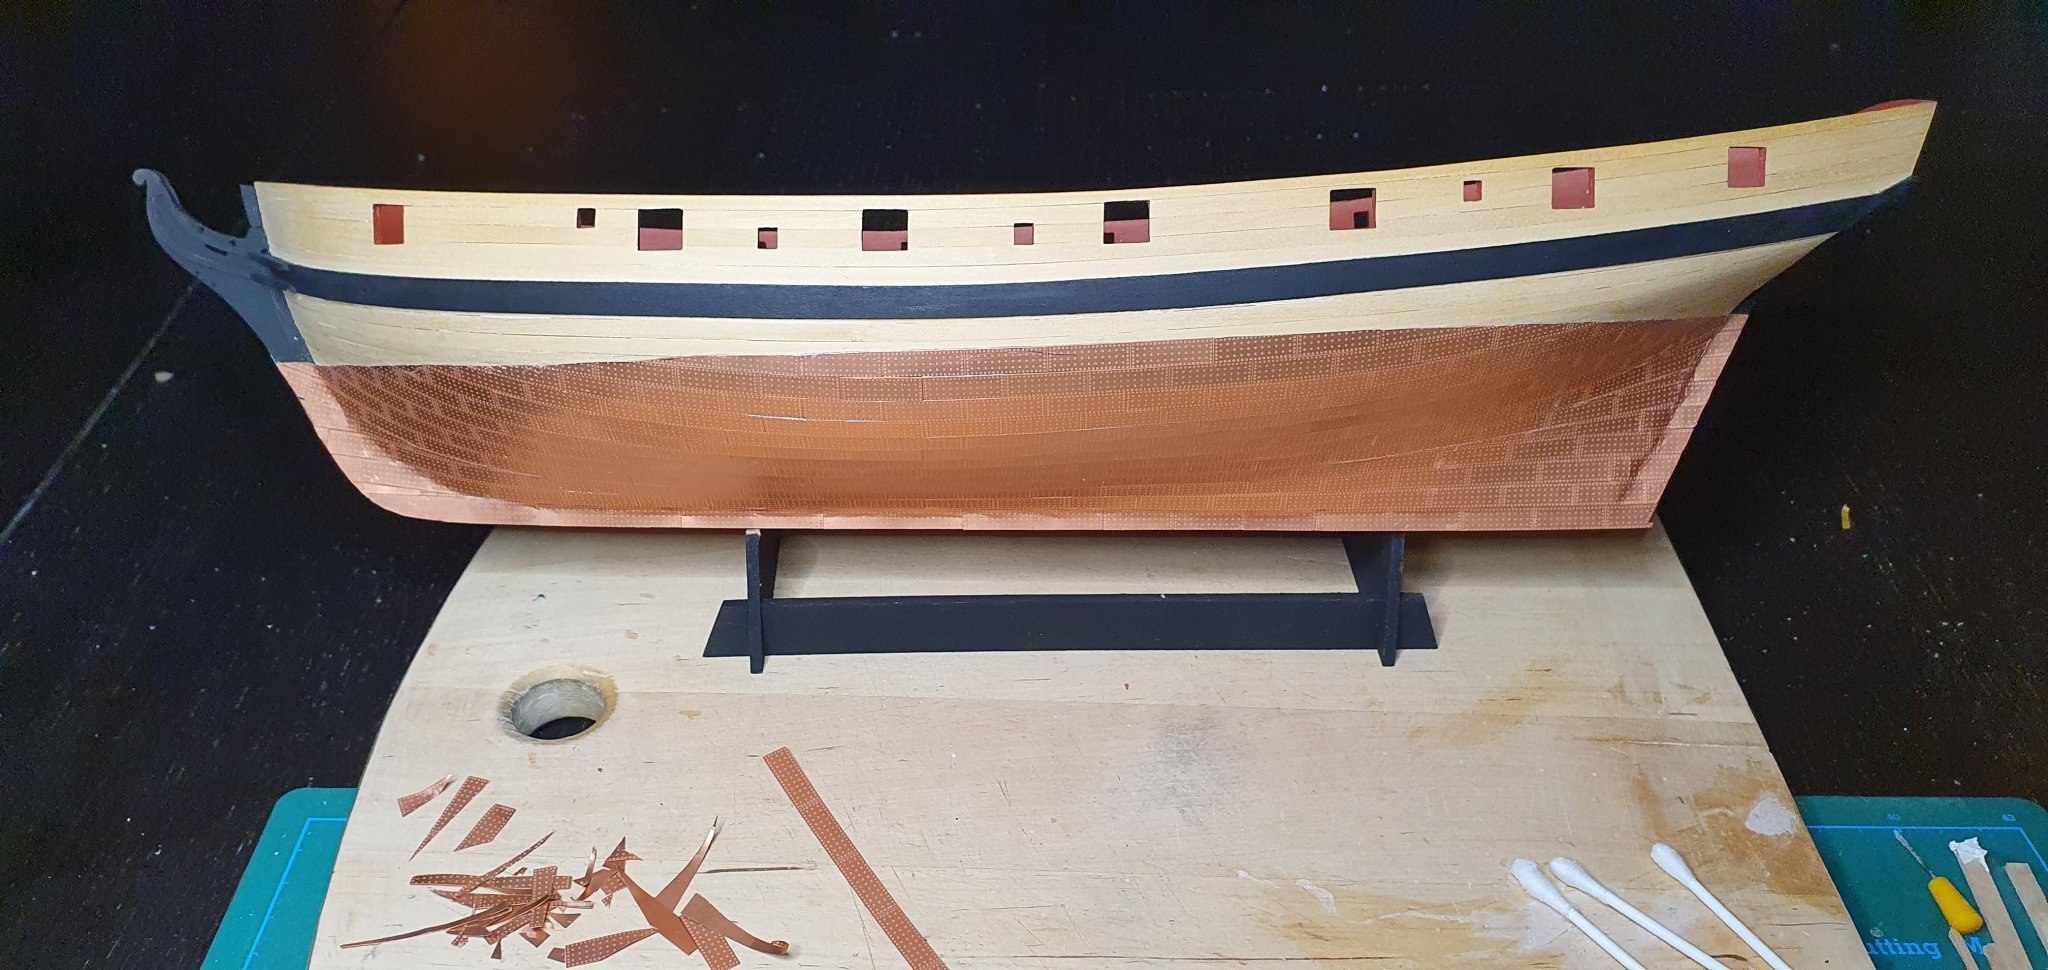
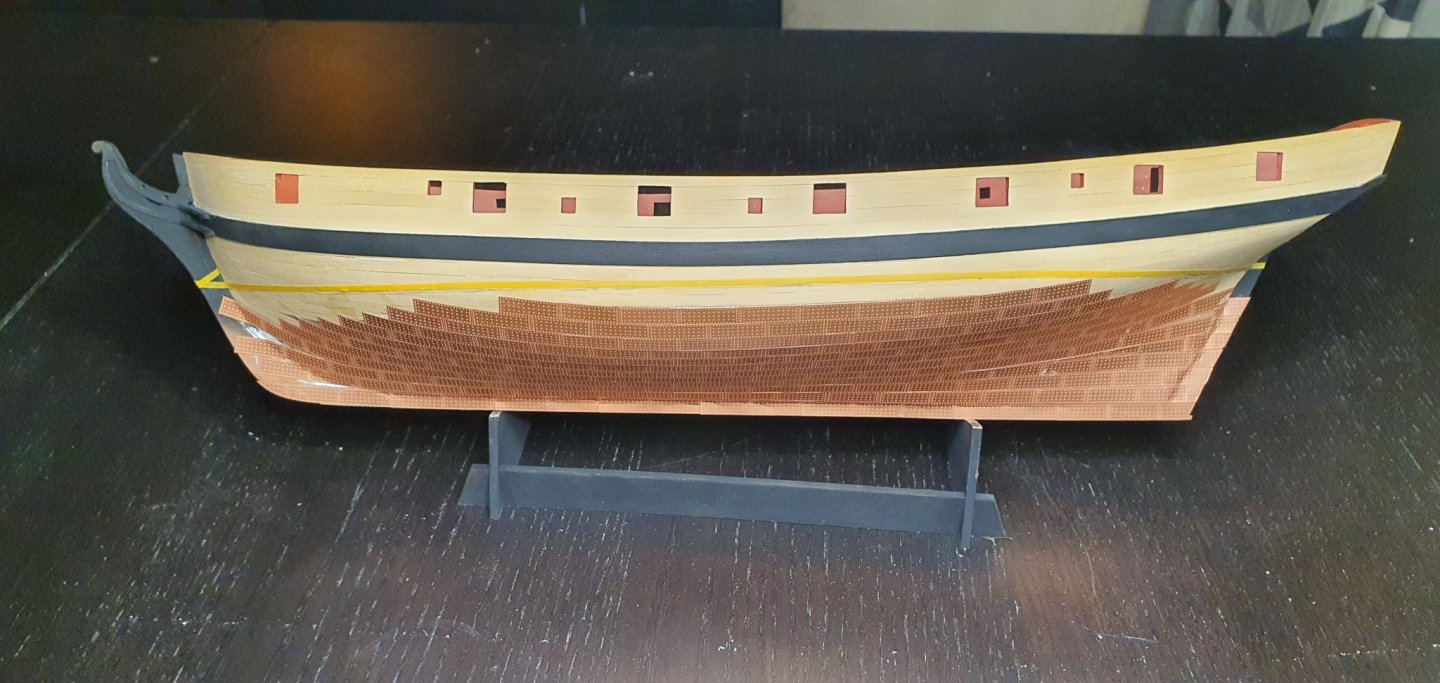
Finally, now it start to look like a really nice ship... sorry I mean Slop-brig. Me and my airbrush are not friends yet so it took a couple of hours to do this and i also sprayed the building stand just to make it abit more natural on my shelf when not Working on her. What do you think?

-
Thanks Jason, but I kind of see the opposite. When i look directly at my model I dont see that many scratches but when i see some of my photos on my 32inch screen suddenly everything look like Swiss Cheese! haha But this build is definitely better than my other ongoing. I learnt that you cant sand enough on a model. You really need to work it if you want it to be good. Just look at Sloanes scratch build of HMS Bellona. He spends hours on each single piece. I am too impatient for that level but perhaps when i continue on my HMS Diana i can raise the bar higher for myself.
-
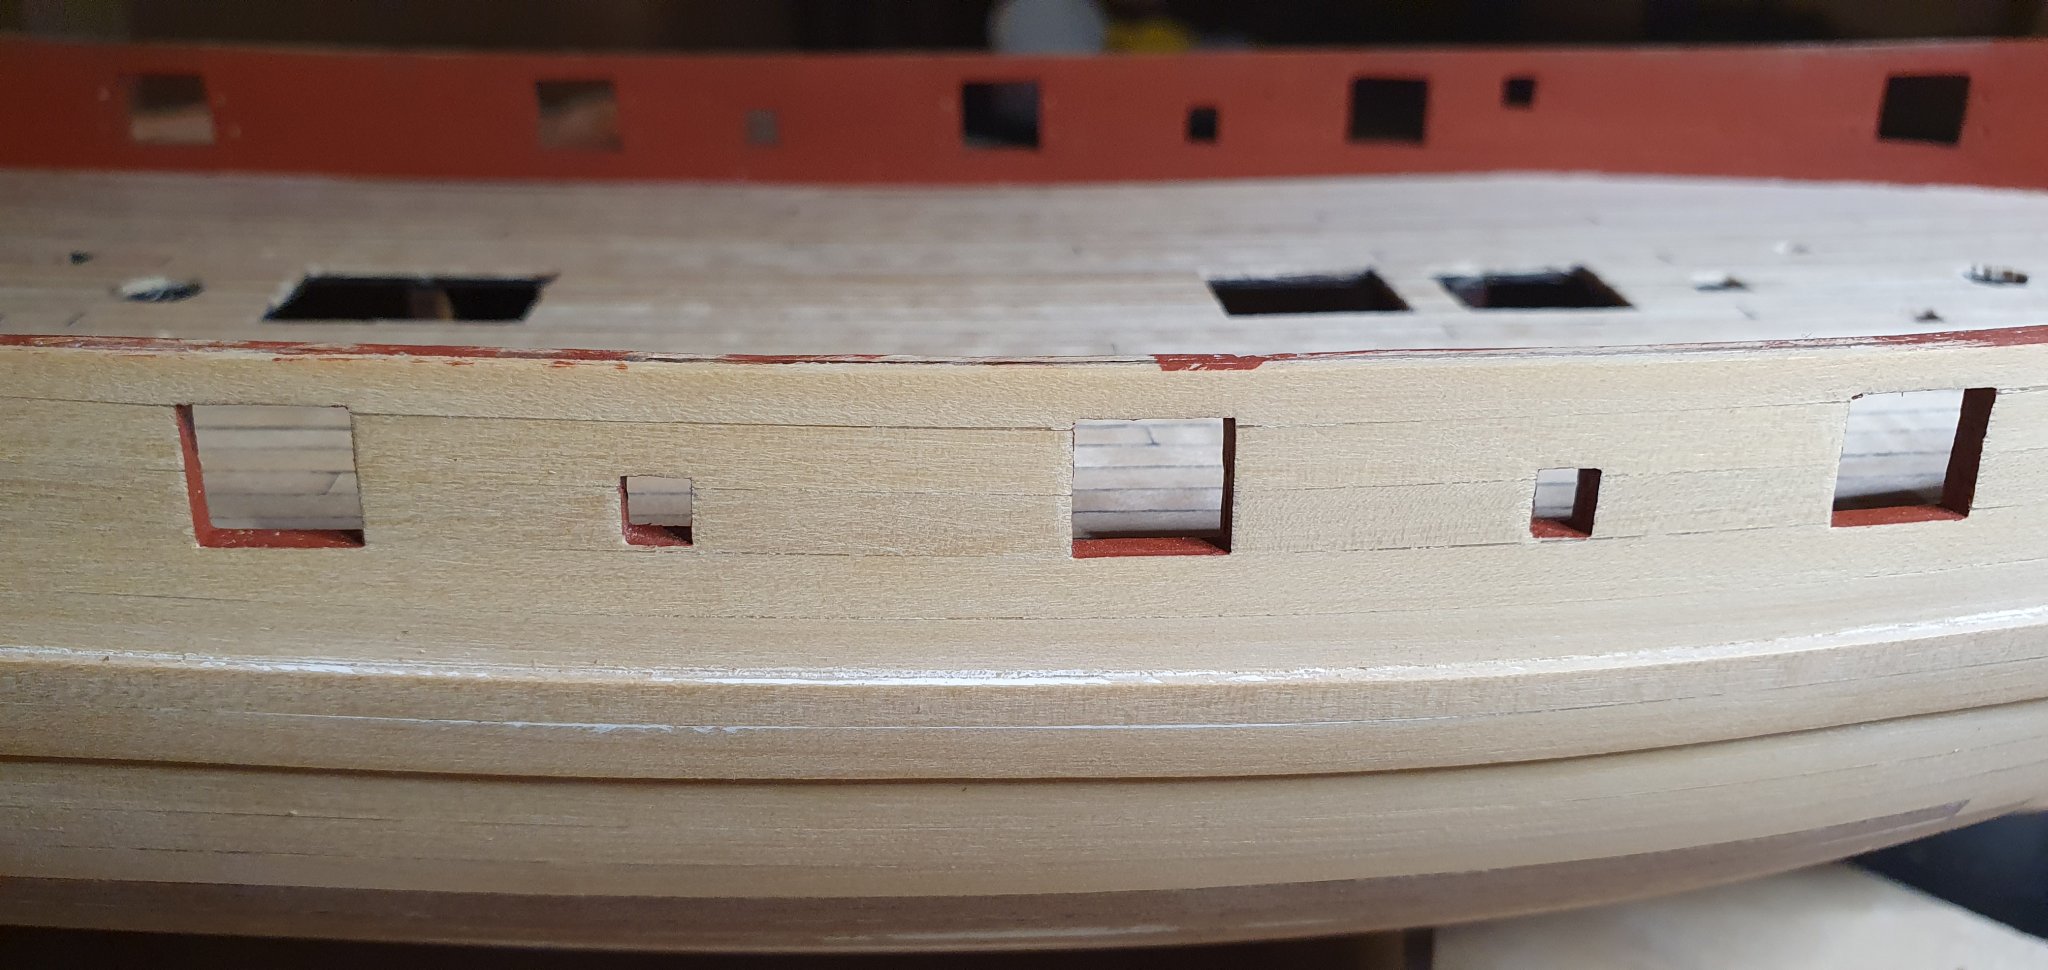
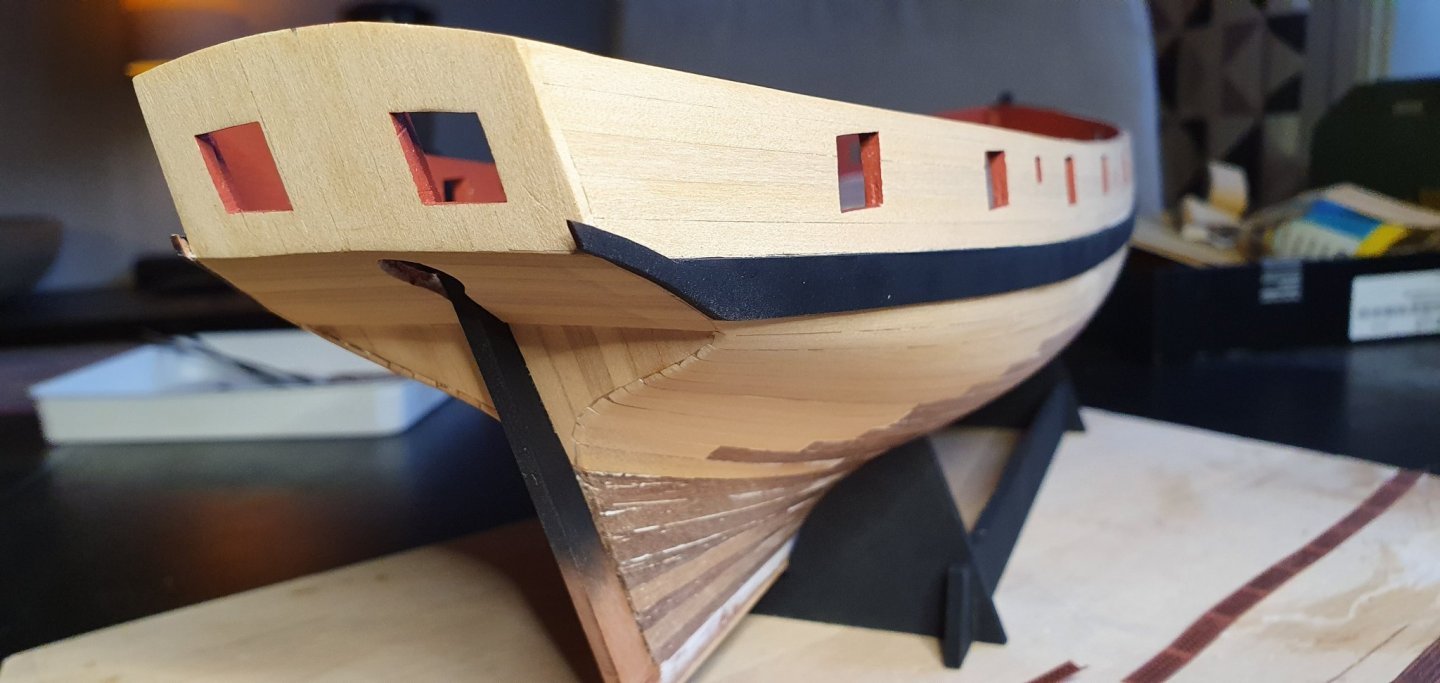
Alot of fitting, filing and sanding... innerwalls, and gunports finally done! This will never be perfect, just need to work untill u think its good enough for your build. Next step is to do some black airbrushing and then I plan to start with the copper.

-
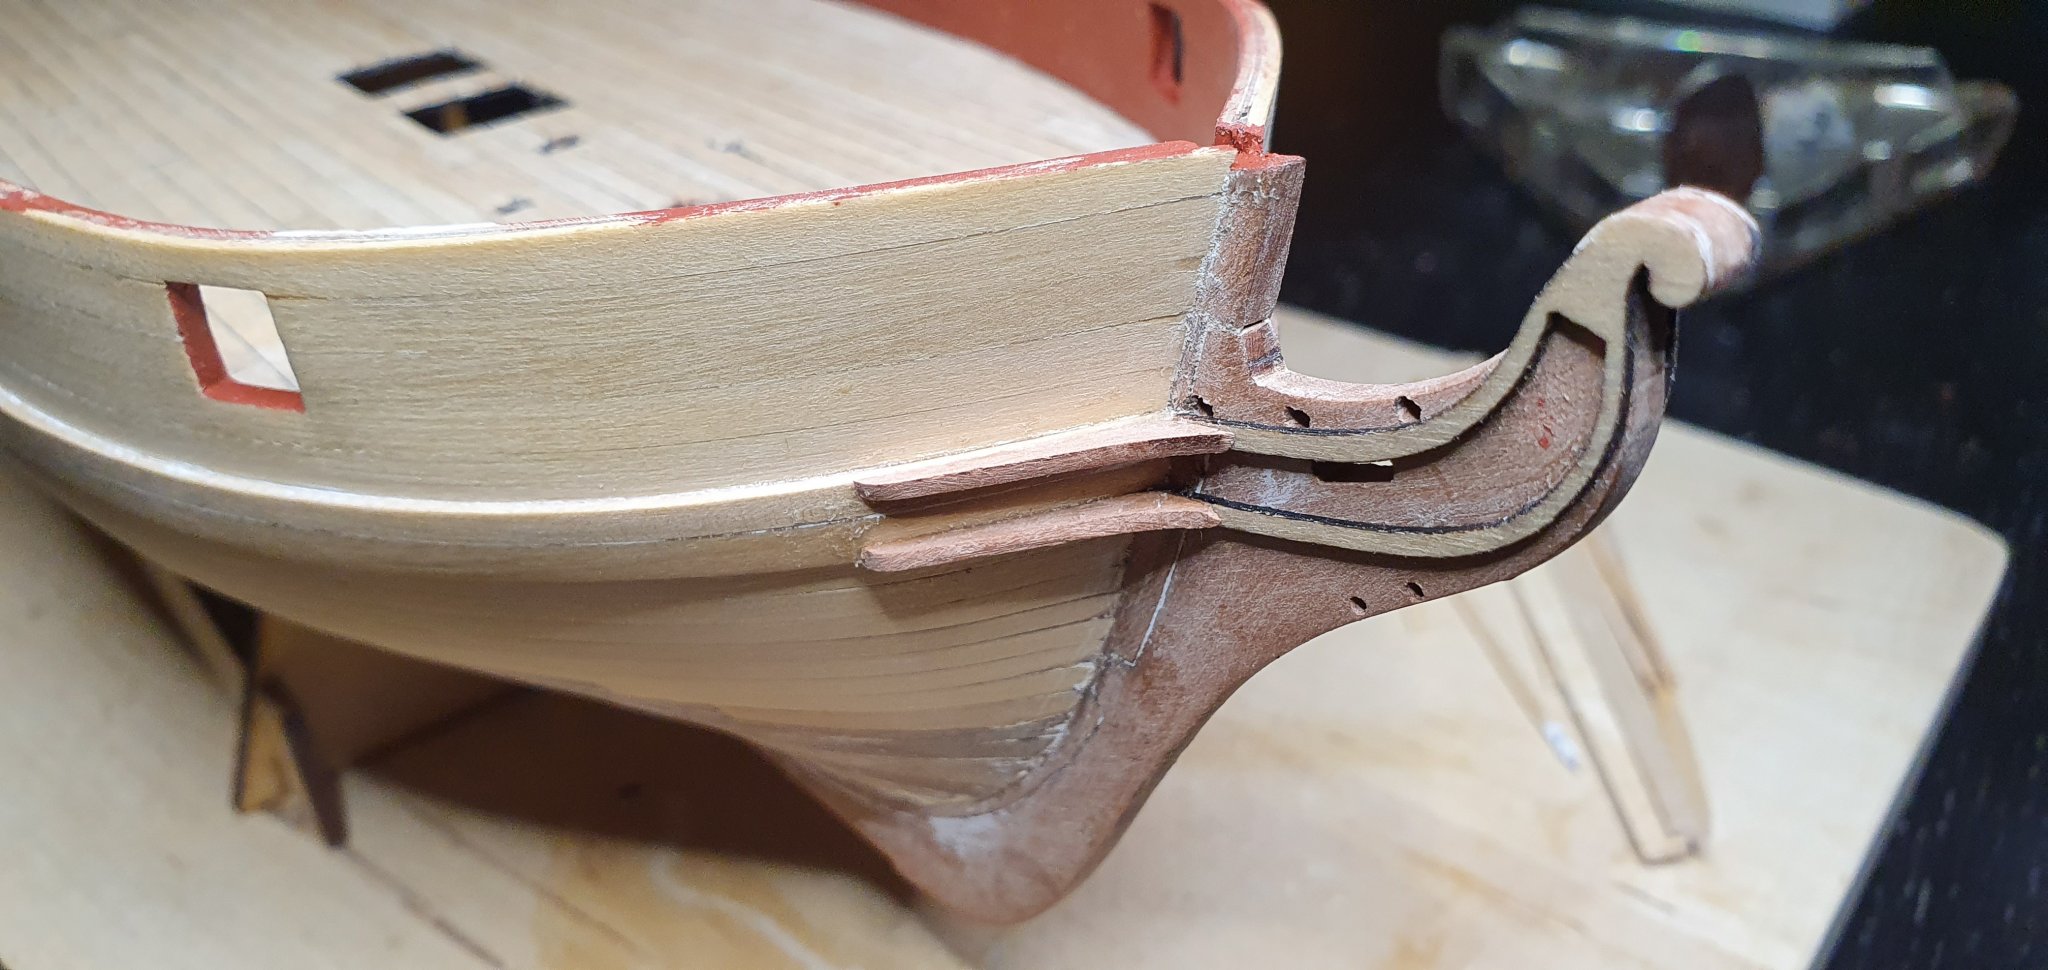
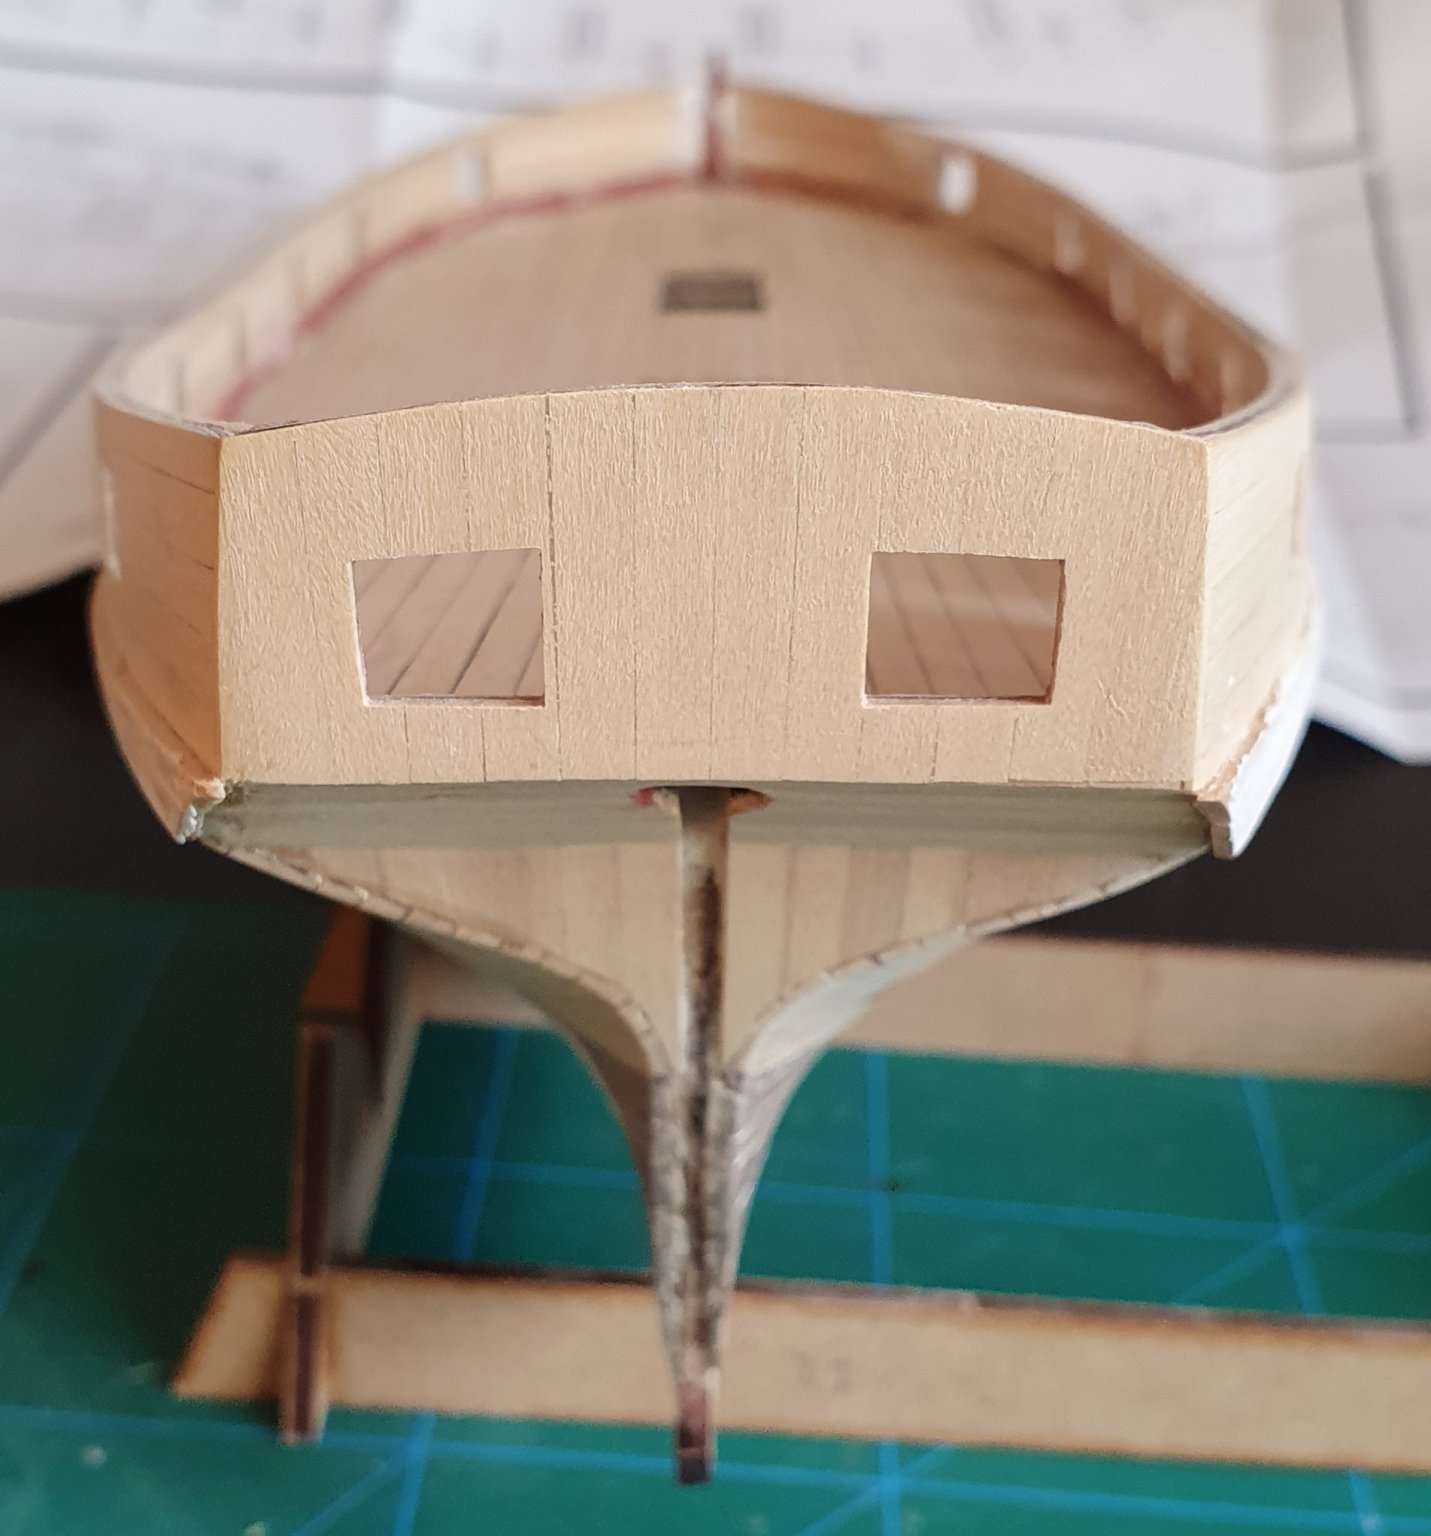
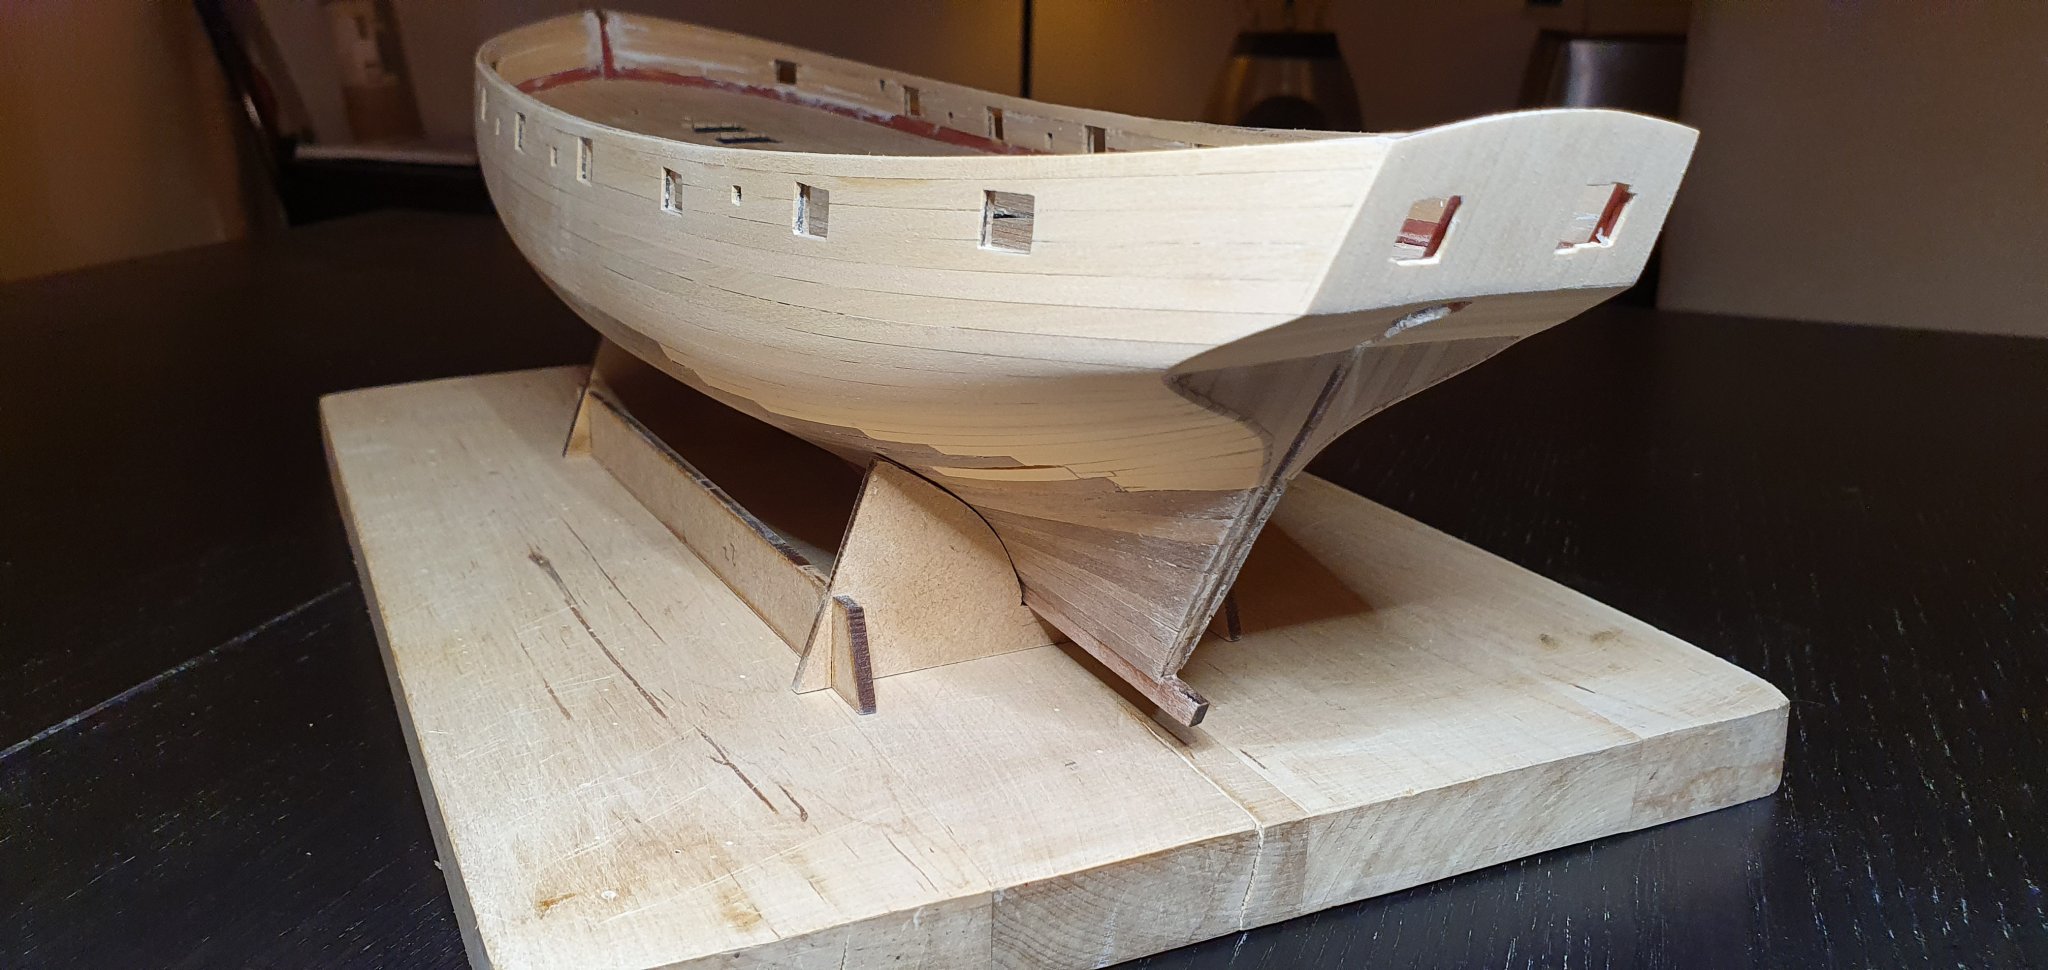
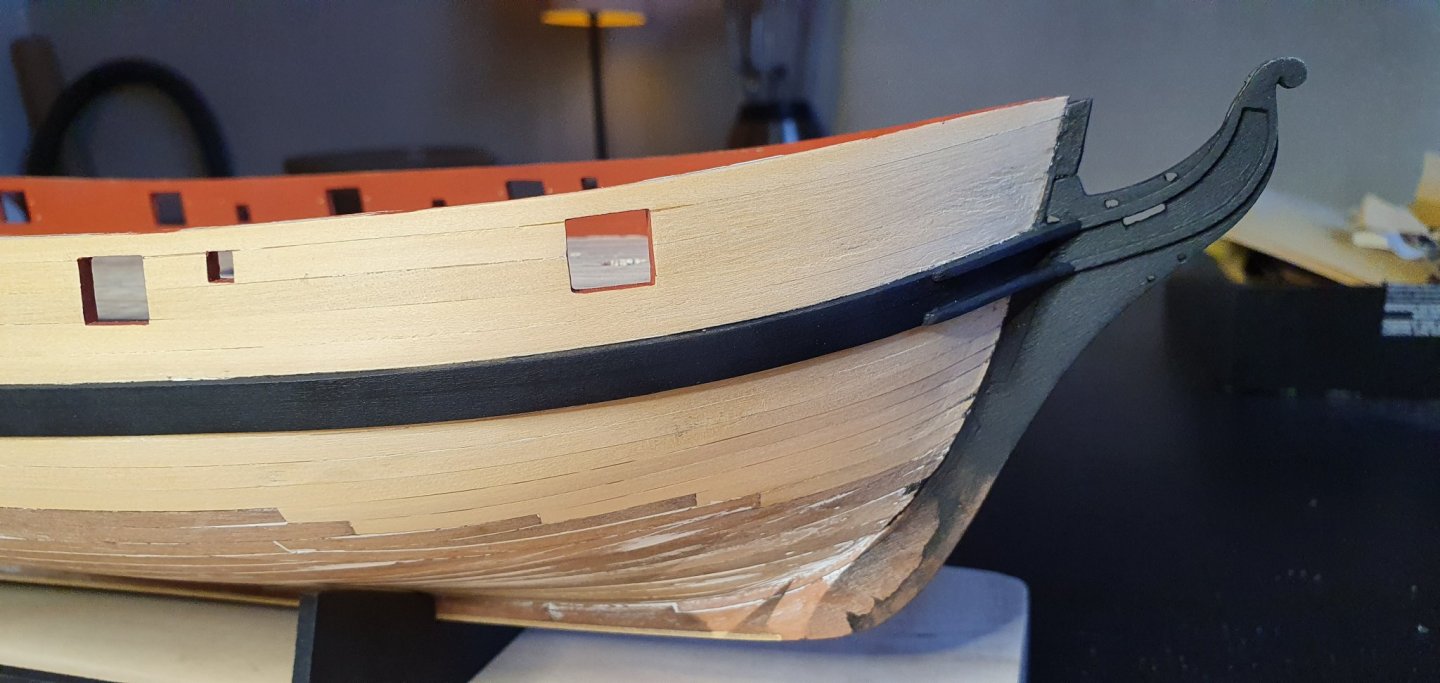
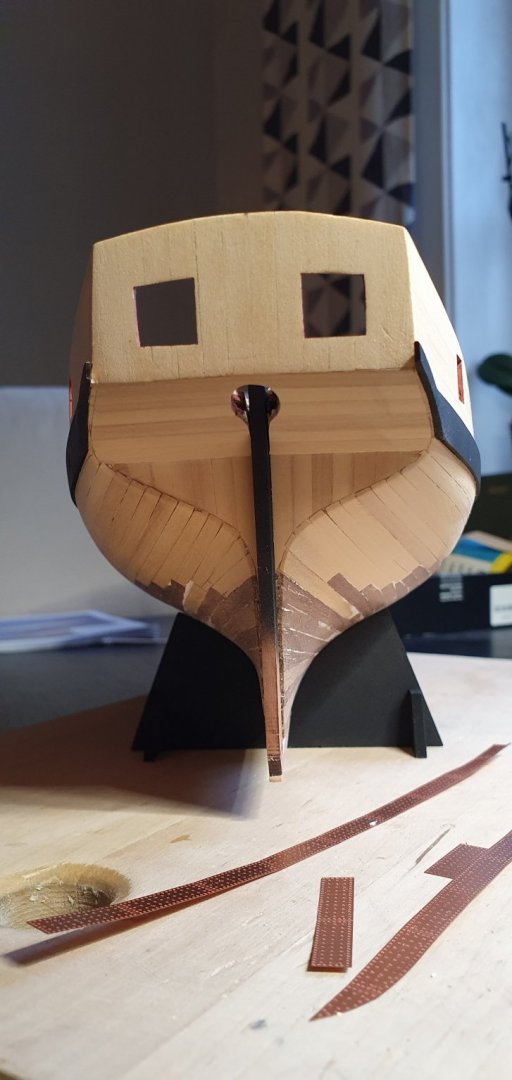
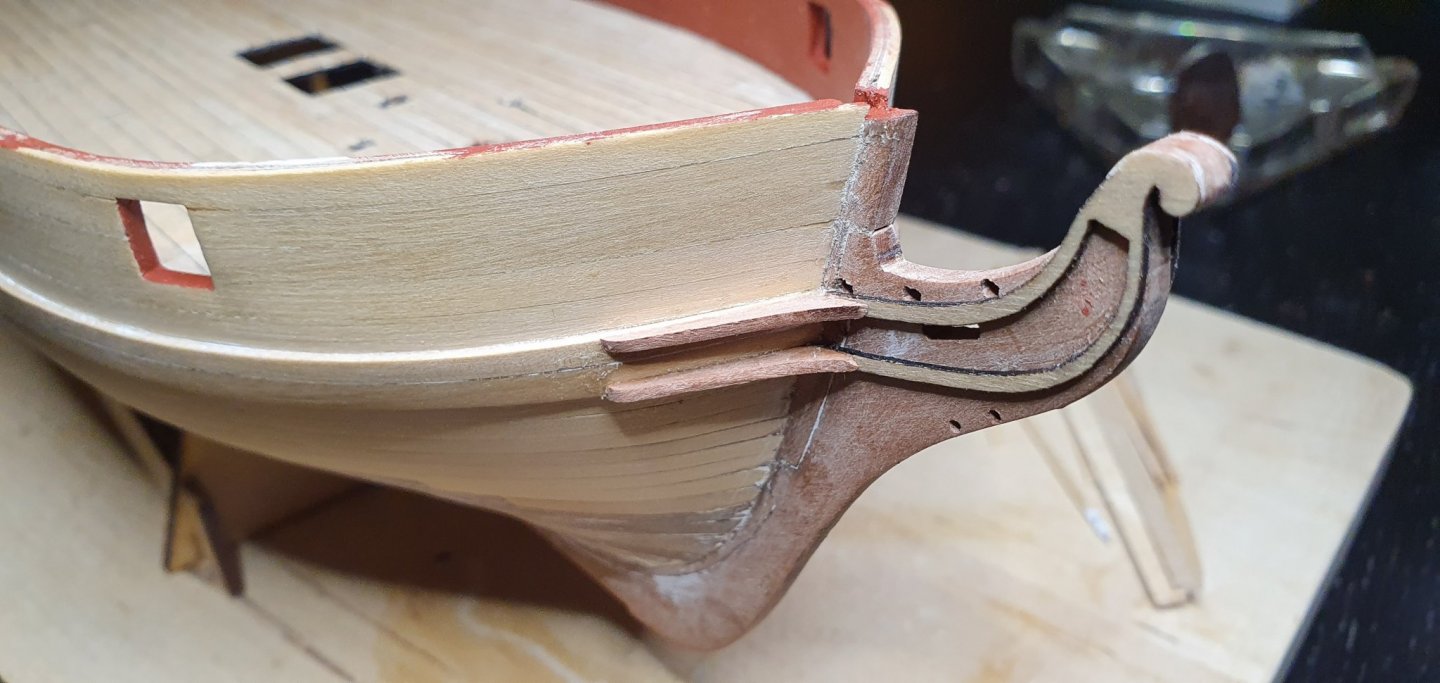
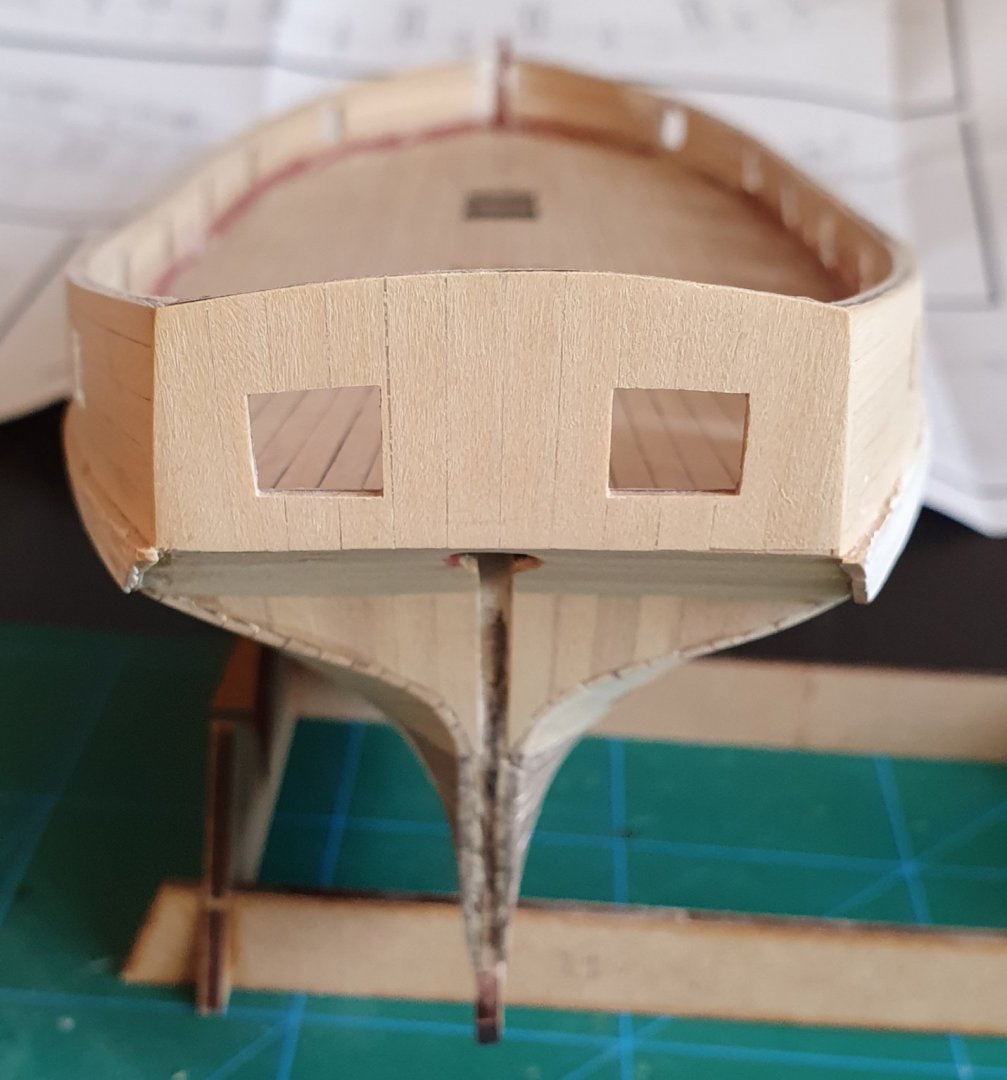
Whales added... And here is the result of the Stern.
-
Alright gentlemens, enough discussion and speculation on board directions inside this buildlog. Interesting topic if someone want to create a thread on it seperately. But too much discussion here simply ruins for those who want to follow the build. Thanks 4 understanding.
-
Yes i agree. I dont want to build my ships totally wrong but i mostly just want nice looking models to display in my home. Some variation between each one is just good in my opinion. And frankly, who will notice a thing like that besides like some of the People in this forum.
-
Nice, I am Working on my whales now.
-
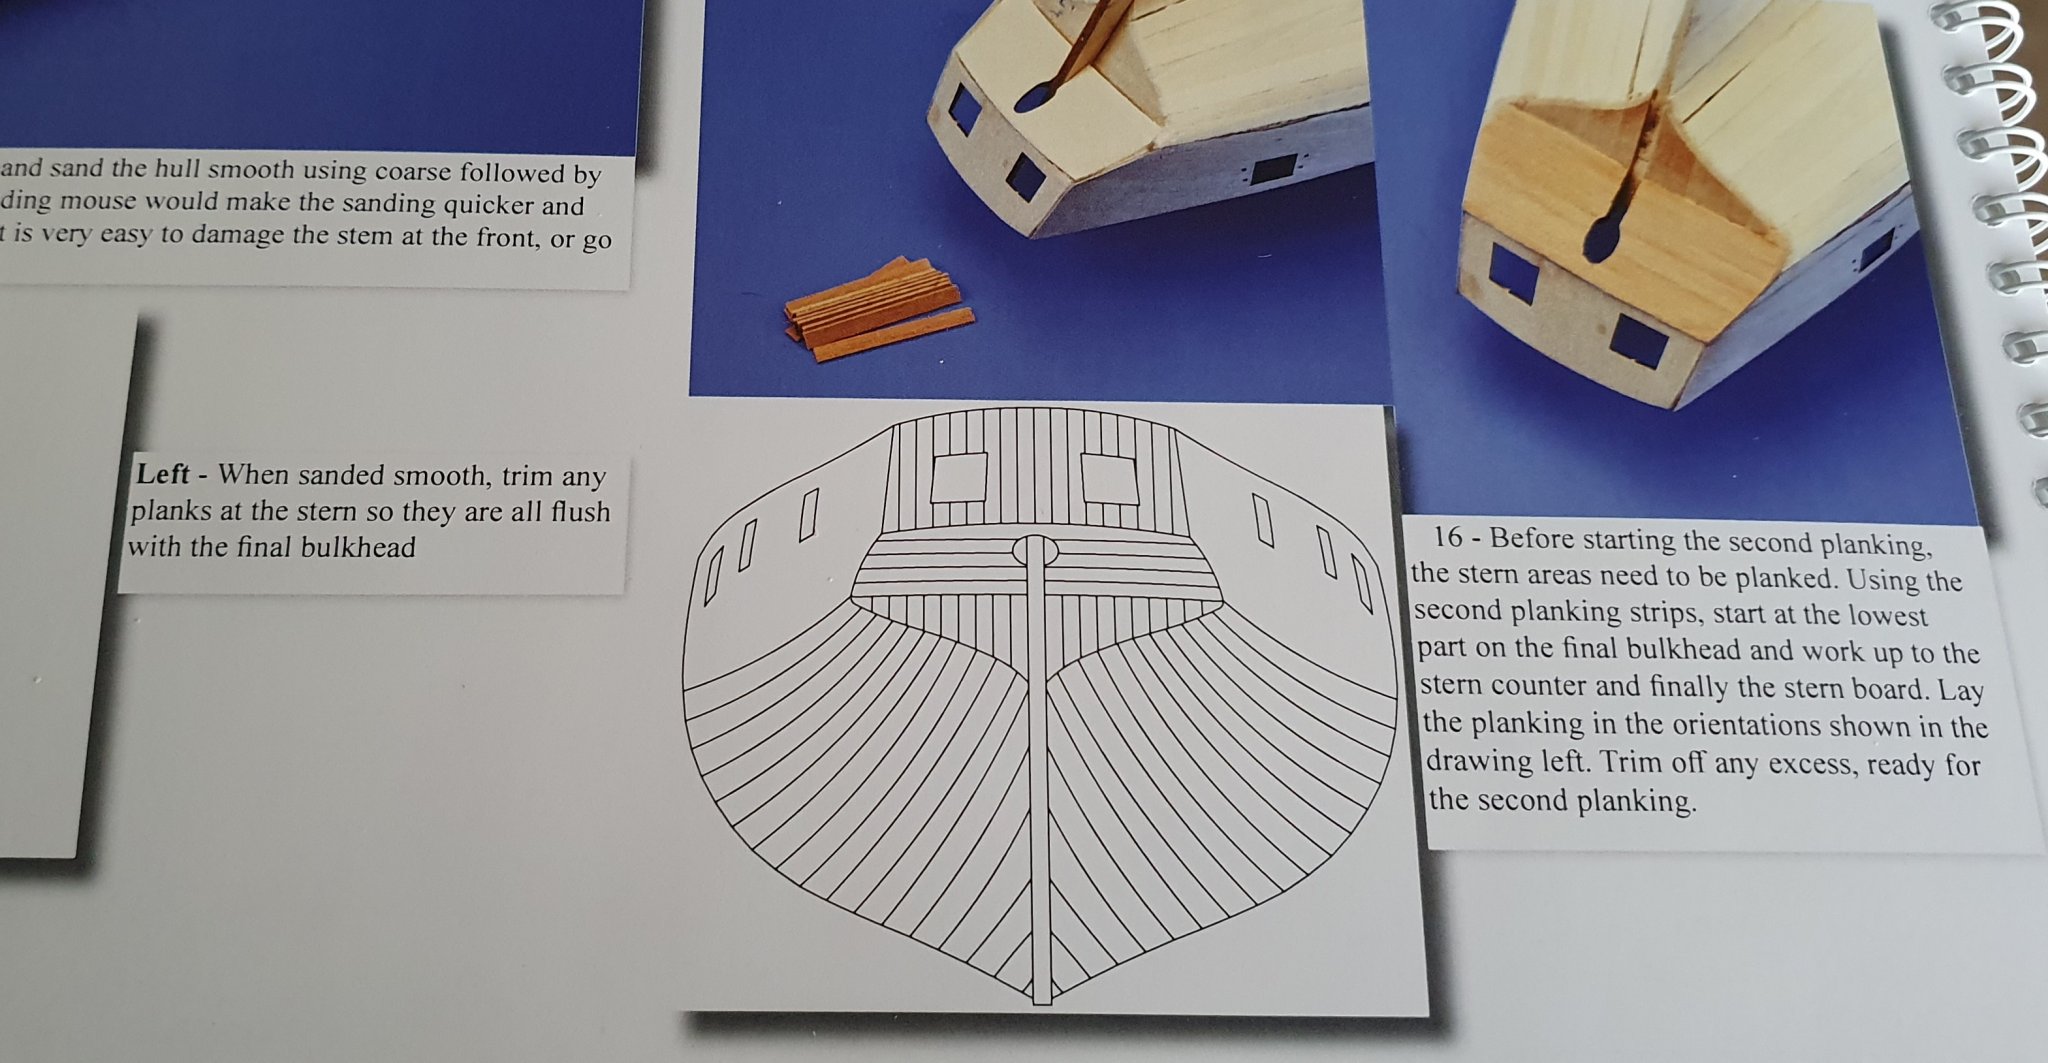
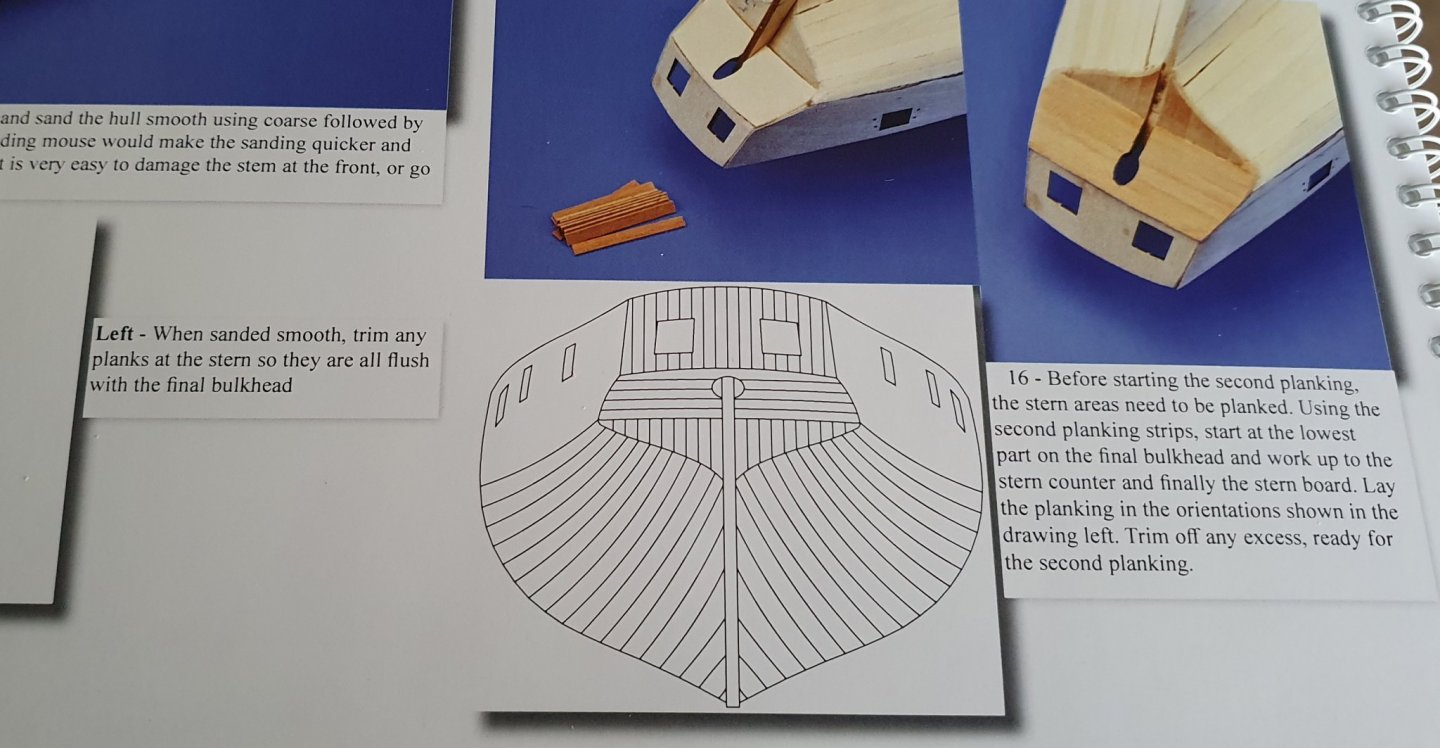
Yes i saw the previous discussion on this but decided to follow the manual.
-
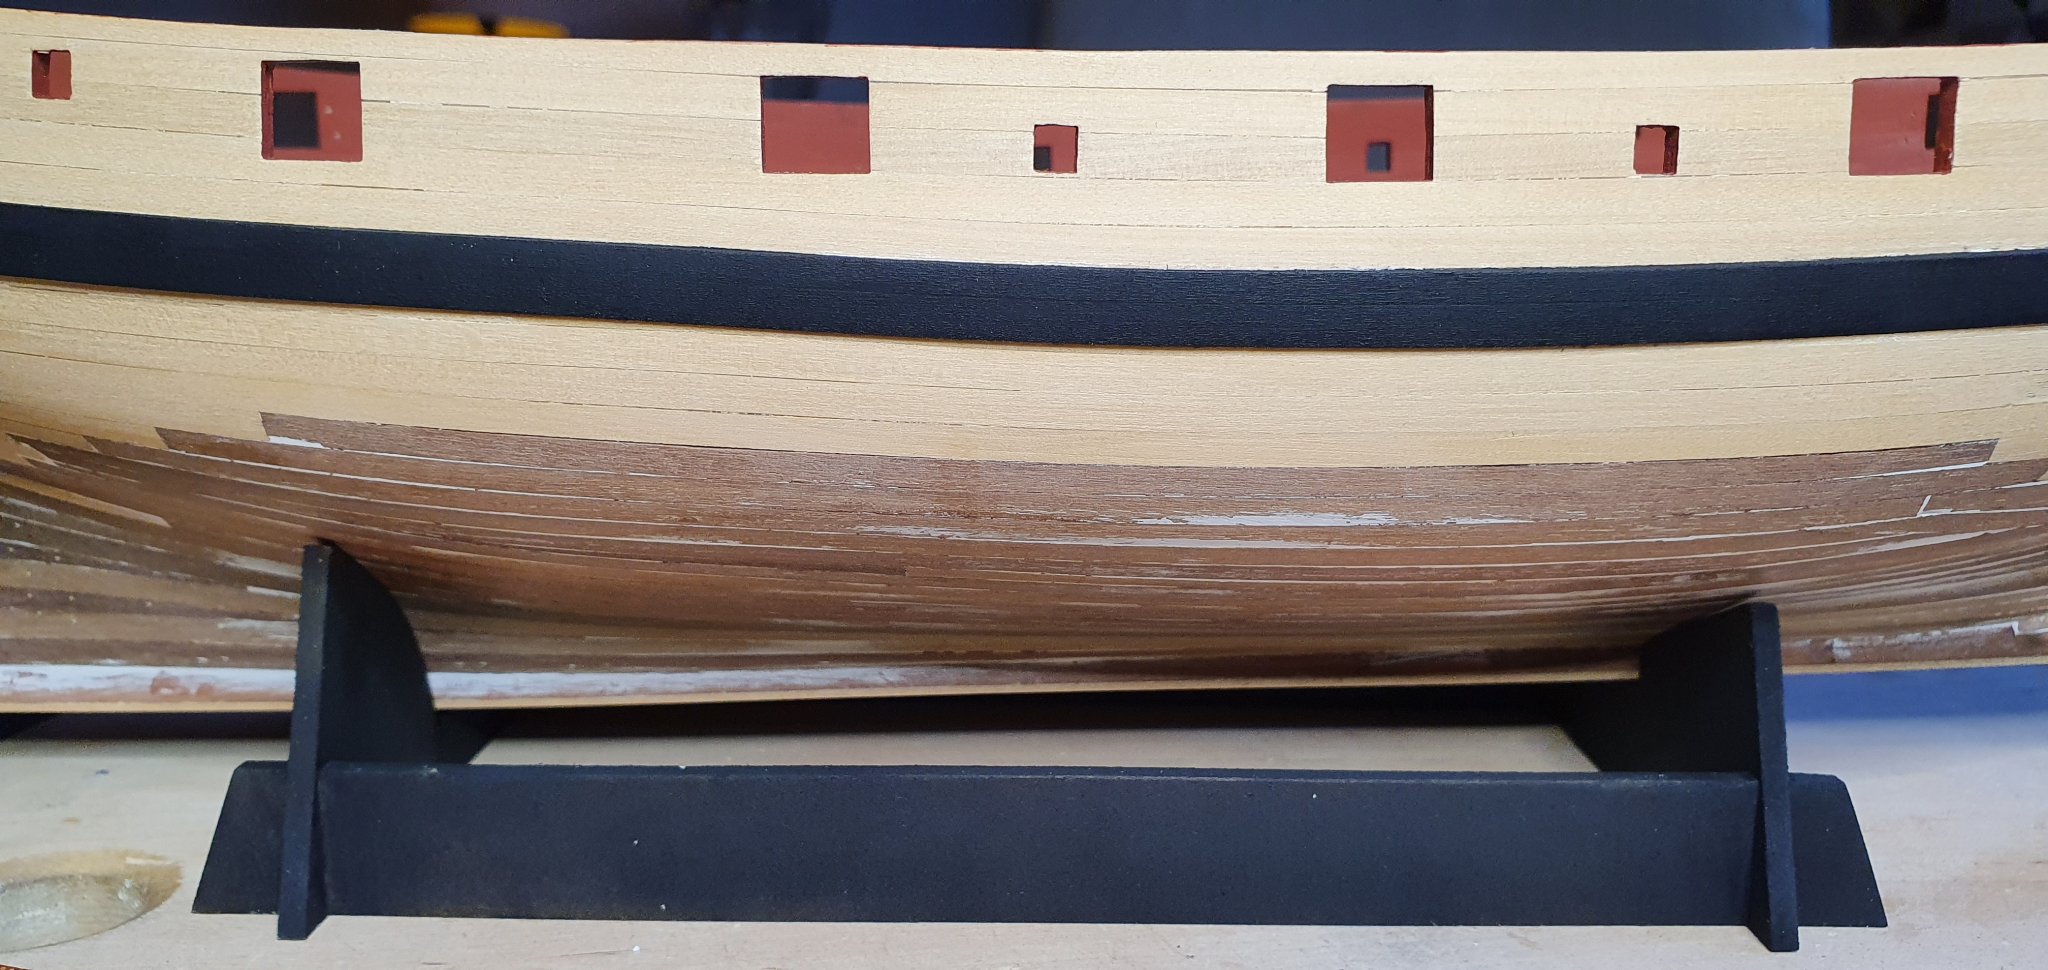
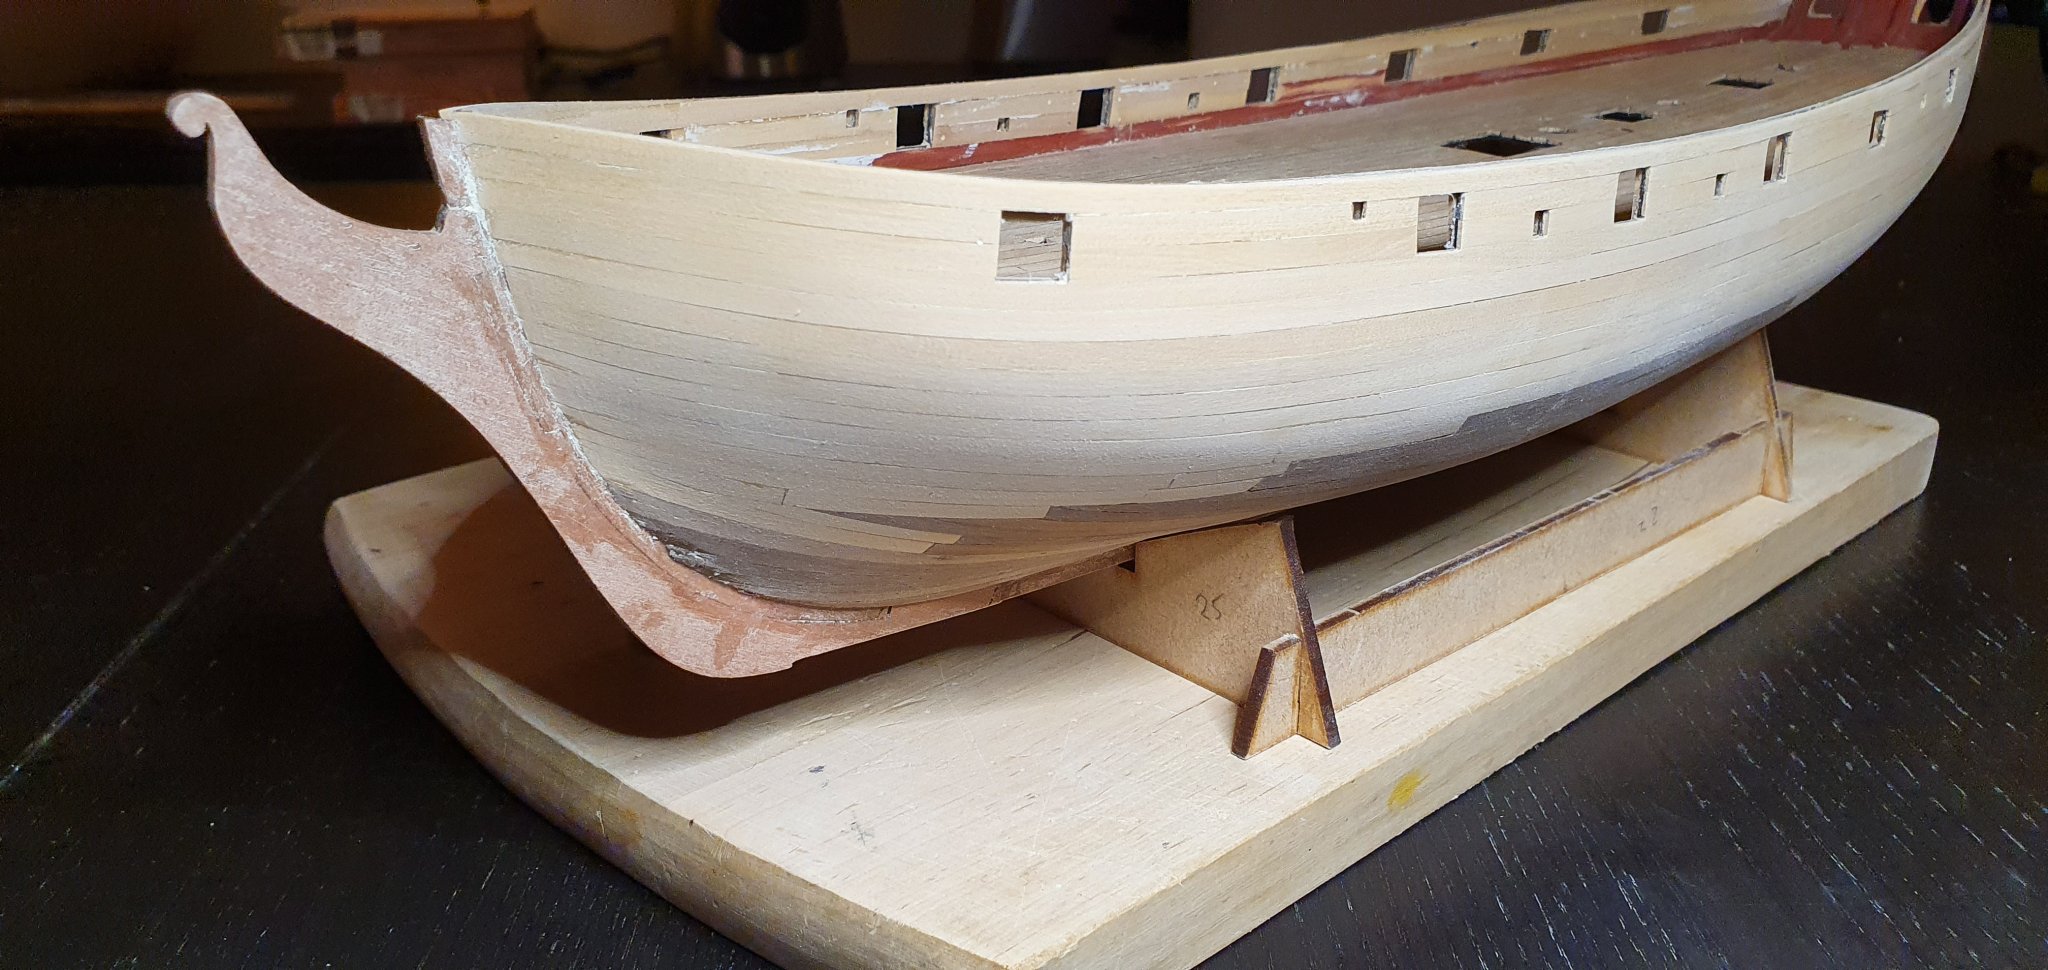
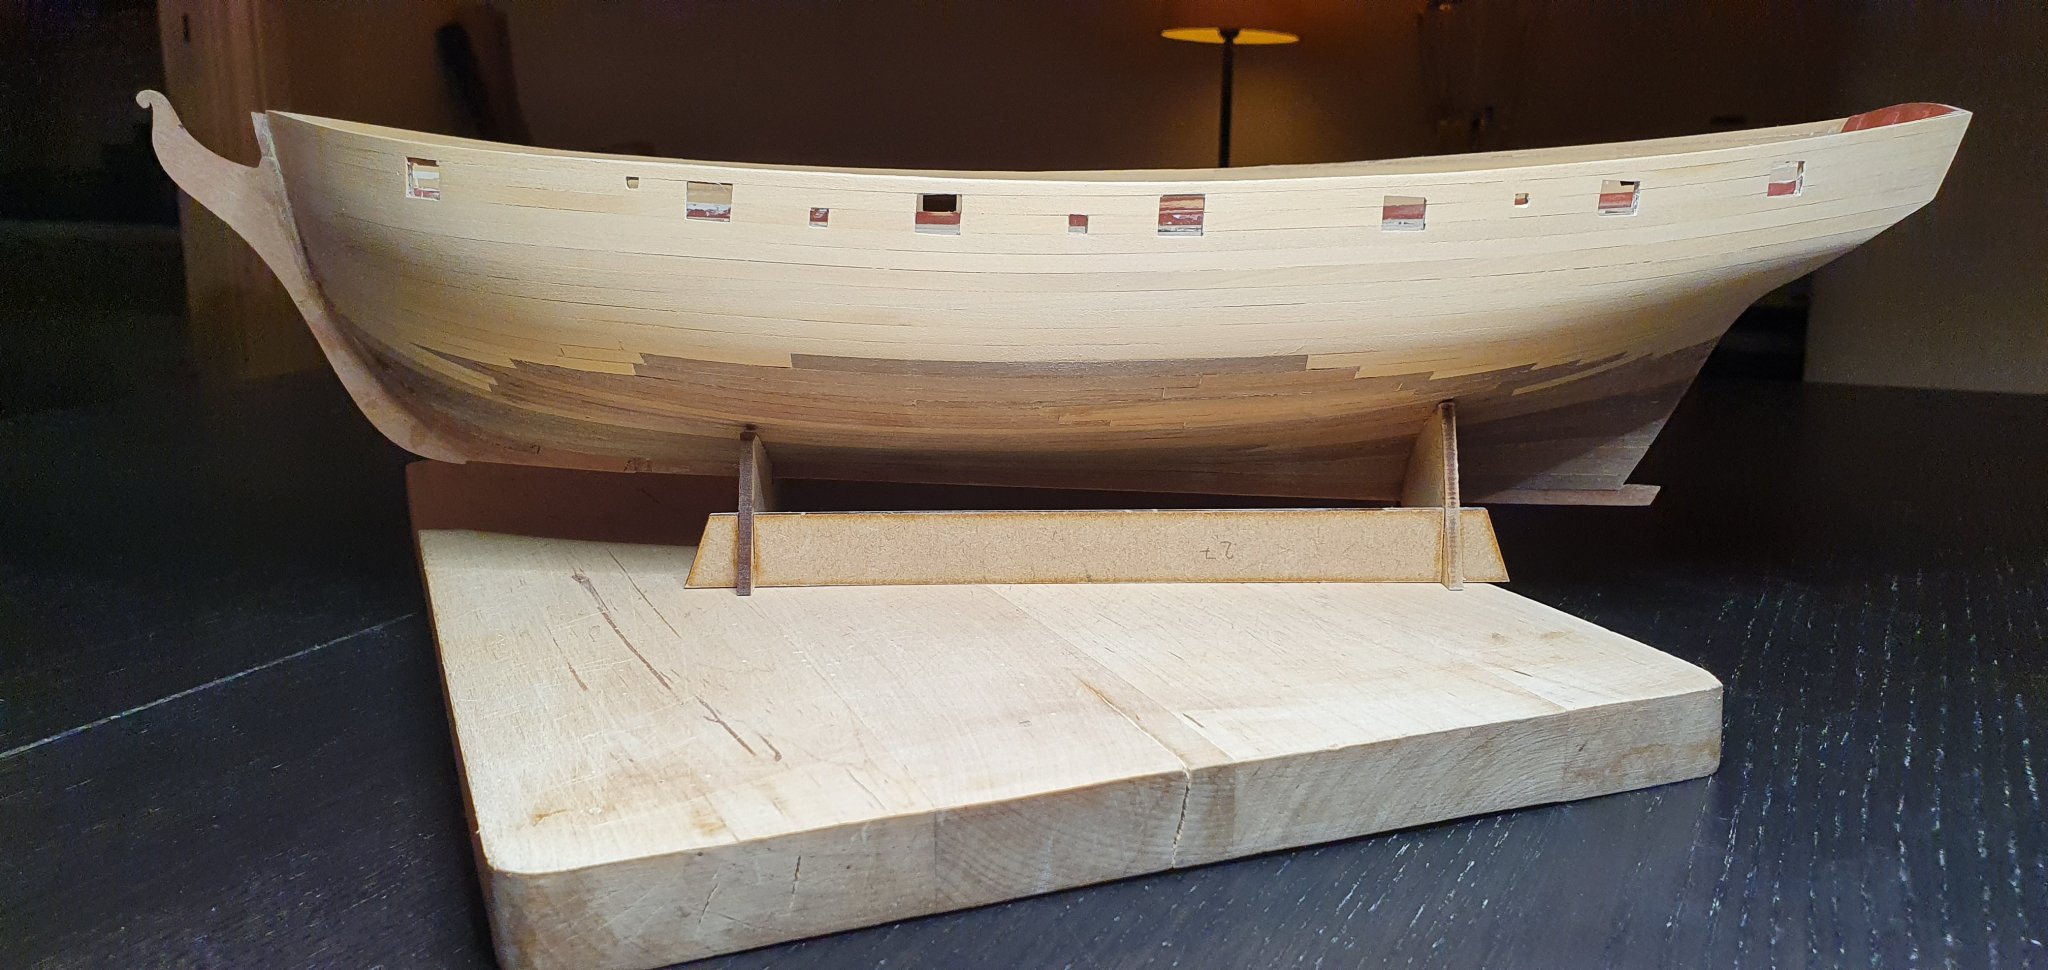
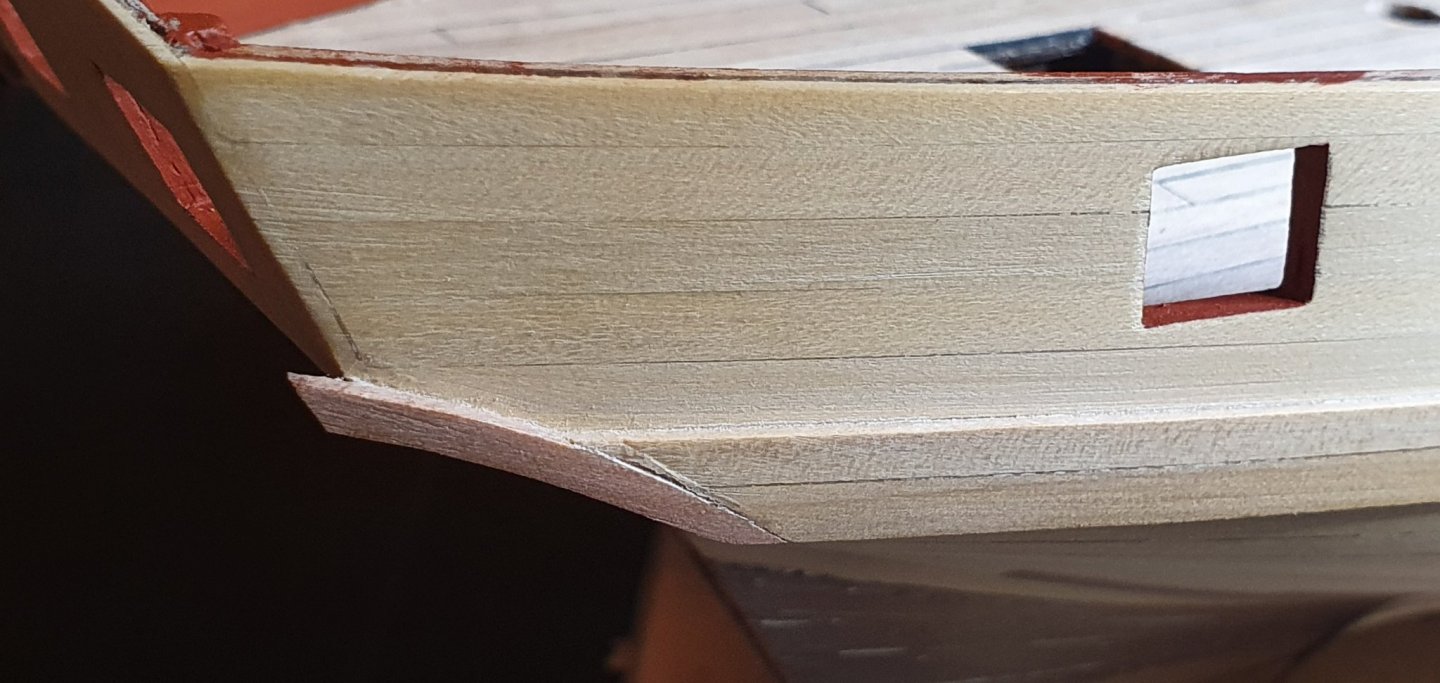
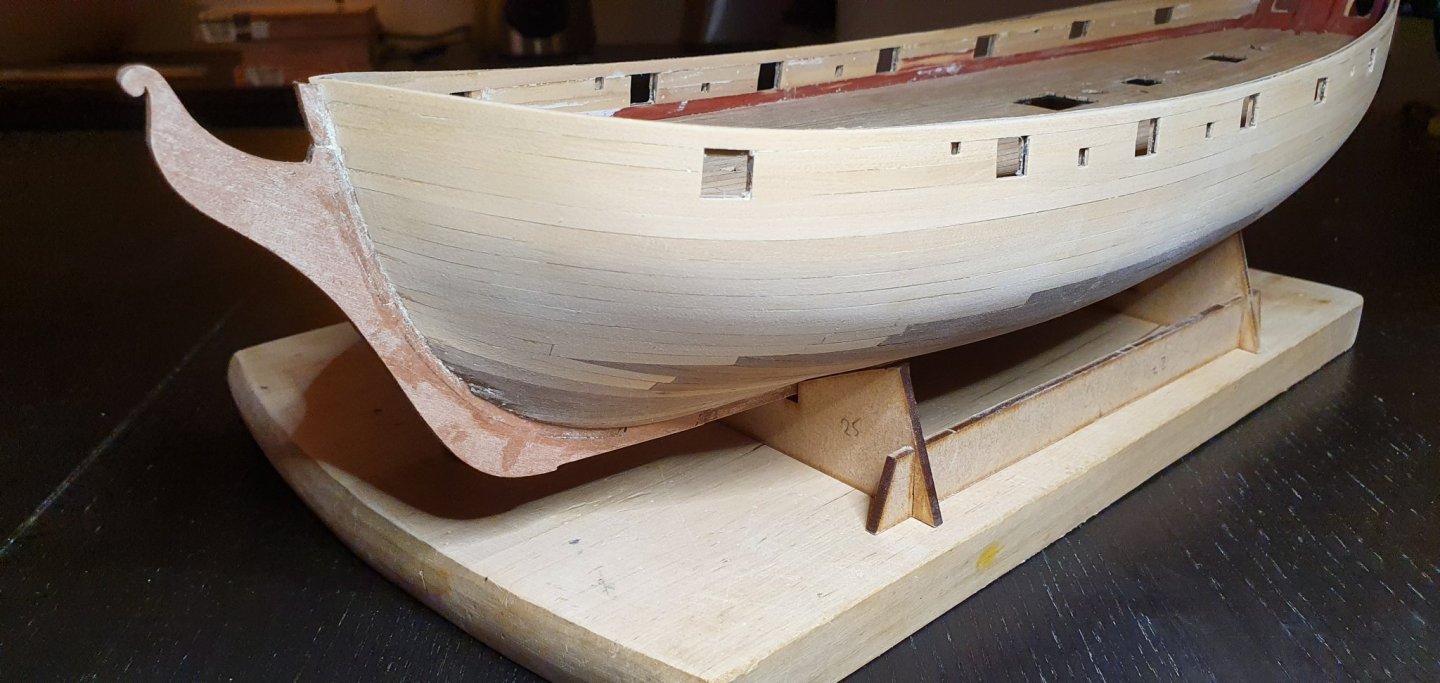
This is how it looks after sanding. Boxwood is definitely the best mtrl to work with. Now on to trimming gunports and adding the whales.


-
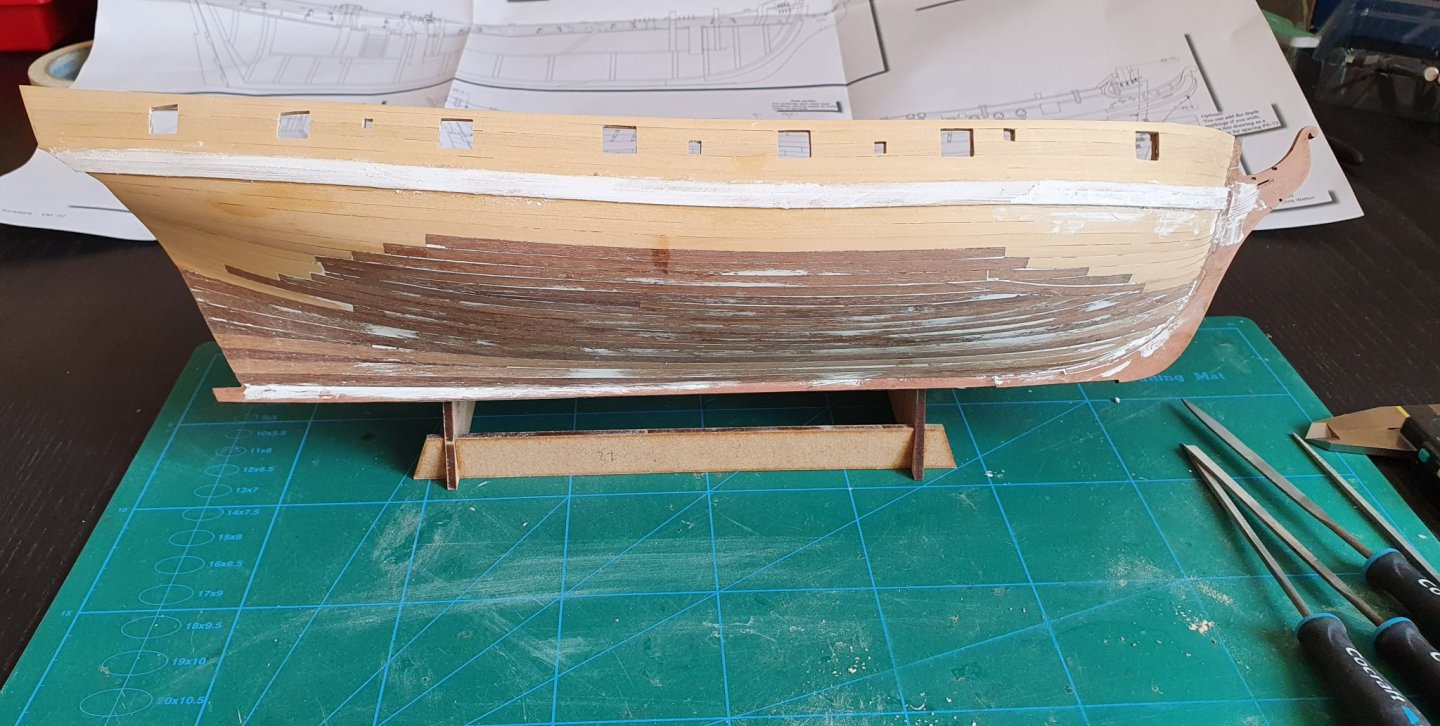
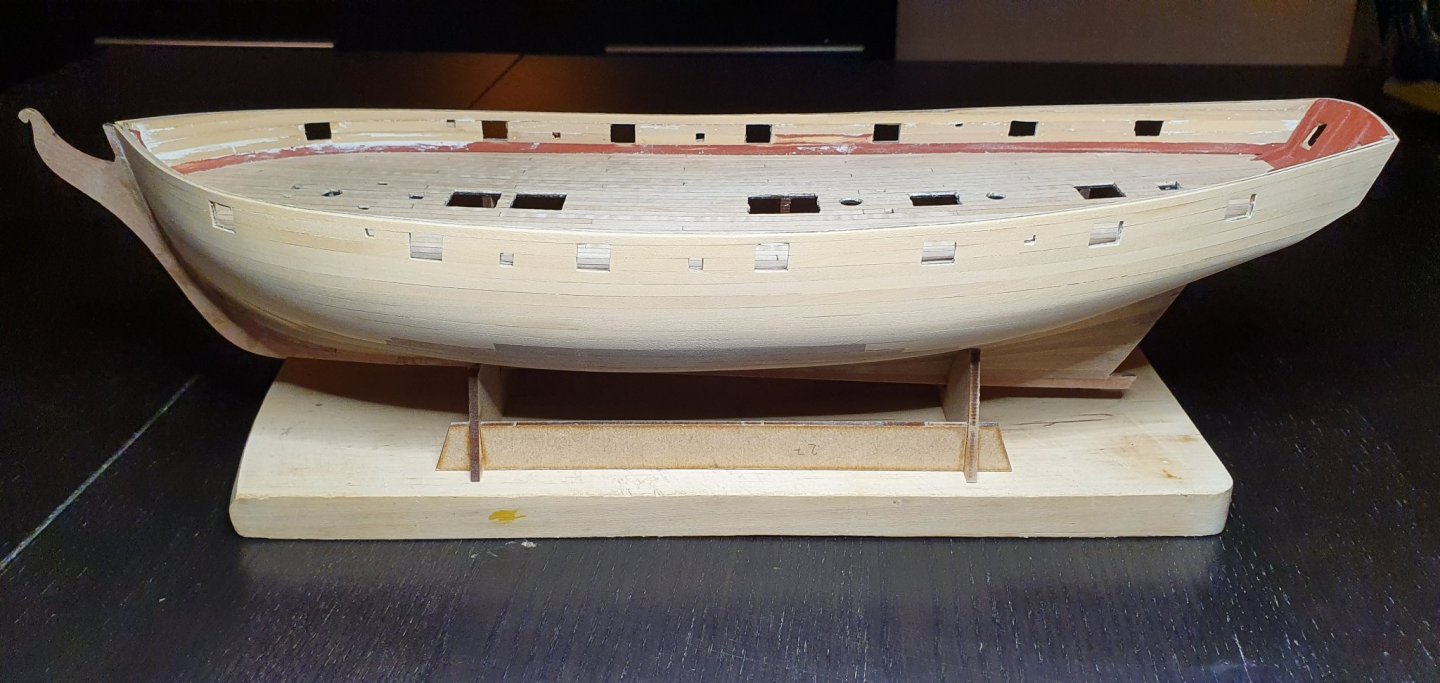
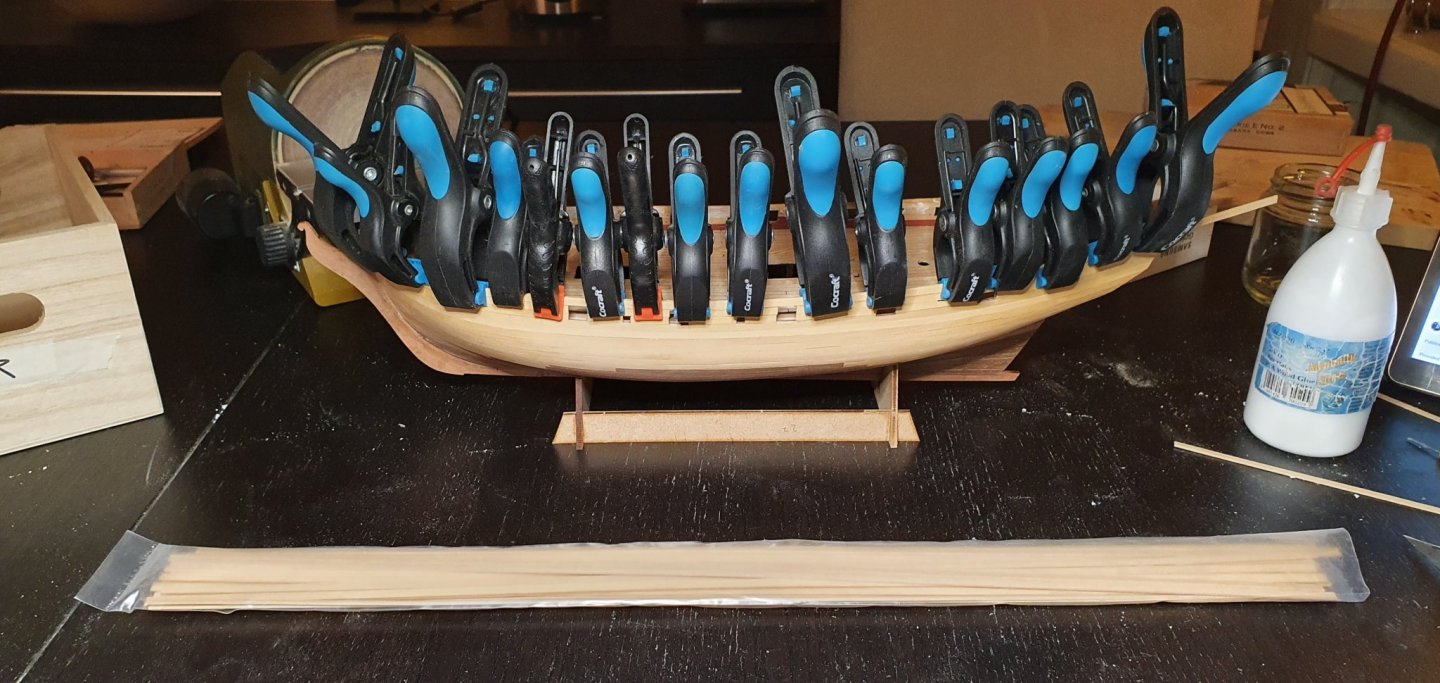
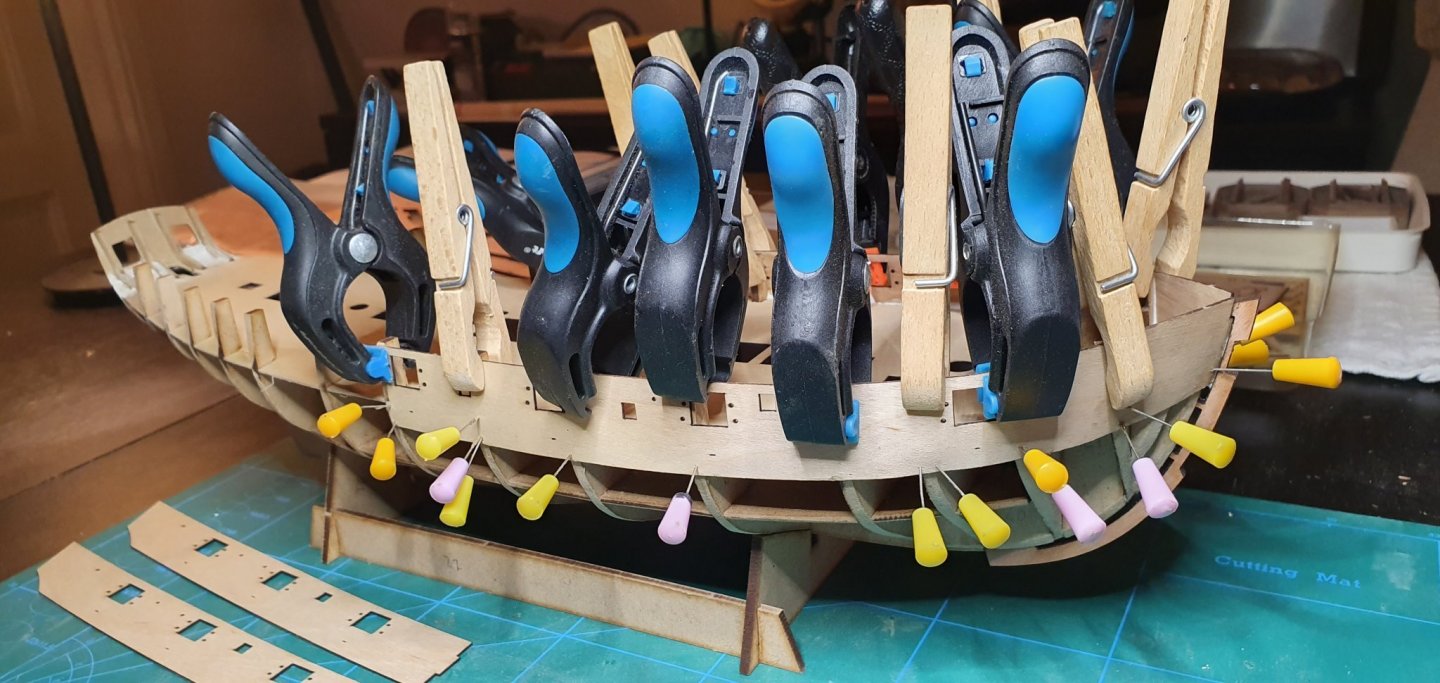
Last plank of the 2nd planking and the strategy to use walnut under the copper paid of well... got about 20 leftover boxwood stripes to be used in other projects! I skipped the CA on the top planks and went back to PVA and clamps.
-
I am not sure if i would call these "beginners kits". I would rather say its a different series than the "Royal navy" line up, considering that these are not warships and not from the same era. From "beginners" point of view, I would say that fishing boats are more suitable than large ships with lots of guns and rigging to start with, but Fishing boats and warships probably do not have the same main audience. I think they have really beautiful lines and they will be really interesting to see with sails.
-
Thanks for the update. Maybe you have explained it earlier, but what needs to be done to get this kit on the shelves? As I understand you need to build another prototype and record the process thouroghly for a new manual. But what about the design? Is it completely finish or are you still making changes? And once finished, can Amati easily ramp up production of the kit itself?
-
I like the newly designed pattern better. There are too many details here around all of the holes.
- 725 replies
-
- 2
-
-
- vanguard models
- speedy
- (and 1 more)
-
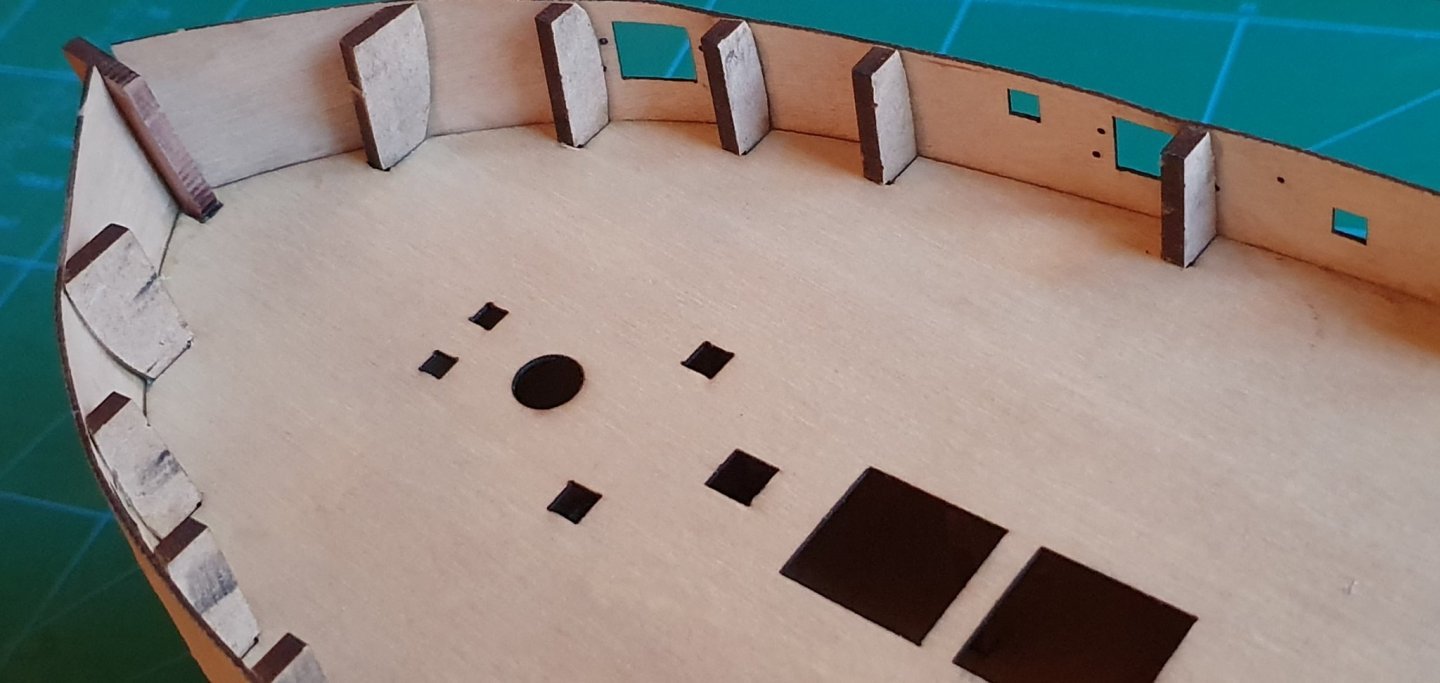
Moving on to the innerwalls...

-
Thanks Jason, I been missing your updates. Hope it sorts it out soon. Every plank i dont spend enough time on stands out. I am not completely happy but here is the result after scraping.


-
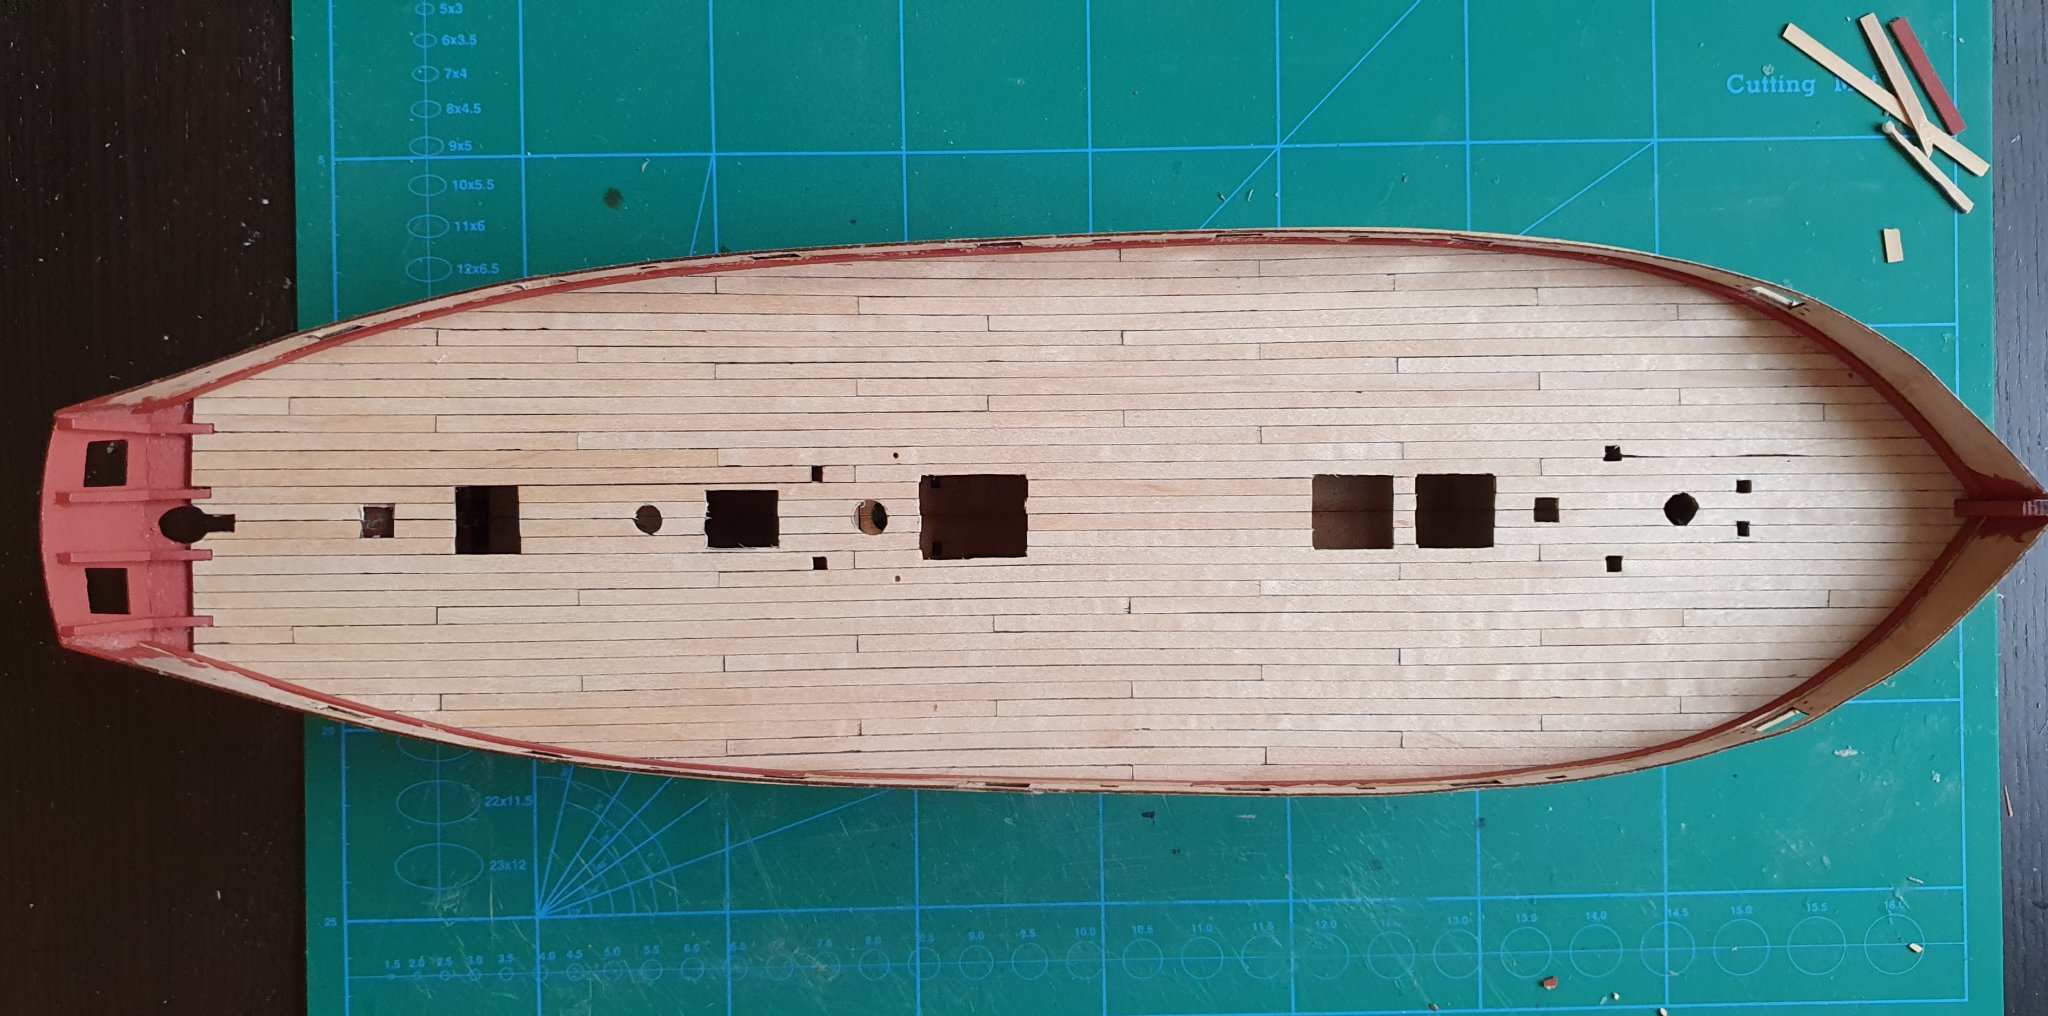
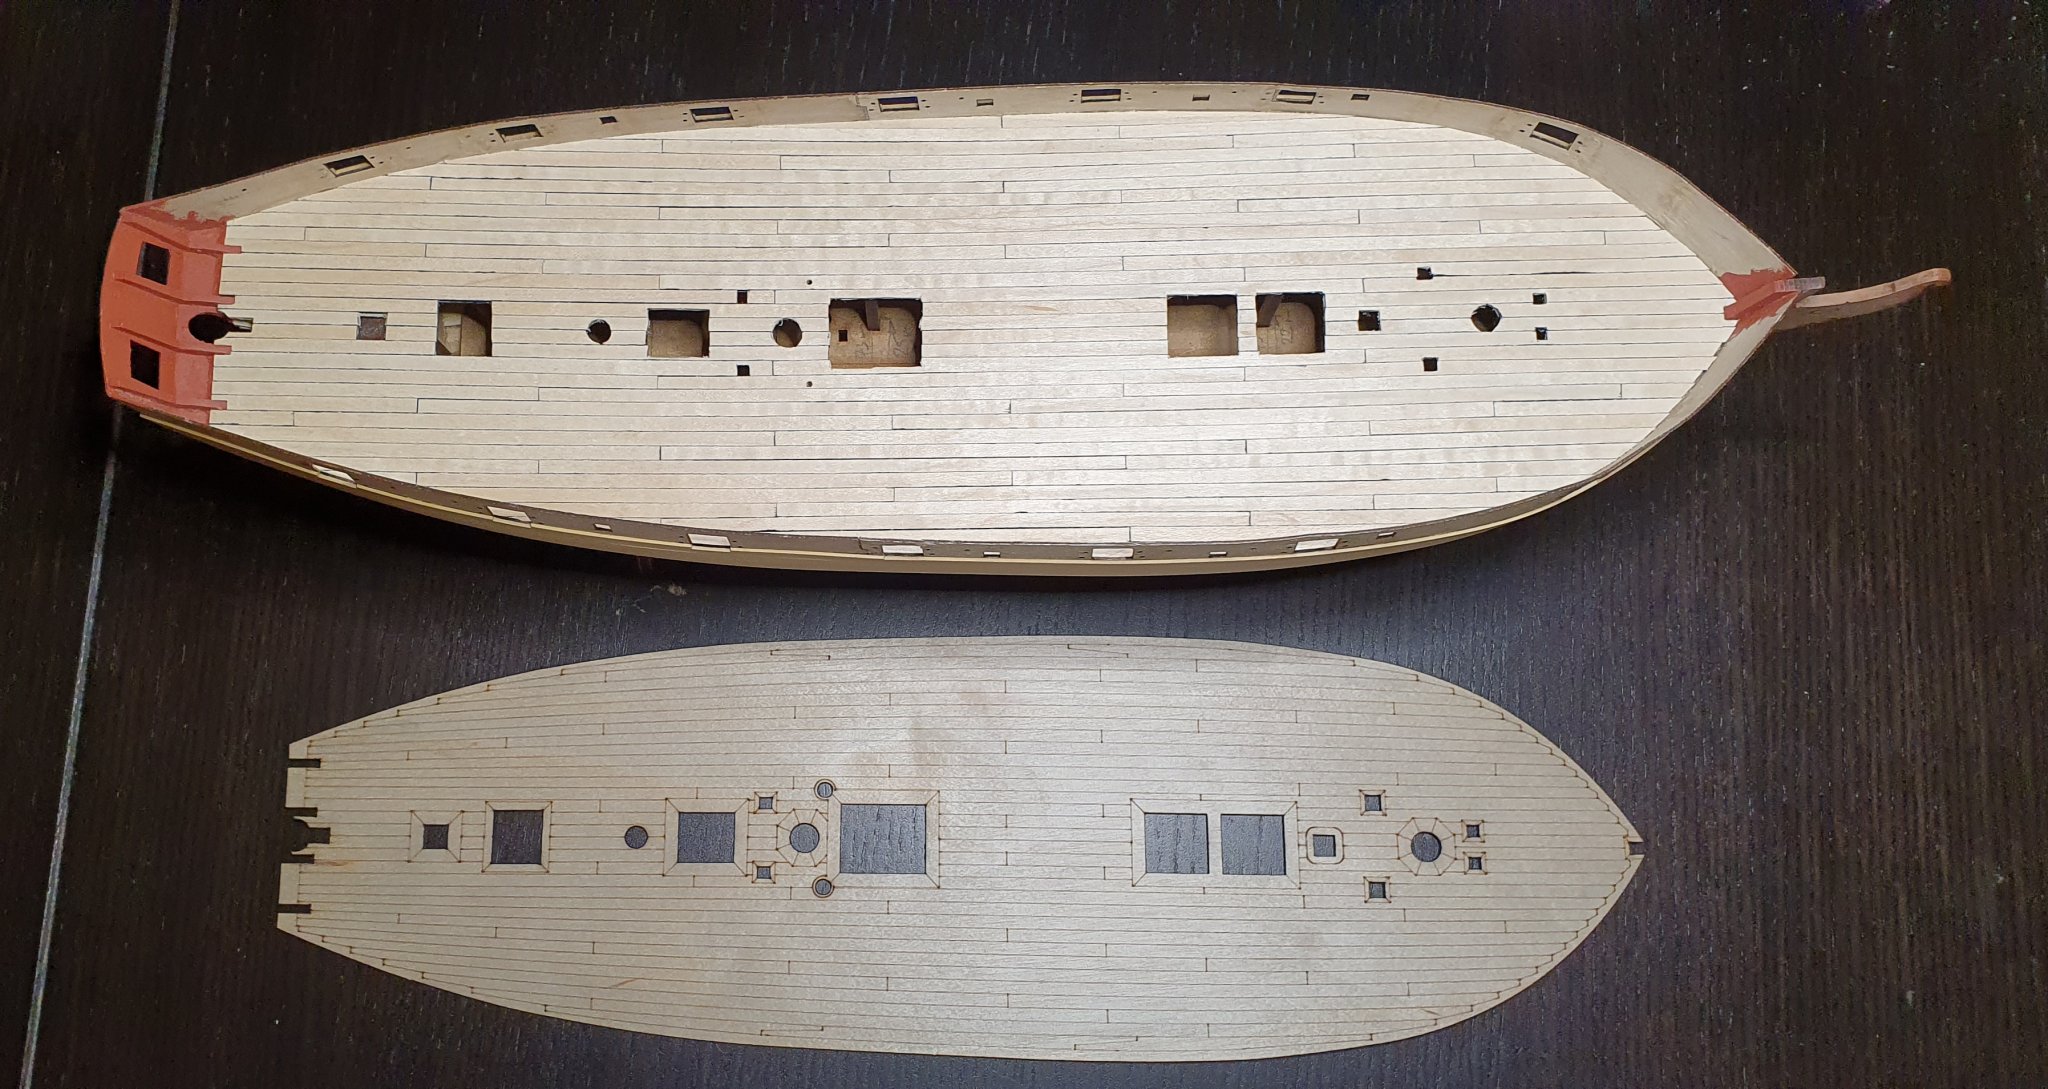
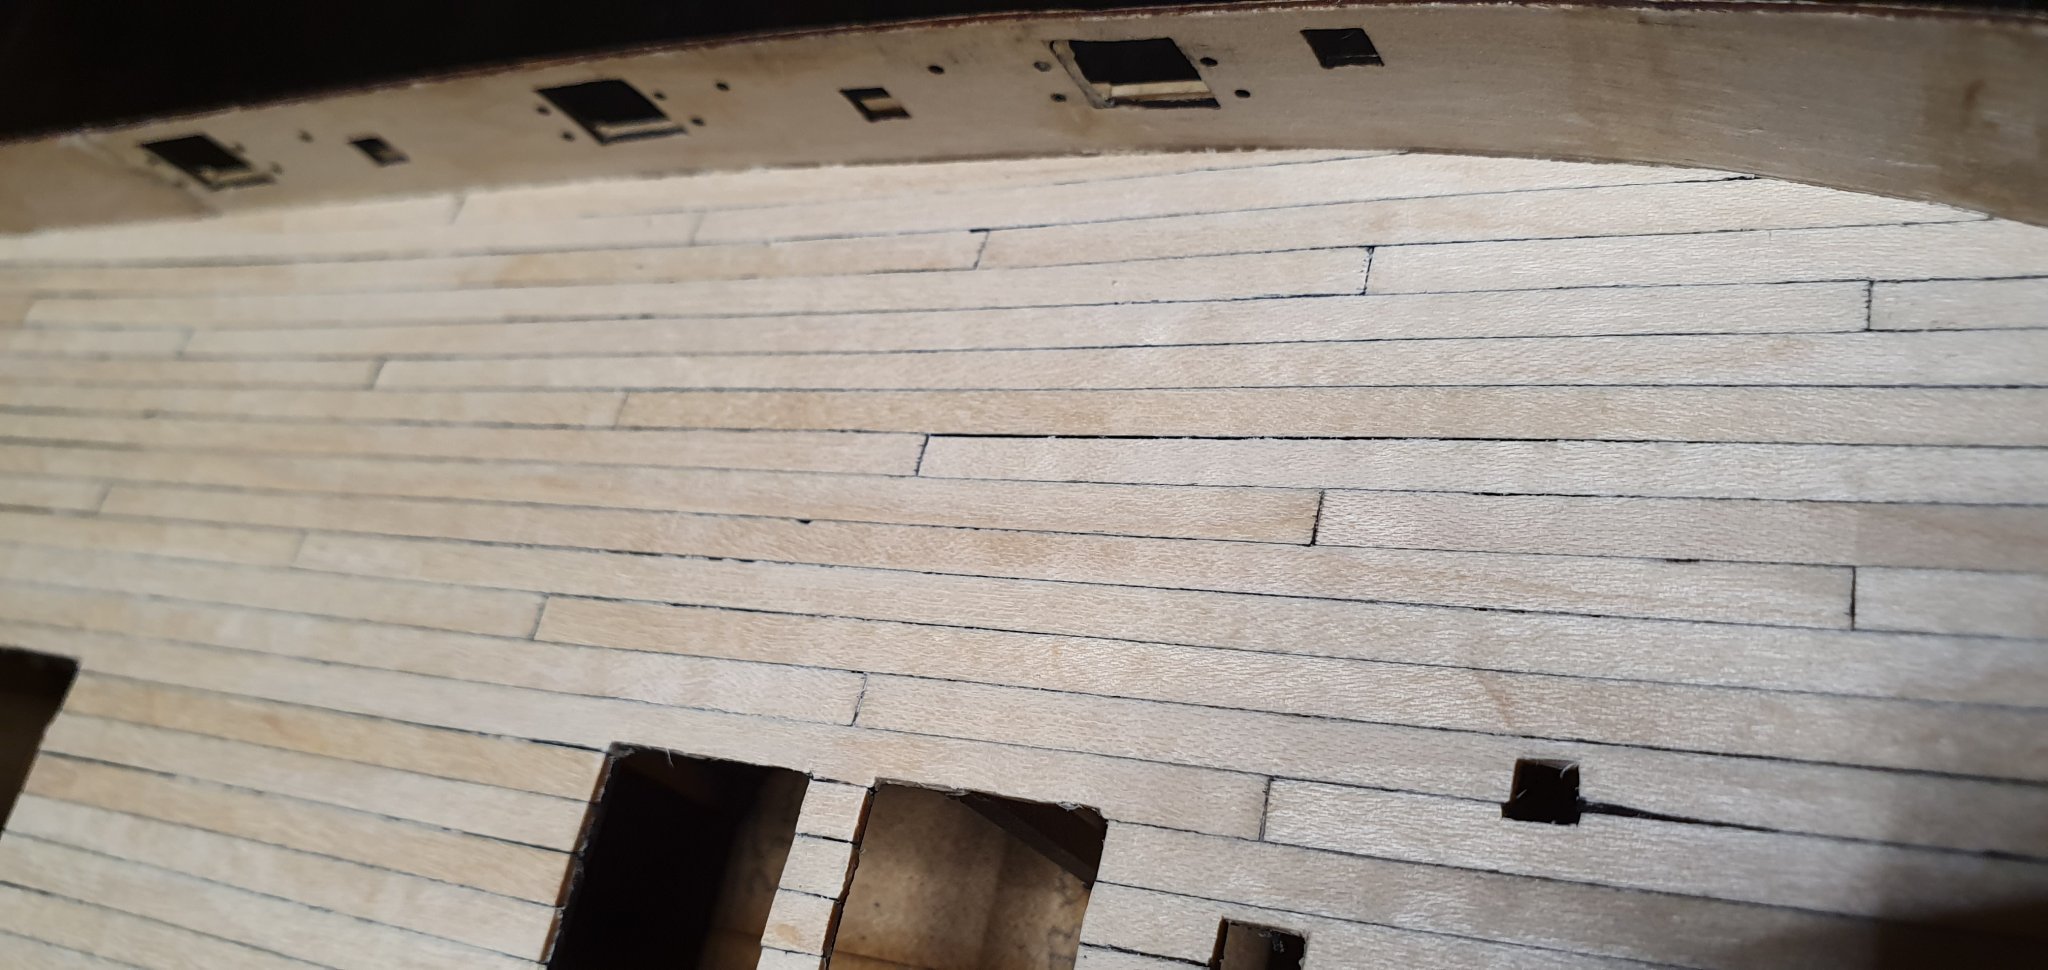
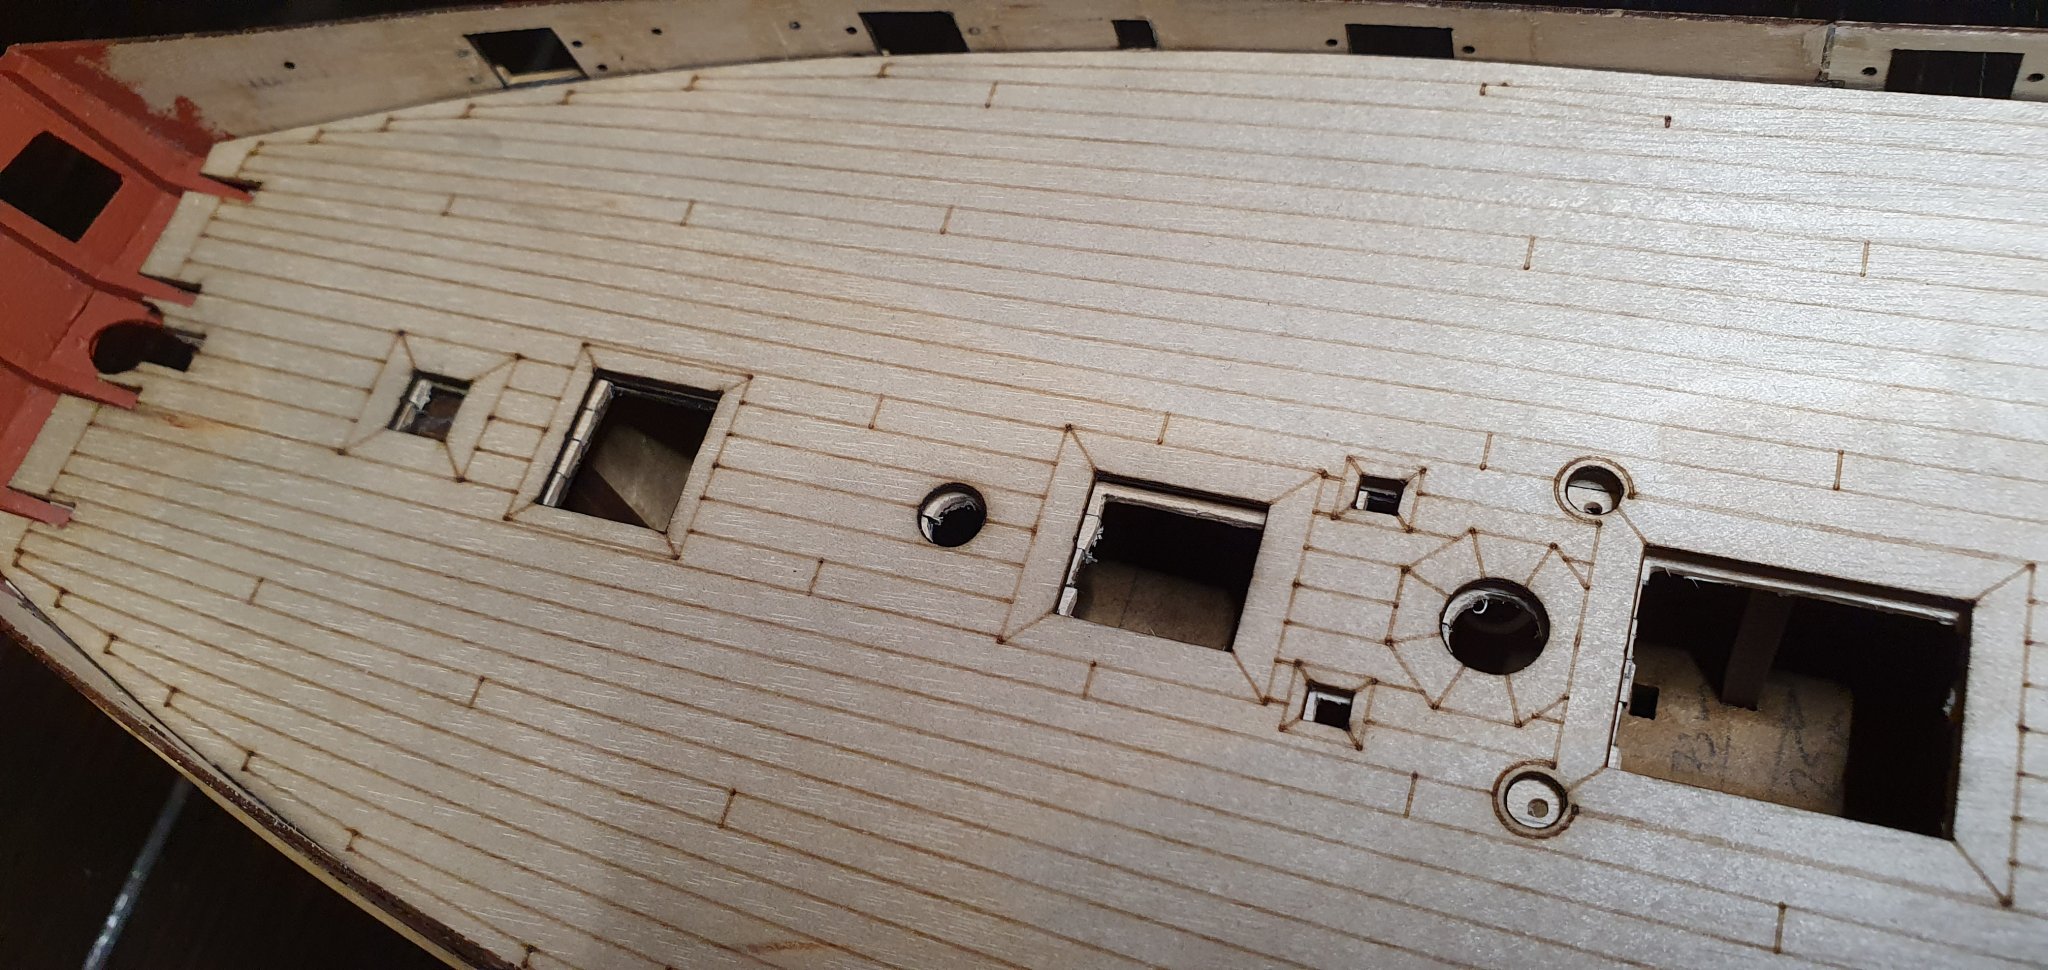
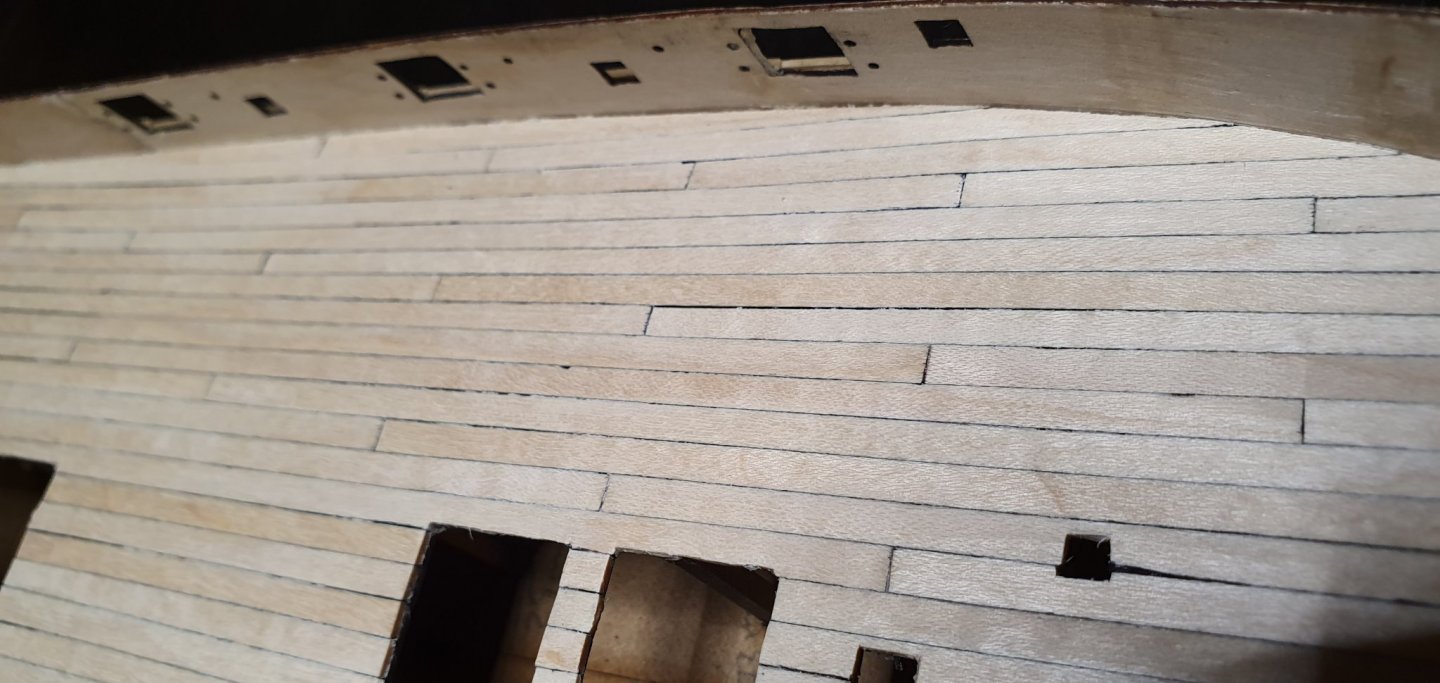
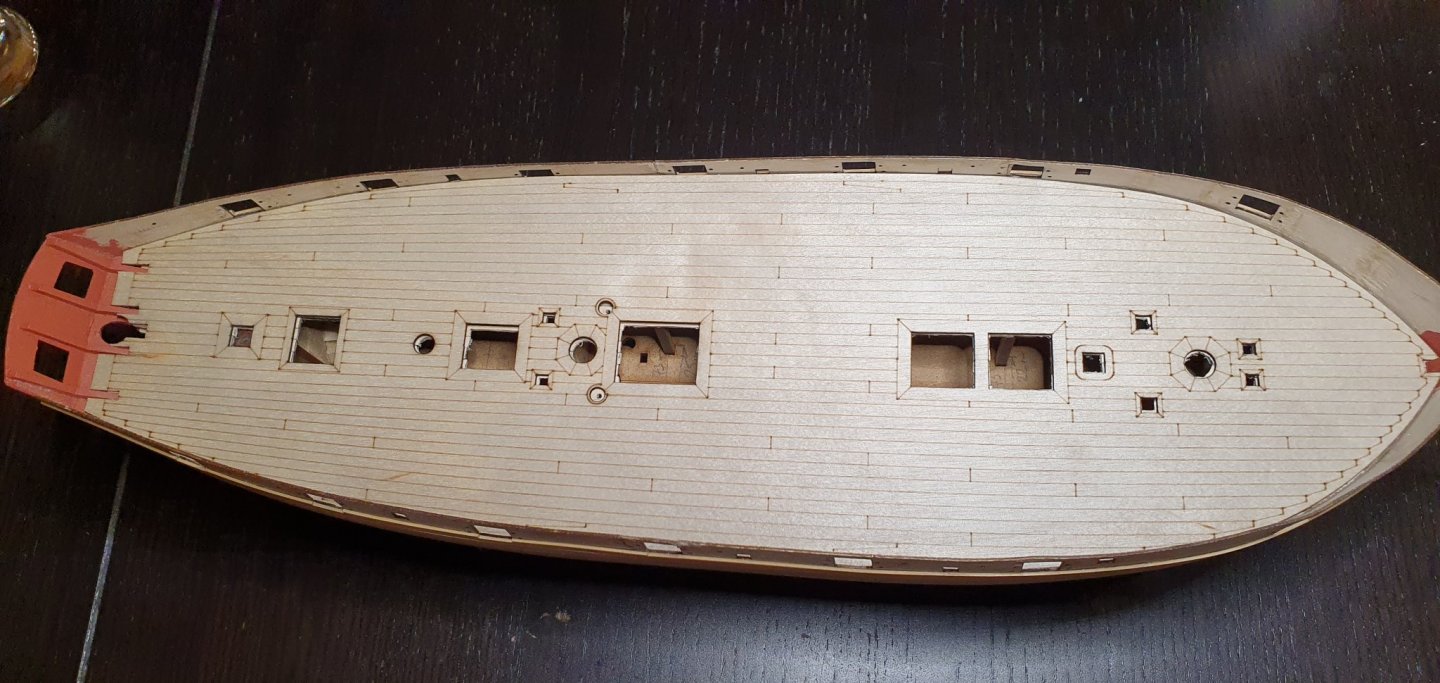
Finally done laying my "scratchbuilt" maple deck! Once it has been cleaned up i will post some comparison photos with the engraved. I think i took the right decision but the engraved would had saved me alot of time. But i want it to go better with my other builds so maple it is. A couple of tips if you want to do it yourself is that you try to get hold of better quality wood that you dont have to sand on the sides. Also having a disksander for the tips is extremily helpful.
-
I cant really follow the discussion… people seam to mix up my buildlog with others. Regarding the gunpatterns, I used the ones supplied and soaked them in hot water for a while and then glued them in place. It was a very easy process and they fitted very good. Chris design made this much easier than on my Snake or Granado. One thing that helps is the rabbit line so you basically just need to place it there and bend it in position. It is also great that the pattern is divided in two. When it comes to the deck, I didnt use the supplied pattern but are working with my own maple deck instead.
-
I am not sure why u got that impression. I used them, see my earlier posts.
-
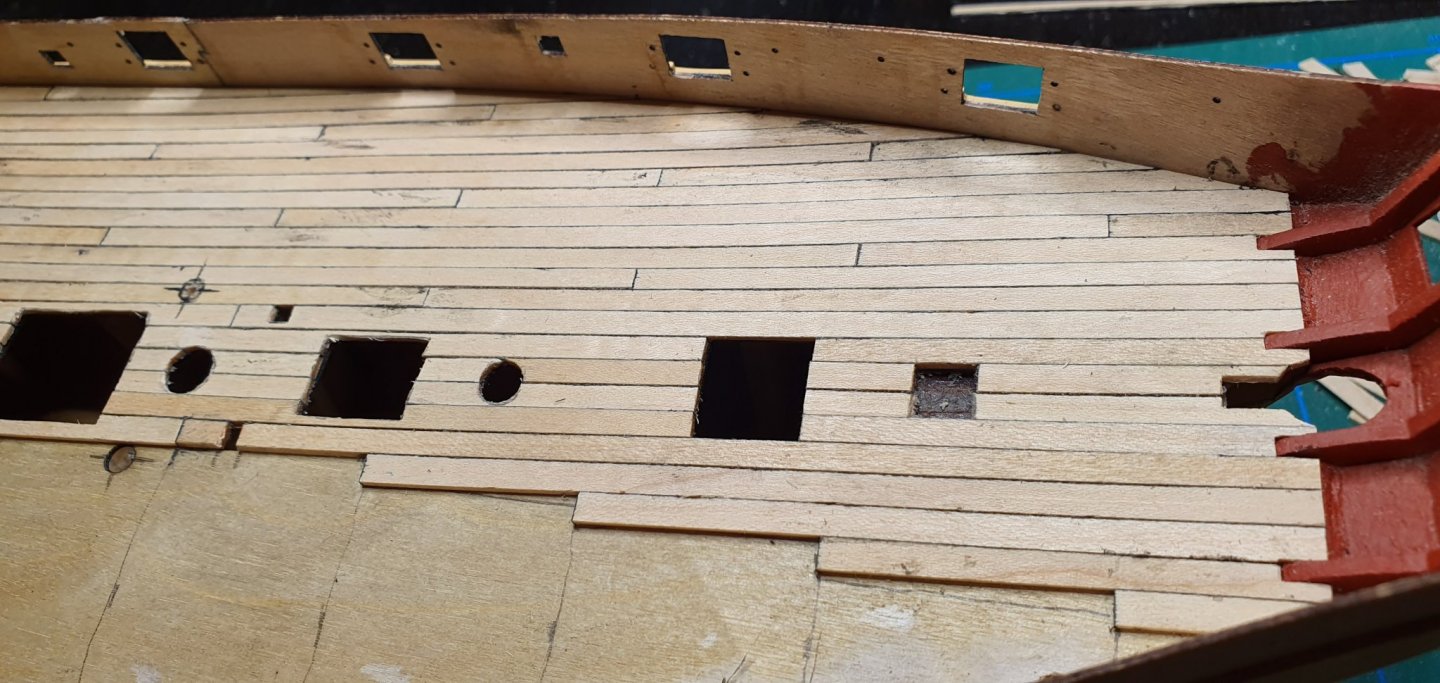
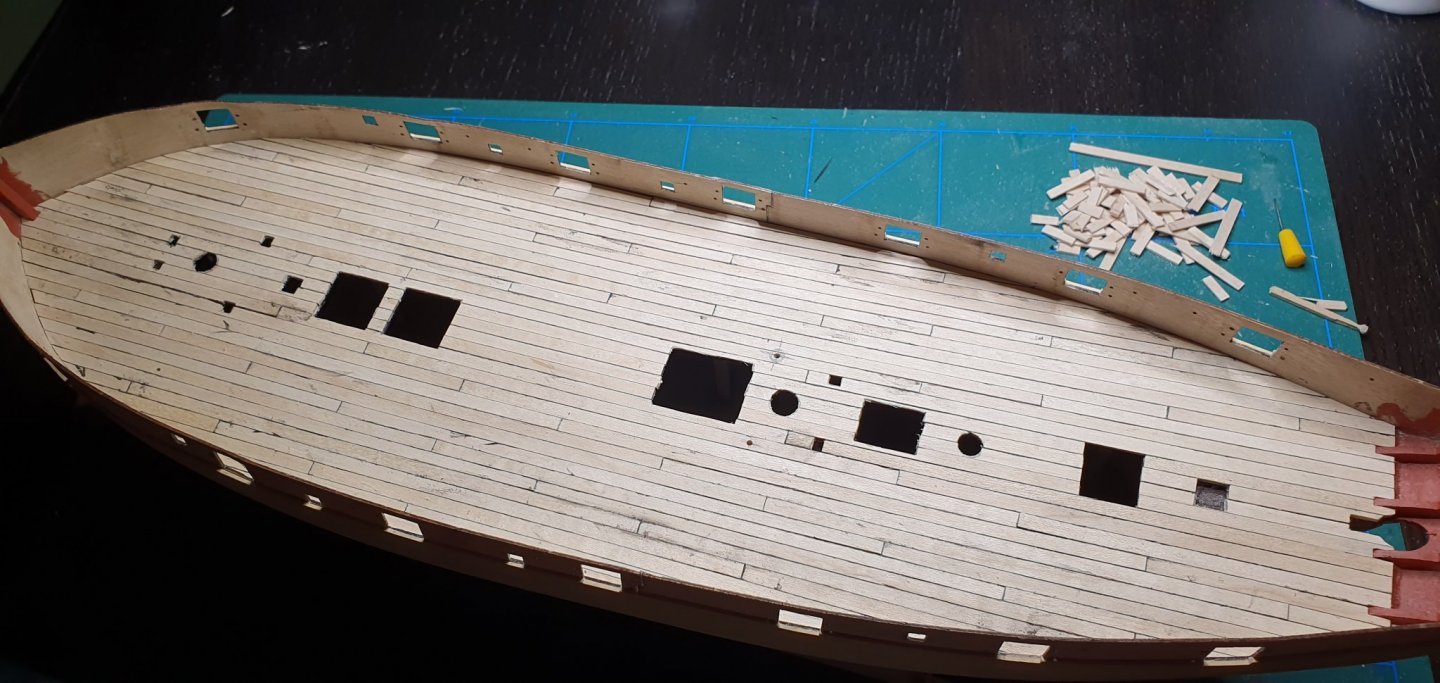
Deckplanking is progressing... I just did it straight on and didnt care about using the engraved as a template. It would had been too tricky.