.jpeg.7d7eba14c97a2e1d9f79cd2c97f6424a.jpeg)
EricWilliamMarshall
-
Posts
986 -
Joined
-
Last visited
Content Type
Profiles
Forums
Gallery
Events
Everything posted by EricWilliamMarshall
-
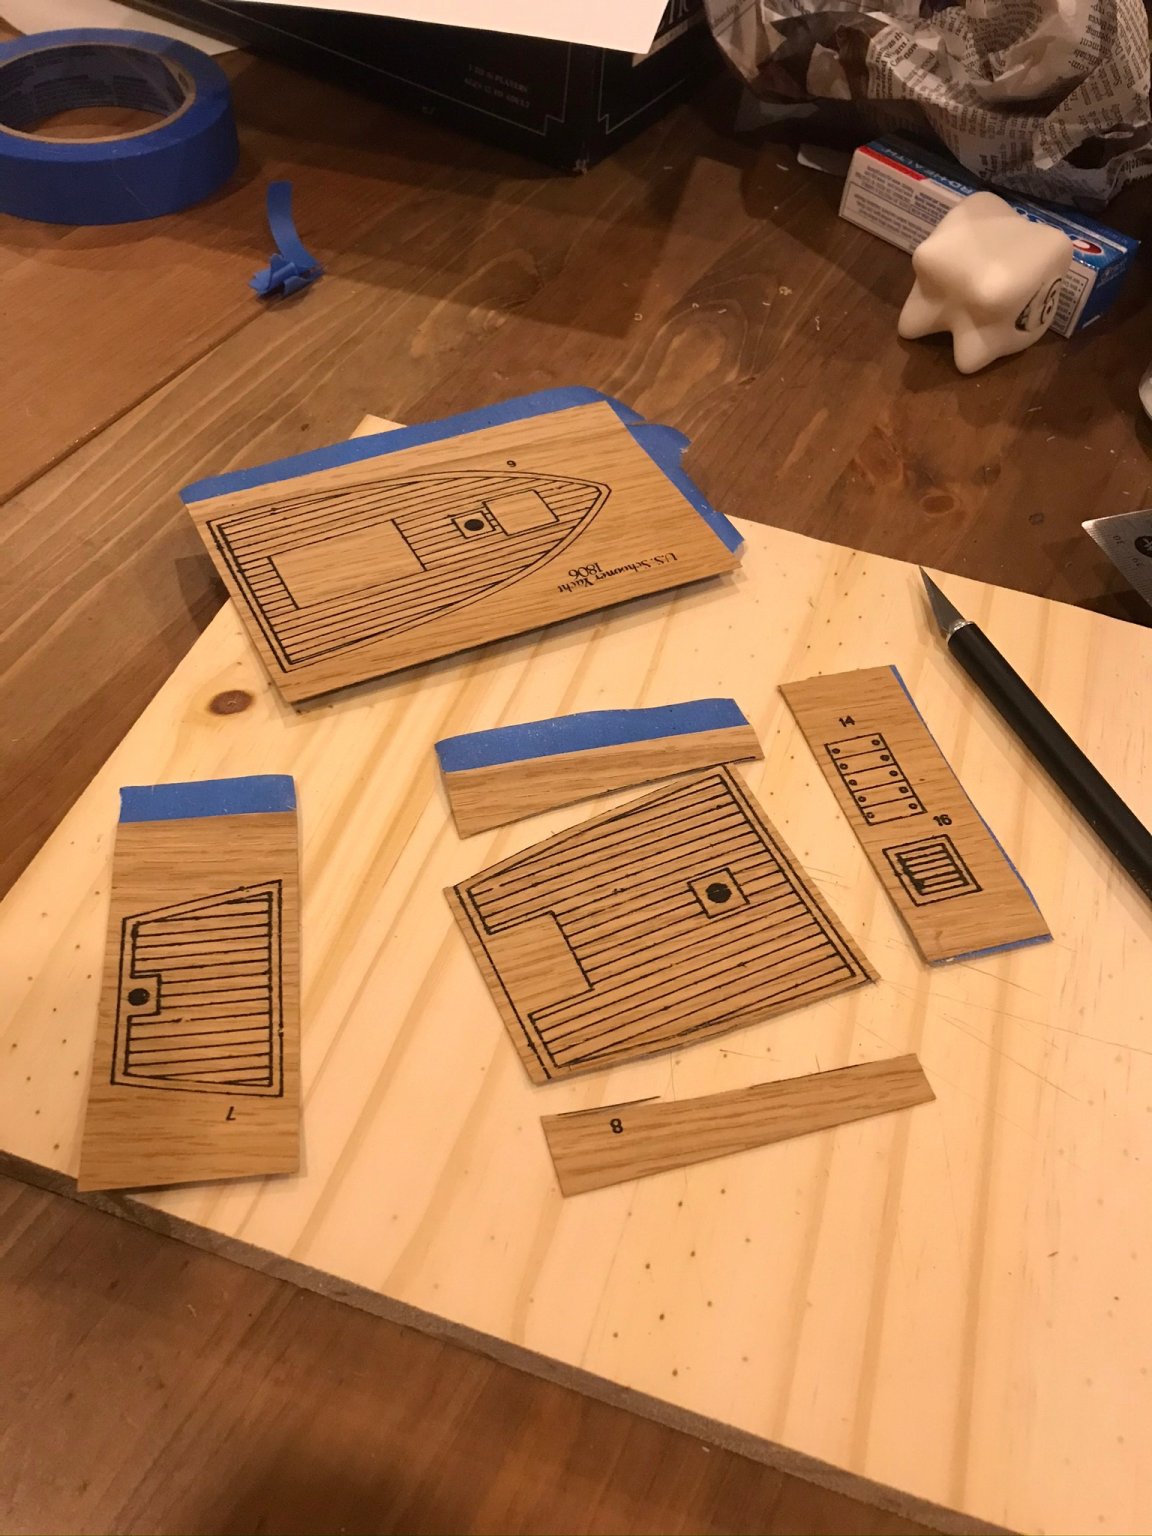
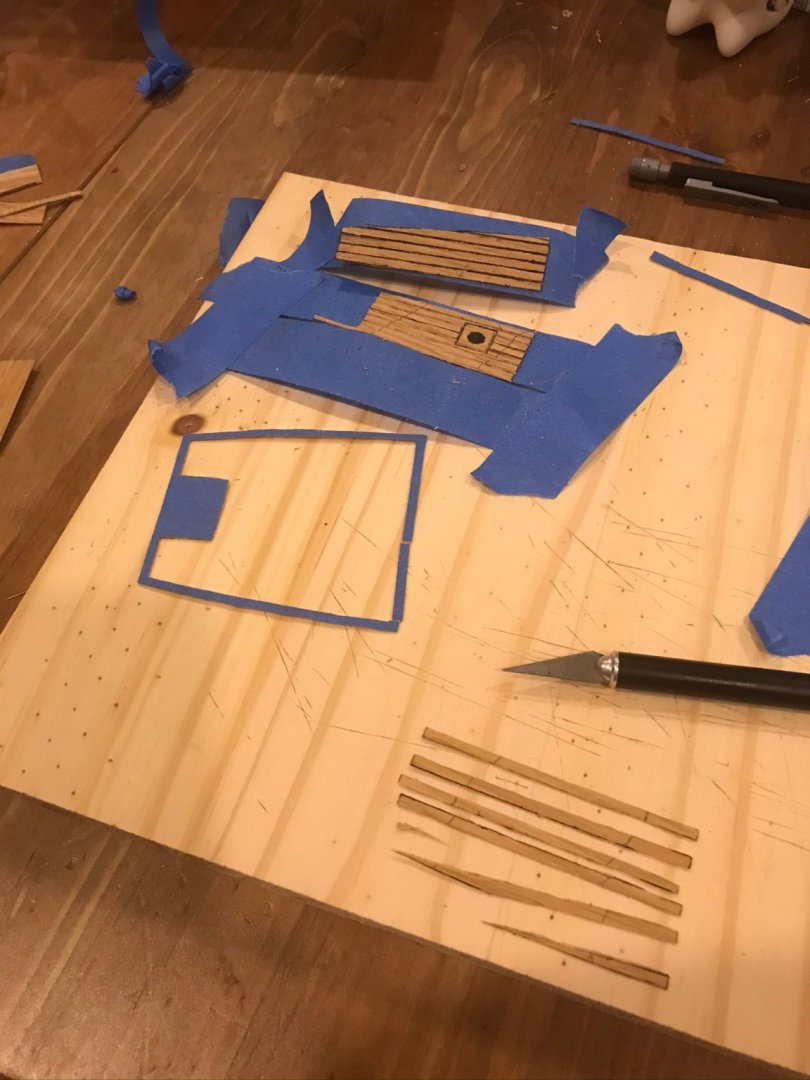
.thumb.jpeg.fc5d633a7b34428fcf19419a73d56d55.jpeg) I’ve sanded the hull and added the keel as per the exceptional sparse instructions. And started looking at the decking.
I’ve sanded the hull and added the keel as per the exceptional sparse instructions. And started looking at the decking.

- 155 replies
-
- 5
-

-
- opium smuggler
- Authentic Models
- (and 1 more)
-
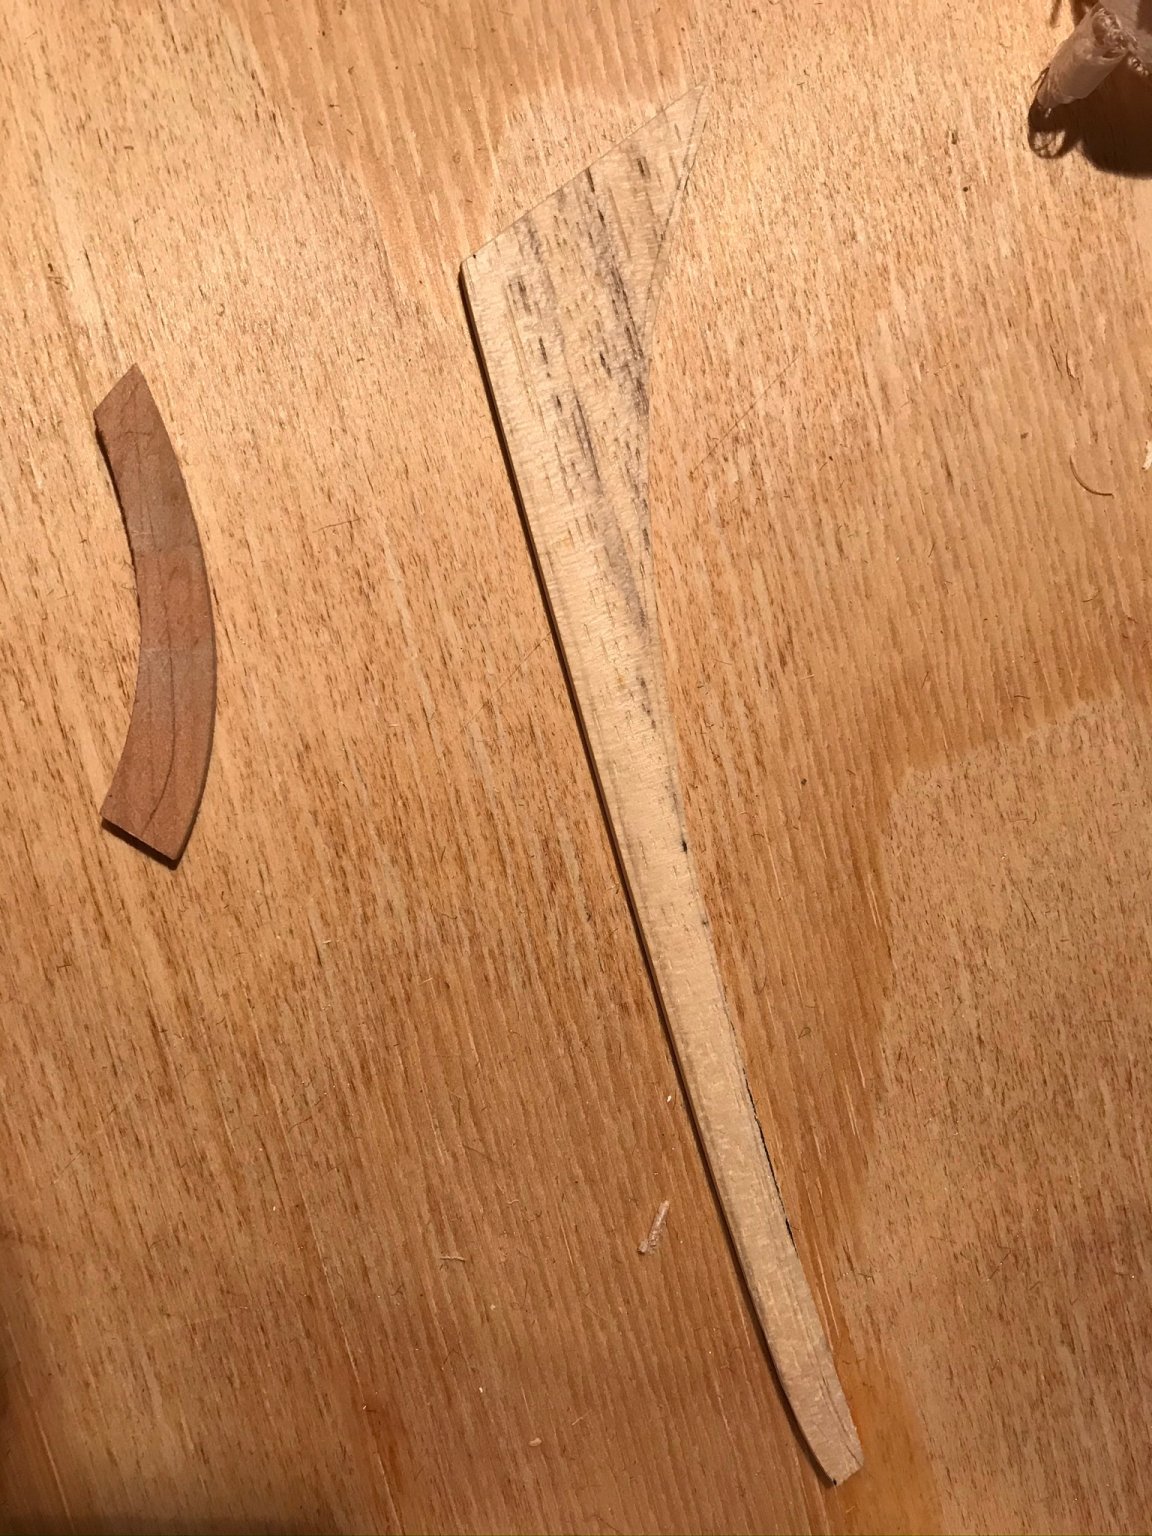
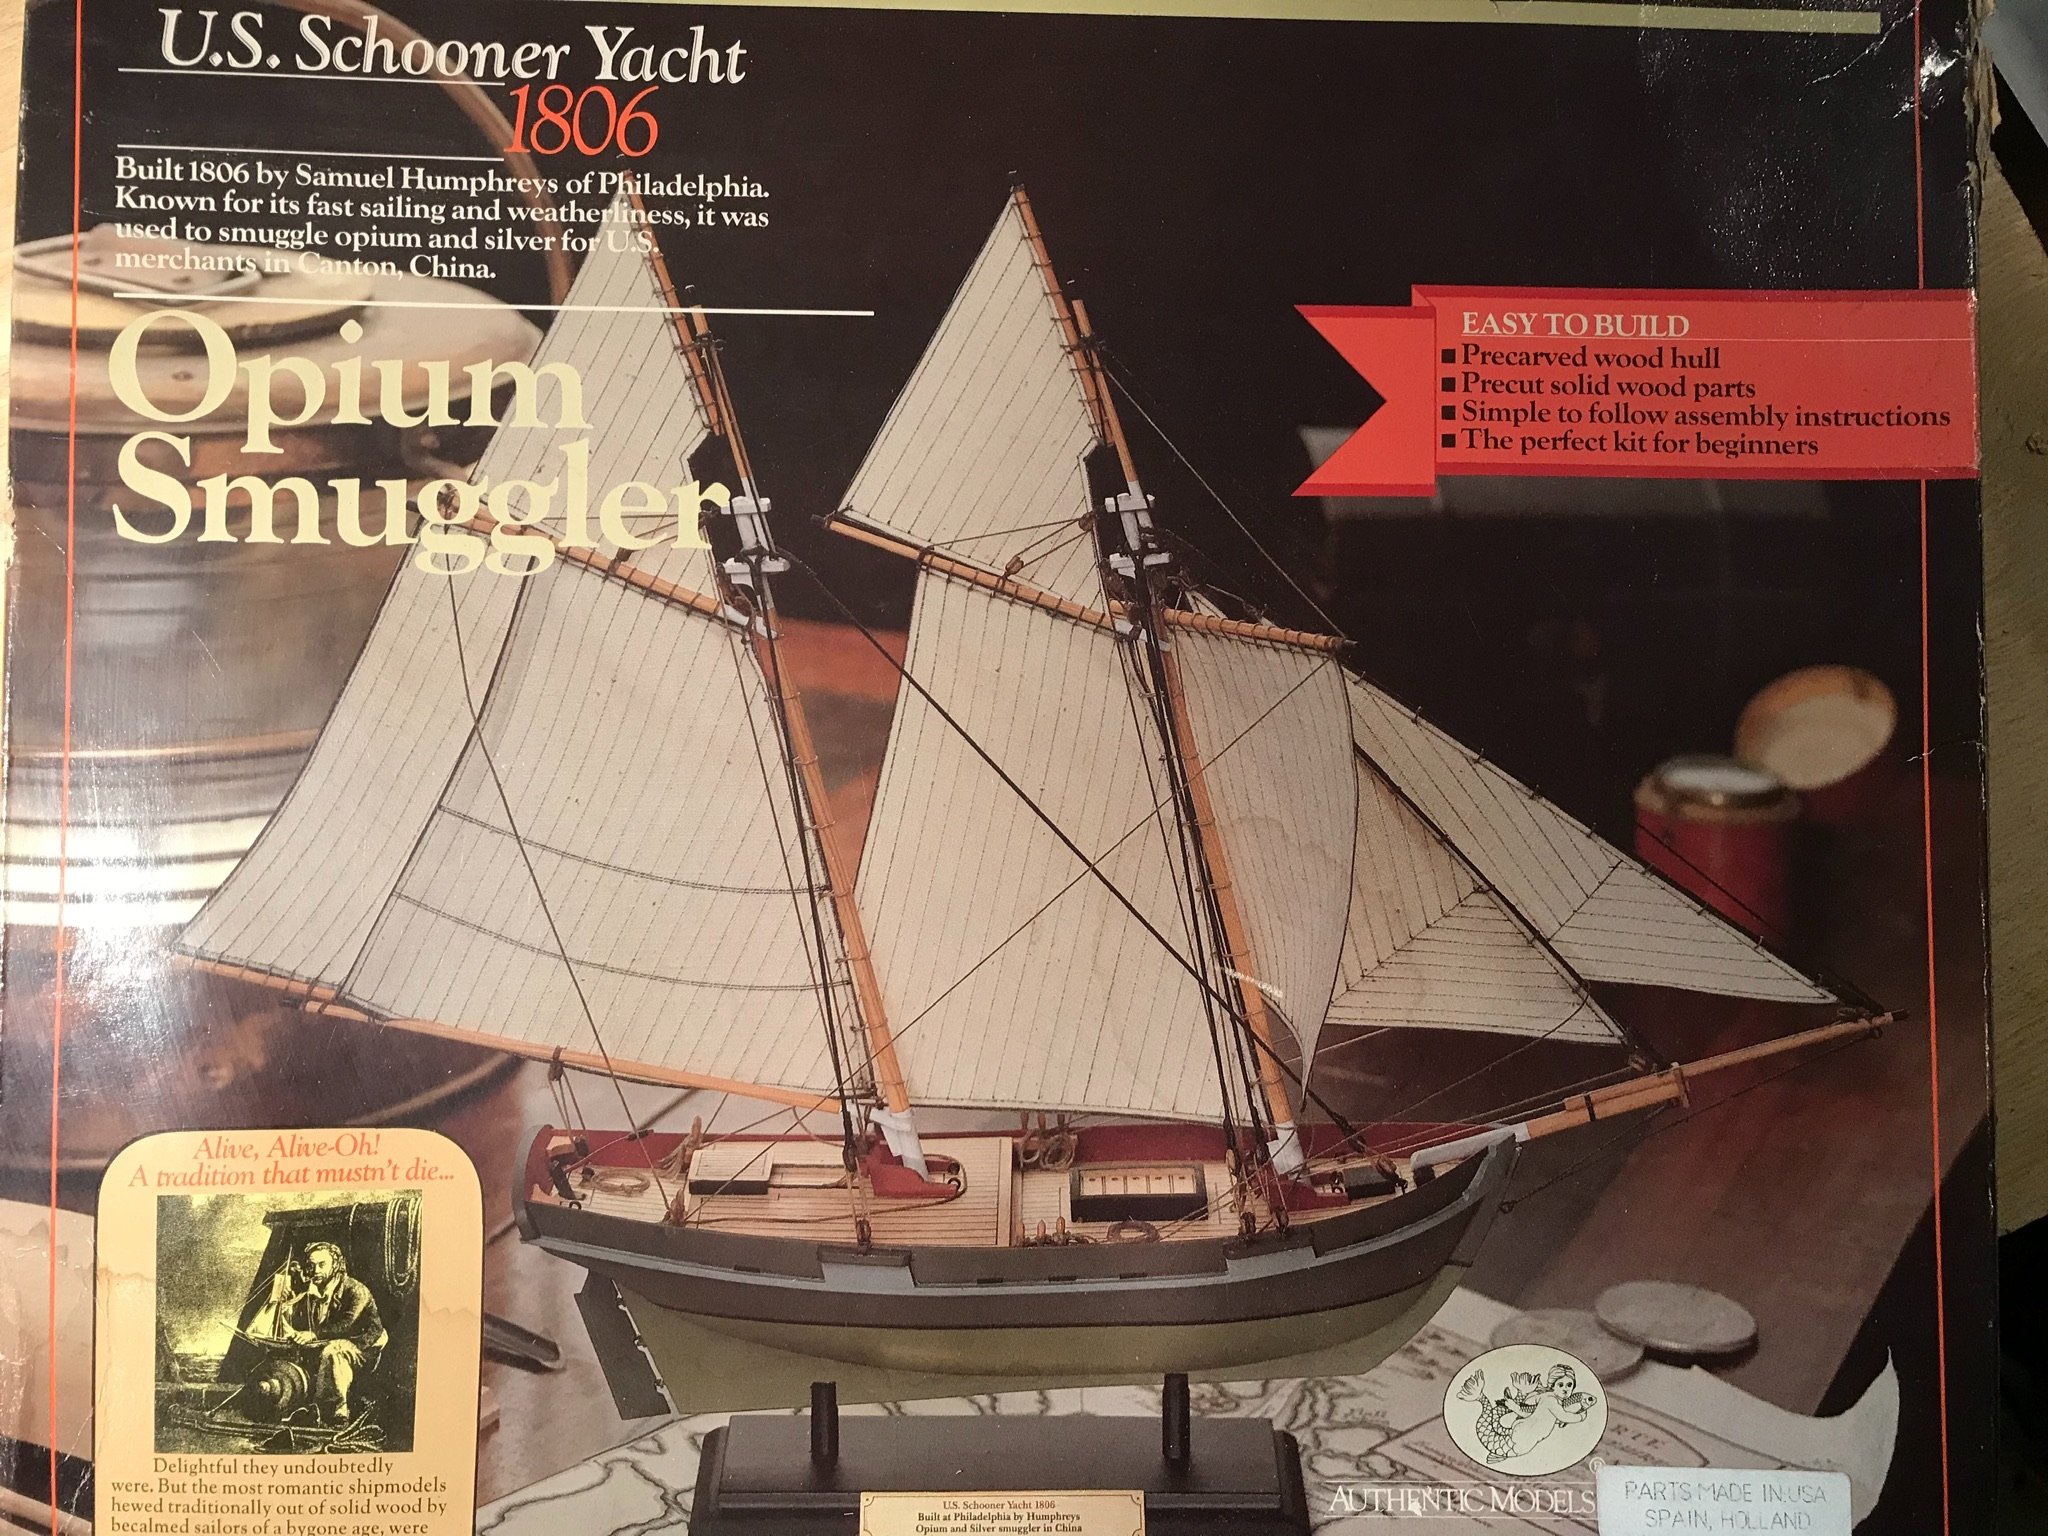
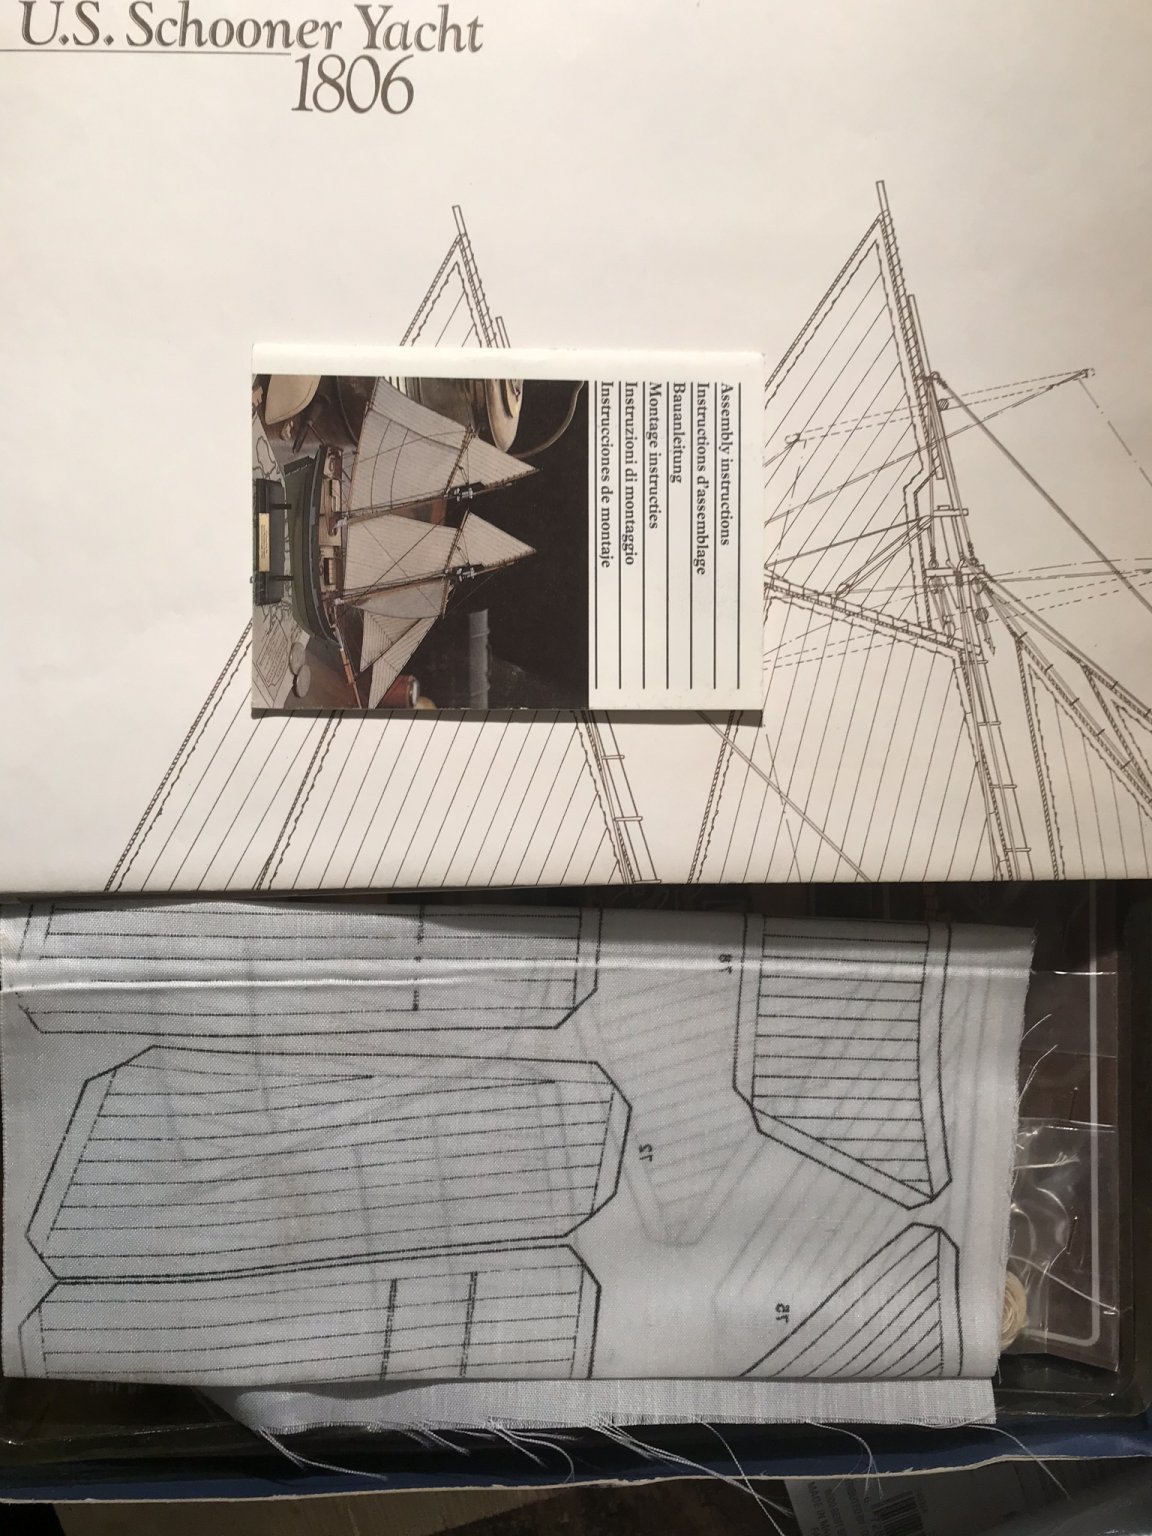
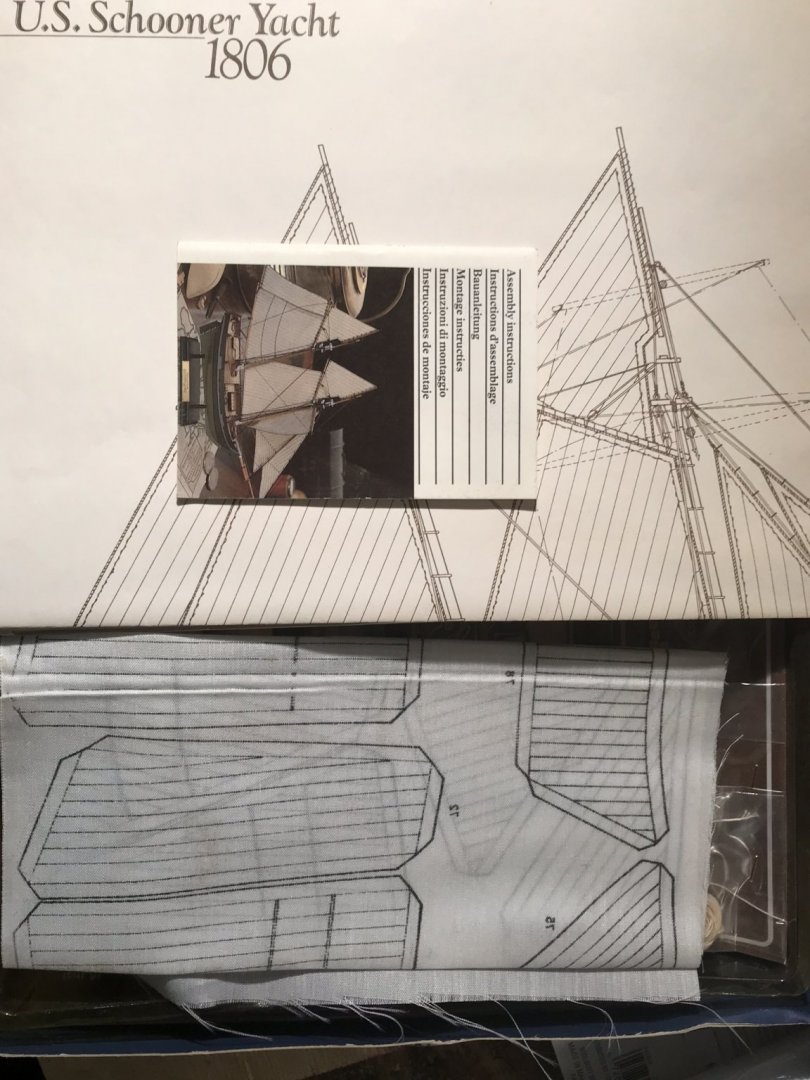
Having survived my first wooden ship model build, I’m going to push my luck again! I bought this model in NYC in the mid-90s and never built it. (My sole purchase of wooden ship models in the twentieth century!) It survived fire and flood. I cut one piece and chickened out. Apparently, I was waiting for the Internet and this community to be created so I could soldier on. The ship in question seems to match a ship mentioned by Chapelle as a 1806 design by Samuel Humphreys called “Yacht for Canton.” (Thanks to trippwj and Roger Pellett for finding that!). The drawing in ‘The Search For Speed Under Sail.‘ is spot on. It’s not clear that this ship was ever built and I’m not aware of any other info regarding this ship.


- 155 replies
-
- 7
-
-
- opium smuggler
- Authentic Models
- (and 1 more)
-
Don't prove me wrong here! Hopefully, that wasn’t too painful.
- 72 replies
-
- 1
-
-
- Chesapeake Bay Flattie
- Midwest Products
- (and 1 more)
-
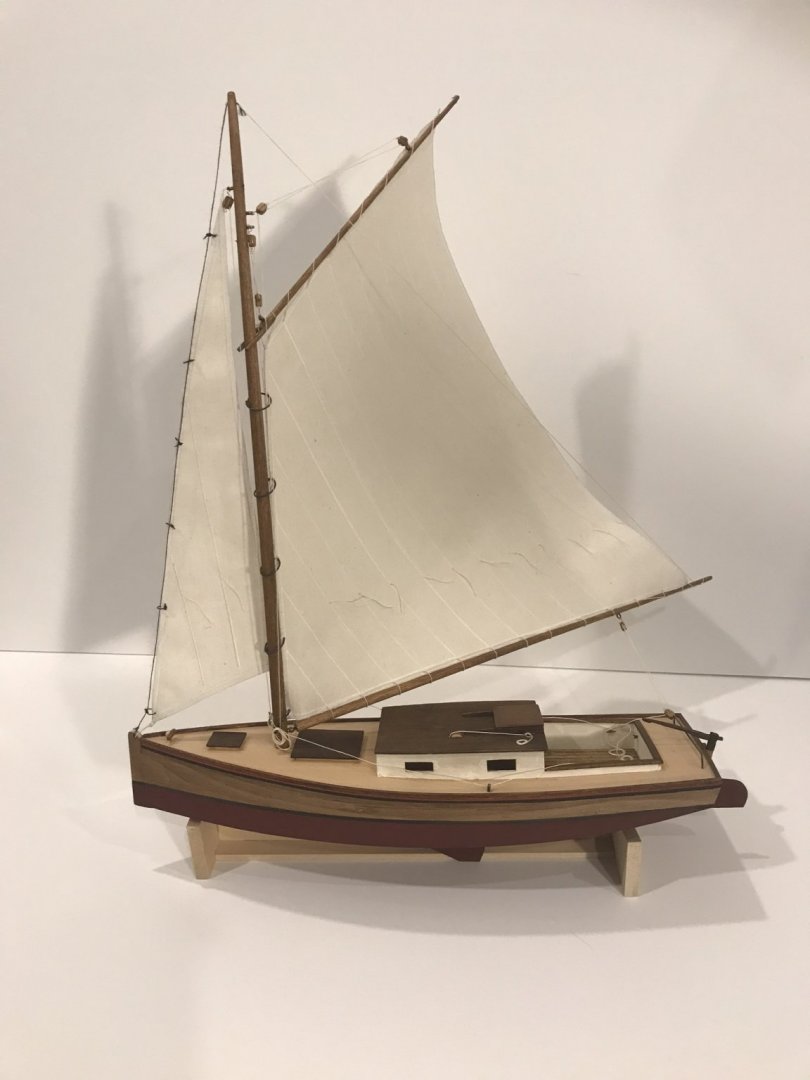
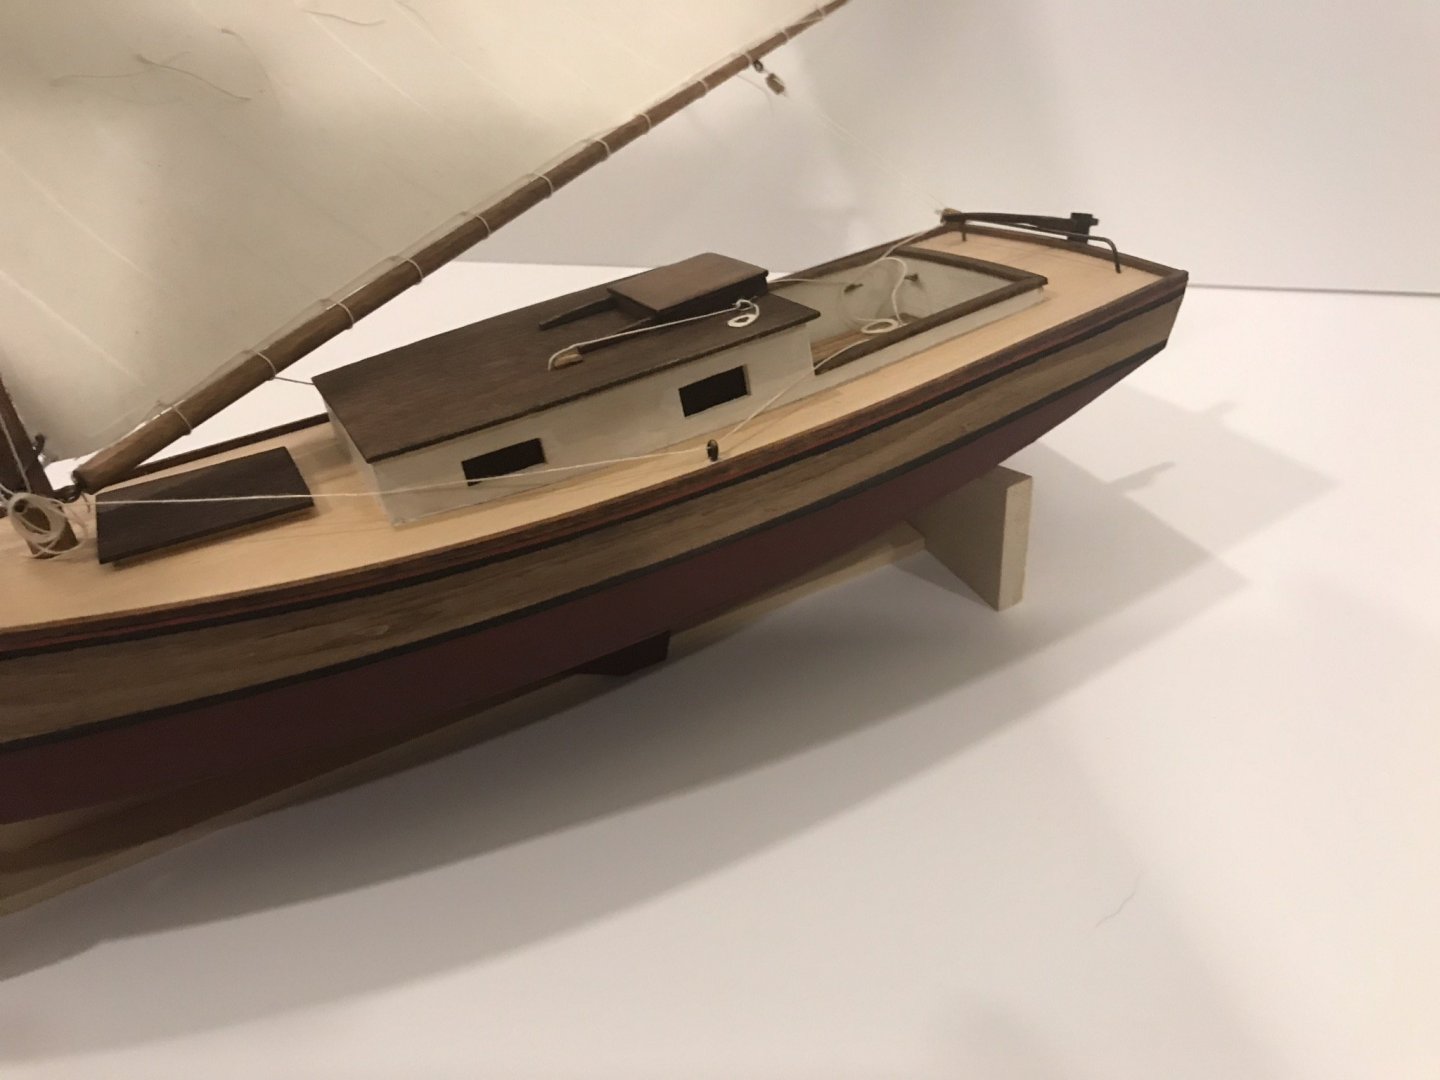
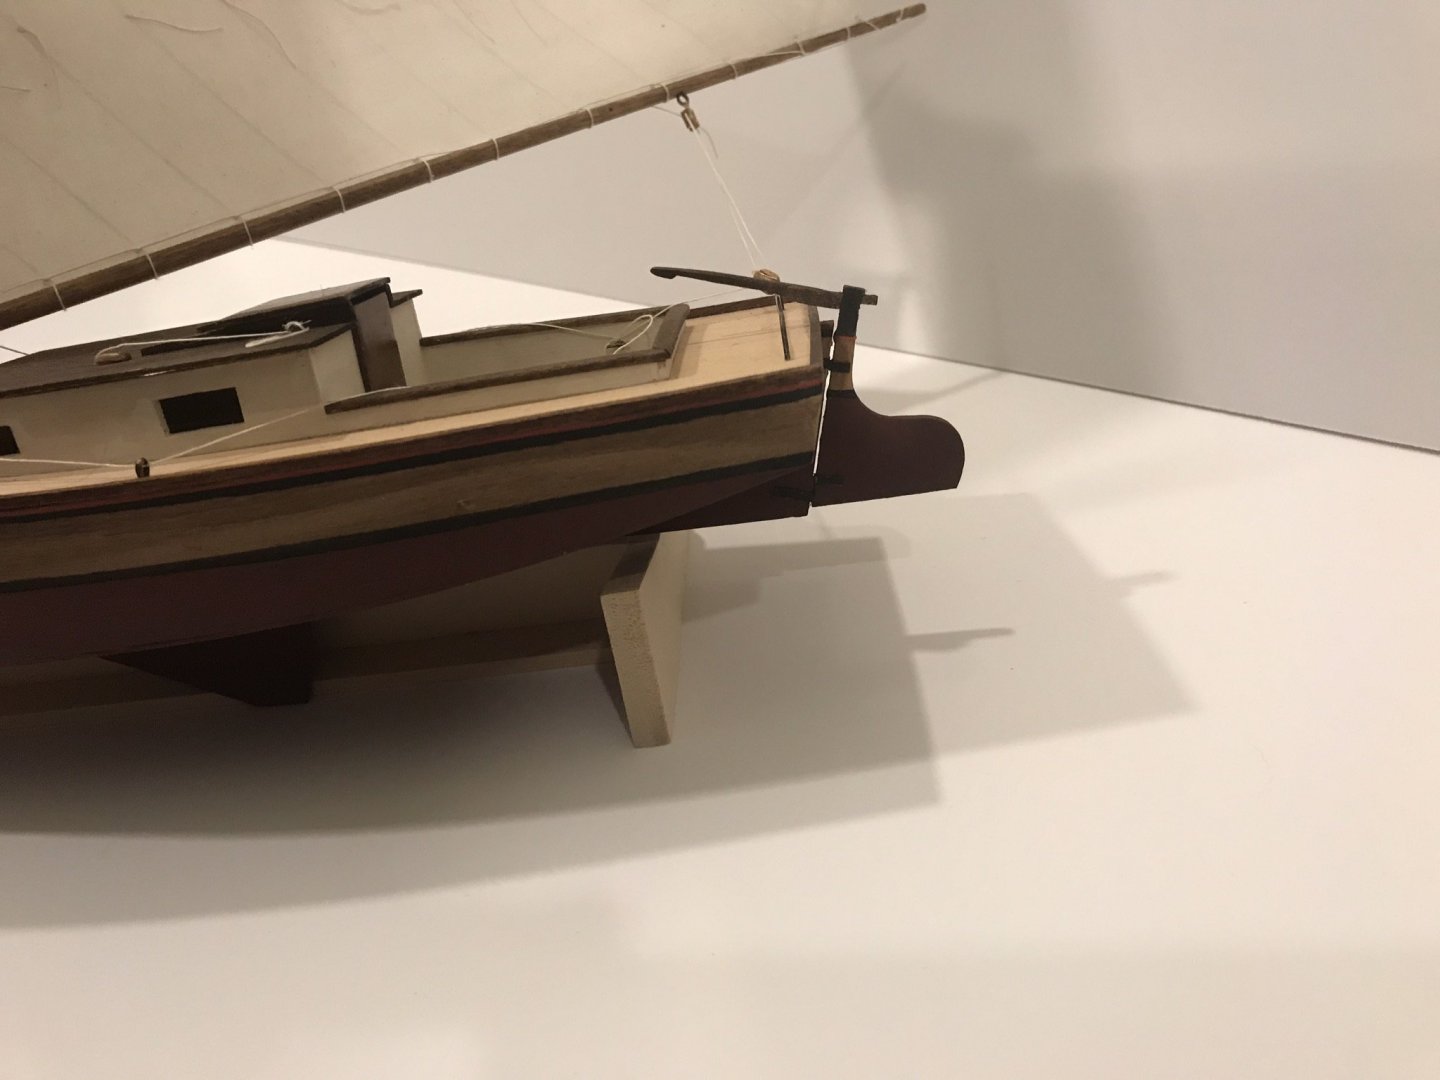
I’m calling her done! Many thanks to everyone who followed along and shared wisdom and kind wishes!


- 72 replies
-
- 6
-
-
- Chesapeake Bay Flattie
- Midwest Products
- (and 1 more)
-
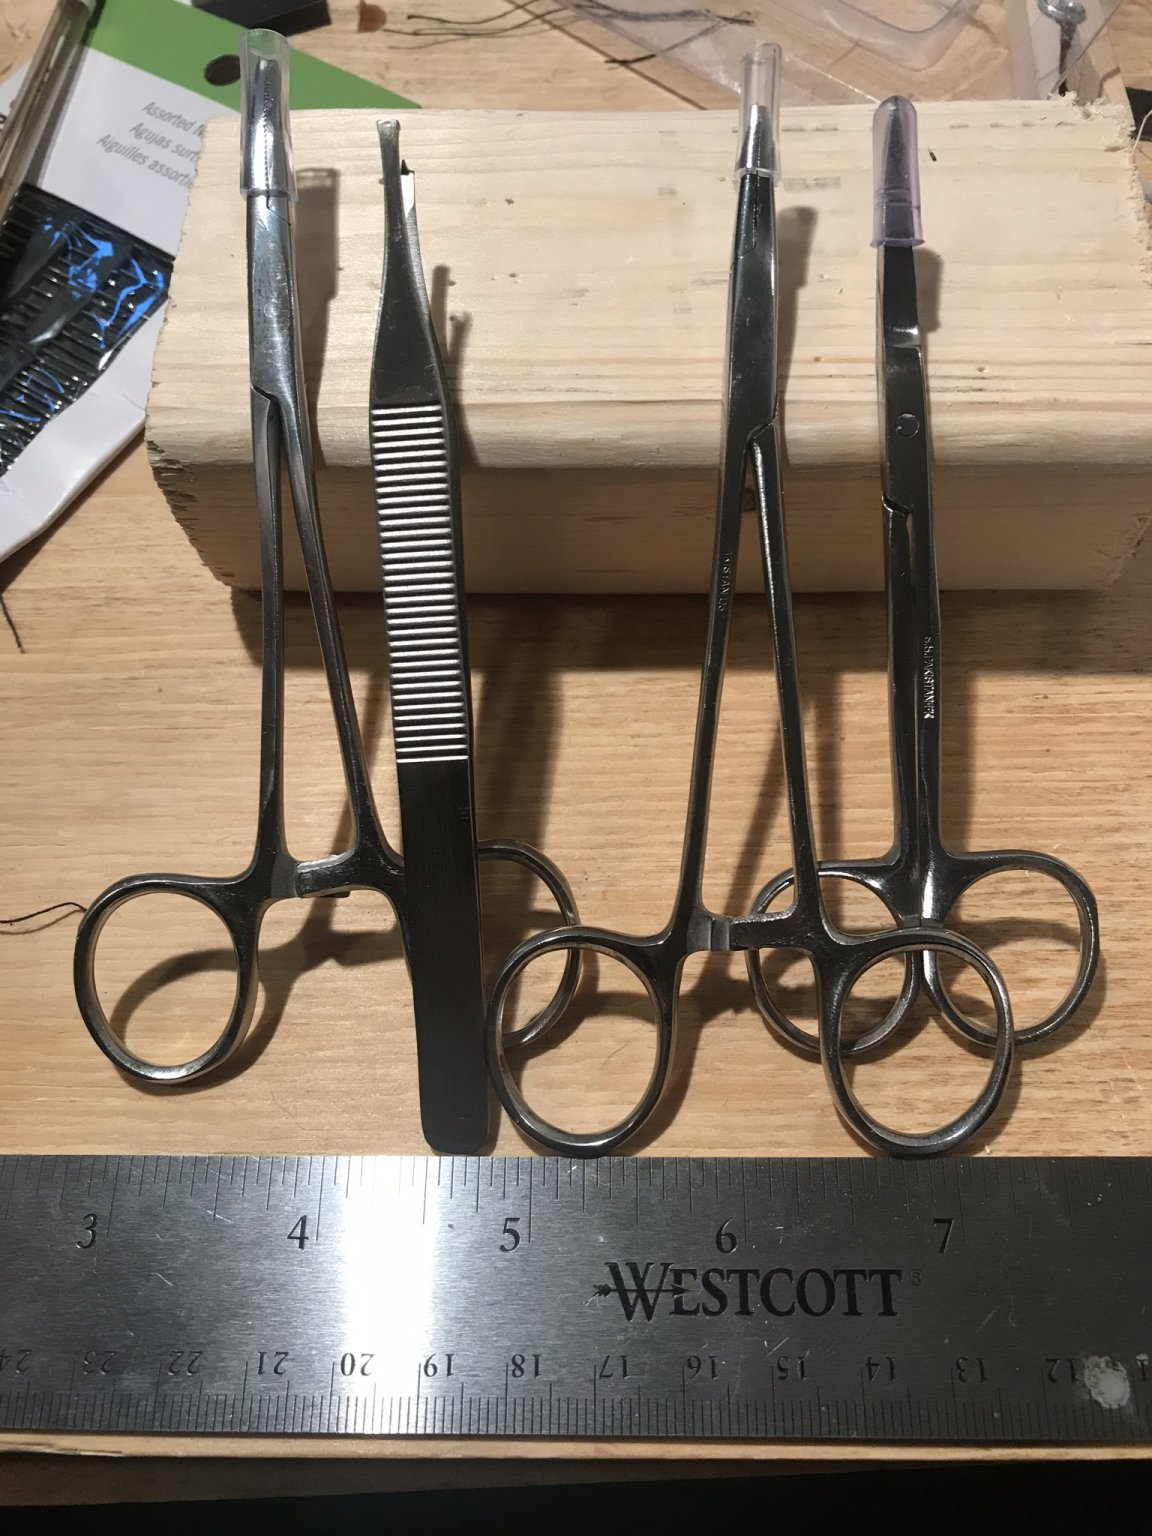
My daughter hurt herself and needed a few stitches. She is fine and on the mend. While she was being tended to, I asked about knots and mentioned ship models. As a side effect, the doctor (unprompted by me) gave me the tools she used!

- 72 replies
-
- 3
-
-
- Chesapeake Bay Flattie
- Midwest Products
- (and 1 more)
-
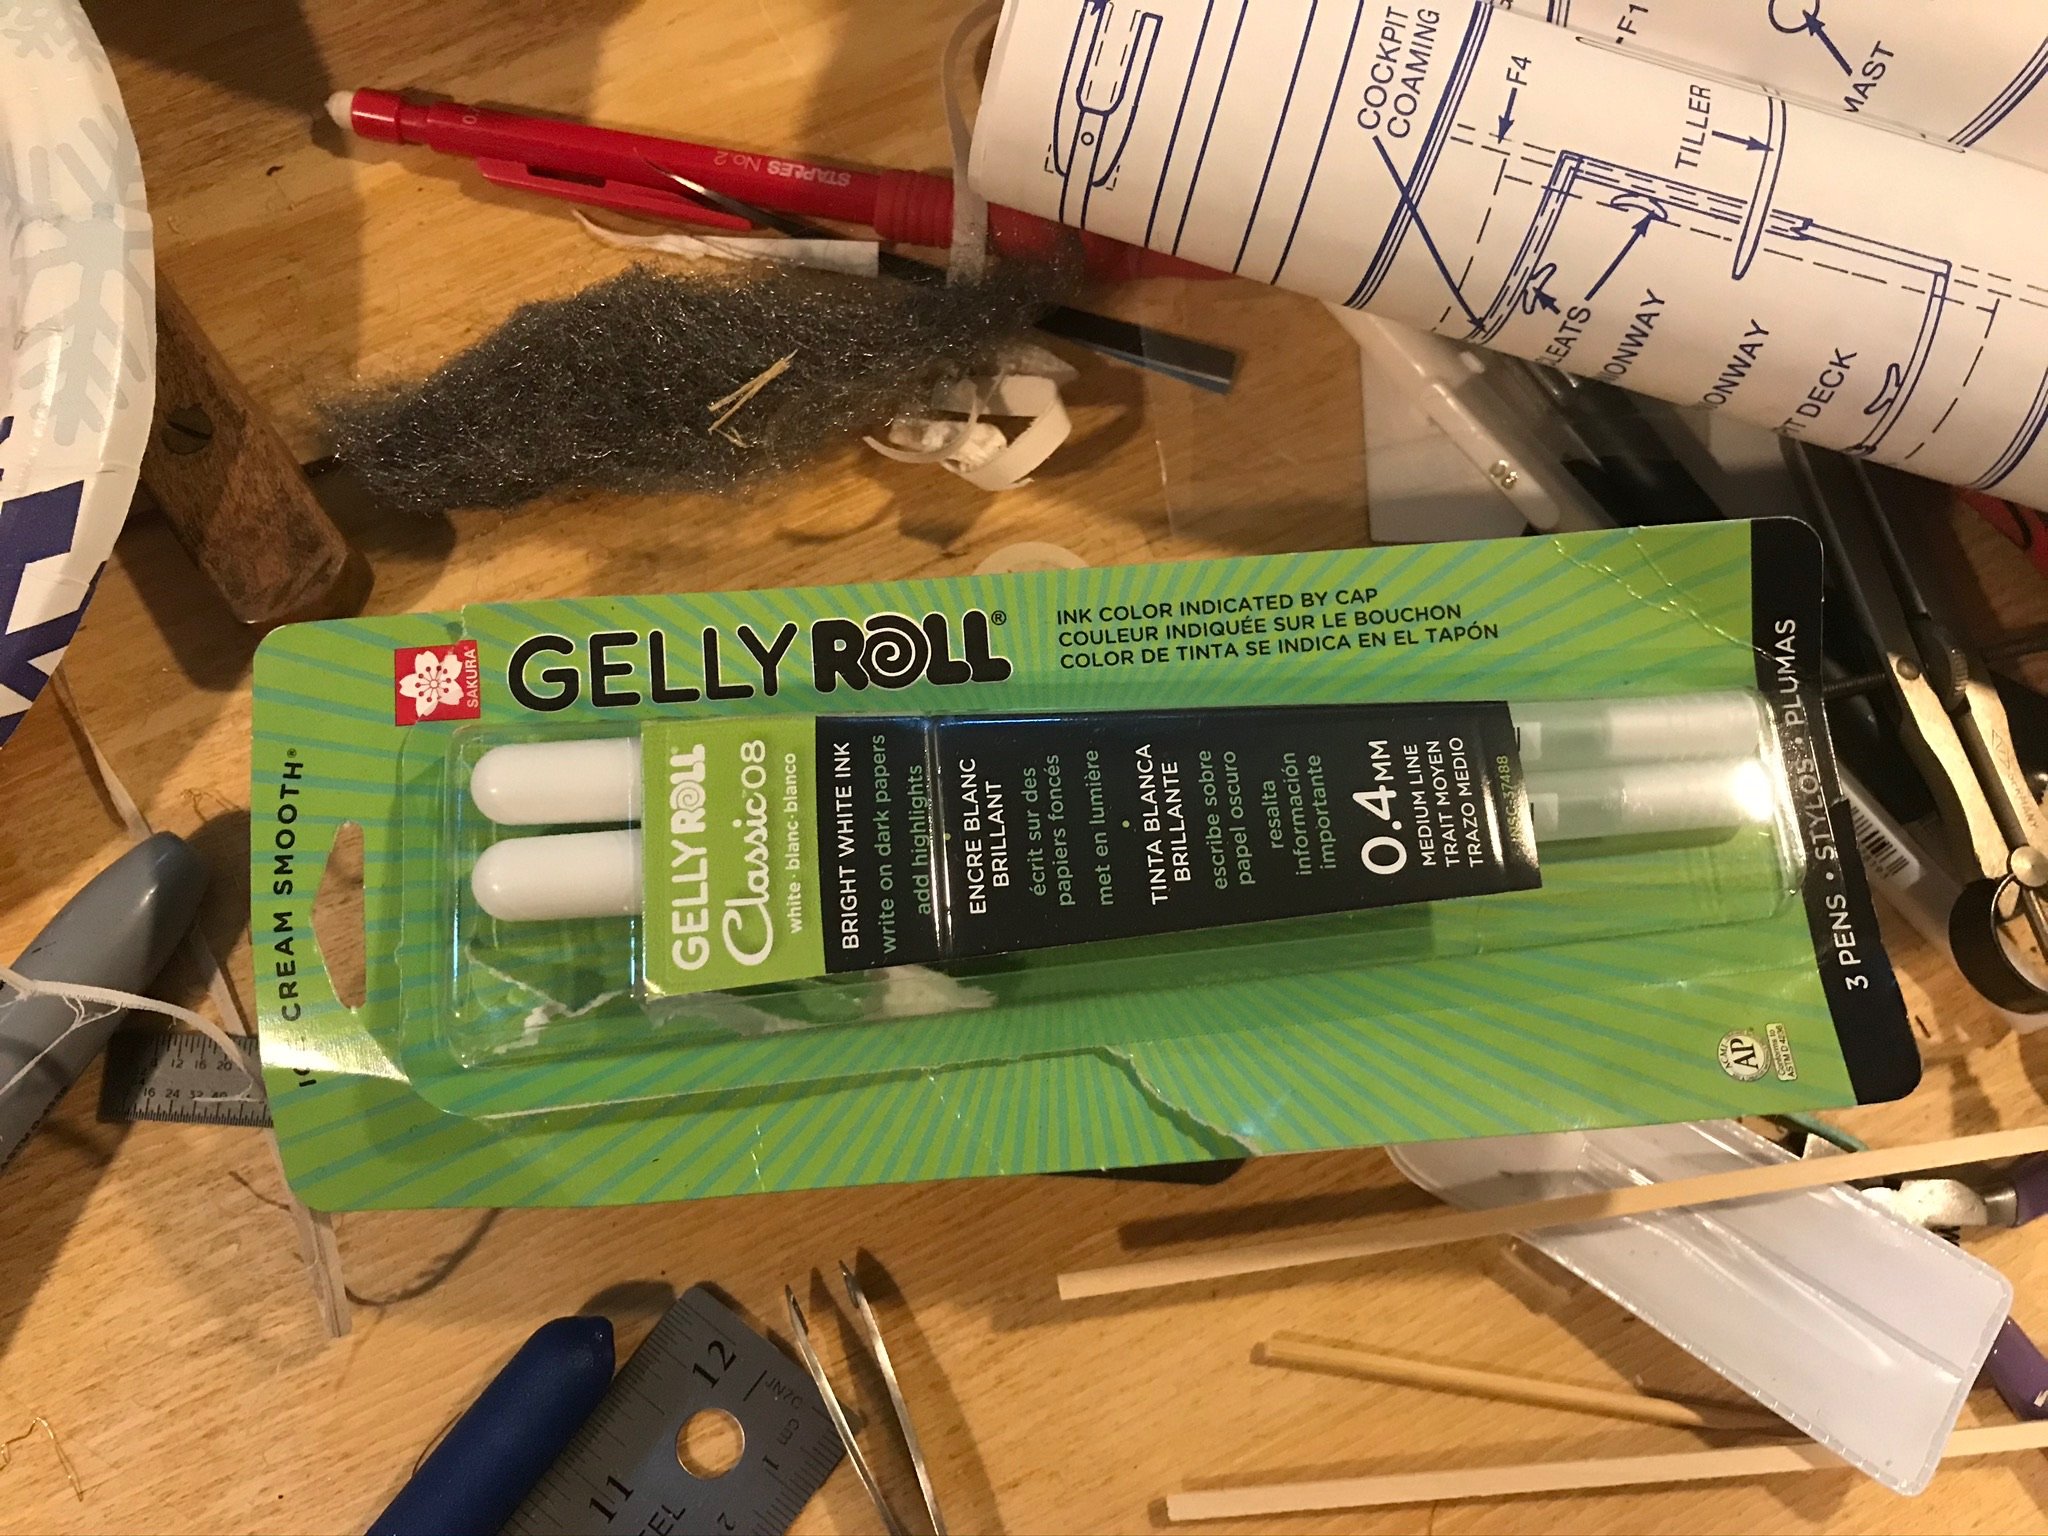
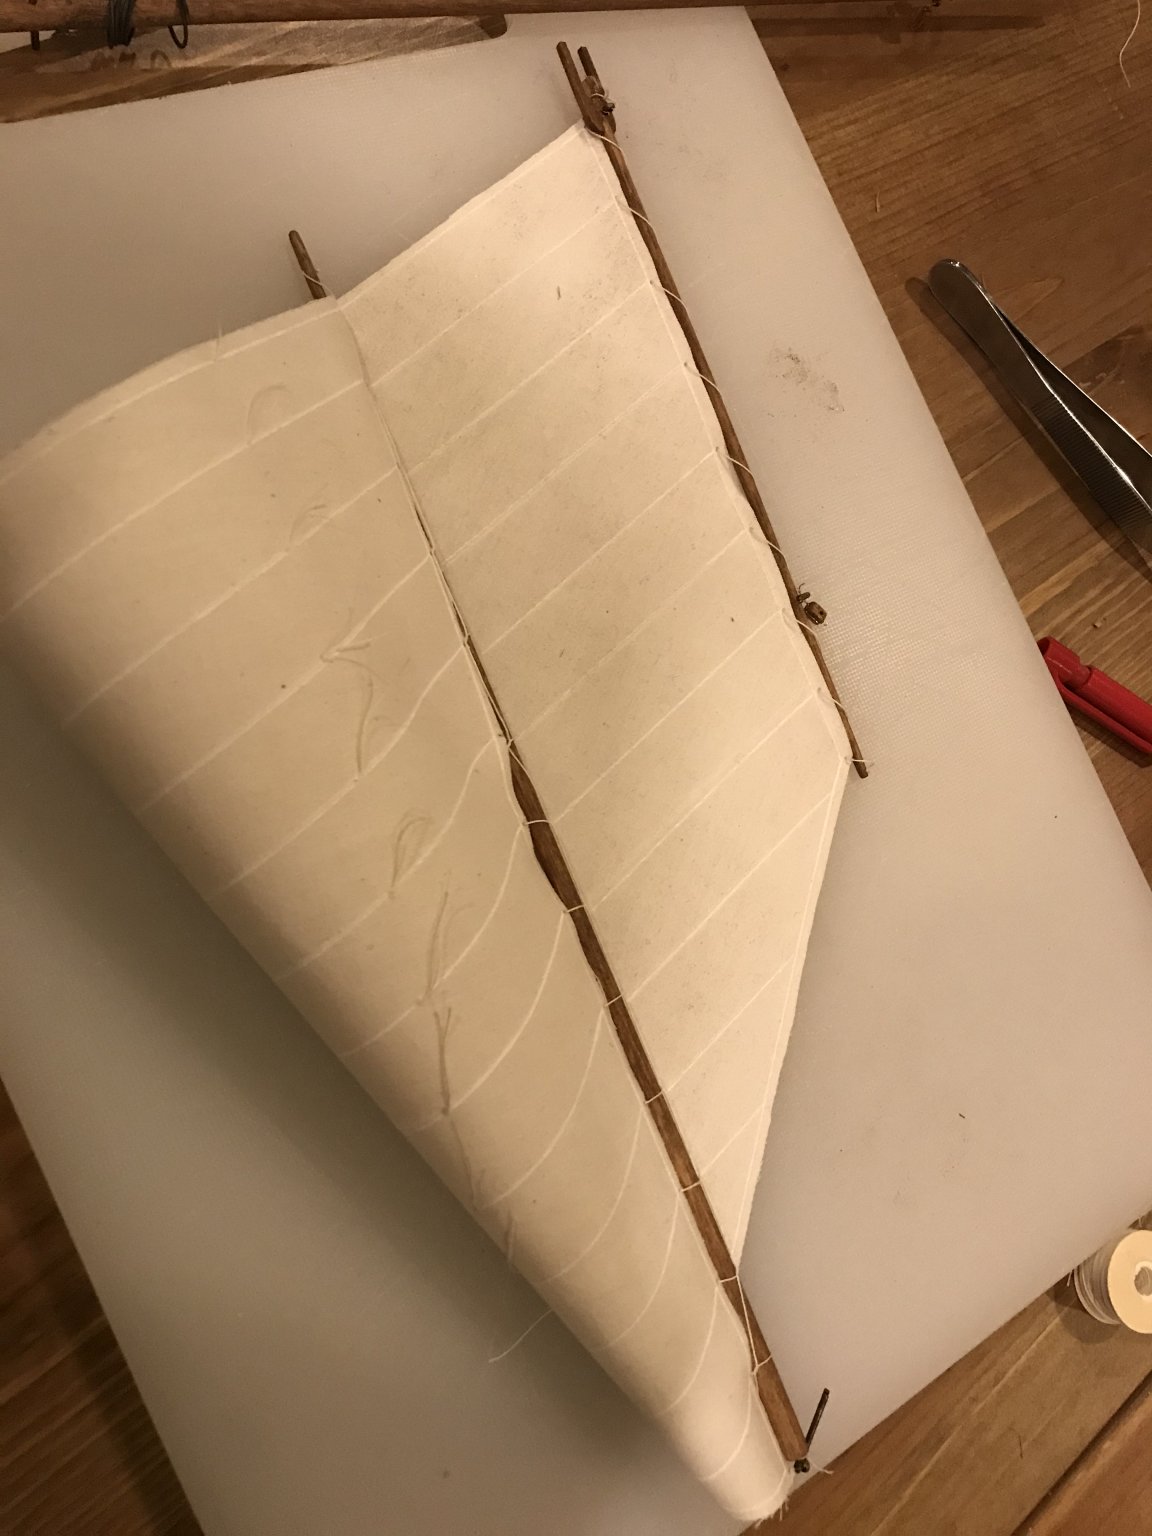
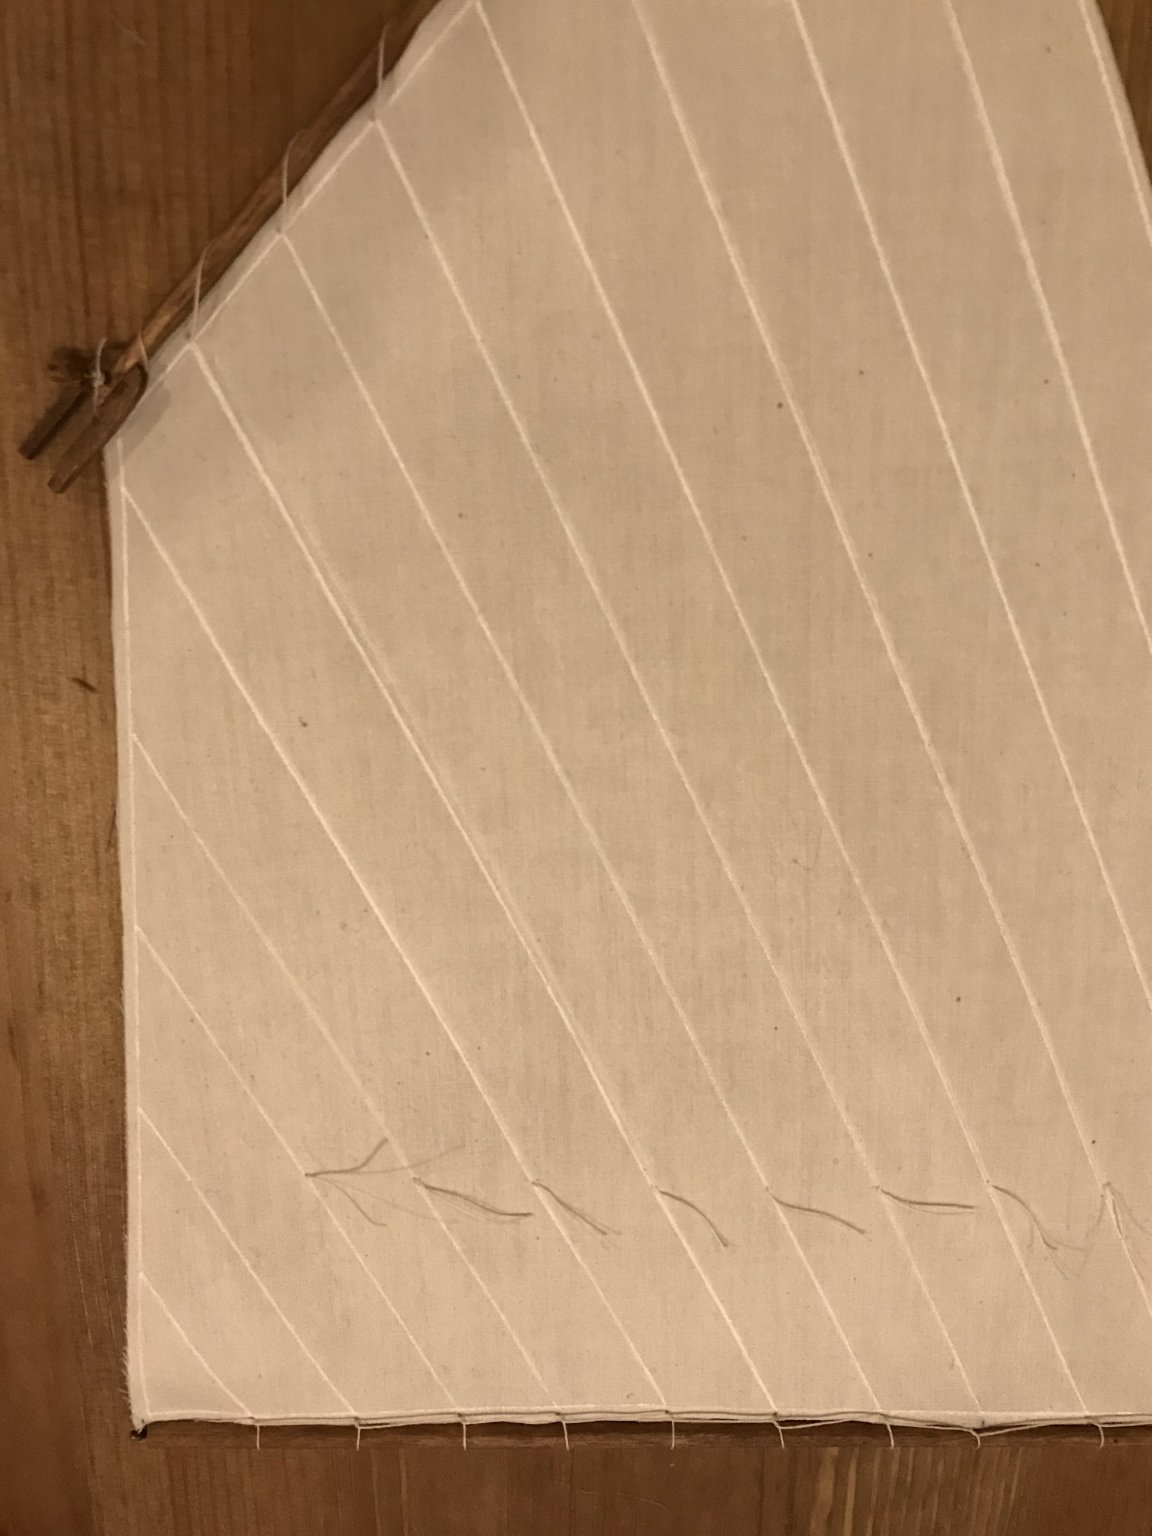
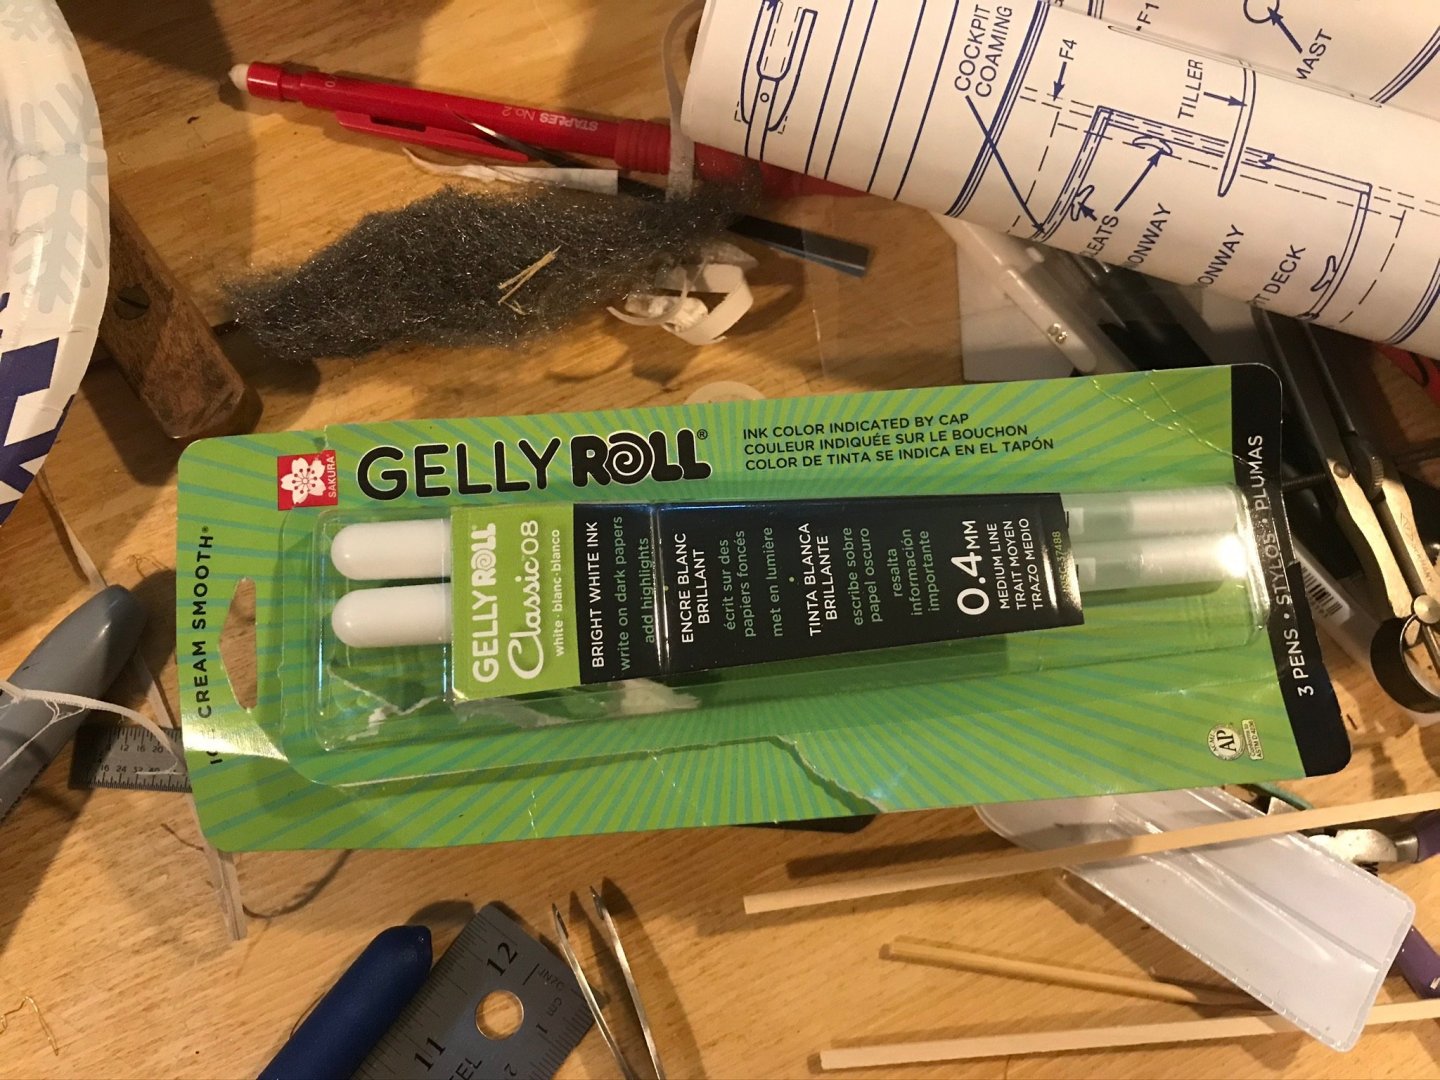
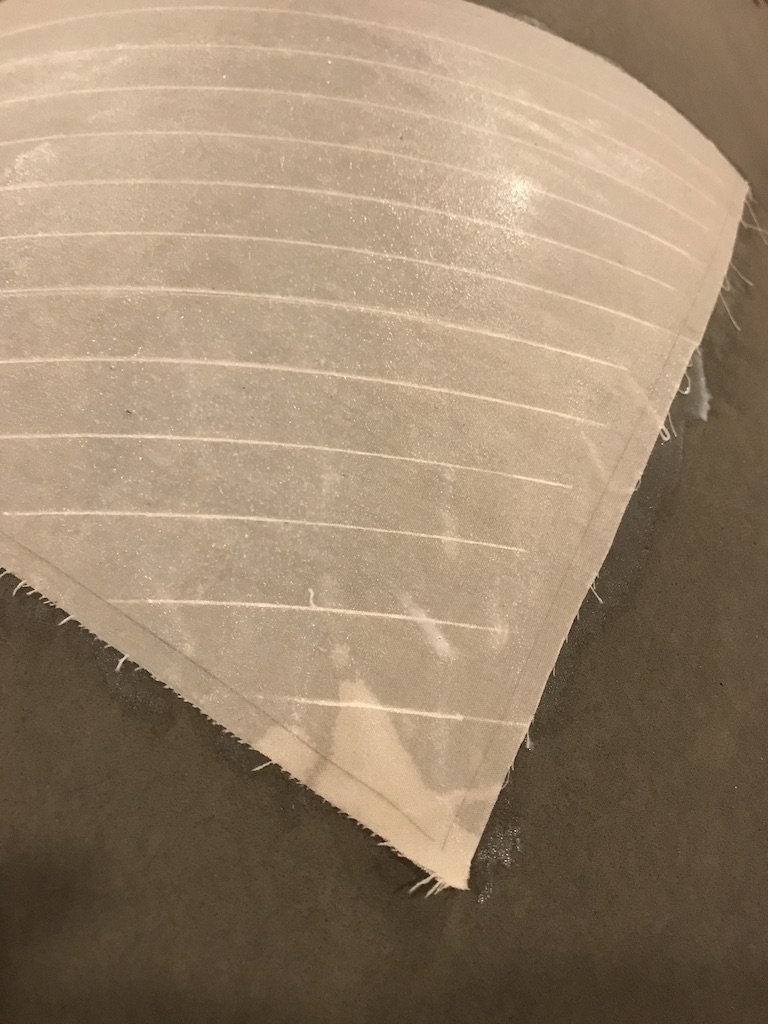
DonInAZ, white Gelly Roll was the pen I used. The is nothing particularly special about that choice. It happened to be the first one on came across. I did notice, as did JerseyCity Frankie, that the gel pen needed a little coaxing on the untreated fabric. It worked fine on the fabric coated in polyurethane. There wasn’t bleed in either case for me (the ink is on the thick side and “coats” more than “soaks”) but there was a slight difference in how sharp the edge of edge of the lines were. Play with a scrap and see what you like.
- 72 replies
-
- 1
-
-
- Chesapeake Bay Flattie
- Midwest Products
- (and 1 more)
-
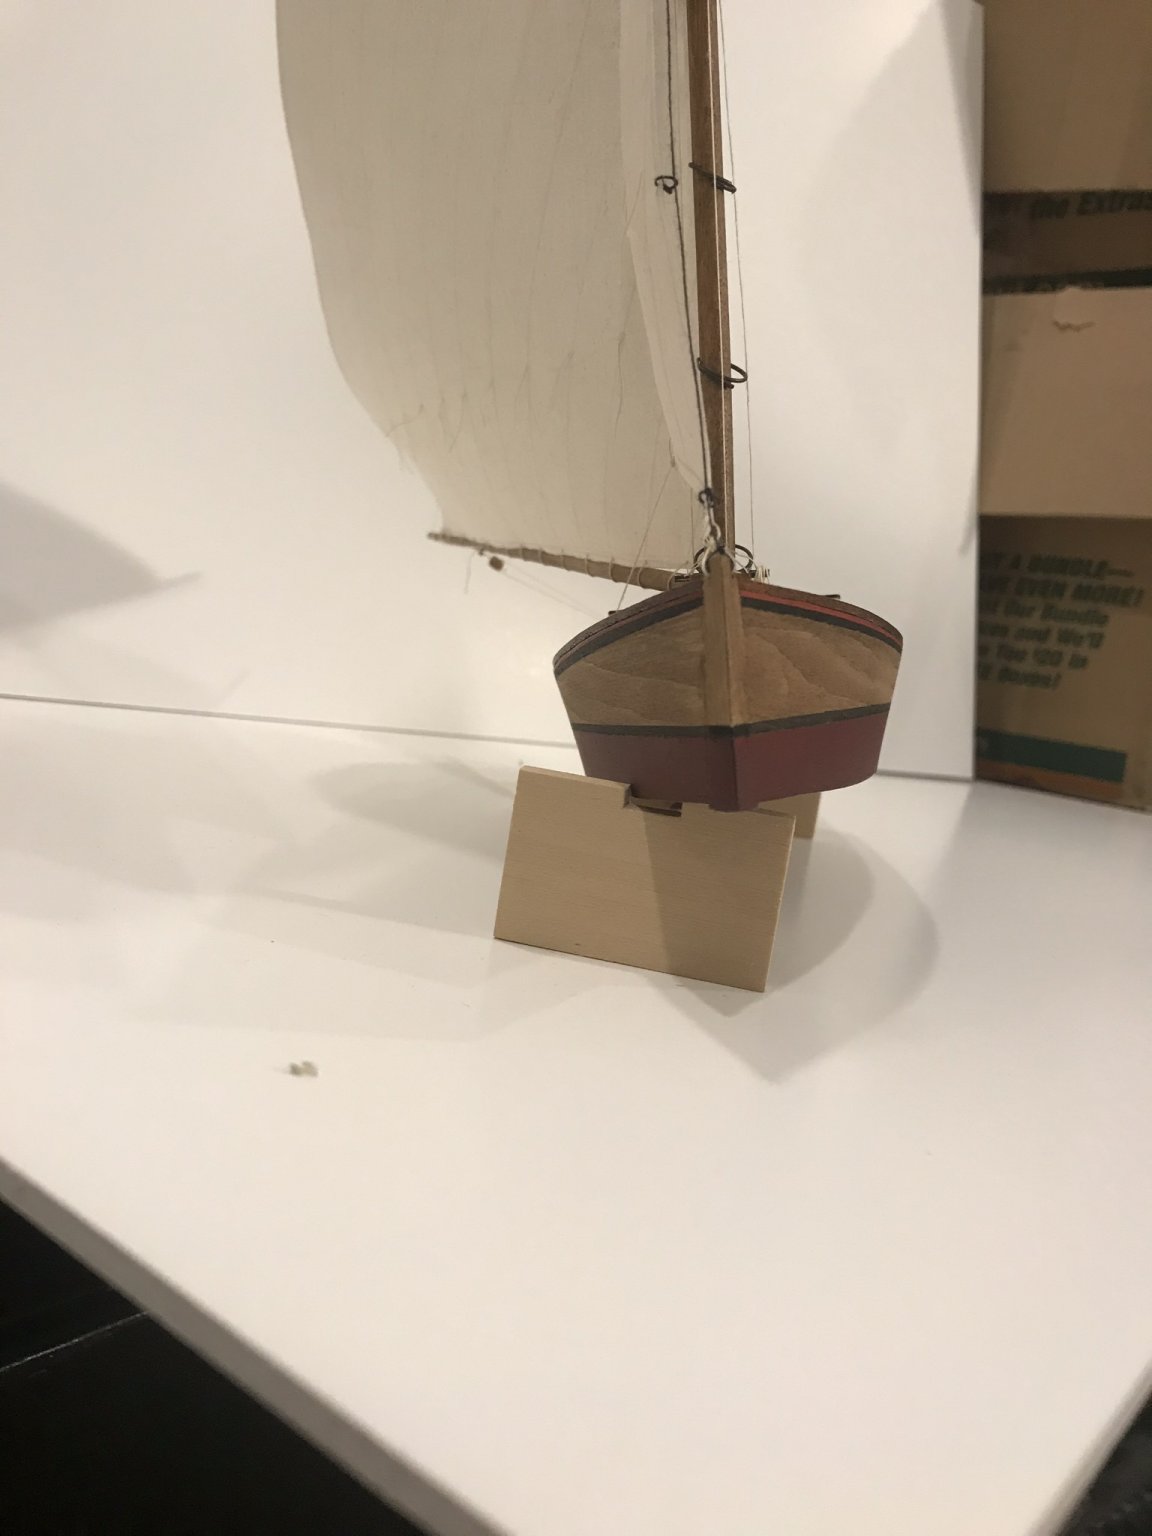
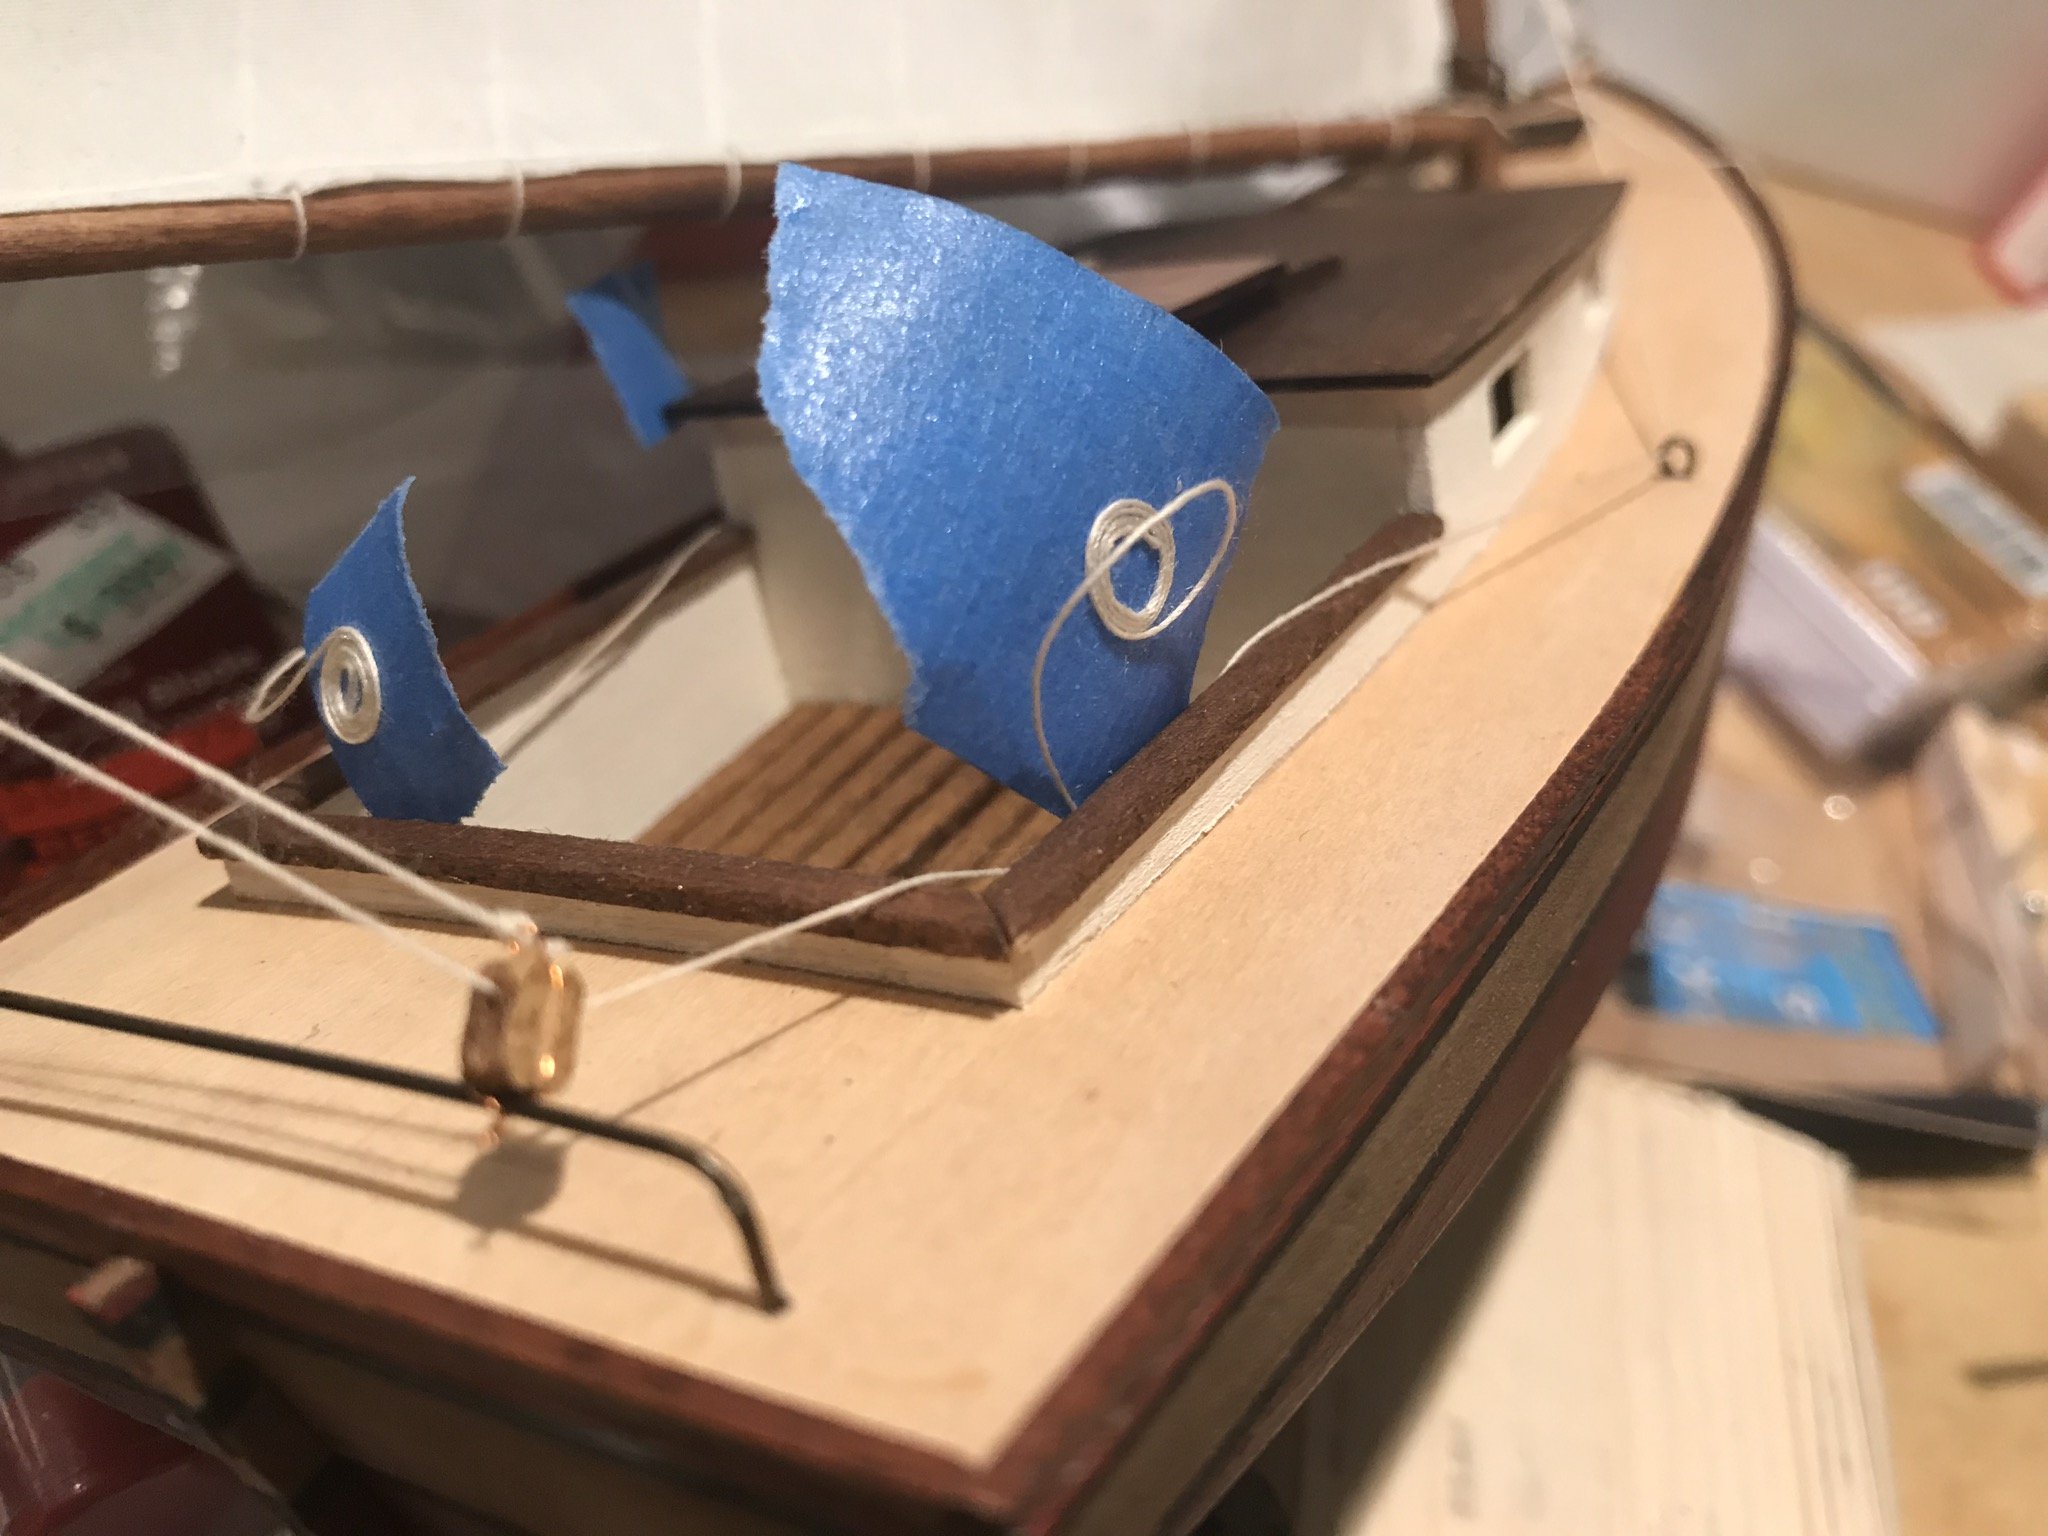
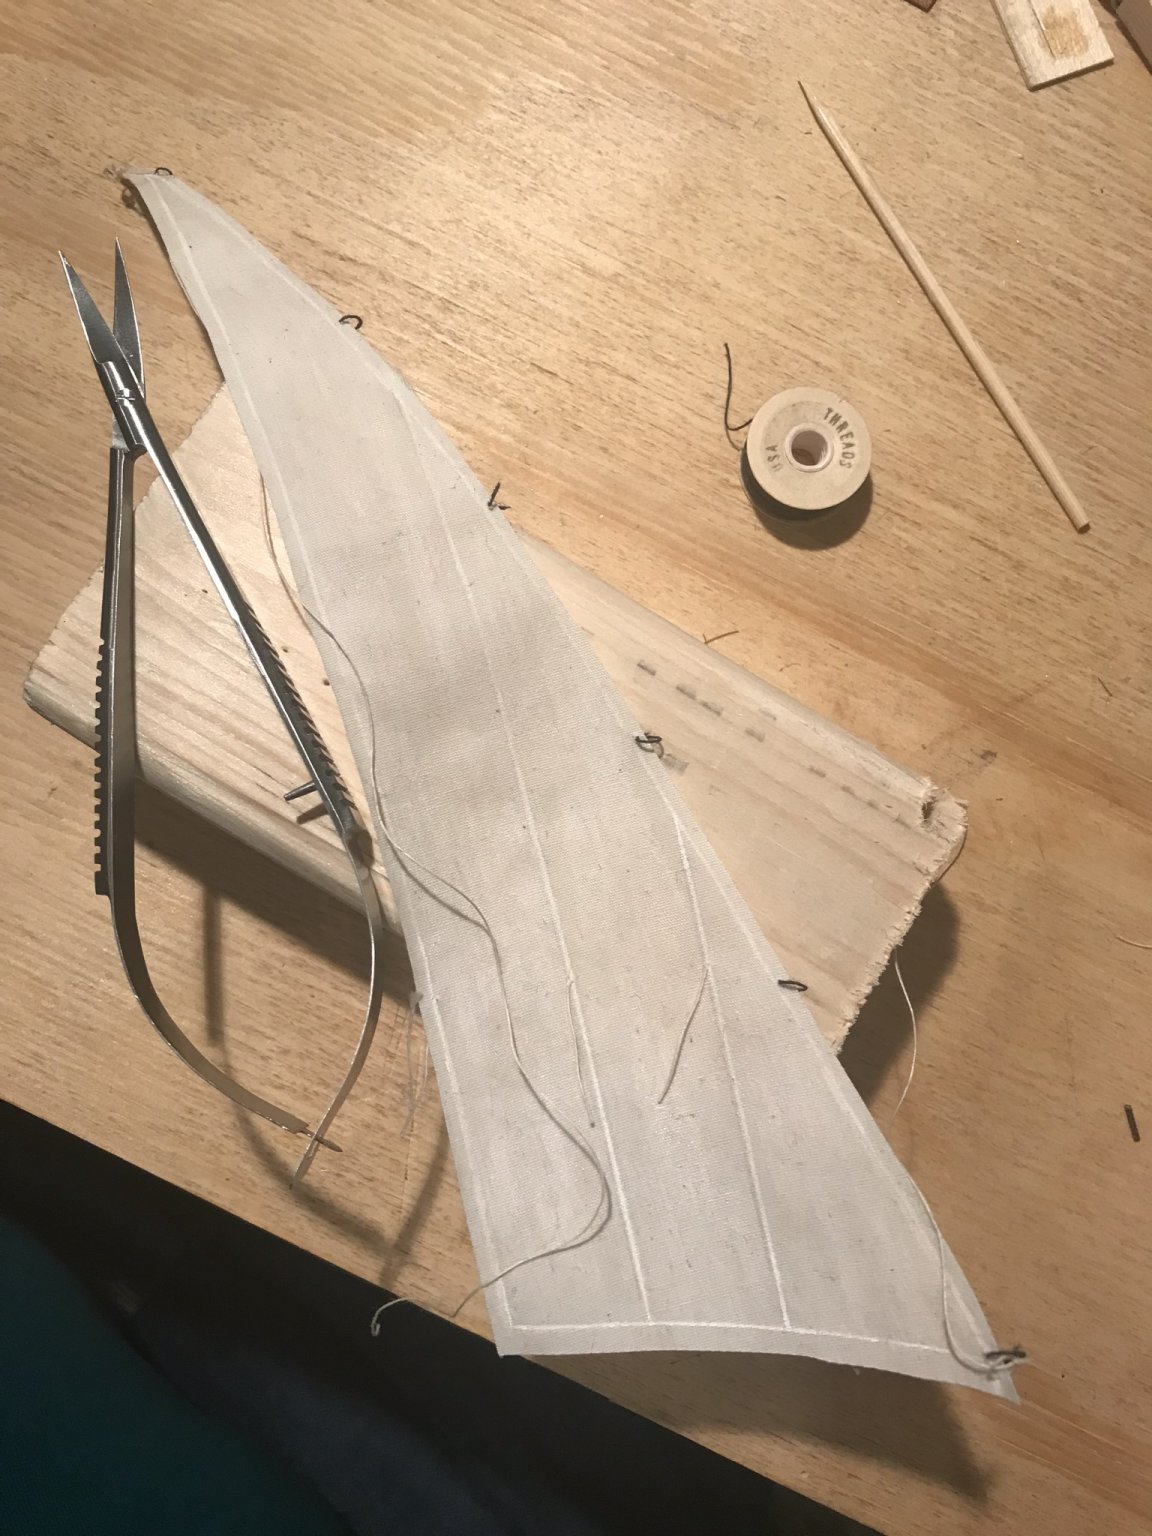
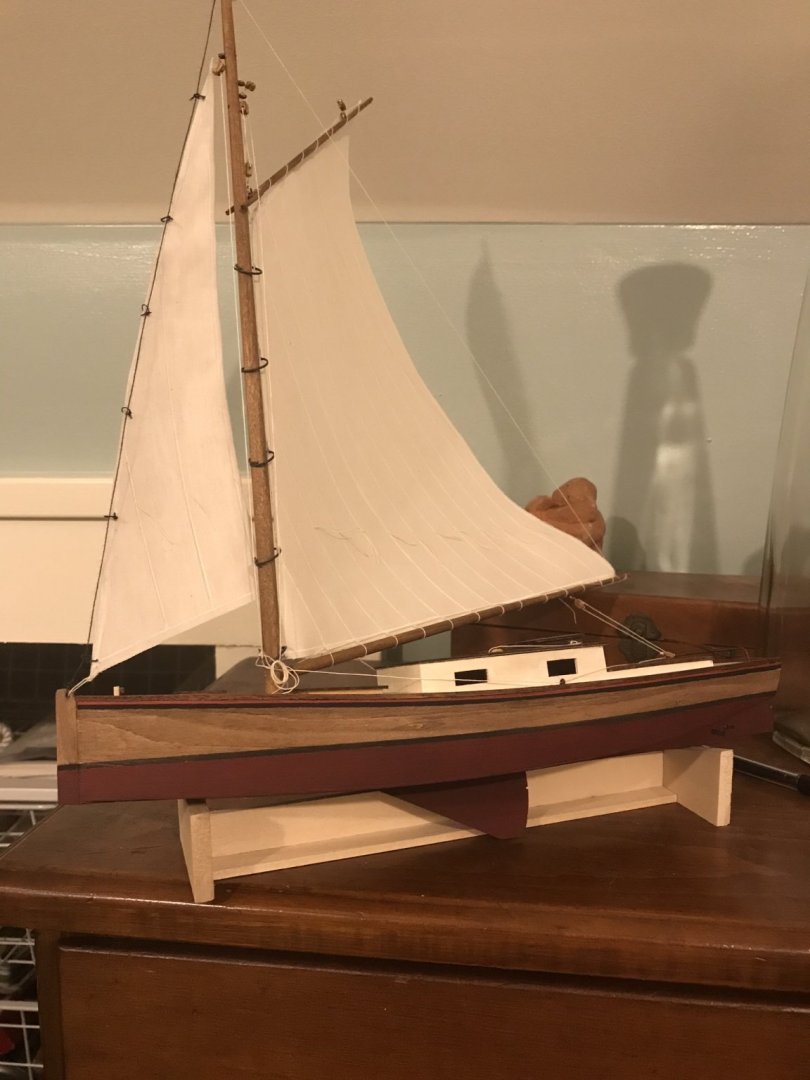
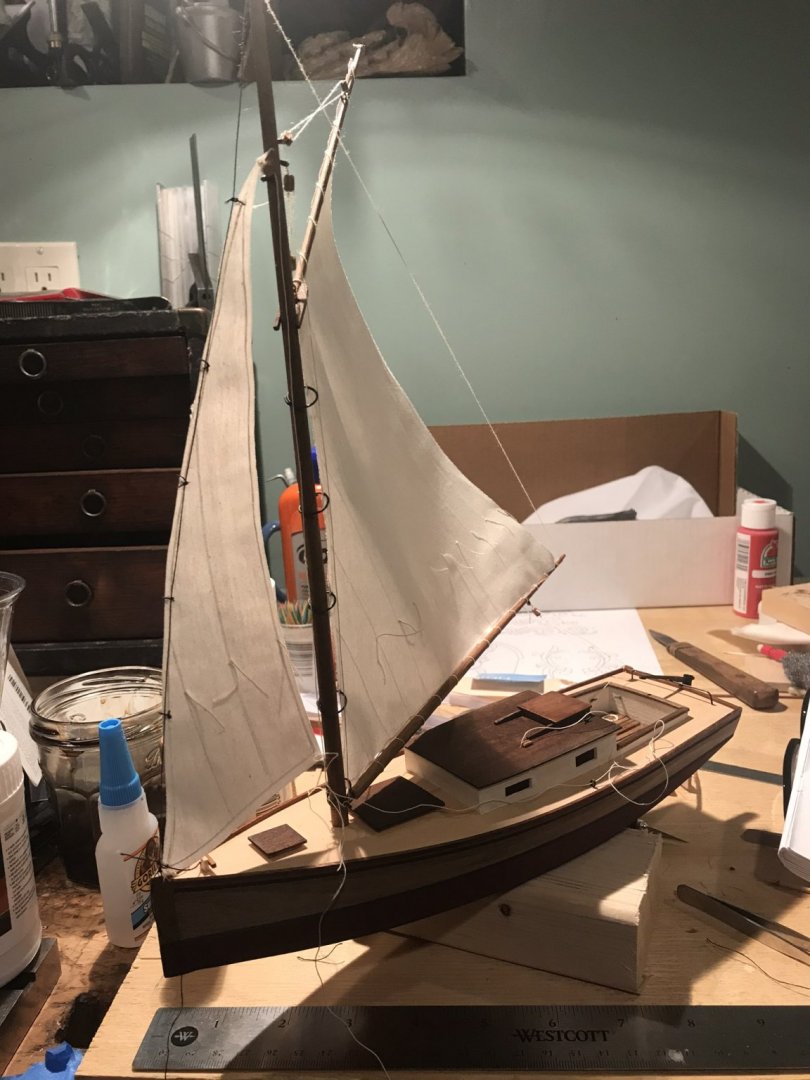
I’m working on the jib and that is mostly attached now!
- 72 replies
-
- 7
-
-
- Chesapeake Bay Flattie
- Midwest Products
- (and 1 more)
-
I’m inexperienced at the all the stages! These are my first cloth sails. I cheated and used a white gel pen and a ruler. If you look closely you can also see some pencil lines as well. I’ll post which one I used when I’m next in the workshop. The lines were simply drawn with a ruler. You might enjoy taking a peak at That’s where in picked up the white gel pen idea. JerseyCity Frankie has a number of interesting ideas. Thanks for asking. Your skiff is looking a very neat and clean.
- 72 replies
-
- 3
-
-
- Chesapeake Bay Flattie
- Midwest Products
- (and 1 more)
-
Cutting brass sheet
EricWilliamMarshall replied to Landlocked123's topic in Metal Work, Soldering and Metal Fittings
The learned wefalck is correct - his seat should be lower, the bench pin needs to flat if he cuts curved work, etc. I do like that the fellow in the video talks about tensioning the saw, possible use of wax, oil, etc., teeth to thickness, binding, breaking of blades and replacement, and so on. Stuff that leads to success for the first time user. Is it perfect, no. He does address some of those issues in the second video. I didn’t watch any other of his videos past that point. My goal was to simply point out there is a low cost, low tech proven set of methods for cutting brass that leads to successful outcomes that has a lot of instructional videos (created by the related field of jewelry making) pre-existing. I love that there zillions of video these days. <Insert statement about it being harder learn ‘when I was young’> -
Cutting brass sheet
EricWilliamMarshall replied to Landlocked123's topic in Metal Work, Soldering and Metal Fittings
While time has passed, I thought I would add a link to this video, it covers a cheap, time-honored and effective set of techniques (used by jewelers): While I didn't learn technique from this video, it covers much of the basics for using a coping/jeweler's saw for working with brass and copper (there are lots of similar videos as well, and this fellow has more including one on cutting curves). When used with files (for light clean up), it is quicker than folks think and gives great control. I believe it is an easy skill to acquire if you give yourself some practice. -
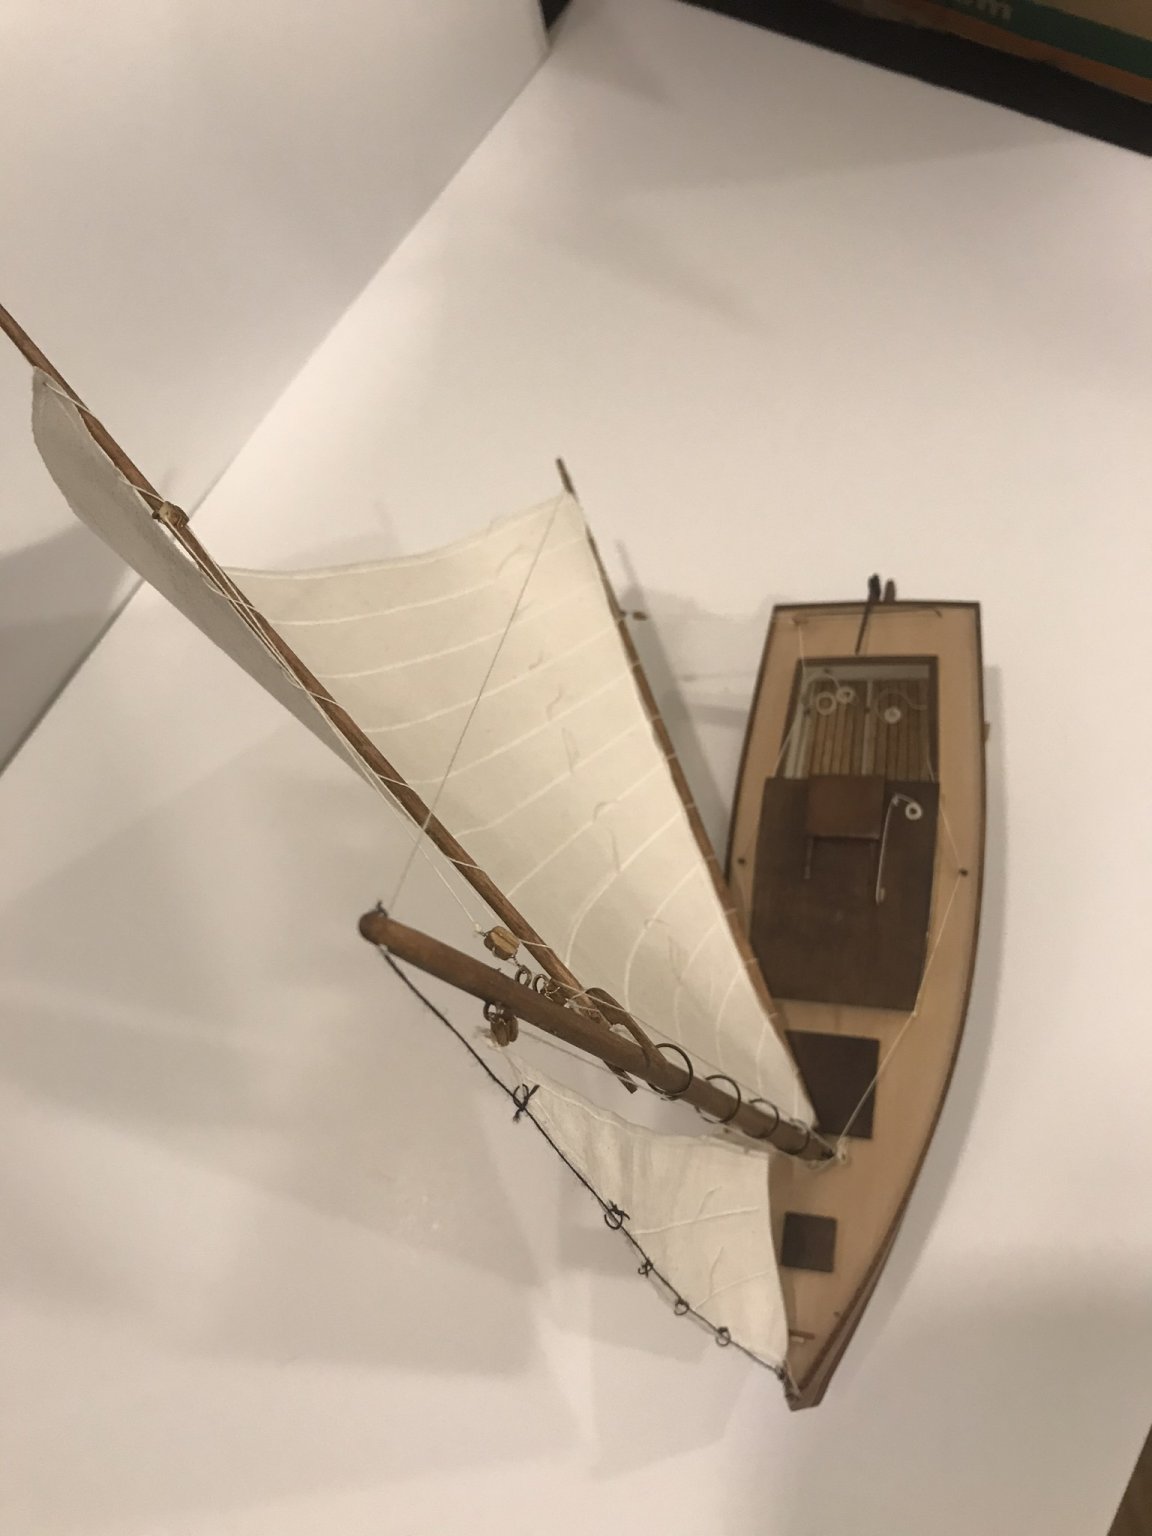
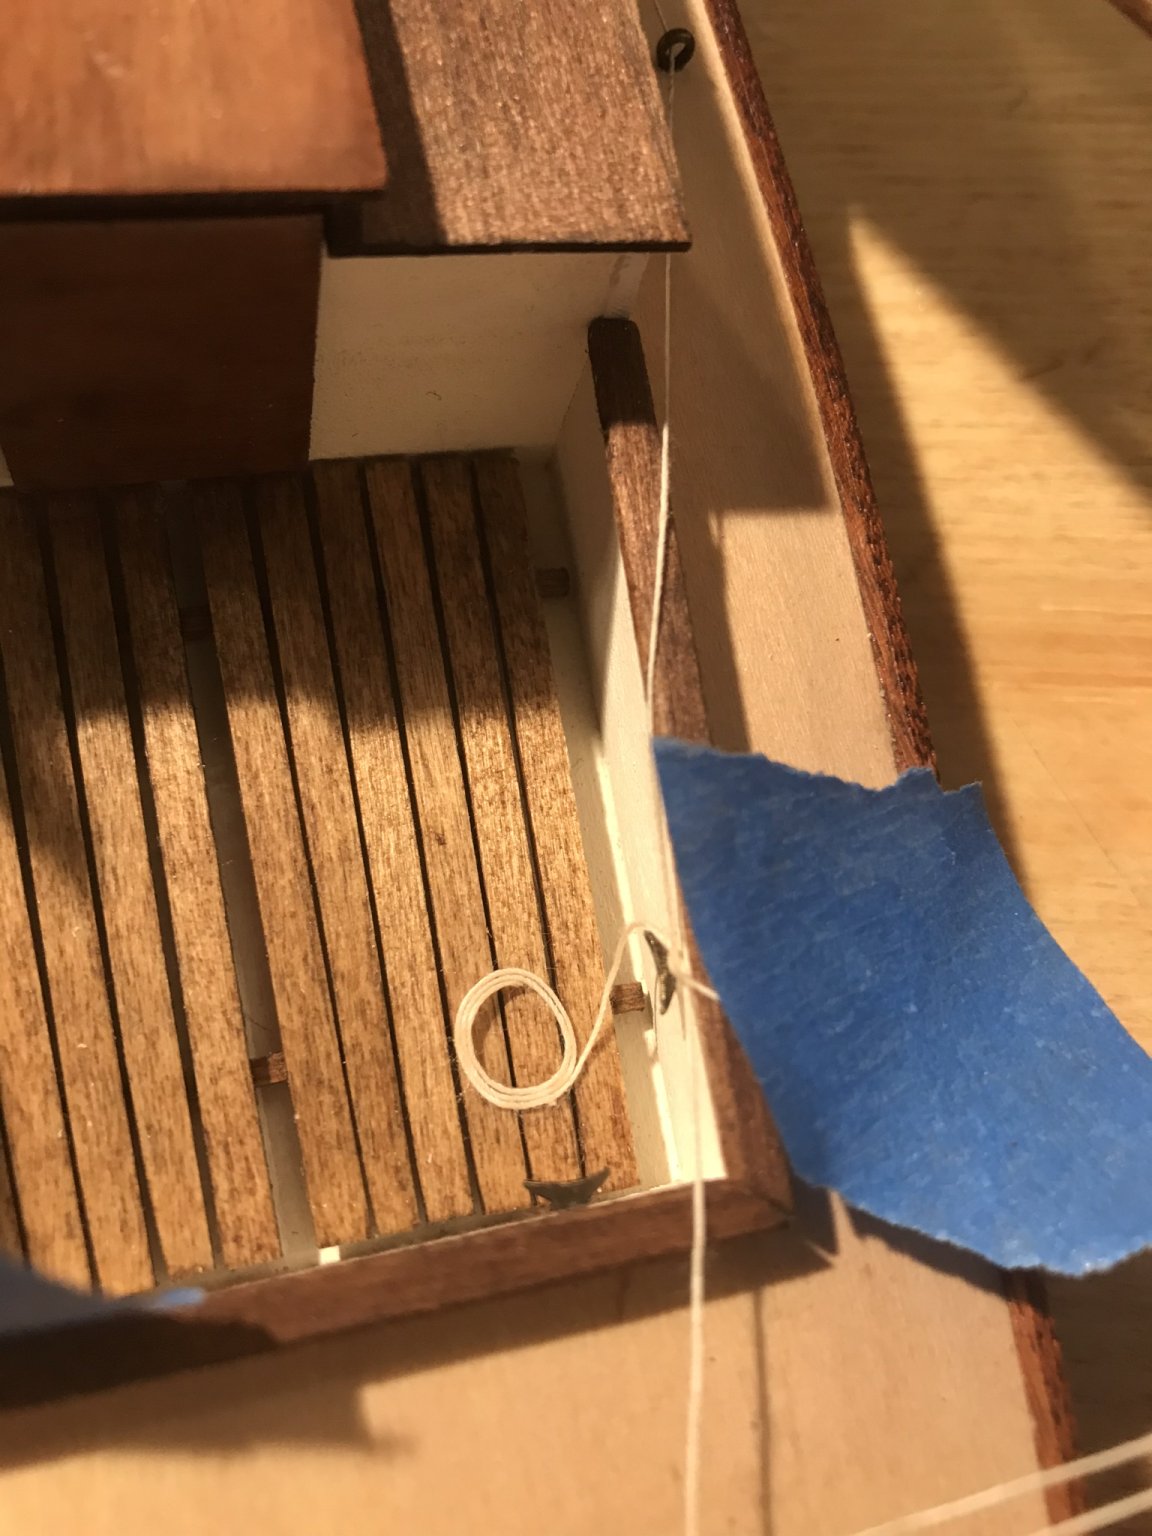
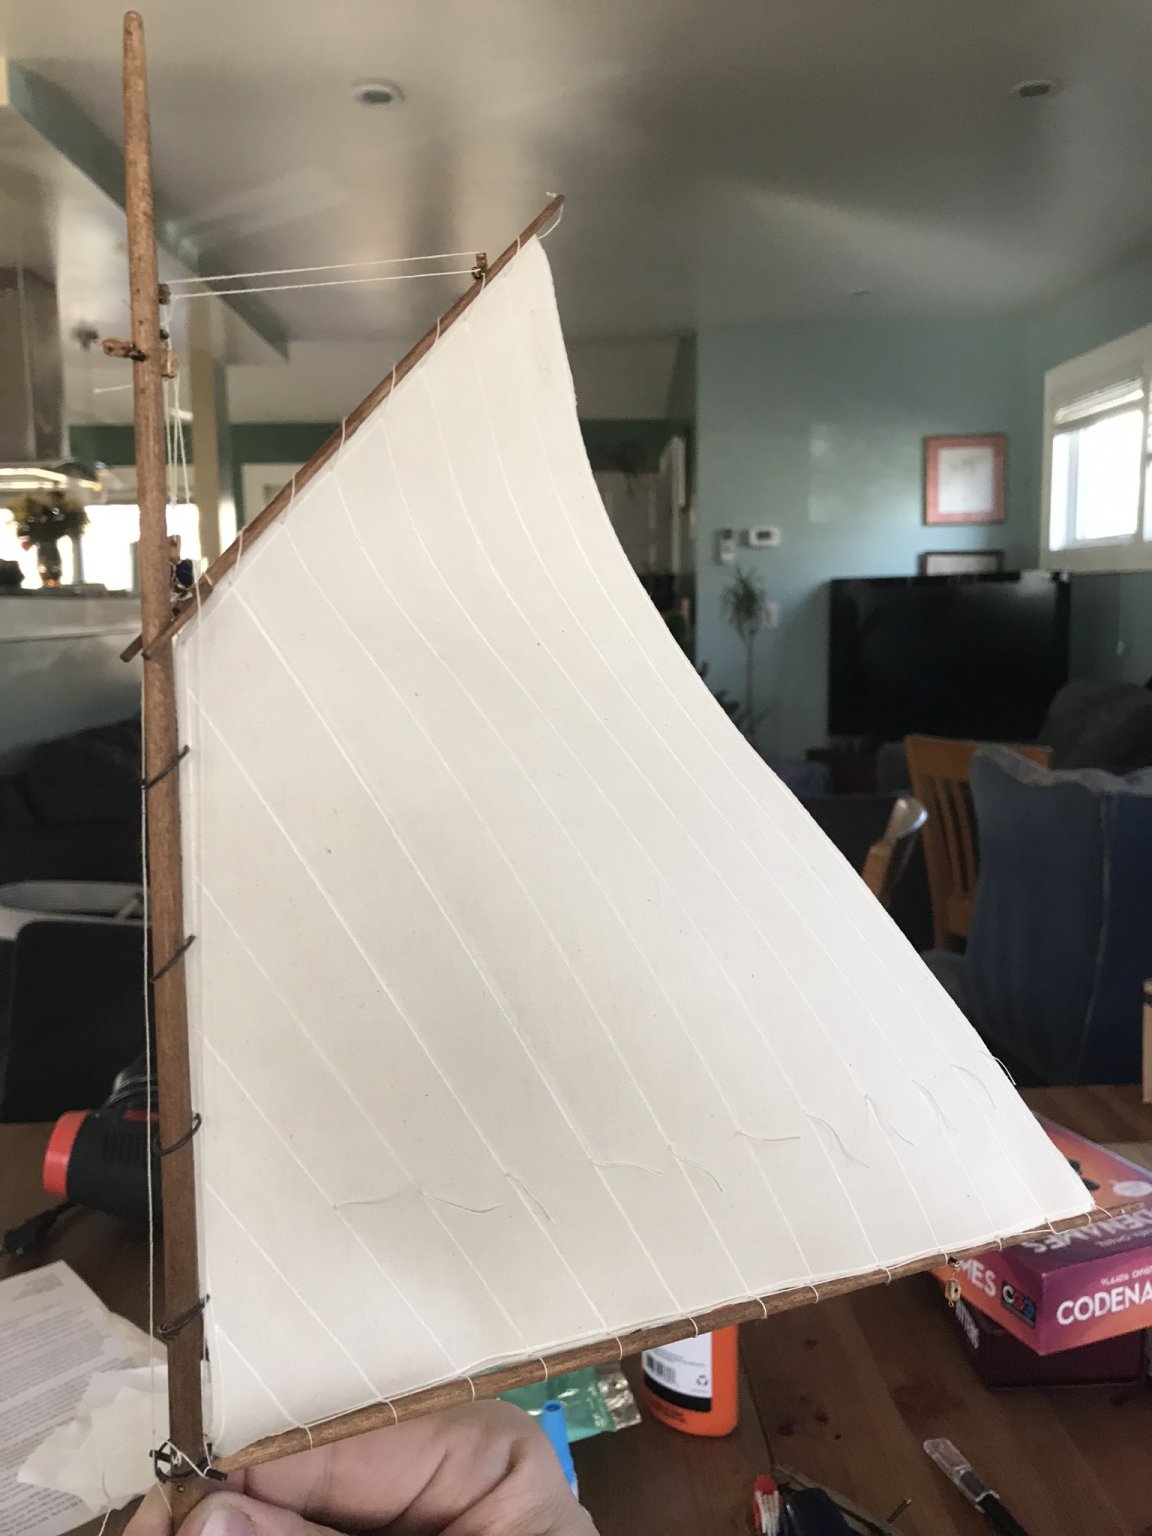
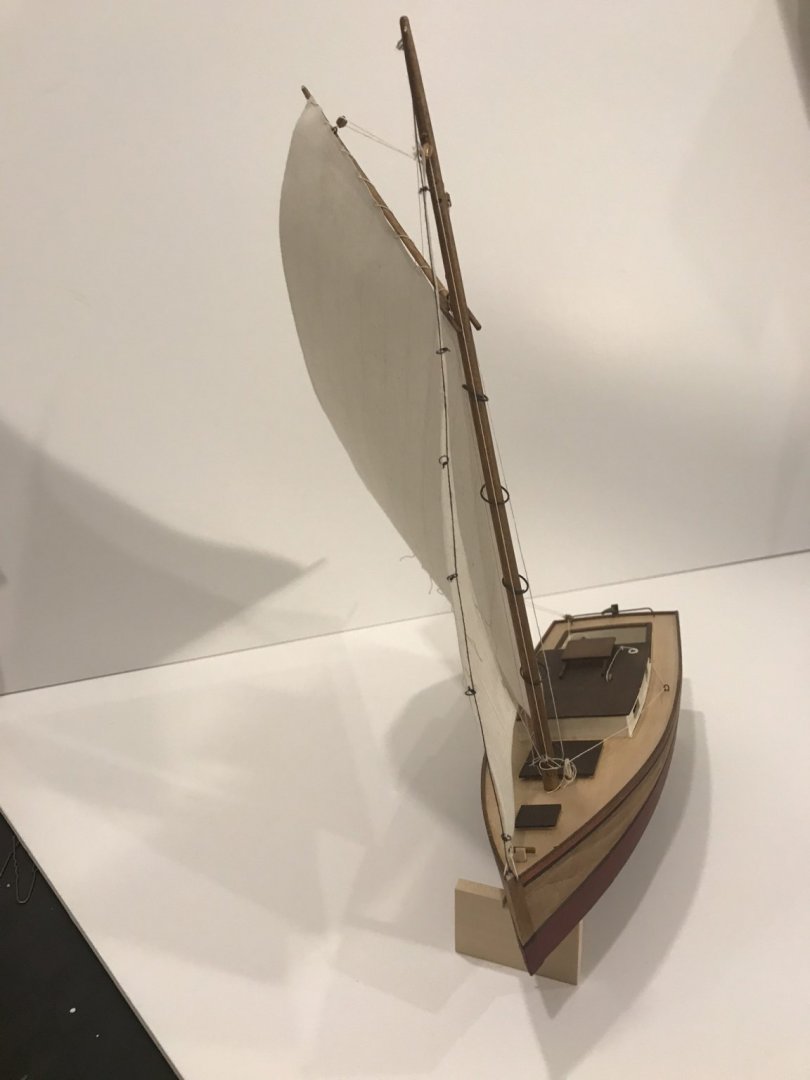
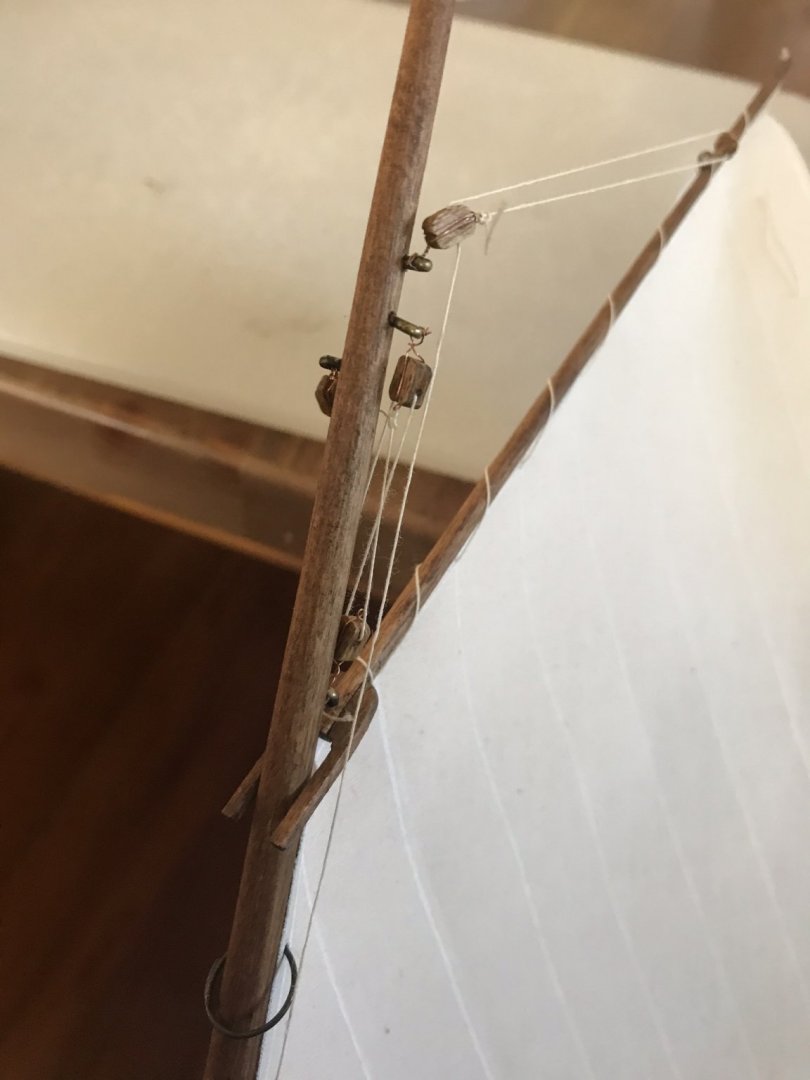
The beginning of the end! It was a real delight to see the lines holding sail in play!

- 72 replies
-
- 8
-
-
- Chesapeake Bay Flattie
- Midwest Products
- (and 1 more)
-
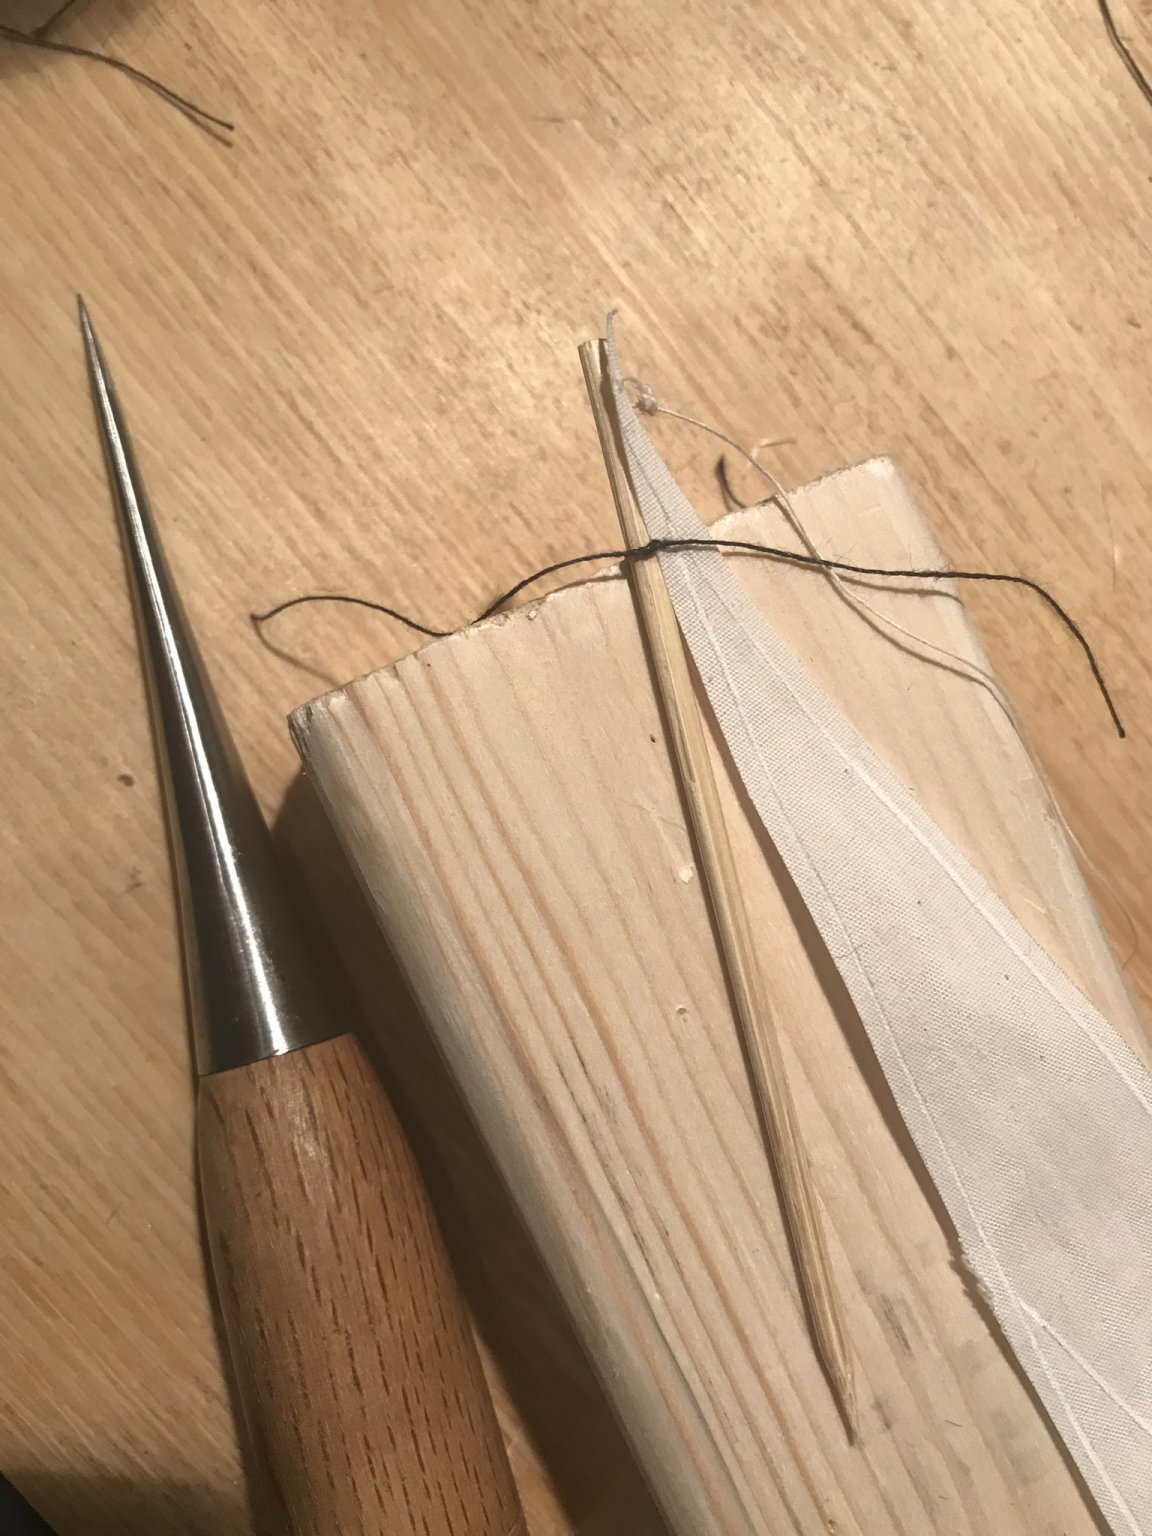
I have shave and color the end of the gaff to fit my mast.

- 72 replies
-
- 5
-
-
- Chesapeake Bay Flattie
- Midwest Products
- (and 1 more)
-
Yup, I did make that mistake (and fixed it). Not my finest hour...

- 72 replies
-
- 3
-
-
- Chesapeake Bay Flattie
- Midwest Products
- (and 1 more)
-
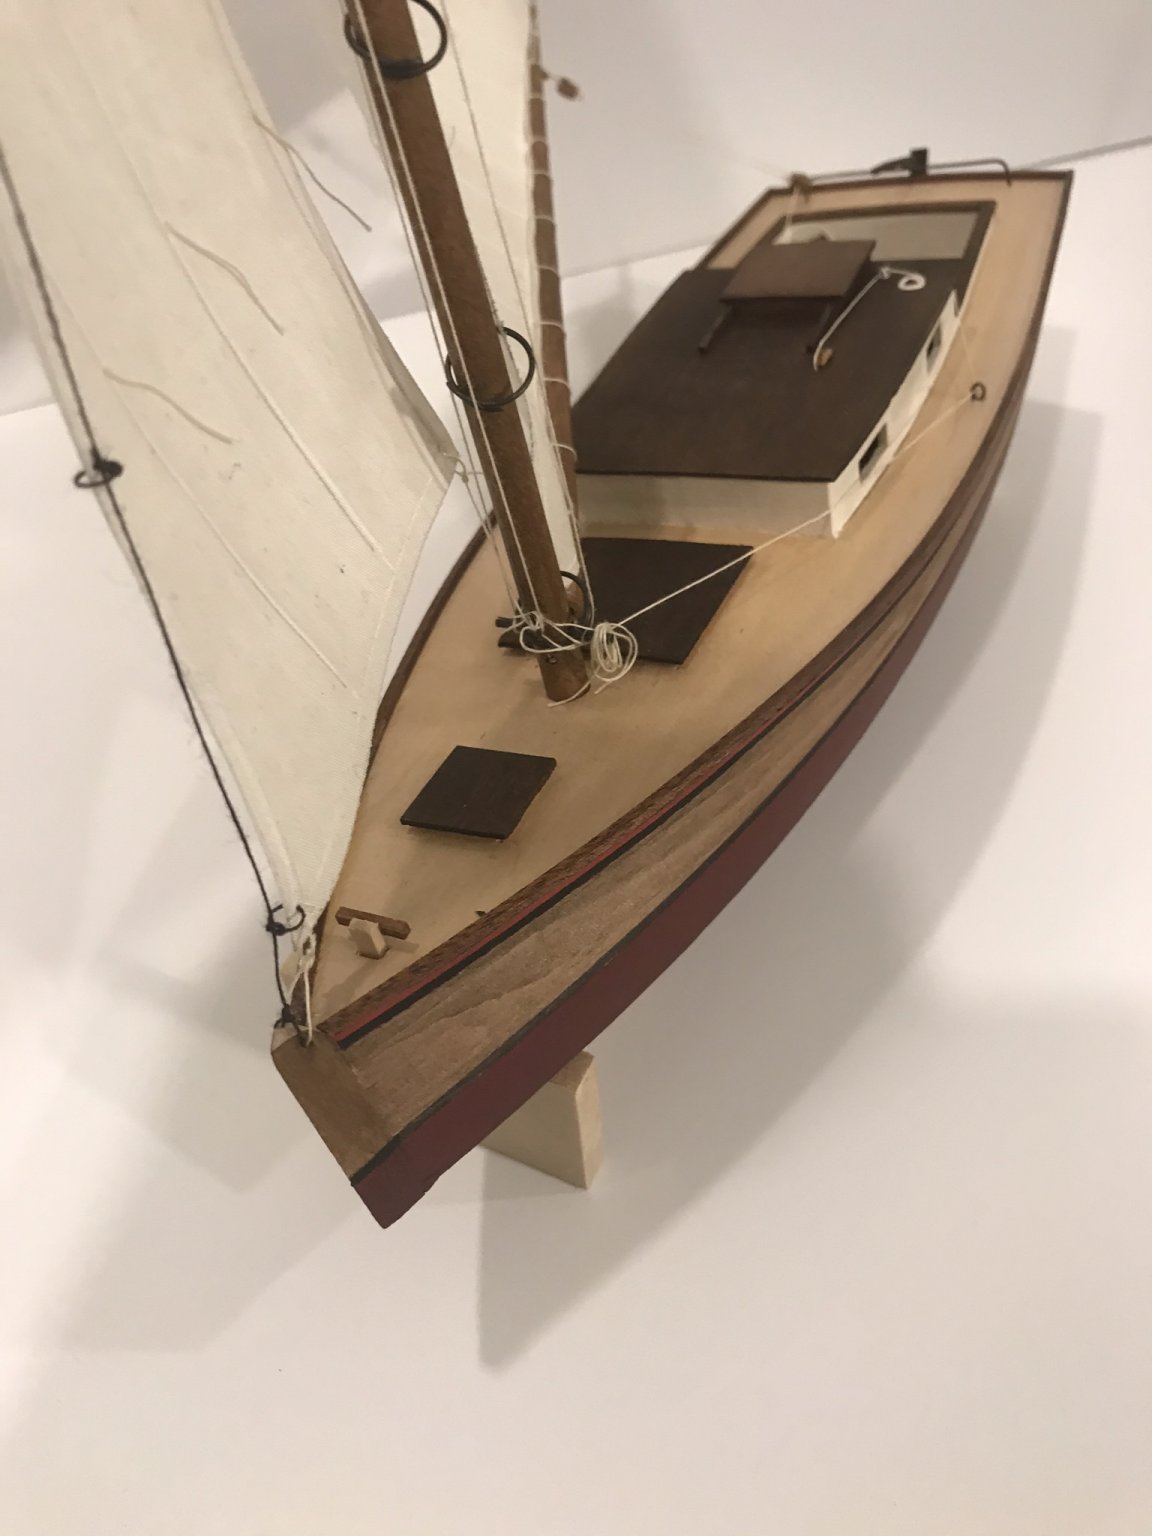
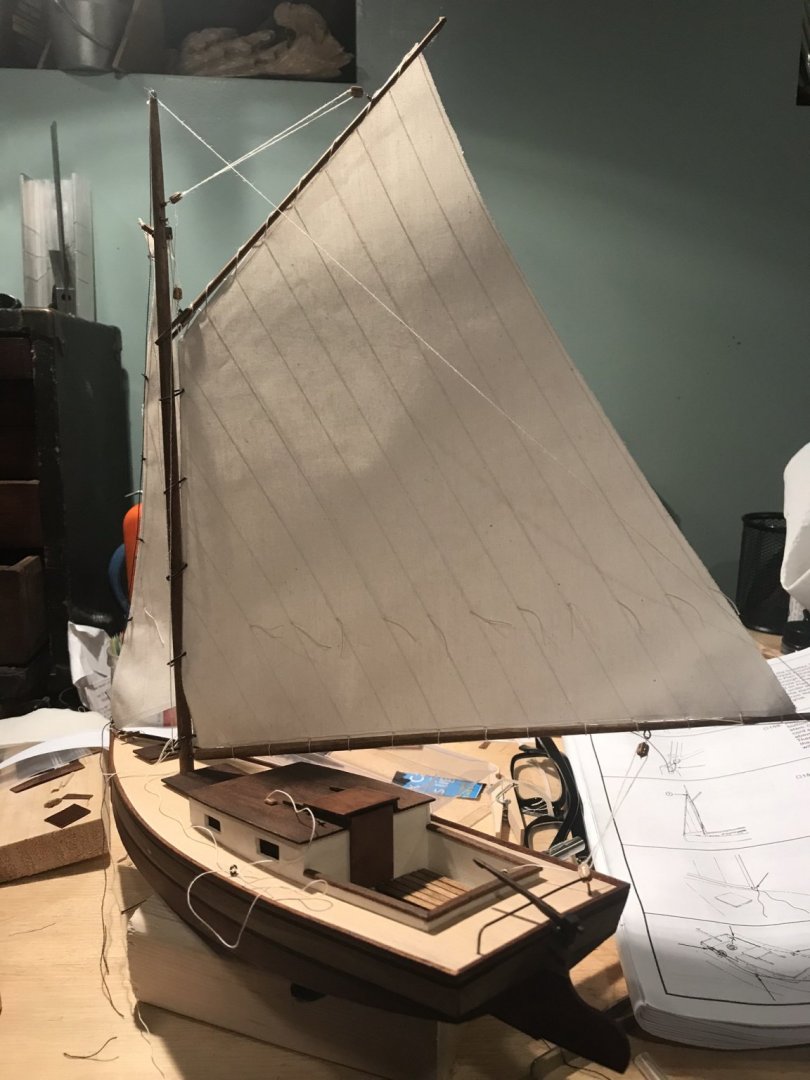
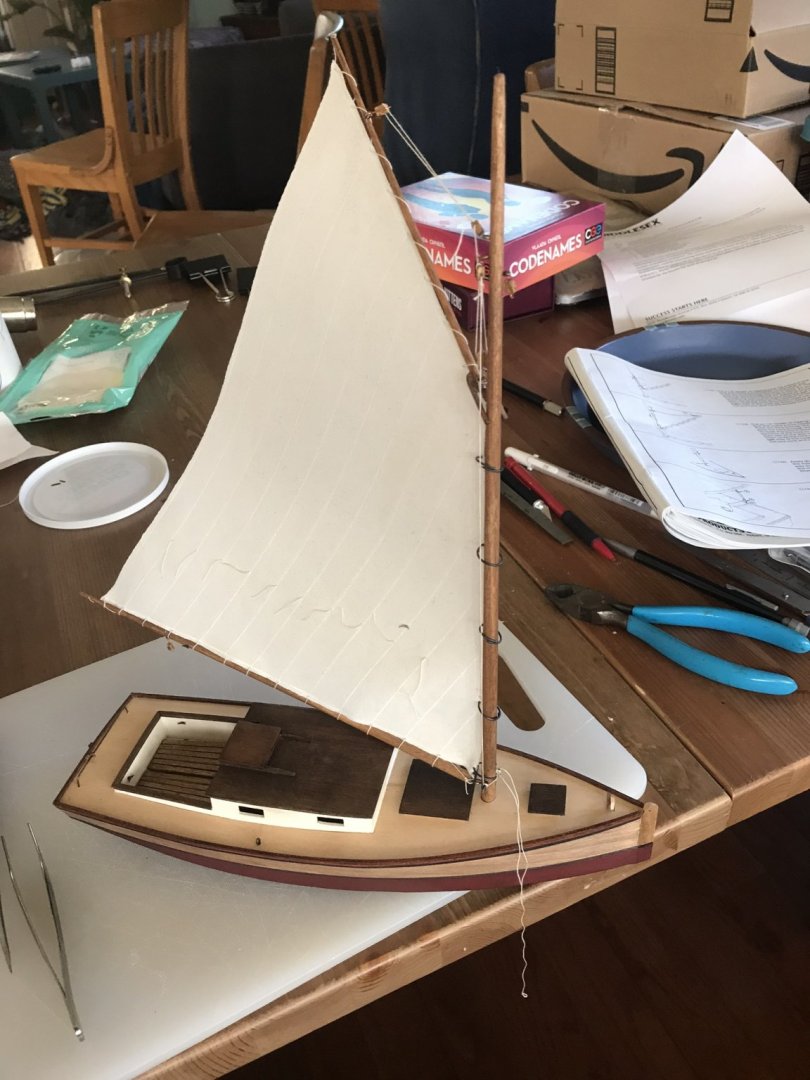
In the end, I went with the cloth sails I put the most time in to and used them. The aft sail is now attached To the boom and gaff.

- 72 replies
-
- 5
-
-
- Chesapeake Bay Flattie
- Midwest Products
- (and 1 more)
-
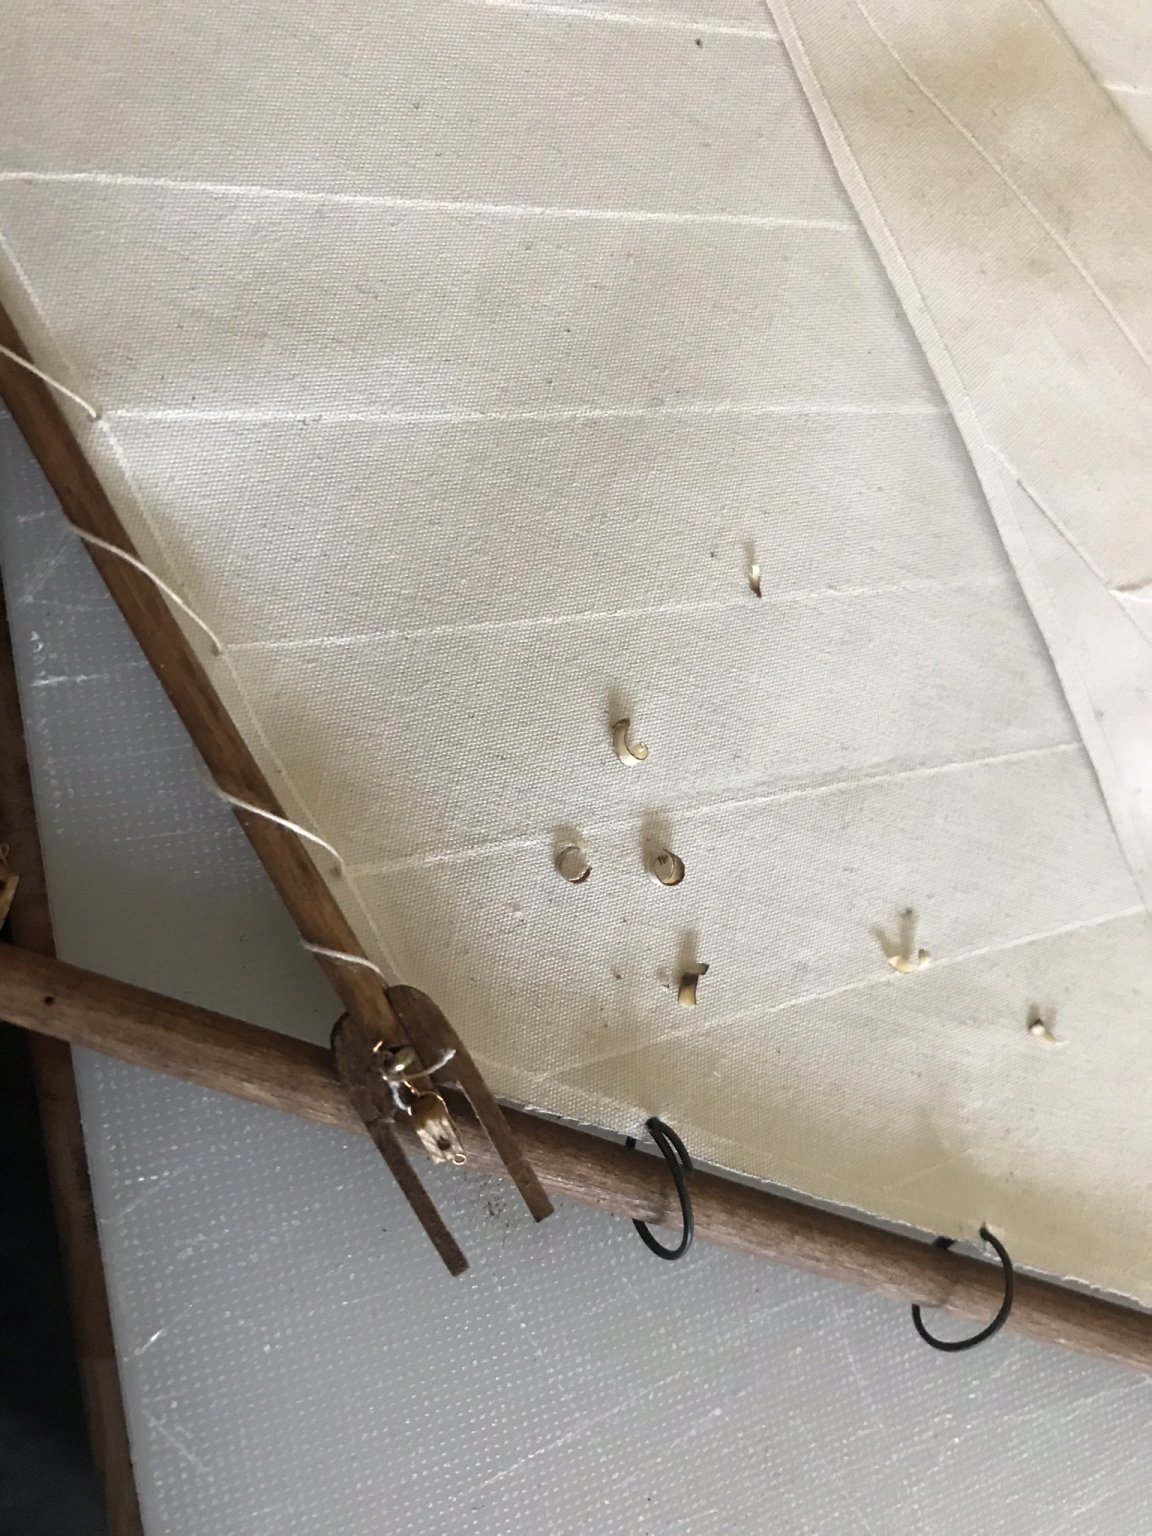
I tried pin with mixed results, but fabric coated with polyurethane or acrylic paste both pin and iron well. I tried pattern paper and tissue paper with mixed results.

- 72 replies
-
- 5
-
-
- Chesapeake Bay Flattie
- Midwest Products
- (and 1 more)
-
Nope, but I will. I should have thought of that! Thanks!
- 72 replies
-
- 2
-
-
- Chesapeake Bay Flattie
- Midwest Products
- (and 1 more)
-
Cheap Chinese Table Saw...
EricWilliamMarshall replied to tmj's topic in Modeling tools and Workshop Equipment
Agreed, the saw is missing a fence or crosscut guide or any accessories which allow more efficient cuts. It looks like a similar set of issues for the Amazon saw as well. Oh well. -
Viking ship rigging ... What’s this called
EricWilliamMarshall replied to Srodbro's topic in Masting, rigging and sails
http://www.jans-sajt.se/contents/Navigation/Modelling/Patterns_Rigg_Viking.htm seems to call it a wantenbefestigung which Google translation believes to be a 'shroud attachment'. But I wouldn't put much faith is such a translation. http://www.jans-sajt.se/contents/Navigation/Modelling/VikingRigging.jpg -
Cheap Chinese Table Saw...
EricWilliamMarshall replied to tmj's topic in Modeling tools and Workshop Equipment
And similar to https://www.harborfreight.com/4-in-mighty-mite-table-saw-with-blade-61608.html also $37.99 -
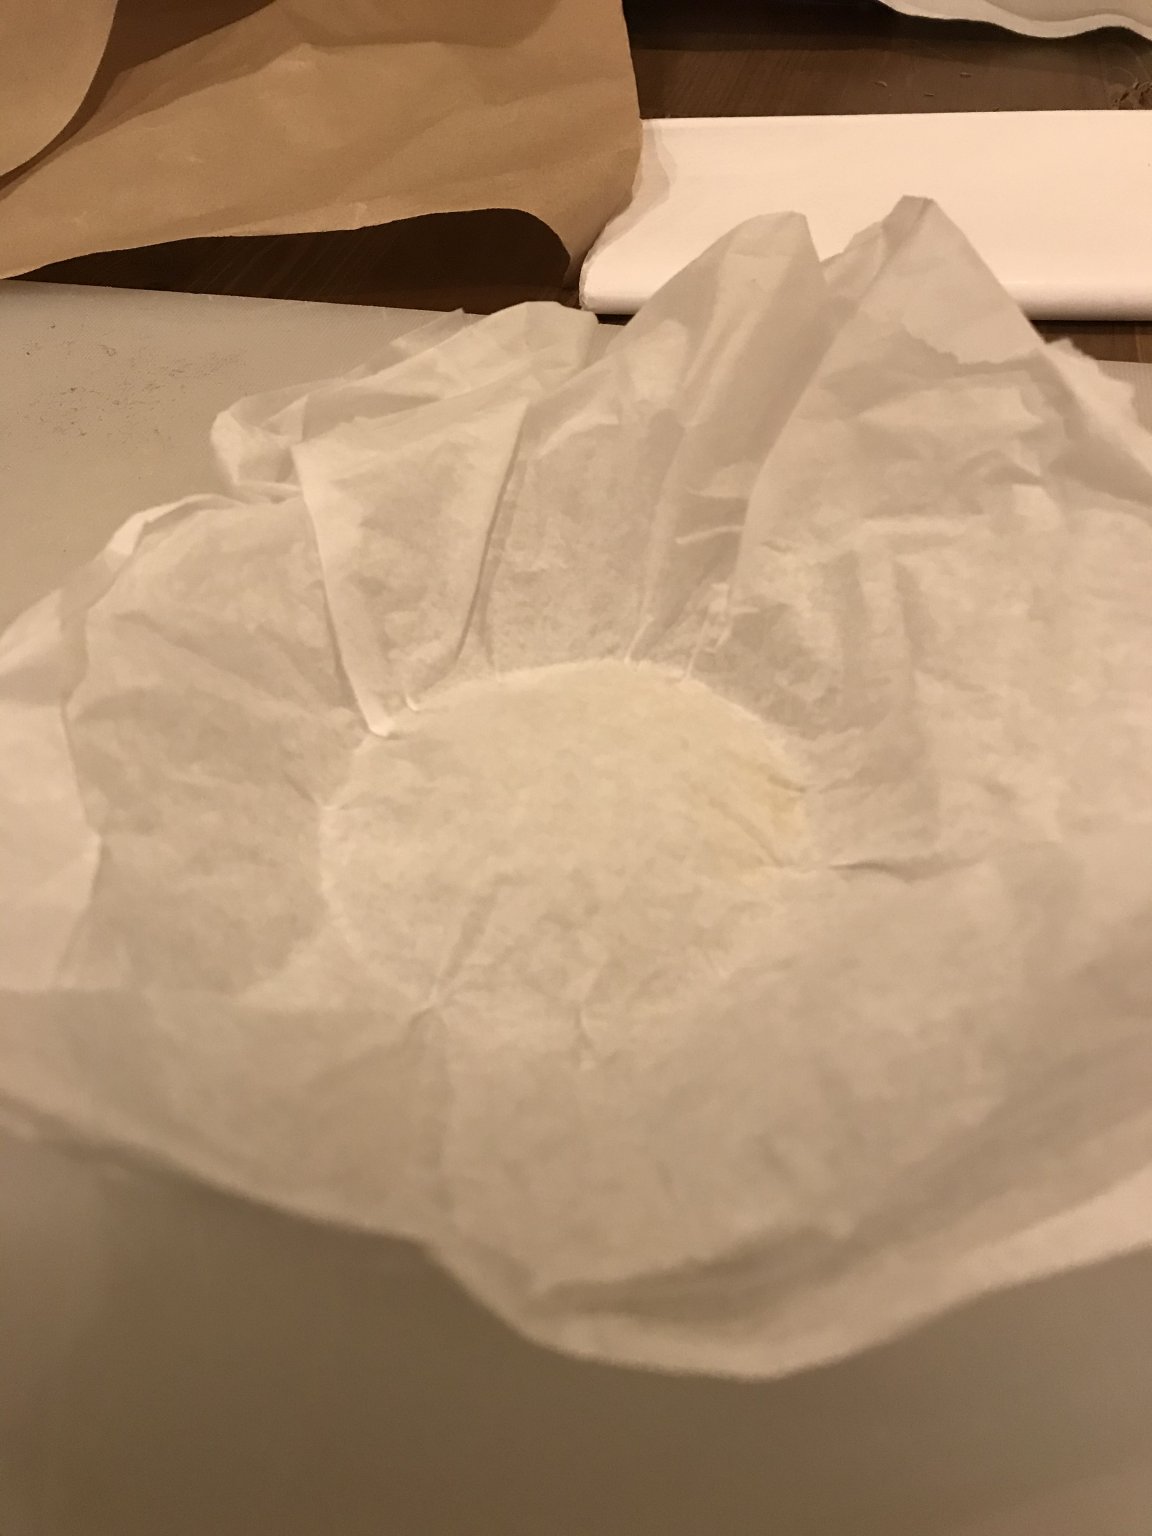
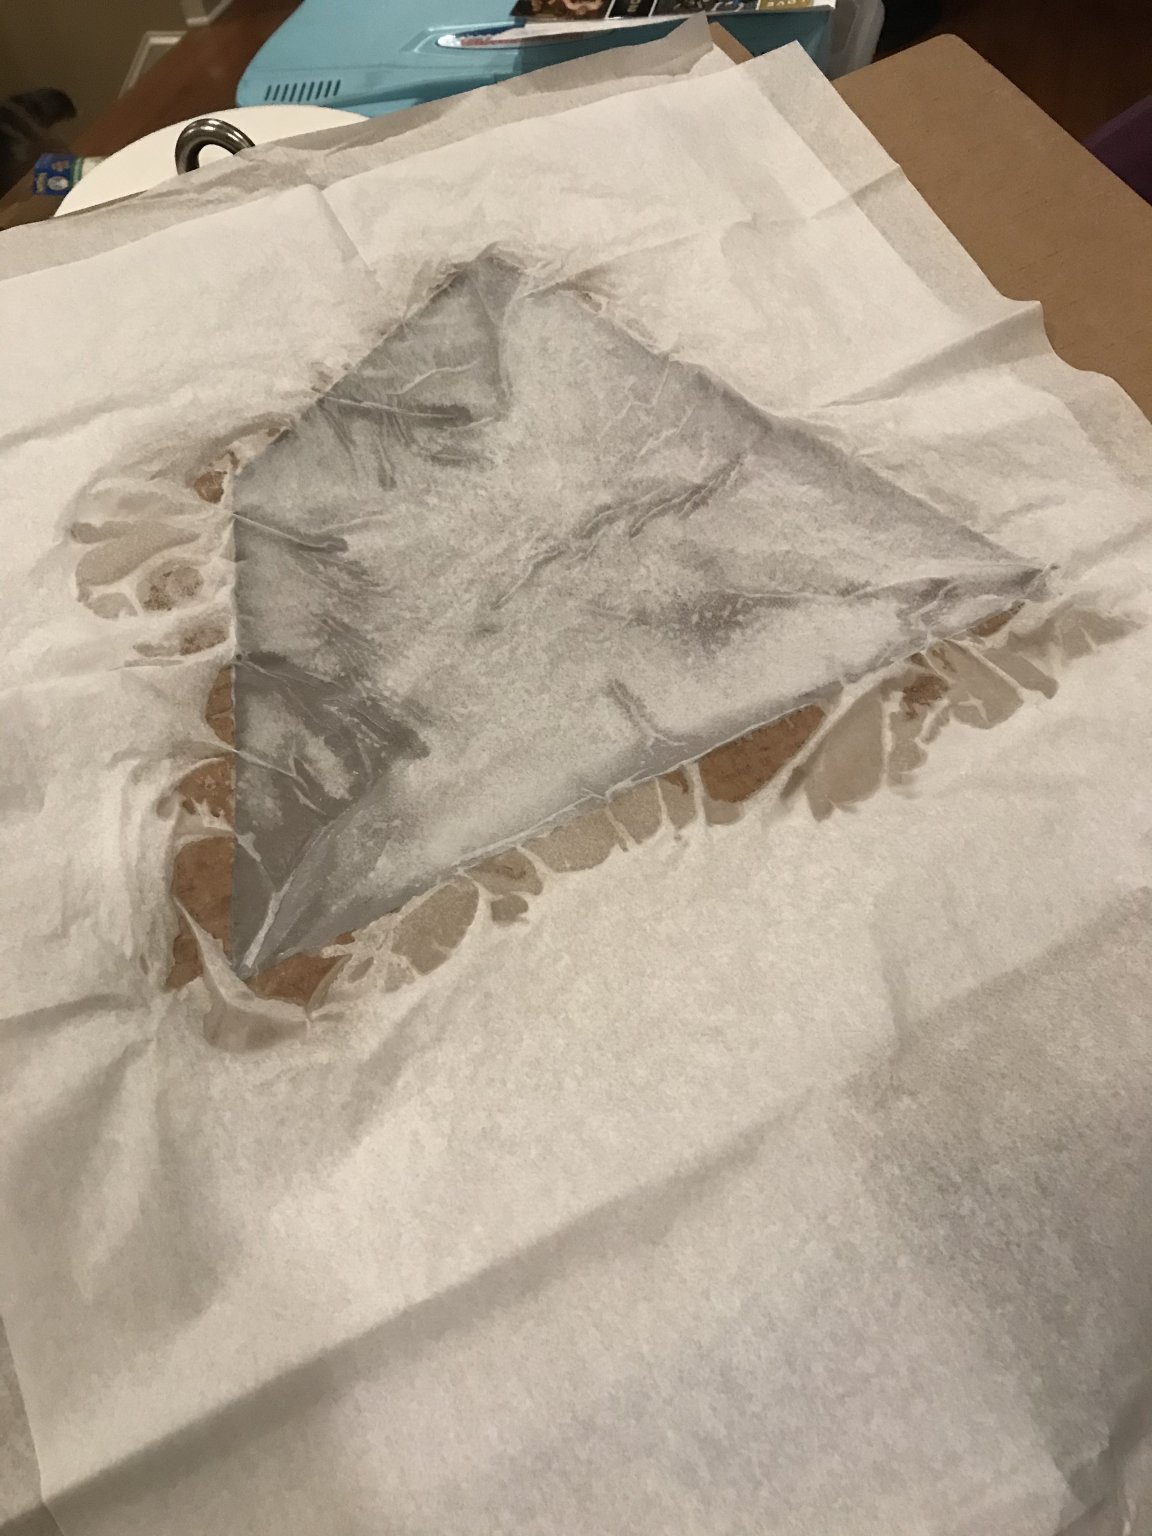
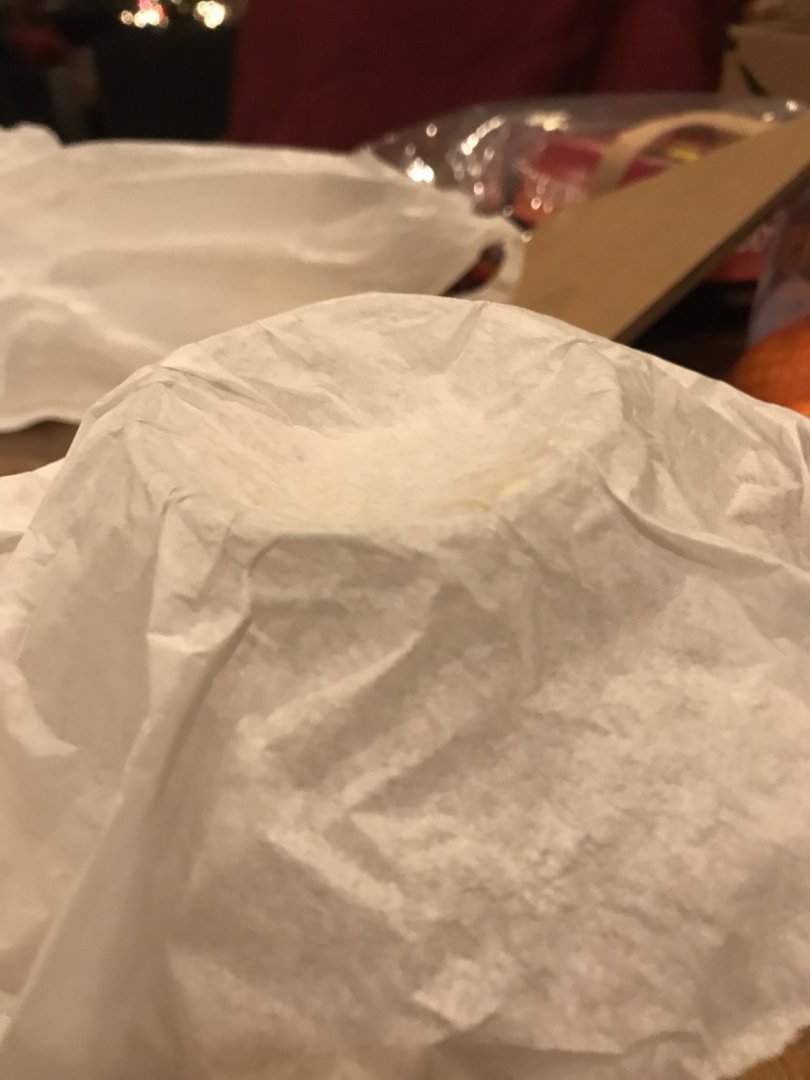
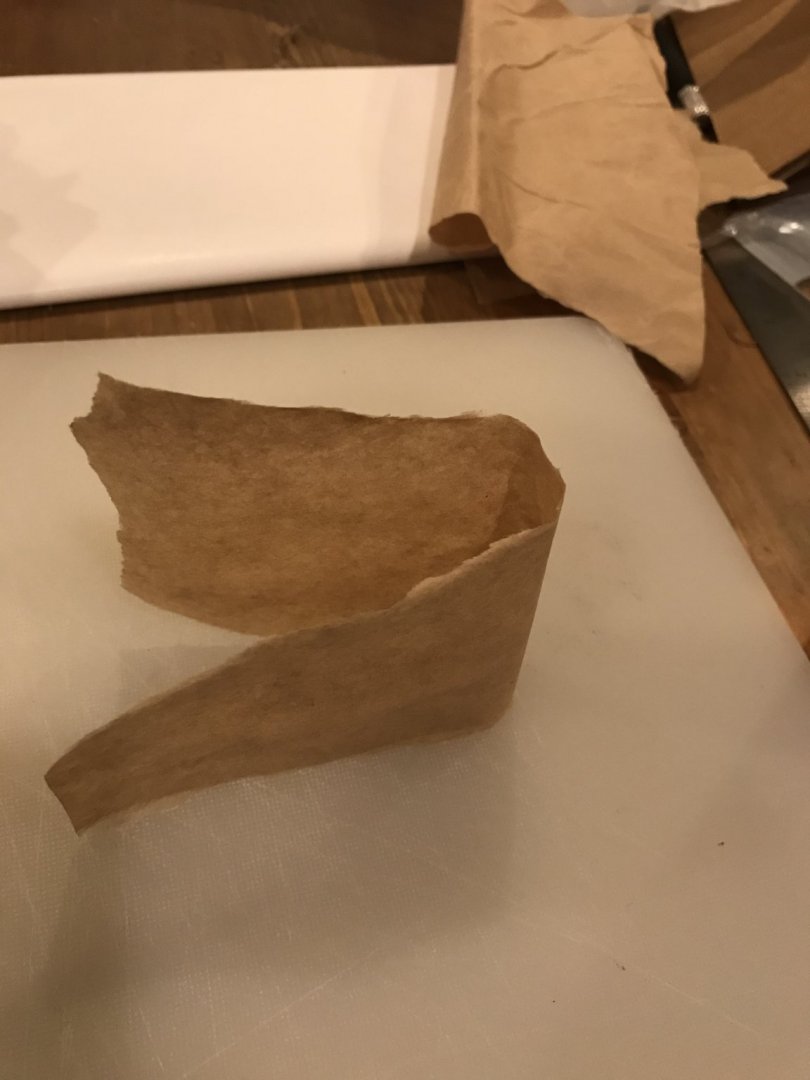
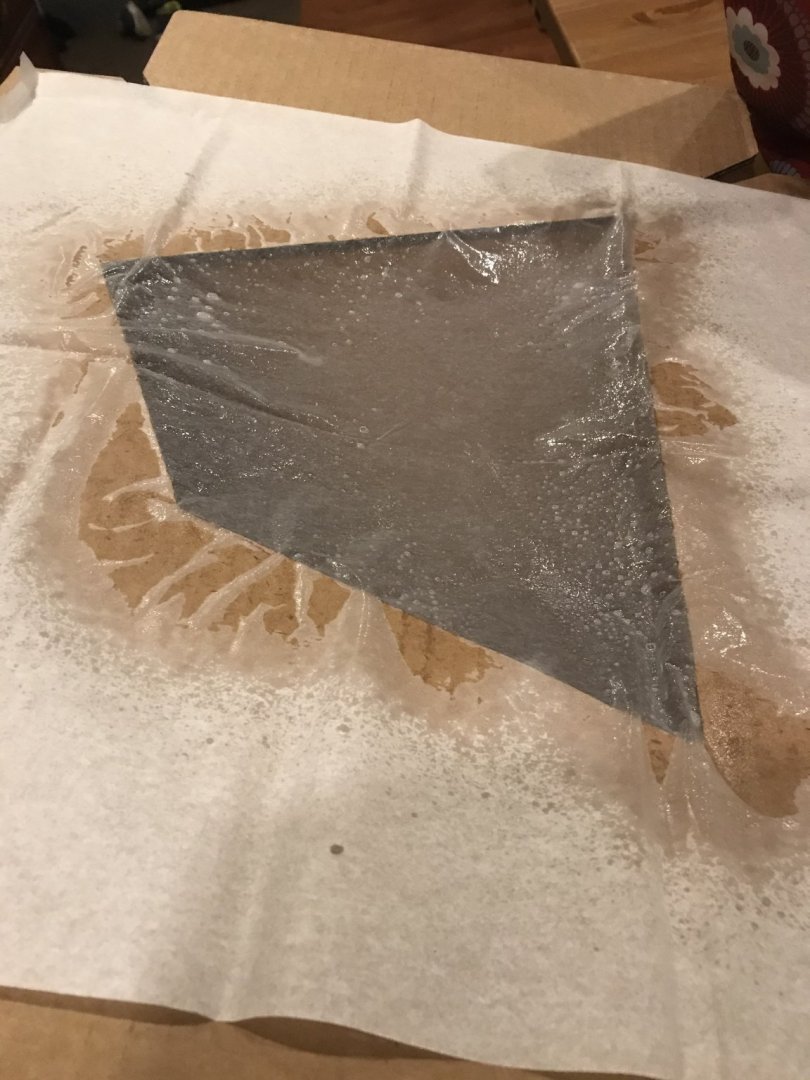
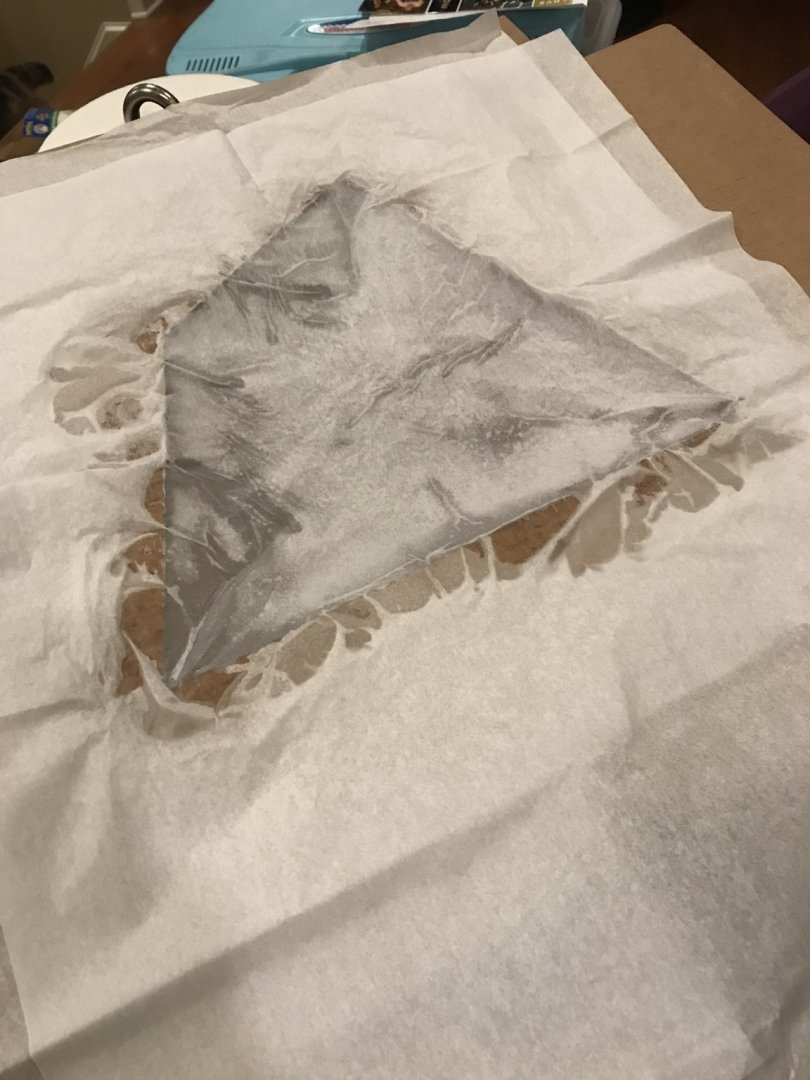
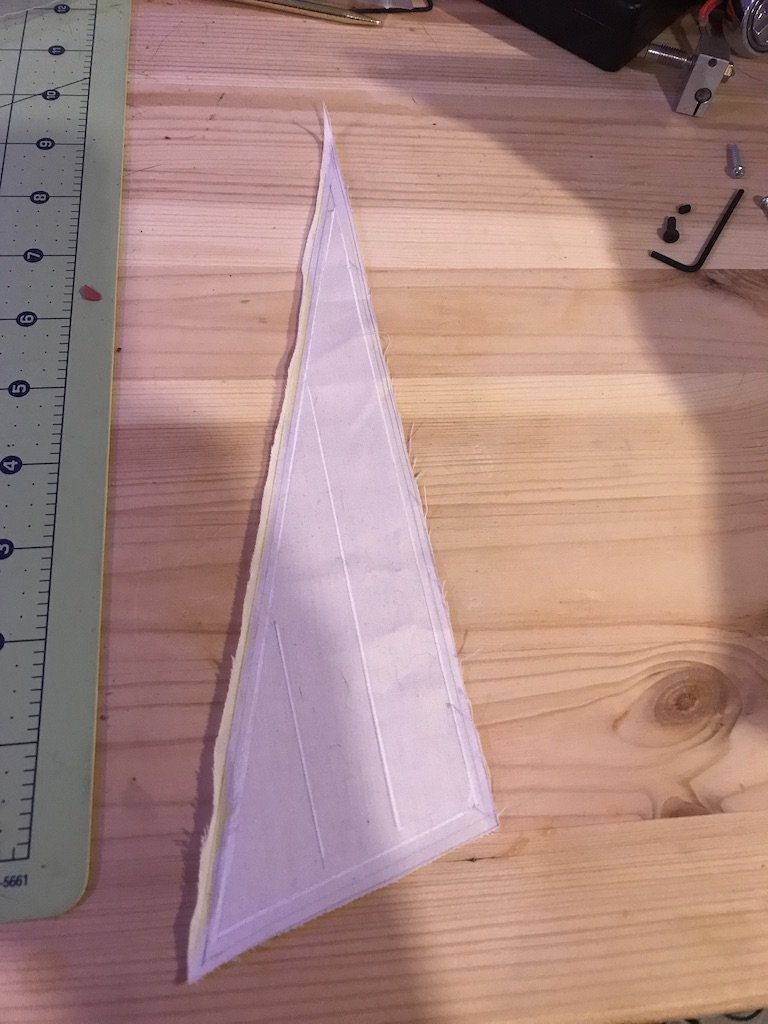
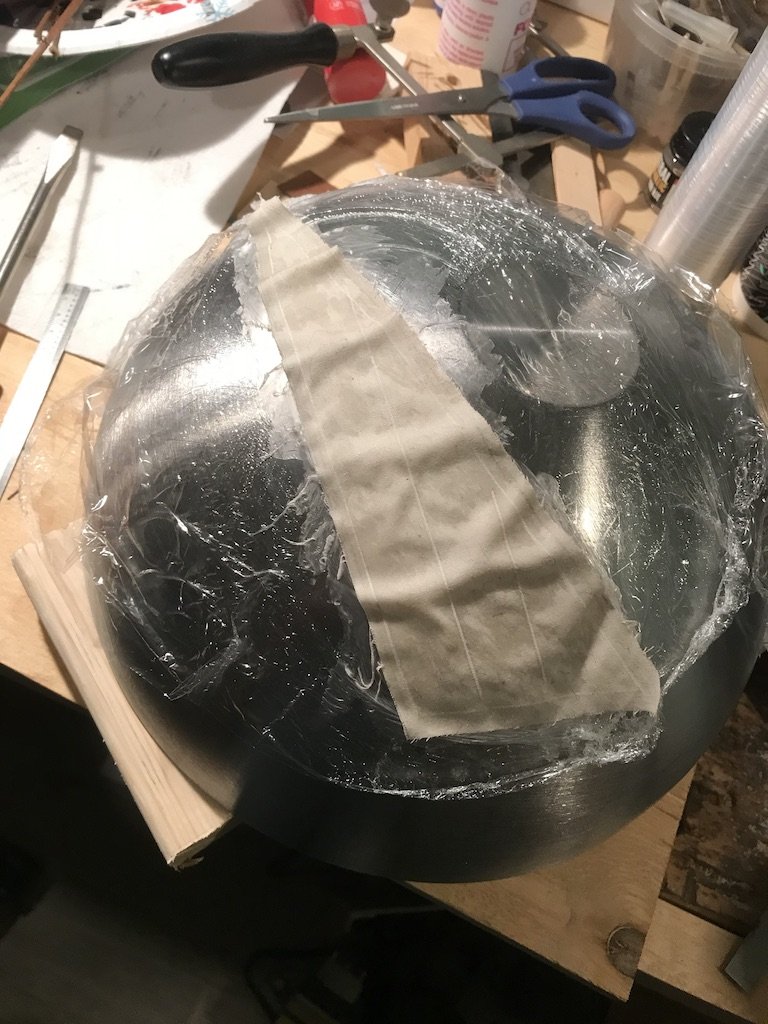
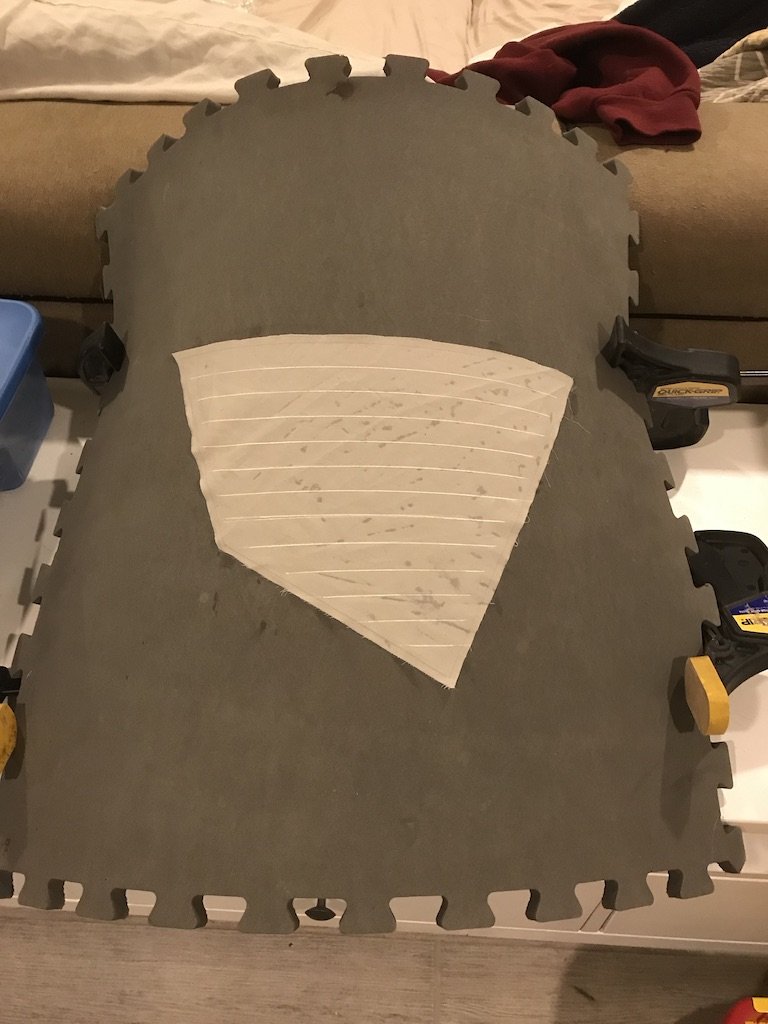
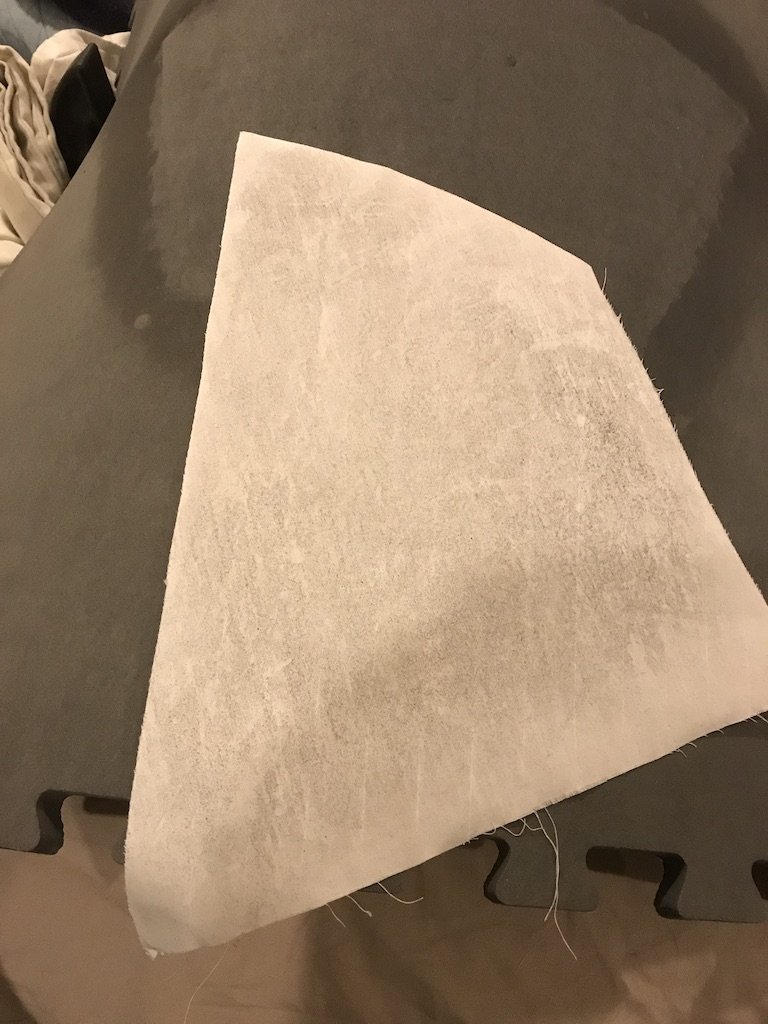
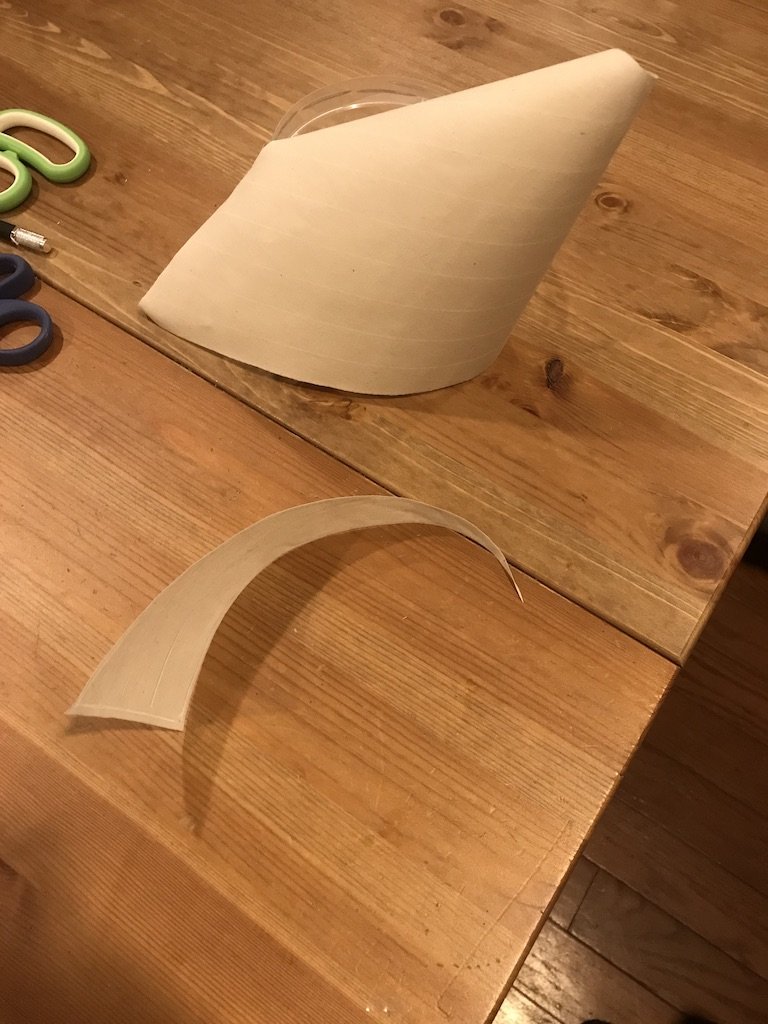
I also attempted: to sew a set of sail, I tried paper, cloth, spray stiffener, etc. I found I couldn't use the iron "at scale" to fold over the edges of a sail. Both sewing and paper are worth more work but are slightly out of reach due to skill and resource constraints. I tried using an acrylic paste over plastic wrap over a mold. When drying the whole arrangement, I (re)discovered the principle behind shrink-wrap, which led to wrinkles in the sail. There is potential for the paste but I need to play around a bit more for it to be presentable. I tried using a foam tile as a possible mold: That worked well seemingly so until I saw the back: At the moment, just paint the sail with polyurethane has proved best so far. That allows me to skip trying to iron over the seams without have too many loose ends. Little by little...
- 72 replies
-
- 8
-
-
- Chesapeake Bay Flattie
- Midwest Products
- (and 1 more)
-
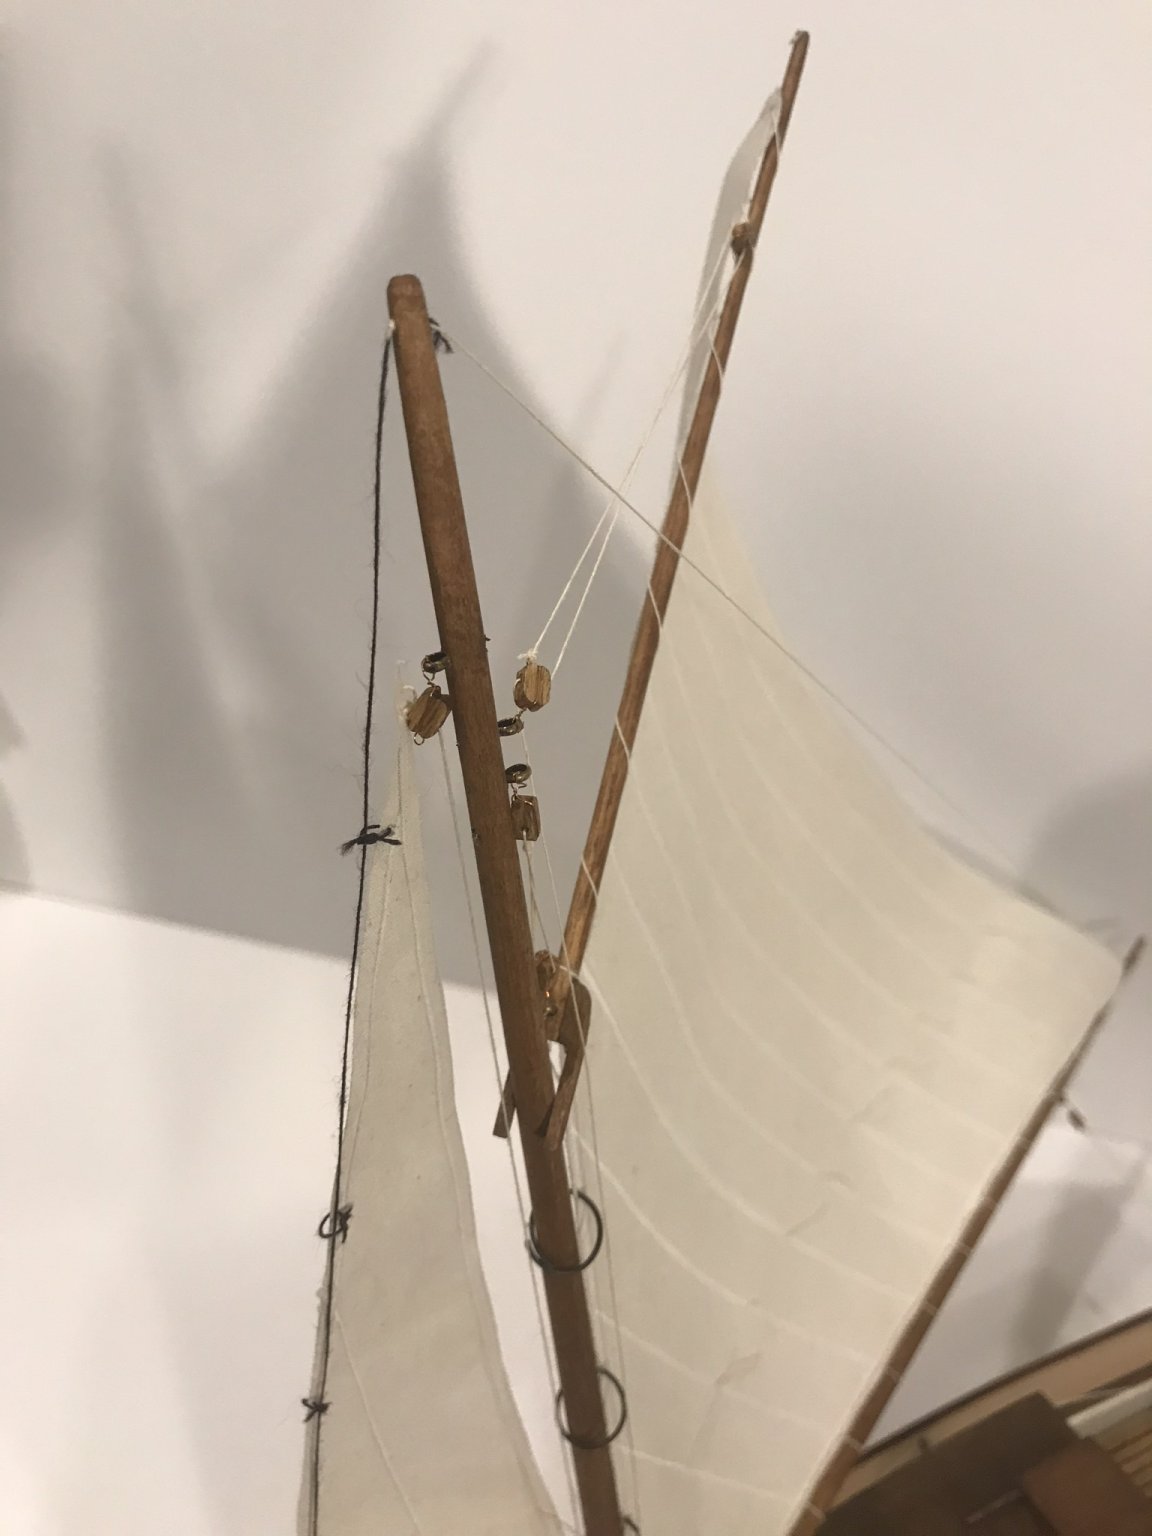
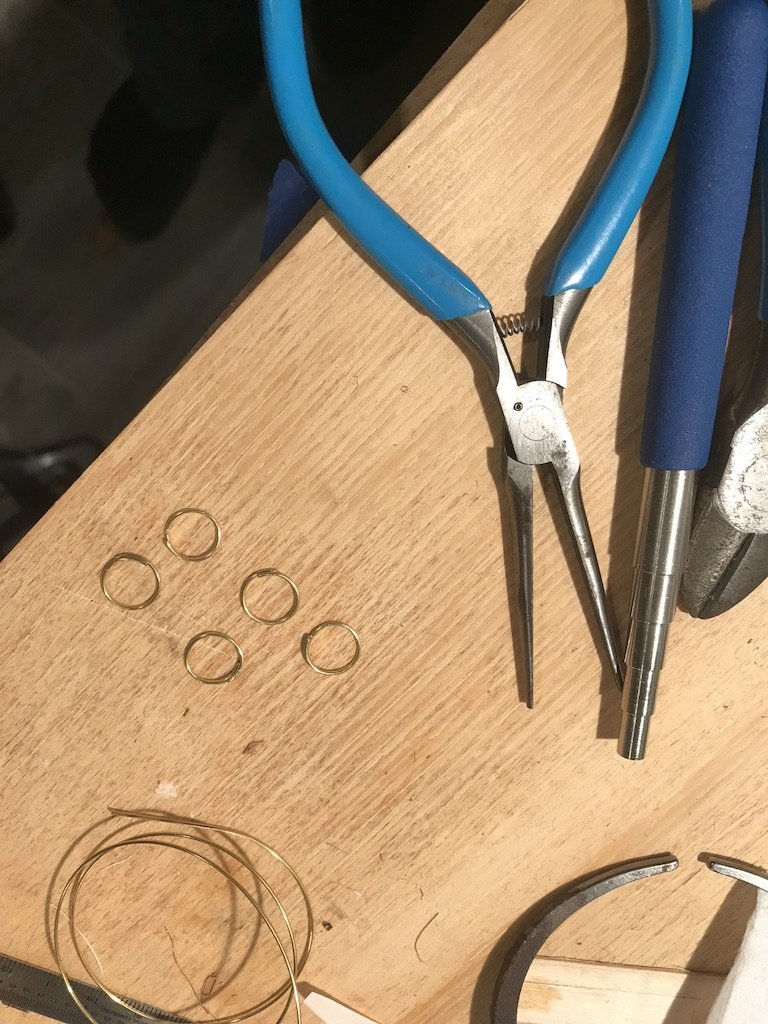
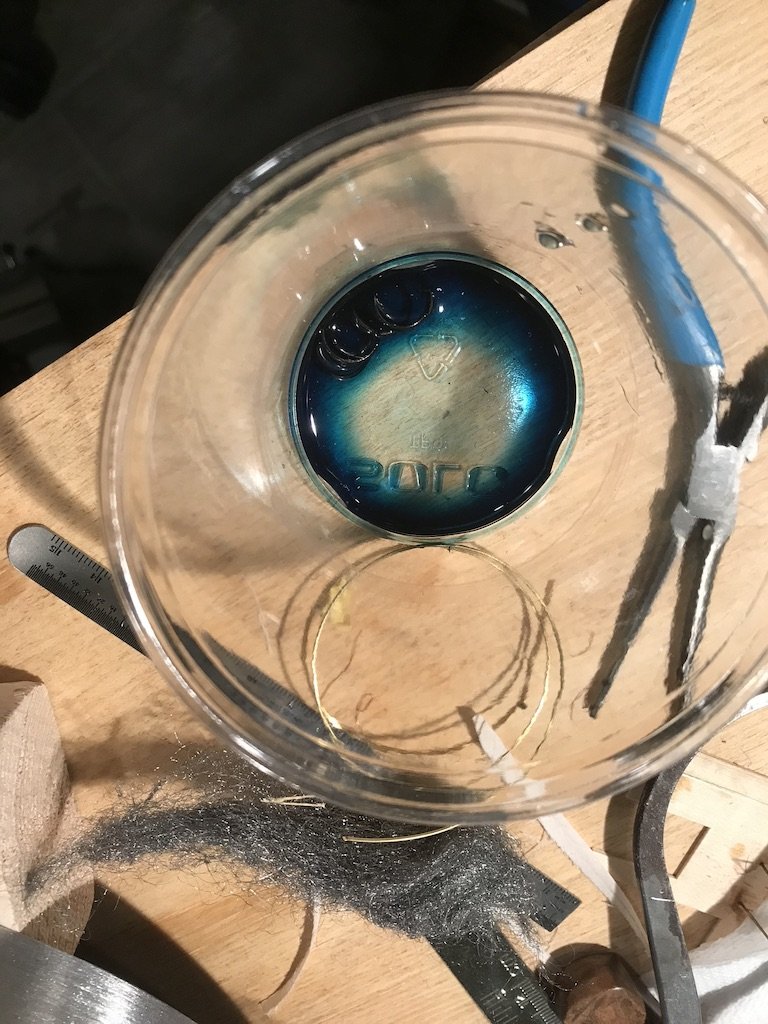
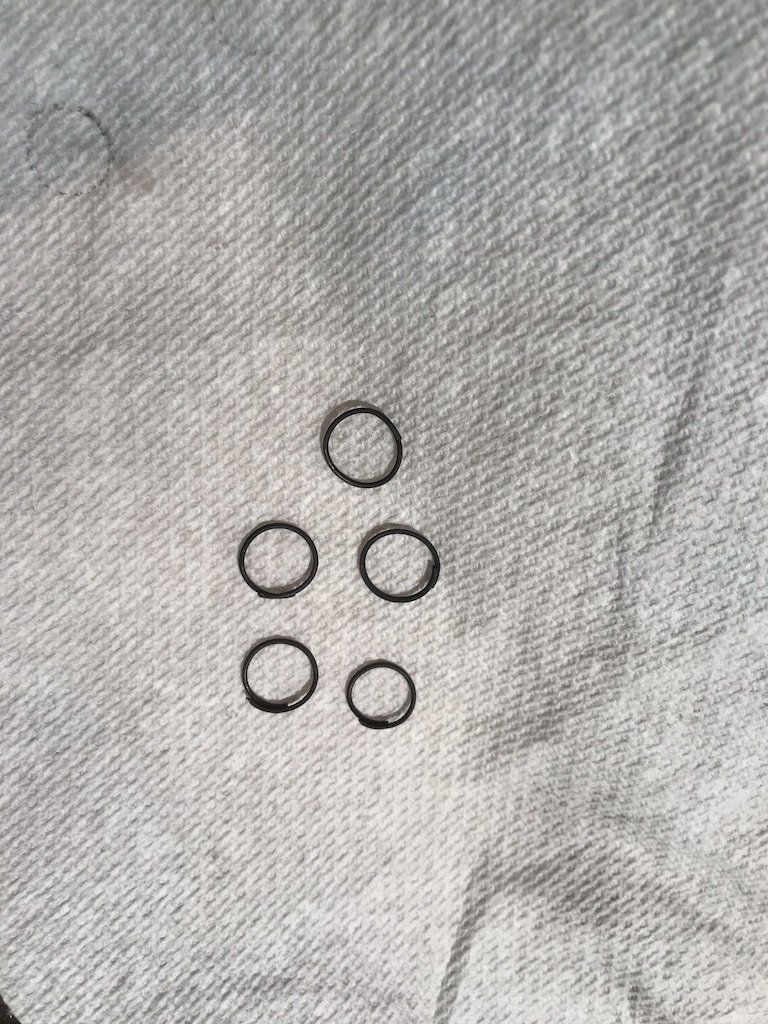
I made some rings for the mast out of brass wire: And blackened them.
- 72 replies
-
- 5
-
-
- Chesapeake Bay Flattie
- Midwest Products
- (and 1 more)
-
Ah, I hadn't thought about that. Excellent thoughts! Thanks - simple but smart! That is what I did! (Well, at JoAnn's instead of Walmart.) I now have yards and yards to play with (I over-shot on the amount but I don't get to that part of the world often.) I'll soon post some of my successes and failures!
- 72 replies
-
- 1
-
-
- Chesapeake Bay Flattie
- Midwest Products
- (and 1 more)