


mikegr
-
Posts
828 -
Joined
-
Last visited
Content Type
Profiles
Forums
Gallery
Events
Posts posted by mikegr
-
-
-
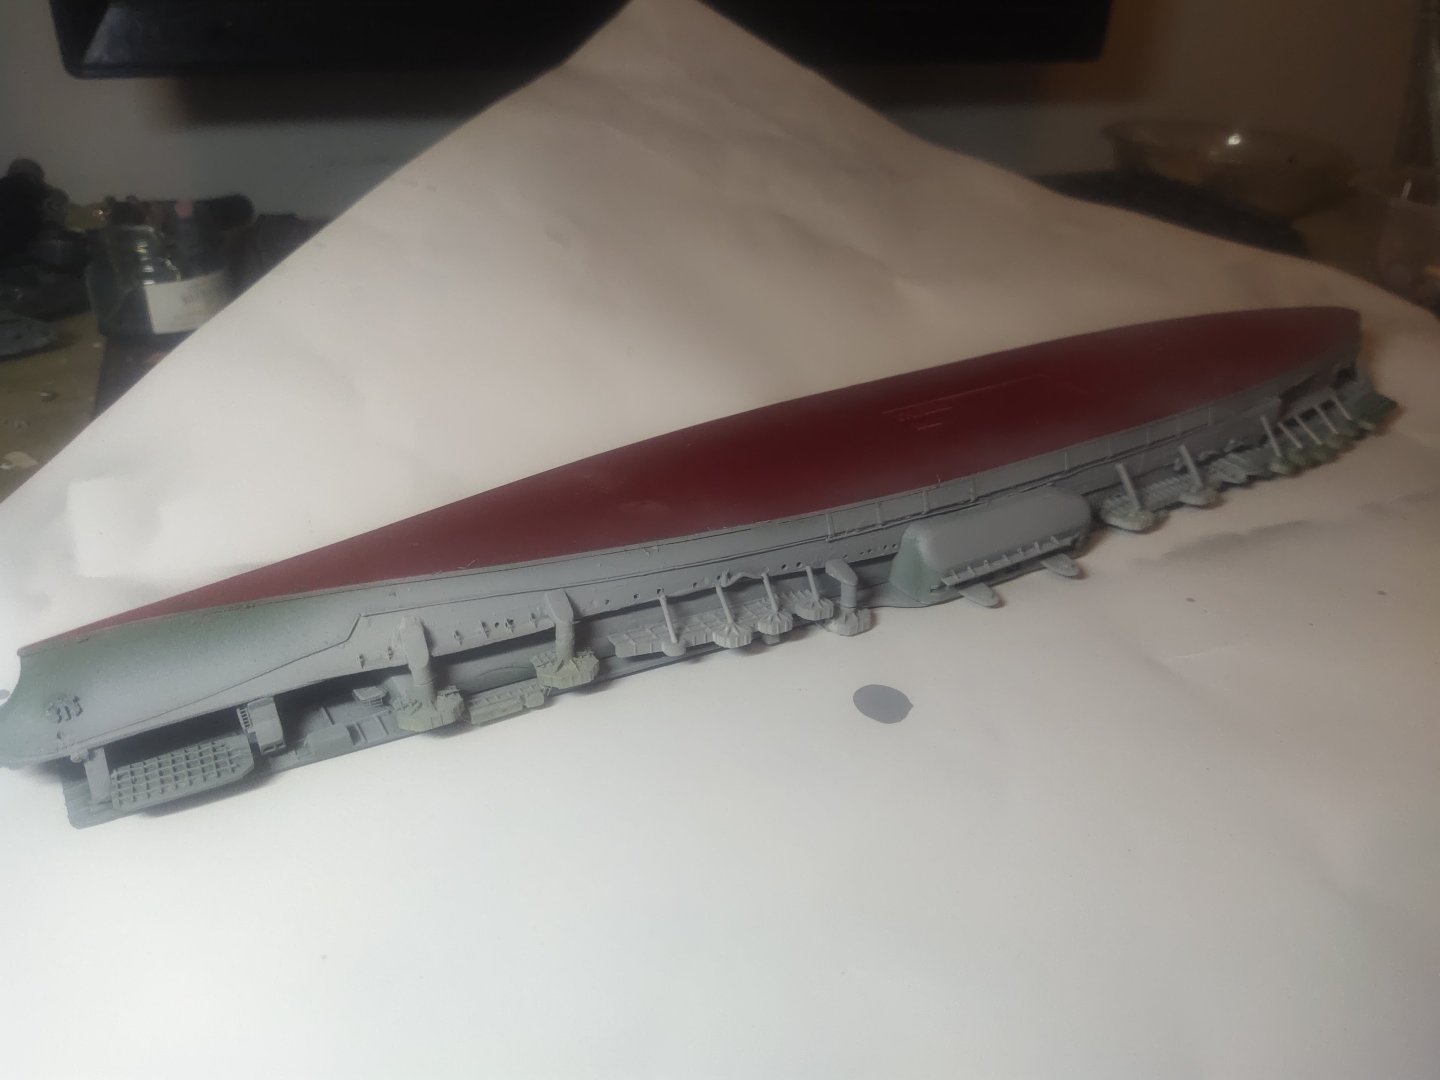
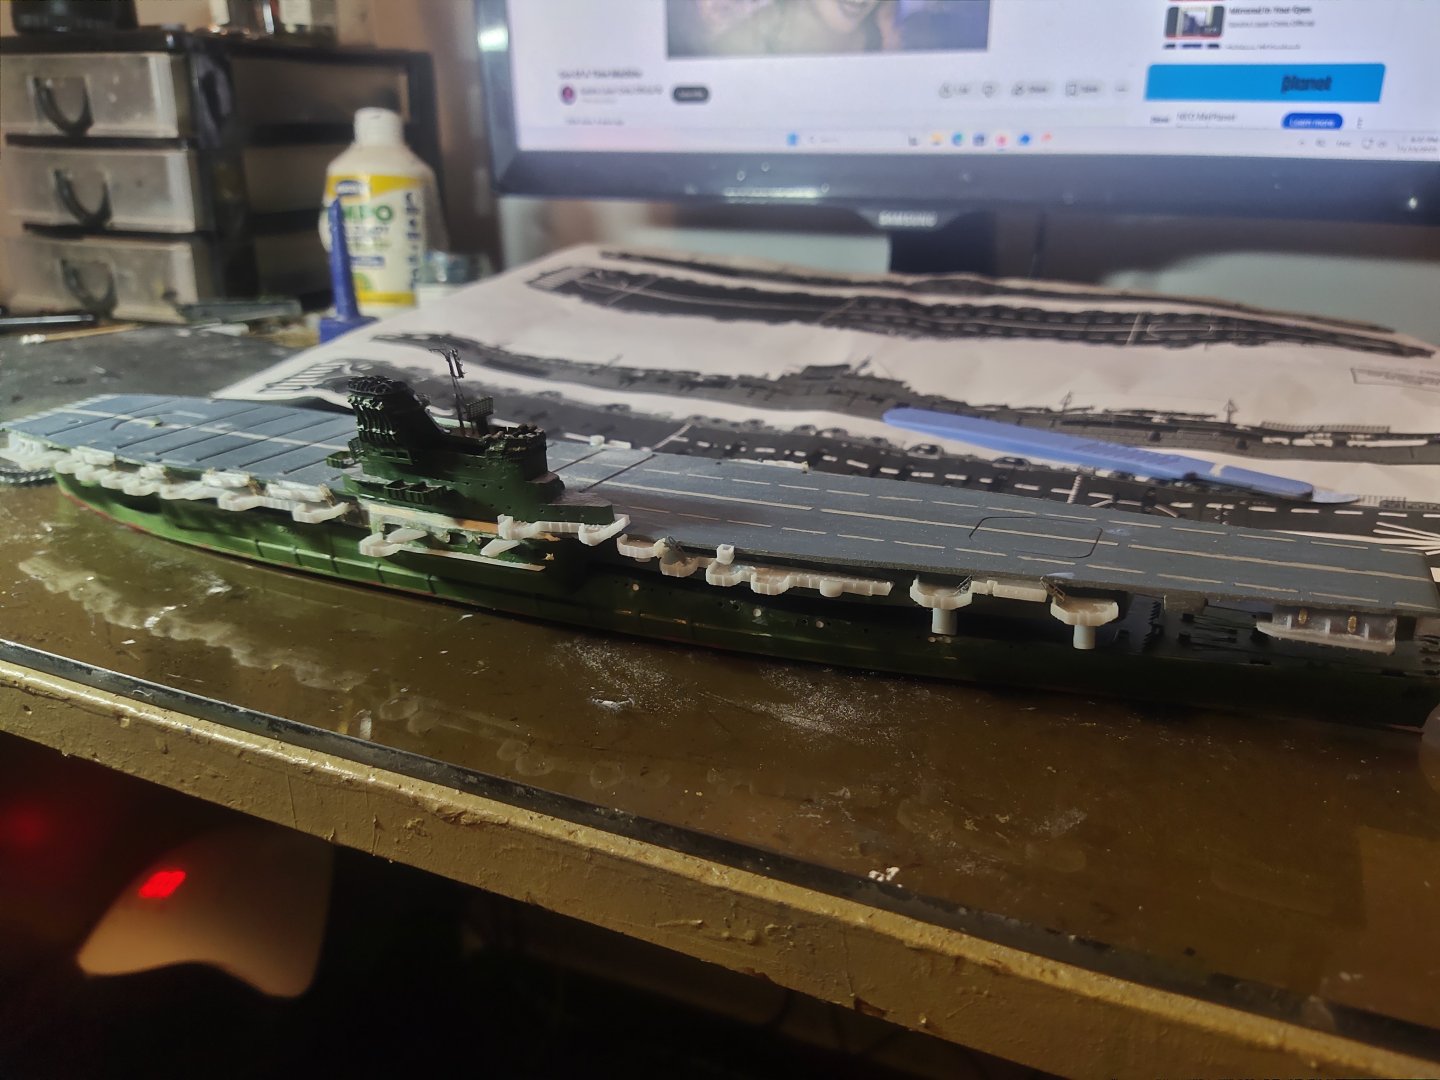
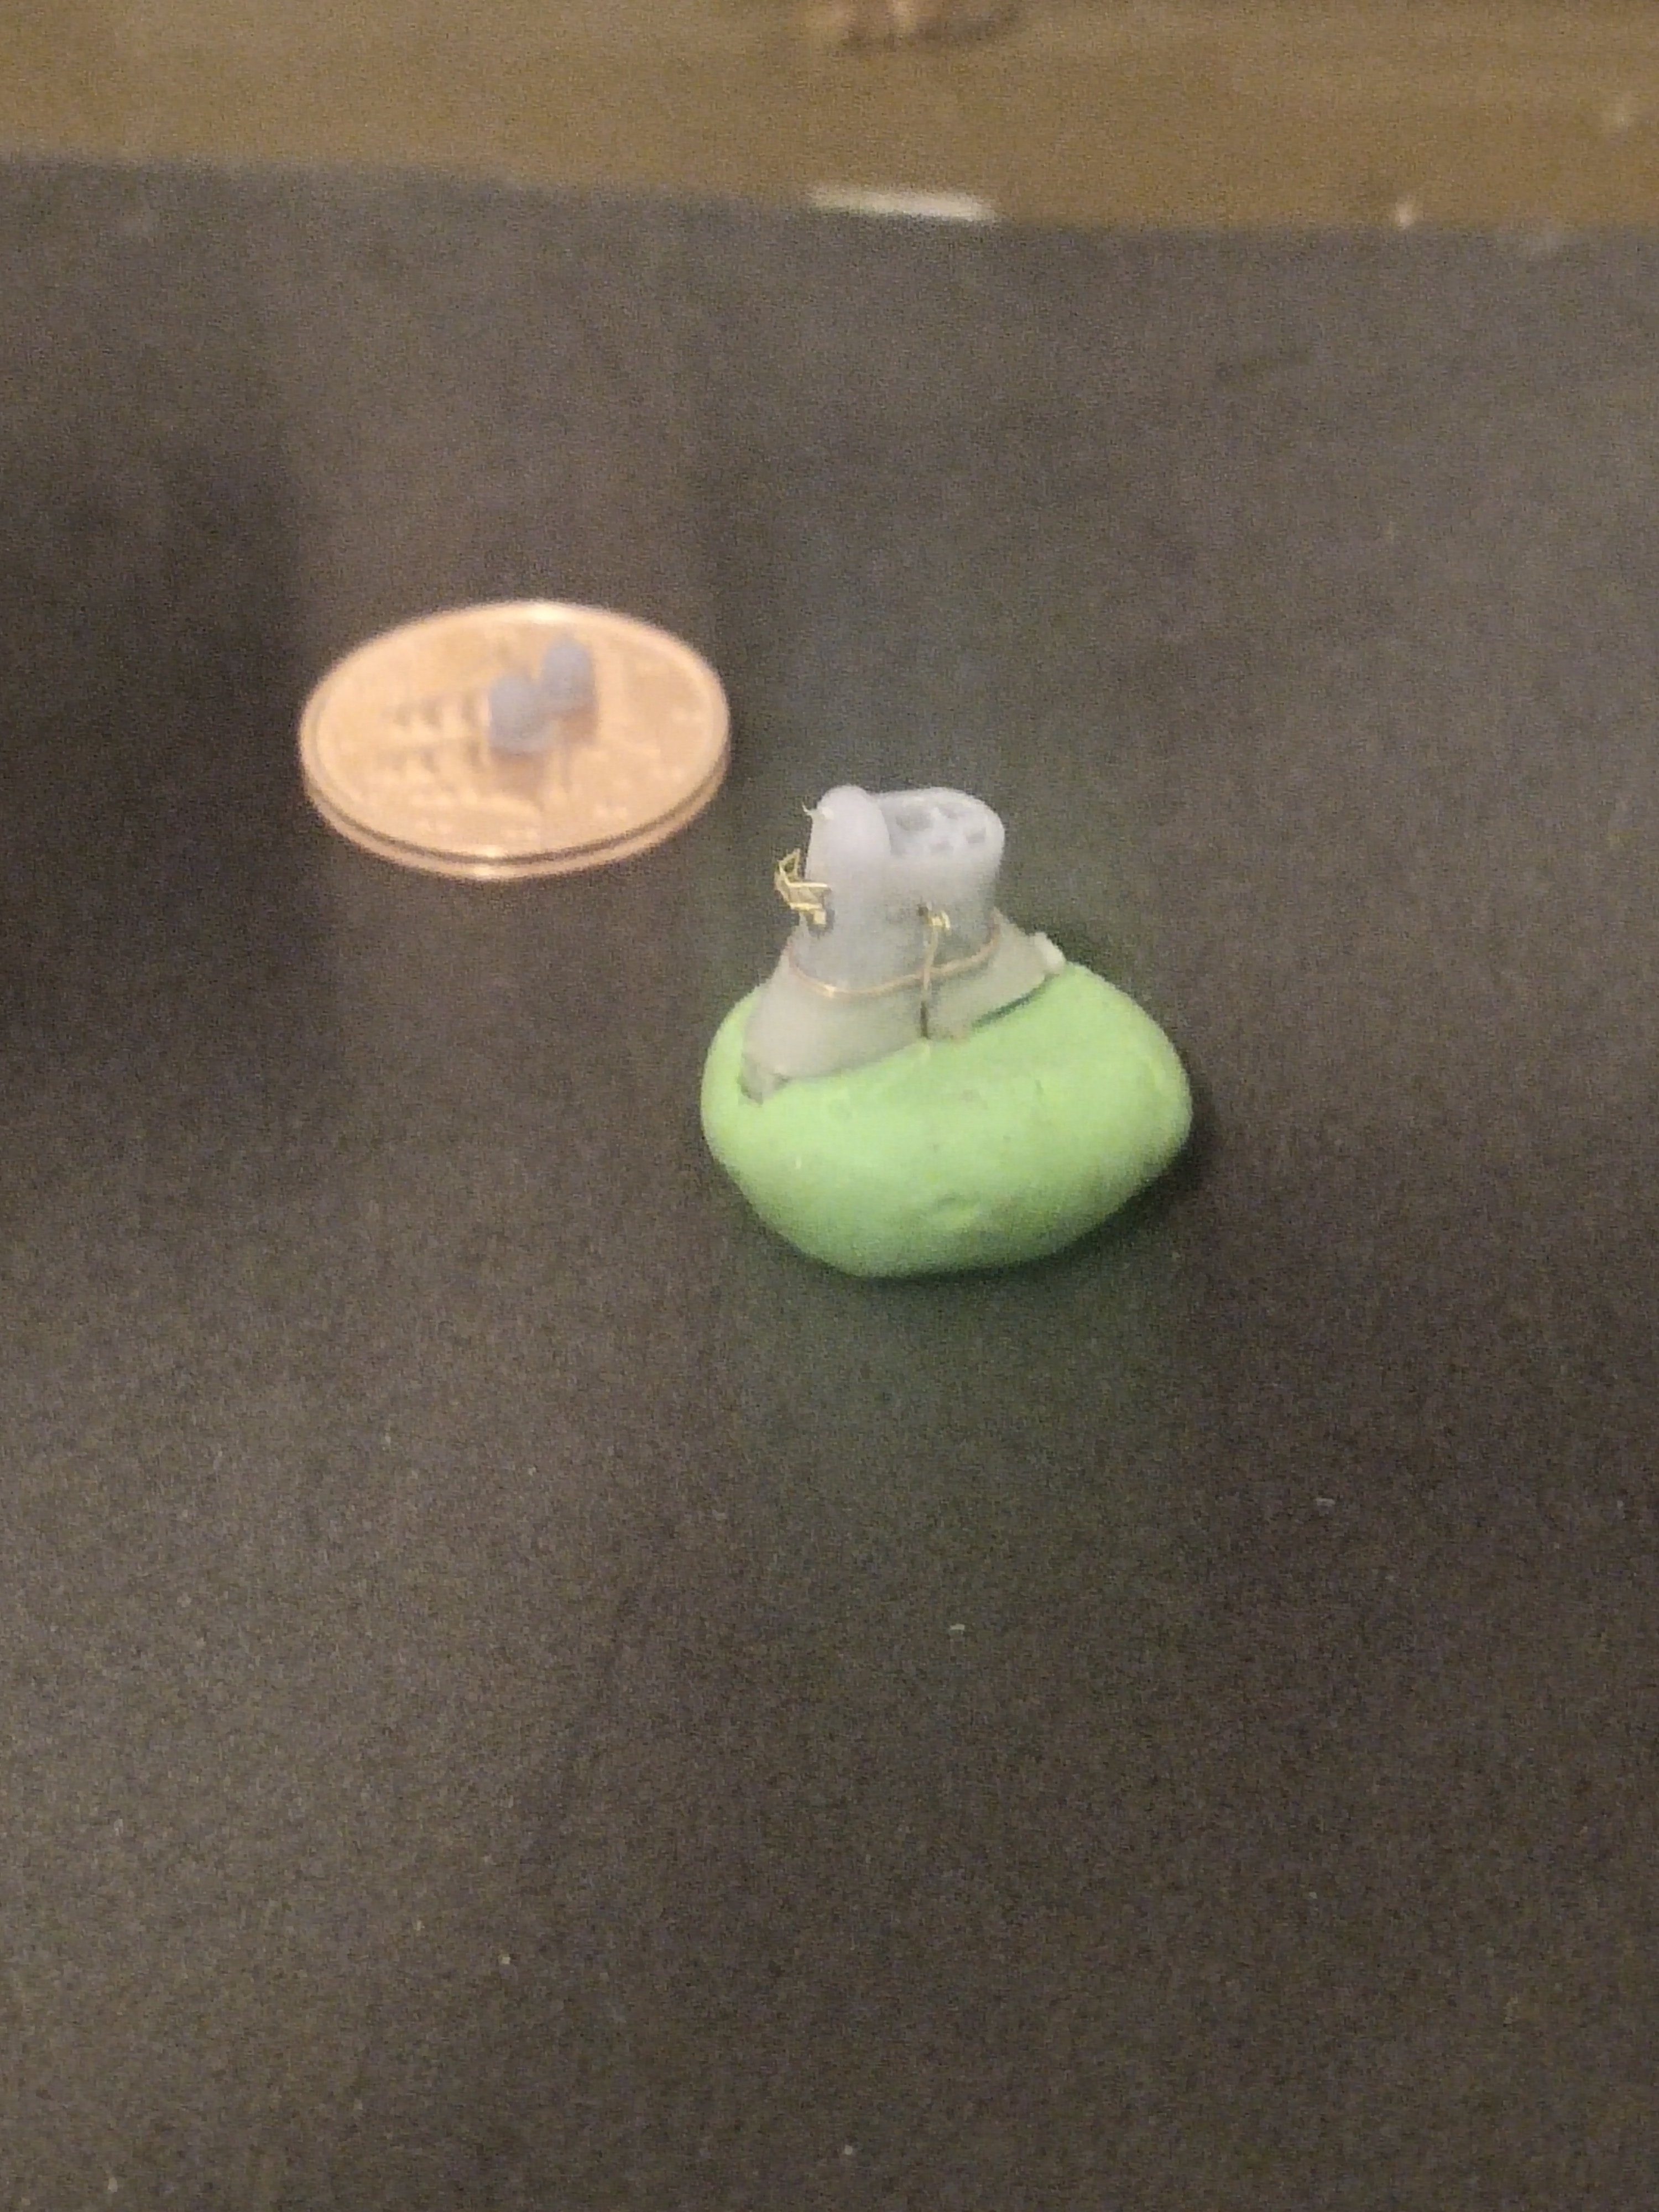
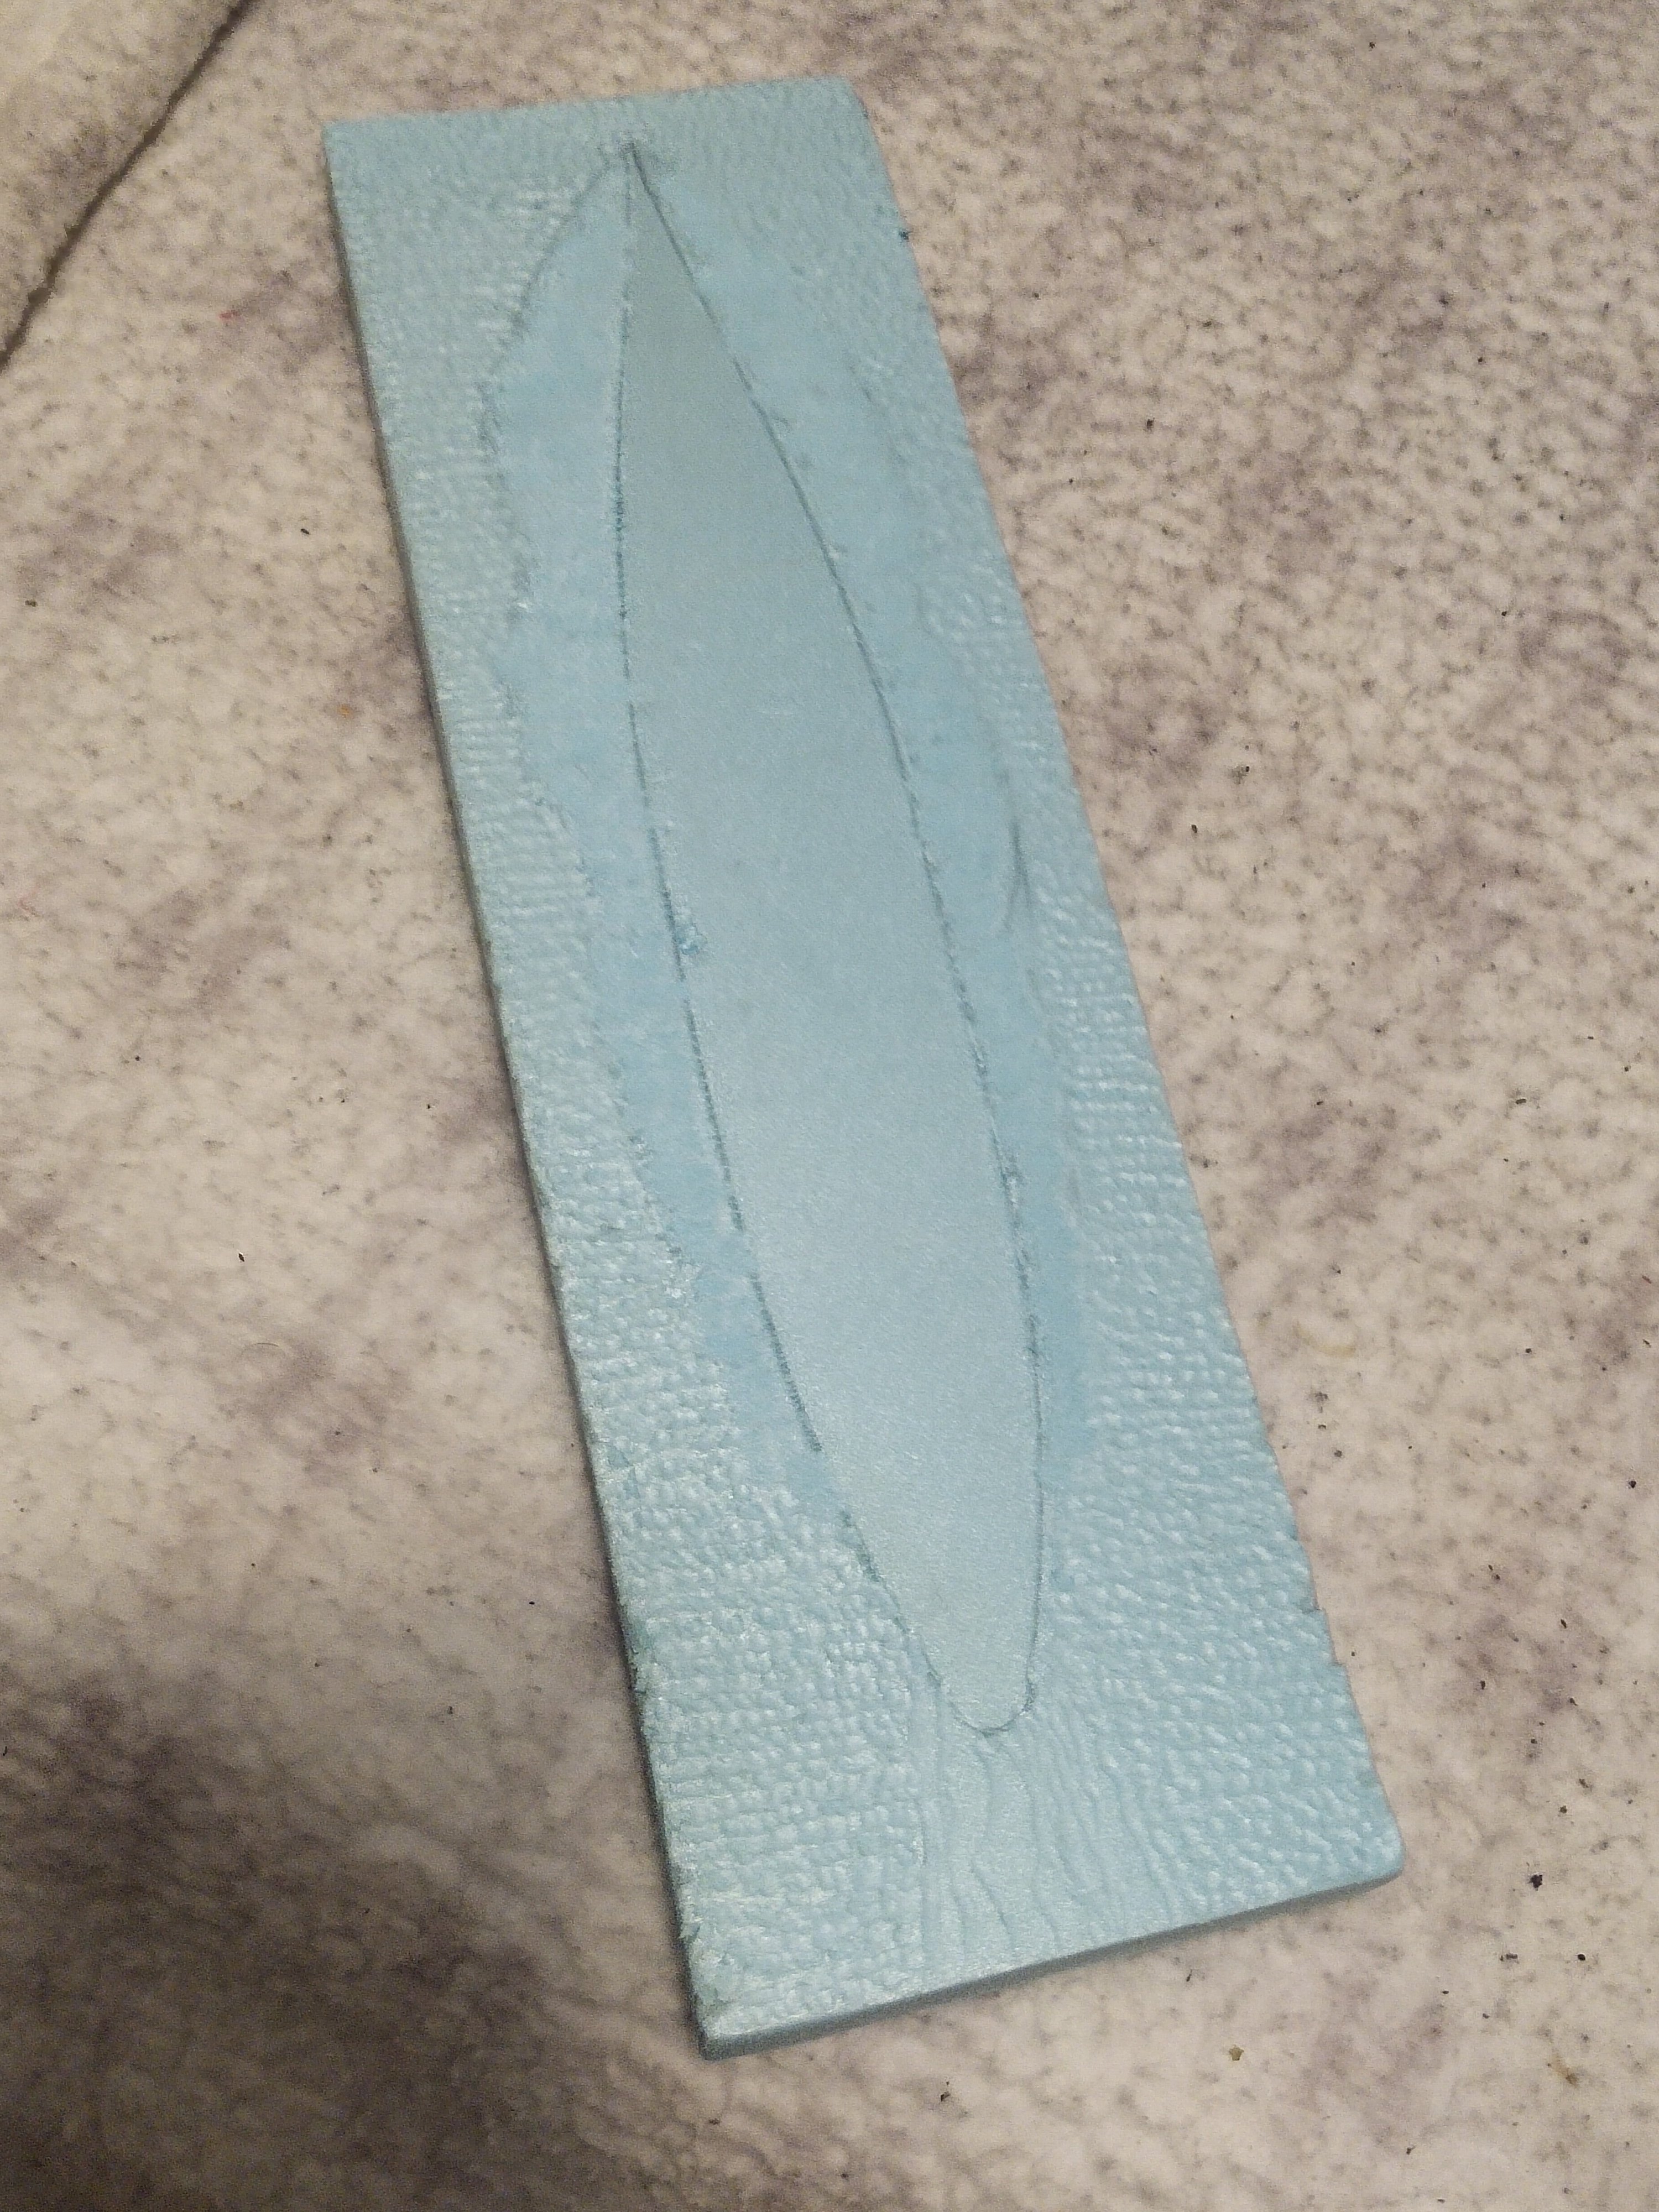
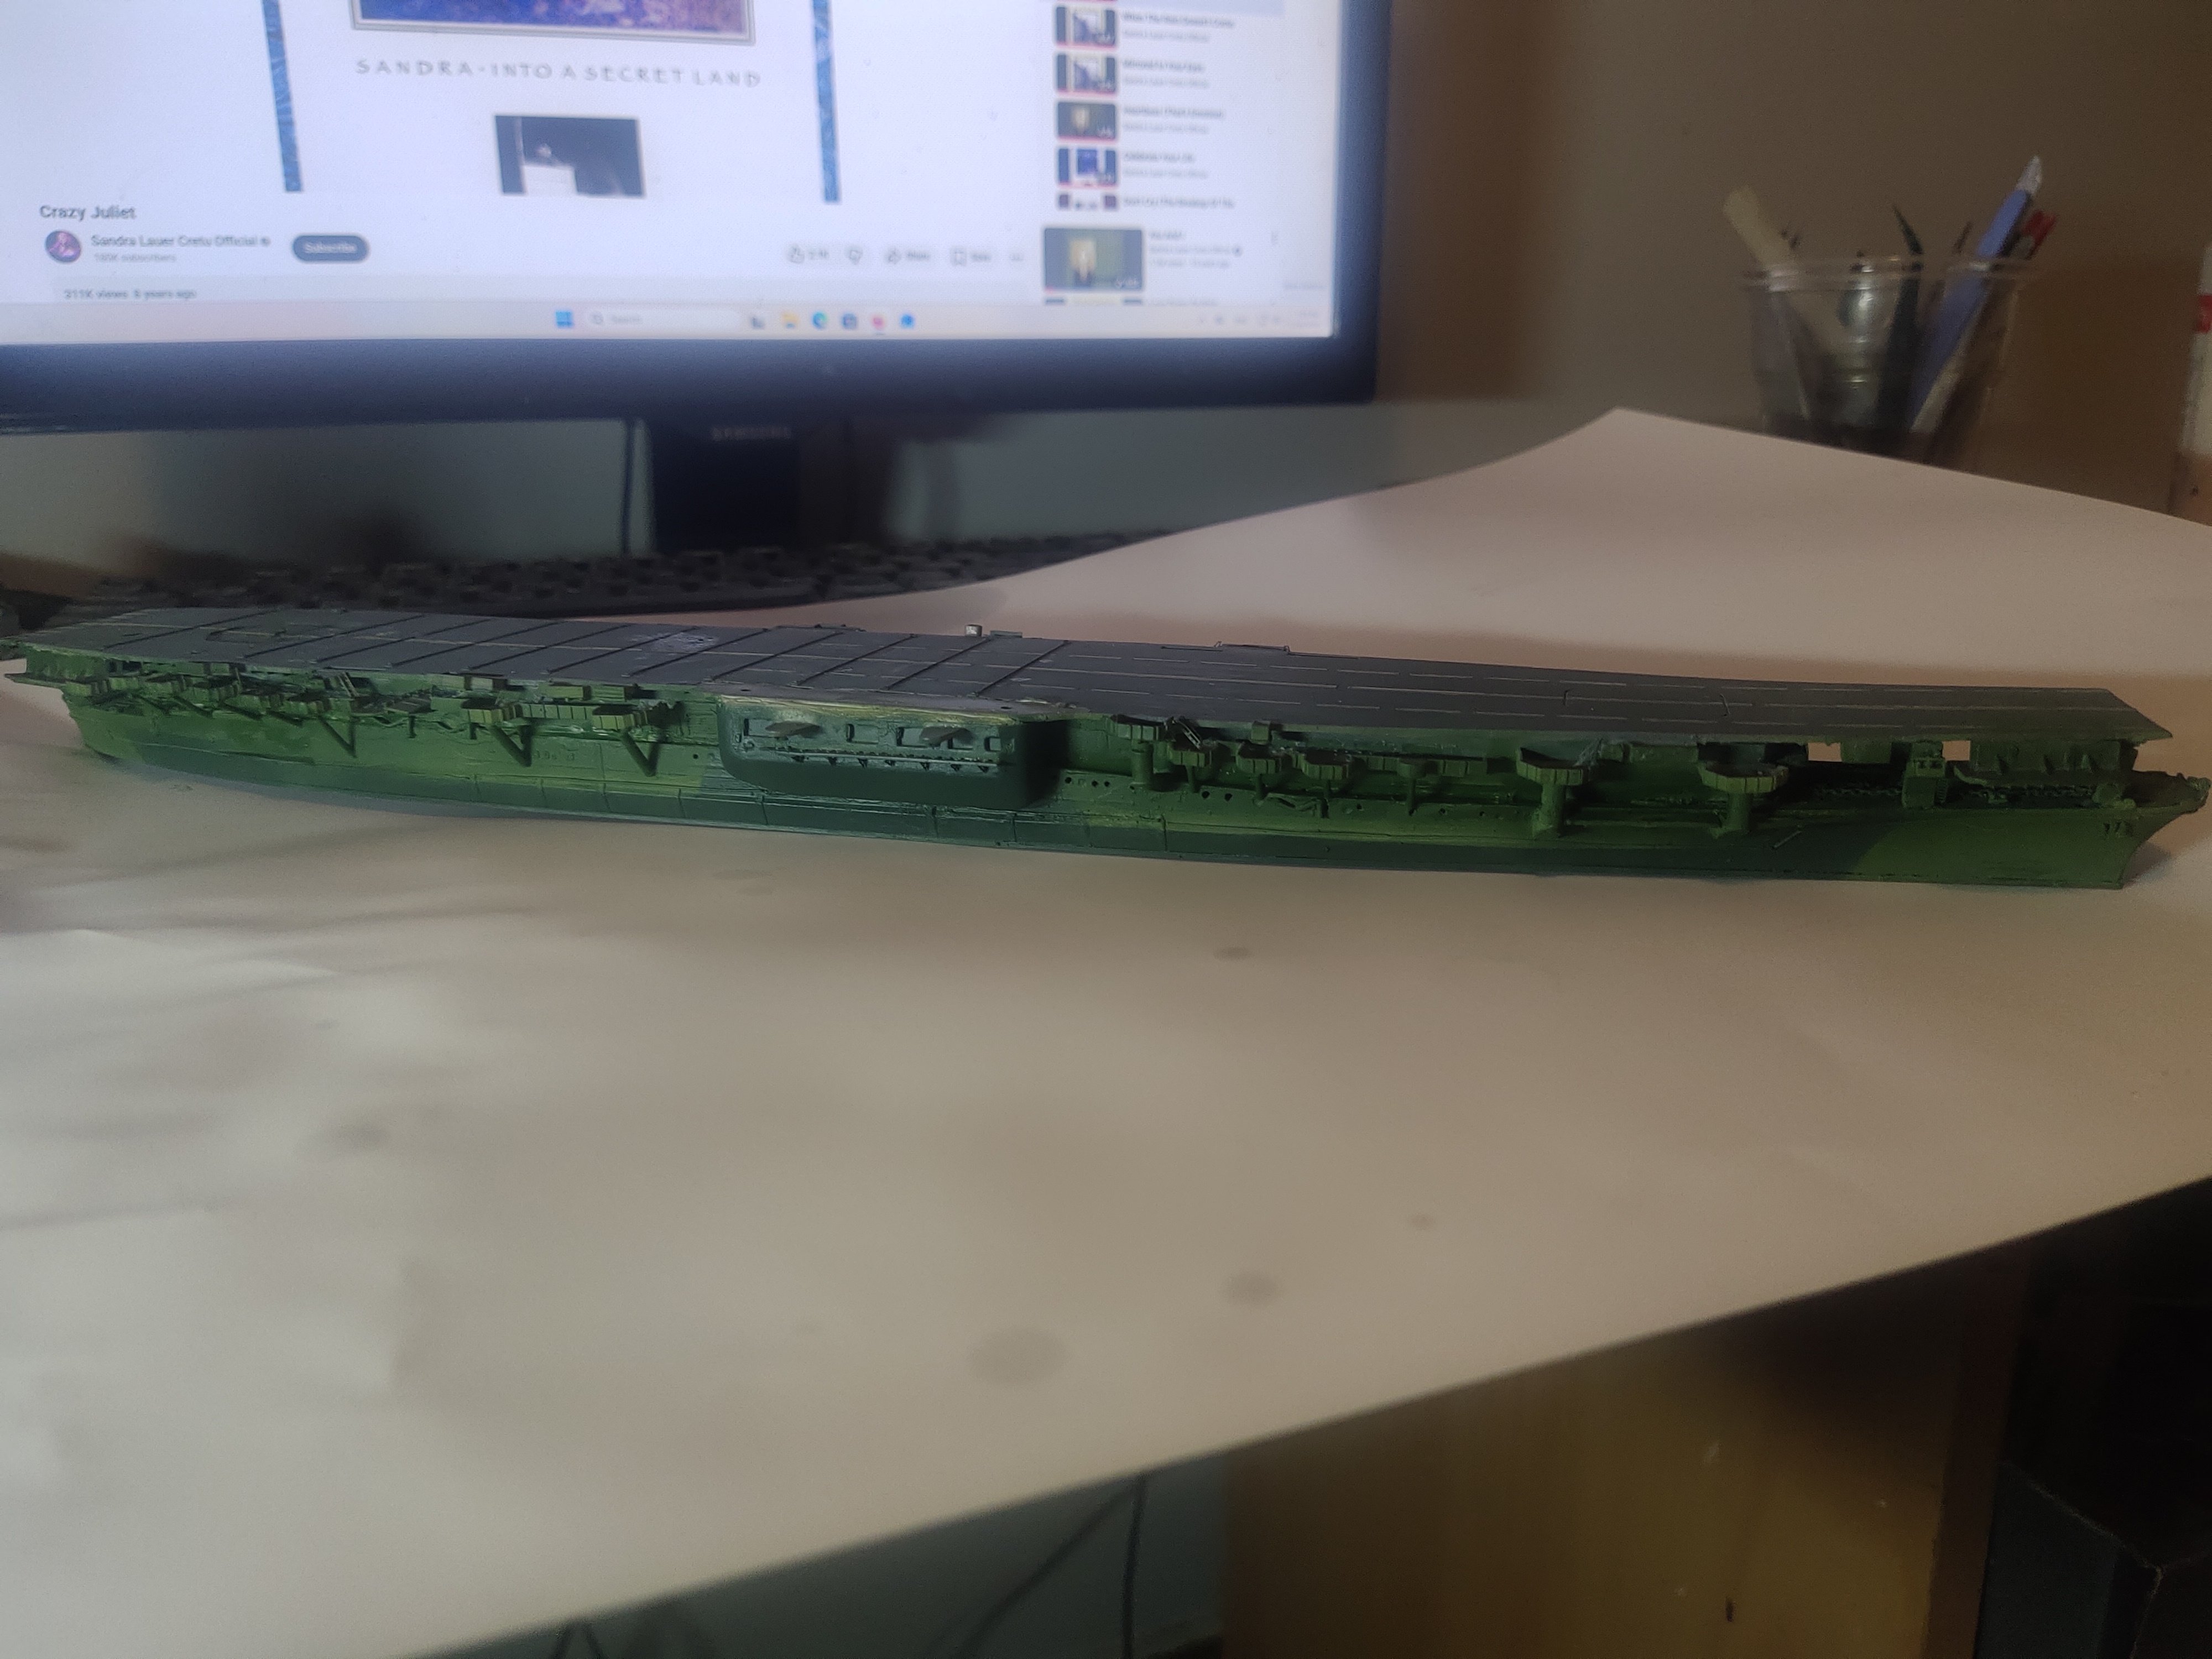
I had issues how to permanently straighten the hull. A wooden base was made, model was placed on the center and a small amount of resin was poured. It was left dry overnight.
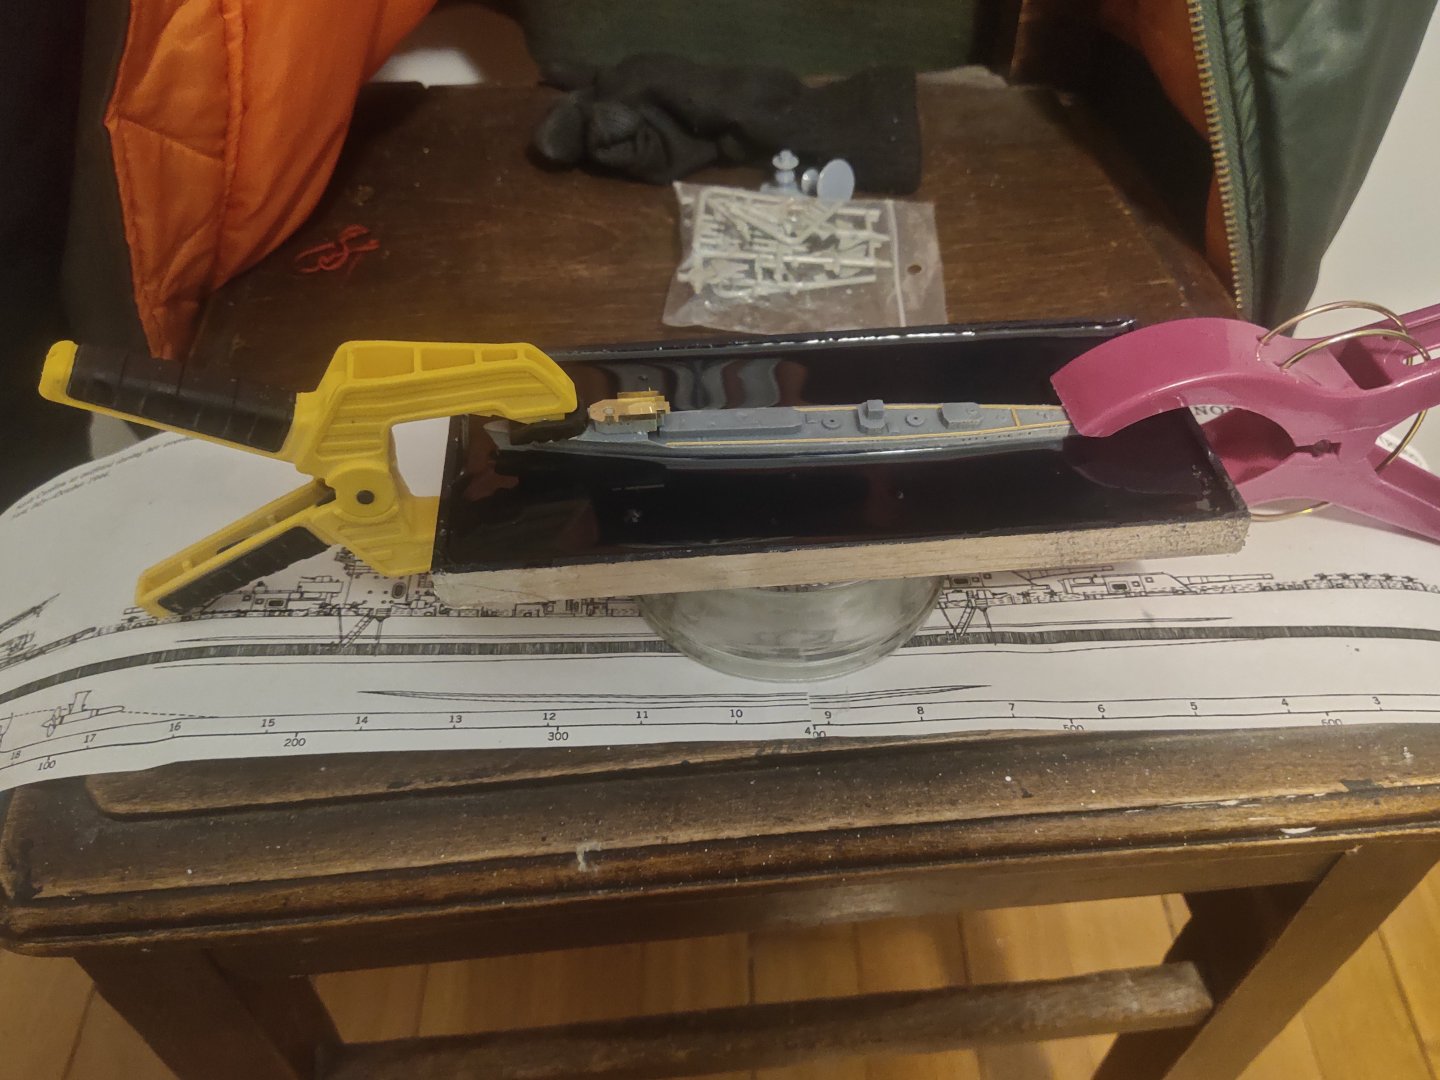
Hull sides were painted gray already. Looks like I have to cover the base before future painting. t
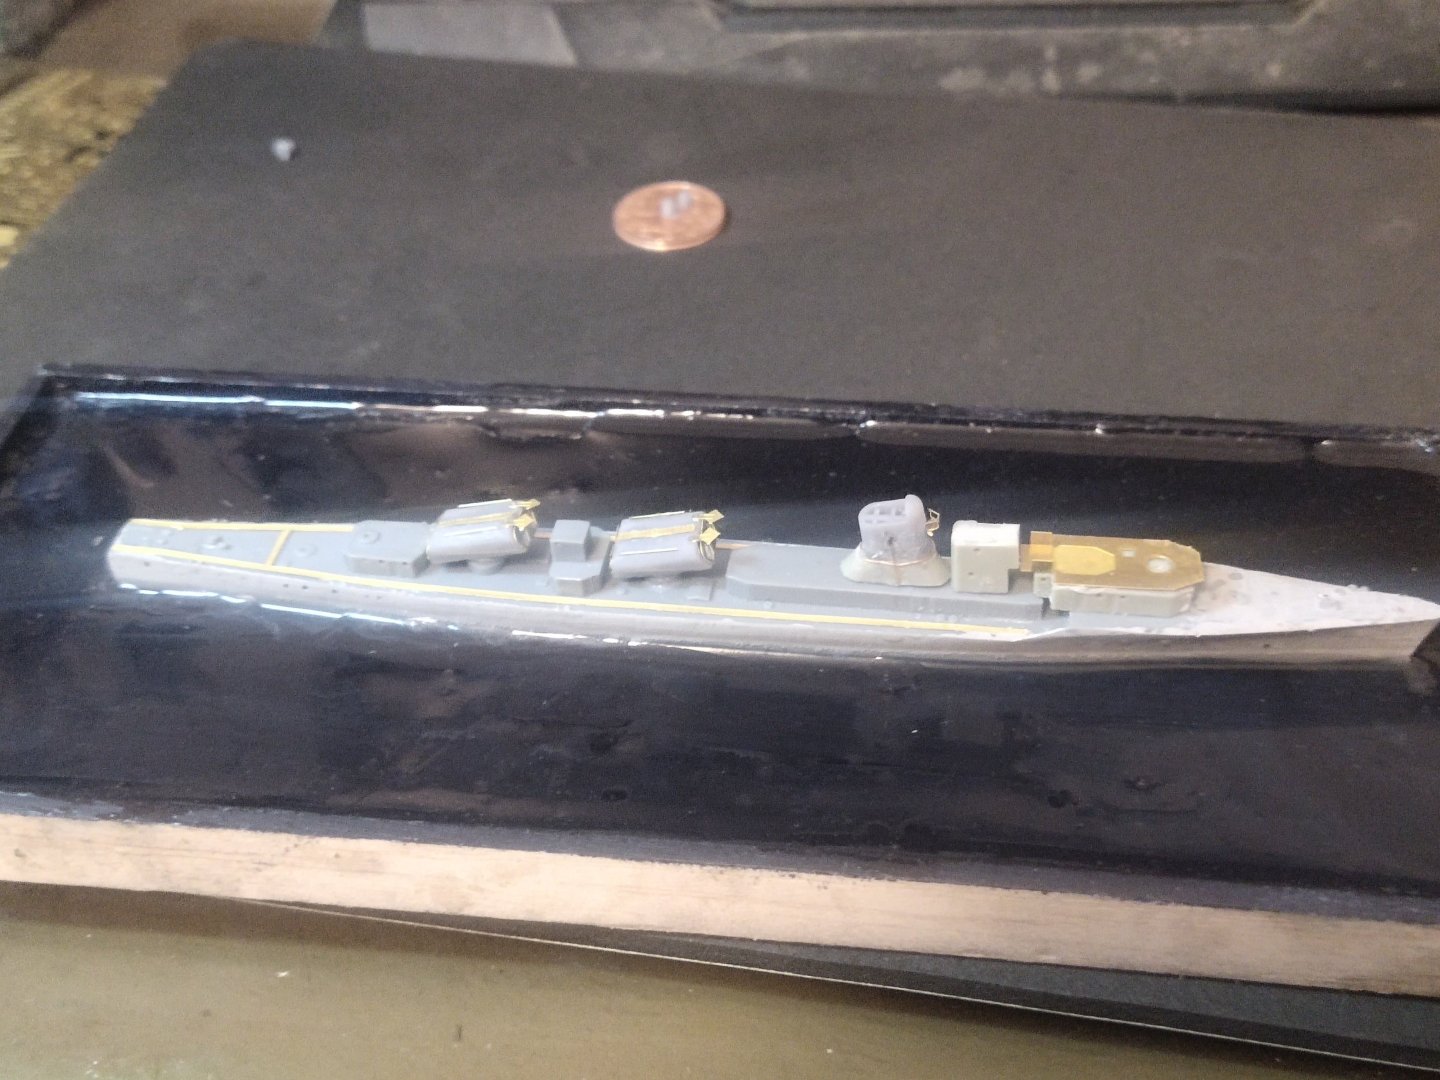
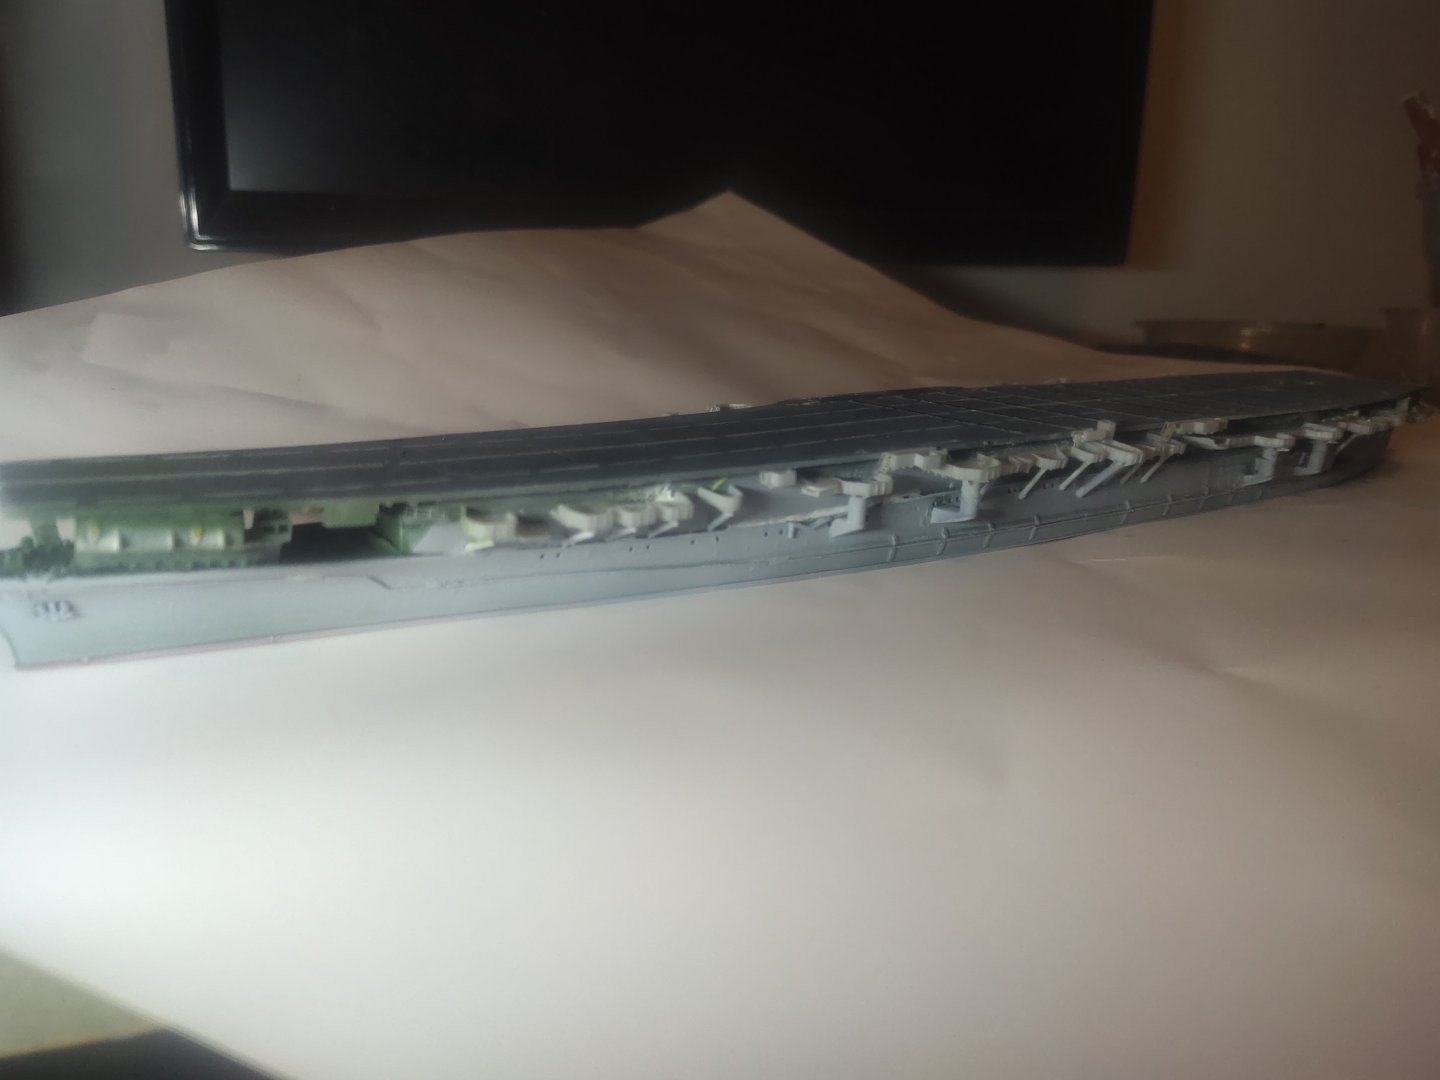
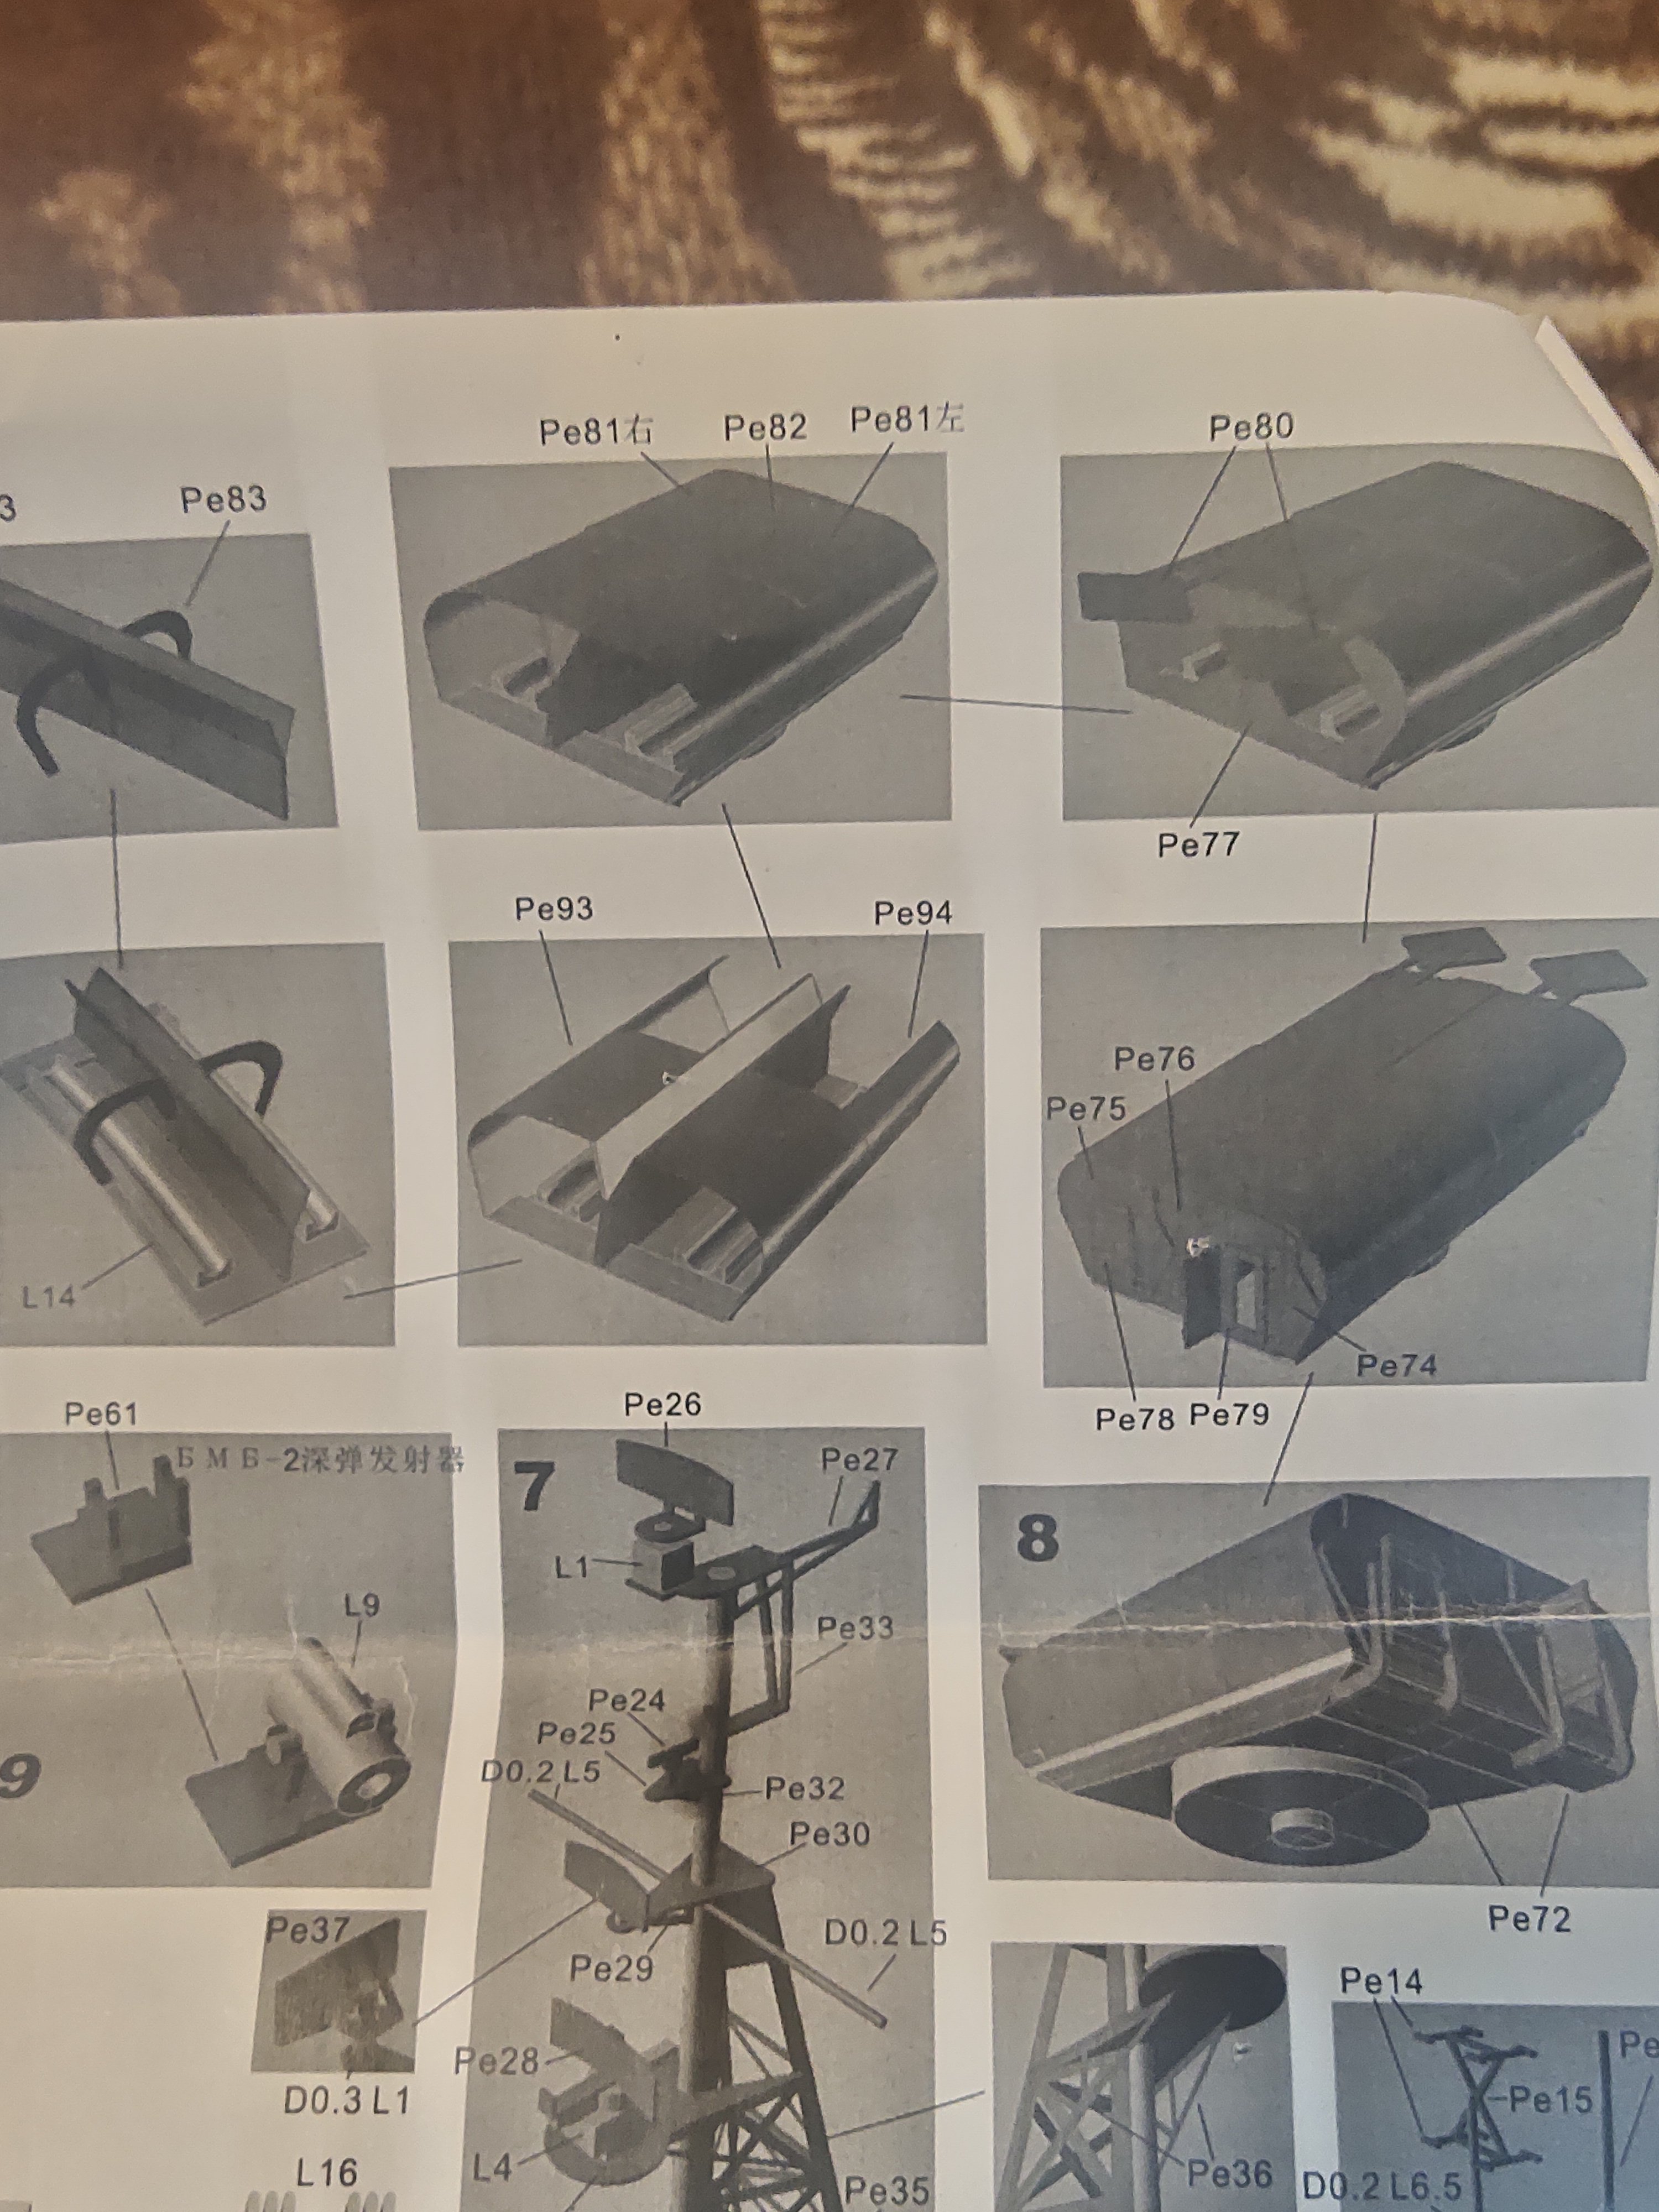
Upon my first look at the model it was noticable how many PE pieces exists, comparing to the few resin ones.
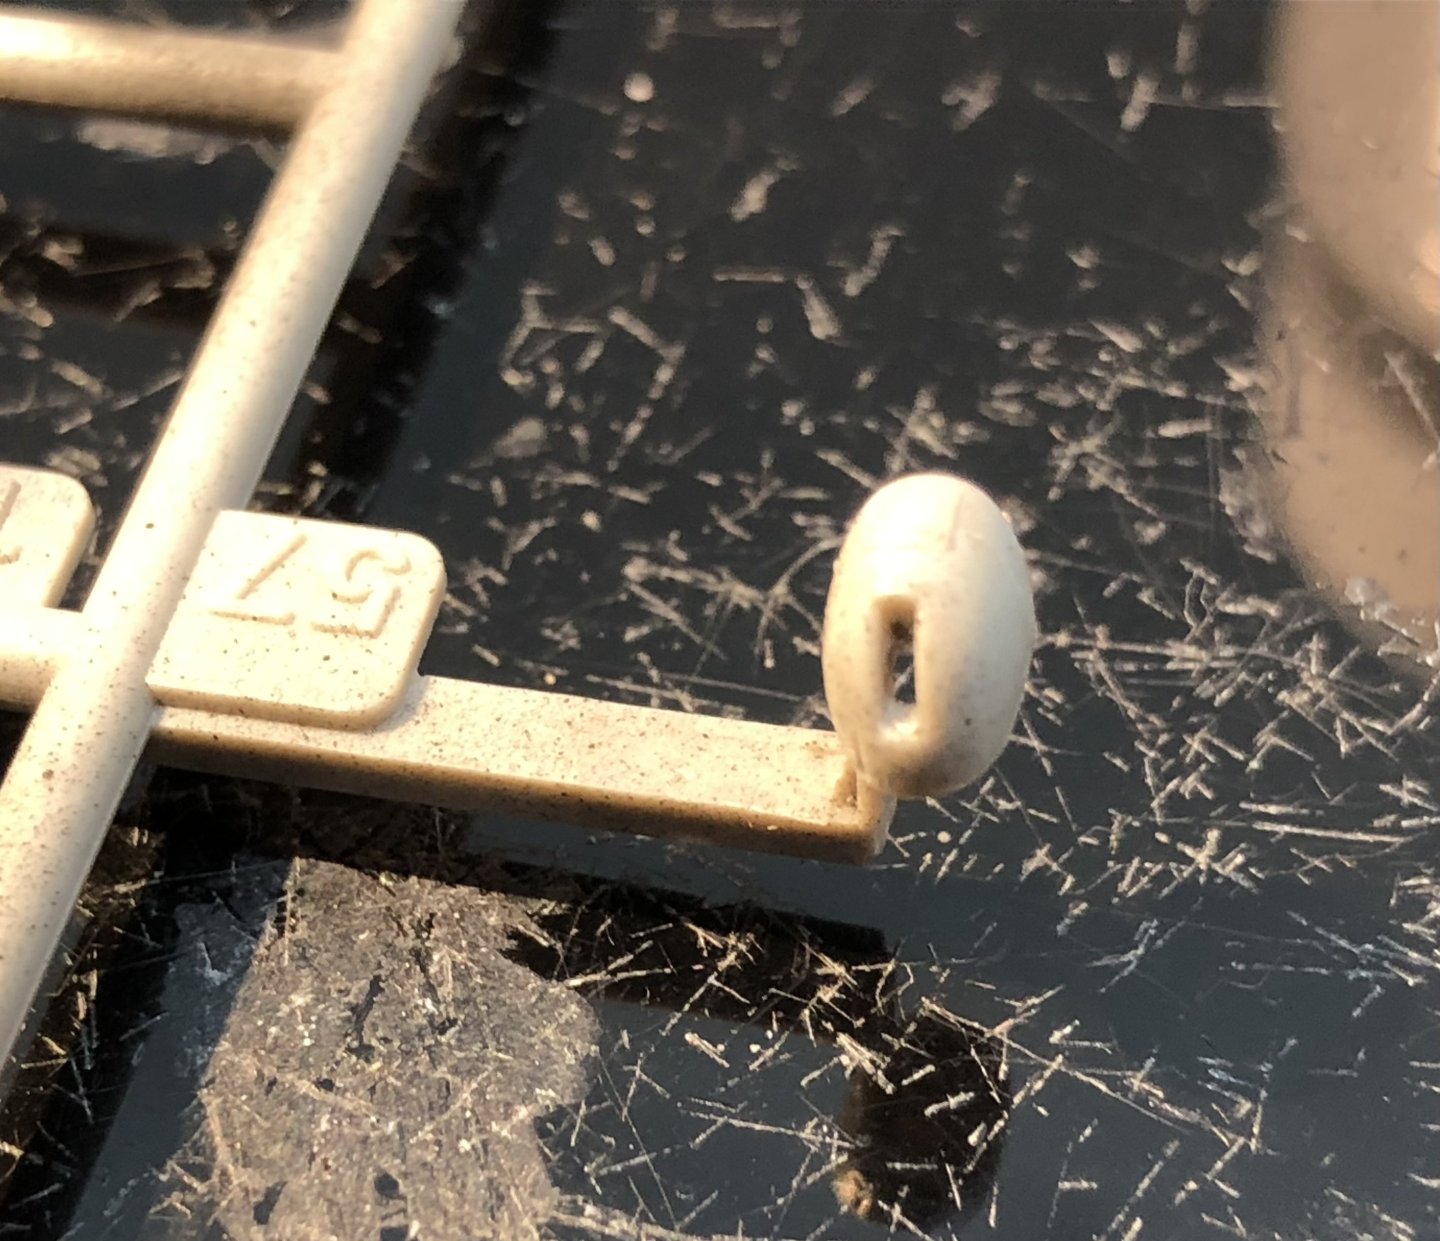
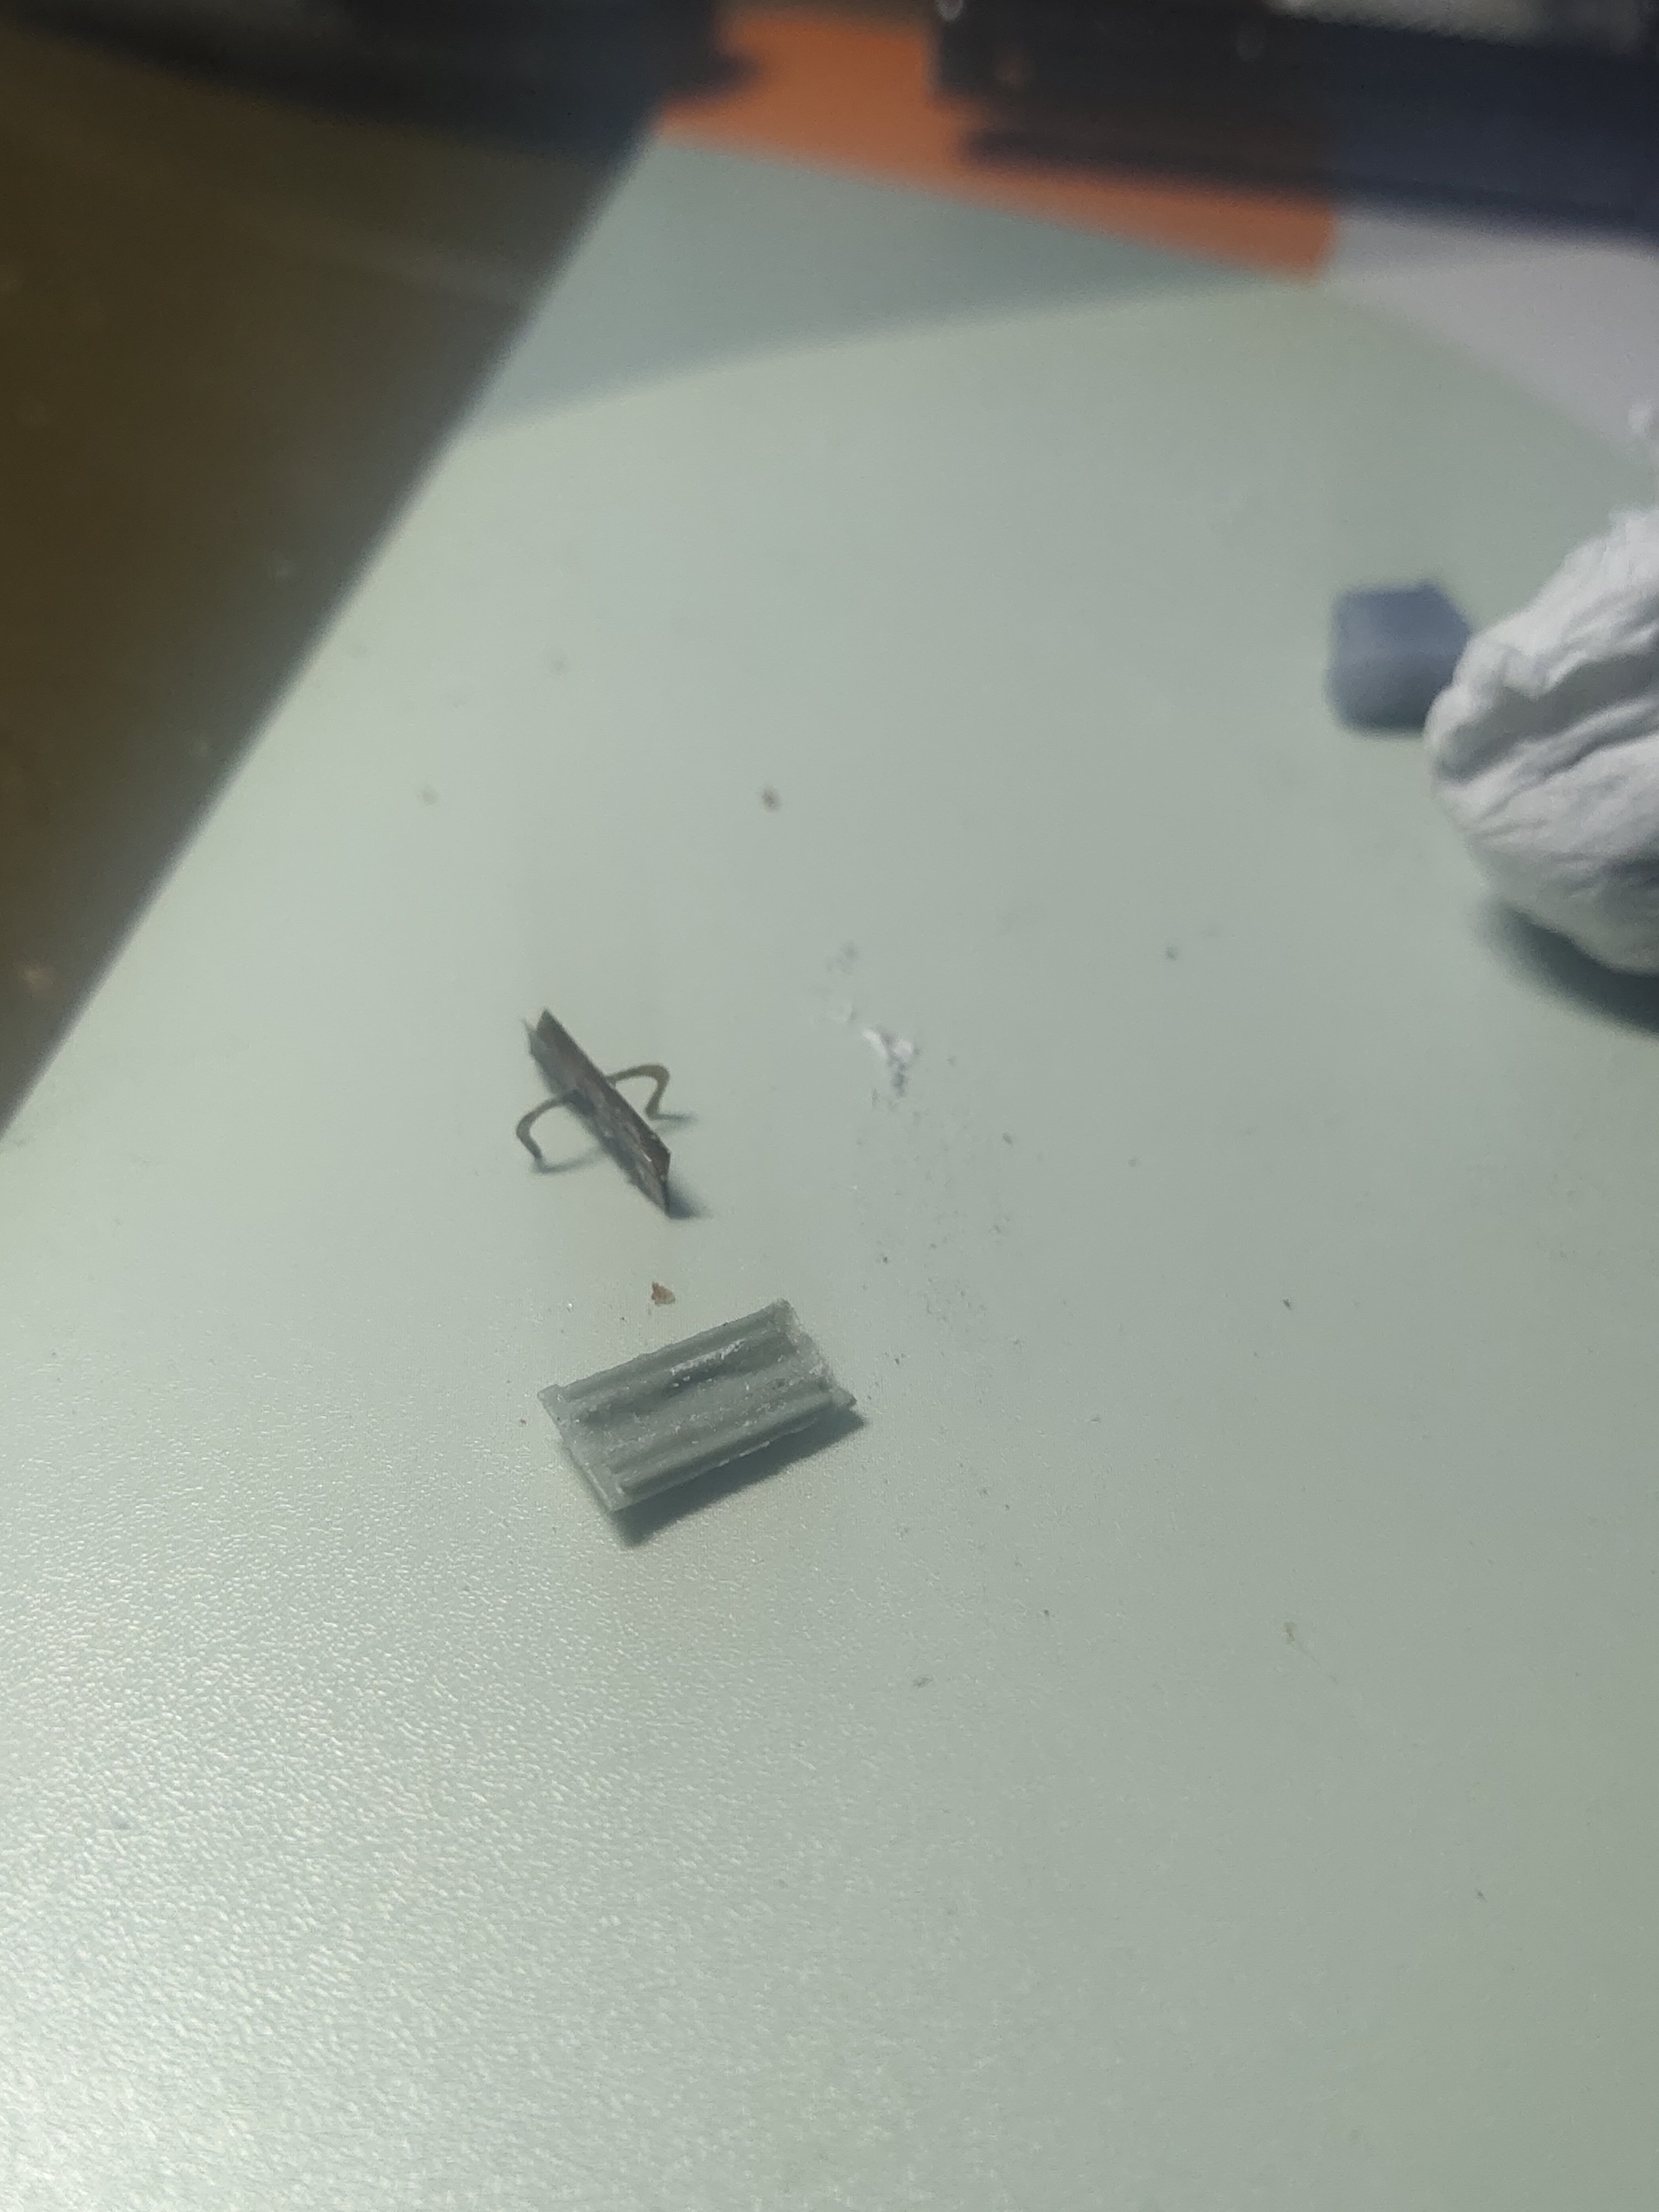
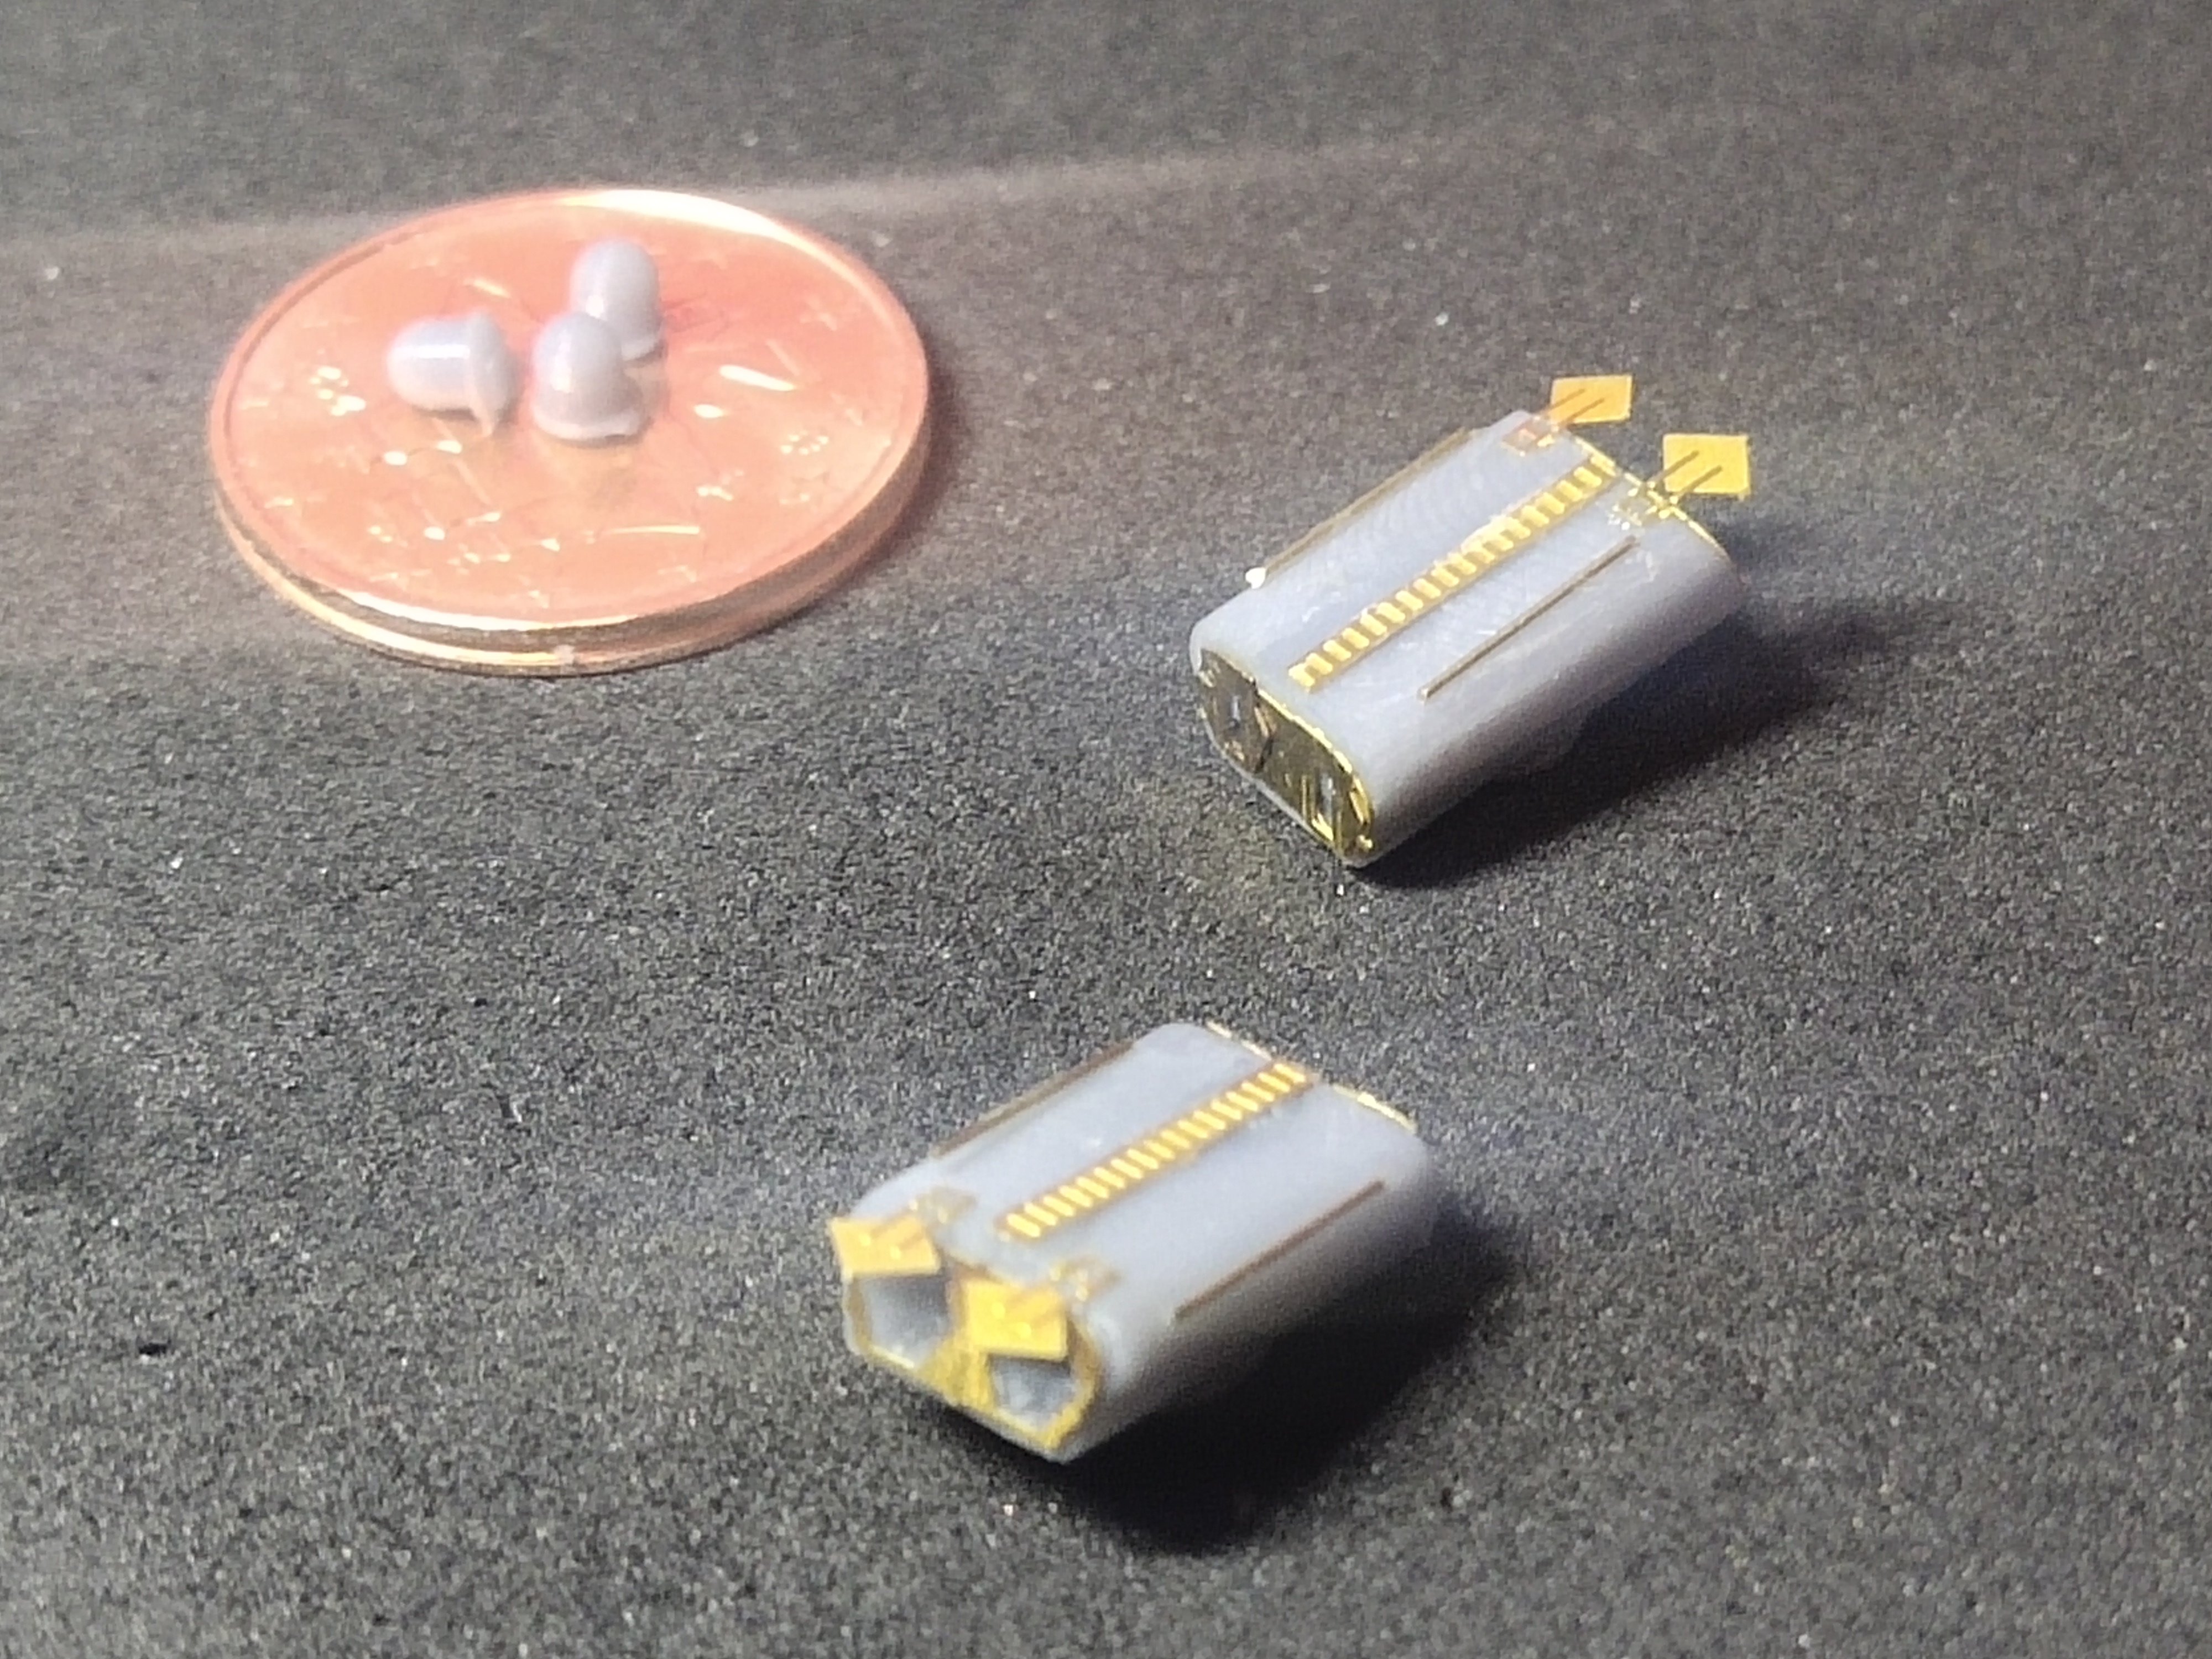
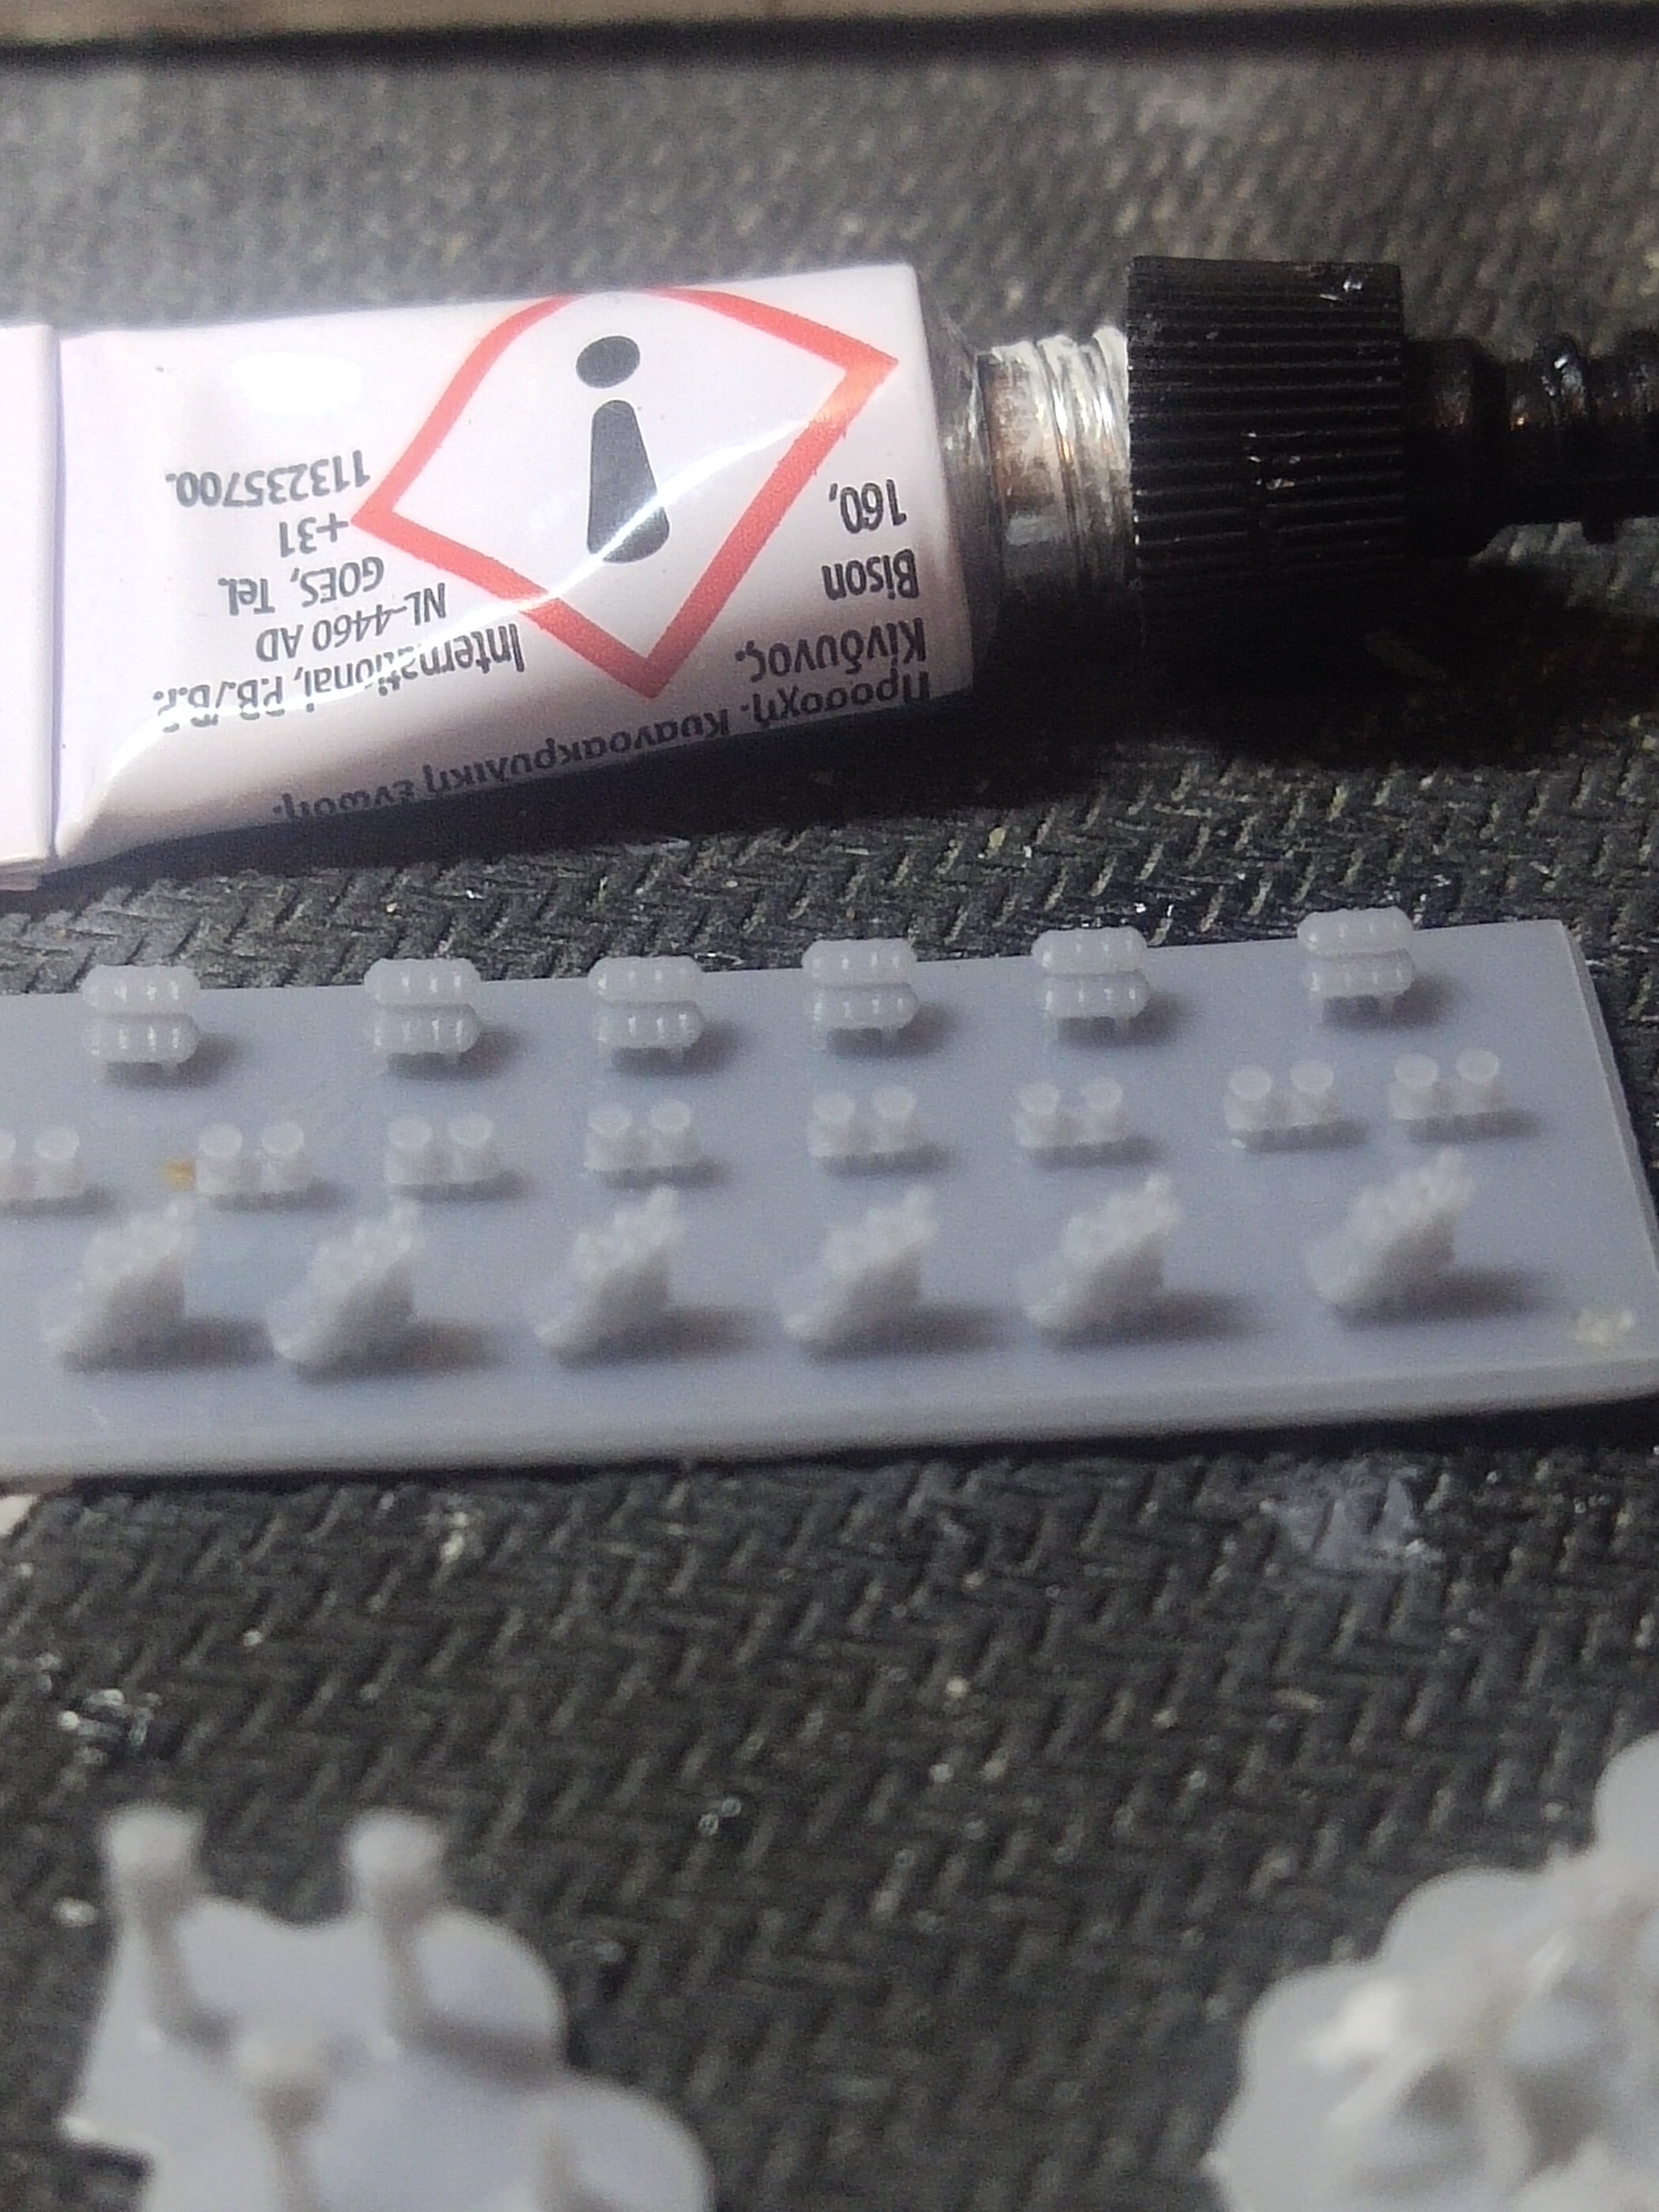
First trouble came when I start to make the missile launchers. Apart from the base the others are metal ones, a frame and the "skin", mini parts than must be folder in oval shaped and attached over the frame


After struggling for 2 hours it was pretty obvious that there's not a chance I accomplish this task and even if I do result will be mediocre.
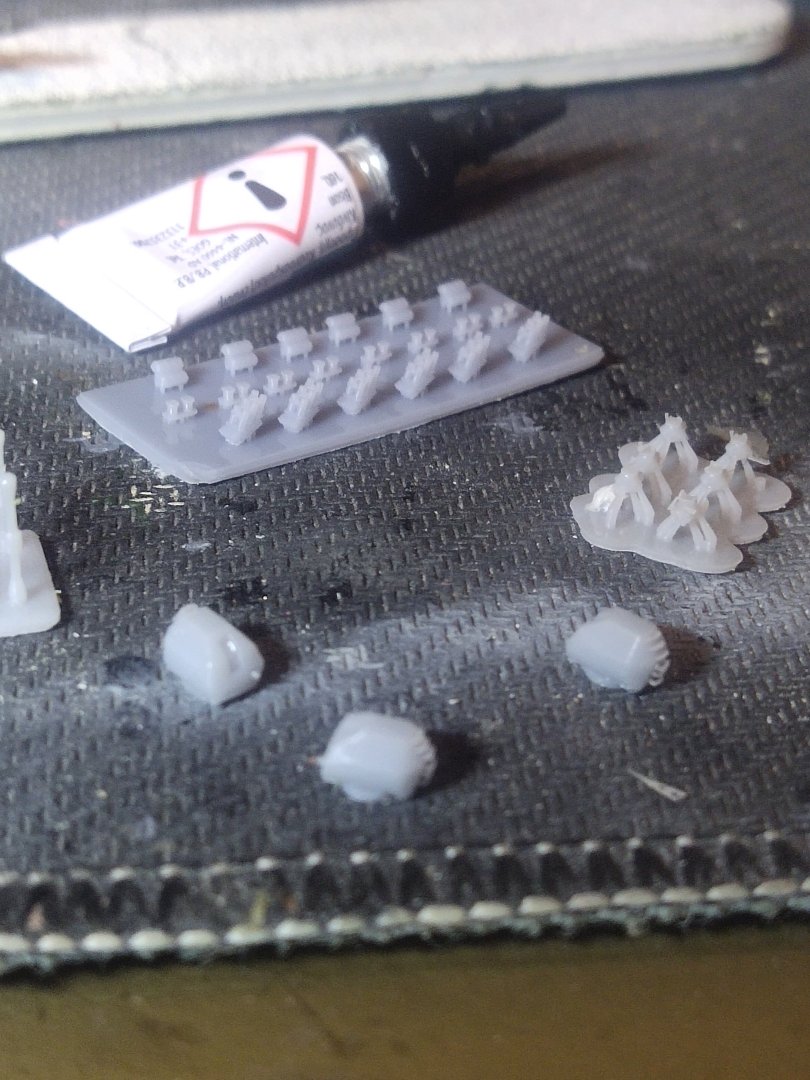
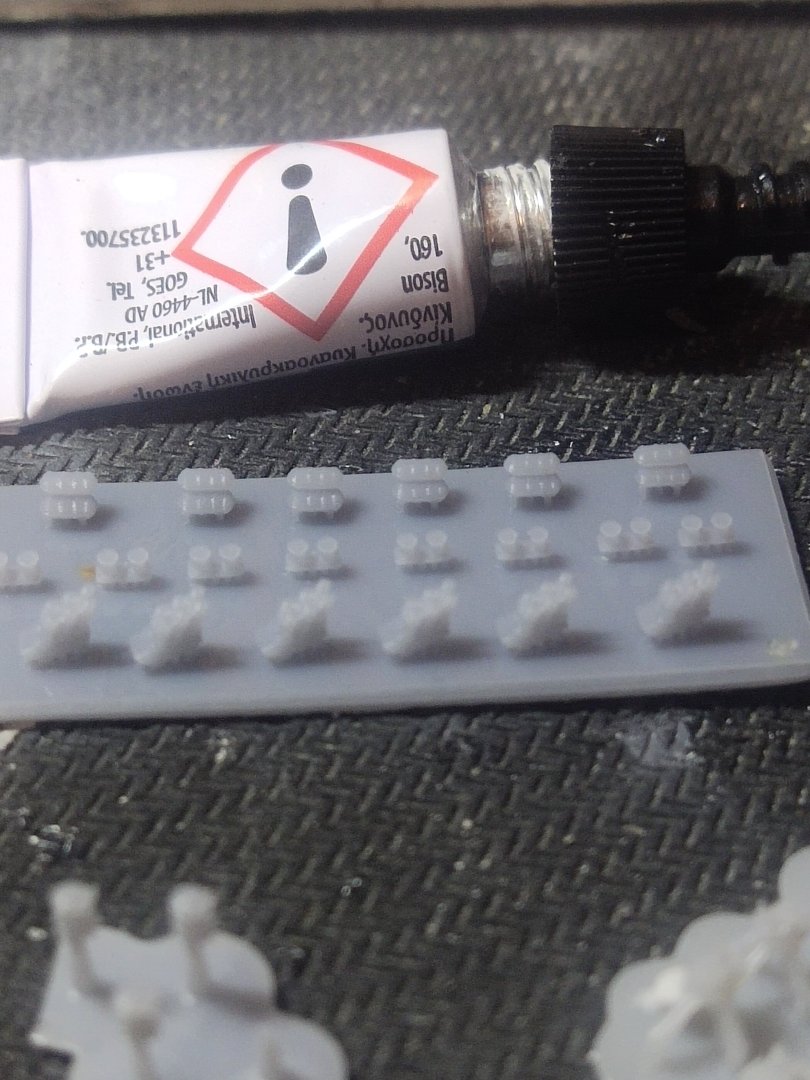
So once again standars parts were used as a reference for size and I made my own launchers pack after 3 attempts. Then I only add the enchancing PEs. Since there was an option for the hatches to be left open, I made also a few missile heads.
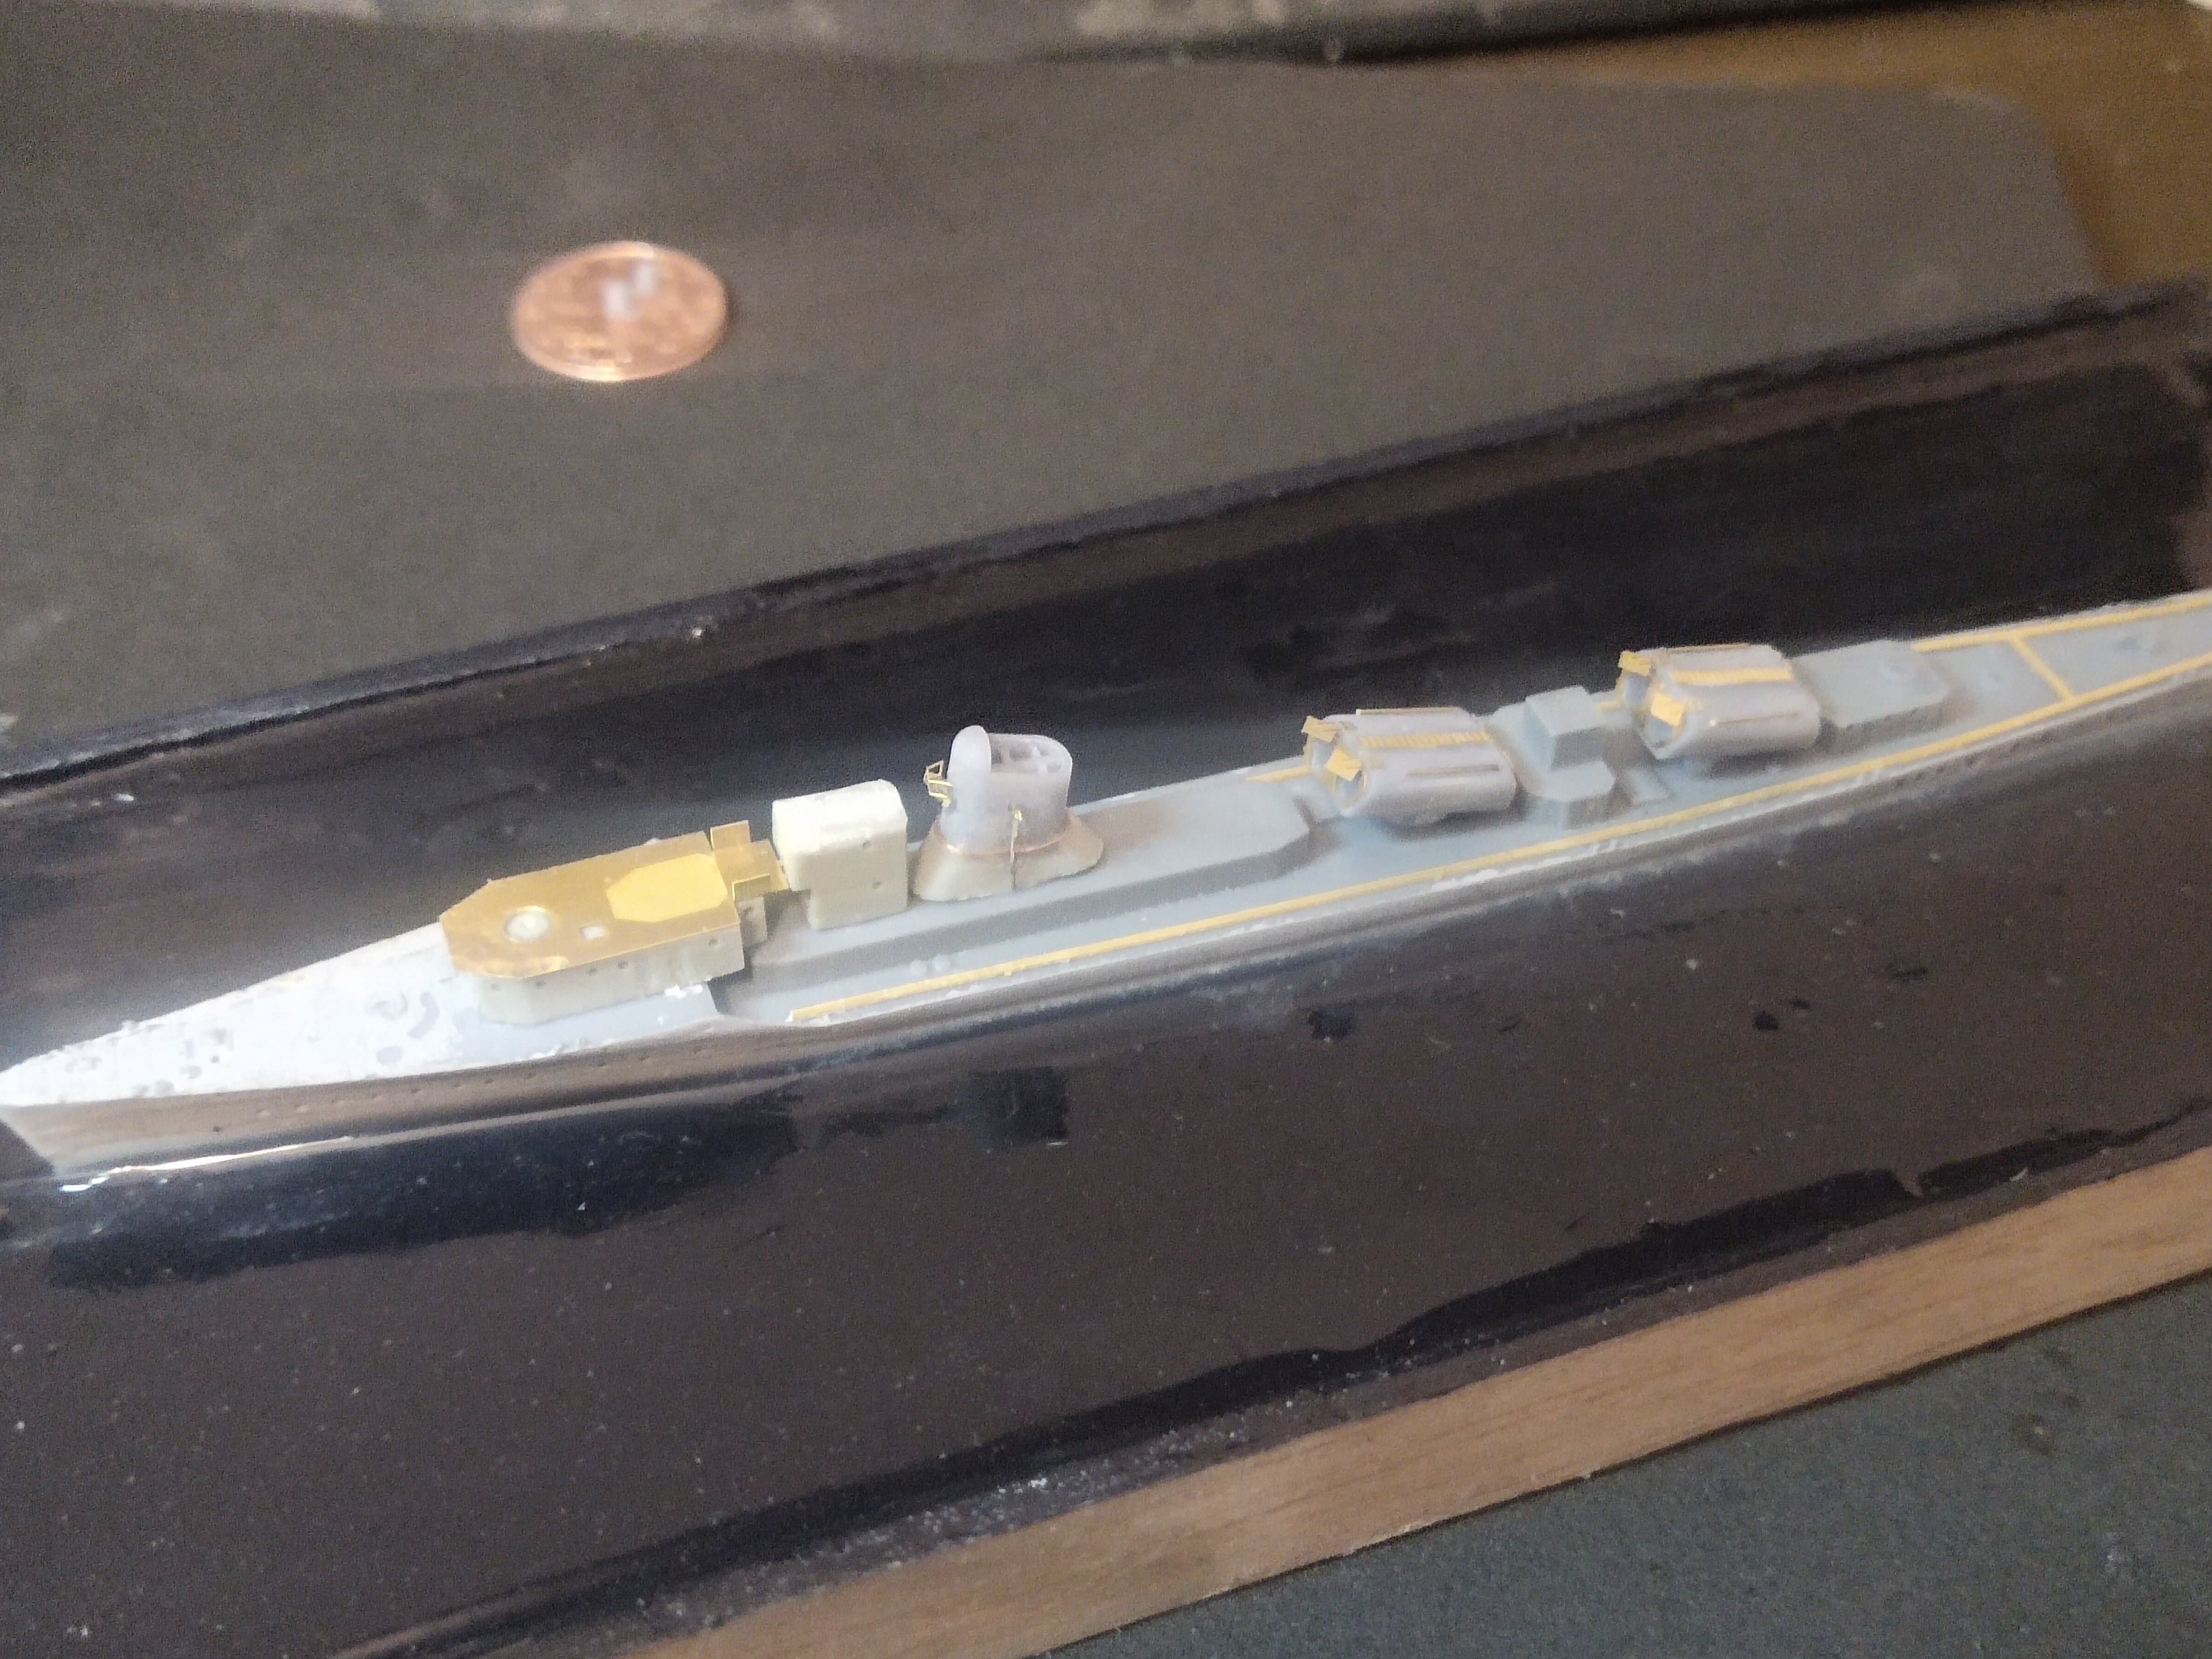
Finally the funnel was added with bit extra detailing according to pics I studied


- Baker, thibaultron and Canute
-
 2
2
-
 1
1
-
1 hour ago, king derelict said:
Lovely guns Mike. I like your seascape a lot too. I am getting keen to getting back to mine
alan
Thank you Alan
I am looking forward to see your work
- Canute and thibaultron
-
2
-
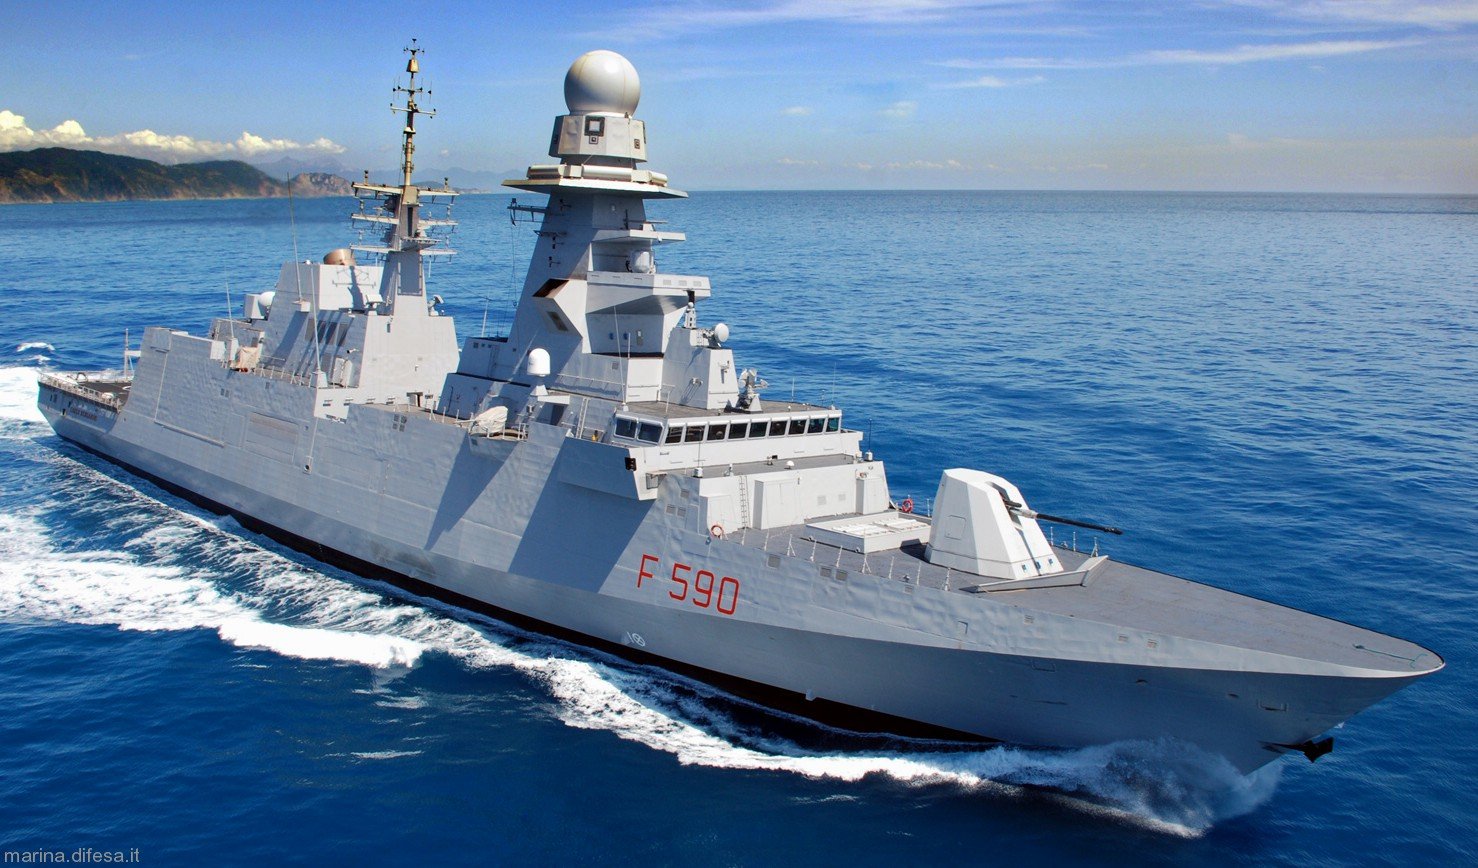
Another model of a less popular ship on my bench, Anshan the first destroyer of the PLA Navy.
Ex Russian ships, converted with Chinese missiles replacing some torpedo tubes. This ship today is a museum

The model
I bought it from EBay. The manufacturer is Chinese but I can't see the name. There are two PE sets with lots of big and small parts and few resin pieces. In fact most are PEs even some big parts of the superstructure.
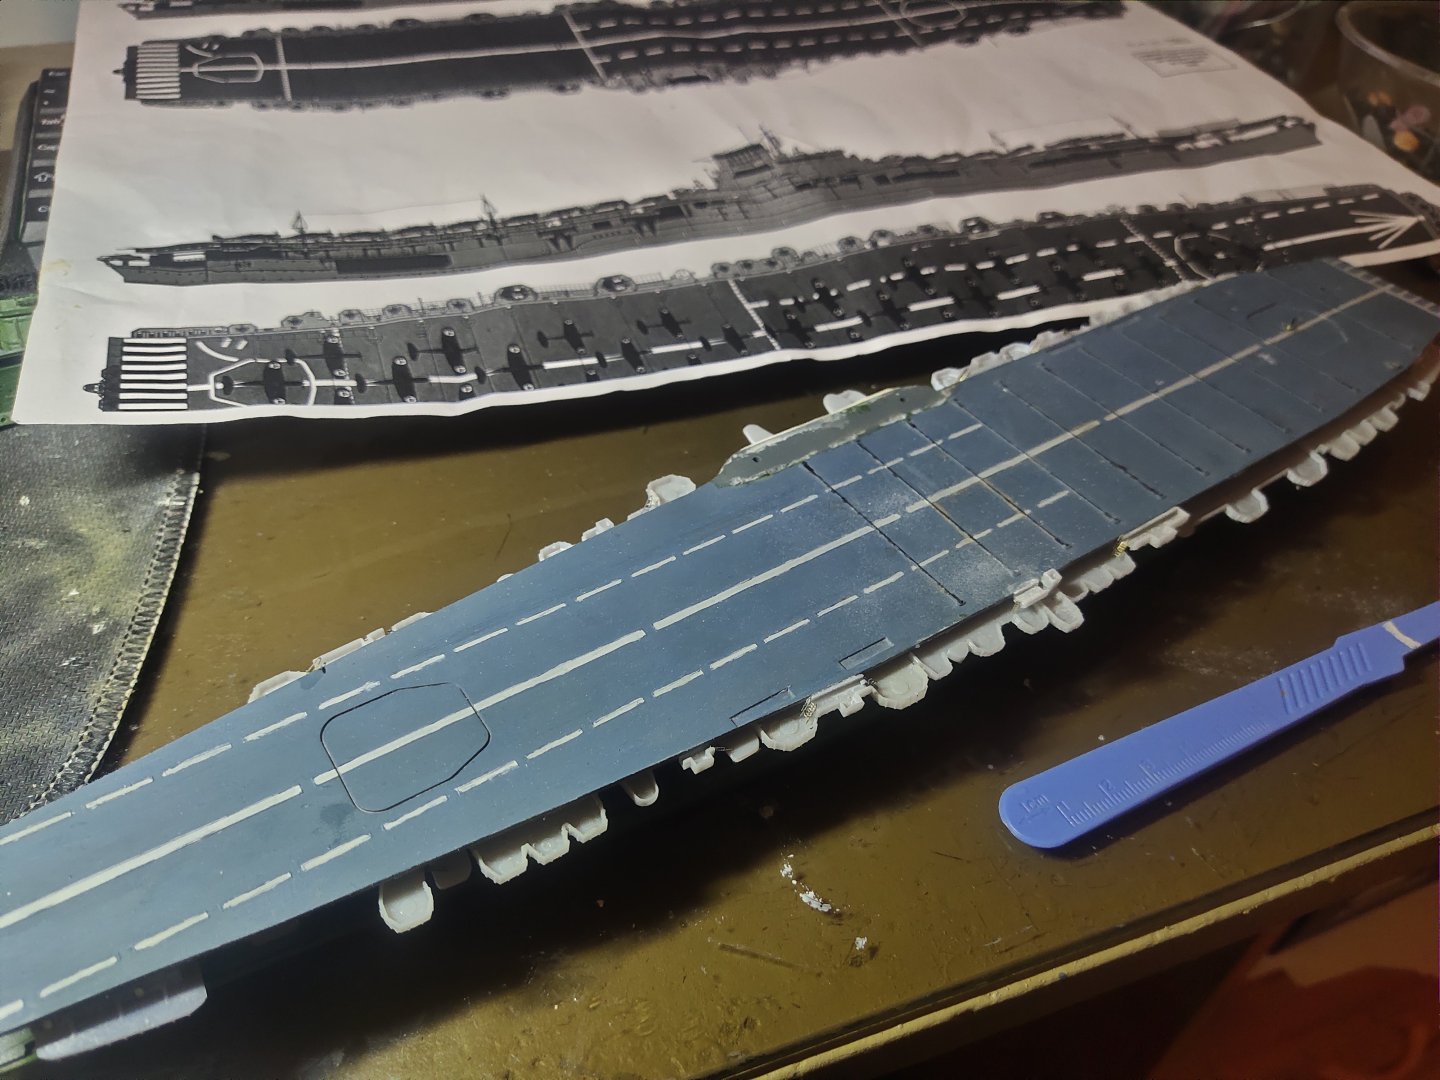
Finally the instructions are a 3 page photo copy, showing each part assembly, them fitting them all together to the hull. Not sure how helpful will that be.


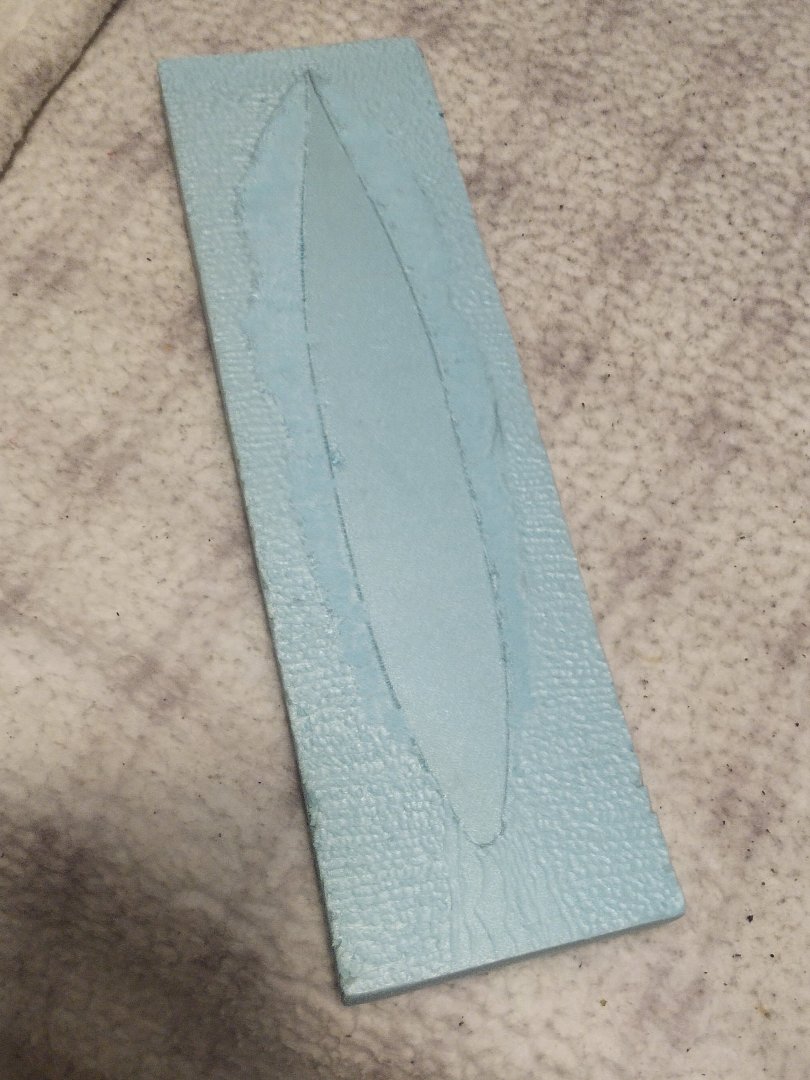
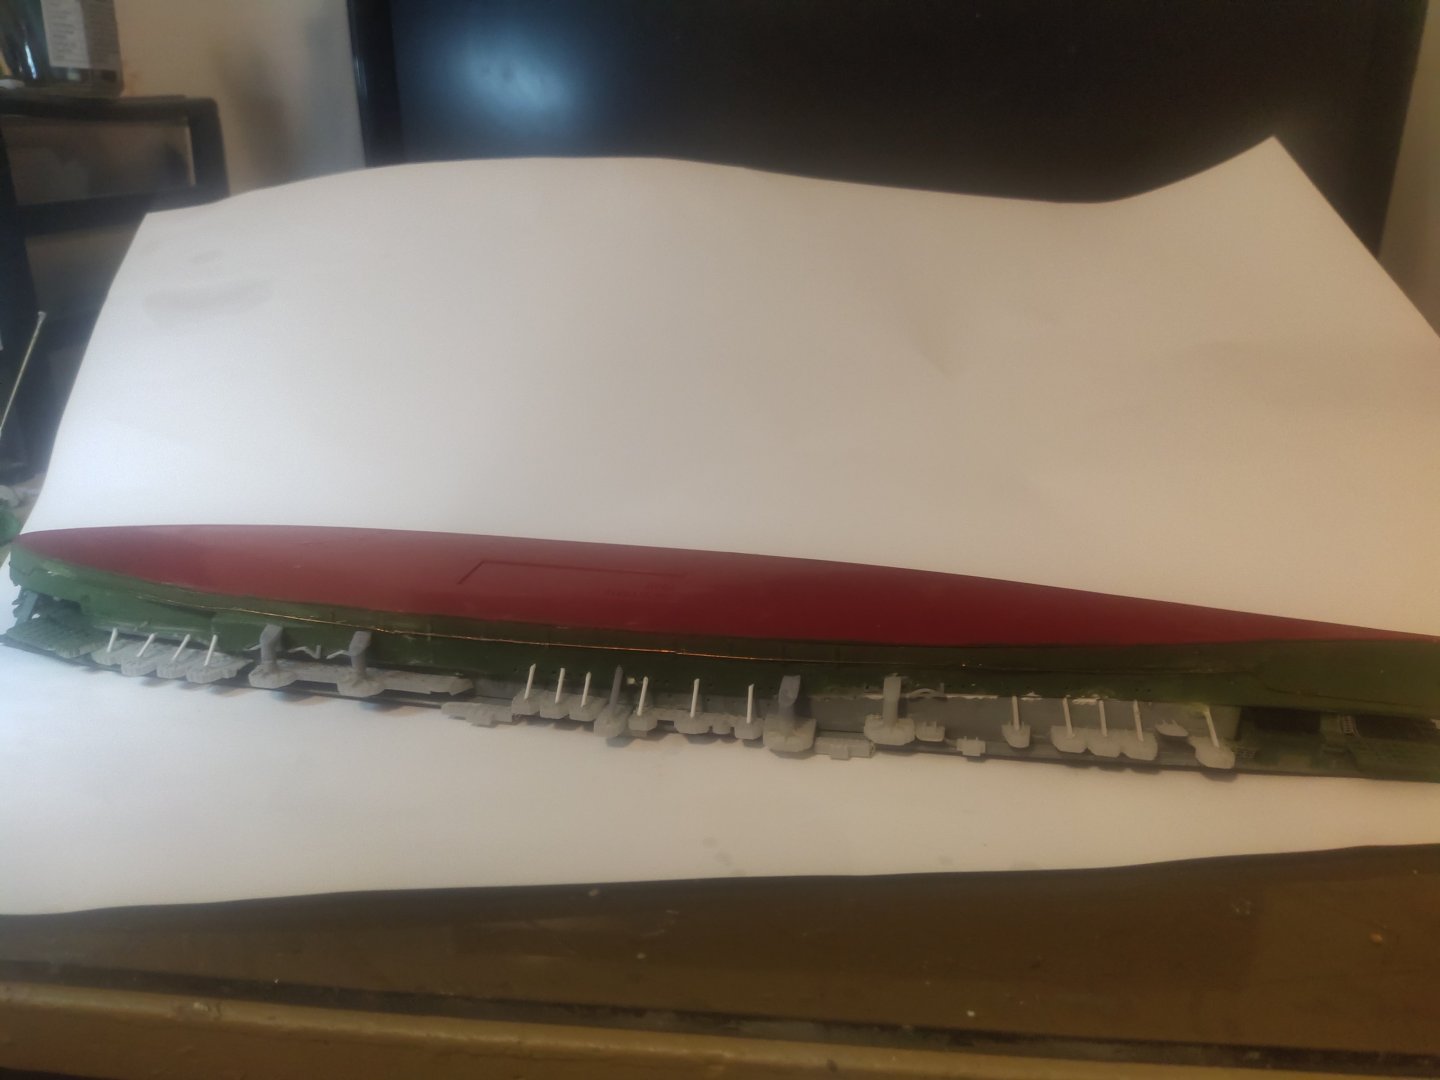
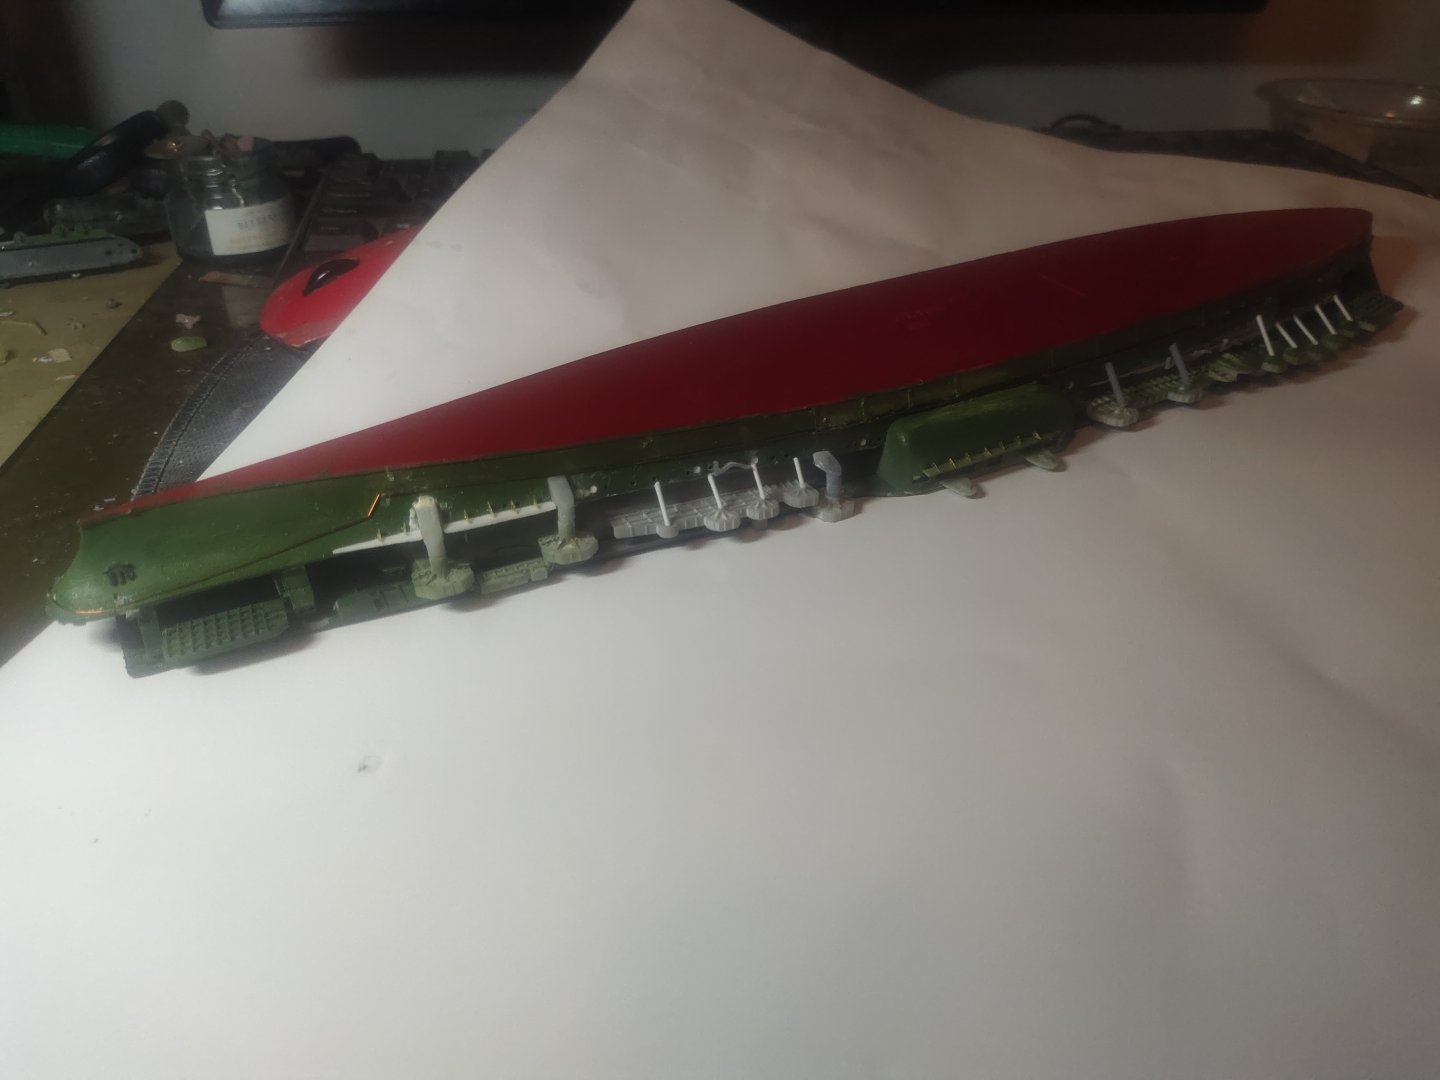
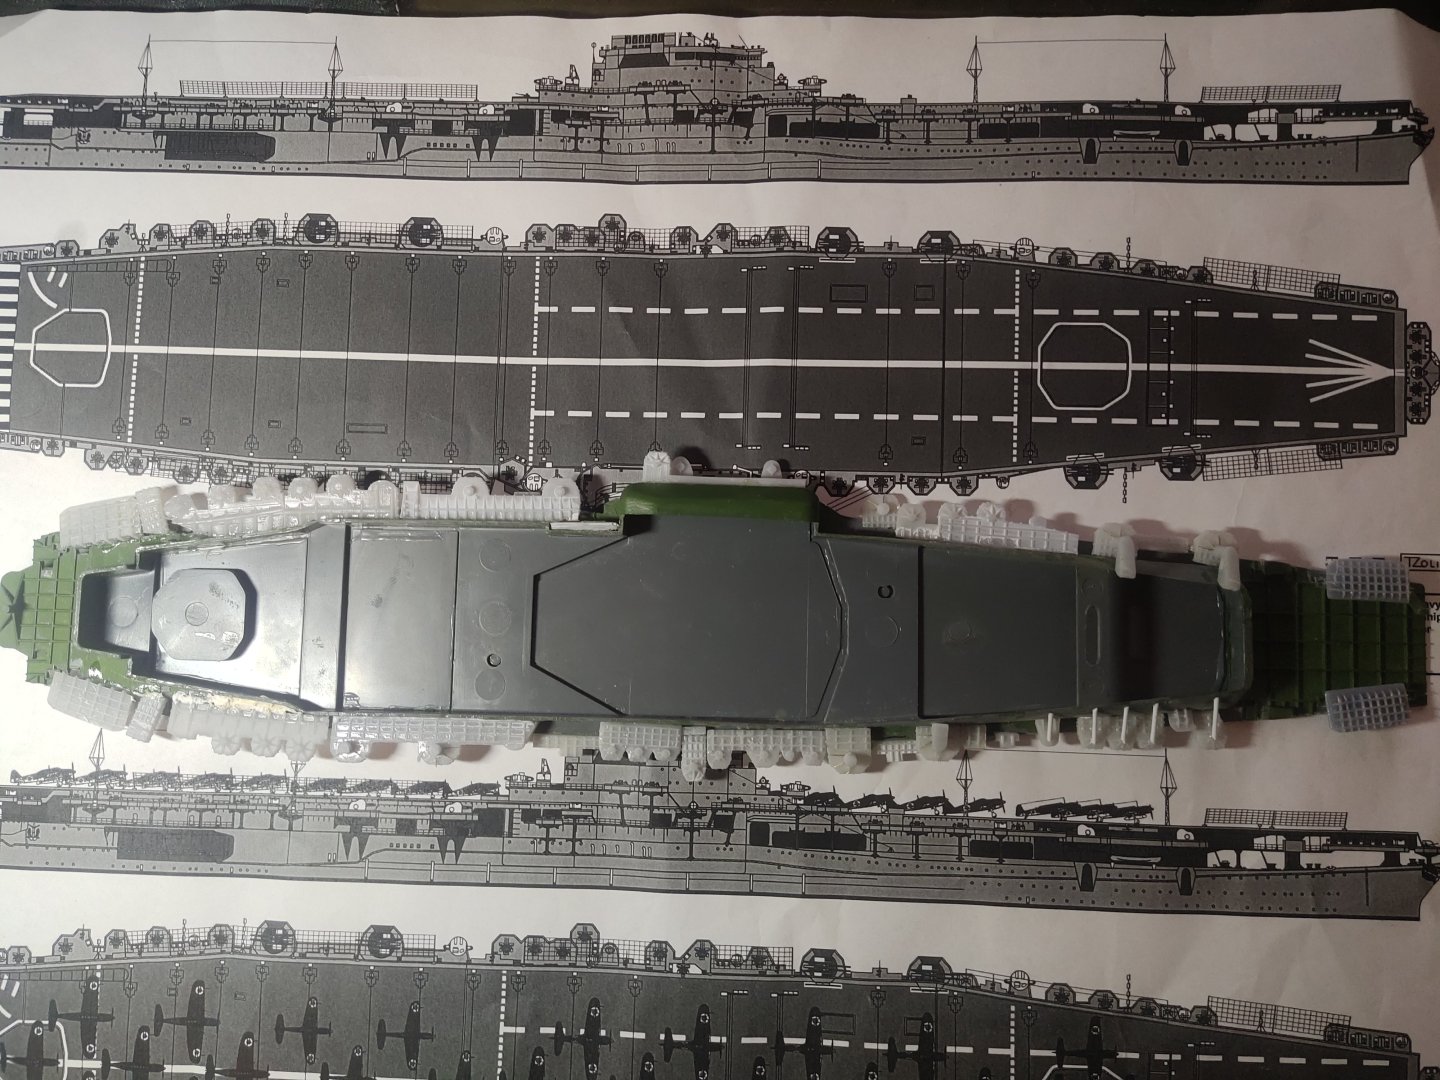
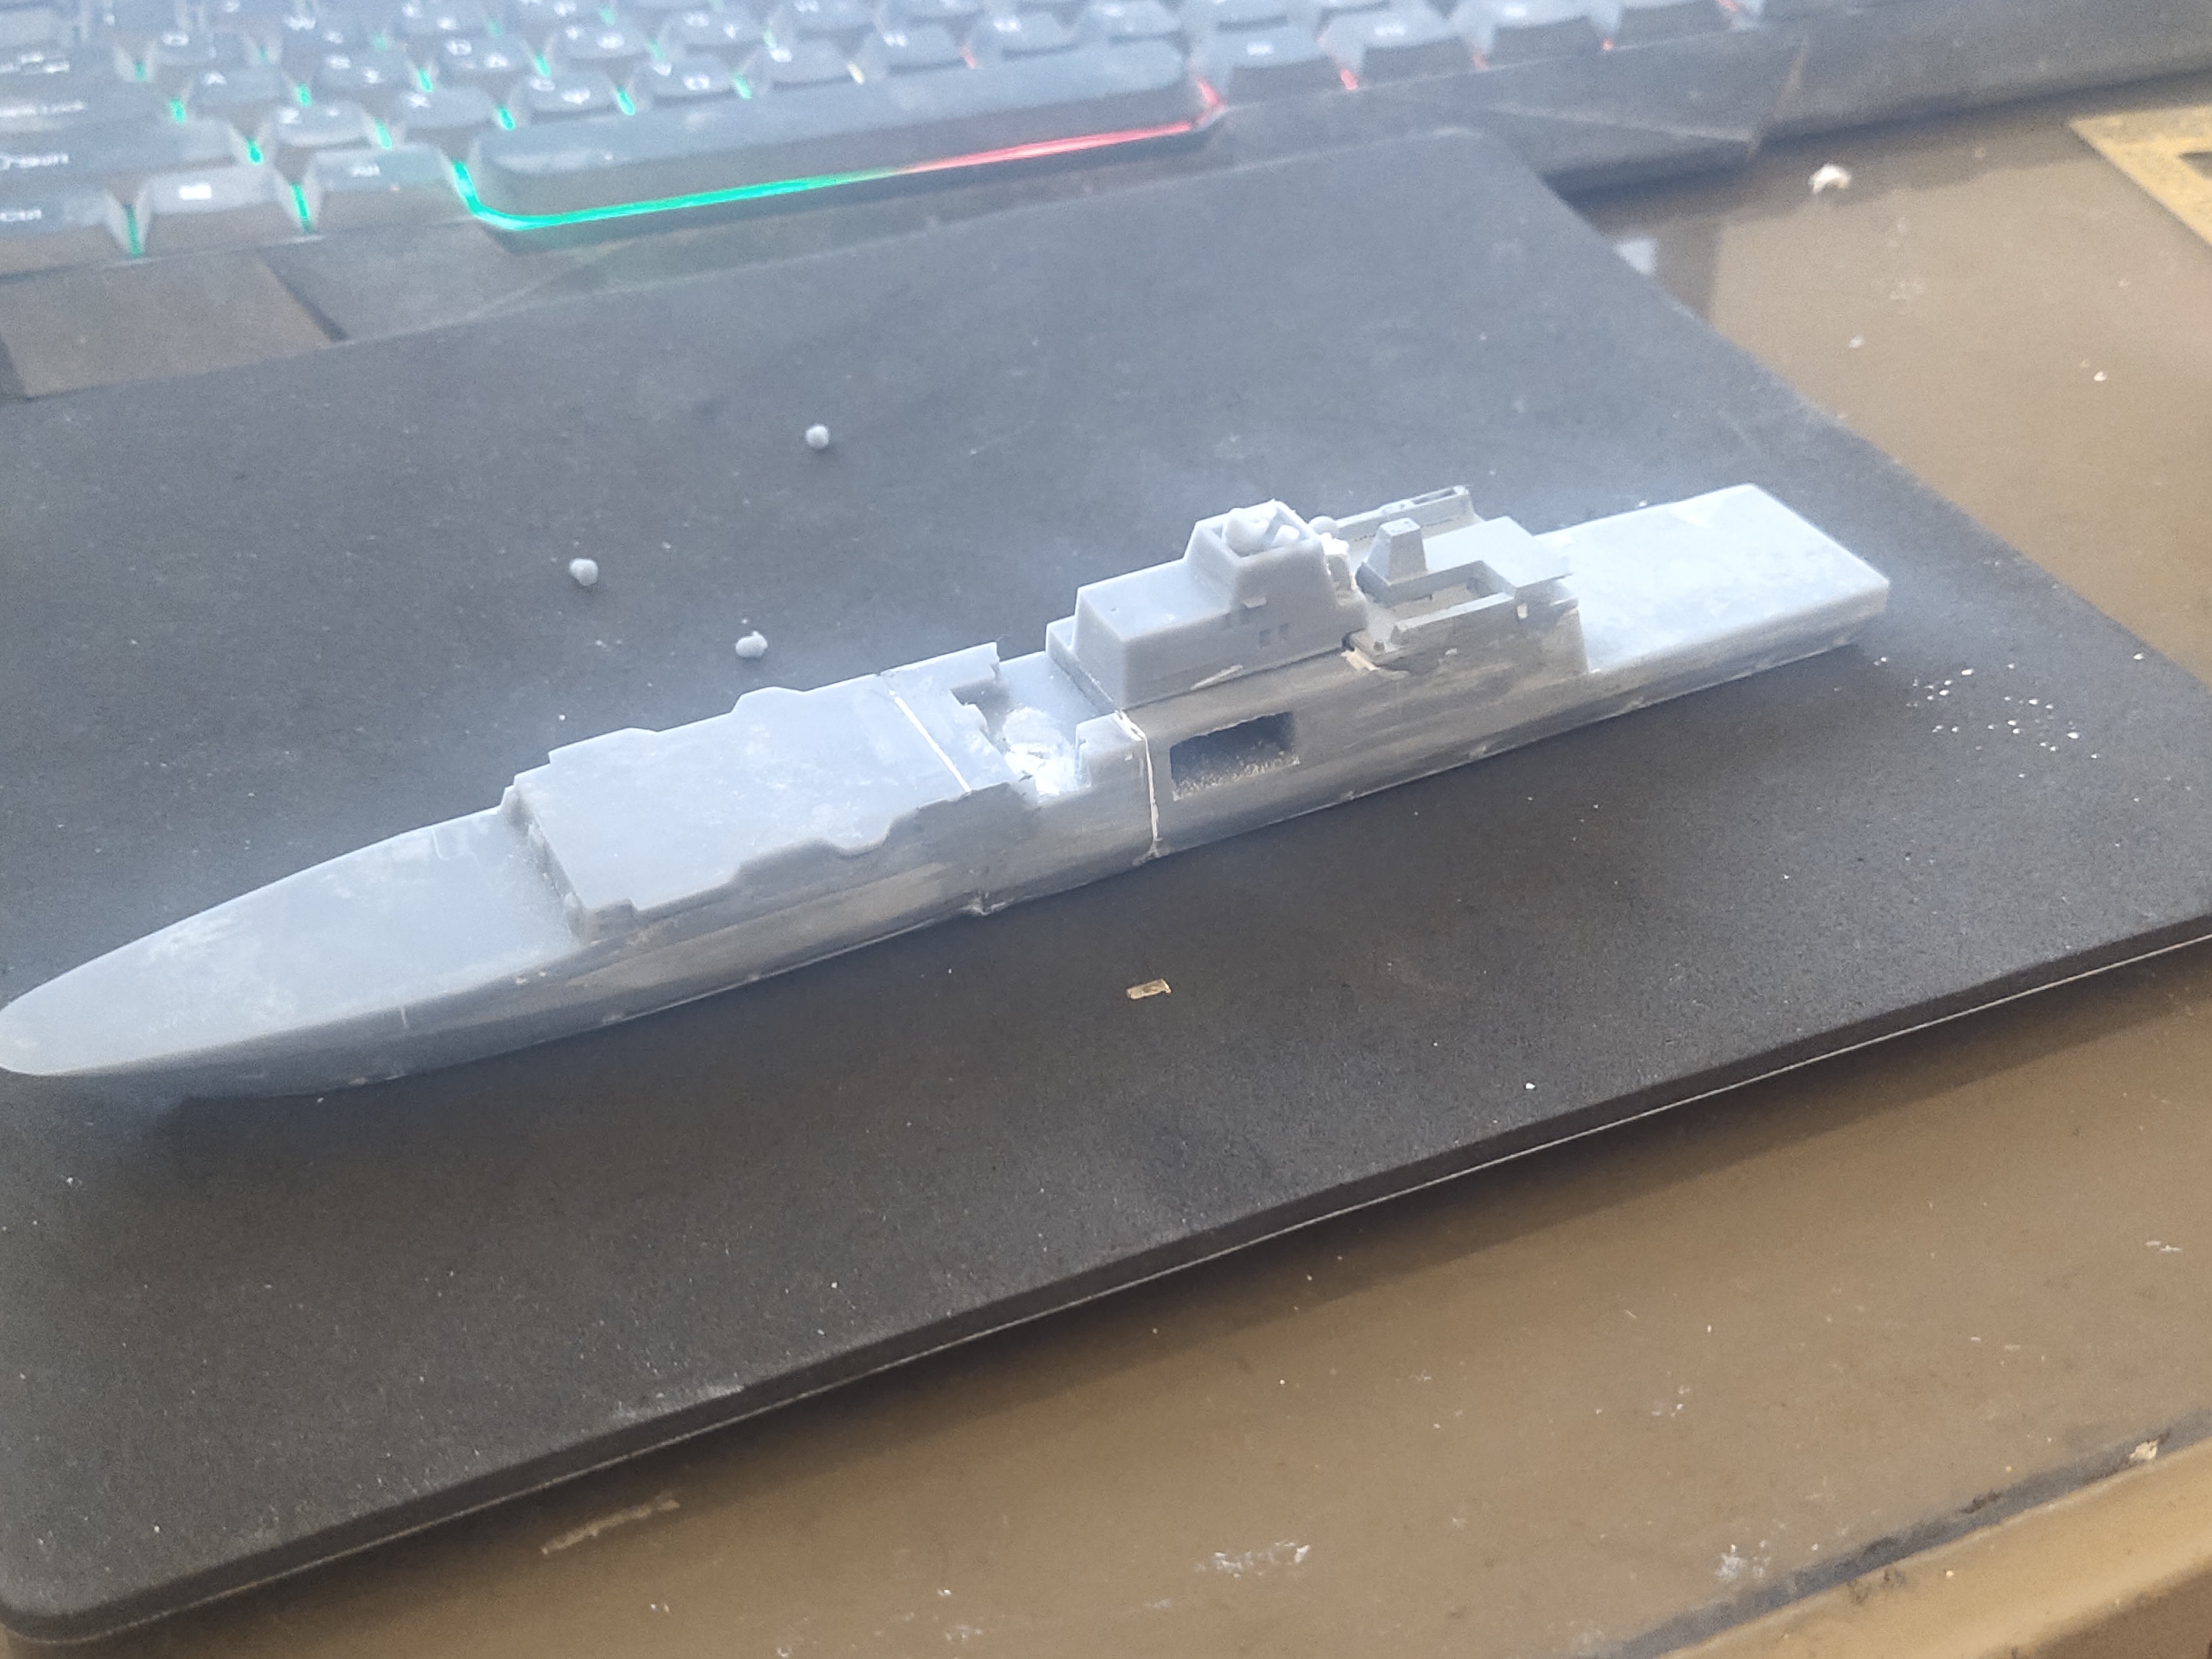
The first I did is to straighten the banana shaped resin hull

-
1 hour ago, Baker said:
Narrow base or not
Looks 👍to me
Thanks
I'm just keep on effort so every work will be a little better and not a repeated one
- Baker, thibaultron and Canute
-
3
-
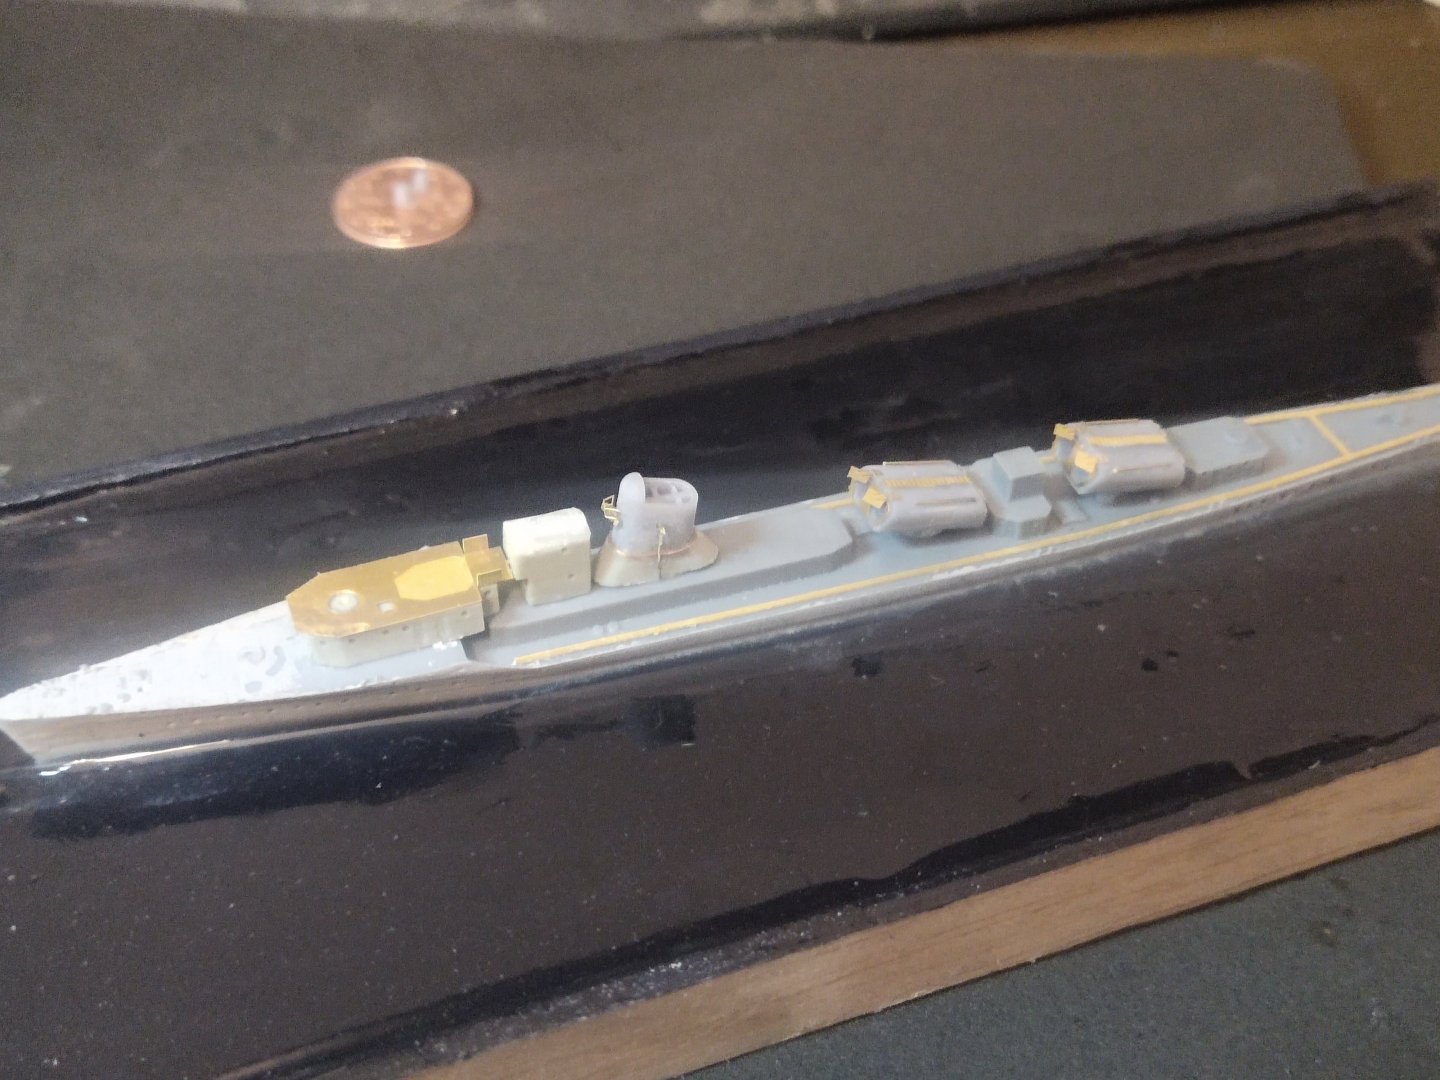
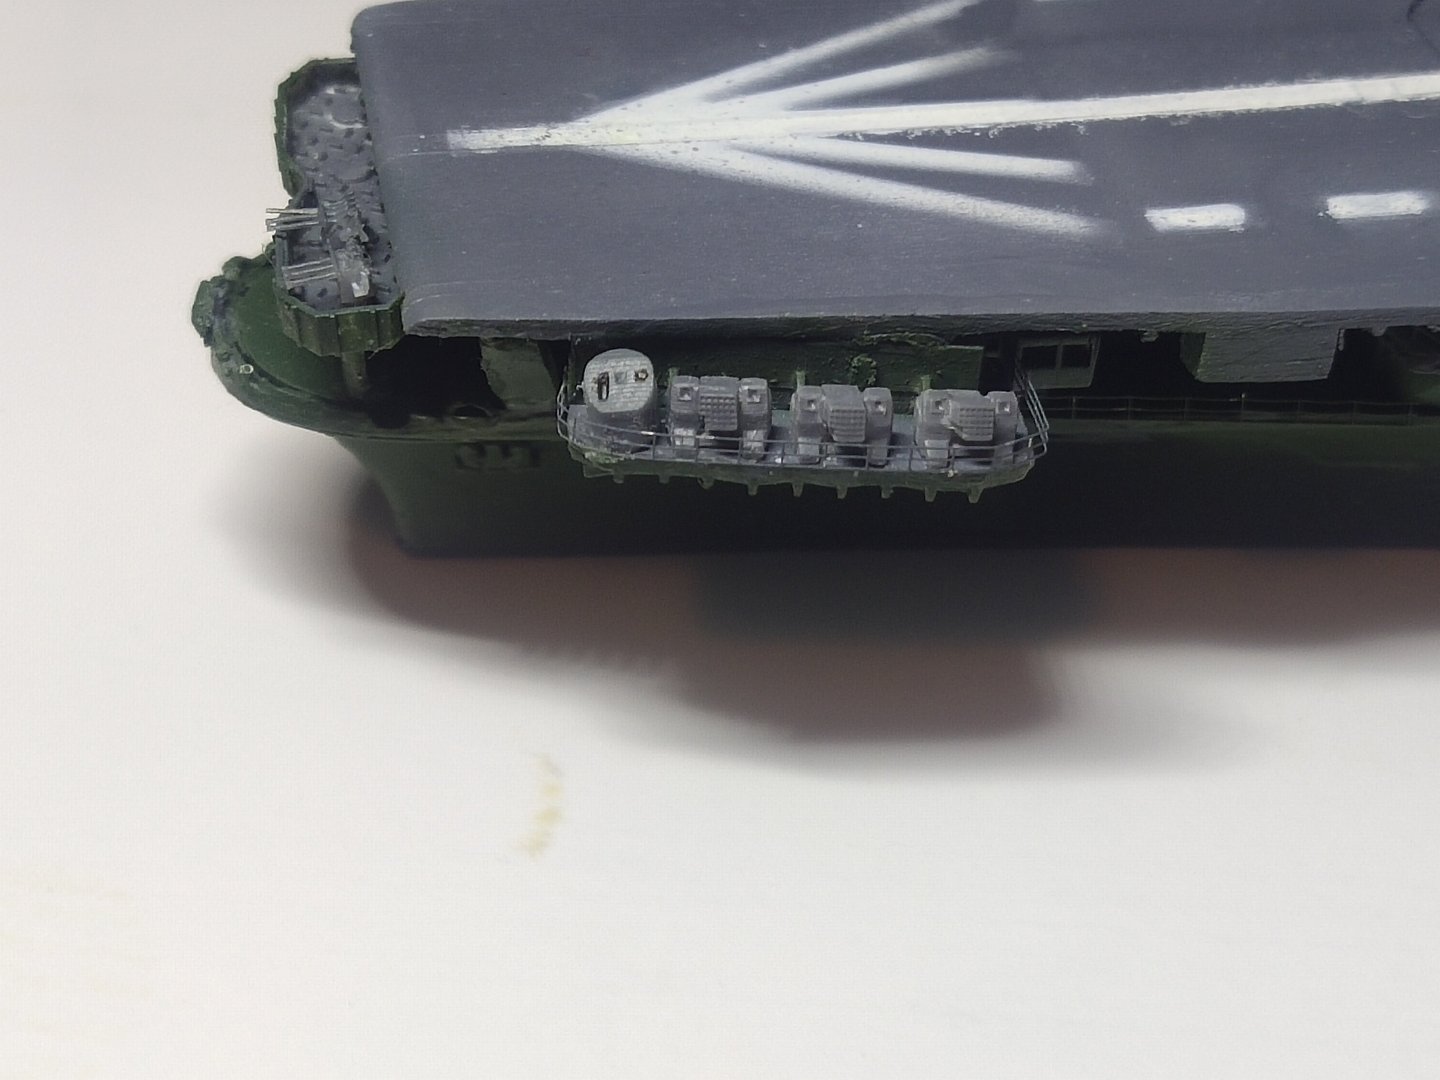
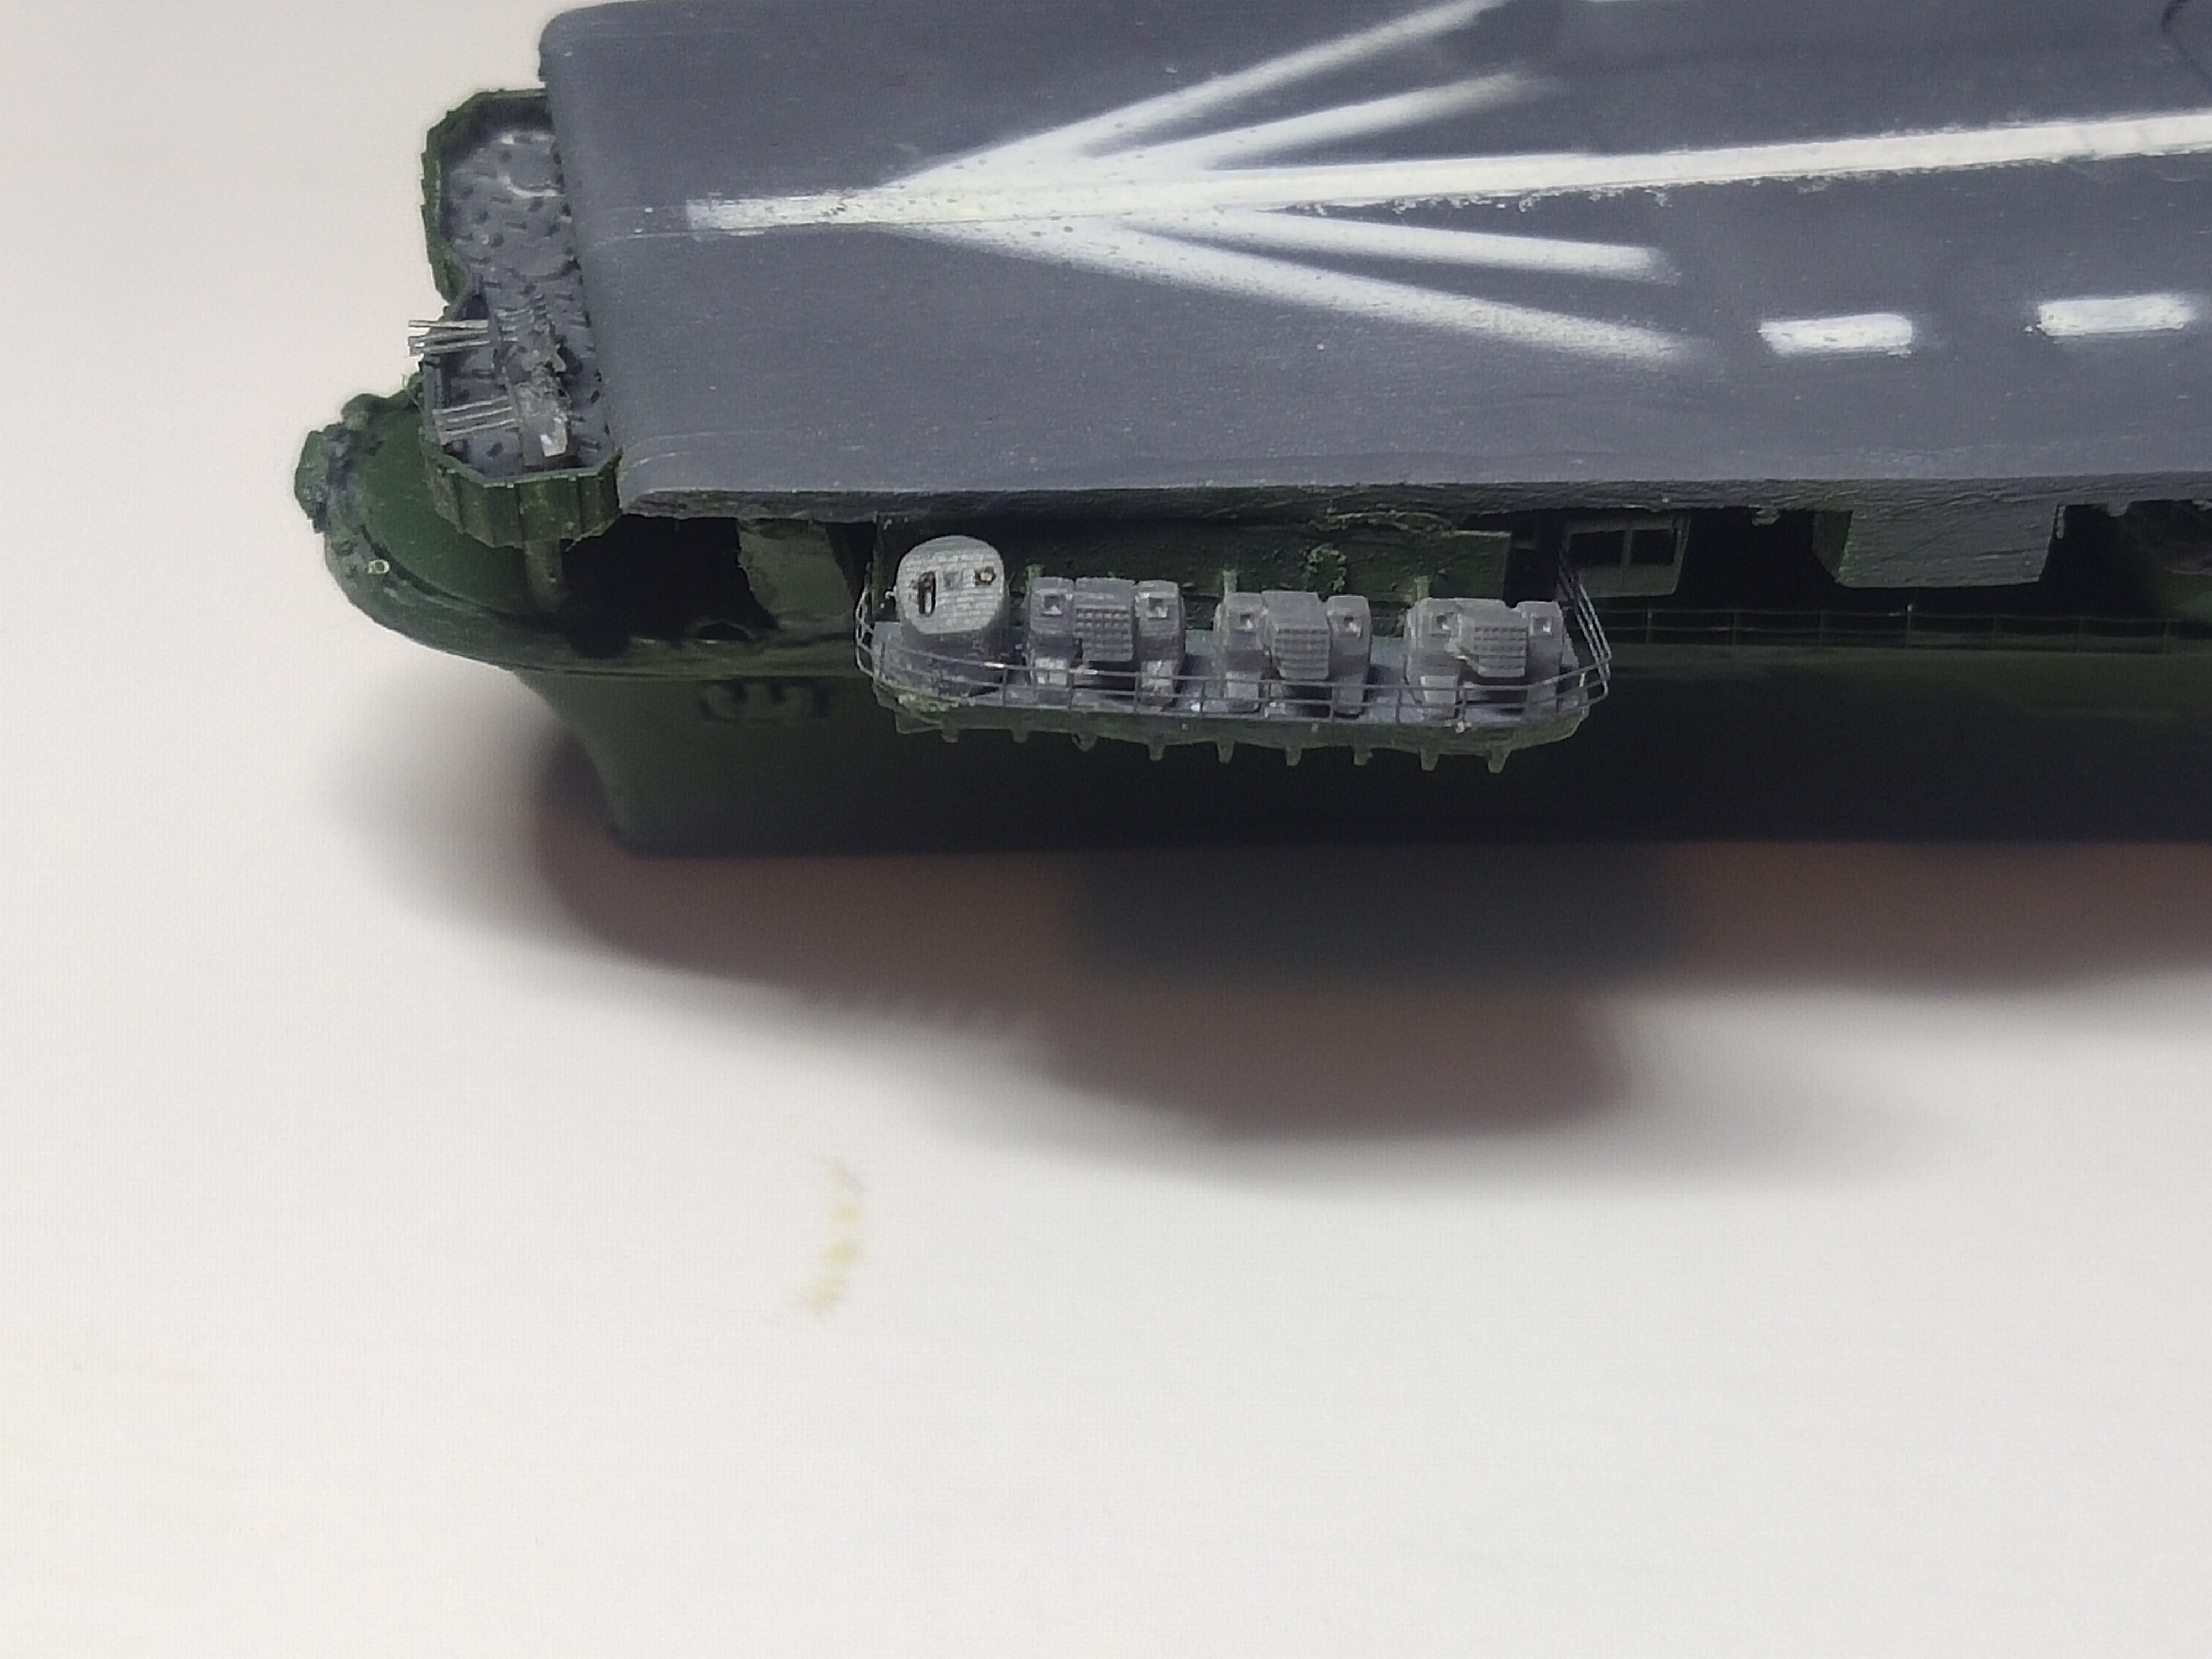
I added the remaining AA guns. They gave noticeable details. Some single 25mm added as well. Some darkening with black oil and a basic rigging. As the ship had a very short life no weathering is required.
Seabed is also done. It looks well apart from the wakes close to the stern. They shouldn't follow the hull shape. The decision of using a narrow base led me to this mistake. But need to move on, can't spend time to make a 3rd base.


- thibaultron, king derelict, Canute and 2 others
-
4
-
1
-
I made some AA guns. Then fitted a few. A new seabed is under construction because the wooden base of the previous one got warped

- king derelict, thibaultron, Canute and 2 others
-
5
-
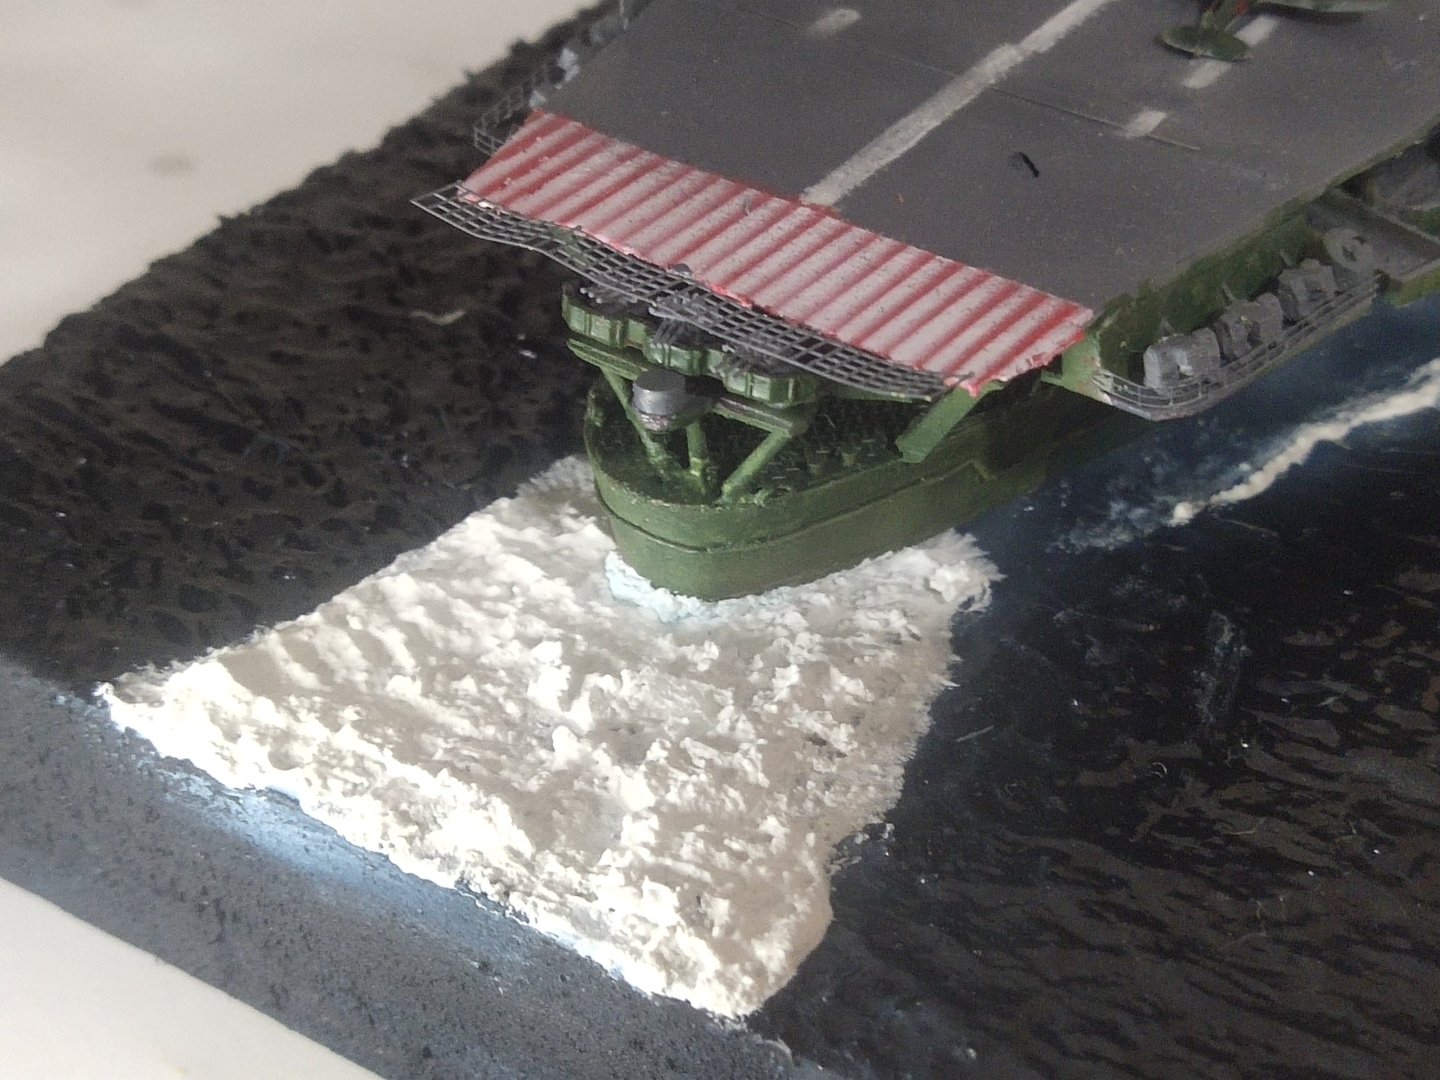
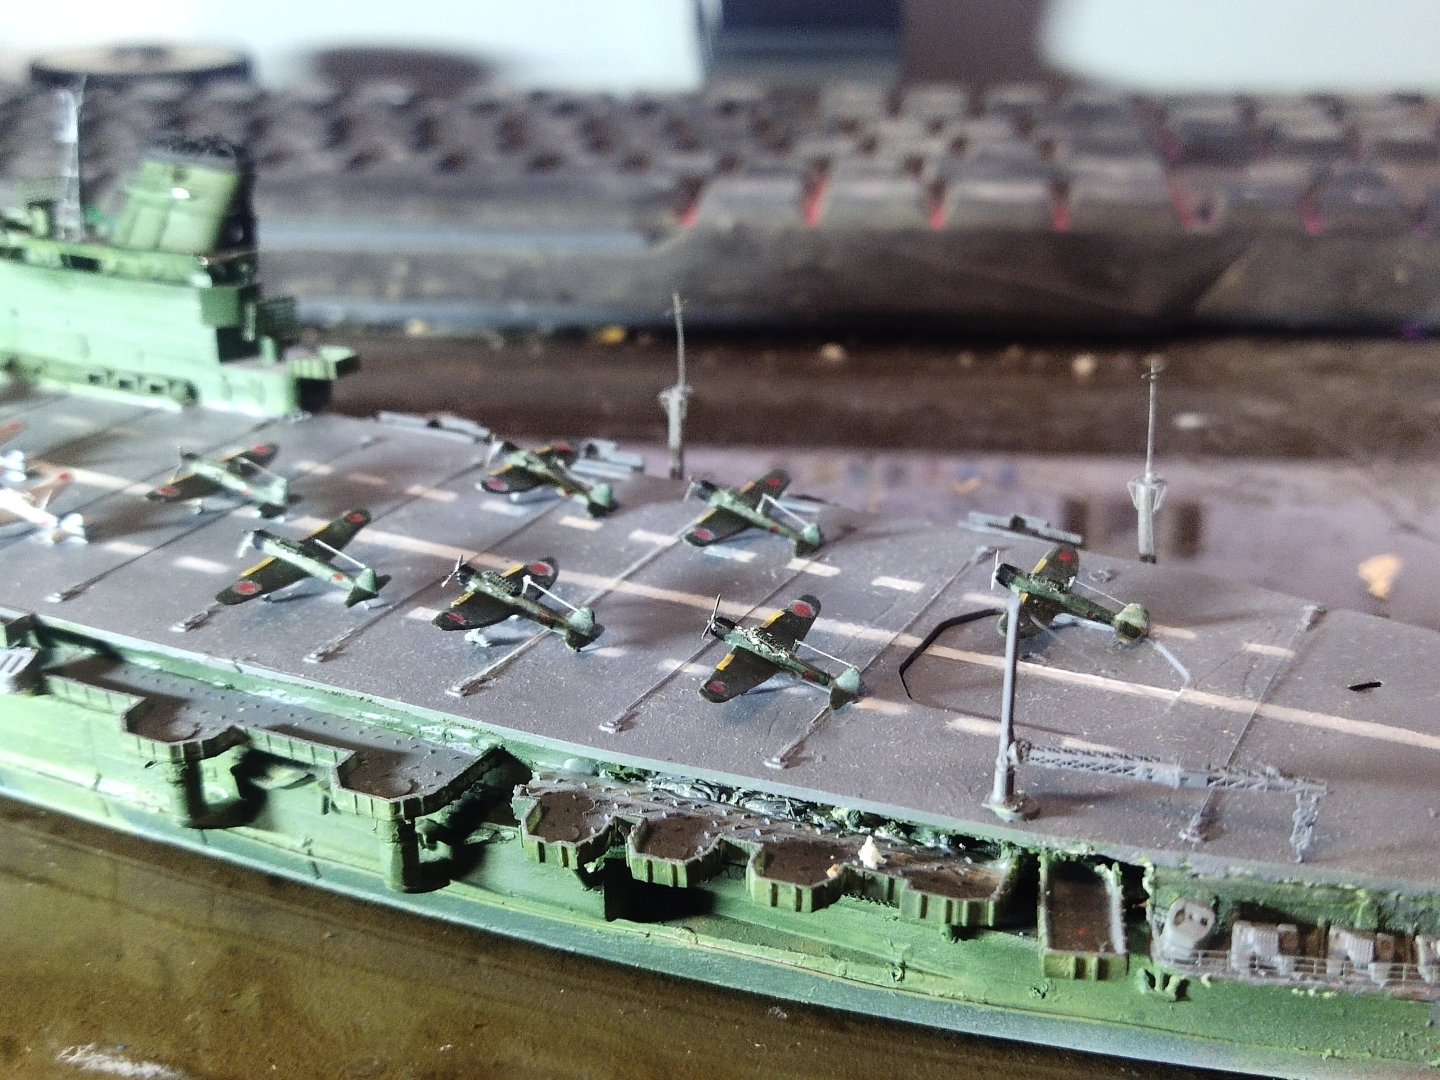
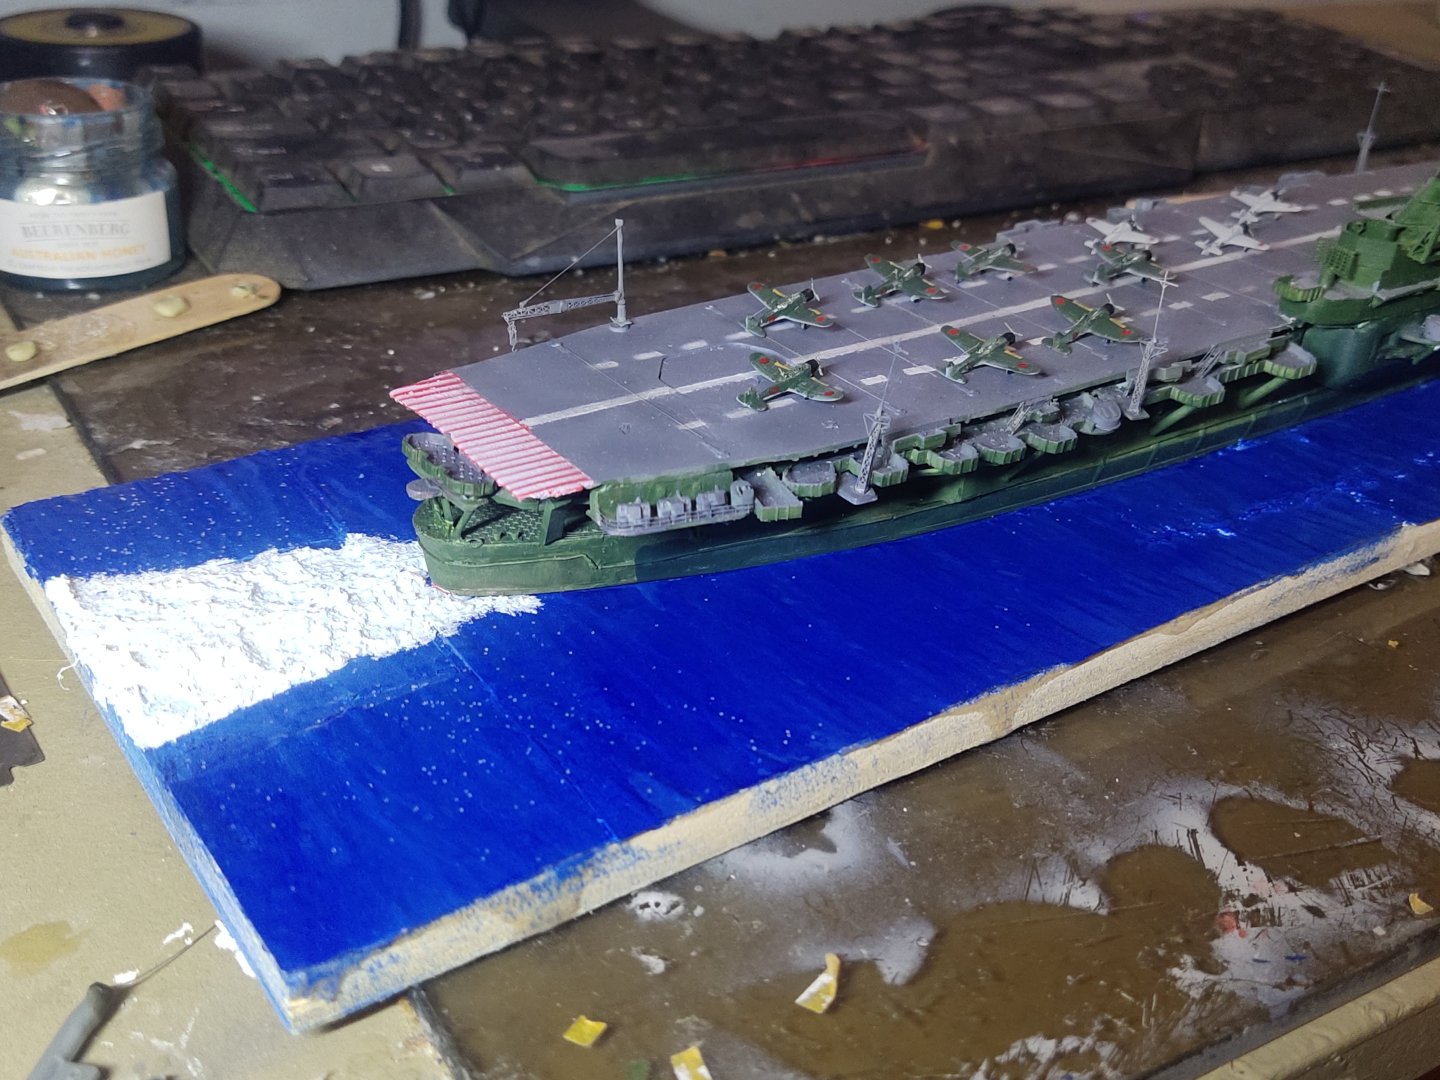
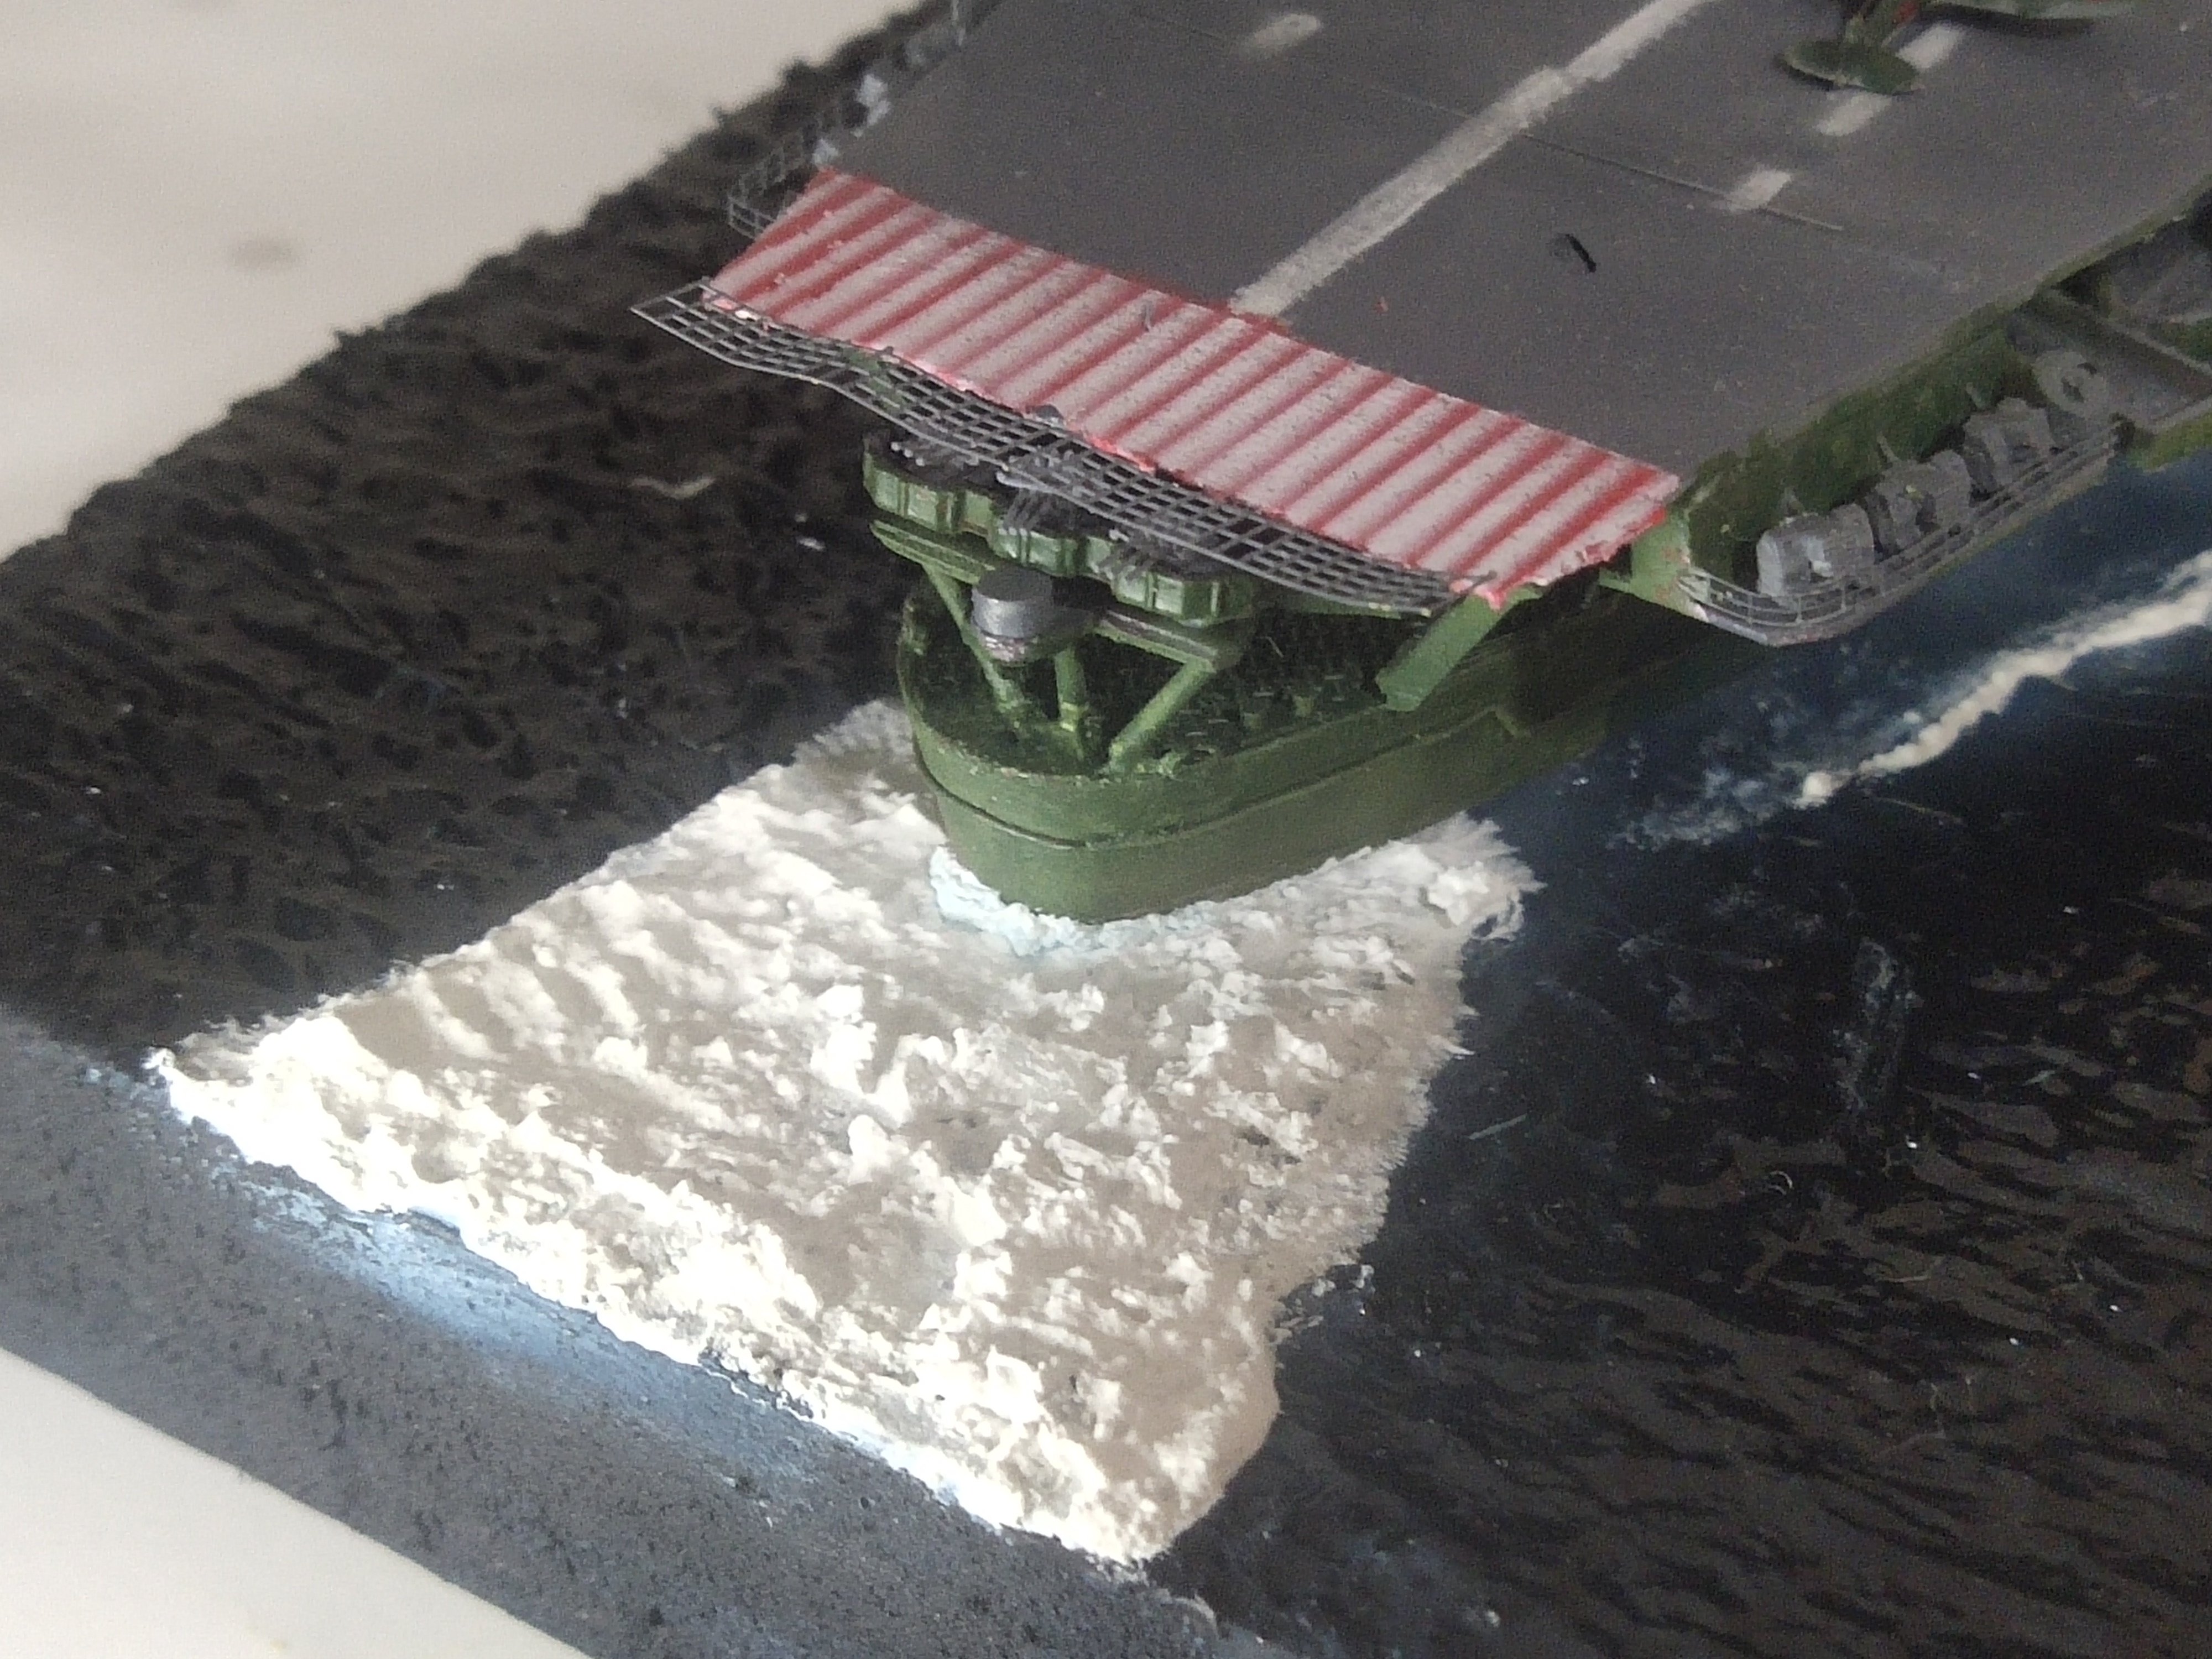
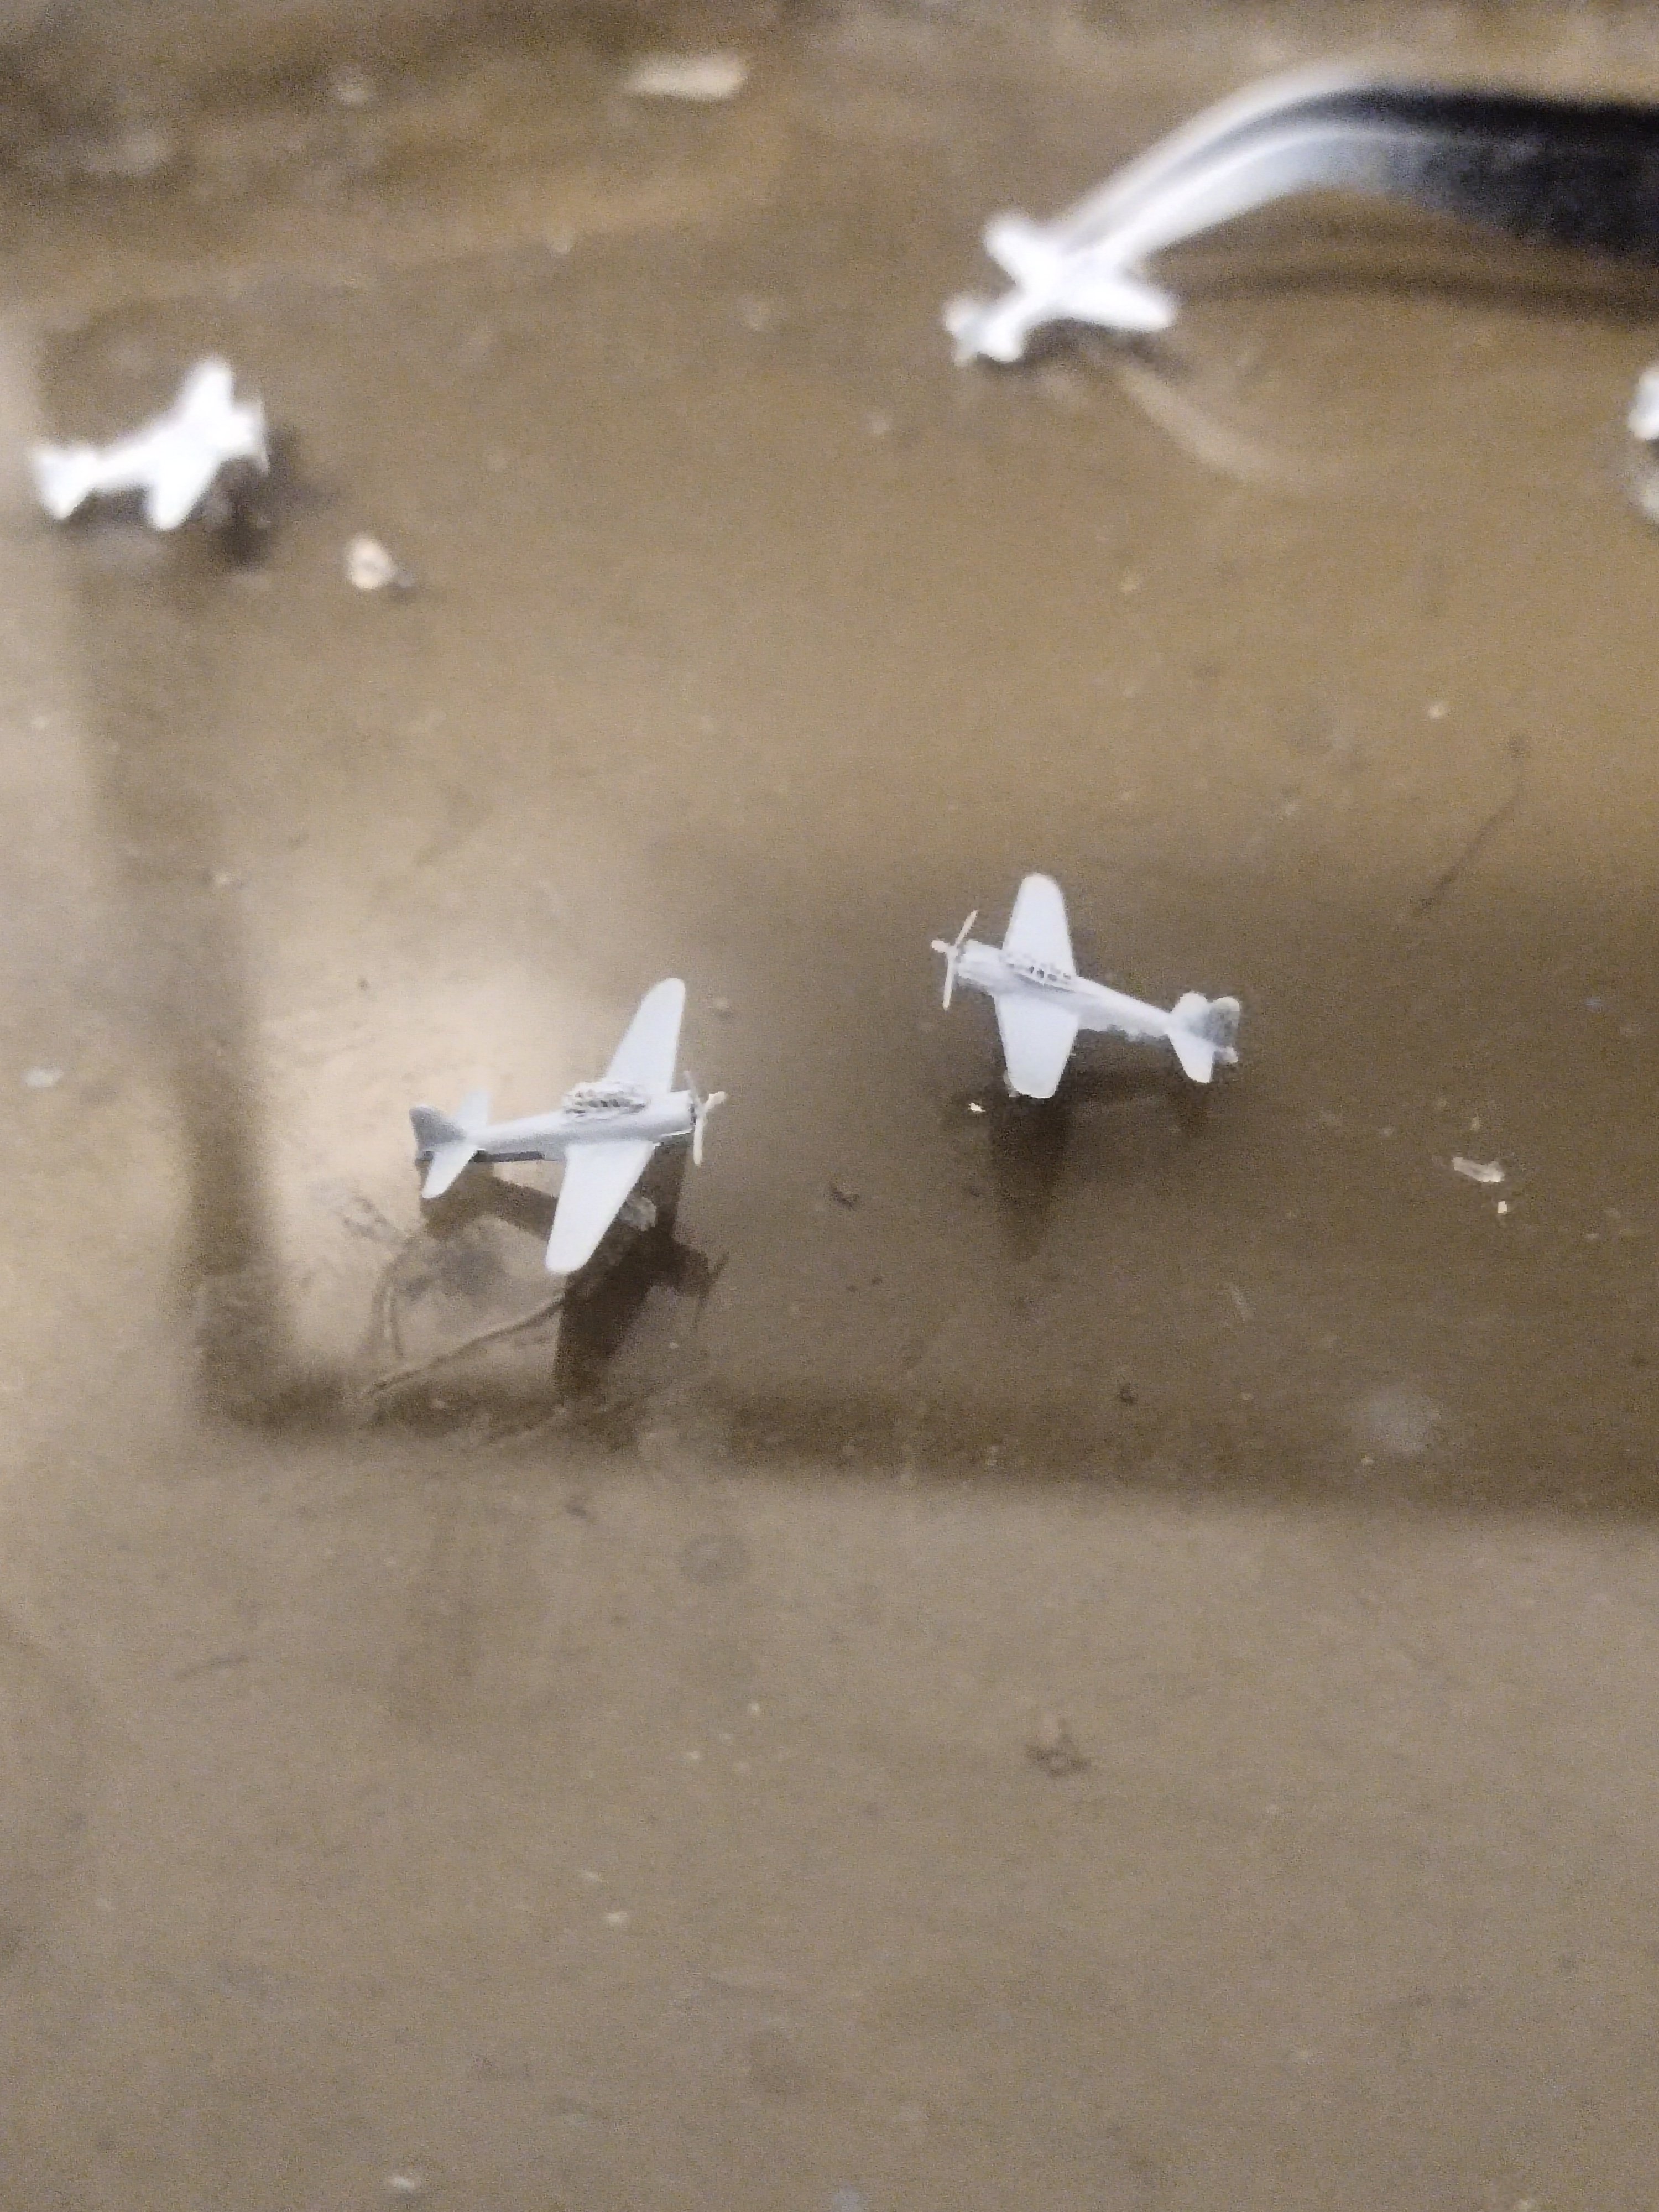
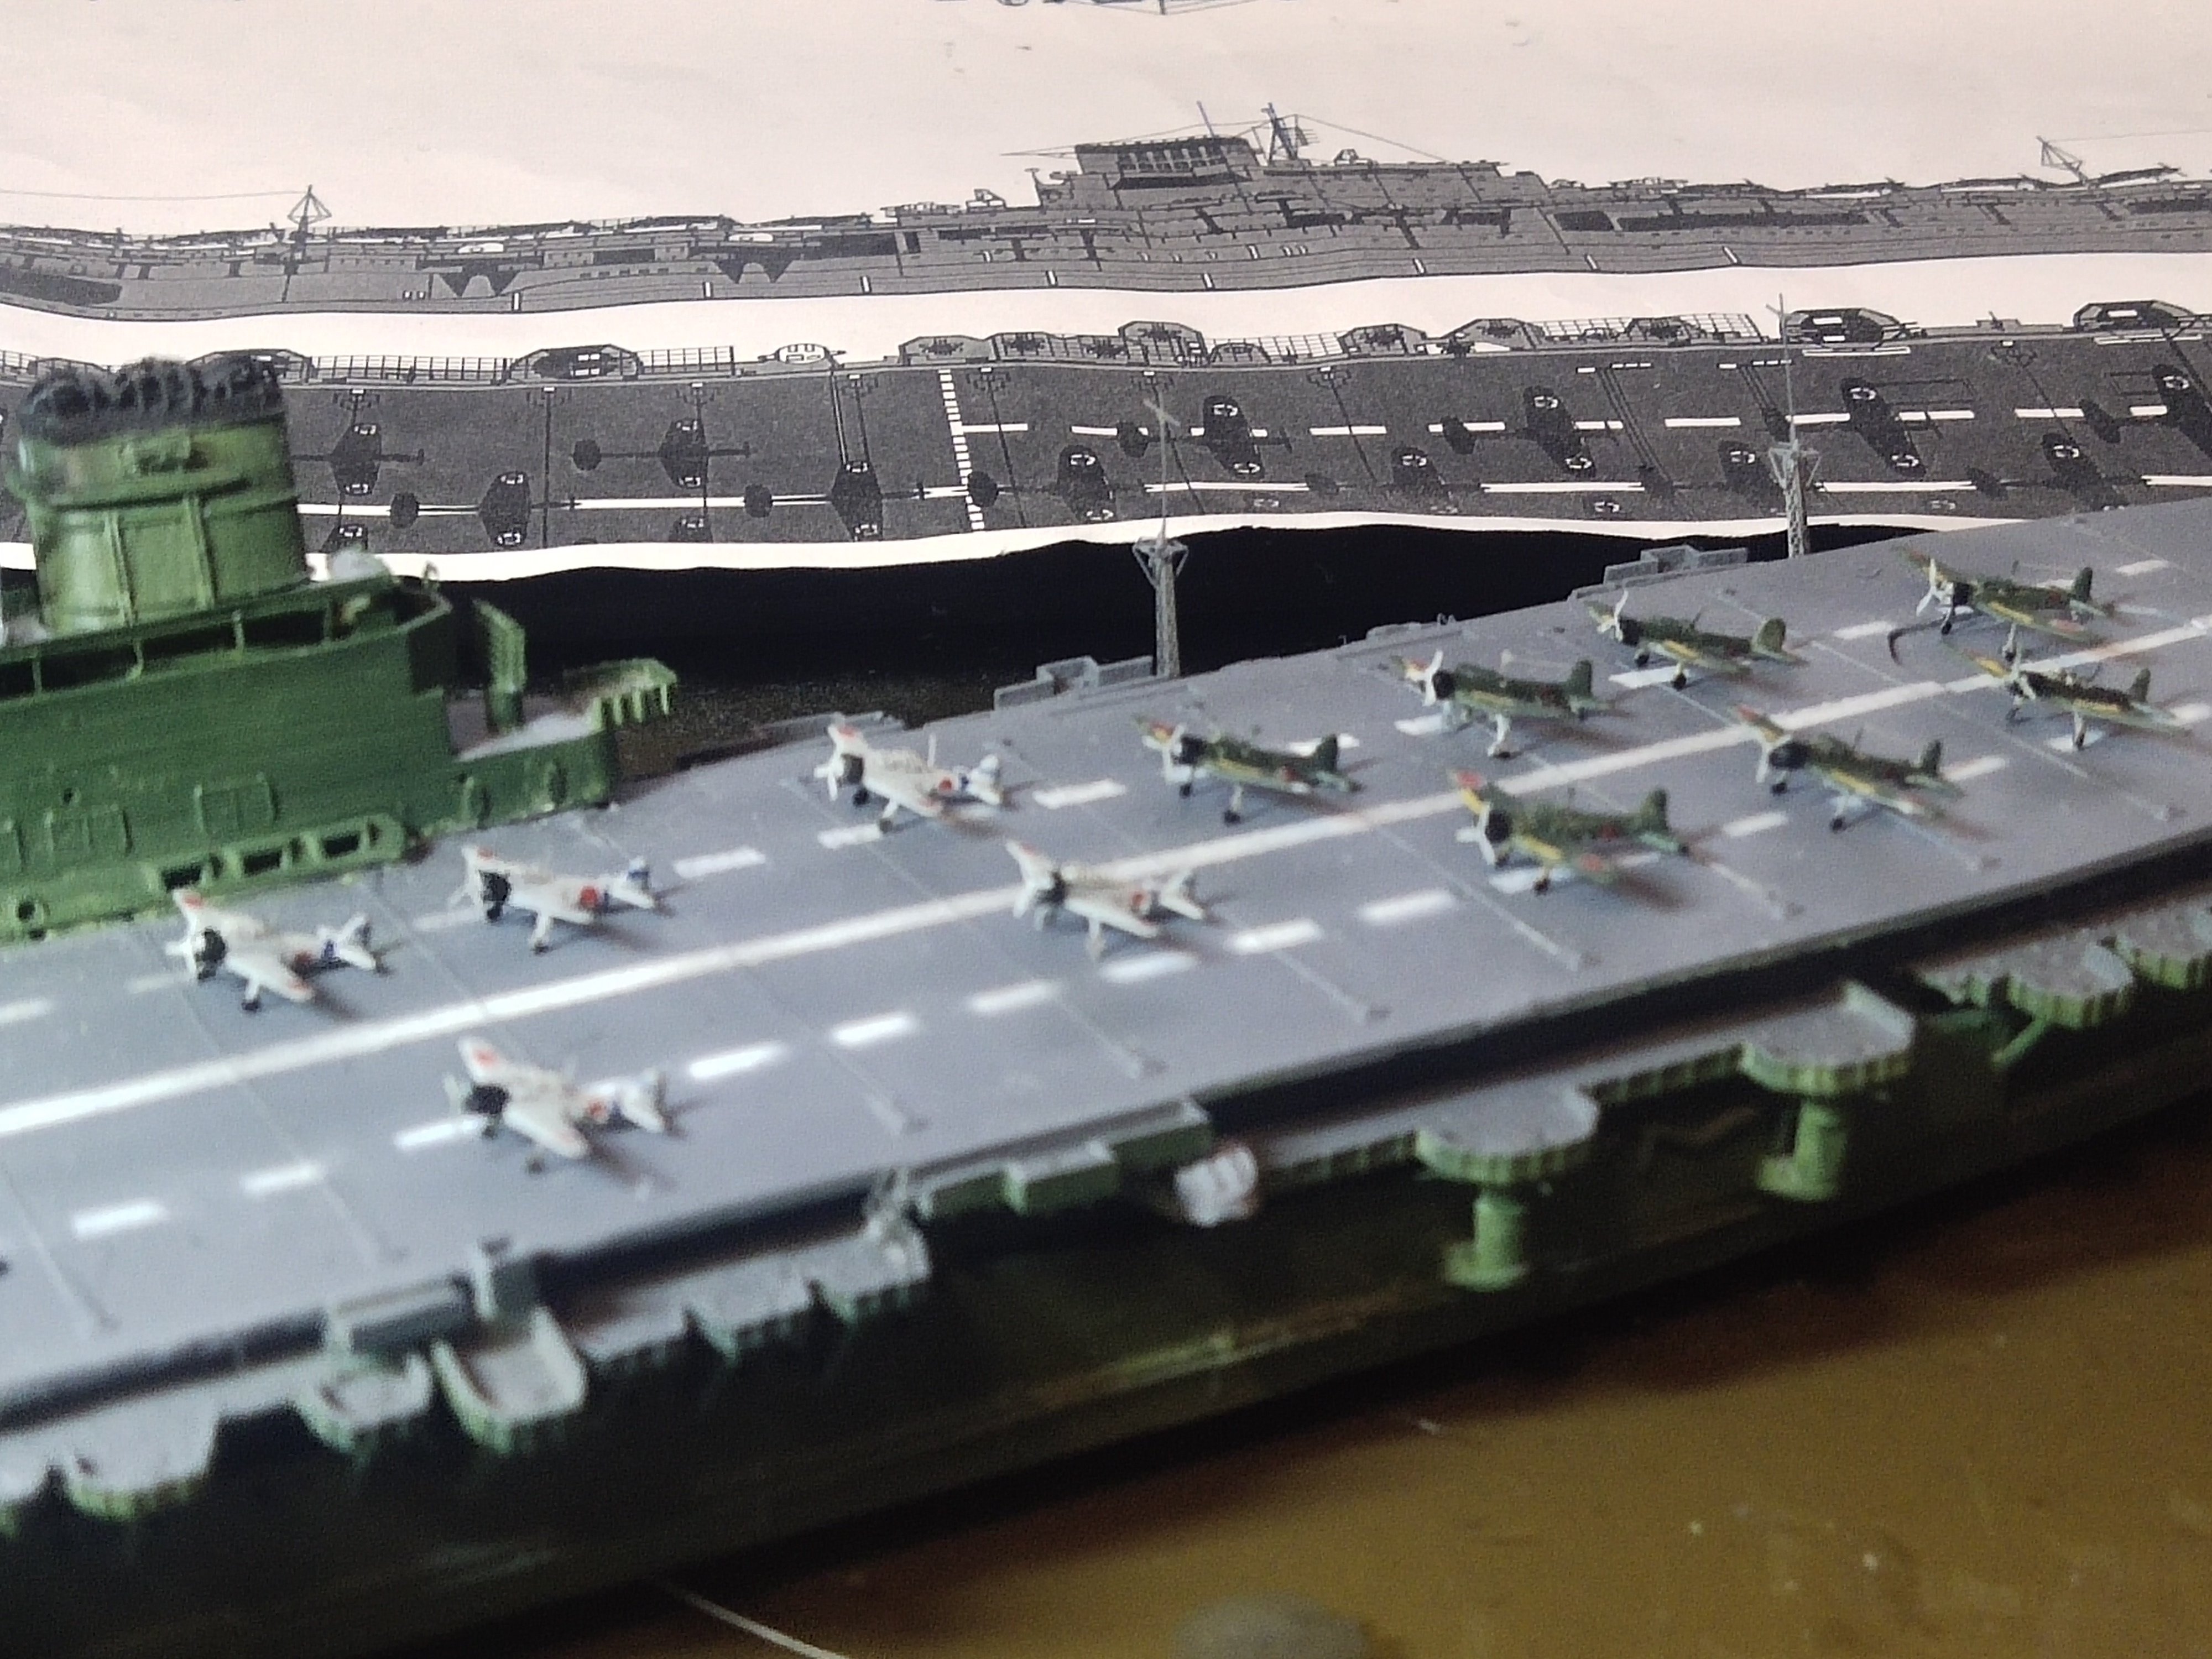
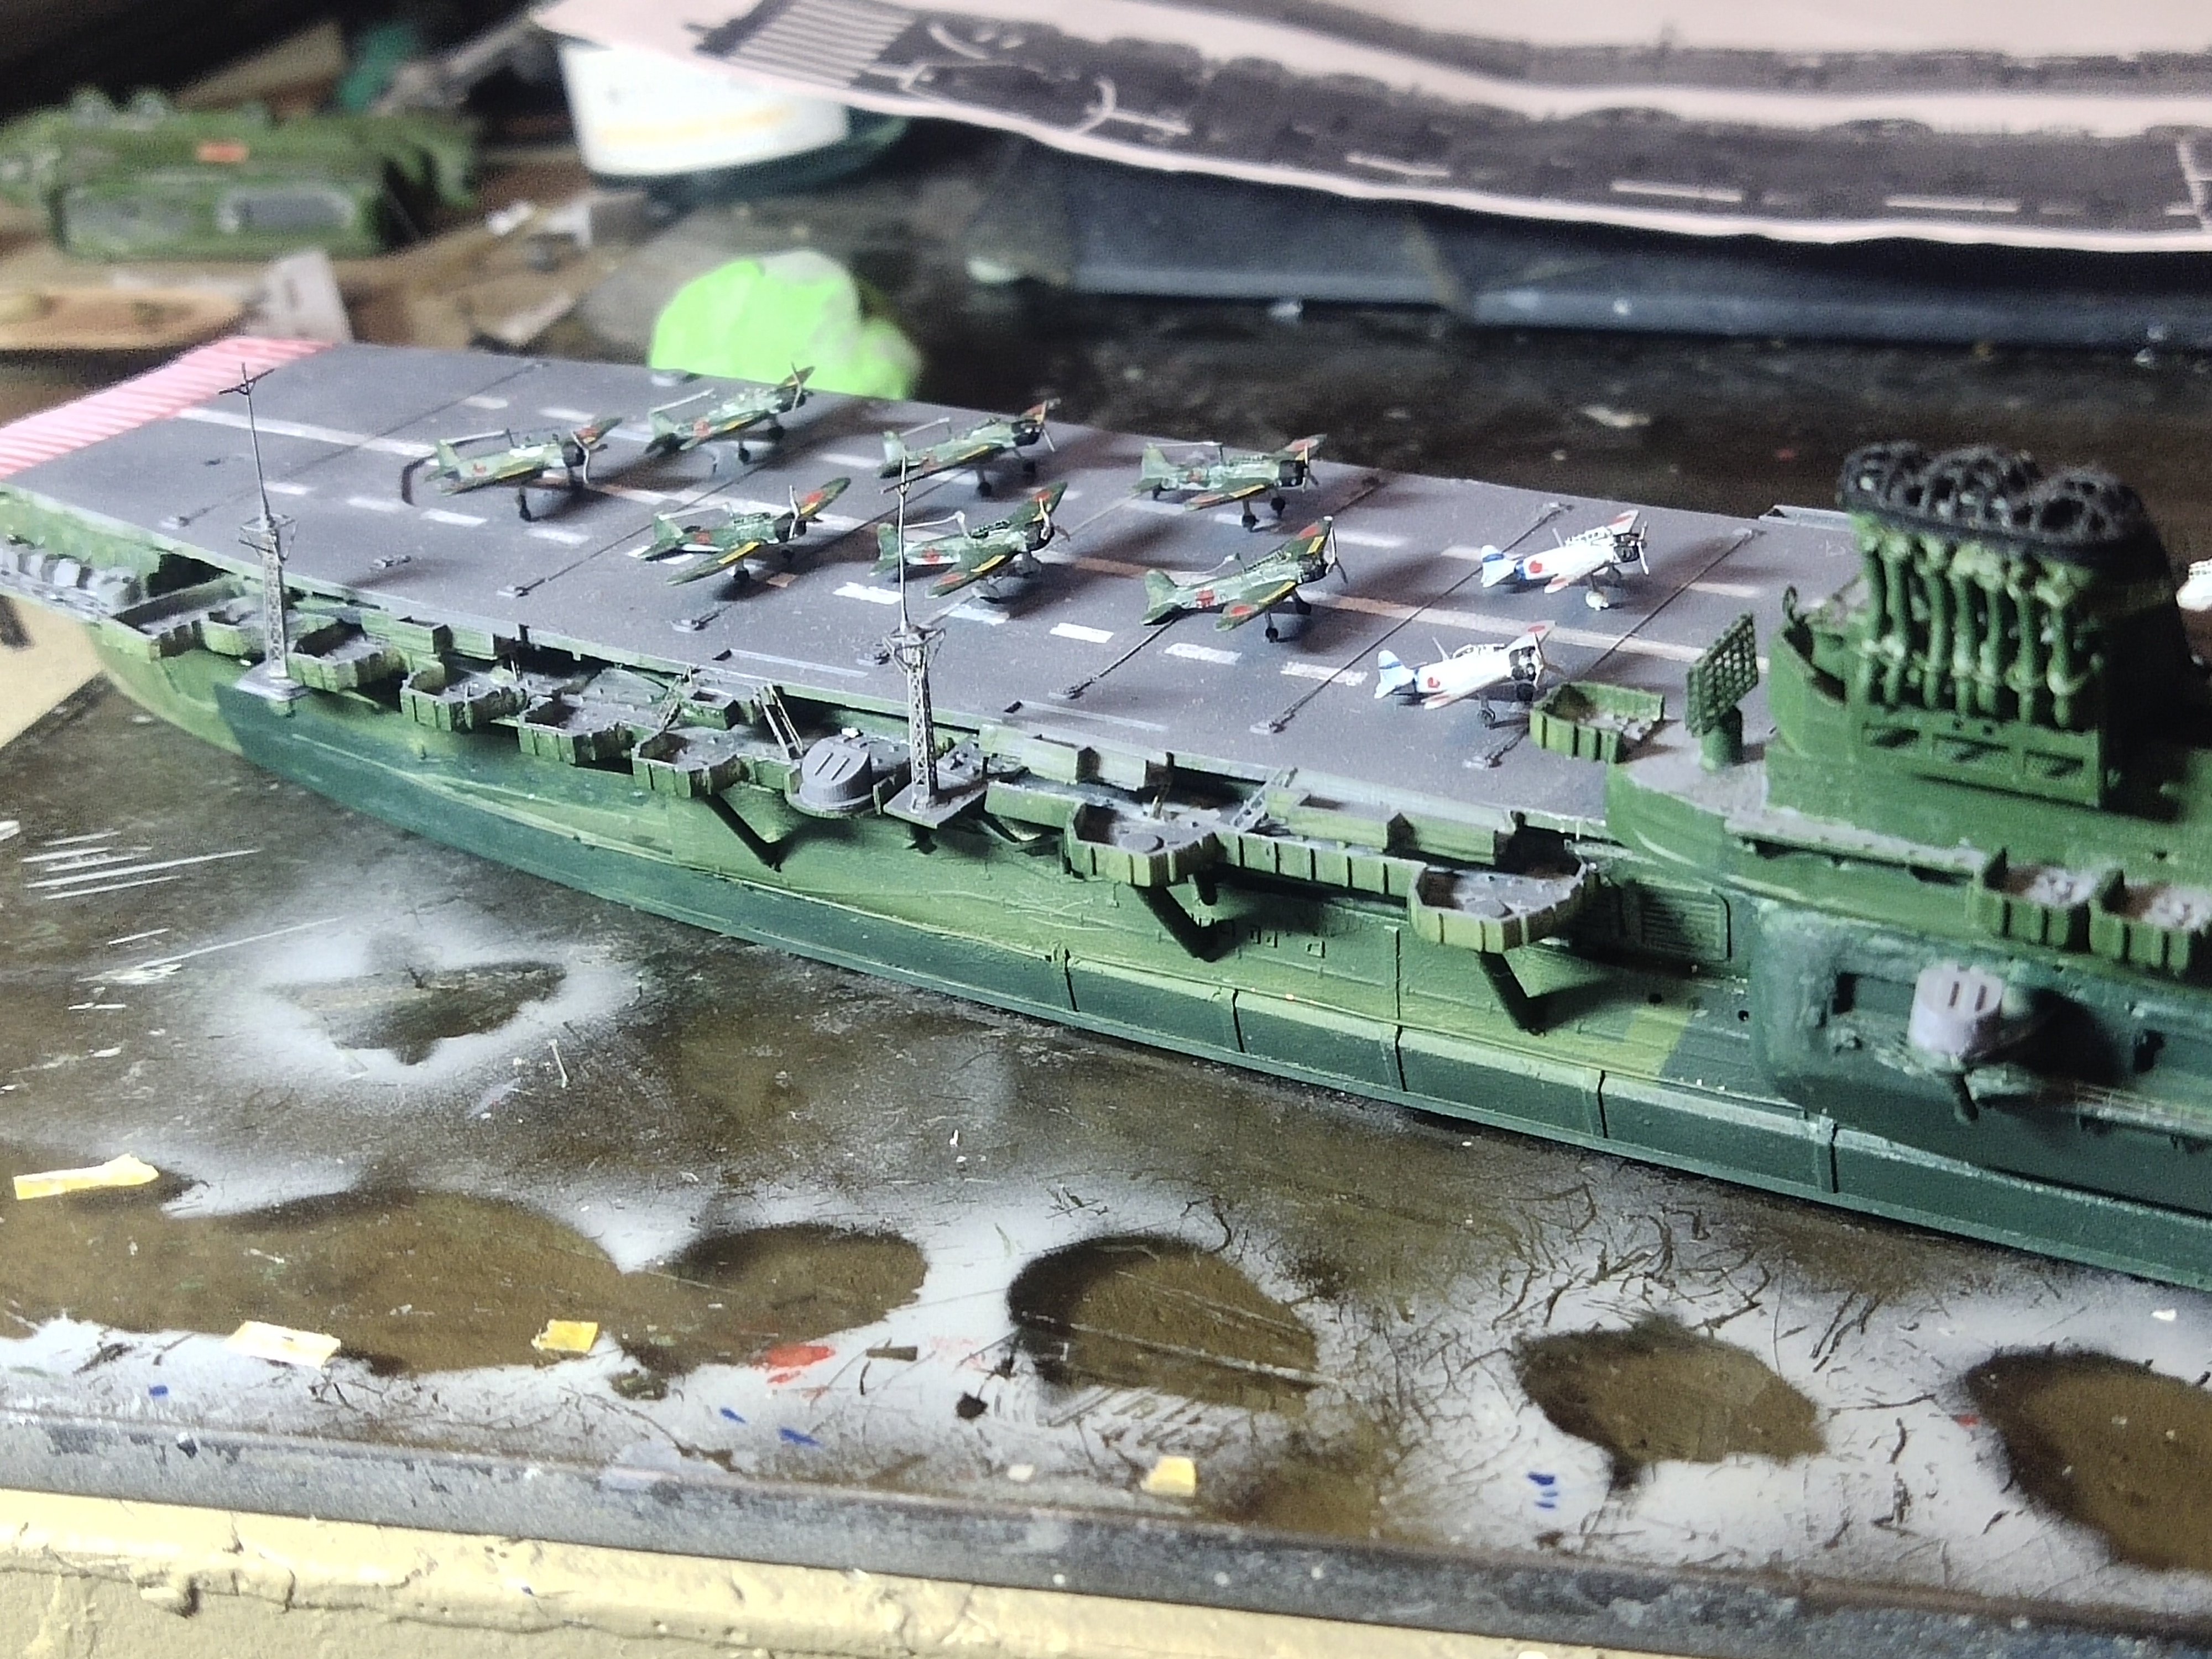
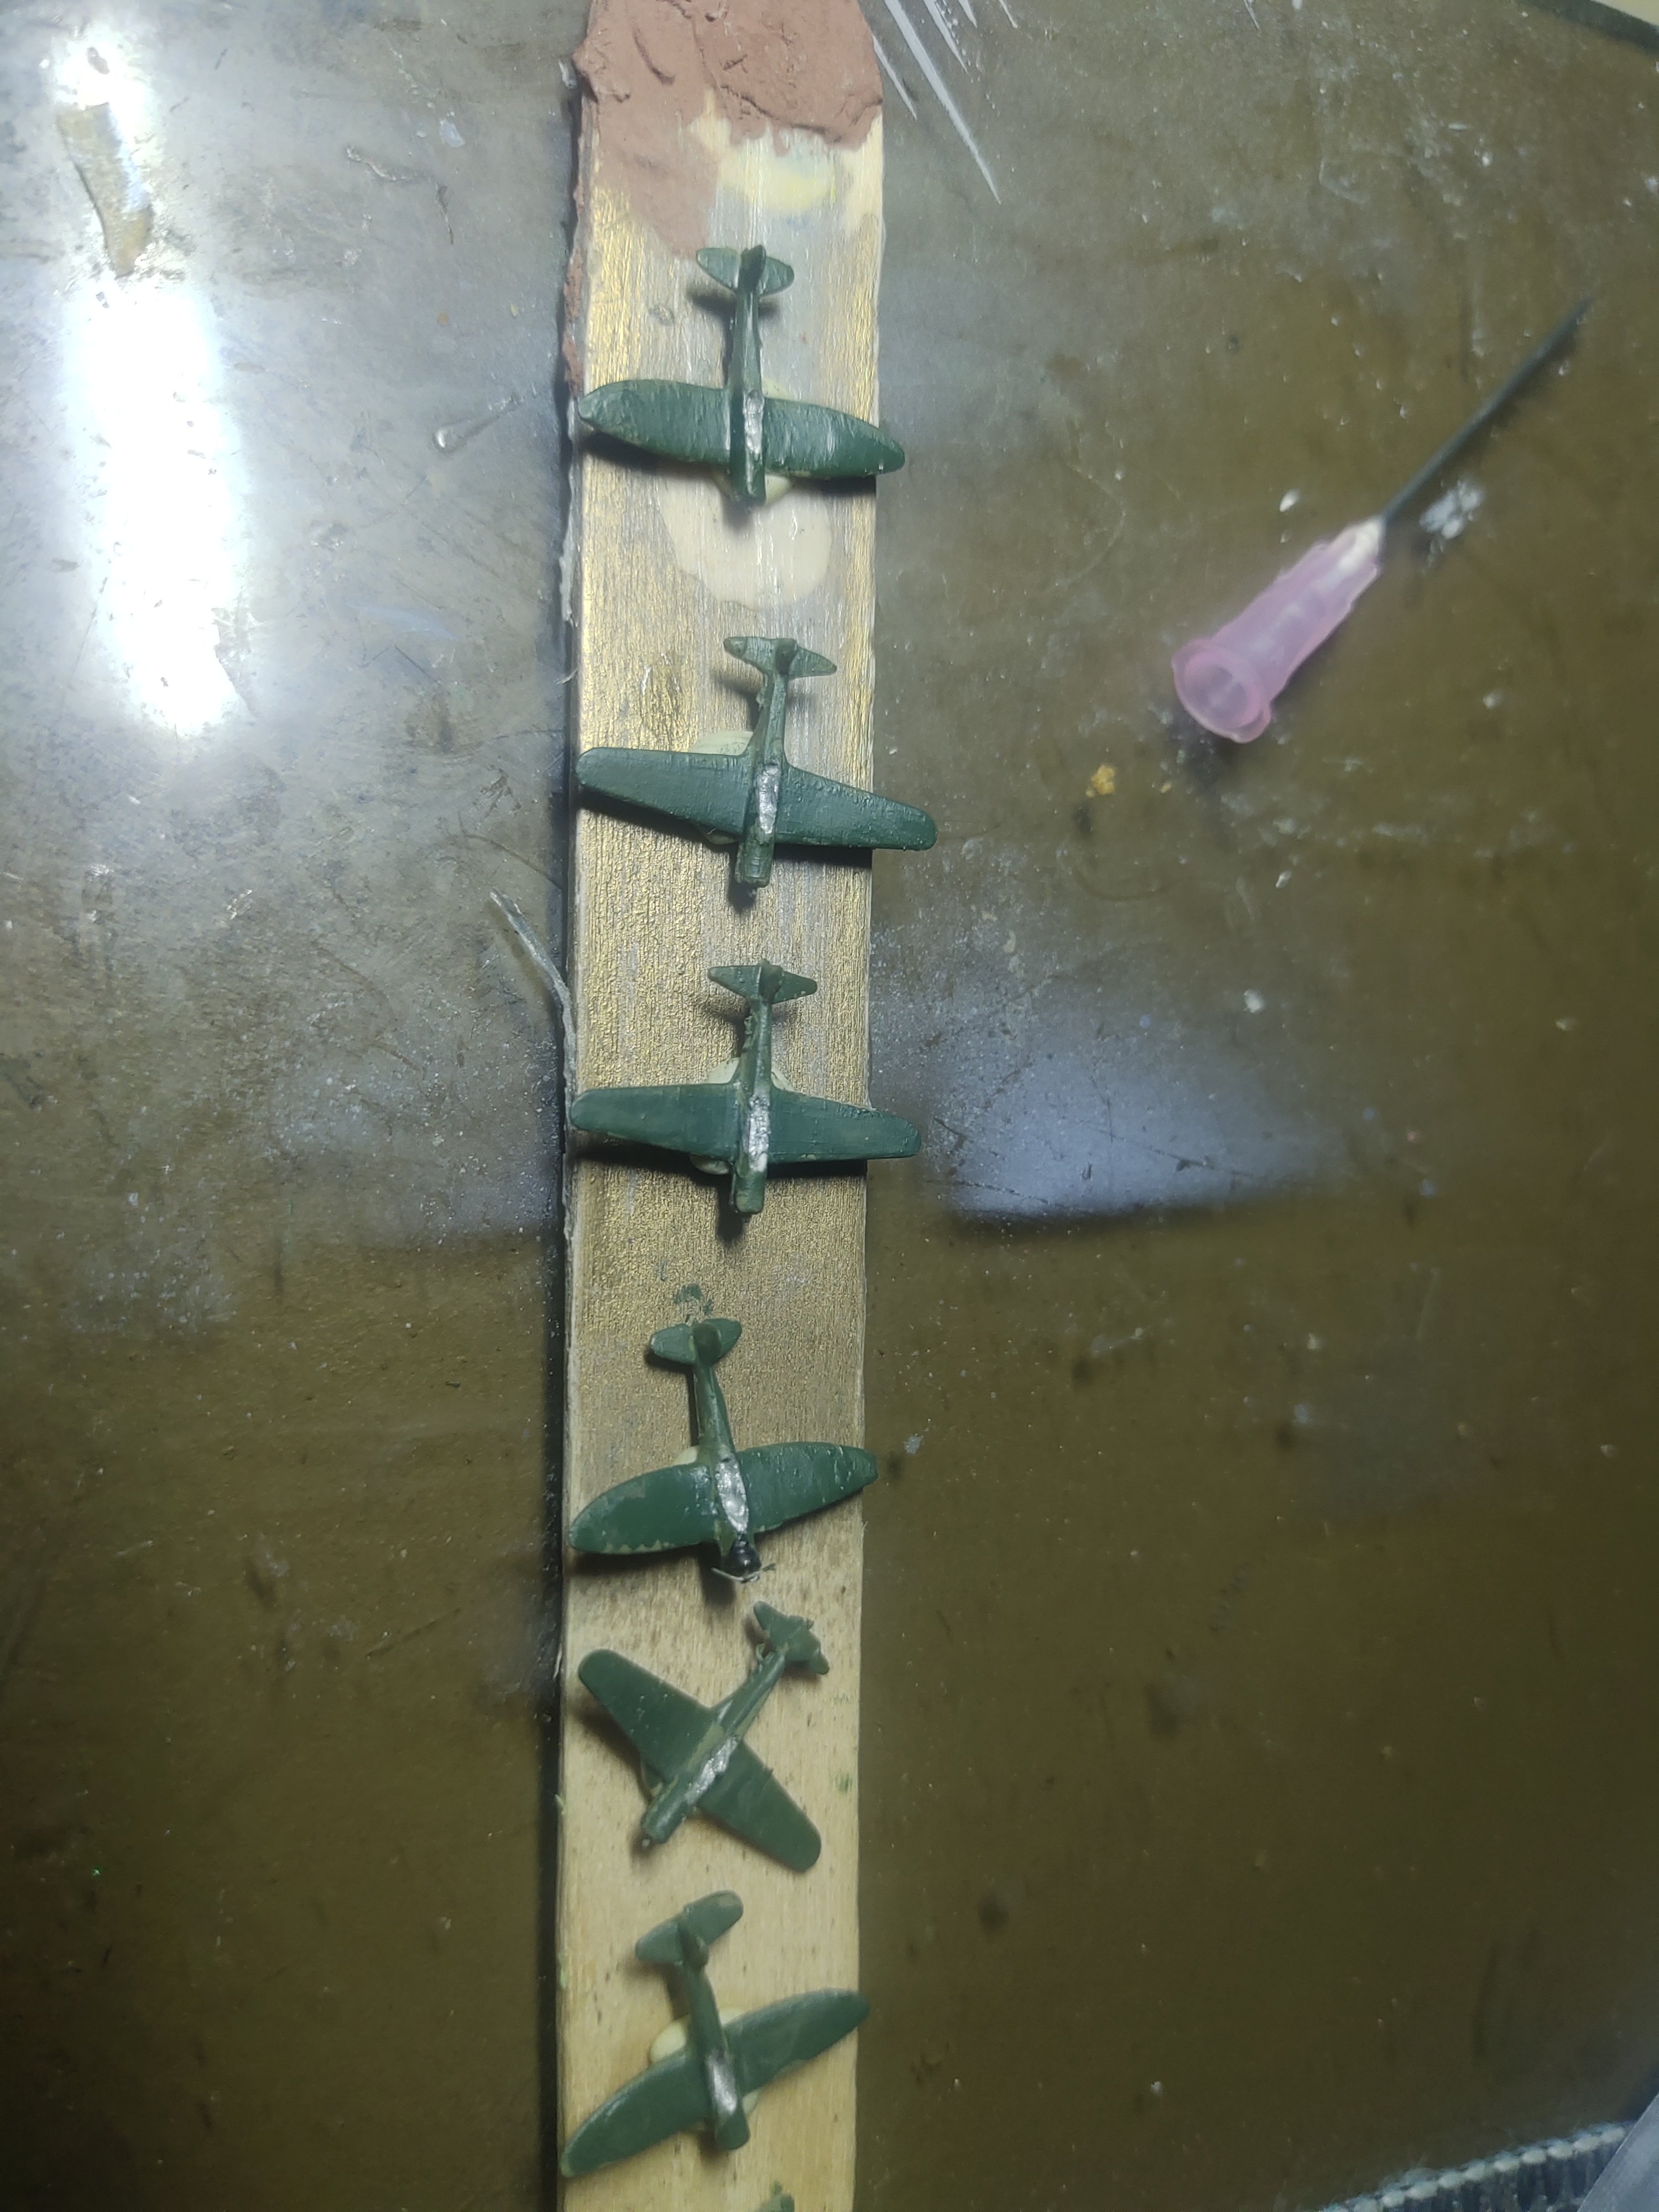
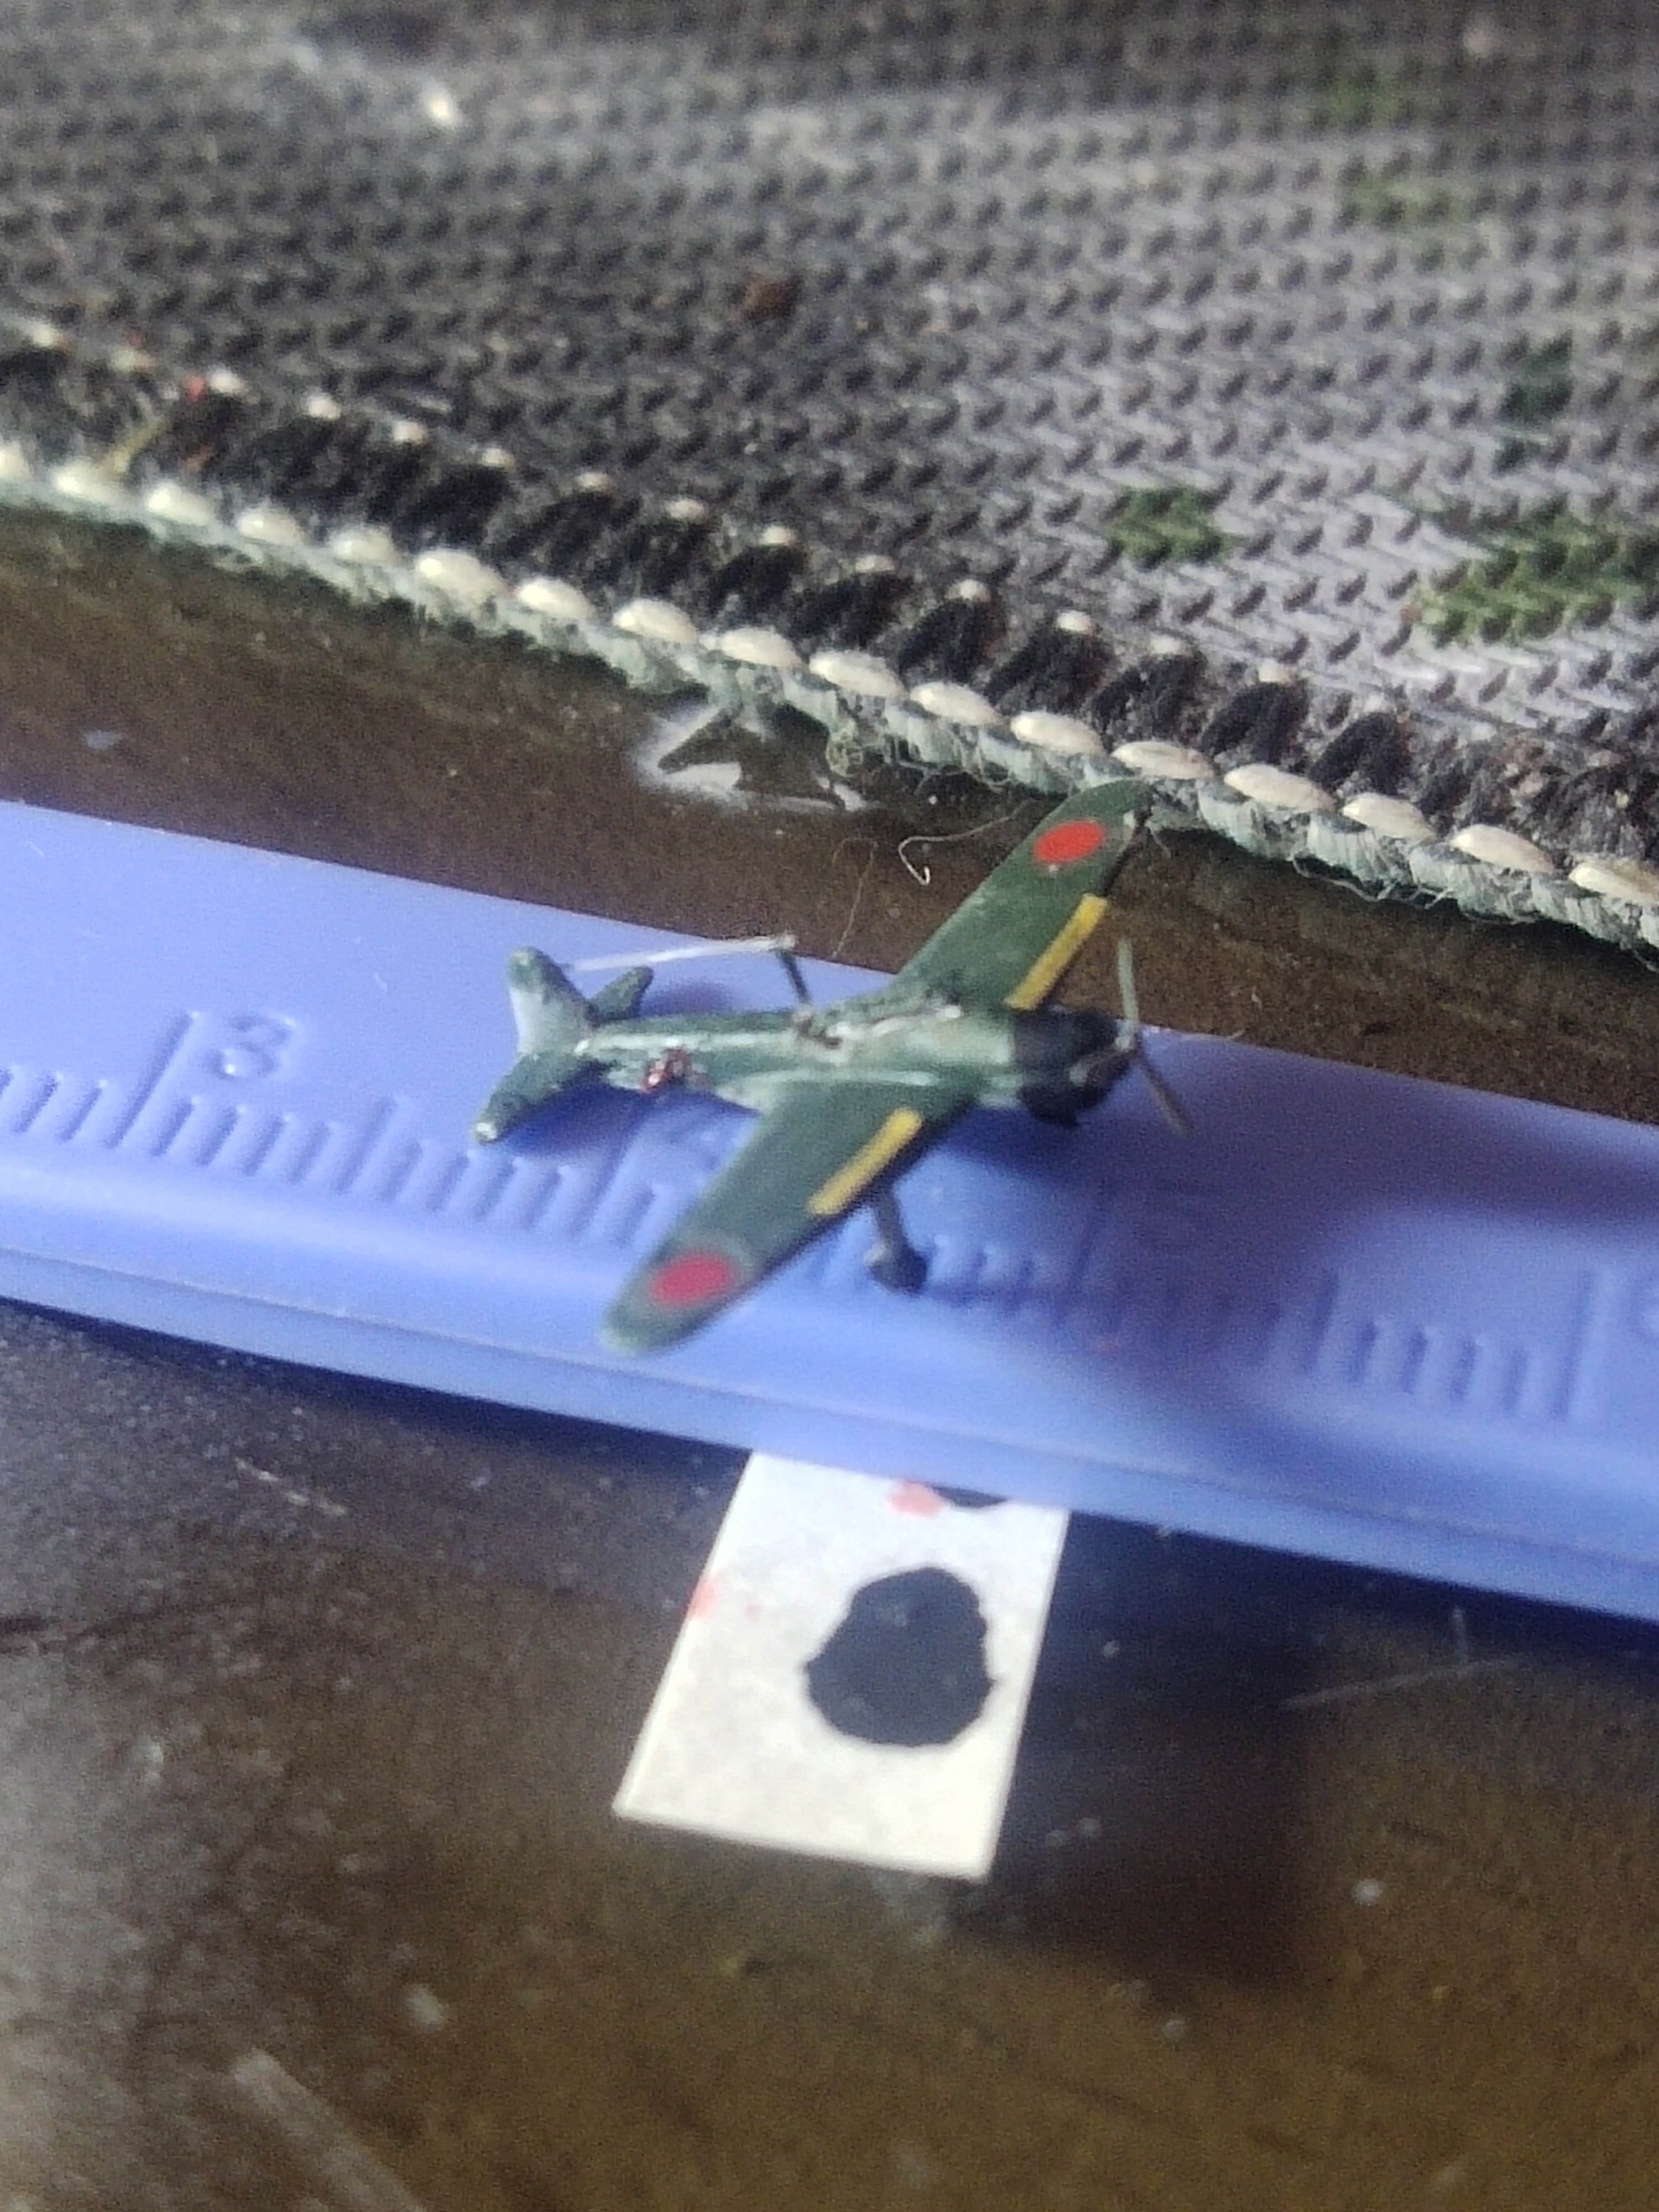
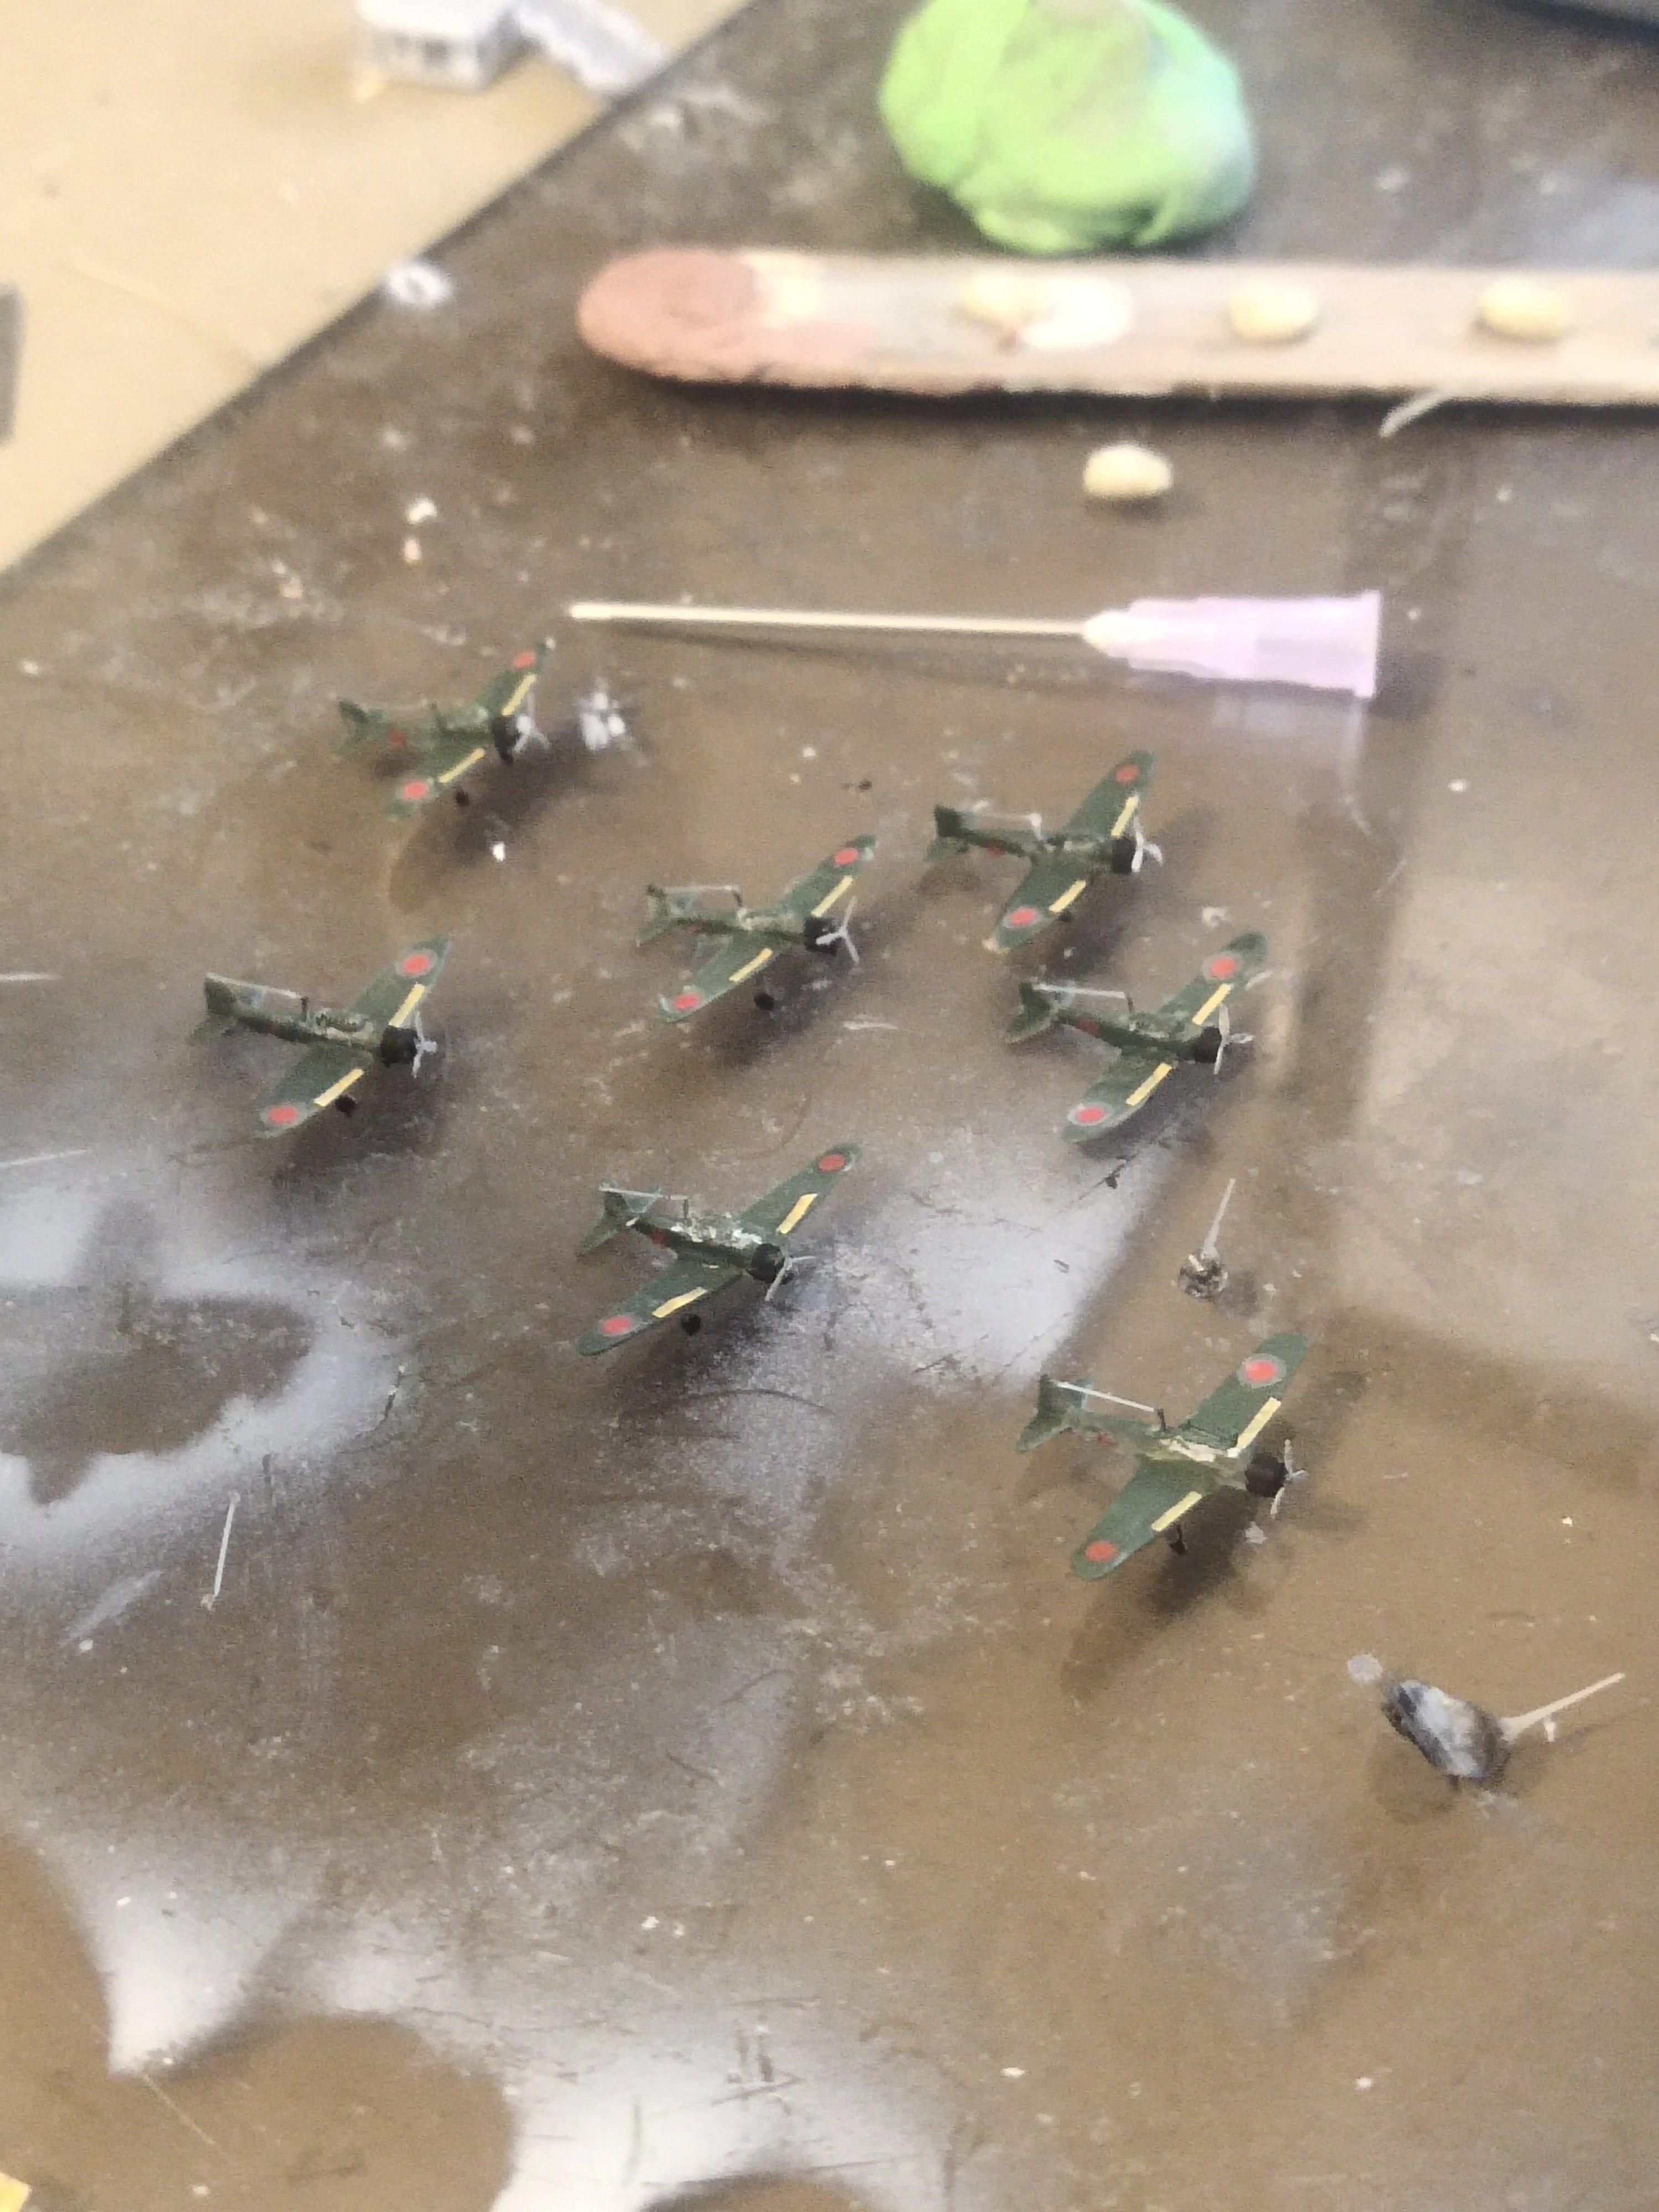
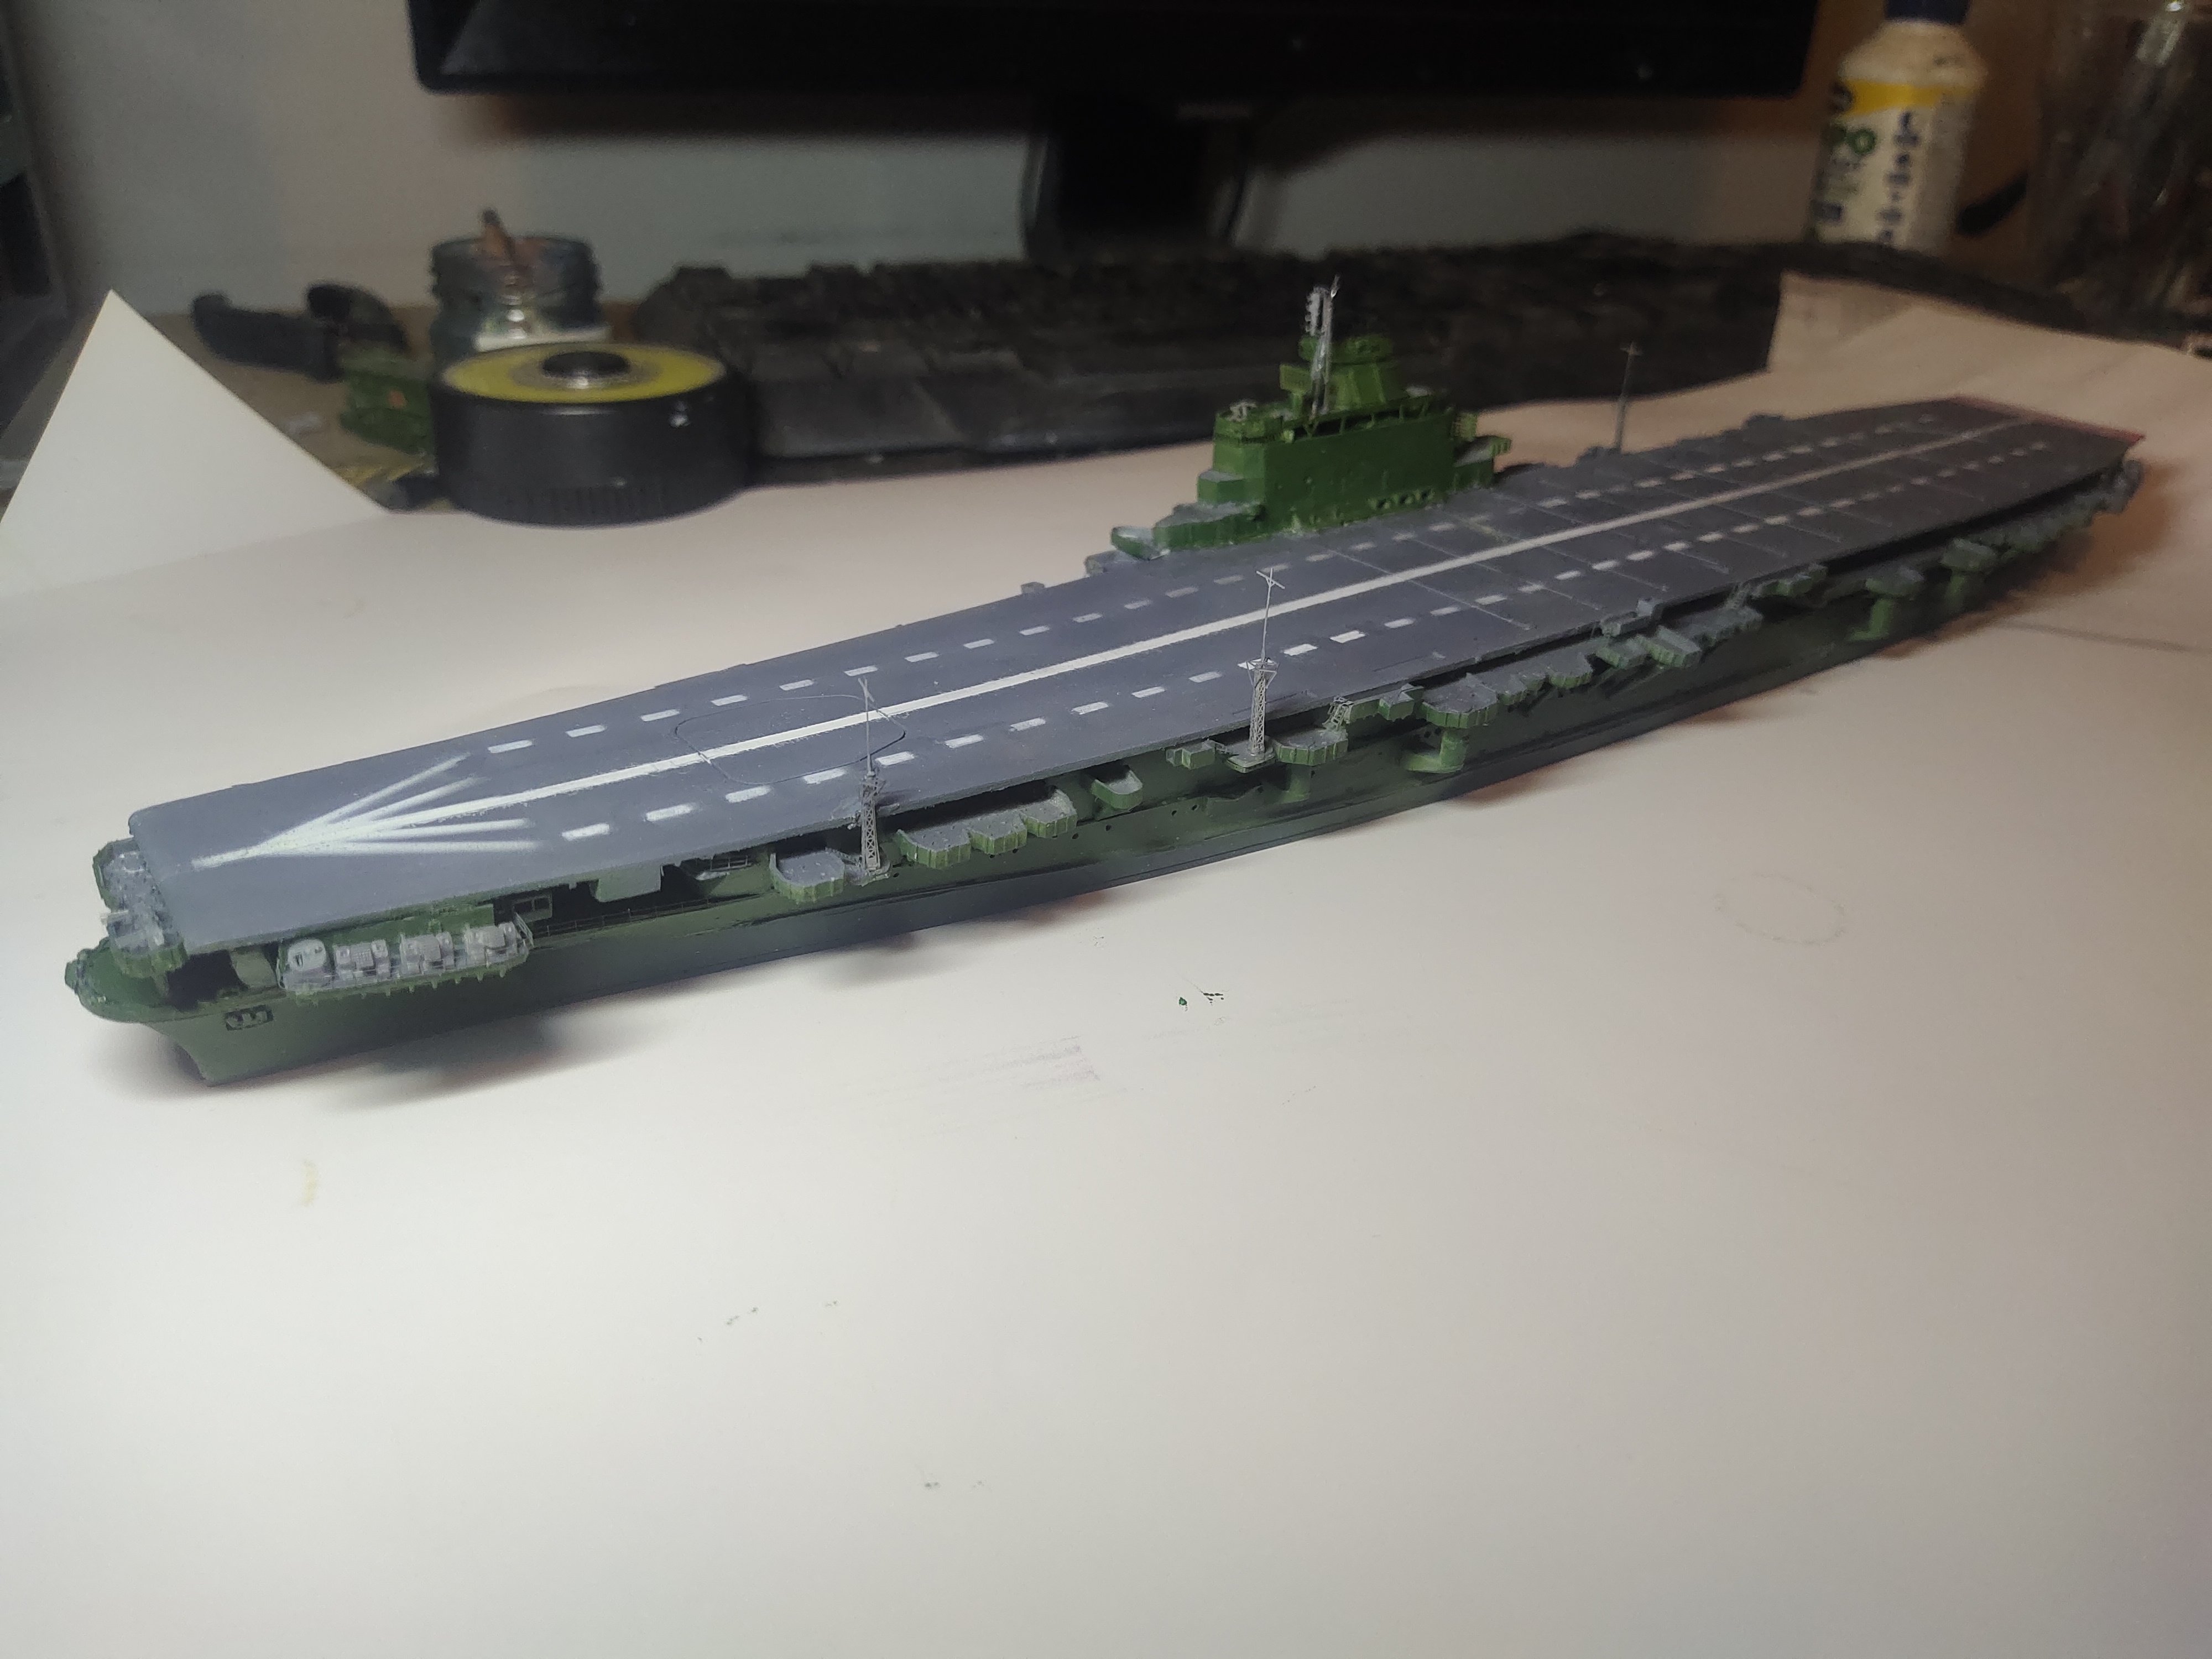
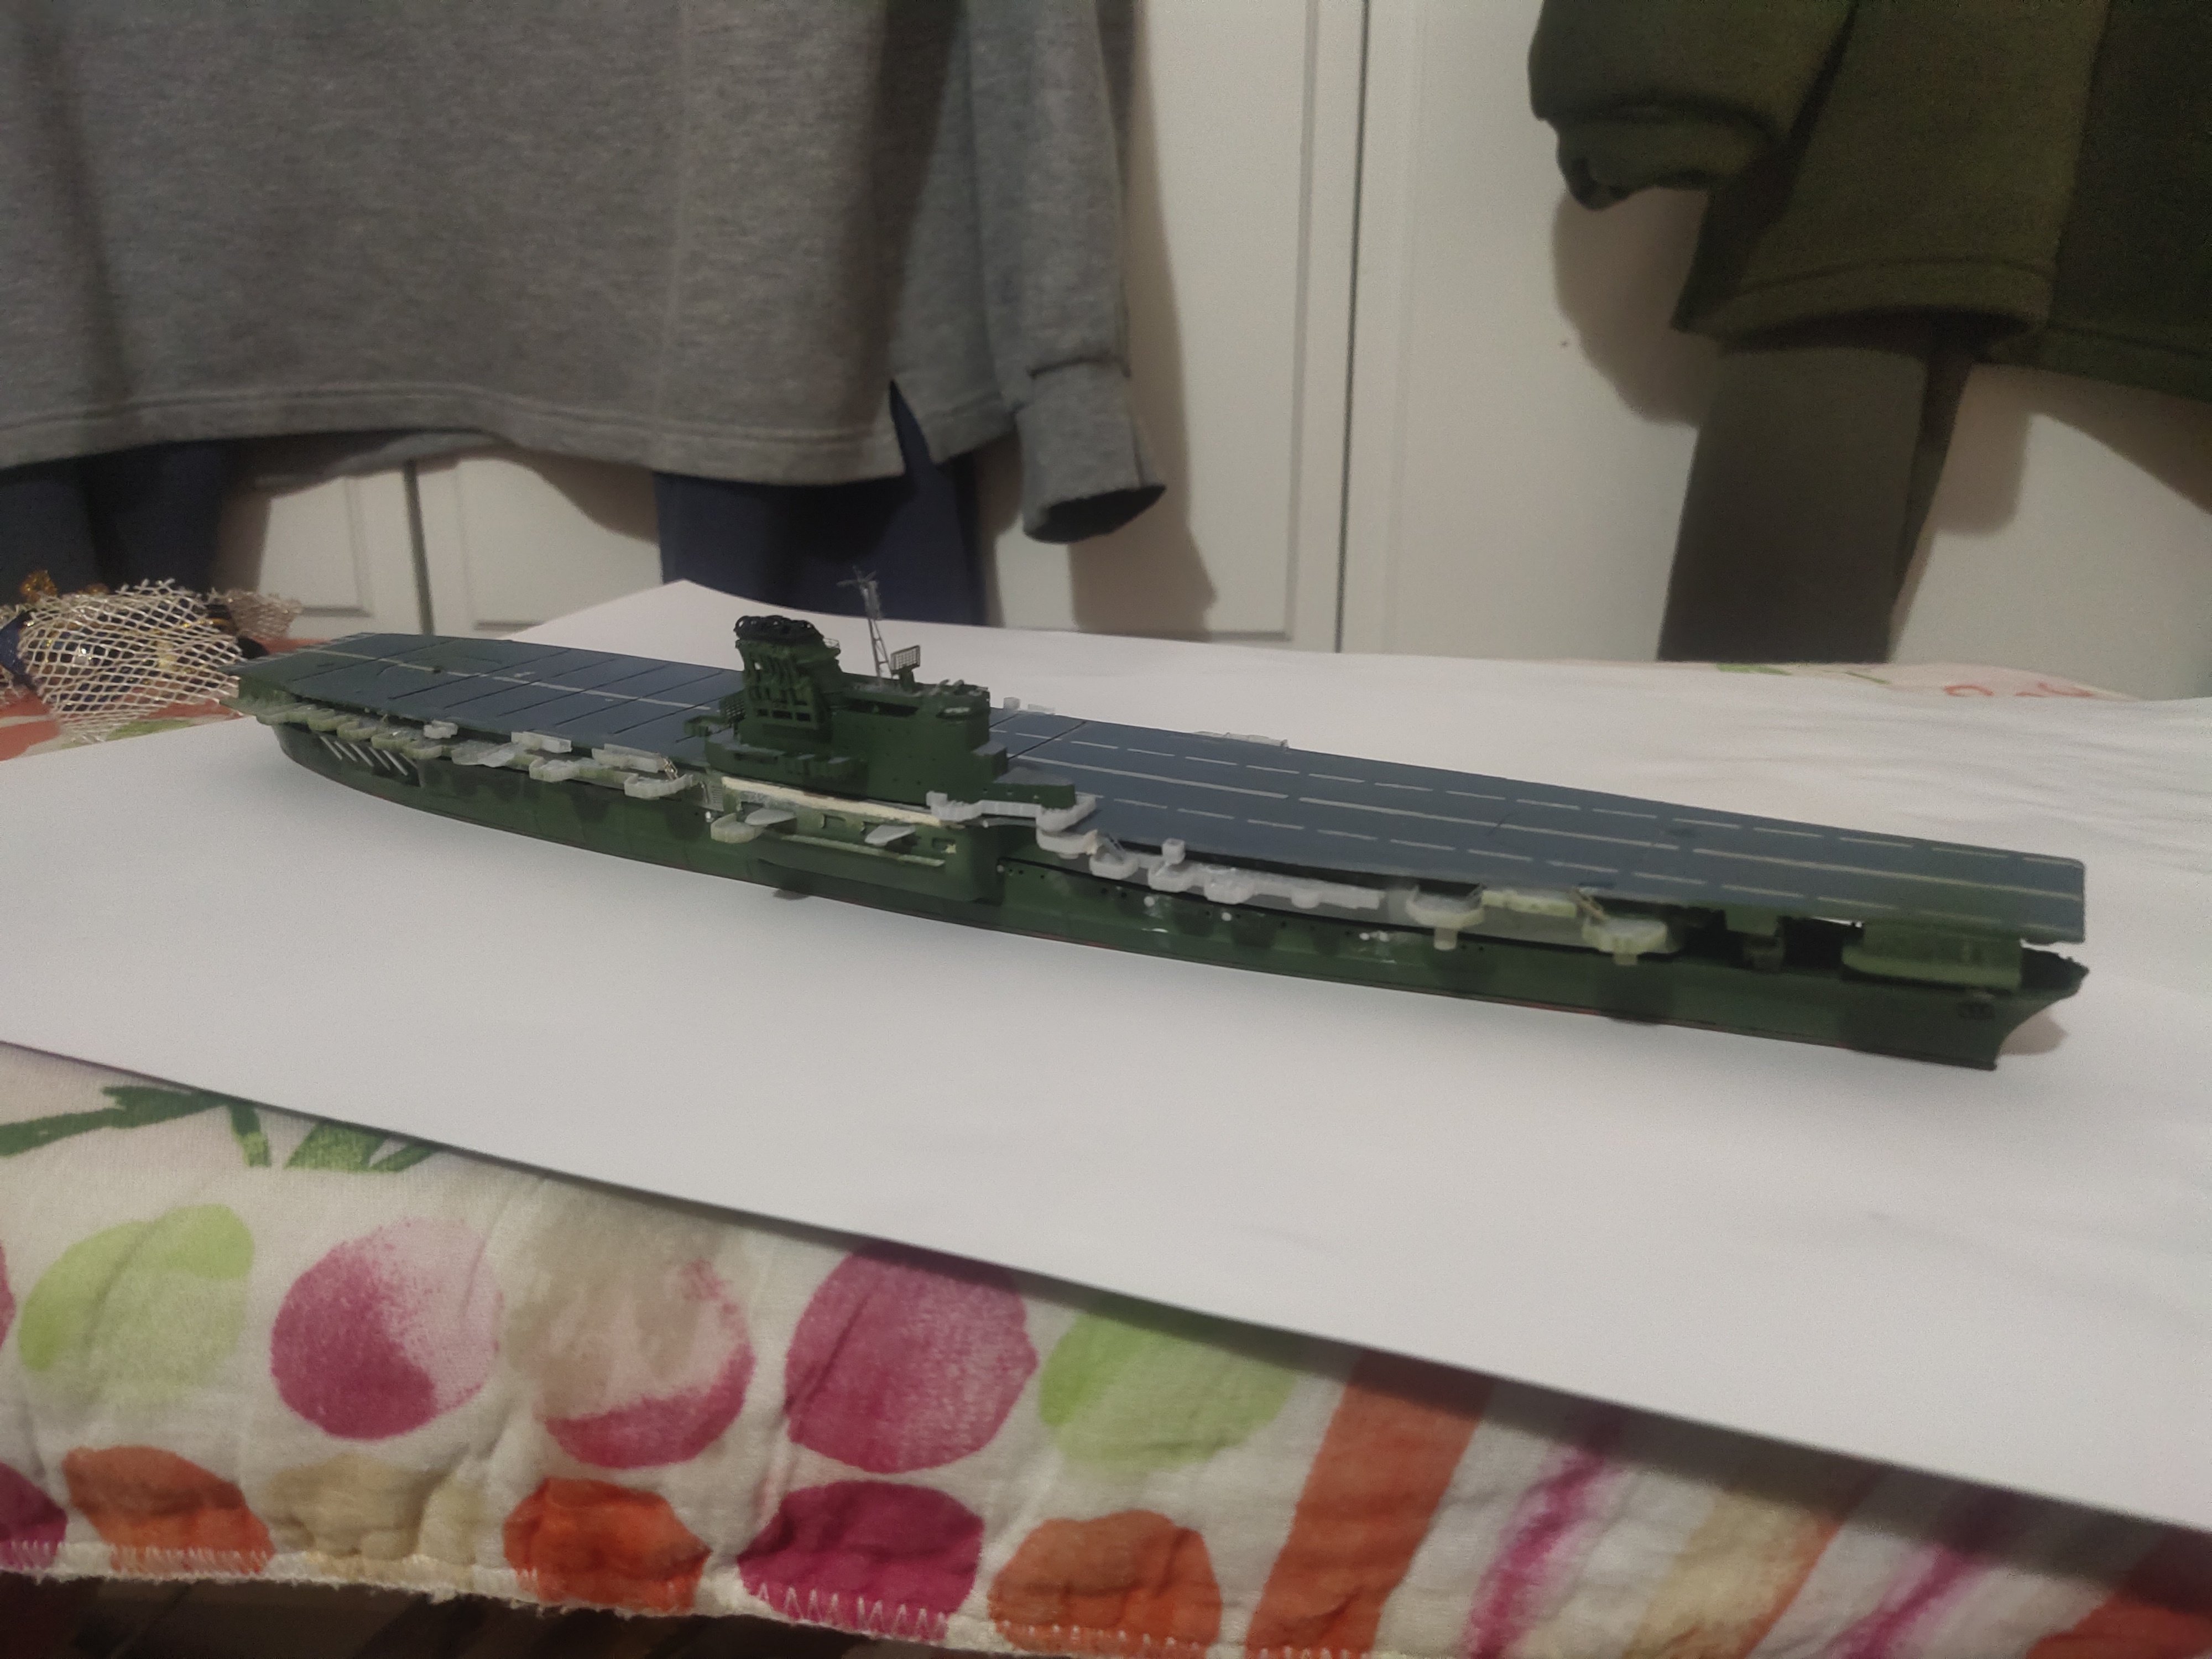
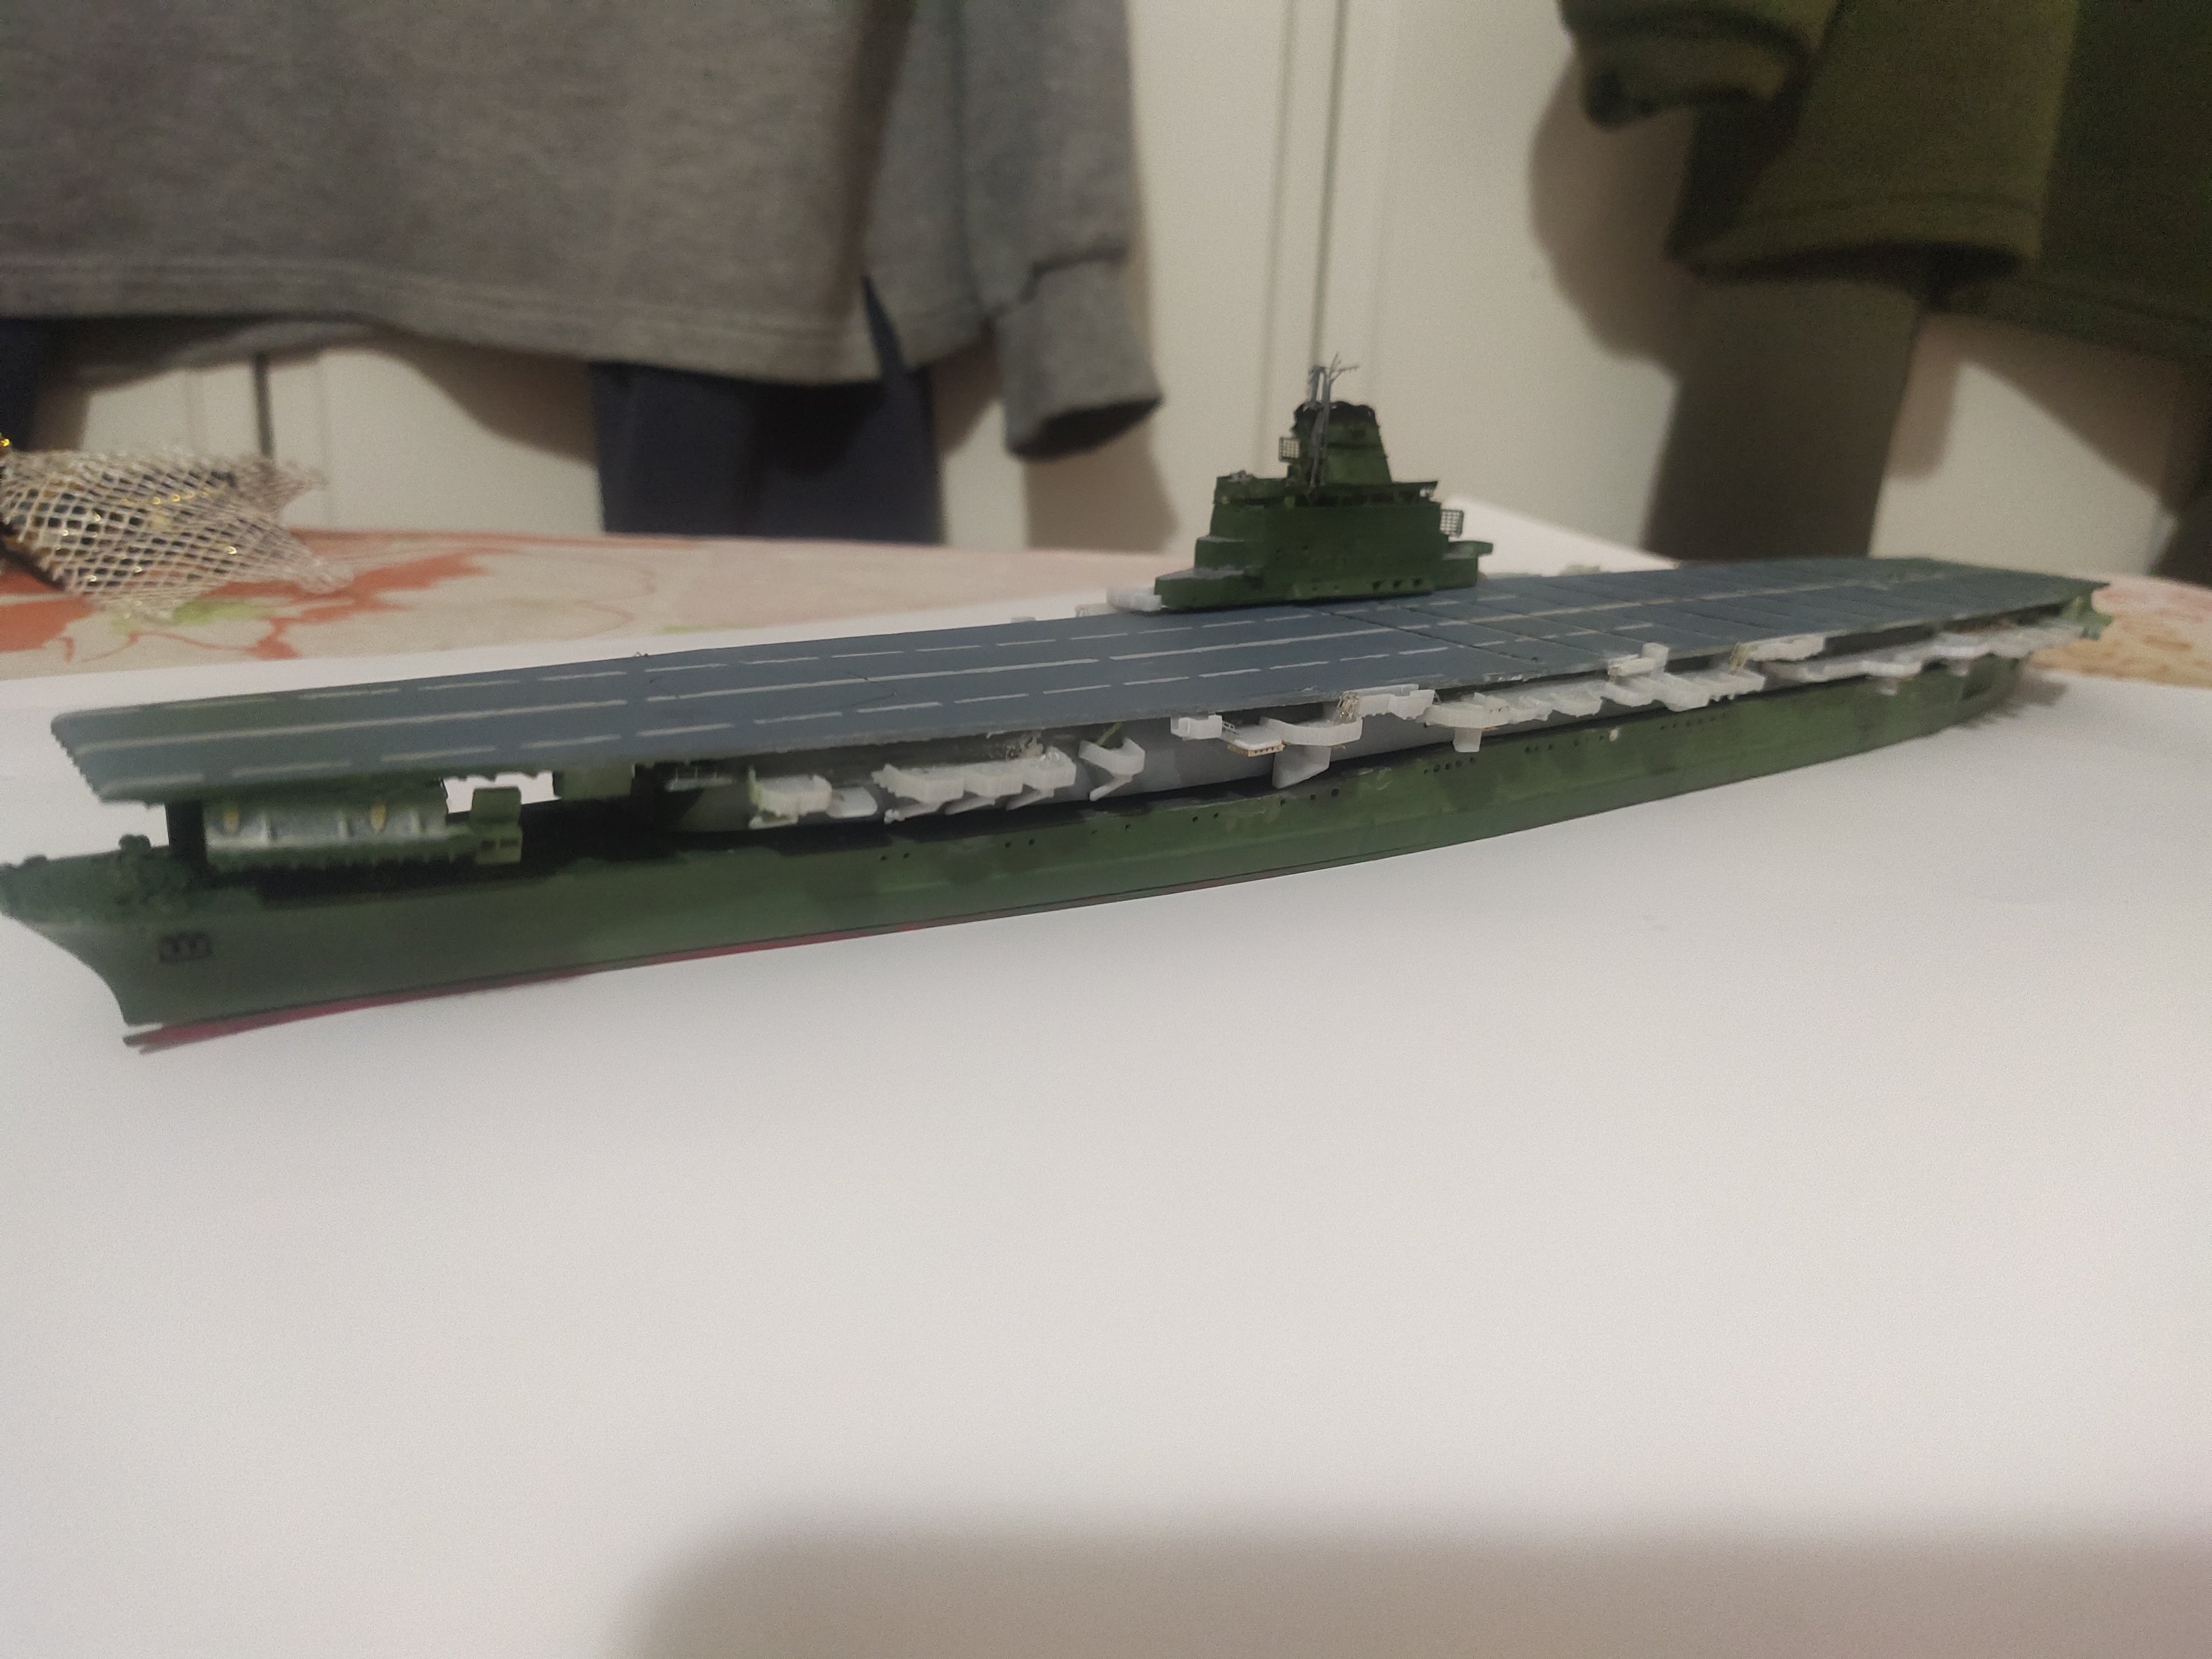
I decided to glue the planes to avoid any accidents along with the anti falling nets. I didn't have a PE part for crane so it was made by two masts glued together, like those at the sides of the ship but bit shorter.
AA guns and life boats need to be added but my printer needs to be fixed so while the parts are on their way I spent time making the sea base

- yvesvidal, king derelict, Canute and 2 others
-
5
-
-
On 12/23/2025 at 2:48 AM, king derelict said:
Great work on the details of the aircraft.
alanThank you
The rule is ruthless:
You can hard to built a flawless looking model but its the little details that will catch the eye
- thibaultron and Canute
-
2
-
-
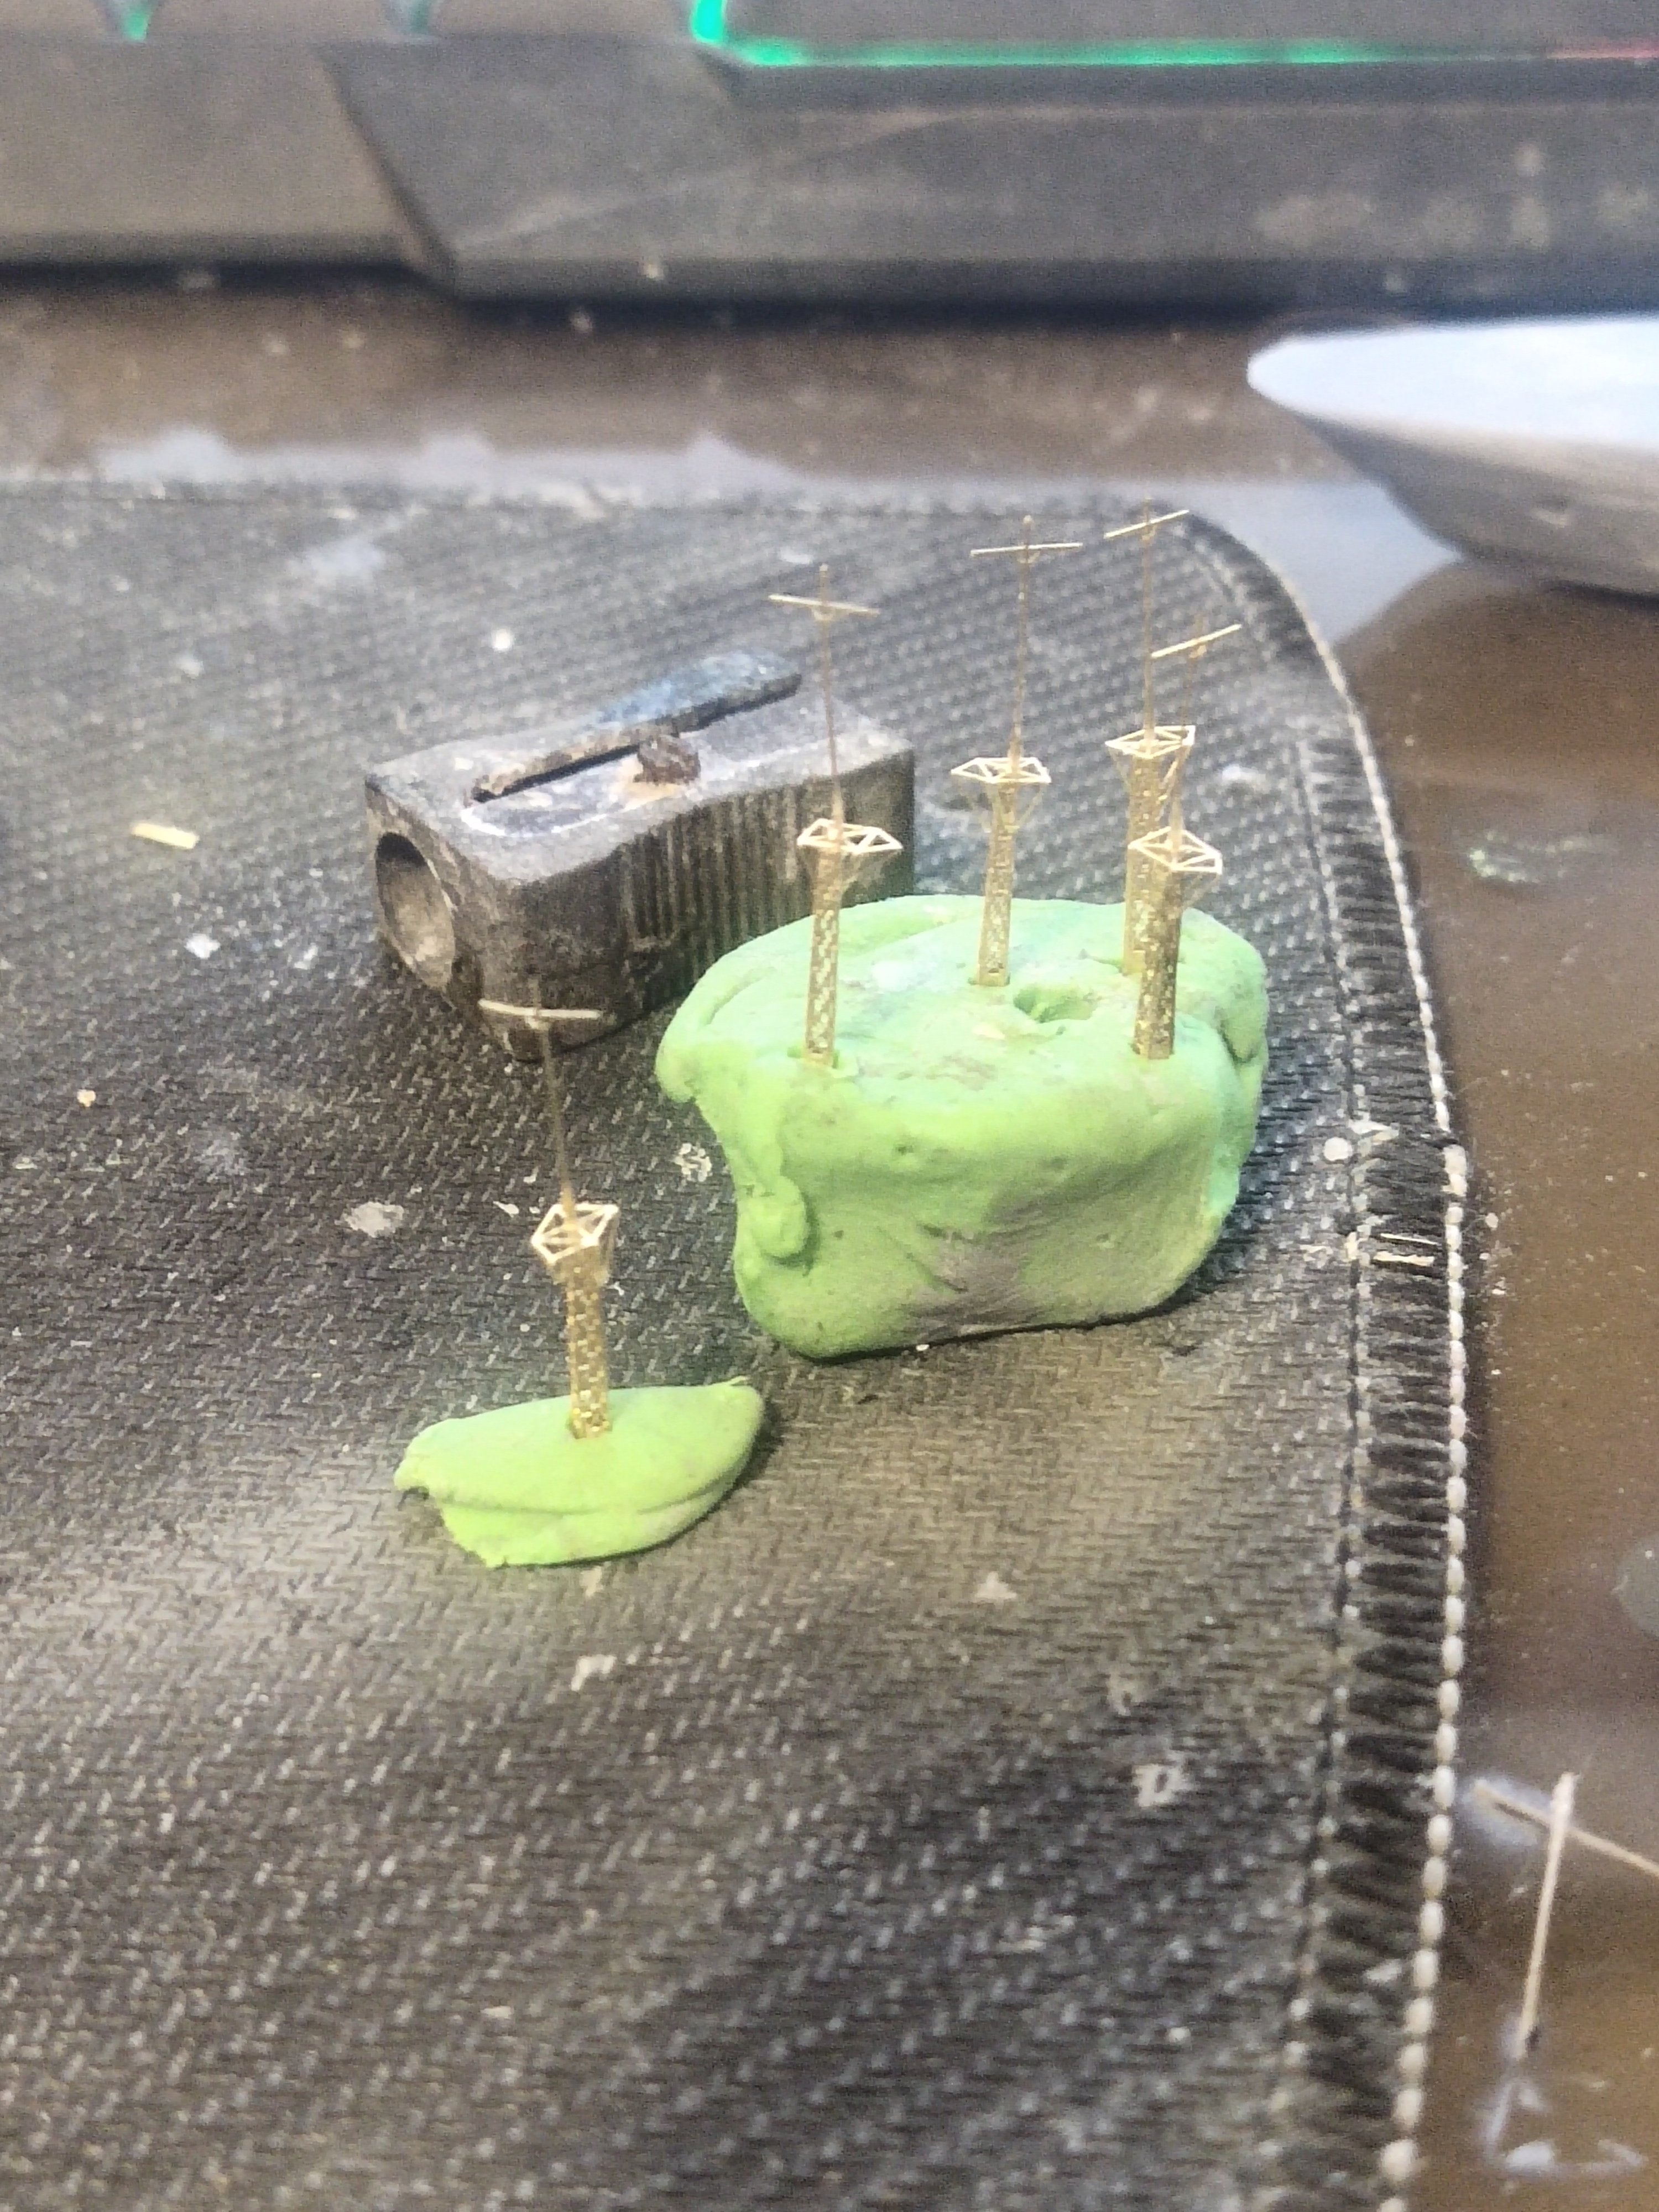
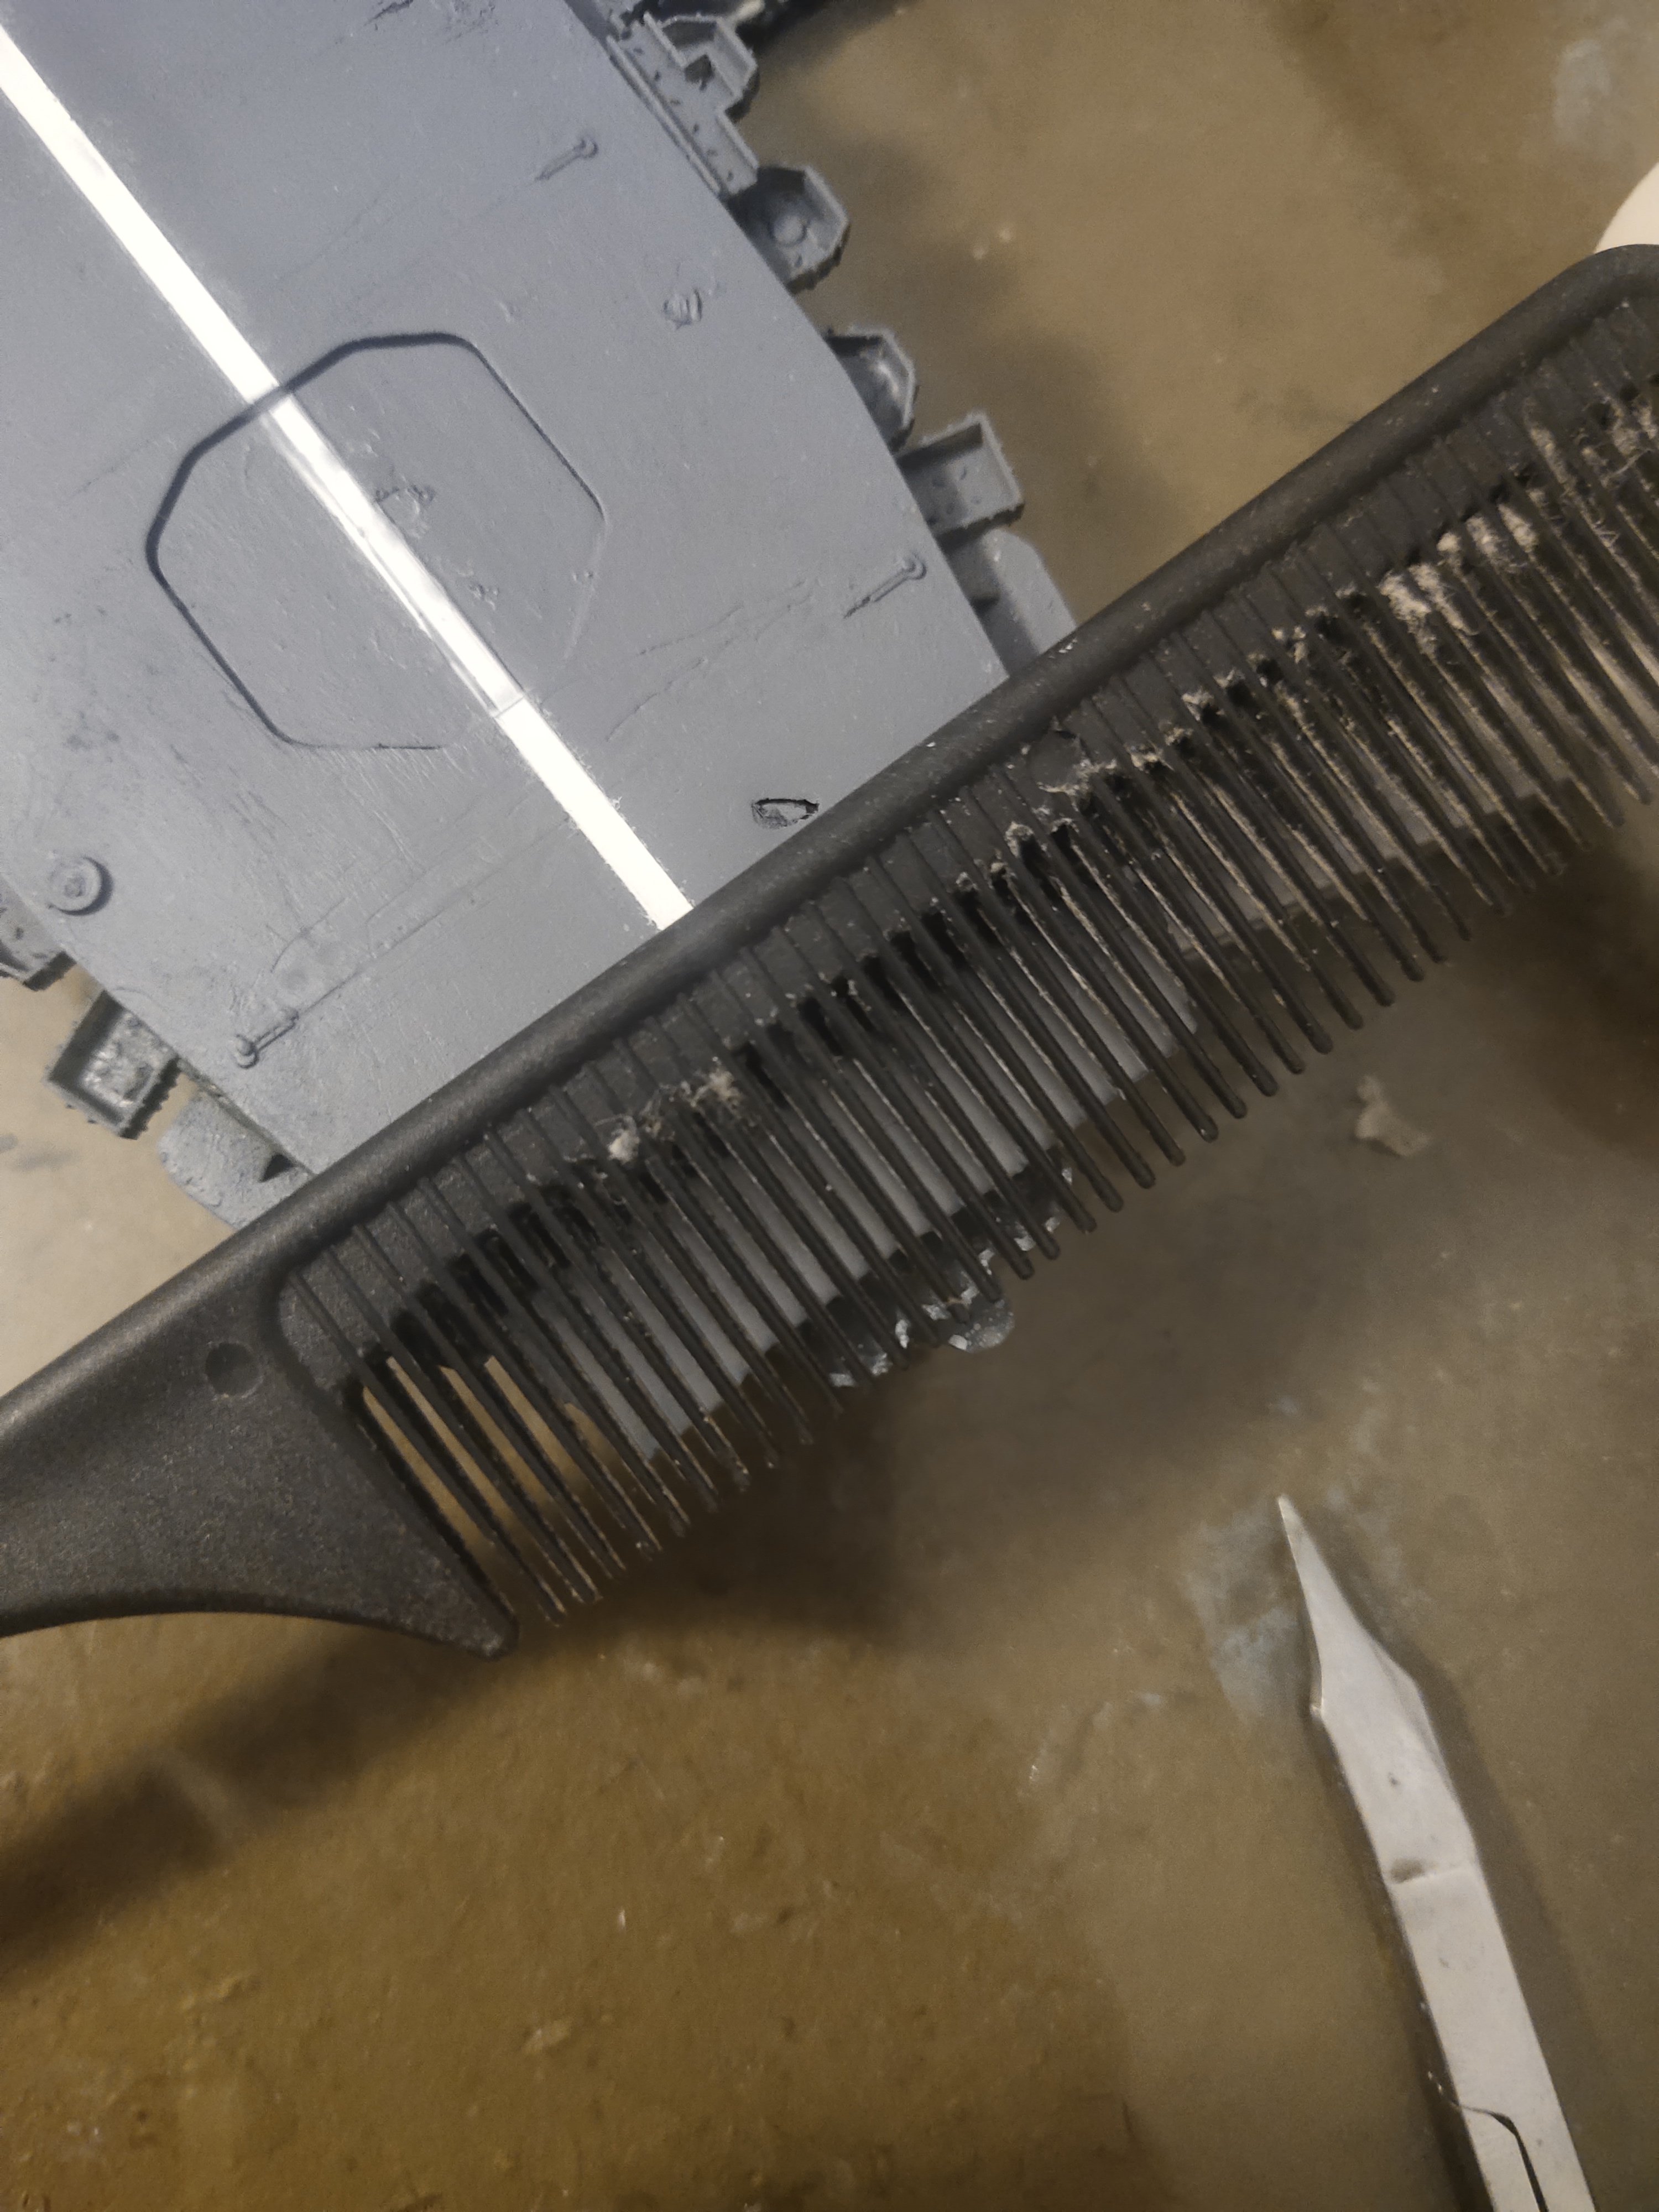
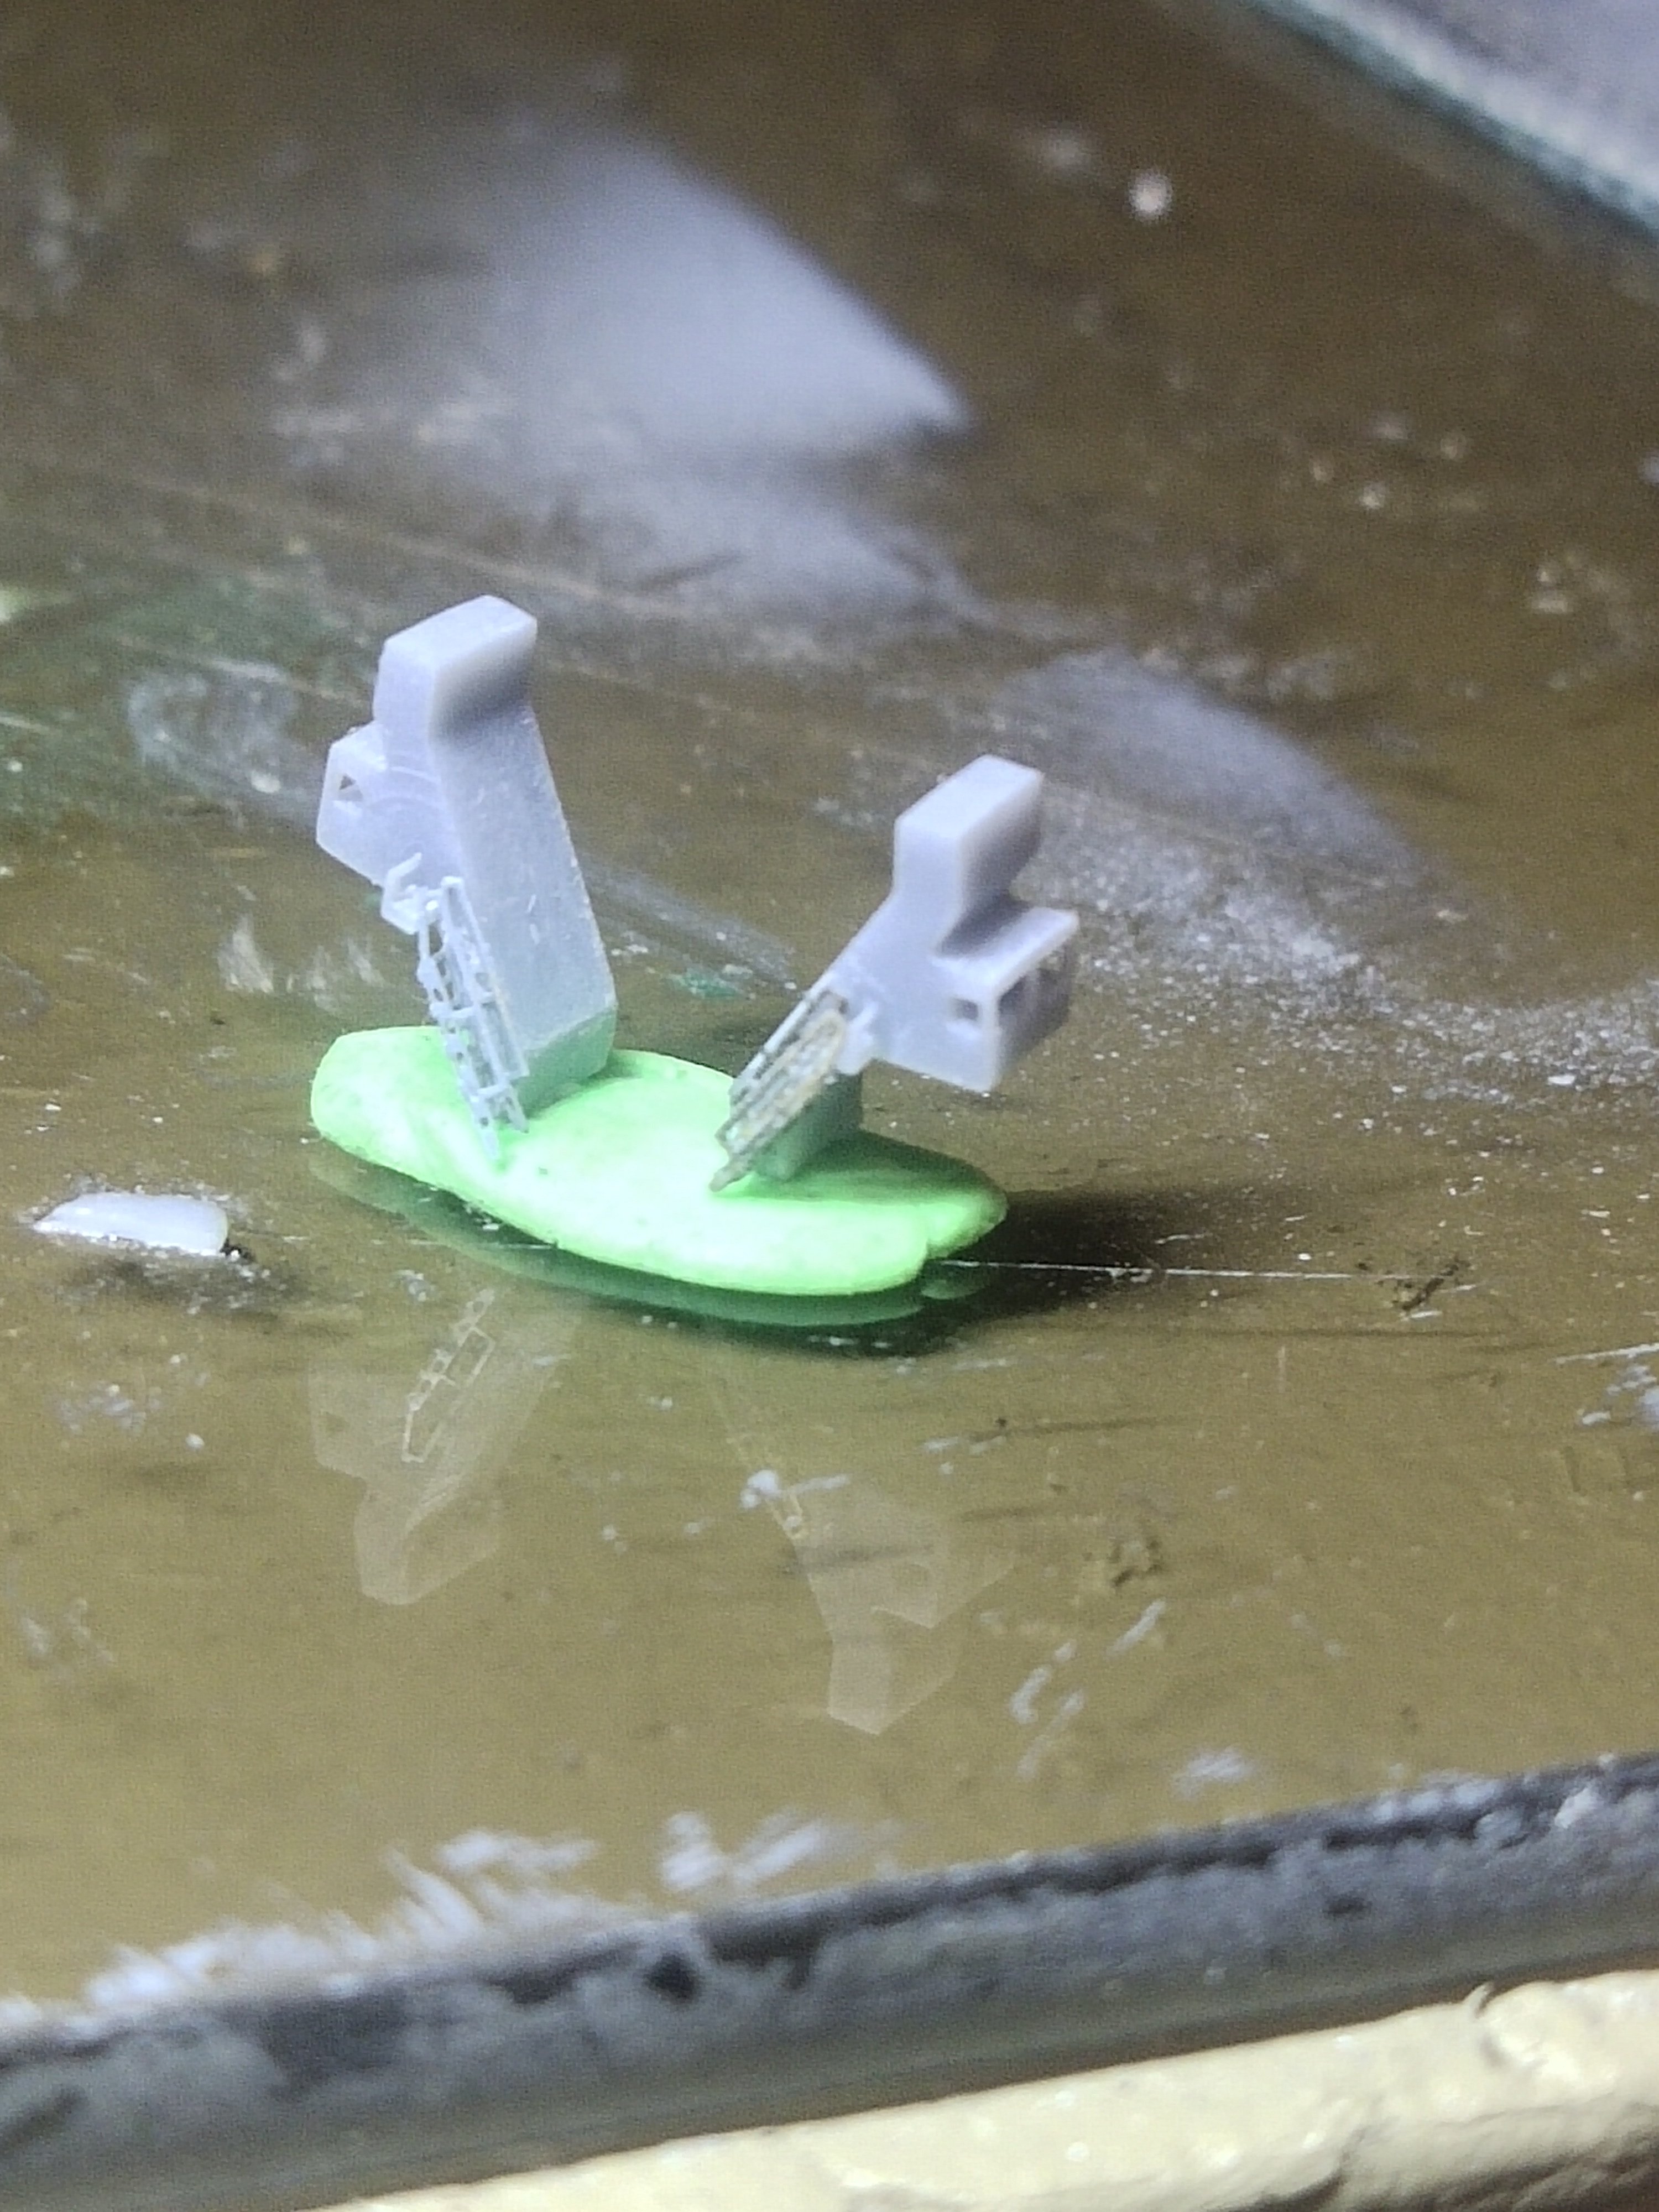
Next sreo is the placement of rocket launchers.
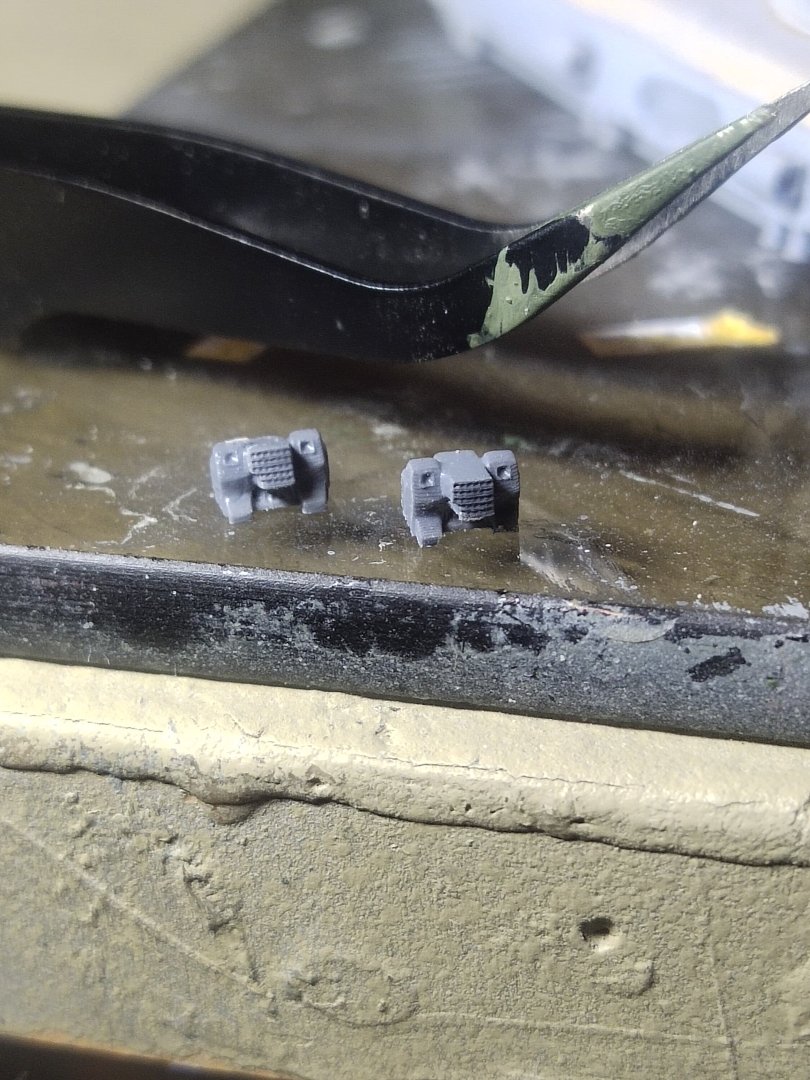
They turned up a big success, with high details, the teasers look like a giant fork behind them.

- yvesvidal, thibaultron, king derelict and 3 others
-
5
-
1
-
-
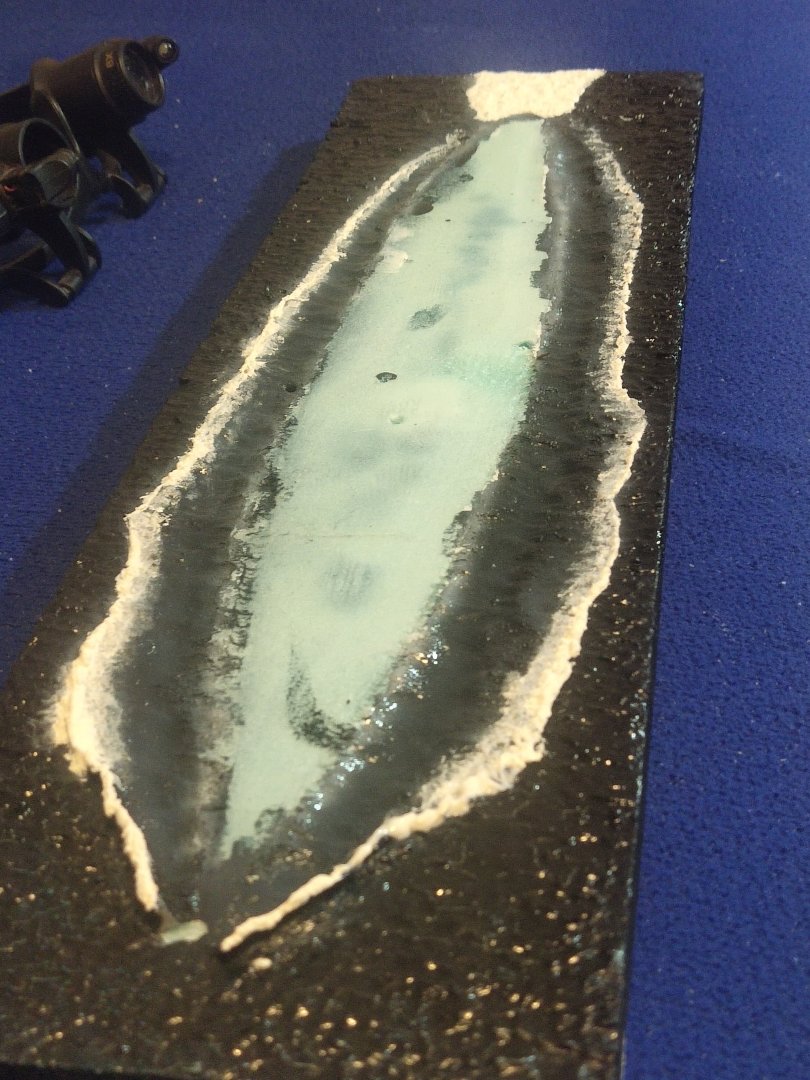
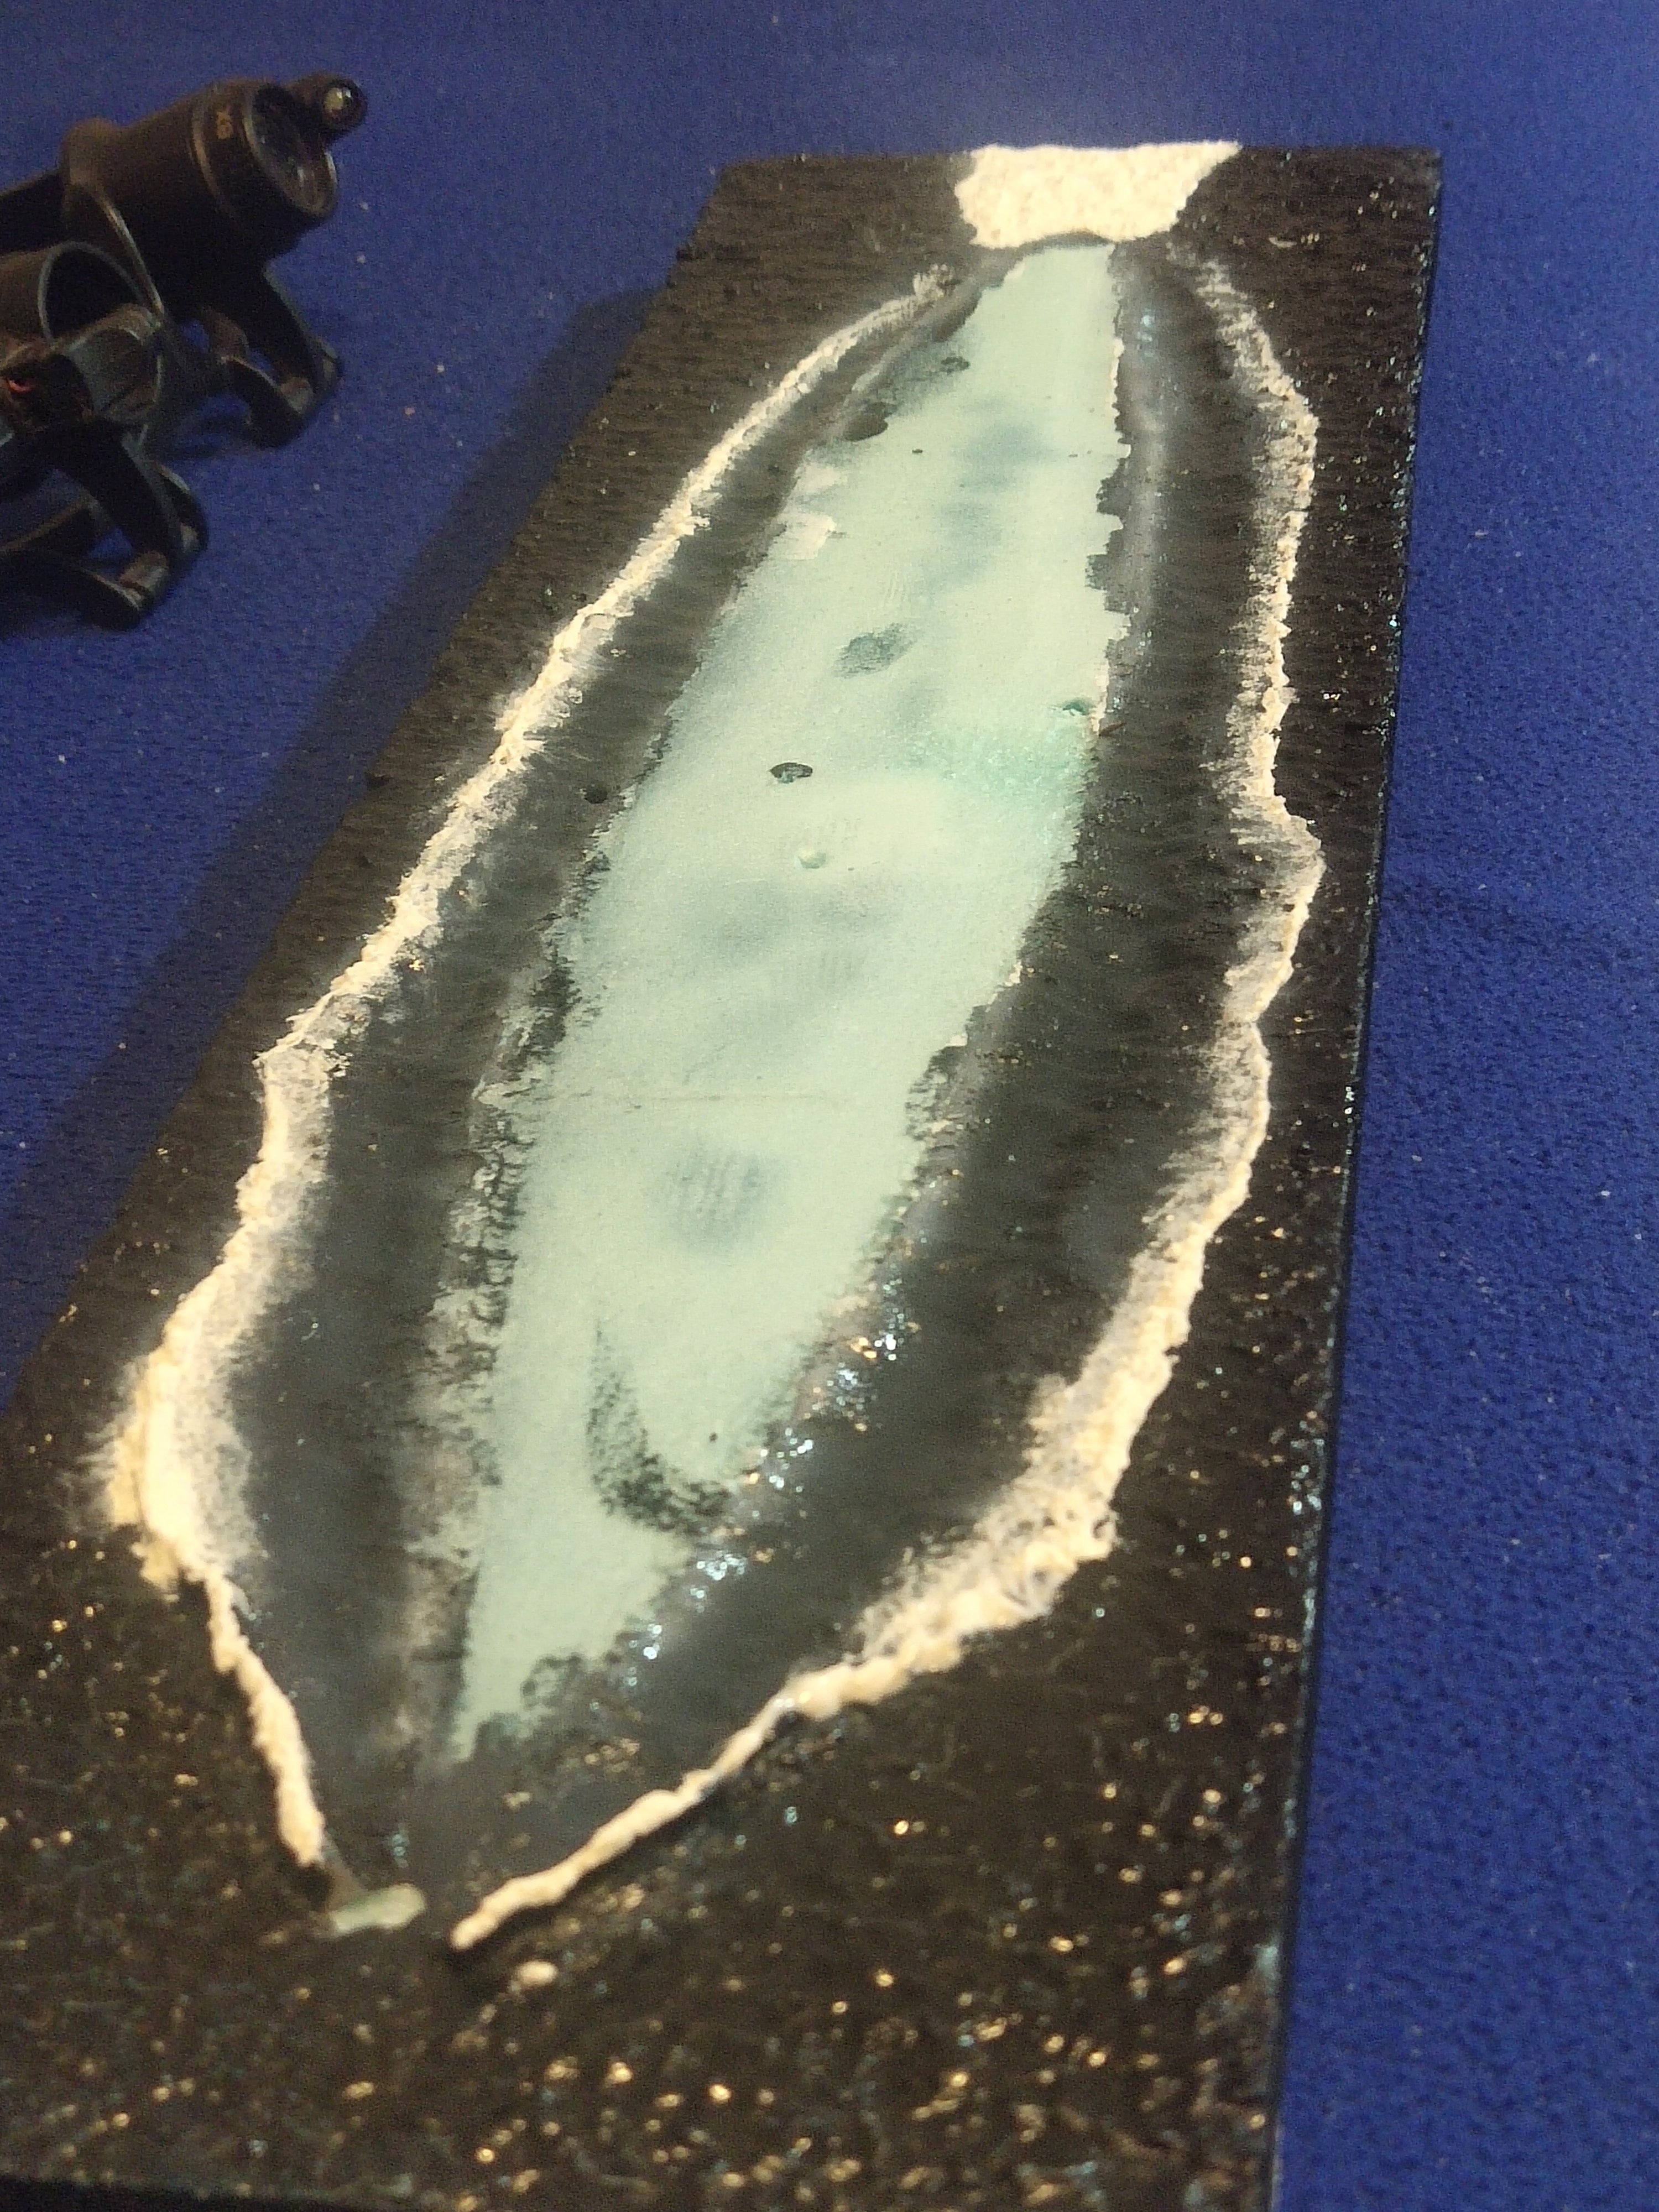
I like the paper glue method over the foil. You can work better the wave form and direction of the waves with a brush. It takes more effort but worth it. There's no easy way out on this.
- Canute, king derelict, AJohnson and 1 other
-
4
-
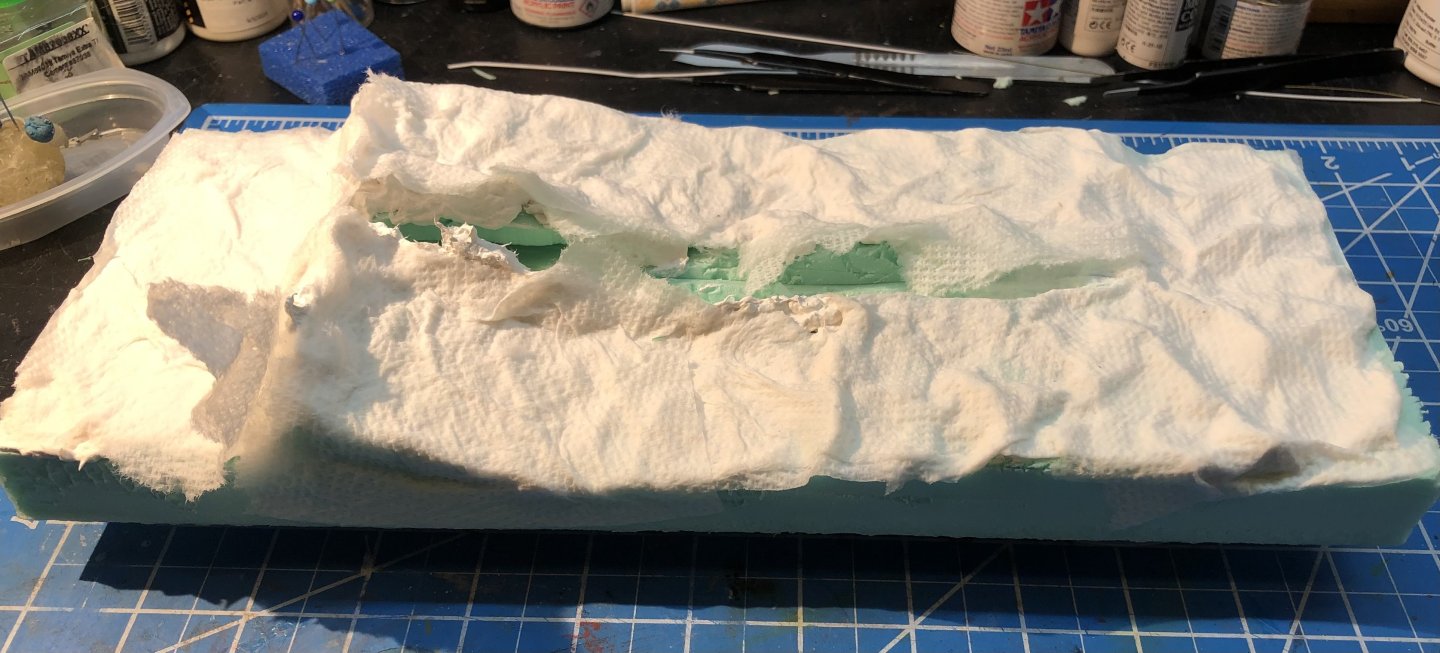
10 hours ago, king derelict said:
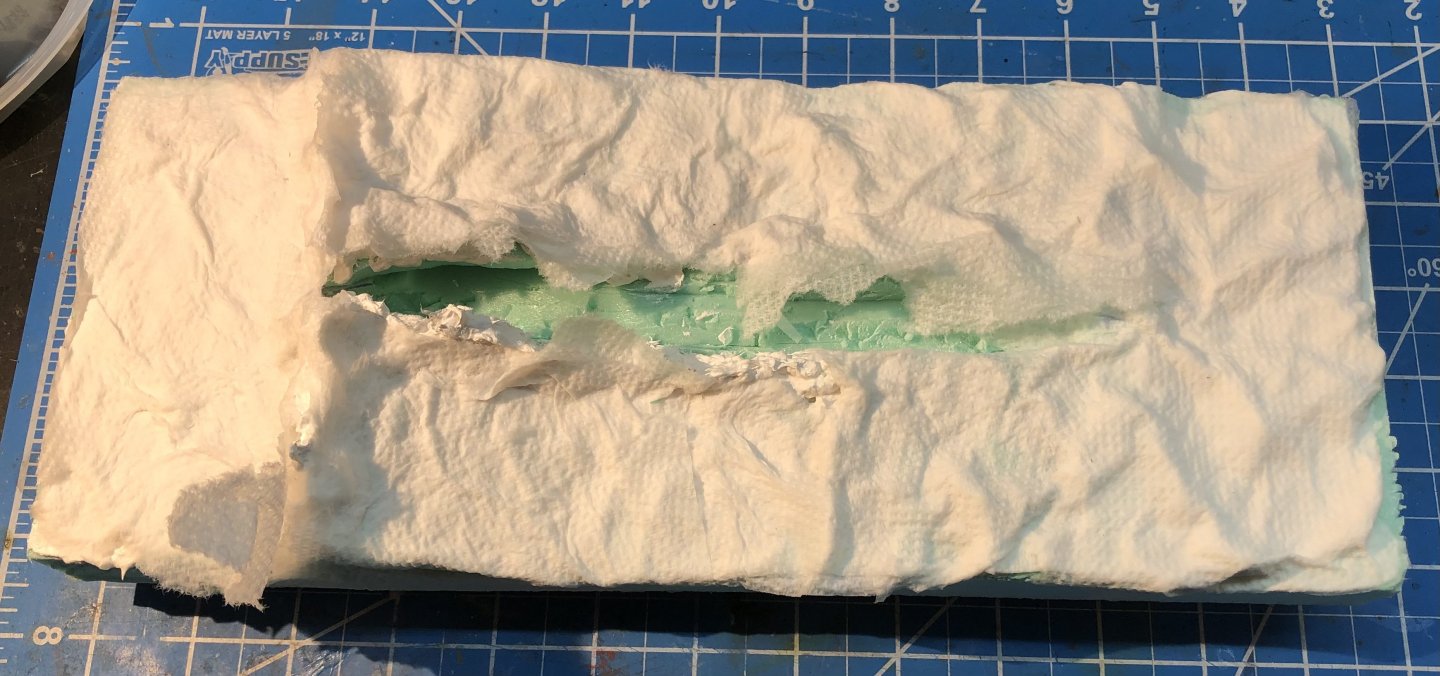
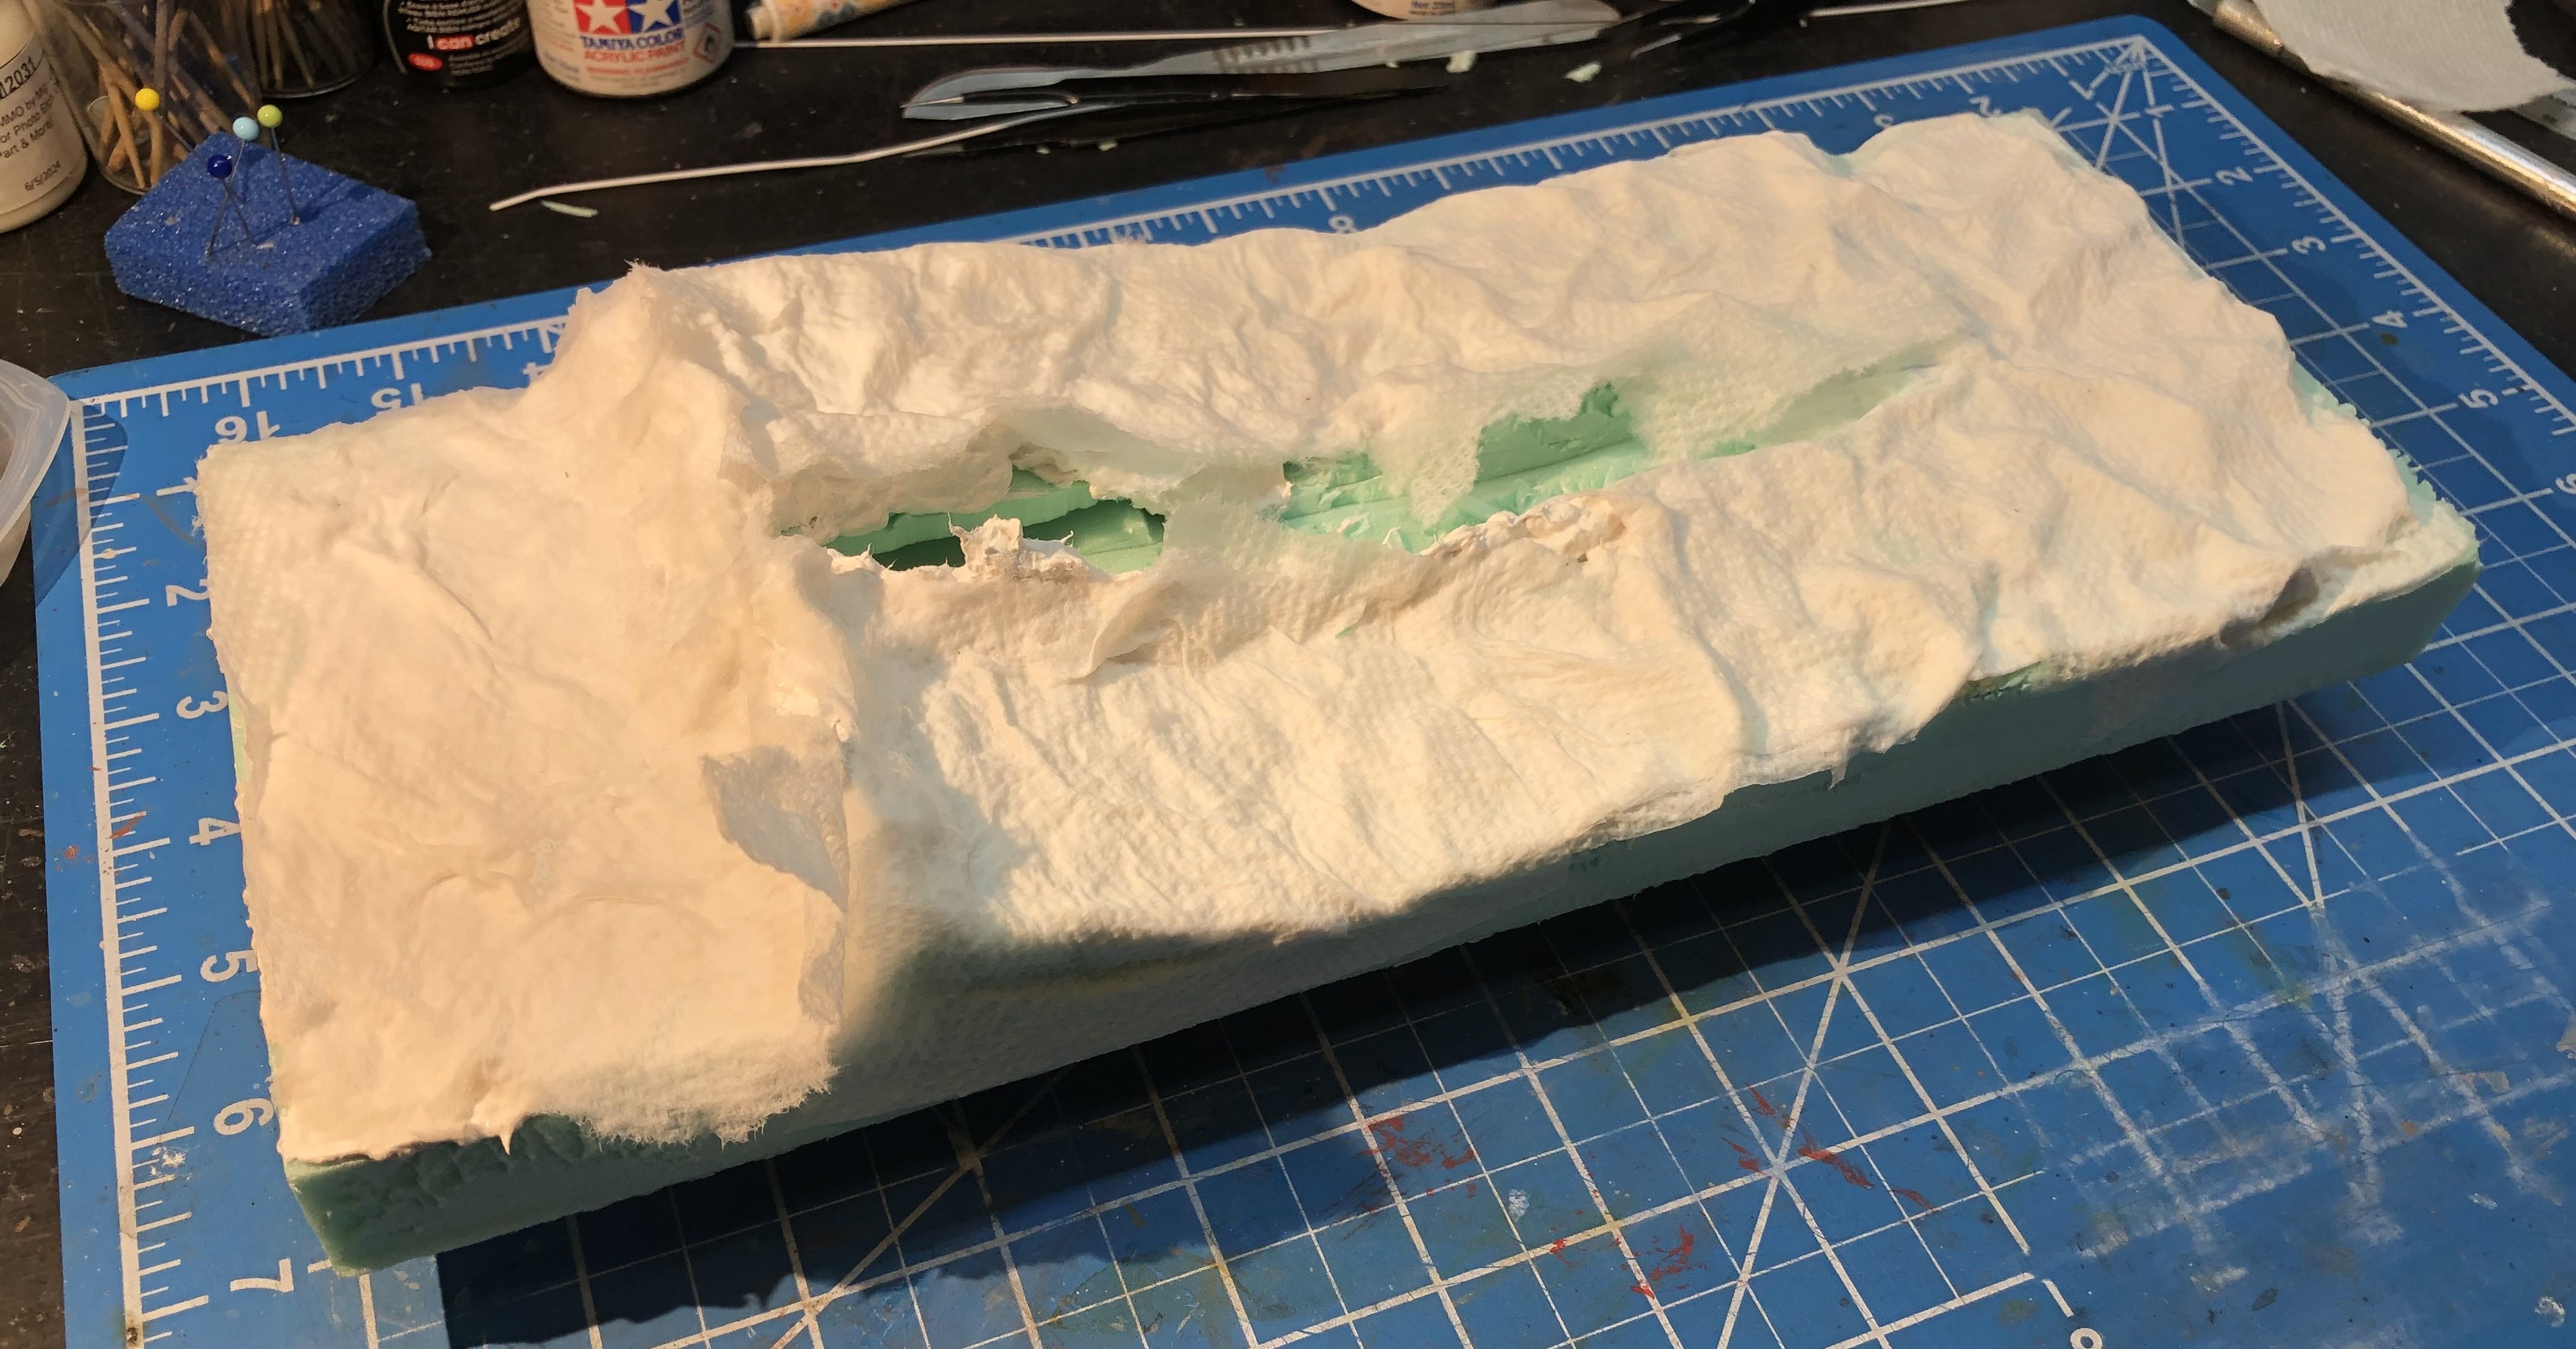
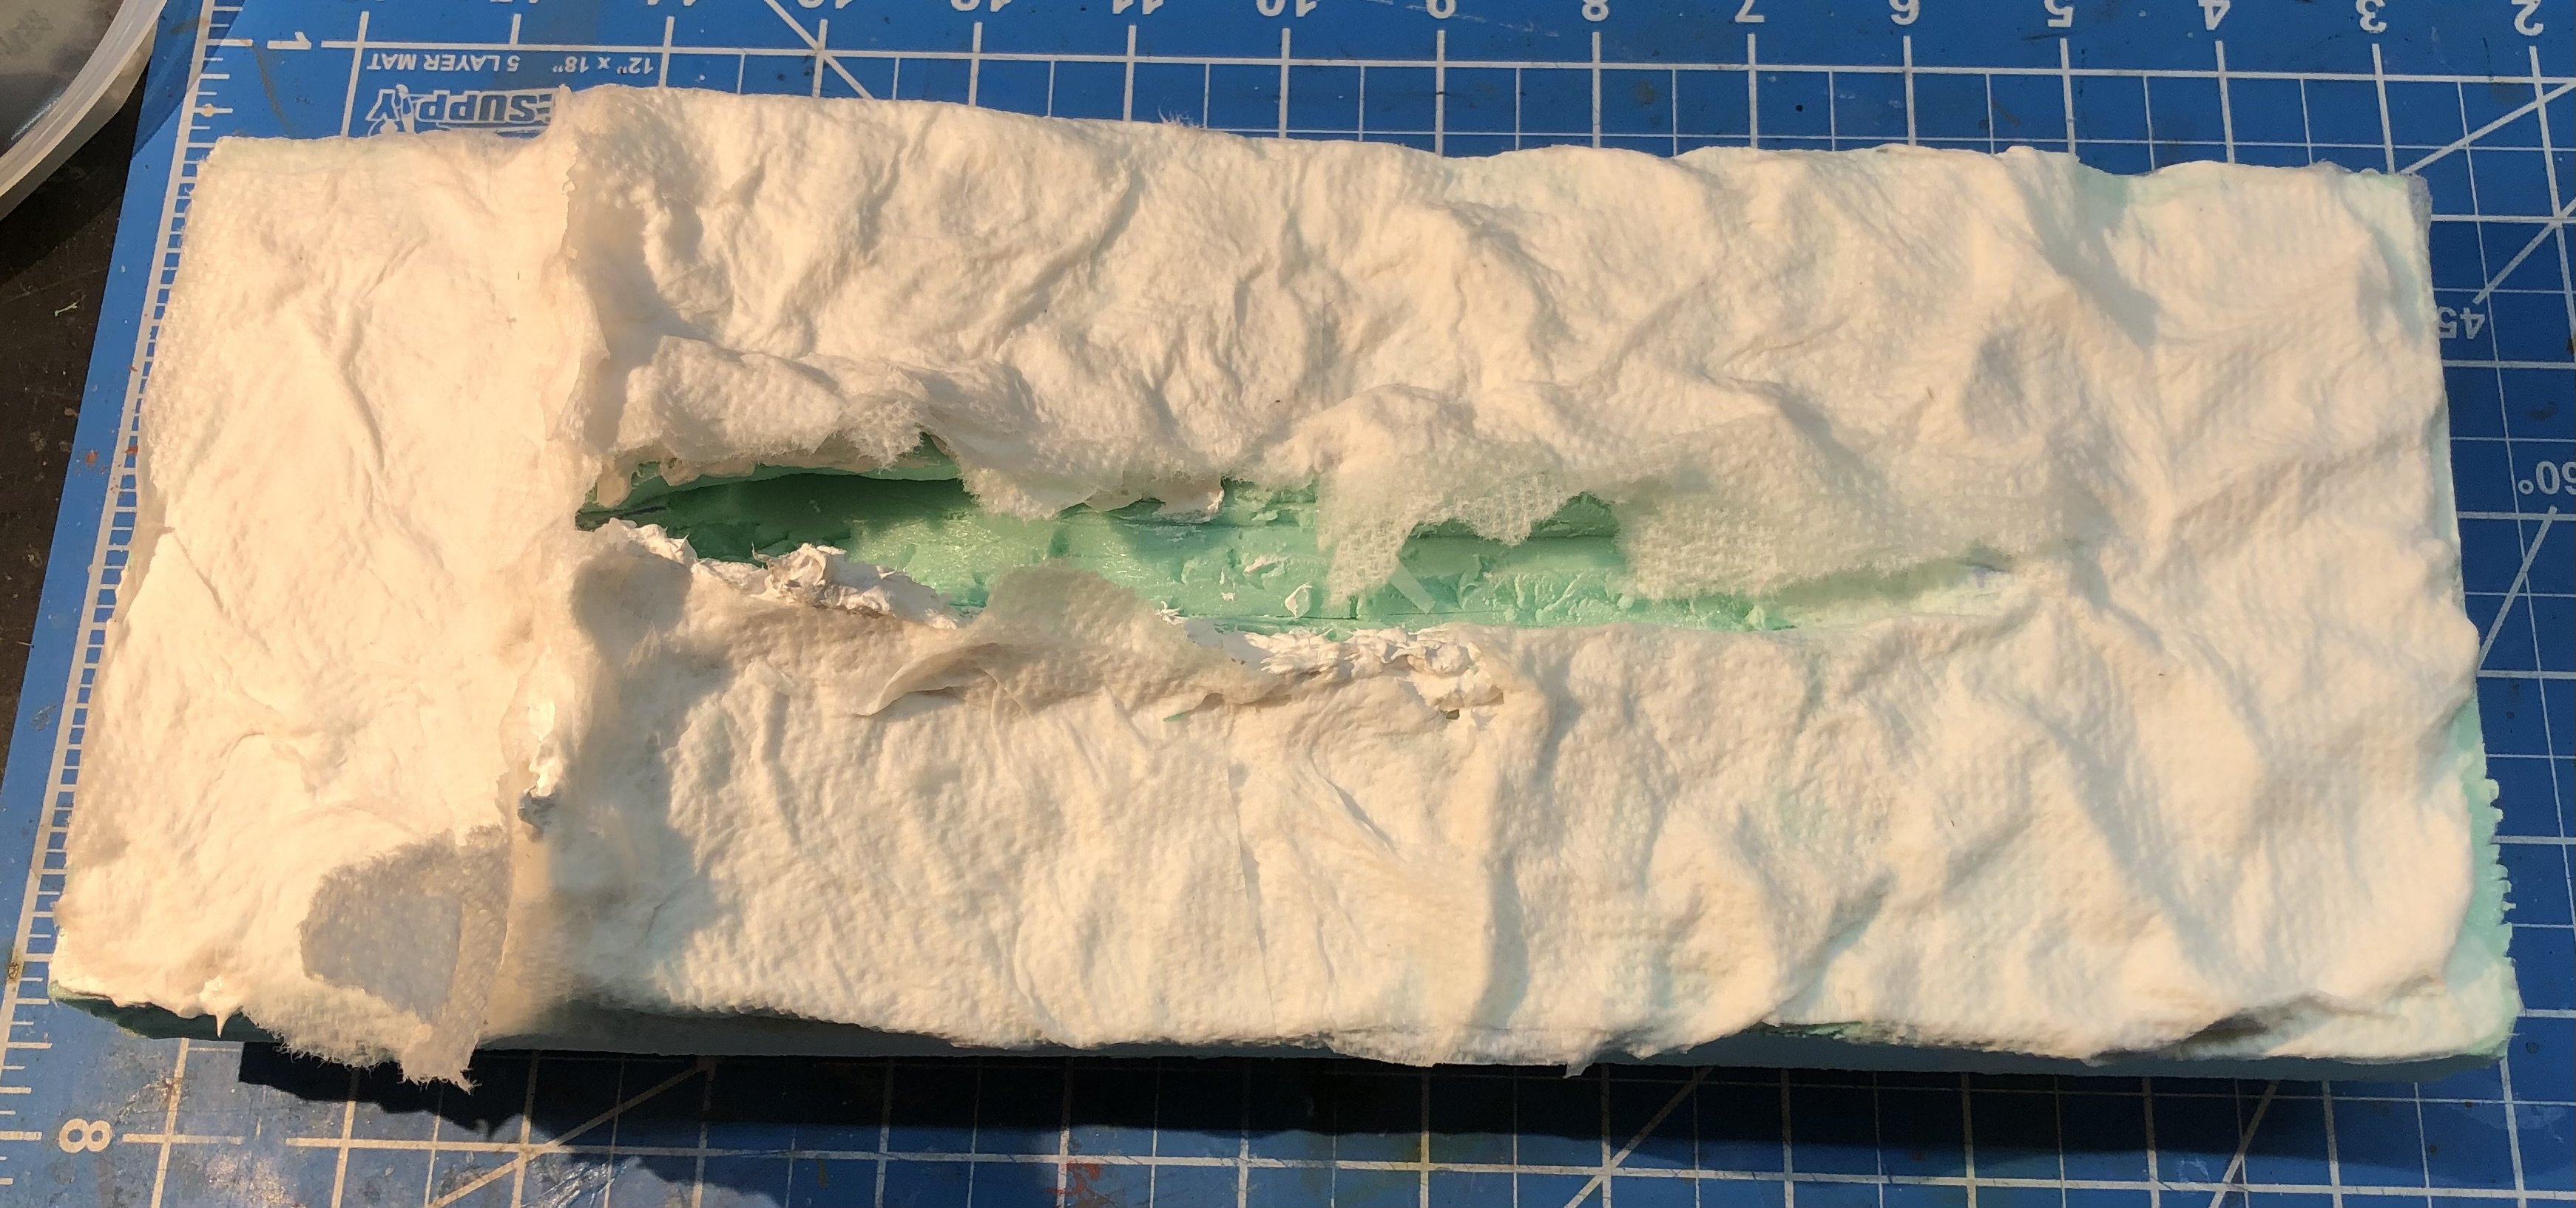
Today I used torn paper towels soaked with diluted white glue to soften the scuptamold surface and then pushed around the wet paper to form smaller surface details. Some edges have been left to help the modeling of the wakes around the hull.
This is now drying. I may add another layer tomorrow.

Thanks for looking in, the likes and the commentsAlan
Try to shape the waves in a way they look they come from the same direction. Make a corridor at the stern for the wakes that should be almost flat
-
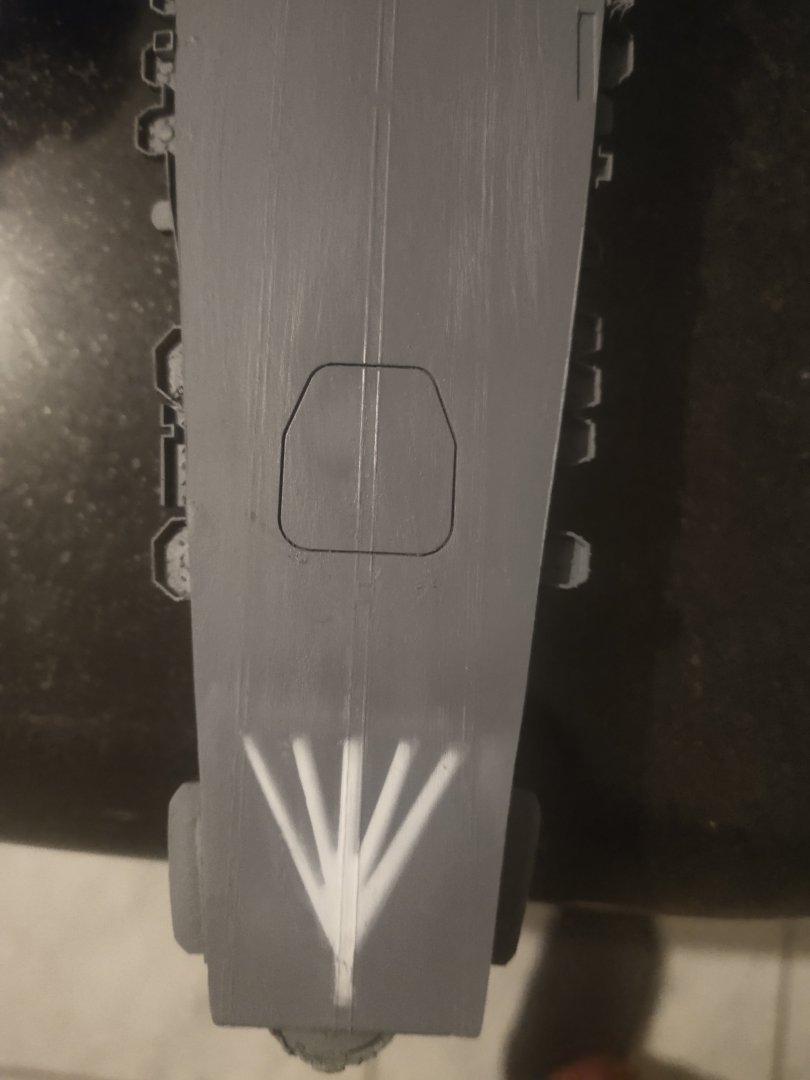
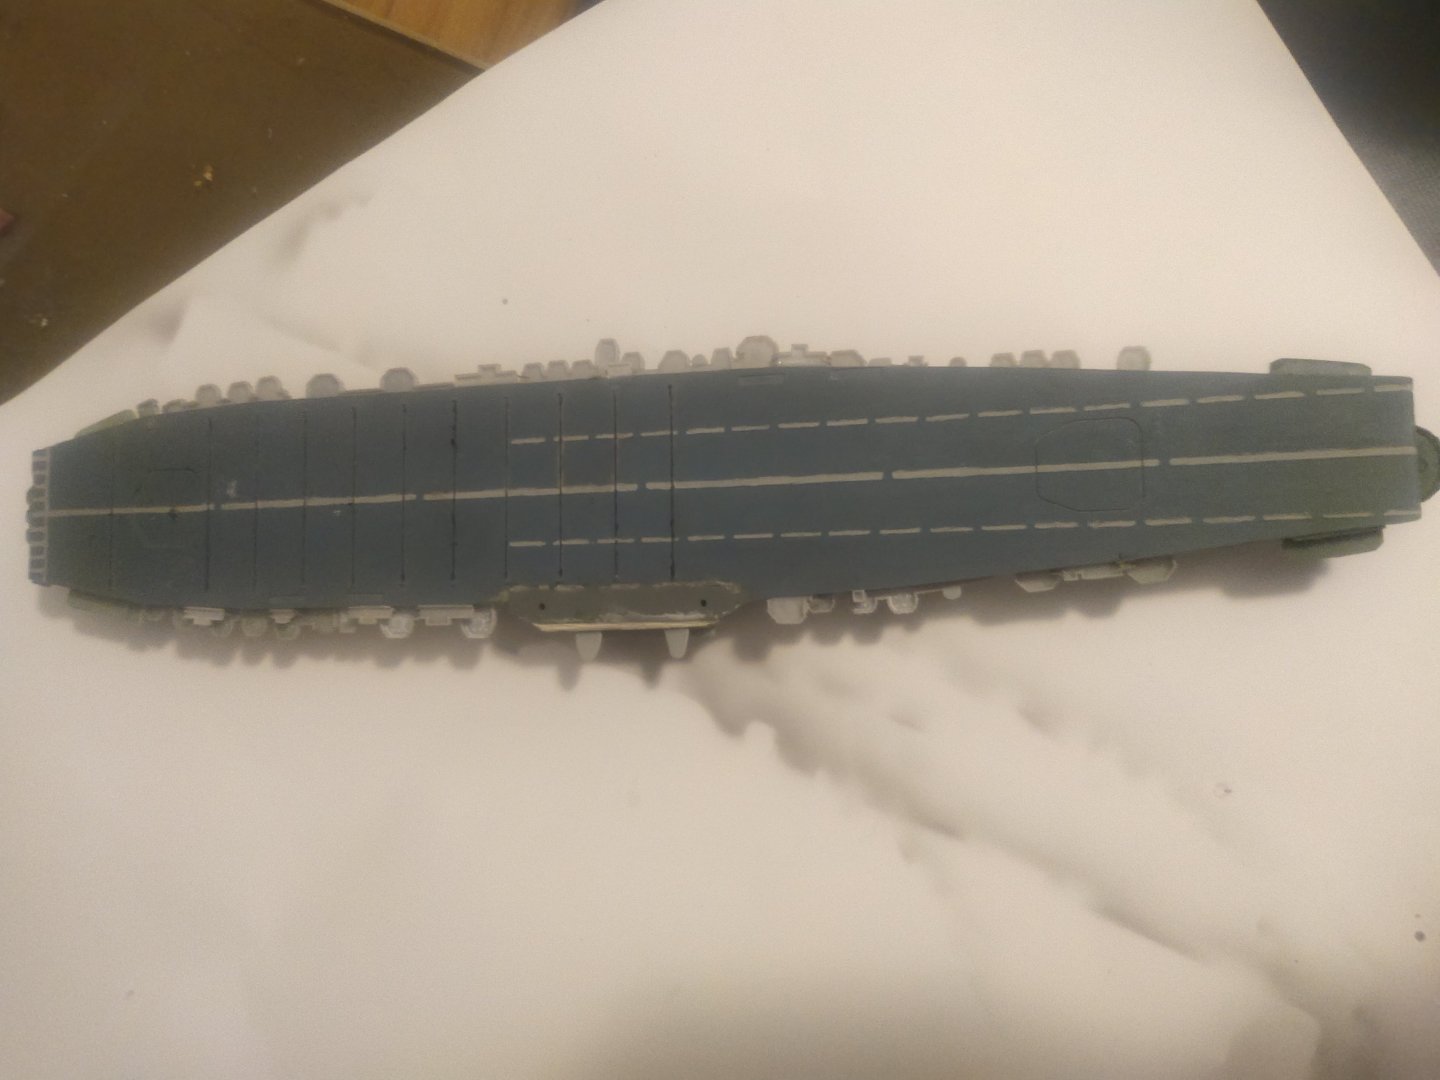
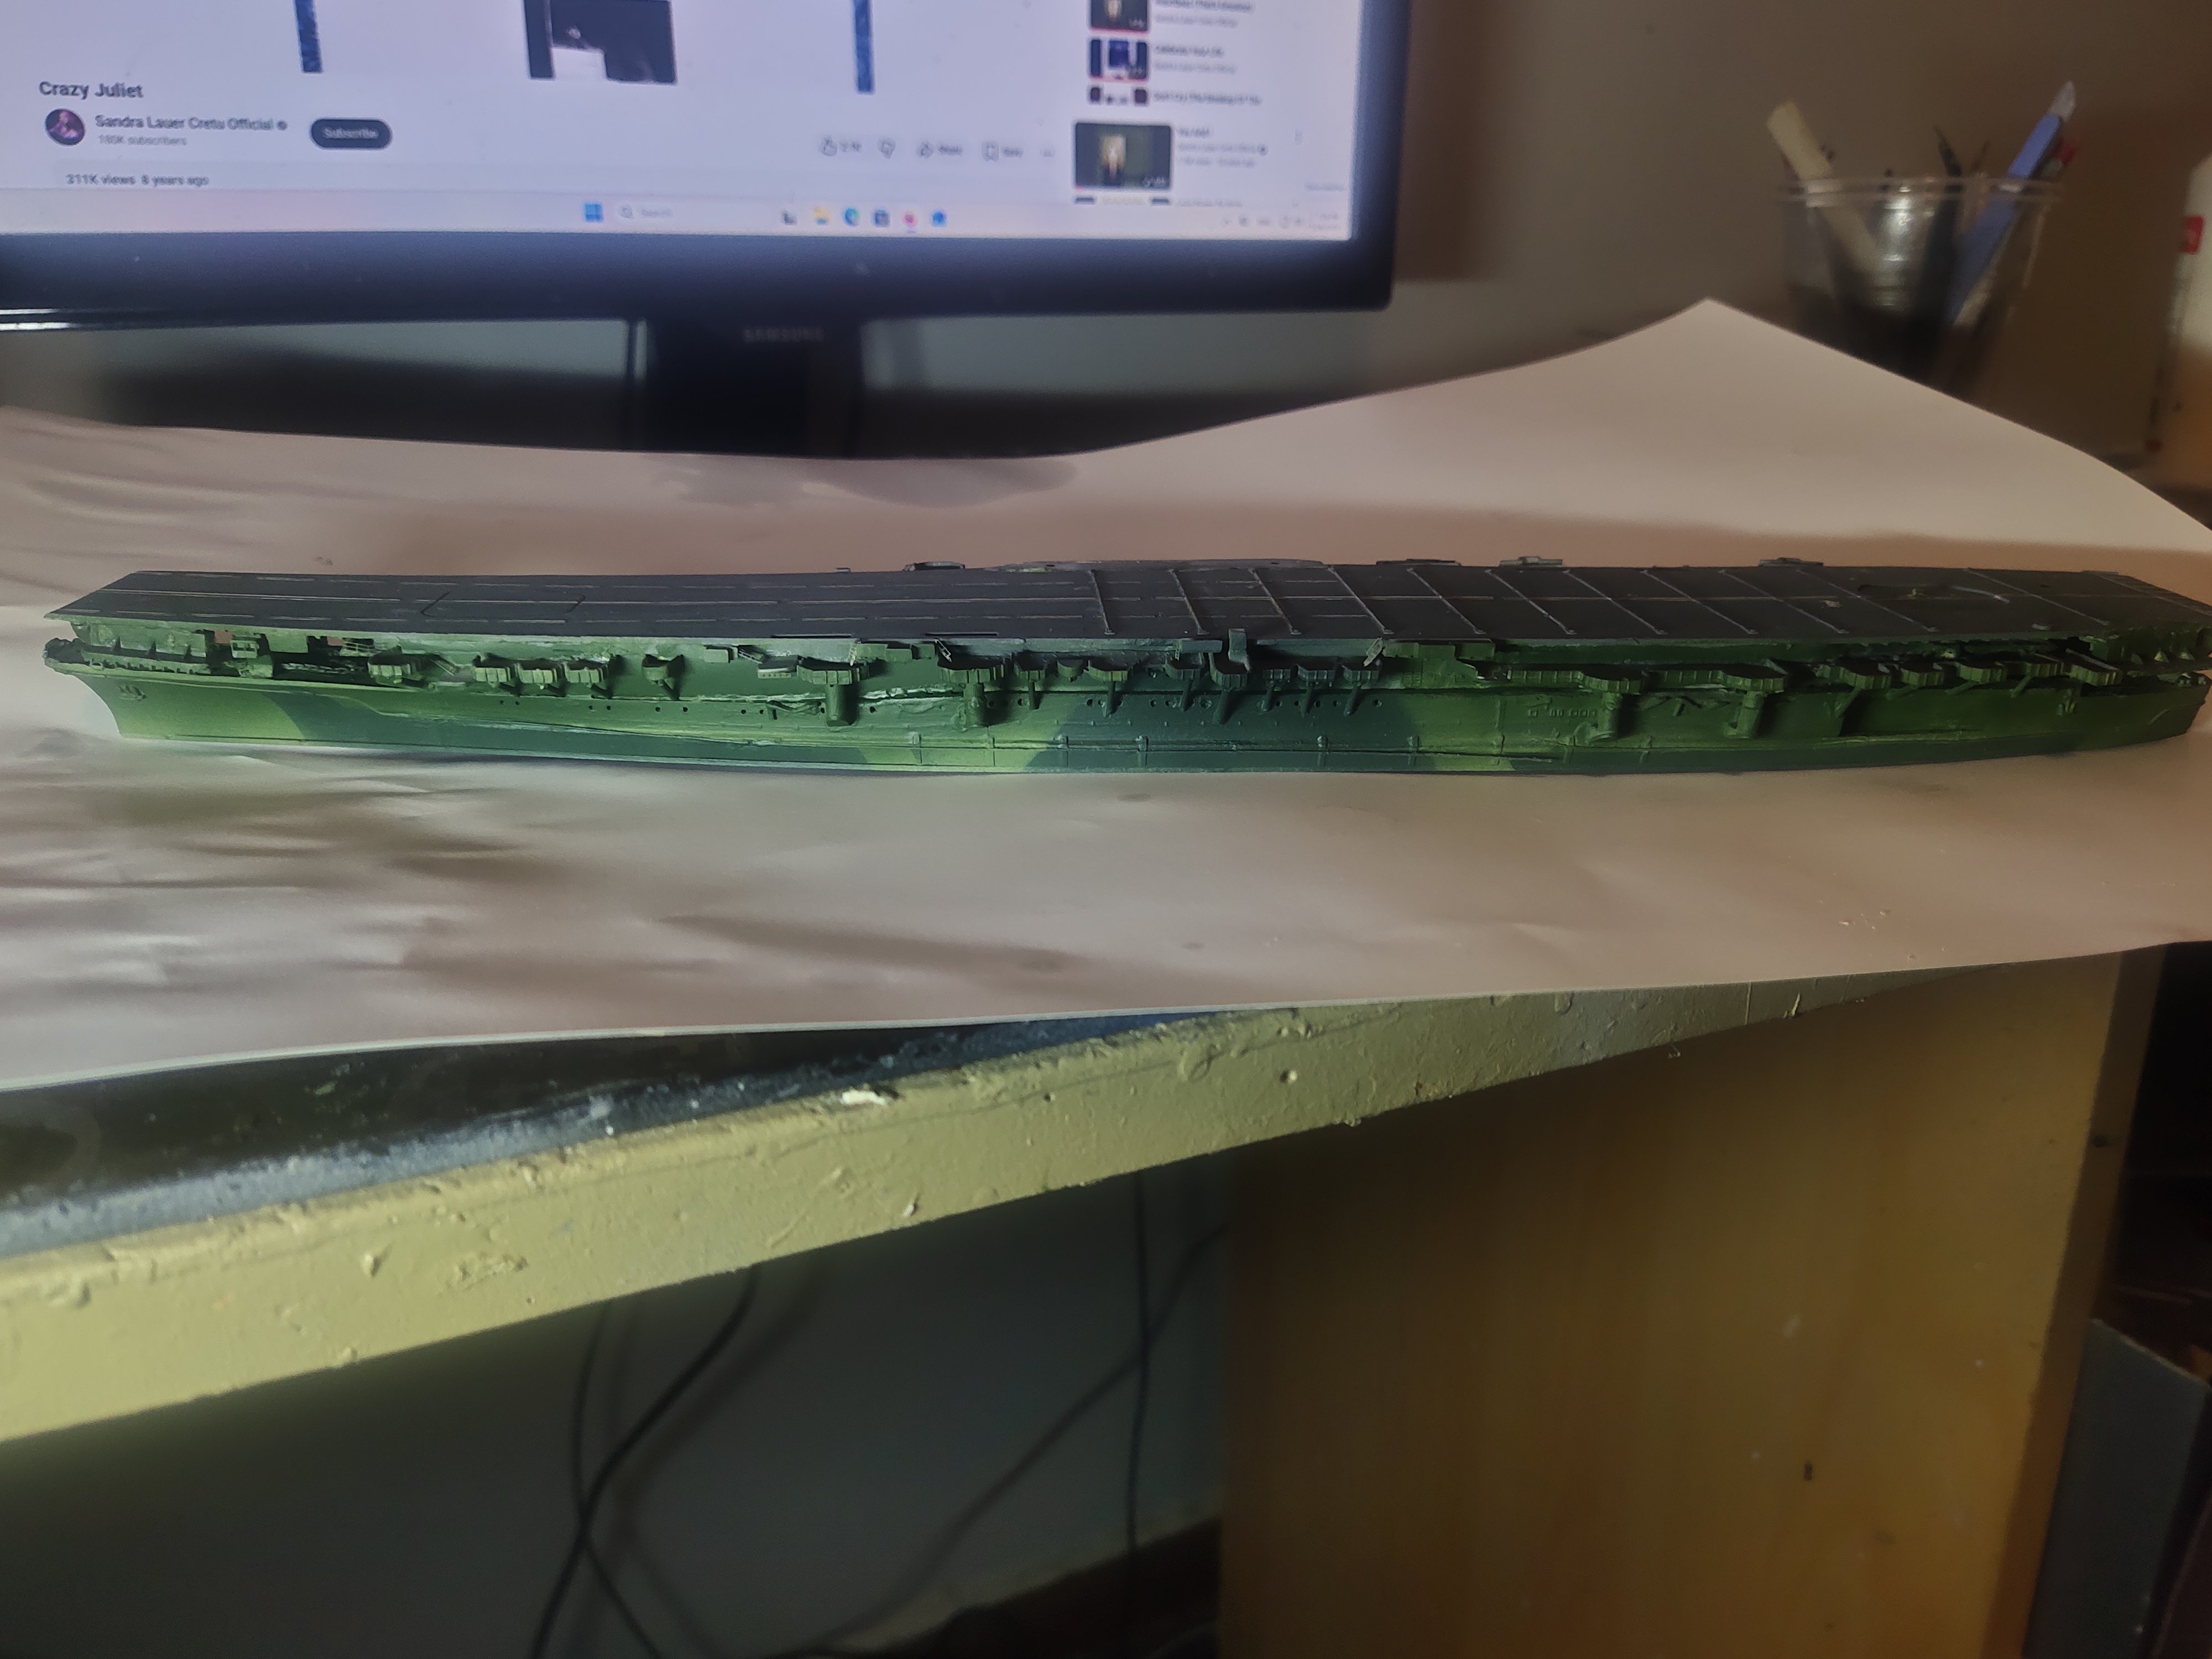
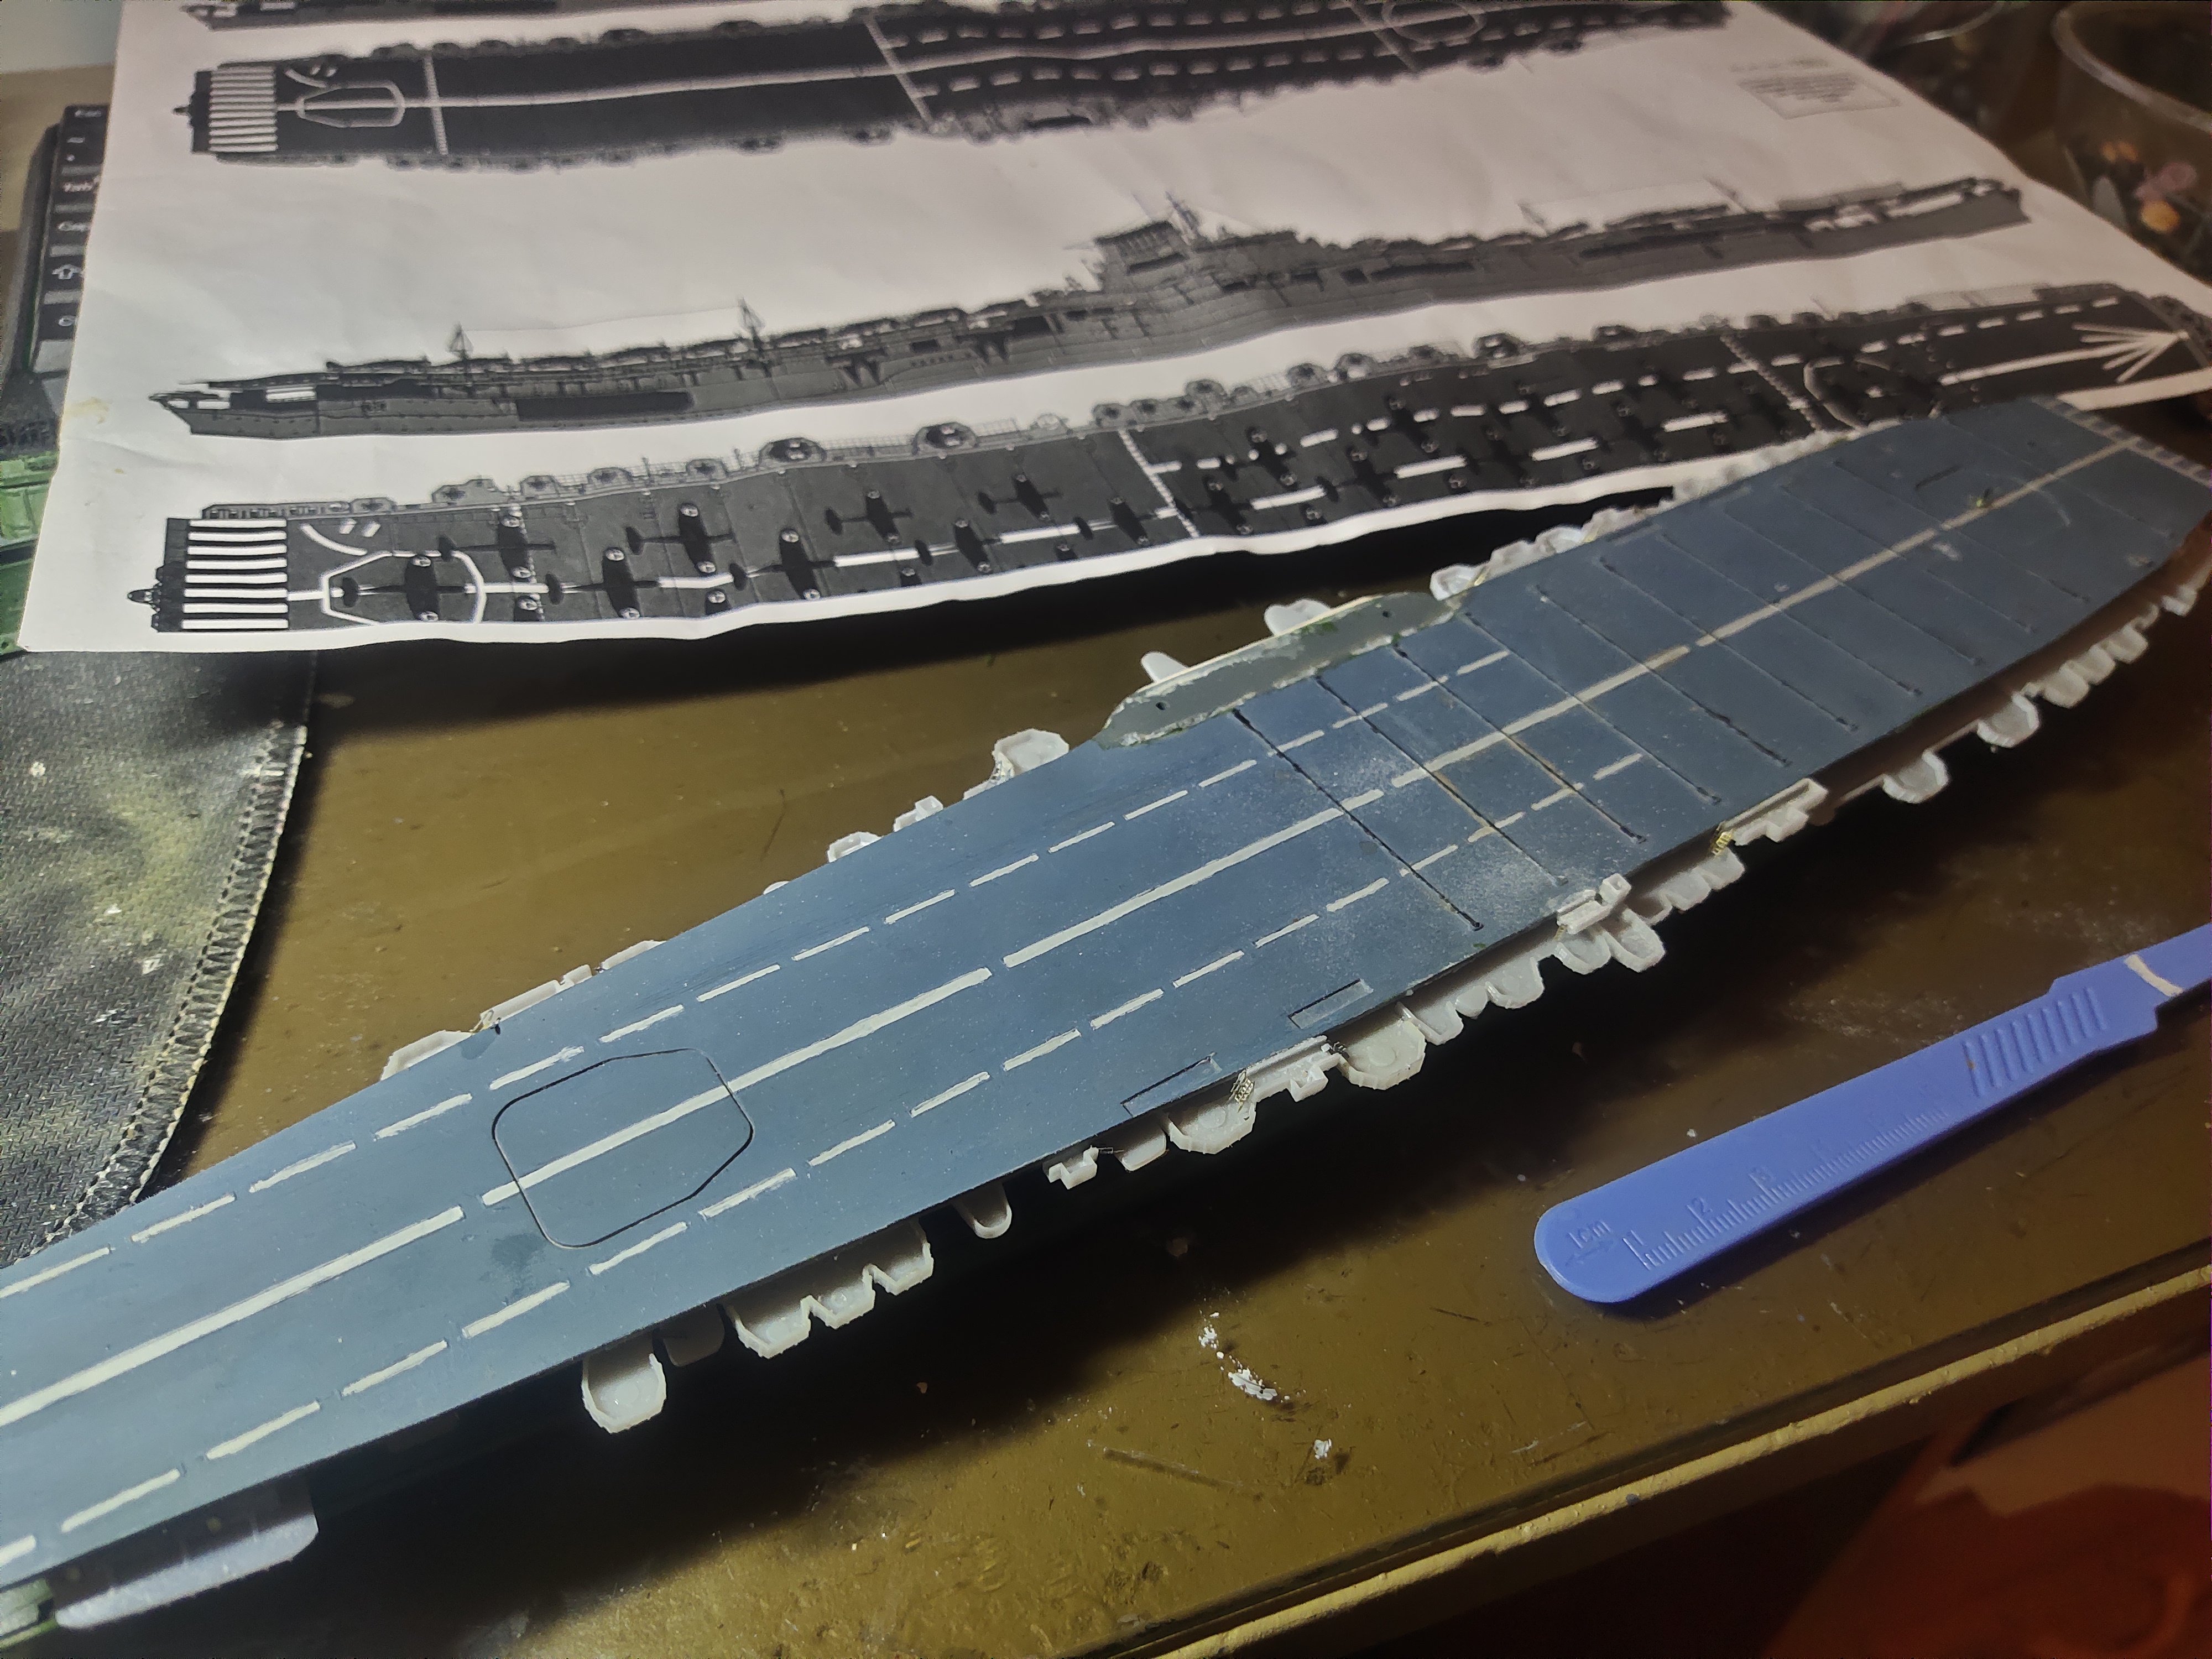
I used self made mask and painting techniques to achieve the desired result

- Old Collingwood, Baker, king derelict and 3 others
-
5
-
1
-
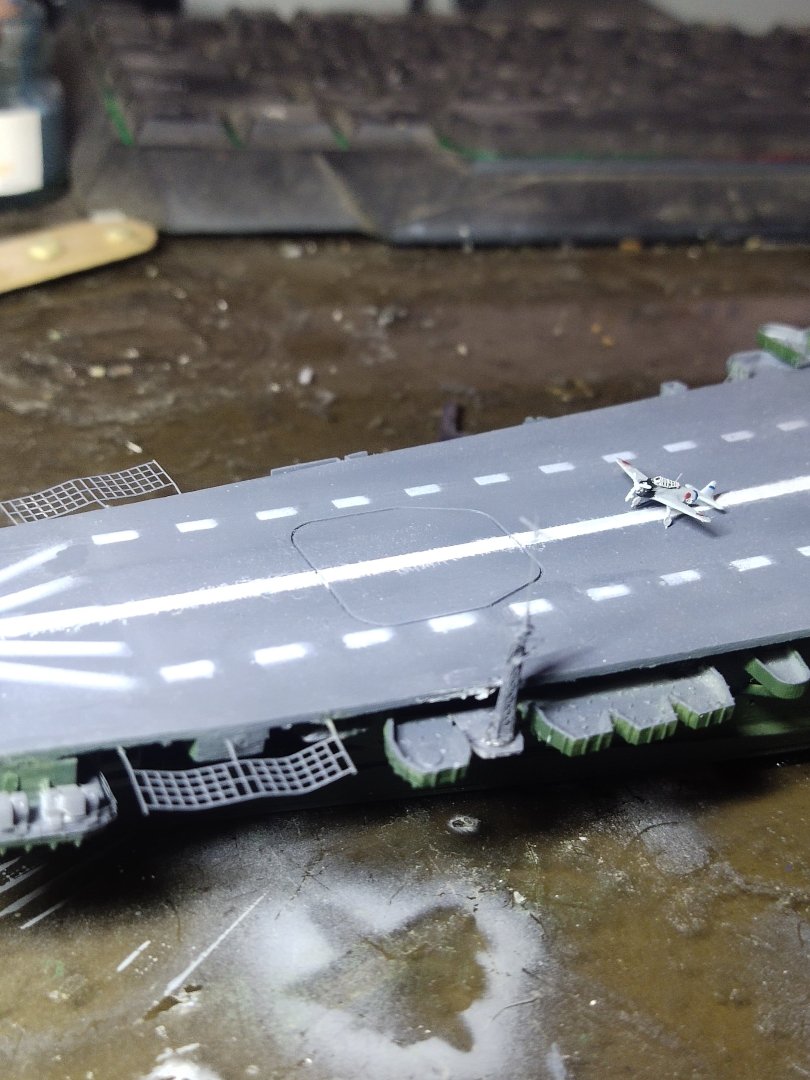
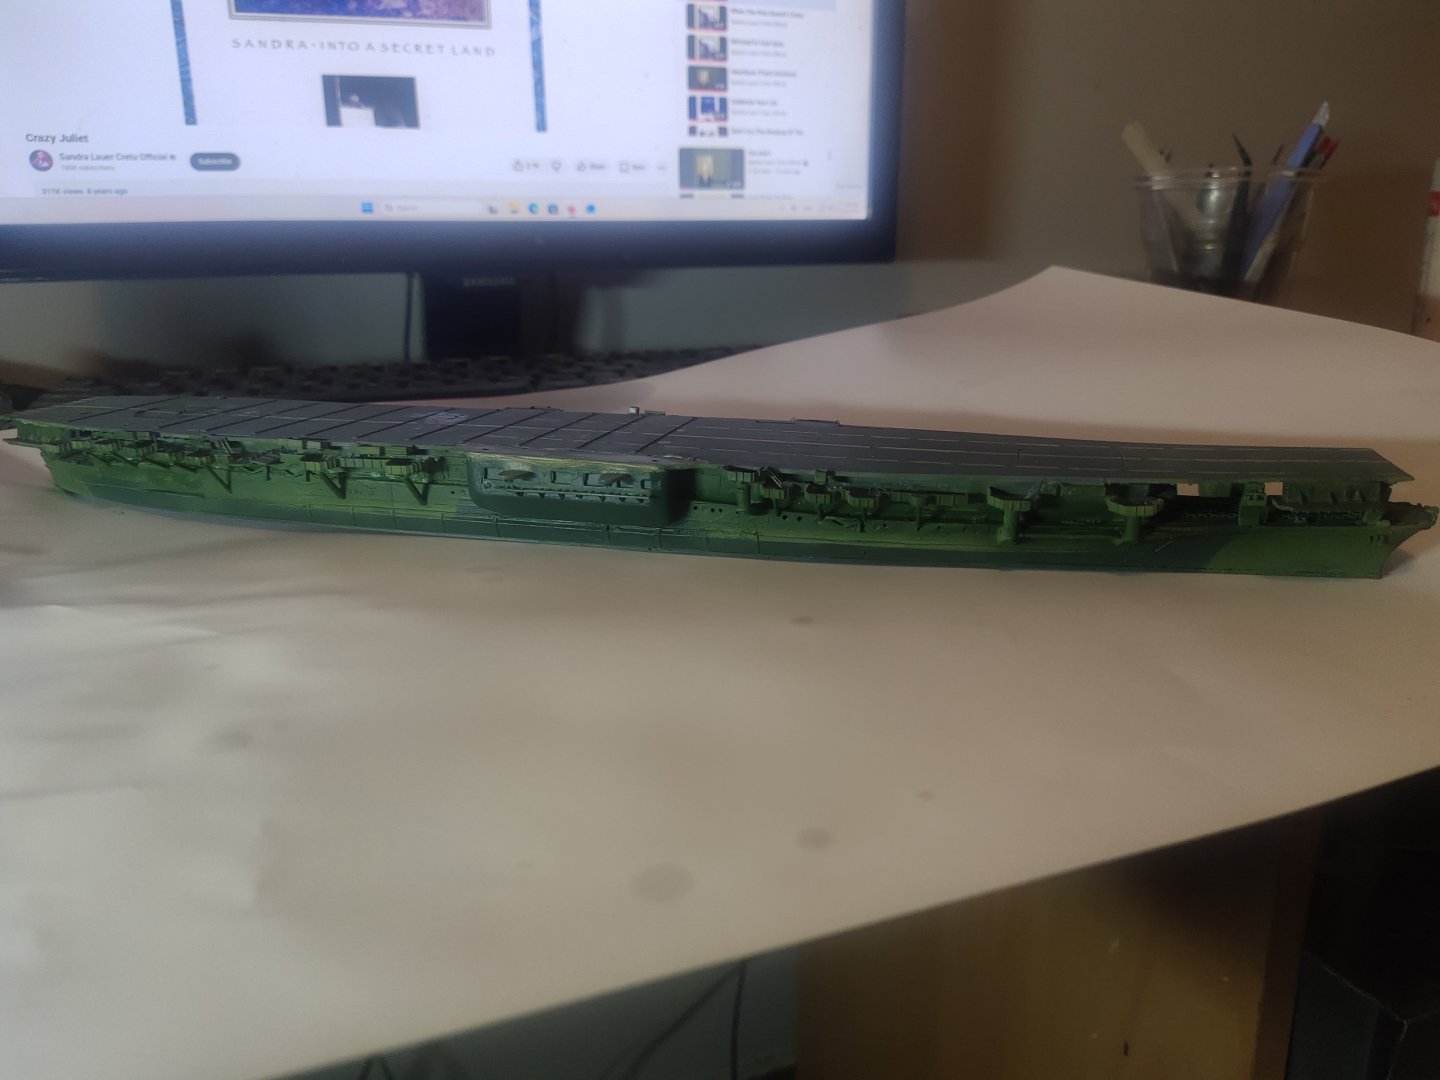
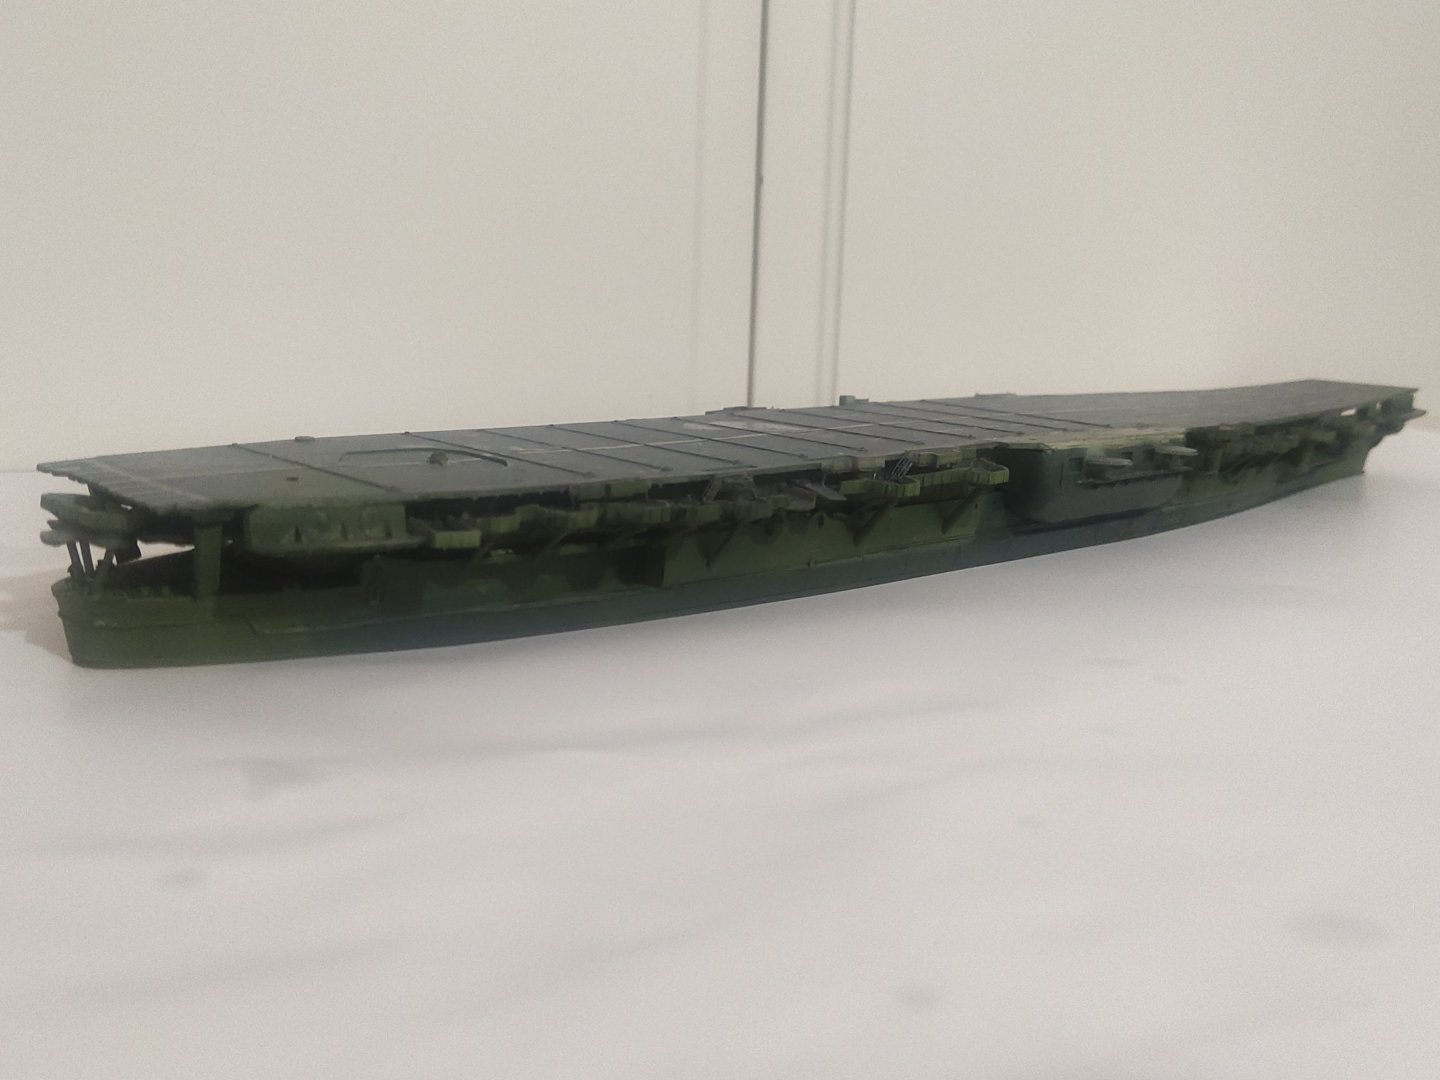
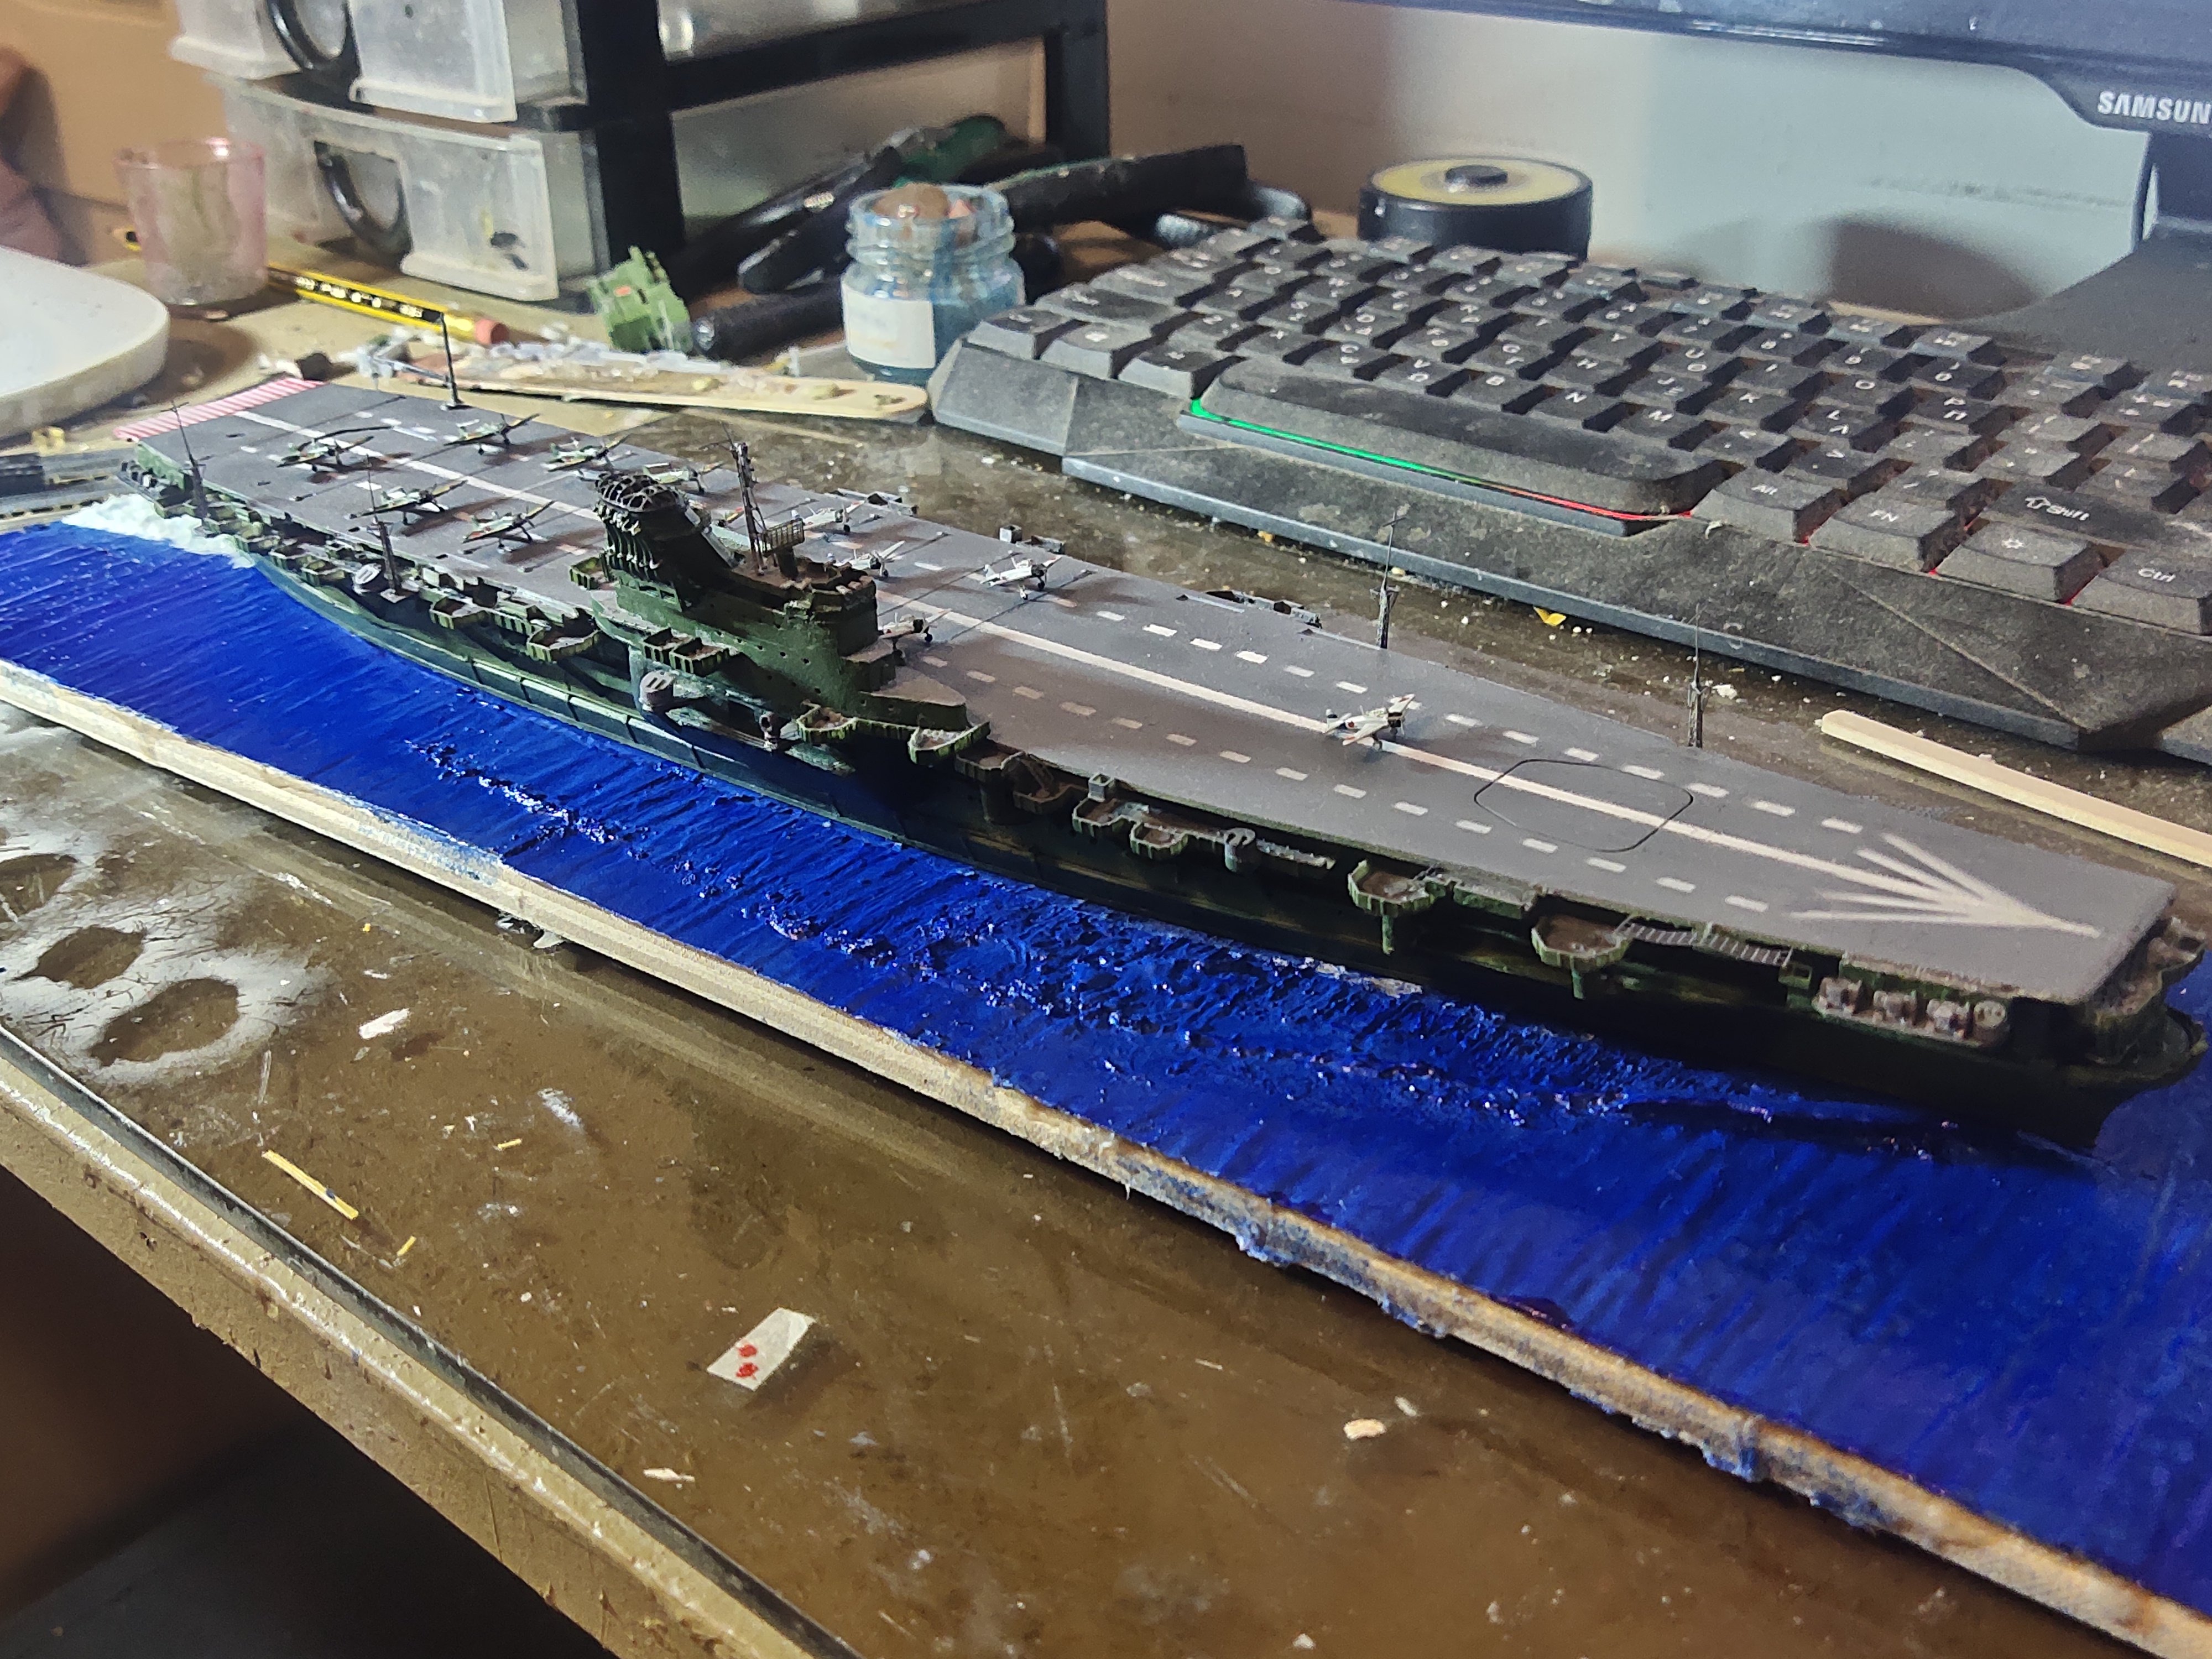
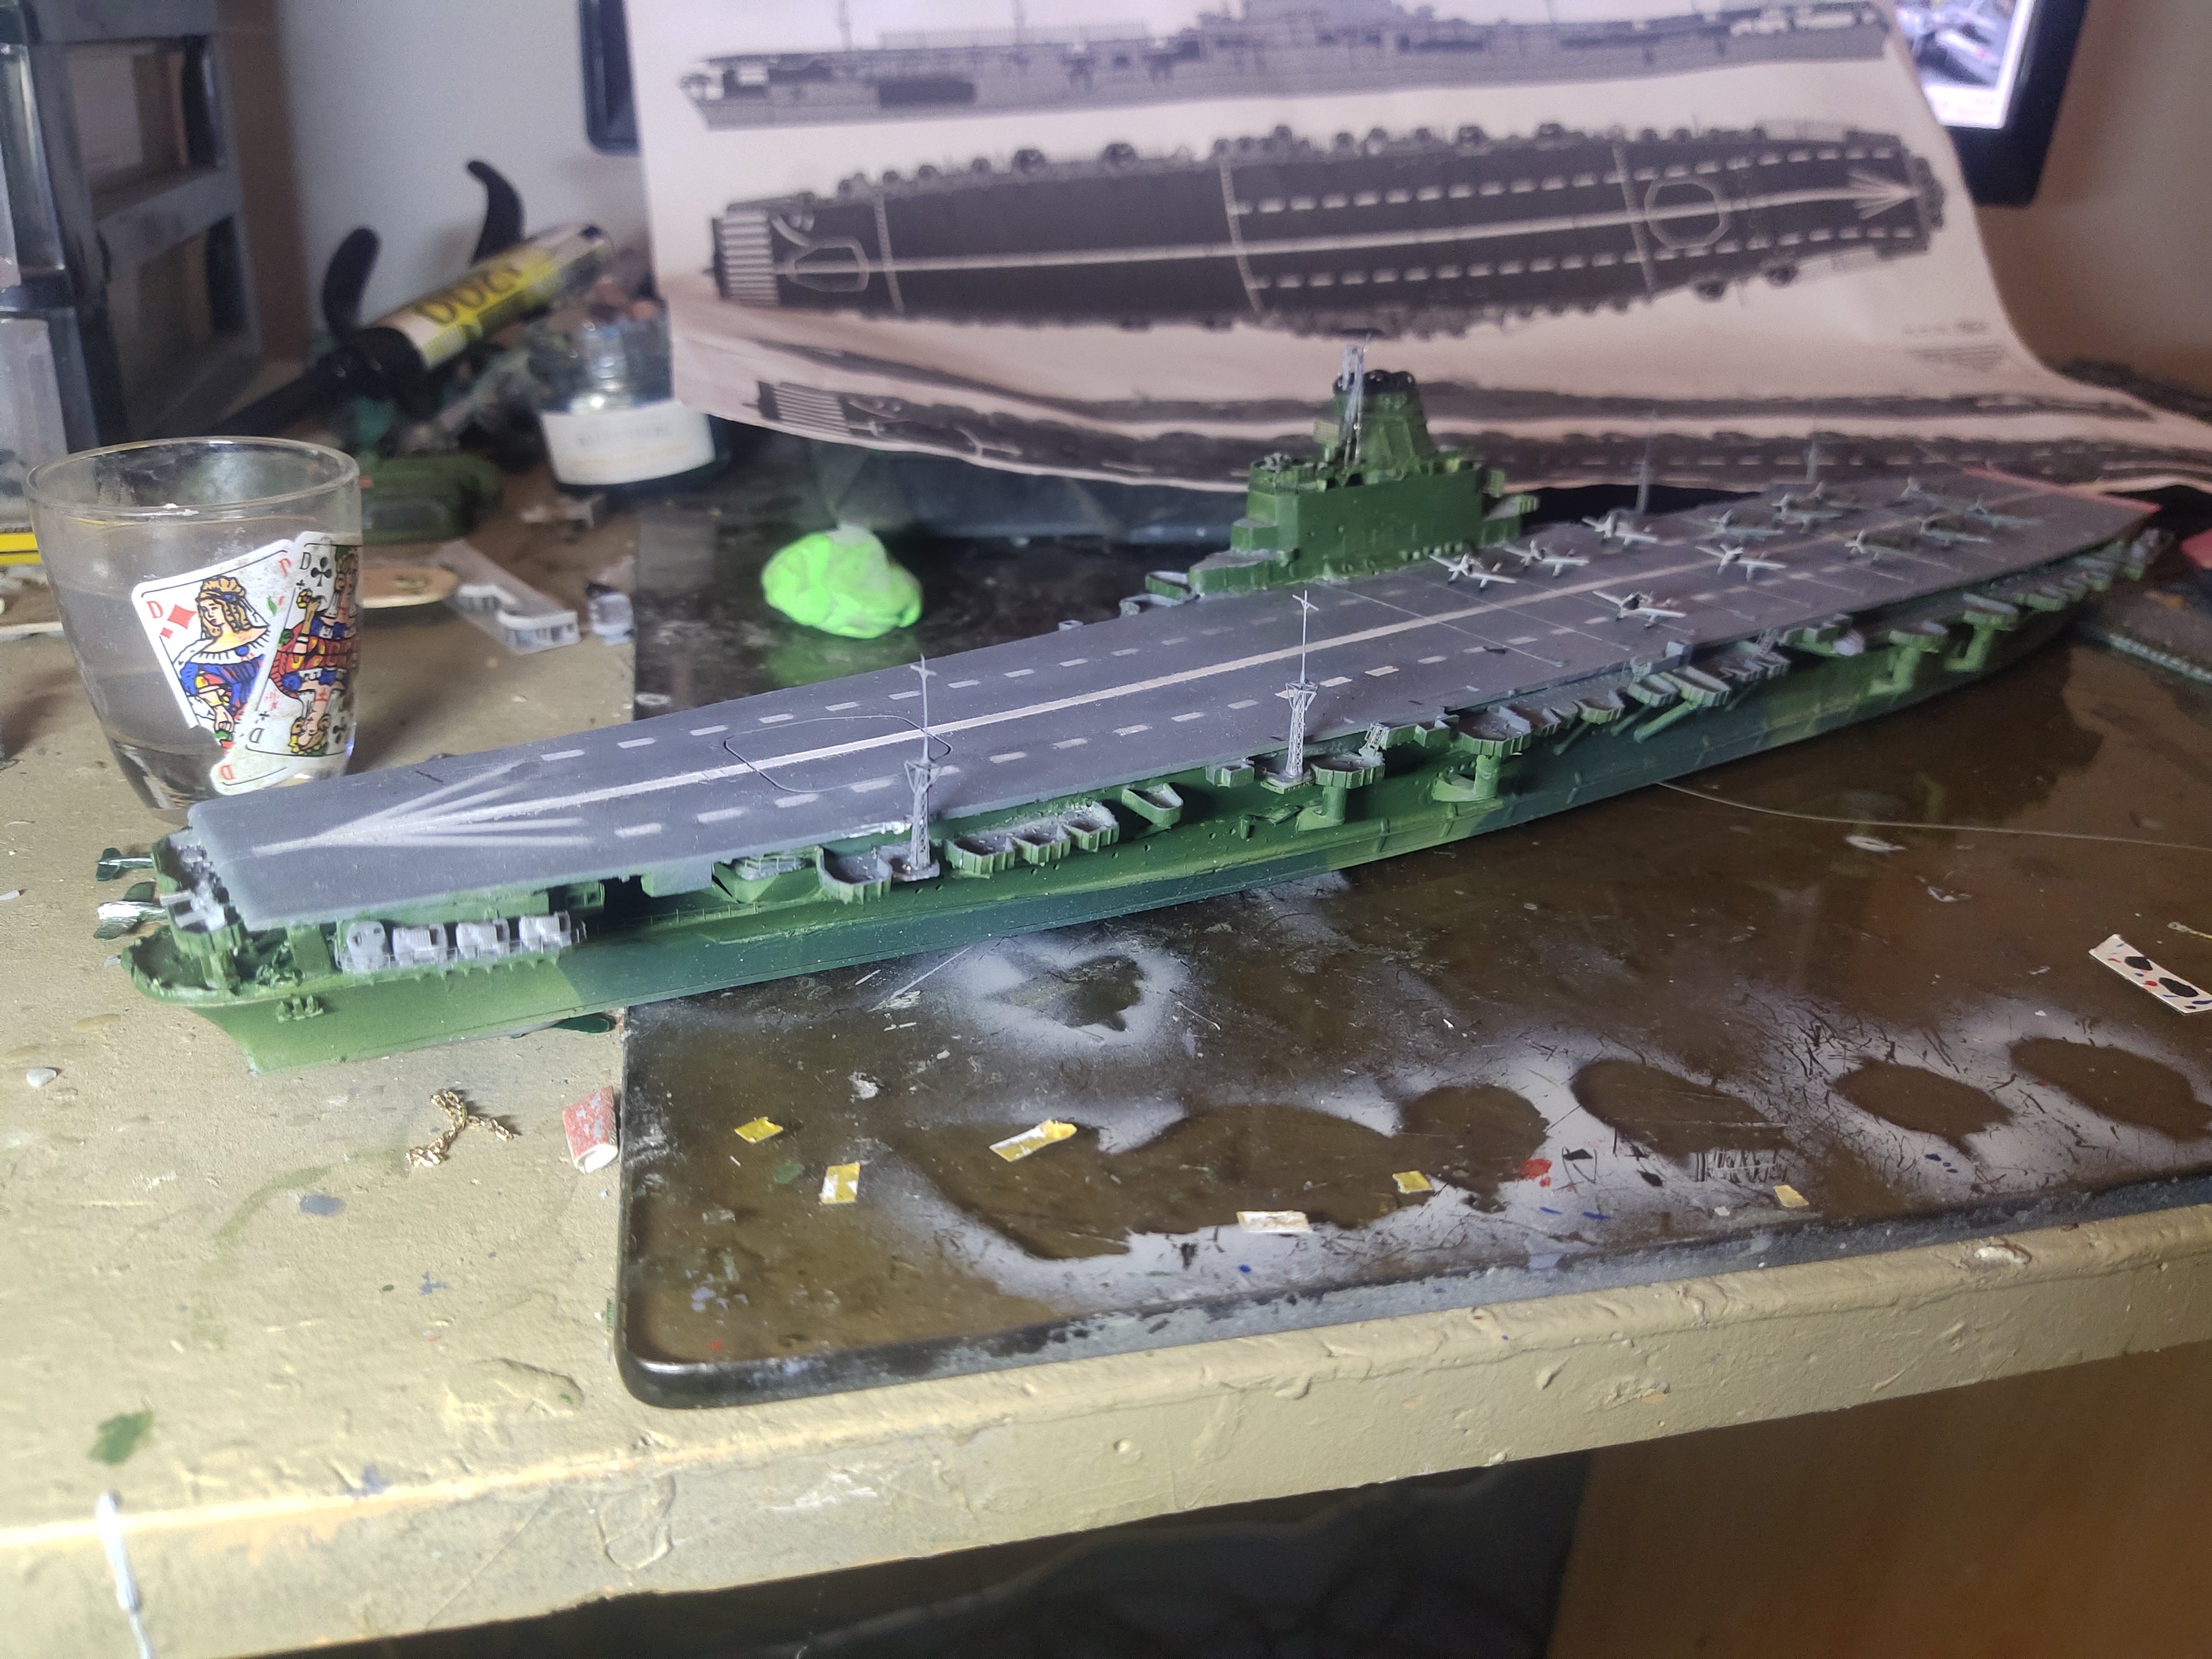
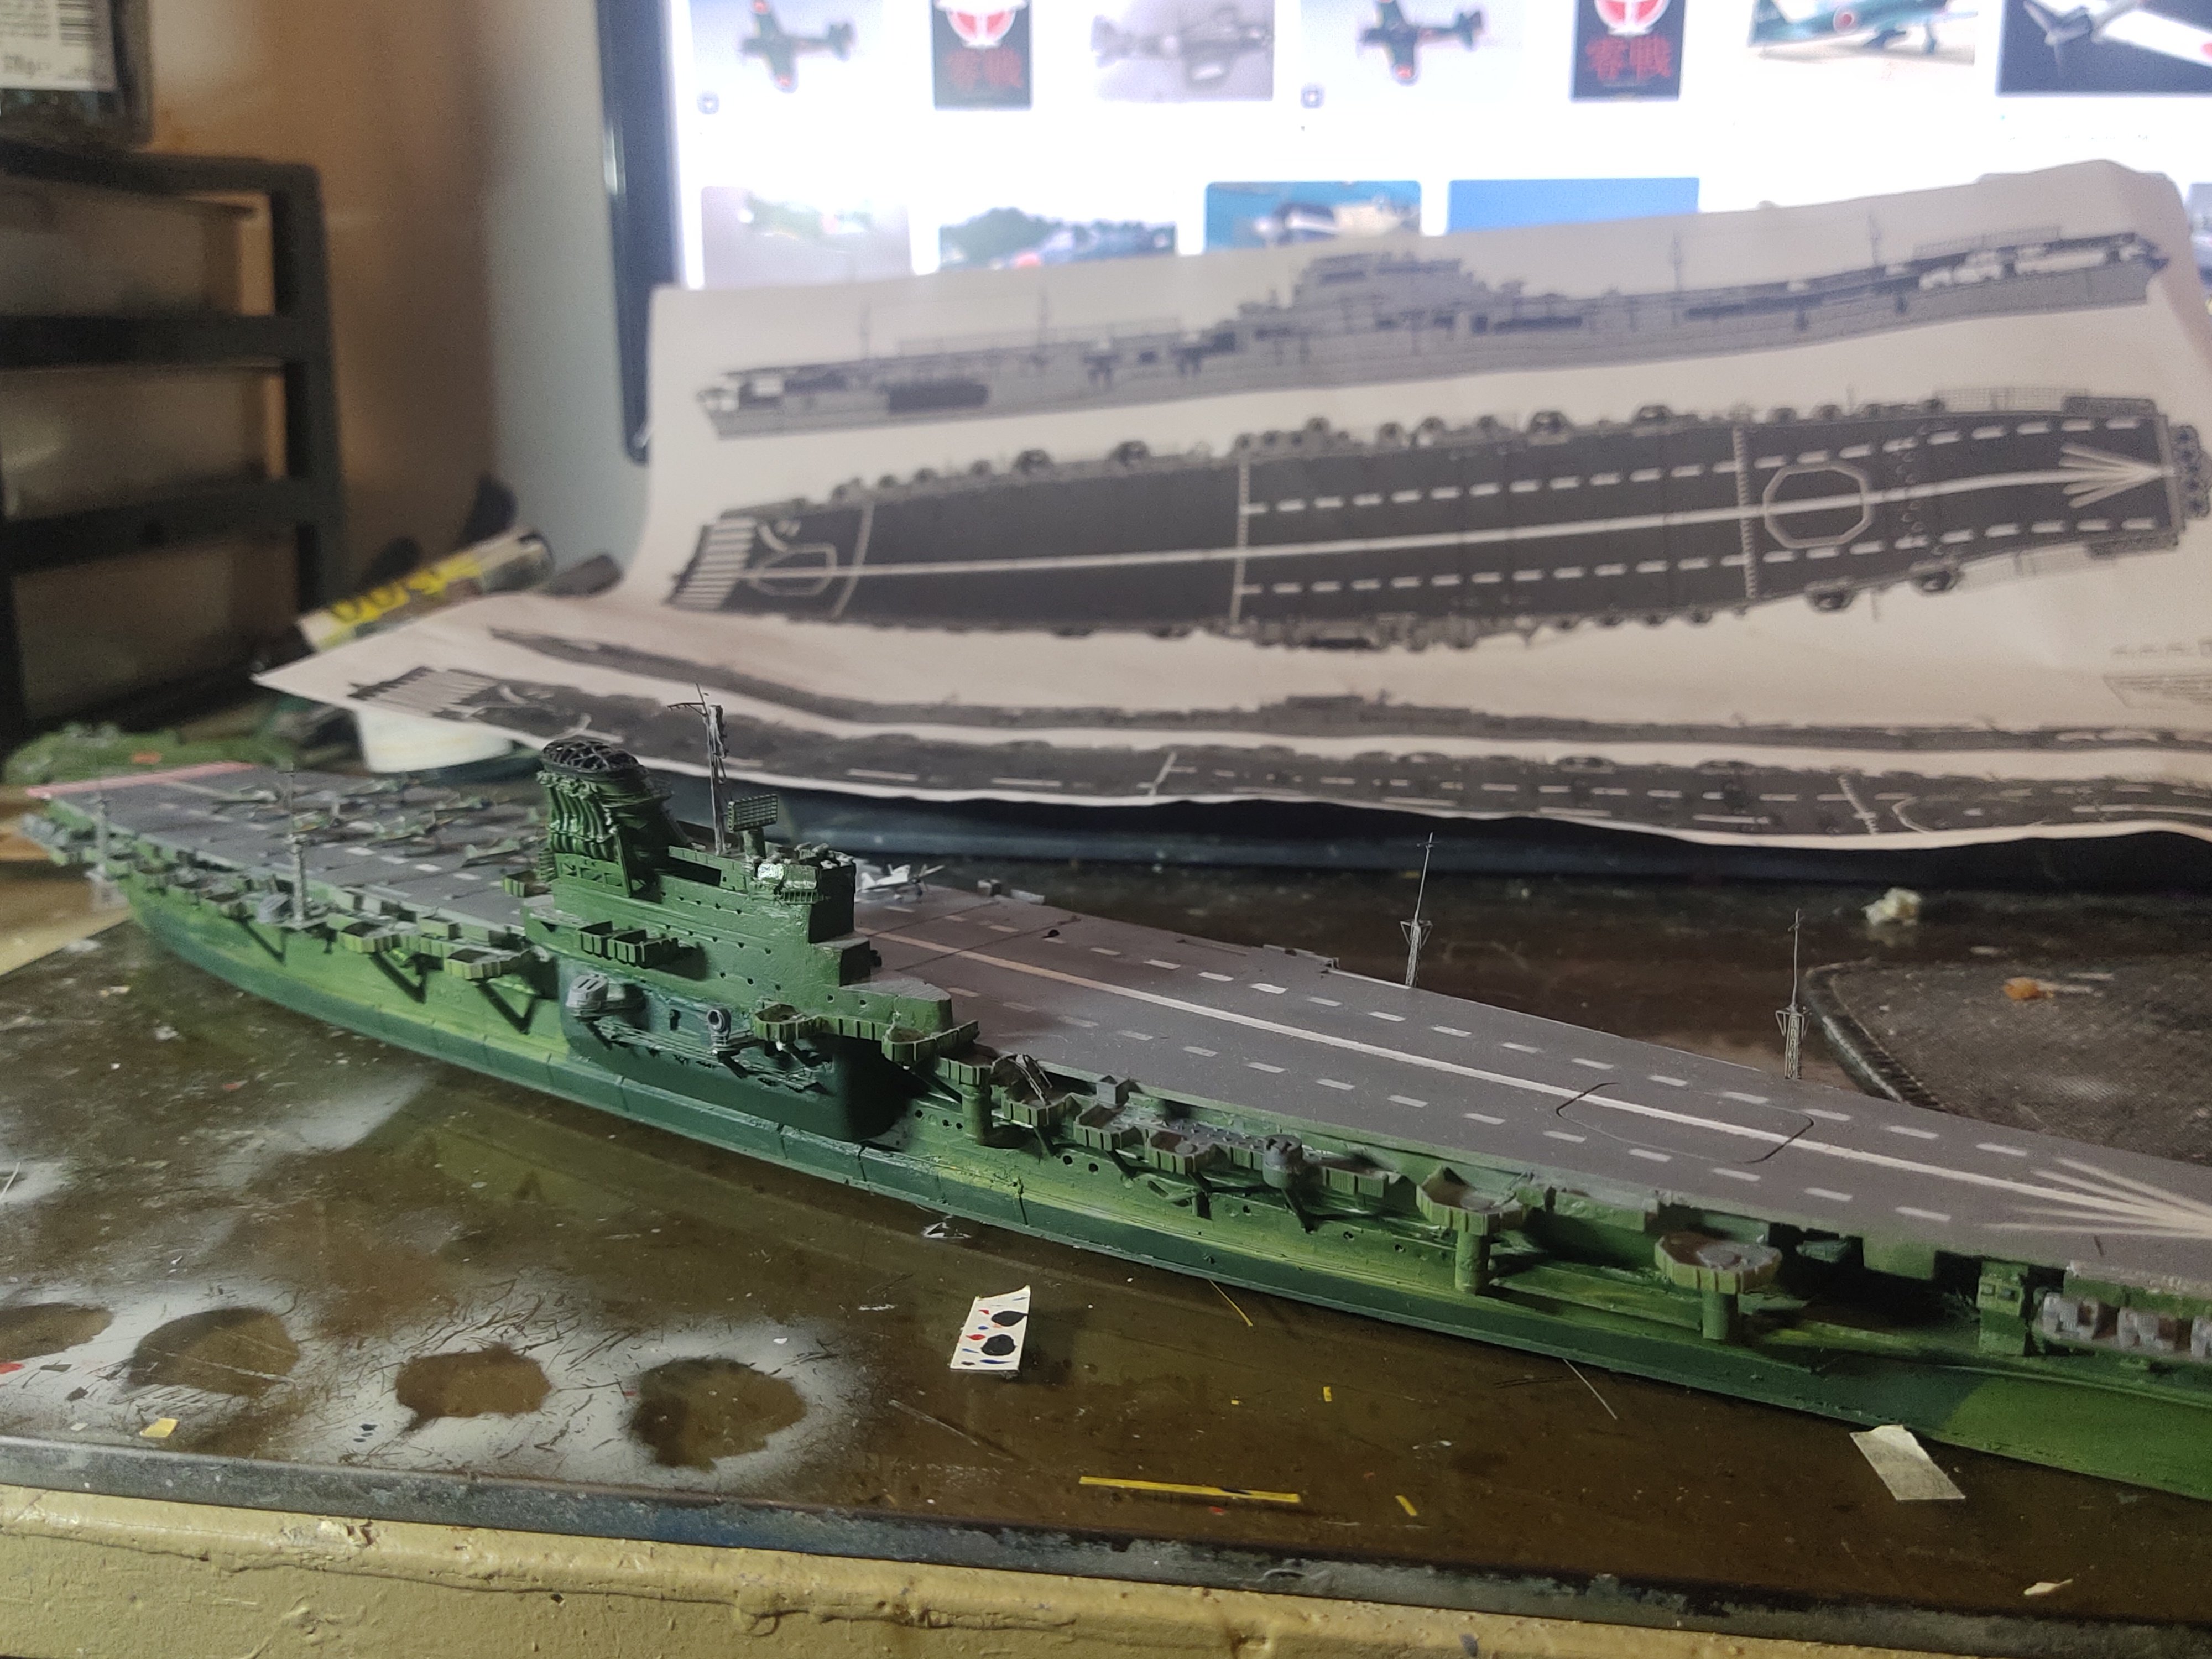
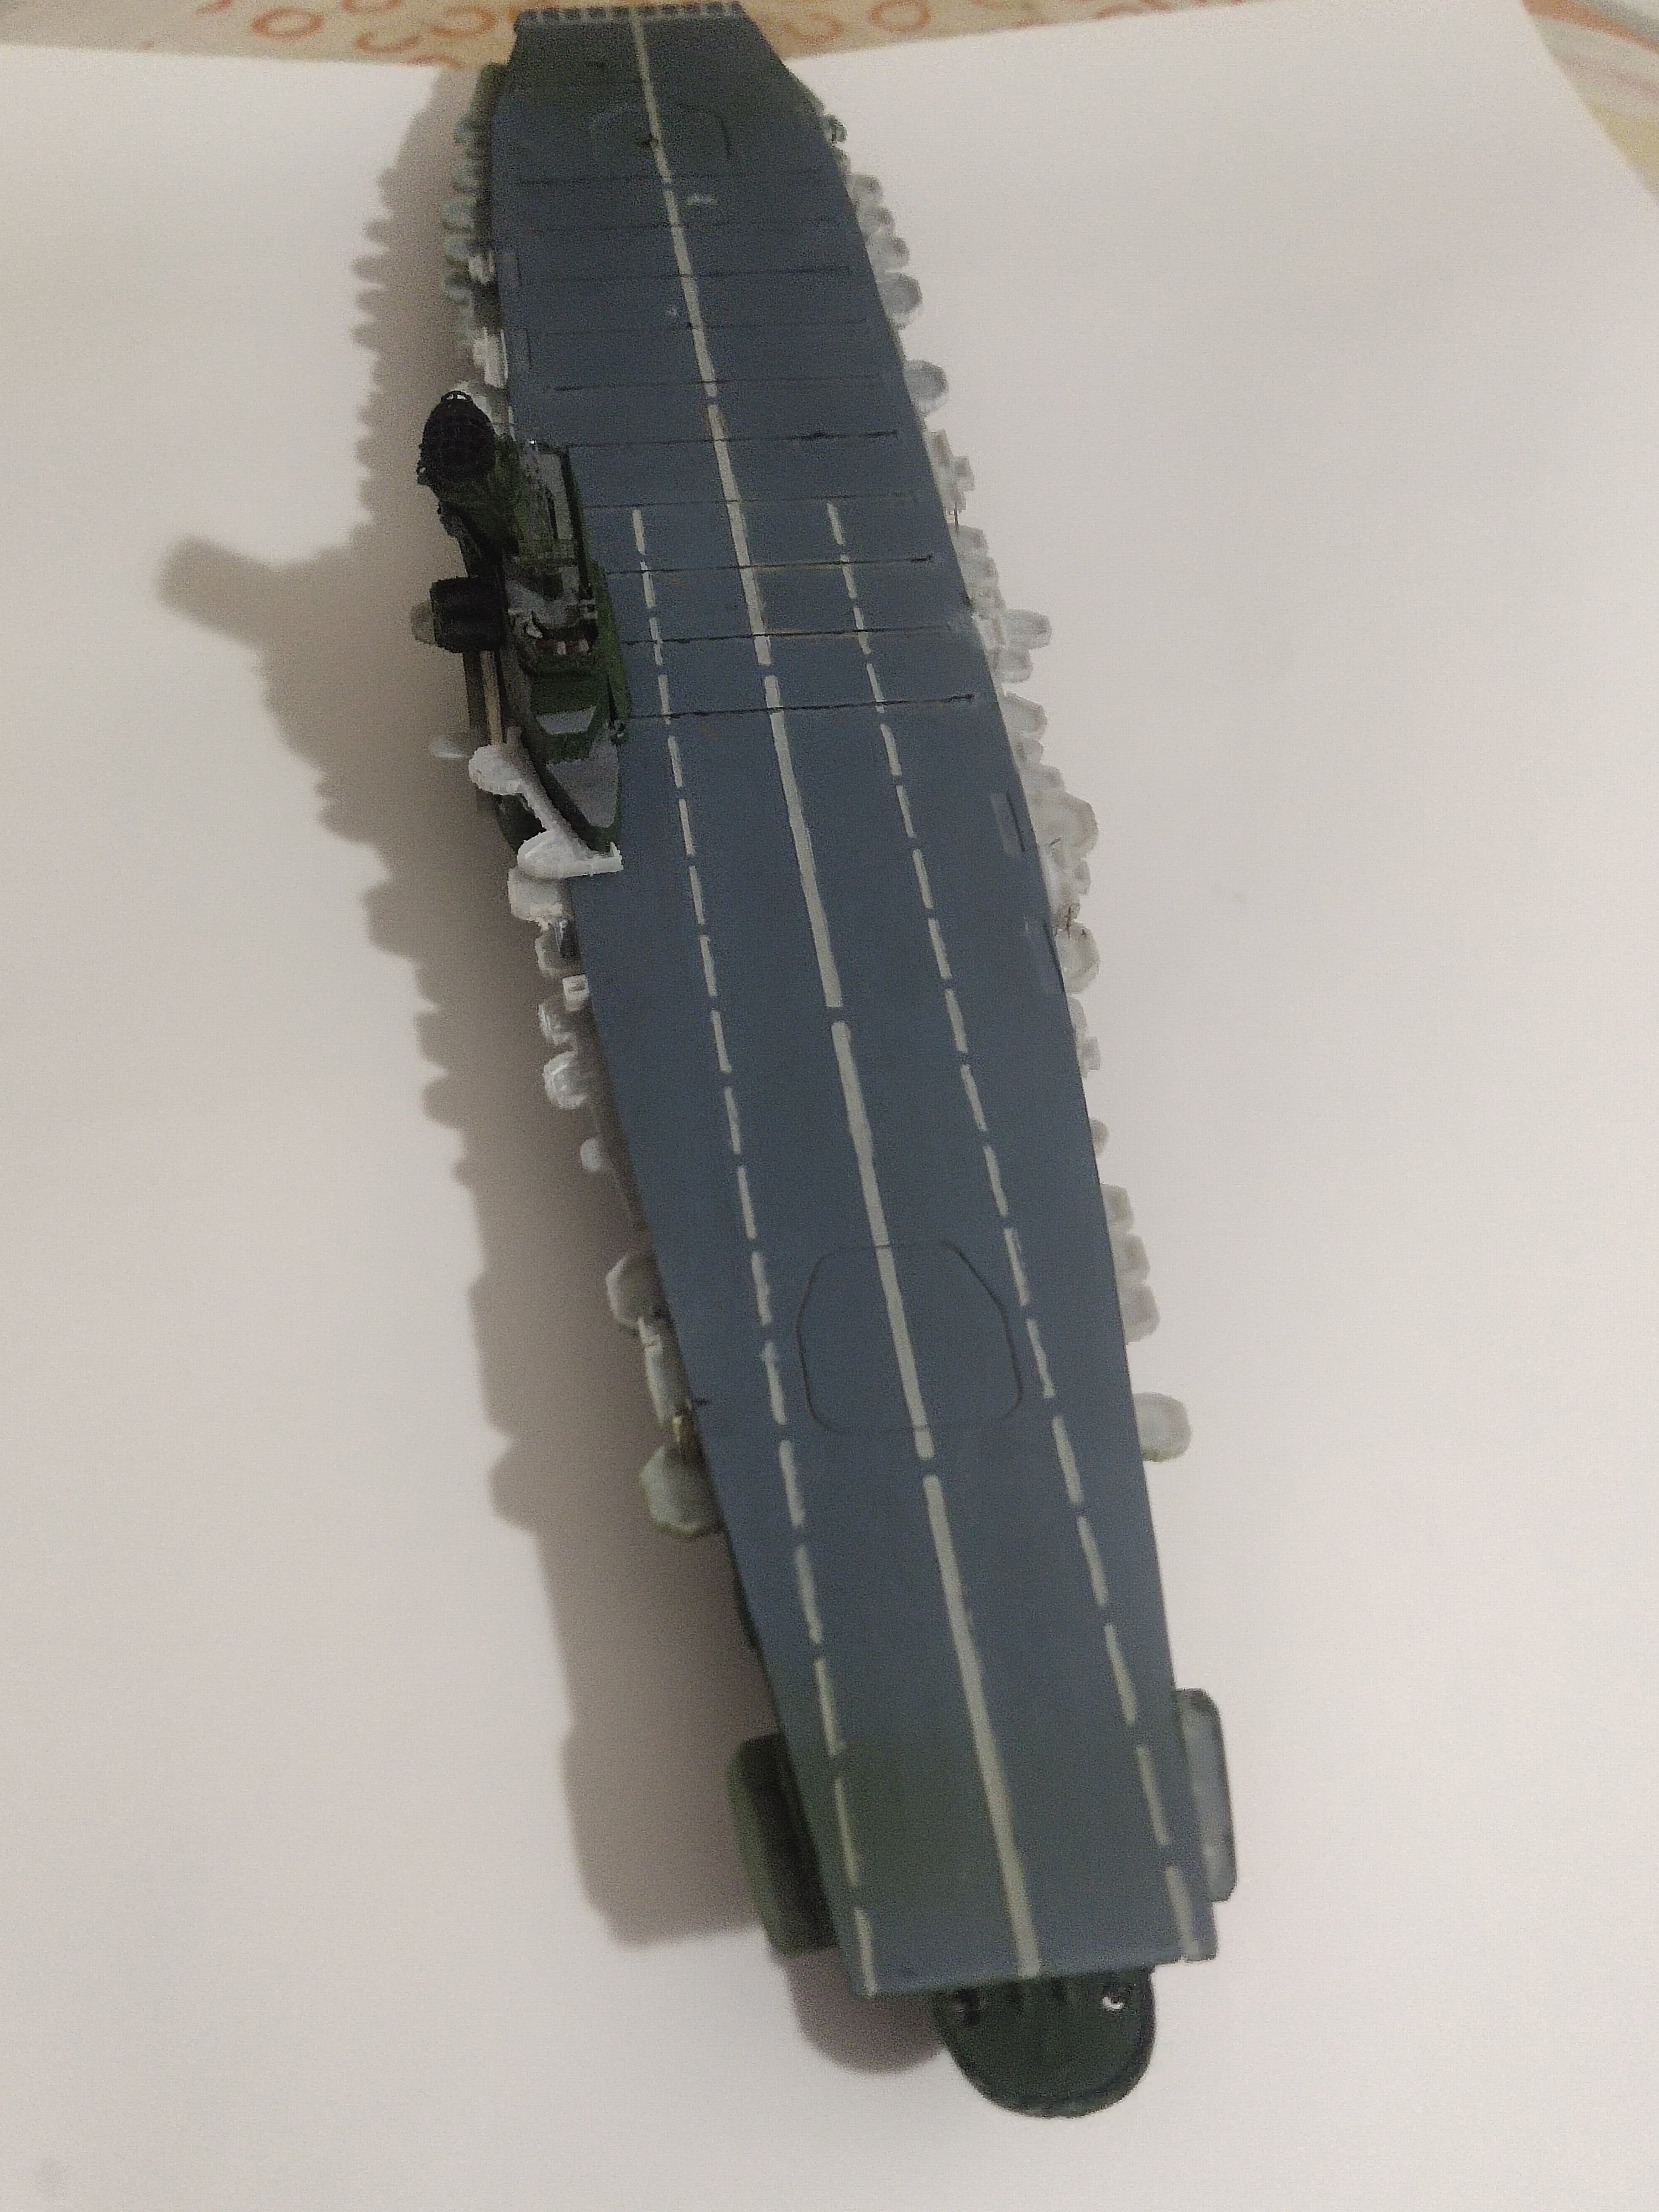
After camouflage painting the model began to look realistic. There were moments that I was about to give up but looks like its good I didn't
Next phase is working on the deck. After that, details will be added like cranes, guns and ofcourse aircrafts


-
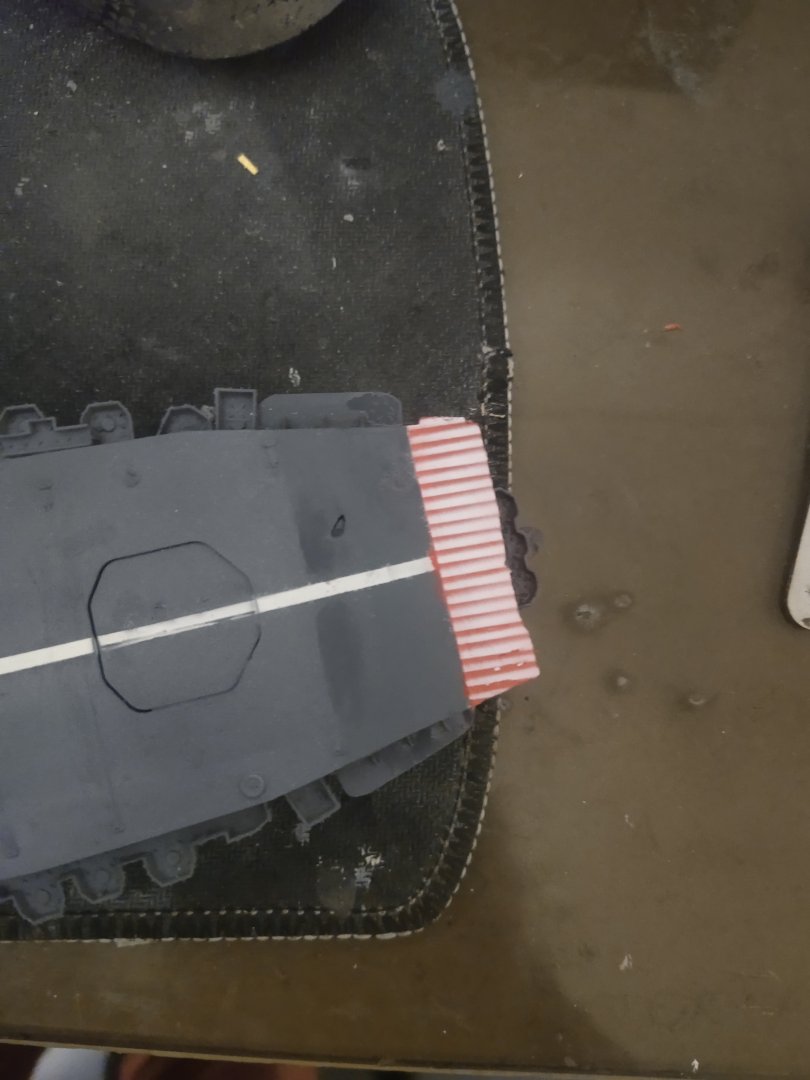
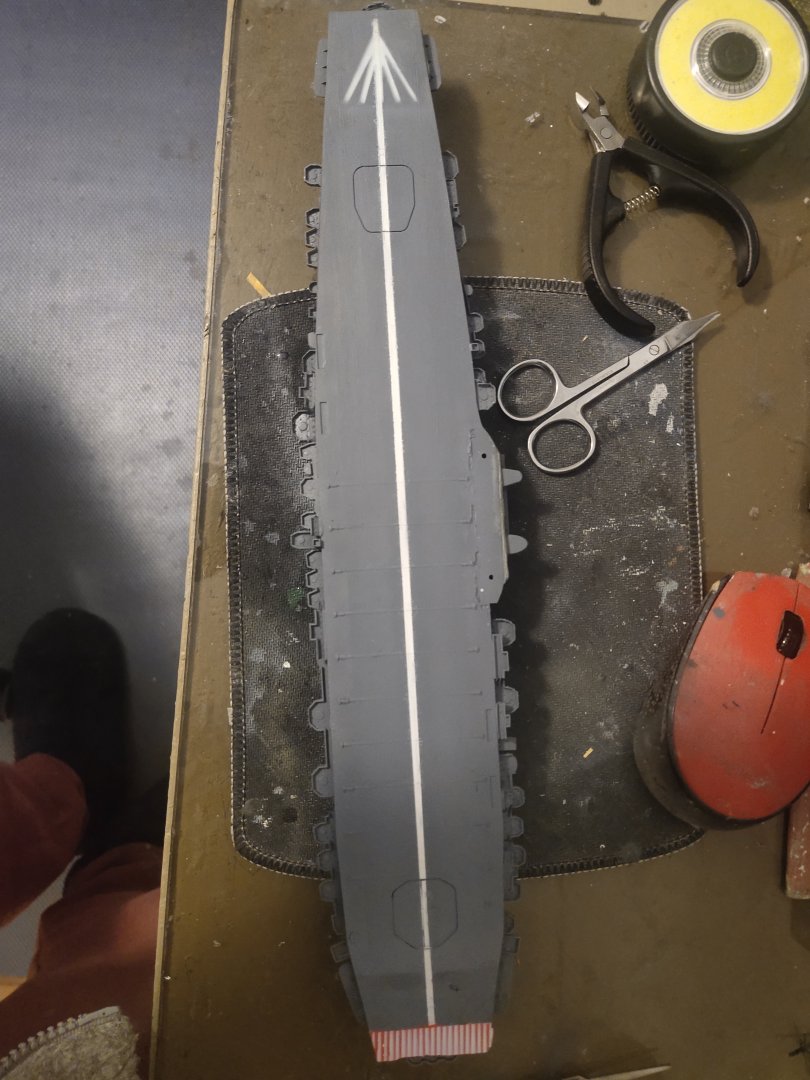
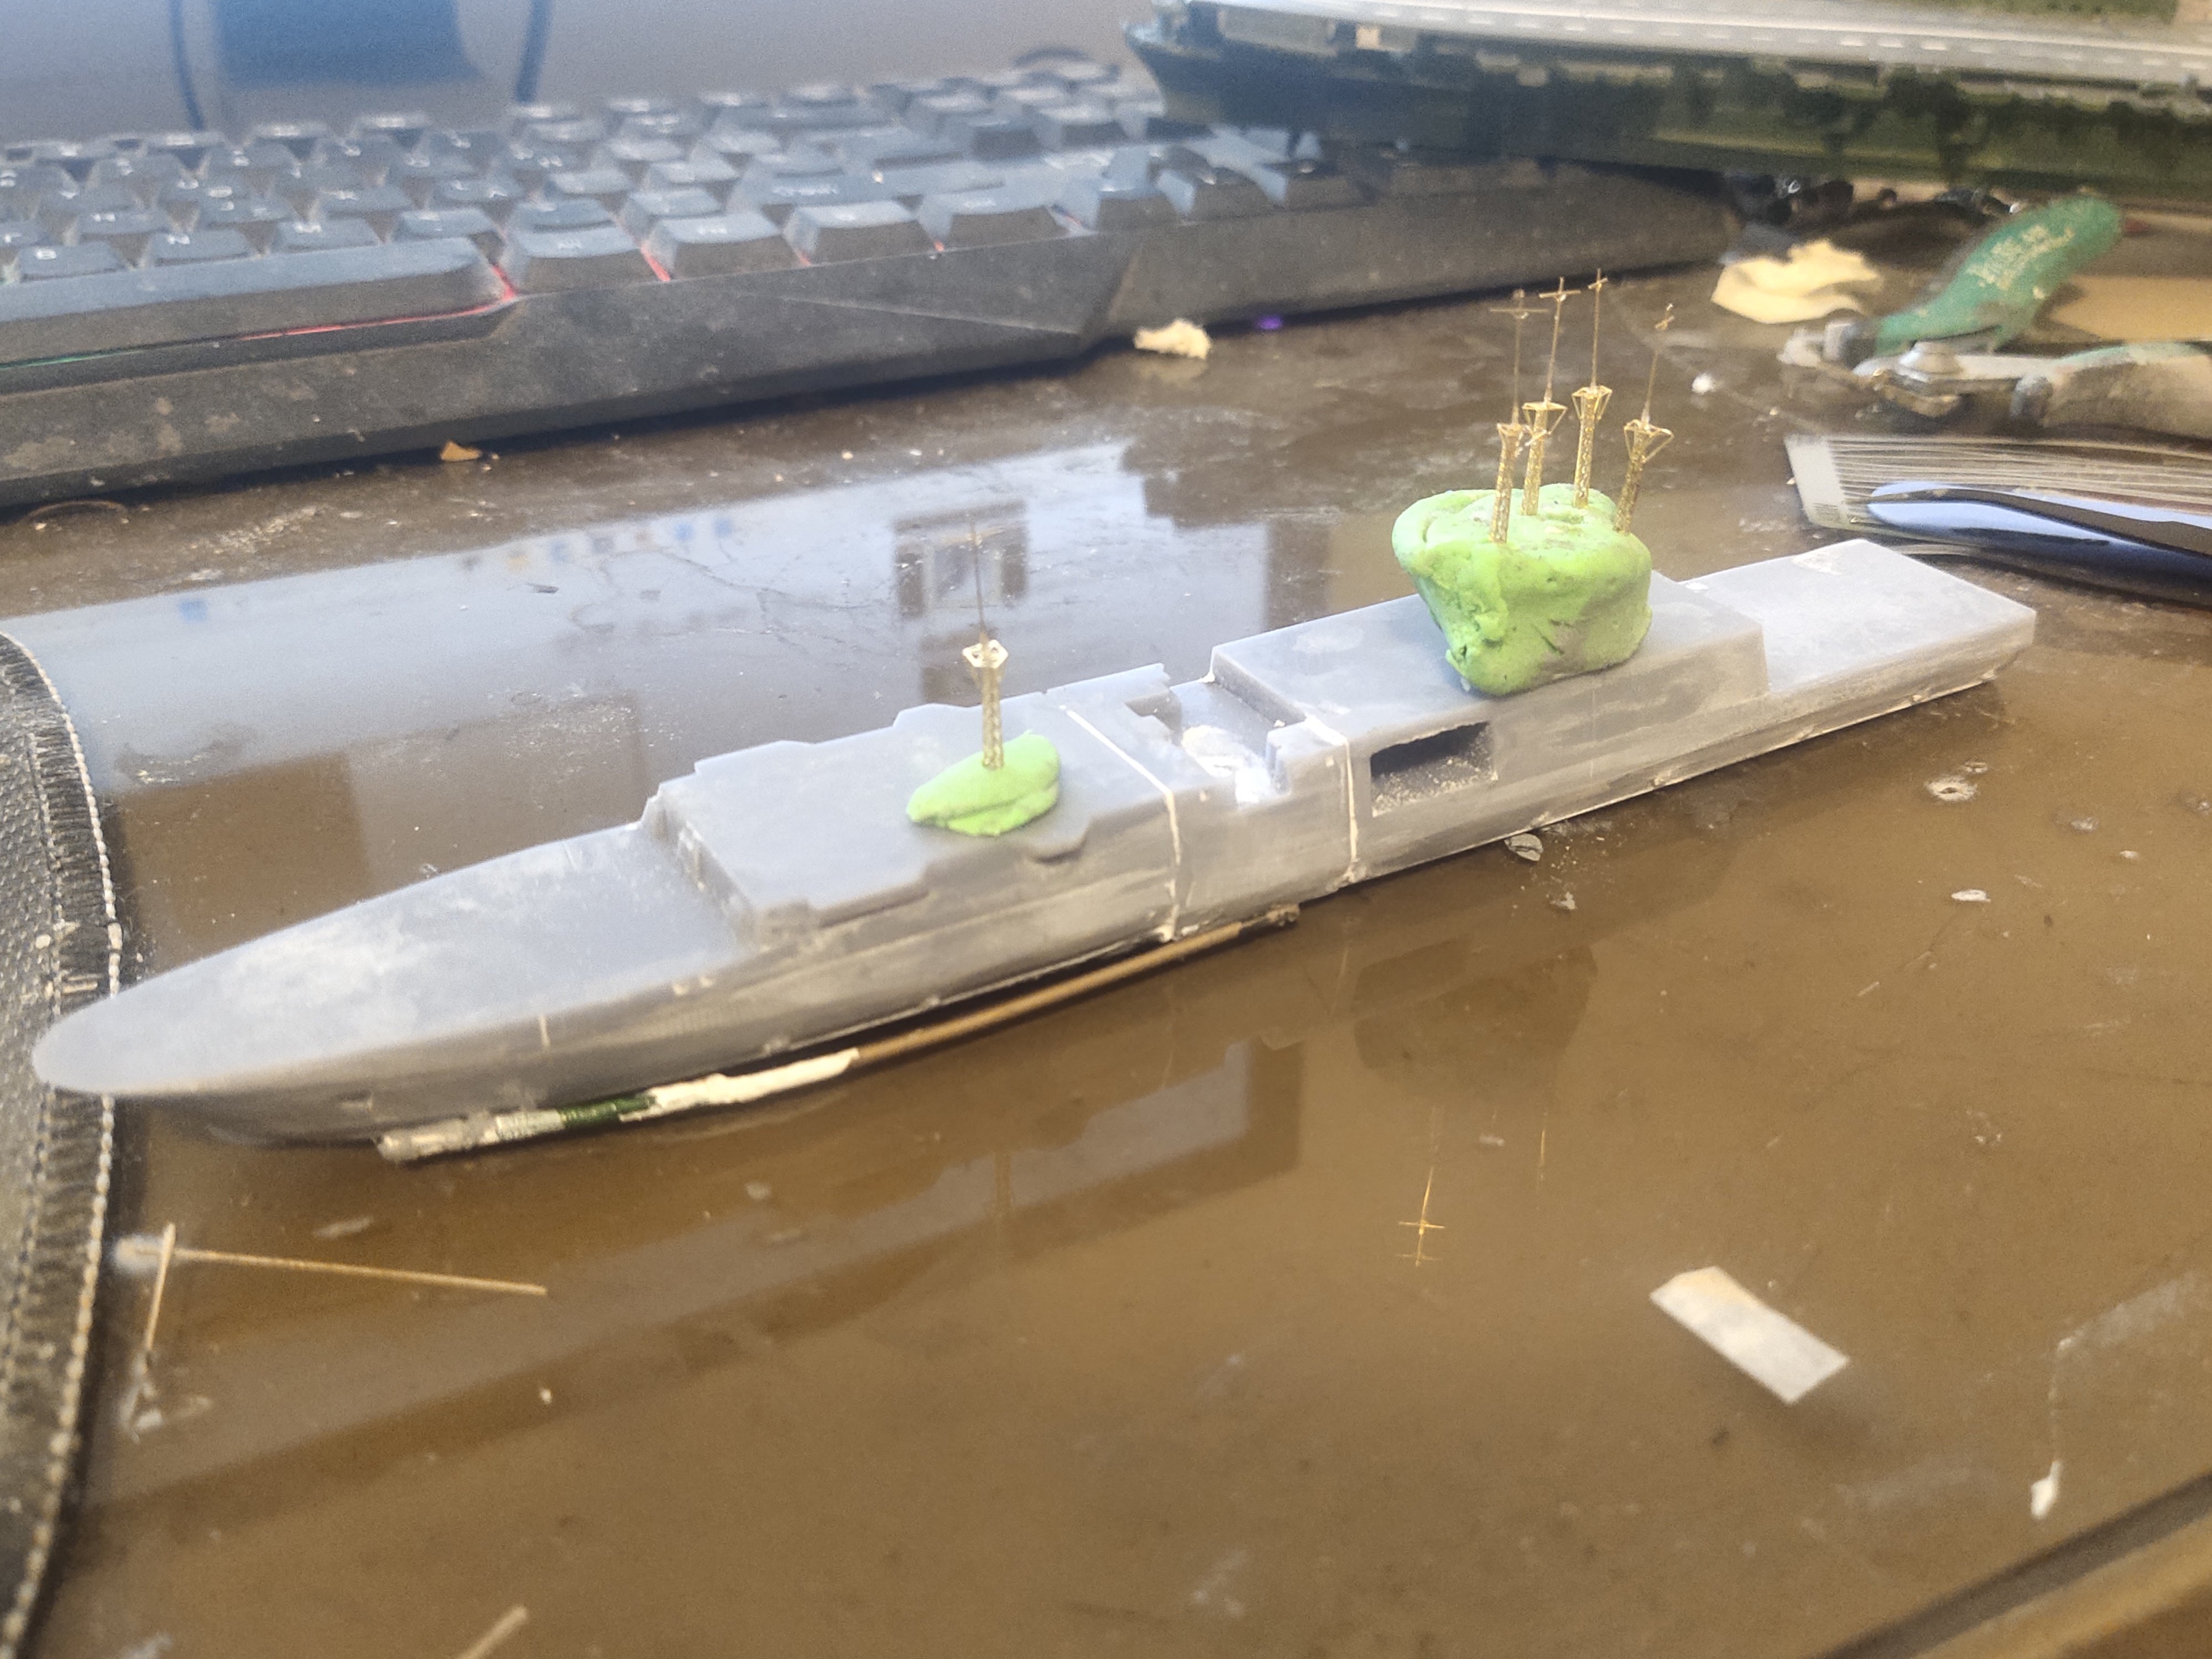
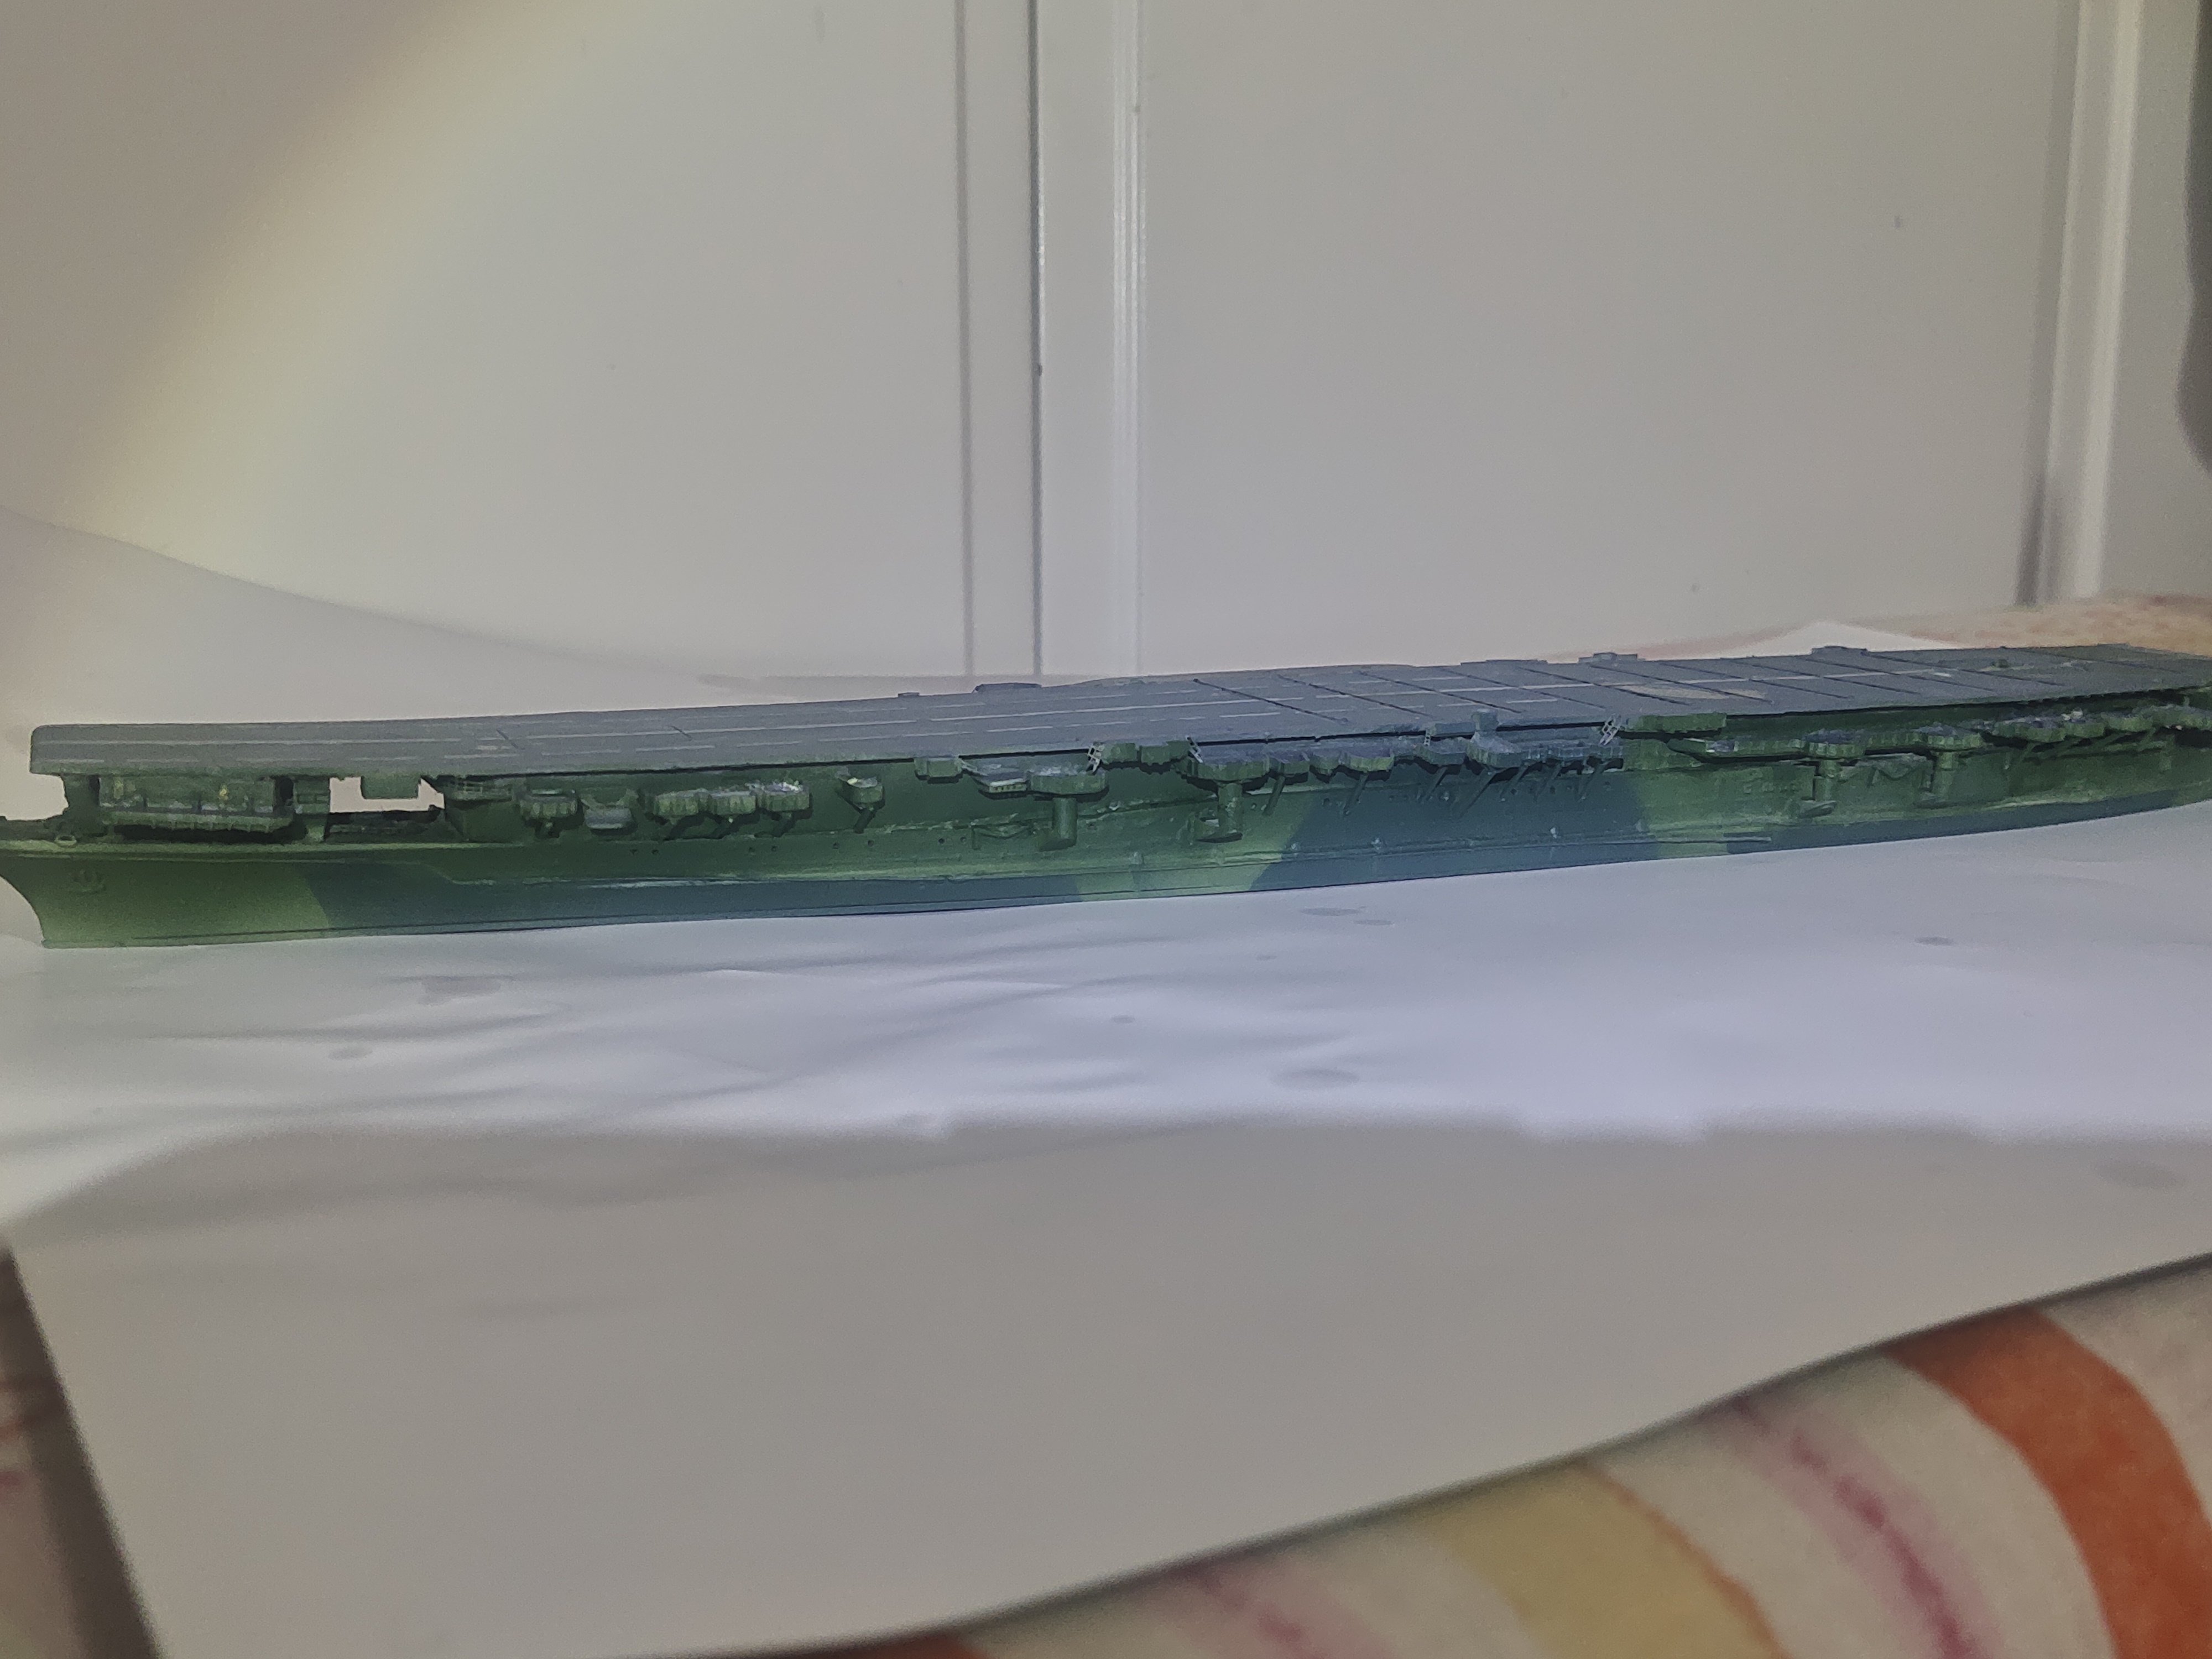
Ok after a lot of mods I managed to finish the hull. There are more things to be done but this can't be done in a sensible piece of time especially in the aft area.
Anyway a light primer was sprayed mostly for the brass representing the degaussing line
- Old Collingwood, yvesvidal, Baker and 3 others
-
6
-
19 hours ago, king derelict said:
I was looking ahead a bit this afternoon while I was waiting for some paint to dry. Curiously the Monmouth kit has both turret types. The rounded one is on sprue “C” and is provided in the Montrose kit
In the Monmouth kit there is also a sprue “J” which has the earlier angled turret

So, one problem less to deal with.
Alan
Too late 😂
Cannons, barrels, extra barrel rafts and both types of decoys launches
By the way the angled gun is the later stealth type. Should be combined with the Sea Send or (my guess)
- GrandpaPhil, Old Collingwood, Canute and 1 other
-
4
-
My HMS Montrose kit

The 4 parts missing are the halfs of the 2 Sea Gnat decoy launchers.
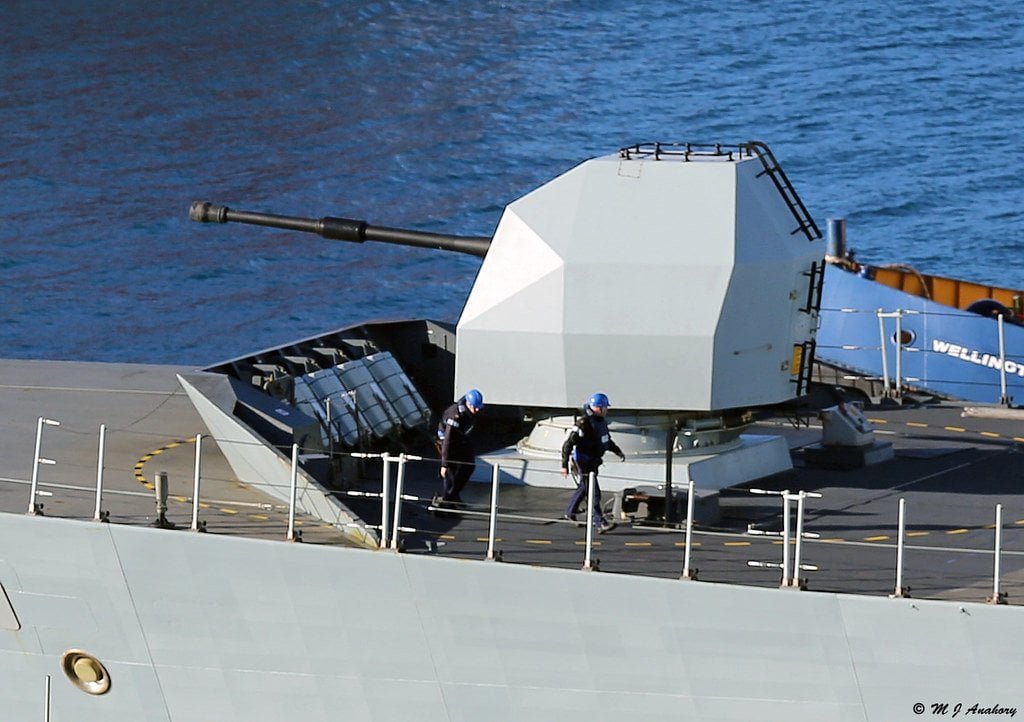
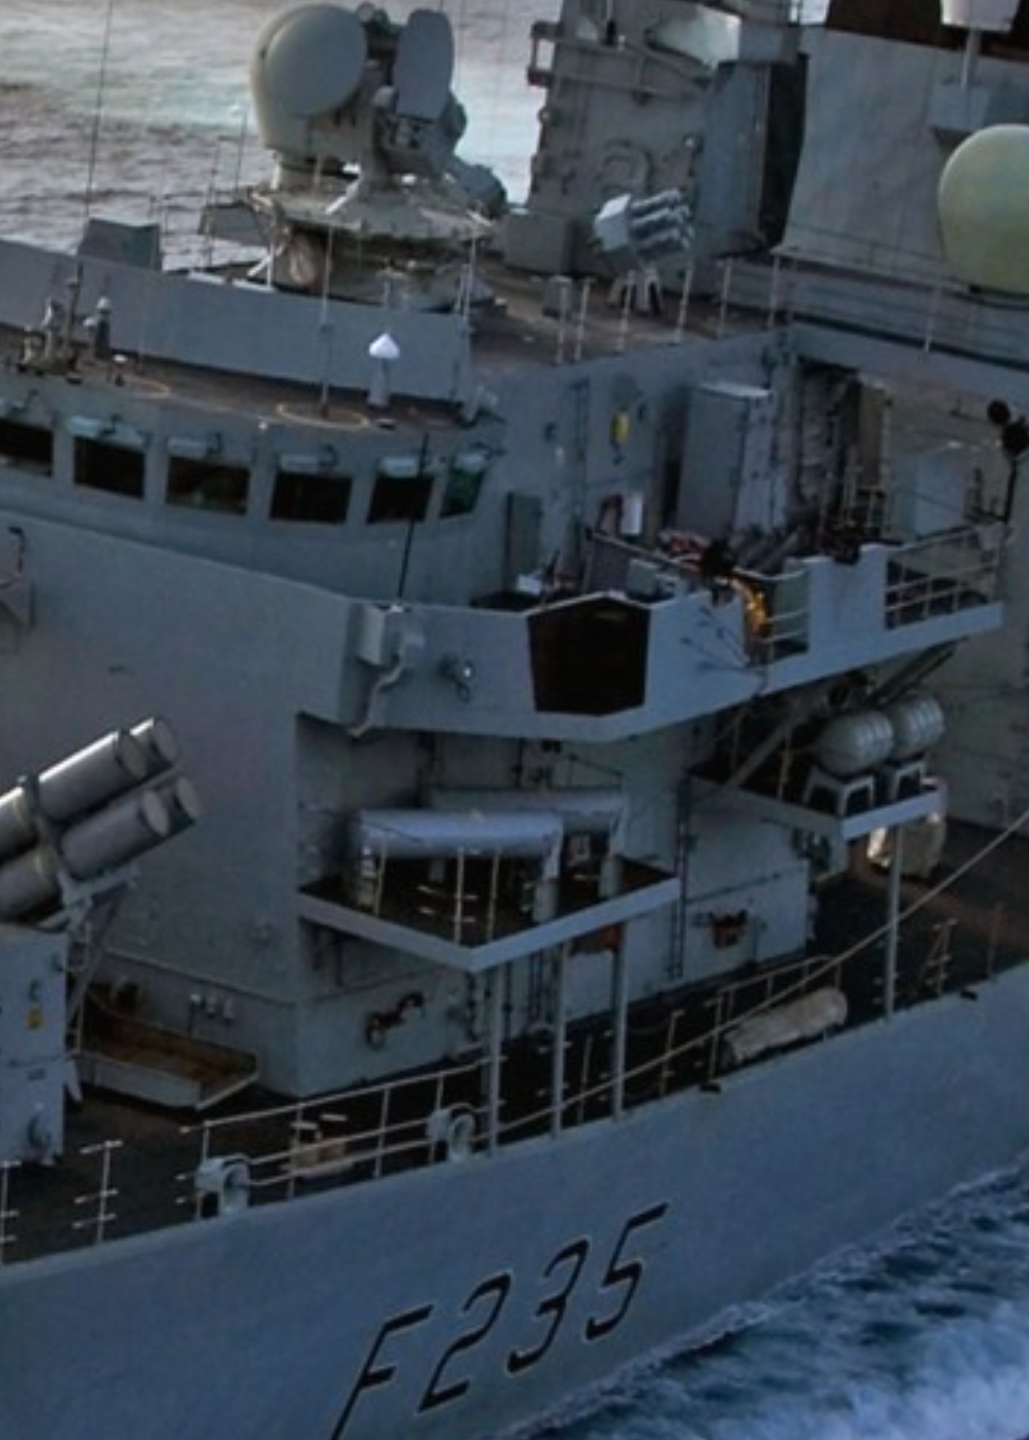
However seems that type 23 ships have been updated
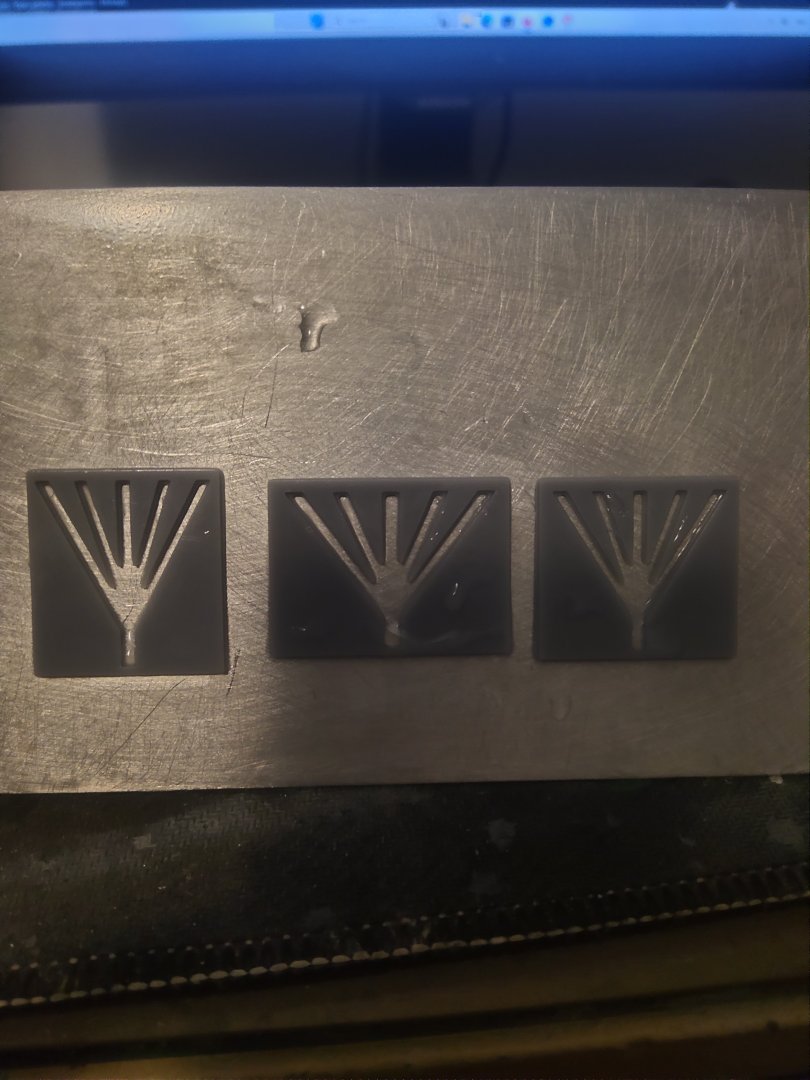
 this heptagon device is called Sea Sendor, soon be replaced by trained launcher system
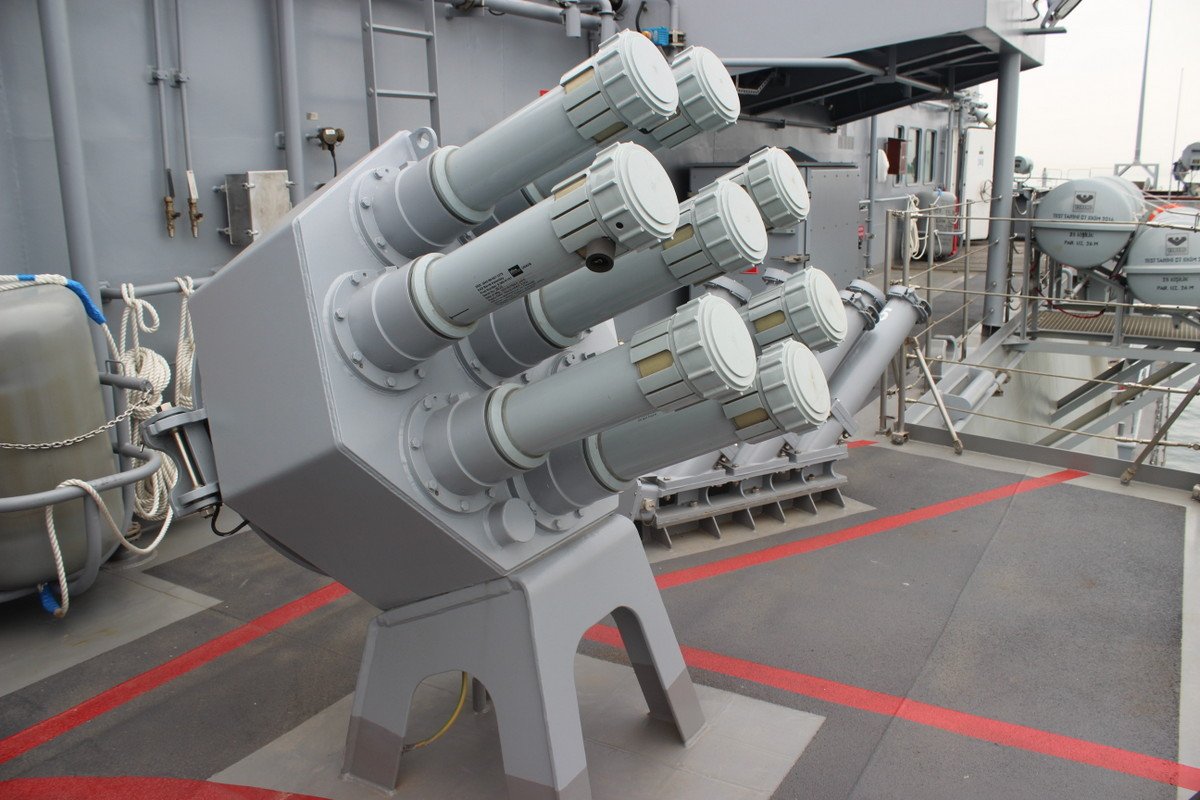

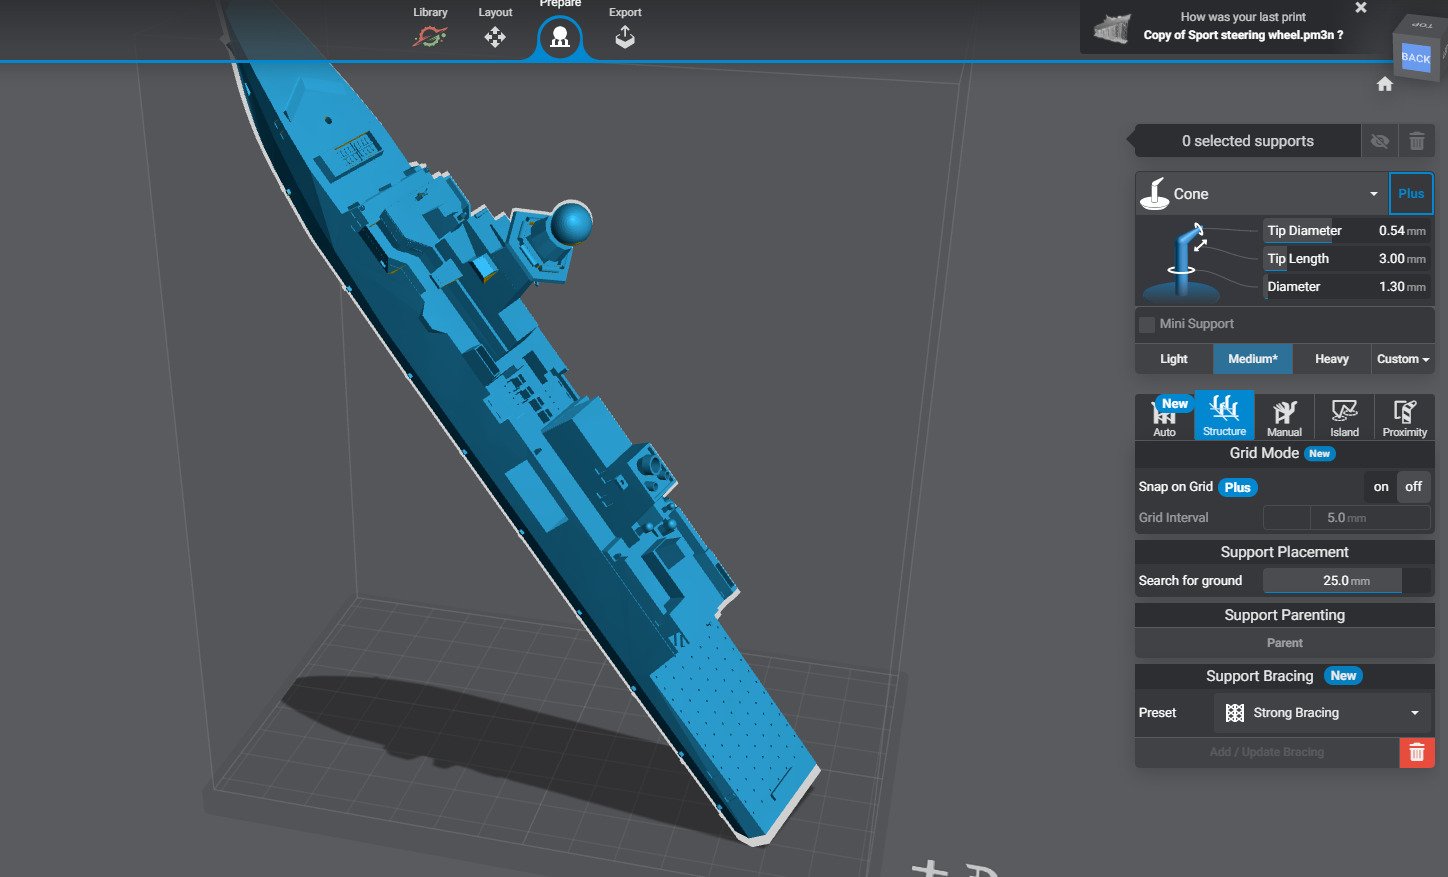
I already prepared a test file, not sure about the dimension of the Sea Send or but looks almost same high as a sailor, means approx 2.6mm in height
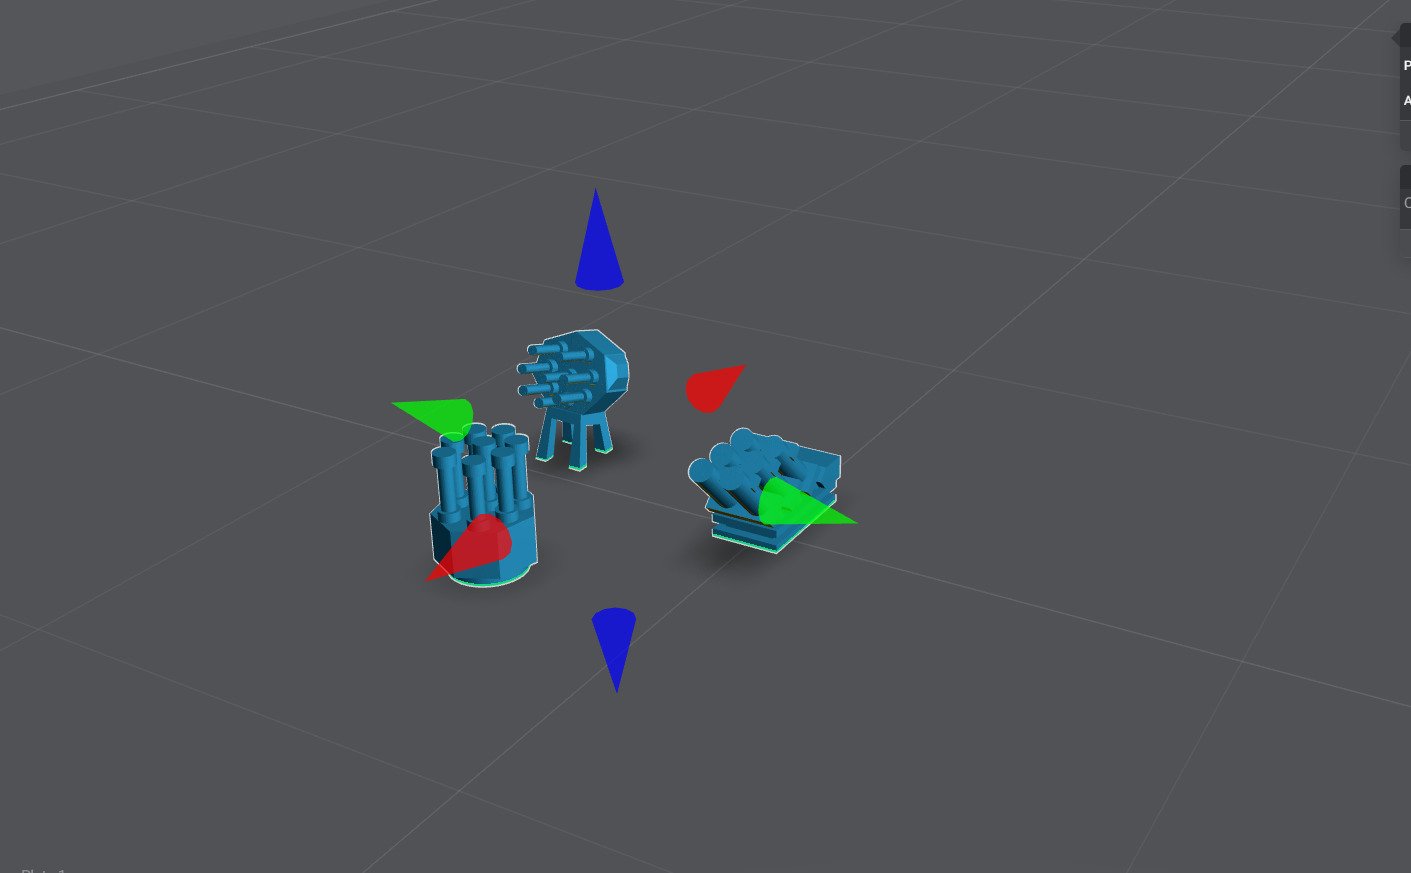
I noticed also that these ships seems are carrying the Mk1 Version of the 4.5" guns the one with the angles not the rounded one provided in the kit.
I have a file for this and it was used in my type 45 scratch built project. It should come along nice with the Sea Sendor update. Will also check if more pieces can be improved so I can use them on my own built.
- GrandpaPhil, yvesvidal, Canute and 2 others
-
5
-
-
21 minutes ago, king derelict said:
Thank you very much for your kind offer Mike.
The offending items are C35 and D4 in the instructions.

I have no idea what D4 is. They look like some sort of triple barrel weapon but nothing like that is listed in the ships inventory. Possibly they are chaff launchers


For reference the sprue is 3/32 inch or 2.5 mm thick so the bits are tiny. I got fairly close to the chaff dispenser ( if that’s what they are) by cutting down a spare quad fifty cal gun. The C35 radar at the front of the bridge was replaced by a bit of PE and spare styrene rod and I think it might be better than the original kit part.Thanks again for the offer.
alan
I will check my HMS Montrose kit and get back to you
- Old Collingwood and Canute
-
2
-
What piece are you missing maybe I can print it
- Old Collingwood, Canute and AJohnson
-
3
-
10 days without update but no day without work. The difficulties were too many to refer, testing, missfittings, retesting etc. Finally the result was satisfying and relatively accurate, though 100% accuracy is out of question


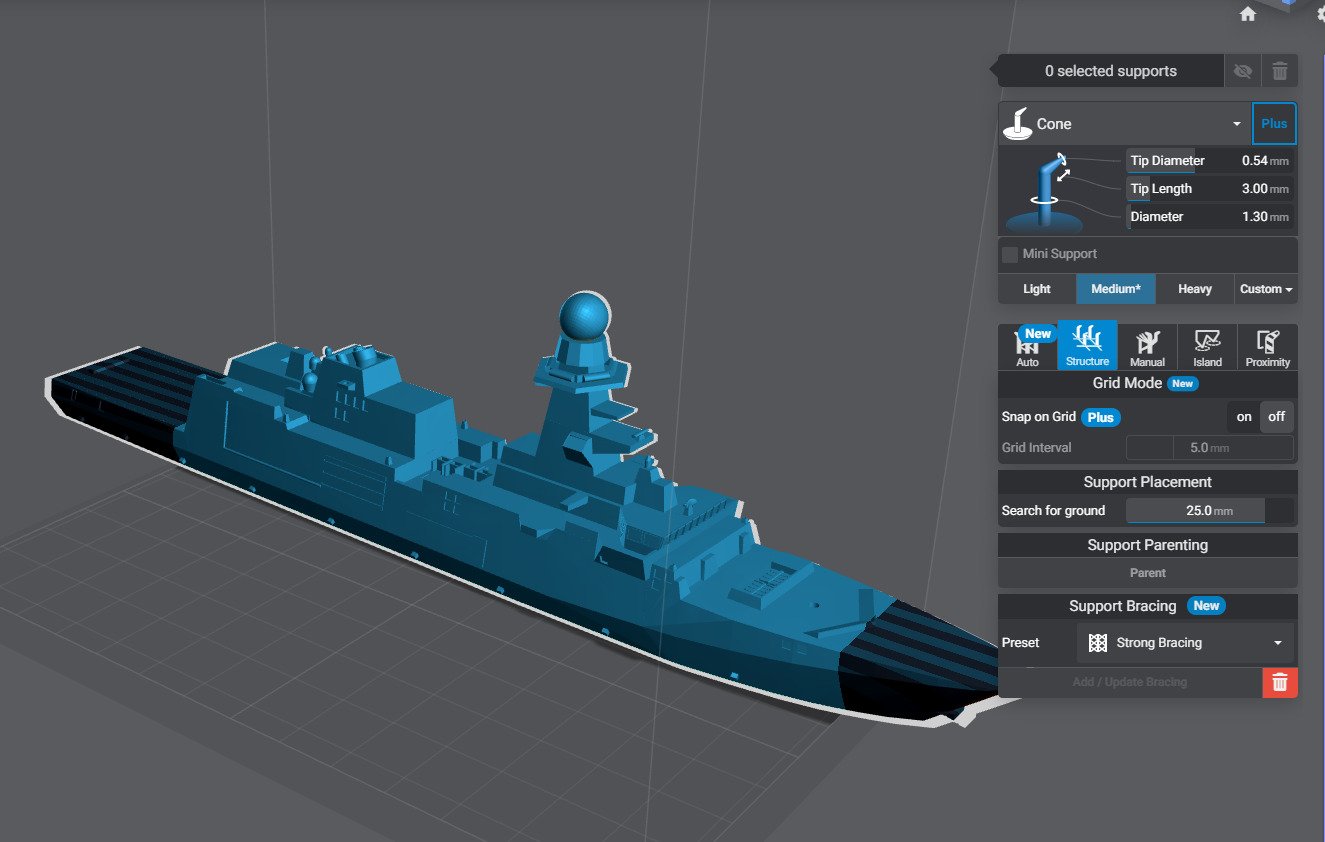


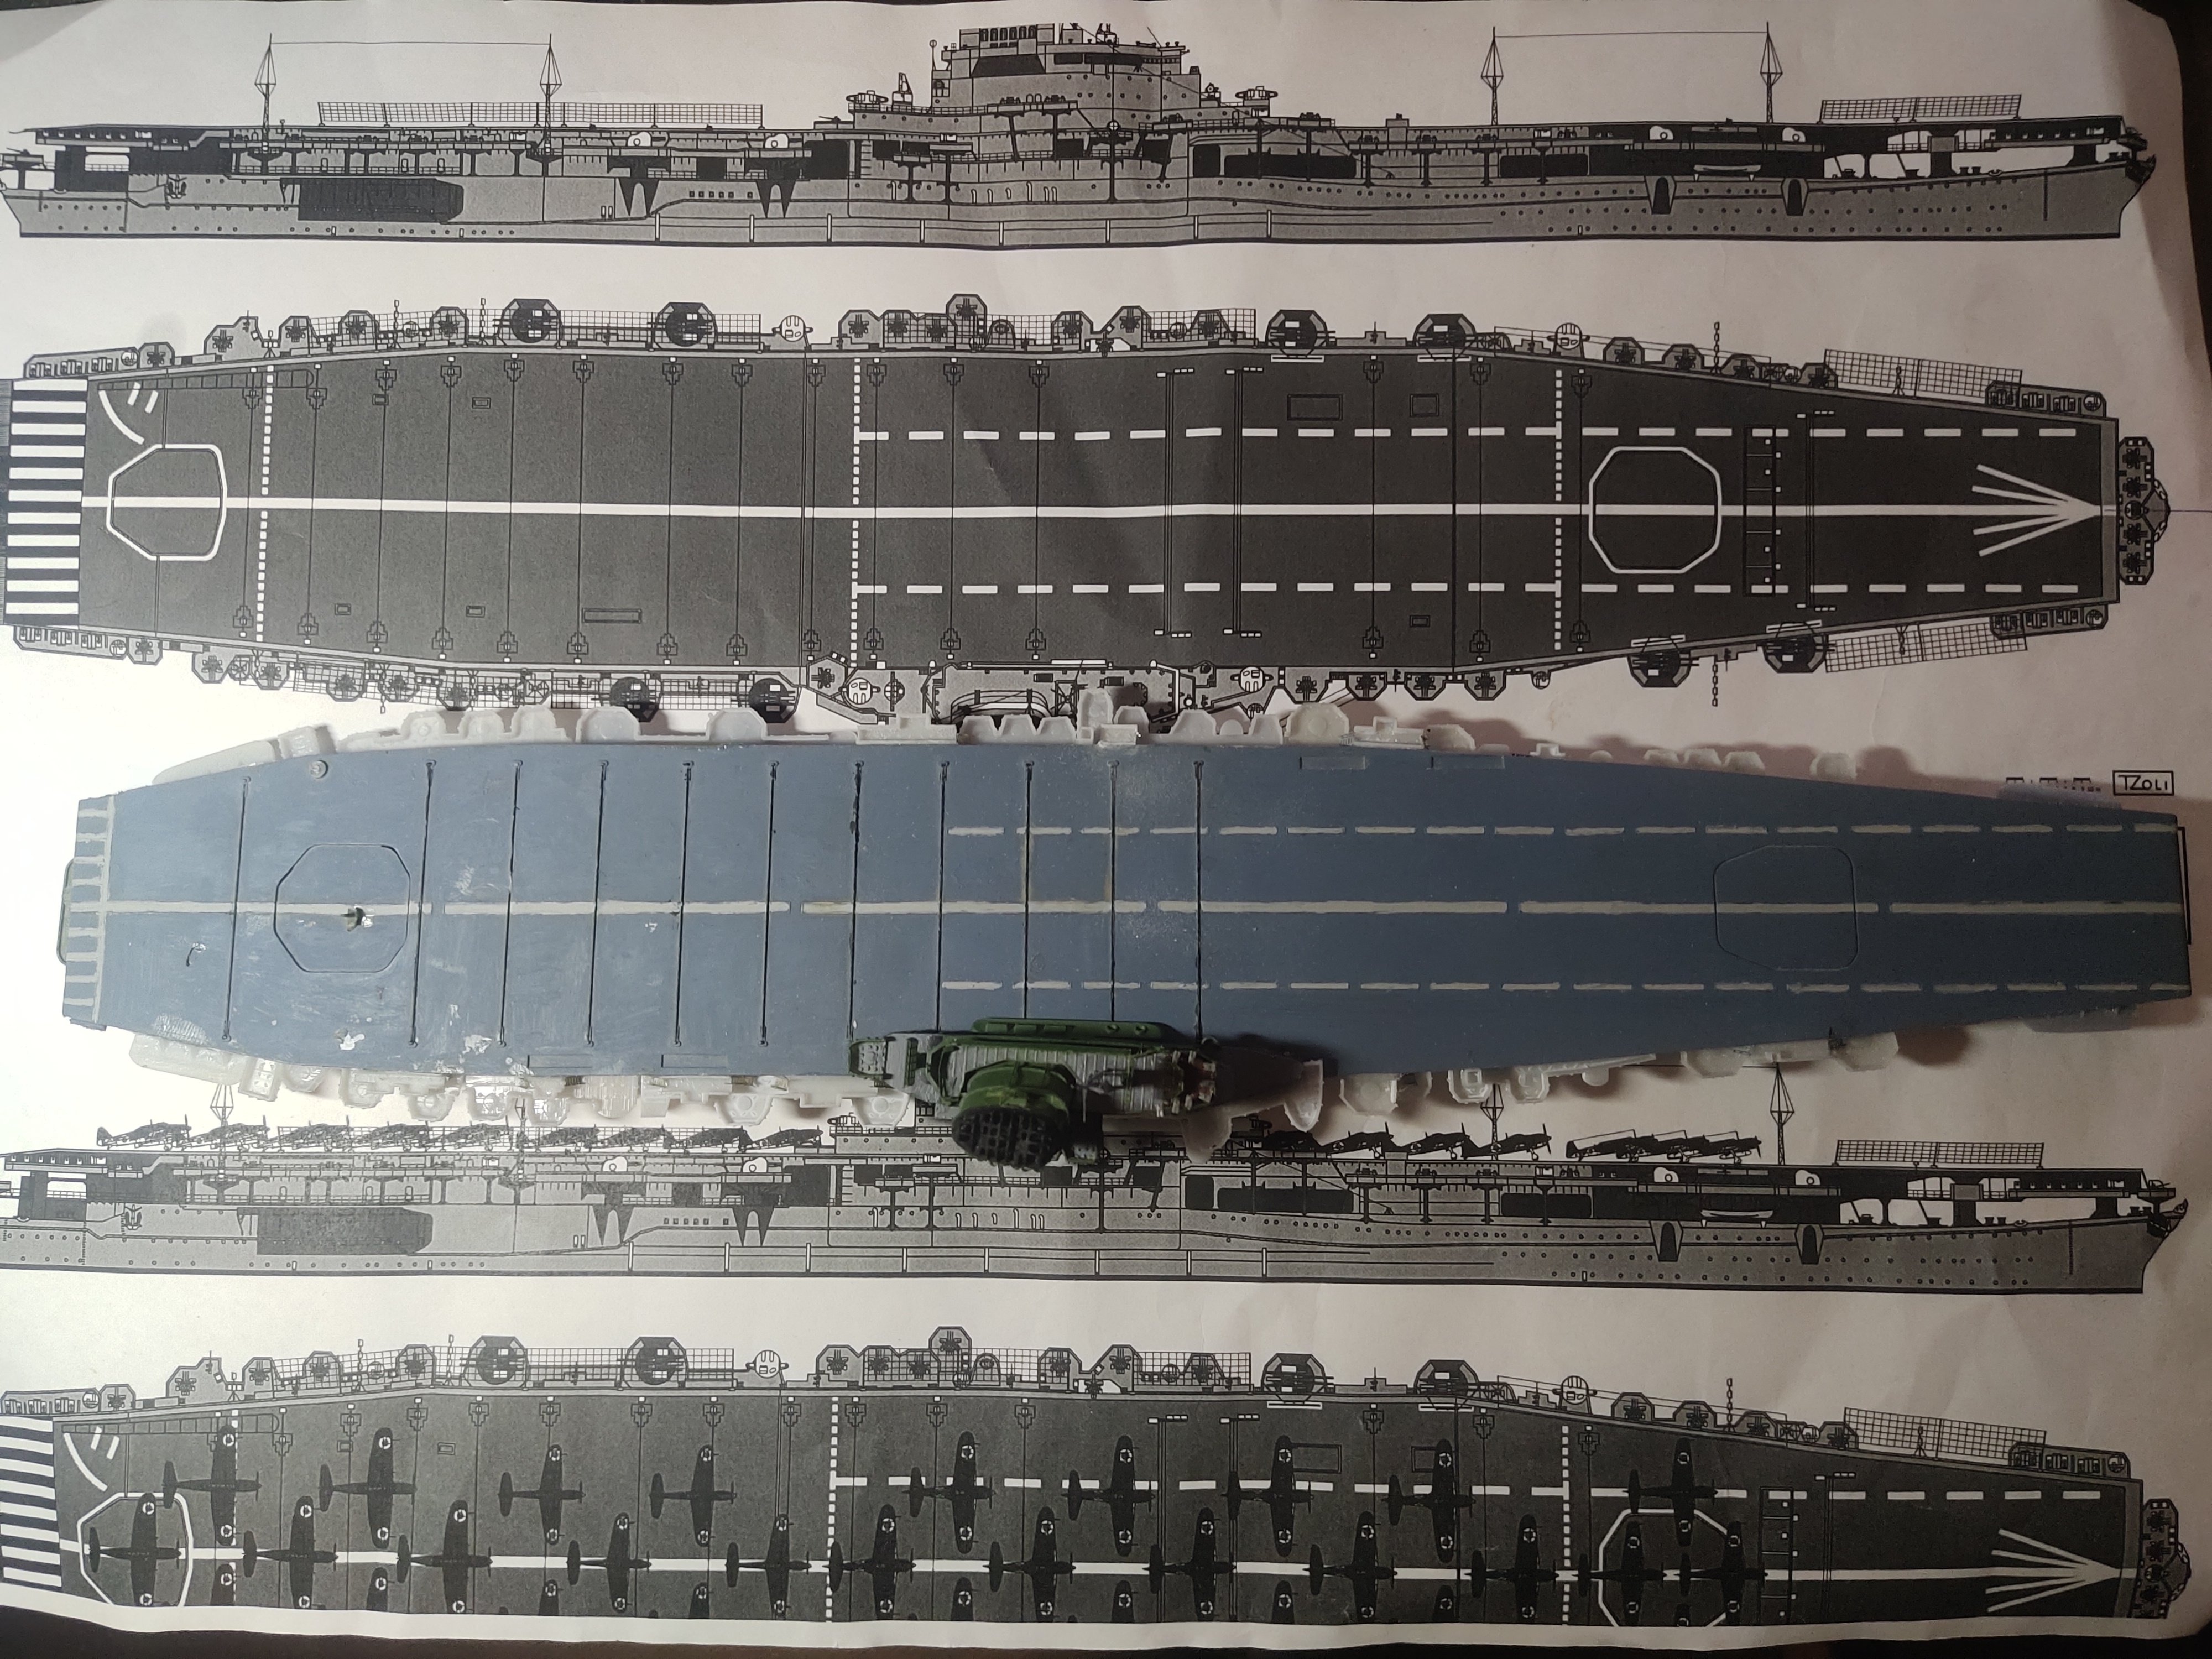
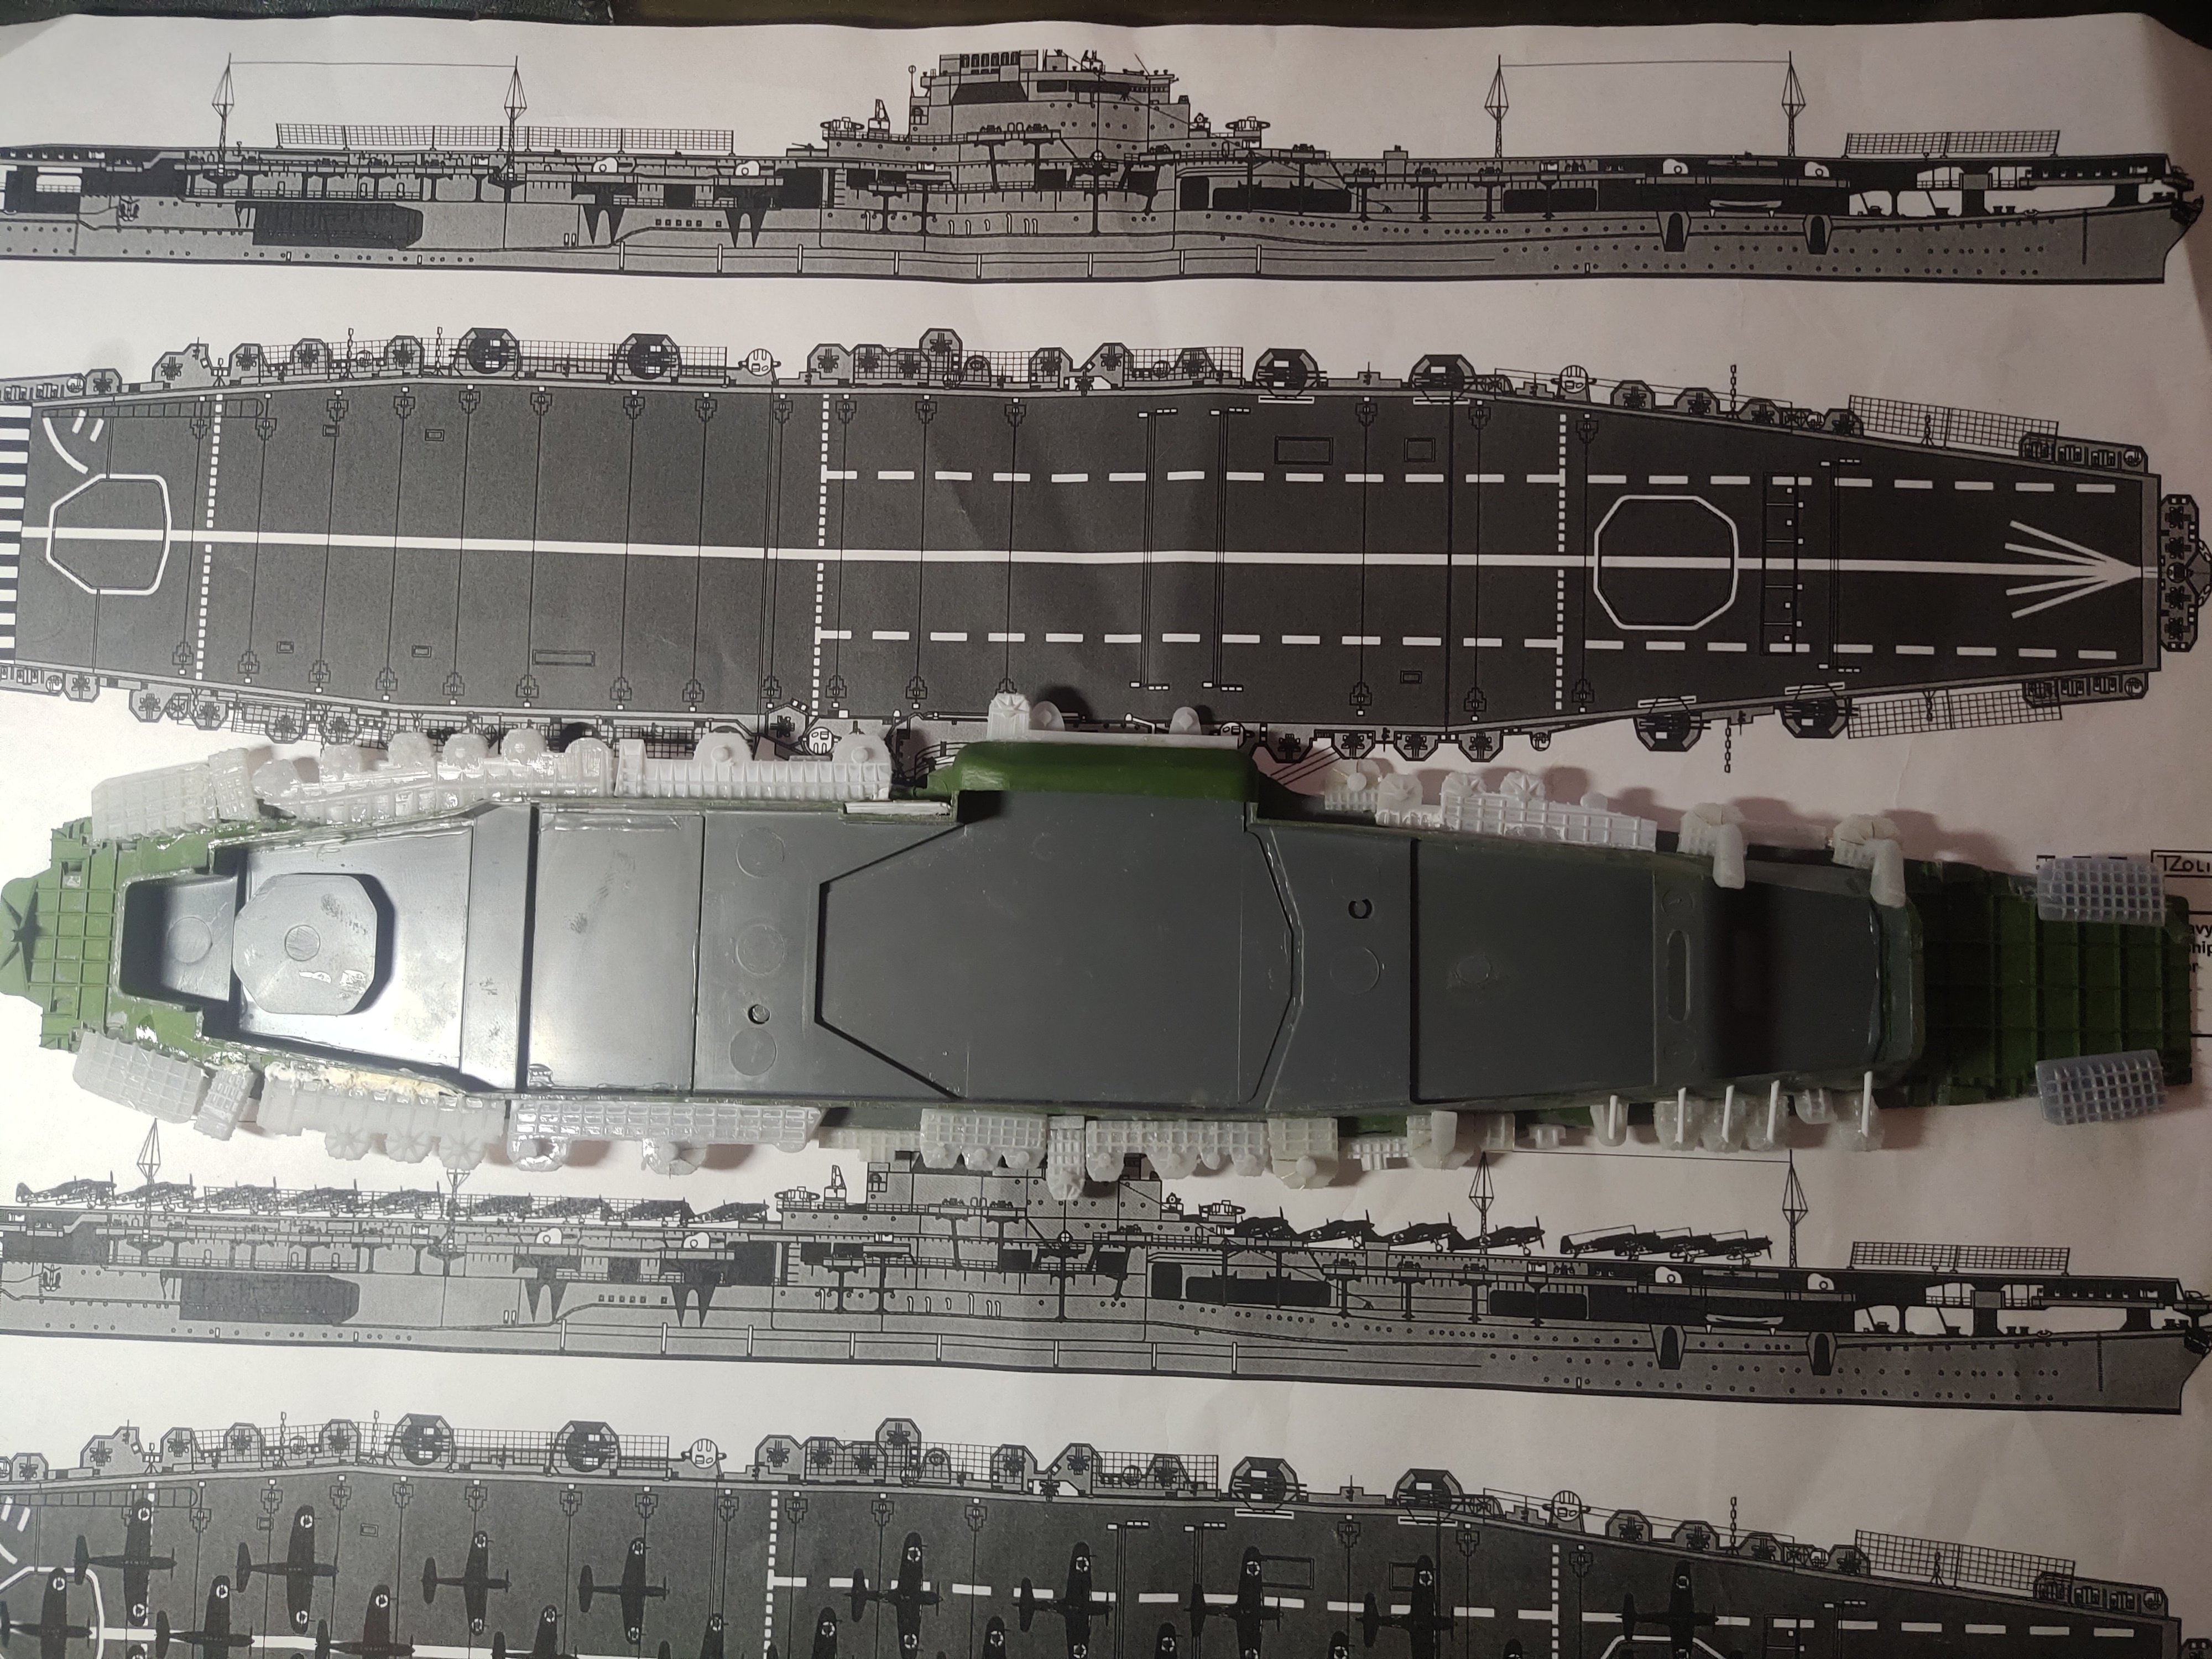
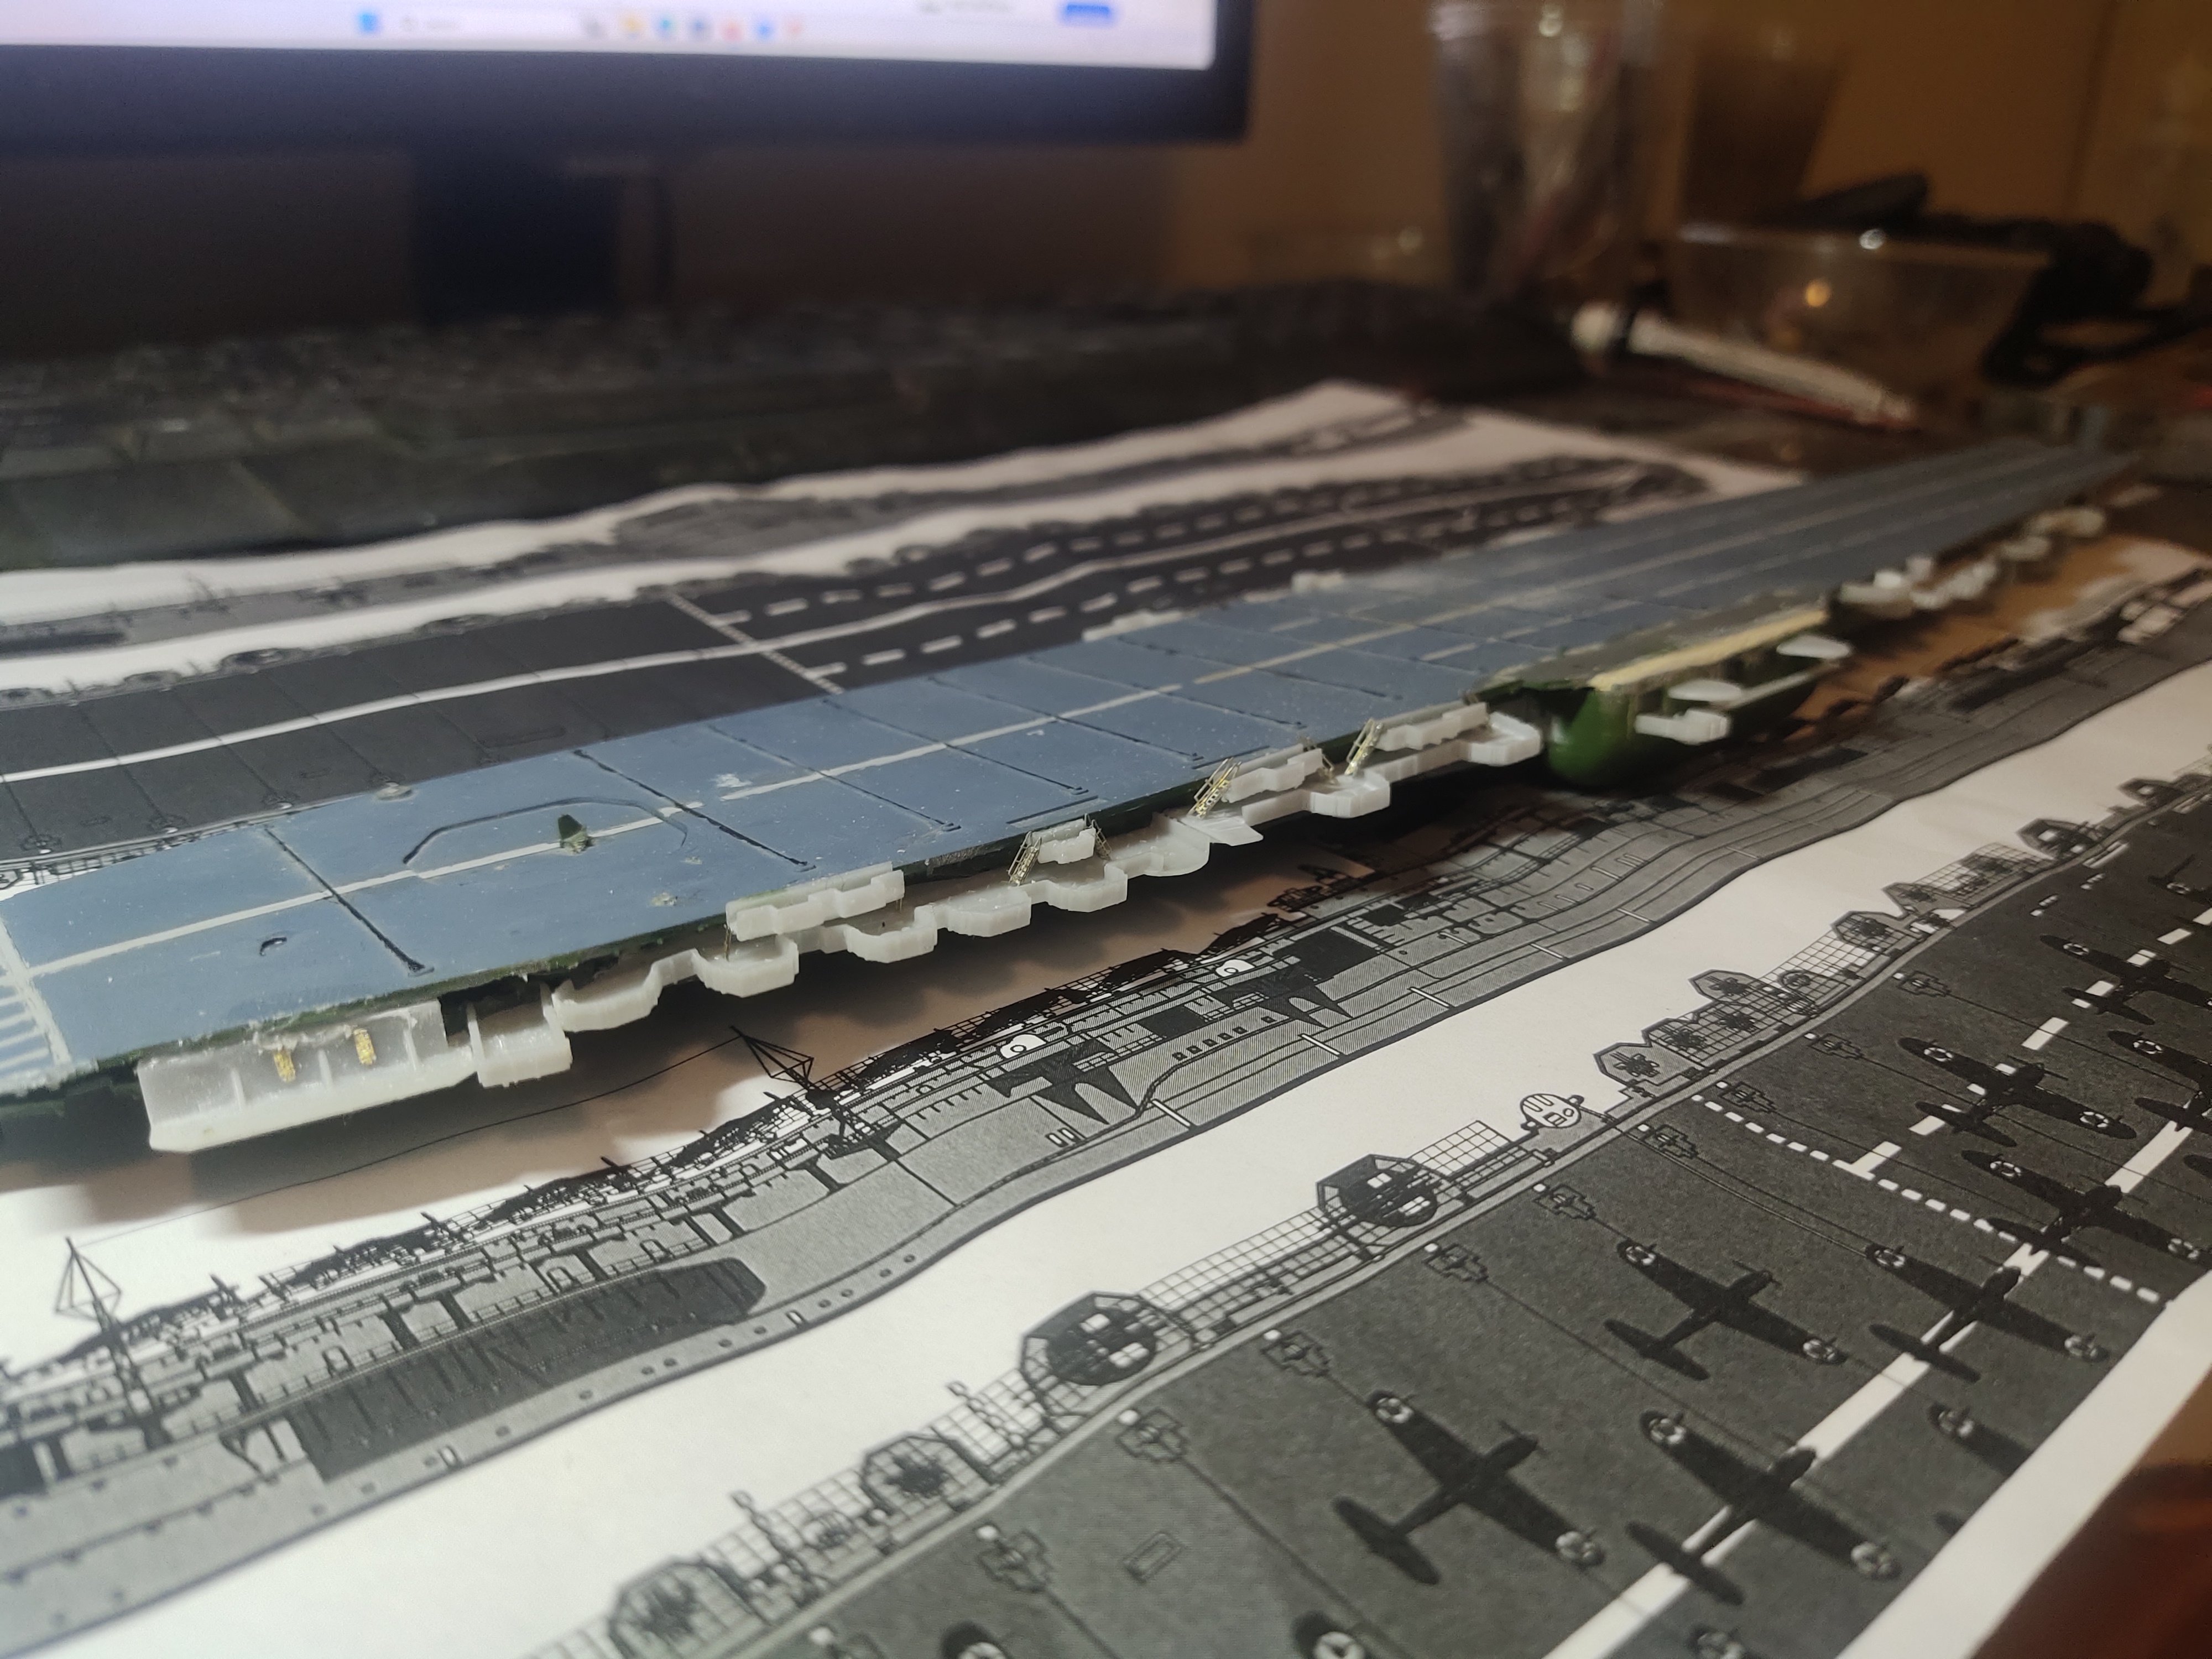
Anshan by mikegr - 1/700
in - Kit build logs for subjects built from 1901 - Present Day
Posted
had issues how to permanently straighten the hull. A wooden base was made, model was placed on the center and a small amount of resin was poured. It was left dry overnight.
Hull sides were painted gray already. Looks like I have to cover the base before future painting.
The instructions are practically unreadable. So I followed some basic guidelines.
Biggest parts were attached first.
The missile launchers:
Apart from their base, the other parts are metal ones, a frame and the "skin", mini parts than must be folder in oval shaped and attached over the frame
After trying for a couple of hours I realized that this will never going to happen. So once again using the current pieces as a reference I designed and printed my own missile boxes which were decorated with PEs and attached on the model