


mikegr
-
Posts
579 -
Joined
-
Last visited
Content Type
Profiles
Forums
Gallery
Events
Posts posted by mikegr
-
-
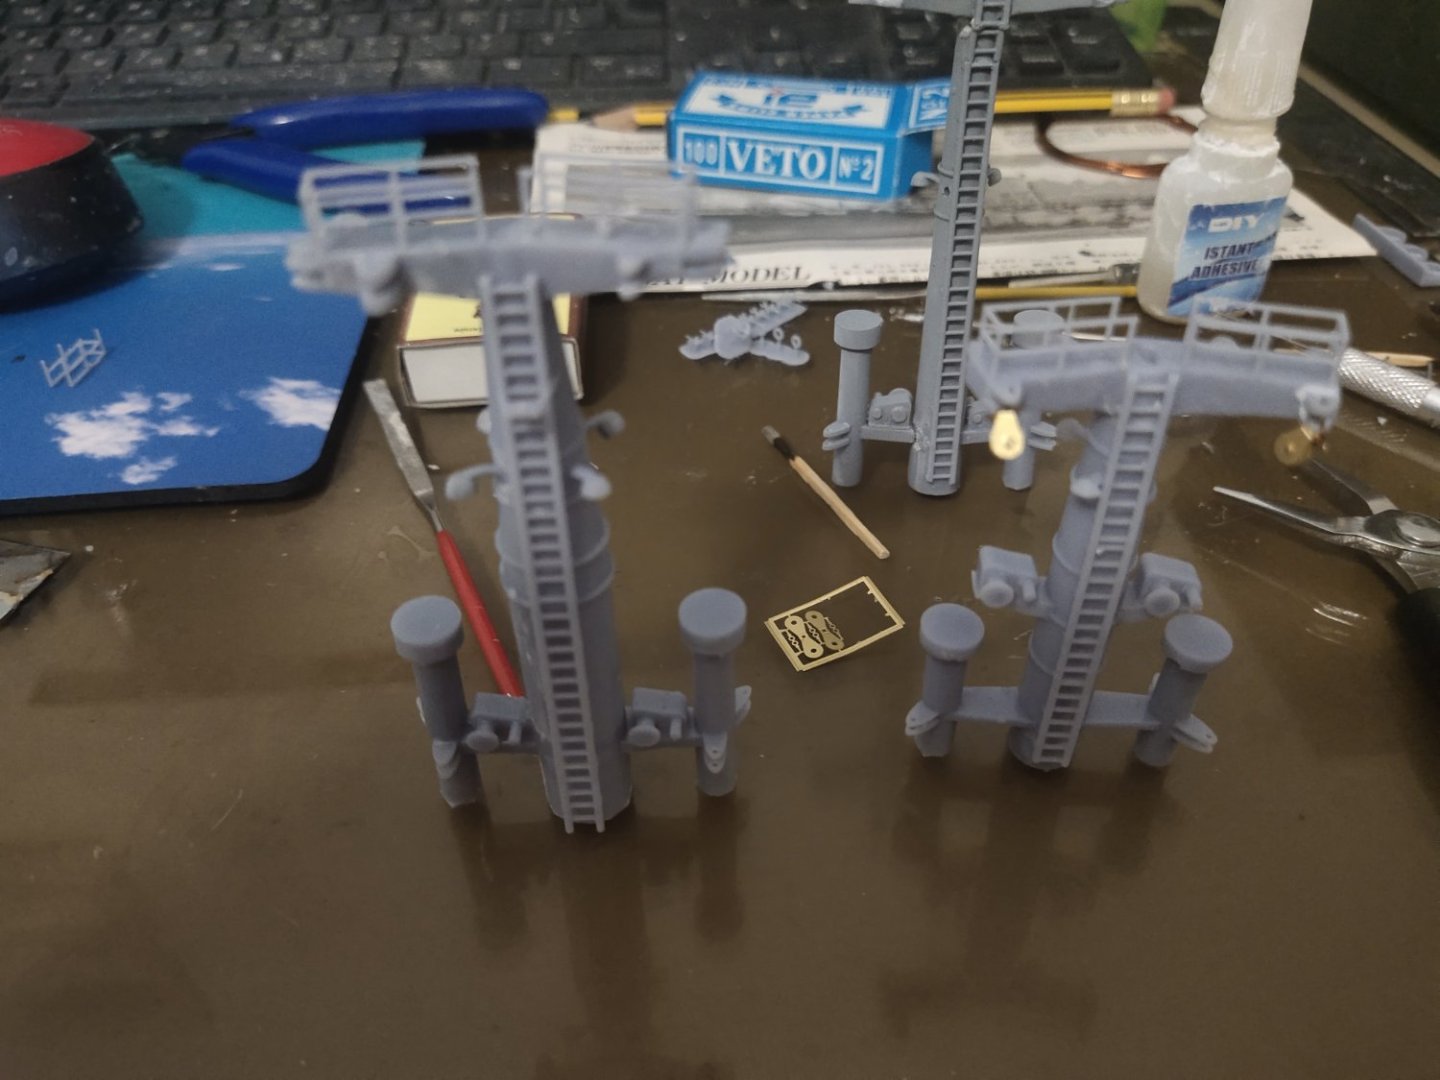
I installed PE, mostly nets and few others. Rigging time. A combination on melted sprue and elastic thread for longer pieces. The way I handle sprue fibers is with the tip of a file sometimes bit wet for extra grip. I do not use sharp tweezers as it can bent the pieces. At the end of the file a needle is attached were I use to deep into PVA or CA glue if I want a quick dry.
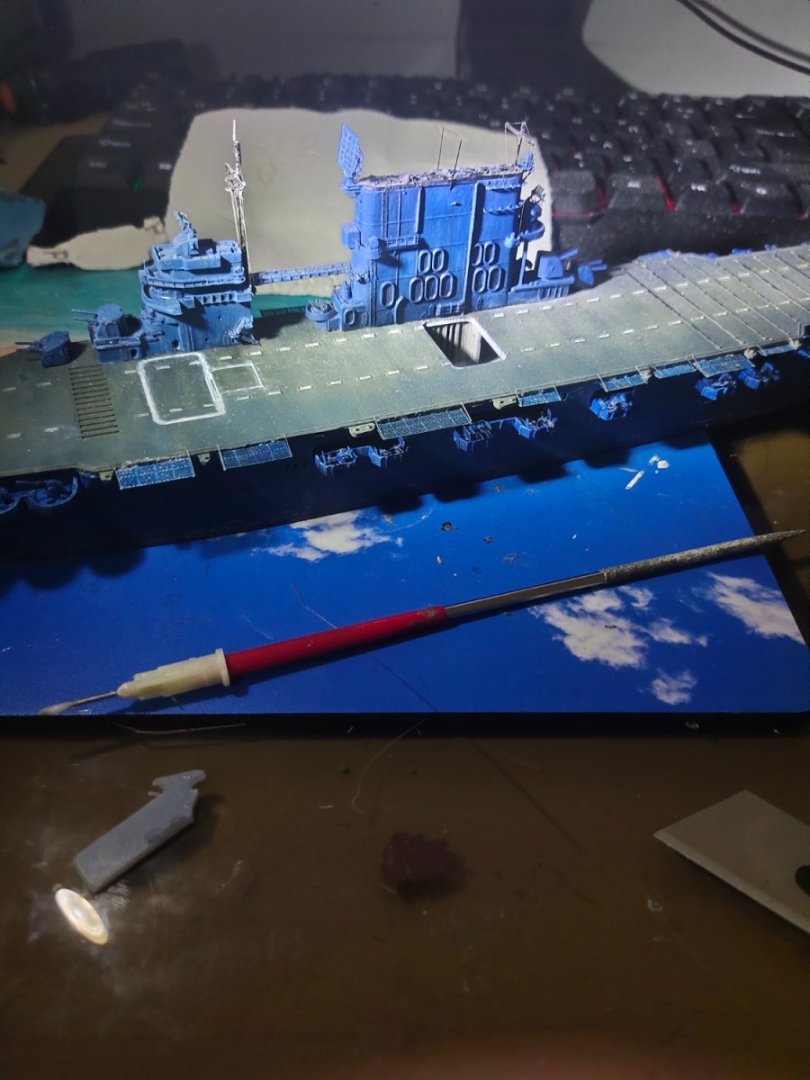
After rigging work is almost done, time to deal with air crew. Note that this is my first extra modified kit with addition of resin self design parts so some fittings problems occurred. Buy I need to move on.


-
Thanks for the comments. It is the small scale actually that helps me to make these as in 1/350 or higher, more detail would be needed which I cannot design at the moment.
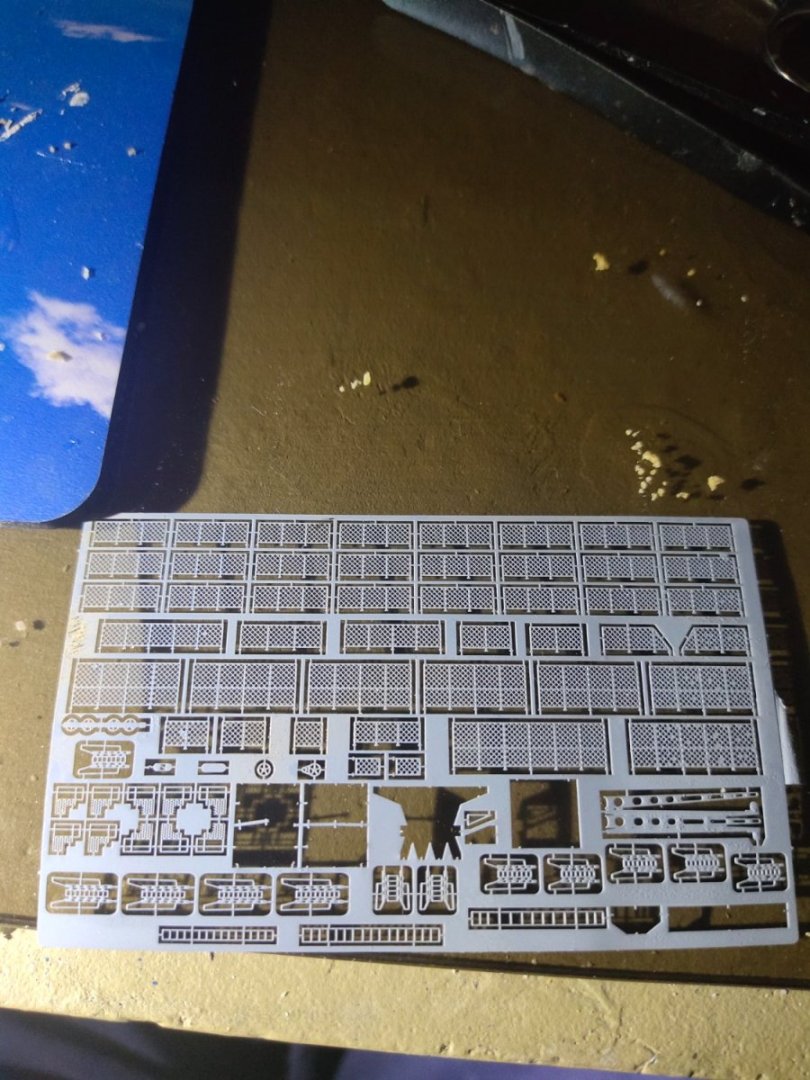
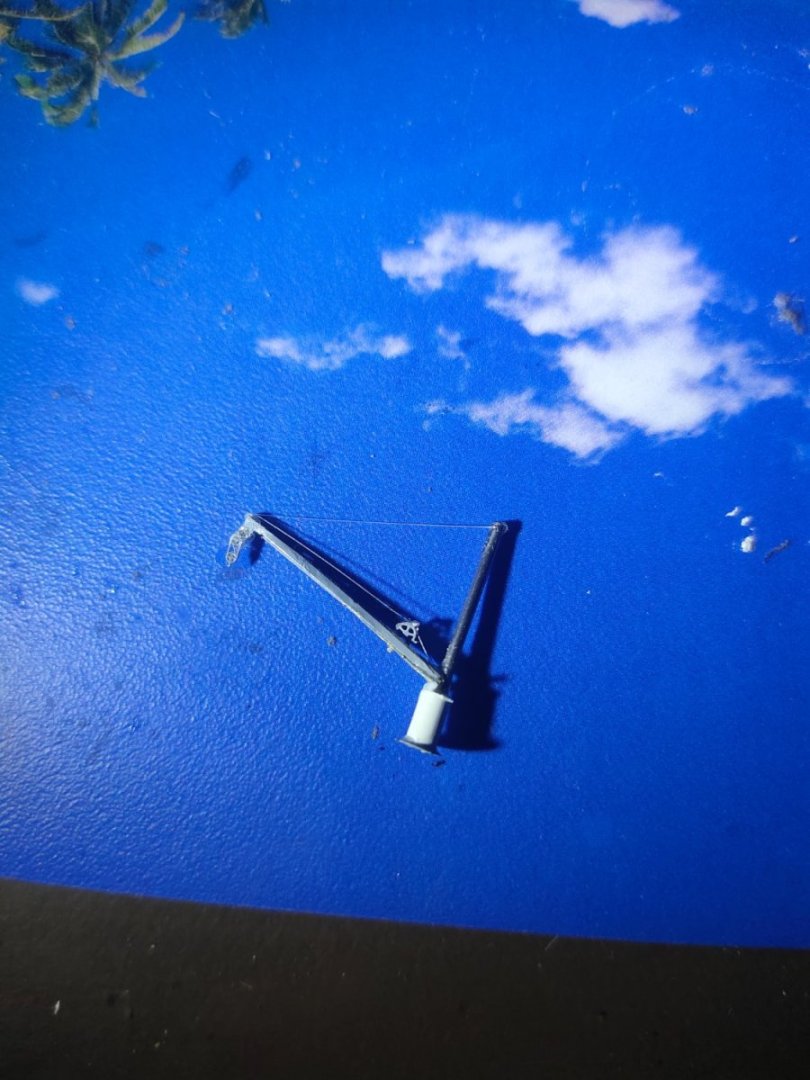
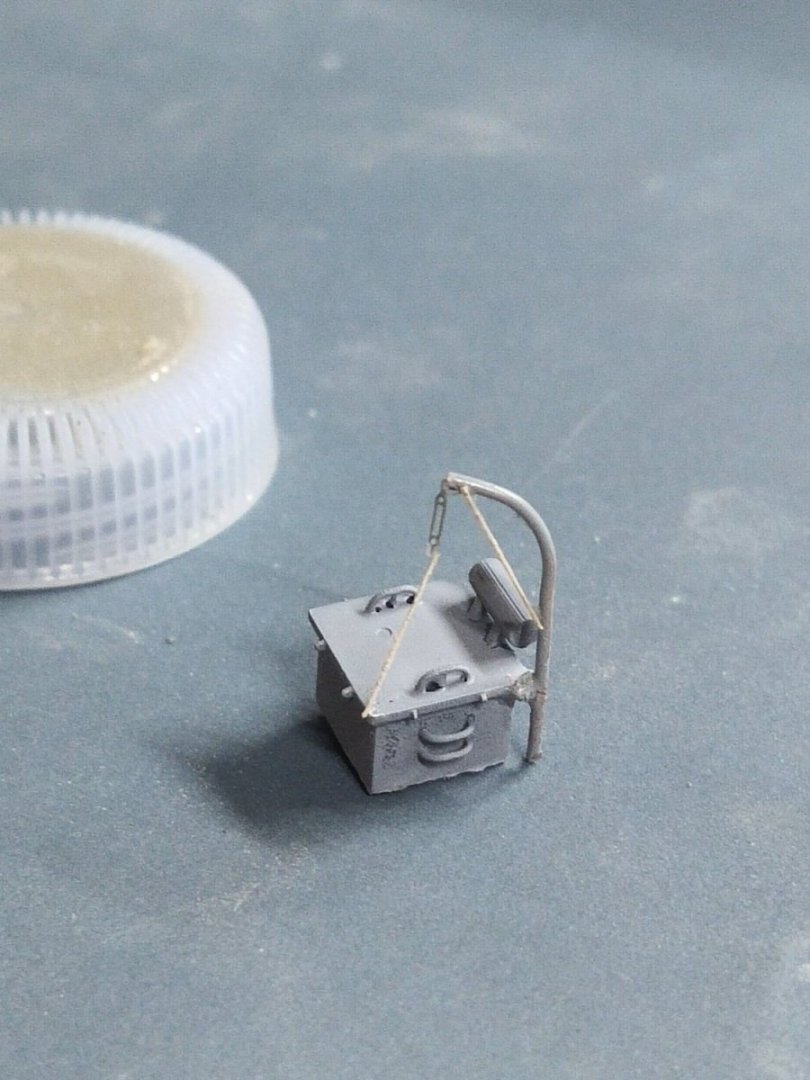
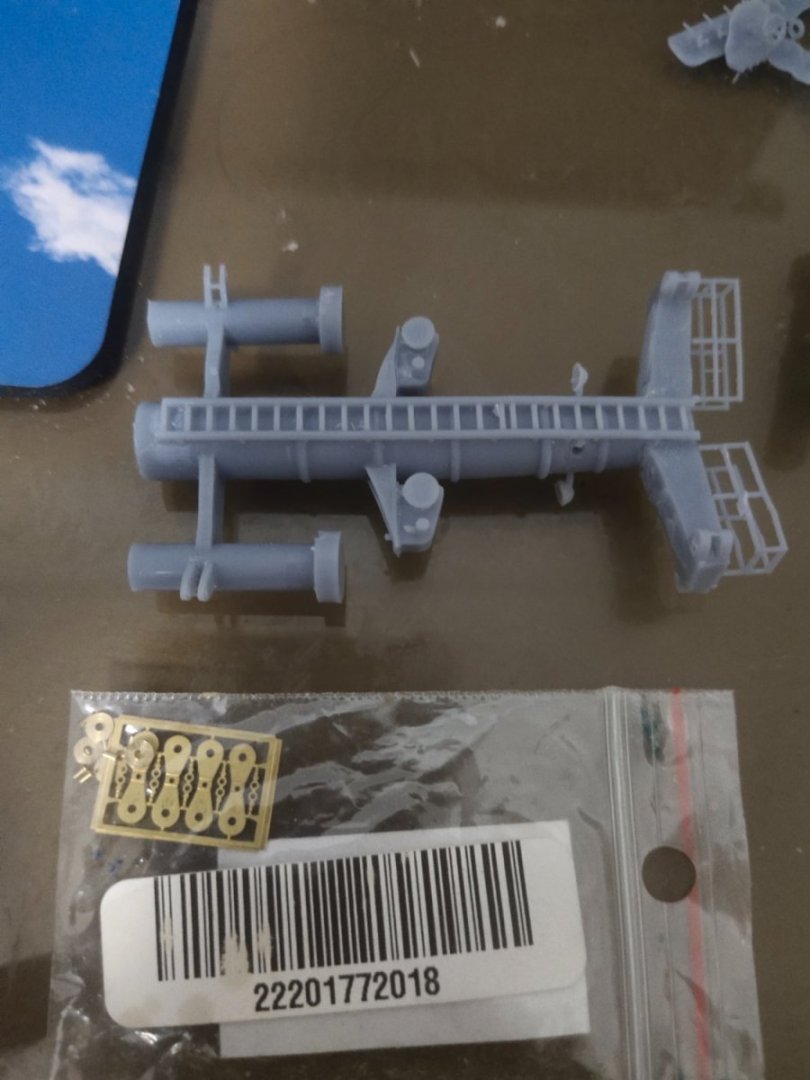
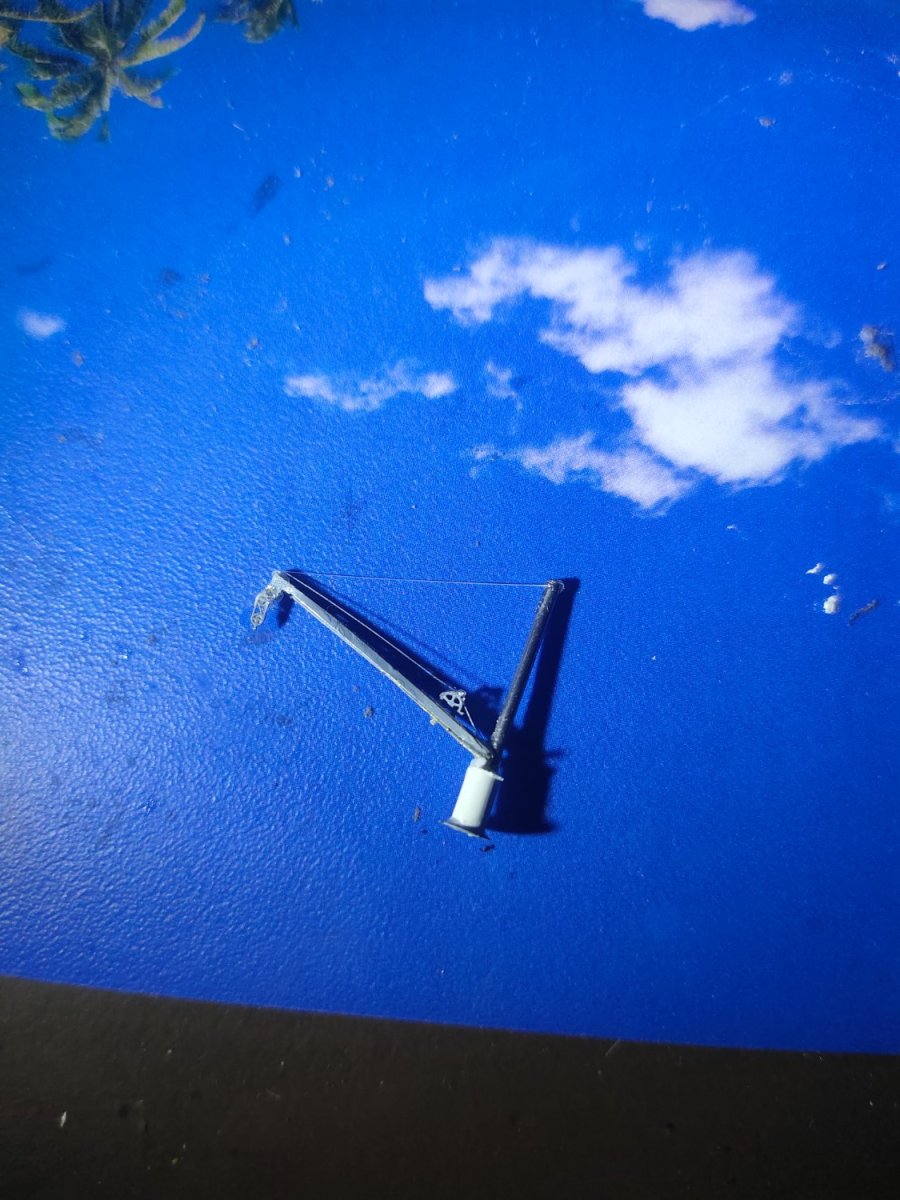
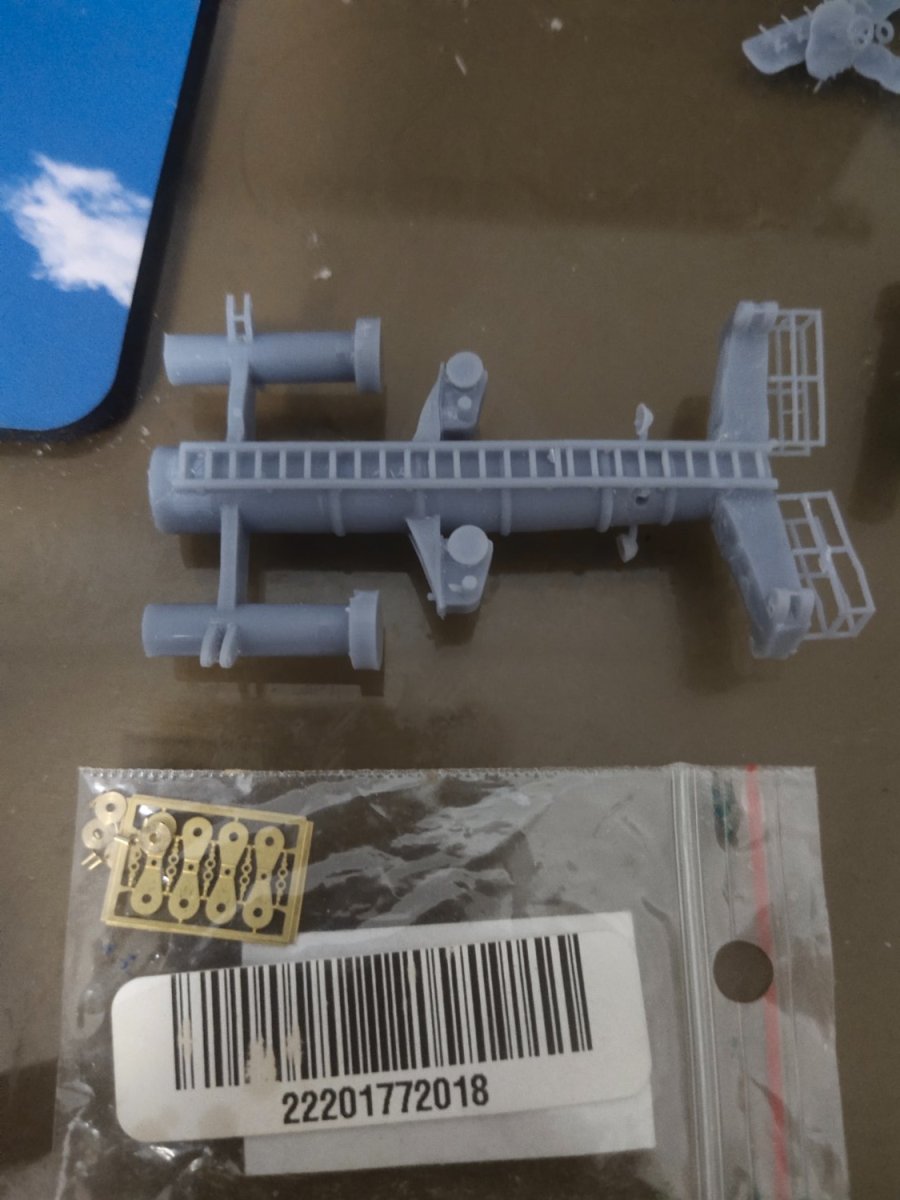
Back to the building, I sanded the PE parts and sprayed them with epoxy primer. Crane was assembled but a mast was needed as well. So I scratch built one copying the Pontos model.
- Canute, king derelict, Baker and 2 others
-
 5
5
-
Perhaps I reached my design limits
- thibaultron, mtaylor, Canute and 4 others
-
7
-
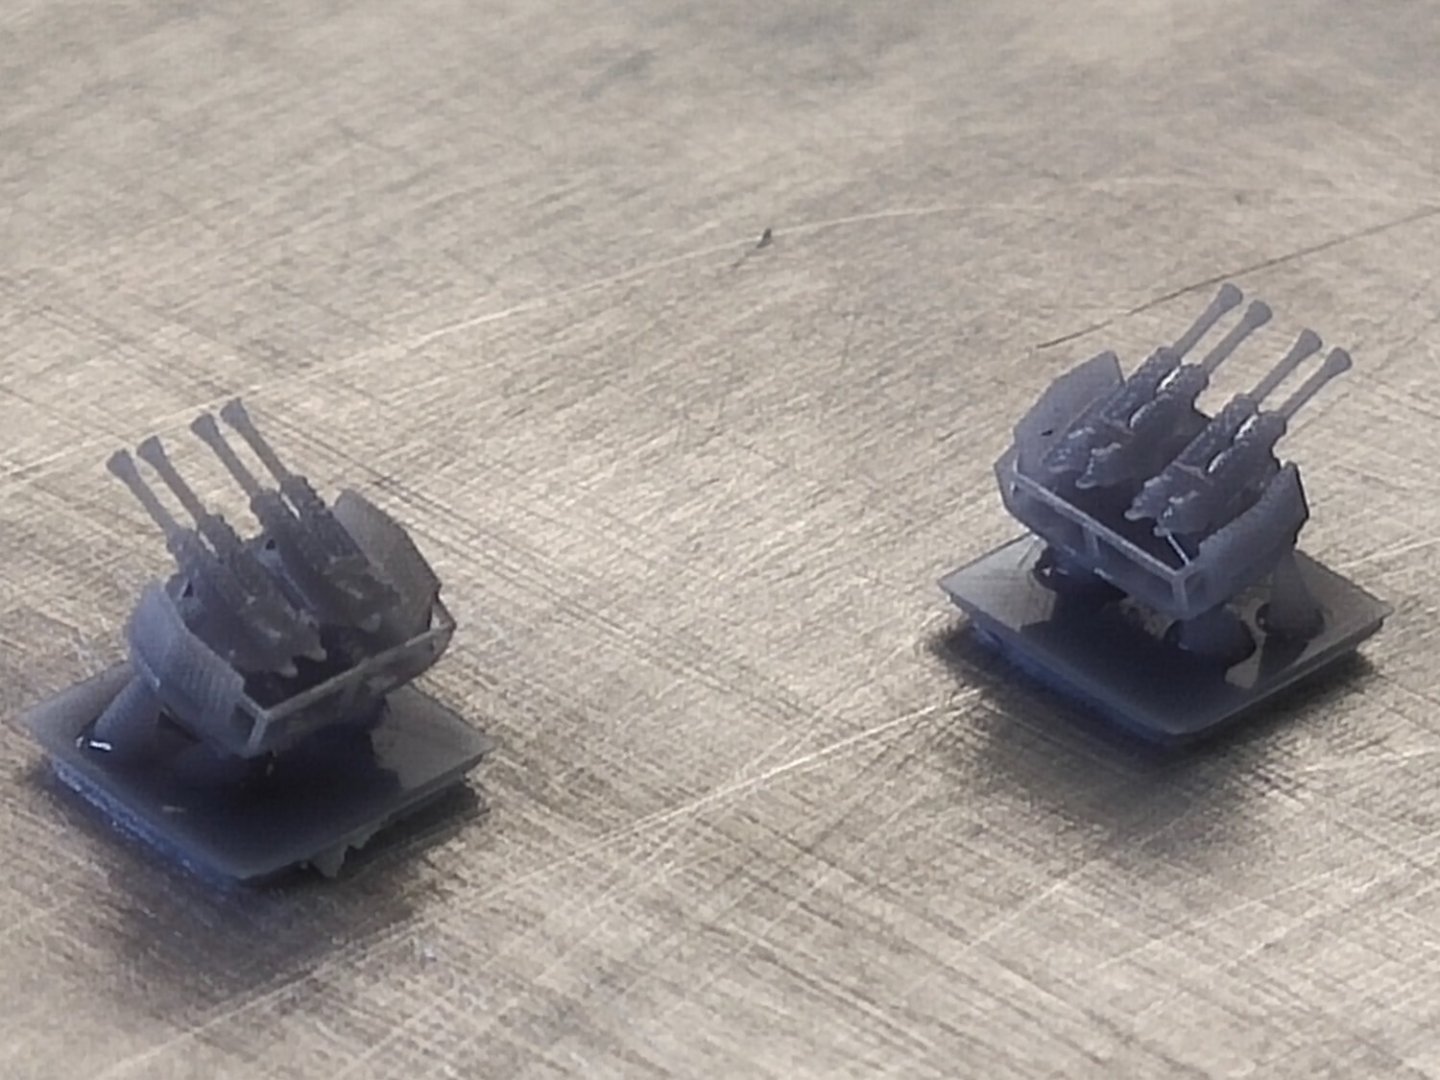
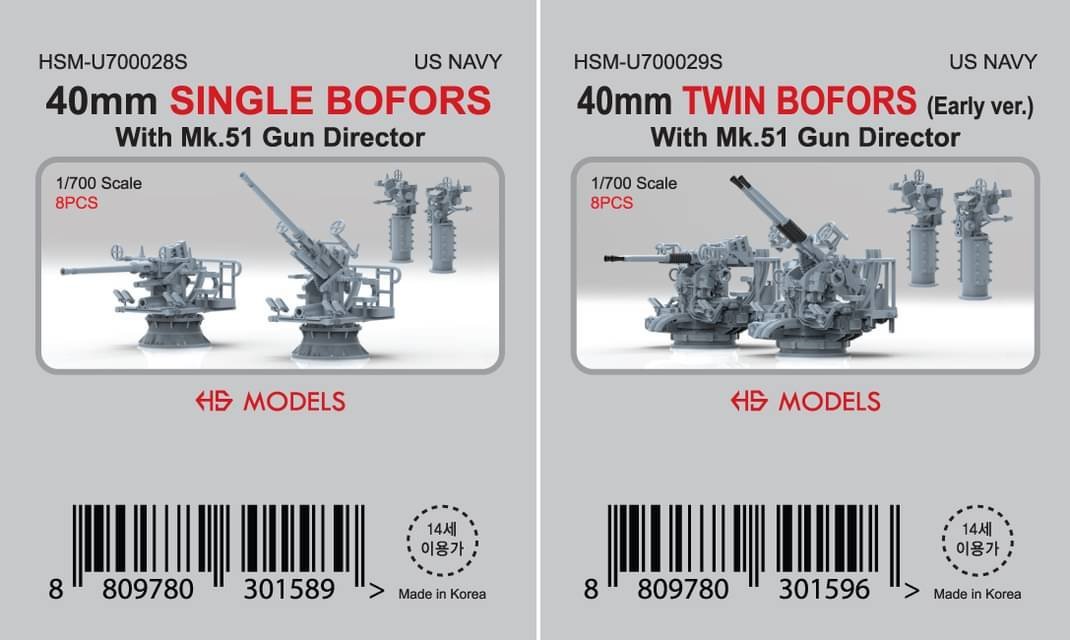
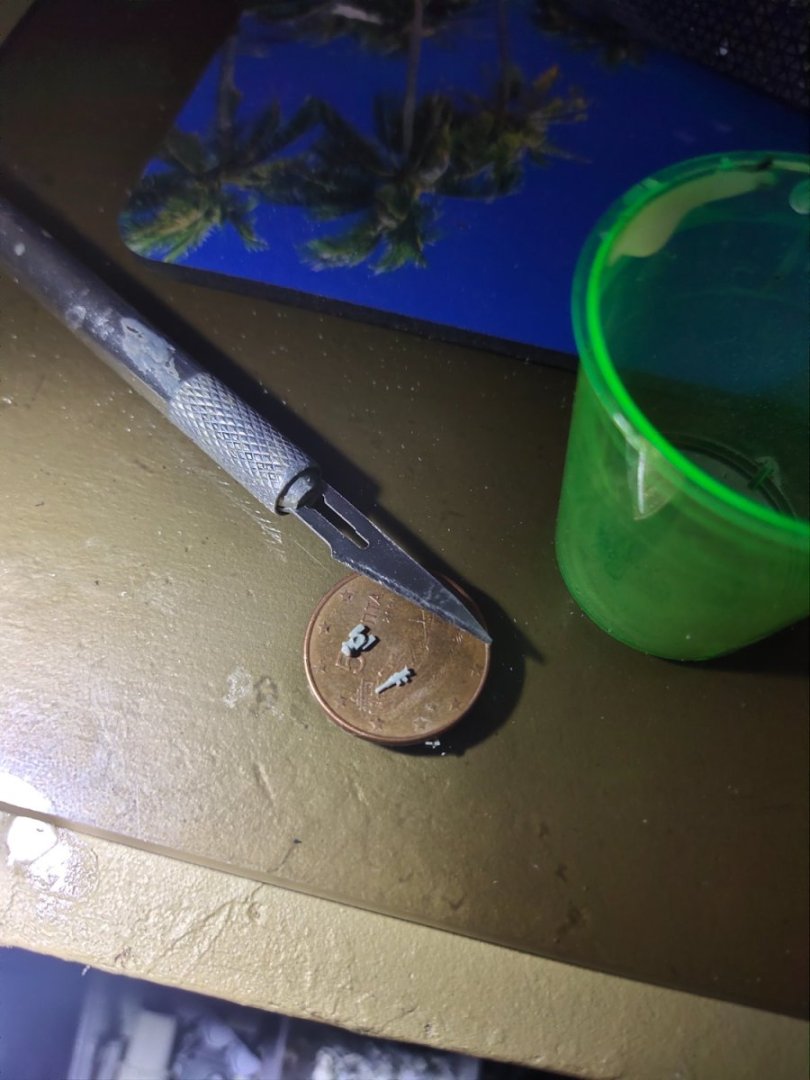
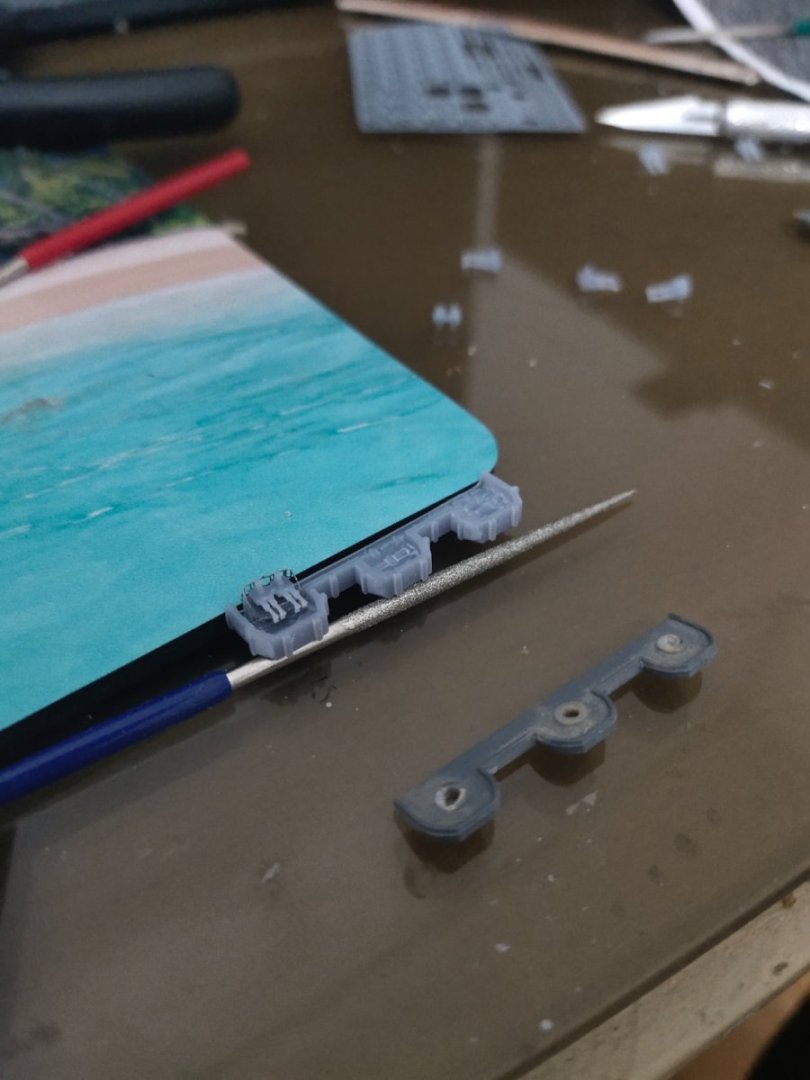
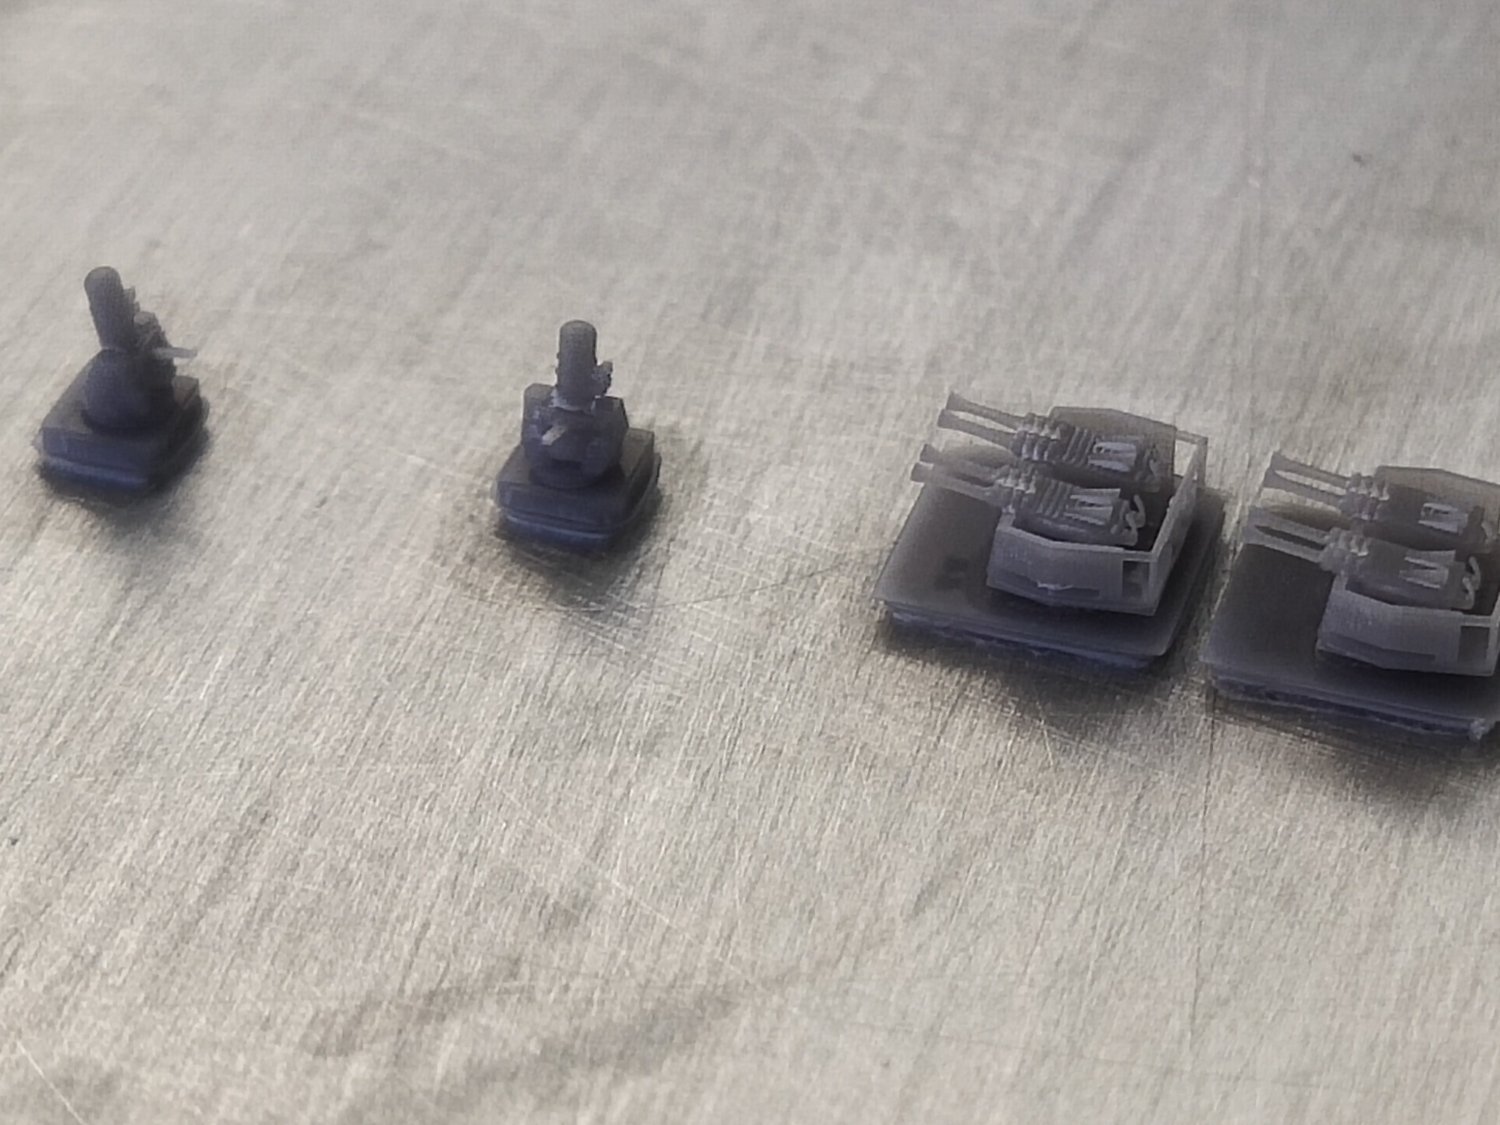
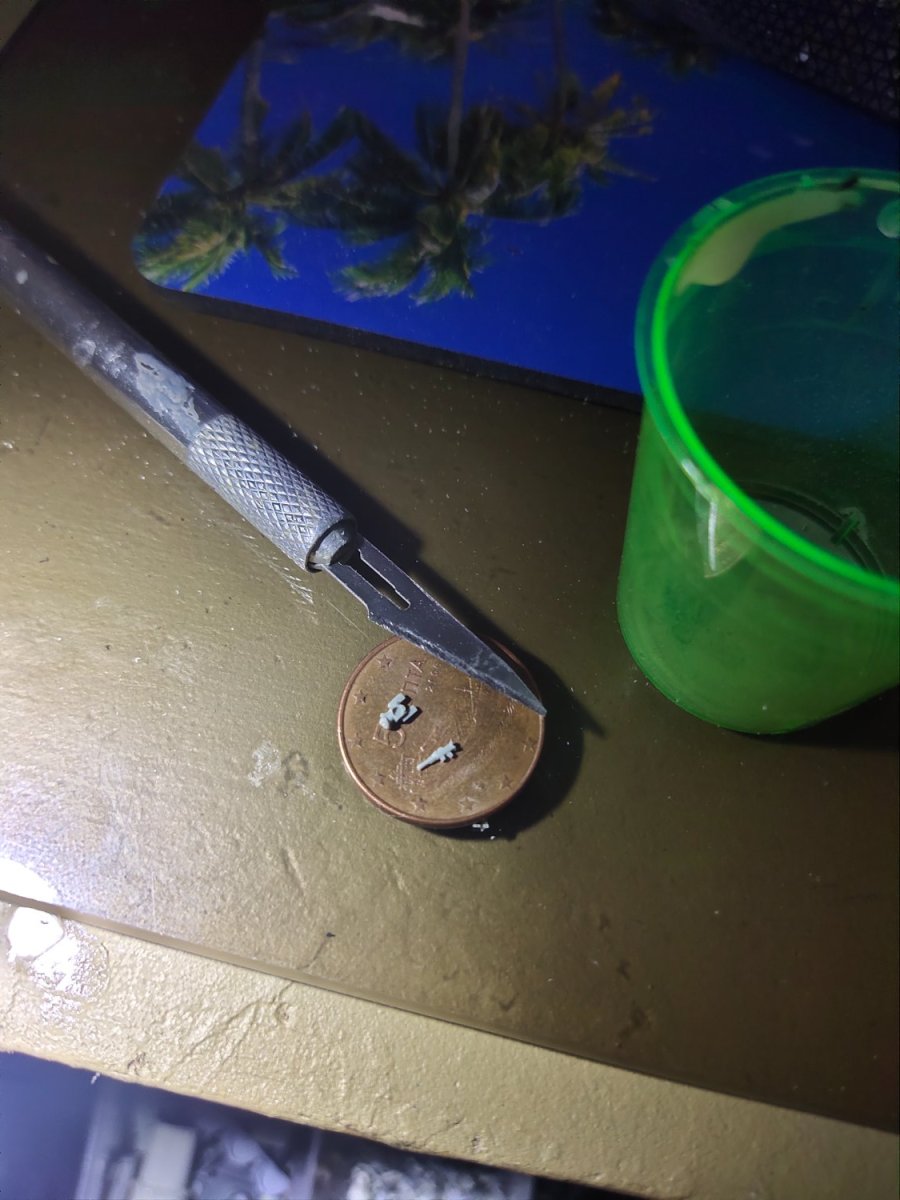
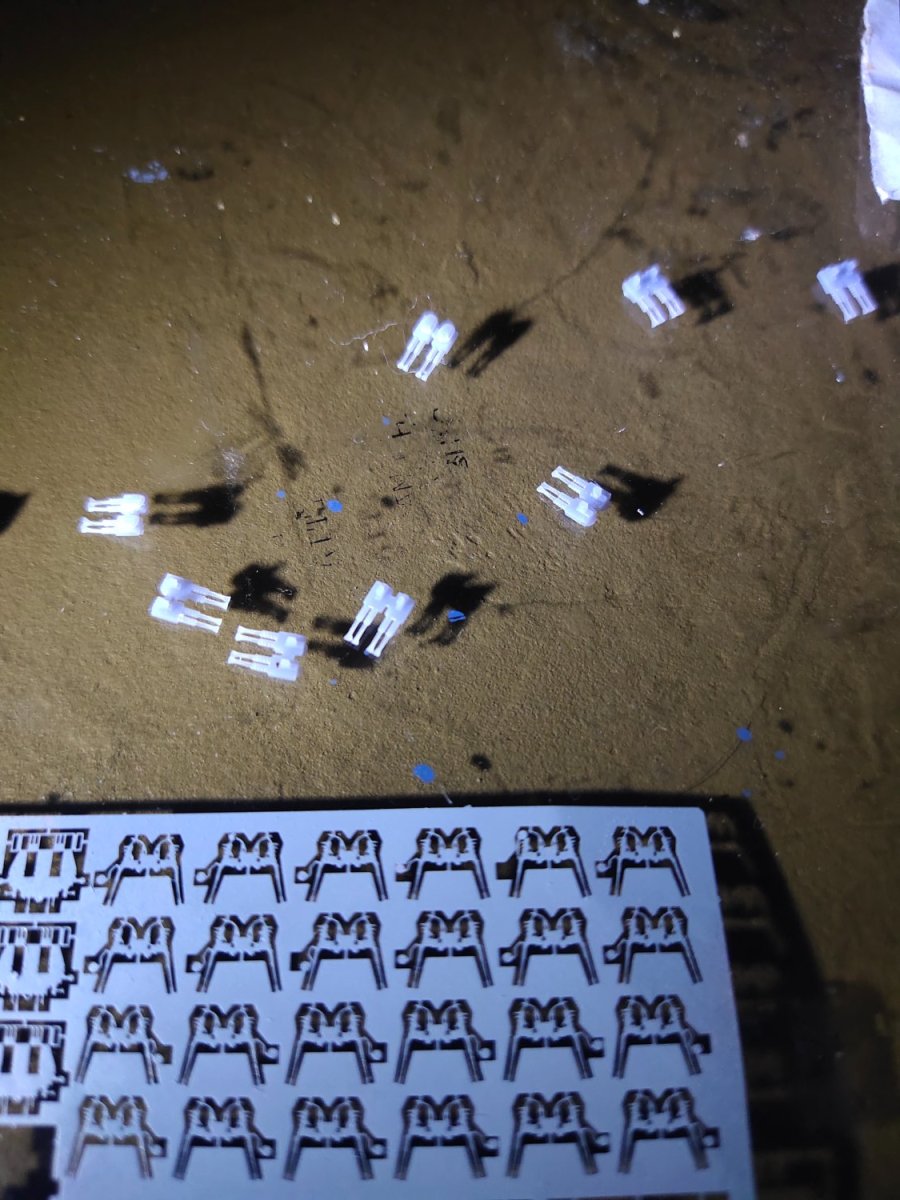
Working with printed and PE parts together gave a better appearance but it proved time consuming while results could be better, the tiny PR parts are quite hard to handle. So I started experiments by printing my own Bofor guns. Here is a test print along with a pair or Phalanx which I think are too small for 1/700 I need to recheck

- NavyShooter, Baker, thibaultron and 5 others
-
8
-
-
Back to work after some absense.
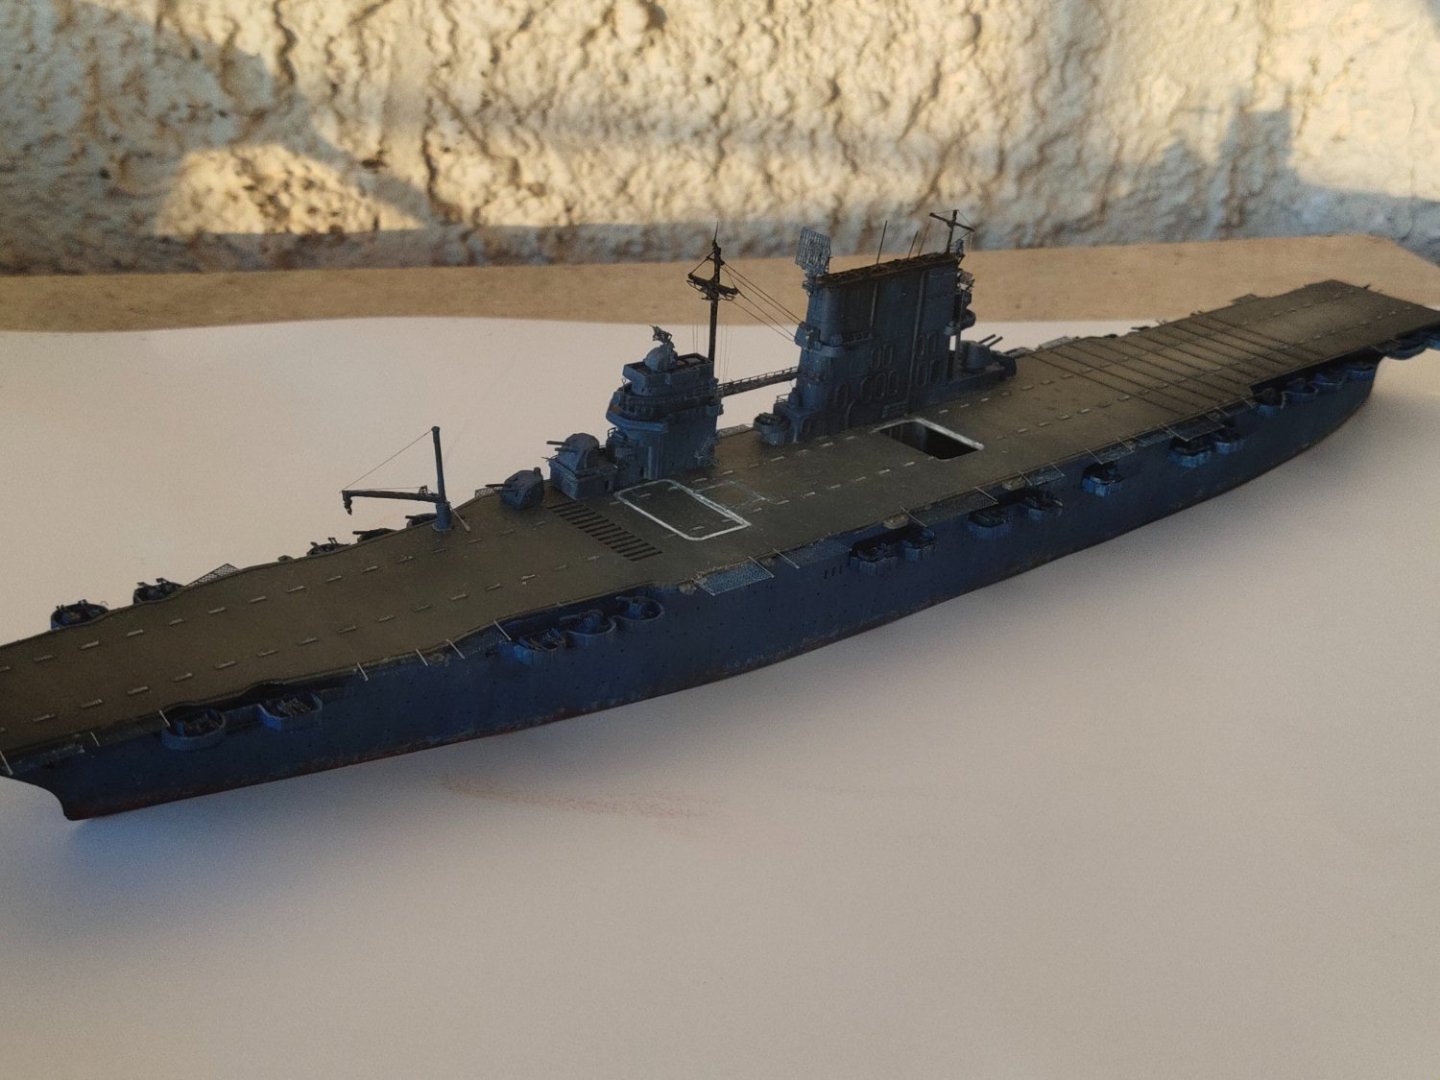
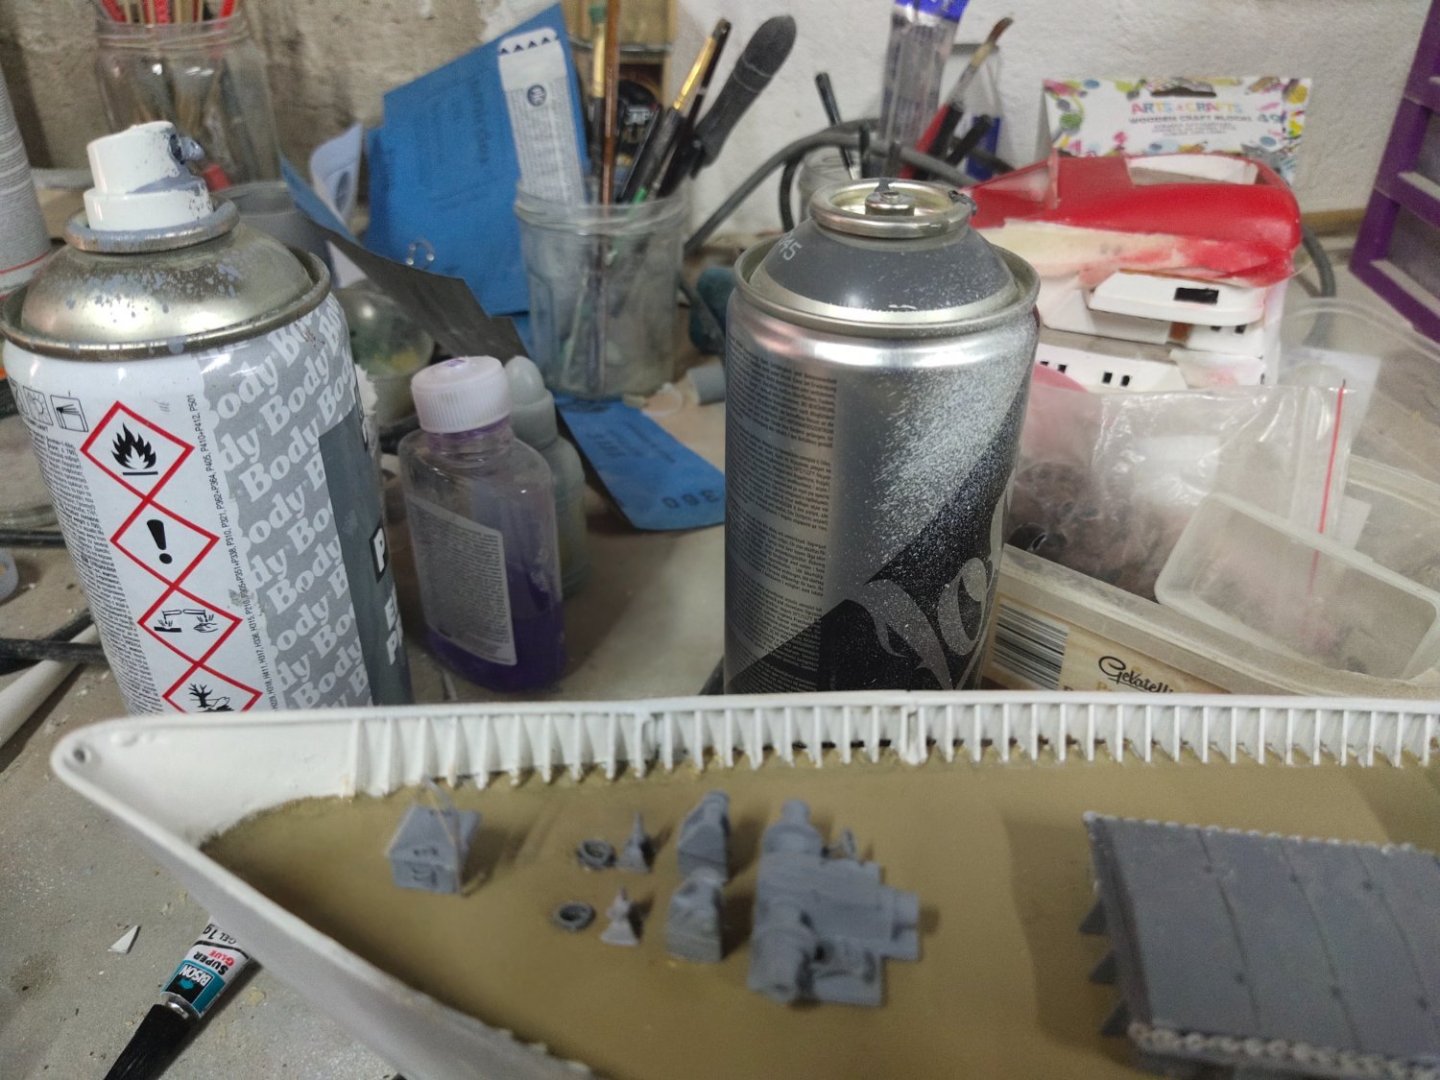
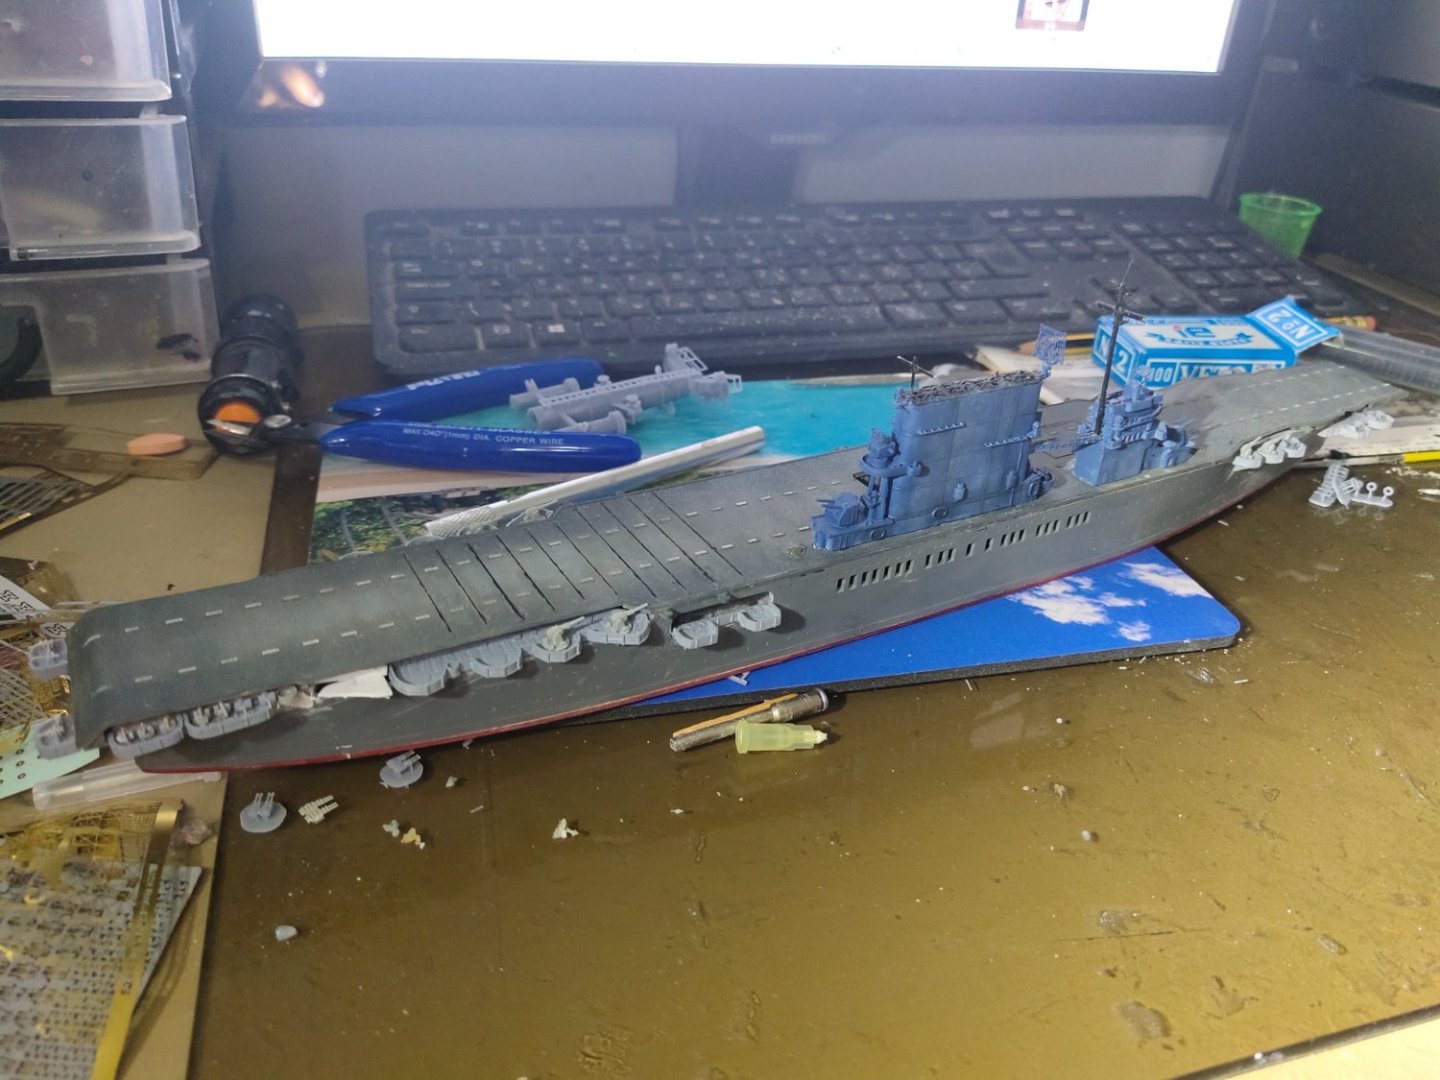
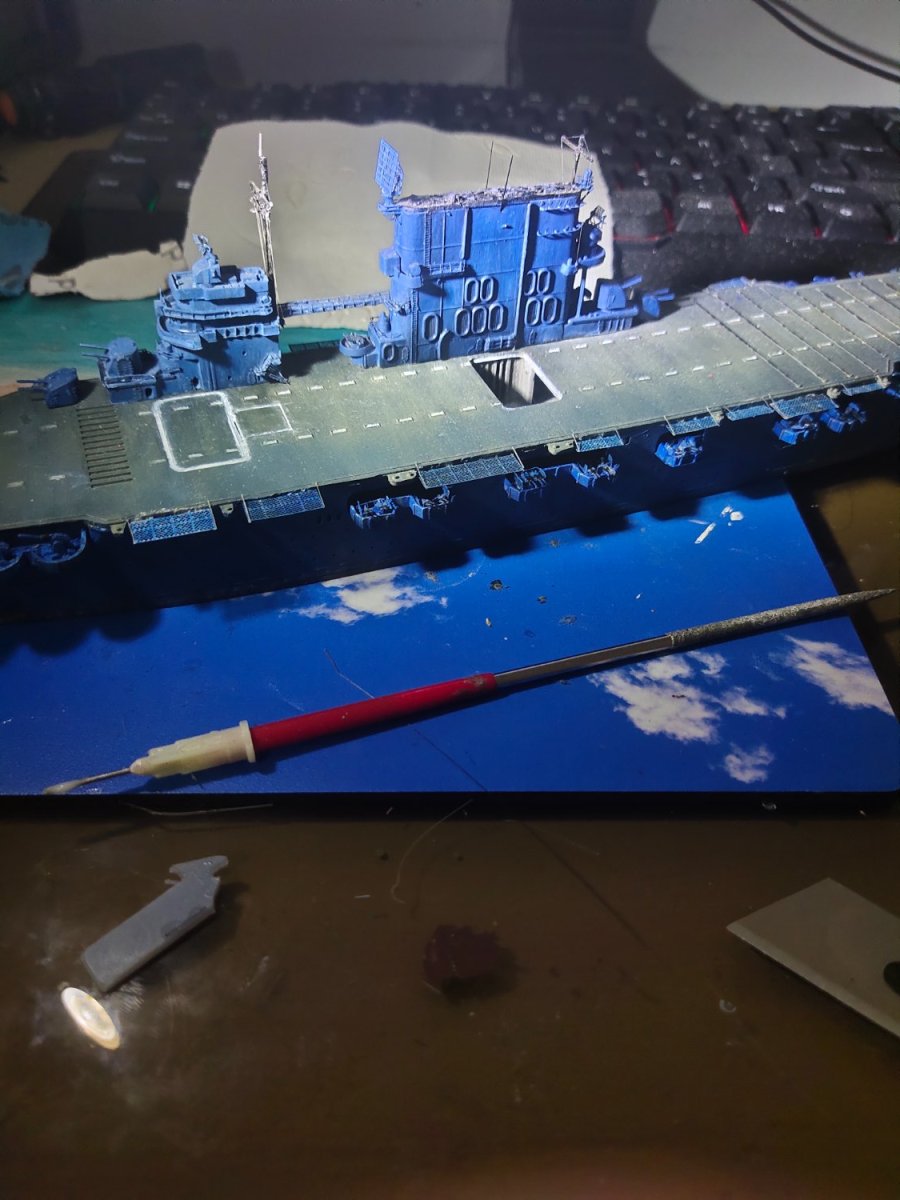
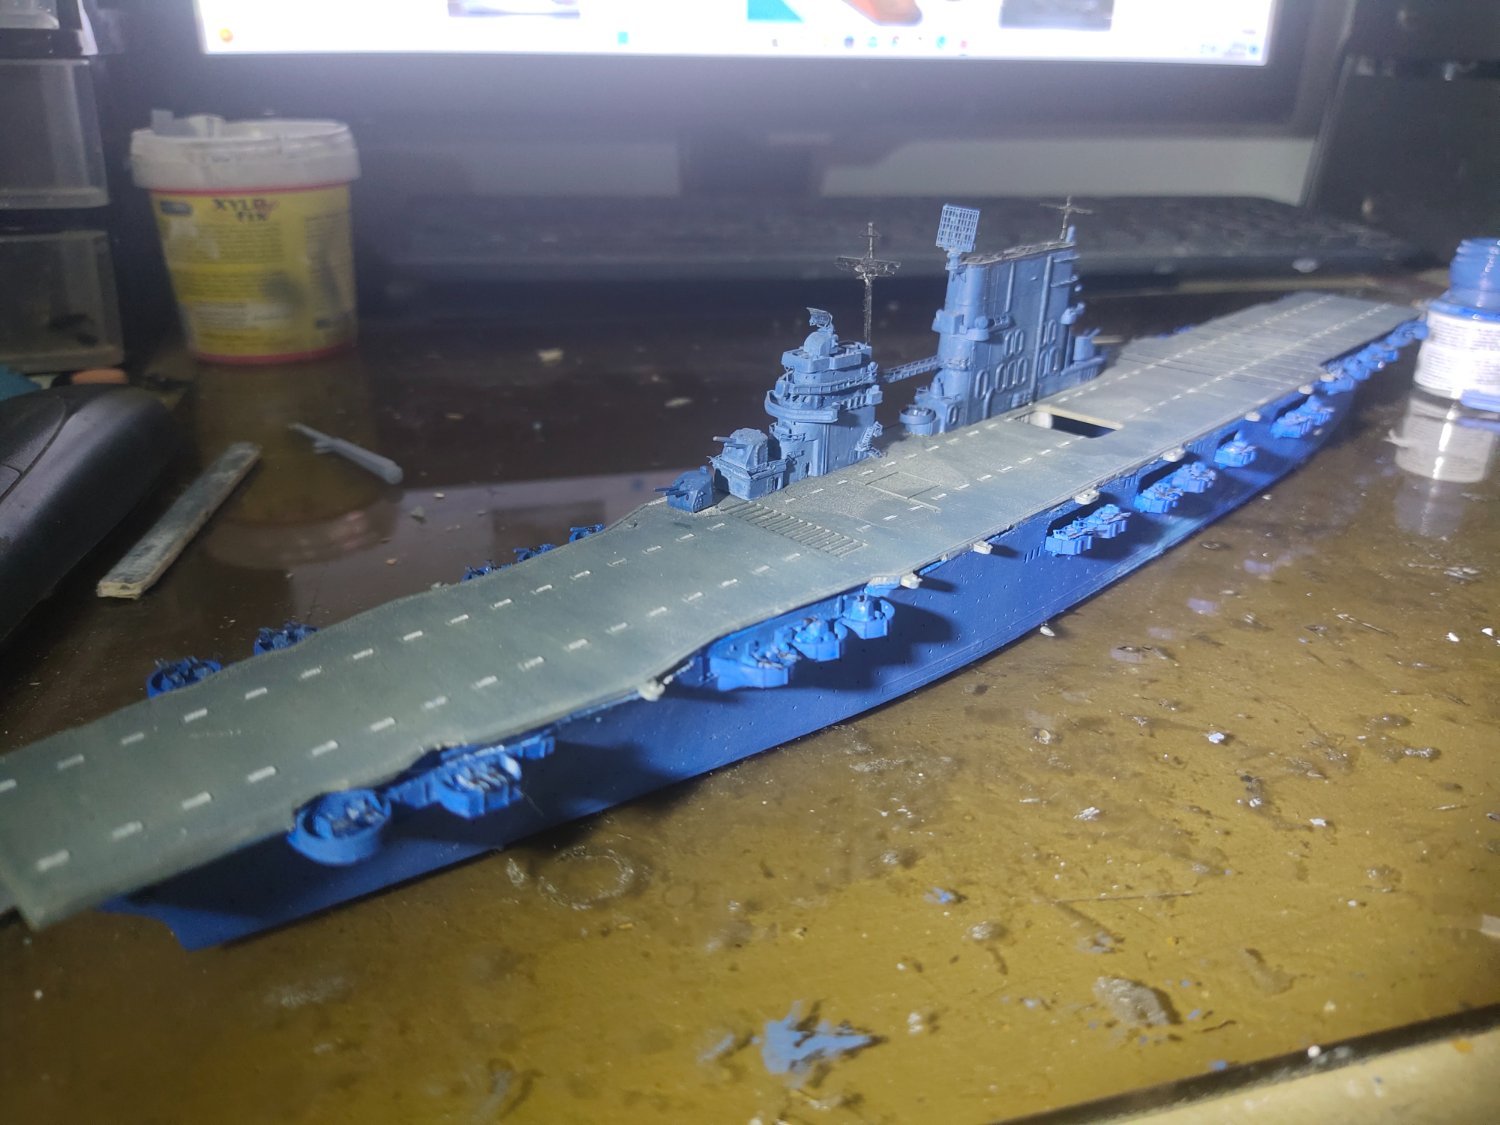
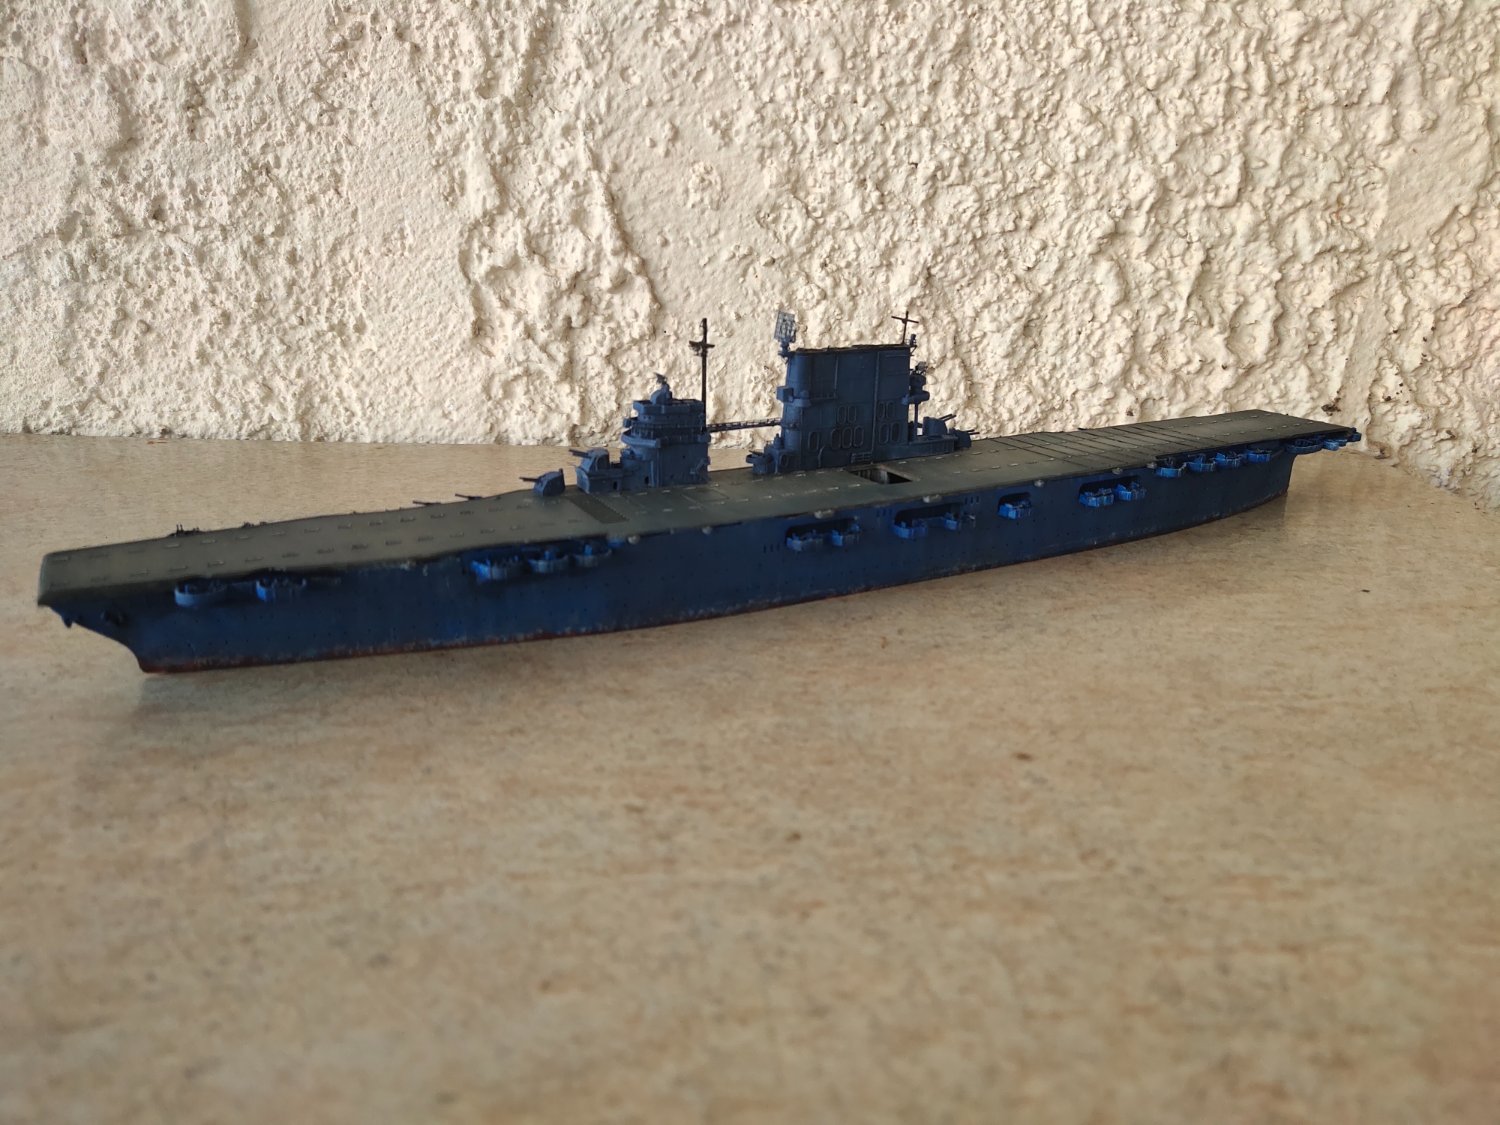
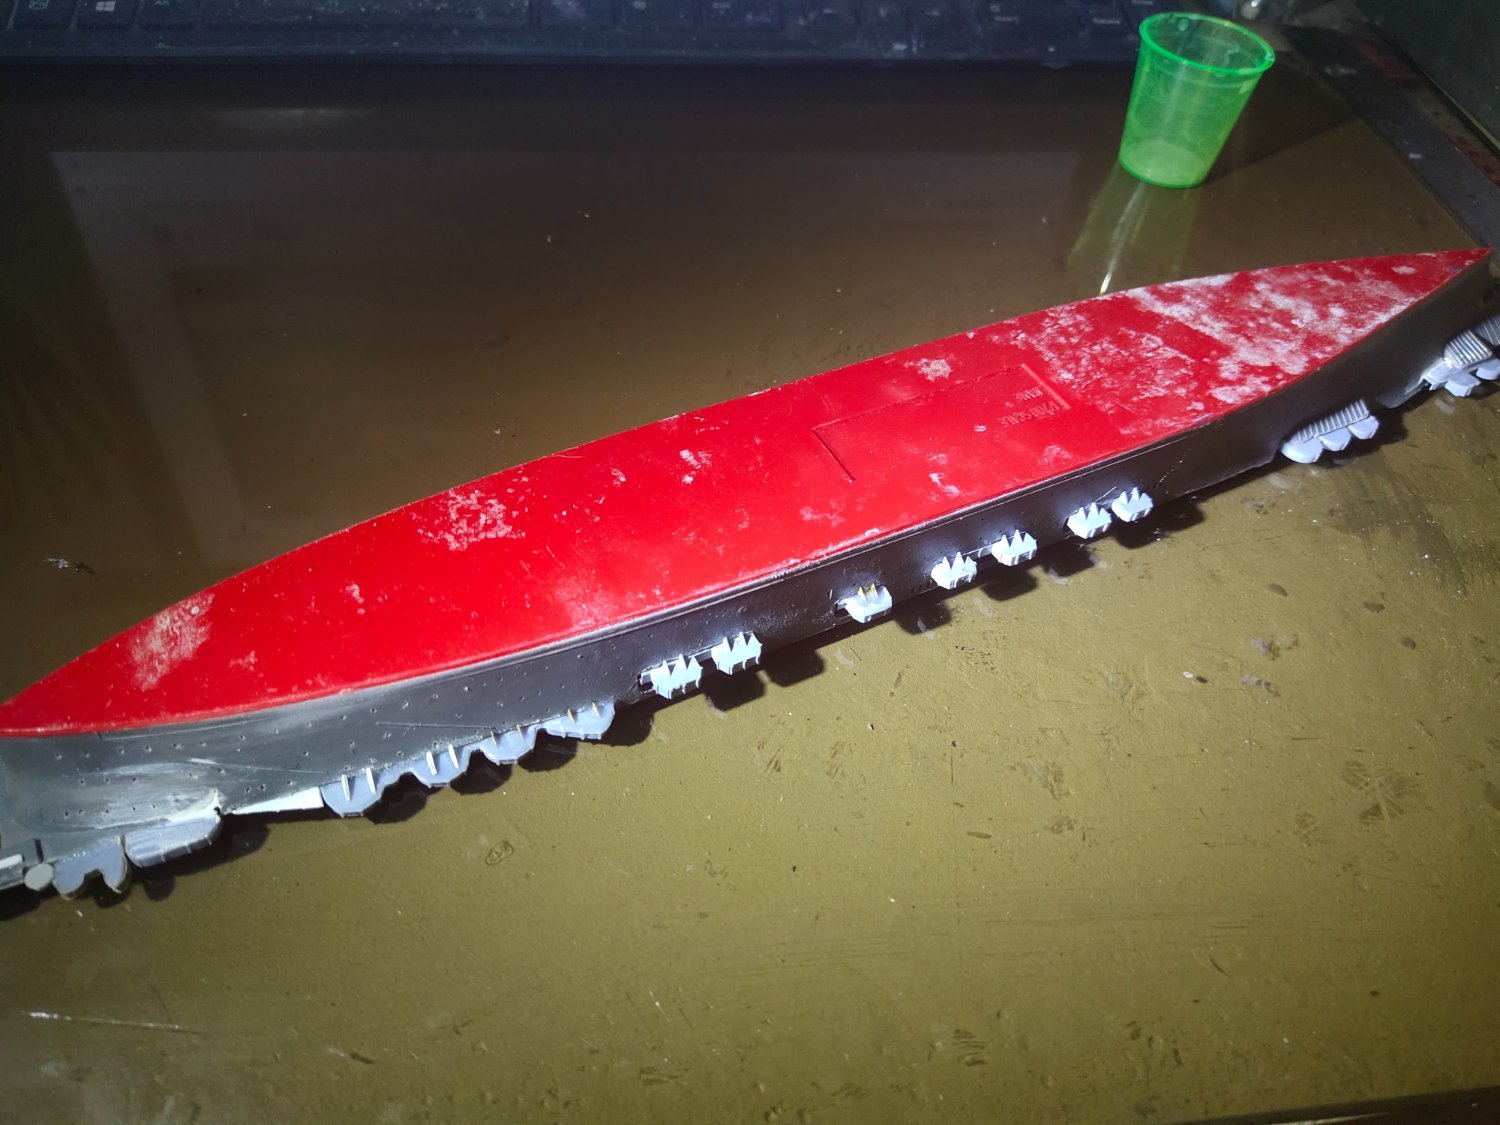
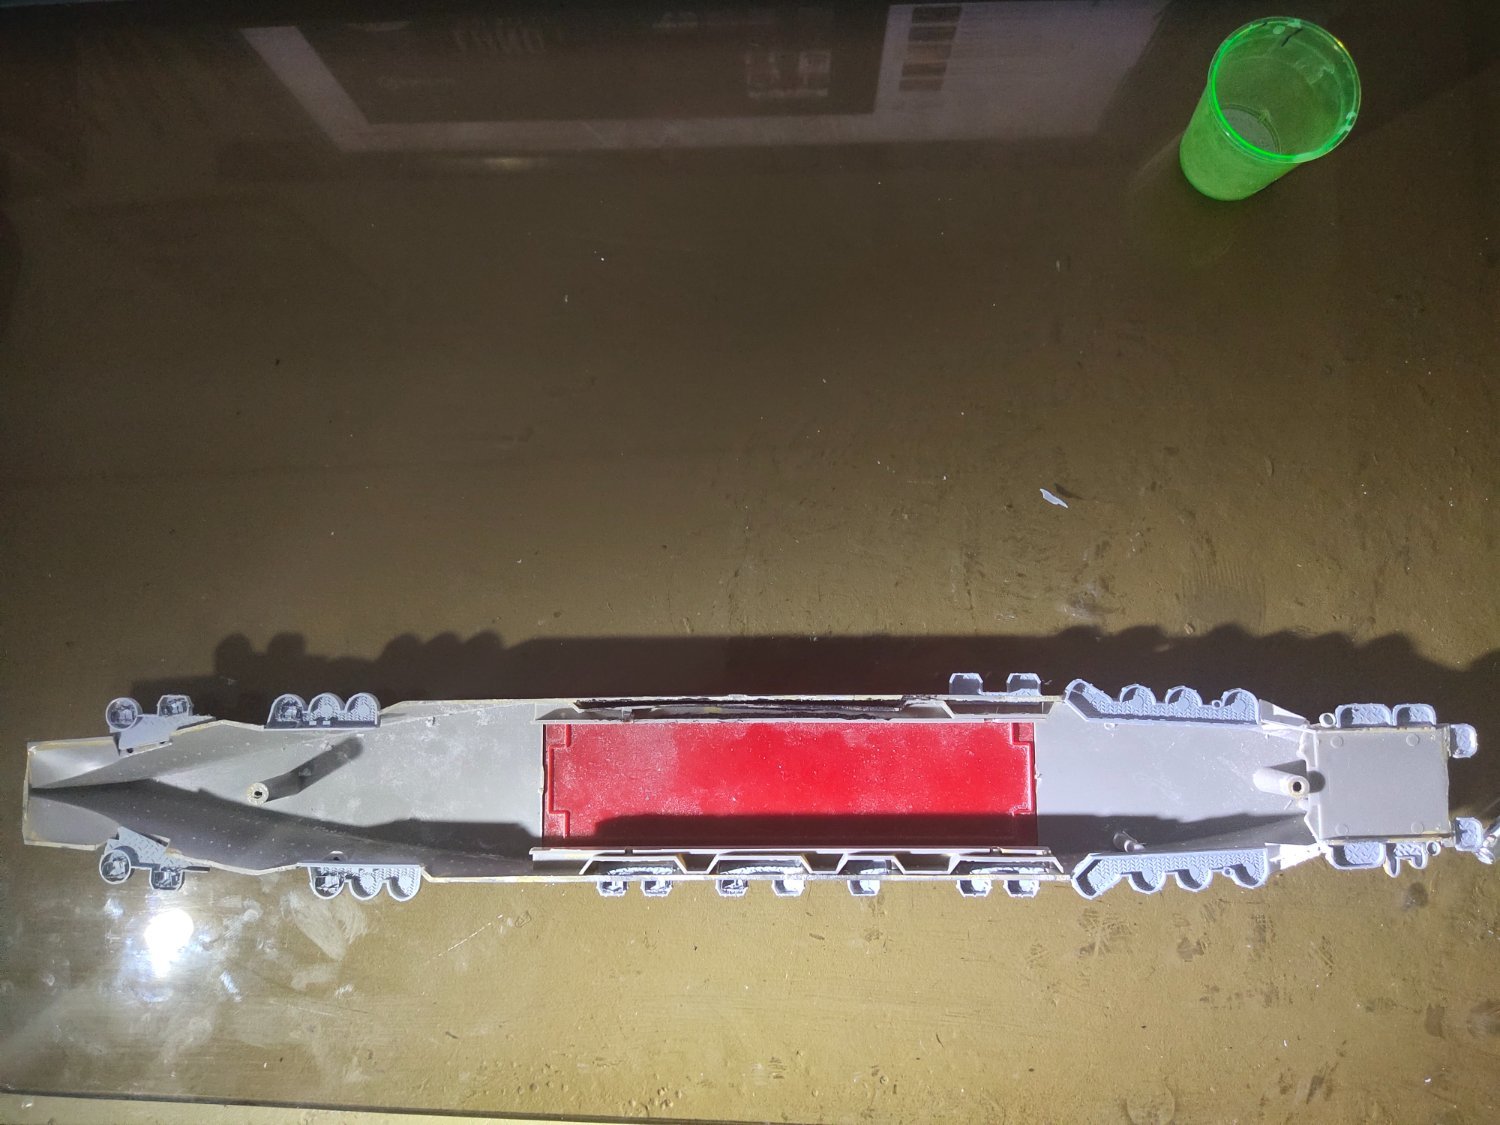
After installation of 5" and AA guns it was time to paint the hull. Unfortunately the paint used for the funnel didn't perform well with the airbrush and such a large surface would take me several hours to paint it. So I bought a spray can knowing that matching the color would be impossible. Only option would be using weathering techniques to match the colors, using a brush for hull painting wasn't an option.

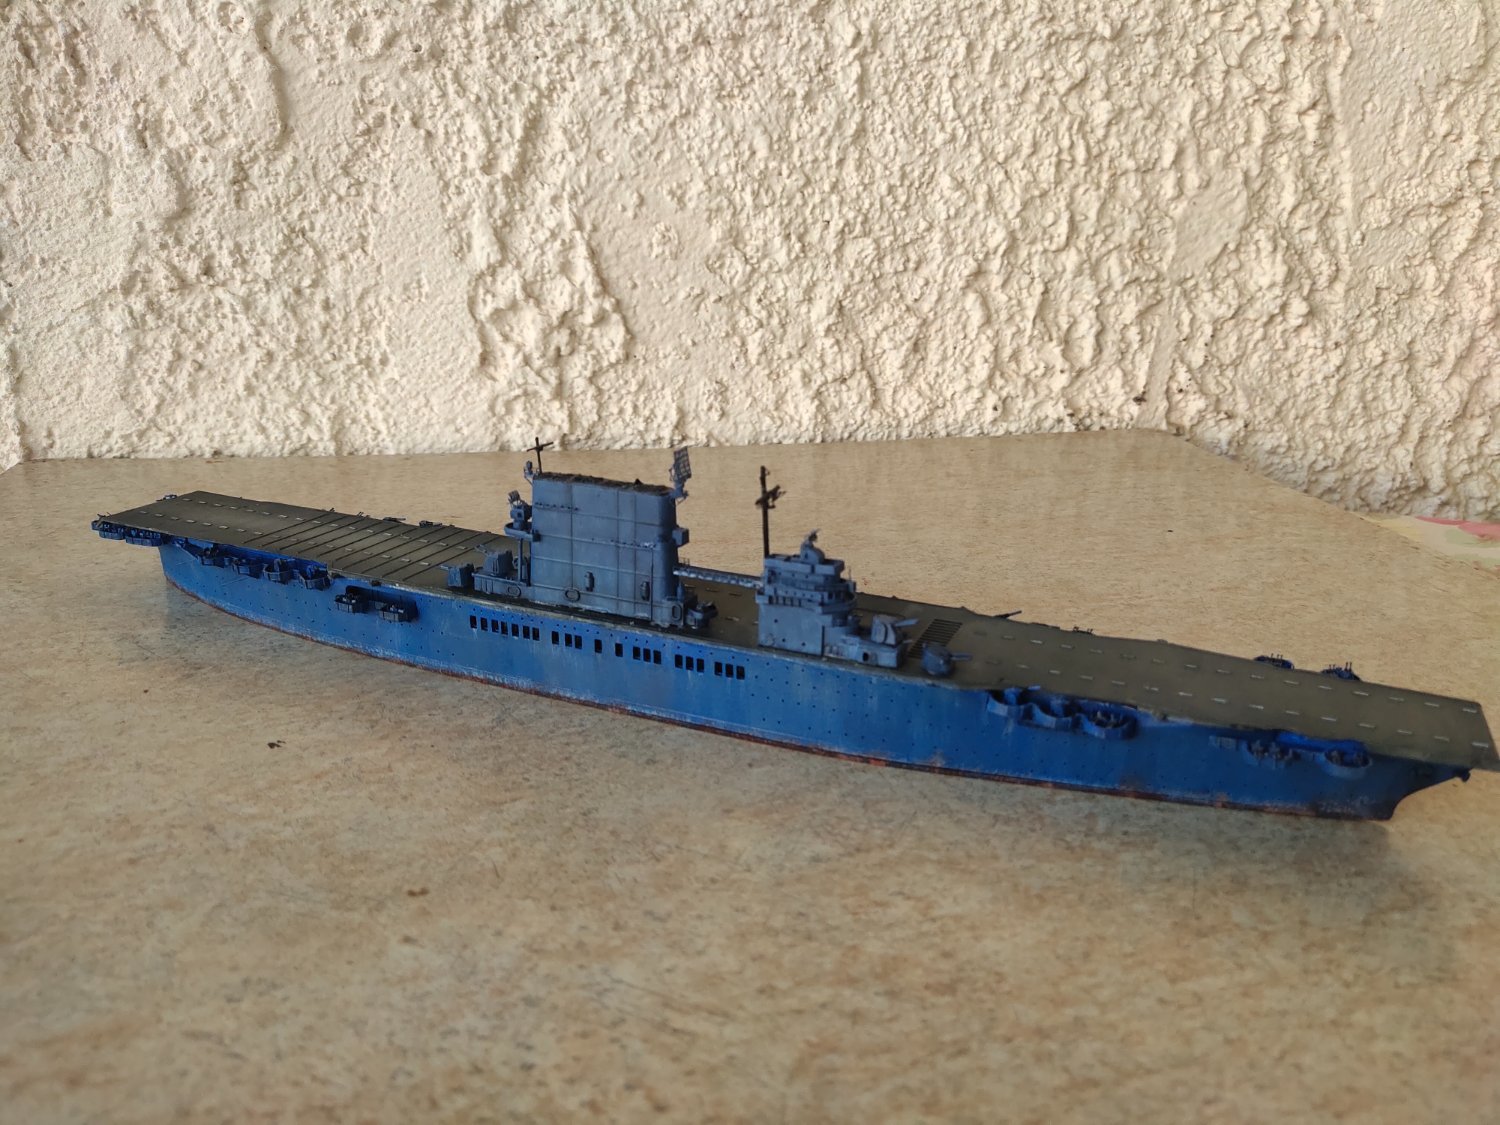
I then applied several shades of blue with dry brushing from dark blue to whitish gray. Then did some chipping mostly on waterline and bow. Finally used mat varnish and oil wash on guns and platforms, as well as bit of rust.
Bridge and funnel were also lightly dry brushed with same colors to reduce the difference with the hull.


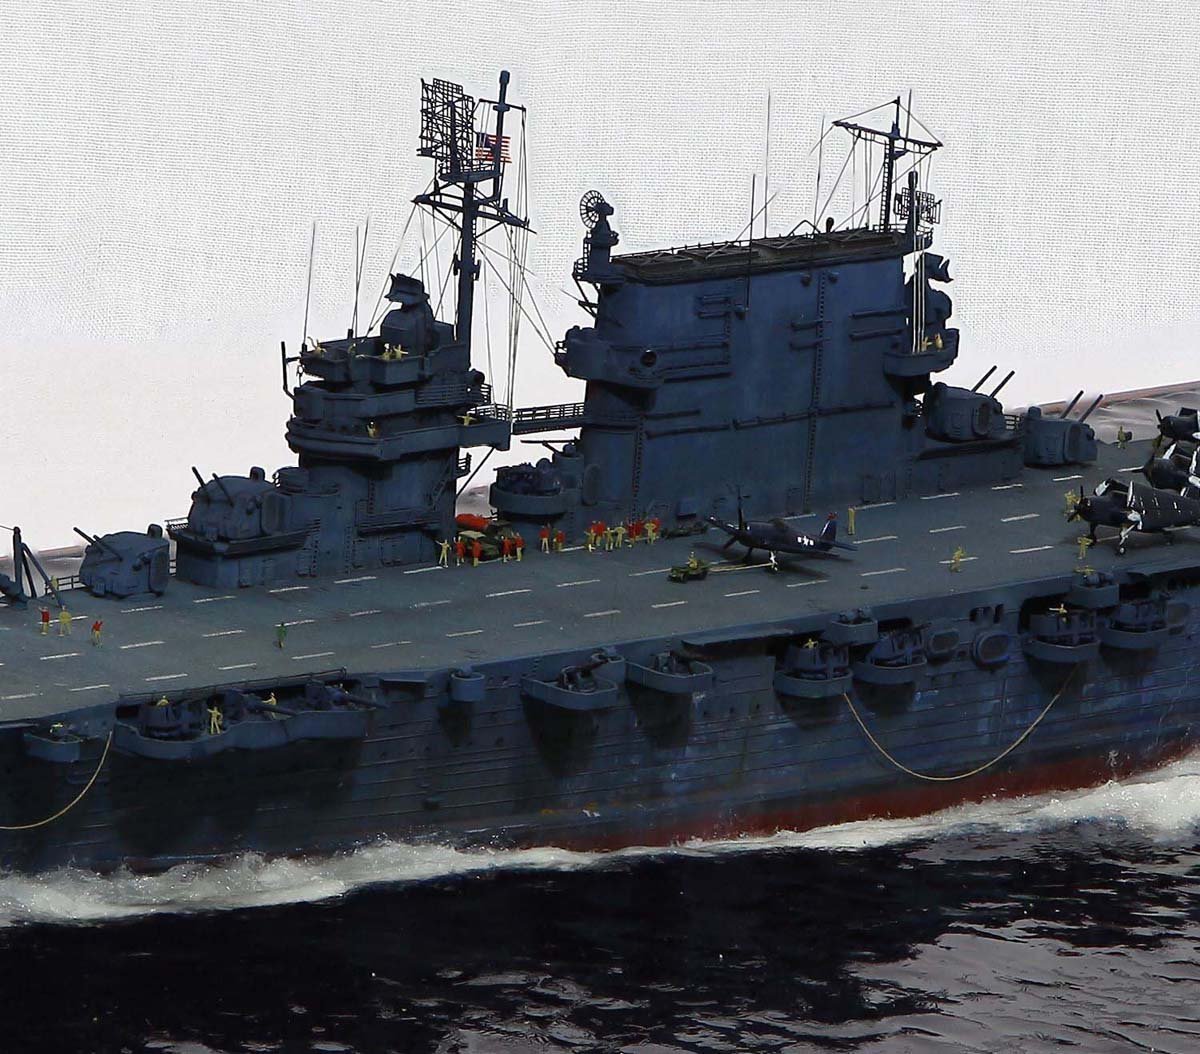
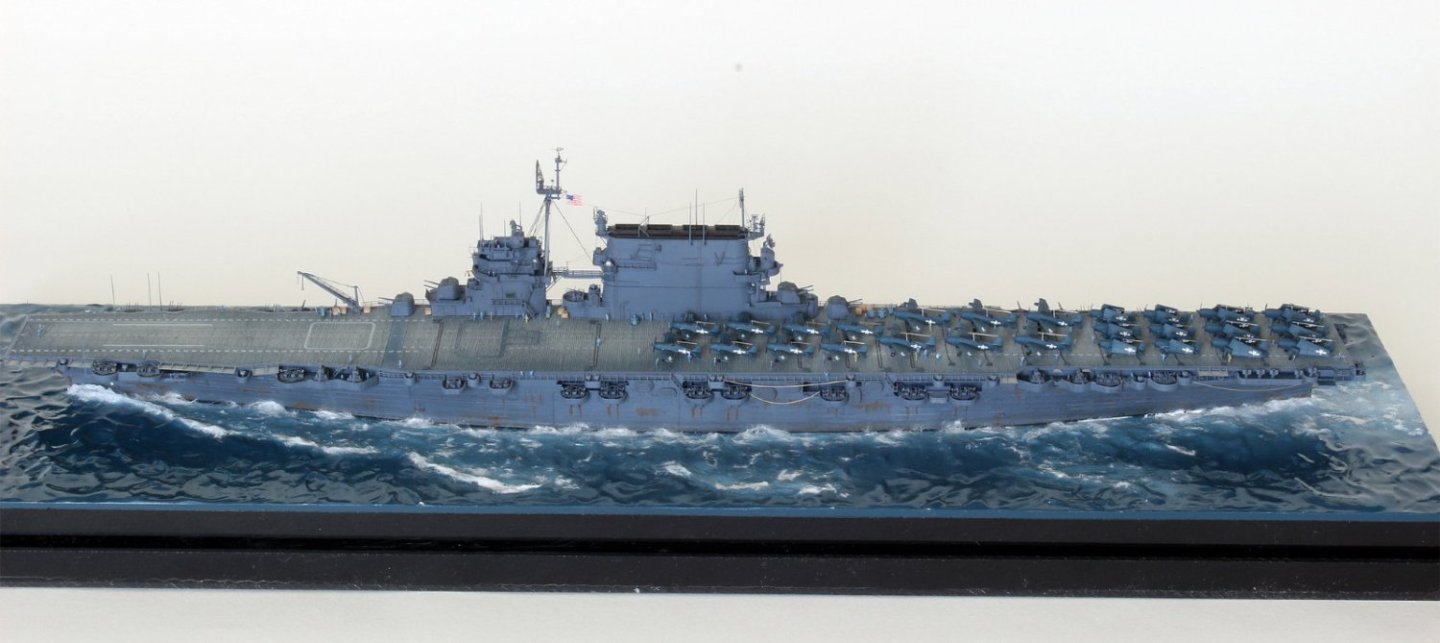
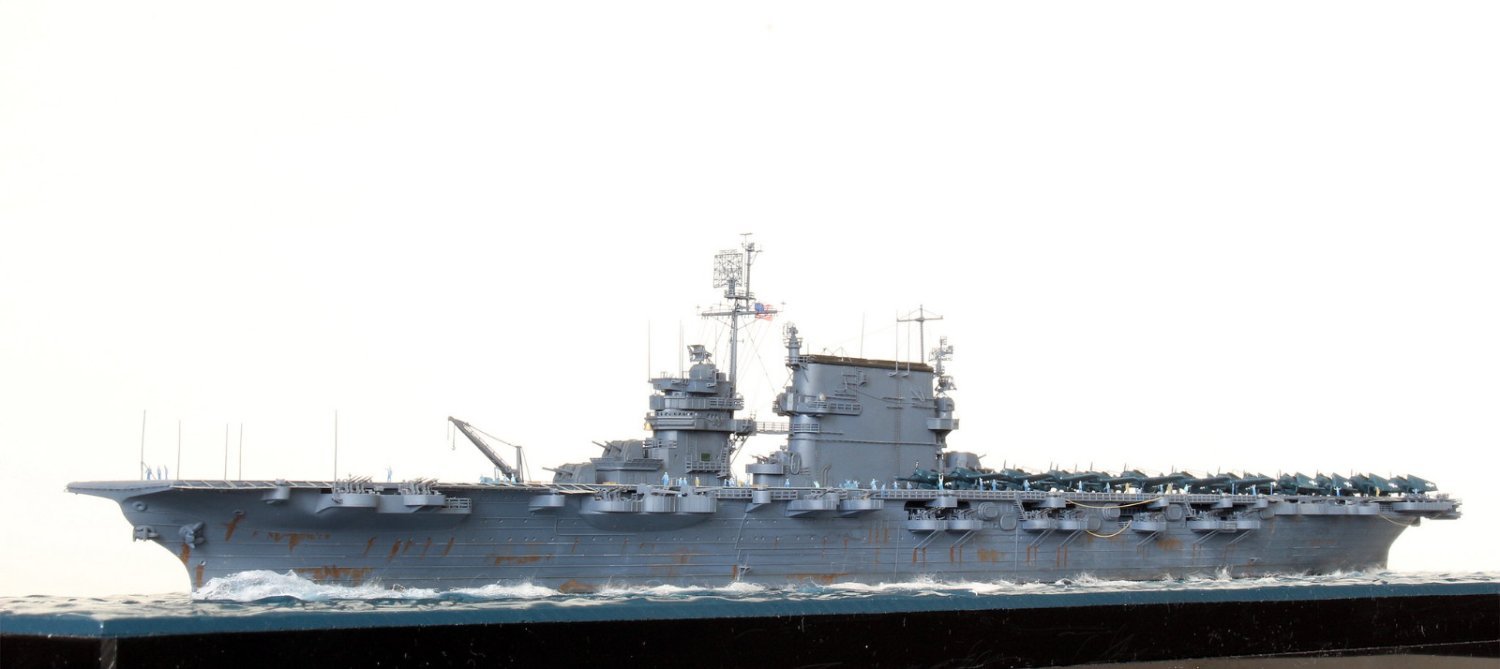
To a comparison here is a job of Master Katseas with his Tamiya Saratoga. You can see the great job done on panel lines
-
-
-
2 hours ago, Mirabell61 said:
Thanks for that link with the etch primer Mike, I`ll keep an eye open on that
Nils
its just an example any epoxy product for the car industry will do just find. Make sure its 1K (one ingredient) as a 2 part can, after mix probably won't last long
- Keith Black, Canute, MAGIC's Craig and 3 others
-
6
-
44 minutes ago, Mirabell61 said:
many thanks Gary,
The plating is almost complete, I`m putting on the last few on the port side upper bulwark tomorrow and am pleased that my aluminium foil roll did last.
I have as an alternative tried out a special bonding primer spray for shiny aluminium surfaces and the results are quite satisfying so far. It usually would have been zinc-cromate primer like the aircraft industry had in use, but that is toxic and as far as I know its not being distributed any more. The next pics will be with the painted Hull in a few days
Nils
Epoxy primers or etch primers for car industry may work good as well.
- Mirabell61, Canute, mtaylor and 2 others
-
5
-
On 7/9/2023 at 1:08 PM, Mirabell61 said:
Very nice work indeed Mike,
I love the design of the Cap San.. ships of the Hamburg Süd line, I have myself worked for Blohm & Voss in early work days. You`ve managed to get those elegant lines transfered onto your model.
Nils
Thanks for the encouraging comments.
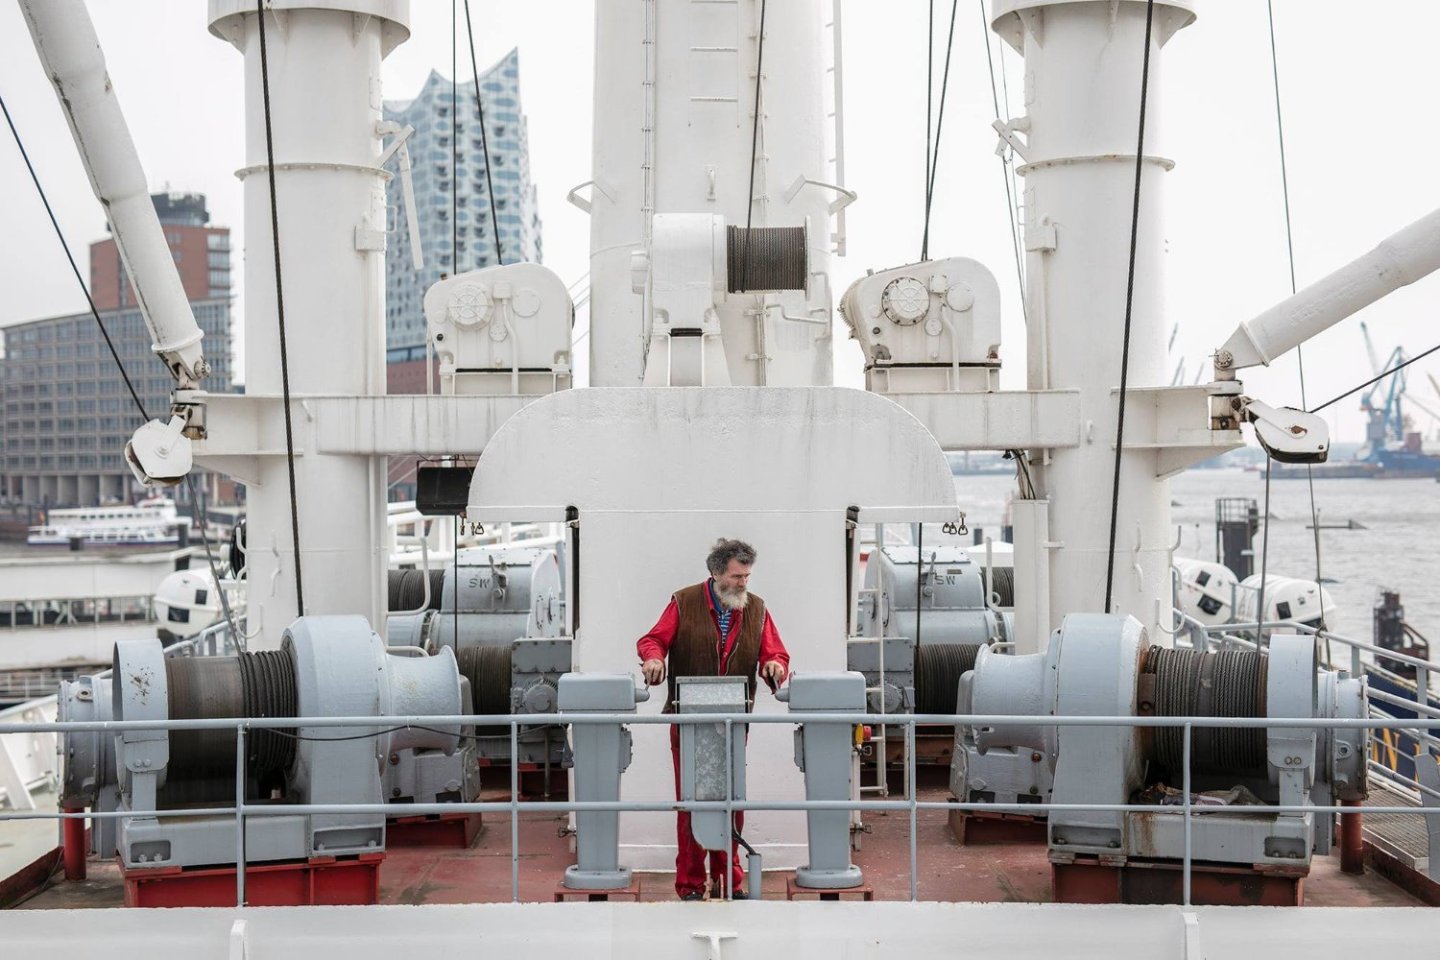
Hamburg has a very nice nautical museum which I hope I visit one day.
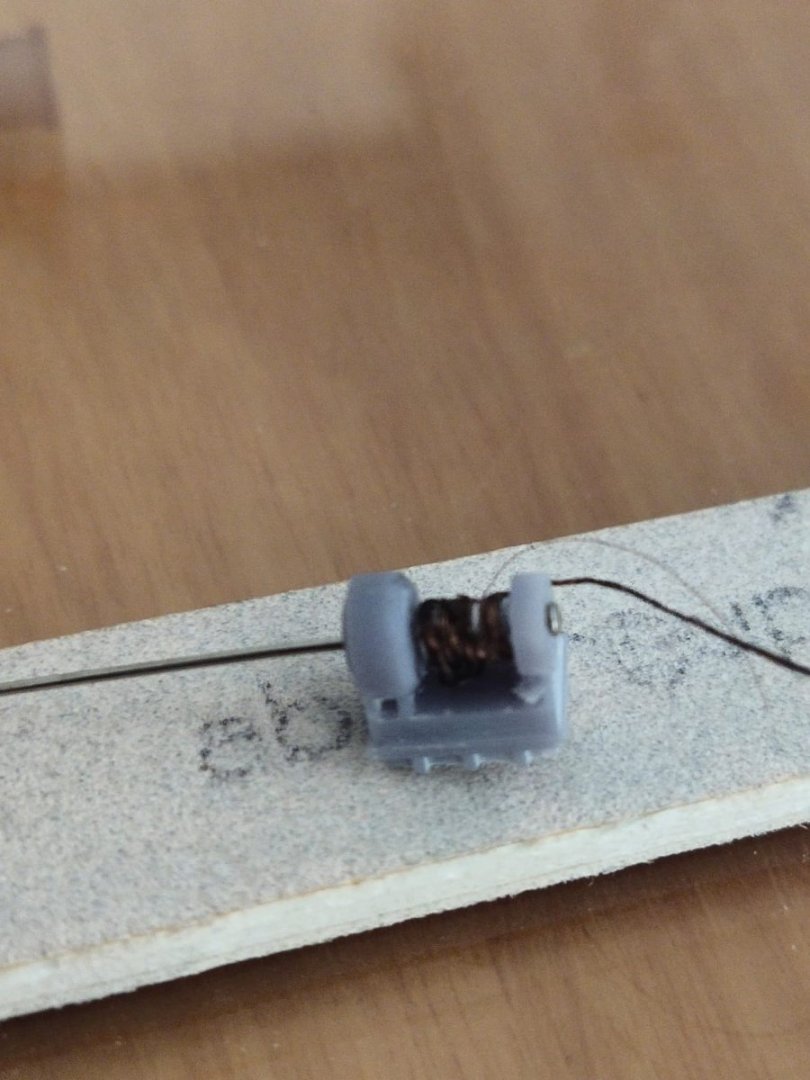
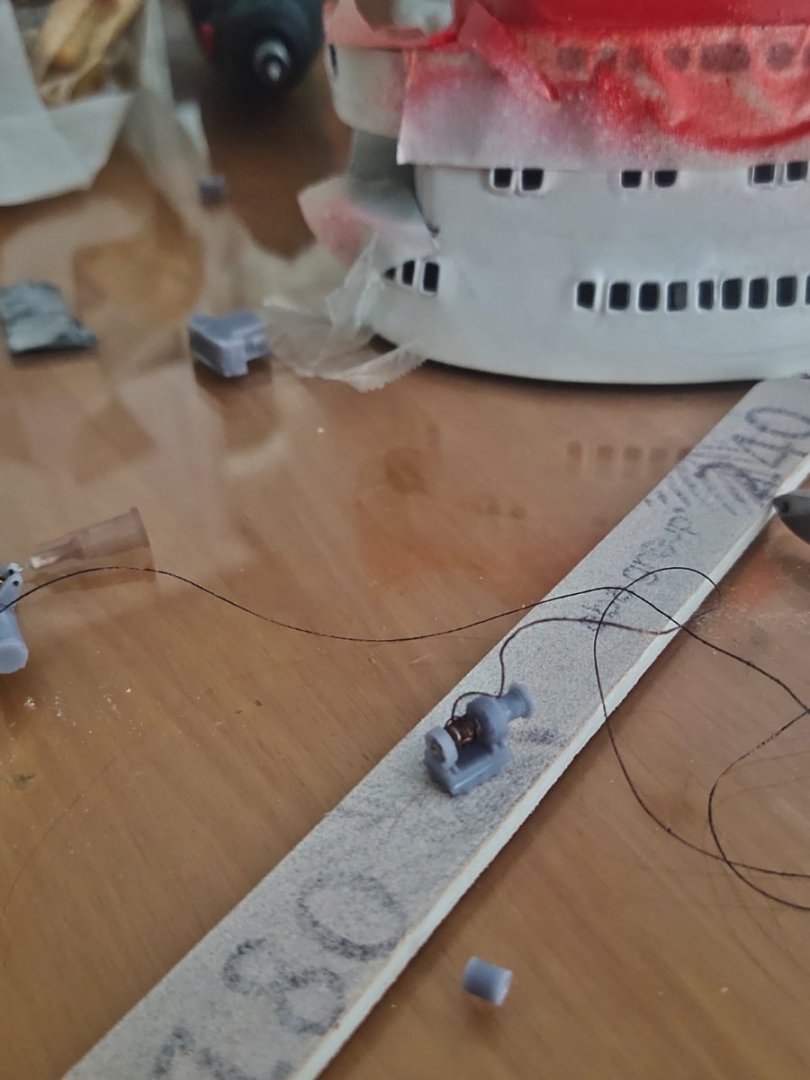
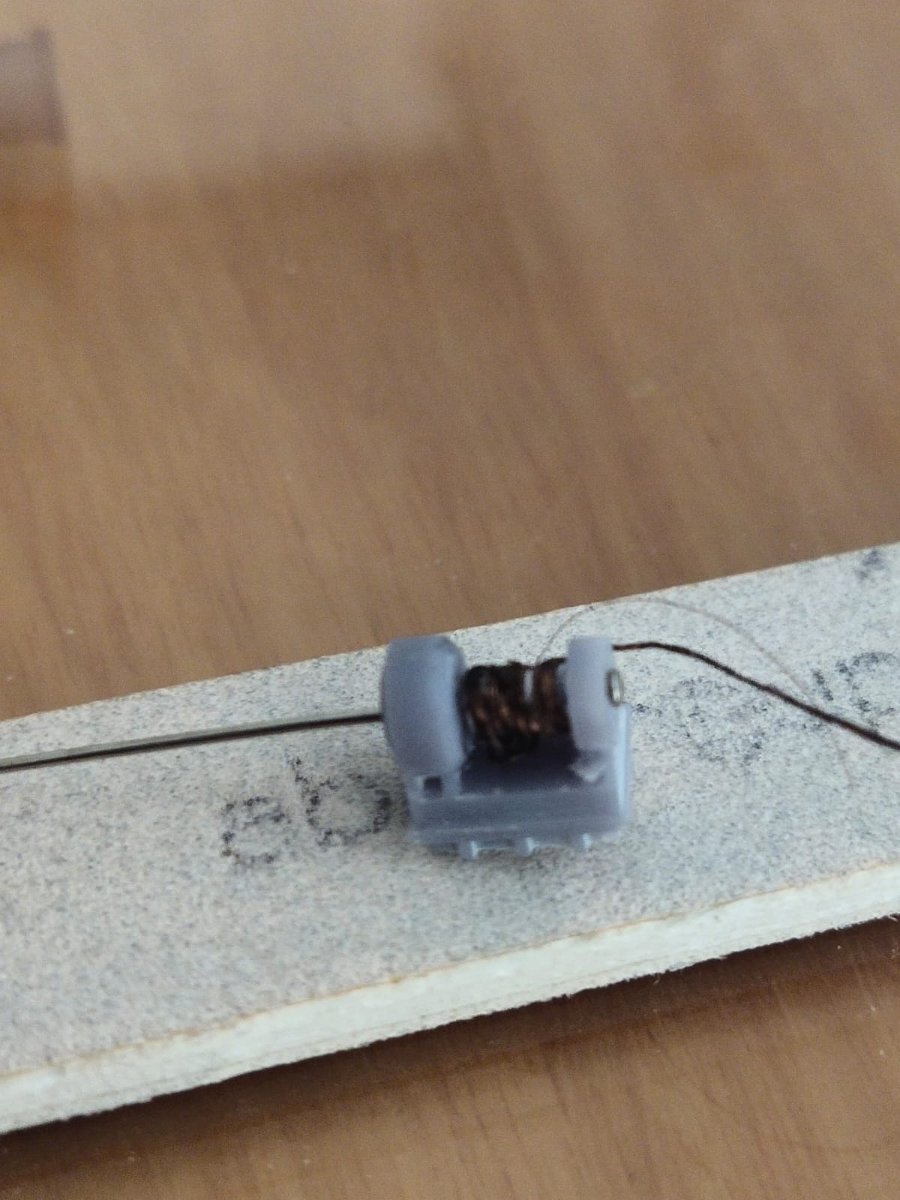
Now back to the project, while preparing the superstructure for final fitment I made the winches: main body and another piece were designed and printed plus a plastic rod and a pin.
I used copper wire primed and painted black.
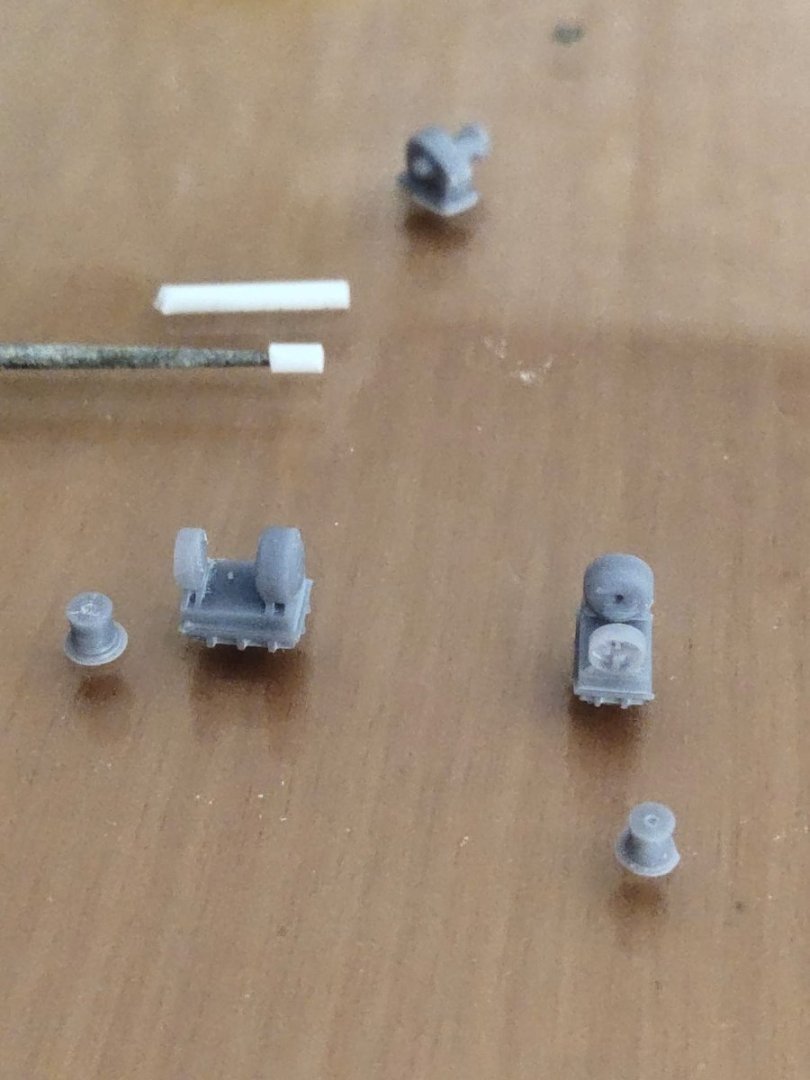
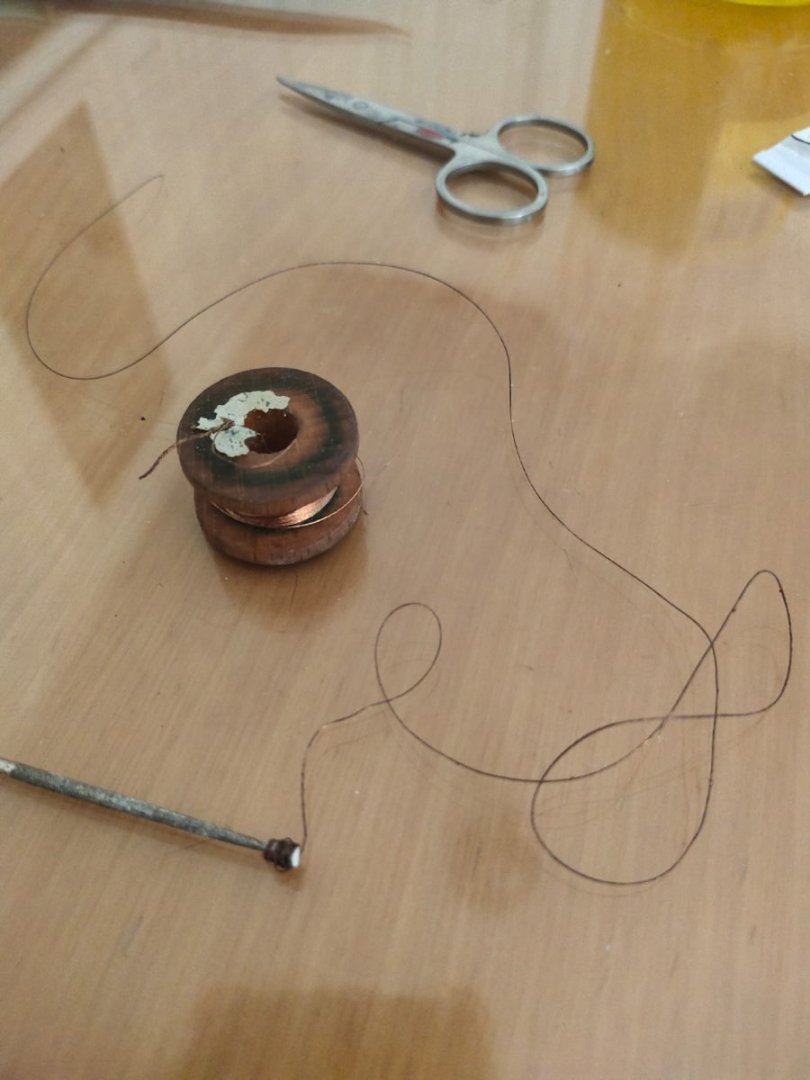
then i put the winch cylinder on the main body and secured the whole system with a pin which i chopped the extra length and glued the last part.
so got a fully functional system minus the motor which i can adjust the length of the wire during the rigging phase, i only need to add more black paint to fill the gaps on the white reel.
- Valeriy V, wefalck, GrandpaPhil and 2 others
-
5
-
10 hours ago, king derelict said:
The resin printed parts are really nice; especially the single Bofors. I see this being a major change to the hobby providing limitless upgrades
Alan
As performance of 3d printers improving their appliance in the hobby is getting more popular. Now resin parts can even replace PE parts to a great extend. Especially in these old kits there is a lot of parts than can be improved.
-
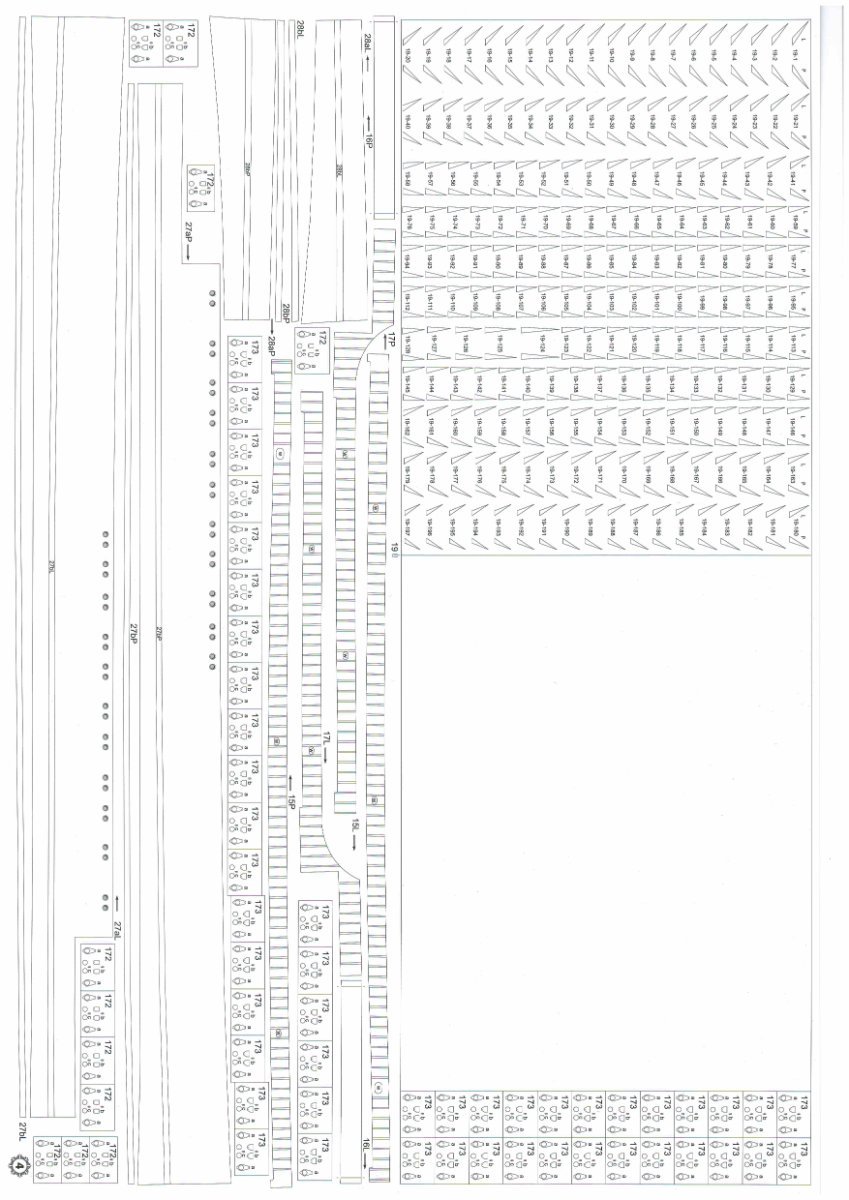
I am working on the pulleys. The number required is great, Not sure about wooden ships but here more than 50 needed from what i see on the plan
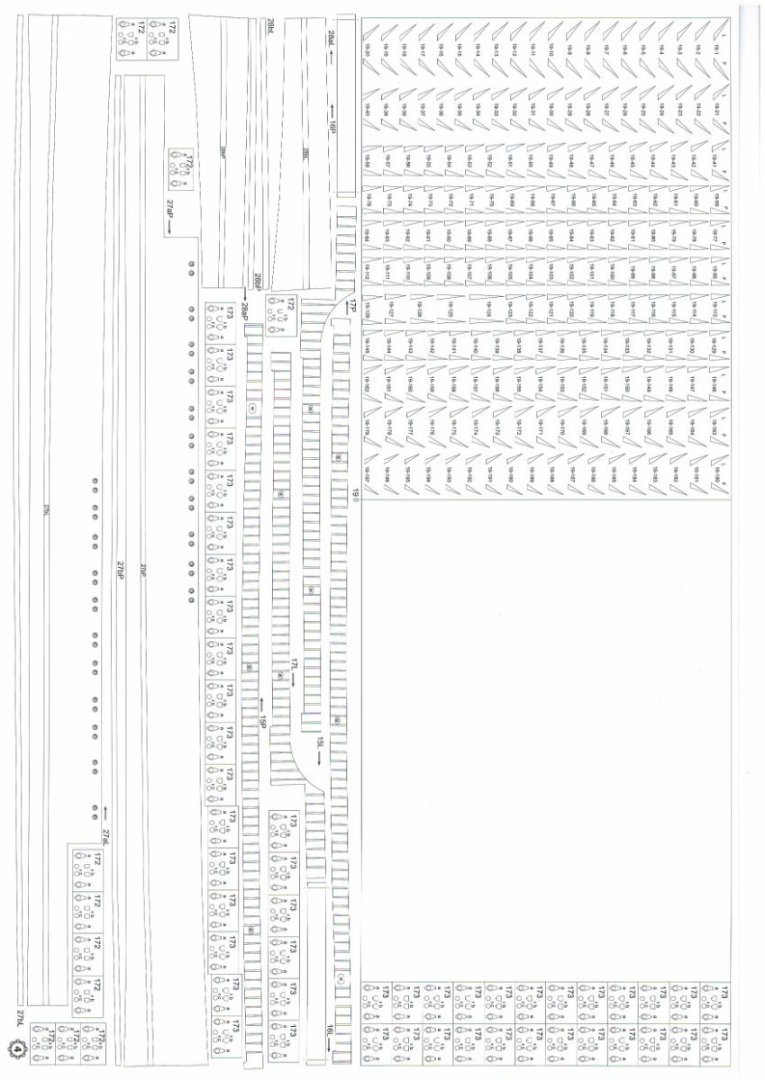
There are also double and triple pulleys that will be used. I am using photos of my archive as a guide to position them and differ remarkably from my plans. Rigging will be more challenging that it seemed initially. Most possibly won't be 100 accurate but thats ok.
Meantime I decided to install the anchor machinery and drill the anchor holes all the way to the ship sides while working to improve paint details on deck
- yvesvidal, Mirabell61, mtaylor and 3 others
-
6
-
Work slowed down because of other project but now I'm back on track.
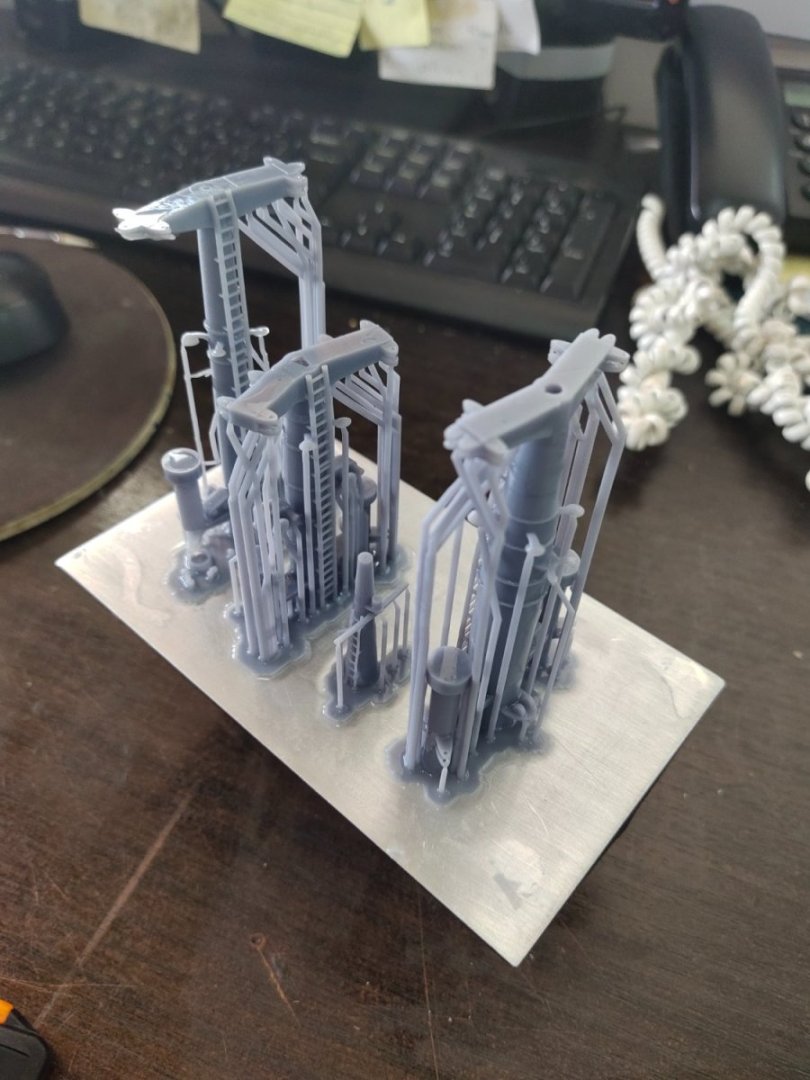
I decided to make the masts. Wasn't sure how, finally the design and 3d printing was chosen instead of scratch building. After many hours of design I got the first result, two successful prints while one collapsed partially. Using my skills I manage to repair it and save another 6 hour printing season.
-
I quickly ran out of PE parts for the guns and a new order has been done but my work will delay some weeks.
Therefore I proceed with the 5" inch guns and some 20mm ones from my parts stash. The latter is a two piece part and took me some time to assembly together and install on deck
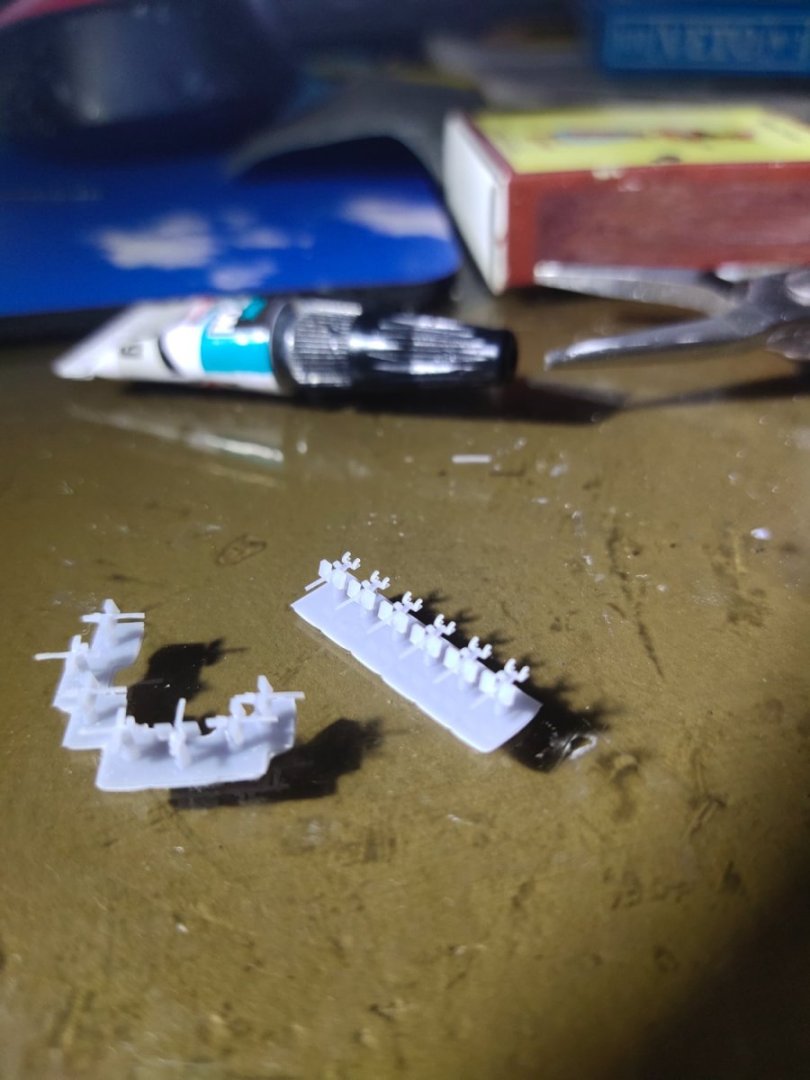
Thinking of what to do next I designed my own Bofors single guns. They came in two batches, the second was impoved and including shoulder rests. It looked better than plastic ones already installed so it will be my standard for next projects. Lesson learned.
-
1 hour ago, Massimodels said:
I actually took a look at @CDW's Hood by I Love Kit. It seems that the plastic detail in most cases is inferior, so the Flyhawk may be the better choice. Also, what did you mean by the overscale effect of Flyhawk's models?
for example the rivets on funnel and turrets
while add detail to the model i think they are way overscale
- Old Collingwood, Canute and mtaylor
-
3
-
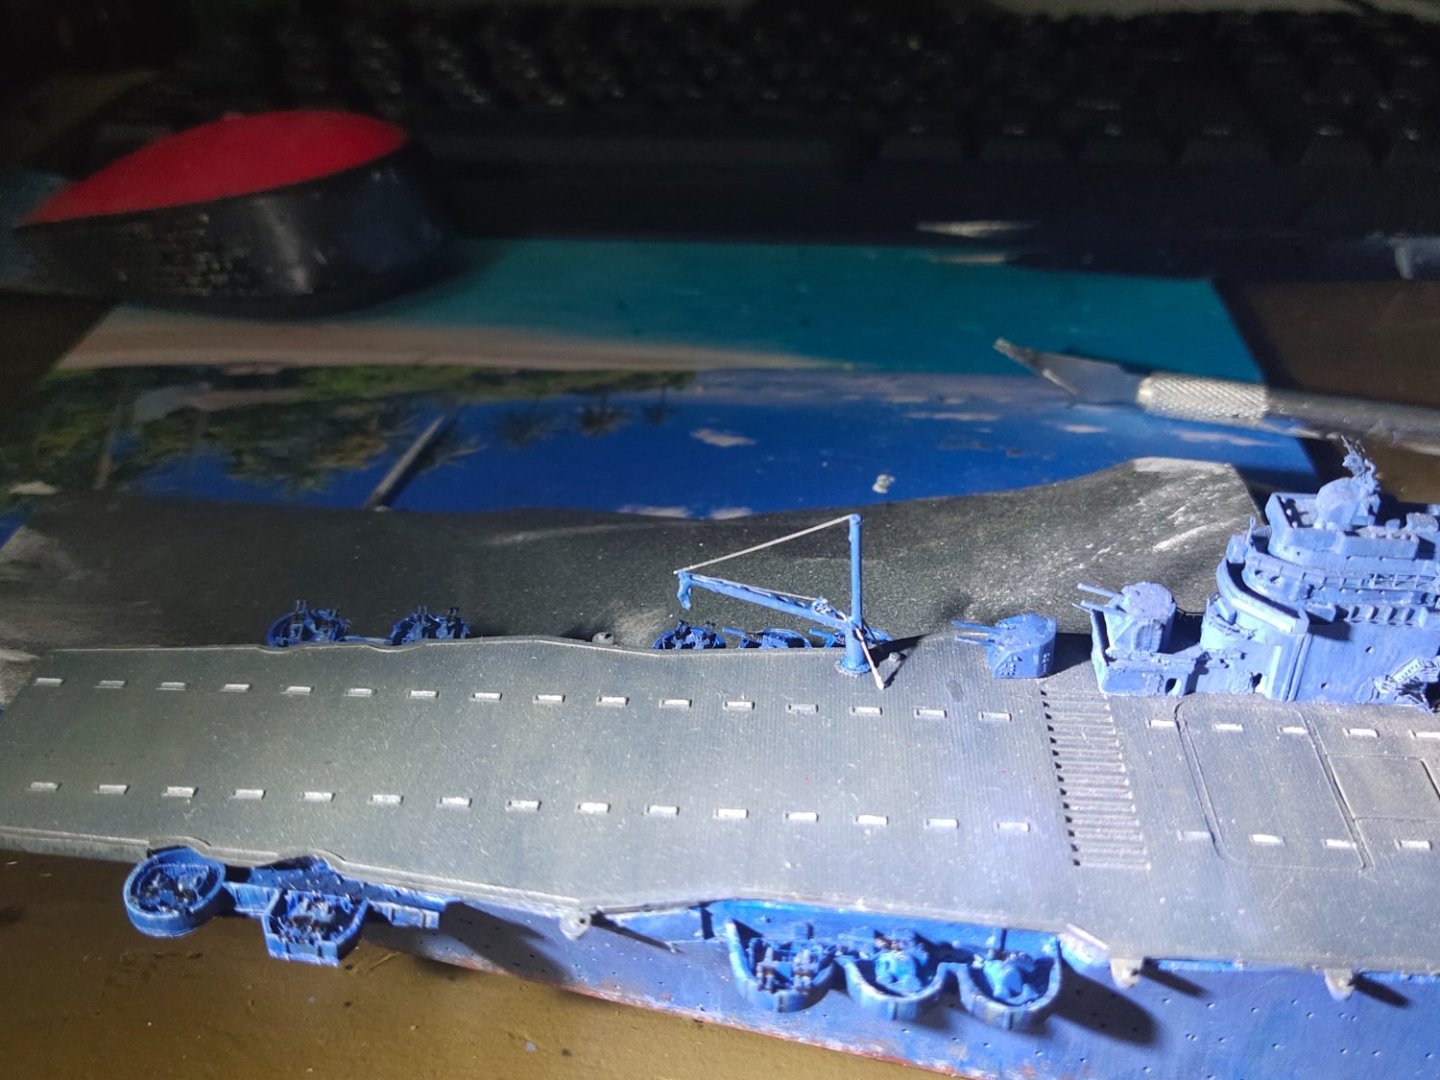
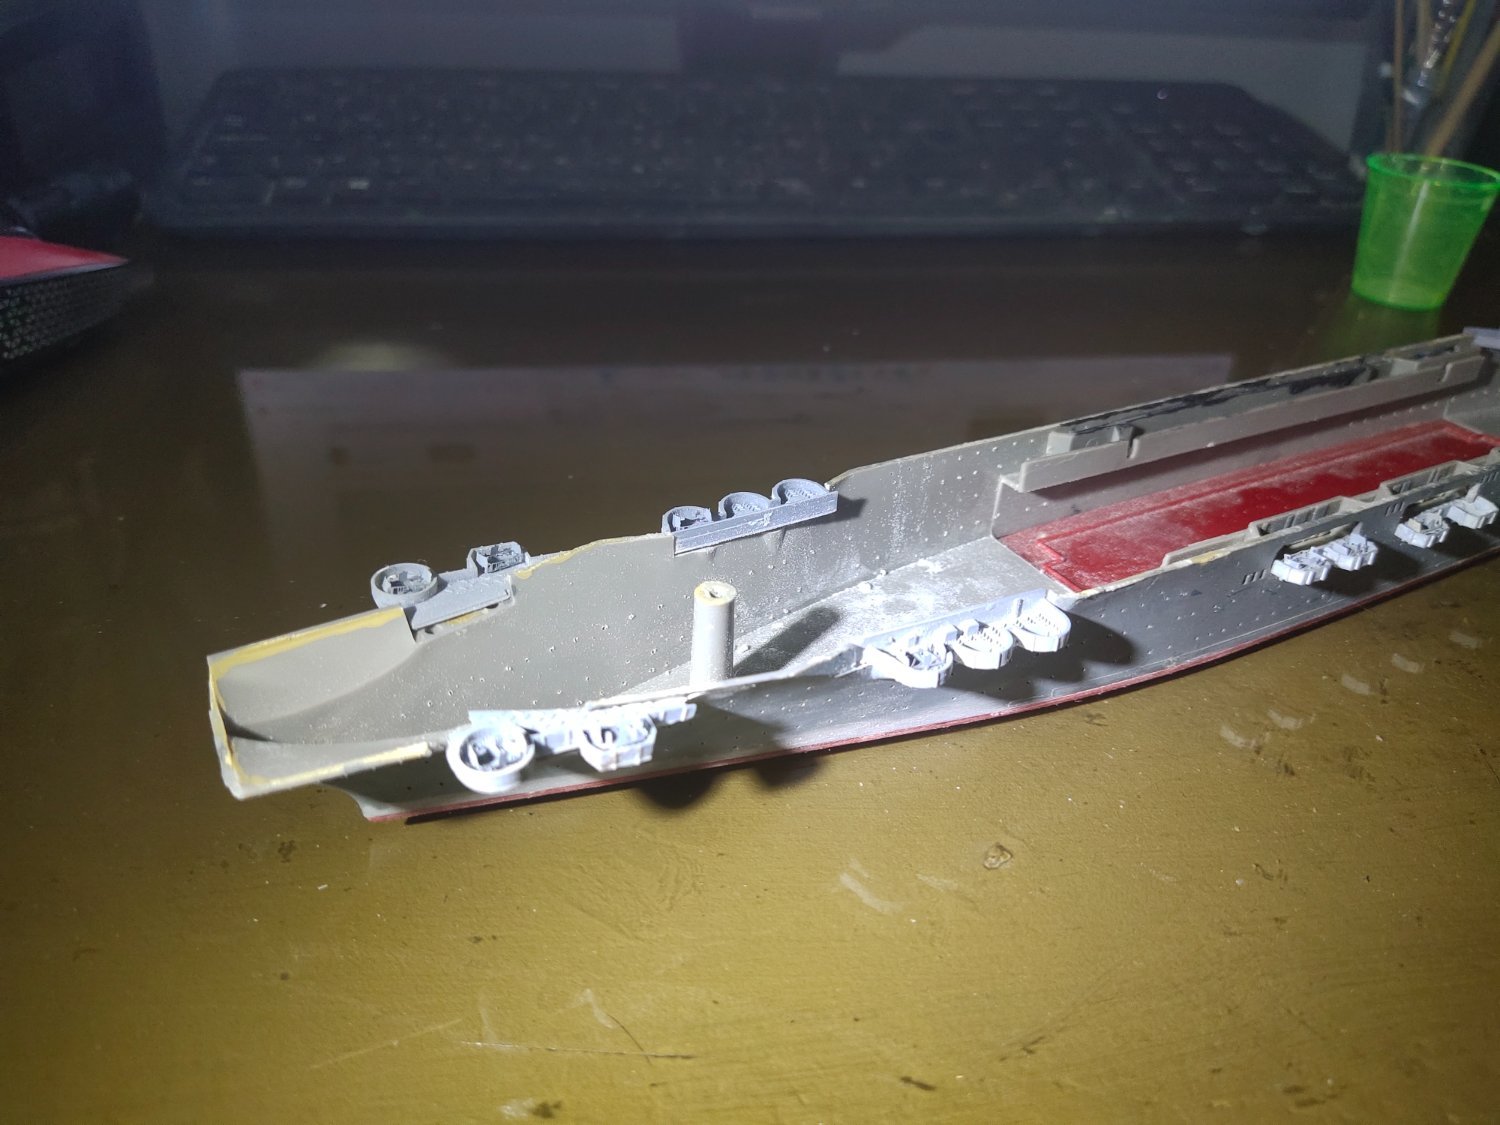
After a lot testing and fittings Im done with the gun platforms. The rear platforms both sides came as a single piece to complex and big to remove so I just delete them with rotary tools. Also the anti slip surface was designed better on scale you can see the difference comparing to smaller platforms. However I won't remove them as almost all area will be covered by 40mm guns. The improved Bofors are larger in size so platforms were designed bit wider so fitting problems occurred.
I have installed only some bases for the 40s. I will fit the rest, the 5" guns, then the Bofor guns painted on hand. Next will be the hull painting/weathering before deck installation.


For some inspiration i use pictures as reference of another built by a Japanese modeler which was gifted to the president of Tamiya although this looks to be a later modified version

-
7 hours ago, Old Collingwood said:
Excellent start of a Superb kit - still the most accurate kit of her in any scale.
I did a build of her in here, but put it on hold as I went another direction and started to turn her into her sinking scene, when she was blwn in Two.
OC.
I think "I love kit" hood is also a good choice and without the overscale effect of flyhawk model. Plus the flyhawk PE are terribly soft to work with
- mtaylor, Canute and Old Collingwood
-
3
-
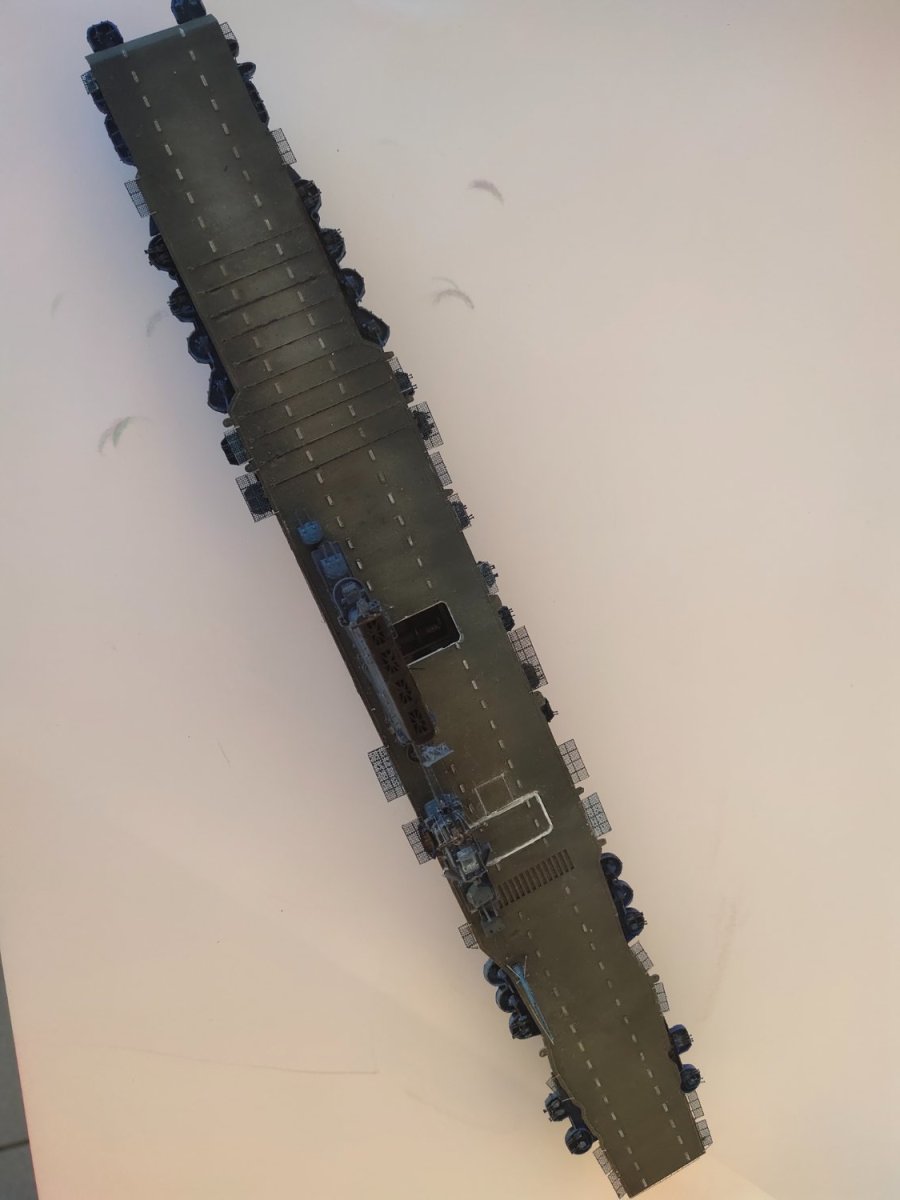
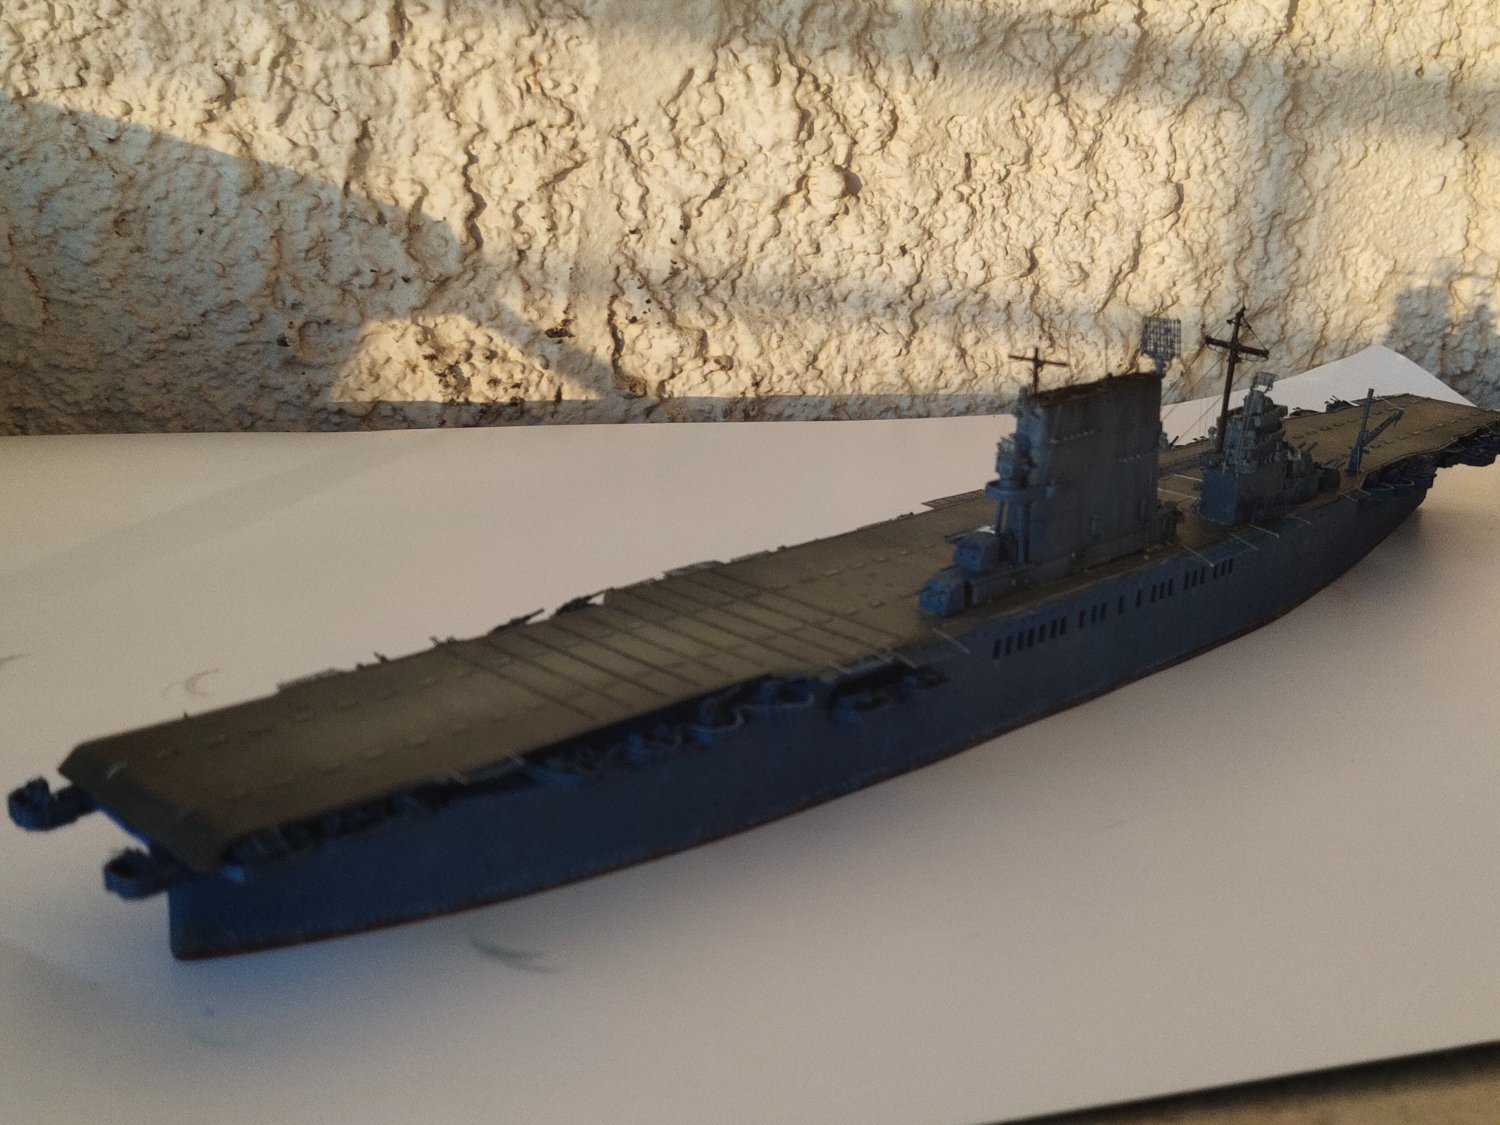
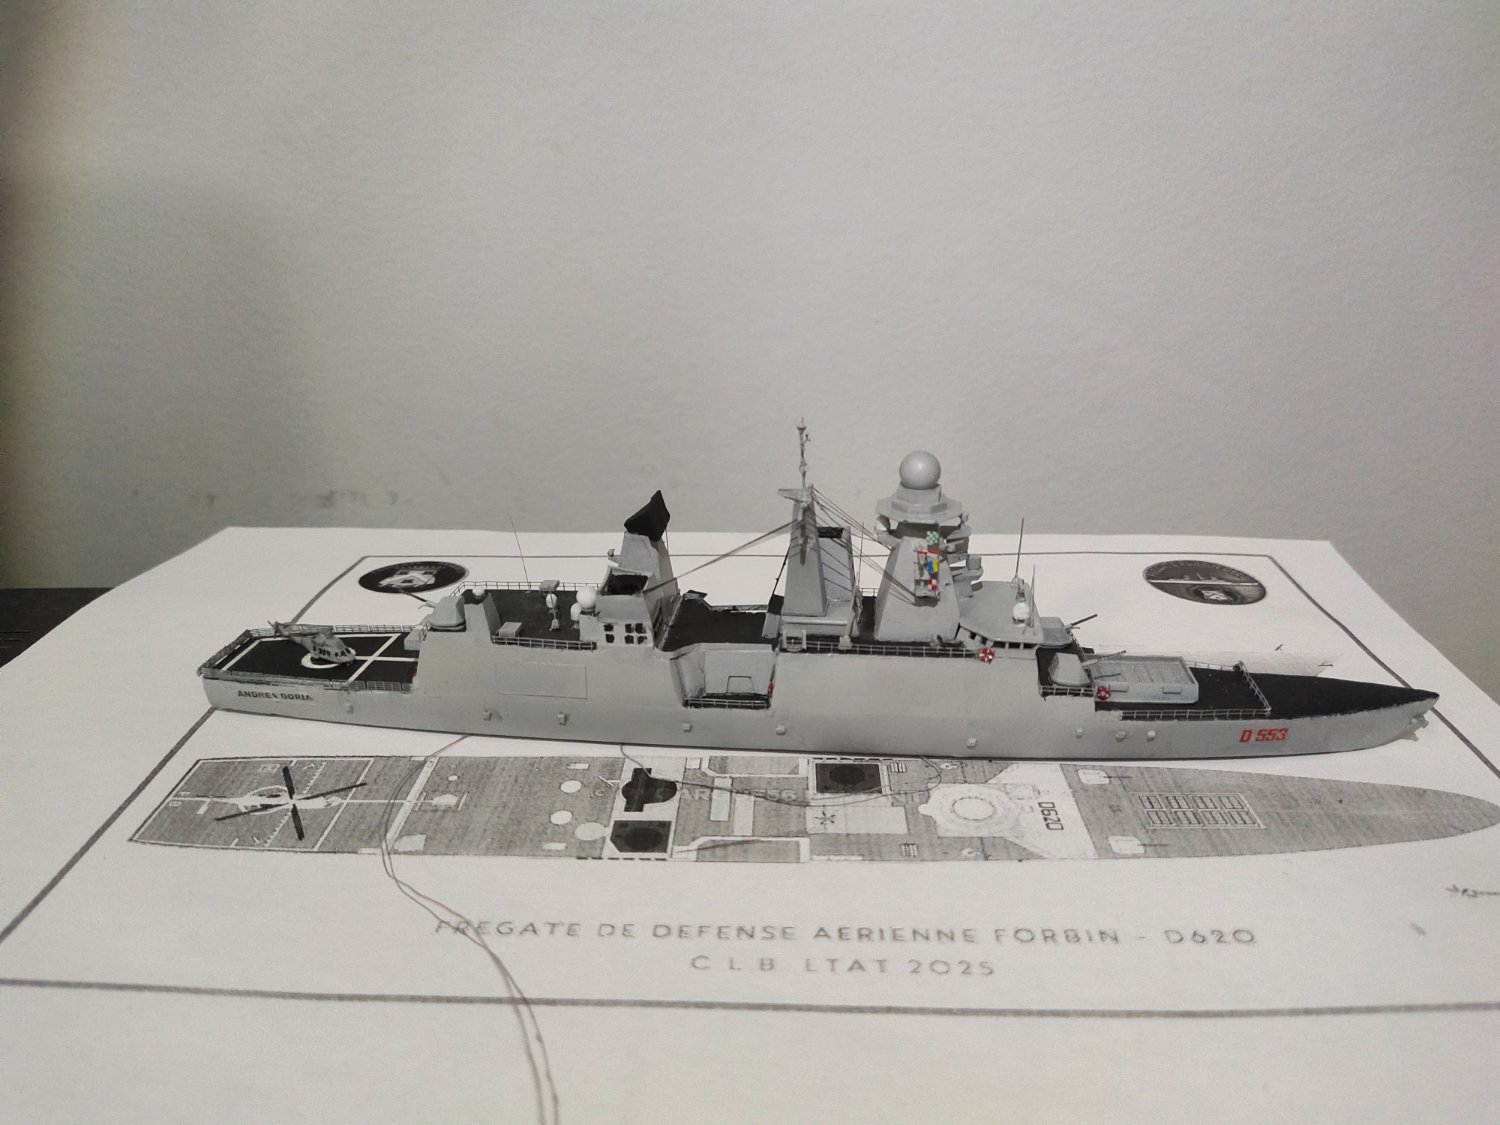
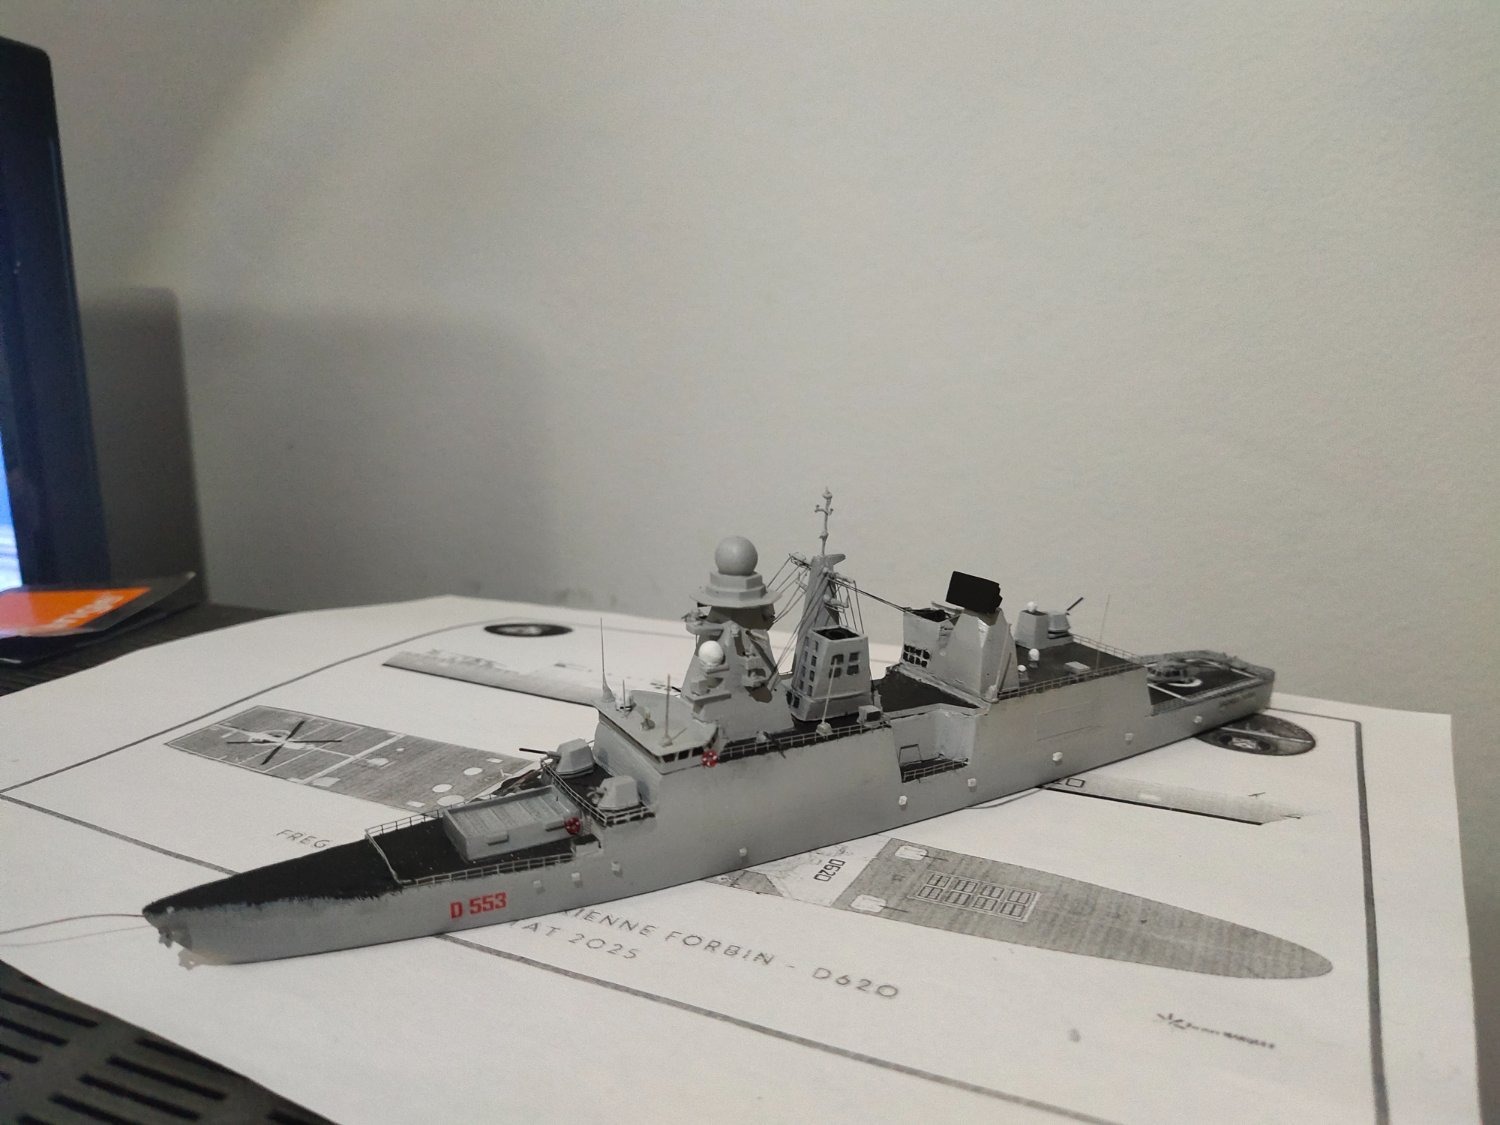
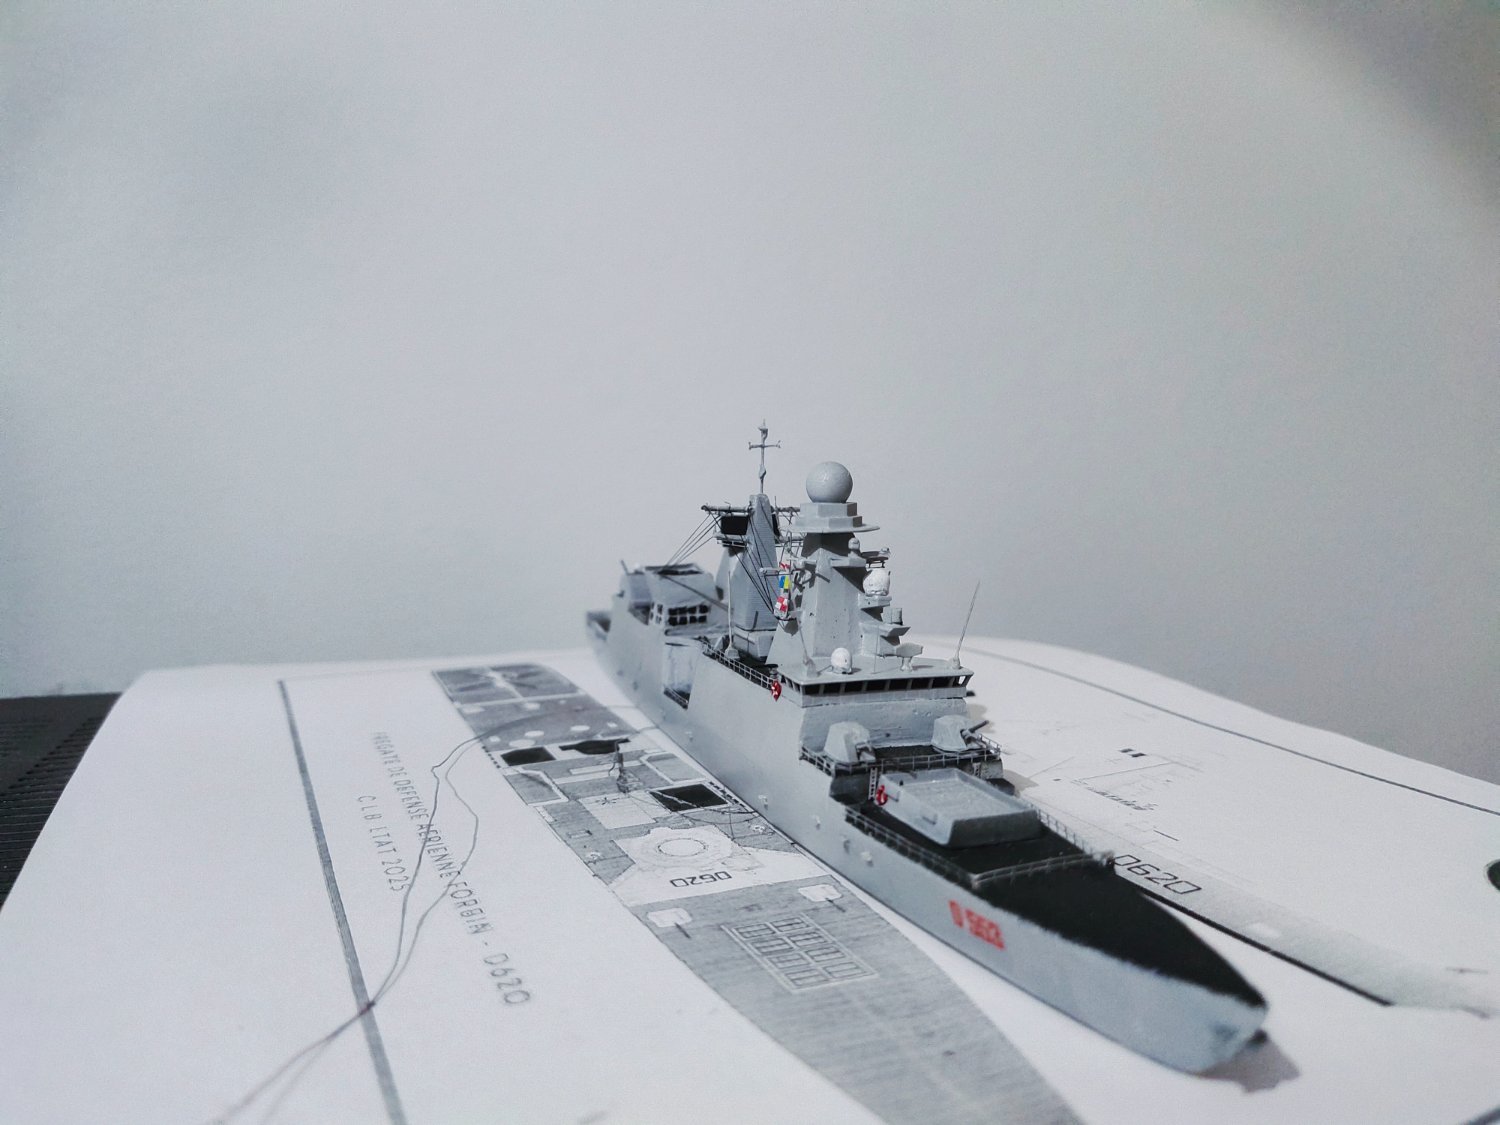
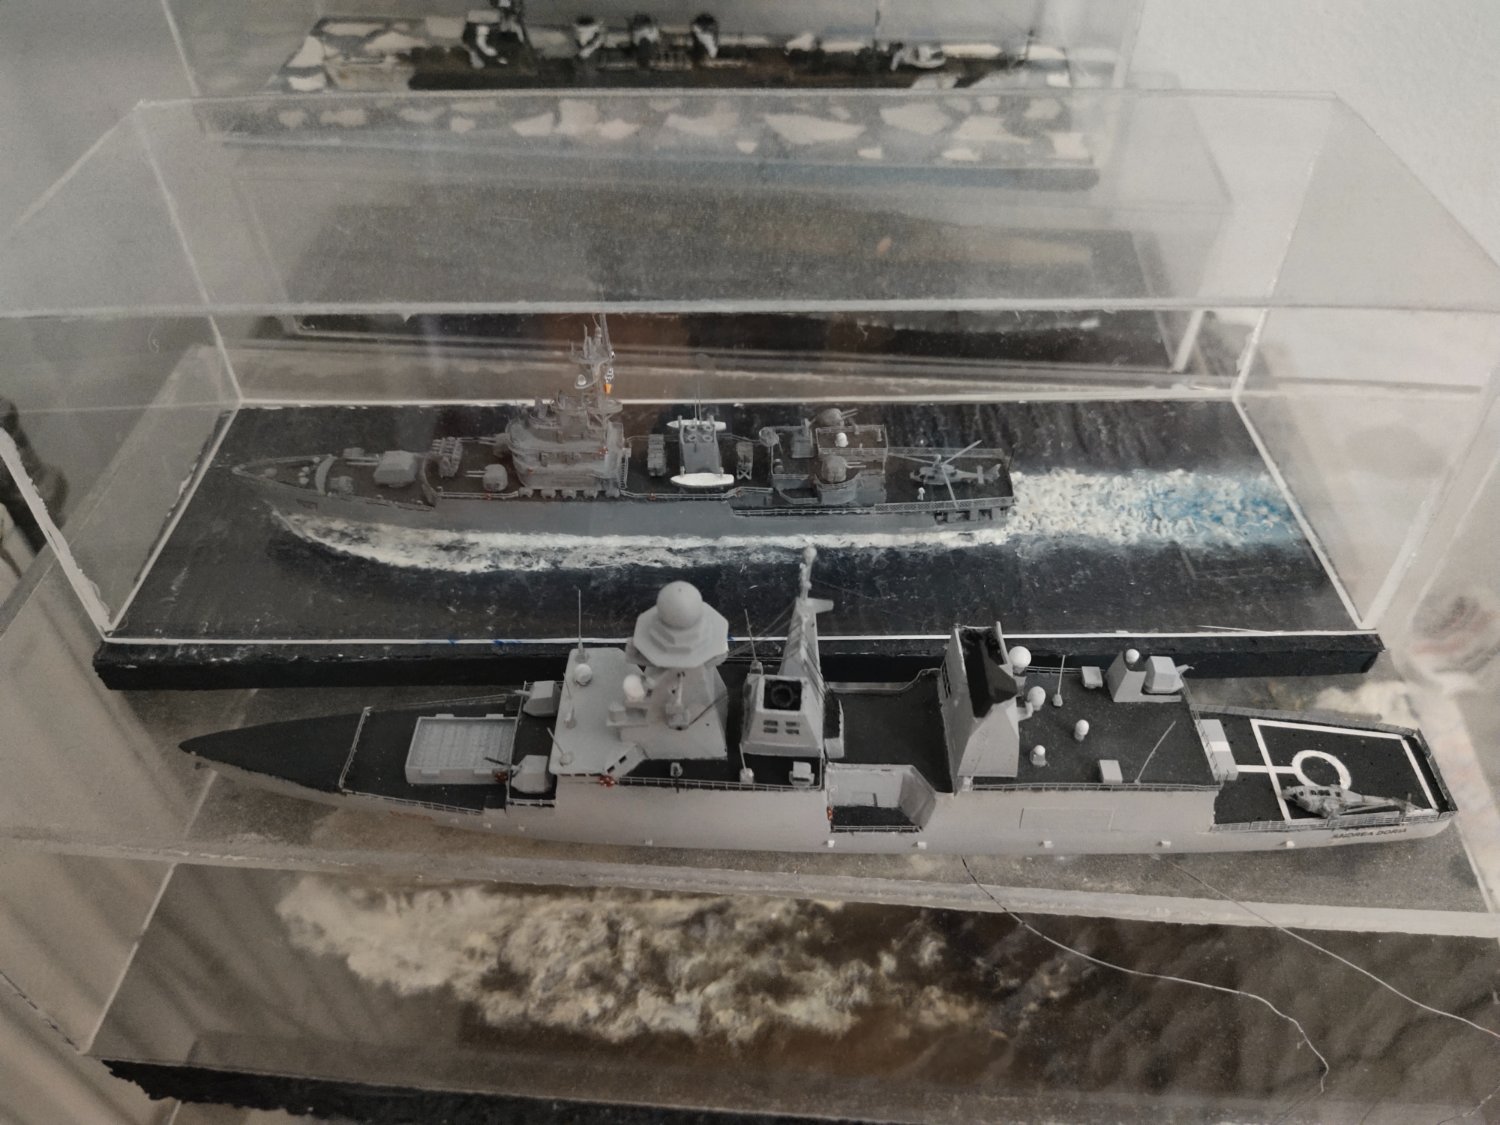
Long time after update but progress didn't stop. I managed to add final details, correct bow shape and more.
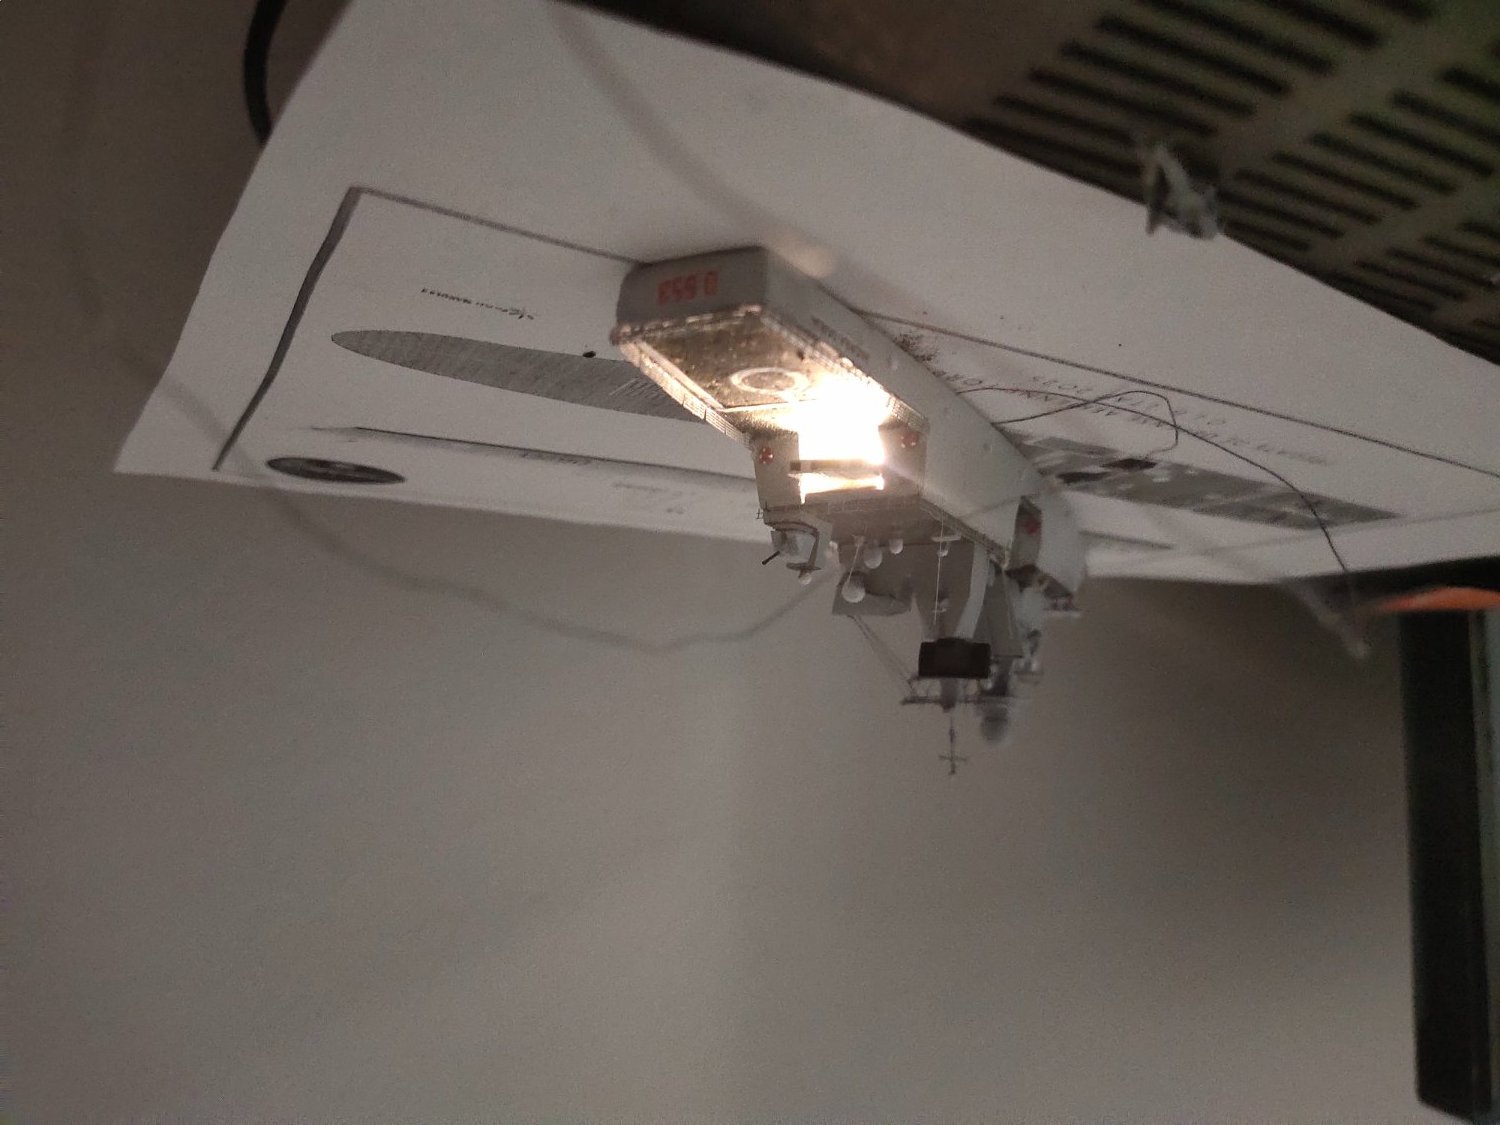
I'm satisfied with the result except the painting and decals on the heli deck which proved wrongly calculated. A helicopter was added to cover a part of it instead or reworking on it. Its also my first attempt to built a detailed open hangar with light, I won't make a sea base for this instead a dock layout with her sister Type 45 is planned as a future built, so I can demonstrate the differences of these vessels.


- GrandpaPhil, Canute, mtaylor and 1 other
-
4
-
-
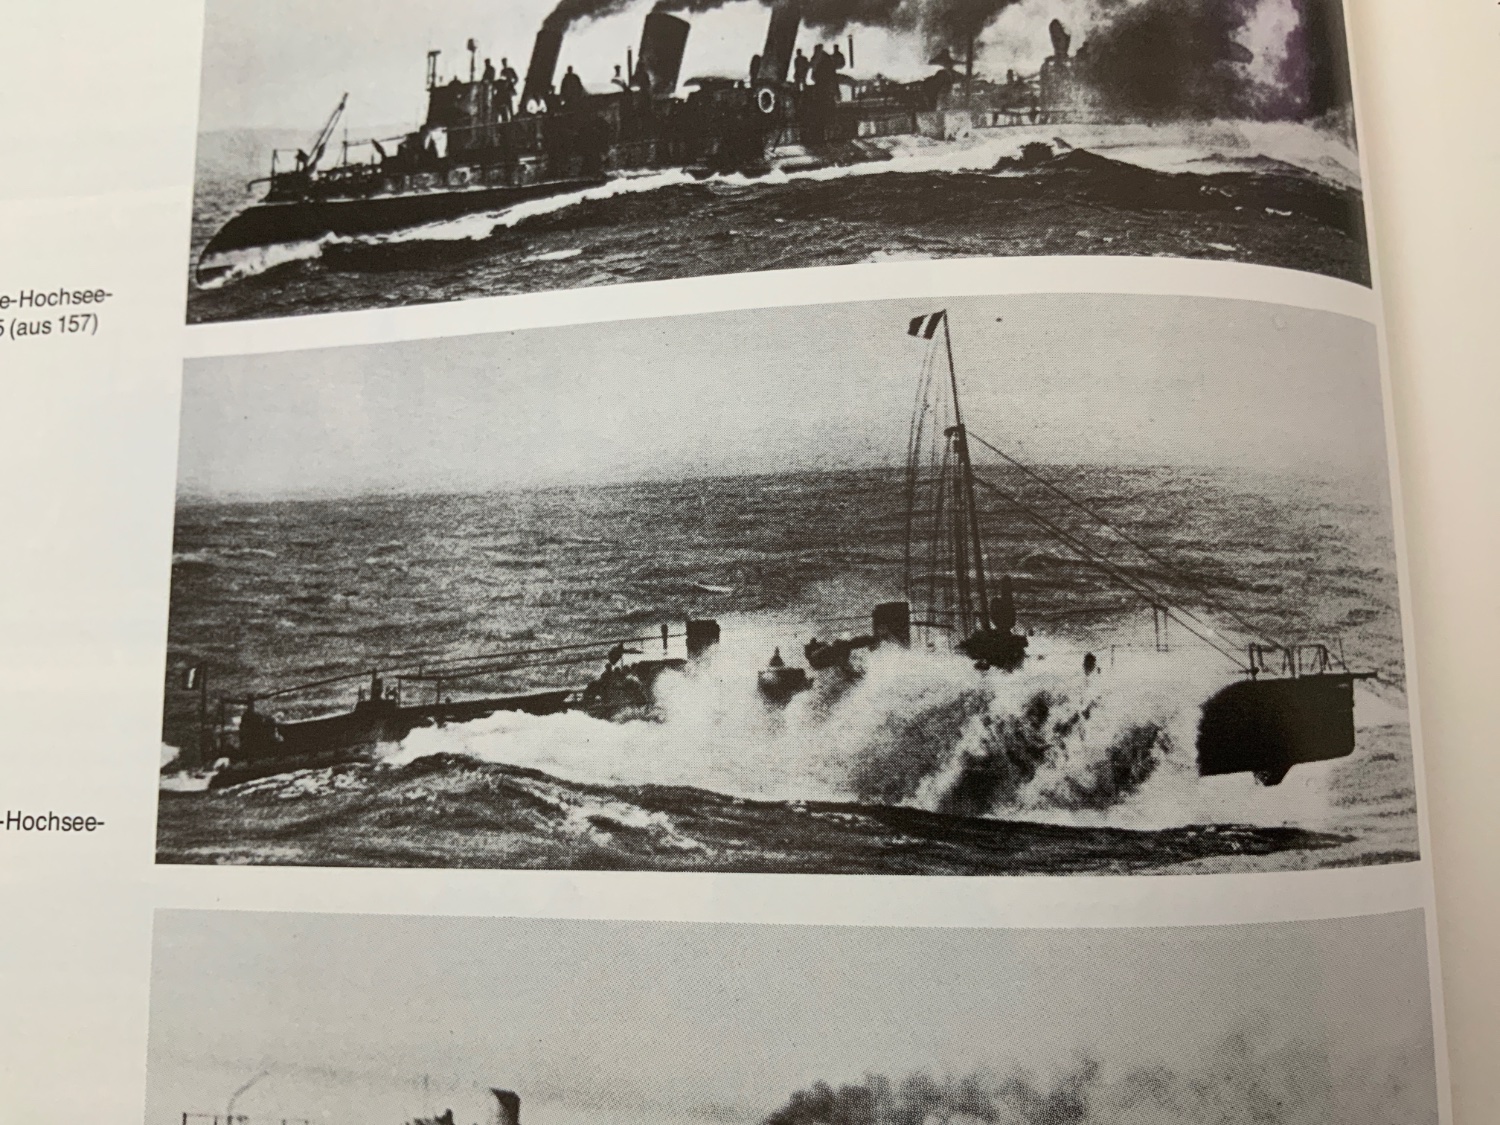
On 3/6/2023 at 9:58 PM, Hsae said:
Looks like these boats were pretty wet …

They look like a hybrid between torpedo boat and destroyer
- Valeriy V, mtaylor, FriedClams and 2 others
-
5
-
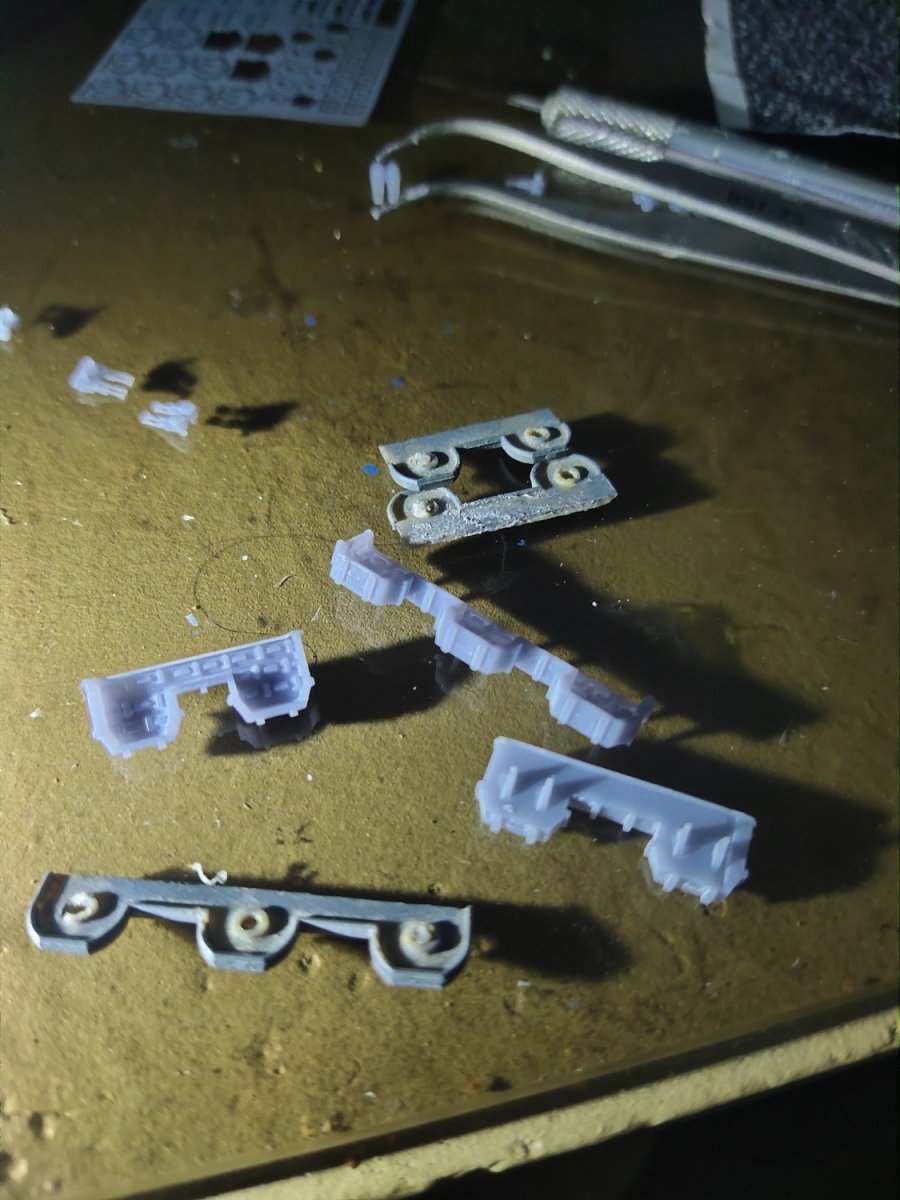
After some adventure managed to fix my 3d printer and get back to work.
I designed and made some gun platforms. Added some anti slide surface(bit over scale) and raised shields. Look quite better than plastic ones. Though can be improved a bit.
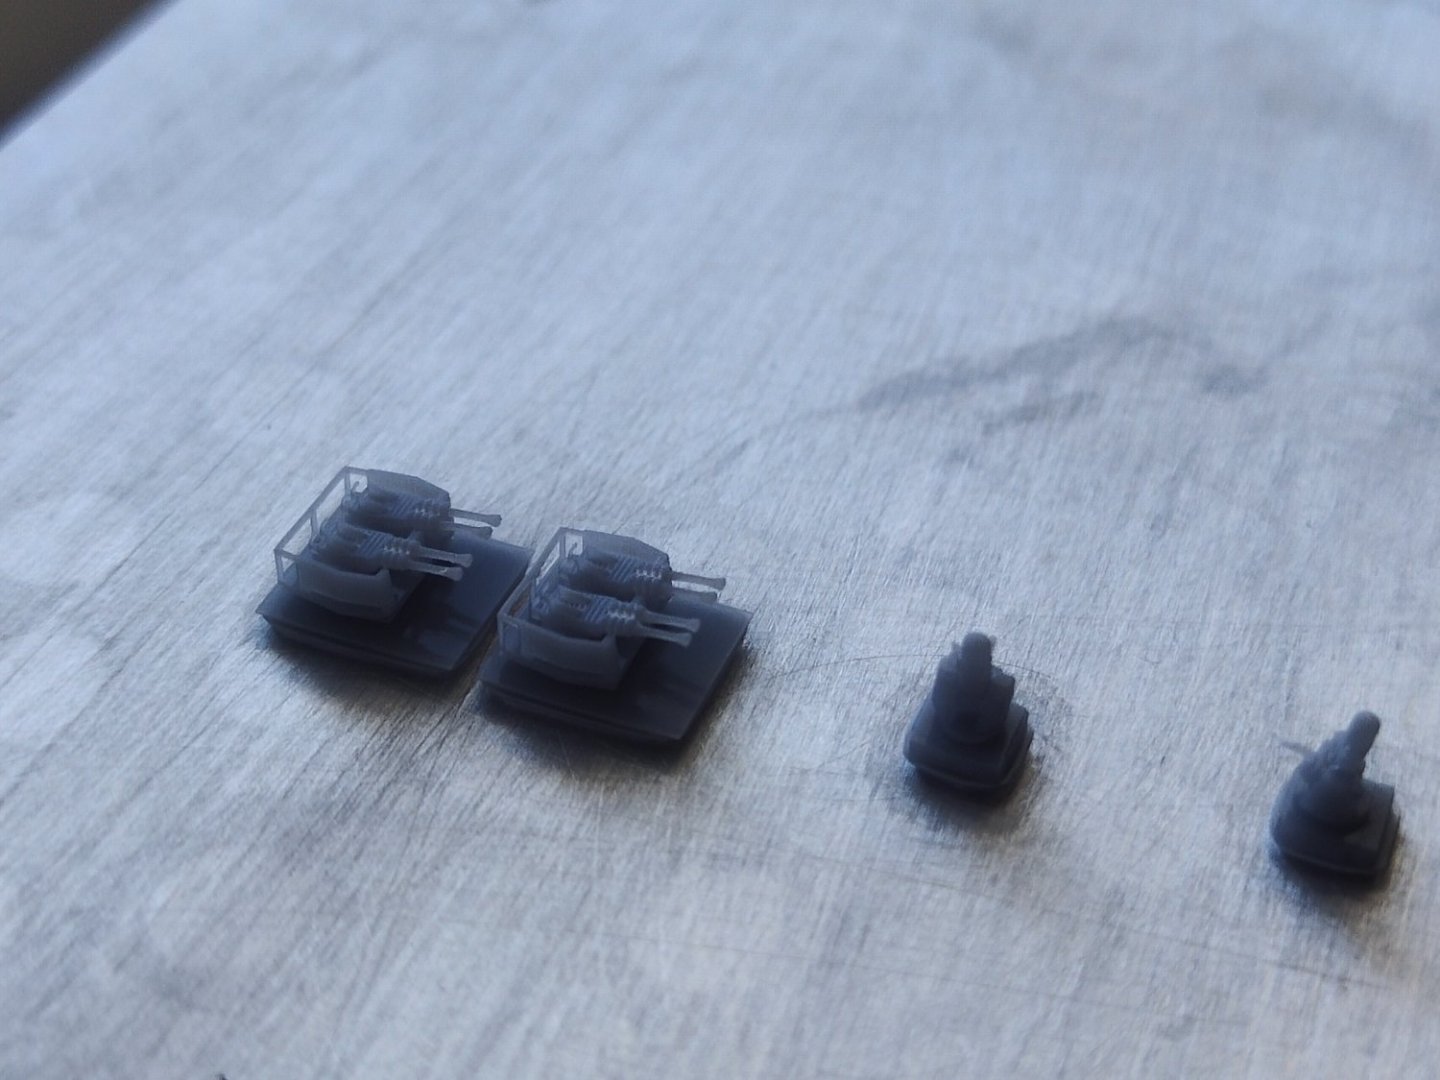
For 40mm AA guns i had some PE but these in our days are look too thin. So I decided to print my ones and use with PE. Resin+PE is the way to go In many cases. I only had to cut the pe splitters as the resin barells were thicker and could fit in the gun platform. They are not as good as the aftermarket ones but definitely an improvement over the plastic ones. And I can make as much as I want.


-
this is the real picture from the kit that is on sale from a private owner. It says complete kit and the price is 120 euros. Just wonder how Eduards PE for Trumpeter will fit. I Also may use my 3d printer to replace some parts.
by the way i cant figure out about the hull, is it ready or need to plank it
.jpeg.582c999861334a563d701929318c34e3.jpeg)
.jpeg.78c8b24c048cb1ff6f2fbbb5098390d4.jpeg)
-
This looks like an old kit which can't compare with the newer model.from Trumpeter
However I found it on a quite interesting price and I just wonder if it can be upgraded with aftermarket parts so I can get a decent looking model


Cap San Diego by mikegr - 1/160
in - Build logs for subjects built 1901 - Present Day
Posted
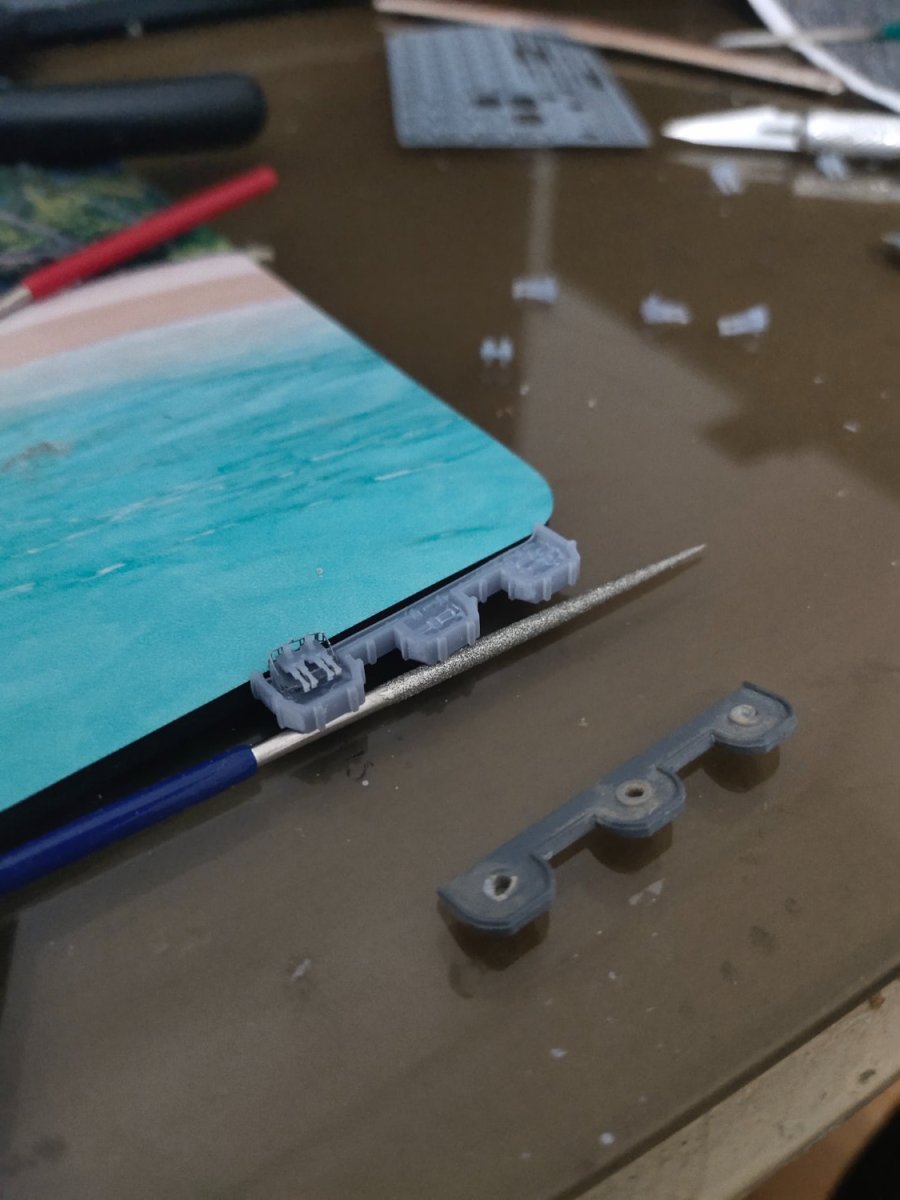
While working on the masts suddenly realized that I was totally out of scale.
I reprinted two of them with some modifications on top and other an one inch extension to the 3rd one.
Then i moved to test fitting.
And a last pic with the funnels on